Brutalform
-
Posts
2,837 -
Joined
-
Last visited
Content Type
Profiles
Forums
Events
Gallery
Everything posted by Brutalform
-
Fantastic job on your AWB! I think the decals, and color, look just right. These cars are pretty cool, and I’m involved with building a couple of them right now myself. Great looking S/S as well. Can’t have too many 60s era drag cars.
-
I’ve never had any problems with handling the parts after they dry thoroughly. I’d give em 24 hrs. Nothing like the Molotow ink.
-
Yes, this I like. Thank you for sharing your idea.
-
Nice job on those breathers and fuel pump. I think Speed City Resin has breathers similar to those. I actually think I have them that came with Ford cammer valve covers. Your came out looking fine, and cost nothing.
-
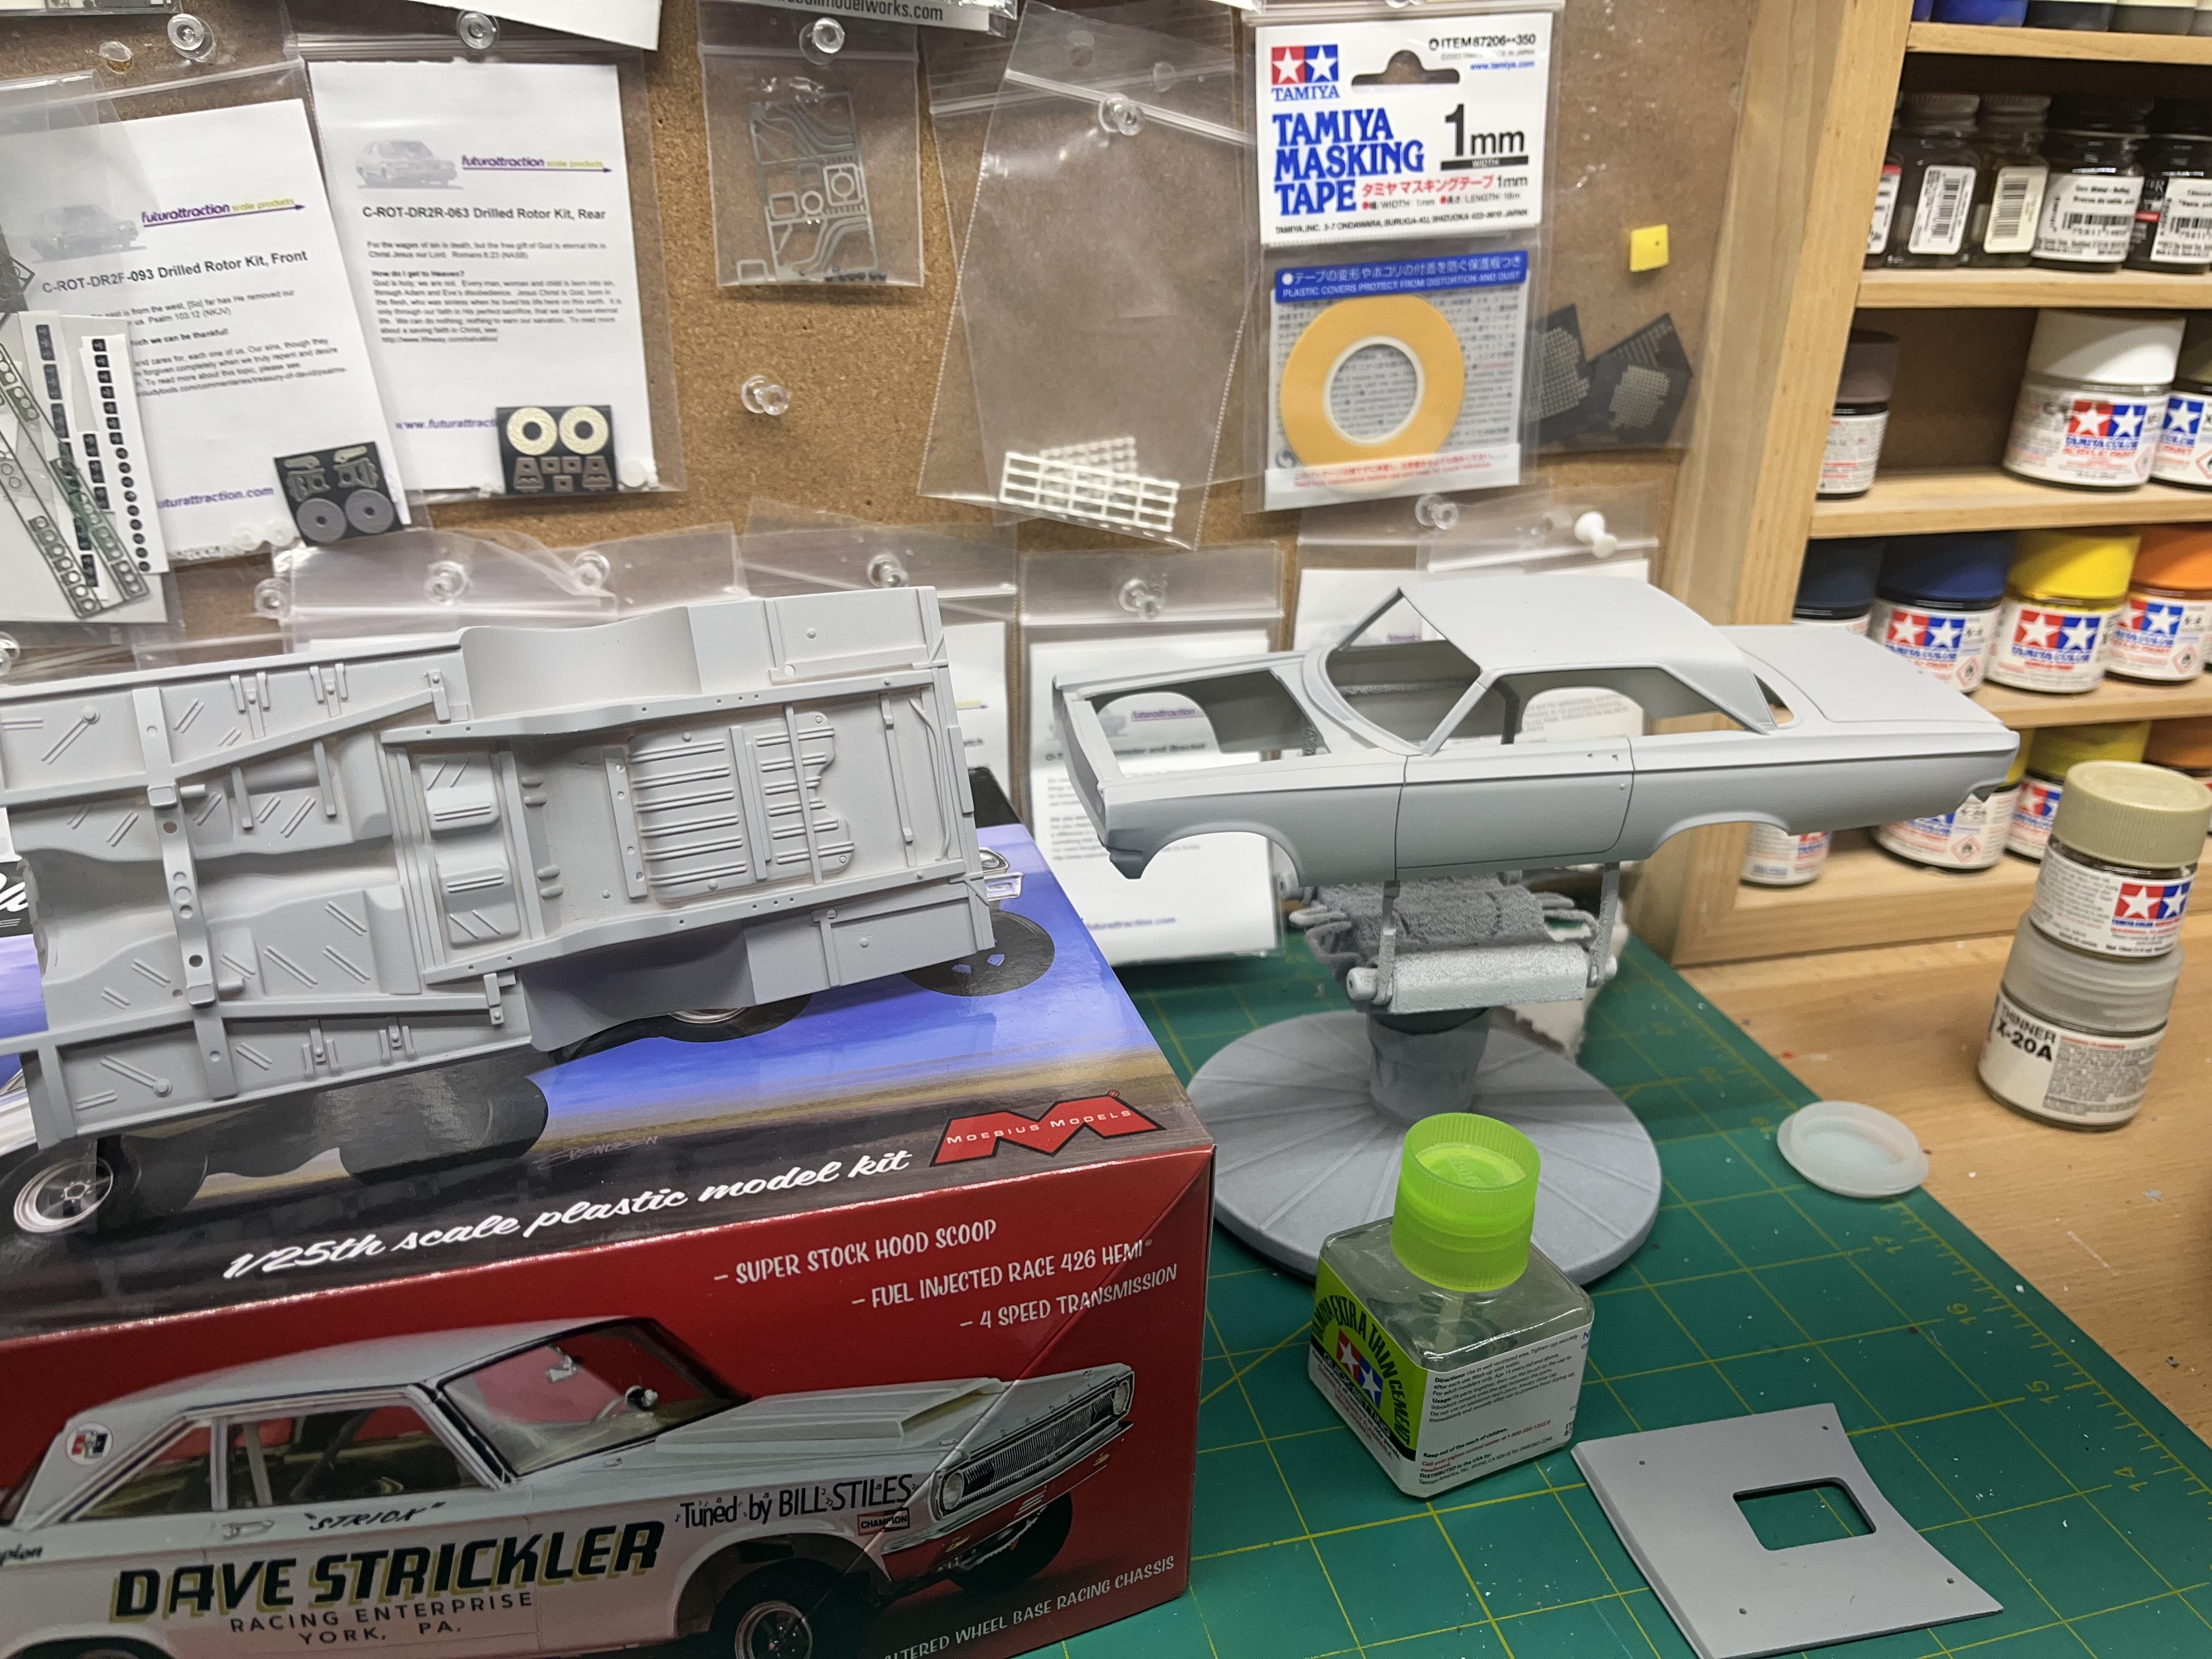
Thanks Bill. I was at the bench just for a little bit today, to paint the black on the Landy car. Had to sand a bit of debris out of the trunk, and shoot it again. Hope you can get started on yours soon. After these I just would like to do the Strickler Dodge, and possibly the Golden Commandos copper car like the box art.
-
https://www.culturehustleusa.com/products/mirror Has anyone used this stuff? I read that it’s very durable, and can be handled when dry. Pretty expensive though.
-
I know the decals are different in some of the ROG kits. I bought a used 68 Chevelle kit on eBay, so I can get the correct color SS stripes I needed for a WIP. Now you have me thinking… I’ll have to look to see if this particular kit has anything else different.
-
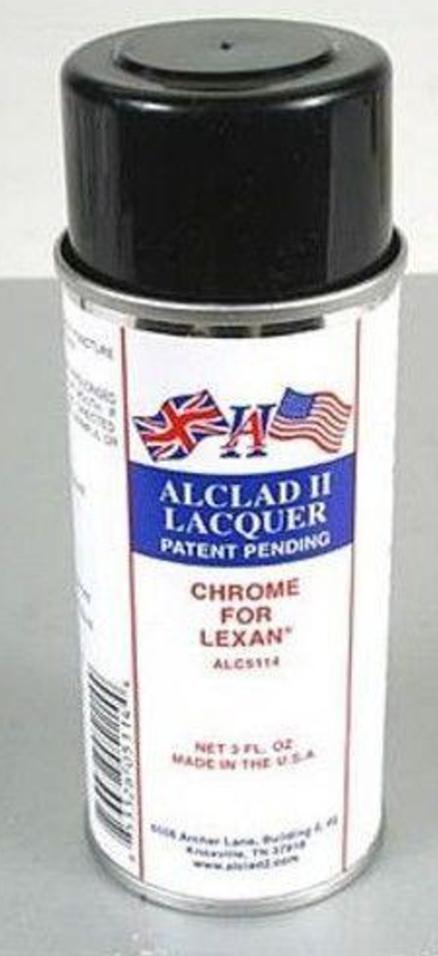
Just used the last of the Alclad spray lacquer, so I ordered a can of the Revell spray. I suppose it’s a good thing to buy with Christmas money. One thing with the Alclad spray can, is the bottom gets beat up pretty good from shaking it. I’m afraid it might explode. So I’m gonna try the Revell spray now. I’m sure I’ll be happy with it, after reading what everyone says about it. I suppose when you figure in a gloss black under the Alclad, the Revell really isn’t too much more expensive. I don’t mind spending a little more on a quality product.
-
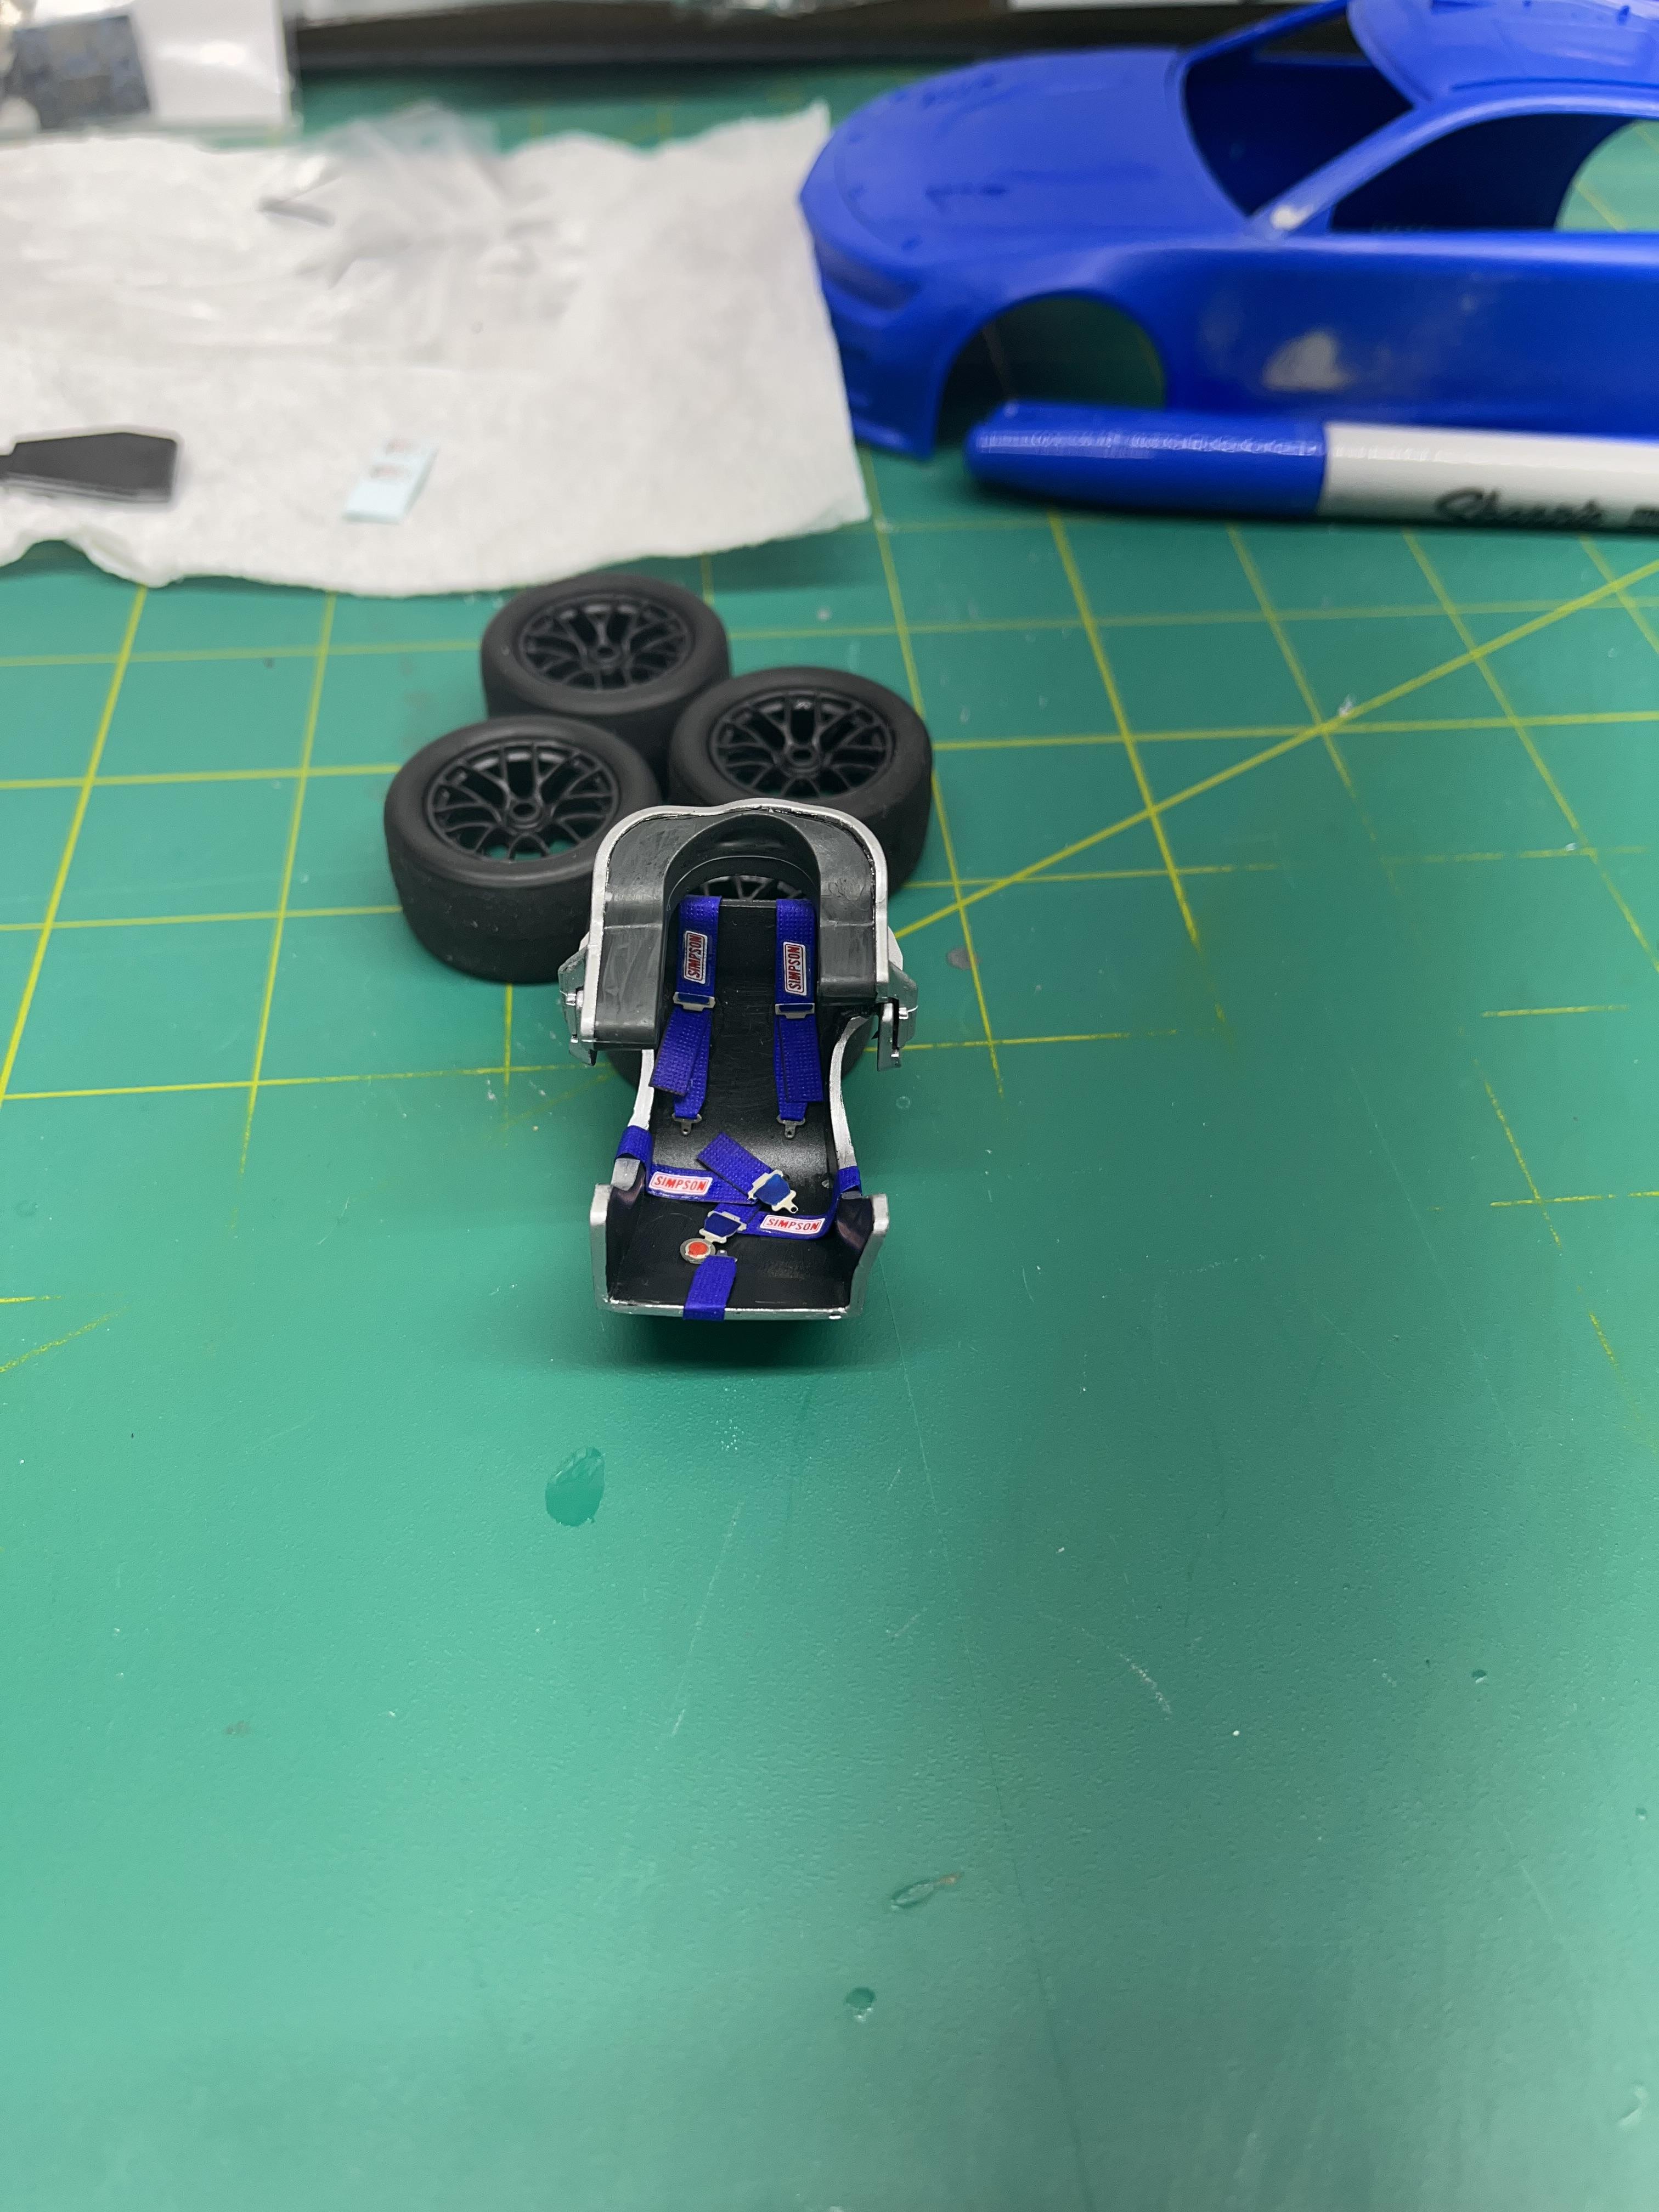
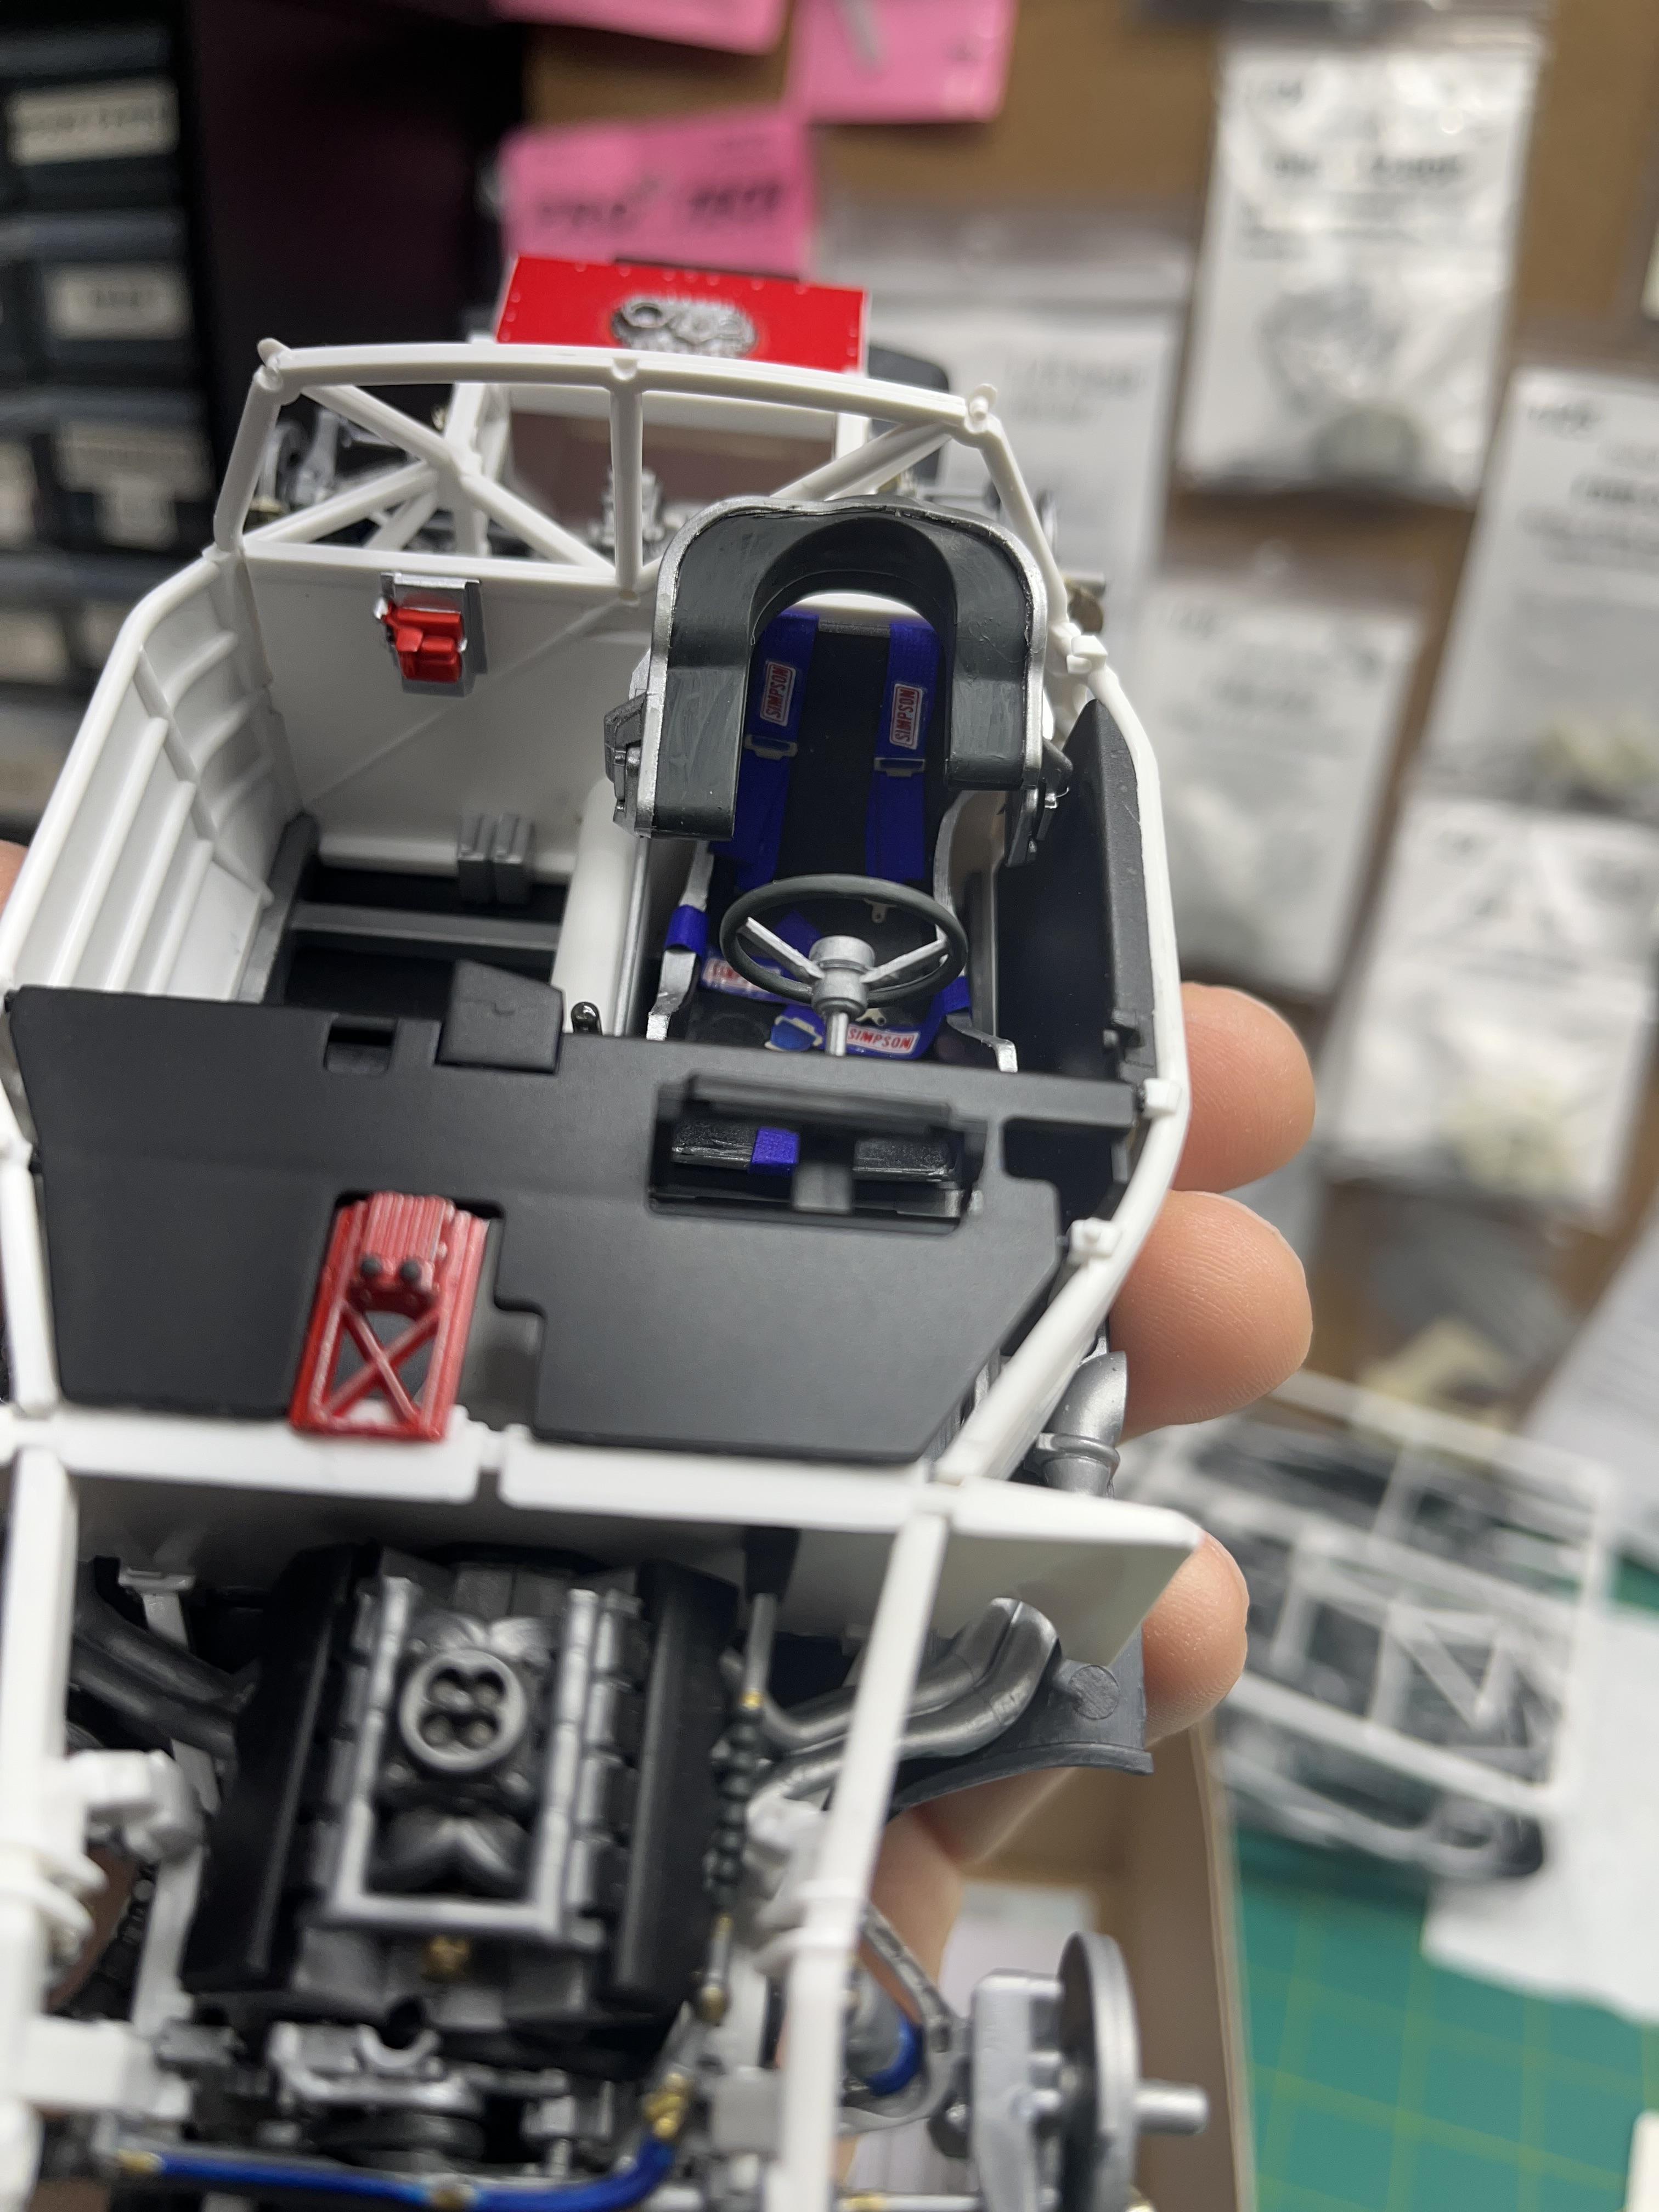
These are paper belts from Pro Tech colored with a Sharpie. Just a tiny dab of Bob Smith CA glue is what works for me.

-
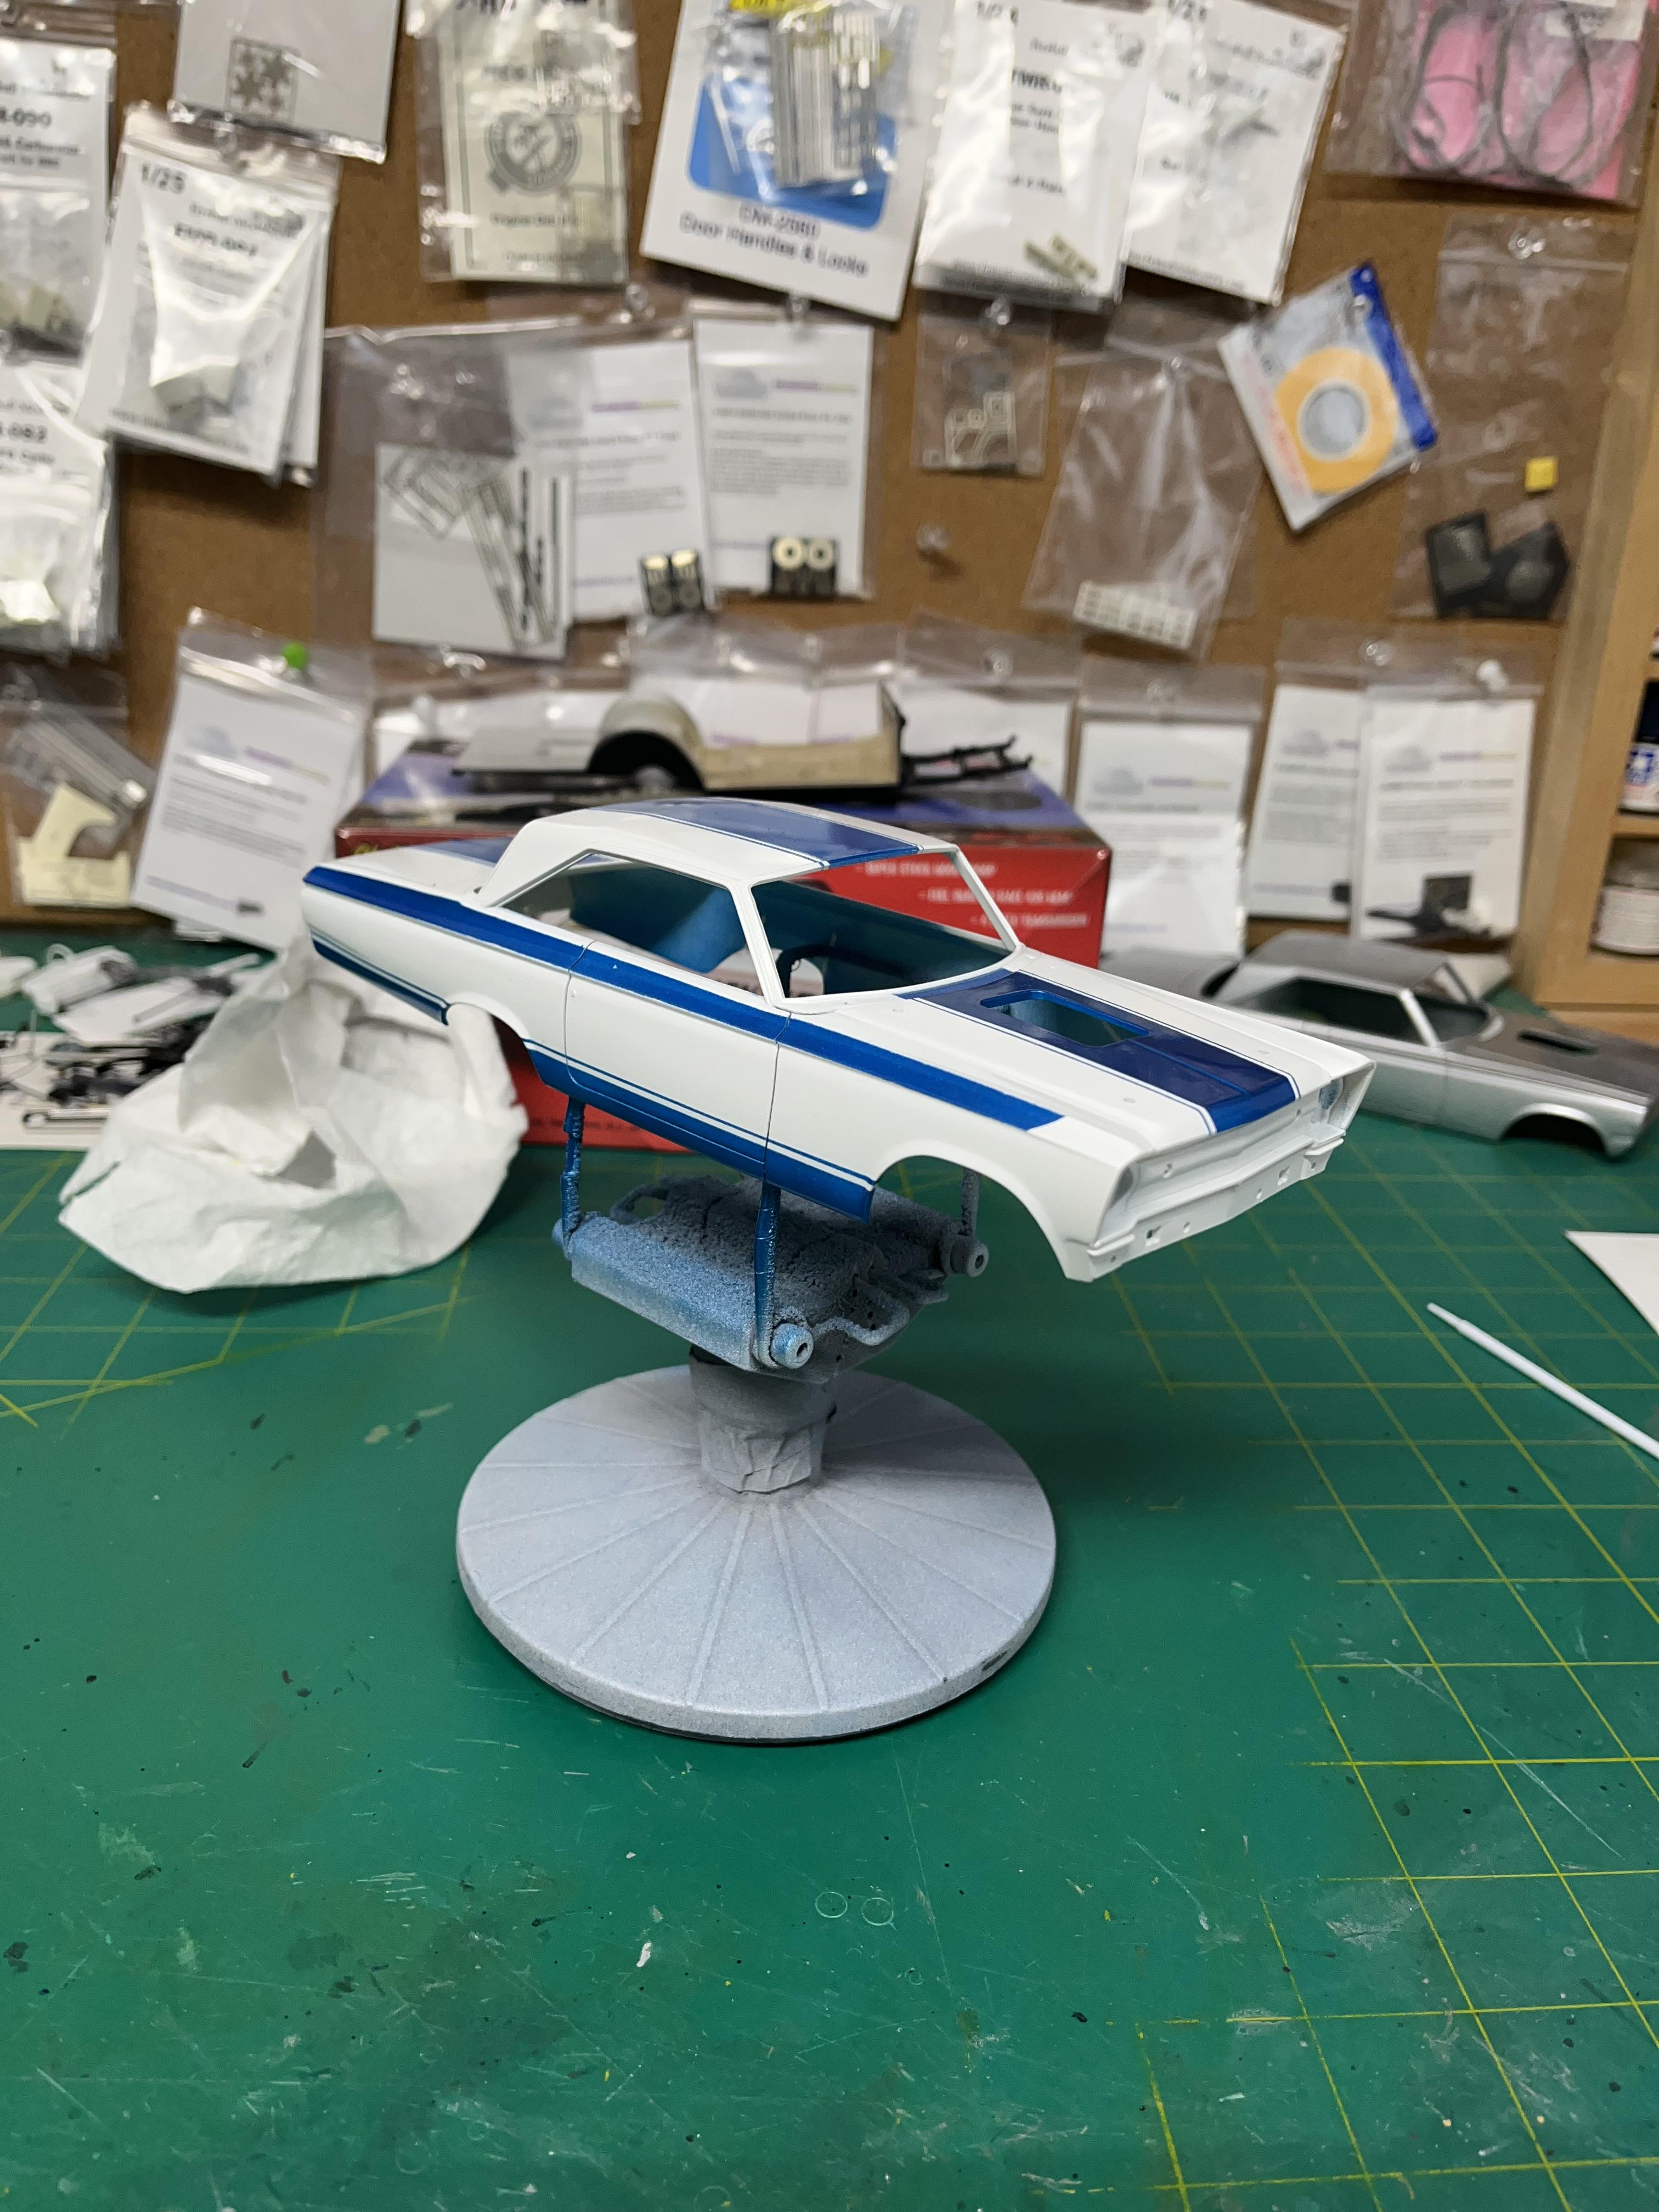
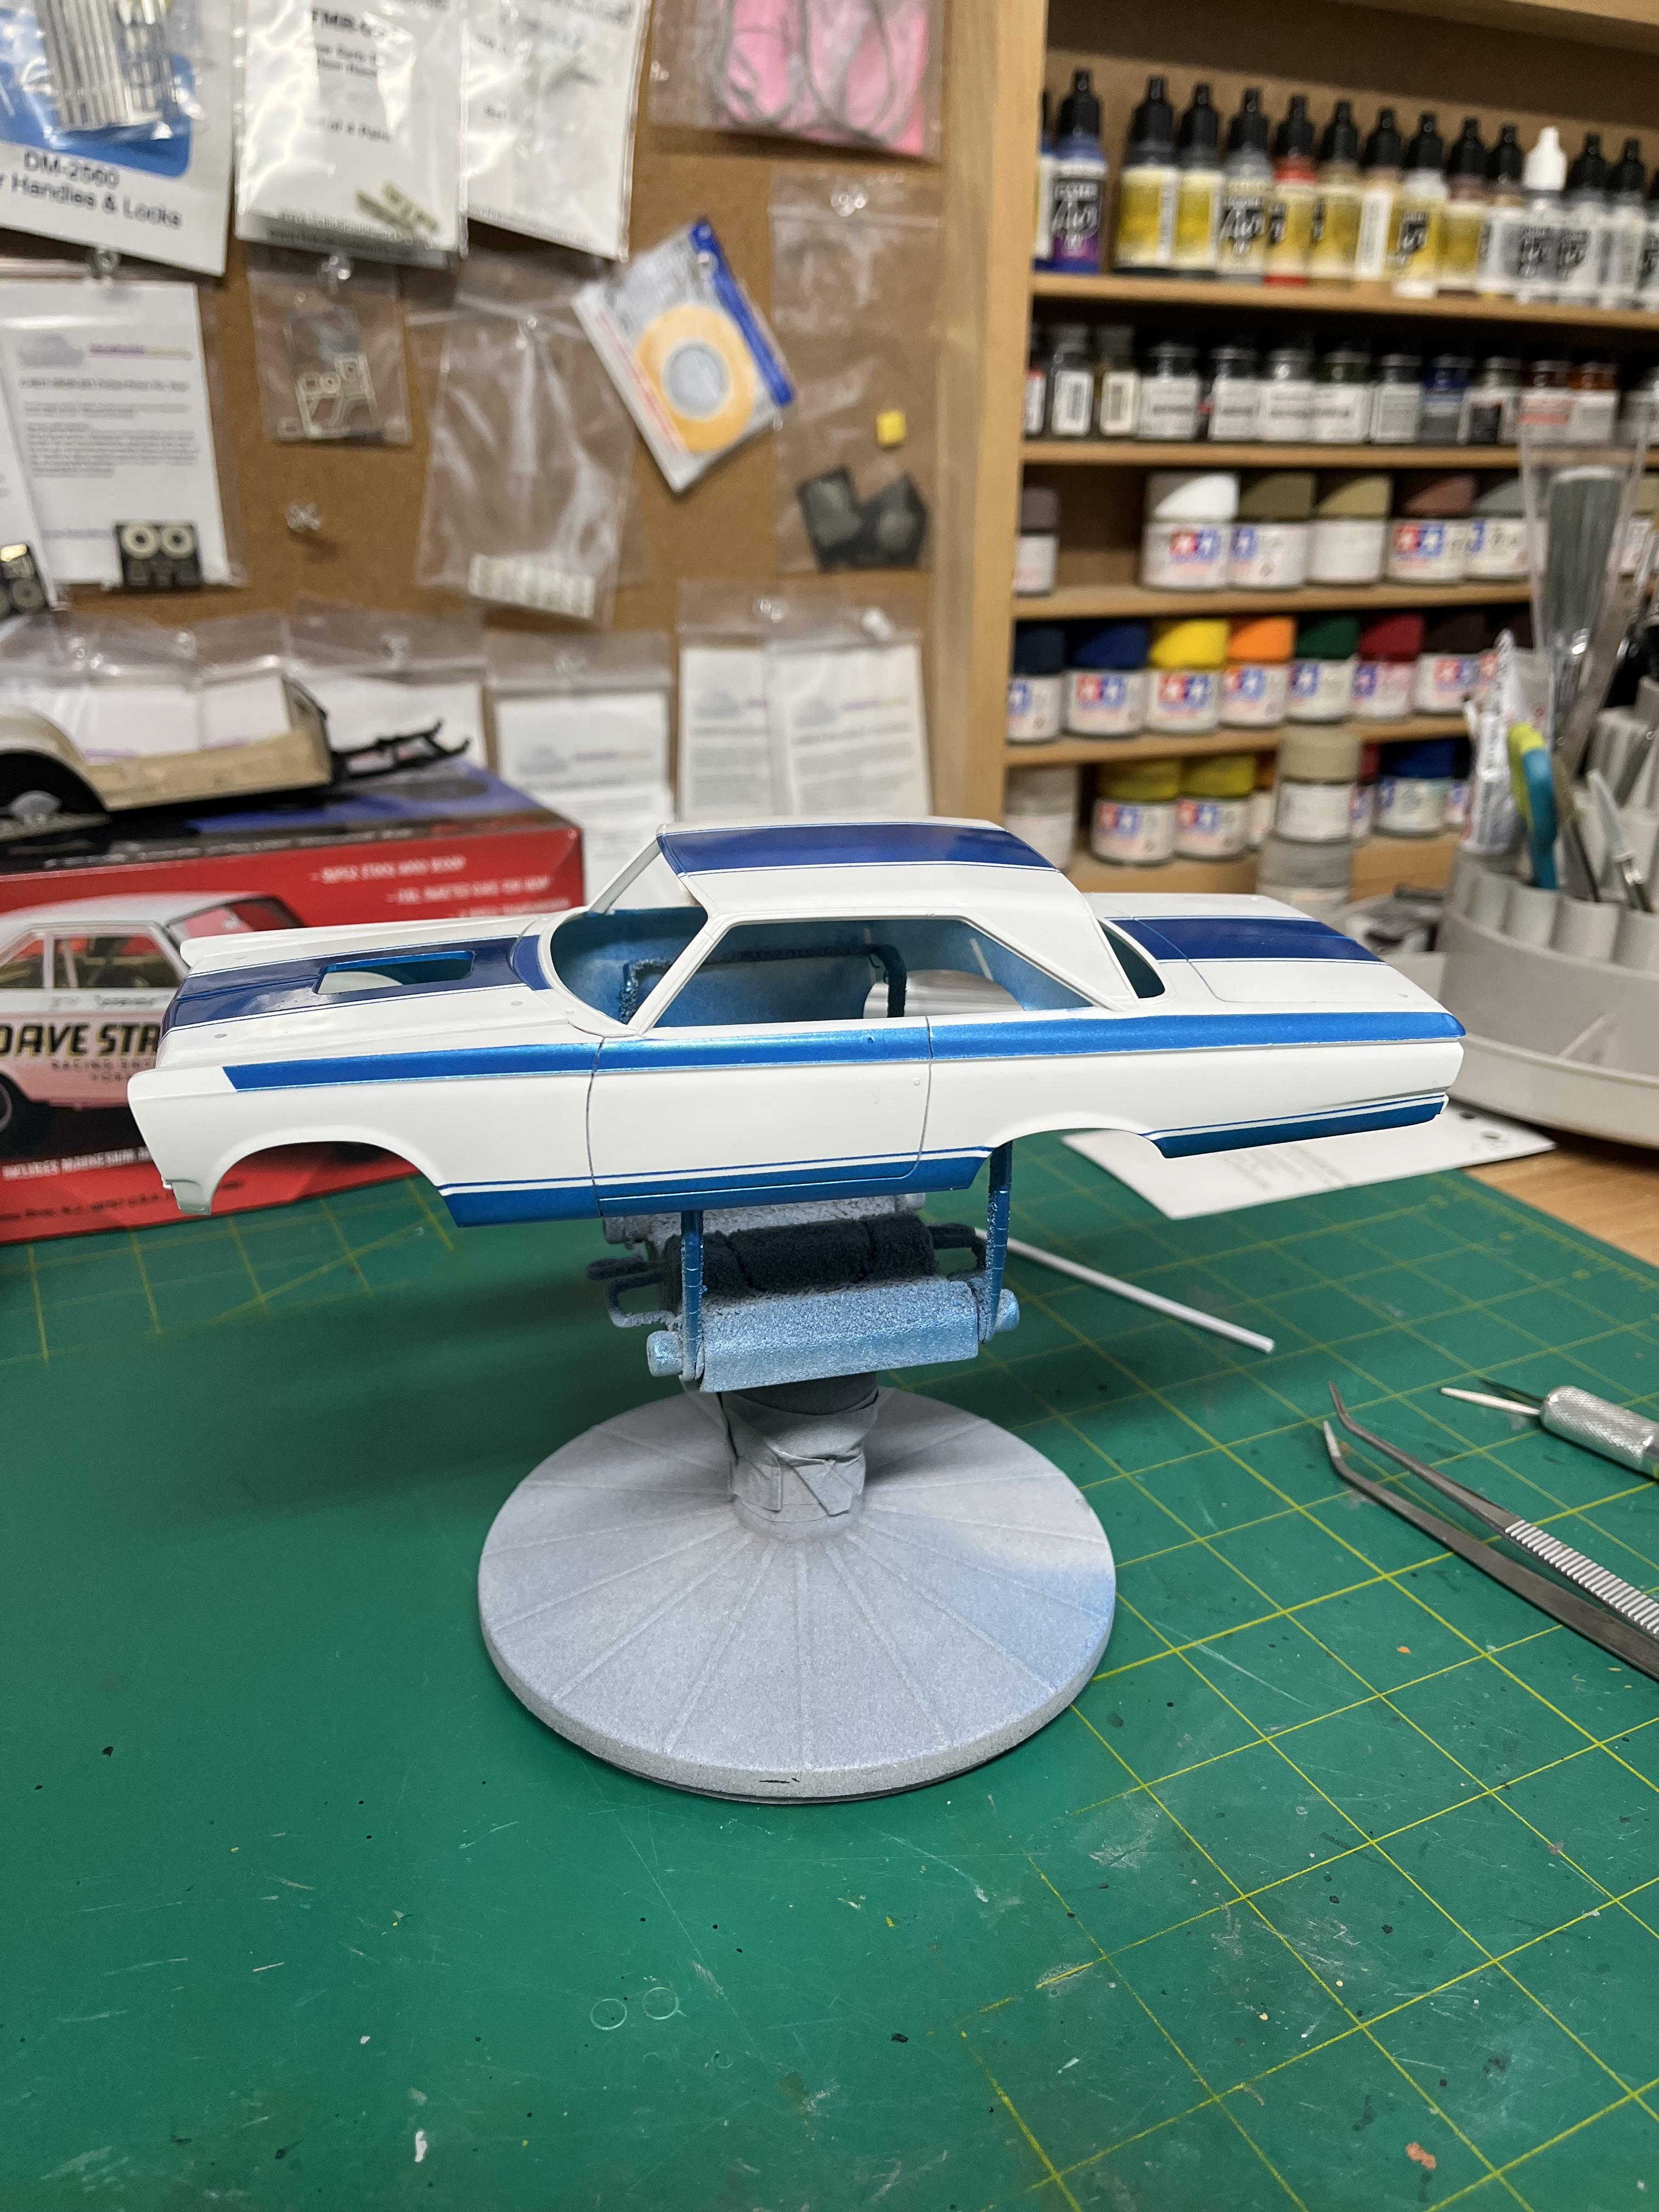
I also masked up and painted the blue and pinstripes on the Melrose Missile car. After foiling and decals, this one can be assembled. The interior and chassis are pretty much finished now.
-
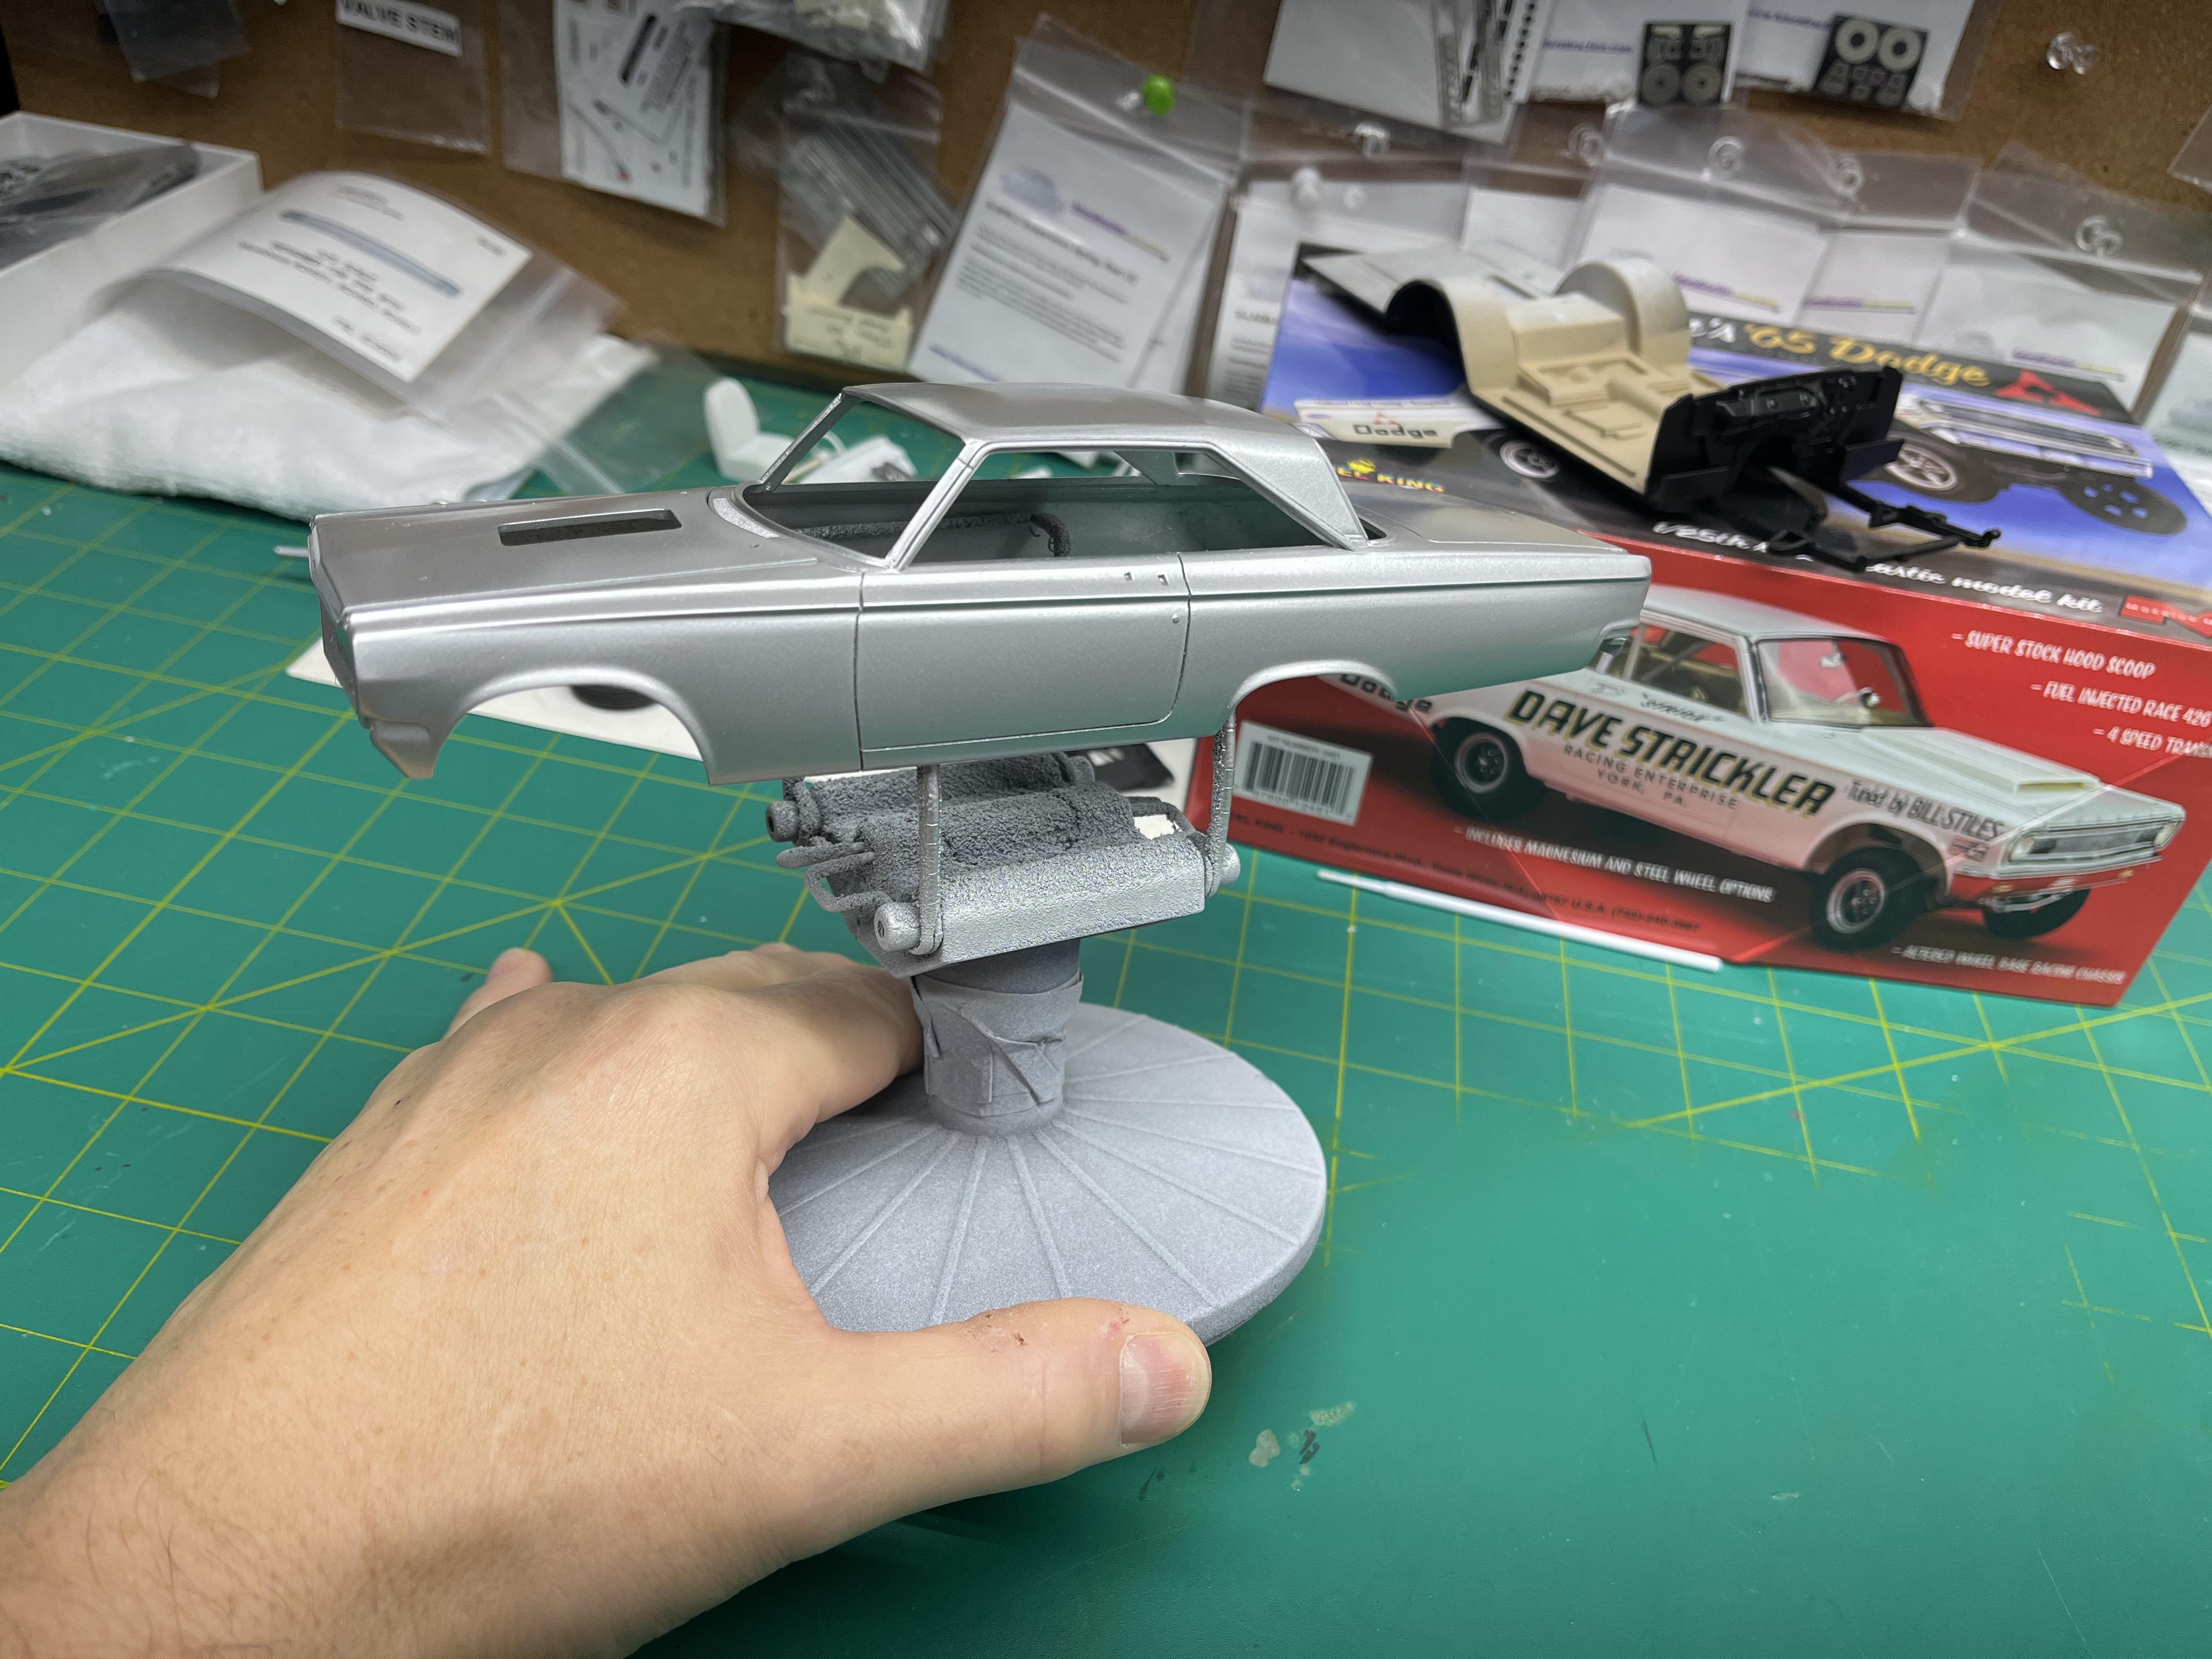
Been down with a cold, but I finally got some silver on the Landy car.
-
I’ve had great results with Vallejo Air. The only reason I use the Air over their regular acrylics, is the Air is thinned as I don’t need to add water. I pretty much stay away from the Tamiya acrylic in the jars, for the most part. I understand that these are not really meant to be brushed on anyway, but I have had good results adding a retarder to the Tamiya jar paints.
-
Exactly. At that point in his video, when the a pillars were bent, and he said they can be straightened out with hot water, etc, I tuned the video off. $60 isn’t expensive, but isn’t inexpensive either. Still that’s an issue that makes me pass on a kit. Thanks to Chris for posting that video, because I was seriously considering purchasing it. I never had a decal go on correctly, with a fold going right through the decal on the paper either.
-

Resin bodies and paint
Brutalform replied to DoctorLarry's topic in Model Building Questions and Answers
Could be the Krylon. -
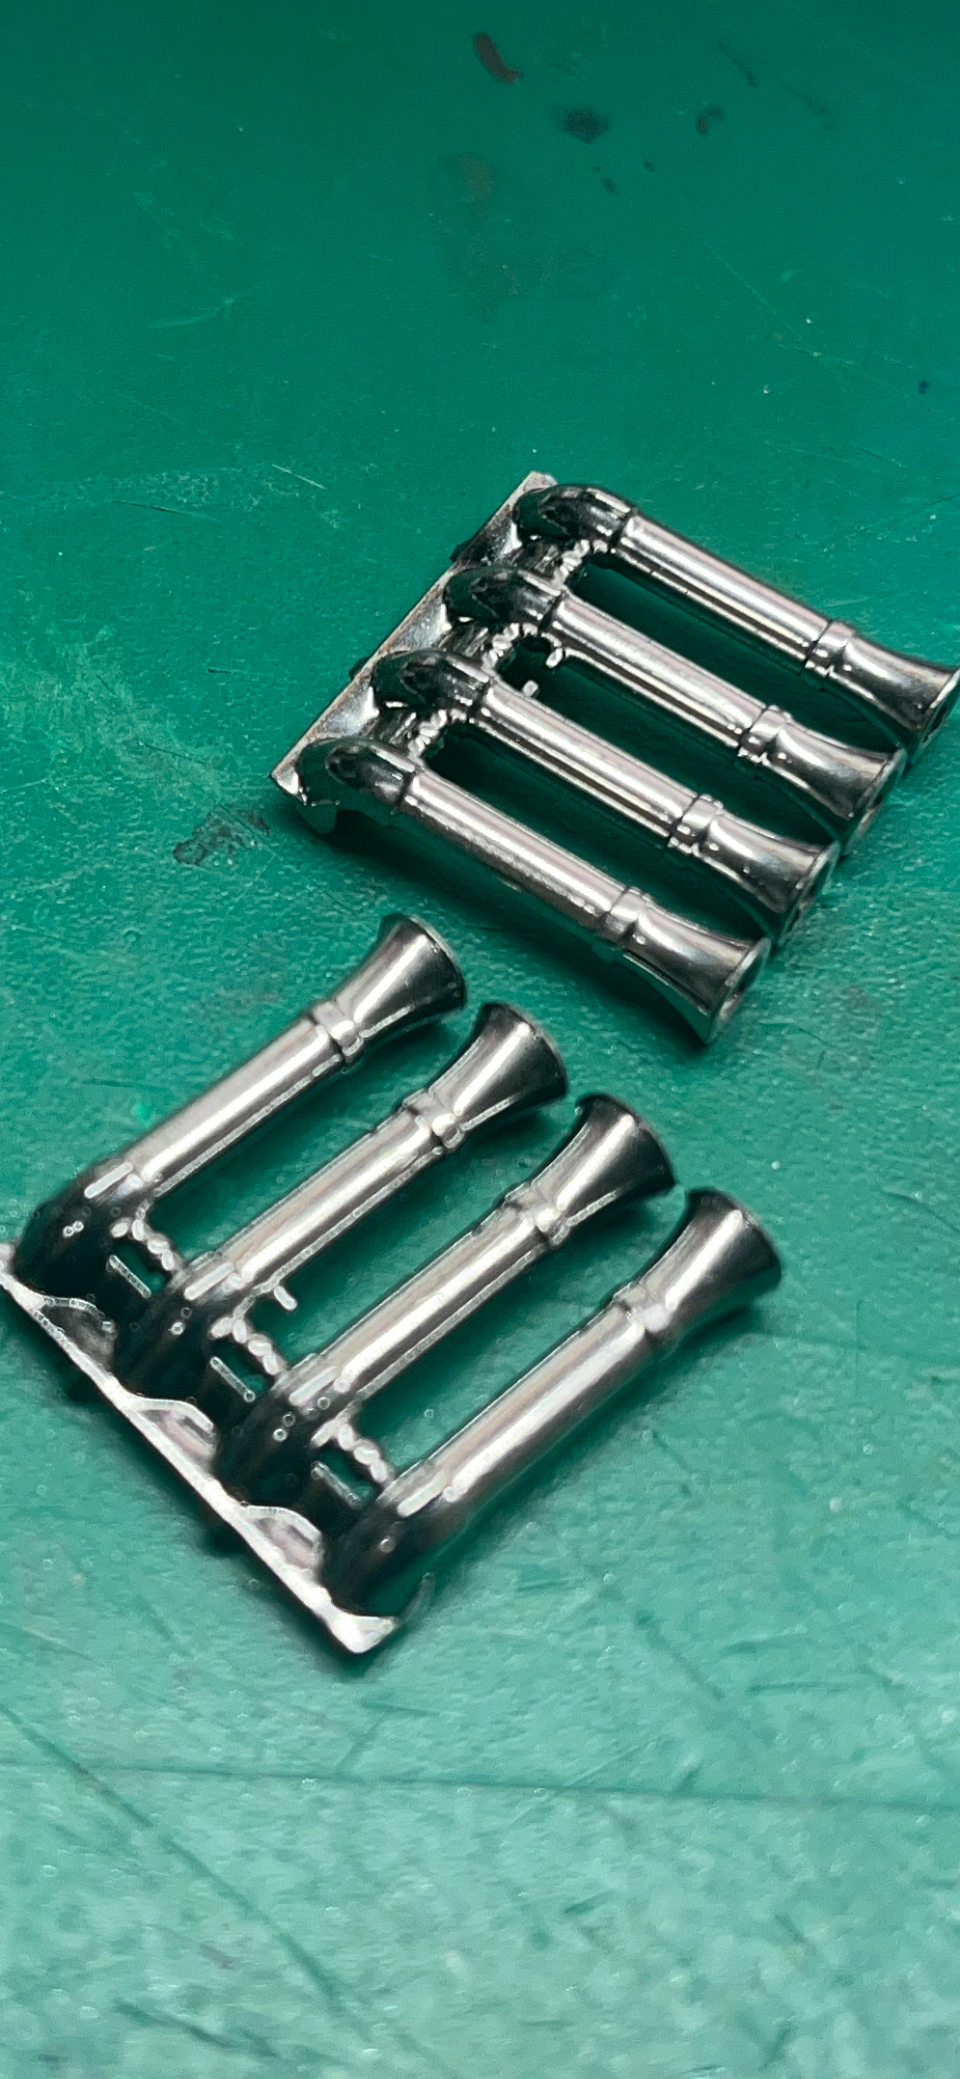
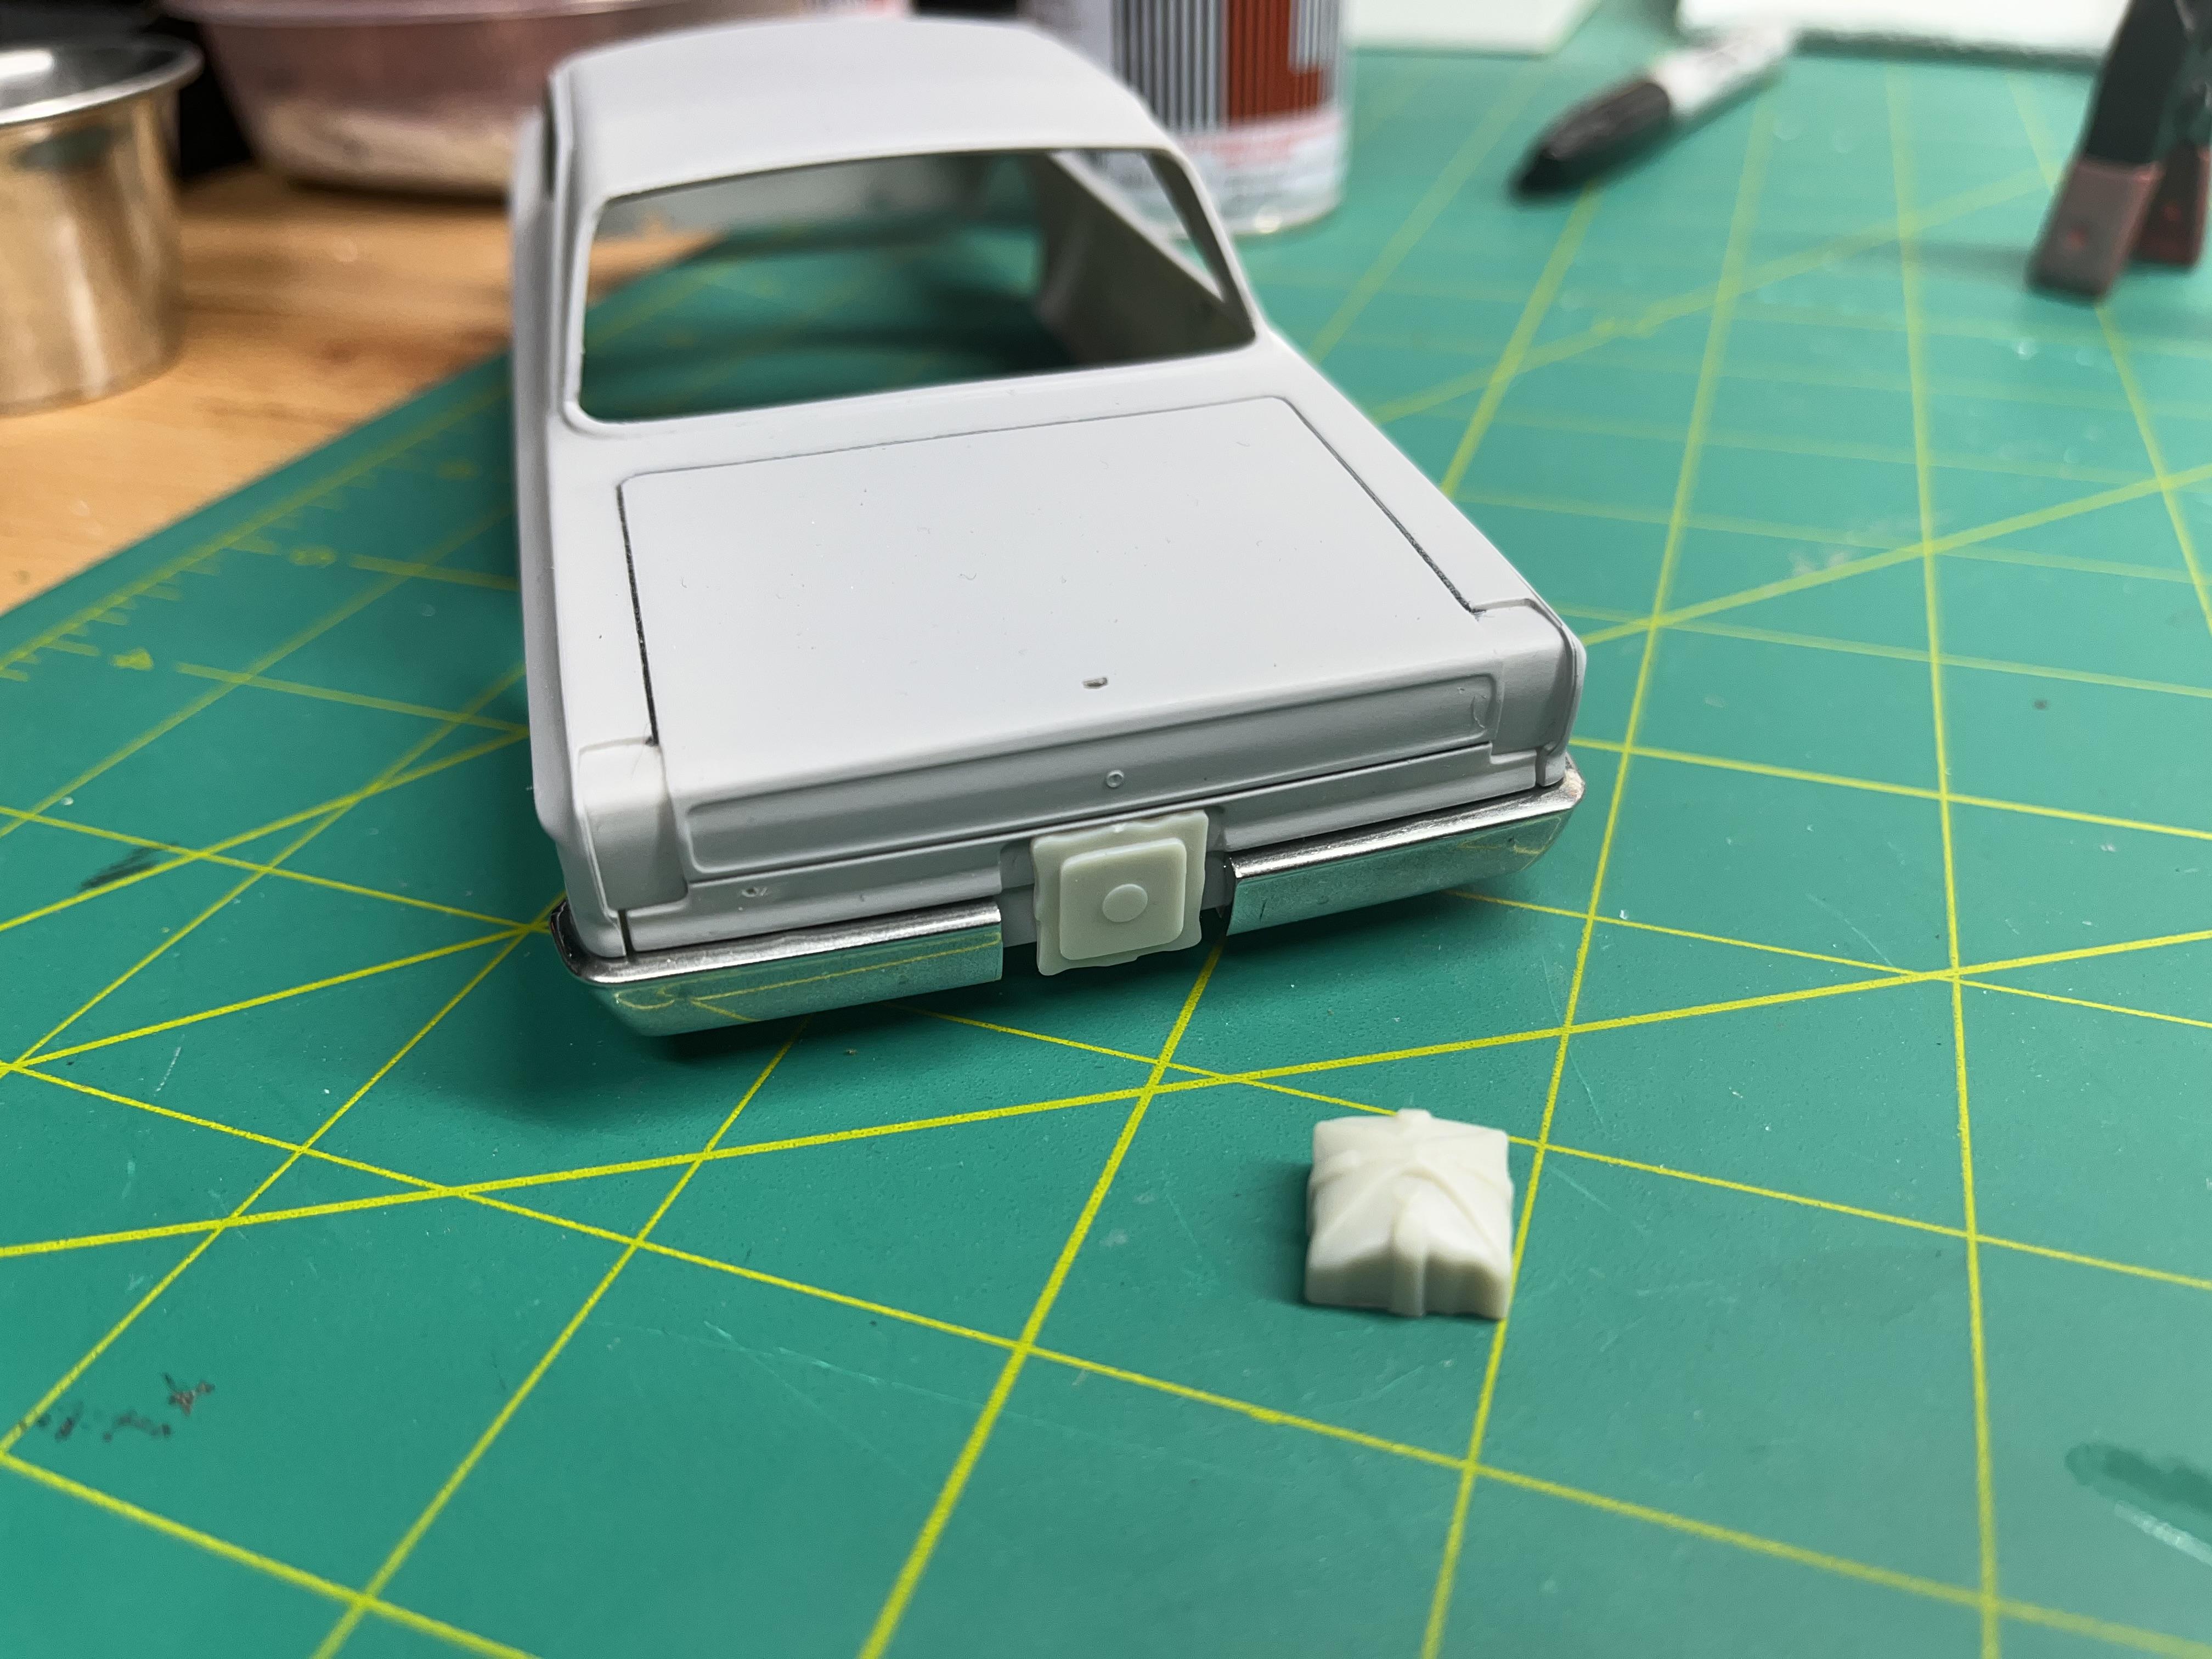
Well said, Gerry. More than one way to get the job done. As you mentioned about imperfections, I had to re apply the black and chrome on these bumpers. I didn’t noticed I nicked the surface with the saw in one side. But as soon as the chrome was applied, it really stuck out.
-
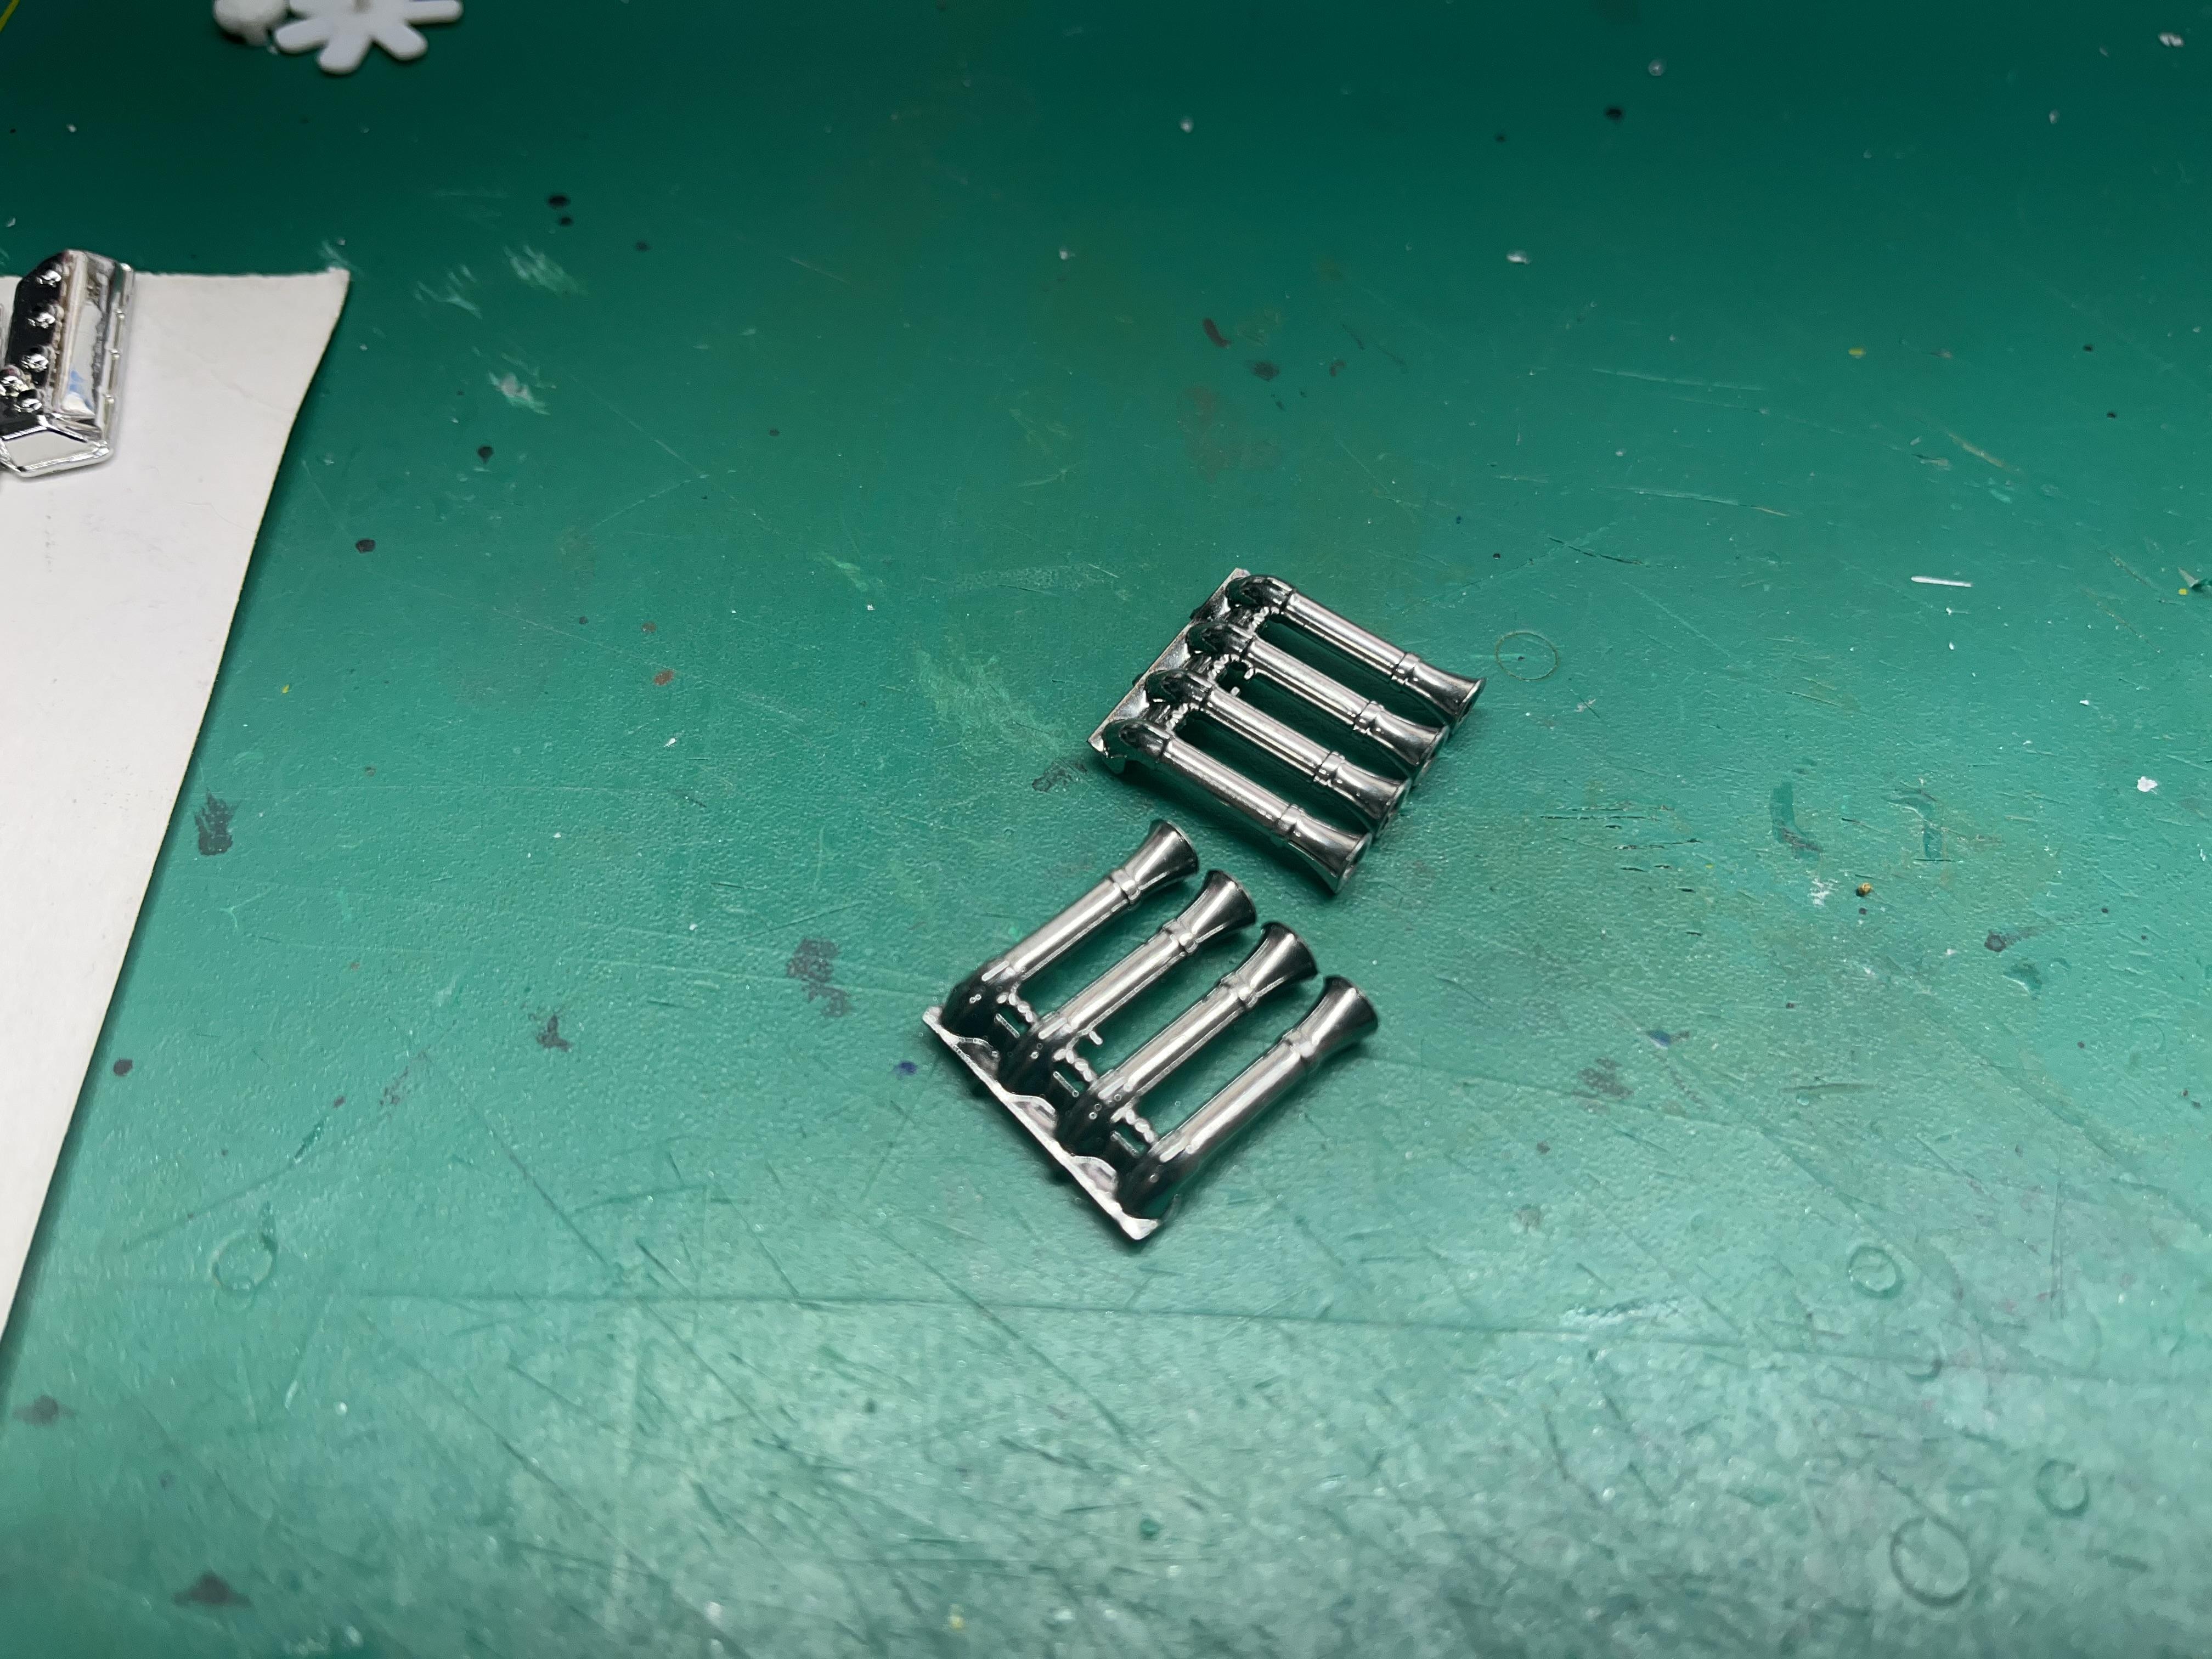
Just like any part, let it dry. I’ve had an issue before with a fingerprint, but, it was my fault that I handled it too soon. It’s nothing like Molotow ink, as I only use that to touch up where a chrome part was attached to a sprue. That ink doesn’t take handling too well, and I hardly use it. These stacks were handled to add black paint inside, and no problems, because they sat for 24 hrs. Also I don’t have an airbrush, so this is what I use when I need to have a part chromed. I’d like to try the Revell spray sometime, but it’s a bit out of my price range.
-
Yes. I’ve been using it for years. Even though it’s labeled for Lexan, it works just fine, after stripping the chrome off of parts, and using a gloss black or blue base. Looks way more realistic than the kit supplied chrome. These stacks were stripped and were sprayed with it.
-
I’ve seen it for $30ish. I can’t break down and buy it though, when I’ve been using this for years. Only $17 shipped. And it lasts a long time.
-
Model building on youtube.
Brutalform replied to Force's topic in Model Building Questions and Answers
Me either. But unfortunately we live in world today that if someone came up with the cure for cancer, half the public would embrace it, and the other half would moan about it. My advice is if you really don’t like something then flip right on by. But some individuals unfortunately do not understand that concept. People we is not wrapped tight. -
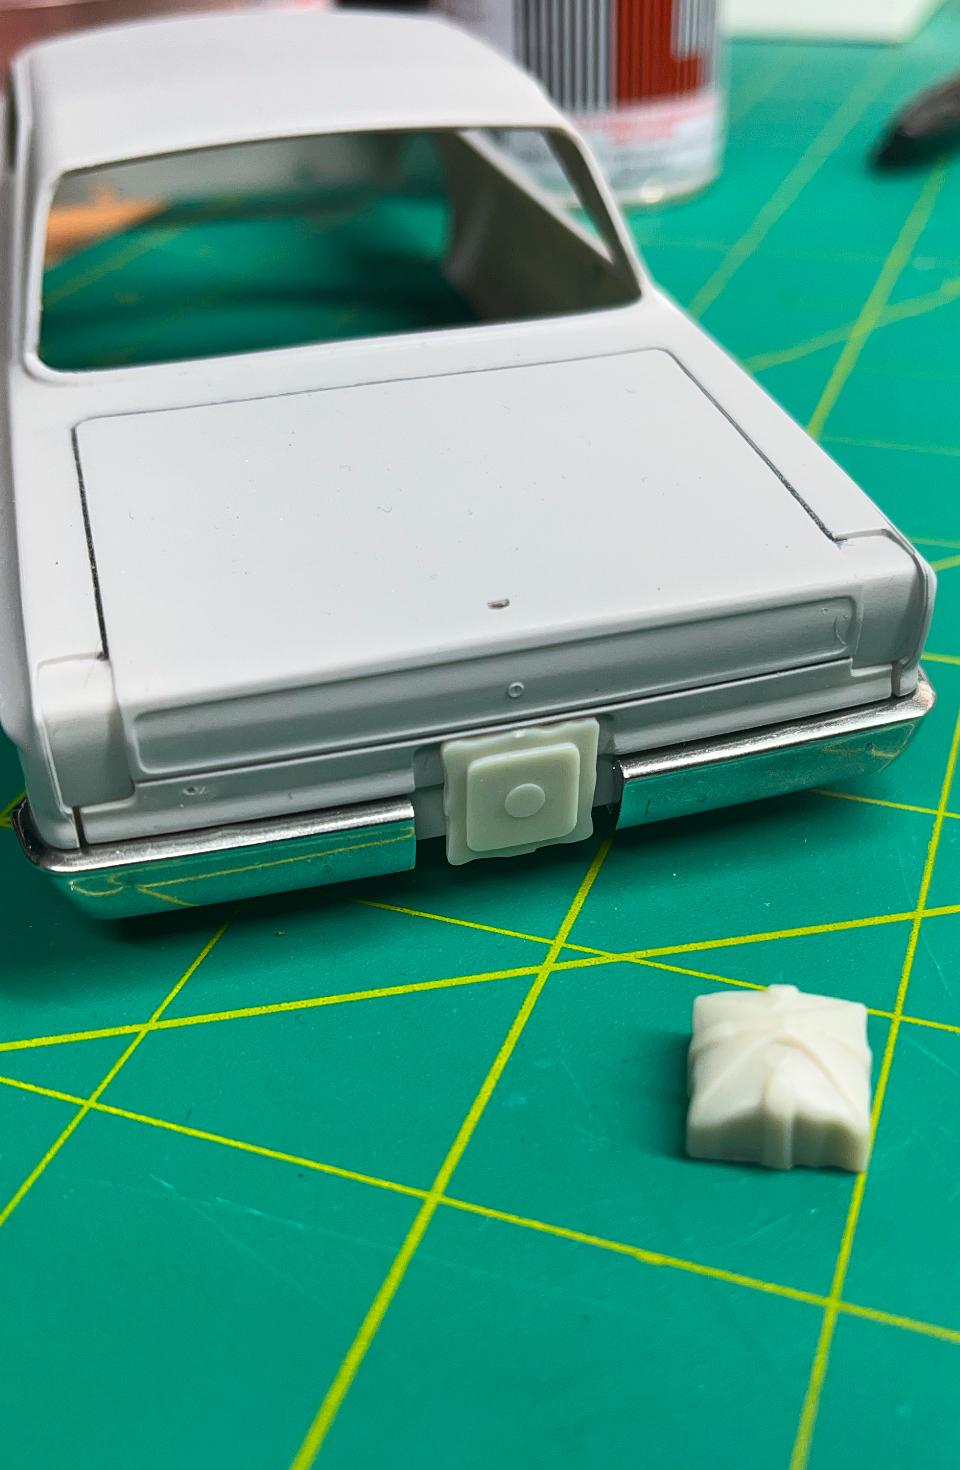
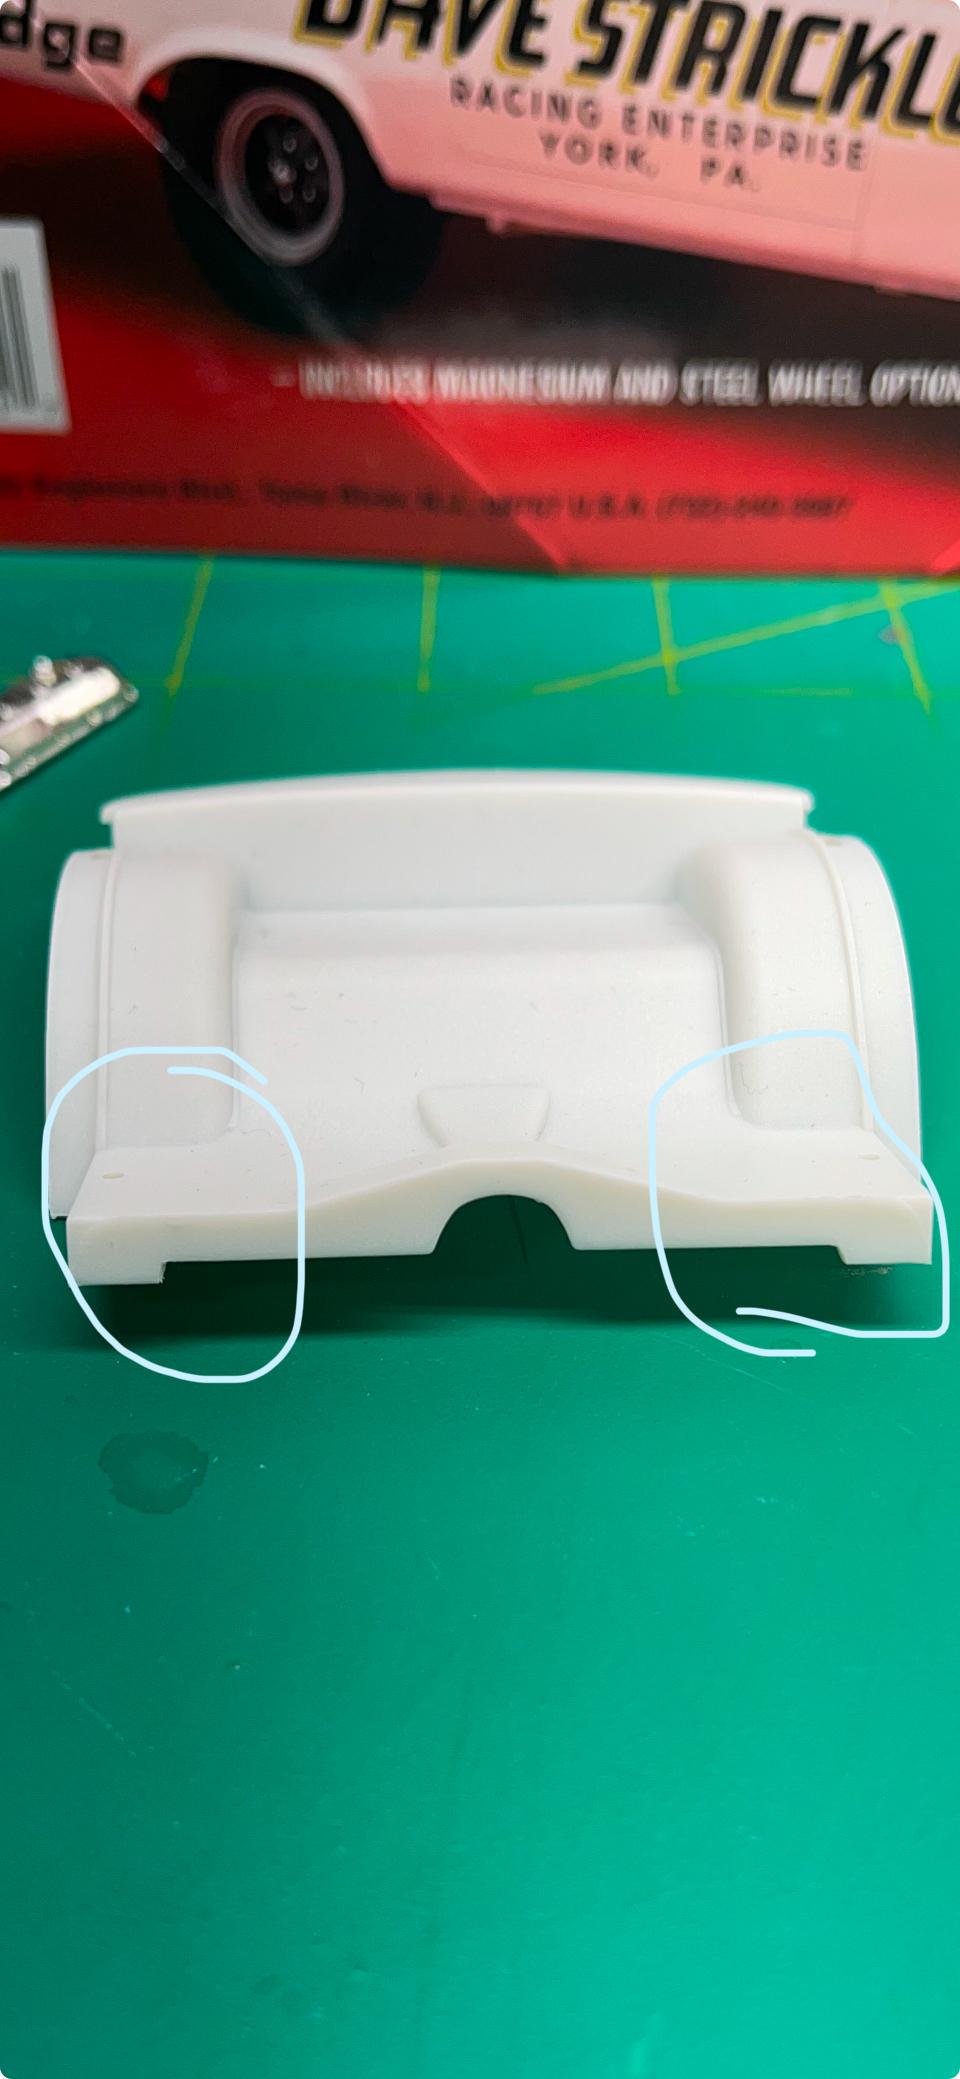
Also, enlarge these areas circled a little with a sanding stick, or it will not fit flush with the floor. And that will throw the door panels off. Other than that it’s straight forward.
-
I only built the white car so far, and I have the Melrose Missile all finished except for the blue color on the body and foil, and decals. The only thing I can say is, check the glass, as it goes in from the outside. I encountered a bit of a problem with the foil on the rear window, as I was slipping the completed chassis into the body. Just a quick touch up fixed it. The model will fit into the body pretty tight, so make sure the rear bumper is installed prior to slipping it in. The rear bumper helps support the rear tail light section. I did this without the rear bumper in place, and had to re glue the edges as it tried to come apart. Hope this helps Bill.
-
Yea, I tested it on some old styrene, with the gray Tamiya primer under it, and it looks pretty close to the real cars color. It’s the only silver I tried.
-
The dash has the glove box removed and added some sheet styrene in its place. Will add a couple gauges like the real car has.
-
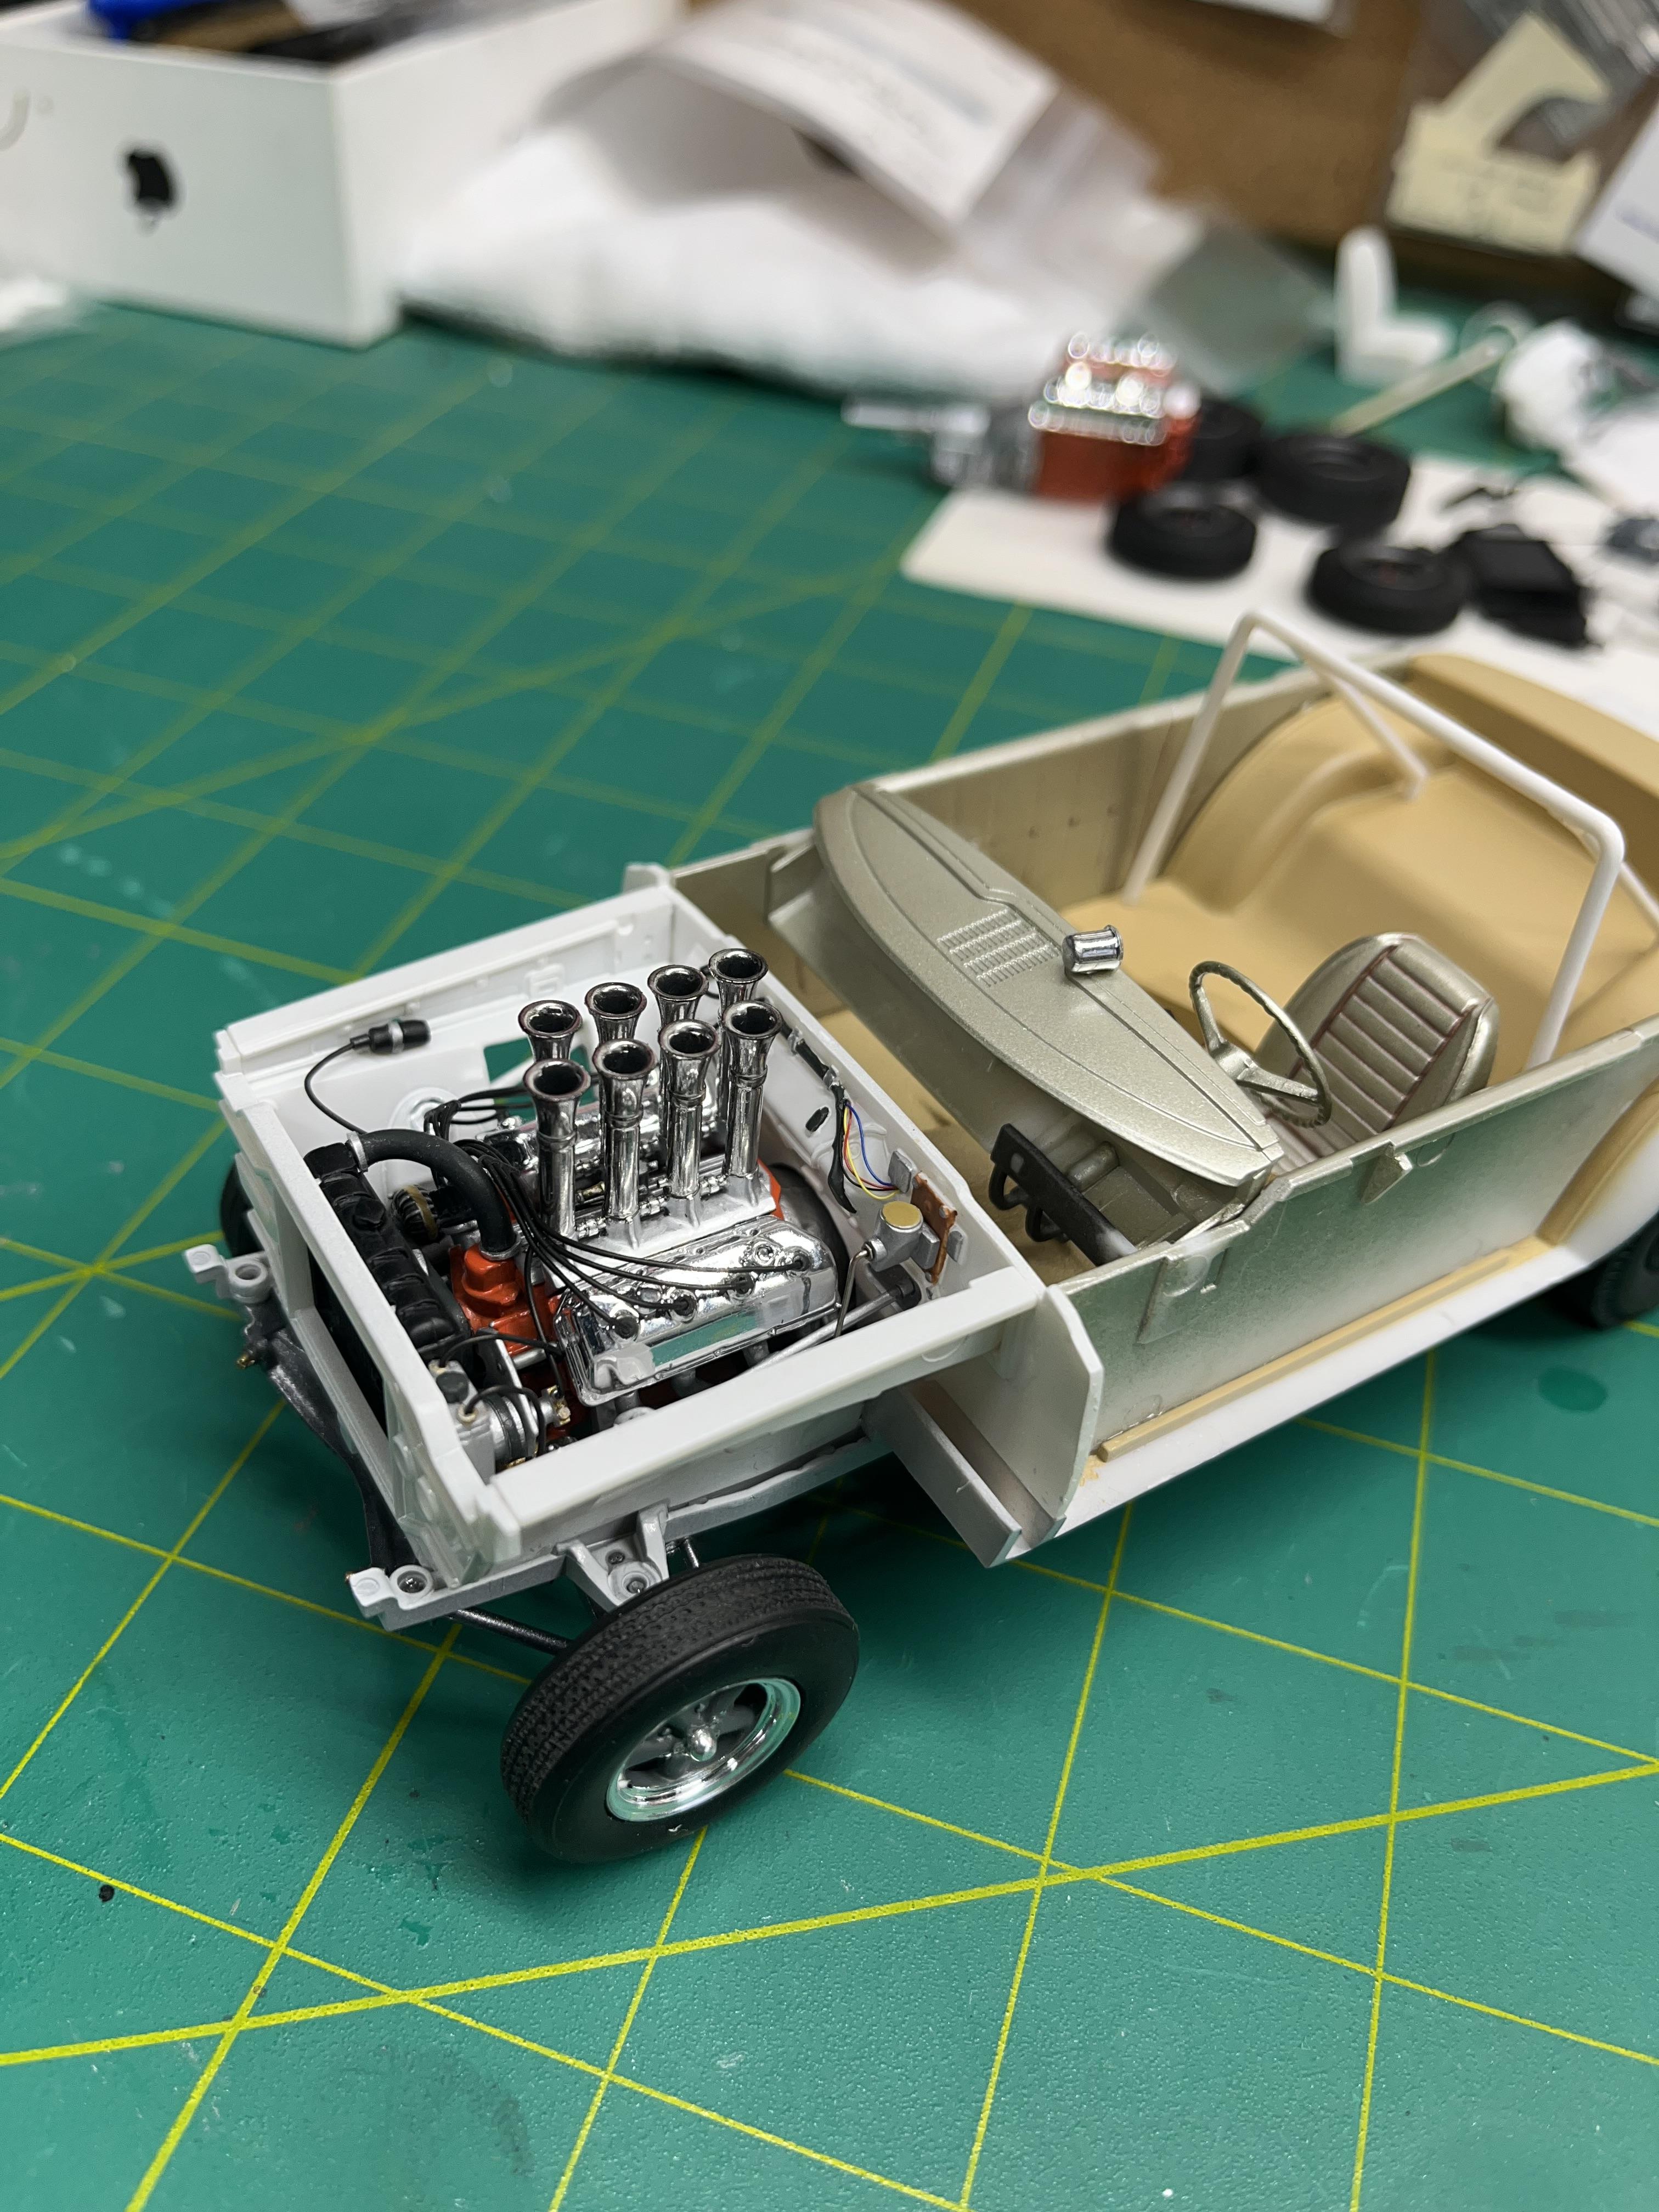
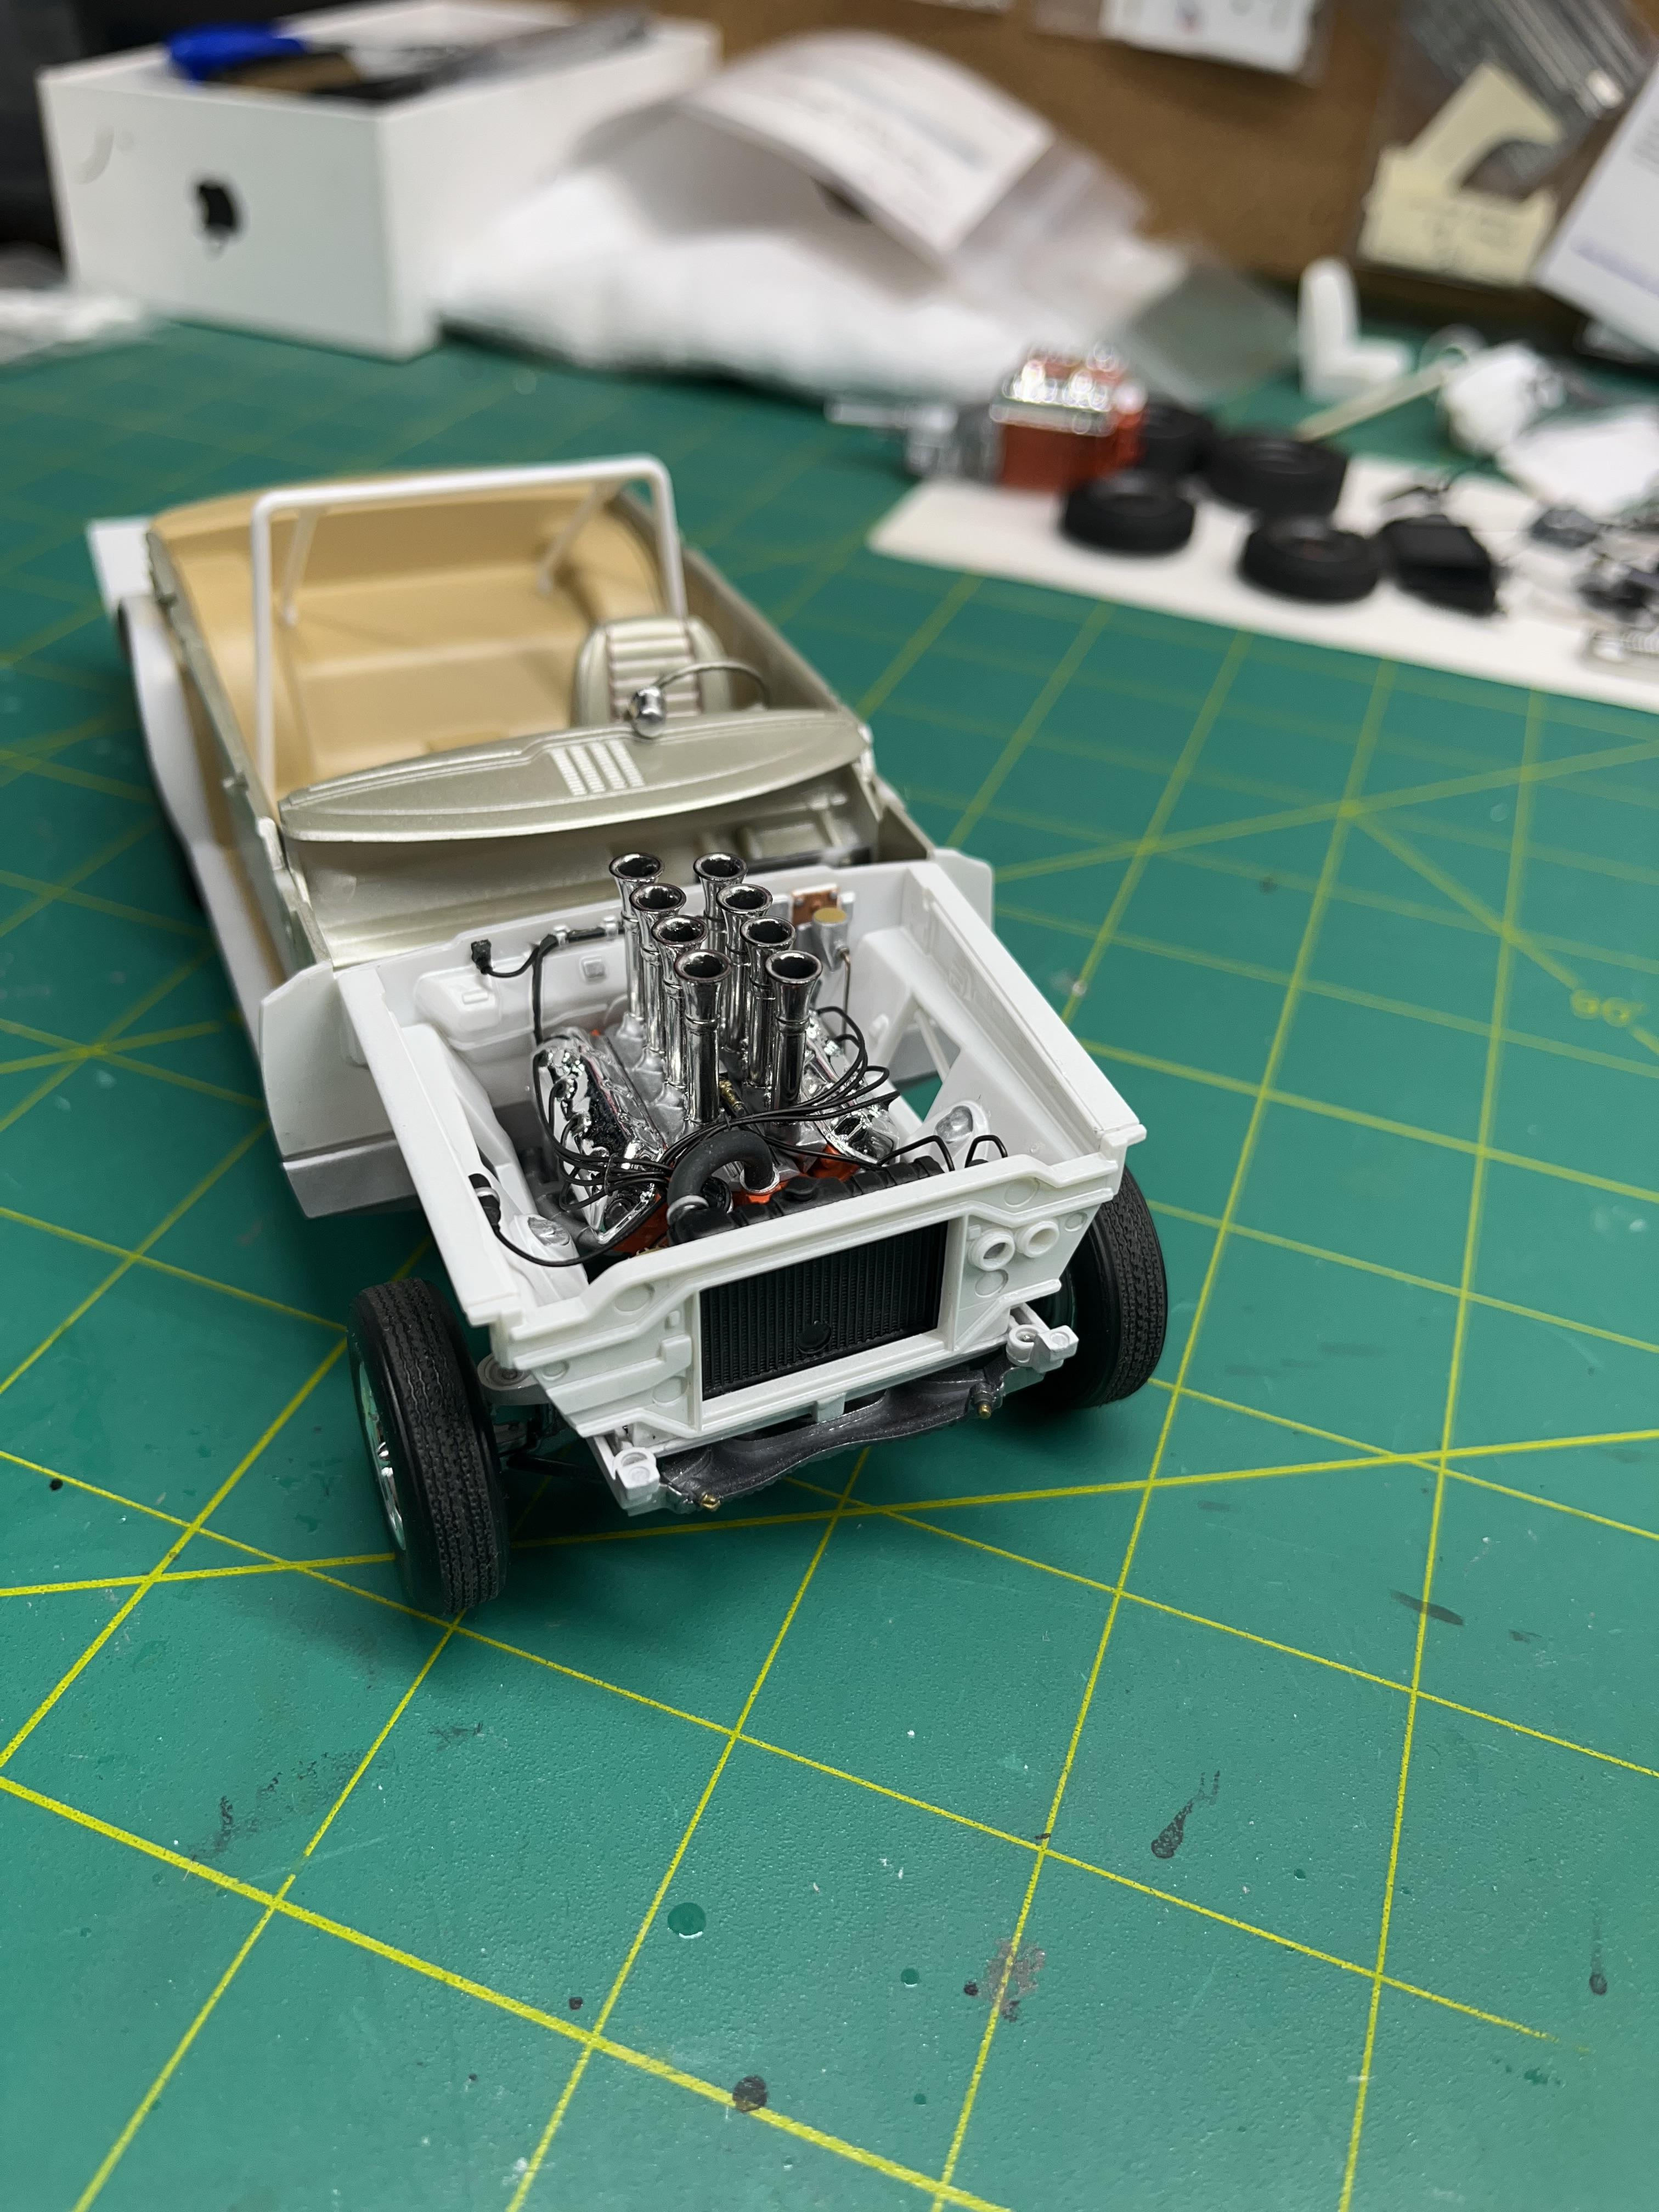
Removed the chrome from the rear bumpers, and injection stacks, and sprayed them with Alclad chrome. Also plan on adding a more realistic grill.
-
I have the body in primer now, with the panel lines deepened. And a few other things completed. The engine had the manual trans removed, and an automatic from the 68 Hemi Dart added. Also got a set of resin rims as close as I could find that look like the real rims.