Brutalform
-
Posts
2,826 -
Joined
-
Last visited
Content Type
Profiles
Forums
Events
Gallery
Everything posted by Brutalform
-
Very cool build. Go buy a limited, new, car and go run some 9 second ETs.
-

'63 FORD GALAXIE LIGHTWEIGHT...
Brutalform replied to Mothersworry's topic in WIP: Drag Racing Models
Looks like a perfect lightweight interior to me. From the buckets to the black floor mat. You did a great job on the details. I wish I could get one or two more of those resin tubs. -
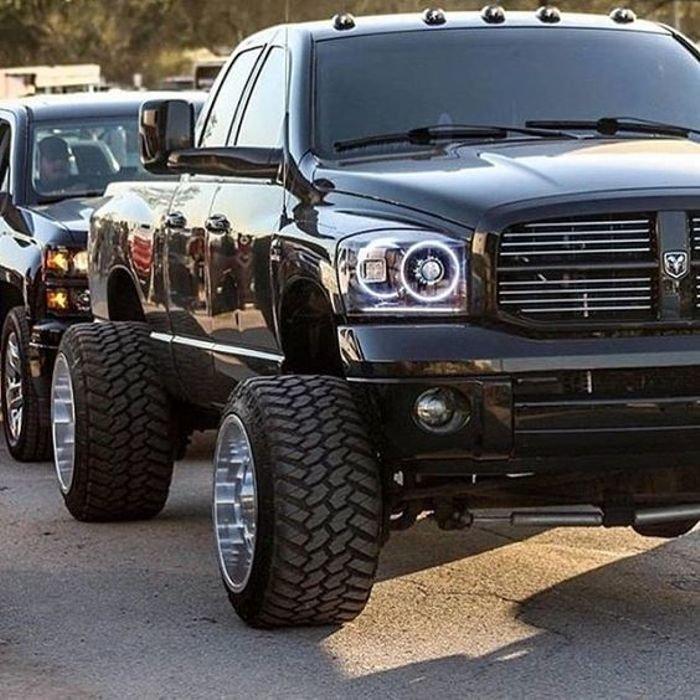
The first time I saw a truck like this, I honestly thought that someone really messed up on their math, while figuring out the back spacing, when they ordered their new wheels. Now I see many trucks like this, so I suppose it will be sticking around for a while. It doesn’t look right to my eye at all. Is it even legal to have tires sticking out this far? Maybe it will prevent the truck from rolling over sideways?

-
This I like a lot. You nailed it. Definitely looks like a LOT more time went into it. You are really moving along with these AWB cars!
-
Another AFX car?, Oh why not. The Paper Tiger Plymouth
Brutalform replied to gtx6970's topic in WIP: Drag Racing Models
Would Bob Smith Industries Gold CA glue be ok on this after the adding the blue? I never had it fog up on clear styrene. Was wondering if this made the windows more prone to fogging up? -
I’ve been working on it a bit. I stripped the body and it’s all primed and painted white. I would like to get some Dupicolor Bright Aqua, as it’s a better choice than the blue I painted it. I haven’t been in the mood to mask it all off yet. I don’t like the decals I have. The set I would like to have aren’t around anymore. I’ve been playing with a 66 Nova, but I’ll probably get back on this one soon though.
-
Moebius 1/25 1964 Mercury Comet K-code
Brutalform replied to Justin Porter's topic in Car Kit News & Reviews
Kinda like the AMT Pontiac SD. The Moebius versions floor pan and chassis are identical. And if they aren’t, I can’t see any noticeable differences. I’ve actually used parts from both in a build. -
Another AFX car?, Oh why not. The Paper Tiger Plymouth
Brutalform replied to gtx6970's topic in WIP: Drag Racing Models
Decals and paint look great. It’s nice when a build comes together exactly as planned. Nice job so far. -
Thank. I acquired a few, so I’ll be ok for a while.
-
Thoughts and ideas that hold forever true..........
Brutalform replied to JollySipper's topic in The Off-Topic Lounge
Never piss off a guy with a flamethrower. -
Nice job on the Interior as it definitely looks like leather to me.
-
Looking good Bob. Real nice paint color choice. I love all F Bodies. I was recently looking for a 4th gen on eBay but it seems all of them with the Ram Air hood are going for ridiculous prices.
-
1963 Corvette current day nhra Stock Eliminator
Brutalform replied to R. Thorne's topic in WIP: Drag Racing Models
Coming together nicely Ron. Those headers look fantastic. -
Another AFX car?, Oh why not. The Paper Tiger Plymouth
Brutalform replied to gtx6970's topic in WIP: Drag Racing Models
Those little parts definitely try my eyesight and patience. -
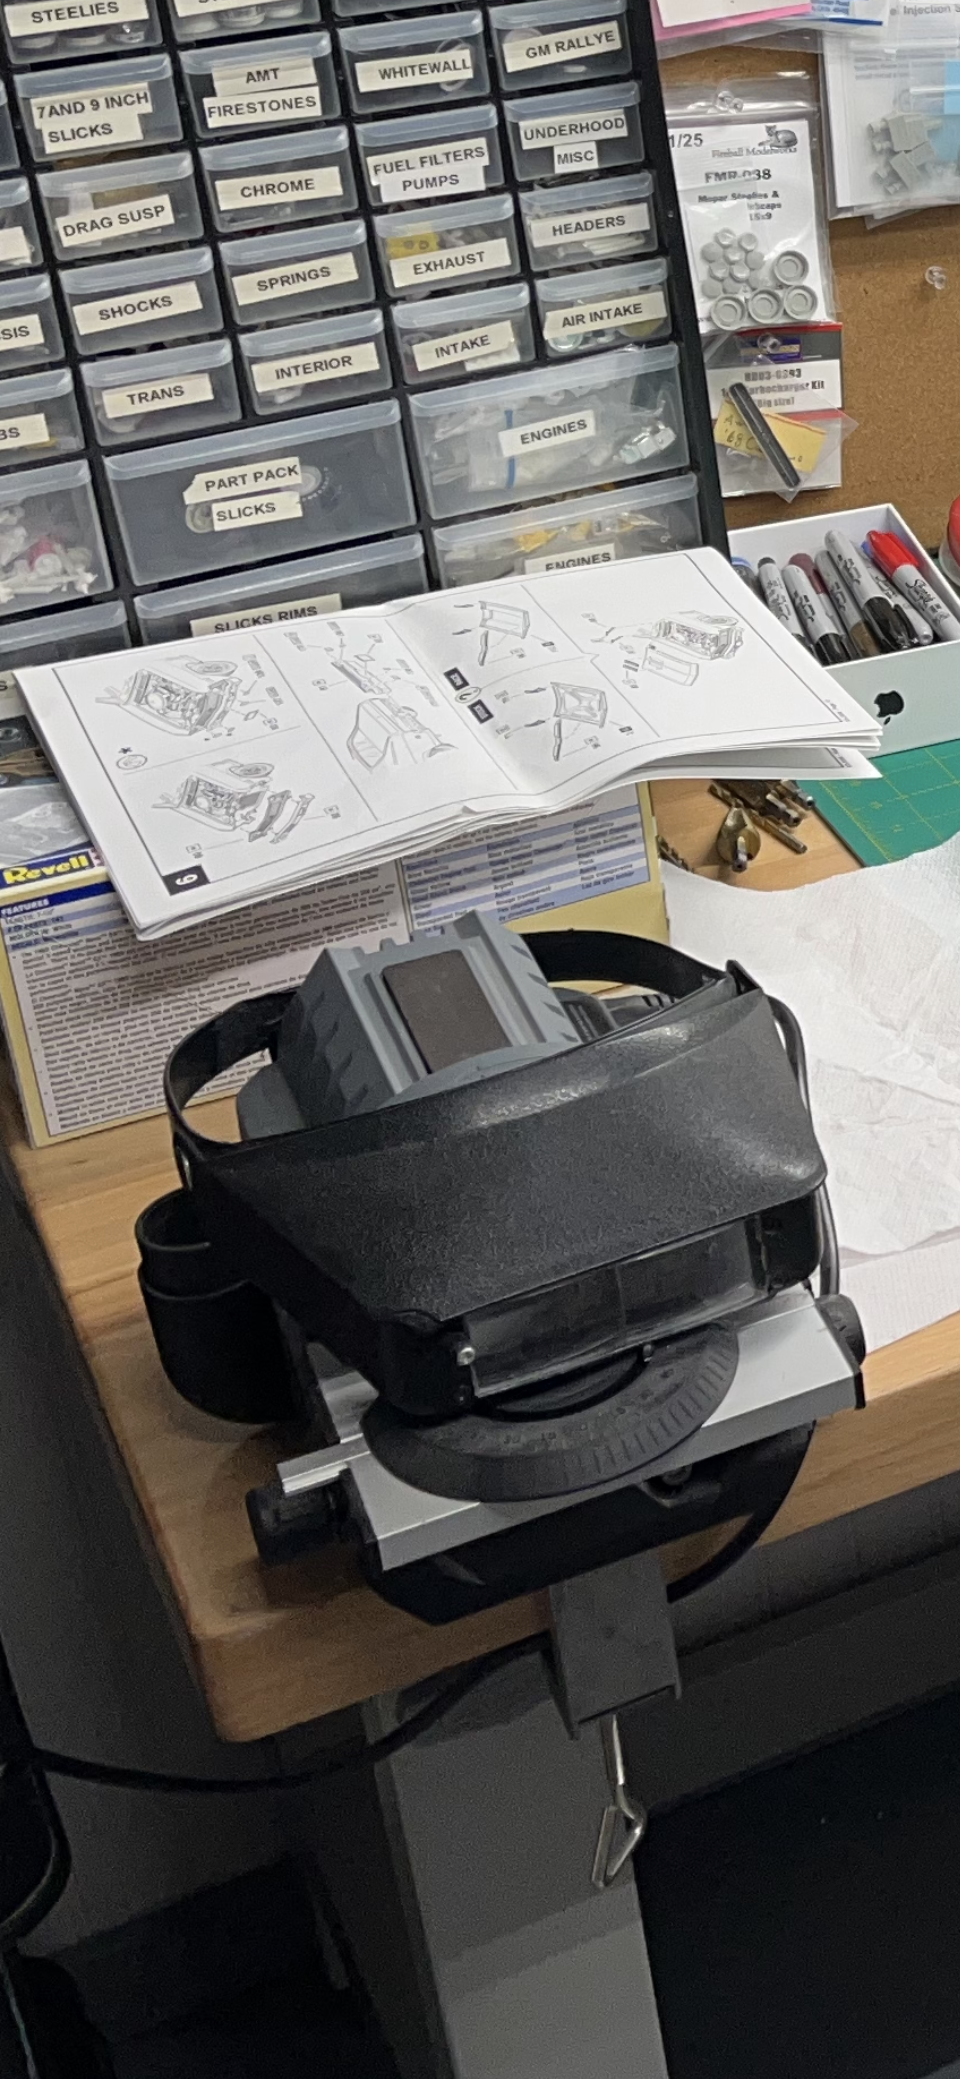
I bought this bench mounted sanding wheel, from MicoMark. It became a rest for my visor. It removes plastic pretty quick, and I bought it for sanding down thick wheel backs. Now I rarely use it, and I took it off the bench and it’s in the cabinet. I have a little bit of buyers remorse. I can always clamp it back on if I ever need to use it.
-
Another AFX car?, Oh why not. The Paper Tiger Plymouth
Brutalform replied to gtx6970's topic in WIP: Drag Racing Models
Actually this Lee Smith car I’m working on will be the first to have them. -
Another AFX car?, Oh why not. The Paper Tiger Plymouth
Brutalform replied to gtx6970's topic in WIP: Drag Racing Models
I finally figured out how to put them on so they look decent. My first couple AWB cars don’t have them. They either broke while cleaning them up, or I just left them off. -
Another AFX car?, Oh why not. The Paper Tiger Plymouth
Brutalform replied to gtx6970's topic in WIP: Drag Racing Models
Nice job on the engine details. Coming together nicely. I can’t tell from the pics, but did you include those two small injector rods? -
Painting wiring on firewall
Brutalform replied to Redisetta's topic in Model Building Questions and Answers
Sometimes you can enhance a firewall by simply dry brushing over the details. Maybe try painting the firewall flat or semi gloss black, and dry brushing a silver, or a gloss black over it. -
Coming Soon from Atomic City's JoHan line of new kits
Brutalform replied to thatz4u's topic in Car Kit News & Reviews
I don’t remember where I saw it, and I may be wrong, but the price is $150. For a curbside kit, IMHO, I think that’s a bit steep. -
Another AFX car?, Oh why not. The Paper Tiger Plymouth
Brutalform replied to gtx6970's topic in WIP: Drag Racing Models
Nice work Bill. I can see you are enjoying your retirement. These cars are addicting. I can’t seem to get away from doing the Mopars for some reason, but that isn’t really a bad thing. Pretty soon I’ll have as many of these Plymouth and Dodge cars built, that I’ll catch up to all my Thunderbolt cars. I have a build or two on hold, but I’m working on the Lee Smith AWB. I see The Paper Tiger in my future as well. -
I agree 200%. A huge turning point for Ozzy.
-
The thing with Hogan and Osbourne, is they both were household names, and they both were very influential in their profession. Both paved the way, that others can only follow. They say celebrities die in threes, and I suppose this time around it holds to be true. This kind of news always makes me think about my own mortality. Live life to the fullest, and live every day like it could be your last.
-
I was lucky enough to see him solo, on his No Rest For The Wicked tour. It was at the Philadelphia Spectrum, with Anthrax as an opening act. I went to that show because of Anthrax. I will admit at that time, I was really tired of the same songs over played, and wanted to see Anthrax more than anything. Needless to say, after that show, Ozzy was all new again for me. I’ll never forget the first time I heard Black Sabbath in the 70s scared the heck out of me.
-
Just found out he passed today, the 22nd. I had a feeling something was up with that last concert in the UK. Mostly all of the music I loved over the years, goes back to that one band. RIP Ozzy Osbourne.