john sharisky
-
Posts
170 -
Joined
-
Last visited
1 Follower

Recent Profile Visitors
8,570 profile views


john sharisky's Achievements
MCM Friend (4/6)
-
 I bought a 2018 Ford Focus Titanium hatchback at 12 months old with 11K miles (former Hertz RAC). Crazy loaded. Trouble free. The trick with the automatic transmission was to accelerate HARD. Every time (it even said so in the owners manual). Traded it four months ago for a 2025 Toyota GR86 (base, stick).
 -
Yeah - I held my airbrush at a 90 degree angle to the chassis plate. John
-
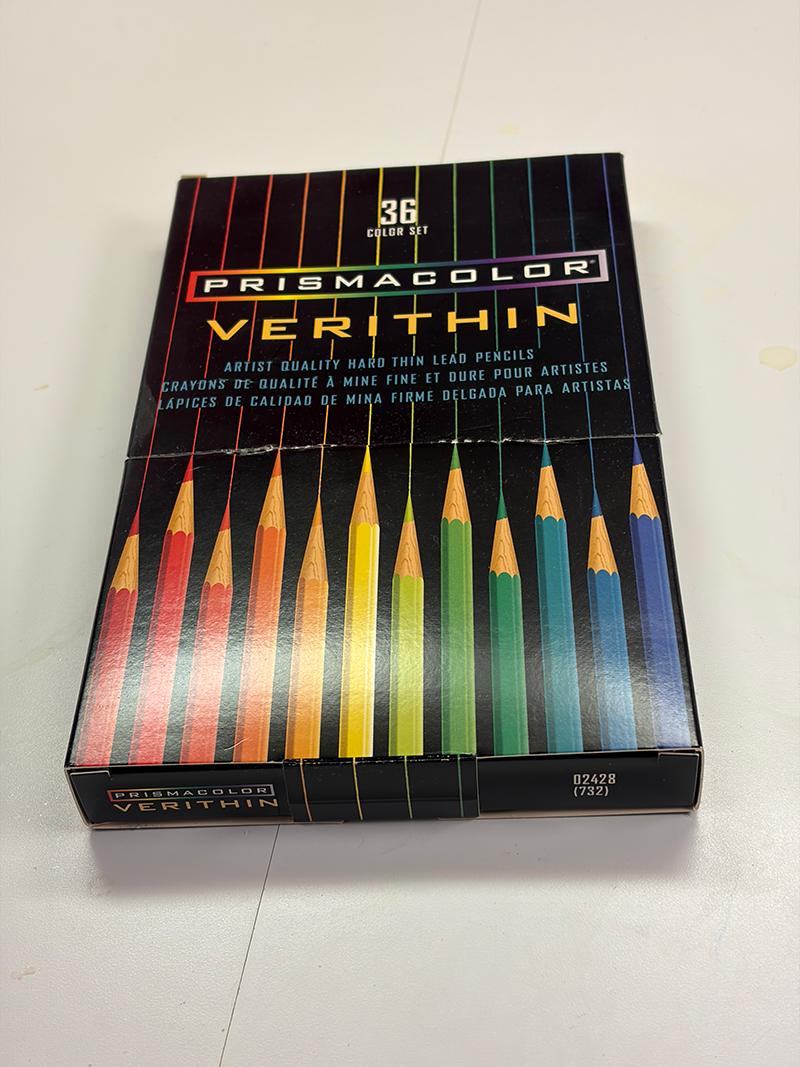
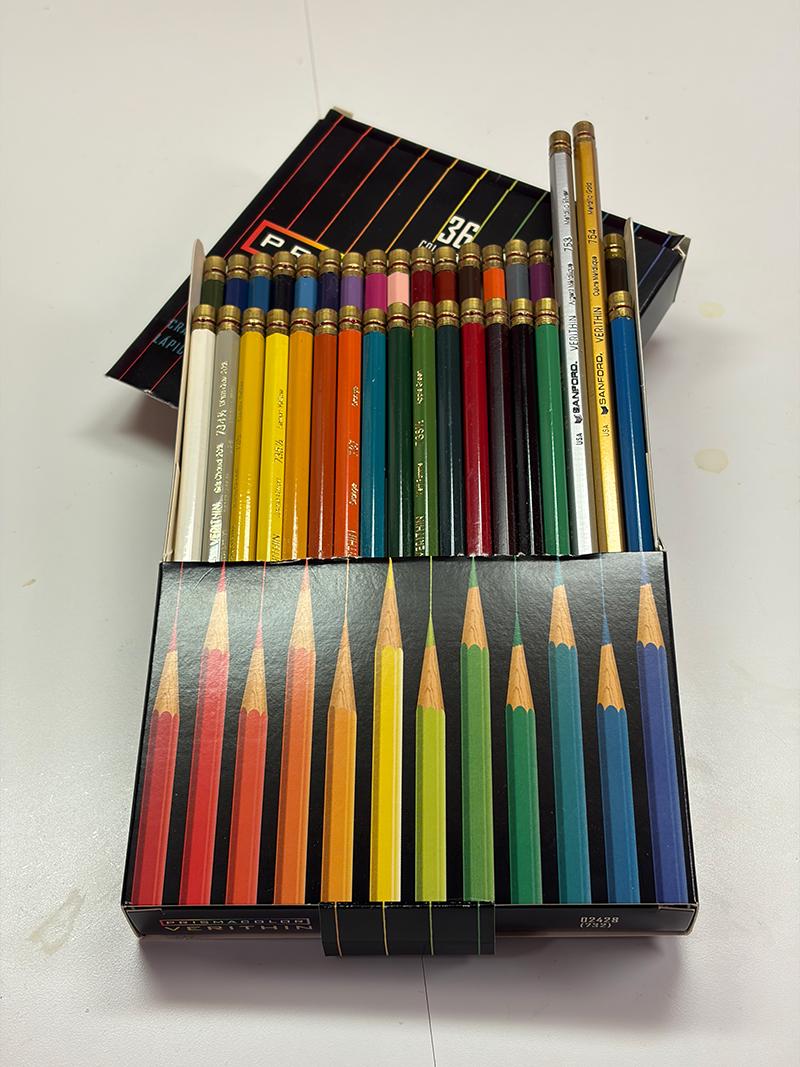
Update: the silver pencil in the above shown Prismacolor set did the trick. Nothing dramatic. Just a little highlight on the fuel and brake lines. Thanks for all the suggestions! John

-
Photo etching at home
john sharisky replied to drummerdad's topic in Car Aftermarket / Resin / 3D Printed
I have the Micro Mark kit. I bought it about a year ago. Haven't used it yet. At one point in the instructions is has you sort of "developing" the image (onto the metal plates) under the UV light of a standard light bulb (I don't have those any more) or in direct sunlight. I live in New England. Strong sunlight this time of year is unreliable. I thought I'd start using it this past summer but things got in the way. It's a comprehensive kit. I'm glad I bought it. I recommend that you sign up for notification when it's back in stock. I see there's still a bad link on the MM site to the instructions. If you'd like a PDF copy, please feel free to contact me. John -
Great idea - thanks! I forgot I had this set. Metallic Silver and Gold included. John
-
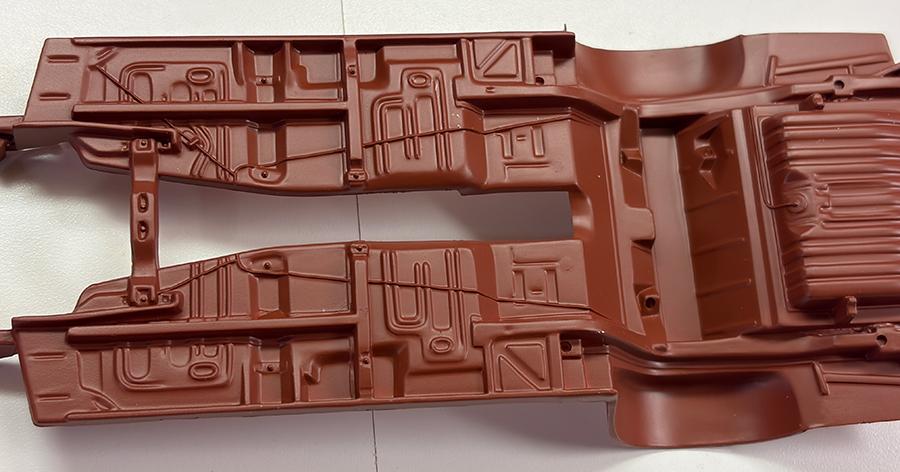
I'm working on the Revell 1970 Ford Torino. The fuel and brake lines are so nicely engraved it seems a shame to leave them in the Tamiya red primer. For whatever reason I've never detailed these before. Is it as simple as dry brushing? I'm thinking a solid color (light gray for example) might be better than a color with metallic bits in it (copper, silver, etc.)? Wide brush - pointed brush? I guess that would be dictated by how close to another component (frame rail, etc.) I want to get? Thanks for any help! John
-
Ordering From Overseas Still?
john sharisky replied to oldcarfan's topic in General Automotive Talk (Trucks and Cars)
I ordered a $119.00 part for my GR86 from Japan. UPS sent me an invoice for $80.60 tariff and brokerage fee. -
Tamiya clear blue for windows tinting
john sharisky replied to gtx6970's topic in Model Building Questions and Answers
Steve, Does this work on vacuum formed clear also? John -
67 Ambassador question
john sharisky replied to hedotwo's topic in Model Building Questions and Answers
All of the pieces that you mentioned are separate. I just disassembled a promo convertible to restore. I noted that the two (each) headlight mounting "pegs" - and the holes in the body - are different diameters. So there is an "up" and "down" orientation to them. -
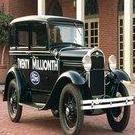
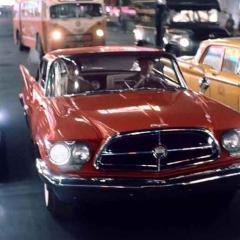
Since you mentioned Maine, try the Maine Classic Car Museum in Arundel. I went there in July (68 photos on my Facebook page). Terrific. It's worth booking and paying extra for the VIP tour (Louis was my docent). I got to look under the hood of and sit in cars that I've only seen in magazines. Maine Classic Car Museum
-
This style wheel for the 1/24 Monogram Packards: ...I forgot to show the sidemounted wheels with this disc wheel.
-
Still a Road Runner grille (with the bird emblem). I picked this up on eBay years ago.
-
I have a small snag: all the windows were engineered to snap tightly into the body (molded in silver metallic). After my primer and paint, they won't snap in. Too tight. It isn't just the mounting tabs. Looks like I have to sand the circumference of all four window glass pieces.
-
Johan Maverick Grabber Rear Spoiler
john sharisky replied to fairlane1320's topic in Car Aftermarket / Resin / 3D Printed
I know it really doesn't help you but I have the Missing Link Resin Grabber kit. That rear spoiler was cast as part of the body. -
Yes I did use Tamiya pink. The photos from my spray booth are under a warm-white fluorescent light which throws things off a bit (I should change it to LED). The photos post-polish are on under cool-white fluorescent lighting.