skymnky721
-
Posts
1,002 -
Joined
-
Last visited
Content Type
Profiles
Forums
Events
Gallery
Everything posted by skymnky721
-
Thanks for the views,,build on
-
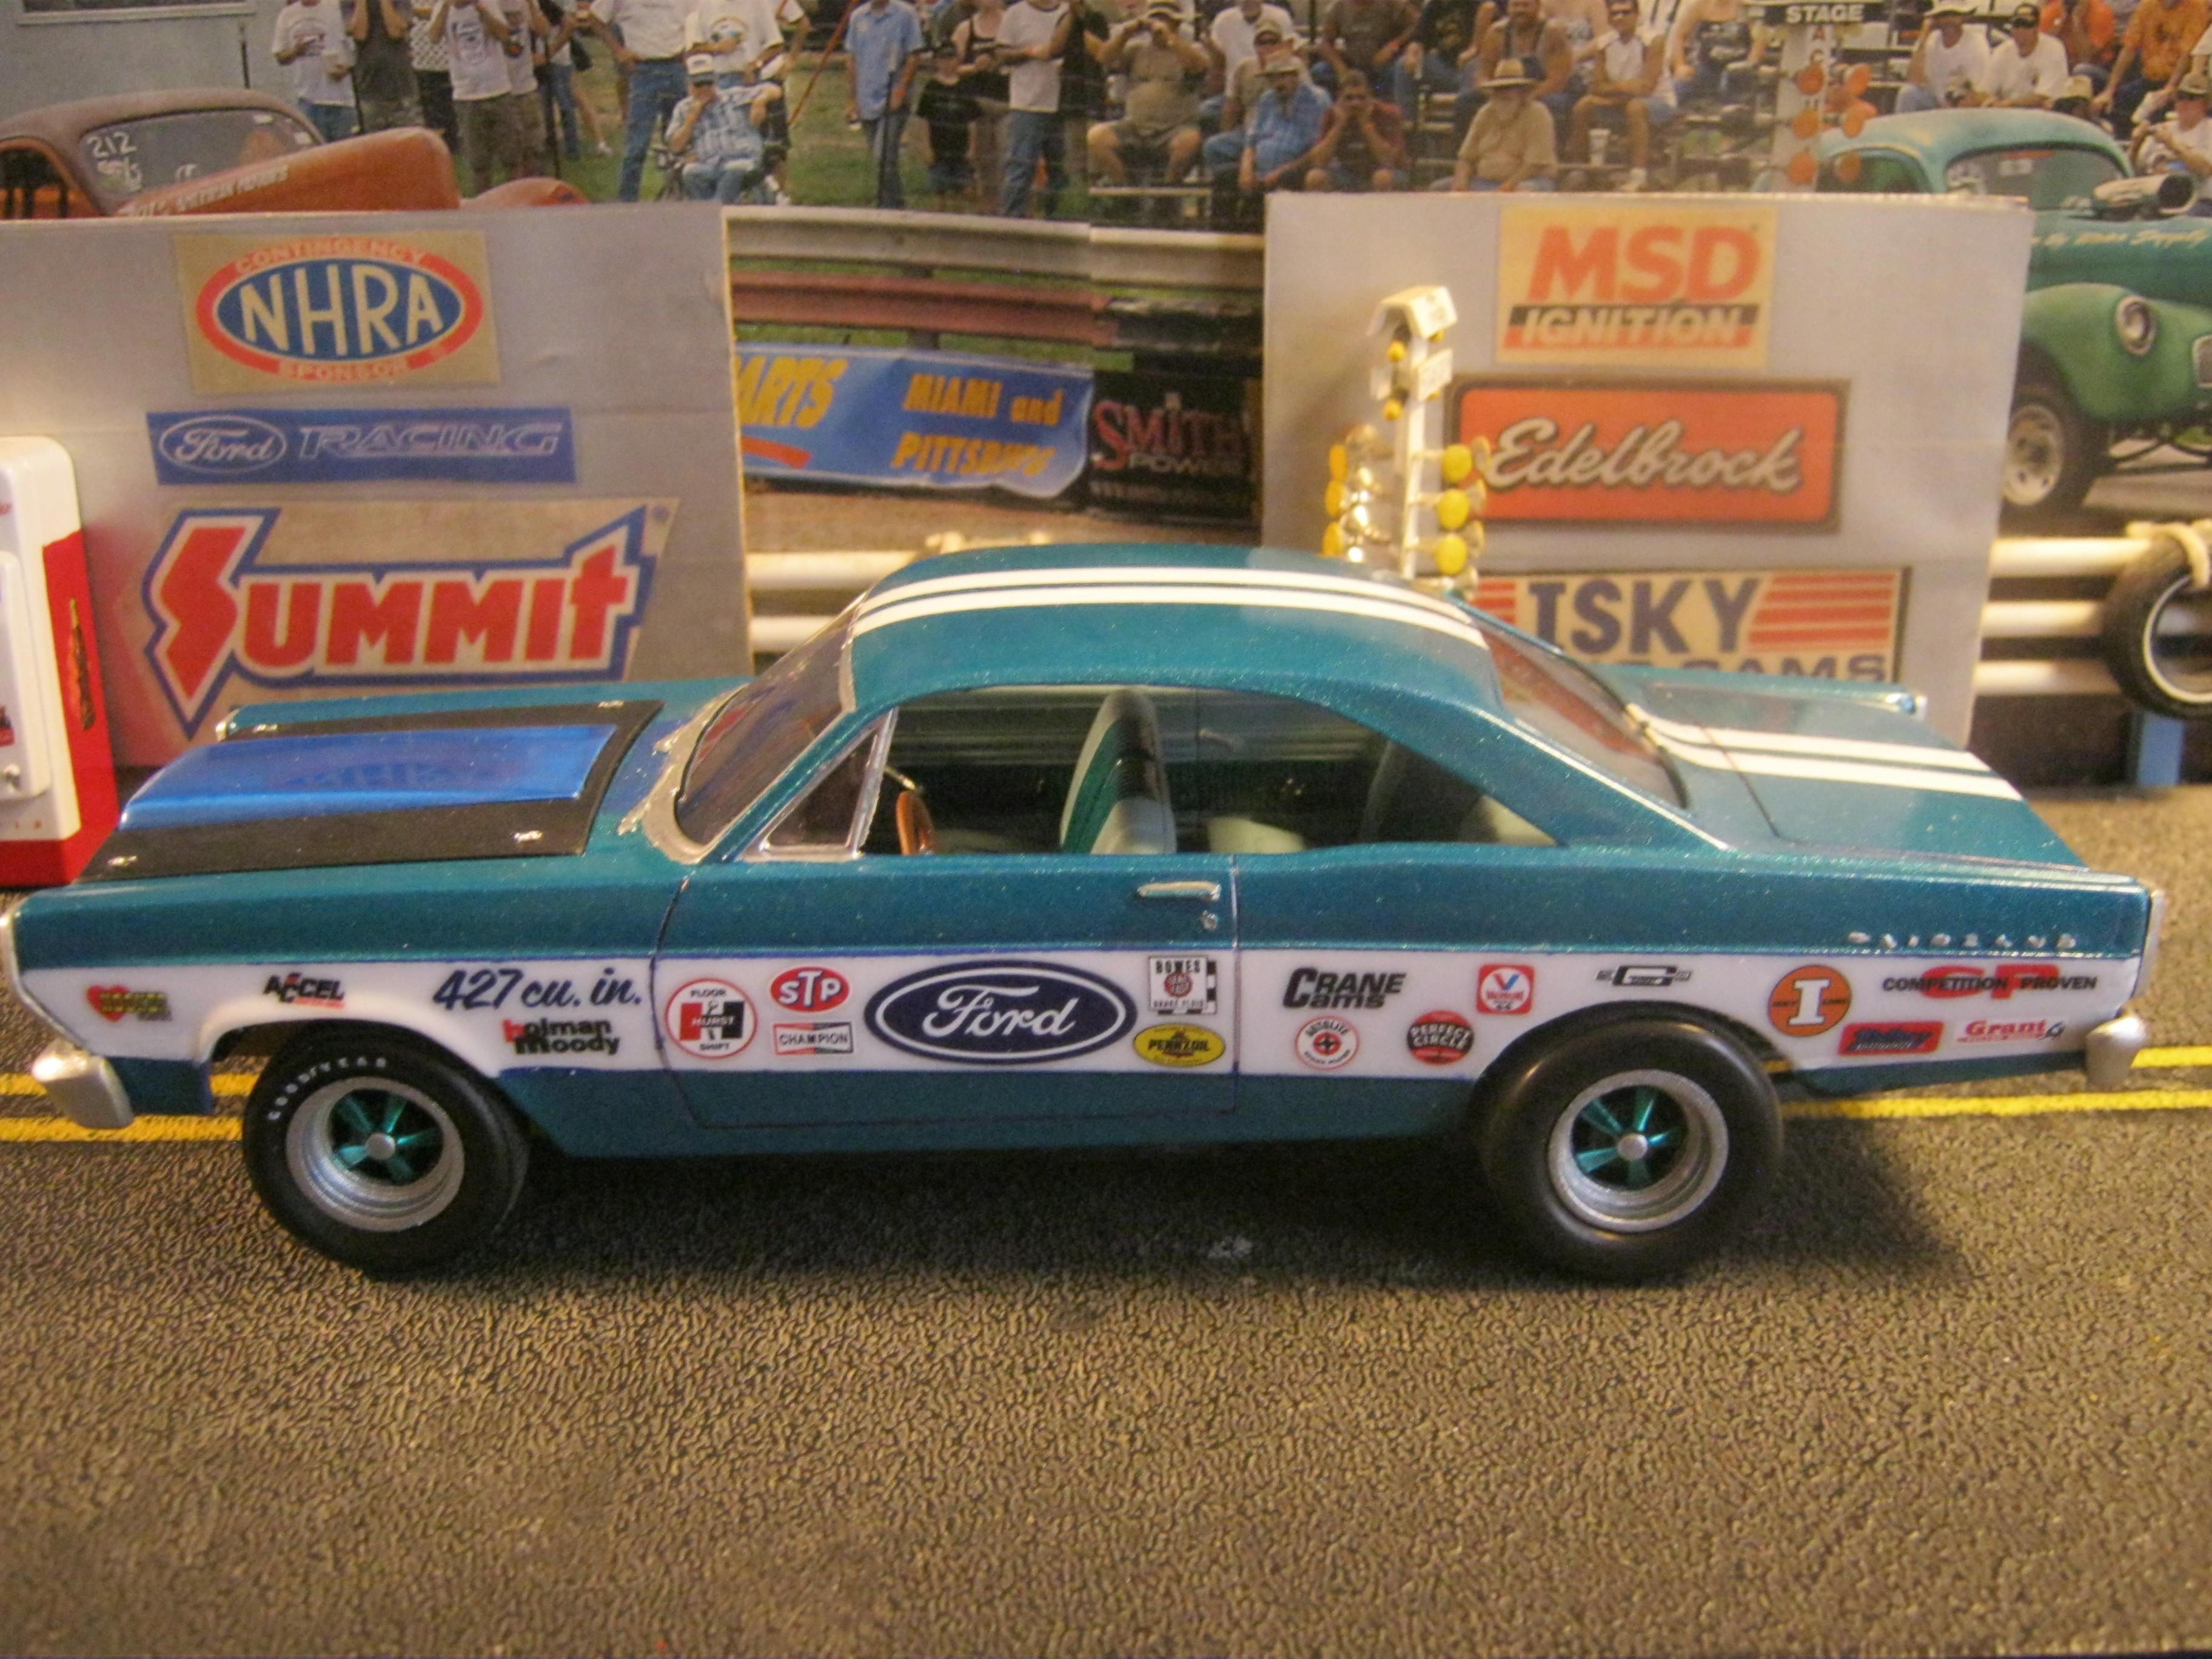
 awsome,,now did this car run w/o the windshield? or is that builders choice?
 -
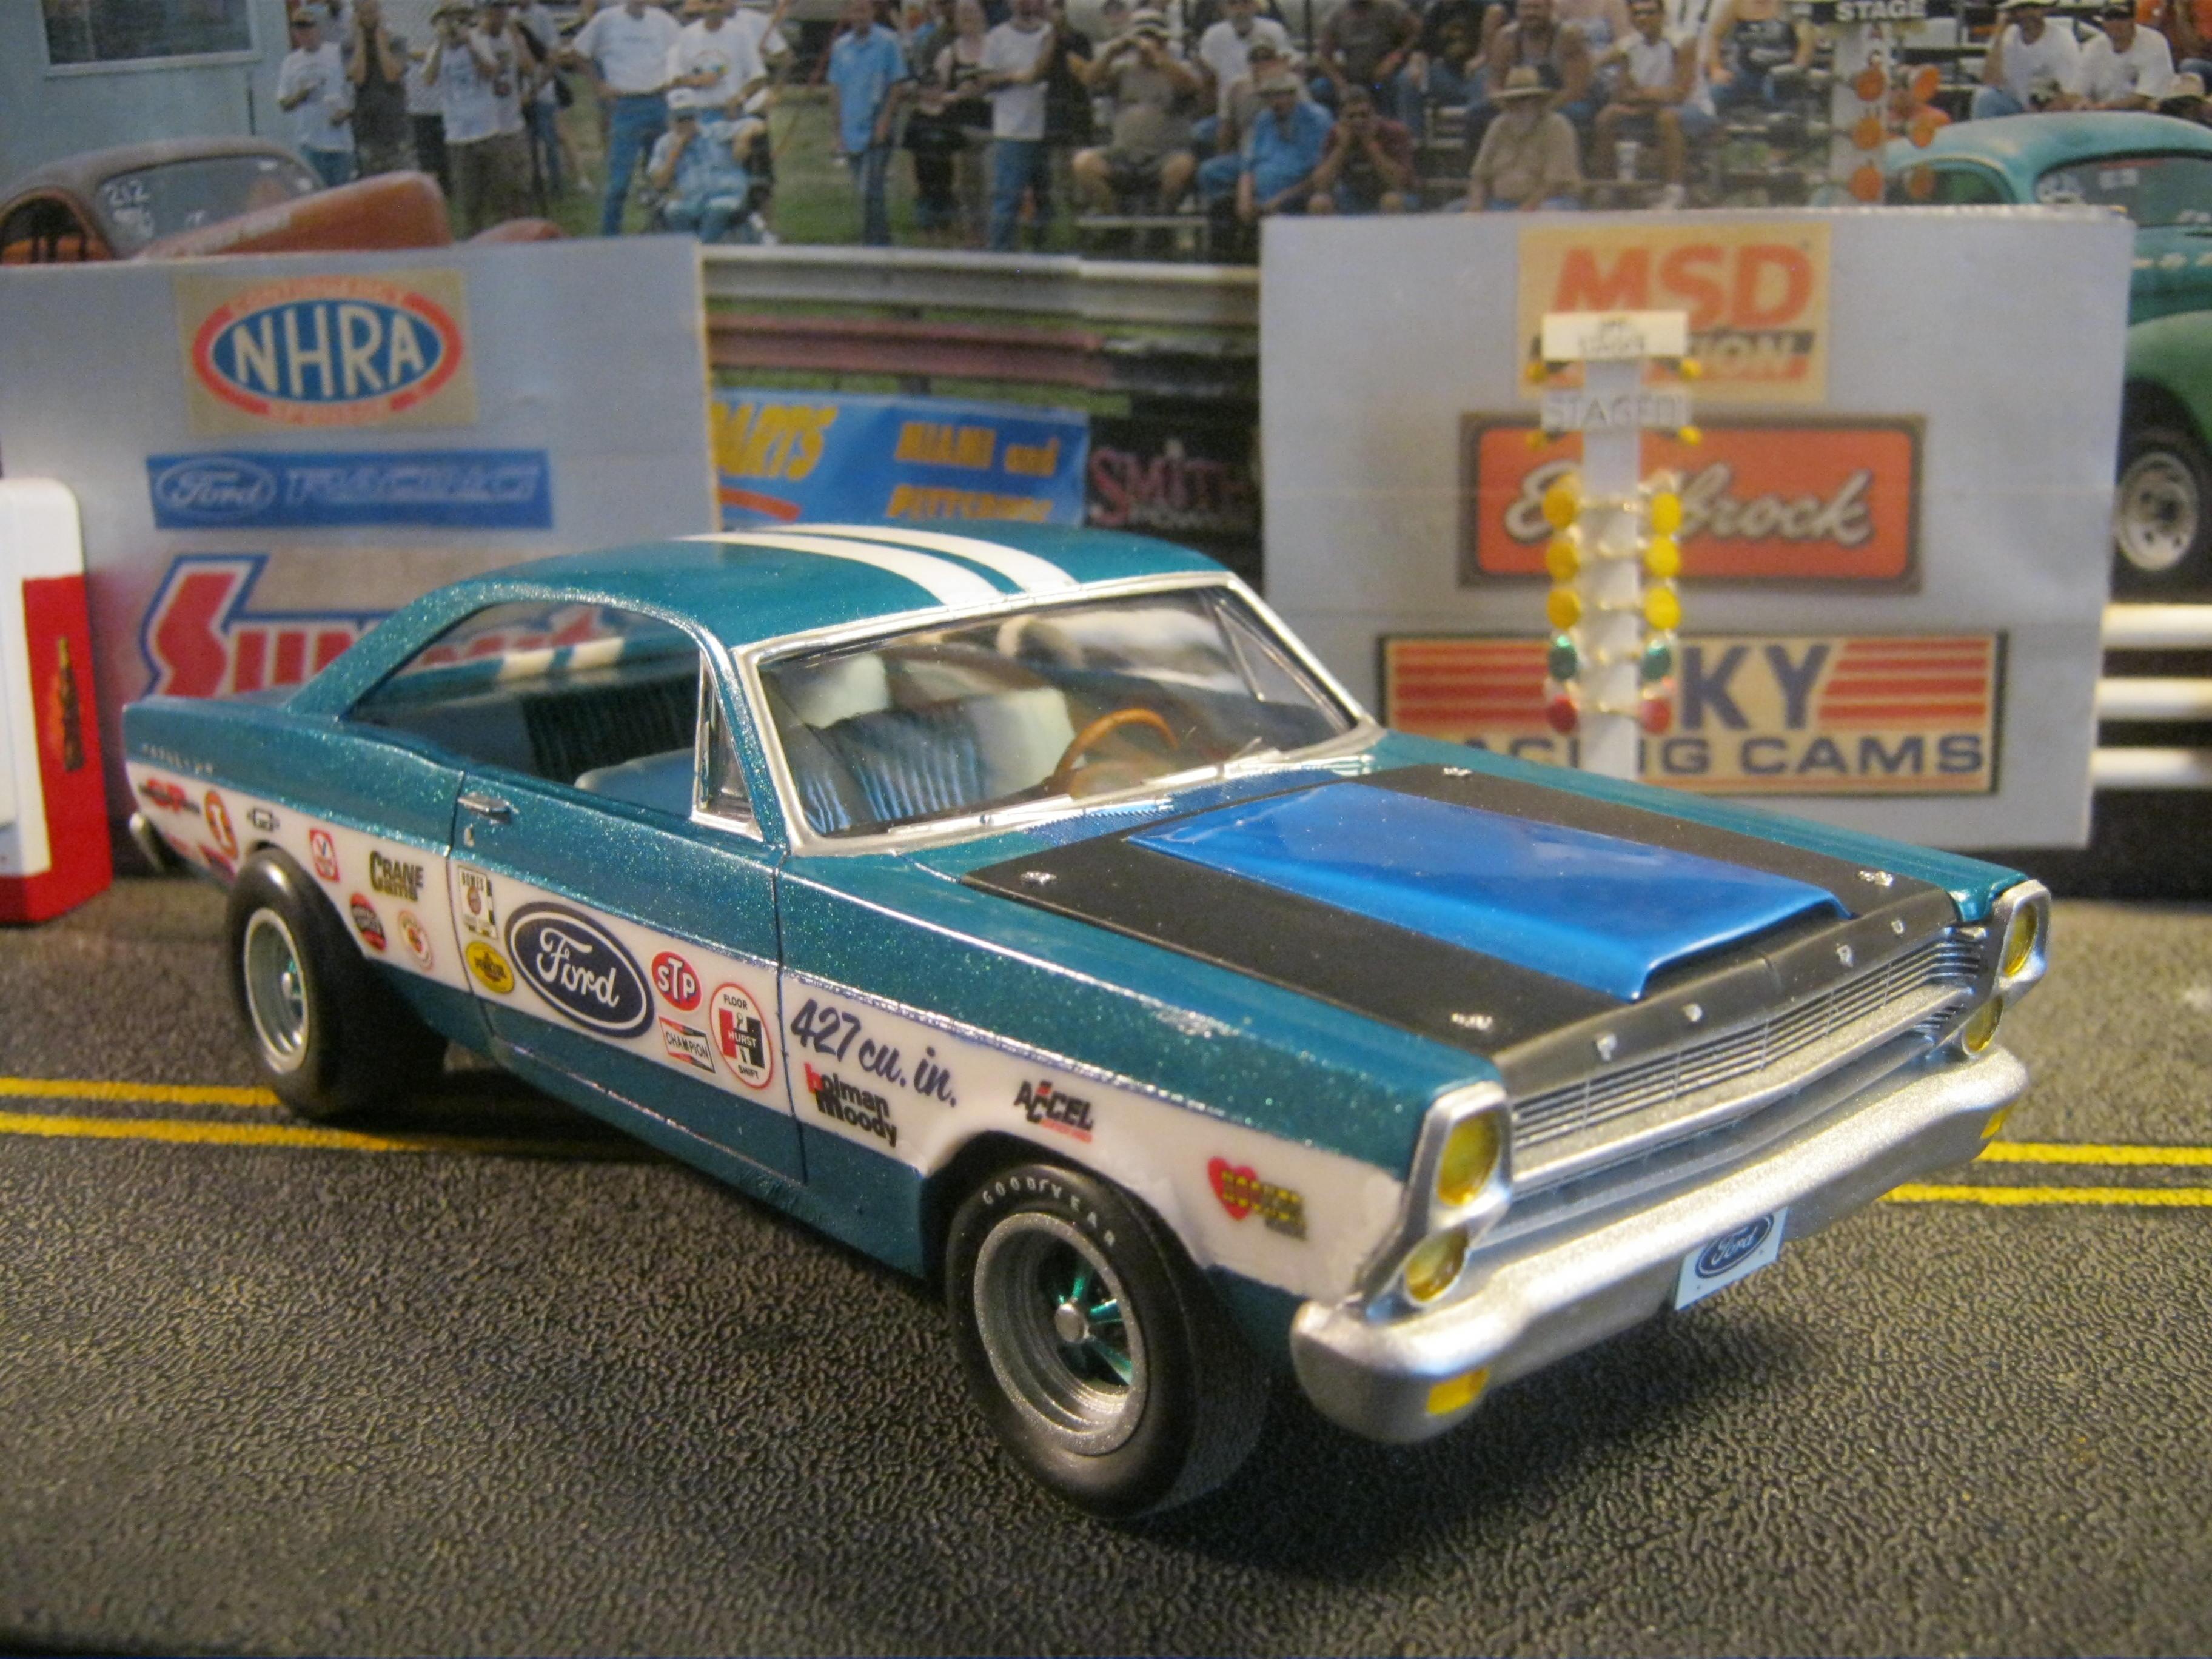
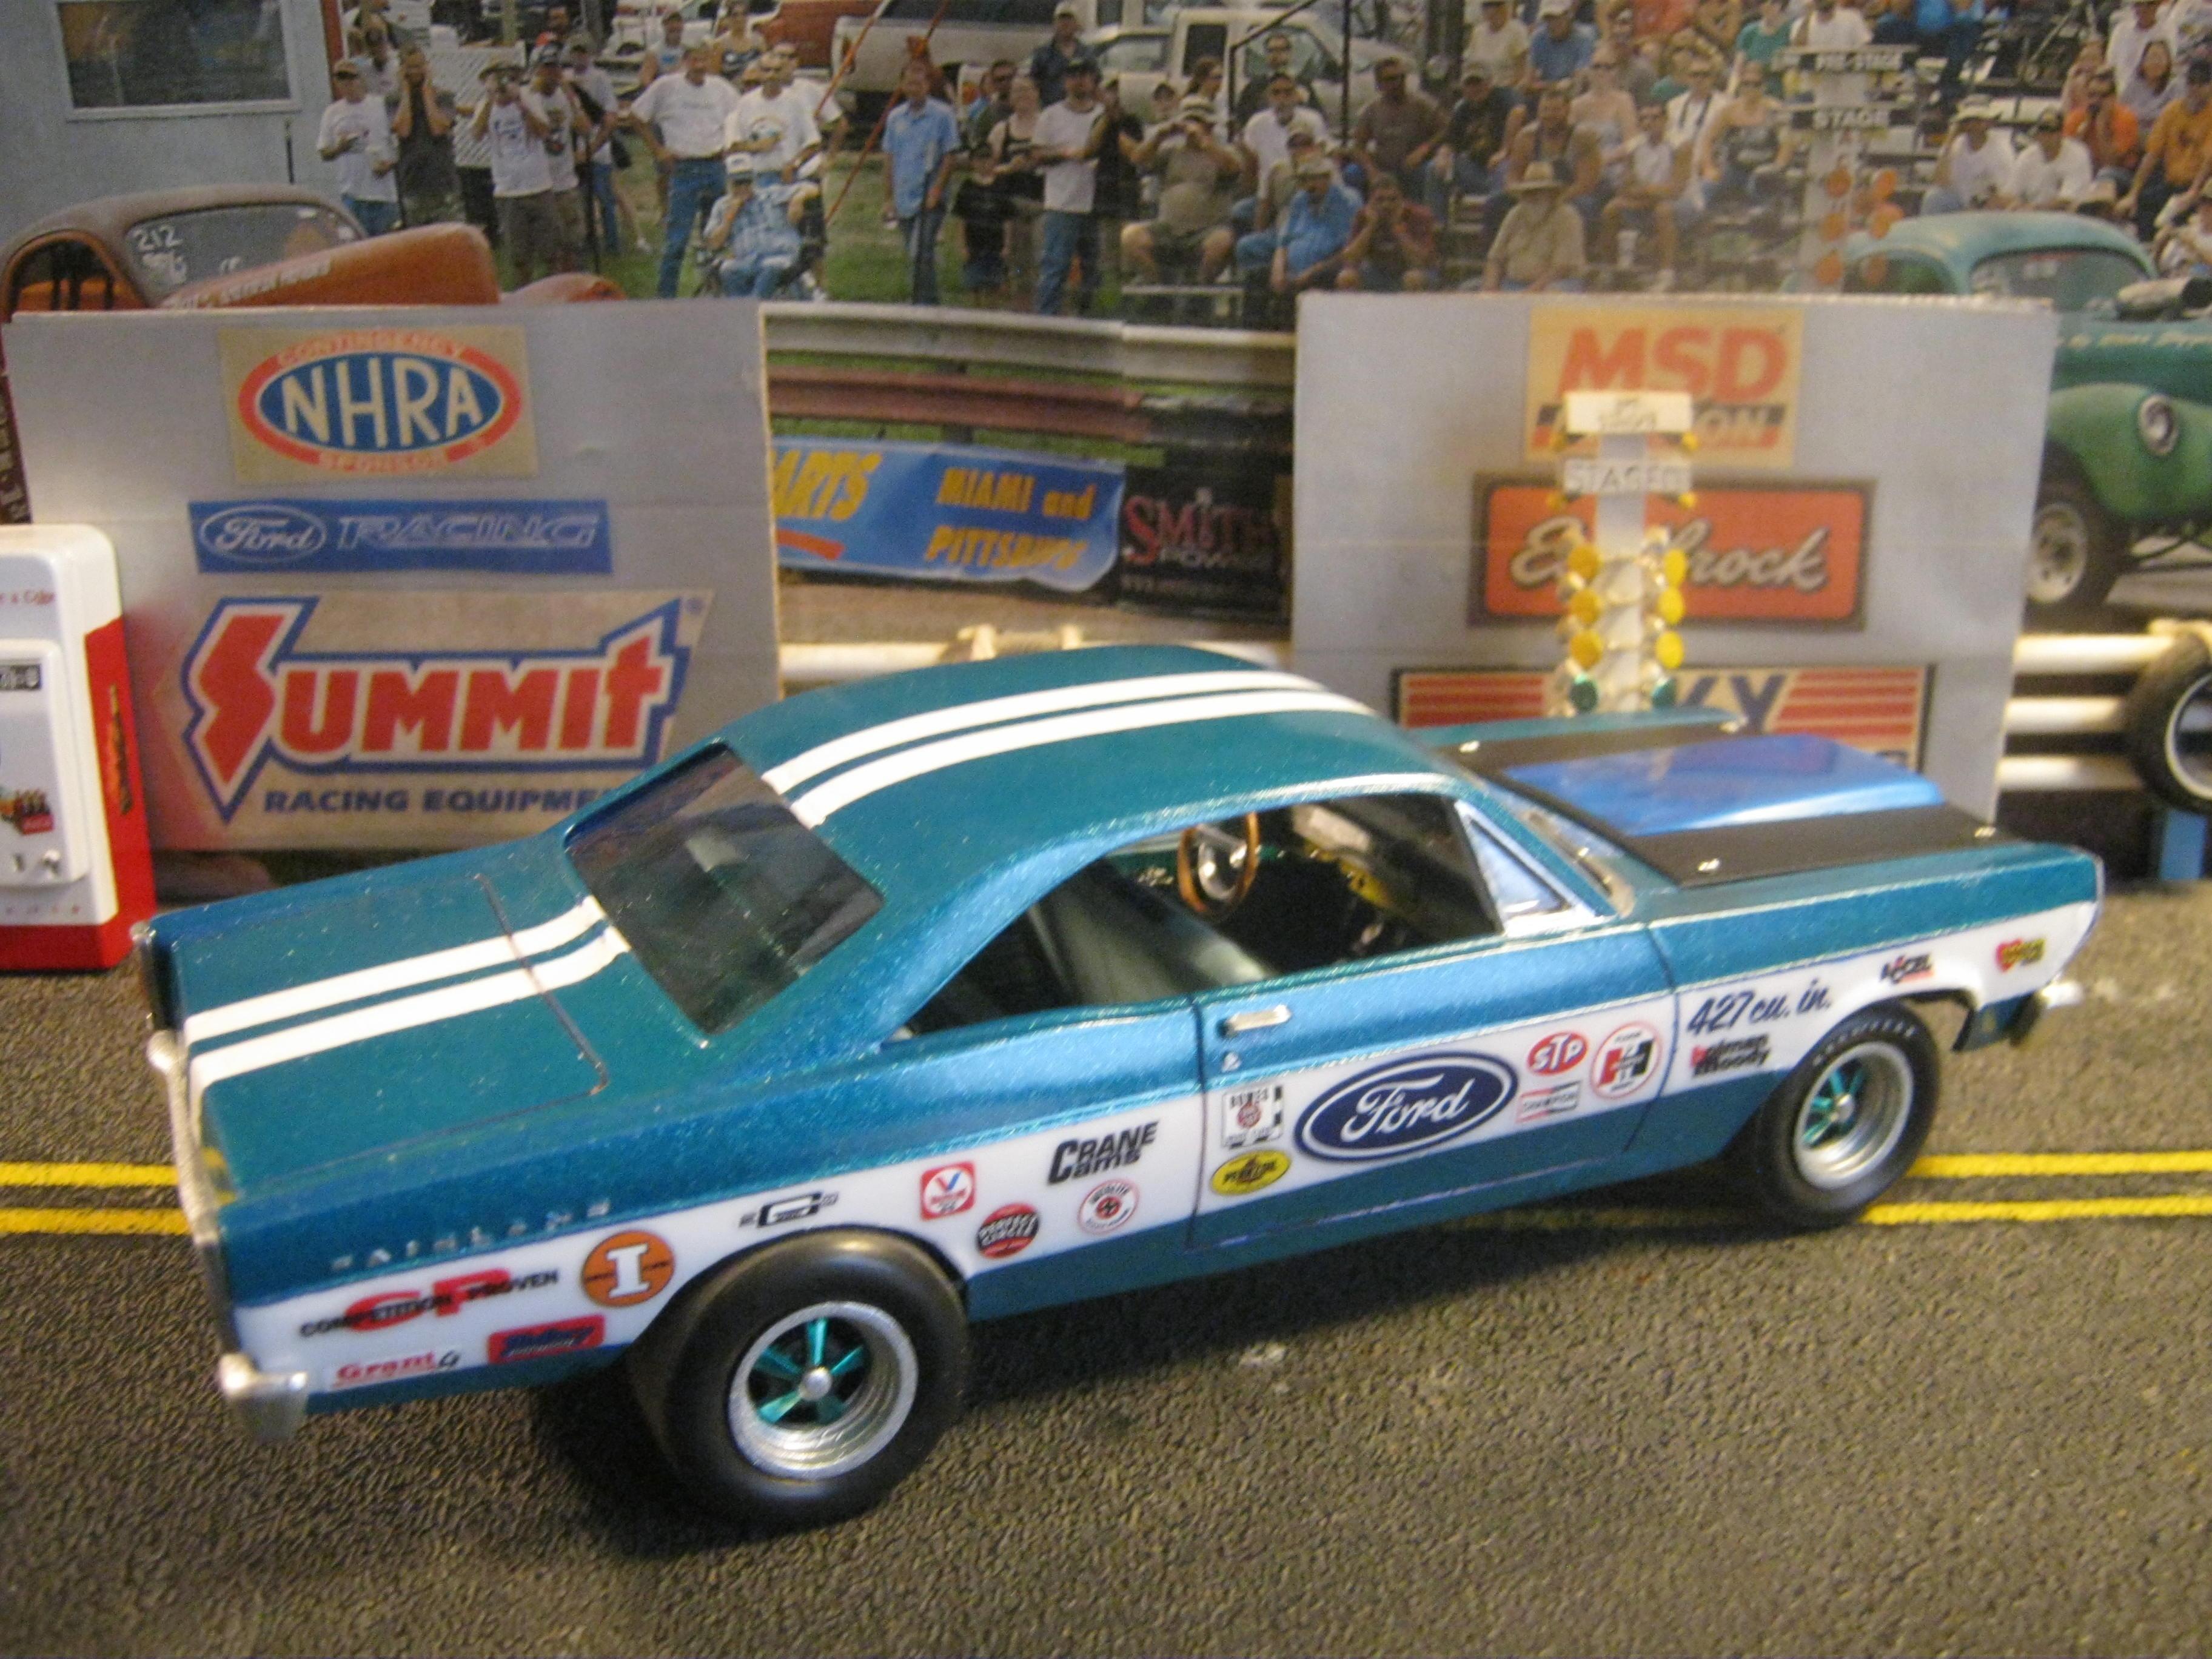
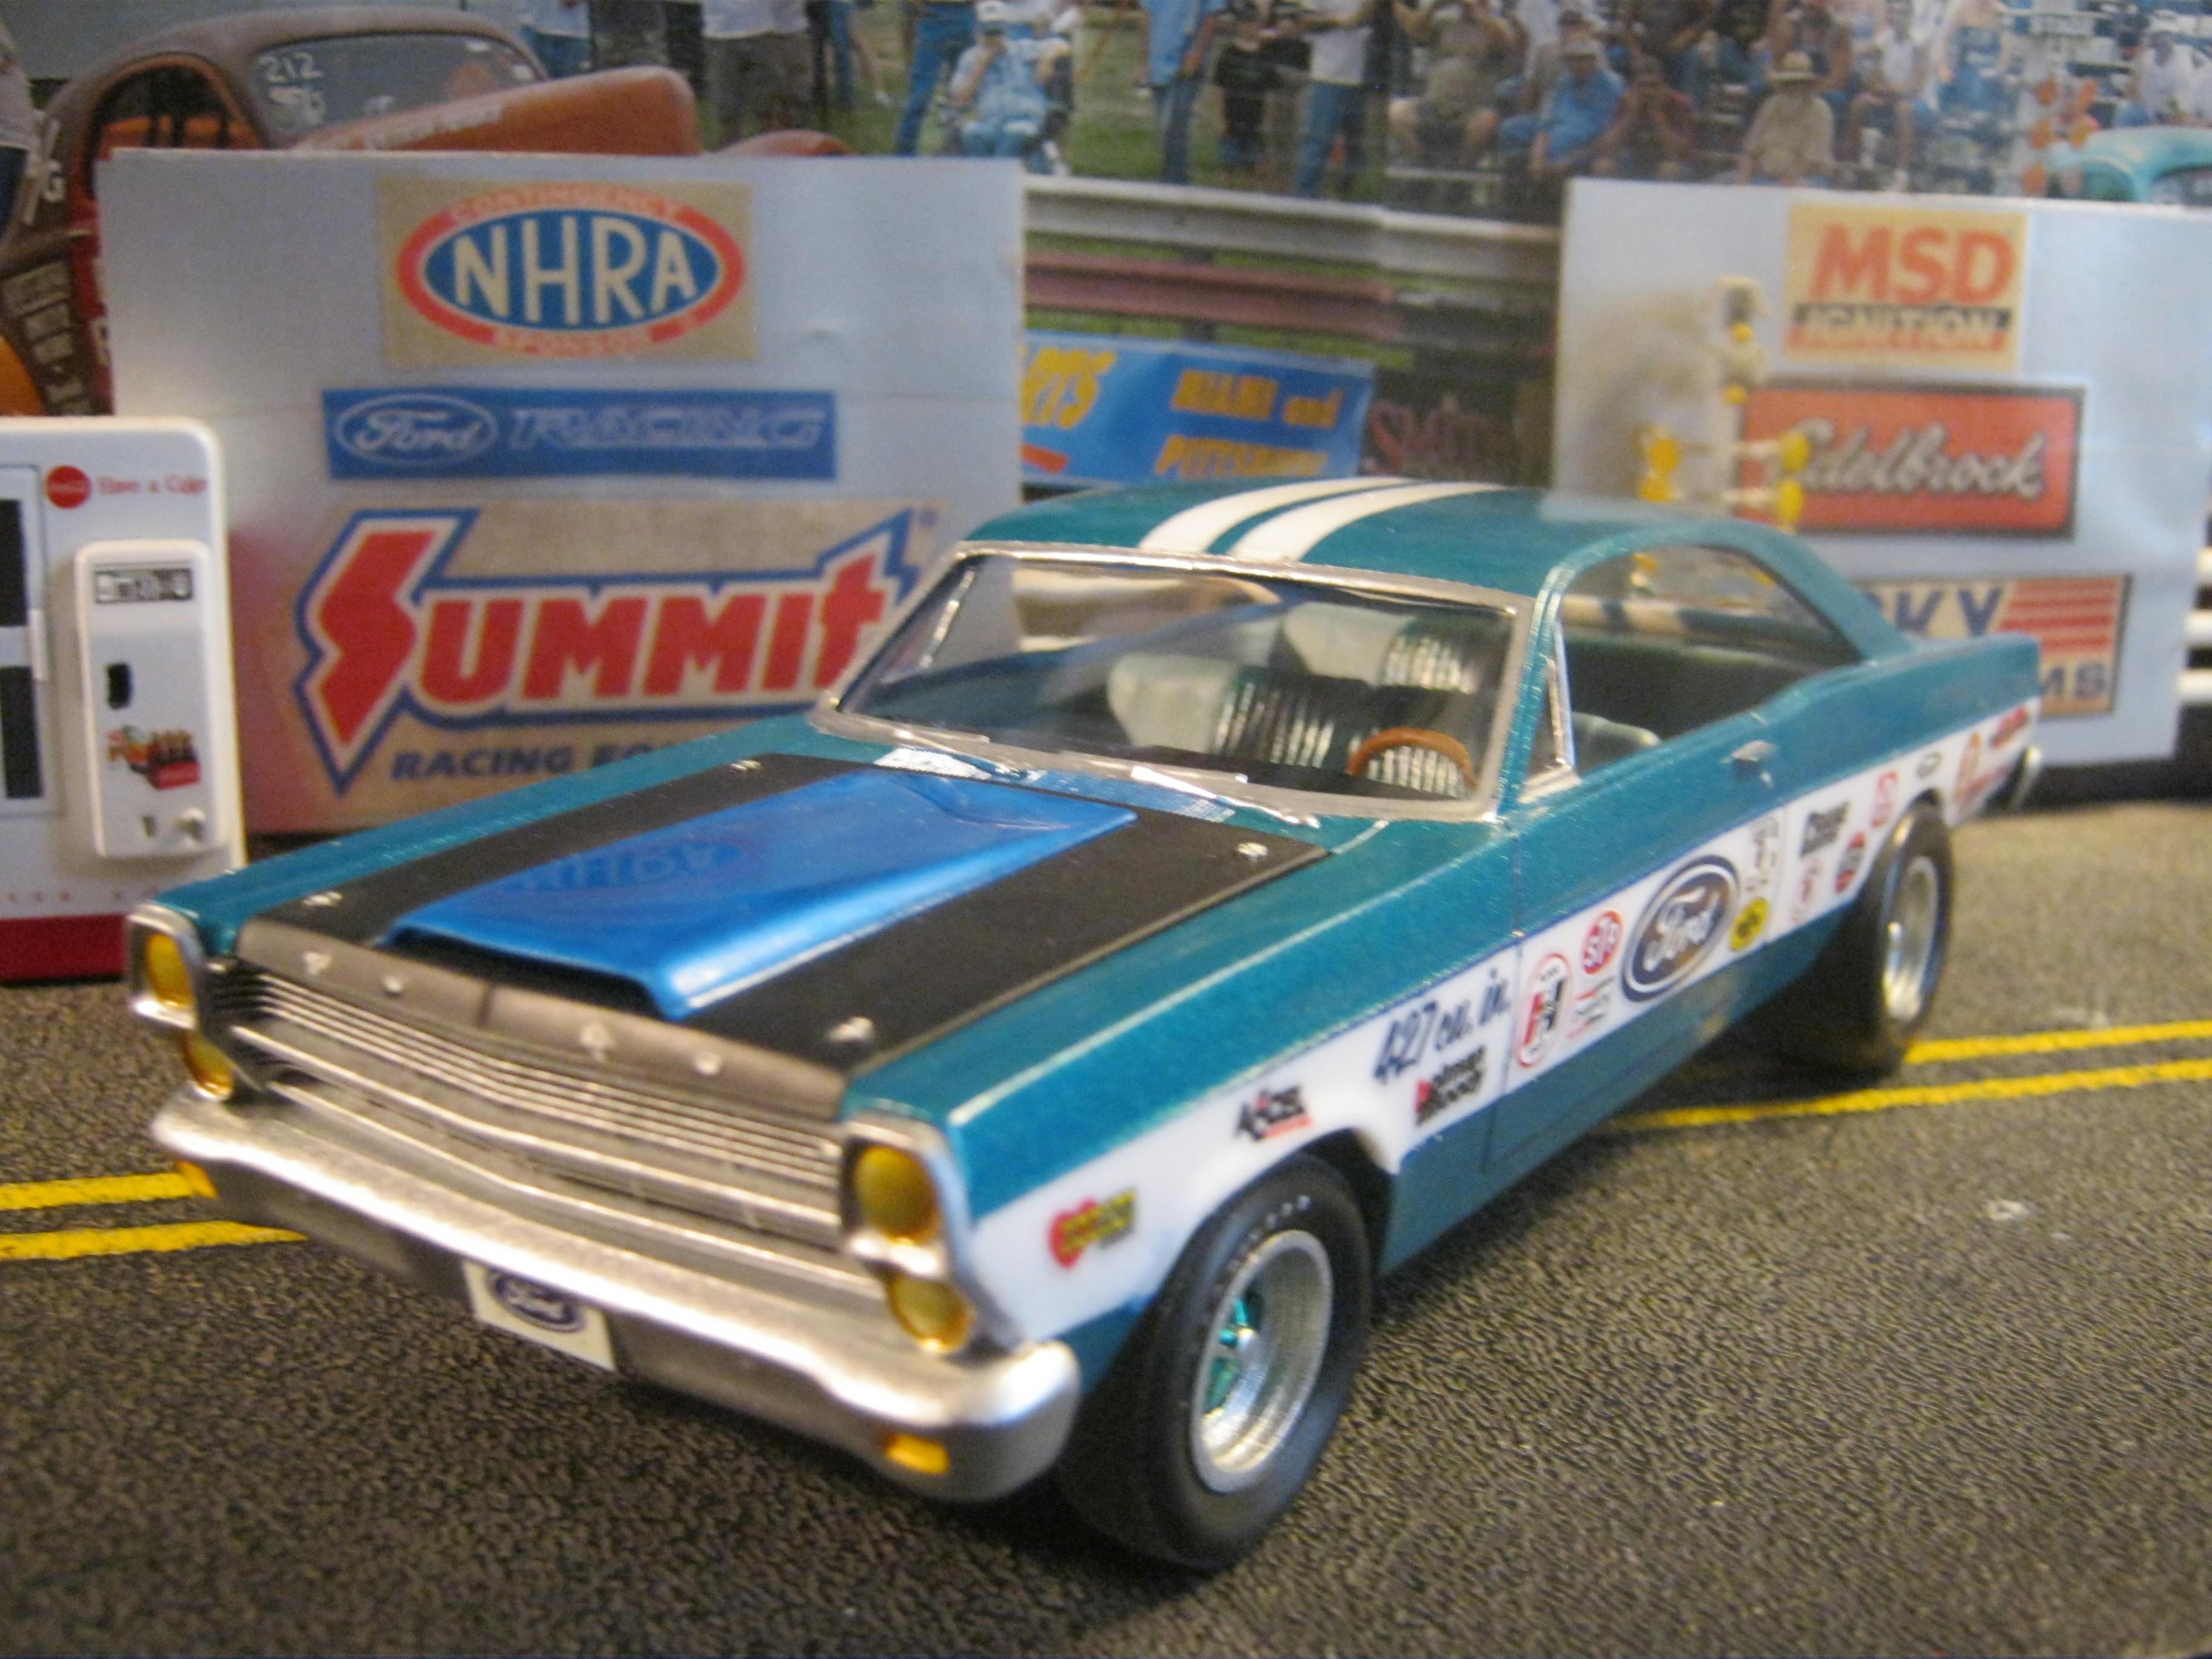
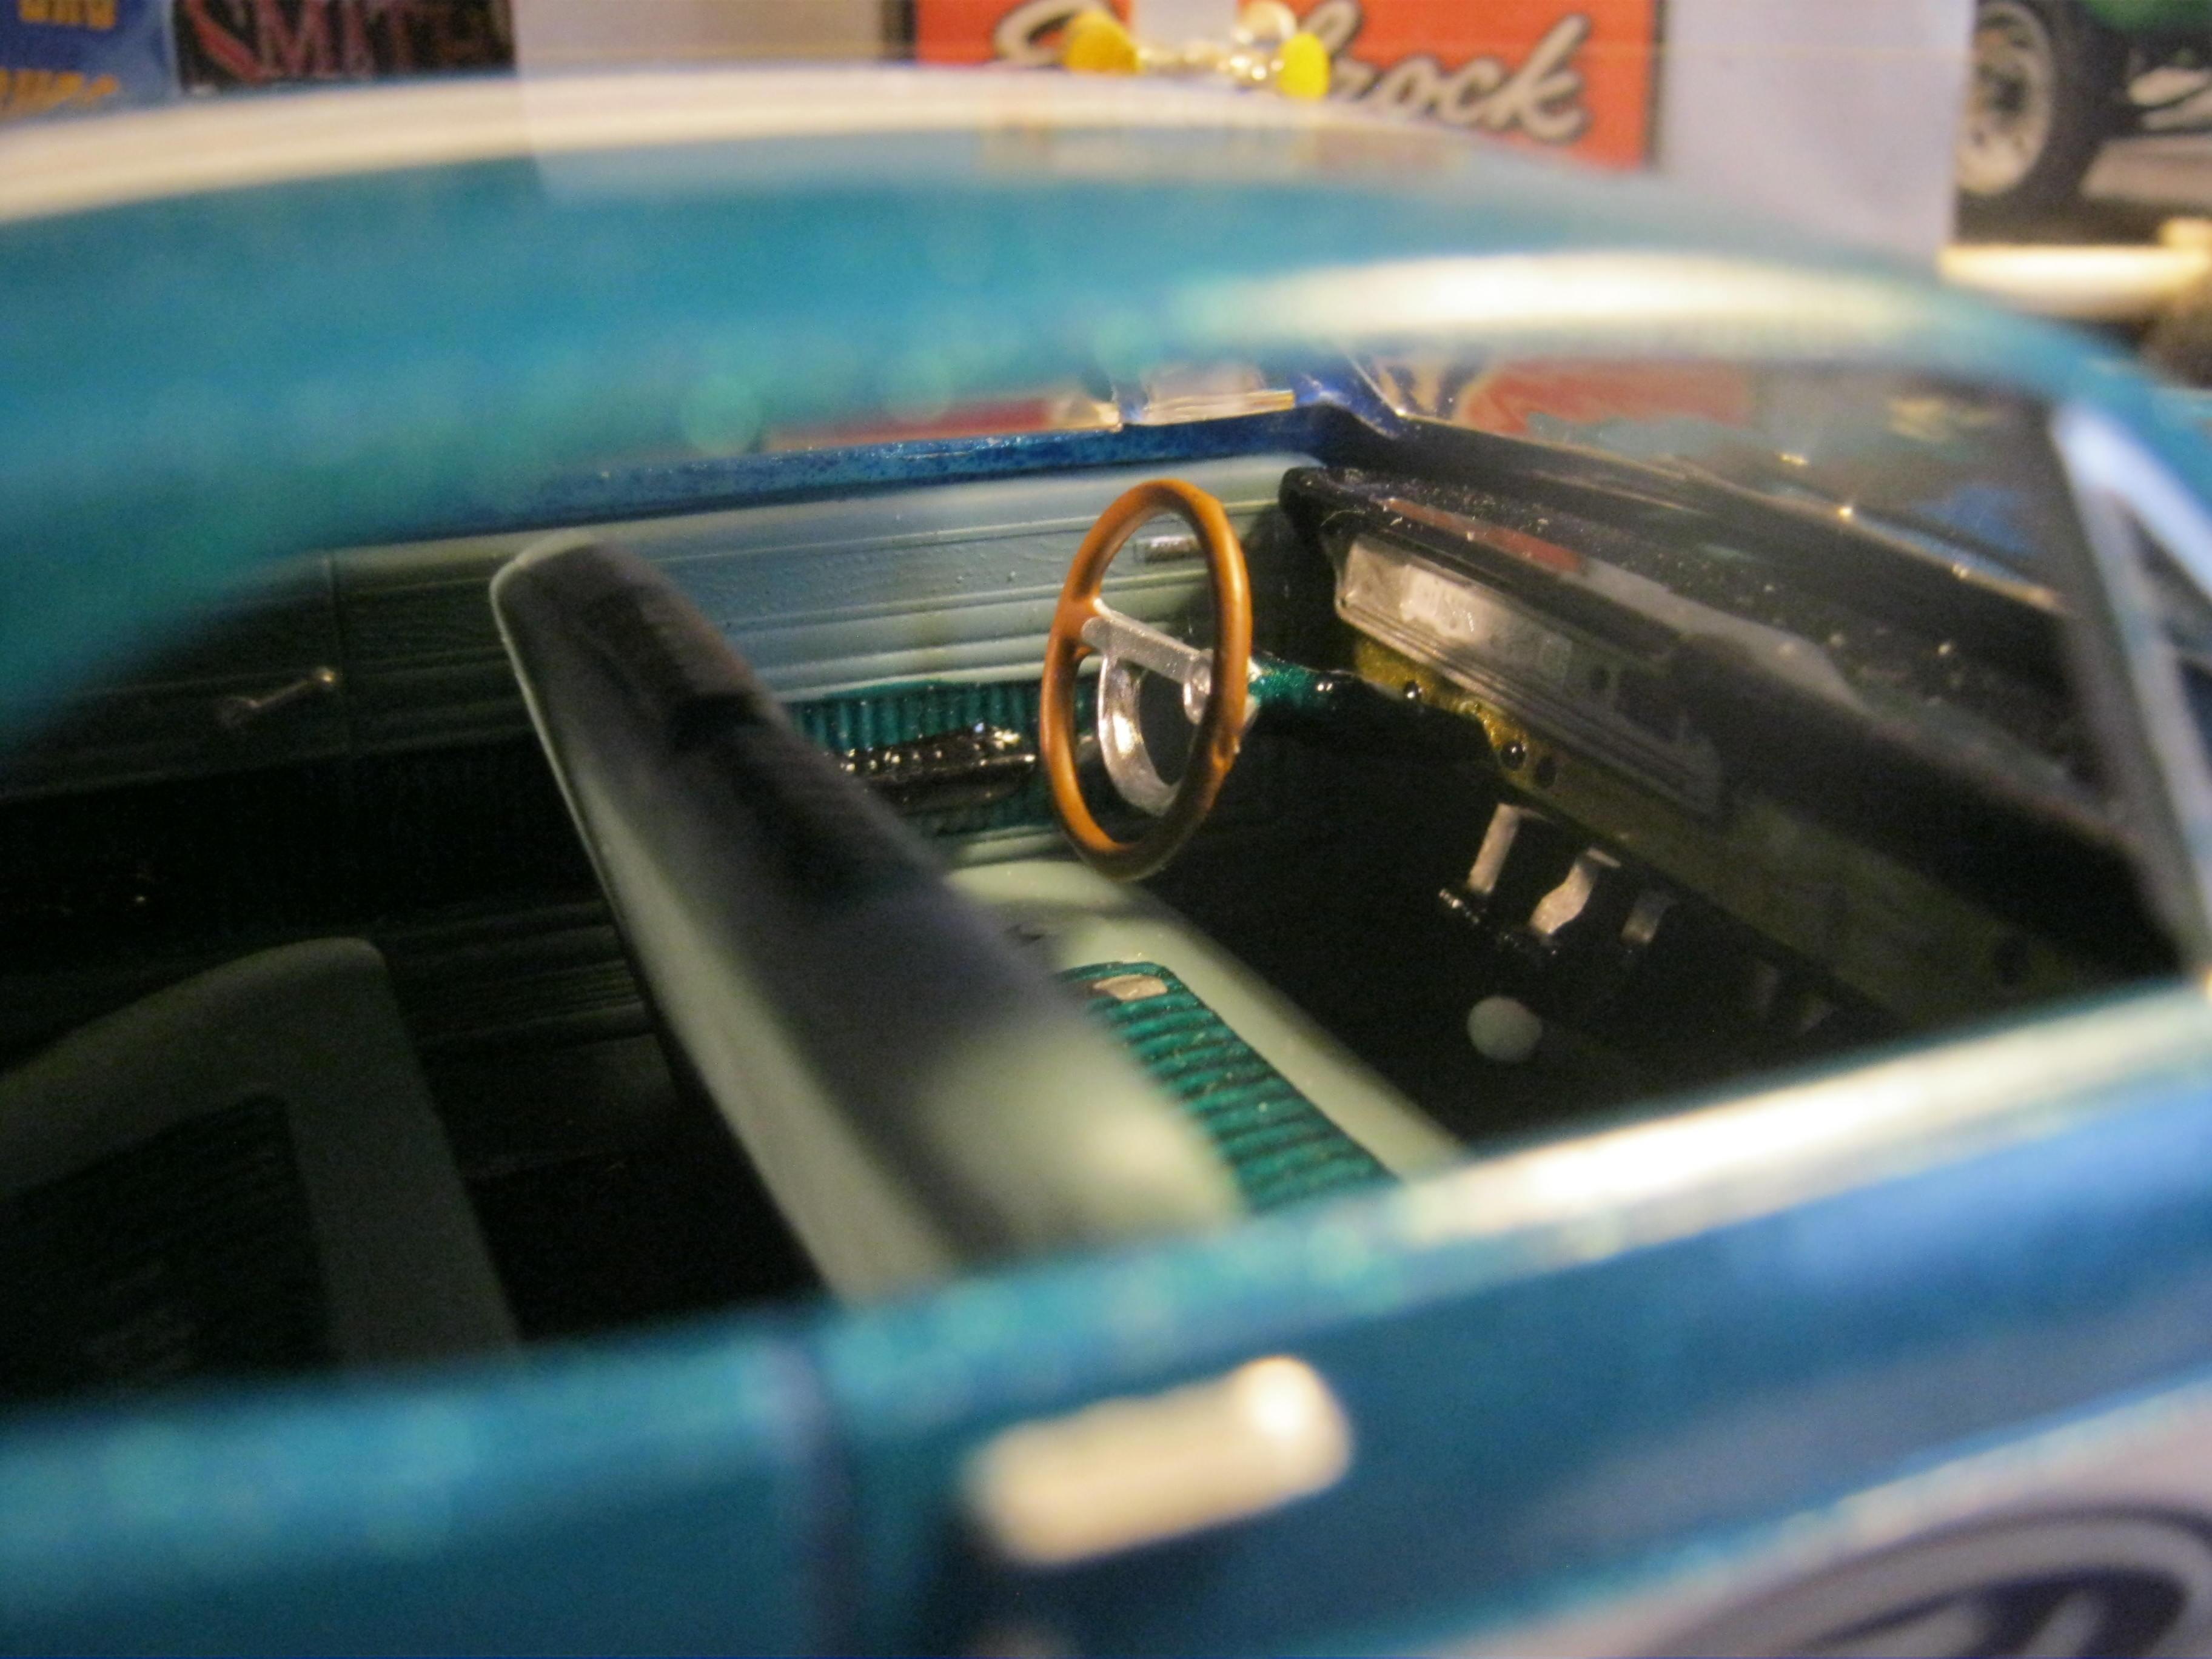
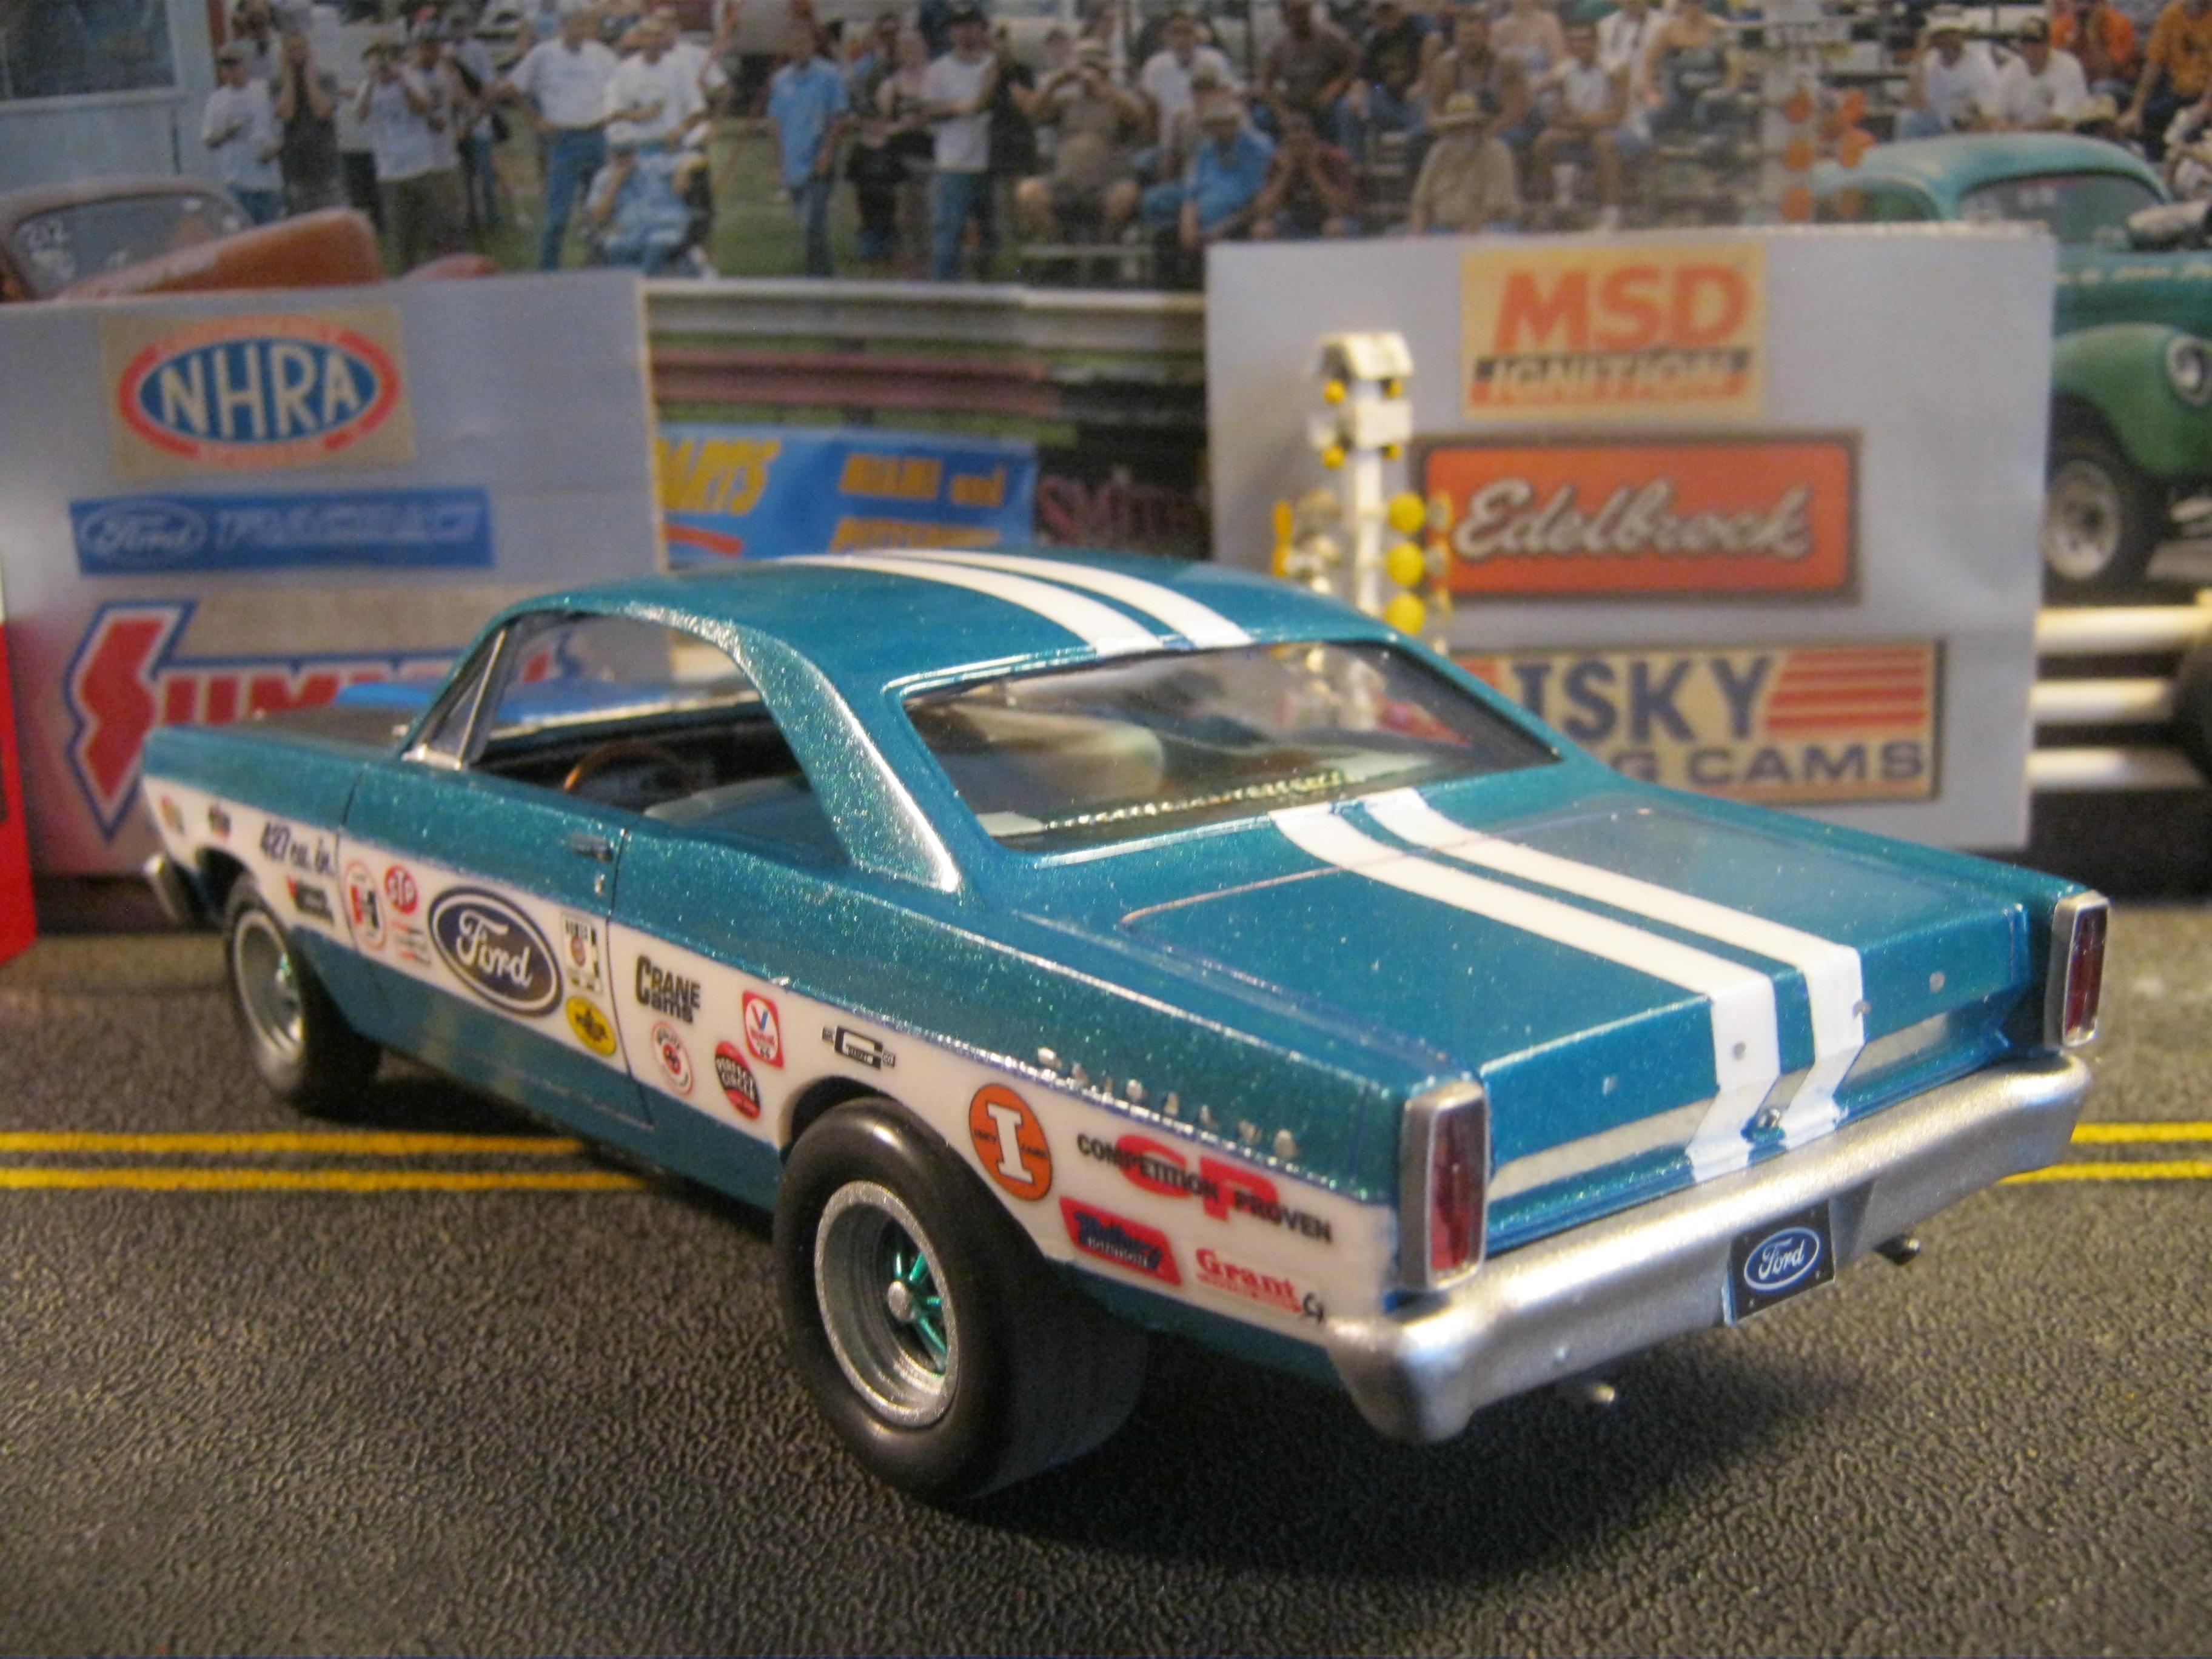
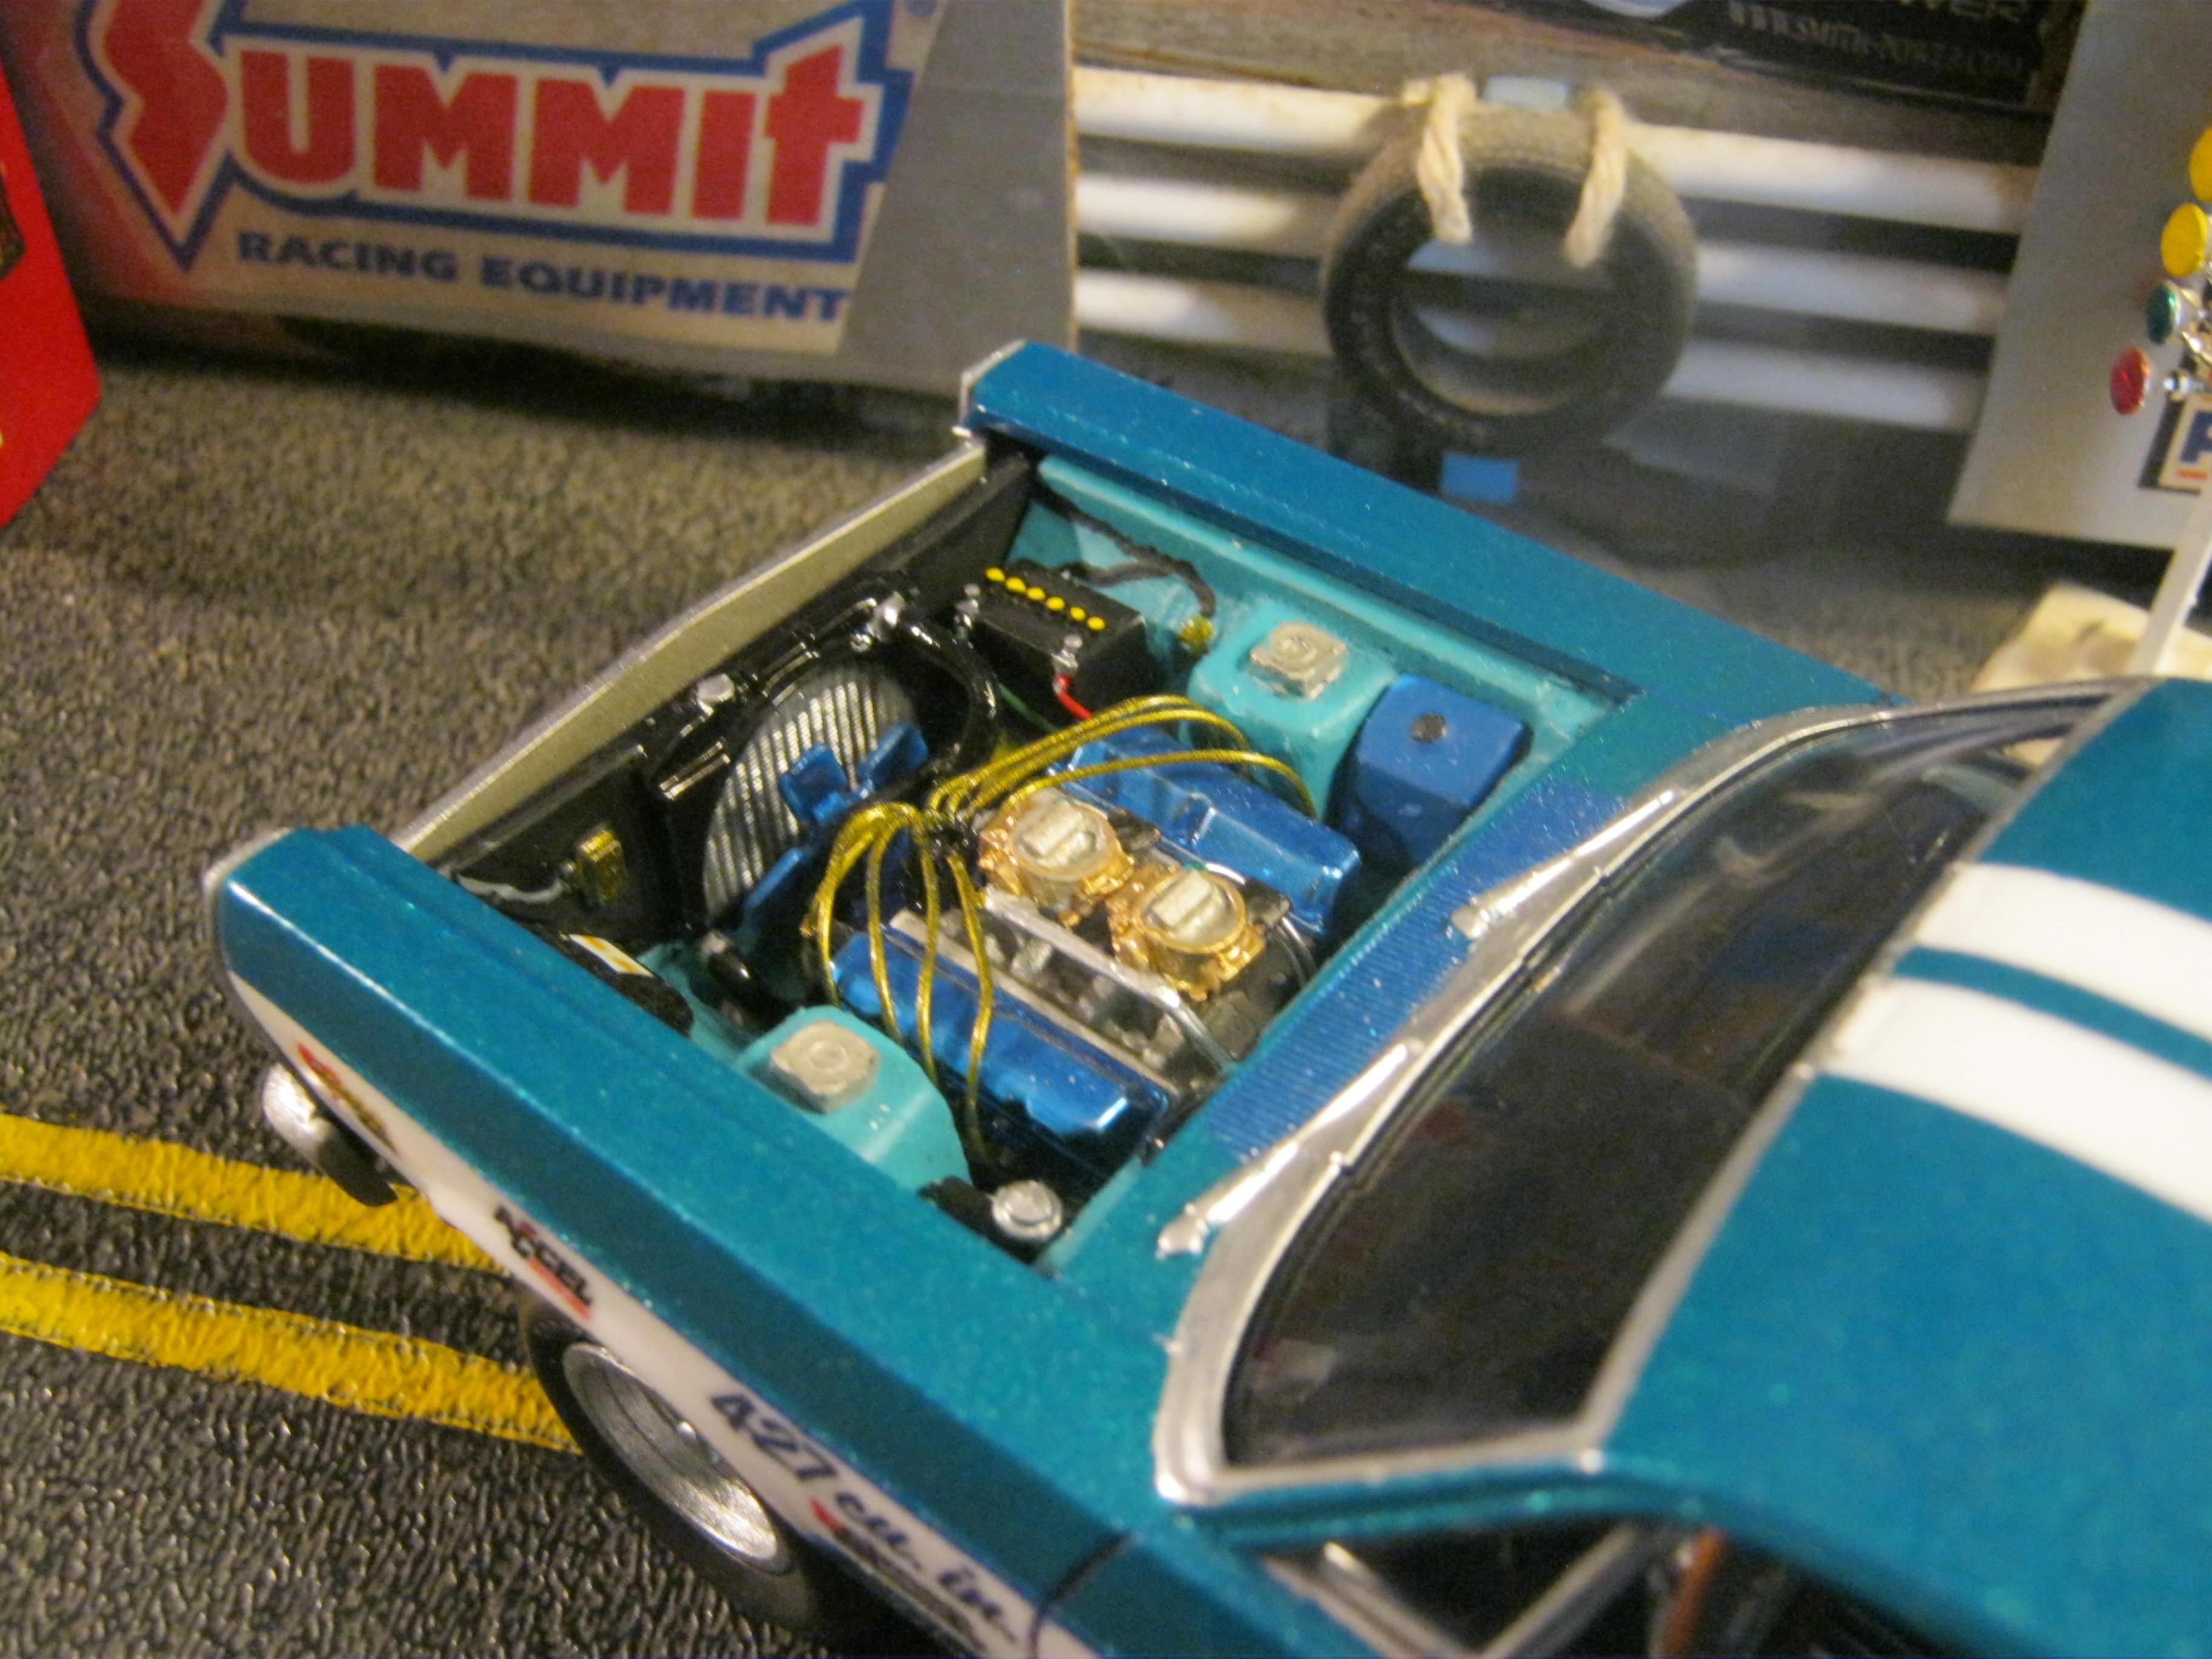
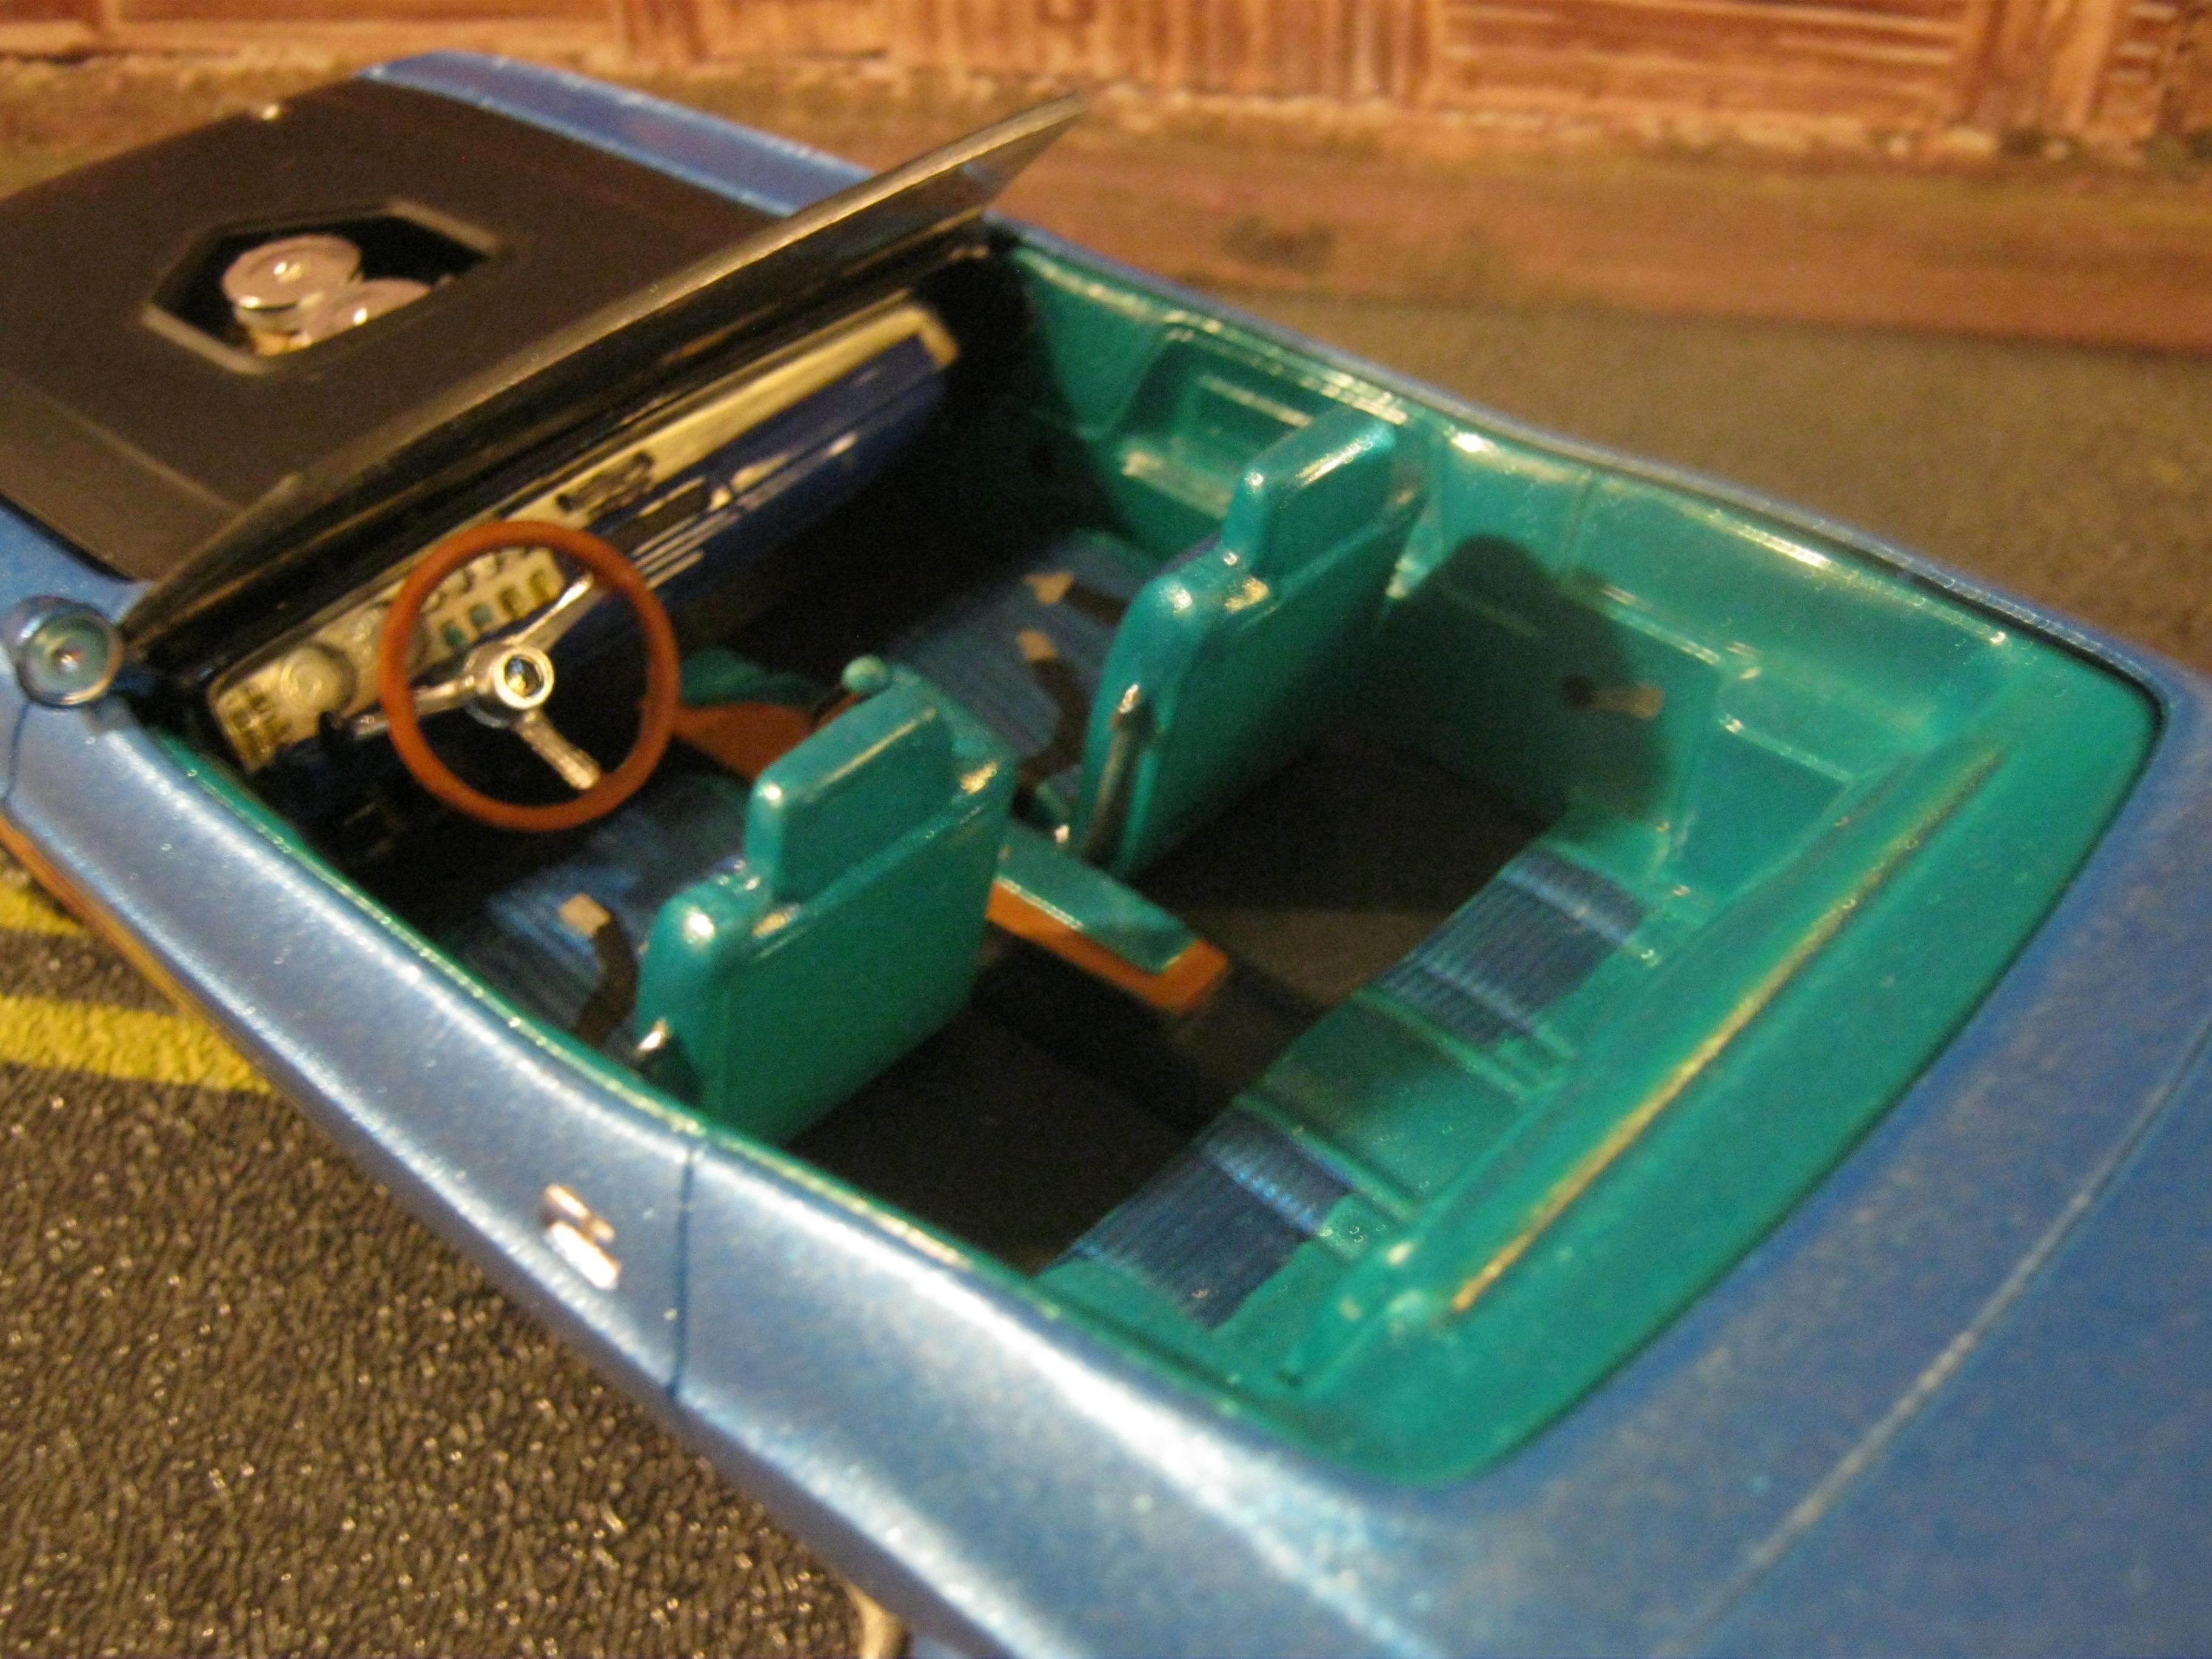
Just finished the AMT 66 Fairlane,,nice kit. Changed rims + tires. Sprayed w/testors qukdry teal green. Moss green spray from hardware store and some basic wiring.

-
cool
-
Thanks so much,,I hear ya about the 1/2 built blobs,,much one can do with them. Thanks again,,,S
-
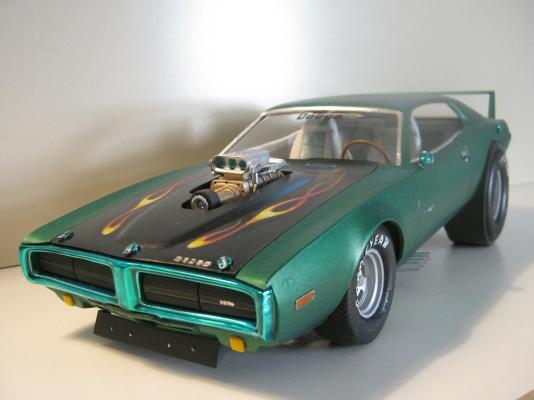
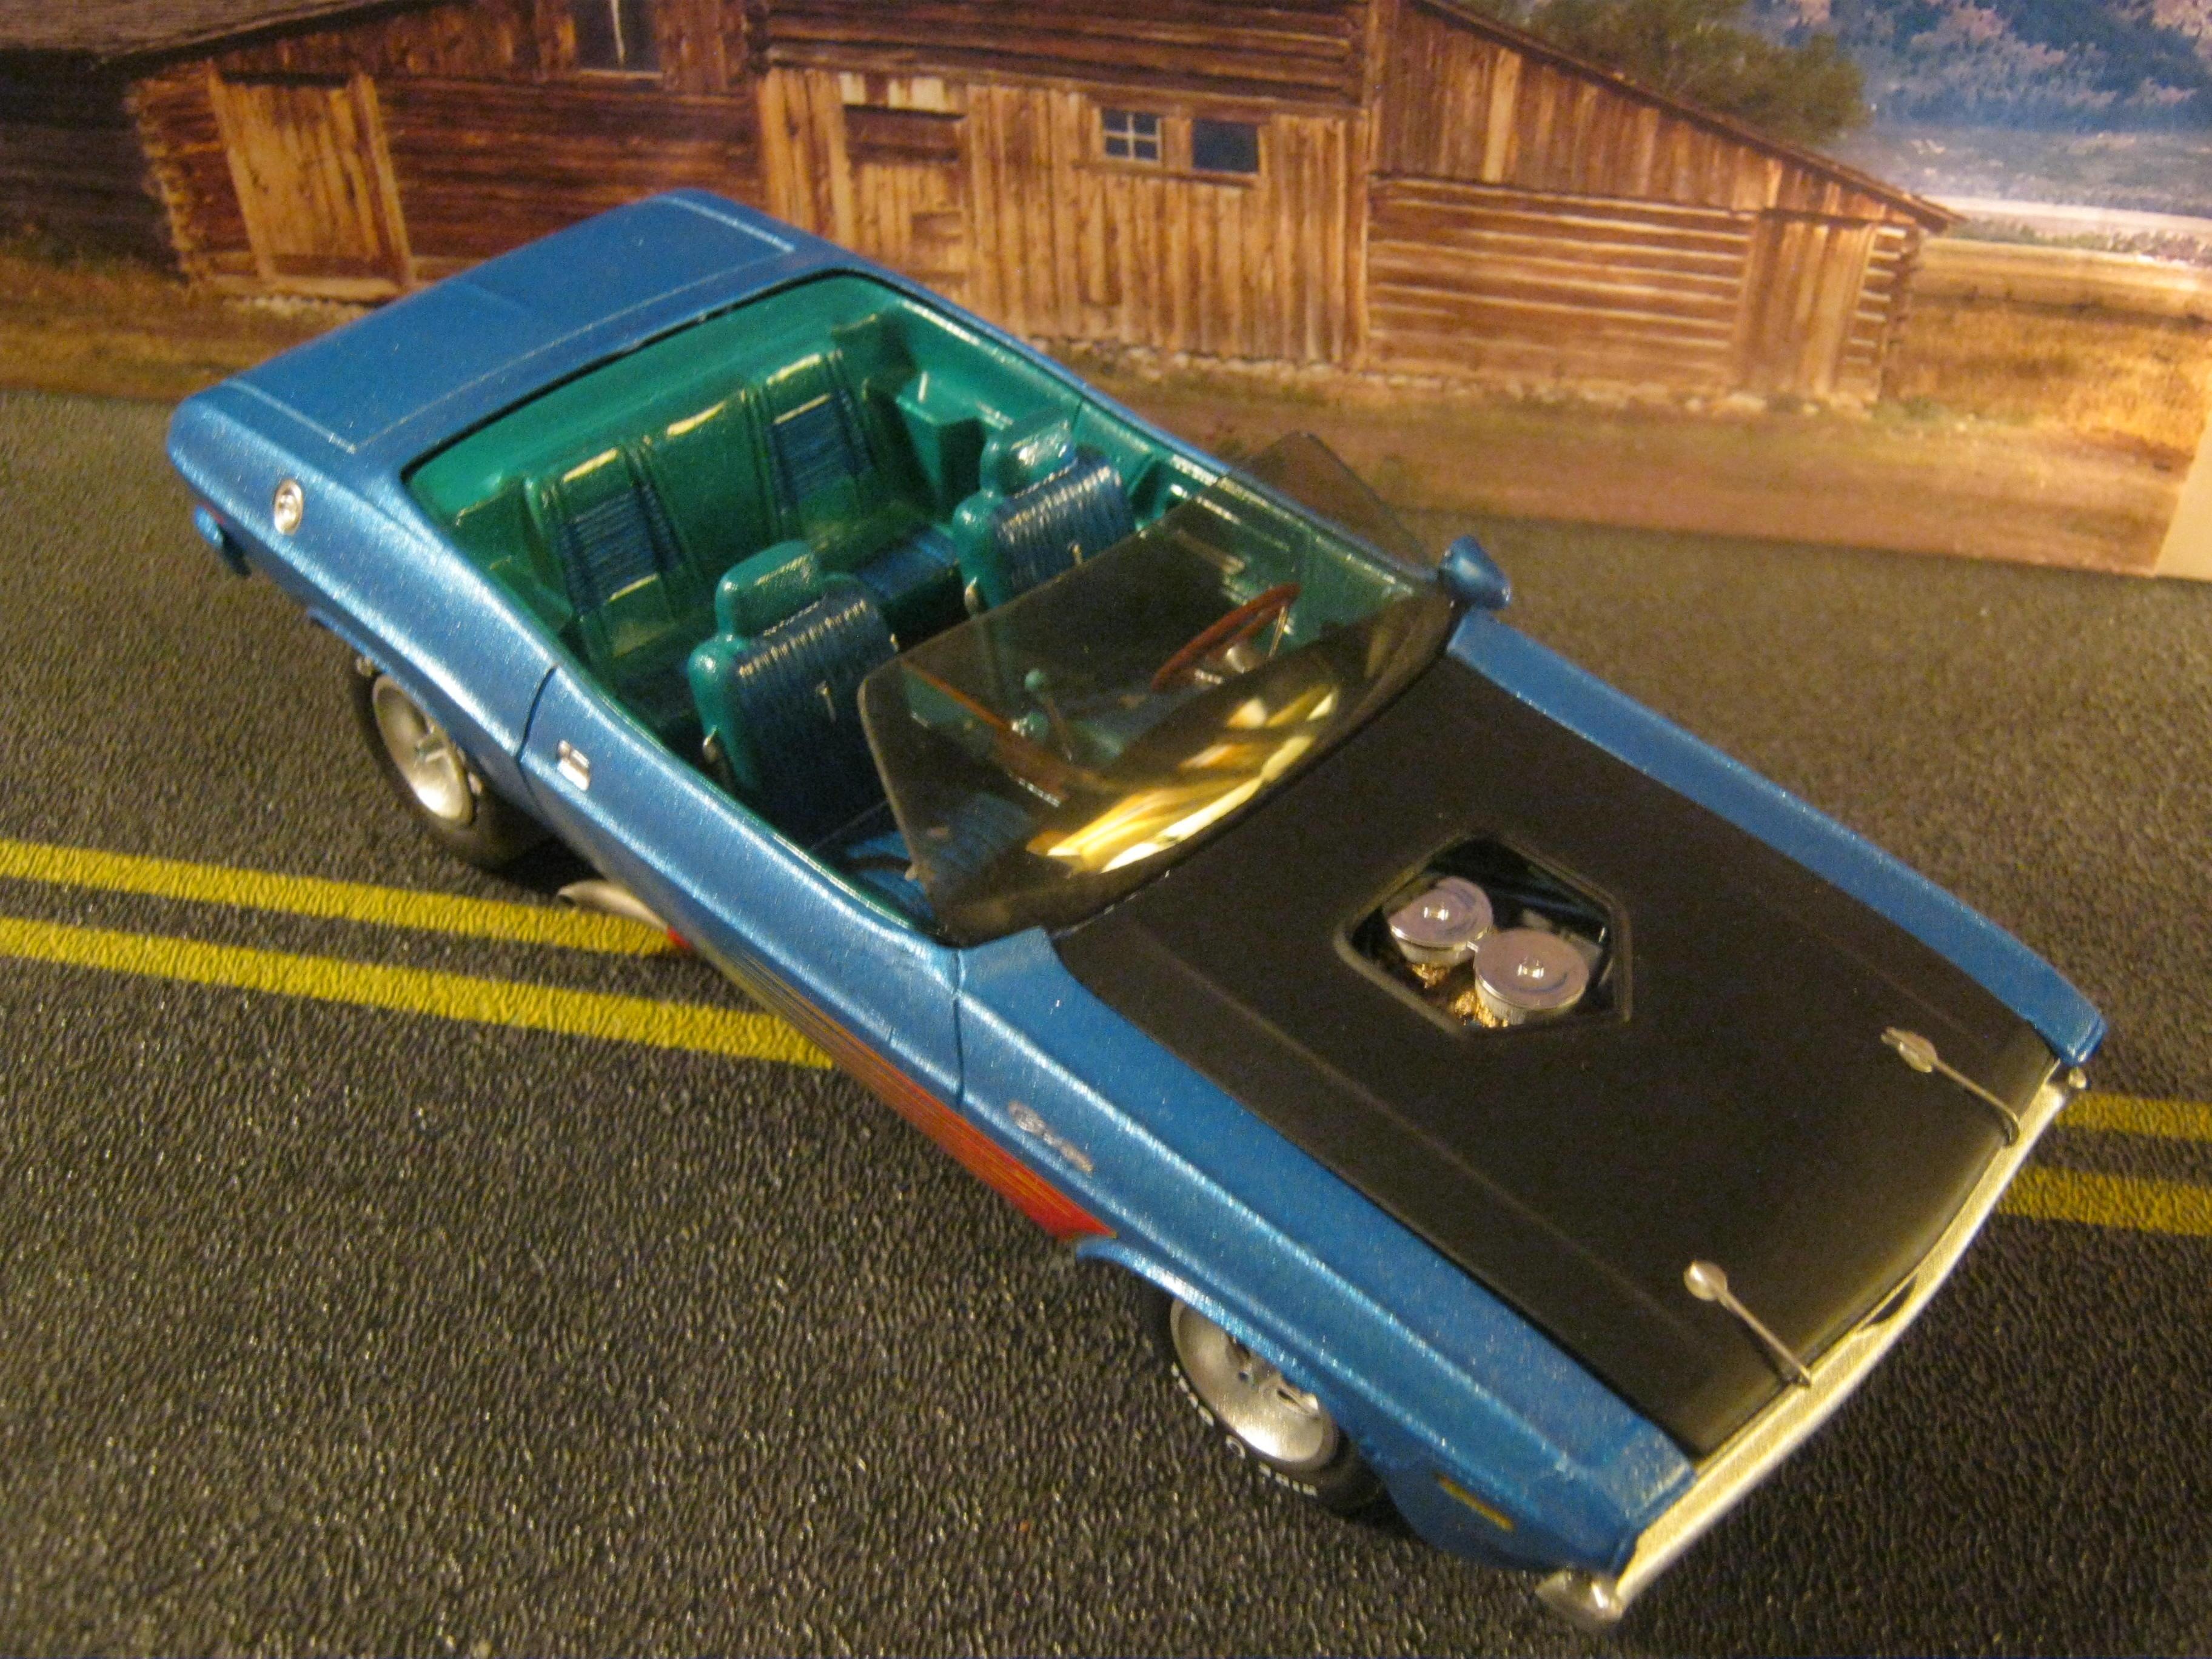
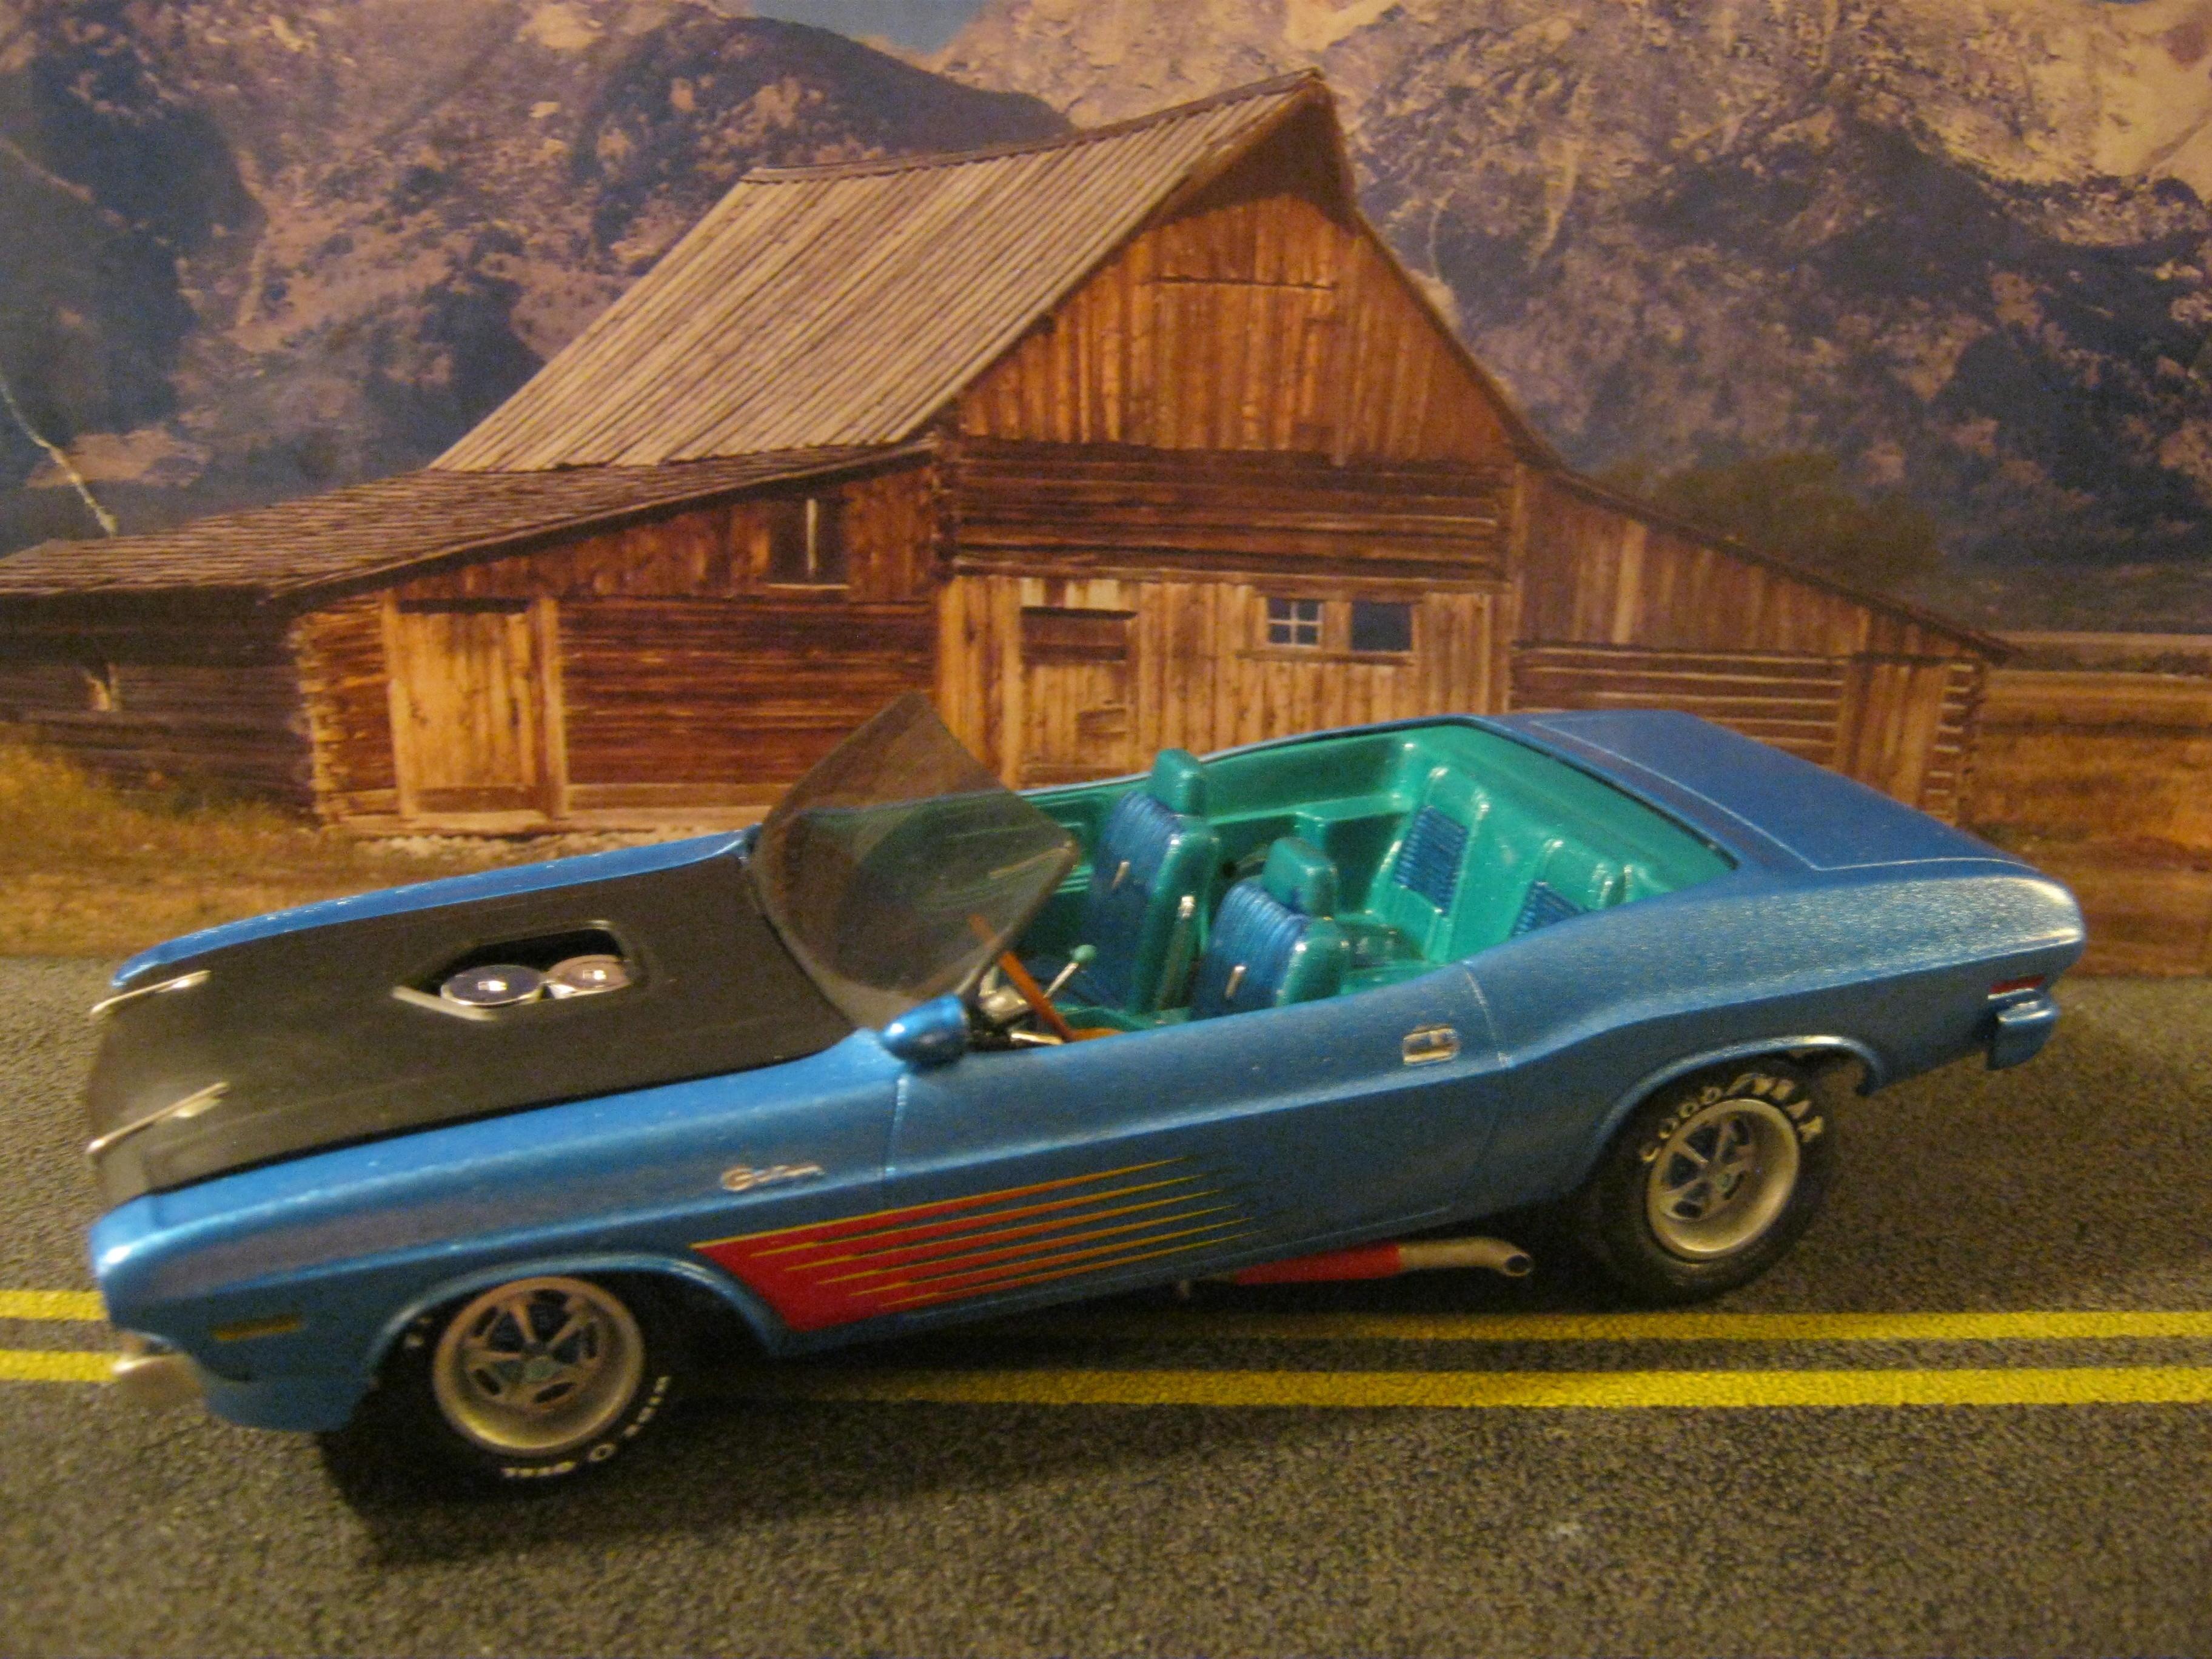
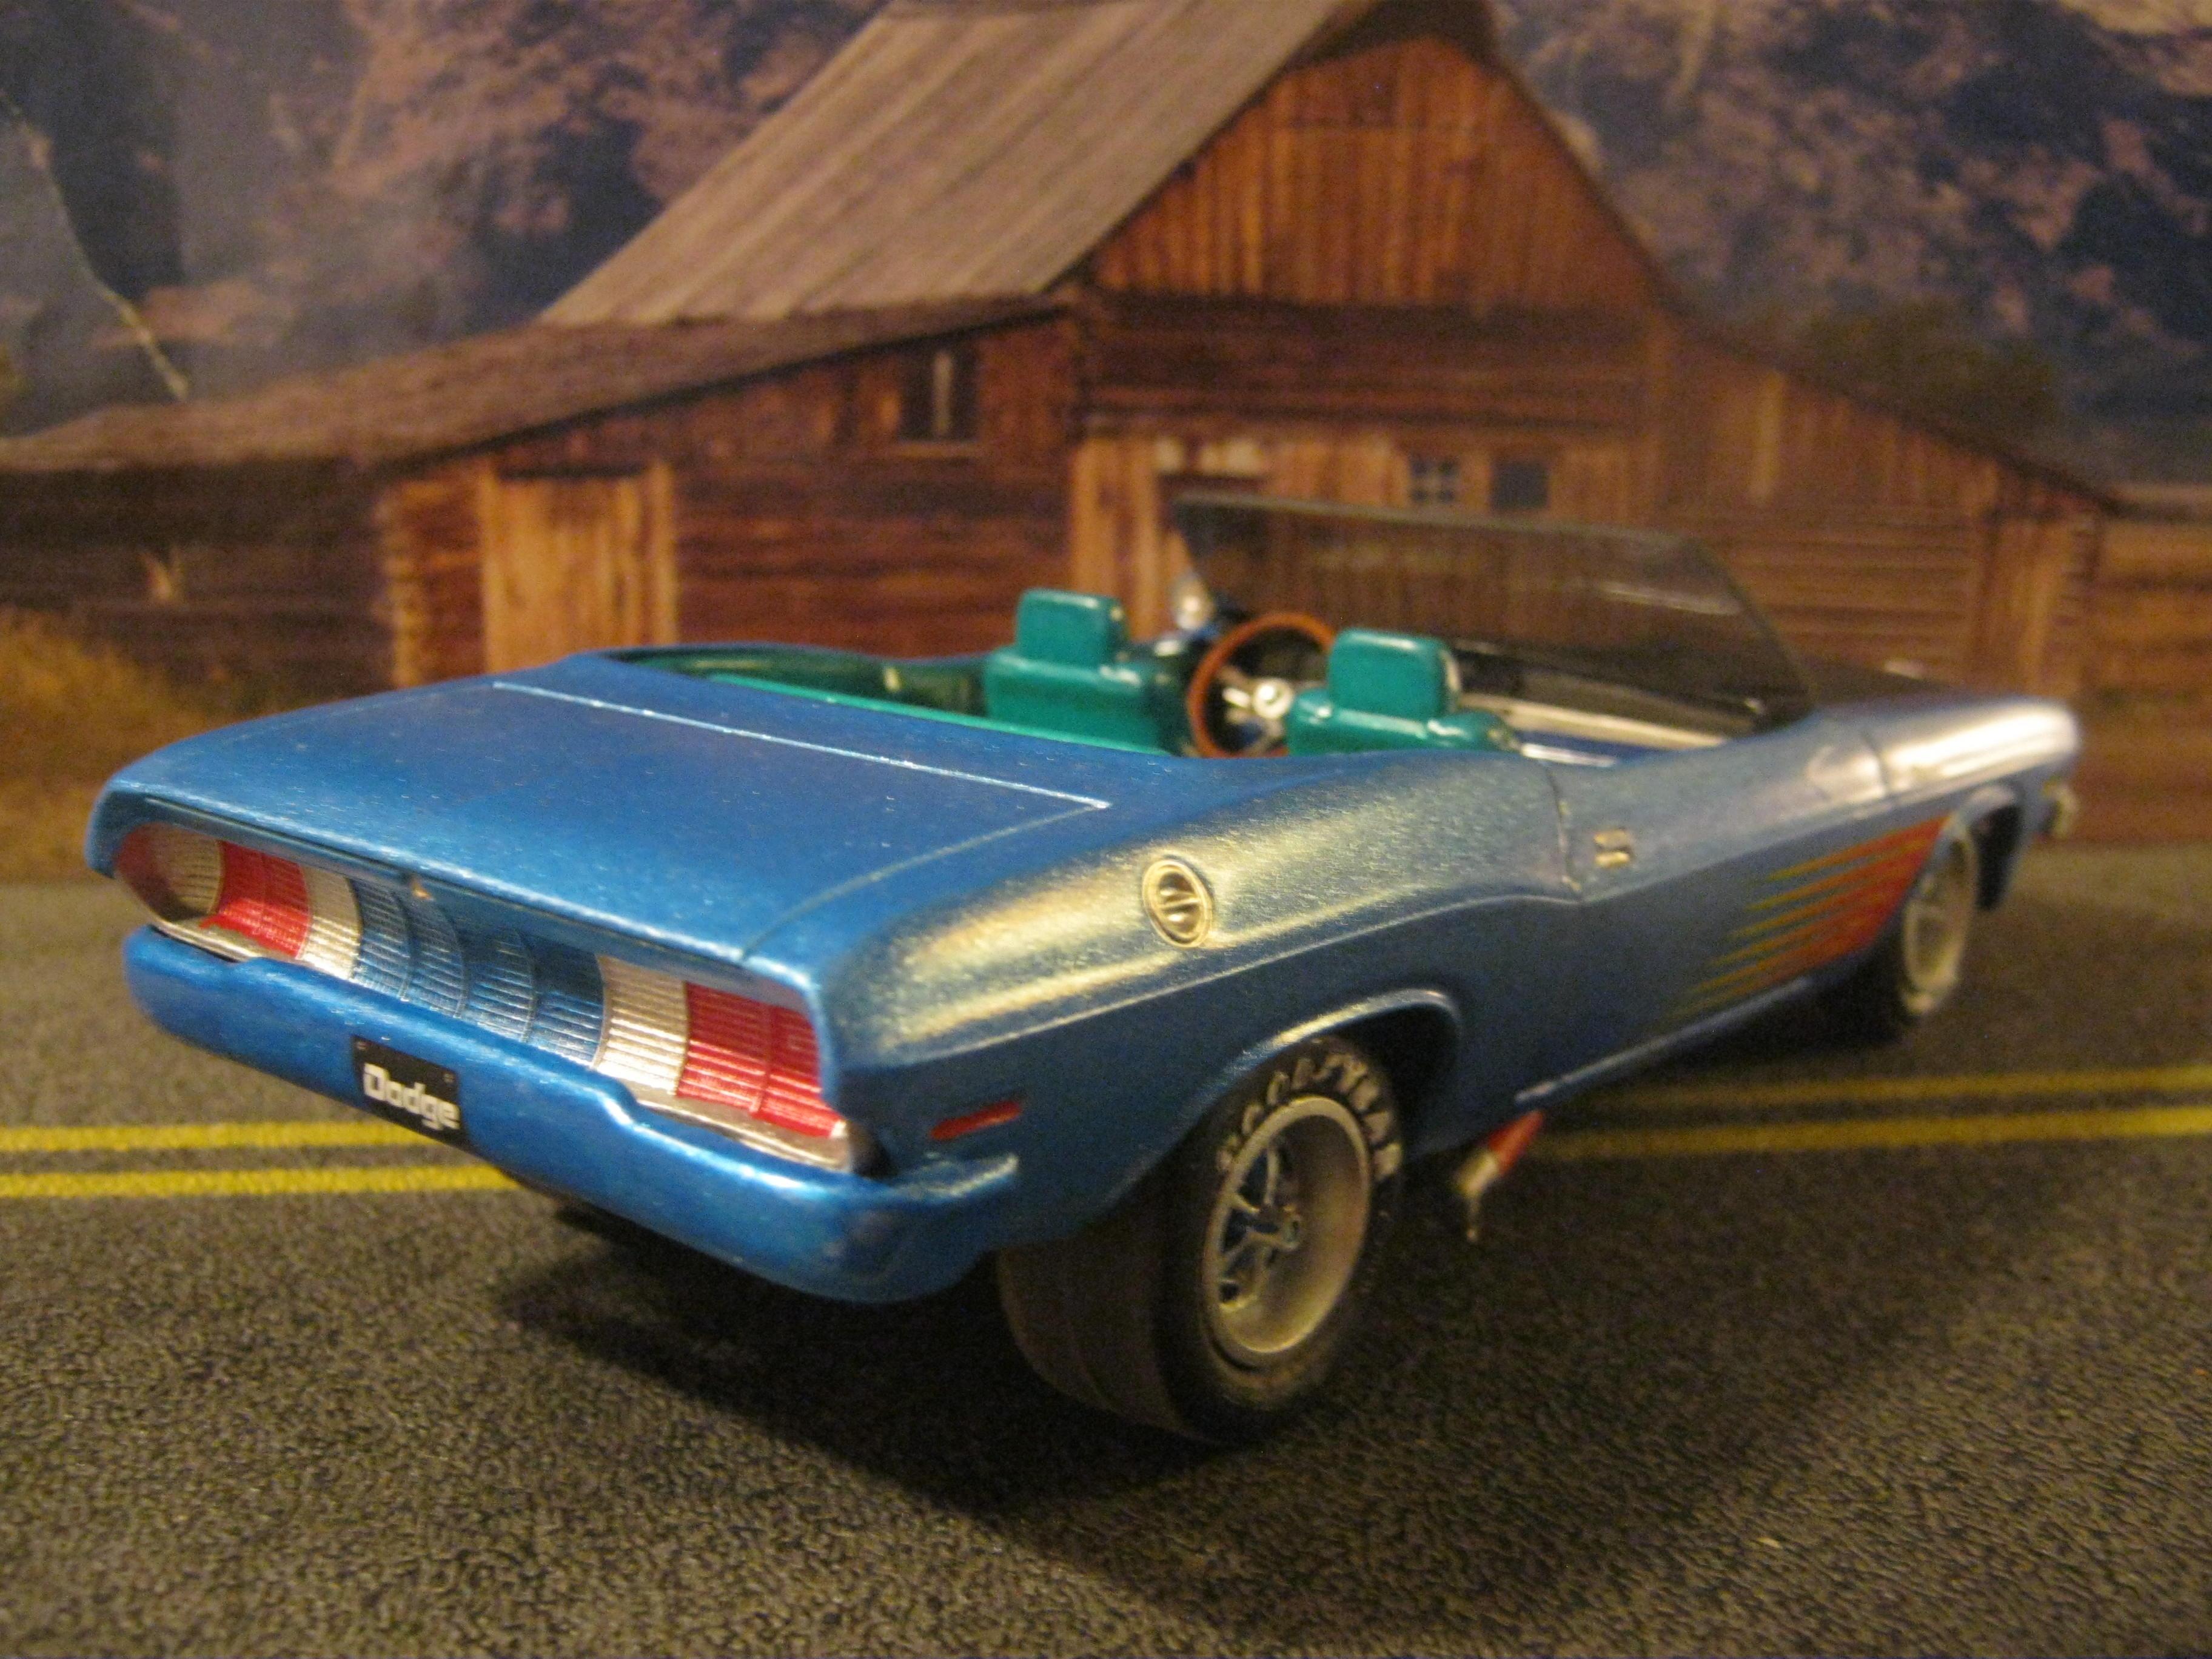
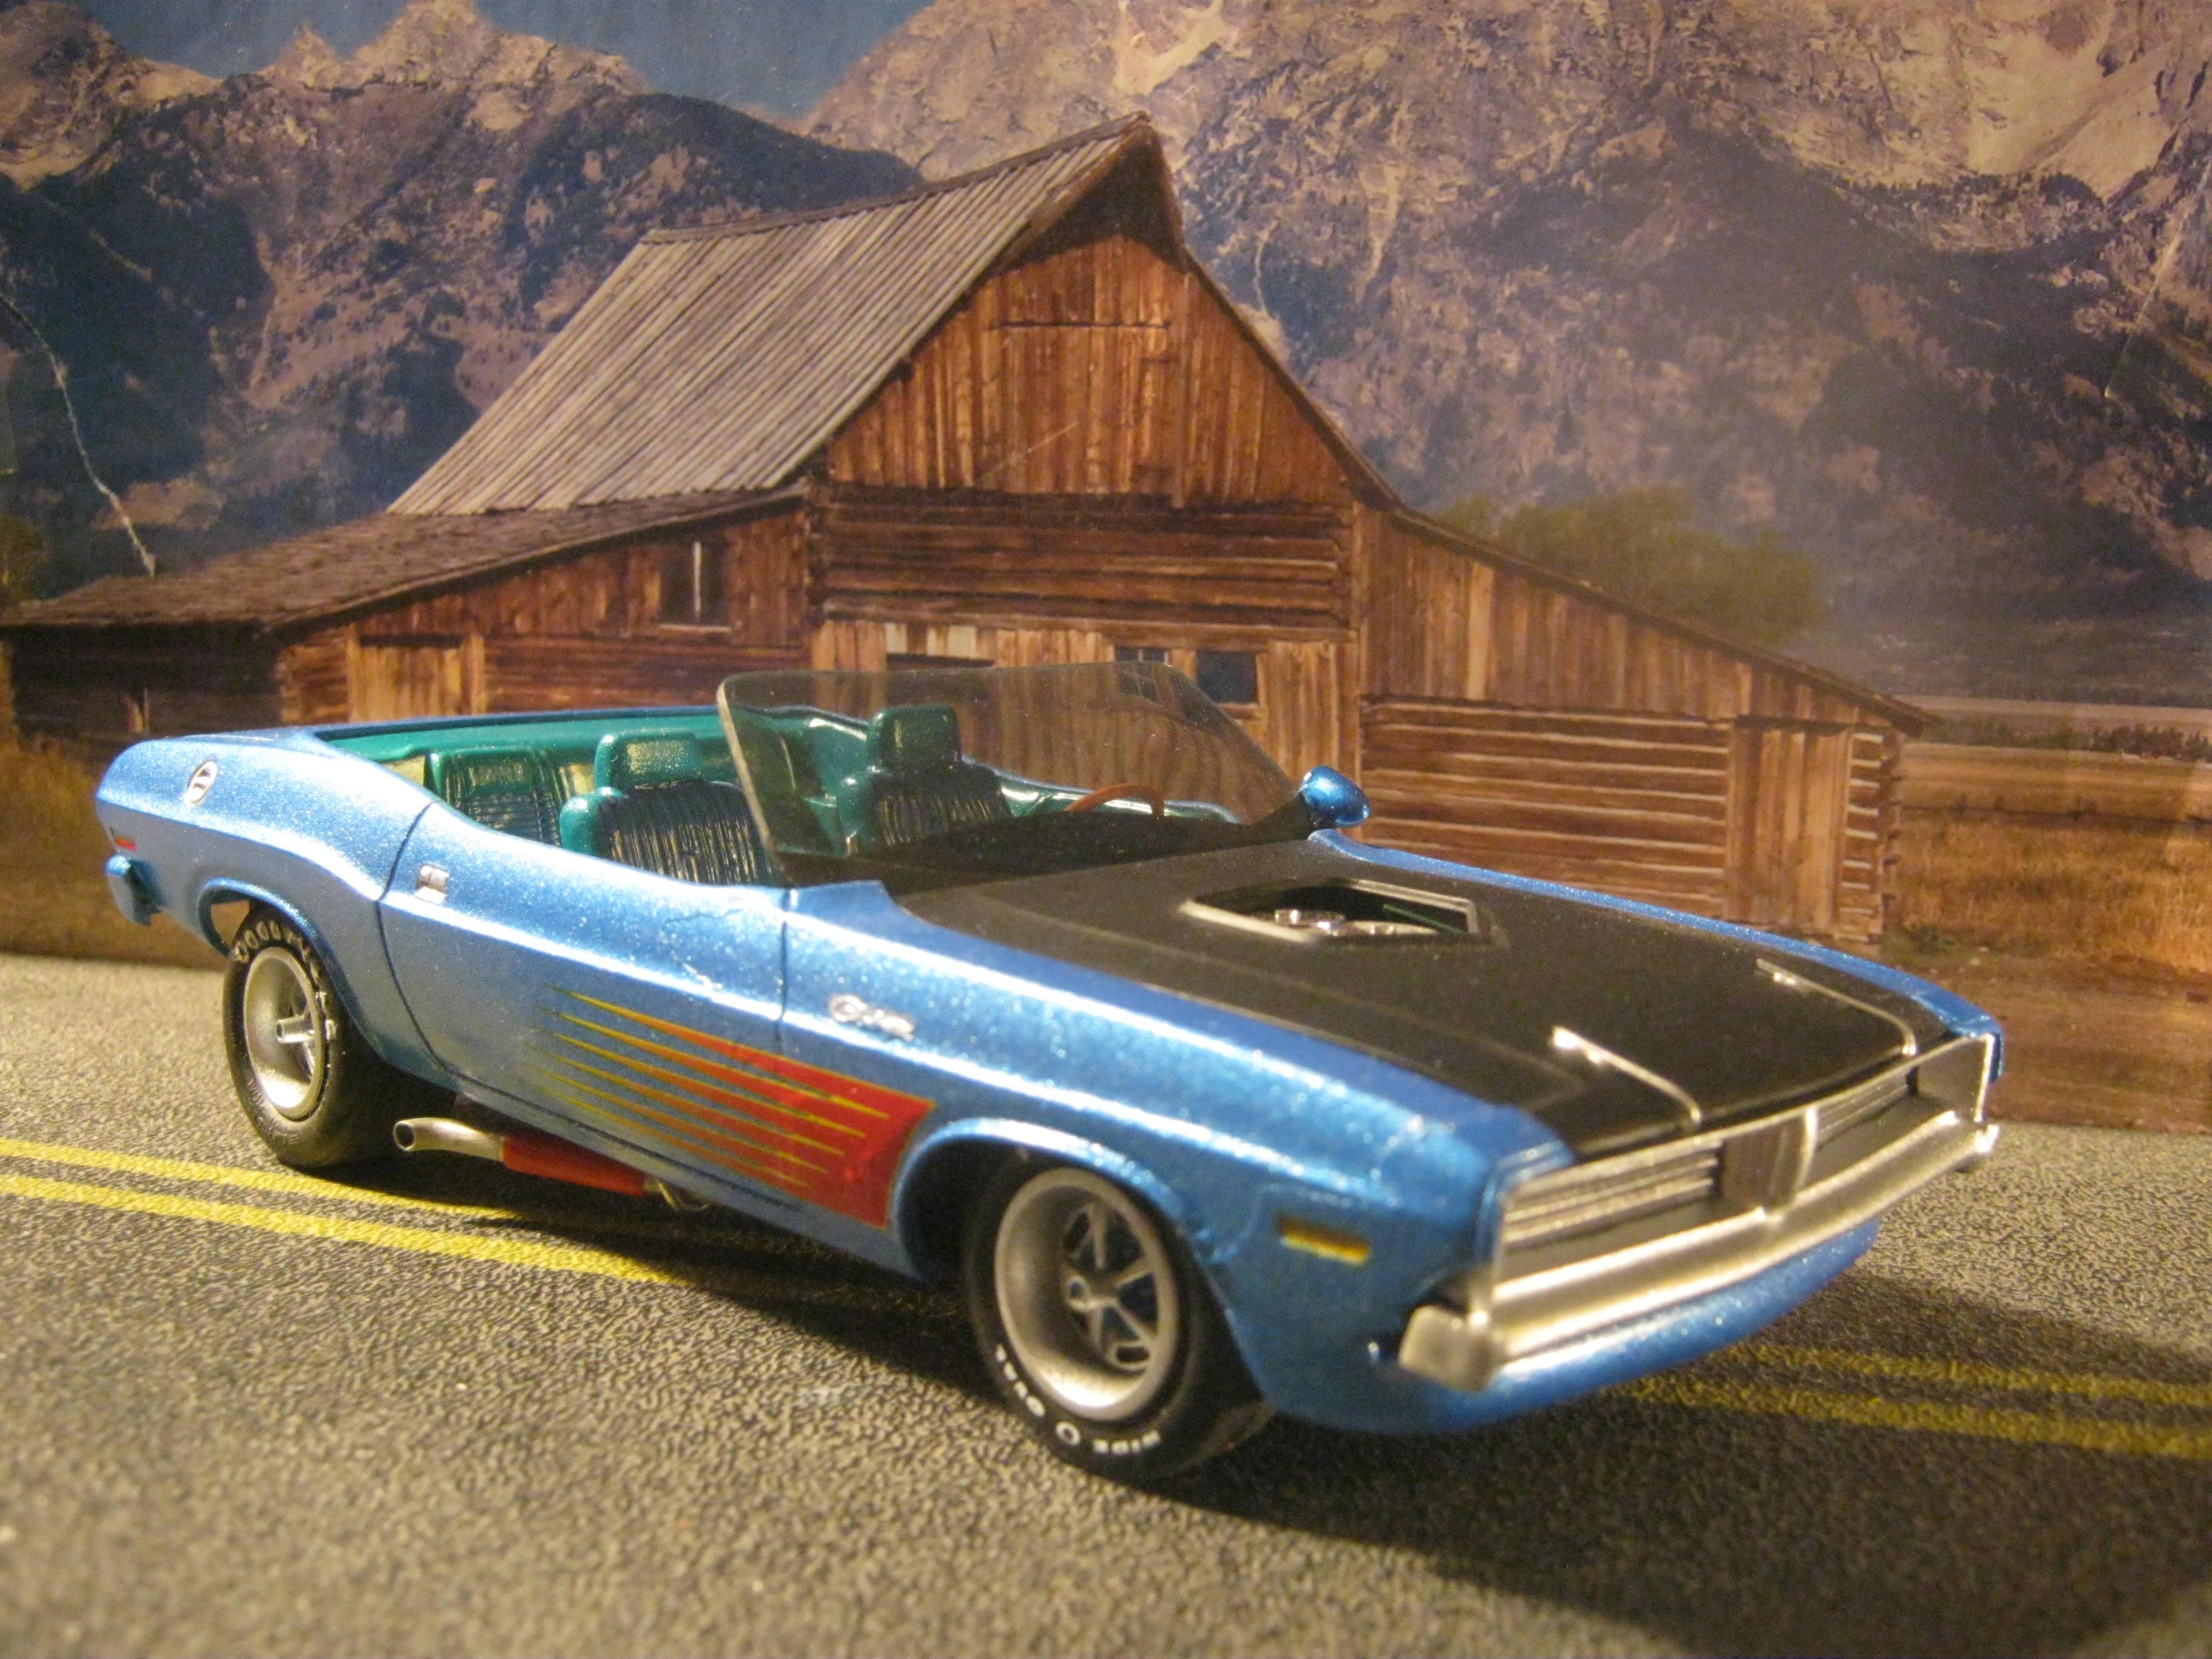
Thanks so much guys,,you do some great stuff also. Yea,,what I started with was just the body{ the stock kit was a convertible}, ,,interior bucket and bare chassis,,no A-arm sets, or rear end,, no shaker scoop for hood didnt have one in my stash of parts,,,thats it. wasnt quite sure where it would go when I started it,,but that smoked windshield looked good mocked up to the body,,the stock windshield frame was pretty crunched so I just cut it off. And the front seats are from some GM car,,cant remember which one. But it looks ok. The back bumper is some chevy 50's bumper,,I didnt have the stock front/rear lower valence pcs for the body,,so just added something that looked like a bumper,,guess I could have done a bunch web chasing for all the right parts ,,but didnt need to really. Thanks for the comments,,Build on!
-
Greetings all,,enjoy the works on here. This is a "what if" car,, entire build using leftovers from all my spare parts bxs,,so I have no idea what brand kit it is,,got it at a swap meet 1/2 built blob+ parts in a ziplock bag for 5$. I didnt have a correct front grill set,,so I put a charger front grill on,,looks ok. And the back tail lens area is a front grill from some custom kit of something. So its a kit bash for sure,,but it has its own look,,and thats all it needs. Build on!
- 9 replies
-
- 4
-

-
- 426hemi
- challengerx
- (and 2 more)
-
Thanks so much,,enjoy everyones builds on here. I got this kit at Ollies store for 1/2 off ,,around 20$. Great kit,,forgot to mention I used RC tires+ rims for rear tire set,,it fit the scale pretty good. Build On !
-
Thanks so much all,,if I had the $$ this comet 1:1 would be in the garage for sure,,along with many others. A cobra kit car,,factory 5 racing builds a great kit car,,now that would be a blast to build!
-
Ok,,good to know,,one more question,,what makes enamel paint "gel-up" after a few months? It happens to only certain colors,,Ill open the cap to stir and the whole amount of paint is a "block " of jello like blob and its junk at that point,,and toss out with still 1/2 the paint in bottle? I add thinner to many paints after having for a month or so,,but some colors just seem to do it more than others. Its a mystery to me.
-
I always label with a marker also,,so far so good,,one question,,is there an advantage to storing the bottles upside down? I may learn somthin here,,,
-
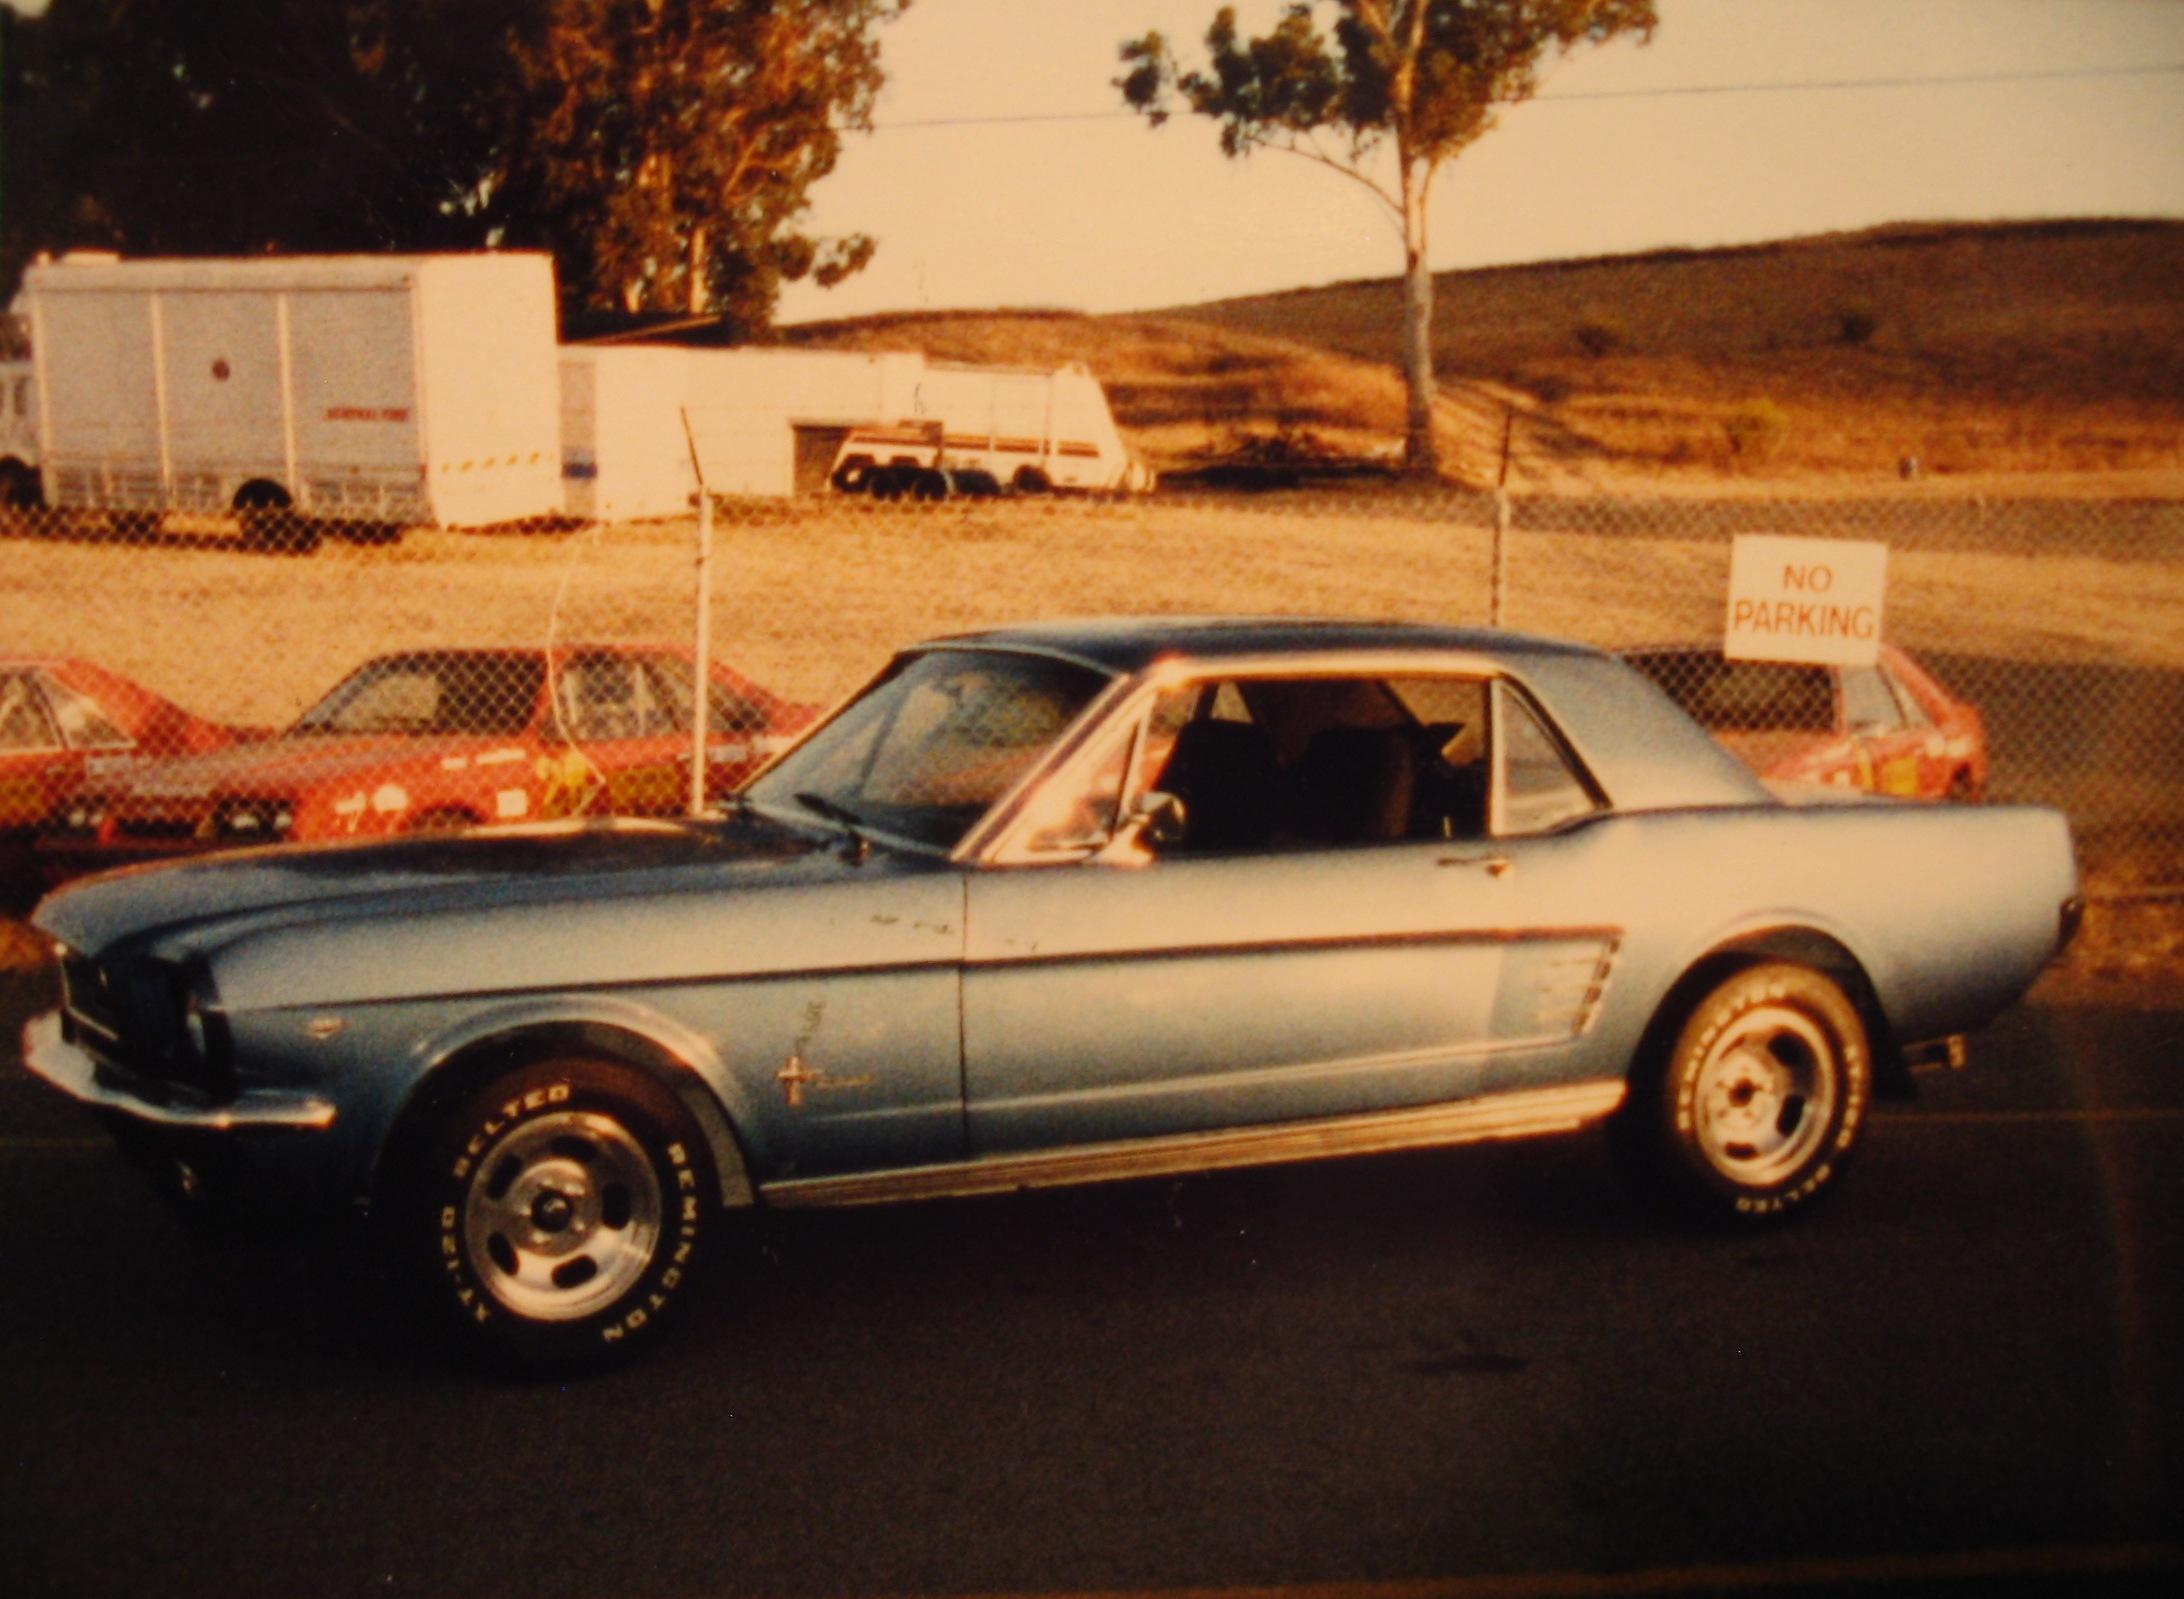
Thanks so much,,you guys rock also. Ive always wanted a 1:1 Comet/falcon,,years ago I owned a 1:1 66 Stang, it had a 302 out of a 76 Maverick,,Hiback buckets from a 76 pinto,,mild build up on the motor,,slot alum mags,,and some custom air dam work on front ,,The small blk air catch tray just below front valence,,its angled upward at back of it to force air up from below,,{ as usual I cant just leave a car stock,,lol} These pics from Sears point raceway Northern Ca, on there track days event,,the lil 66 did pretty good on that track,,would have been better if I had lowered the car 3 inches or so. ,but the 60's era cars from the big 4 are so cool. They dont build em like they used to thats for sure. Enjoy the styrene!
-
Thank you sir,,it turned out decent. Moebius did a great job on this one. Thanks for looking.
-
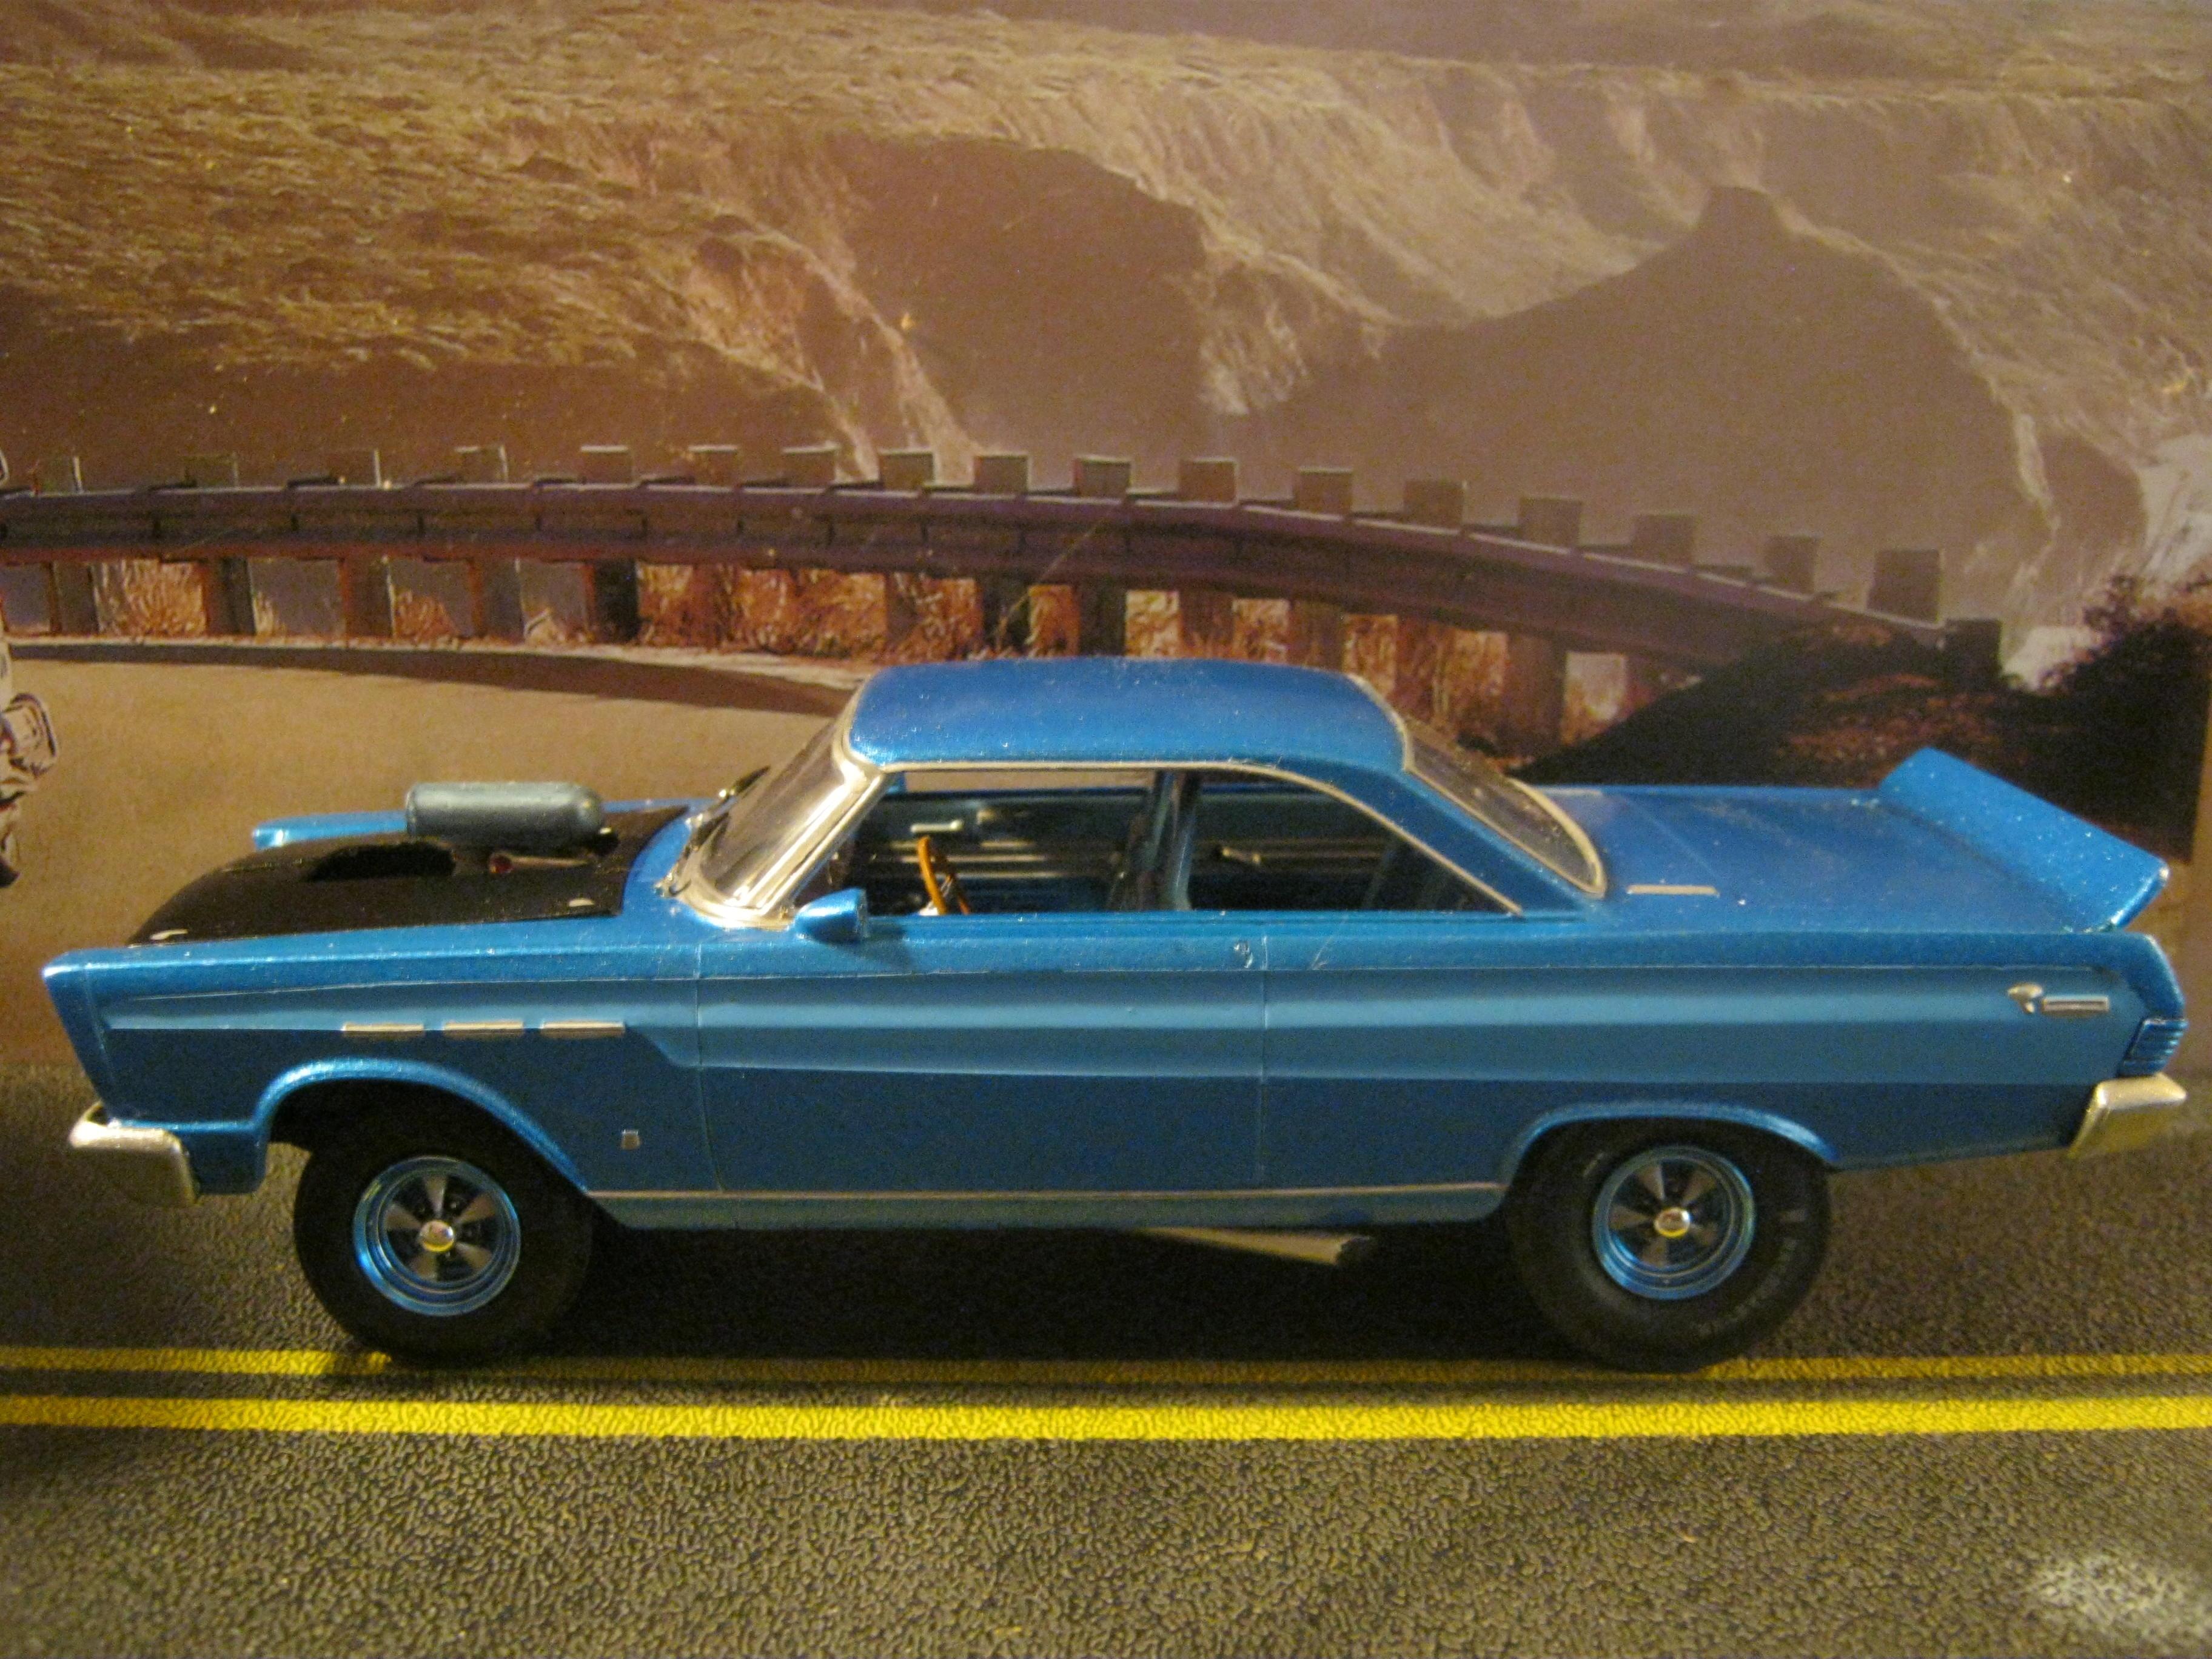
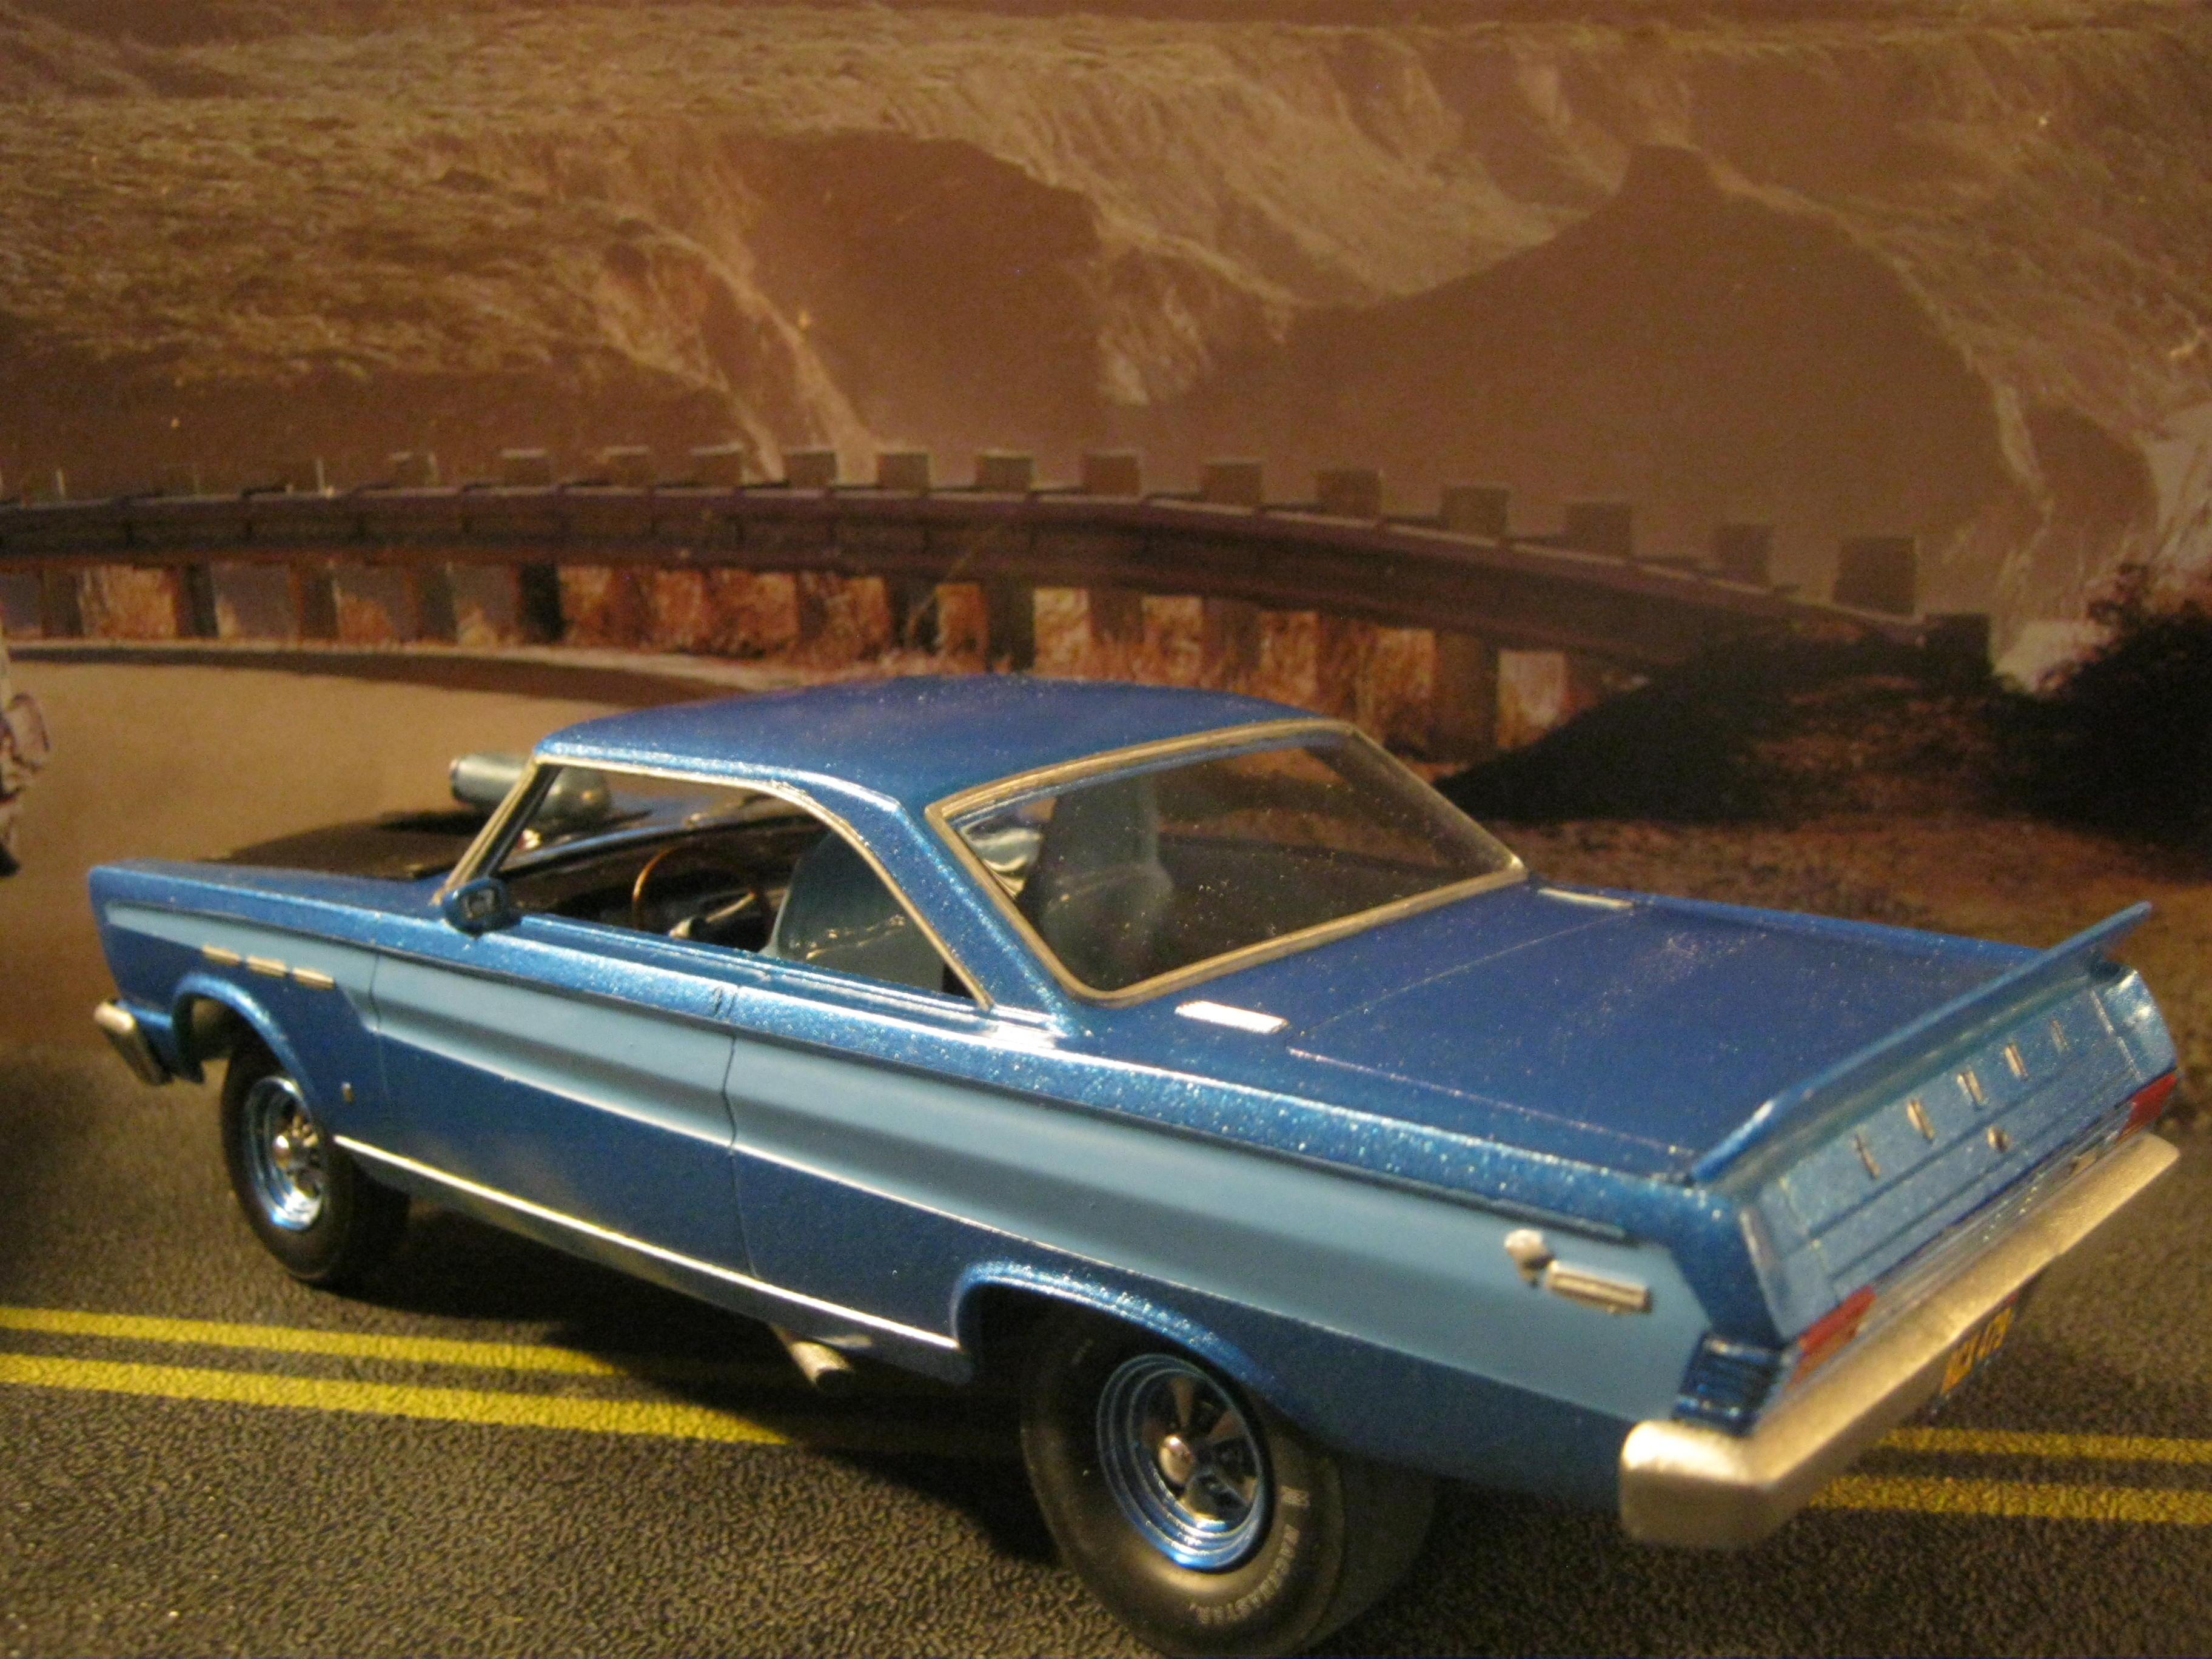
Howdy folks,,Does anyone ever unbox a bunch of ol' kits just to dust em off,,and revisit them? I forgot some of the kits I did years ago,,this being one. Moebius did a great job with these kits,,it has so many possible versions one can do. I did a street/strip racer, I ,saw somthin similar to this,,1:1 at Woodward this year,,it was an orange color PS Comet. I added a rear spoiler/wing,,because all cars should have a wing of some type. Even minivans and volkswagon rabbits. So this one got one. and some x-tra bits,,tyres+ rims from the spare parts bx,,minor wiring and stuff. One of my fav kits,,,,Onward! Thanks for lookin.
- 12 replies
-
- 1
-
-
- cometfairlane
- 427
- (and 2 more)
-
Thanks again,,I still wish I could get the rear glass somewhere,,im sure theres one out there,,just dont want to pay 30+$ for a new kit just for the rear glass Ive seen these kits in the hobby stores. Great kit,,thanks for lookin.
-
Coming soon,,,,"Challenger X " Another glue blob resto from the swap meets,,,,
-
Thanks guys,,enjoy your stuff as well. I remember where I got this kit,,it was from a swap meet years ago and it didnt have the rear glass with it,so thats why it dosent have the rear glass. it was a 1/2 built glue blob in a ziplock bag for 5$ lol. And I had to supply rims+ tires from the spare parts box also. Gotta get that styrene flyin! Thanks for lookin! Build on S
-
tThanks Rusty,, I just realized,,I left the back window out cause it didnt fit quite right something in the molding of it. Thanks for lookin,,build on
-
AMT 55 Chevy
skymnky721 replied to Horrorshow's topic in Other Racing: Road Racing, Salt Flat Racers
Nice racer,,as far as having to trim the interior,, may be easier w/a dremmel tool? Ive had to do the same thing to the last 3 kits Ive built,and had to straighten chassis twists as well. -
Datsun 240K 1974 Bathurst 1000
skymnky721 replied to ShawnS's topic in Other Racing: Road Racing, Salt Flat Racers
Looks like a mini-Torino just a bit,,nice lookin racer! -
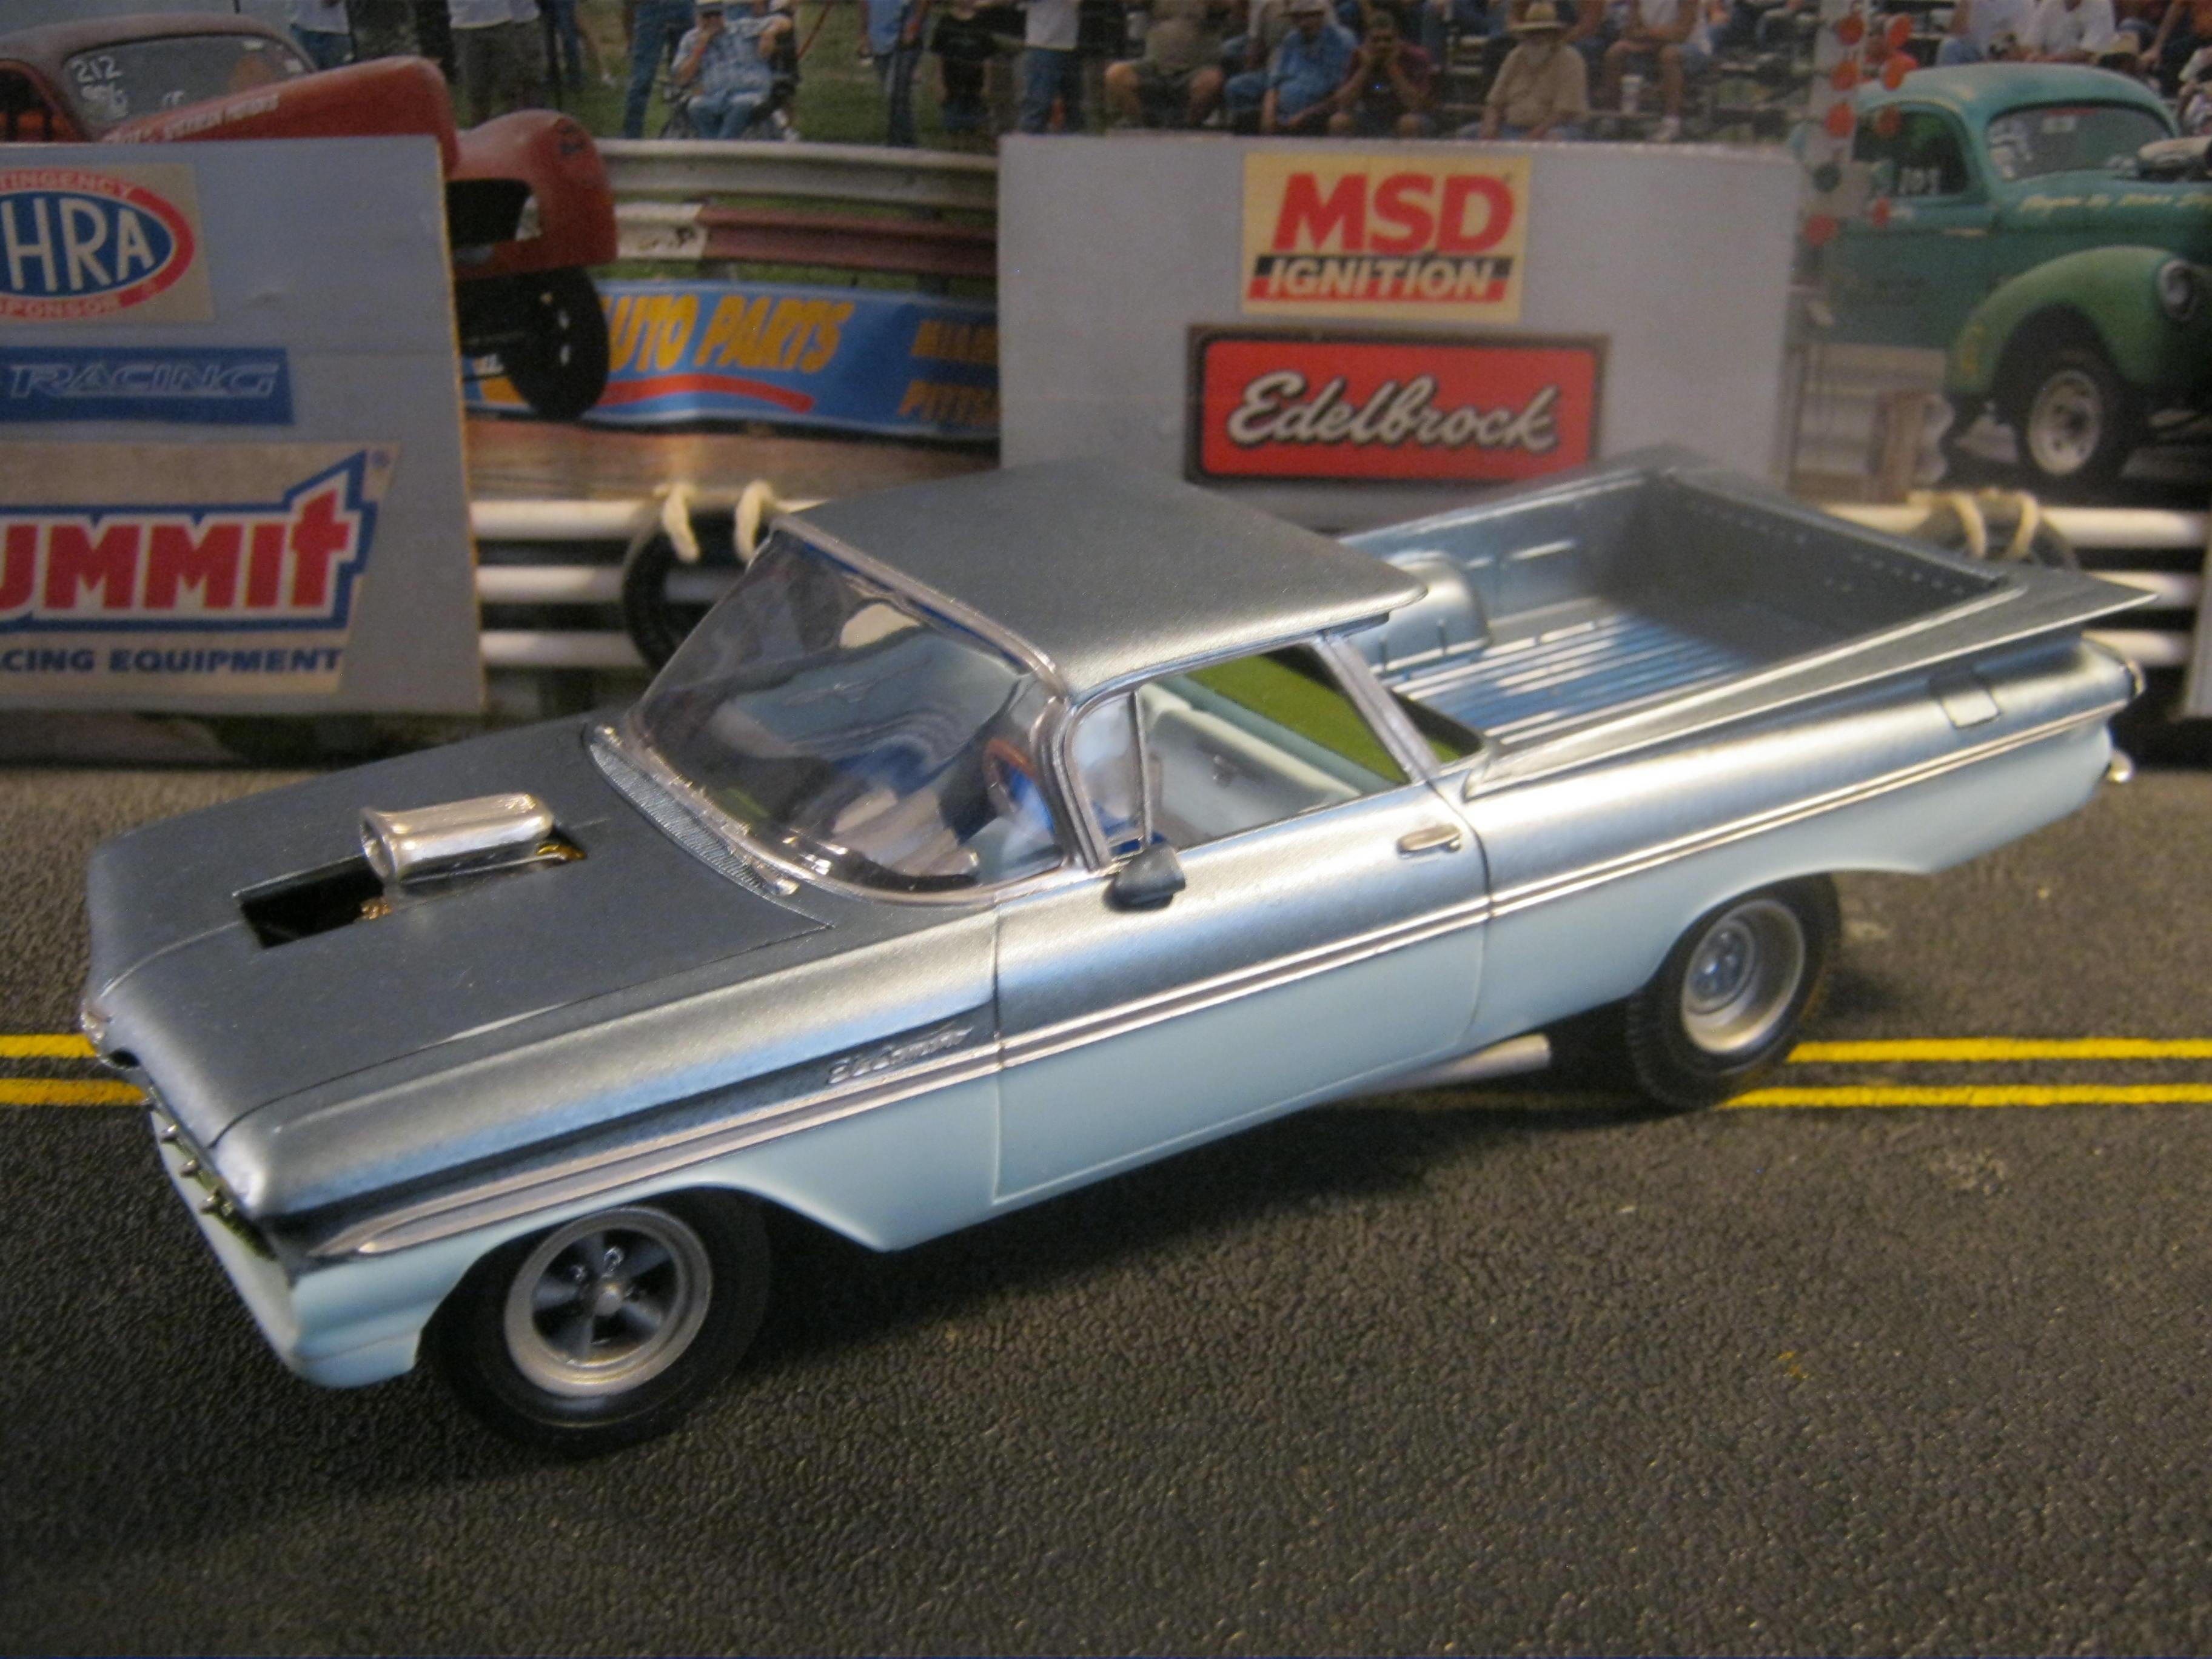
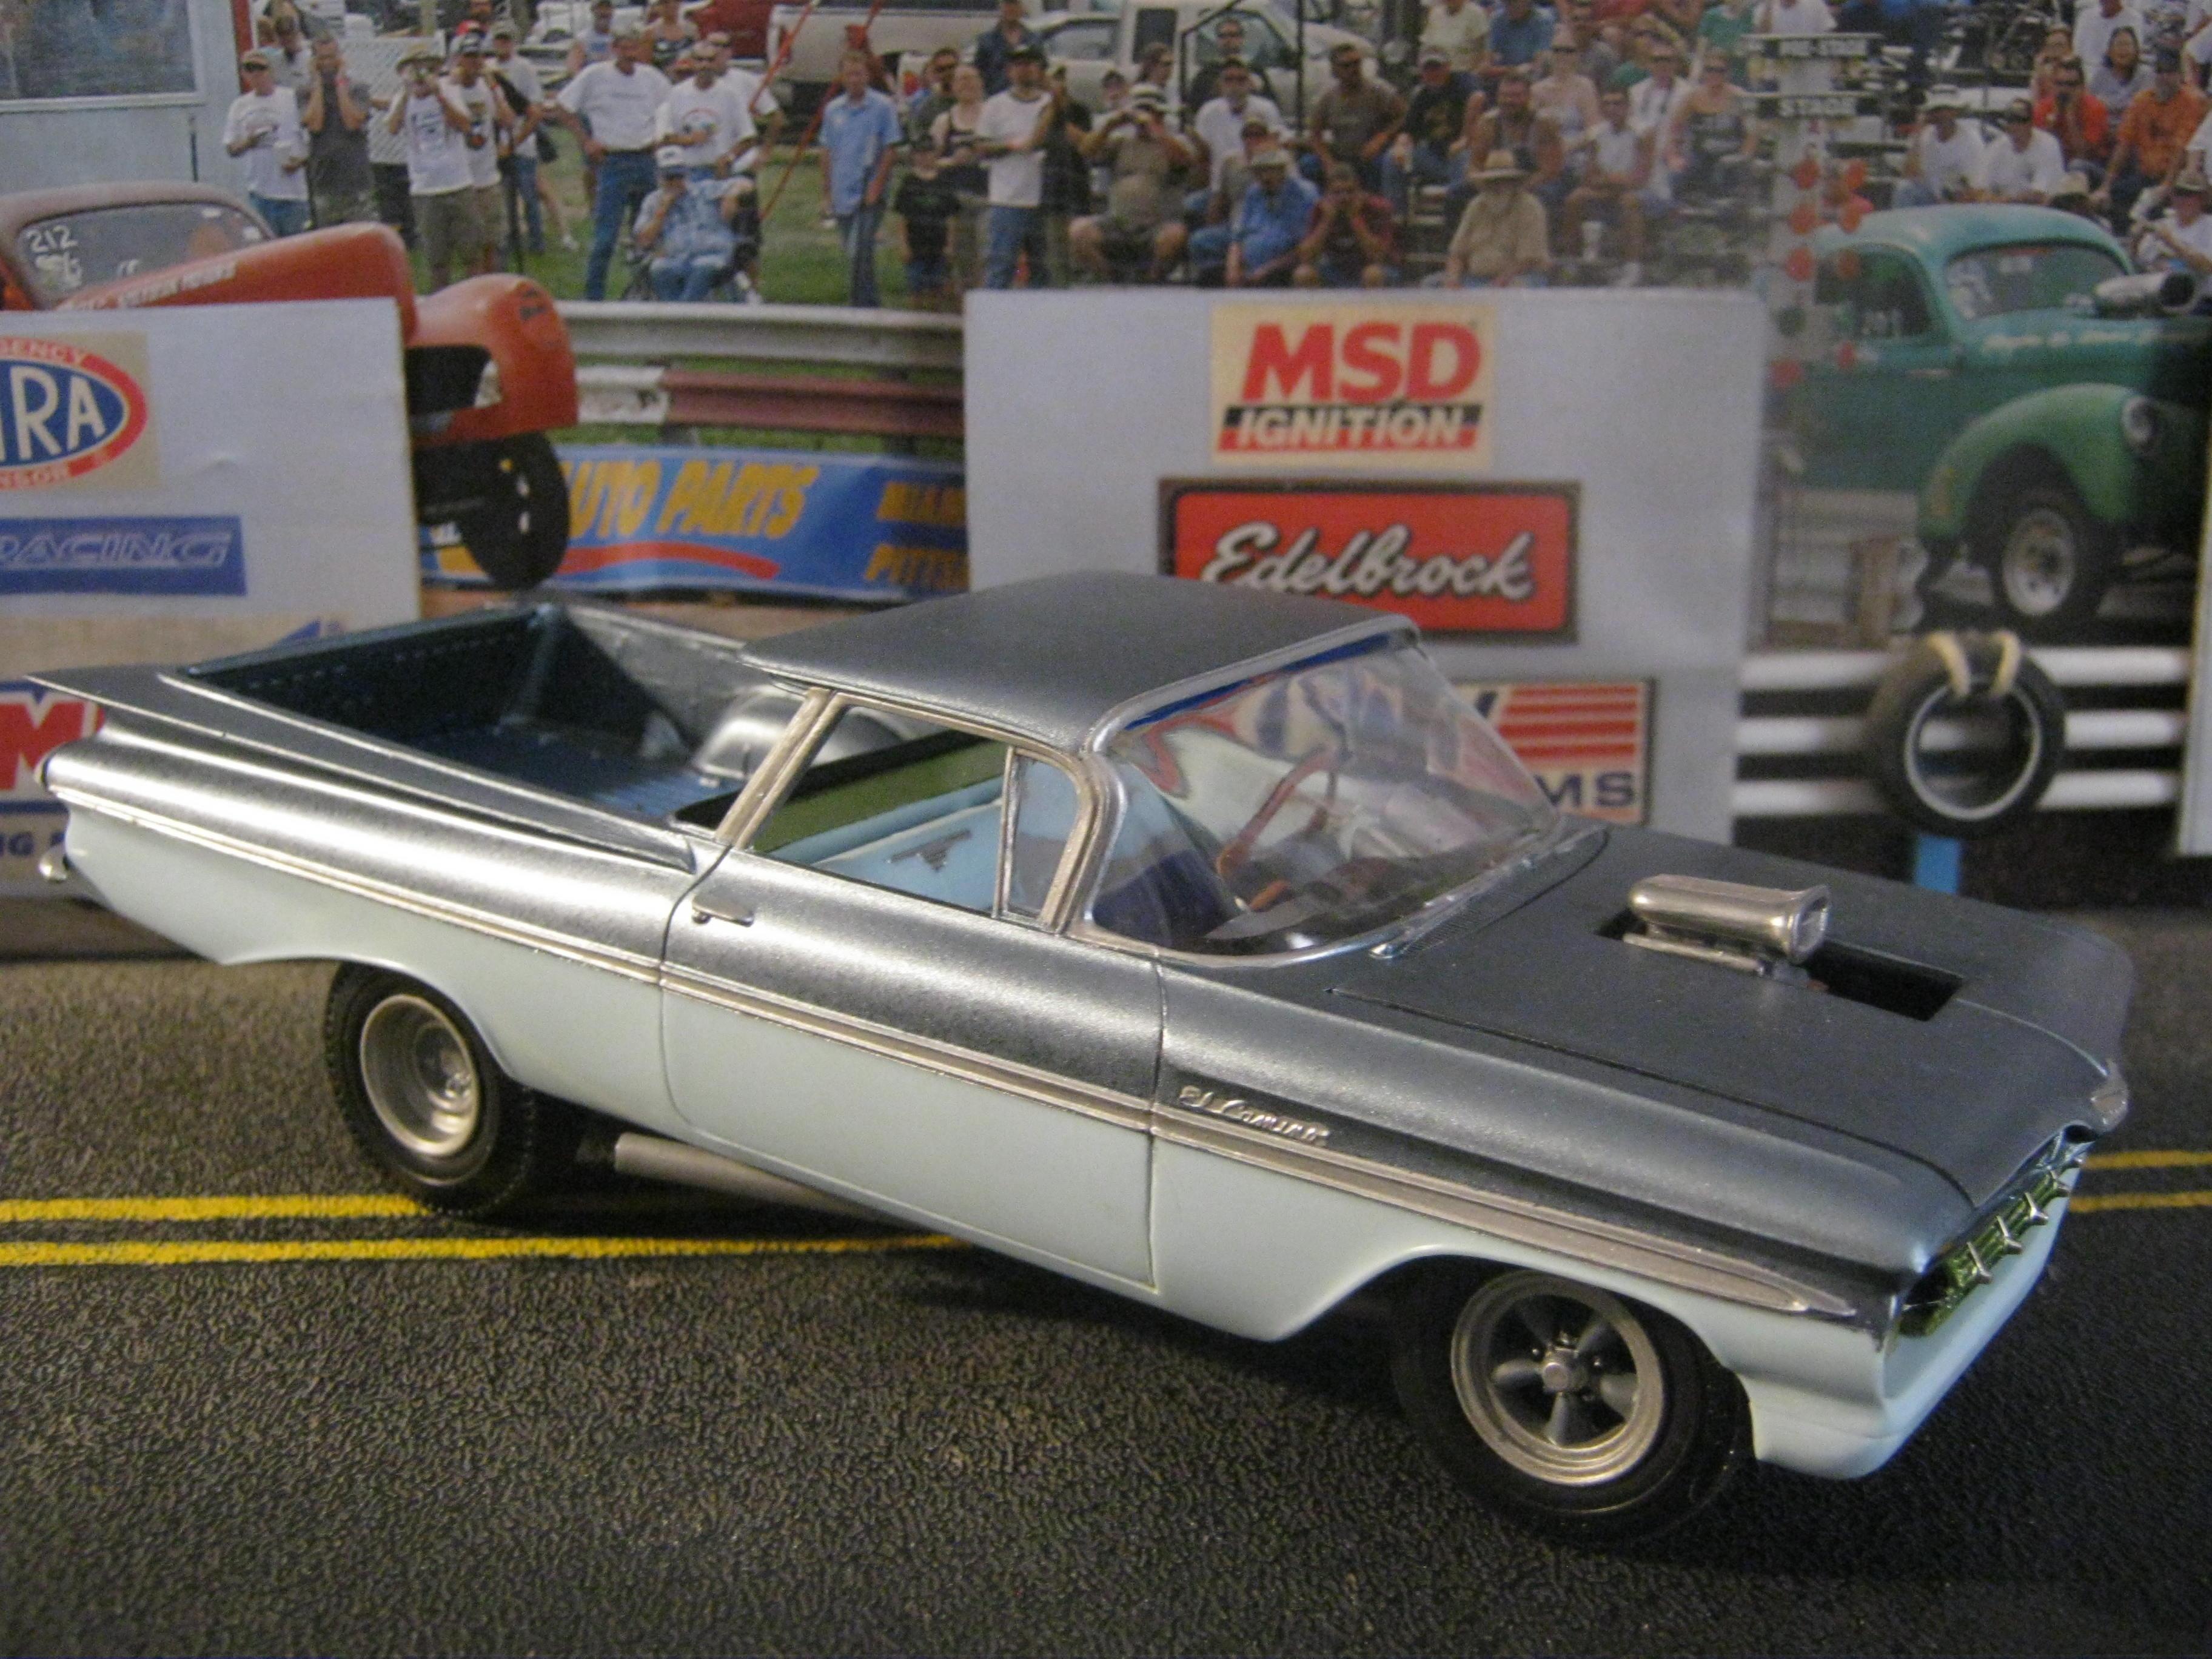
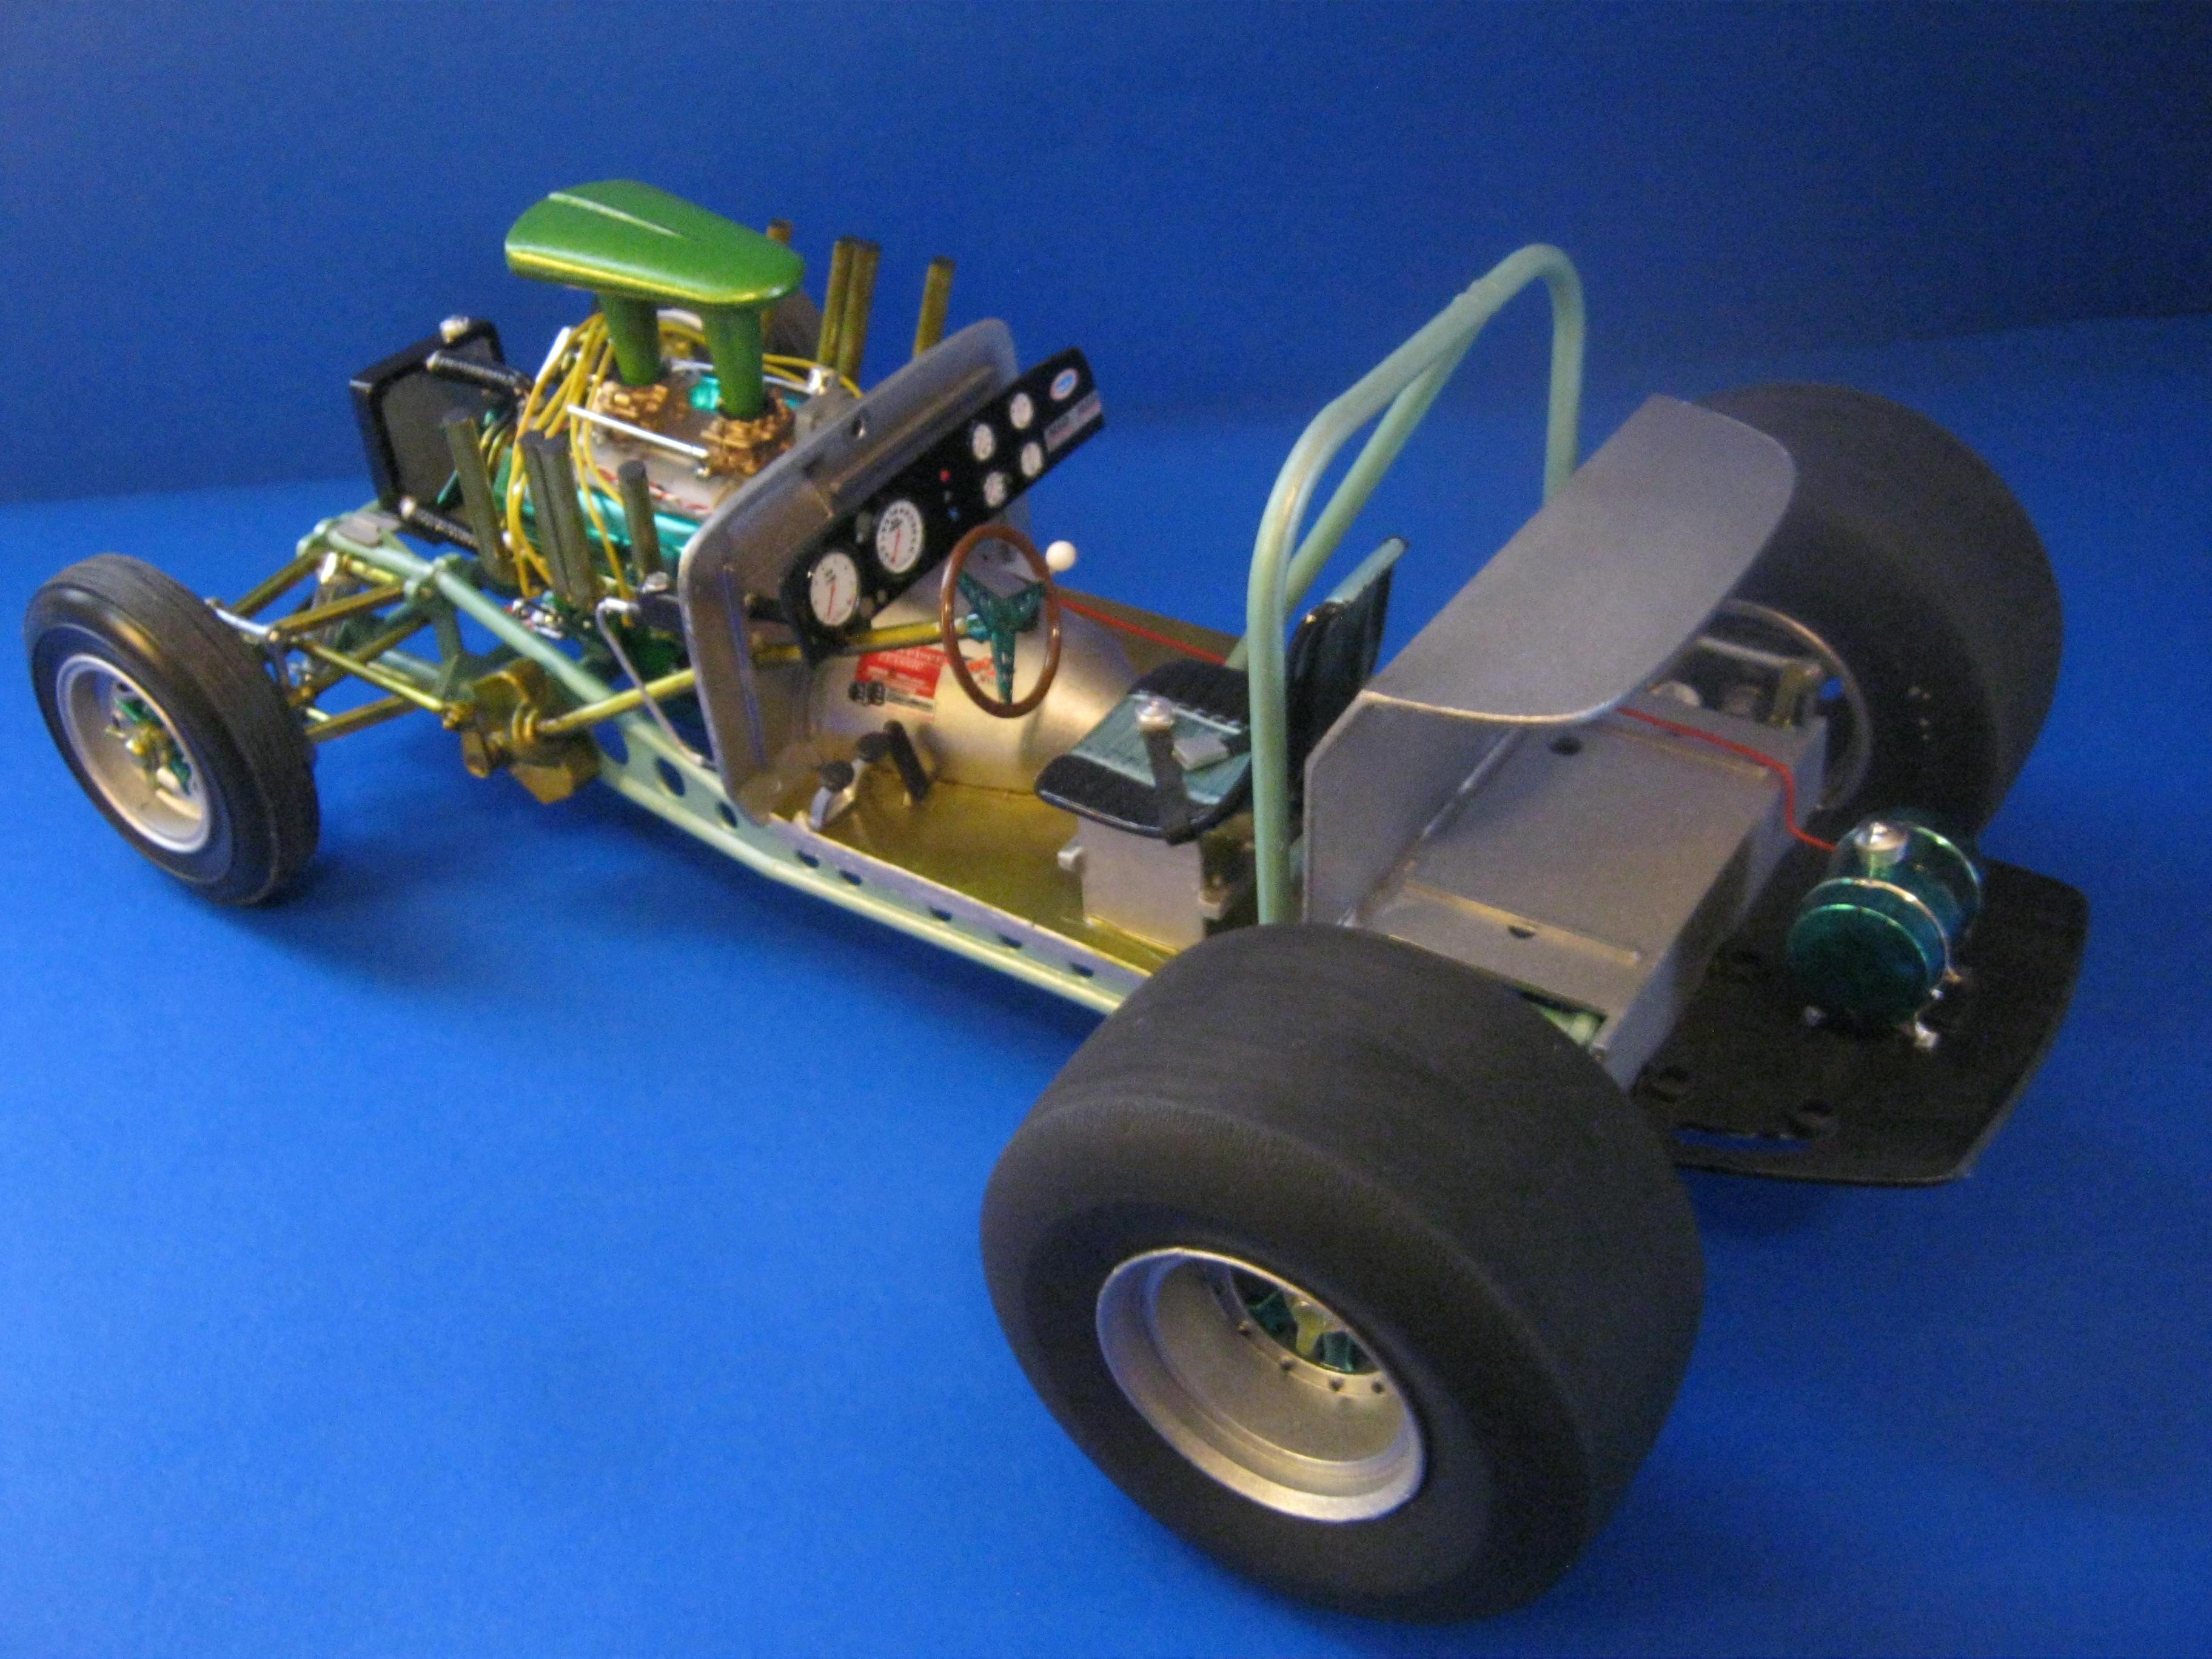
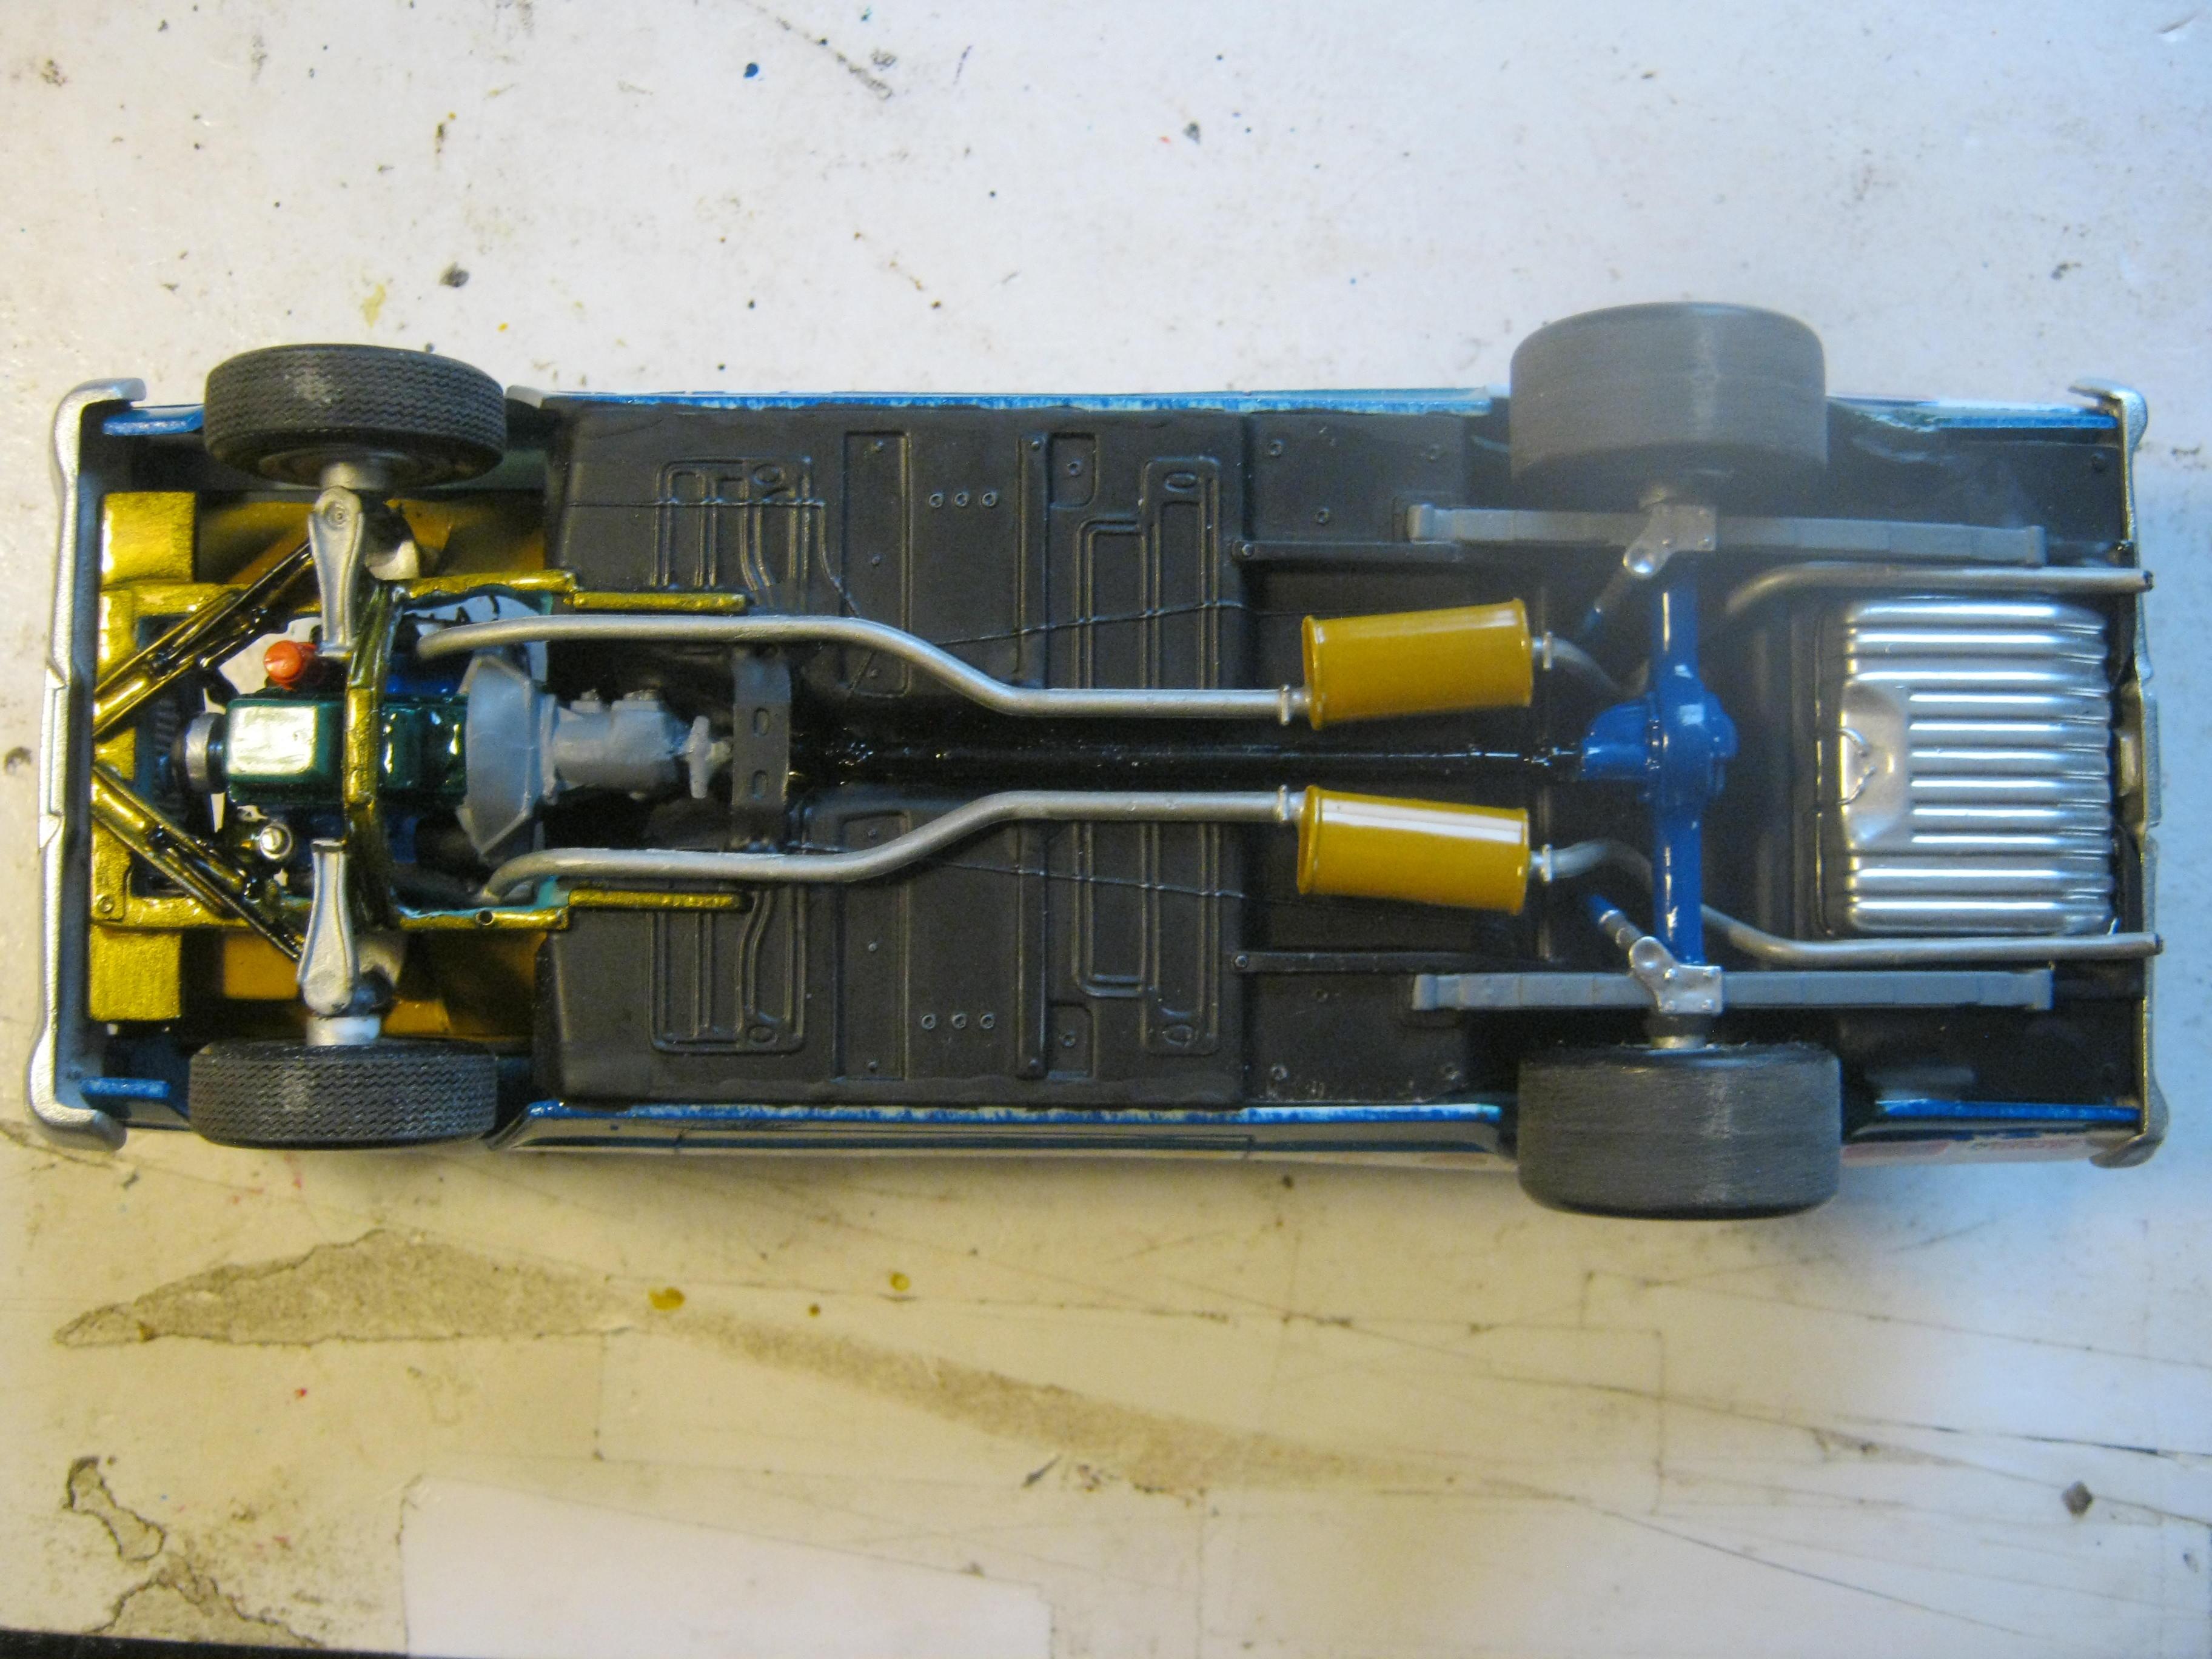
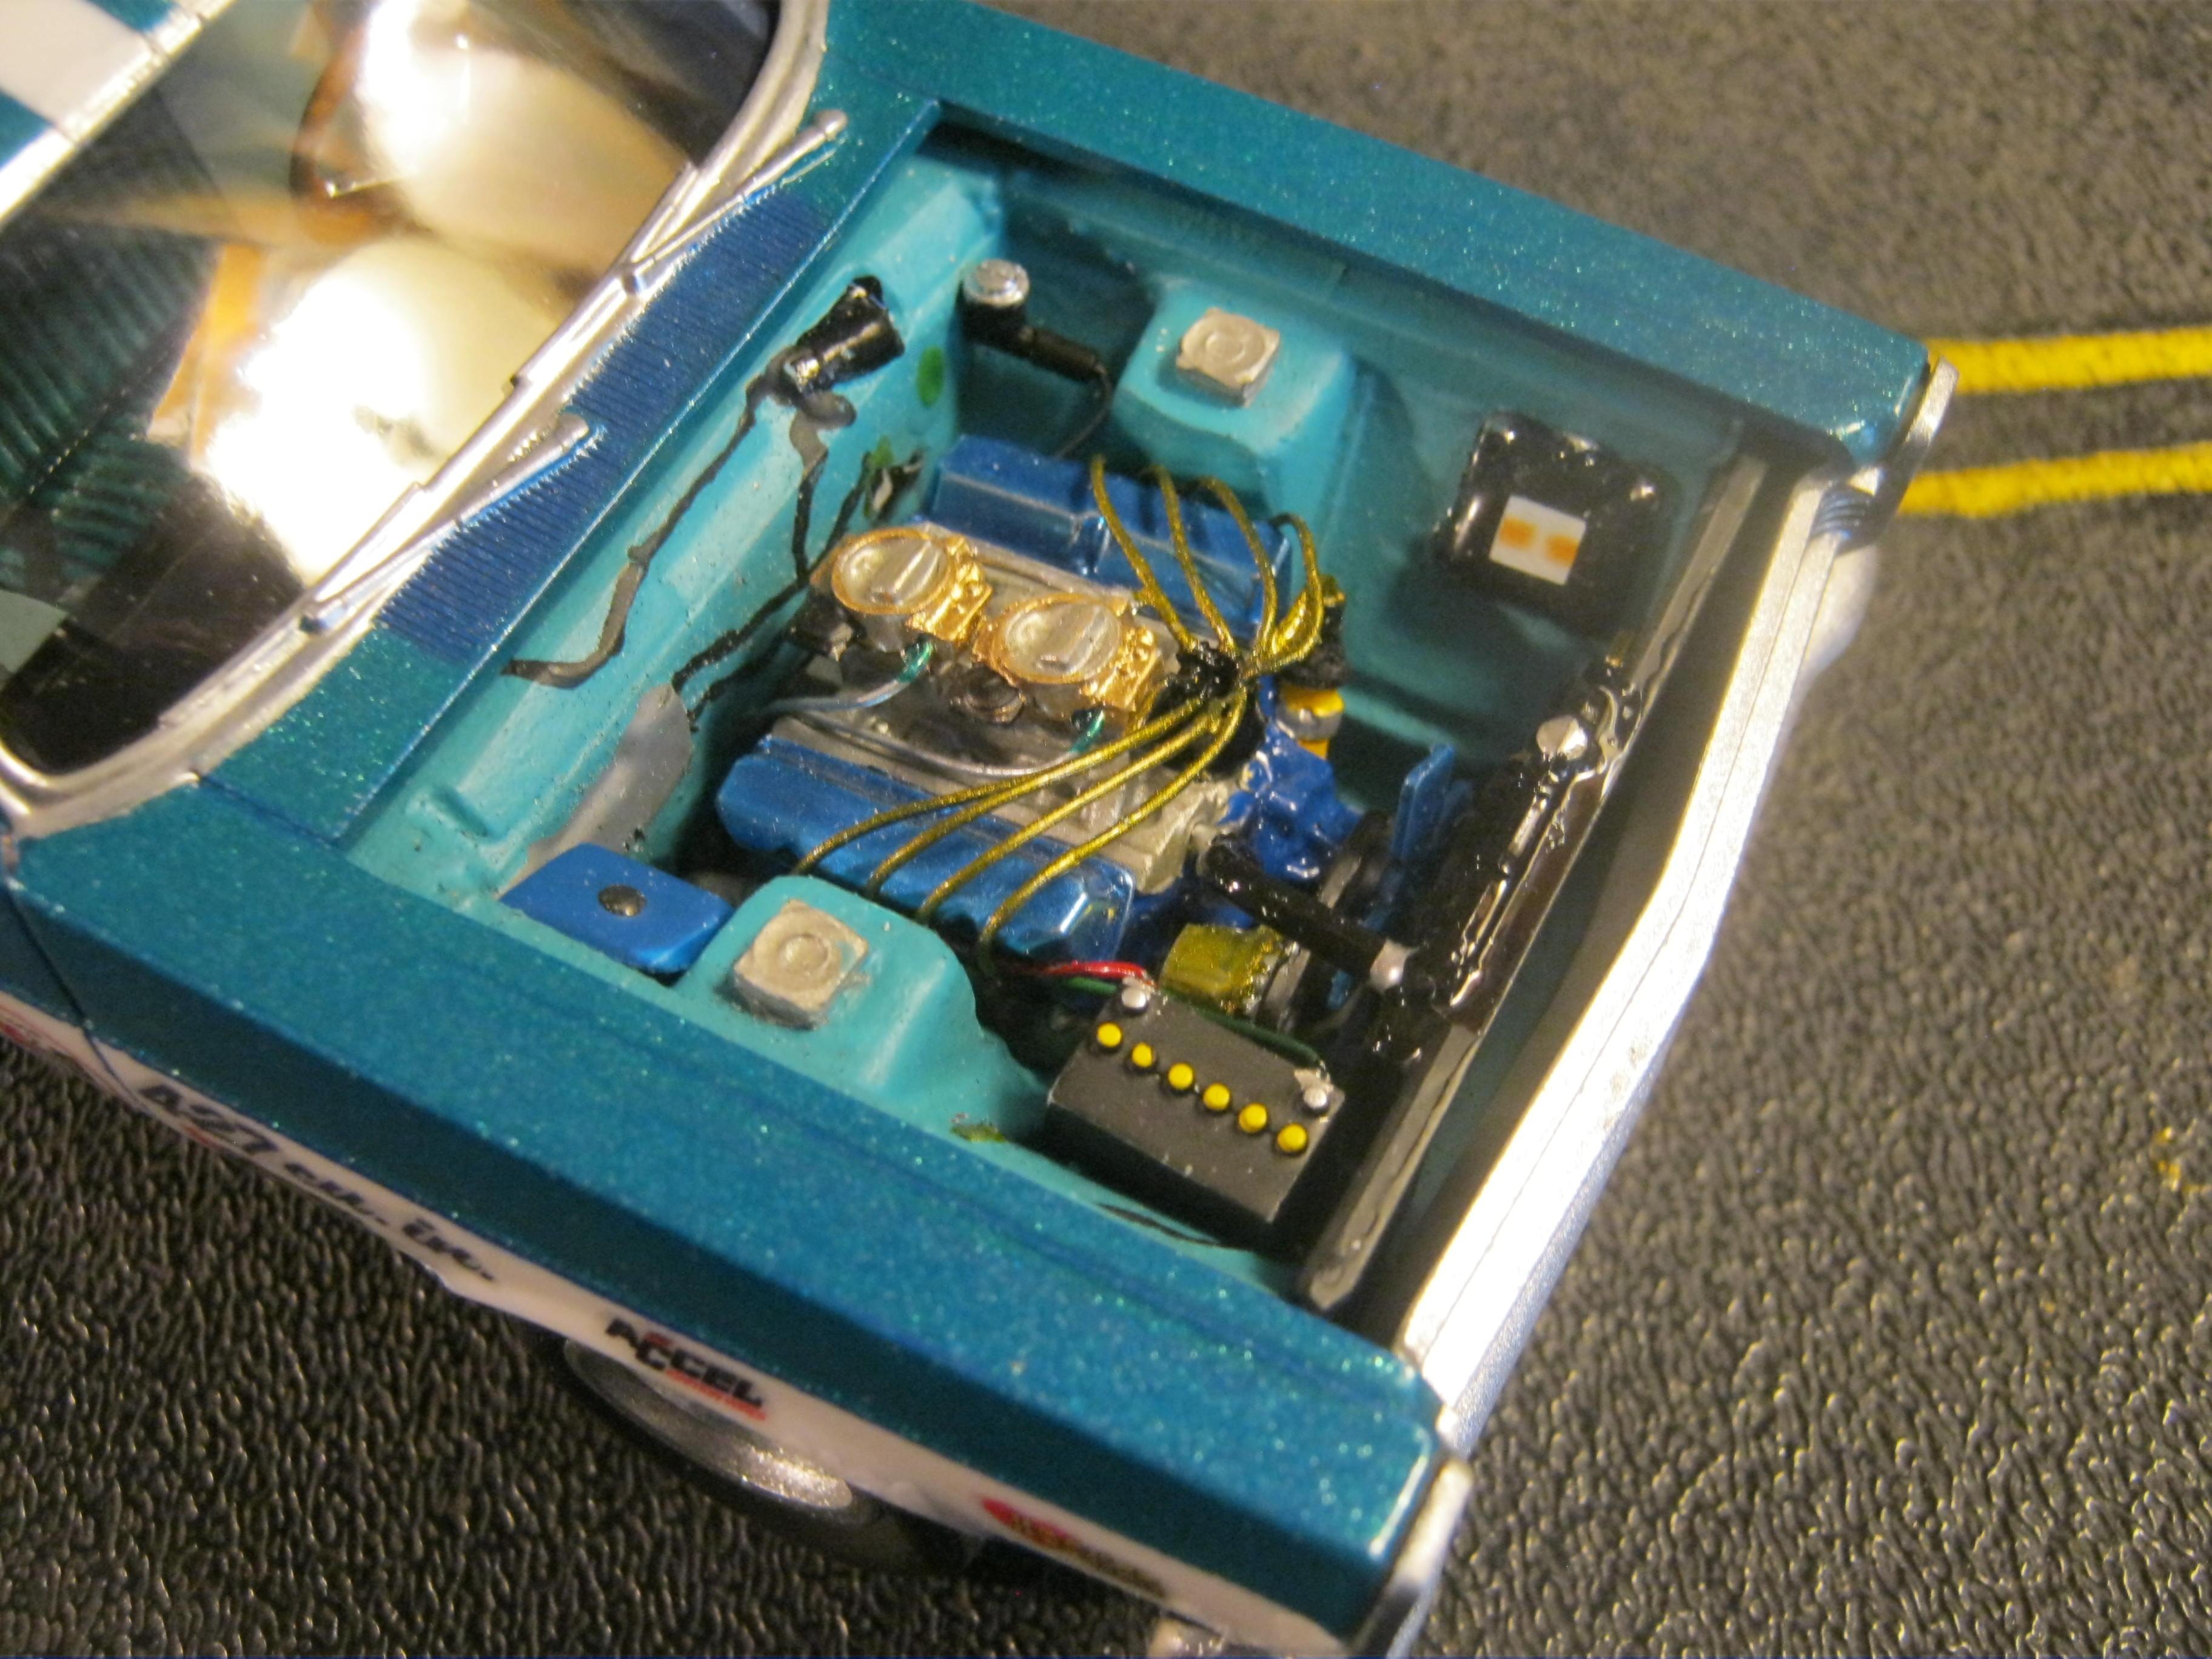
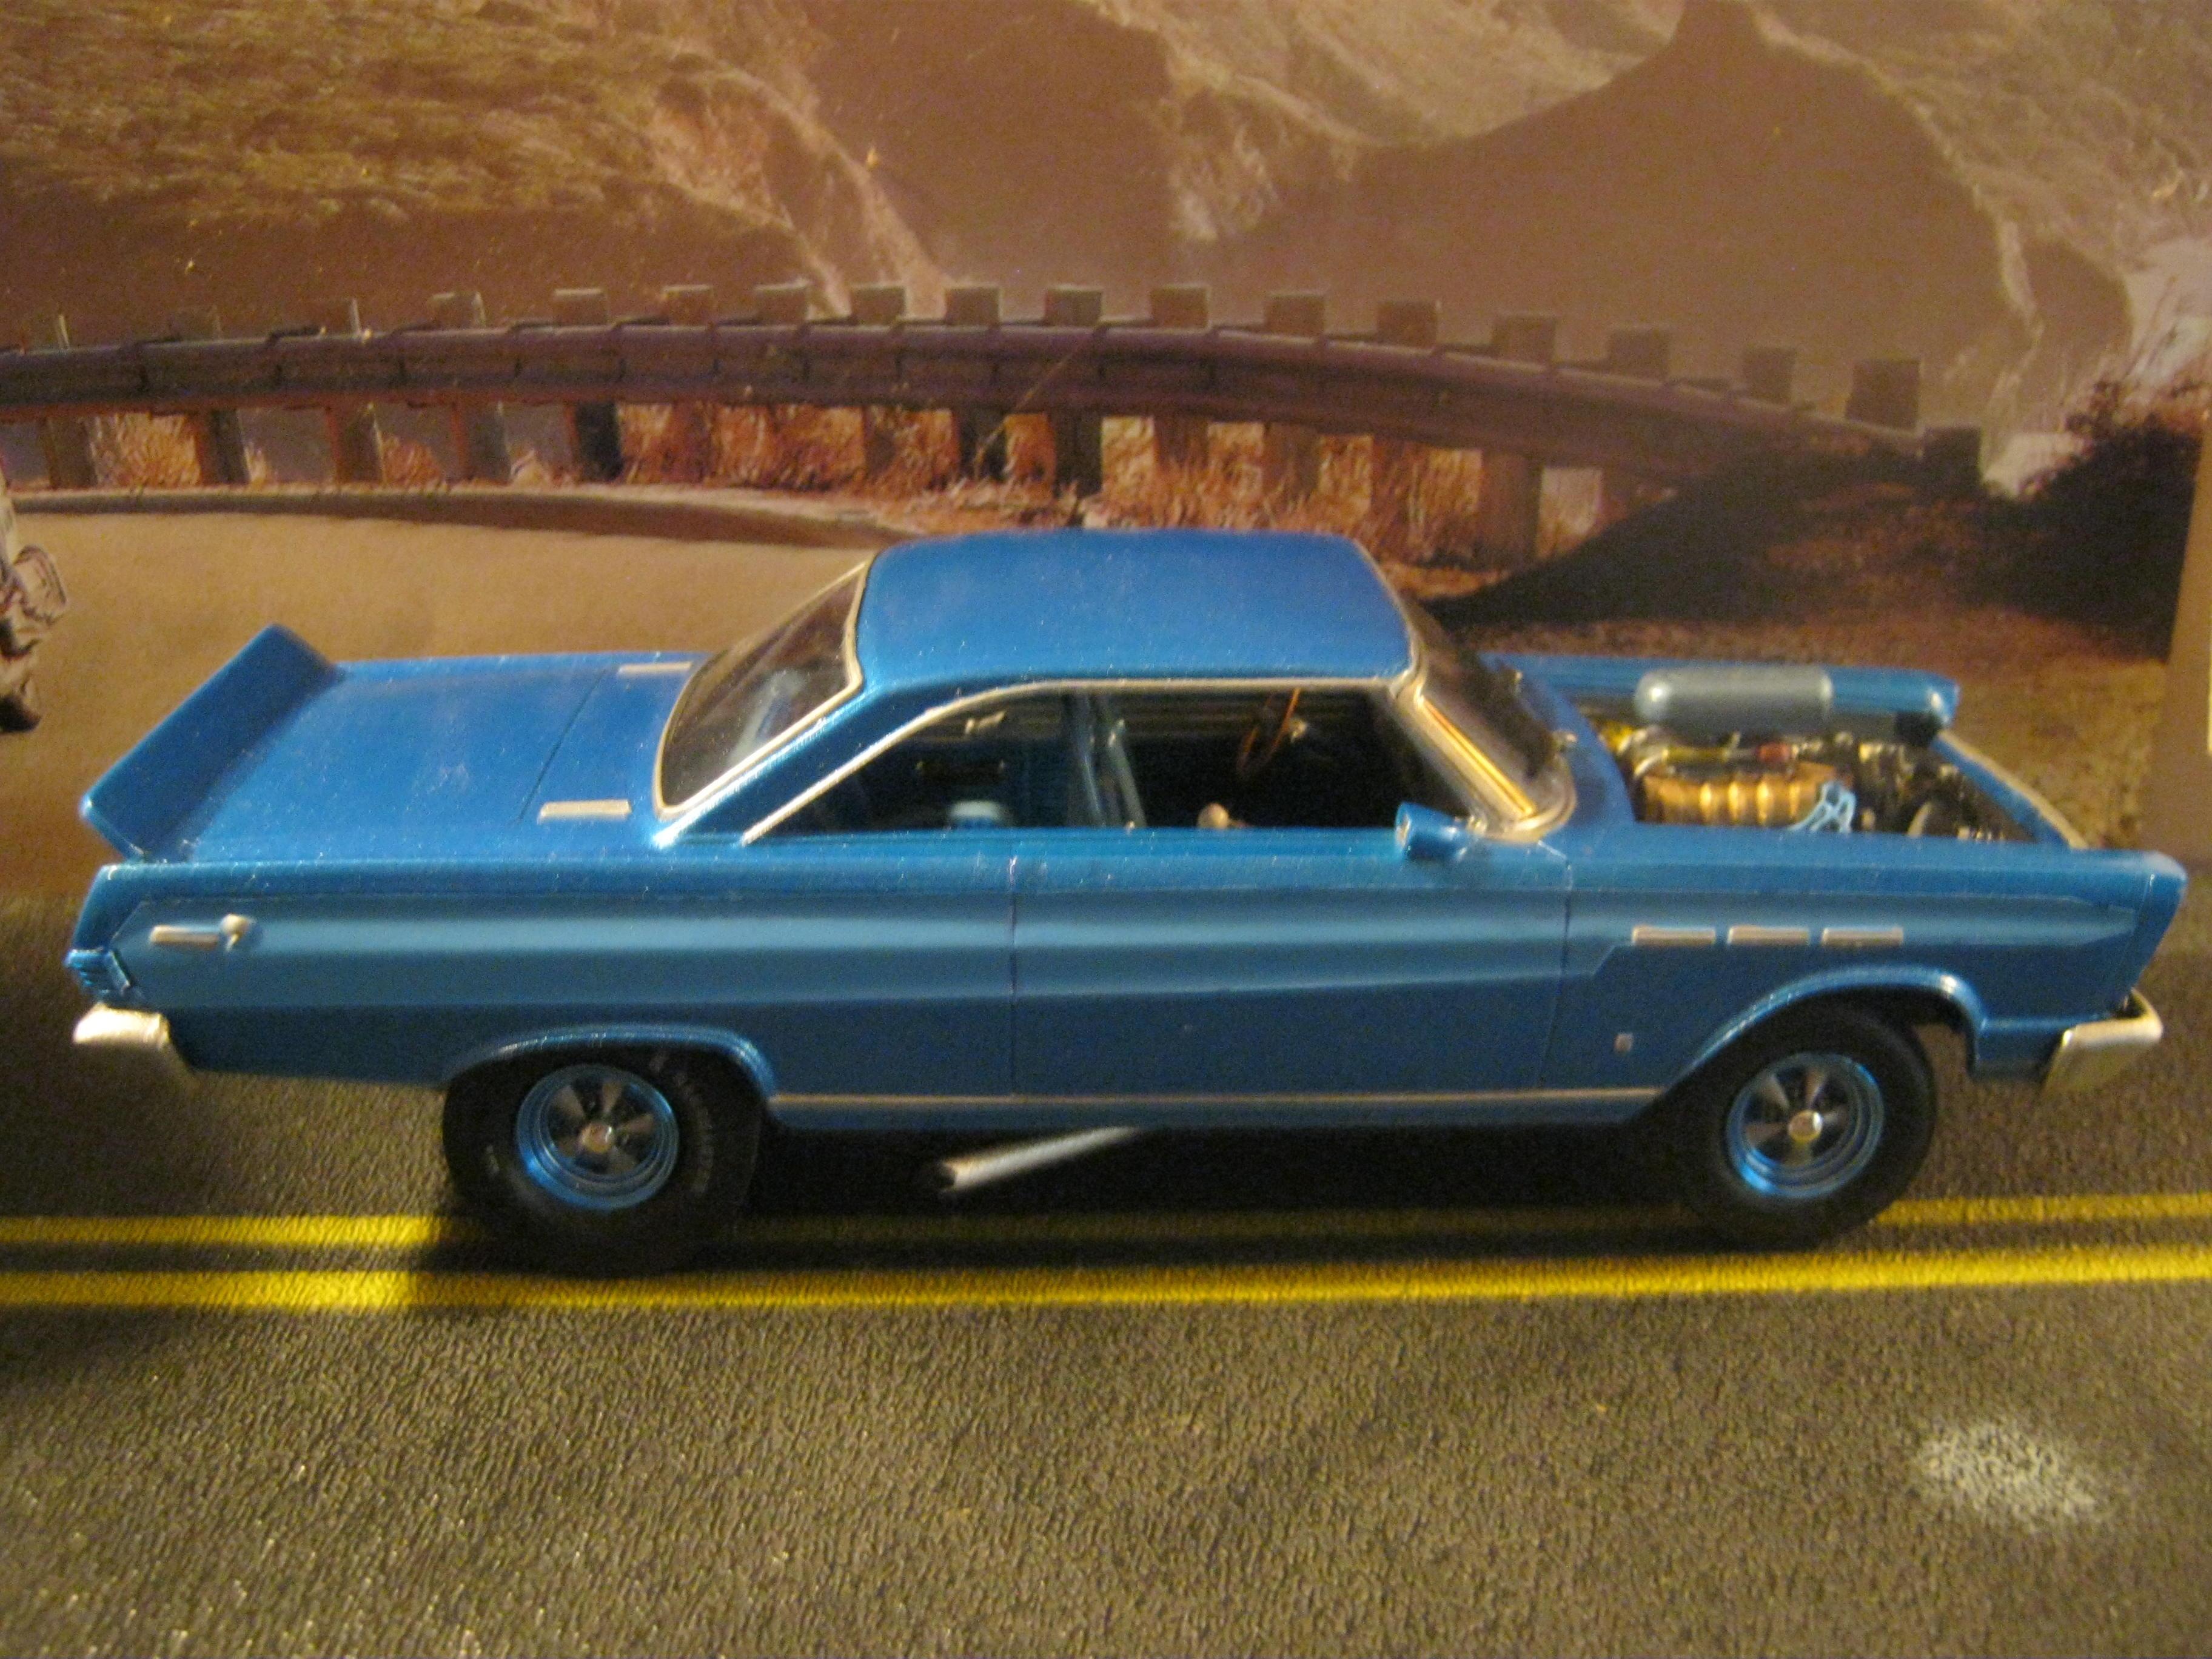
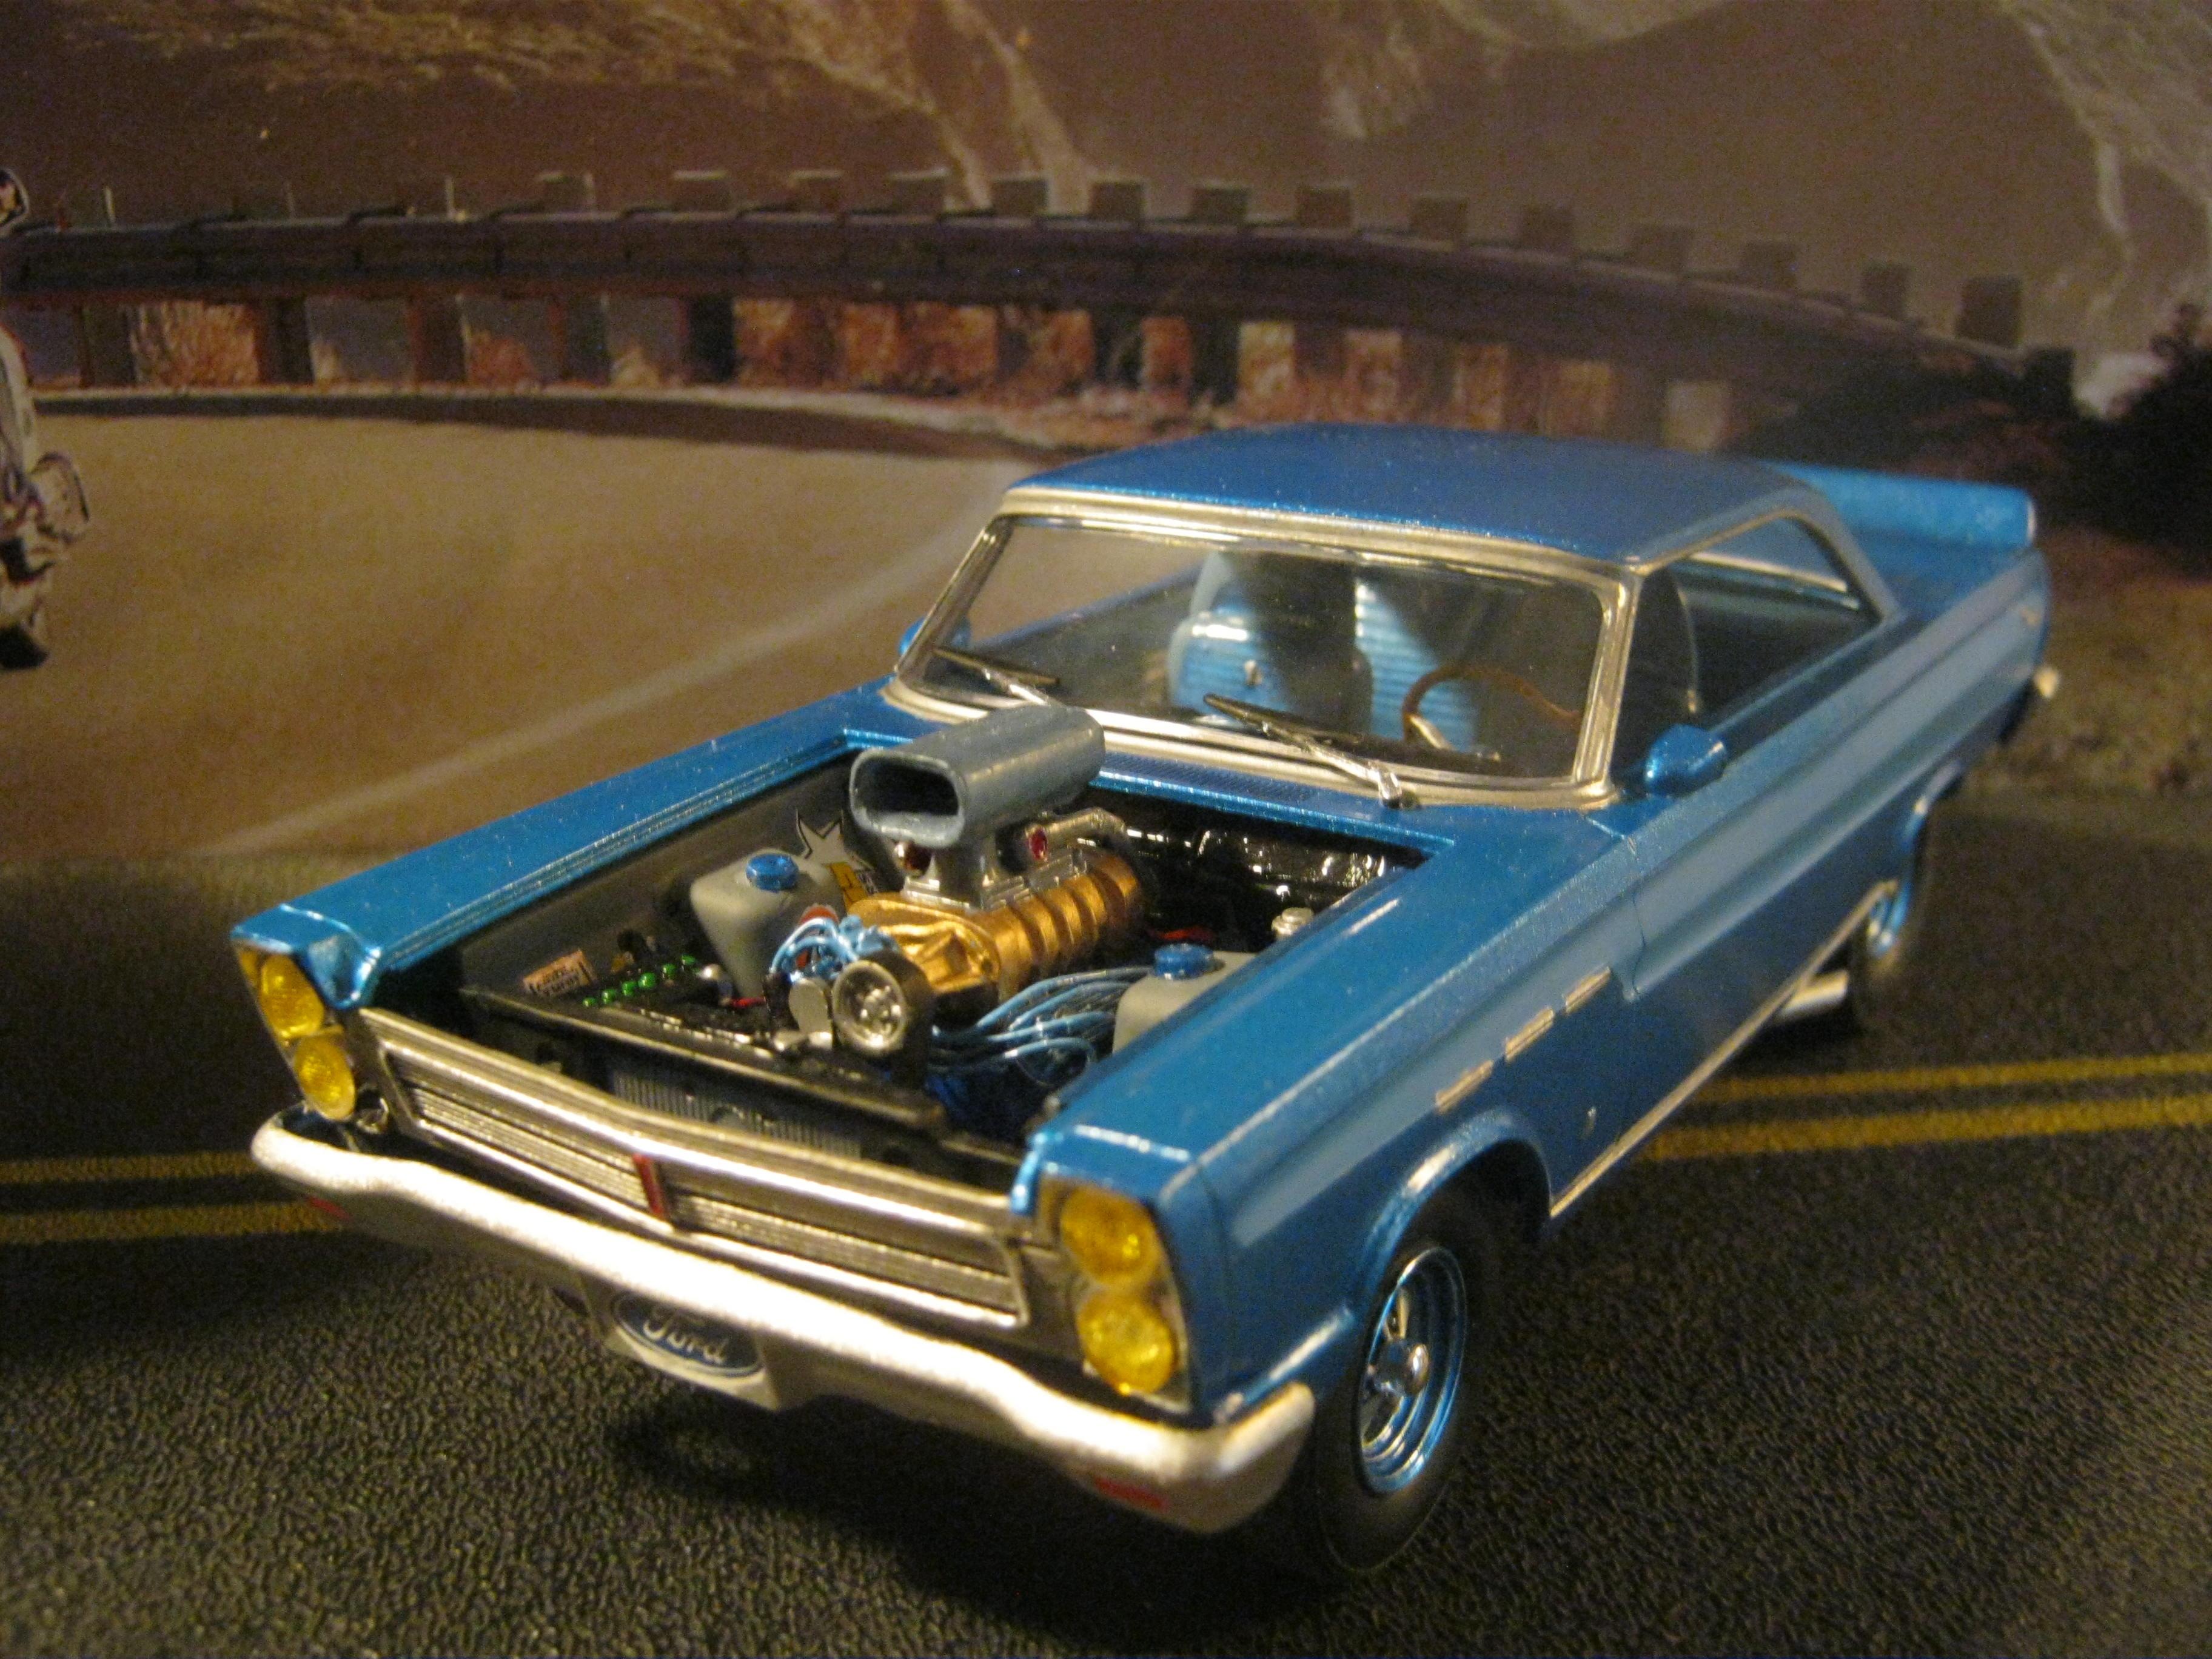
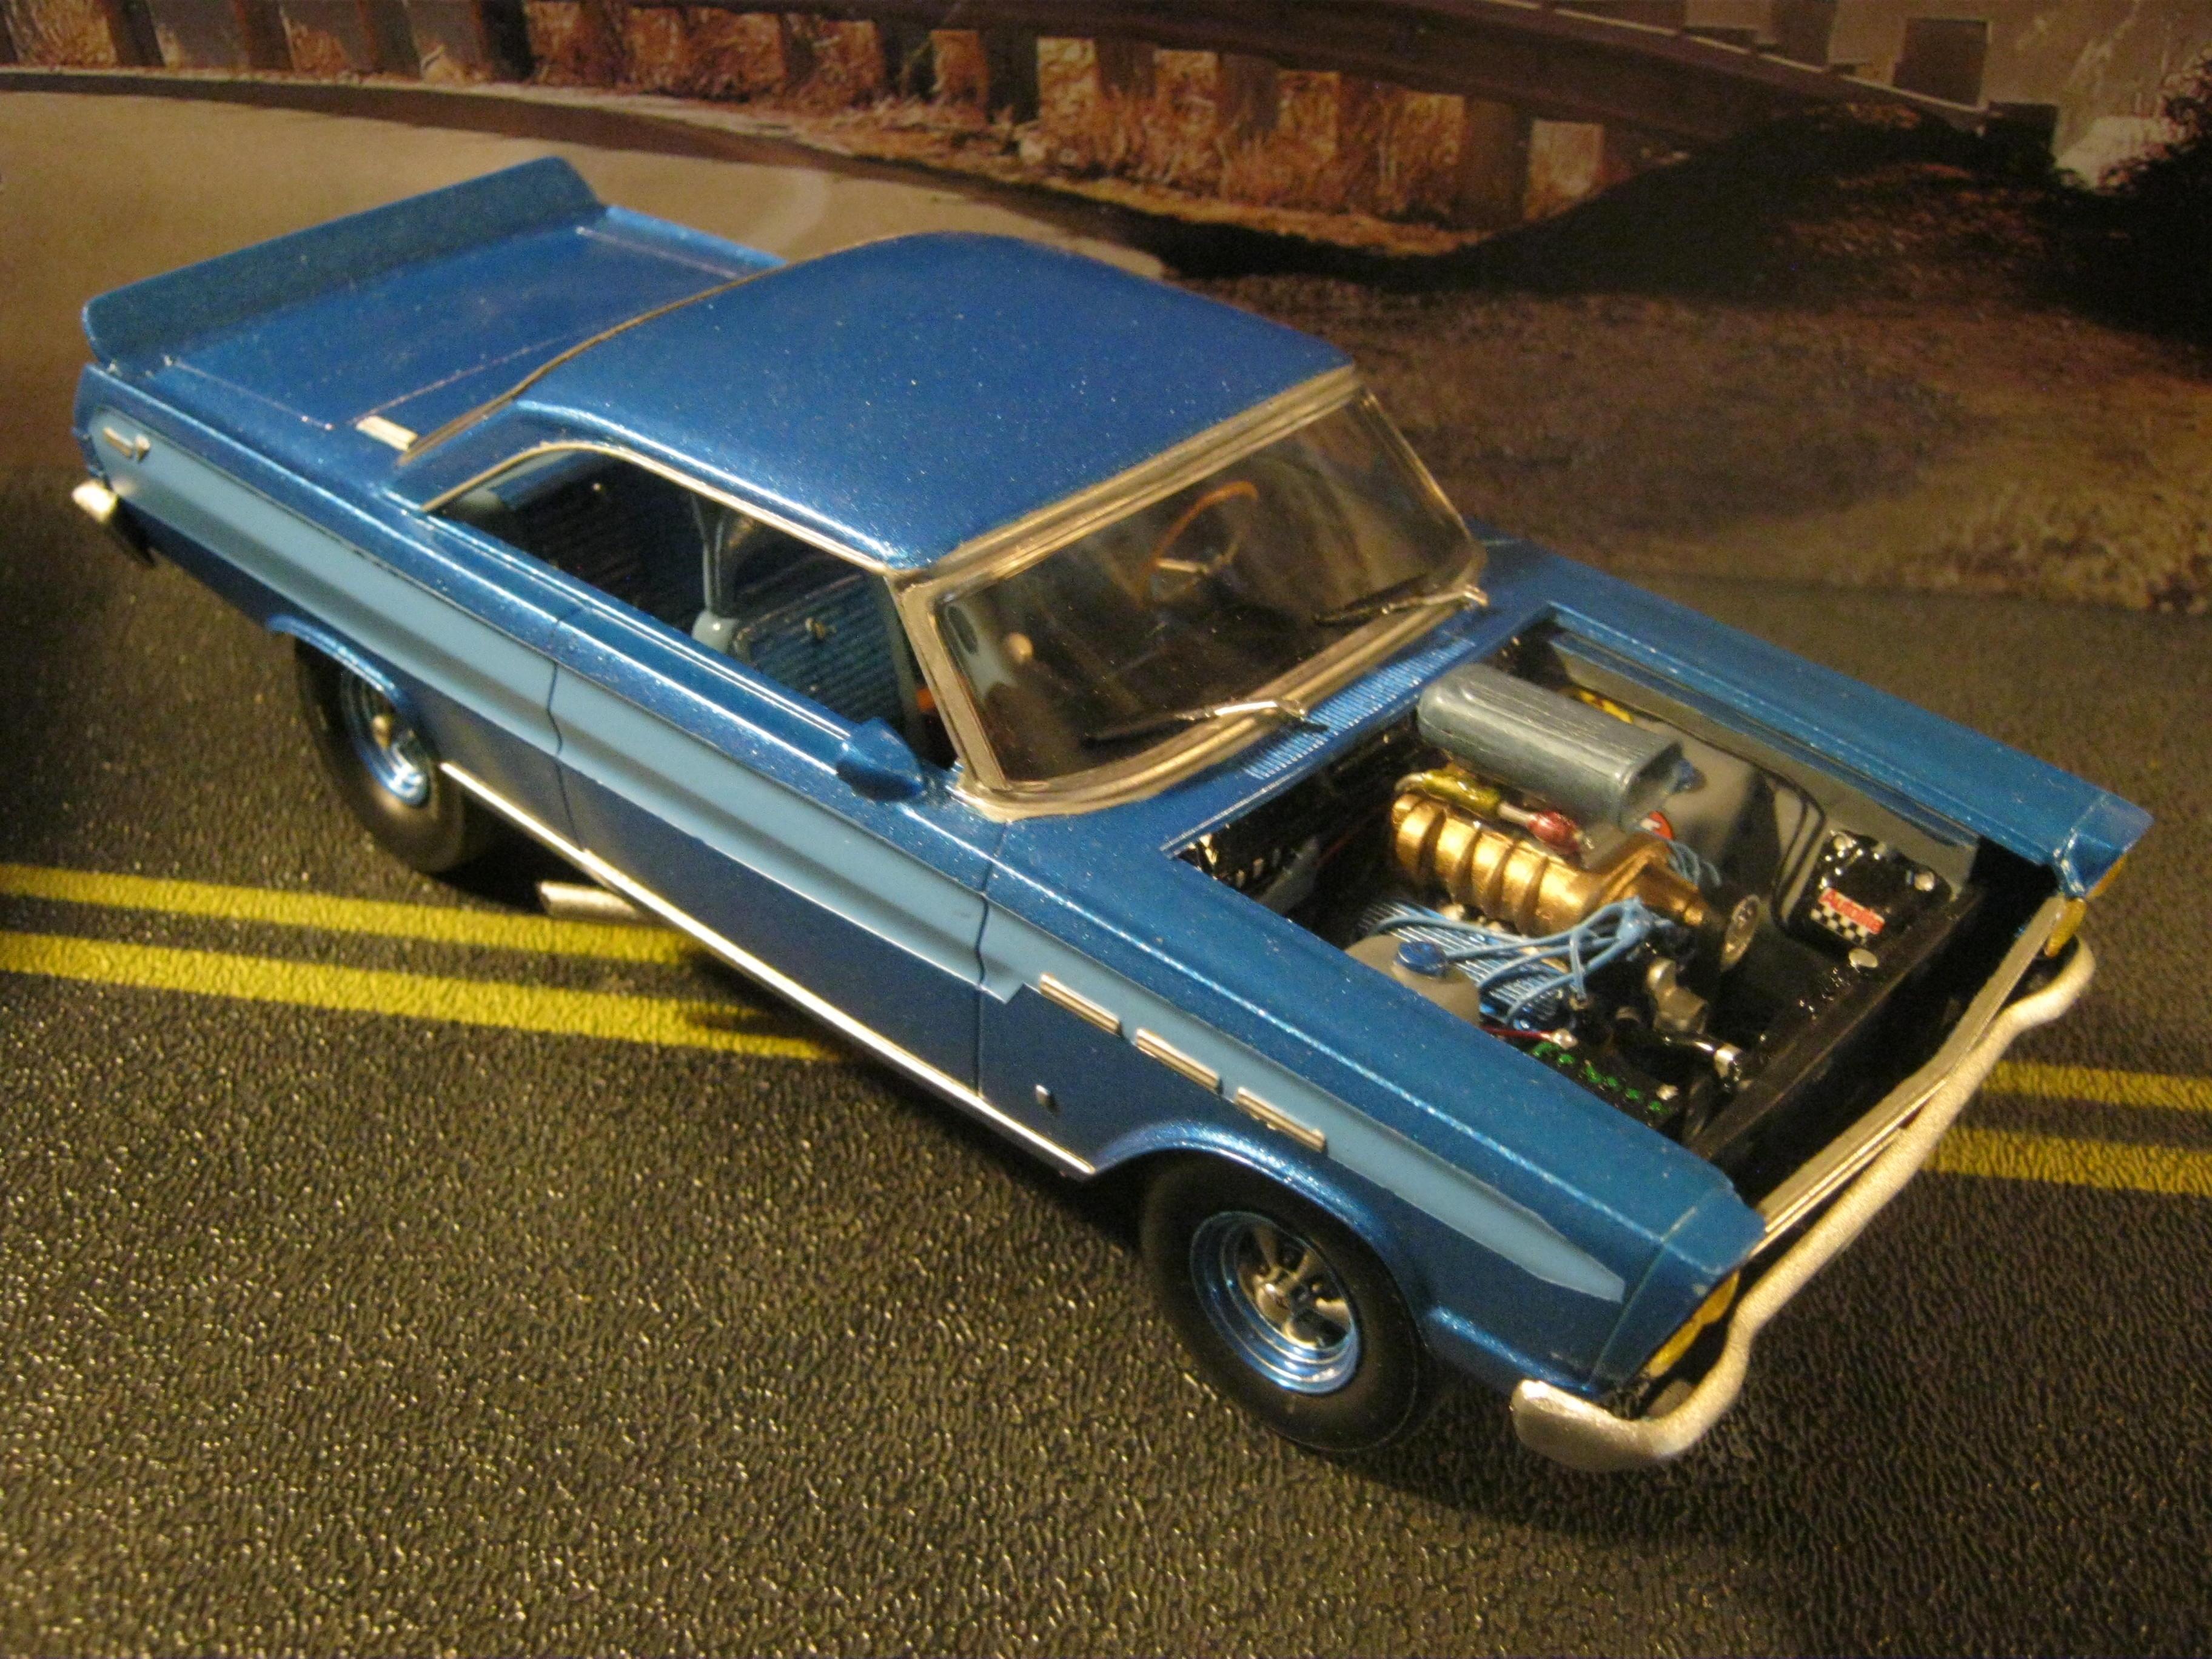
Why thank you sir,,all I did was tape off the bottom 1/2 of the body center line trim line,,and sprayed w/testors. The body unpainted plastic color is that light blue on lower. That quk dry enamel is great stuff,,can handle it after about 2 hrs. The engine still needs some feul feed lines to blower intake and linkage pcs on other side,,but its ok. Thanks for lookin S
-
Happy summer all,,just goin thru some kits in storage,,and found this. Sprayed w/Testors qukdry enamel,,and did some added x-tras. Great kit,,went together very well,,and I dig this body style EC. Now all I need is the 1:1 car,,,enjoy your builds!
-
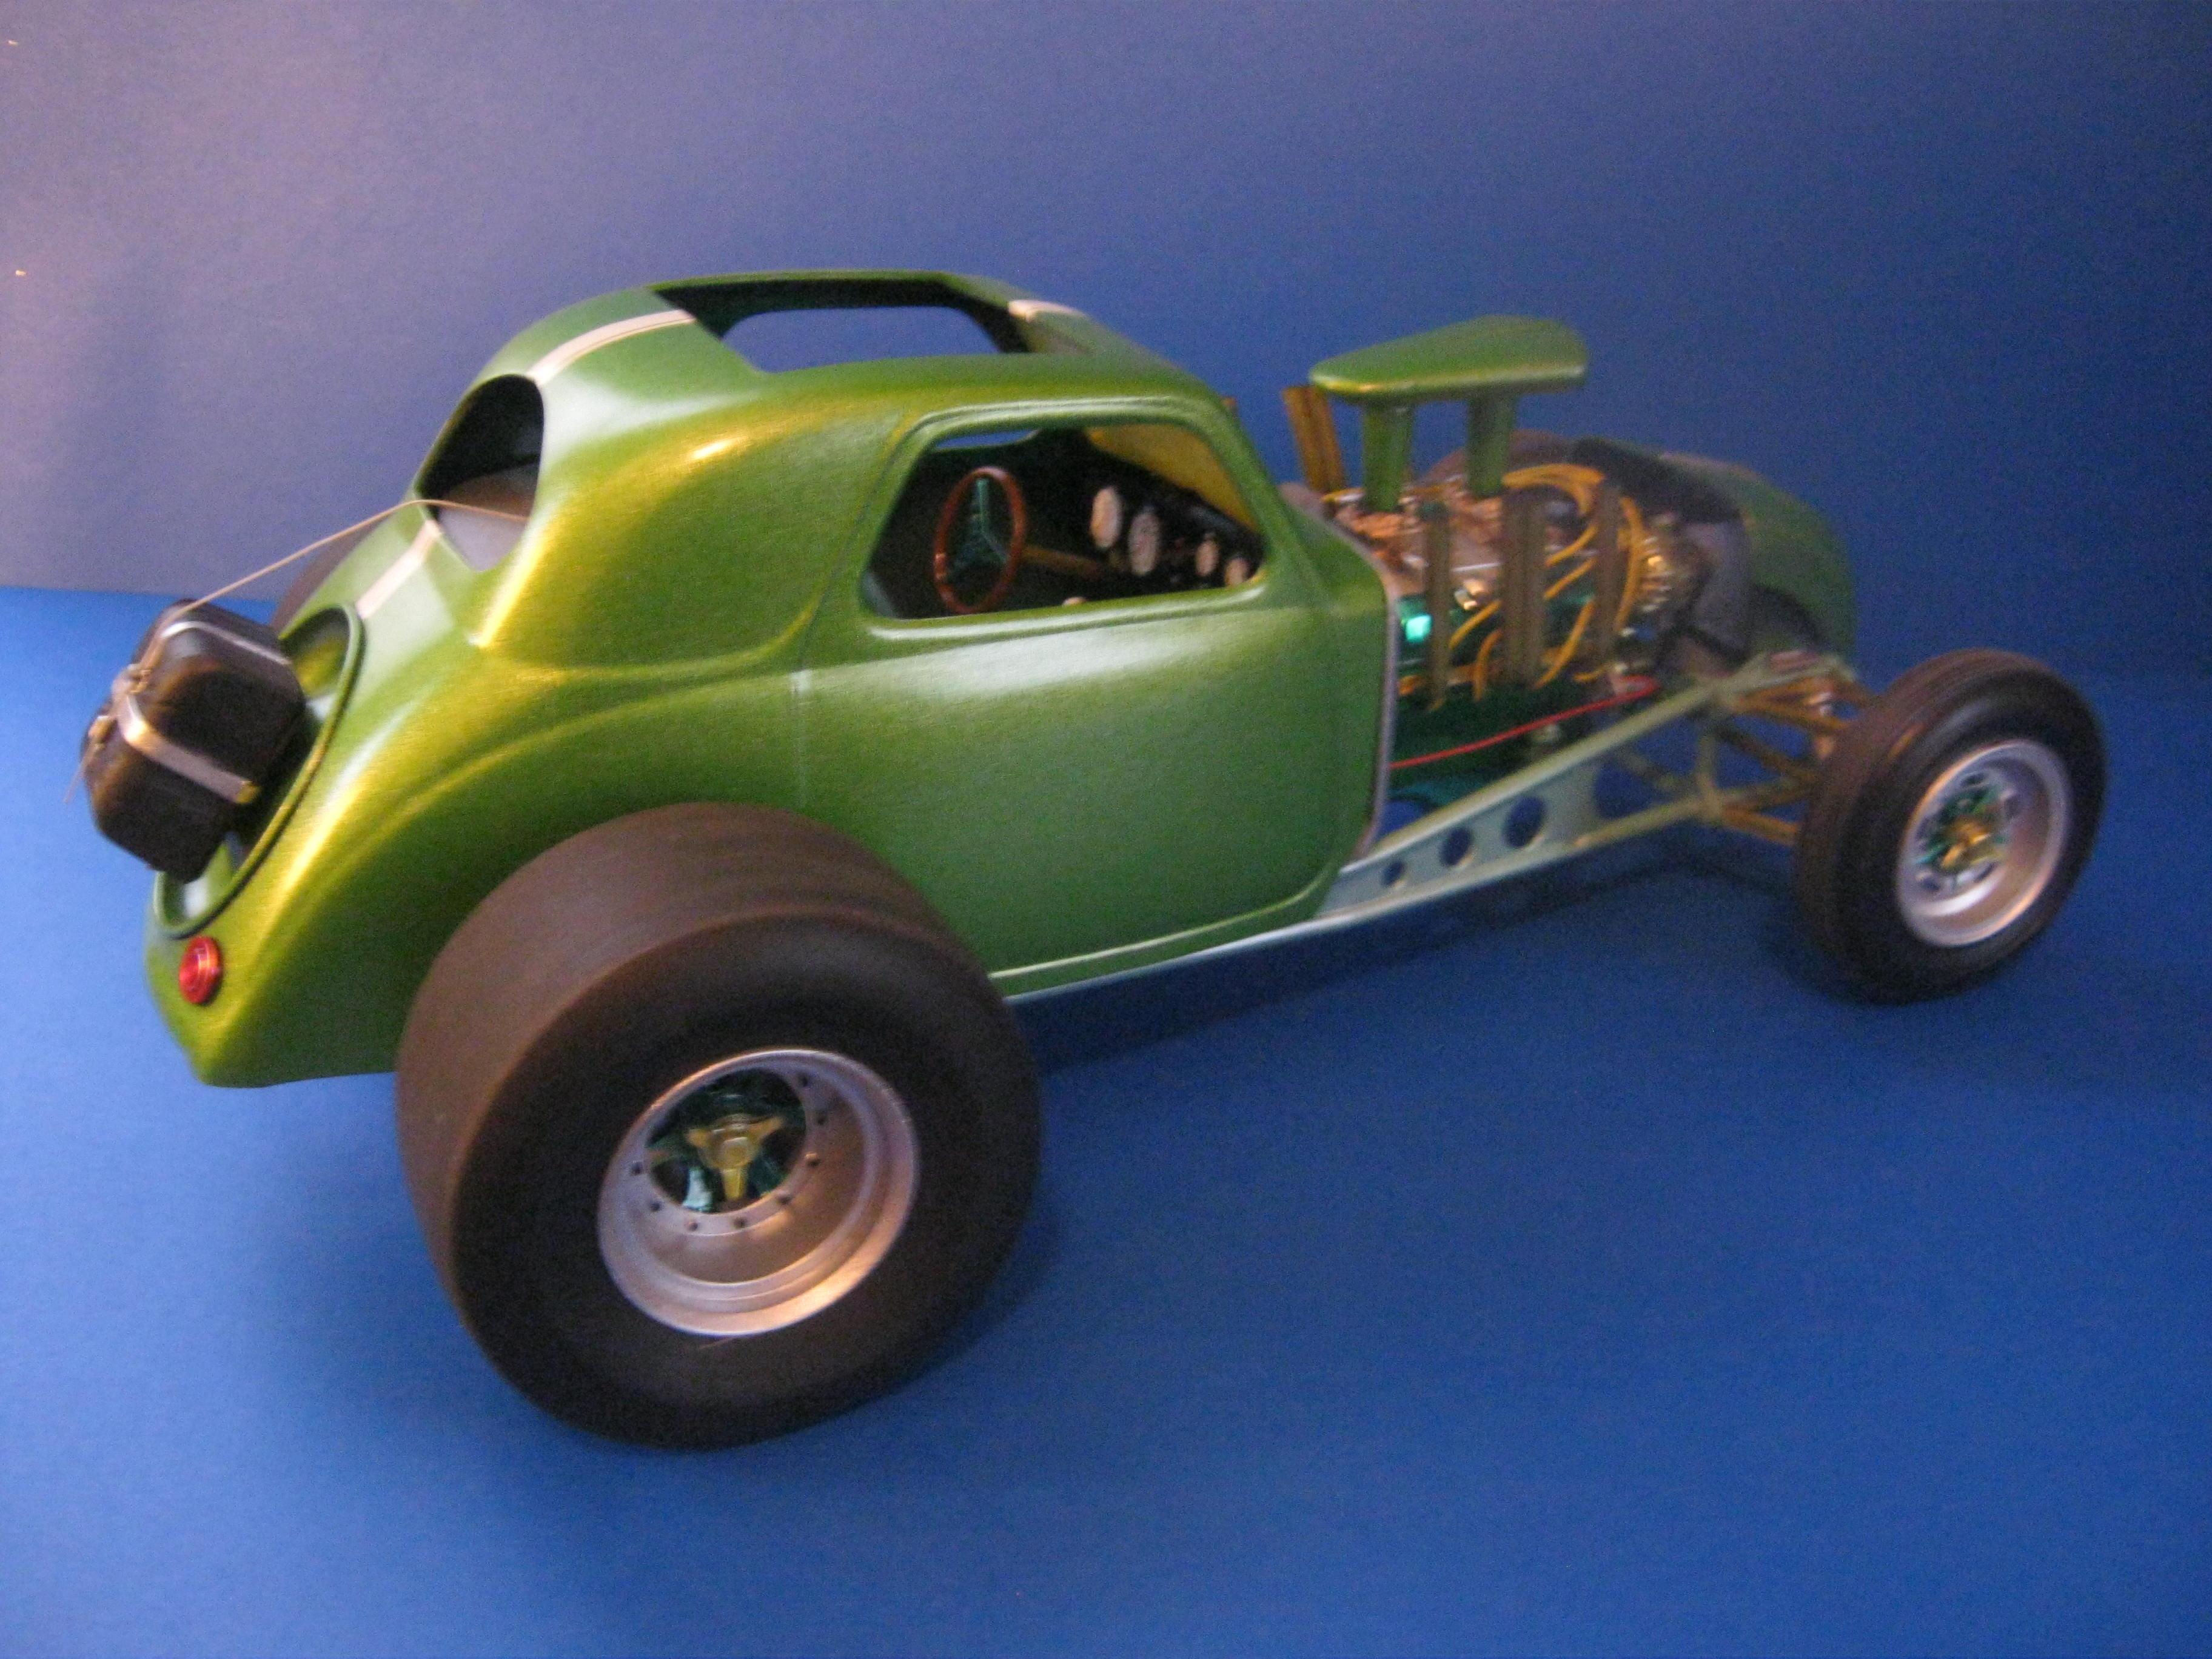
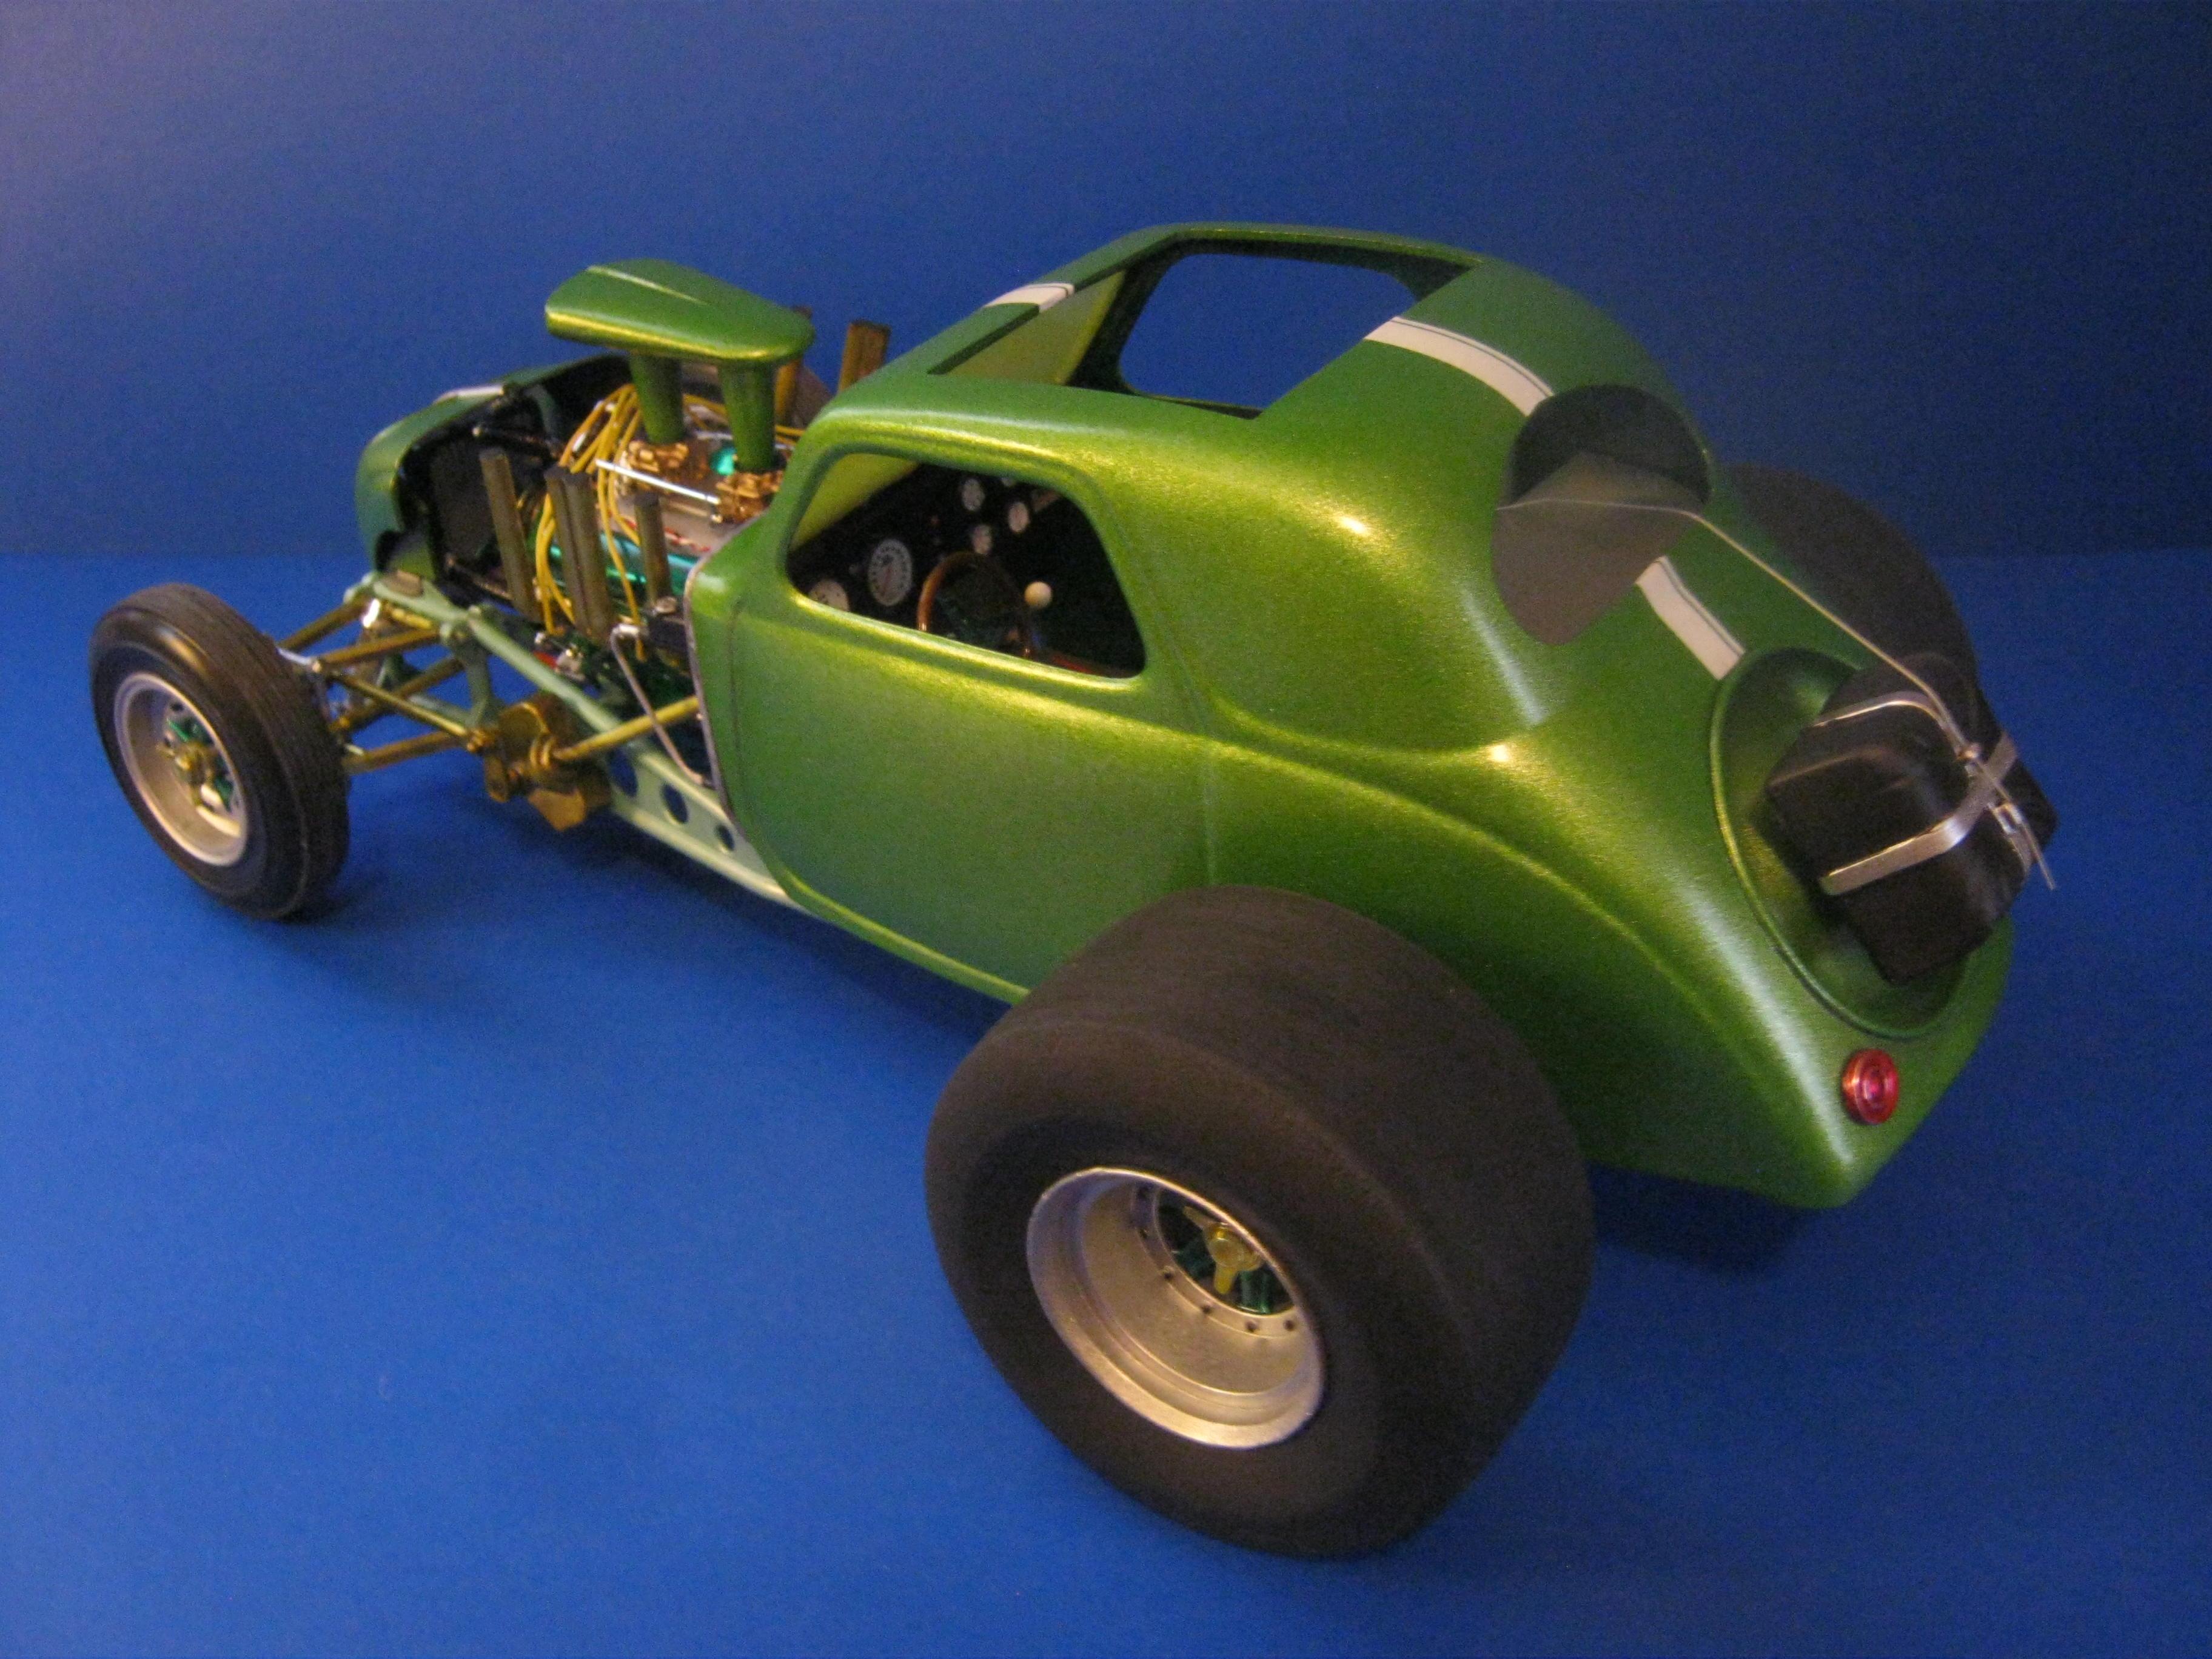
Hi all,,one of my fav kits,,the 1/12th Lindberg Topolino,,with some x-tras. Sprayed w/Testors qukdry lime green,,diamond dust for the chassis. And some hand painted accents. Build on!
-
Forgot the underside pic


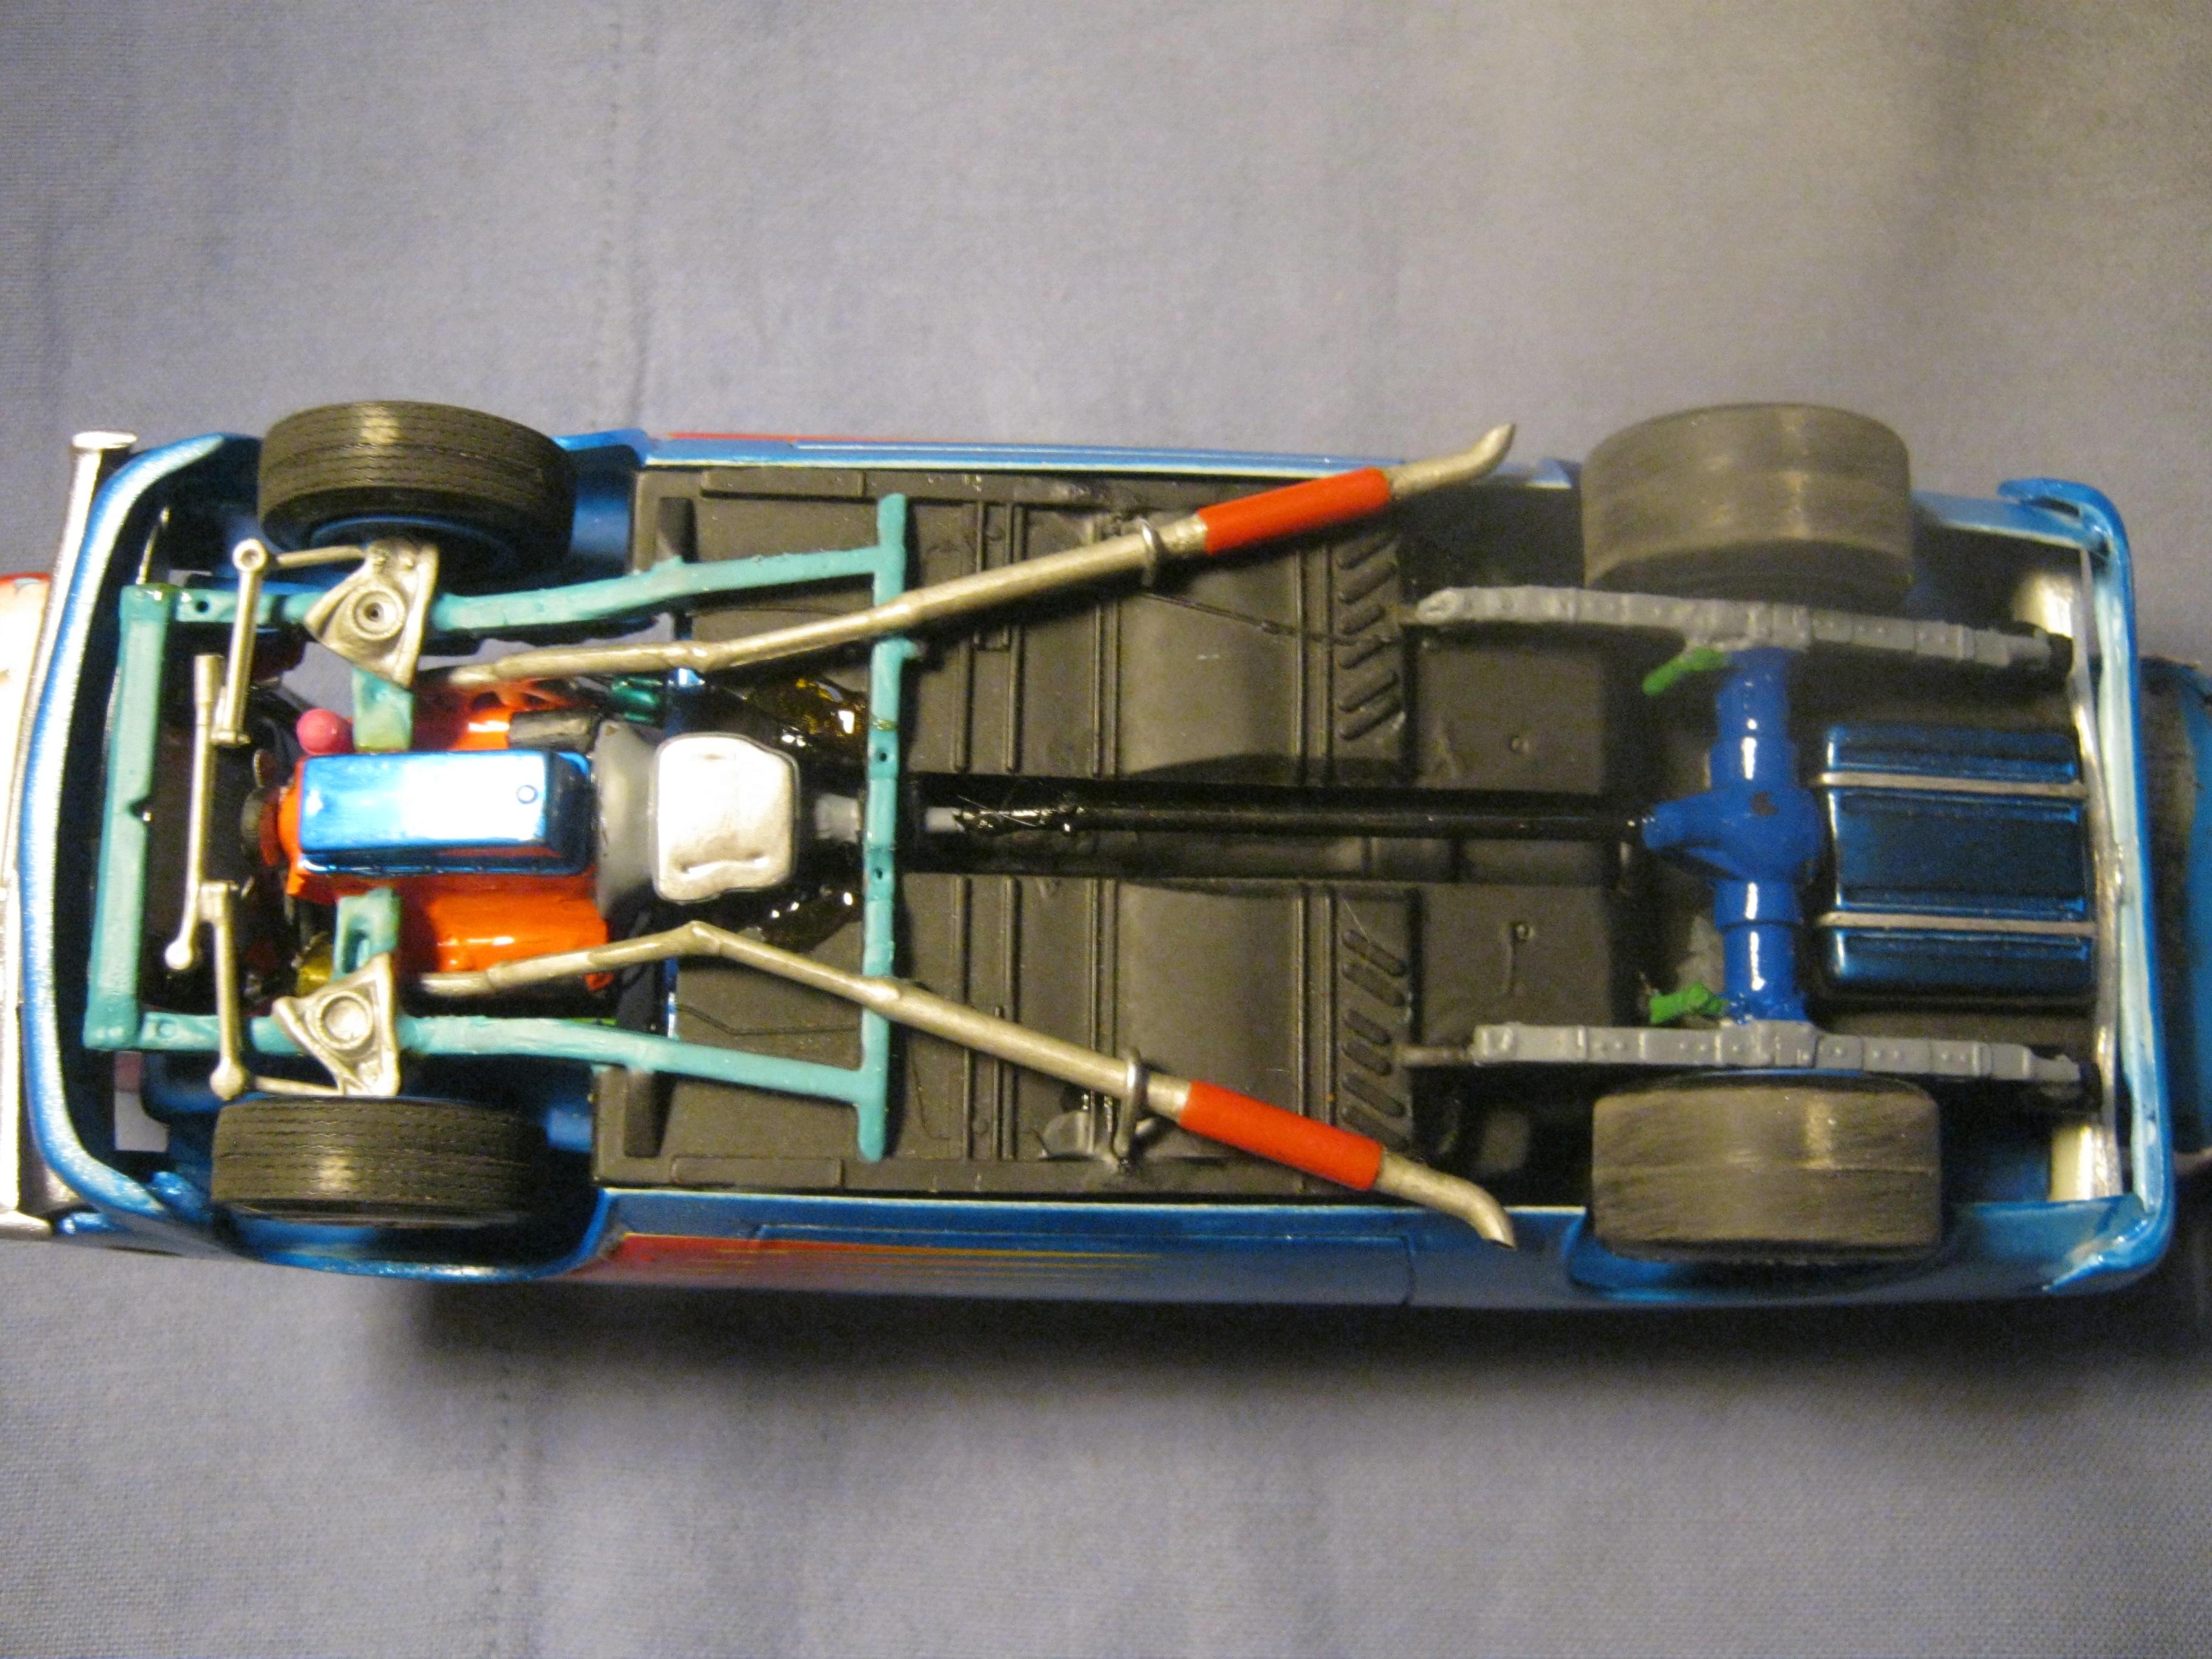


.jpg.1b64facf1572fa246be2d2c150155bb0.jpg)