dragcarz
-
Posts
2,134 -
Joined
-
Last visited
Content Type
Profiles
Forums
Events
Gallery
Everything posted by dragcarz
-
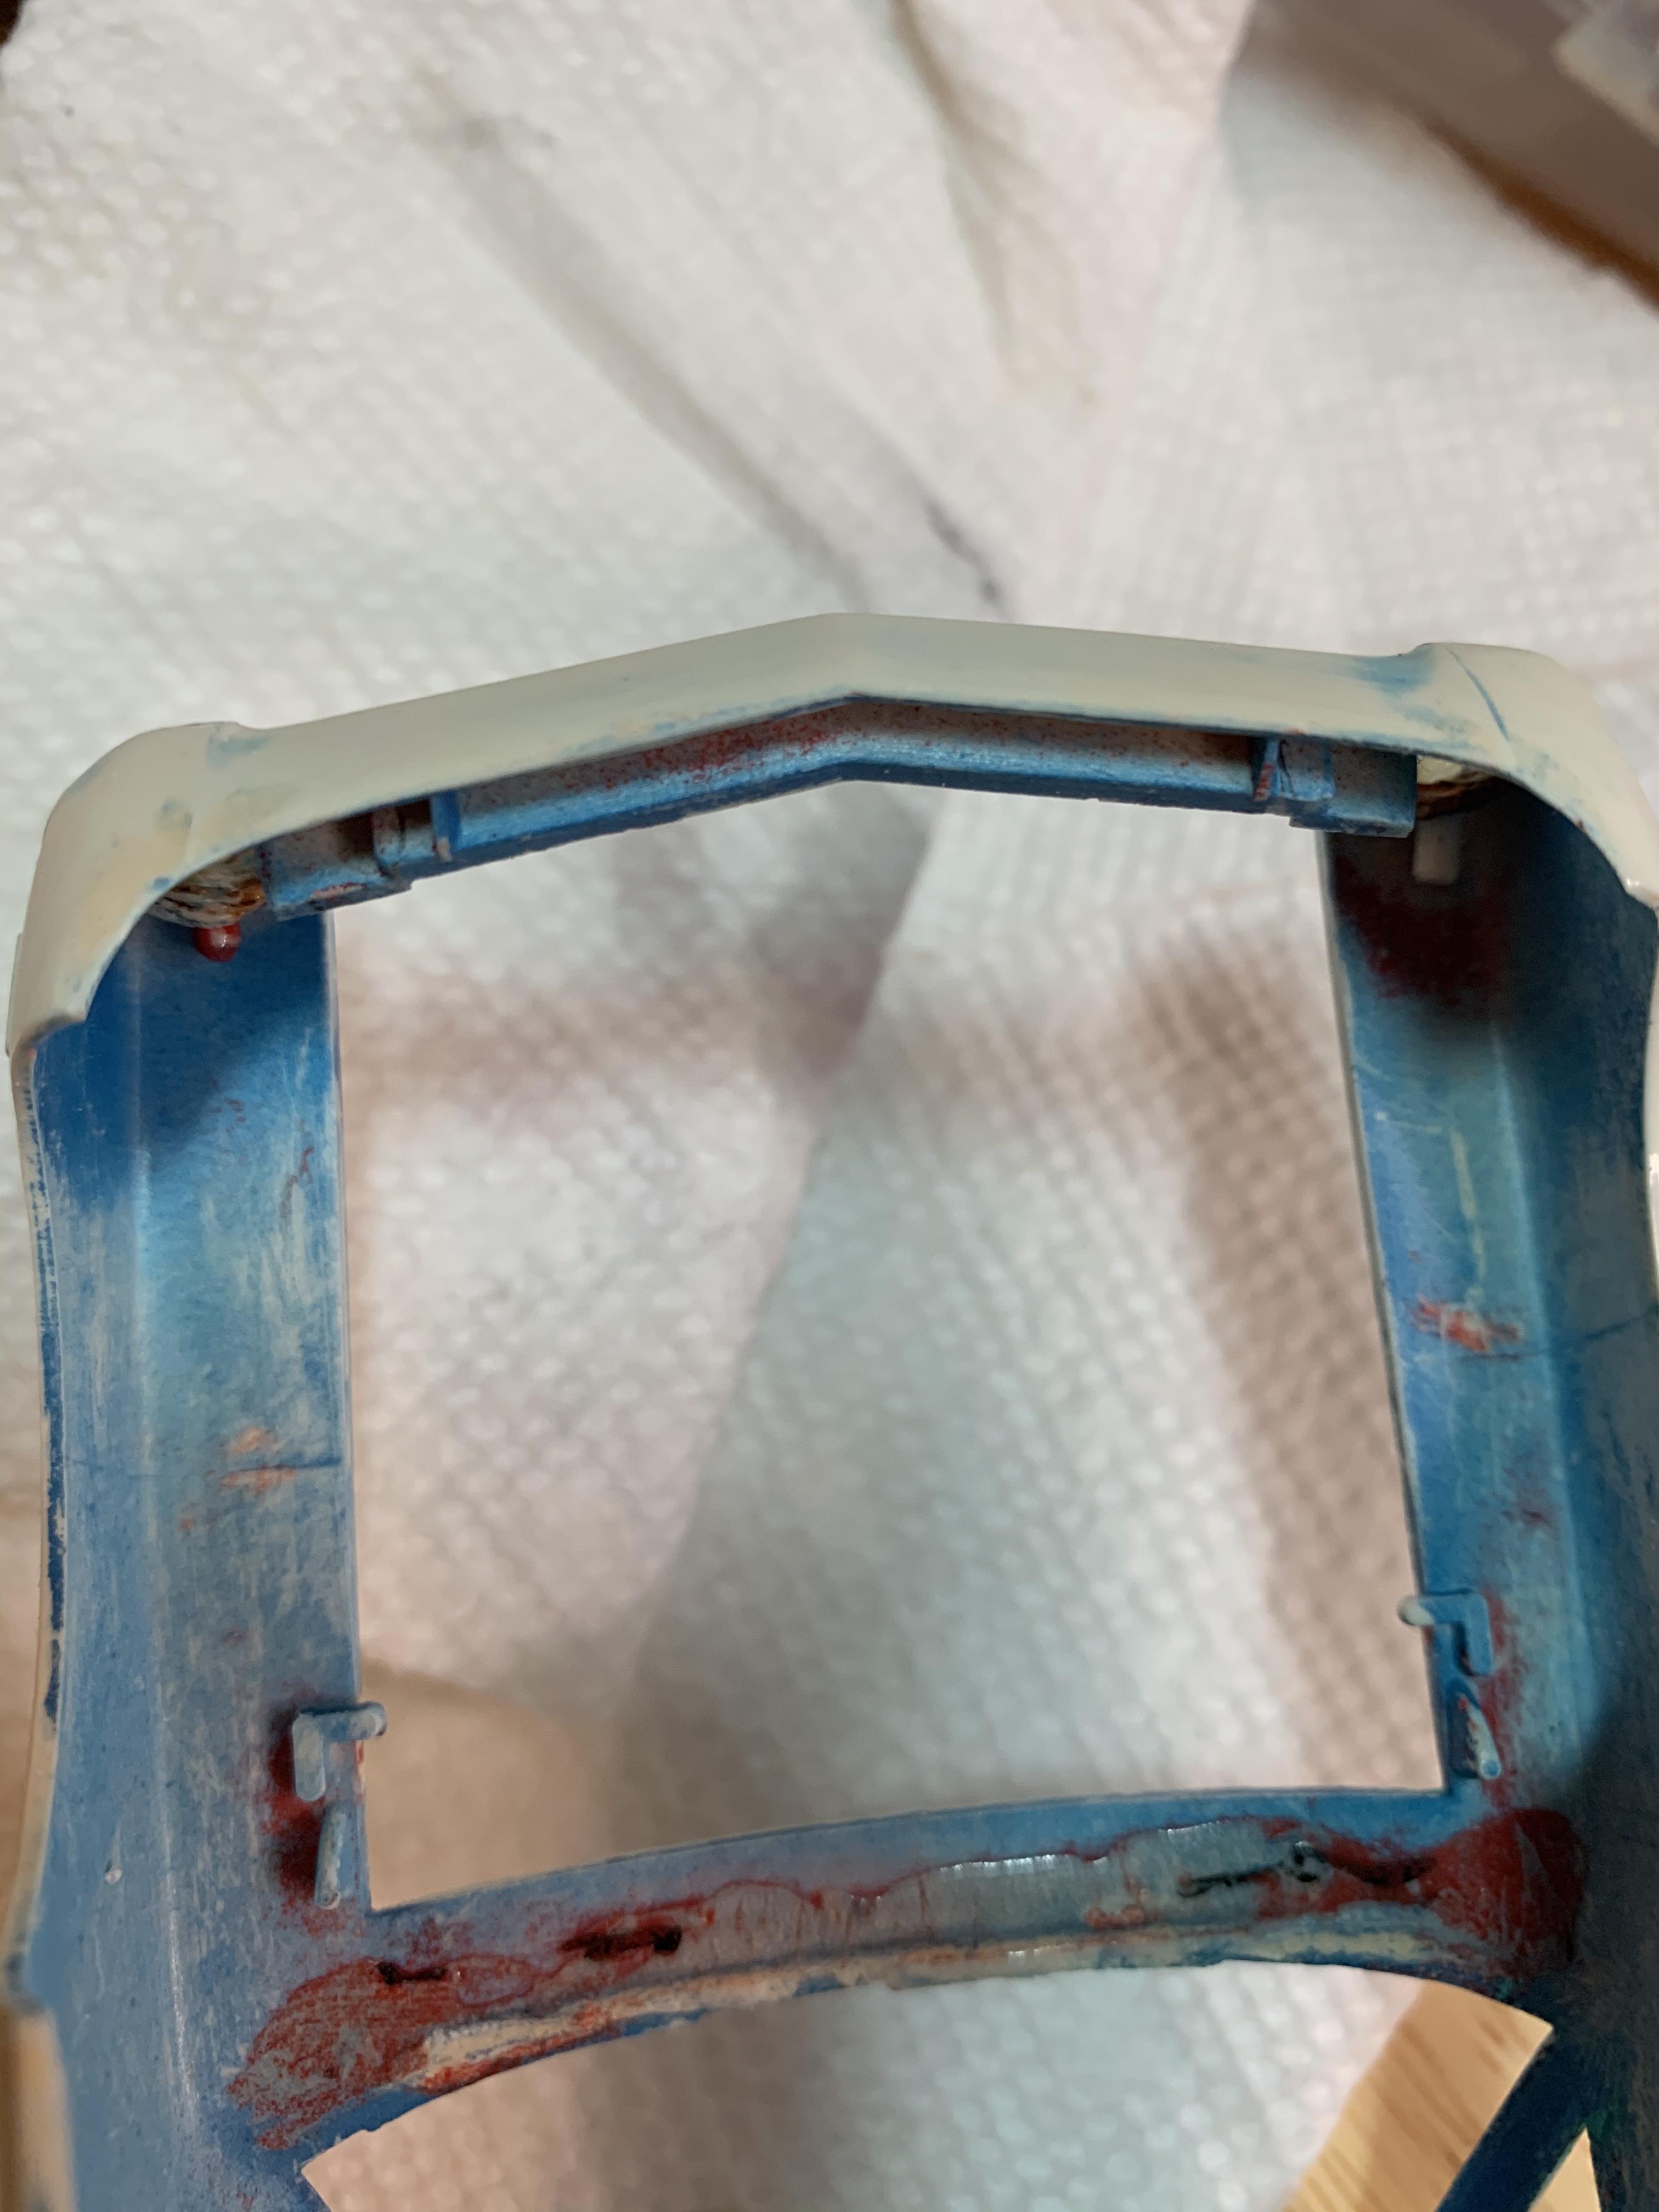
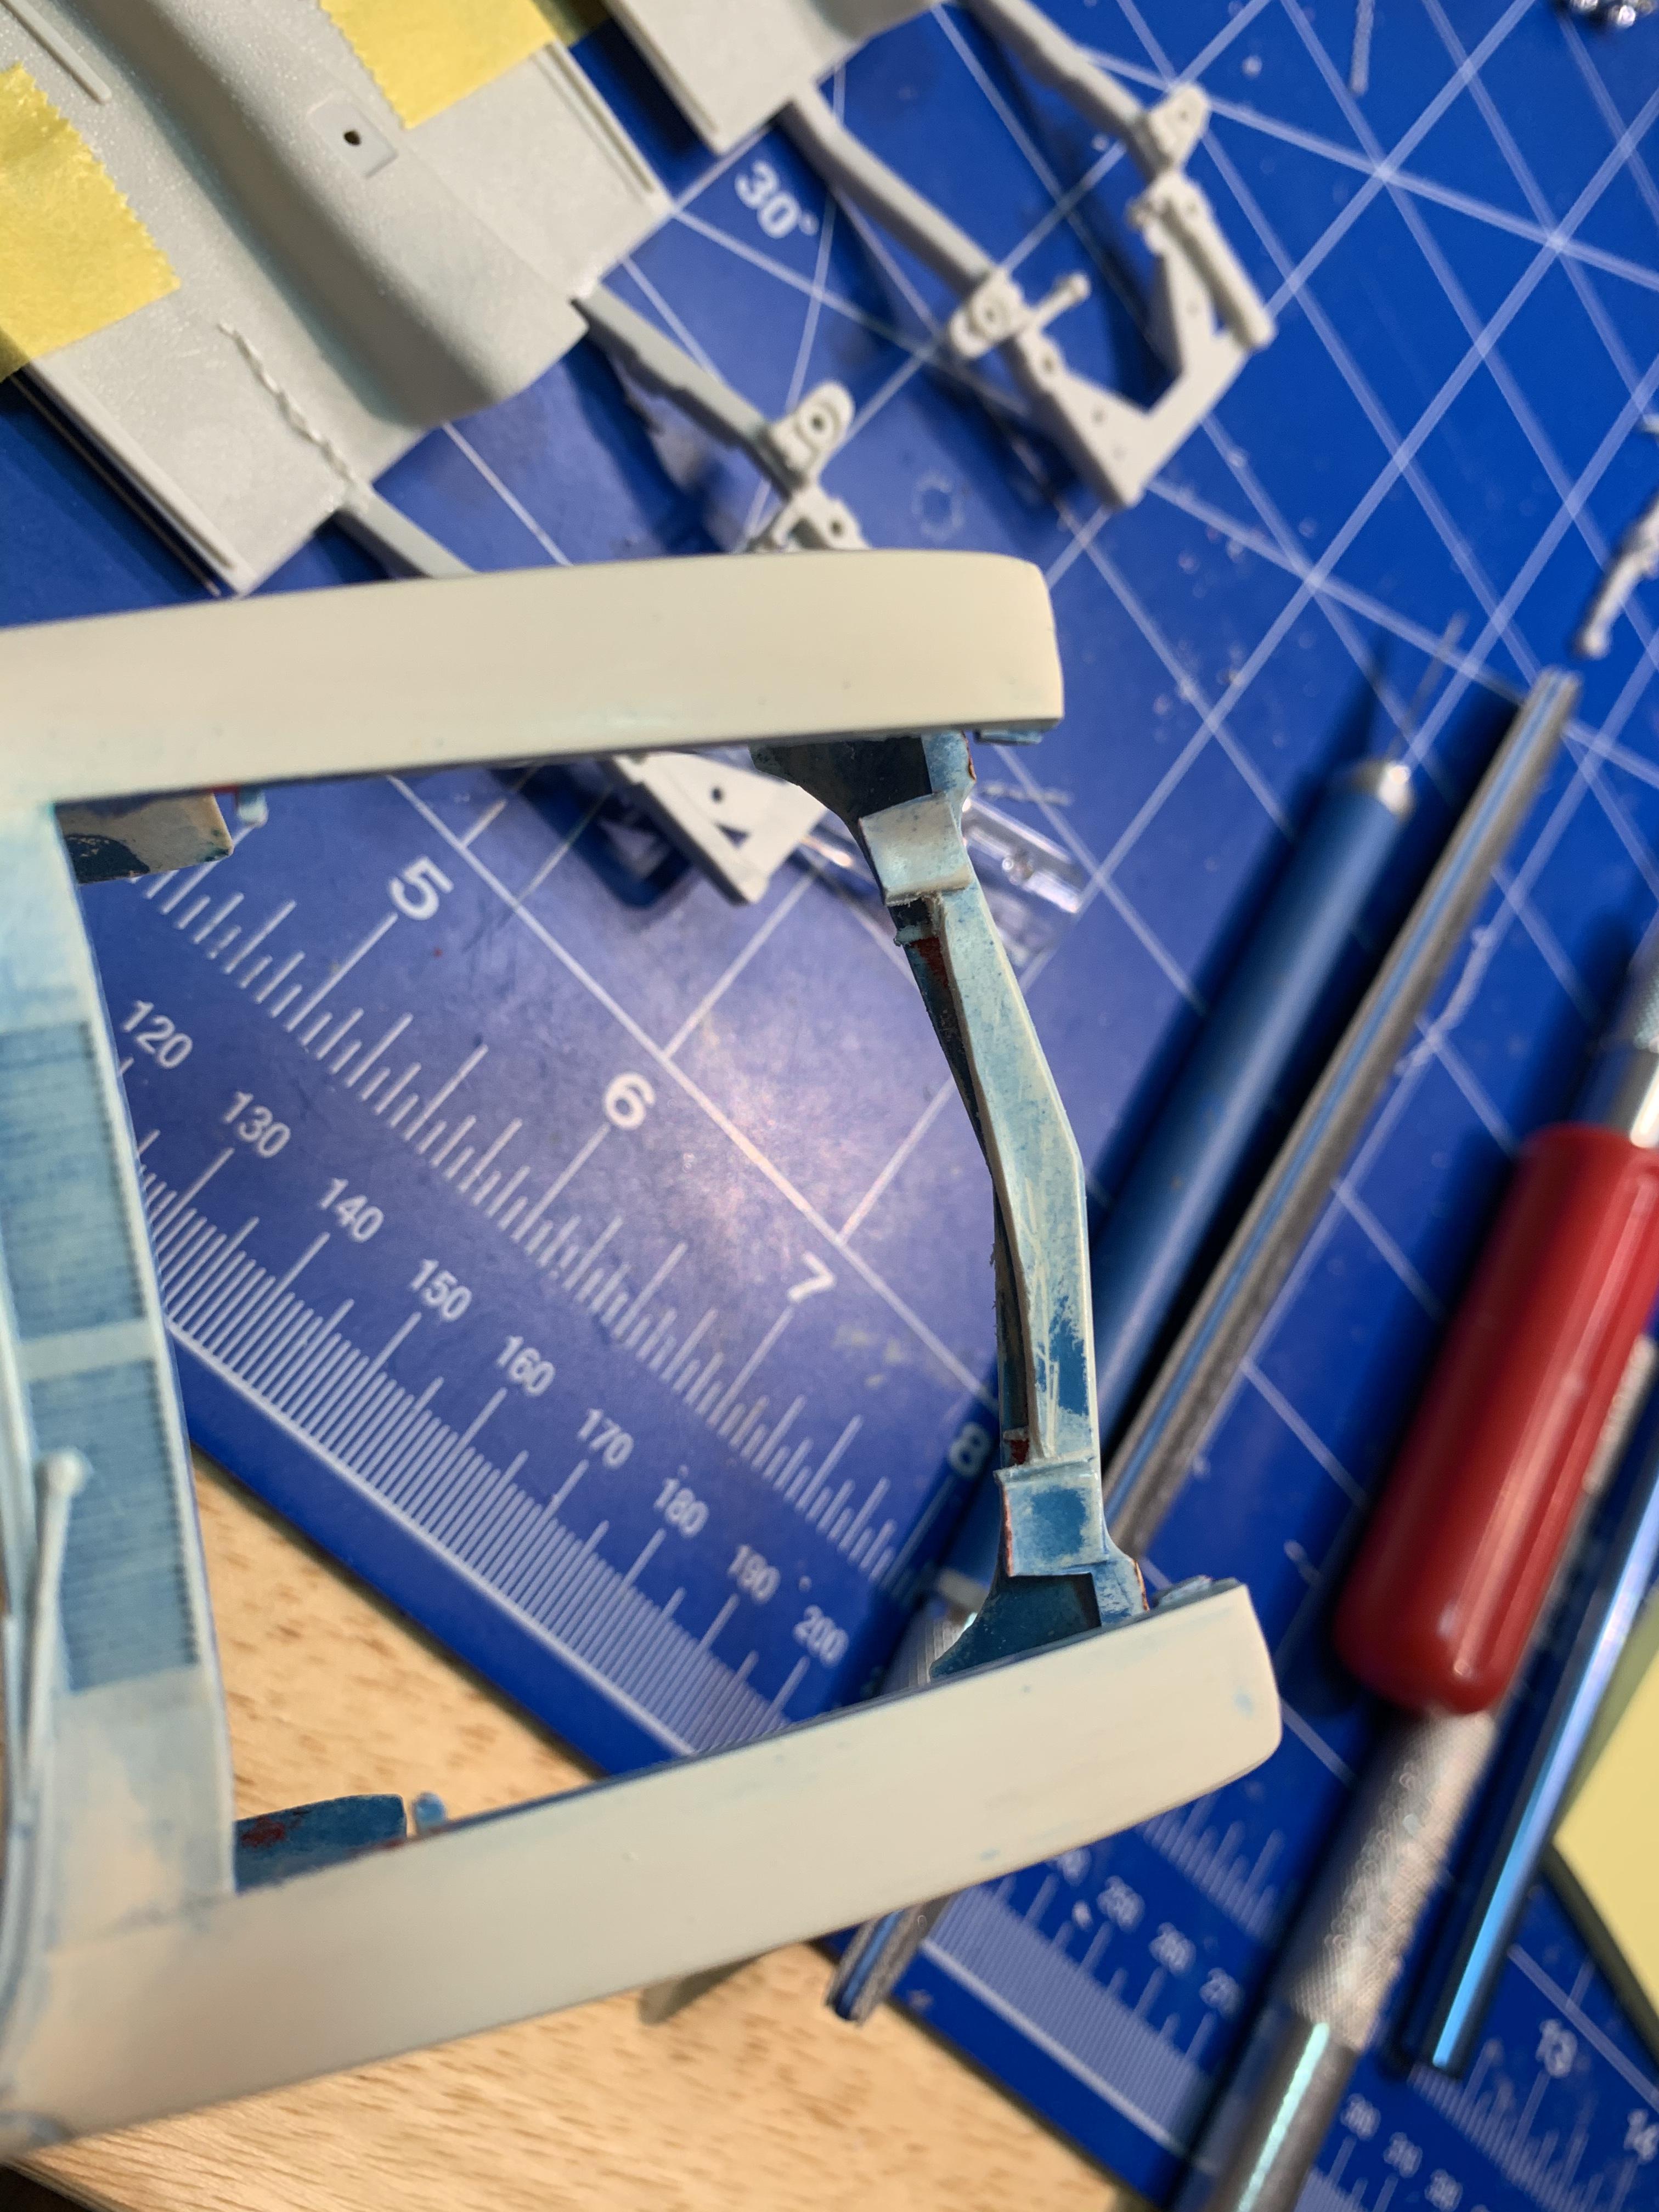
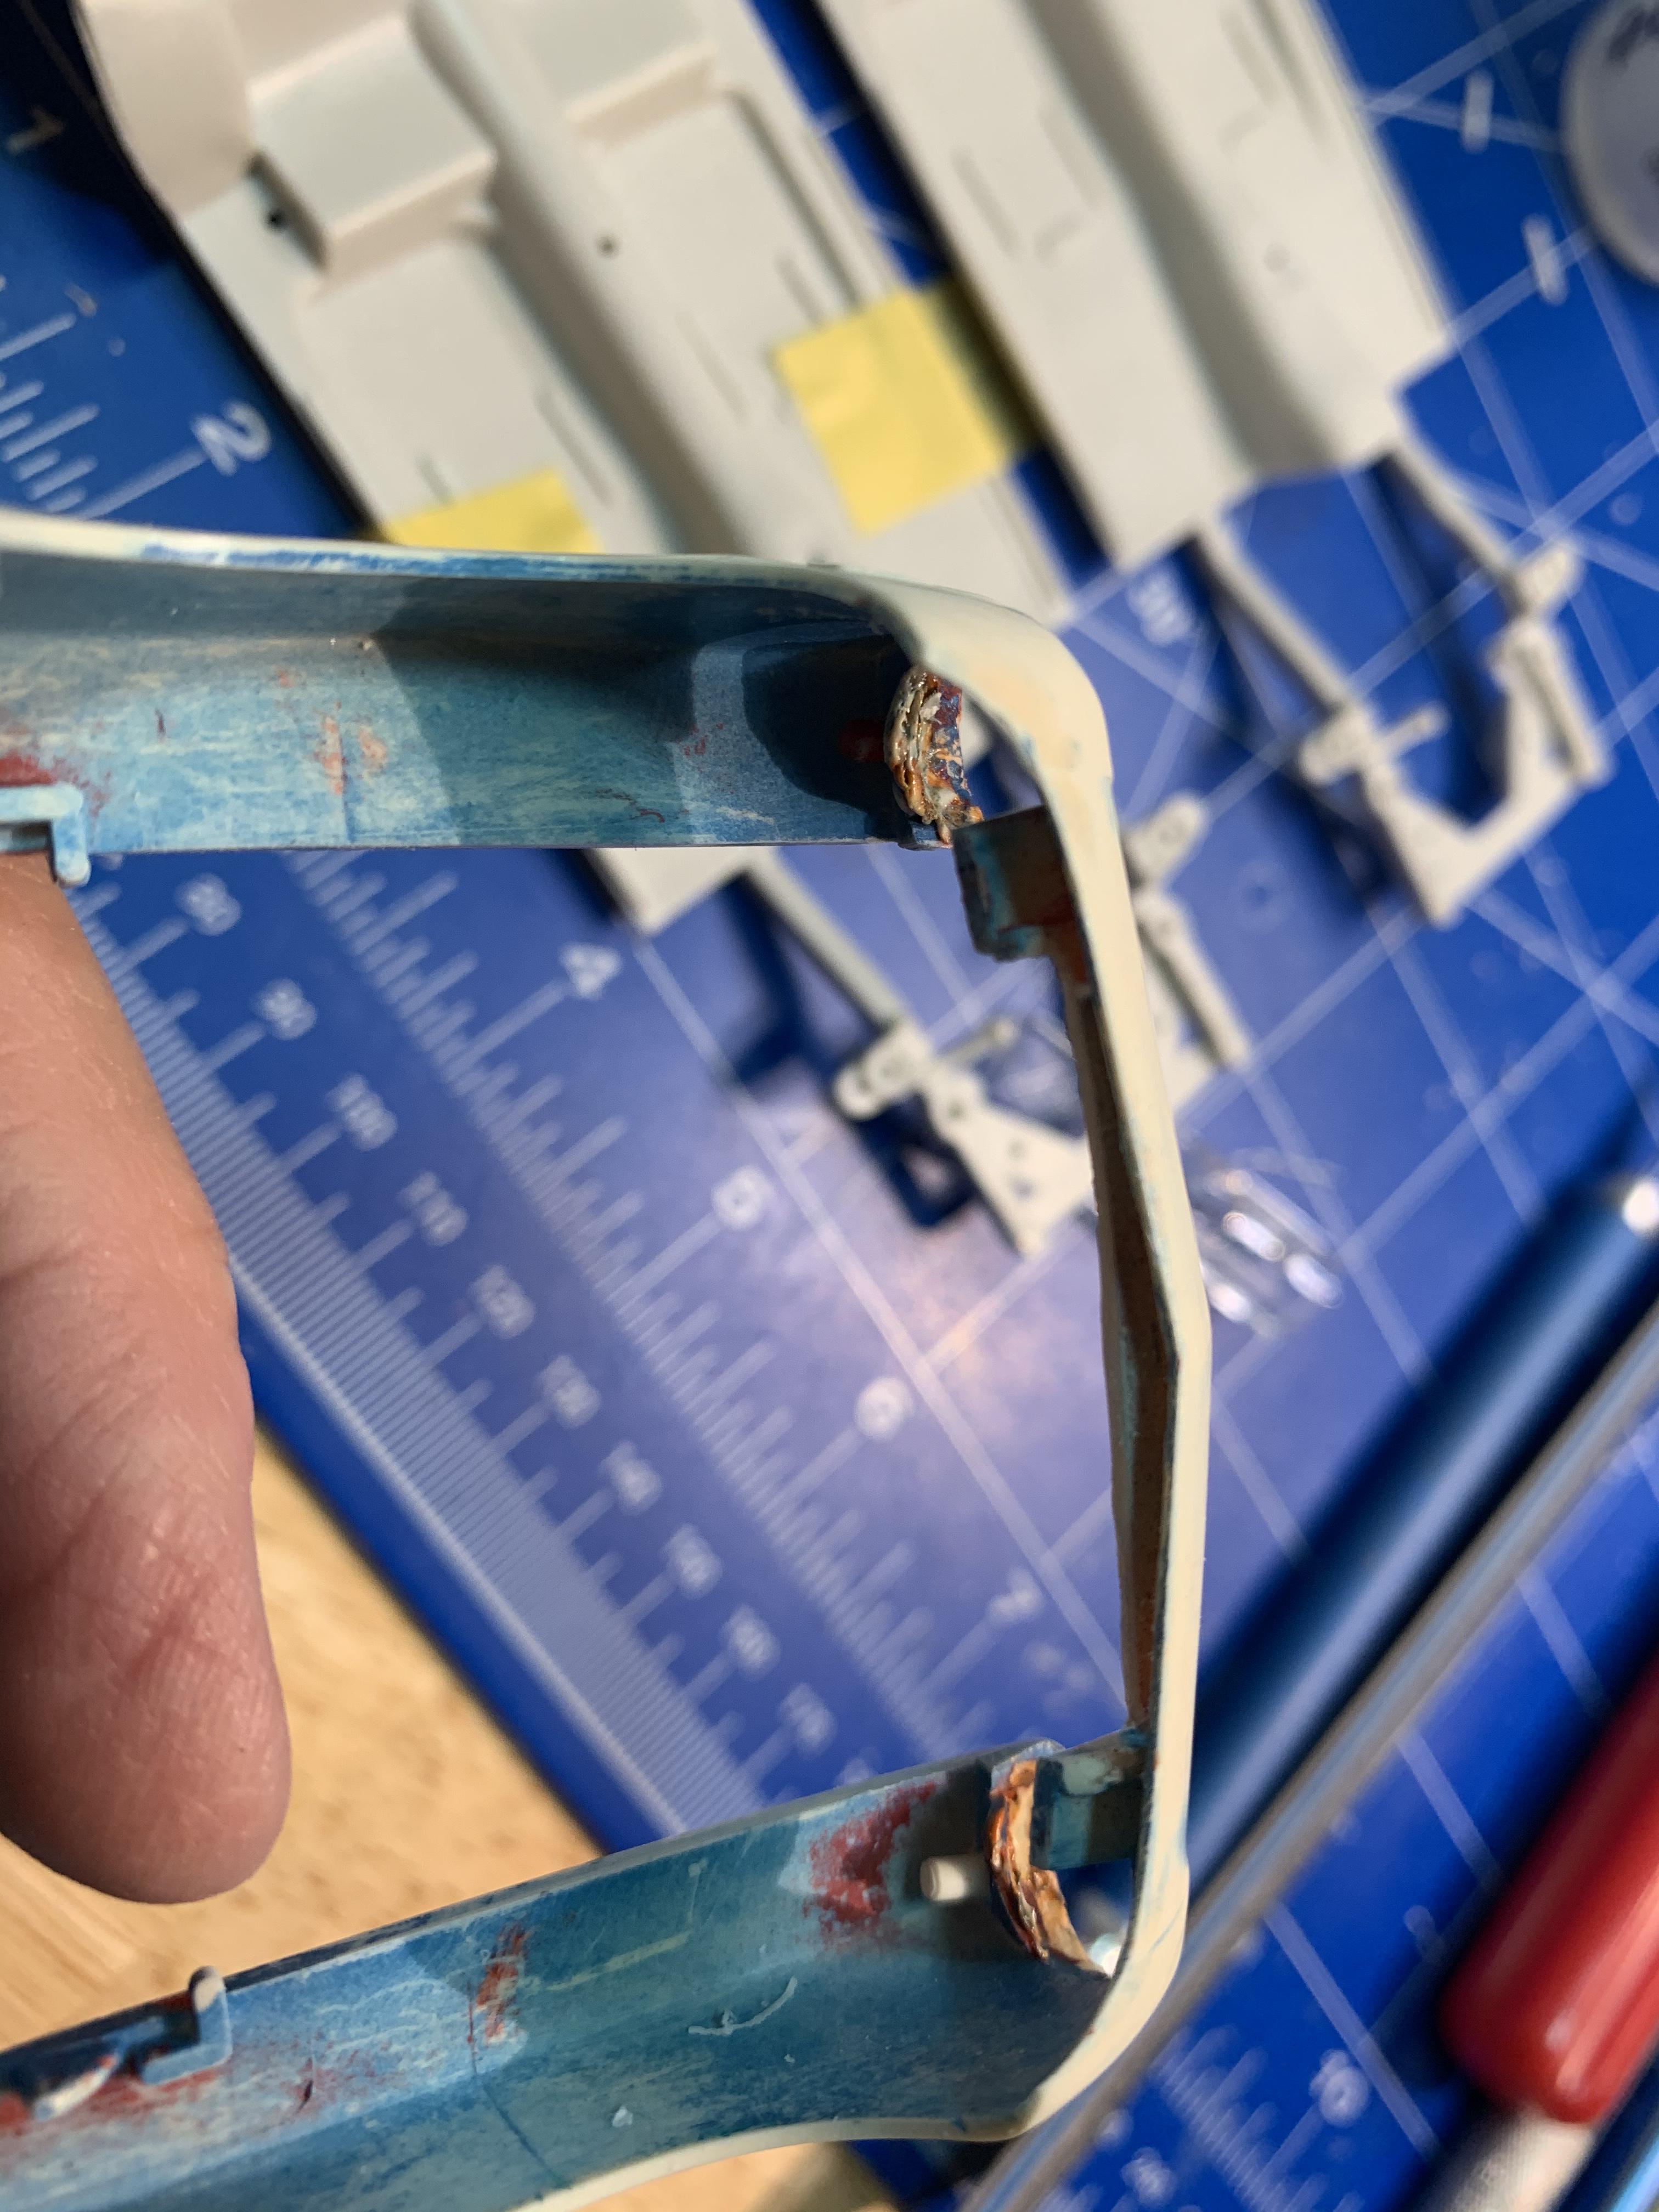
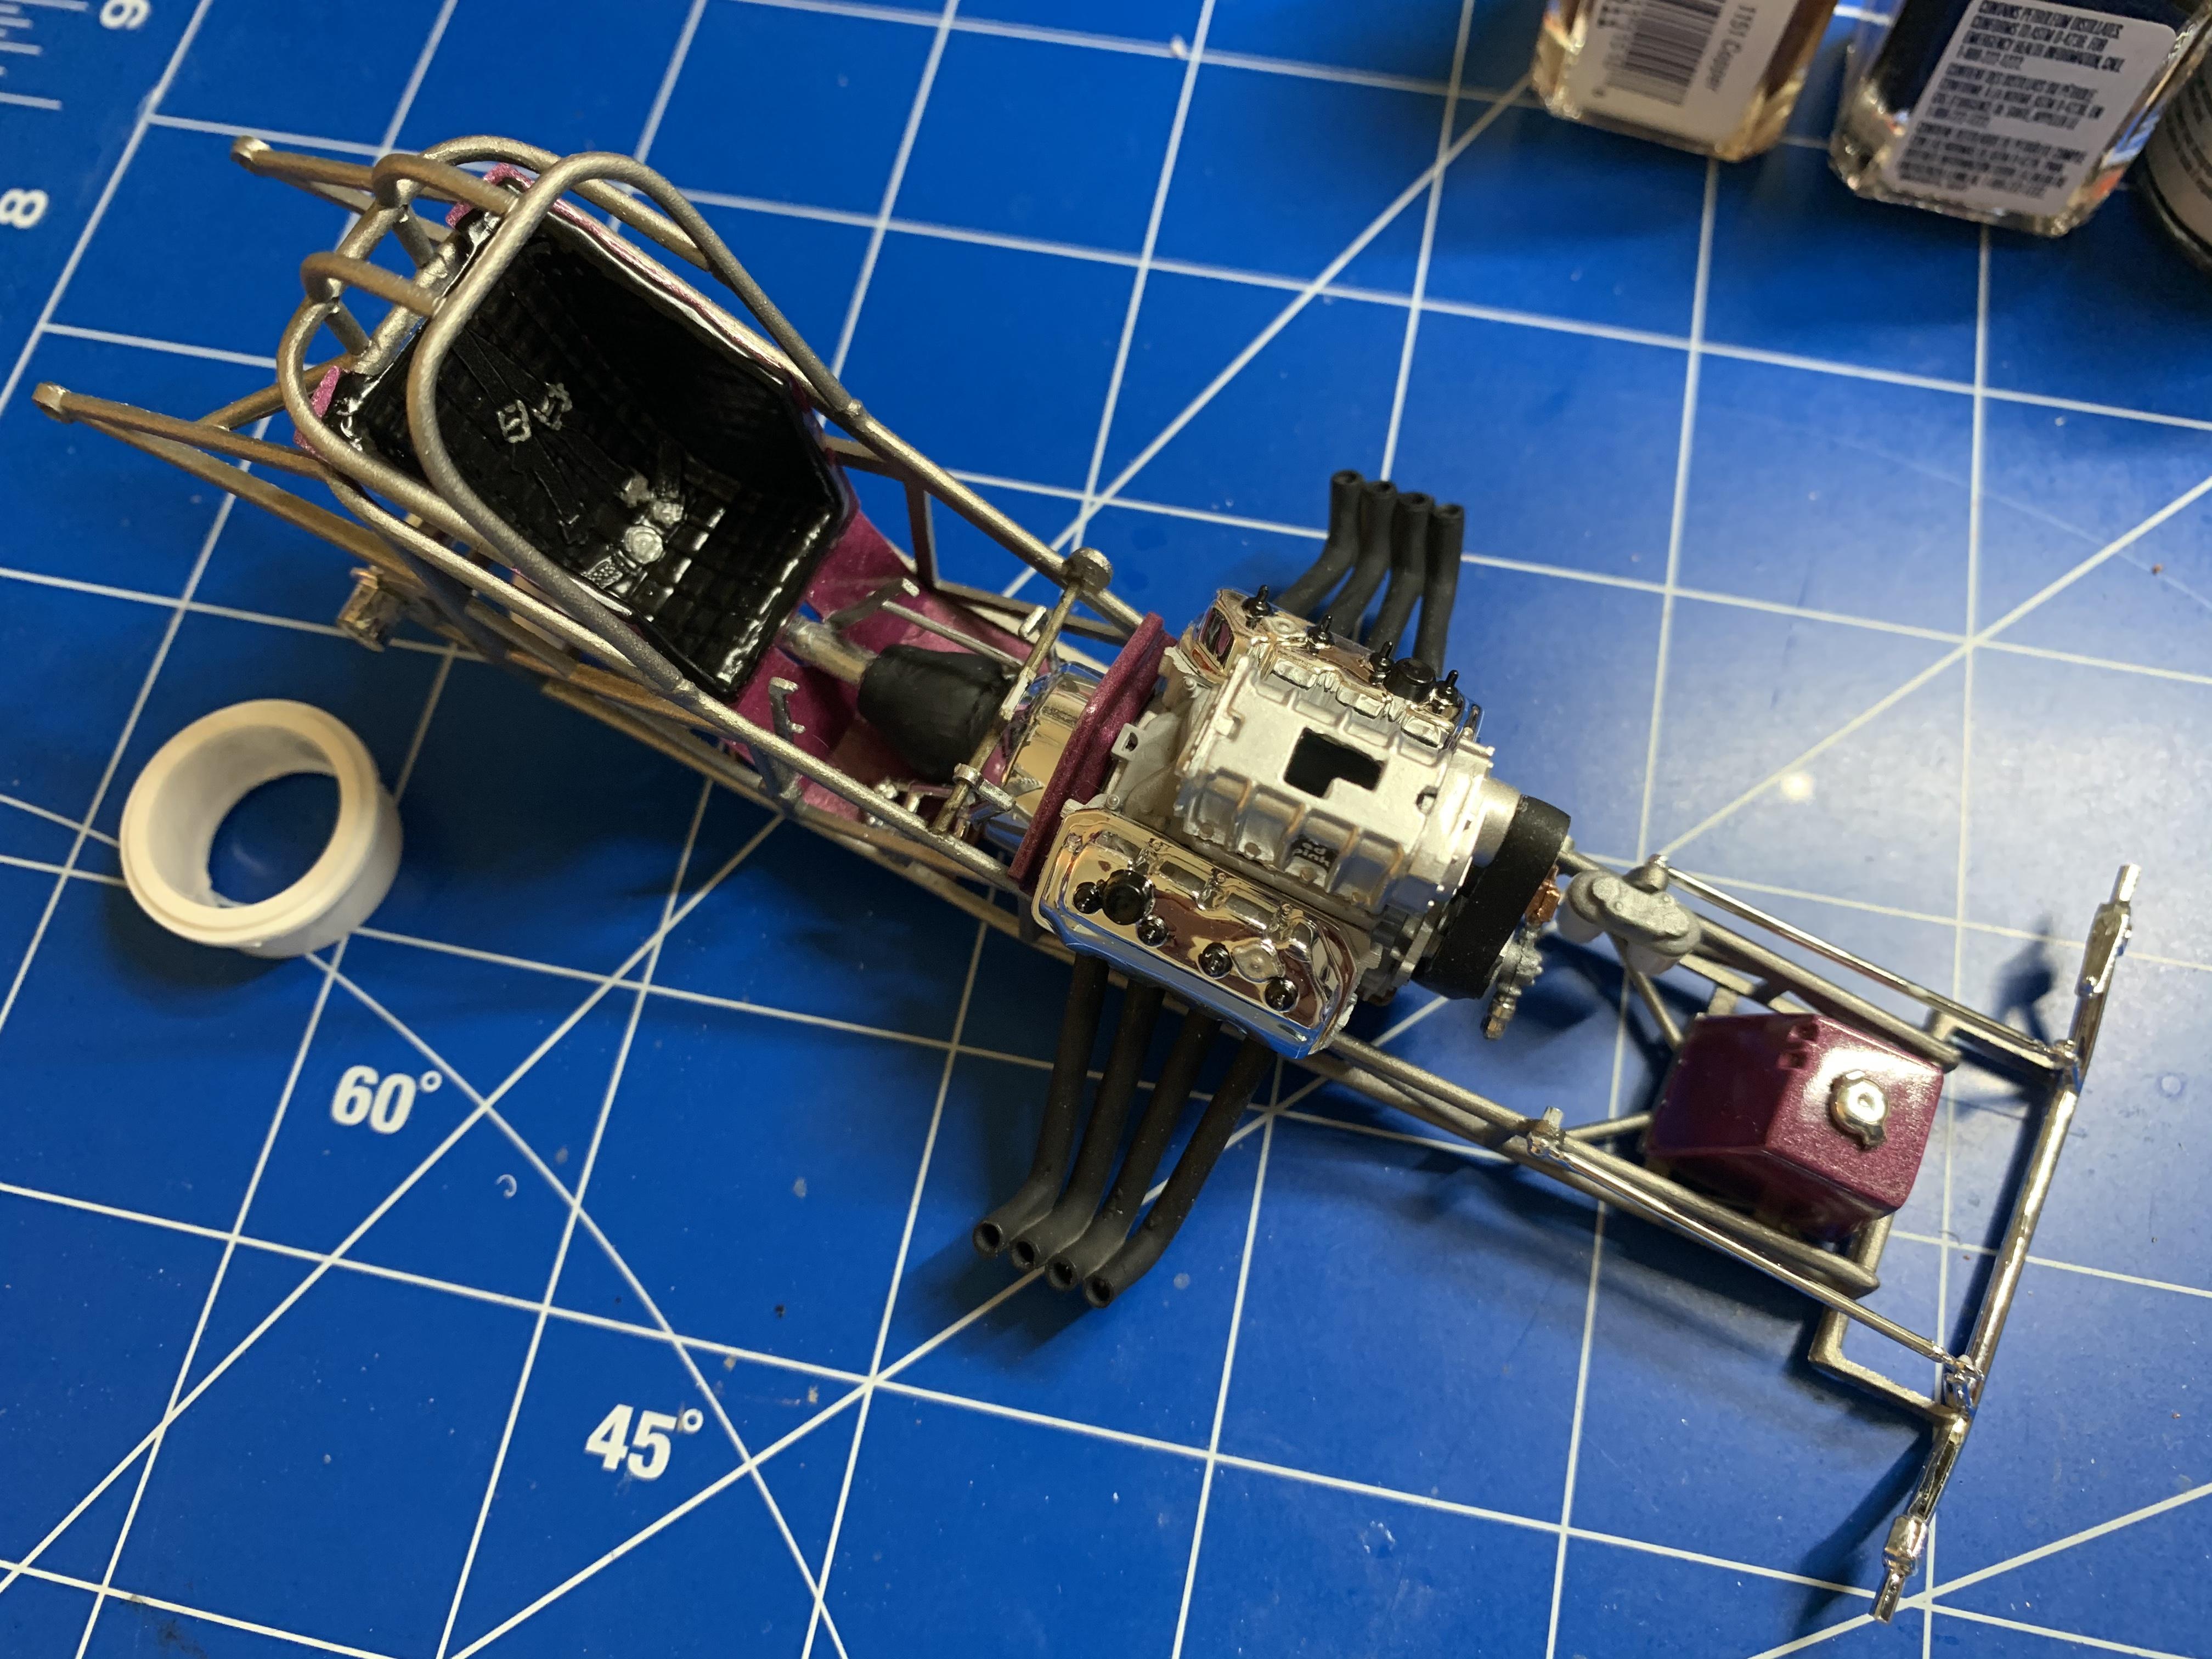
Handling the body so much, I broke the windshield pillar again, so I glued it and set it aside till it sets up. I started putting the motor together, at this point, I’m watching glue dry.....so I’ll probably call it a day
-
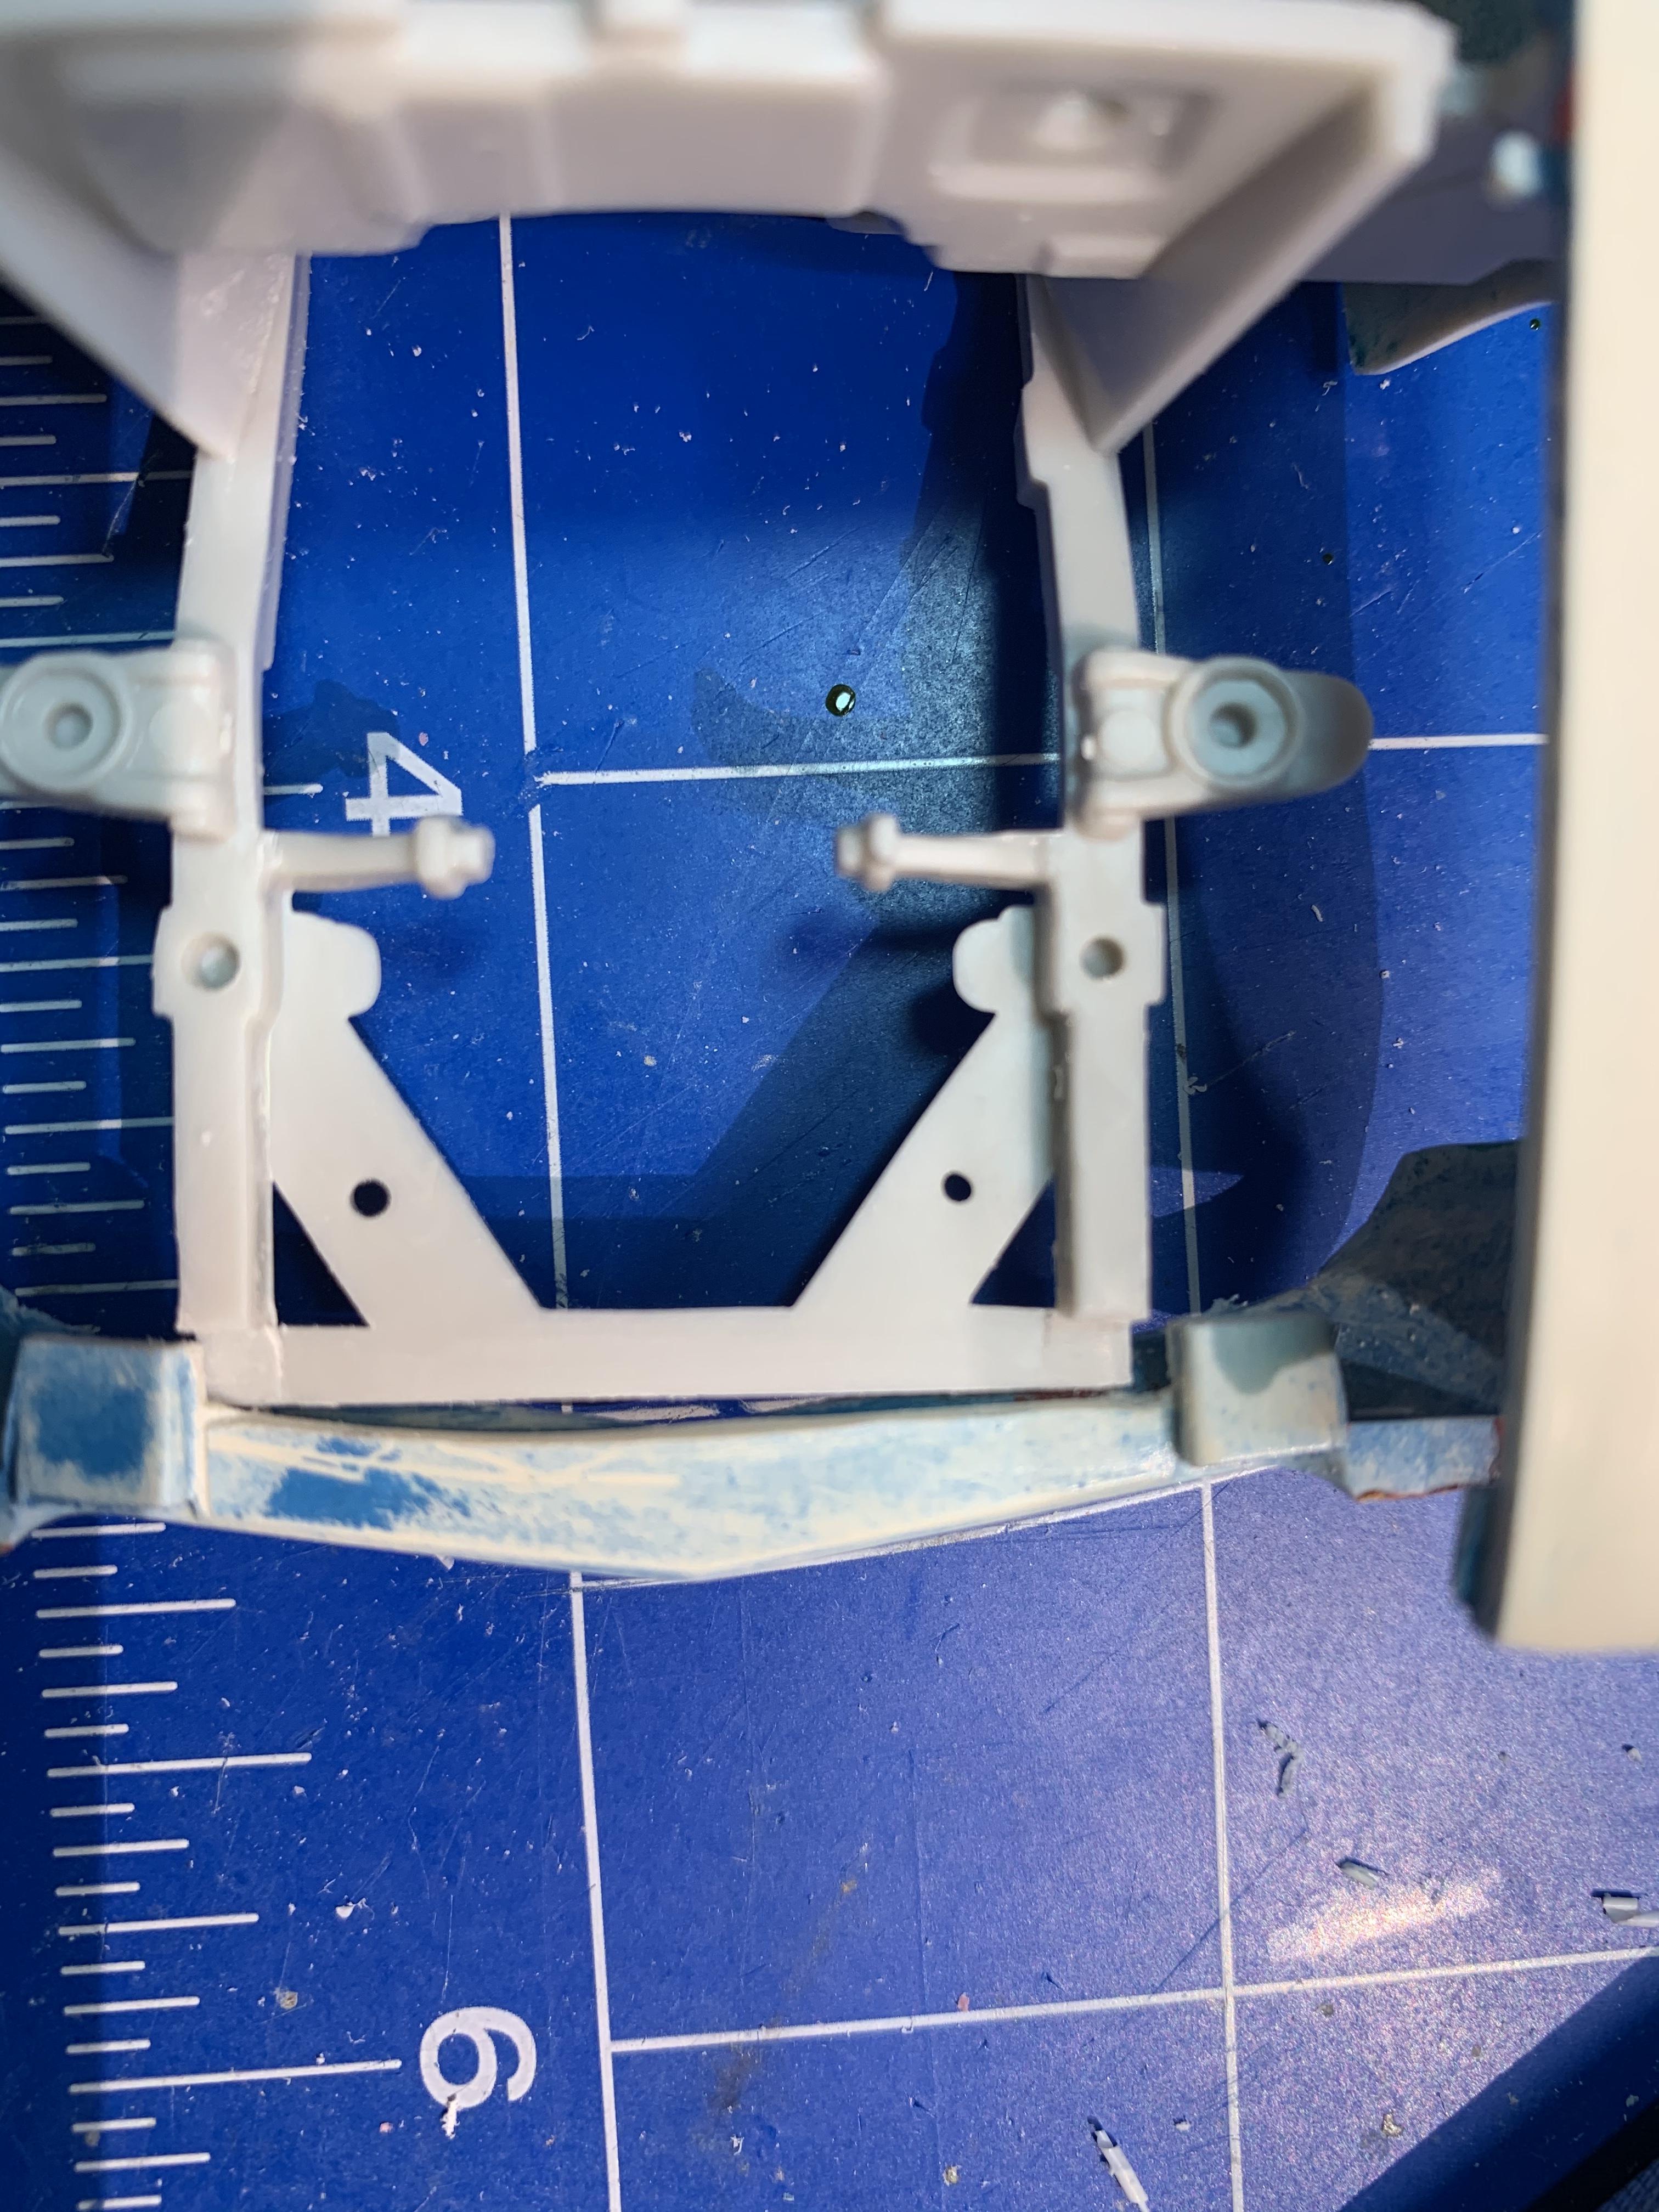
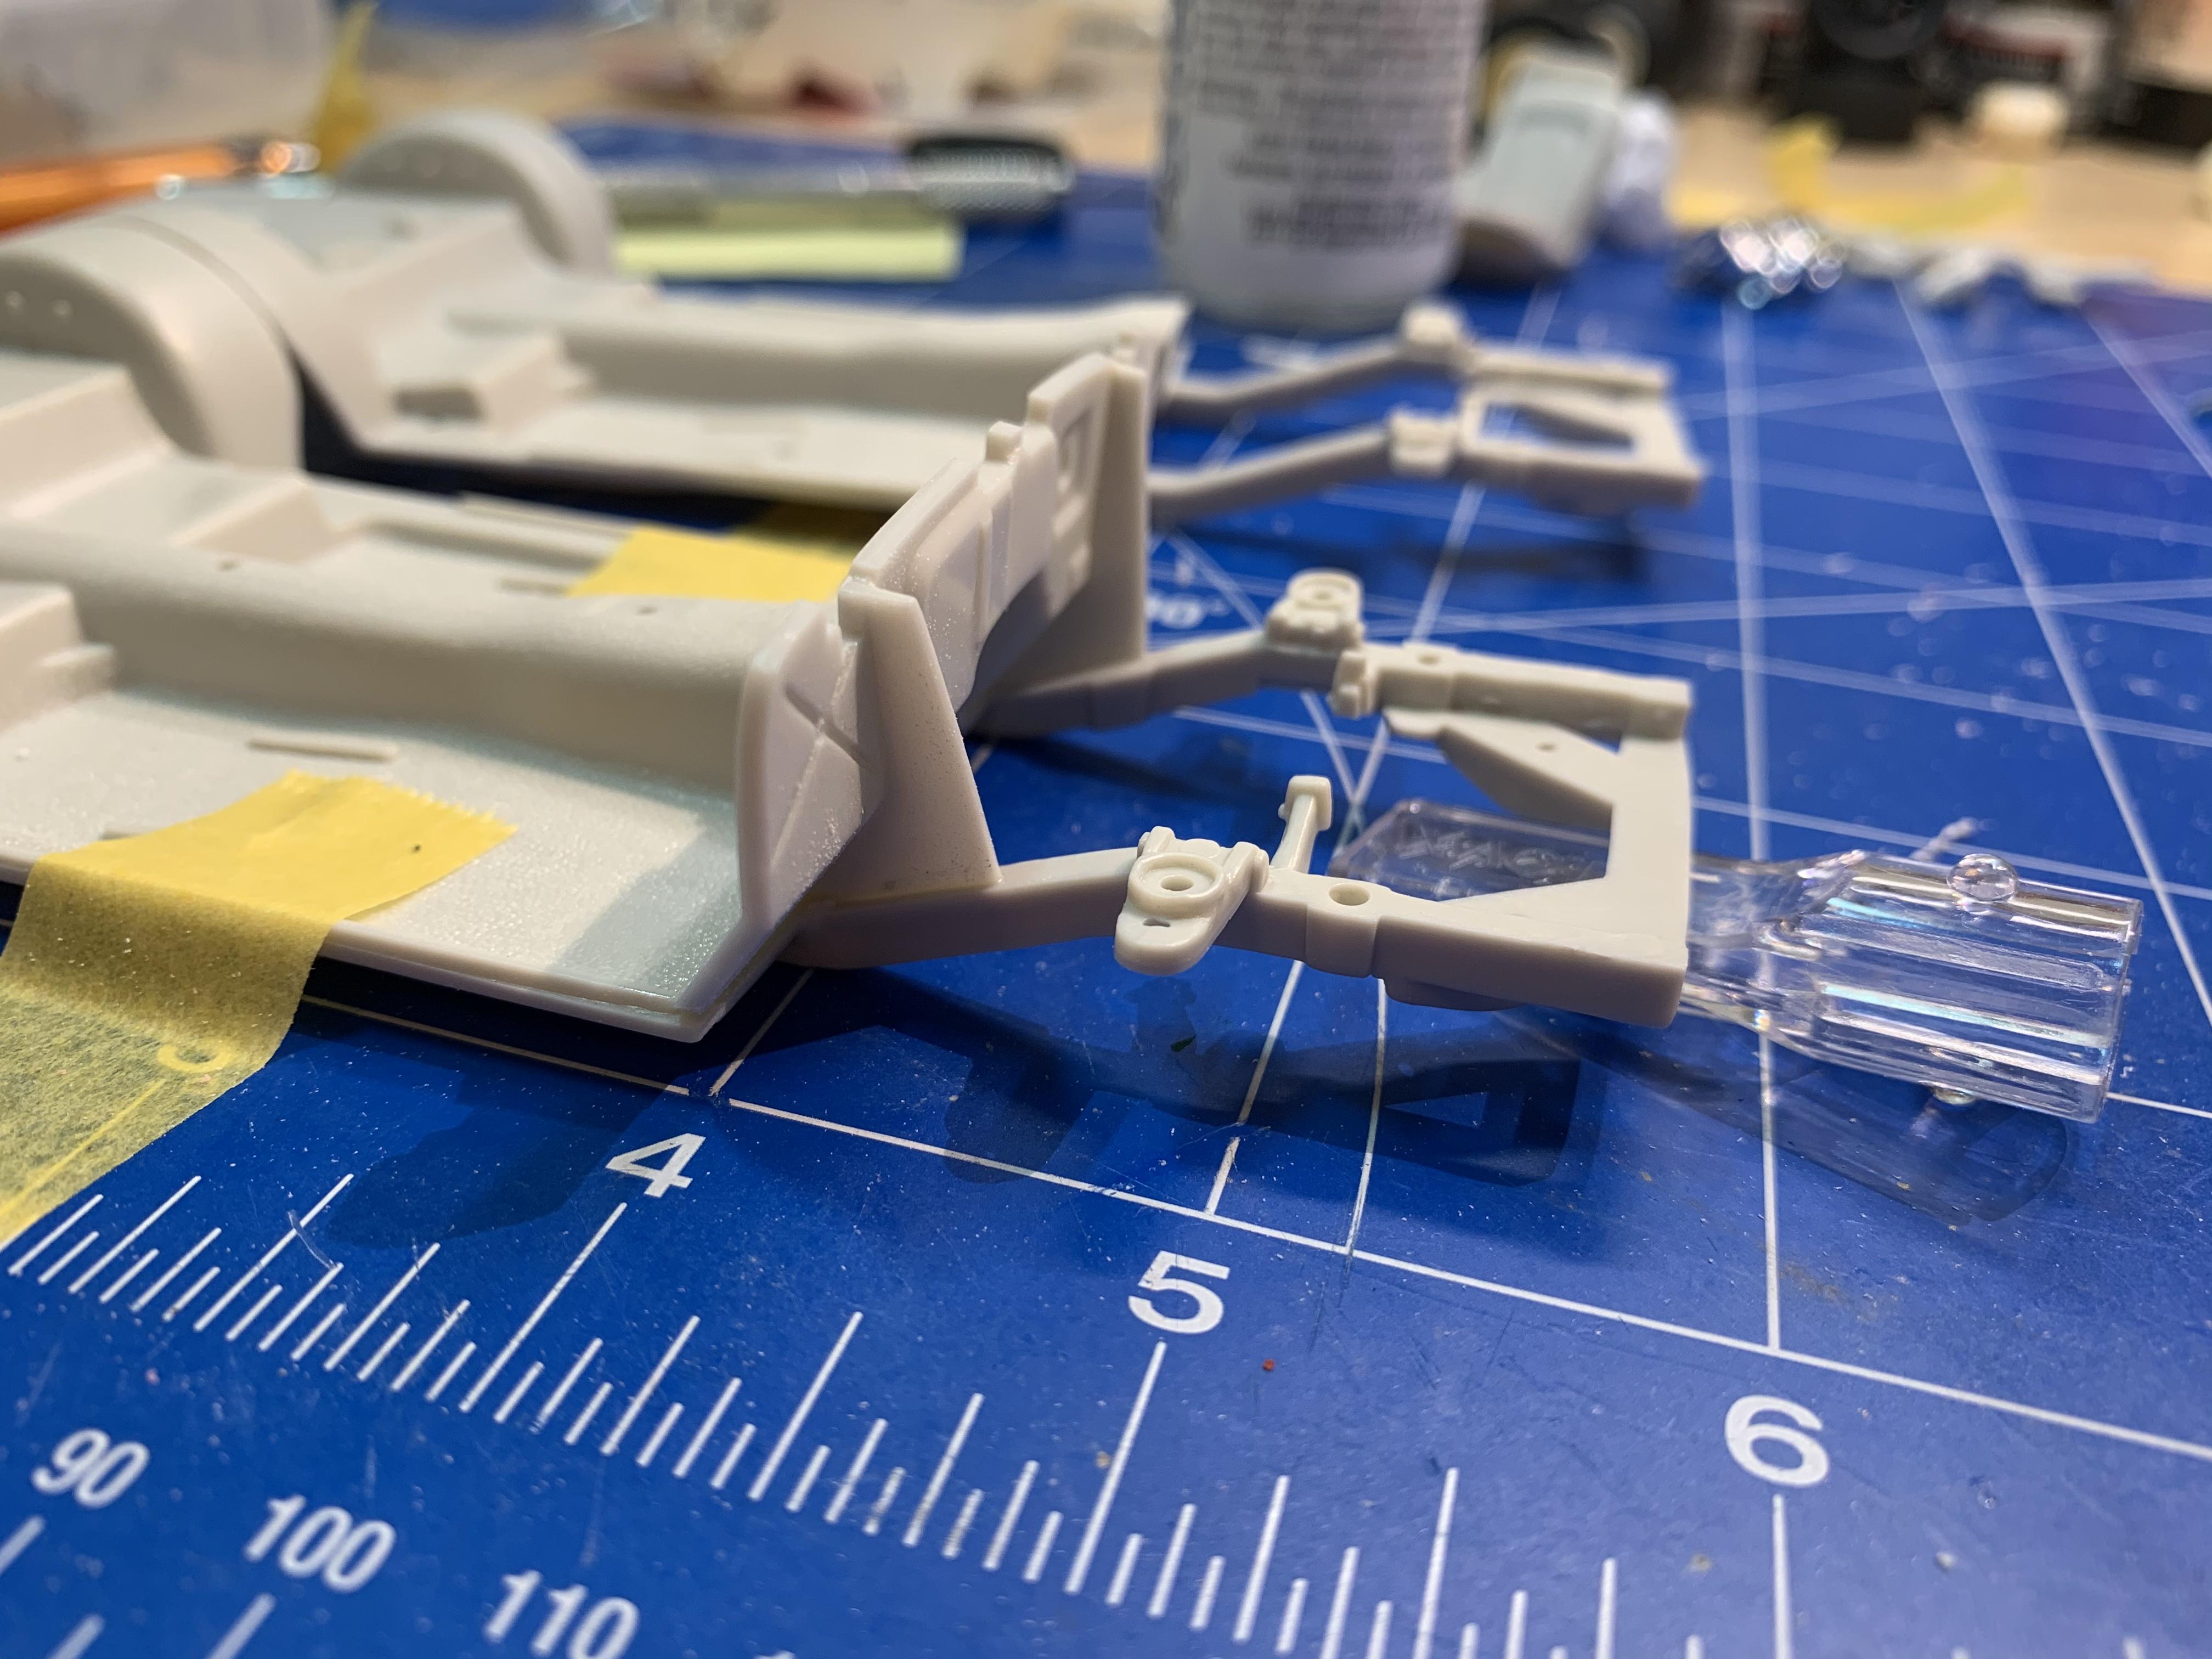
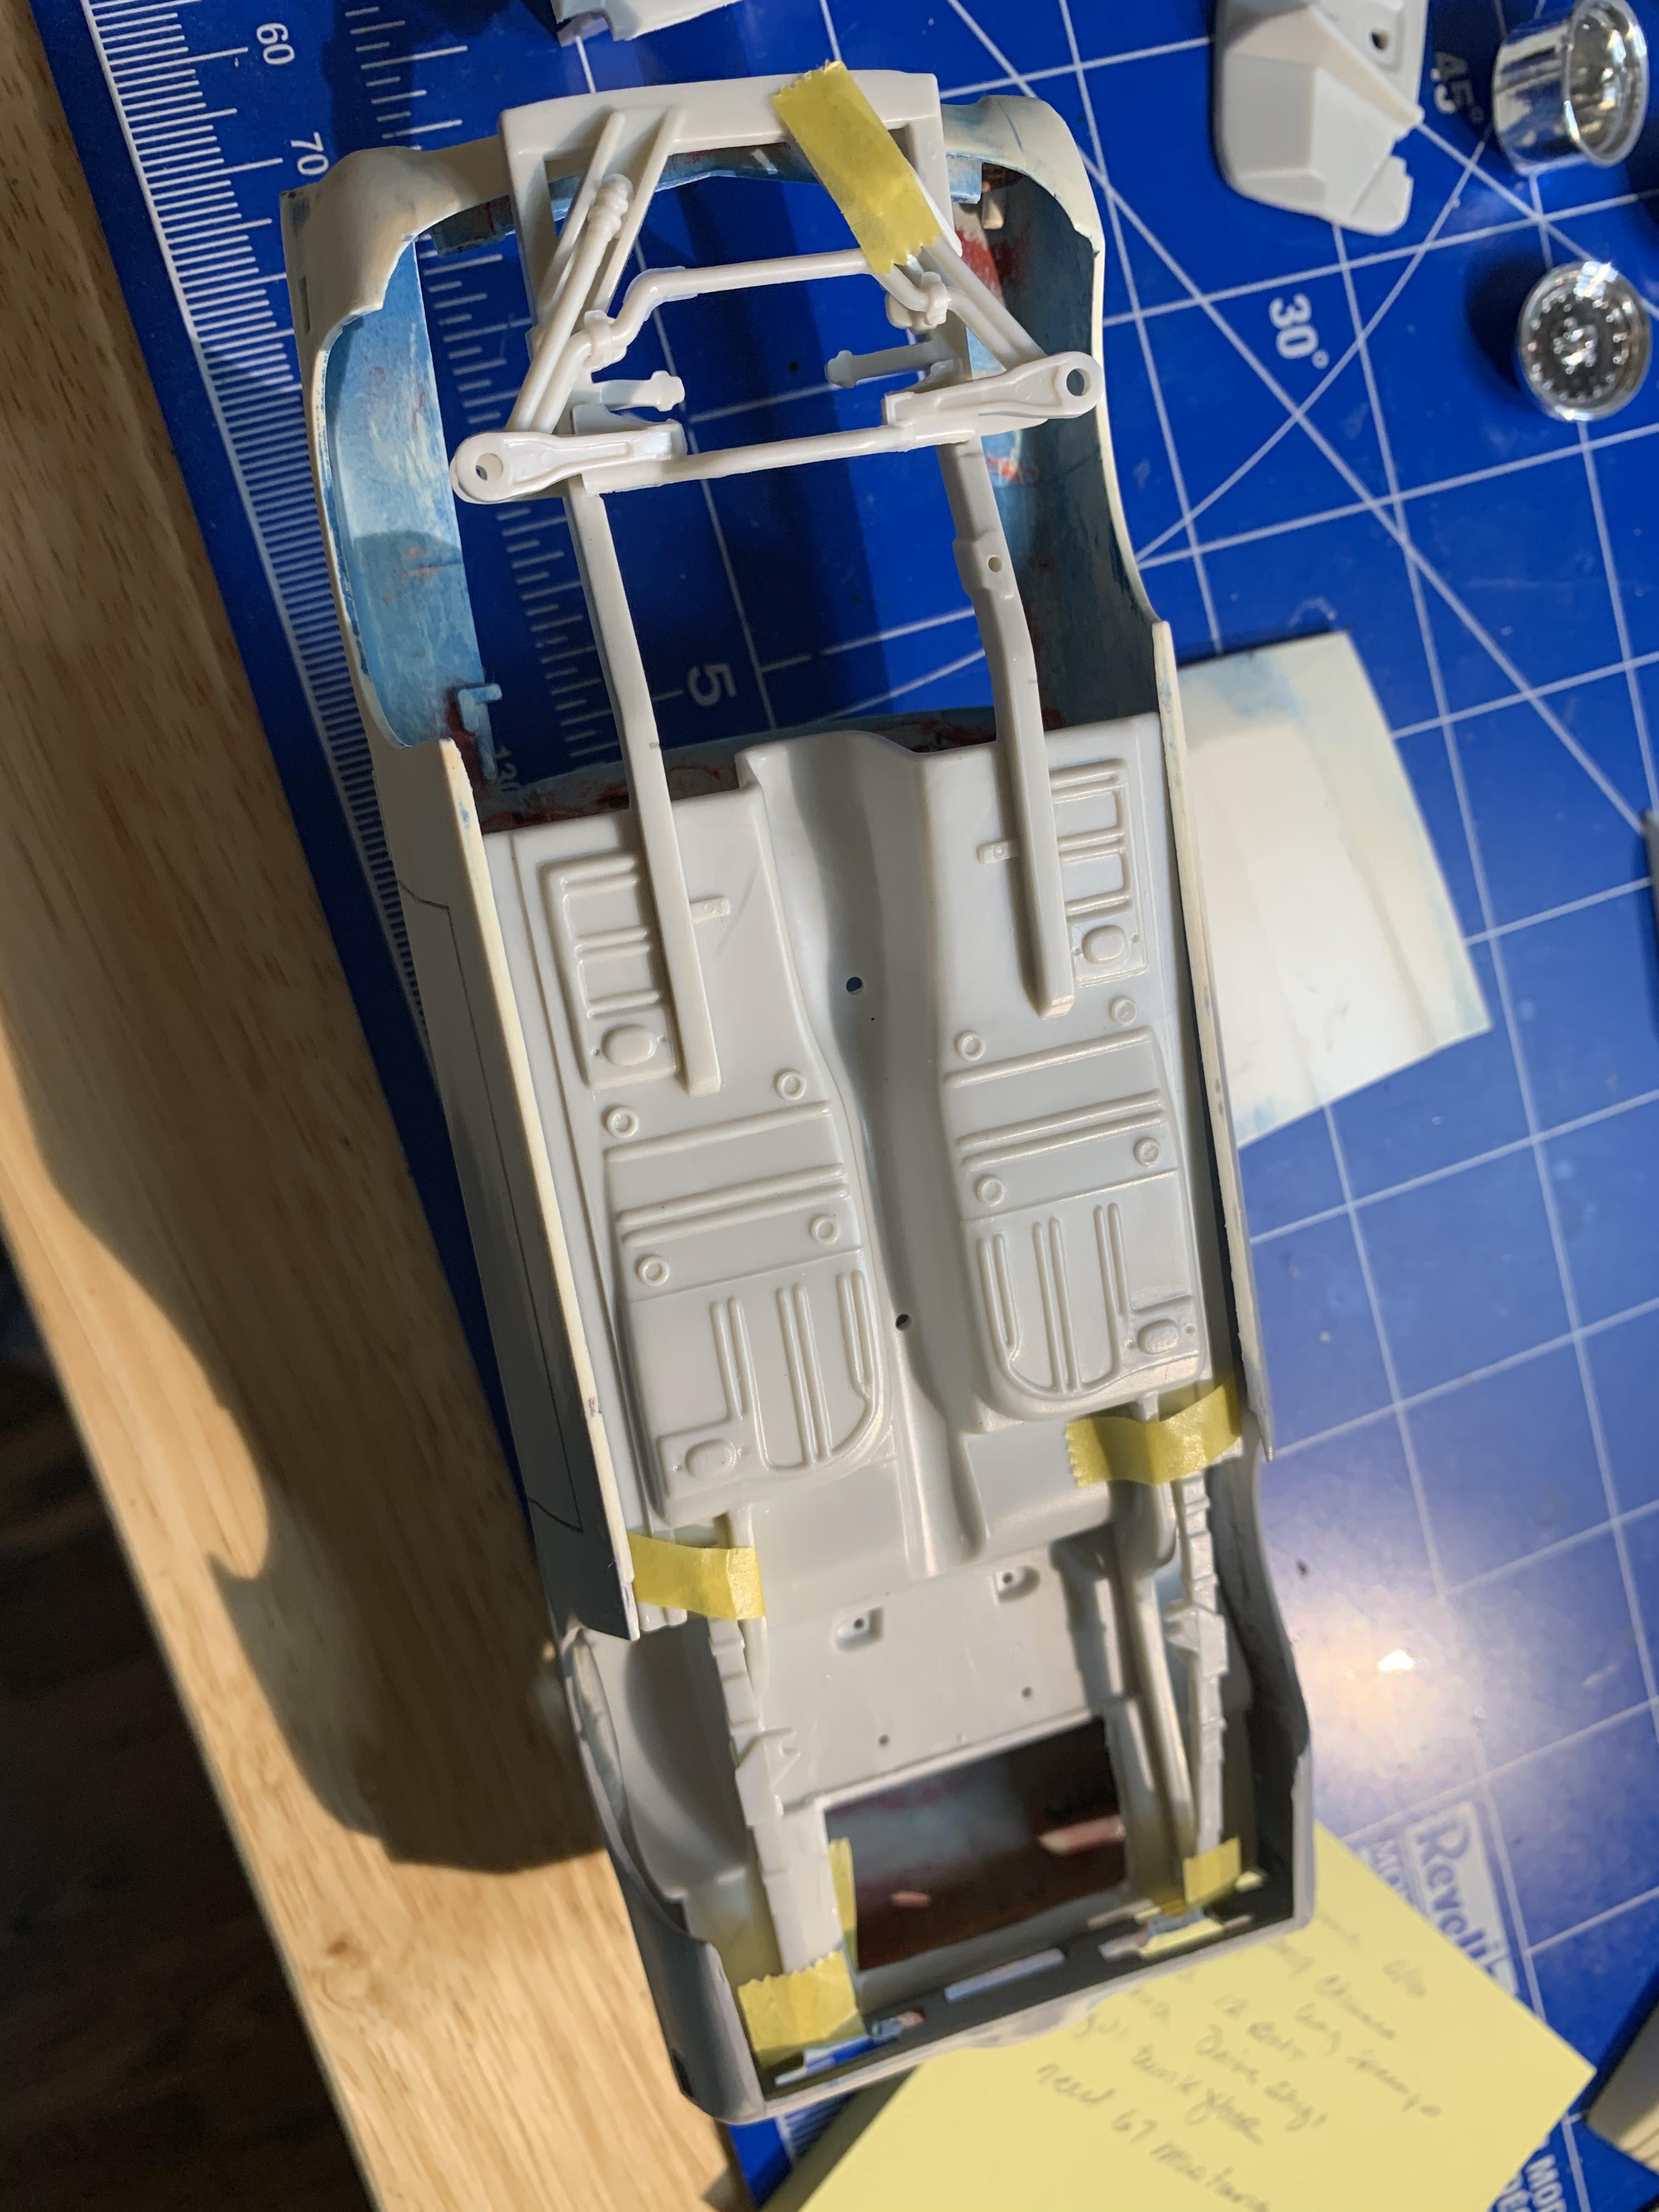
This helped a lot but I needed a smidge more, so I trimmed the front of the chassis and notched the rails, this did the trick and now it fits and it looks like the wheel base is close to correct.

-
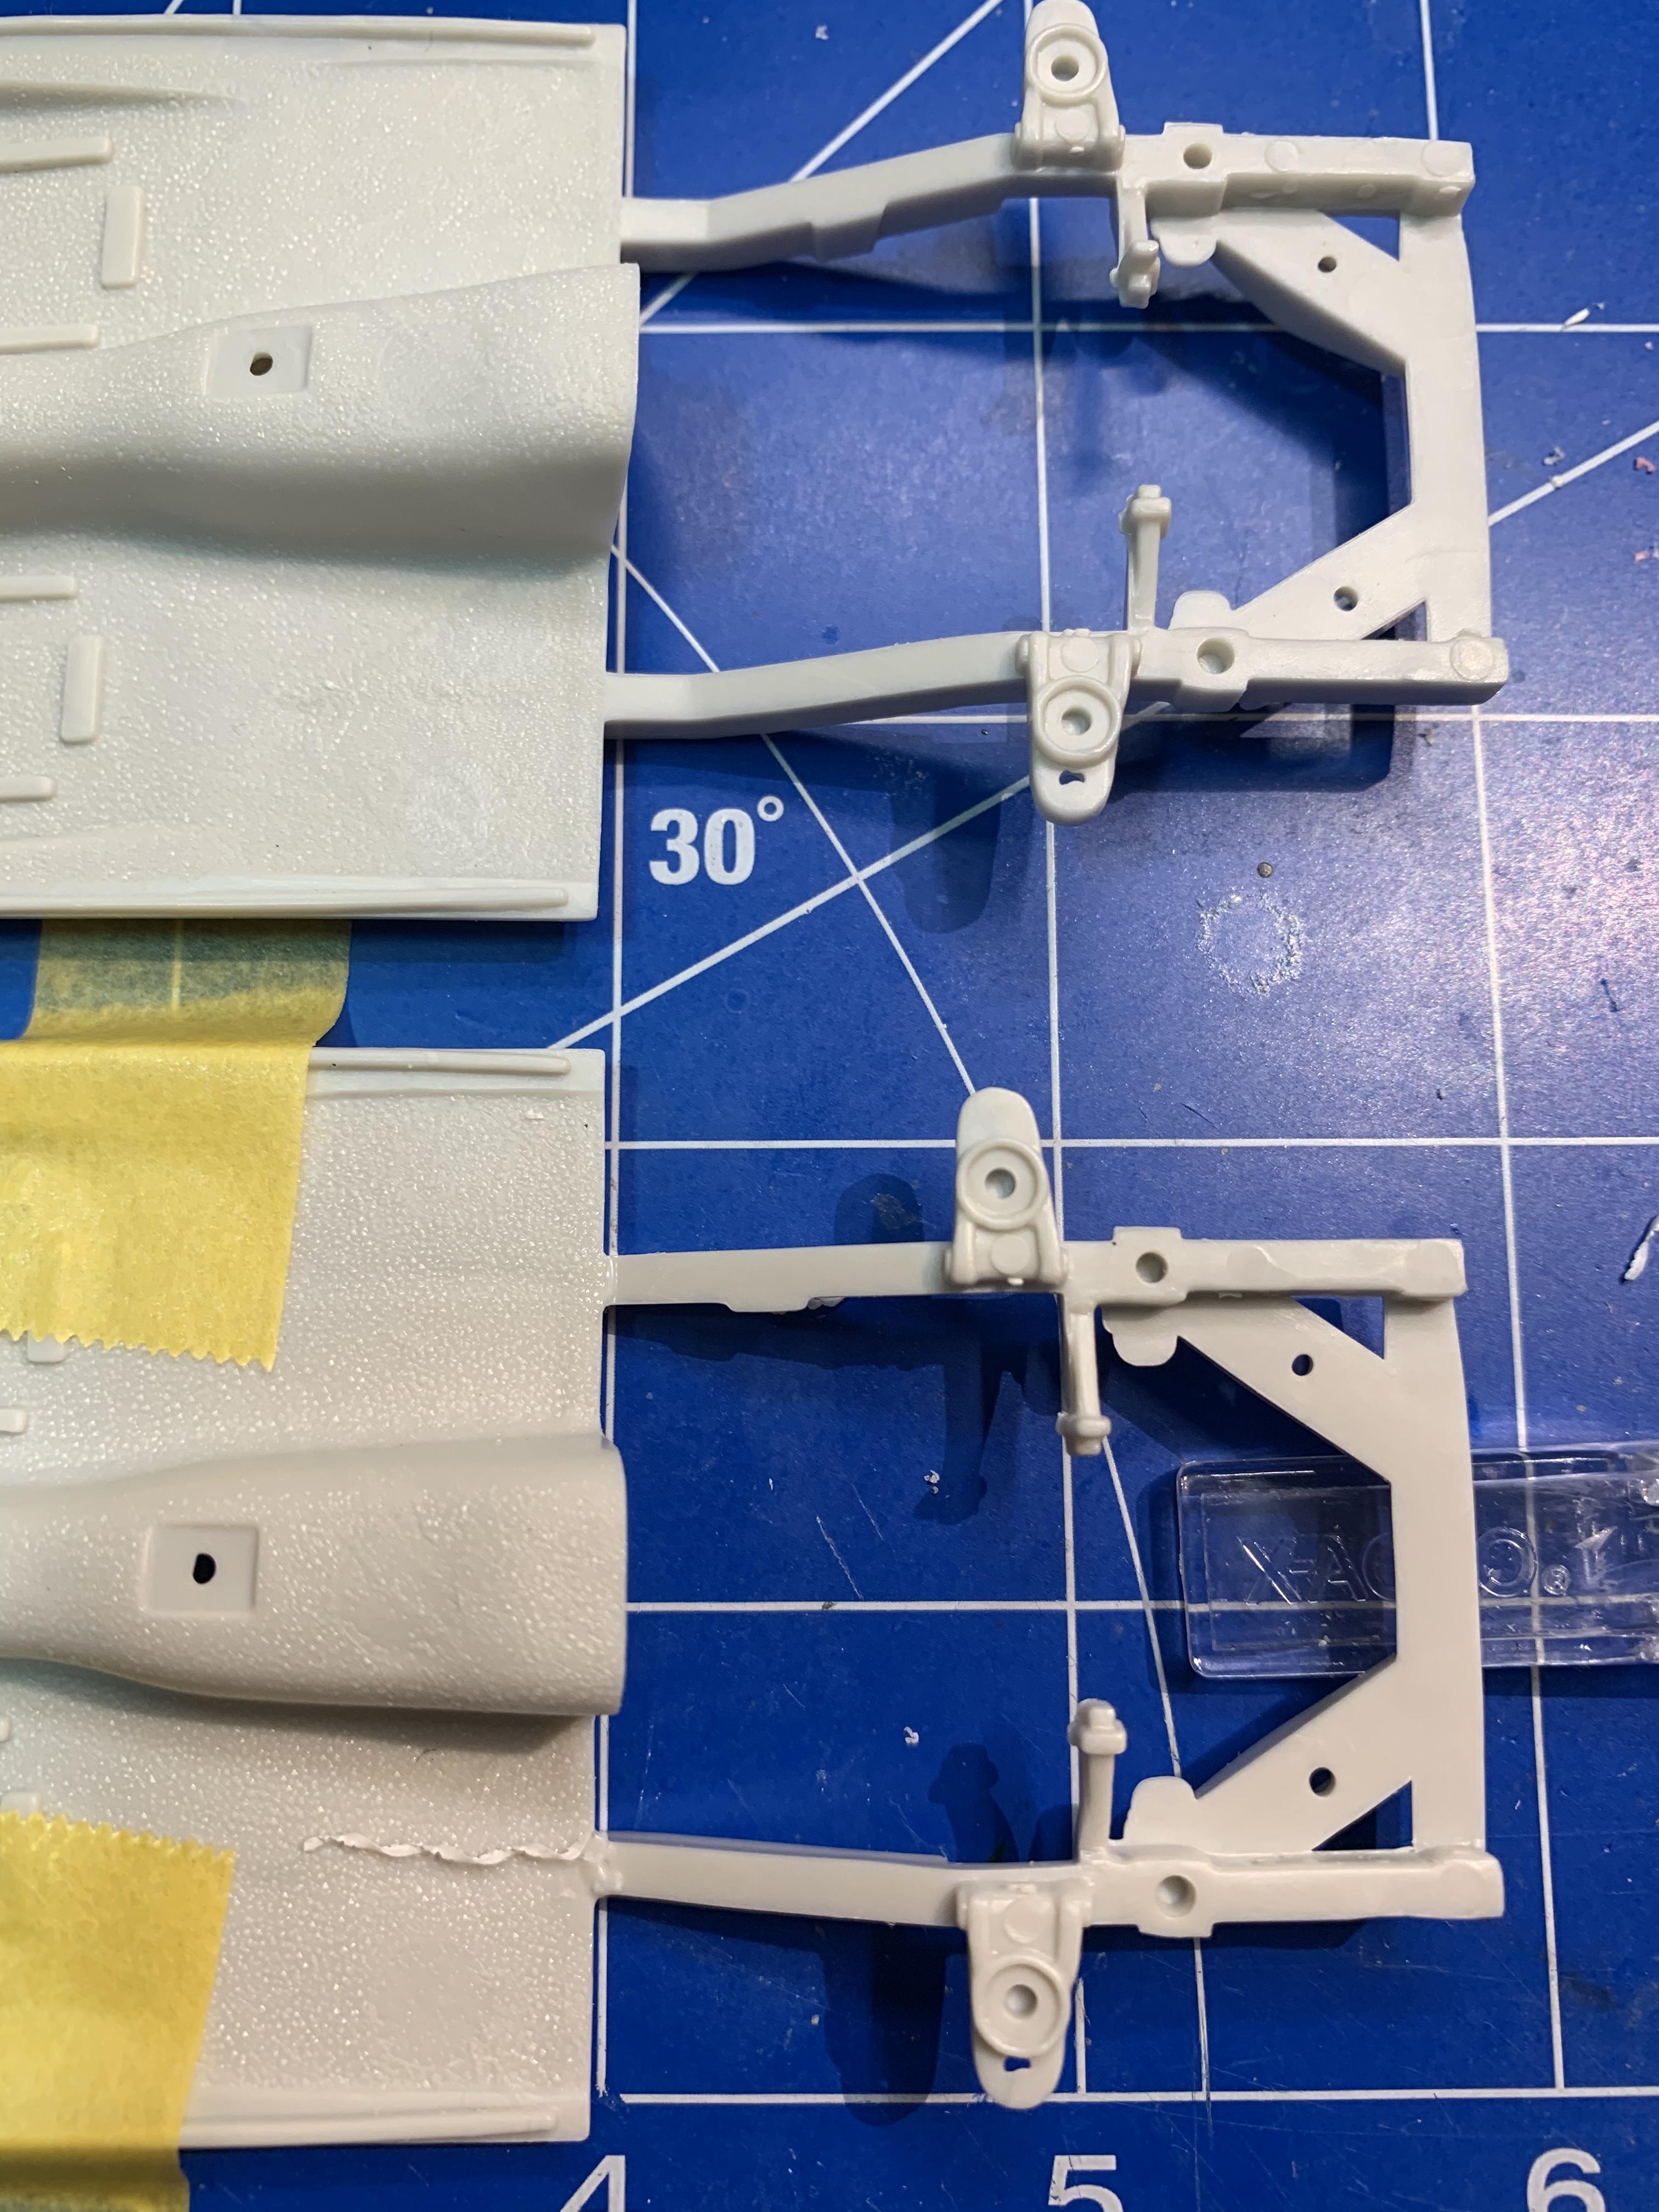
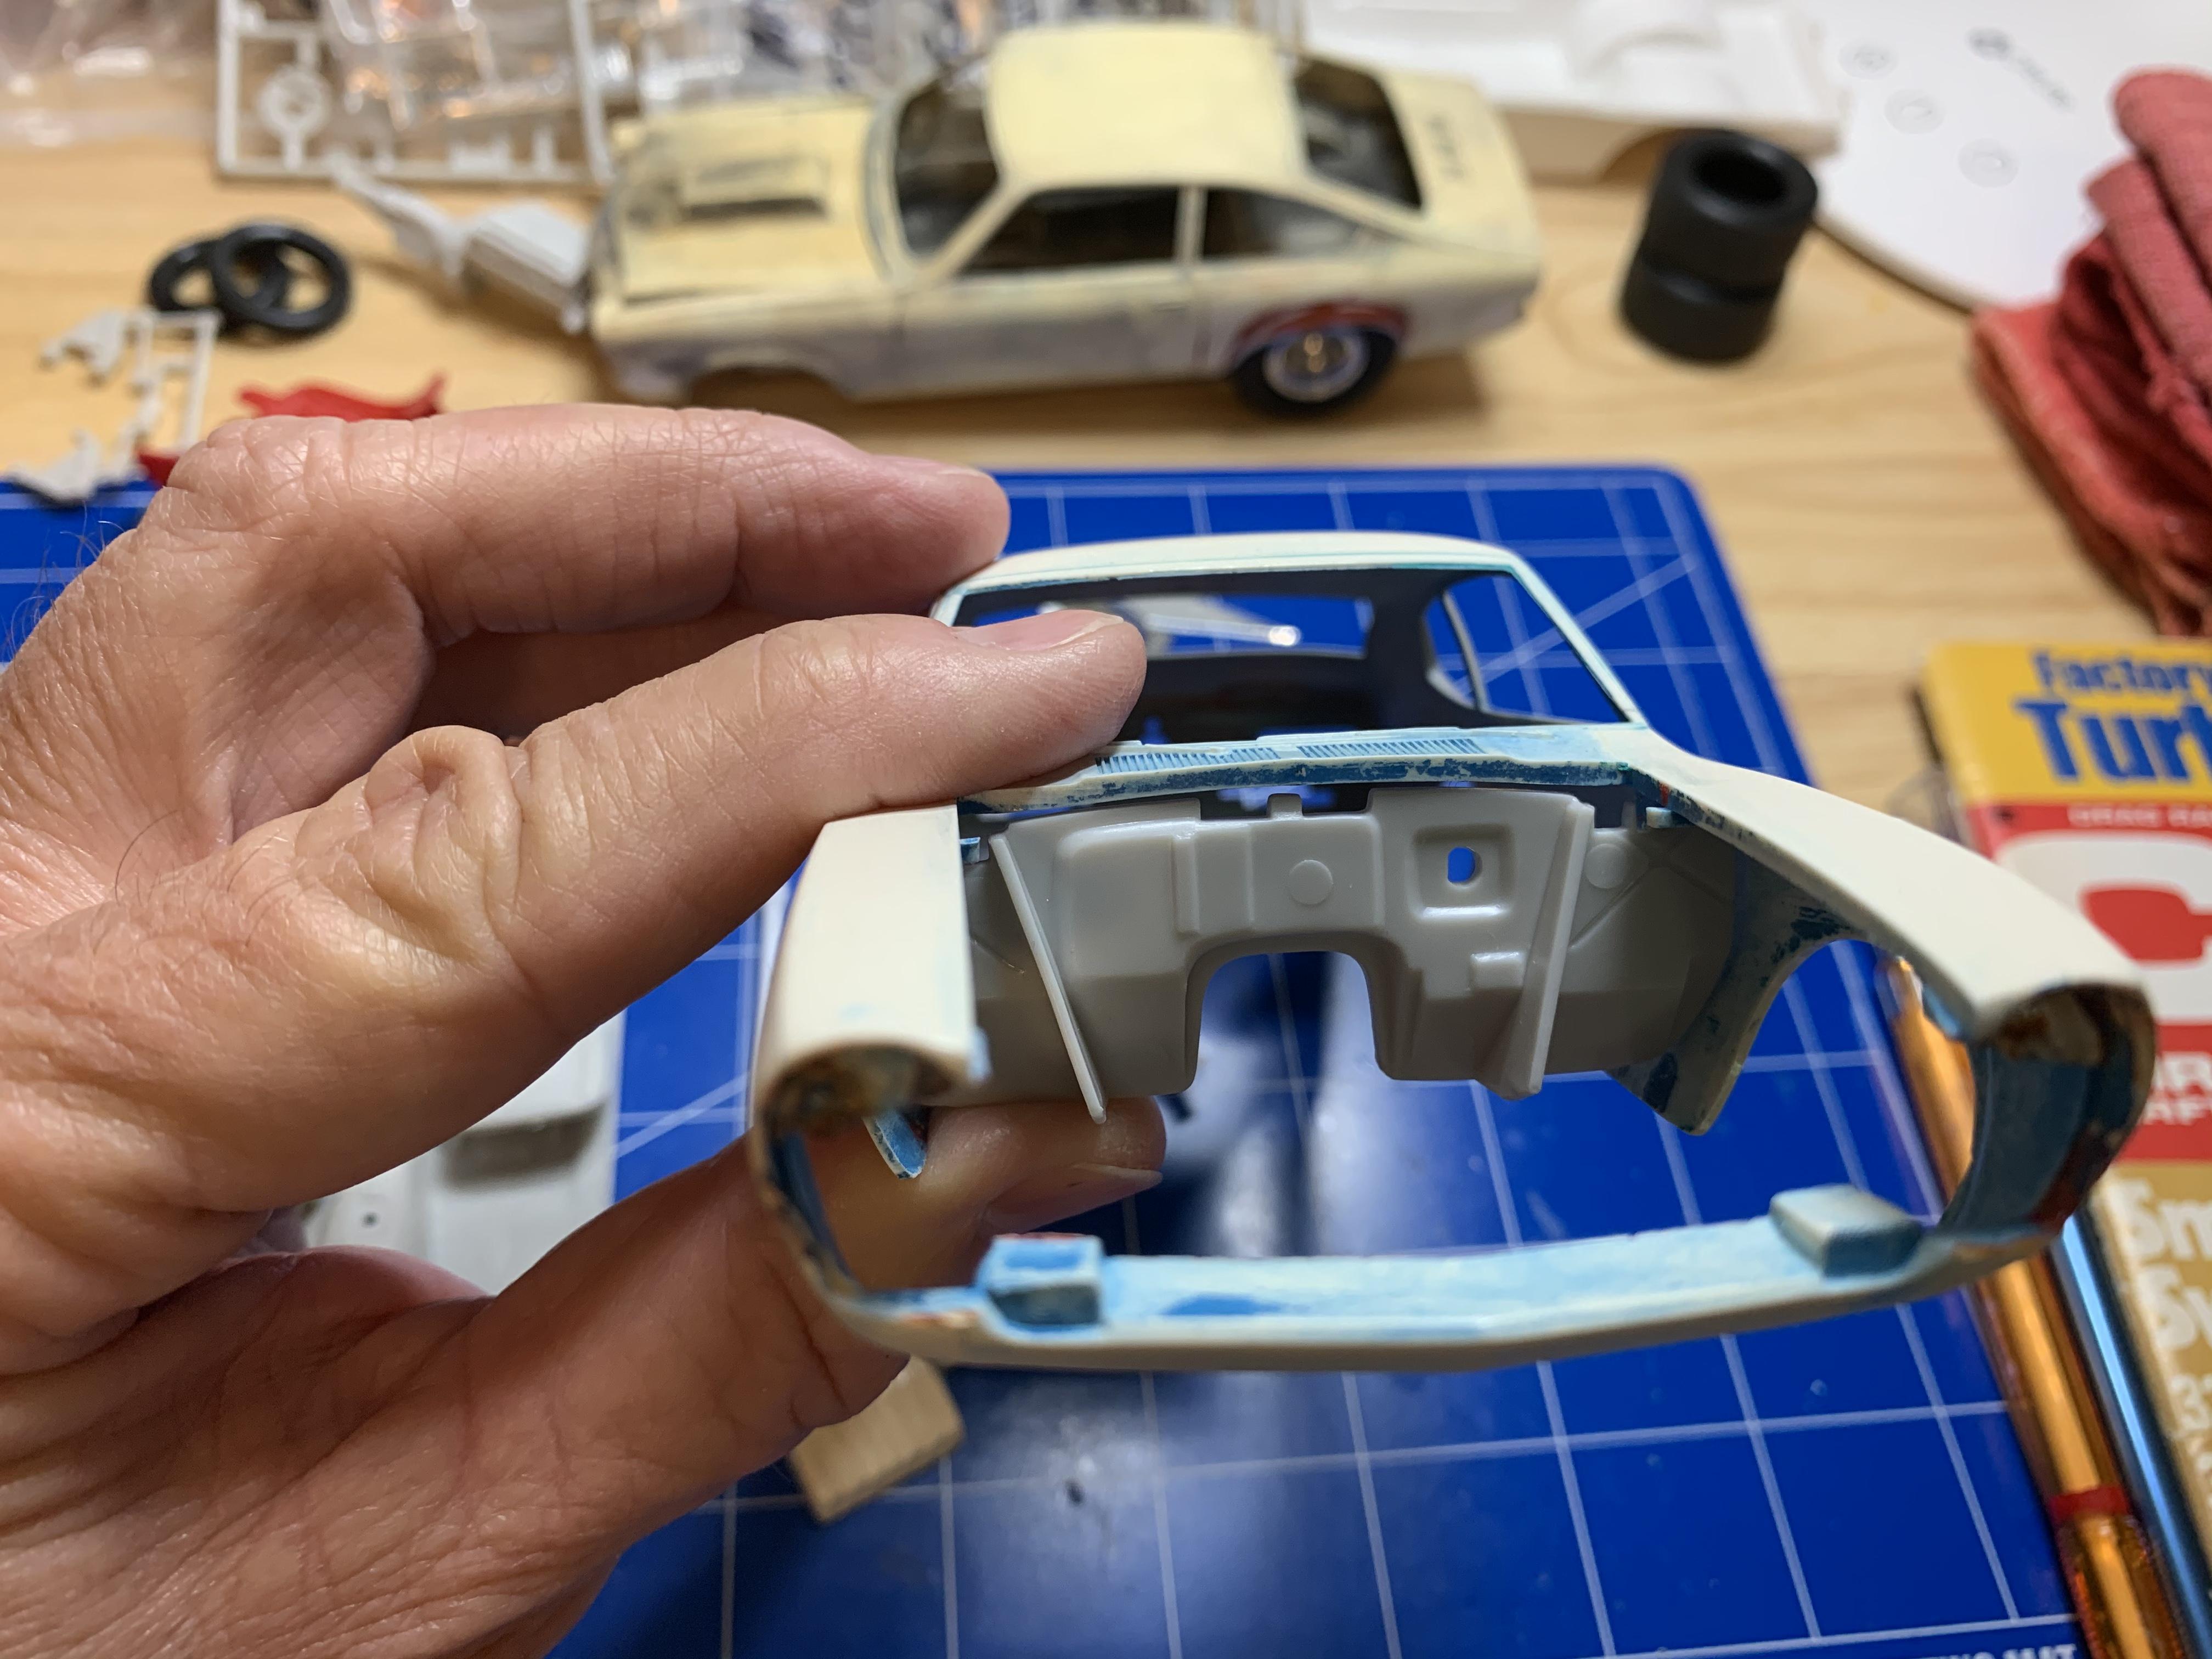
On my first trial fit, the chassis sat too far back, I started trimming the area behind the front valance panel, see before and after.
-
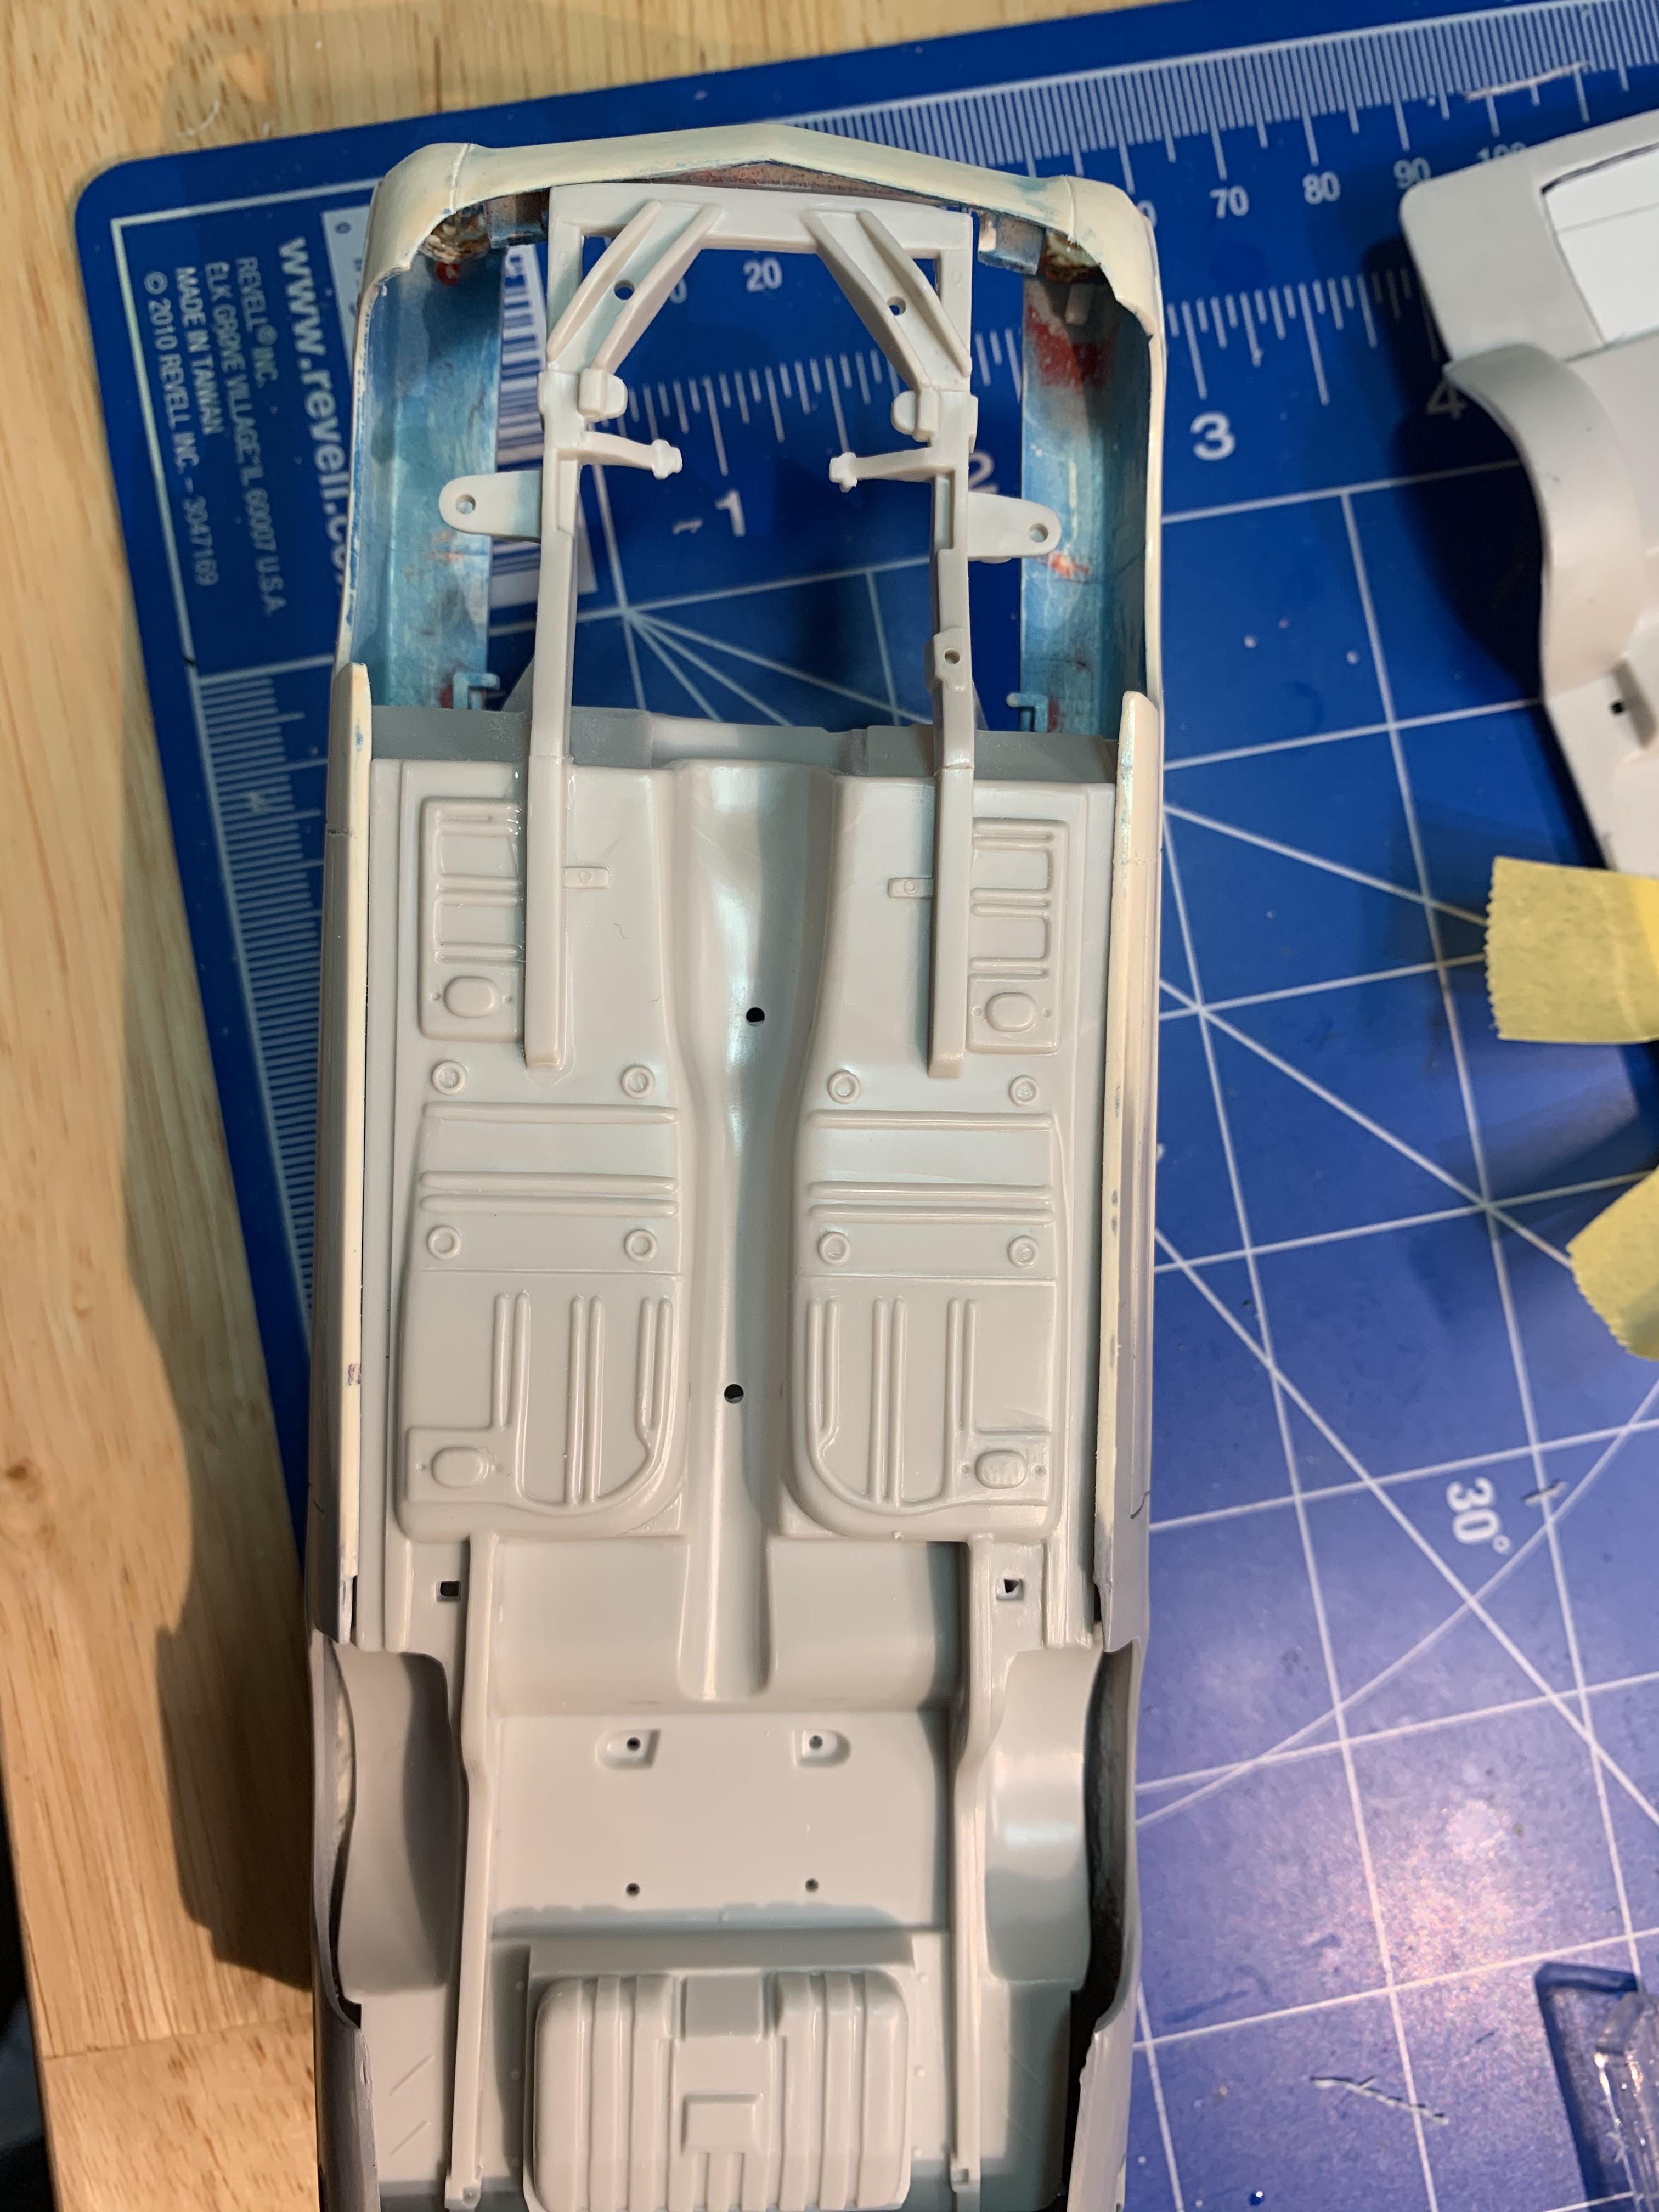
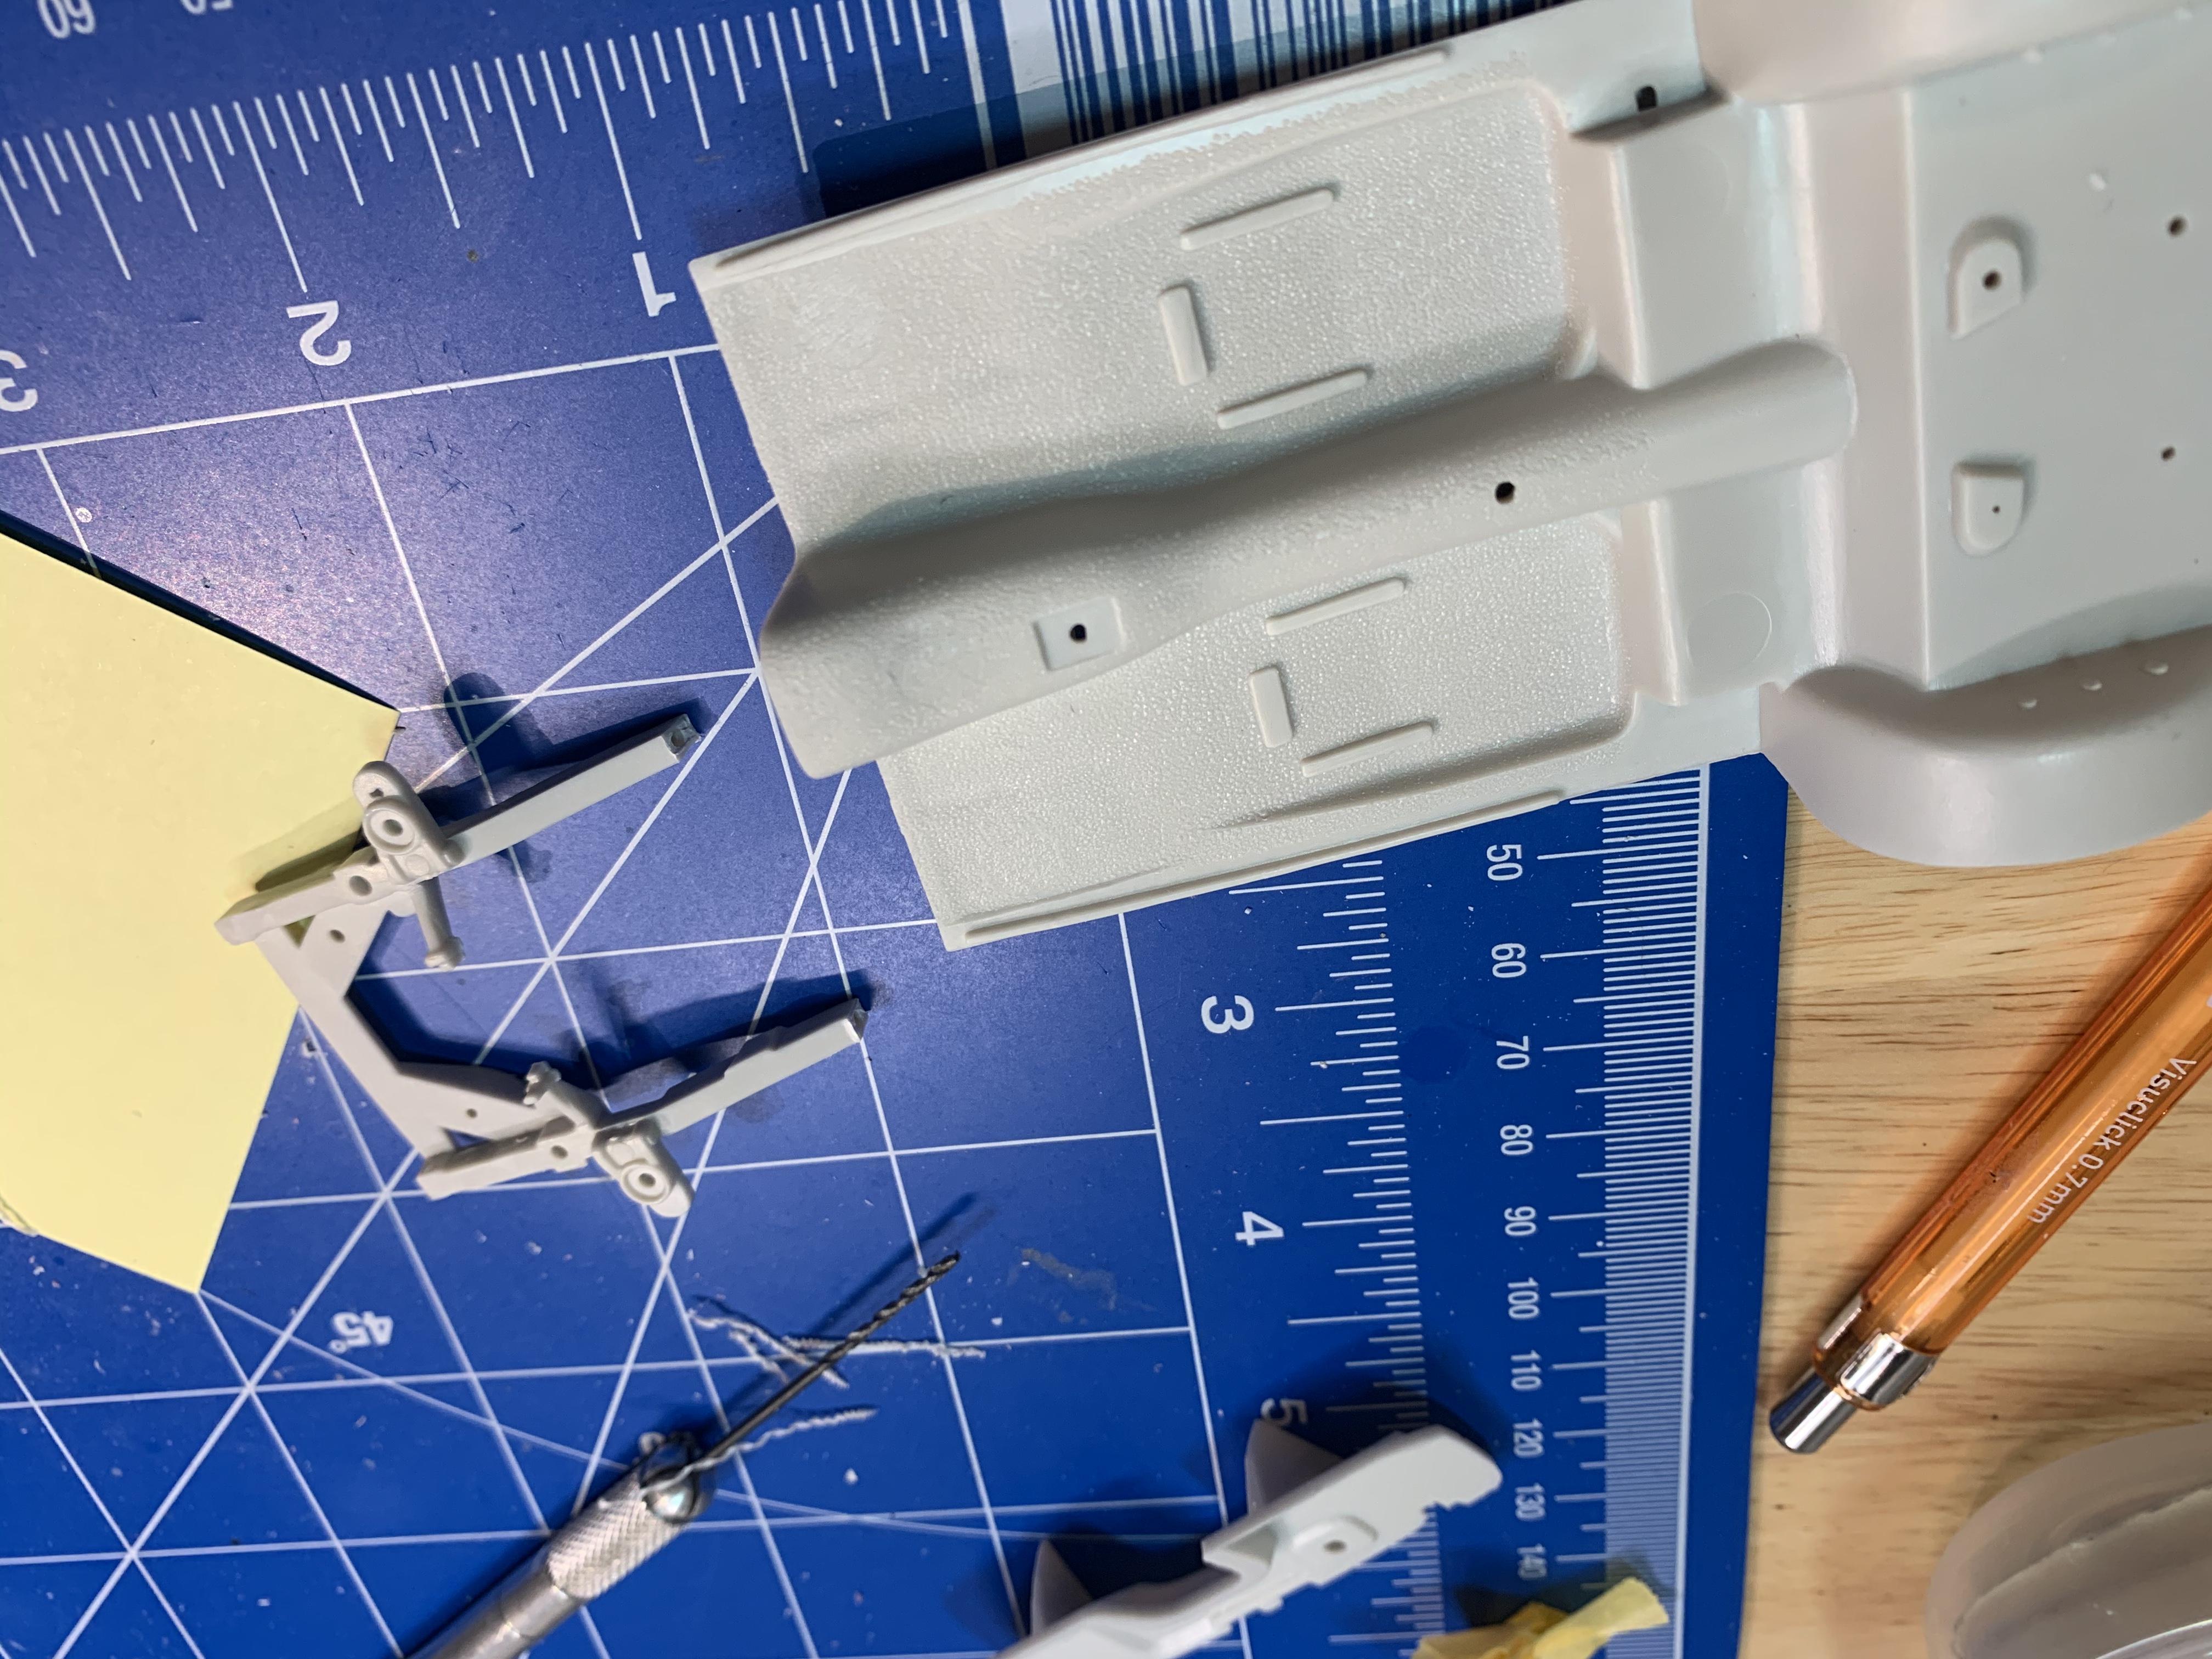
I then added the firewall after sanding the fender aprons to match the new contours on the frame rails.
-
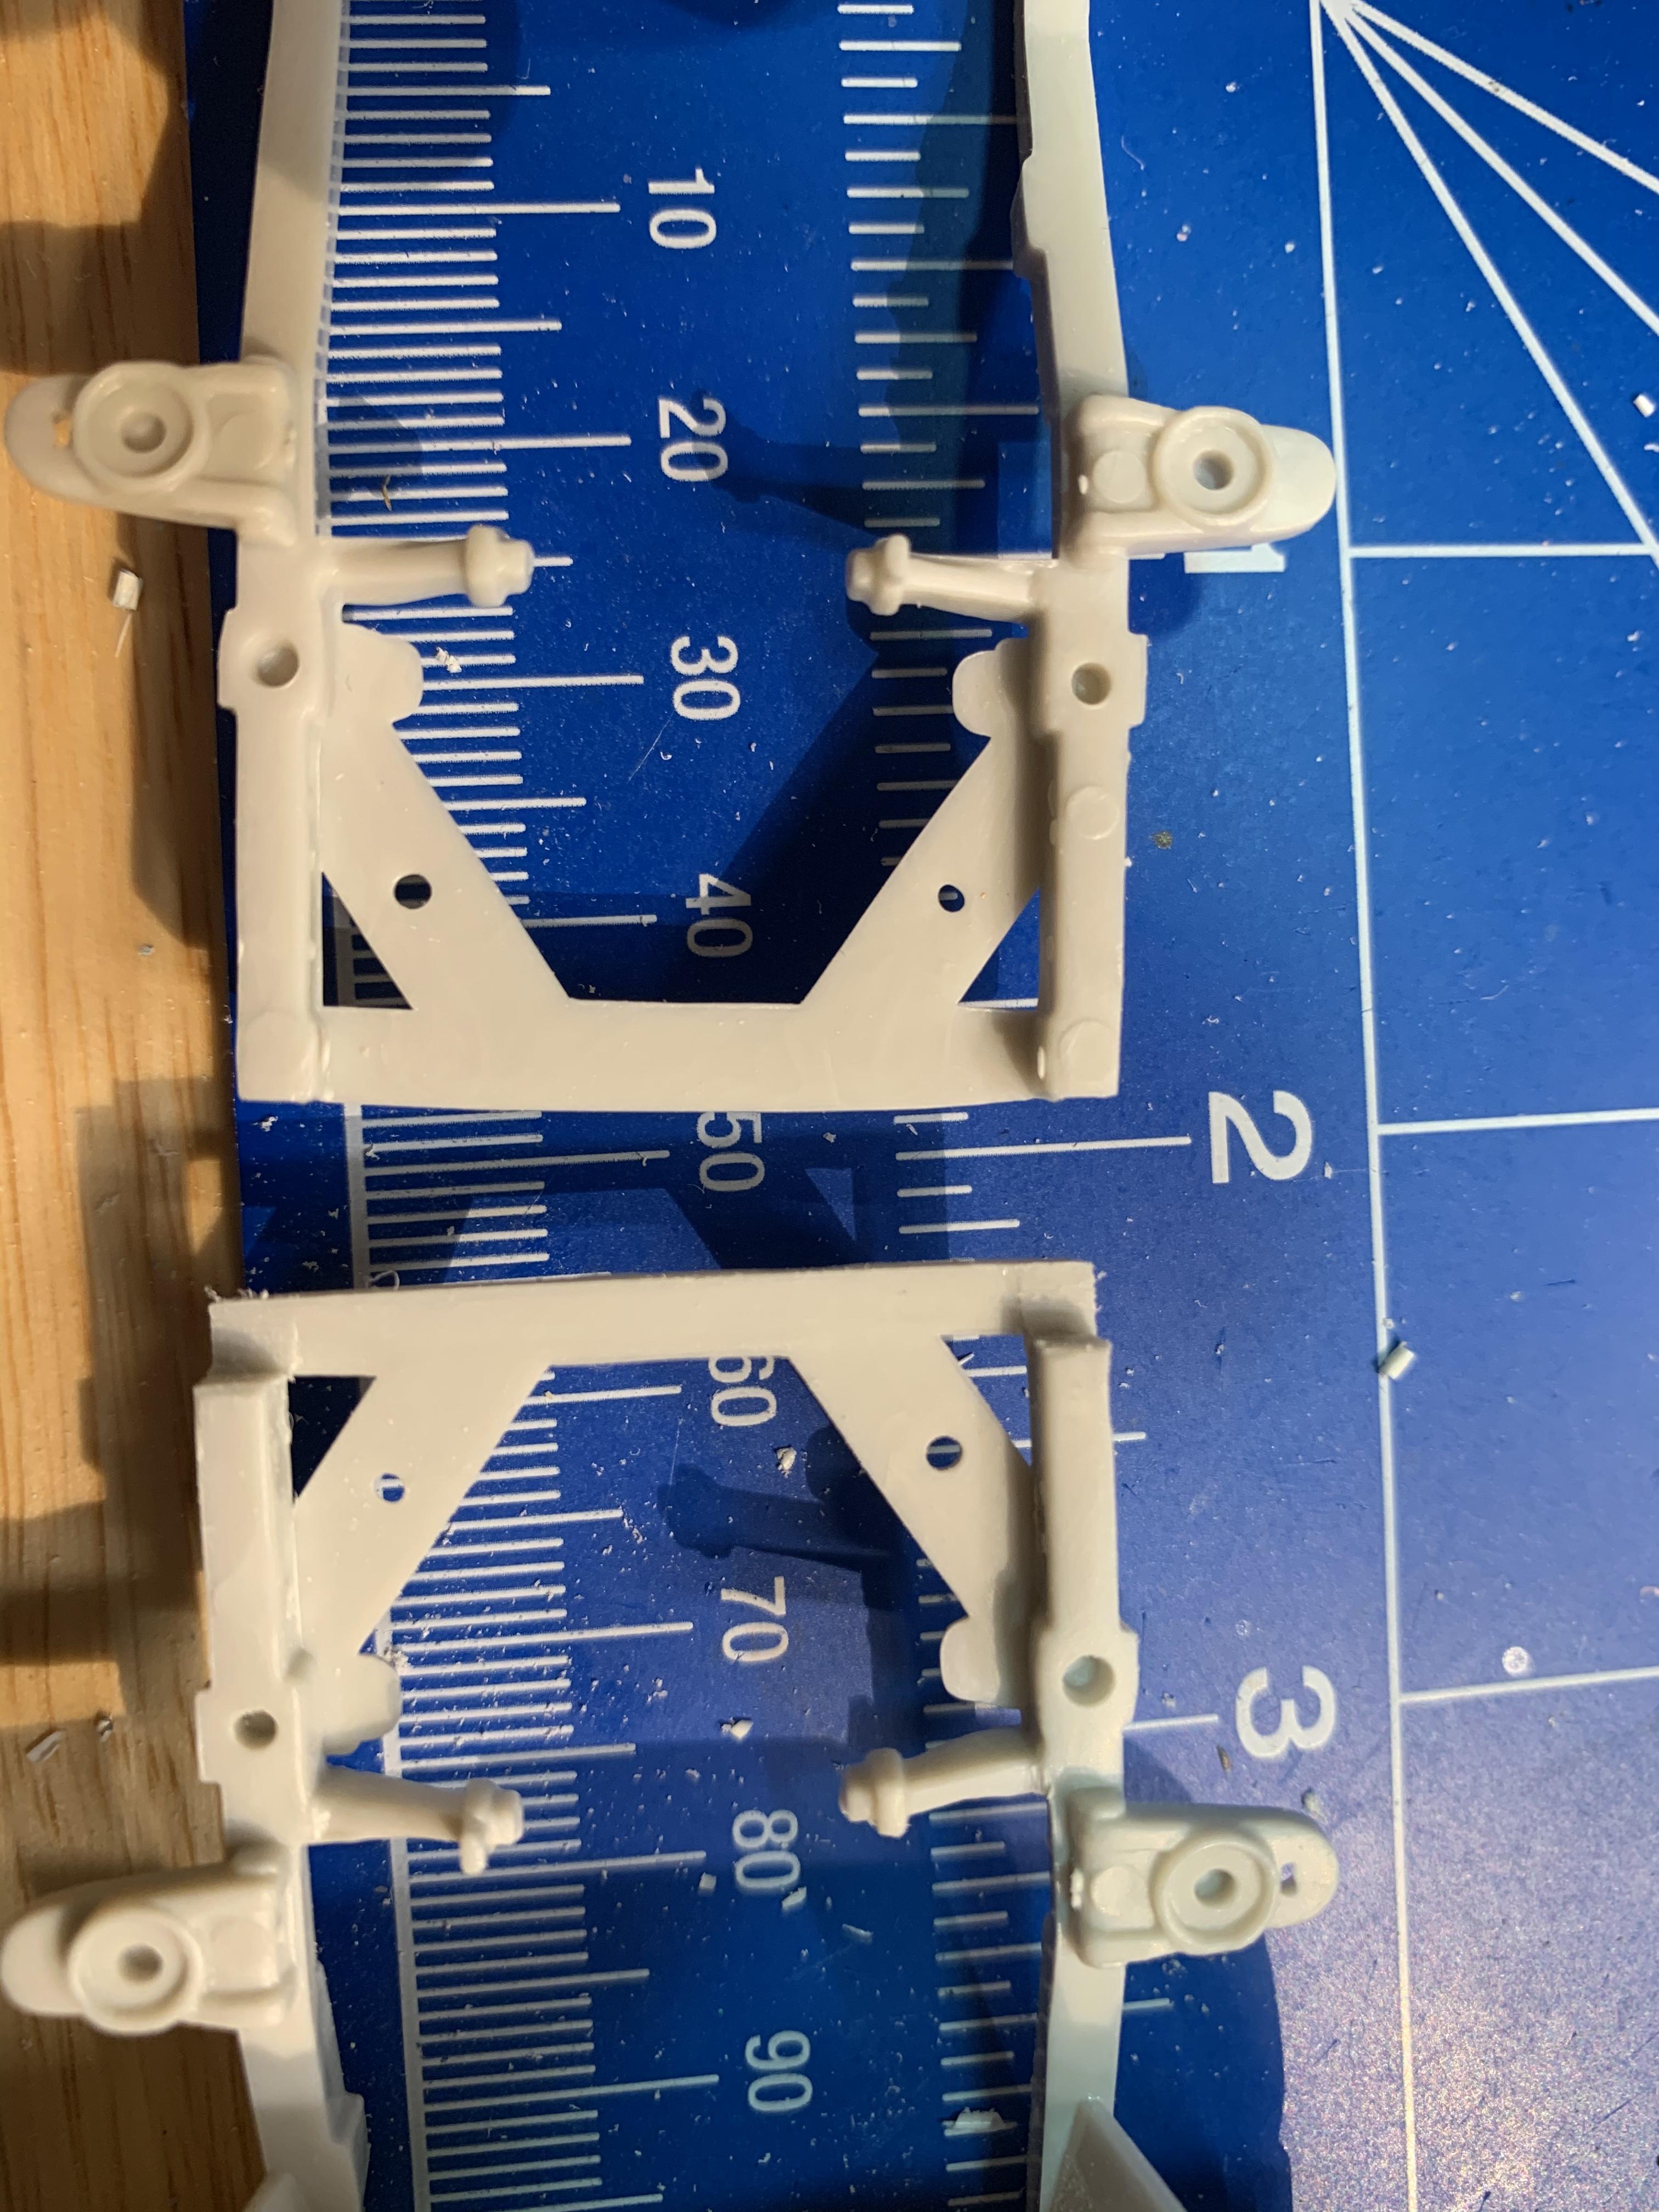
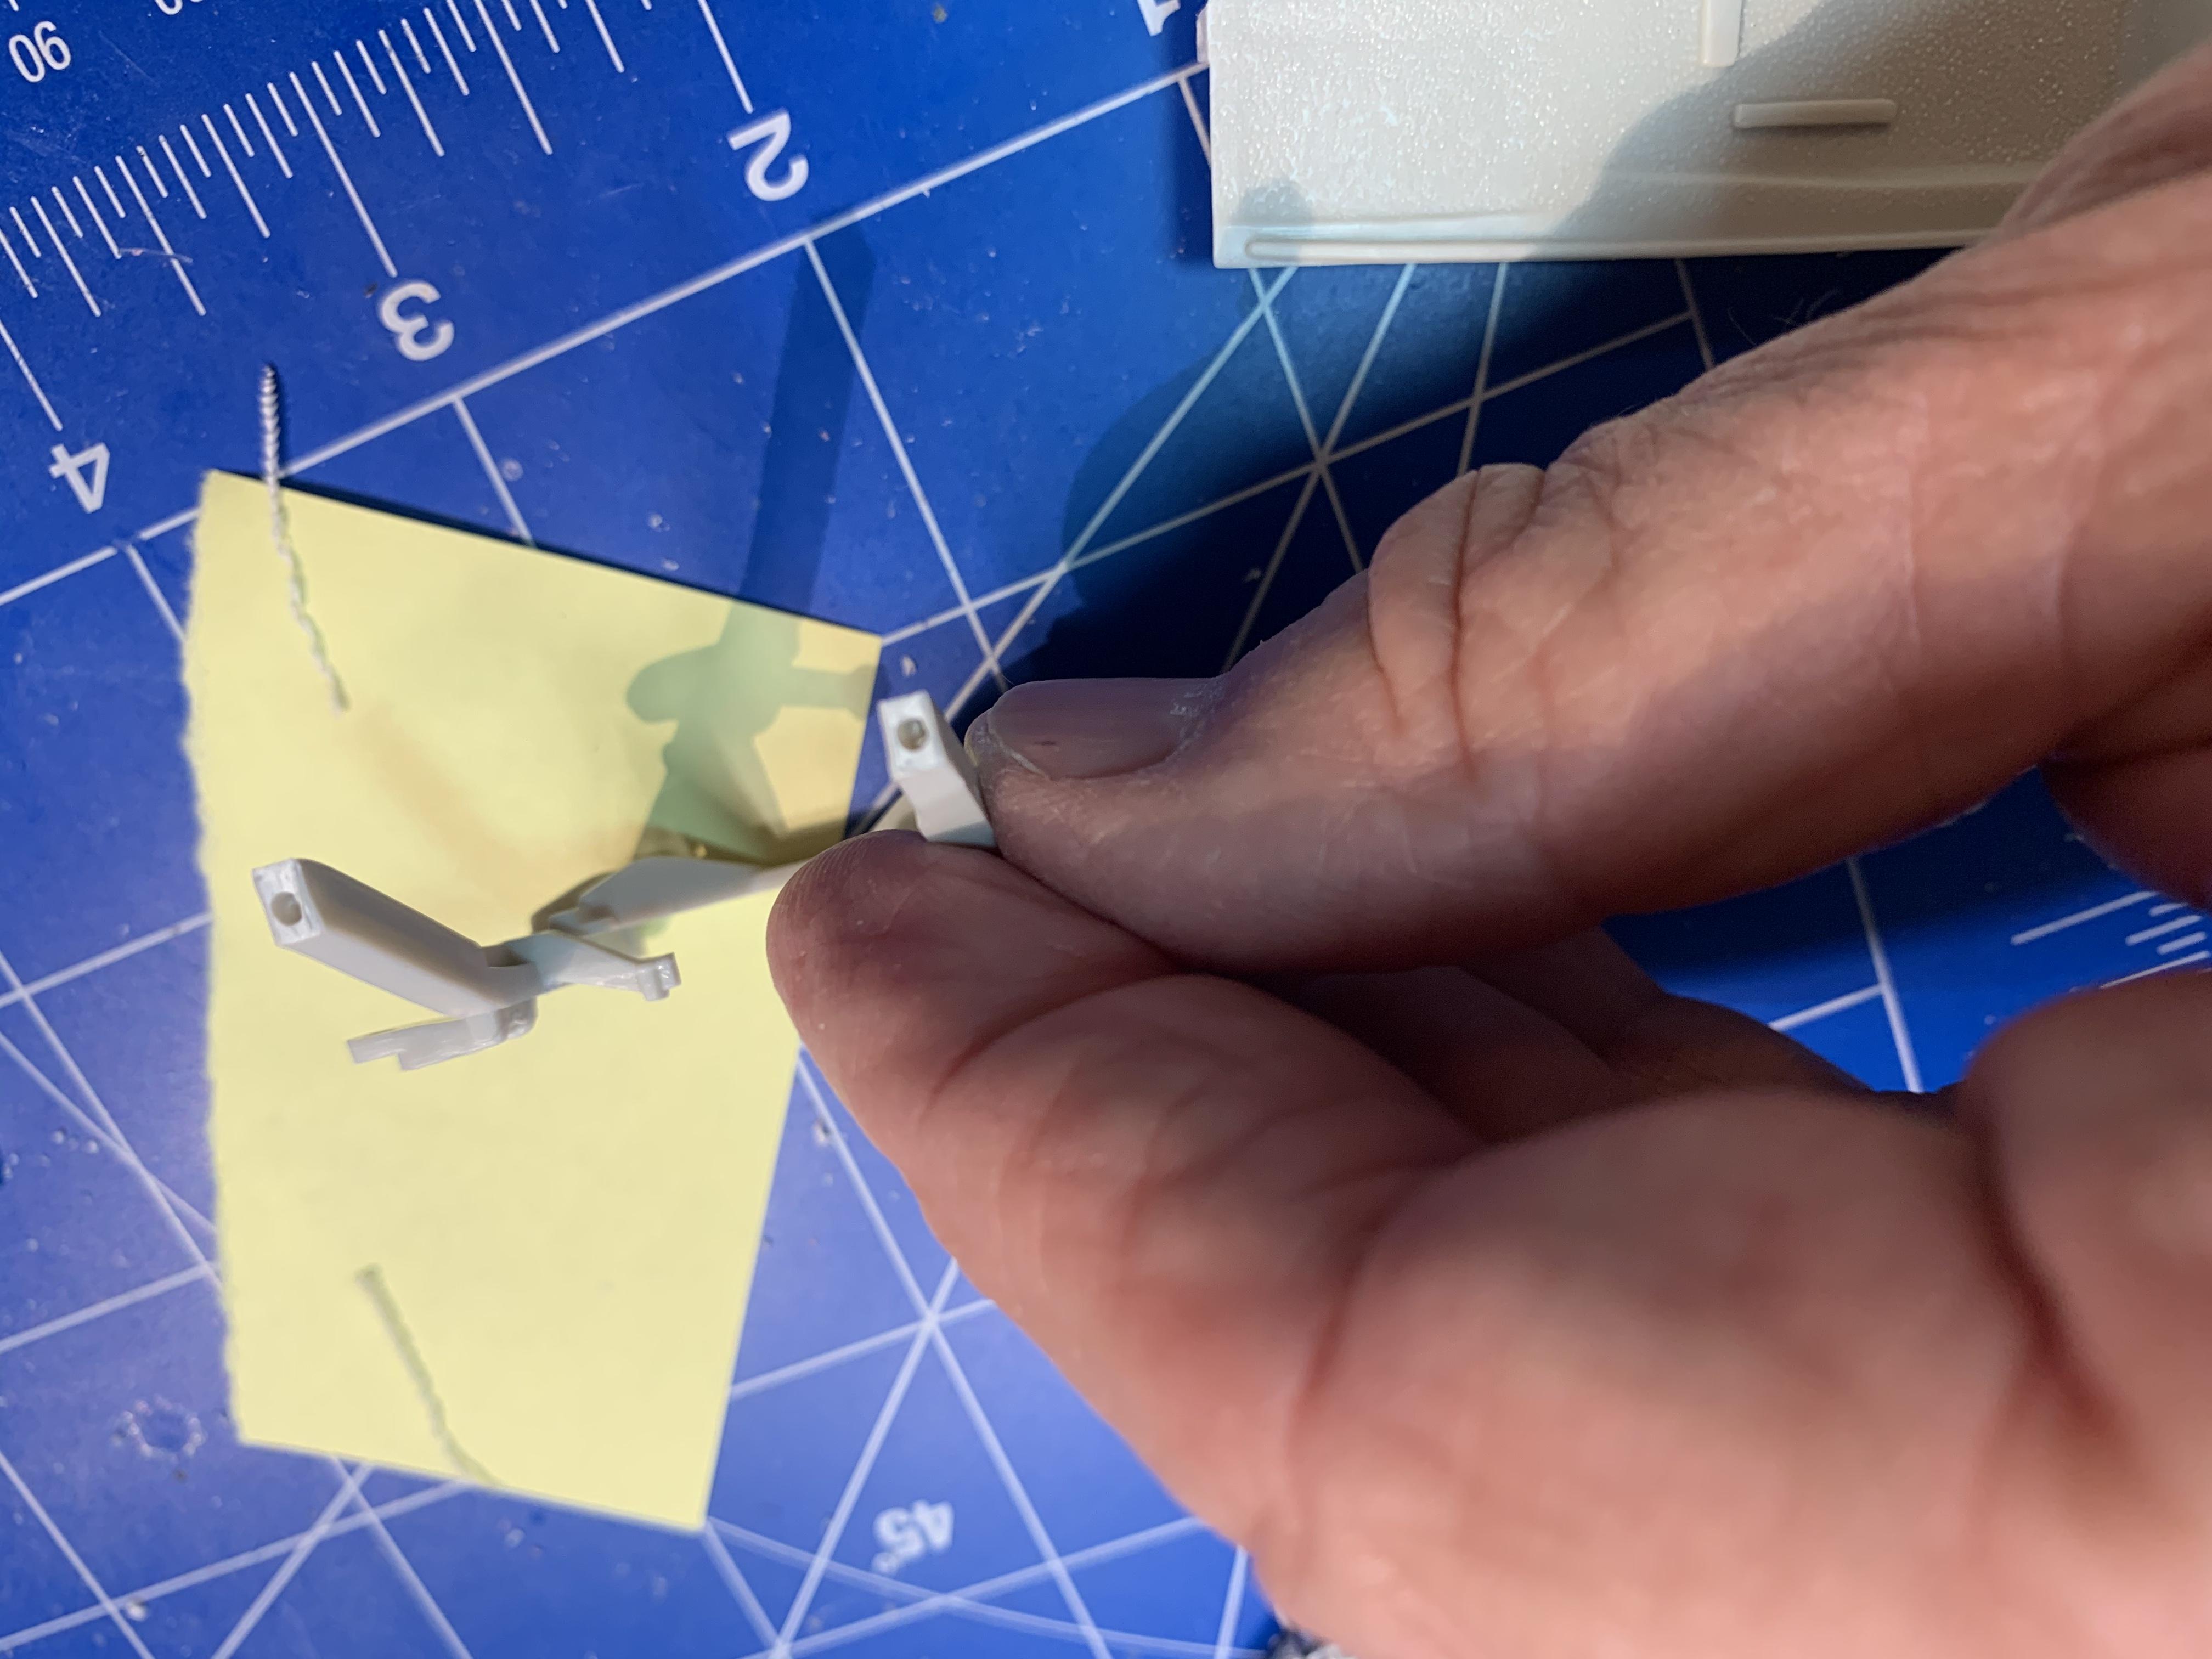
I actually looked into the Comet chassis, and the rules for Modified stated stock chassis so the Mustang is a better fit for this particular car. I’m getting stuff done today. I shortened the front rails, and pinned them for strength as I knew this thing was going through a lot of trial and error and I needed it as strong as possible. In the last photo you can see the difference compared to an original chassis.
-
Another 62 Ford
dragcarz replied to dragcarz's topic in WIP: Model Trucks: Pickups, Vans, SUVs, Light Commercial
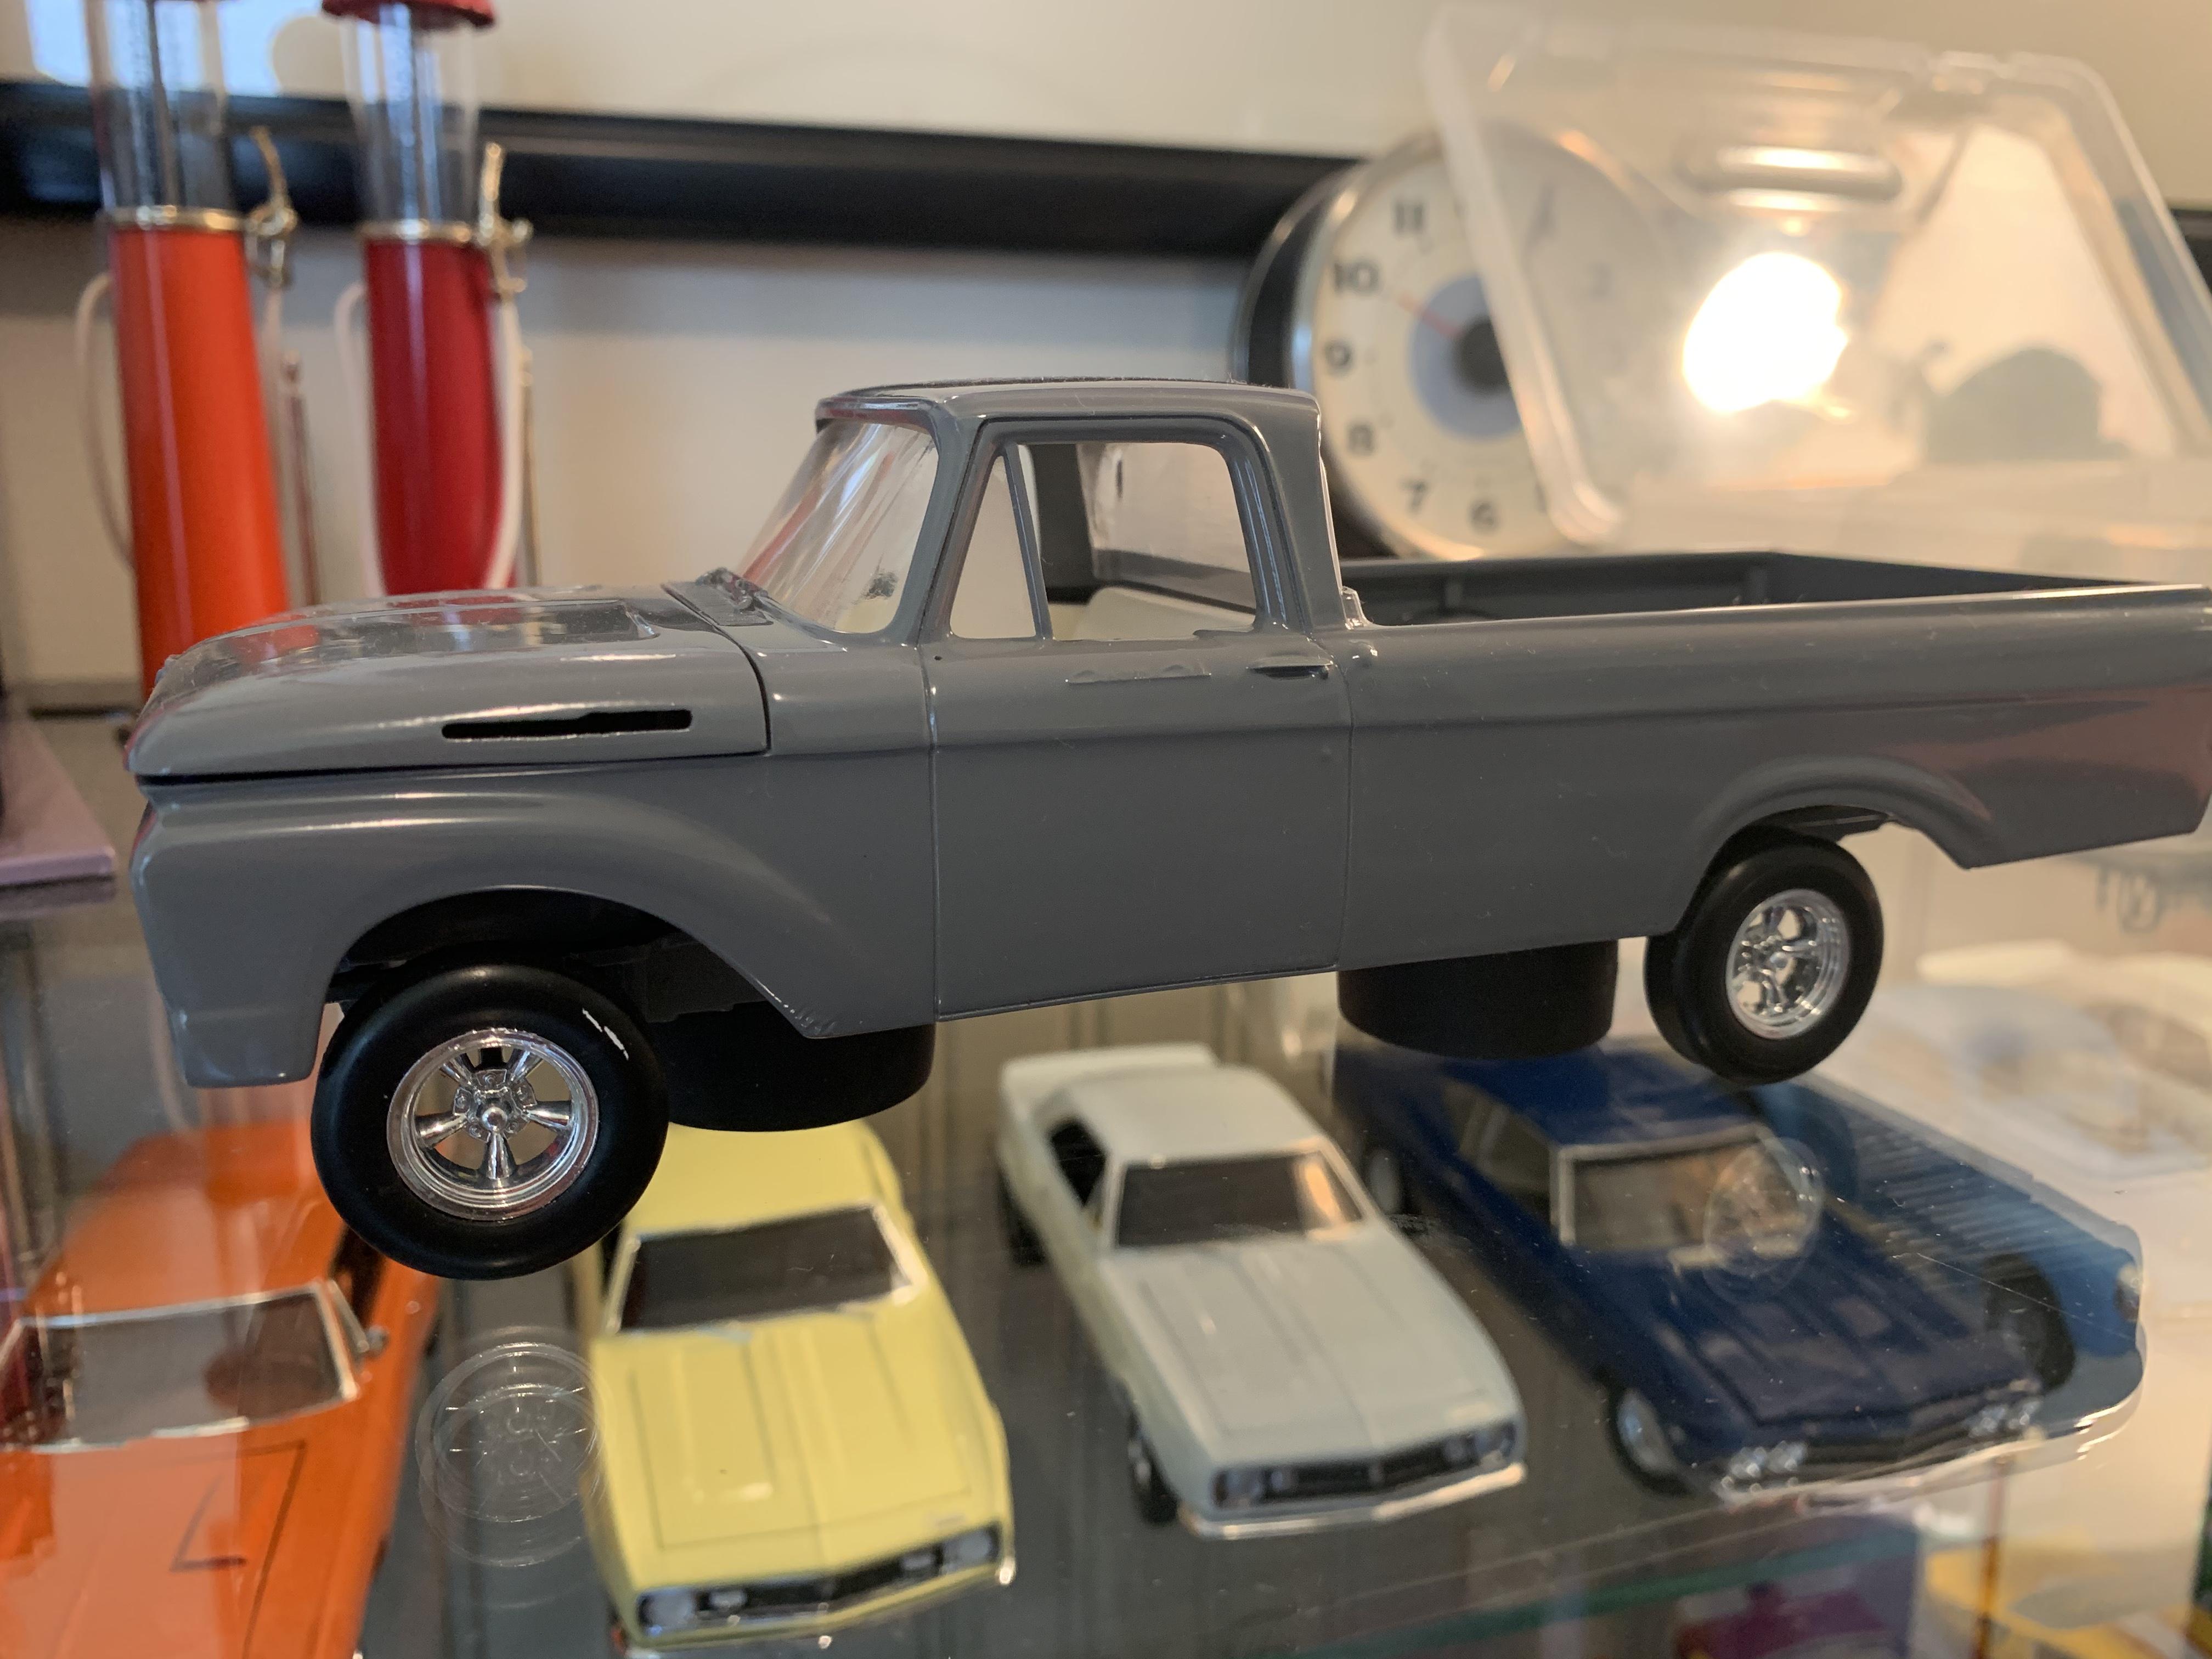
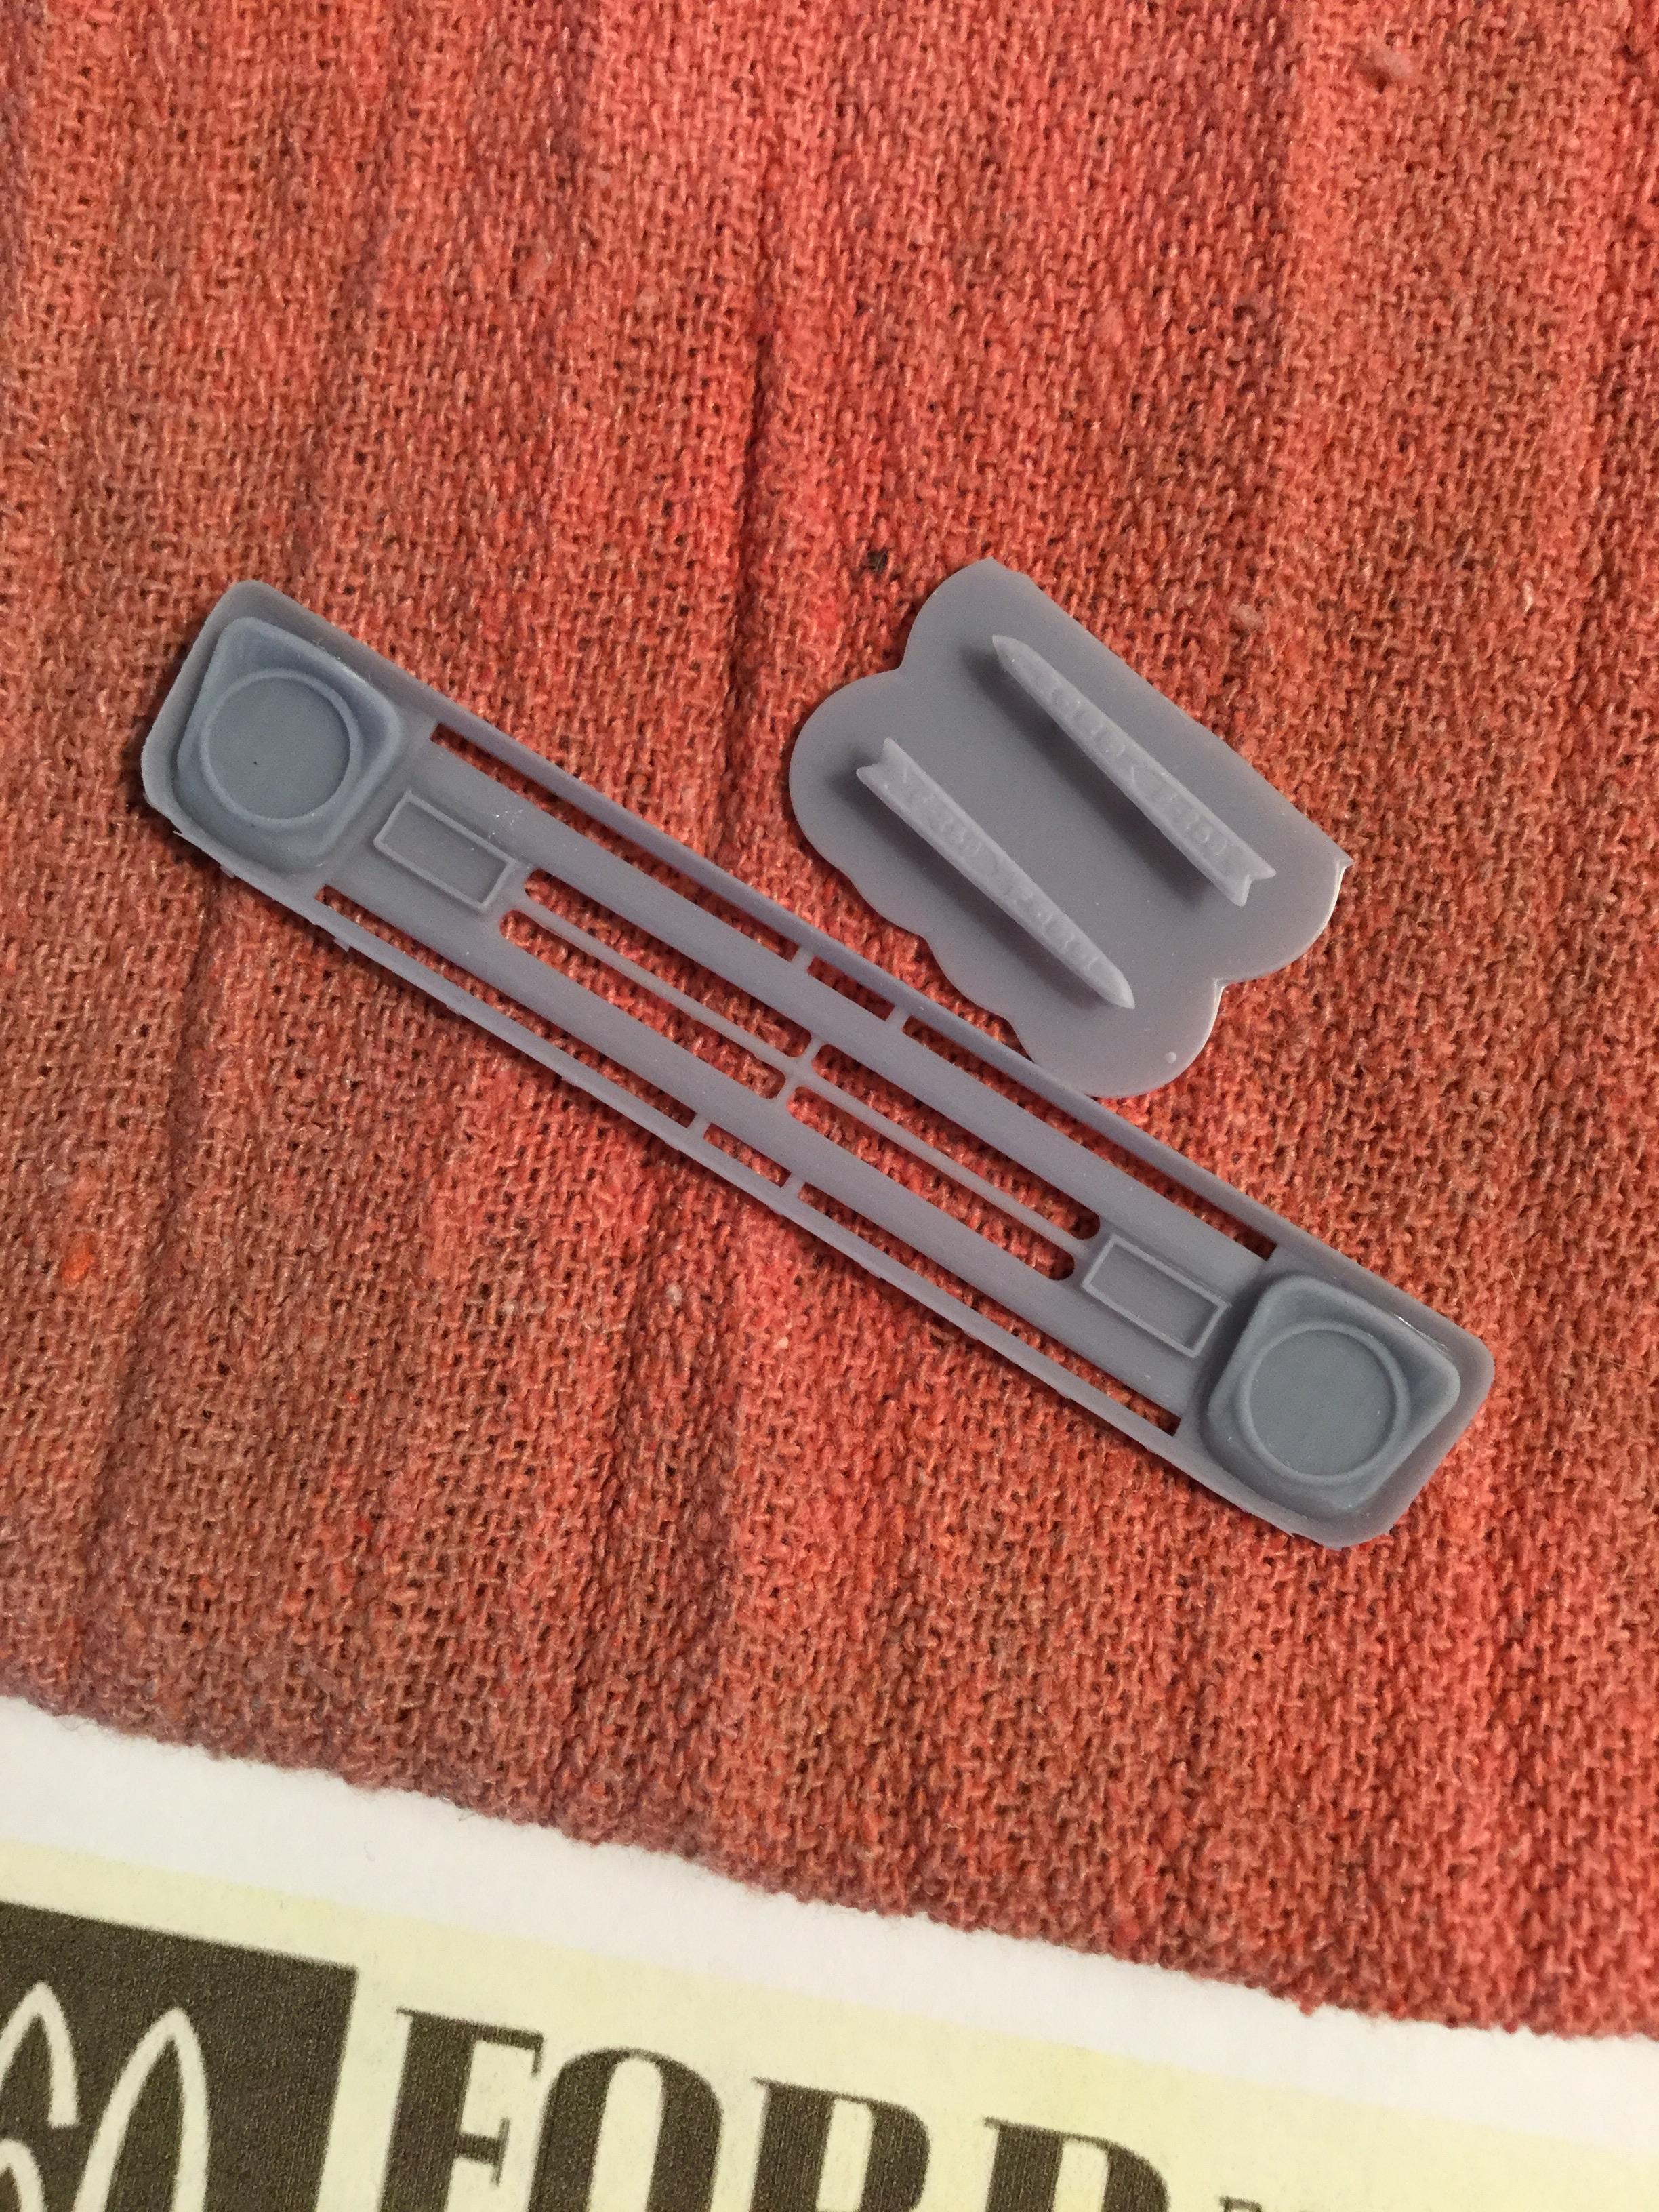
I recently purchased the grille and hood ornaments for the 62 and that are very well done. I also think I found the look I’m going for.
-
Another 62 Ford
dragcarz replied to dragcarz's topic in WIP: Model Trucks: Pickups, Vans, SUVs, Light Commercial
Looking good! -
Very cool !
-
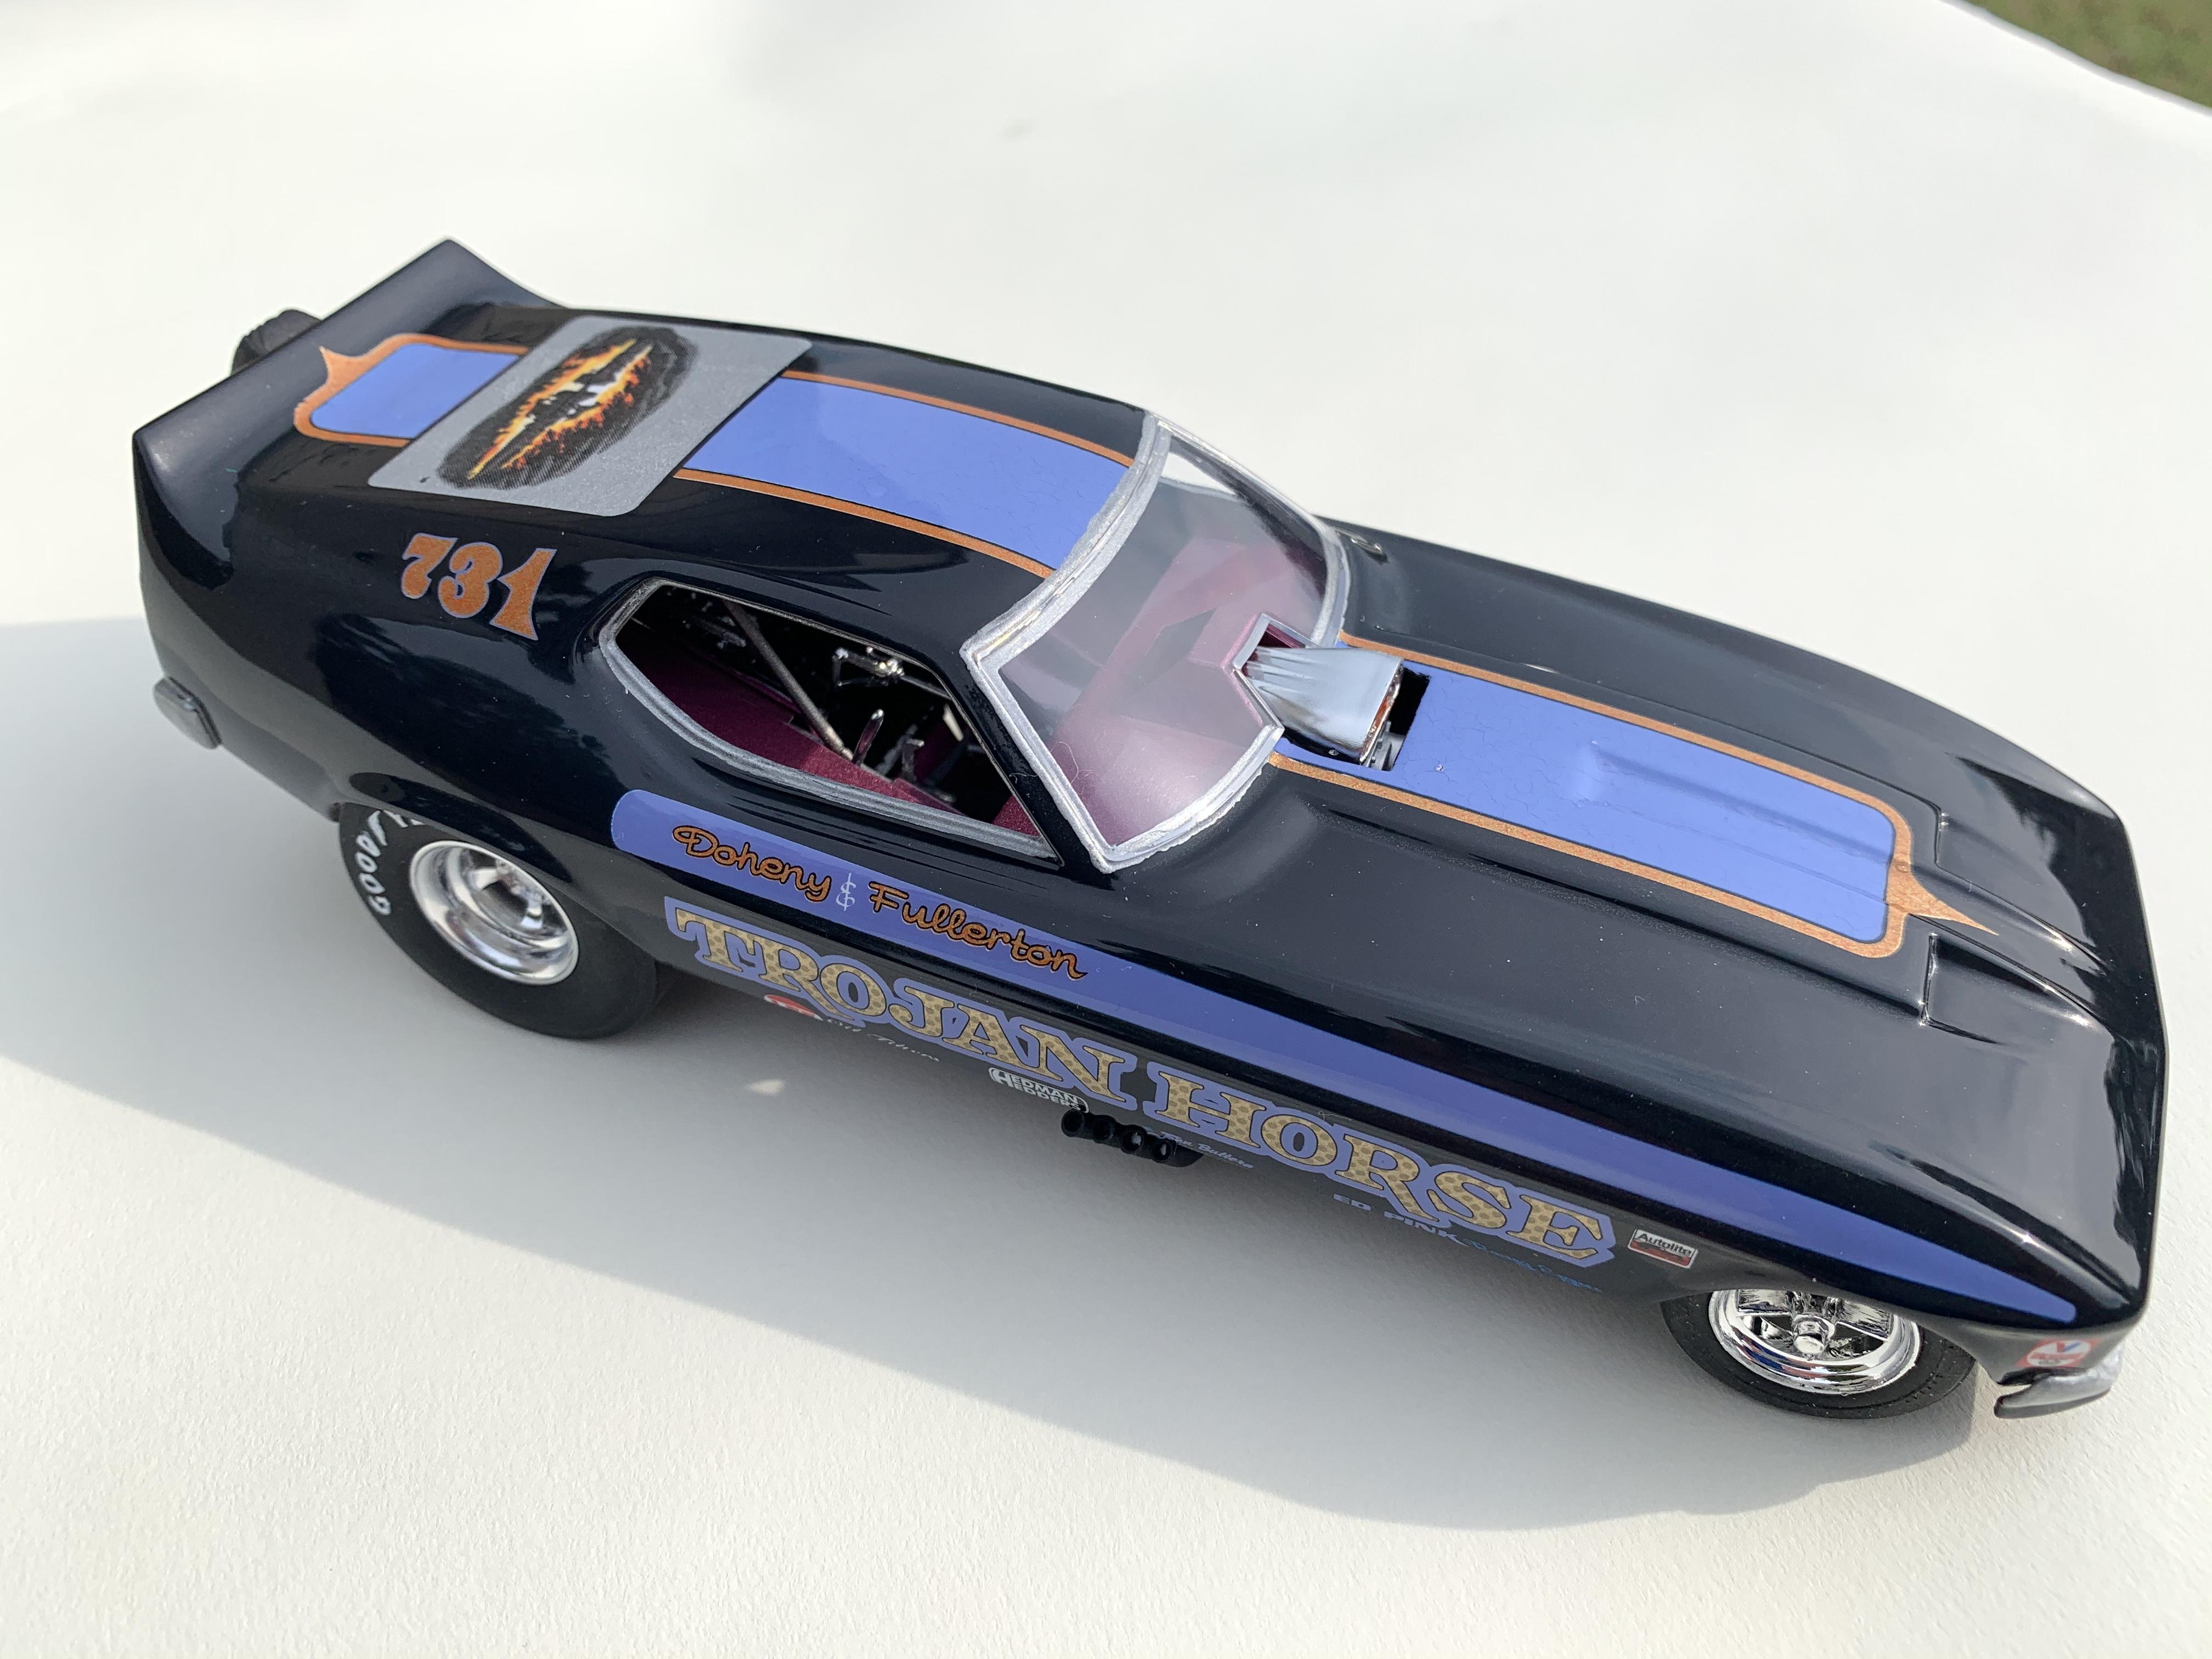
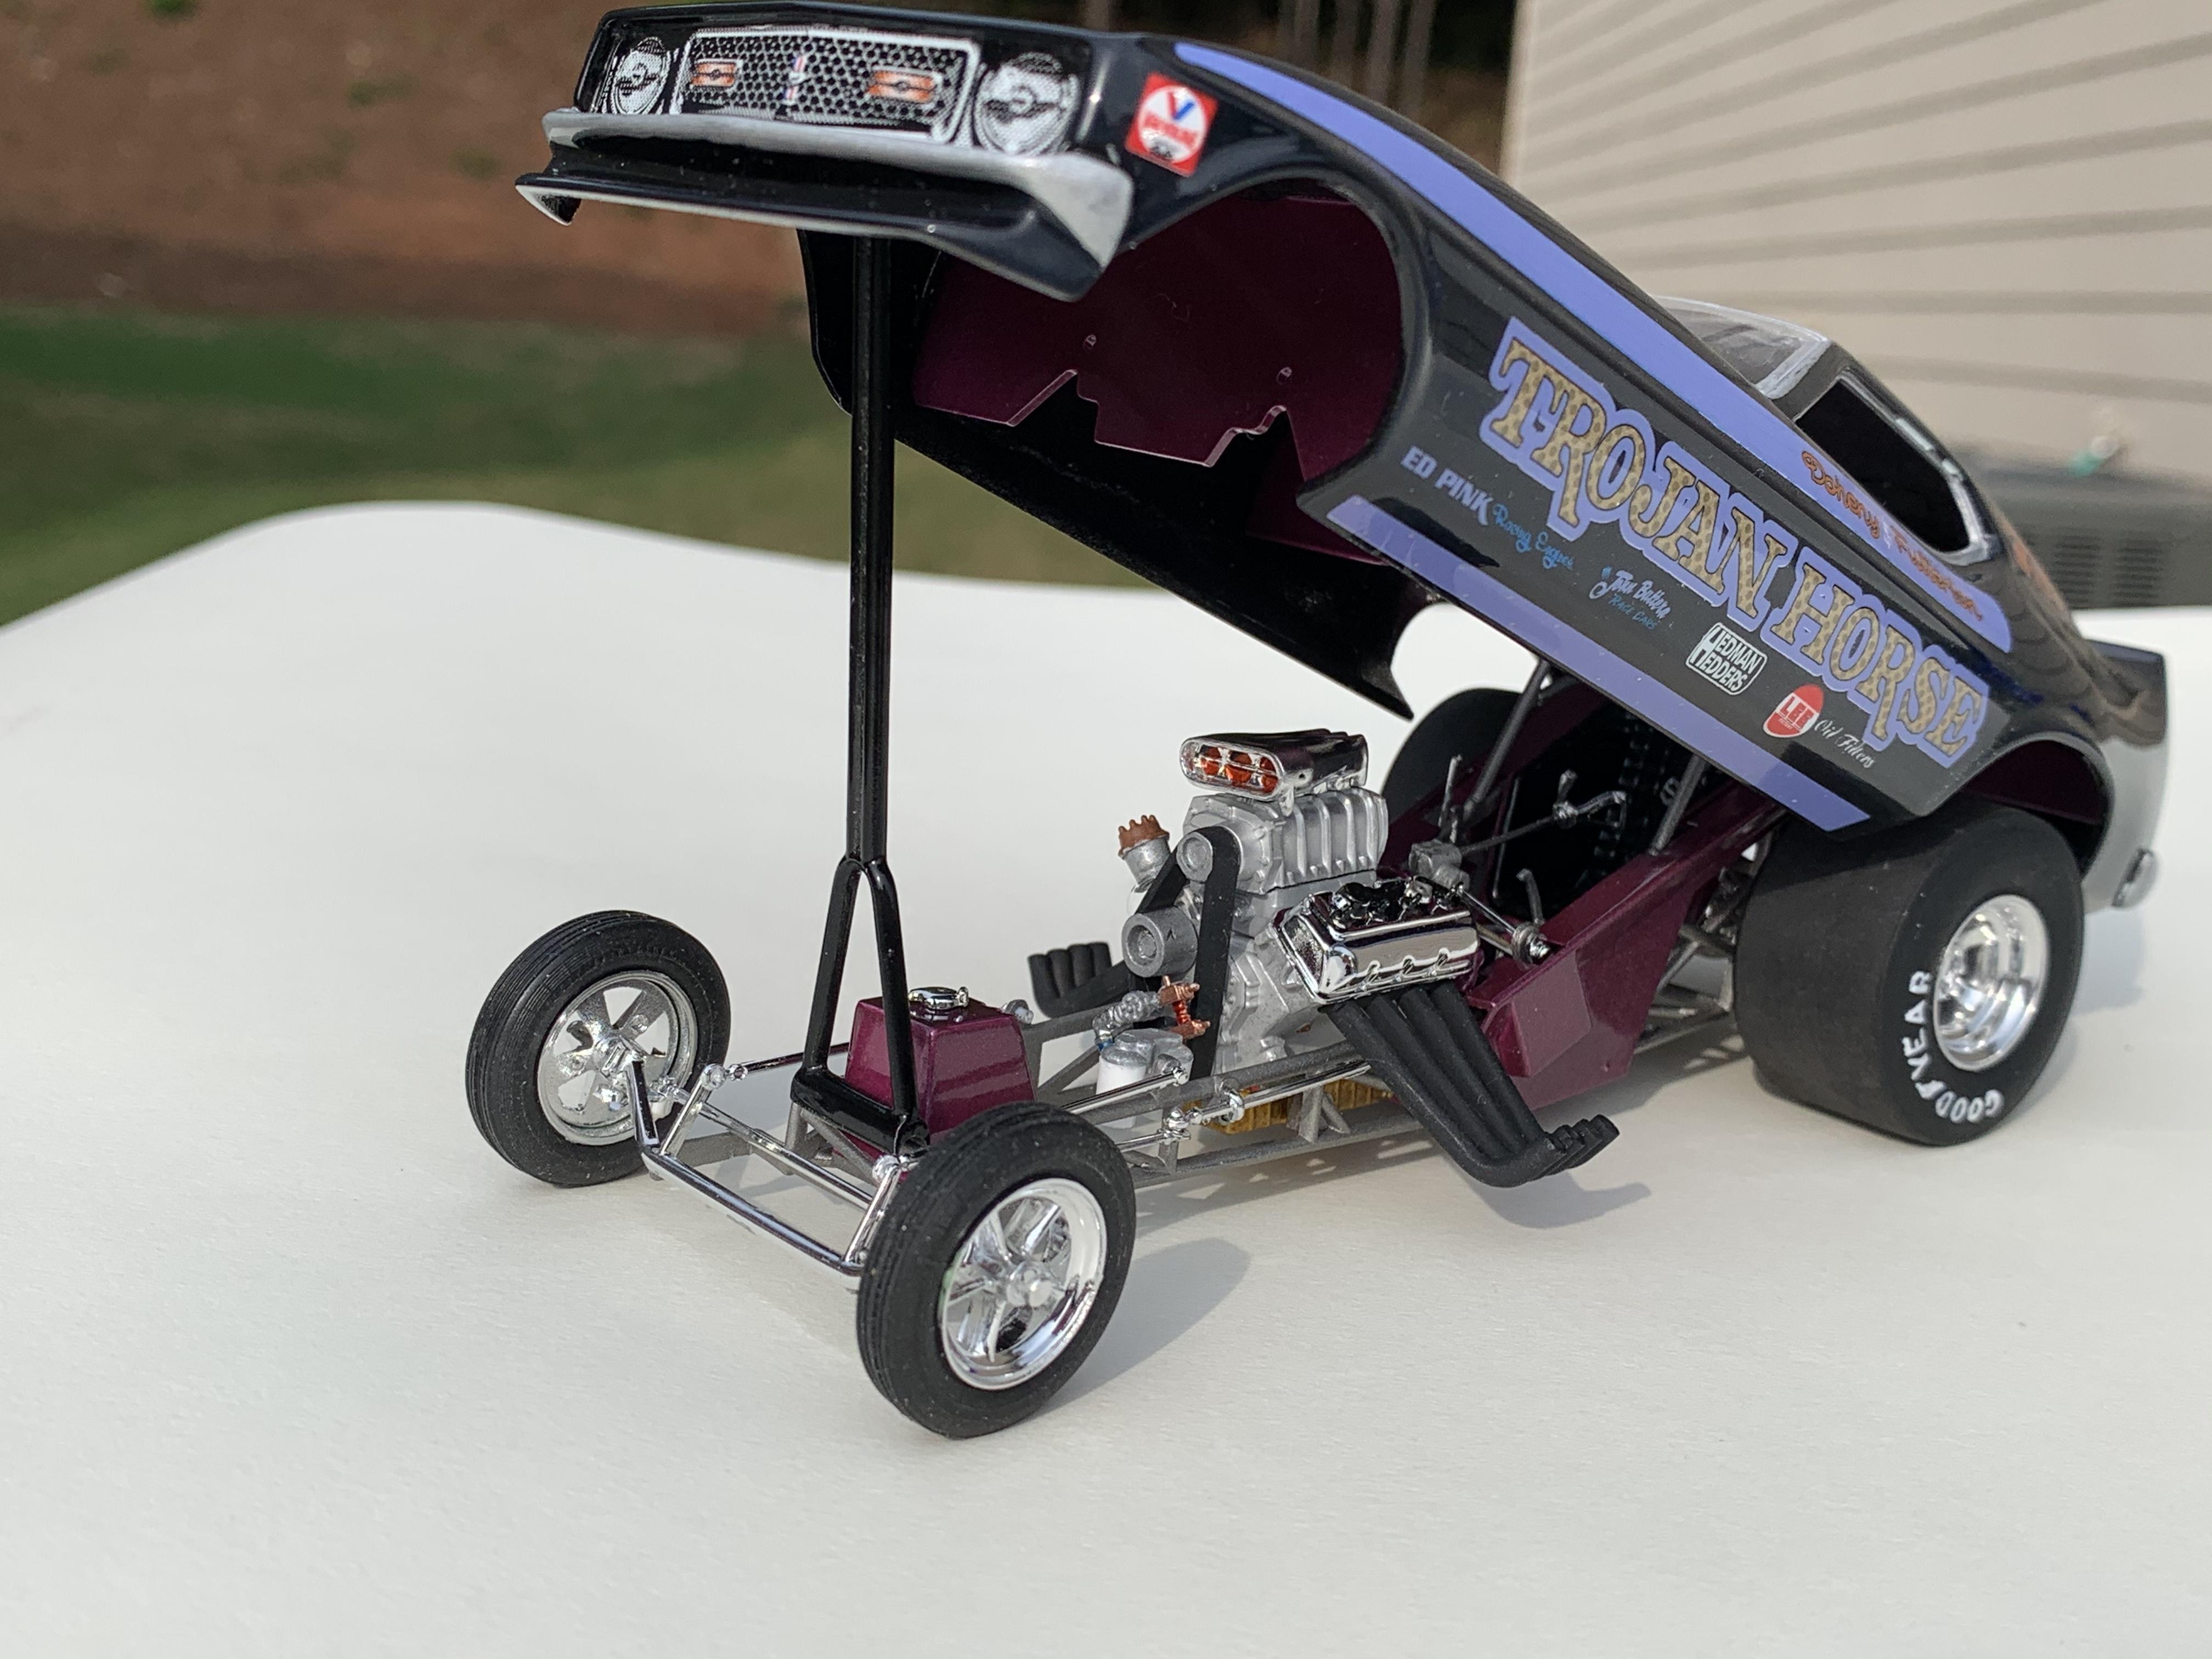
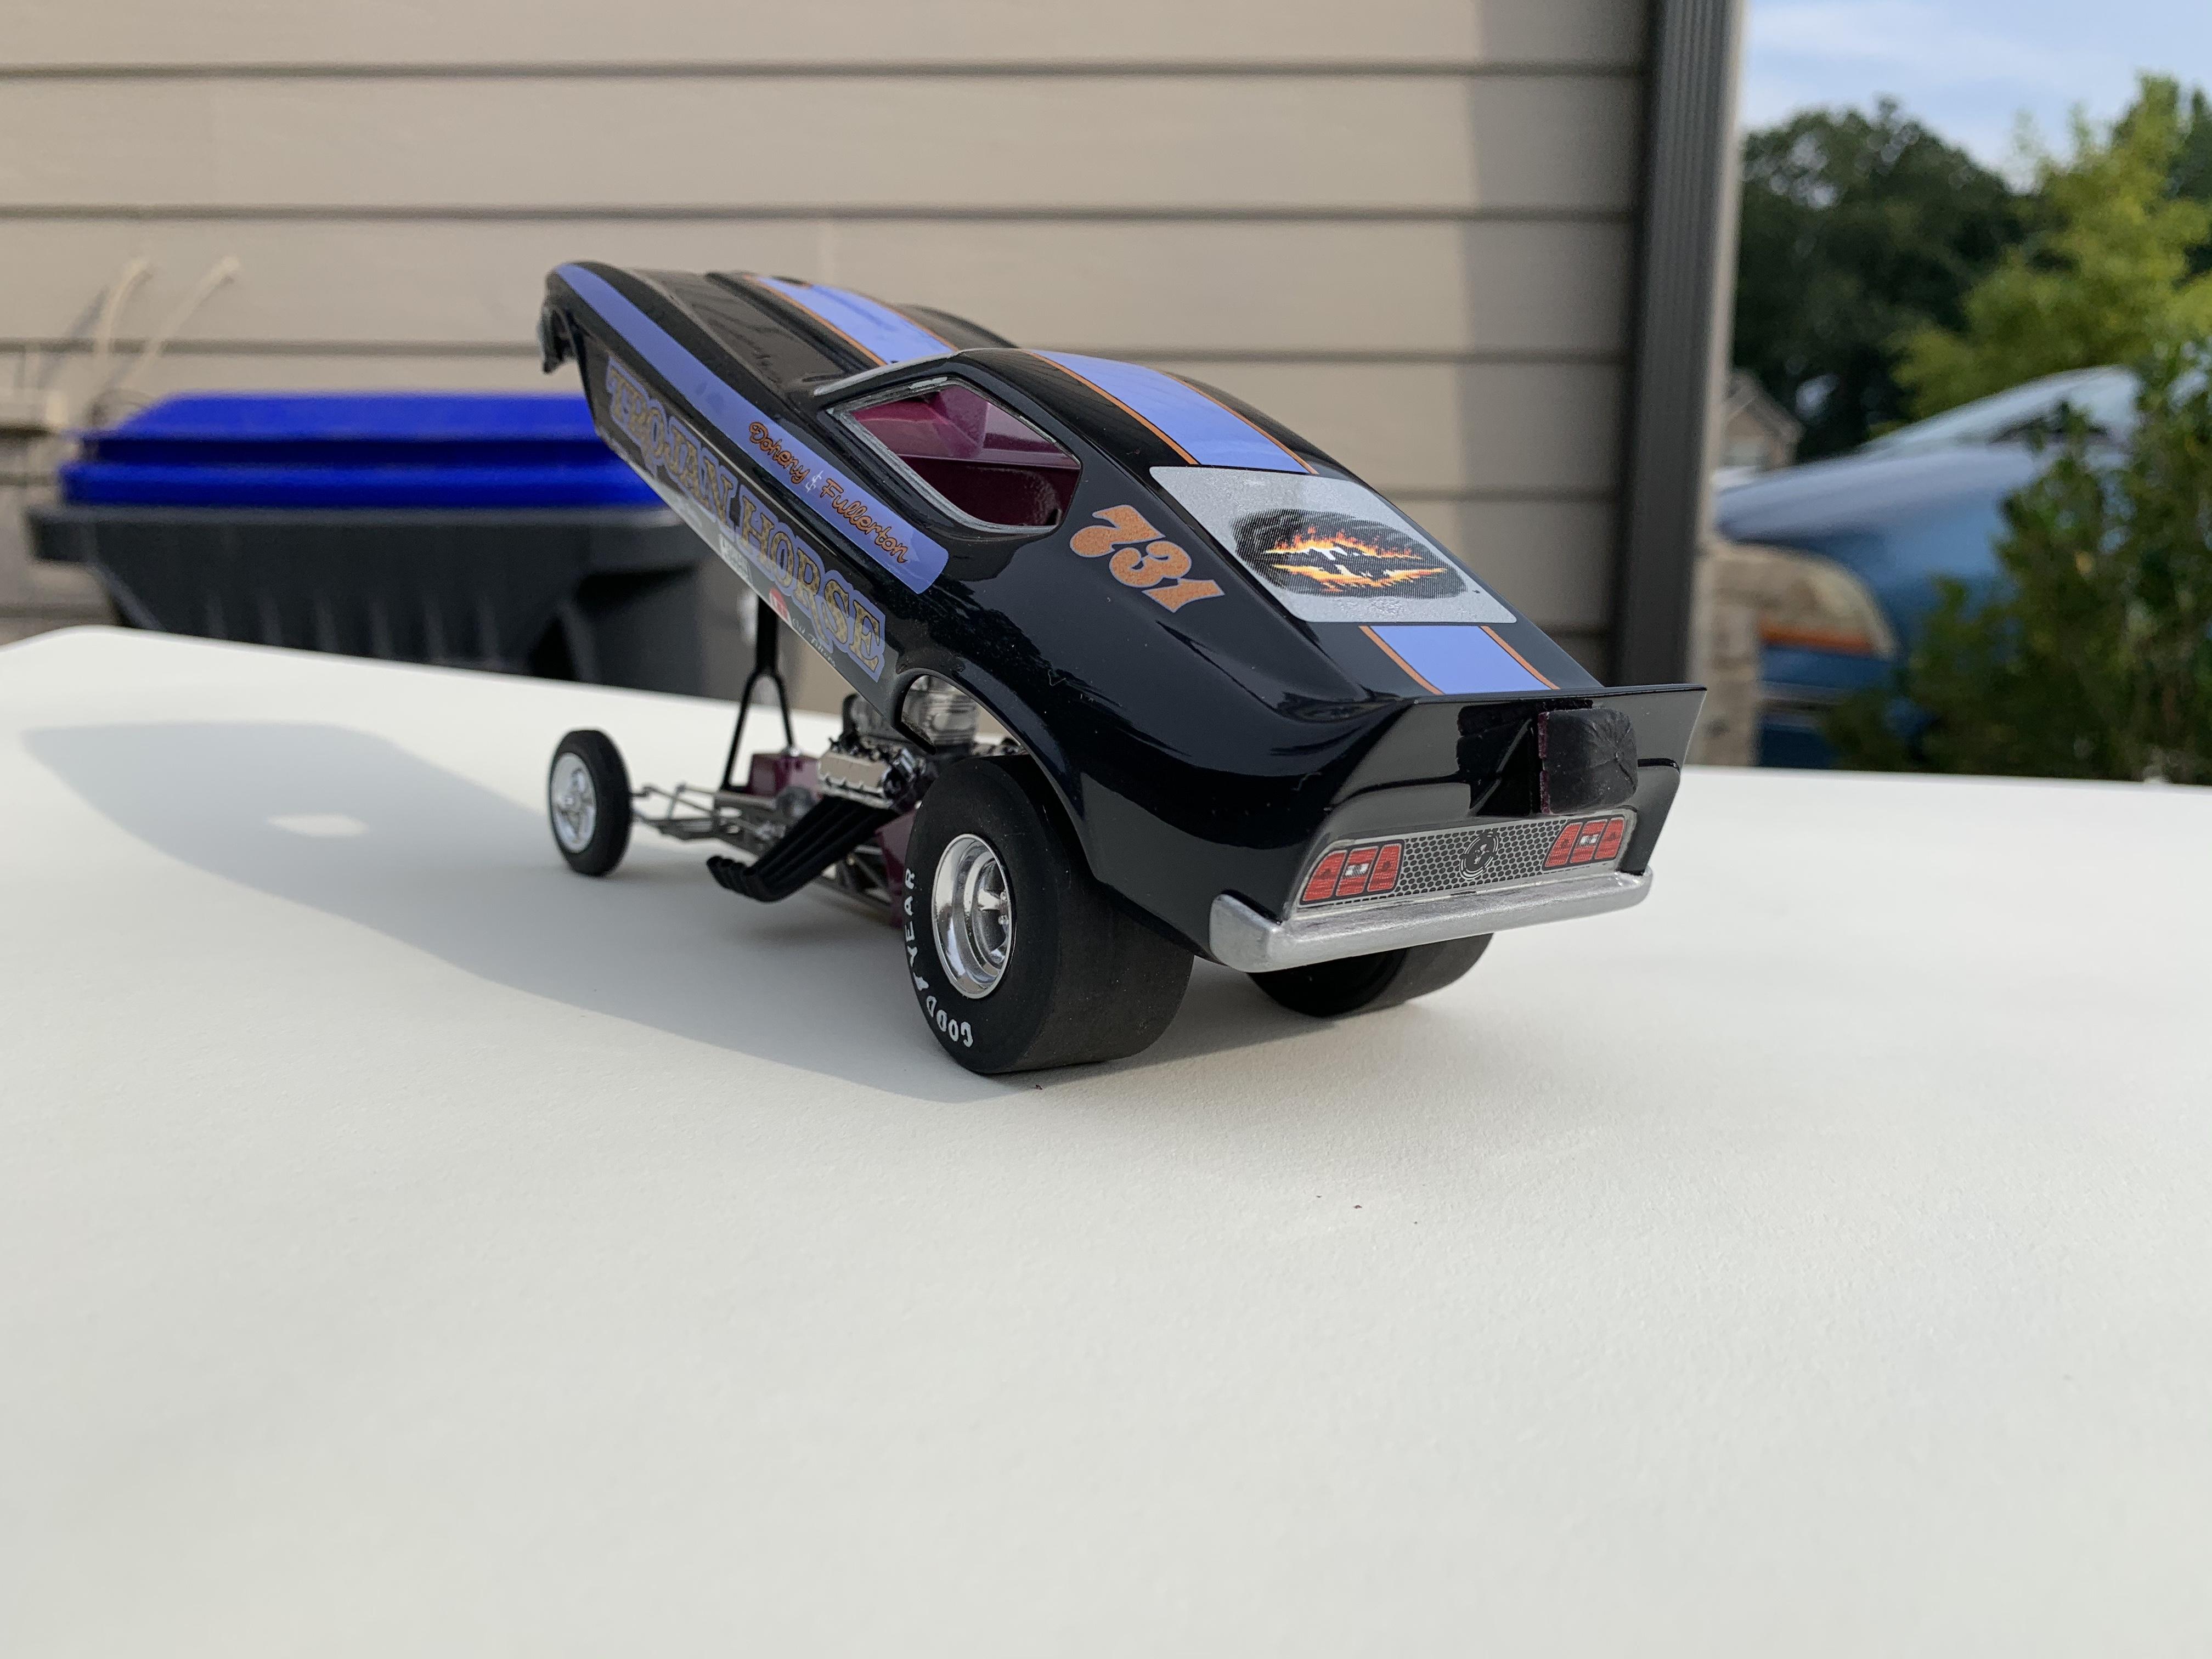
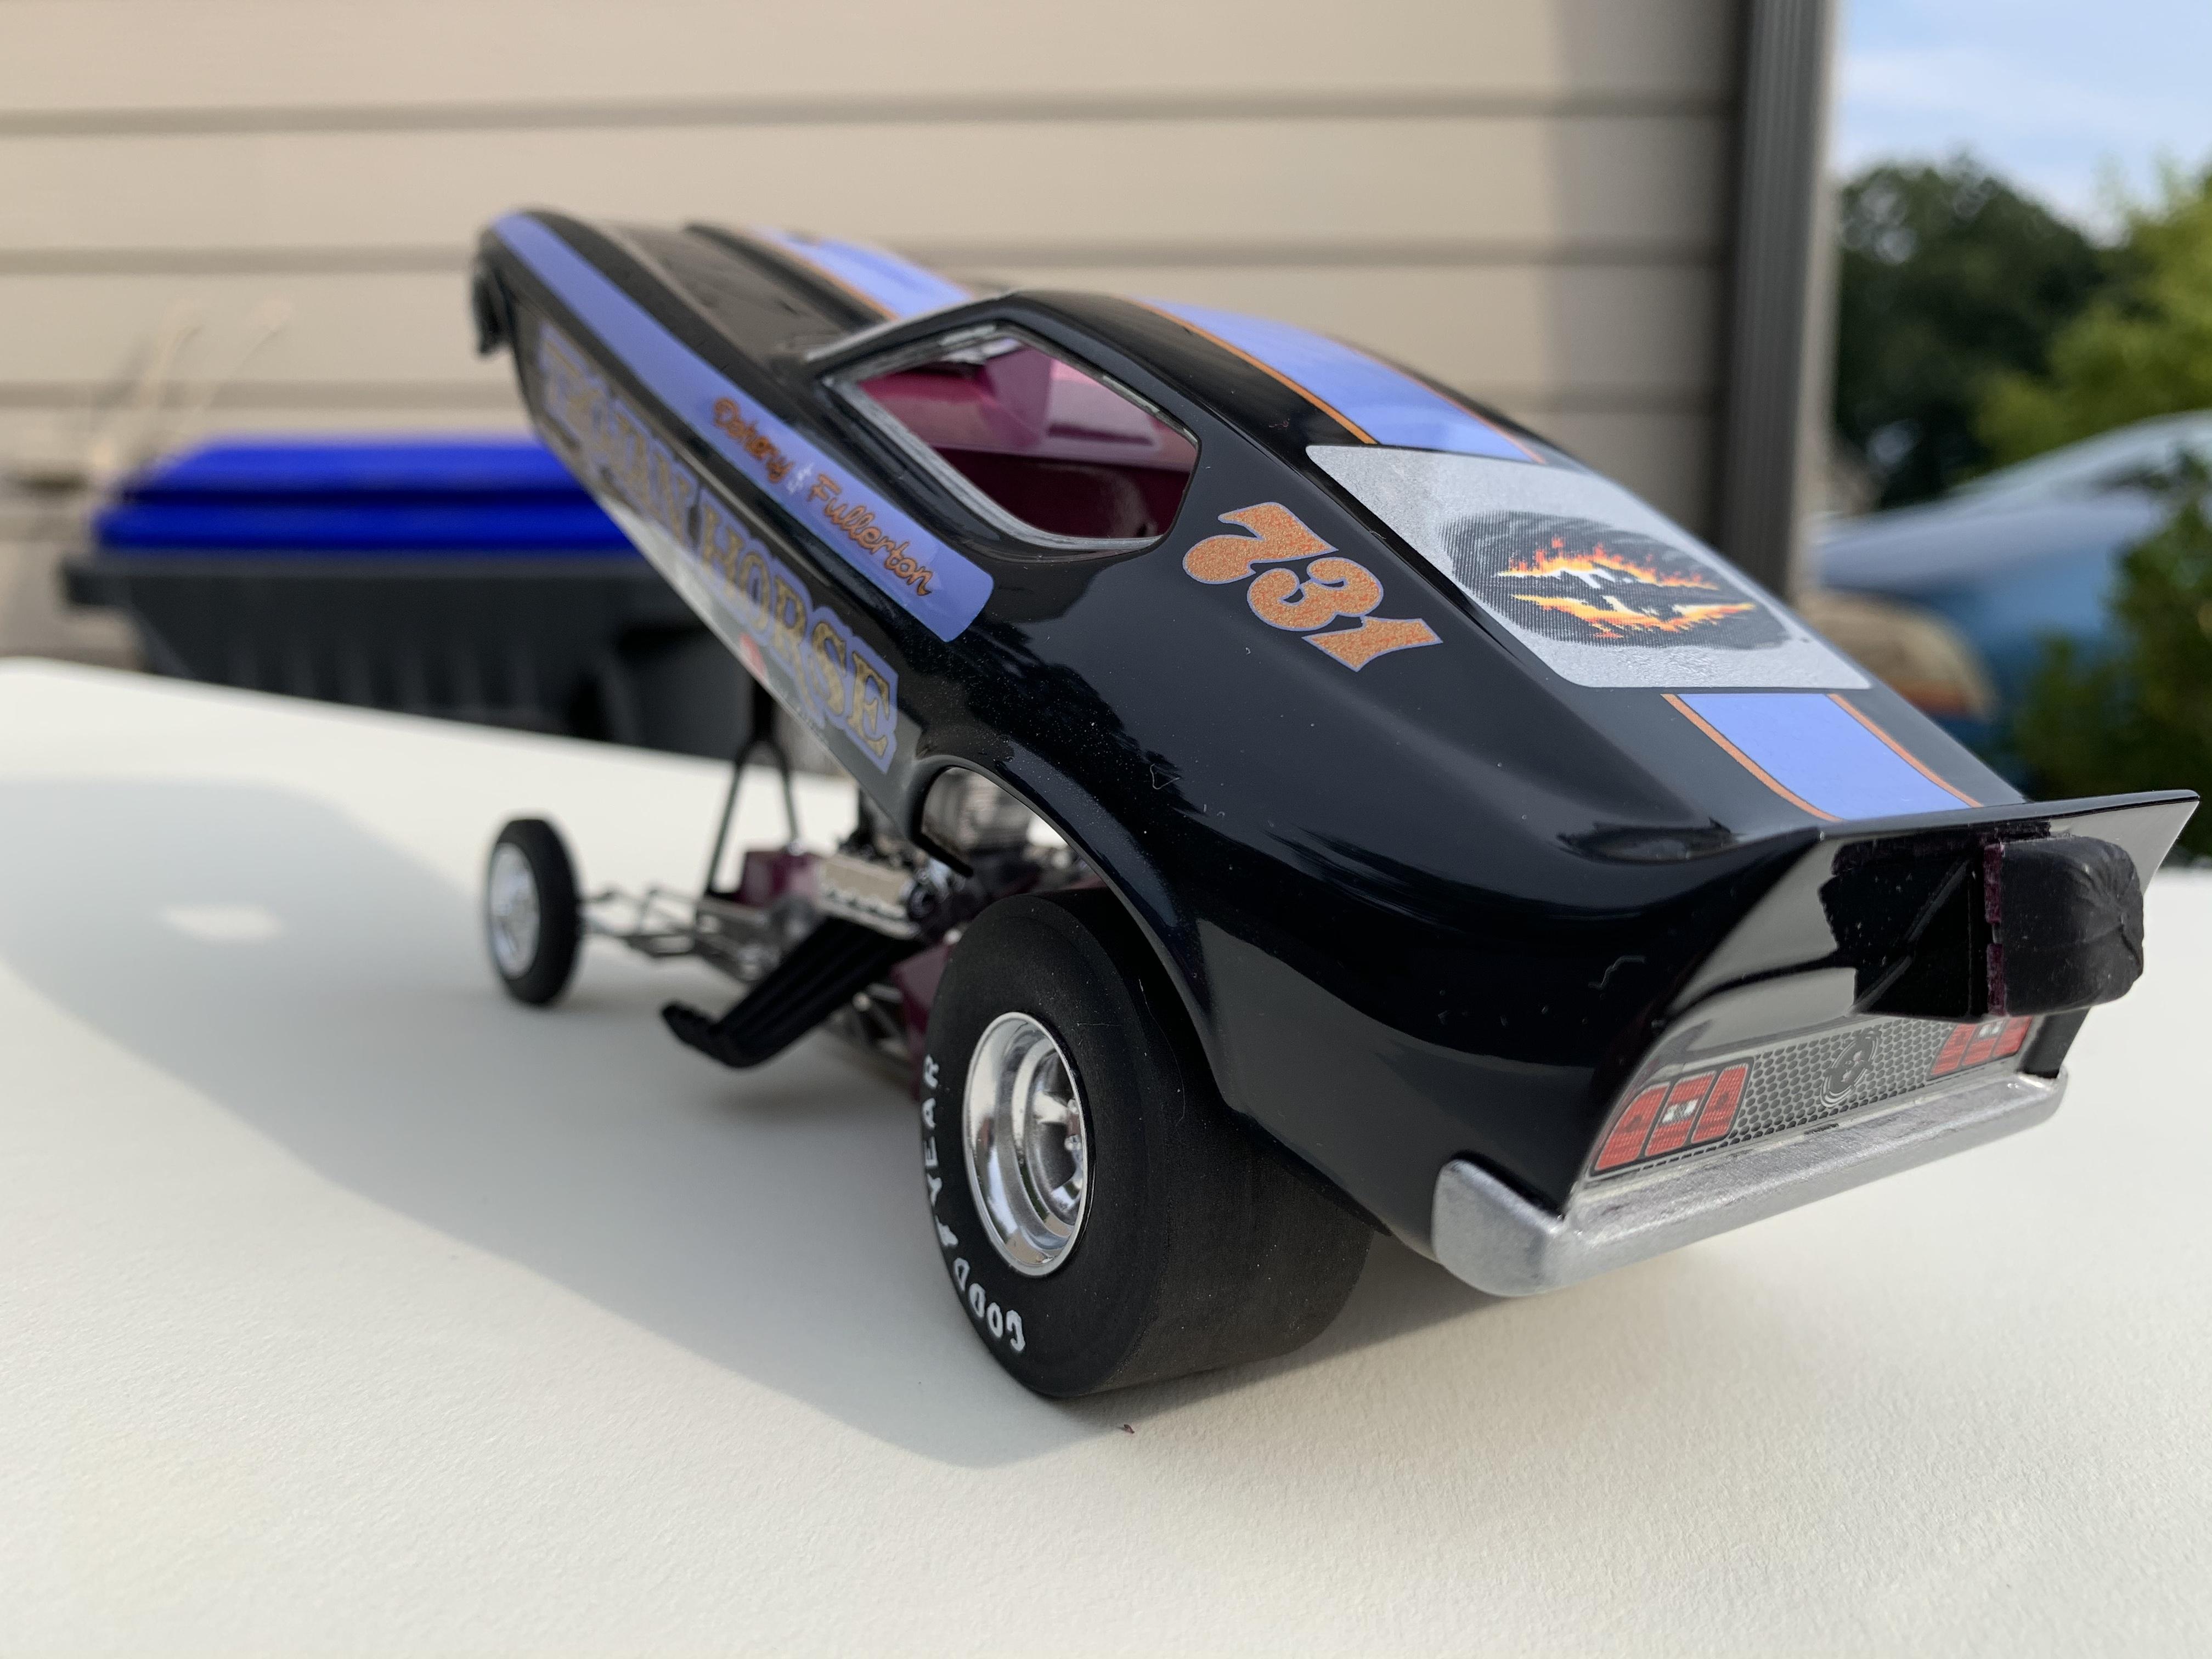
Thanks for all the kind comments! Slixx Decals, makes the decal set. I normally try and purchase two sets, because stuff happens! These were older decals as I have had them quite awhile. I really struggled with the hood decals trying to get them to conform to the multiple contours. The decals seemed thick and I eventually cut and pieced the decals to make them fit. I ended up buying a third set of decals and used them to finally get it completed. They looked terrible but I hoped the clear would help. The spears on the side cracked and I had to piece them together. I finally got the decals on and tried a two part clear I picked up at the ACME show last year. When I sprayed it, the back window mural lifted and crinkled, the purple decal down the center took on an snake shin looking texture. Nothing happened to the side decals, they did fine???? Two coats, and after it dried I threw the mess back into the box. Then a year or so later I had some of my old faithful DuPont Clear left over and I did not want to waste it but I didn’t have anything ready for clear. I grabbed the Mustang body, and with nothing to lose and gave it three coats of clear, the body was swimming in clear coat. I let it dry a month and started aggressively sanding to thin the clear some, I worked up through several grades of sandpaper until it started to shine, I then polished it. When you look close you can see every issue in the decals, but it’s under the shine. It looks good in the case.....from a couple feet away. I have used a lot of Slixx decals with no issues, and I still think they have a great product. The tin work took two tries to get right. The first was too purple, I had an old spray can of Testors #6130 Burgundy Purple Metal Flake that turned out to be the best match.
-
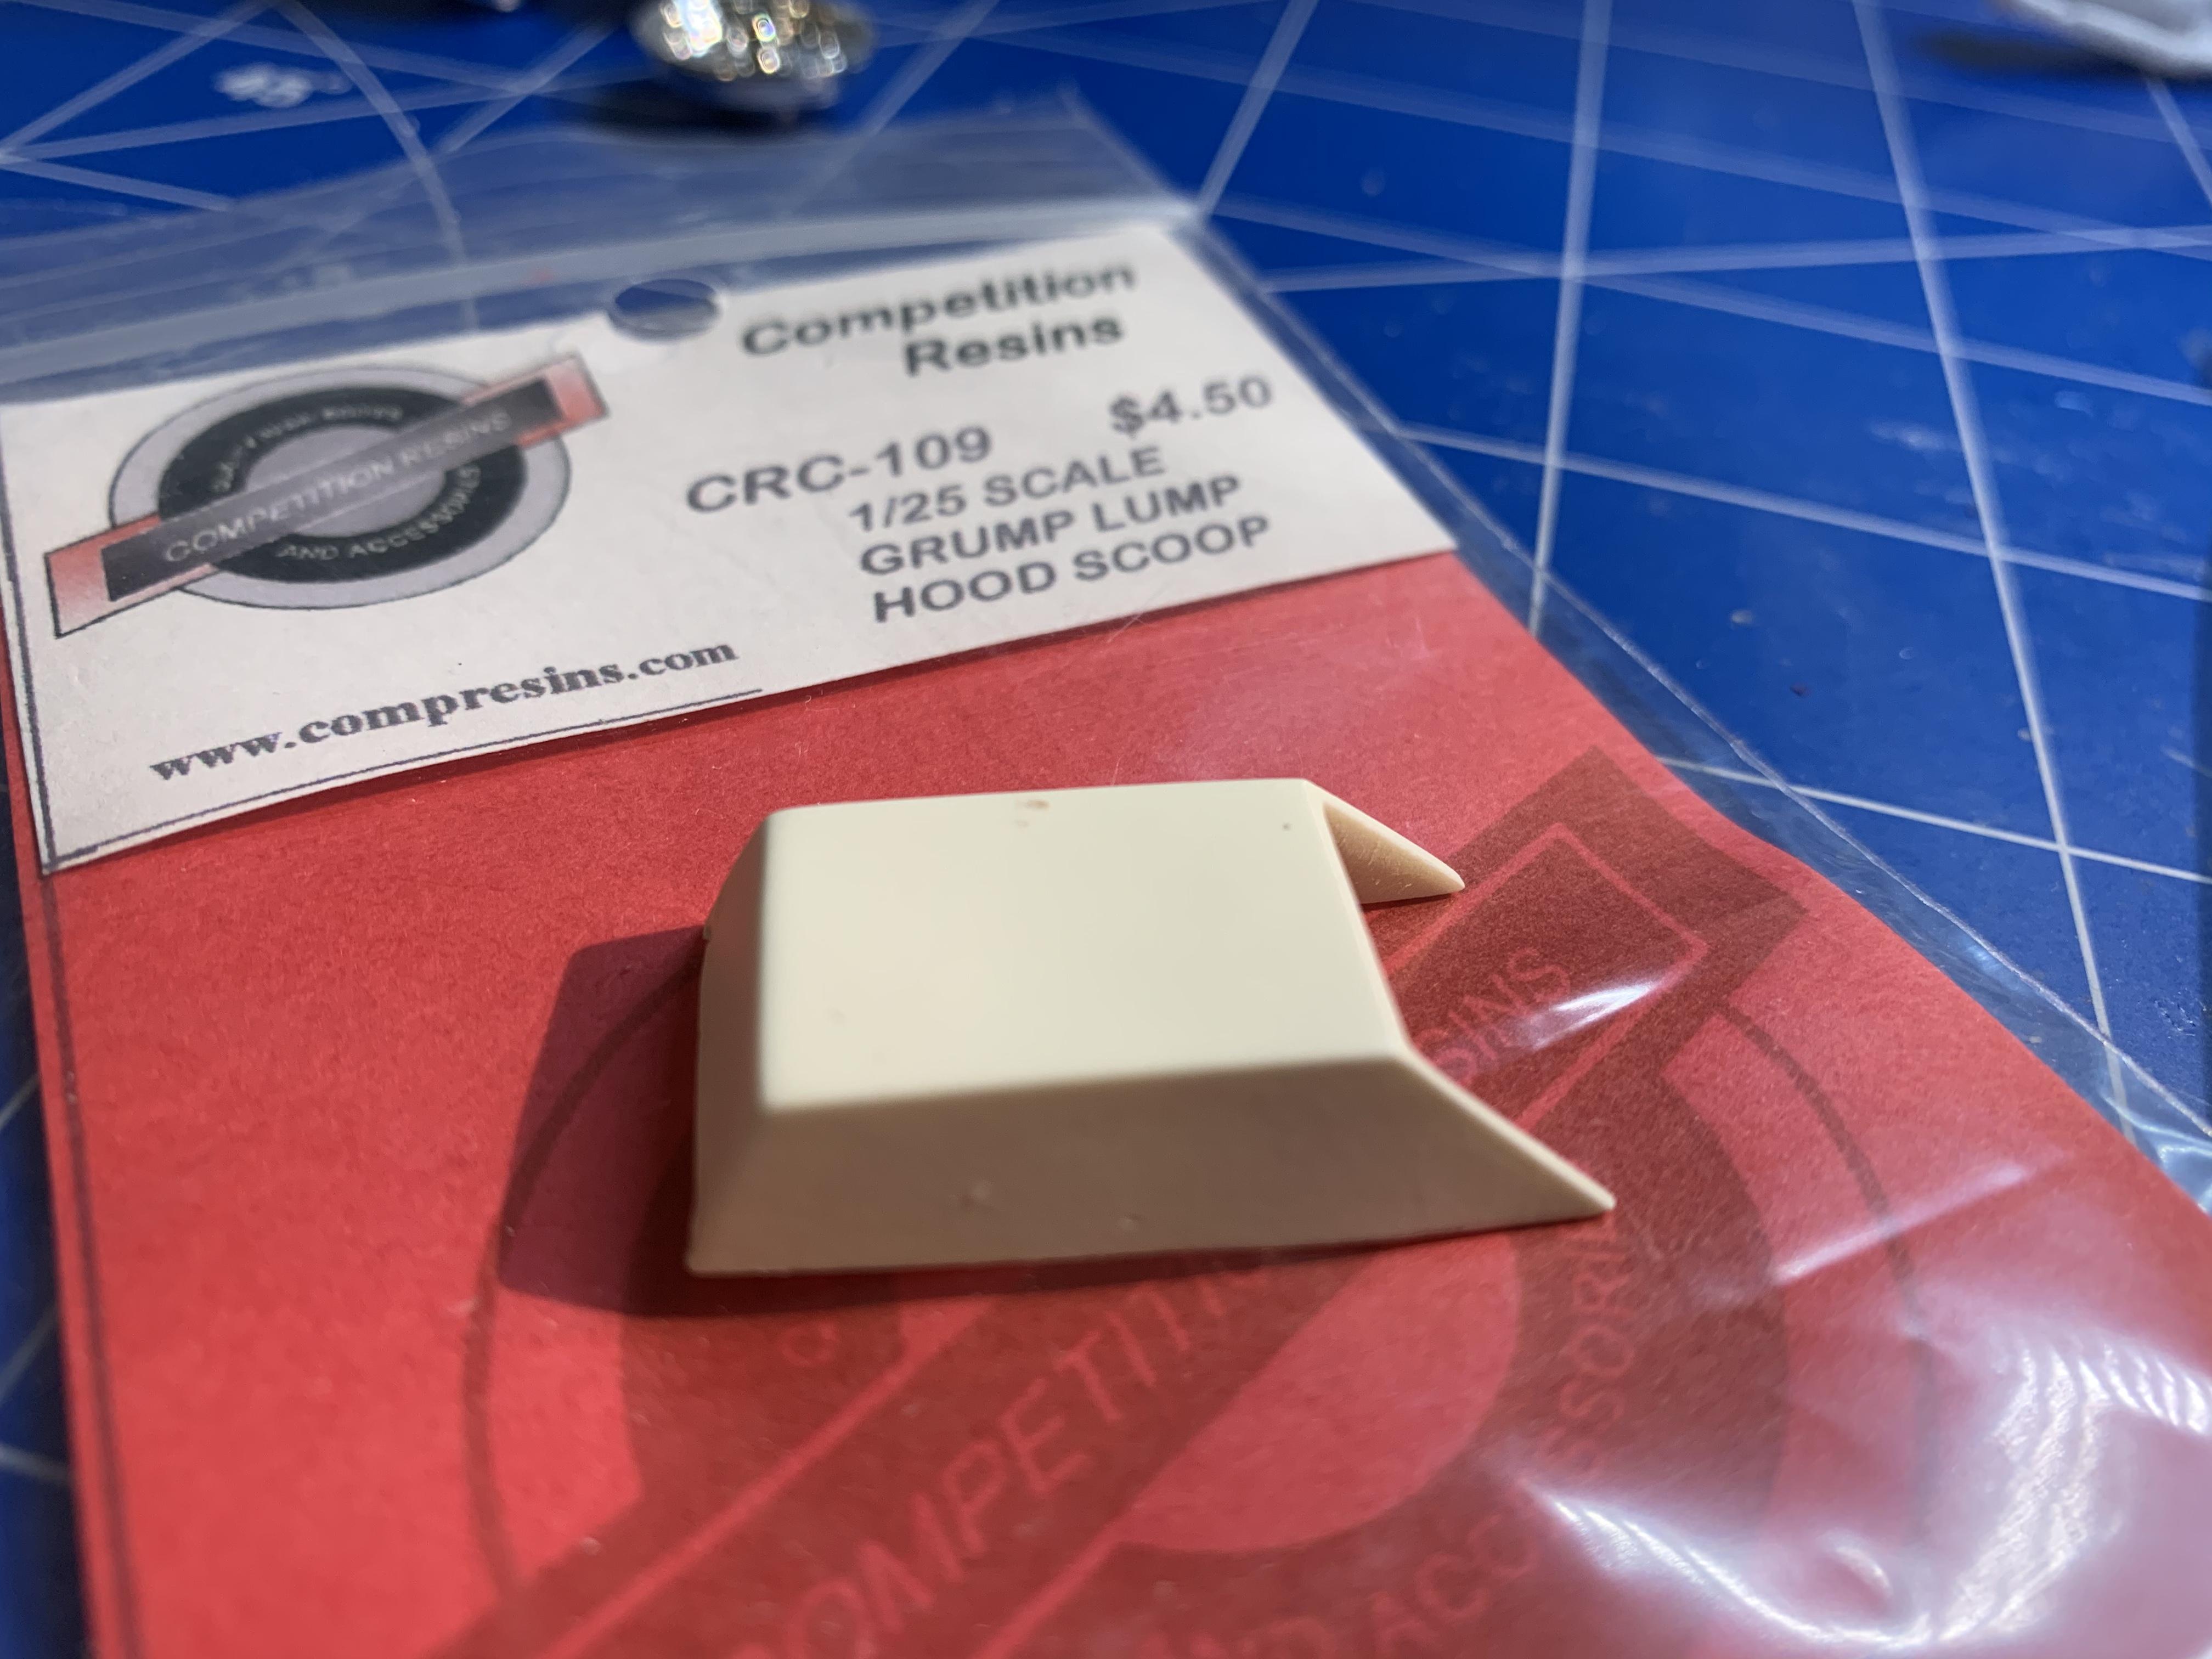
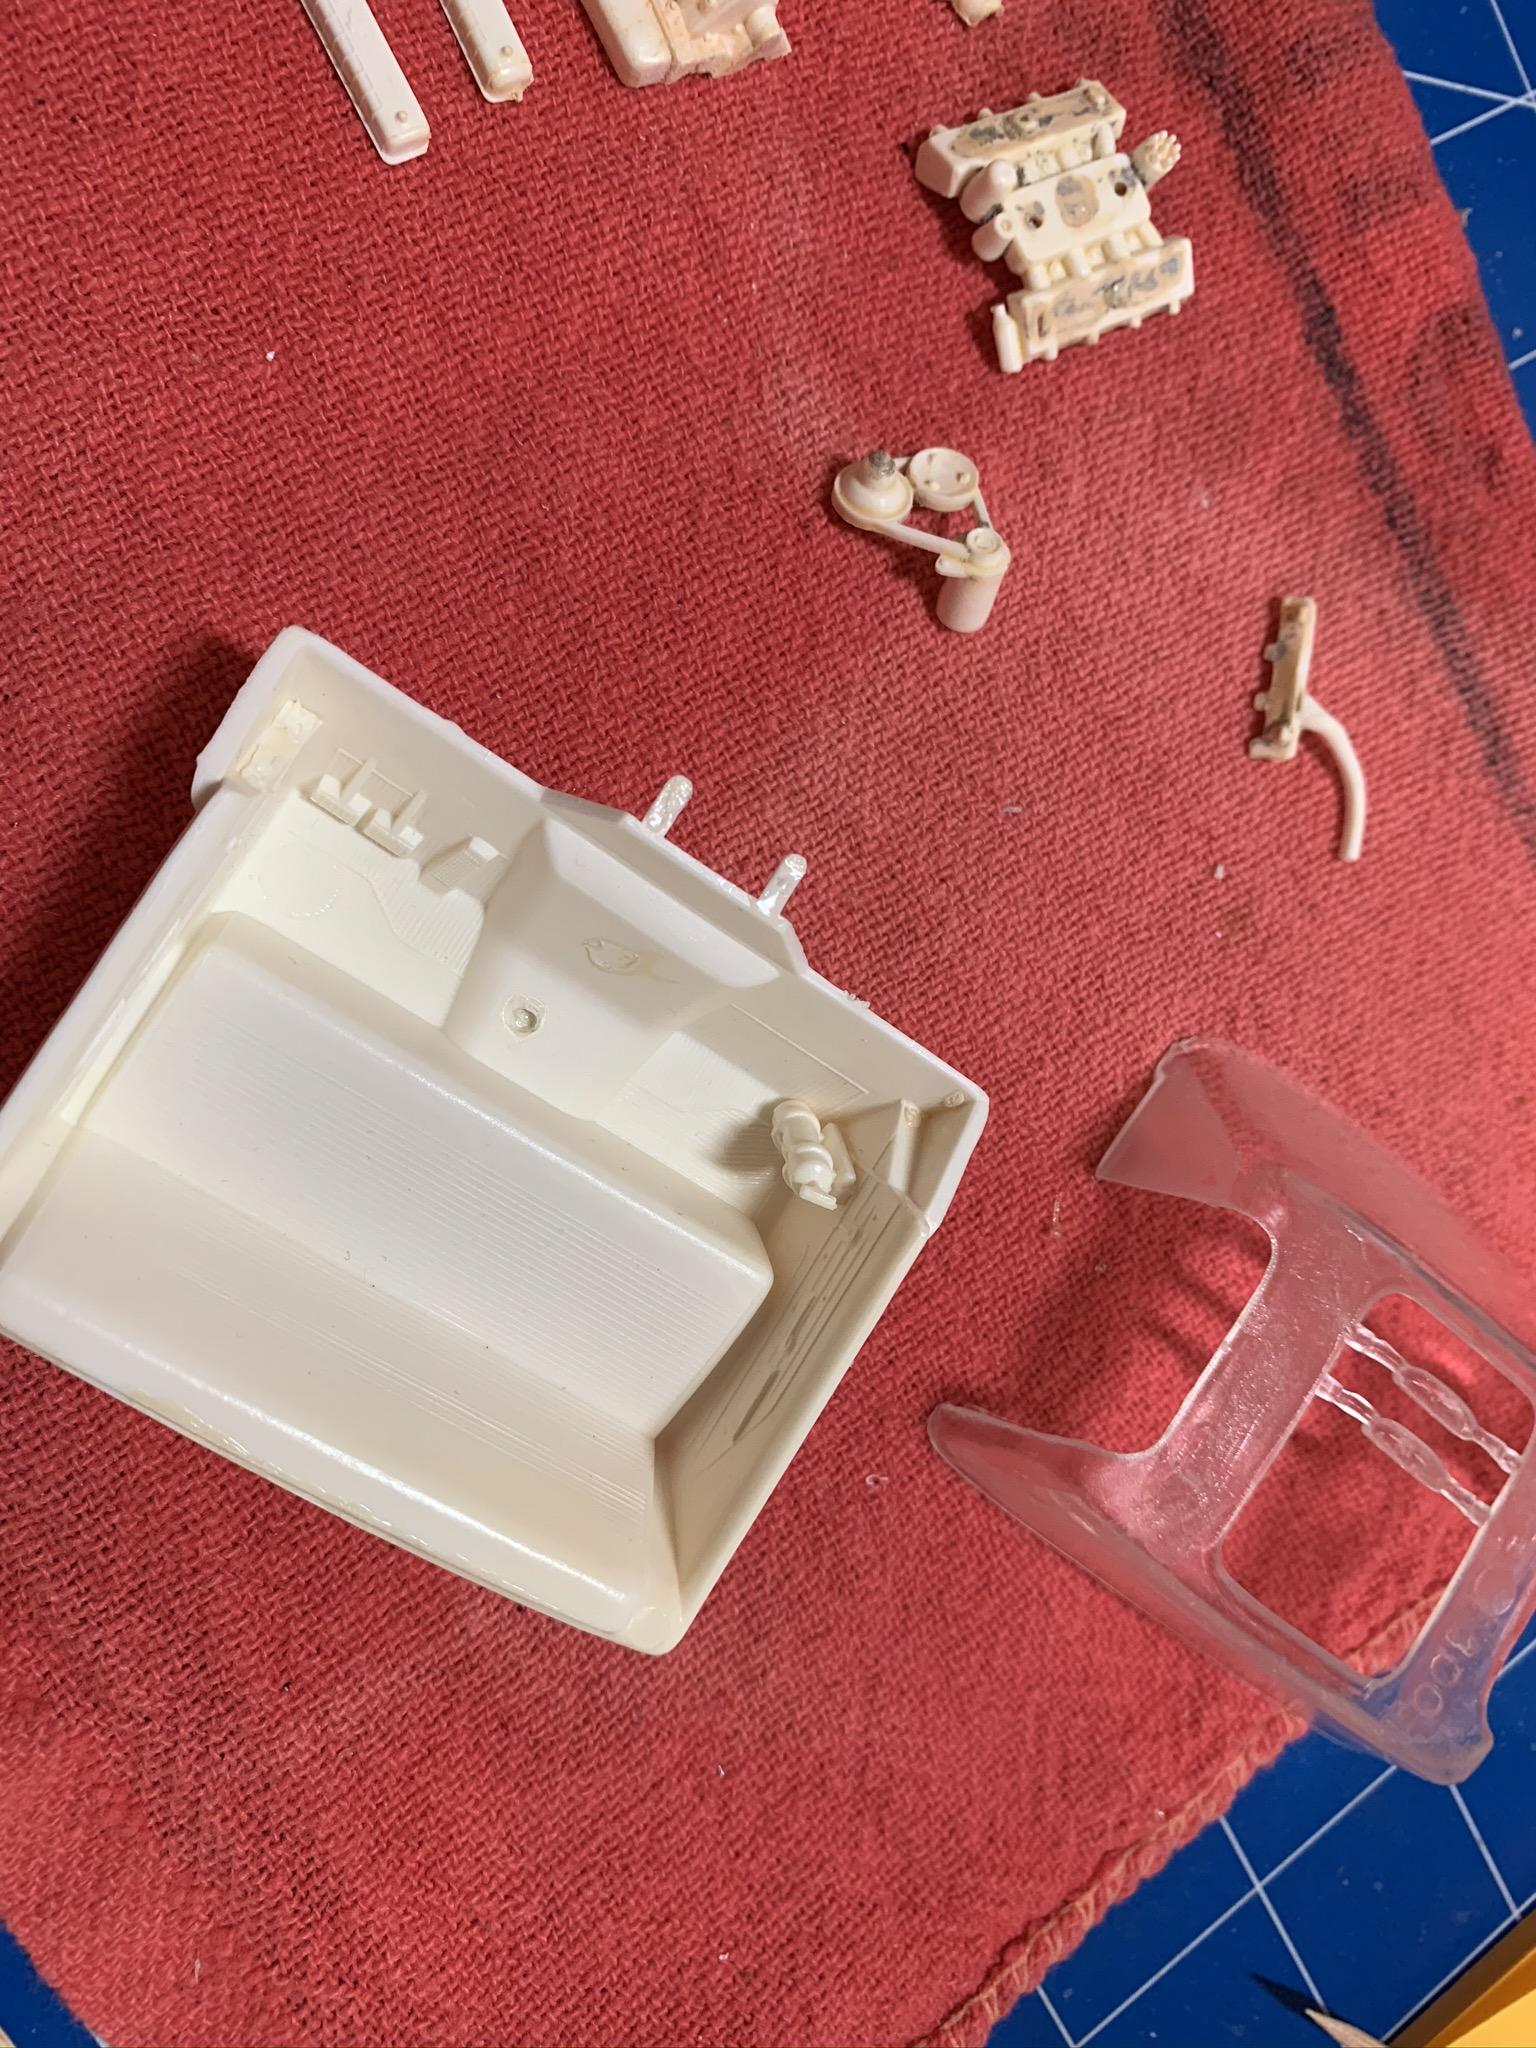
Ok I’ve finally got a couple things finished up and I can concentrate on the Maverick. When I started this, I pulled the AMT 67 Mustang kit for the chassis as the original Johan chassis leaves a lot to be desired, and the one that came with mine was a mess. I pulled several other kits for other options, the AMT 67 Shelby Mustang has the same parts as the AMT 67 Mustang, the 68 AMT Shelby Mustang is old school with an inaccurate chassis pan, seems like the 67 chassis parts would fall into the 68, making it a much better build. I tried the Revell 69 Mustang SCJ kit and it’s not a good fit. The Revell 68 Mustang needs way too much work to work. Returning to my original thought, and test fitting it, it’s amazing how well the firewall fits. The front frame rails need shortening only a small amount. I had already removed the fuel tank from the Maverick and the Mustang . I will use the Maverick tank. The rule book states no light weight aftermarket seats, any factory seat is allowable. I have no reference for the interior of the actual car, so I may have to get creative. I used a Comp resin Grumpys toy scoop and cut the end off at an angle , looks pretty good.
-
EXPENSIVE PAINT STRIPPER I can be a little frugal, I buy a lot of built ups of models I want to build but I don’t want to pay a lot of money for a collector kit only to build it. Most of the kits I buy are painted, or just filthy and need attention. I have used this stuff for years and I highly recommend it. You can get a gallon from Walmart for under $10.00, use it over and over. I keep a plastic container with a lid for bodies and creep a jewelry cleaning container with the little basket for small parts. It well strip chrome and the clear undercoat in anywhere from an hour to overnight. The only paint it seems to not like is flat black, it will take a little longer and some scrubbing, but most will come off. I’ve only experienced a plastic problem with the Lindberg 53 Ford, as it softened the plastic, but I was still able to repaint and finish it.
-
"Bring Out Your Dead" Completion Build--ROUND 2 Is On!
dragcarz replied to Snake45's topic in WIP: Model Cars
I like this, looks cool! -
AMT 81 Toyota Truck 4X4
dragcarz replied to Adecoste's topic in WIP: Model Trucks: Pickups, Vans, SUVs, Light Commercial
I have passed on picking one of these up may times as I wasn’t sure about it. After seeing yours I’ll probably try and grab one. Yours looks great! Very well done and I can’t wait to see it completed. -
Another 62 Ford
dragcarz replied to dragcarz's topic in WIP: Model Trucks: Pickups, Vans, SUVs, Light Commercial
Your looks like a 63 from the chrome trim on the side. I have a 63 front bumper and grill your welcome to it, just PM me. It you watch EBay parts pop up on these mostly reasonably priced. The glass from a 61 thru 63 are the same, and clear custom tail lights are mounted in the center.
-
Another 62 Ford
dragcarz replied to dragcarz's topic in WIP: Model Trucks: Pickups, Vans, SUVs, Light Commercial
That was the California Flash, I work three projects at a time now, it helps when things need to dry or set up. I can keep working on something with out rushing and screwing something up. -
Your build is beautiful!
-
Looks great
-
Thanks again everyone, the shine hides all the flaws, DuPont Chroma Clear, I don’t even think they make it any more, sanded and polished.
-
Looks great to me! The kit is very accurate for being produced so long ago. You did a great job on it. I painted mine, and I have a few of these kits, I might try to do a clear body version.
-
Thanks everyone
-
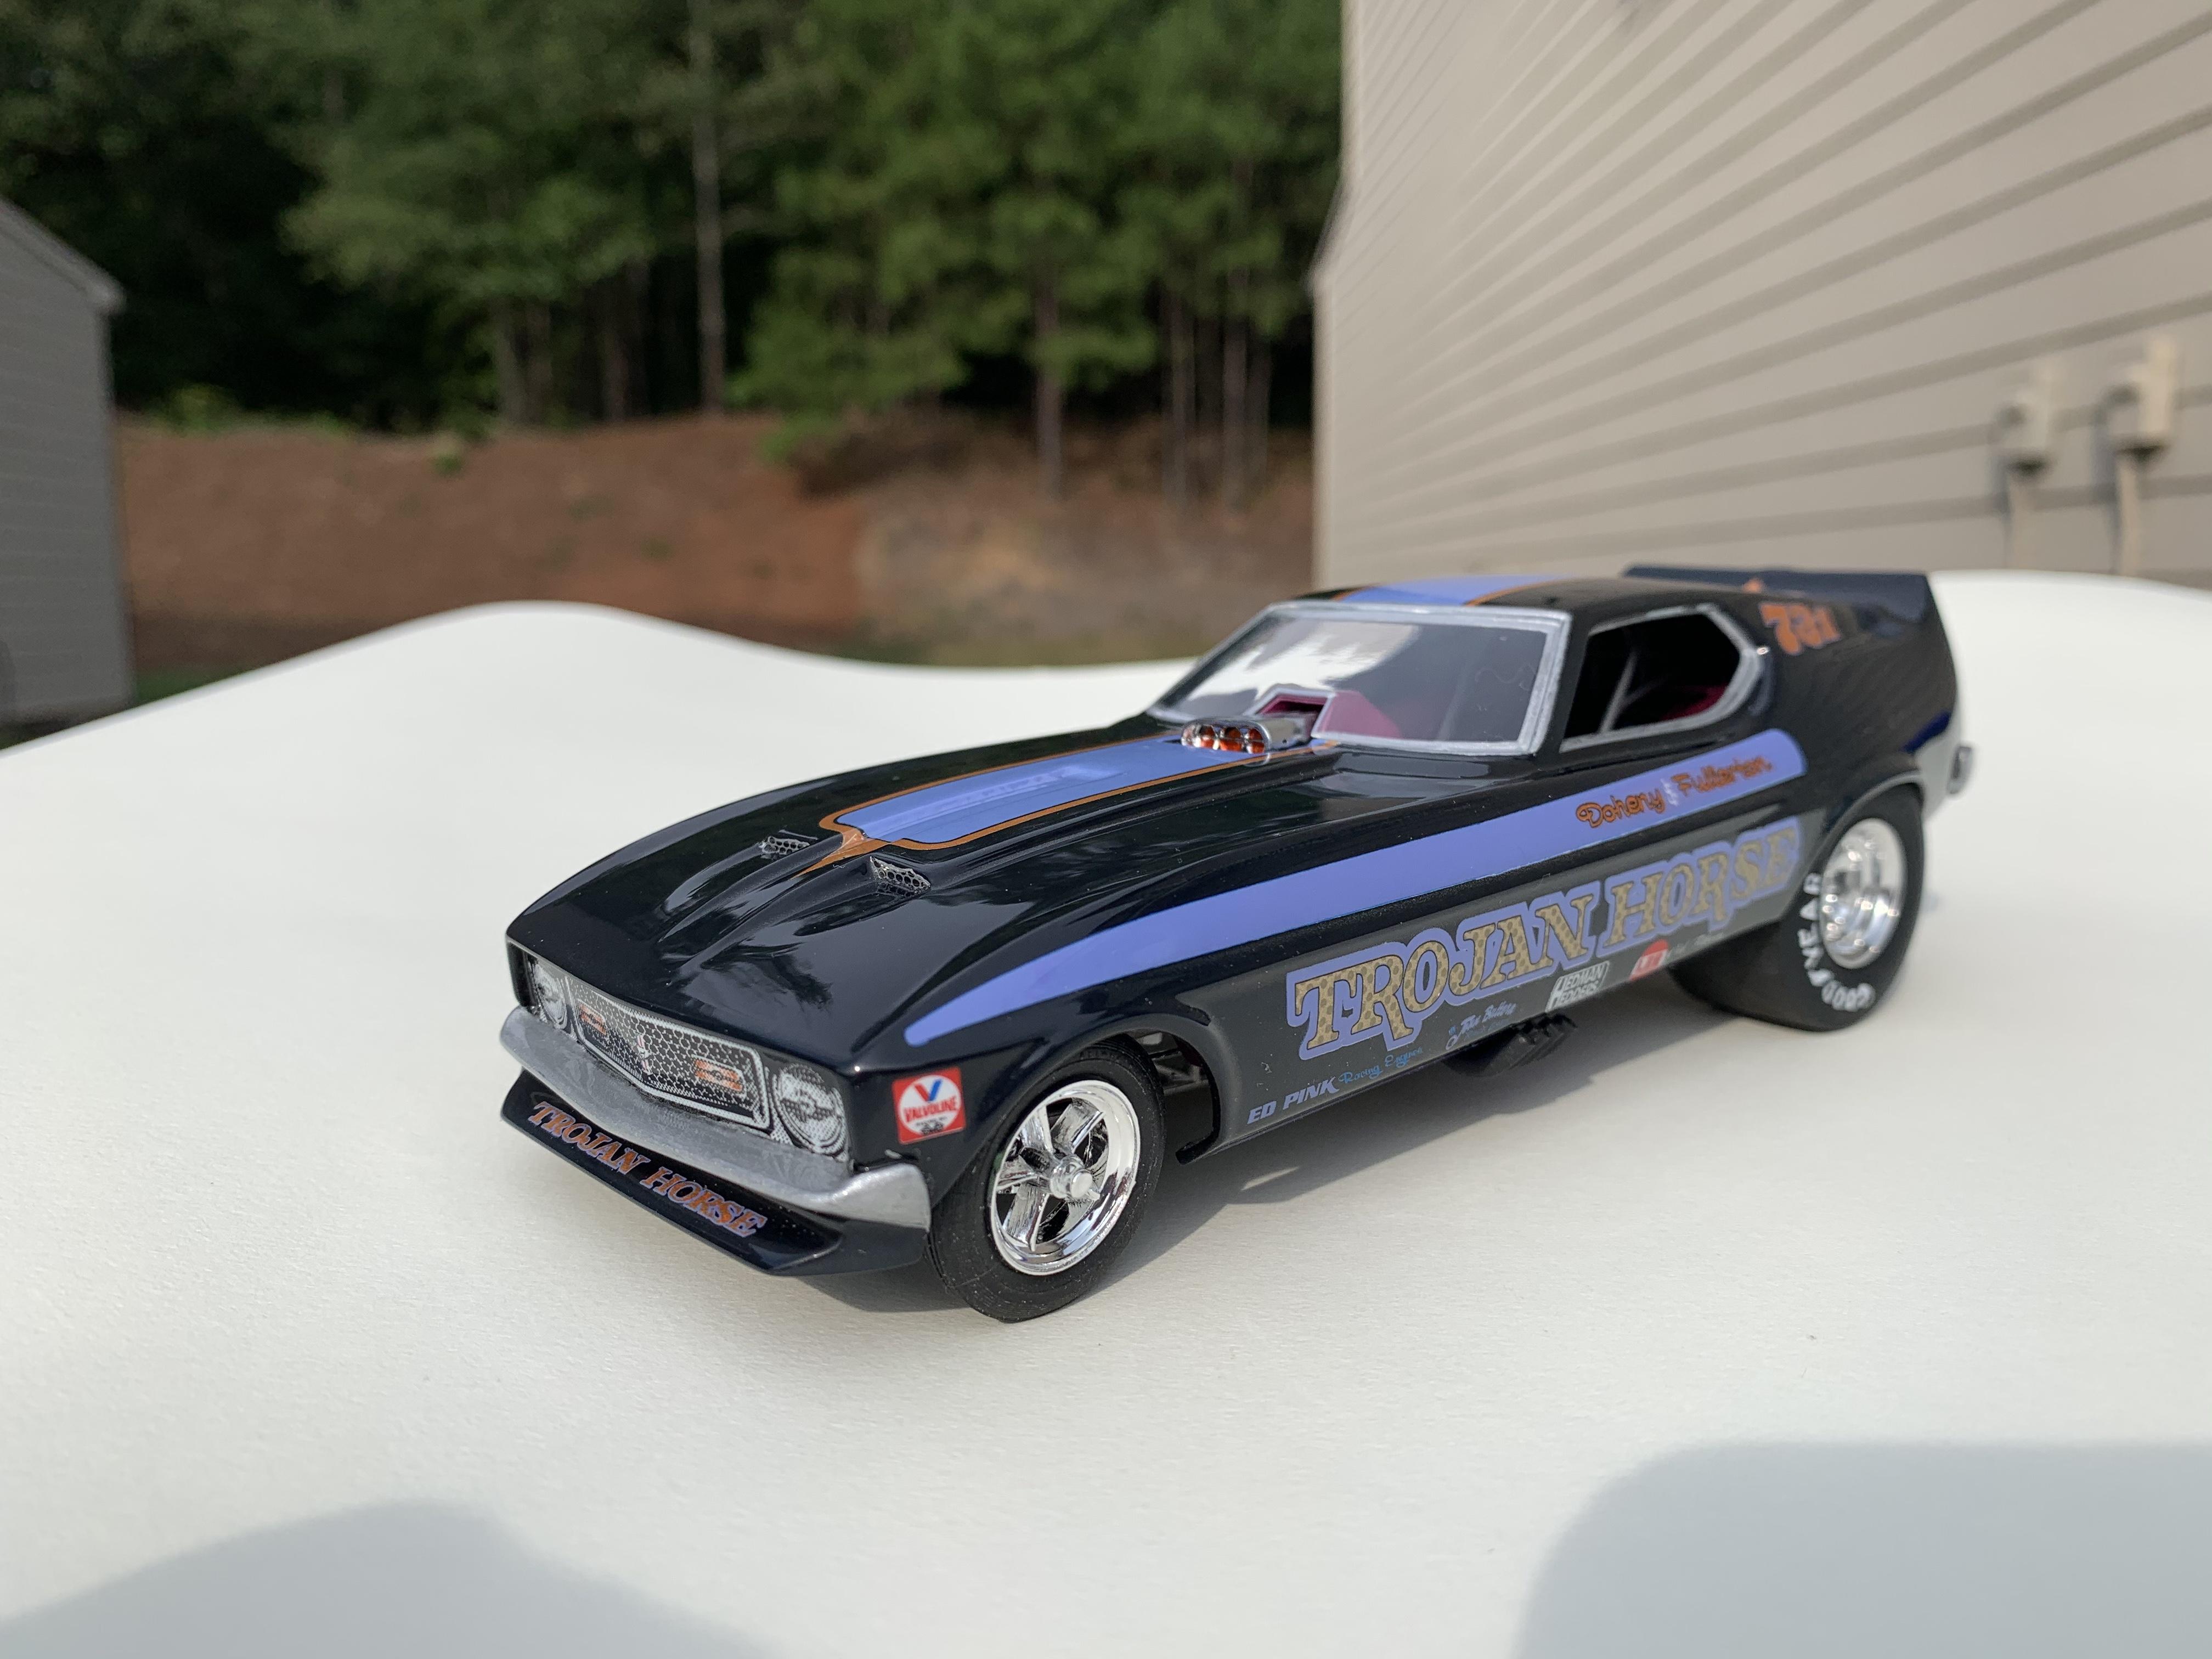
Started back in 2005, finally finished. Thanks to Snake and the Bring Out Your Dead forum, I pushed and just finished it. I have posted some of its issues at various times with problems I encountered on the forum looking for help, so it may be familiar to some. Needless to say it’s Not my best work, it’s not even close to what my original plan, which was Shirley Muldowney’s yellow Mustang funny. Anyway here it is, feel free to comment the good the bad or the ugly.
-
"Bring Out Your Dead" Completion Build--ROUND 2 Is On!
dragcarz replied to Snake45's topic in WIP: Model Cars
I got it done, more posted in finished Drag Racing
-
Tom Mcewen "Coor" Corvette F/C "Outside" Pictures 8/10/20
dragcarz replied to John Teresi's topic in Drag Racing
Put some fuel in the tank and light it...... Just amazing John, looks so real! -
Thanks everyone!
-
"Bring Out Your Dead" Completion Build--ROUND 2 Is On!
dragcarz replied to Snake45's topic in WIP: Model Cars
I had hoped to finish this today, but you know how it goes. He’s where I’m at, it getting close.....