-
Posts
1,202 -
Joined
-
Last visited
Content Type
Profiles
Forums
Events
Gallery
Everything posted by av405
-
I've been doing work on the topper. First I added evergreen styrene strips along the bottom of the topper to match the strips on the real piece: I then worked on the whip antenna. I started with a piece from policecarmodels.com: I attached a satin pin to the piece to simulate the antenna and have started some detail painting. I need to paint the pin black: I used a pin vise to create a hole on the topper. I'm going to secure the whip antenna with a satin pin to the topper. I painted the topper with Tamiya Pure White. Just waiting for it to dry:
-
Best Online Hobby Shop?
av405 replied to Calb56's topic in General Automotive Talk (Trucks and Cars)
As others have mentioned, Burbank's is top-notch. I live about an hour from them so I can vouch for both the in-store, pick up, and shipping experience. My go-to online site is Tower Hobbies. Their main focus is actually RC but they carry a lot of supplies and kits as well. I just wish they carried Mr. Hobby products. They are always running discounts and best of all, they have a rewards program. -
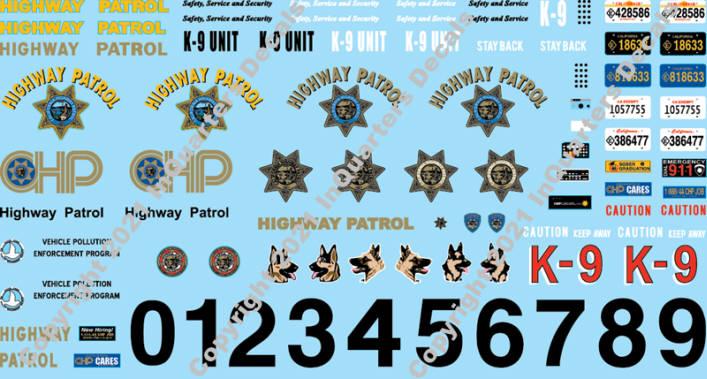
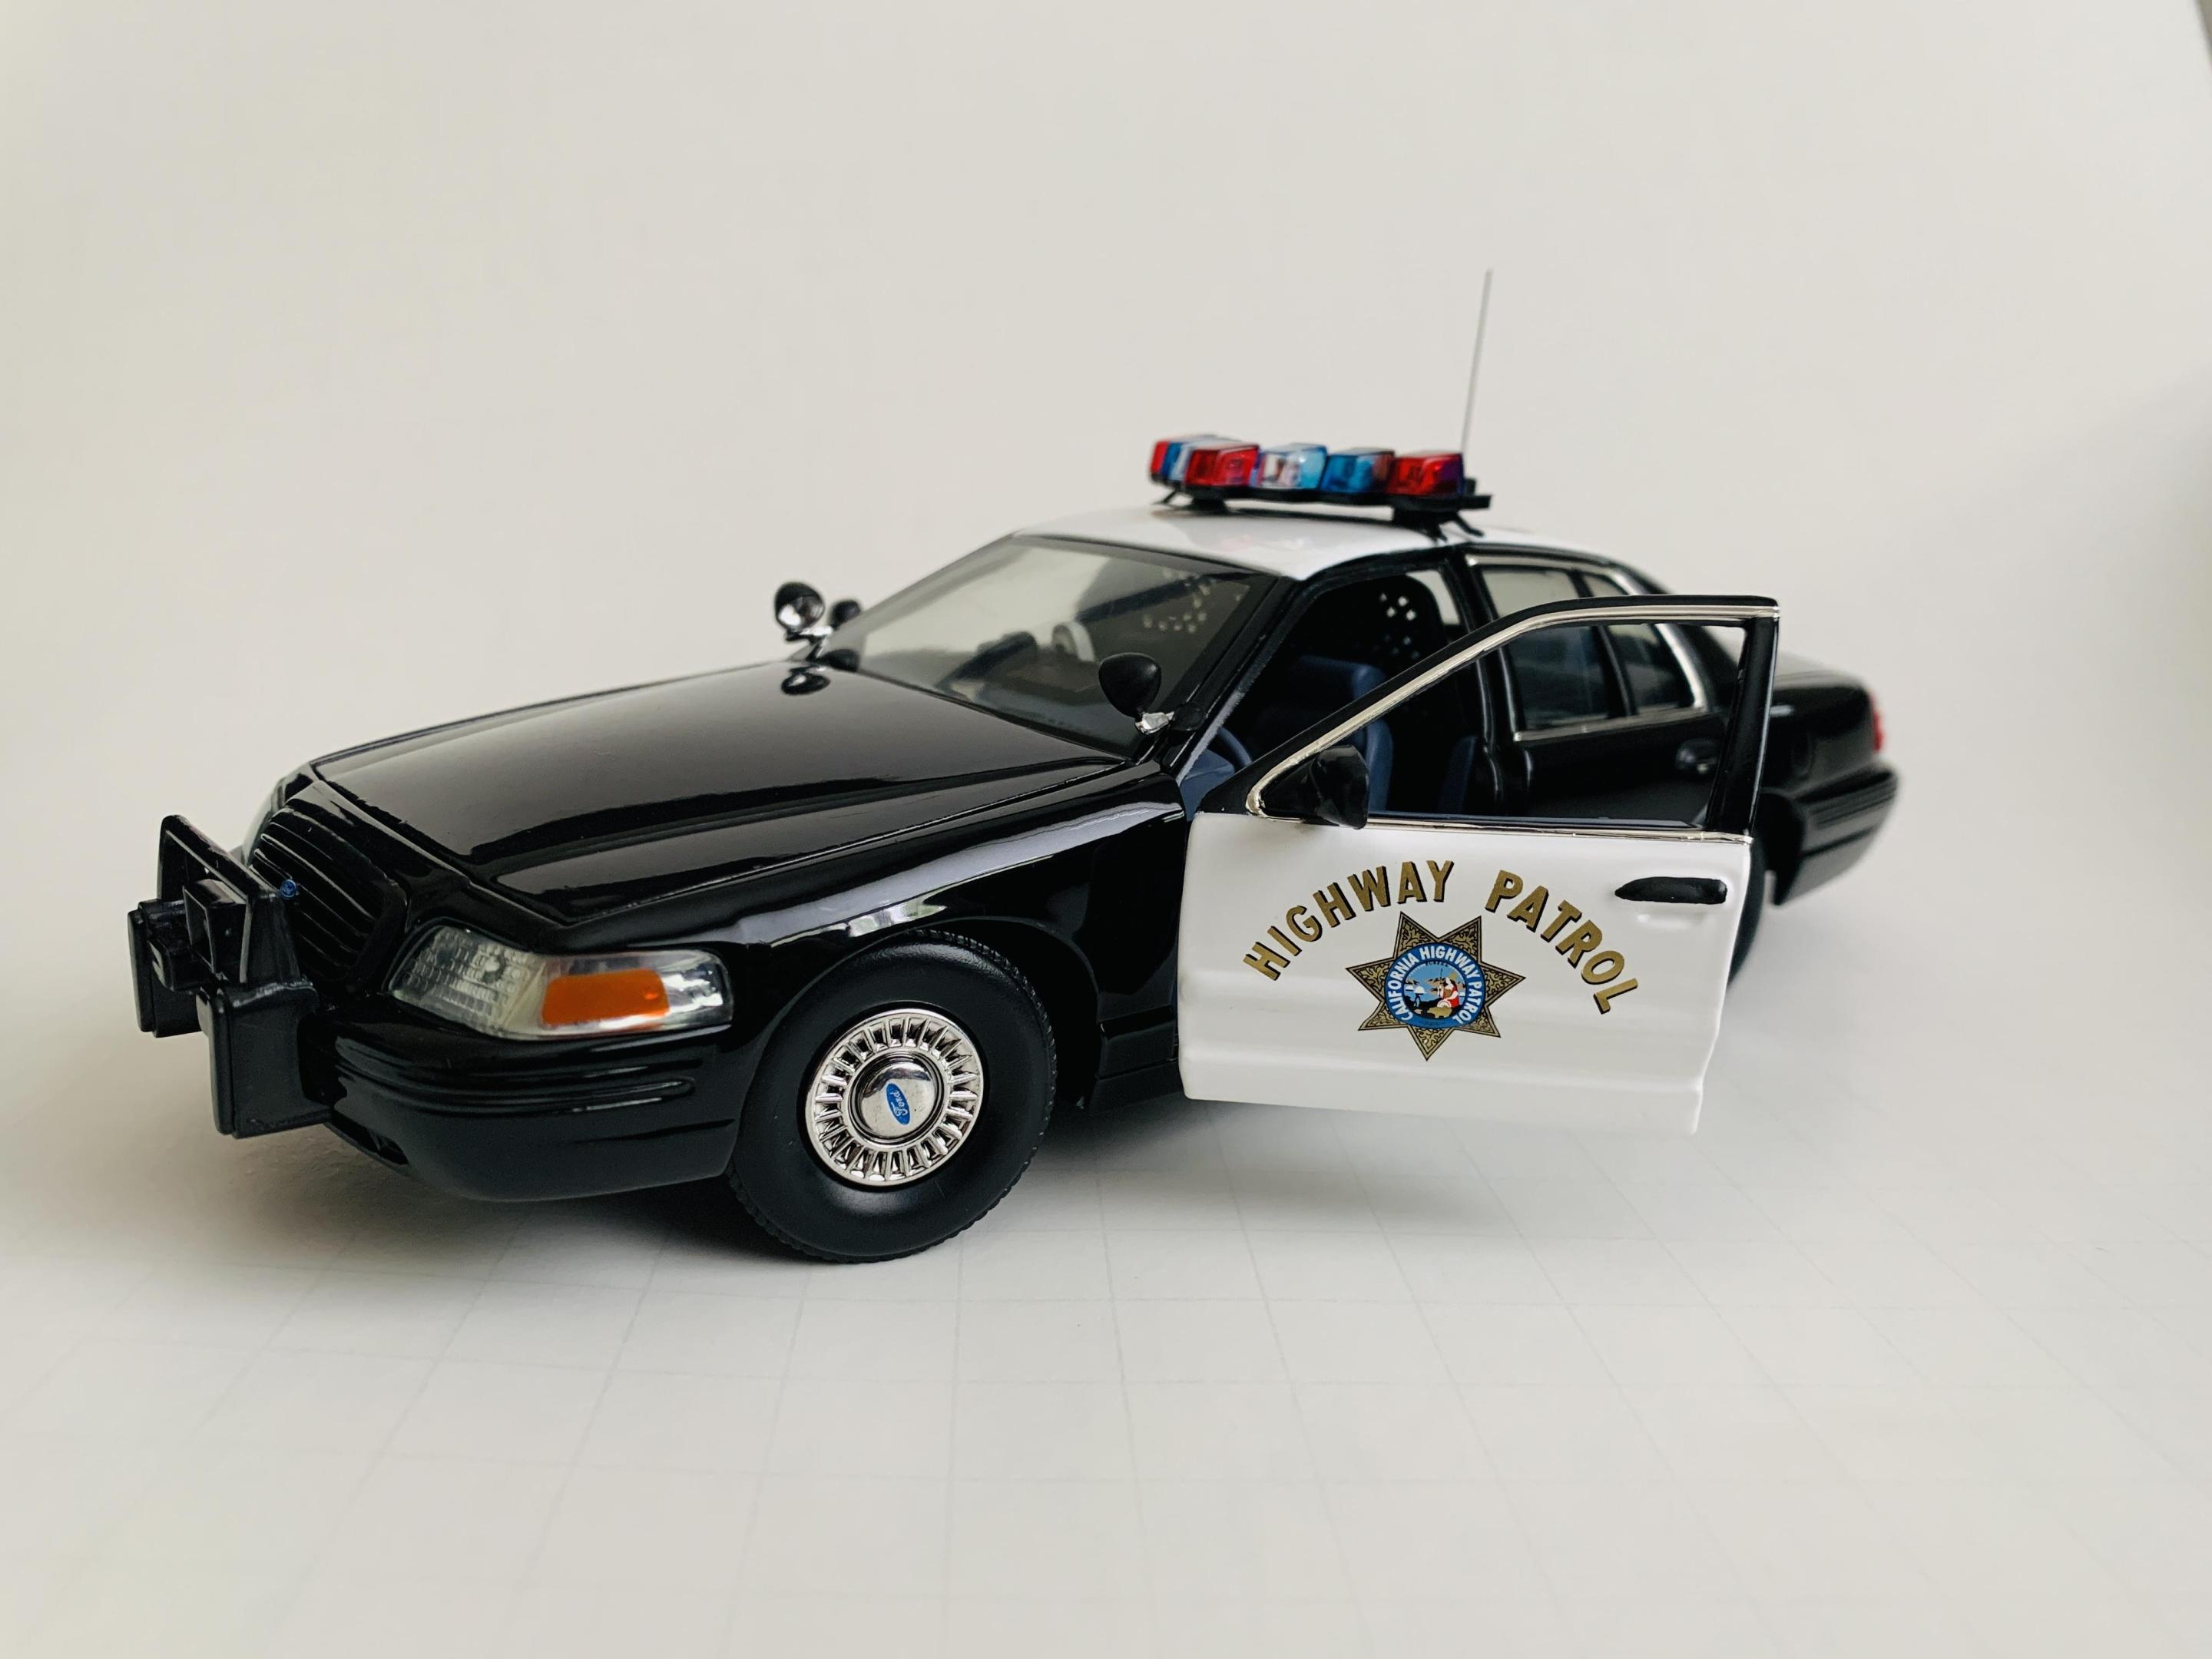
Thanks! I attached the grill and headlights and completed the most satisfying part - the decals. License plates will come later. Thankfully the kit's door decals were still good, if not a bit yellow. I'm sure with time that'll correct itself. The real CHP Rams had a V8 engine, but since the kit comes with V10 decals, that's what I went with. I want to give a shout out to inquarters decals for the sheet. This is a comprehensive sheet made through commercial printing, not homemade. I cannot be clearer when I say that these are the best CHP decals currently available for scale models: https://inquarters.com/Large_Scale_Law_Enforcement.html
-
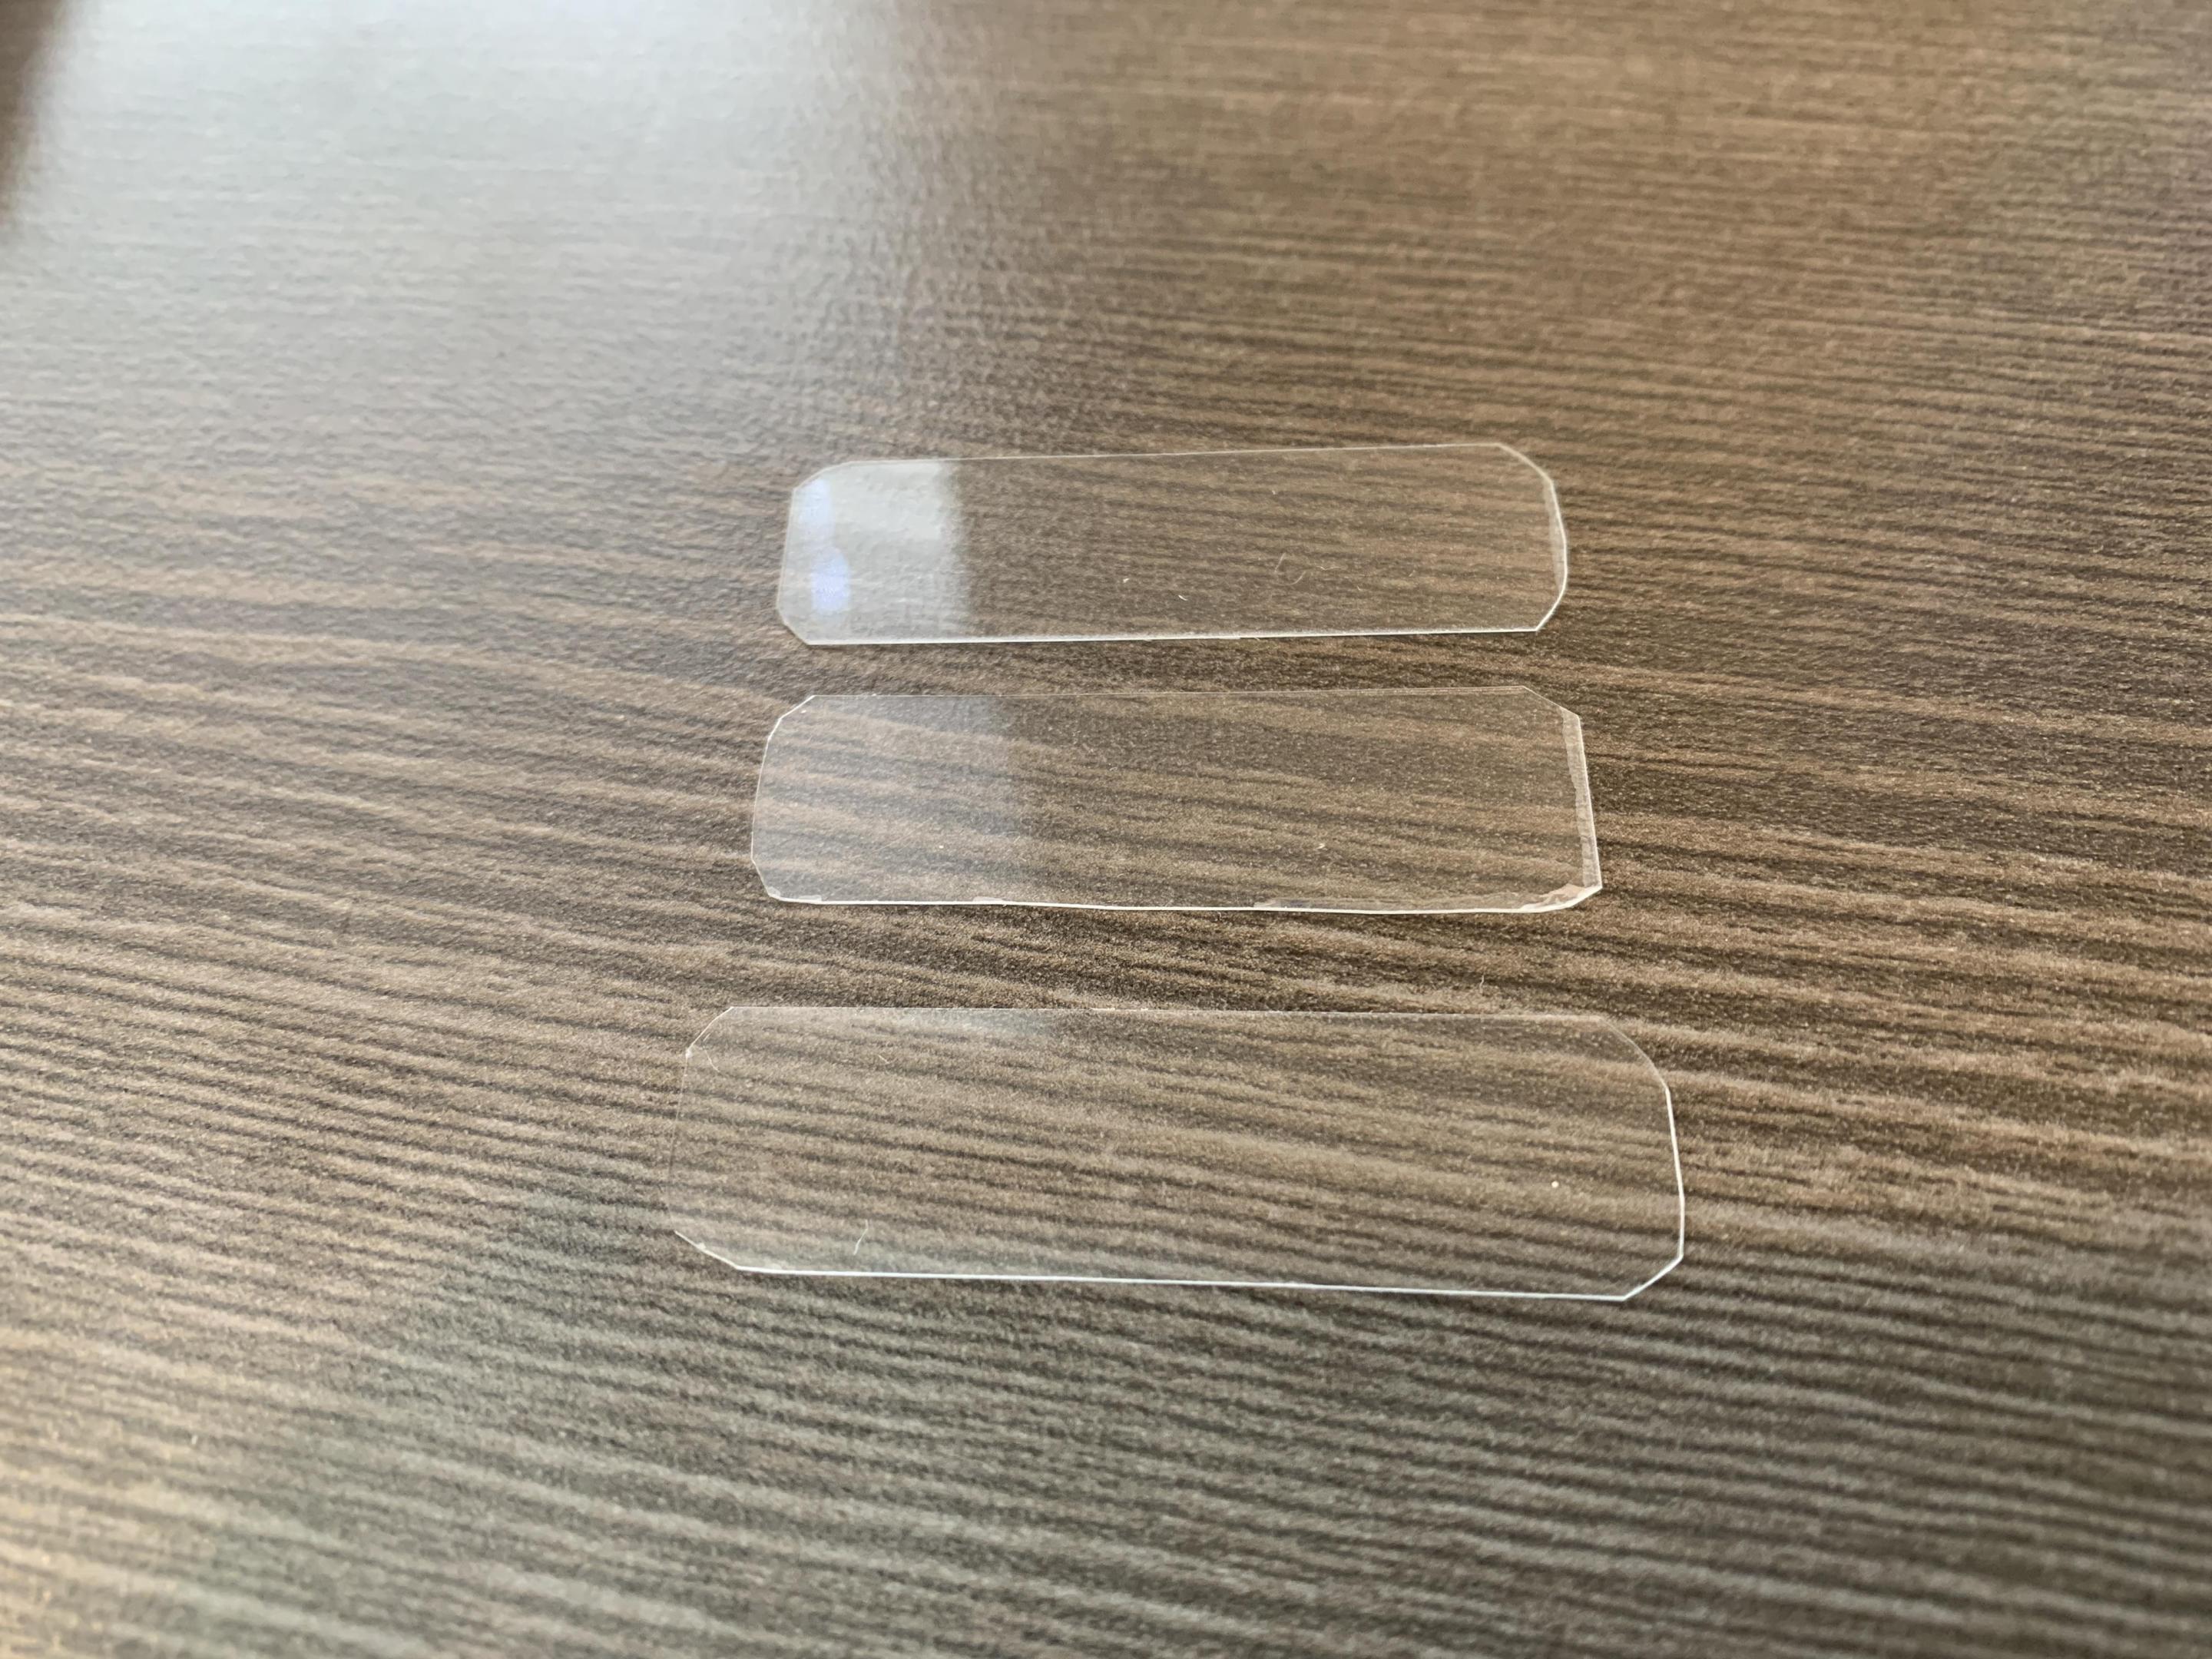
I'm not really interested in doing a 1979 CHP Camaro, but I'll have to check the kit out to see what's possible. I shouldn't say never. So I had an accident with the topper. I was laying down some Duplicolor White Filler Primer and it did not lay down well at all. Not sure why since the grey version went down just fine. Well, I took the chance to strip it and fix some alignment issues with the piece. I heated it in near boiling water and have braced it to be a bit straighter: While the cab dries and the topper falls into shape, I worked on some other details for the topper. I finished the rear directional bar/arrow stick. The piece was spray painted with Tamiya TS-73 Clear Orange and then hand painted with Vallejo Black. I then used clear Evergreen styrene to cut out windows for the topper. The topper was designed and printed in such a way that I can drop these pieces into inserts from the interior. Since the windows will be tinted, I wasn't too concerned about the edges being 100% straight since they will not be visible:
-
Ha! Well I'll take it as a good sign that you can't see them. Thank you. I do not work for CHP but I am in law enforcement. Building CHP cars in scale is enticing since given the agency's iconic status, there are various aftermarket decal providers, photos, and references for interior equipment. Even references dating back decades. My goal is to build many of their vehicles from the 90s - Caprice, Crown Vic, Expedition, etc. The availability of the relevant kits and aftermarket items certainly helps.
-
Thank you Carl. Speaking of which, the cab has been painted and clear coated. All with Tamiya spray cans. I'll give it a week or so to dry before I wet sand and polish it out. After that I'll hand paint the rubber molding/trim and door handles. In the meantime, I will continue working on the topper. Even though I gave it what I thought would be a final coat of fine primer, I've gone back to sanding and working on slight alignment issues. I knew I wouldn't be happy with it if I had left it as is.
-
Forgive me if this is a project you want to take on your own regardless, but Greg Wann (he's here on the forum) has a 4-door resin Lemans that should be near completion.
-
I've been working a lot this past week but I finally got some bench time in. I can finally call the bed done (minus decals). I tried a new method for polishing and I got the best results I've ever had. First I wet sanded with 4000, 6000, 8000 and 1000. Then I used a microfiber cloth towel and rubbed the whole thing out with Meguiar's Scratch X. Finally I used a similar cloth towel with Meguiar's ultimate polish. I had previously used a different Meguiar's polish and a chamois cloth. I have to say, the microfiber towels are a much better rubbing tool and more forgiving. I like how the result is perfect but not too perfect, just like on a real truck (much more so, a police truck). I masked off the appropriate portions of the tailgate and tail lights with Tamiya tape and sprayed them over with Tamiya TS-63 NATO Black. This was perfect for simulating the non-metal flat black portions of the real truck. I wasn't too happy with the grey paint job I did to simulate the clear mid portions of the rear lenses, but I went with what I had. The bed is now mounted on the chassis. Finally, I laid down some Mr. Hobby 1500 White Primer on the topper. The sink lines (first photo below) are still an obvious issue for me, so I will sleep on some possible solutions. Next up I will paint the black portions of the cab and continue working on the topper.
-

GMC Astro and Chevy Titan Grills
av405 replied to cargostar's topic in Truck Aftermarket / Resin / 3D Printed
Very nice Dave. Hows the 80's Kodiak/Topkick cab coming along? -
Correct, the whole thing was pretty much custom. I had already built a CHP-spec Vision light bar for a previous build and I went through a lot of trial and error on that one. That's the build where I learned it was best to go for a "close enough" look as far as this specific light bar went. Thanks Chris!
-
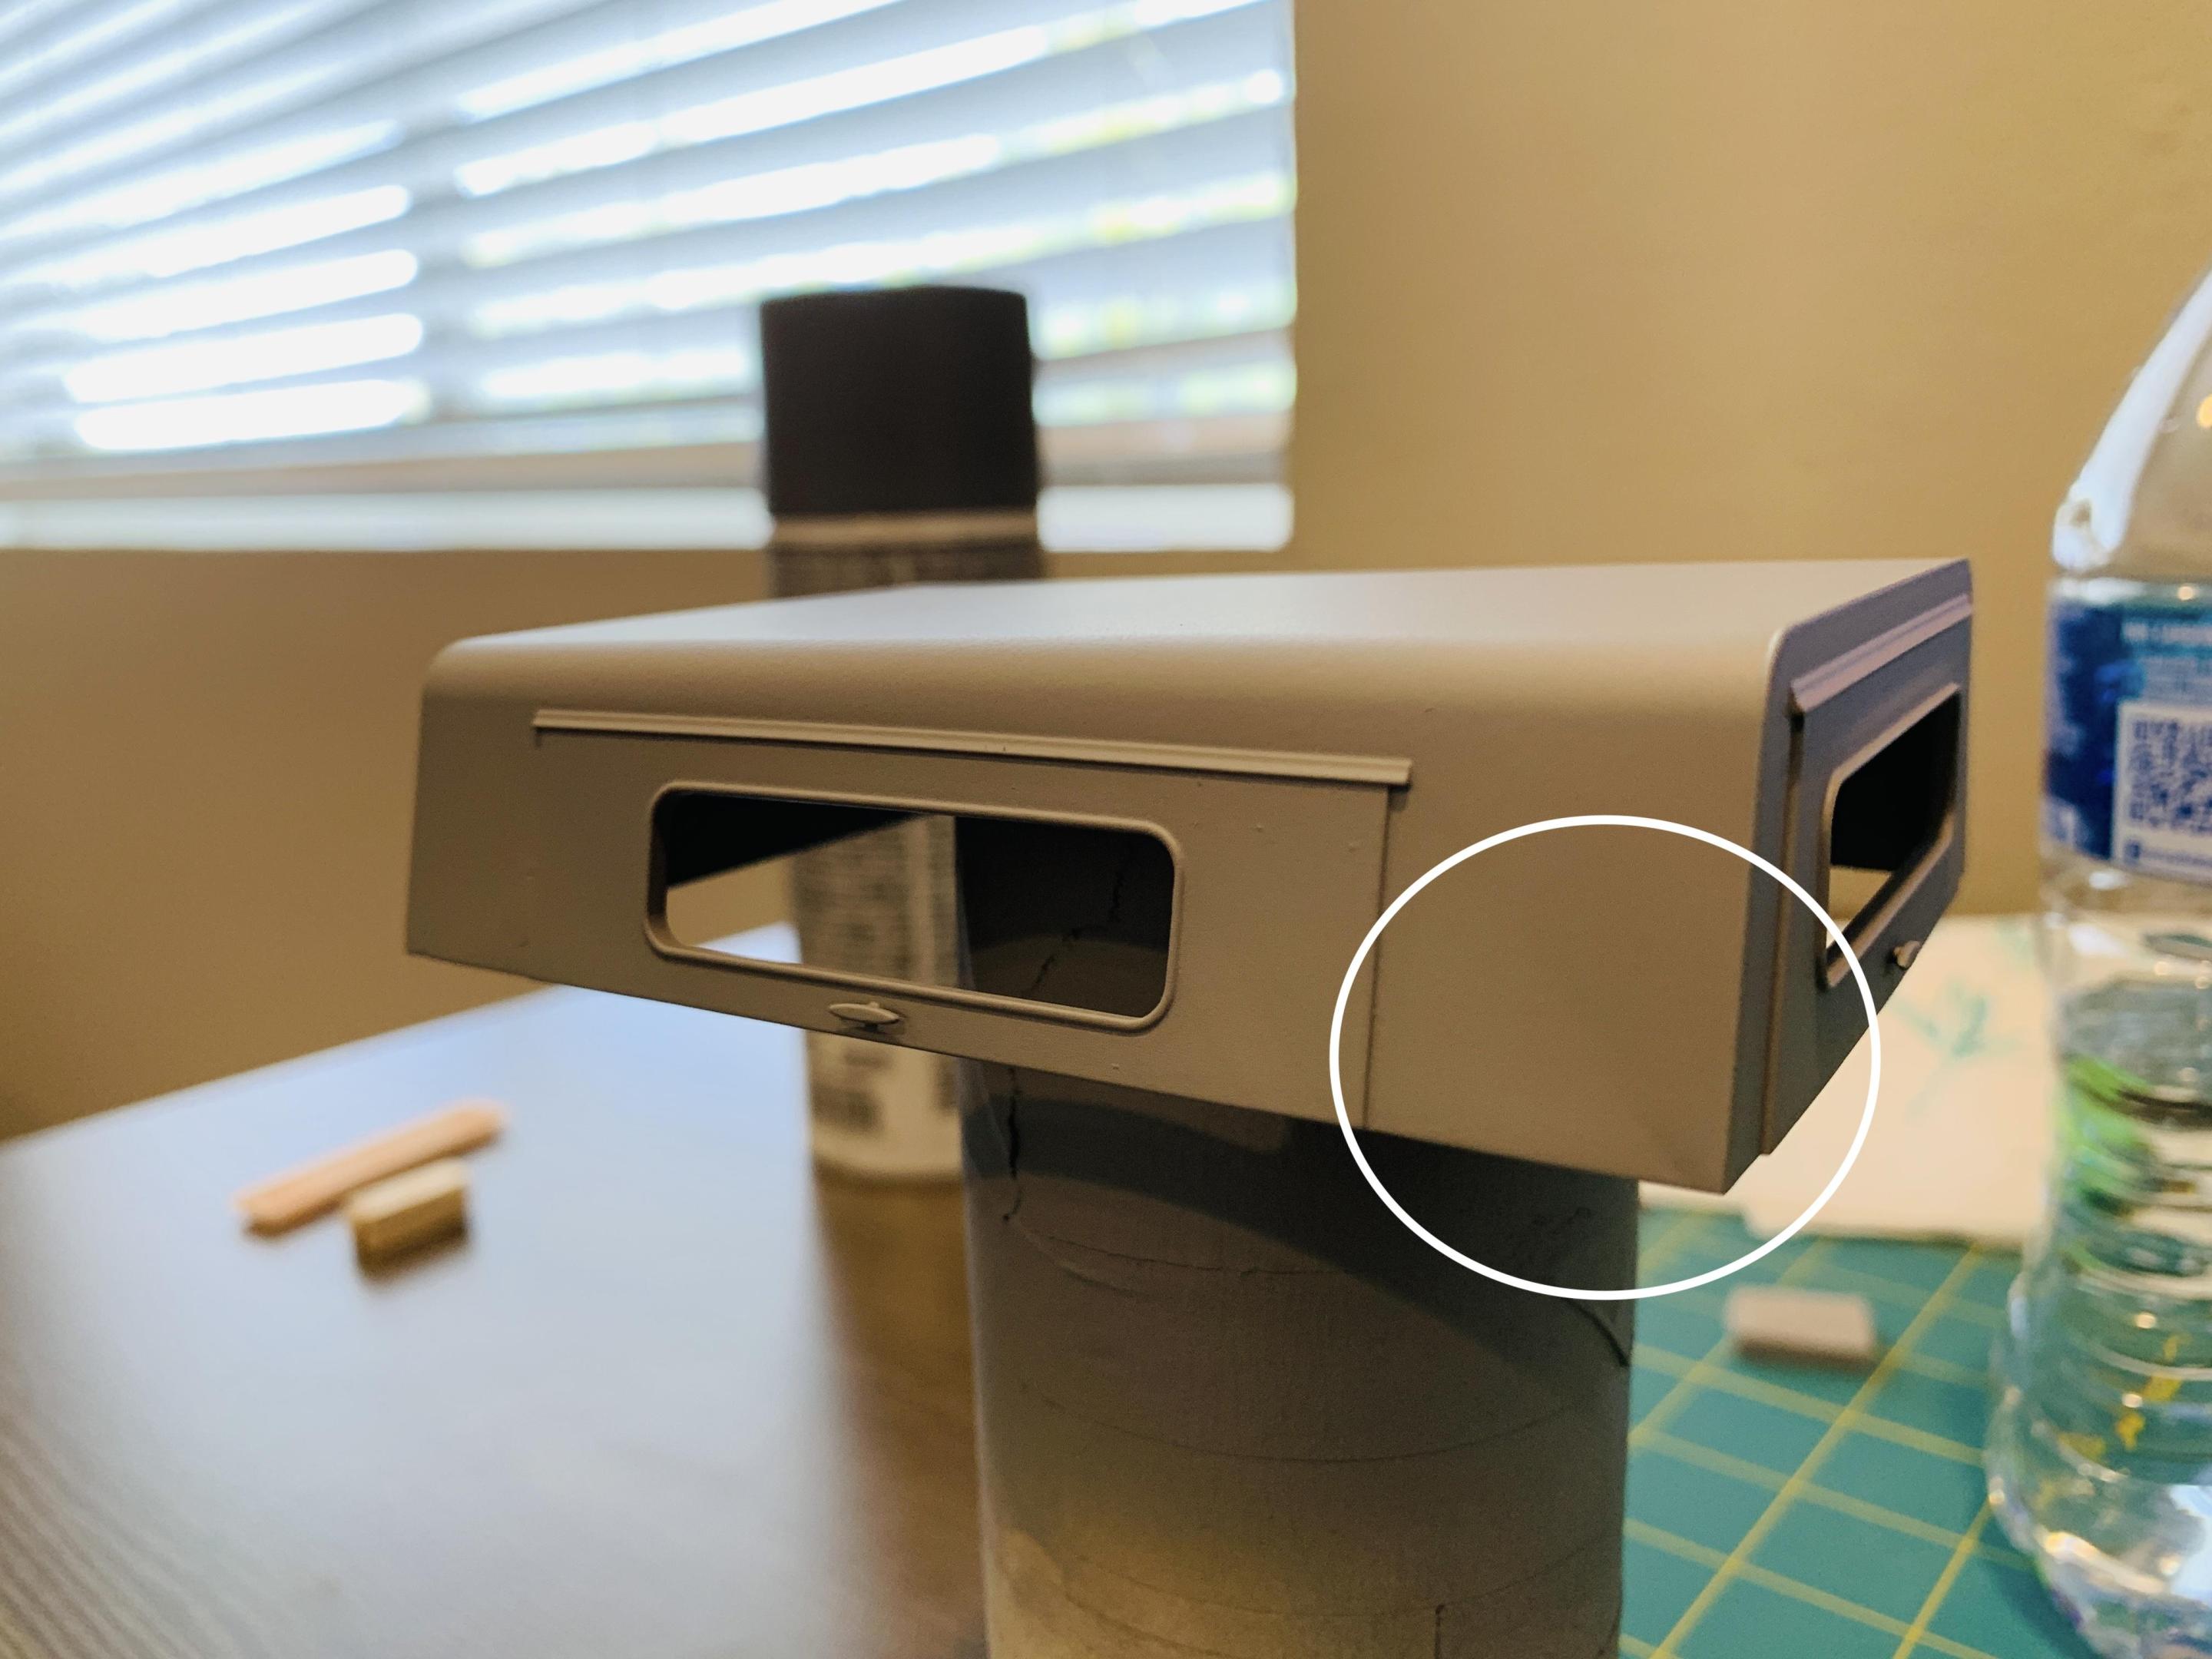
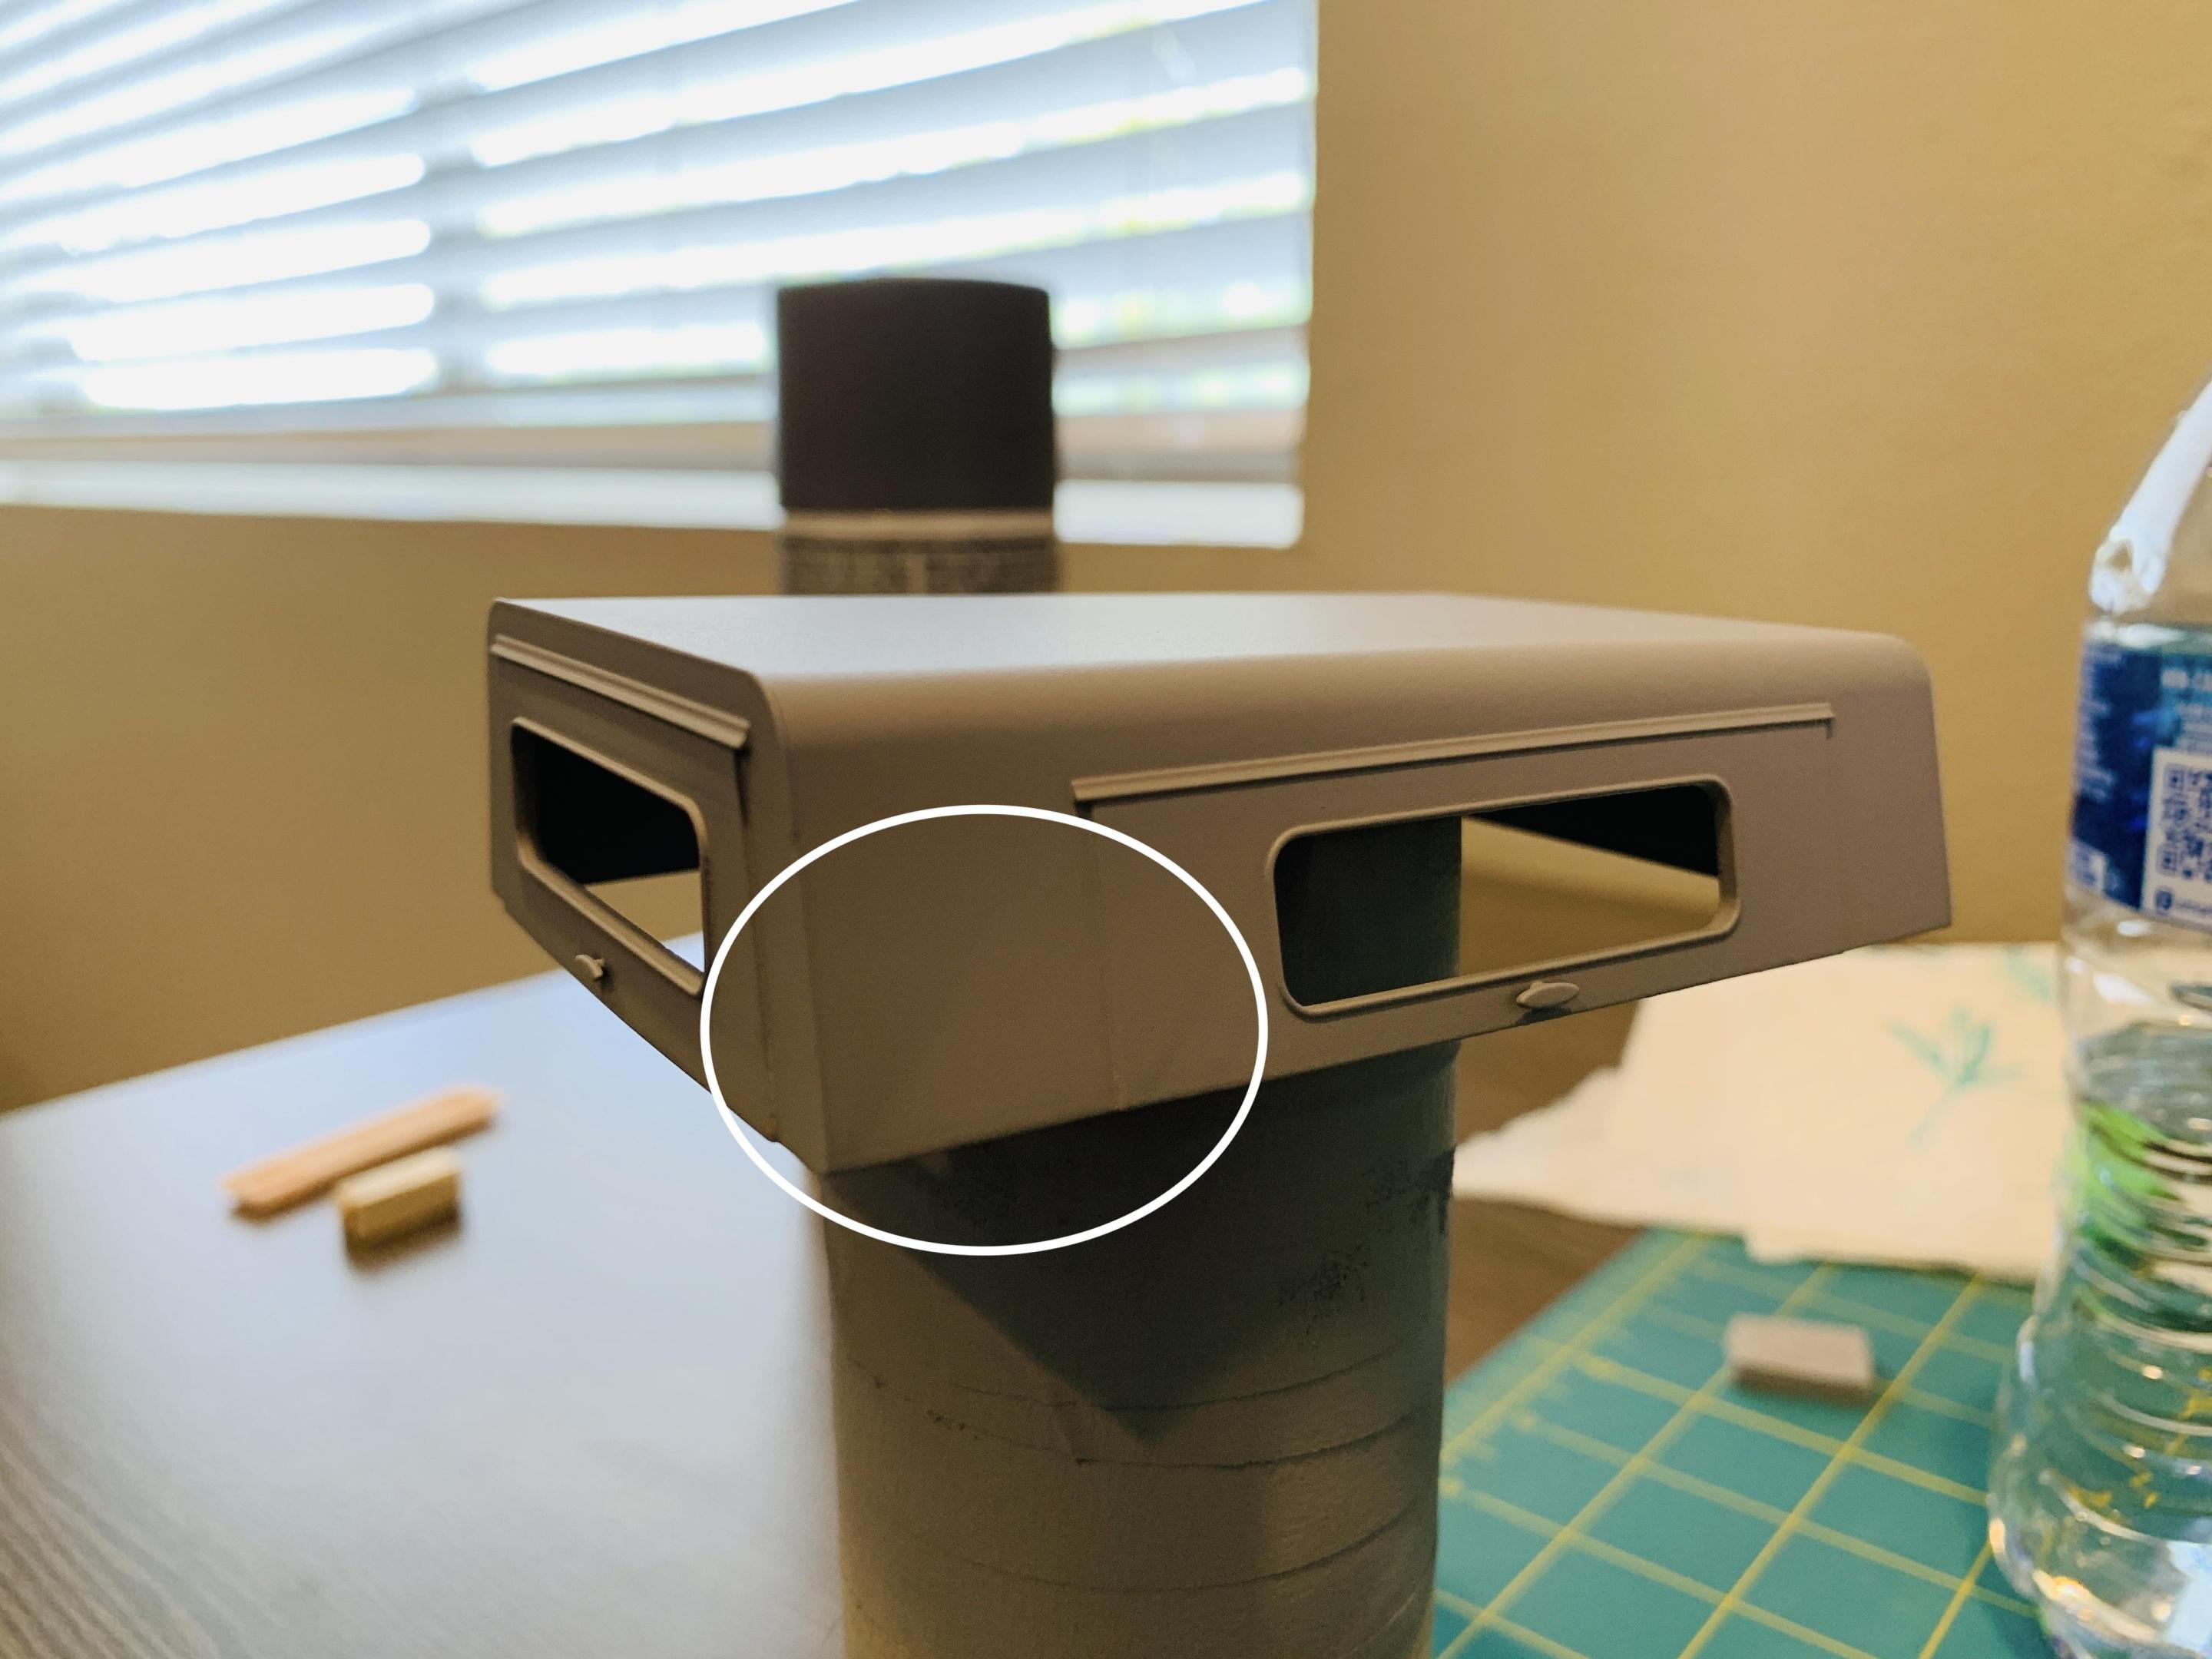
Thank you both! I've been working a lot these past few days, so I only had time to work on the 3D-printed topper. As I said, I was very happy with how it printed, though I know that these aftermarket pieces require work. I've gone through two stages of sanding down the piece with 600-grit sandpaper and using Duplicolor Filler Primer. Overall I have been pleased with the results, but noticed that the highlighted marks won't go away. I initially thought they were ridges that had to be sanded down to smooth the piece over, but have since discovered that they are more like sink lines. I don't think I will be able to completely get rid of them. I will give the piece another round of sanding, filler primer, smooth sanding, and then regular primer. I am open to any advice on dealing with these sink lines.
-

New Mexico State Police Dodge D-100
av405 replied to av405's topic in Model Trucks: Pickups, Vans, SUVs, Light Commercial
Thank you Jim -
The light bar is done. Working on this light bar required some real patience and work. In real life the CHP used custom-ordered Vision light bars. Unlike a regular Vision where each pod is its own color, CHP's pods were multi-color. This necessitated some careful taping and painting. Tamiya's clear red and blue were used for this. It's not perfect, but close enough. And in case anybody is wondering where the rear traffic arrow stick is, the CHP has always mounted those separately at the rear of the topper on their trucks. The light bar appears to sit too high compared to the real truck, so I may have to trim the mounts up at a later time.
-
Agreed 100%
- 326 replies
-
- amt 1304
- ford bronco
-
(and 2 more)
Tagged with:
-
Yeah, with him, everything is "awesome" and "lovely." I really do get his approach and the crowd he's appealing to, but he doesn't ever really address kit issues in his videos. Though I'm not sure if he can since it appears that he gets many of his kits directly from some of the model companies for him to build.
- 326 replies
-
- amt 1304
- ford bronco
-
(and 2 more)
Tagged with:
-
I got started on the exterior paint using Tamiya TS-14 Black and TS-26 Pure White. The bed has been clear coated with Tamiya TS-13 as well. The cab will be clear coated as well once the black sections are painted. I got some slight overspray when painting the white, so I will sand those sections down carefully before applying the black coats. With BMF added, I'm calling the side mirrors done: The wheels and tires have been assembled and placed on the chassis. I had to trim the interior circumference of the tires with an Xacto knife as they were extremely thick and I was unable to fit the wheels in. I'm happy with how they turned out:
-
Next up I worked on the grill. The whole piece was a bit too thick and would not fit correctly. I had to cut way and sand much of the backside to achieve a better fit. Once that was done, it was time for paint. I went through some trial and error on the grill. There is not enough depth on it to apply a wash, so I used a few different kinds of paints until I achieved a good enough look. In the end, it was cheap acrylic paint from Dollar Tree mixed with water that did it. The paint is thin enough that you can still make out the mesh. As for the headlights, unfortunately they are simple chrome molded pieces. The best solution I've found for this so far is to spray paint them with Tamiya TS-26 Pure white and then lightly sand the raised edges/lines with 1000 grit sanding paper. It's not perfect but it looks better than nothing. The corner lights were painted with Tamiya Clear Orange.
-

Grill design requests
av405 replied to Texas_3D_Customs's topic in Truck Aftermarket / Resin / 3D Printed
See my post Pretty much the only difference between what I'm requesting and what you're requesting is the lack of a Ford oval in the middle. Glad I'm not the only one that wants one. -
Thanks! And yes, it's been something I've wanted to build for a long time. Finding someone to do the cap was the hardest part, but the wait was worth it. Luckily the kit is a snap curbside and easy to assemble, so that's making this project go pretty quick. Truth be told, I prefer curbside kits. You can always go a little extra with them to make up for the simplicity.
-
I'm going out of town for a few days so I will update on the latest. The bed and cab have been given the final coats of Mr. Surfacer 1500 Primer: The bumpers were assembled, primed and then painted with Tamiya AS-10 Ocean Grey: The wheels were then primed and painted with Tamiya TS-14 Black: Next week I'm going to start doing prep work on the topper and hopefully getting the white portions of the truck painted.


