av405
-
Posts
1,202 -
Joined
-
Last visited
Content Type
Profiles
Forums
Events
Gallery
Everything posted by av405
-
I'm not a truck guy but I would like to give a go at building one. Which one of these two would you guys recommend for a big rig novice? I've heard that the Freightliner has some fit issues. I would appreciate any opinions.
-
For a 90's era kit like the Ranger (I have a strong interest in 90's vehicles), I'm not really willing to pay more than $25 on ebay. Anything beyond that seems like a waste and the kits aren't so rare that I can't just wait until a better deal pops up.
-

2015 Revell share the Dream
av405 replied to ranma's topic in General Automotive Talk (Trucks and Cars)
Will Revell be producing a kit of any of the models that have been proposed since his whole thing started? -
I gave them a call and left a voice mail over a week ago but still no reply on any front.
-
1977 GMC pick-up
av405 replied to JTRACING's topic in Model Trucks: Pickups, Vans, SUVs, Light Commercial
Nice! This is my favorite build up of this kit so far. What did you use to add the horizontal side trim? -
How to make already painted turn signals clear
av405 replied to Cody60D's topic in Model Building Questions and Answers
I use 91% rubbing alcohol. Works like a charm. -
I sent a follow-up email and still no answer. I hope all is well.
-
I agree!
-
I emailed them on Tuesday about an inquiry but still have not received a reply. I was really interested in two of their cabs. I hope things are well and that I can hear back soon.
-
Thanks a lot for the suggestions guys. I'm definitely getting answers from across the board but options are always good. @espo: What semi gloss would you recommend? I haven't worked with it before.
-
Nice! I was waiting to see what someone would do with this kit. I can't wait to get my hands on it!
-
Has that Revell Crown Victoria come out yet?
av405 replied to English Jules's topic in Car Kit News & Reviews
I haven't found any pictures on the web of this kit apart from the official ones from Revell. But here's a quick video of it: The grille isn't chromed either. It seems like a good kit for its intended audience but anybody who is half serious about building an accurate CV of the era would be dumb to choose this thing over the Lindberg model. Let's just hope this kit leads to a 98-2011 model as it seems to be happening with the Ford Raptor kit. -
What would be the best paint to use for replicating the grilles/bumpers on these base trim trucks? I like working with Tamiya and acrylics in general for airbrushing and painting out of the can.

-
Has that Revell Crown Victoria come out yet?
av405 replied to English Jules's topic in Car Kit News & Reviews
You're absolutely right, I had forgotten. By the way, using so many exclamation marks makes it seem like you're screaming!!!!! On the other hand, the OSP kit has the best and most detailed 1/24 - 1/25 Vector/Vision light bar out there. I'm confusing the Build N Play kits with the traditional SnapTite kits. Hopefully someone can post some pictures of this kit when they grab it. I'm just curious at this point more than I am interested. -
Has that Revell Crown Victoria come out yet?
av405 replied to English Jules's topic in Car Kit News & Reviews
The Lindberg kit could have been more detailed but it really is an excellent representation to the point that it leaves no room for improvement. As SSNJim points out, you're much better off getting the original Ohio State Patrol or Orange County Fire versions from the 90's. They contain slightly more parts and the lenses are painted in a much better manner. They go for the same price as the re-releases from a few years ago on ebay. I'm going to go ahead and assume that the markings are stickers. Revell has only included stickers with their Snap models. Maybe one day we will get a 98-2011 kit. After all, it took AMT 10 years to do a release of the Dodge Monaco kit. -
It looks like a promising kit. I was on the rocks about getting one at first but now I'm convinced. Plus you can't beat a new truck kit for that price, even it if's a Snap!
-
Has that Revell Crown Victoria come out yet?
av405 replied to English Jules's topic in Car Kit News & Reviews
The real question is, why didn't they do a new mold for the last-gen Crown Victoria? A question which will probably not be answered. -
Brushing light coats has always worked for me, especially for something as small as a light bar. Just practicing on a spare light bar lens.
-
Here you go: http://www.policecarmodels.com/clearredpaint.html These are all you'll ever need.
-
Outstanding!
-
Gotcha. I was planning on doing the same thing with some of the lightbar bases from the Testors diecast Crown Victoria kit. Thank you.
-
Thank you. I'm currently smoothing down the side trim and I feel like I'm definitely making progress on that end. I think it'll turn out good. The funny thing about what you said is that I heard the same thing said about Bondo that you said about the Tamiya putty. I've only heard good things about the putty. I think I'll stick to it so long as I only apply a small amount. For larger areas I've always heard that it's best to go down the Bondo route.
-
Very nice! How did you make those bases for the light bar?
-
Seeking new modellers ?
av405 replied to Krazy Rick's topic in General Automotive Talk (Trucks and Cars)
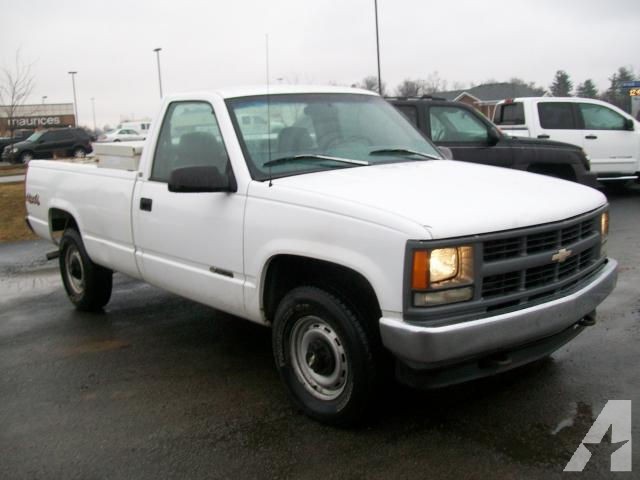
I just turned 24 and I can absolutely relate to this. I'm mostly interested in late 70's-present vehicles because those are the ones I have grown up seeing. I know there's a lot of love here for 50's-70's vehicles from the older crowd, but I just don't really share a huge interest in those vehicles as I can't really "relate" to them. I remember the first time my cousin and I went to a hobby shop back in 1999. Of all the kits there, we were mostly interested in the then-new Lindberg Crown Victoria and the Revell 1999 Chevy Silverado because those vehicles were familiar to us. -
Nice work on all of these! David, I plan on adding side moldings to an Expedition I have in mind for a future project with some Evergreen strips. May I ask what you used to add yours?