mrm
-
Posts
2,845 -
Joined
-
Last visited
Content Type
Profiles
Forums
Events
Gallery
Everything posted by mrm
-
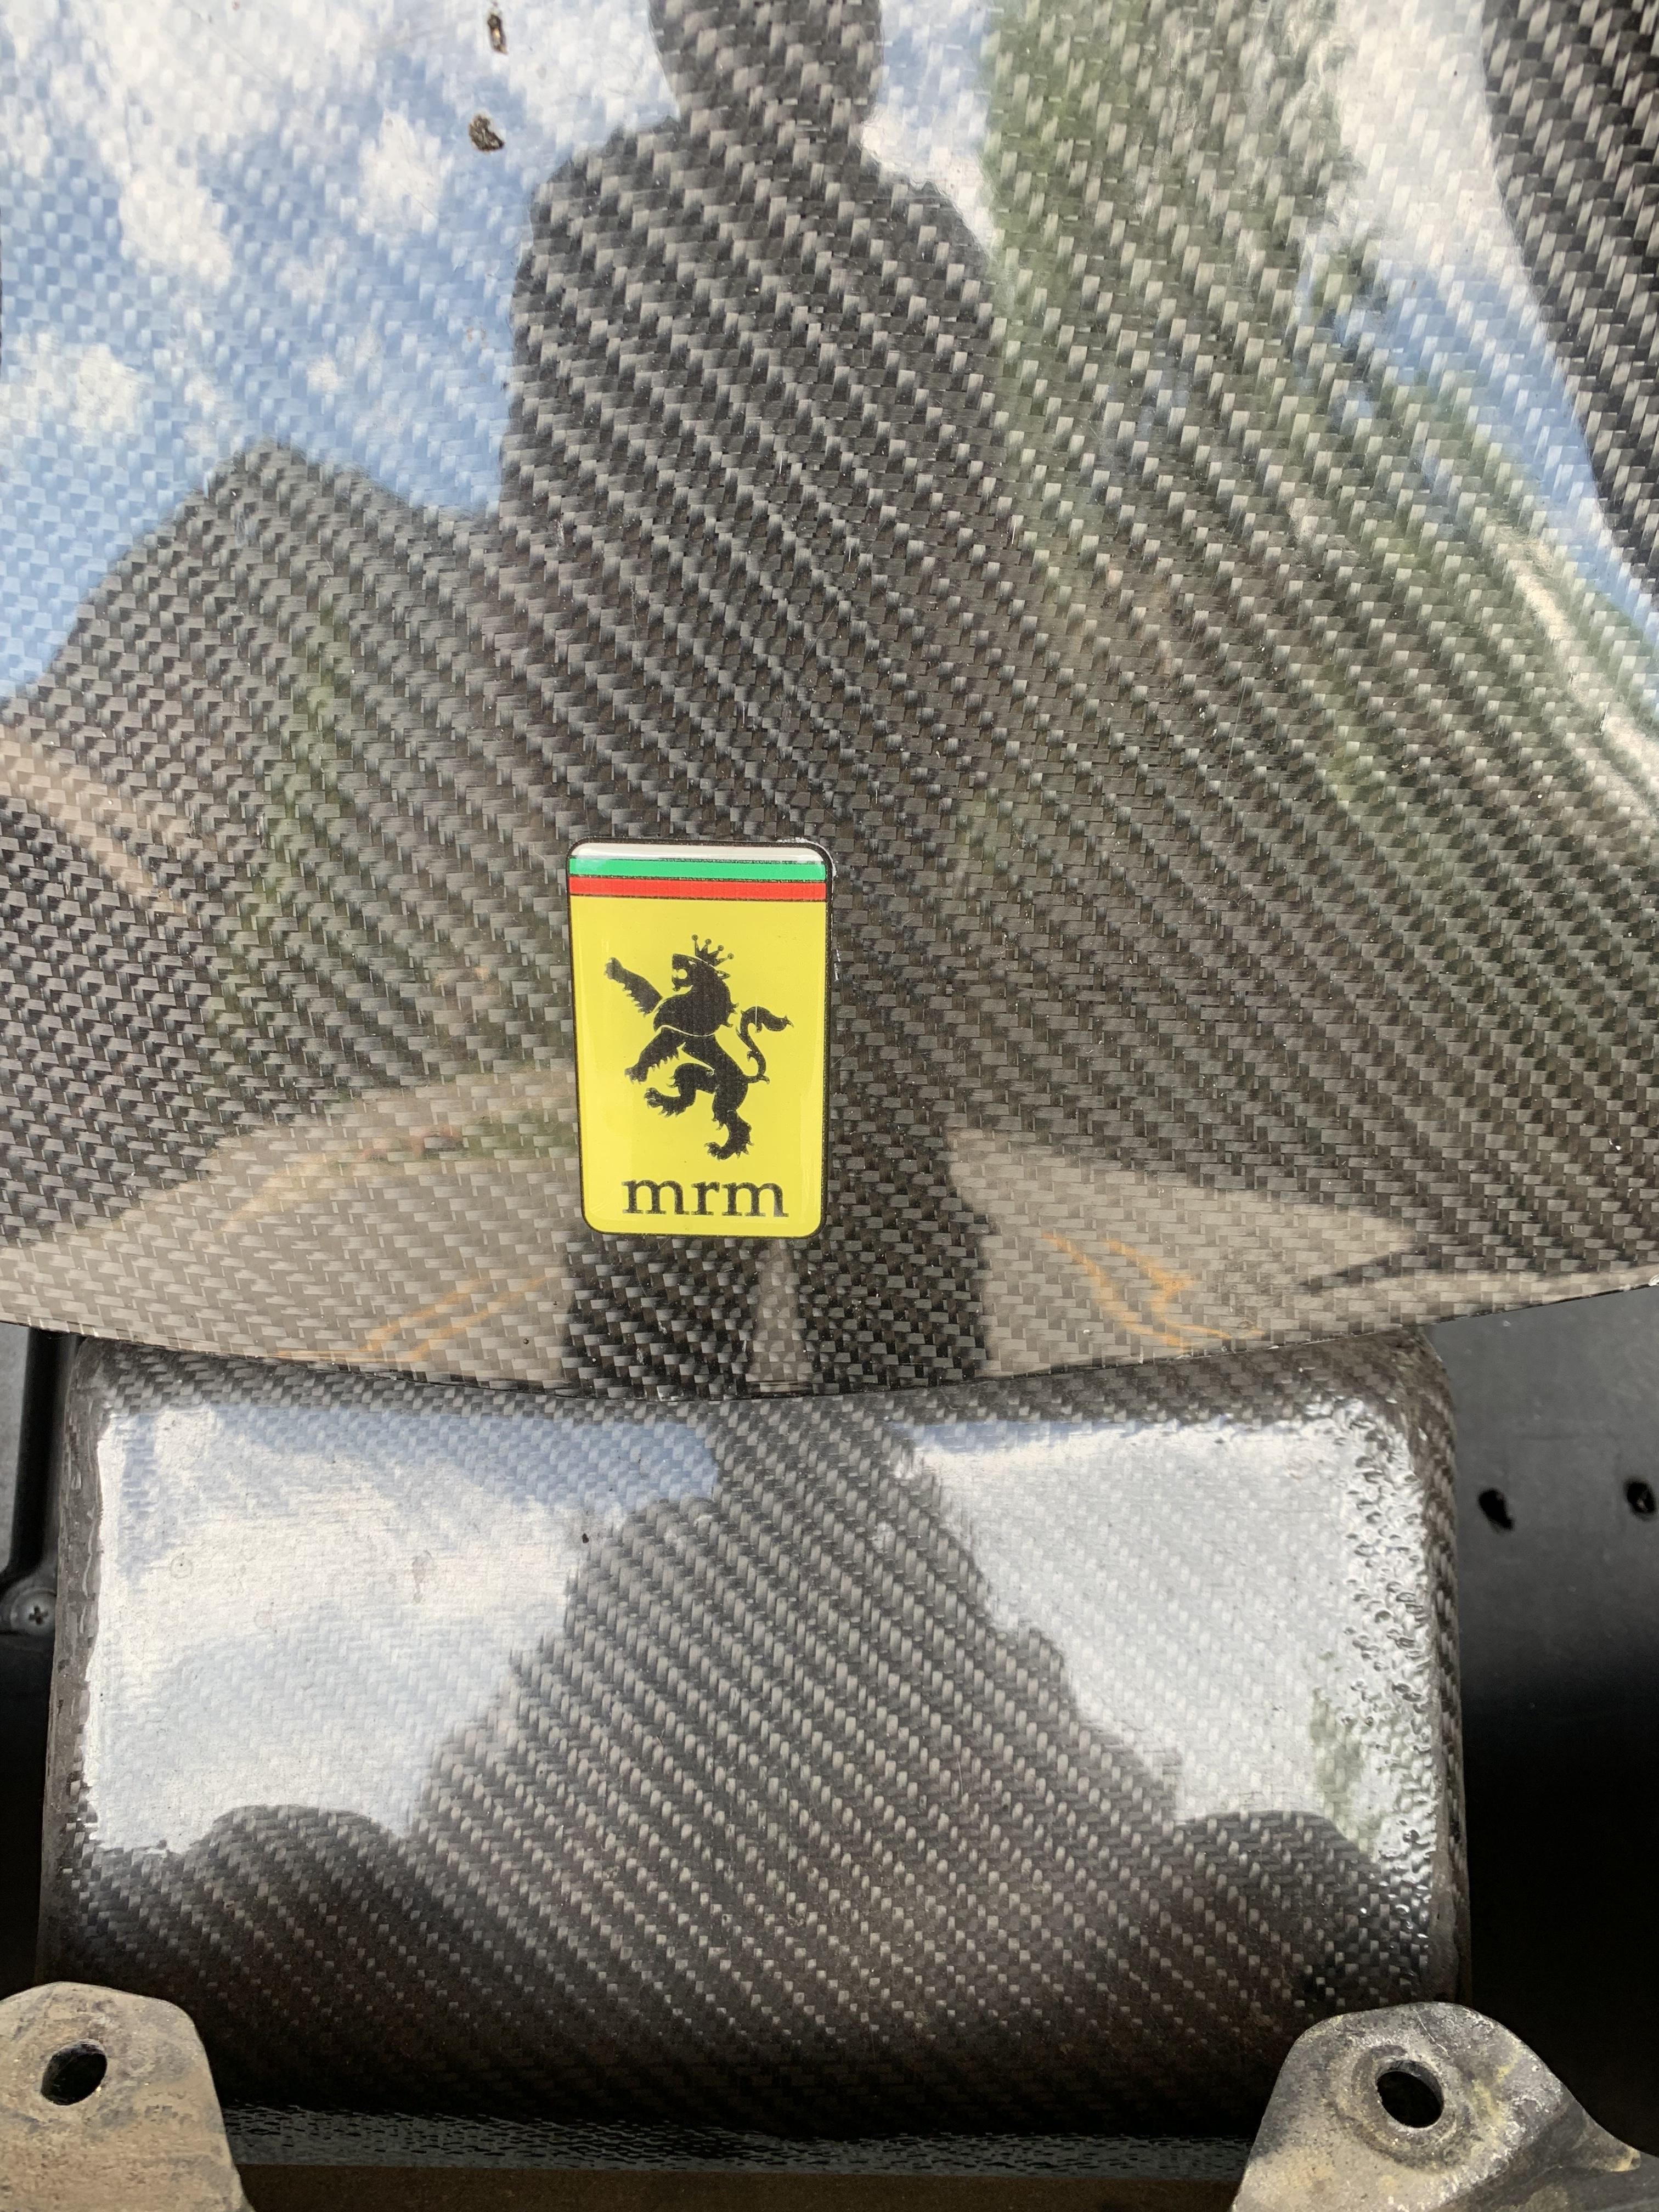
Very classy color combo. It suits the car well. It looks really nice. I love doing BMF. If you think it is hard, try carbon fiber Decals on complicated curved surfaces leaving no seams in the pattern.
-
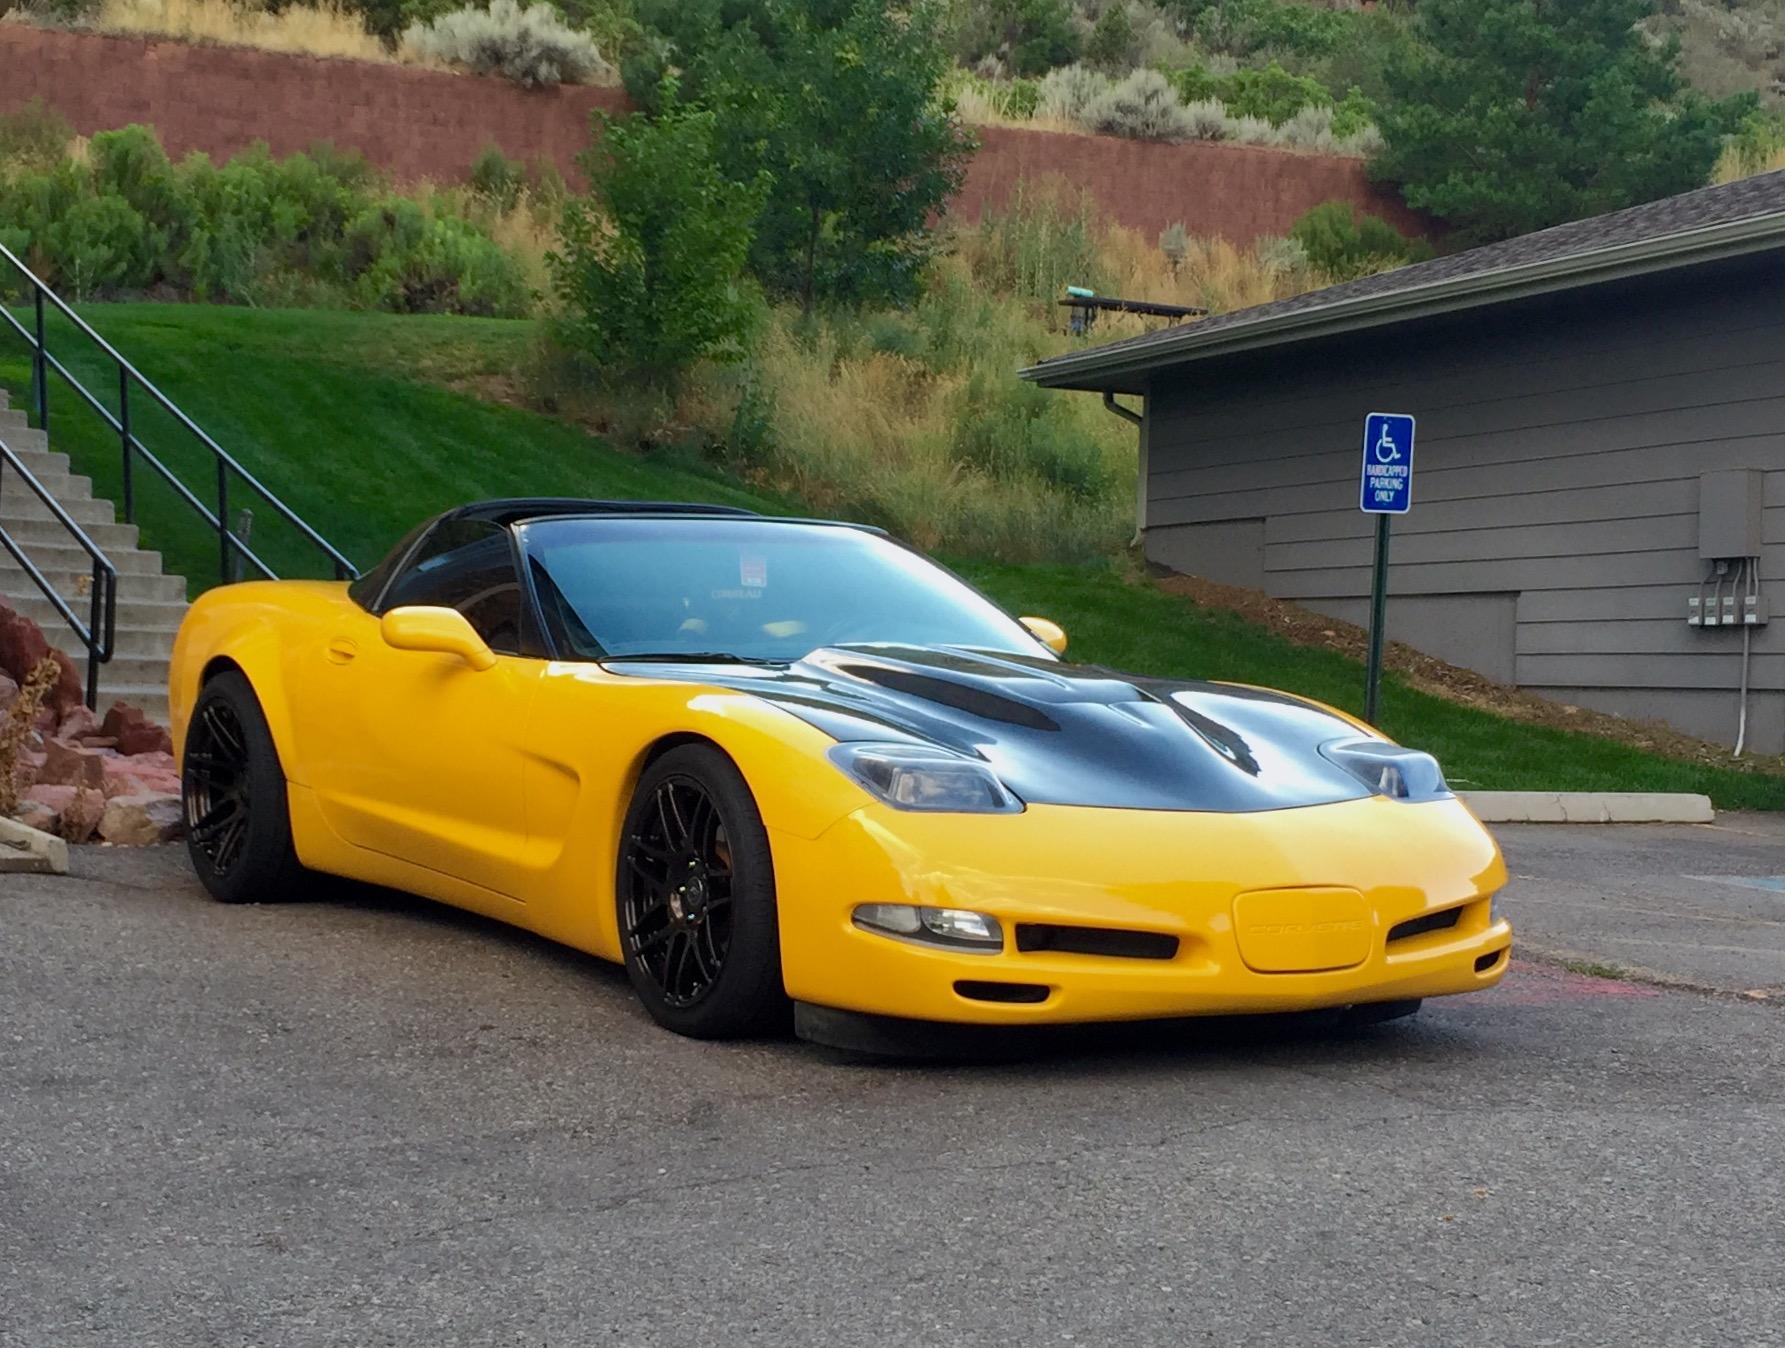
So you like Vettes........ This was my last one. By the time I sold it, it was well on the way to be the only all carbon fiber bodied C5 in US. The only thing that was not carbon at the time I sold it were the doors.

-
Thank you. I decided to go with a flathead engine, because I thought it would suit the wheels best. This is the very first time I am building a flathead, so it took me considerable time to research what needs to be done and how. I attempted to make side angled sparkplug boots and I have to say that I am not totally pleased with the results. But it’s part of the learning curve I guess. I can tell you one thing for sure tho. It’s not going to be my last flattie. I love the look of it. Thank you for the kind words. I hope to have this Deuce finished in a couple of days. I still have not decided if to leave the grille shiny or to paint it to match the wheels and engine. Other than that, I just have the rear shocks, beehive filter, the radiator hoses and the shiny things left, like lights, door handles etc. The problem is that I have all sorts of things to do the next few days, which cut up my time. So I sneak an hour here and there. But I’ll get it done.
-
Looking really good. These seats look amazing.
-
Today I pretty much made everything I needed to unable me to put the body on the chassis altho I am not doing it yet. I painted the inside of the front grille lat black and then applied Detail Master (I think) photo etched radiator material painted gunmetal. Now the grille shell is ready for the MCG photo etched grille. On to the headliner.... I cut a piece of sheet styrene from a template I made with masking tape of the inside of the roof. Then I took whatever scrap pieces of square plastic rod I had to create some kind of design, so the headliner is not just a plain flat piece. Next I needed a rearview mirror. Decided to use the one that comes with the MCG detail set. Four pieces for that sucker! My eyes are still hurting. The headliner was sprayed same "Camel" color as the seat and doors. A dome light was made by gluing a photoetched piece, which I believe was meant to be a brake pedal and then 5 min epoxy was dropped on top of it to create the domed clear lens. It is now ready to be attached to the body, together with the completed rearview mirror. This puts me on the final stretch with this model, which would be the my very first for the 2019 year. Thanks for looking and stay tuned.
-
Thank you. The stickers and floor are still somewhat visible trough the rear window if you shine light in it.
-
So, I pretty much finished he entire interior today. The only thing left to do is the headliner. I decided to go with the bench seat from Revell's '32 3-window kit. The door panels from the Tudor kit were cut at the door line and the rear half discarded. Then the panels and the seat were sprayed with SEM color, which they call "Camel". When I use SEM paint, which gives perfect leather appearance, I spray it straight from the spray-can onto the bare plastic. I found it works best this way, with no primer. The sedan's floor was cut right in front of the rear seat and then covered with my favorite WallMart "german carpet". Pedals are from the kit. The cargo floor was cut from a wood piece from the doll house section of Hobby Lobby. It comes grooved as on the picture and I honestly have no idea what it's meant for. After I cut it to size, I stained it. And then I fitted in the grooves a very thin aluminum tubing The seat received a back panel made from plastic sheet covered with BMF and the cargo floor received a couple of coats of Tamiya clear. Then I felt like a kid and had some fun So, here is a little story: I love stickers. But I don't like them on my cars. I have two boys who love stickers even more than me. And they always wanted to put stickers on my Corvette. So I made a deal with them, that everywhere we go, they can get a sticker and put it on the Vette, but only on the backside of the hood. So this is a little tribute to that tradition. Ironically, nobody will see it once the model is complete, pretty much like on my 1:1 car. The door panels received white metal door pulls from Pro Tech (I think, but I'm not sure), which a pretty crude, but with the help of a Molotow marker do the trick. Some window pe switches were also added. Everything together Thanks for looking and stay tuned...
-
Looks great! I love it. Decals are always my favorite part.
-

DECO-DENT, LFA-Powered Auburn Speedster Hardtop
mrm replied to FrozenPlastik49's topic in WIP: Model Cars
Looking really good. I love the radical old-meets-new attitude. About the wheels, the proper way to go if you want to apply carbon to them, would be to do wheel barrels in carbon and leave the spokes or do the entire wheels in carbon. -
I had a lot of stuff to deal with today, so not much bench time, but I still managed to do some work. The most time consuming was to polish the body. Wet sanding, rubbing out and polishing took a while, but well worth it. Windows were also attached. The only other thing I could do, was to scratch build a fuel log, which will go on the firewall. It probably would have been easier to make it the other way around - first attaching the fuel lines to the log on the firewall AND THEN running them to the carbs, but oh well......this is what happens when you're inpatient. Two pieces of plastic, two photoetched bolts, one machined aluminum fitting and some wire. Everything together with some alu paint Tomorrow I'll tackle the interior. Not sure yet what to do with it, but I have some ideas. Thanks for looking and stay tuned.
-
This is getting better and better every time I take a peak.
-
Good looking hot rod so far. I dig the ‘60s stance, but imagine if salt flats hot rodders had Brembos like that back in the ‘60s! ?
-
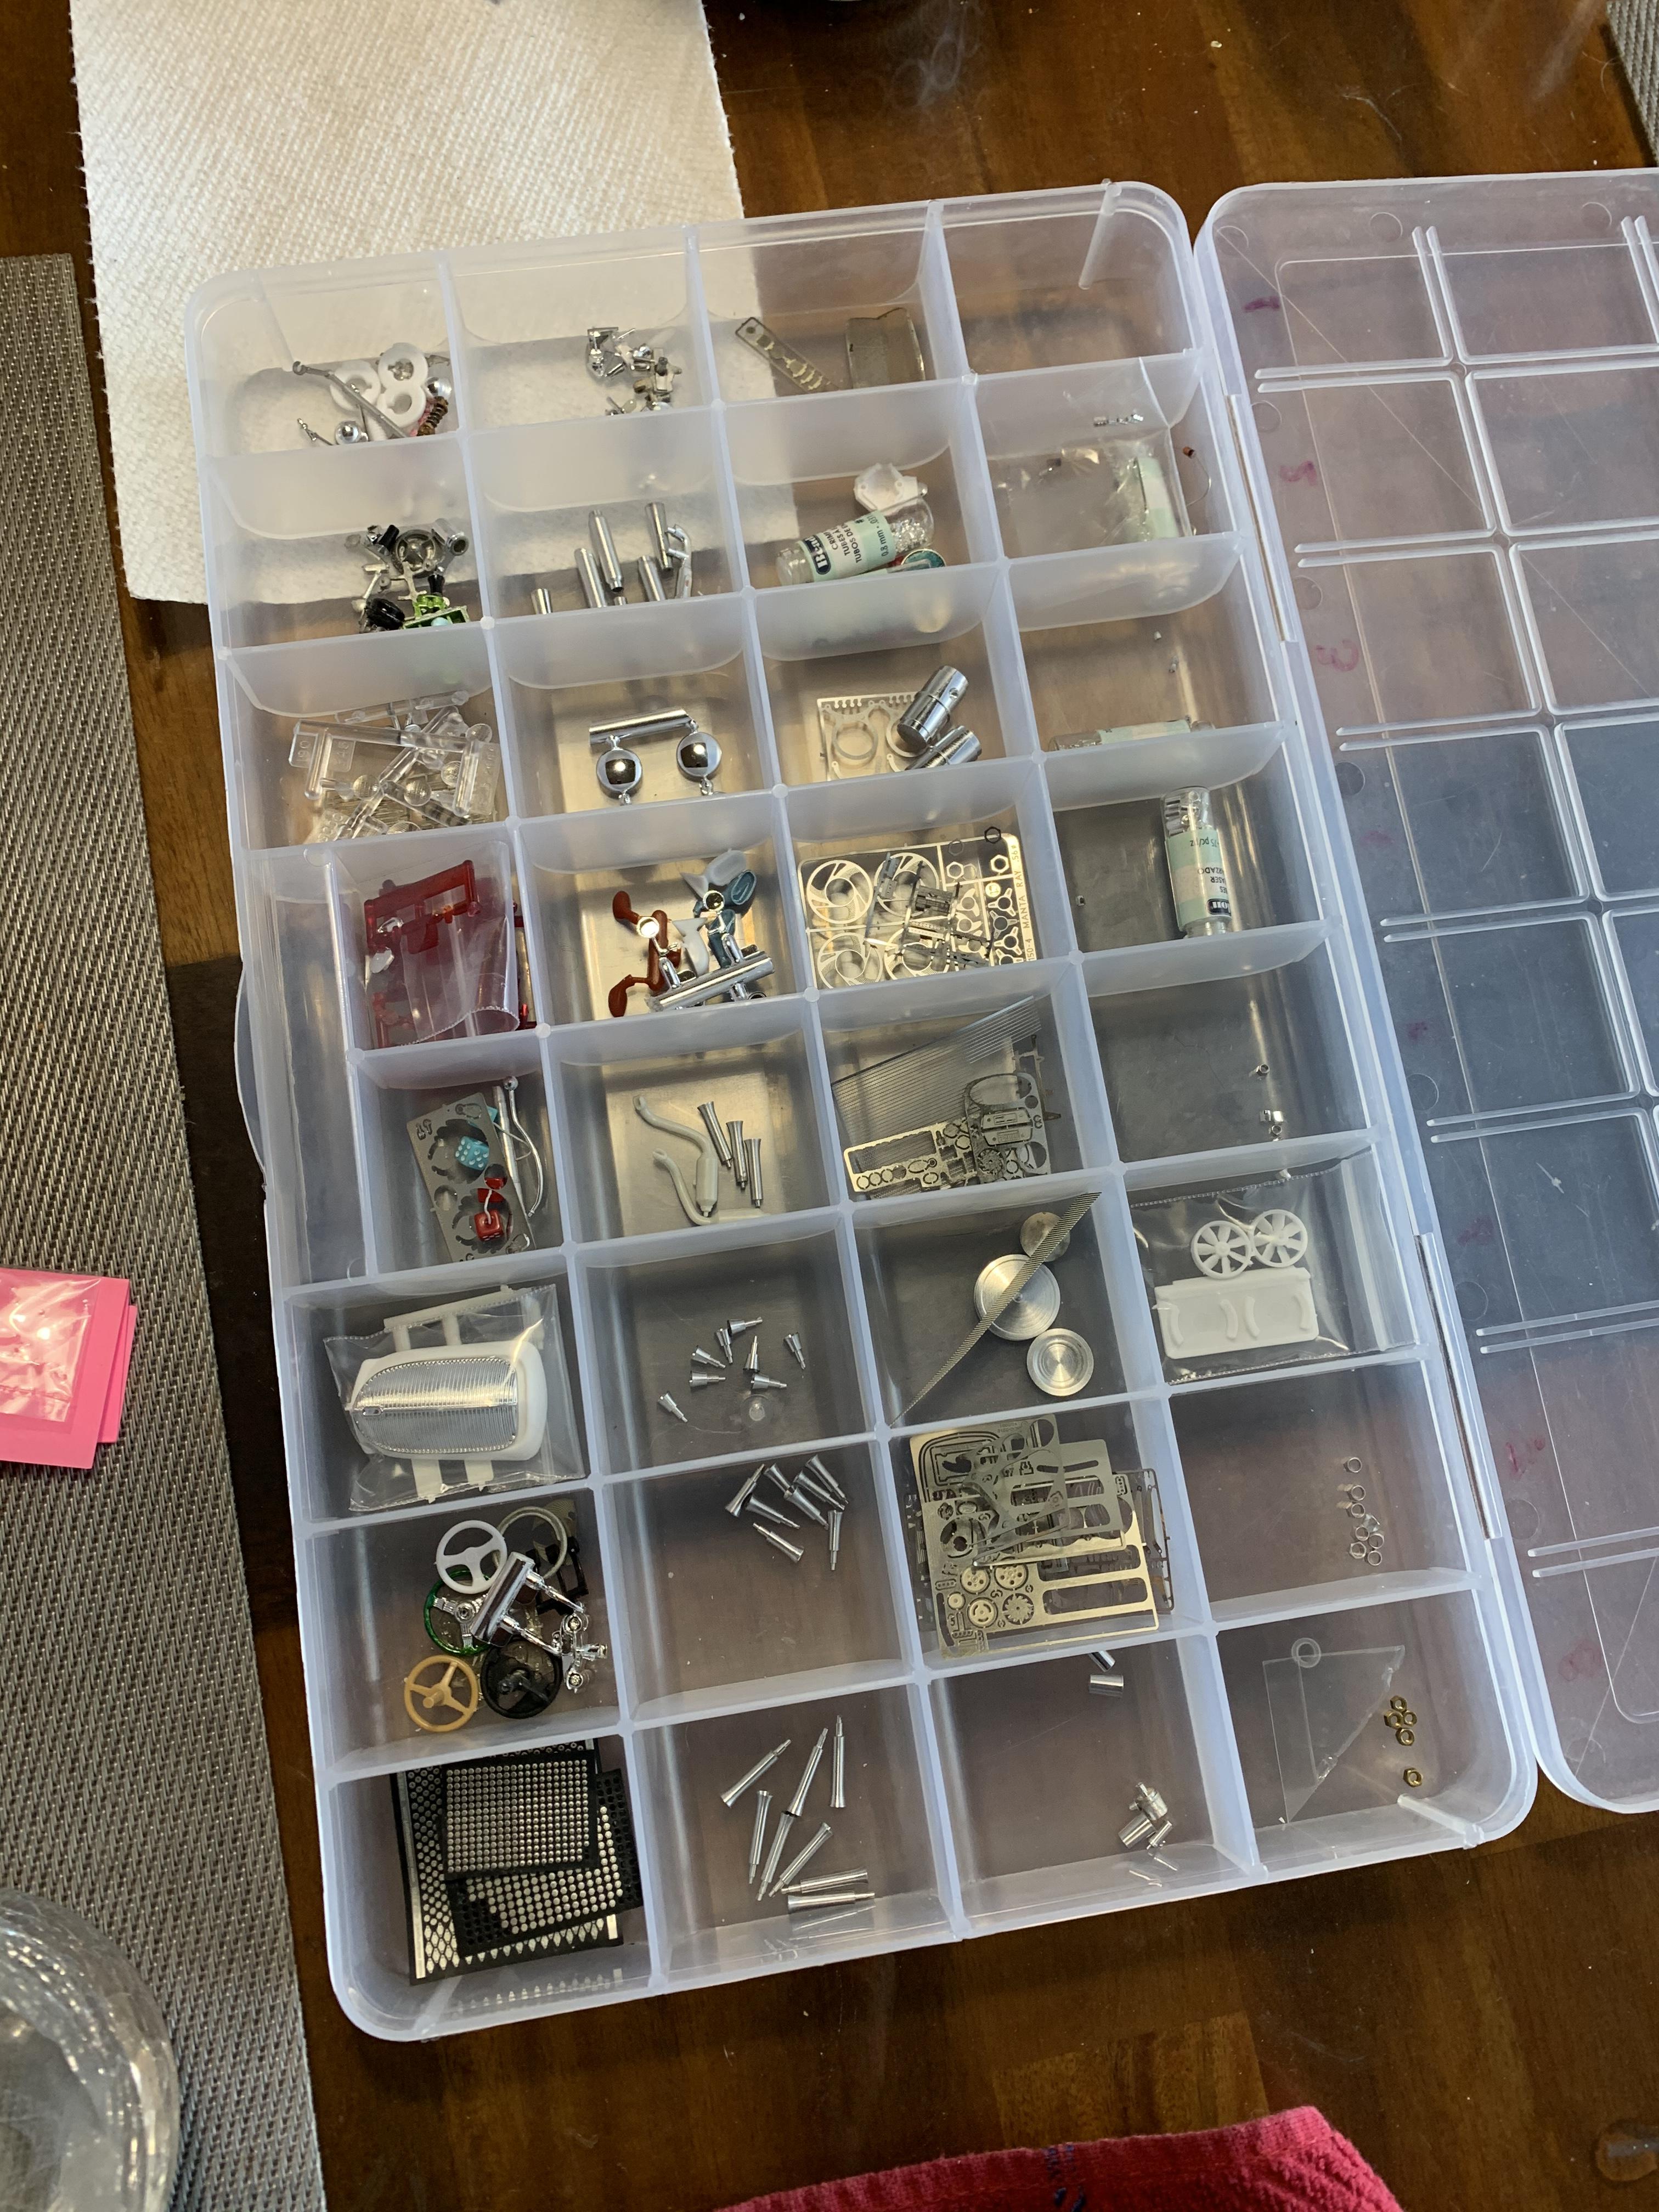
Thank you for the kind words. Thank you. Thank you. I honestly don’t know. I was supposed to move out of the house and packed everything in boxes. Then I had the itch to build something and pulled whatever was in the top boxes. Fortunately for me this box with aftermarket stuff was right on top in the box I opened. Everything in it is without packages. If I had to take a wild guess, they may be from Pro Tech.
-
In the last two days I made quite a bit of progress on the model. The dash got done. I tried something new (to me). I put a solid layer of 5 min. epoxy on the clear acetate sheet with the printed gauges and then pressed the photoetched piece over. The epoxy seeped out on the side, but most of it kind of bubbled out in the three openings in the middle. Five minutes later I had the perfect clear spherical lenses on my gauges. The steering wheel also got done. The radiator got the treatment next. I sprayed it flat black, then drybrushed it with gunmetal and then detailed the braces and the fan in the body color. All 8 bolts are photo etched. Next in line was the driveshaft. Its the kit's piece, which was painted steel and detailed with another 8 photo etched bolts. This is my very first flathead motor. Honestly, I spent more time looking at flatheads on the internet, than actually working on mine. Its mostly the kit's motor. I wanted to put MCG's carbs, which come with nice photoetched linkage, but besides their web store showing them available, I was told they are on back order. So I drilled them and added some cheap clear elastic string from Walmart's bead isle. At $2.50 for a roll, I think I am set for life as far as scale fuel lines go. The lines got threaded through some DM #1 aluminum fittings and then painted with Tamiya clear orange. Carbs were then topped with machined aluminum air filters, which may have come from Parts by Parks, but I am not sure. I still need to figure out something resembling a linkage, but I intend to keep it simple. I don't think I did too shabby for my first flathead. And I pretty much have a complete chassis with drivetrain. Save for the rear shocks and some photoetched bolt heads I am going to sprinkle. Underneath it's pretty much box stock, except for the rear shocks (I am scratch-building them) and the photoetch. The engine was painted same Walmart yellow as the wheels. Everything between the engine block the rear axle is steel non buffing metalizer. The kit's exhaust was sprayed Alclad high shine aluminum, which I personally think looks better than their chrome. Thanks for looking and stay tuned.
-
Thank you Fabrizio.
-
Thanks to Mr. Metallic this project is back on the bench. I would like to say a big Thank You to Craig, for sending me the missing tire (actually 4 of them) lightning fast. Here are the ready wheels and tires.
-
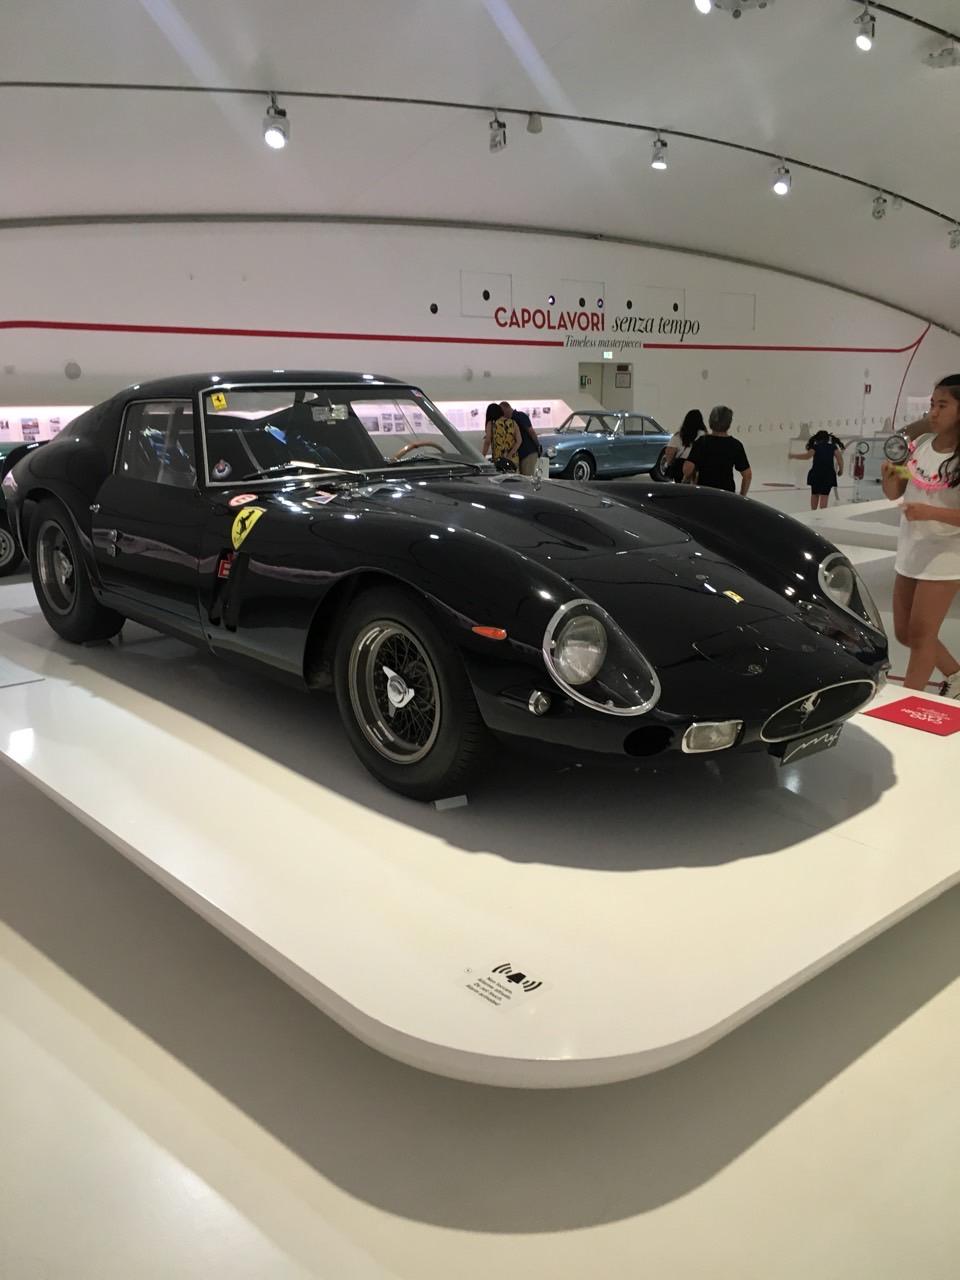
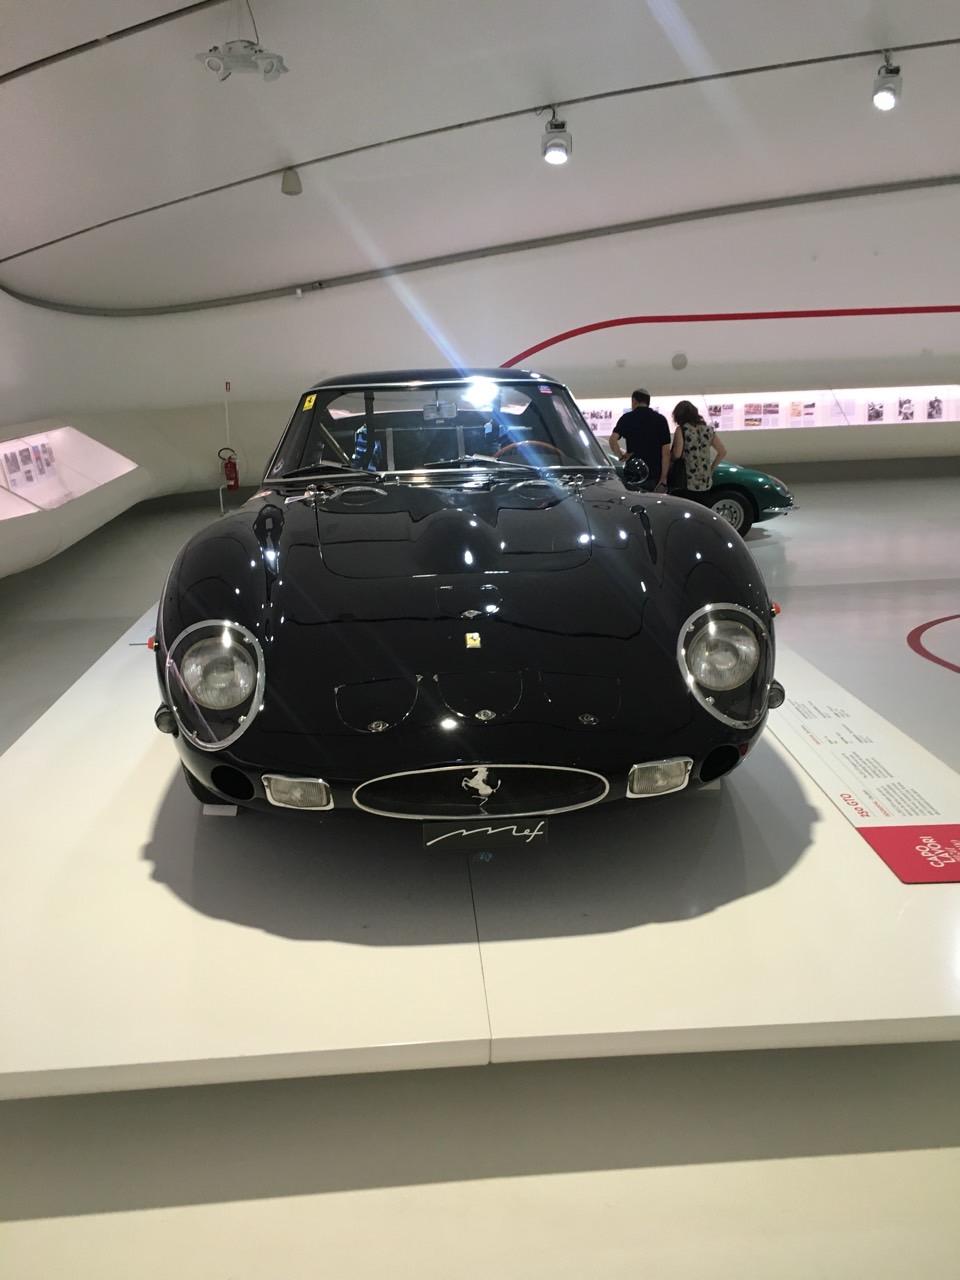
My kids were all over the GTO in the Ferrari museum in Modena
-
I guess I formulated my question wrong. That’s what I meant. Which car are you building? The most famous of them all (The red ones) - the 22 car, has three.
-
Very nice so far. Why did you close one of the vents?
-
Chip Foose personal FD-100
mrm replied to mrm's topic in Model Trucks: Pickups, Vans, SUVs, Light Commercial
Thank you all. I’m really glad you all like it. -
If I had to pick a quickchange rear end, I would go for the Winters one. The reason why is, because of its versatility. Ifprovided on a chrome tree,it gives you the option of completely changing its character by simply painting it different. You can paint it same color as the entire rear end. You can paint just the center section magnesium for a raw look. You can leave it all chrome or you can color code the center cover and leave just the ribs chrome. I believe it would be smart to include a quickchange that could be built both as a vintage look and as a modern one. The more uses each part of the kit has, the more profitable it’s going to be.
-
I honestly think it was a poor performer both in real life and in scale, so why bring it back?
-
Chip Foose personal FD-100
mrm replied to mrm's topic in Model Trucks: Pickups, Vans, SUVs, Light Commercial
Thank you both. Your comments are appreciated. -
Holly delayed reply Batman!!!!!
-
Pretty unusual, but I like it.