streetmachine11
-
Posts
449 -
Joined
-
Last visited
Content Type
Profiles
Forums
Events
Gallery
Everything posted by streetmachine11
-
Hoonitruck Ford F150
streetmachine11 replied to MarcelT4's topic in WIP: Model Trucks: Pickups, Vans, SUVs, Light Commercial
Your progress is coming along nicely. The time you have spent on the 3D files shows and will make a beautiful replica. I sure hope you could make these available. I've got my body done i just don't have the skills to do what you've made in 3D. Looking forward to future updates -
Hoonitruck Ford F150
streetmachine11 replied to MarcelT4's topic in WIP: Model Trucks: Pickups, Vans, SUVs, Light Commercial
Here is s link to the engine https://cults3d.com/en/3d-model/various/ford-v6-ecoboost-3-5l-engine-motabas I'm almost certain he used the same sequential gearbox and tranfercase as the hoonicorn. I had some picures of the bare chassis and some without the body. That may help also. If I can find them ill send them your way.- 67 replies
-
- 1
-

-
- hoonigan
- hoonitruck
- (and 2 more)
-
Hoonitruck Ford F150
streetmachine11 replied to MarcelT4's topic in WIP: Model Trucks: Pickups, Vans, SUVs, Light Commercial
Great work on this so far. Yor cad work on the frame has turned out well. Not sure if you know but there is a twin turbo ecoboost on cultis3d now. It would be a great start to your project and could be a convincing piece for your build after making the intake and re-locating the turbos. Looking forward to more updates Jason -
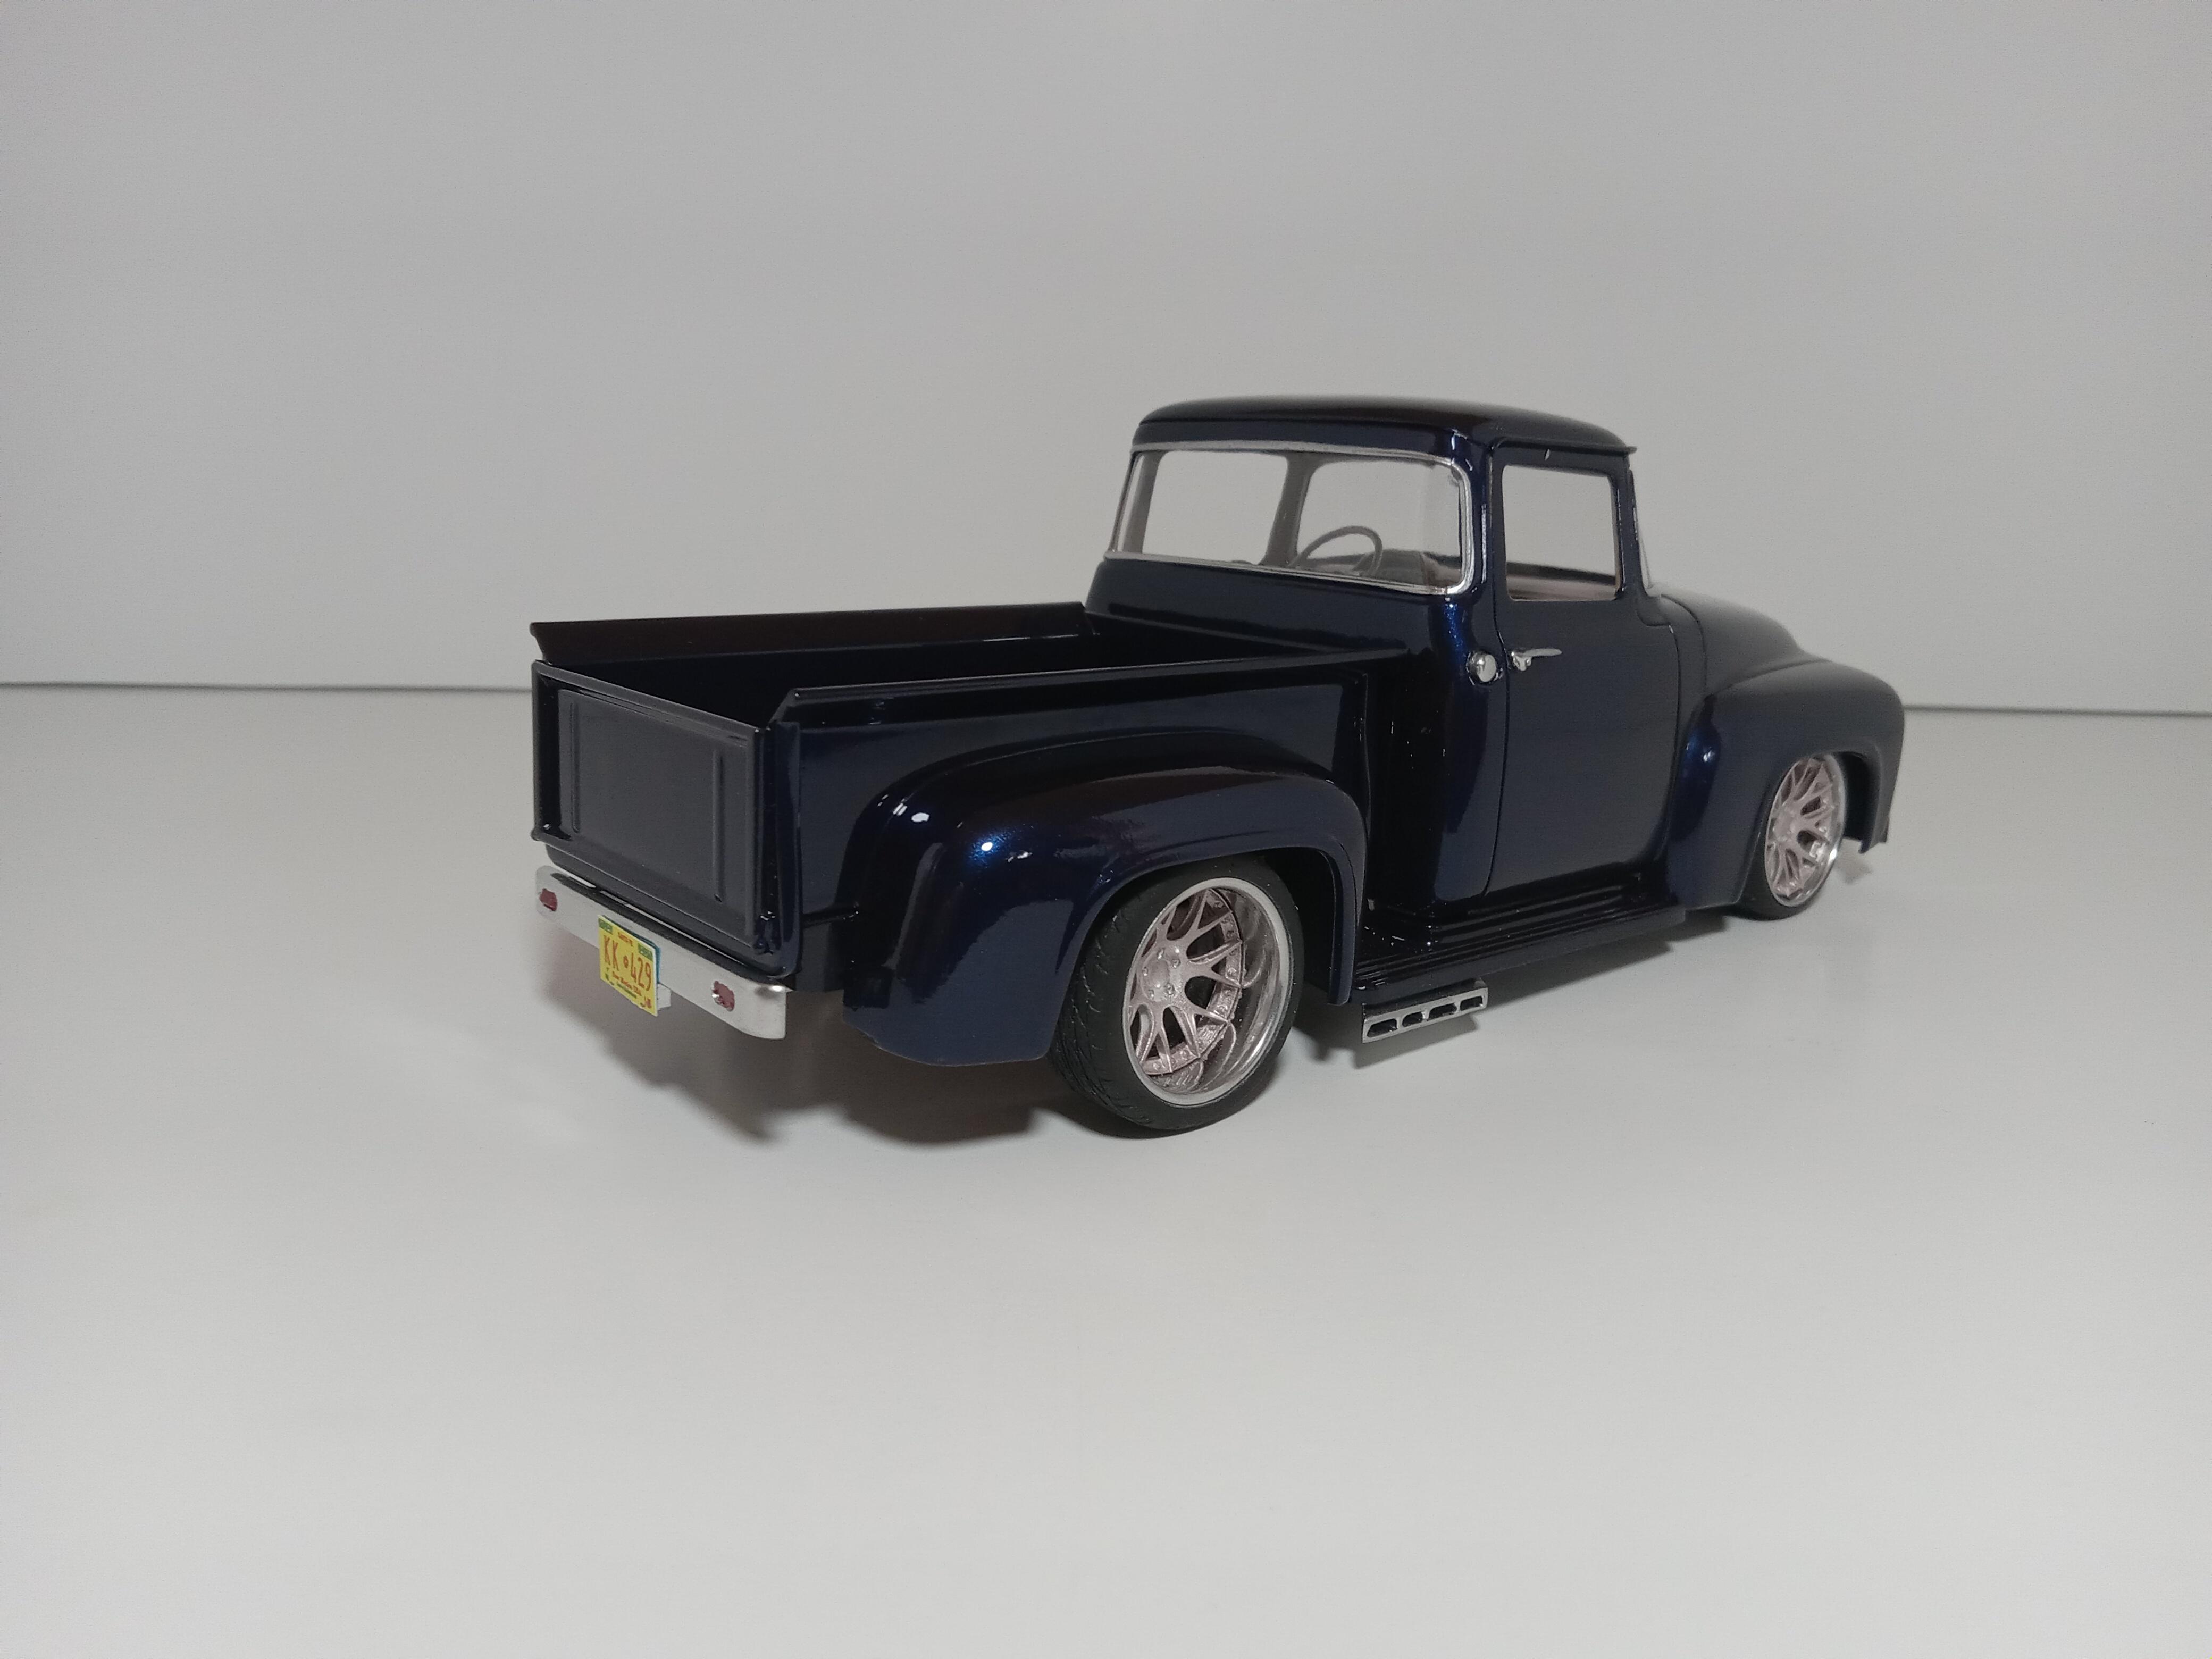
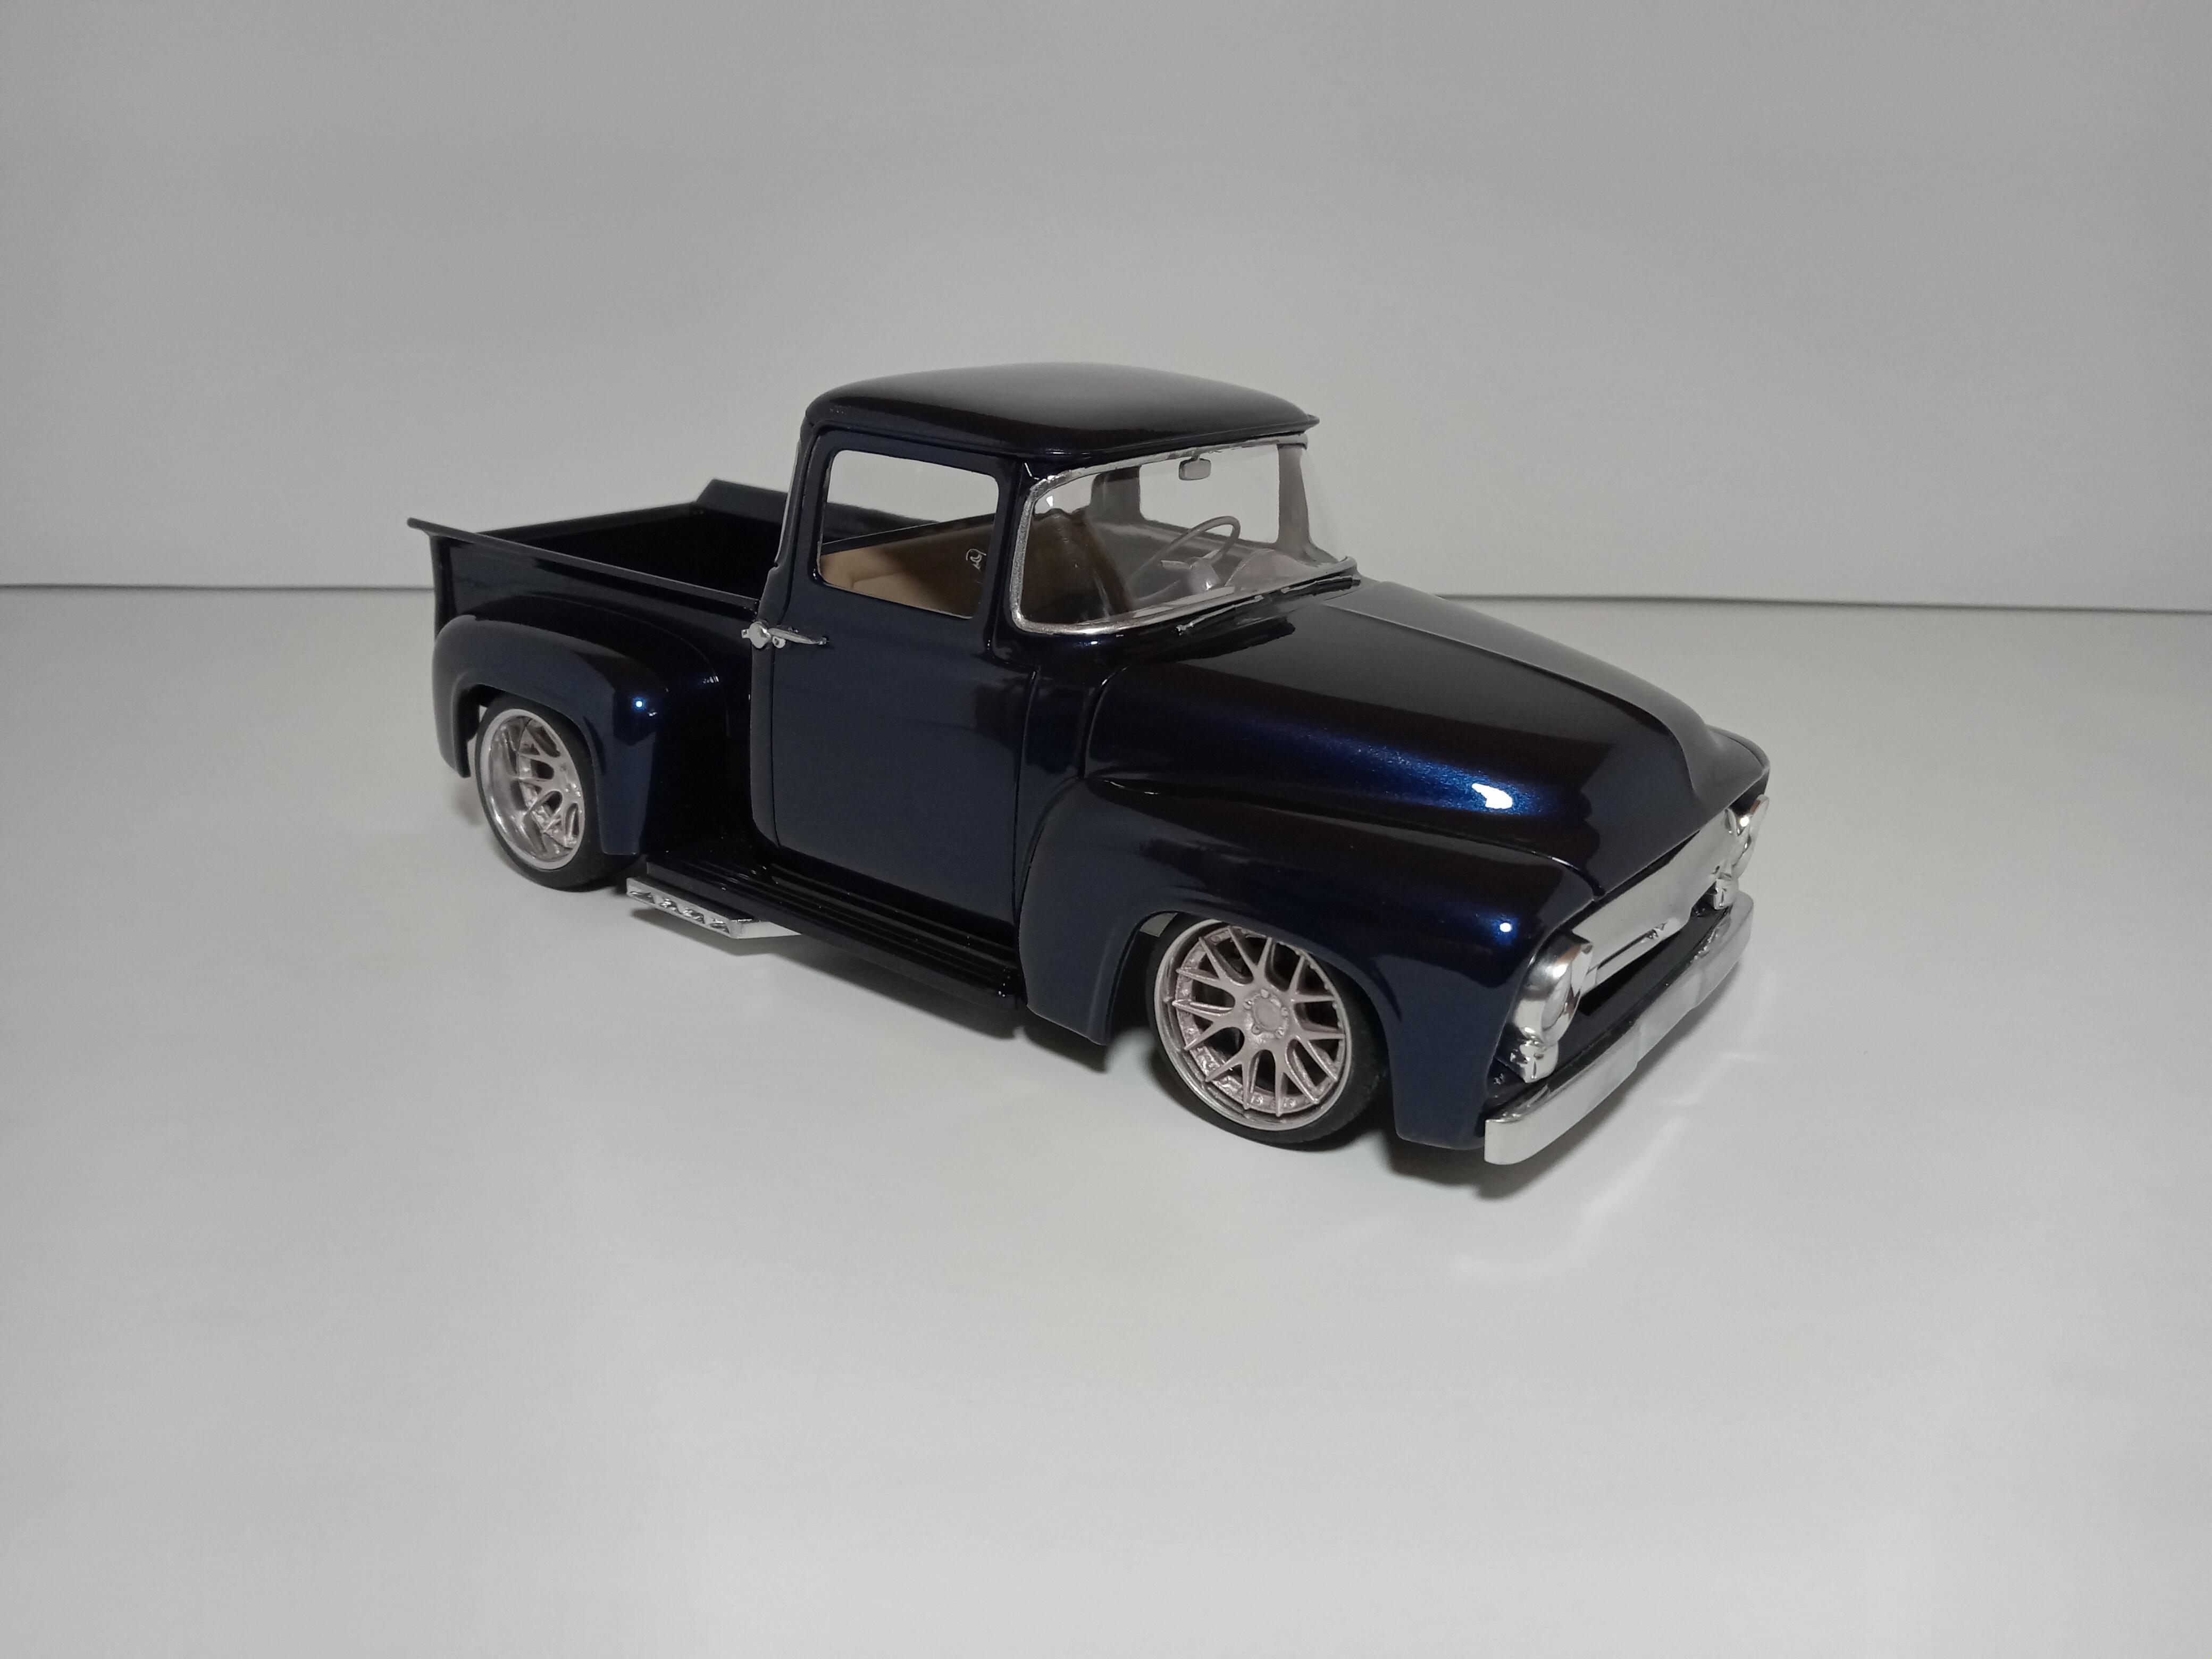
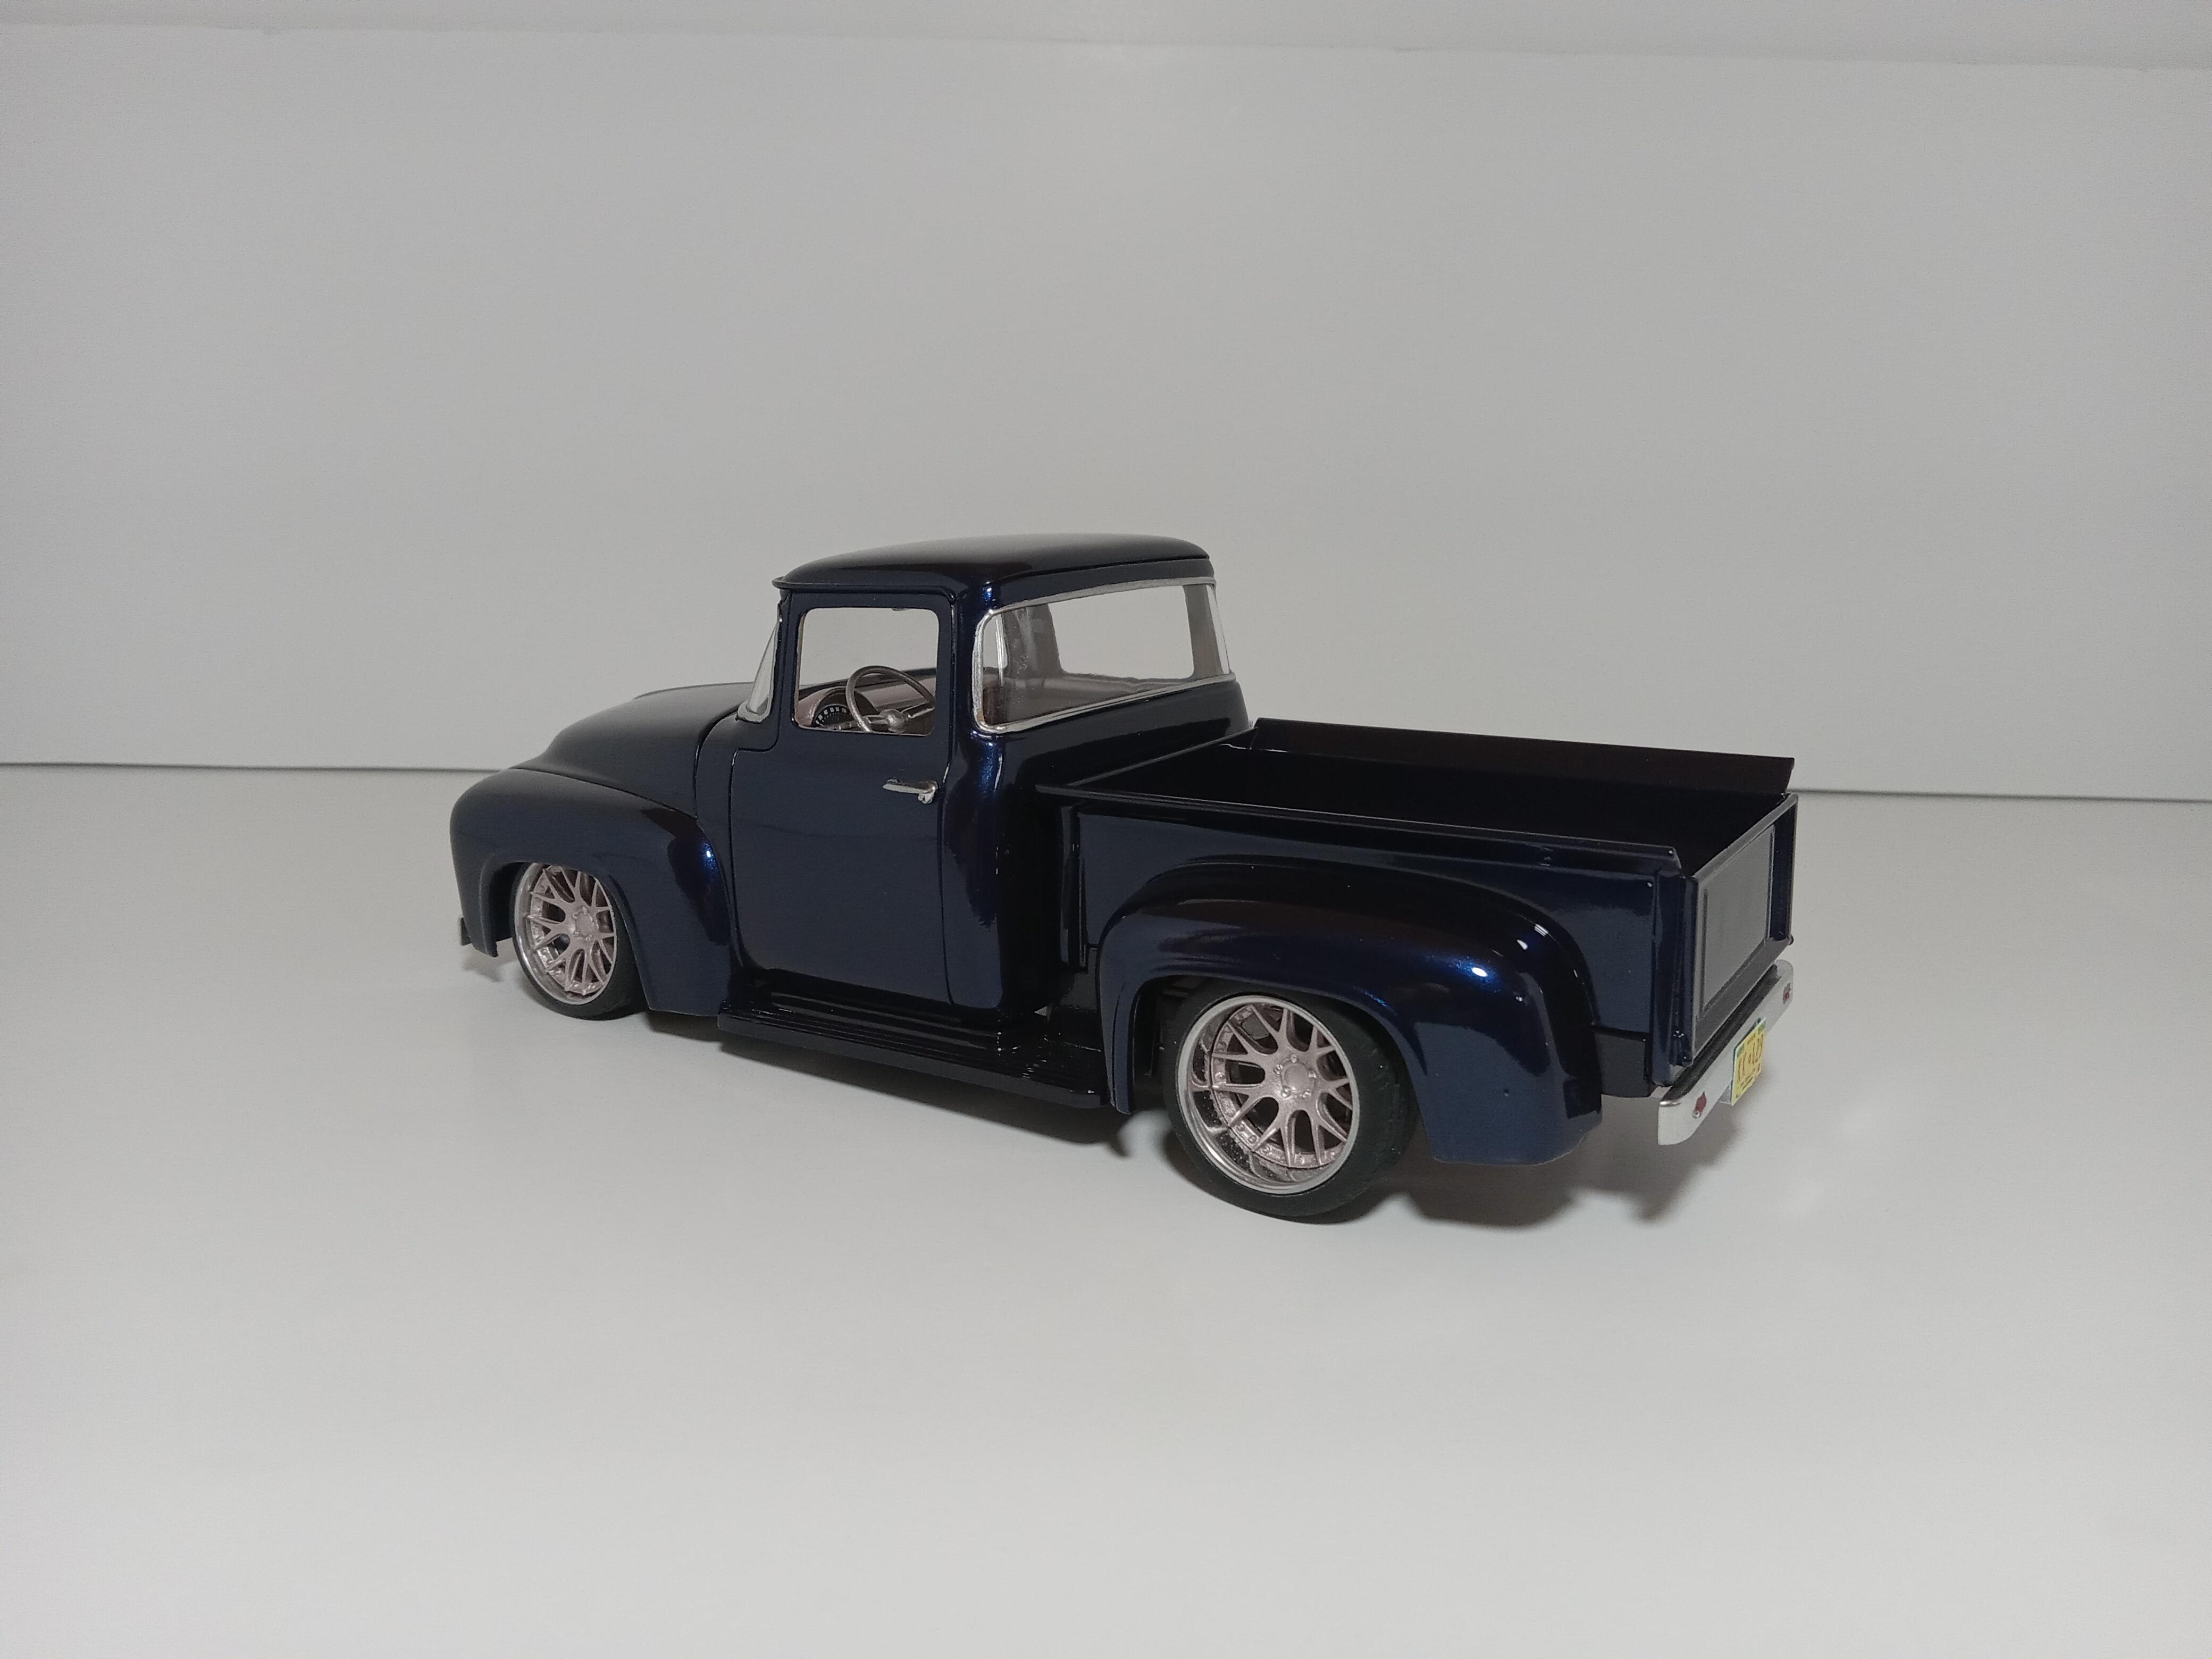
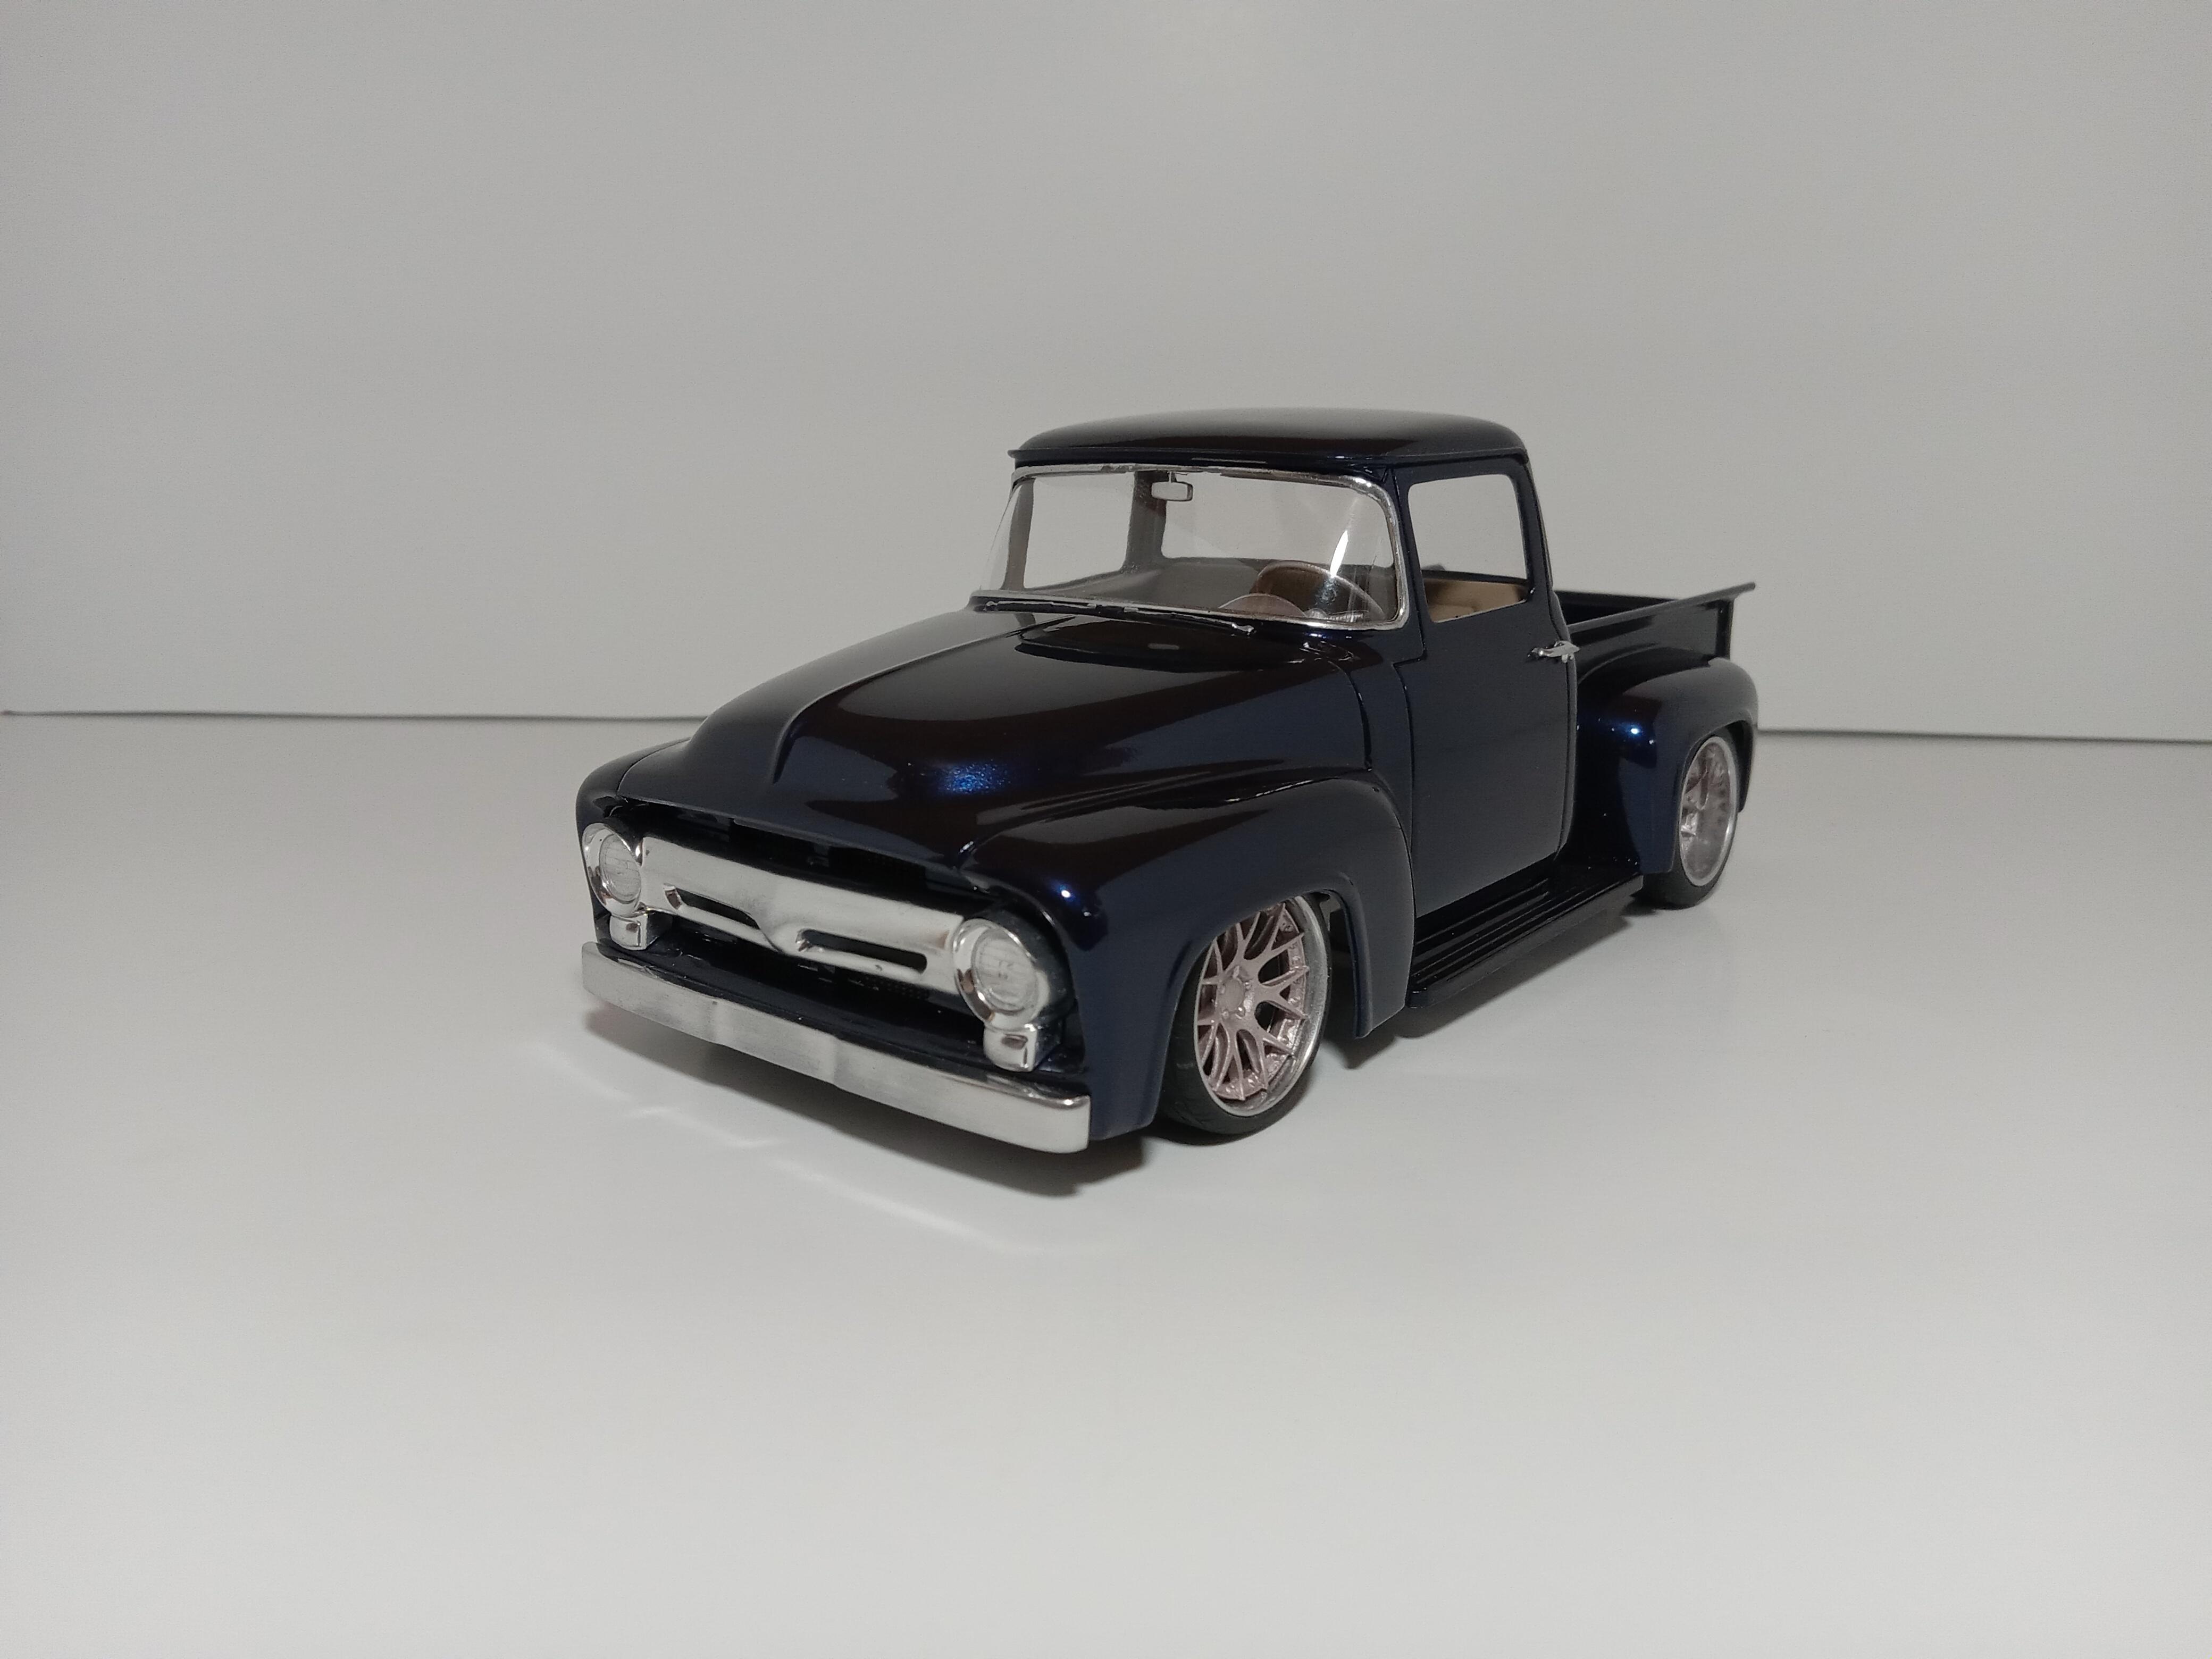
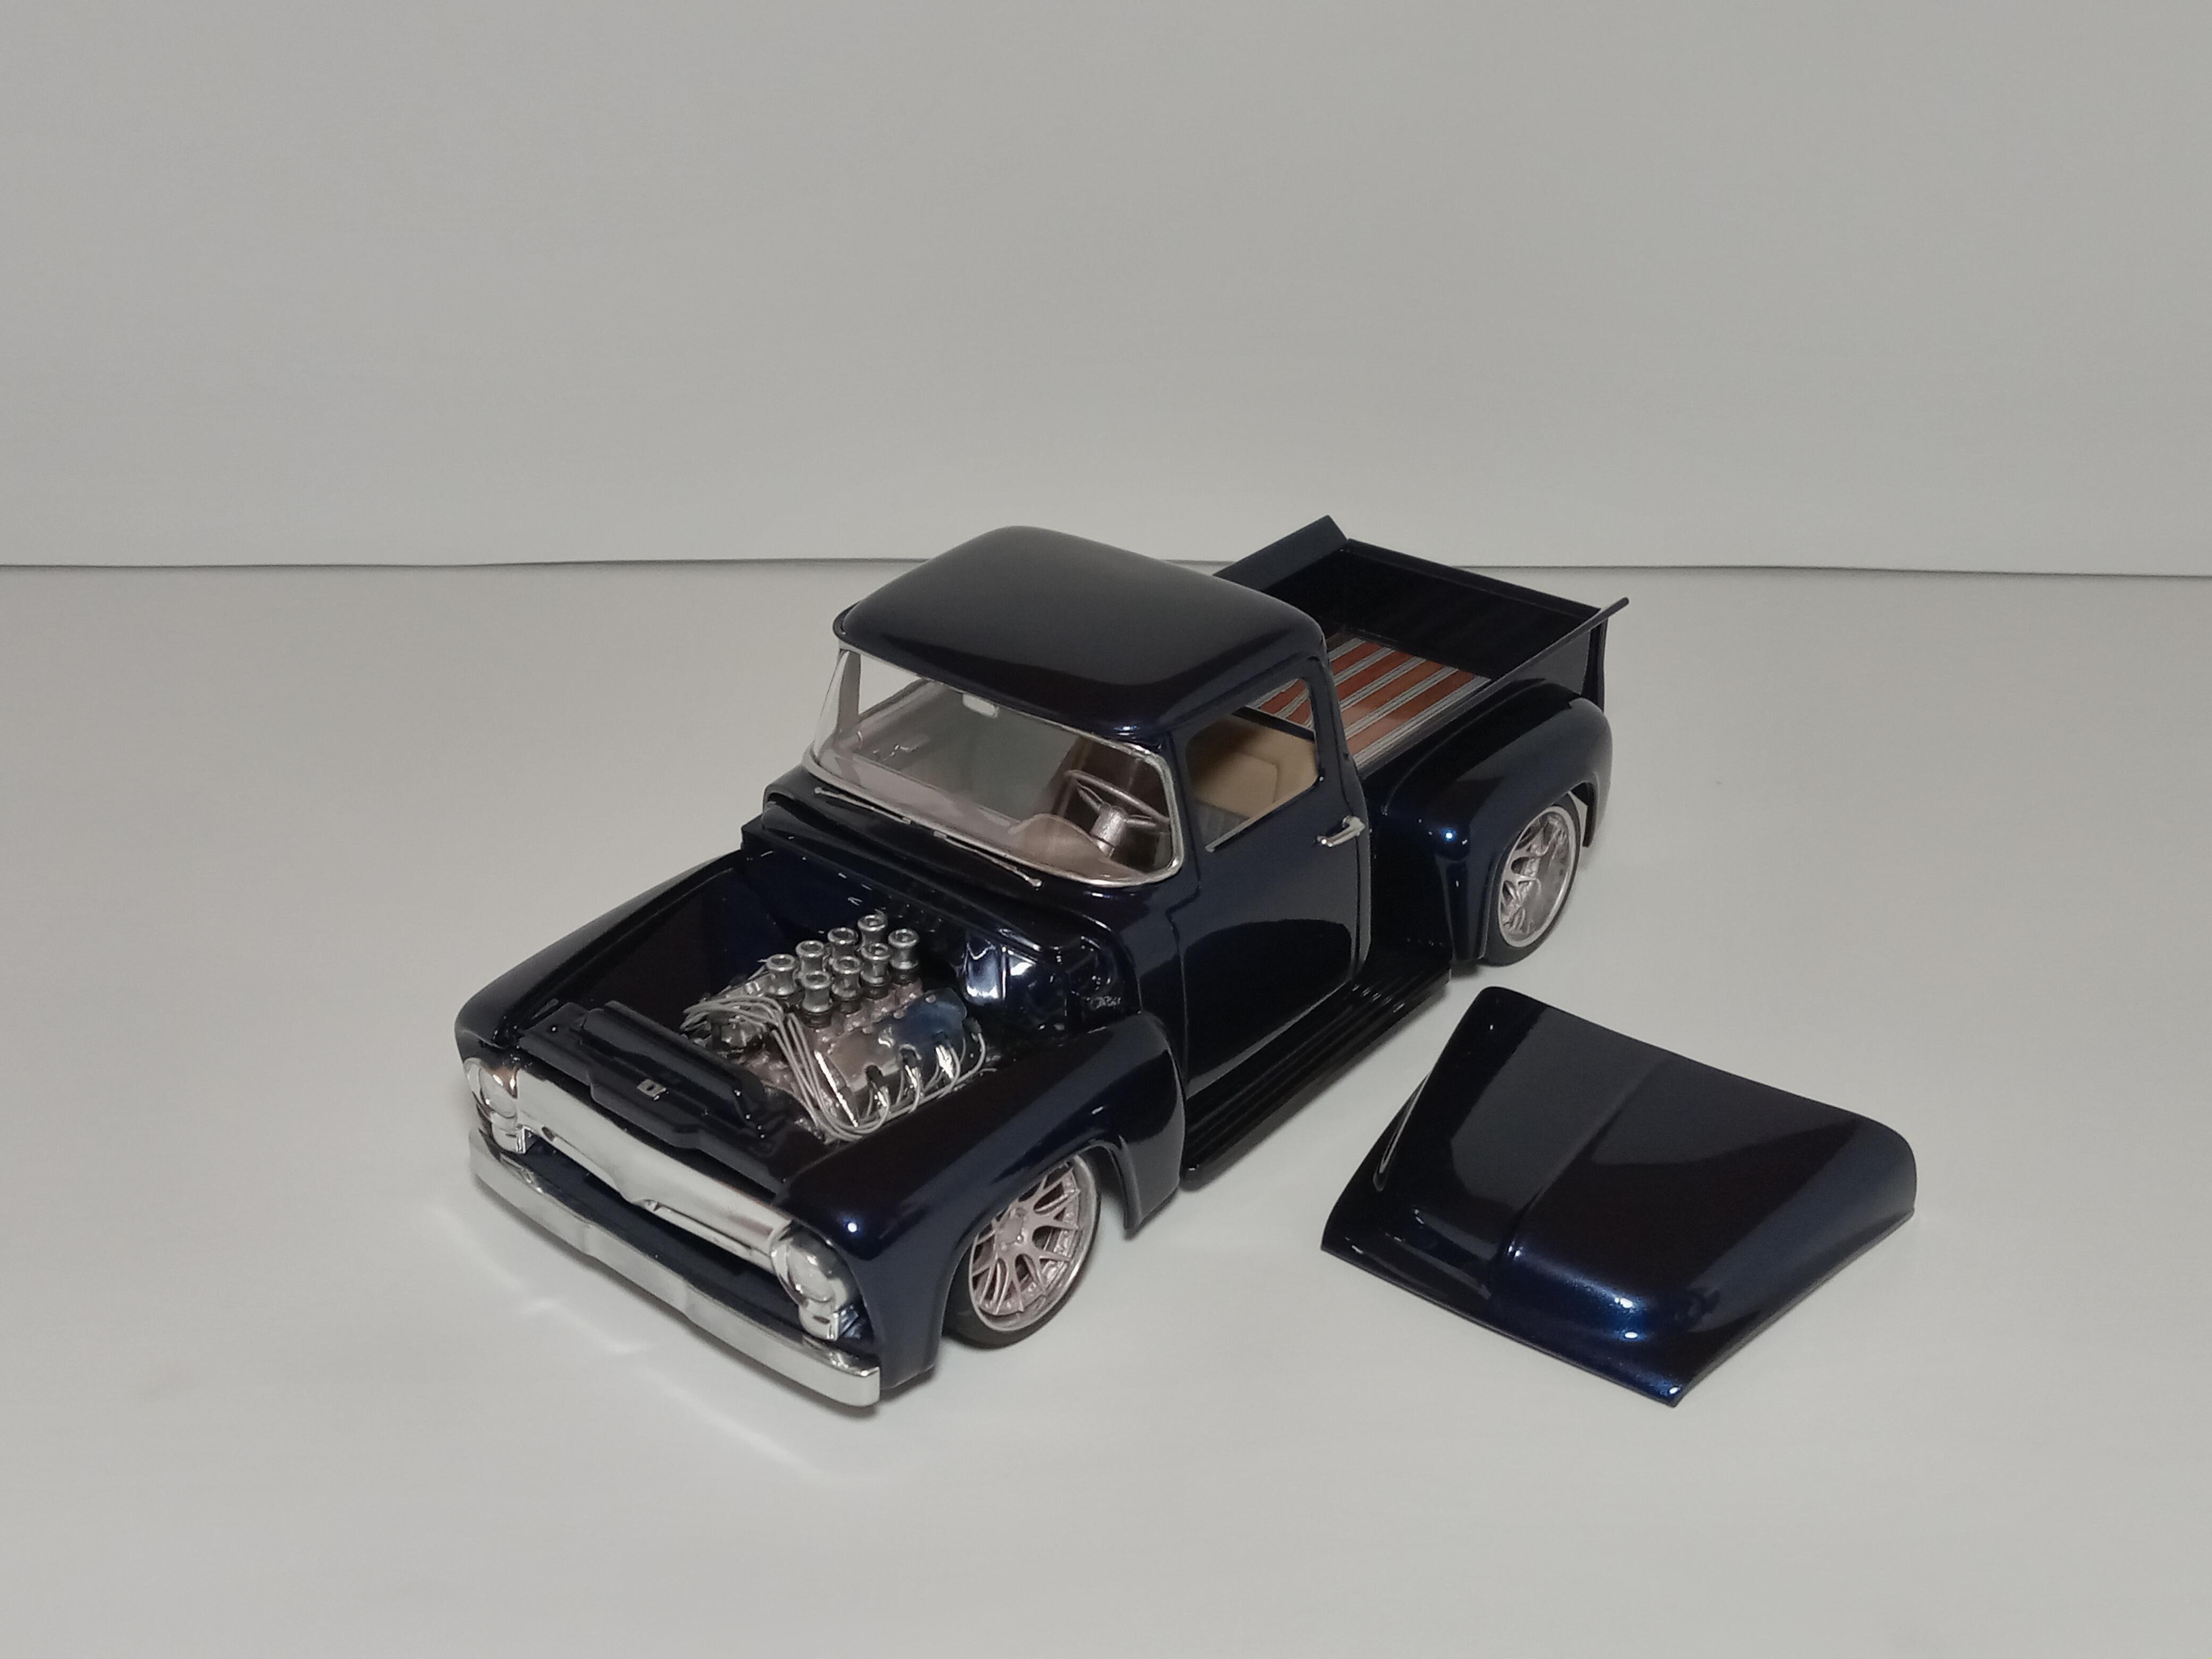
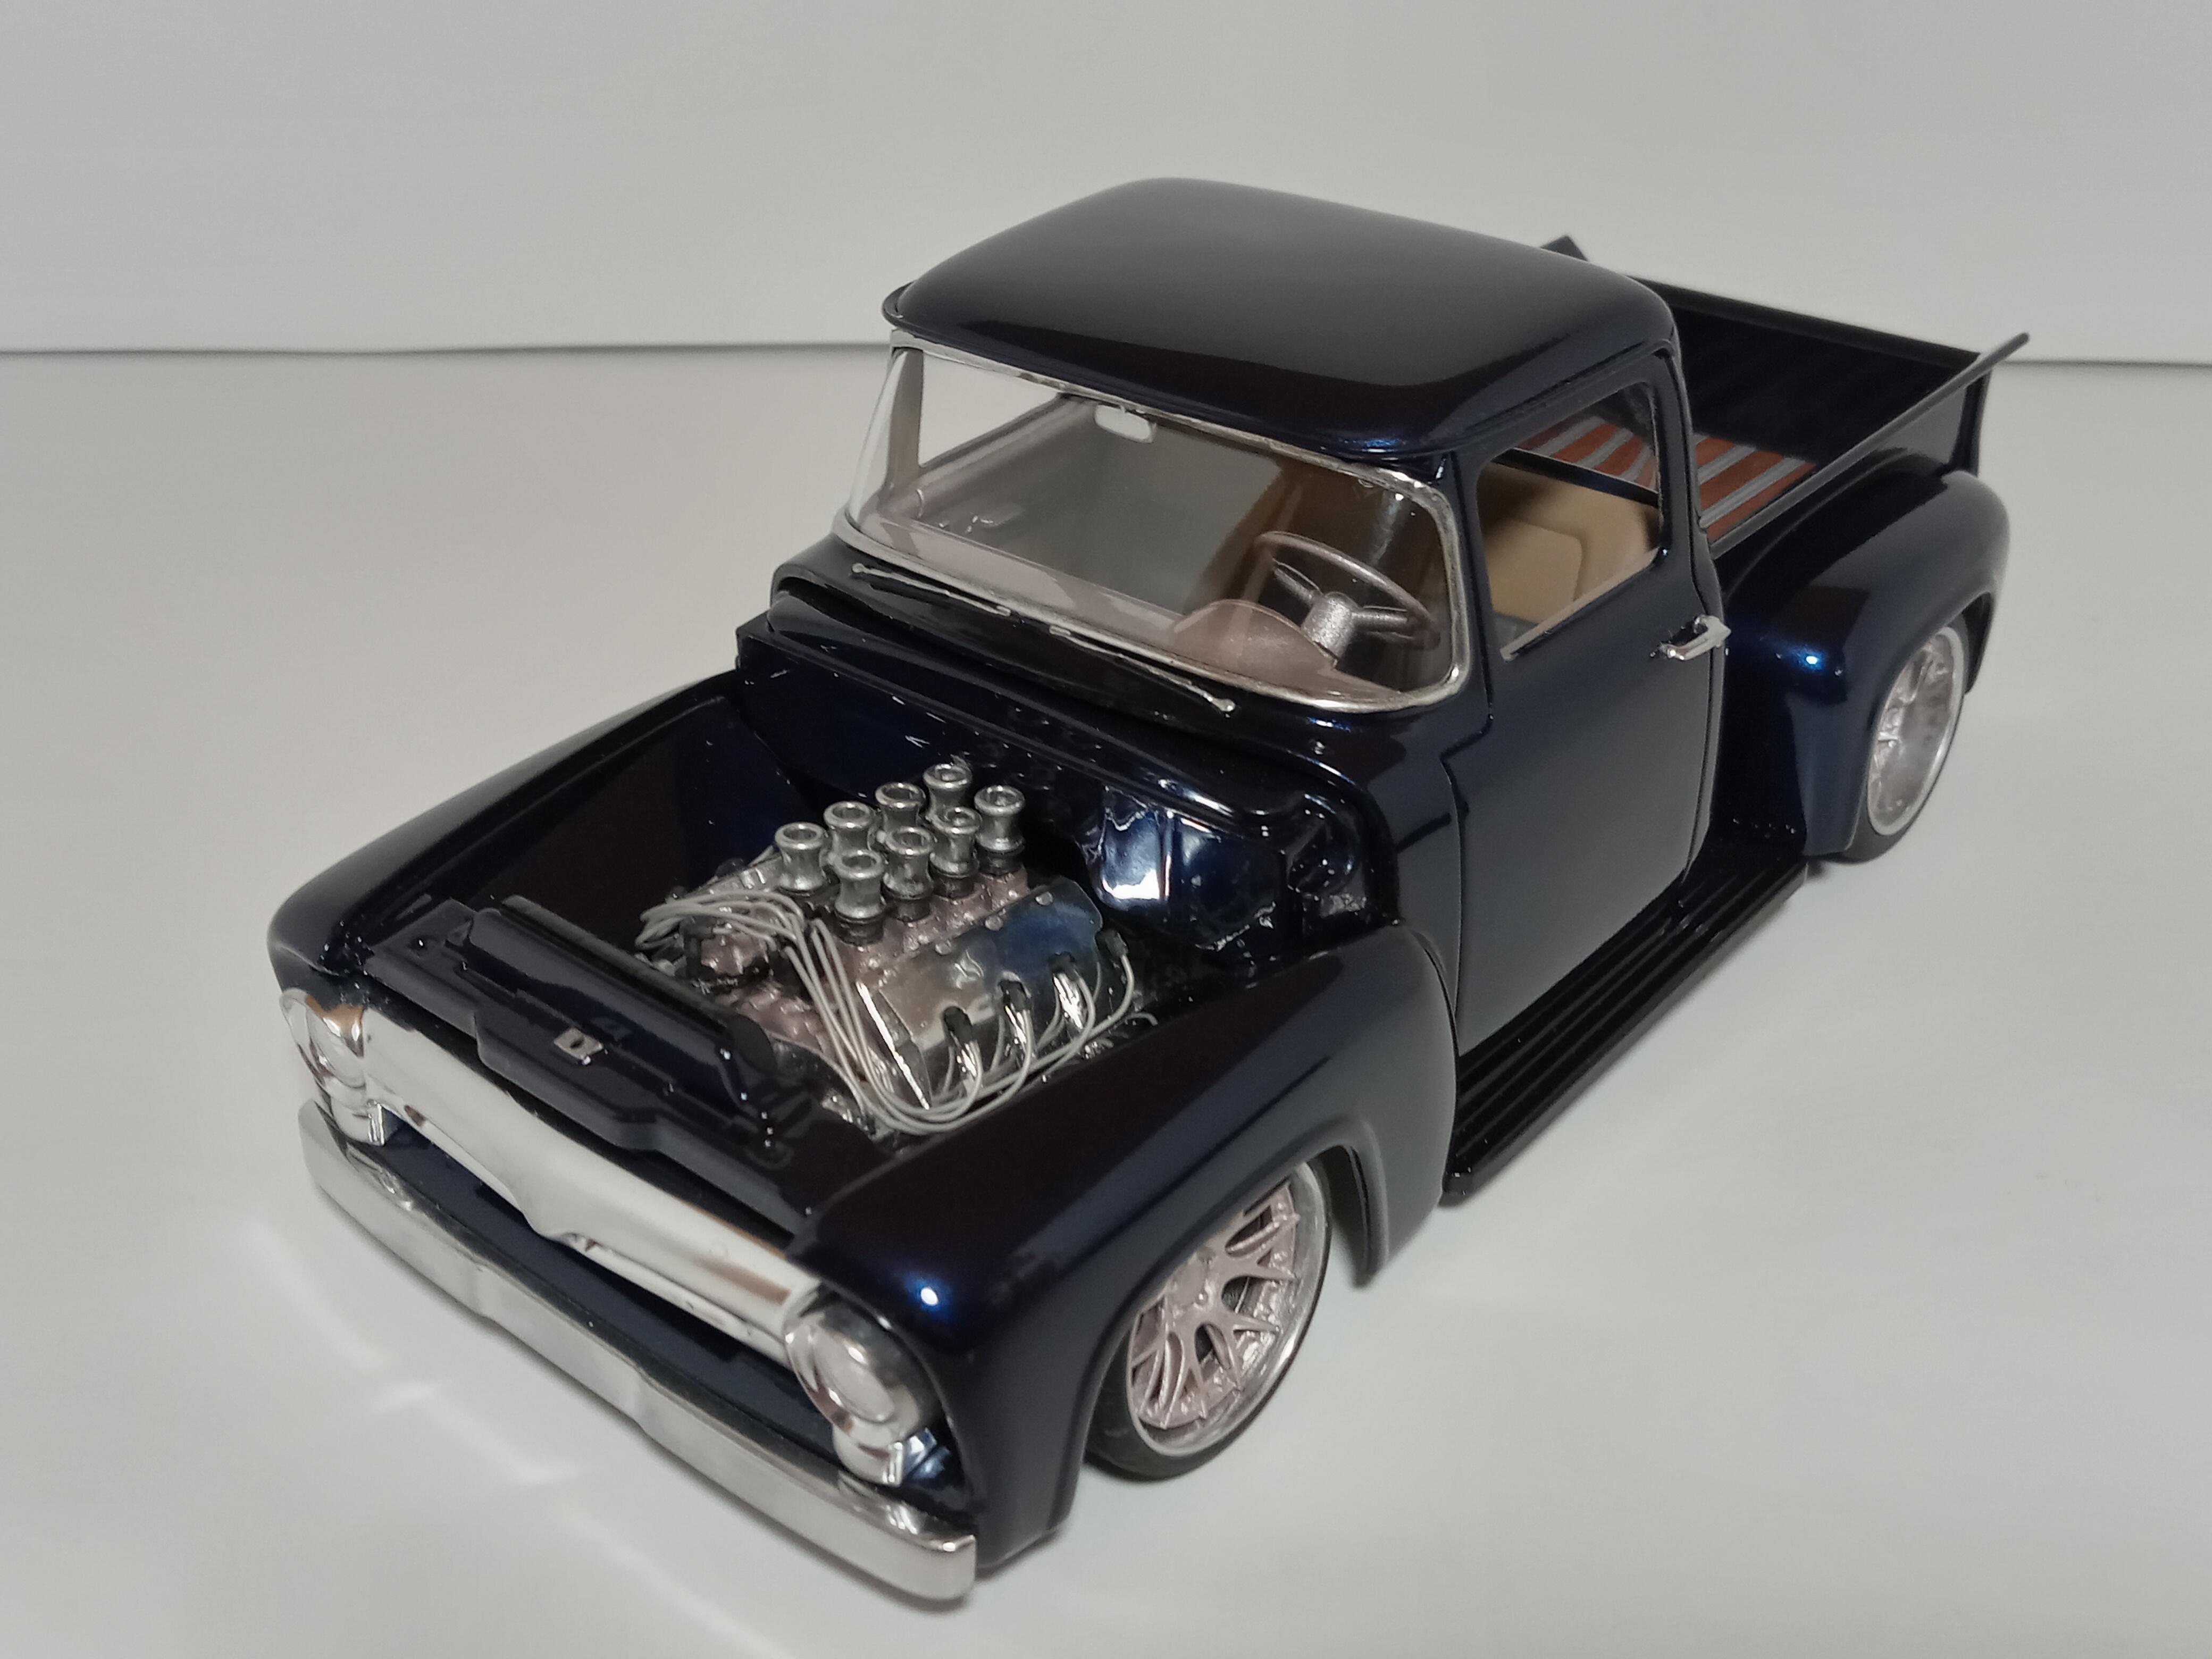
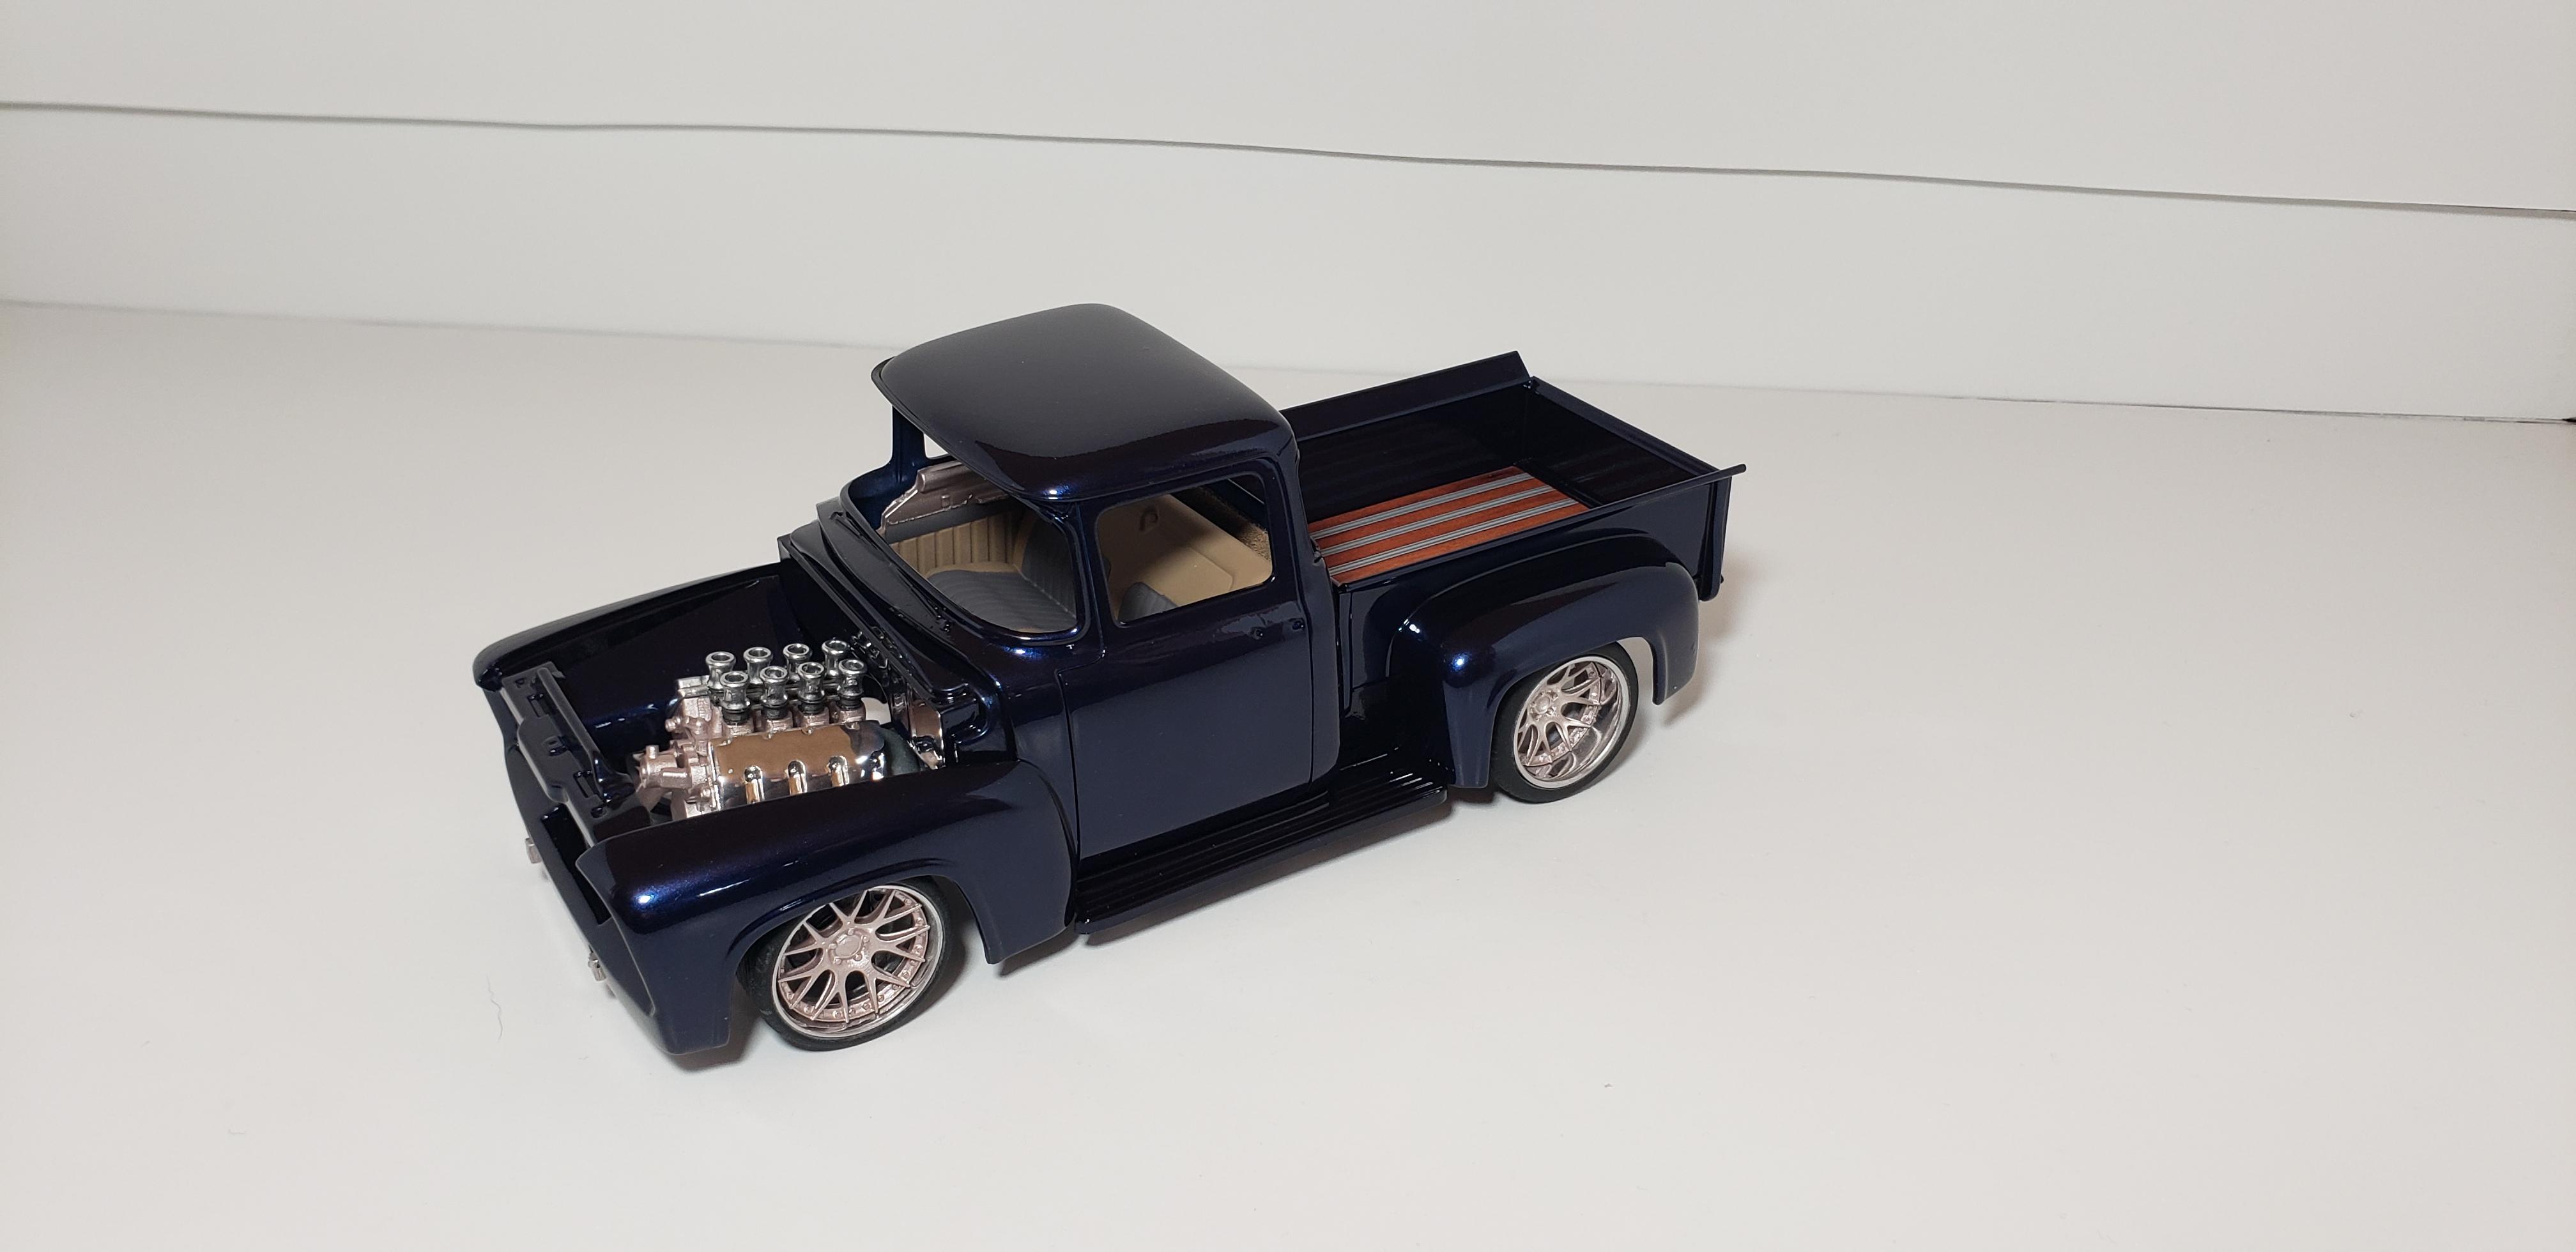
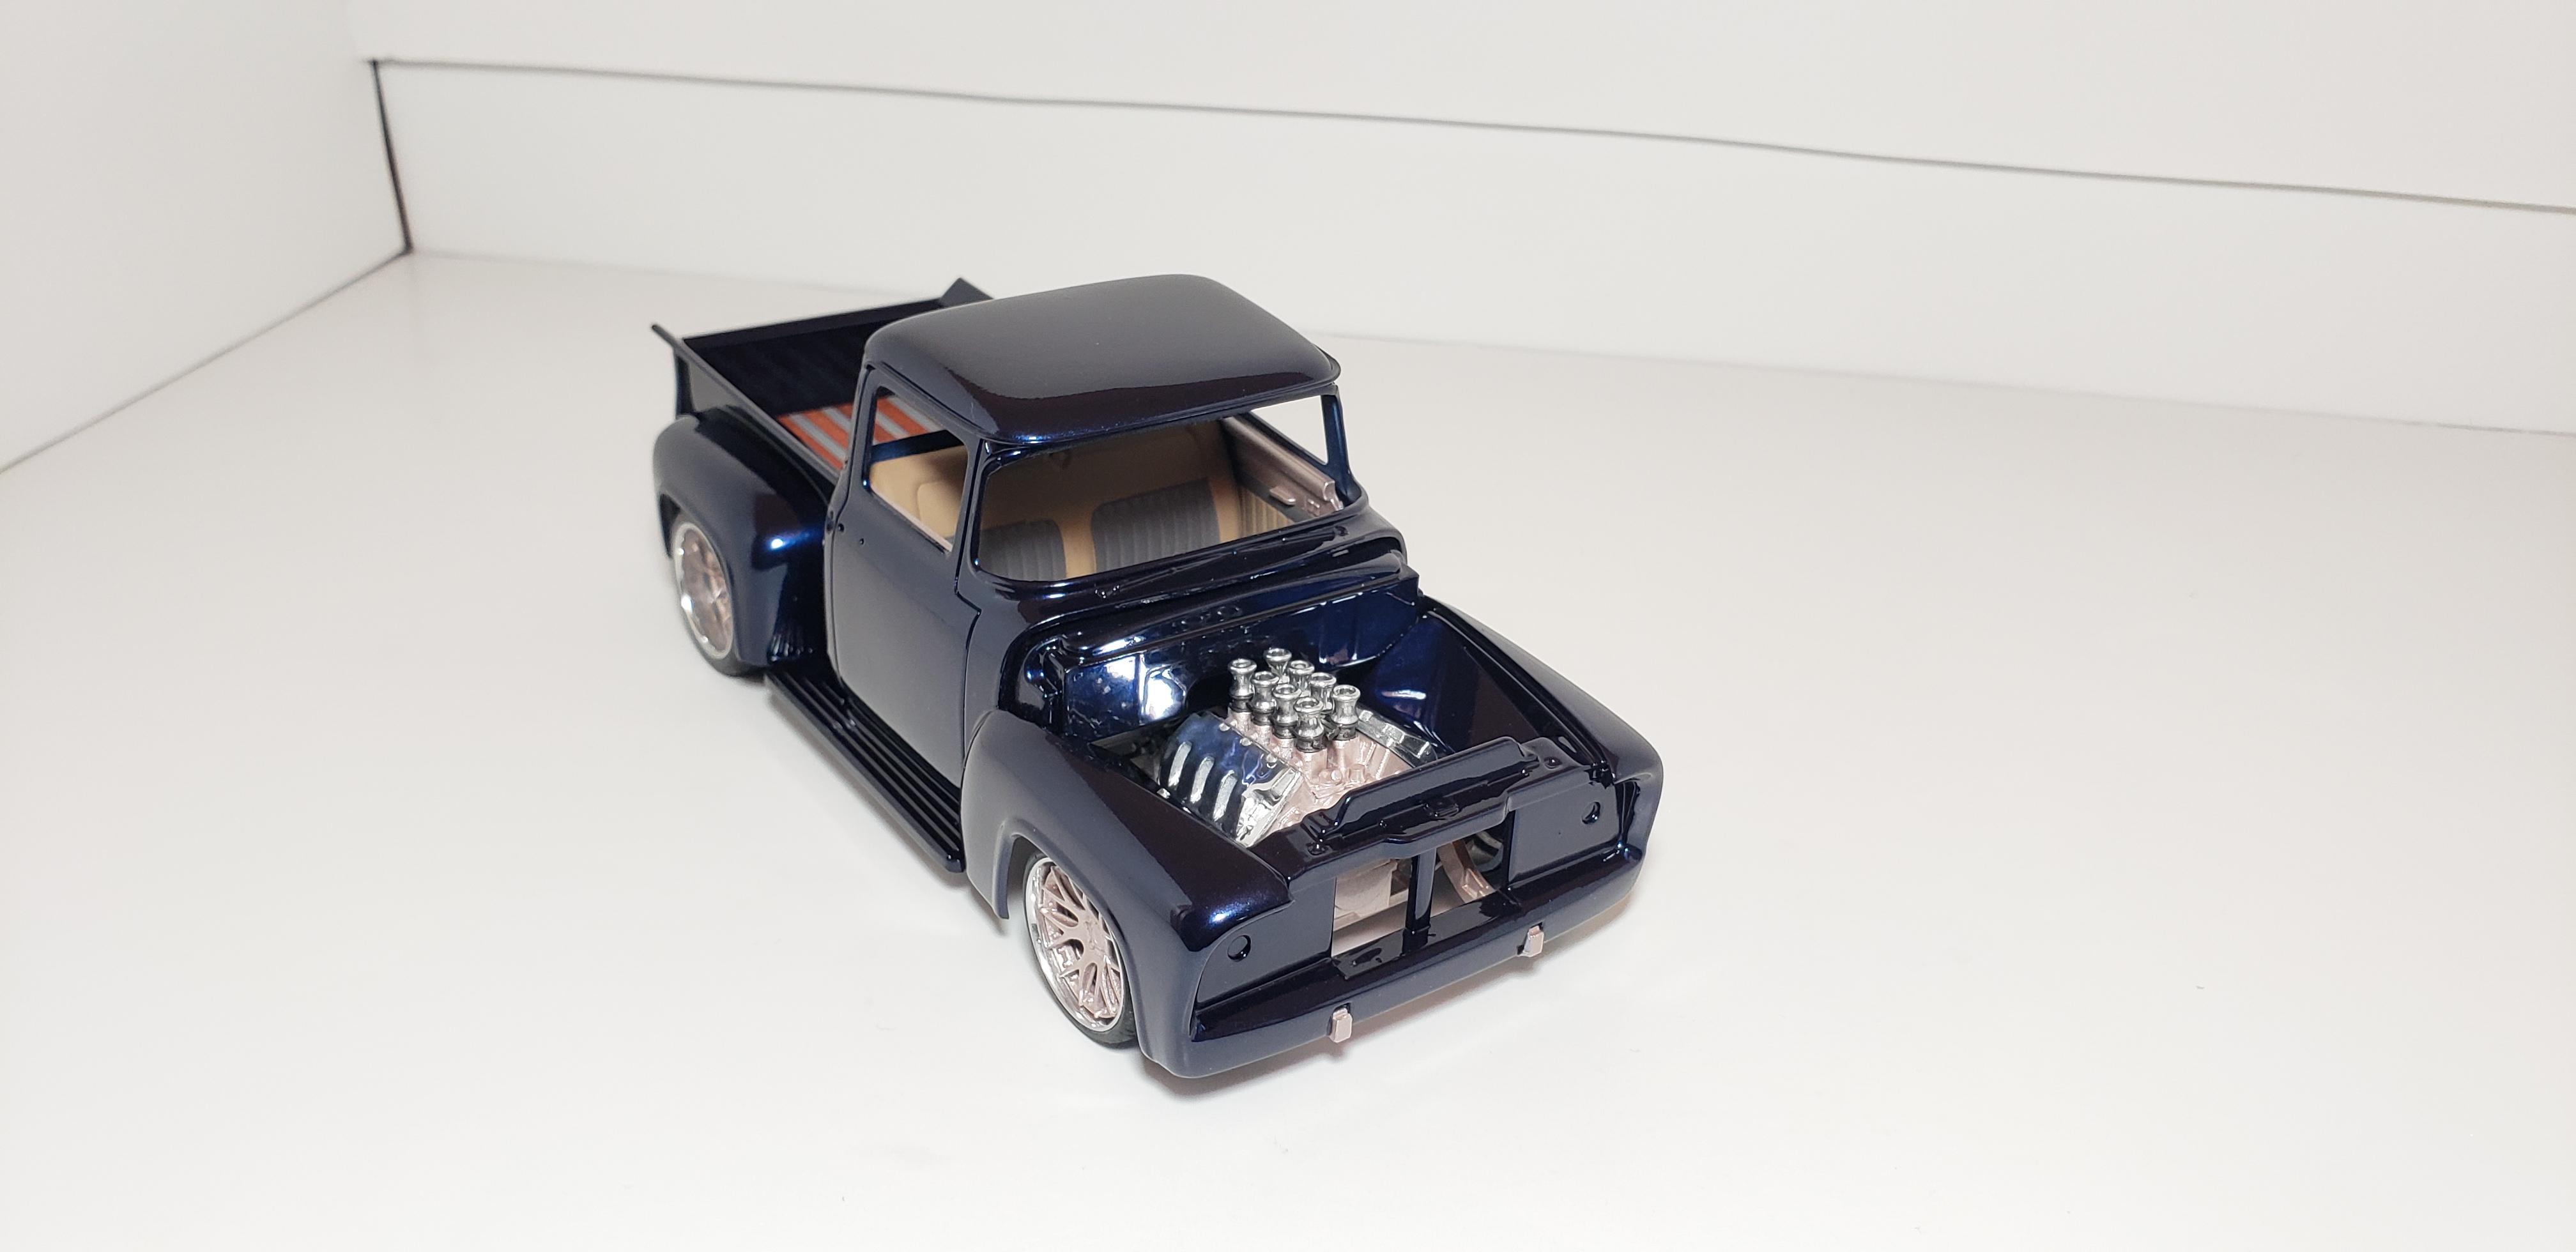
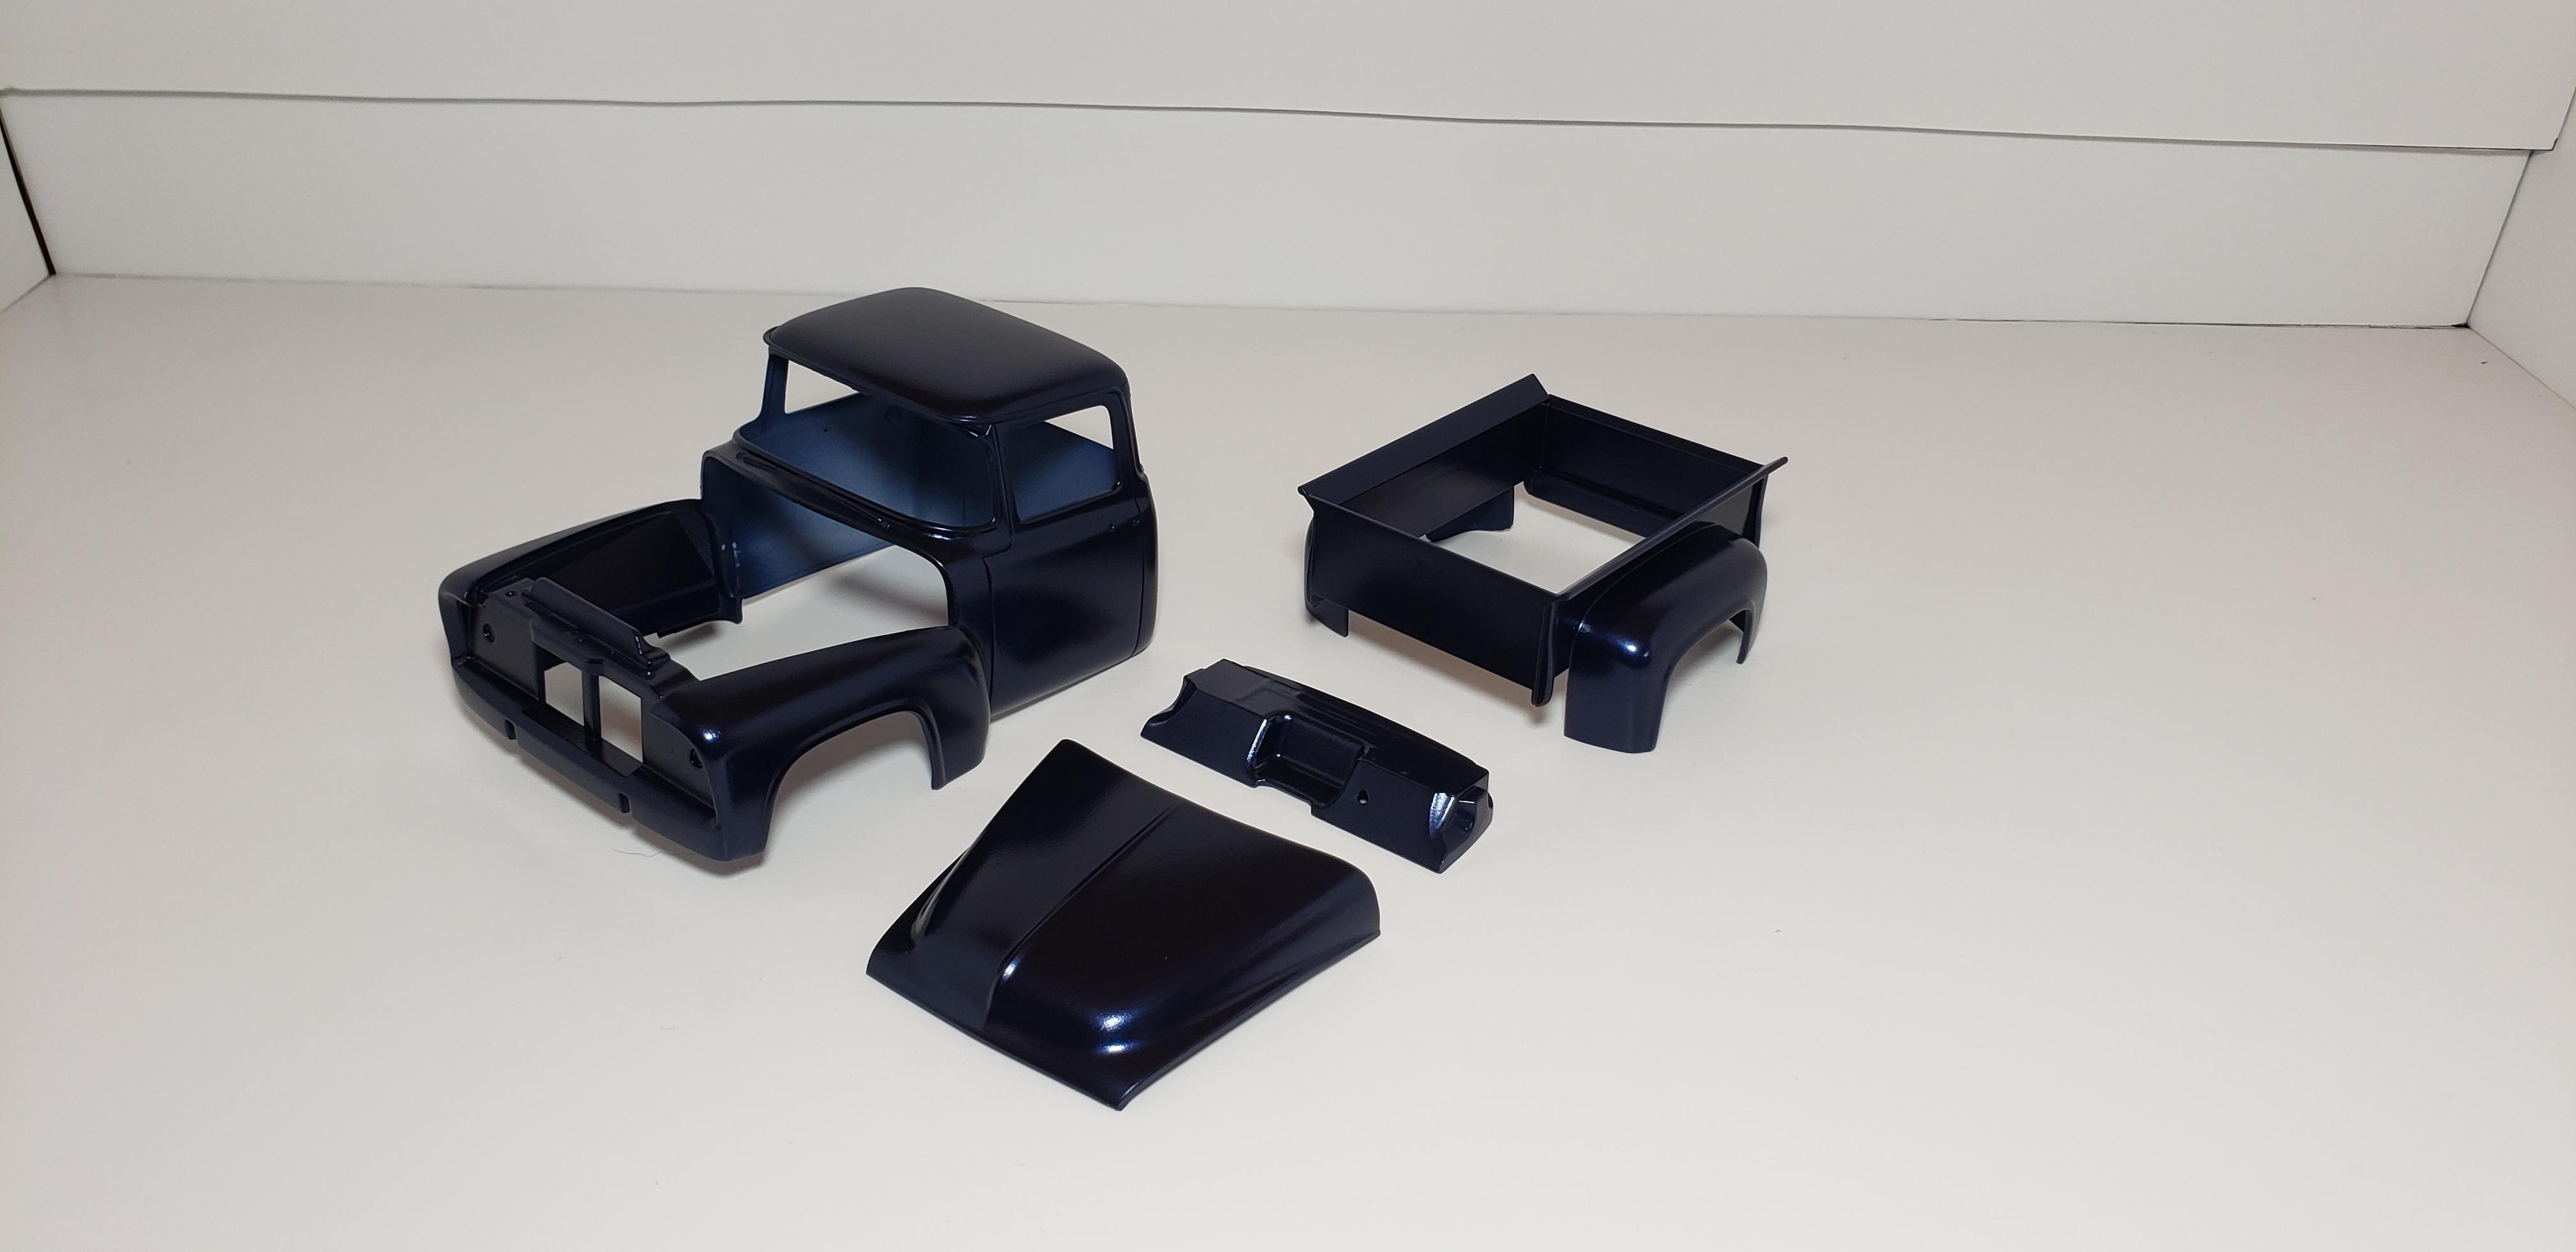
Thank you! The blue is a ford color from a early 2000's Lincoln called medium royal blue. Code is: LA/M6504A
-
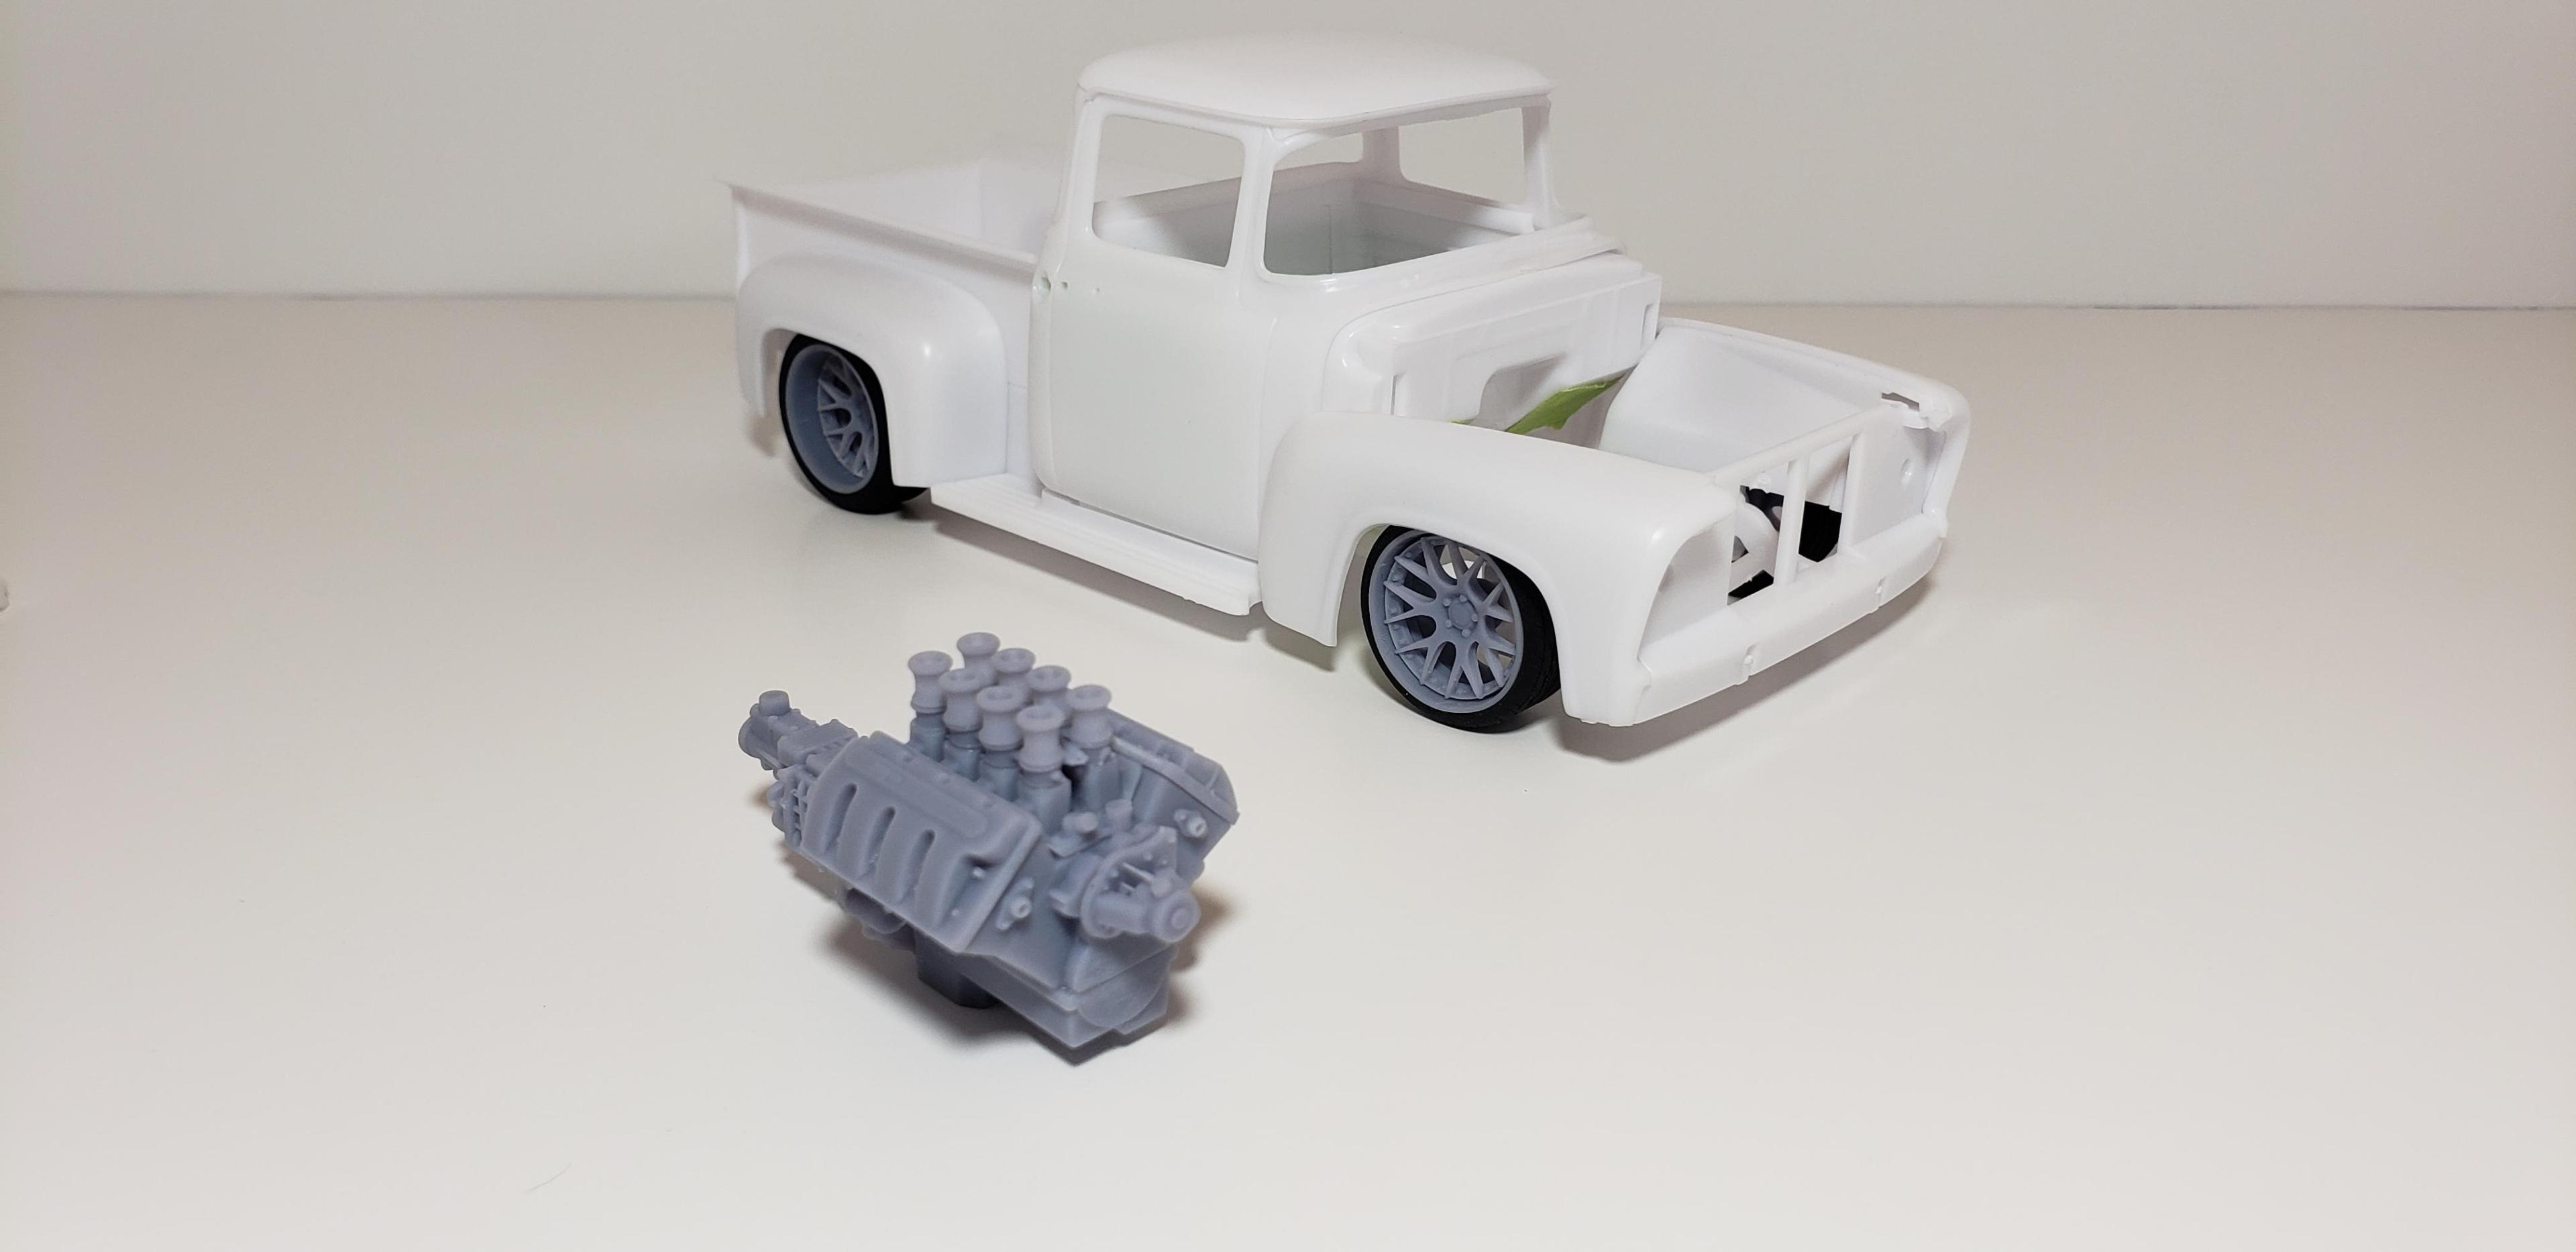
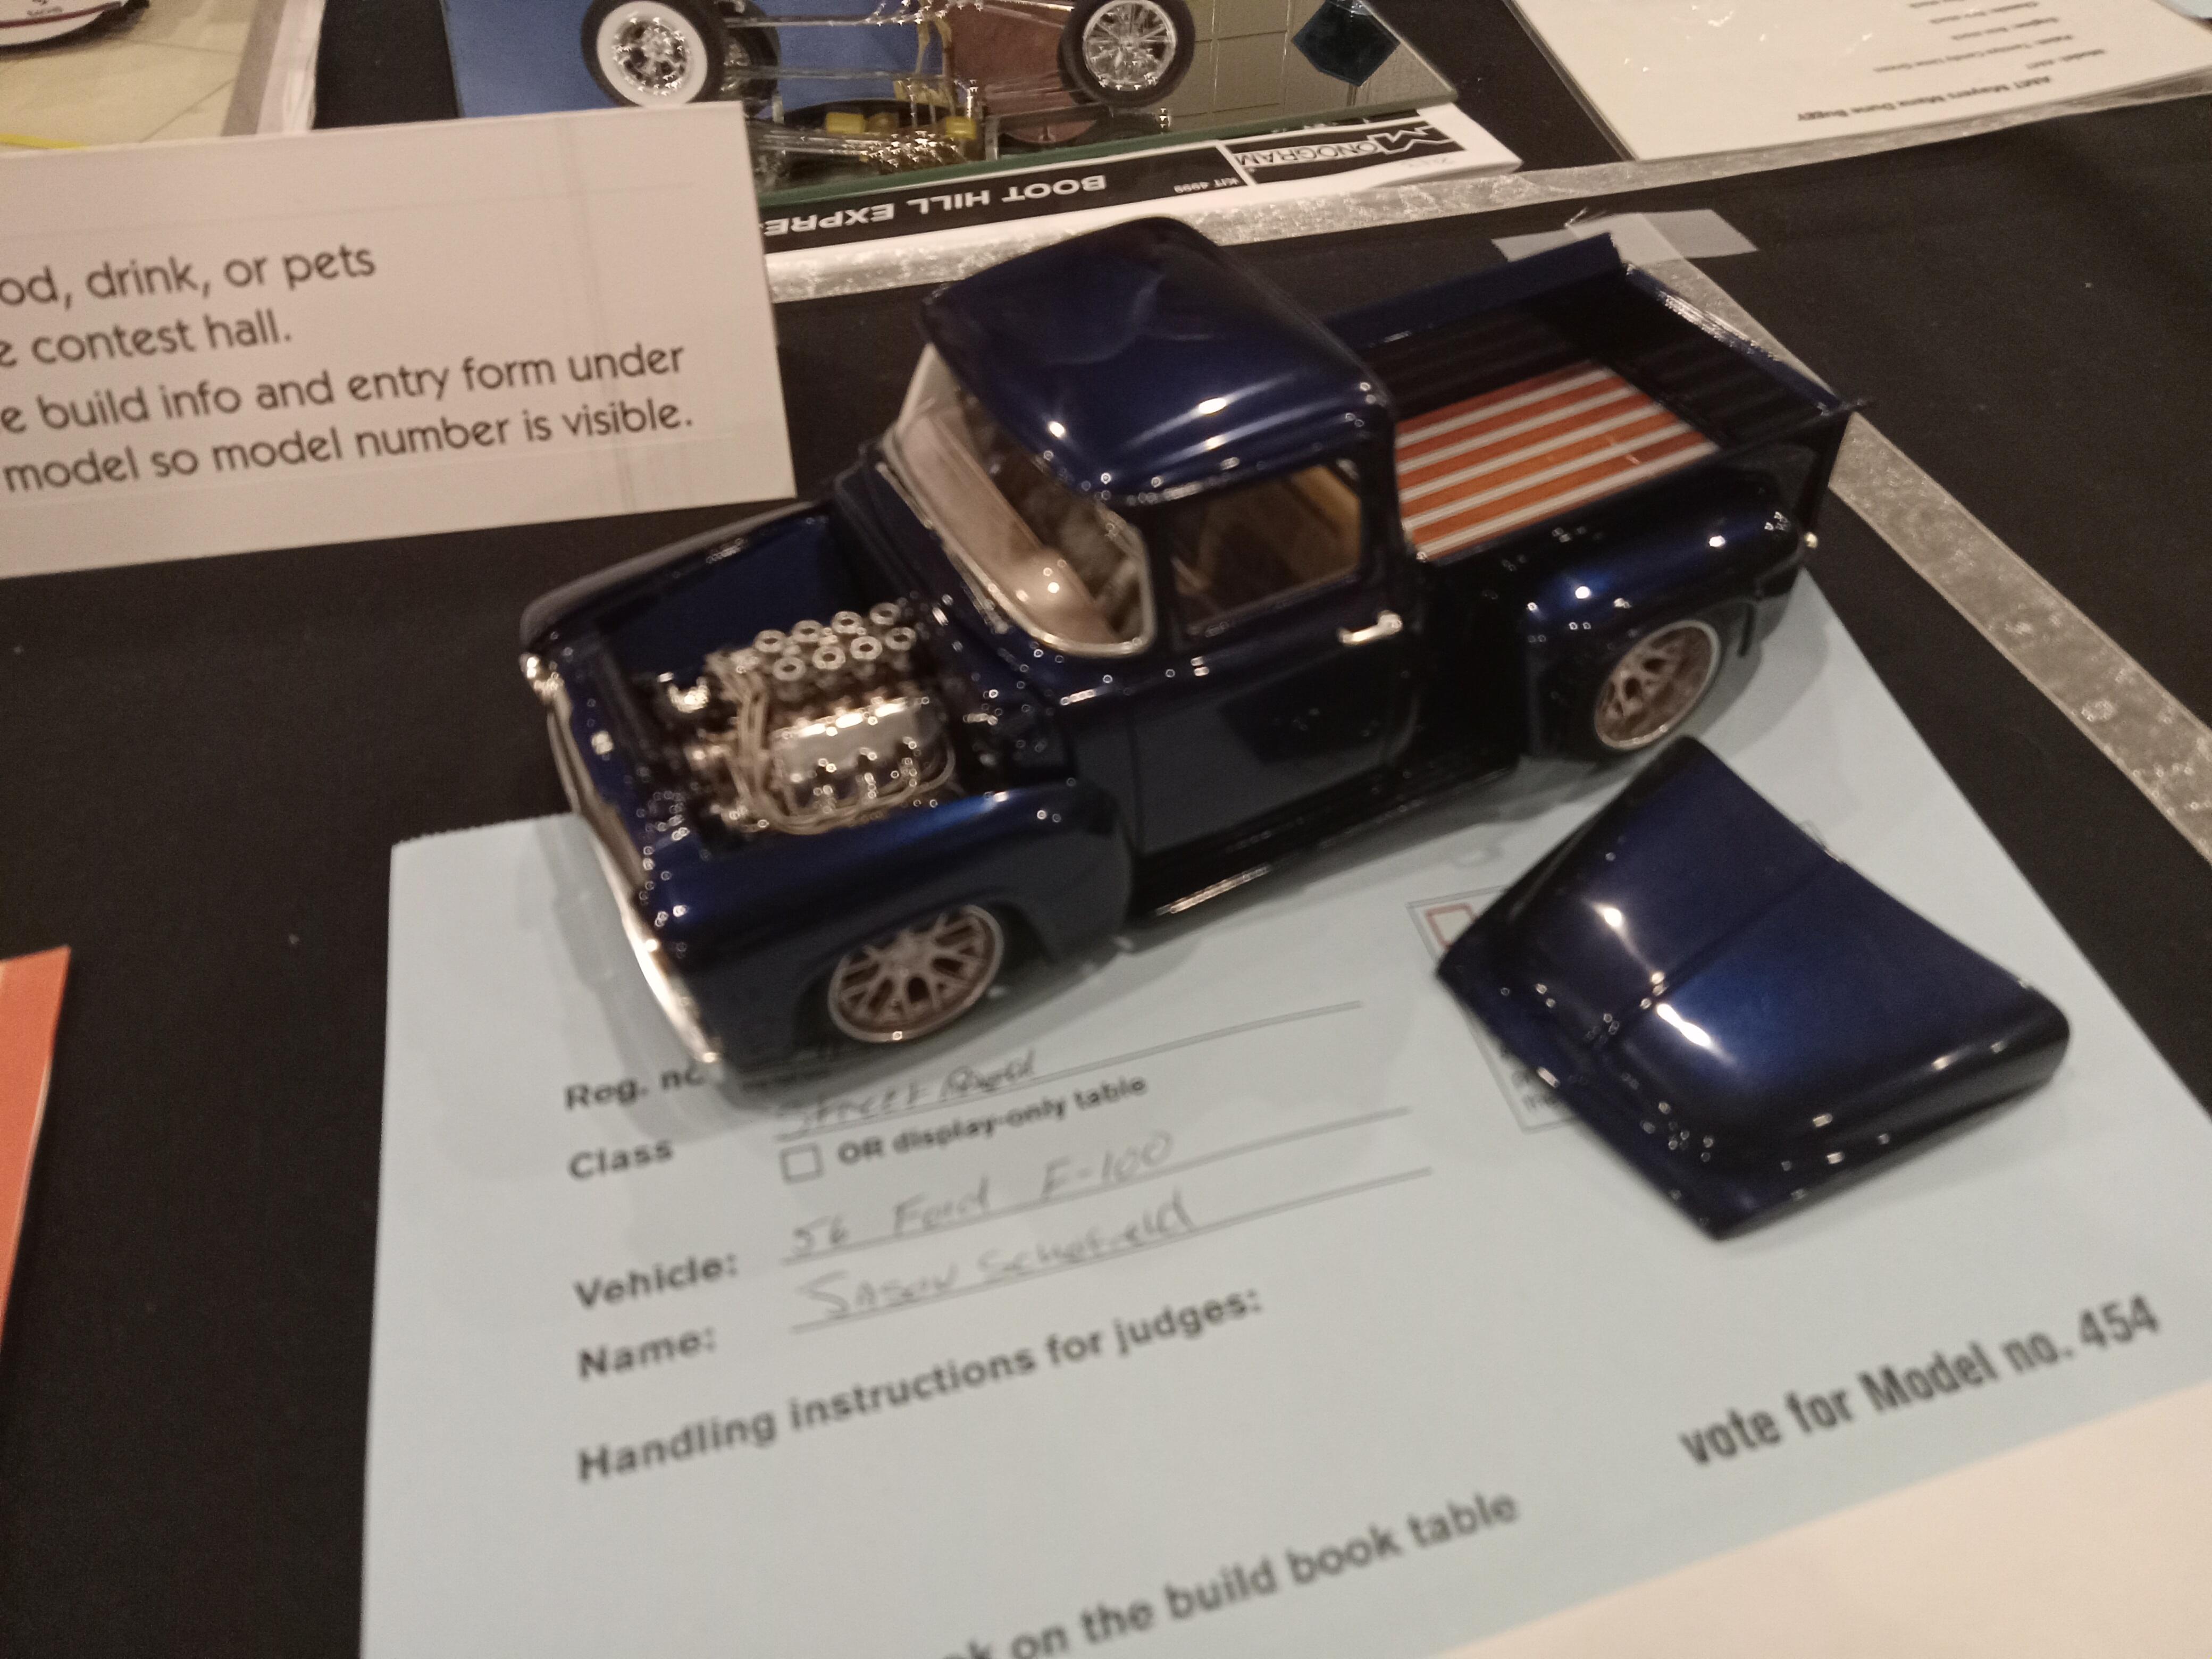
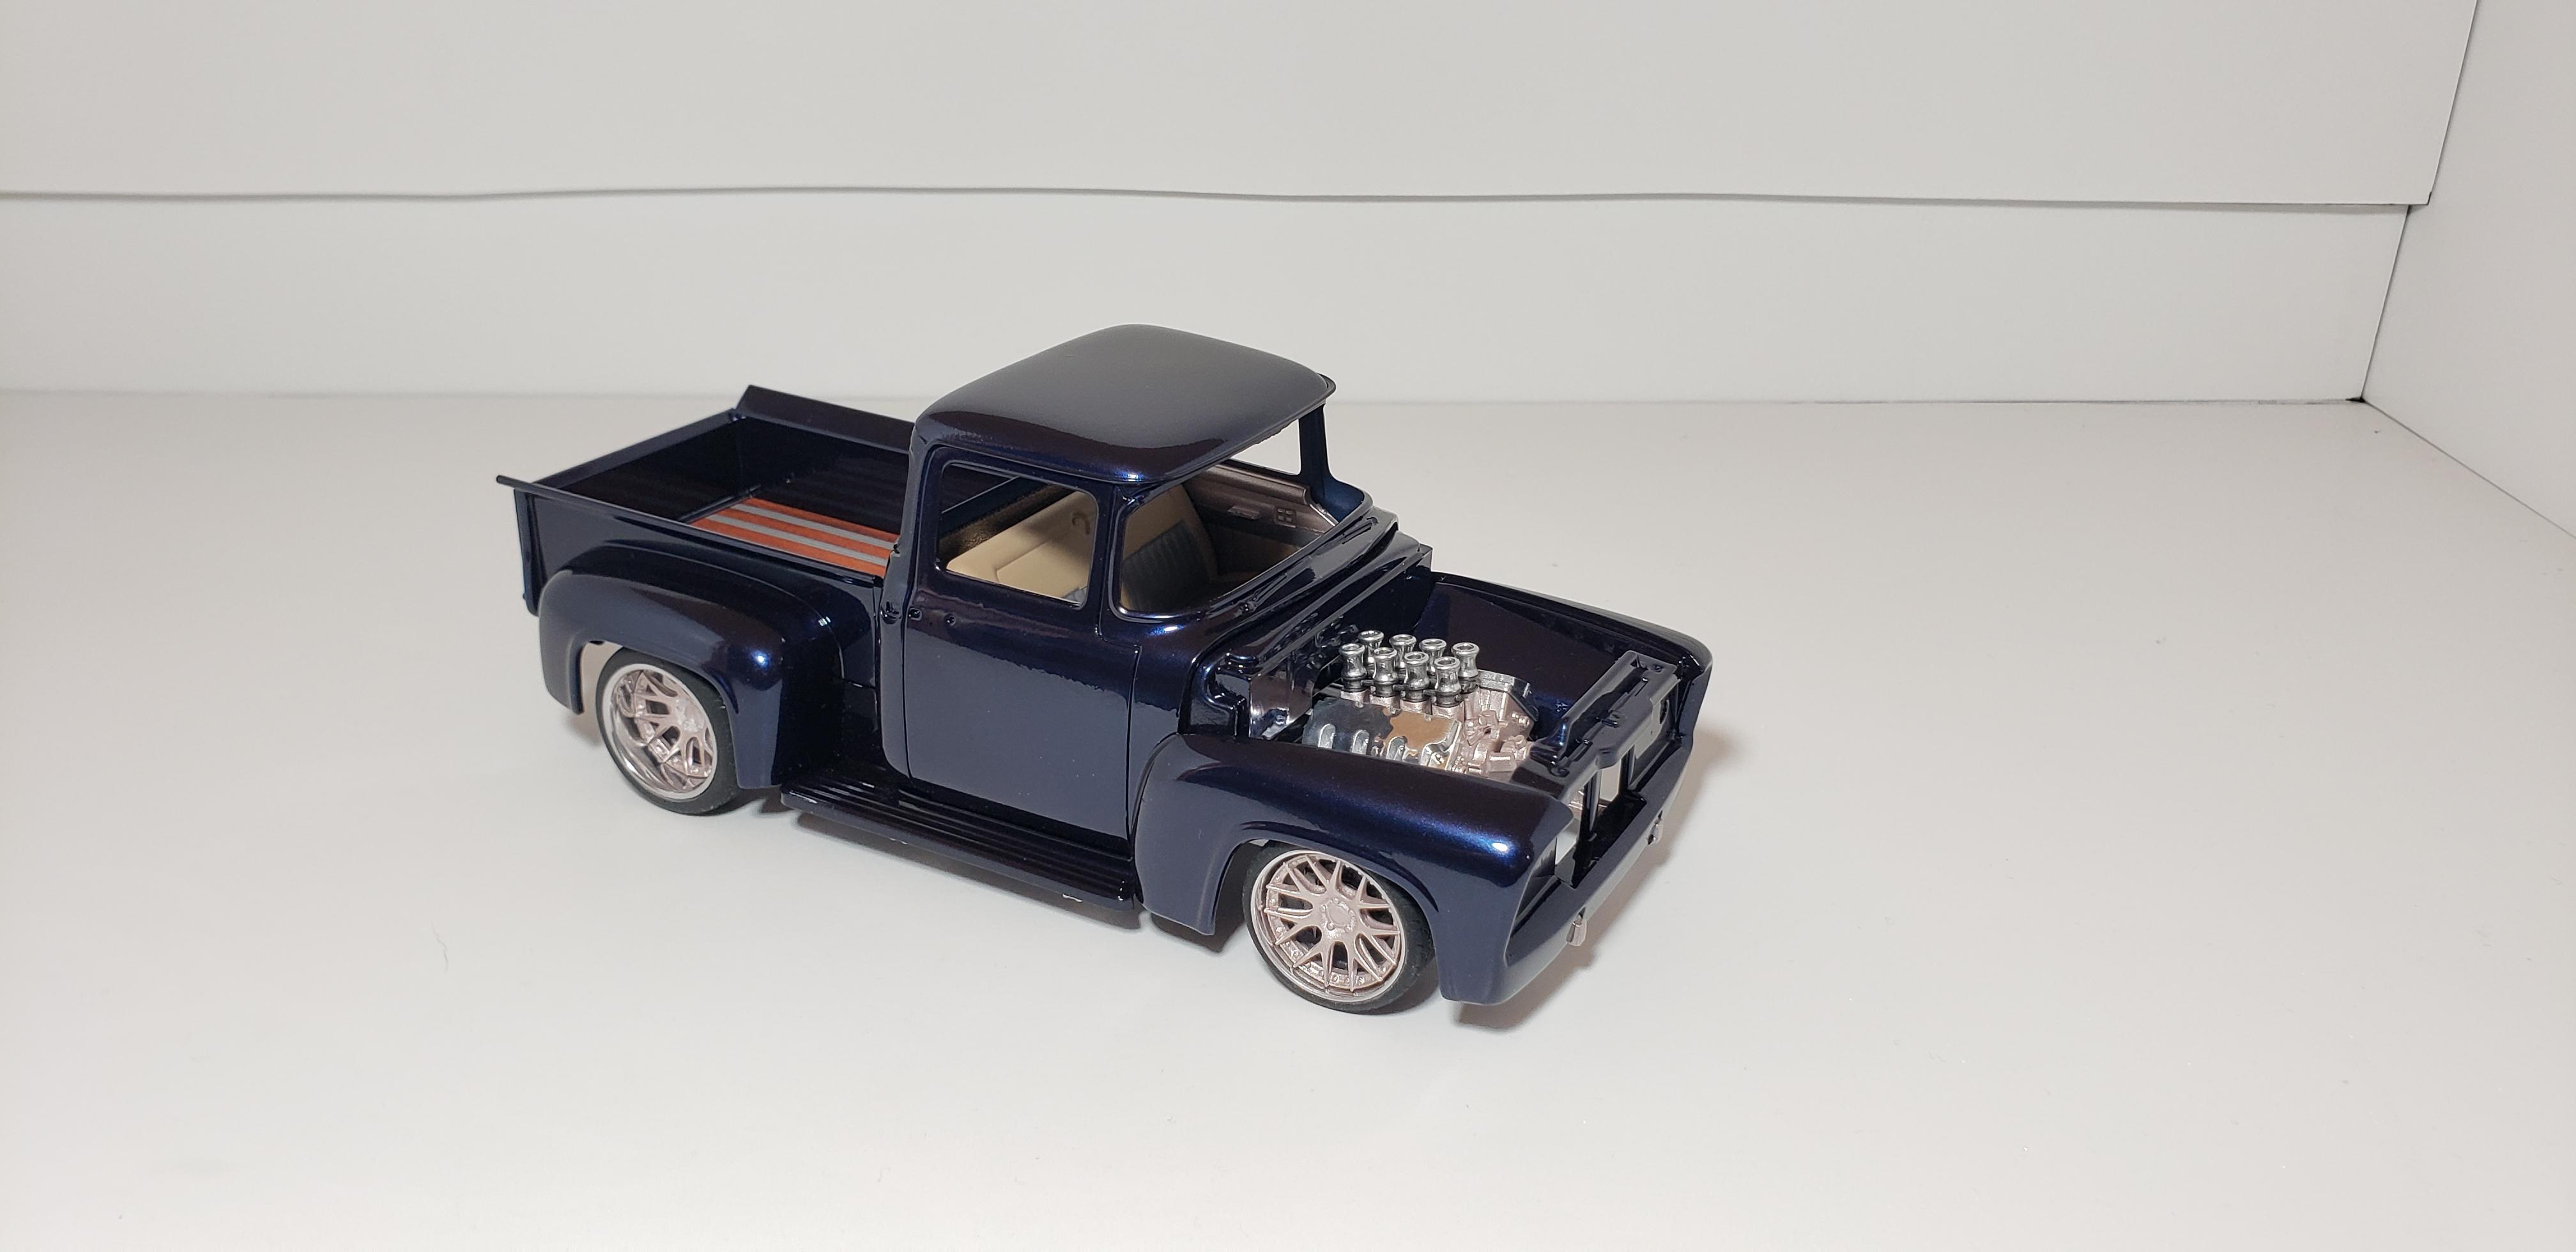
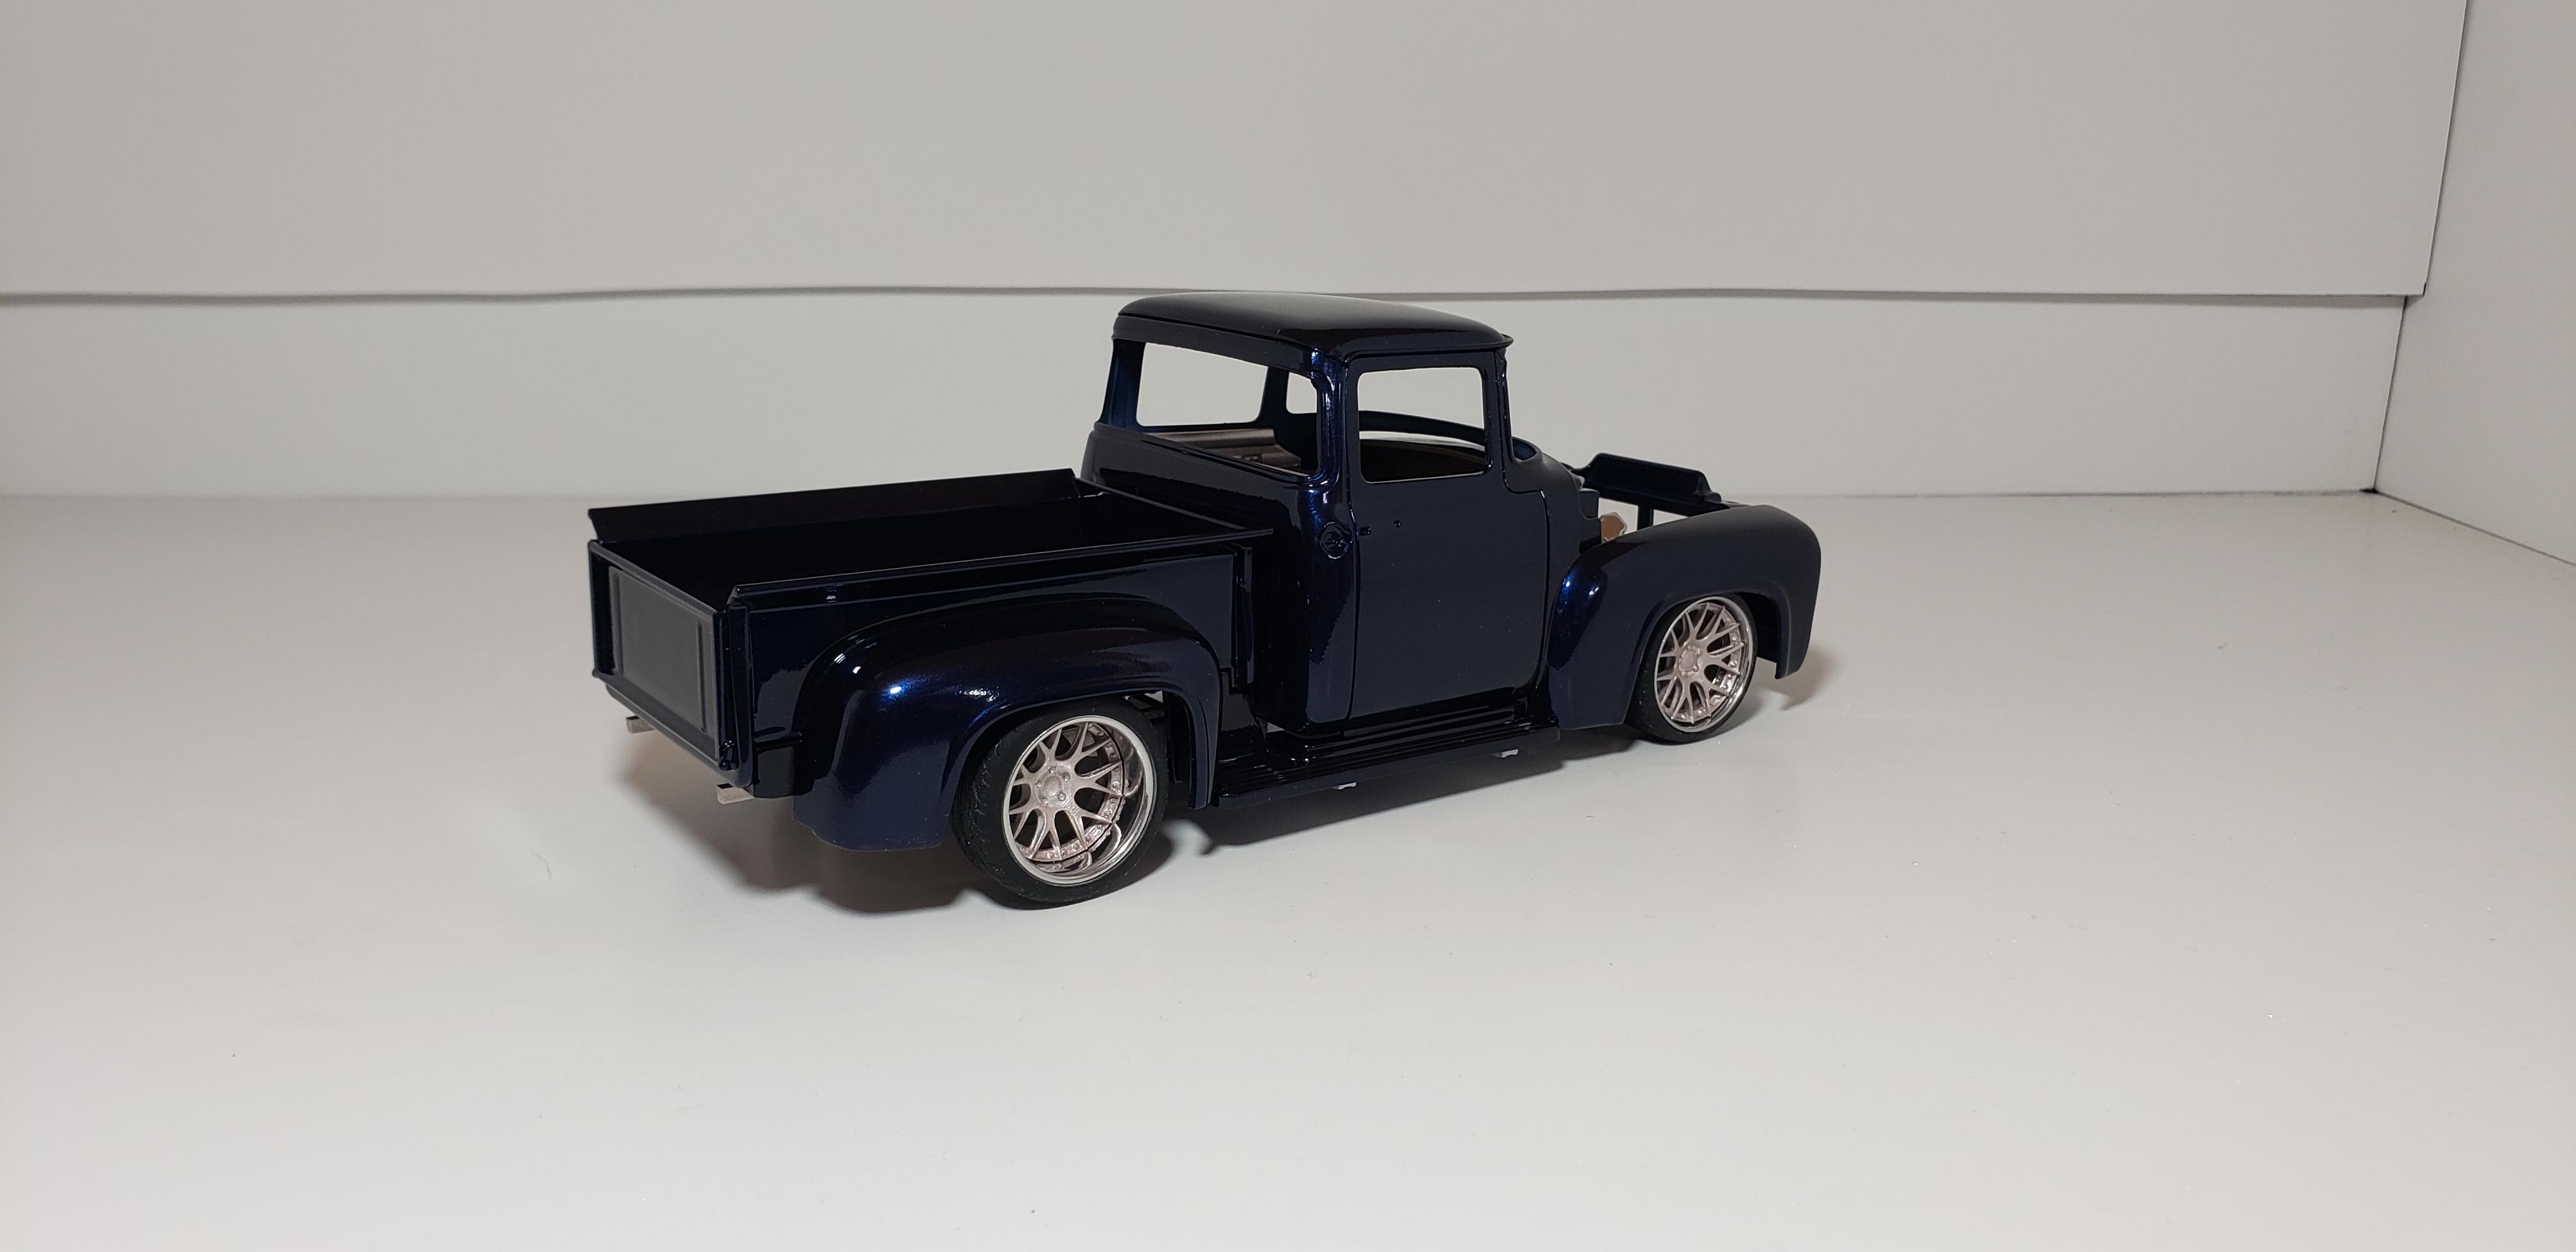
Revell foose FD100. Engine, transmission, wheels and tires are 3D printed. All kit chrome was stripped and airbrushed with molitow liquid chrome along with the resin engine parts, exhaust and wheel barrels. 2k clear A light sand and polish Build Thread Here are the final pictures I was happy to make it to the GSL for their final show. And took a handful of cars to show. Finally got to meet some members here and see their work in person.

-
I wrapped up this build before the last GSL. All kit chrome was stripped and airbrushed with molitow liquid chrome along with the resin engine parts, exhaust and wheel barrels. A light sand and polish Here are the final pictures I was happy to make it to the GSL for their final show. And took a handful of cars to show. Finally got to meet and see some members here and their work in person.
-
'76 Firebird Trans Am -
streetmachine11 replied to tmartin03's topic in Car Aftermarket / Resin / 3D Printed
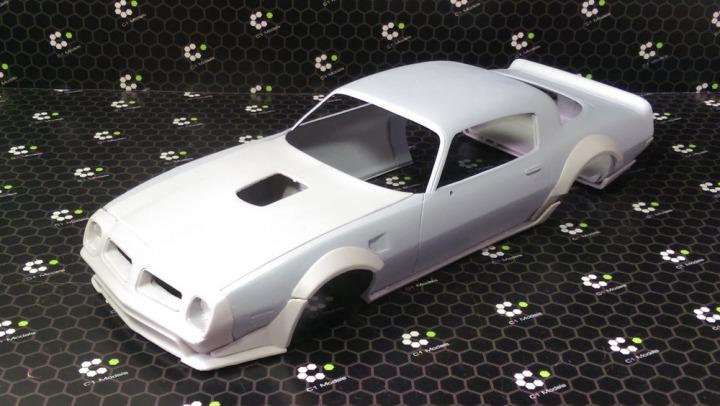
old topic but ...... Have you considered using the restored kit from C1-Models? 1/24 Restomod ‘76 Firebird C1-TK032 This is made for the 1/24 Revell 78 trans am. It will give you the correct hood, front and rear bumper and tail lights to convert to a 76. With little work to remove the aero parts, you have everything you need. This is the route I took. Hope this helps!
-
small update... everything has been painted and cleared. now time to start the assembly process. but I just couldn't resist a mock-up thanks for looking. more soon. comments/questions always welcome
-
started painting today. after scribing panel lines and prepping the body ive sprayed the main color. working on the exterior trim and frame. engine and suspension next
-
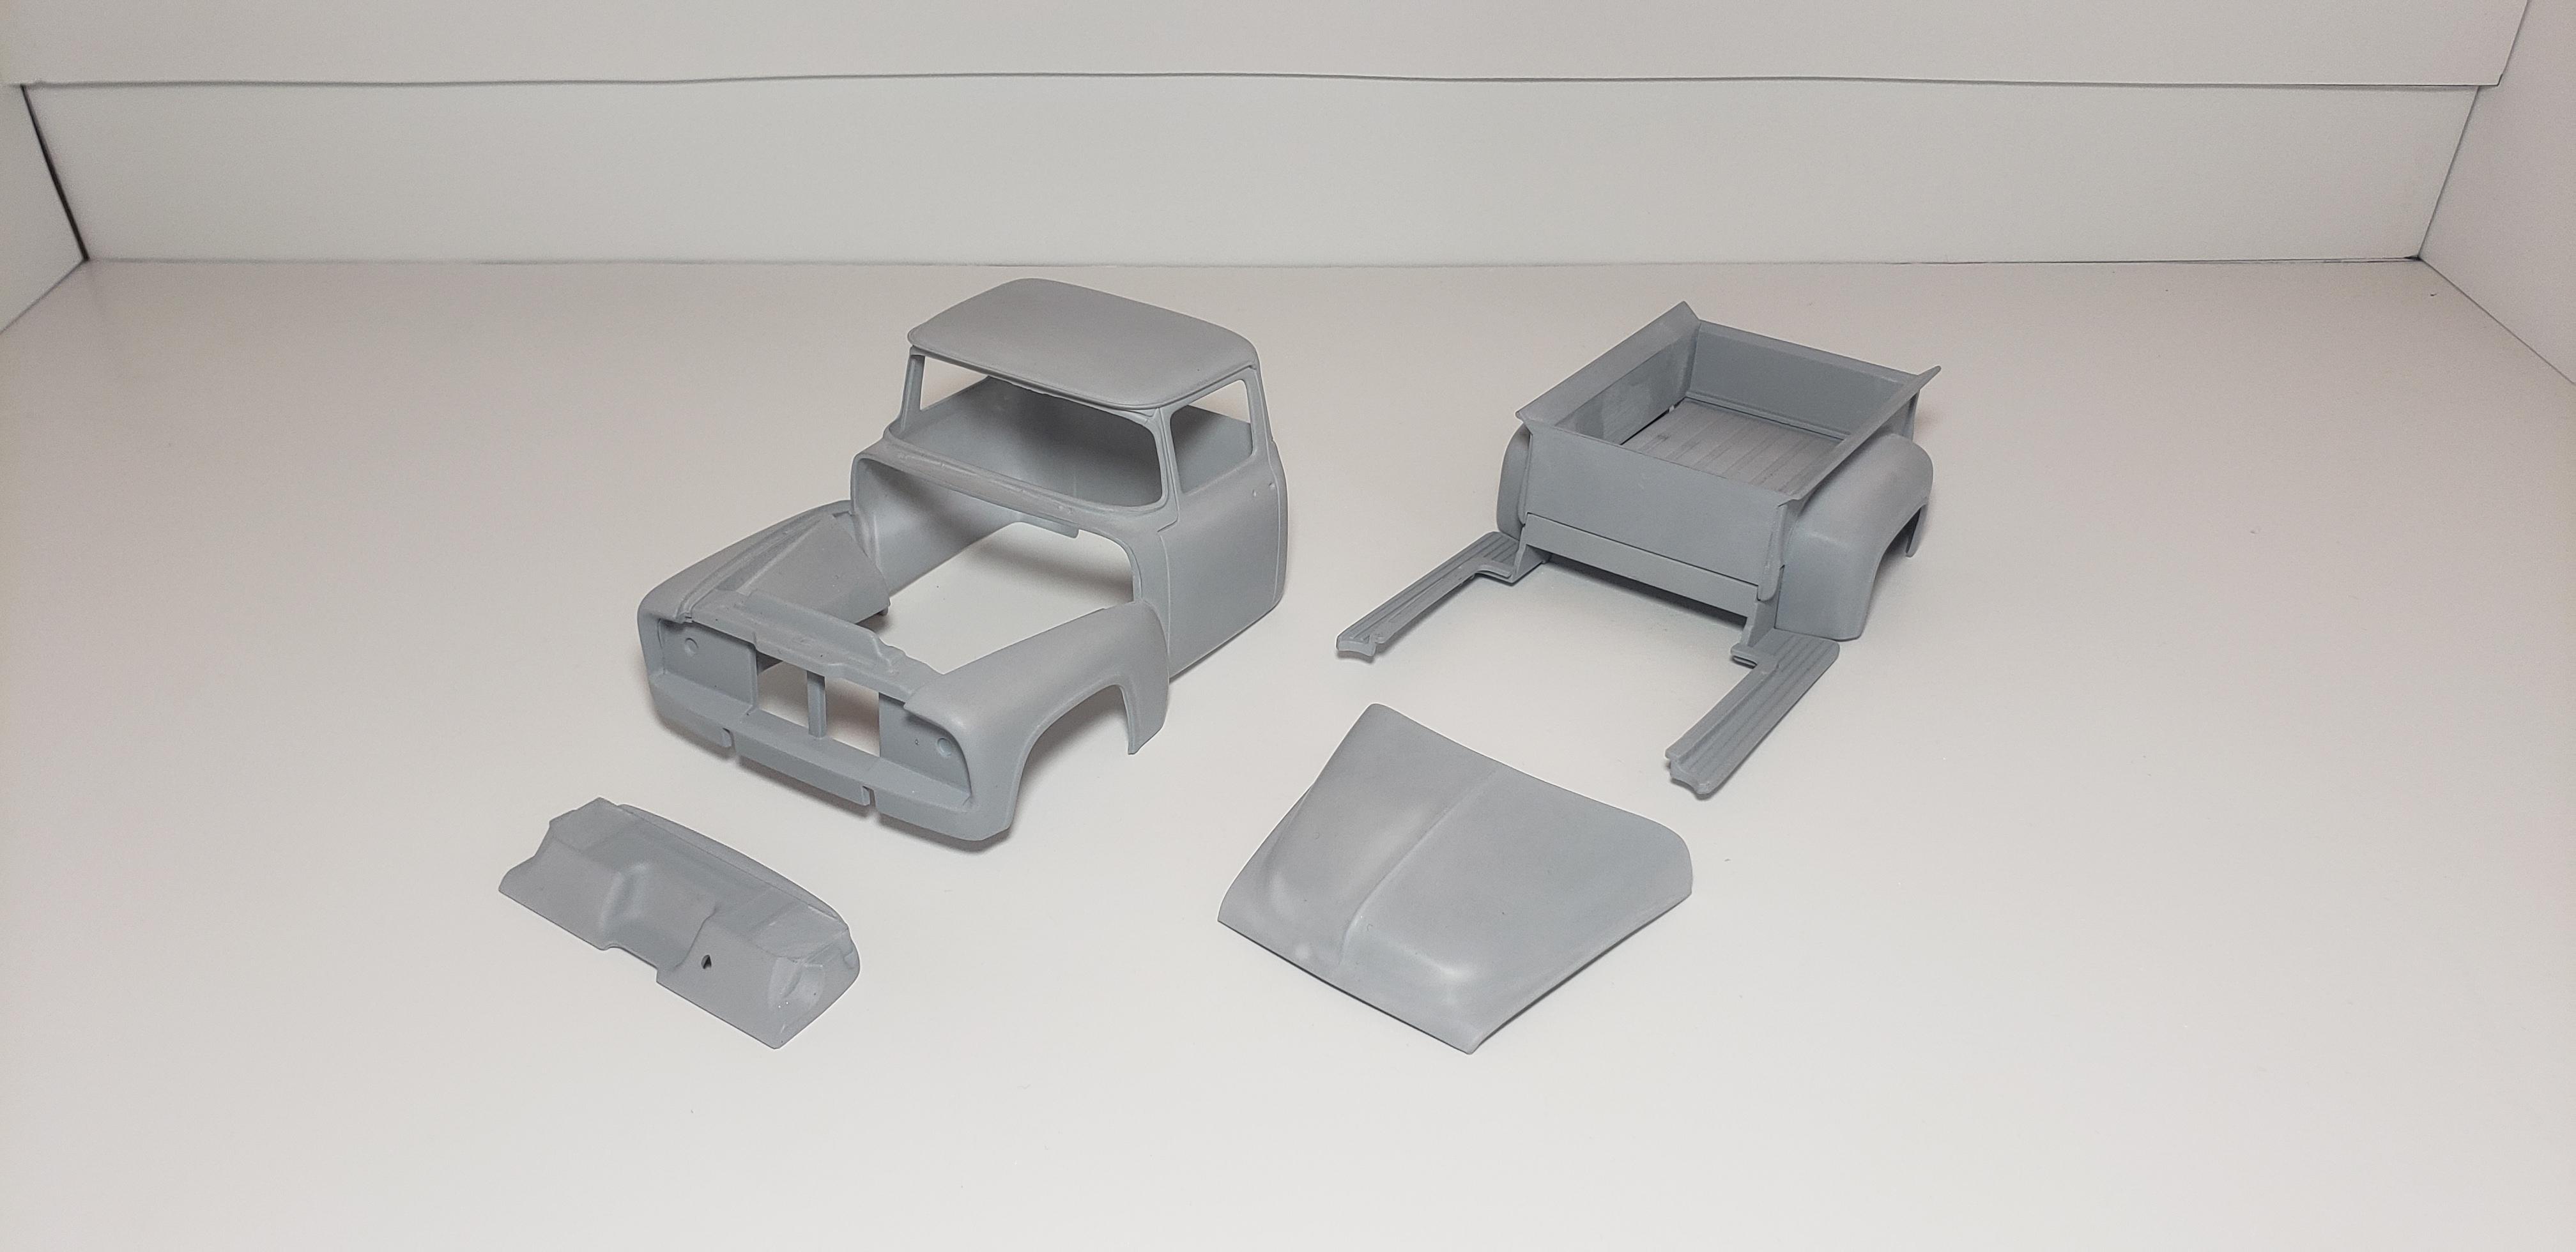
digging this one out and getting it back on the bench. hoping to keep on this one till completion removed the chrome from the kit parts and prepared for paint. removed parting lines and primered the body. now wetsanded ready for paint thanks for lookin! questions/ comments always welcome
-
exactly what I was going for thanks thanks thank you thank you. brings some life and detail to the chassis with a digital file you can scale them to any size. its actually 1/25 but you can see how large it is. making headders took a while thank you all for you wonderful comments !
-
hello Steve thank you! you are correct tires are BFG/TA's. wheels and tires i 3d printed wheels are 3 peice making them a breeze to paint
-
engine and transmission are 3d printed. the files are from Ron Olsen 3DMODELSPECIALTIES
-
really like how this one turned out! looks fantastic and details are spot on. always enjoy seeing your work
-
looks fantastic! that's another great build from you. keep up the good work
-
thats how you know you've succeeded haha really though, it looks great well done 👏
-
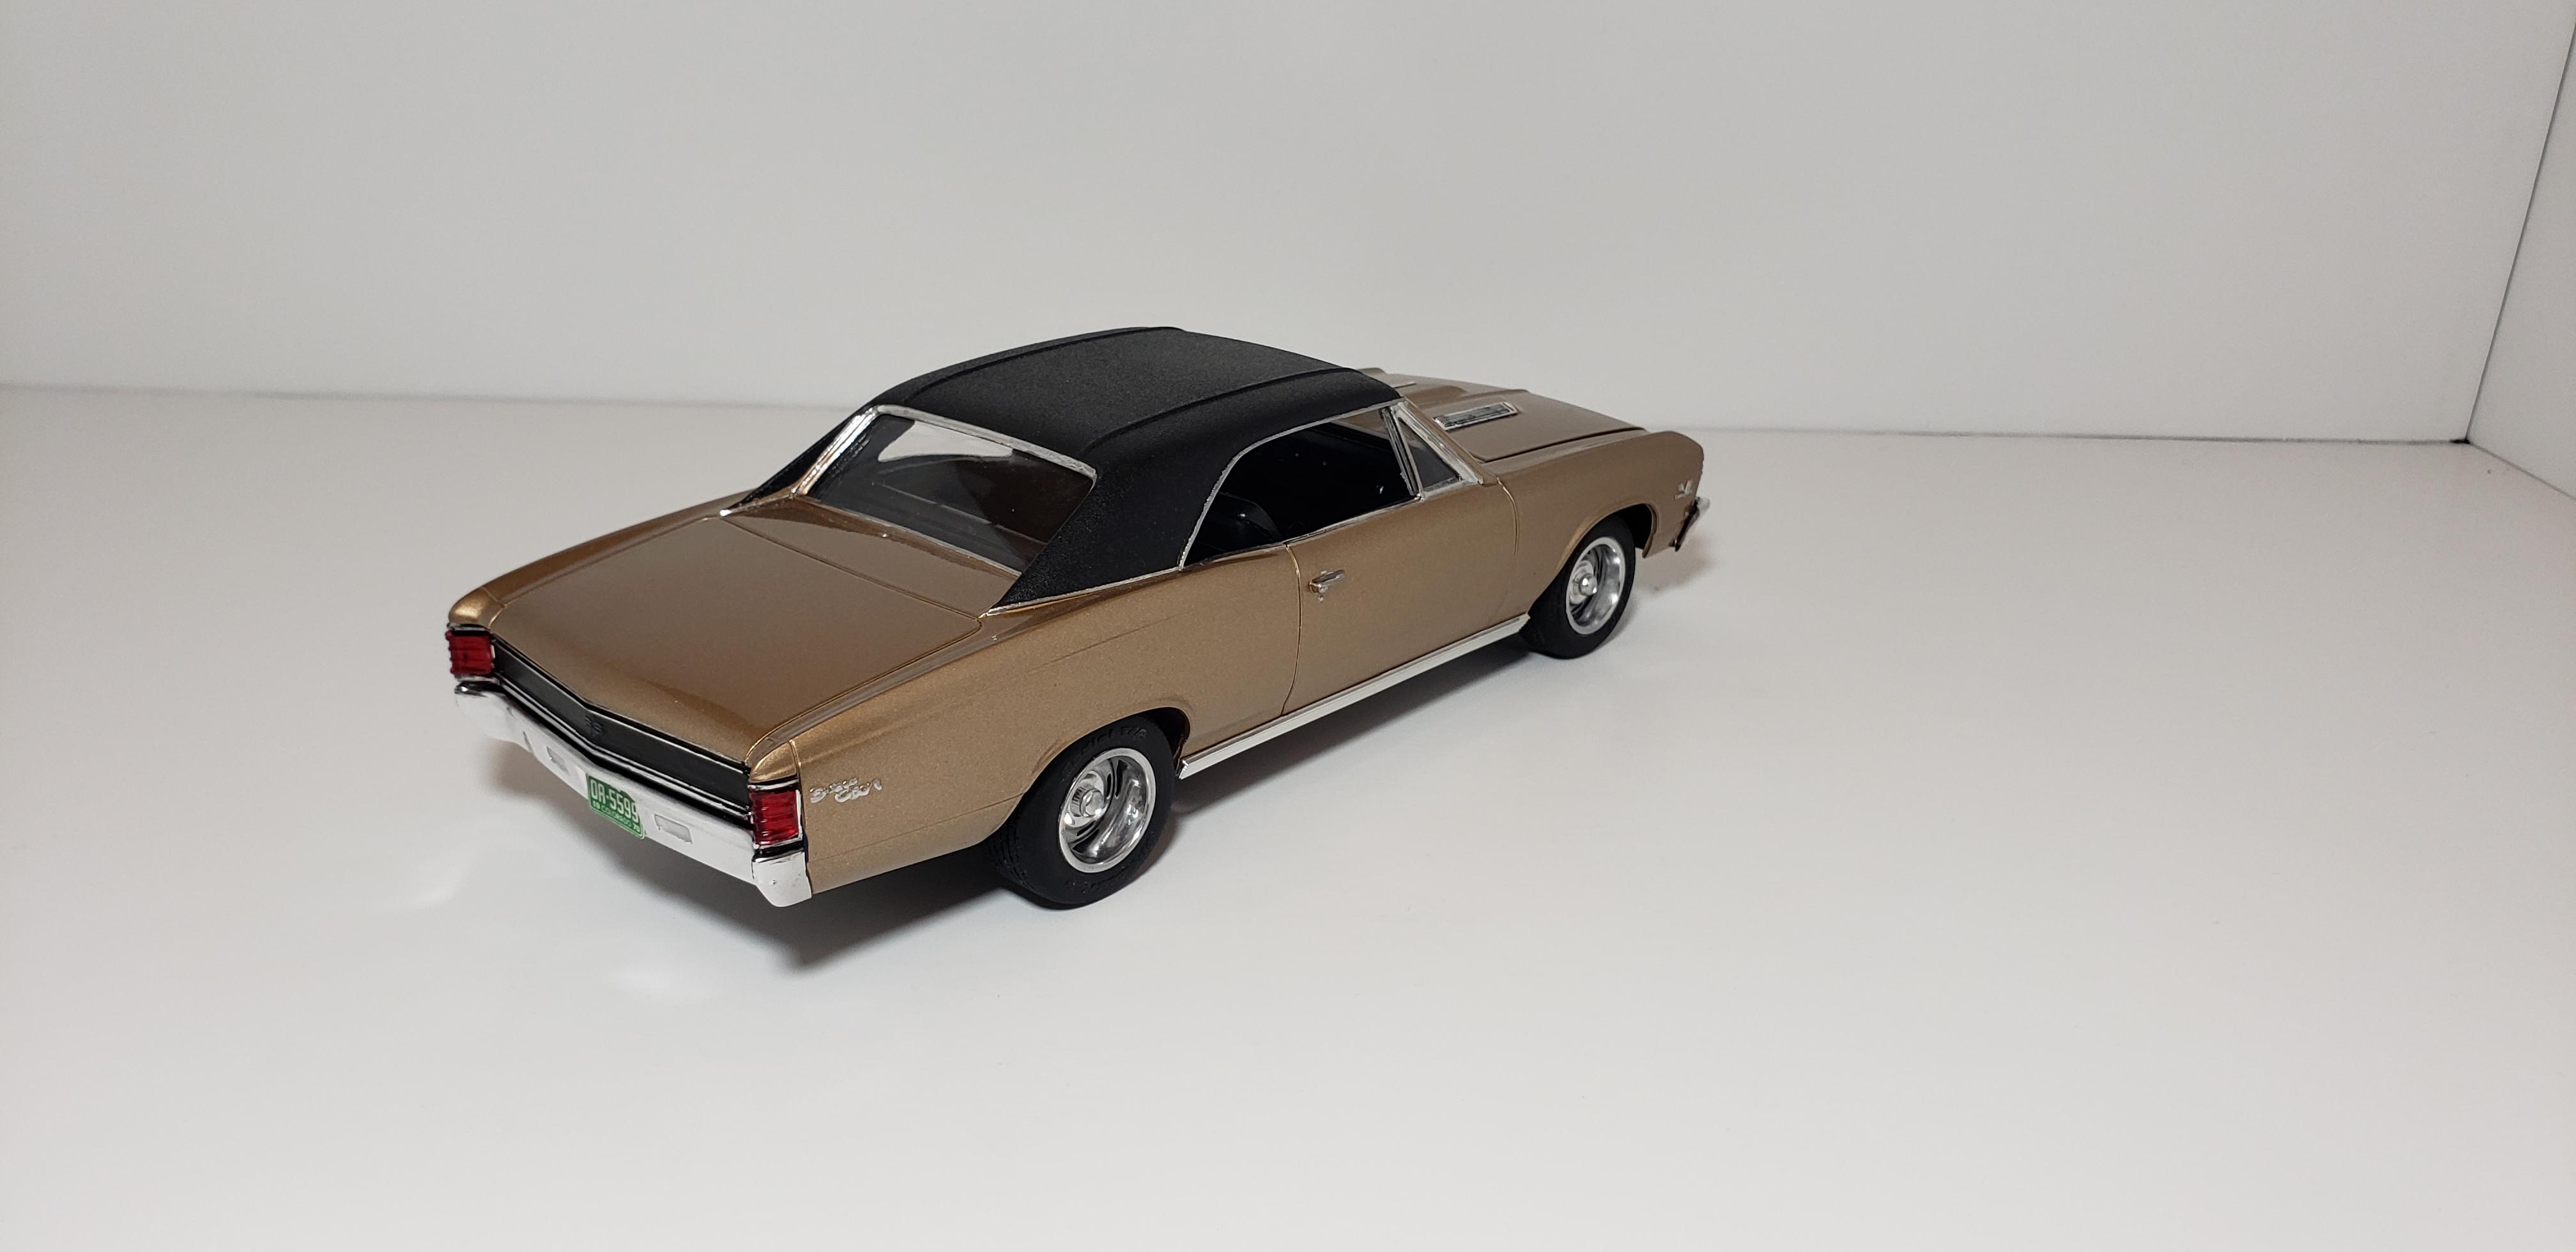
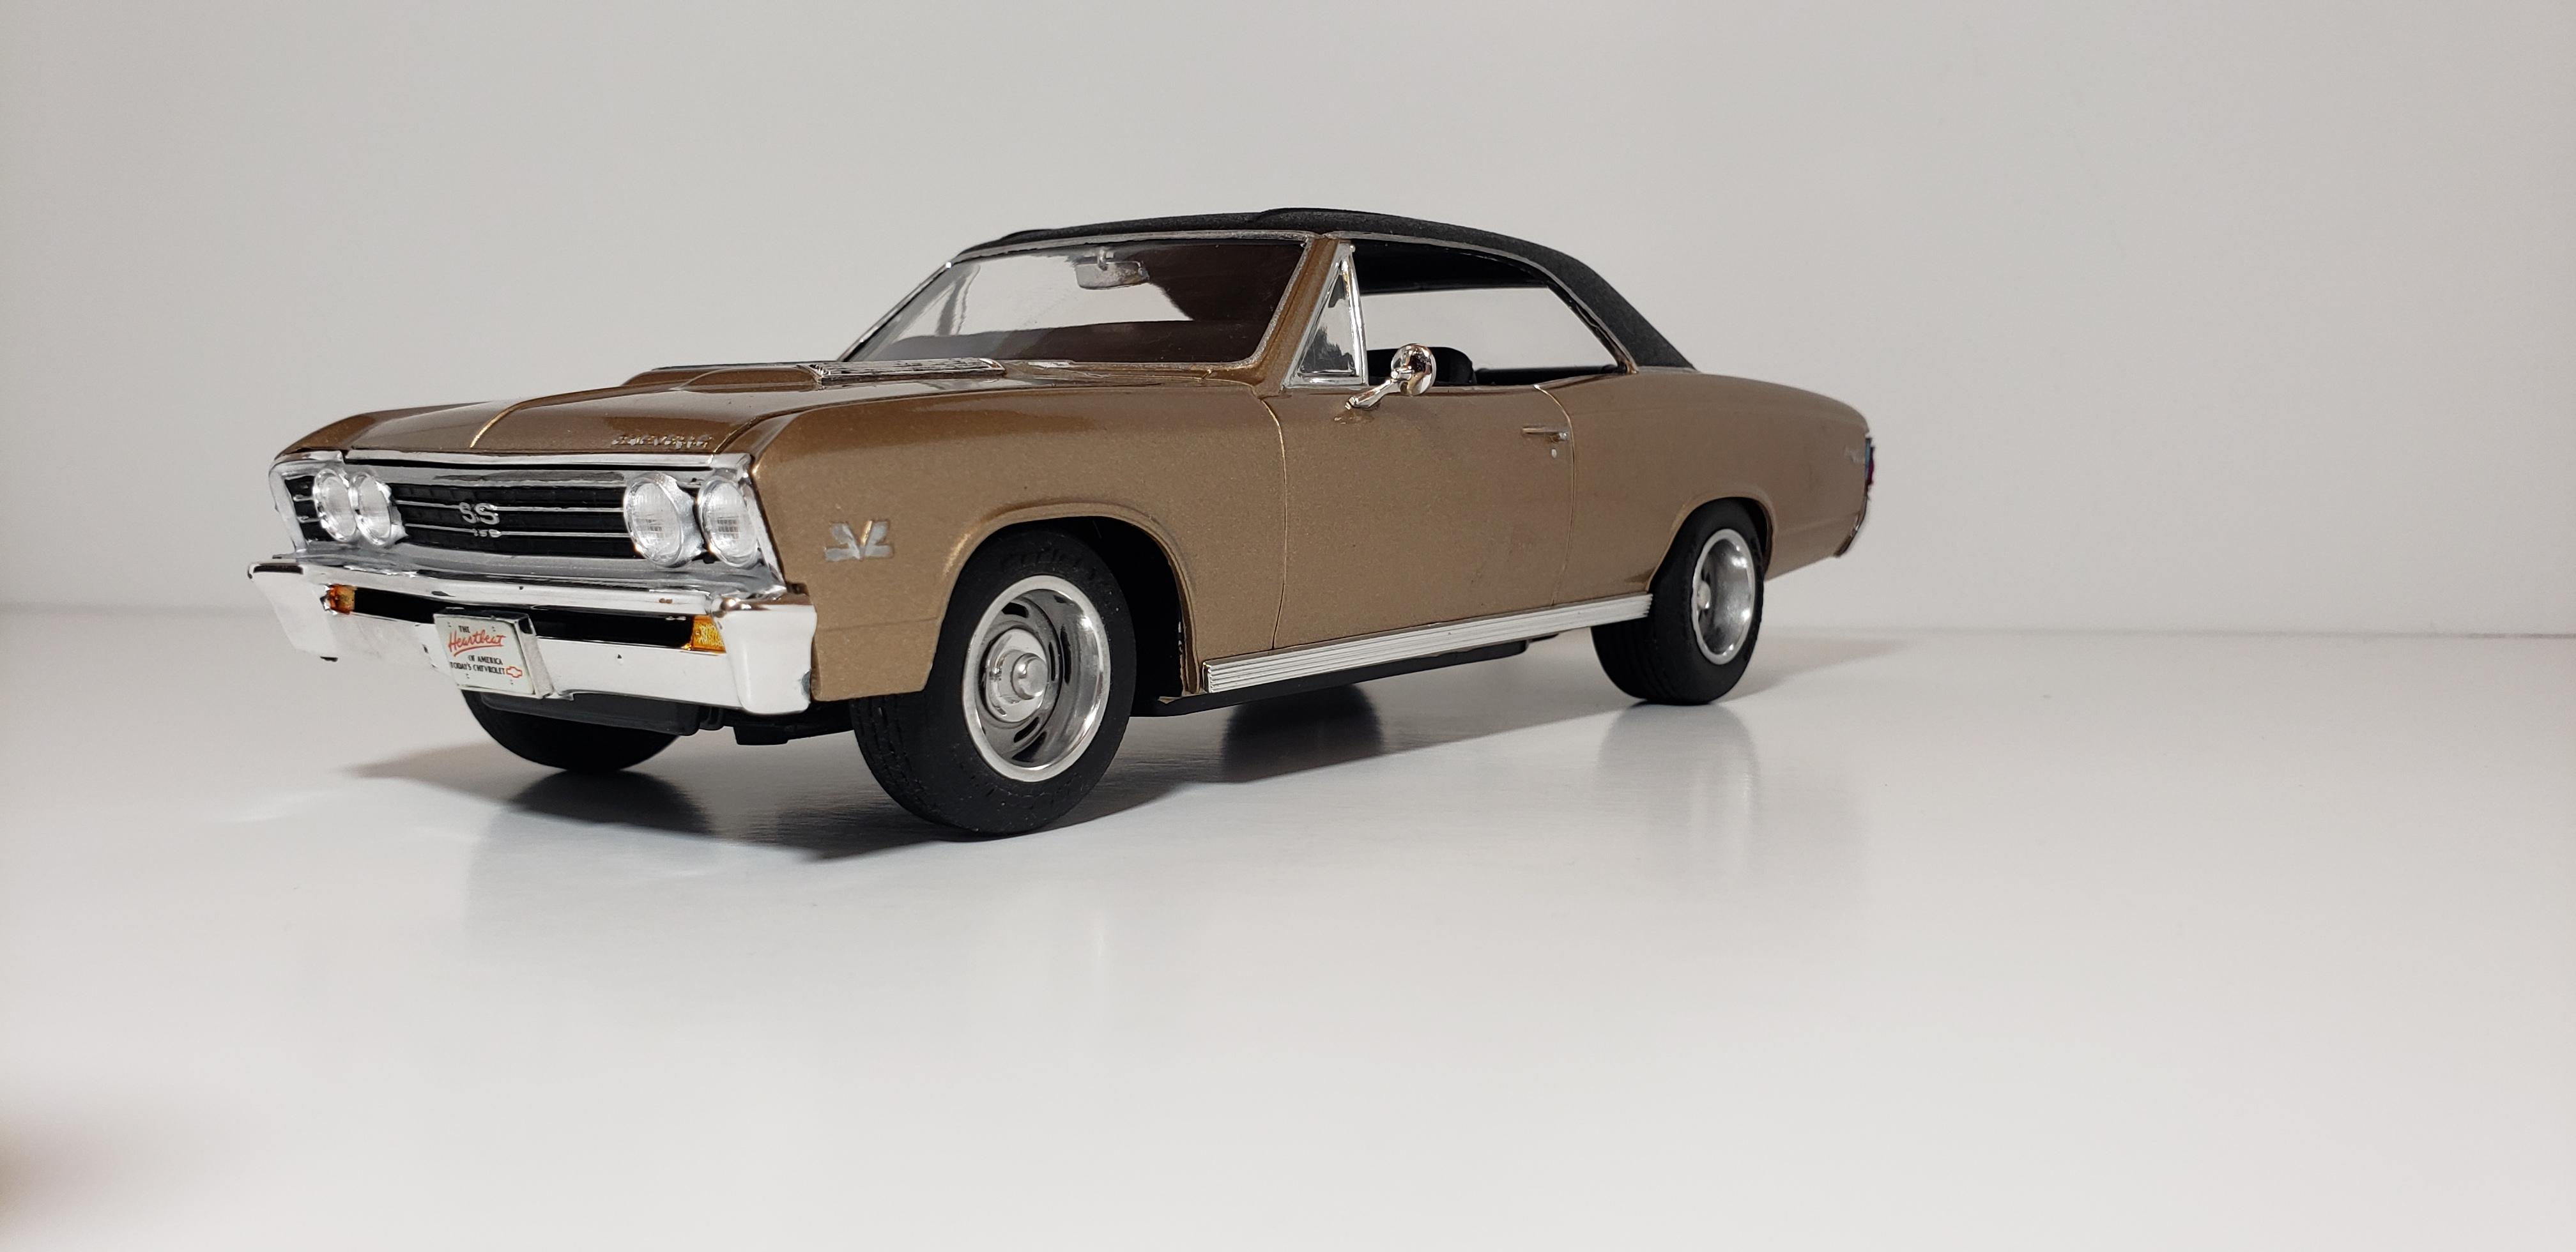
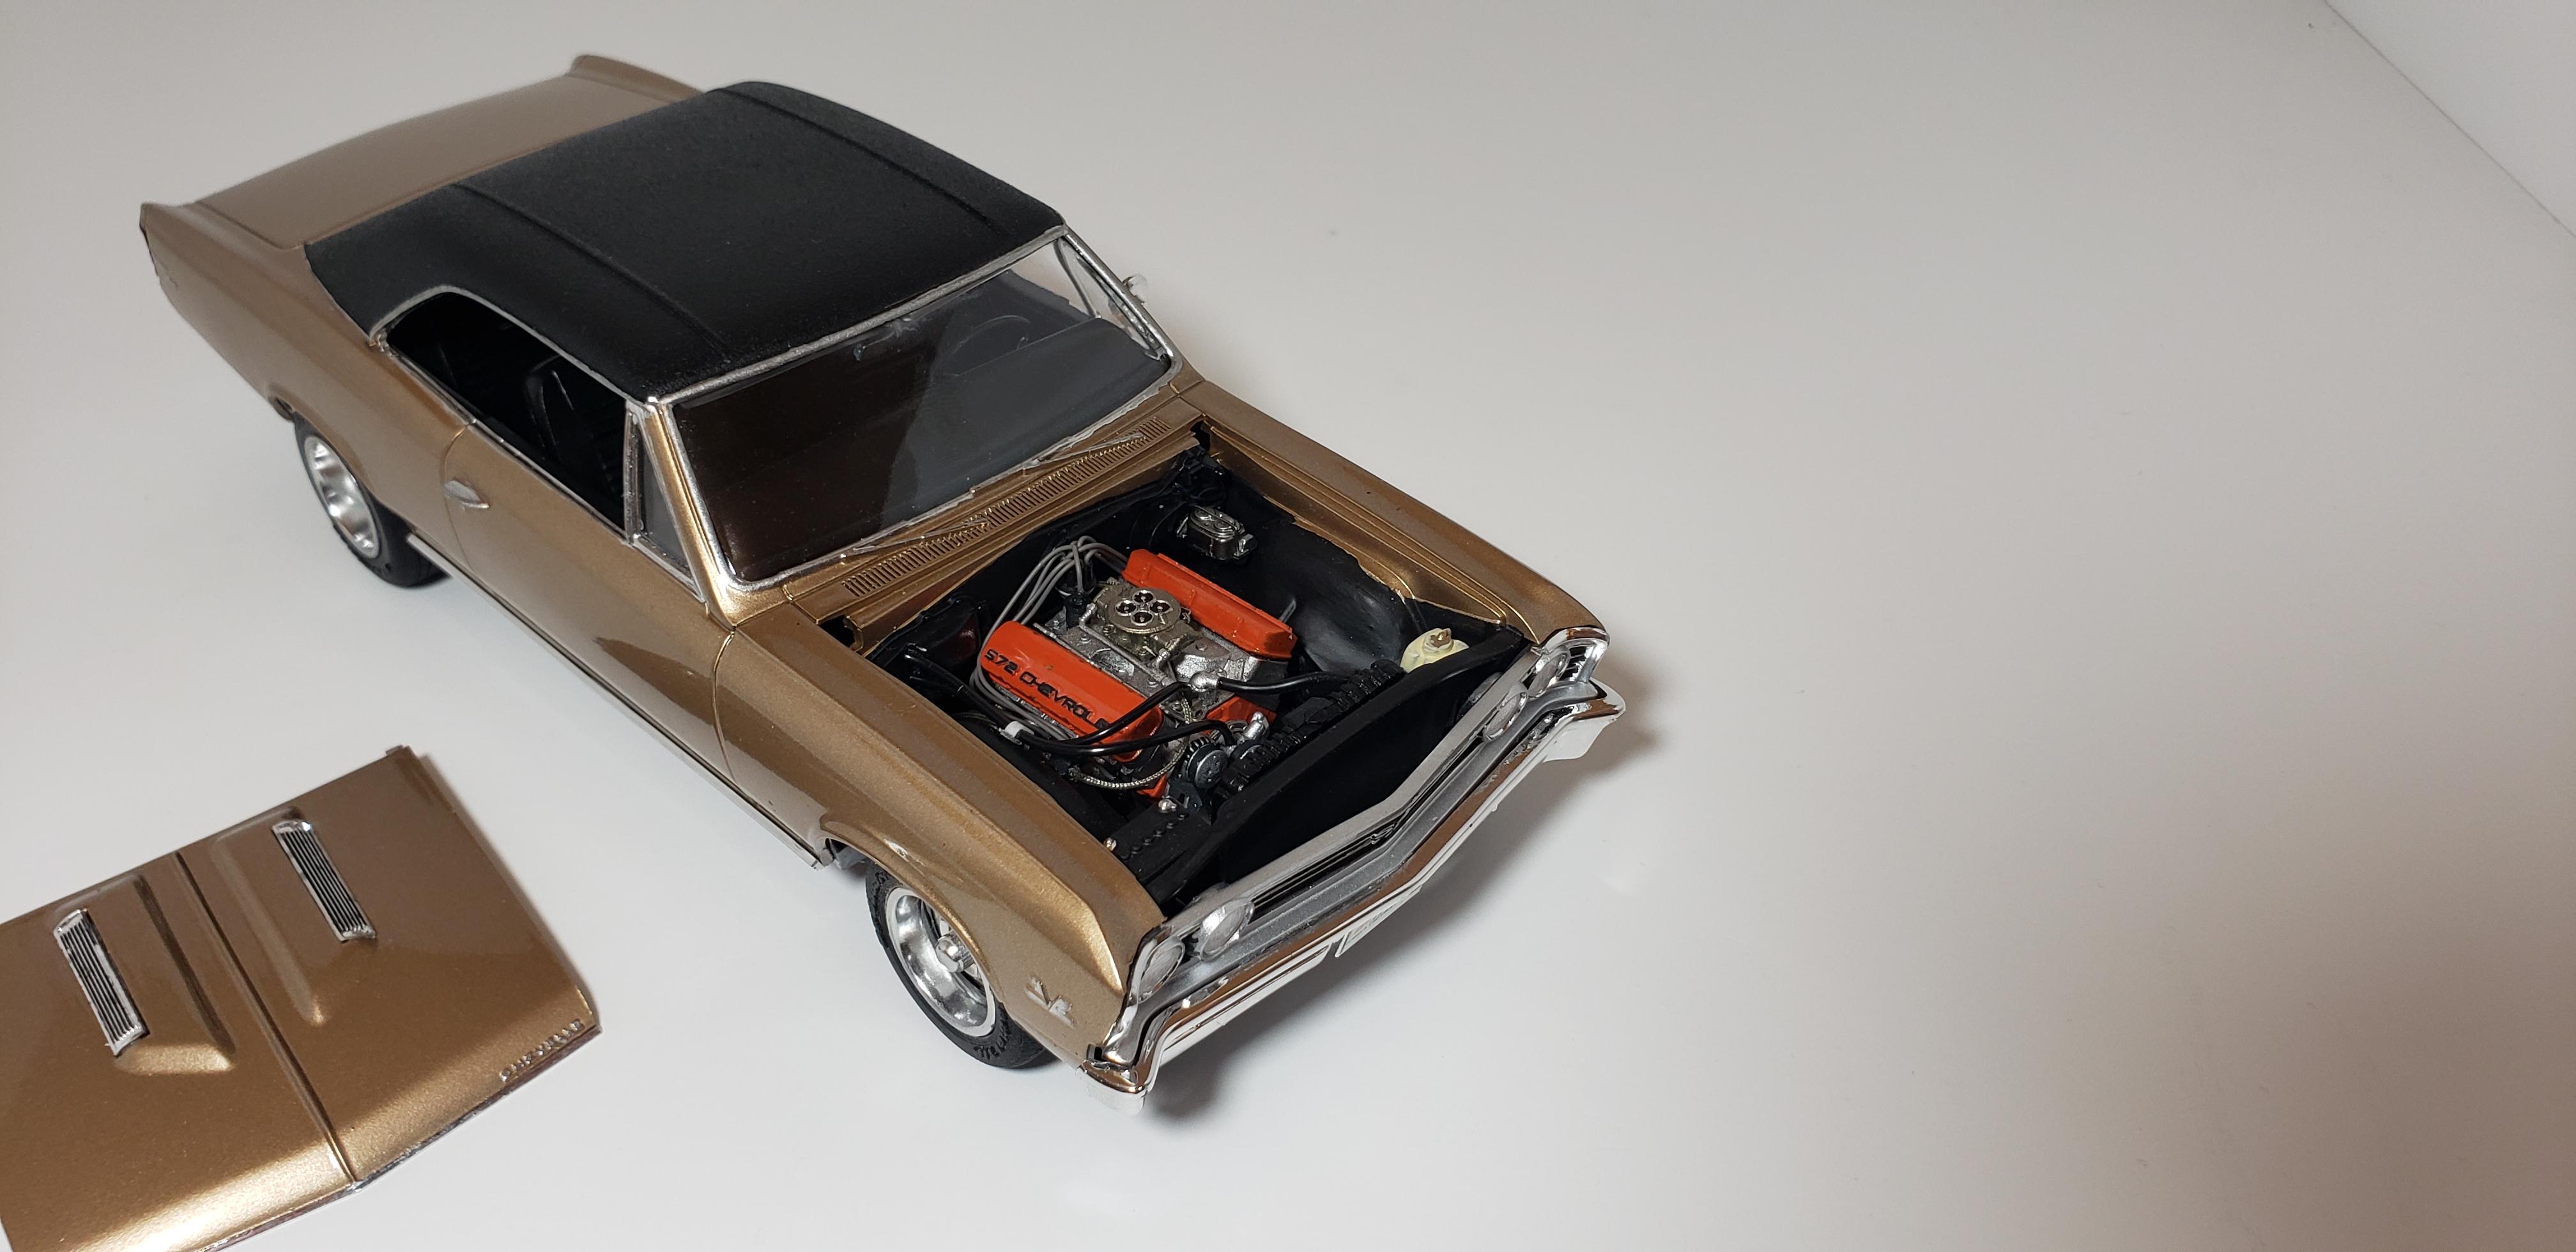
hello all, finished up this quick build last week. first one for the year. i wanted to build a street/strip inspired car so it had a transplant to a 572 all comments welcome thanks for lookin!
-
if I remember correctly, the blue was duplicolor and the white is tamiya pearl white thanks!
-
1961 Impala Outlaw Twin Turbo
streetmachine11 replied to streetmachine11's topic in WIP: Drag Racing Models
thank you both for your kind comments should have another update soon -
1961 Impala Outlaw Twin Turbo
streetmachine11 replied to streetmachine11's topic in WIP: Drag Racing Models
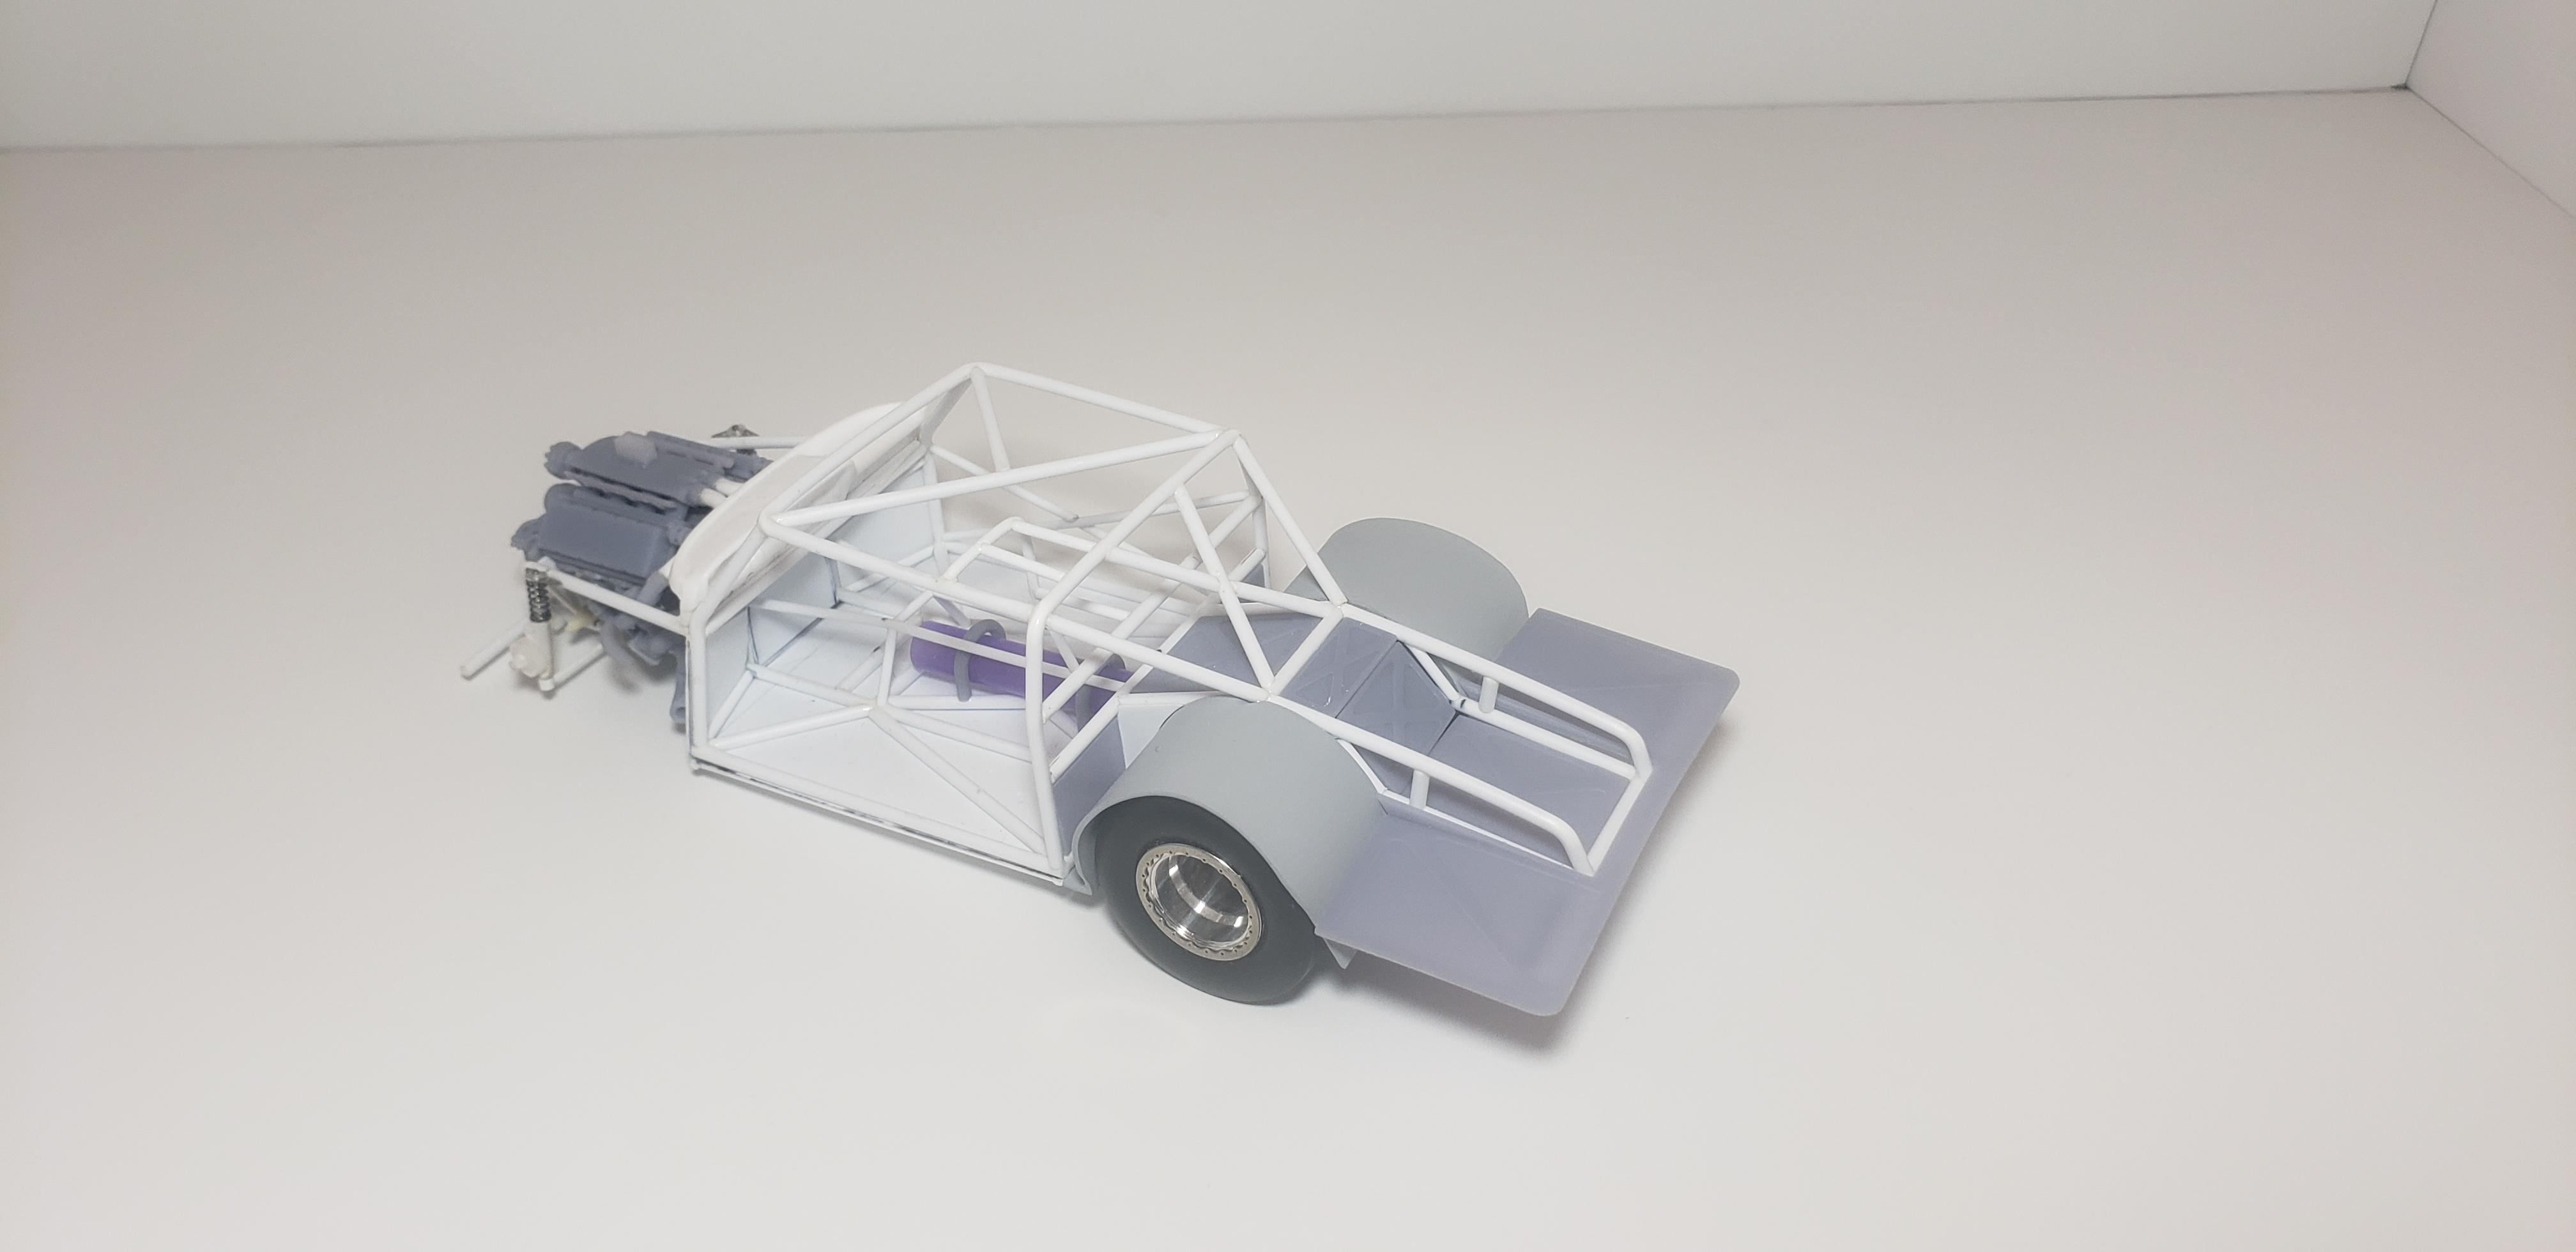
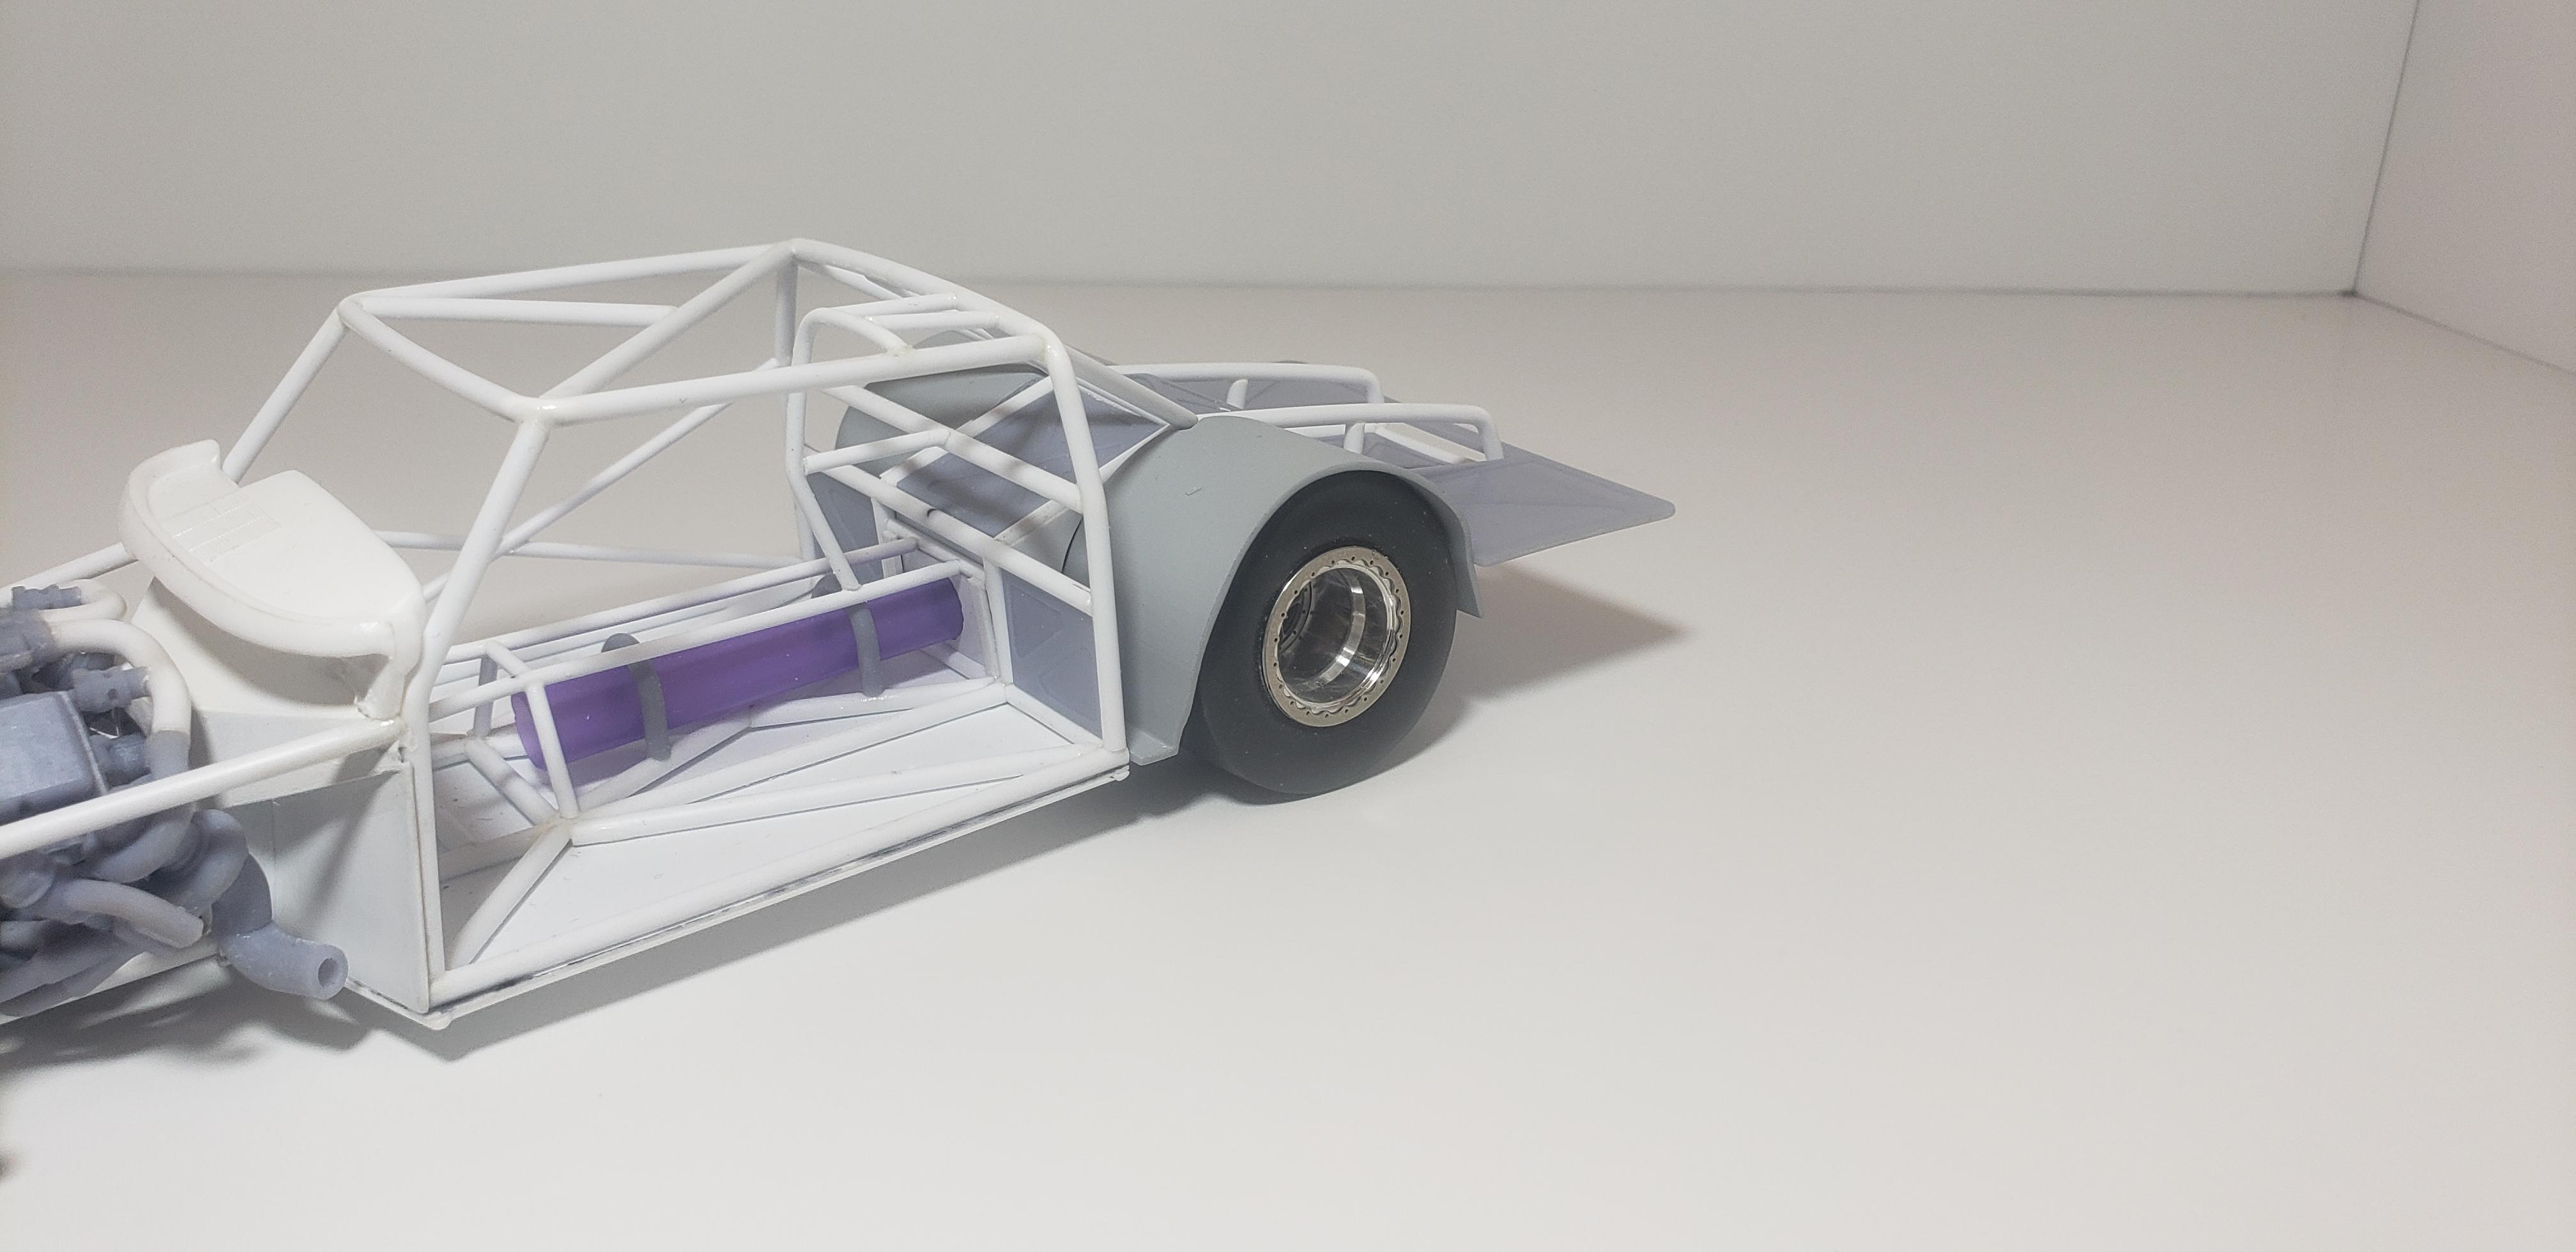
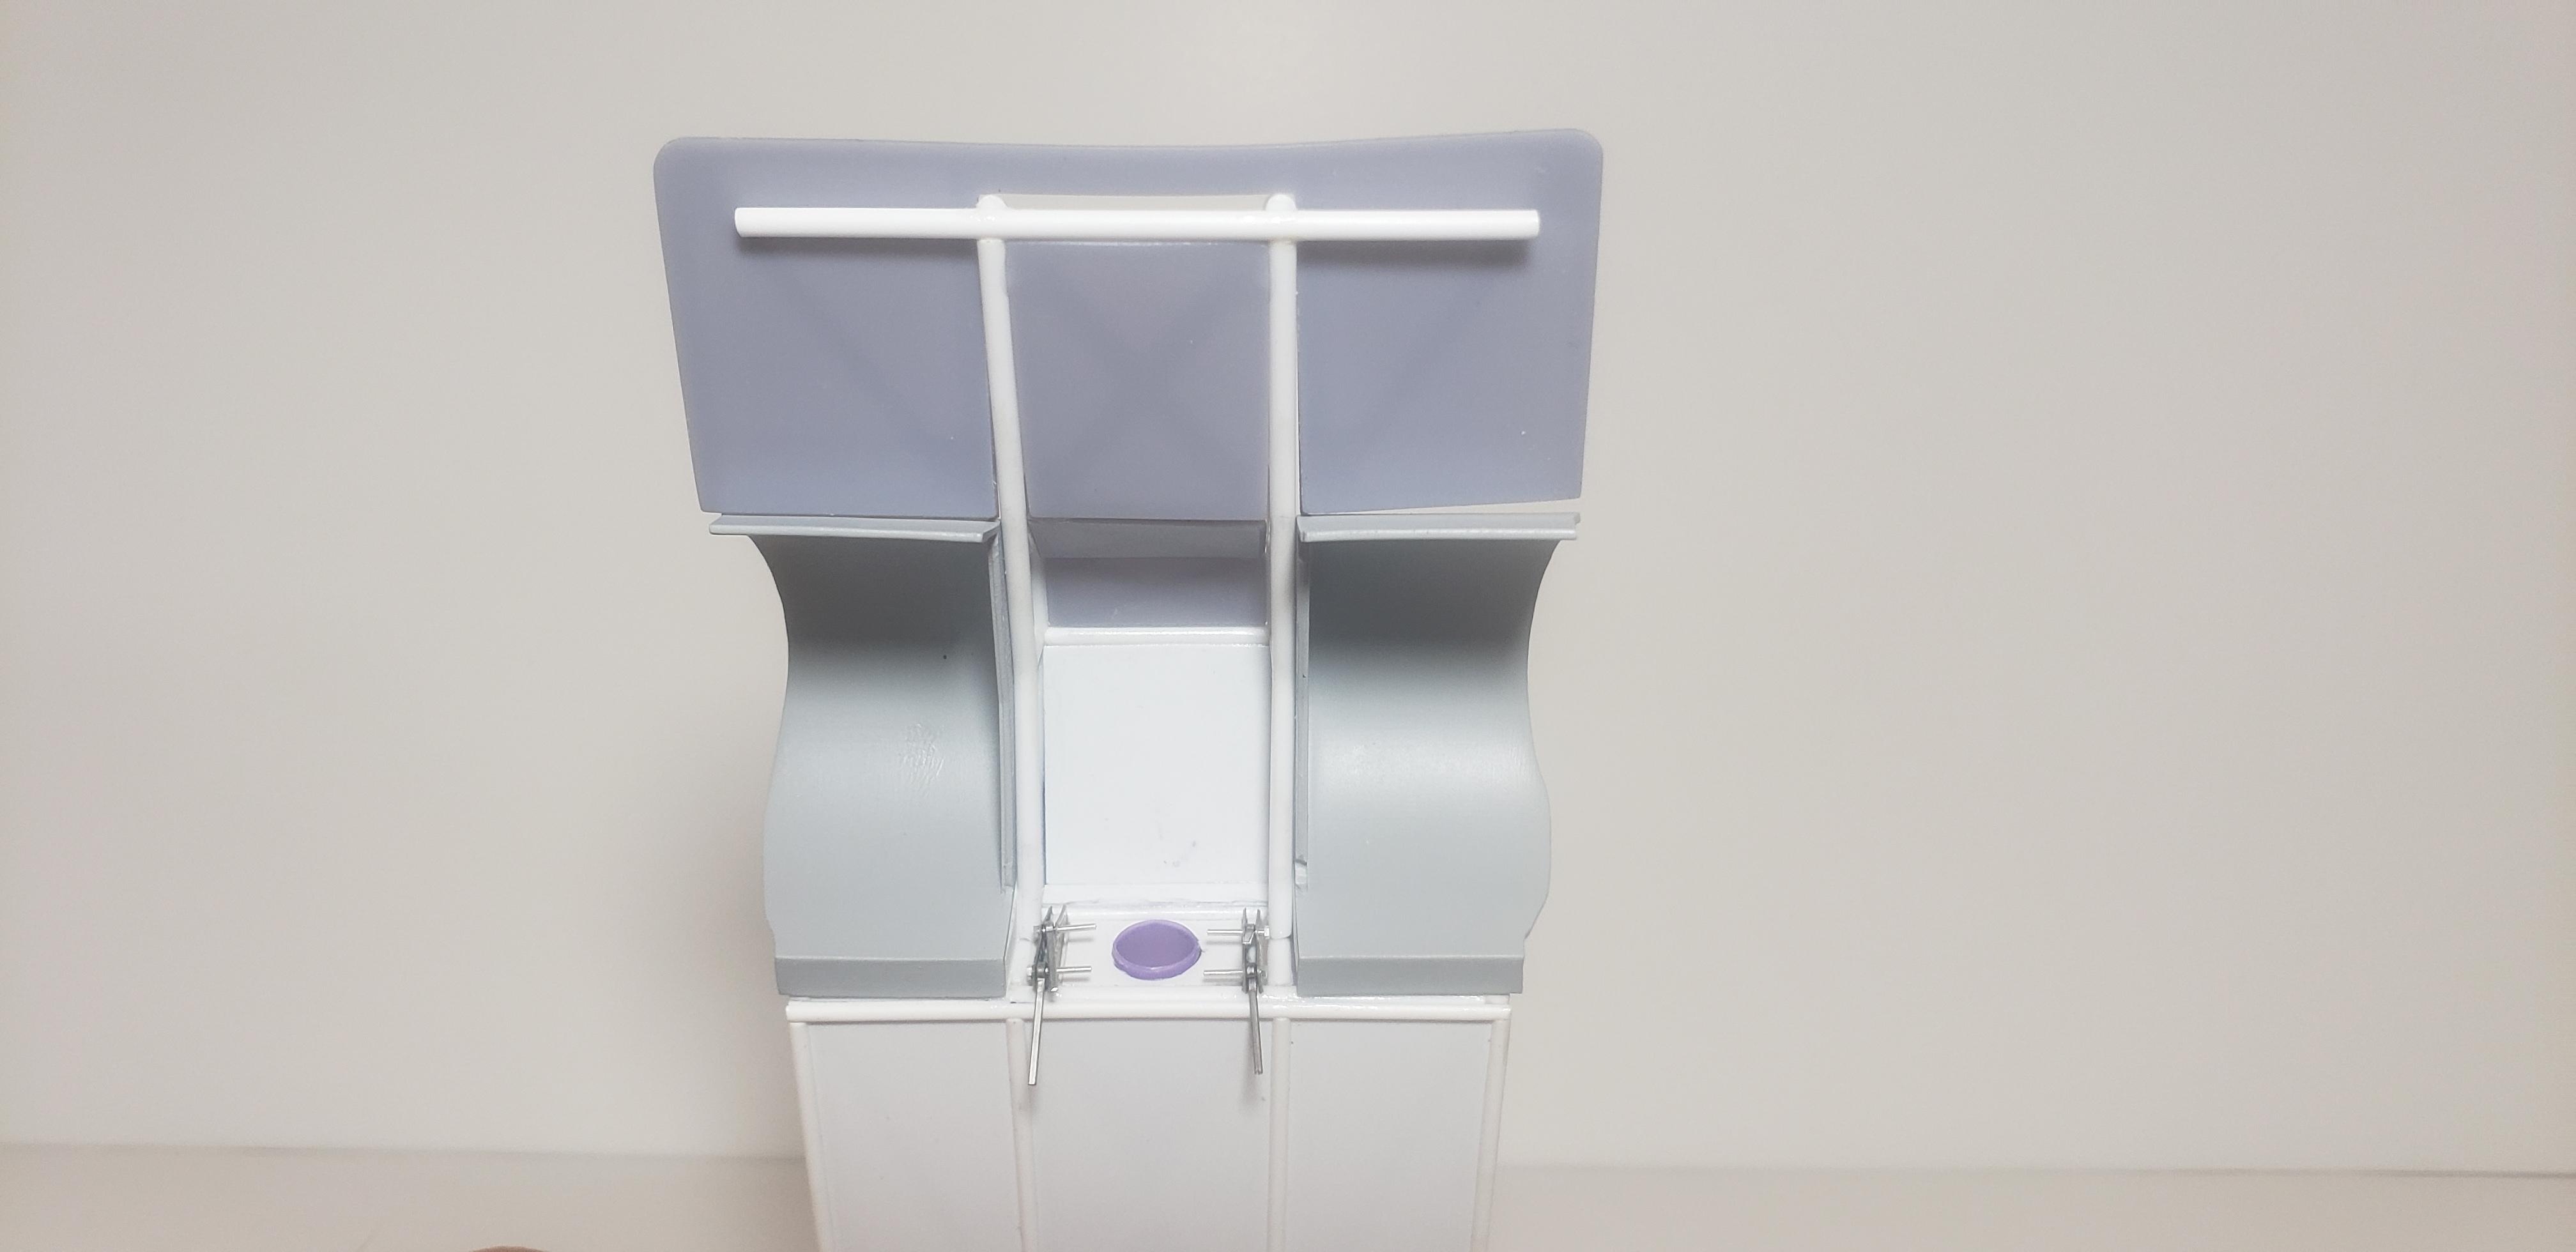
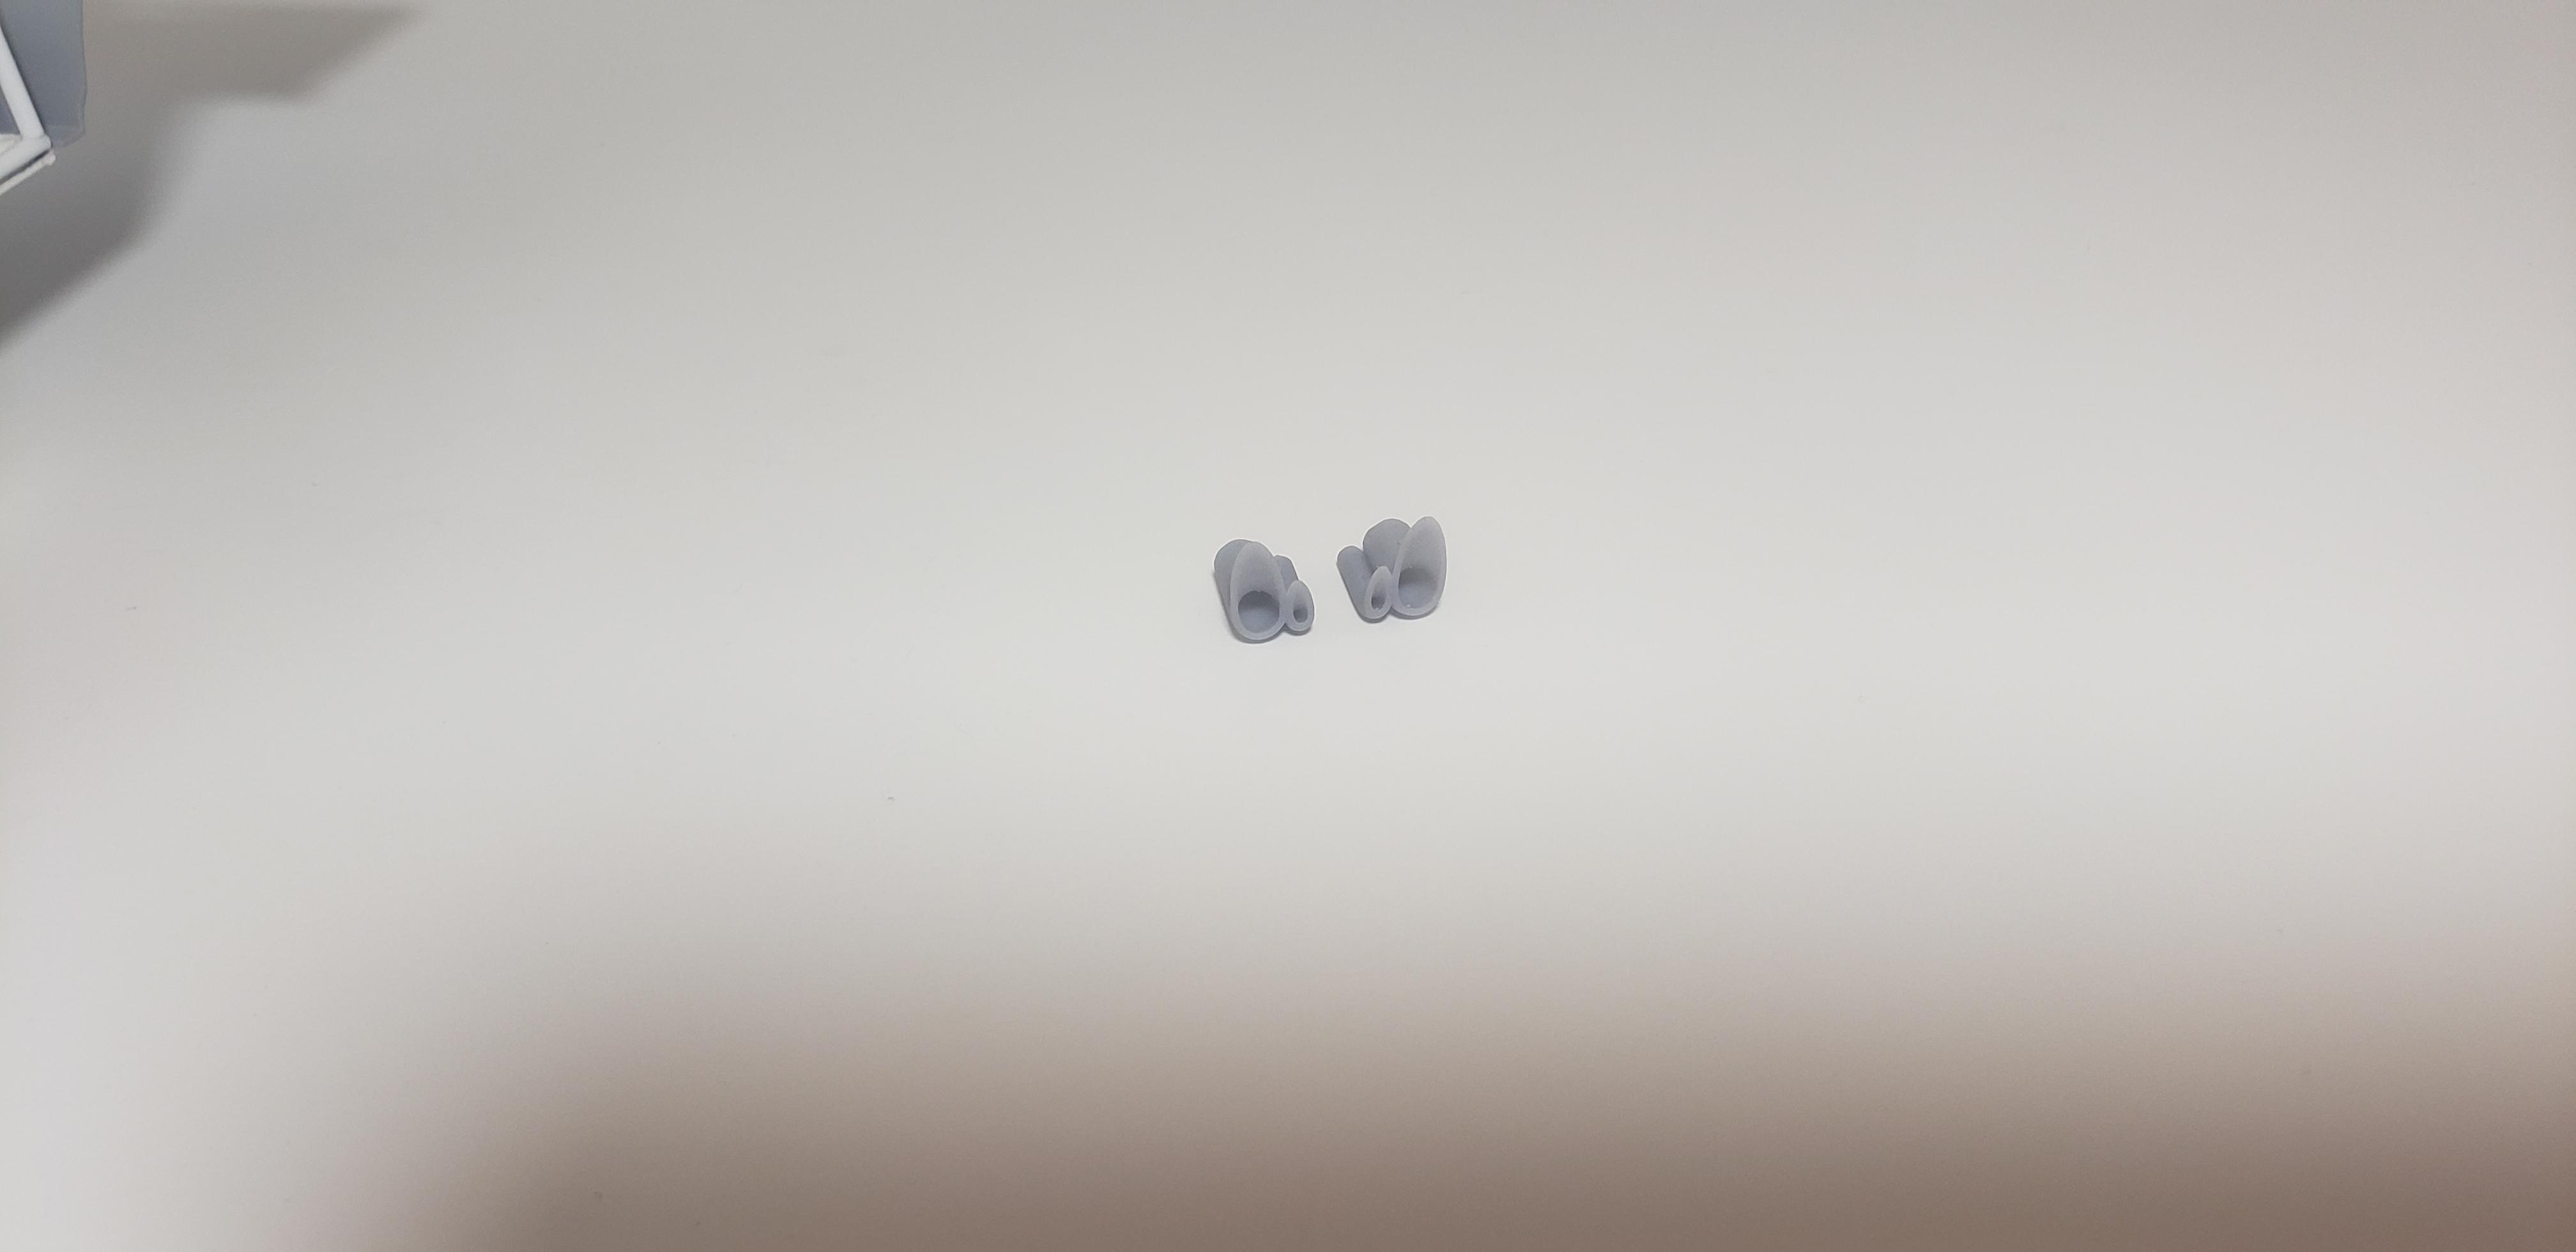
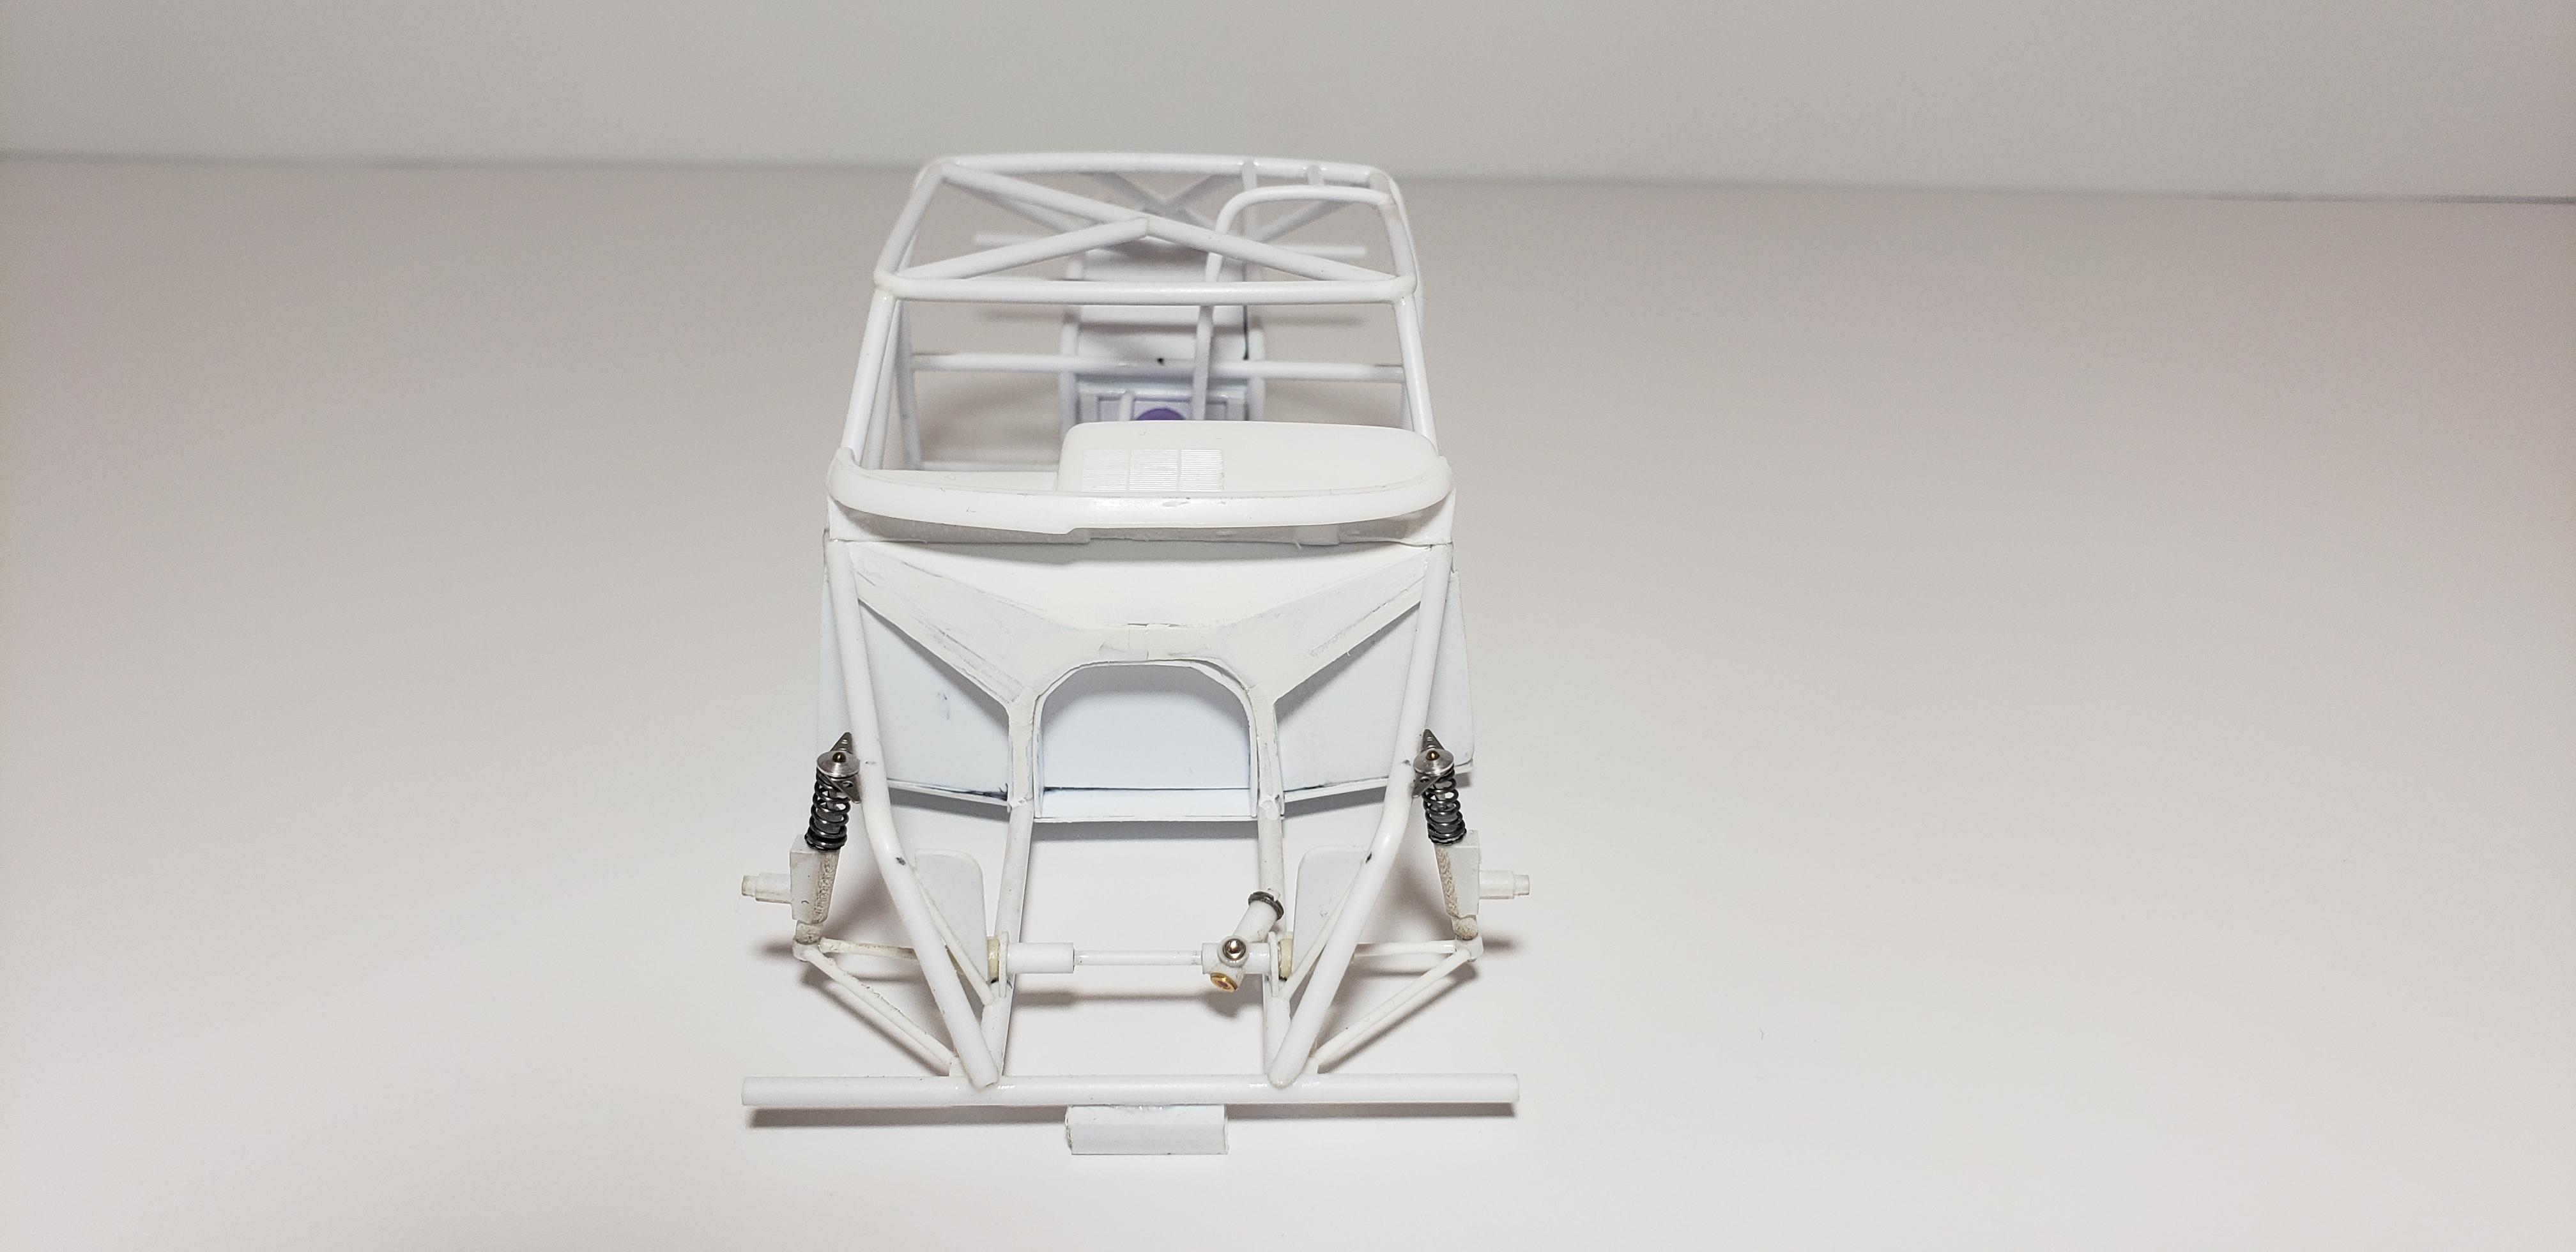
hello all, back again with some updates. mostly making new things in CAD that I've made it styrene. new tin-work with bead rolled details and wheel tubs. also made some turbo bullhorns thats all for now. some parts are just setting in place. all gaps and alignment will be done on final fit.
-
this is a really cool build. great ideas and execution keep up the good work 👍
-
1961 Impala Outlaw Twin Turbo
streetmachine11 replied to streetmachine11's topic in WIP: Drag Racing Models
same here! thank you. thanks! thank you thank you. pull something out and do it I've learned alot with this build. being my first attempt at a tube chassis car. now I've got a line up of uncommon cars to do when this one is finnished thanks for your kind words my friend -
1961 Impala Outlaw Twin Turbo
streetmachine11 replied to streetmachine11's topic in WIP: Drag Racing Models
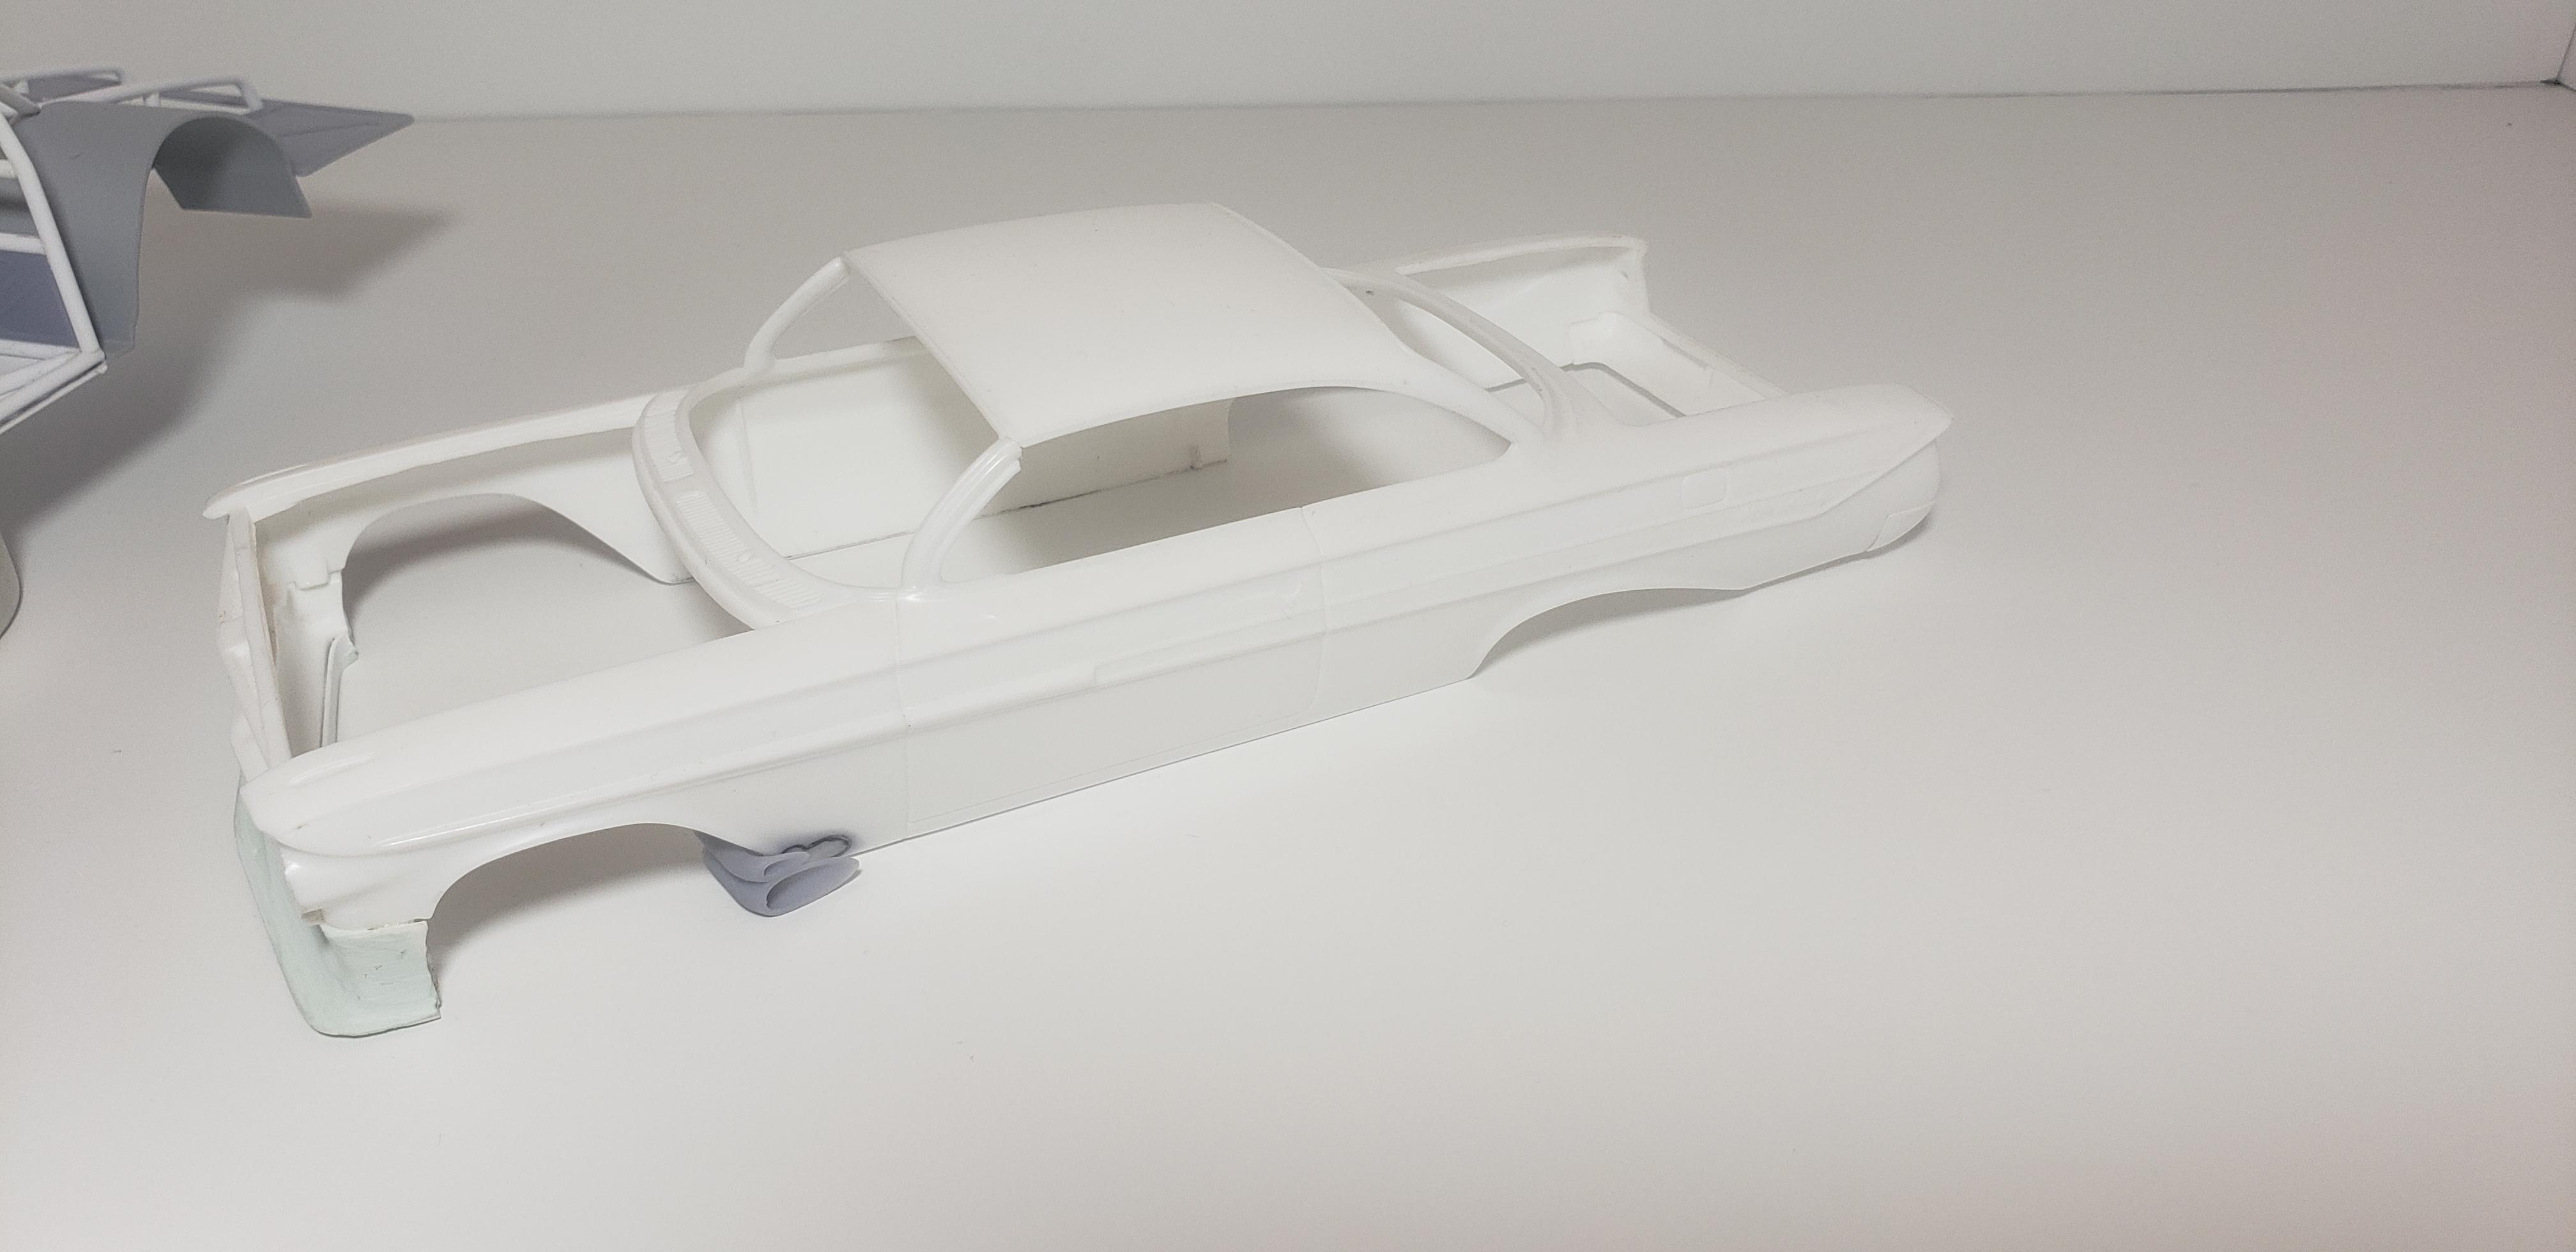
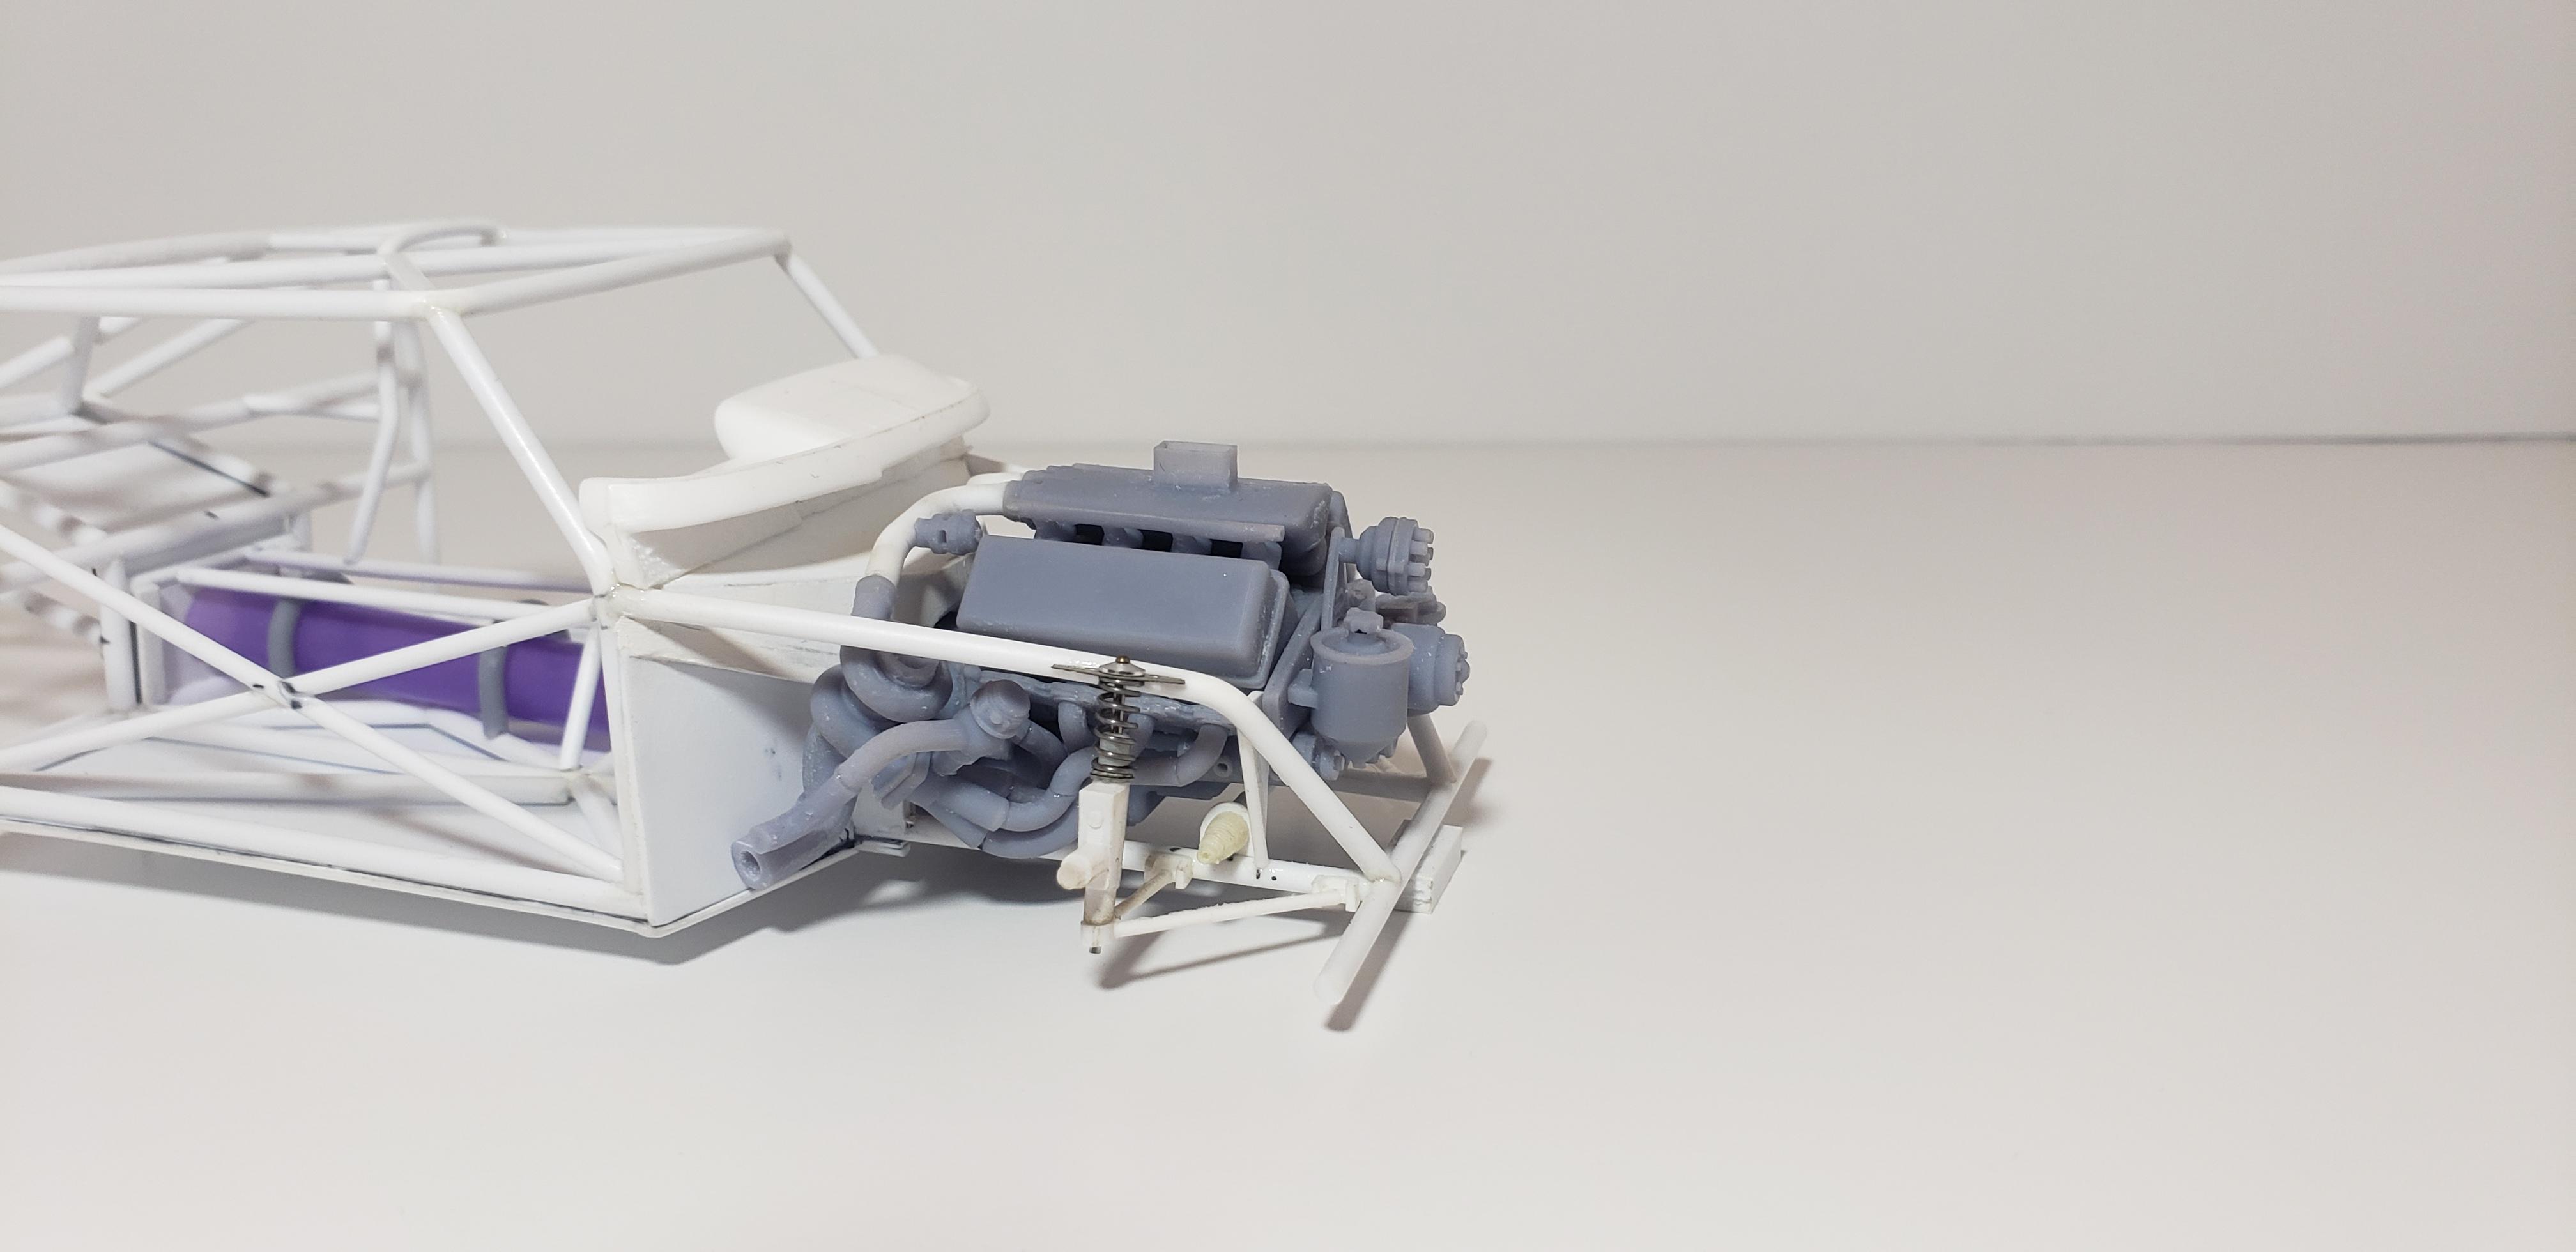
update on the impala I've re-made the firewall to allow more clearance for the turbo/down pipe assembly. still need some finishing but it made a big difference. I've also made progress on the drives haft tunnel and safety tube as well as the drivers seat cage. been playing around with the dash too. without something there it looks odd. the dash looks nice with the body in place but when the body is off it looks really bulky. not really sure what ill do with that yet. thats all for now. as always tanks for lookin and comments are always welcome JS
-
just read through the progress of this build the body modifications really make it. so much improvement on this old kit the color is fantastic. really nice job my friend looking forward to more progress.
-
thank you! I purchased the files from Cults3d and printed them myself. If you have a 3d printer, the designers are MCS-Design (engine) zforcemodelworks (wheel/tire)