Search the Community
Showing results for tags 'Studebaker'.
-
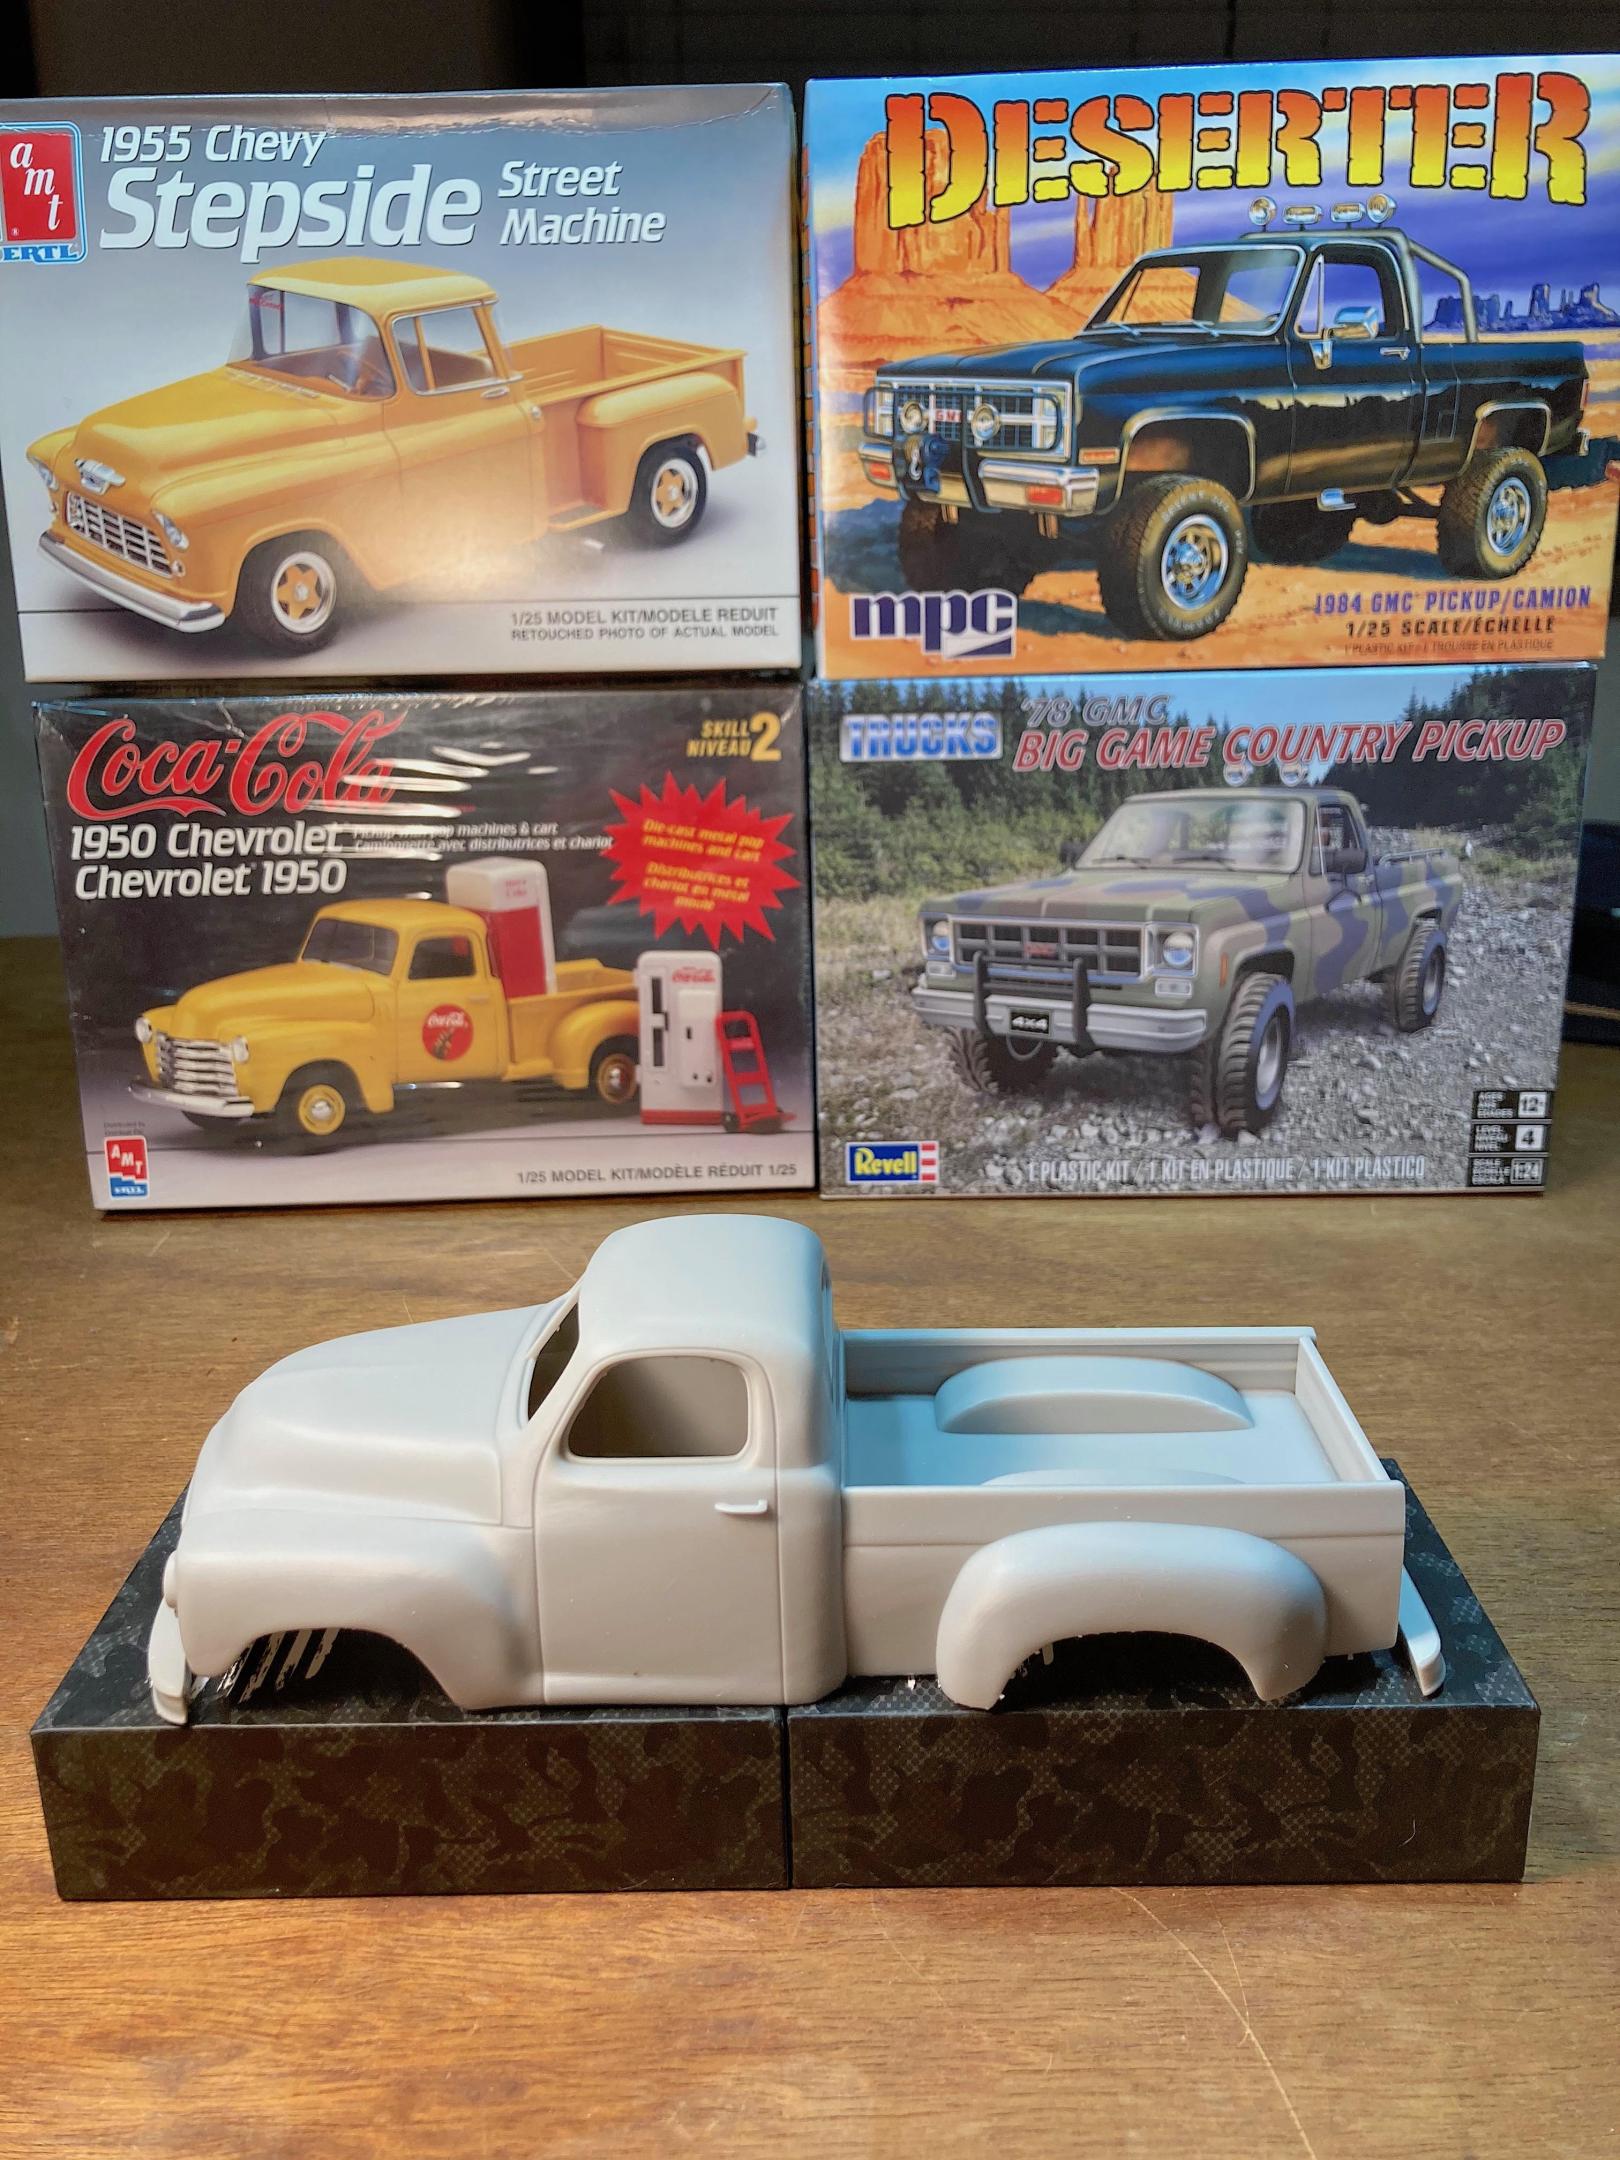
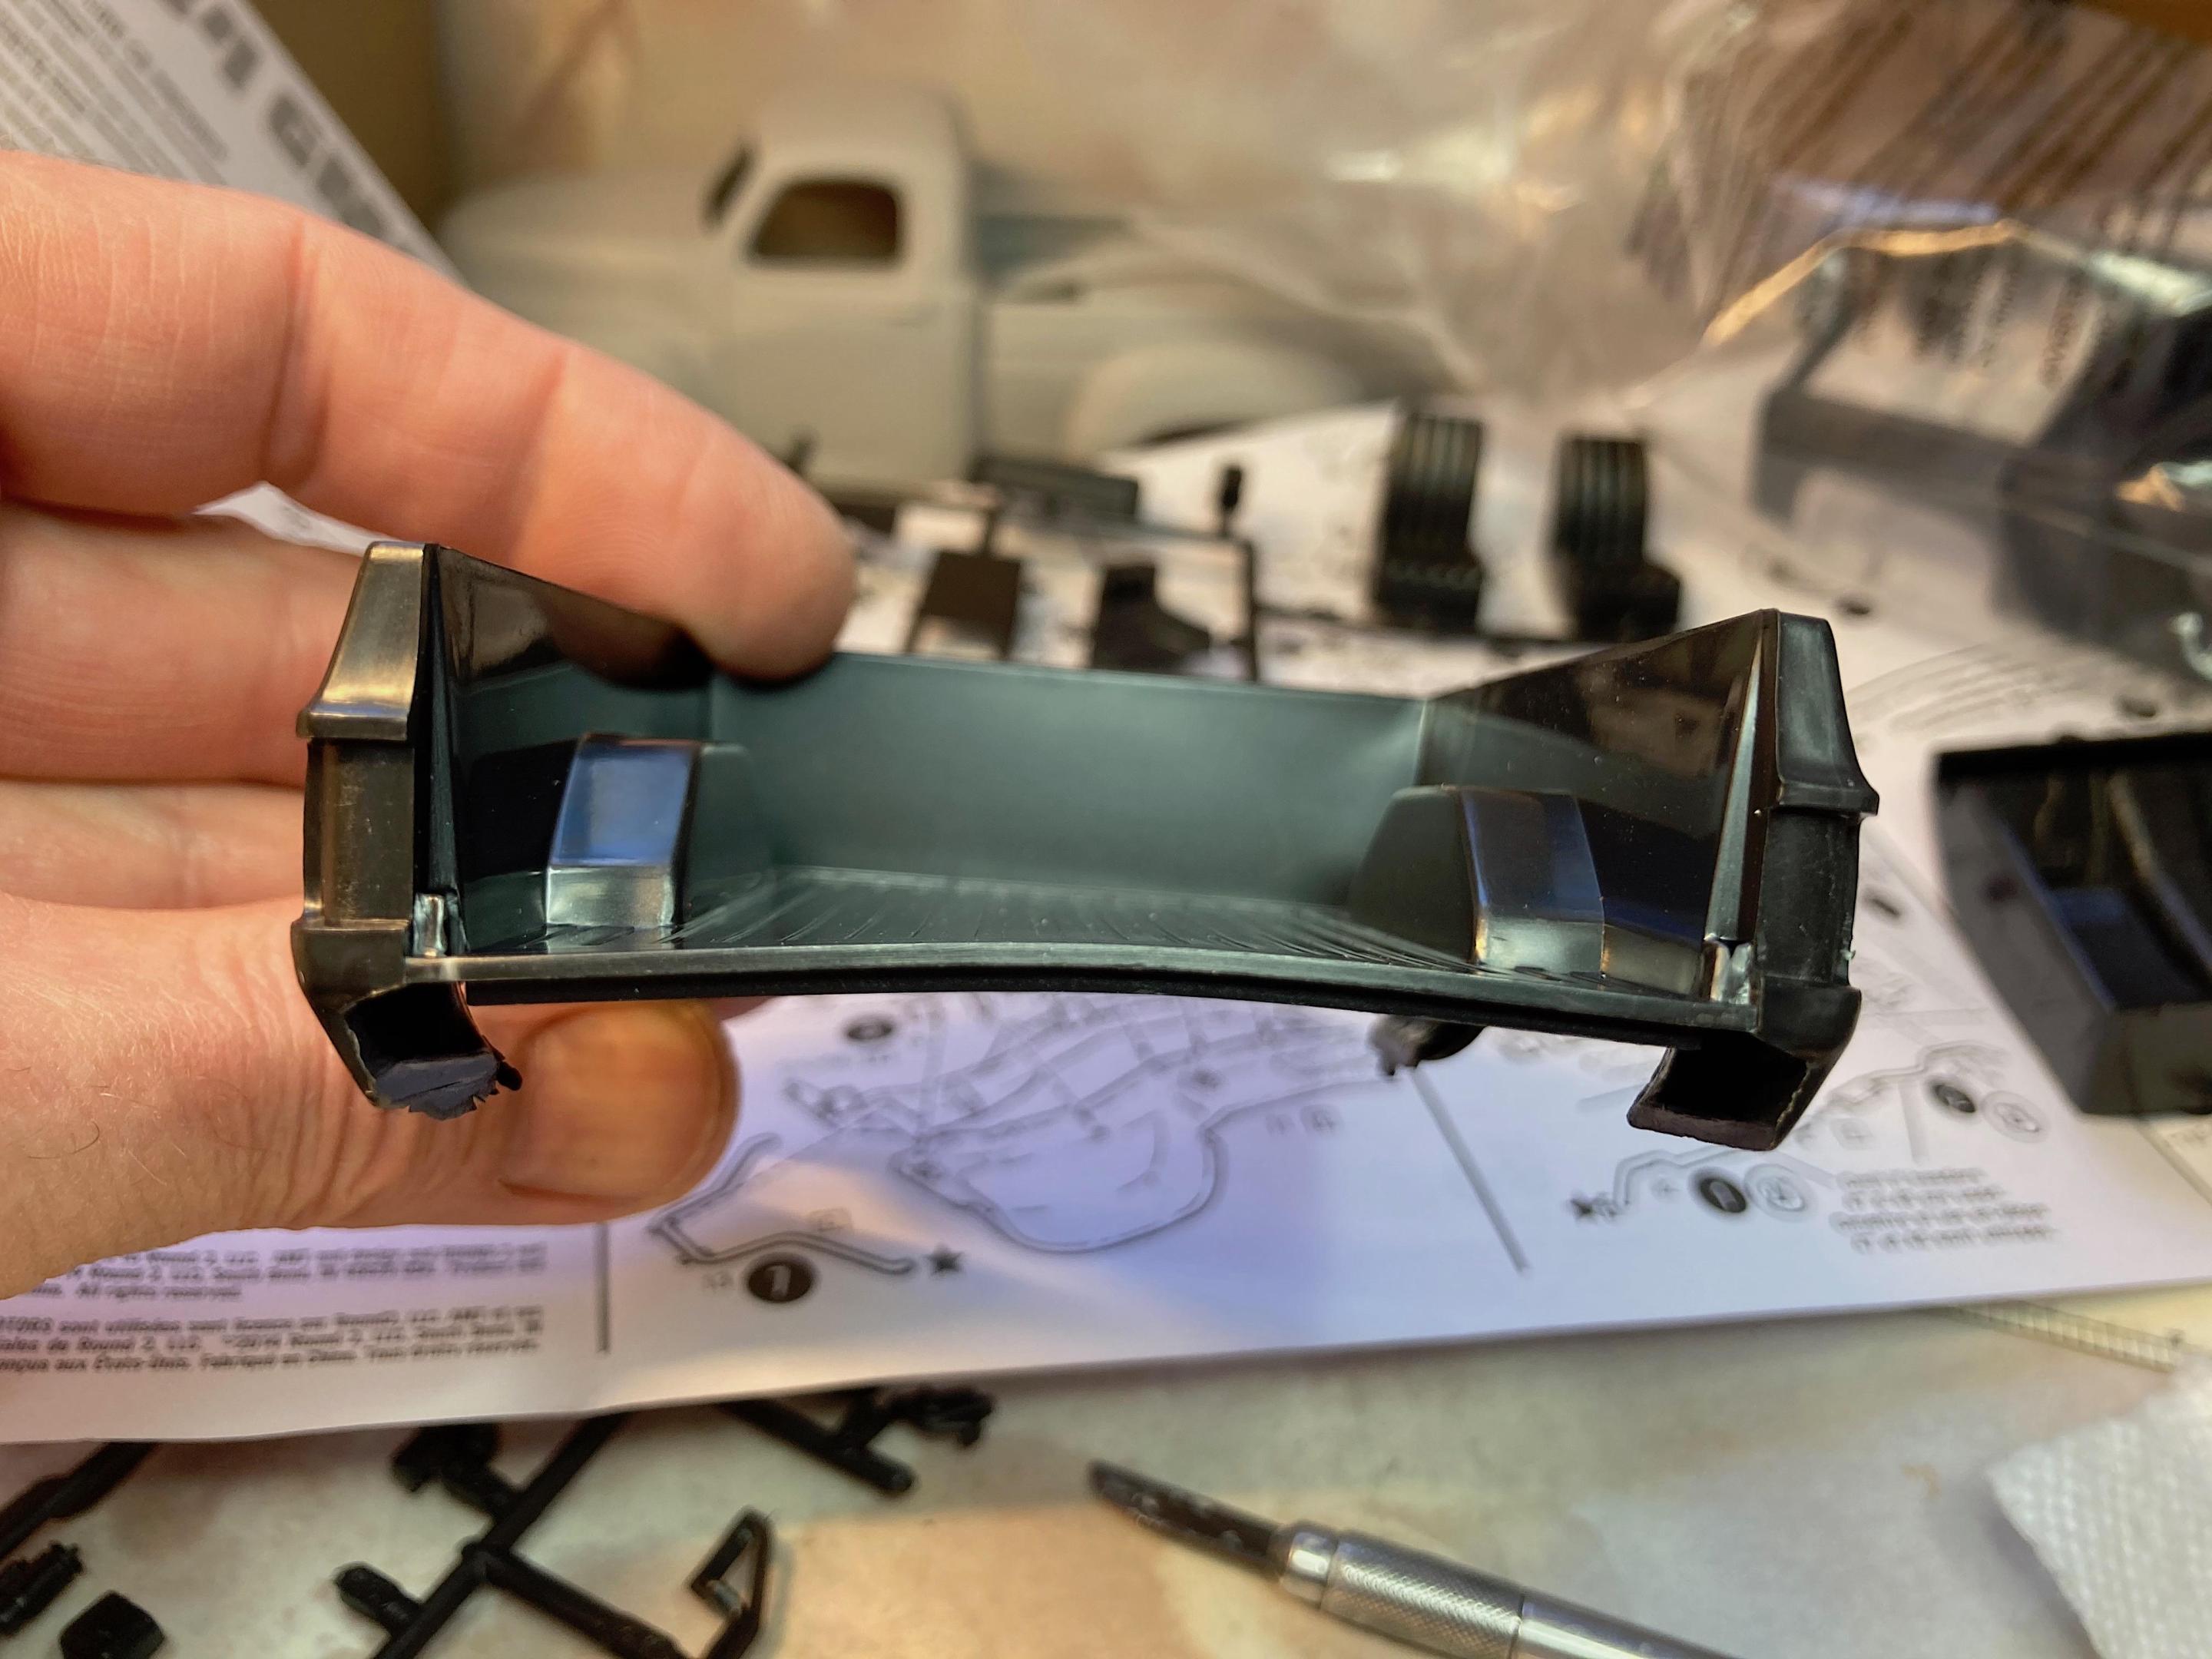
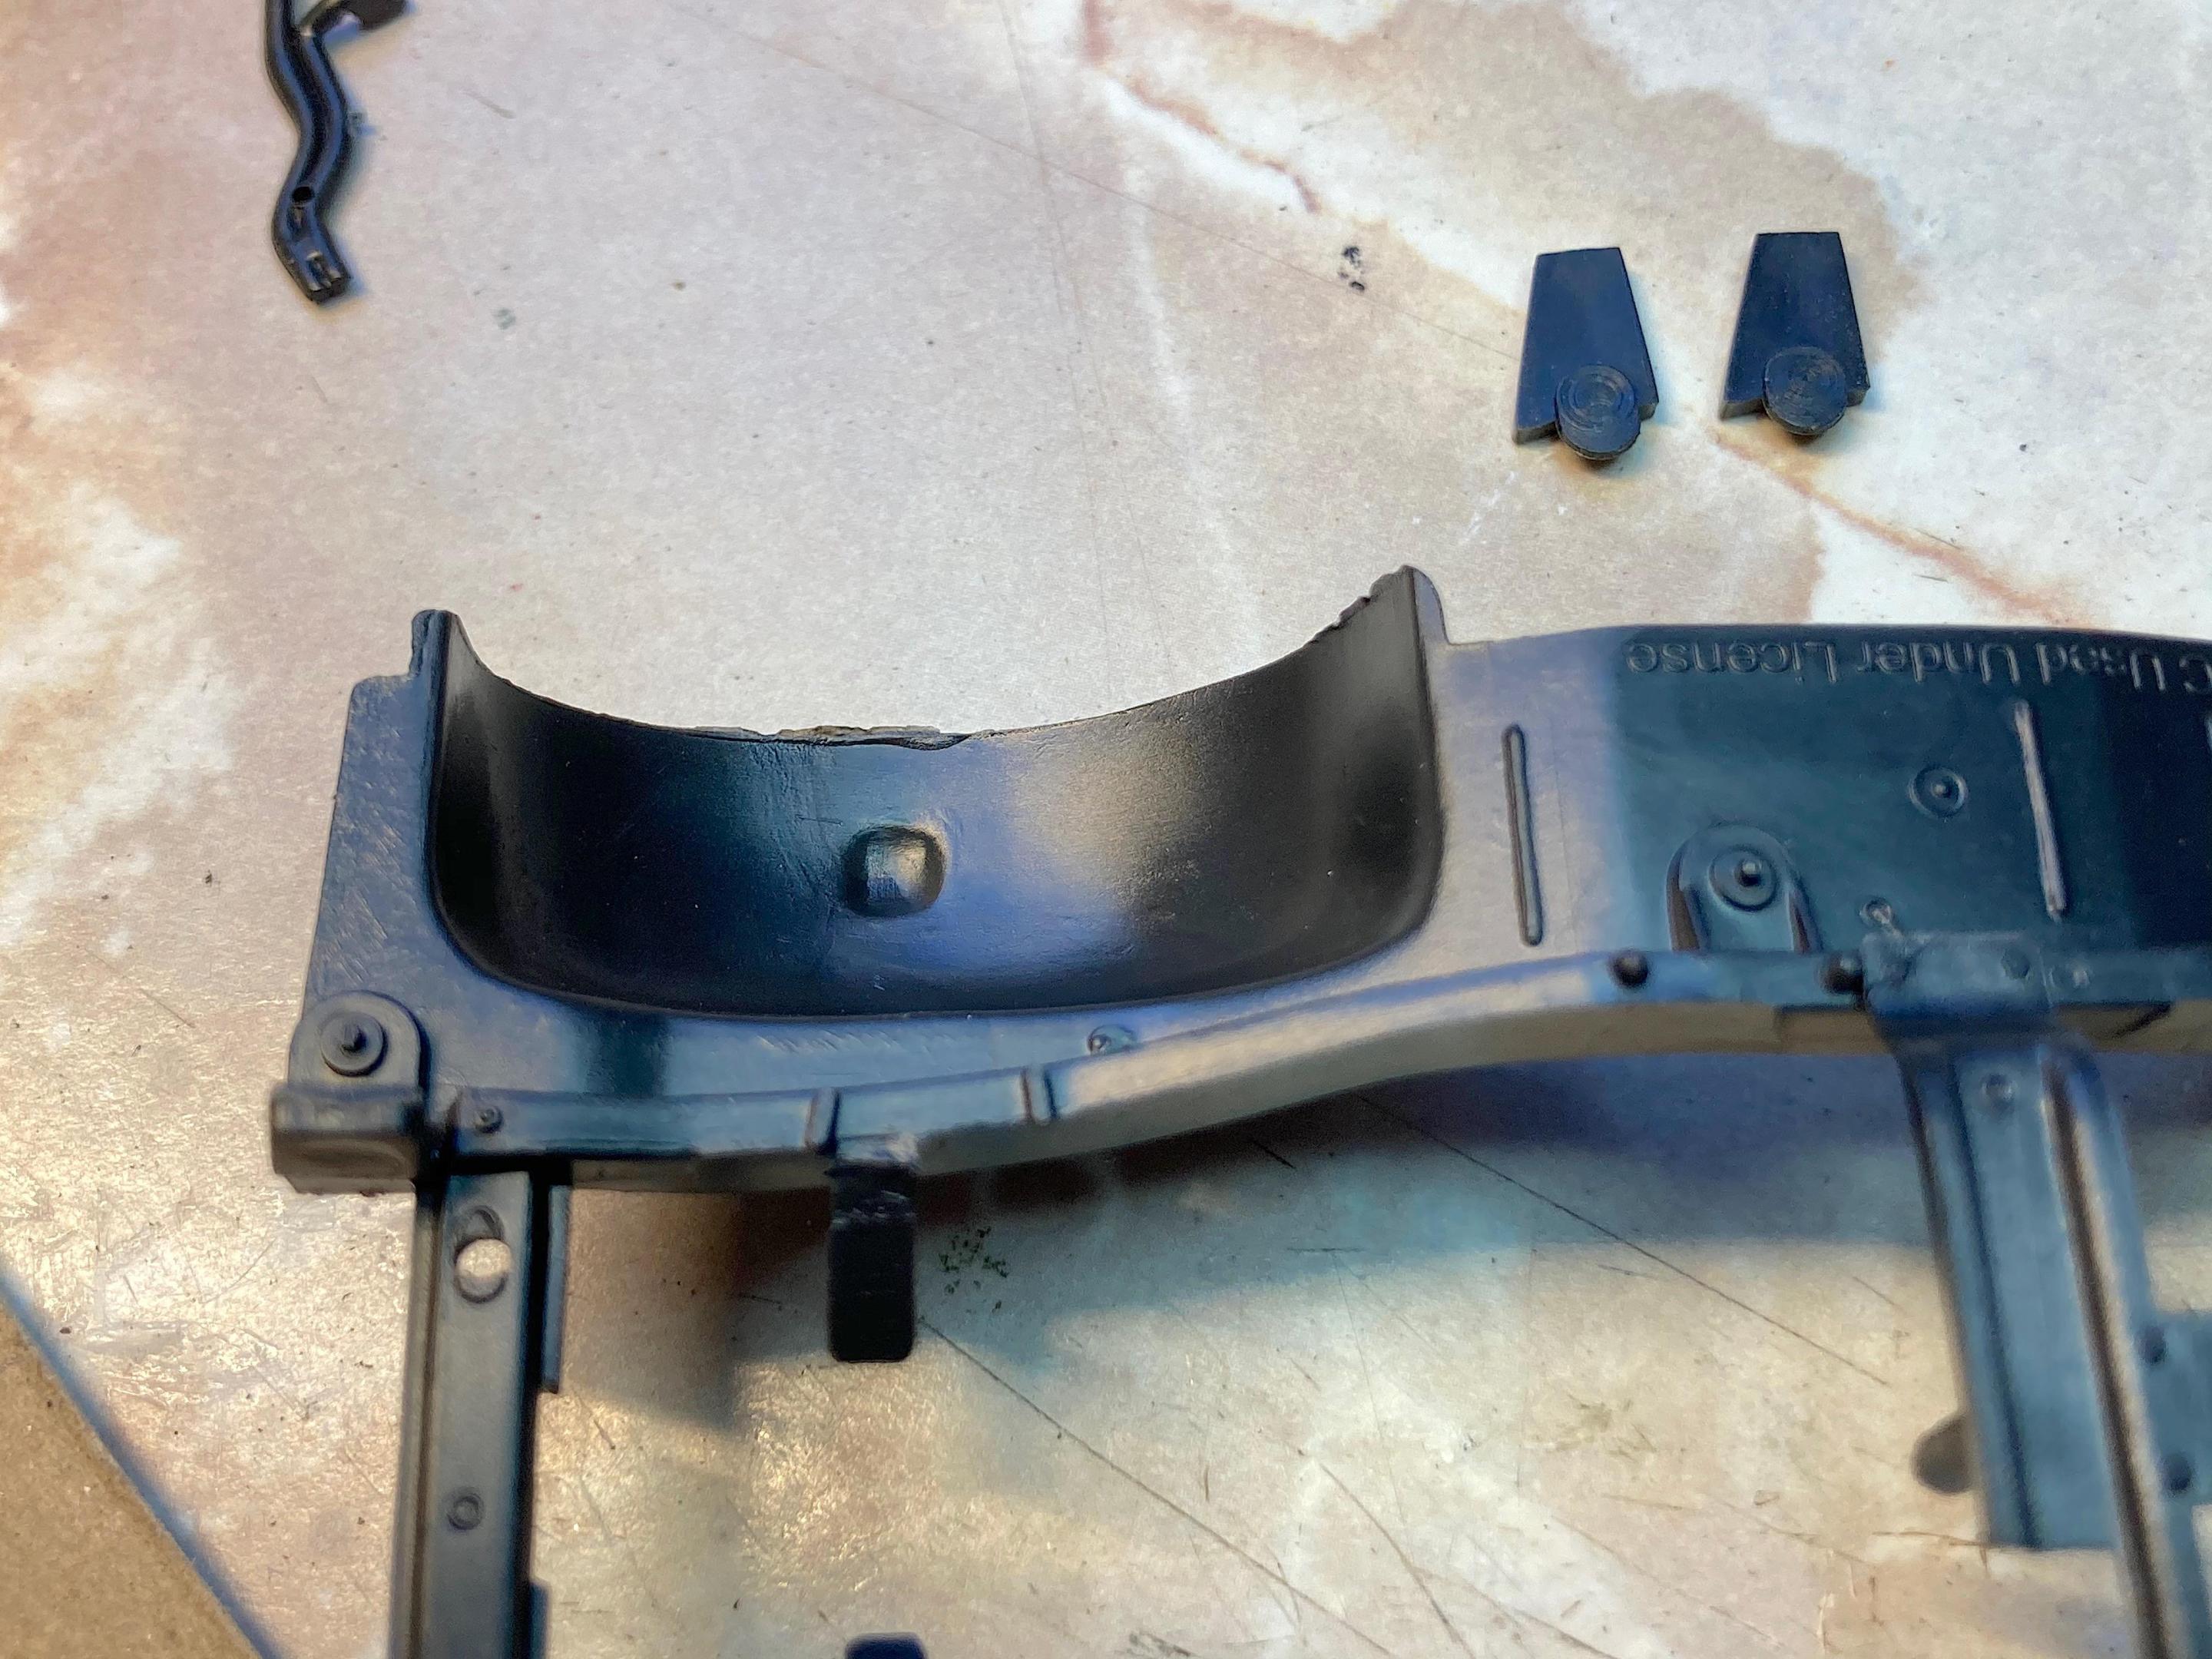
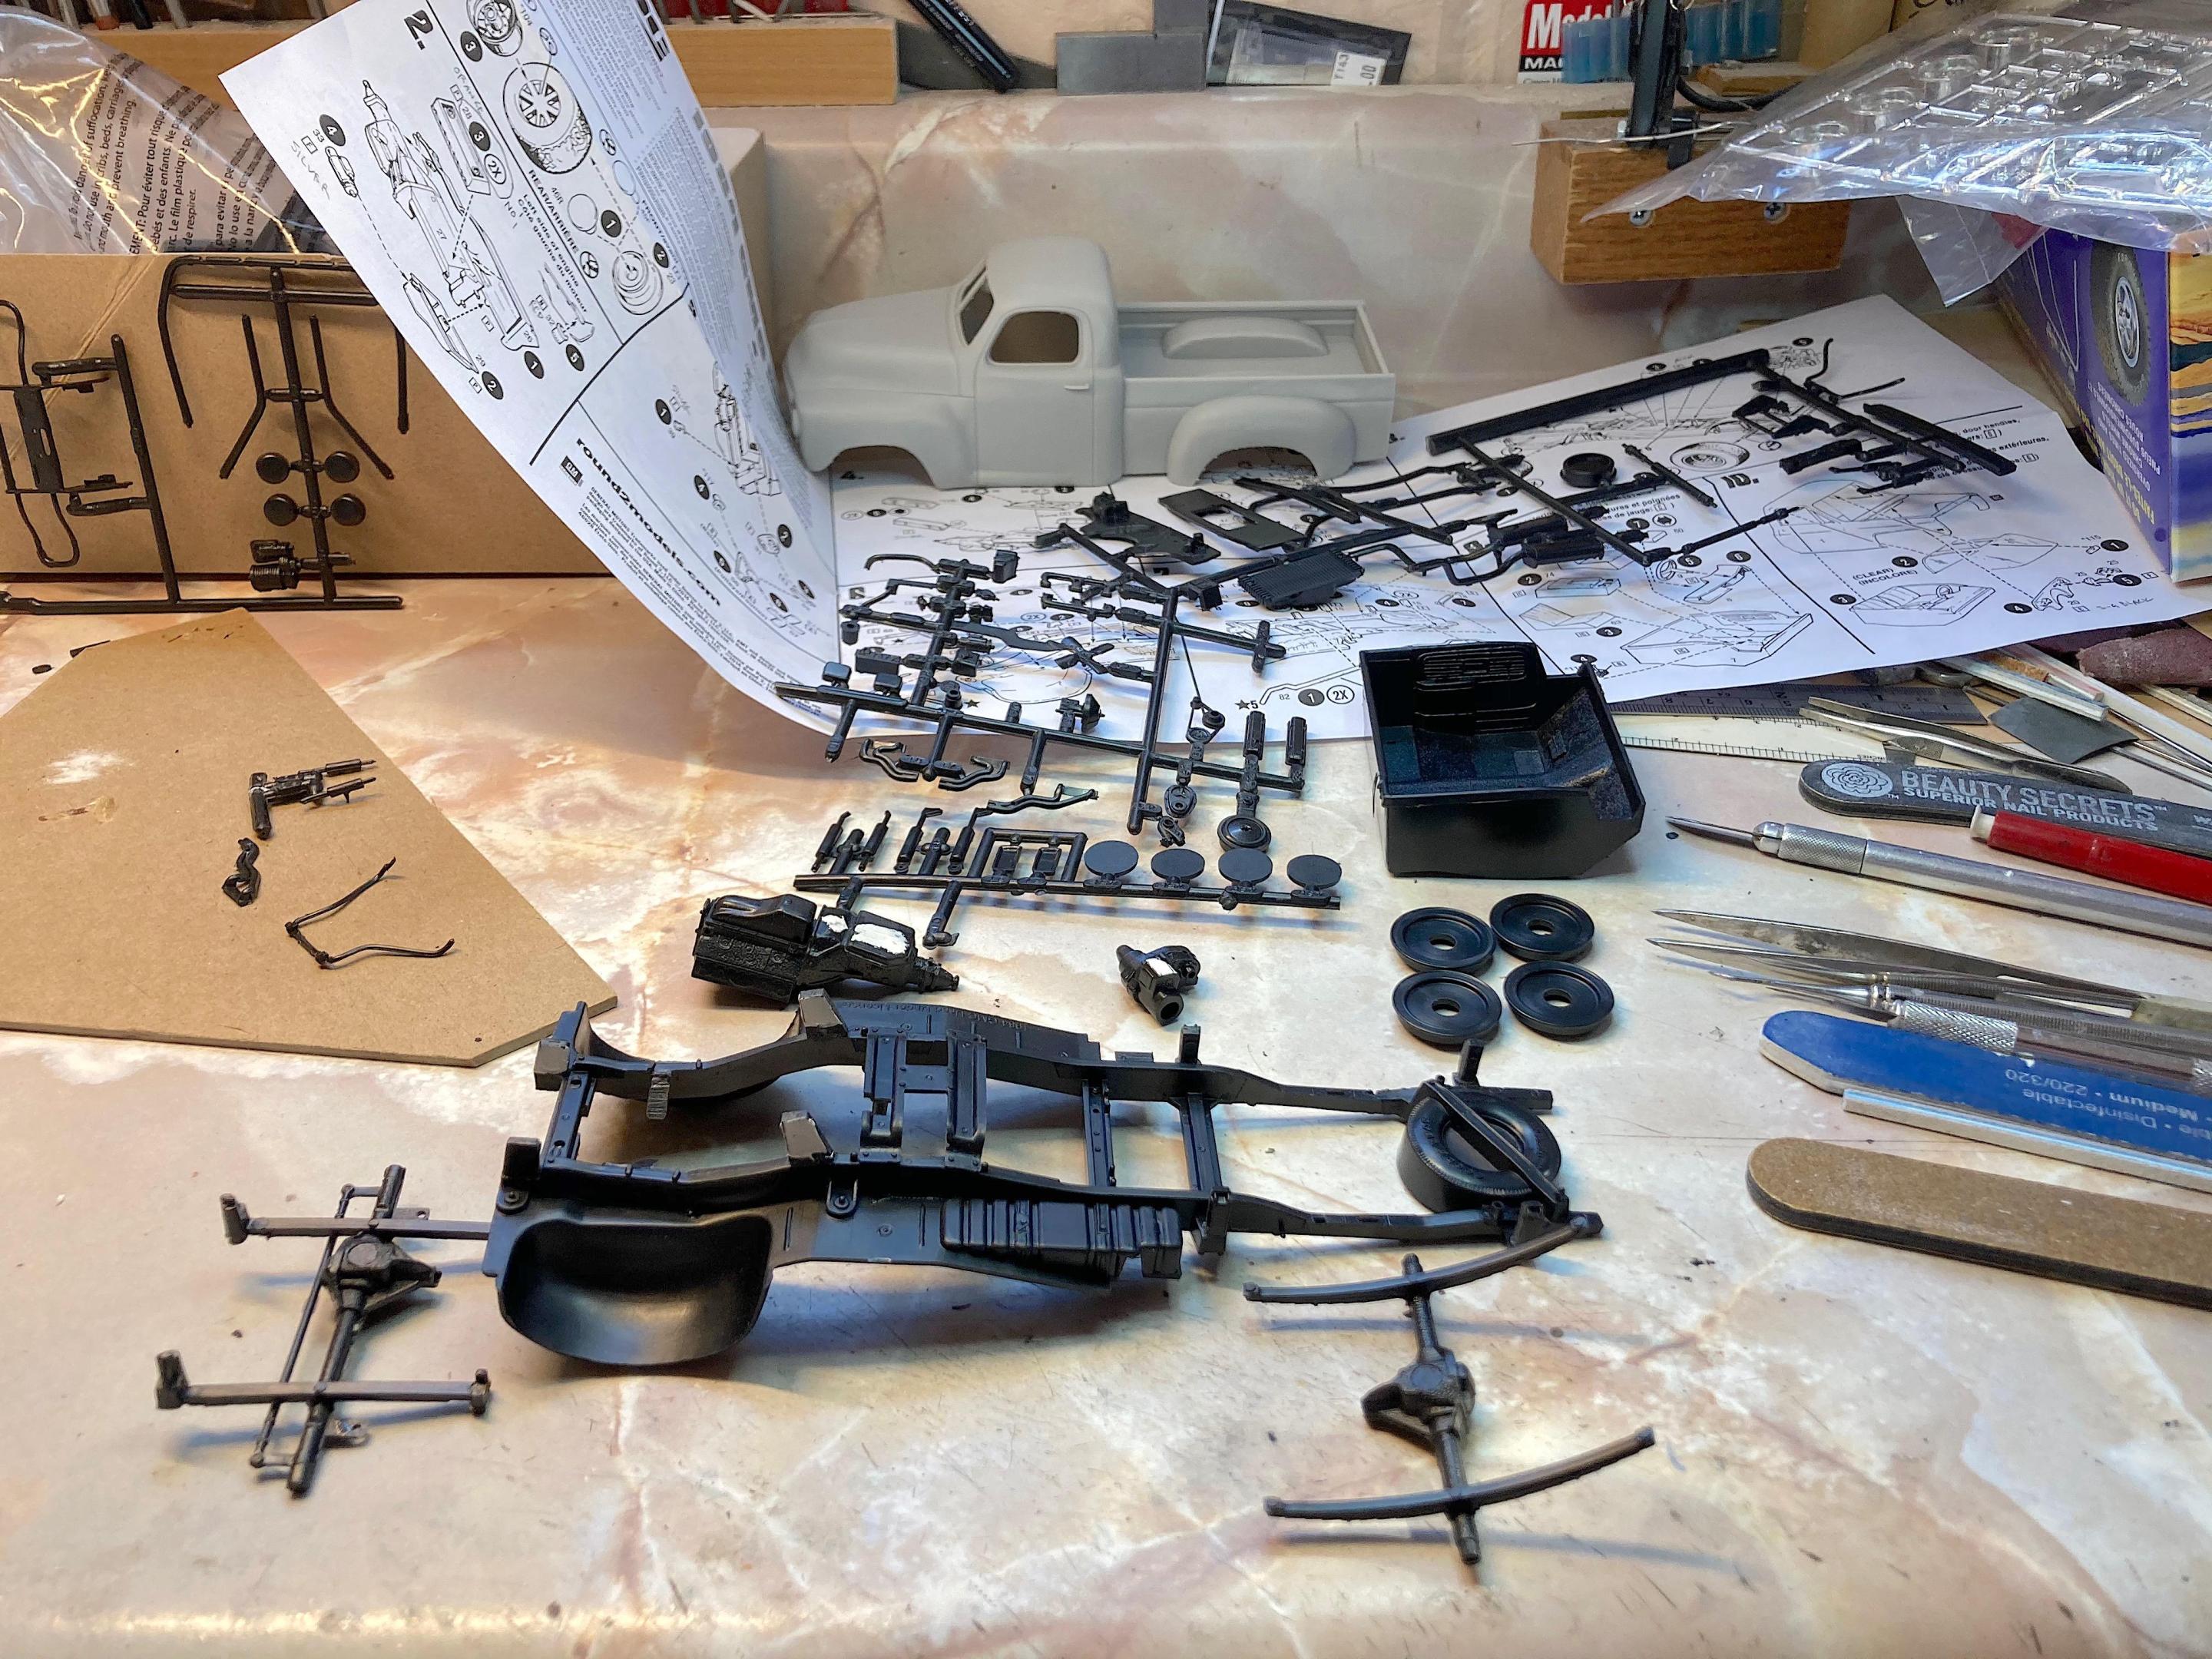
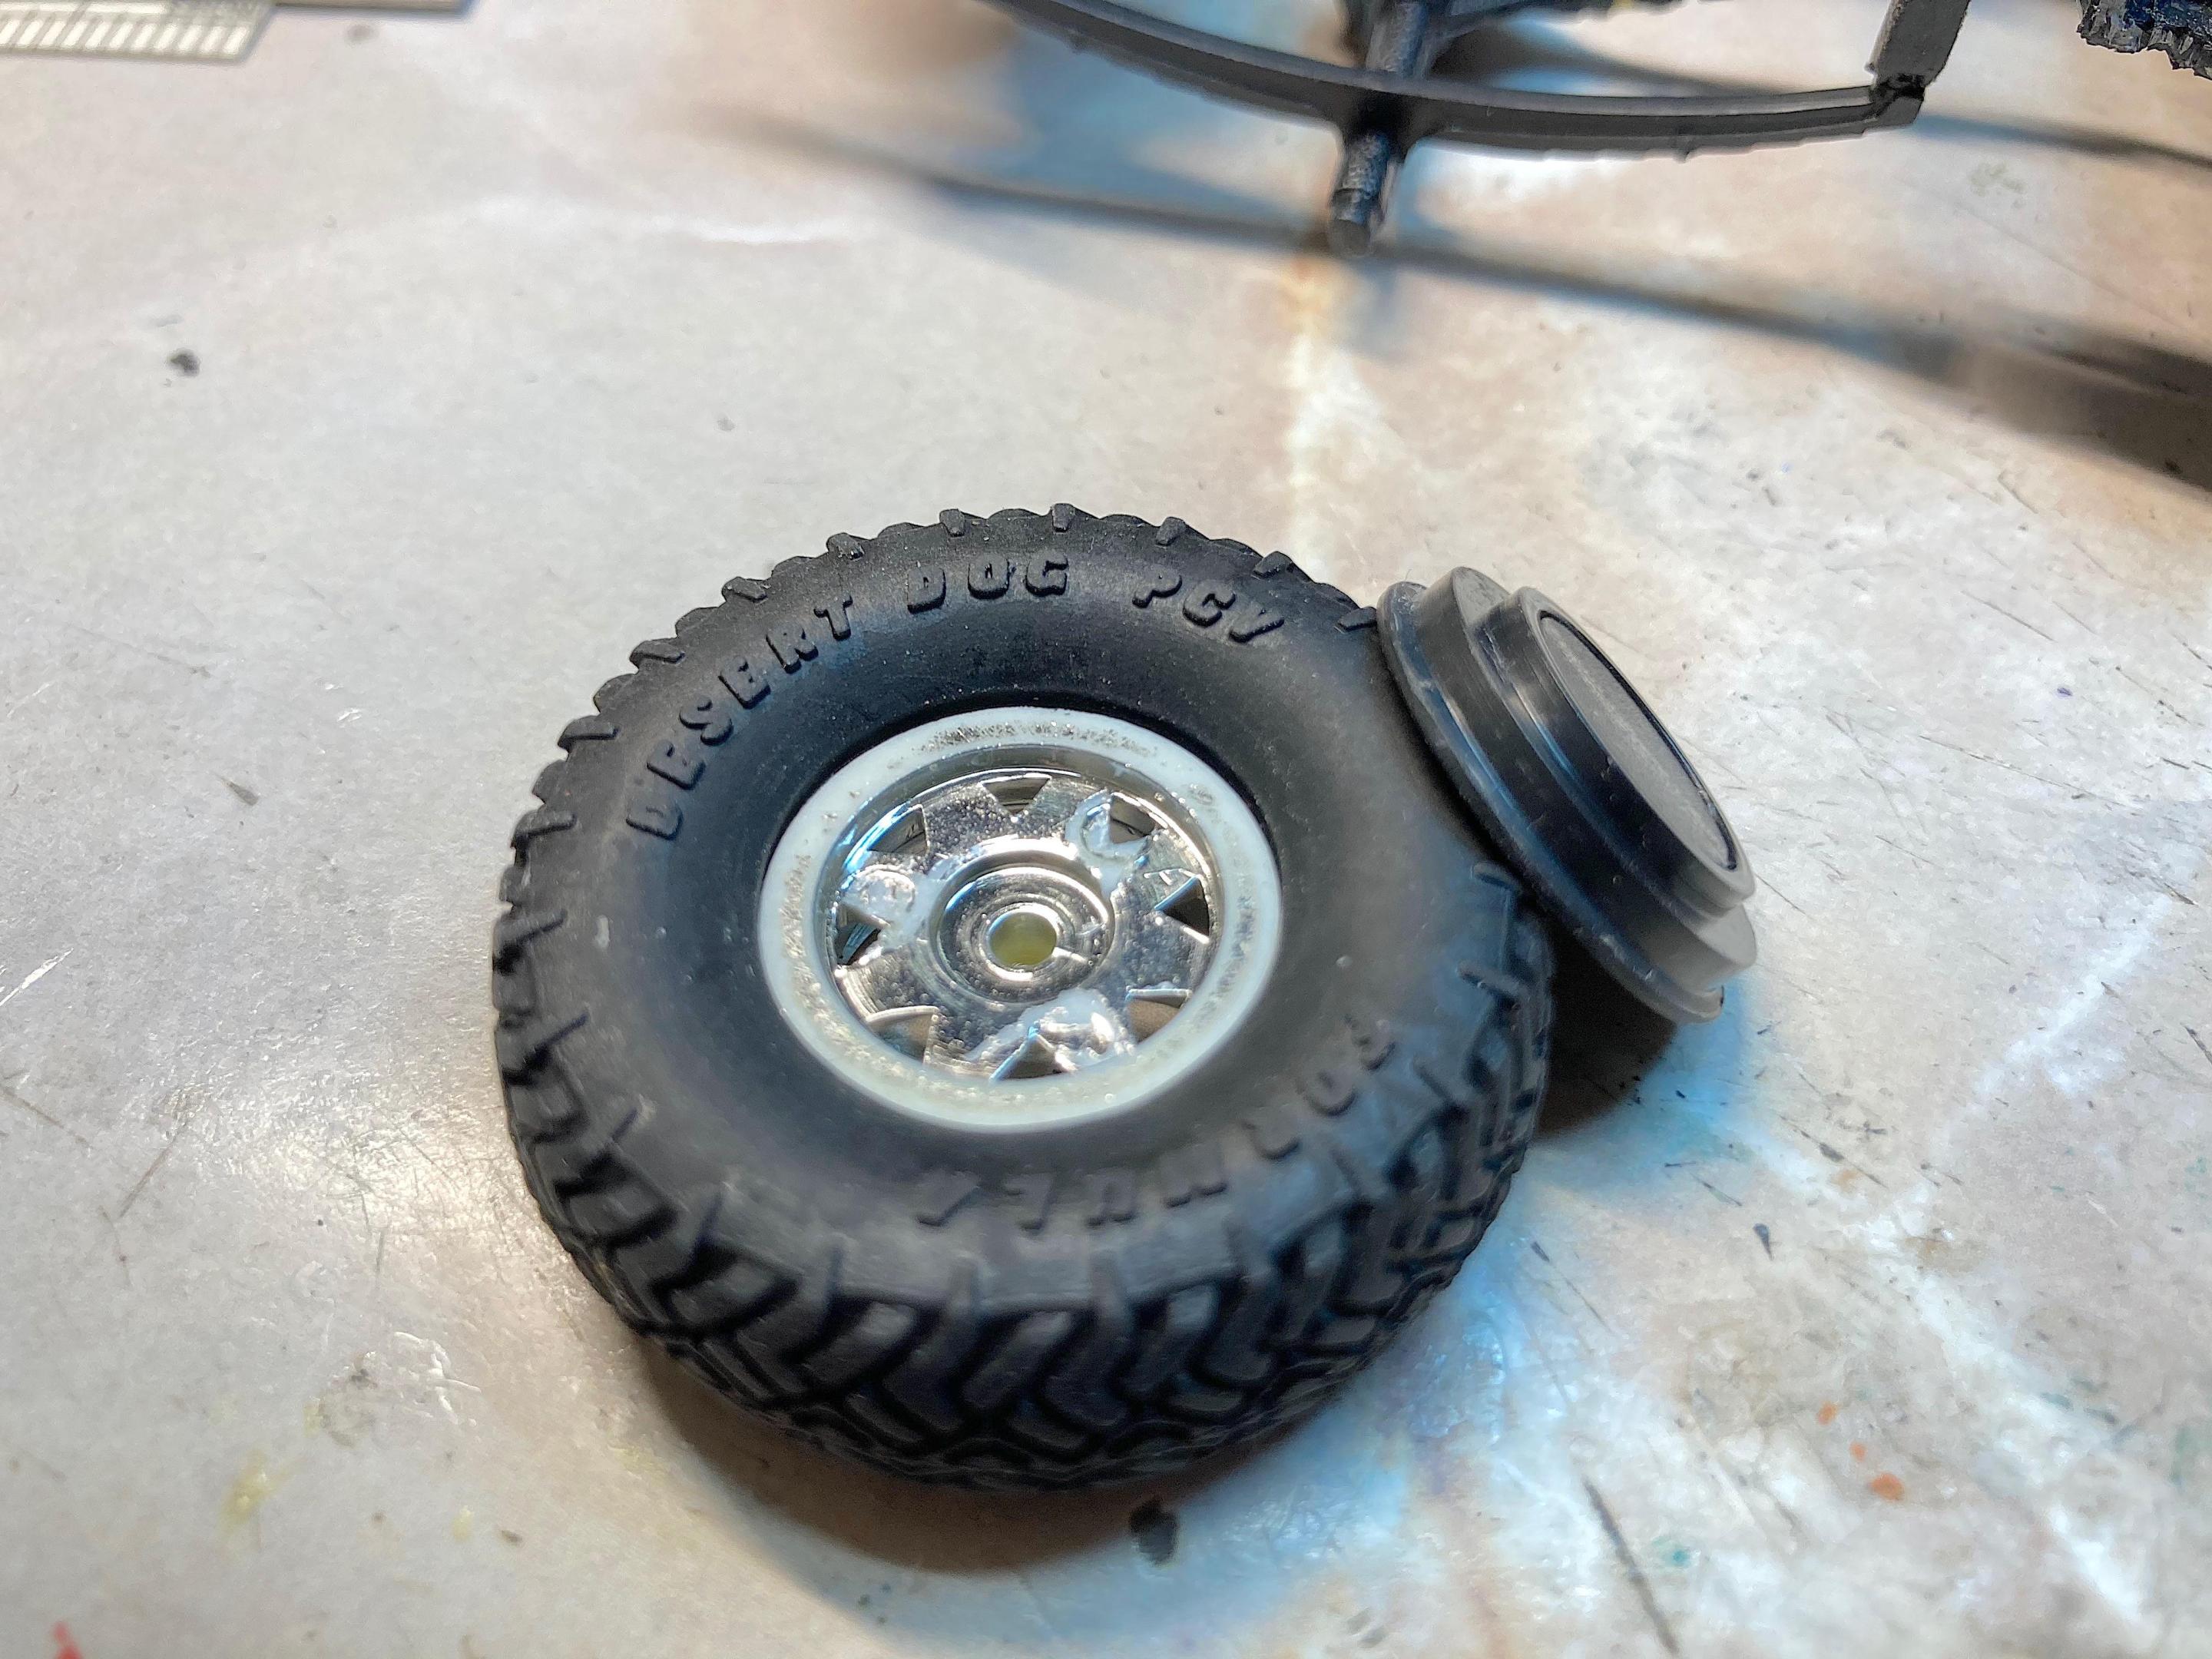
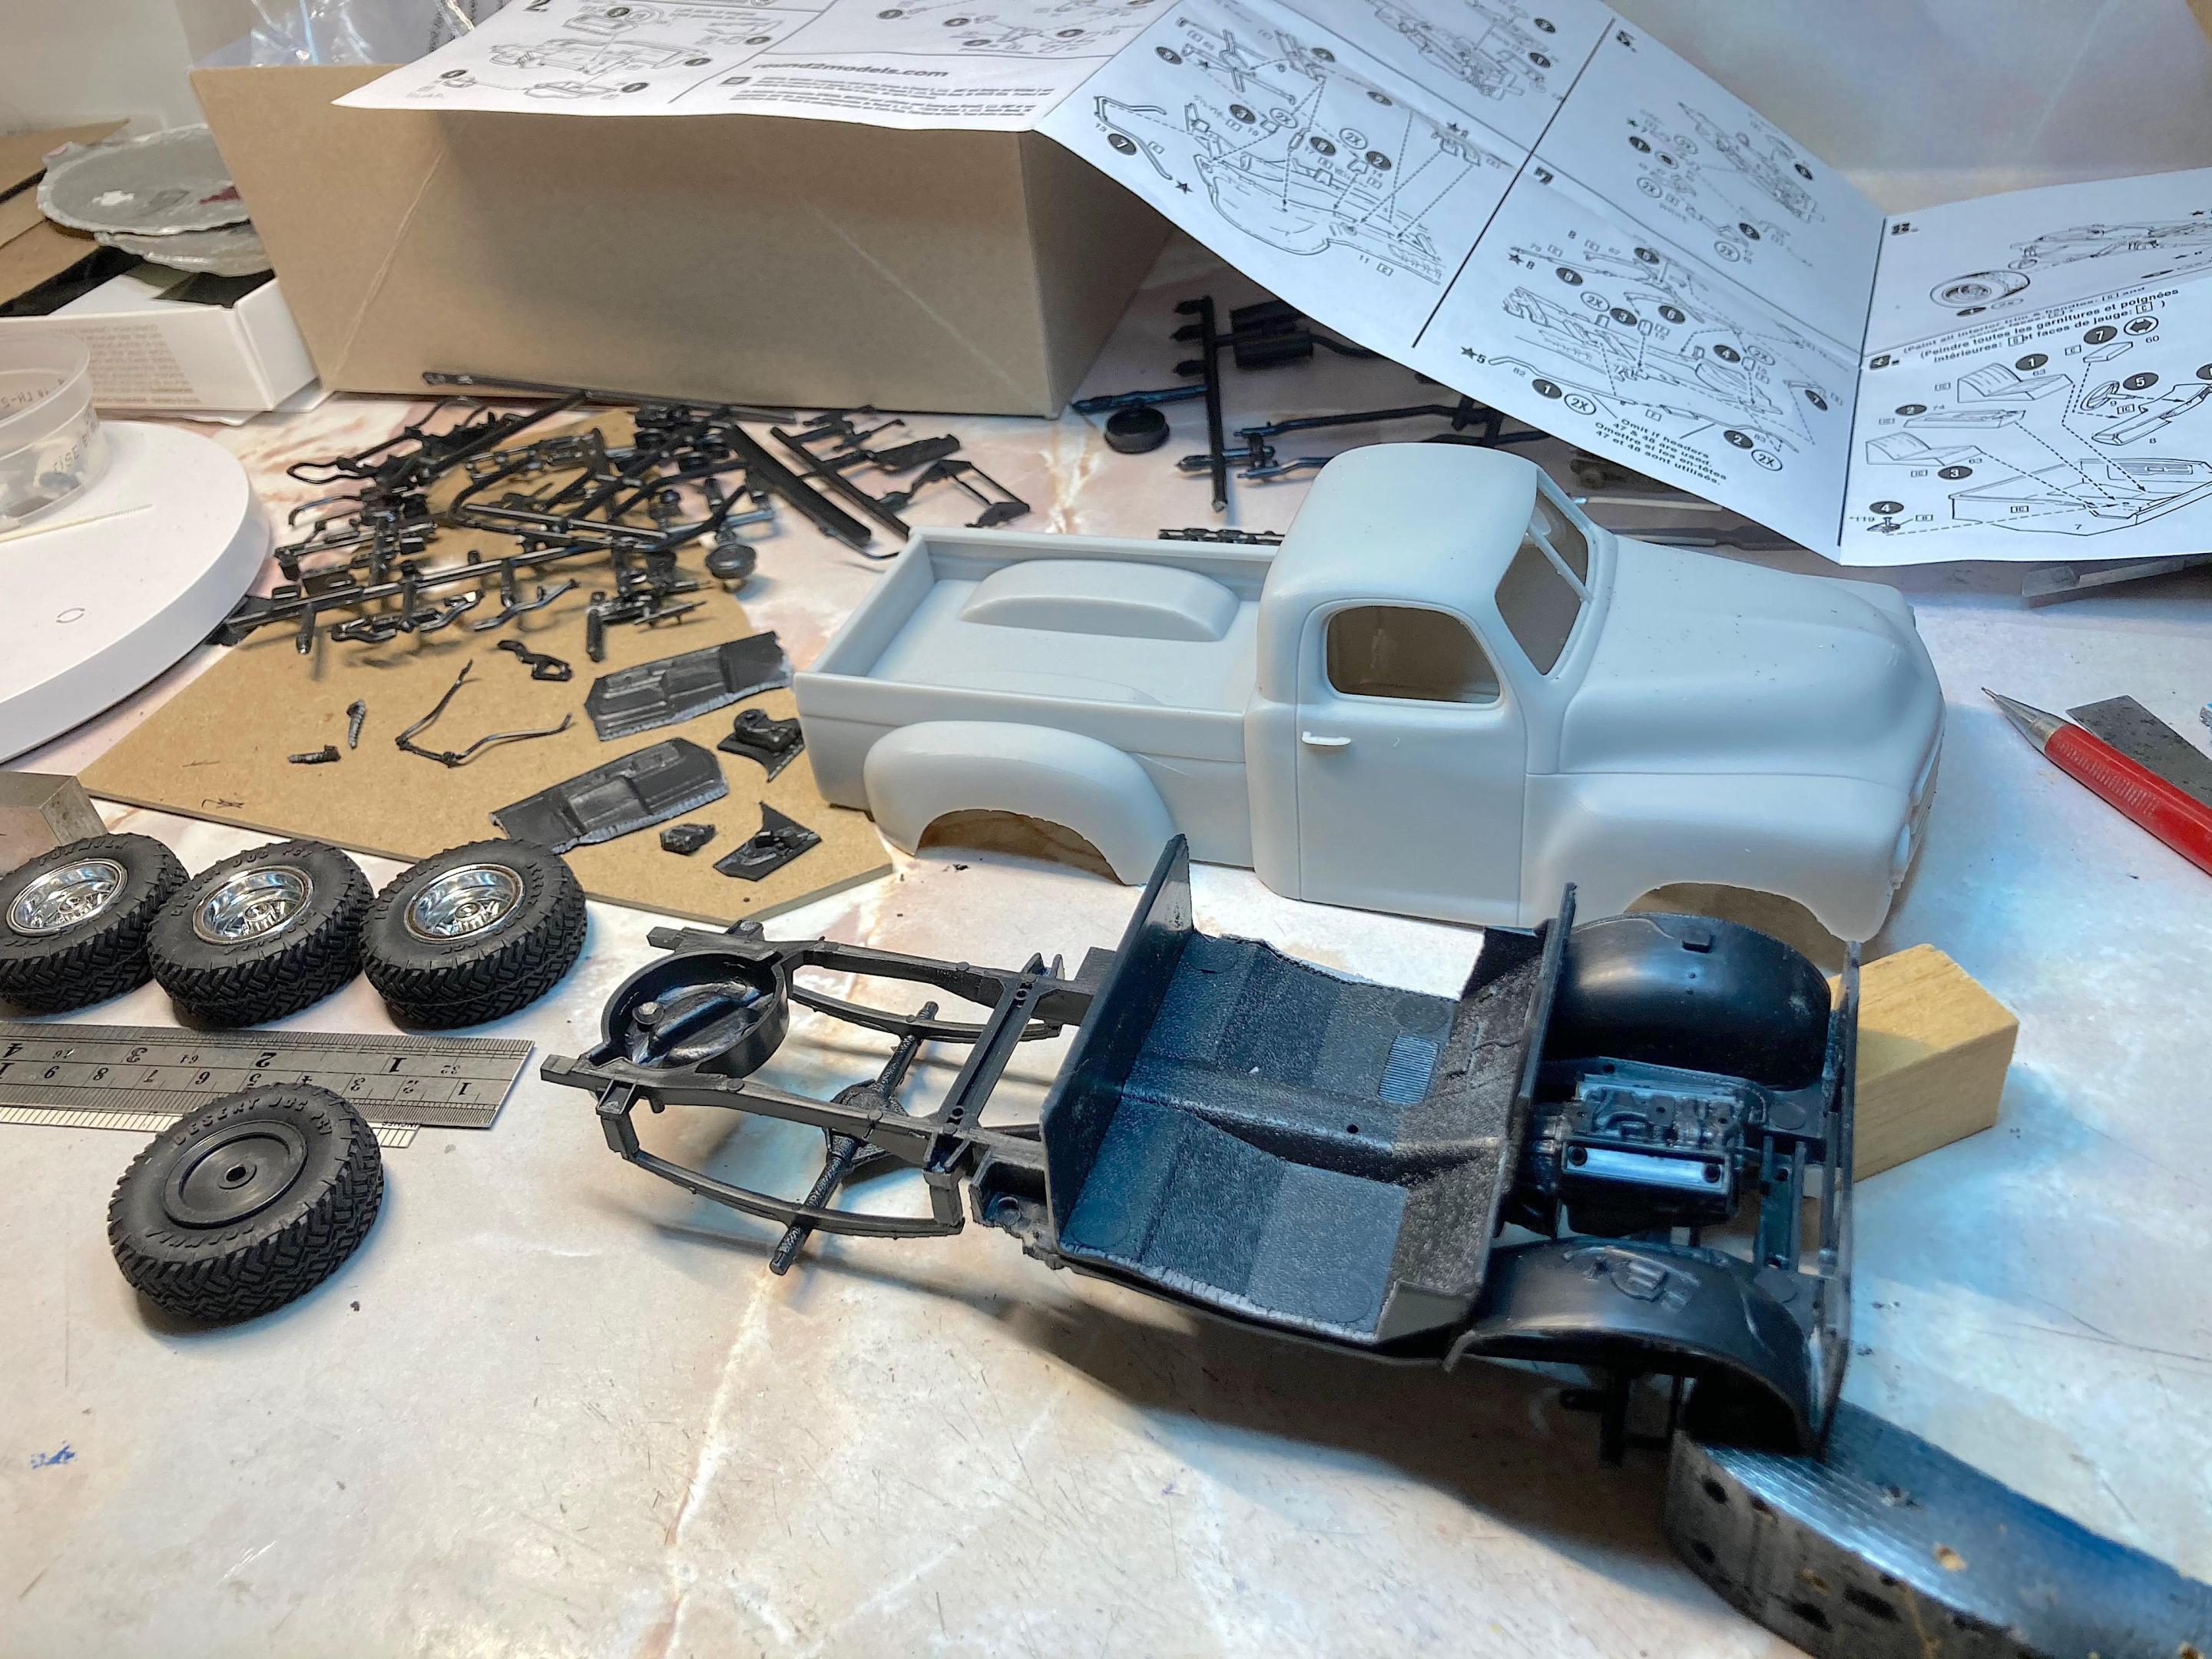
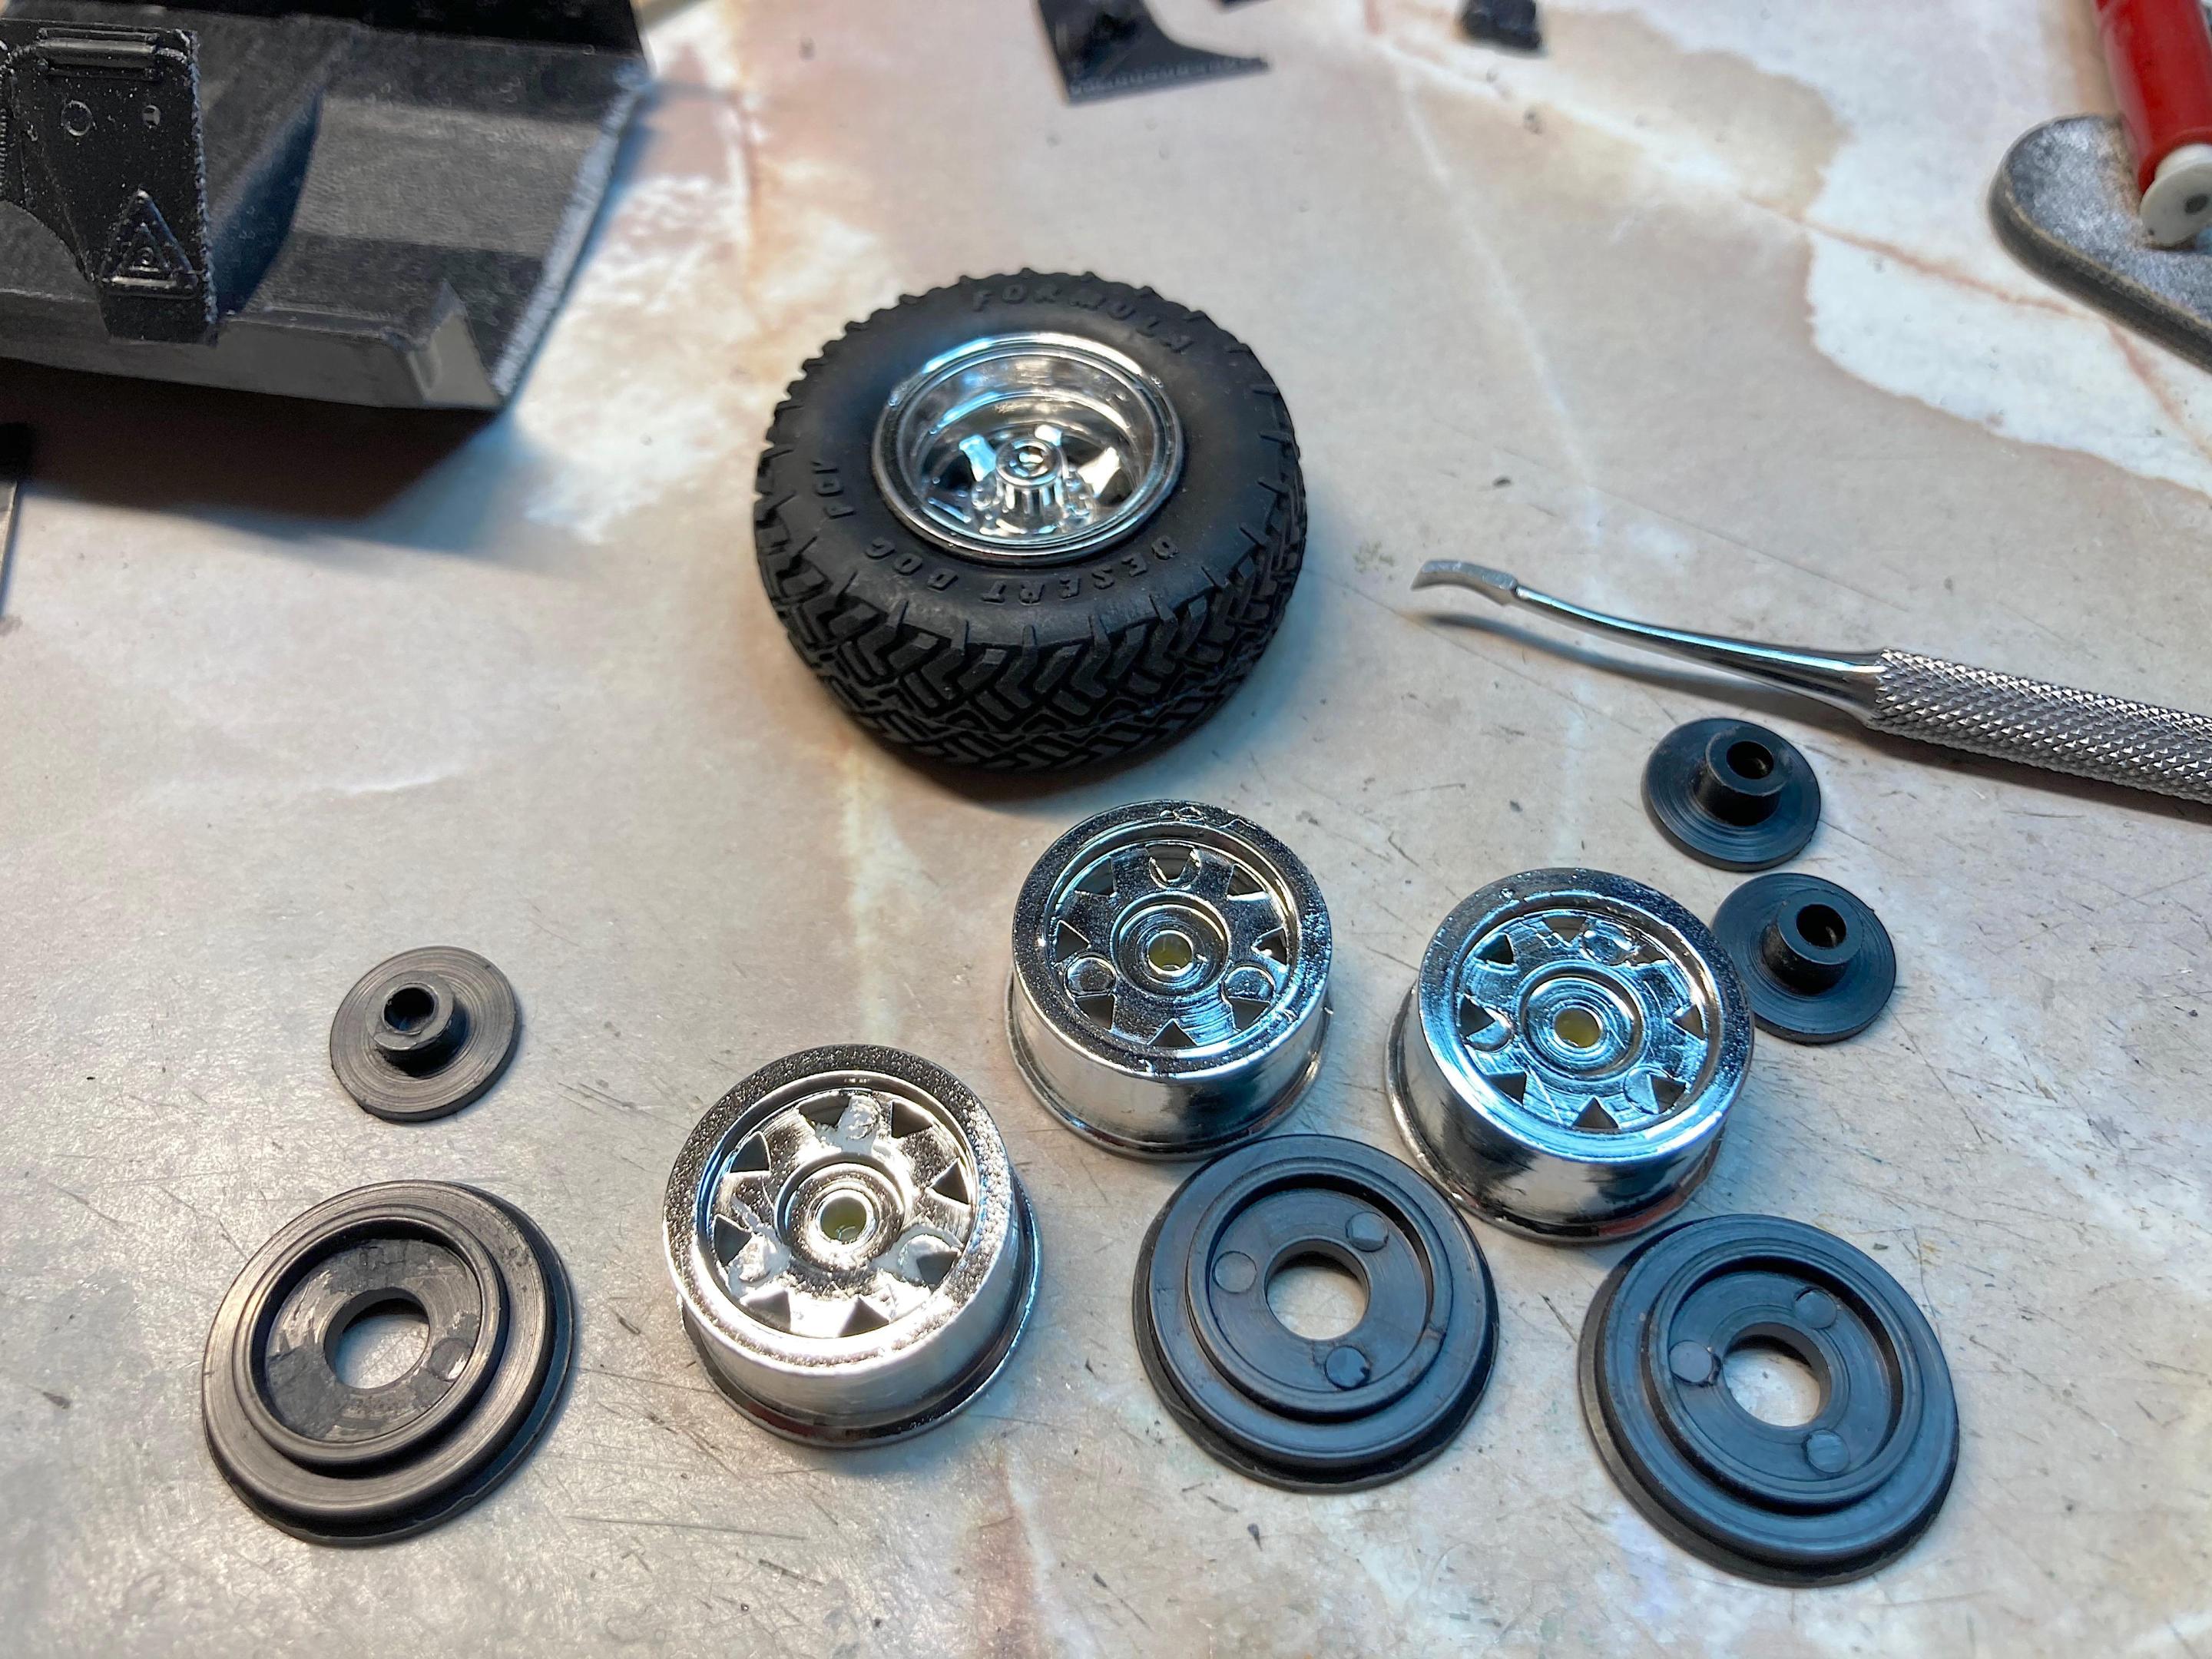
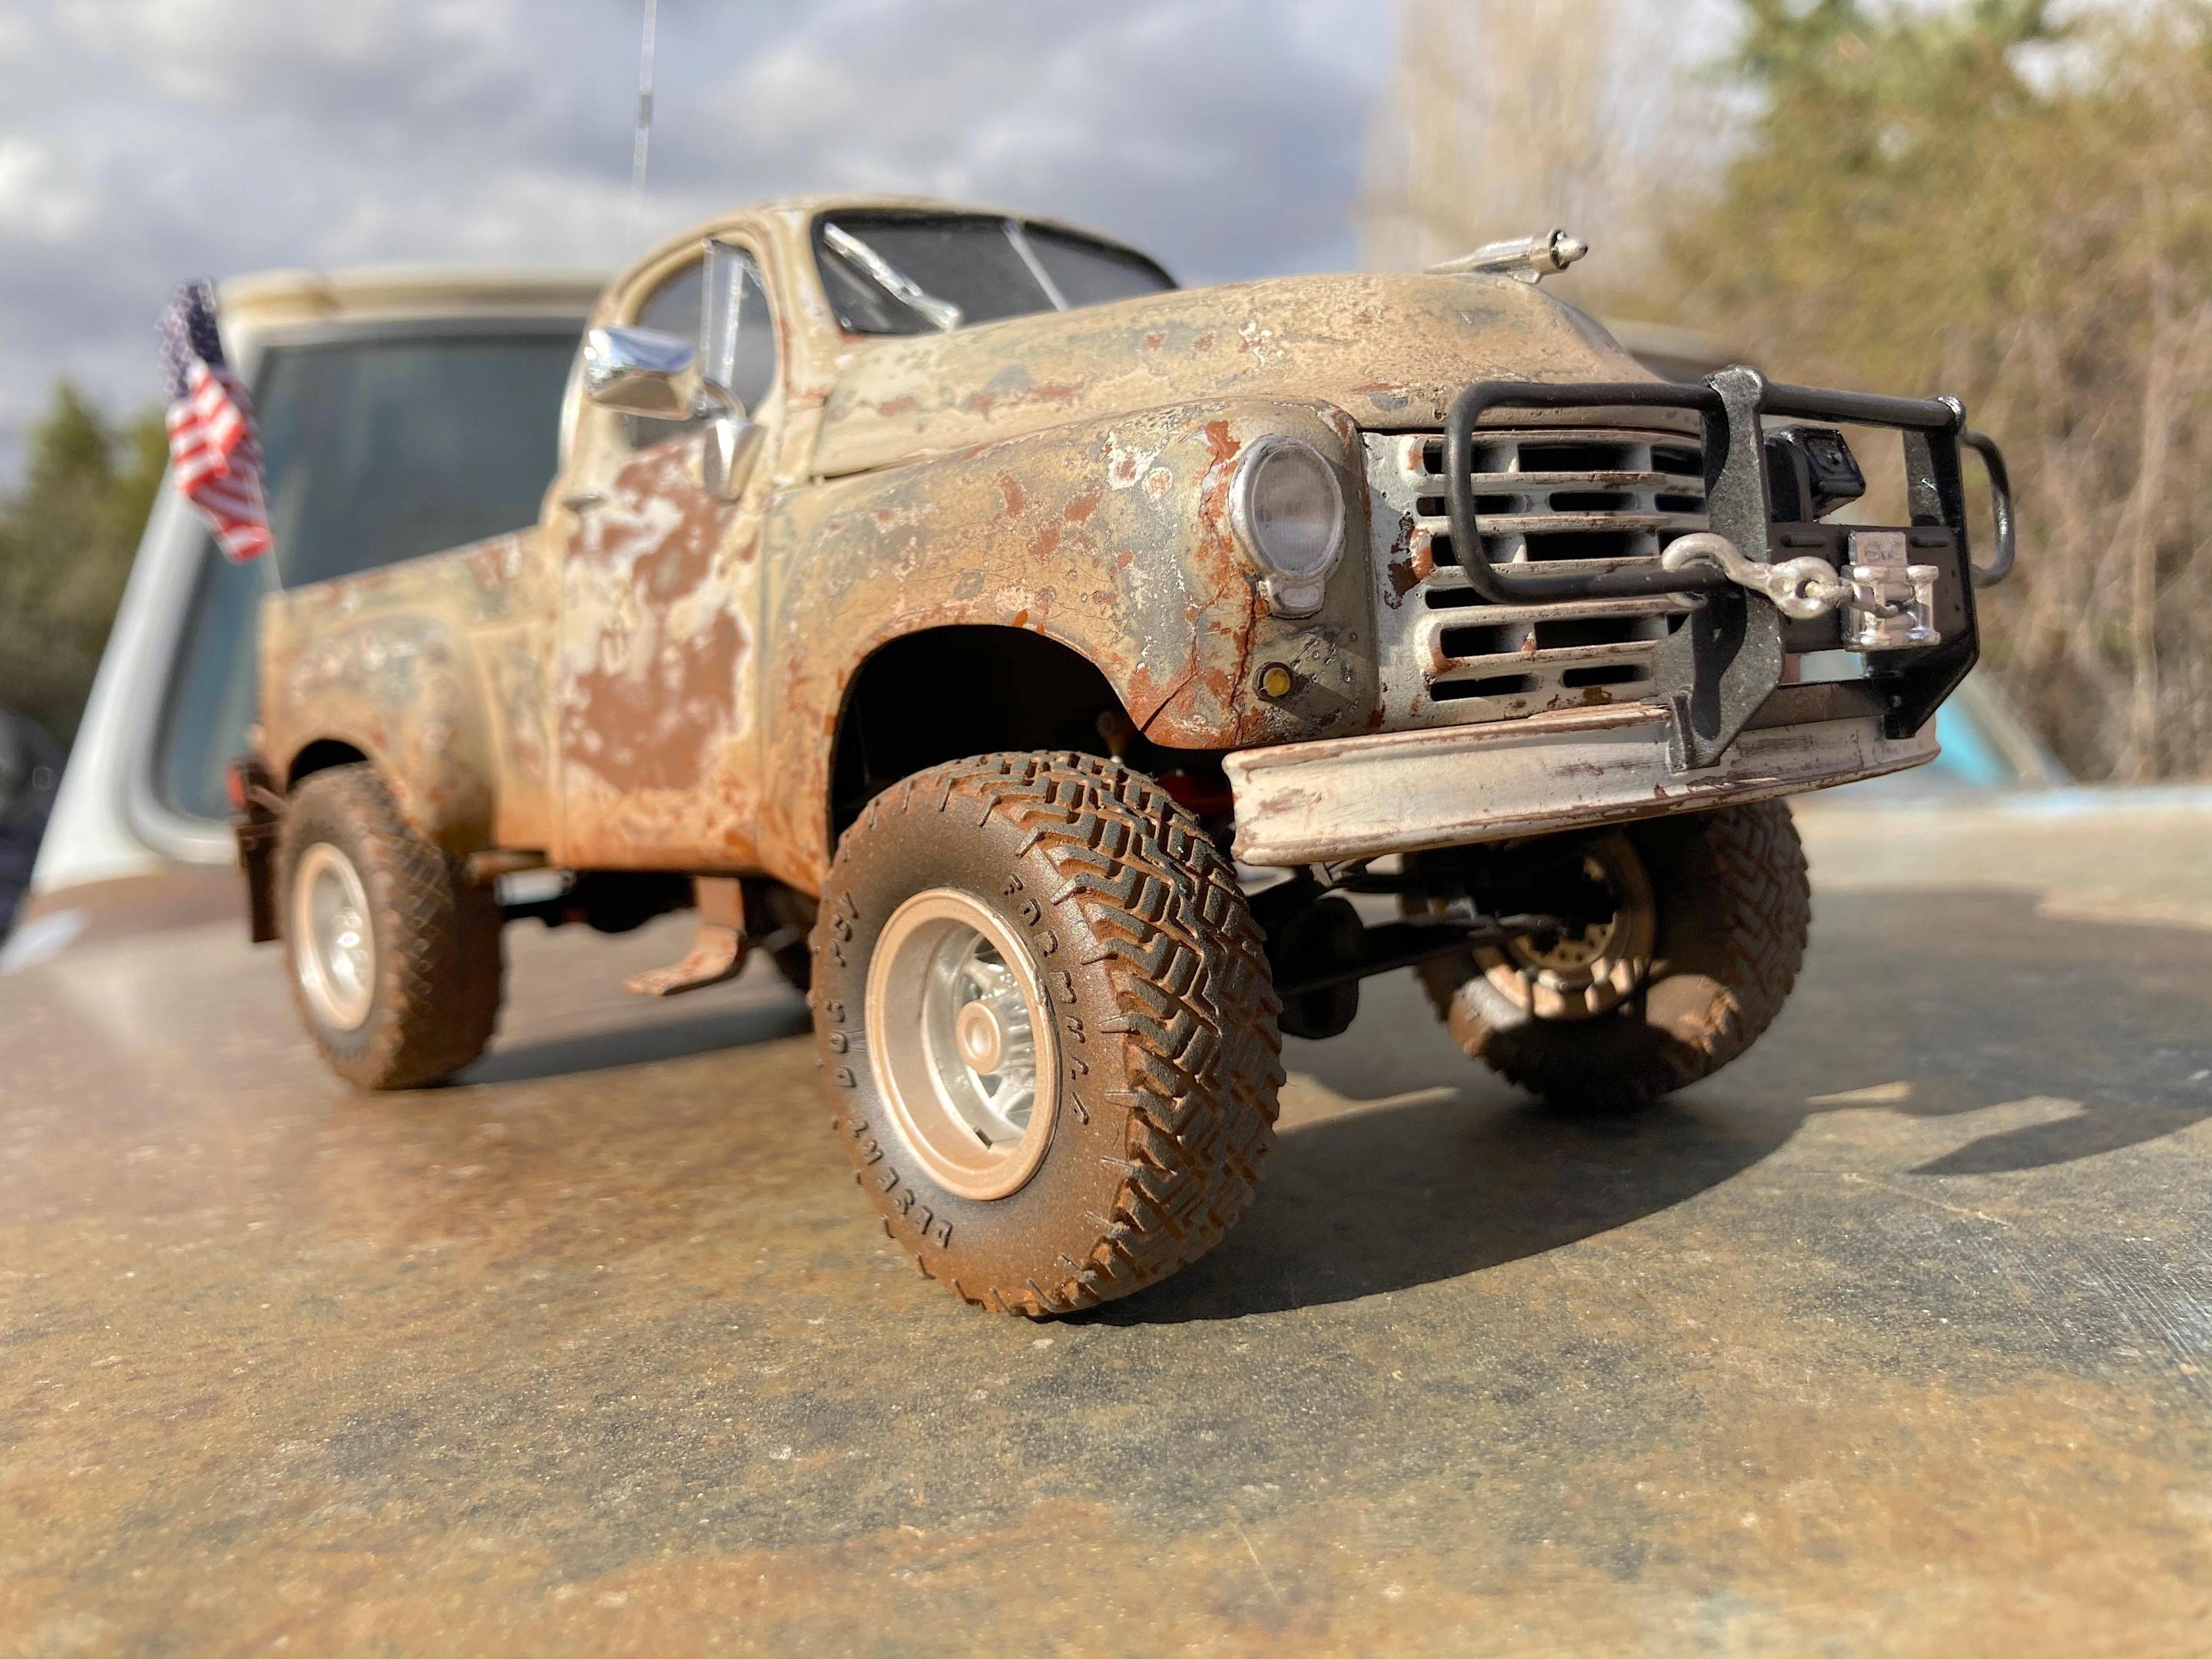
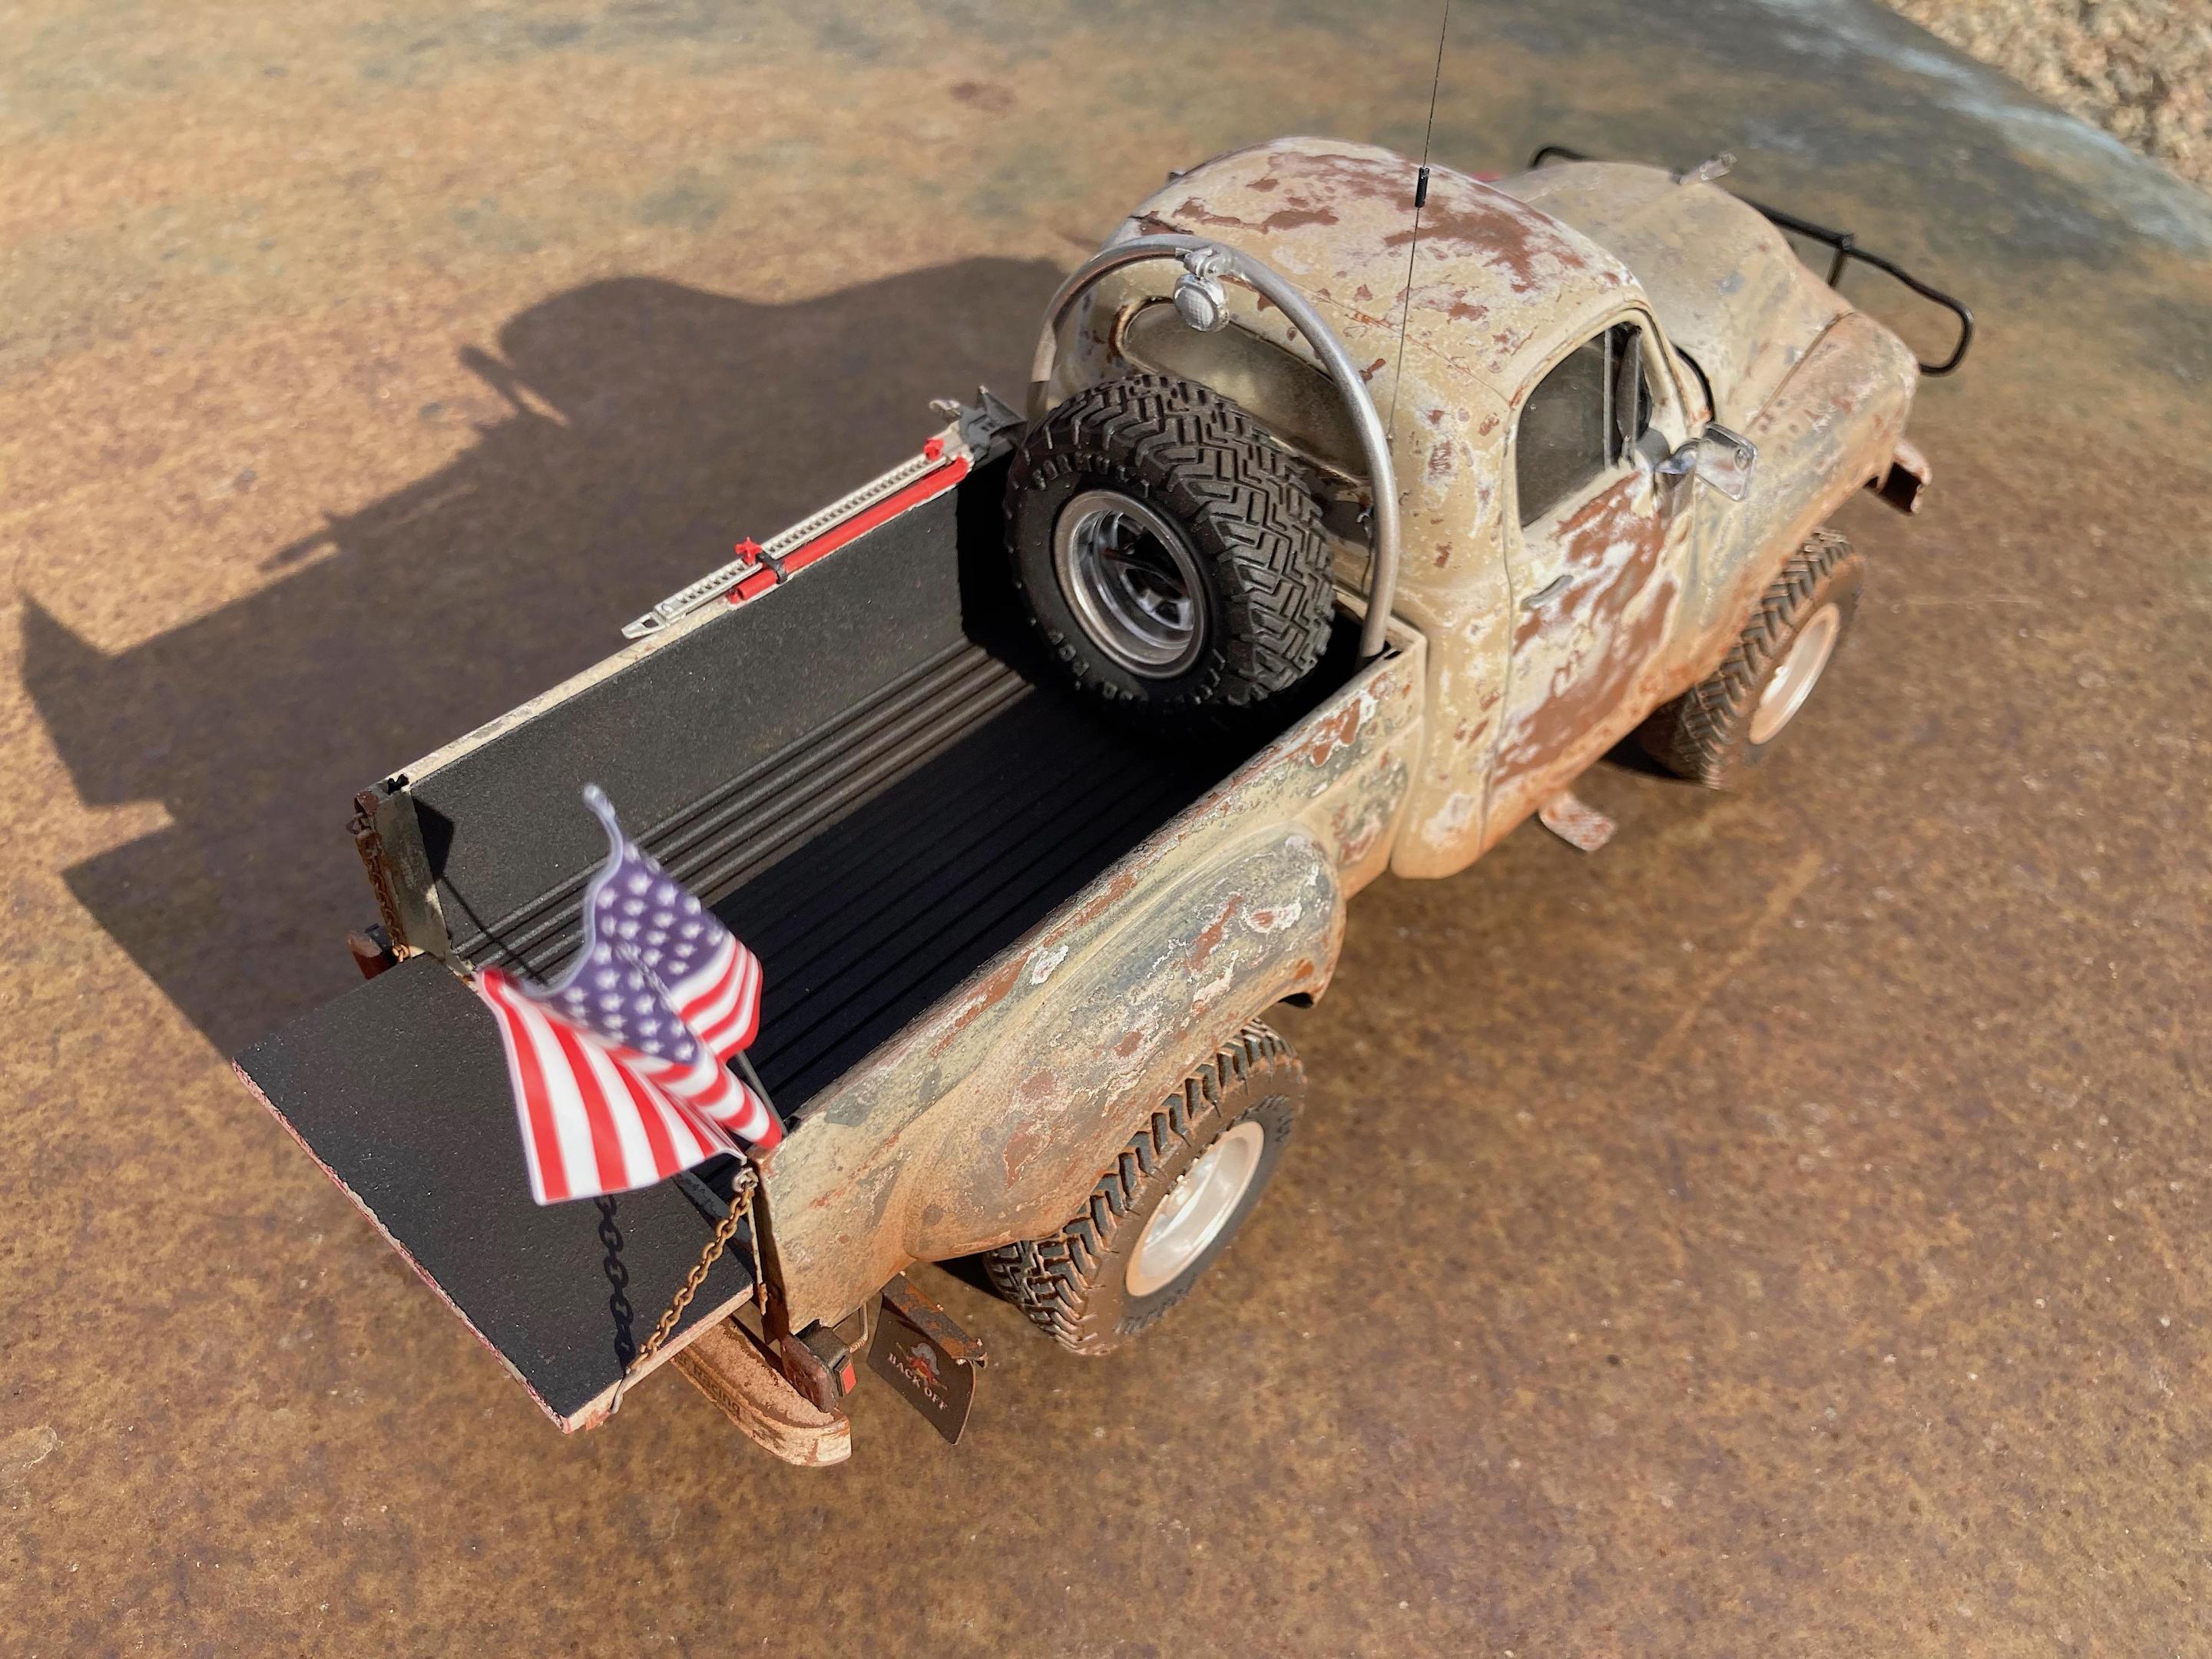
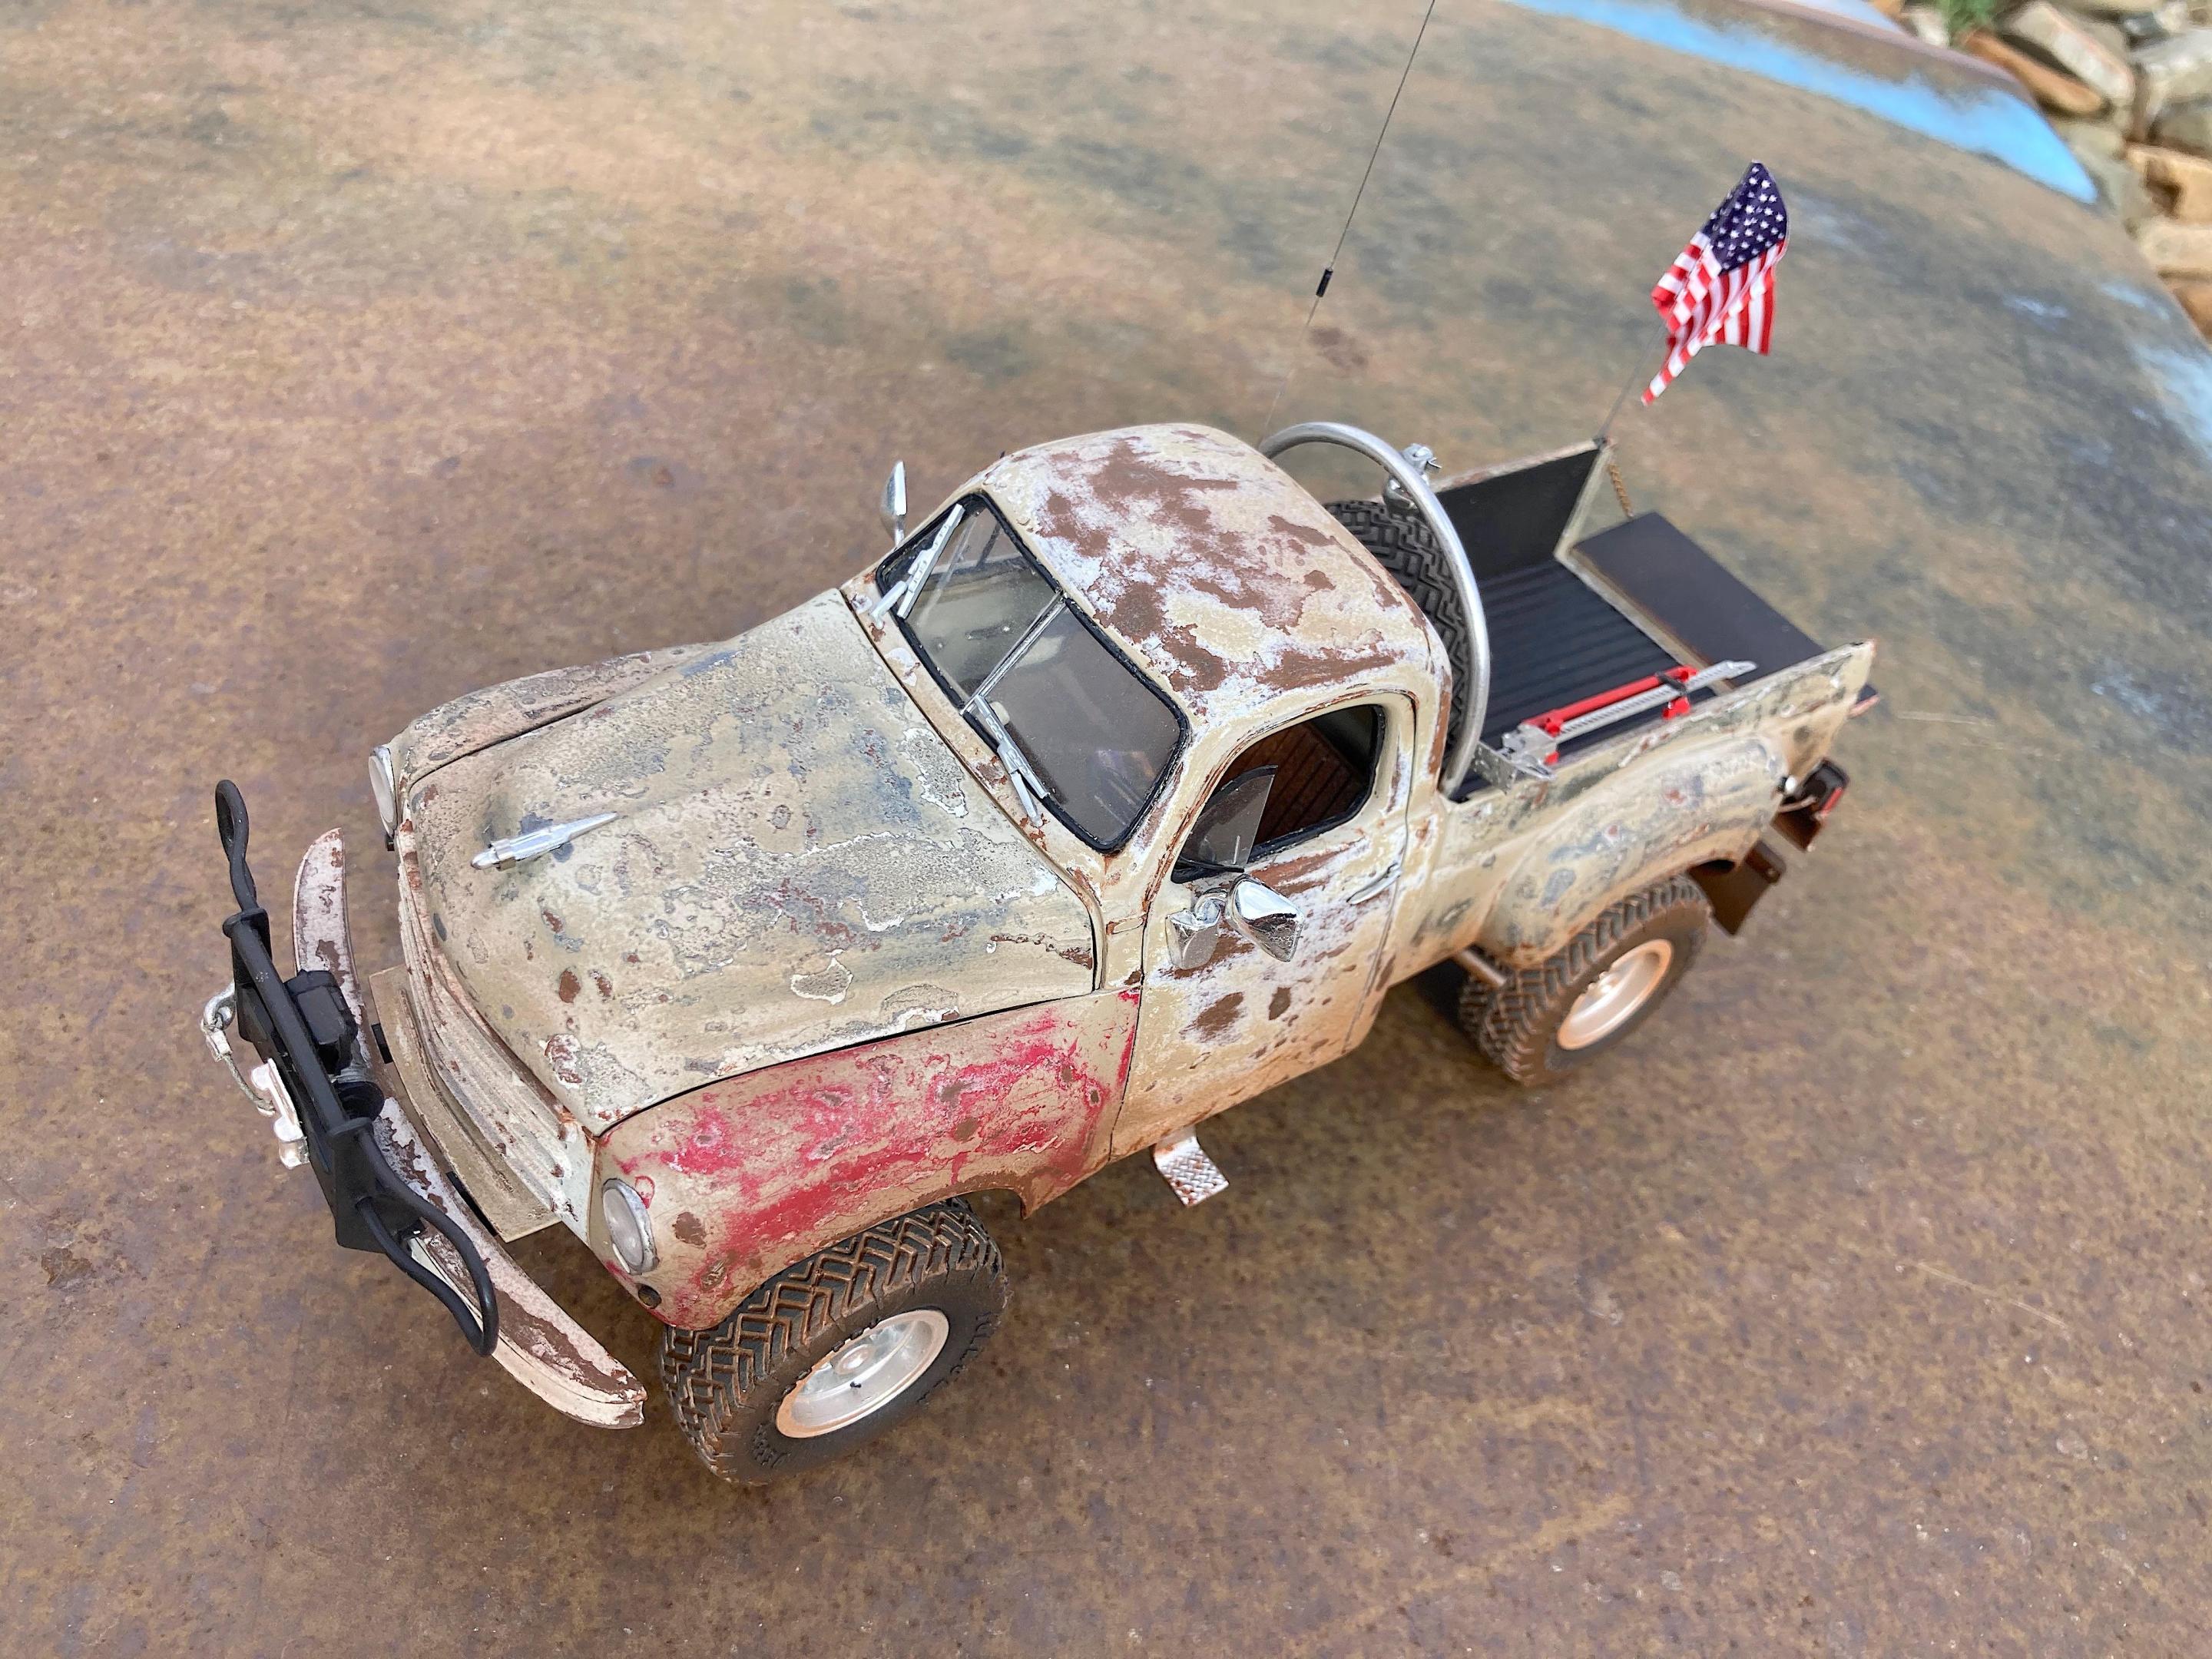
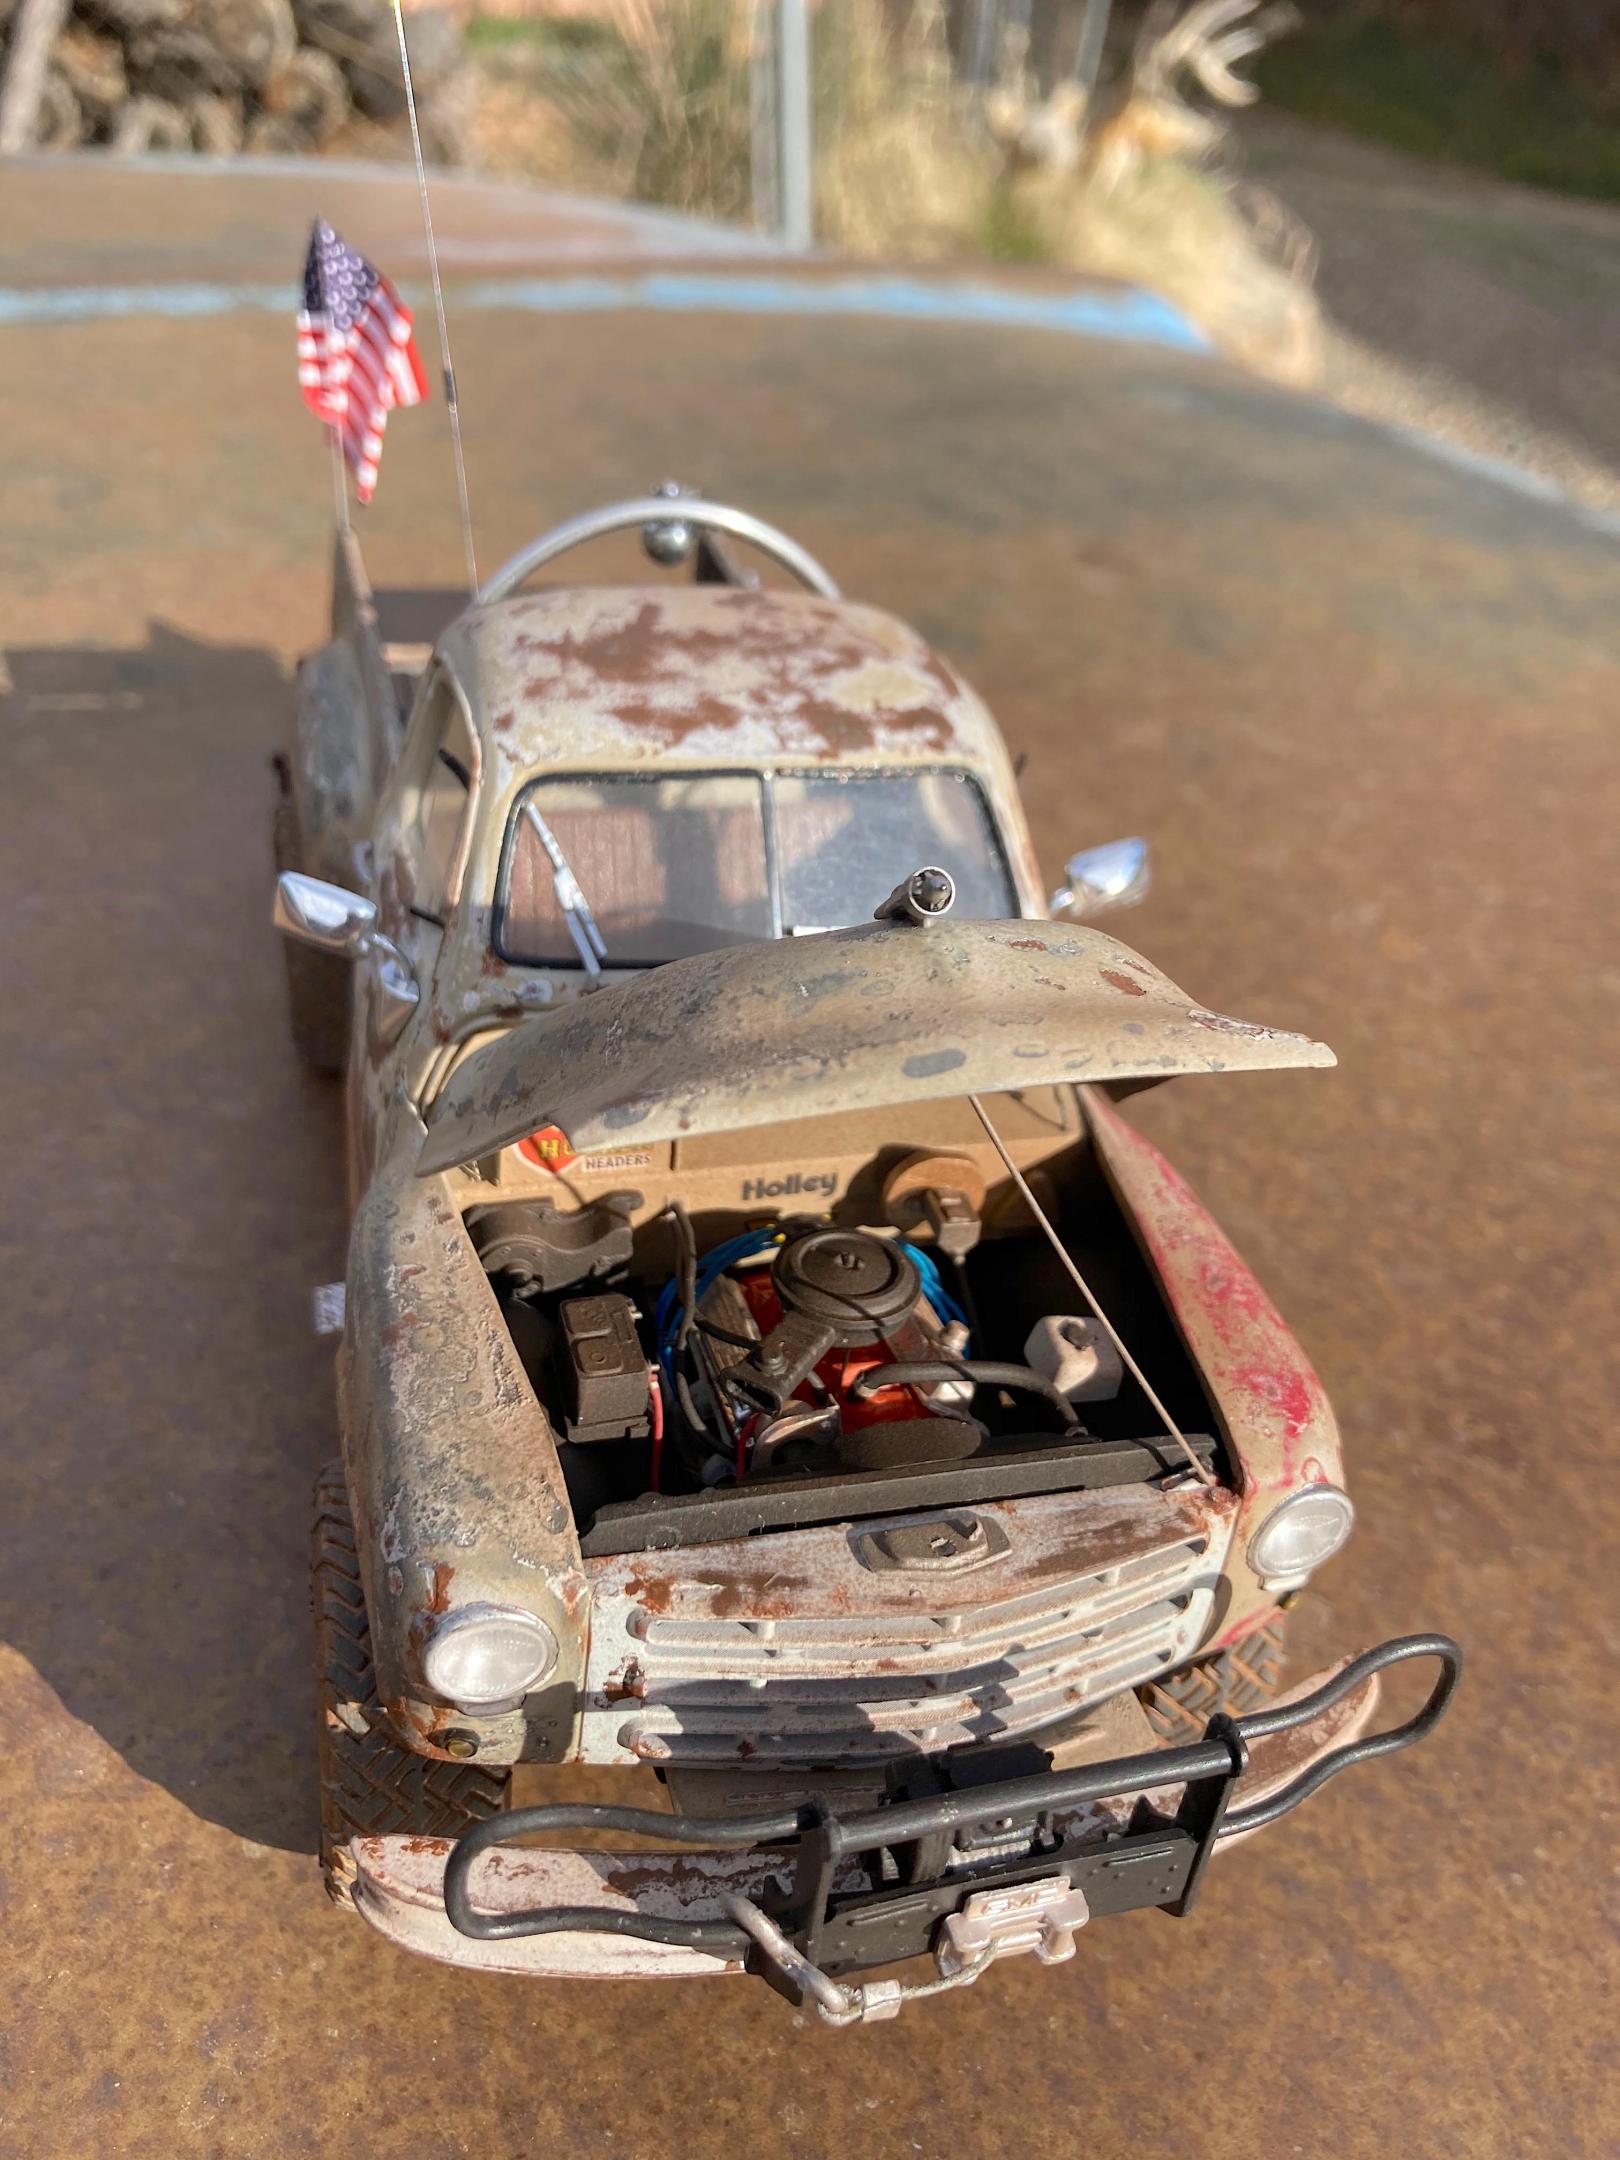
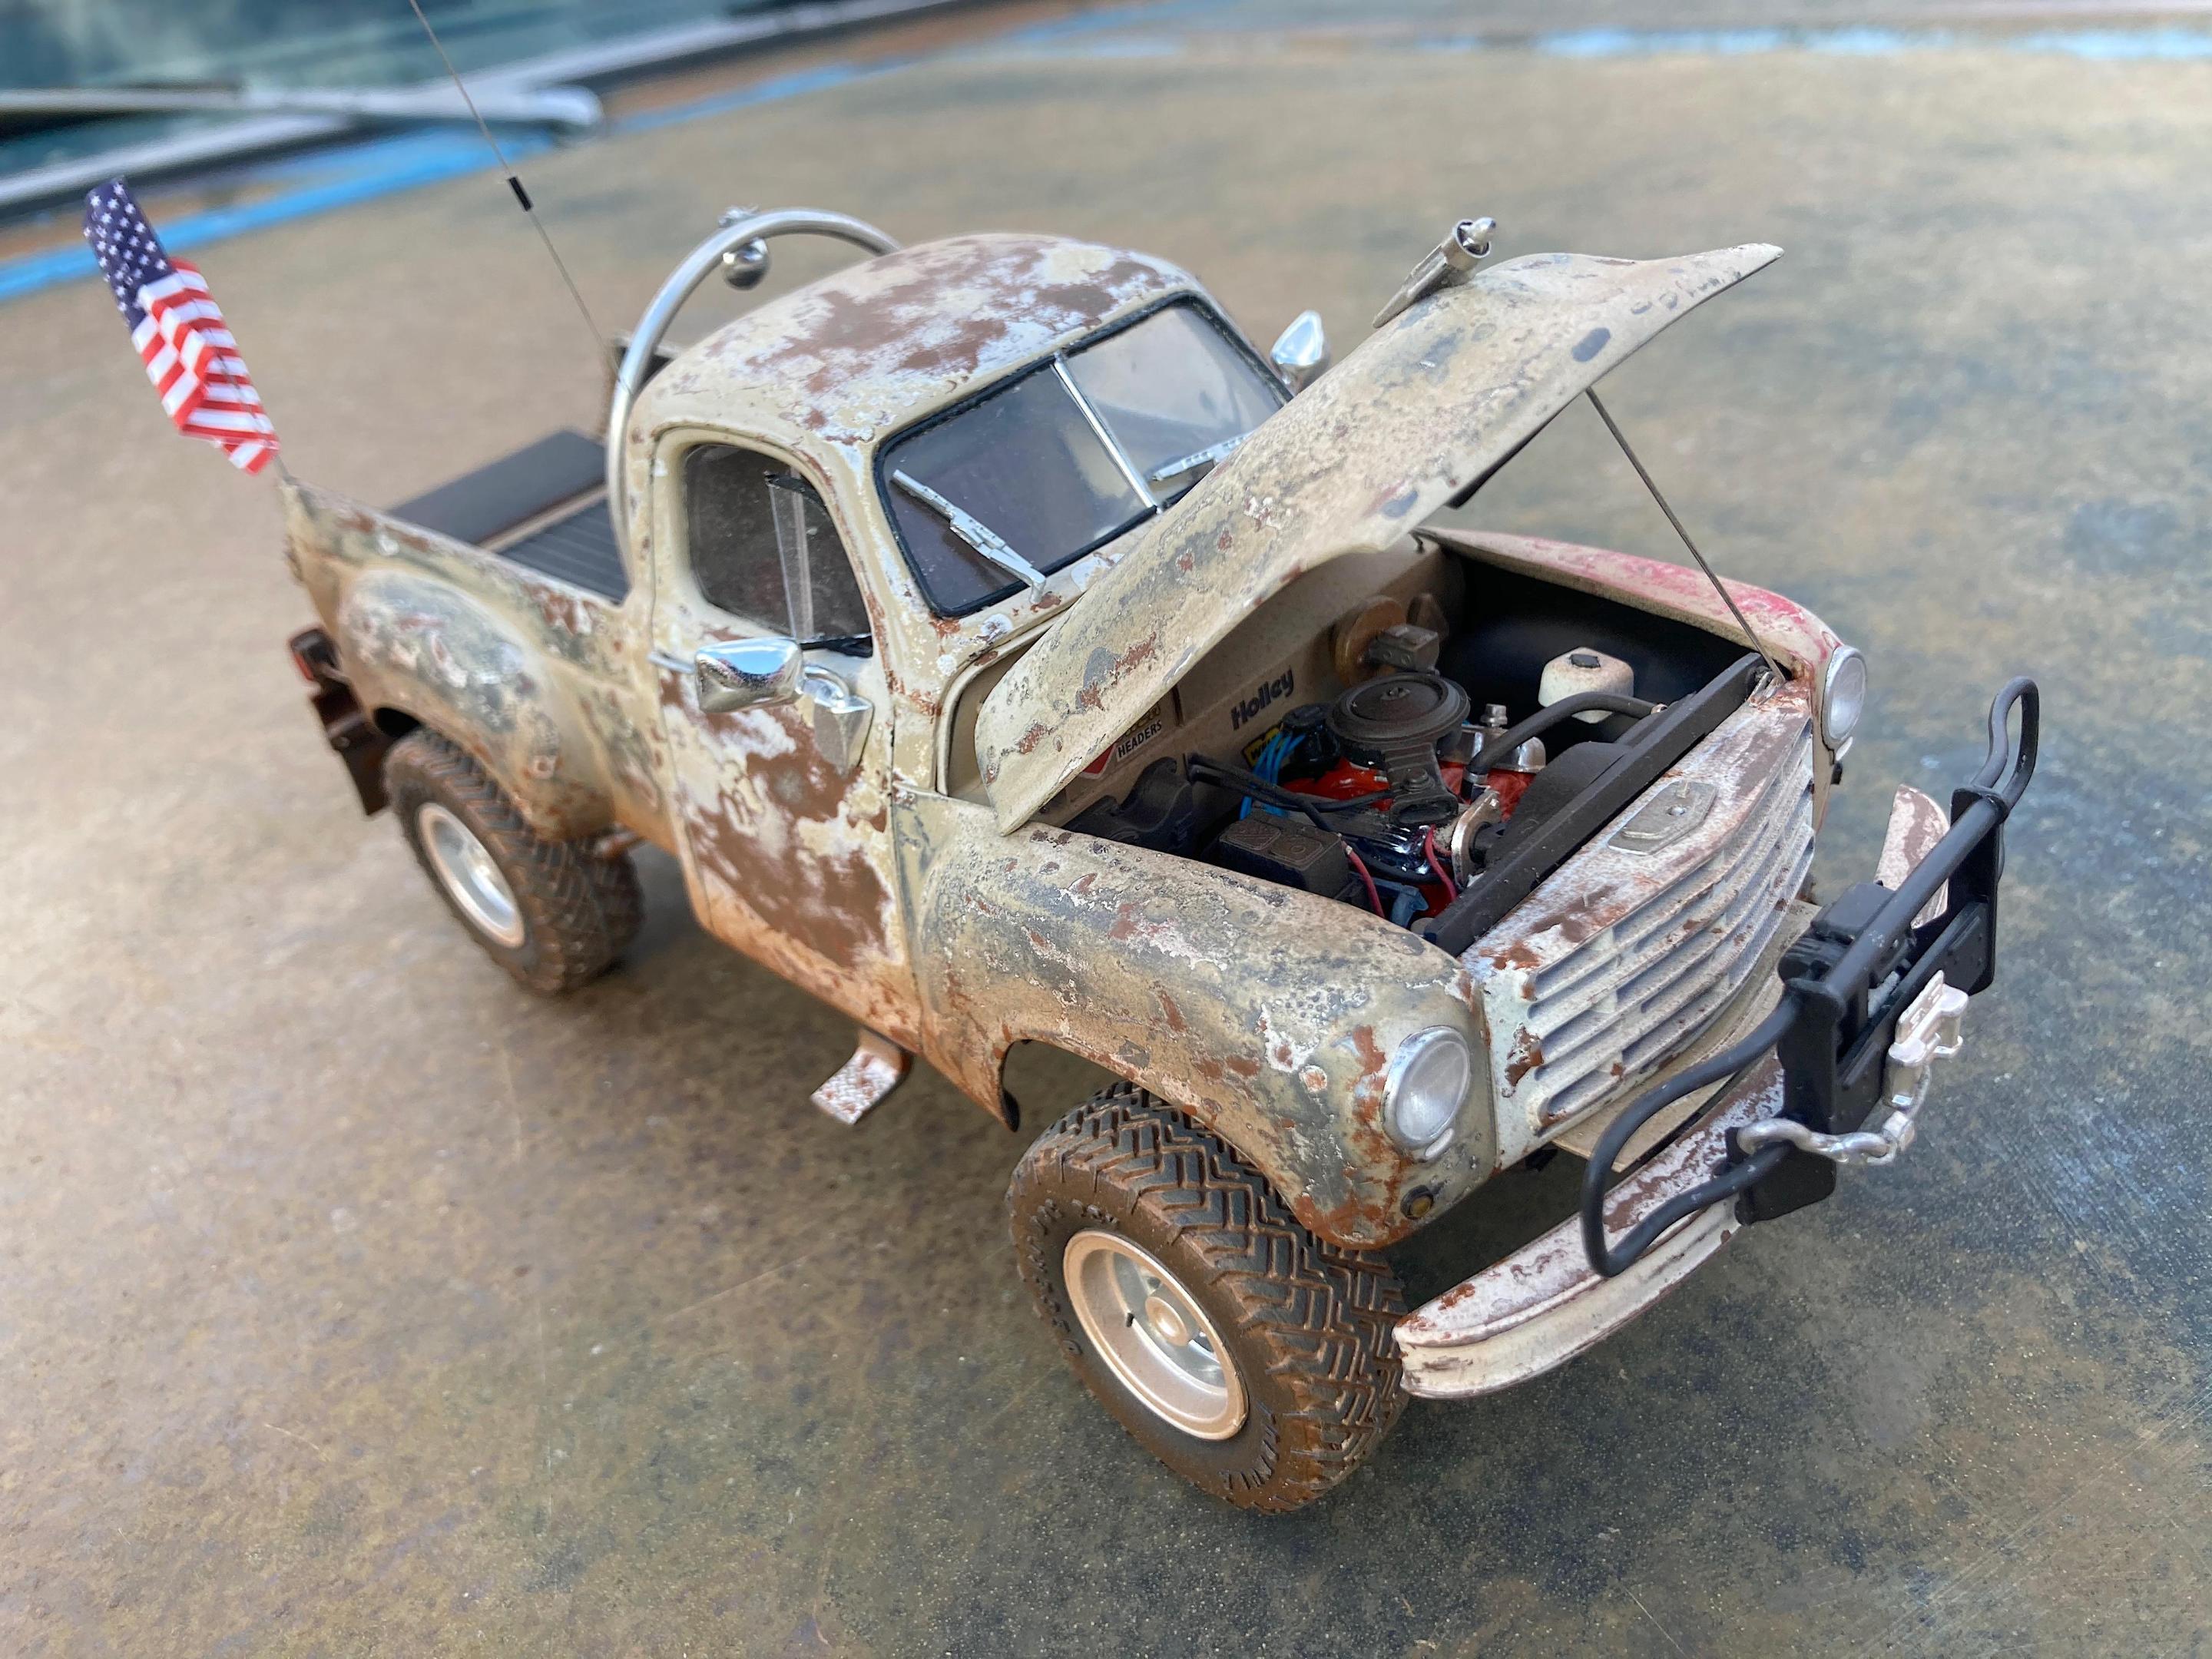
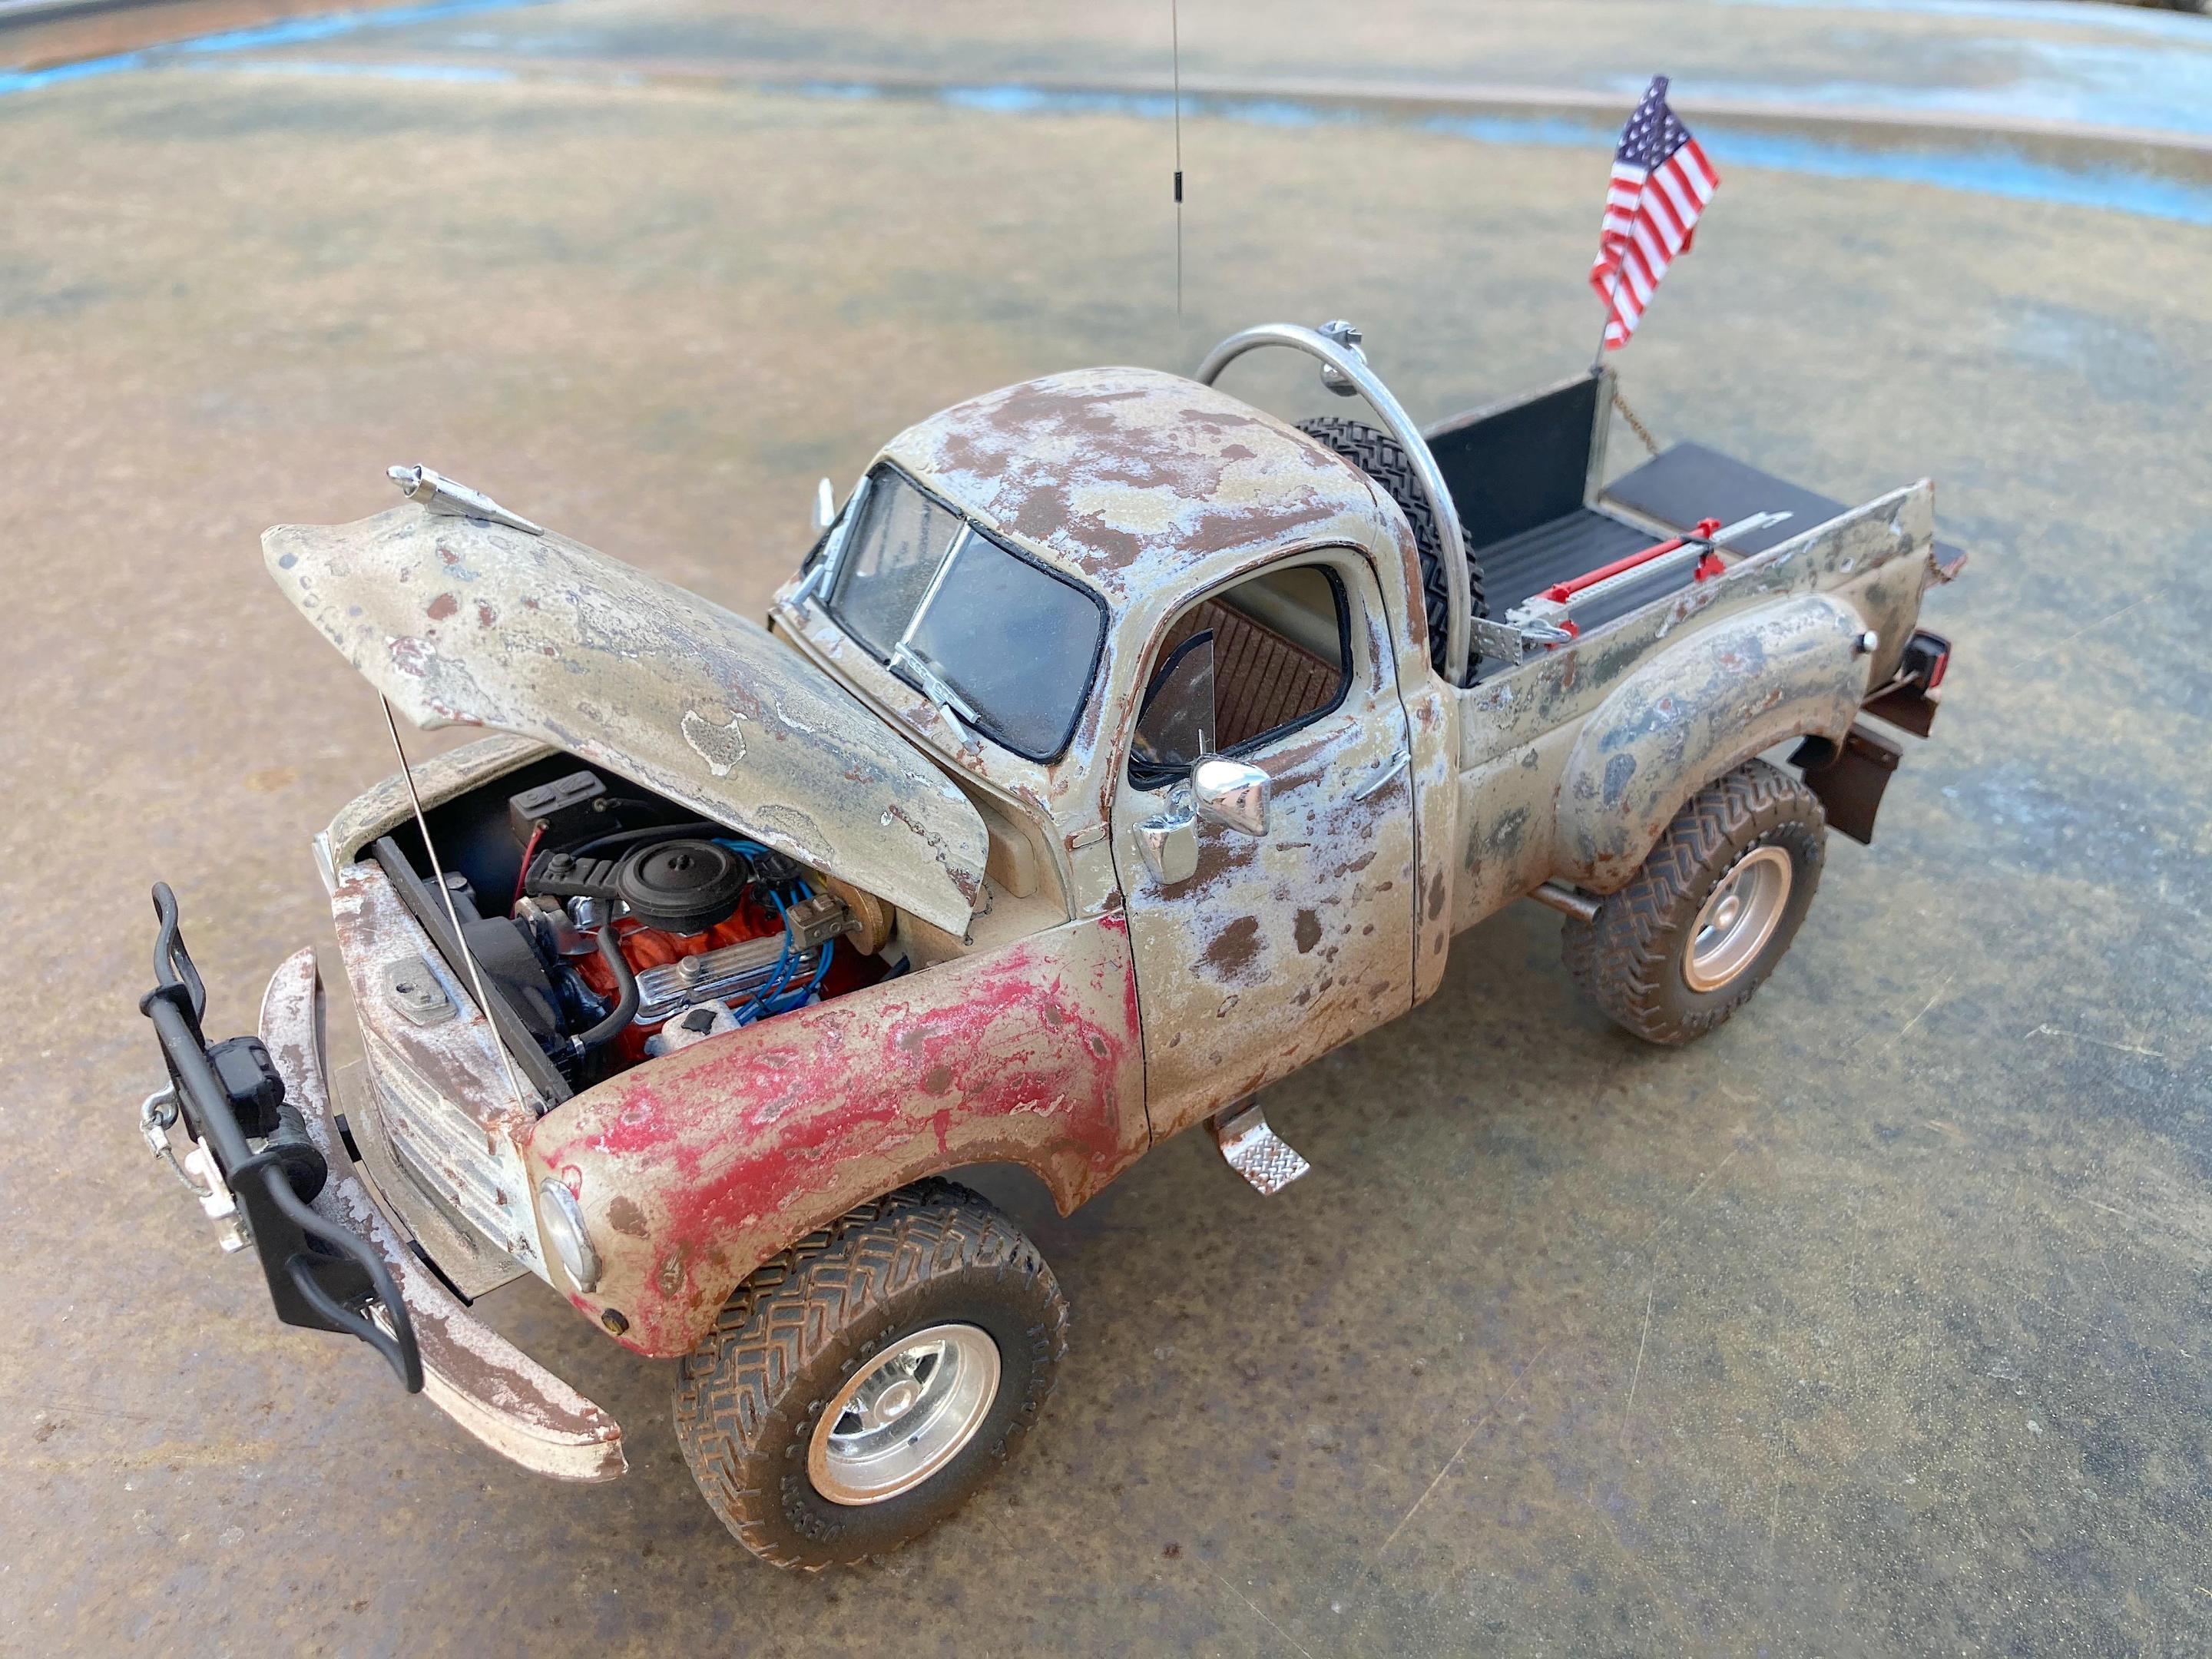
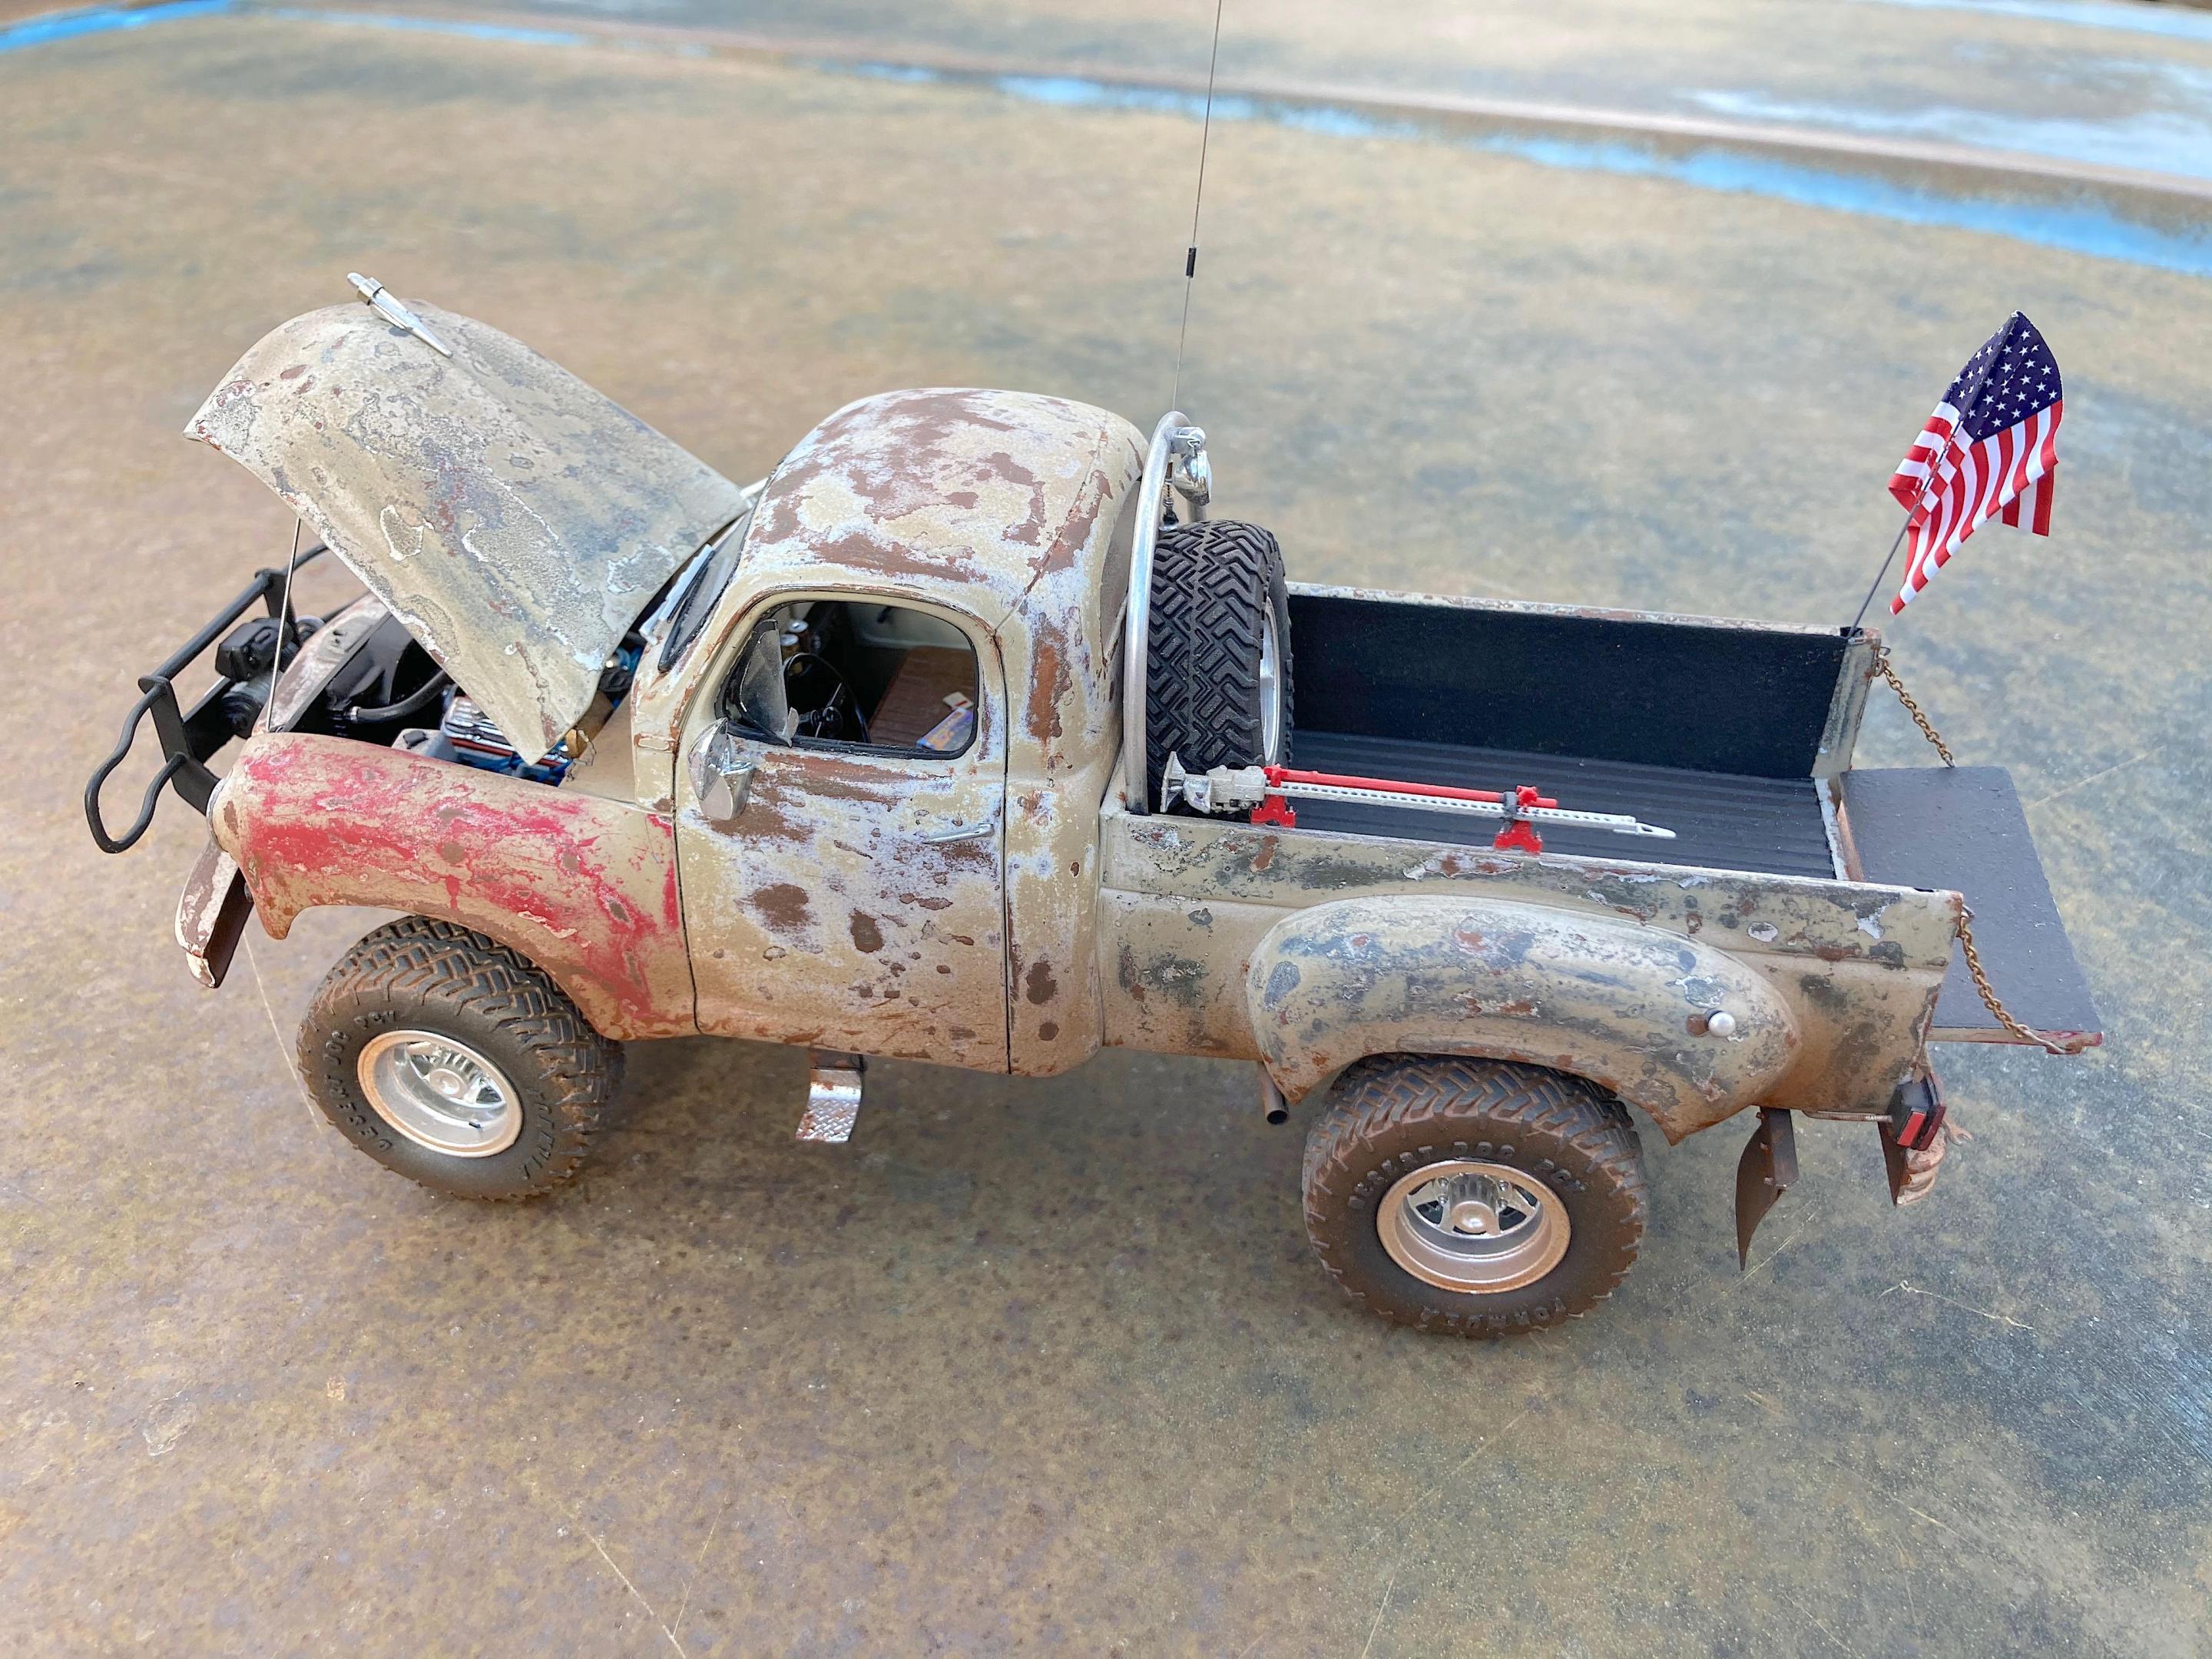
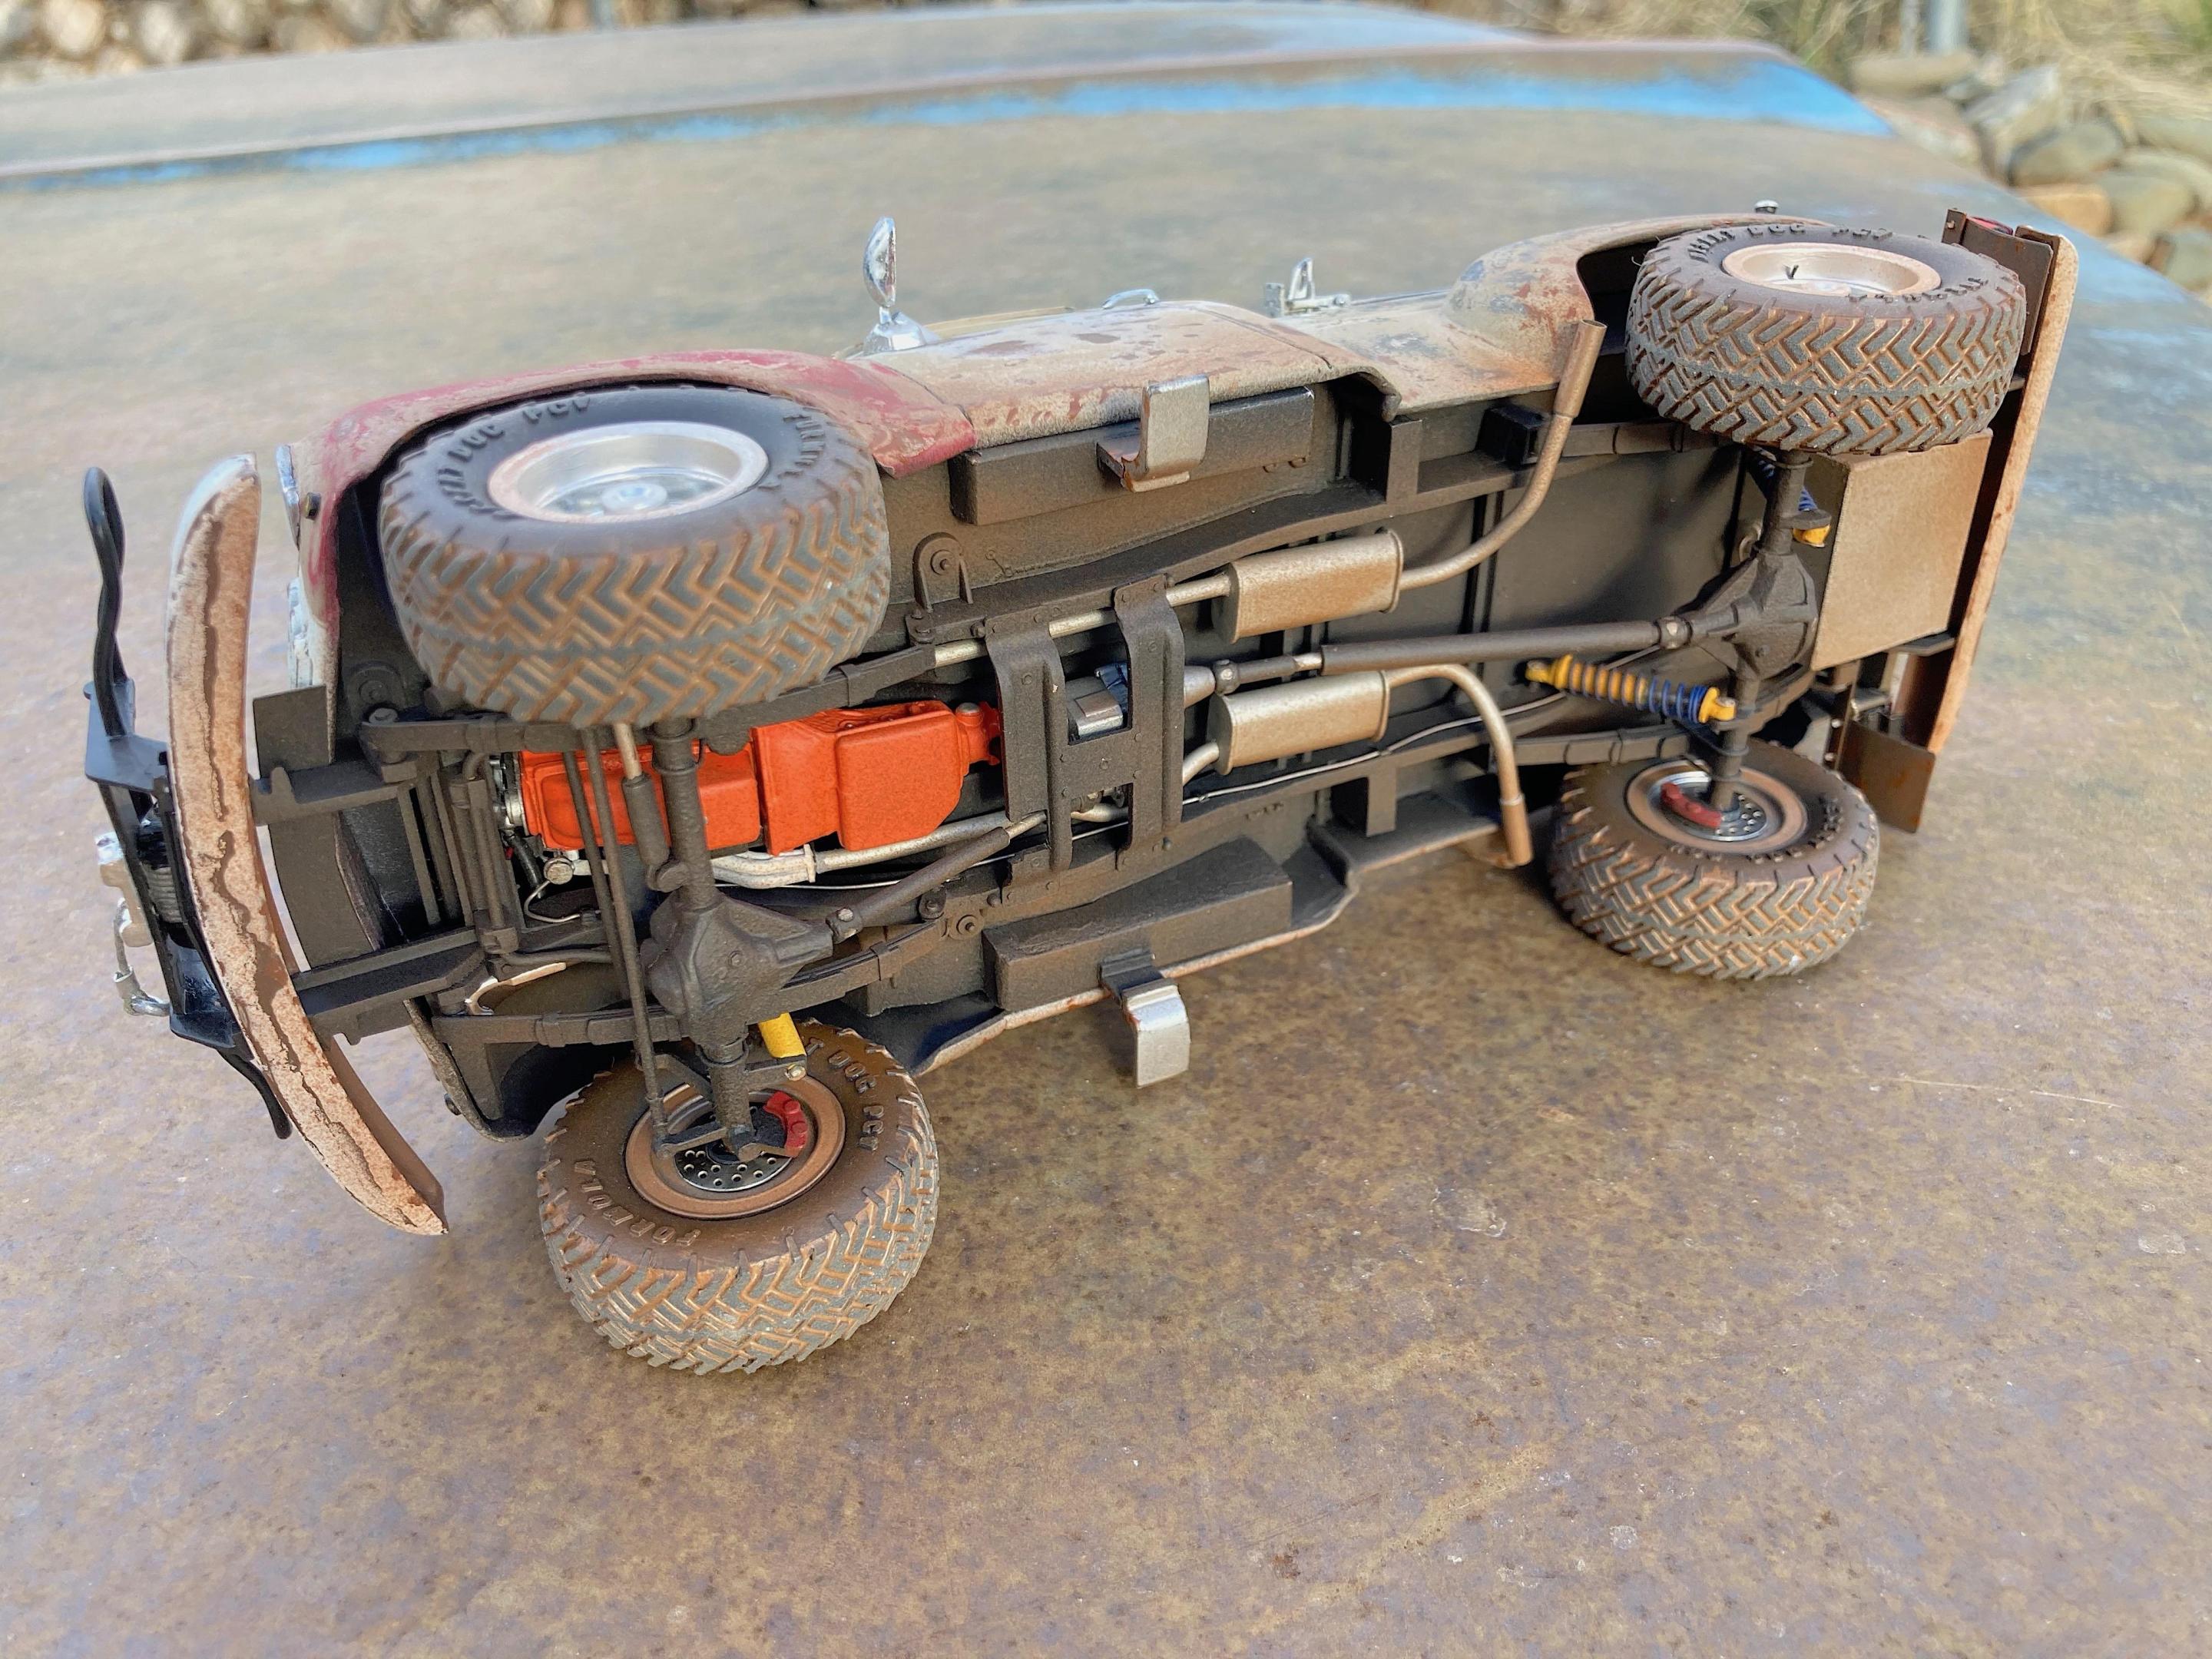
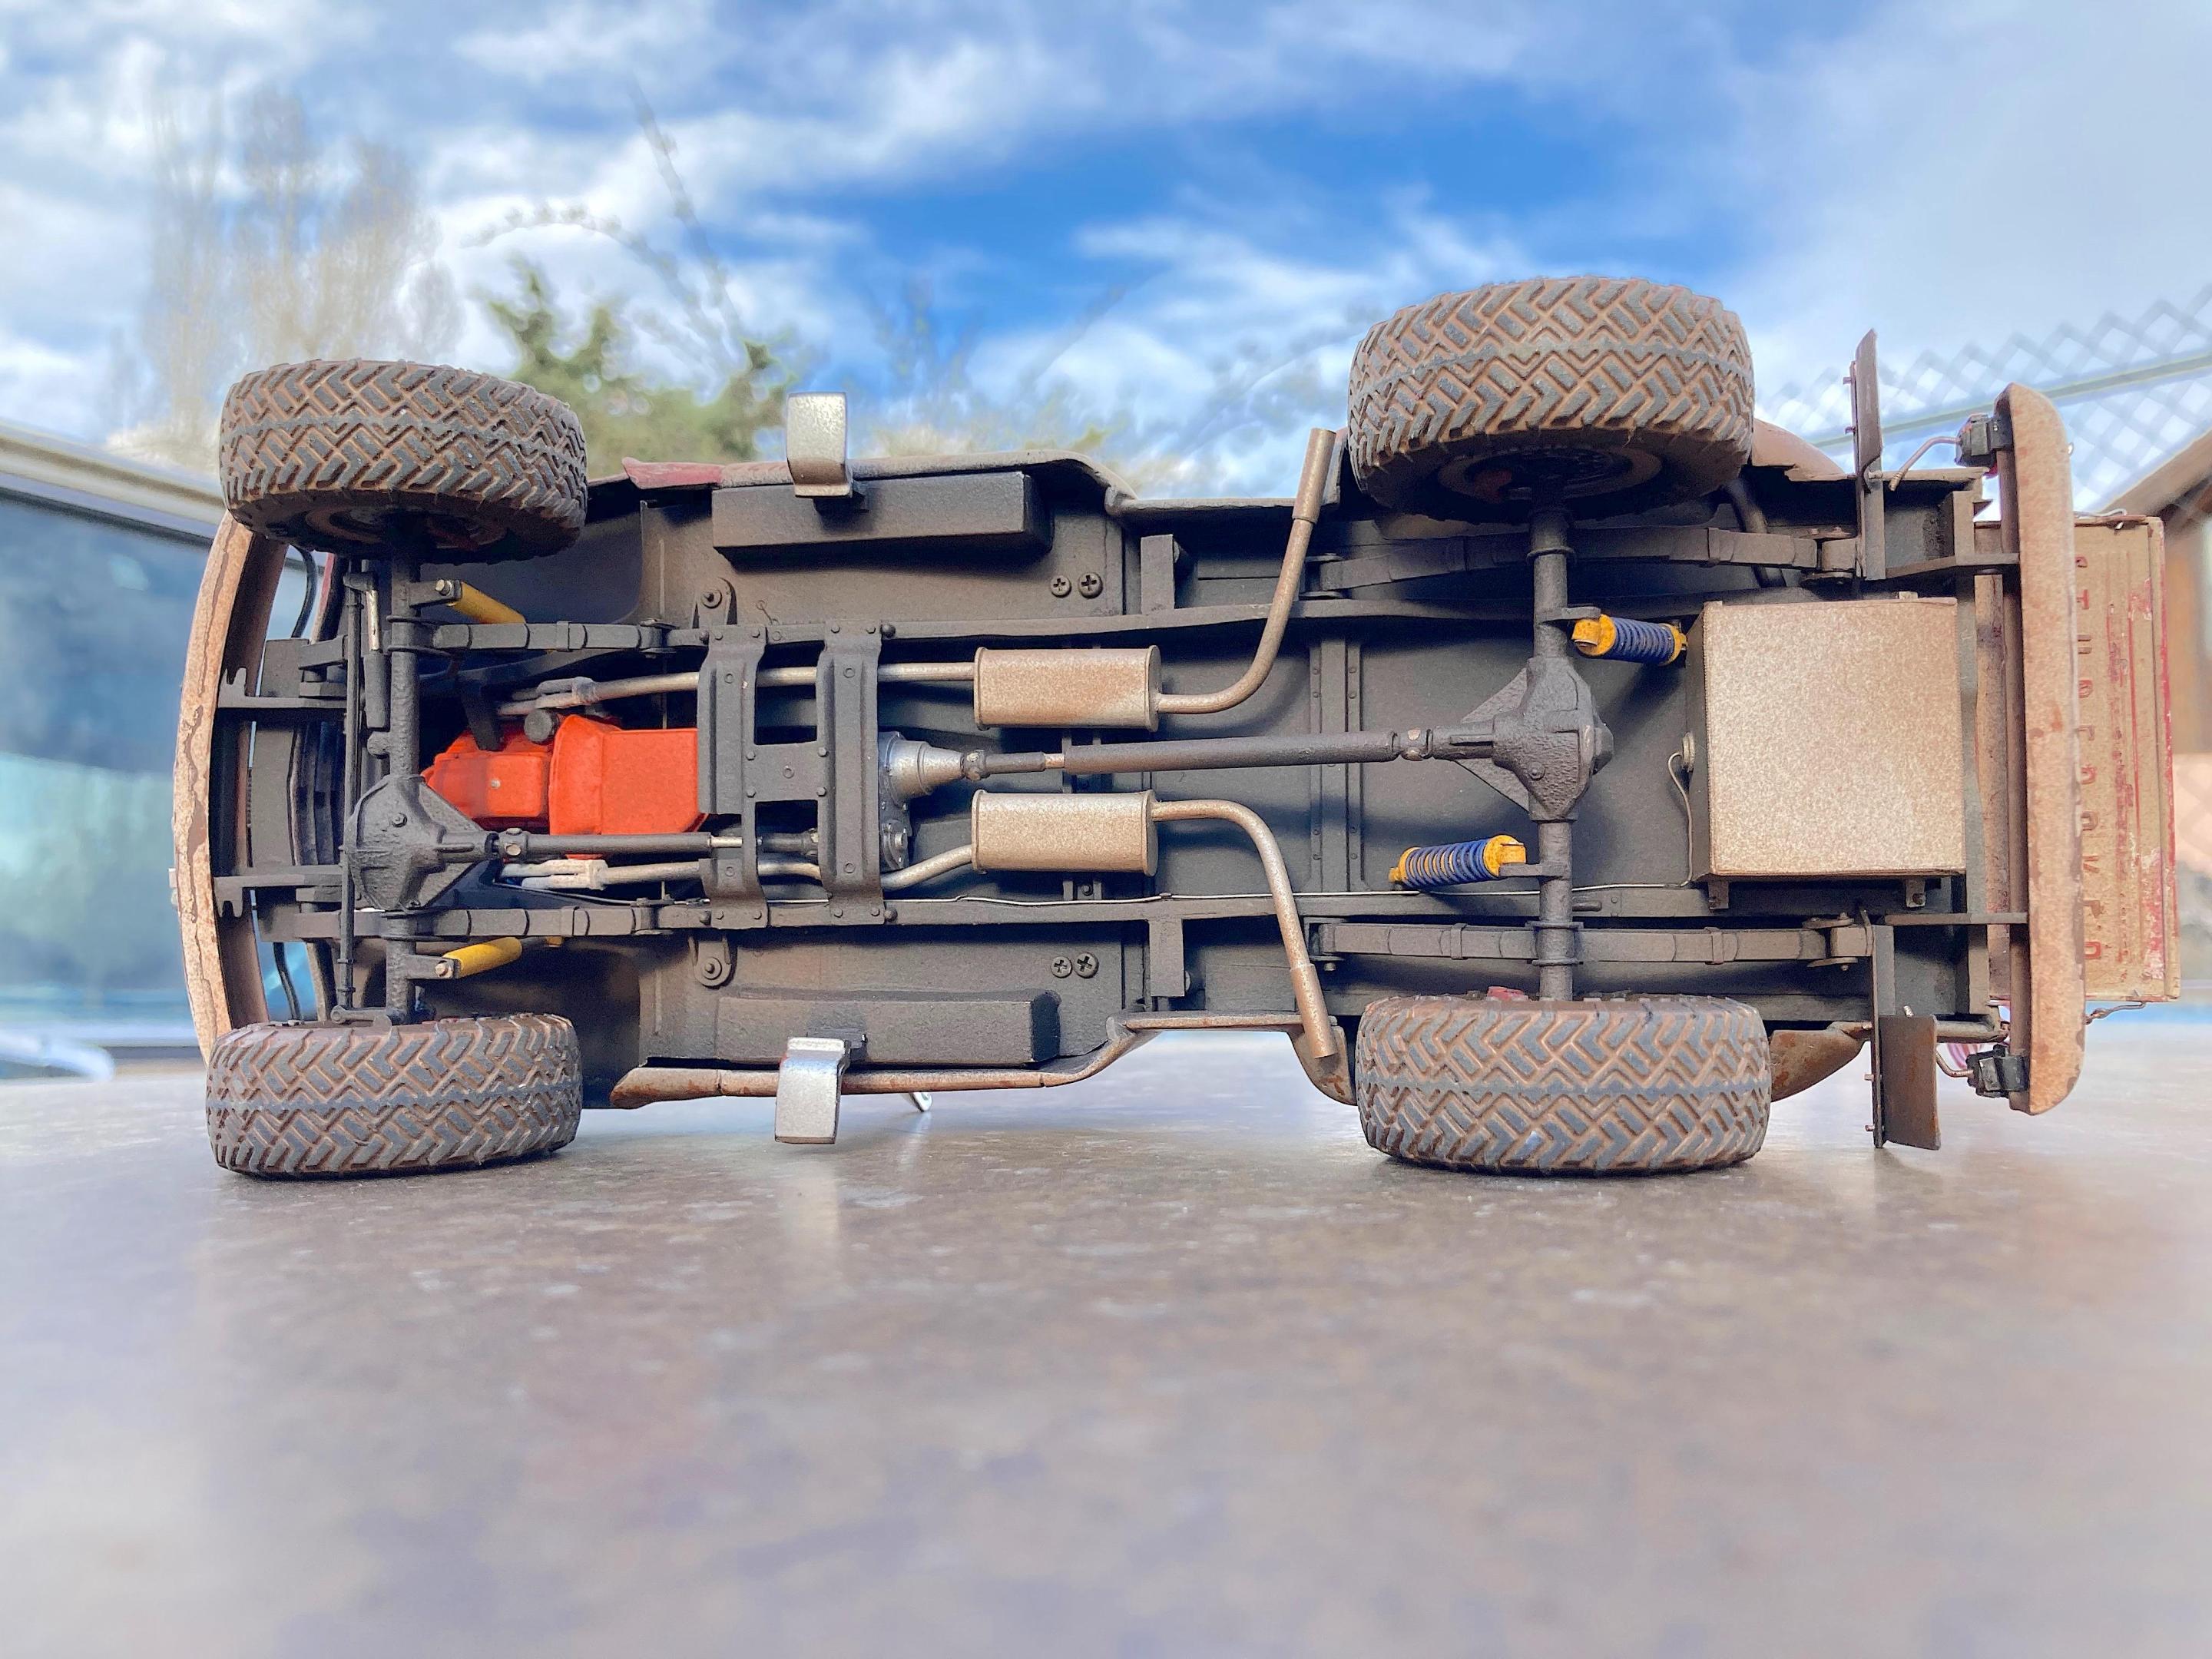
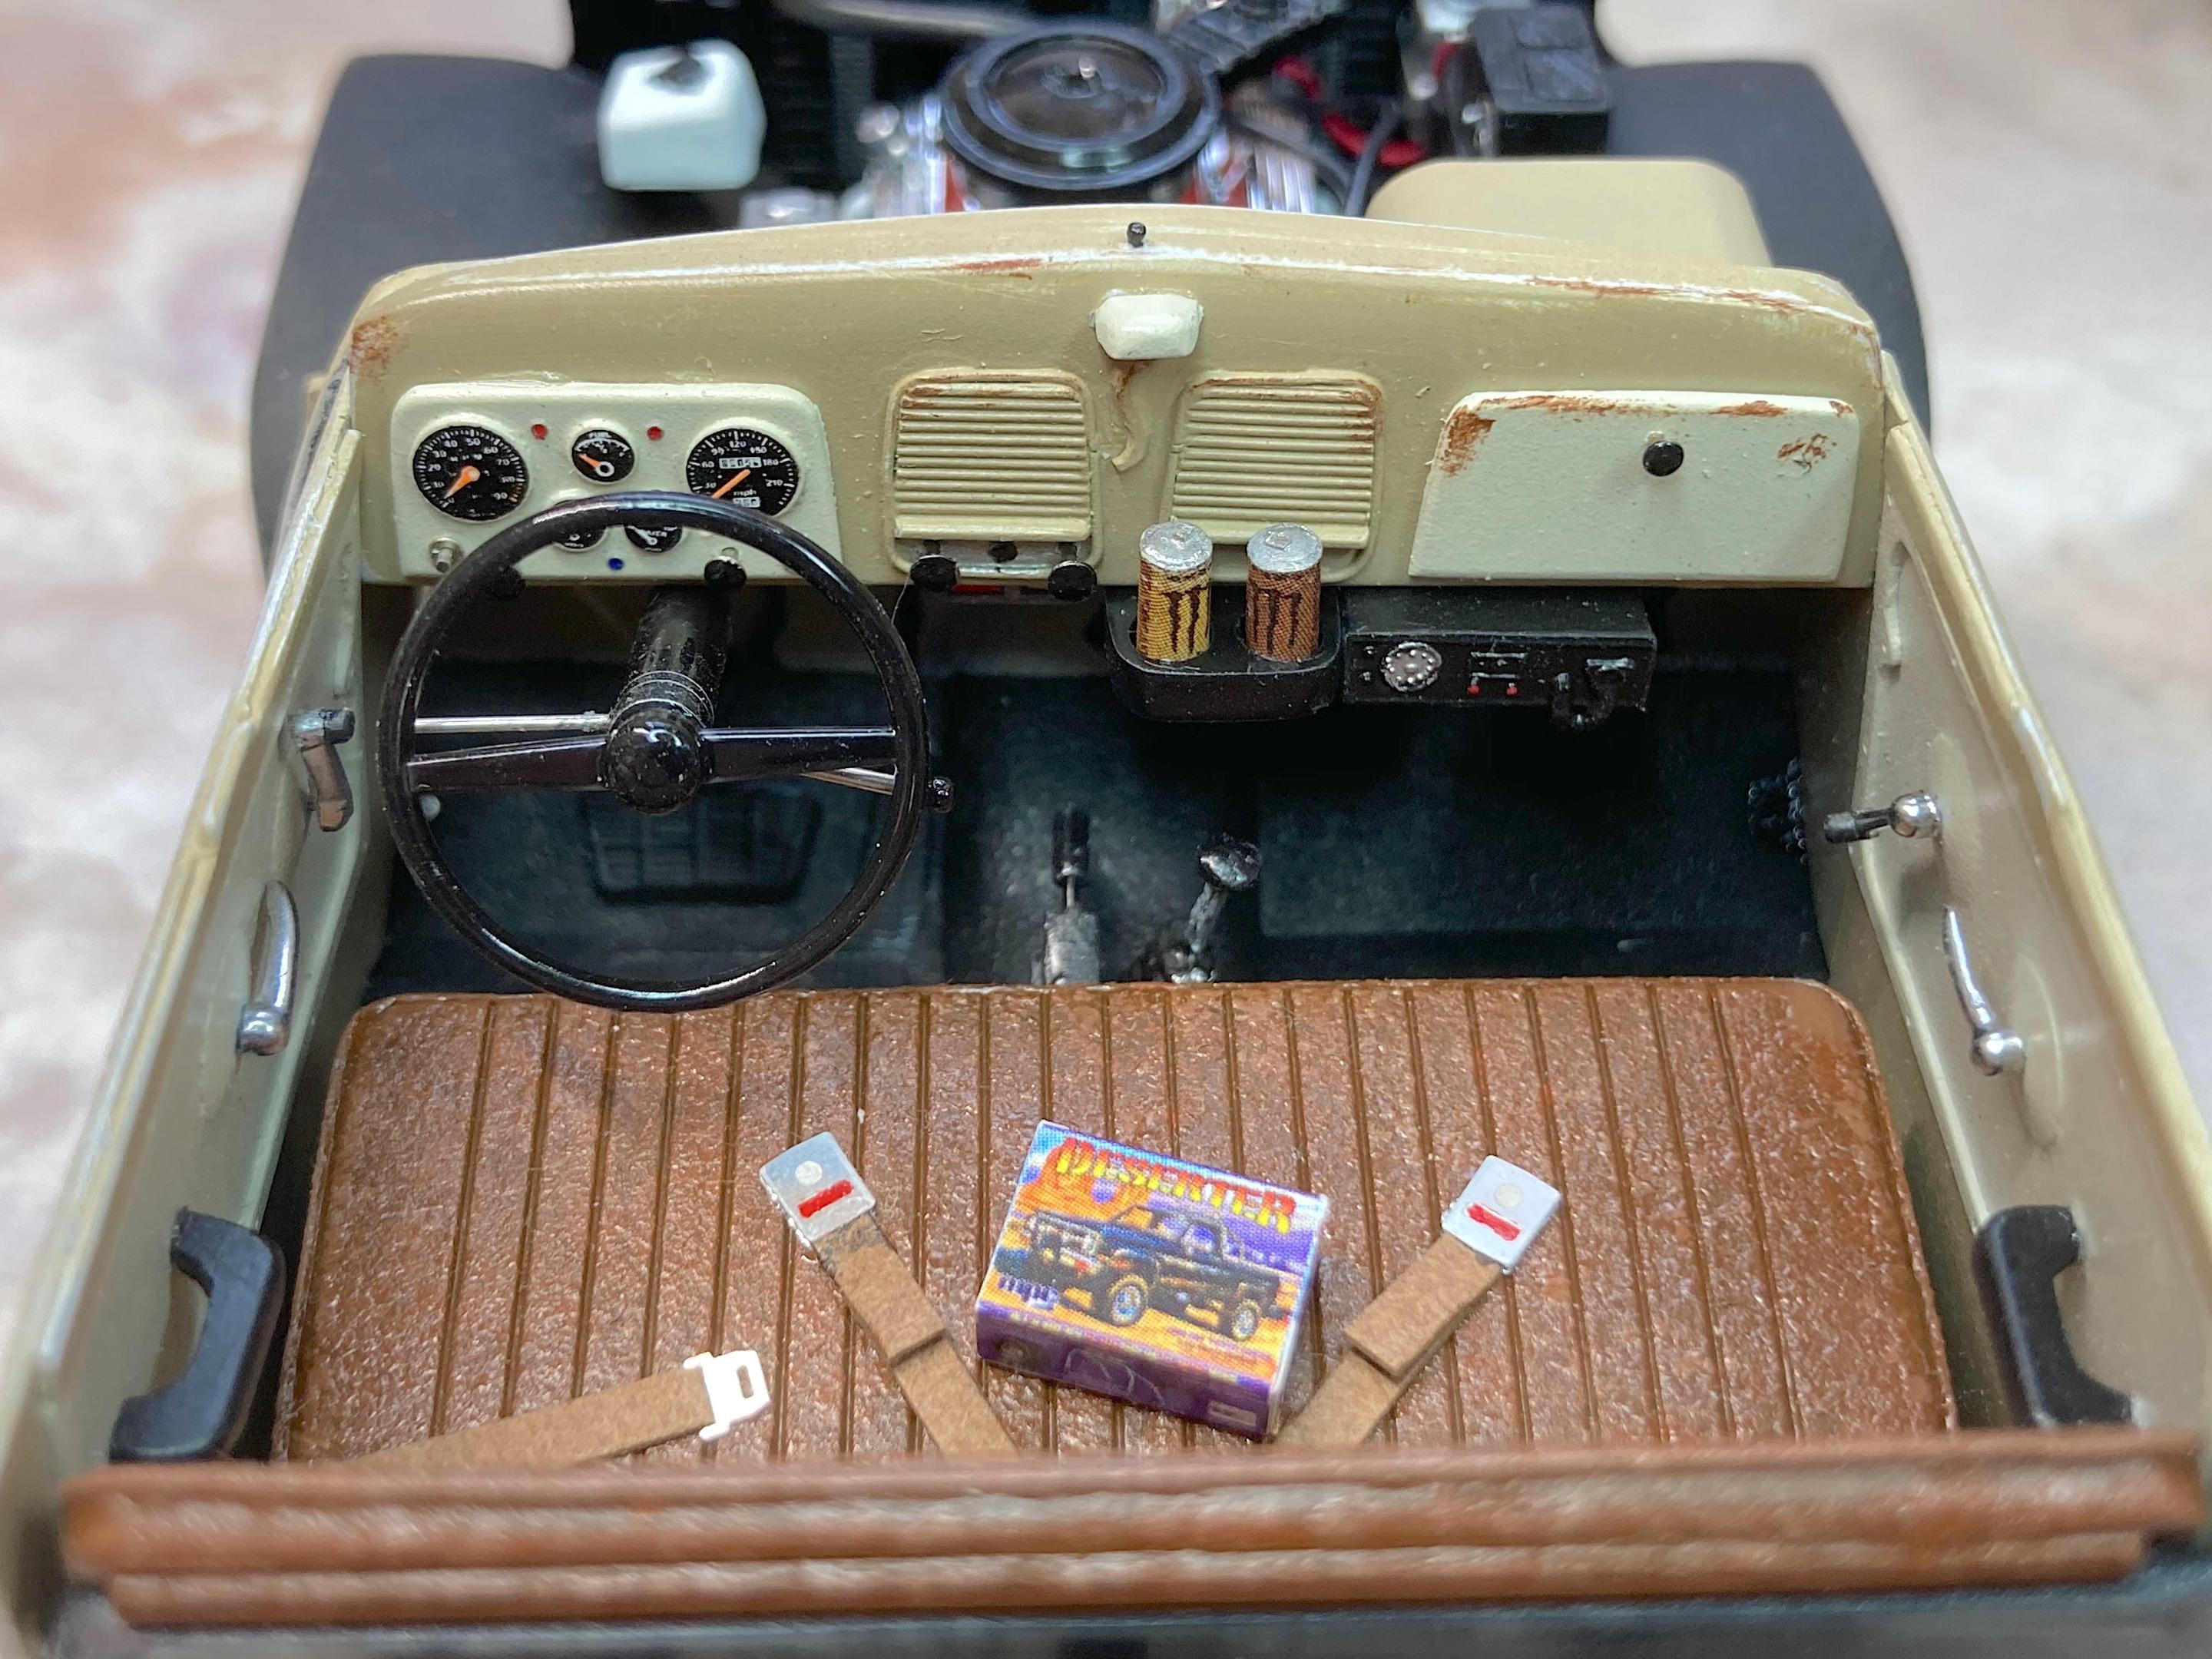
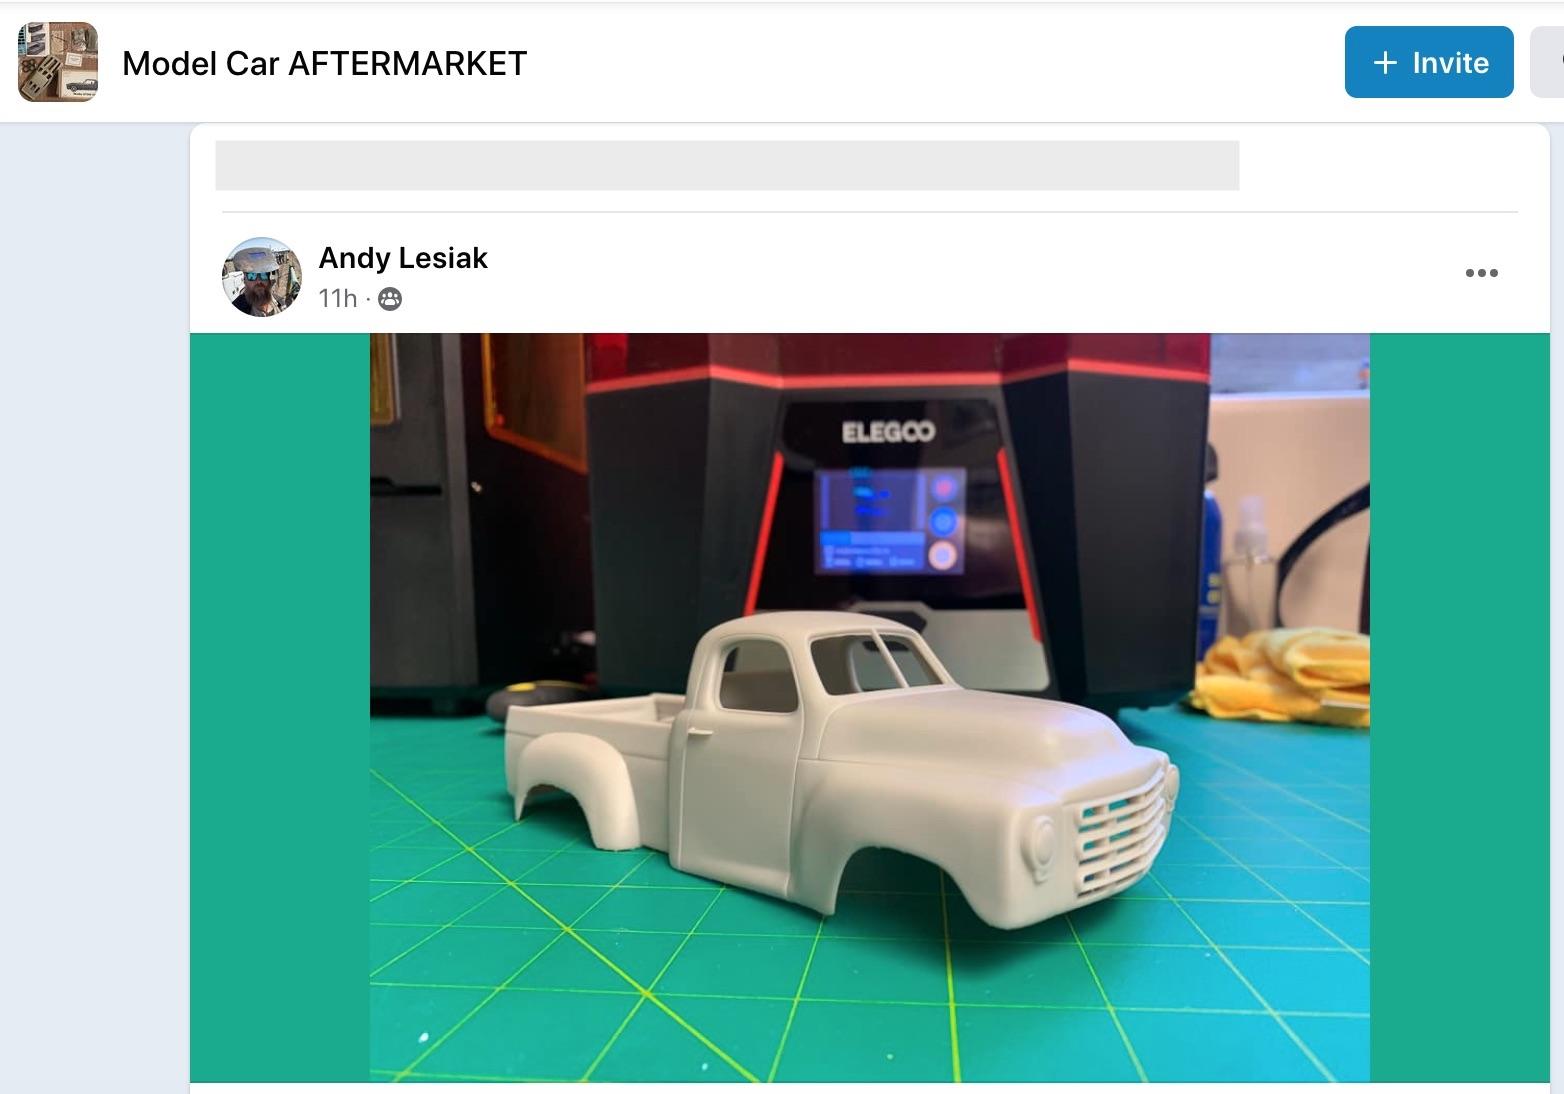
Always had a soft spot for these Studebaker pickups, when I saw this new 3D printed 1953 body by Andy Lesiak , I *had to* get it. Evaluated what to use for a donor kit, decided on the MPC "Deserter" '84 Jimmy, because I'm not a fan of the Square Body era, especially the stacked quad rectangle headlights (I own a '68 Chevy C-10 so I'm extremely biased 😝). The Studebaker bed is designed for a Pro Street build, that is going to get revamped. Was thinking of using the floor of the GMC bed, but this nixed that idea. Right off the bat, encountered bad engineering, the rear perches for the front suspension, no left/right, so slight modification required. Glued parts that are halves together, for now not cleaning up, goal is to do a mockup. Found the engine has left/right valve covers, but the instructions don't indicate such. Puttied some sink marks already. Rookie builders might get ticked off about how the wheels might not turn when assembled. The ejection pin marks needed to be scraped down. The part numbers on the tree are screwed up, there is a front/rear axle retainer with different lengths, the same number was on a front and rear part. 😆 The other thing about the wheels, they are about 1/16" wider than the tire beads. Can't just sand down the rim, need to evaluate what to do, this can't stand! Used the hotwire to cut off the door panels, modify the gas tank, and cut up the firewall part. Temporarily glued the drivetrain together with globs of Titebond glue. The instructions are useless for showing how the front leaf springs mount to the front perches, there is no positive connection, so the first mockup will determine what to do next. In fact, there is about 3/16" of play front-back to fix the front axle, I guess in this case with the different body that's a plus! I know the body will be painted a patina turquoise, with different color rear fenders, and will add some dents. The interior will have to be scratch-built, have a VW Bus bench seat which should suffice, dash will take more work, and door panels are simple enough. No emblems, street rods usually have that stuff shaved, but that hood ornament is cool, have to make that! Taillights are simple. Was planning to use the GMC mirrors, brush guard, winch.
- 108 replies
-
- 3
-

-
- 1953
- studebaker
-
(and 2 more)
Tagged with:
-
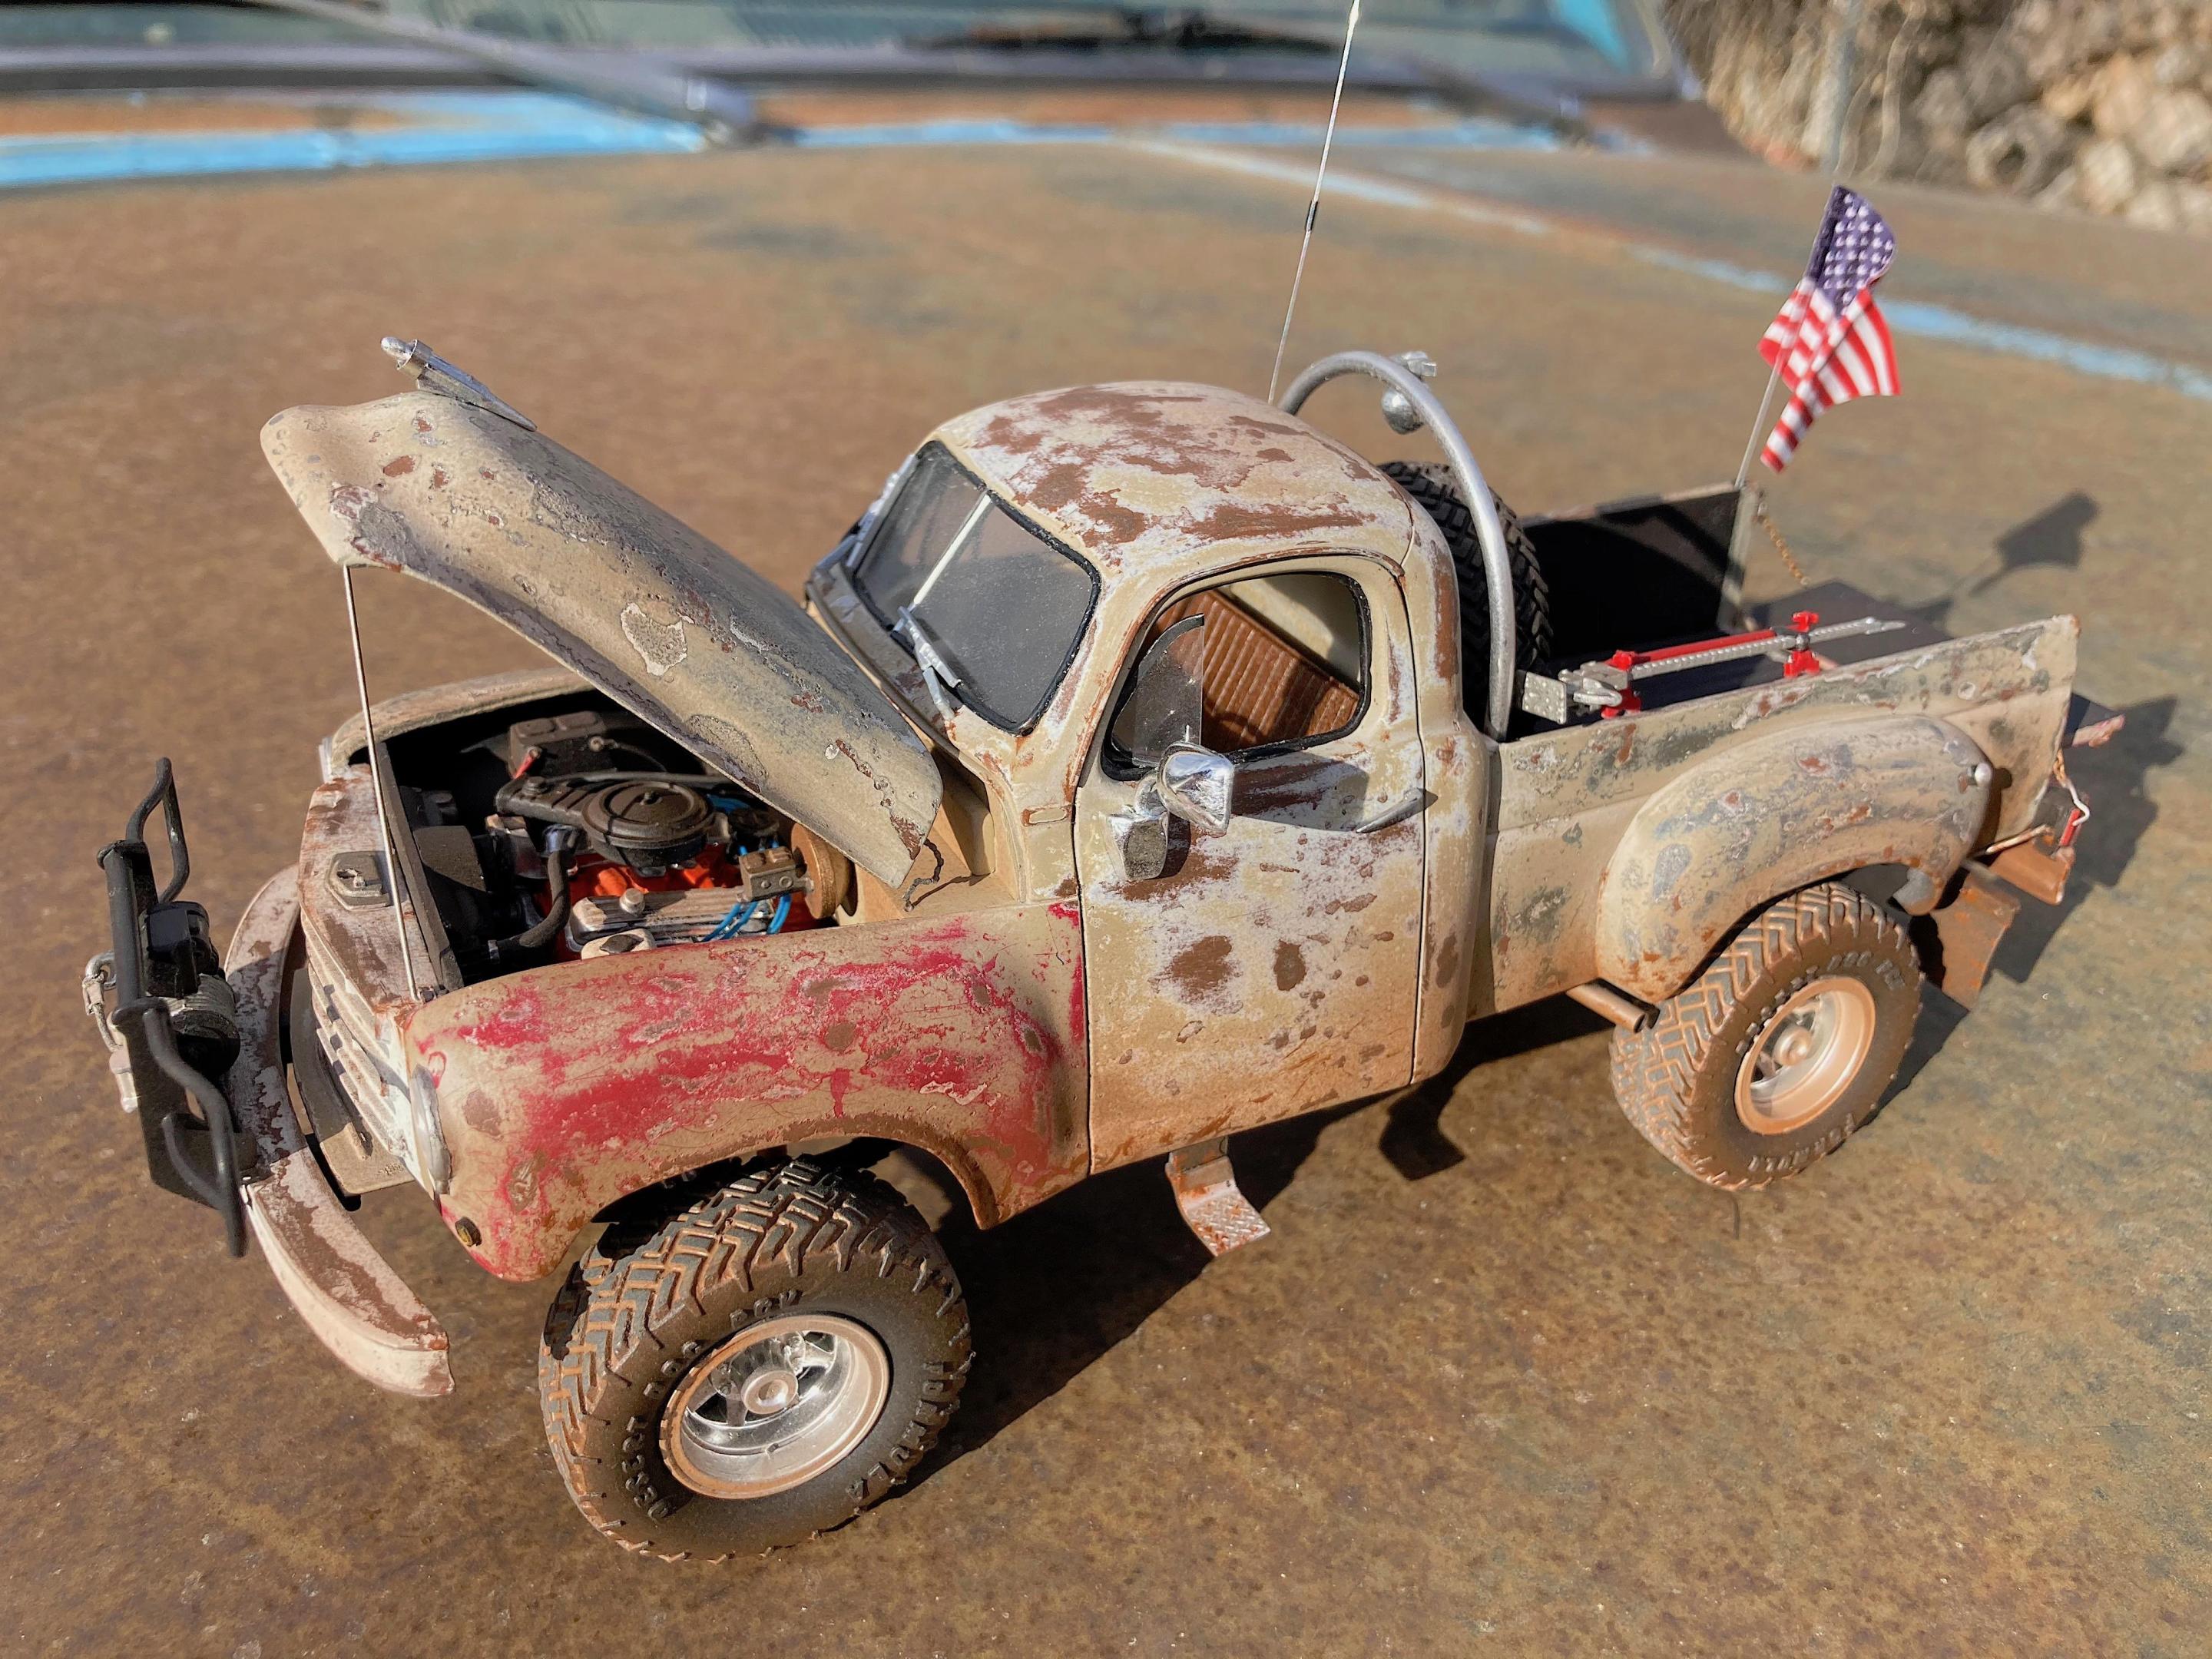
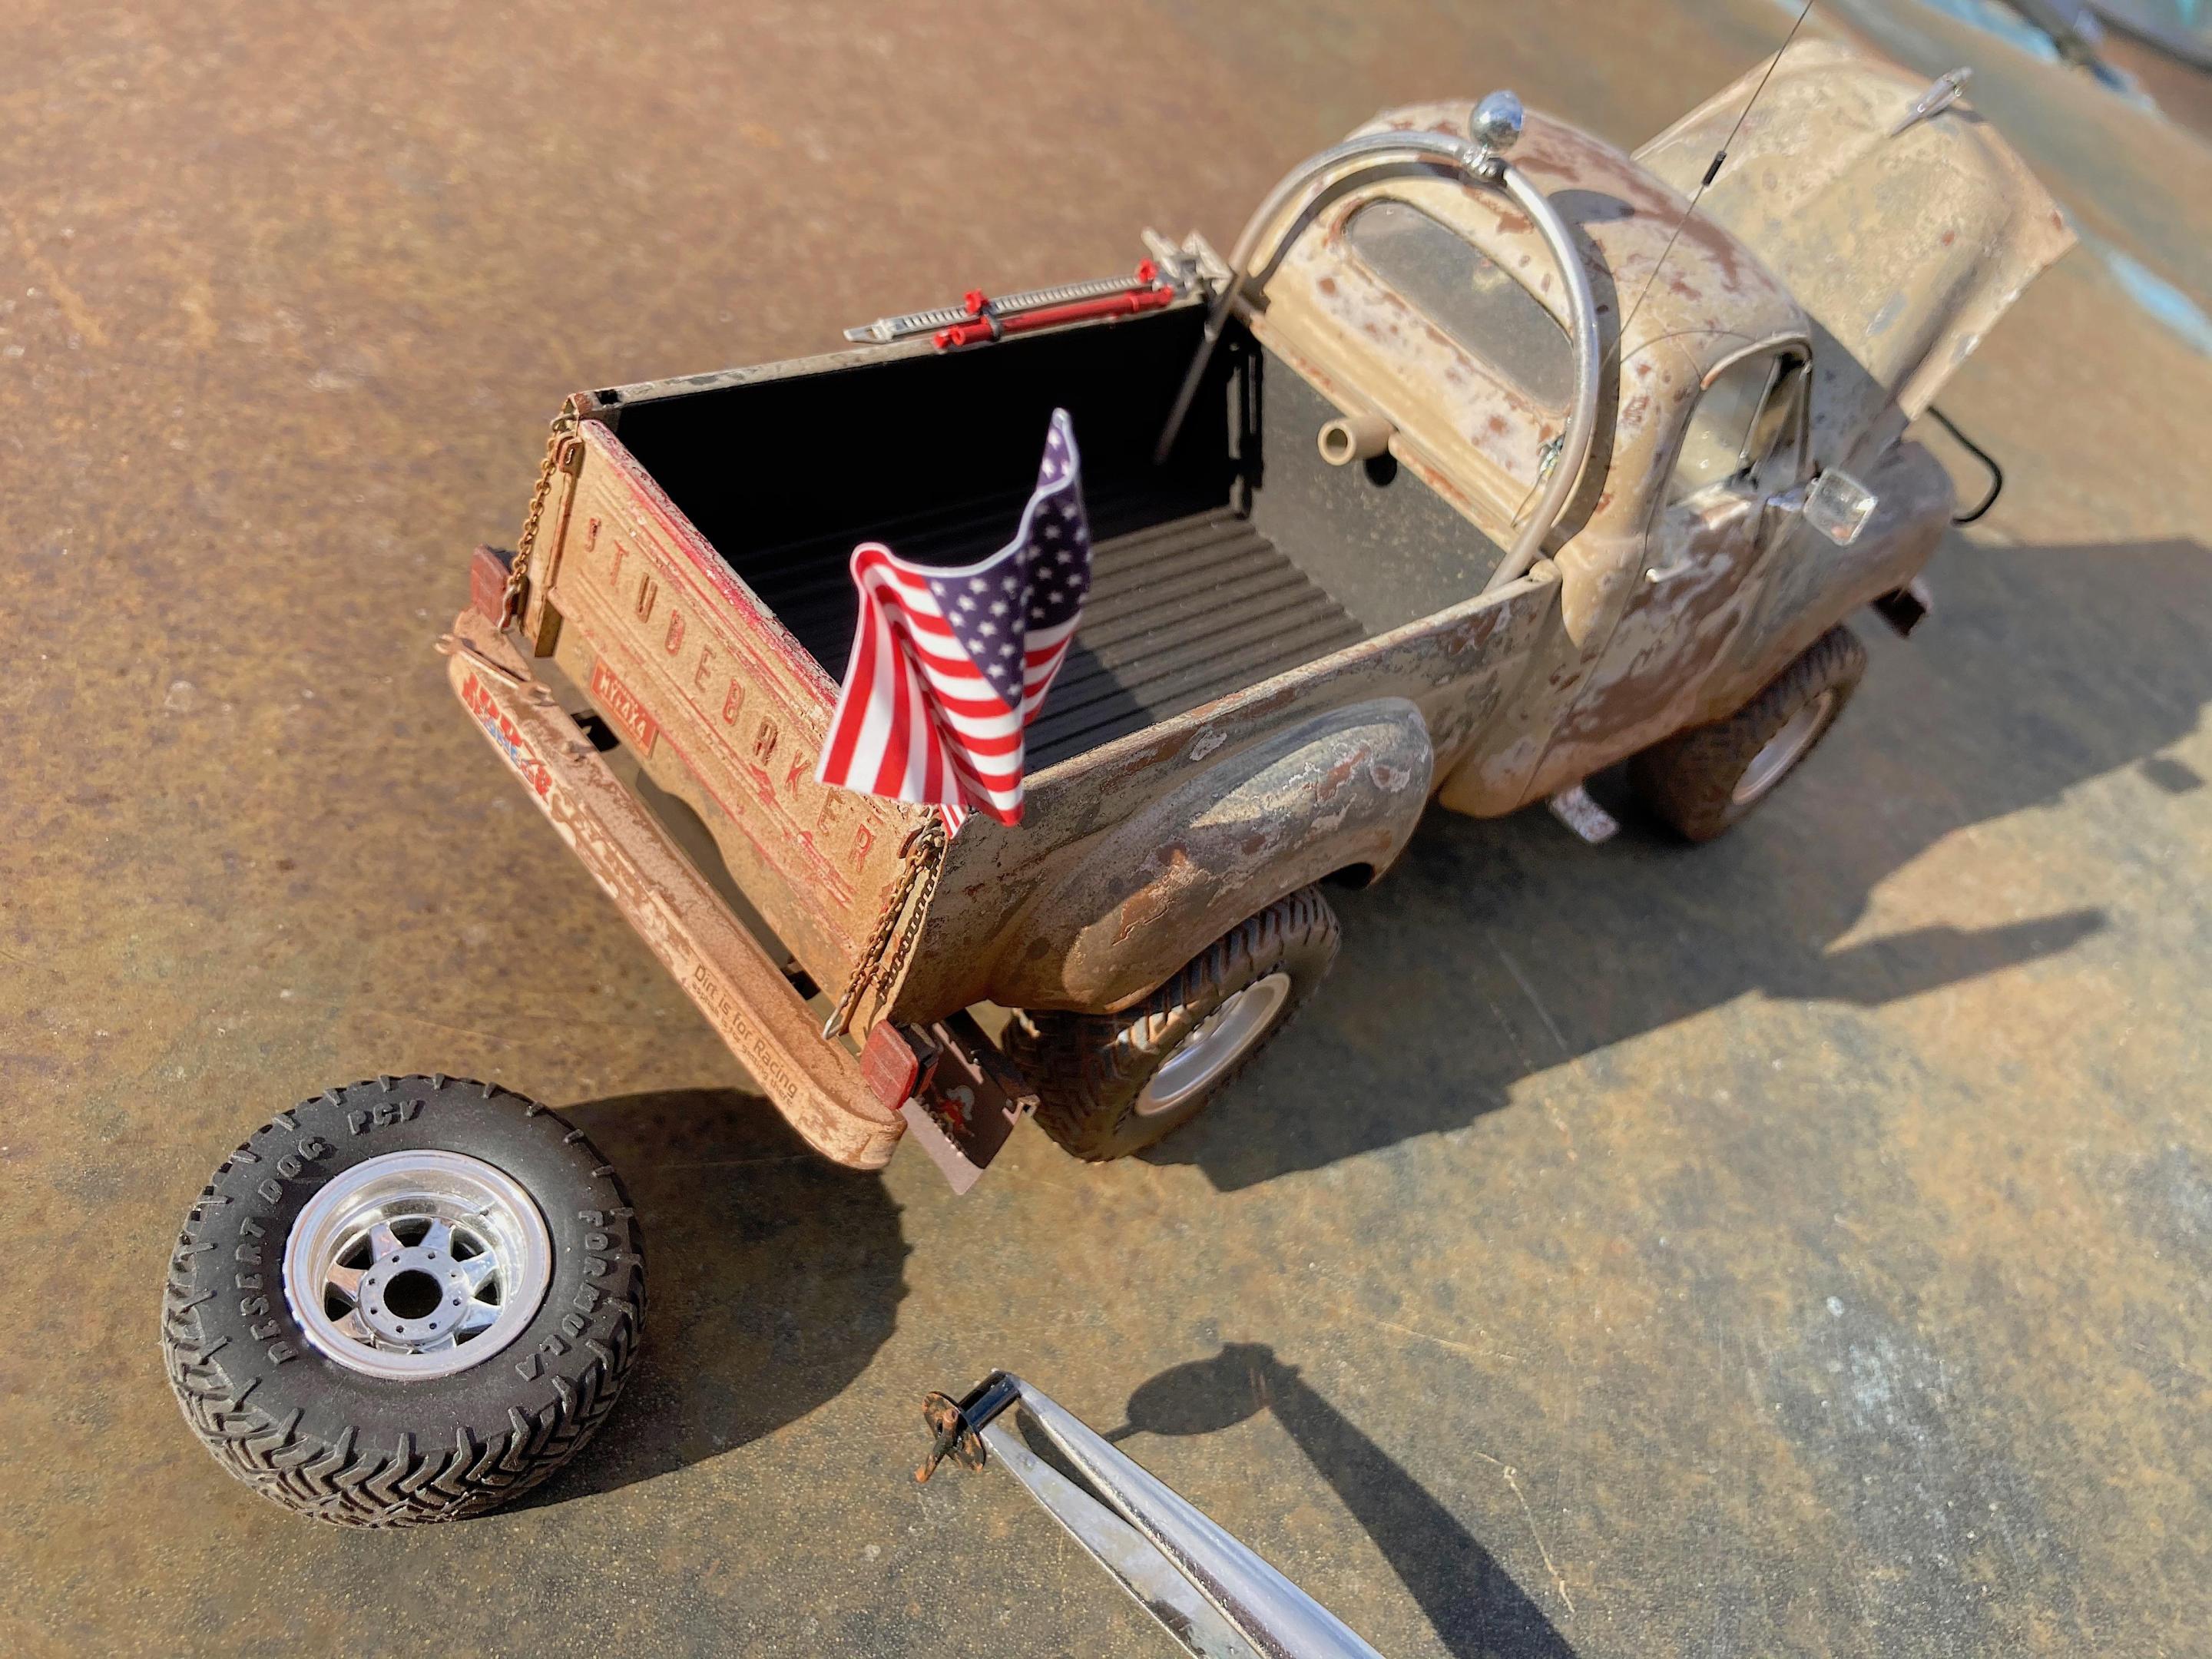
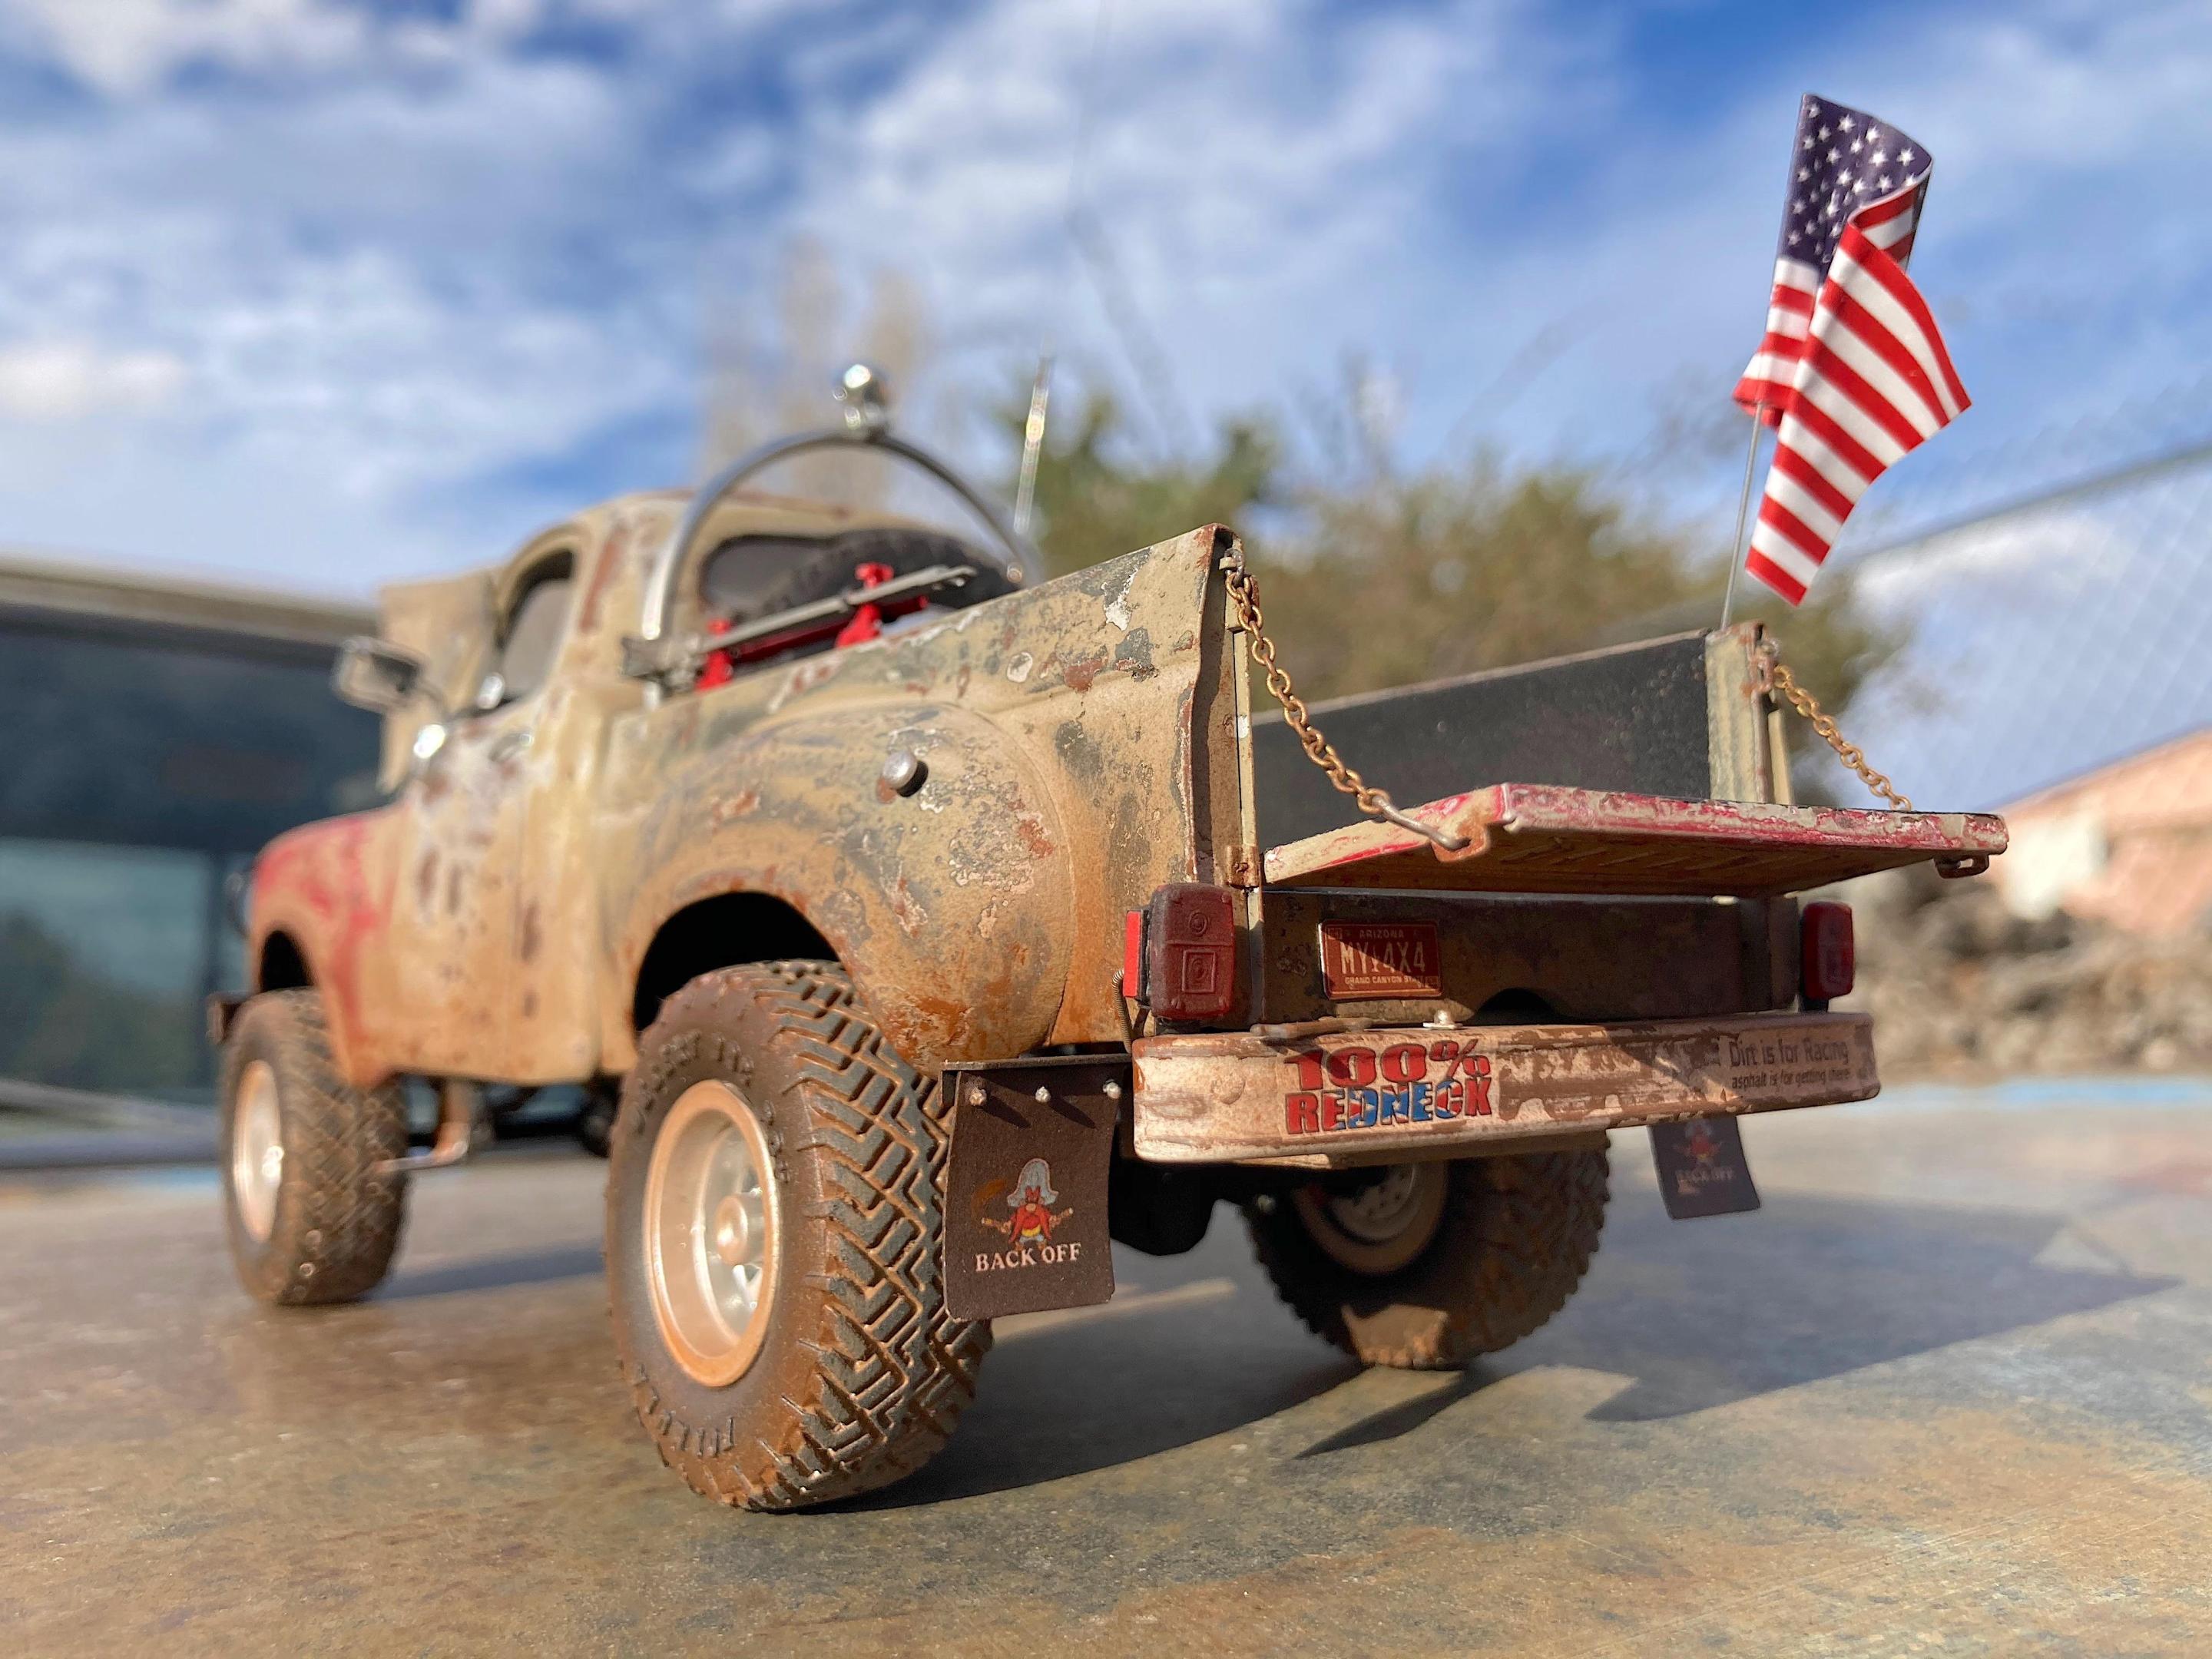
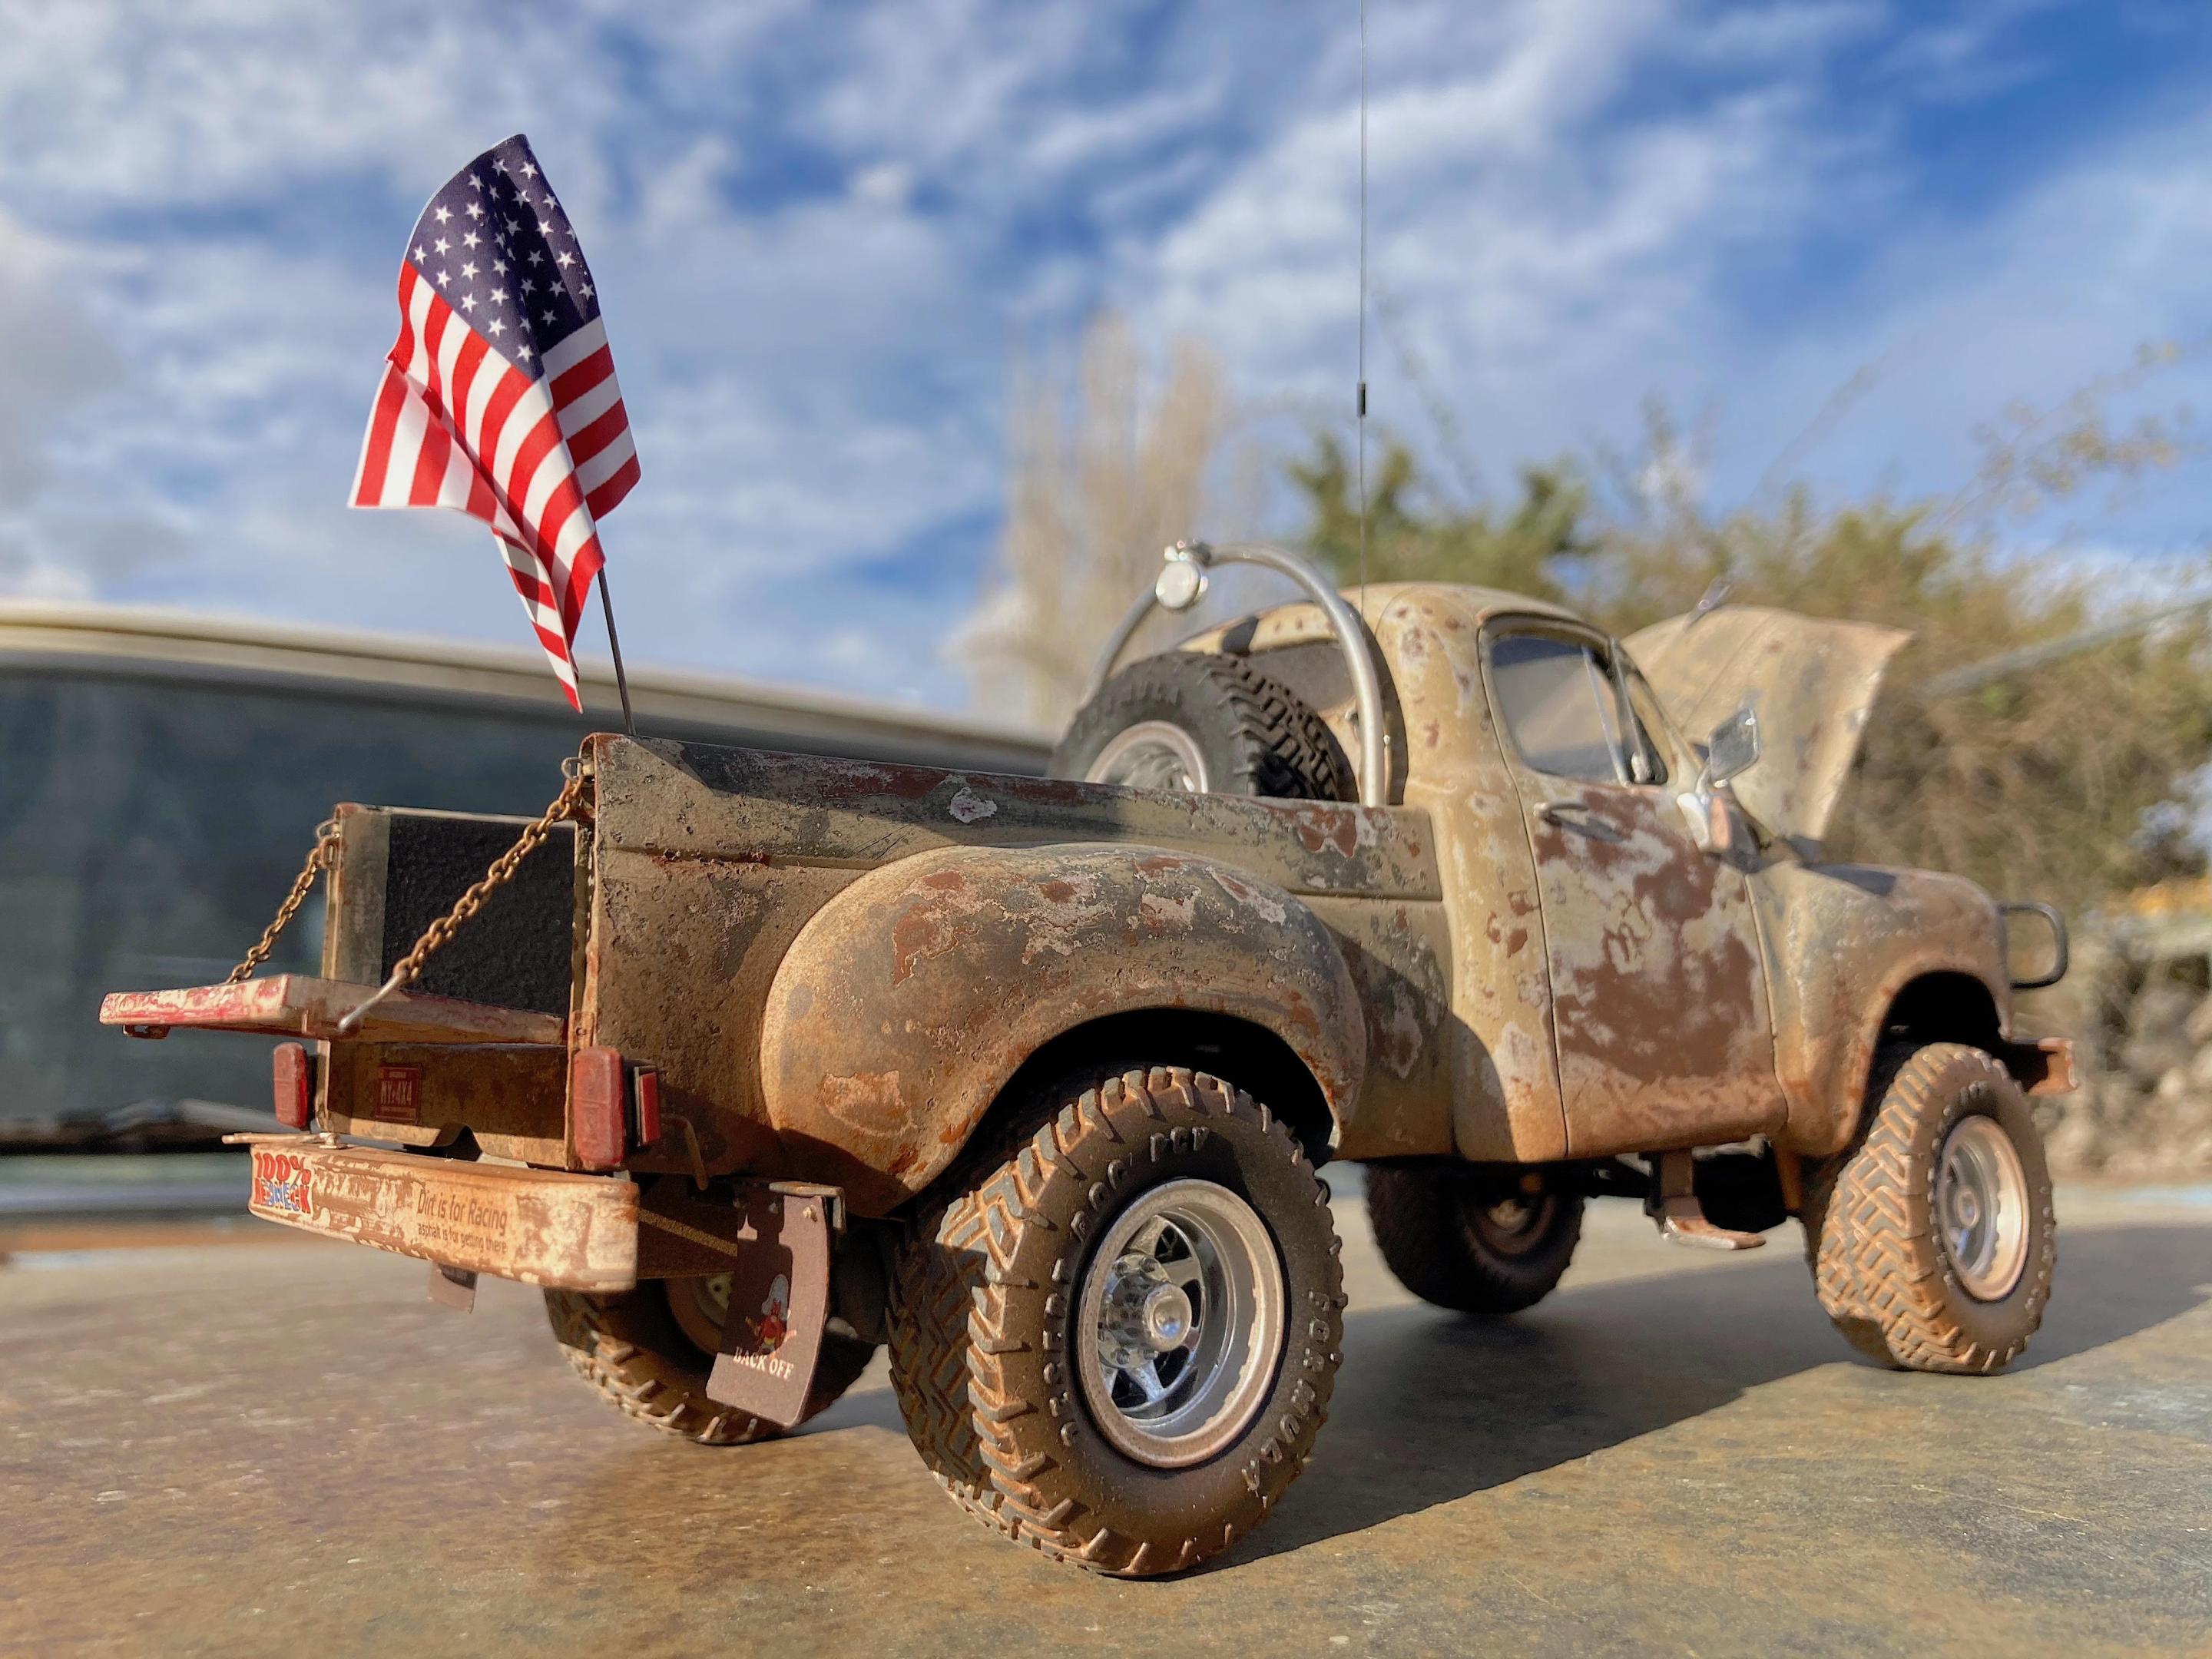
WIP: 3D 1953 Studebaker pickup + MPC 1984 GMC 4WD My first 3D printed body project, built on a donor kit that Hobby Lobby sells. It was recently announced in a Facebook group, for some reason I had to build it because I've been into old pickups (own a '68 Chevy C-10, had a '48 5 Window last century). The donor kit needed a bunch of work to look right. The body was designed to be a Pro Street, so the bed is extensively modified to look original. Hood was opened, is hinged using 100 year old fusee watch chain. Interior is 99% scratch-built, did not modify the VW Bus steering wheel. Made the leaf springs, steering column connected to steering linkage, disk brakes, gas tank, mudflaps, exhaust and shocks are modified. The book by AK Interactive 'Extreme Weathering' inspired the paint job, it's actually easier and faster than doing a shiny paint finish which is always a challenge for me, and it hides mistakes. When wet-sanding for the process of polishing paint, and you go through the paint it's a disaster, here it's a reward. Started Feb. 26, 195 hours later, barely finished before the Desert Scale Classic show!
- 21 replies
-
- 5
-

-
- studebaker
- gmc deserter
-
(and 2 more)
Tagged with:
-
Stumbled upon this 3D printed 1953 Studebaker pickup that Andy Lesiak posted on Fakebook. He can also do a 1957 version. I've always liked these, didn't think twice about it. No interior, but it's simple enough for me to scratch build. Will post pictures when received.
- 4 replies
-
- 3
-

-
- studebaker
- pickup
-
(and 2 more)
Tagged with:
-
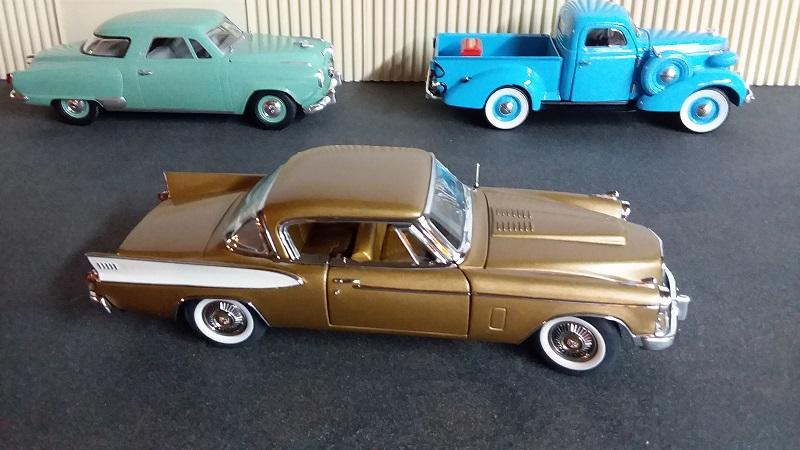
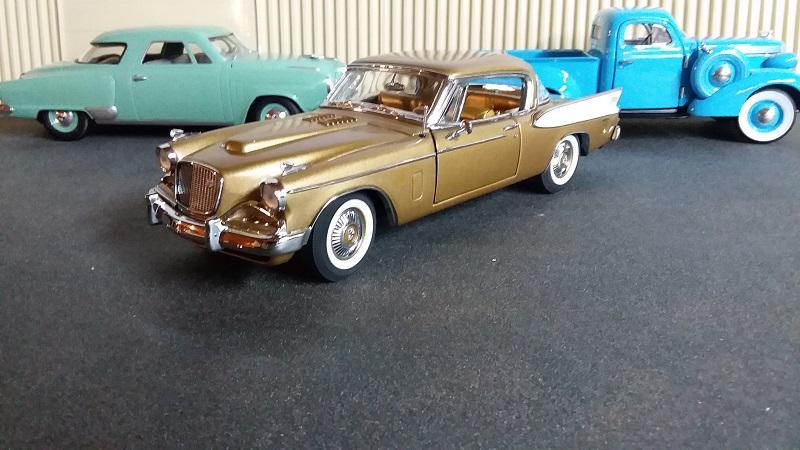
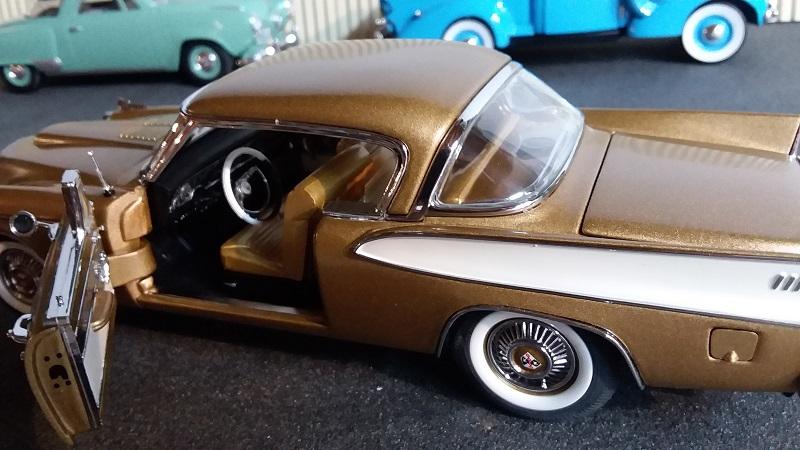
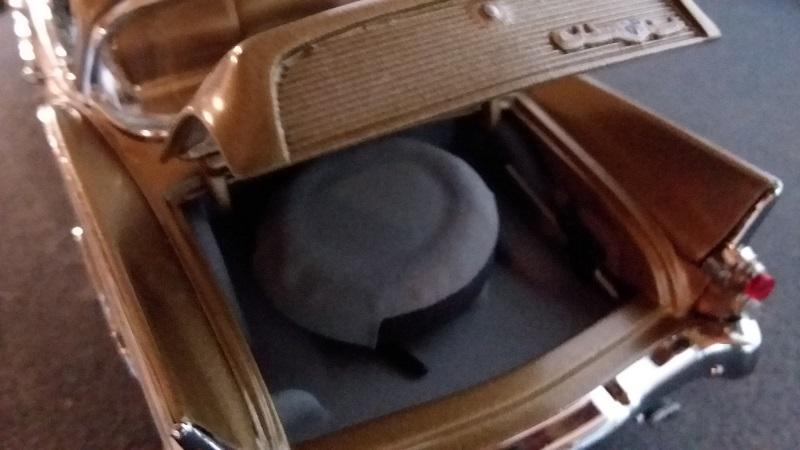
My Studebaker saga continues with this Danbury Mint Golden Hawk. I got it at a very reasonable price since the seller was honest and noted 3 tiny bubbles on the trunk lid. The front wheels are poseable and the trunk, doors, and hood open though the hood does not open far enough to see much of the detailed engine. The gas cap door might open too but I was not going to force it . I examined one in 1961 when a local doctor had one just like this. It was at a time when Studebaker was the distributor in the US for Mercedes Benz and he had to buy a Studebaker to get the Mercedes he wanted.
-
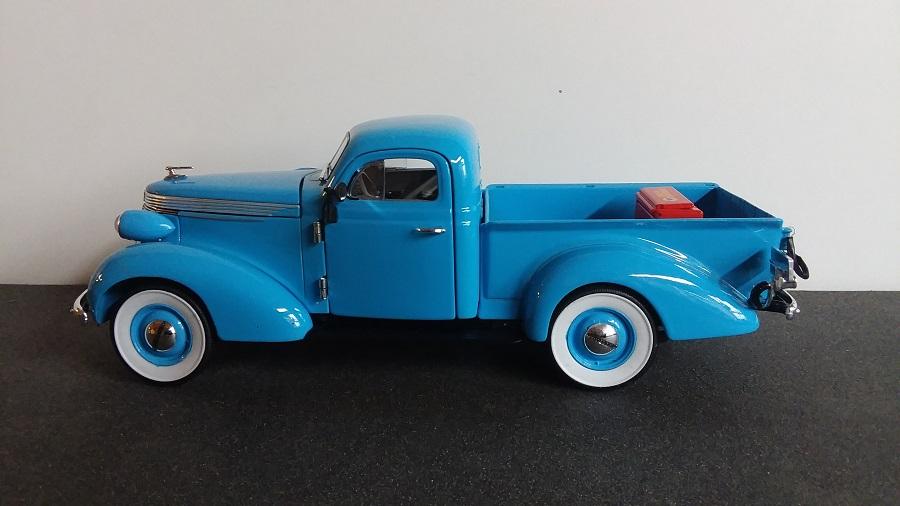
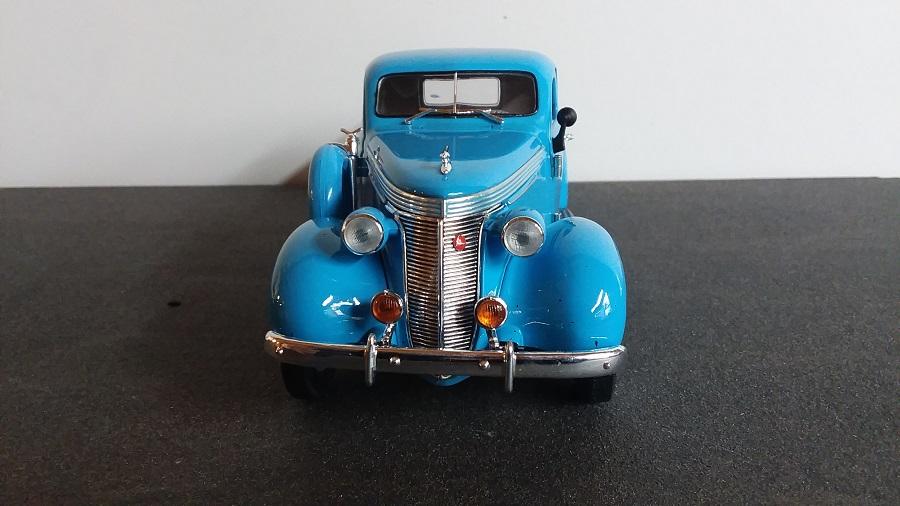
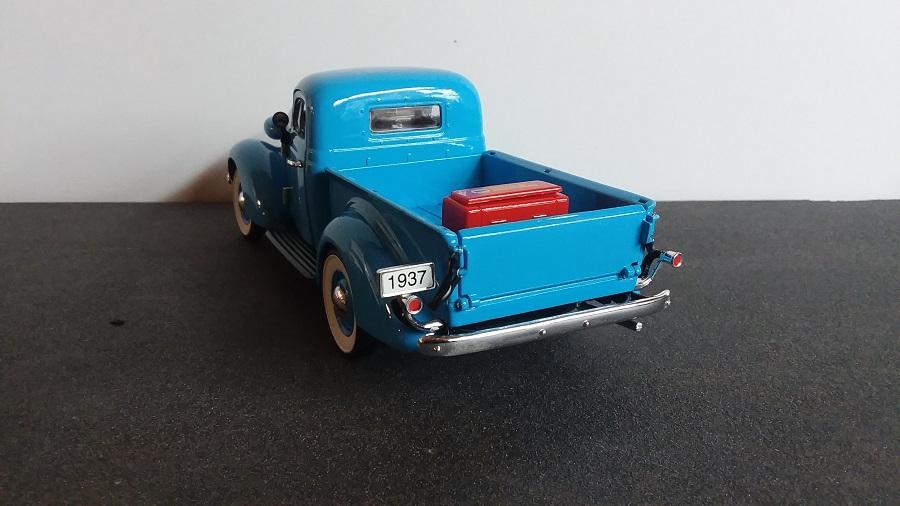
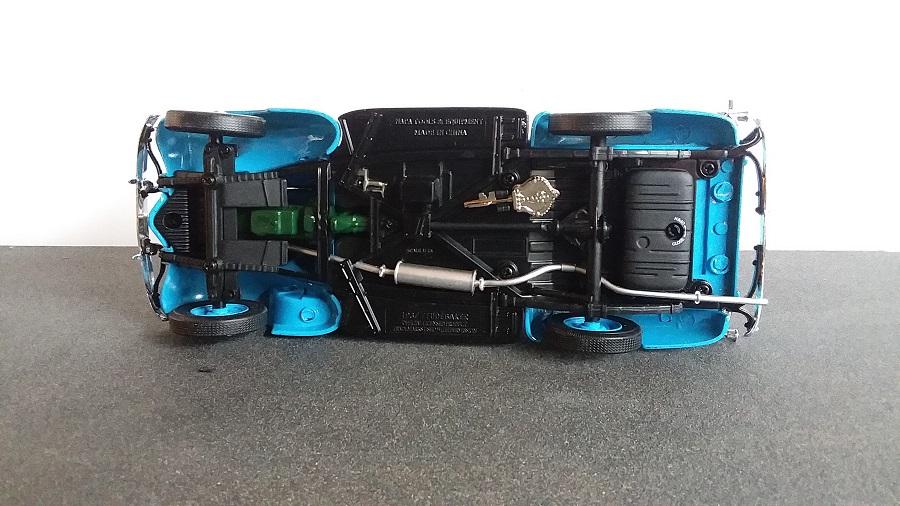
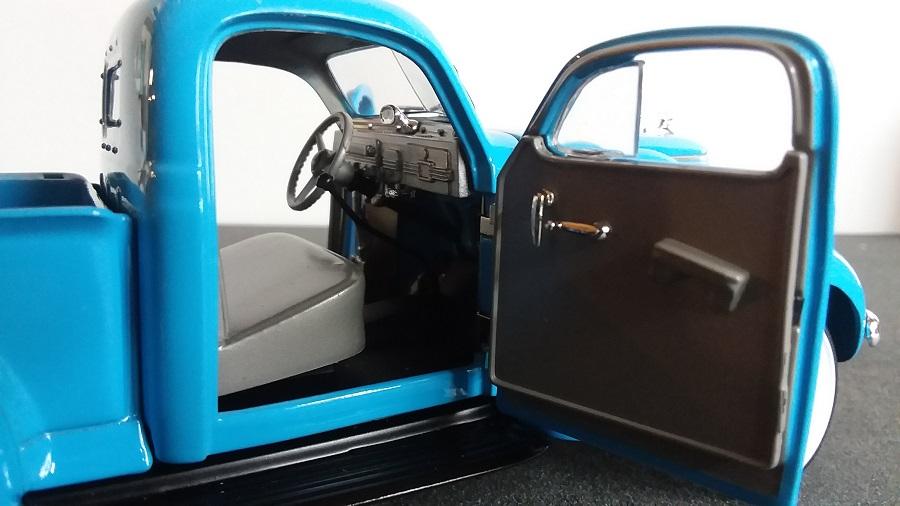
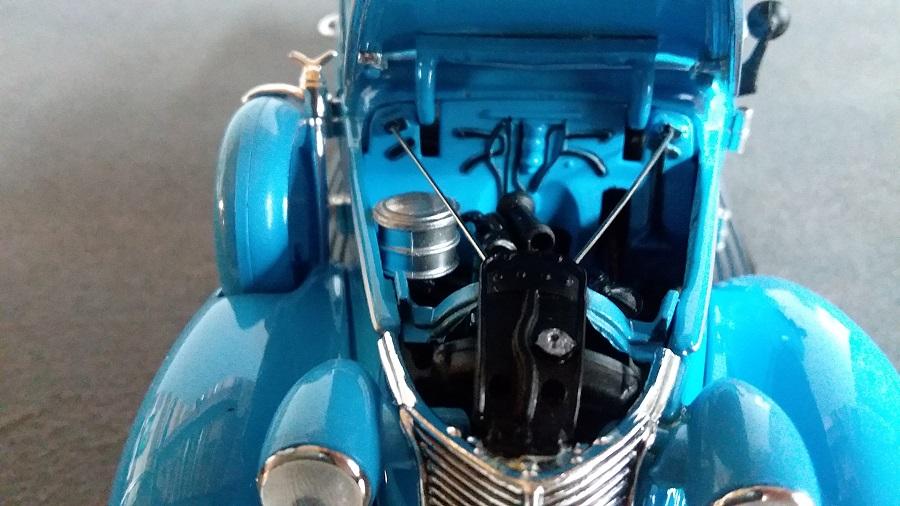
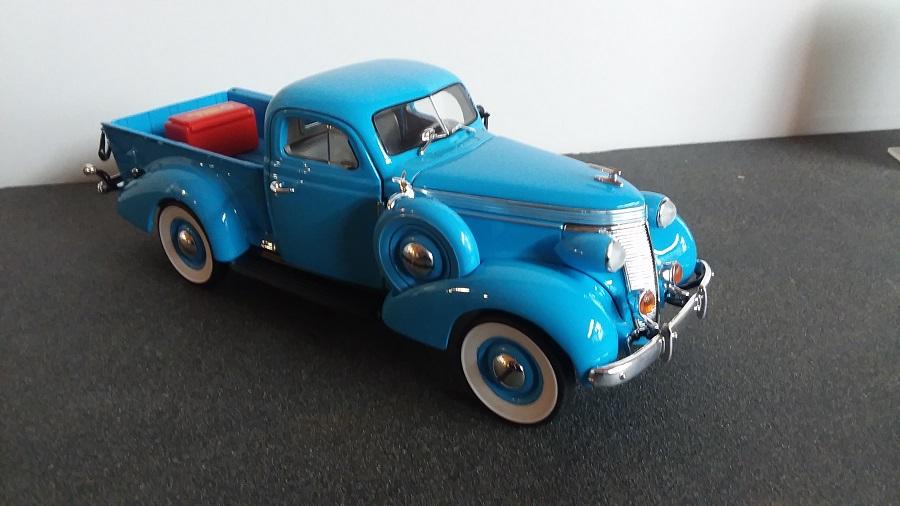
For the last several months I have been interested in older pickup trucks and this one is one of my favorites and it just arrived. The pickups were made between 1937 and 1939 when Studebaker production was converted to the war effort. Labeled as a NAPA release but I believe made by Crown Premiums. The 1937 Studebaker is very well detailed with working doors, tailgate, hood, poseable steering and the tool box provides entry to the coin bank in the fuel tank below. The box claims it is a stock factory color though it seems a bit bright for the time.
-
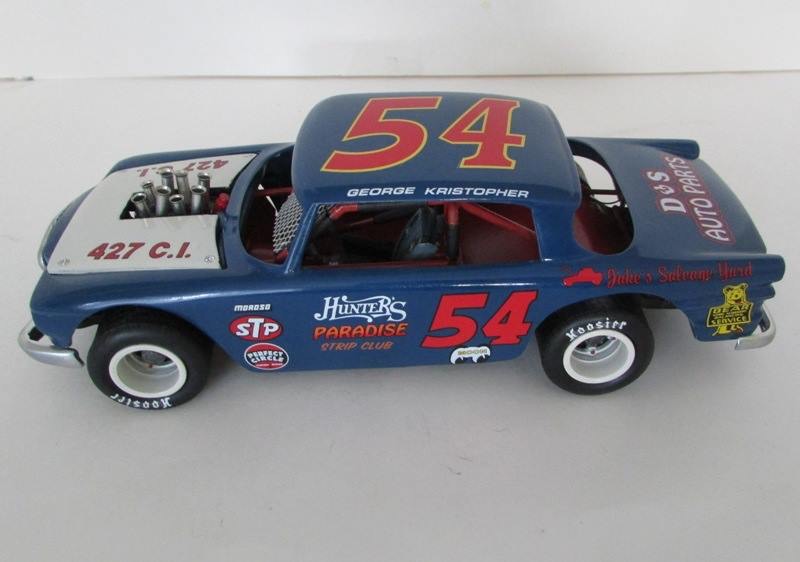
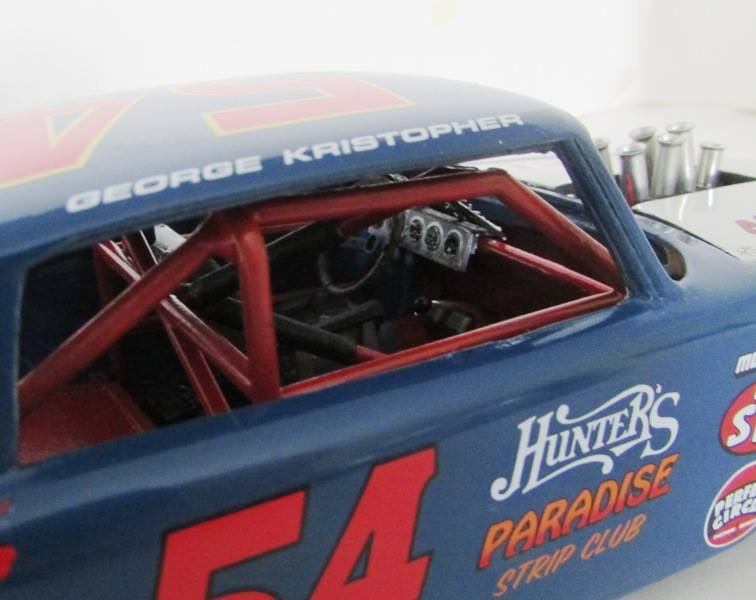
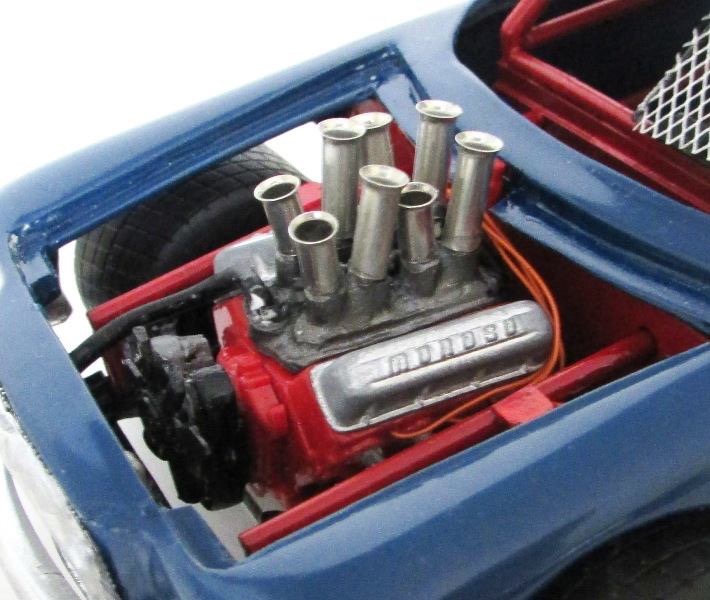
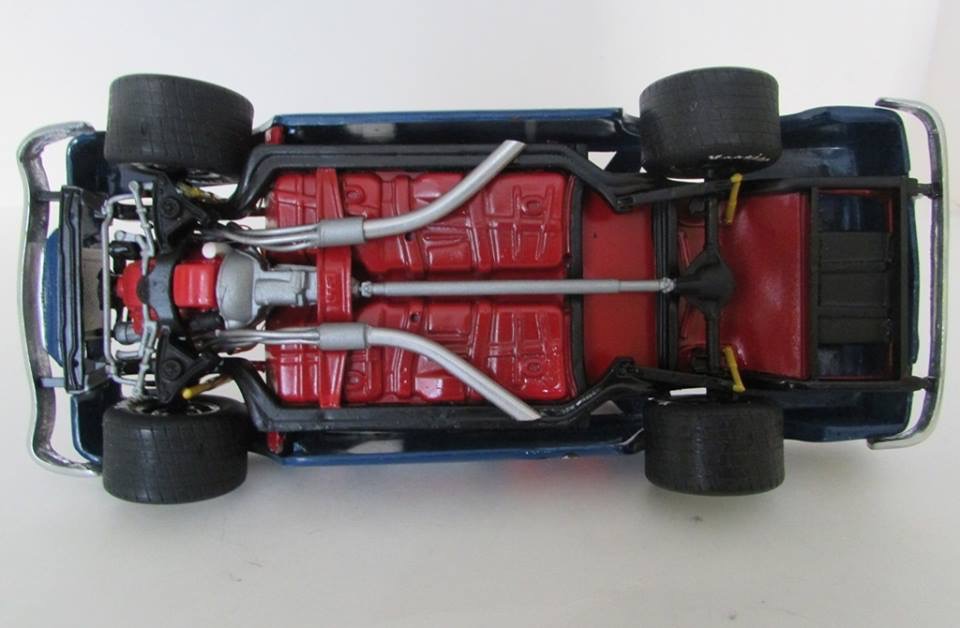
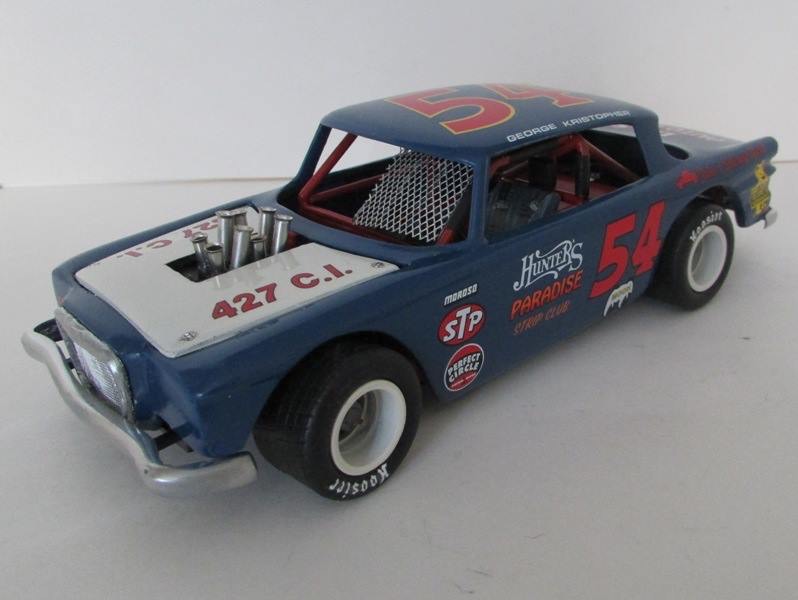
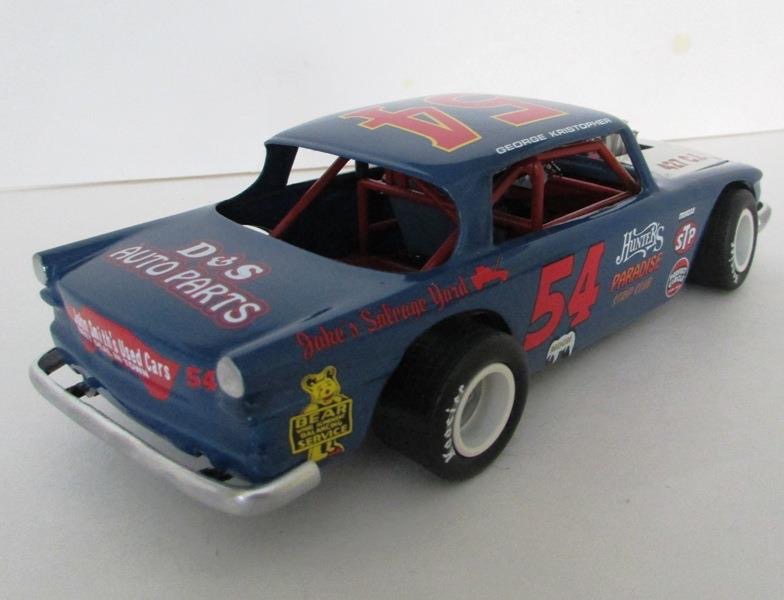
Thee is my latest built, an ‘61 Studebaker Lark dirt racer! It’s clearly modified due they’re use AMT ´66 Oldsmobile 442 as chassis, with Chevy big block 427 donated by ‘67 SS427 Impala kit. Studebaker body, engine dress up, Wide5 wheels was resin from Big Donkey resin! Plus a Lot of fun to built!
-
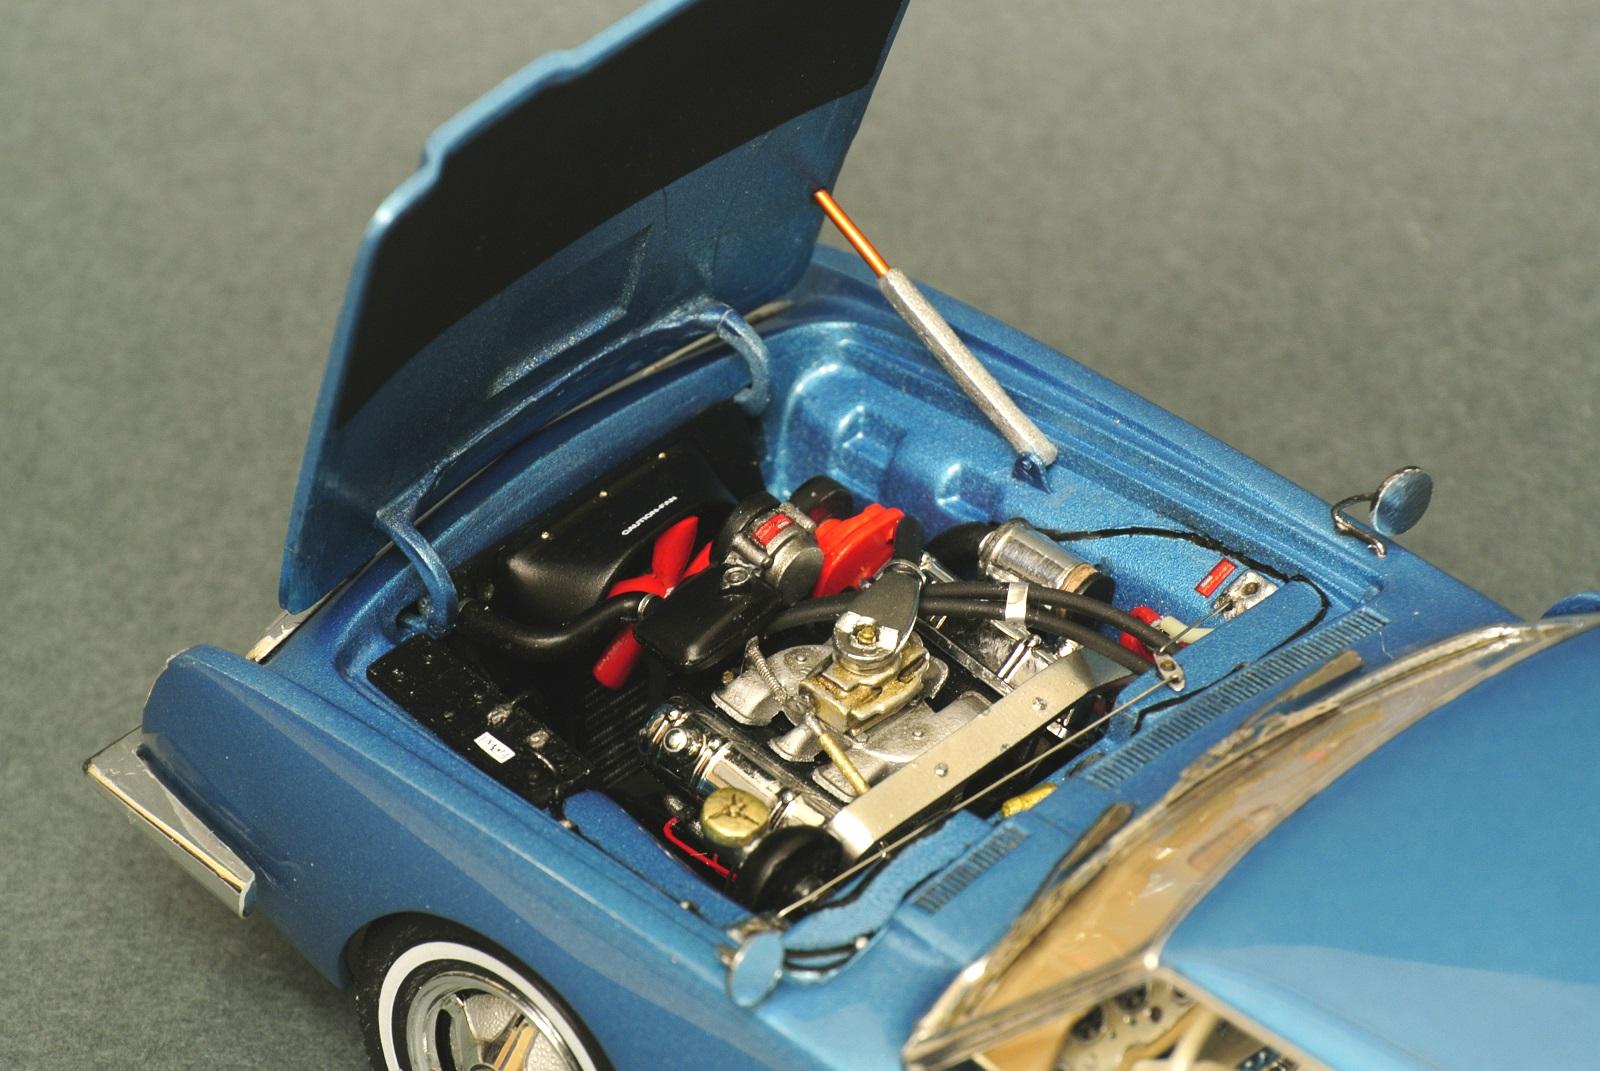
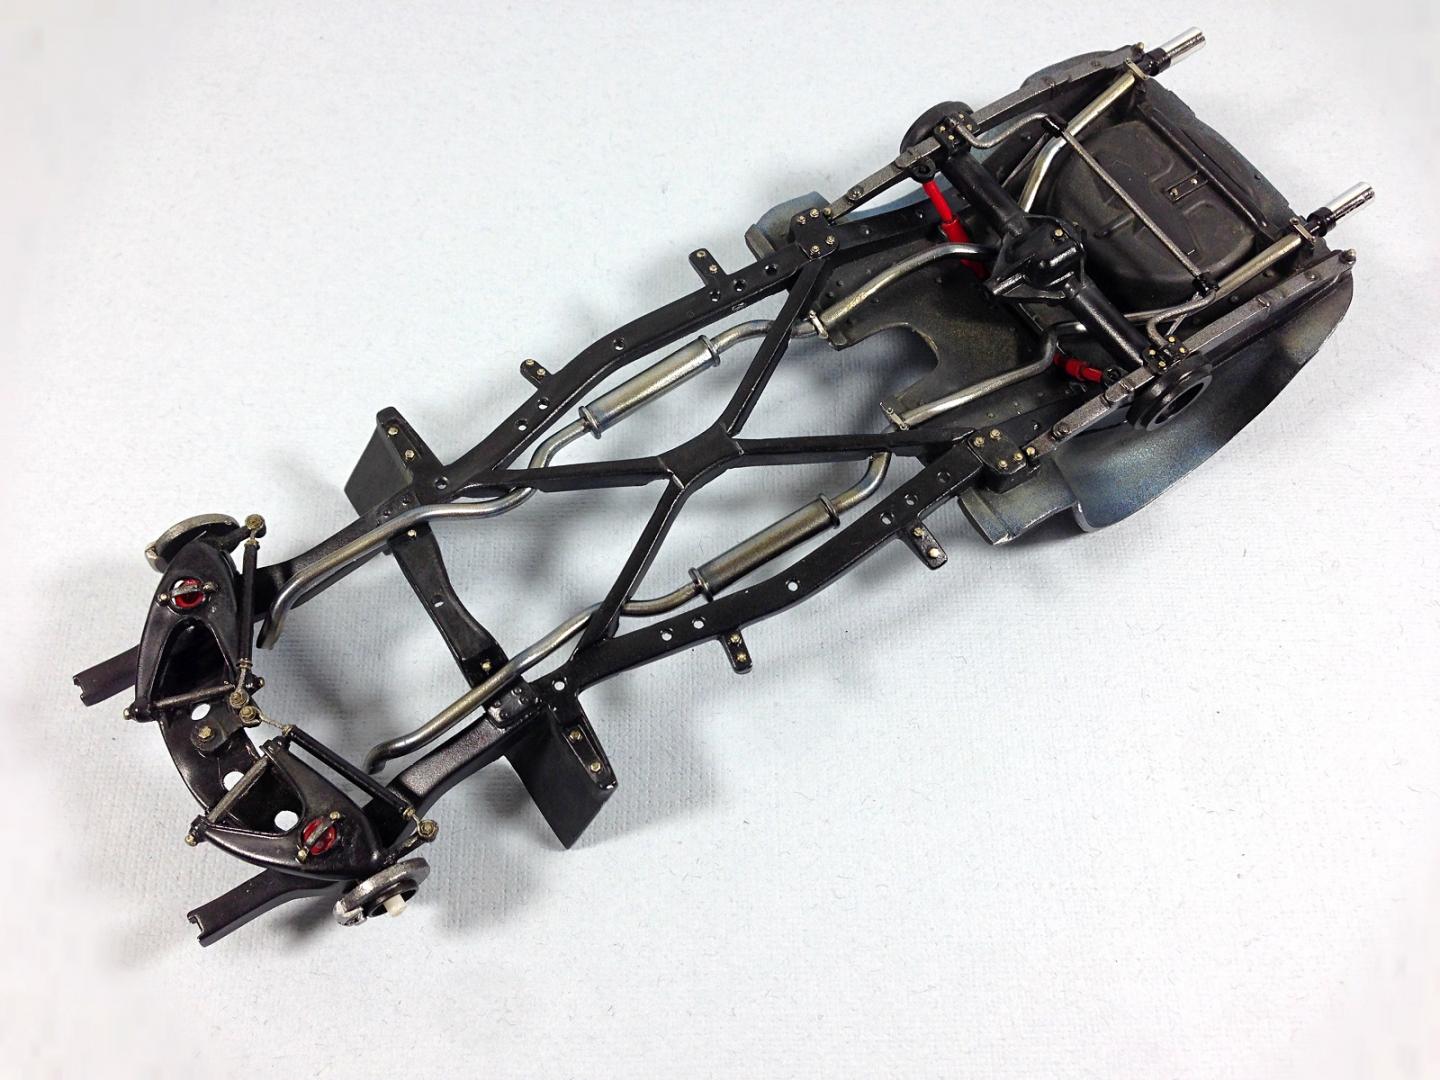
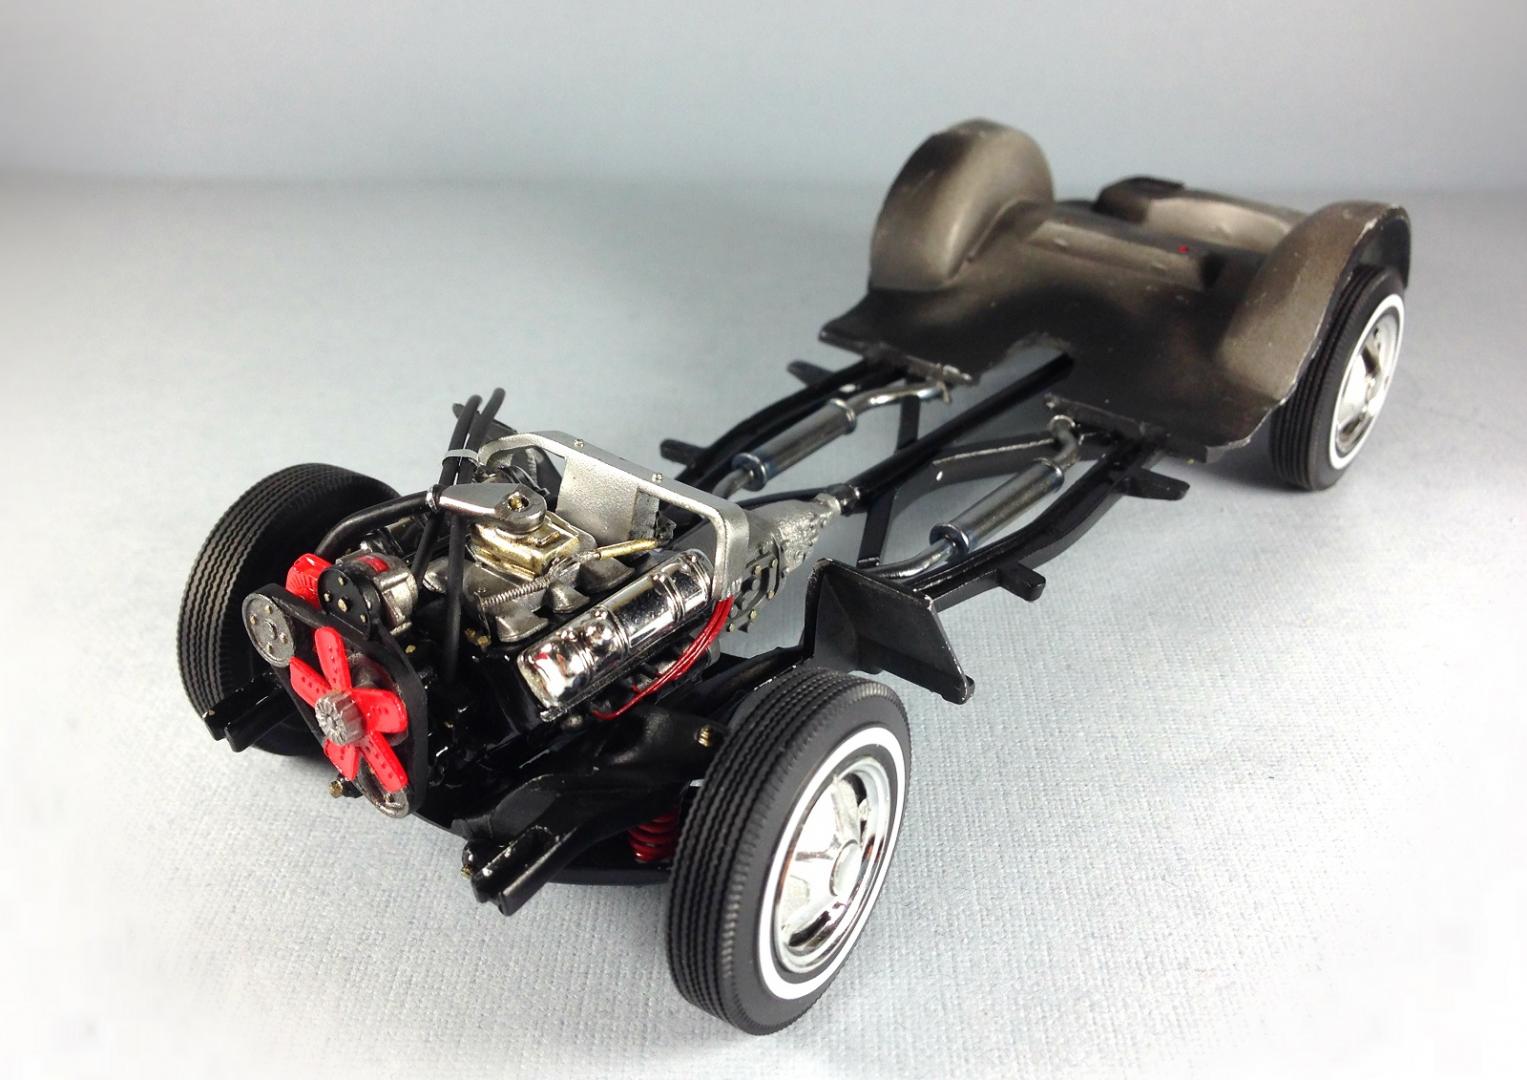
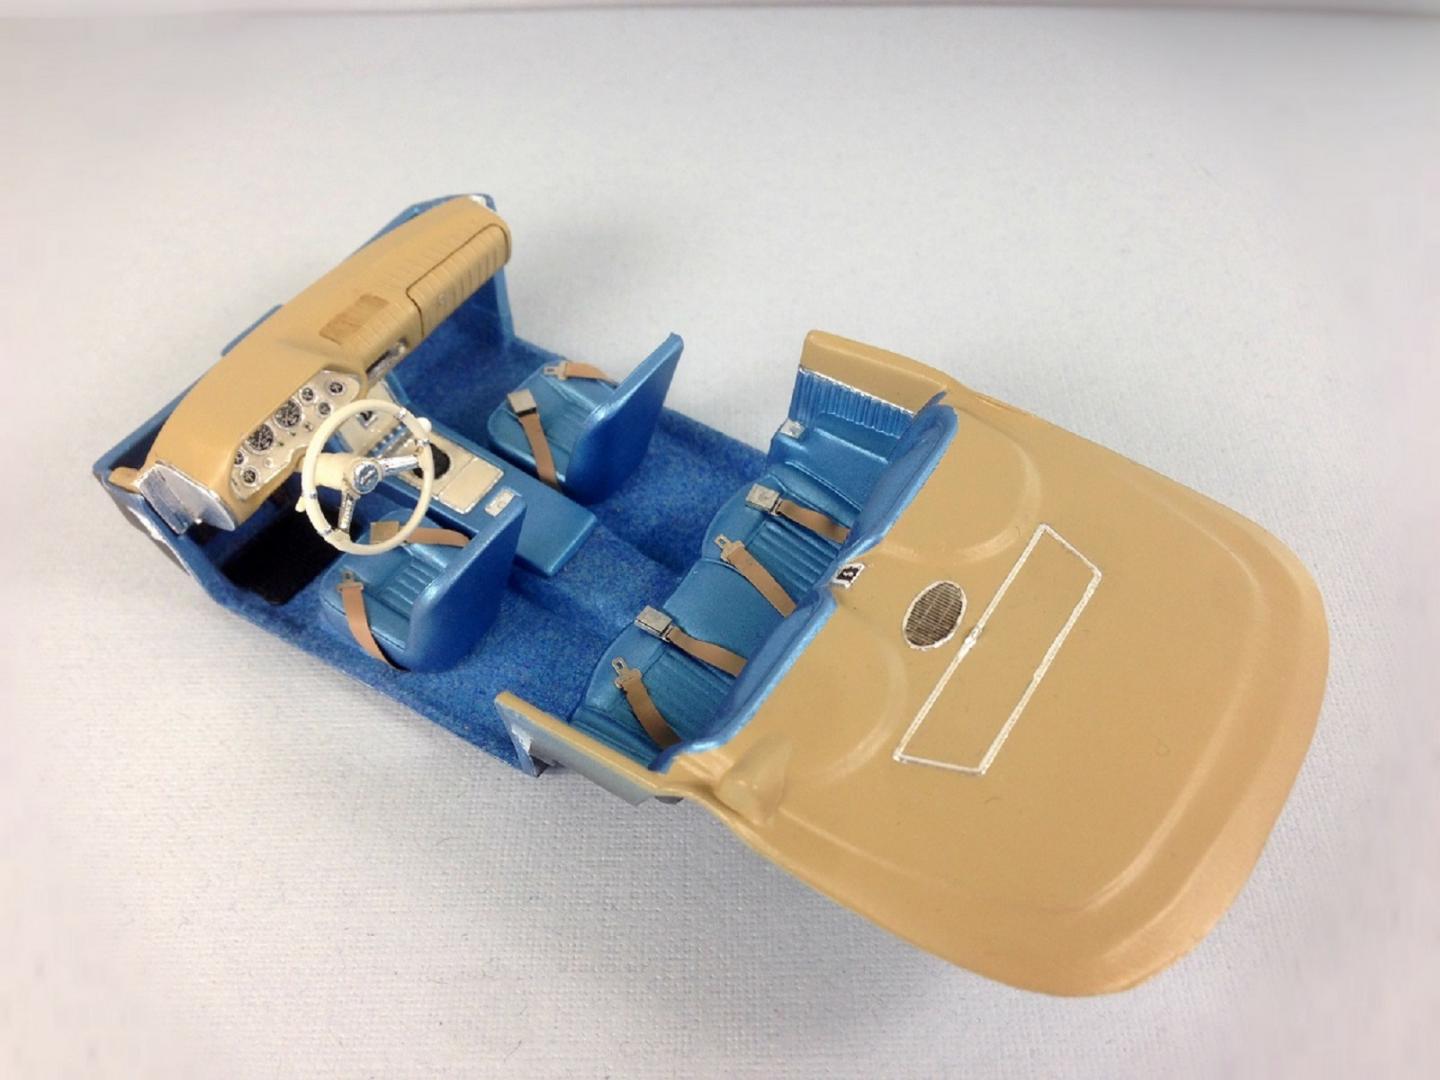
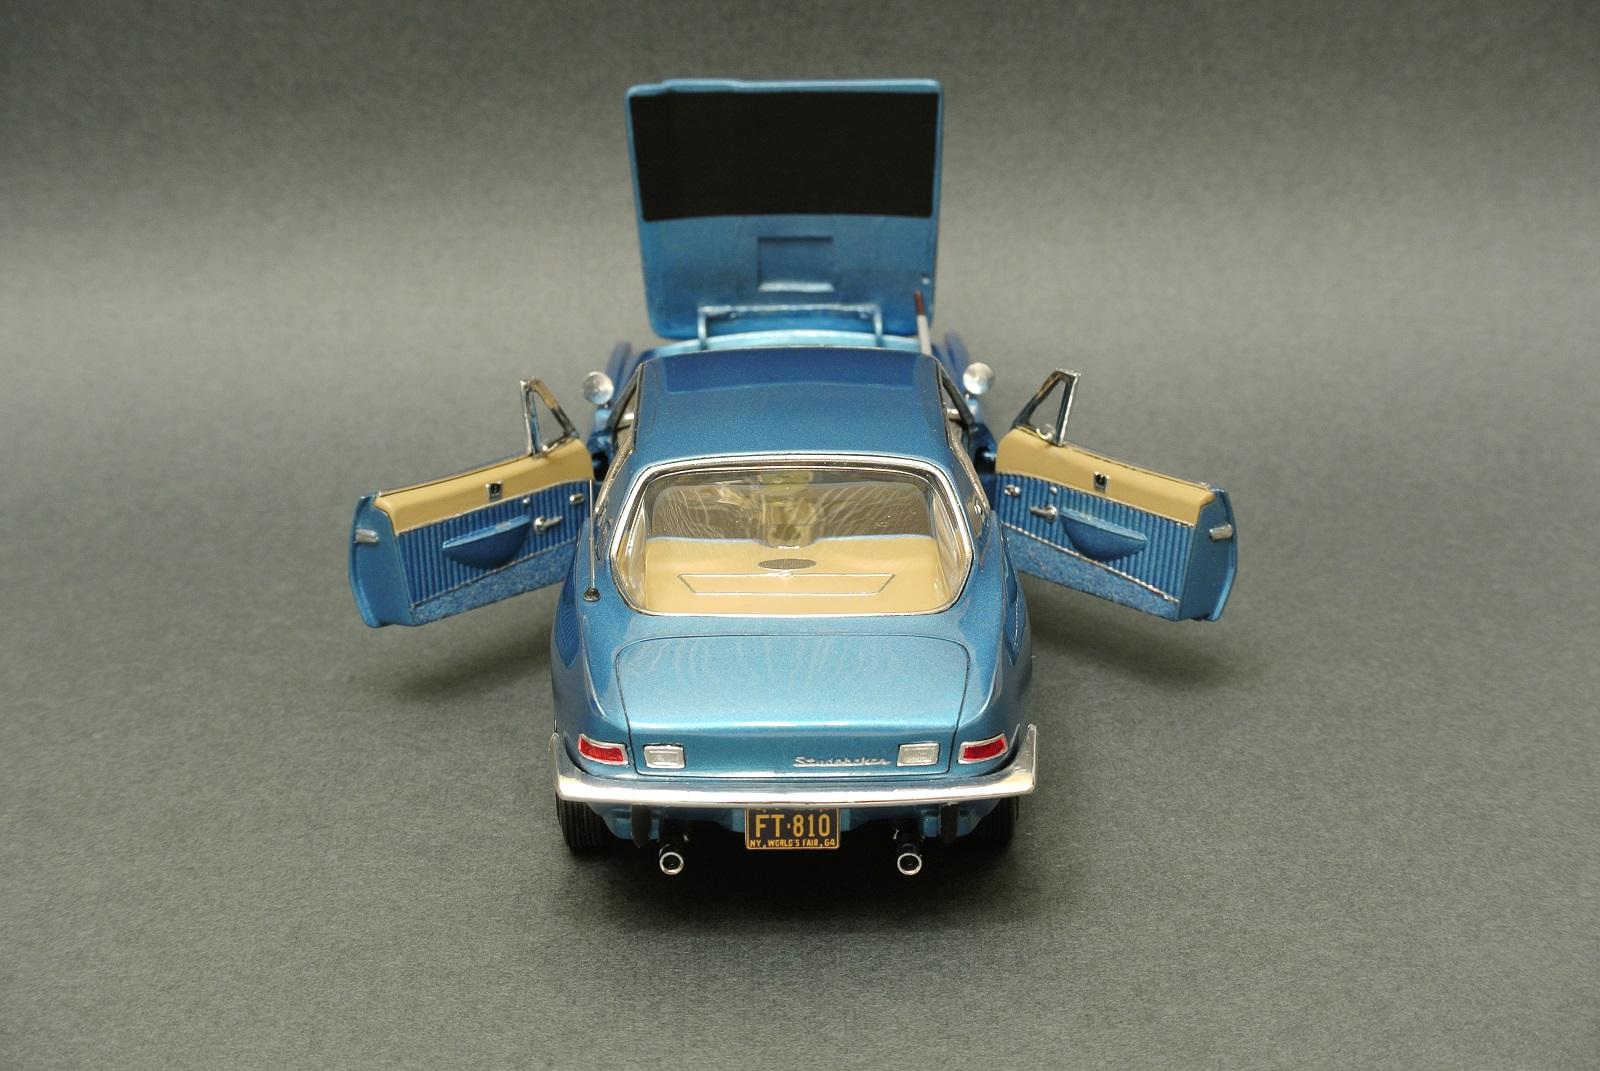
Hi all! This is my first model in this community. Model was build 1,5 year ago and it was my first completely finished build. During the process of assembly, the elements of the suspension, engine, body, interrior were modified. I used some photo etching parts (locks of belts, engine parts, wipers), wire (cables), flock, BMF foil for chromium imitation, Alcad II, Elf headlights, rubber hose cords, string and syringe needle for antenna, 2k putty (mirrors, washer reservoirs). Windows(glass) except for the back are made of transparent plastic 0.5mm. The body is painted with a Model Master Nassau Blue Metallic paint and covered with 2k varnish. The rest of the details are painted with colors from the range of Tamiya and Testors. Interior was build in two-colors. I decided to paint the blue elements of the interior with the same metallic as the body, but due to different varnishes (matte in the interior and glossy on the body), the materials look differently and the interior turned out quite similar to the photos of real cars. Enjoy....
- 51 replies
-
- studebaker
- avanti
-
(and 2 more)
Tagged with:
-
My year was pretty simple. Four completed builds and two Olde Kustom restorations. Doesn't sound like much, but it's probably my banner year. First off the bench was the Studebaker Miss Deal funny car that I did as part of the 24 Hour Build that Gary Kulchock and friends host every year. It was fun and very interesting to participate. '34 Ford Rat Rod was to be finished over the Christmas break, but it had too much work left on it to finish in time. I also didn't want to push it since I was having fun, and I added a lot of detail that wasn't part of the plan. It finally rolled off the bench in March. And the Olde Kustom Kollection benefitted a bit this year. I restored this '49 Ford that was built back in the day from an original release. The toughest part was that the original builder didn't put the glass in it. We'll never know why, but I have three cars from this same guy, and none of them have glass! It was welded together too well to pry apart, so I fished glass into it. Kinda like that ship in a bottle thing! Another Old Kustom is this original '57 Ford that Dave Burket handed me one day. The suspension was totally wiped off it and it had no hood. It was easy to redo the chassis with fresh parts from a recent release, as it was to replace the glue stained glass with new. Then it sat on the bench with a new hood on the roof since I couldn't match the light blue paint. One day I got inspiration, and did this two tone by masking off the top end, so I could paint the hood to match. The Rusty Corvette! This one was on my Bucket List of something I wanted to do someday. So I knocked it out for the MidAtlantic NNL Corvette theme... sorta. It was there on the table and looked complete if you didn't go under the hood. I finished it in early December just to get it off the bench. This one is fun due to the looks (and sometimes odd condescending comments!) it gets. My new Bucket List item (IF I win the lottery!) is to do this in 1:1 scale and take it to car shows... just to tick people off. And my favorite build of the year! It's a 1929 Ford Roadster Pickup that was an old junker built up I got who knows where a very long time ago. I pulled it out one day and just started cutting. It's the only project I worked on start to finish without a pause. It represents the car I'd like to have in 1:1 for cruisin'. Hey, we have to have dreams! The irony is that I own all kinds of rare and valuable models... and what do I enjoy building? A $5 junker! I'm like the kids who get a nice present and play with the box. And I haven't included this year's Christmas break build.. an A100 van since I doubt I will finish it today... maybe on New Years day to be the first build of 2014. That would be starting out the year right! Later on I will post the parade of all the models I started or worked on but didn't finish.. Hint - It's a much longer parade! Now I must get upstairs to work on the A100 a bit! Maybe just a teaser pic..
- 19 replies
-
- Studebaker
- custom
-
(and 2 more)
Tagged with:
-
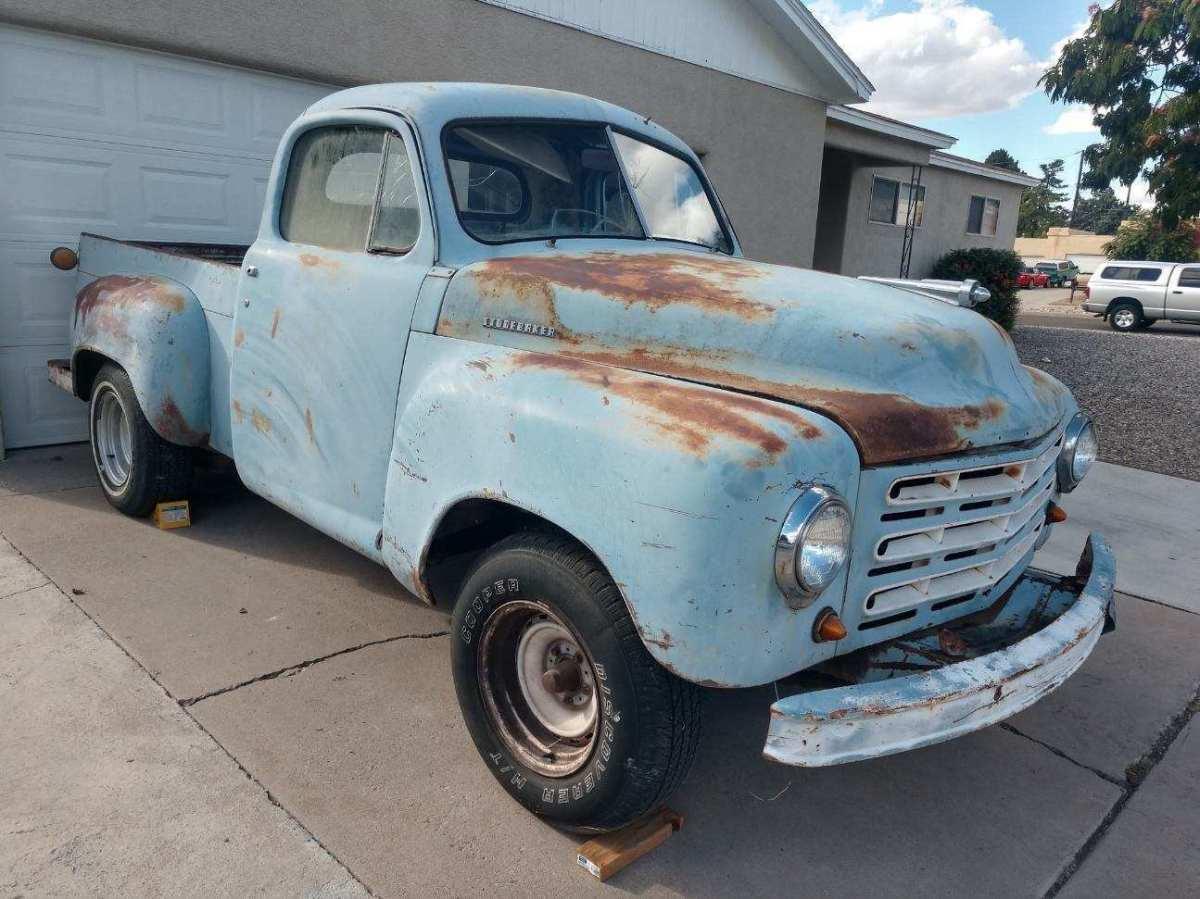
I think that this is one of the most beautiful trucks ever made. I have never seen a kit offered, and I'm wondering if any of you know if there is a resin offering of the 1955 Studebaker pickup.
- 9 replies
-
- Studebaker
- Truck
-
(and 2 more)
Tagged with:
-
This was my entry in the 24 hour build last month. I pretty much wrapped it up by 5am (I had until noon) minus some details I knew would take some time. Howard had warned me that the exhaust was an issue, so I didn't even try during the build. I also didn't like the fake foot push bar, so I left that off as well. The blower top had a really bad sink mark, so I figured I could do that later as well. I gave it a nasty gasser look, and again, didn't get to the rust part until later. Front chassis view. I actually started with the sponsor decals on the firewall to hide a couple of holes. Came out well and I like it since that was just a blank panel. The blue wires were used because I had the prewired distributor in my hoard. I did build the kit headers (plate plus 4 individual pipes to glue together on each side) but they didn't fit at all. So I hit the parts box and came up with this pair, which I sanded and bent up a bit to fit. Forget that they were RED and bled through a few times. Not perfect but they're on there! Rear view of chassis, I used some photo etched gauges because I thought it would be quicker than trying to detail what was molded onto the firewall. It wound up being a draw, time wise, but I like it. The kit had no seat belts and I think it would be too much trouble to do it correctly now. I did find a good blower top that actually mated fairly well with the kit bottom piece. I sanded the new assembly to shape and BMFed it since I am out of Alclad. Rear view uses the back bumper from the '53 Ford pickup kit in place of the hokey foot thingie that came in the kit. Much, much better in my book! Right side shows more rust and damage. That's always the fun part for me. Not bad for the speed at which it was built! I did learn a lot on that 24 hr build and I noticed that my building has sped up a bit with the new sense of organization it gave me. And it was fun to build with guys across North America! And for those who haven't figured it out by now, "Miss LED" is just a jumble of the kit "Miss DEAL" decal. I did a little logo for the 24 Hour Build that is on the back of the car! So I'll always remember that day!
- 10 replies
-
- Studebaker
- funny car
-
(and 1 more)
Tagged with:
