Search the Community
Showing results for tags 'fairlane'.
Found 14 results
-
Looking to buy a 67 ranchero and 69 fairlane cobra sports roof model plastic or resin 1/25th scale Anyone have either for sale or know where I can find them ? I would appreciate your help. Thanks Richard
-
Box pics, contents, and instructions here Enjoy 🙂
-
I got this one a few years ago when we cleaned out my wife's moms house. Her father used to build a few models. Have fun! Box pics, contents, and instructions here.
-
Box pics, contents, and instructions here I have been trying to get one of these for a long time, but they were always too expensive. This one was about a third of the price of the others. I am getting a new release 65 Modified stocker for the parts I'm missing like a stock 289 engine, radiator support, and hood.
-
I got this one last year or so. It came with two chrome trees and parts from two kits, but one stock tail light. Enjoy 🙂 Box pics, contents, and instructions here
-
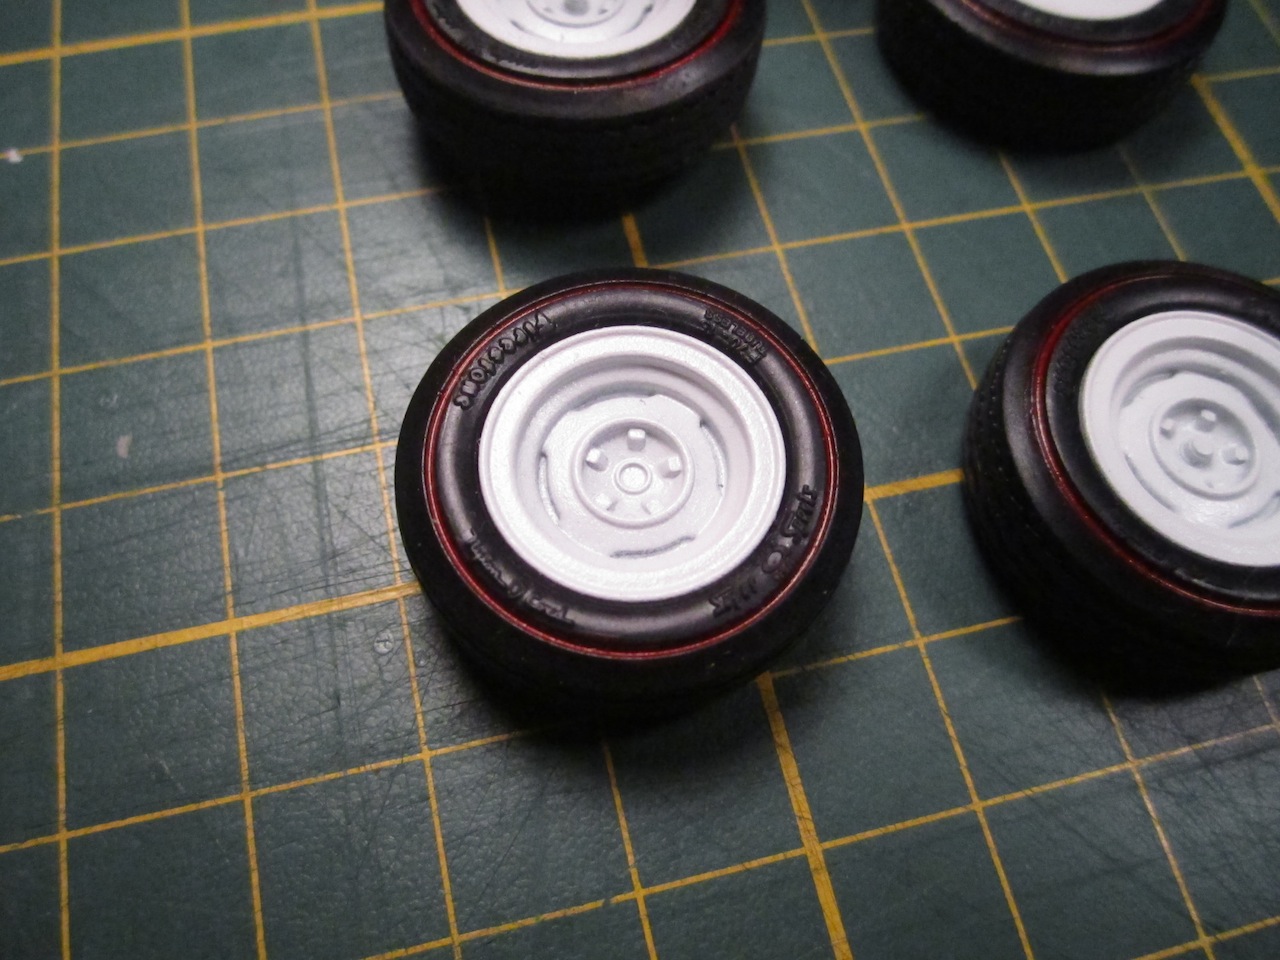
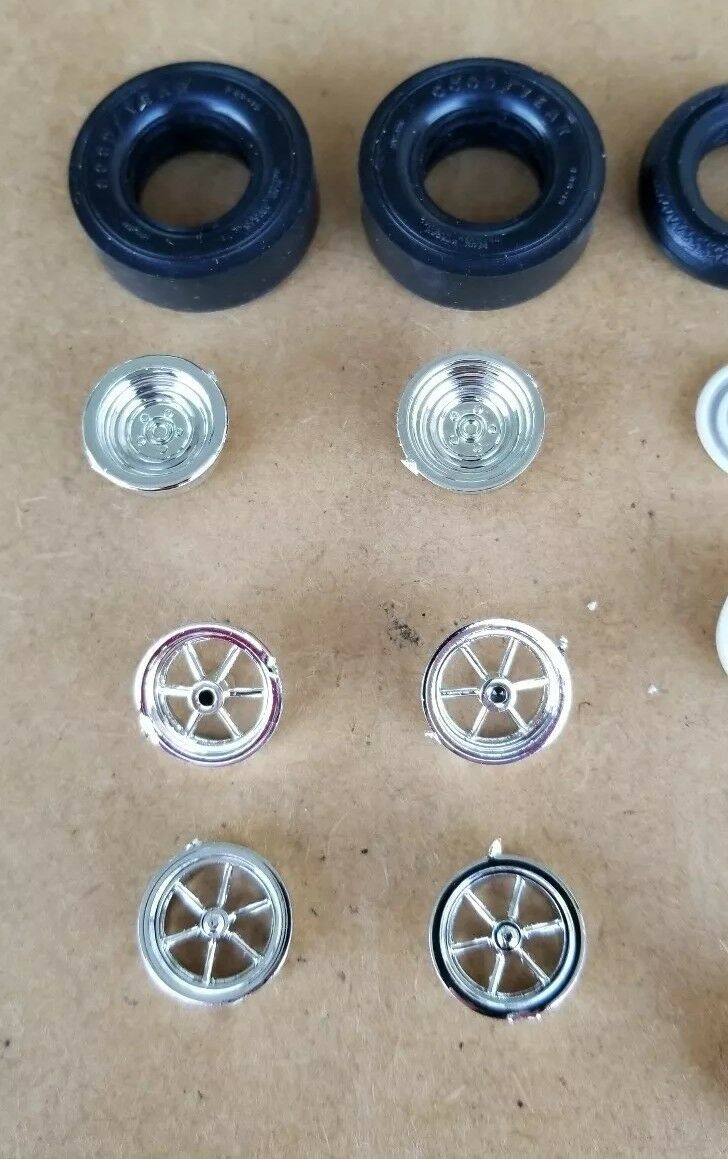
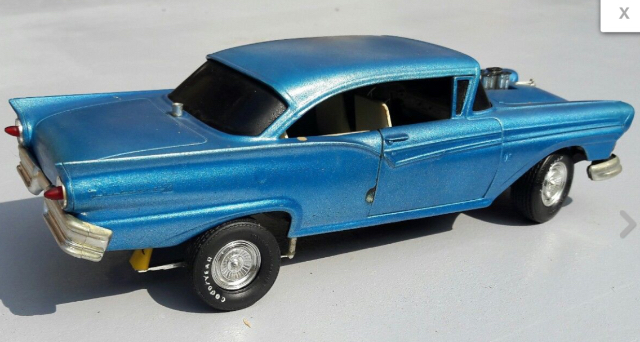
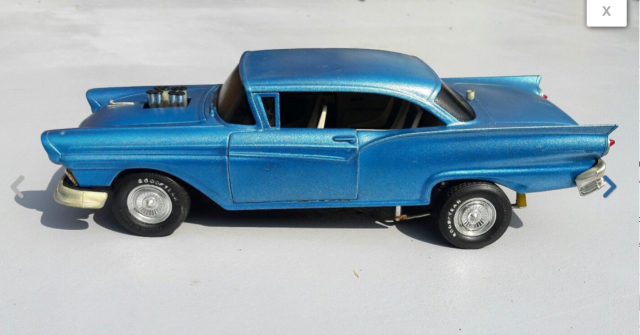
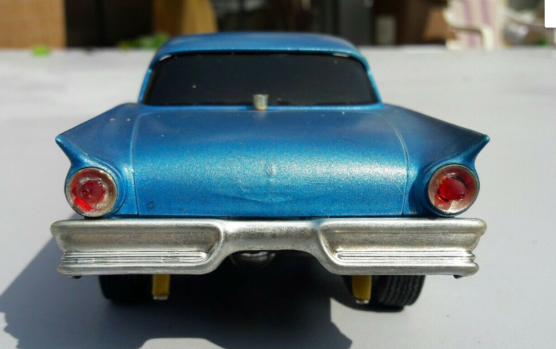
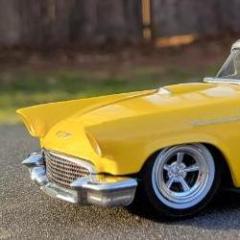
As if I didn’t have enough going on, I picked up a few more projects his week- I found a cheap 1957 Fairlane 500 built model with some home-made ‘mods’, jacked up back end, an upside down rear bumper and blacked-out glassware: Somewhere out of this ‘beauty’ I shall create a beast (or should that be vice-versa?) I think its going to be very smooth and low, as yet undecided on the colour, but I have a few ideas. I won some custom wheels and rubber on the ‘bay that will be added to this fine auto, perhaps some drag slicks squeezed under there.... As bought..... wheel choice? Thanks for looking, more to come.

-
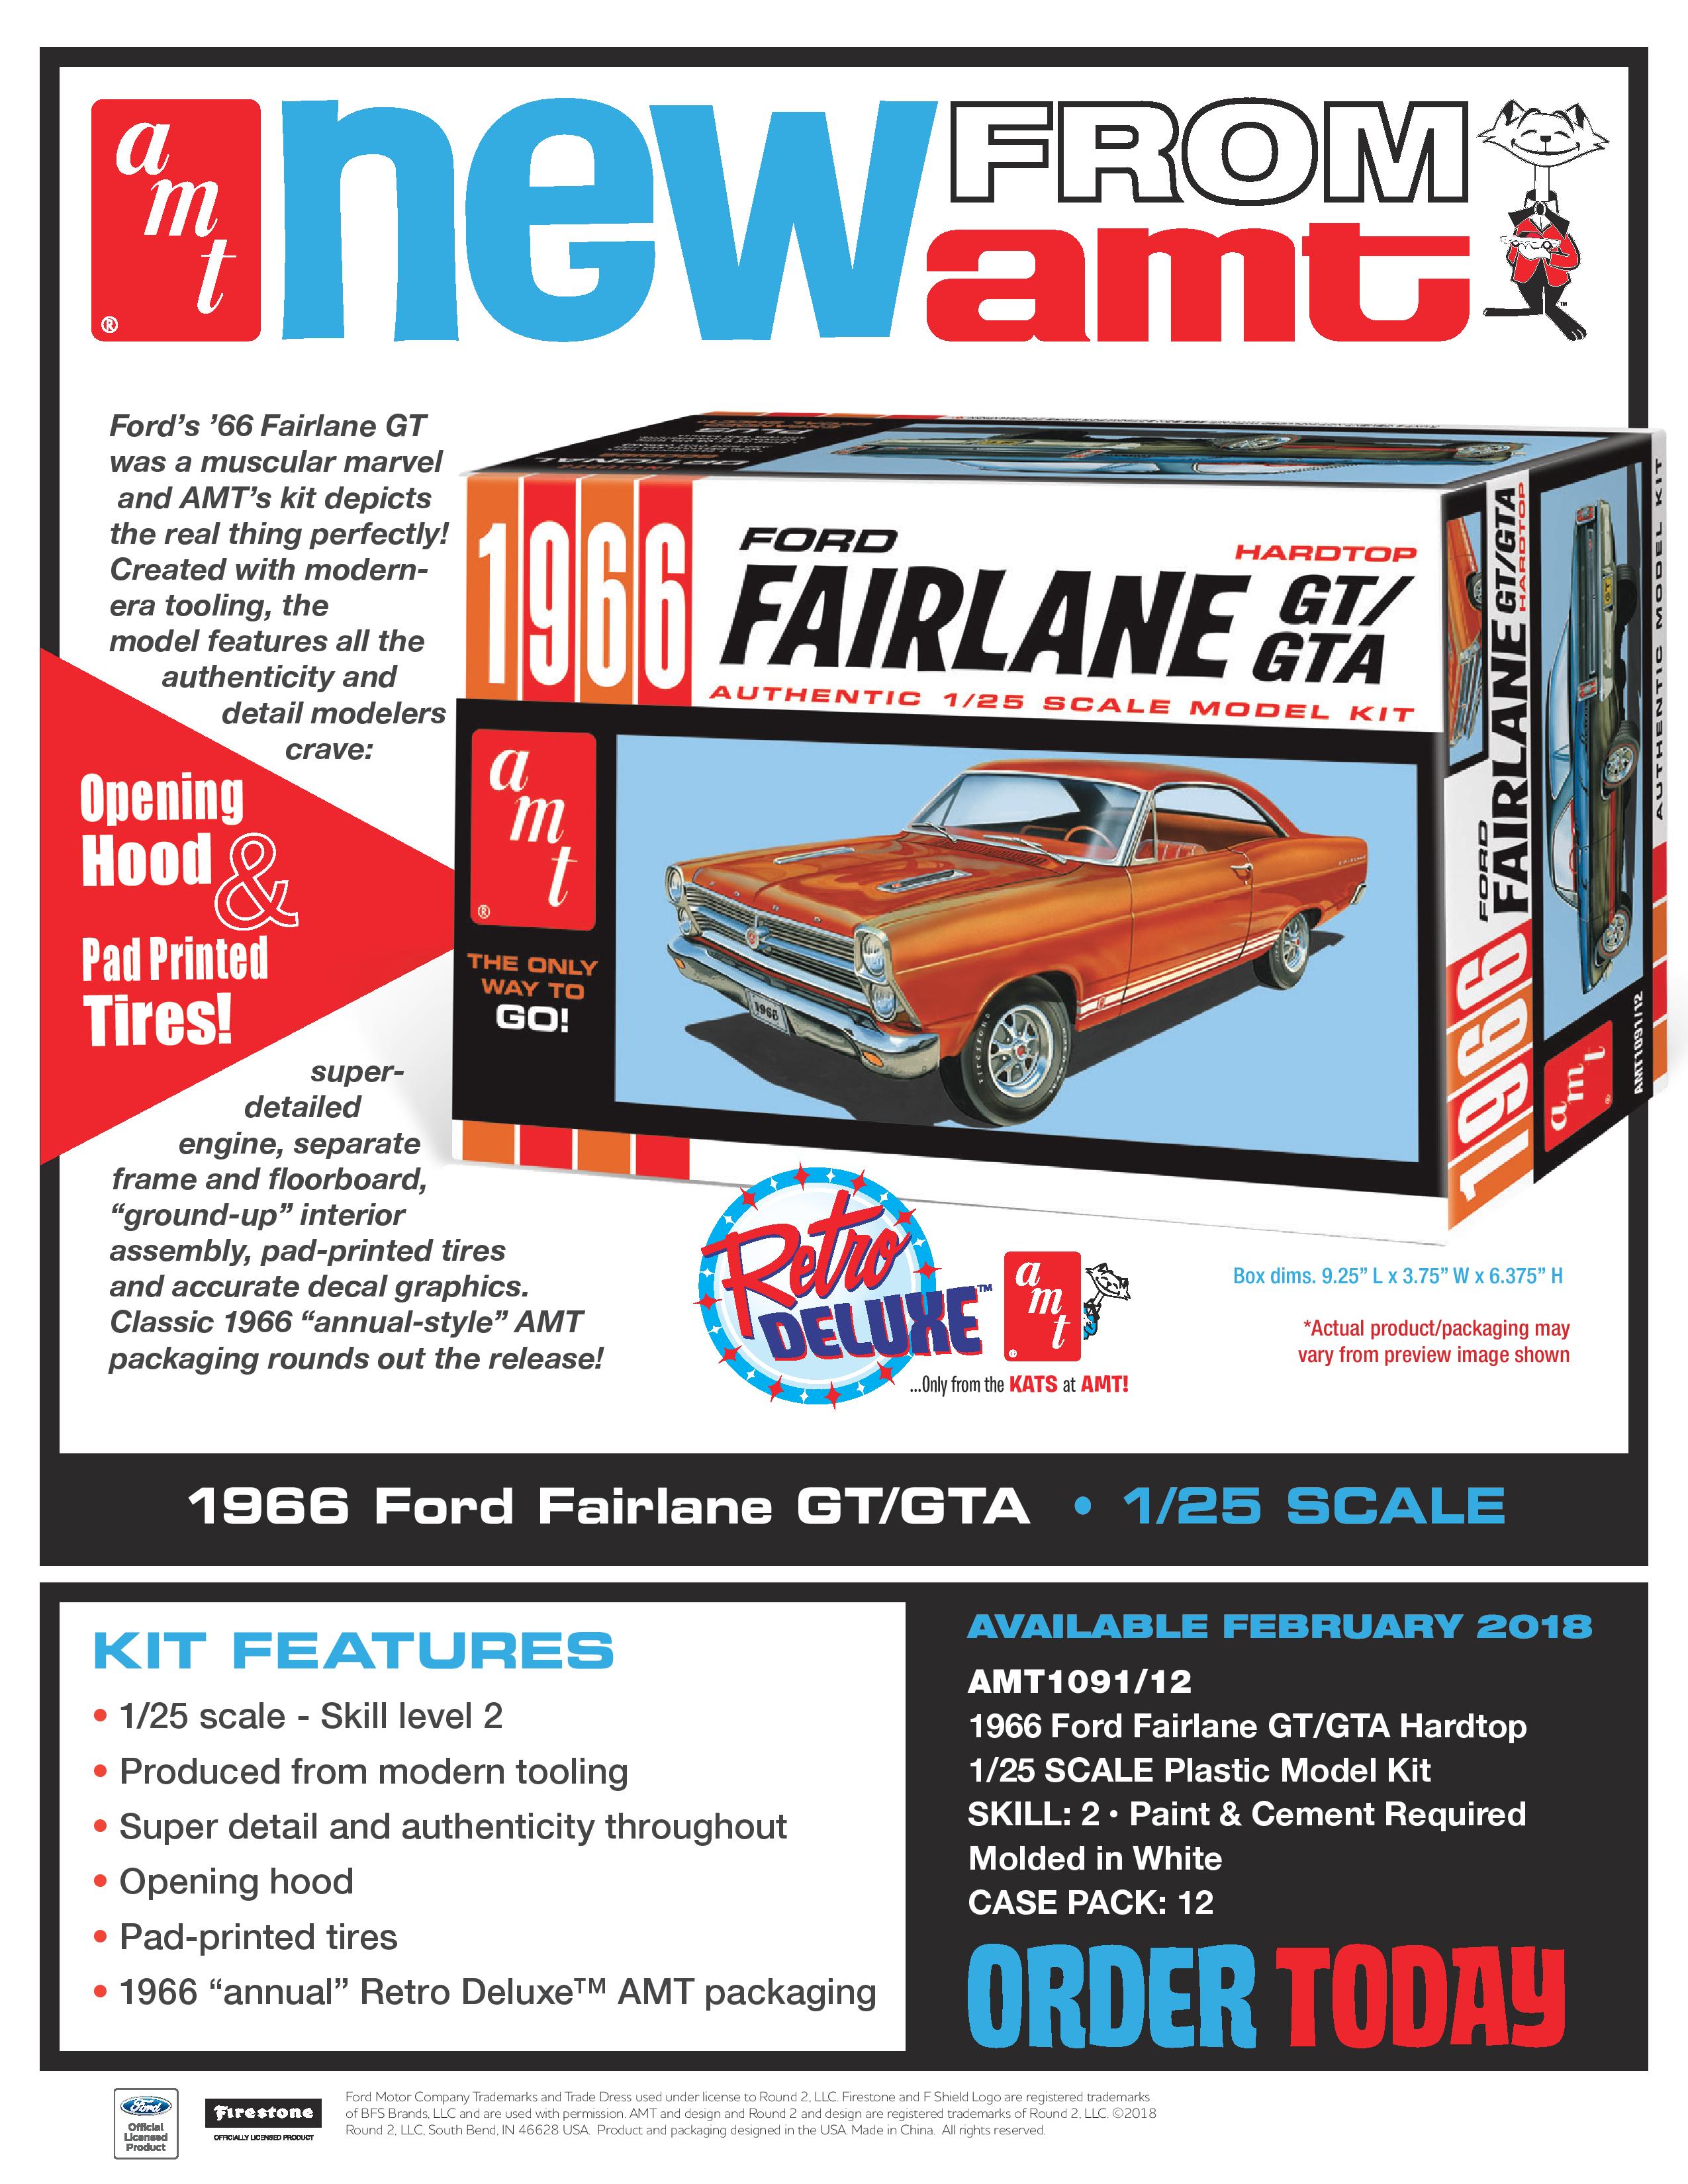
 Nice repop by Revell. Three wheel options, two full sets of tires, lots of chrome, two hoods, two transmissions. Lots of stuff for the parts box on this issue. https://www.youtube.com/watch?v=qmQFlByGxmo
 -
-
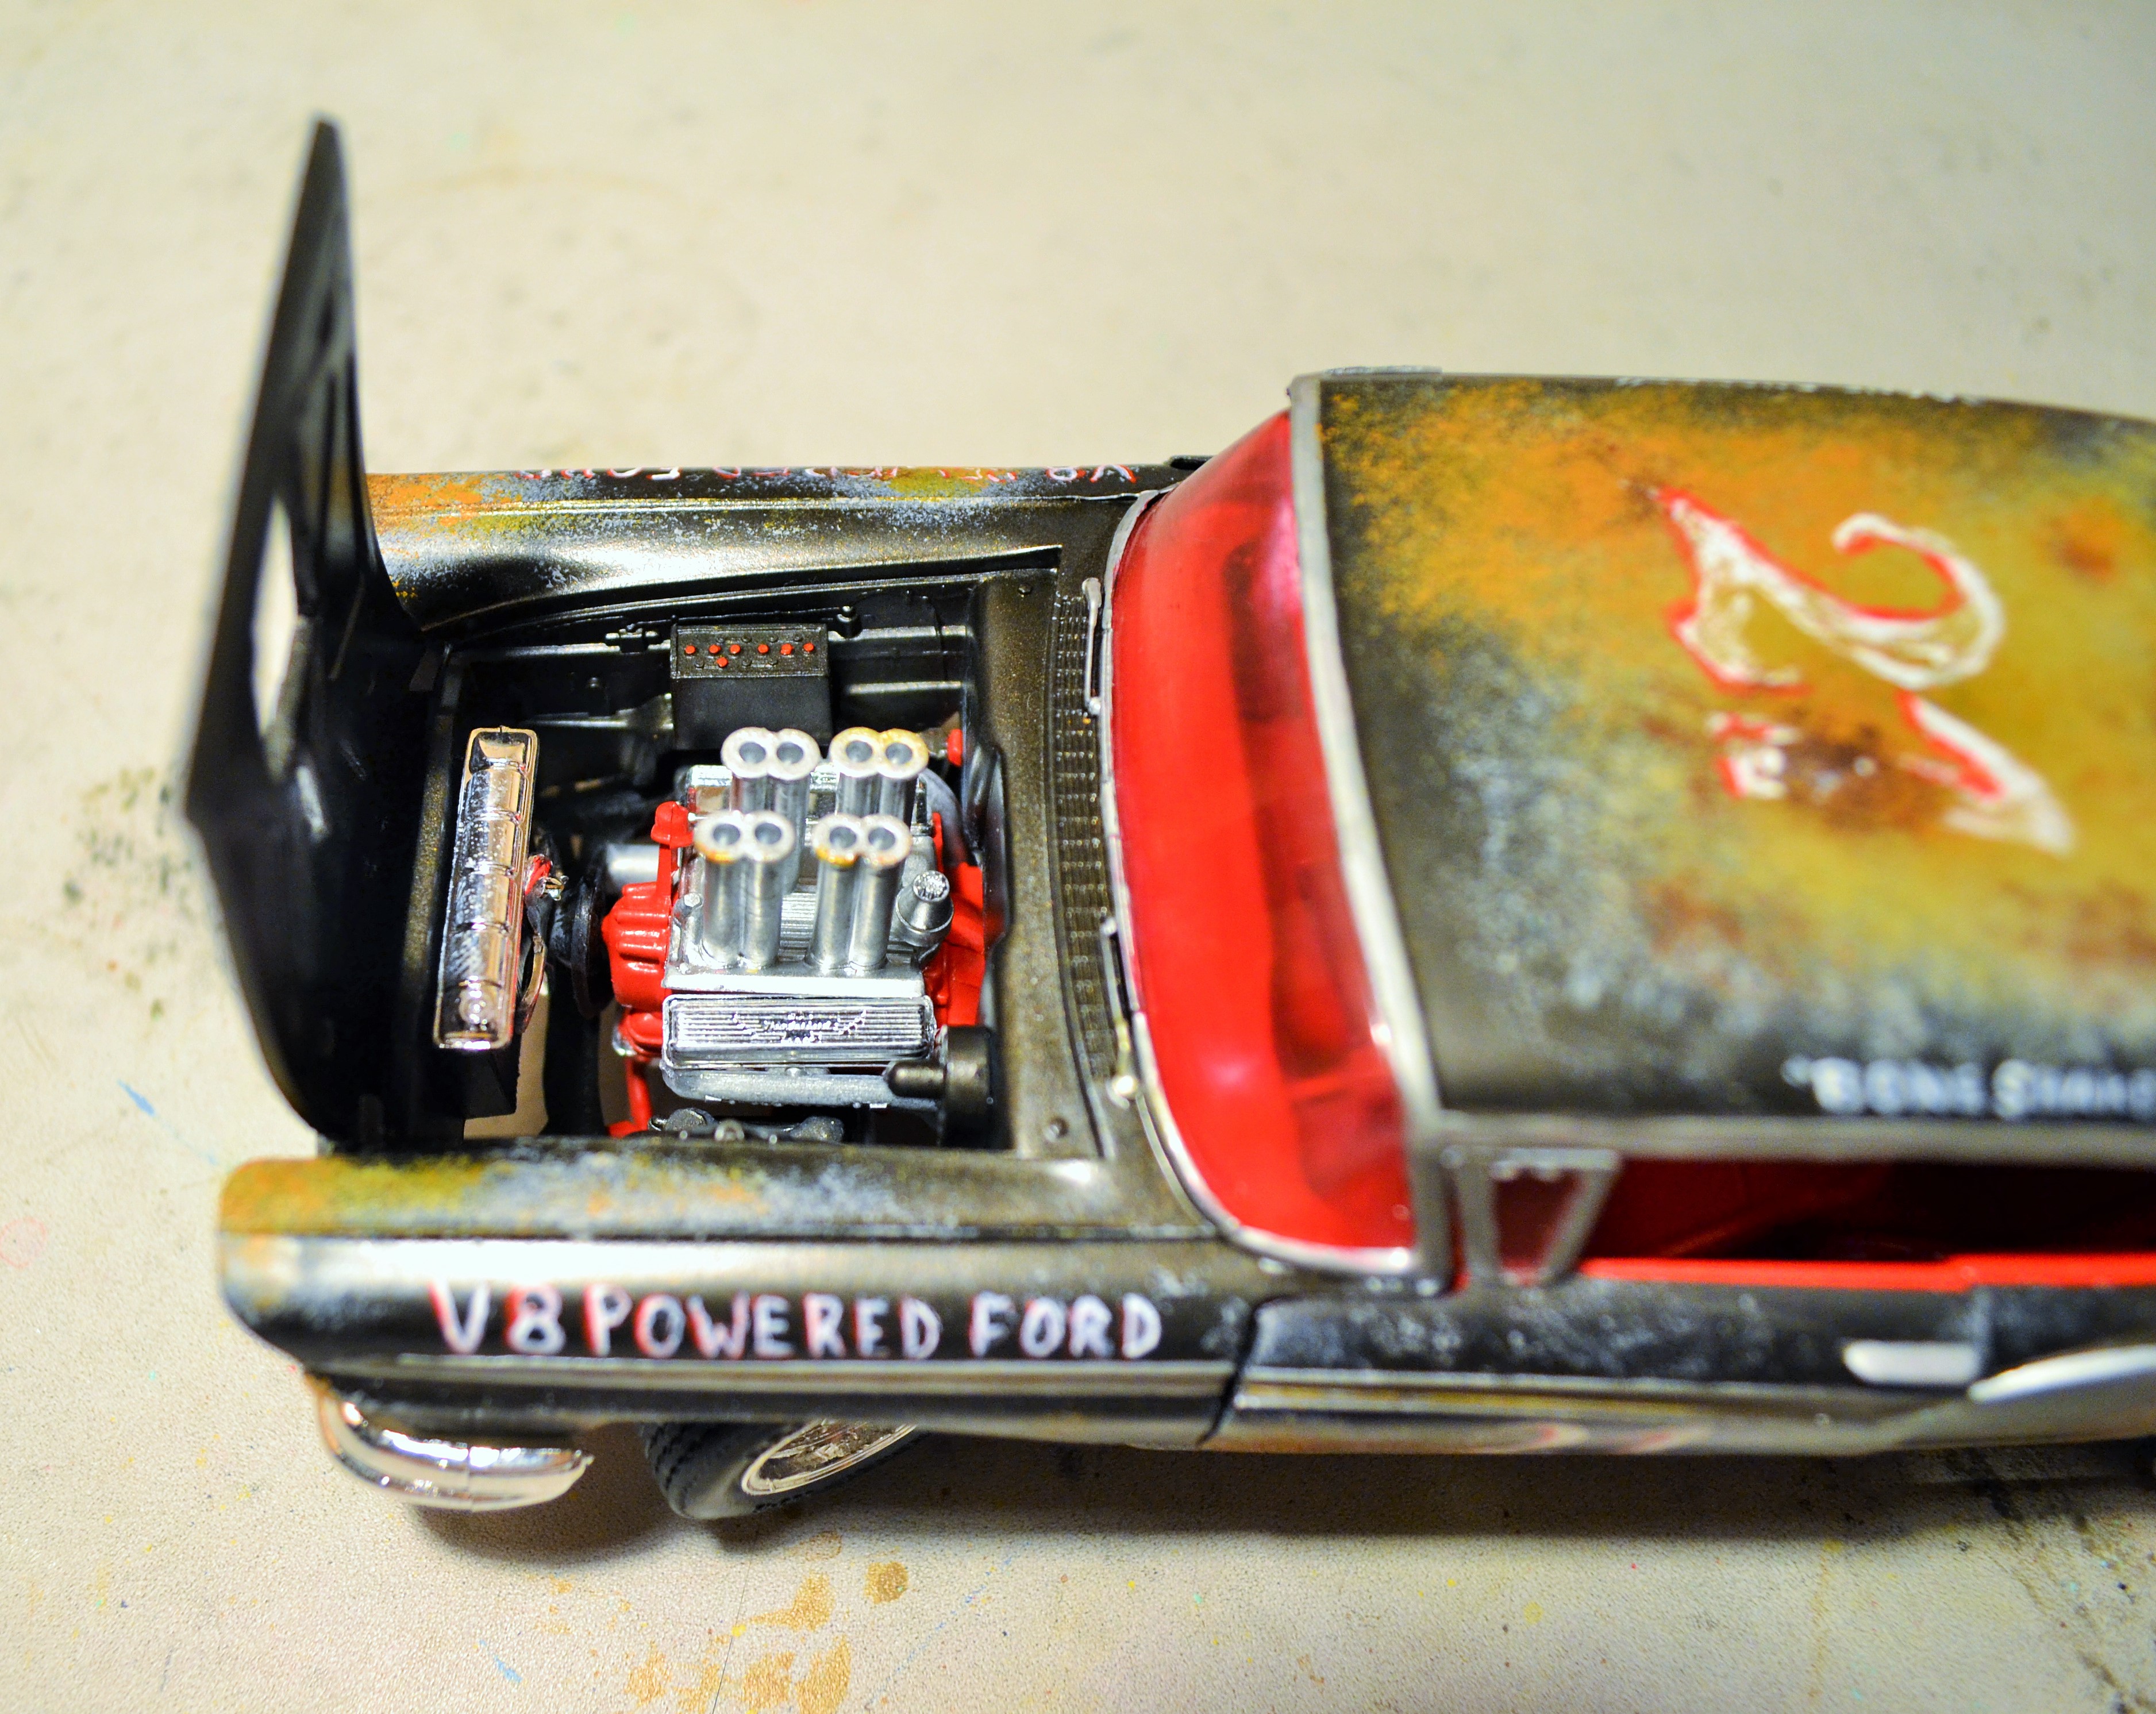
Man, this one kicked my butt. I was trying to go with old stock car racer look, but the black paint (which I now know is very difficult to work with) got really dirty and of course, I frosted the glass again (I now use glass glue!). So I panted the windows red and rusted it up. The skull and numbers, lettering etc. I hand painted. I like how it looks, but it is certainly a basket case. I even lost the radiator hose... Ah, the learning process.
-
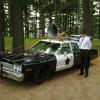
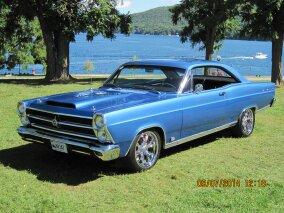
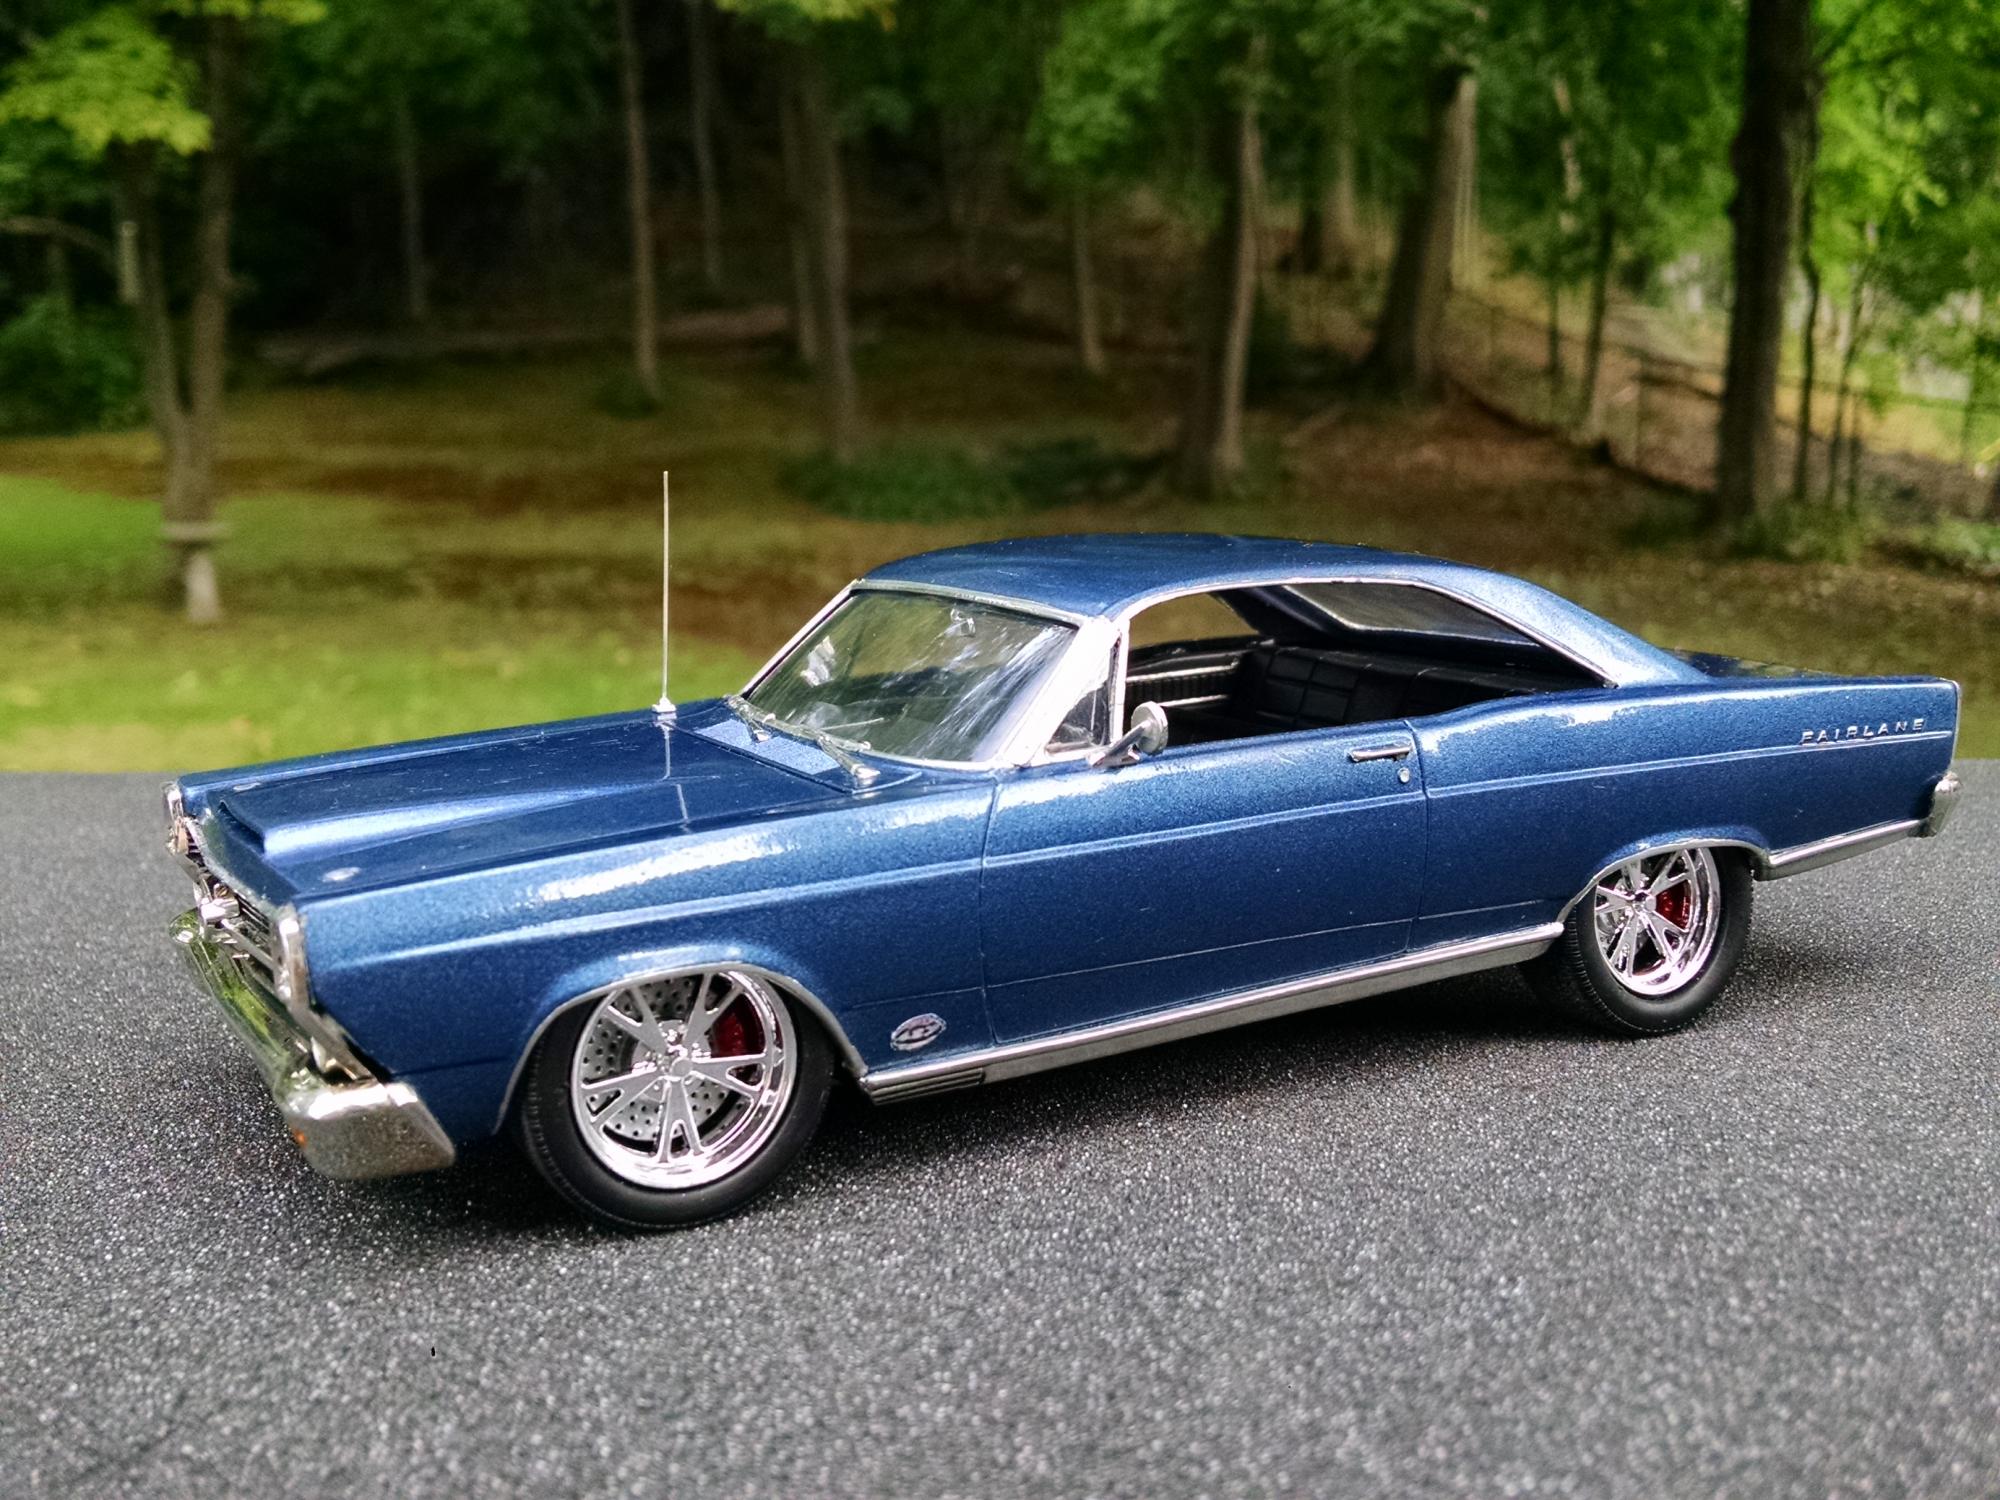
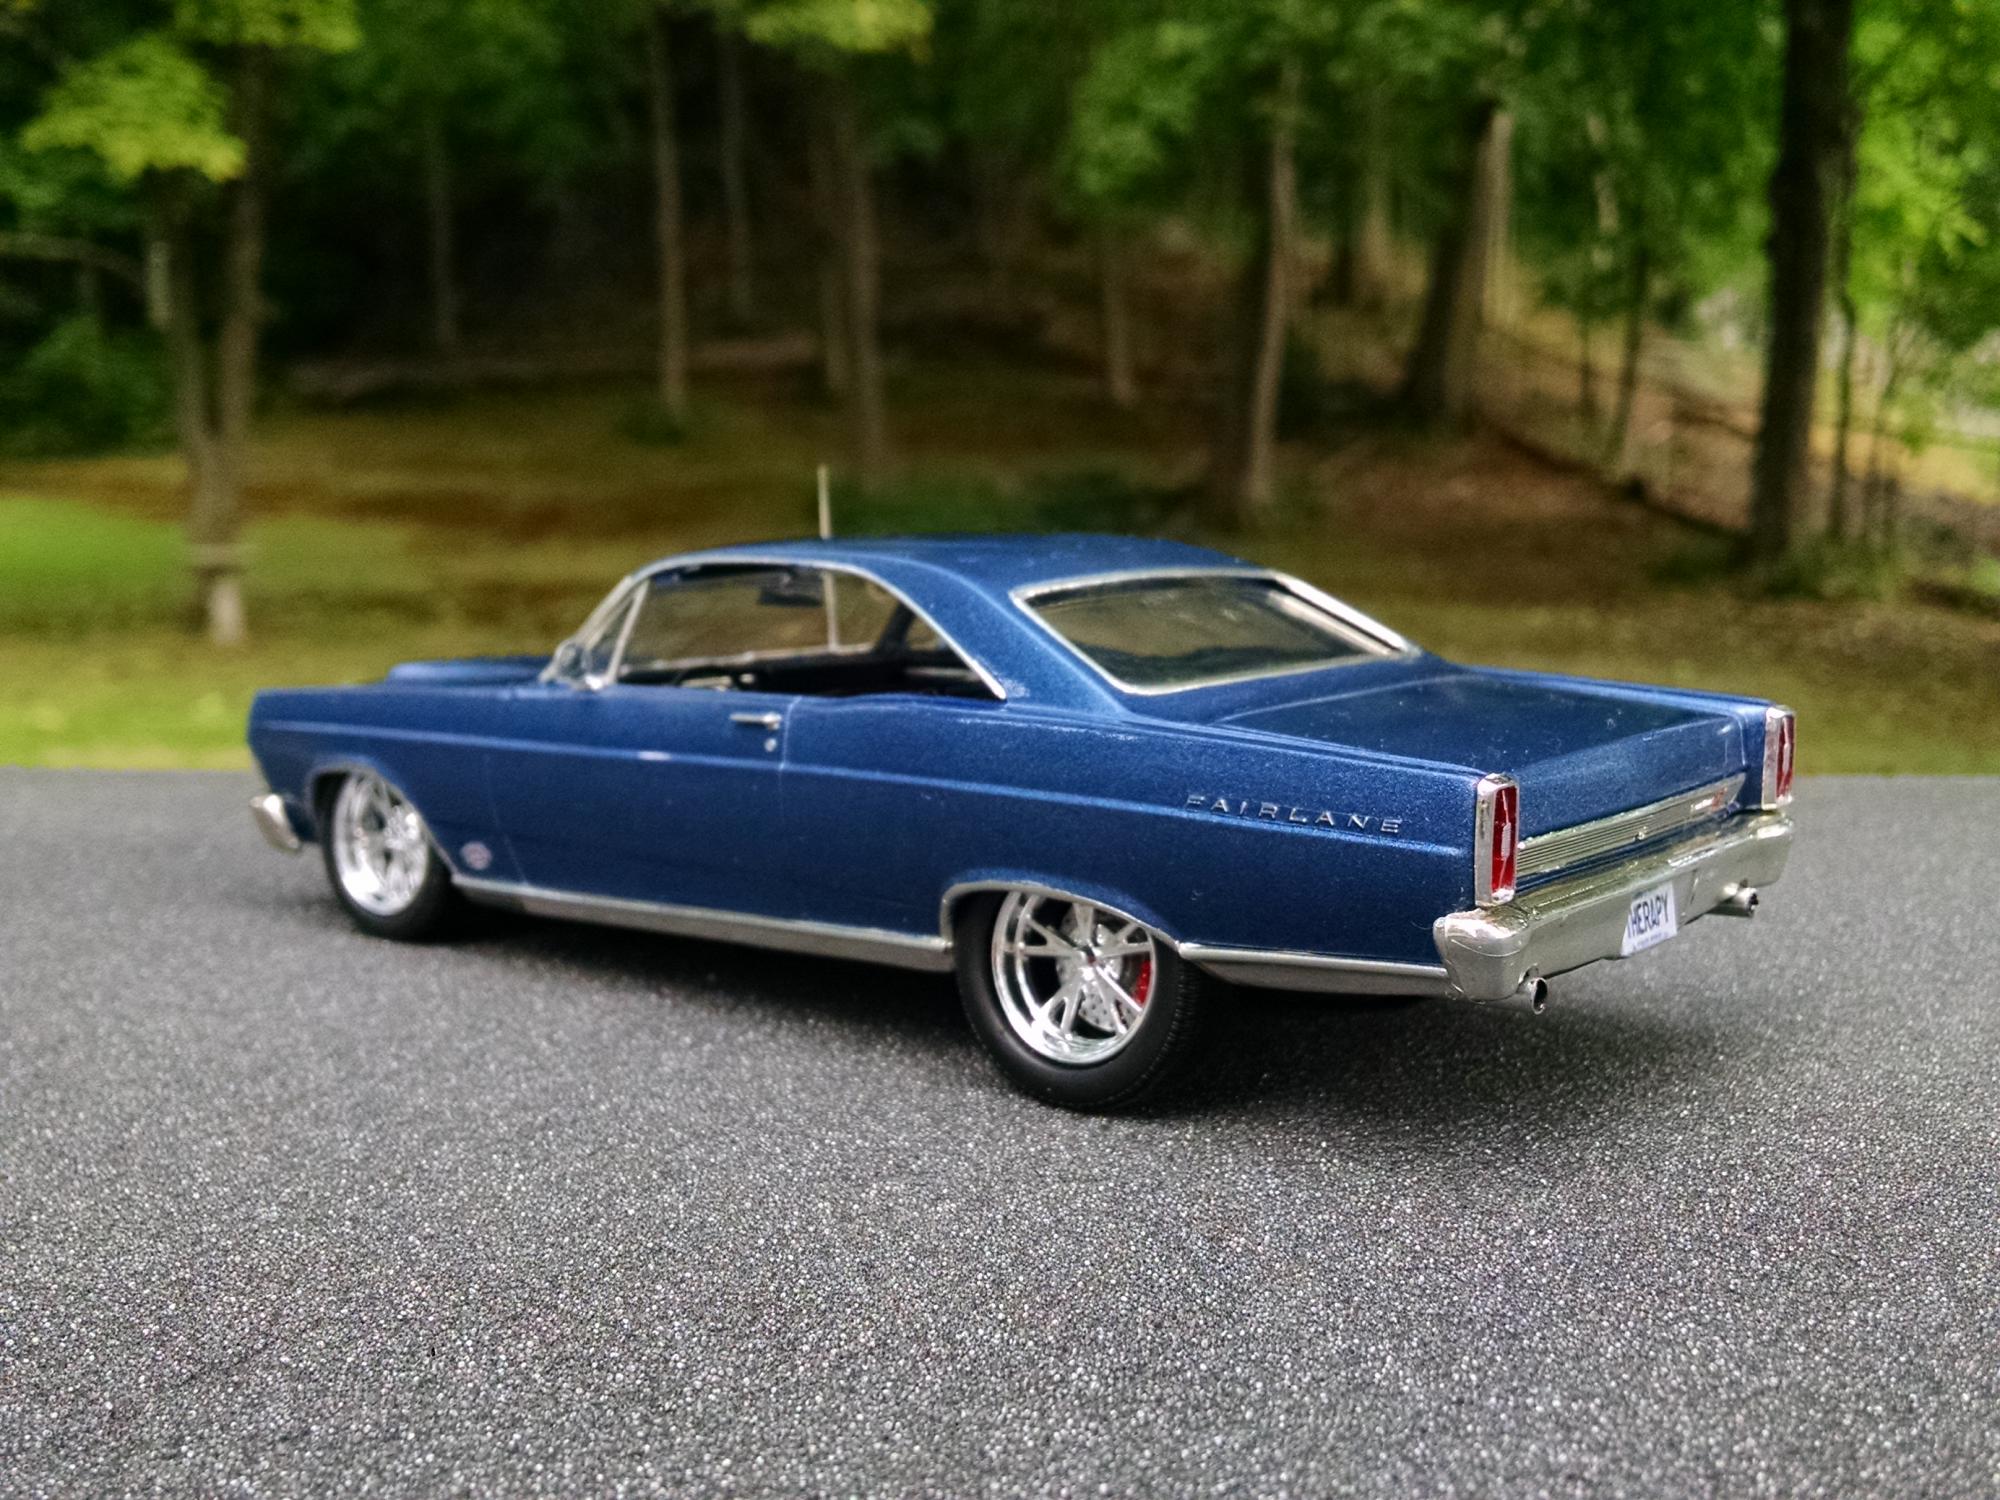
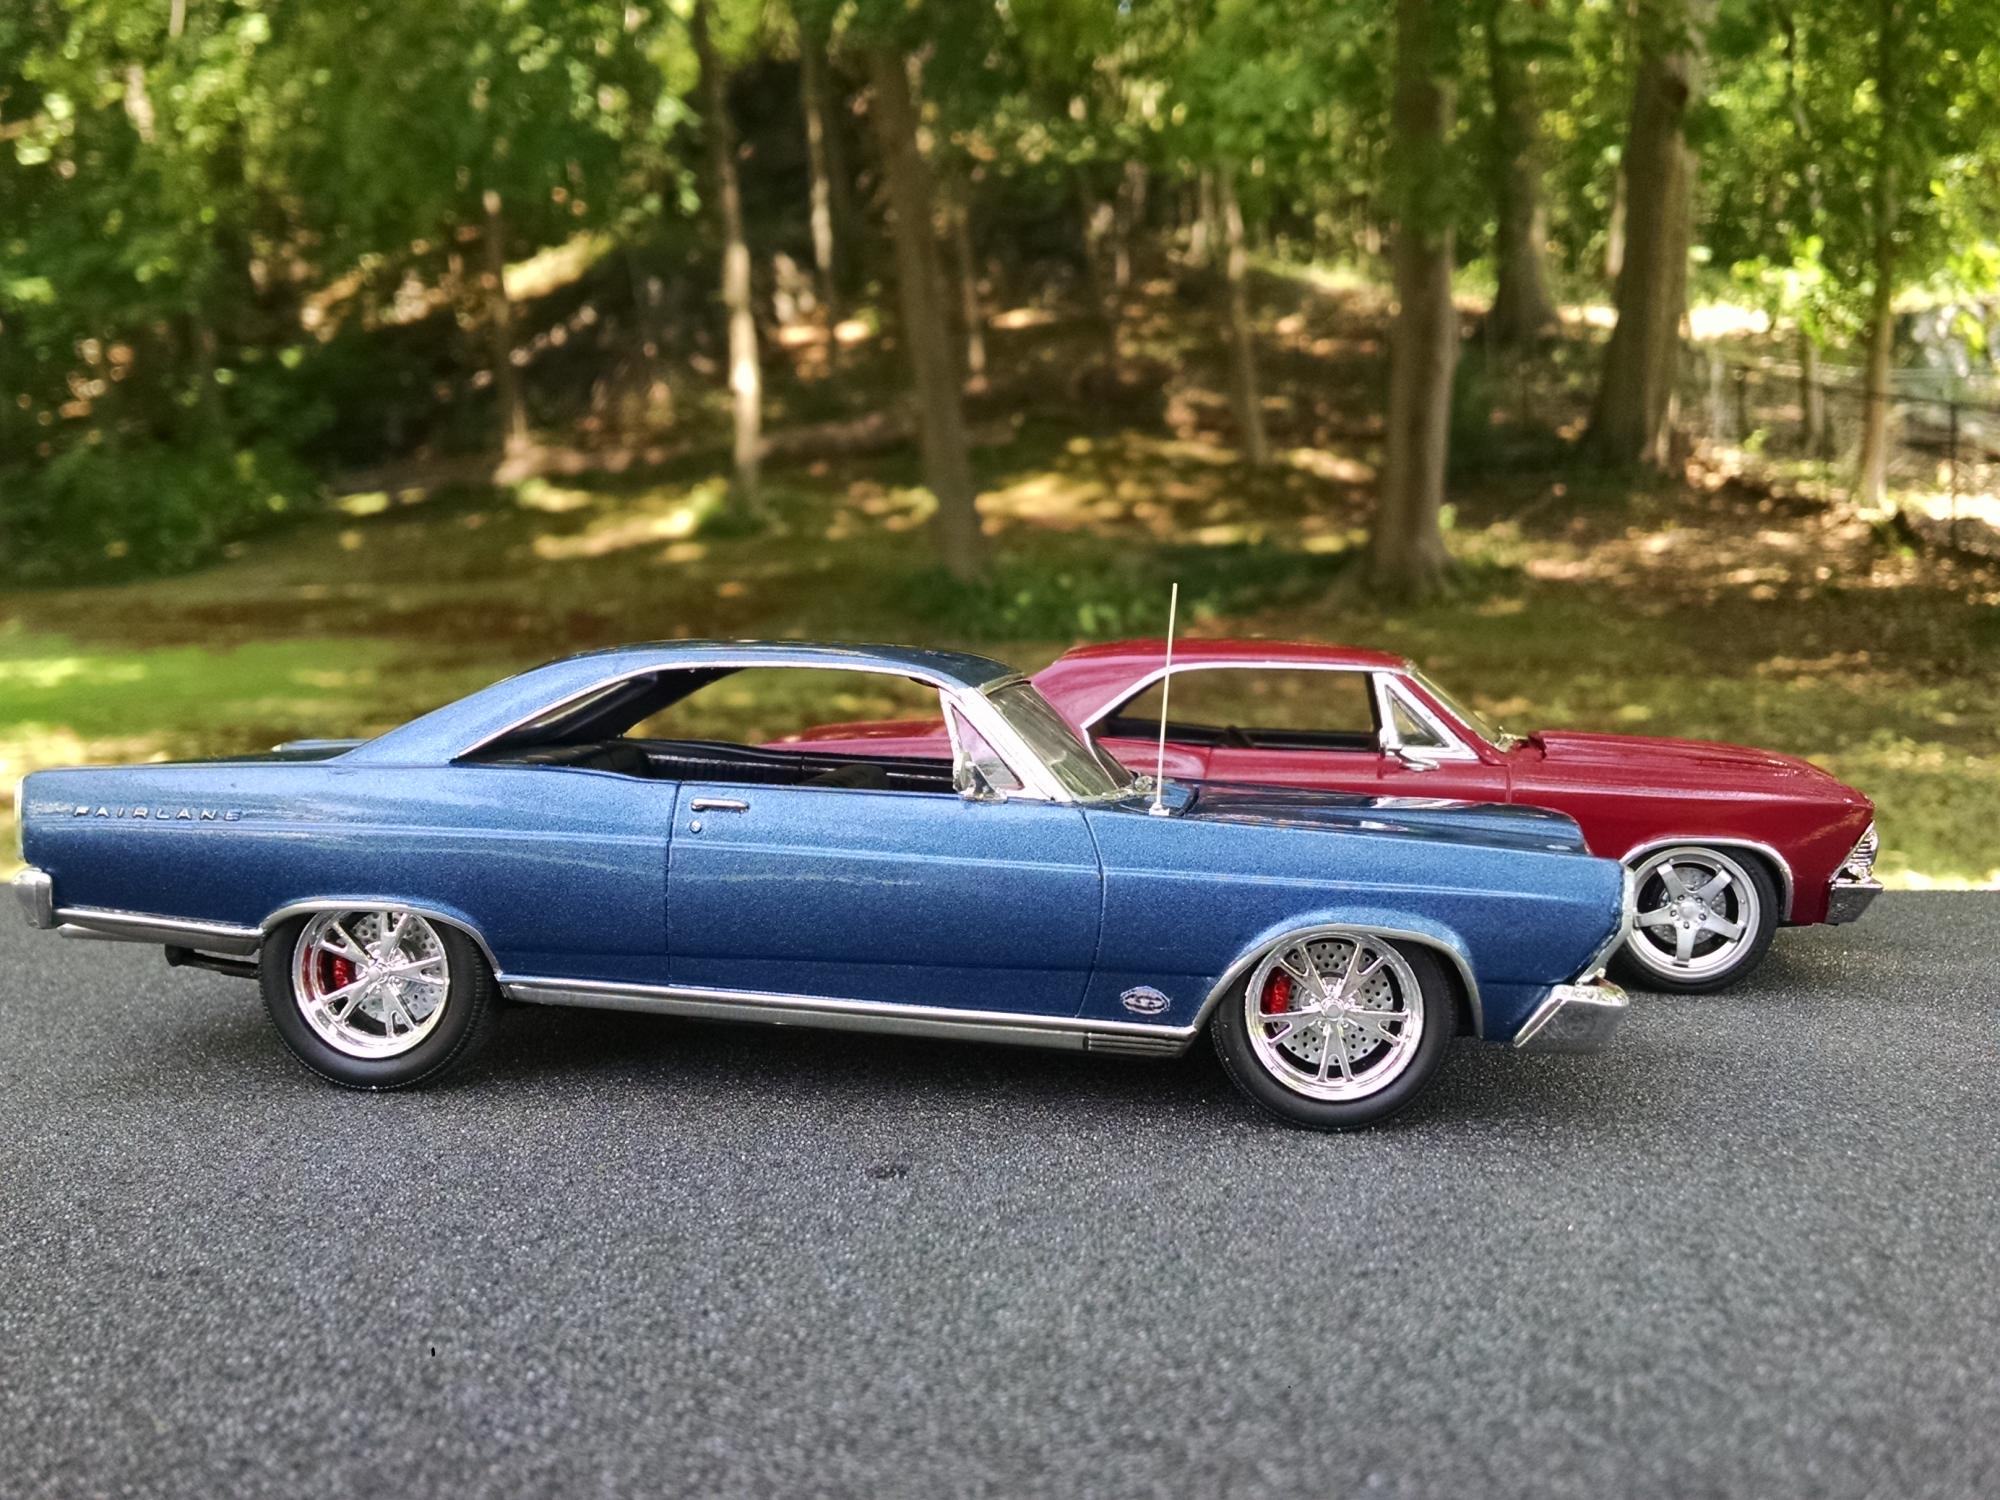
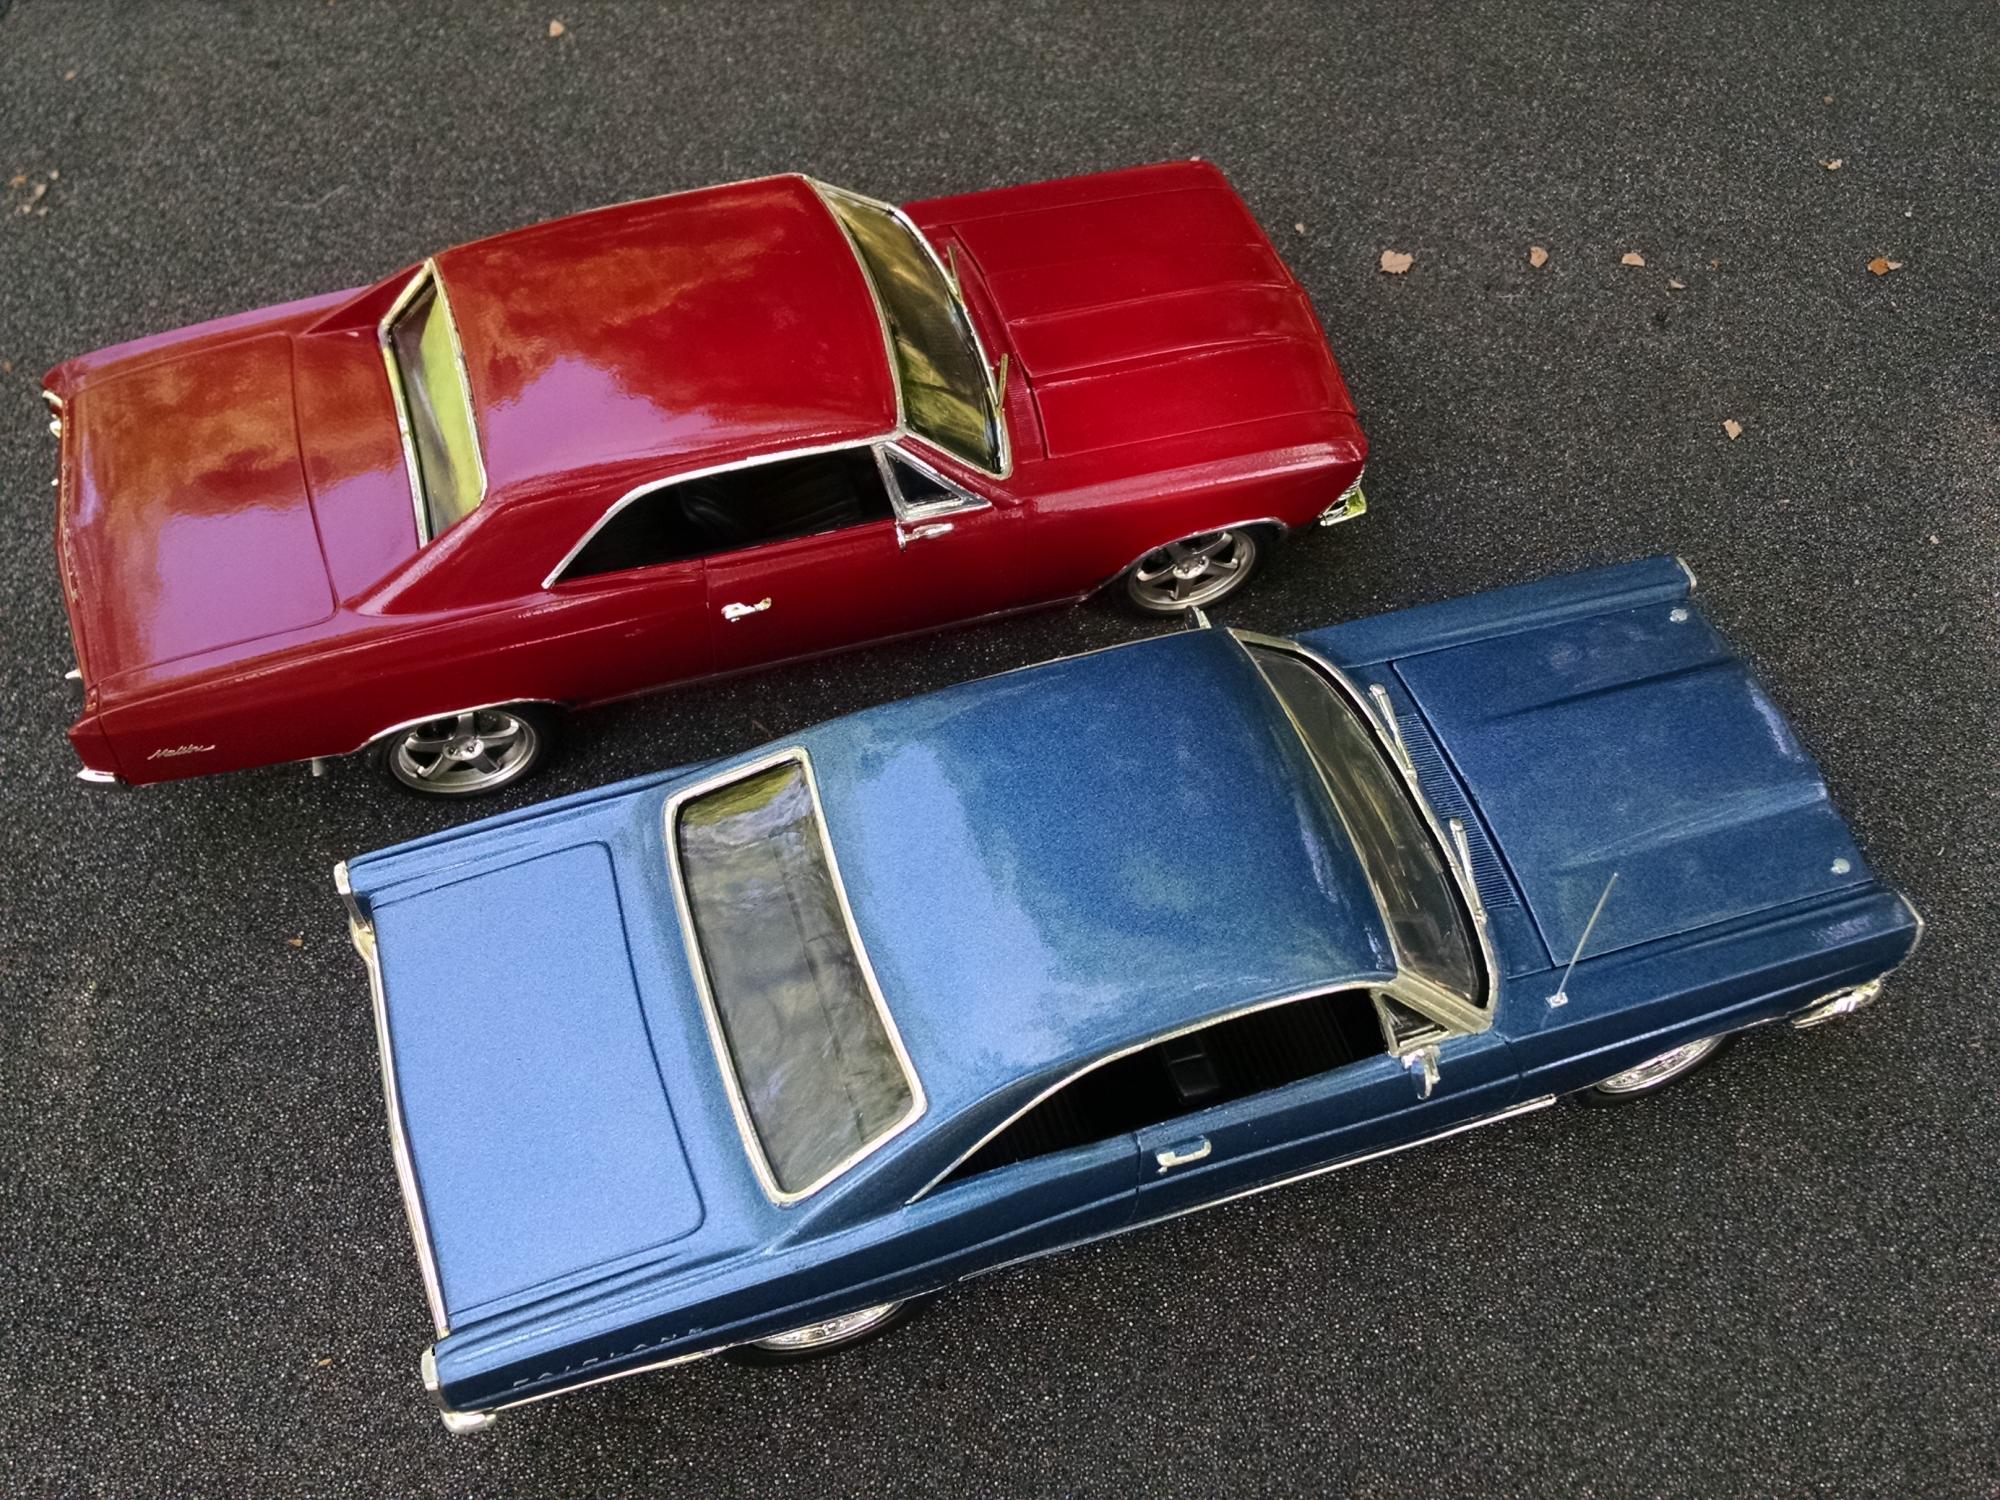
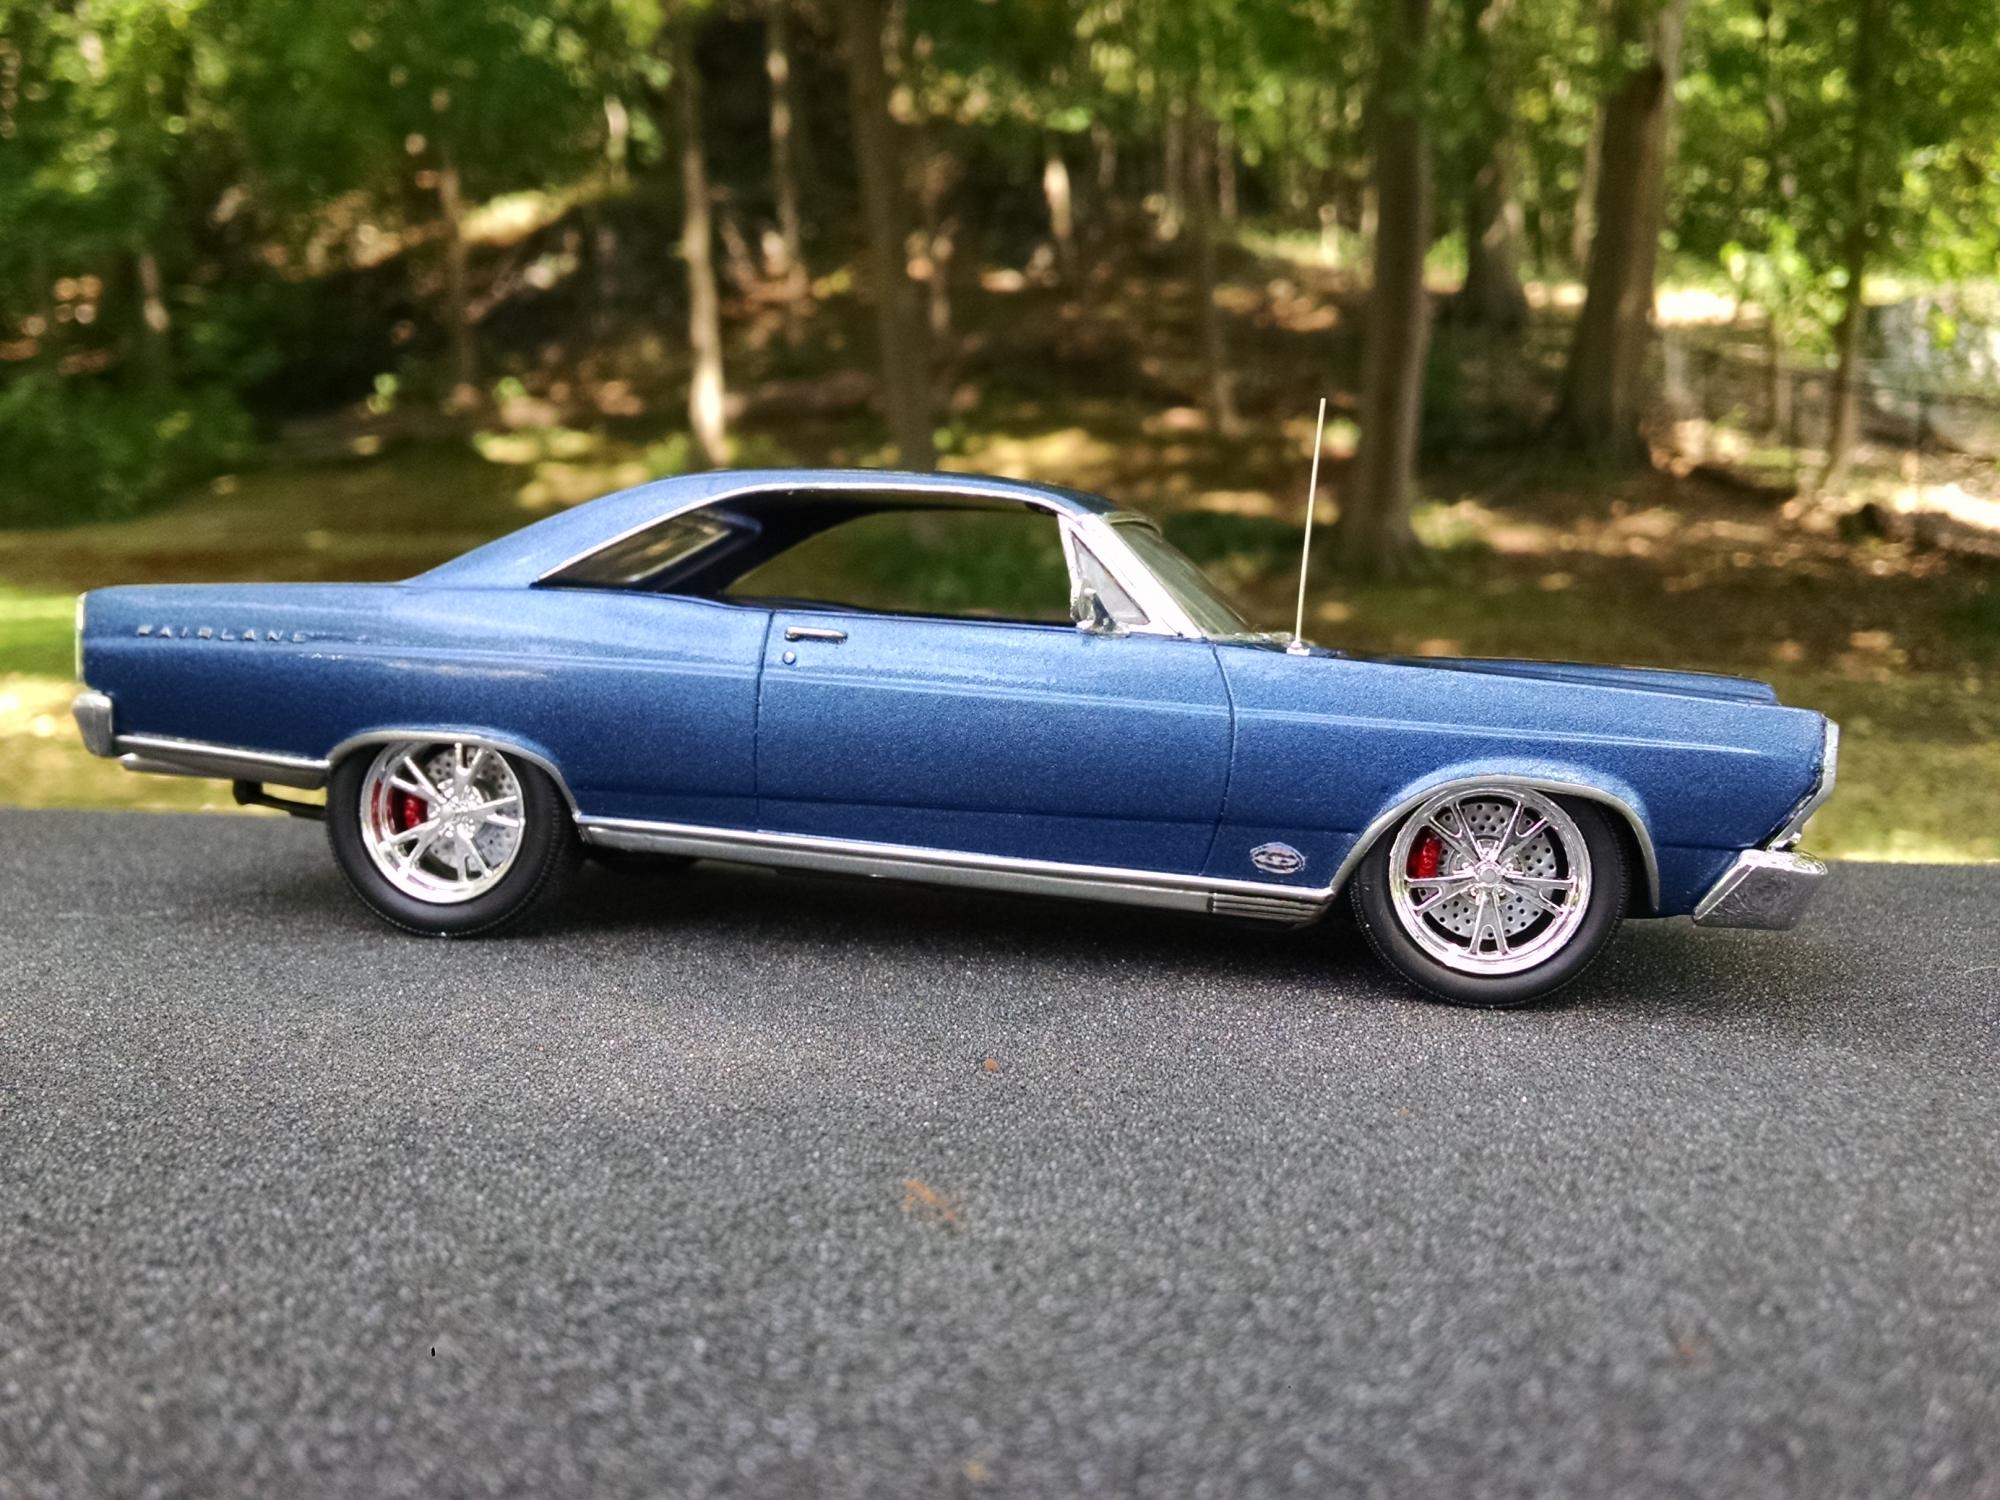
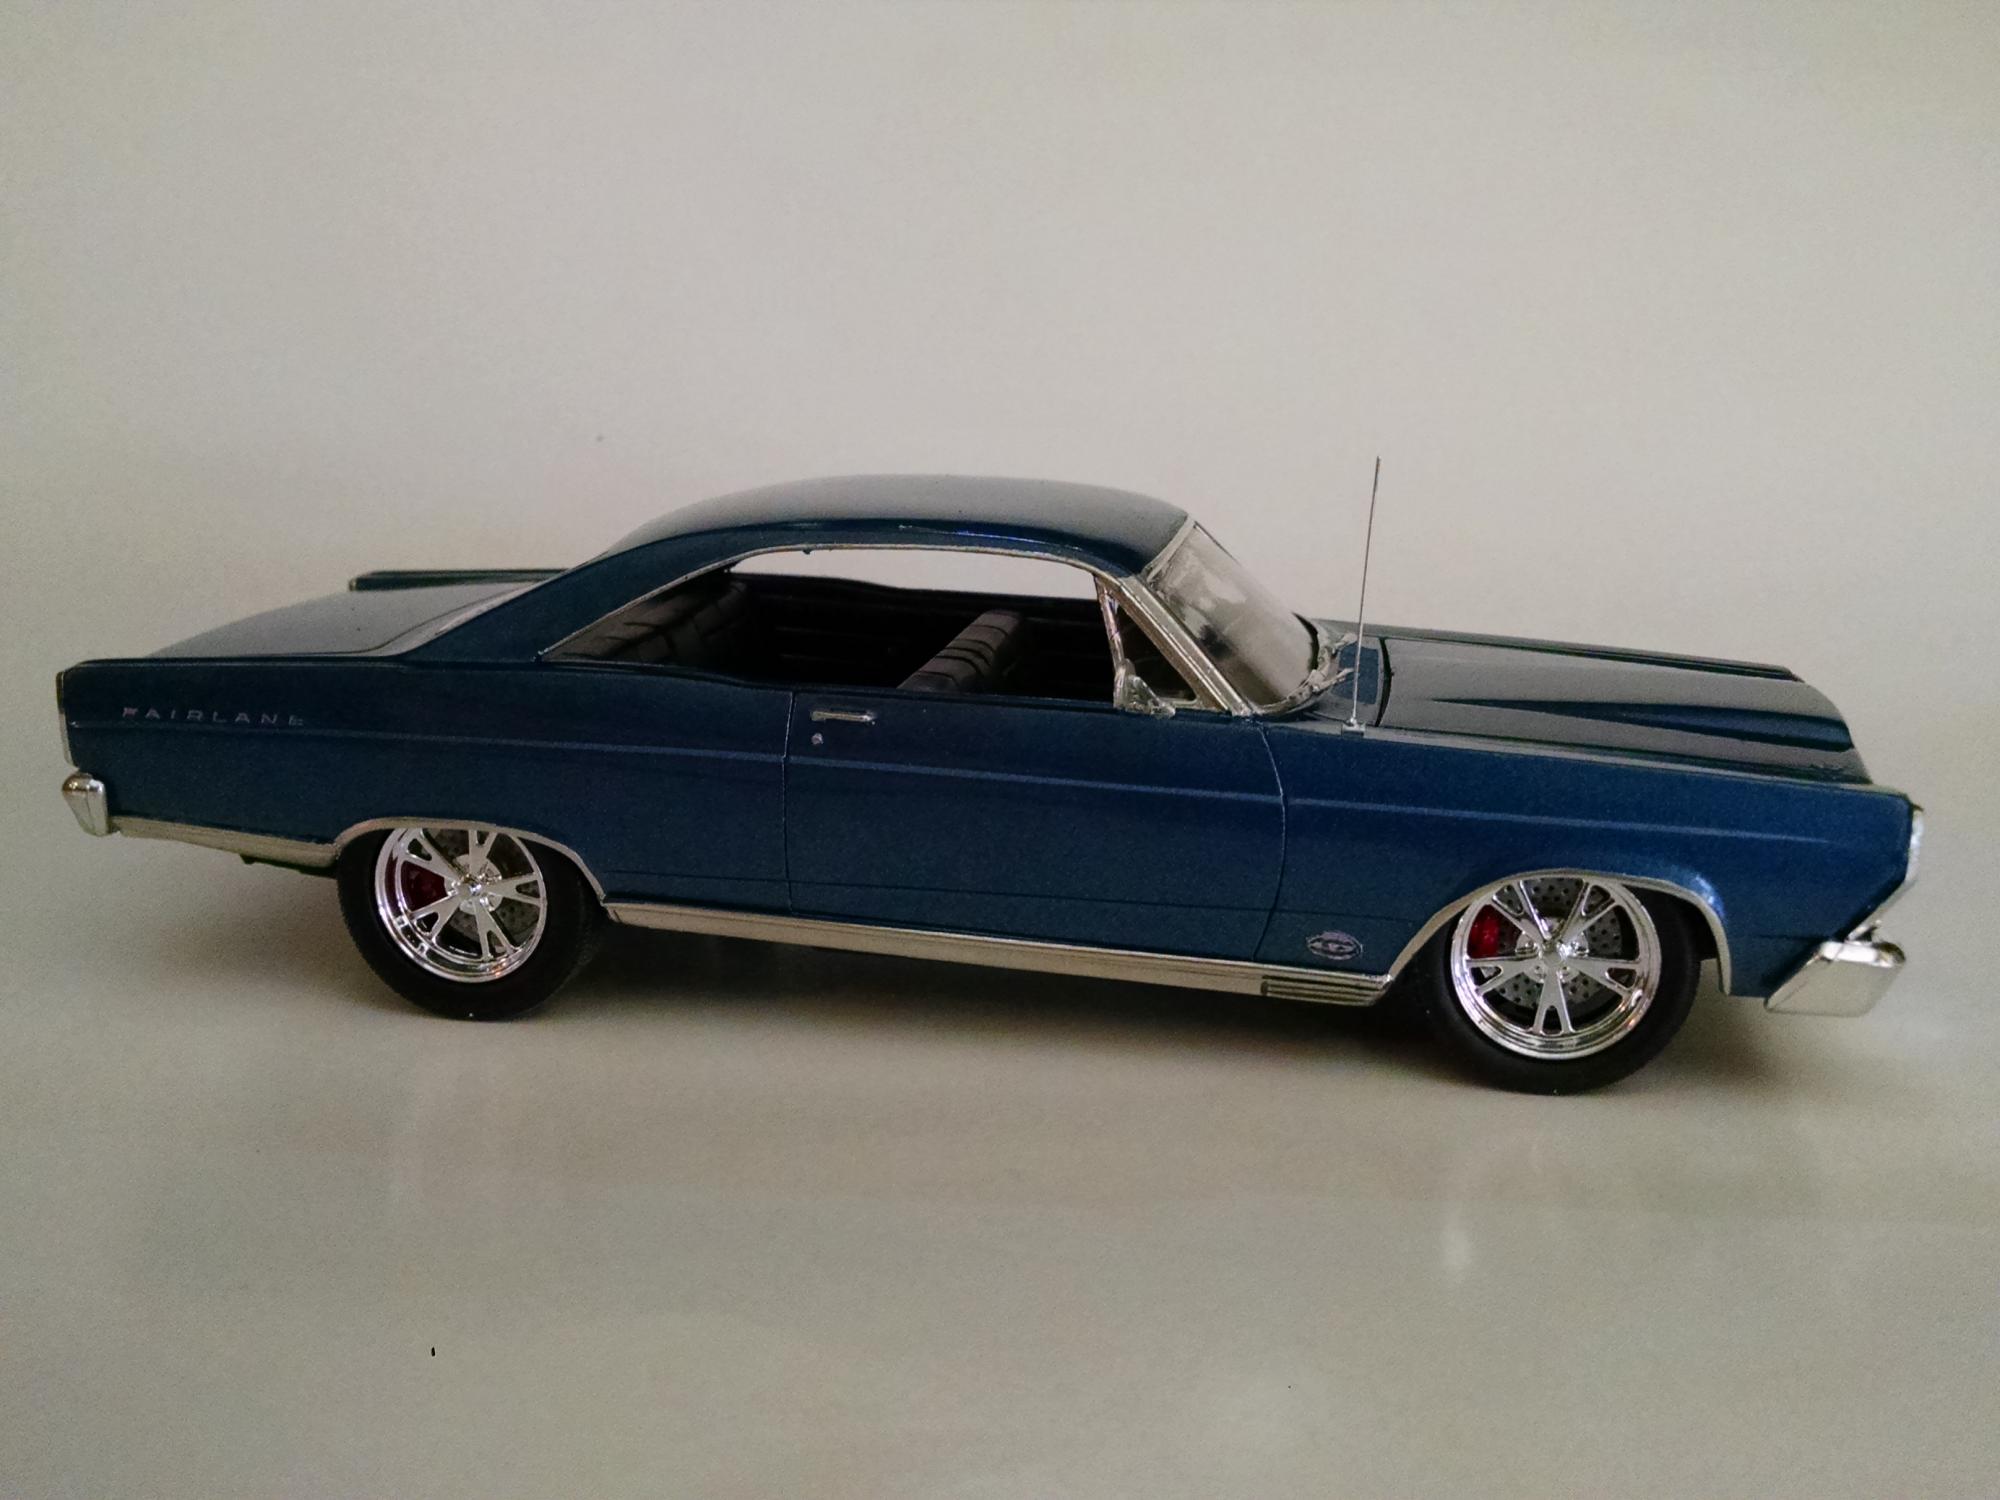
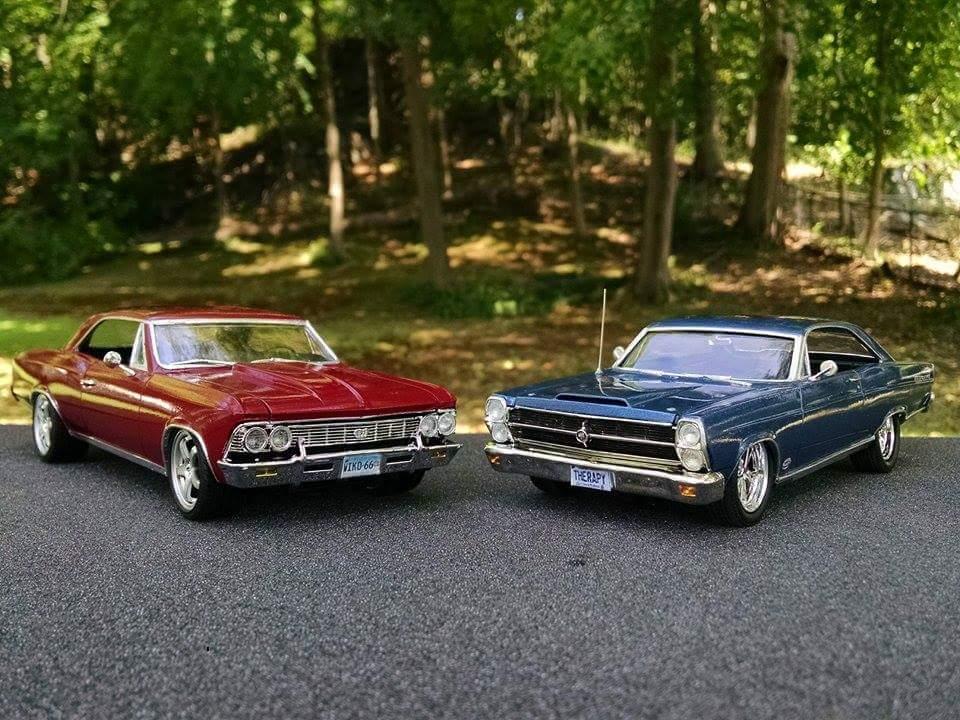
This is a commission build I did over last summer for a gentleman's 50th birthday. The Malibu in some of the pics is also a commission build I did for this guys friend. Both of the real cars travel to various shows in New England so, if you see them around you may see the models with them. Feel free to ask them about the builds. It's a cool story. Anyway, on to the model. I based it on AMT's '66 Fairlane 427. I notched the rear bumper and made custom exhaust. I modified the rocker moldings and added wheels and tires from Revell's '62 Chevy kit. I also photo reduced the plates and side emblems. I also made a custom front bench seat using the rear seat from a donor kit. The paint is a custom match of Acapulco Blue acrylic enamel. First pic is the real car this is modeled after. All in all, it was a fun build. Would love to do one for myself someday.
-
I posted this before awhile back but since then I've added Hoosier tires & different wheels & took some outdoor pics. I built it as a dirt purestock racer. Most of the decals are homemade. They are logos & brands from where I work.
-
Hi there ! I'll post here some pictures of my actual building, a 1957 Ford Fairlane 500, for my junkyard diorama. This car is from an AMT kit. I like that one because doors are openable. I've done some scratches and holes on the body : I've put an Iron base paint, before painting. I often do that to see the rust come from under the paint
-
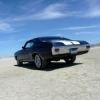
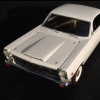
Here's my finished AMT 1/25 Ford Fairlane 427 in all her glory. BTW, this is the first kit I've built in 20 years.
-
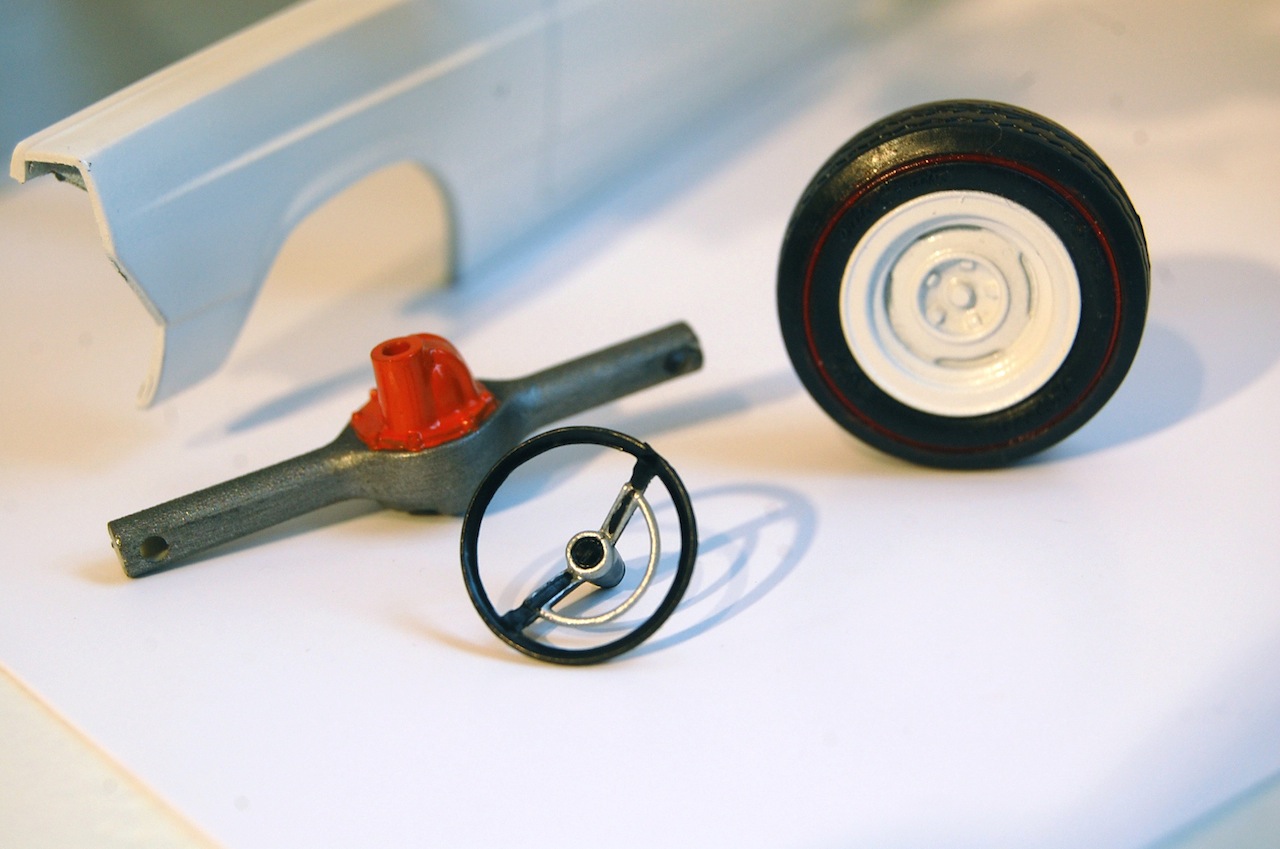
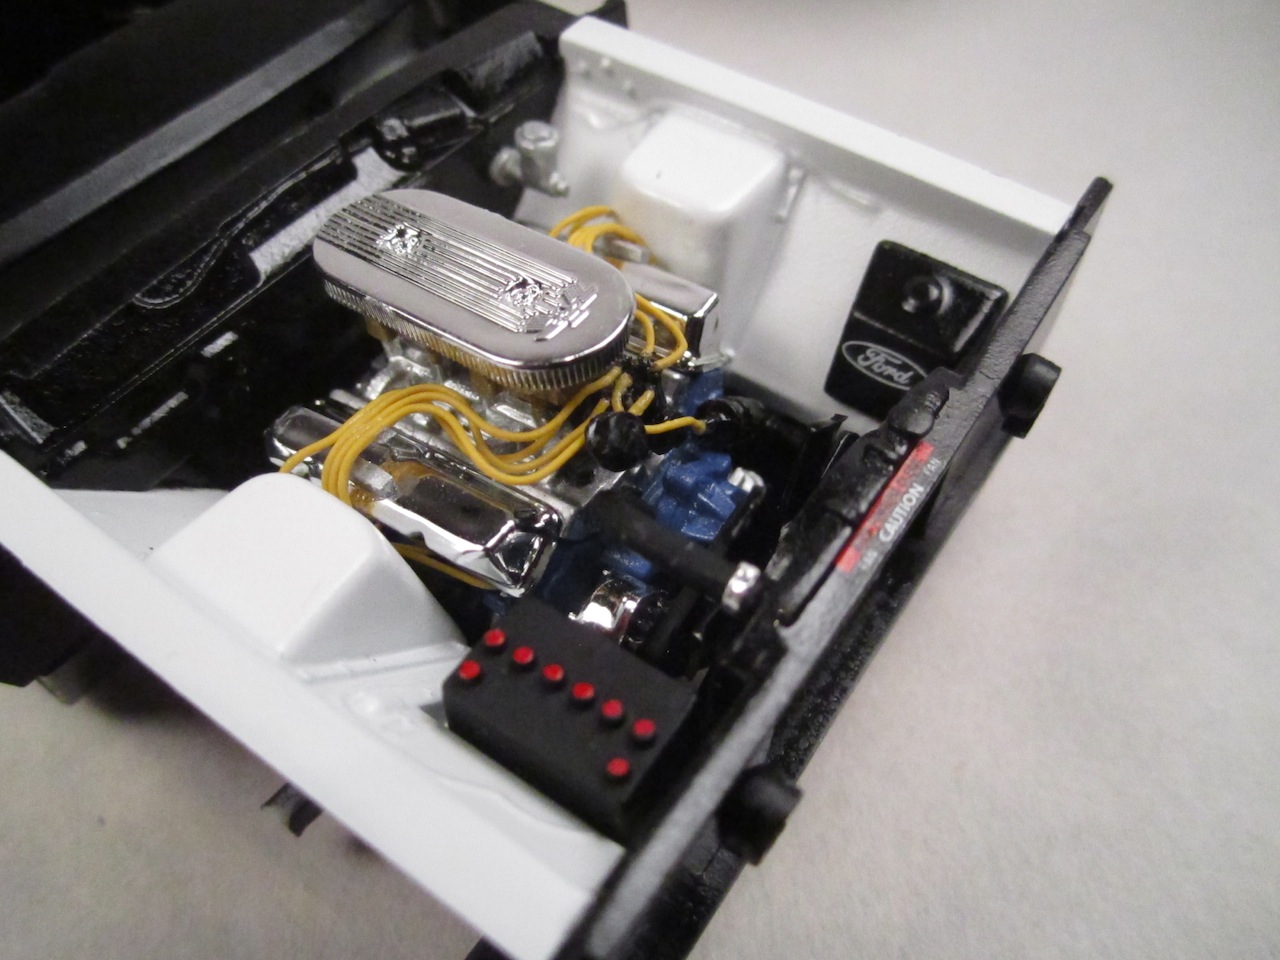
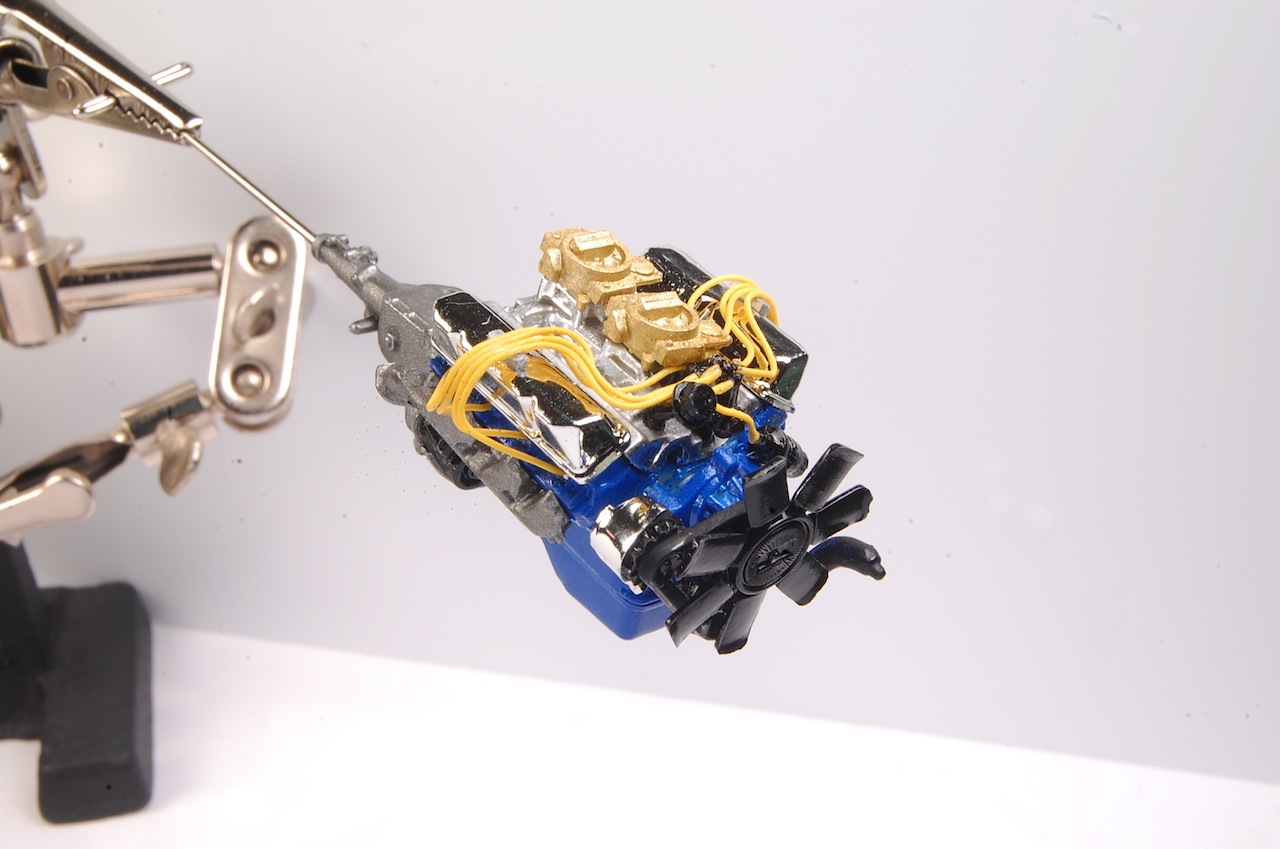
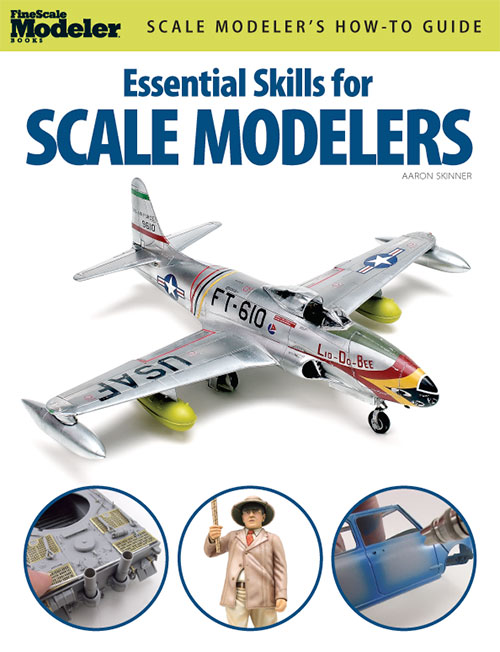
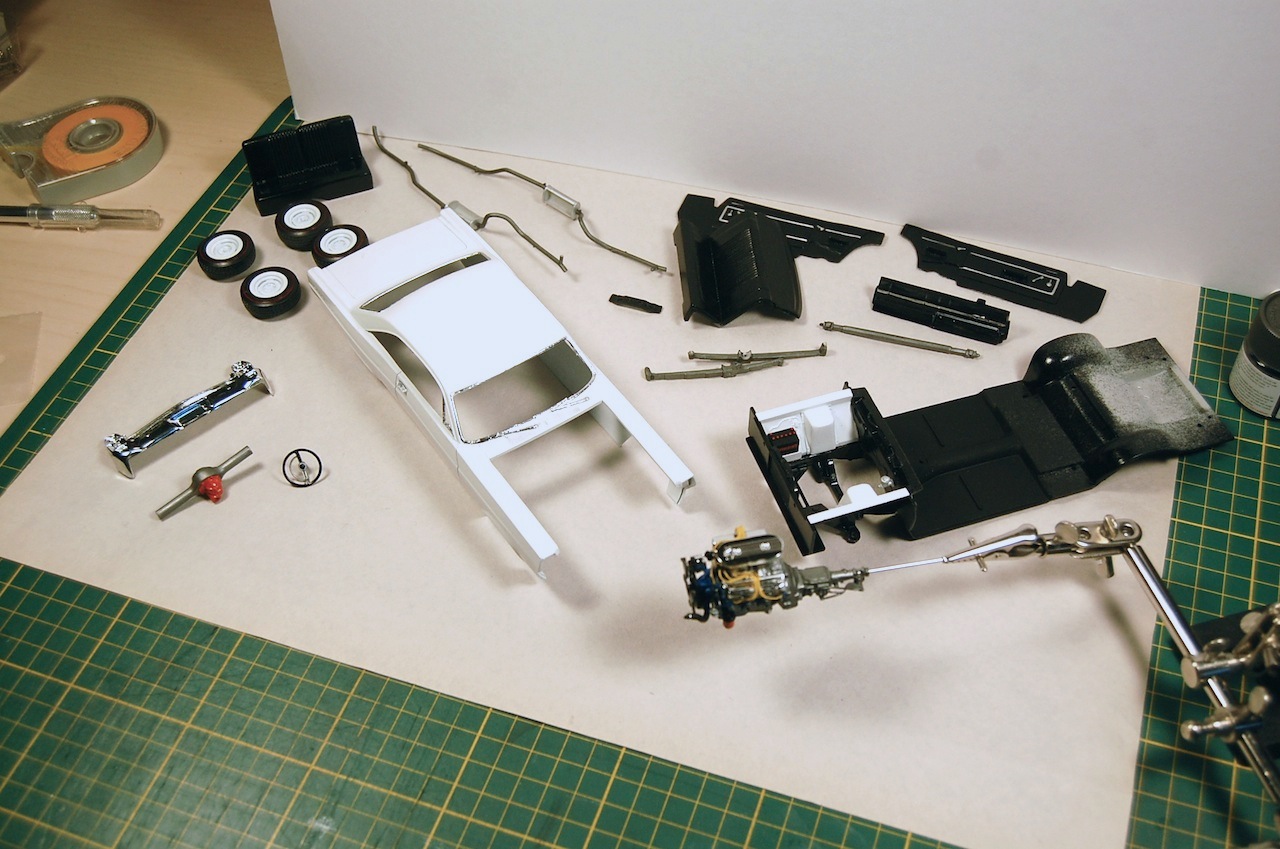
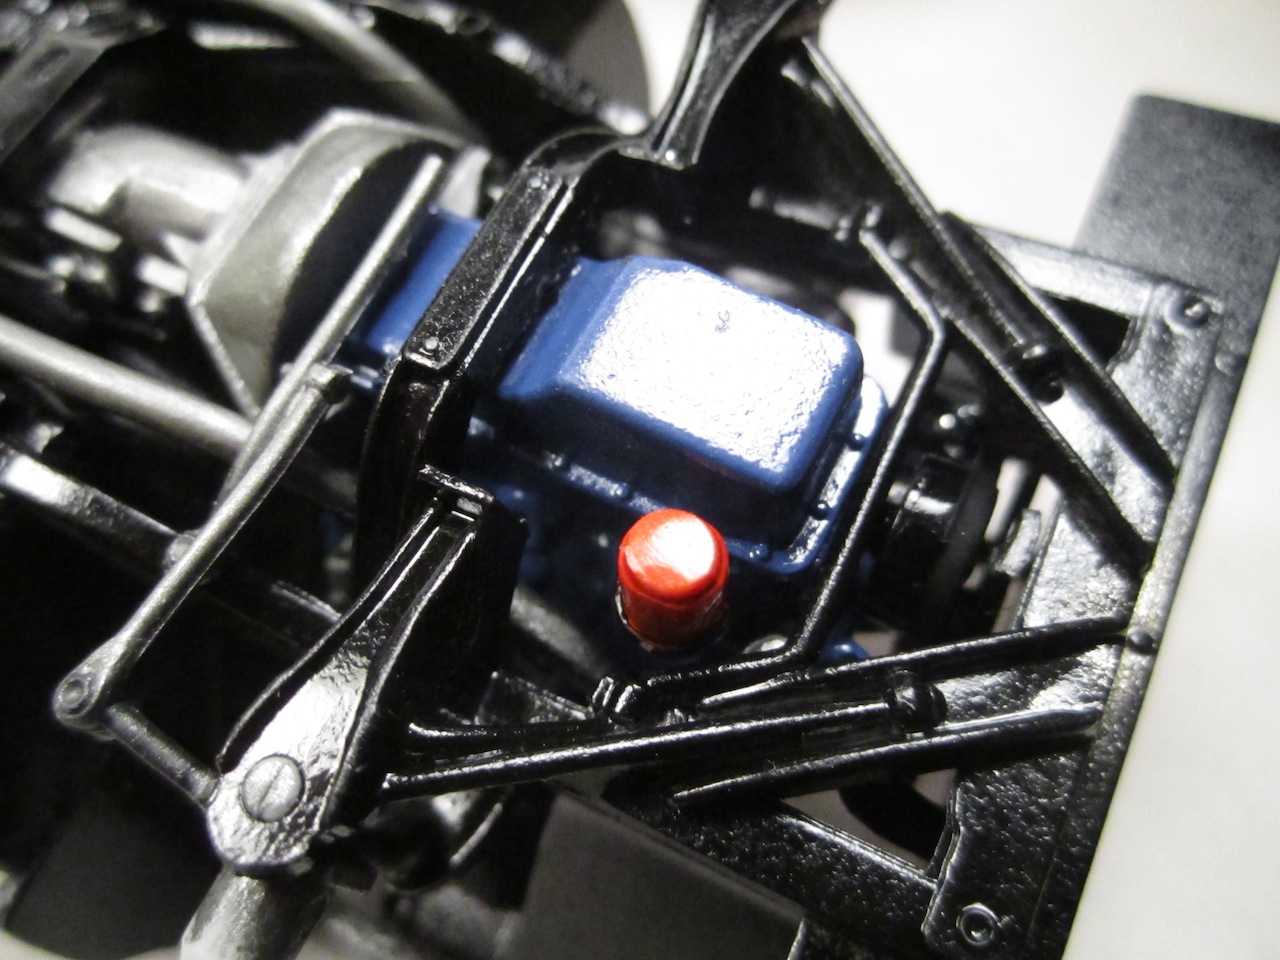
Here it is, the first kit I've started in more than 20 years! I picked up this beautiful AMT Fairlane 427 over 10 years ago; finally I decided to do something about it... Stage One, research. I went online and found the exact car at www.mustangandfords.com Stage Two, more research. What new tricks are out there for building plastic models in the 21st Century, anyway? Found this little gem at my local hobby shop; Stage Three, quite dragging things out and actually commit. So, step by step, I actually got on with it. Put a lot of time and effort into finishing the engine block and components. Since this was the first subassembly I had tackled in a very long time, I luxuriated over it; sanding, filling and primering. Of course, as the weeks wore on, other aspects of the finishing received somewhat less attention... The quality of the kit moulding pleasantly surprised me. The parts fit so well that I used almost no putty. The joins bonded nicely with Ambro Safe Weld and disappeared with light sanding and filing. The transmission was a separate component from the engine block. This allowed me to finish and paint each element separately, unlike the old days when the whole thing came in two halves. Shift linkages were also included, which is I found a nice detail element. Given this was a "back in the saddle" exercise, i decided to build the kit OTB, with the exception of the spark plug wires, which seem to add so much realism. I used yellow fine-guage model railroad electrical wire. The prototype wires are black, but given the simple black and white colour scheme of the original car, I made the creative decision to emphasize small hits of bright colour as realistically as possible. I was initially apprehensive about detailing the tires. I love the red sidewall detail but dreaded how to achieve it. Fortunately, there is a very slight groove in the vinyl. With patience, reading glasses, a 000 brush and diluted flat red Tamiya acrylics, I got on with it. I allowed the diluted paint to flow into the groove and wiped away the excess, giving quite passable results. I think I may have had a whiskey as well after completing this stage. I'll post more pics later today and tomorrow. As promised; Here are some of the detail components. The dashboard was dismal, but the streering wheel turned out nicely. I sprayed the base colour using Testors semi-gloss black and painted on the chrome trims. Again, using a 000 brush and a lot of patience. No whiskey required this time. Completed engine compartment. Hose clamps are made from strips of aluminum tape. The completed sub-components ready for final assembly The first disappointment. In a misguided attempt to save money, I used commercial spray enamel instead of a better quality hobby enamel for the body colour. The result was an orange peel finish. Using super-fine grit sandpaper and polishing compound, I corrected most of the defects. I then finished the window trims and windshield wipers using Testors Krome Foil. Unfortunately, the foil picked up some of the residual orange peel finish. Lesson: get the finish right first! Completed undercarriage and detail. The selective hits of colour are all reasonably accurate to the original car. And...the final result.


.thumb.jpg.e0420fe52e683c60d19e843462316523.jpg)


.jpg.cde981002a42fc852764c12c70fbe34f.jpg)
.jpg.c783312be6ef941121245916f4bed3bb.jpg)
.jpg.b7ca84fccf4cd9b0ef36d8bfff3061c9.jpg)
.jpg.910b3e5372cb136cc7a67777e895cdaf.jpg)
.jpg.7cfffd9d40dcccfc7efa42e3045ca095.jpg)
.jpg.515dace9ed371682c4e1fad448a36d60.jpg)