Chariots of Fire
-
Posts
2,472 -
Joined
-
Last visited
10 Followers
.thumb.png.e64ca4fead948adbdf6a111229b6cf2f.png)


Recent Profile Visitors


Chariots of Fire's Achievements
MCM Ohana (6/6)
-
 Got a good start, there my friend!
 -
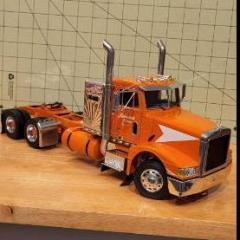
Revell Mack CF
Chariots of Fire replied to Gmatta691's topic in WIP: Model Trucks: Big Rigs and Heavy Equipment
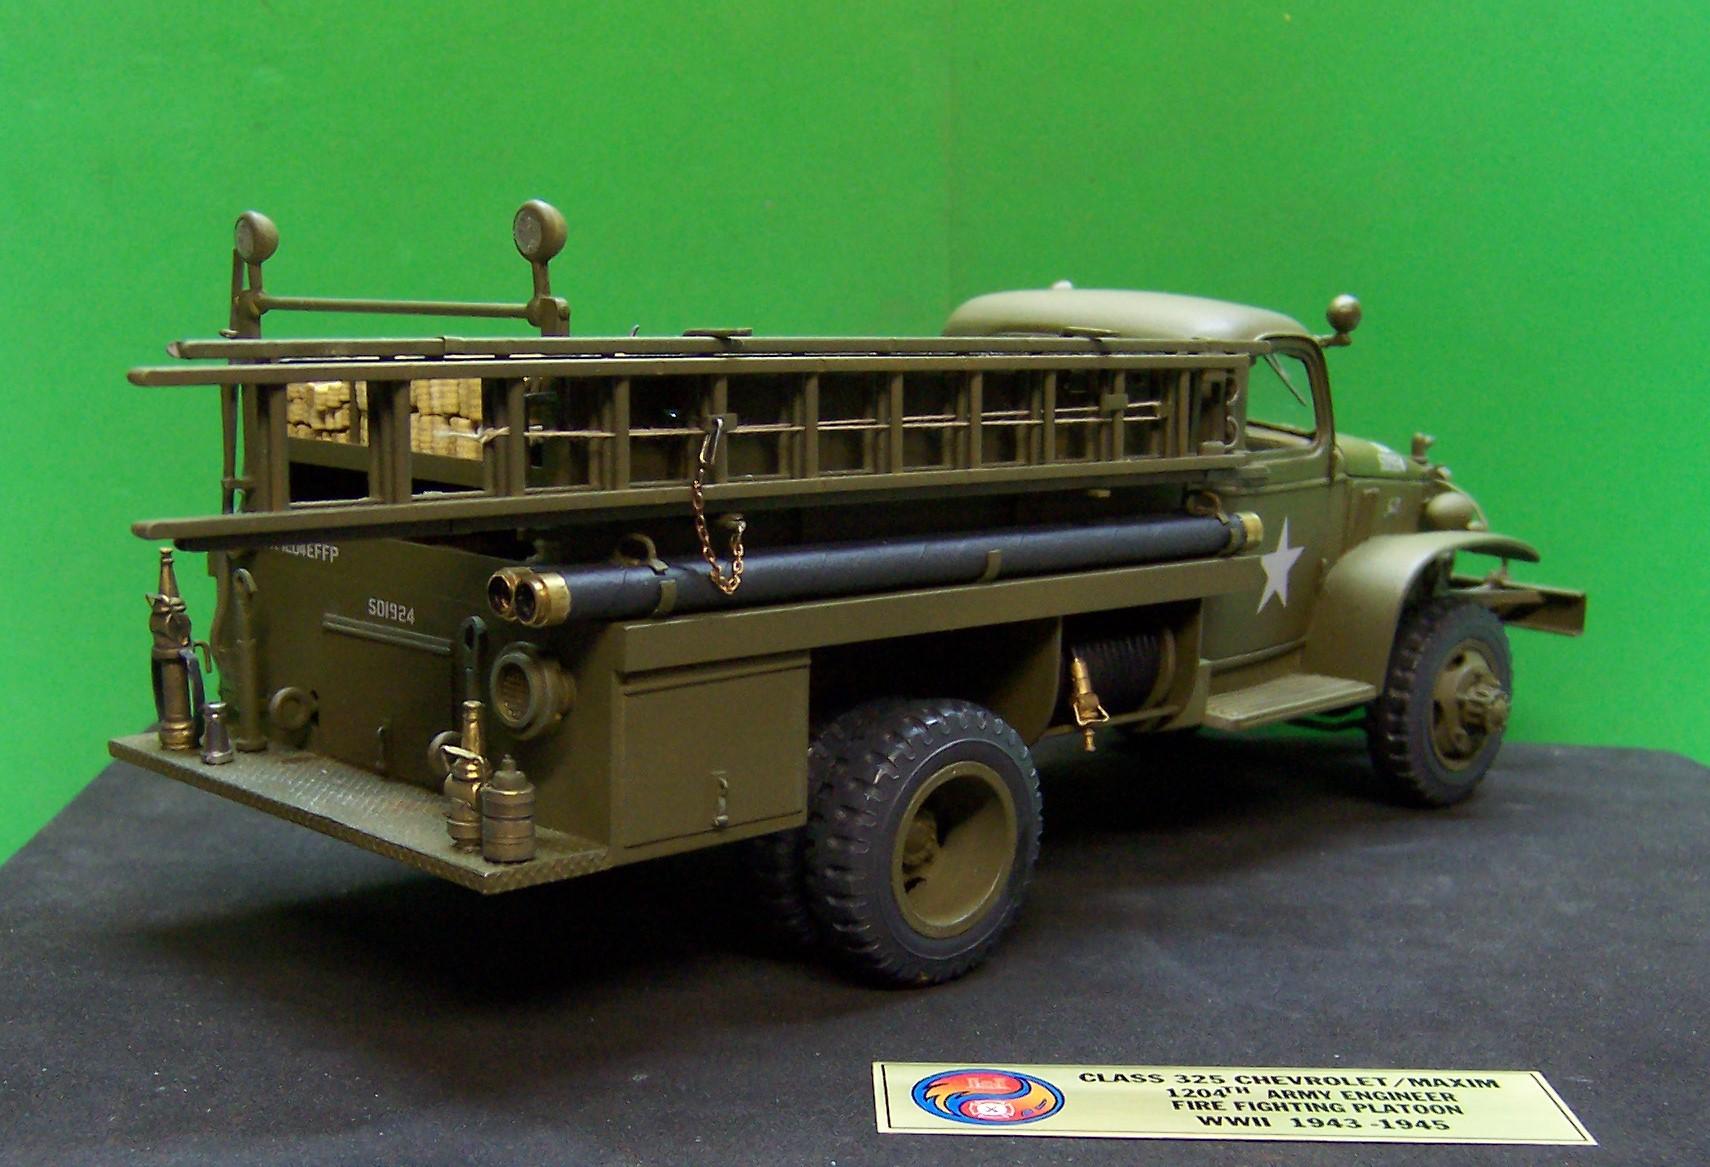
Depends on what type of nozzles you are talking about. If it is for either the booster line or the handline in the bed try DonMillsModels@aol.com He has them in white metal. If you want a larger nozzle for a 2-1/2" working line then you could make one out of sections of brass tubing. I'll show you the white metal ones and one I made from brass. The nozzles on this brush truck are the white metal ones that have been painted up and given a wash. The nozzles on the tailboard of this Class 325 military fire truck were made of brass tubing as was the nozzle on the booster reel in front of the rear tire.
-
M-20 Prime Mover
Chariots of Fire replied to Chariots of Fire's topic in WIP: Model Trucks: Big Rigs and Heavy Equipment
Yes it is. I have a 1/35 scale kit of the same rig but 1/25 is the scale I prefer. -
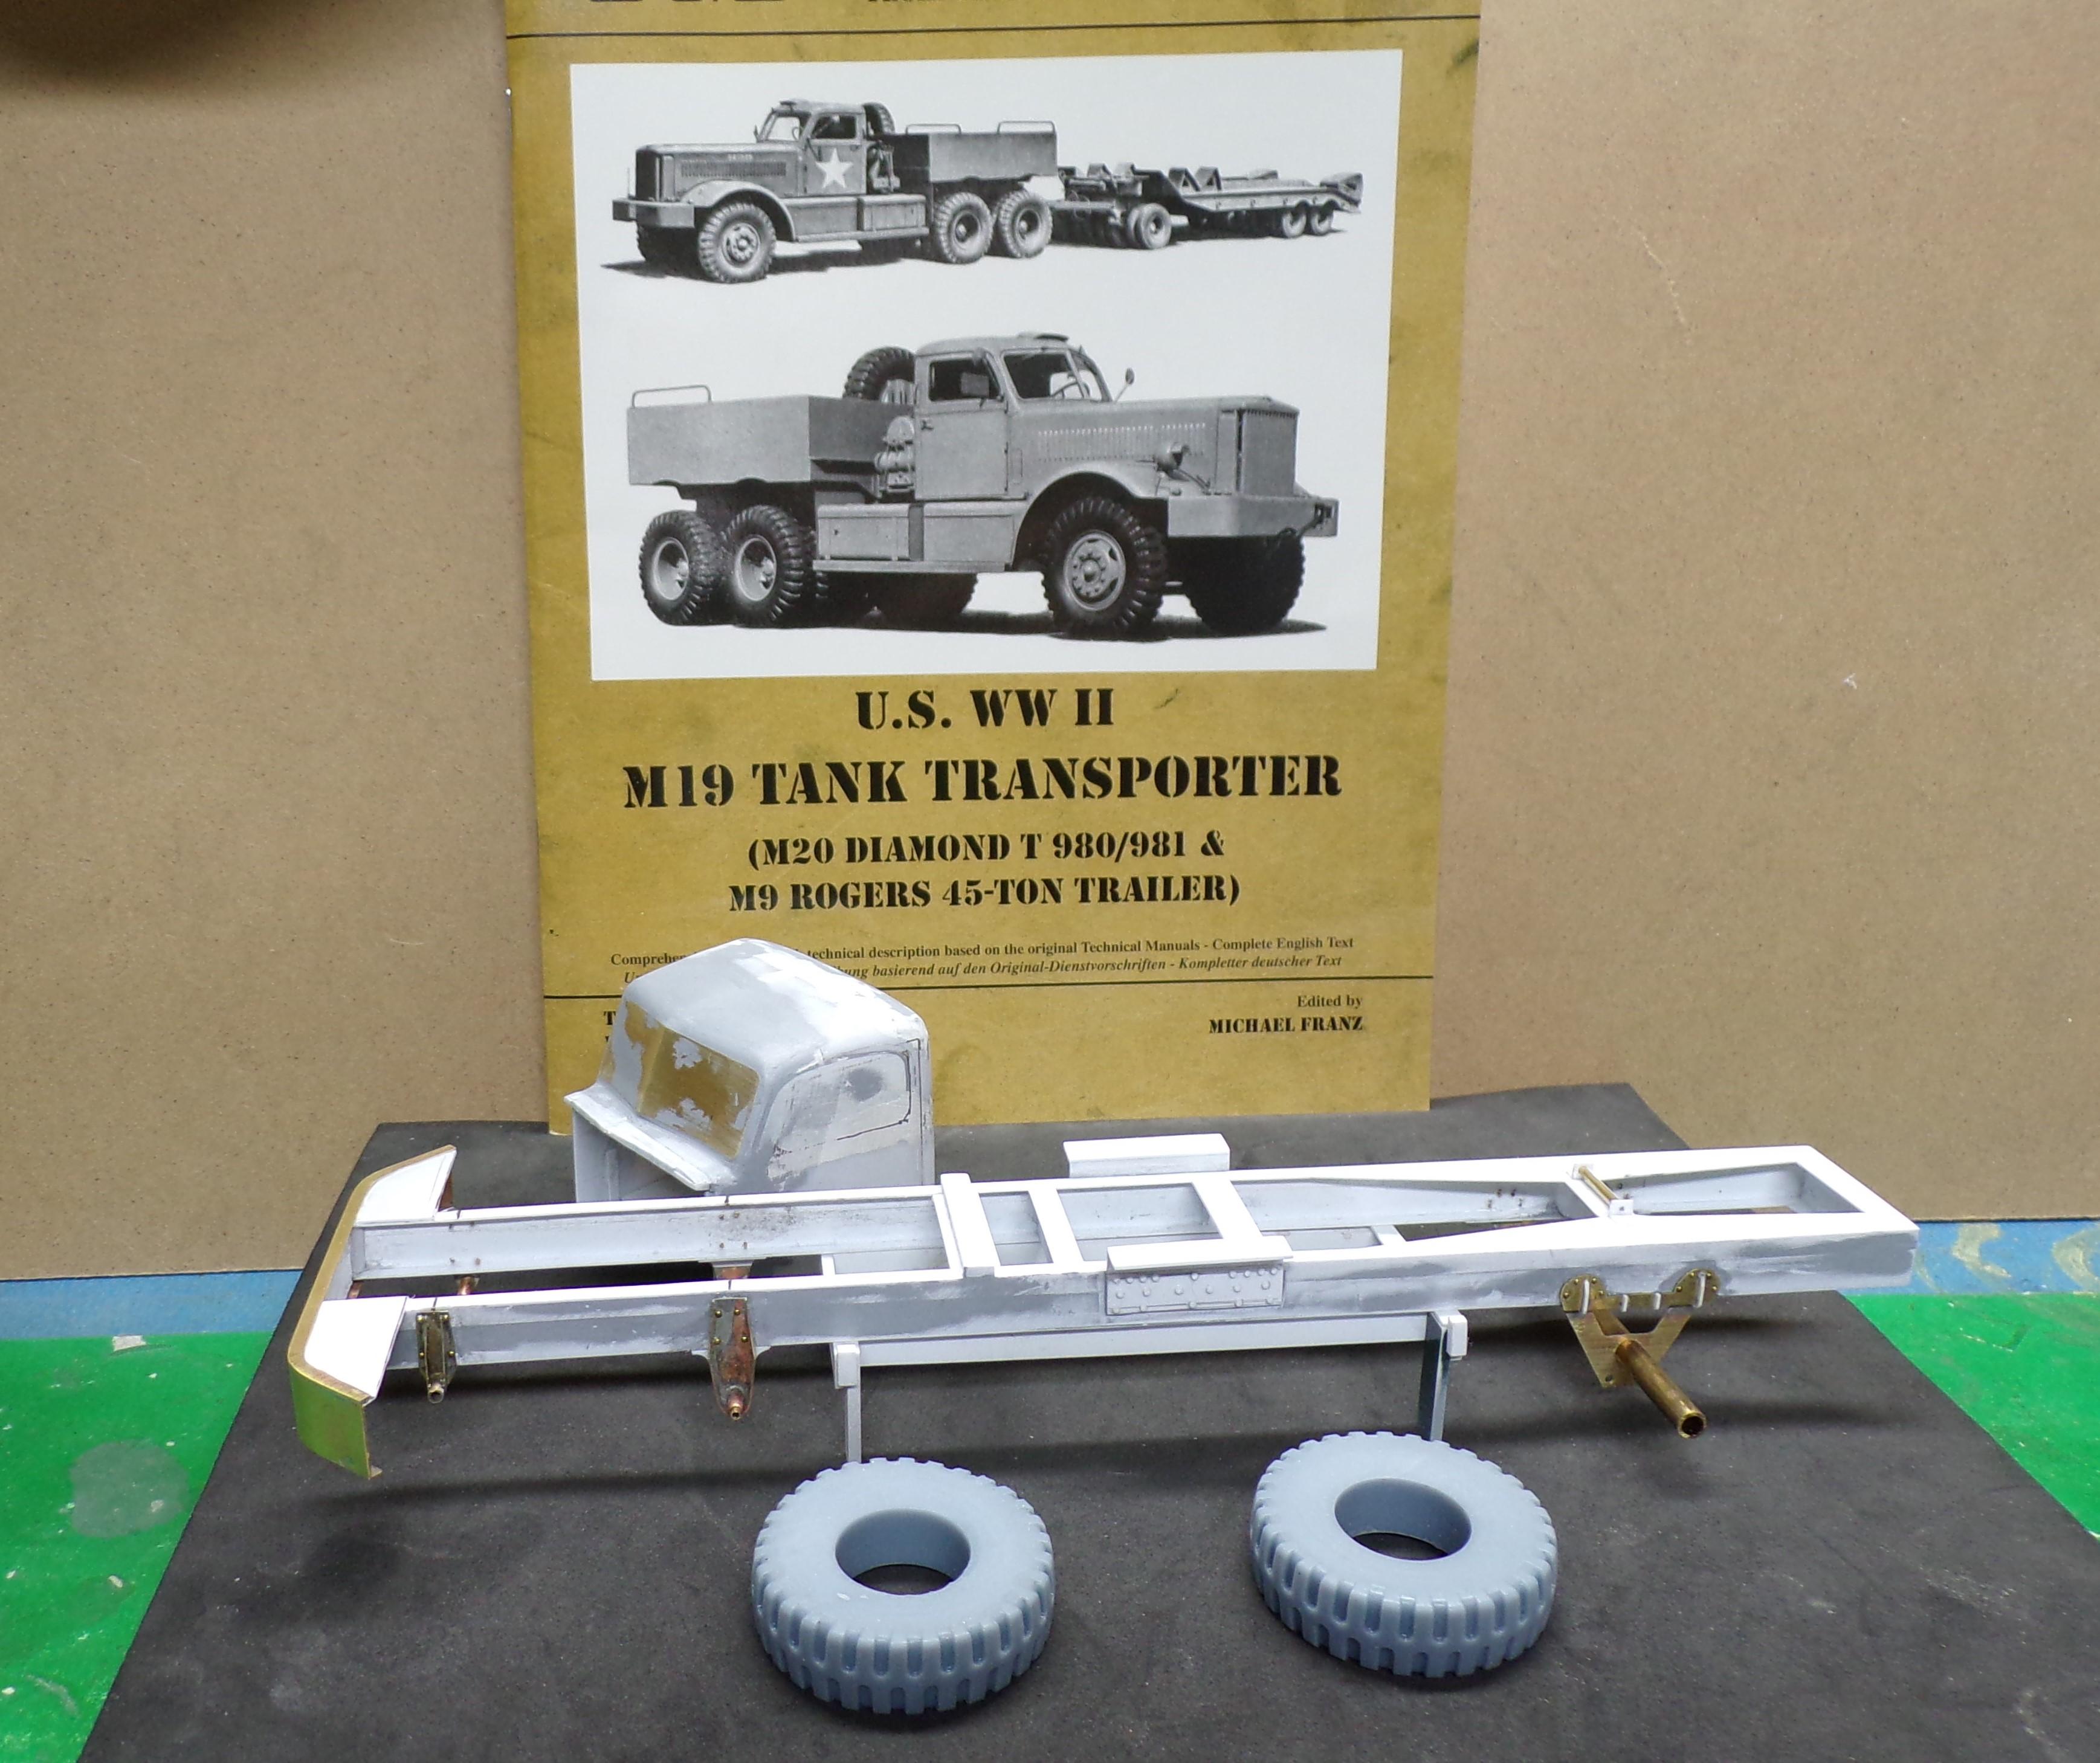
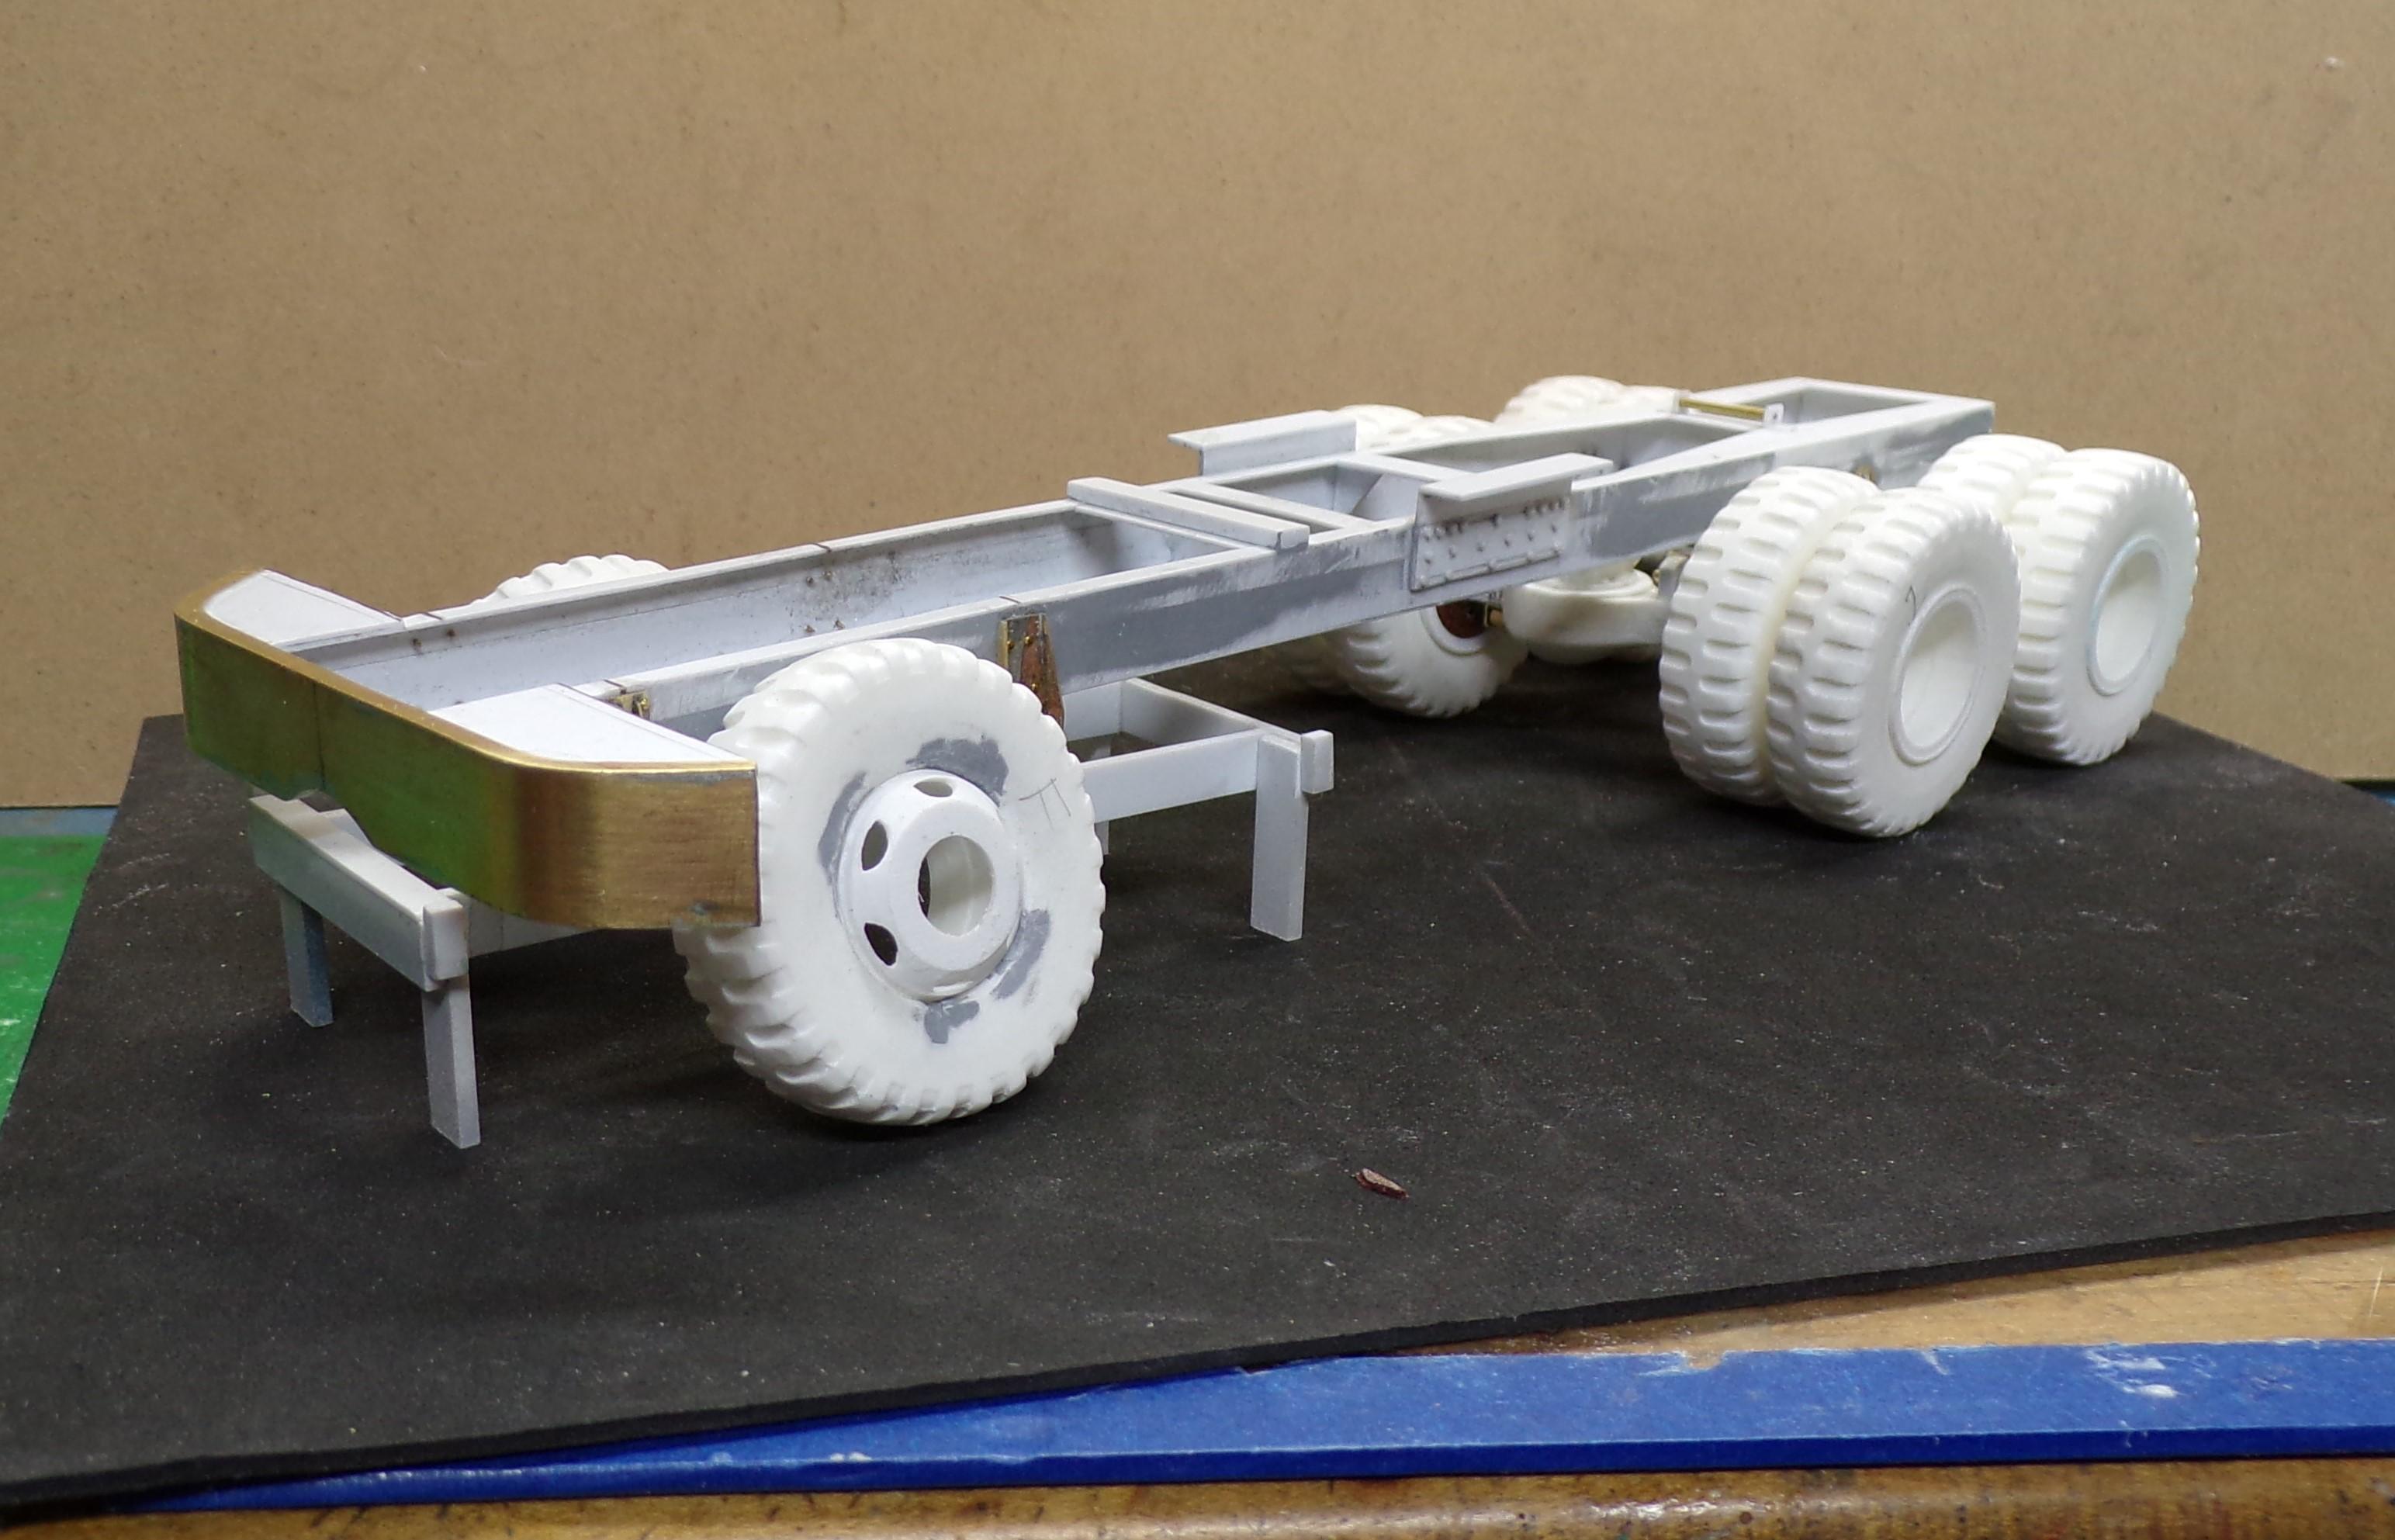
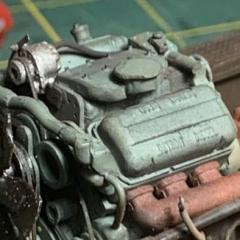
Been working on this project for a while now. Slow in coming as there is a lot of underside detail to do. Lots of castings, brass soldering, etc. But it is fun to do. Will be posting in progress pix from now on. The M-20 is a Diamond T 10 ton tractor used to pull a 45 ton Rogers trailer. They hauled tanks and also heavy supplies to the American army as it progressed inland from the beaches of Normandy. Trailer will be done after the tractor is finished.
-
Revell Mack CF
Chariots of Fire replied to Gmatta691's topic in WIP: Model Trucks: Big Rigs and Heavy Equipment
A bit hard to see but I think you may be putting the paint on too heavy. Best to do thin coats and let it dry between coats so that if there any imperfections you can sand them out. Each time is a learning experience. -
Revell Mack CF
Chariots of Fire replied to Gmatta691's topic in WIP: Model Trucks: Big Rigs and Heavy Equipment
What kind of paint are you using? -
Revell Mack CF
Chariots of Fire replied to Gmatta691's topic in WIP: Model Trucks: Big Rigs and Heavy Equipment
Looking good. If you have the guides for the other side of the hose reel, put them at the other side of the body, not at the hose reel. -
HI, Ed. Not for a while, I'm afraid. It has been put away until the spirit says go. A lot to it and there has to be a plan.
-
Mack monogram fire truck
Chariots of Fire replied to Aerodyne03's topic in WIP: Model Trucks: Big Rigs and Heavy Equipment
You've got the right idea. Be as neat as you can be with the red and amber. I know it's hard to do but it will make all of the difference in the world. Some file work on the body where you did the cut and then some plastic sheet stock and you should be good. Again, be as precise as you can when putting the sheet in place as the inside corners are going to be hard to clean up otherwise. Cut a little big and then sand a little at a time to get a close fit. -
Mack monogram fire truck
Chariots of Fire replied to Aerodyne03's topic in WIP: Model Trucks: Big Rigs and Heavy Equipment
Use your Dremel with a sanding disk after you cut most of the beacon base away. Don't worry if you sand away a little more than you need to flatten the roof. Use some Evergreen plastic rod or something similar to fill in the hole. After the glue has set trim off the extra rod flush with the cab and fill in the abrasions with some putty like Tamiya gray. Sand that smooth using sanding sticks and then fine sand paper or sanding sponges. That should do the trick. If you can get some Tamiya acrylic clear red and clear amber the lenses will look great as well. -
Mack monogram fire truck
Chariots of Fire replied to Aerodyne03's topic in WIP: Model Trucks: Big Rigs and Heavy Equipment
Hi, George: I used my dremel with a cutting disk to clean out the cross lay bins and cleaned up the cuts with files and Xacto knife. After that I put in pieces of plastic sheet stock for the bottom of each. If you have some scribed sheet that would be good as back then deck boards were used that were made of wood and painted. That gave the hose a chance air out and not get mildewed. I did the same for the booster reel but took both half pieces of the reel and glued them together to make one. A small piece of electrical wire the same basic diameter as the "hose" on the reel was added and draped over the rollers. For lenses I have made molds of them and then cast them in clear 2 part resin. Which lights in particular are you concerned with? Charlie -
Mack monogram fire truck
Chariots of Fire replied to Aerodyne03's topic in WIP: Model Trucks: Big Rigs and Heavy Equipment
Sorry that I don't have any in-progress pix of the Mack. The headlights are clear lenses that just pop in place. I used Tamiya clear red and clear amber to paint the red warning lights and the amber turn signals. It really pops over the chrome base. The body and chassis are very durable and easy to work with. They did some nice work on the kit. Why they molded in the cross lays above the pump panel is beyond me. The other thing that they could have improved on was the tires. But then it would not have been a snap kit. To fix that I cut the sidewalls off some spare tires of the same type of kit, sanded them flush, and glued them to the open face of the tires that I was using. This fills in the back of the tires and adds to the overall appearance. Don't forget to add a vertical windshield divider to the windshield area. Windshields on those Macks were not one-piece. Plastic strip stock works well. Hope this helps. -
Outstanding job of putting this all together. Weathering is great and the details are the way they should be. Thanks for posting!👍
-
Best clear material for large flat windows?
Chariots of Fire replied to crowe-t's topic in Tips, Tricks, and Tutorials
PETG material is the best in my opinion. 0.020" thickness. It has protective backing on both faces that need to be removed first. For flat surfaces it is stiff enough not to bend and can be cut with shears. Agree with sanding round corners rather than trying to cut them. The material is very clear and transparent. I use it for vacu-forming but for what you are going to use it for I would say it is perfect. -
A little big project
Chariots of Fire replied to Chariots of Fire's topic in WIP: Model Trucks: Big Rigs and Heavy Equipment
It's hard to read but that very sign is on the right rear of the truck body!😁
.JPG.5cdf5af7a385e5ed9ccb12024c4f6e1c.JPG)