-
Posts
15,048 -
Joined
-
Last visited
Content Type
Profiles
Forums
Events
Gallery
Everything posted by StevenGuthmiller
-

Which vendors offer scale auto carpet?
StevenGuthmiller replied to Monty's topic in Model Building Questions and Answers
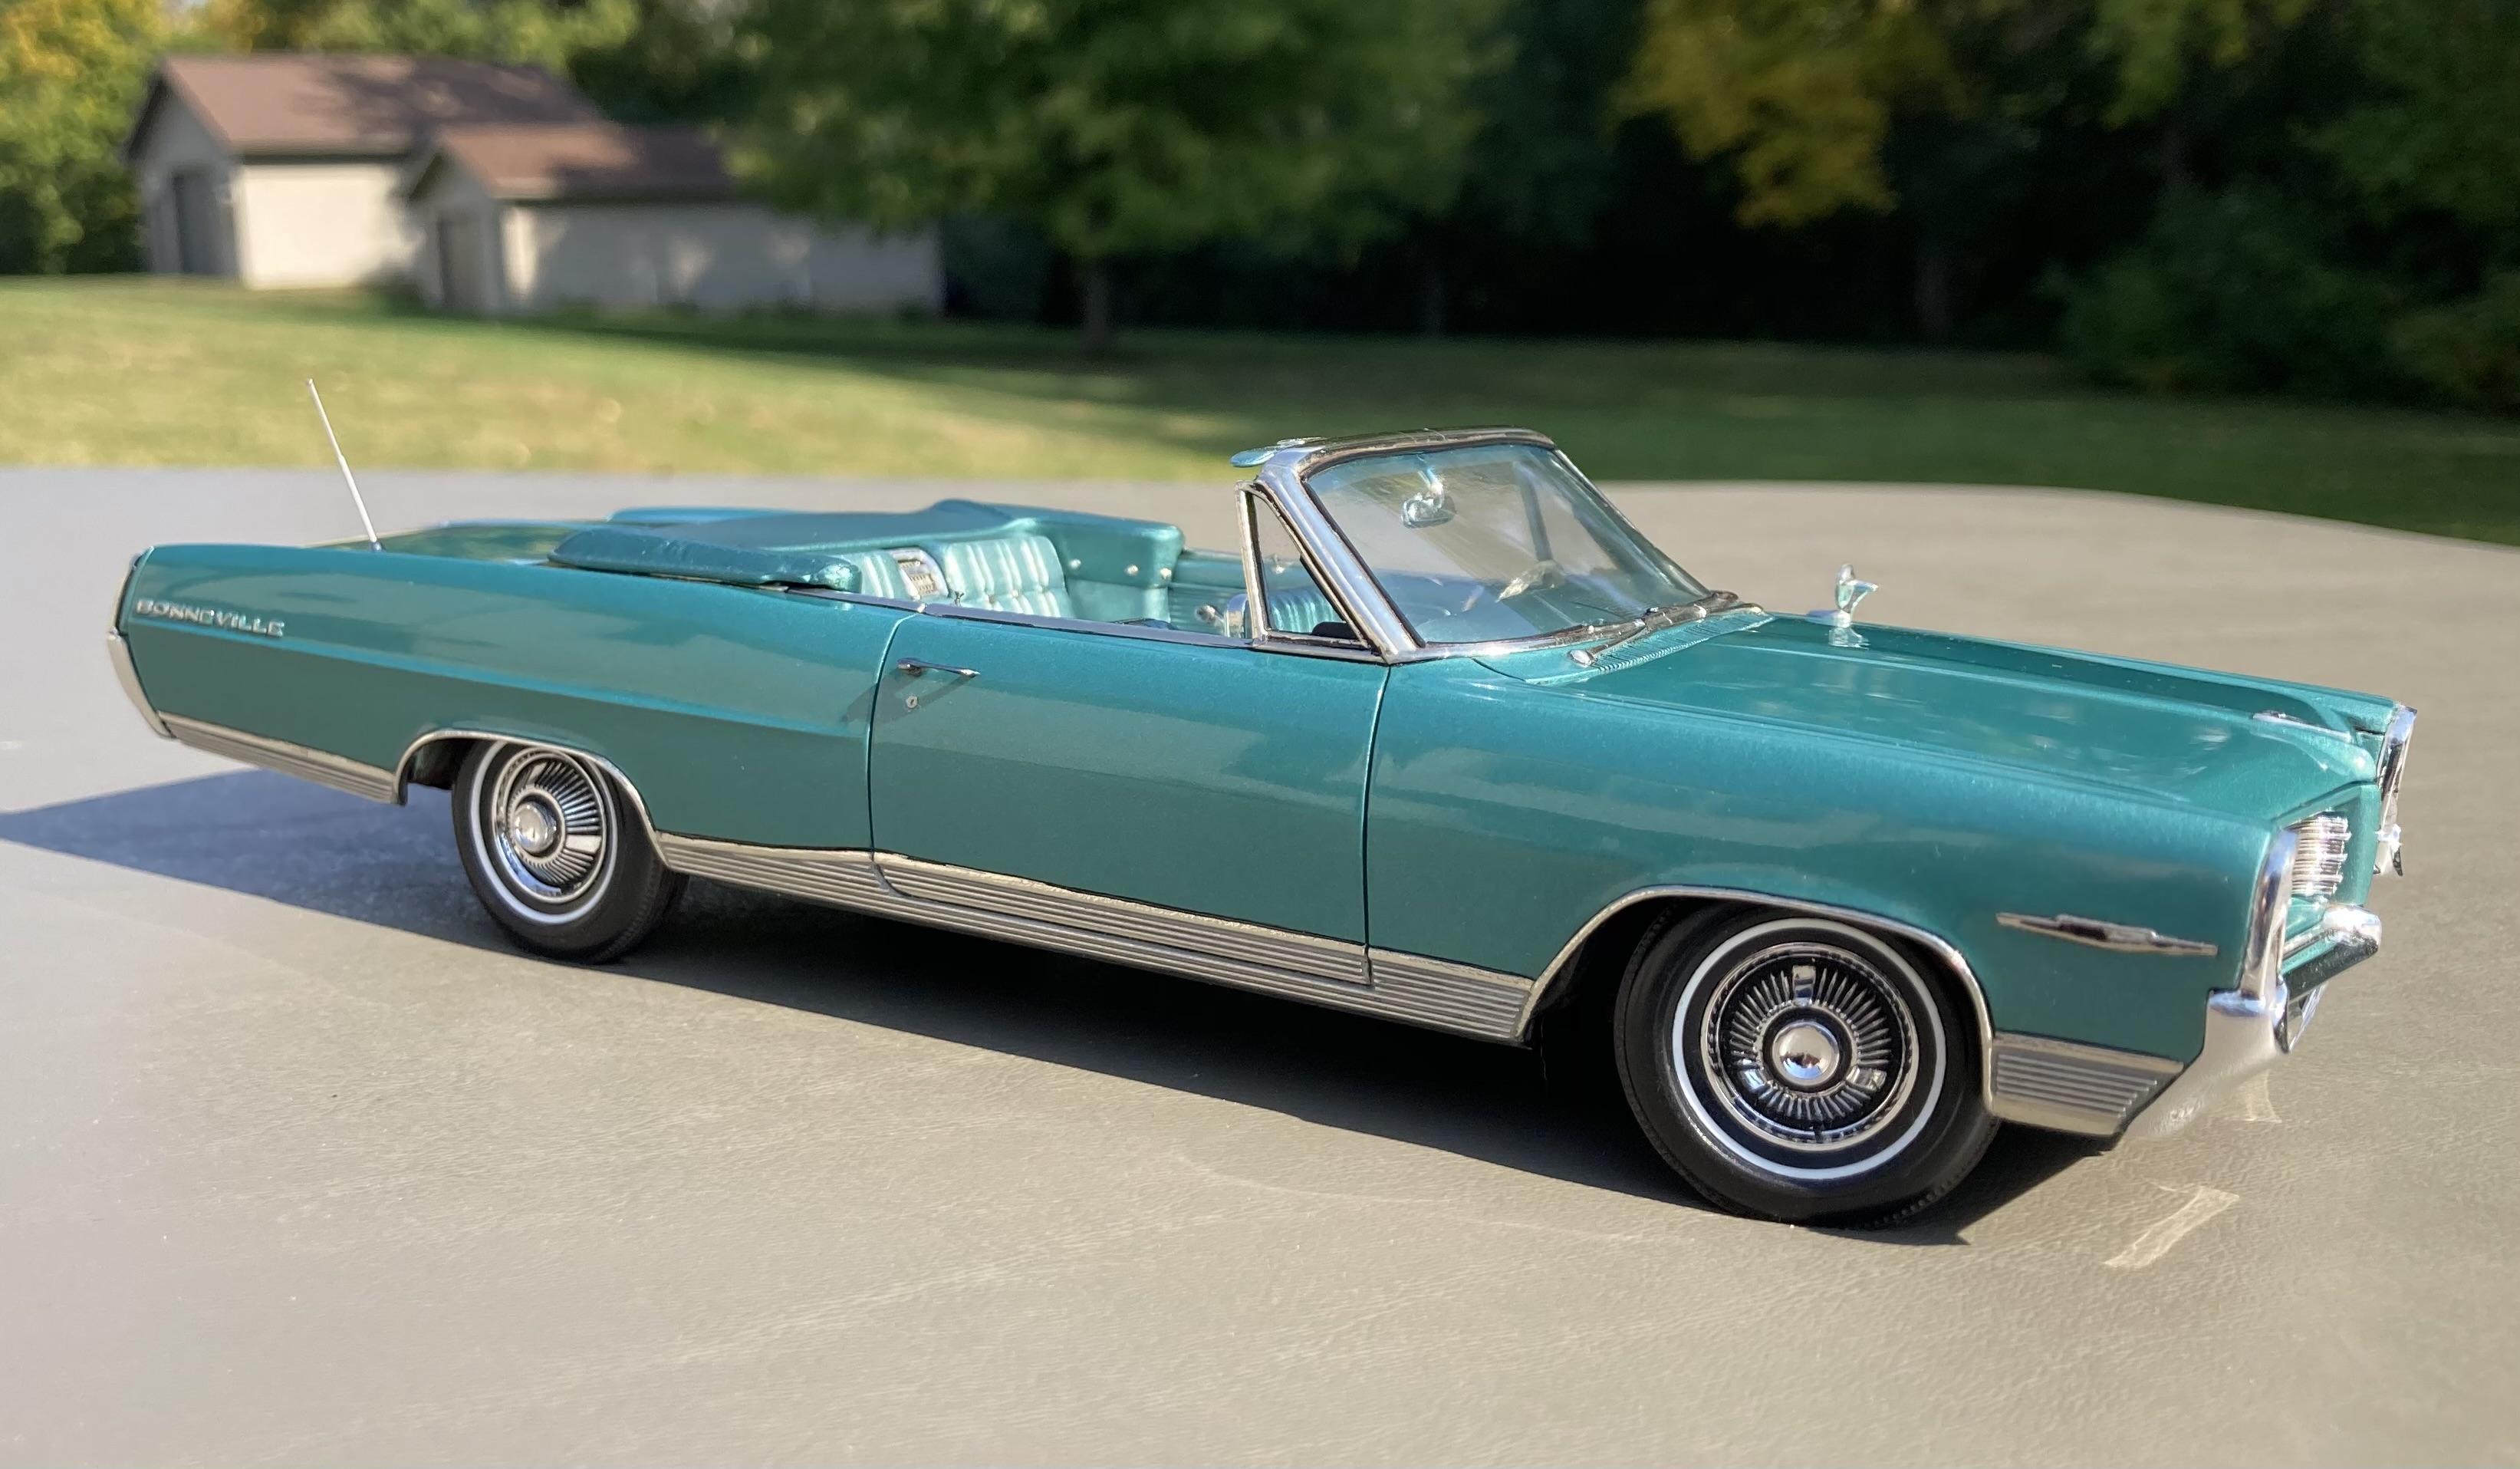
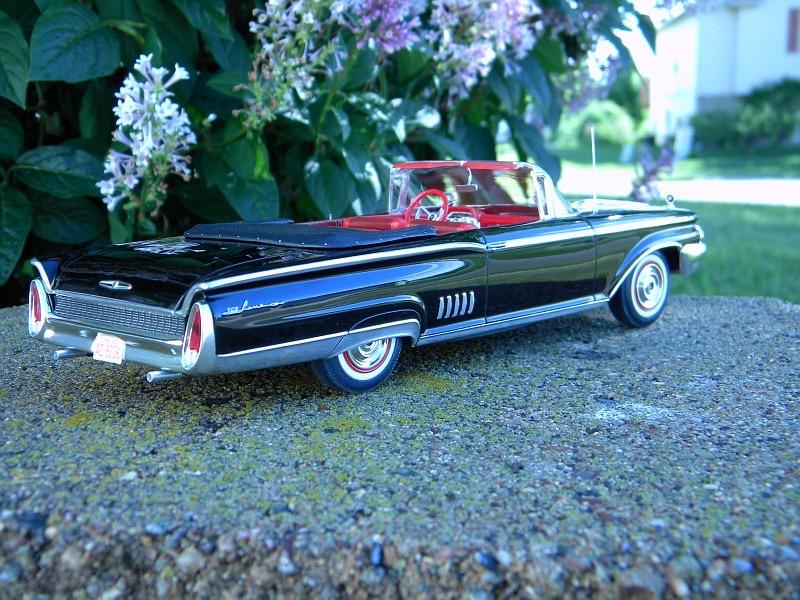
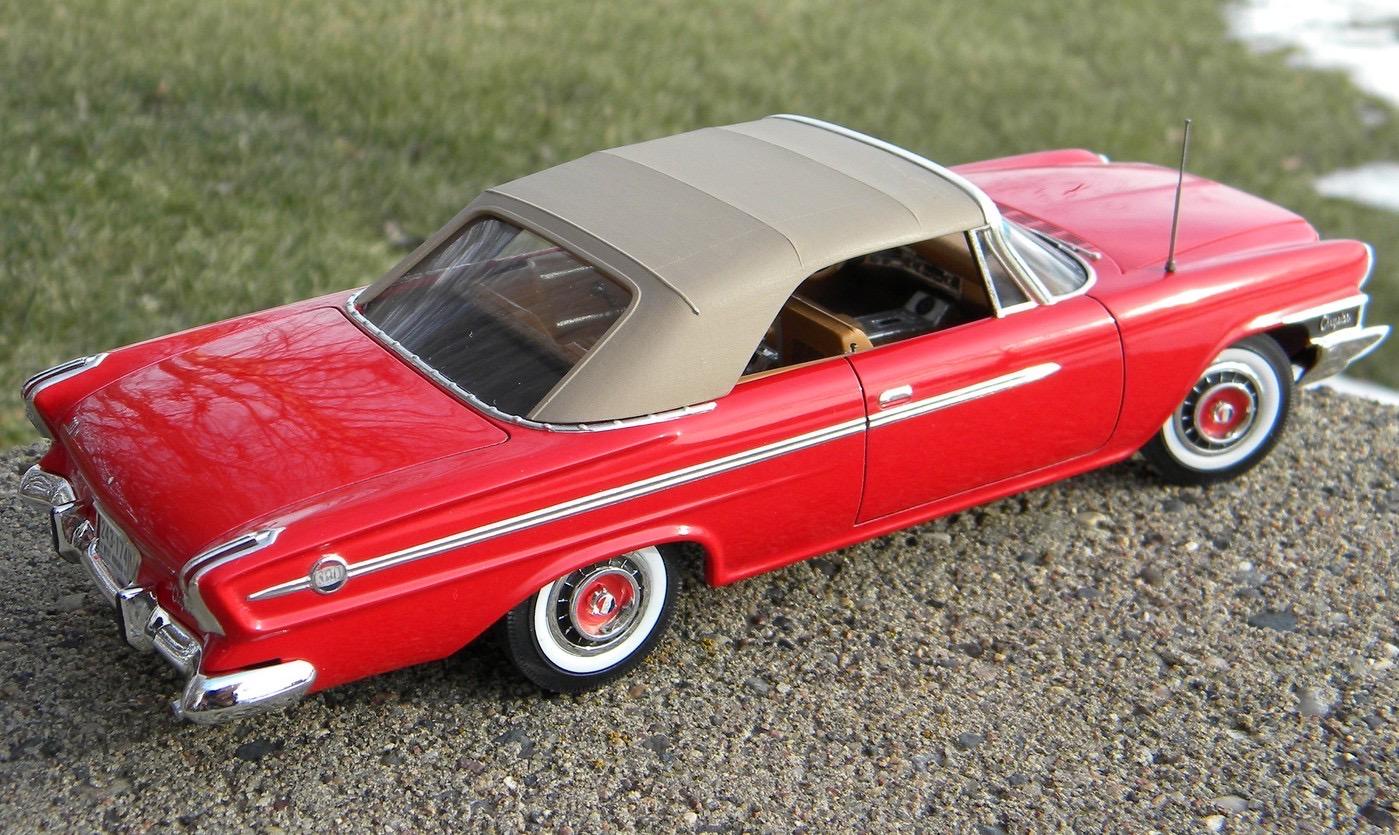
Personally, I like embossing powder. That said, I can see how flocking may better represent some newer vehicle carpets than embossing powder. Flocking will give you a more fibrous looking finish with it's long strands, which appears to me to be more conducive to more modern vehicles. Embossing powder is granular, which in my opinion better represents the short cut pile carpets seen in most older vehicles. I know that some people will use a sheet type material for carpets, such as felt or dryer sheets, but in all honesty, I don't think that they give you a better, or even as good of a look as embossing powder, and they are certainly more difficult to work with. It's kind of like the masking tape vinyl top solution that many use. I see it as less realistic and in scale than simply using a paint method, and it's certainly a more difficult procedure to accomplish correctly. Not to mention the questionable longevity factor. Anyway, Embossing powder also has the added benefit of being able to be mixed for desired color to some extent, and if not, it can be painted over. Here are a couple of interiors that used mixed embossing powders to achieve the desired color. Both were accomplished by mixing green and blue powders to create a turquoise or shade of green, which I didn't have. In other cases, such as with my '64 Bonneville, I used embossing powder and then painted over it to achieve the color that I was after. I was able to find a variety of colors through a company called "Hampton Art", which offers powders in solid and metallic colors. Each set contains 16 different colors. I often use the metallic colors because I feel it adds a little more depth and texture to the carpets, but that's a judgement call for the individual. The floor mats in the Bonneville used metallic powder, as did the '67 Ford and '65 Plymouth interiors shown above. The Hampton Arts sets offer a wide range of different colors, and in most cases, there will be a color that will compliment almost every interior that you do. Even some of the oddest colors are sometimes available, such as the "Sunfire Red" combination in my '64 Grand Prix. No mixing here. Straight from the bottle. (metallic powder) This is what you're looking for. In conclusion, I know that you were asking about other materials that come in the form of a sheet, but in all honesty, I can't see how using a material like that would be easy in a lot of circumstances. If you need to work around any obstacles, such as consoles, pedals, shift boots, etc, or proper fitting around sharp contours, etc, it seems to me that a lot of excessive measuring and cutting would be involved. With the powders or flocking, is just a matter of masking the items that you wish to remain free of carpet, applying the powder, and then unmasking.......Done! Steve- 5 replies
-
- 10
-

-

-
It’s just “right of passage”. You can’t be one of the “pretty people” unless you have a flashy car that you never drive and know nothing about. Complete and absolute status symbols. Much like the morons who spend $10,000.00 or $15,000.00 on a Rolex watch that won’t do anything that a $30.00 Timex won’t do. Steve
-
-
Even if I was a billionaire, I wouldn’t piss away this kind of money on an oil change! Just ridiculous that these “supposedly” finely engineered cars can’t be engineered to make maintenance somewhat normal. Makes it quite evident to me that these companies view their clientele as cash cows to be milked for every cent possible at every opportunity, and apparently their clients are willing to shell out giant wads of cash just to compensate for their tiny…….. Oops, I better stop there. 😉 Steve
-
I have absolutely no desire to monetize my hobby. Now, that doesn’t mean that I won’t try to seek some form of return on all of my stuff someday when I decide to give it all up. My biggest issue with selling my finished models is that when I begin adding up the cost of the model kit, the materials, and all of the time and work that was put into it, there’s no way that anyone is going to be on the same page as far as value goes. Too often, people think anything from $50.00 to a couple hundred is fair when purchasing a built kit, but when I’m starting with an expensive vintage kit, and spending hours upon hours modifying it, well, how much is your time worth to you? If I spend a couple hundred on a rare kit, put $50.00 or $60.00 worth of materials into it, we’re already approaching $300.00 without figuring any time whatsoever. I can very easily put a hundred hours into a project, (often much more) so at even a meager $10.00 per hour, that’s $1,000.00, plus the kit and materials, means asking $1,300.00 for a model. I recently turned down an offer of $950.00 for a Johan ‘68 442. The bottom line being, if I’m going to put the time and effort into it, the prospective buyer better be willing to open his wallet really wide if he wants it. And I’m not going to change my building habits just to sell something, meaning I’m not going to start building OOB versus what I really love. I’ve had people make offers to me on occasion, and to be honest, the vast majority of those offers, I’ve considered insults more than anything. And I’m confident that the person making the offer thought I was crazy for turning down their $100.00 offers, but I’m not in the habit of giving things away, unless it’s to a close friend. Steve
-
I struggled with obtaining show quality paint for many, many years and dreaded the painting process, until I resigned myself to the fact that it wasn’t necessary at all to try to get a perfect paint job straight from the can or airbrush. It was such a liberating experience when I discovered that a mediocre paint job can be transformed into a exemplary one just by spending a little time cutting and polishing. No more worrying about all of the usual issues that often accompany the painting process. Several coats of a good quality automotive primer, followed by a number of coats of lacquer color, and finally several more coats of a quality lacquer clear coat, and finished with cutting and polishing, and I’m all but guaranteed that I will end up with a perfect finish. I can’t remember the last time that I had to strip a paint job due to an application issue. I no longer have any use for experimentation or scrambling to find a color or a product that I have no experience with. Duplicolor sandable or “primer sealer”, MCW, Scale Finishes, or Duplicolor lacquer color, Duplicolor Perfect Match “Protective Clear Coat”, and cutting and polishing never fails me. Steve
-
-
Classic!! 😂 Steve
-

What Did You See In Your Yard Today?
StevenGuthmiller replied to Tim W. SoCal's topic in The Off-Topic Lounge
Now you can get a few koi fish! ☺️ Steve -

What Did You See In Your Yard Today?
StevenGuthmiller replied to Tim W. SoCal's topic in The Off-Topic Lounge
A few hundred million Asian beetles!!! The freakin things cover every surface of the exterior of the house this time of the year, with warm weather after a cold snap, and they can find their way inside through the tiniest opening! If you walk outside for even a few seconds, you’ll inevitably bring several of them inside with you on your clothing. Sitting in my family room and I’ve flushed at least 40 of them down the toilet within the past half hour, and they just keep coming. Worst part is that you have to be careful when you smash the little buggers because they’ll leave little yellow stains all over your walls and ceilings. Who ever introduced these things into the US should be publicly executed!! Steve -
These “patina” type builds don’t do much for me. when I see a table full of them at a show, I usually pay little attention to them. But, for the sake of argument….. If I had to choose, based on what can be seen in a photo, (which is a very poor way of judging a model) I would probably go with the ‘57 Chrysler. Yeah, it’s just another junkyard build, but it looks like it had quite a bit of thought put into it. #2 does nothing for me. Sorry, but to me it looks like something you would likely see on the “juniors” table. Nothing wrong with that, but it has little to compete with the others in the group. #3 and #5 are nice, if you’re into that sort of thing, but I’m probably a little biased, and it’s just my opinion when I say that they’re kind of getting a little tiresome. There’s only so many rods like this that I can look at before my eyes start to glaze over. That said, as the genre doesn’t excite me in the least, they both “appear” to be well done. The only one that I just don’t like at all and would probably pretty much skip over is #4. Can’t see anything about it that would make me want to place a medal beside it. Who knows. There could be all kinds of technical innovations that aren’t obvious from the photos on any or all of these models that should be considered, just as there could be problems and mistakes. But, from what I can see, I might have a hard time awarding any of them a gold depending on the other competition in the show. Steve
-
These discussions about Rustoleum paint ultimately end up devolving into a “me, me, me” conversation. “I” can do this, and “I” don’t have any problems with that. But in the end, it should be about what’s likely to cause the fewest issues for the average modeler. I’m confident that there are those that can go out and buy a gallon of Valspar house paint at Home Depot and manage to get something that looks presentable, but it’s of no help to the casual builder that’s looking for products that are going to give them consistently good results without all of the hassles that can come with some materials. I’ve said often that I no longer use Rustoleum paint for the obvious reasons, and I don’t use Tamiya either, but I have enough awareness to know which product is the better option for model cars, so therefore, I’m going to make that suggestion every time, regardless of my self interest. I will certainly make my own suggestions when it comes to what paints I use, but I don’t expect that just because I use them, that it is therefore the ultimate suggestion for others to heed. I’ve said many times, use whatever you’re comfortable with, and whatever gives you consistently good results, but if you find yourself having to come onto a forum or a group to vent your frustrations about a particular material with any frequency, instead of doing the same thing over and over again and expecting a different result, you might want to revisit what products and processes you use. So yeah, do you. But also be smart enough to know that if something, whatever it might be, is giving you problems, ditch it. There are plenty of available options. Completely ignore those that may try to tell you that “you’re” the problem and that “you just don’t know what you’re doing”. That’s absolute bologna! There are thousands of accomplished builders who’ve been doing this for a half century or more that have all of the necessary experience with the materials in question to be able to suggest that yes, there are inferior and superior products available to you, and no, you don’t have to accept bad outcomes, and “just keep trying”. There seem to be those that just have some sort of weird brand loyalty and will suggest that the problem is “you”. That’s just BS to the core! Steve
-
Fact! Steve
-
Clogging nozzles are an issue that I forgot to mention. I probably have a half dozen nearly full cans of Rustoleum paint in my shop. Every one of them clogged after the first use, and yes, I did invert and spray to clean the nozzle. I’m convinced that the paint was designed to be a once and done system. Not particularly useful for small jobs. Steve
-
All excellent advice, although I will add that most Rustoleum paints that people are using for models are simple enamels, and should be relatively safe to use on any plastic. The problem is the paint itself. There are a number of problems that are frequent and inherent with Rustoleum that are virtually nonexistent with other products. Most of that can be attributed to the formulation of the paint, the delivery system, and unreliable re-coat recommendations. In other words, most of the problems that Rustoleum users experience don’t have anything to do with incompatibility with the plastic, but everything to do with the properties of the paint itself, the horrible application system, and the incompatibility with a great number of other products, as well as a lot of other Rustoleum products. It makes the whole concept of using Rustoleum paint for models a gamble. Steve
-
Yeah, I agree. Just not worth the aggravation. There are so many other paints that don’t cause so many issues. There’s no question that Rustoleum paints are one of the most problematic paints available. All one has to do is look around on the various boards and groups and that becomes quite evident very quickly. Steve
-
Revell also has, “had. Don’t know if it’s available at the moment” a very nice convertible with an optional up top and continental kit. I built the “newer” AMT version many years ago, and the detail is very good, but I do recall a couple of fit issues. Nothing major, but it did require a little forethought. Steve
-

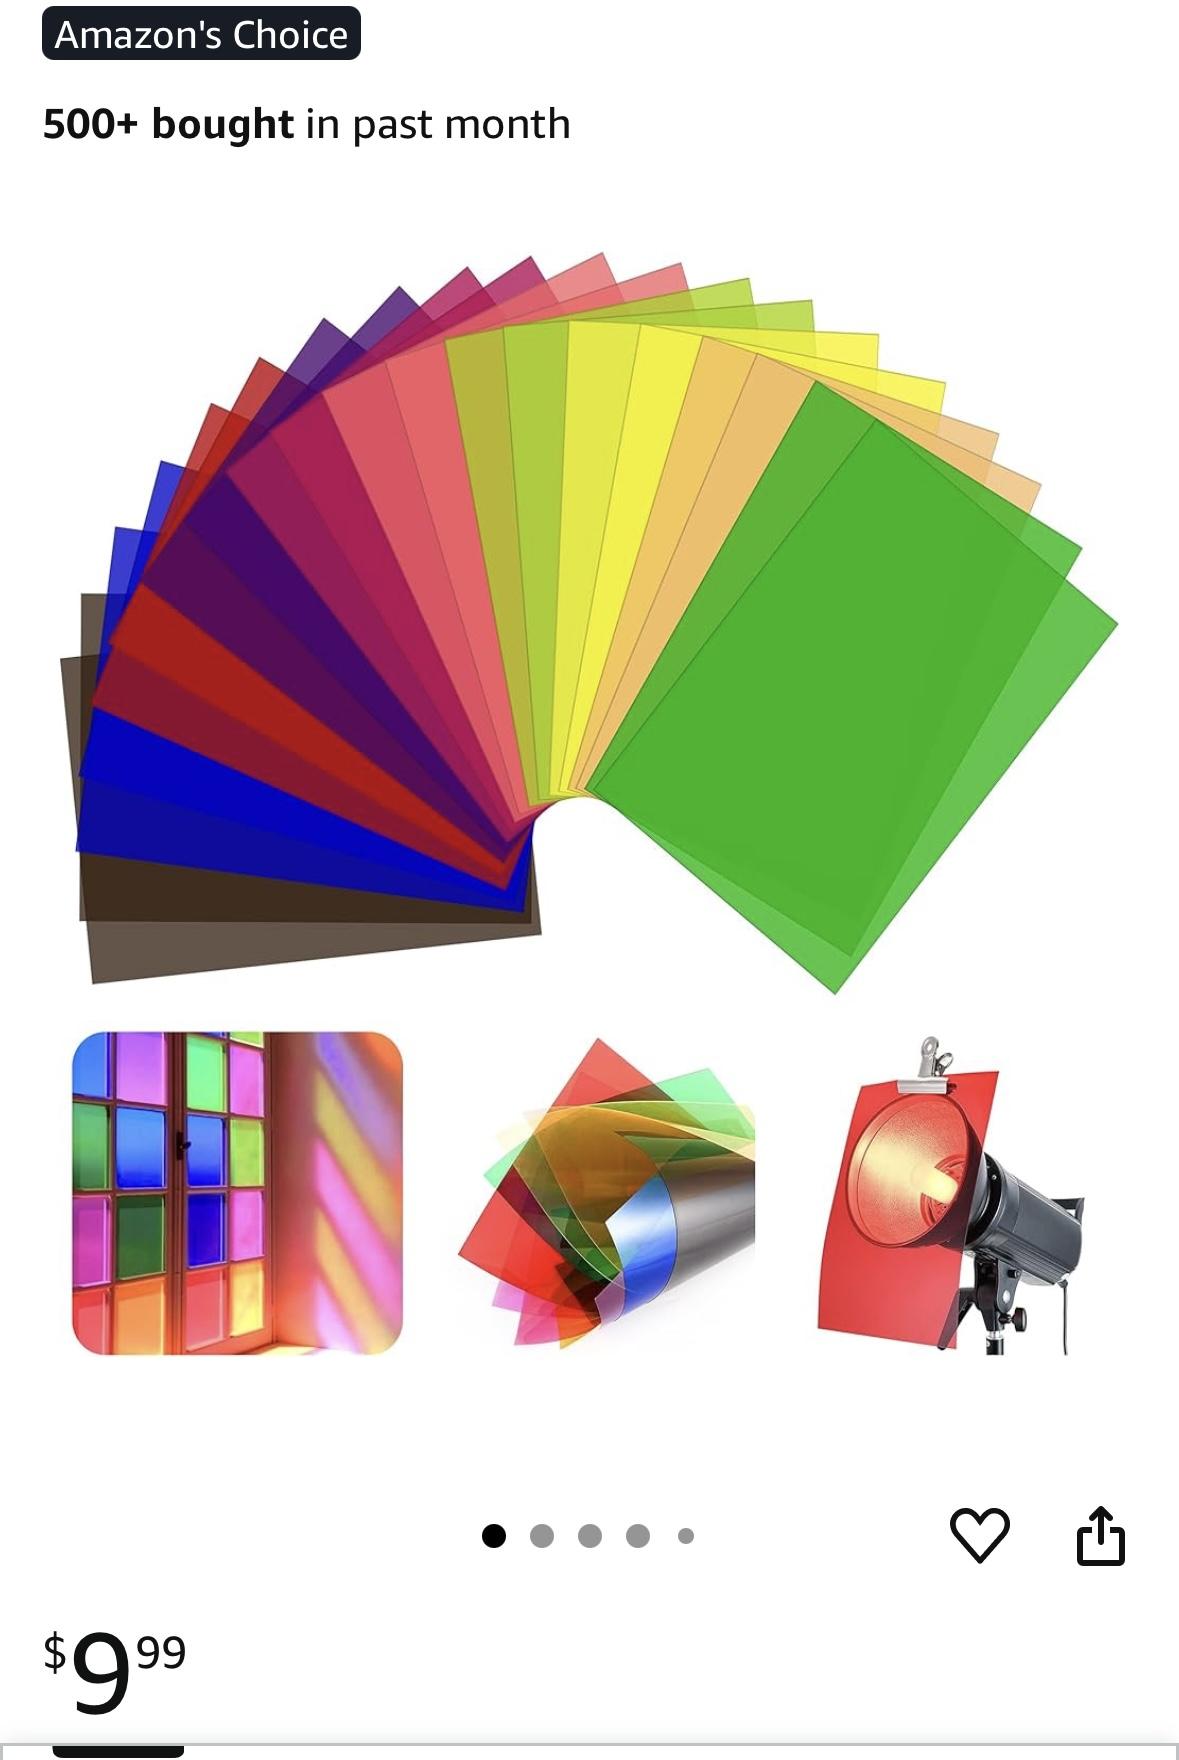
gasser window tint
StevenGuthmiller replied to gary jackson's topic in Model Building Questions and Answers
Well, it’s the “great minds” thing. 😊 Steve -

gasser window tint
StevenGuthmiller replied to gary jackson's topic in Model Building Questions and Answers
-

Dupli-color clear
StevenGuthmiller replied to afxawb2's topic in Model Building Questions and Answers
That's what I use. It's not going to give you a super shiny, "dipped" look like people seem to prefer these days with 2Ks and the like, but I regard that as a good thing. Polishing is inevitably going to give you a more realistic looking finish in my opinion anyway, so several coats of clear lacquer, followed by cutting and polishing is my technique. The Duplicolor Perfect Match "Protective Clear coat" in a rattle can is tough as nails, lays down thinly so that detail hide is virtually non-existent, and polishes out to a exemplary finish. It can be sprayed over any good quality lacquer paint. I use it over Duplicolor, MCW and Scale Finishes lacquers all of the time with zero issues. Steve -
Well, I wasn’t going to express the “number of reasons” to use primer, but I suppose someone should. As has already been stated, it helps A LOT, with prep work, making it way easier to tell if additional body work needs to be performed prior to paint. Personally, even if I plan on using white primer, I’ll still use sometimes several coats of gray primer first to ensure that body work is to my satisfaction. Primer also promotes superior adhesion. Many paints need something to “bite” into to adhere properly to the surface, and believe me, if you’re paint is just a little on the hot side, it’s going to bite into the plastic, which sounds great, until you realize that biting into the plastic usually equals crazing the plastic, which isn’t cool at all. And if it’s not “biting” in, well, that means that it’s just sitting on top, which may not cause any issues, but then again, if you have any masking to do…….😖 The primer also acts as a barrier to those hot solvents that can damage the plastic, so it’s doing double duty. Just my opinion, but I find very little compelling evidence in most cases that painting bare plastic has any real advantages over using primer, other than expedience and saving a little money. The “paint thickness” theory only holds water if you’re using thick paints, such as enamels, which I rarely have much good to say about anyway, but that’s just me. I’ve said this probably hundreds of times, but if you’re using the right materials, paint thickness is pretty much a nothing burger. Using lacquers, I routinely use as many as 15 coats of primer, color and clear all together. As usual, I’ll avoid expressing the reason for that many coats, (and yes, I do have reasons) but the point is, it’s entirely possible to use that many coats with virtually zero detail hide whatsoever. I’ve seen many models with 1 or 2 coats of enamel that exhibit much more hidden detail than one of my 15 coaters. Steve

