purepmd
-
Posts
430 -
Joined
-
Last visited
Content Type
Profiles
Forums
Events
Gallery
Everything posted by purepmd
-

TAT Transtar 5 Car Hauler DONE
purepmd replied to kilrathy10's topic in Model Trucks: Big Rigs and Heavy Equipment
JT, I have said it before, and here it definitely deserves to be said again, It is a sight to behold when IMAGINATION and EXECUTION come together. This is the result. Just outstanding! Even loaded it with some of GM's finest. Terrific work! -
KJ, yet another, in a long string of, simply OUTSTANDING builds!
-
White 7400 Daycab
purepmd replied to DRIPTROIT 71's topic in WIP: Model Trucks: Big Rigs and Heavy Equipment
This build is so cool, my computer has frostbite! Really amazing work! -
Dads last ride by Clayton s
purepmd replied to clayton's topic in Model Trucks: Big Rigs and Heavy Equipment
Excellent conversion. Very cool gesture. -
Freighliner Cabover Tractor
purepmd replied to mr46ford's topic in Model Trucks: Big Rigs and Heavy Equipment
JT summed it up pretty well! lol. Strikingly cool! Beautiful work. -
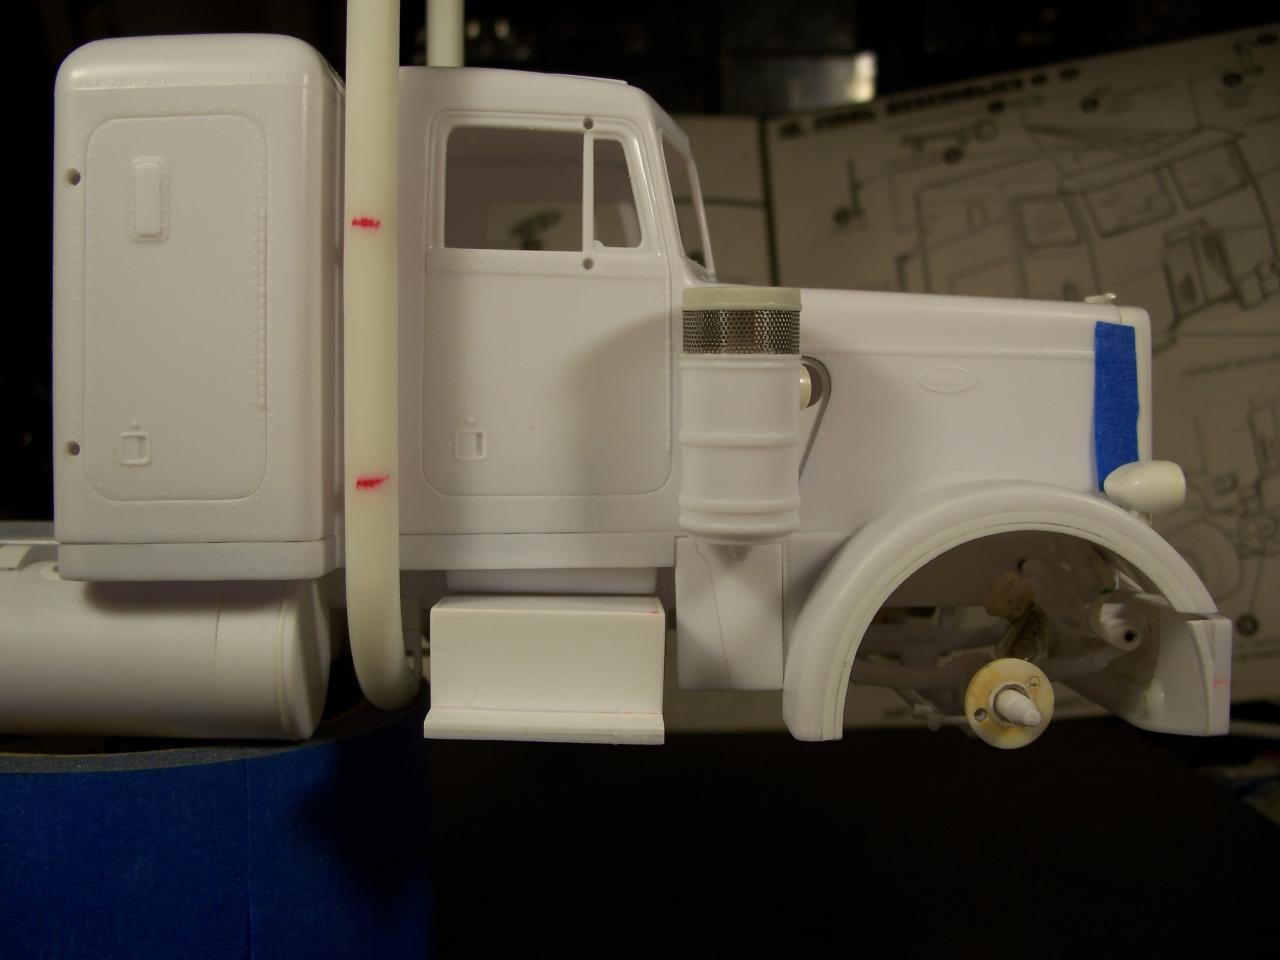
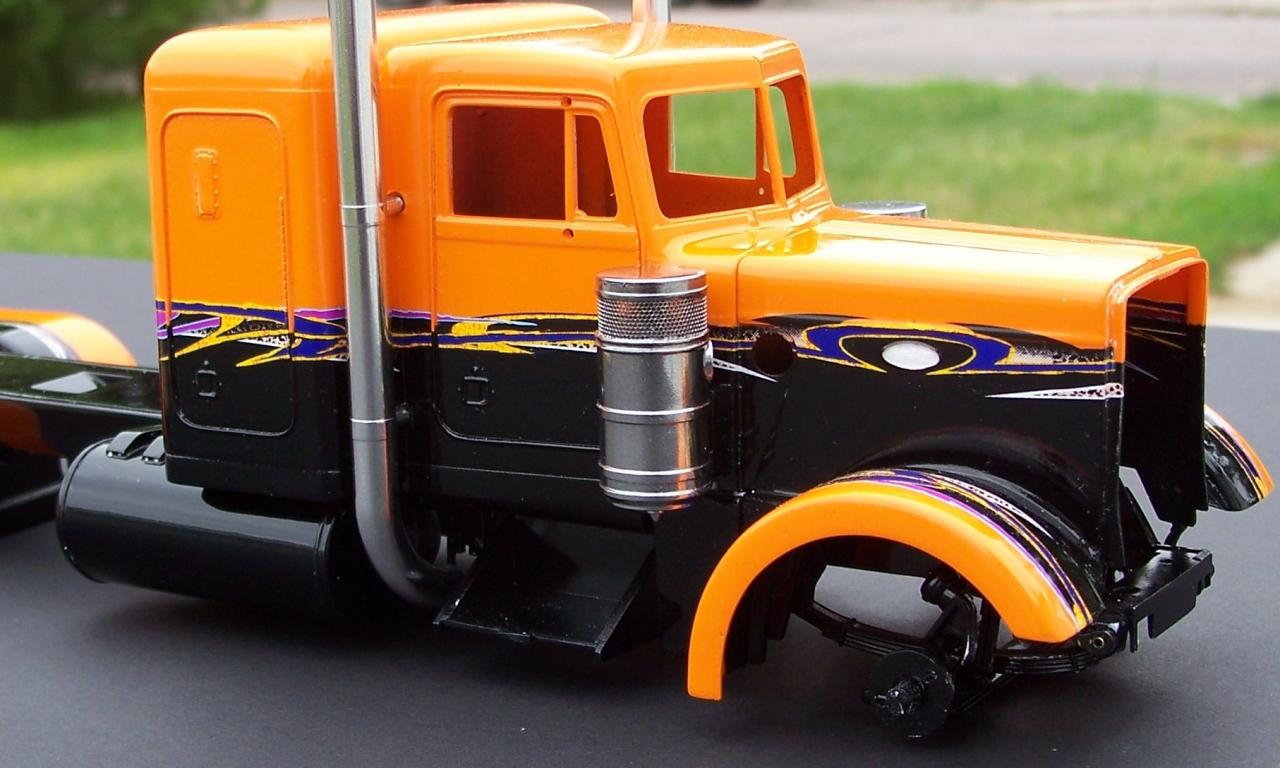
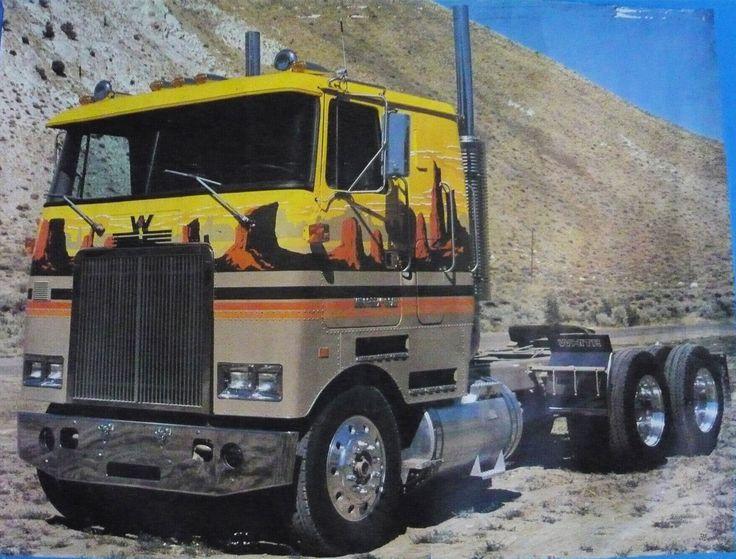
Found inspiration in the paint racks of Hobby Lobby today. Of course, a new project needs new jars of paint, (even though I have plenty of paint on hand). Got lucky with the beige for the bottom, Testors Sand Beige matches very well. Testors Tangerine matches the top of the cab, in most other pictures I found, almost perfectly. Testors Orange, Black, and white, also, work great right out of the bottle. The only color that needs to be blended, is the rusty hued orange for the mesas and buttes themselves. A little Testors Light Brown mixed with regular orange should hit the spot. Really getting bit by the building bug now. Thanks for all the kind, and encouraging words. Hope to have some in progress pics soon. P.S. Found a brochure, online, that gave the names of the 4, special, introductory paint schemes. Monument Valley, which is pictured, and I am attempting, Rocky Mountain Sunset, War Bonnet, and Eagle Motif. The 3 others are pretty cool, but no match for the Monument Valley paint. Can't wait to fire up the airbrush!
-
Michael, in for a penny, in for a pound. This is the black one that makes me crazy. Thinking 3 might be even better. One other use of the High Cab White did: the Road Boss Integral. Already have a hood, to modify, off of eBay. Likely my next project.

-
TAT 2017 Kenworth K100 update 10/16
purepmd replied to k100's topic in WIP: Model Trucks: Big Rigs and Heavy Equipment
Excellent start! A good chassis, has been vastly improved with your added details. Well done. -
NASA Pete 1/25
purepmd replied to truckabilly's topic in WIP: Model Trucks: Big Rigs and Heavy Equipment
INCREDIBLE! I love seeing this kind of craftsmanship! Stunning! -
TAT. Dodge LS 1000 SD Finished
purepmd replied to Mopar - D's topic in WIP: Model Trucks: Big Rigs and Heavy Equipment
This is going to be SHARP! Already off to a great start. Nice work Dan! -
TAT 2017: 1987 Freightliner FLC
purepmd replied to steel_tiger1's topic in WIP: Model Trucks: Big Rigs and Heavy Equipment
That, Gentlemen, are both sides of building models! 44 years, and still have not found a way to stay in the happy medium area. At least for very long. Rivet counting usually wins the day, at least for me. Tom, when I was in High School, I worked for a small fleet that had 10 to 12 of the pedestal headlight FLCs. Even almost the exact color of your picture. Still have a soft spot in my heart, (head), for those trucks. They had some 359s, 352s, and FLAs, all still my favorite rides. With that said, I REALLY like where you are taking this! Not everyone's cup, but, in the end, it is worth the extra effort. You feel it every time you see how much better your modification looks than what you started with. I want to share a picture, as a form of inspiration, so that even when it gets hard to keep going, it will be worth it in the end. I almost scrapped this 3408 mid way through the new timing cover and water pump, but once it was done, I had that feeling, i know you have had when you look a the suspension on your FLC. By all means, keep up the good work!
-
Thanks, and you are welcome. One of the best parts of the clothes hangers is, they have several, different radius bends in the same hanger. Some are good for the 90 degree under the frame bend, some would make, with a little careful cutting, great turnouts on top. Different manufacturers have slightly different diameters. 6", 7", and occasionally, 8" scale pipes can be found at different retailers, and the are cheap, especially if you swipe them off your wife's laundry basket. Some are slightly textured, and much harder plastic than the model's, and need a bit of sandpaper work to get them completely smooth. But not all are this way, i just happened on some that were. Good luck
-
Darren, you can make exhaust from about any tubular items you can find. These are plastic clothes hangers, cut to size, with automotive pin striping tape, for brackets, and coated with Allclad. 3/8 chrome plated, copper supply line, for sinks, is perfect 8" straight pipes.
-
Jacobus, the mock up pics show impressive promise for this build. I am sure this will be an outstanding model. Well done!
-
TAT DM600 Combo
purepmd replied to Dieselhead's topic in WIP: Model Trucks: Big Rigs and Heavy Equipment
Really like the direction you are taking this combination. Interesting engine choices, like V903 myself, very different. -
TAT 2017 1/32 Mack RS700 Rubber Duck
purepmd replied to Bennyg's topic in WIP: Model Trucks: Big Rigs and Heavy Equipment
1/32 scale is a unique twist, on the world's most famous Mack. Very interesting to see. Great progress so far. I did a 1/25 scale hood, and it was not the easiest of modifications. That makes the the fine work you have done on the smaller hood, even more impressive. -
TAT International R190 tanker
purepmd replied to landman's topic in WIP: Model Trucks: Big Rigs and Heavy Equipment
Really liking the is unusual subject. Workmanship and imagination combined perfectly. -
Terry, you are welcome. Glad to be of service.
-
Thank you Gentlemen, I appreciate your inter Well, dang! Someone beat me to the Badlands paint job, and did it very well to boot! I guess I can keep telling myself, "that is on a Road Commander". lol. I still want to do that paint job a lot. Thanks, Michael, I know, I was working at a small fleet when these ads came out. Drivers were always leaving O/O issues laying around. There are a couple of black Stars that make me crazy! Might have to make 2 cabs, I have enough generic Italeri frames, hmm?!
-
That is one beautiful big black beast! Very sharp conversion! As cool as it is black!
-
Ford Race Hauler and Trailer
purepmd replied to kilrathy10's topic in Model Trucks: Big Rigs and Heavy Equipment
Really cool idea, the trailer and twin Mustangs. Very unique, and ingenious combination. As usual, great work. -
Love that dark grey! Works extremely well on that tractor. Very nice build!
-
'50 Great Dane Trailer
purepmd replied to BlackDragon's topic in Model Trucks: Big Rigs and Heavy Equipment
Outstanding work! The tractor and trailer compliment each other so well. Really like this build. Well done. -
First, good luck and happy building to all the builders. This is what I am starting with, and this is where I want to take it. I have a KFS Road Commander to use for measurements and as a pattern. So, instead of cutting that expensive resin transkit up, scratching the cab out of styrene seems the way to go. It will be after cooled, A model, 3406 powered, and have a little wheelbase. Even thinking about using the badlands motif paint job, but that is still undecided.
-
Jesse, JT is right, looking good! Tough subject to enlarge. It looks simple, but like you said, the character lines, some of which are very subtle, make all the difference.