StevenGuthmiller
-
Posts
15,071 -
Joined
-
Last visited
Content Type
Profiles
Forums
Events
Gallery
Everything posted by StevenGuthmiller
-
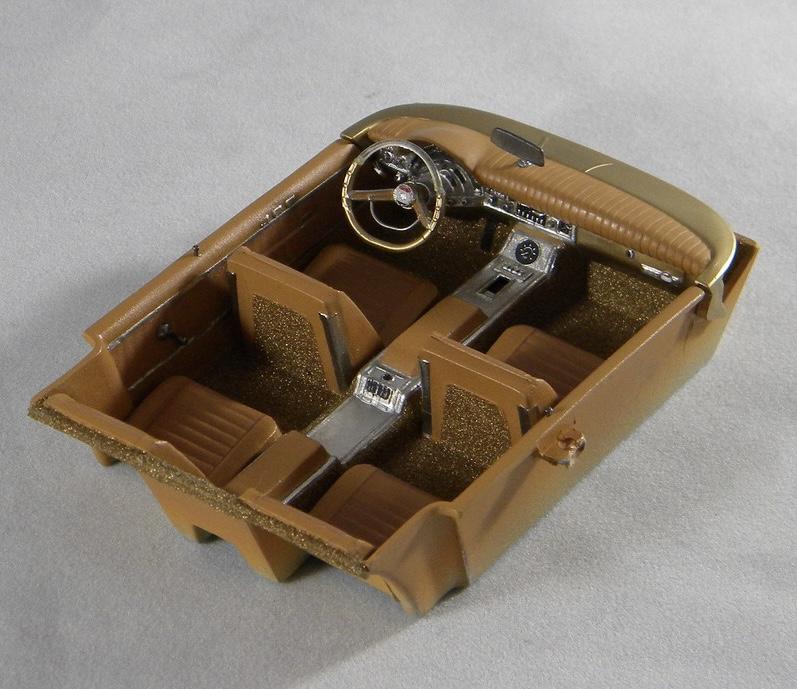
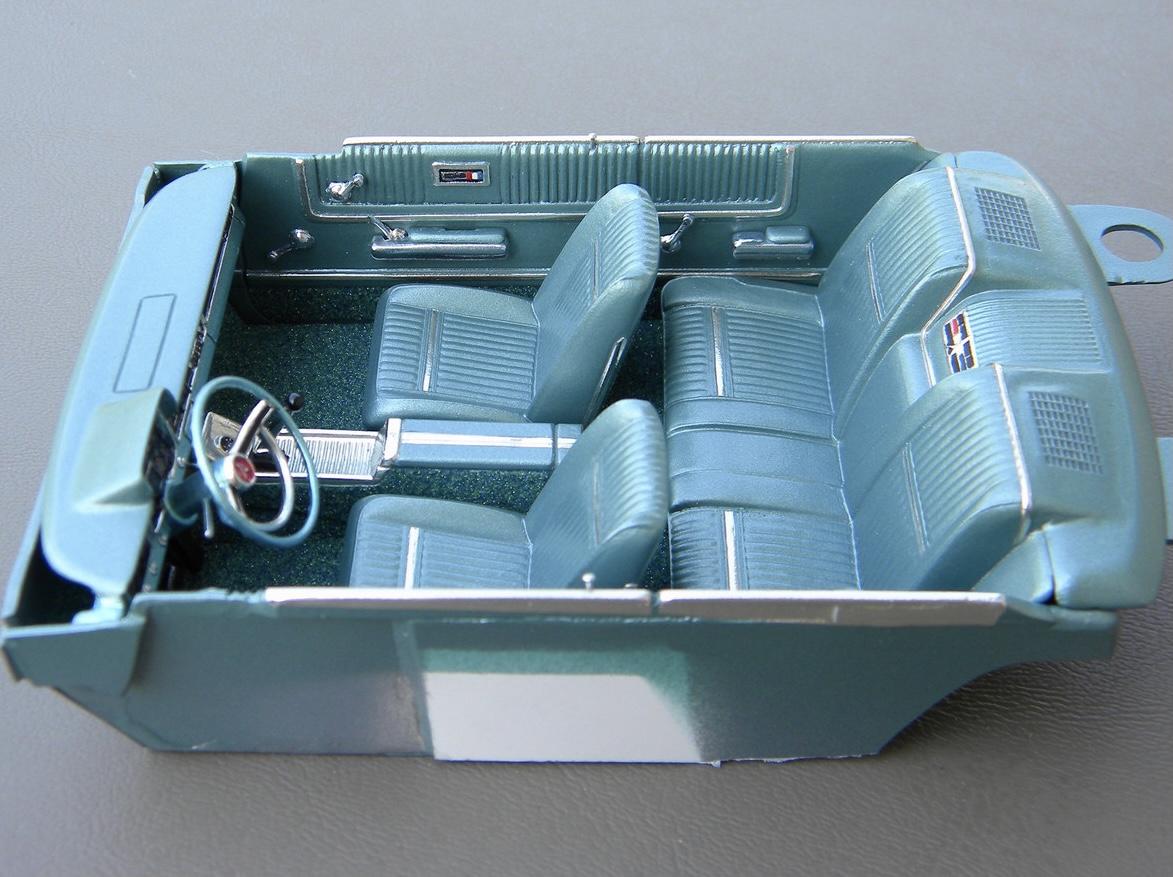
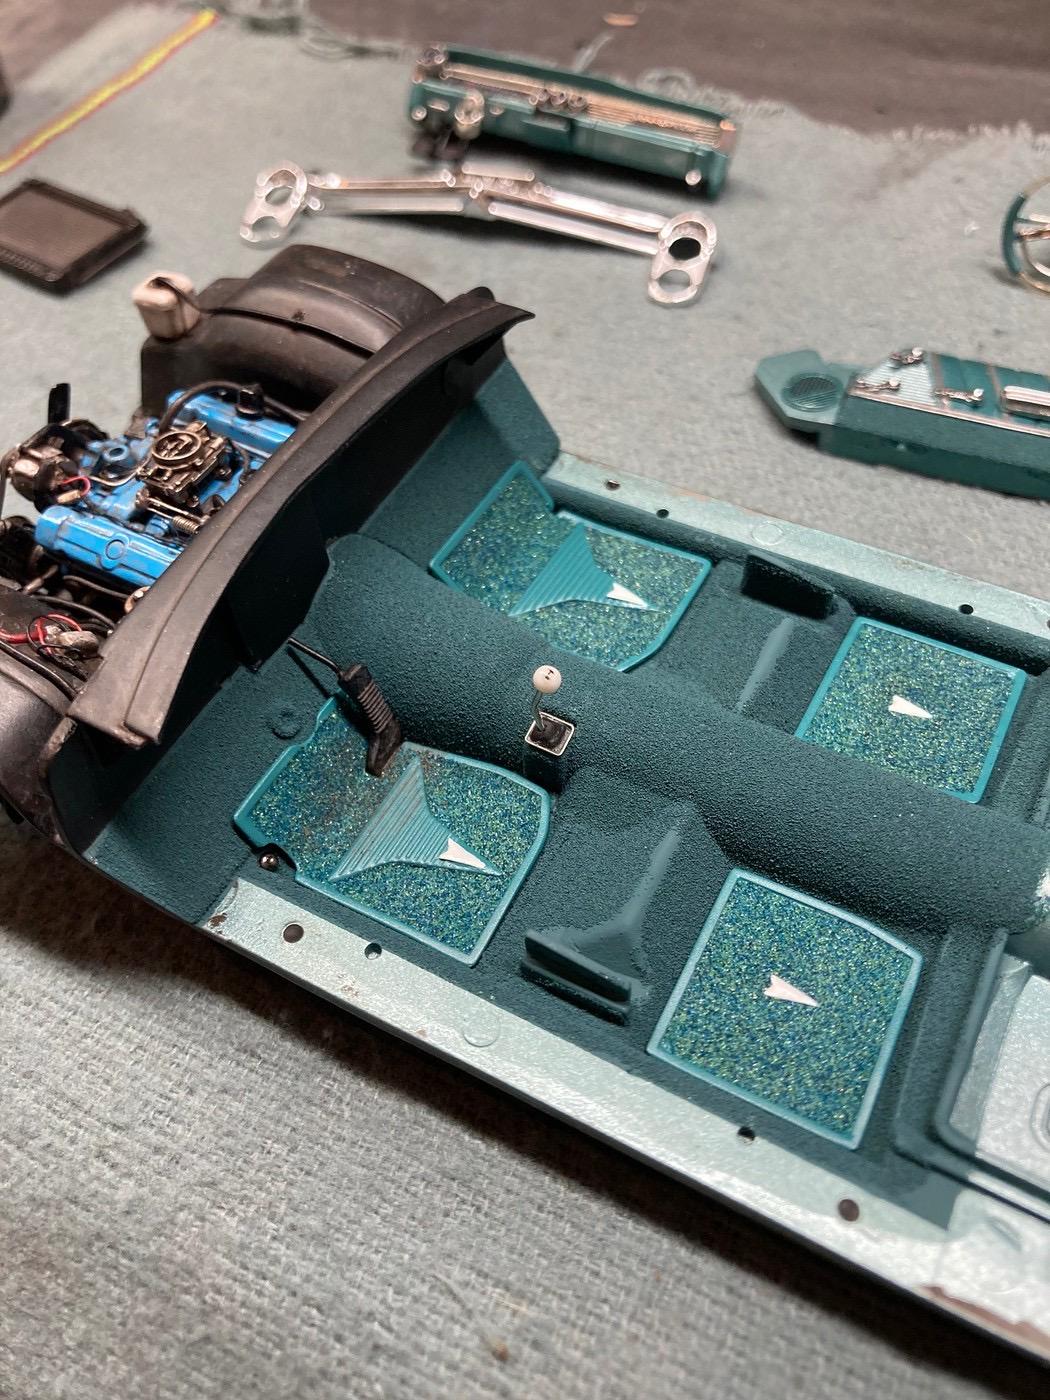
 I use Elmer’s white glue as well, and haven’t had much problem with it. There are a few things to watch for. Thin the glue “slightly”. 50/50 is way too much. If I’m starting with a teaspoon of glue, a couple of drops of water is enough. If you’re applying the glue over a solvent based paint, such as enamel, it can have the tendency to want to draw away in some areas, leaving bare spots, but if you continually brush the glue over those areas, eventually, they will remain covered. Work in smallish areas. Don’t try to do the entire tub floor in one shot. The glue needs to remain wet enough to hold the powder, so if you work in too large of an area, it can begin to dry too much in some areas, causing the powder not to stick. Find at least one place where you can “divide” the tub in half so that you are working in a small enough area to prevent drying too quickly. Mask off areas that you do not want covered in powder, work quickly, and remove the tape immediately after the powder to prevent pulling off the glue and powder as it dries. Remember, you can paint over embossing powder if you should choose. Steve
-
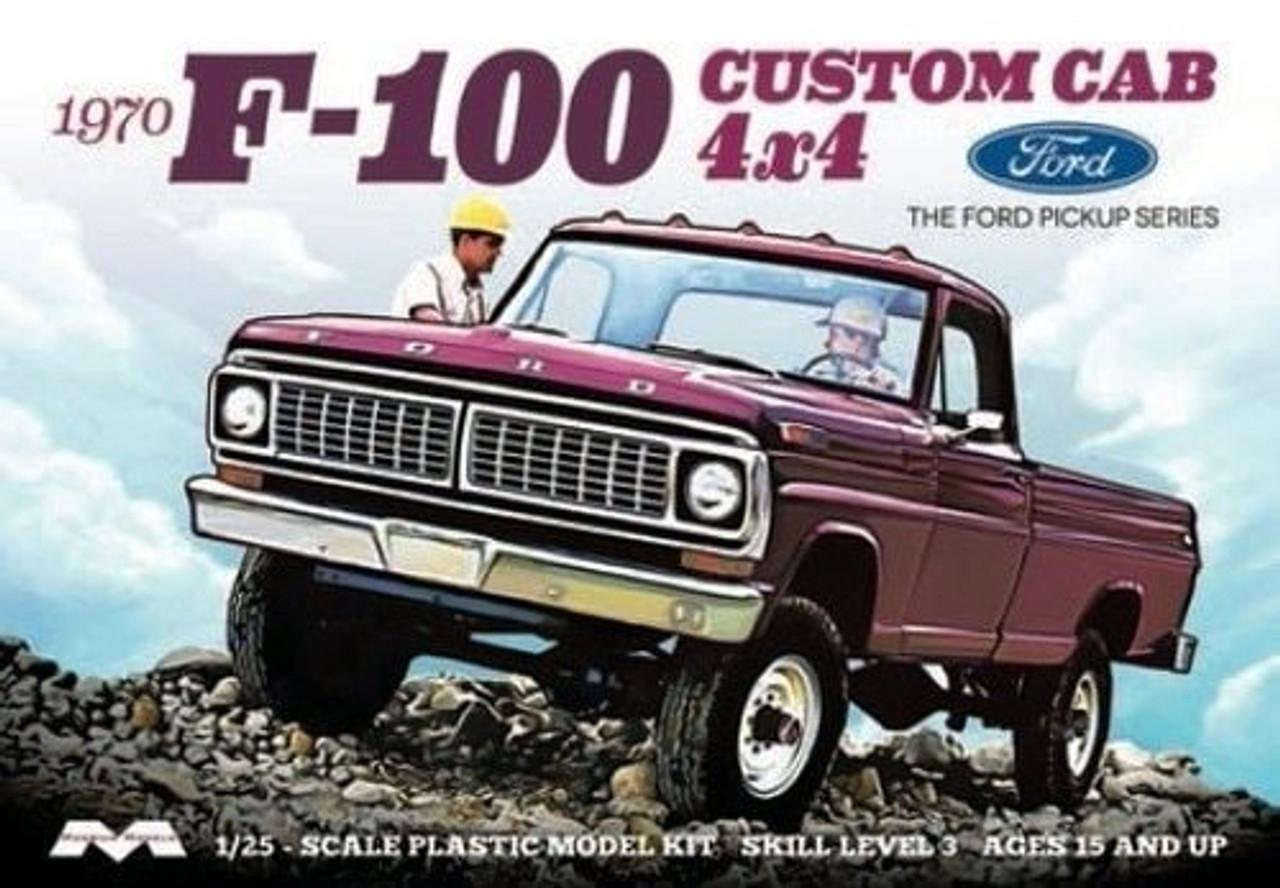
1972 Ford F100 replica build possible
StevenGuthmiller replied to gtx6970's topic in Model Building Questions and Answers
The 4x4 parts can also be had in the ‘70 F-100 kit. Steve
-
My first JO-HAN
StevenGuthmiller replied to Mike 1017's topic in General Automotive Talk (Trucks and Cars)
Steve
-
Can’t think why…
StevenGuthmiller replied to Earl Marischal's topic in General Automotive Talk (Trucks and Cars)
Yup. Maybe just give it a kiss to get it going. 😁 Steve -
My first JO-HAN
StevenGuthmiller replied to Mike 1017's topic in General Automotive Talk (Trucks and Cars)
I’ve loved Johan kits since I was a kid! Their attention to body detail and accuracy is second to none! Interiors and chassis detail were on par with the time, but those short comings can often be addressed with some modern kit kit bashing. They produced a lot of unusual and unique subject matter that will almost certainly never be reproduced in kit form. I appreciate what they did for the model car hobby, and I have many kits and finished models that I treasure immensely. Steve
-
Siphon feed airbrush
StevenGuthmiller replied to Valvefloat's topic in Model Building Questions and Answers
100%. The tube is often too long and cut straight which interferes with paint flow. I’ve also had to slightly shorten and cut them at an angle. Steve -
He’s got a good point, and I totally agree with him There’s absolutely no need to spend gobs of money, or to have a stable of a half dozen different airbrushes, unless you’re doing something particularly specialized. A simple, basic brush will do just as well as some big fancy multi-hundred dollar machine if it’s in the right hands. Just like many things in our hobby, I think people seem to be prone to overthinking simple things. Steve
-
I agree completely! My first experience was decades ago with a cheap Testors airbrush, which was nothing but trouble from the onset. Following that experience, I begged off of airbrushing for probably another 10 years before I decided to try again with a simple Badger 200 single action siphon feed brush, and then it was off to the races! I never looked back!! Steve
-
Siphon feed airbrush
StevenGuthmiller replied to Valvefloat's topic in Model Building Questions and Answers
That’s not just a “siphon feed”. It’s also an “external mix”. A whole different ball of wax from an “internal mix”, which is what your gravity feeds are, as are most siphon feeds. Steve -
Siphon feed airbrush
StevenGuthmiller replied to Valvefloat's topic in Model Building Questions and Answers
They certainly do! Or at least they used to. Again, a siphon feed versus a gravity feed for airbrushing models is a completely moot point. With good equipment, (doesn’t matter what type) you can get professional results regardless. Steve
-
Siphon feed airbrush
StevenGuthmiller replied to Valvefloat's topic in Model Building Questions and Answers
I’ve been using a siphon feed single action Badger 200 NH for probably 25 years with zero issues. Nothing to do with whether or not it’s a gravity feed or a siphon feed. There are obviously other issues. A lot of people have been using siphon feed airbrushes for a long time. Just out of curiosity, I searched for Vevor airbrushes on line and discovered that you could purchase a dual action gravity feed Vevor online for $25.00. That right there is probably your biggest problem. 😏 Steve -
No officer, it's not filled with cocaine. It's the latest material in mattress filler technology. Steve
-
By "rigamarole" I mean having to experiment with a dozen different products and doing it based on what particular color you can happen to find that is close to what you have in mind, and then having to worry about if it's going to be a successful combination or not. I can't begin to tell you how often I see people beginning their paint job experimentation with a "hey, I really like this color" along with a picture of some obscure paint can that they found in some hardware store, and then they proceed to F up their paint job because they have no idea whatsoever what primers, or clear coats, or whatever, is going to work with it, and then they have the temerity to ask why it all turned to feces in the end. When I paint a model, the amount of "work or expense" doesn't even enter the equation. I'm not the least bit concerned about putting forth whatever effort is required to ensure perfect results, or how much it costs. What I'm looking for is continuity and simplicity. A painting procedure and the materials necessary to ensure that I'm going to get reliable results that I can count on every time, regardless of the color I choose. Yes, I use multiple coats of primer, color and clear, but I don't do it because I like spraying paint. Those multiple coats have reasoning behind them that I won't get into here. When I begin a paint job, I don't have to check my inventory to see if I have the correct thinners, reducers, retarders, accelerators, etc, etc, etc. All I need is the same small handful of the same products that I always use, and in the end, I know that the finished result will be a success every time. If my memory is correct, I've stripped 2 paint jobs in the past 10 years, (possibly more) and neither of them had anything to do with a failure of the products or procedures that I use. That's all that matters to me, and the philosophy has served me exceedingly well for a loooong time. As I said, it's "my opinion" that lacquer is the only choice. I didn't say that it had to be everyone else's only choice. Use whatever you want. I'll continue to produce excellent results without ever having the tiniest degree of stress over what my outcomes are going to be. I know that before I even start. Steve
-
Steve
-
I use Duplicolor "Sandable Primer", or more so, "Primer Sealer" for priming. Either MCW or Scale Finishes air brush lacquers for color, or occasionally Duplicolor "Pefect Match" if it's a solid color such as red, black or white. And Duplicolor Perfect Match "Protective Clear Coat Finish" in the short spray cans. I then rely on my muscles to cut and polish for a perfectly smooth, shiny, flawless finish. It's been a extremely reliable system for me for at least the past couple of decades. Steve
-
Well, this conversation just reinforces the reasons why I use primer and clear in a spray can, and premixed, ready to spray lacquer colors. You all have me completely confused! Steve
-
Anybody here up to speed on “Real ID”?
StevenGuthmiller replied to Monty's topic in The Off-Topic Lounge
Sure. There have to be alternatives for extenuating circumstances. If you don't mind going through more of a rectal examination every time you fly than it takes to just suck it up and get the correct identification. Steve -
Which color primer?
StevenGuthmiller replied to rossfox's topic in Model Building Questions and Answers
With red, you can use any color of primer you like. depending on the type of paint used, and the number of coats, the primer may affect the final color. Steve -
Even with acrylic paint, you may find yourself having to clean up with lacquer thinner sometimes. I use very few acrylics, but when I do, it always seems to make a bigger mess of my airbrush than lacquer does. Steve
-
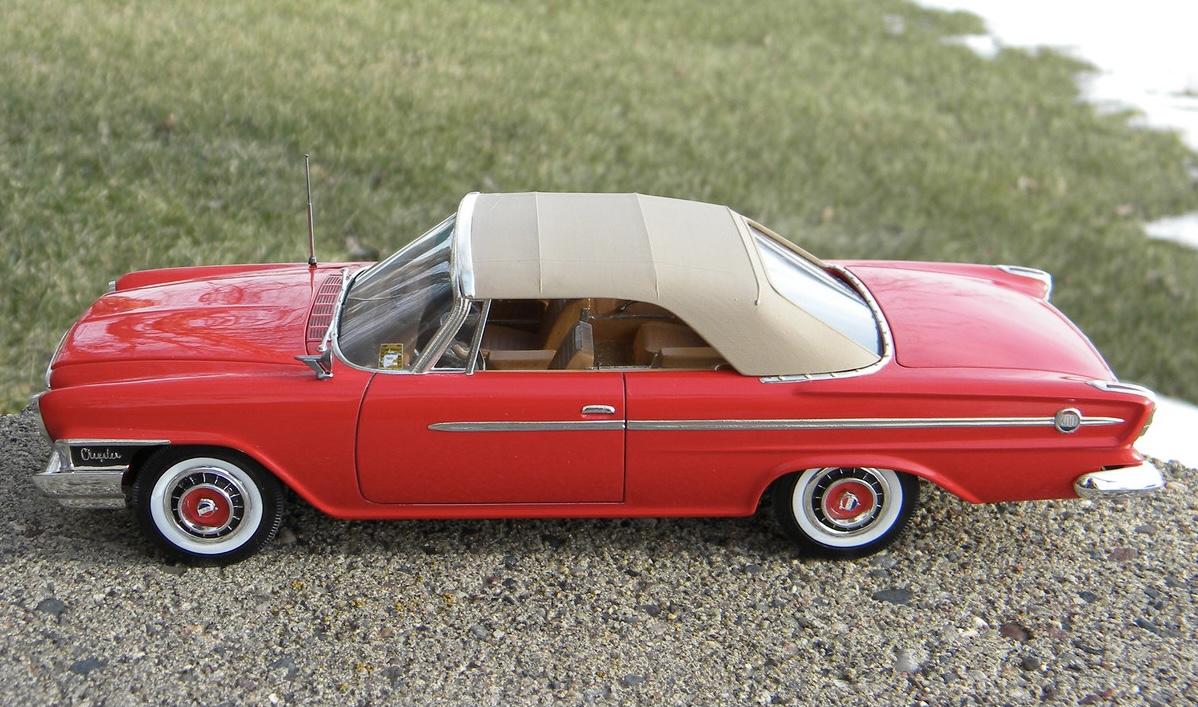
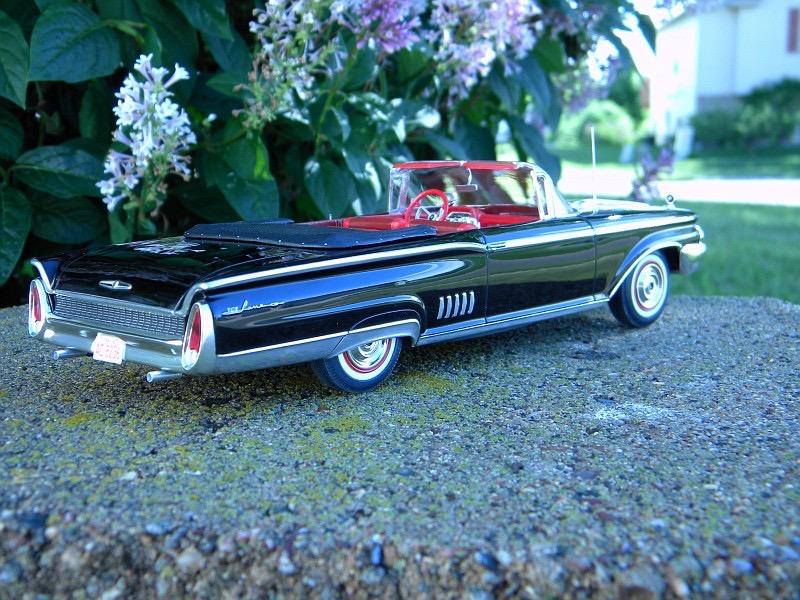
Using a good quality automotive lacquer primer, and/or “primer sealer” is a must with acrylic lacquer. Something that sprays on in thin enough coats that several coats can be applied without the possibility of hiding detail is beneficial. The more “barrier” that you can add, the better. I routinely use as many as 5 coats of Duplicolor “Sandable” primer, or Duplicolor “Primer Sealer” without any detriment to detail. I of course realize that that number of coats might be considered excessive to some, but I feel it’s always better to be safe than sorry. By the way, the red ‘62 Chrysler and the black ‘60 Merc pictured in my previous post were both sprayed with multiple coats of Duplicolor primer, color and clear lacquer, all shot directly from the soray can. You can absolutely achieve a top notch finish with a rattle can, although the availability of hundreds or thousands of airbrush colors from aftermarket sources are definitely a huge plus. Steve
-
I made the decision to use automotive type lacquers many years ago for a number of reasons, and as any color that you can imagine is available in pre-mixed, ready to airbrush jars through after market providers such as MCW and Scale Finishes, I can find no reason to use anything else. Lacquers such as this are easy to work with, spray beautifully, lay down super thin and smooth, dry and cure extremely quickly, and as they’re lacquers, there’s never any of the unnecessary drama of finding what clear will work over it, and what won’t. There are vast advantages over most enamels, such as a much reduced tendency for runs, sags, fish eyes, detail hide, pooling and draw away from ridges. Not to mention the often extremely long drying and curing times and finicky re-coat recommendations. If you’re main objective is something that you can slap on fast in one or two coats, enamel might be your choice, but if you want a truly high end, professional paint finish without a lot of rigmarole, lacquer is the only choice in my opinion. I use a multiple coat system consisting of a number of coats each of lacquer primer, color and clear, followed by cutting and polishing, and I’m very rarely disappointed, and almost never required to remove the paint to start over. Steve
-
Anybody here up to speed on “Real ID”?
StevenGuthmiller replied to Monty's topic in The Off-Topic Lounge
All of that is understandable, but without a real ID or a passport, you’re not getting on a plane. That’s just the way it’s gonna be. Steve -
Anybody here up to speed on “Real ID”?
StevenGuthmiller replied to Monty's topic in The Off-Topic Lounge
You don’t need it if you have a passport. I have both, but you can travel anywhere as long as you have a passport. The real ID is virtually useless if you travel internationally. Only good in the US, and in my view, it’s just as easy to travel with a passport. Steve -
Headlights on his mower. Steve
-
Yes, Mopar had some unusual hood spring configurations over the years. Many of the mid to late 60s Mopars had a slot of sorts as well with the “torsion” hood spring set up. Steve