StevenGuthmiller
-
Posts
15,071 -
Joined
-
Last visited
Content Type
Profiles
Forums
Events
Gallery
Everything posted by StevenGuthmiller
-
 Well, he's quickly burning his bridges with people that might actually have some first hand knowledge on the subject of modeling. I certainly hope that he can learn all that he needs to know from Youtube videos and corporate emails, because he's approaching the time very quickly where he's not going to be offered any information here. Steve
 -
What indication do we have that he is really a "fellow model builder"? Steve
-
You forgot to interject some algebra! Steve
-
That's perfect! It shouldn't be long before he doesn't see any responses anymore, and goes away. In the meantime, I'm having a blast! Steve
-
Maybe an entirely different hobby is in order. Steve

-
Because it’s a blast seeing what kind of stupidity he’ll come up with next! ? Steve
-
This just keeps getting better all of the time! ? Steve
-
Get a brush. Steve
-
You’re barking up the wrong tree Bob, (If that’s your real name) ? Many of us have offered sound advice ad nausea, to no avail. He’s obviously much more interested in wasting his own time, and everyone else’s, with these pointless posts than getting on with it. Beginning to look more and more like a troll with each successive post. Steve
-
Never drank milk before, huh? Steve
-
Because it’s another convenient excuse for doing nothing. Steve
-
You're serious, huh? I've been a member here since 2014, and everybody knows my name. I take ownership of what I say and do, and I'm proud of it. you can call me an "idiot", but I'm far too old to still be hiding behind my mama's skirt. Steve
-
Ain’t that the truth!! That’s precisely why I’m starting to think that he has no intention of actually doing anything! Stop being such a goof and spray some paint for God’s sake!!! This isn’t brain surgery.... and “loading shells” has zero to do with anything! Steve
-
Agreed. This has just gotten stupid! I'm really beginning to believe that the OP's only purpose on this forum is to play us all for fools. If you ever actually paint anything, post up. I, for one, am not going to hold my breath. Steve
-
Absolutely! Love the stuff!! Steve
-
Welcome, from up the street, right outside of Fargo ND. Steve
-
True, but I had resigned myself to the fact that I was going to have to purchase more paint anyway, so if there's any more problems, I'll order more. I want to do my best not to cut any corners on this project. I have far too much time invested already. Besides, I'm a risk taker! Steve
-
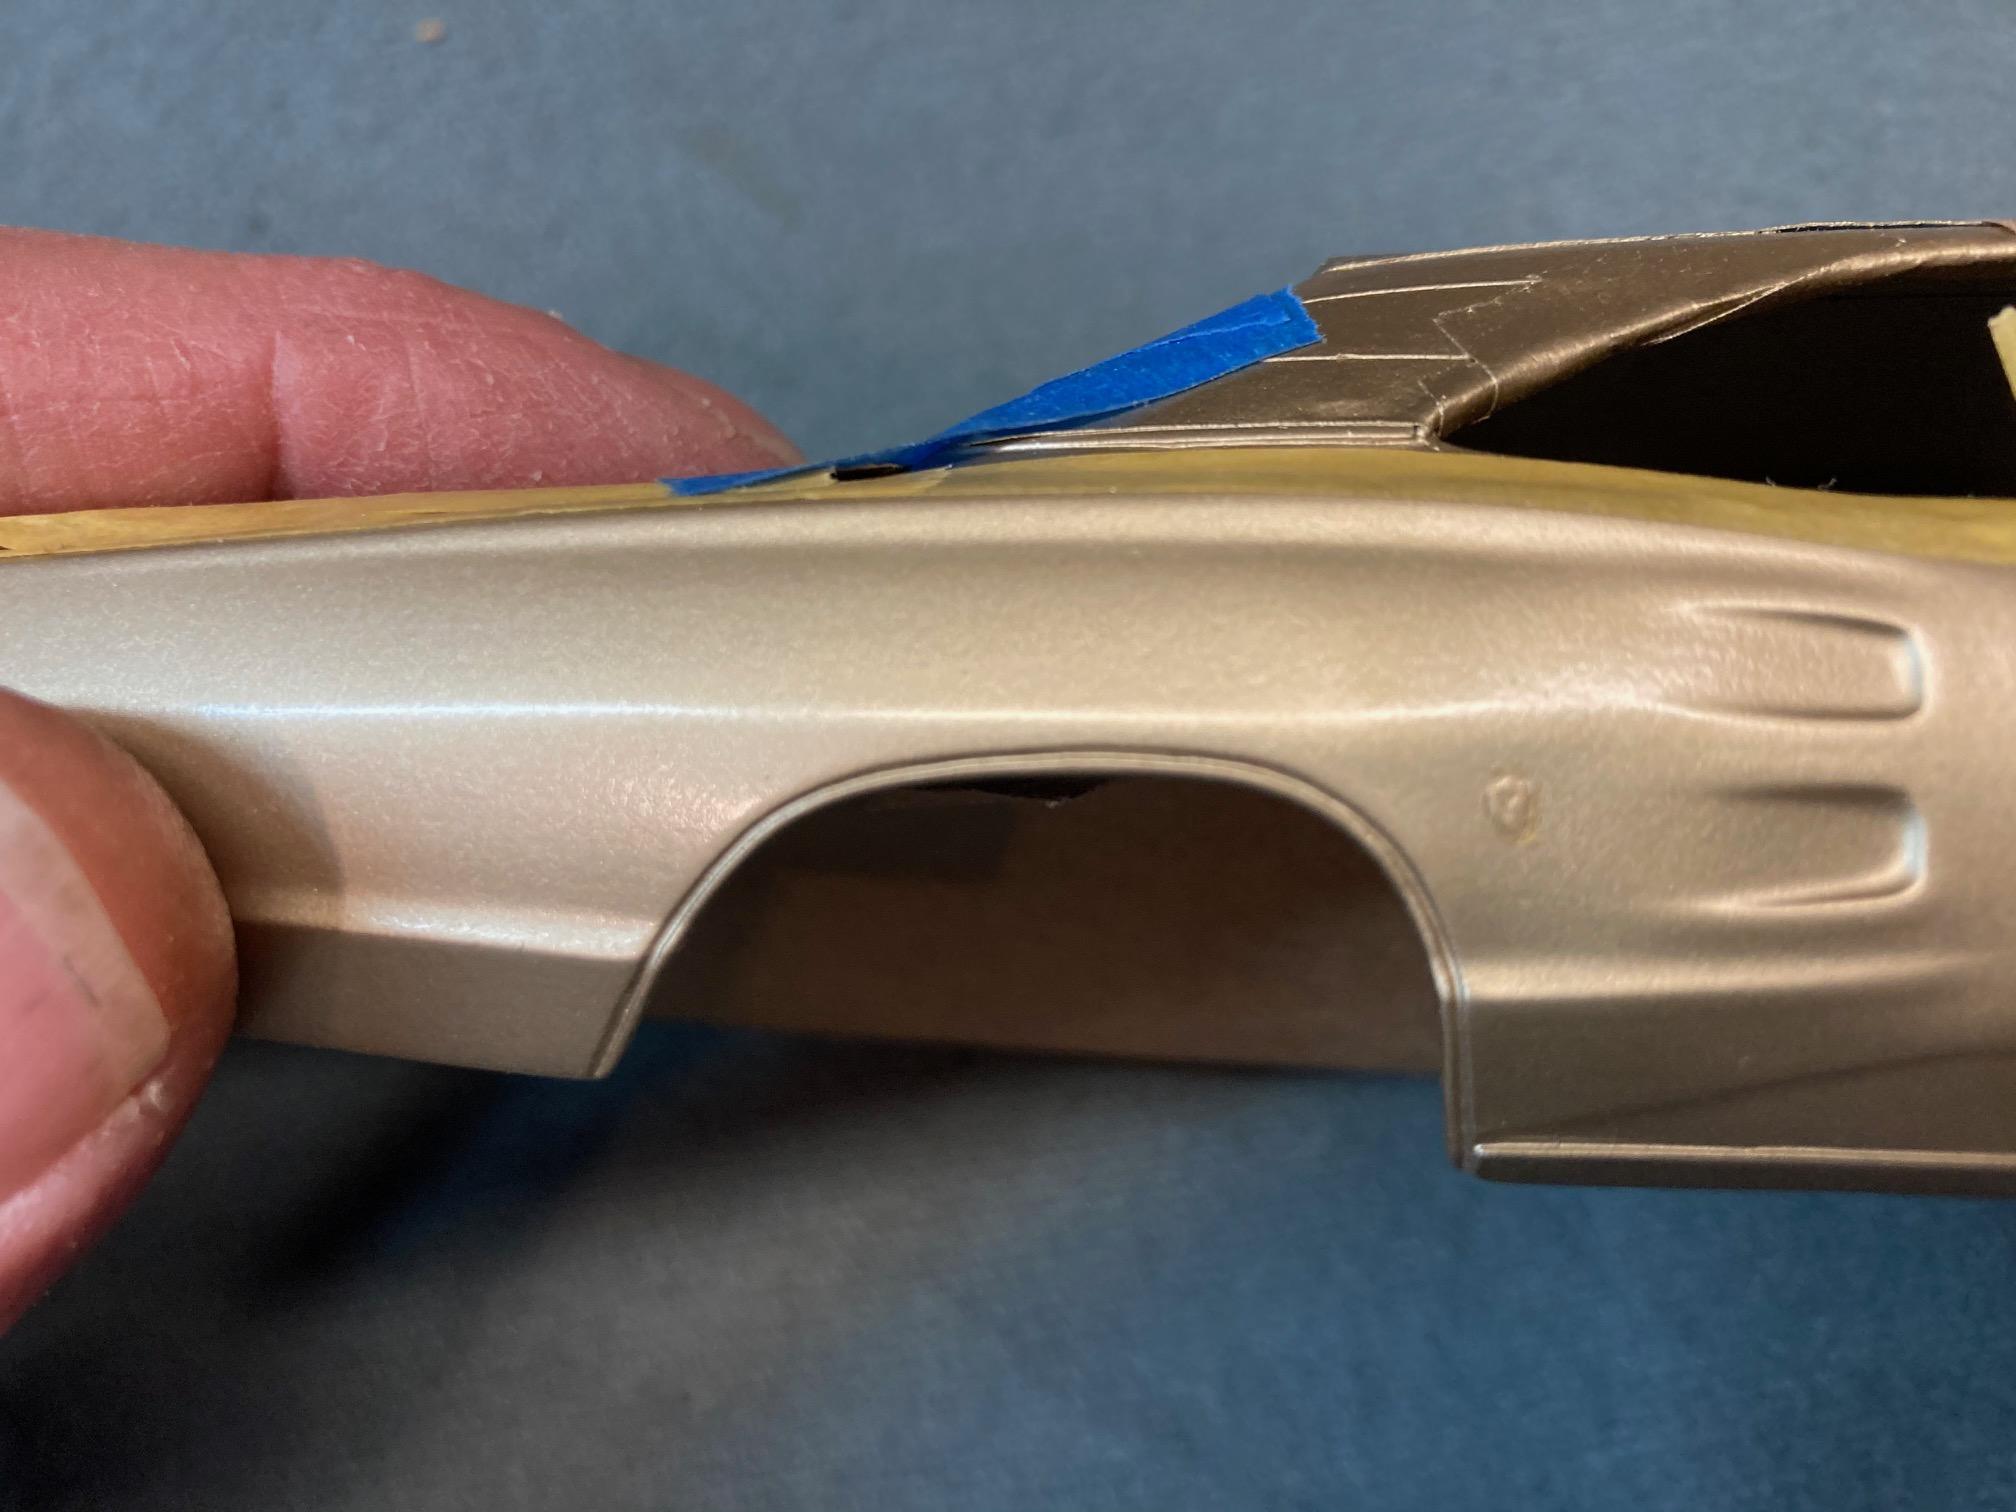
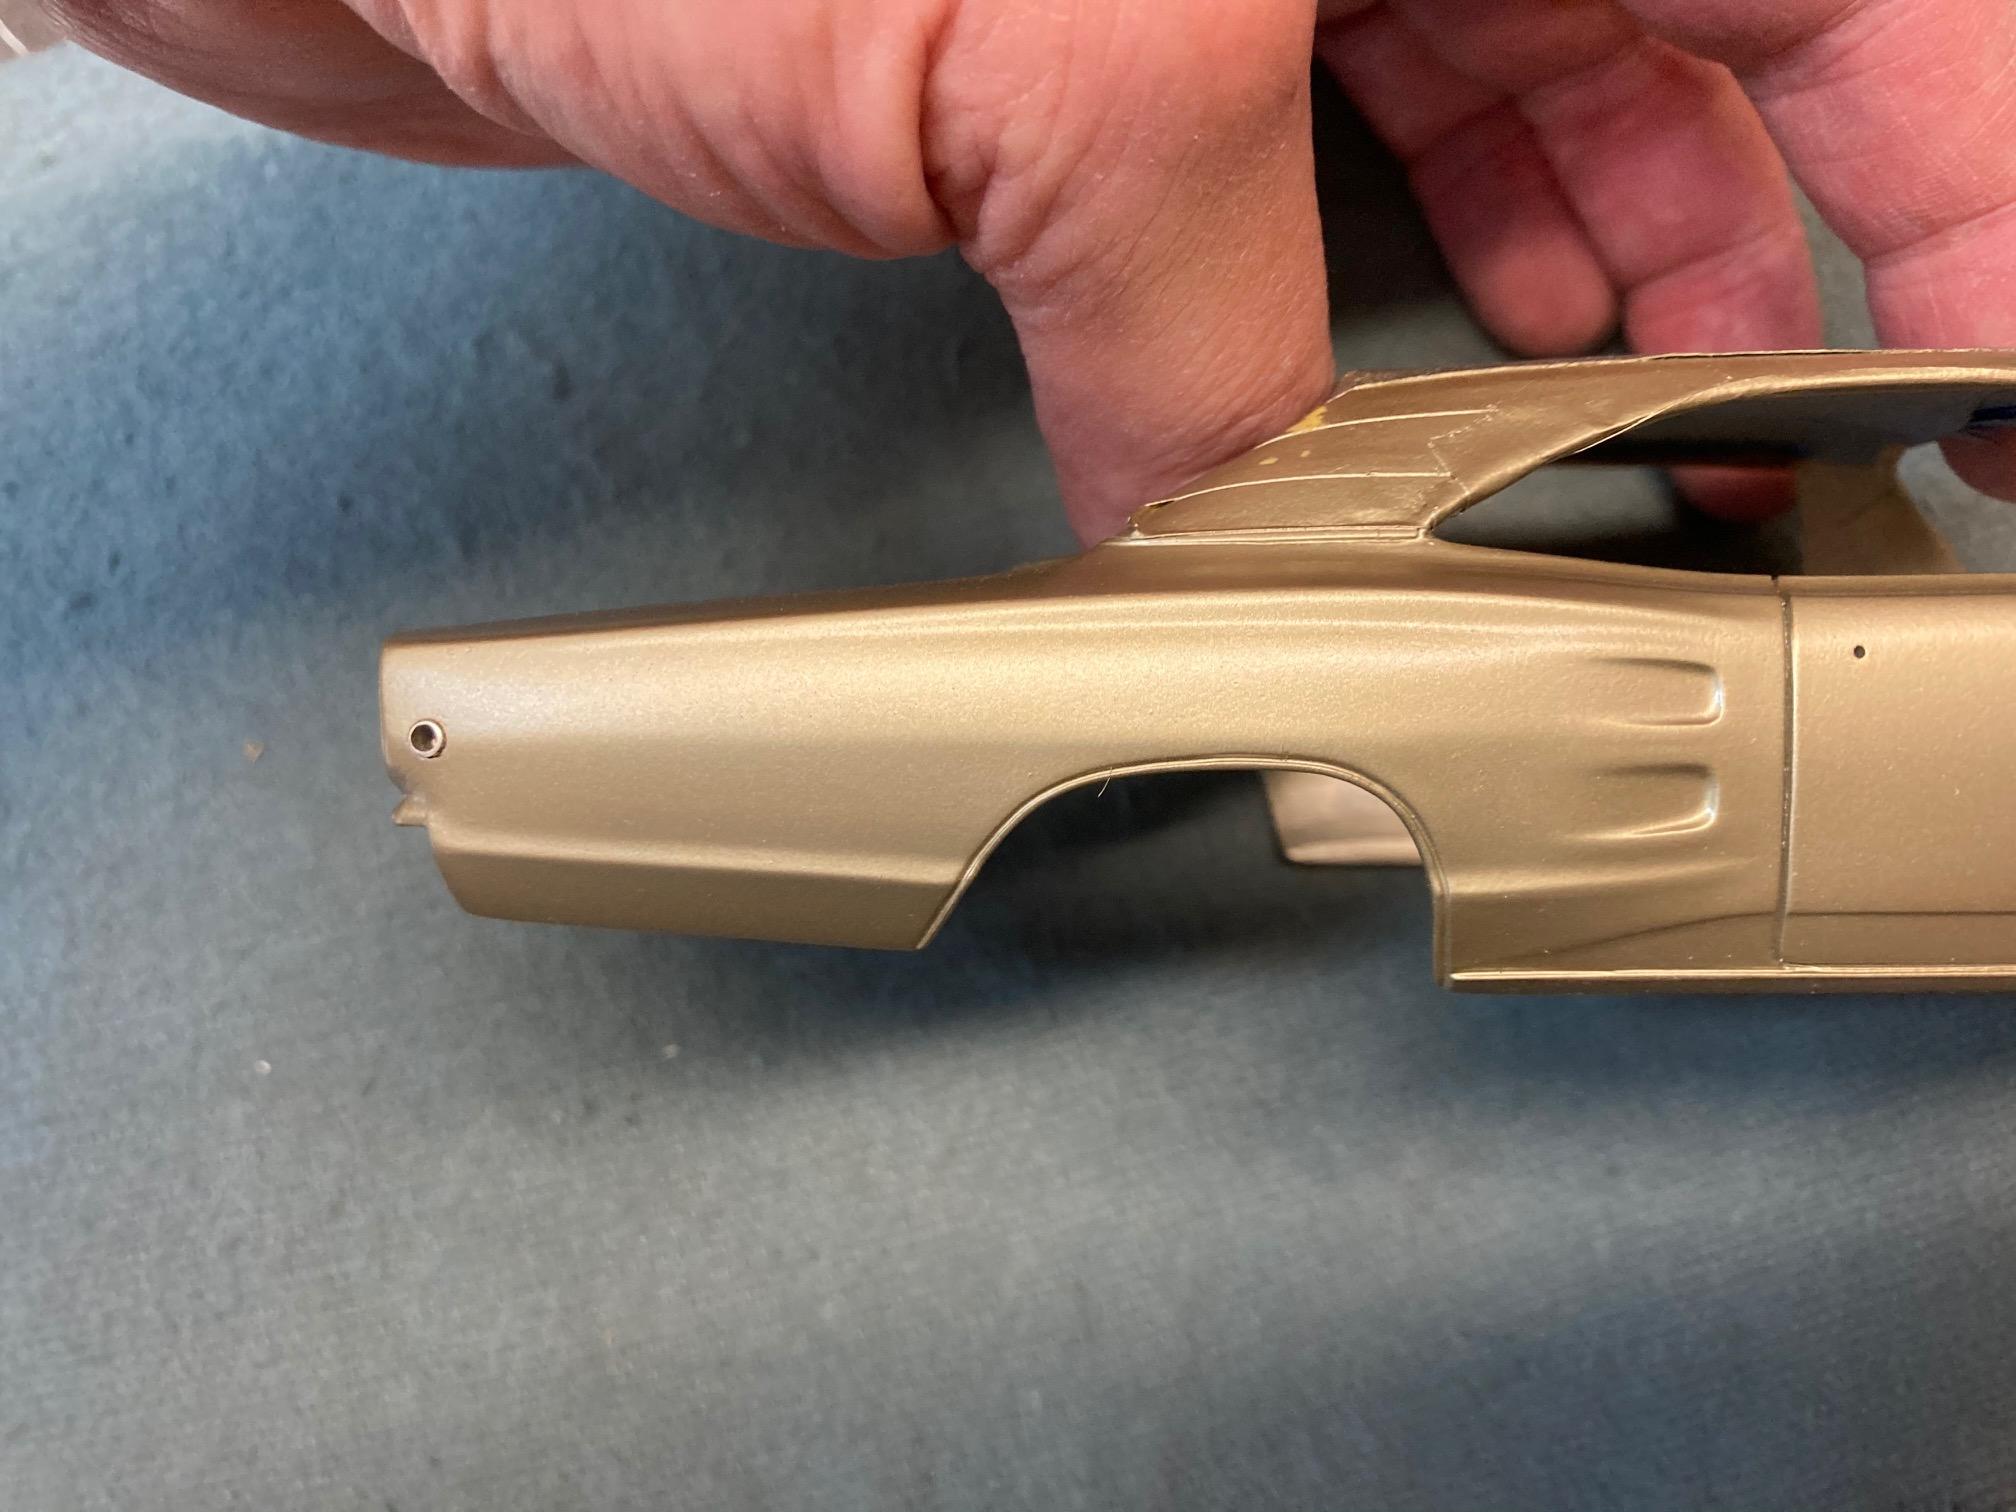
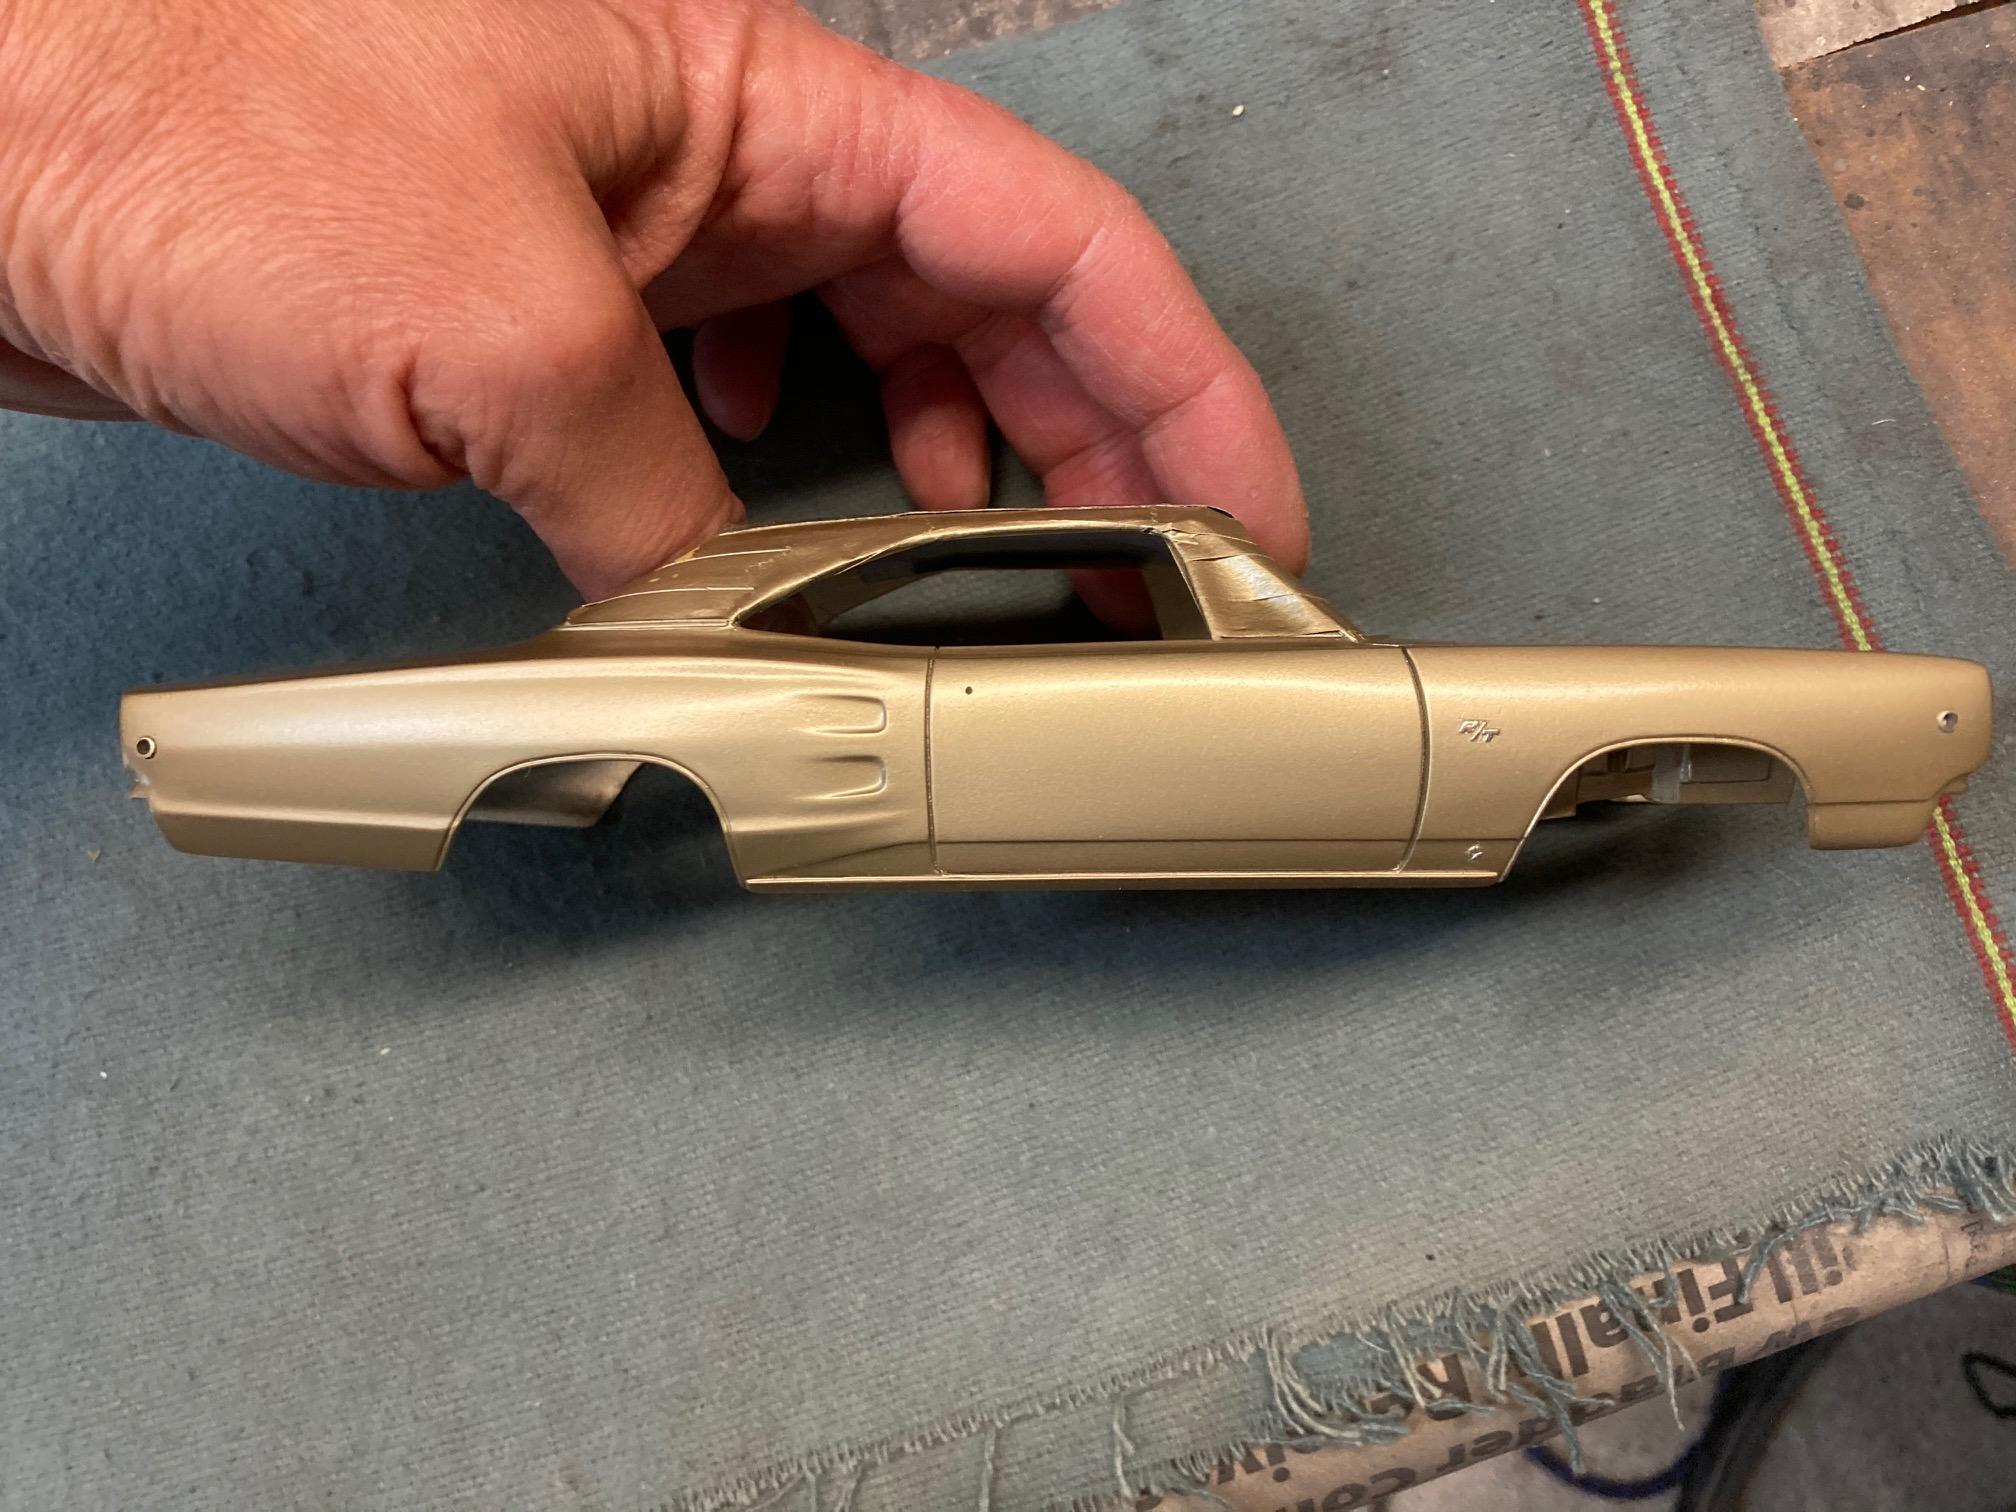
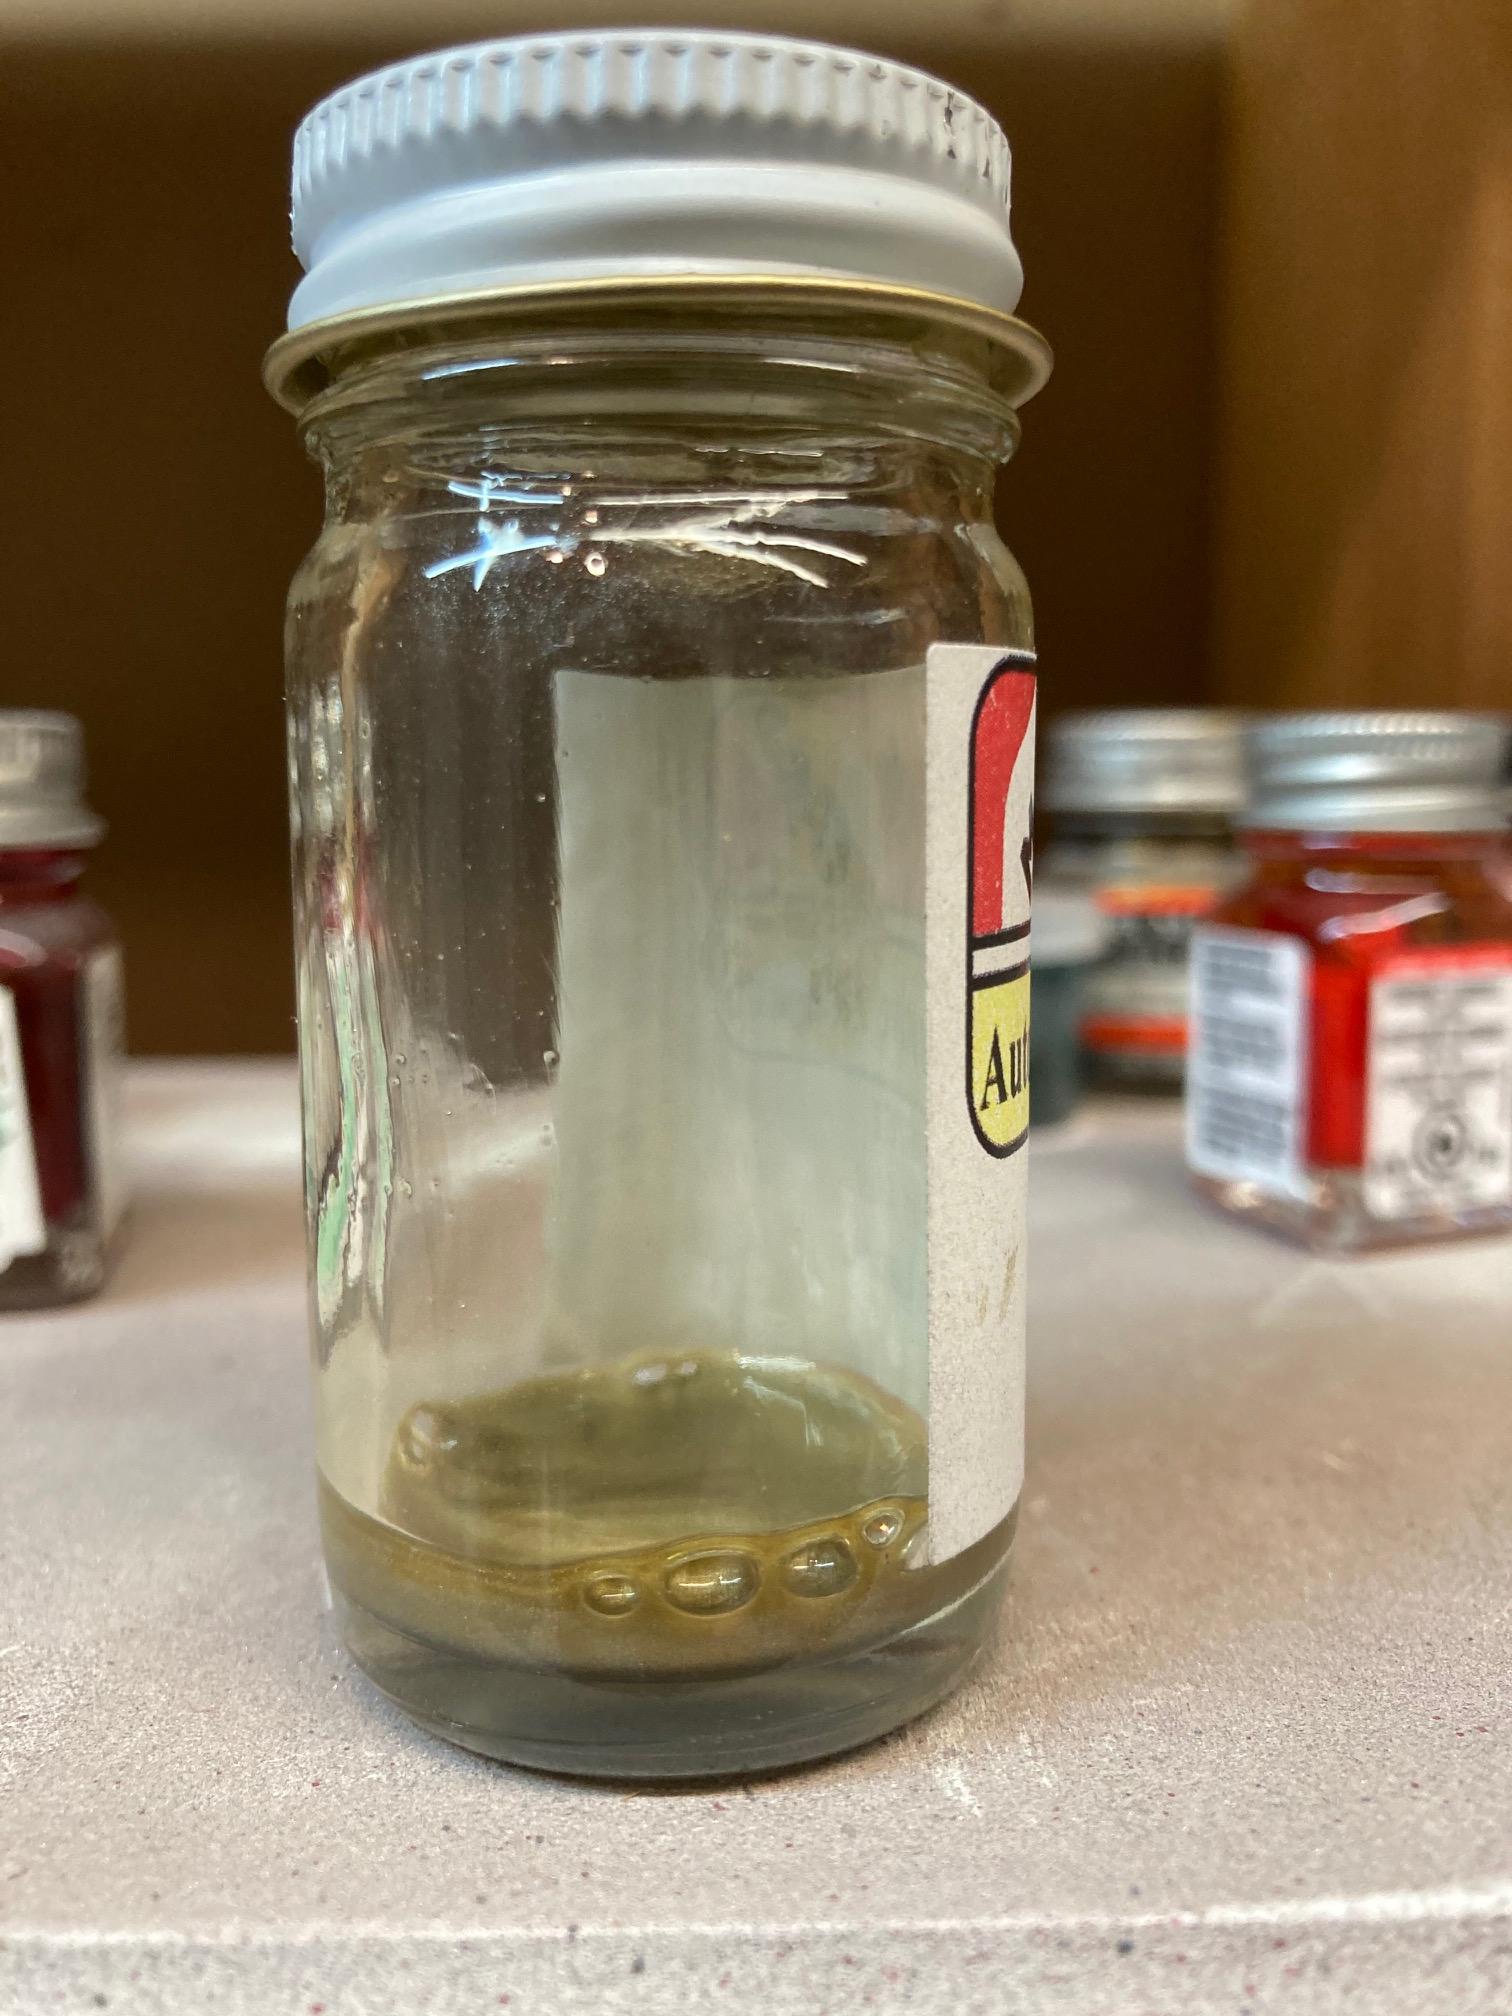
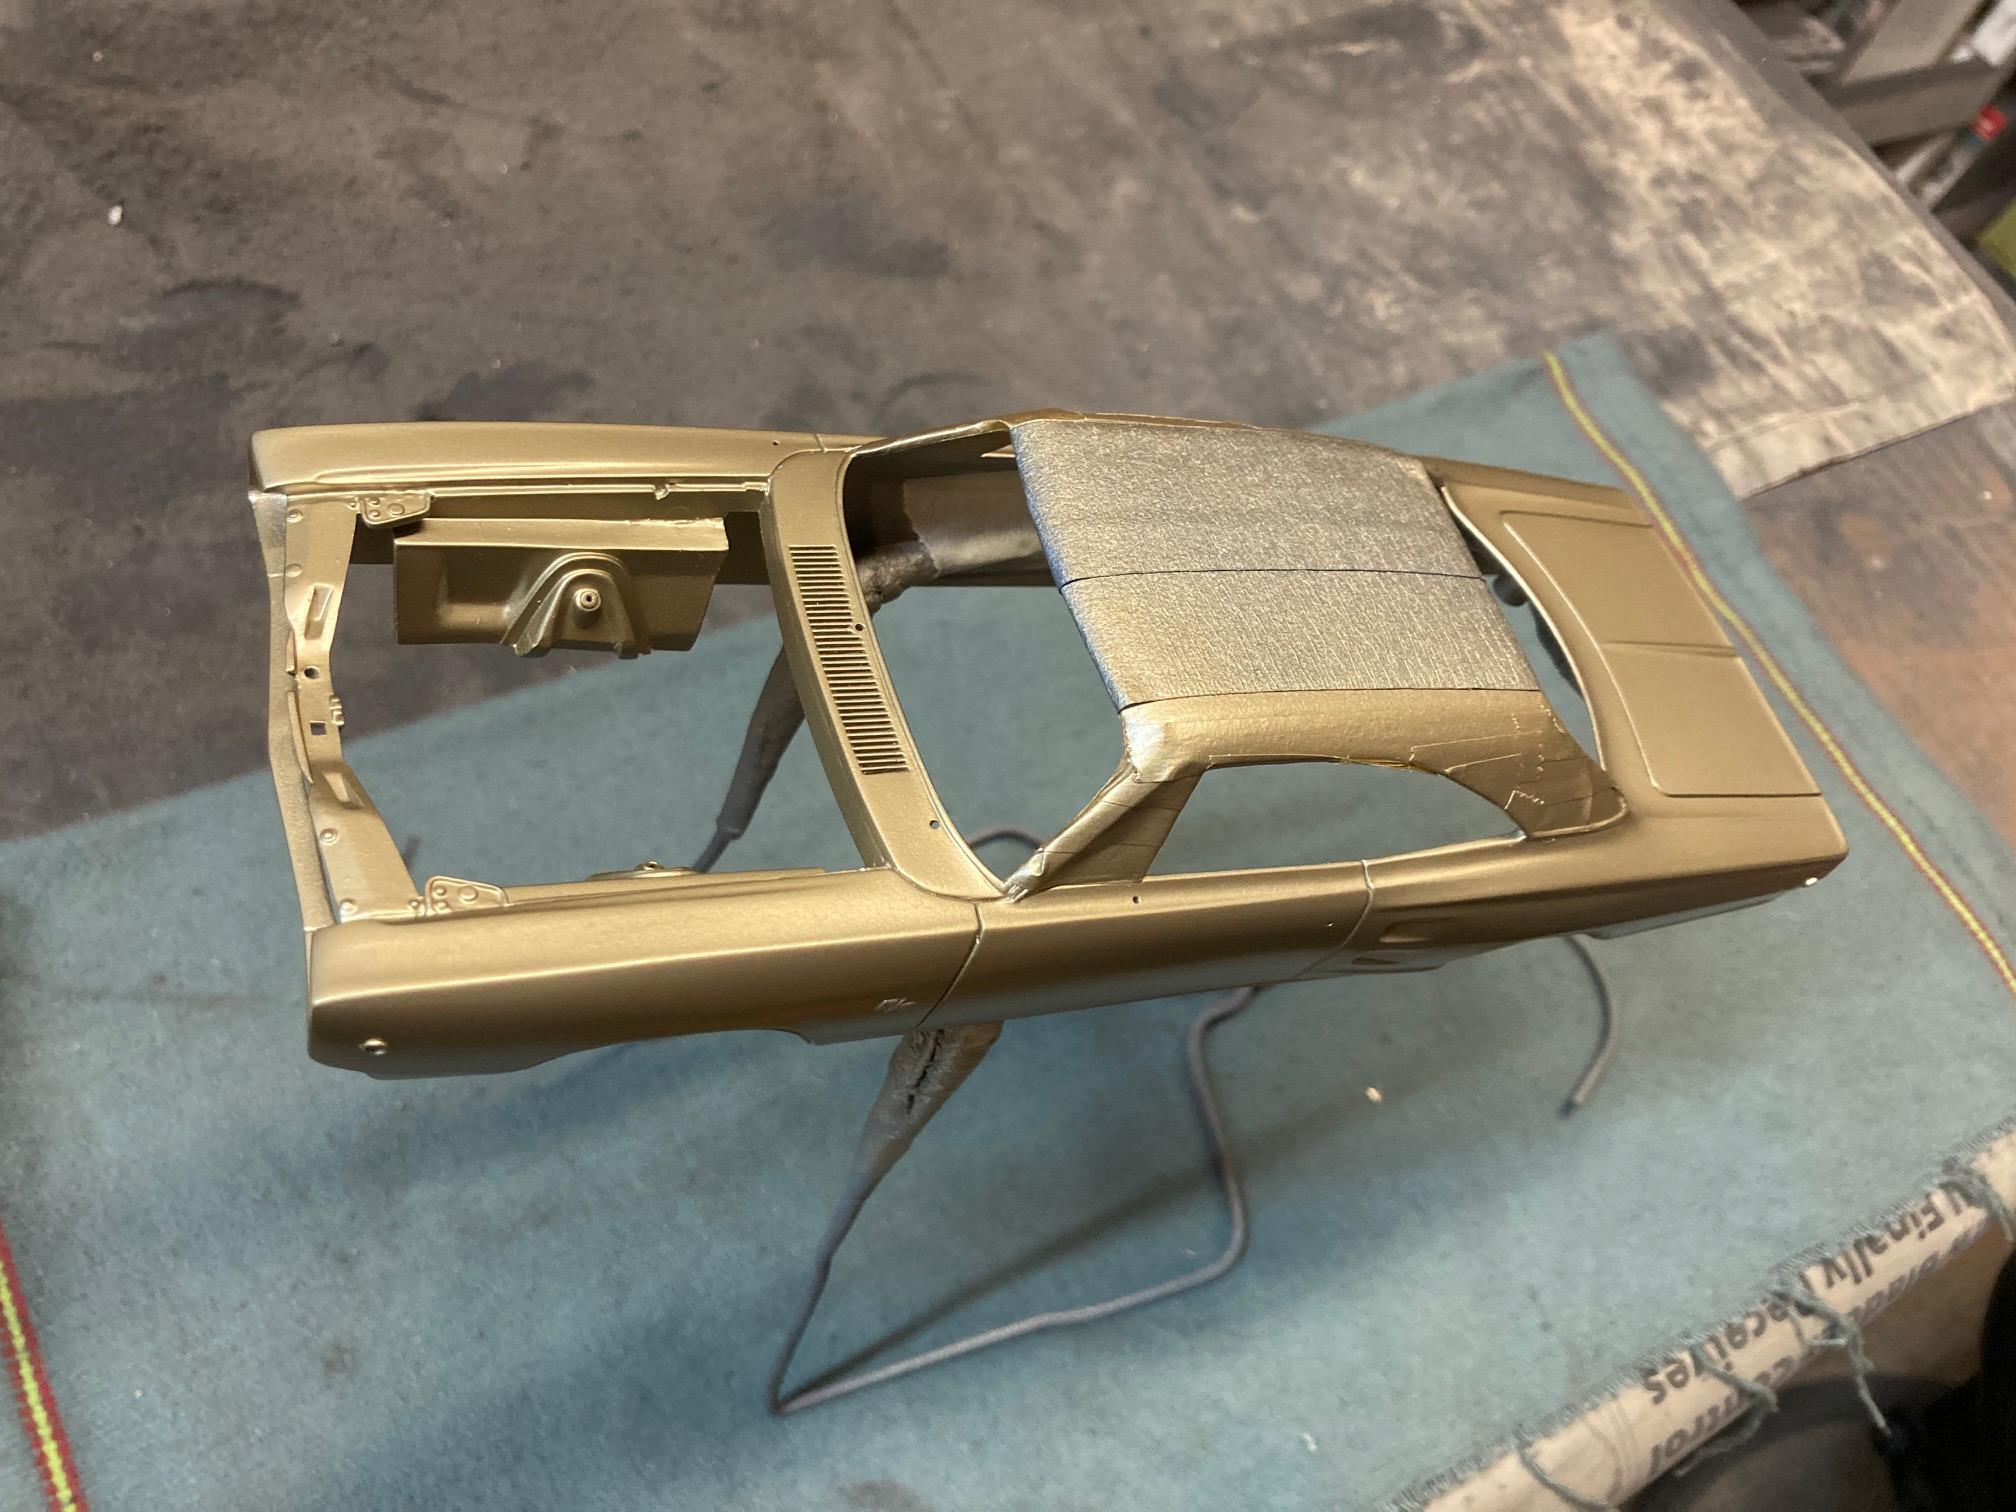
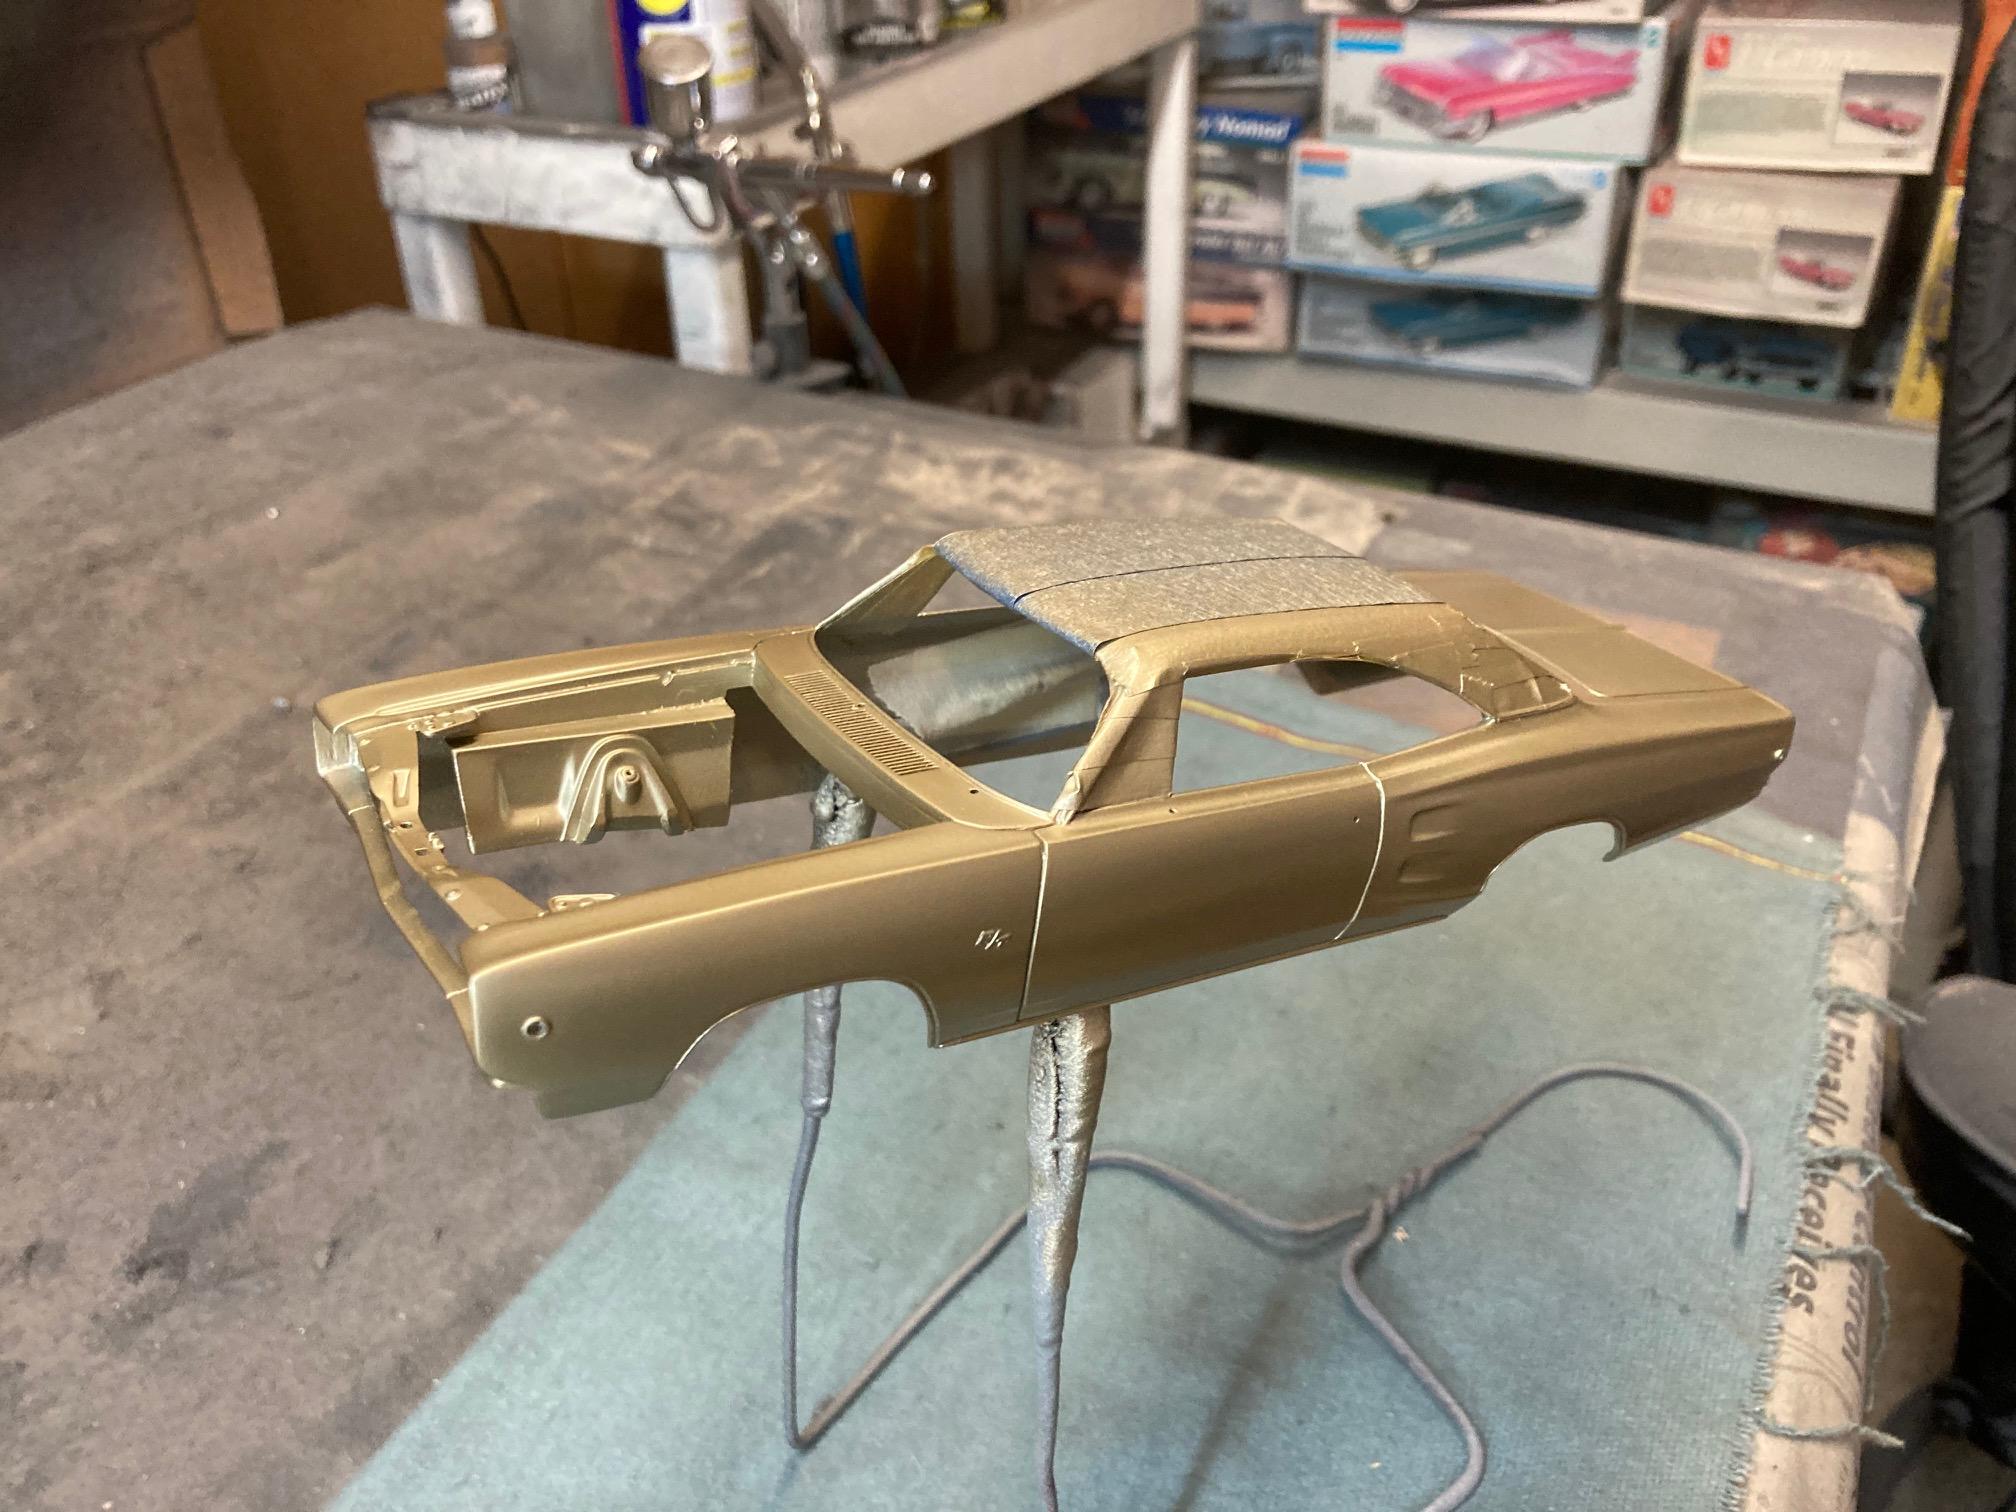
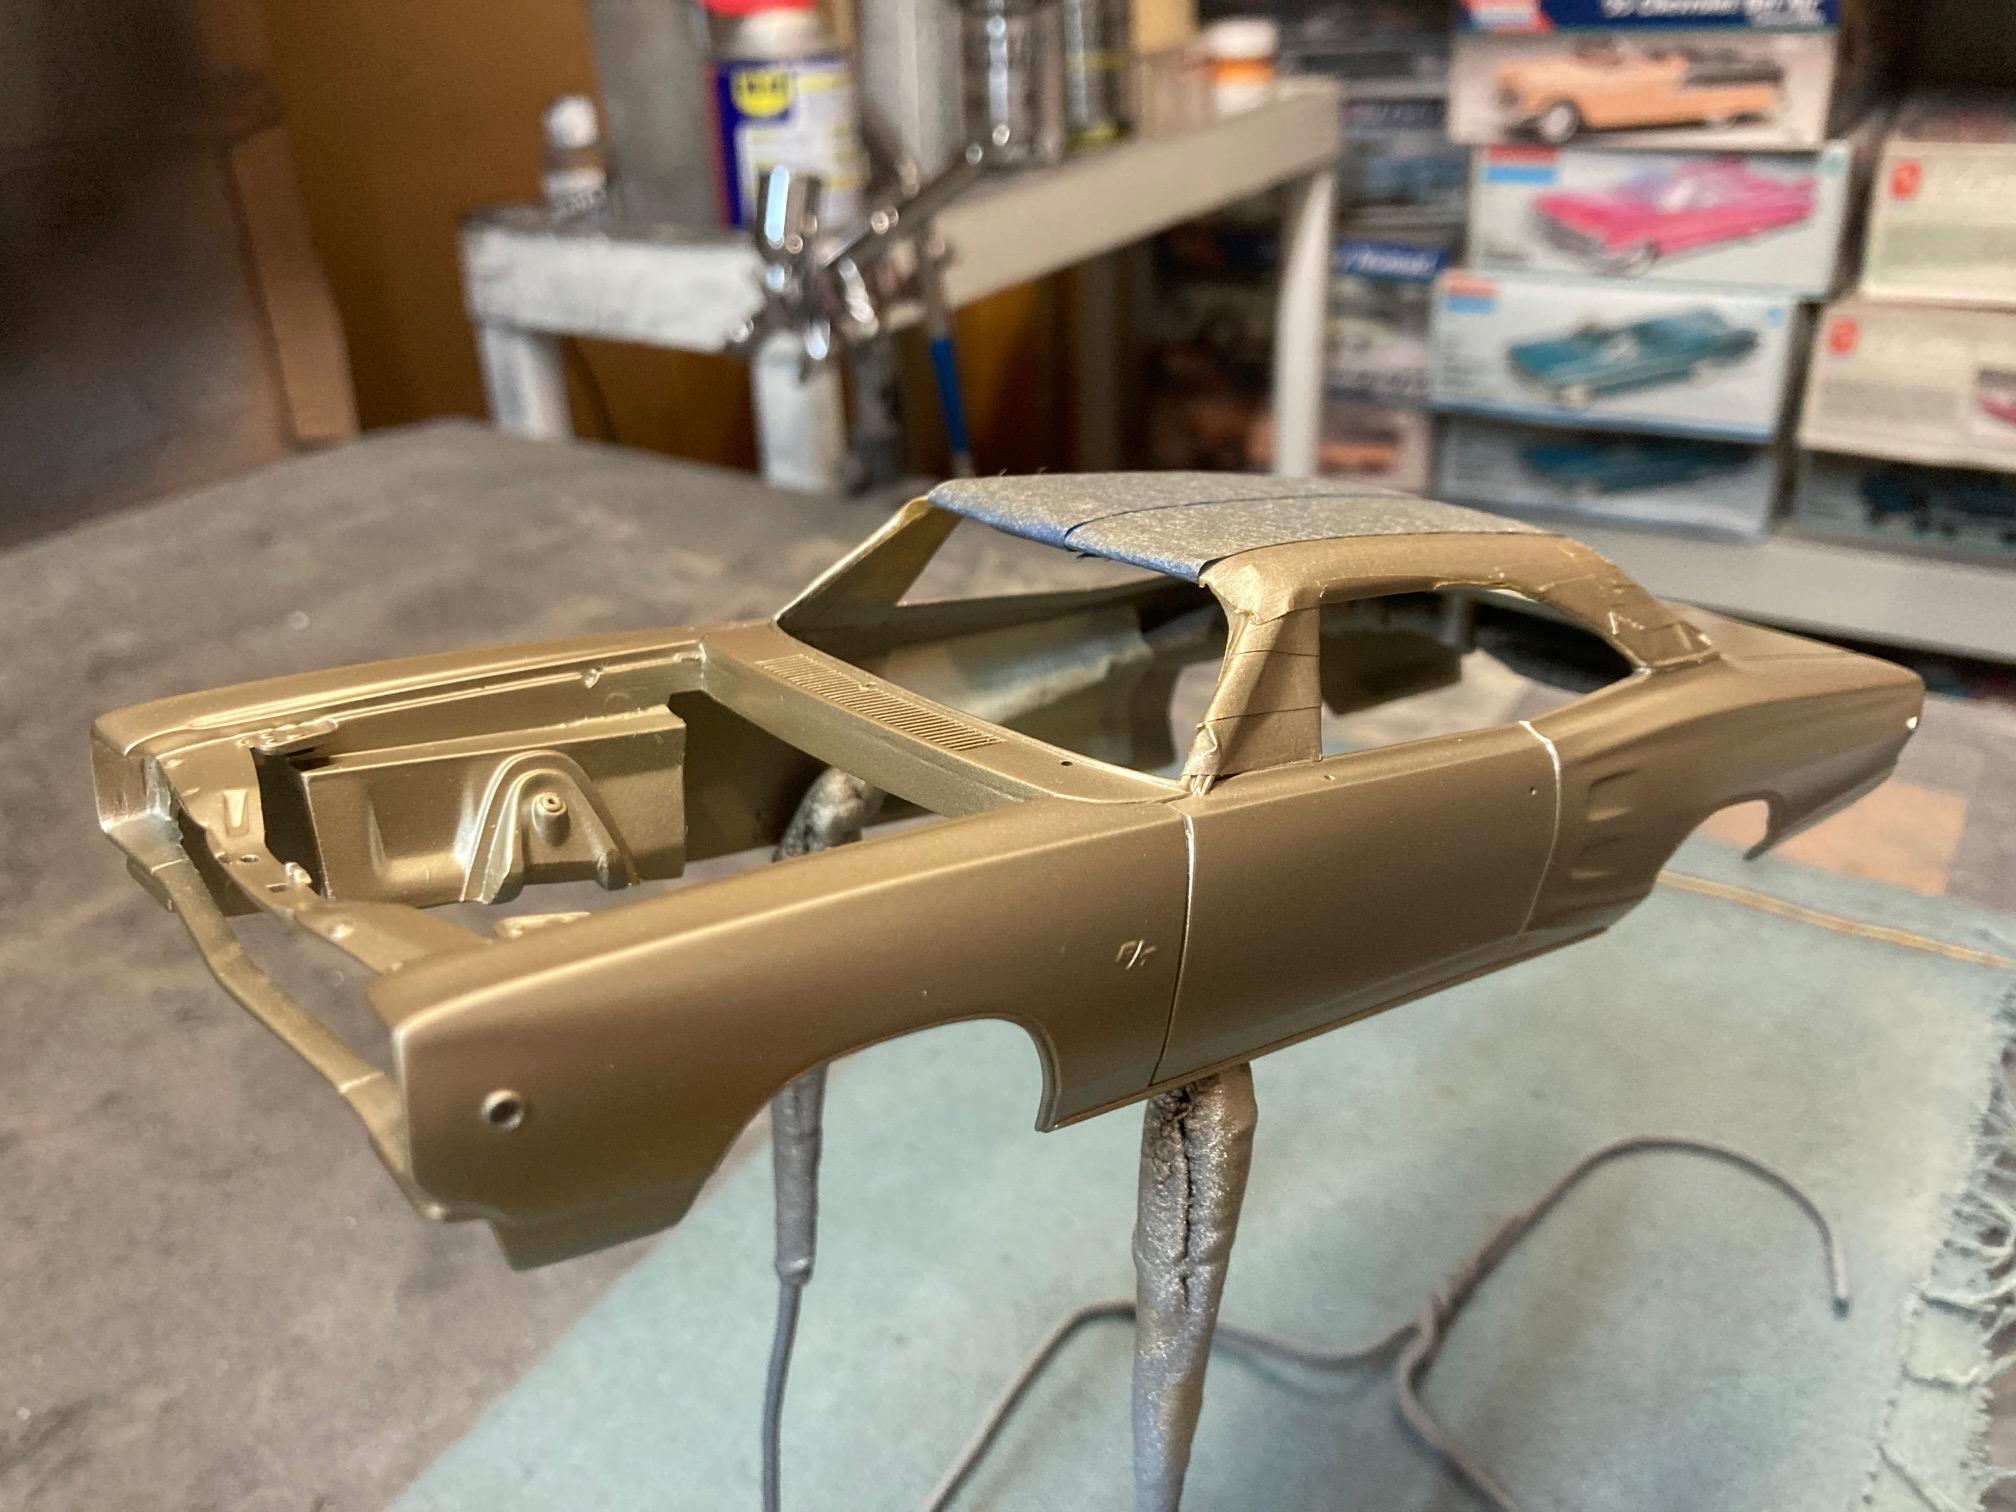
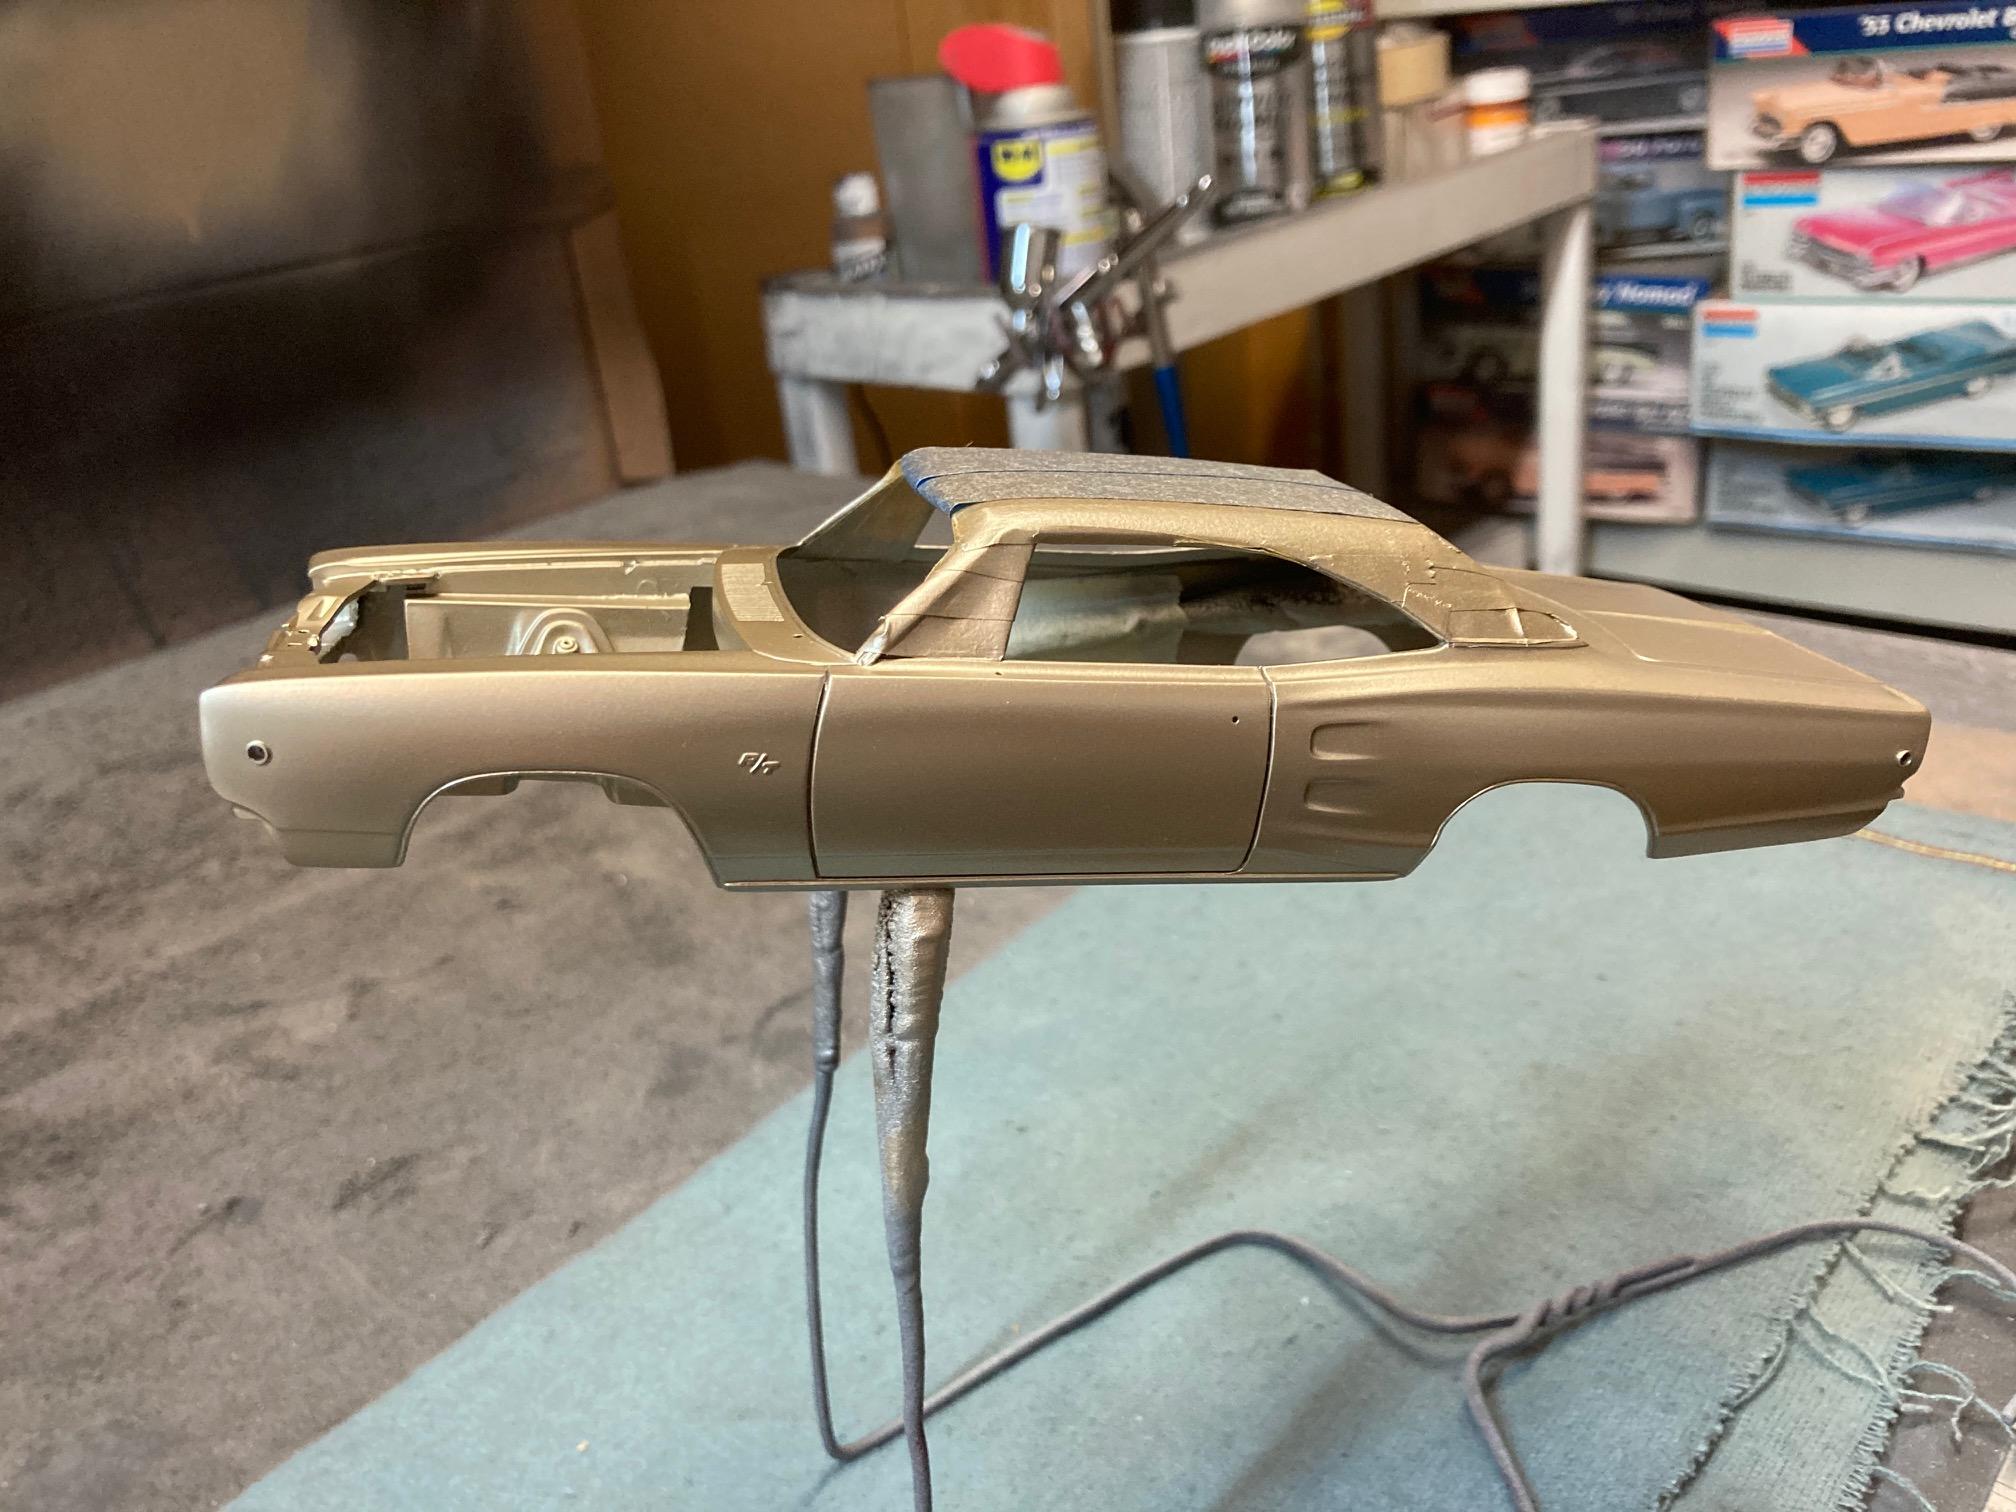
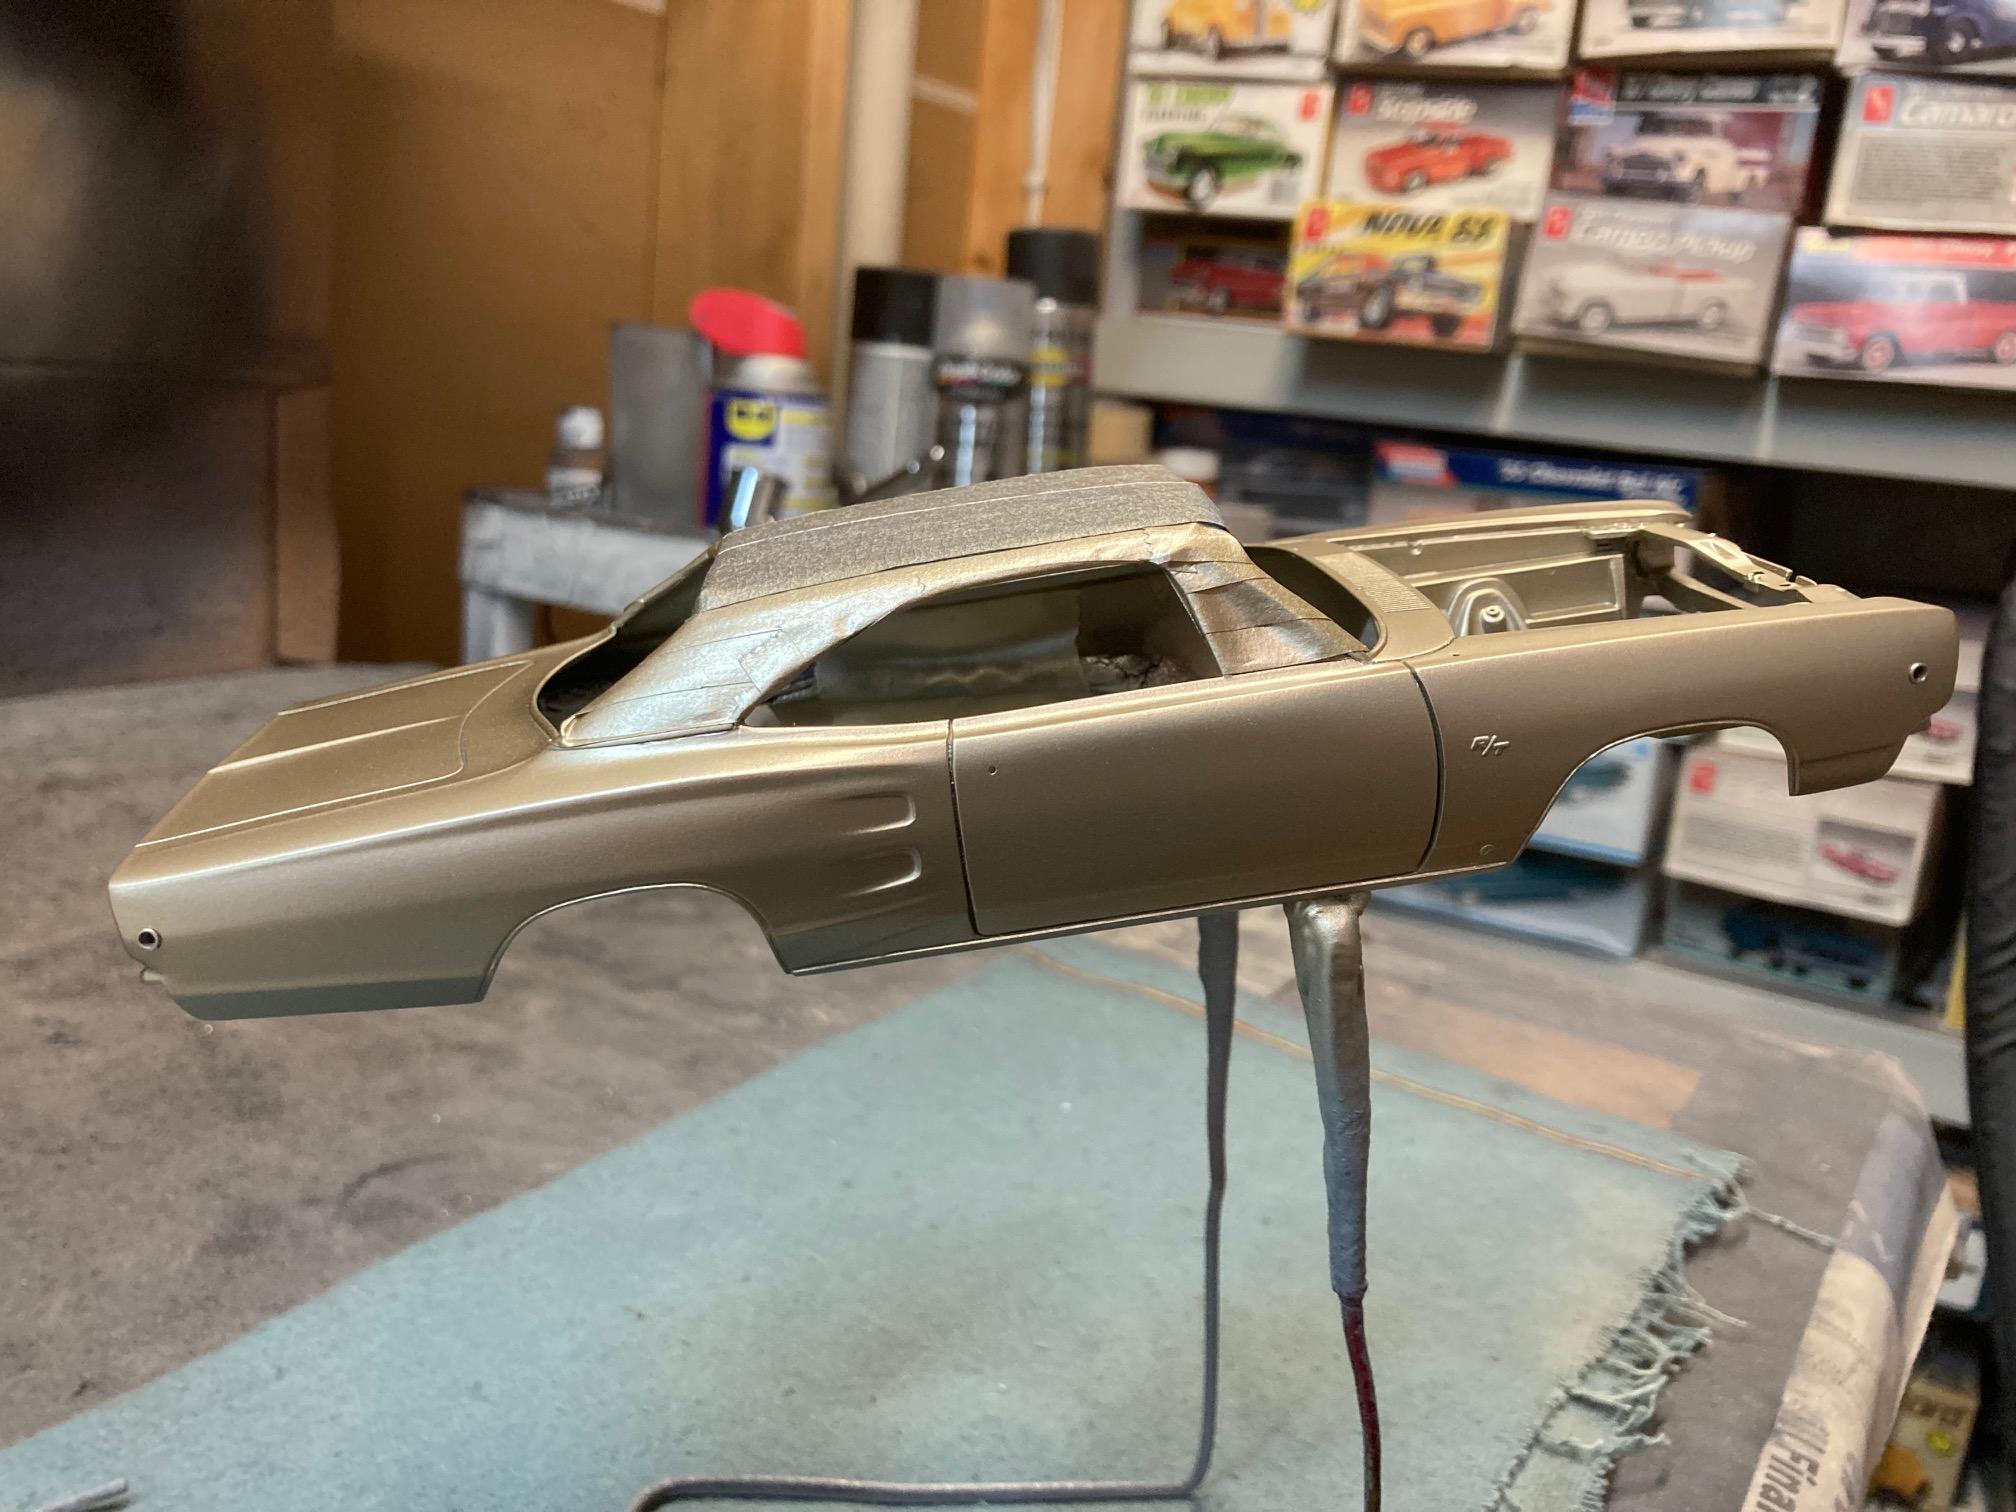
I had a little set back that I feared was going to sink this paint job! Upon inspection, I found a booger in the paint on the passengers side rear quarter. When I tried to sand it out, it basically "picked out" right down to the primer! This basically left a void in the paint that was the depth of several layers of paint that would have been very difficult to sand out, not to mention the variation in color after building the color through several coats. I wasn't sure if I was going to be able to fix it, especially with the added problem of having about a third of an air brush cup of paint left before I ran out. Well, I decided to try to tackle the issue by first dabbing some paint into the void several times with a brush in order to bring the level up to, and beyond, the surface. Then I very lightly sanded the spot to try to level it back down to as level as possible with the surrounding surface without affecting too much of the surrounding area. Then I loaded the cup and hit the spot and immediate surrounding area with several fairly heavy coats to try to blend the color, followed by lightly re-coating the entire side with one coat to blend the whole side. I was very concerned that there would be enough color variation when compared to adjacent areas of the body that I would not be happy with the results, but it appears to be pretty good at this point. I believe that I have enough paint left to hit the entire side one more time, and with any luck at all, enough to paint the hood hinges, which are the only remaining parts left to paint body color. It's going to be tighter than tight!! This was what I had at the point where the brush work was done, before sanding. This is the point that I'm at now, with a possible single light coat on the whole side remaining. This is what I have left for paint! Steve
-
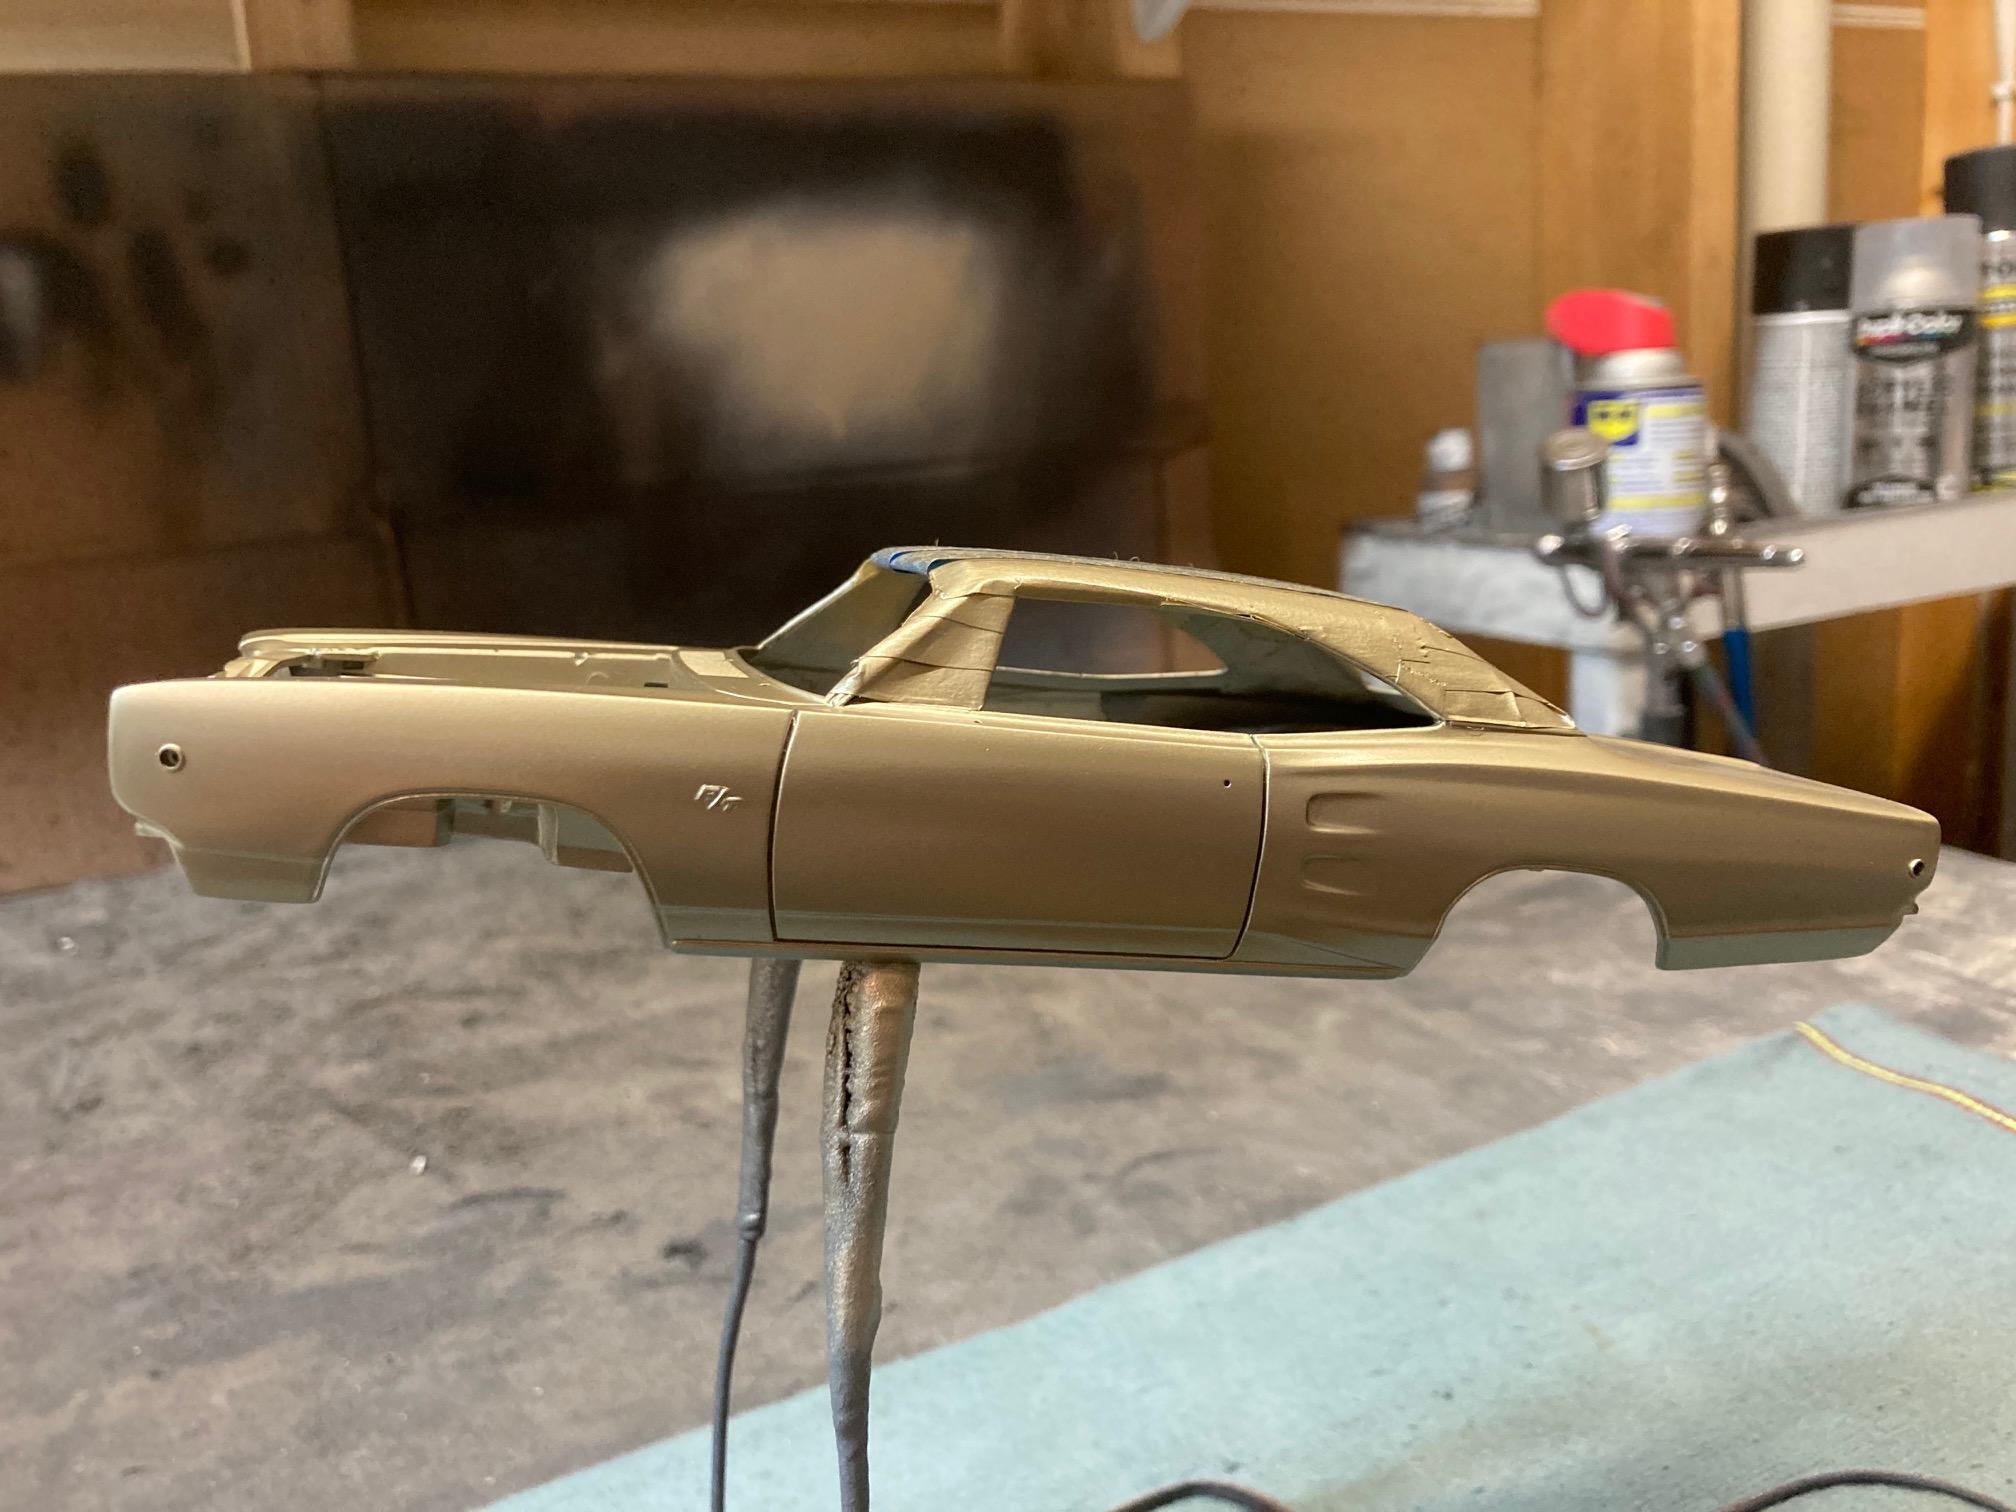
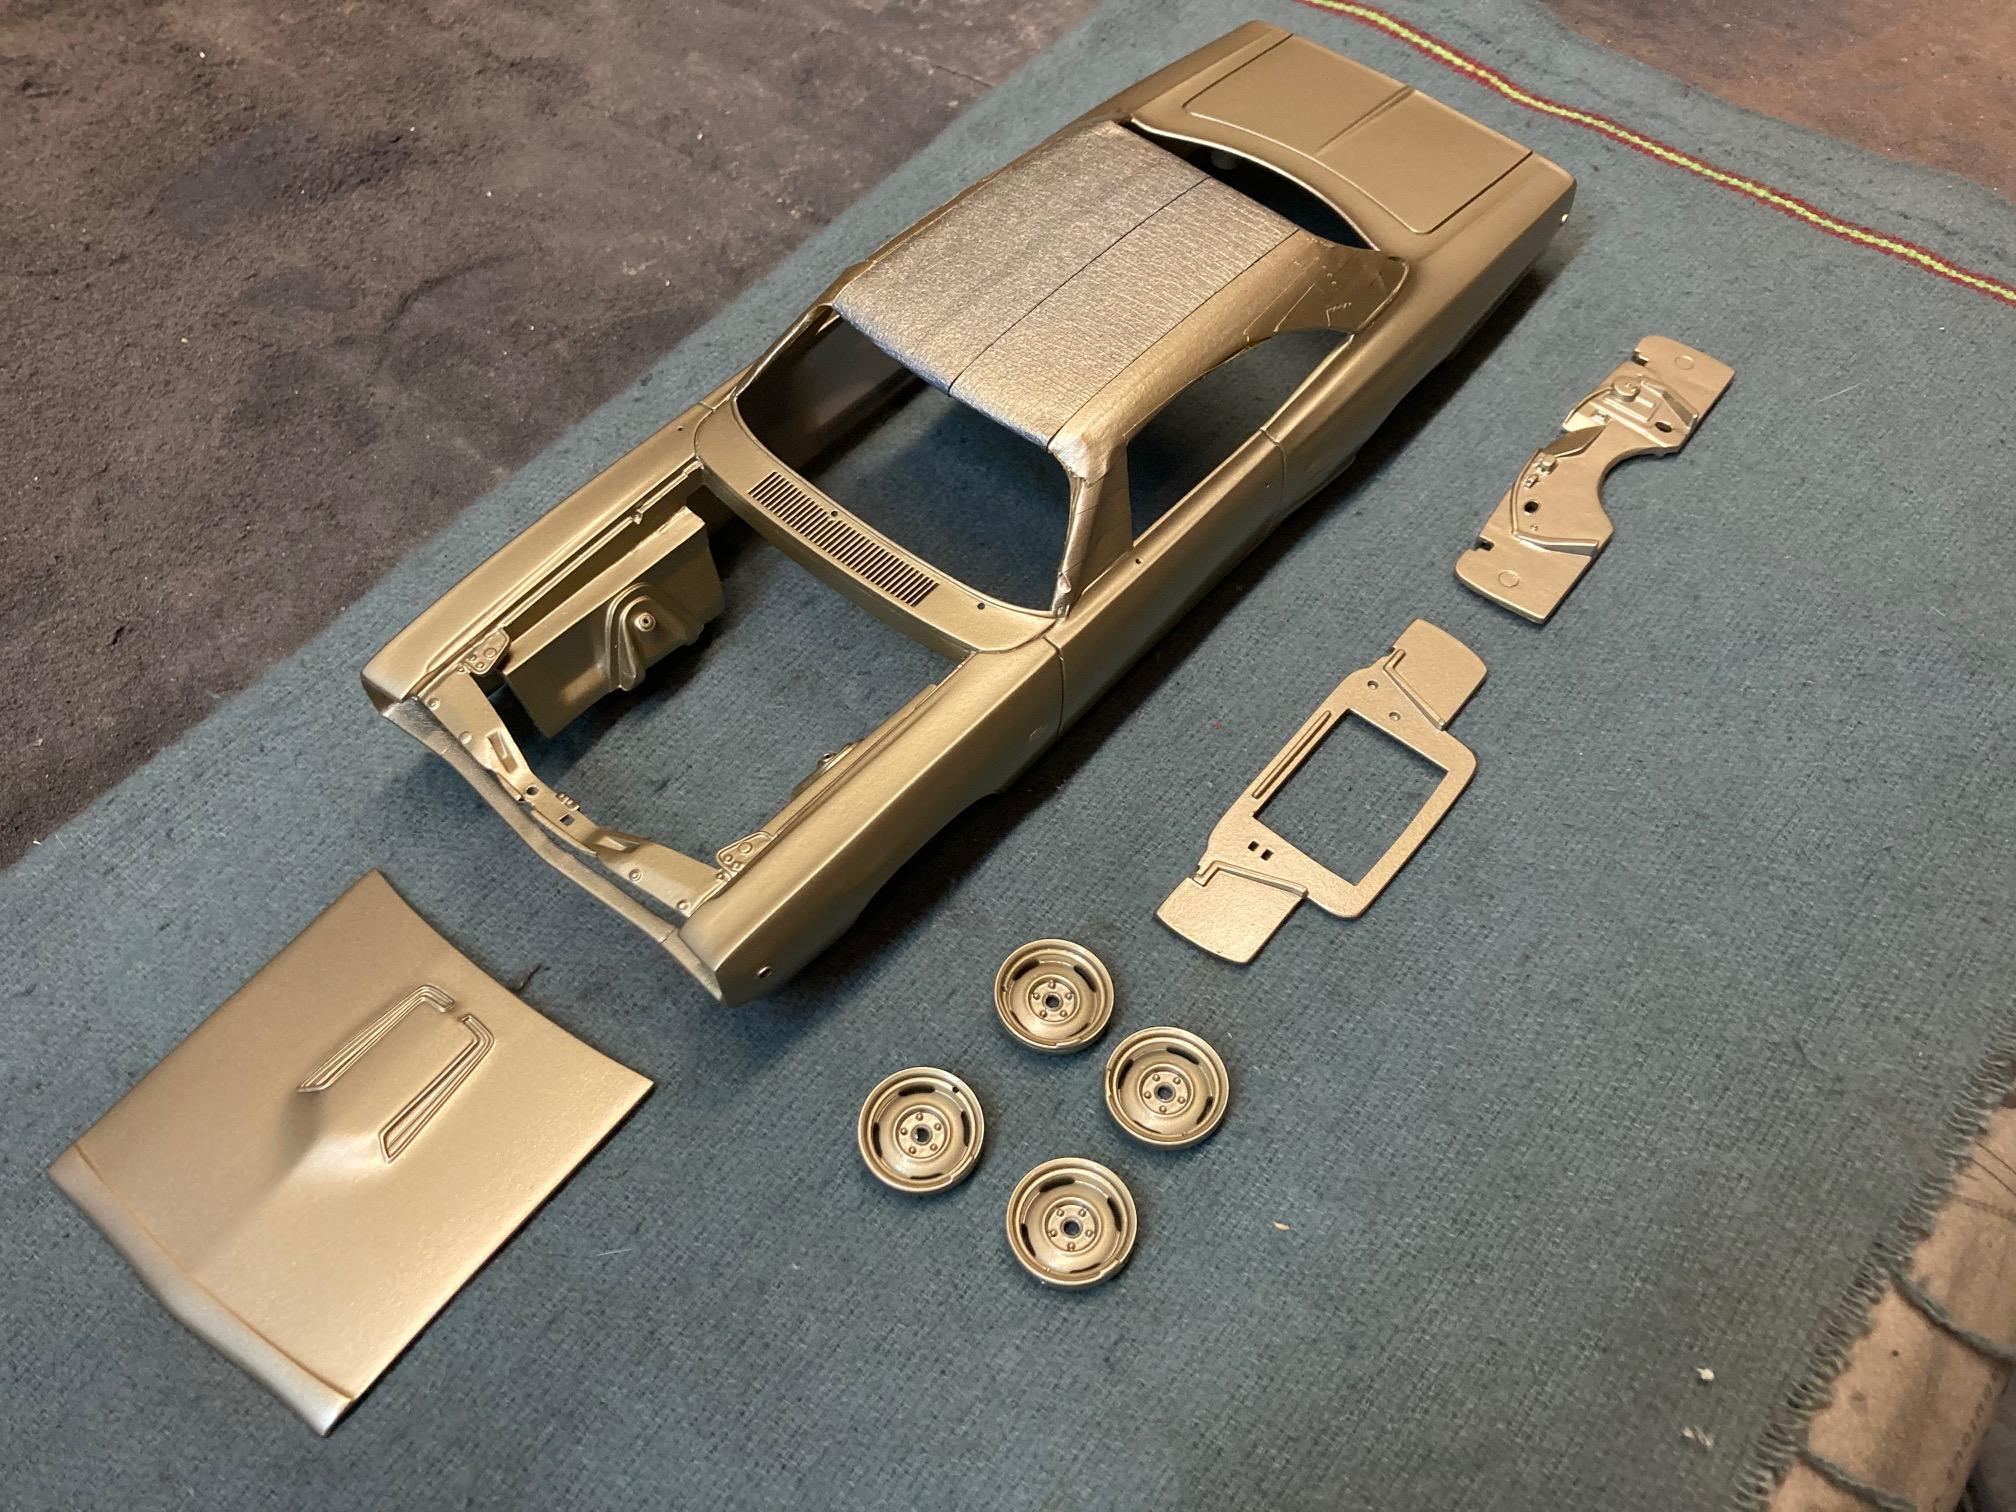
Thanks Greg! Here's a few pics after the final color coat. I think it has a little more depth now, and clear coats should bring the color to the forefront. Steve
-
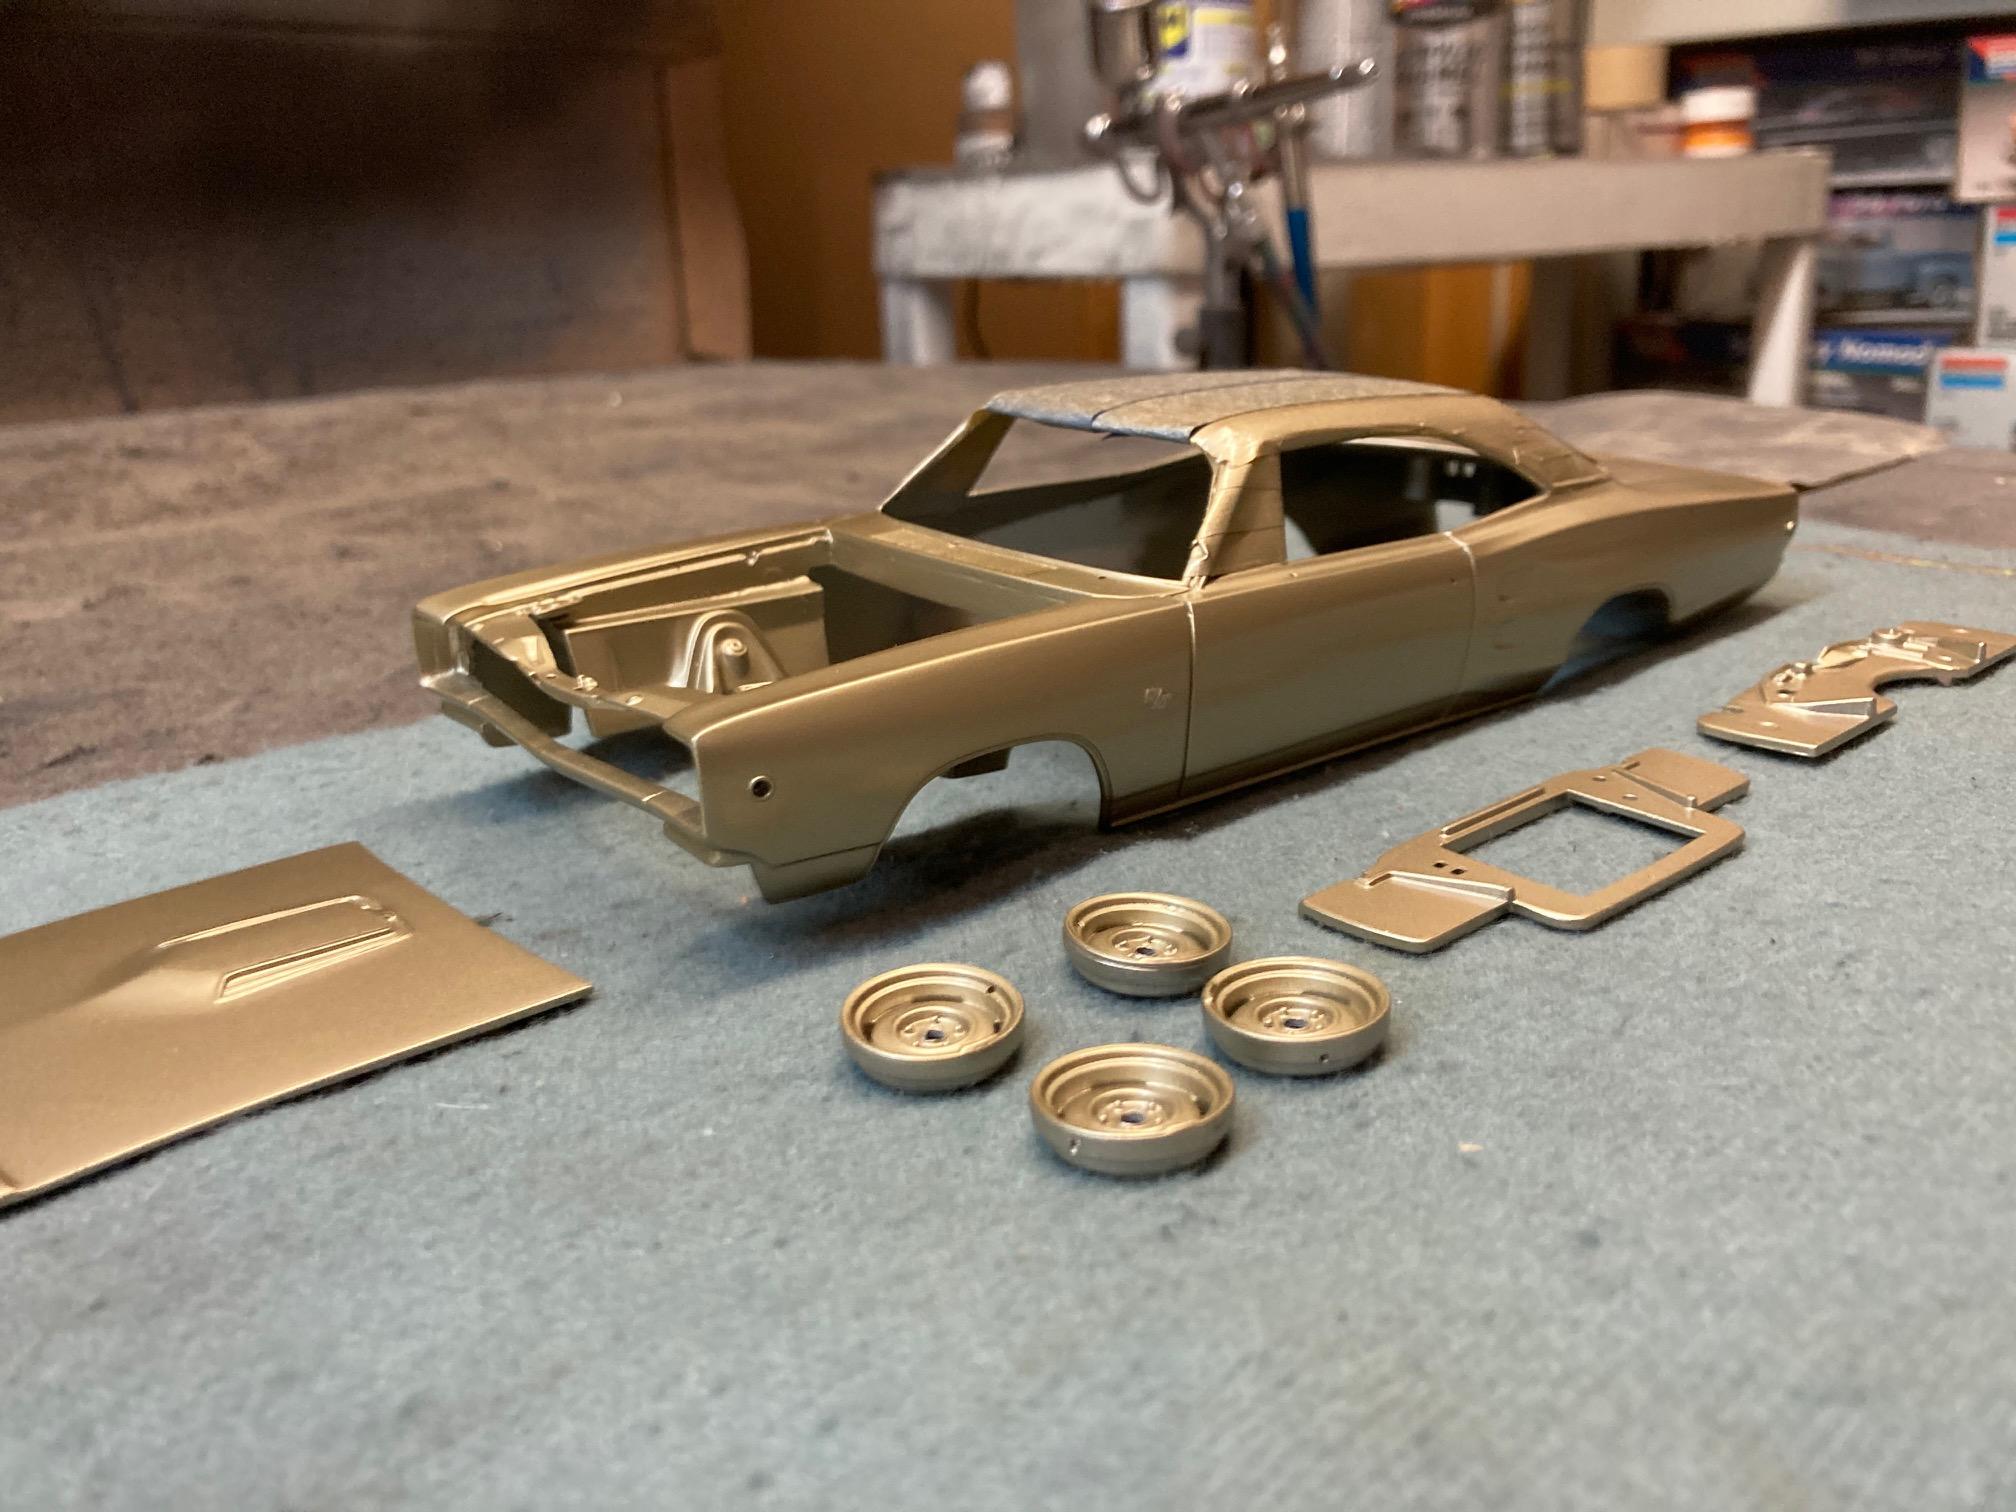
Finally! Some color on the Coronet!! Next, I'll foil the scripts on the front quarter and rear panel before giving it a final color coat. Then I'll begin layout and painting of the bumble bee stripes before beginning clear coats. Steve
-
Thank you for prompting me to "try again"! Steve
-
Hi Frank. Of course, the levers themselves are nothing more than pieces of silver wire bent to shape. The thin knob on the blinker switch is just a piece of thin plastic rod, drilled on one end to accept the wire, and sanded round on the other. The knob on the gear selector is a little more involved, but still not difficult.......that is as long as you have good dexterity, and either great eyes or plenty of magnification. I started with a piece of rod in the correct diameter. Then I sanded the end of the rod to a point, or cone shape. Next, I took a small round file, and lightly filed around the upper portion of that cone to create a little bit of a concave cone shape, if you know what I mean. All of this is of course done while it's still attached to the rod. Next, I drilled out the thin end of the cone for for the wire. Finally, I sliced the knob from the rod right at the point where the cone meets the rod. Here's a little trick to use when continuing to work with extremely small parts such as this knob after it has been removed from the rod. Be sure that the small end is drilled before separating it from the rod, and then once cut off, slip the part back onto the drill bit with the bit still in the pin vice. This allows you to use the pin vice as a handle for finishing work on a very small part instead of trying to handle it with your fingers. Once the knob is separated, sand the end smooth, or a little convex, or as I did in this case, sand a small strip around the wide end of the knob flat for a little added detail. Sometimes it's a little difficult to give instructions for something like this with the written word Frank, but I hope I made it understood. Steve
-
This one wasn't too bad, which is why I decided to attempt it. The engraving was pretty deep and well defined. Steve
-
Paint-How much is enough??
StevenGuthmiller replied to TransAmMike's topic in Model Building Questions and Answers
No doubt, but I'm just thinking along the lines of the paint that I use. All acrylic base coat lacquers, most with very small metallic particles. That stuff will "smear" when sanded like there's no tomorrow. Steve