StevenGuthmiller
-
Posts
15,071 -
Joined
-
Last visited
Content Type
Profiles
Forums
Events
Gallery
Everything posted by StevenGuthmiller
-

Paint question
StevenGuthmiller replied to JerseeJerry55's topic in Model Building Questions and Answers
I agree. just give it another coat or two and polish it out. Of course, I don’t have any experience with Krylon paint, so there’s that. Steve -
Weathering techniques question
StevenGuthmiller replied to JerseeJerry55's topic in Model Building Questions and Answers
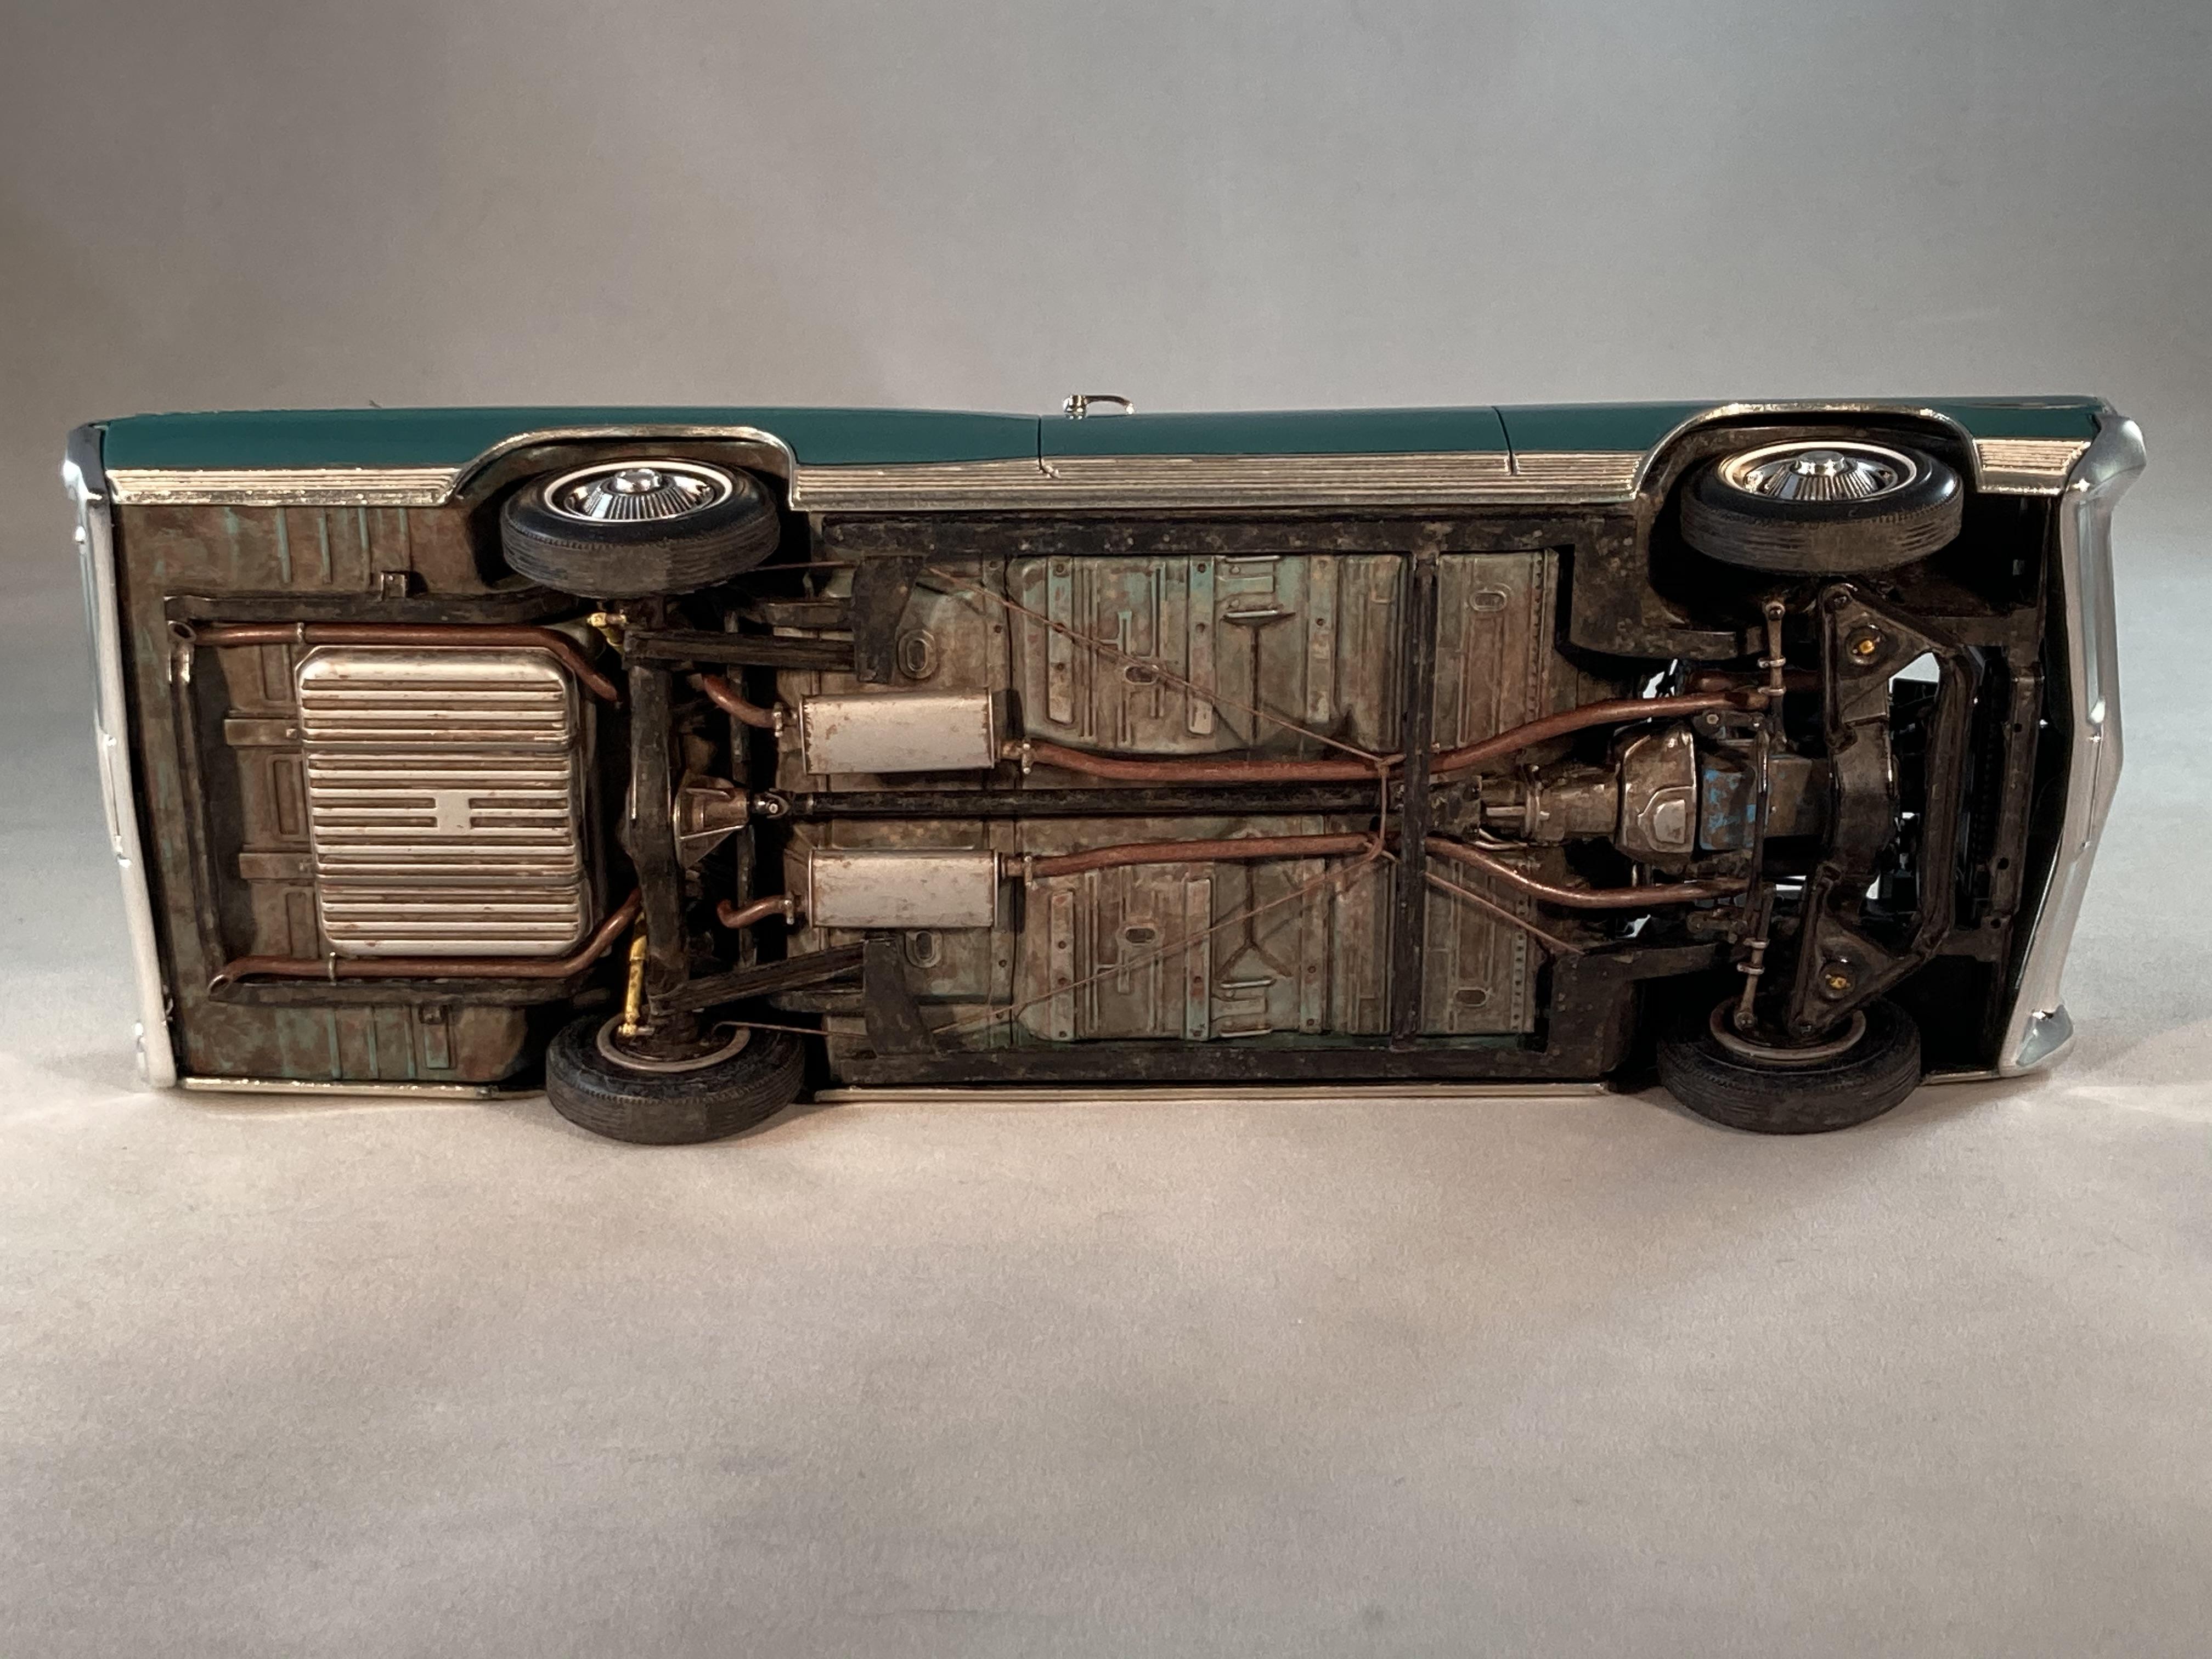
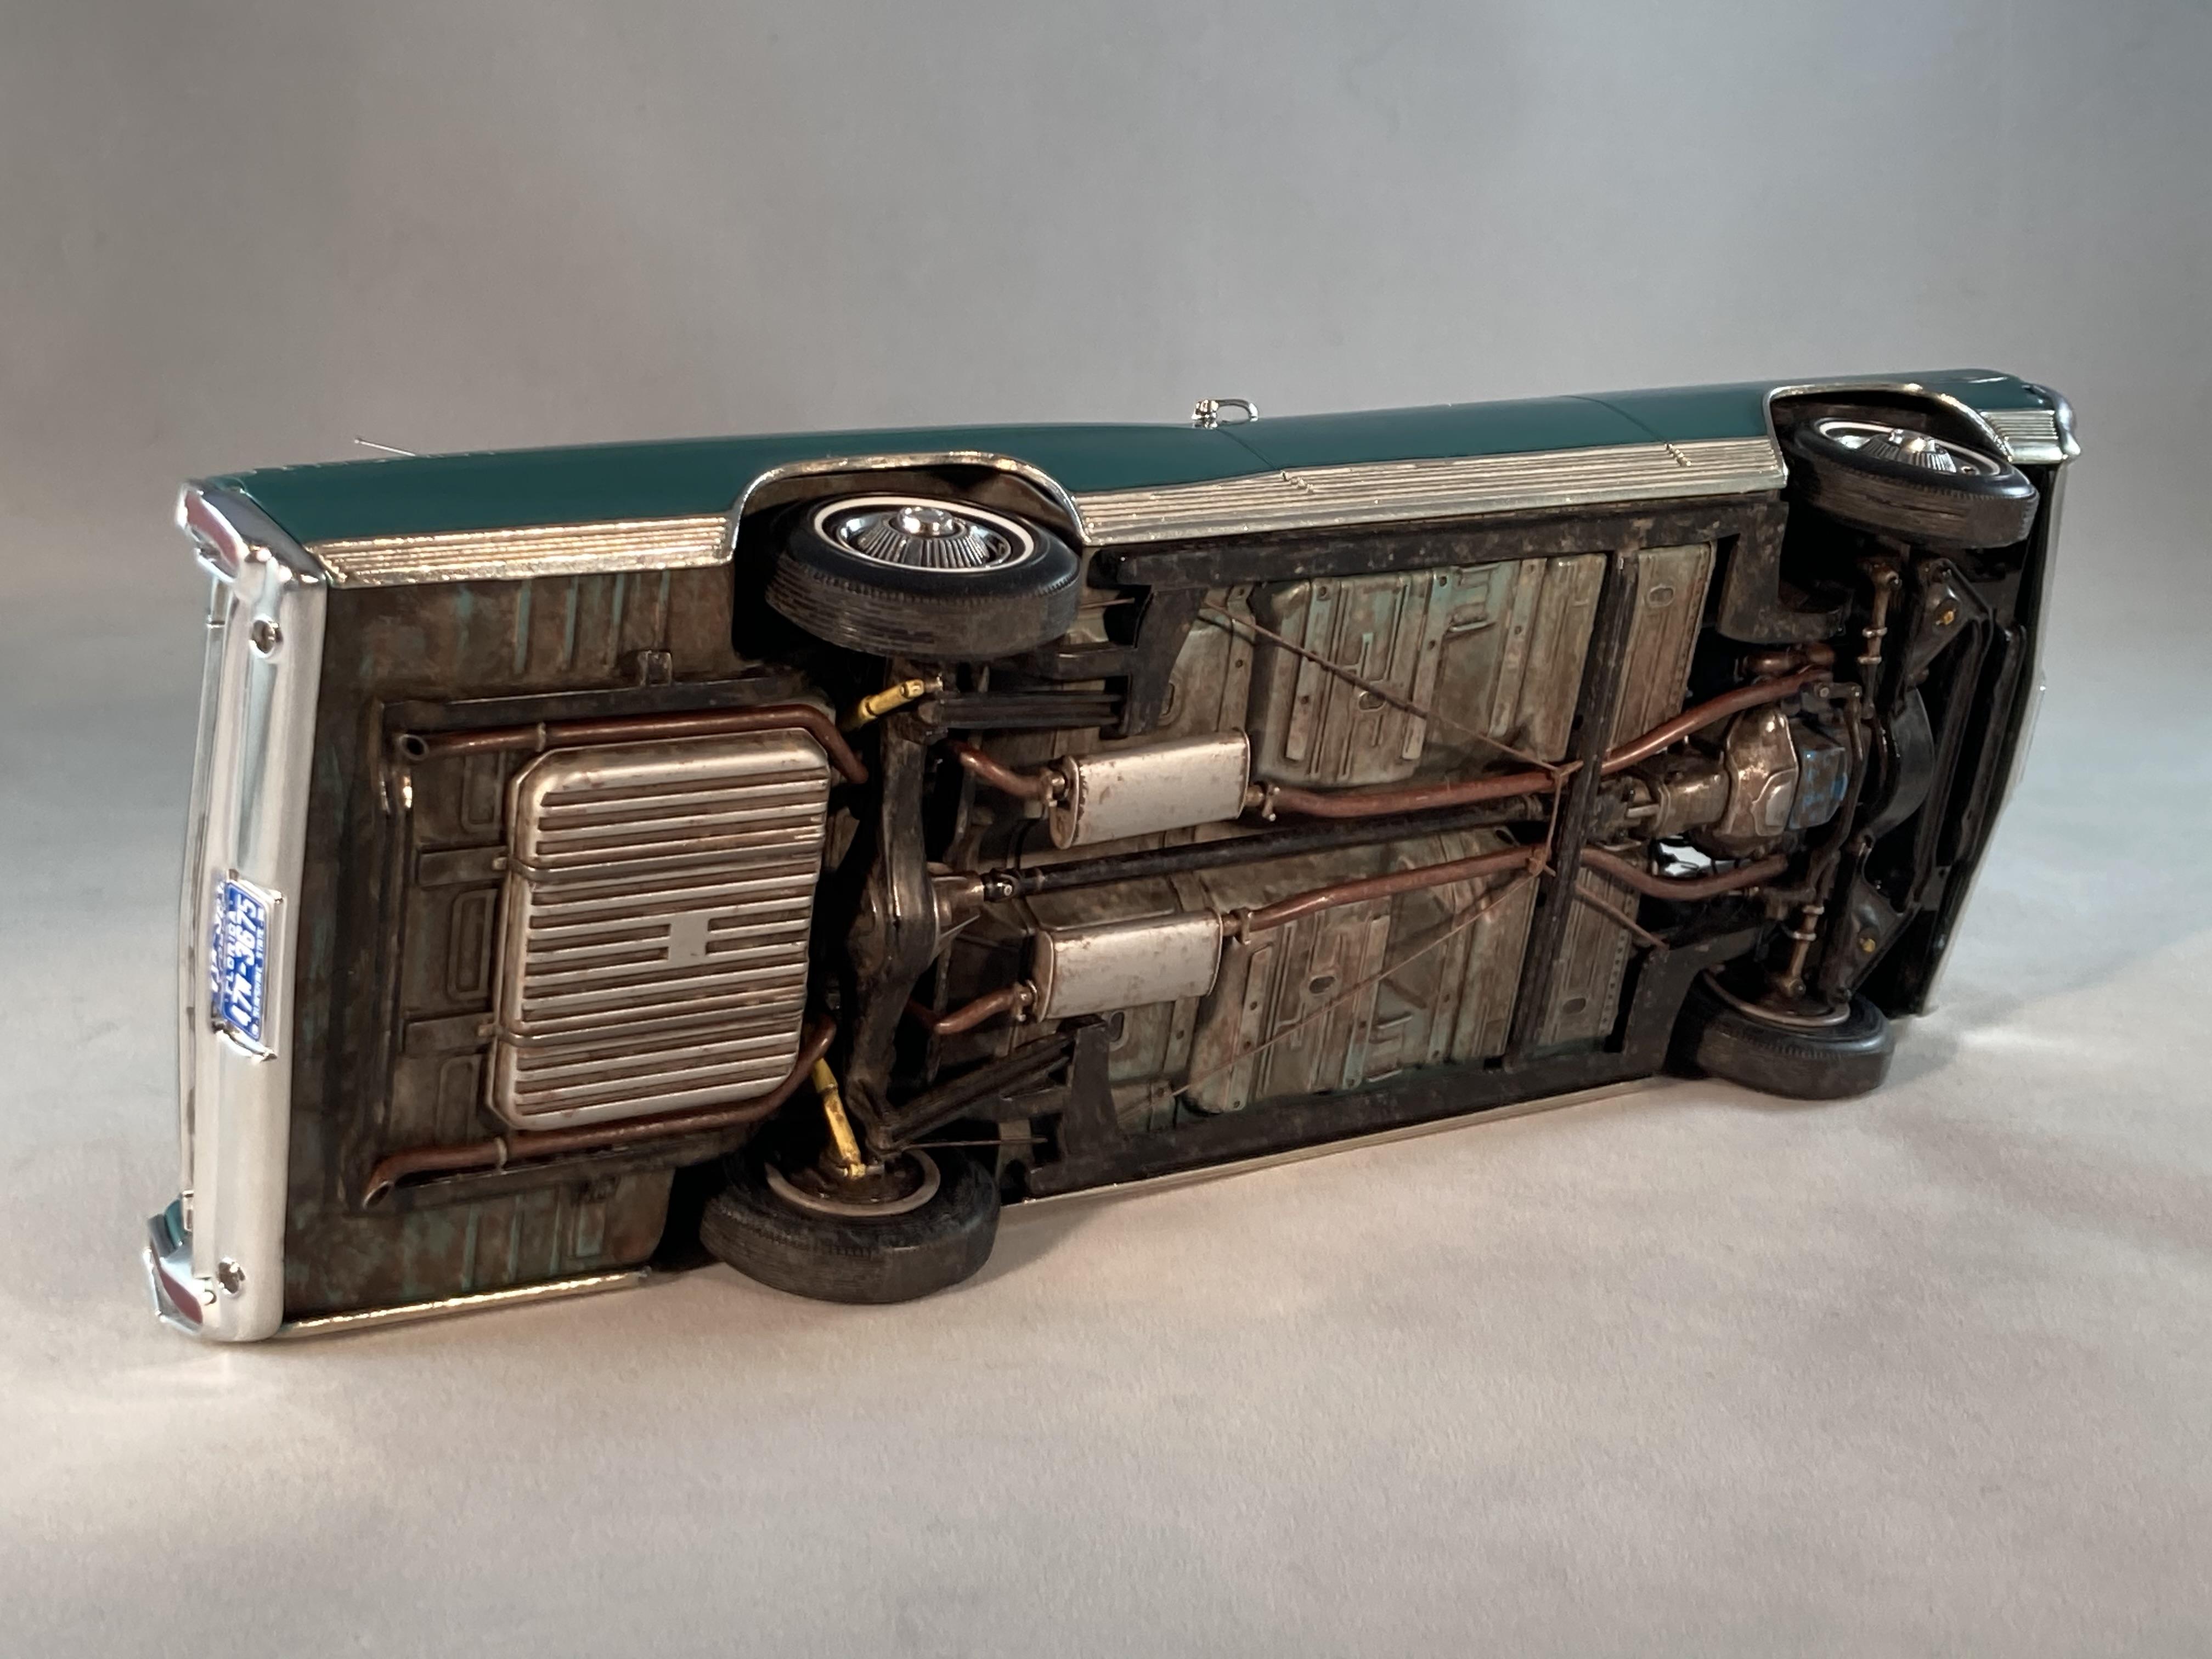
Well, I’m certainly no expert on weathering. I’ve never weathered a military model, model railroad or diorama. I’ve only done some basic weathering on a few chassis and engines using nothing more than acrylic craft paints, but I’ve been pleased with the results, and I didn’t have to go out and buy a couple hundred dollars worth of materials that I may or may not ever use again. I did this chassis with 3 colors of cheapo acrylic craft paint that I probably paid less than $5.00 for. Steve
-
I can agree with all of that, but I’ll confess that I don’t think that I have a finished model in my case, (probably never have, or never will) that didn’t have something about it that every time I look at it, I say to myself, “I wish I would have done that differently, or better”. I’m pretty sure that the quest for perfection is a futile one, but it’s one that I’ll never stop striving for. I guess it’s in my blood. ”Good enough” has begun to slowly disappear from my vocabulary. Steve
-
Of course. That’s why I said “it’s not always possible”. But there are avenues in most cases to get as close as possible to a scale texture without going over board. An overdone texture seems to be acceptable to some, but very obviously way outside of what most would consider “in scale”, even though it’s not in scale in actuality. Steve
-
Yes, that’s another common one. Steve
-
What I ultimately had in mind when I made the statement about overbearing "textures" was the seemingly accepted practice of using masking tape for vinyl tops. For some odd reason, as modelers, our eyes apparently see a texture such as that as acceptable in 1/25th scale, when in reality, as a rule, it's not even close to what a texture reduced by 25 times should be. Same can be said about metallic particles in paint that appear about the size of scale dimes on a painted surface, but for some strange reason, many people think that looks quite okay. I understand that it might not always be possible to get everything to scale on a model, but it escapes me how some of these things somehow manage to skate by as acceptable. Steve
-
Corn starch can also be used. I still think the “paint from a distance” technique looks just as good as anything else, and it has the added benefit of not requiring any special materials be purchased or any new techniques or equipment is needed. Pretty much exactly the same process I use for vinyl tops. Sometimes basic and simple can get you where you want to go without overthinking the subject. Just my opinion. Steve
-
Even if information is lost on a particular forum or group, I still have all of the project information available on my hard drive, and on a photo hosting site. Steve
-
We just need to keep in mind that everything we do as far as textures on 1/25th scale model cars needs to be 25 times finer than the 1:1 to look correctly in scale. That’s not always easy, and more often than not, it gets over done. Steve
-
You give me way too much credit! ”Wing it” is my middle name! 😉 Steve
-
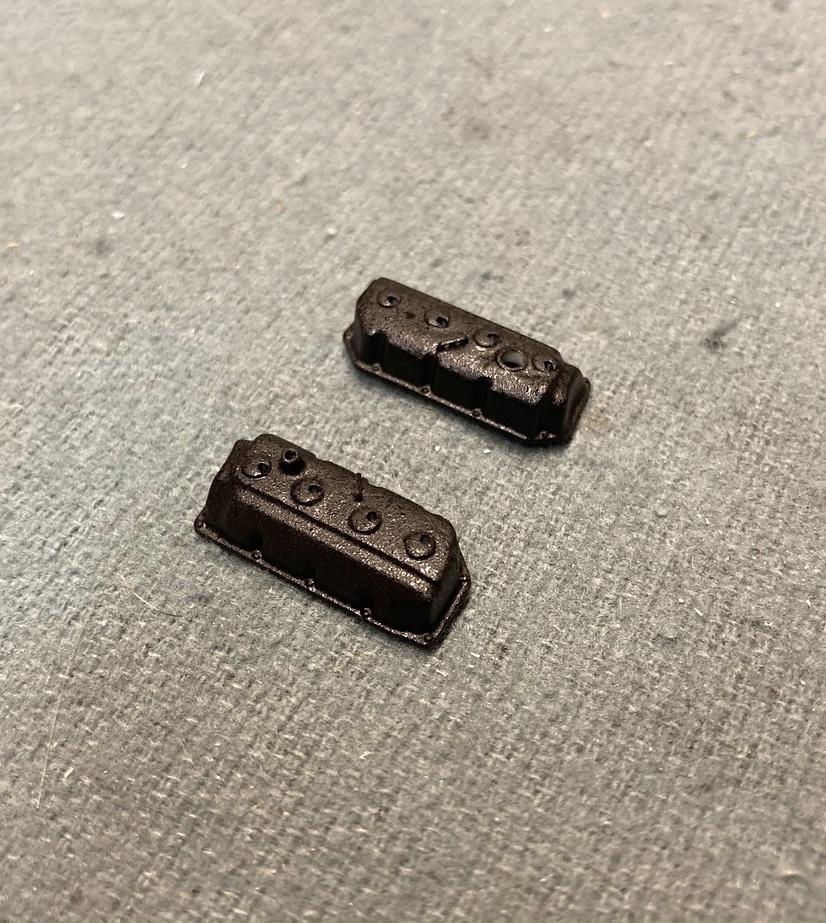
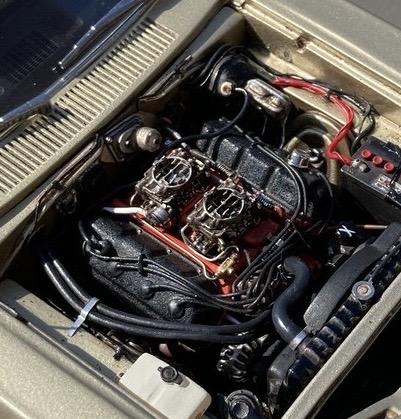
I would think that just a light dusting of paint from a couple of feet away would create enough of the basic affect that you’re looking for. I’m not sure of the Ferrari finish that you’re trying to replicate, but the “dusting” technique looked satisfactory to me for the Hemi valve covers in my ‘68 Coronet. Steve
-
Custom mixed colour opinions
StevenGuthmiller replied to kacitgirl's topic in General Automotive Talk (Trucks and Cars)
I agree with all of that also! I stopped using Testors “Model Master” lacquers a long time ago for that very reason. Their “Extreme” lacquers are even worse. Steve -
Custom mixed colour opinions
StevenGuthmiller replied to kacitgirl's topic in General Automotive Talk (Trucks and Cars)
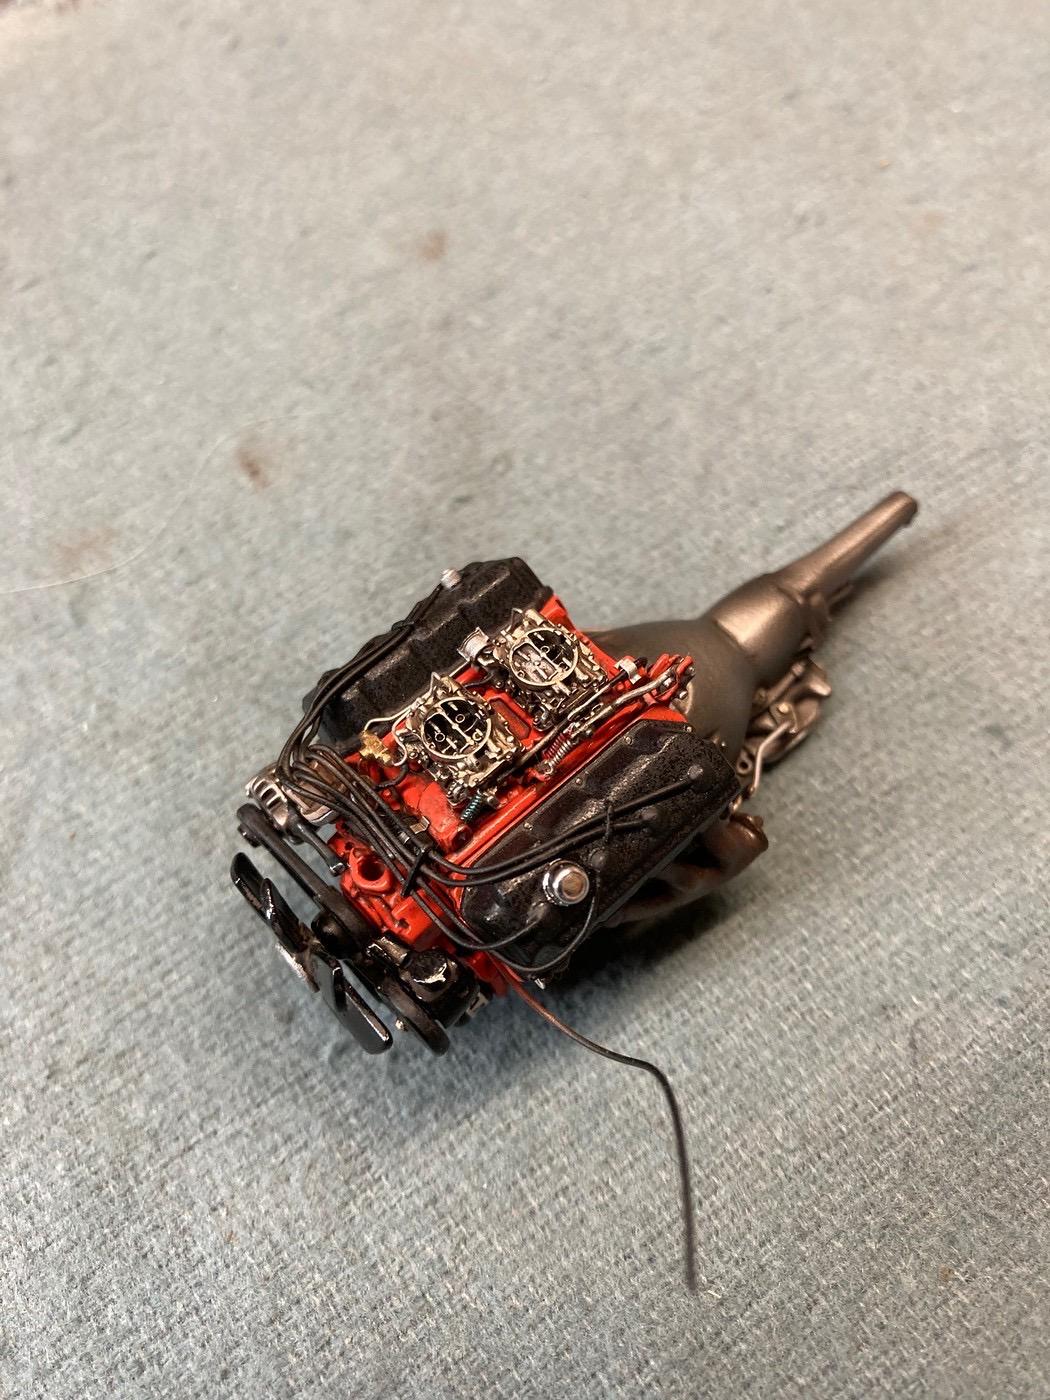
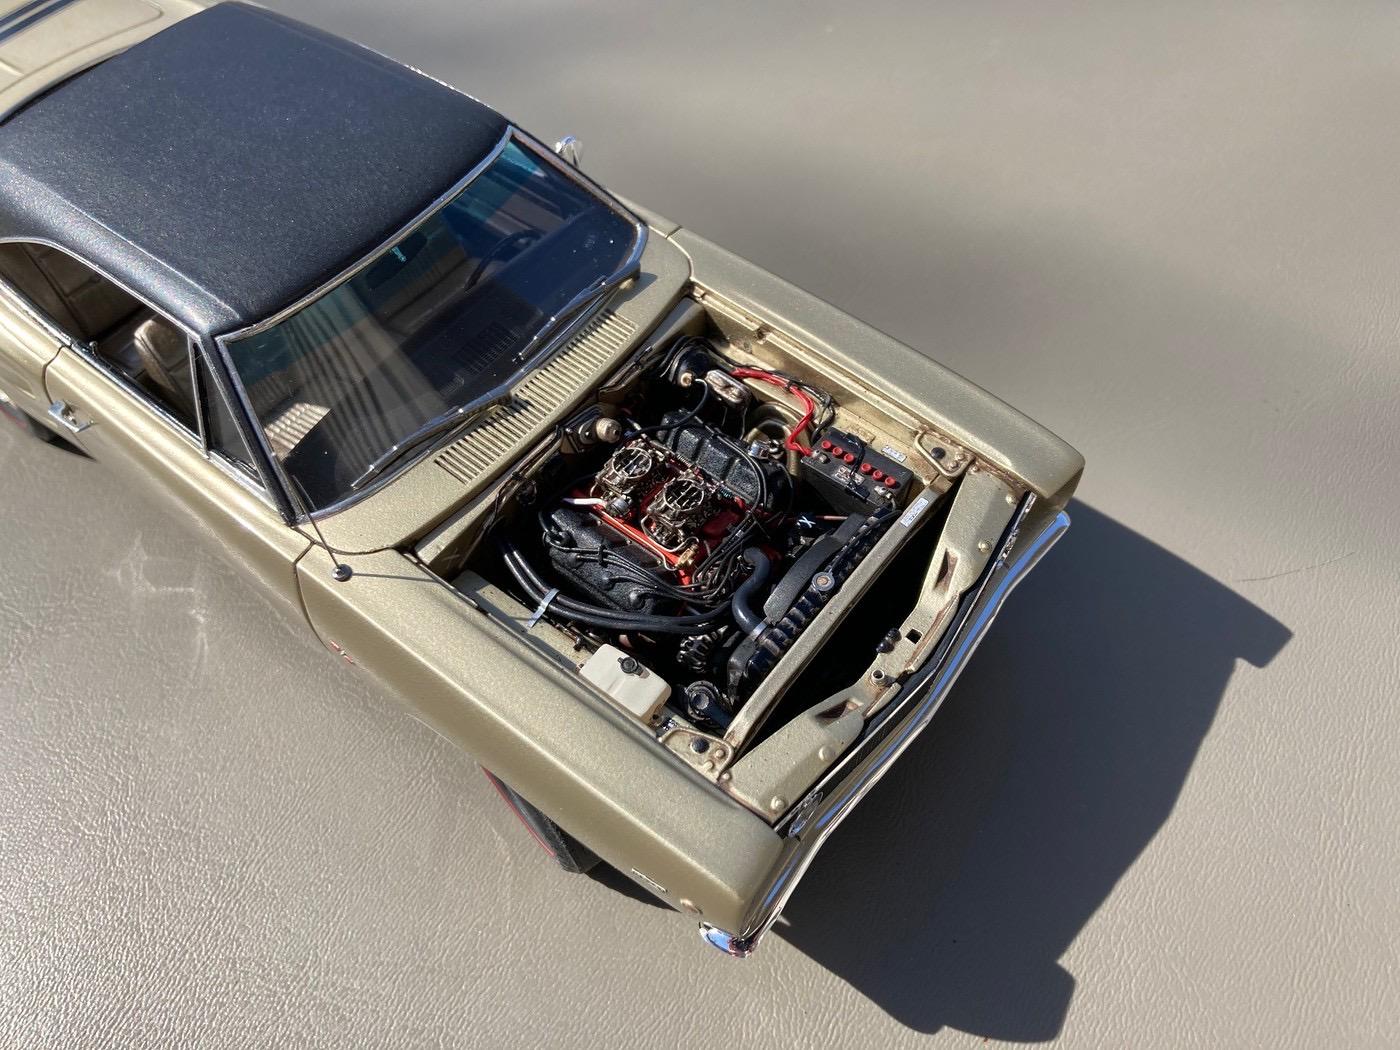
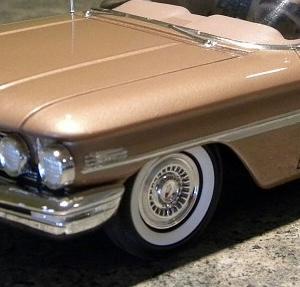
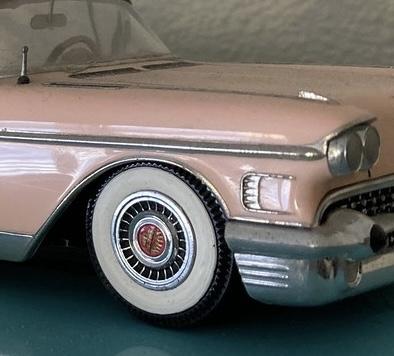
I agree with everything you've said. It's surprising how those metallic particles can show so pronounced in photographs, even with a paint designed to be used on 1/25th scale models with tiny metallic particles! I have quite a number of models painted with MCW or Scale Finishes paints which to the naked eye, are absolutely beautiful, and discerning any individual metallic particles is all but impossible. But photograph them in the right light and a certain angle, and there's no missing them! Just the difference between these two photos makes it quite obvious. Steve
-
Shows you how much I know about model railroading! Steve
-
I'm slightly amazed at how closely this all parallels my building philosophies!! Are you sure we're not the same guy? Steve
-
I build one project at a time and can generally keep everything that I need to remember sorted out in my head, but when I get down towards the final assembly stage, I will often make a list of the order in which I want to assemble everything. Sometimes you can avoid some pretty annoying issues if you pay close attention to order. Steve
-
Looks fabulous!!........Maybe? Steve
-
Makes complete sense. I've never done that, but I can see how the soap might help. I'll have to give it a try next time. Steve
-
Close to both, but neither one of those. At least not from the Johan kits. Steve
-
I don’t think I’ve ever seen wires on a ‘60 Merc, but of course, I’m no expert. Wires seem to have been fairly common and popular, (at least on restored vehicles) with Mopar, Cadillac, and some Buicks, but I don’t recall them being a particularly big thing with Ford, except for some wire wheel covers on some models over the years. Steve
-
I dump the powder on when the glue is extremely fresh, and shake it around vigorously to ensure even coverage. Don’t be stingy with the powder. Excess can be saved and reused. I don’t “tamp down” the powder because I’ve found that it can have the tendency to make the powder look clumpy, or if you’re not careful, the dry powder on the wet glue can “slip” or “slide” slightly, which can create bare spots, or at least unevenness. I mask any necessary areas, slightly thin white glue, brush it on a section, (I’ll often divide a floor into 3 or 4 separate sections) making sure I have complete coverage, and then immediately dump on the powder very liberally and shake it around. Immediately after, remove the tape while the glue is still wet. Let the glue dry completely and then blow any specks of powder off of areas where it’s unwanted, or brush away with a soft brush. You can touch up small bare areas if they occur by lightly dabbing more thinned glue on the area with a small brush and dumping and shaking more powder. Steve
-
The only issue that I would see with that is that epoxy is thick and doesn’t flow, or self level. I’ve never tried it, so I can’t say it won’t work, but I have to think that it would be difficult to apply evenly and smoothly. Steve
-
The type of paint will make a big difference. You want something that dries slowly. Steve
-
Just my opinion, but all paint work should be completed WAY in advance of assembly. Certain sub-assemblies can be painted as a unit, but clear coats on the body should be considered part of the painting process and should be finished before you begin any final assembly. Steve
-
I don’t think it will matter. As long as it’s something with generally the same properties. You just want something that spreads easily, covers completely, and dries hard enough to hold the powder in place. That can be any number of things. As someone else mentioned, paint the floor with a similar color to the powder your using. If all goes well, you will have sufficient coverage at that point, but if not, you can always spray a flat or matte paint over the powder once the glue has completely dried. As you can tell by a good number of my photos, I like to use a metallic powder on occasion. It gives an increased illusion of texture and while it may look a little over the top in a close up photo, it looks about perfect to the naked eye. Steve