landman
-
Posts
7,897 -
Joined
-
Last visited
Content Type
Profiles
Forums
Events
Gallery
Everything posted by landman
-

TAT International R190 tanker
landman replied to landman's topic in WIP: Model Trucks: Big Rigs and Heavy Equipment
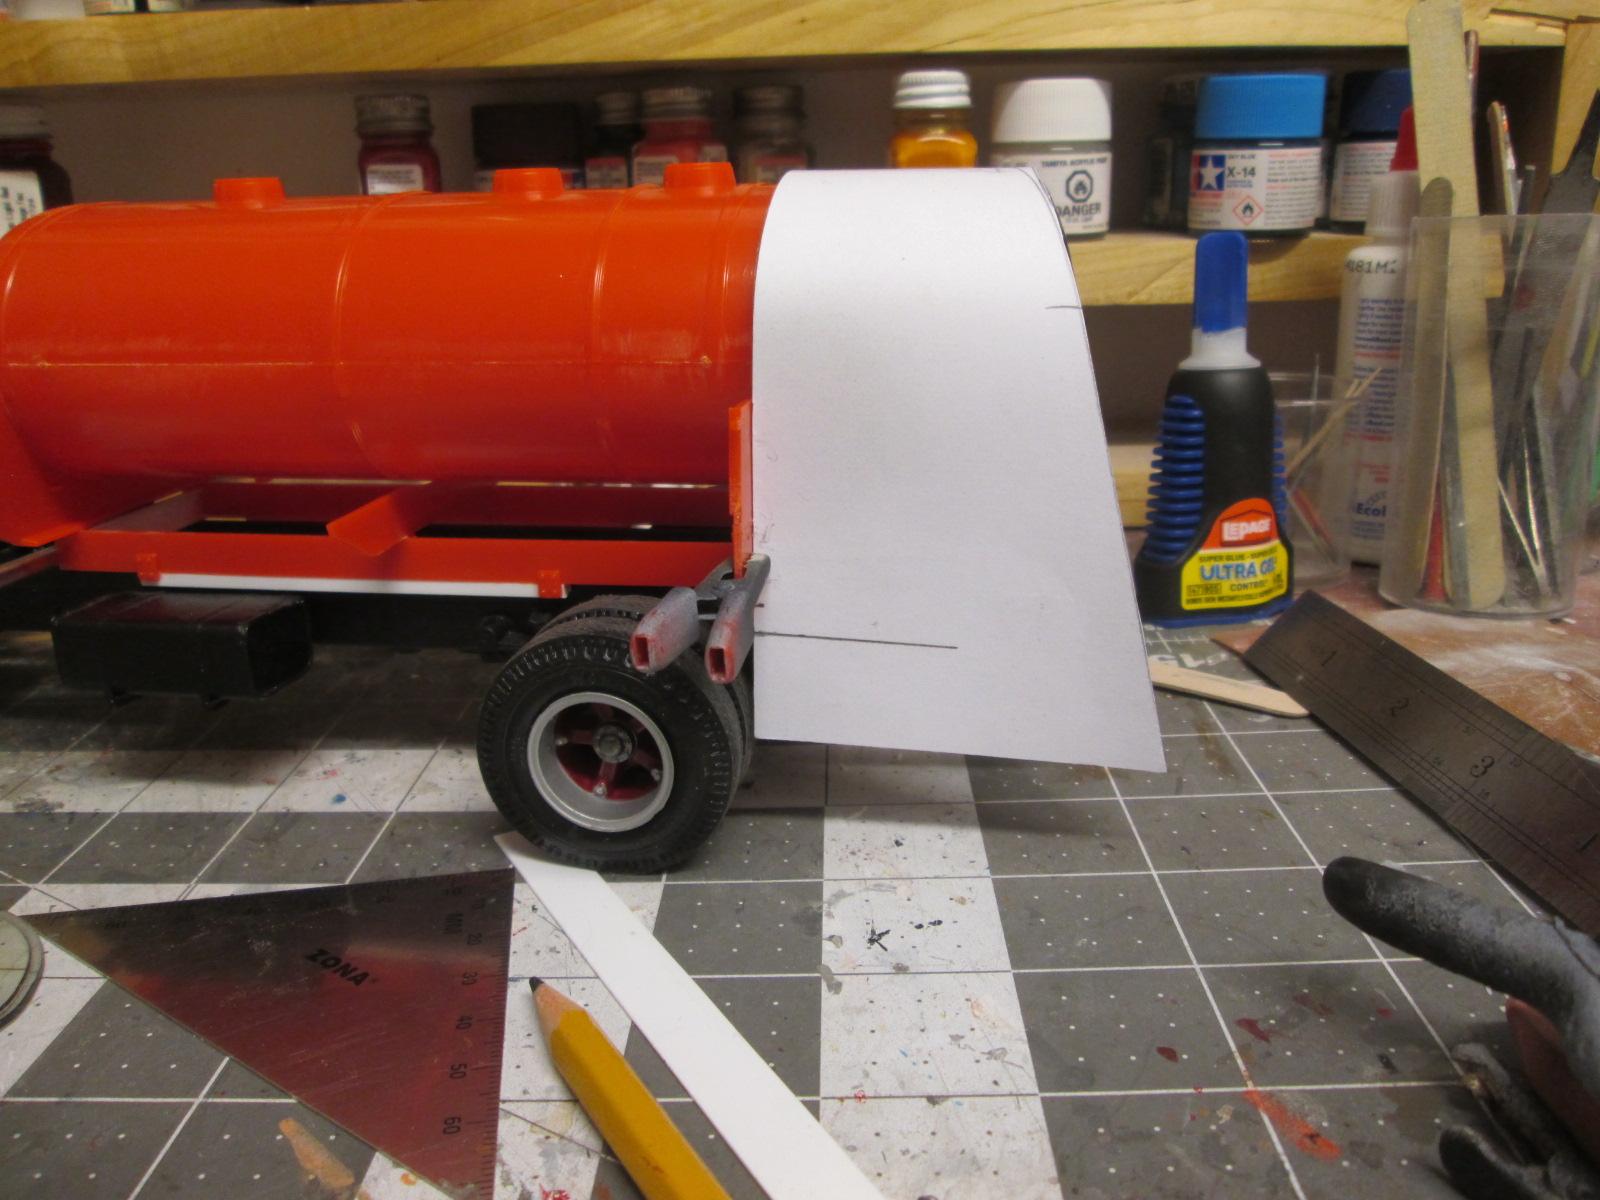
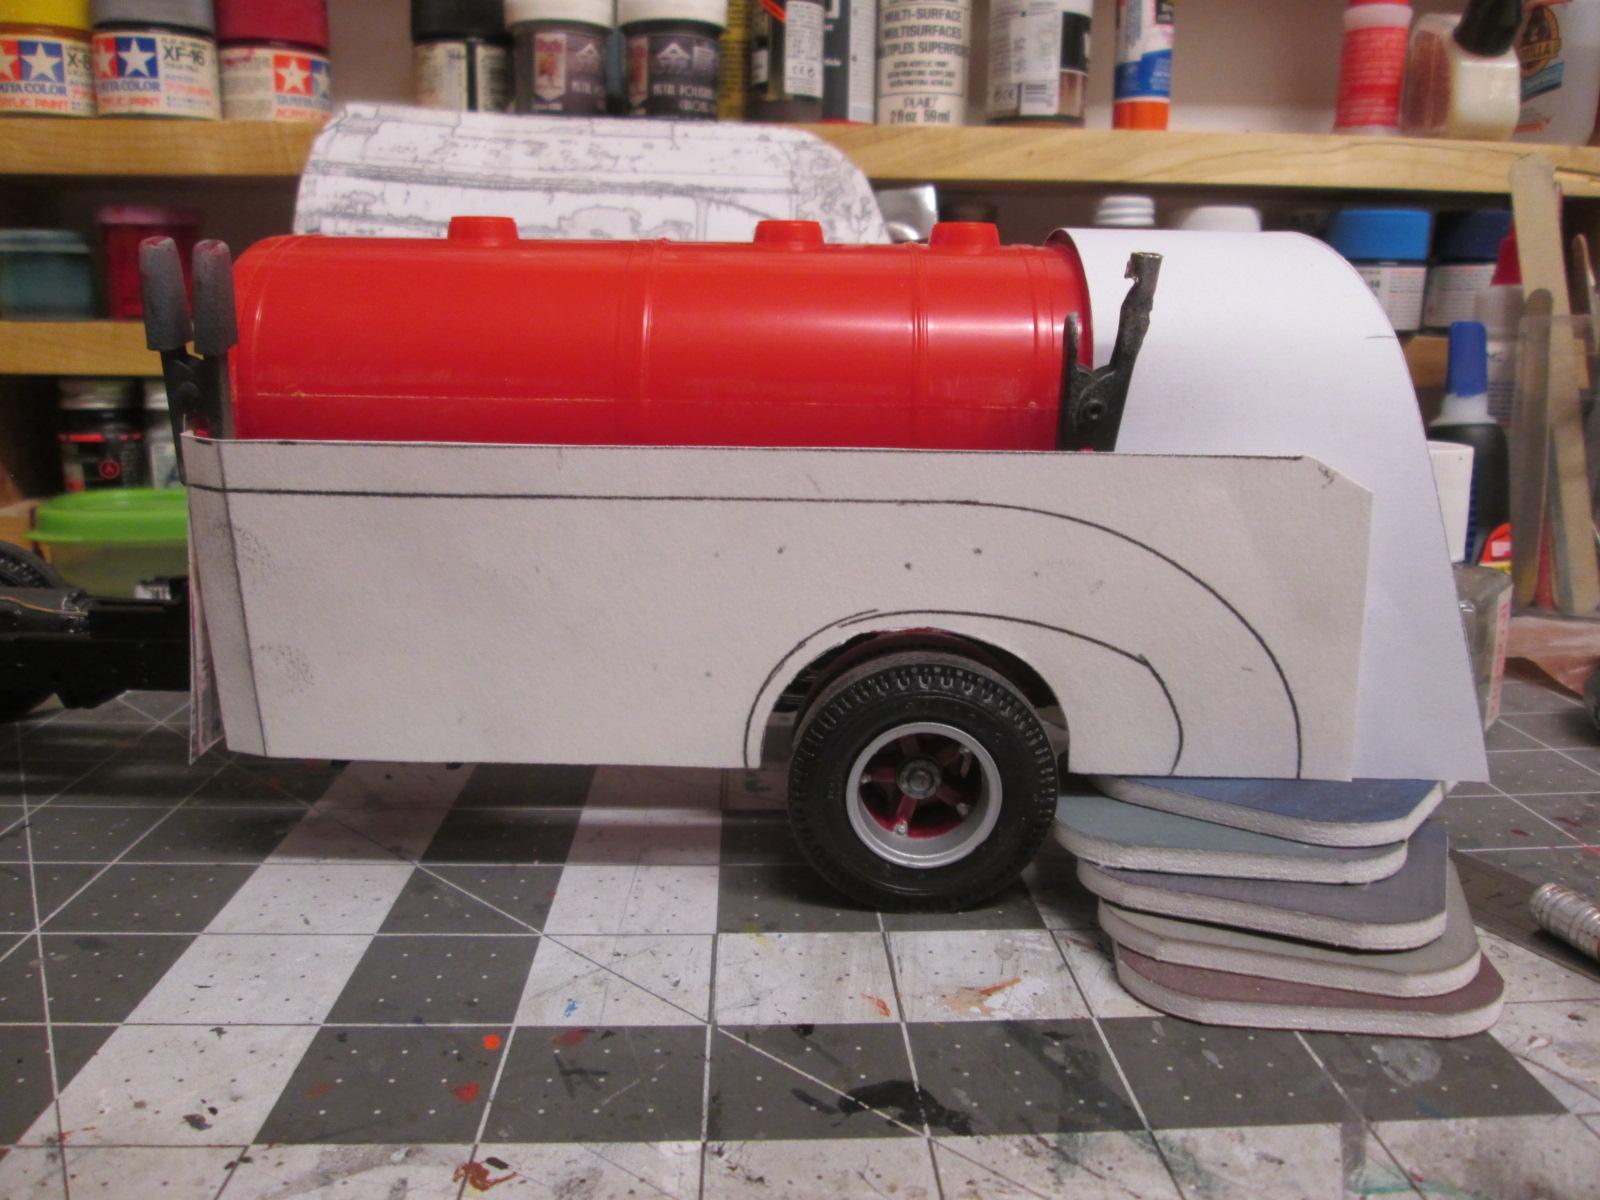
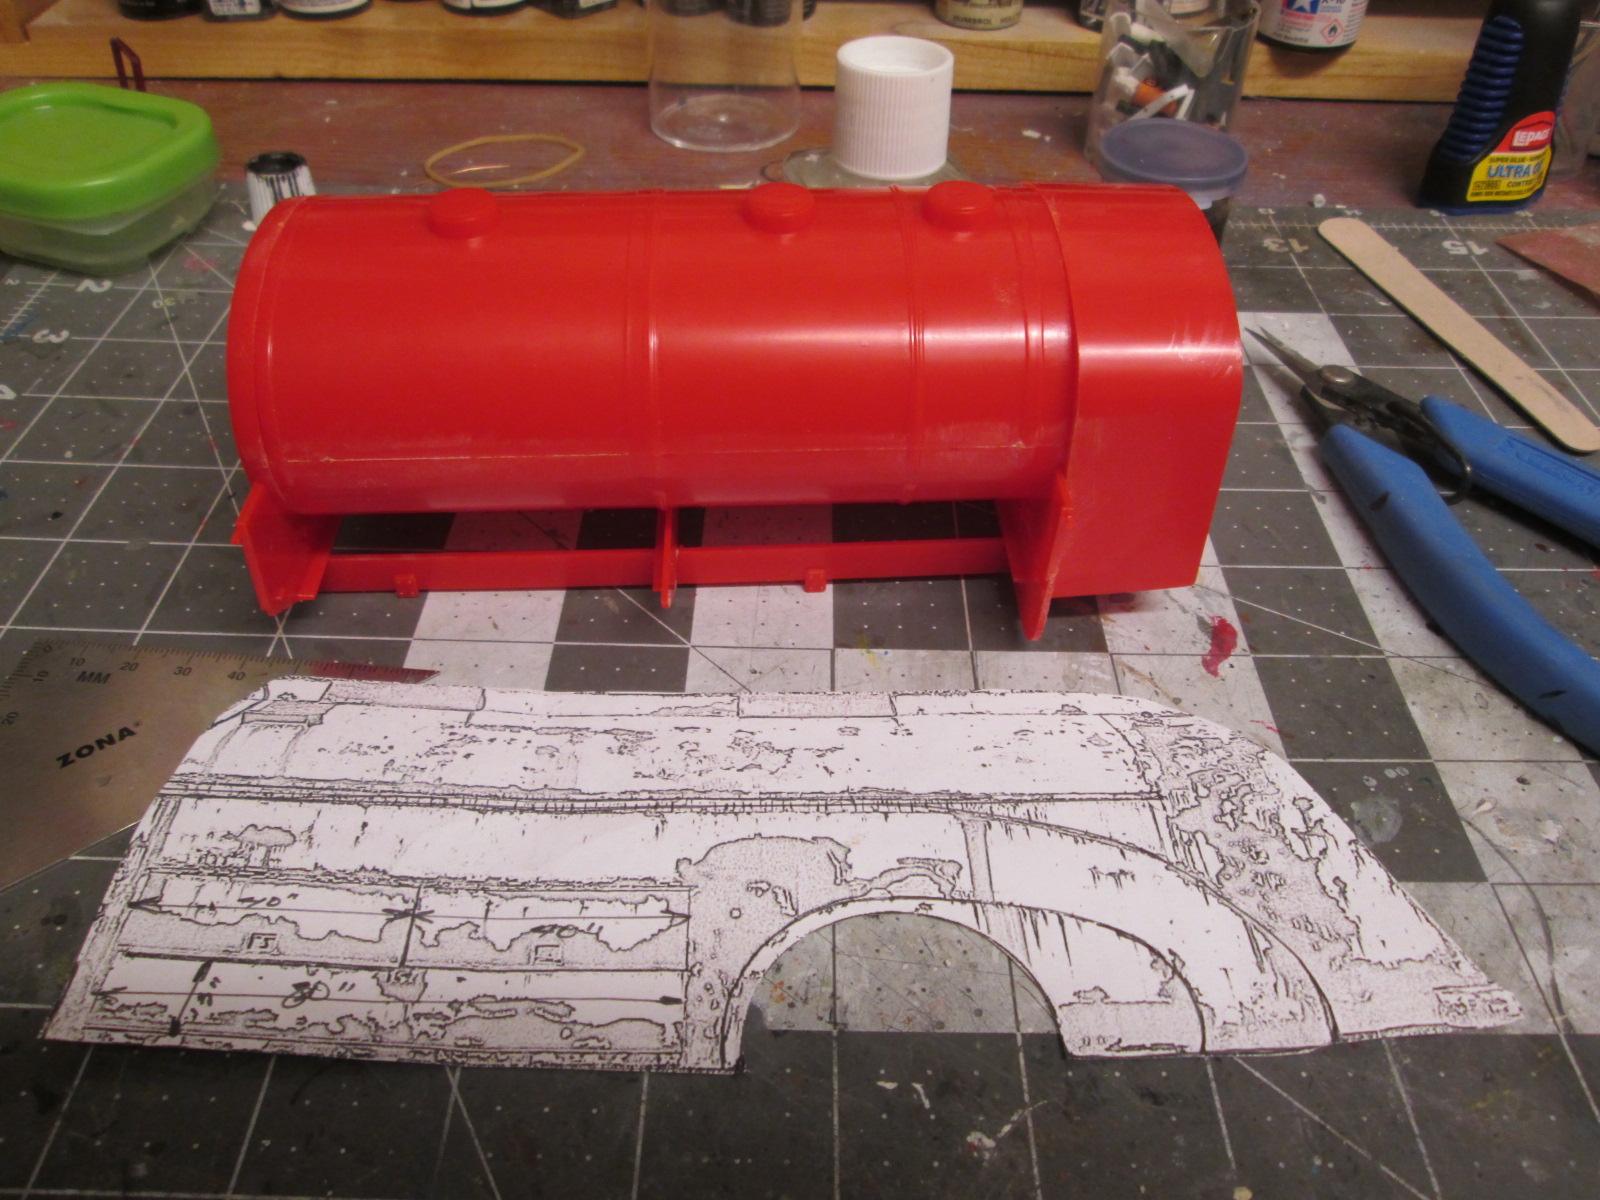
And the pattern making continues. I'm going to have to take a step back and figure out how to do the junctions of some of those panels.
-
My new workbench. (Done)
landman replied to landman's topic in General Automotive Talk (Trucks and Cars)
There can never be too many clamps.
-
My new workbench. (Done)
landman replied to landman's topic in General Automotive Talk (Trucks and Cars)
Bench top taking shape one slice at a time.
-
TAT International R190 tanker
landman replied to landman's topic in WIP: Model Trucks: Big Rigs and Heavy Equipment
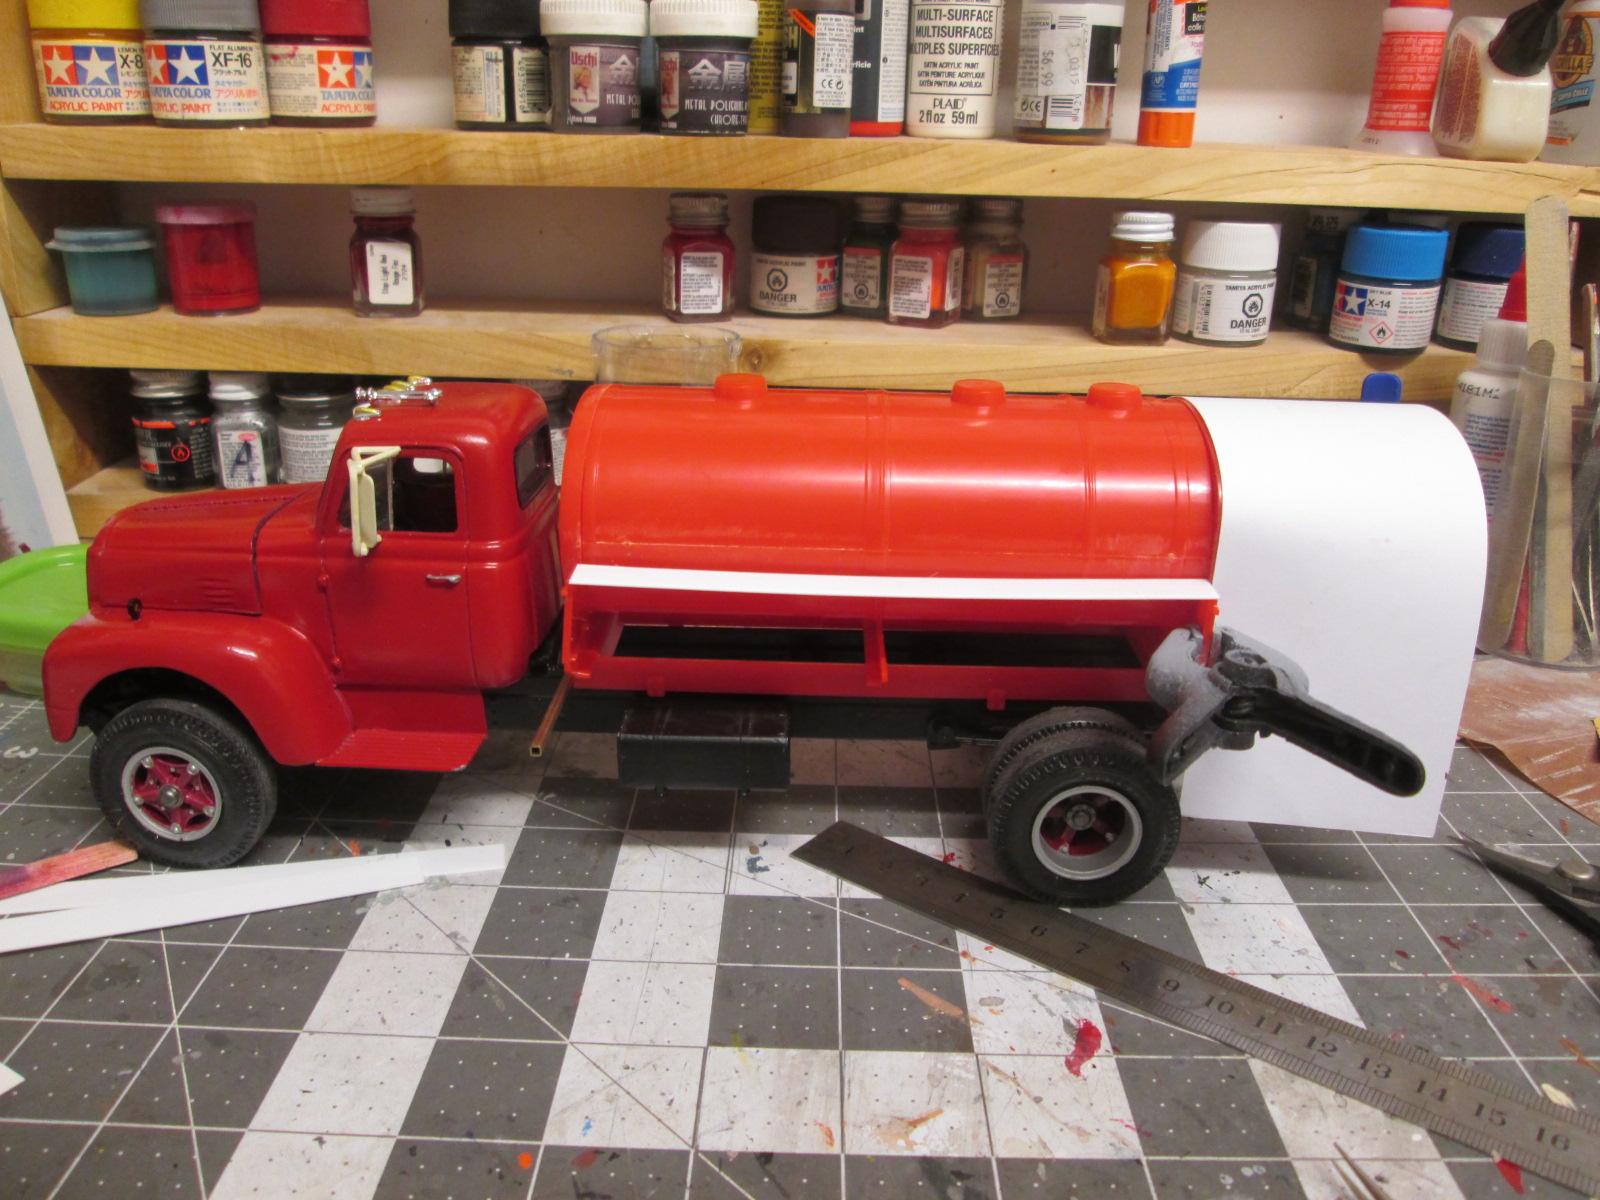
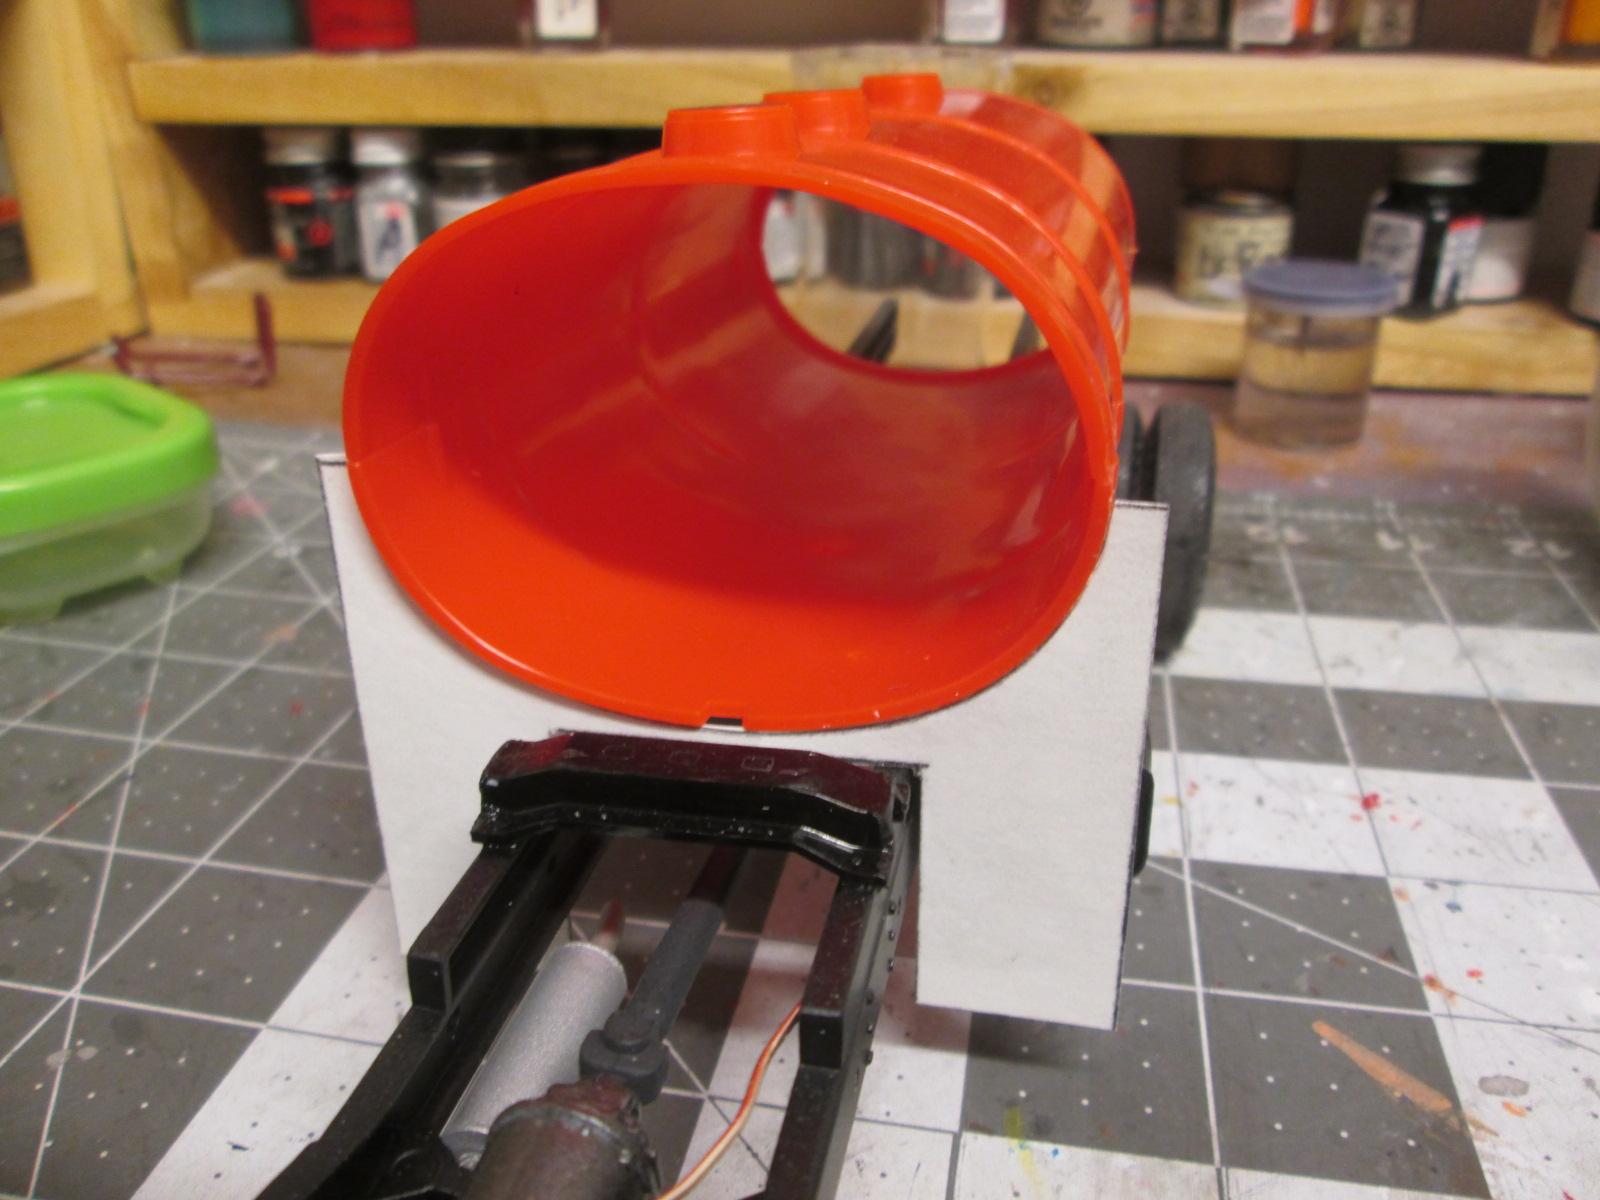
Added some spacers to the tank's frame to help center it on the truck's frame. The one behind the cab mount is to get the right spacing from the cab. Working on a template for the sides of the rear compartment.
-
Thanks guys, it turned out better than I expected. When i first put it together loosely, it looked that nothing would fit without some carving. It feels like the bed and roof were an afterthought.
-
Here you go Simon.
-
TAT International R190 tanker
landman replied to landman's topic in WIP: Model Trucks: Big Rigs and Heavy Equipment
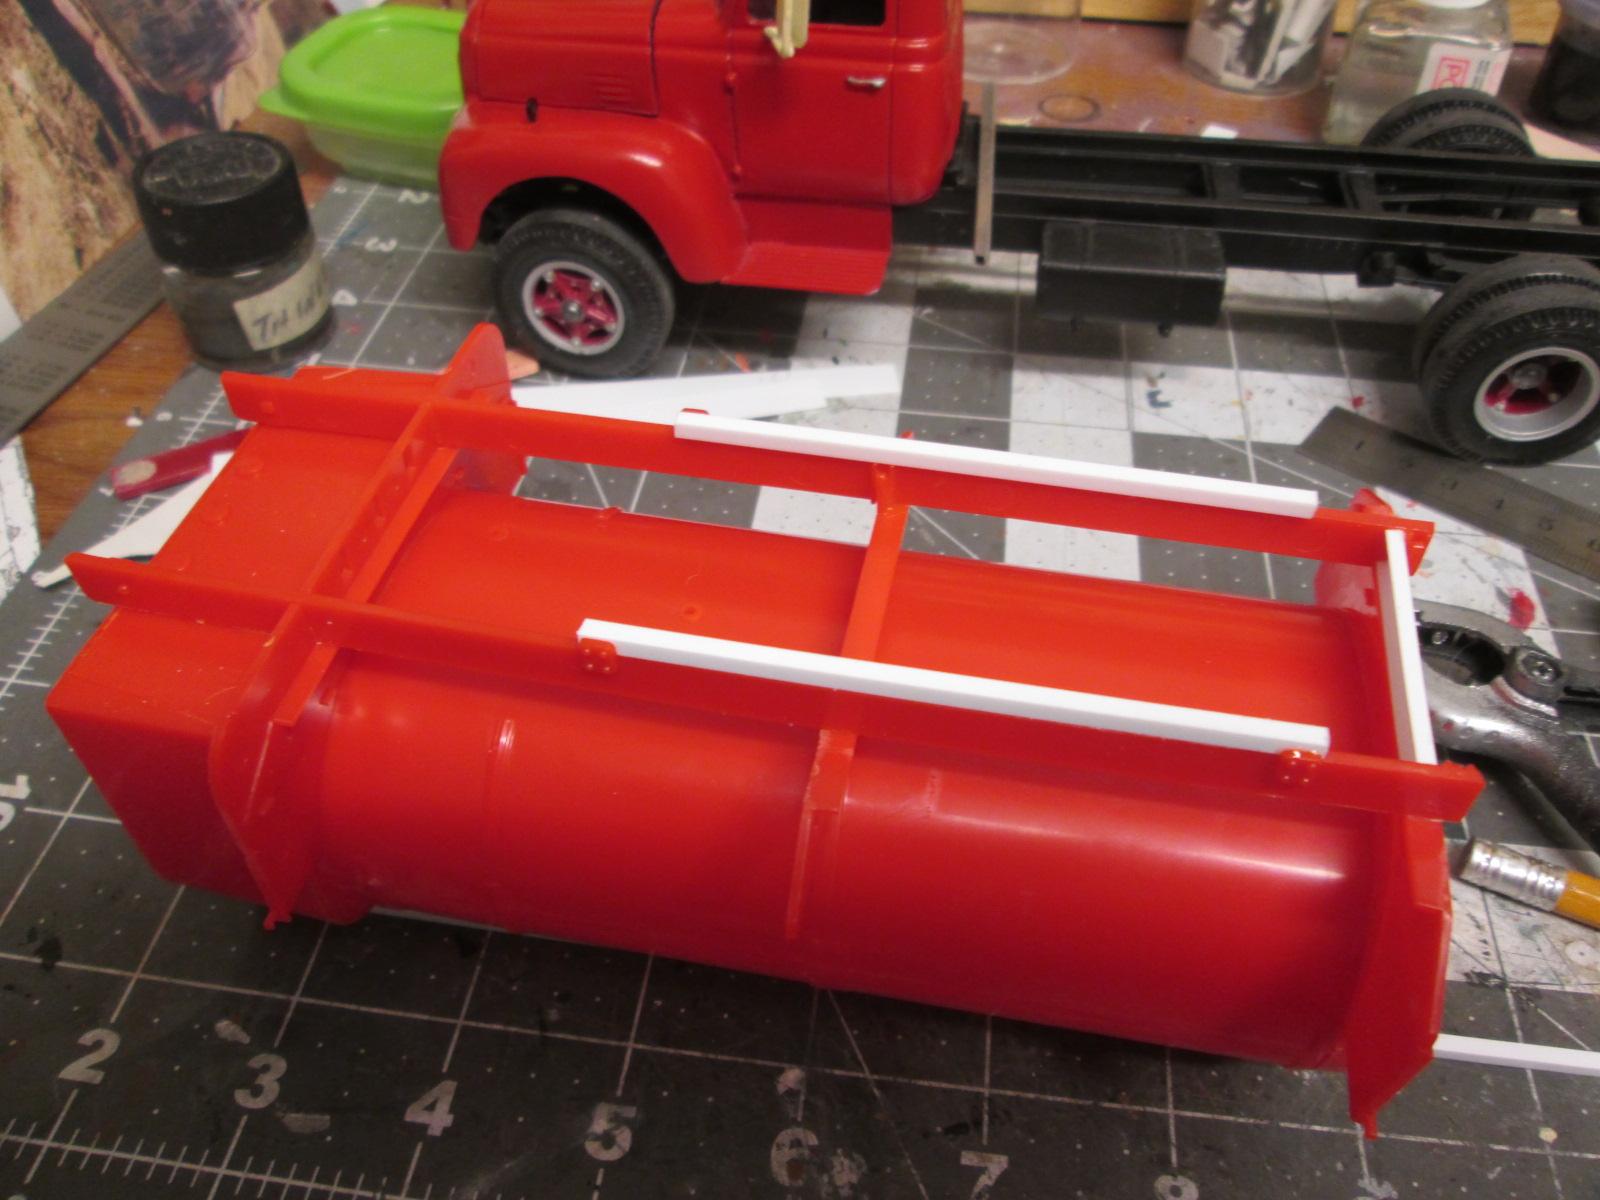
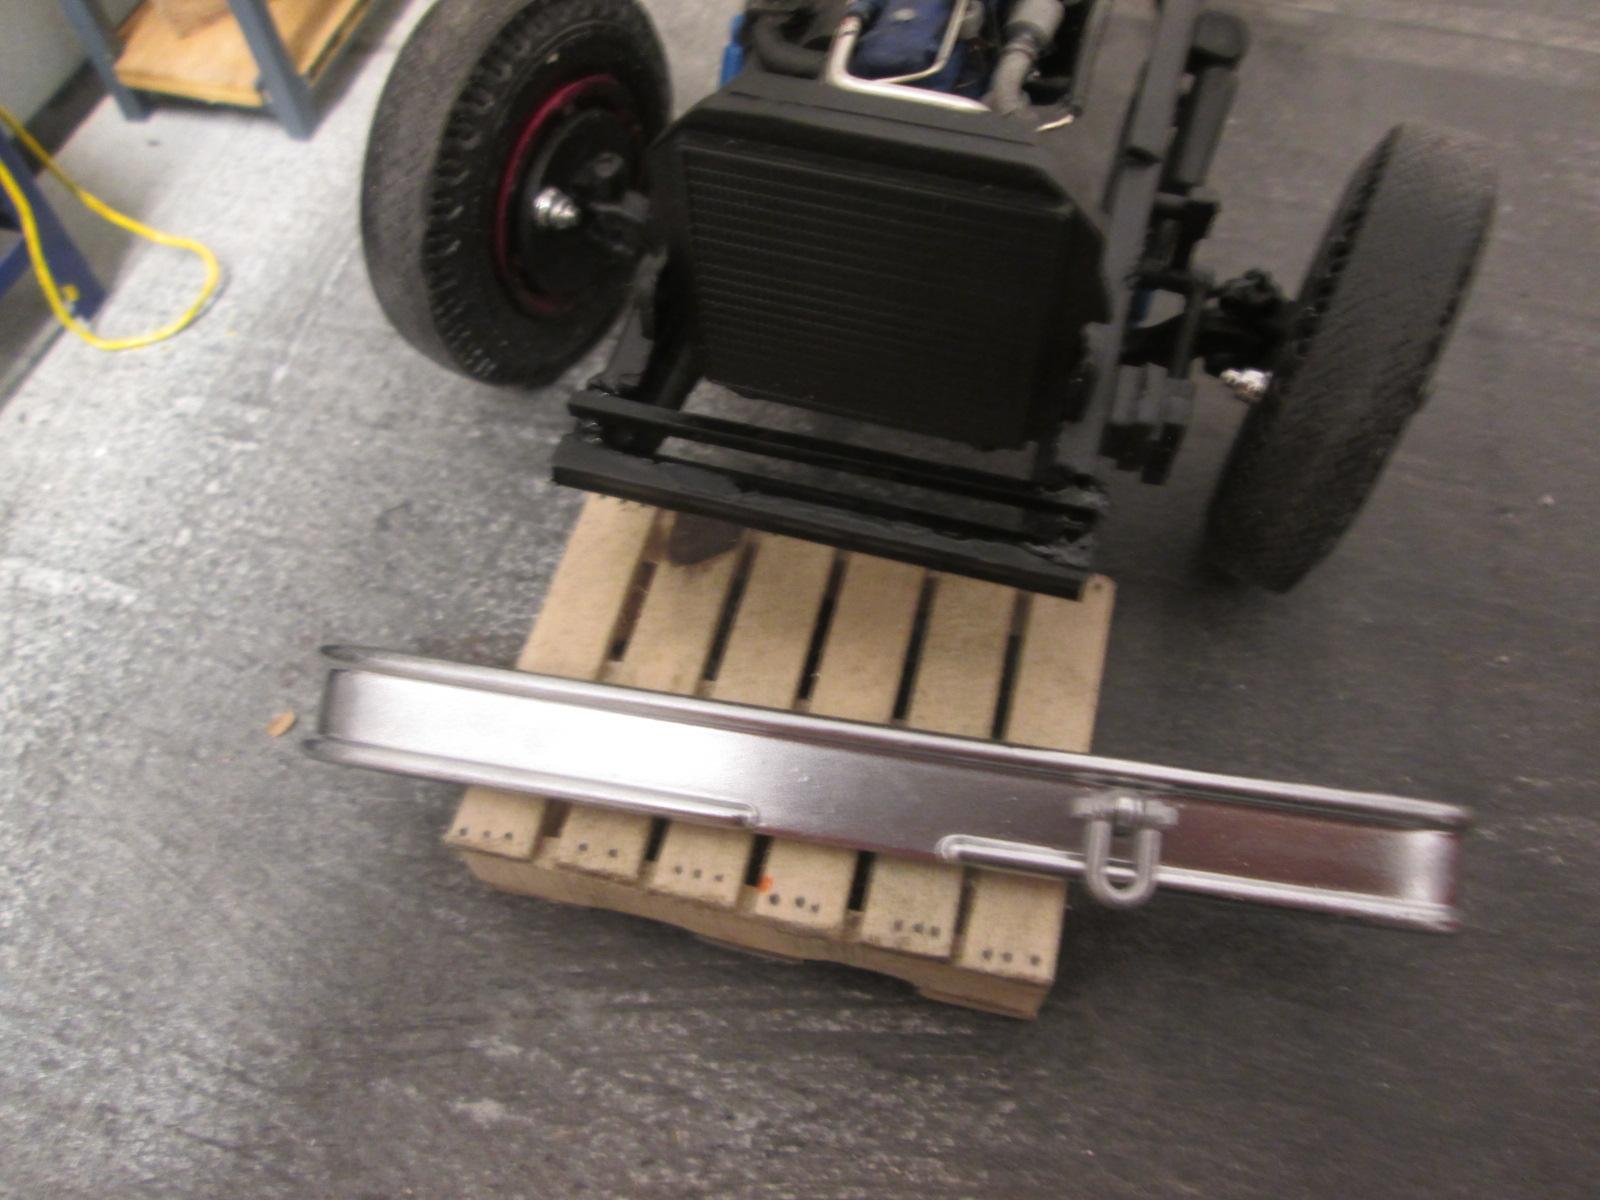
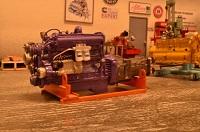
Assembled the tank. It will make a great base to build on to. Added two "crossmembers" to the frame. One will support and level the cab. the bumper will hang on the lower one. Please forgive the blurry image.
-
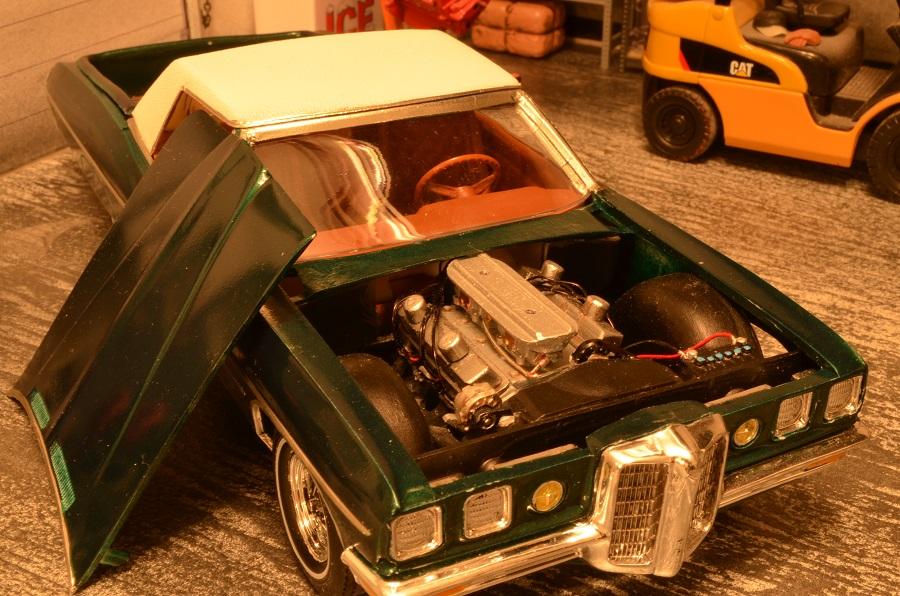
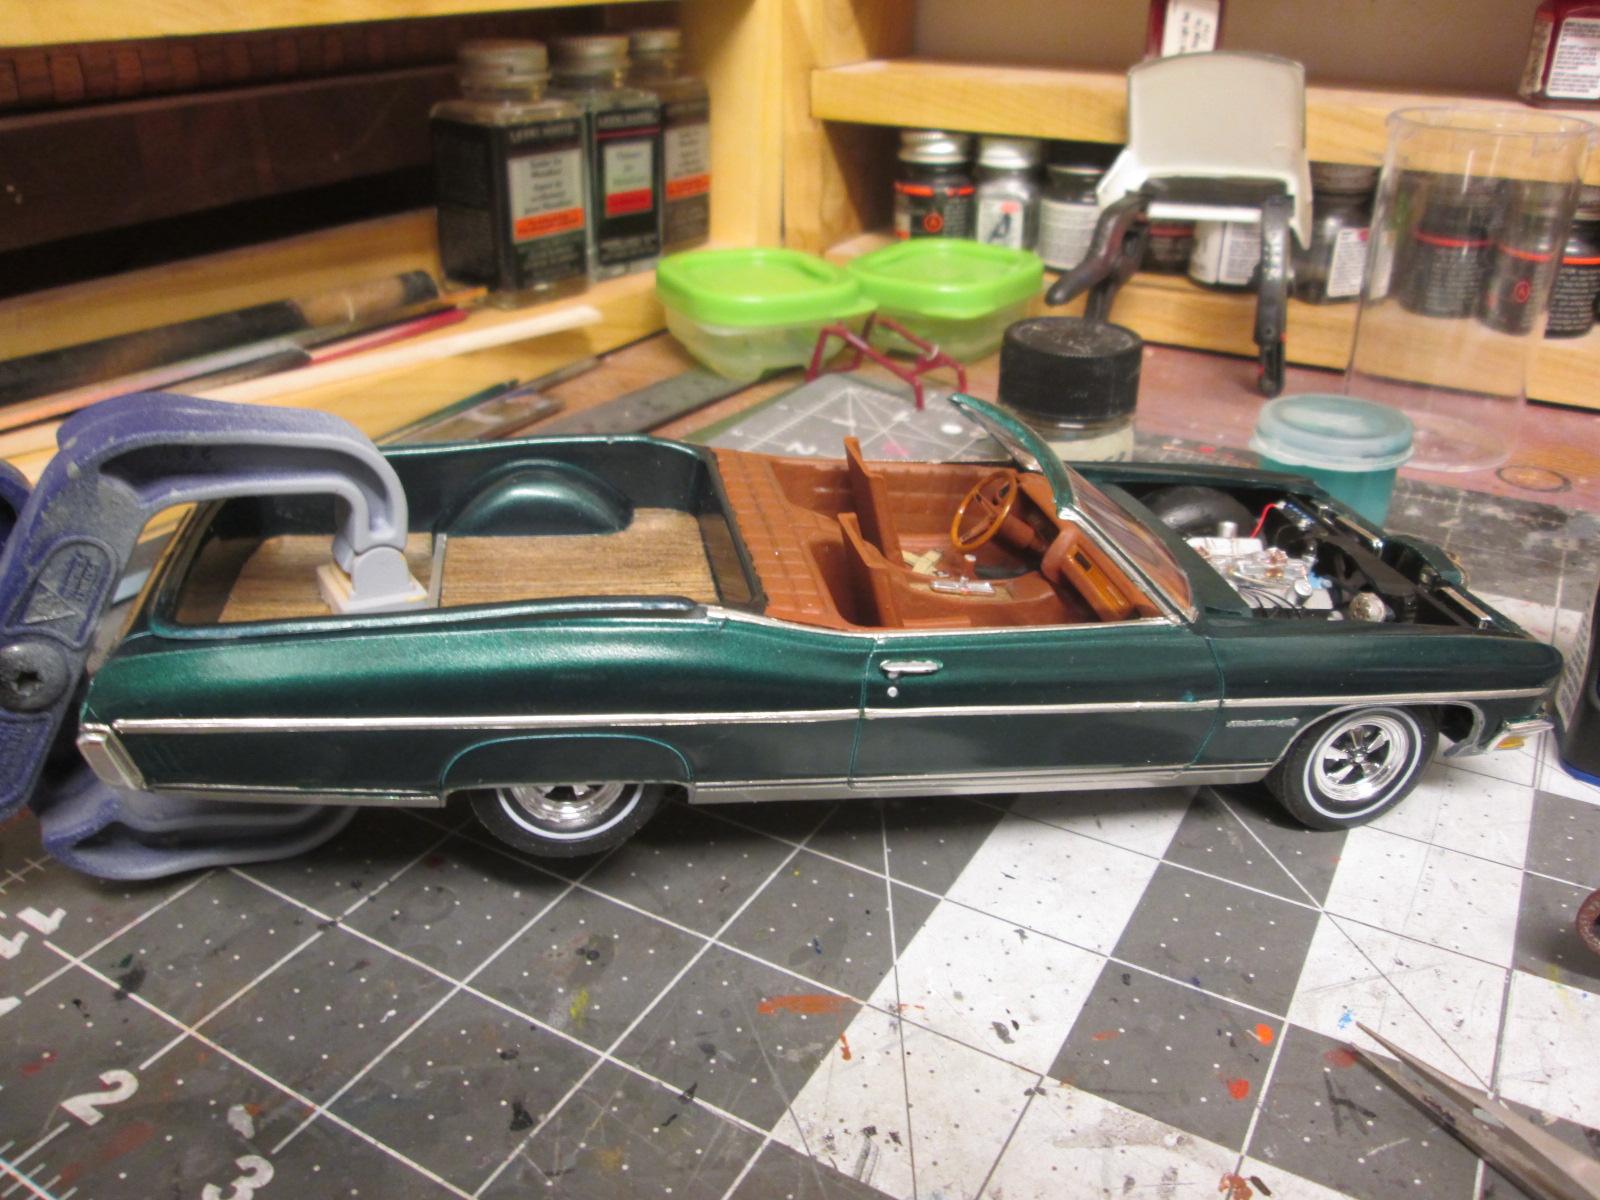
Initially, it was going to go into my engine collection then someone here said I should put it into something.
-
I was looking for an El Camino/Ranchero type for the dio shop and I stumbled onto this one in a hobby shop. So I bought it but decided not to paint it shop colors but to do it like a regular vehicle.
-
My new workbench. (Done)
landman replied to landman's topic in General Automotive Talk (Trucks and Cars)
Started gluing up the strips end to end using every available clamp. I was my first time using the finger joint bit since it had rearranged three of my fingertips several years ago. Its funny how those fears remain.
-
TAT International R190 tanker
landman replied to landman's topic in WIP: Model Trucks: Big Rigs and Heavy Equipment
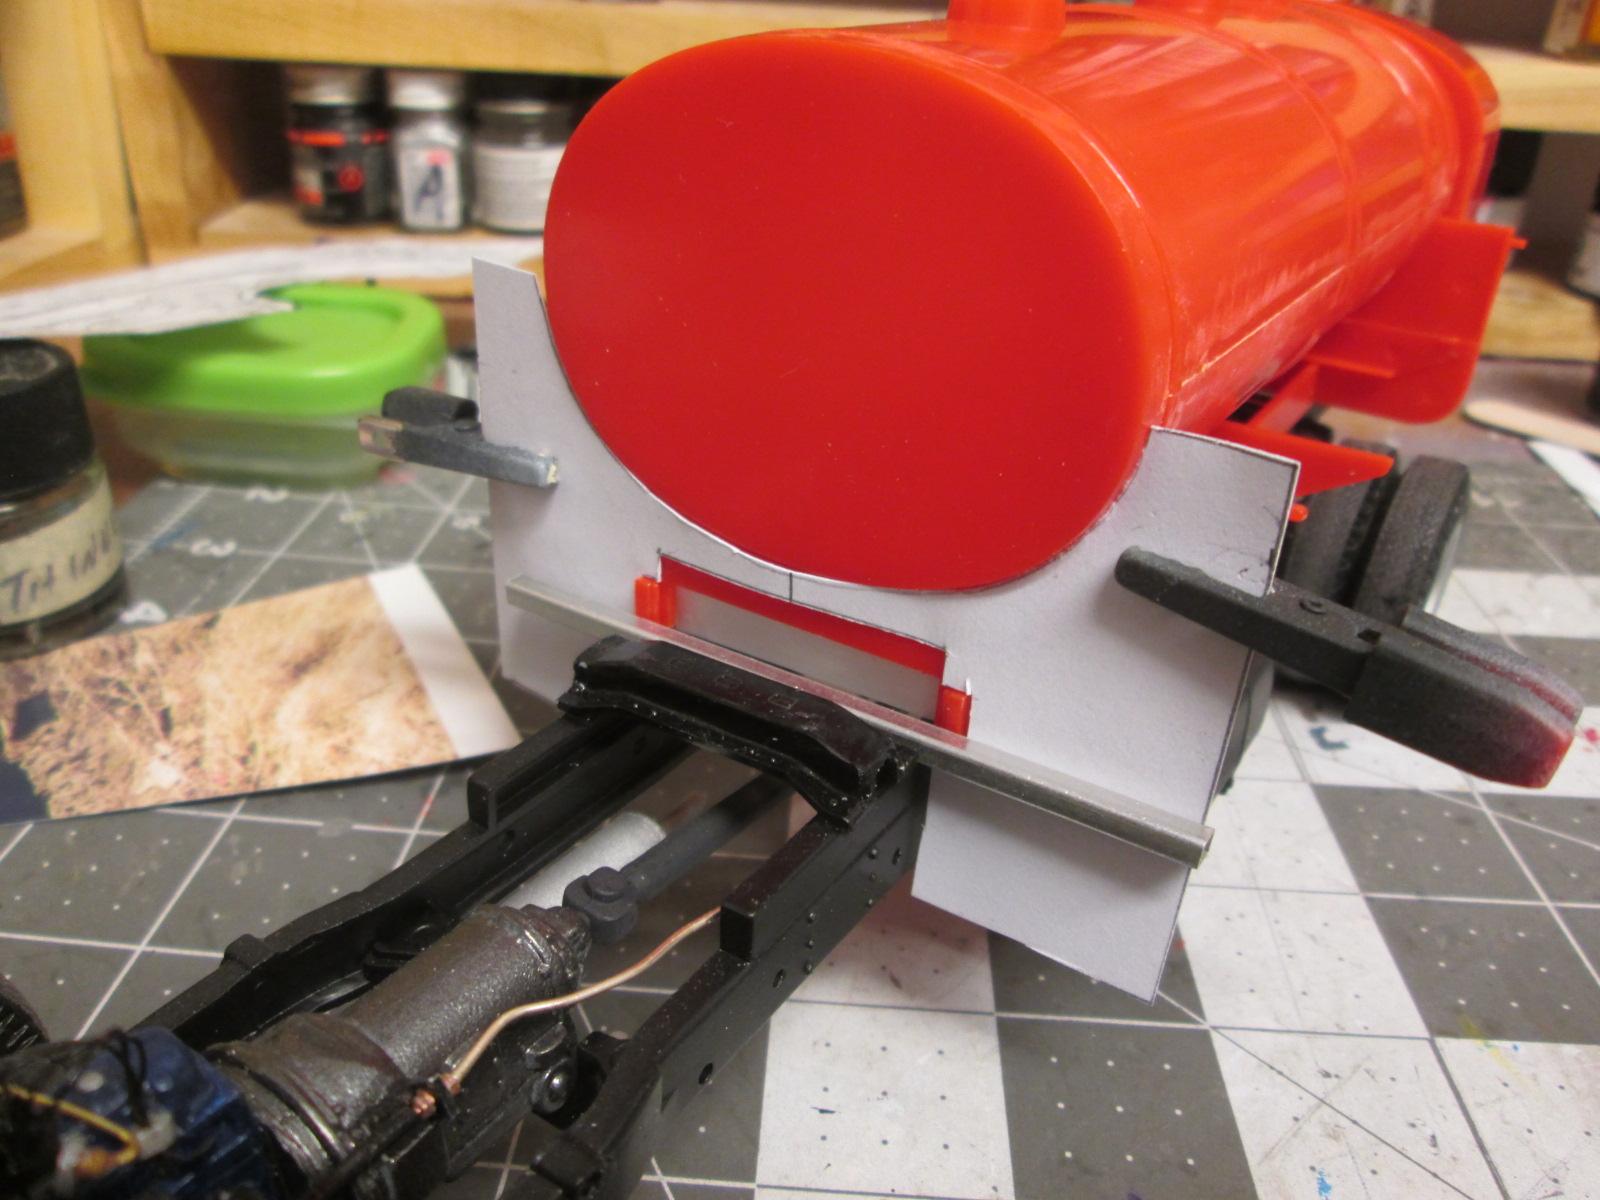
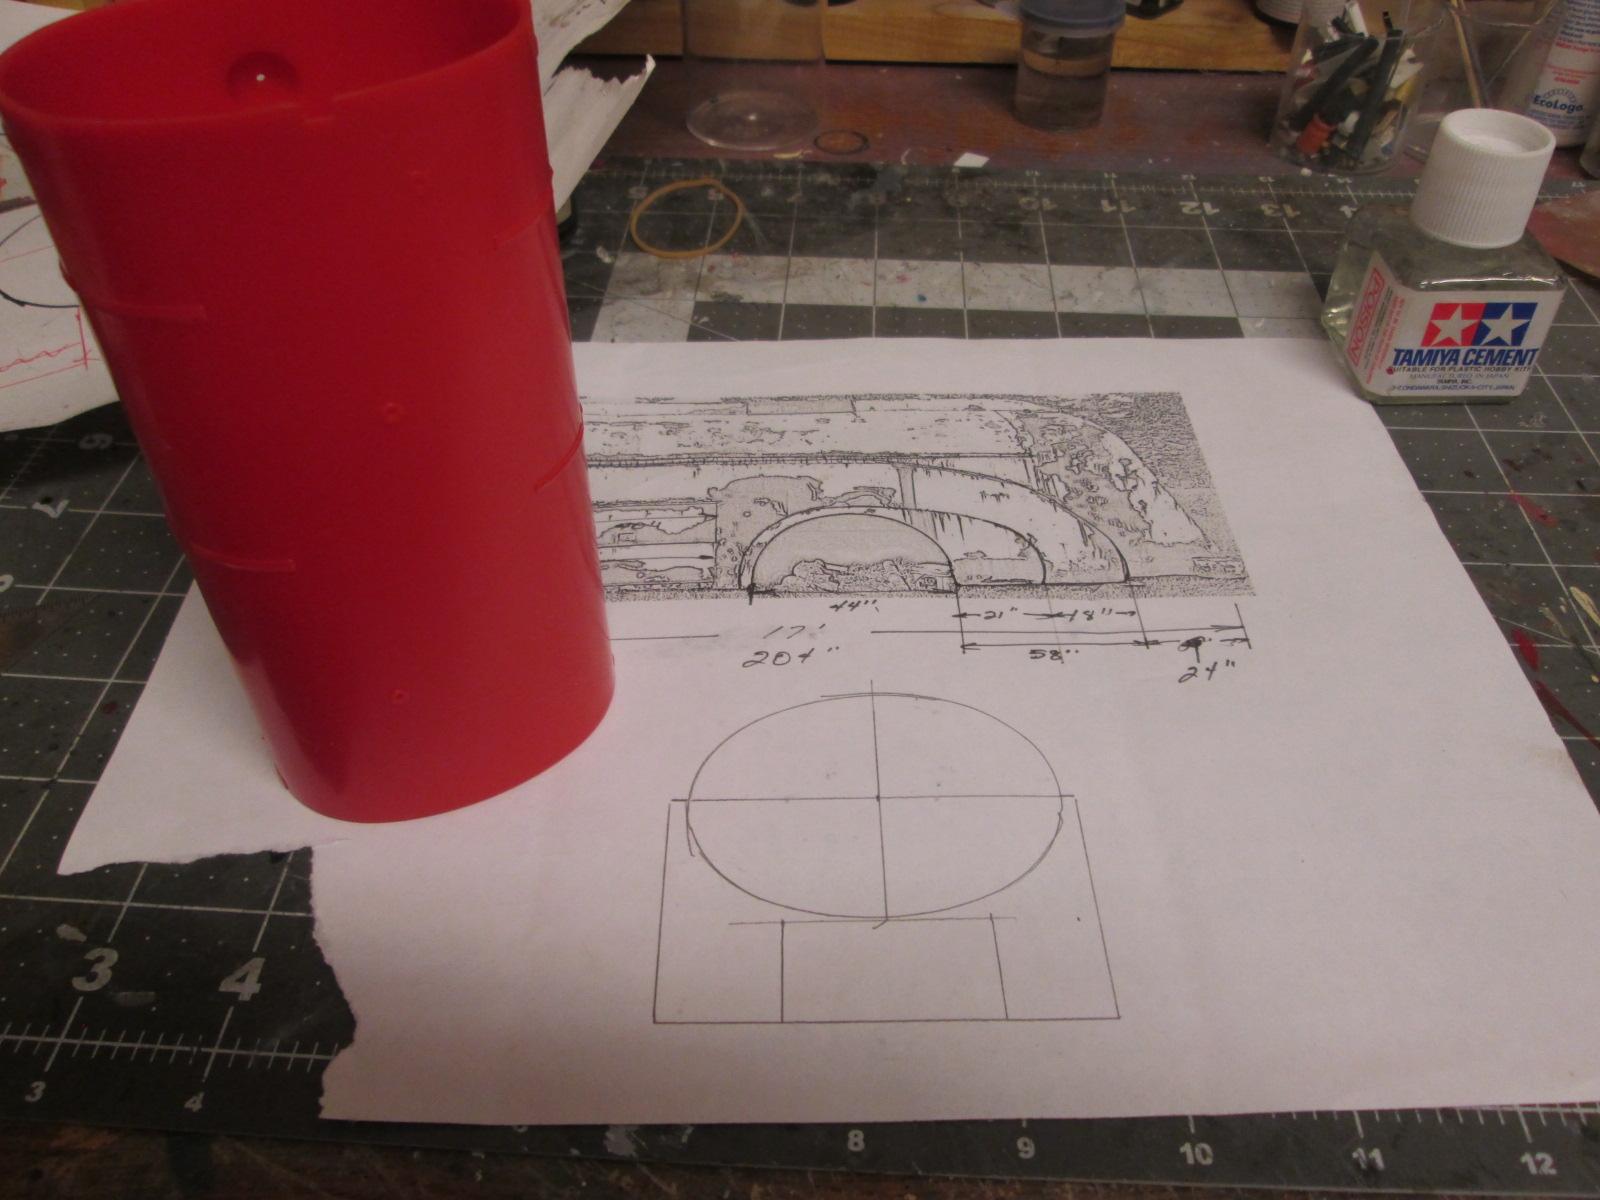
I made another template for the tank body's front panel using the Mack tank. the original one had been made using the potato chip container.
-
I am still waiting for the roof someone is making in Australia. I can't rush him since he's doing it for free.
-
Hey Matt, welcome to this club of people with the same passion. It is nice to see some younger people join up.
-
Not since the last posting.
-
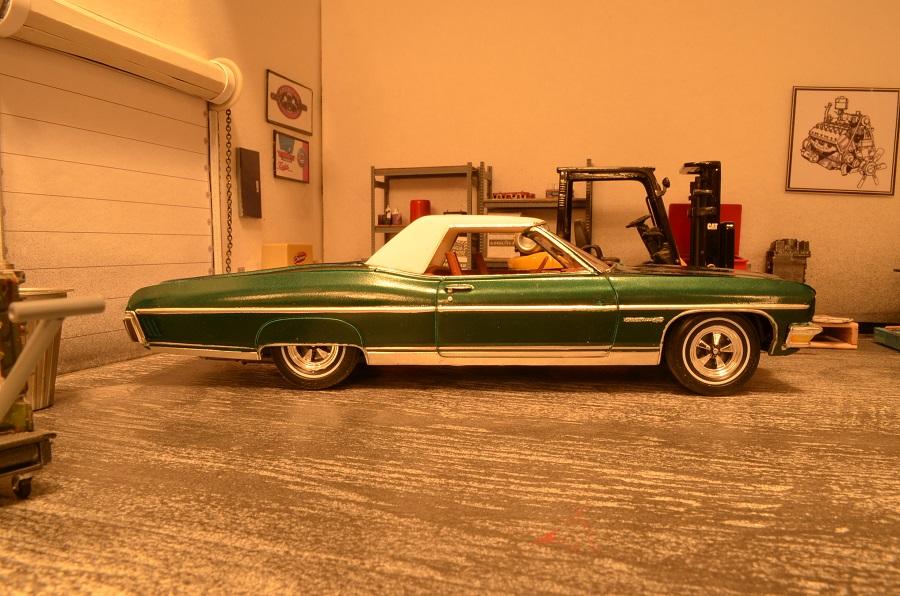
Turned out OK. Hope you like it. It is growing on me.
-
Done.
-
My new workbench. (Done)
landman replied to landman's topic in General Automotive Talk (Trucks and Cars)
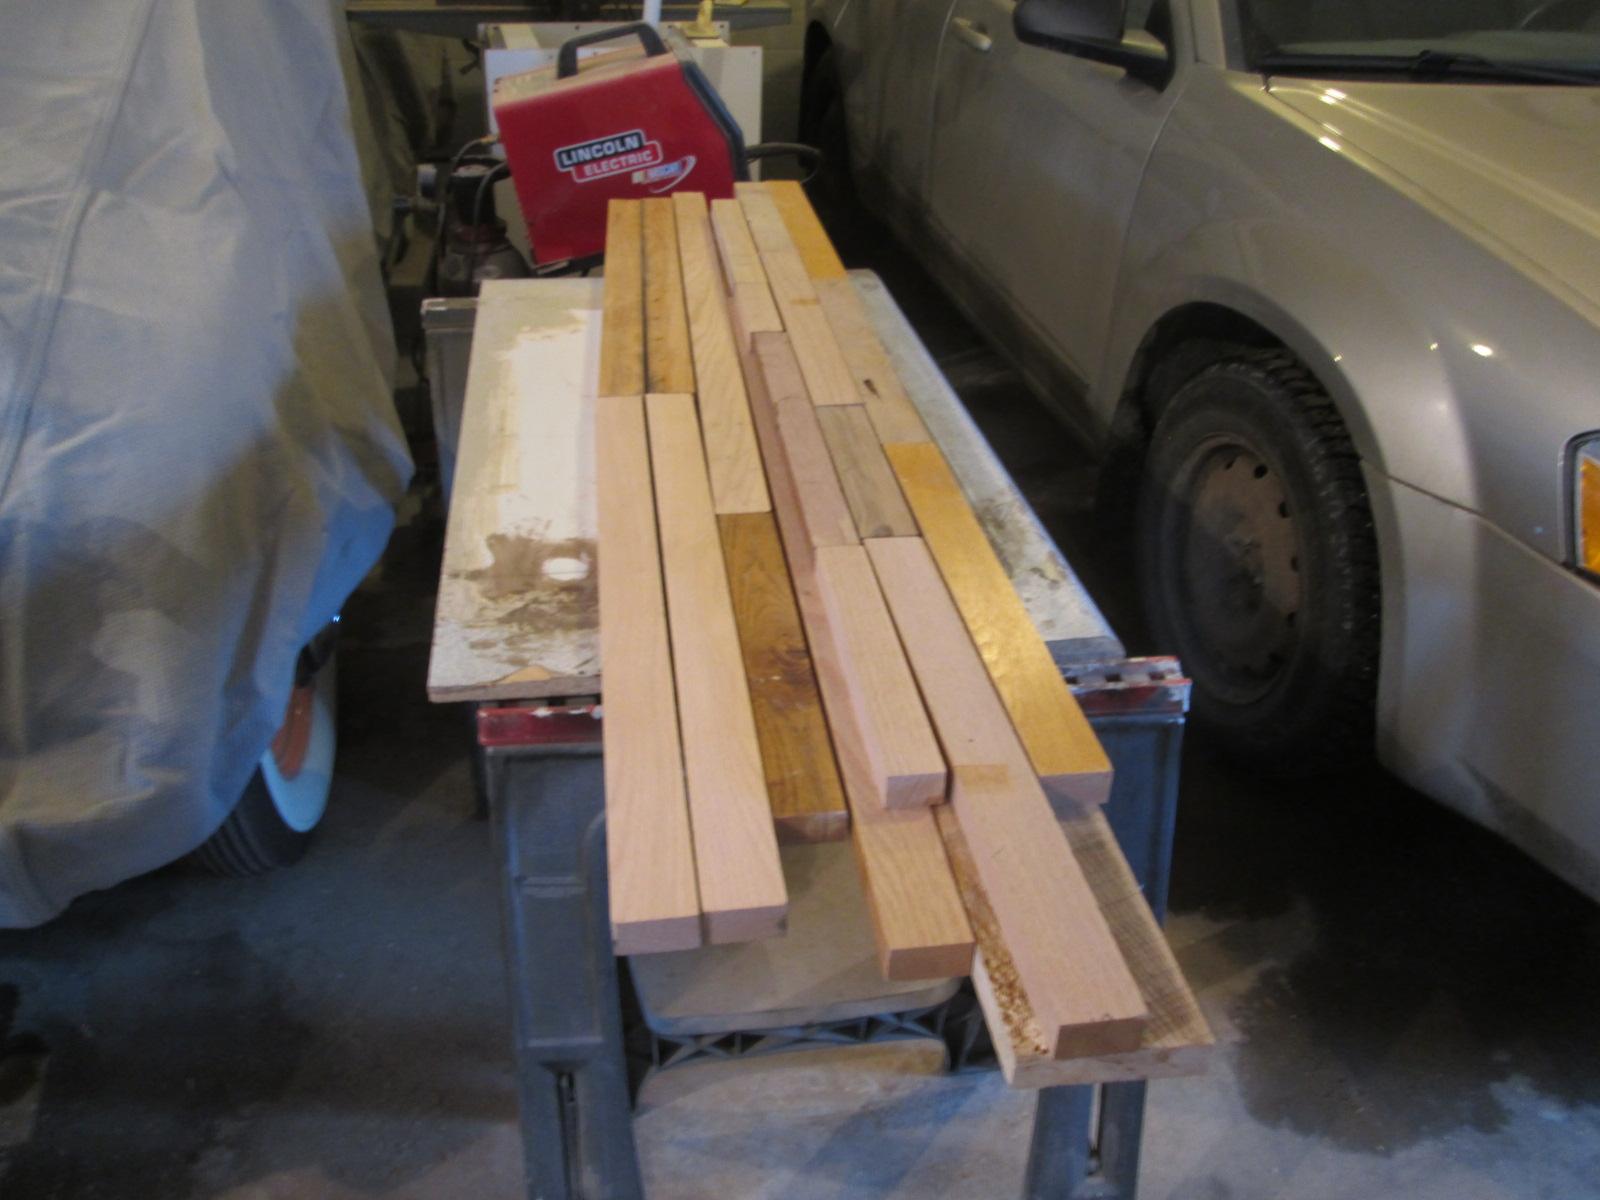
It is very hard and you have to use very shallow passes on the planer otherwise it chips. But it has a glorious grain. -
My new workbench. (Done)
landman replied to landman's topic in General Automotive Talk (Trucks and Cars)
It dedfinitely won't get painted. Likely Golden Oak stain or something similar. The whitewall belongs to my '34 chevy. I started to build a model of it here:http://www.modelcarsmag.com/forums/topic/89965-1934-chevrolet-master-5-window-coupe/ -
My new workbench. (Done)
landman replied to landman's topic in General Automotive Talk (Trucks and Cars)
Here we have Service master and a couple of independents. In my case, it was Servicemaster. -
My new workbench. (Done)
landman replied to landman's topic in General Automotive Talk (Trucks and Cars)
Found a plastic bag full of wooden handles. I don't remember where we got them and neither does my wife. But I put them to use. I am laminating all sorts of offcuts and remnants to make the top. The planer threw it belt and I can't remove the fan to get at it. Ended up damaging the capscrew. Will have to drill out & replace
-
Added some brightwork to the console and seat belts. I really don't like those seats. I may scrounge in the other boxes for something better. It needs quite a bit of clamping to find its place . Either there is some interference I didn't see or some warping. I am determined to win. we'll see.
-
My new workbench. (Done)
landman replied to landman's topic in General Automotive Talk (Trucks and Cars)
The same elm wood was used to build the table end of the bench.
-
My new workbench. (Done)
landman replied to landman's topic in General Automotive Talk (Trucks and Cars)
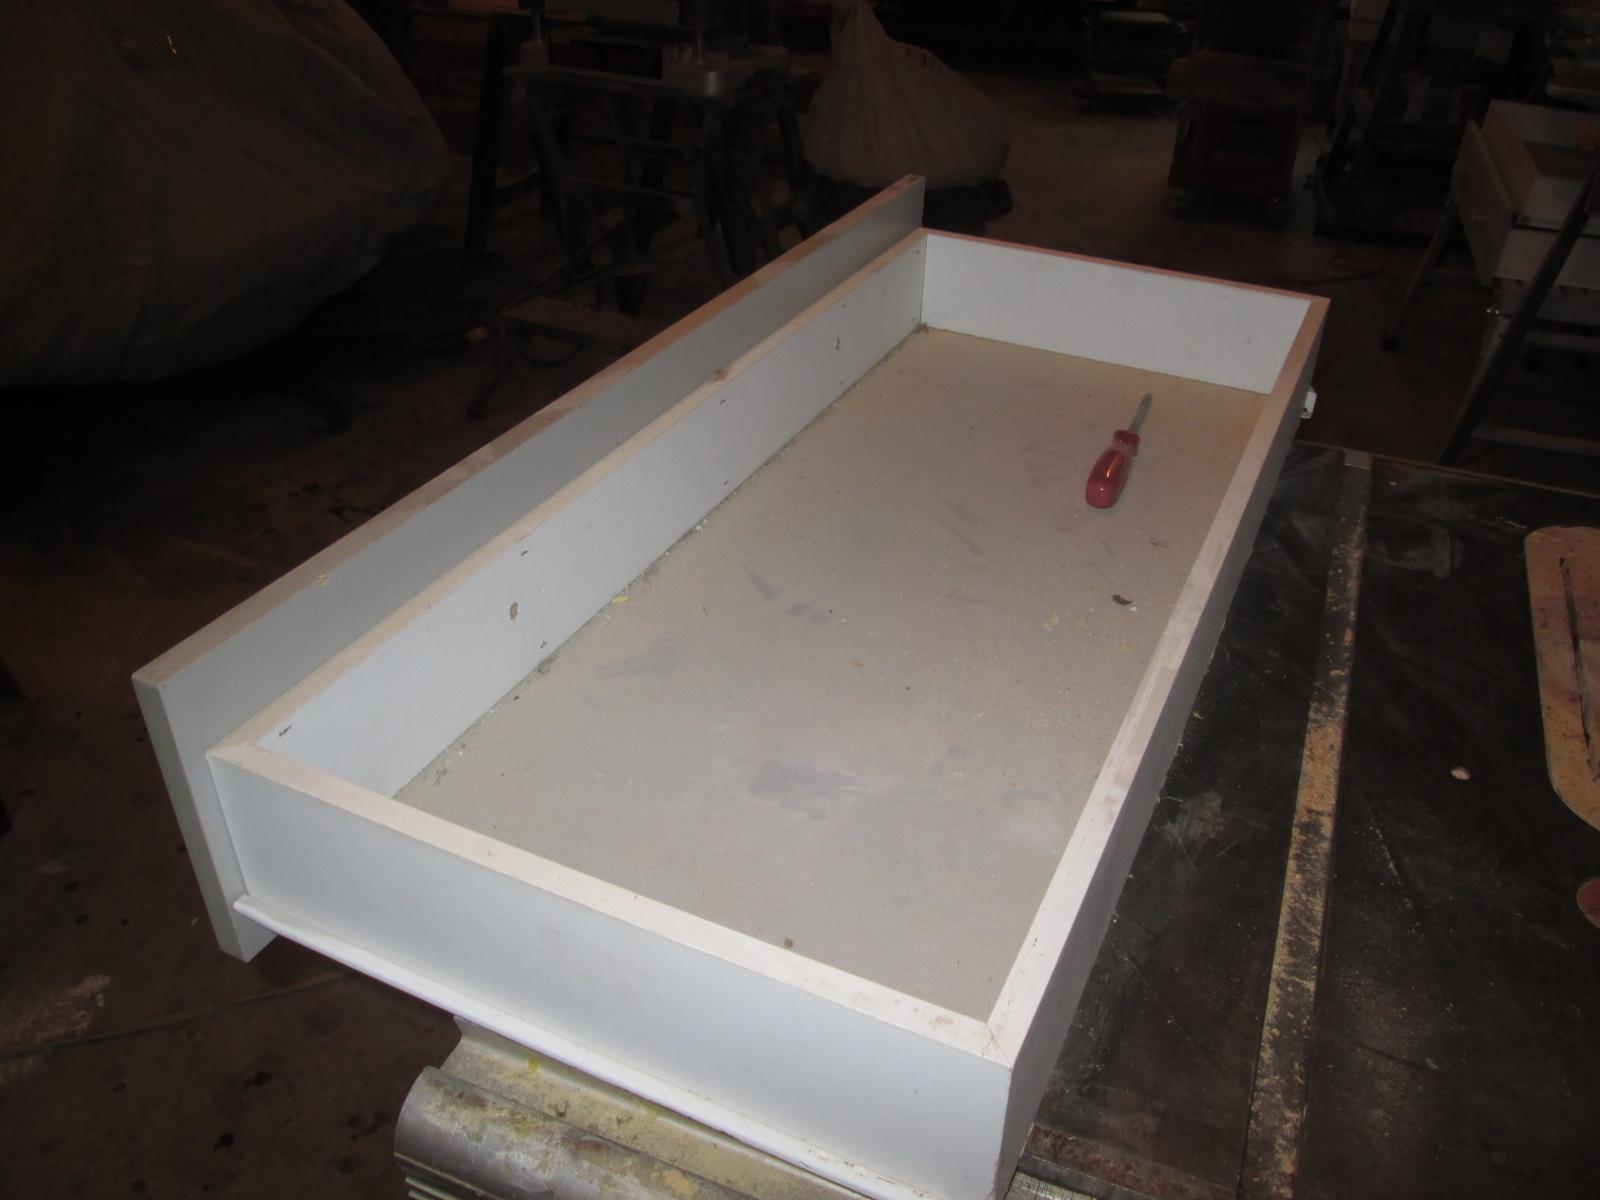
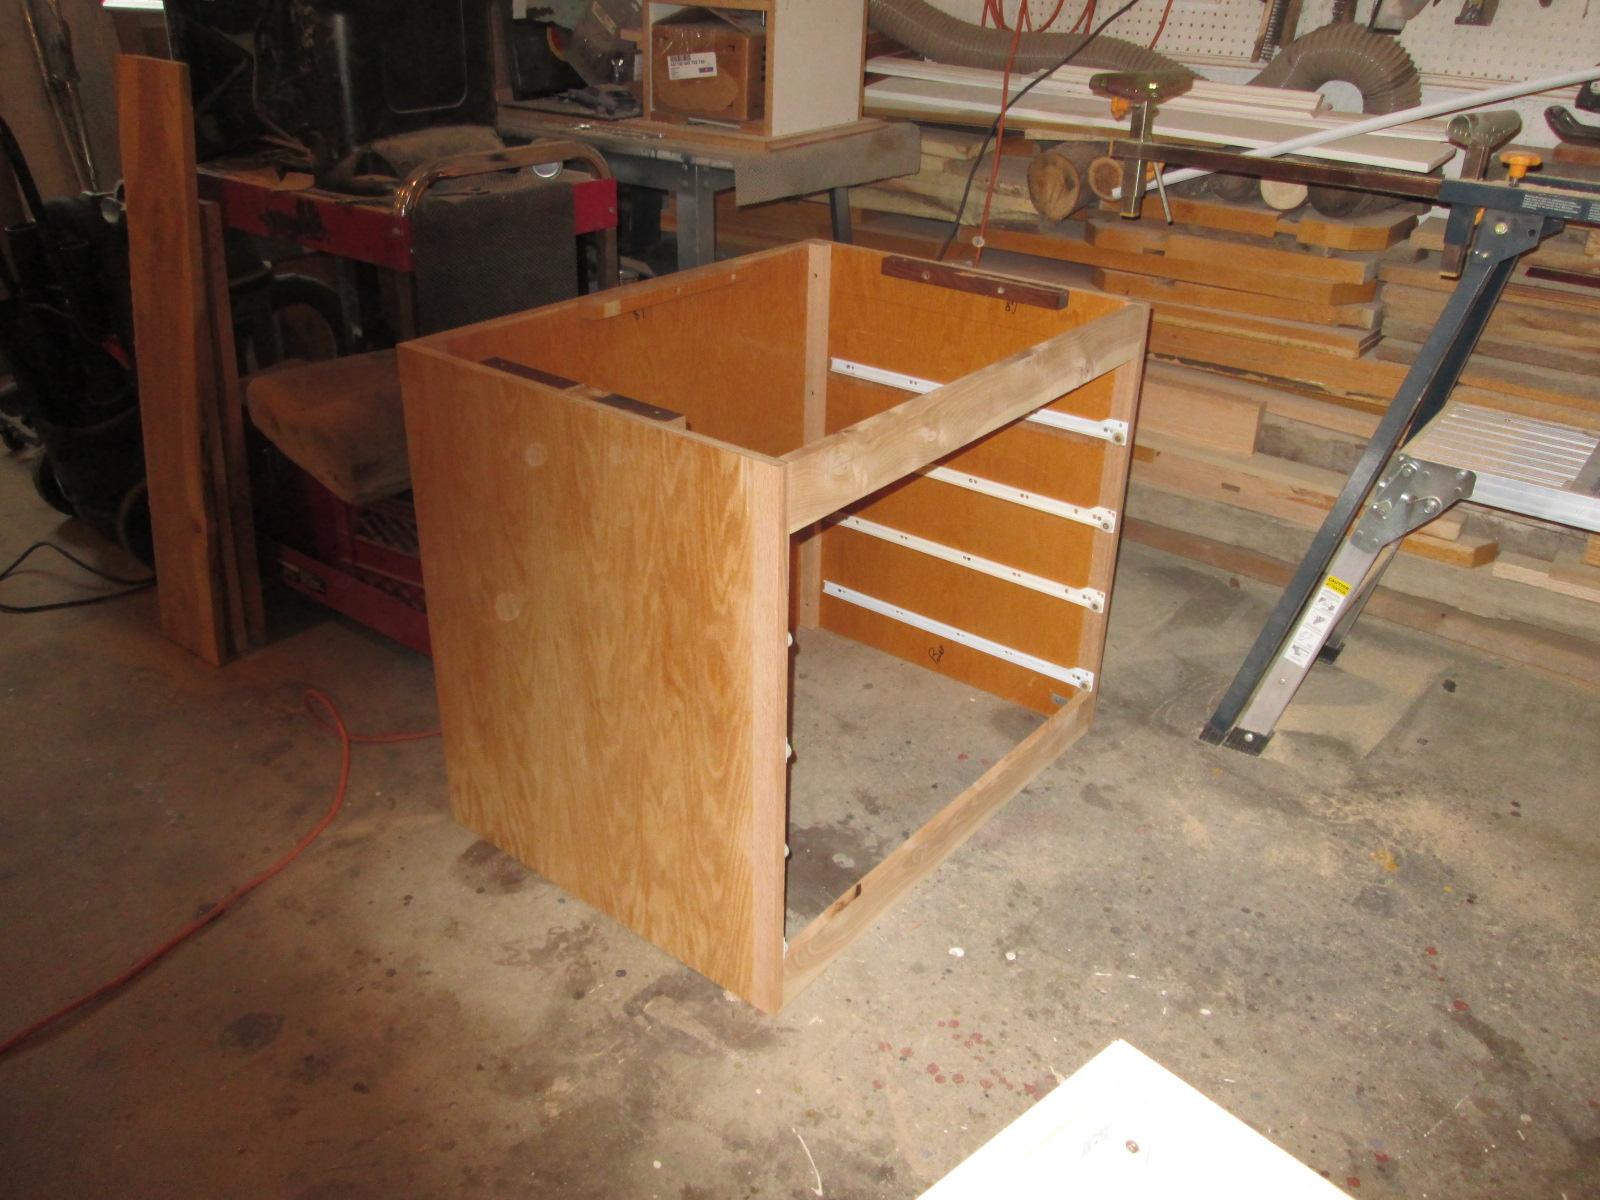
I made the drawer cabinet out of some oak plywood which had been part of a church pew. I used the same drawers but made them 22" deep instead of their original 13" I had some elm that I salvaged from a storm downed tree. Some of it was used for the drawer fronts.
-
When I bought this house there was an old computer desk in the garage. I took it inside and added drawers that came from an old dresser which had belonged to one of my daughters. It was the basement workbench until a few years ago it became my modelling workbench.After the sewer backup this winter the insurance contractor took everything to his warehouse during the repairs. When I saw it there, I figured it deserved its retirement, it looked pretty forlorn.
-
Kenworth Bullnose 1953 1/25 Strato-models
landman replied to Pavel A.'s topic in Model Trucks: Big Rigs and Heavy Equipment
Something Special all right. Spectacular!