landman
-
Posts
7,897 -
Joined
-
Last visited
Content Type
Profiles
Forums
Events
Gallery
Everything posted by landman
-

TAT International R190 tanker
landman replied to landman's topic in WIP: Model Trucks: Big Rigs and Heavy Equipment
I'm trying to think of what I forgot but I think I'm done.
-
TAT International R190 tanker
landman replied to landman's topic in WIP: Model Trucks: Big Rigs and Heavy Equipment
I think the white primer helped with that. -
Coming together.
-
TAT International R190 tanker
landman replied to landman's topic in WIP: Model Trucks: Big Rigs and Heavy Equipment
Thanks Dennis. A second coat. I think I'll never buy Testor's spray enamels again.
-
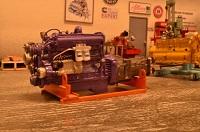
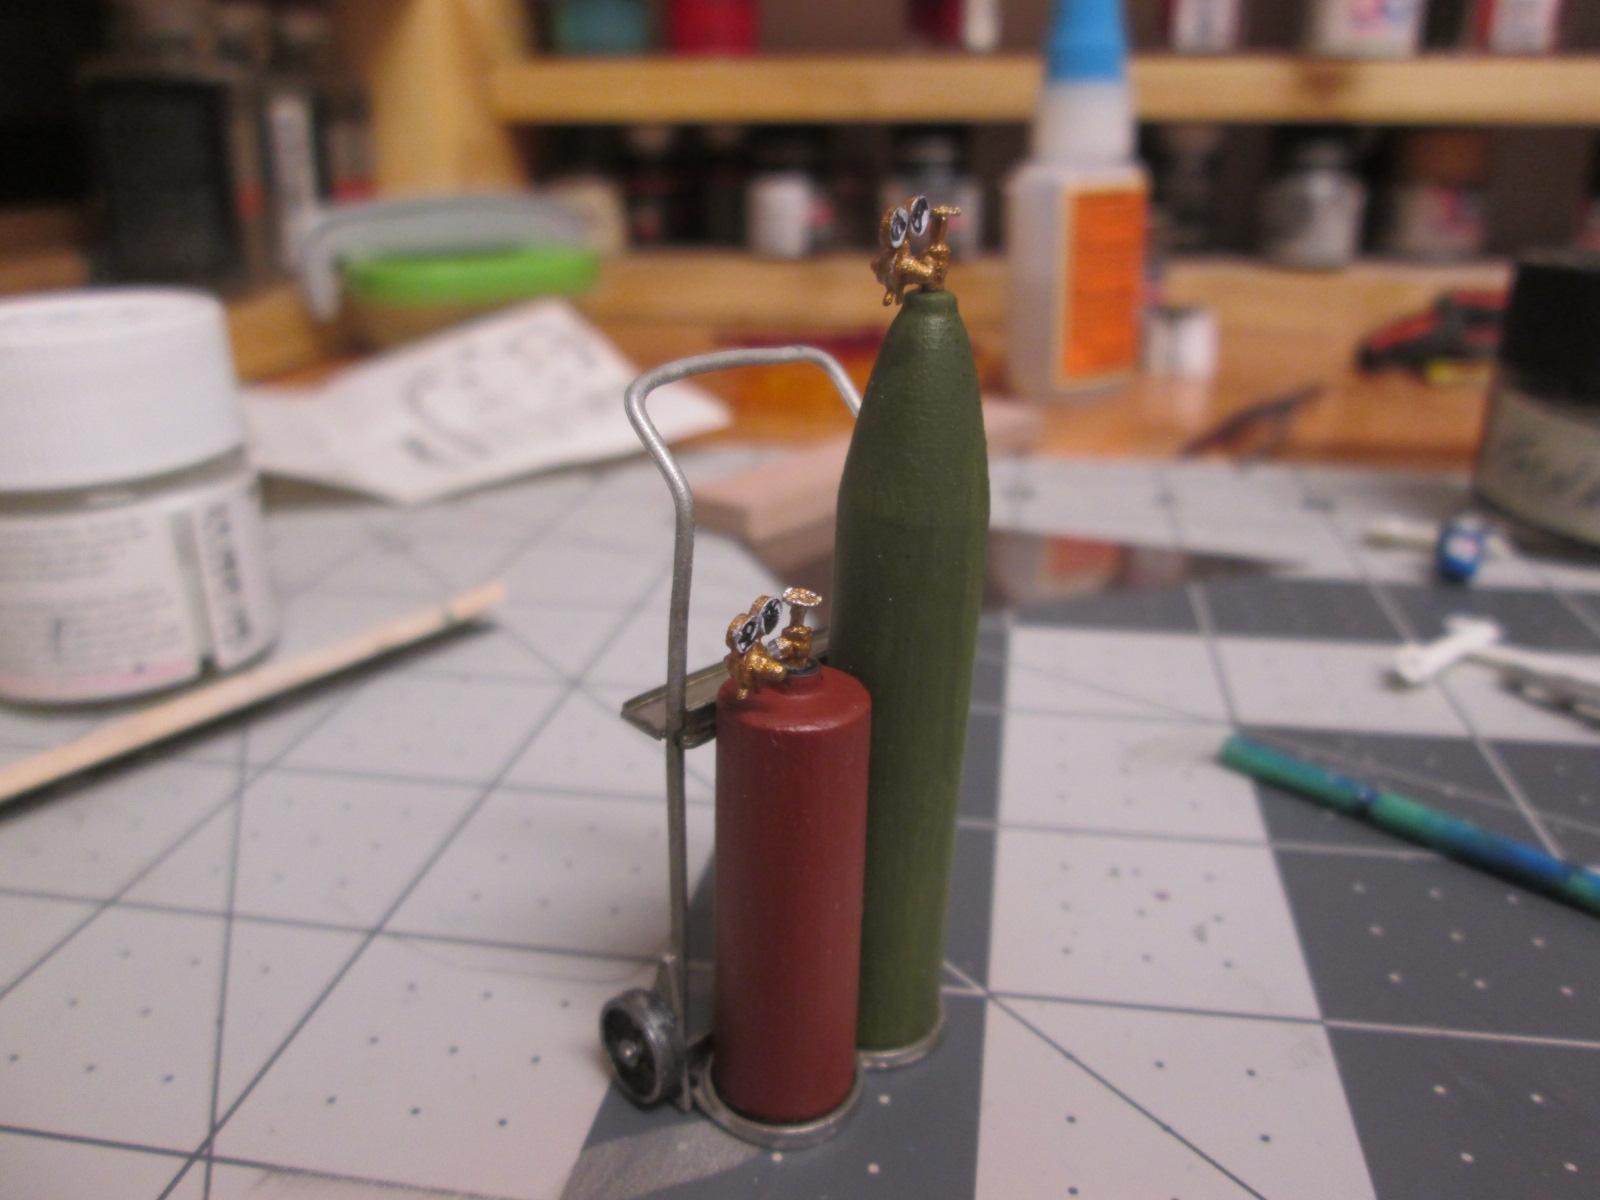
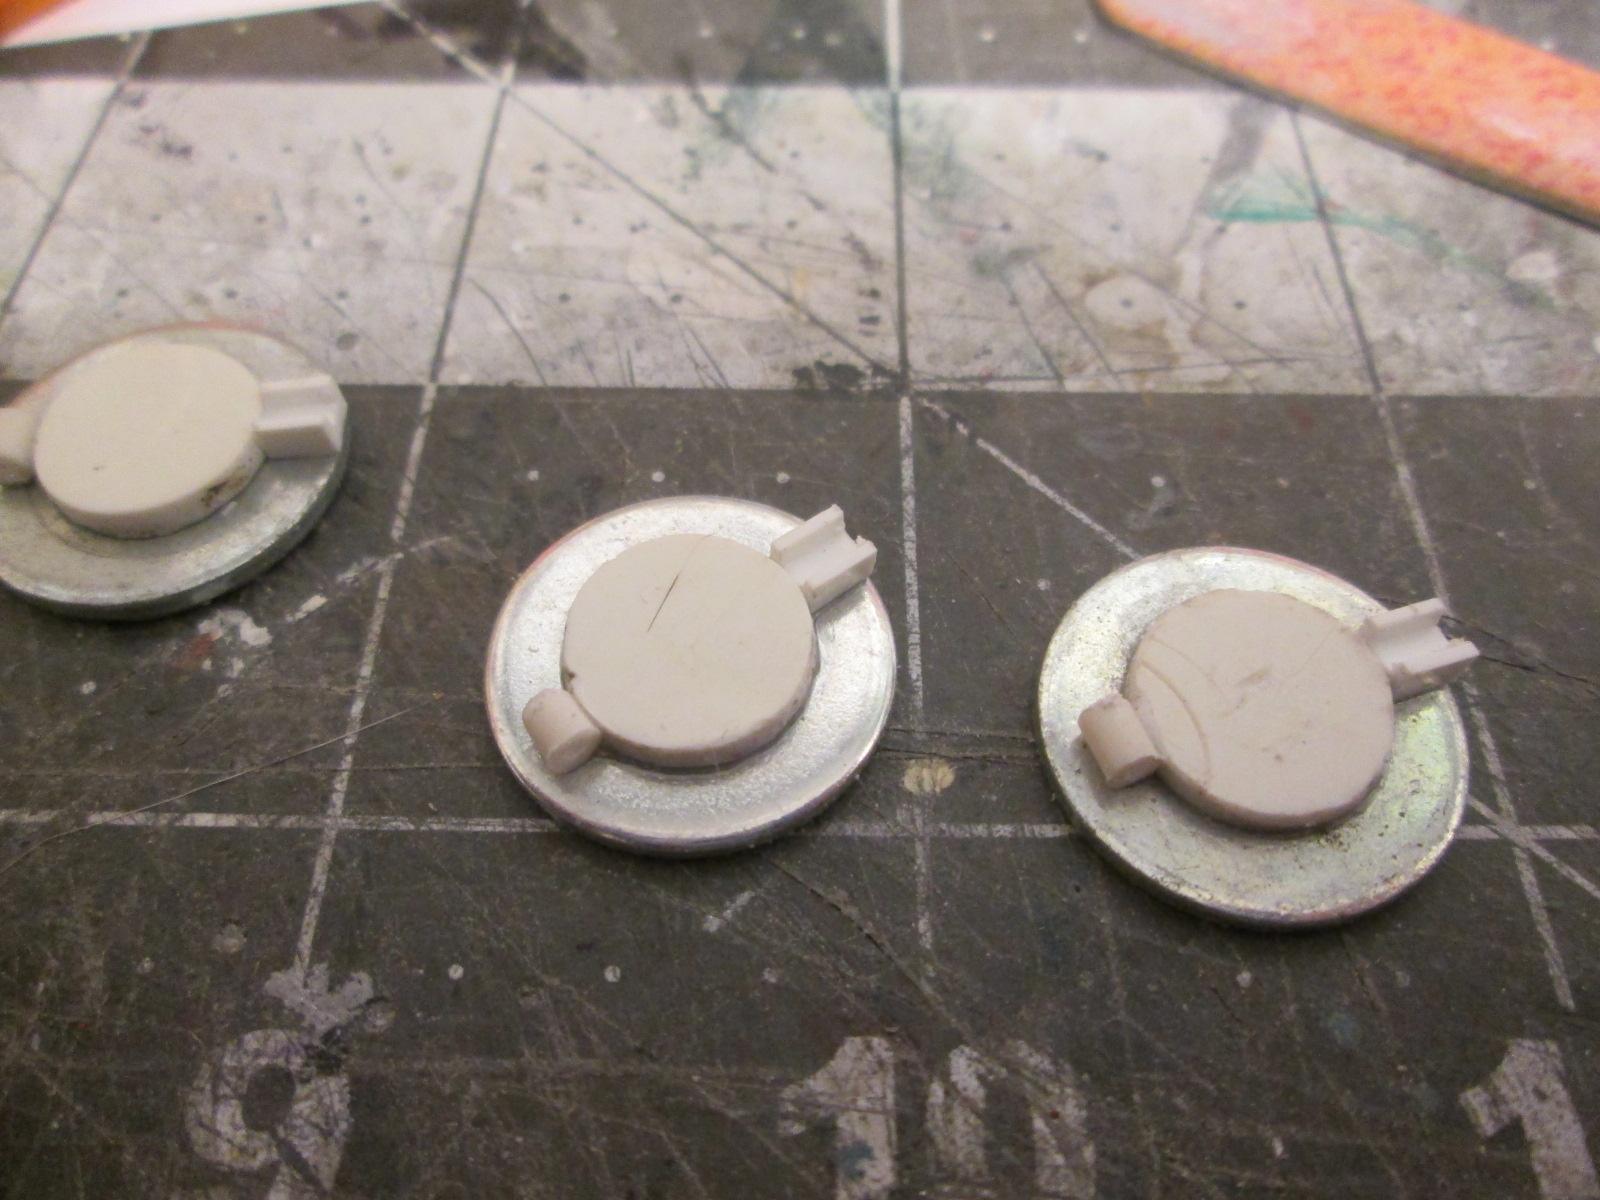
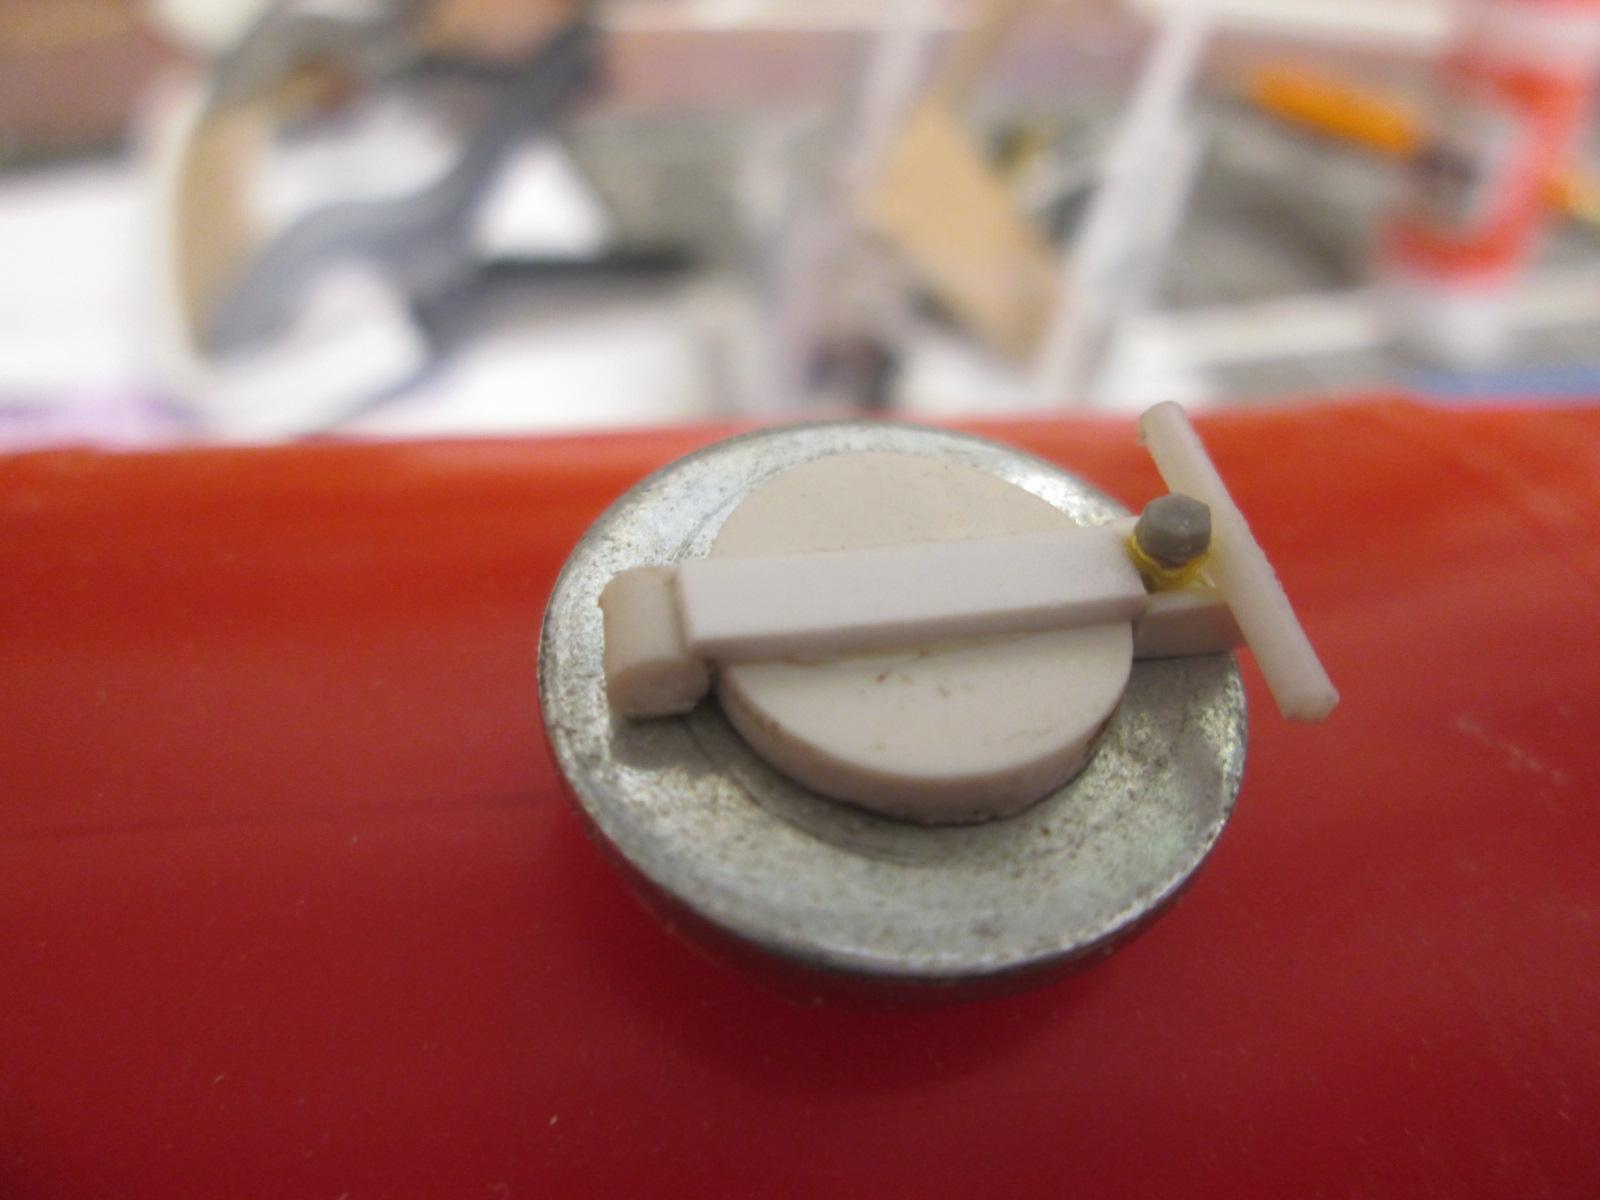
I had built an oxy-acetylene set for the restoration shop. It was a resin set with scratchbuilt cart & torch. I needed another one for the engine shop. I found this one on eBay. It is white metal and wood. Started by drilling the bottles on the lathe. This way the fittings will be more centered than by eyeball.
-
Very good rendition of one of my favorites which will unfortunately never get ticked off the bucket list. Well done!
-
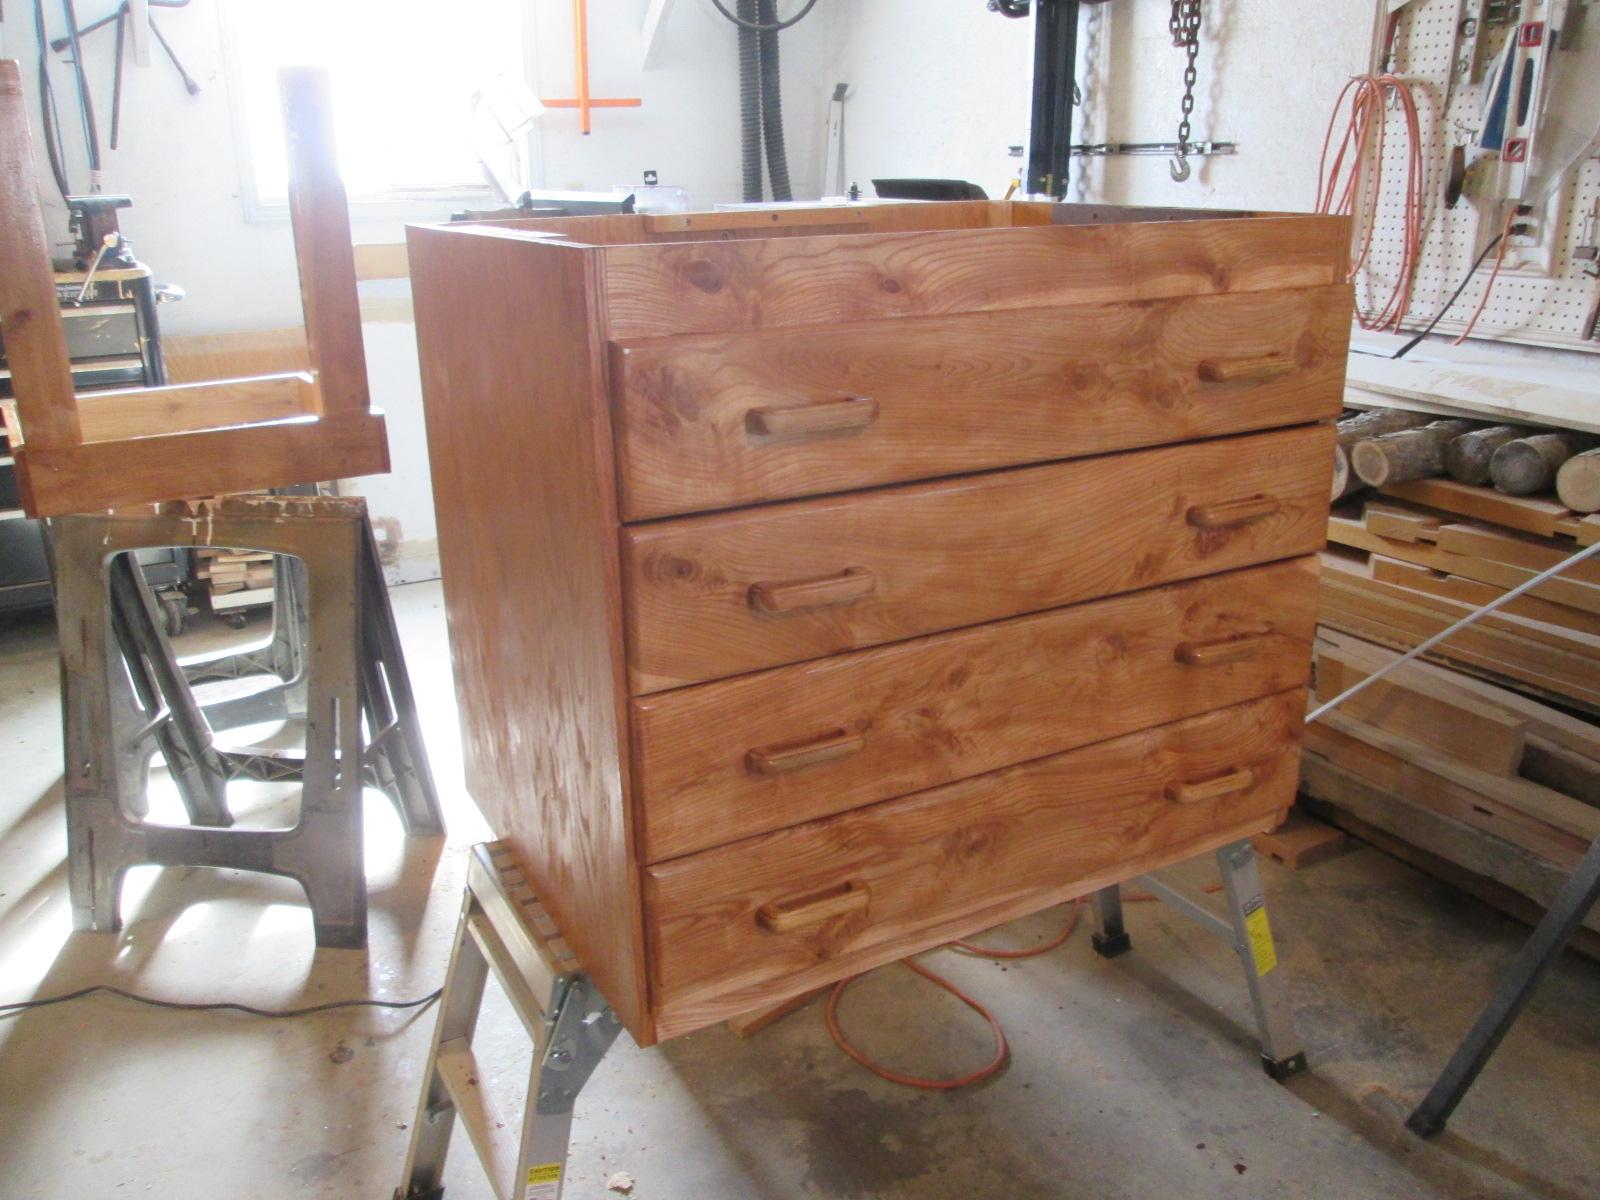
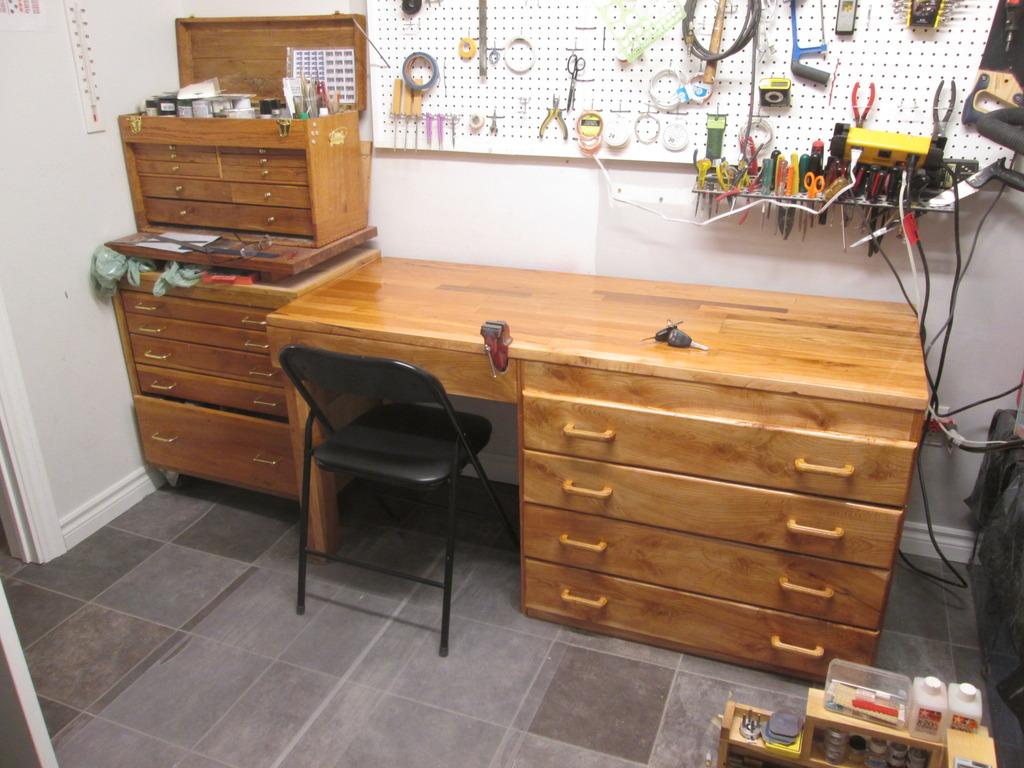
My new workbench. (Done)
landman replied to landman's topic in General Automotive Talk (Trucks and Cars)
I follow you there Alan. However that piece of glass would cost 10 times what the entire desk cost me. The single most expensive component of the top is either the bottle of glue or the electricity used for the table saw and planer. But I appreciate the thought that my "crafstmanship" is worth preserving. -
TAT International R190 tanker
landman replied to landman's topic in WIP: Model Trucks: Big Rigs and Heavy Equipment
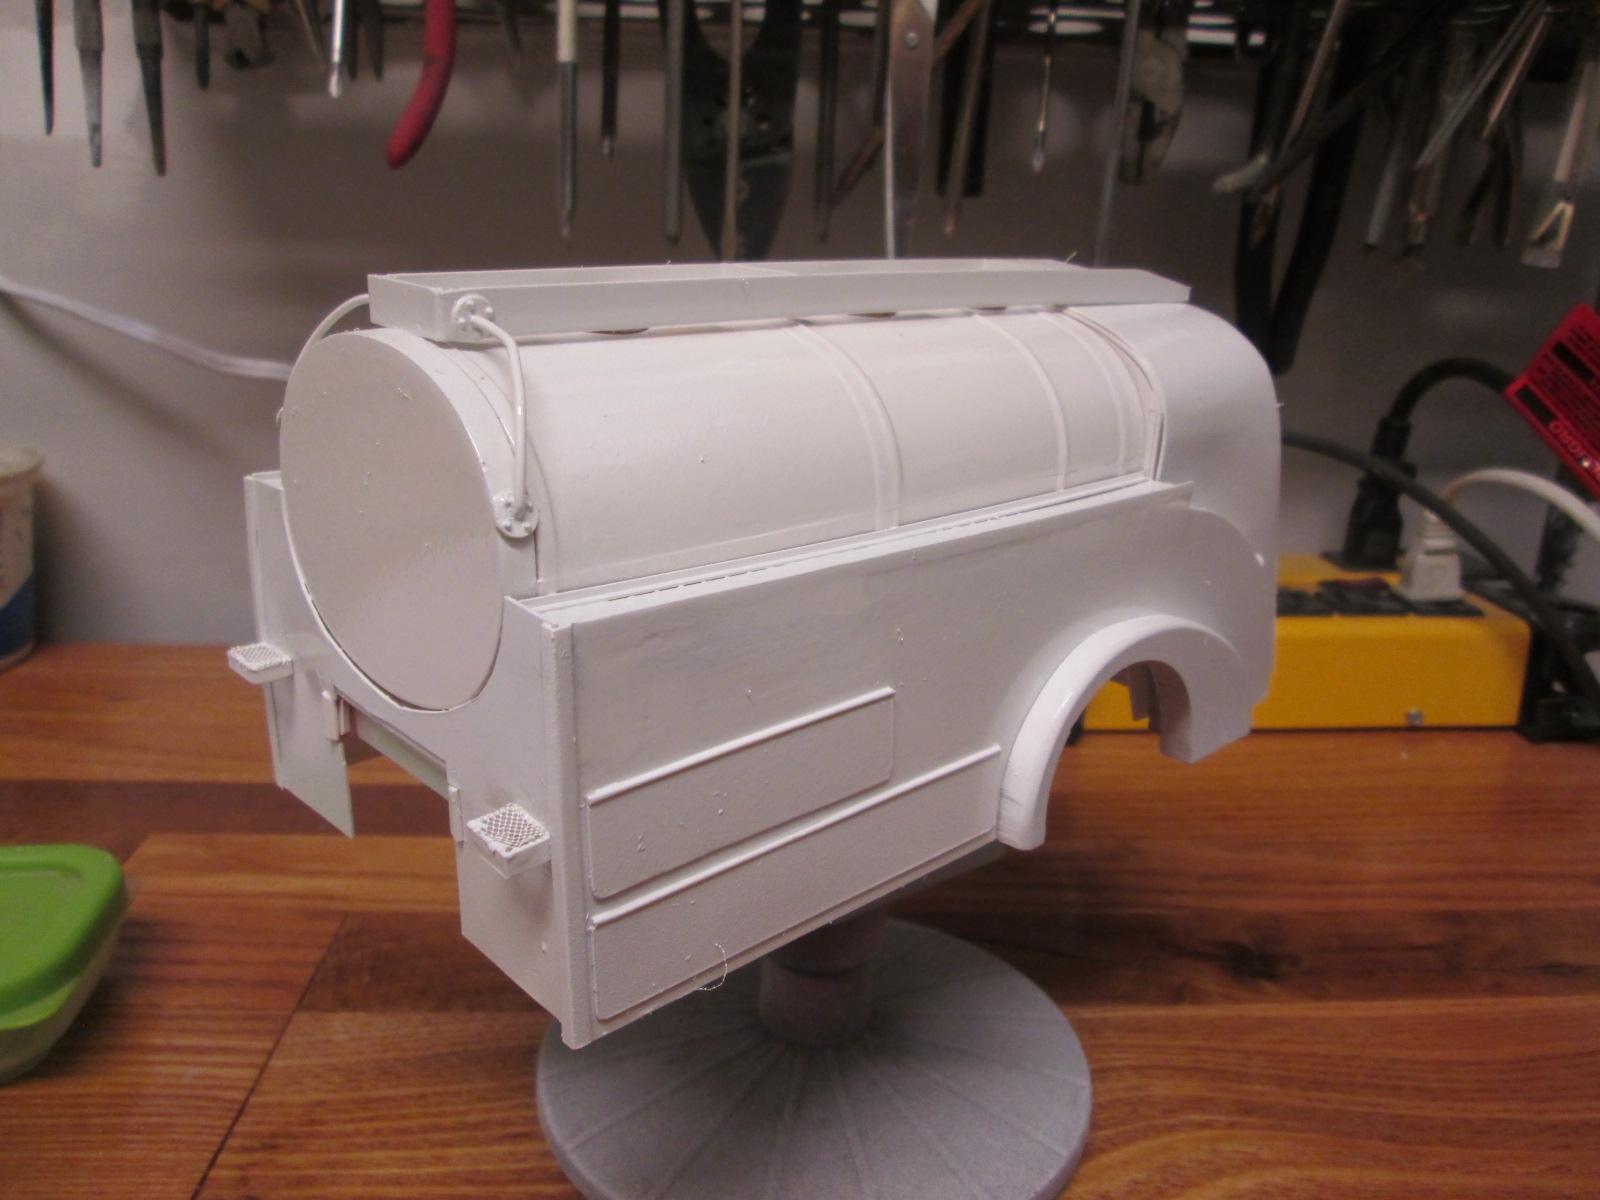
First paint.
-
Thanks for sharing Dan. Interesting to see an Erb truck (005) in Europe. Love the P,G&E service truck (048) . The Michigan loader (052) looks like the KFS item, I wonder who makes the CAT excavator (051) I think the "Putzmeister" is bigger than 1/8, it looks like six feet long. Wonderful show..
-
TAT International R190 tanker
landman replied to landman's topic in WIP: Model Trucks: Big Rigs and Heavy Equipment
Yes. It ran when I sprayed the Decal Bonder at a shallow angle. reprinted the sheet and allowed it to dry first. Should be OK now. -
My new workbench. (Done)
landman replied to landman's topic in General Automotive Talk (Trucks and Cars)
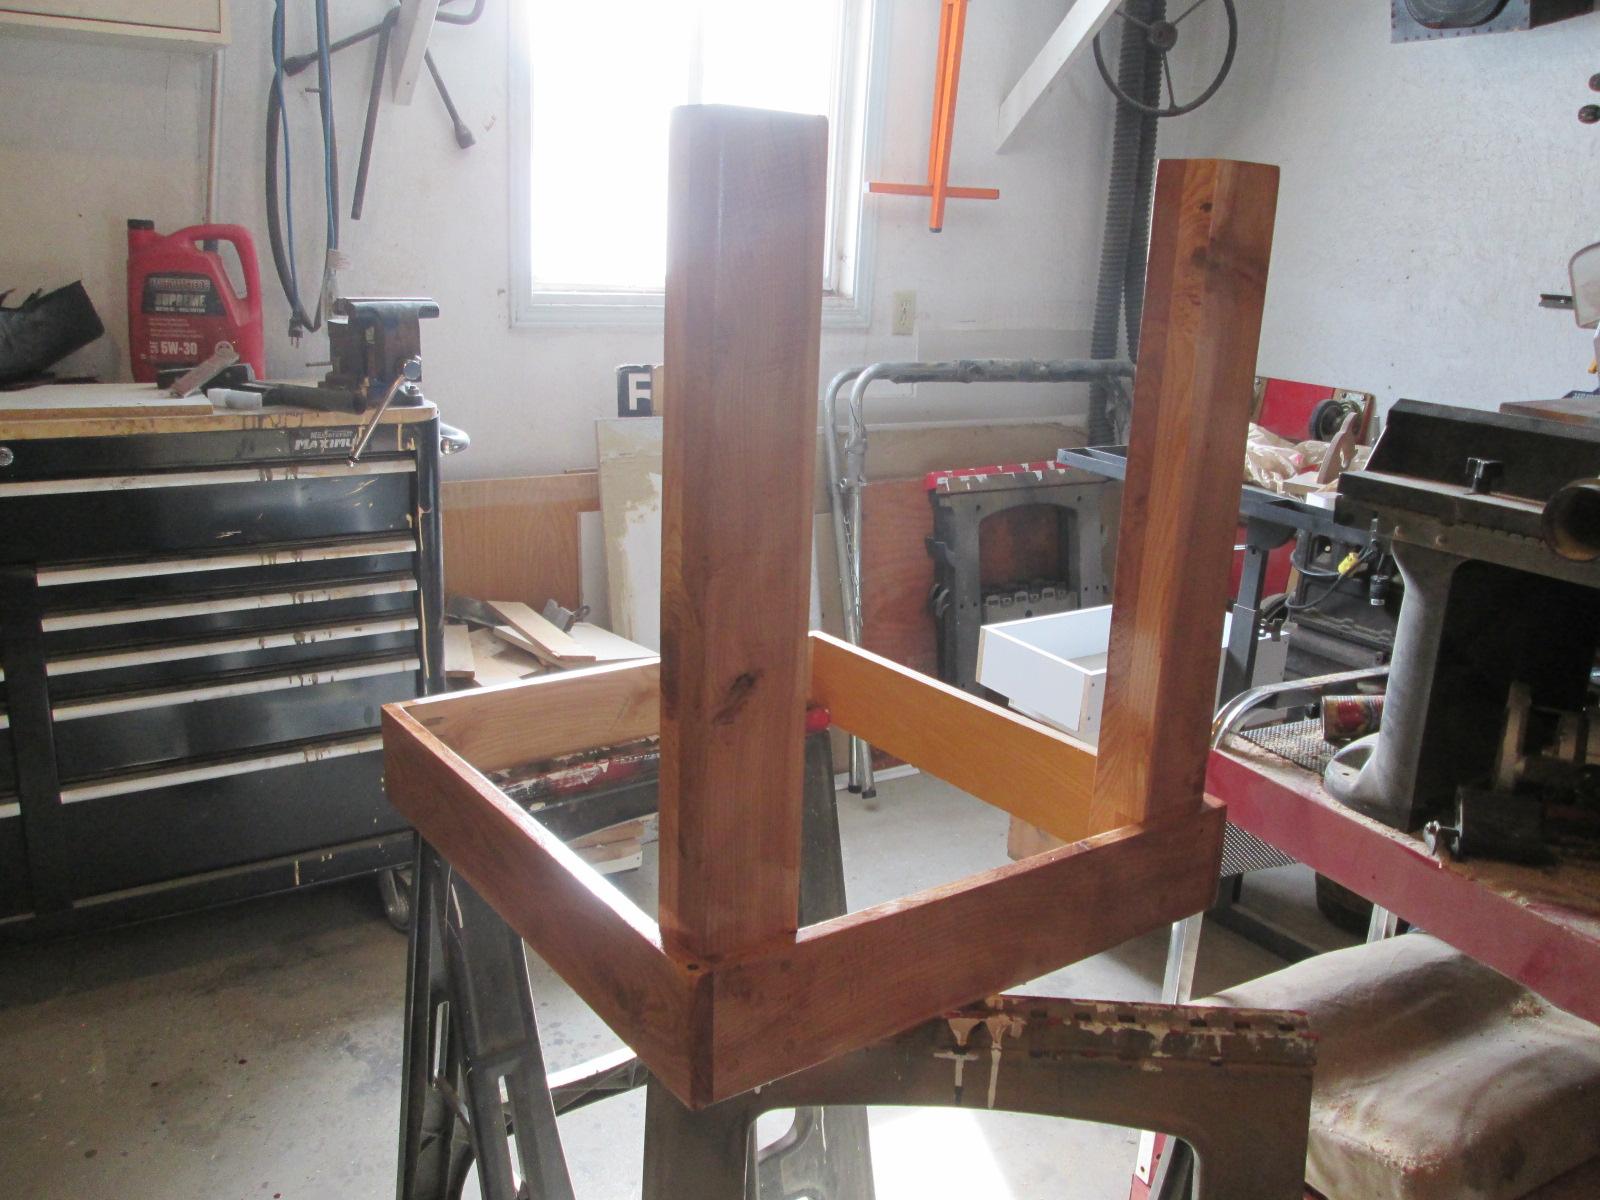
Thanks for the kind comments. It was a fun project. Now I have to scratch it and paint it and drop some glue..... -
TAT International R190 tanker
landman replied to landman's topic in WIP: Model Trucks: Big Rigs and Heavy Equipment
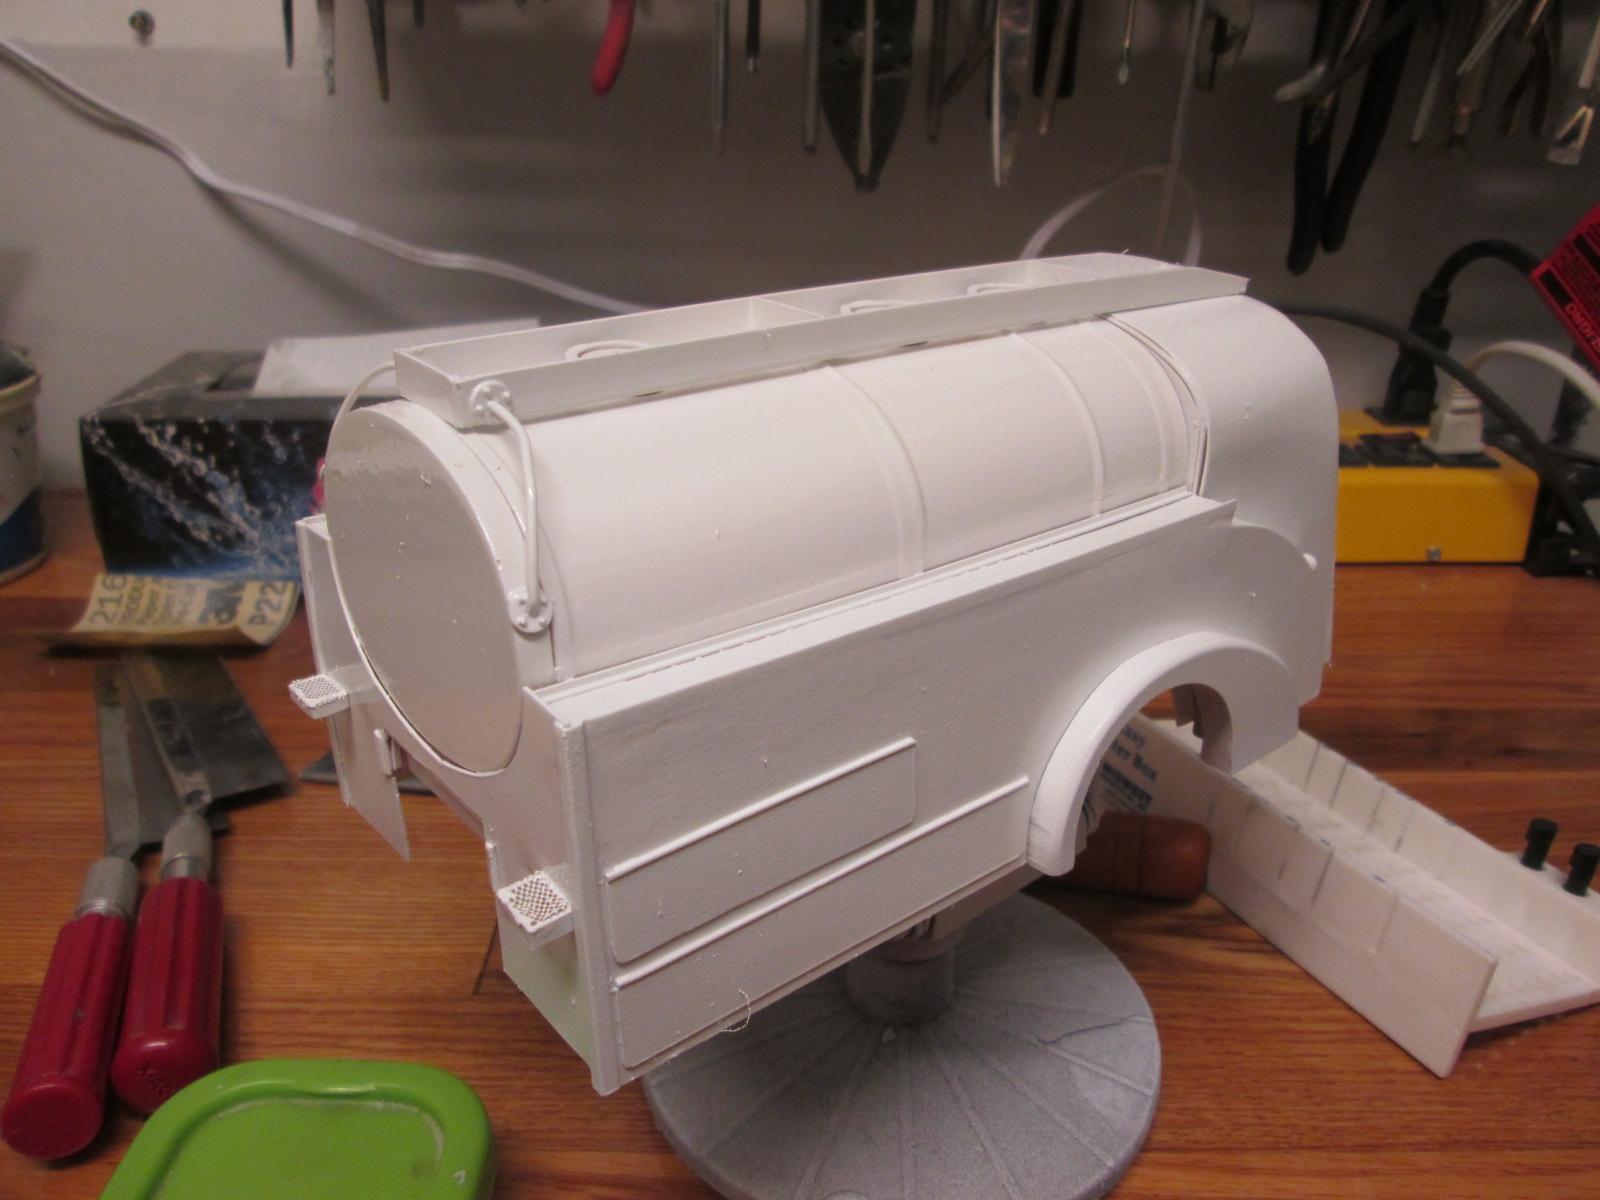
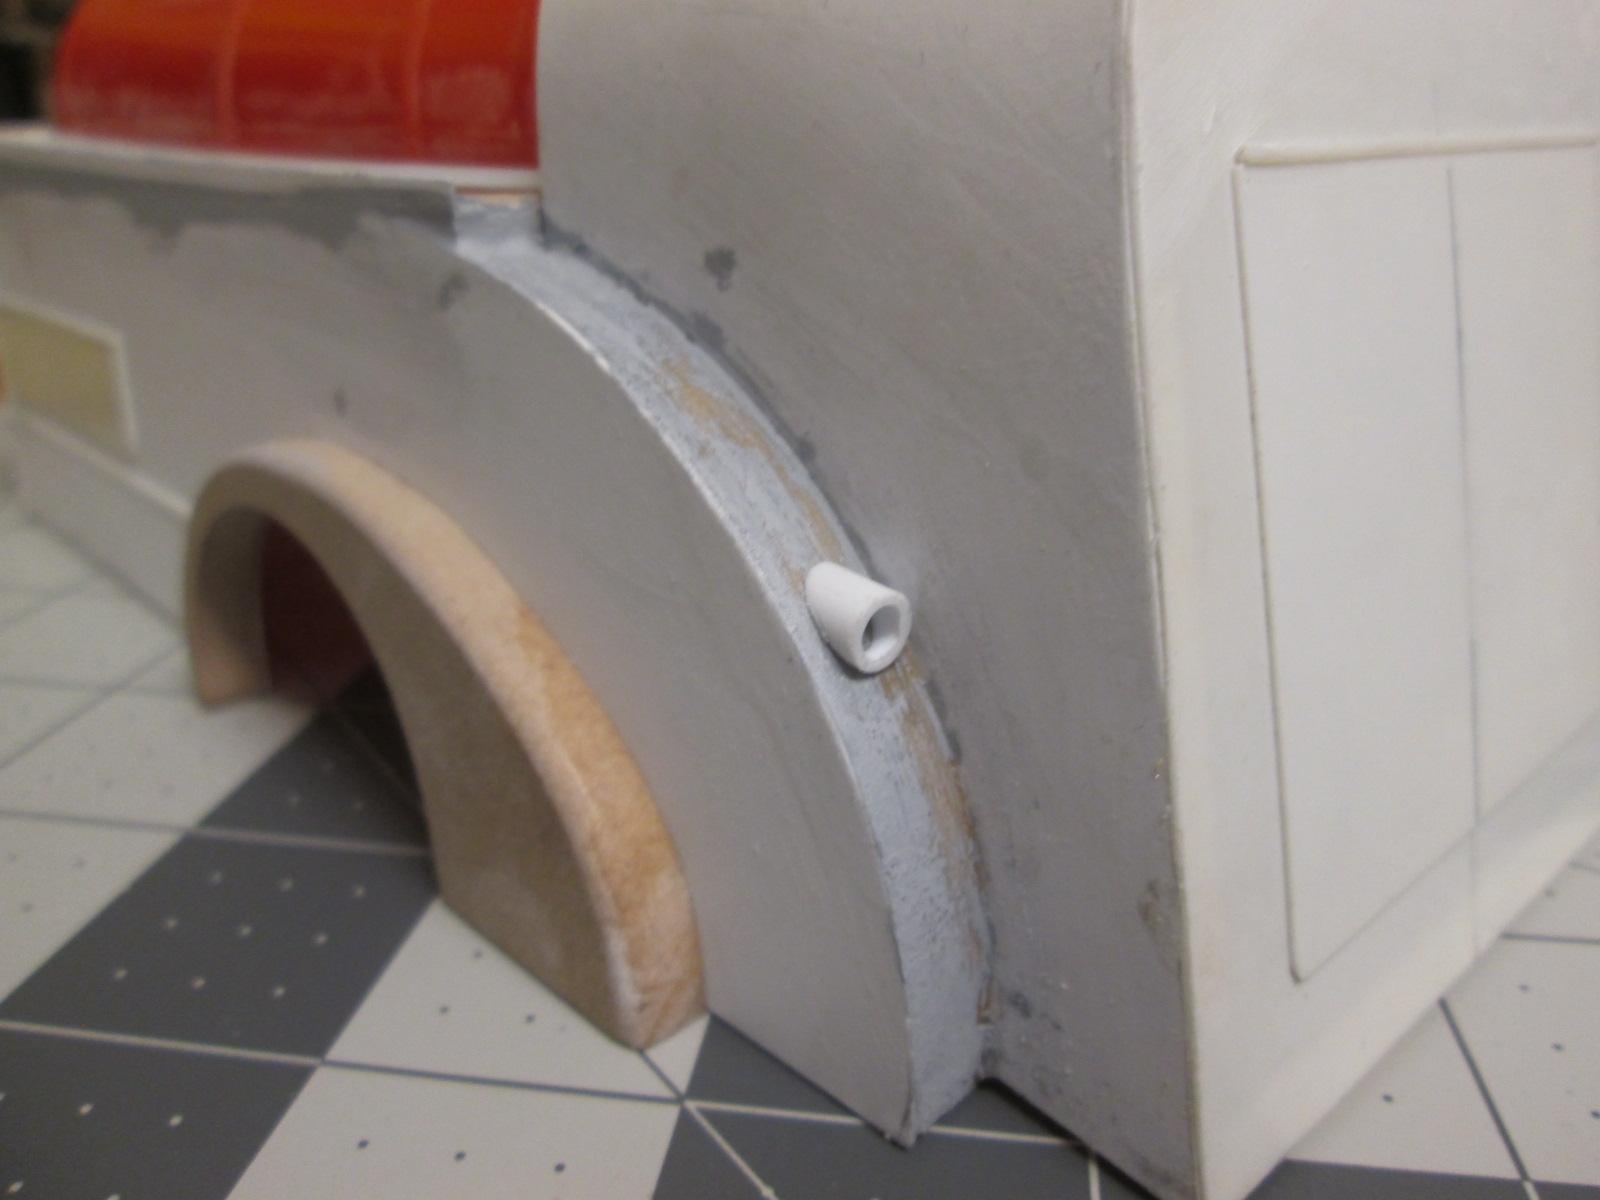
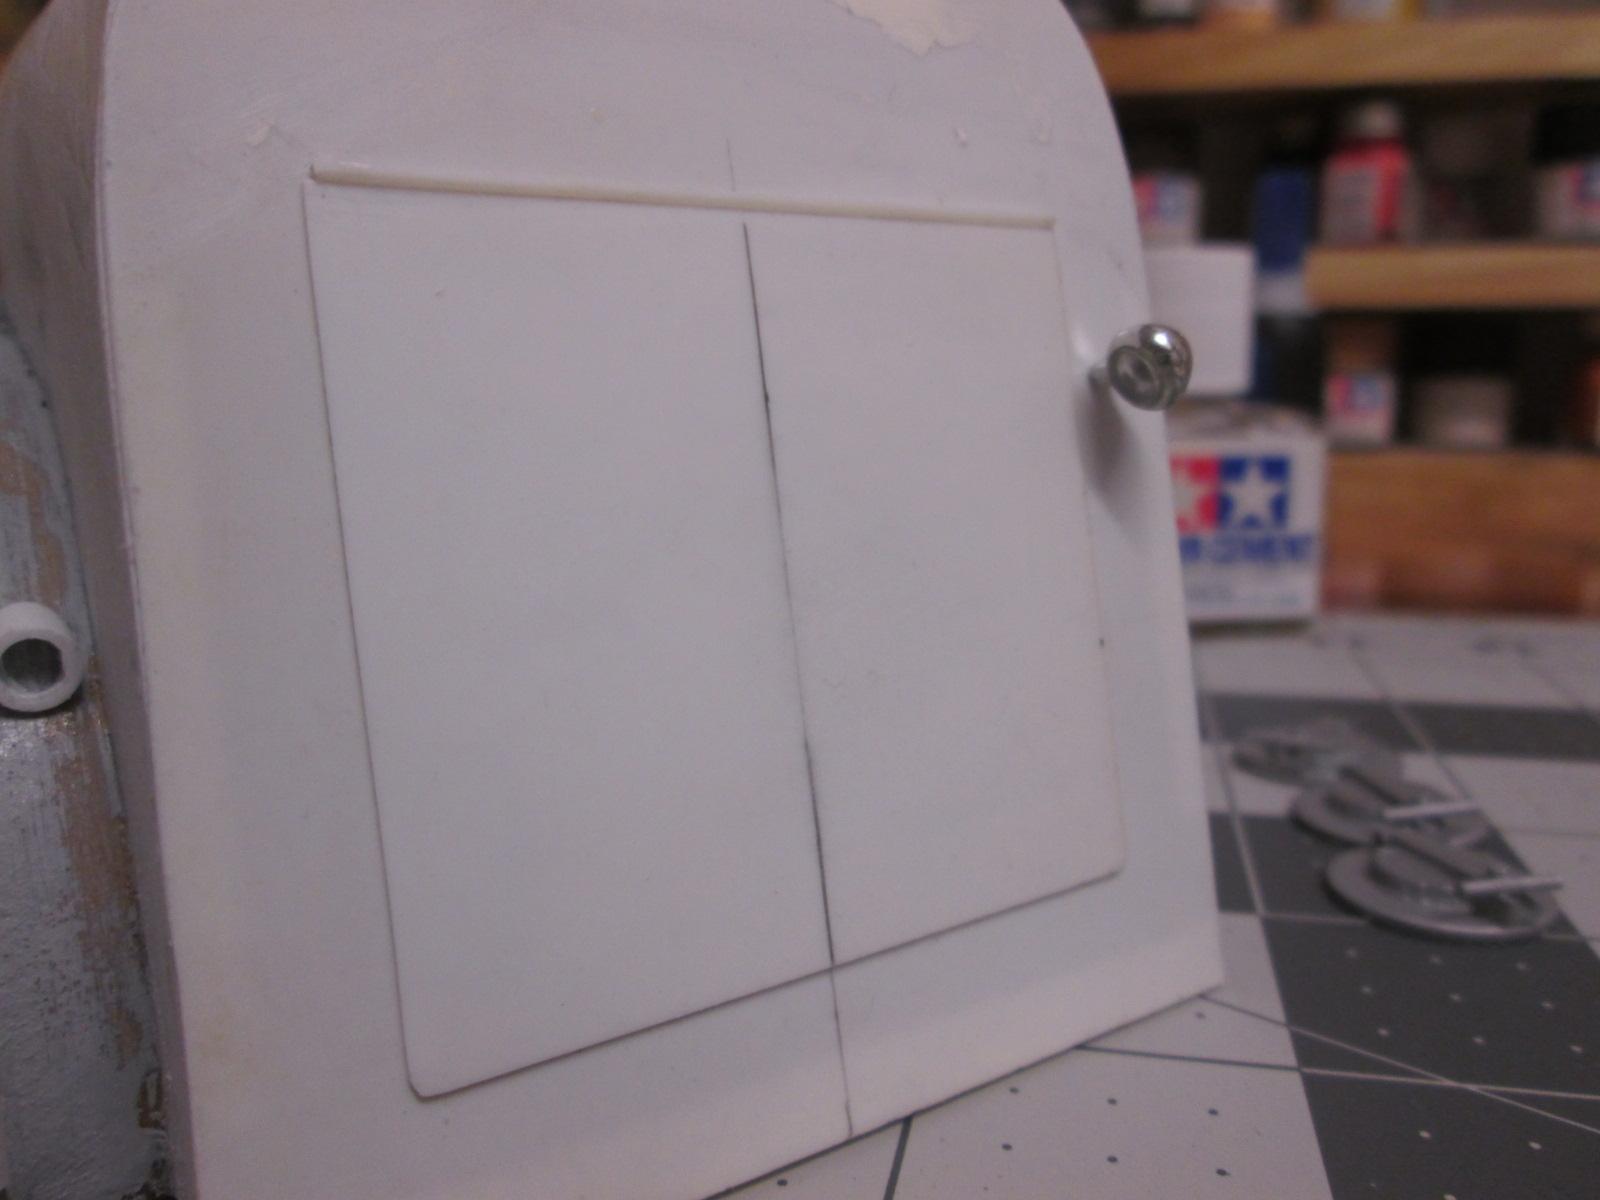
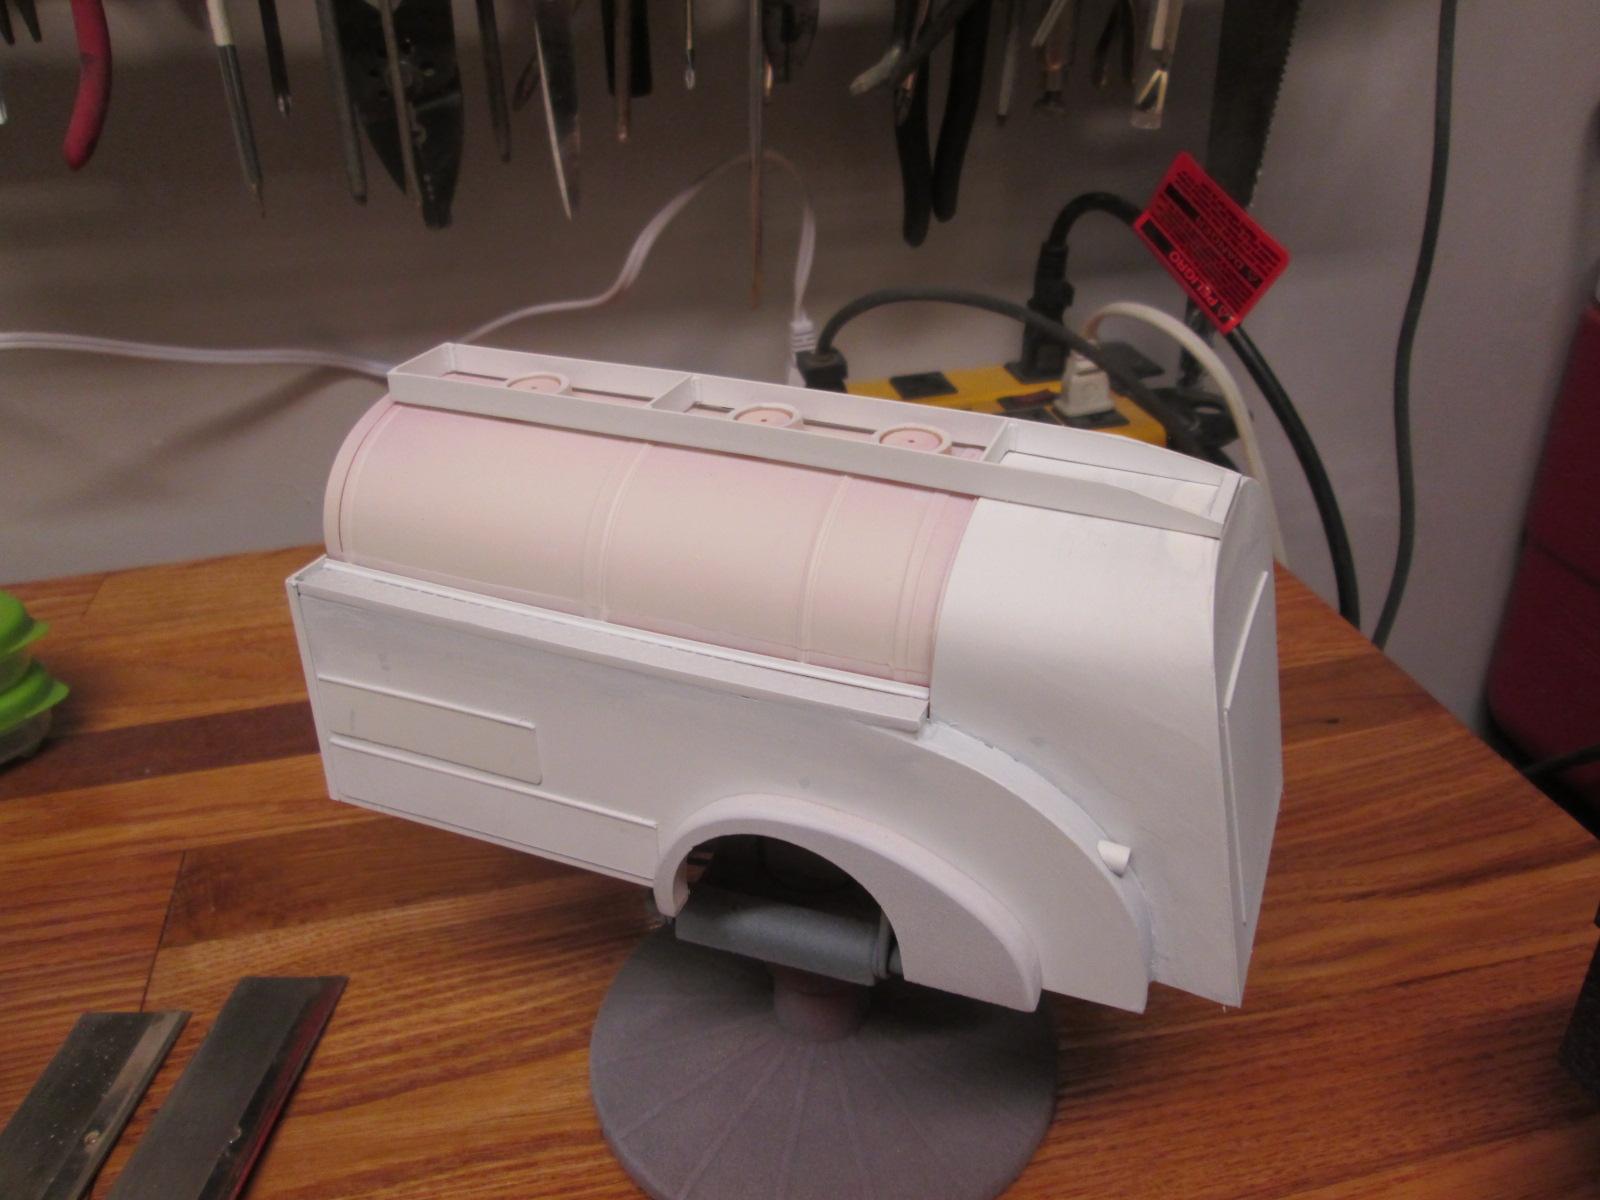
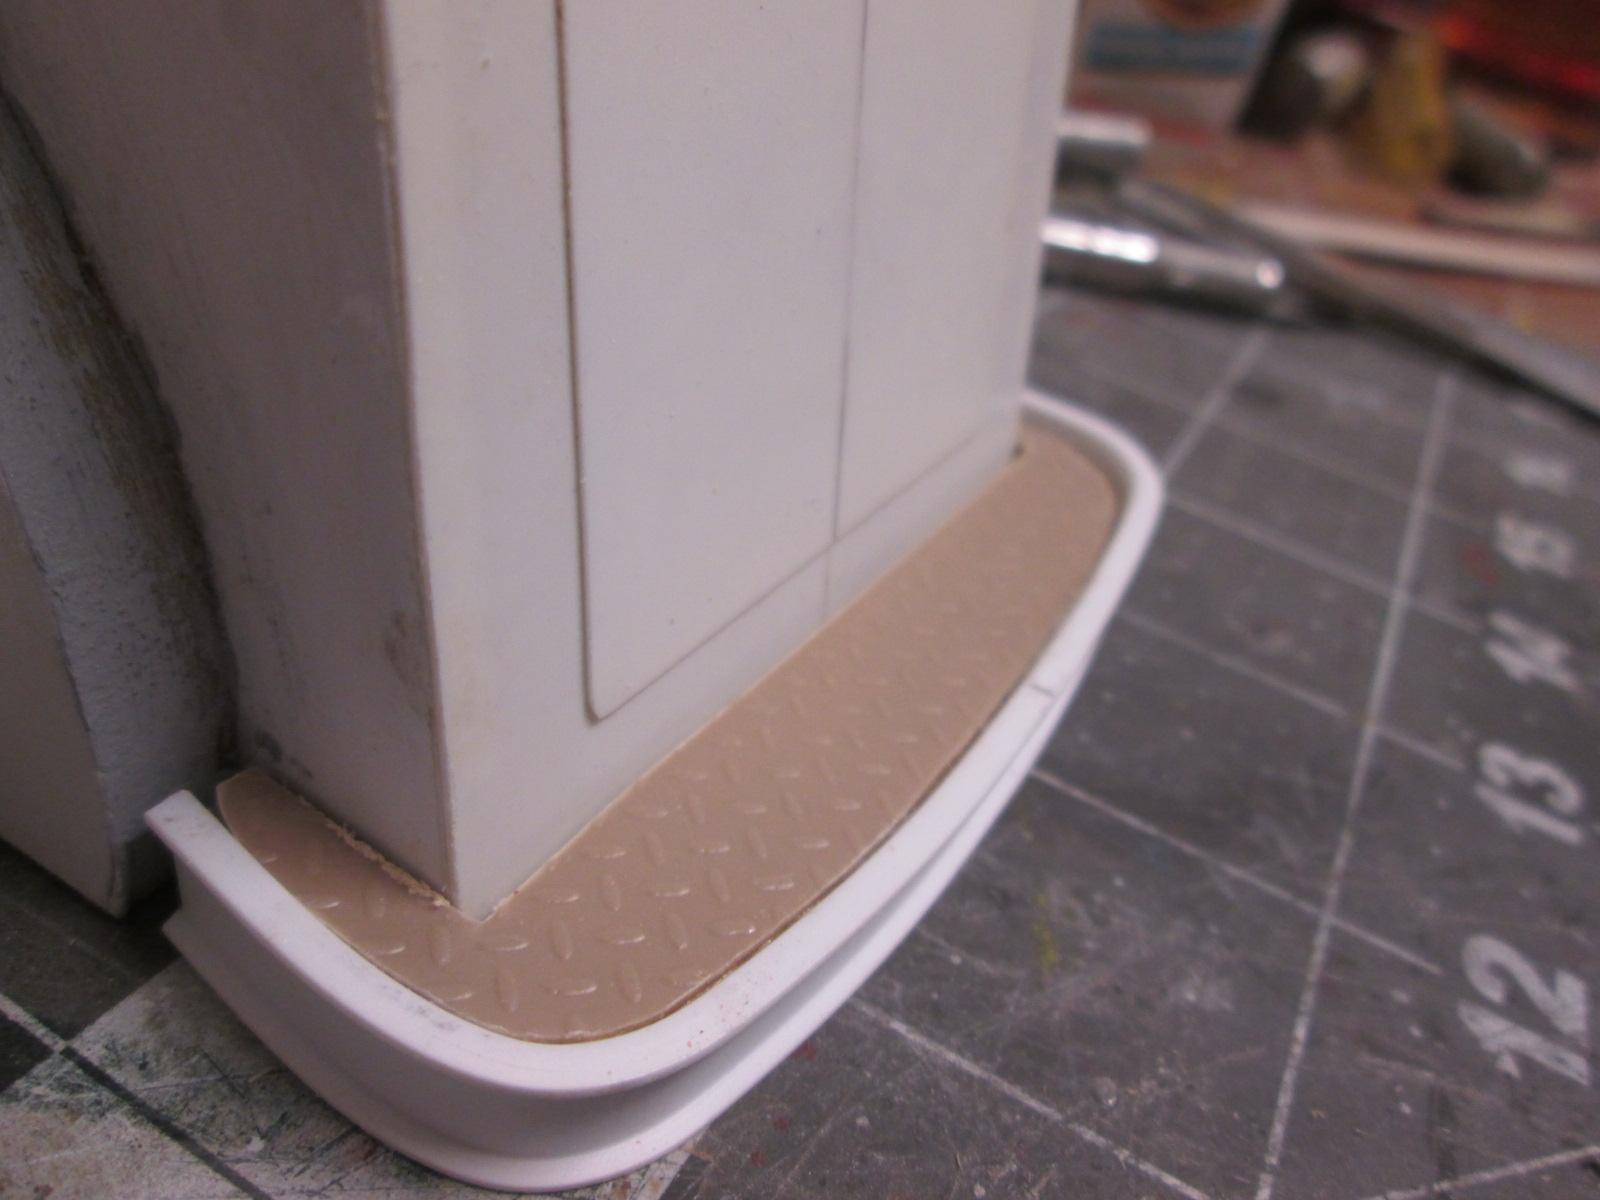
Almost forgot. The 1:1 has steps and a grab bar to get up top. So I made up some steps and flanges for the grab bar. Mine won't wrap around since I put my access panels too close to the edge.
-
Nice. 2 questions. Is that a 3408?Is the woodgrain yours or a decal. Either way, it looks great.
-
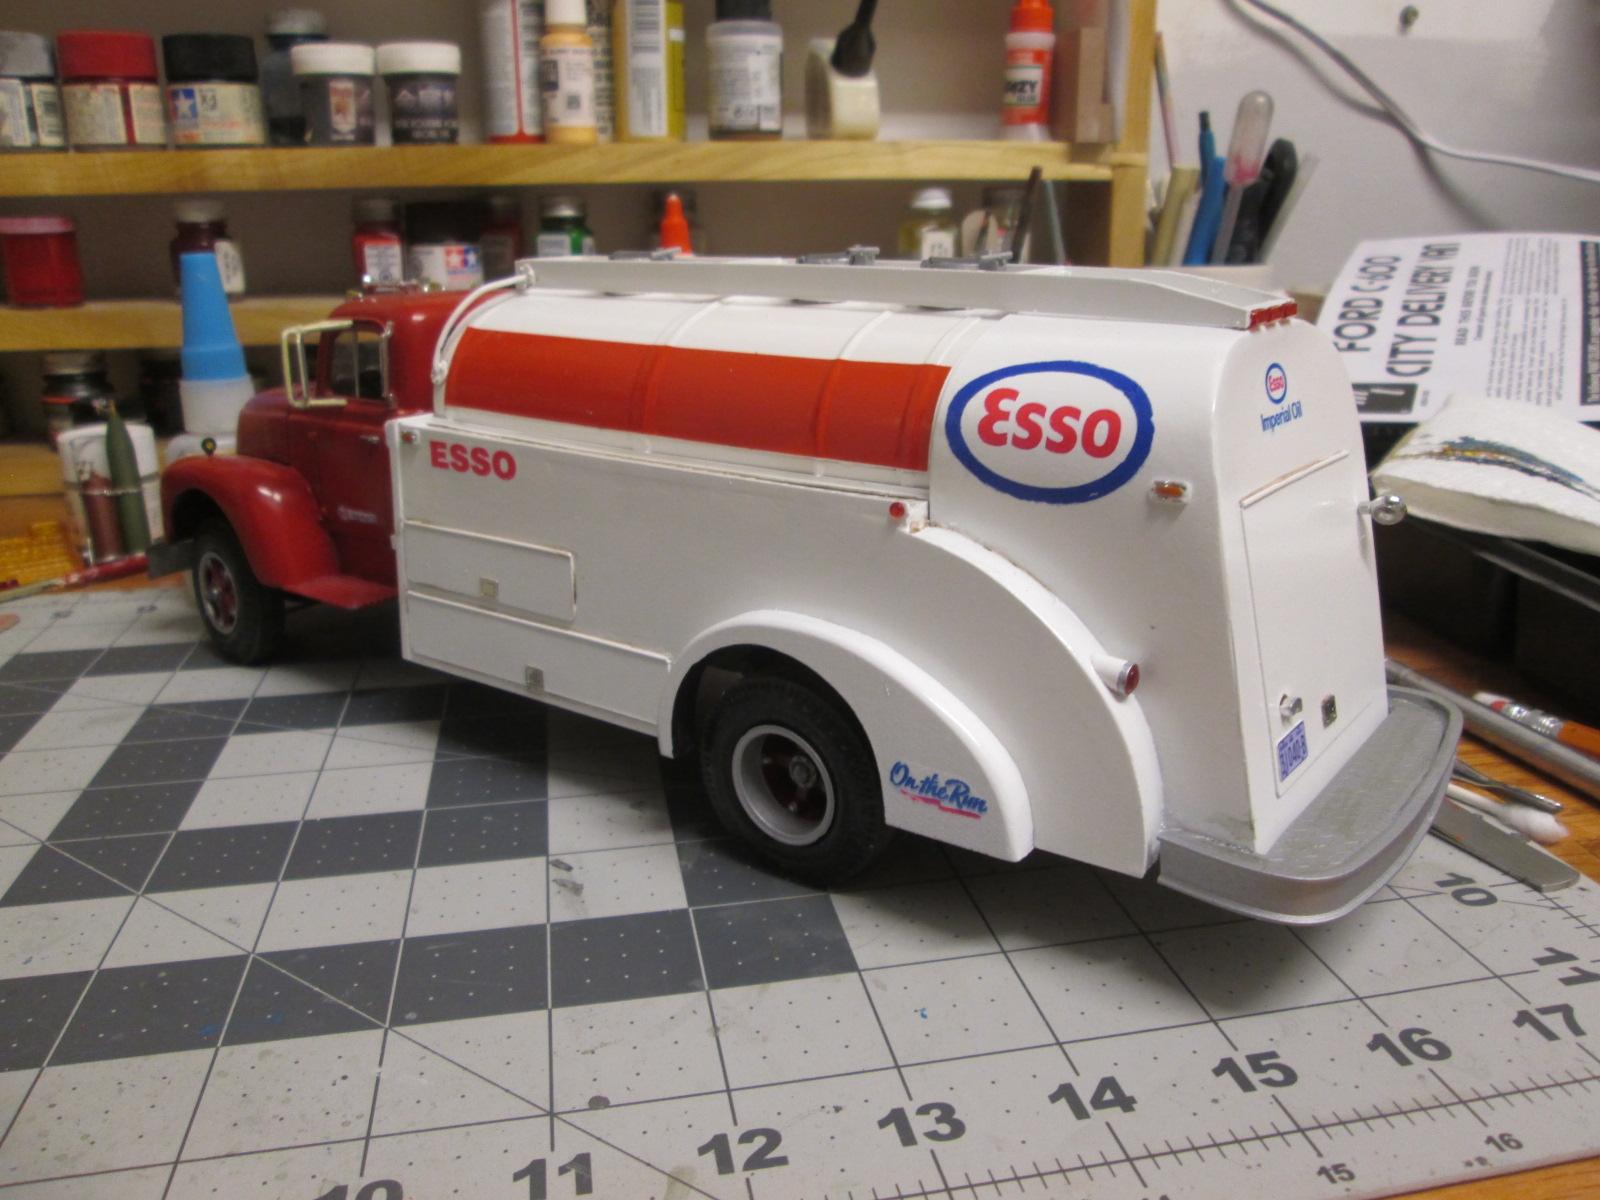
TAT International R190 tanker
landman replied to landman's topic in WIP: Model Trucks: Big Rigs and Heavy Equipment
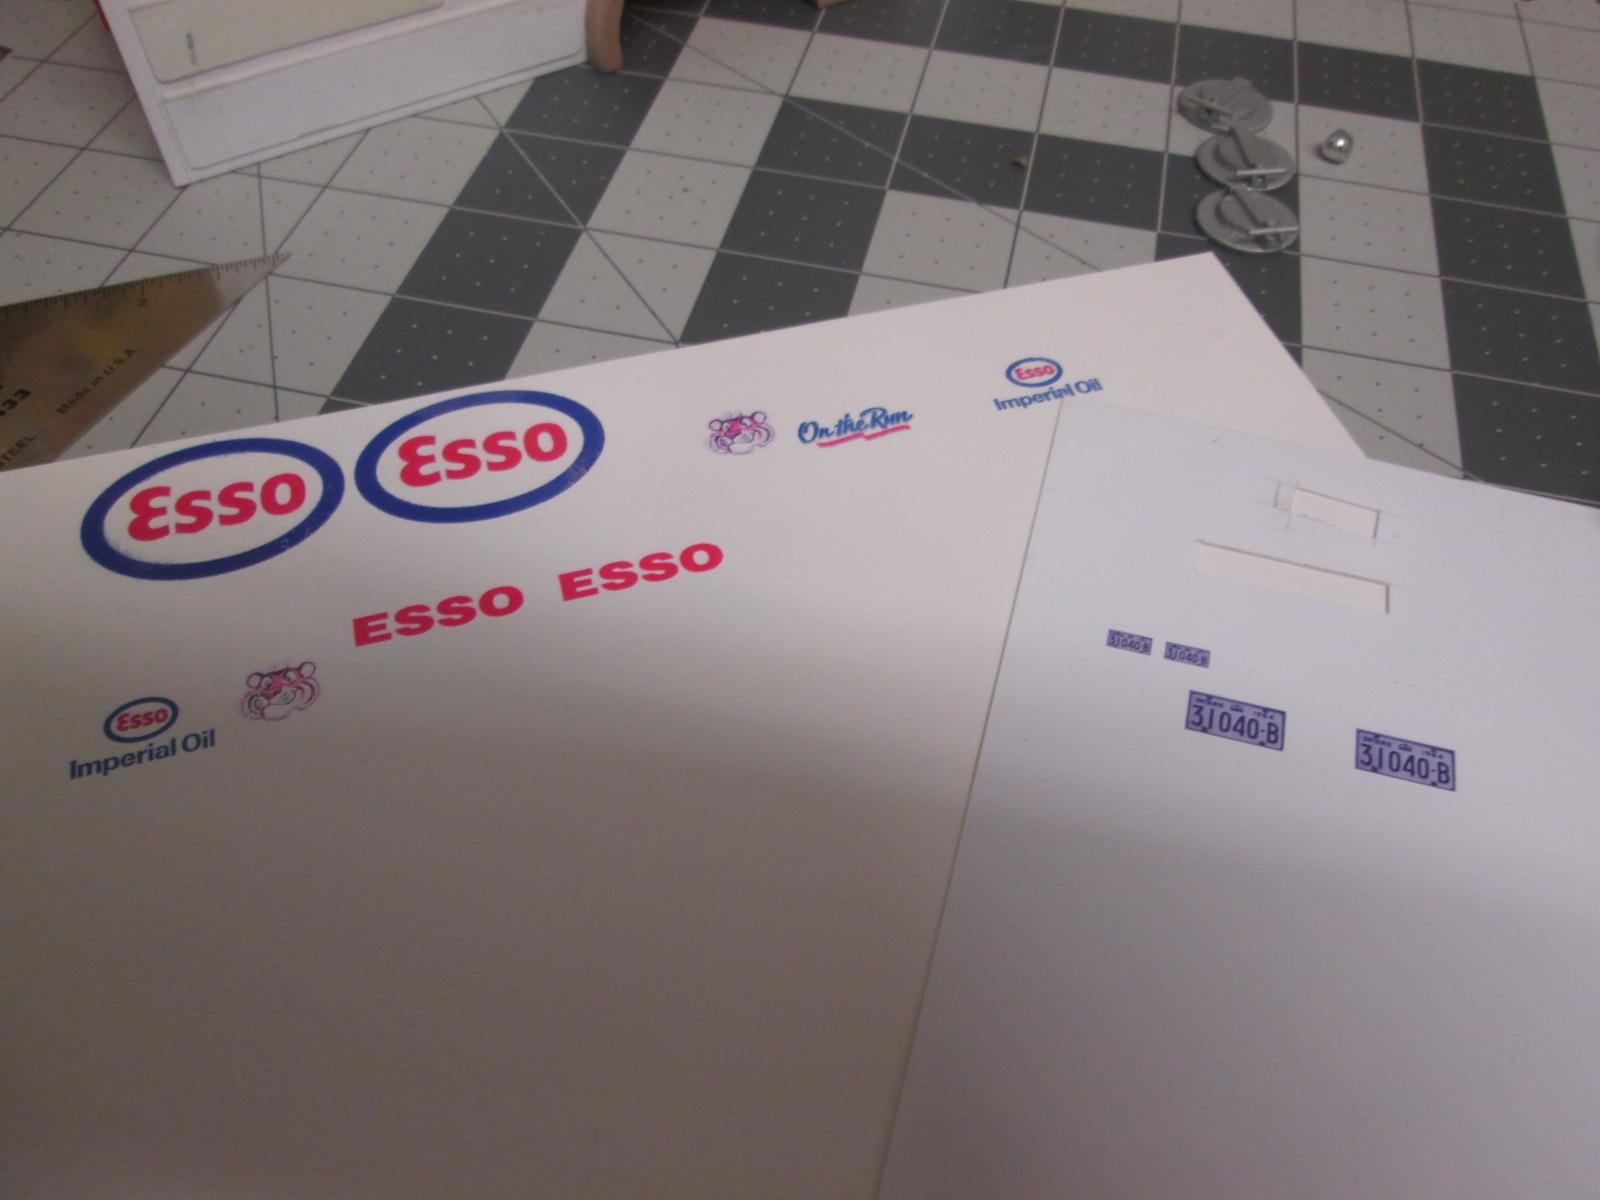
Added taillight pods and a "cargo" light to light up the rear compartment on night runs. Since the truck decal guy doesn't have any ESSO decals I printed some. But I'll have to redo them as they ran when I applied the decal bonder. I guess you're supposed to wait till the ink dries. Started adding very thin coats of primer. No choice there as this white primer tends to run & sag.
-
My new workbench. (Done)
landman replied to landman's topic in General Automotive Talk (Trucks and Cars)
Done. Now I need to load it.
-
Beautiful. Love the side-by-side shots.
-
TAT International R190 tanker
landman replied to landman's topic in WIP: Model Trucks: Big Rigs and Heavy Equipment
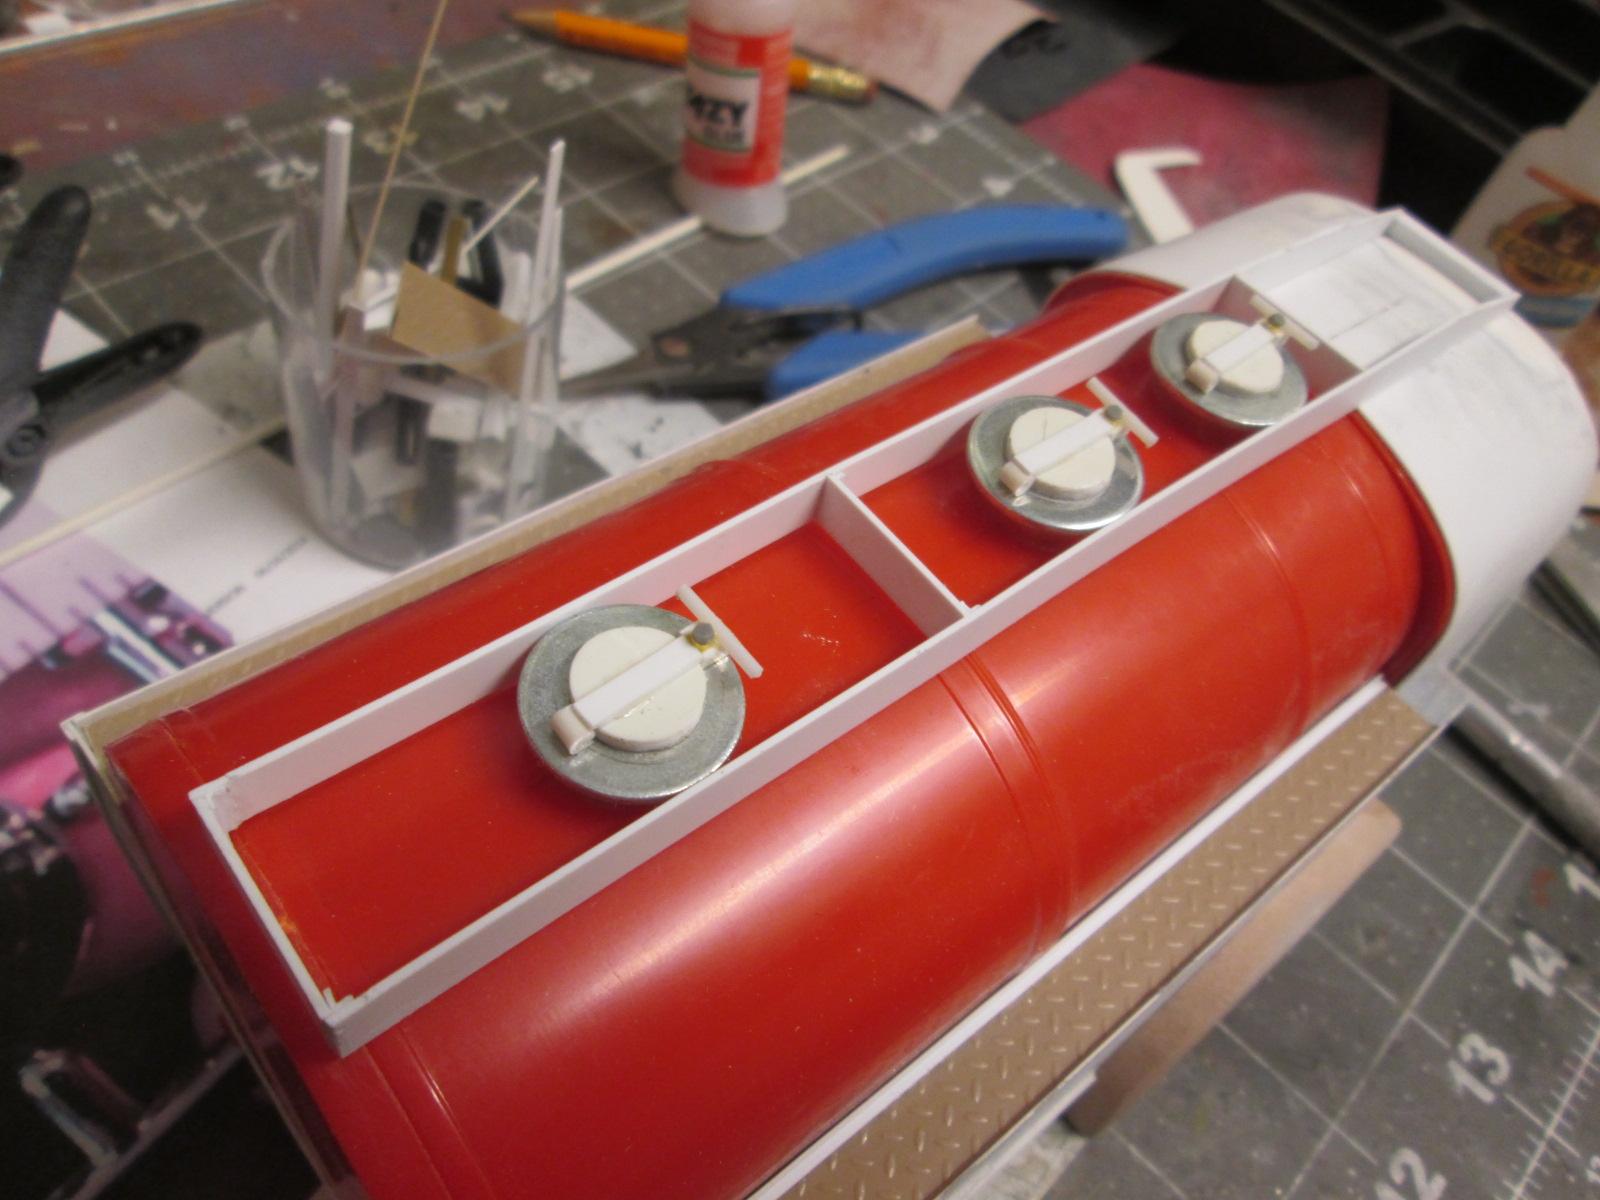
Added some diamond plate. Completed the tank hatches. Very improvised.
-
TAT International R190 tanker
landman replied to landman's topic in WIP: Model Trucks: Big Rigs and Heavy Equipment
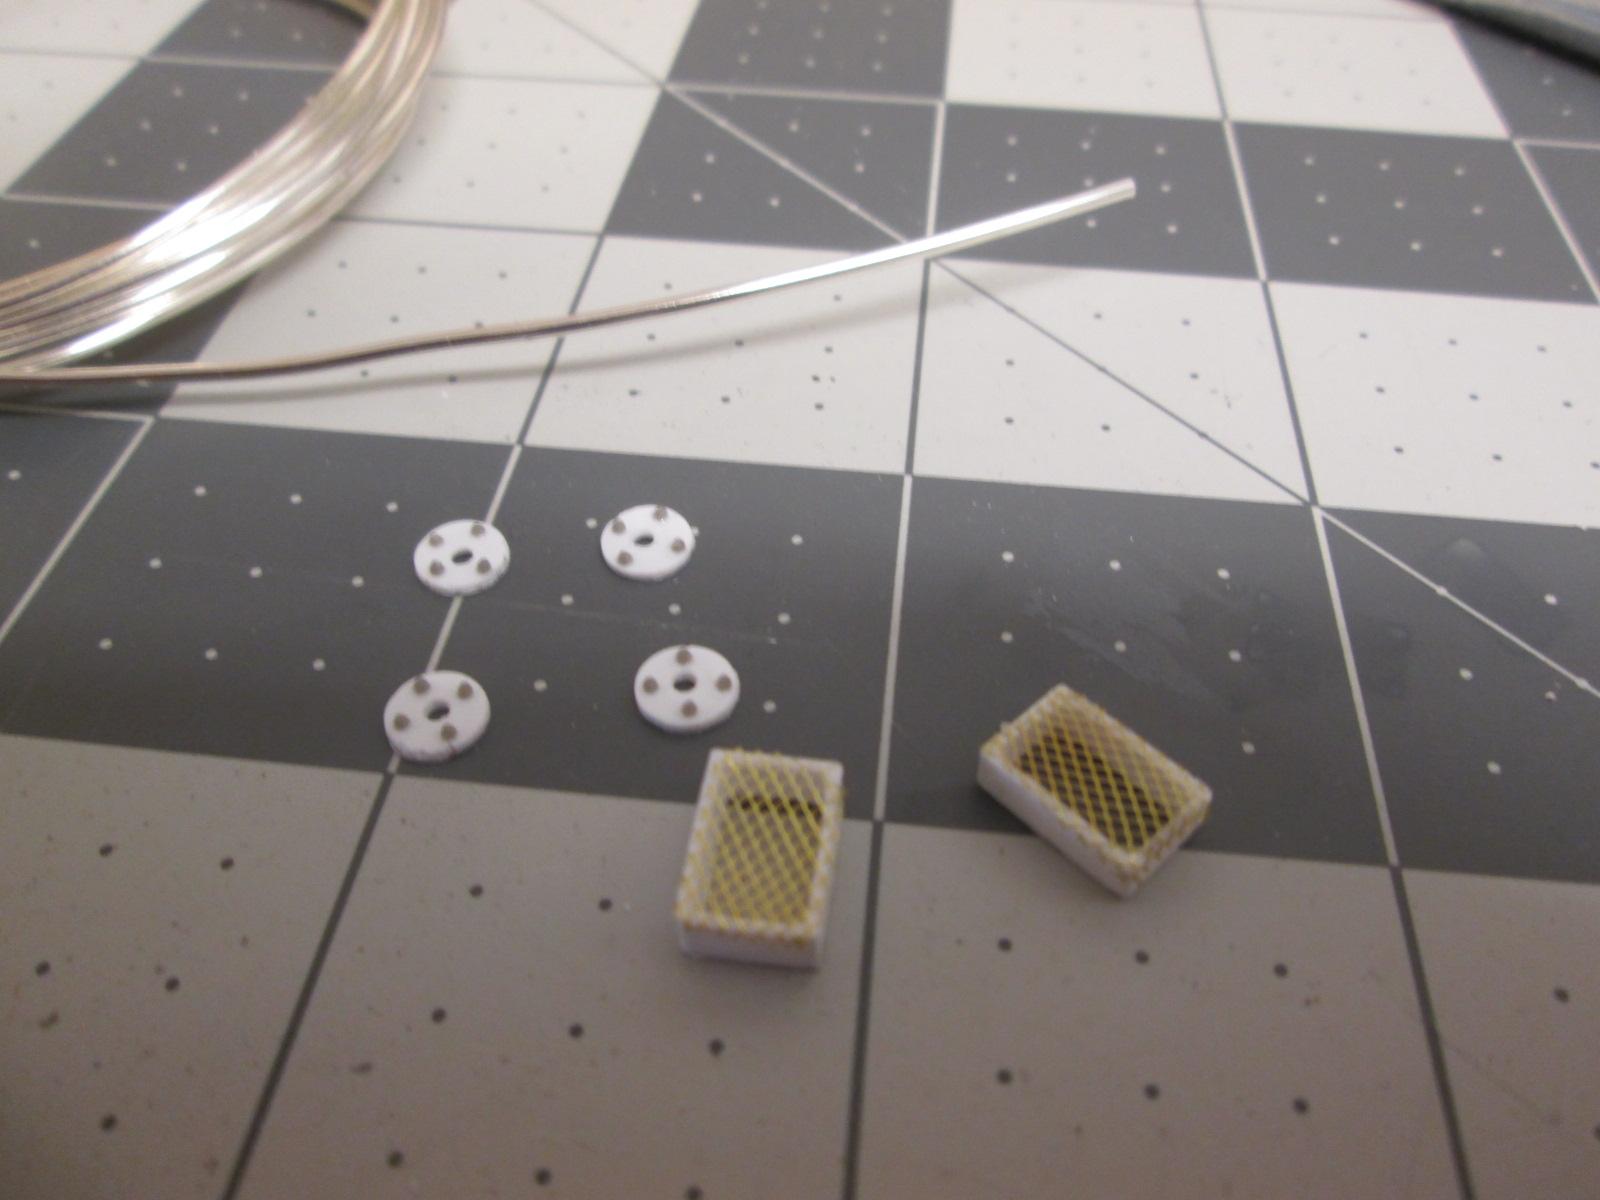
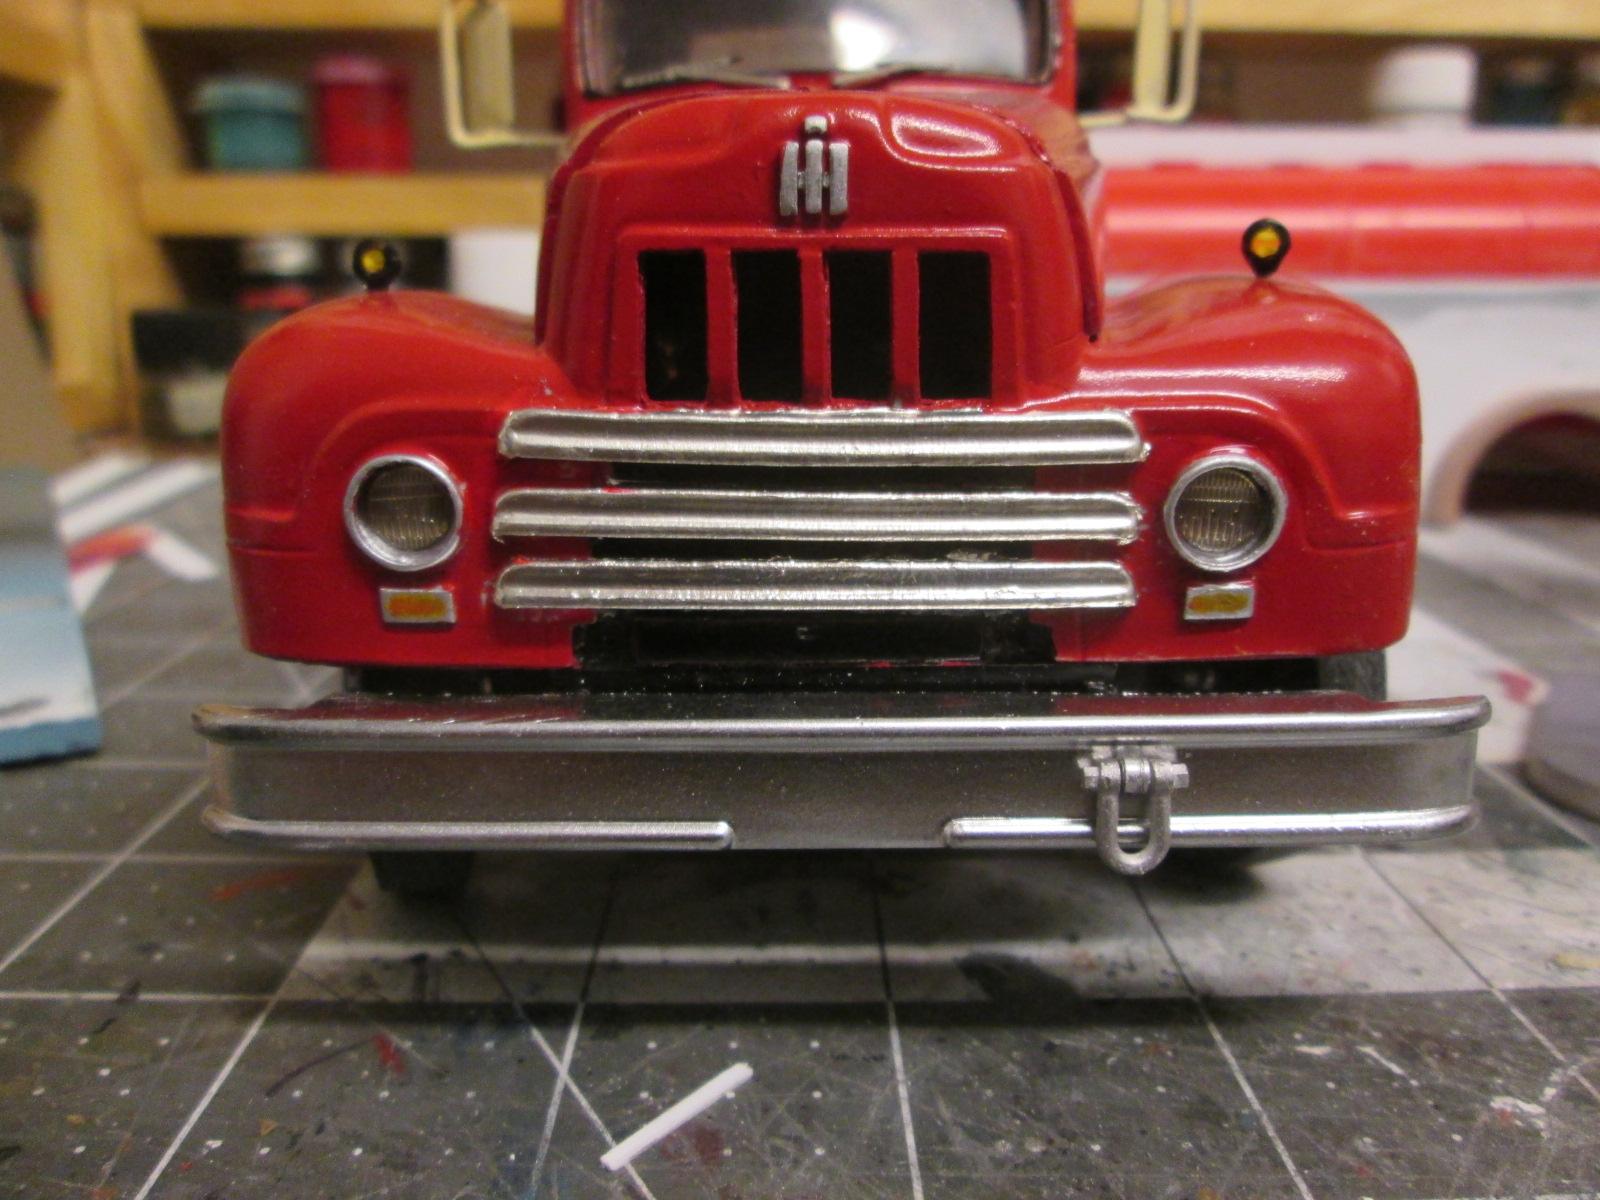
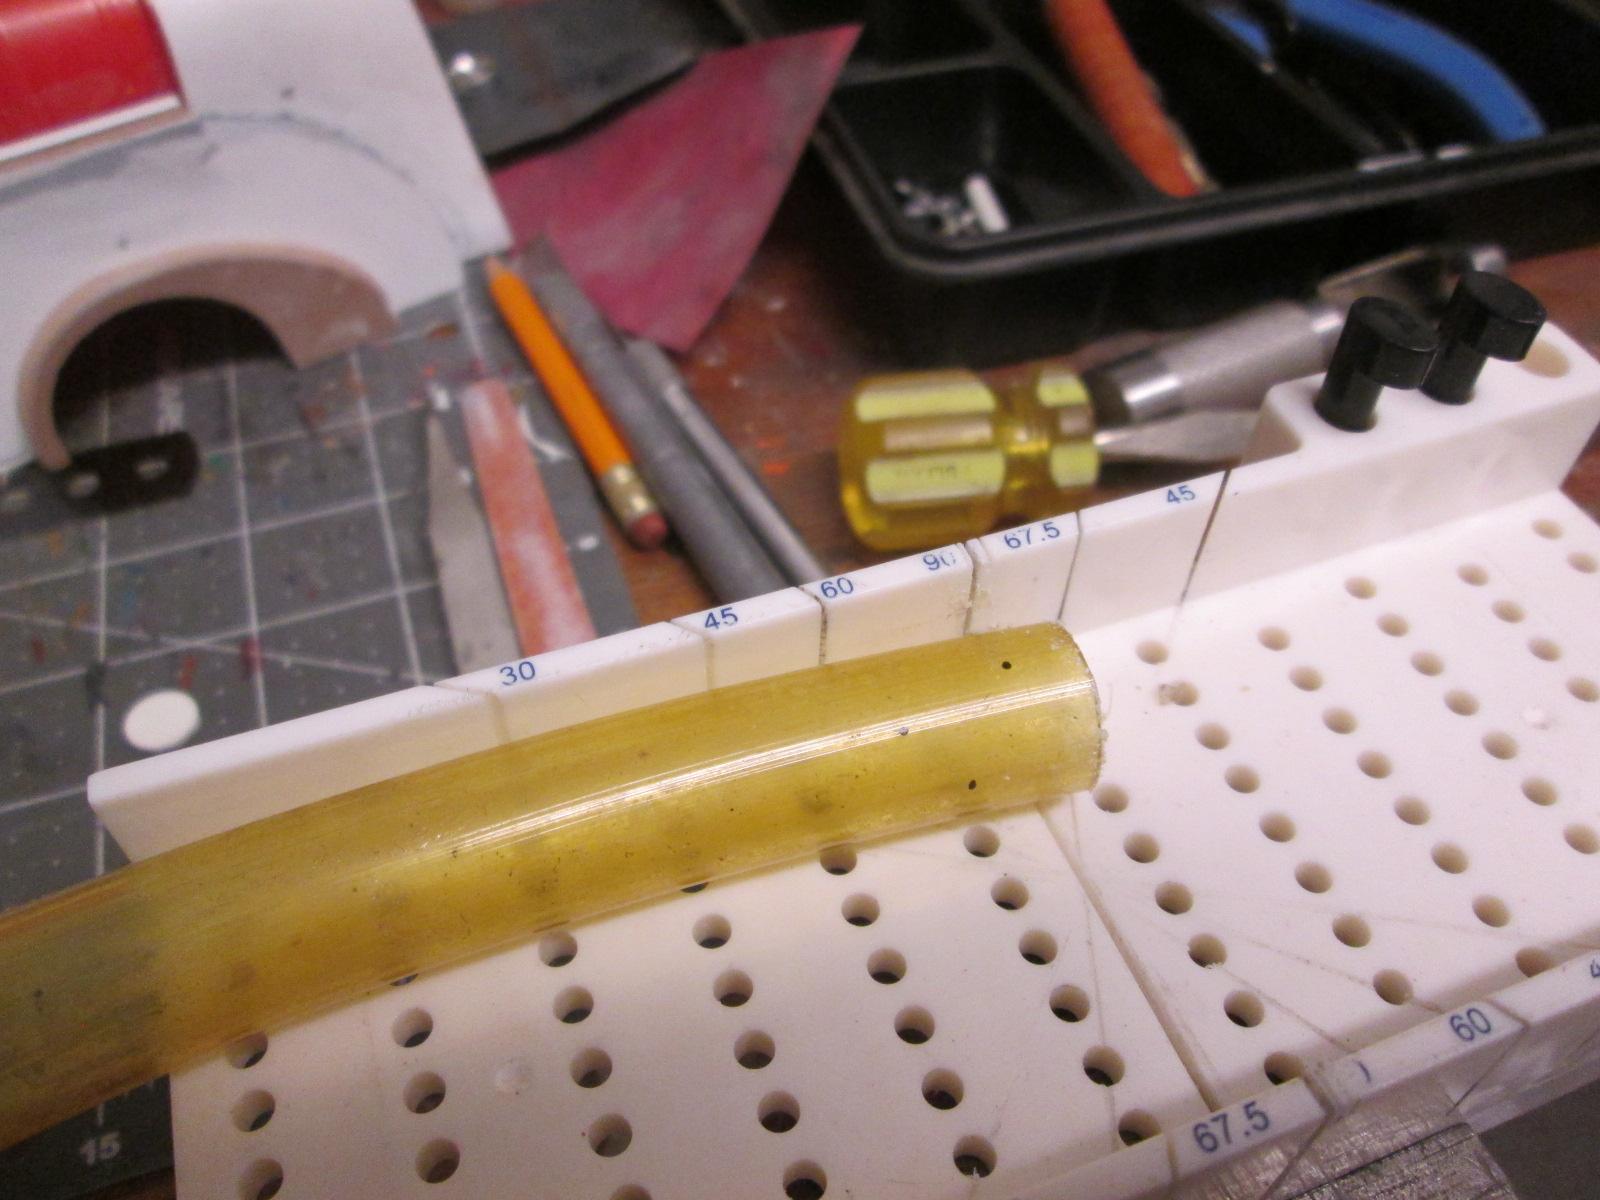
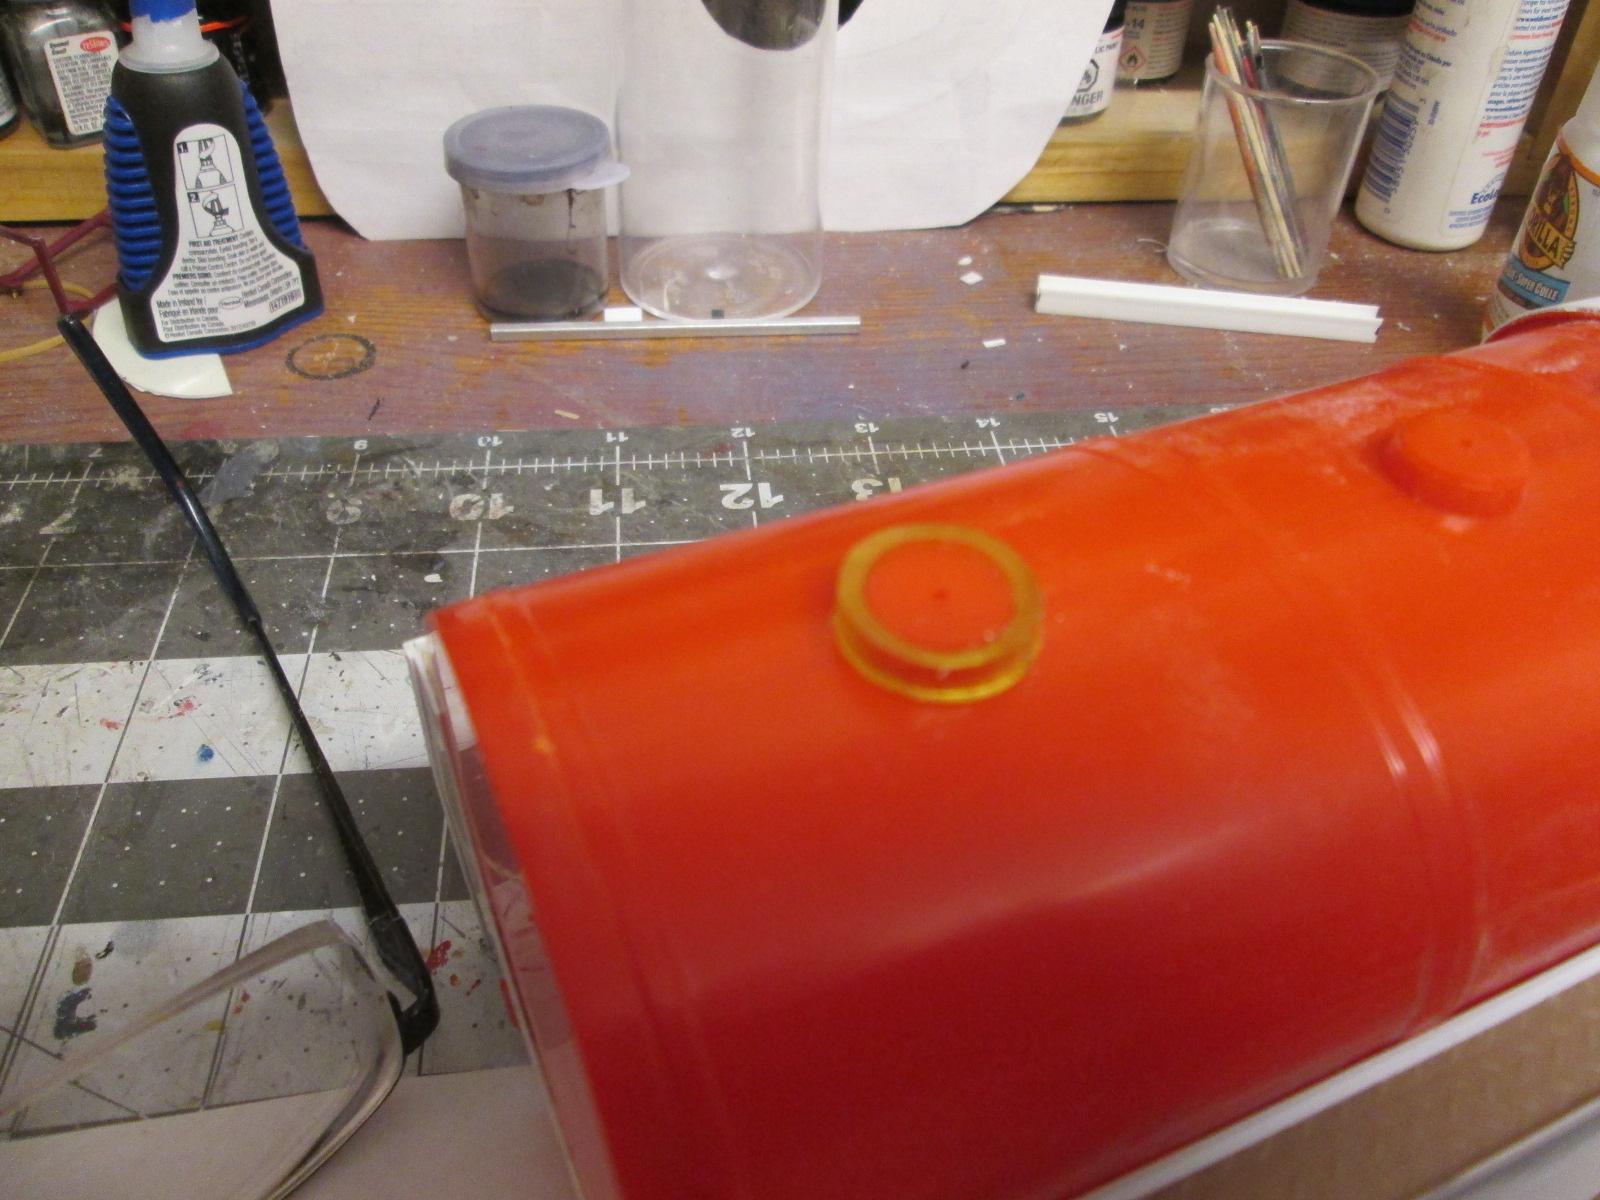
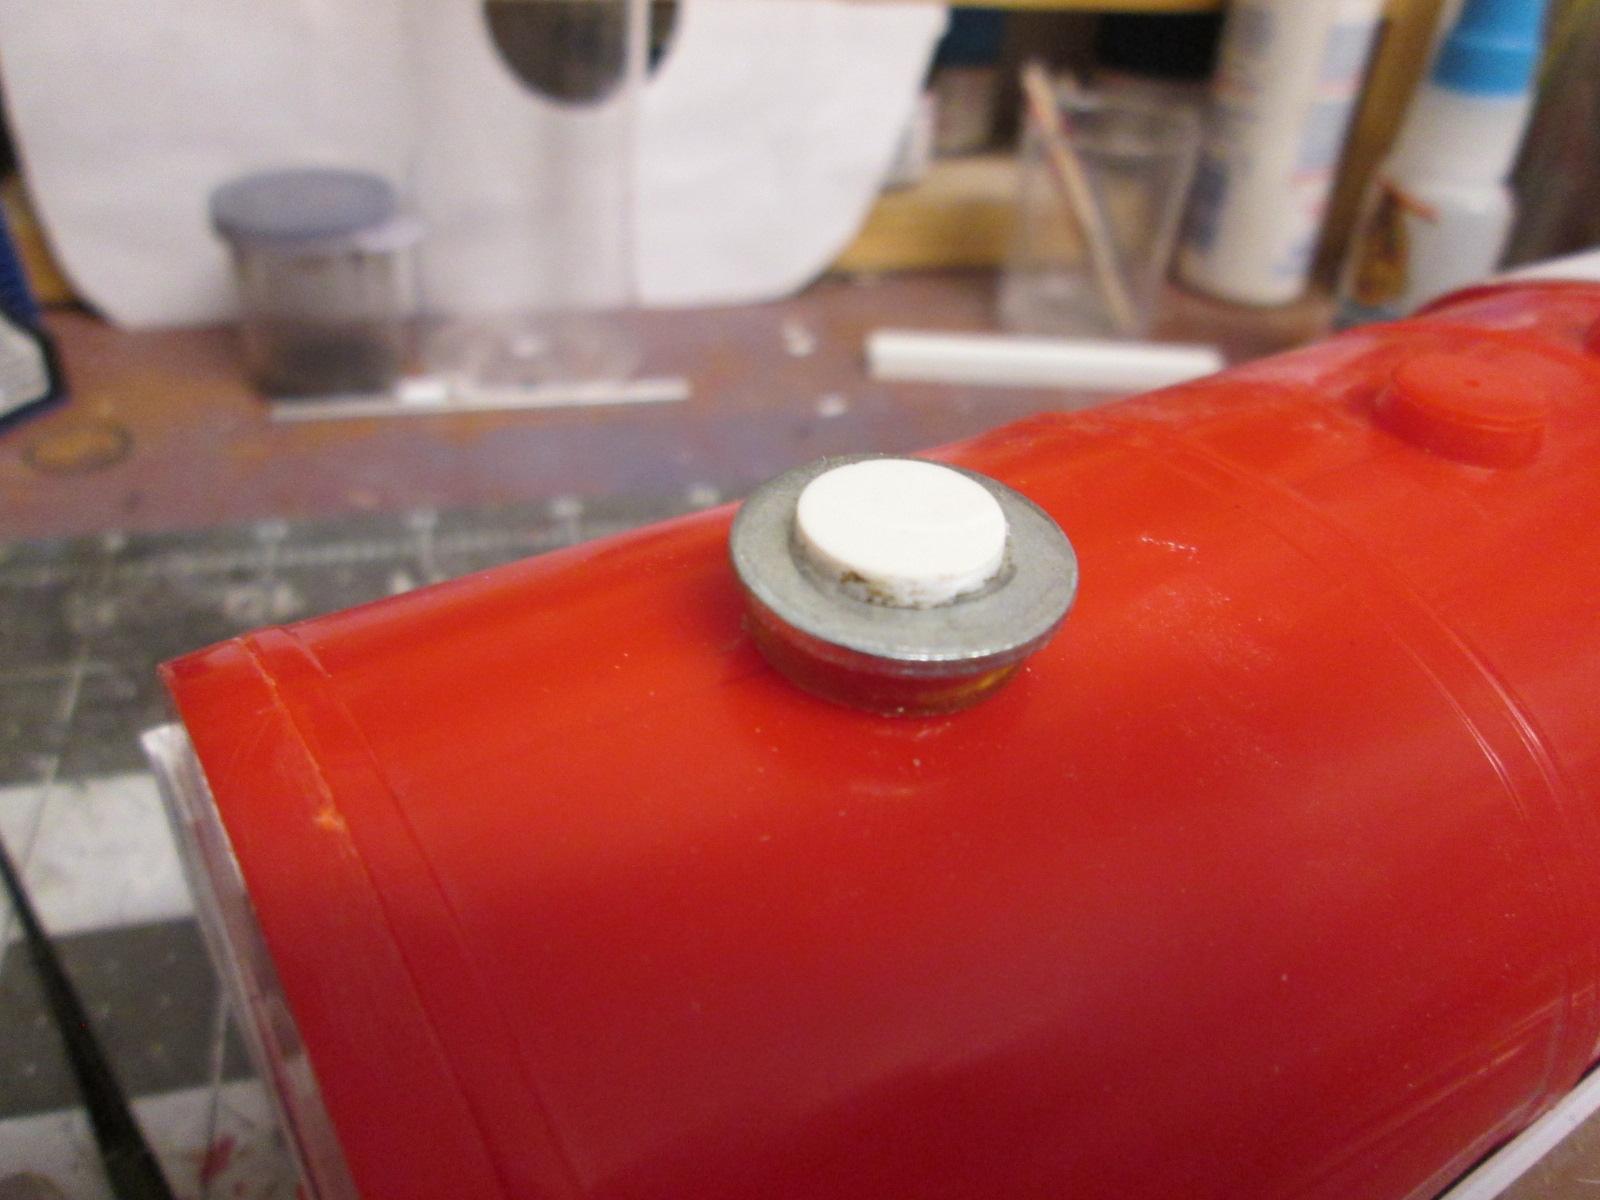
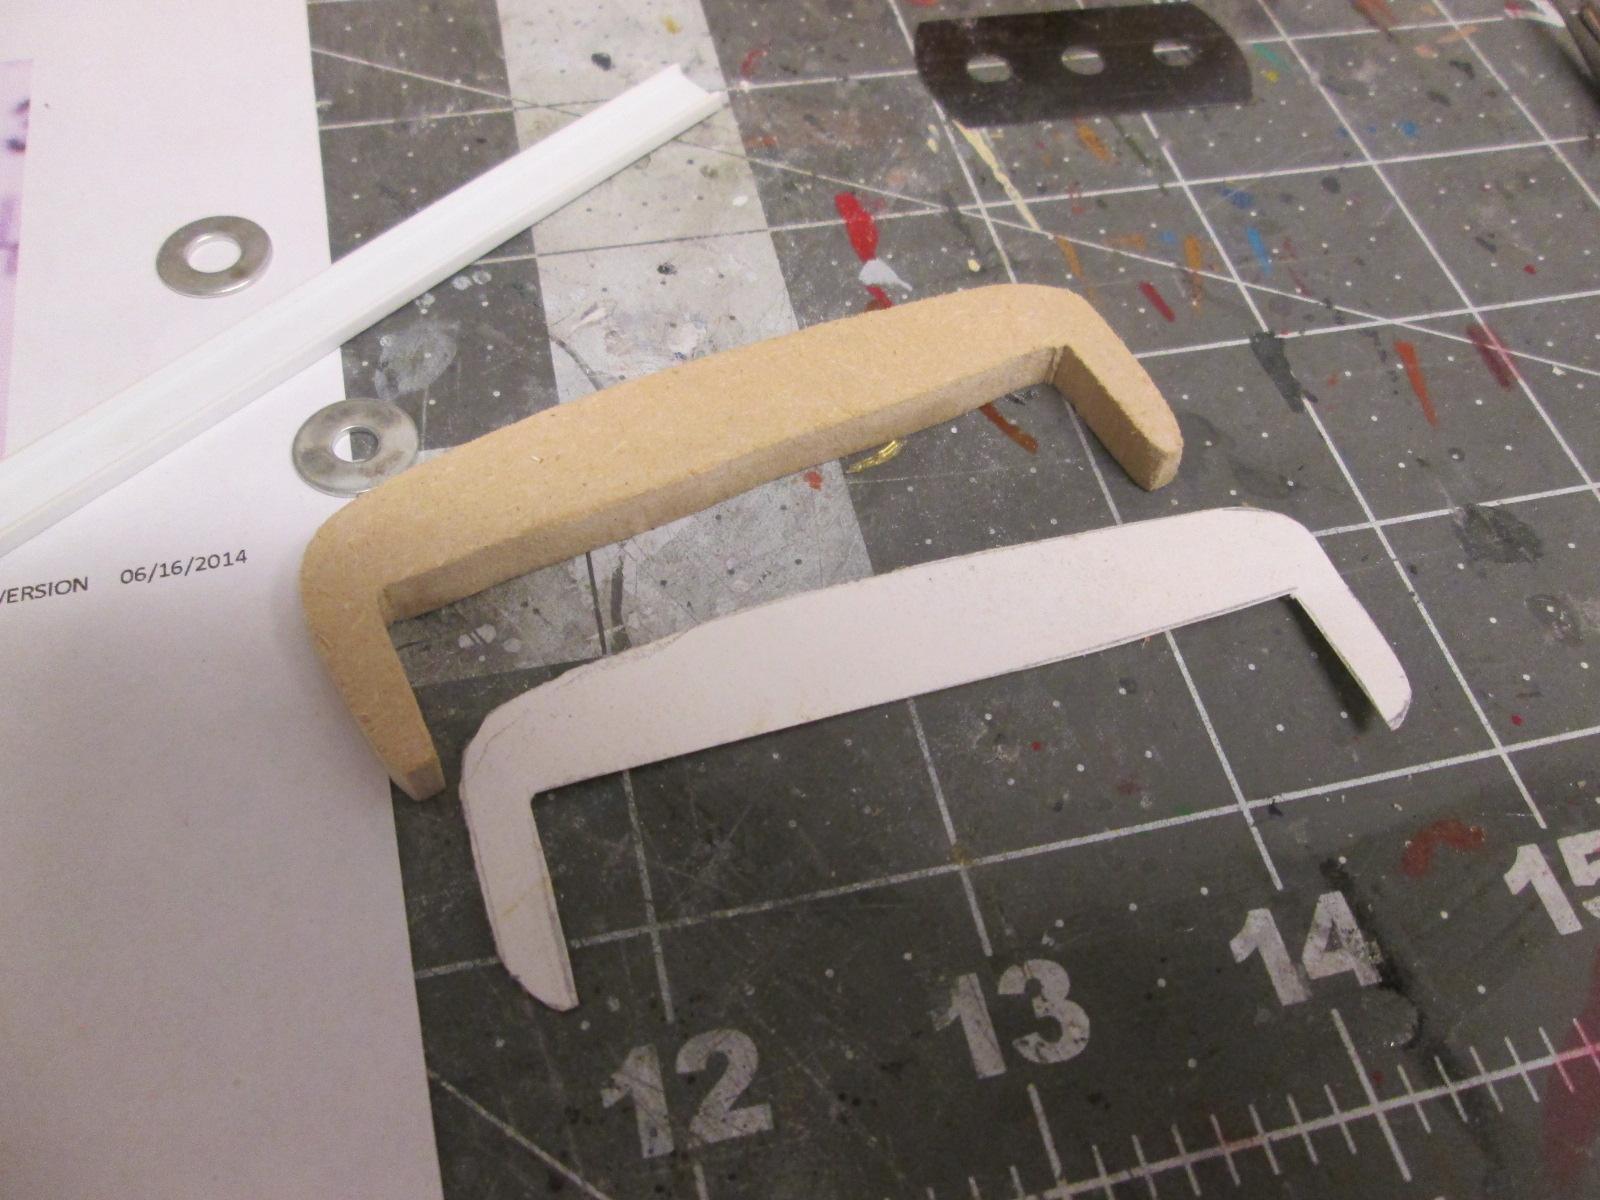
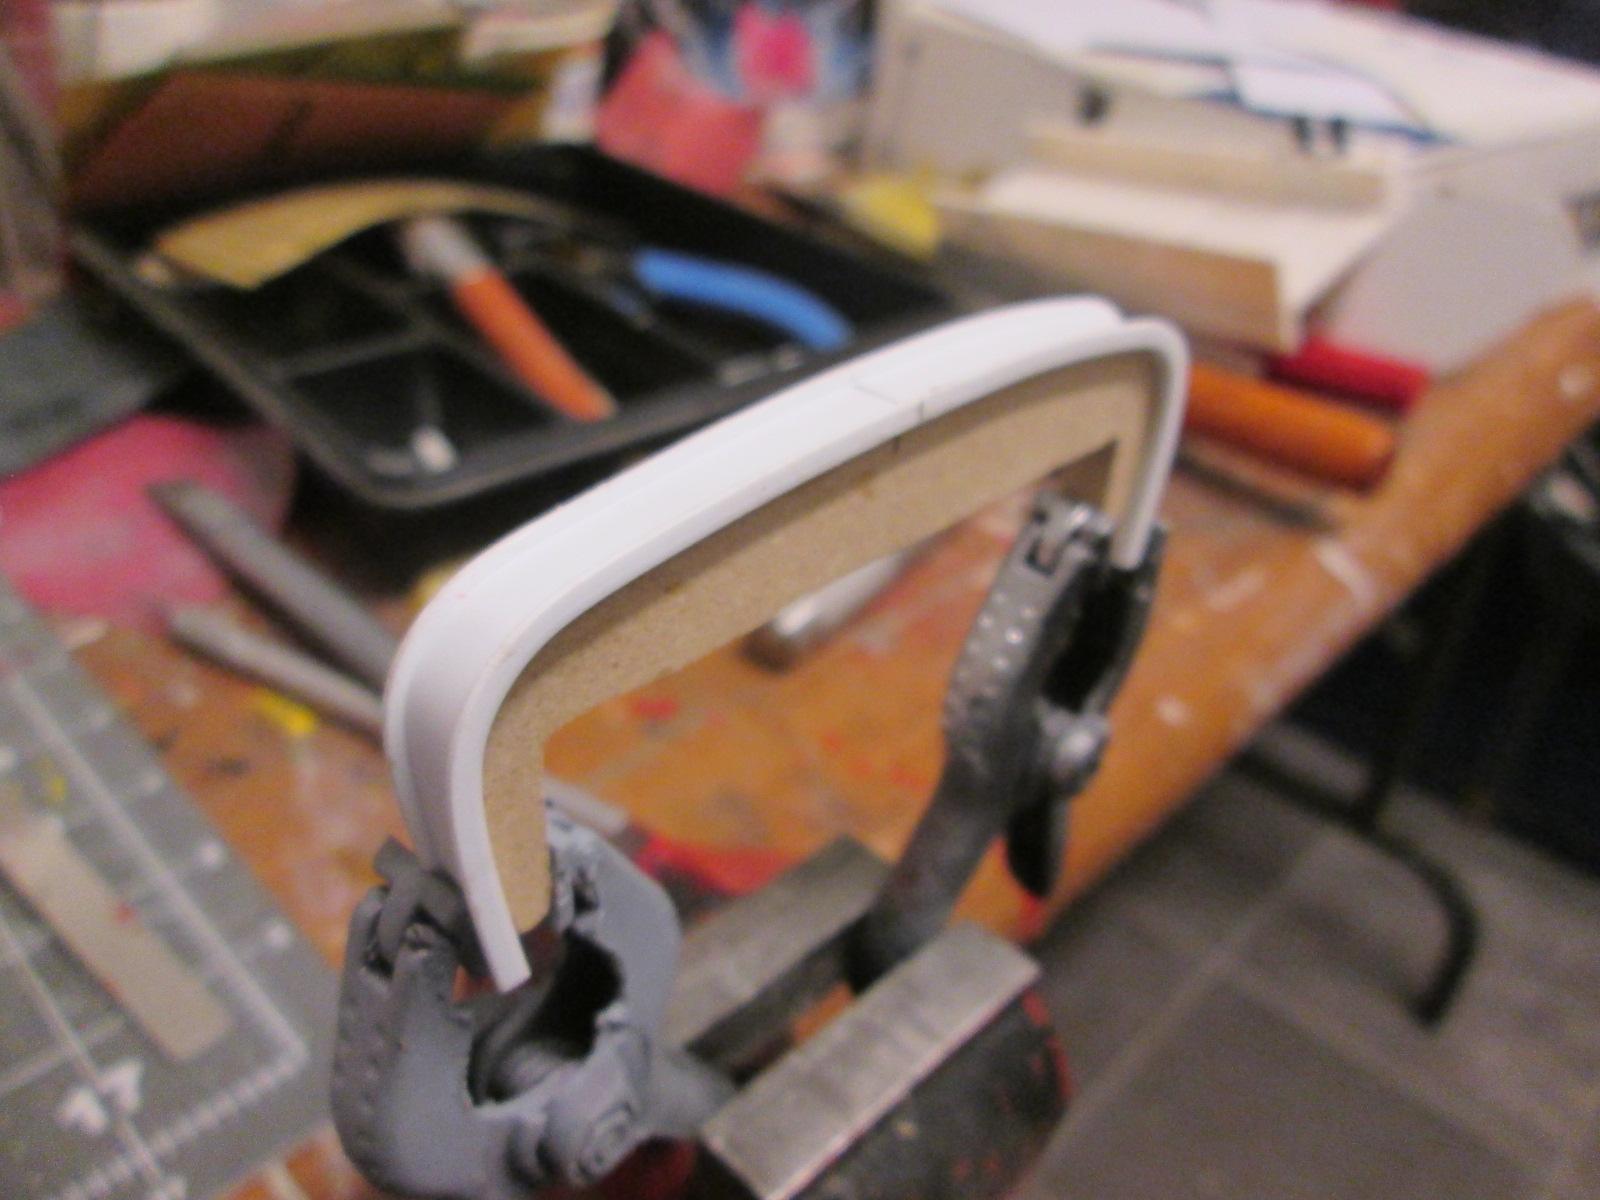
Making up tank covers using vinyl tubing, styrene and some washers. Added the front bumper. Cut out the rear bumper out of MDF and wrapped some channel on it.
-
My new workbench. (Done)
landman replied to landman's topic in General Automotive Talk (Trucks and Cars)
Added some finish to the top. I like the way all the different species take on a character of their own.
-
Classy looking truck.
-
X2
-
RIP Chuck. Your music lives on.
-
56 Chevy all wheel drive and a boat, three Hemis and a lot of GO!!!!
landman replied to DrKerry's topic in Model Cars
That boat must be a wicked ride. Well done combo. Love it. -
My new workbench. (Done)
landman replied to landman's topic in General Automotive Talk (Trucks and Cars)
All those offcuts and remnants are now a desktop. First coat of finish.
-
Try googling different parts of it like "Heavy truck fifth wheel". I had several nice images with "Heavy truck chassis frame" HJope this helps.

.JPG.bc6b361c0d27d2355c2a568fa334a2ab.JPG)