
landman
-
Posts
7,921 -
Joined
-
Last visited
Content Type
Profiles
Forums
Events
Gallery
Everything posted by landman
-
And so it is...

-
And a lot of these seemingly "obvious" warnings are a direct result of companies being sued by people who were careless in the first place.
-

What did you see on the road today?
landman replied to Harry P.'s topic in General Automotive Talk (Trucks and Cars)
Well, not on the road but next to it at our little weekly gathering. Some fine old iron, some of it not so old. -
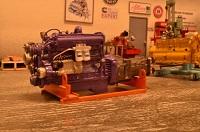
0More casters and the most exquisitely detailed wheel dollies I have ever seen. They're actually funbctional. The foot lever goes up & down, the arms retract and you can lock them in place with the foot lever. there is a tiny little pin that goes through the square tubing into the arm locking it in place. Not only that, the wheel support rollers actually roll. there is even a stand to store them.
-
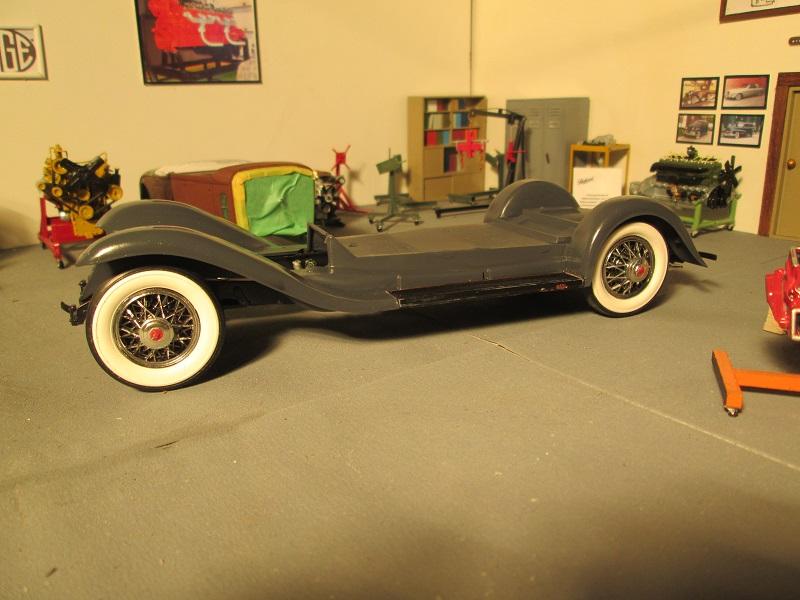
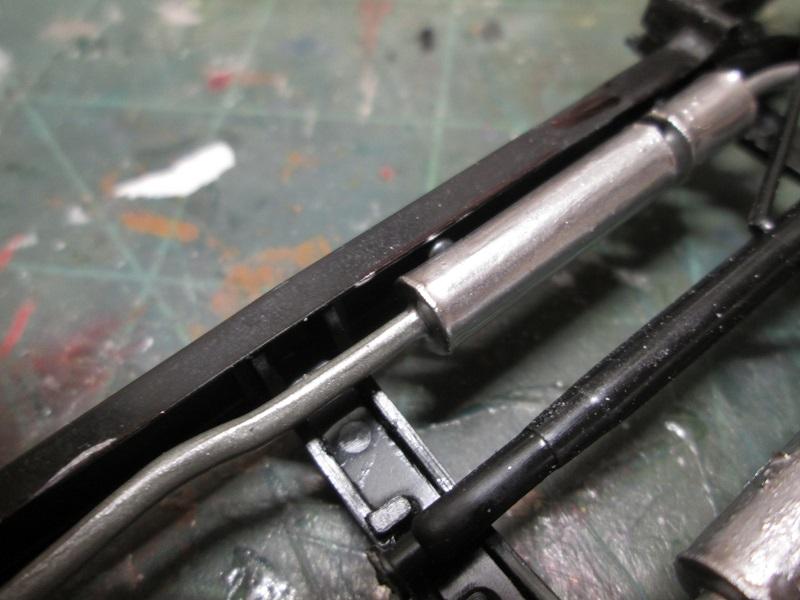
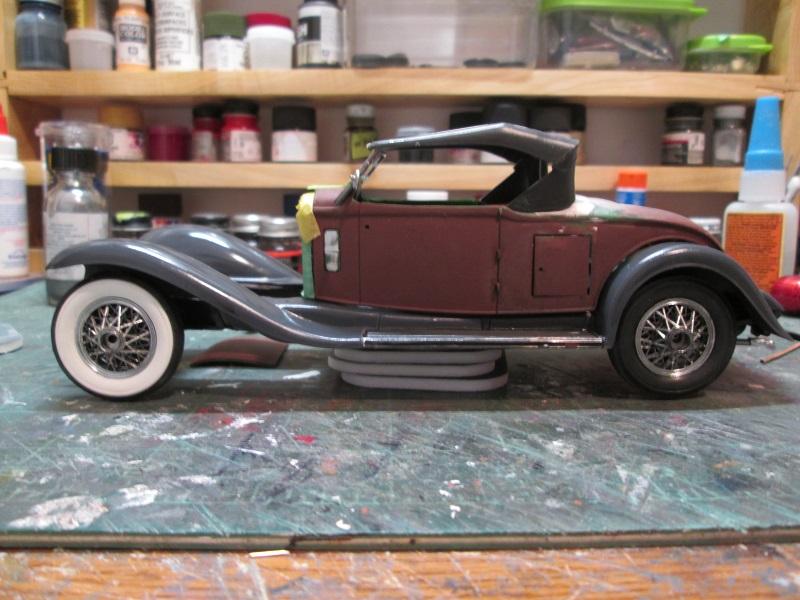
Gave the front axle its u-bolts. Alcladed the windshield and the wheels. the wheels may need another coat. Touched up the exhaust. Managed to touch up the frame too. Will catch that when I paint the front axle. Managed to make it stay together long enough to take this photo. I think Eric had a good idea with the conversion to a roadster. It does look rakish , doesn't it?
-
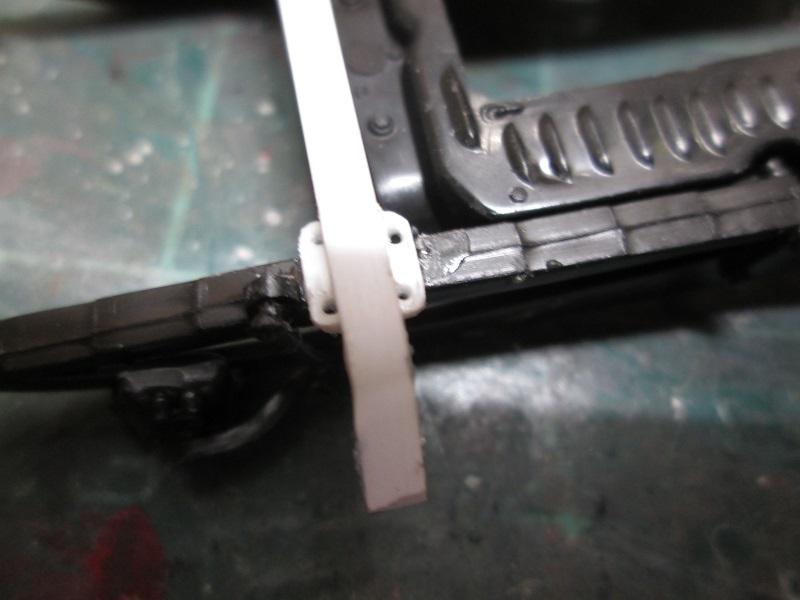
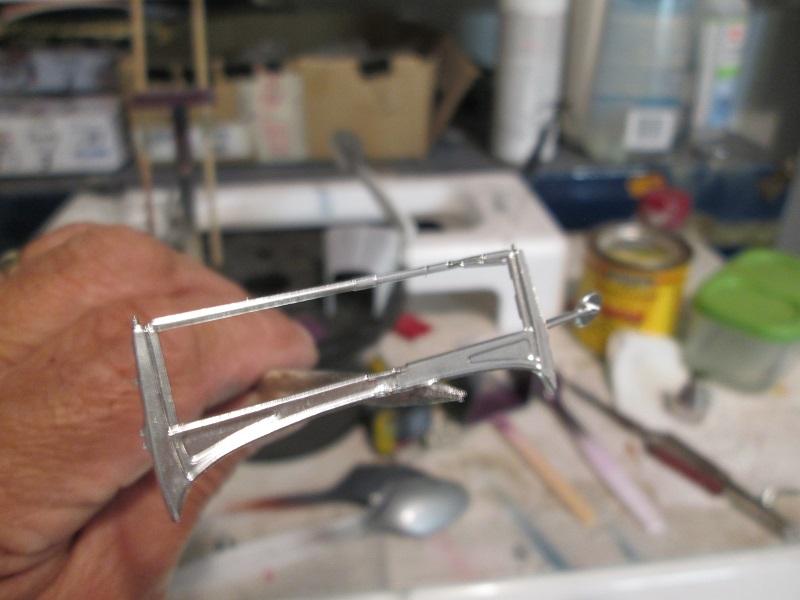
Front axle. Made some mounting plates since the old ones were broken. Made some axle brackets out of square tubing & attached them to the de-epoxied backing plates. Laid it out on the cutting board to check the width of the track & glued the axles in place.
-
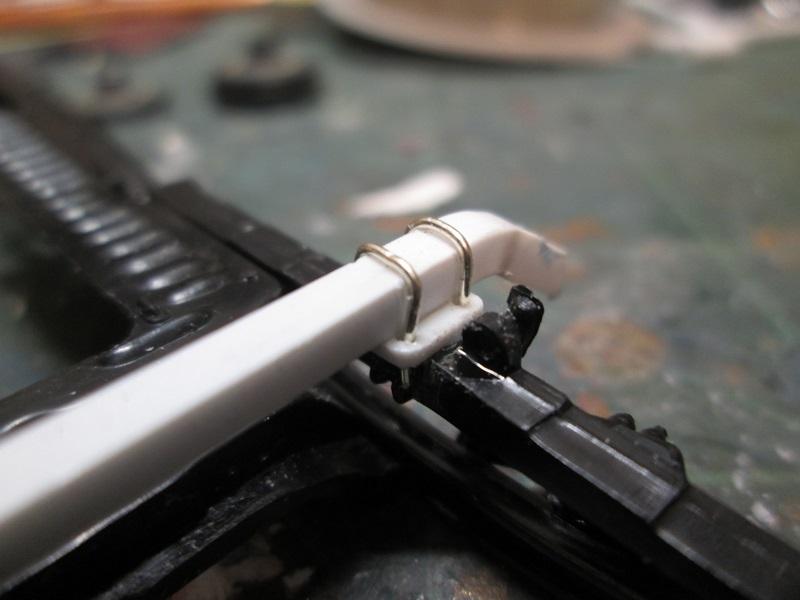
Rear axle. The flange had broken off one end. So I inserted a small tube to keep things centered and added a spacer and bushings to the backing plate and drum.
-
Roof. There was an annoying gap at the rear corner so I tacked on some plastic. I find that easier to shape than putty. Filed it down to a reasonable fit.
-
Re. post 268. This is the photo that was supposed to be there.
-
My daughter's father in law getting ready to go to some show. International 4700. Was a building supply store delivery truck. Makes a neat tractor for the fifth wheel trailer.
-
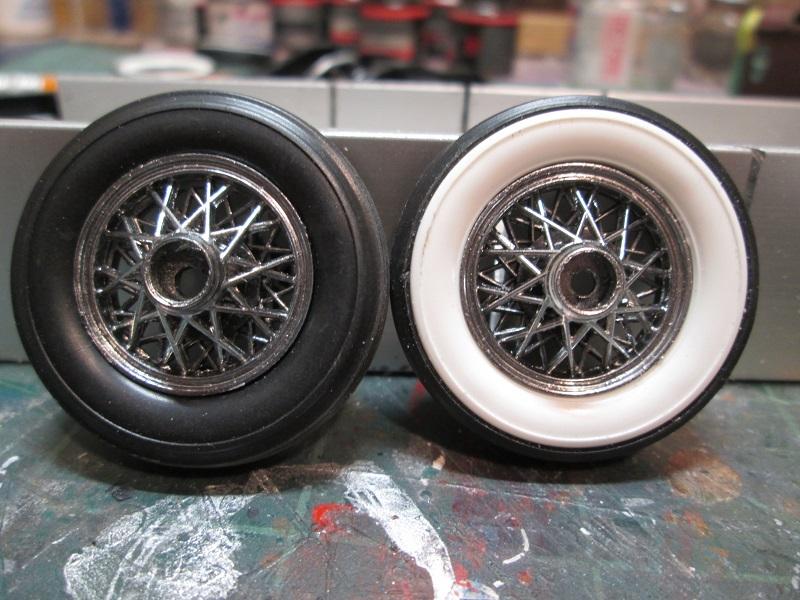
Had to add more putty to the body. Gave the wheels and windshield their gloss black. Gave the fenders some clear. There is either dust nibs or bubbles. Hope that'll polish out. While all this was drying, I looked as the chassis. The wheels had broken off and had been epoxied back on. Tried to clean up the backing plates and drums. Need to make a new front axle. Started on that.
-
this is all your fault Mr.MacLeod .
-
Scratch/bashing a 702
landman replied to landman's topic in WIP: Model Trucks: Big Rigs and Heavy Equipment
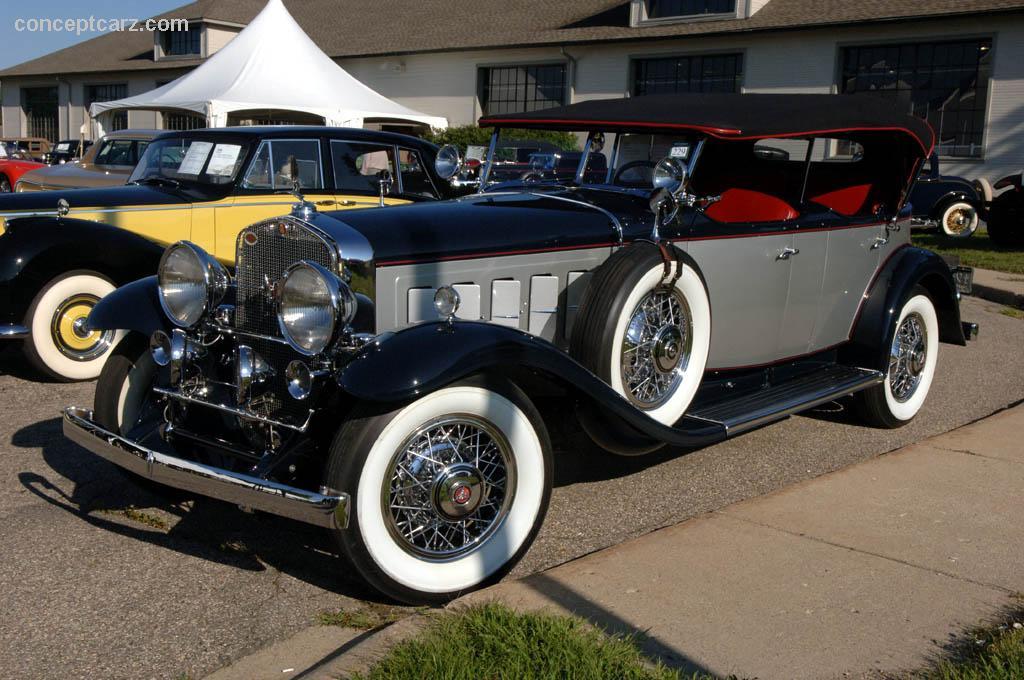
That custom roadster is the Blastolene B-702: http://www.randygrubb.com/the-b702/ -
Scratch/bashing a 702
landman replied to landman's topic in WIP: Model Trucks: Big Rigs and Heavy Equipment
I bought some smaller square tubing the other day. I may try another one with that to see. -
Decided to go for a paint scheme along these lines. The fenders are going to be a dark grey (Tamiya Gunship grey.) The sides are going to be Eastwood's siver Cad with Tamiya pearl clear. The top of the hood, body & deck are going to be the same grey as the engine in my '34 Chevy. May as well use what I have. the interior and seats will be purple. I think I will Alclad chrome the wheels. Not decided what color to put the roof and spare covers.
-
Added the side panels to the roof & tried it on for size. Need to fill in the back of the old roof well. Started with a piece of strip styrene, took a pattern off the body & shaped it. Close. Added some putty.
-
Looked it up. It is the SRT8 with the 425 HP 6.1 liter. Mine is 5.7 345 hp. Would make a hairy truck.
-
That is how a lot of high end British cars carried their tools, imbedded in the trunk lid. Could work with the guns and less chance of rattles.
-
Thanks guys. Jim, that would be modern enough. It would be similar to the one in my 08' pickup wouldn't it?
-
Scratch/bashing a 702
landman replied to landman's topic in WIP: Model Trucks: Big Rigs and Heavy Equipment
Several hot rods have been made as wells an outstanding custom roadster.Just google GMC twin six 702 images. -
1- Has anyone ever put an Allison engine in a road going truck? 2-Does anyone make rain caps? 3-Does anyone make the modern Hemi?
-
Scratch/bashing a 702
landman replied to landman's topic in WIP: Model Trucks: Big Rigs and Heavy Equipment
No sweat Dennis, none of this is copyrighted. -
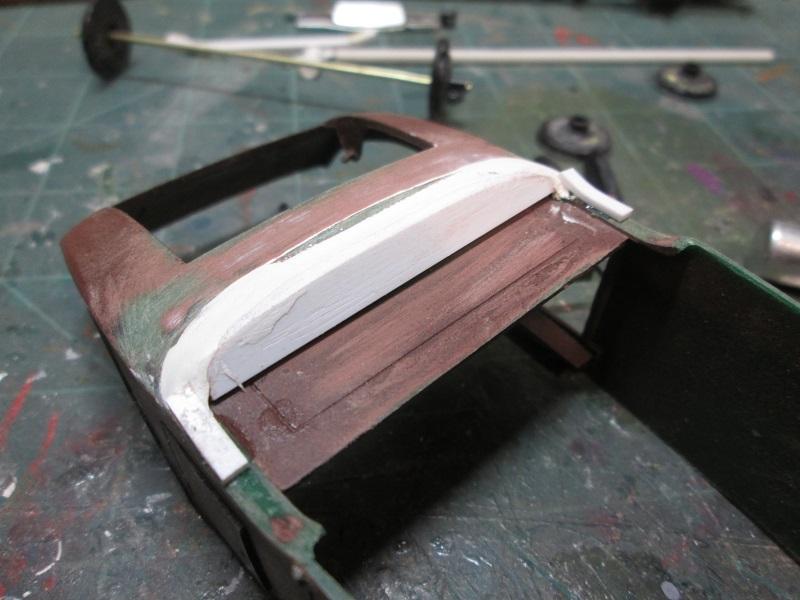
The widened windshield is a much better fit. Added some itty bitty pieces of wire to replace the lost beading along the edge. Removed the widow cranks from the door panels. Added the broken tab to the dash panel.It will be trimmed later. Gave the grille a shot of wash.
-
Started widening the Packard roof and windshield to fit the Cadillac body,
-
What did you see on the road today?
landman replied to Harry P.'s topic in General Automotive Talk (Trucks and Cars)
Me....at least the others saw me tooling around in my Mustang after giving it a wash & wax.
.JPG.5852ad113882e668f4f6edb88dcfea65.JPG)
.JPG.1cf9d37dde286fee716938704b8f7a72.JPG)
.JPG.de429cd0b01b87d4830ce9f6edf6e5bd.JPG)
.JPG.ec68f45889c76ae6898c2ff26d0efac8.JPG)
.JPG.c7d60768e1b6e5f71a20e1fd8974f7b0.JPG)
.JPG.11c599f02783b7971a128aec9022fbbb.JPG)
.JPG.d2603ba7cf21153fb95562069e99eef6.JPG)
.JPG.b49bcbfc44c24ab1550bd8f41cbd2c13.JPG)
.JPG.aa15afb79798fdbdf8bf42ce474c00c0.JPG)
.JPG.6a652a2e039494abd80dcd9203c49195.JPG)
.JPG.4edeb29366145b6c52e640bc9580aa82.JPG)
.JPG.9acfbebbce7ee70e121a27fceaaa827d.JPG)
.JPG.35231e817279d514269593a5116cfbe2.JPG)
.JPG.90674b2e9f8d831571501056a0e2ebca.JPG)
.JPG.a5361ecbfeb5a4d671a5fb460d8c4457.JPG)
.JPG.89efa81f7f82d2413f5013af2f2ae5db.JPG)
.JPG.d38409f196d22f0baf3df7965cbfb6ed.JPG)
.JPG.2af26db9573795f2dad4263400e115cf.JPG)
.JPG.96cf3615c2c563f3d021c9333036a789.JPG)
.JPG.2eb23720a5efb7b4315f548ab50d138a.JPG)
.JPG.817db3bd7f1b33d9e0126e8b64c76b27.JPG)
.JPG.9b9ef72851170ccb5eb71fa74d78b73b.JPG)
.JPG.eb3f3c2bed89cb3960d7bea4e73fc4e0.JPG)
.JPG.7c31ab44bc9695810c43d8eae9dae4e1.JPG)
.JPG.64fa27c75aaa1b1f8ff0b5b4c7a7f239.JPG)
.JPG.b99ddb15024945cf2e2dcd432d6f0413.JPG)
.JPG.975a3d99314b99936c55aa327b5b2154.JPG)
