-
Posts
273 -
Joined
-
Last visited
Content Type
Profiles
Forums
Events
Gallery
Everything posted by carnut
-
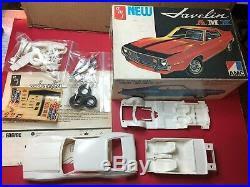
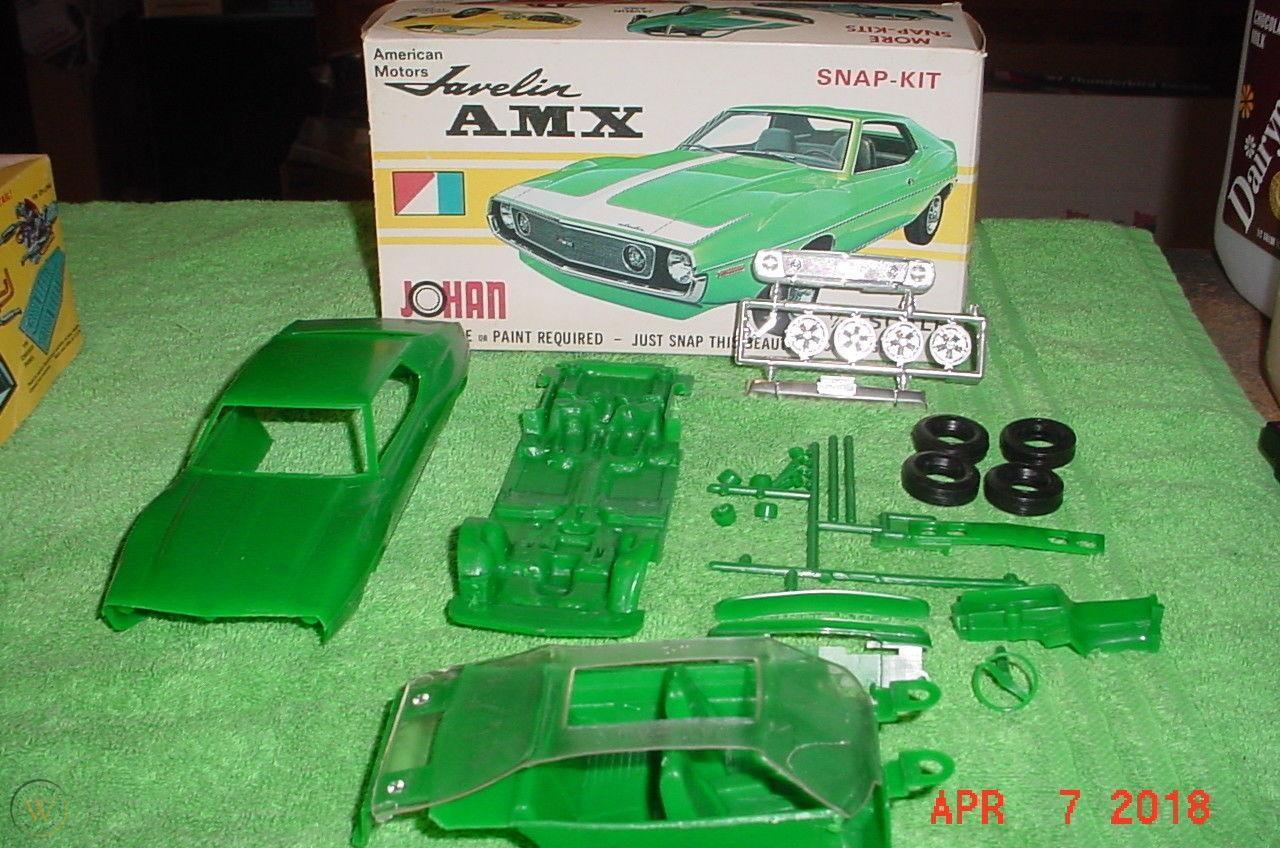
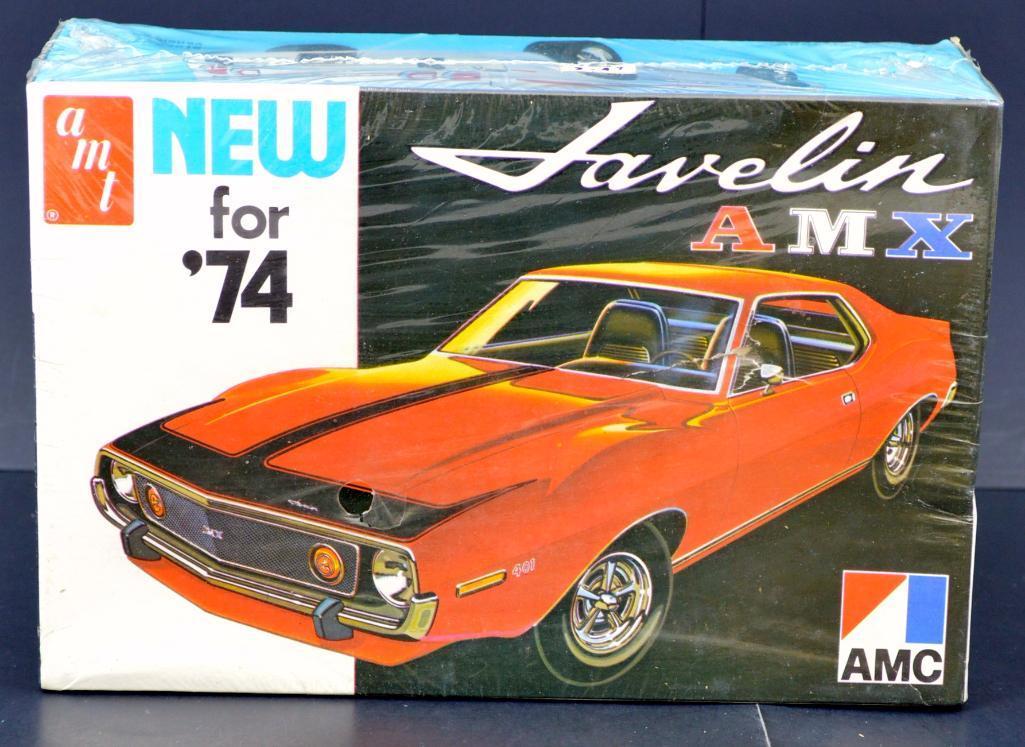
AMT 1974 Javelin on top (white) glue kit?? Johan 1974 Javelin on bottom (green) snap kit. I think that they are different - IMHO. But that doesn’t matter much to me. I would like to see the AMT reissued.
-
-
Thank you for the compliment, I feel like I’m still going to School and learning things myself.
-
Like a lot of hobby shops at least in my area, they sell a generic brand with their name on it. I usually get the GAP FILING super glue. When you described what happens to you when you glue stuff, always almost happens to me too. When I do glue on trim I have to glue it a bit at a time. Starting at one end and slowly working my way to the other end. Hope this helps.
-
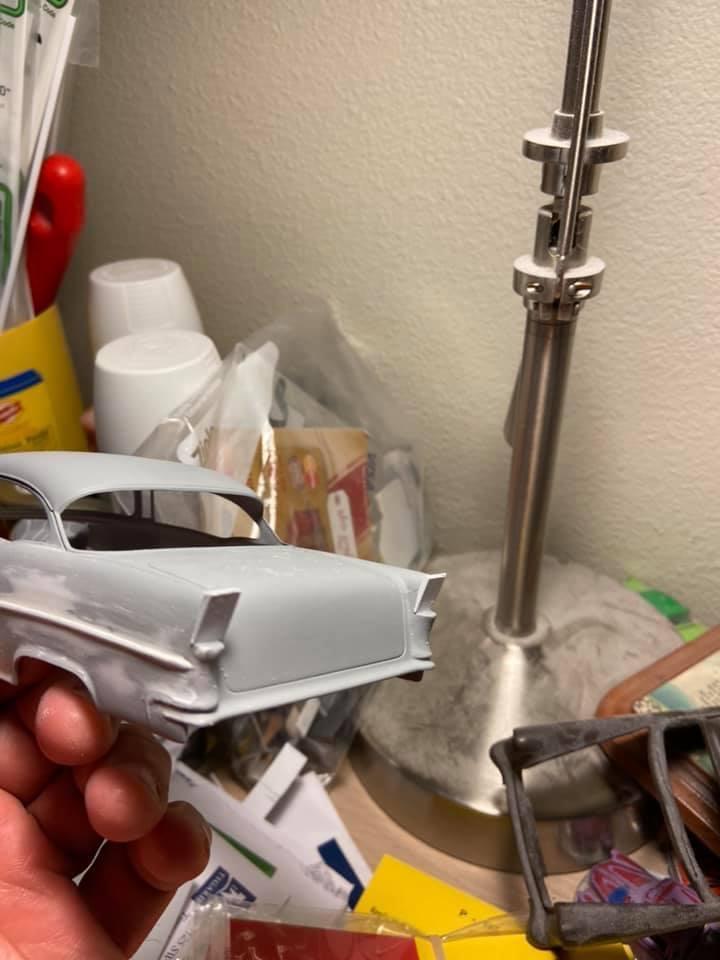
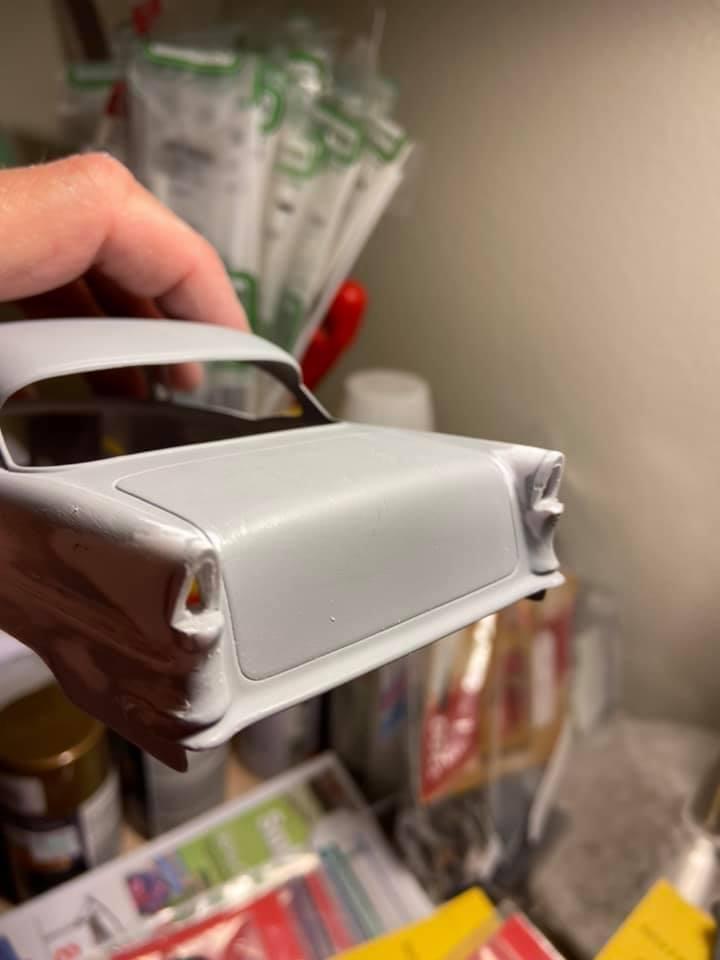
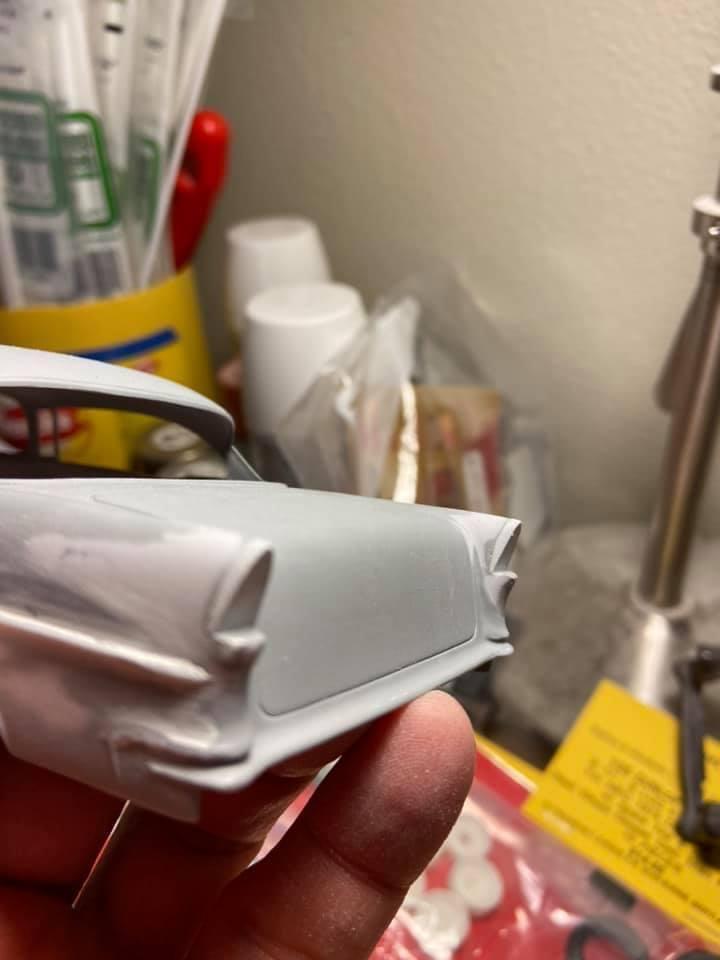
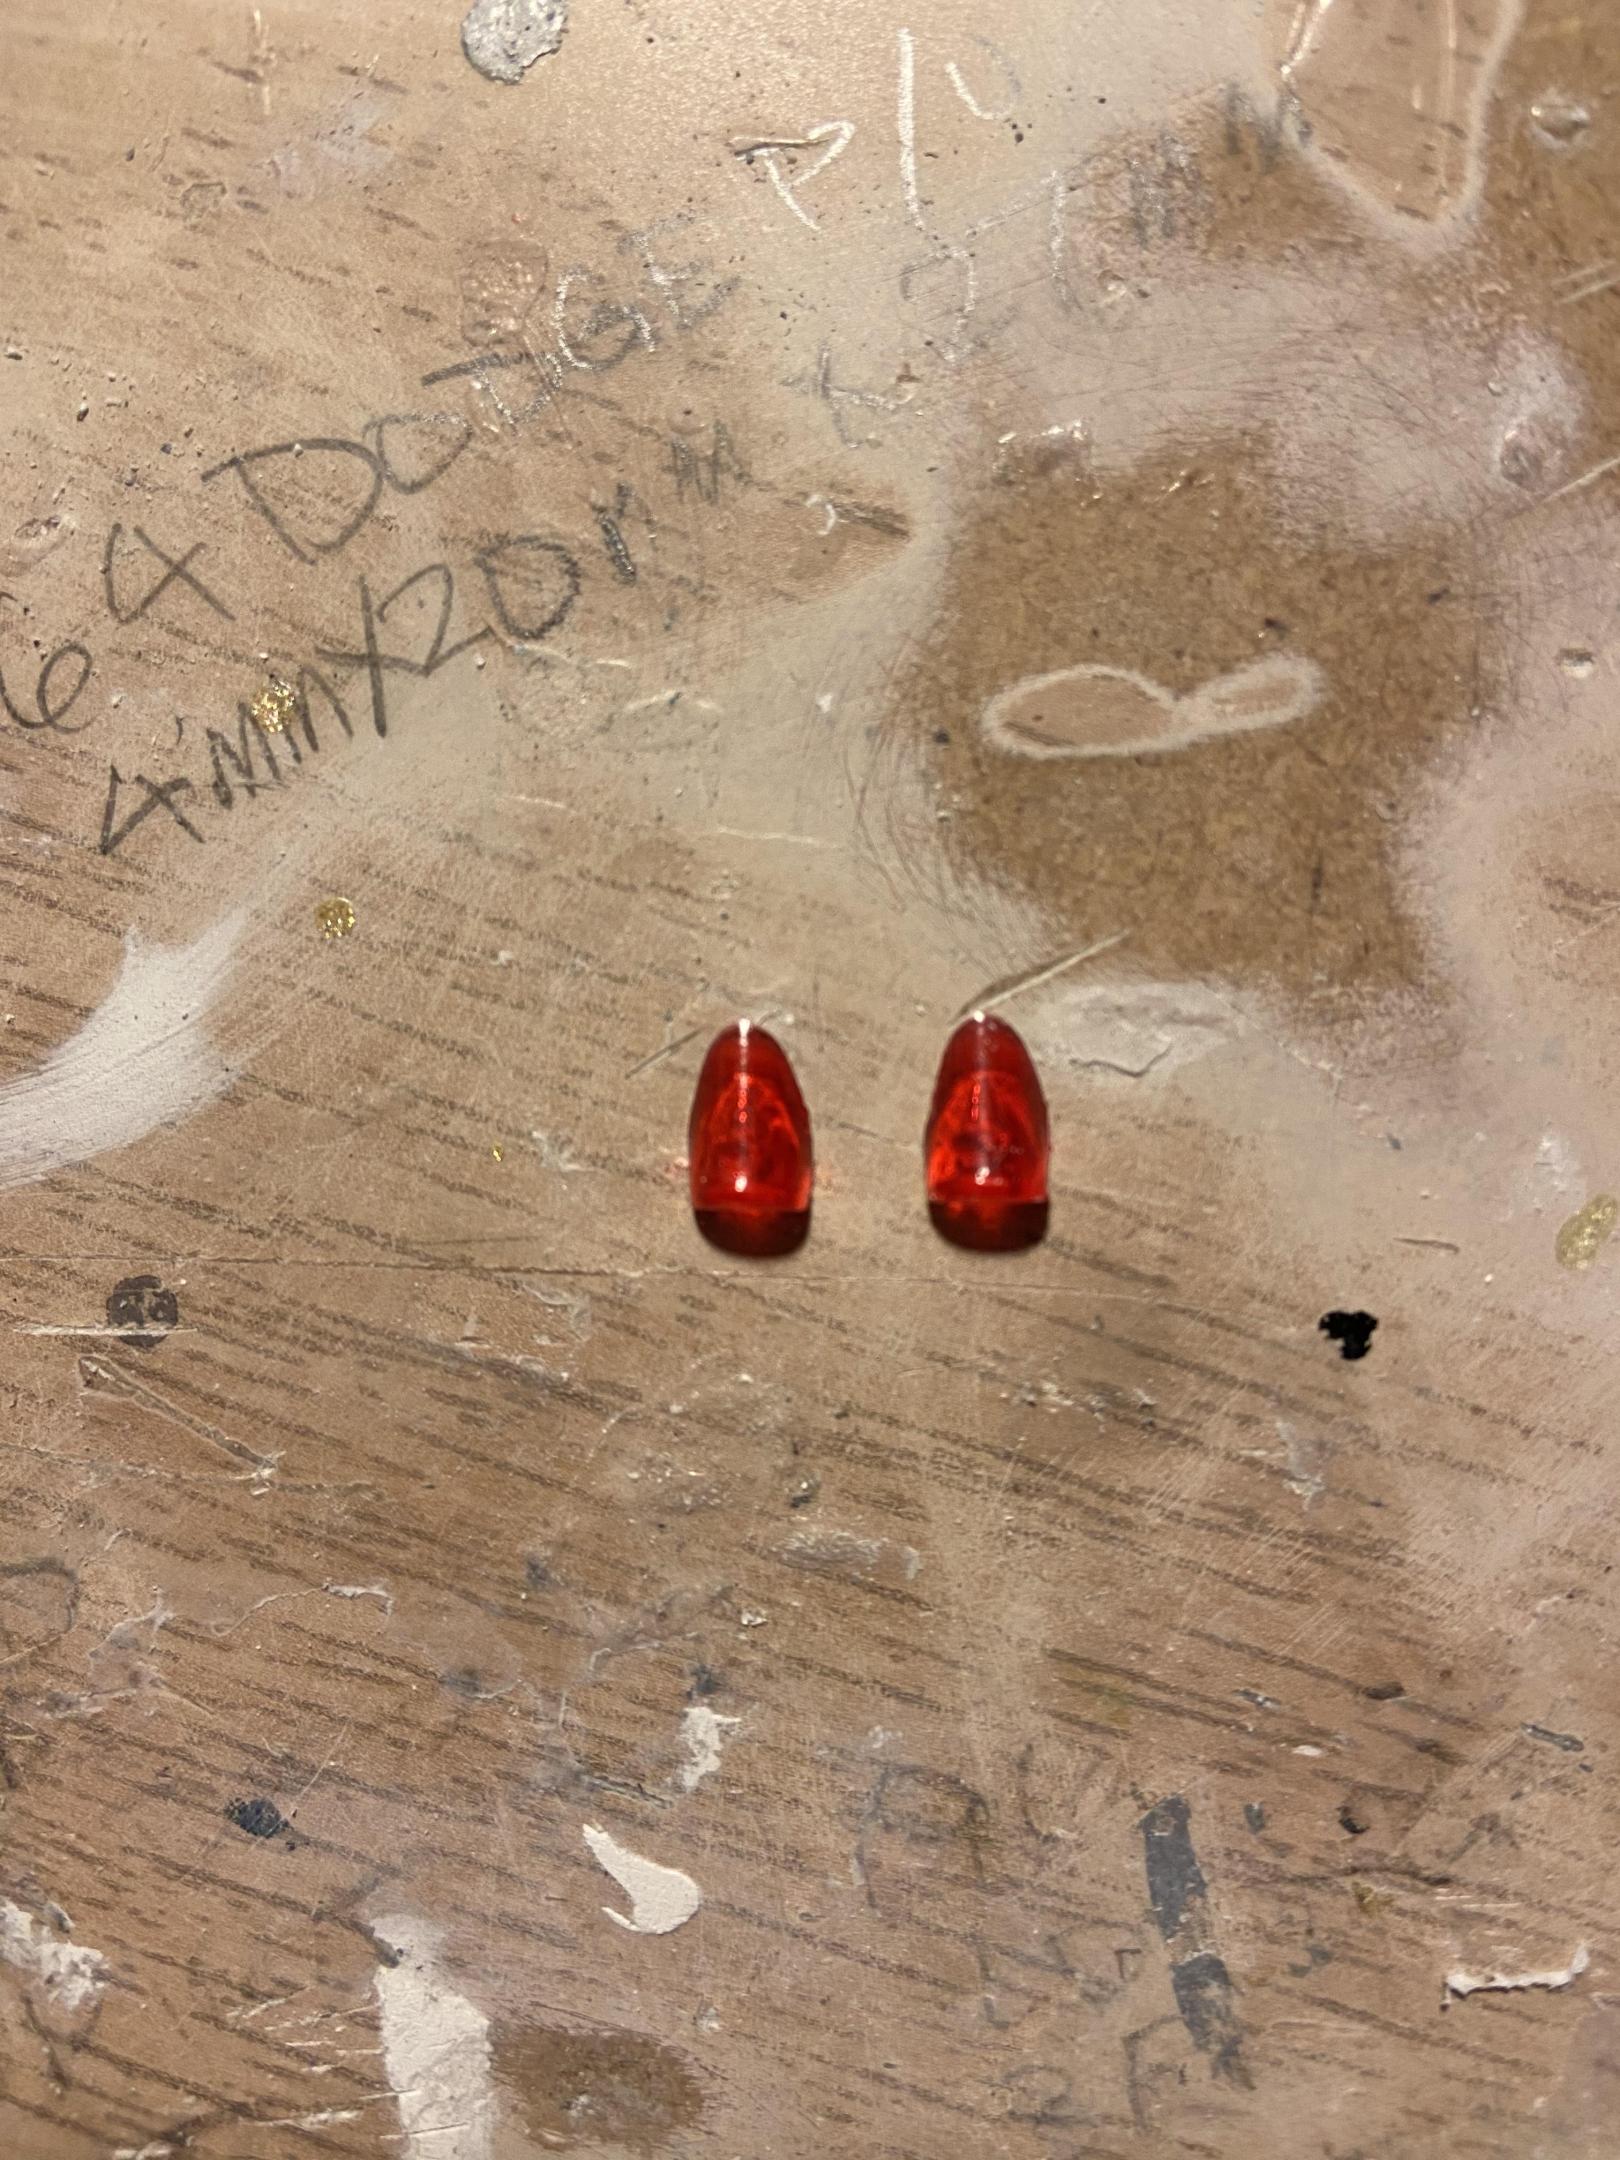
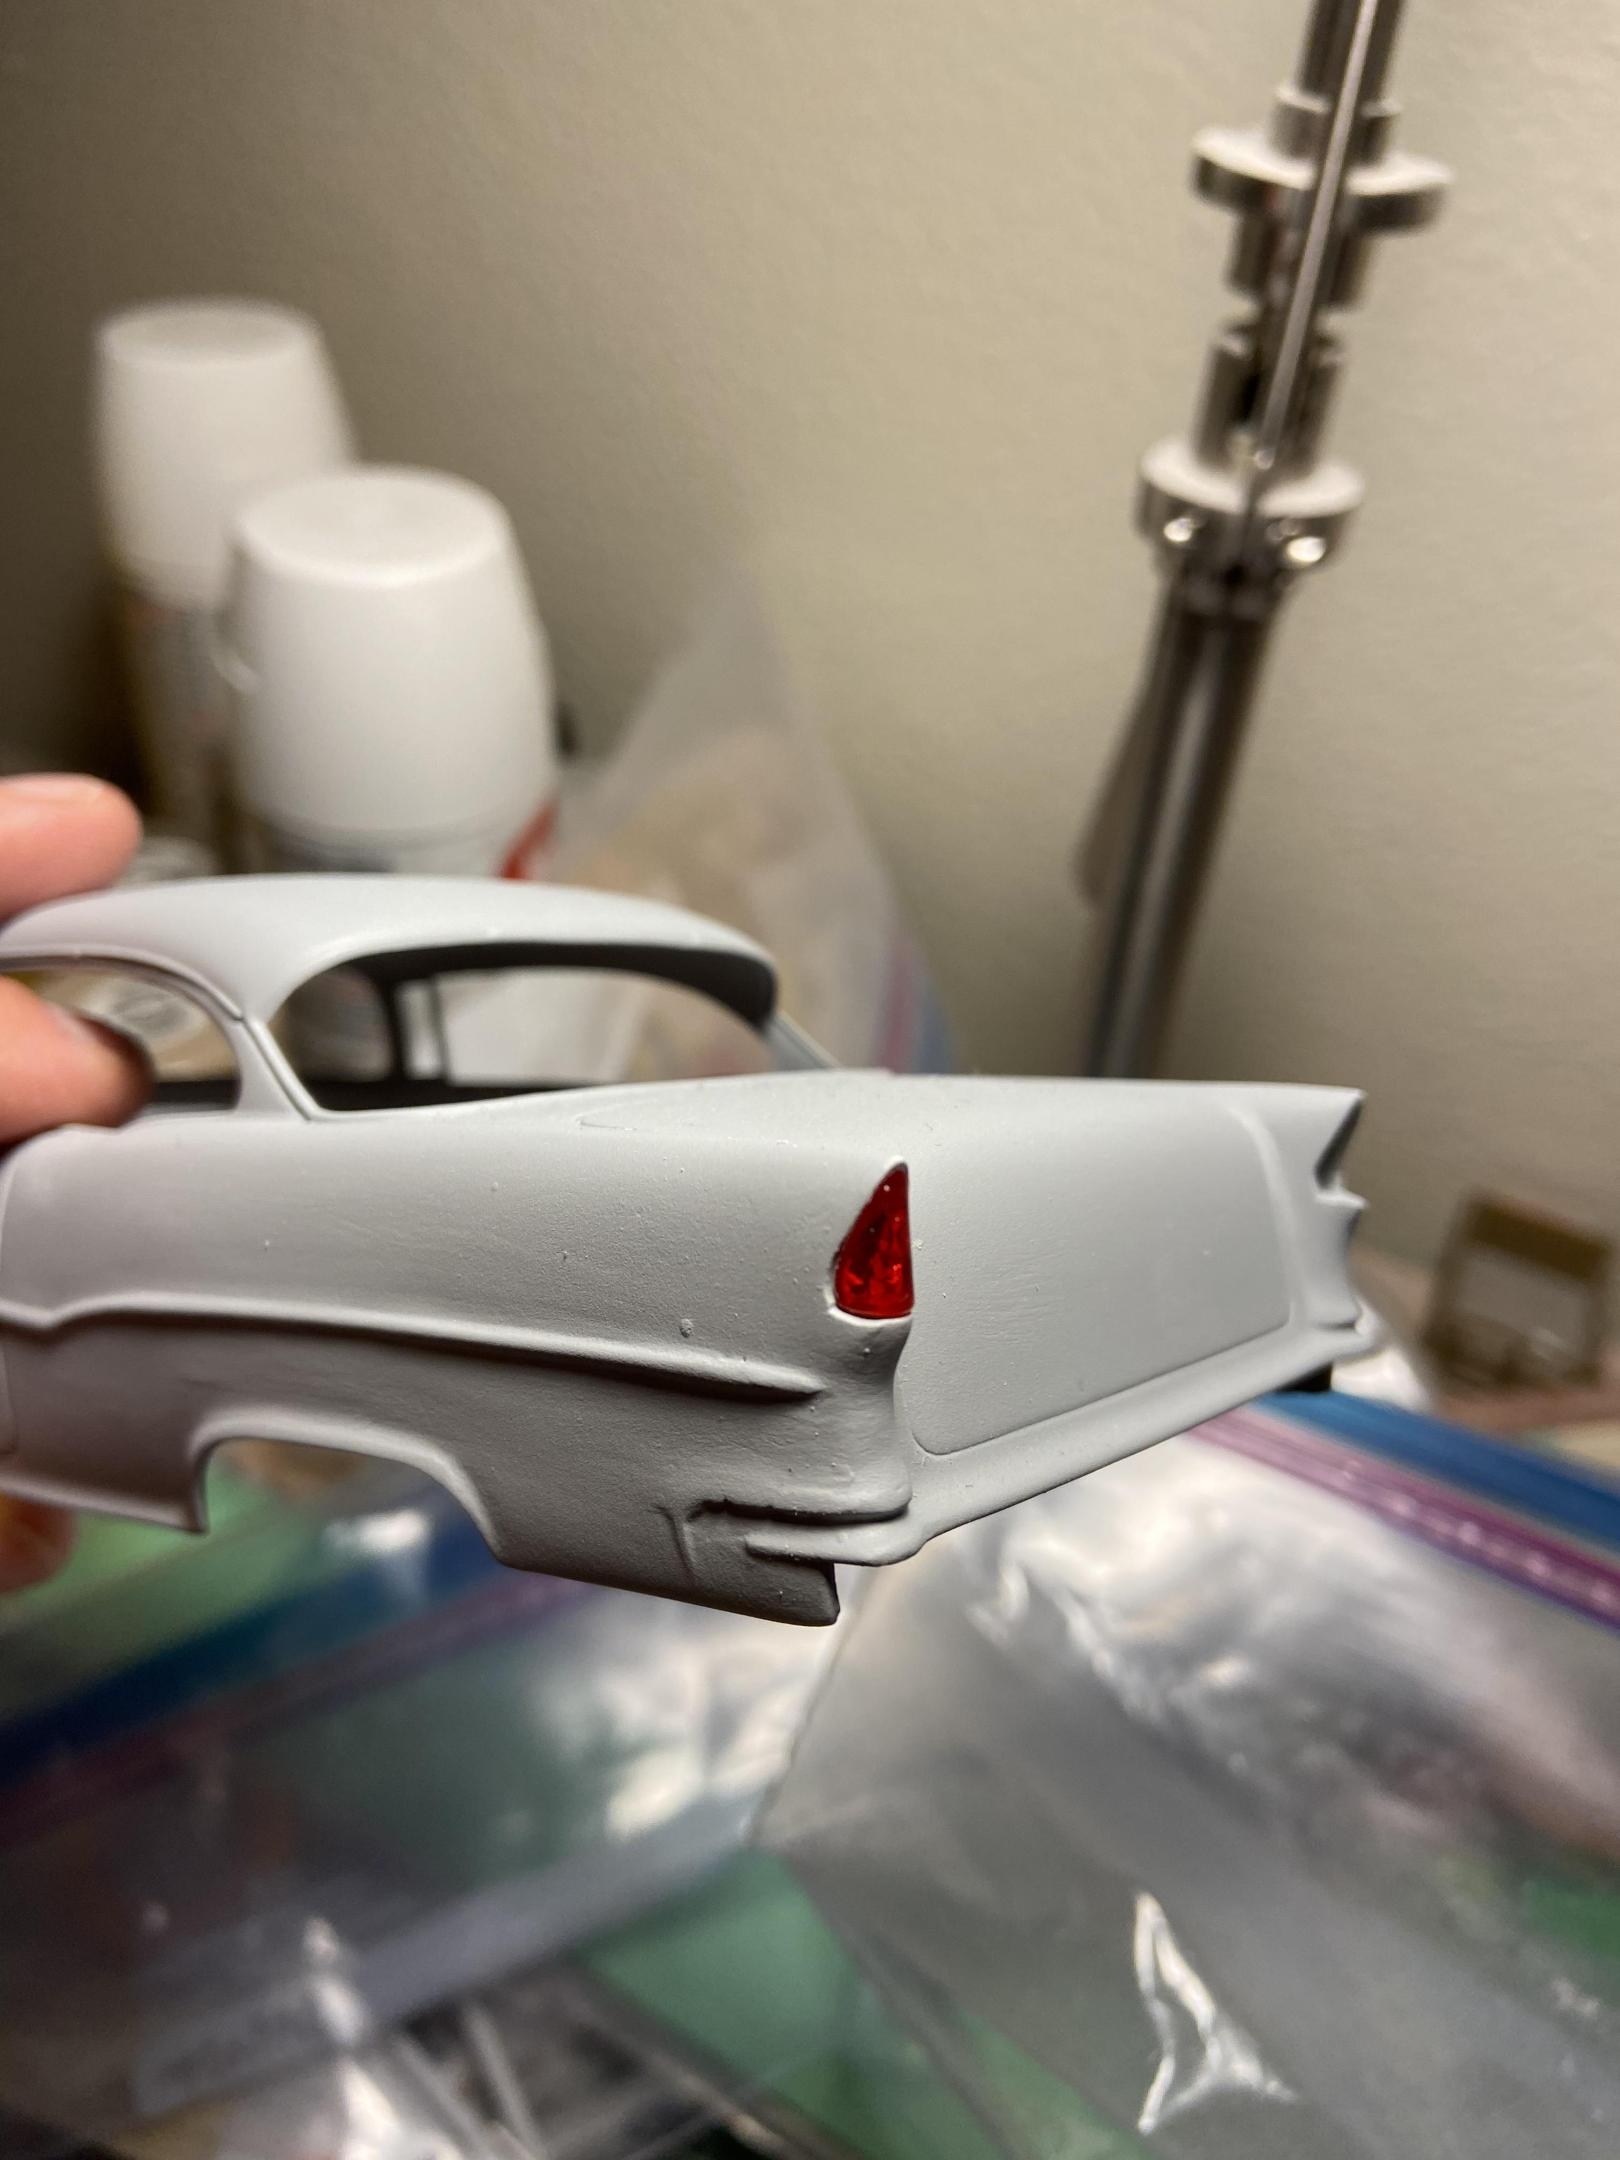
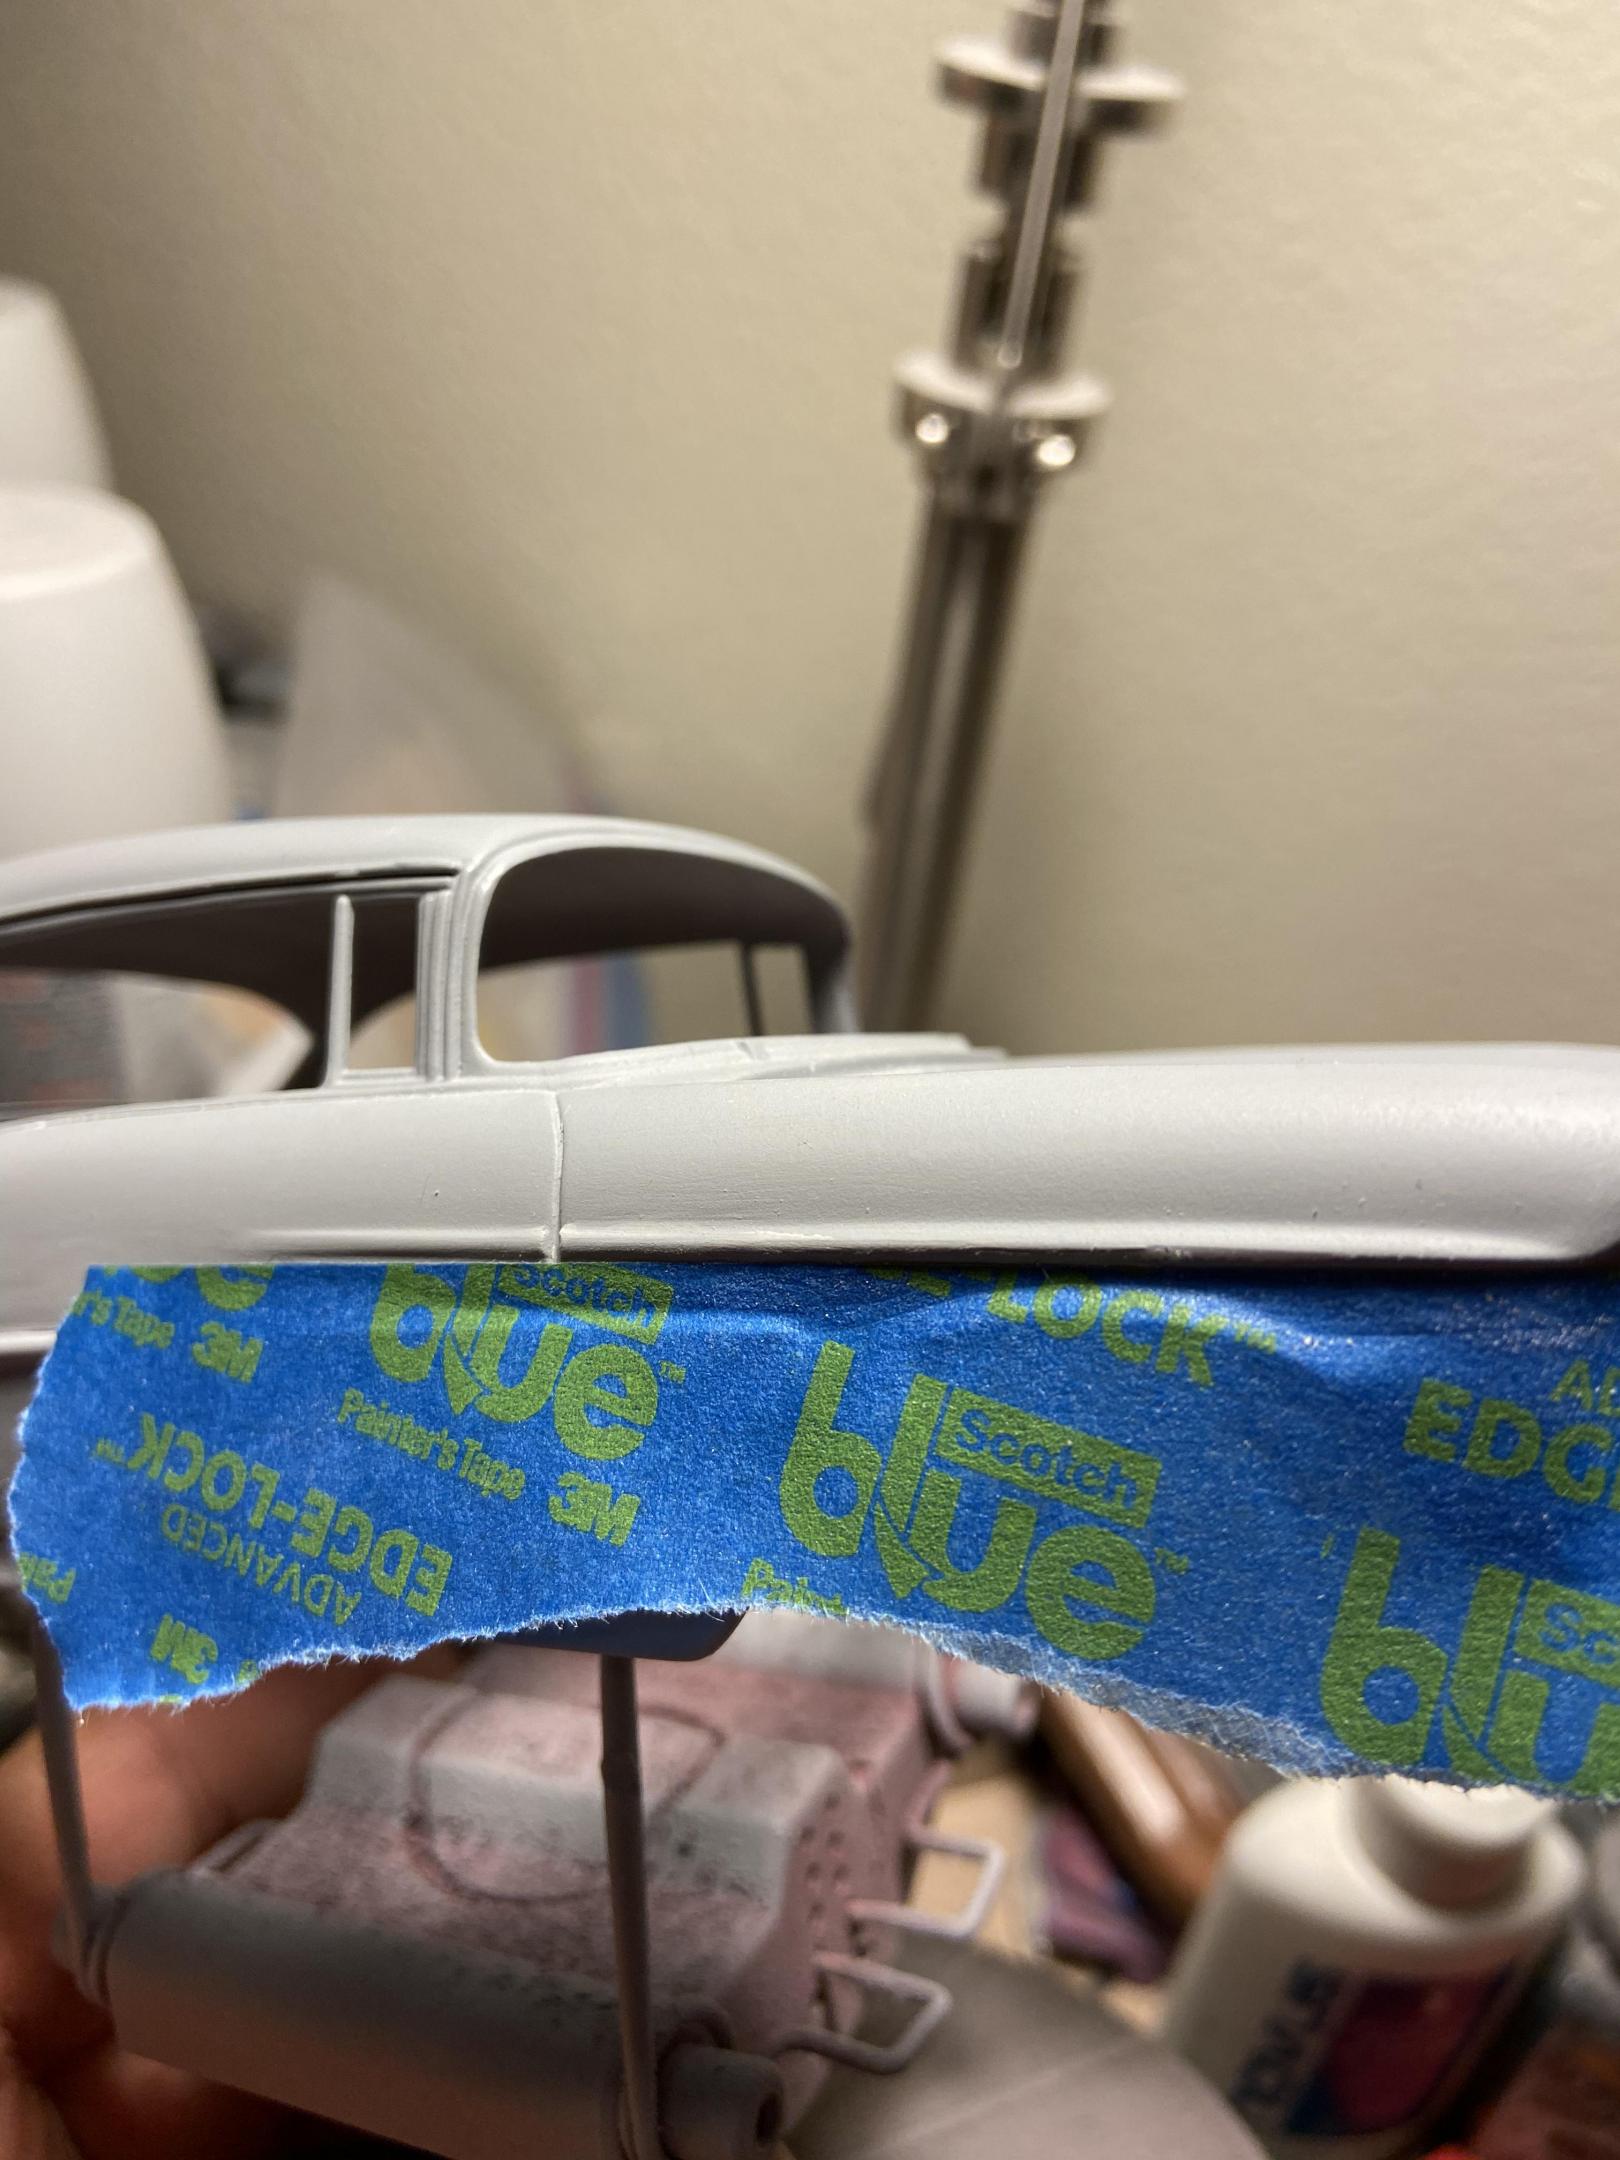
Greetings all, I decided to turn my attention to the rear of the 55 Bel Air. I decided to use the custom taillights out of the AMT 55 Nomad kit. I cleaned up the bits of flash on the taillights and I did a little bit of re-shaping them. I now had to re-work and extend slightly the rear taillight housings in the fenders. So I glued on some Evergreen flat stock on the stock fender openings and using an emery board, I molded and re-shaped the Evergreen to the fenders and fitted the taillights. Then it was another bit of glazing putty and sanded the fenders smooth and a bit of primer. Not too bad. Thanks for looking, cheers.
-
Pardon the poor photography, getting both fenders to match. Time to re-scribe the door lines and shoot a bit of primer but it’s getting there.
-
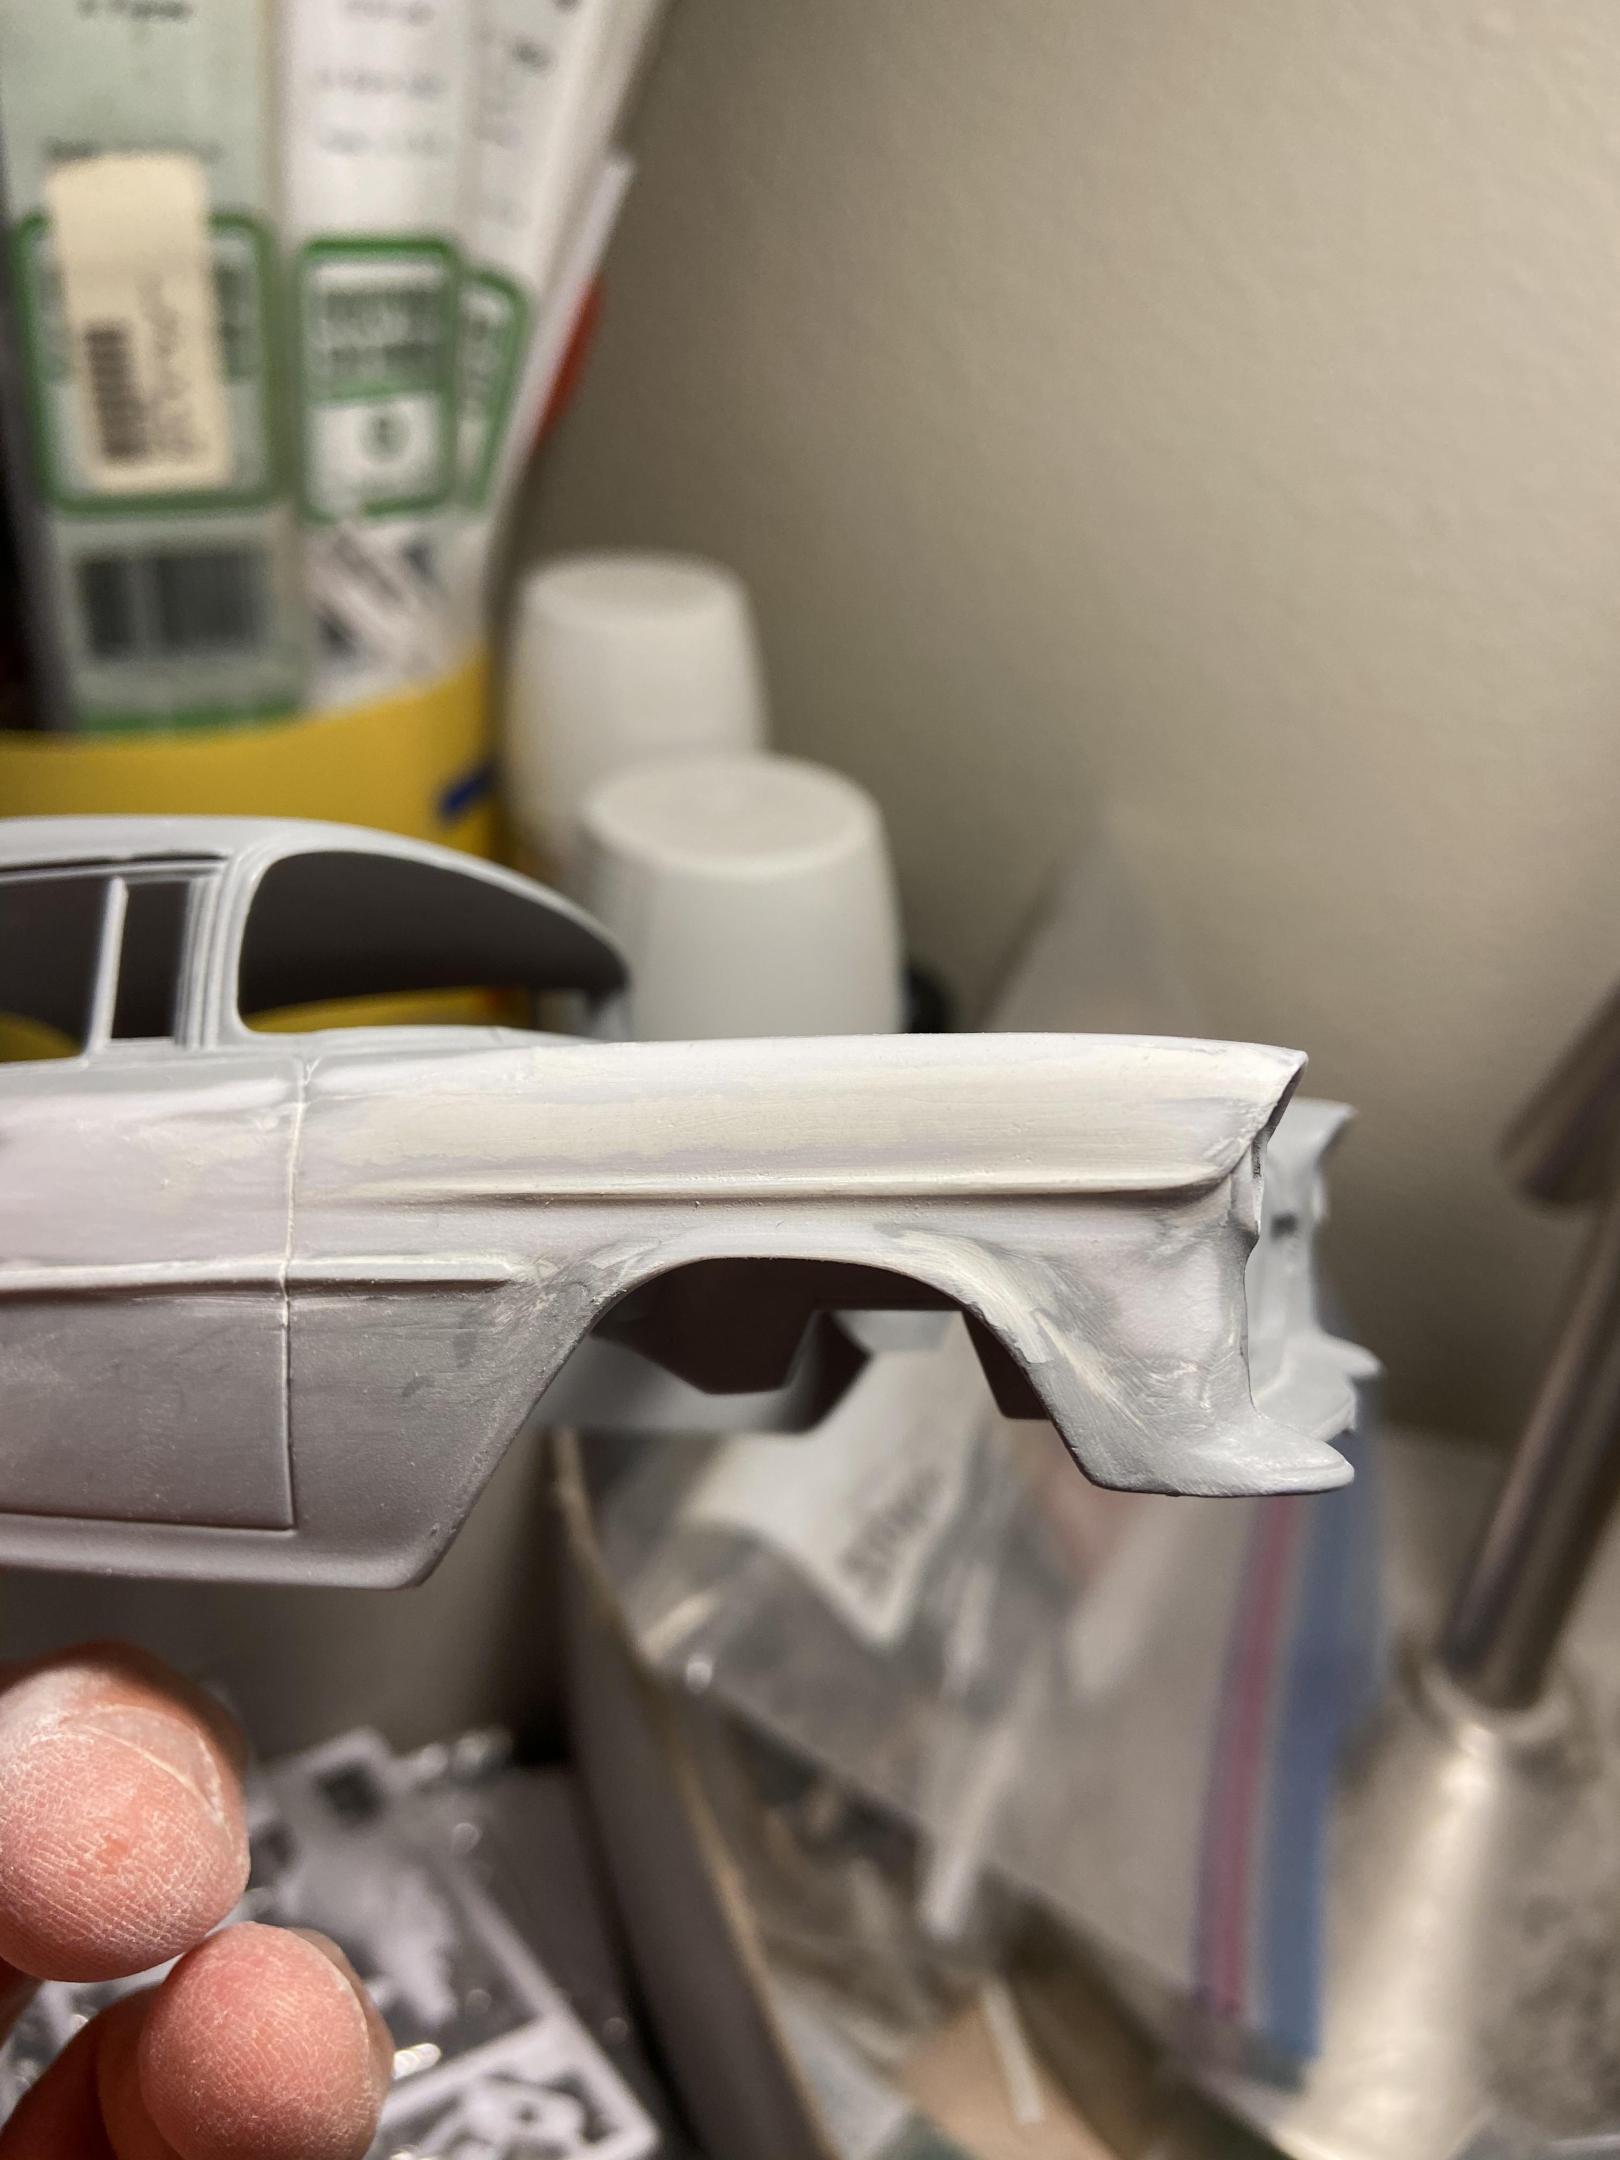
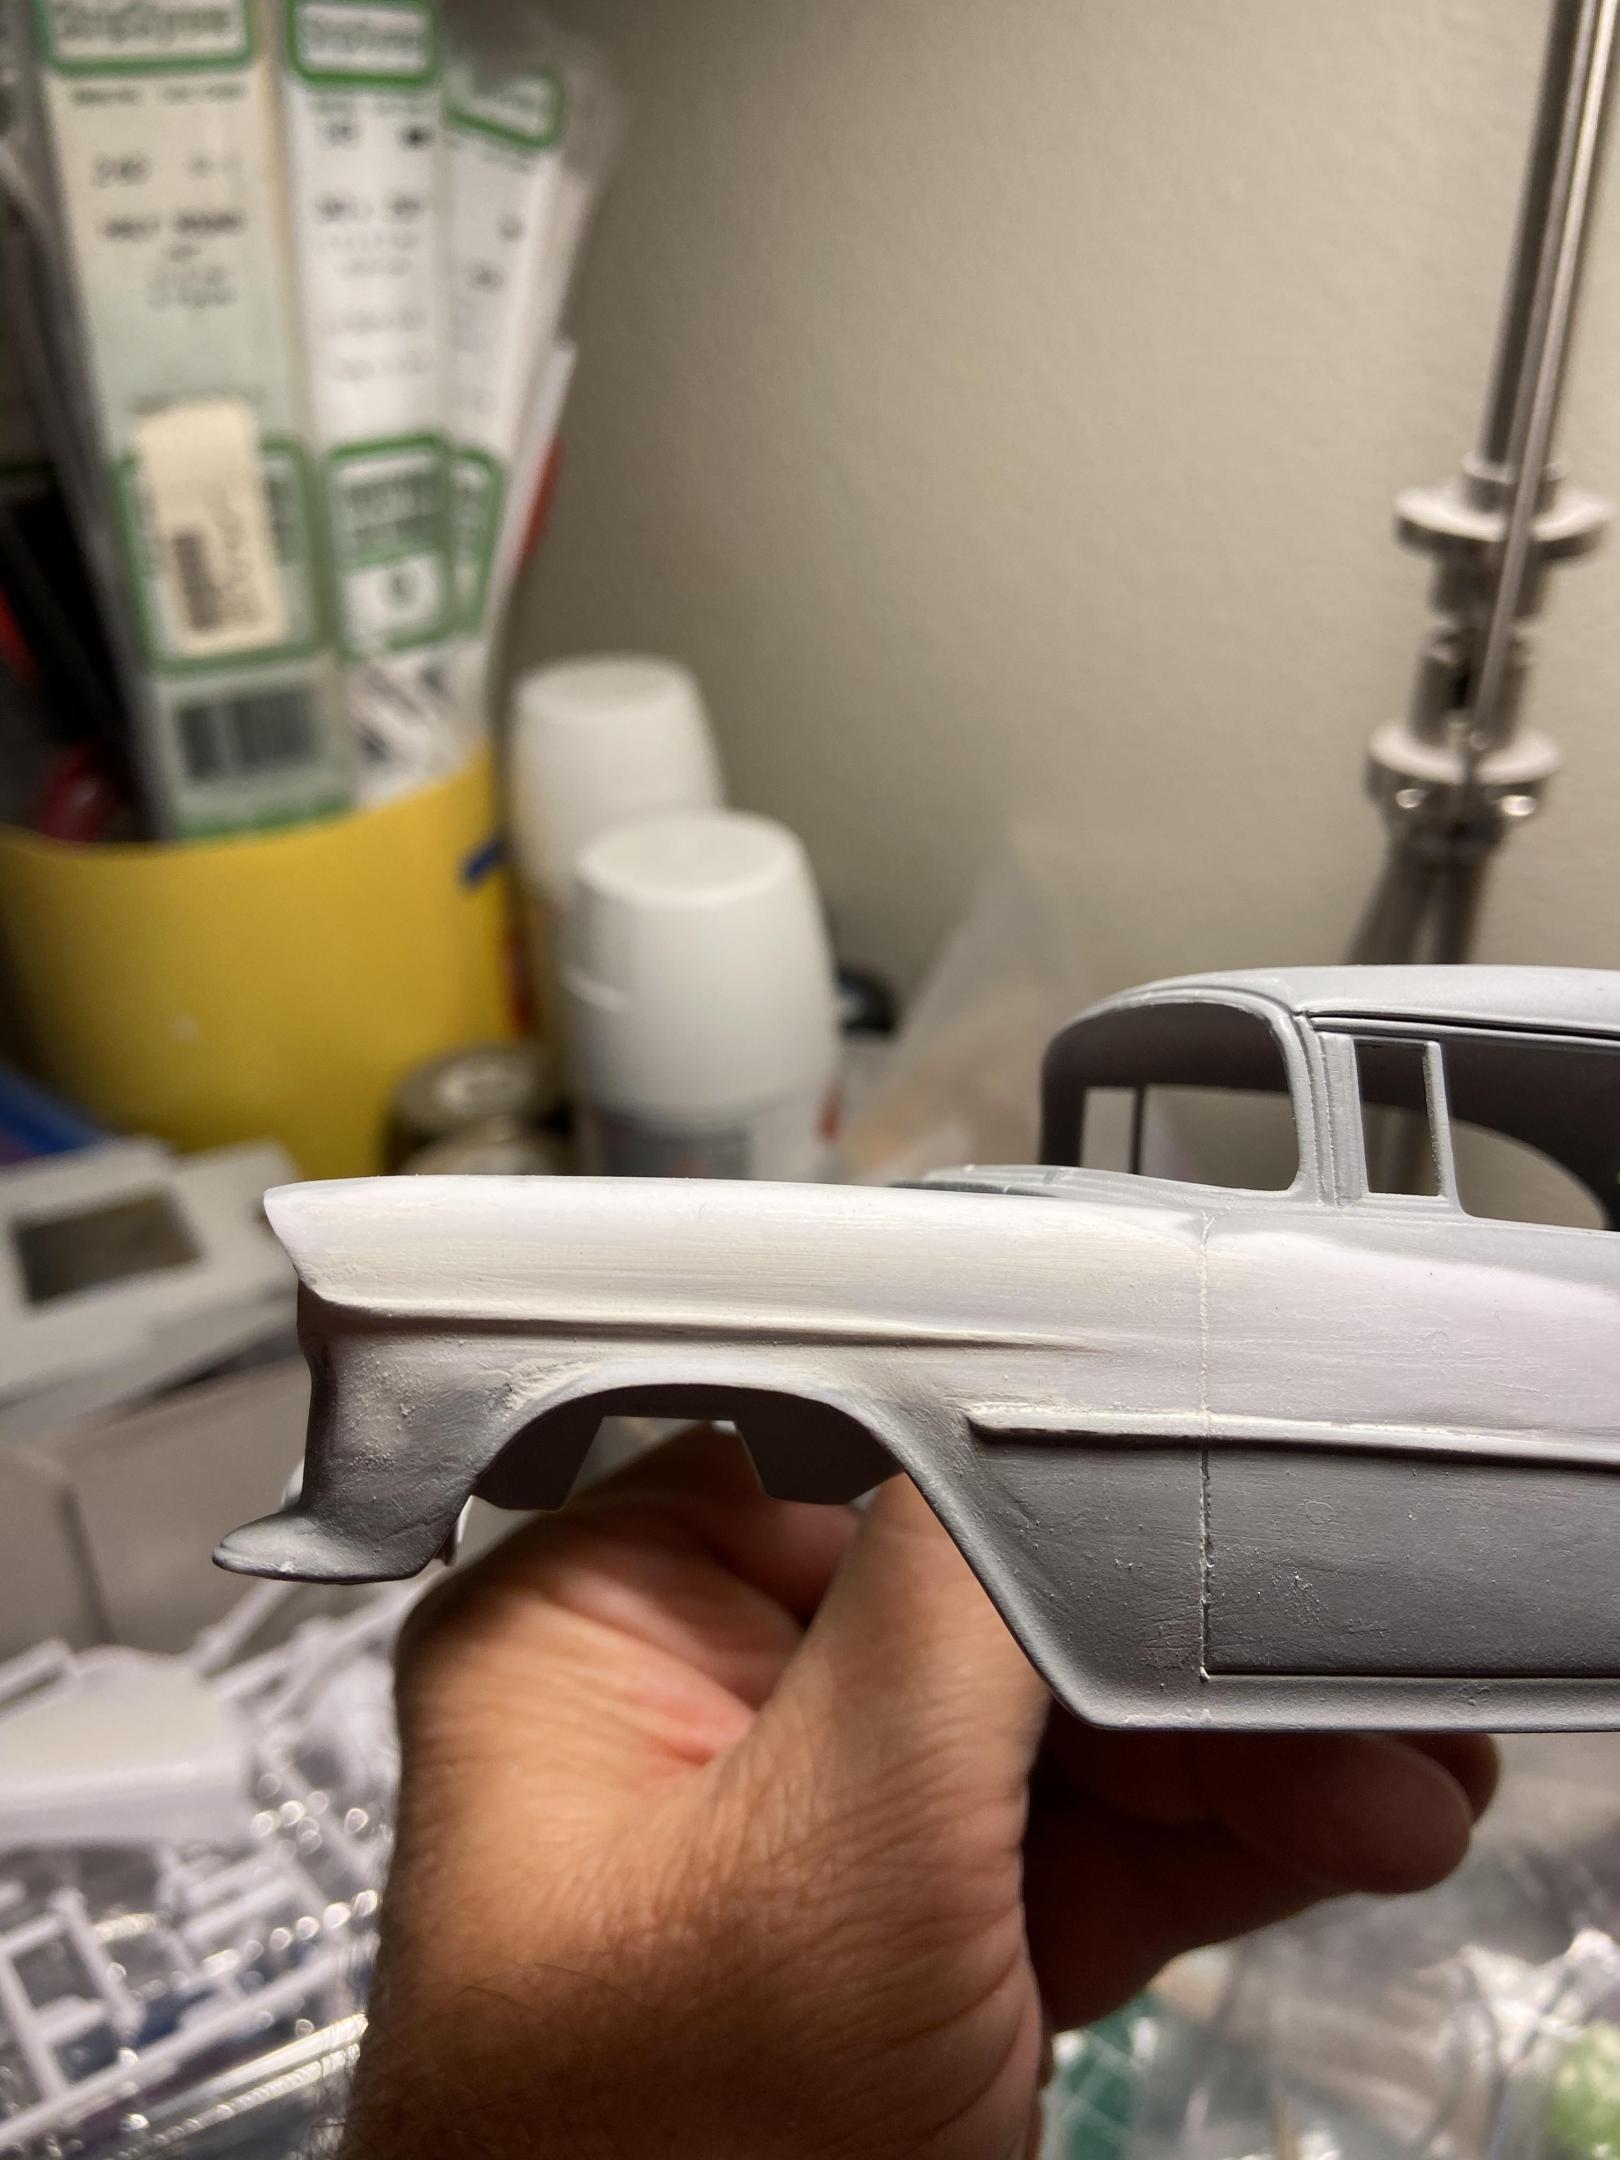
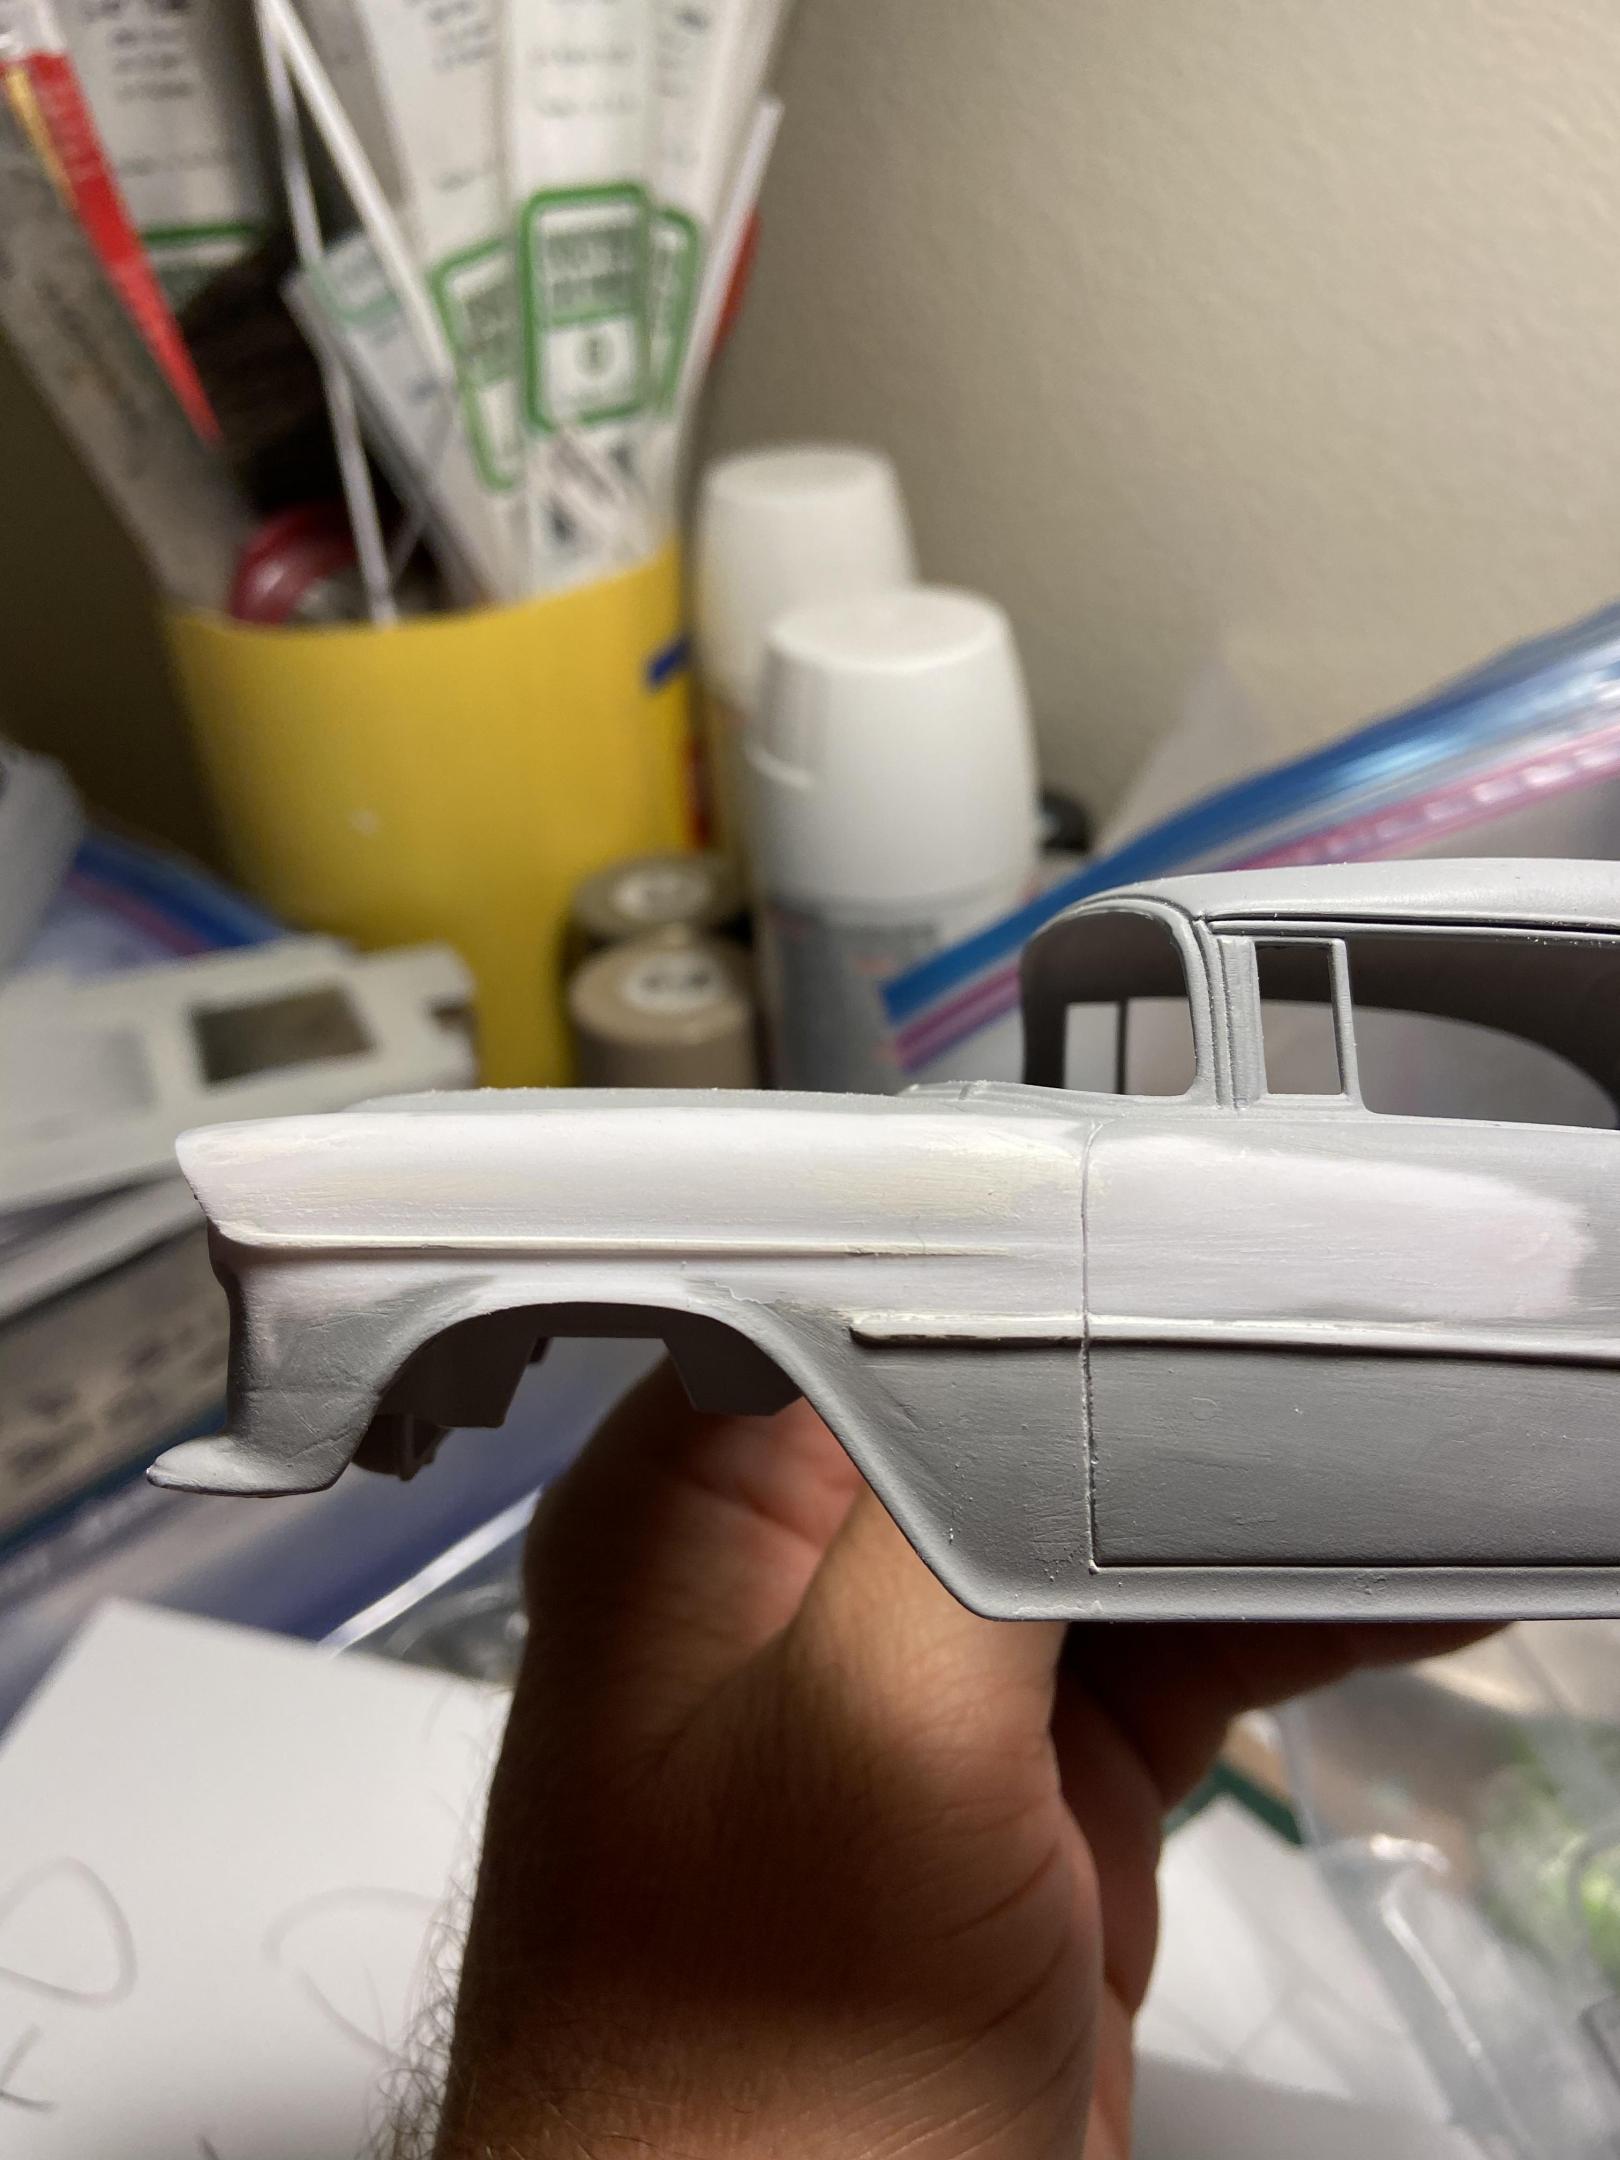
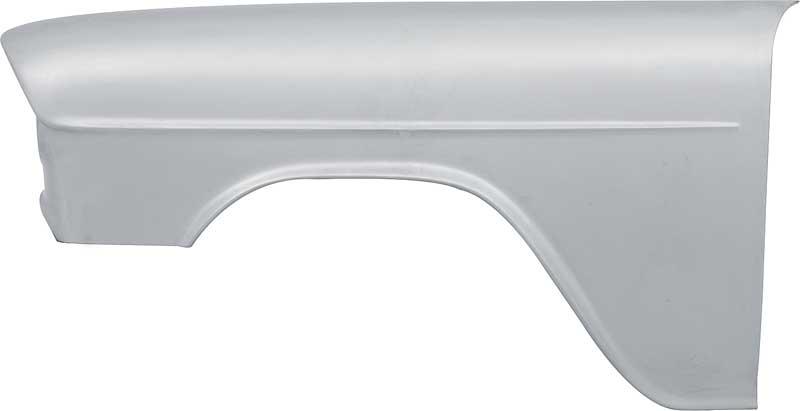
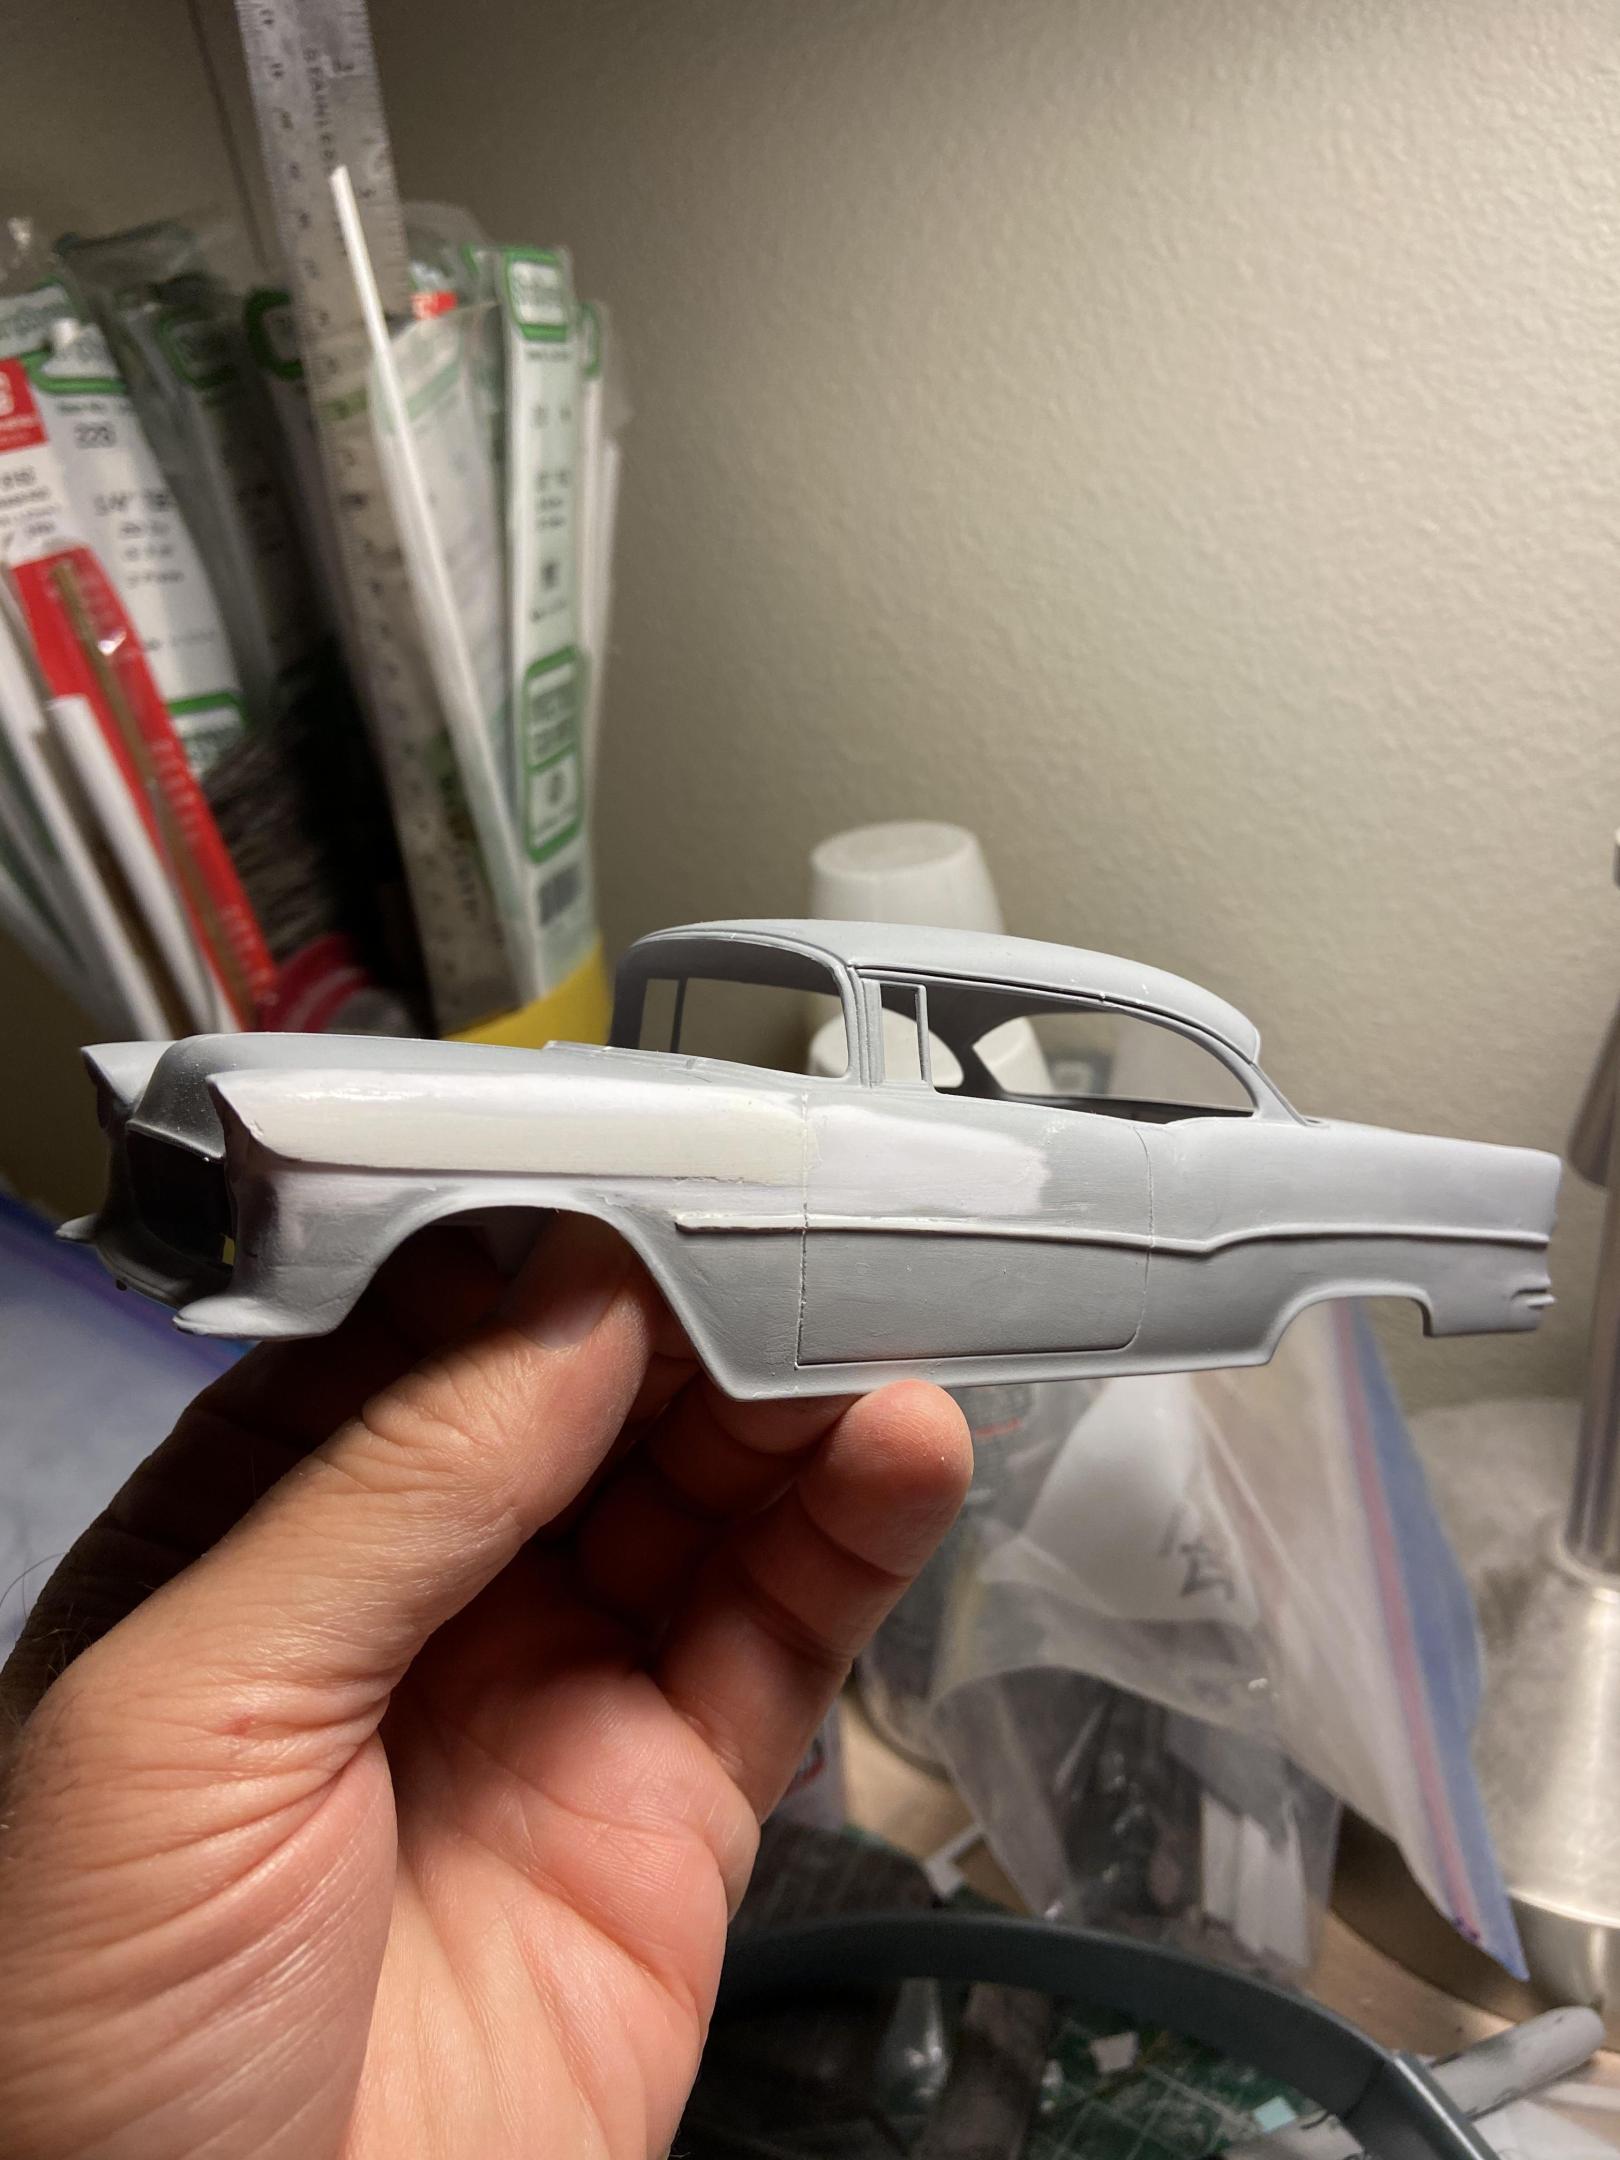
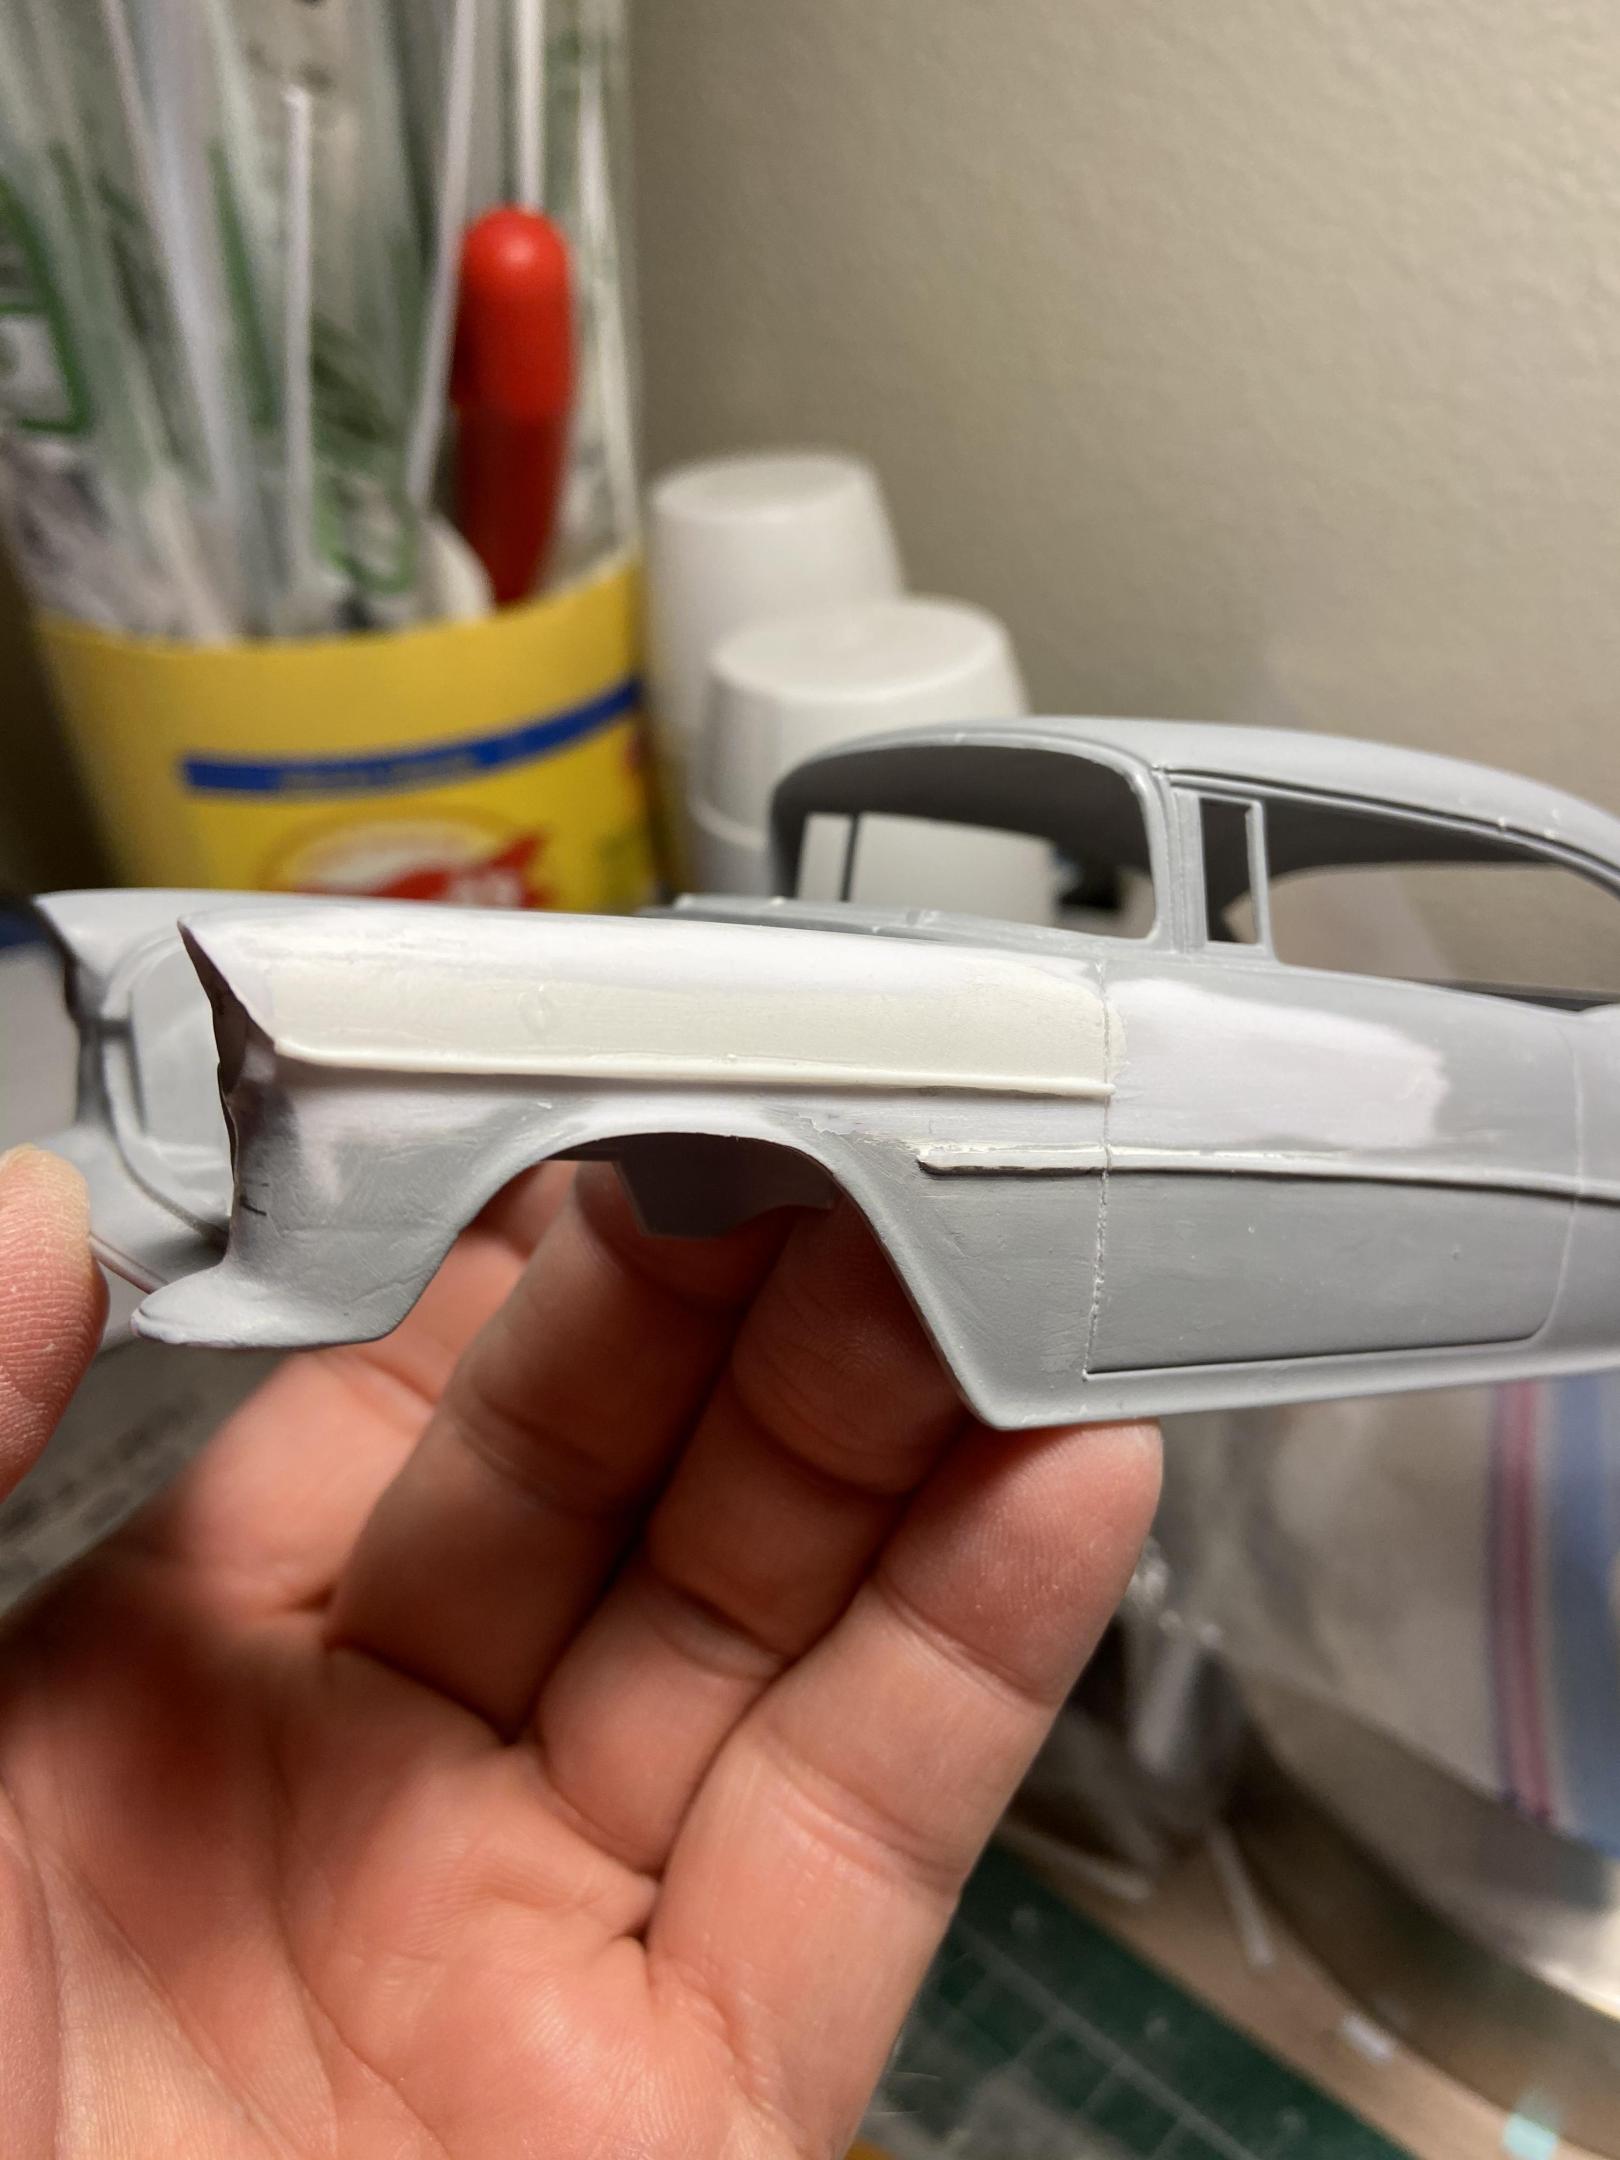
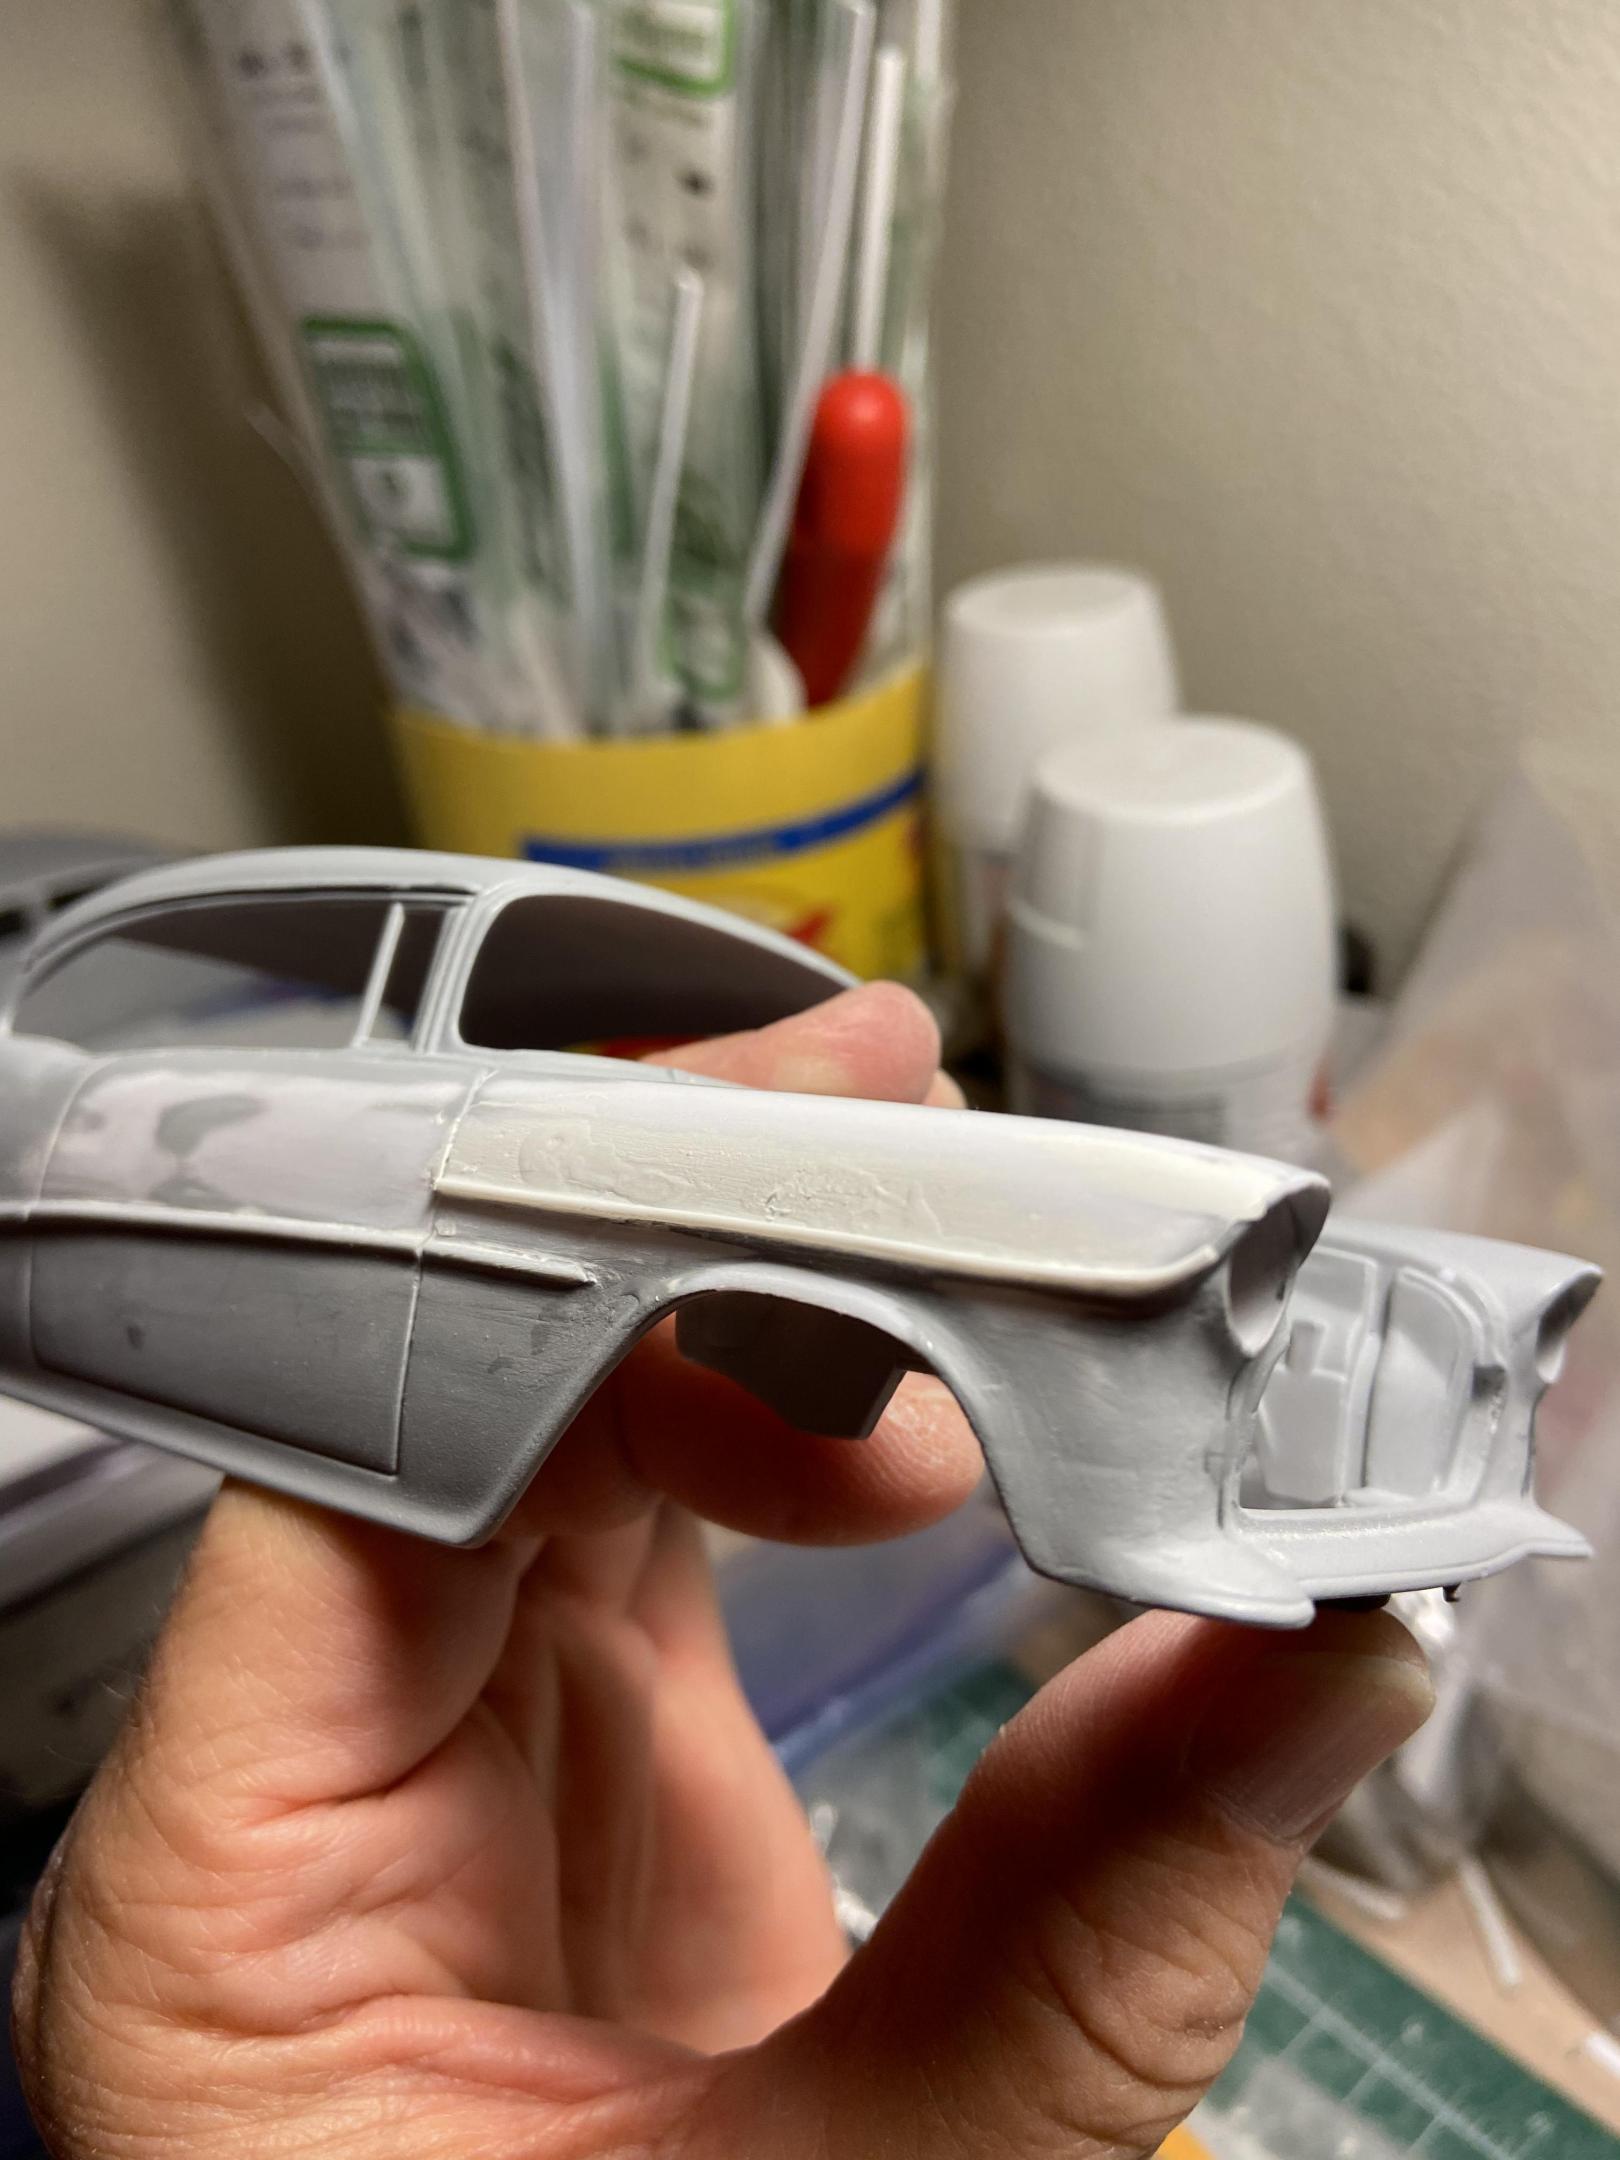
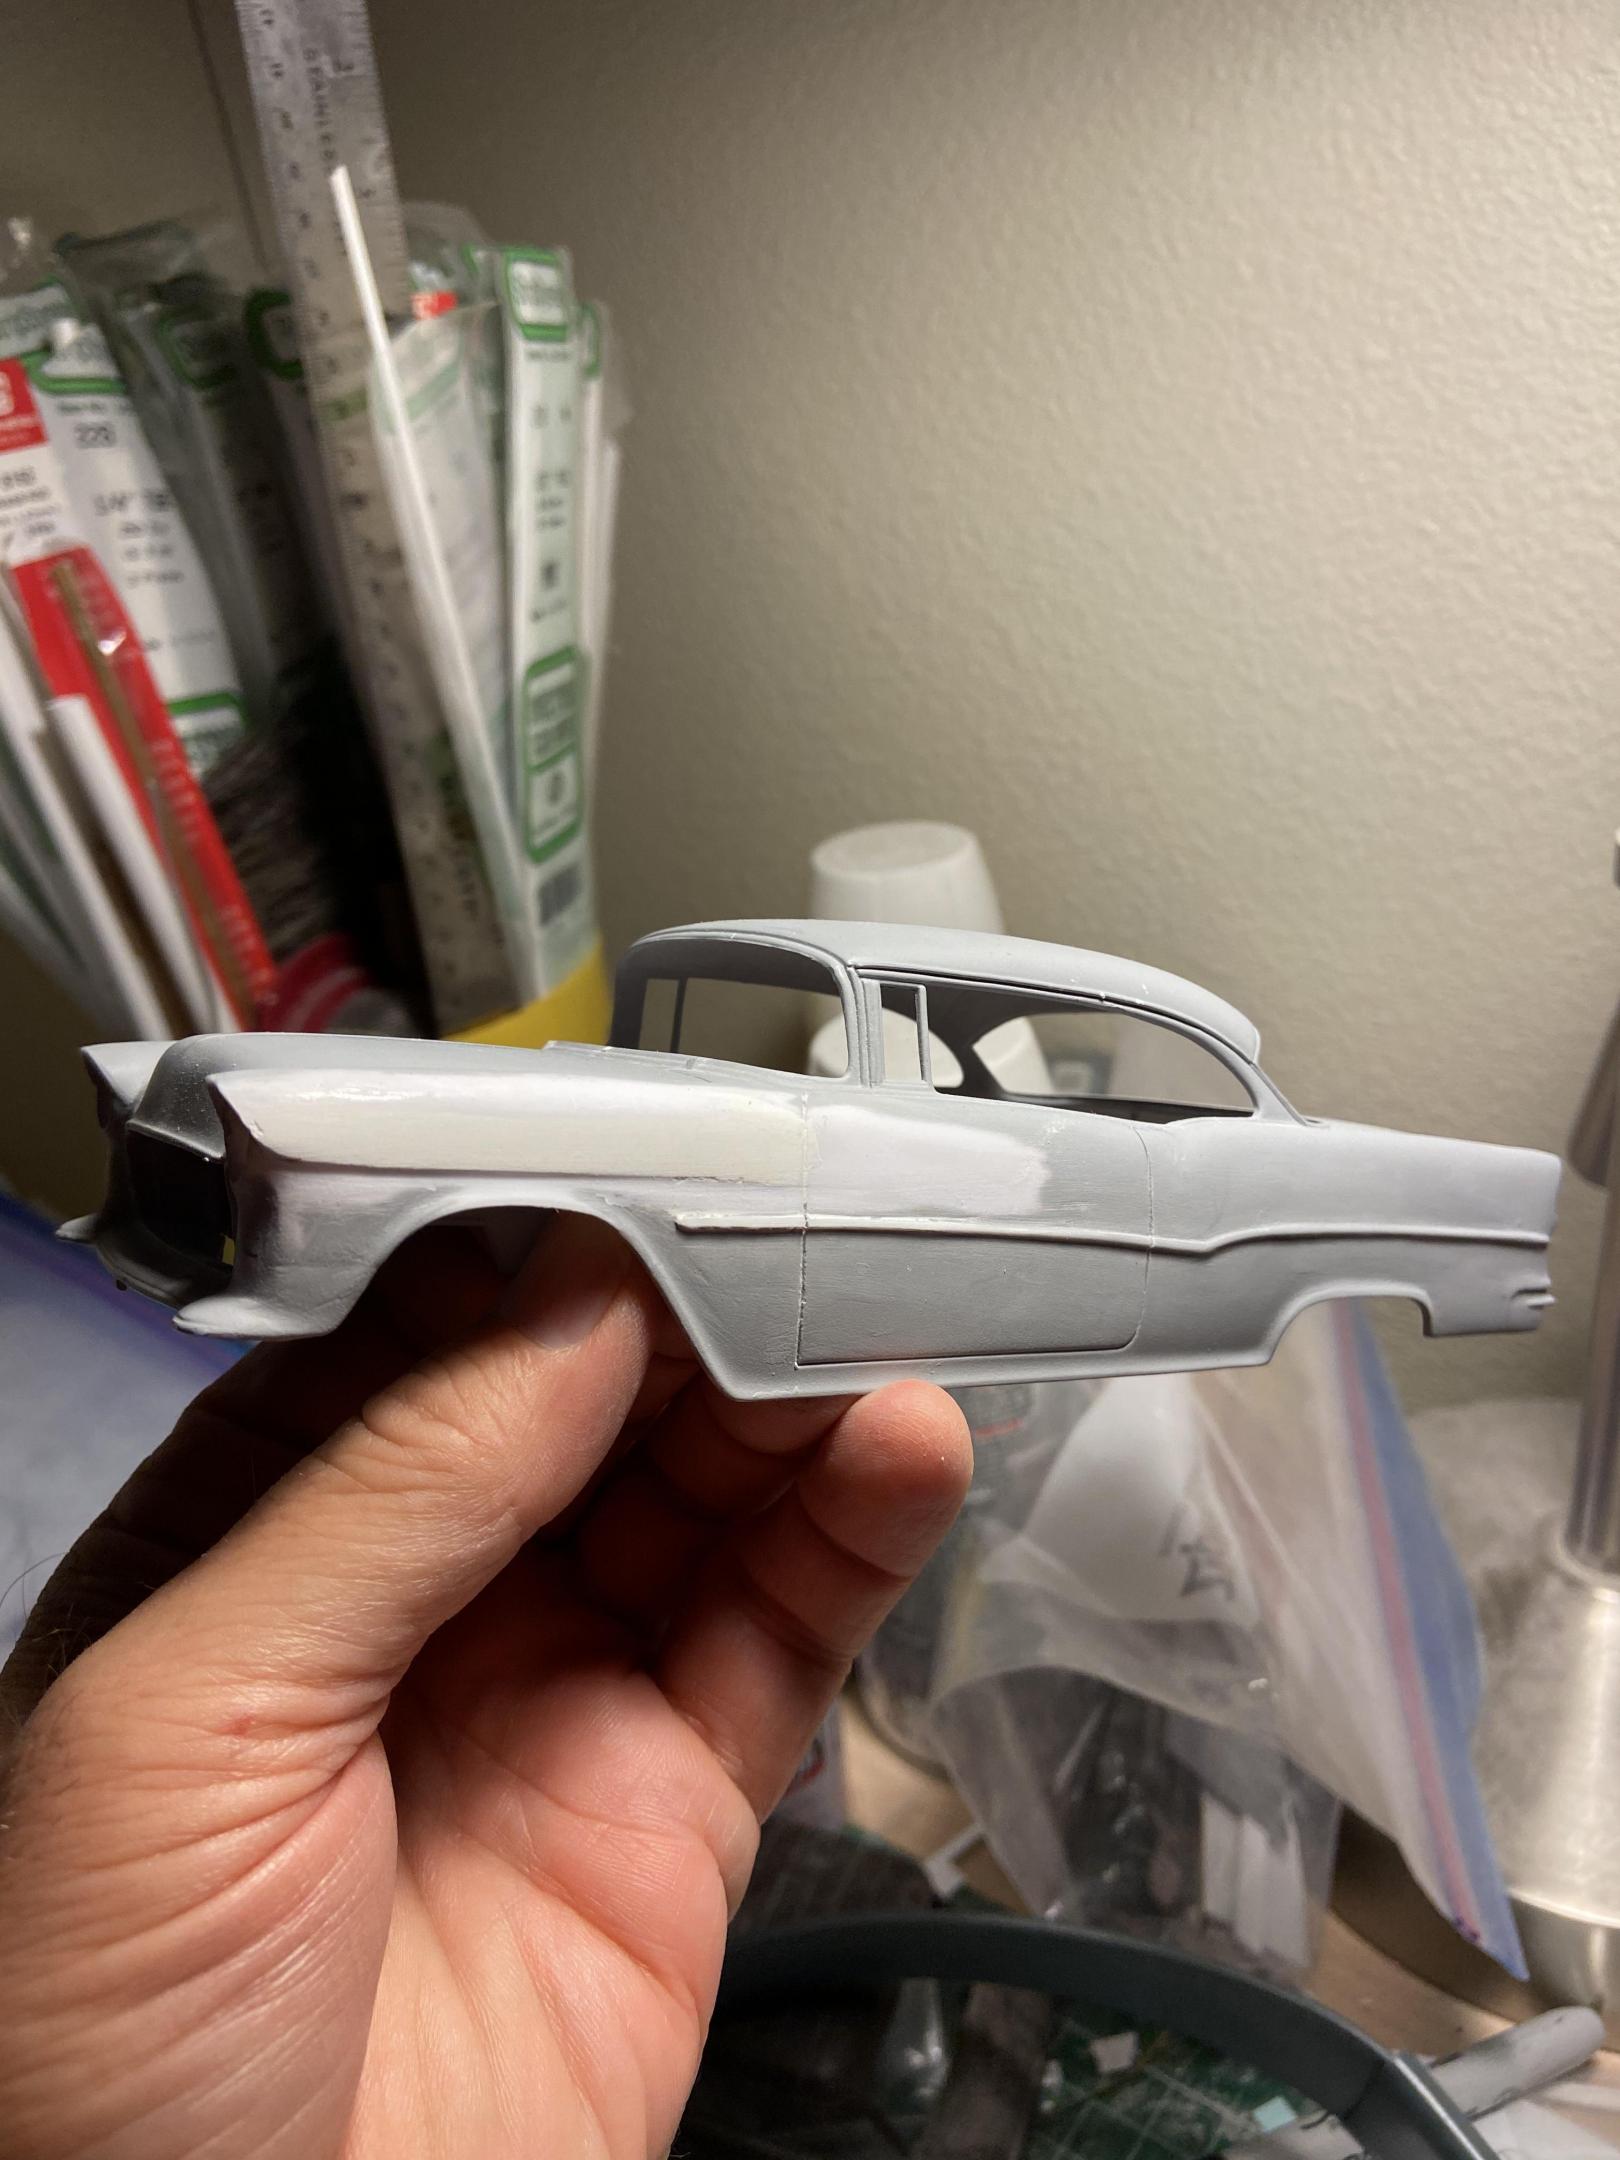
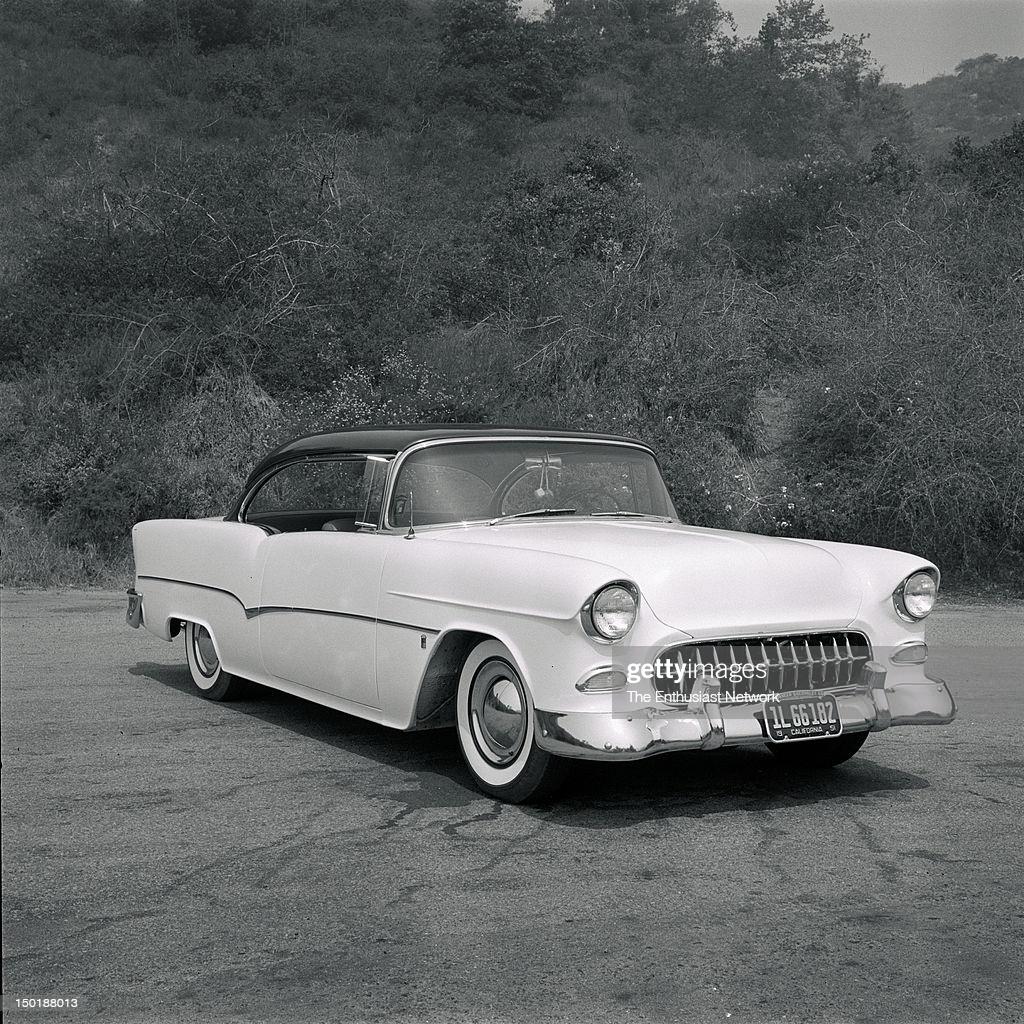
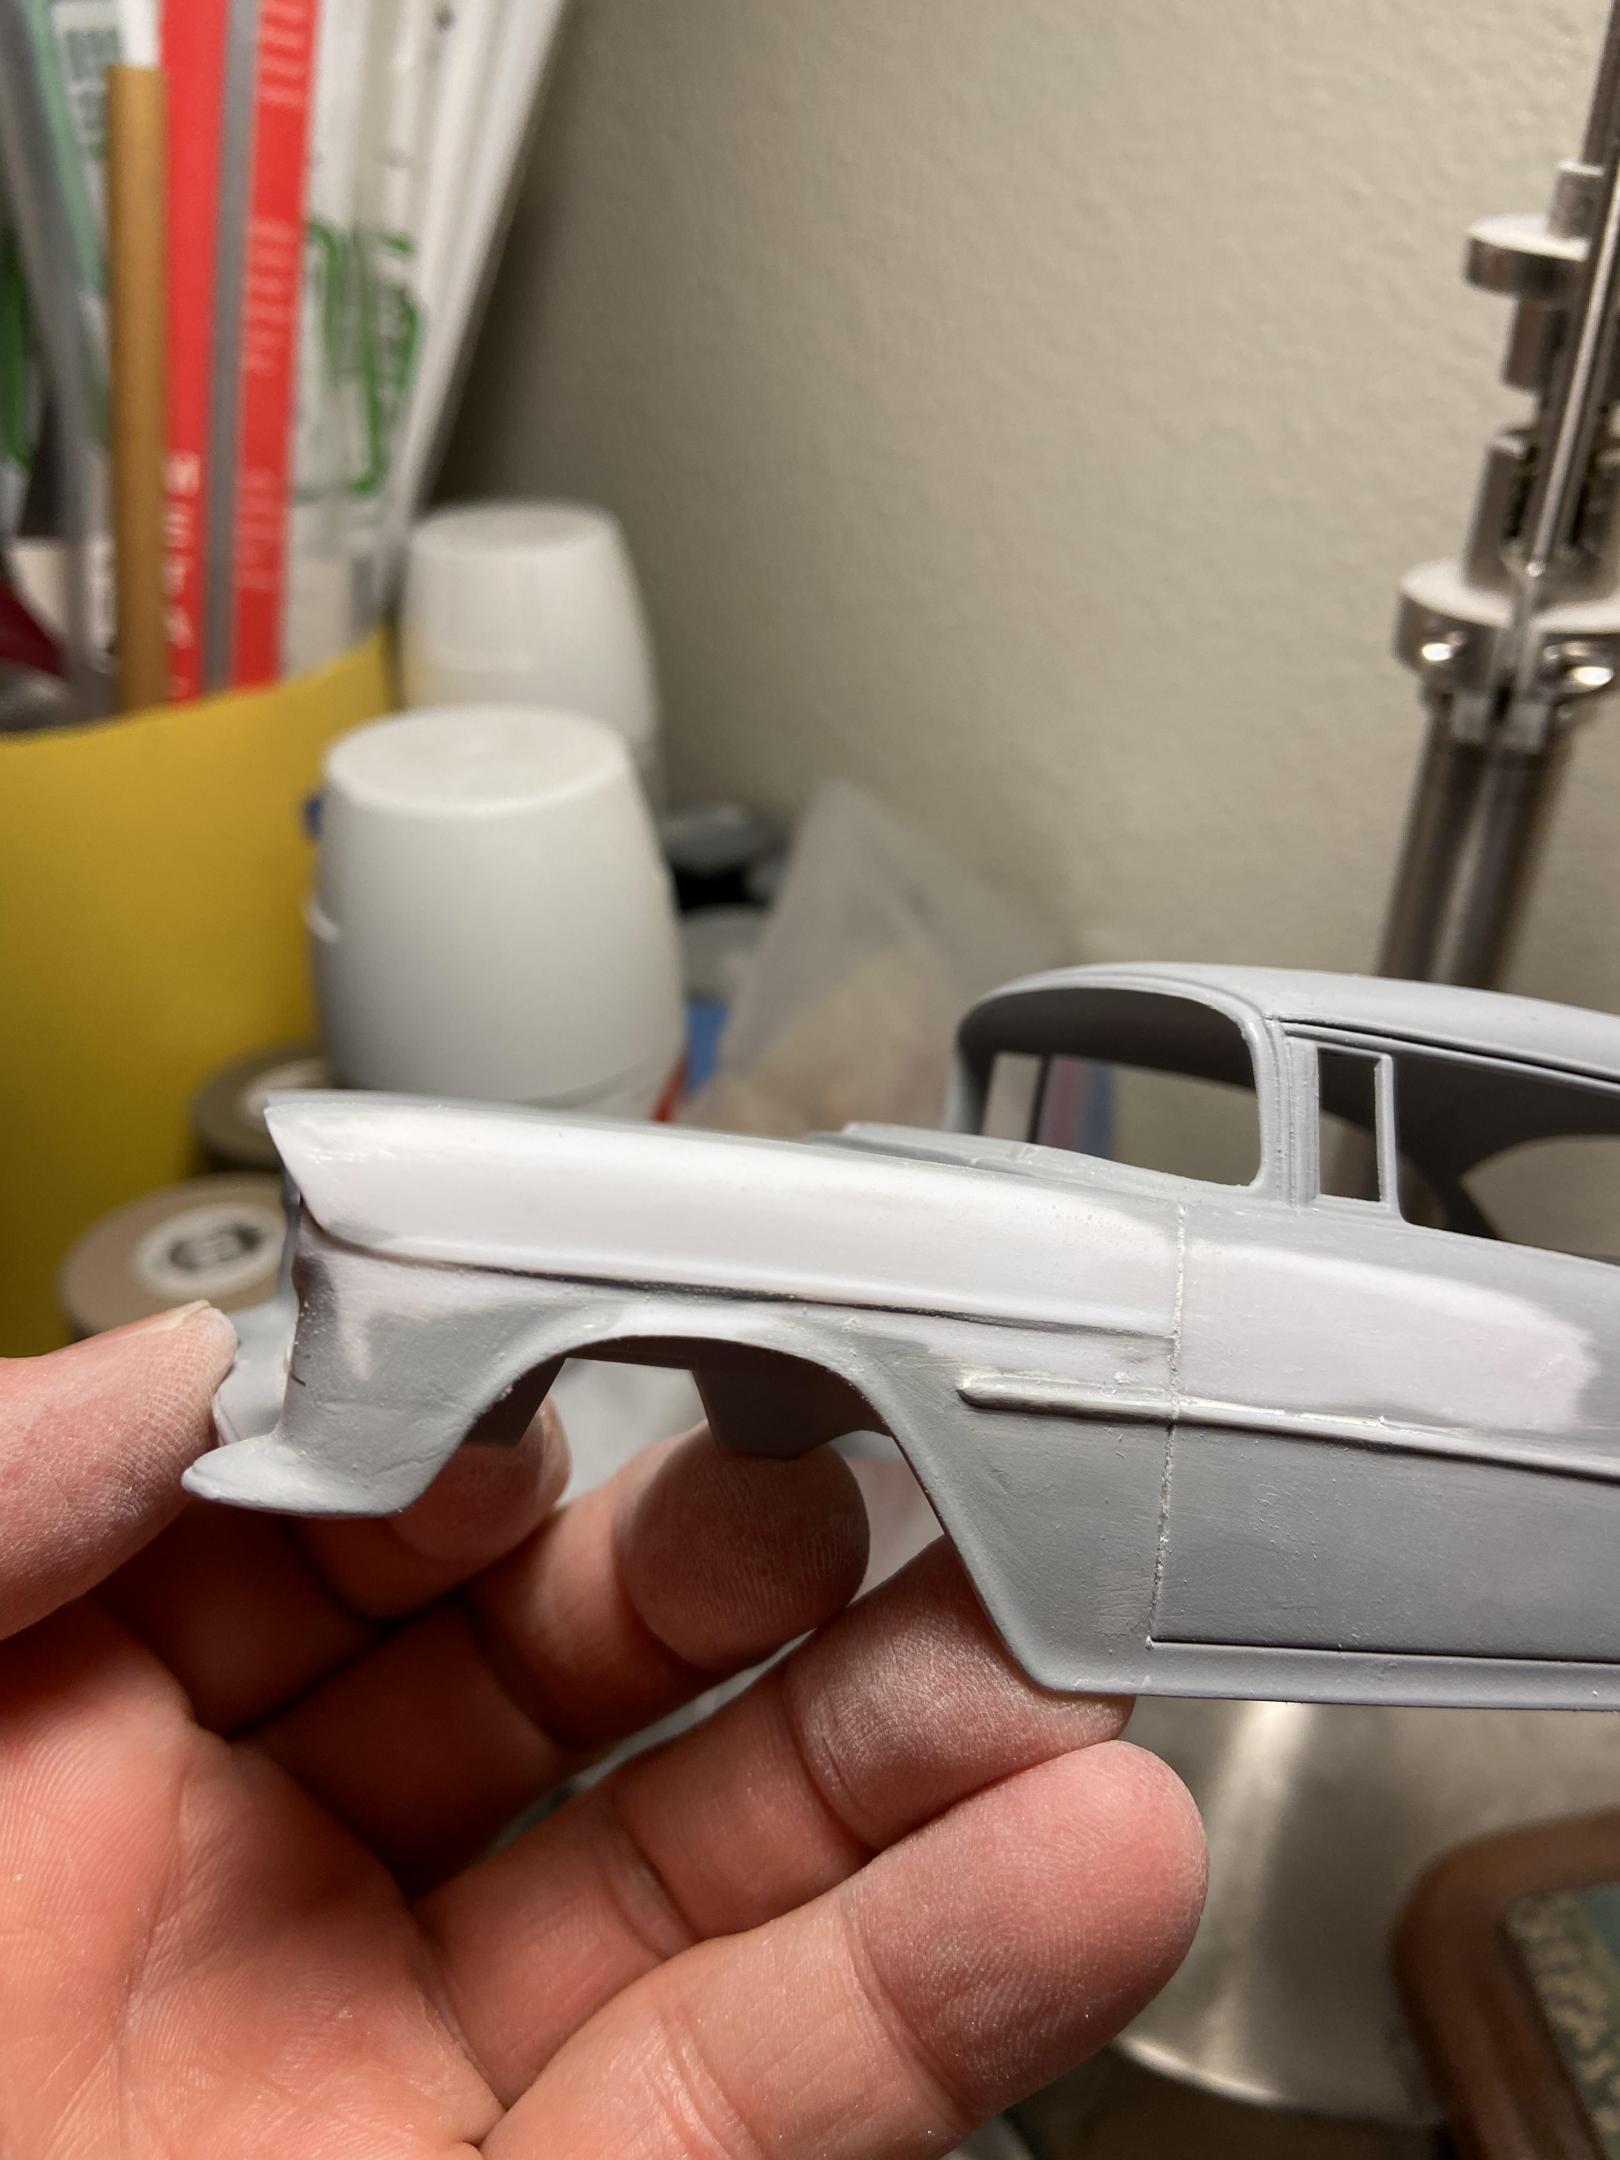
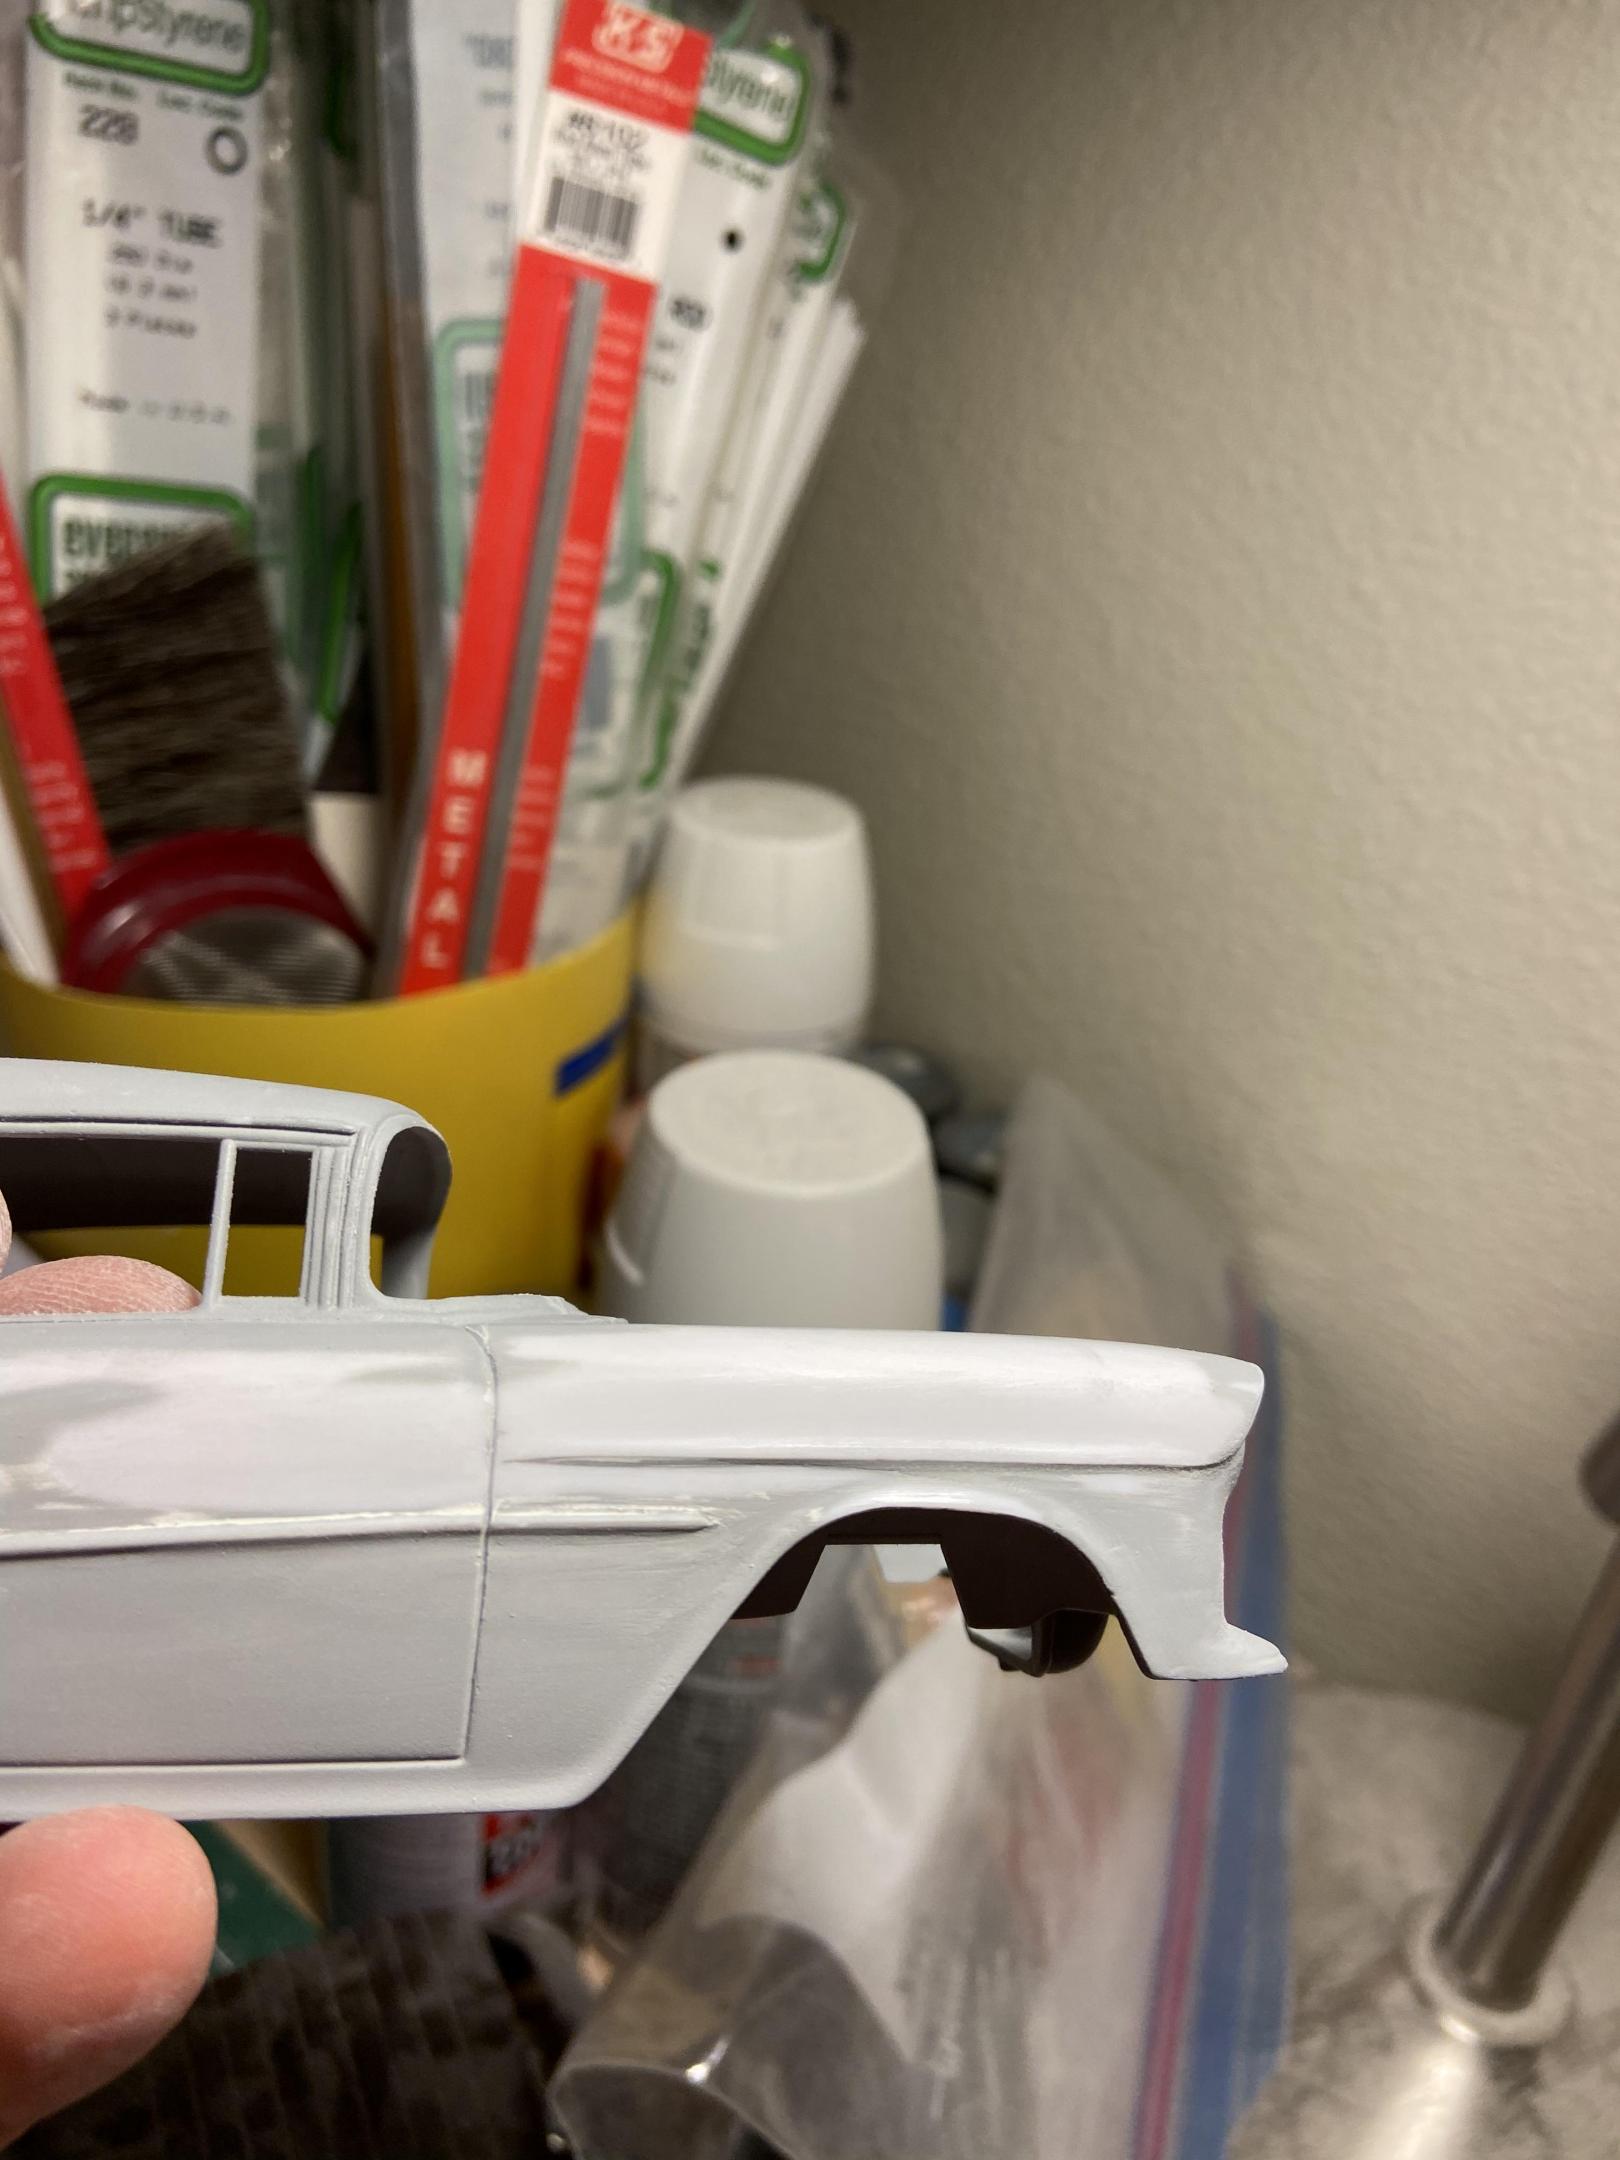
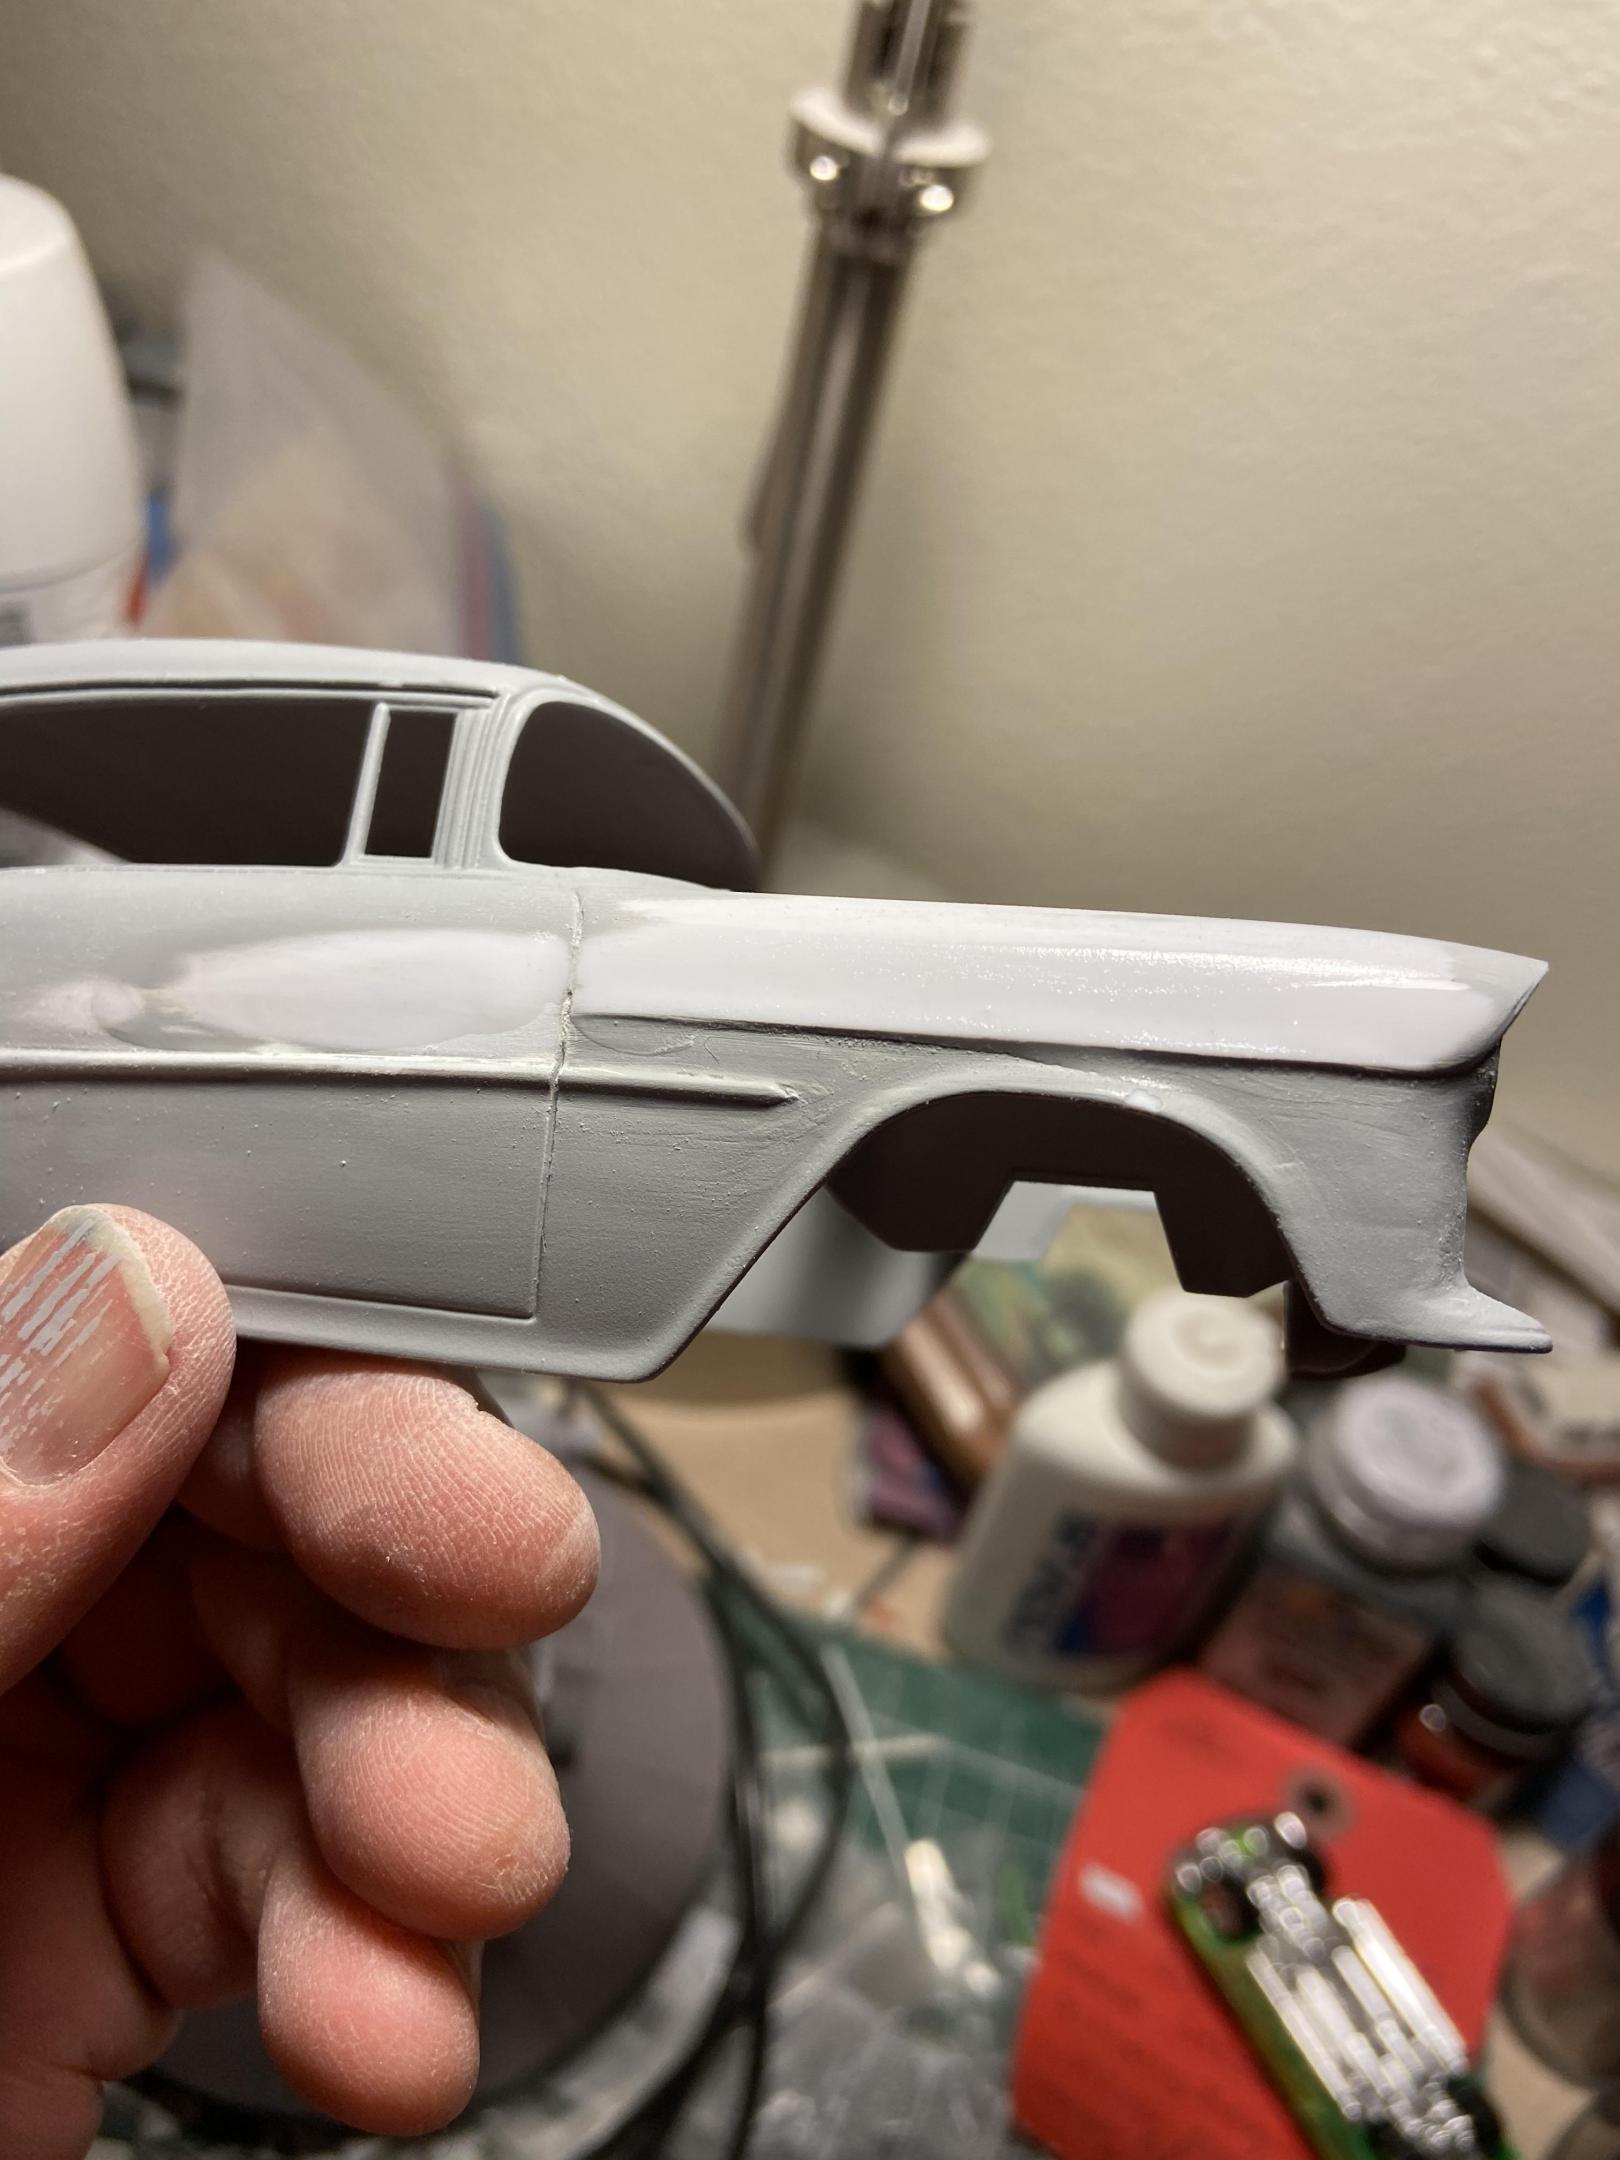
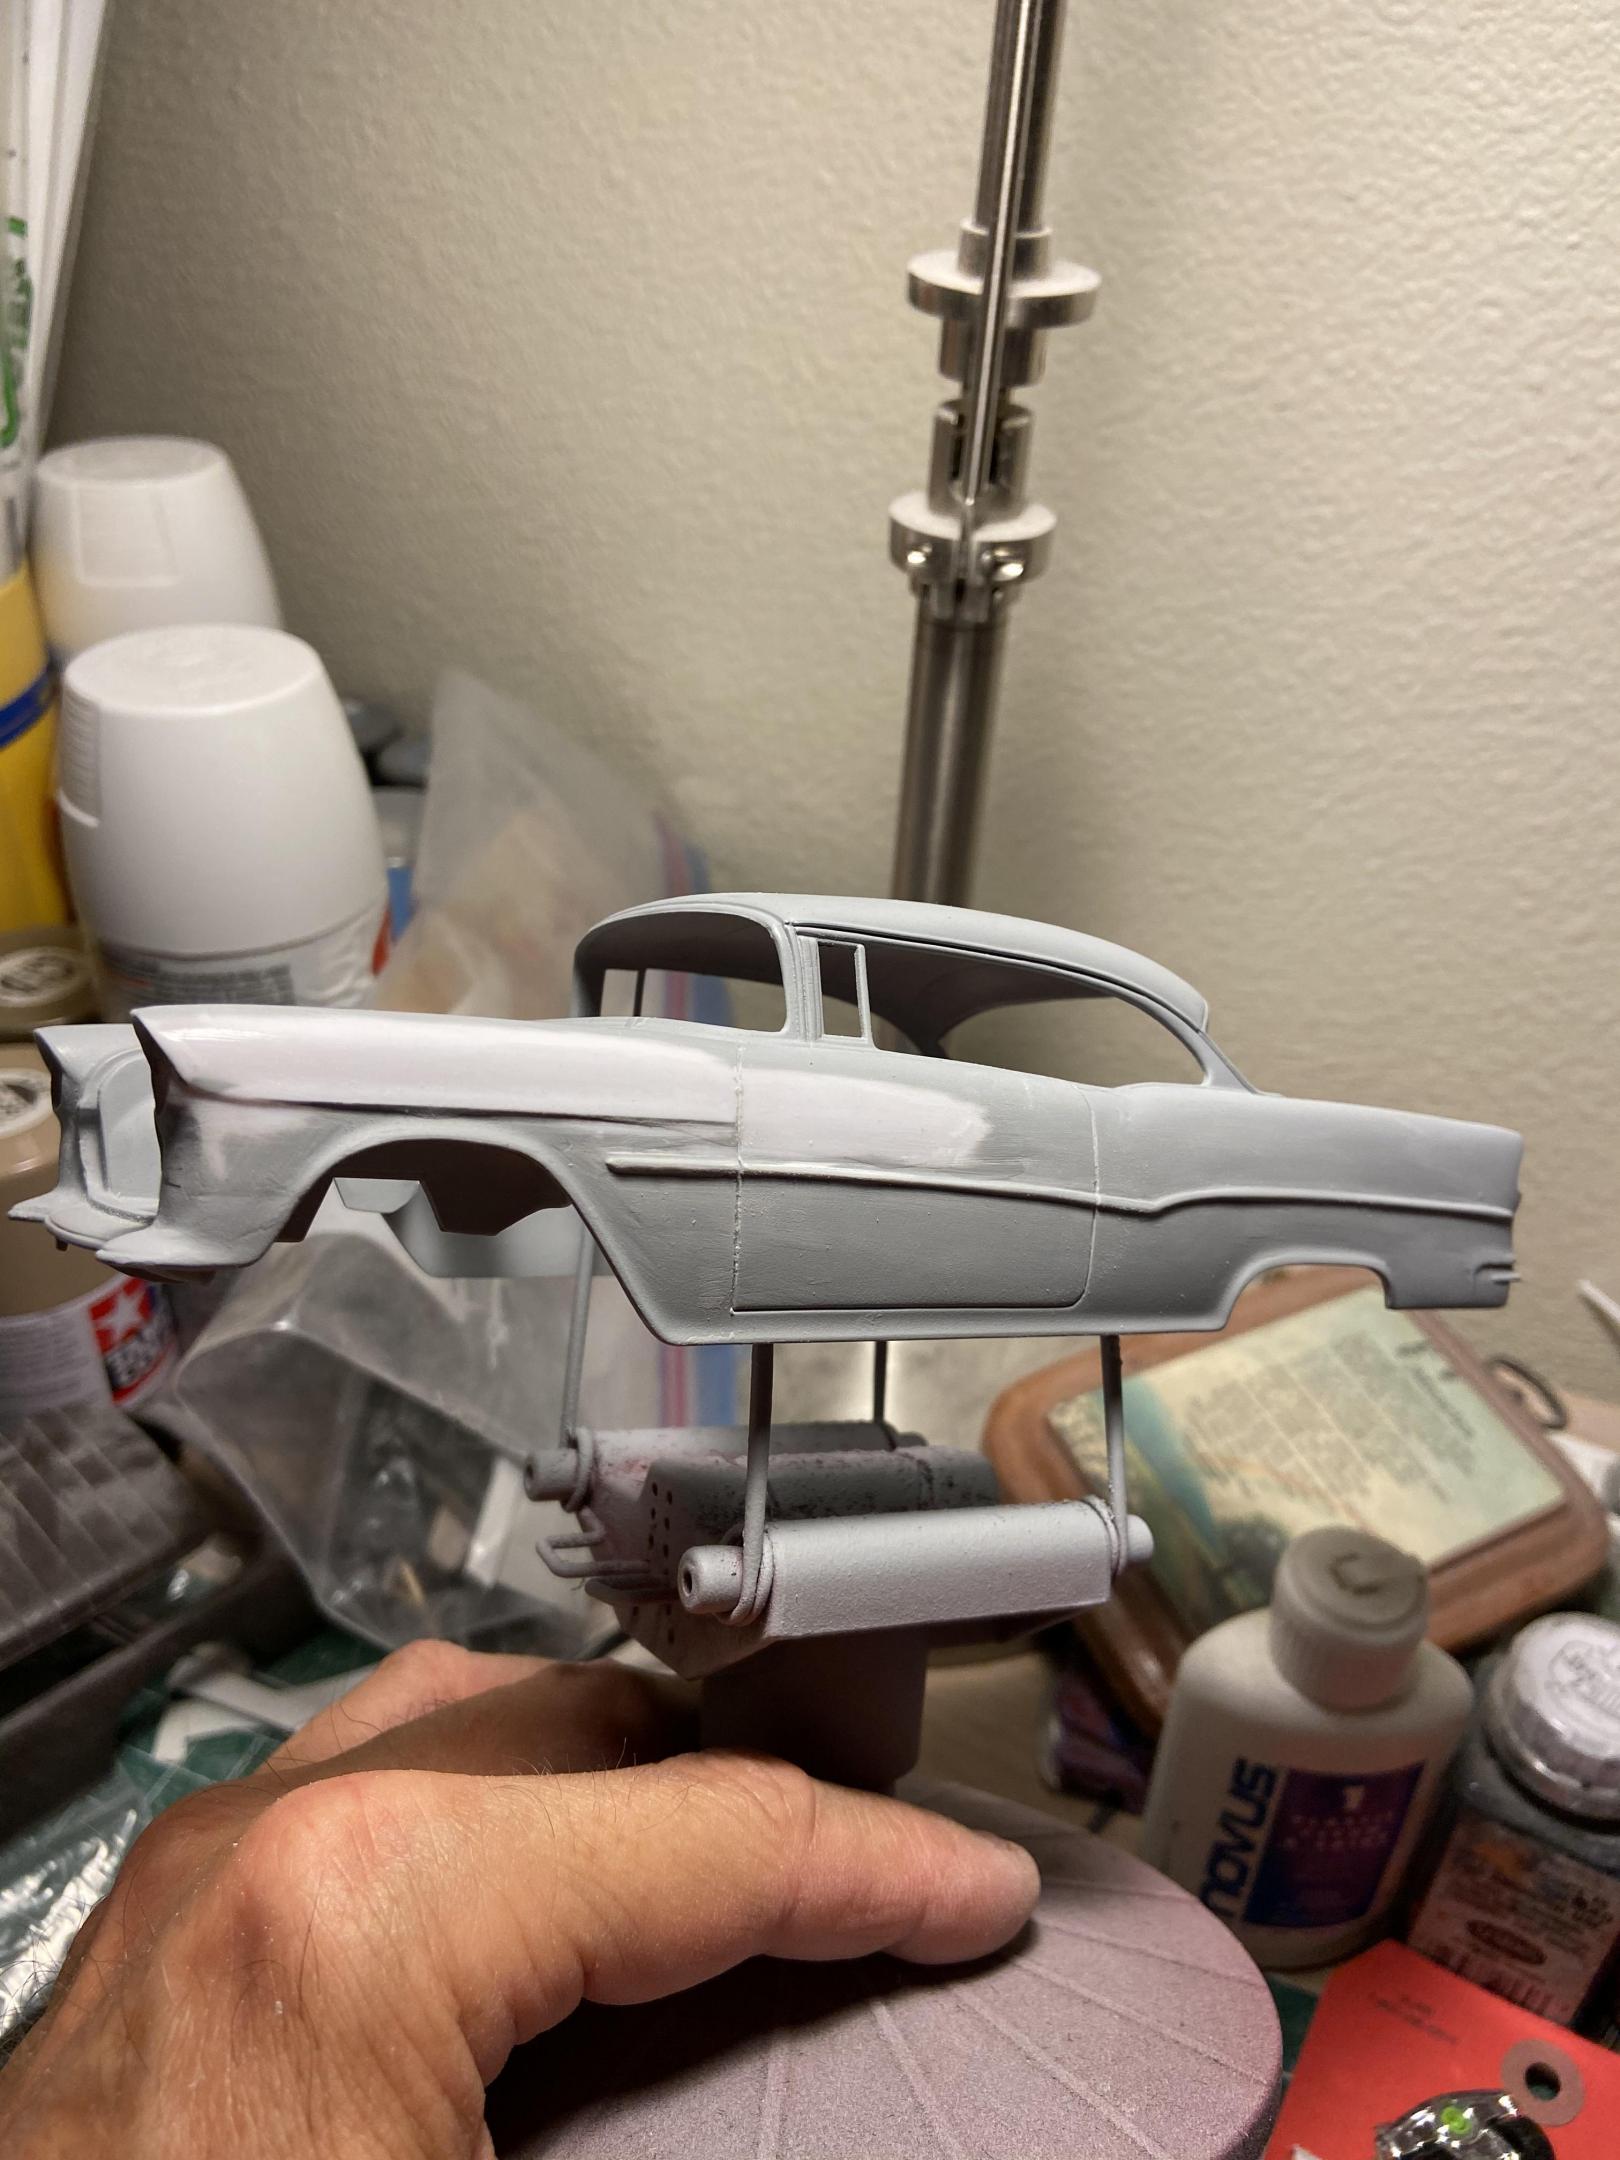
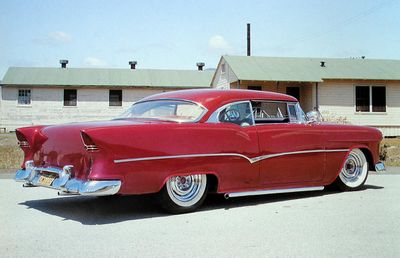
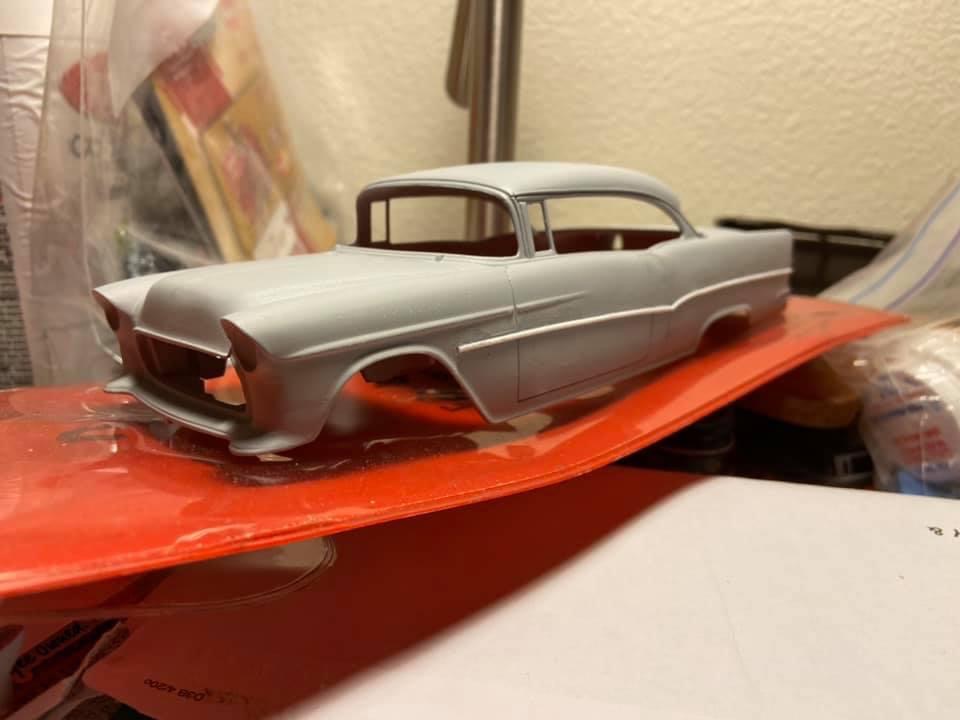
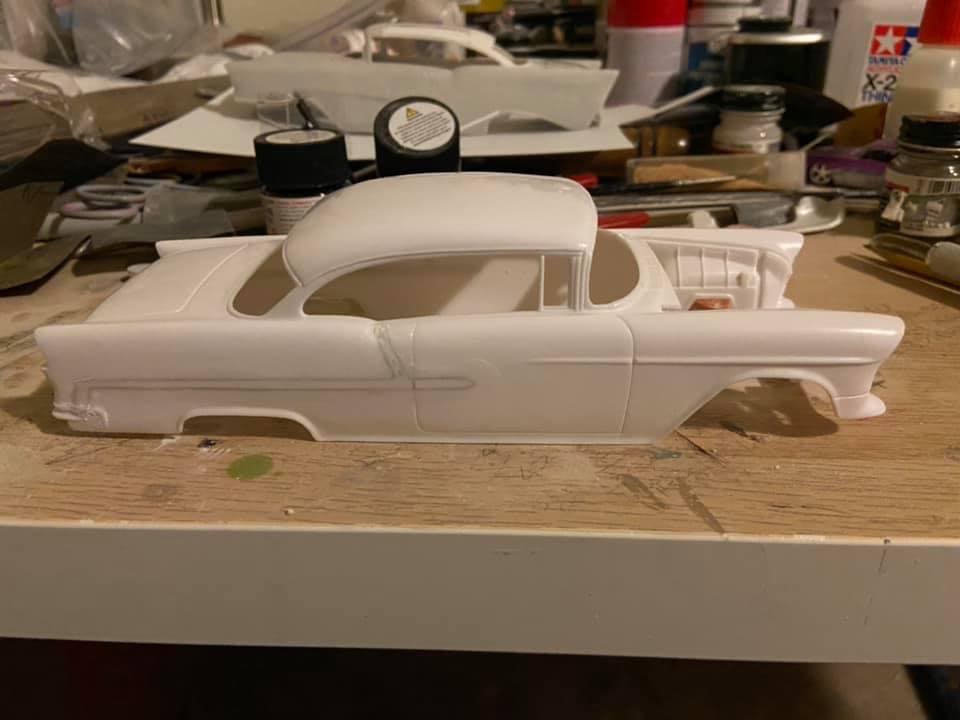
This is looking a whole lot better now. The front fender is looking closer to stock. All I need to do now is apply a very thin coat of 3M Glazing Putty and sanded out and I should be good. The other photos I’m sharing is Henry Hodson’s custom 55 Bel Air built in the late 1950’s - early 1960’s, shown is the earlier versions. In 1960 he had the car chopped at Barris’s shop and repainted. There is also a photo I’m sharing of a stock 55 Chevrolet Bel Air replacement panel. I like Keith Wessner’s illustration but I’m only using it as inspiration. My intention is to remove the stock trim and hopefully restore the stock body lines. This was pretty typical of the late 50’s early 60’s custom time period that I noticed in old photos as I did my research. I did sand everything off but it just didn’t look right. Which is why you guys didn’t see any progress for a couple of weeks. I had to get a look at this and reconsider. Thanks for the comments, they are always welcome. Now onto the right side. Cheers.
-
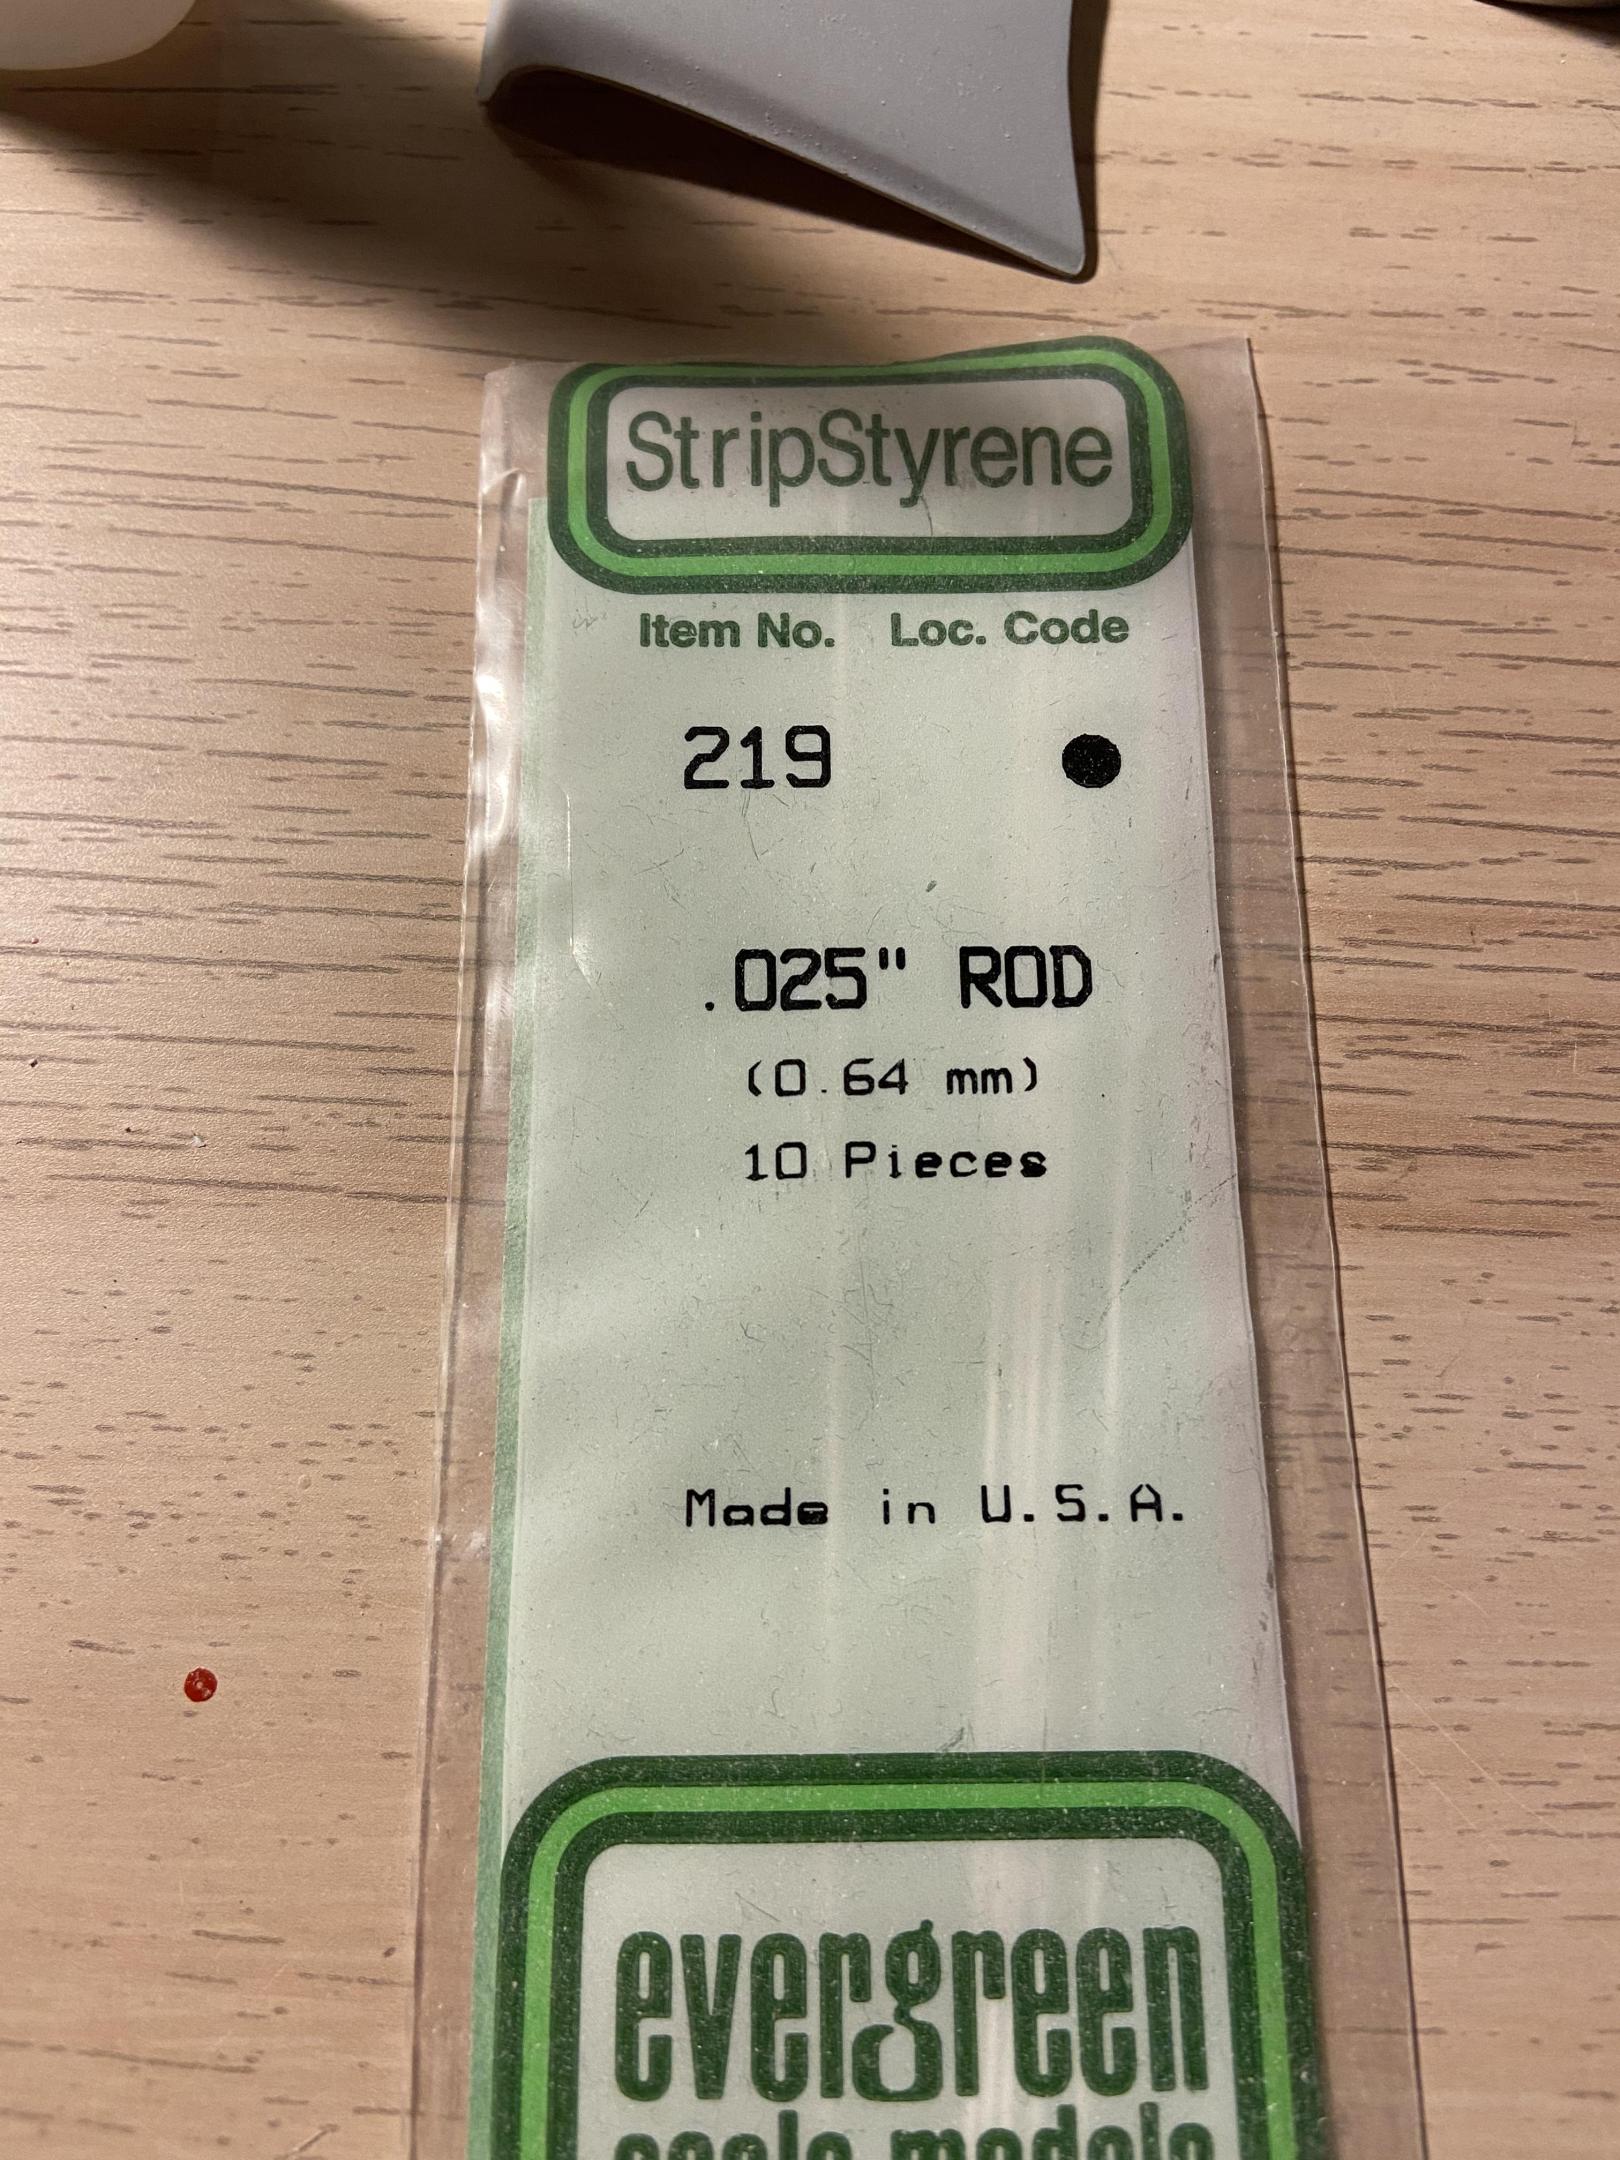
Sorry it’s been quite a while since I last updated anything, but I’ve been rather busy on other projects and other things. Here is the update: I took a good look at the front fenders of the 55 Bel Air after sanding off the chrome trim and I decided to put in the stock fender brow (or whatever it’s called). So I got out my smallest styrene rod and glued on a piece on both sides. Now the fun part, to sand it down and shape it properly. No I’m not putting on the chrome trim again. But I’m putting the body line characteristic back in that the chrome trim hid. Isn’t customizing fun especially building mild customs. Cheers and keep smiling.
-
Well, here it is. I’ve sanded off the chrome trim on the front fender eye brow (for lack of a better term). I’m not digging it so I’m going to take some Evergreen small round stock (very small) and rebuild the stock characteristic in the front fender. Hopefully it will look good. The second photo is of the same red chopped Bel Air that I shared earlier in this thread, but it’s an earlier version of the red chopped car.
-
-
Well after some looking at photos on line and such, I took an emery board and 220 sandpaper in hand and gave it a go to rework the front fender. As what the guy on Full Custom Garage would say “You never know - it just might work “. We will have to see how this turns out.
-
Doing a mild custom actually involves a bit of concerted effort. To remove chrome trim while preserving the body lines. When shaping and removing trim I will use Emery boards from the cosmetic section of my local department or grocery store and I’ll use some 220 wet n dry sandpaper (using it dry). The following steps is what I did to eventually and carefully remove the chrome trim but trying to keep the basic shape of the fender character. When I am happy with the basic shape, then I will gradually just move from 220 grit to 320 grit, then to 400 grit and finally 600 grit all wet dry sandpaper. I prefer to use that sandpaper dry. Finally an old trick that I picked up from a couple of the older modelers in my club I’ll take some superglue and apply a little bit of it to the body where the trim was or script and smear the superglue in and then I will let the body set for 24 hours and then I will lightly sand again and then maybe a little glazing putty and finish it off sanding it smooth and some primer and paint. What do you guys think?
-
While doing some looking at custom 1955 Bel Airs I ran into these two photos of Henry Hosking 55 Chevrolet. Built in the late 50’s. Like a lot of cars in the late 50s and early 60s this car went through a few different versions. I think this is where Keith Wiesner got his idea for his illustration, but that’s just my personal guess. But take note of the front fenders the line character is there But the chrome trim that was over the top of it has been removed.
-
That is a good catch, much appreciated. I did some further checking regarding your concern. The fender characteristic is there in Kieth’s illustration, it’s just not that pronounced. On the Revell body that is chrome trim there but it doesn’t look very well defined, to me at least. Which is probably why I didn’t see it at first. It will be addressed here this evening at the work bench.
-
After much sanding, primer, glazing putty and more sanding-here it is. The new trim is Evergreen half round glued on with super glue and carefully sanded to remove excess glue. The pattern is just a copy of the fender line. I carefully measured and drew it out on one side. Then I measured several more times and drew it on the other side of the model re-checking my dimensions over and over again. Then it was just a matter of gluing the evergreen half round on the patterns and measuring again to make sure everything on both sides is correct. What do y’all think. Keep happy thoughts.
-
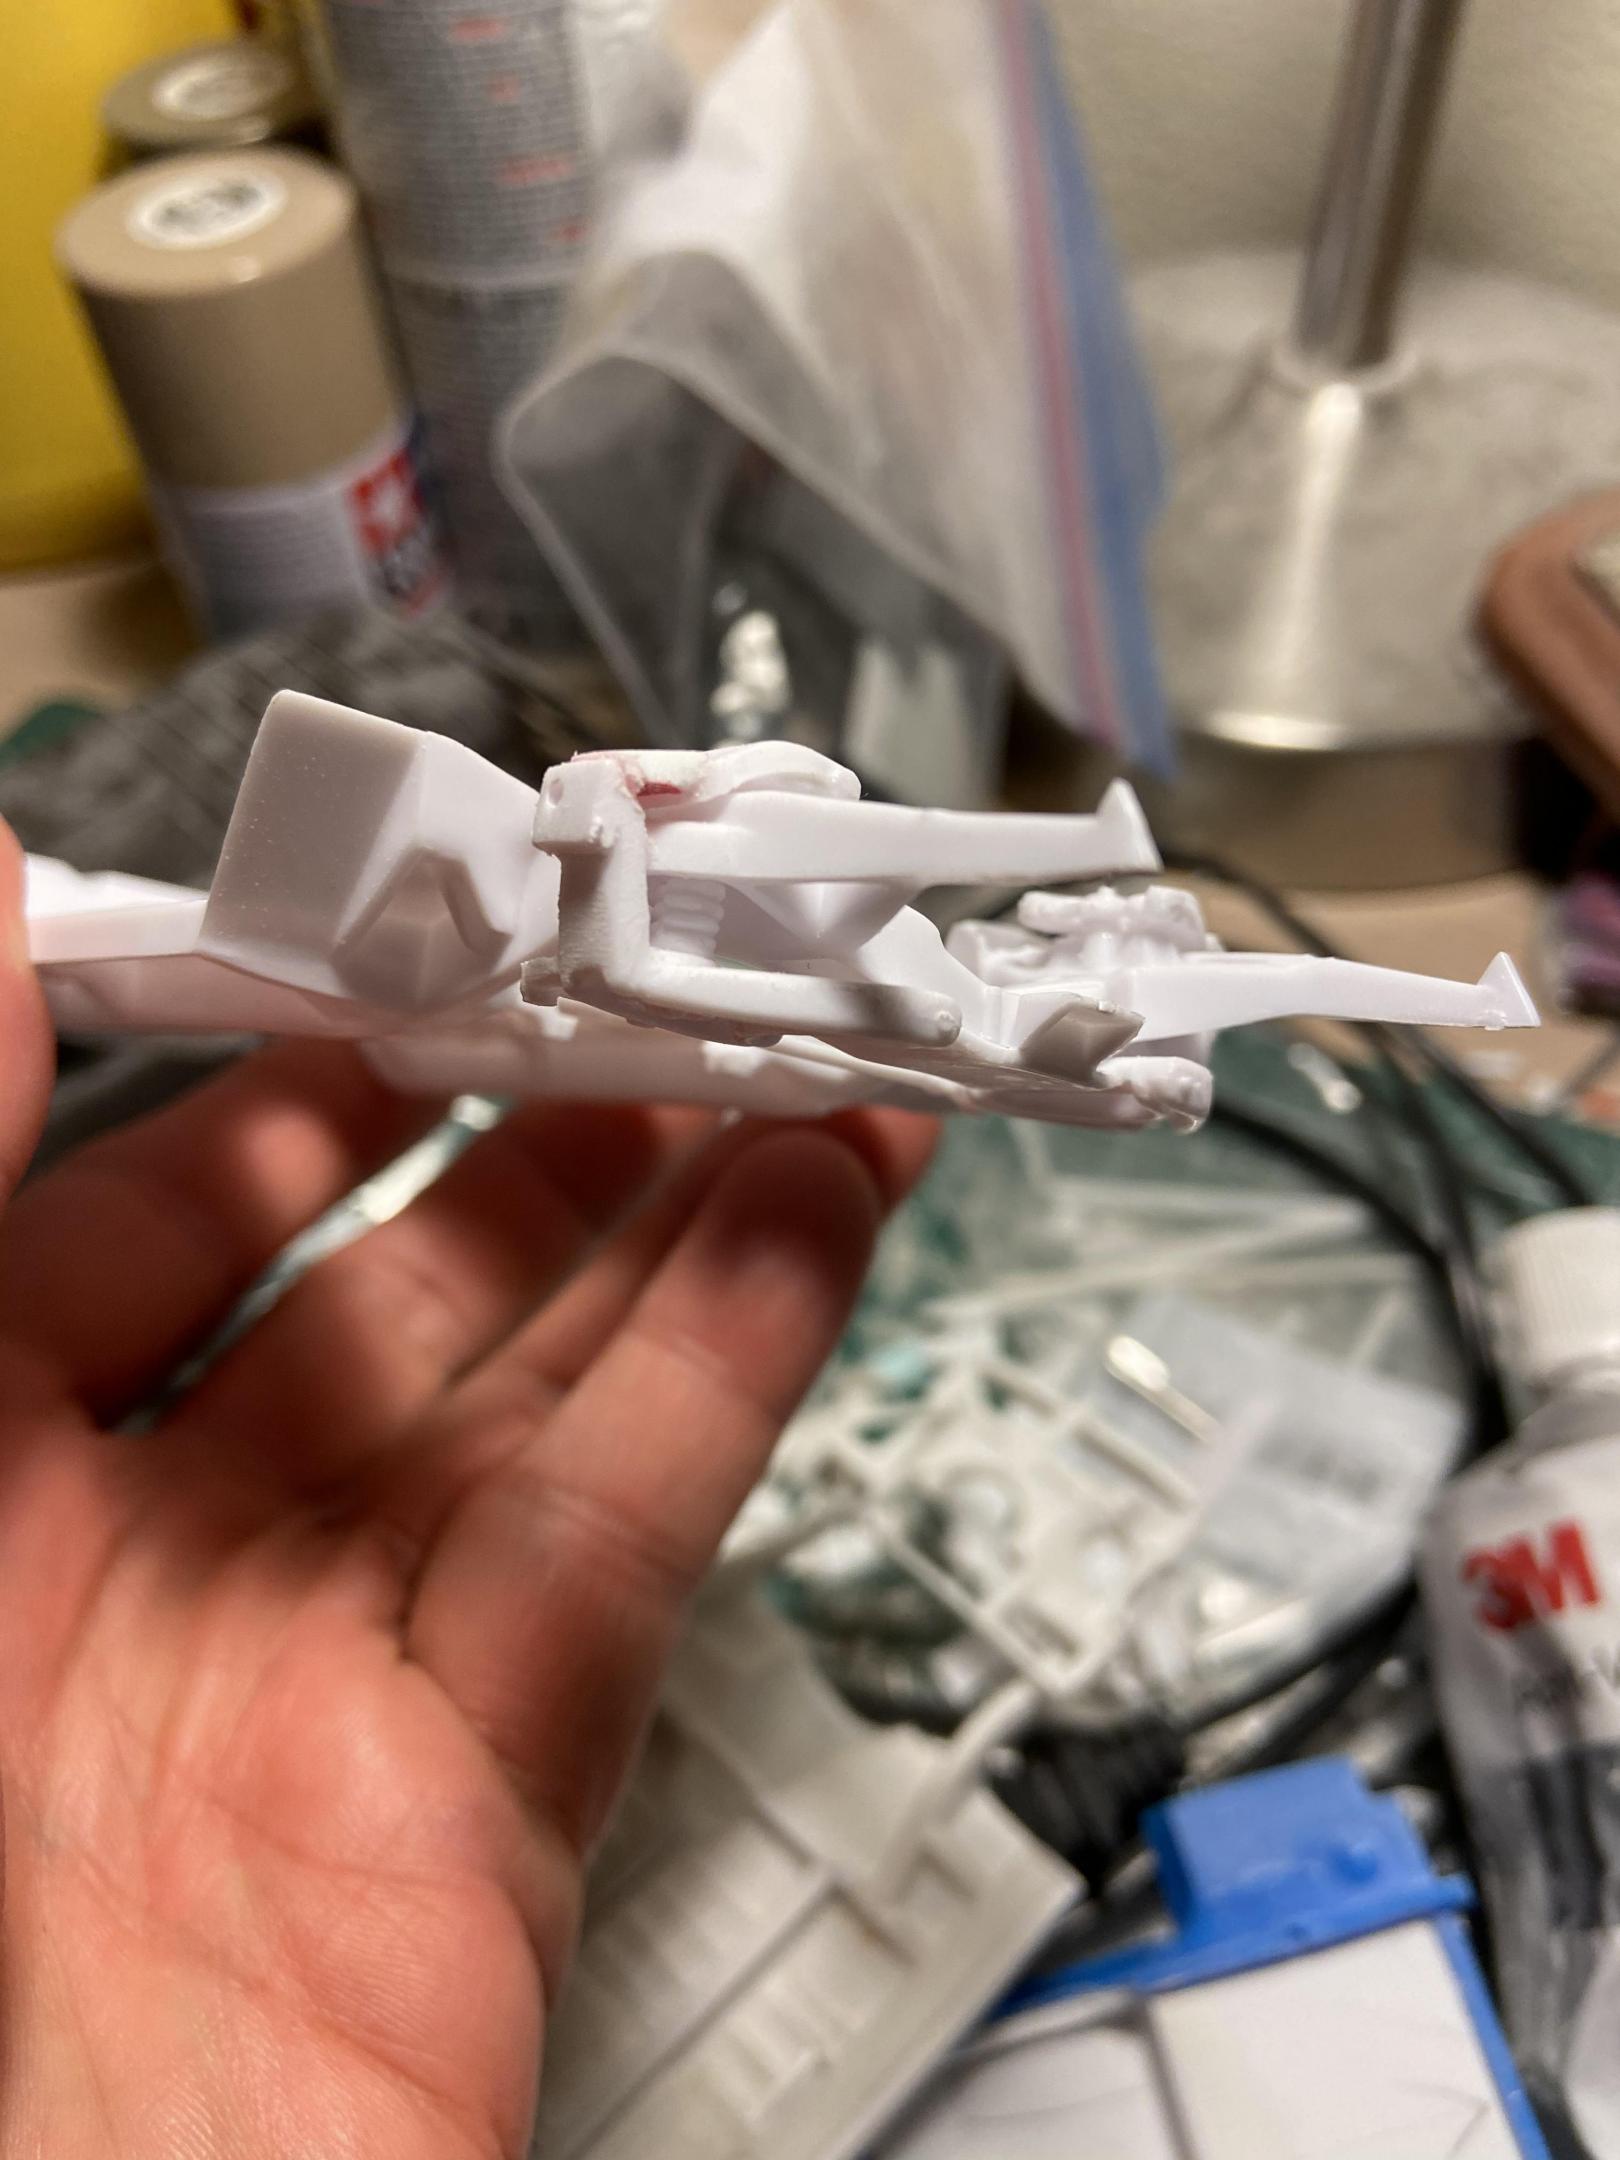
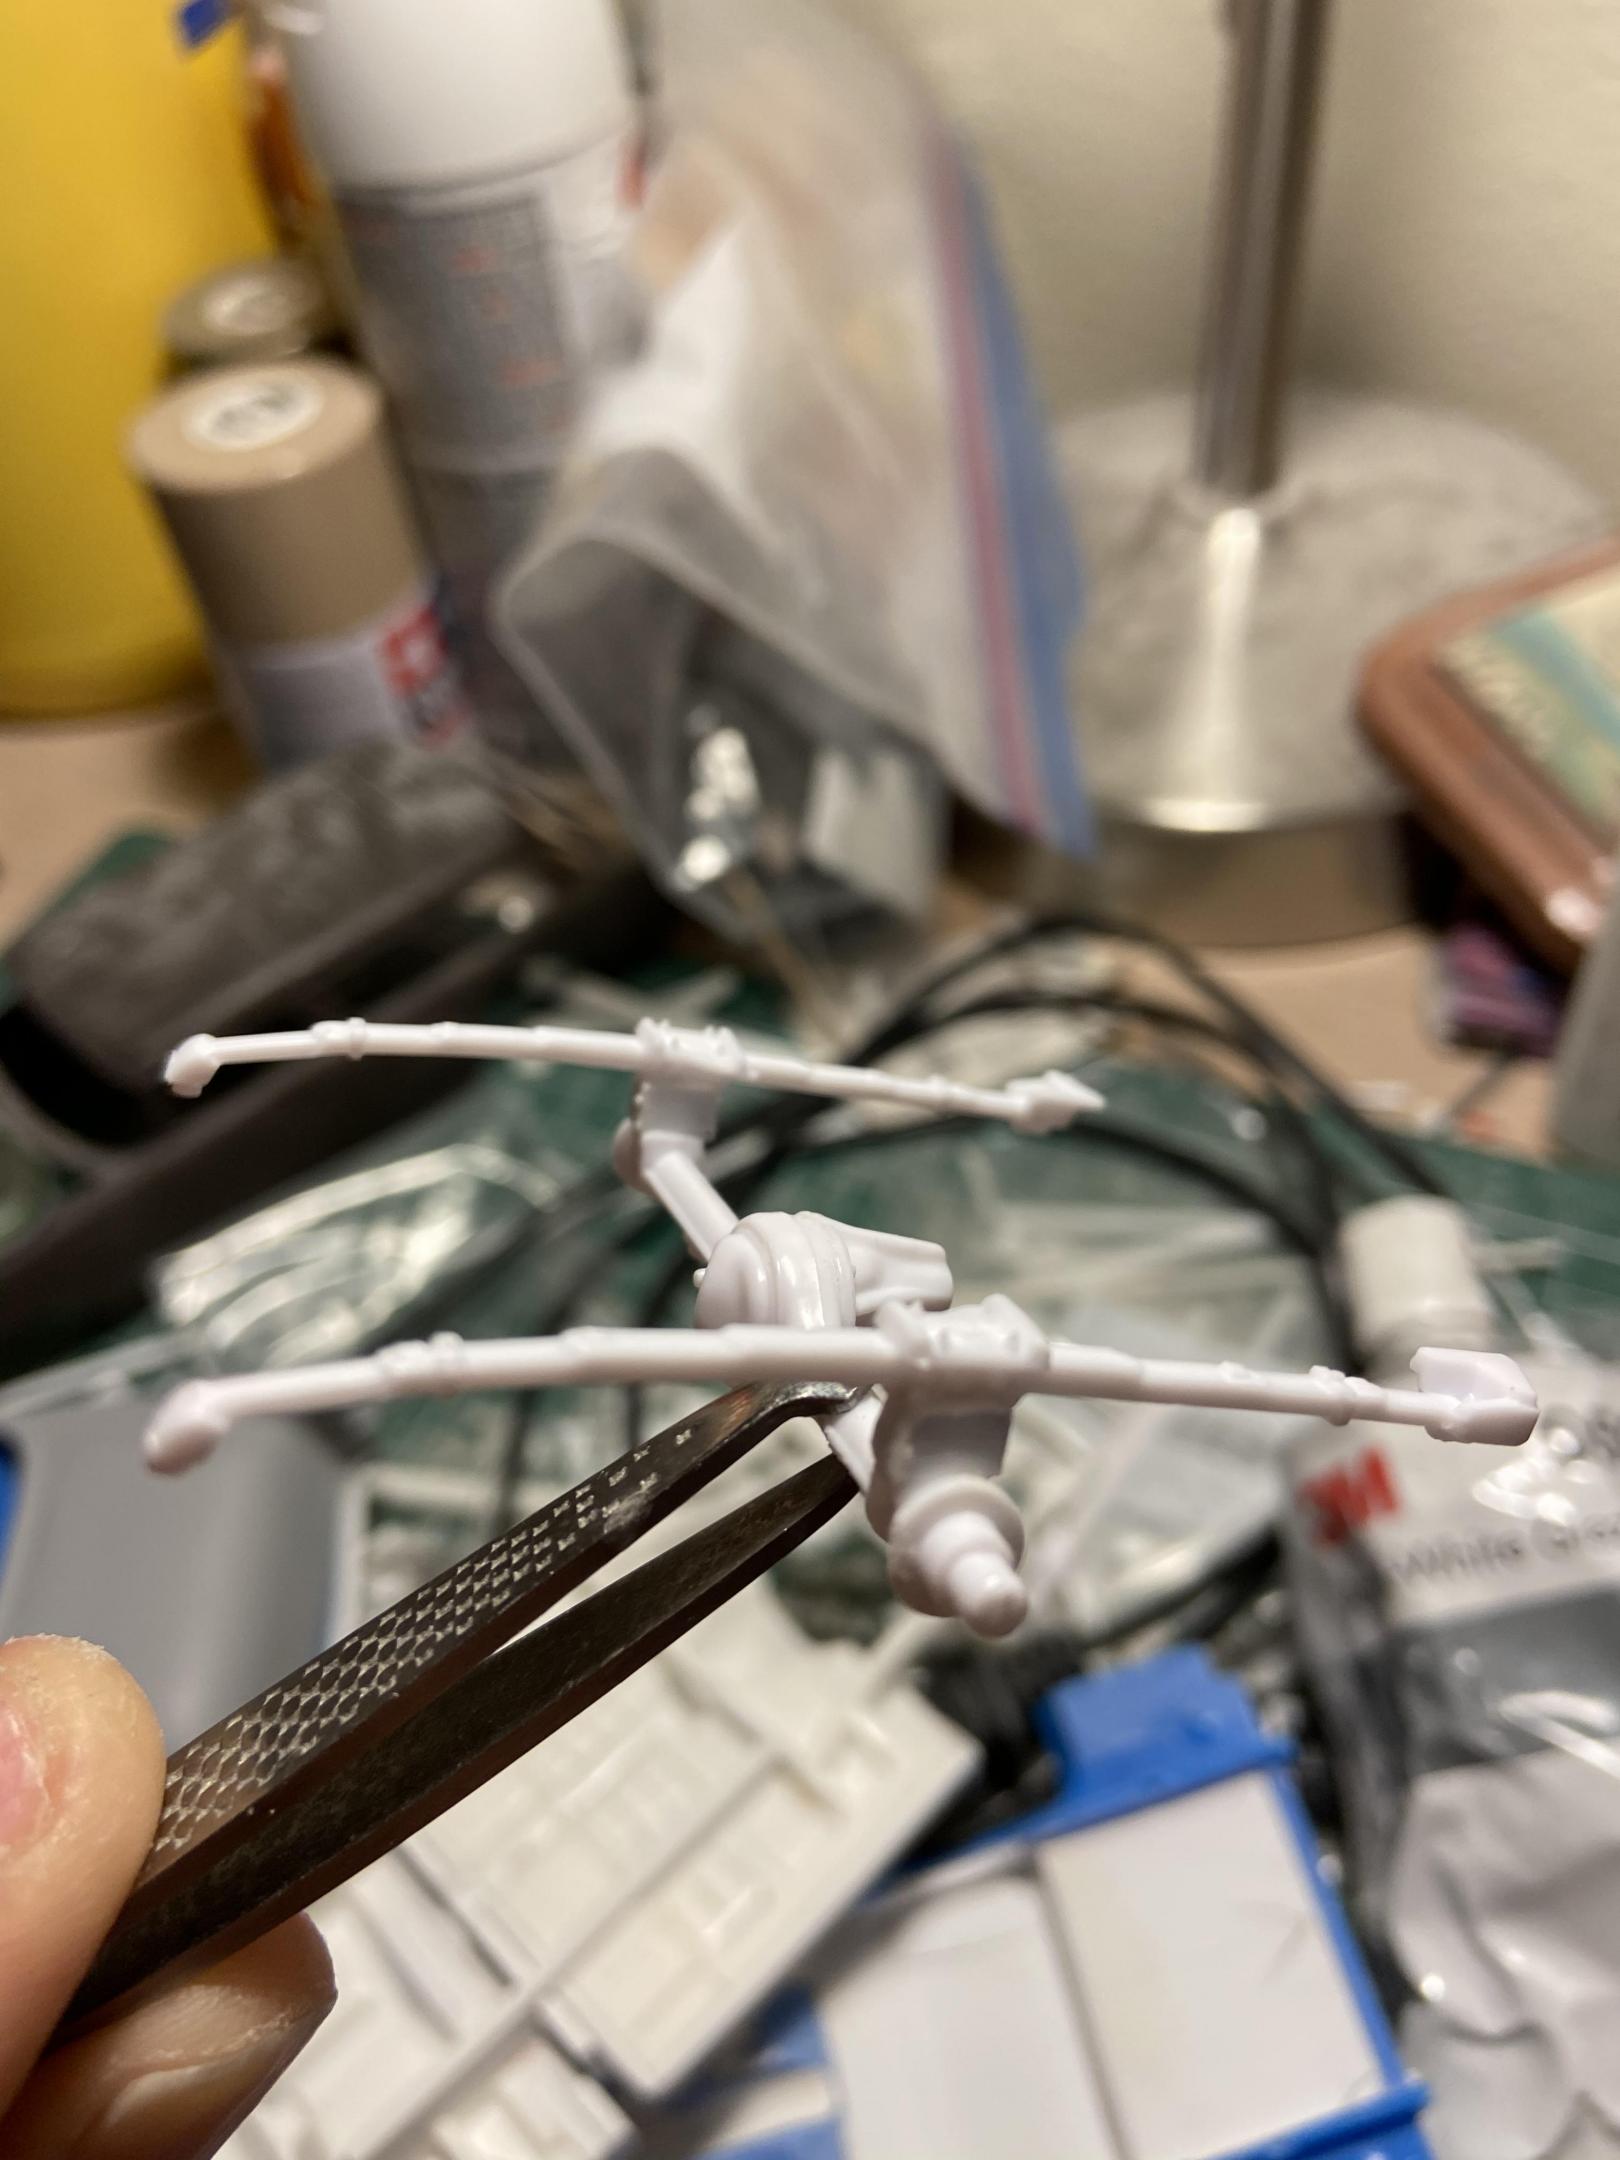
I usually like to set my suspension stance on my projects before I get too far into the project. For the front suspension I used the lowered suspension that is found in the Revell kit, however I cut off the molded on big disks. For the rear suspension, I just made a set of lowering blocks and fit them to the separate leaf springs and rear differential. The blocks are a bit more the 1/8” I think. Hopefully I won’t have to cut and rebuild the transmission tunnel, I’ve done that a few times.
-
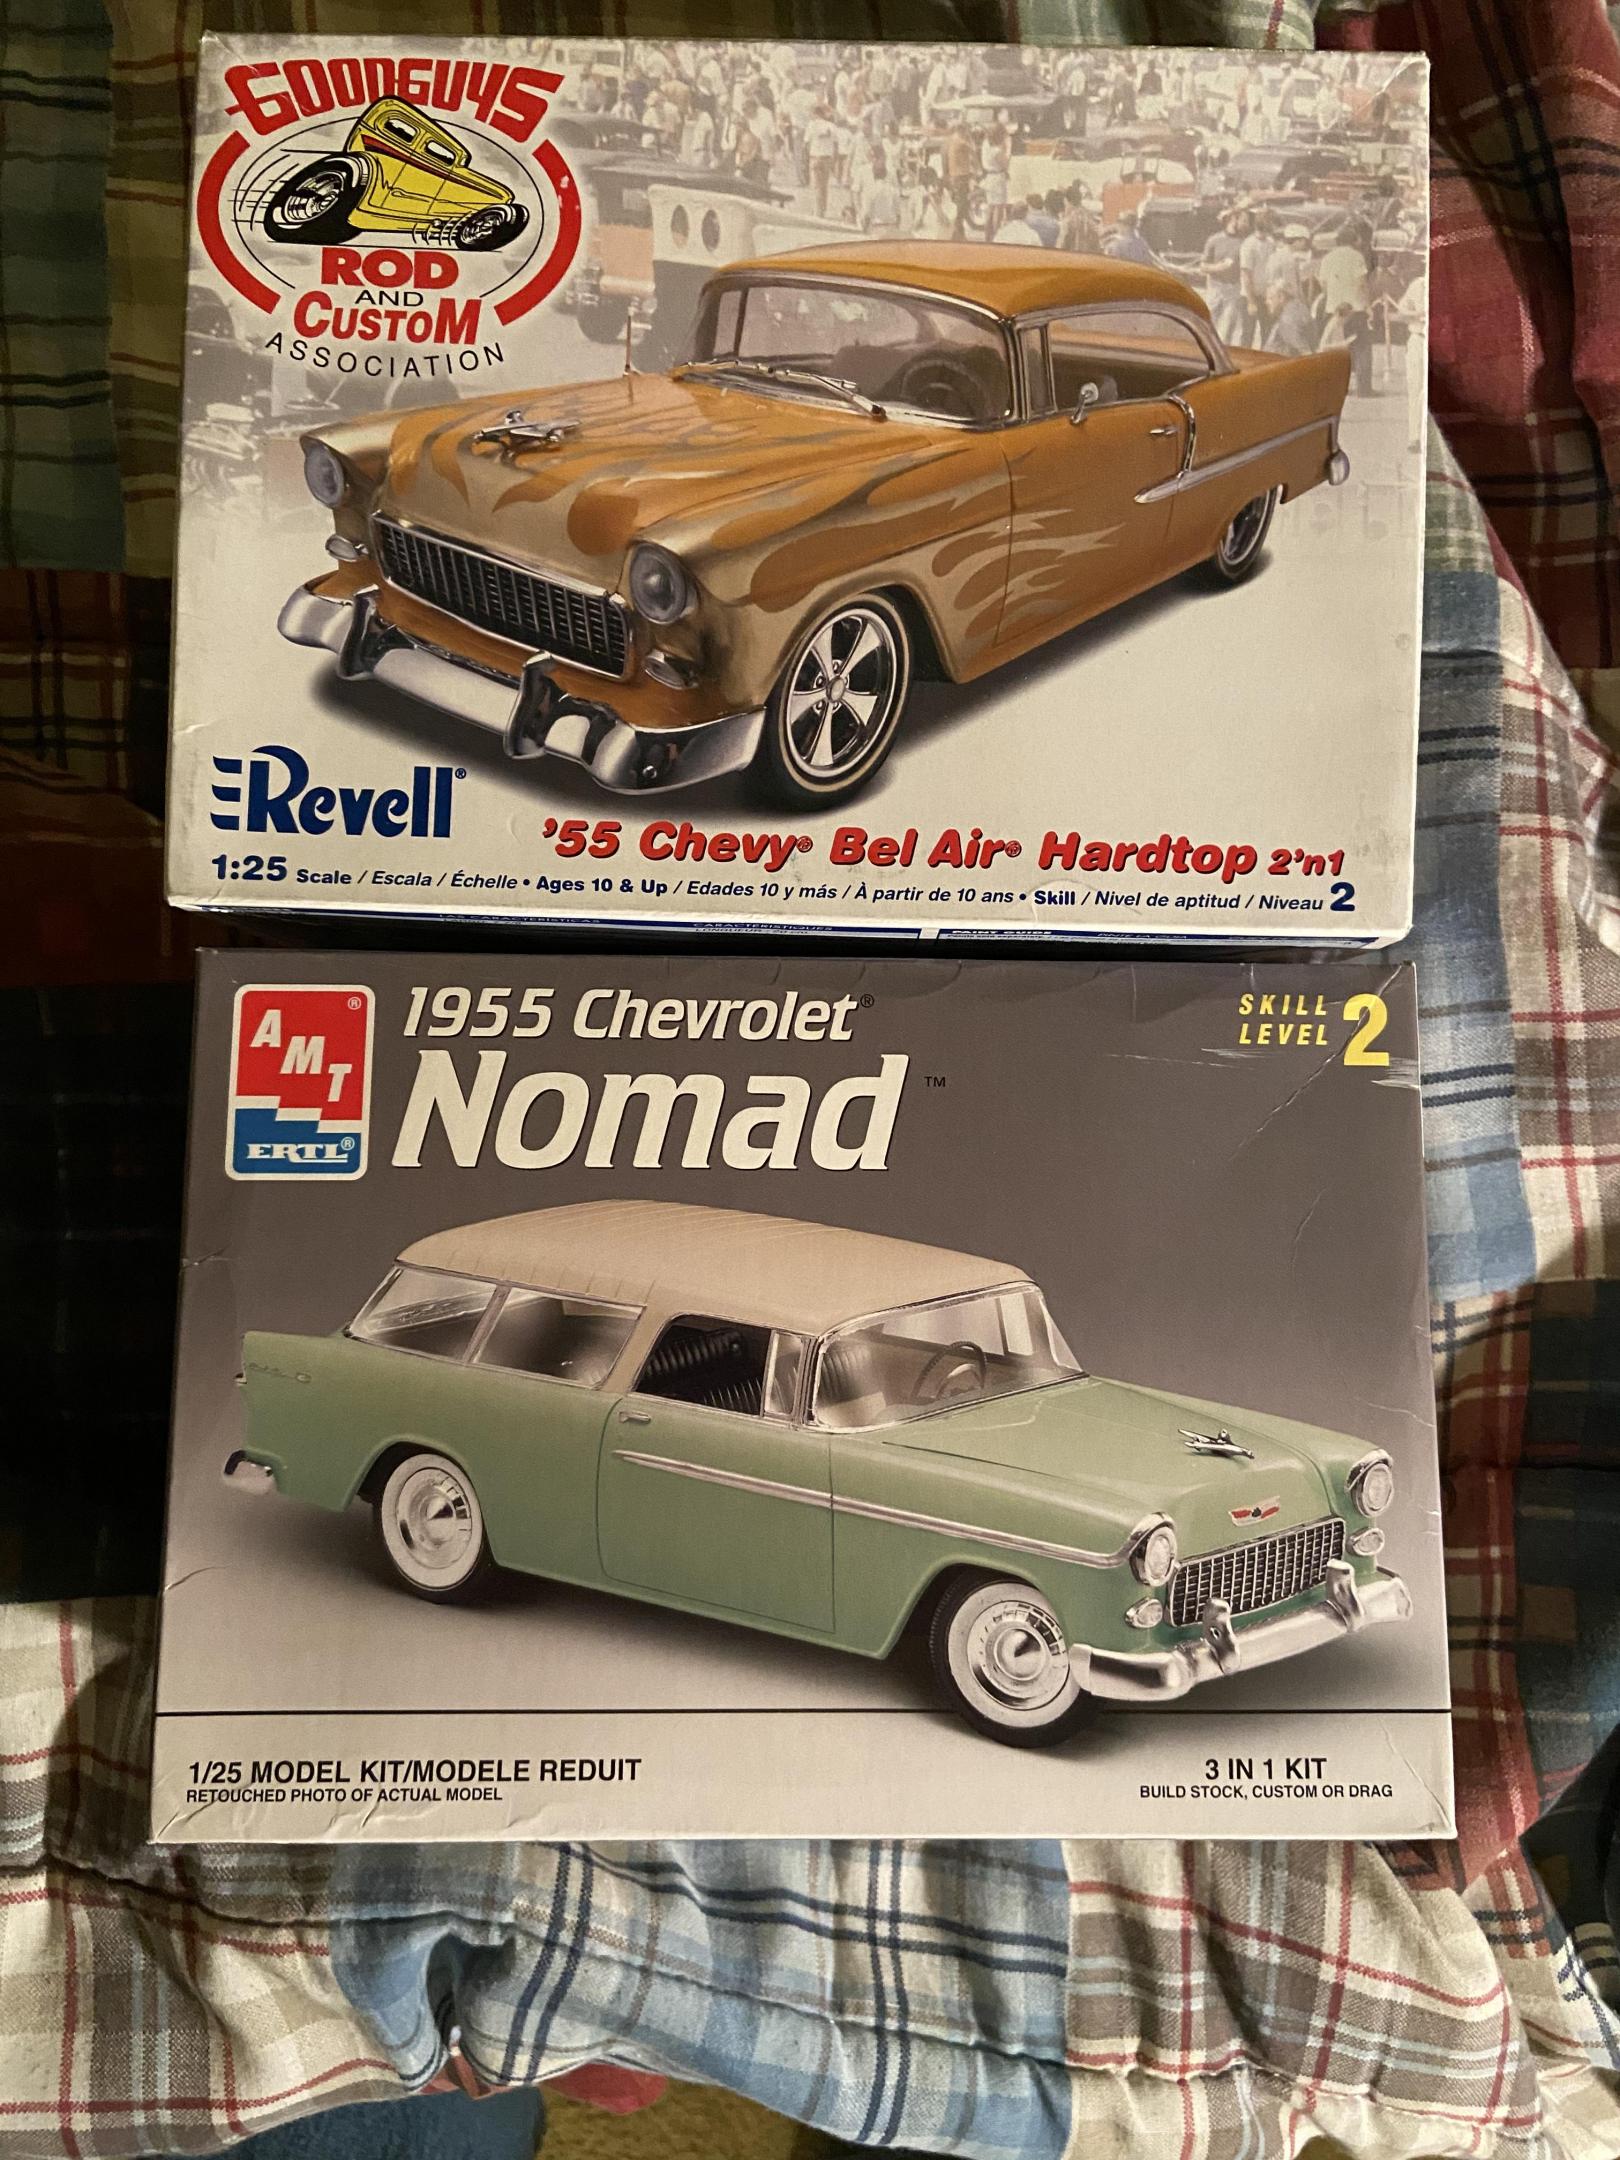
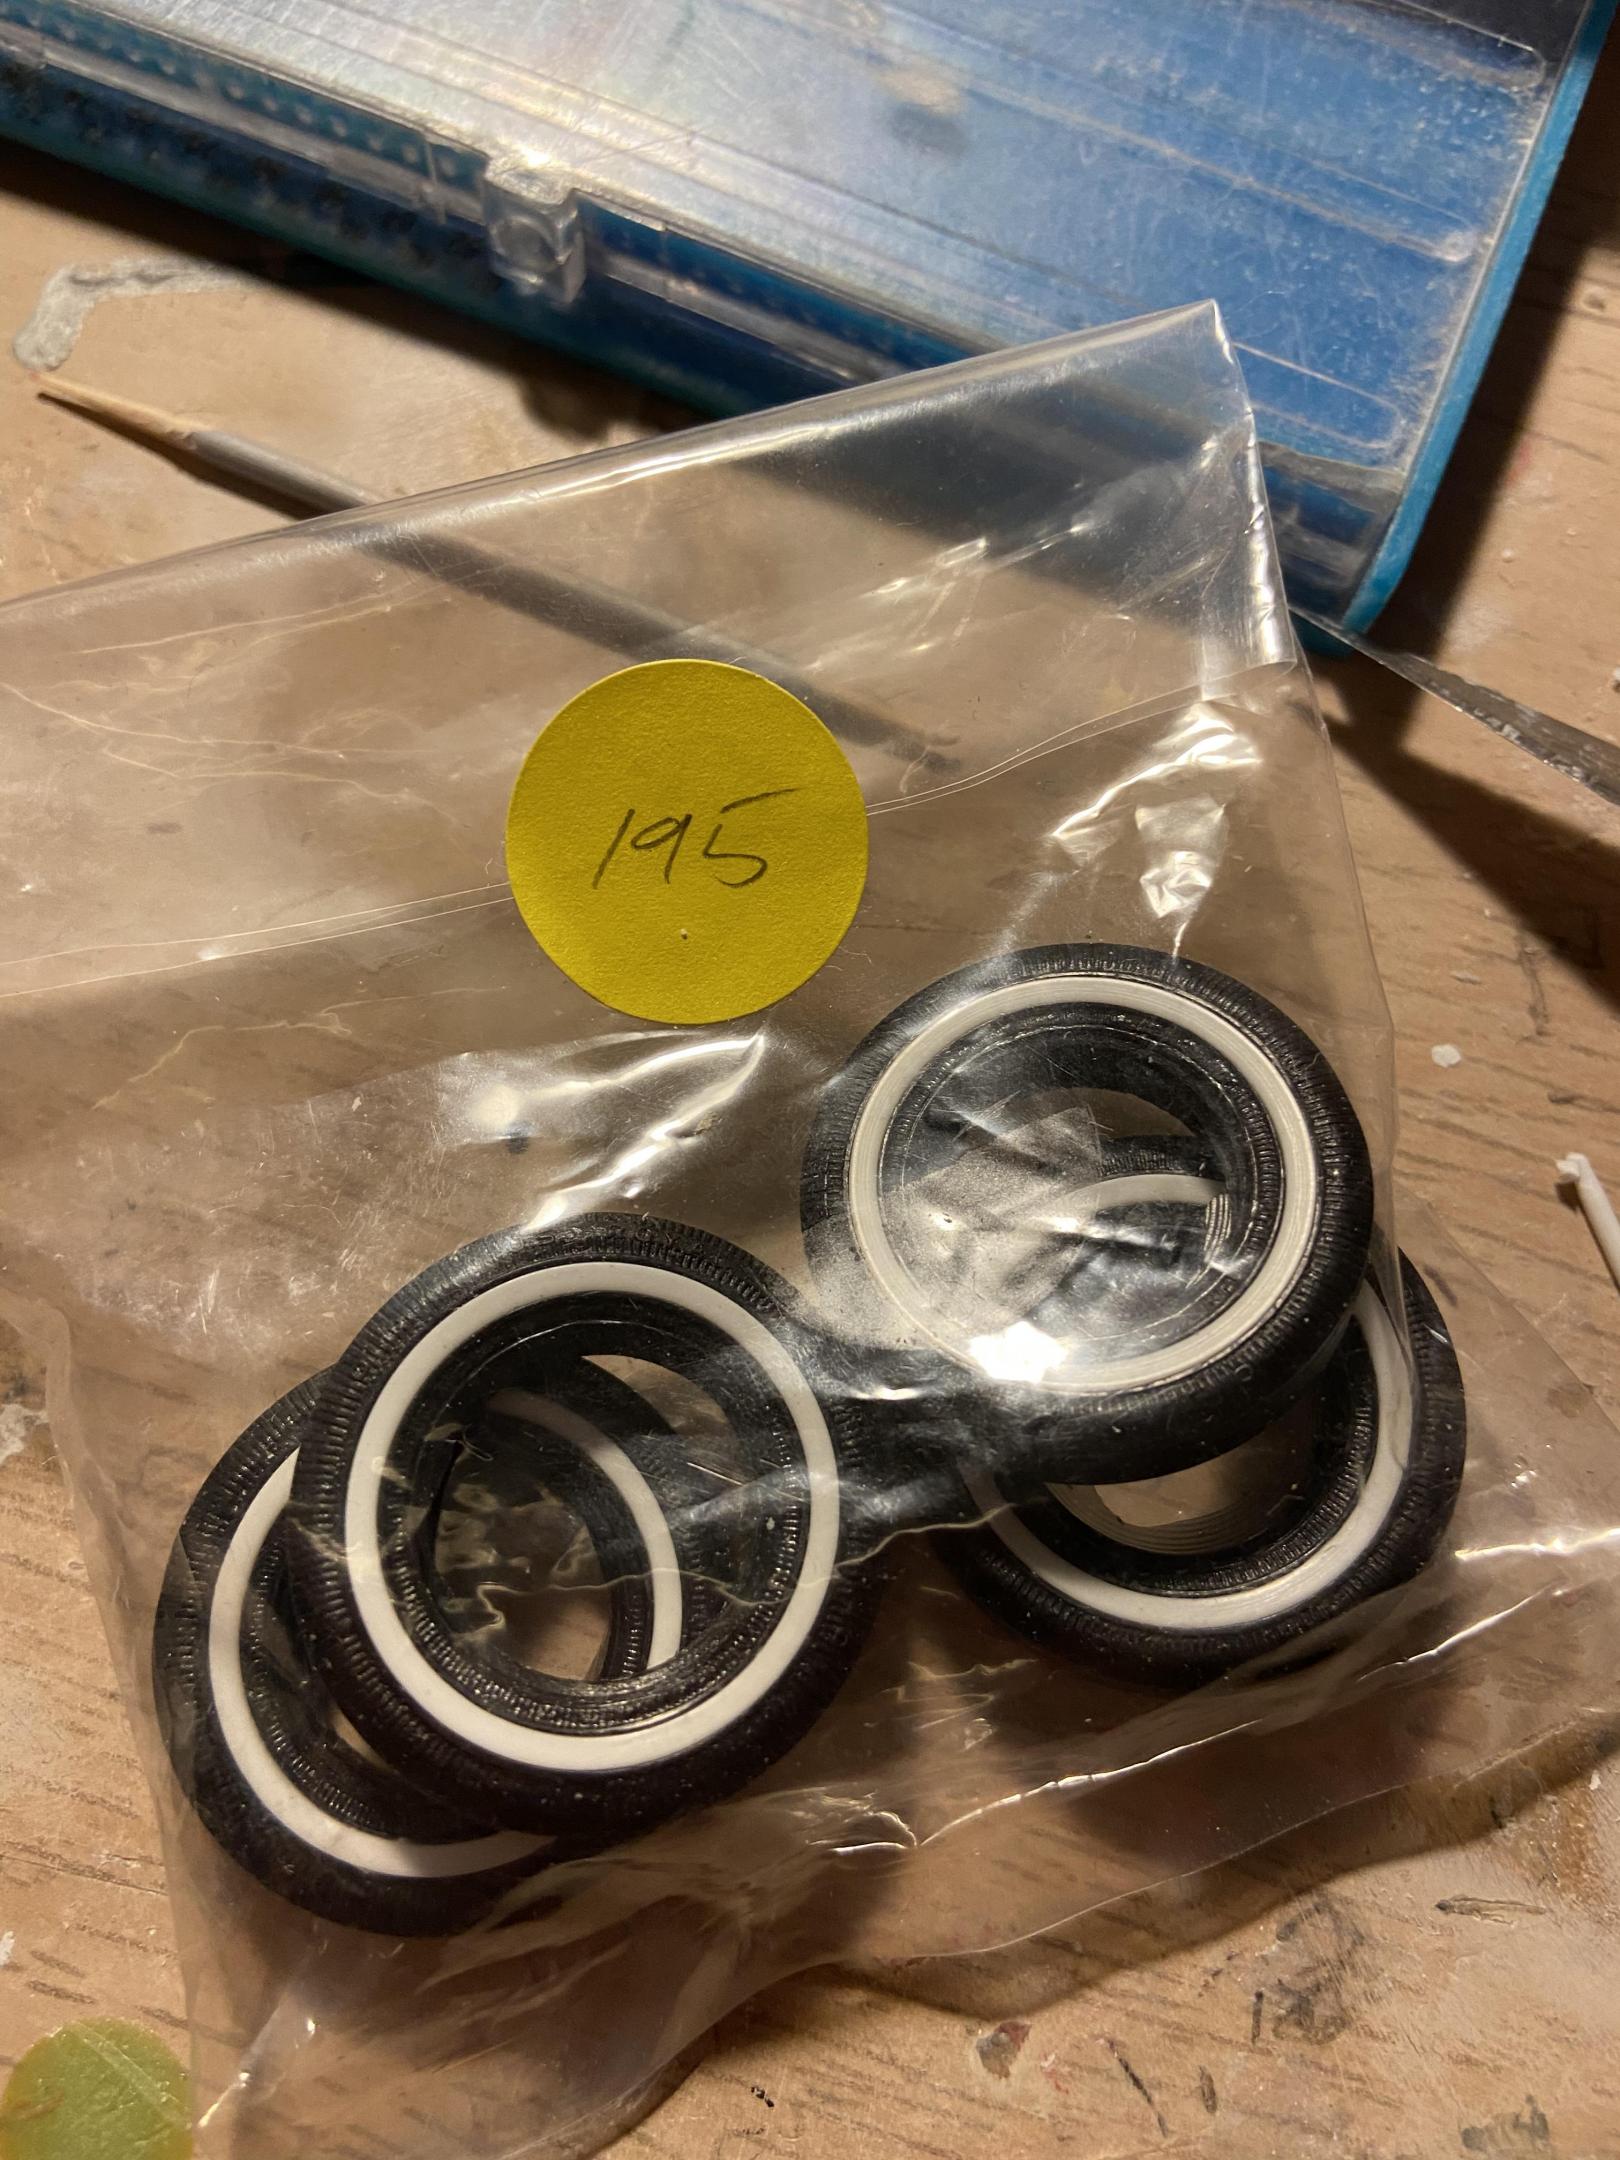
Update: Here are a few more pictures of the 55 Bel Air mild Custom. First photo are the two main kits that I will be using in this build, the Revell 55 hard top Goodguy’s issue is a 2 n 1 , street Machine or stock. The AMT 55 Nomad, this issue of the famous kit has almost all of the original custom parts in it. I will be stealing some parts from here including the smoothed bumpers. In this kit the bumper guards are separate. The second photo is a set of Modelhaus tires I’m thinking of using.
-
Although I have a pickup project going in the pickups forum, I decided to start another project. A 1955 Bel Air mild custom inspired by this illustration by Keith Wessner. I started with the Revell Goodguys version of their 1955 Bel Air hardtop. I filled in the grooves with styrene (or did I use the kit’s trim and grind it down - I don’t remember). Anyway it was all sanded down and smoothed, then filled with 3M Glazing Putty.
-
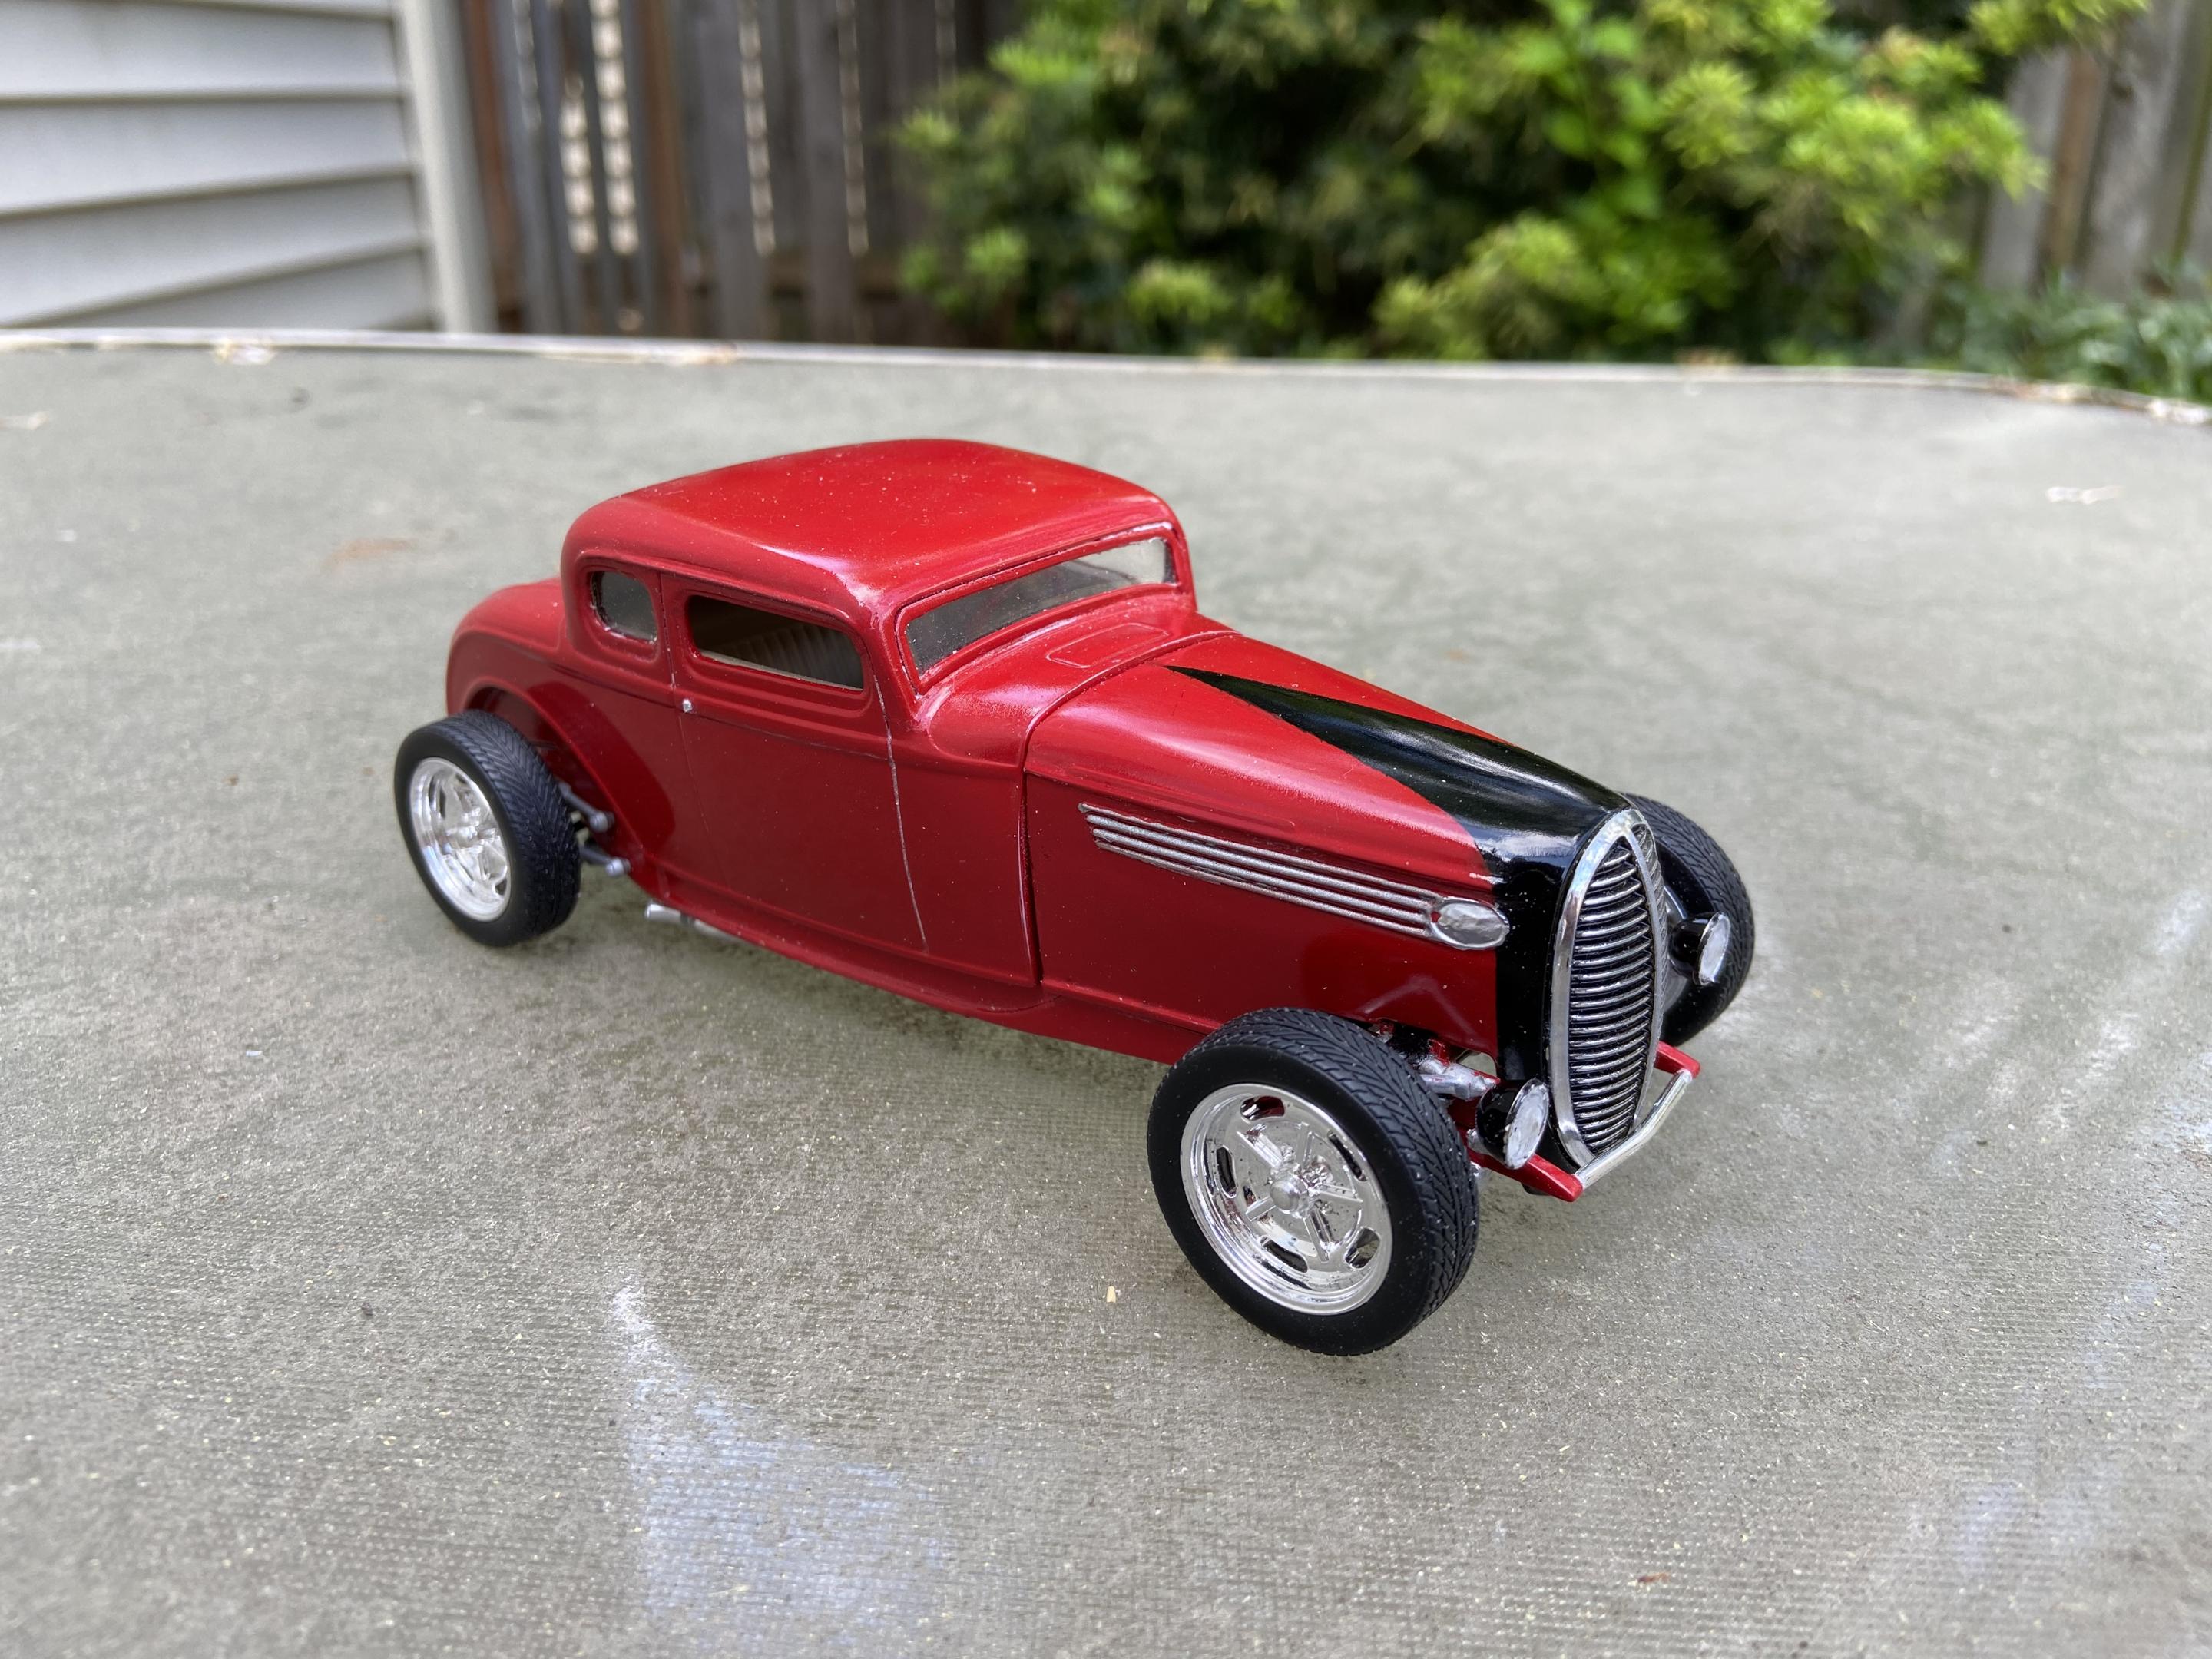
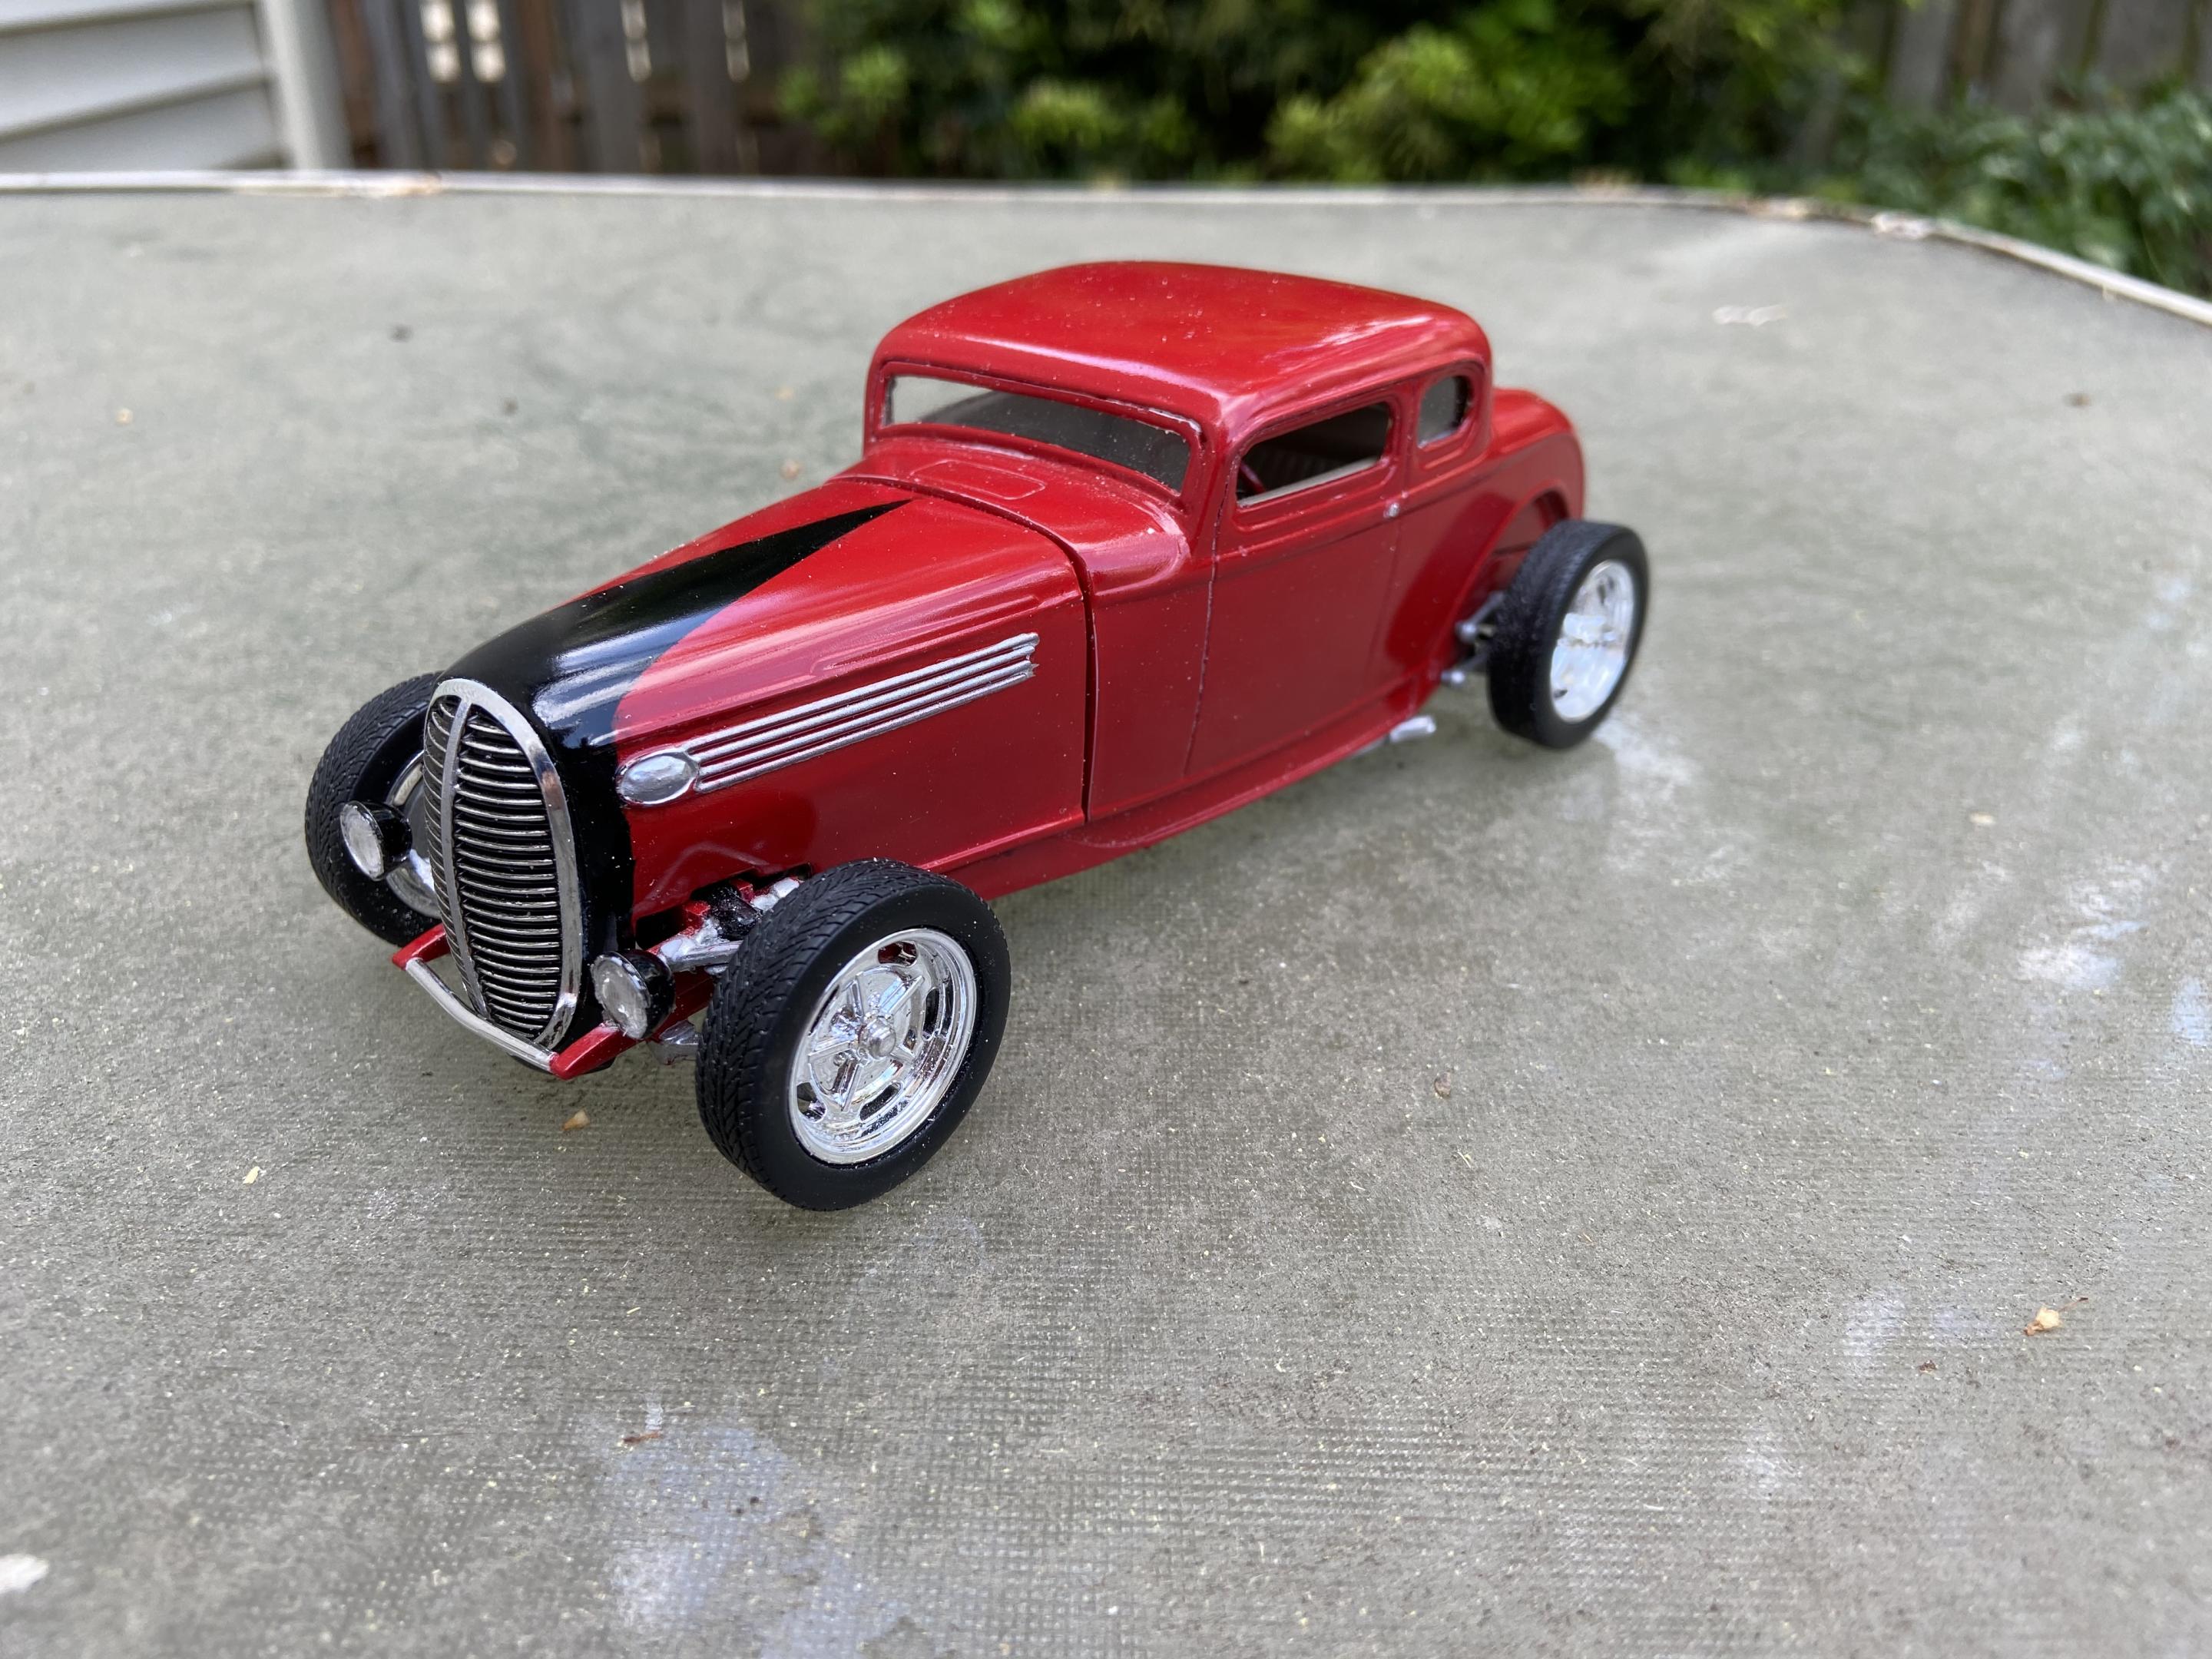
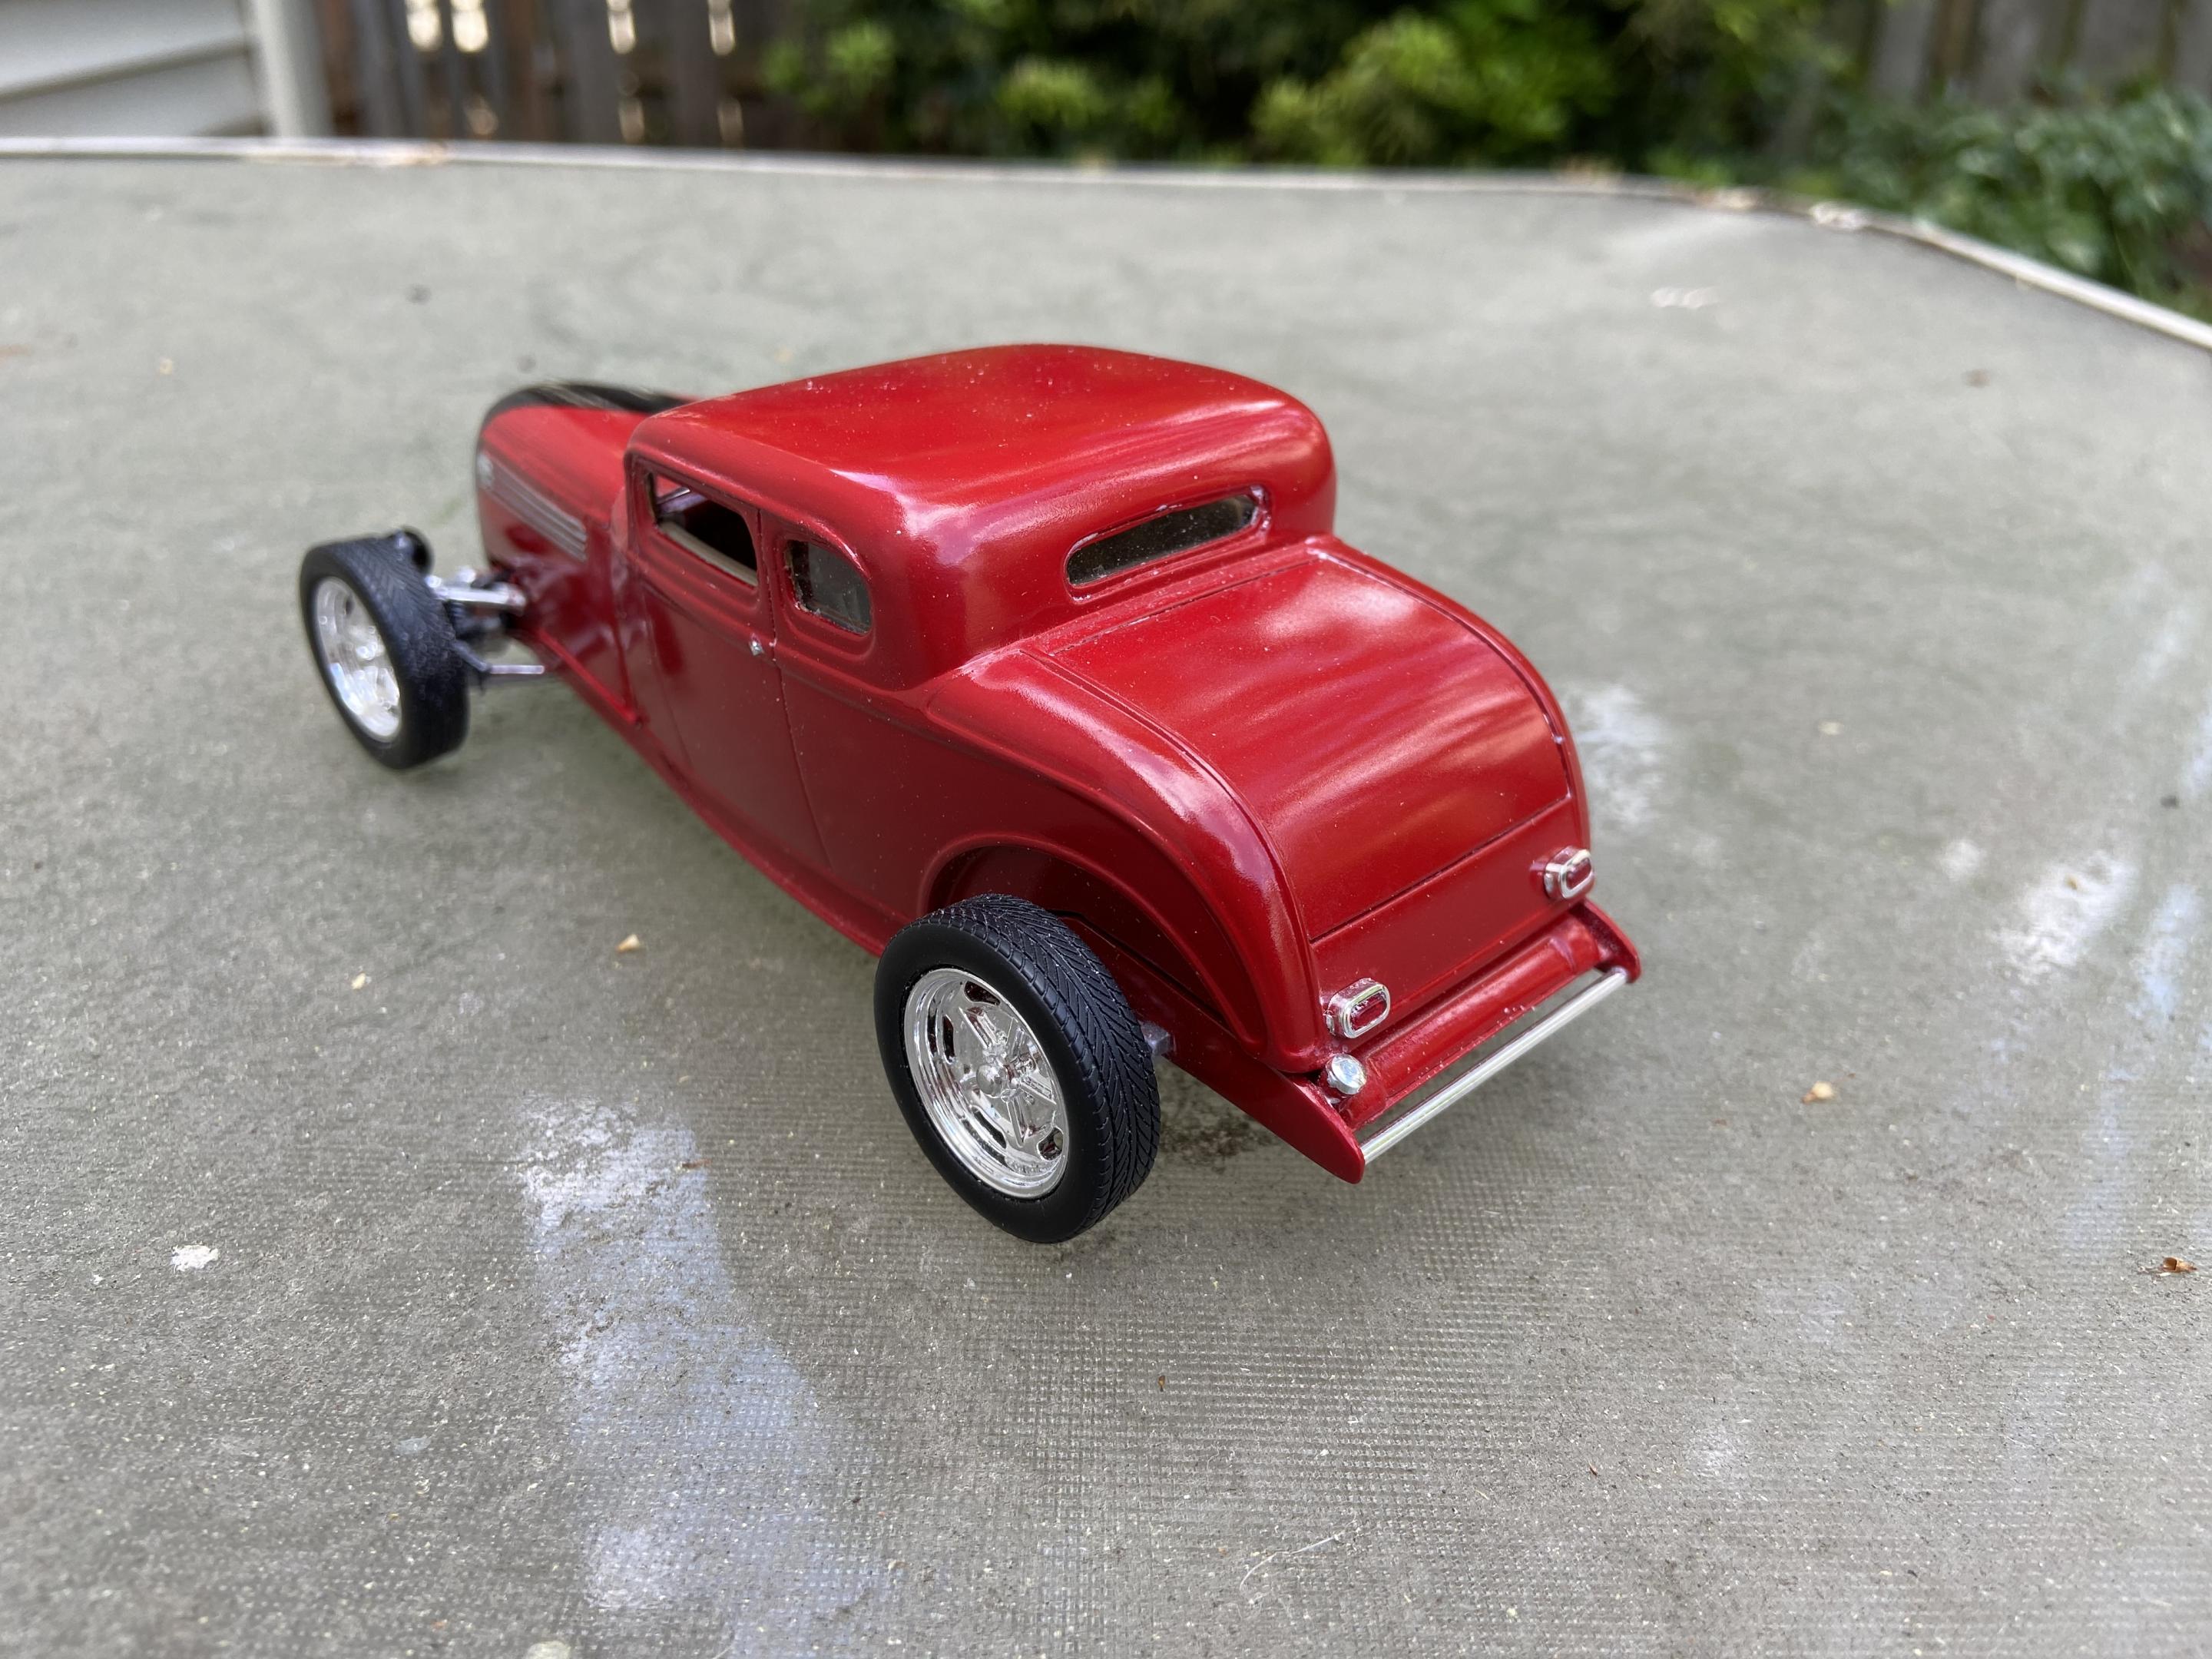
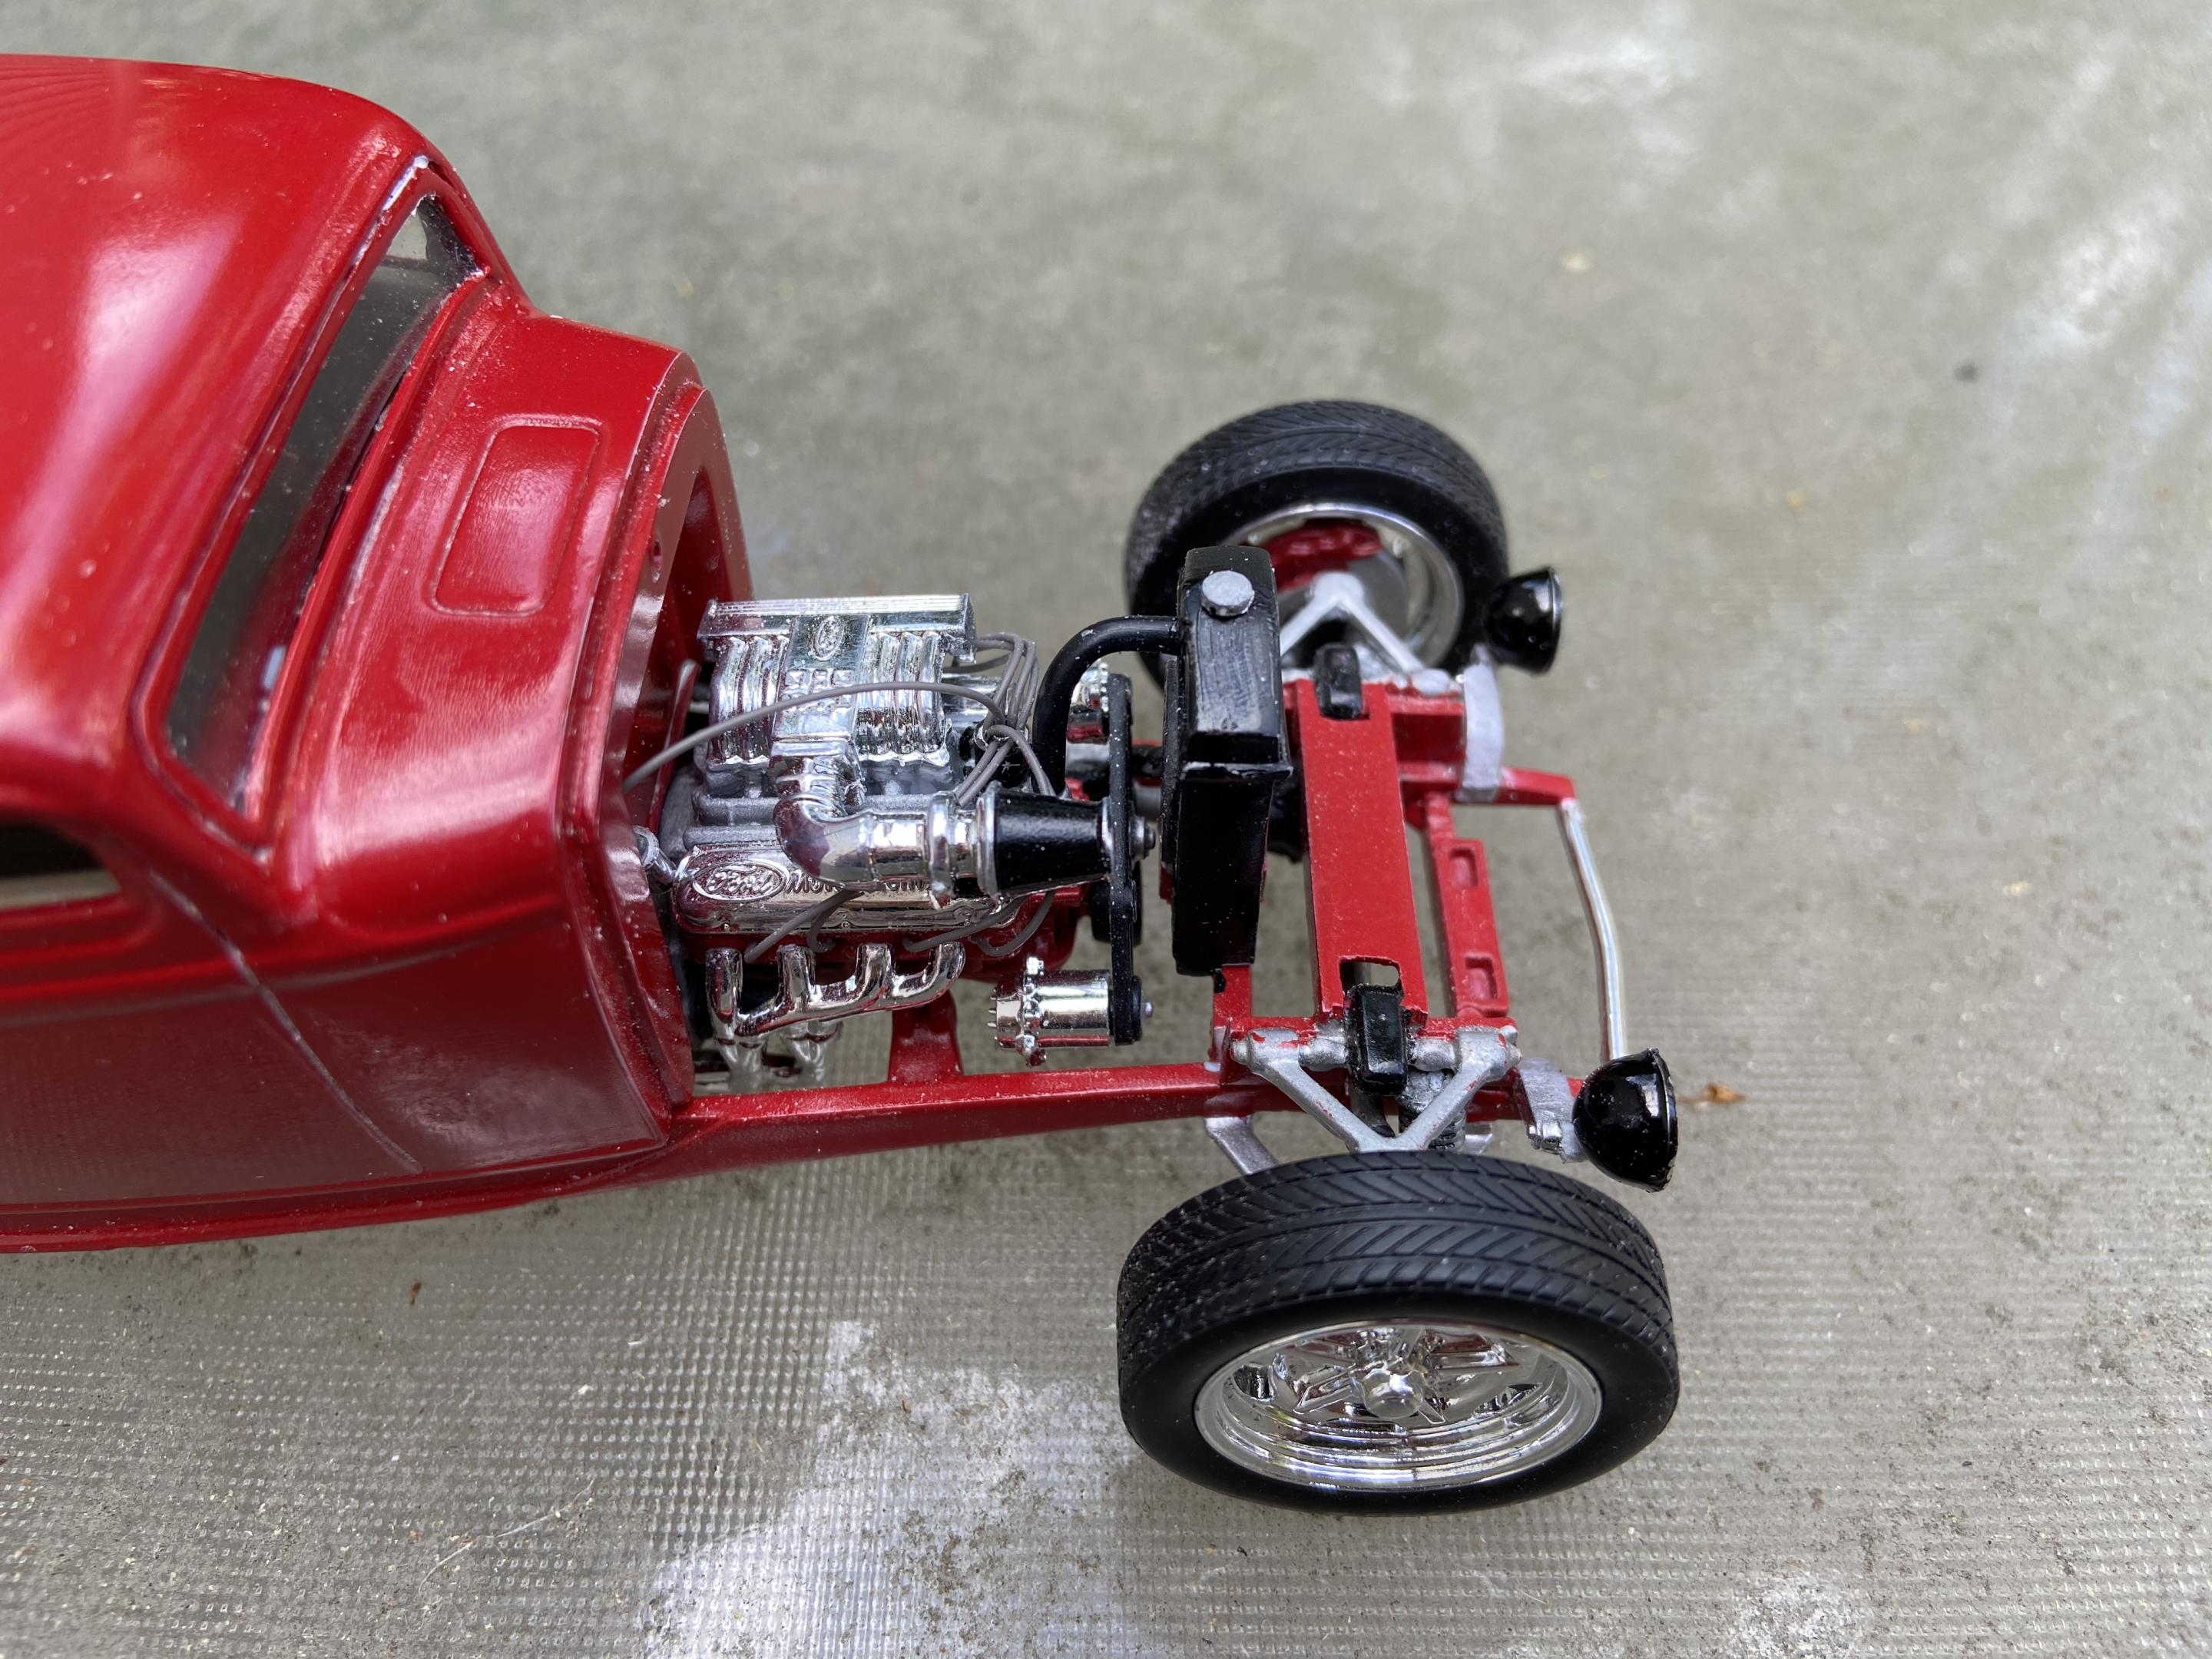
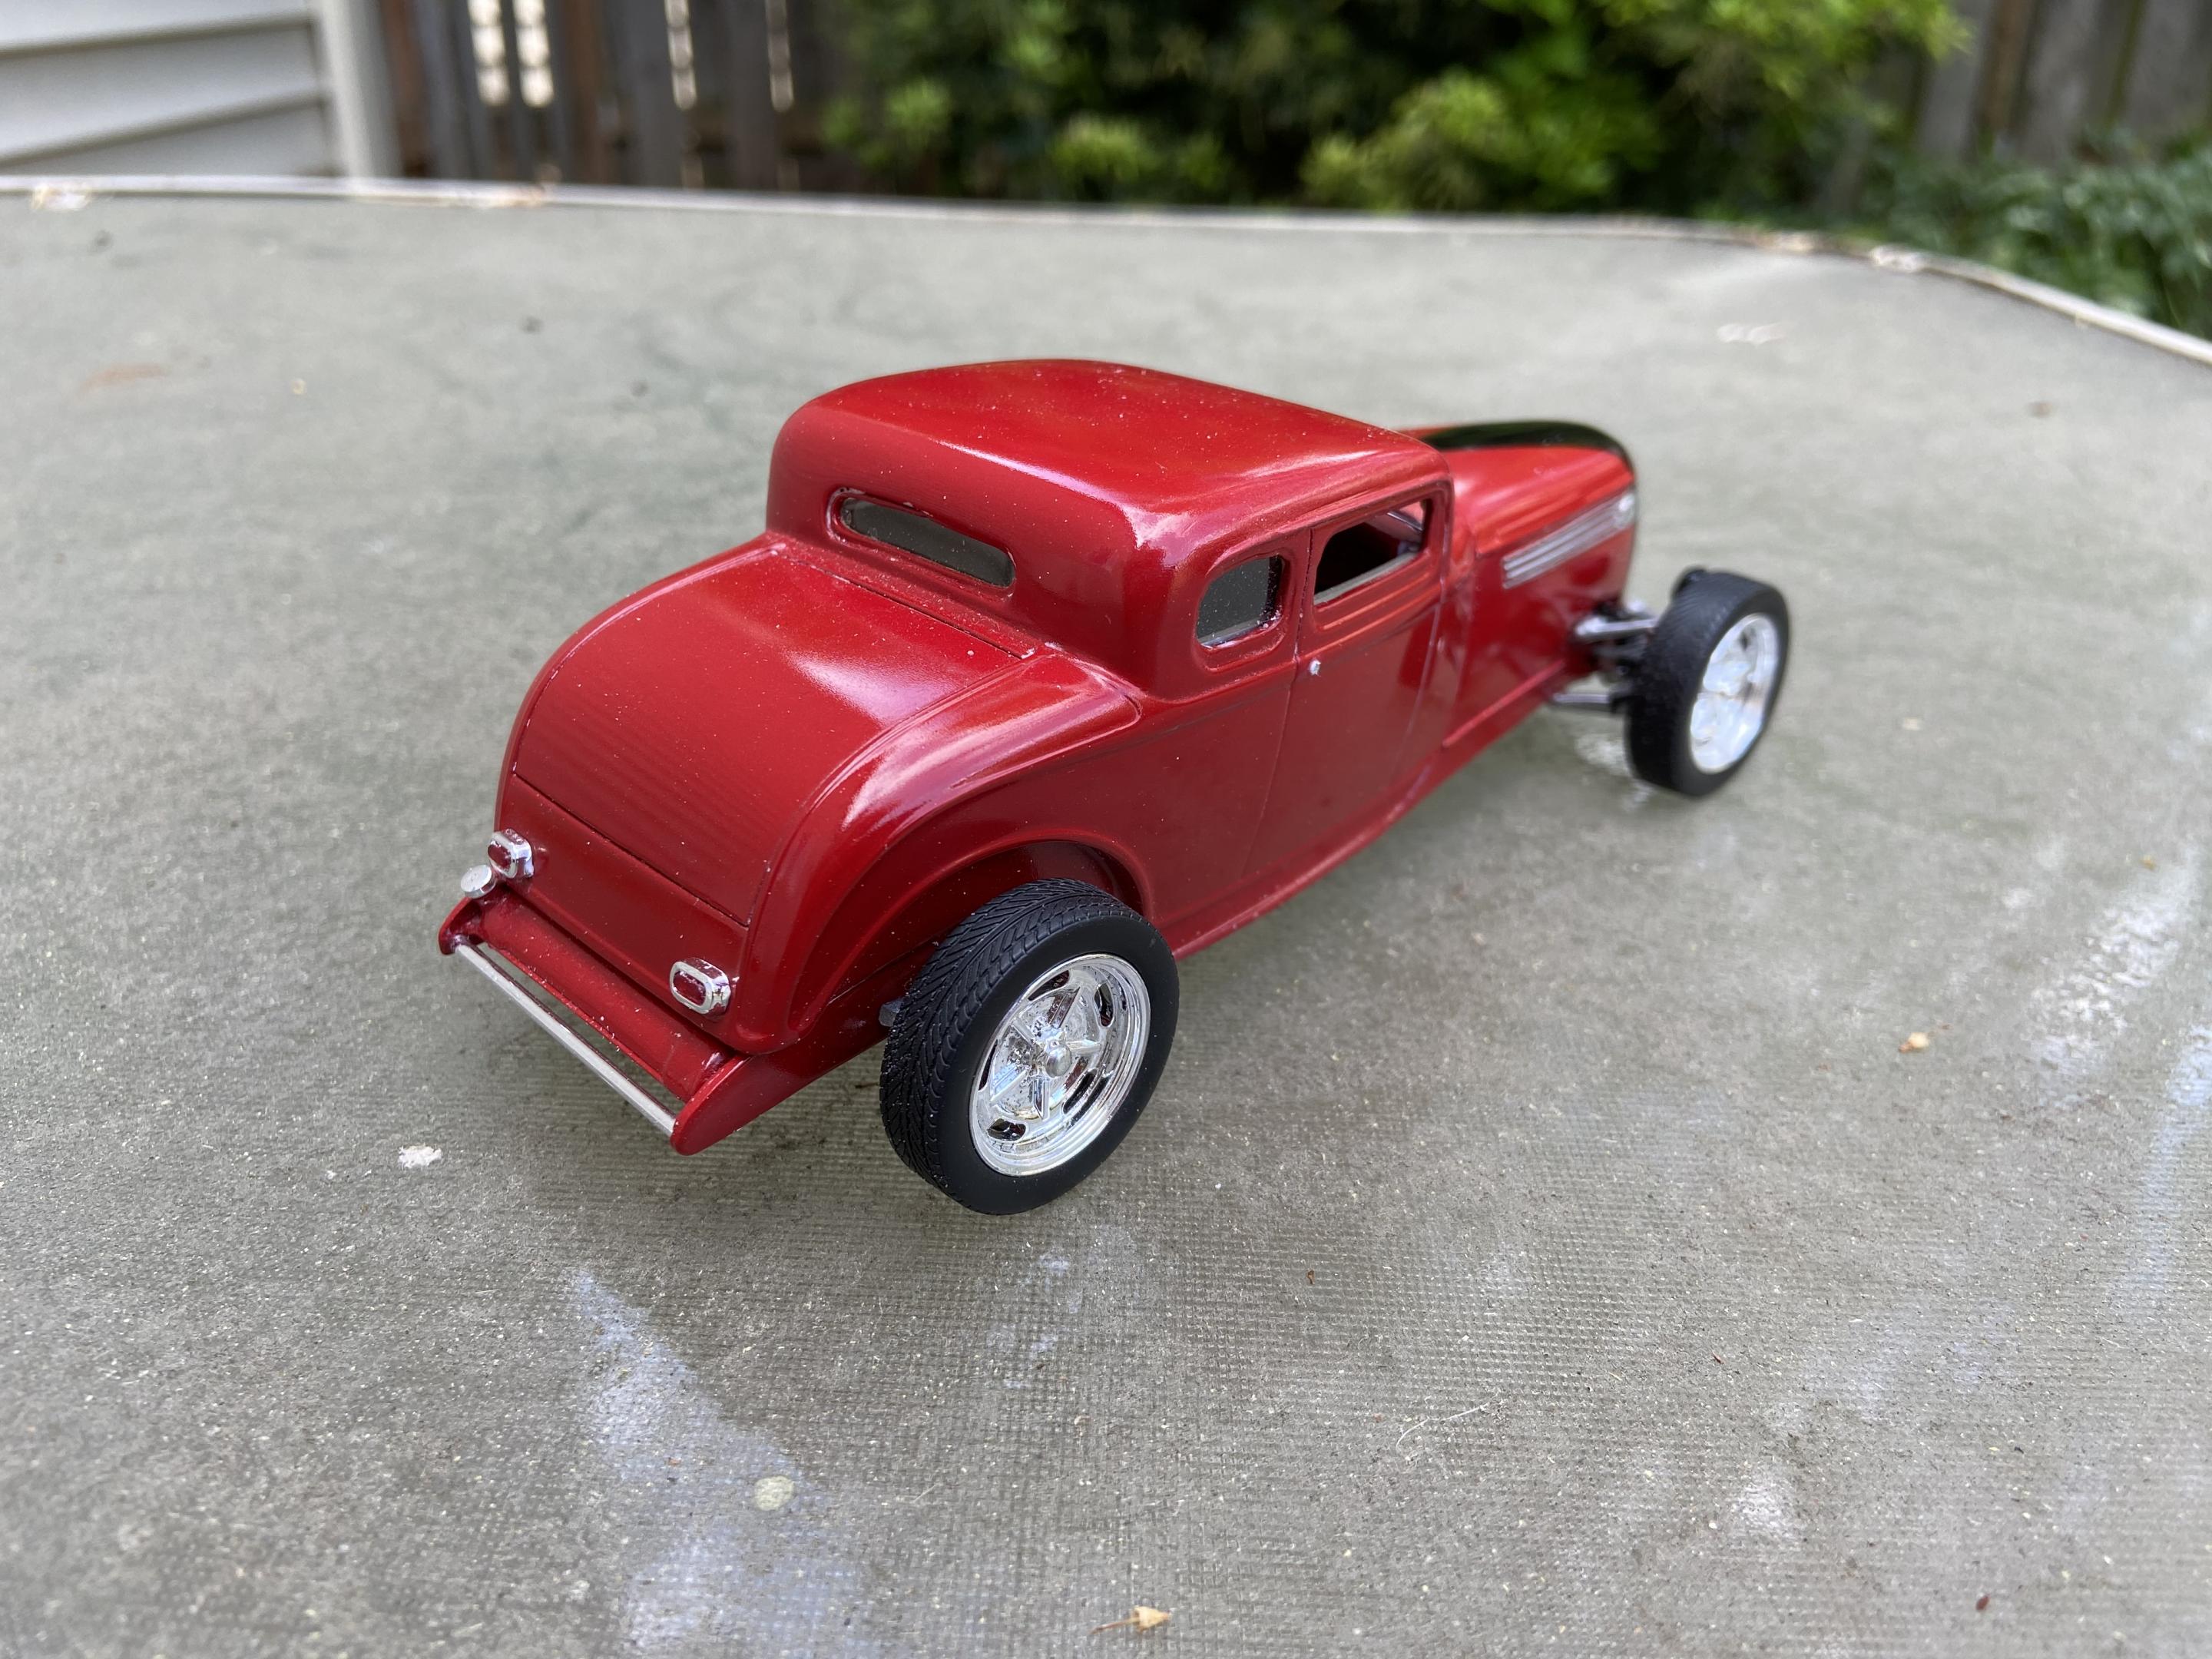
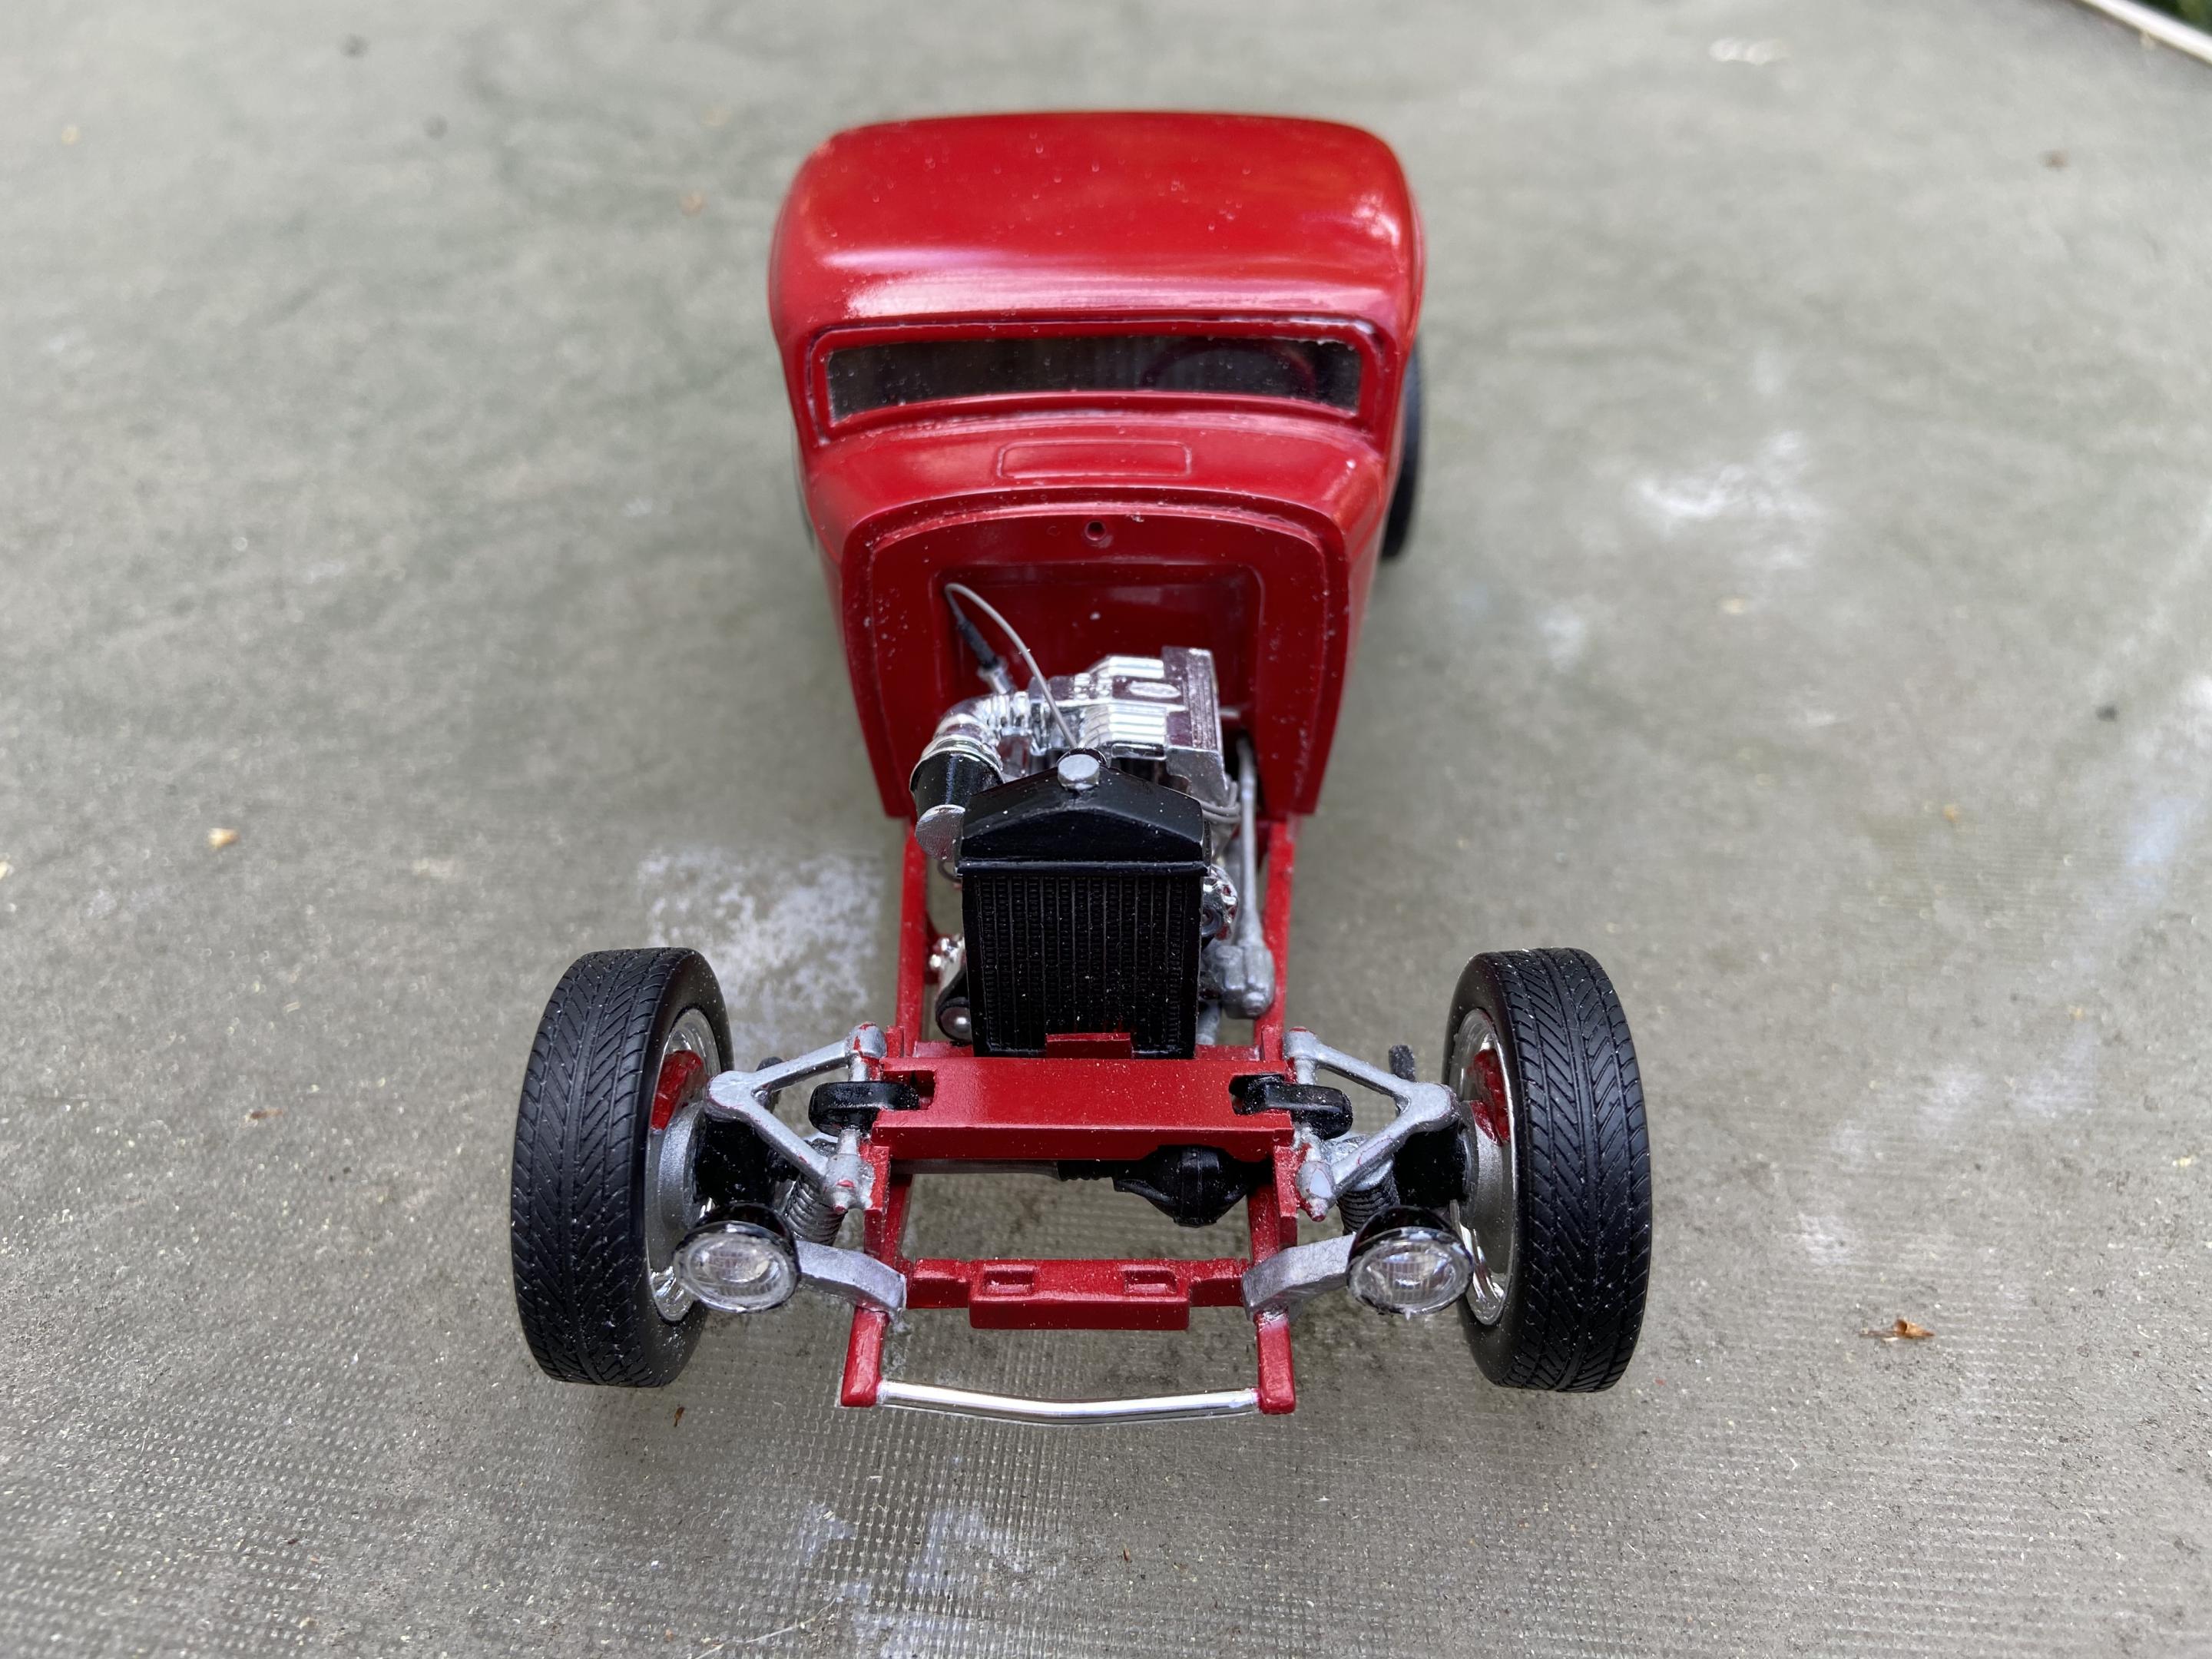
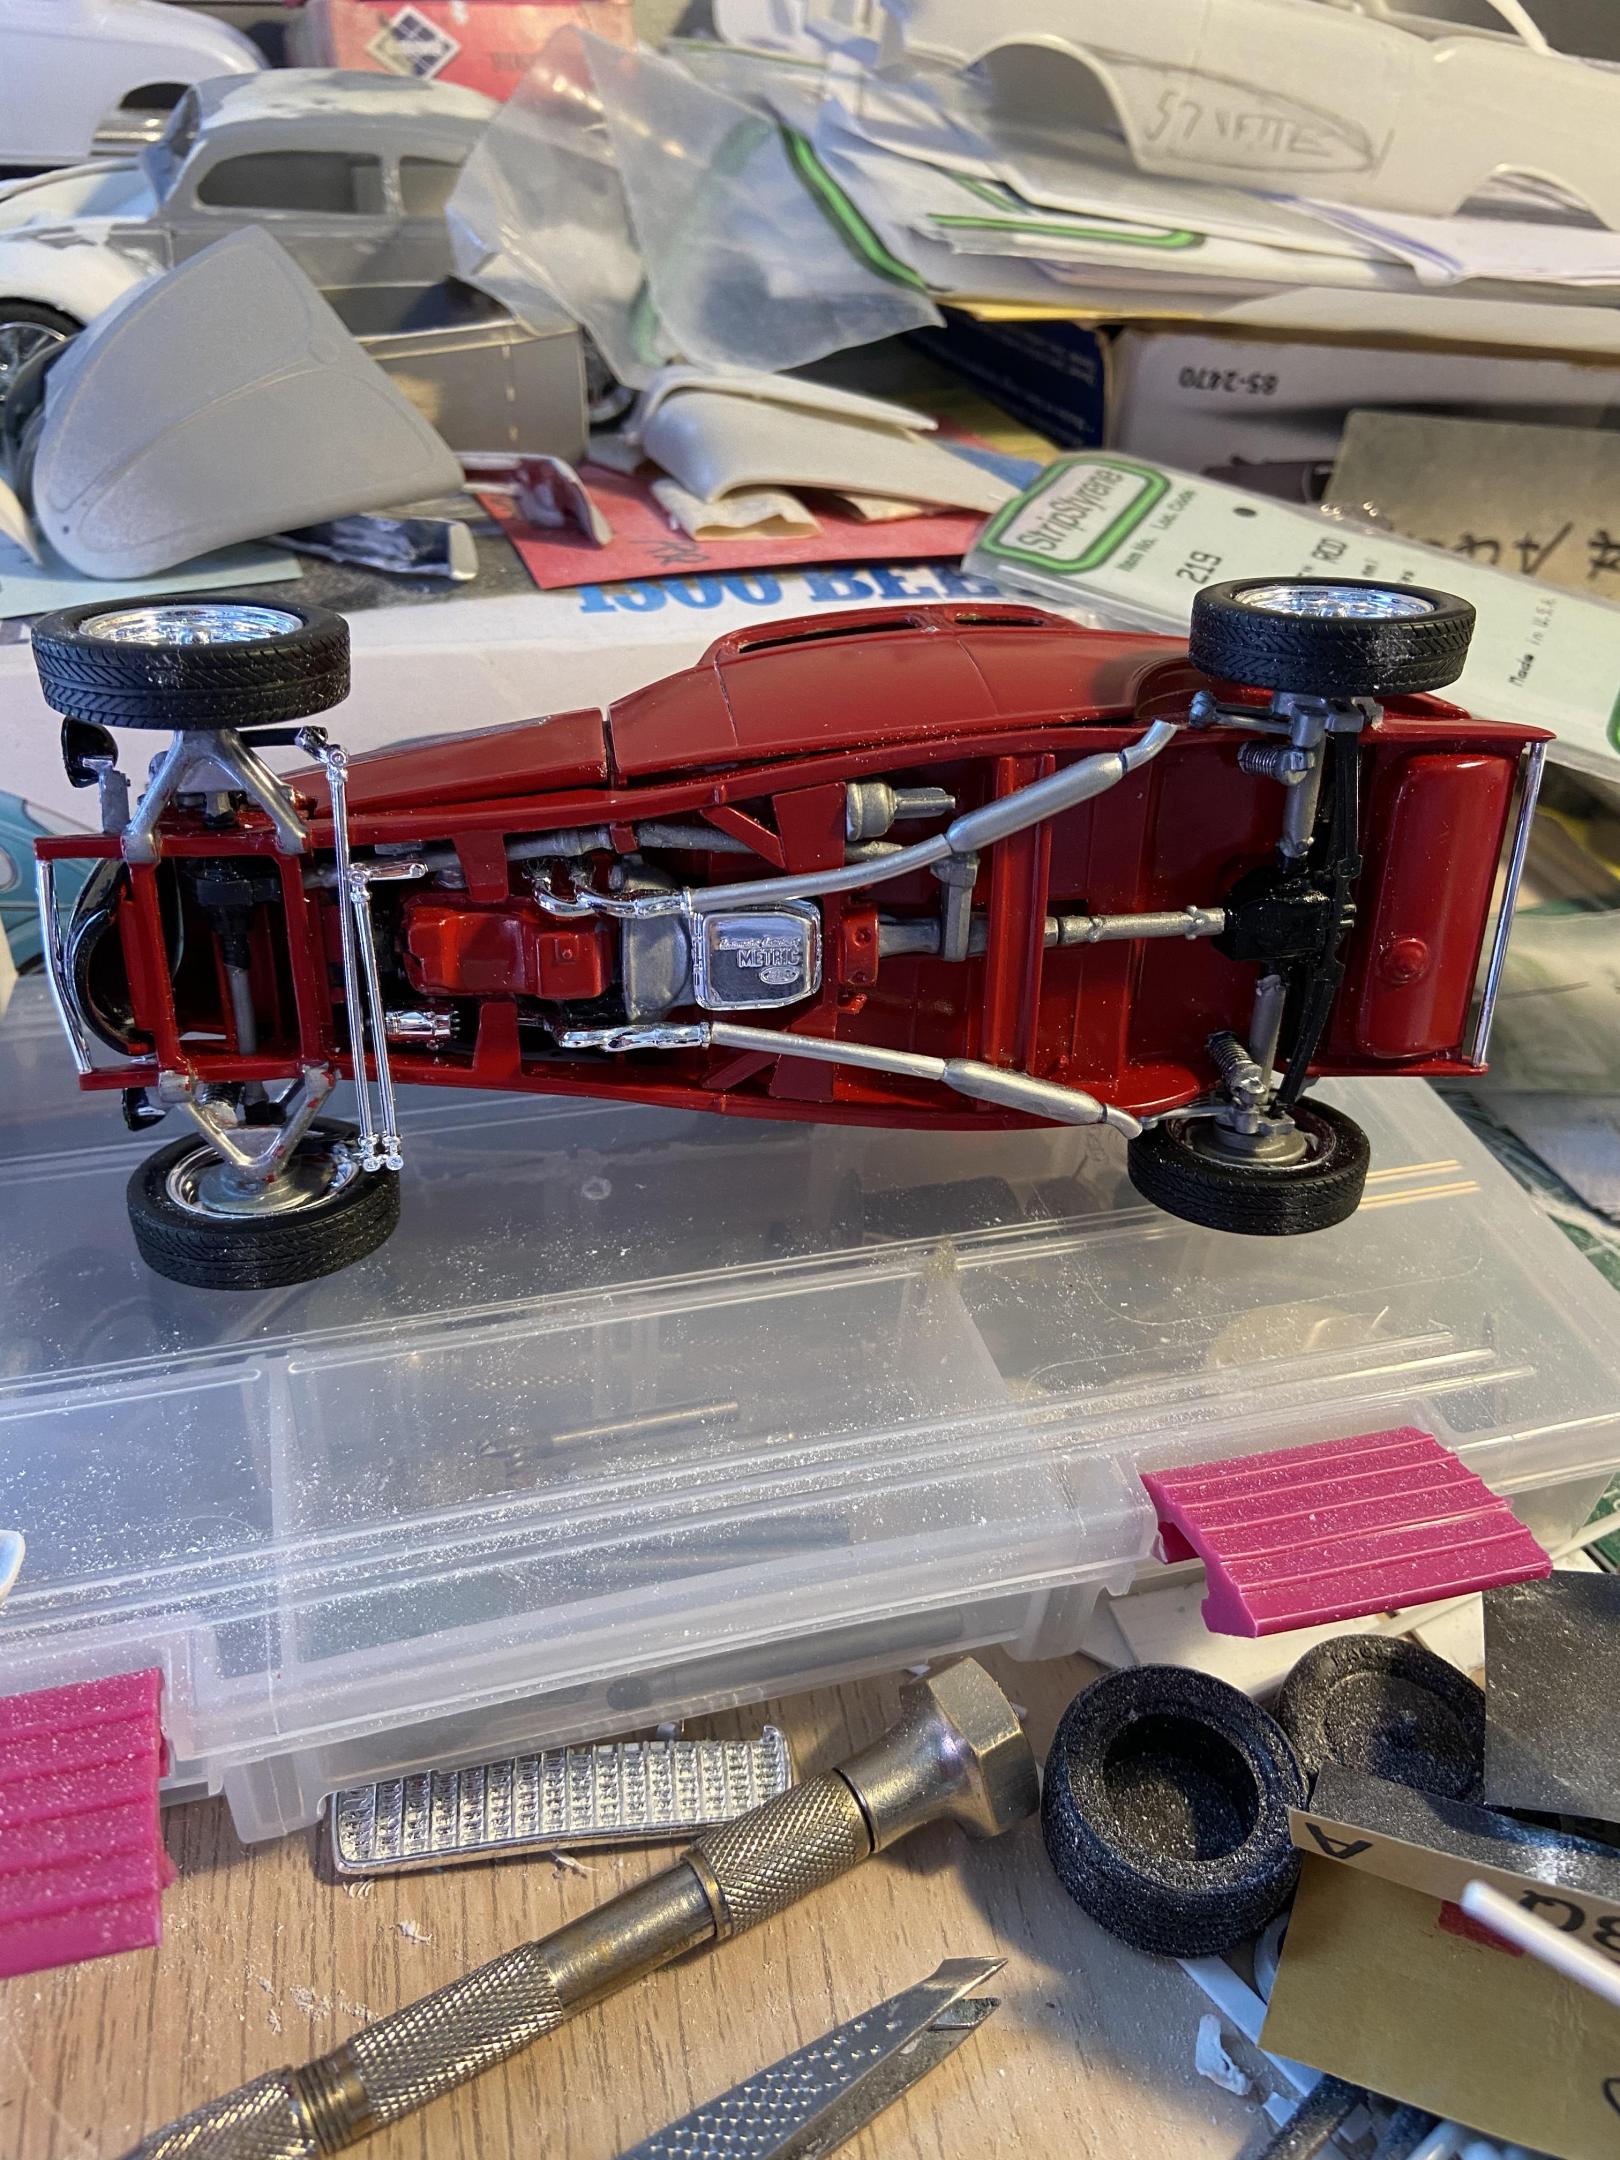
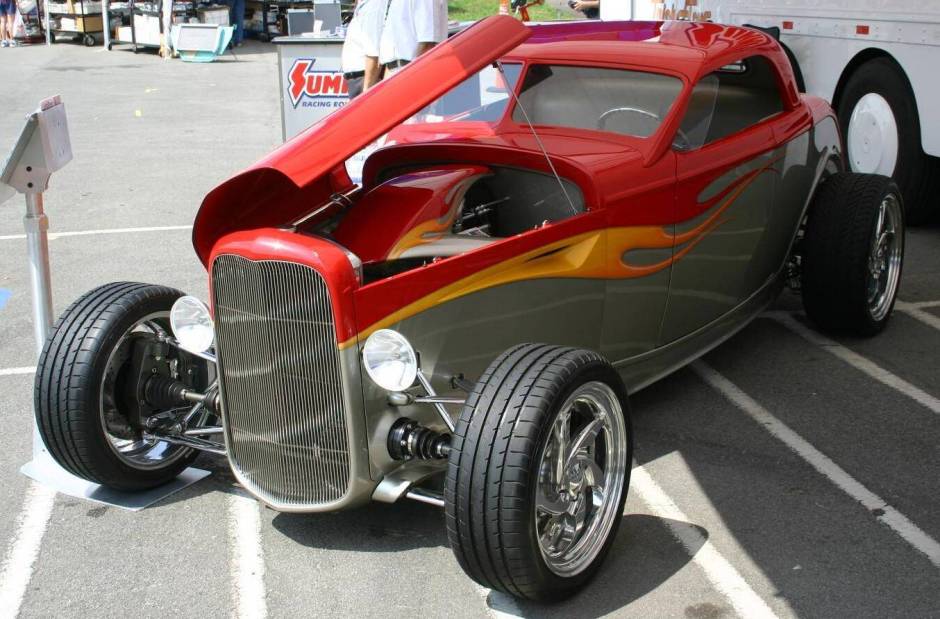
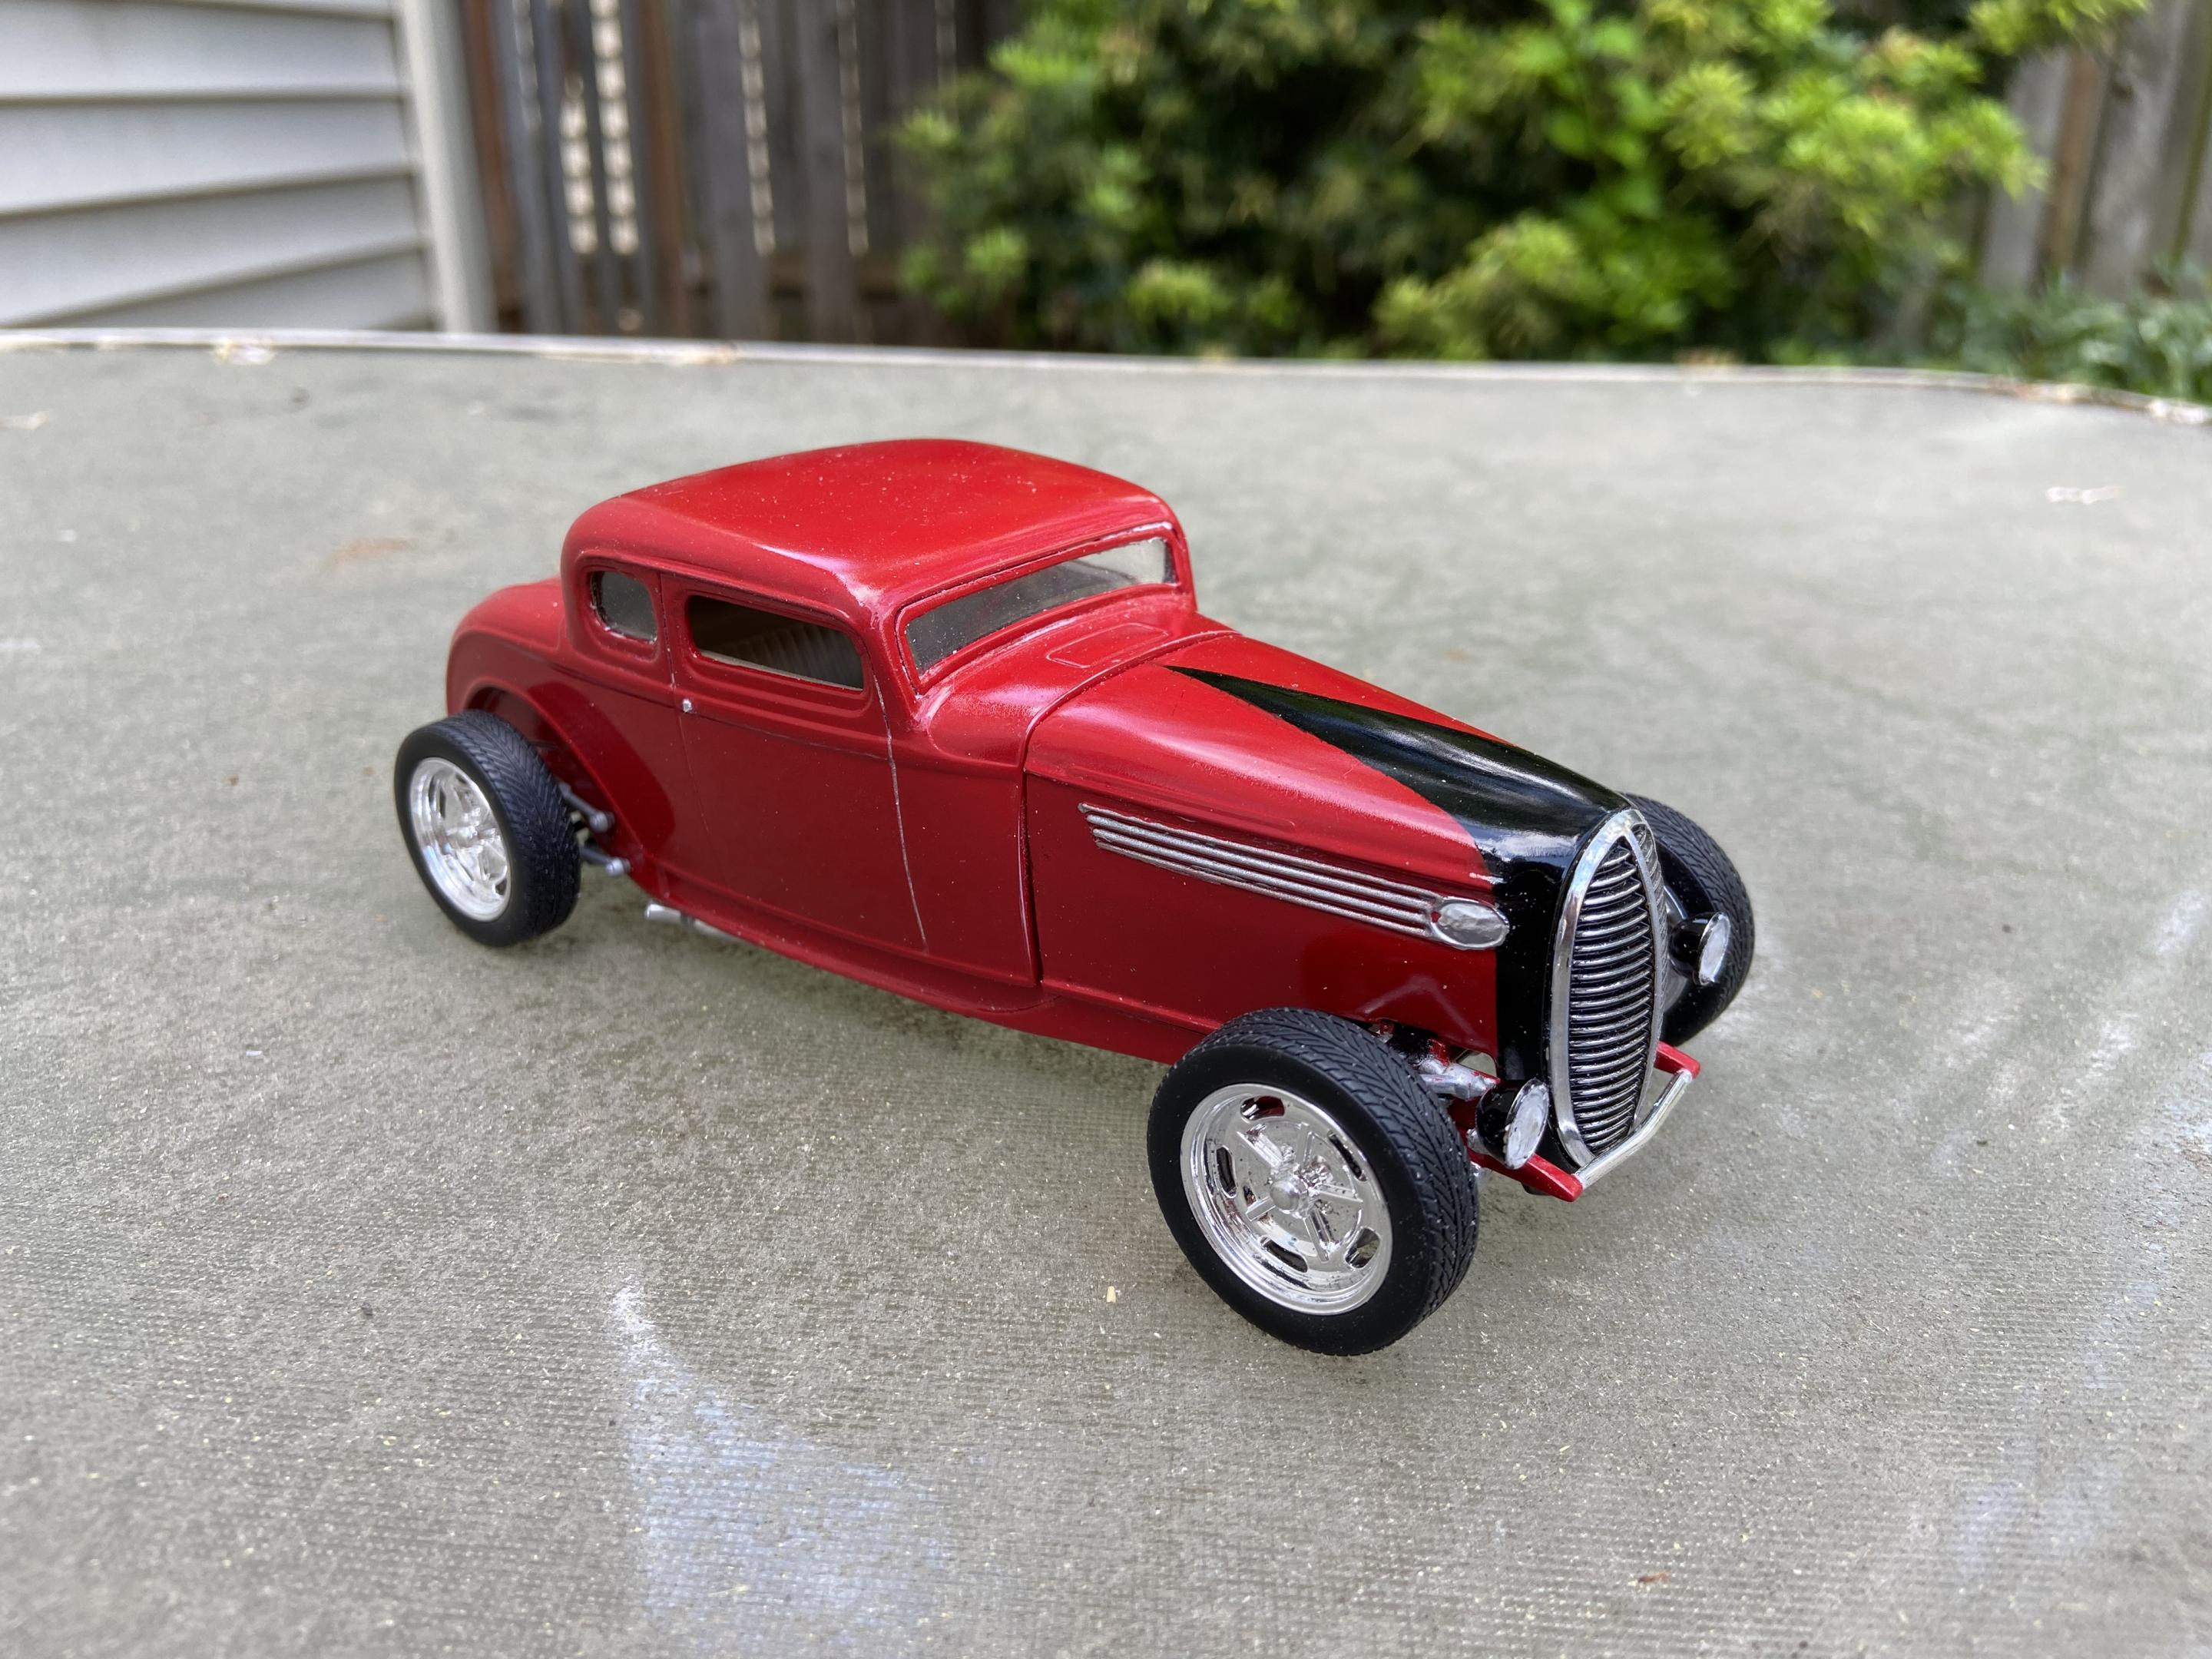
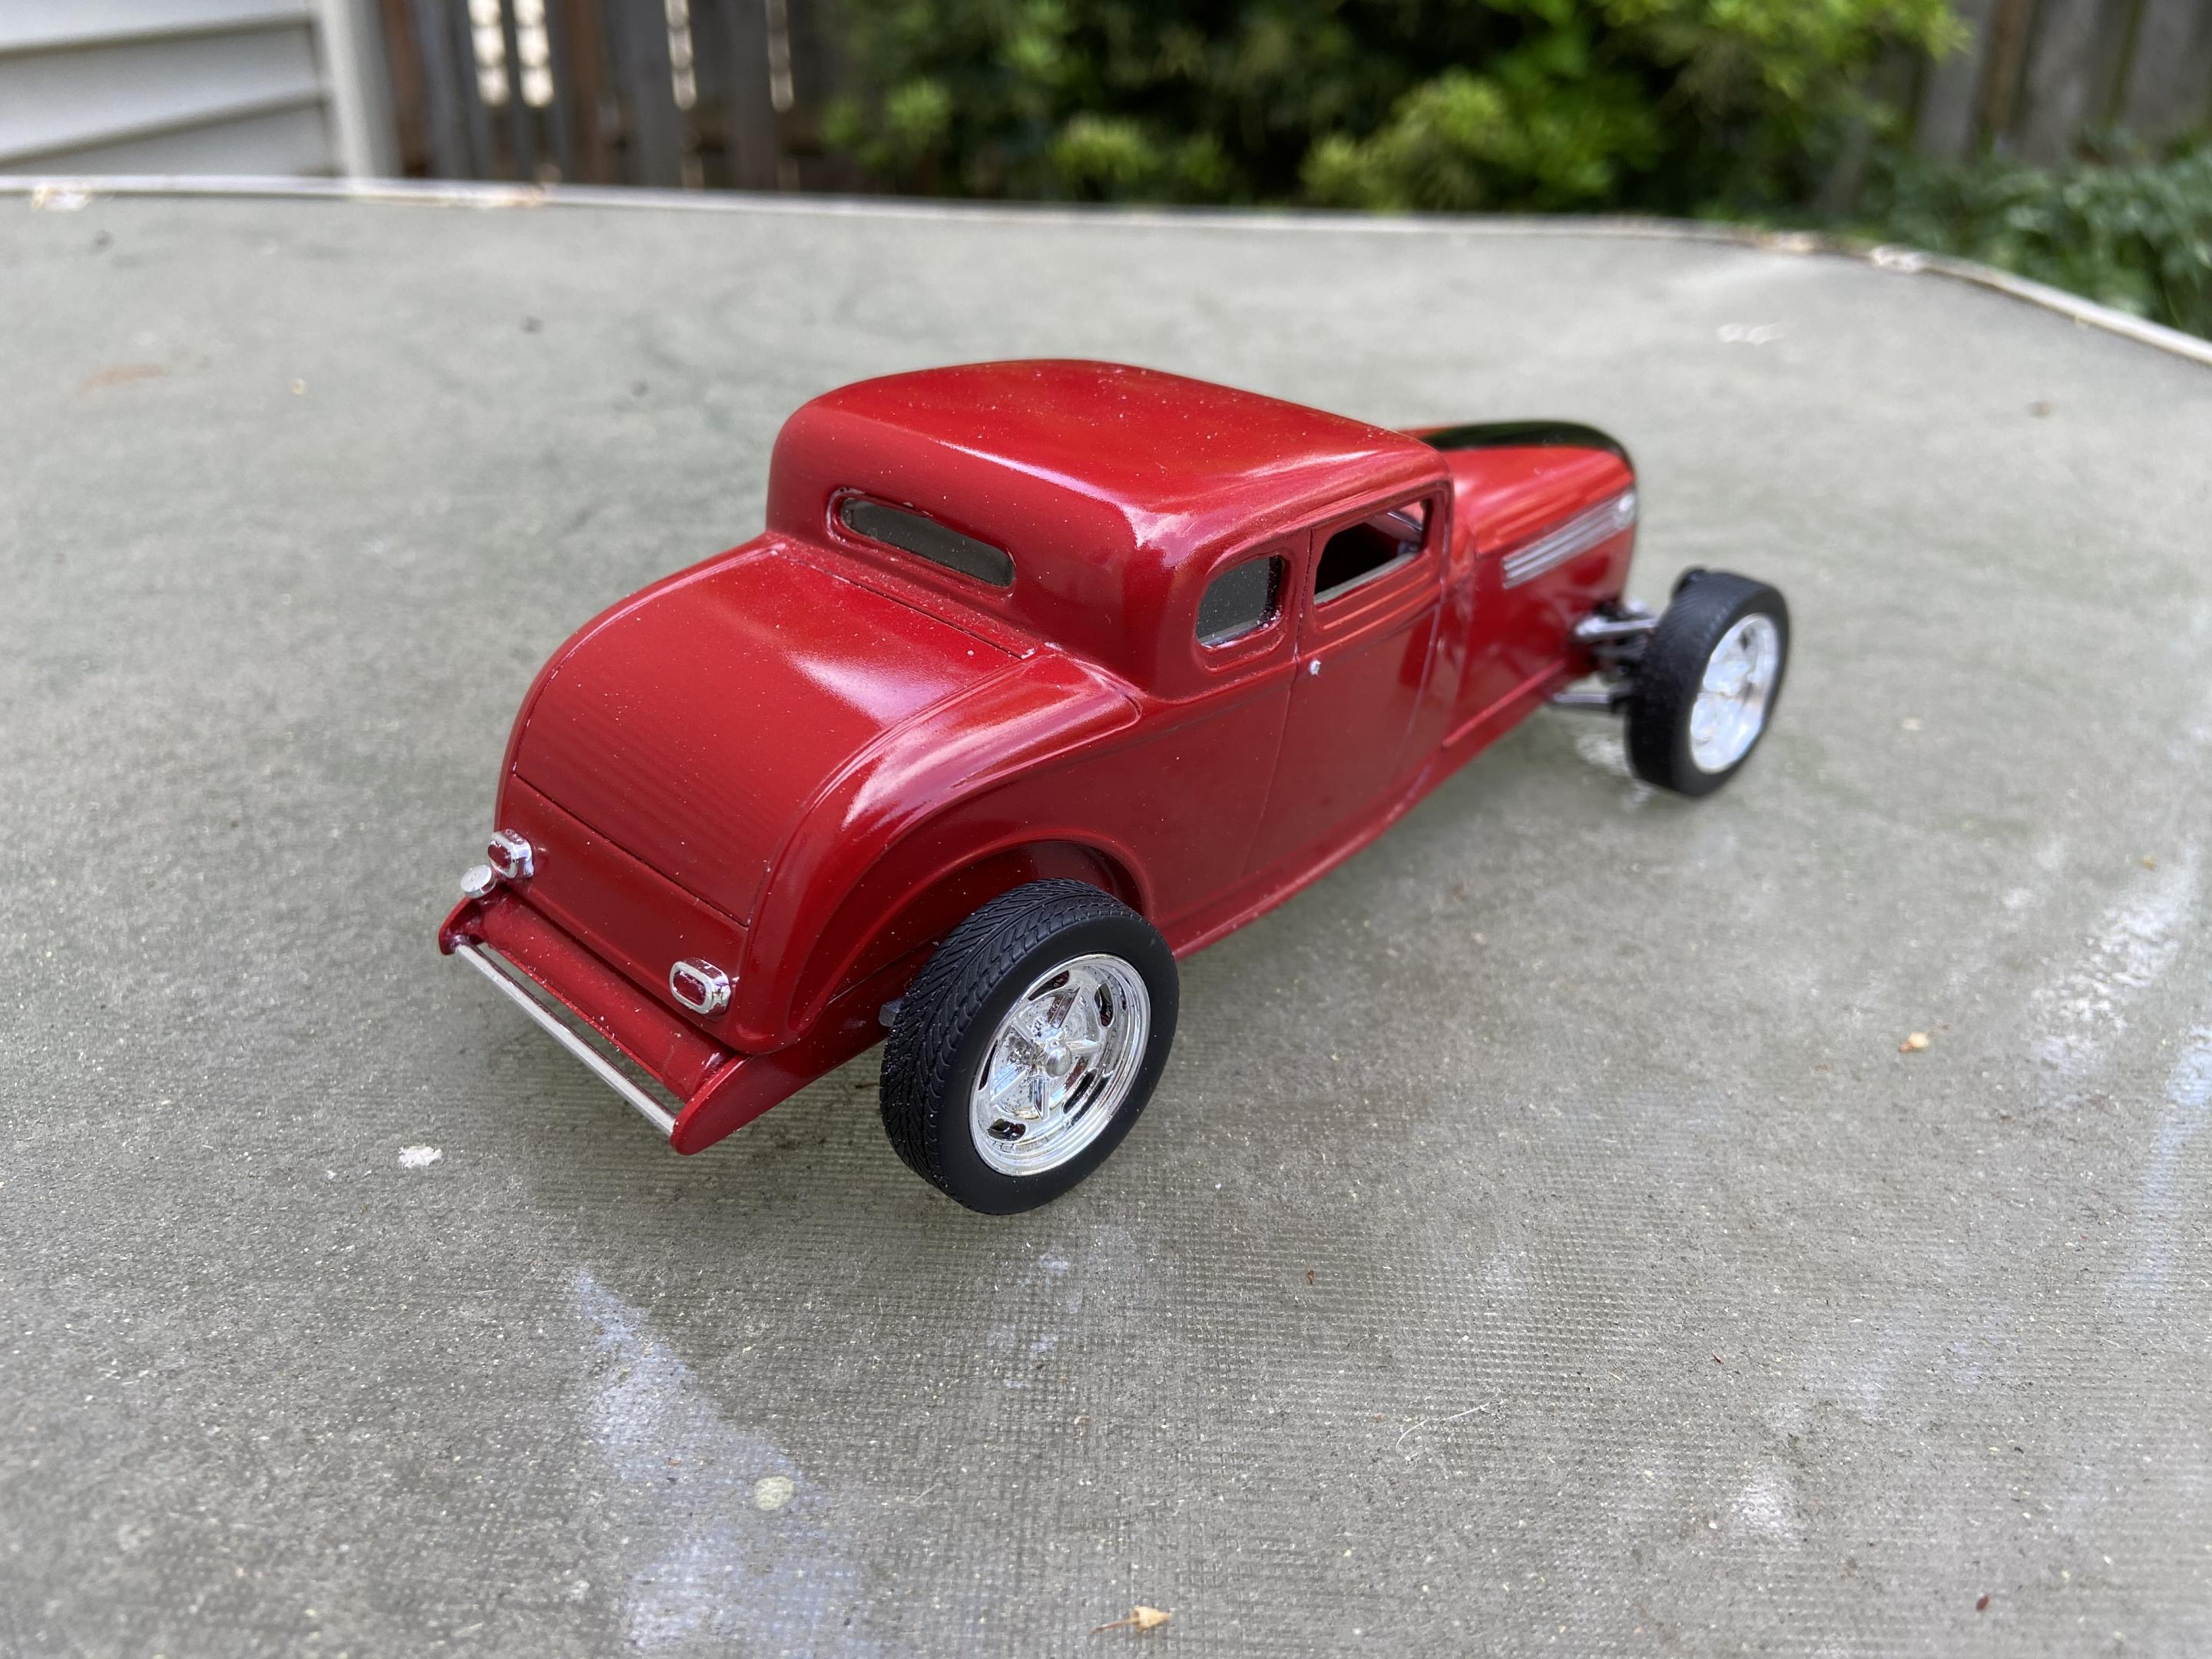
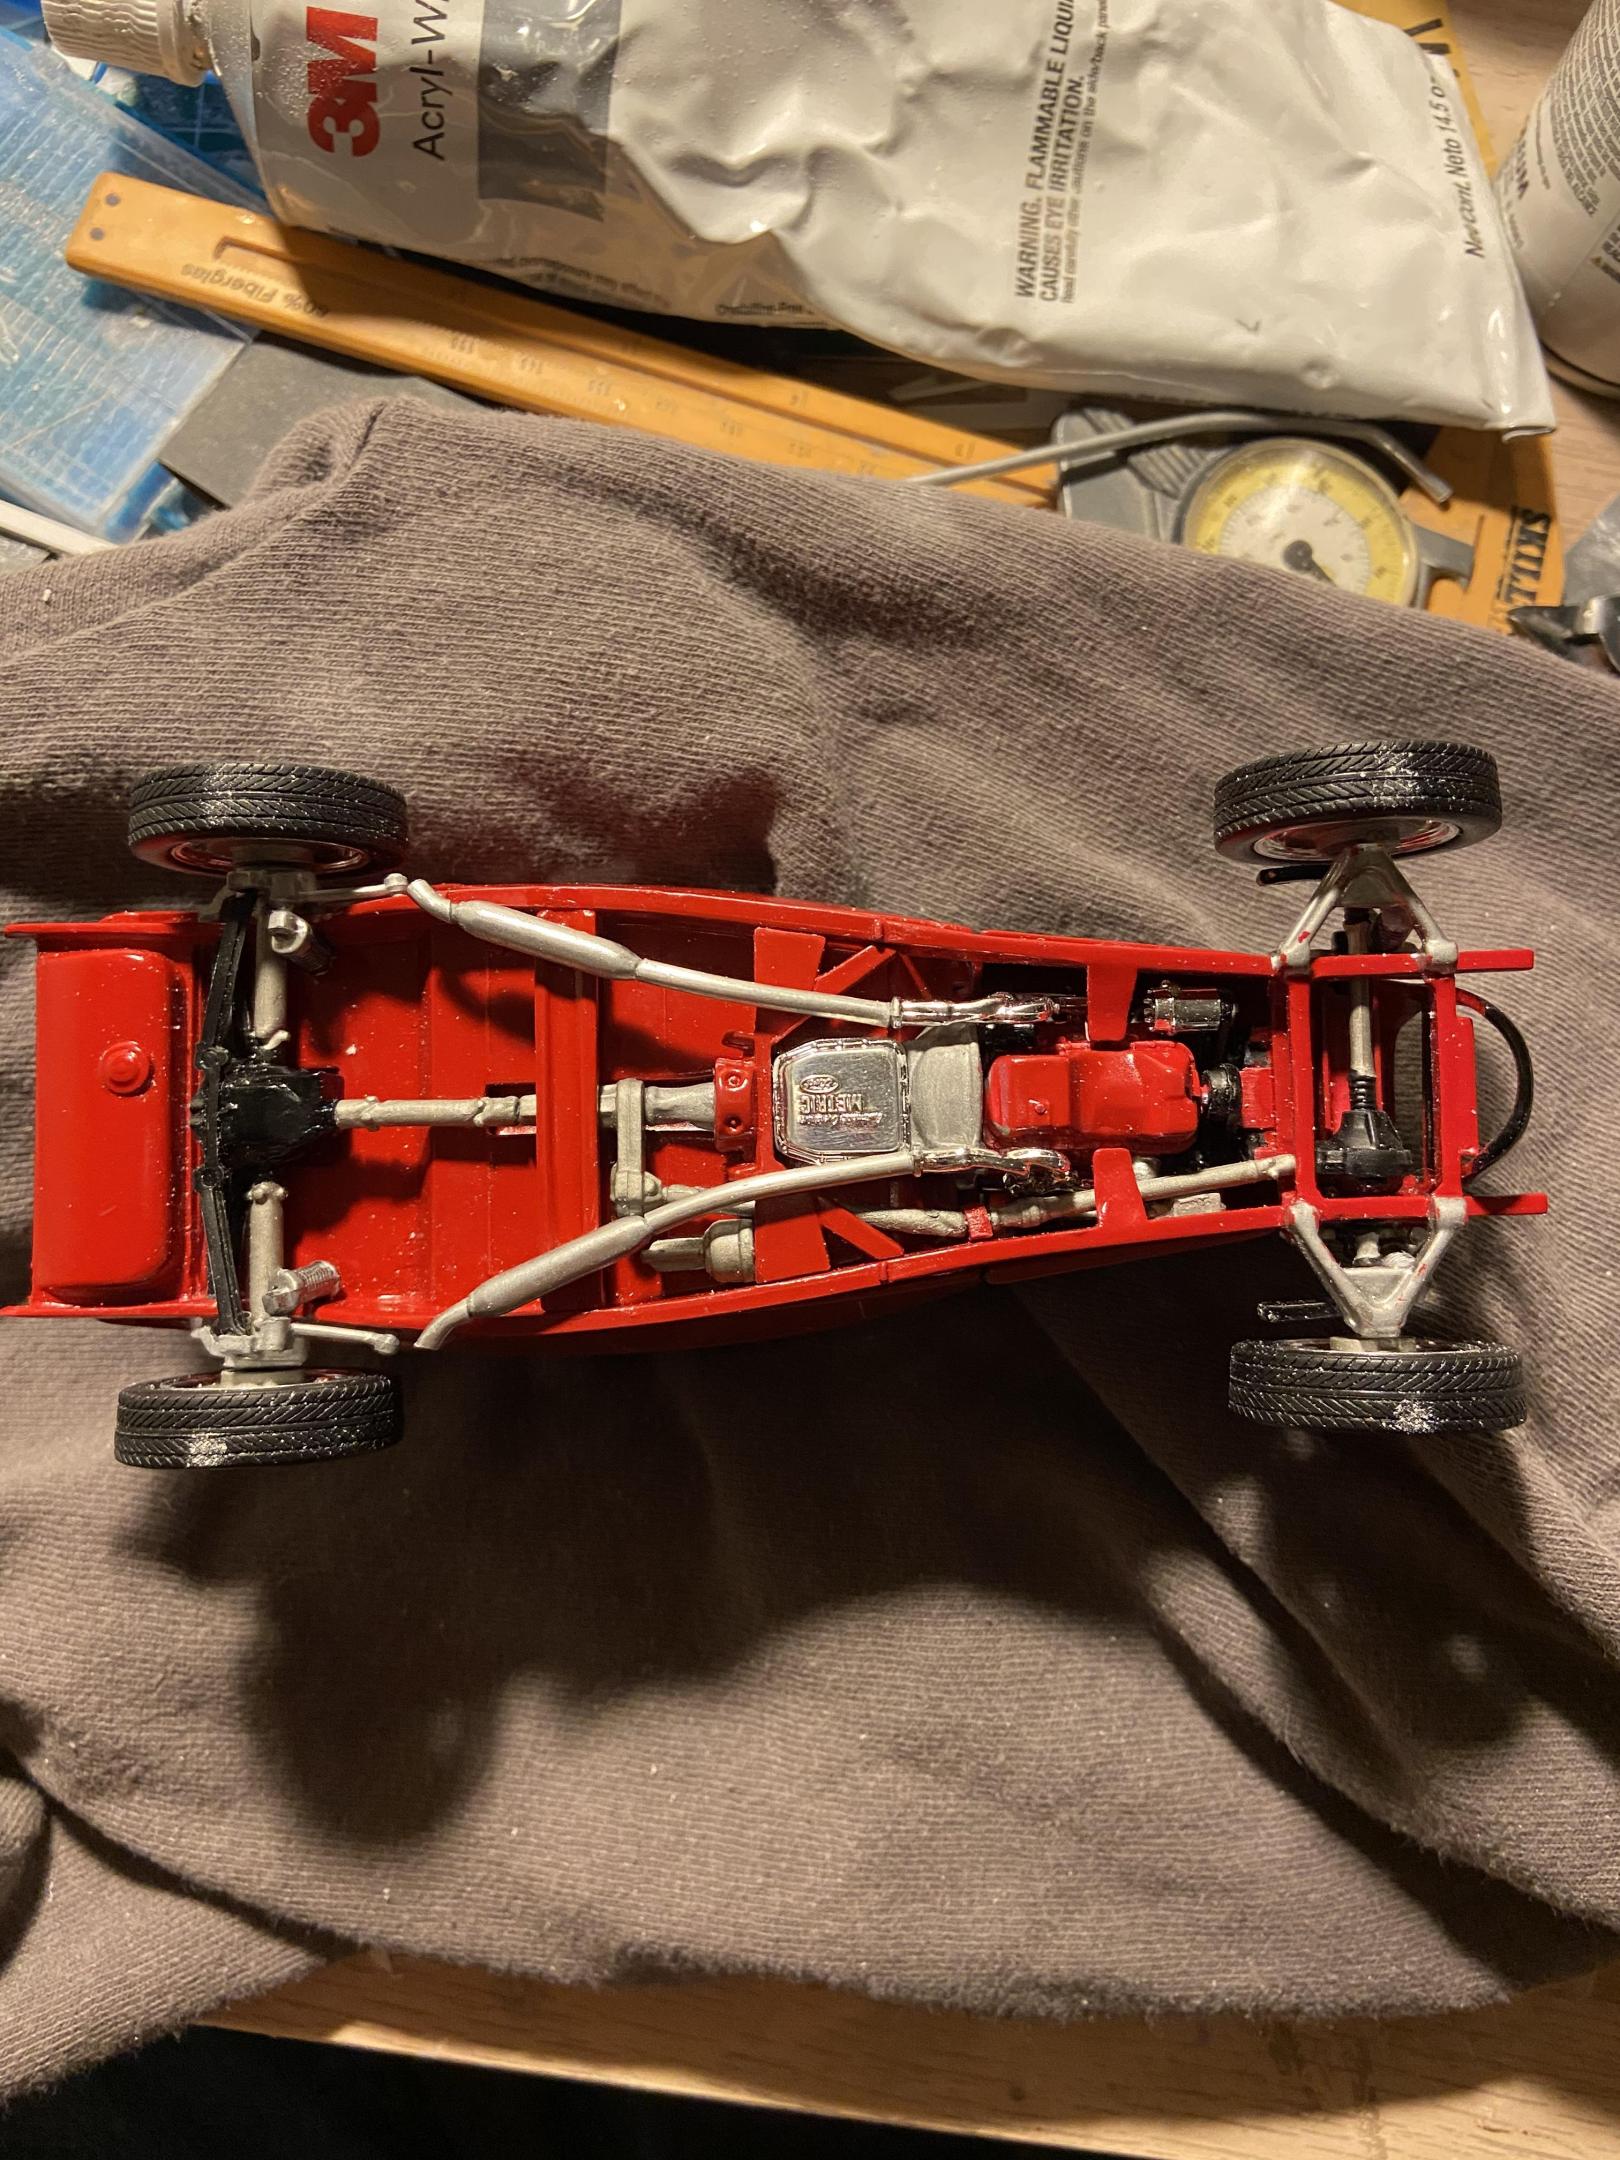
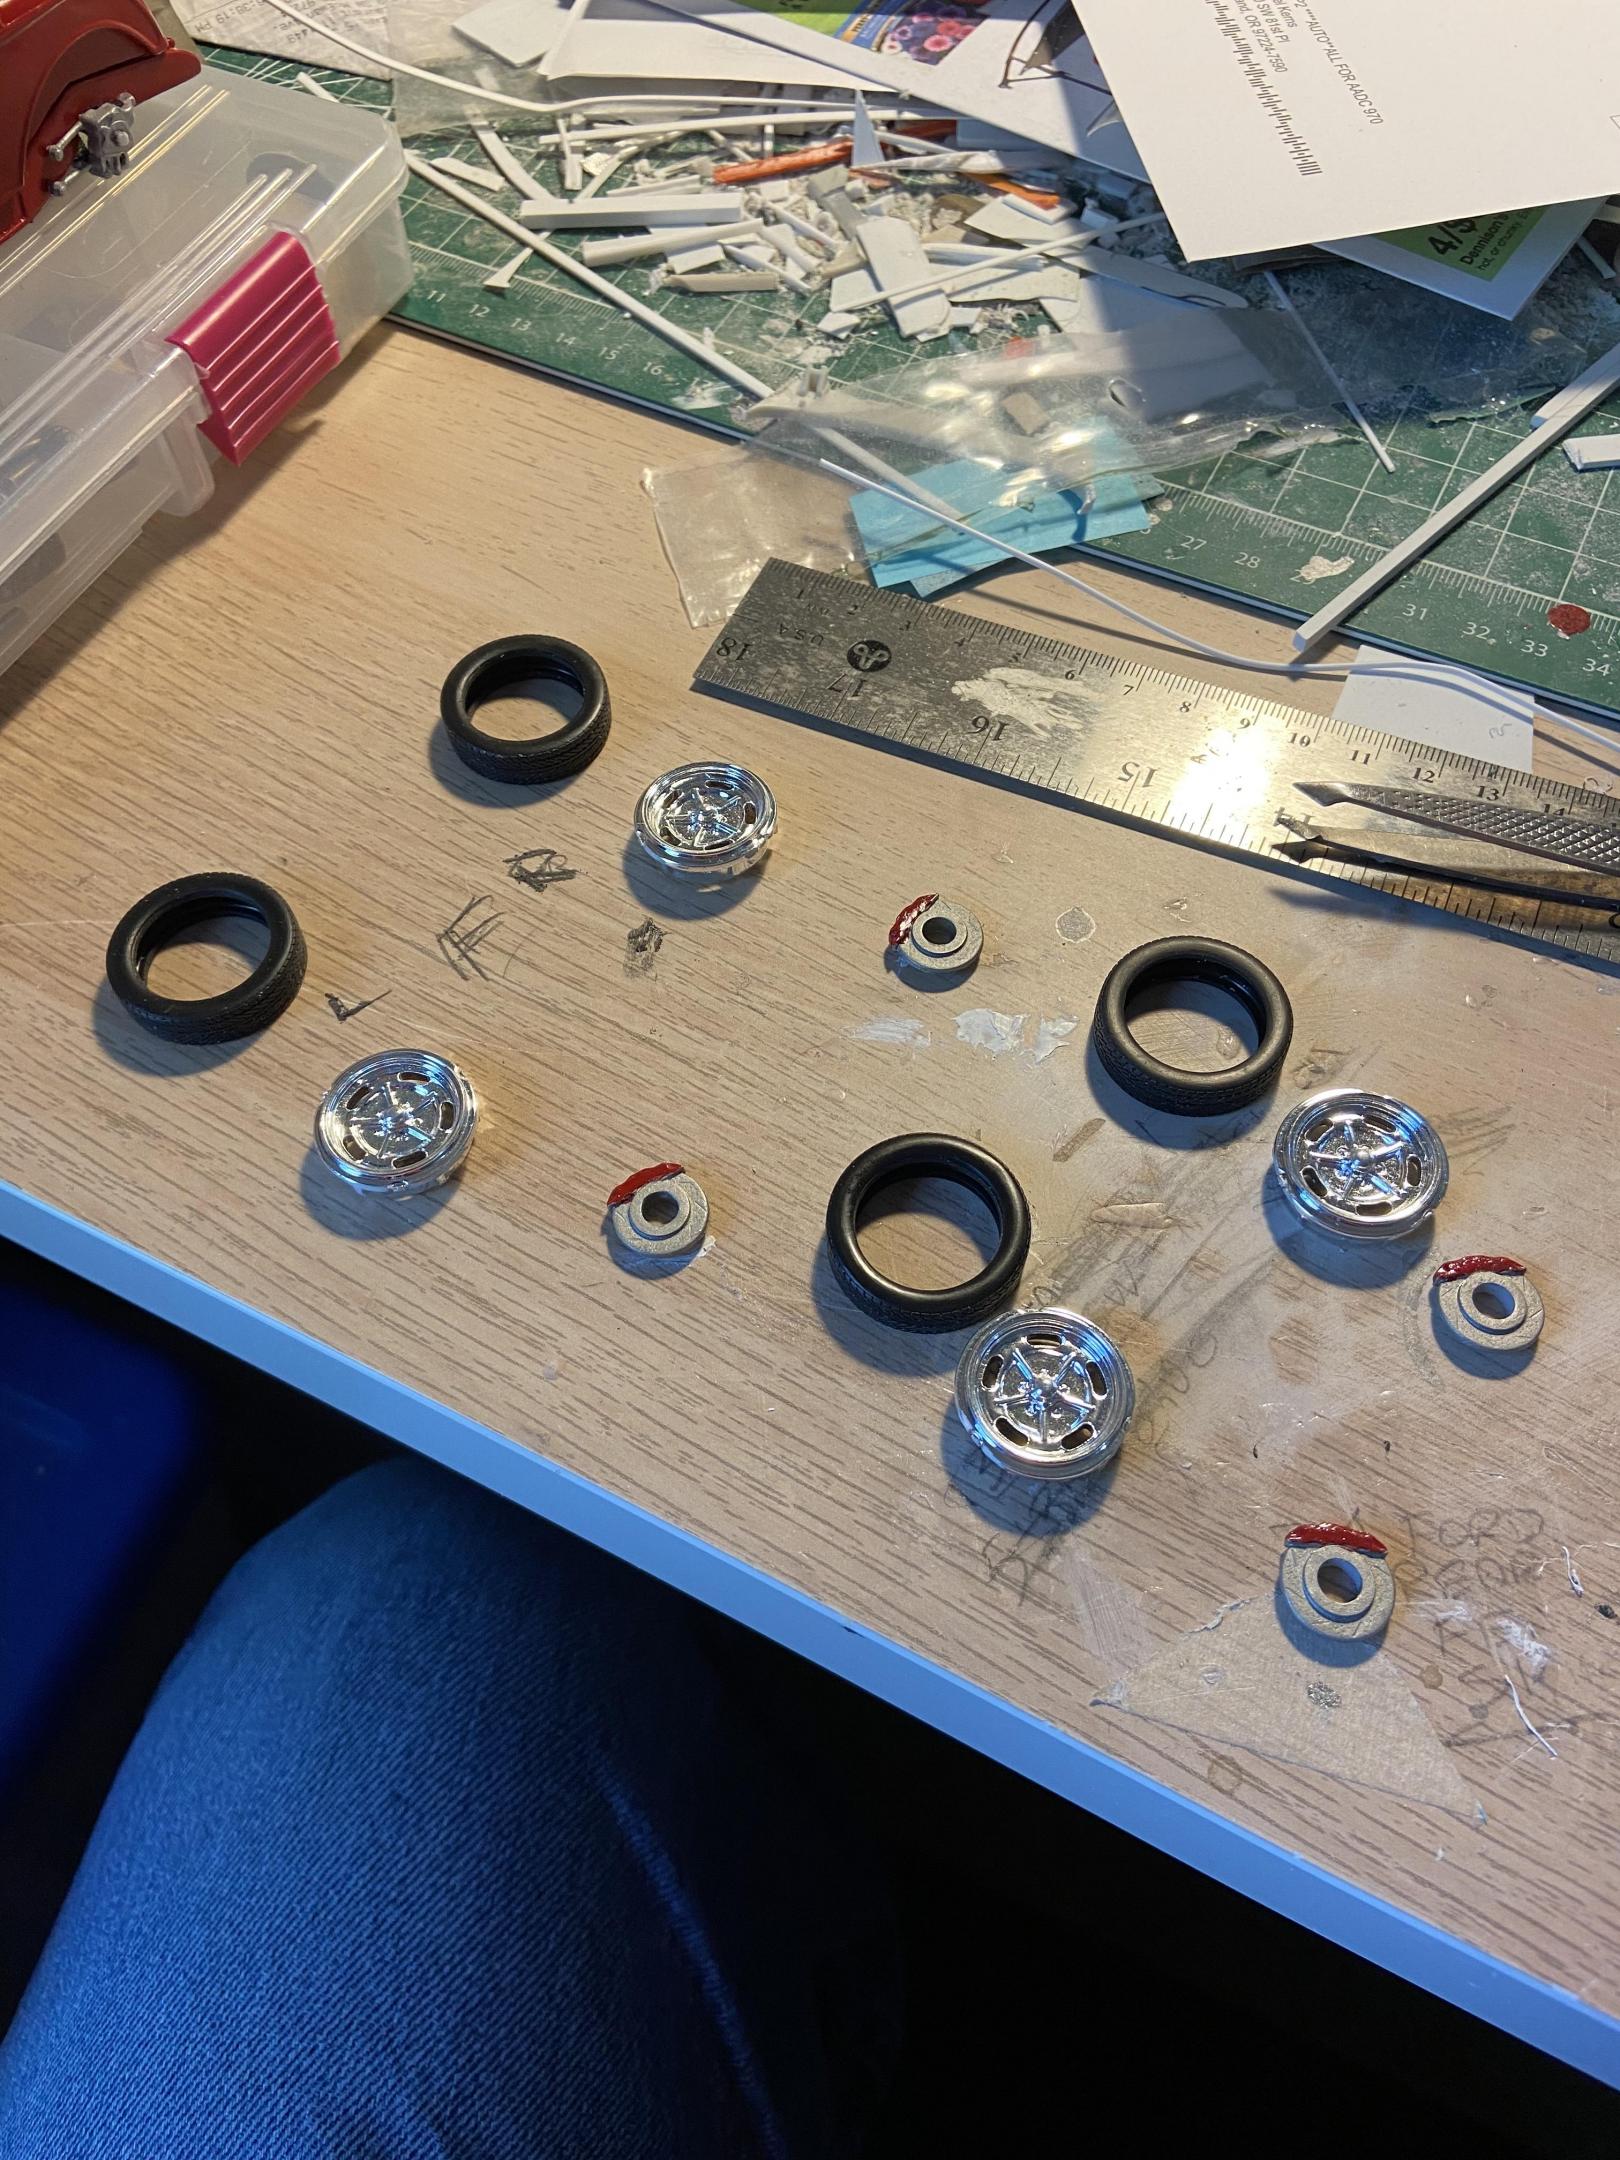
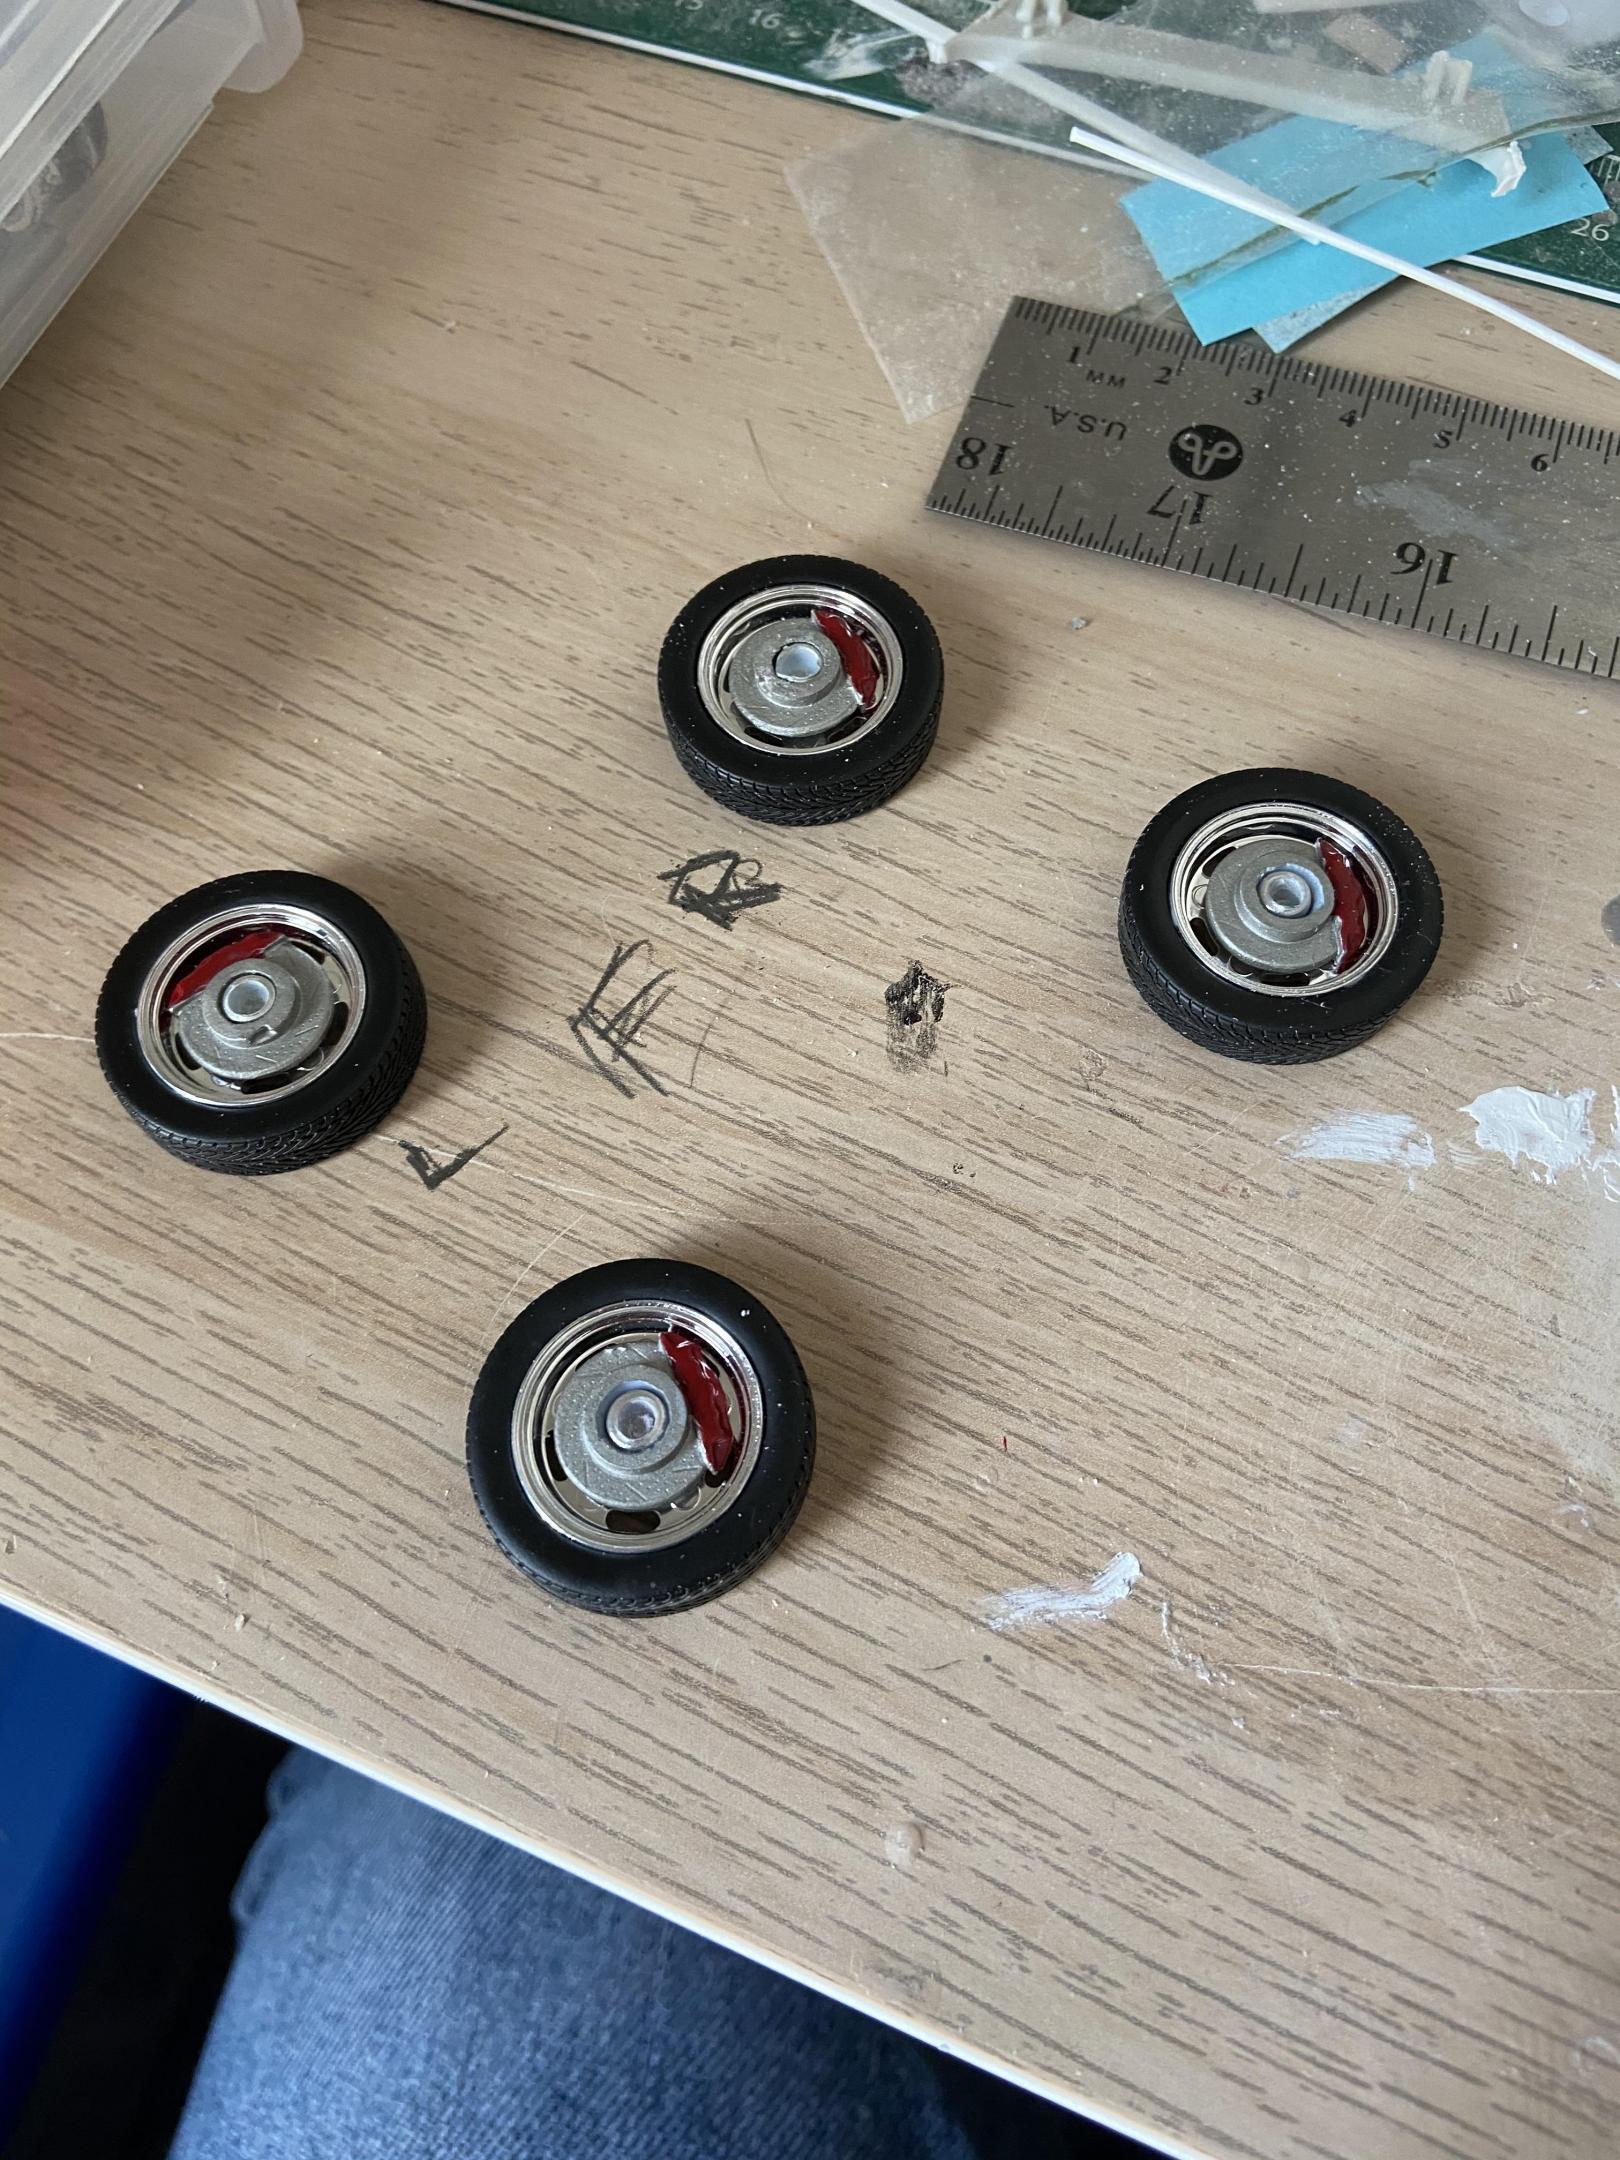
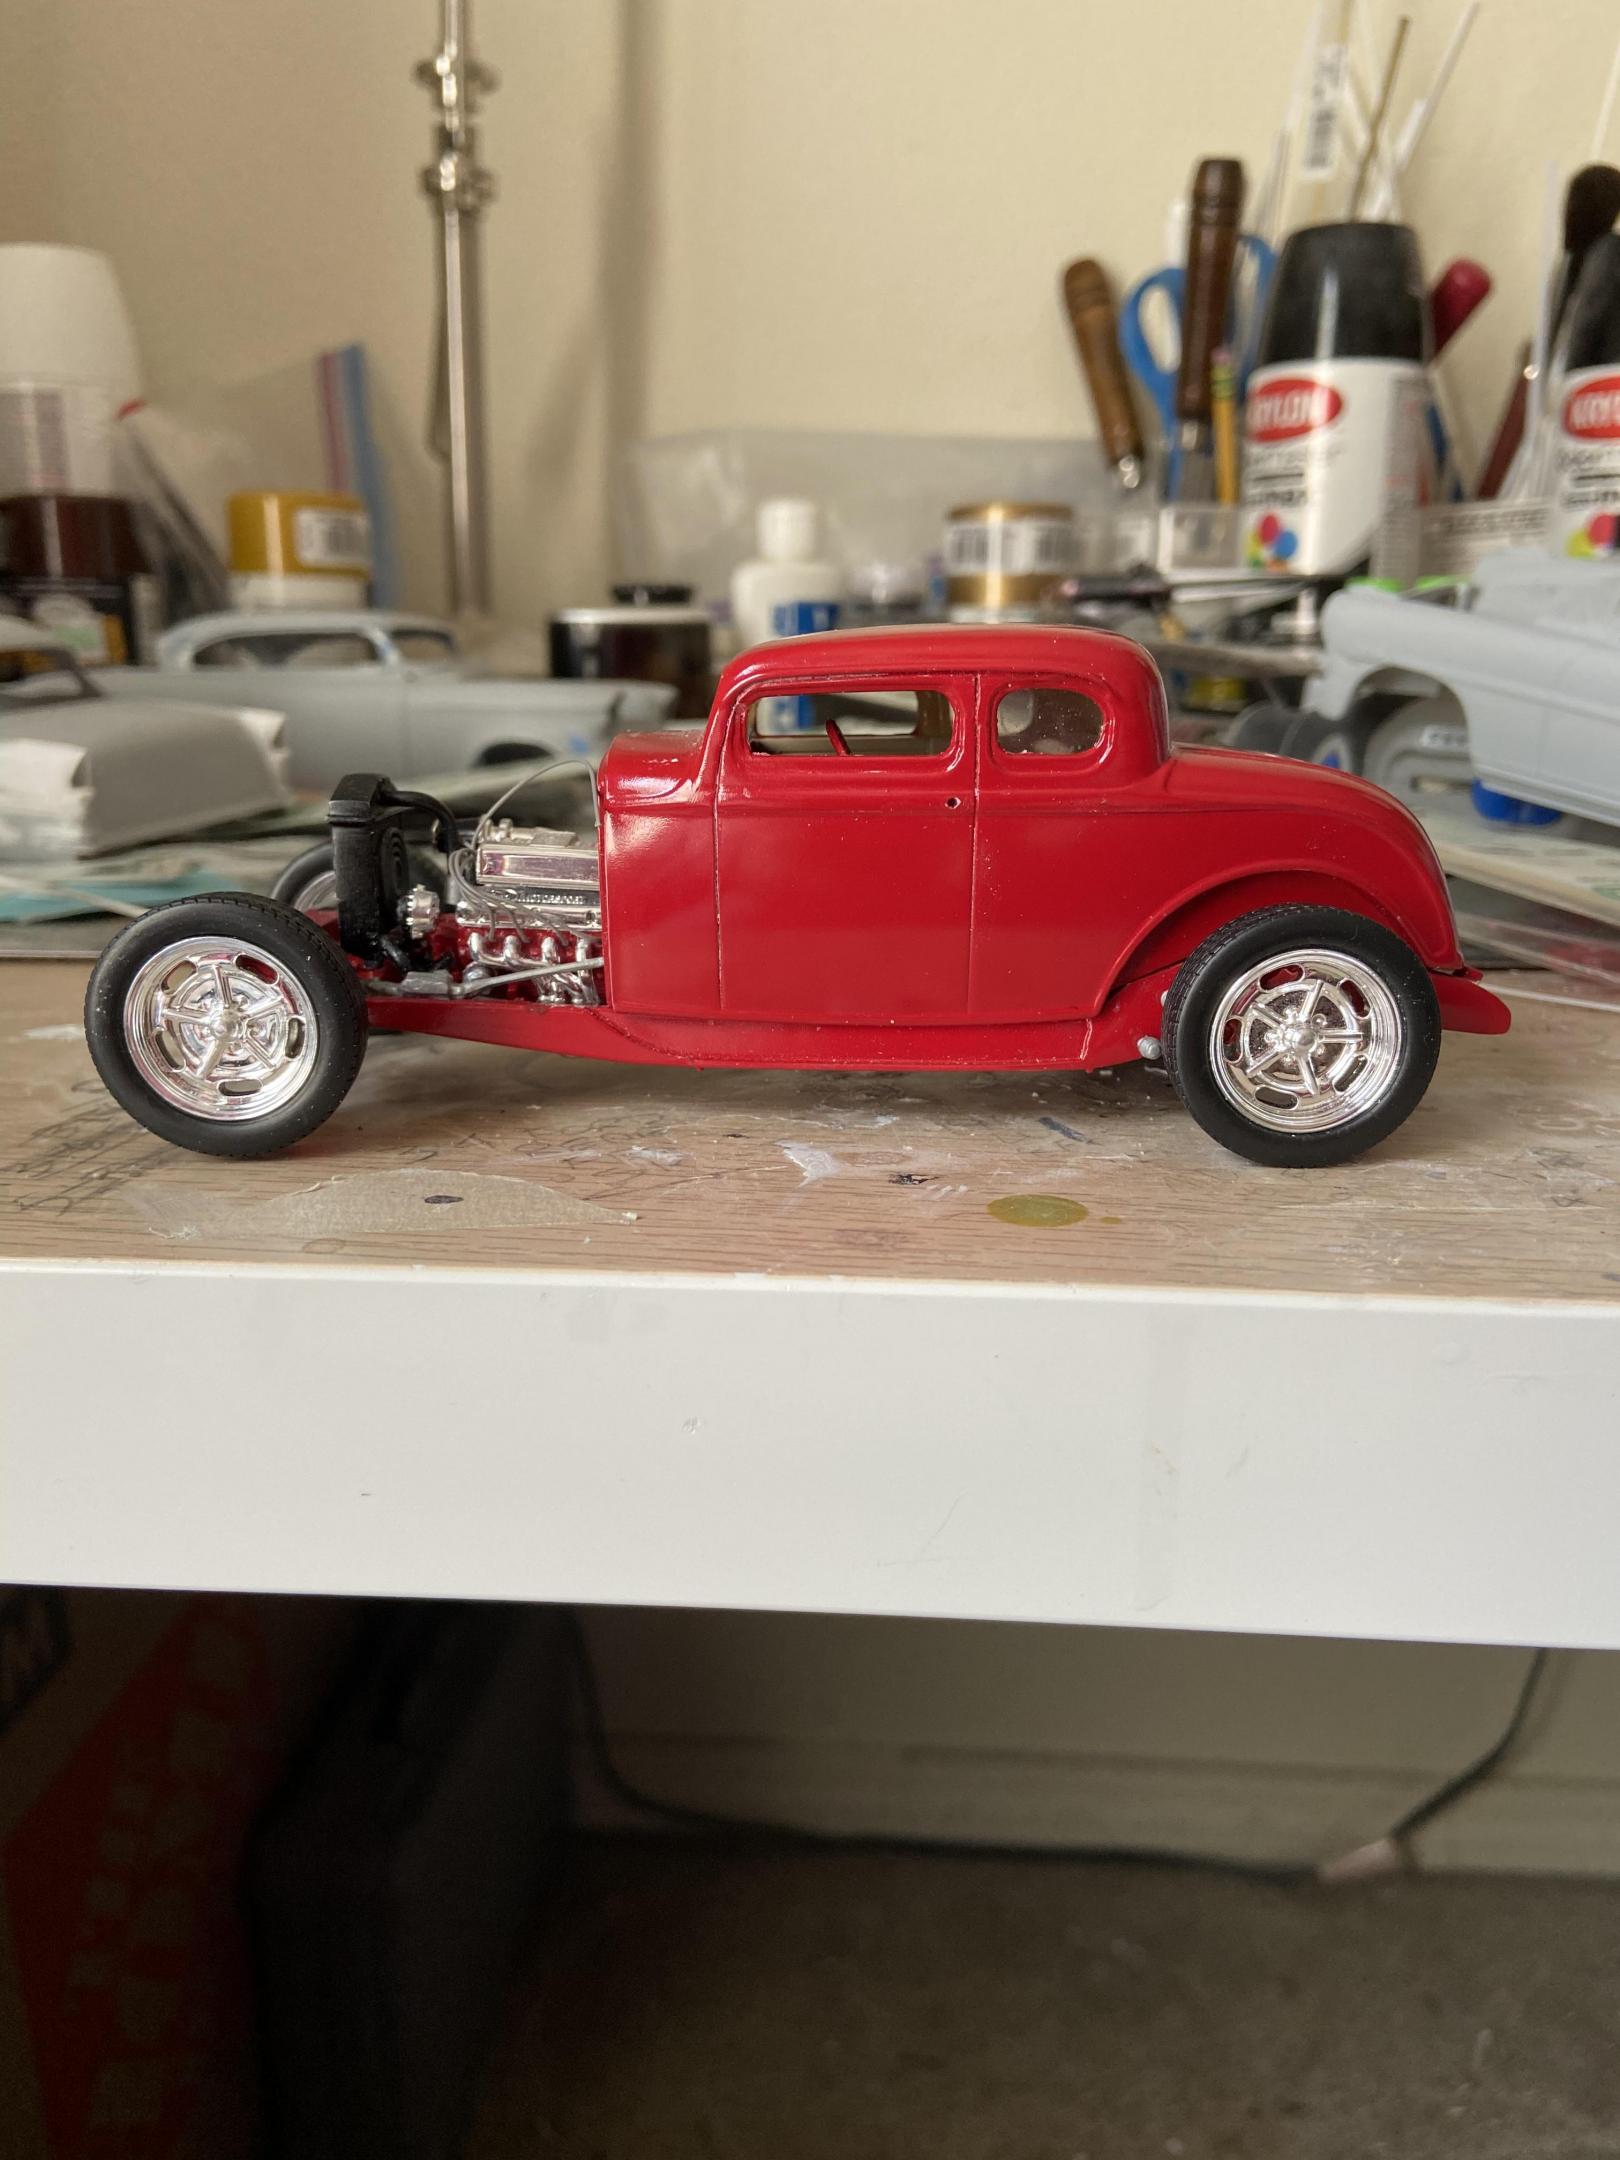
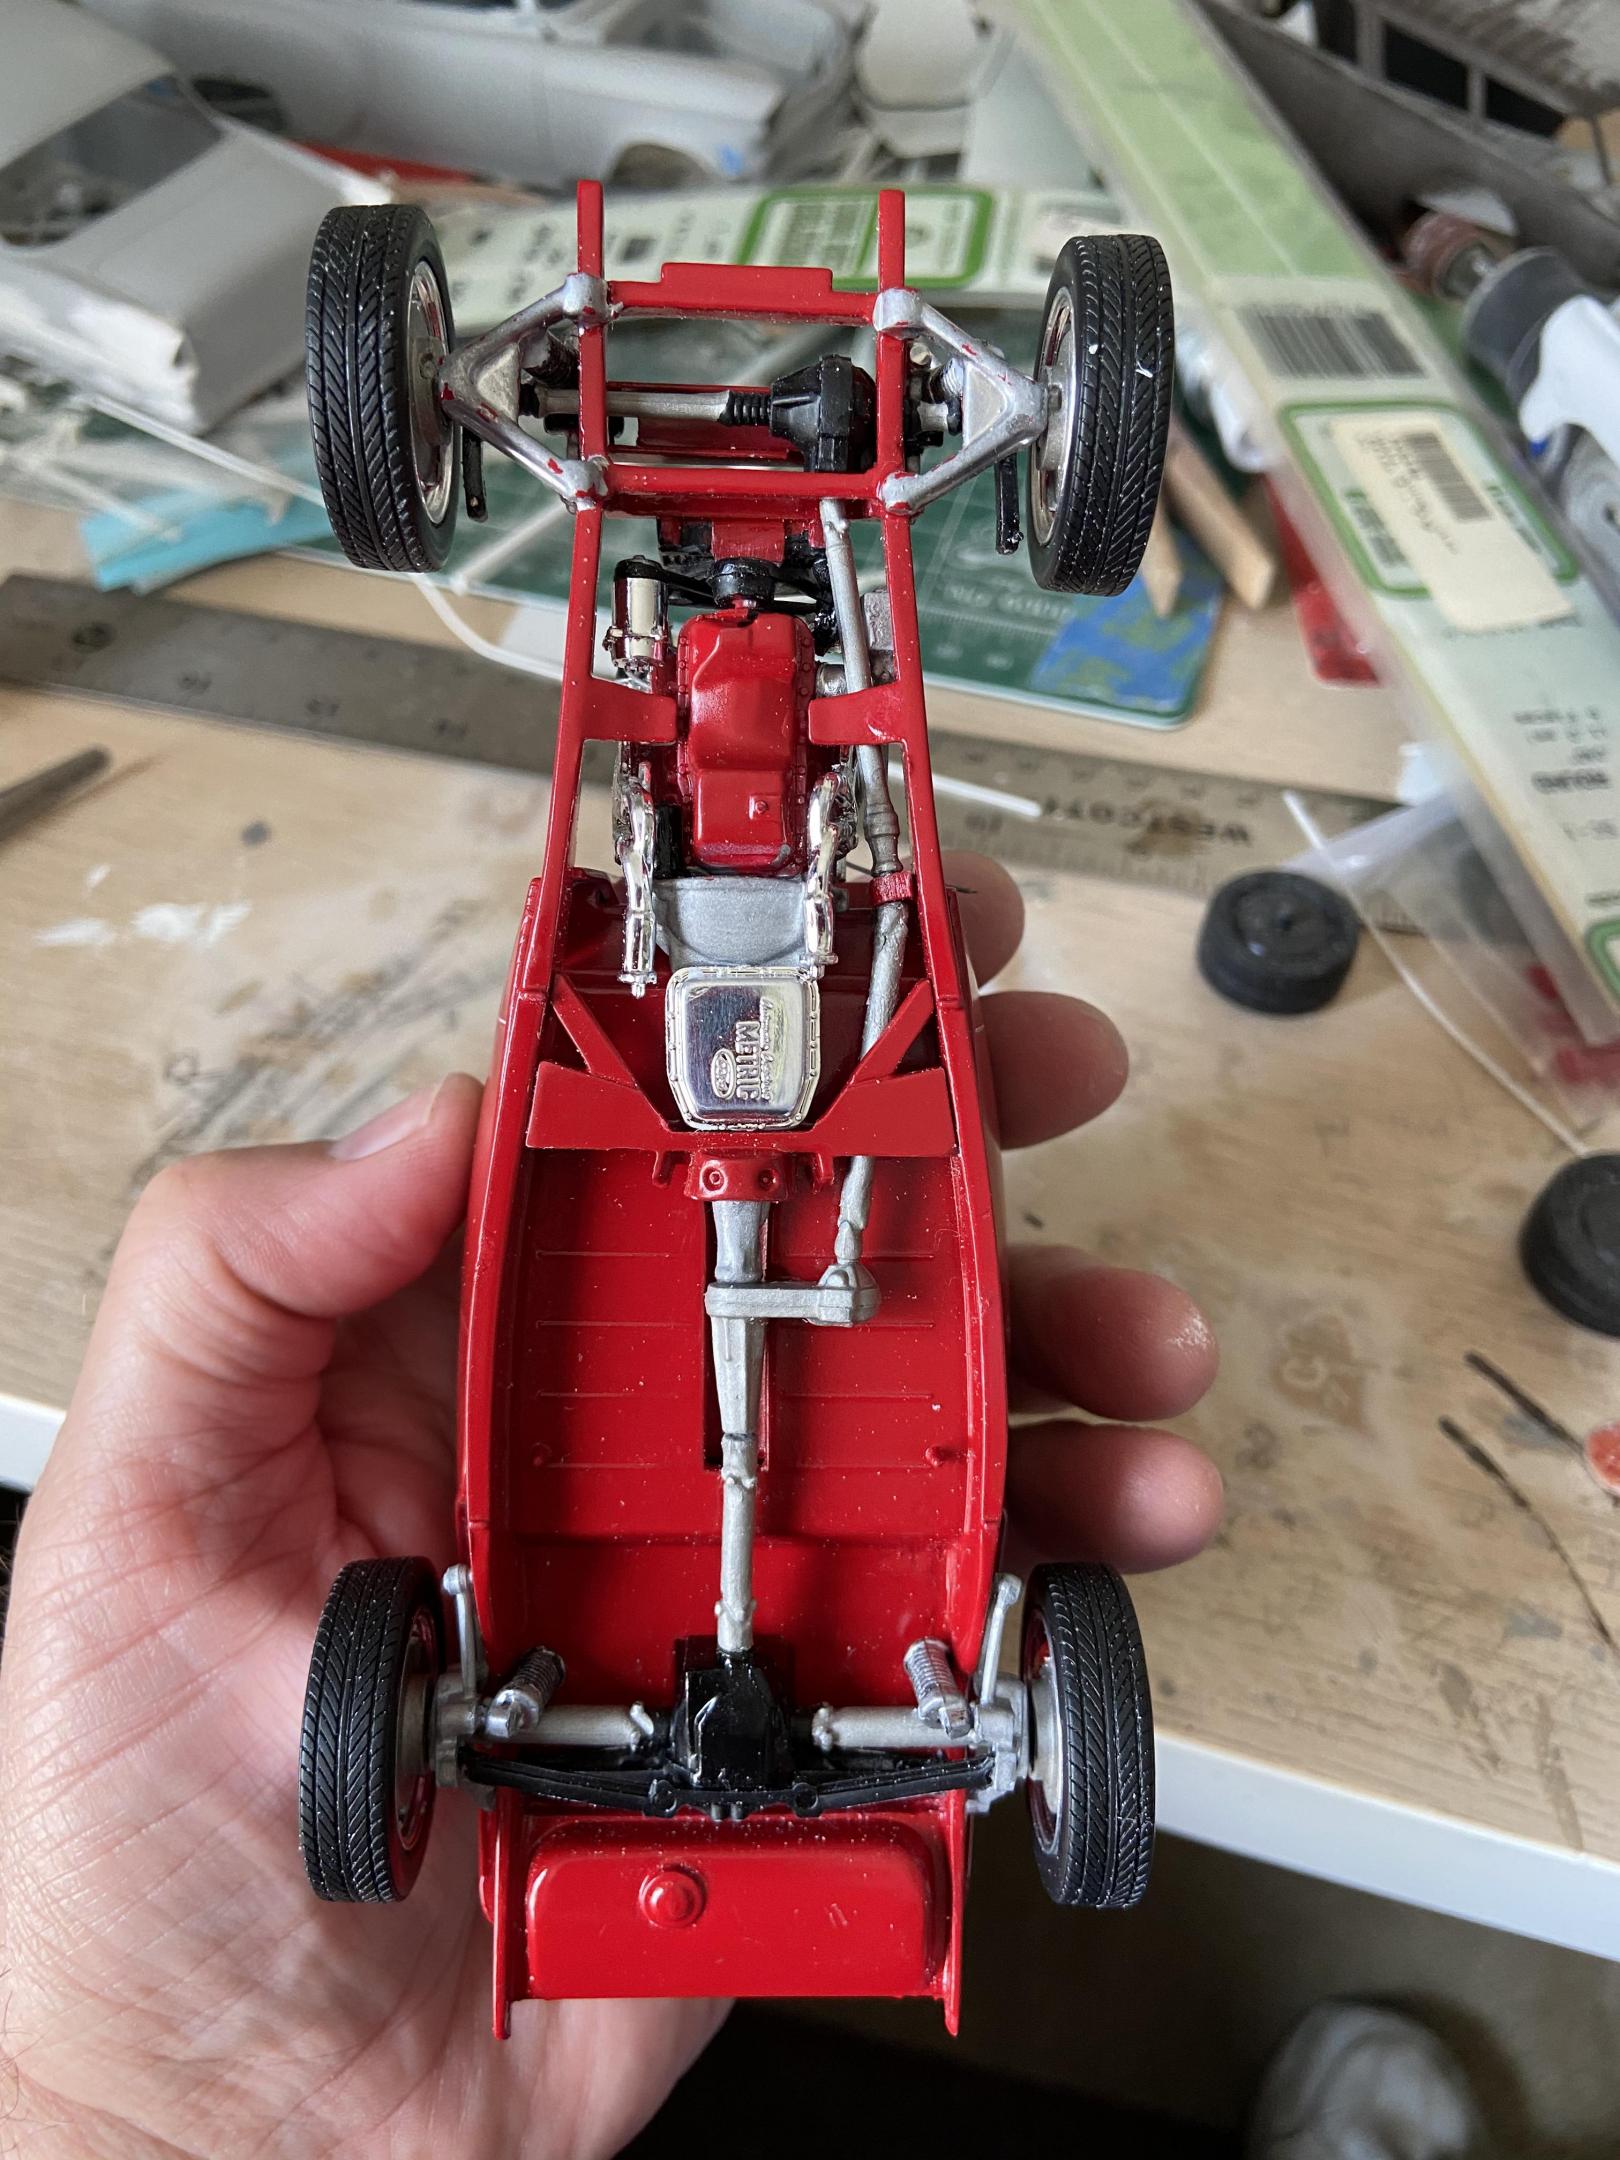
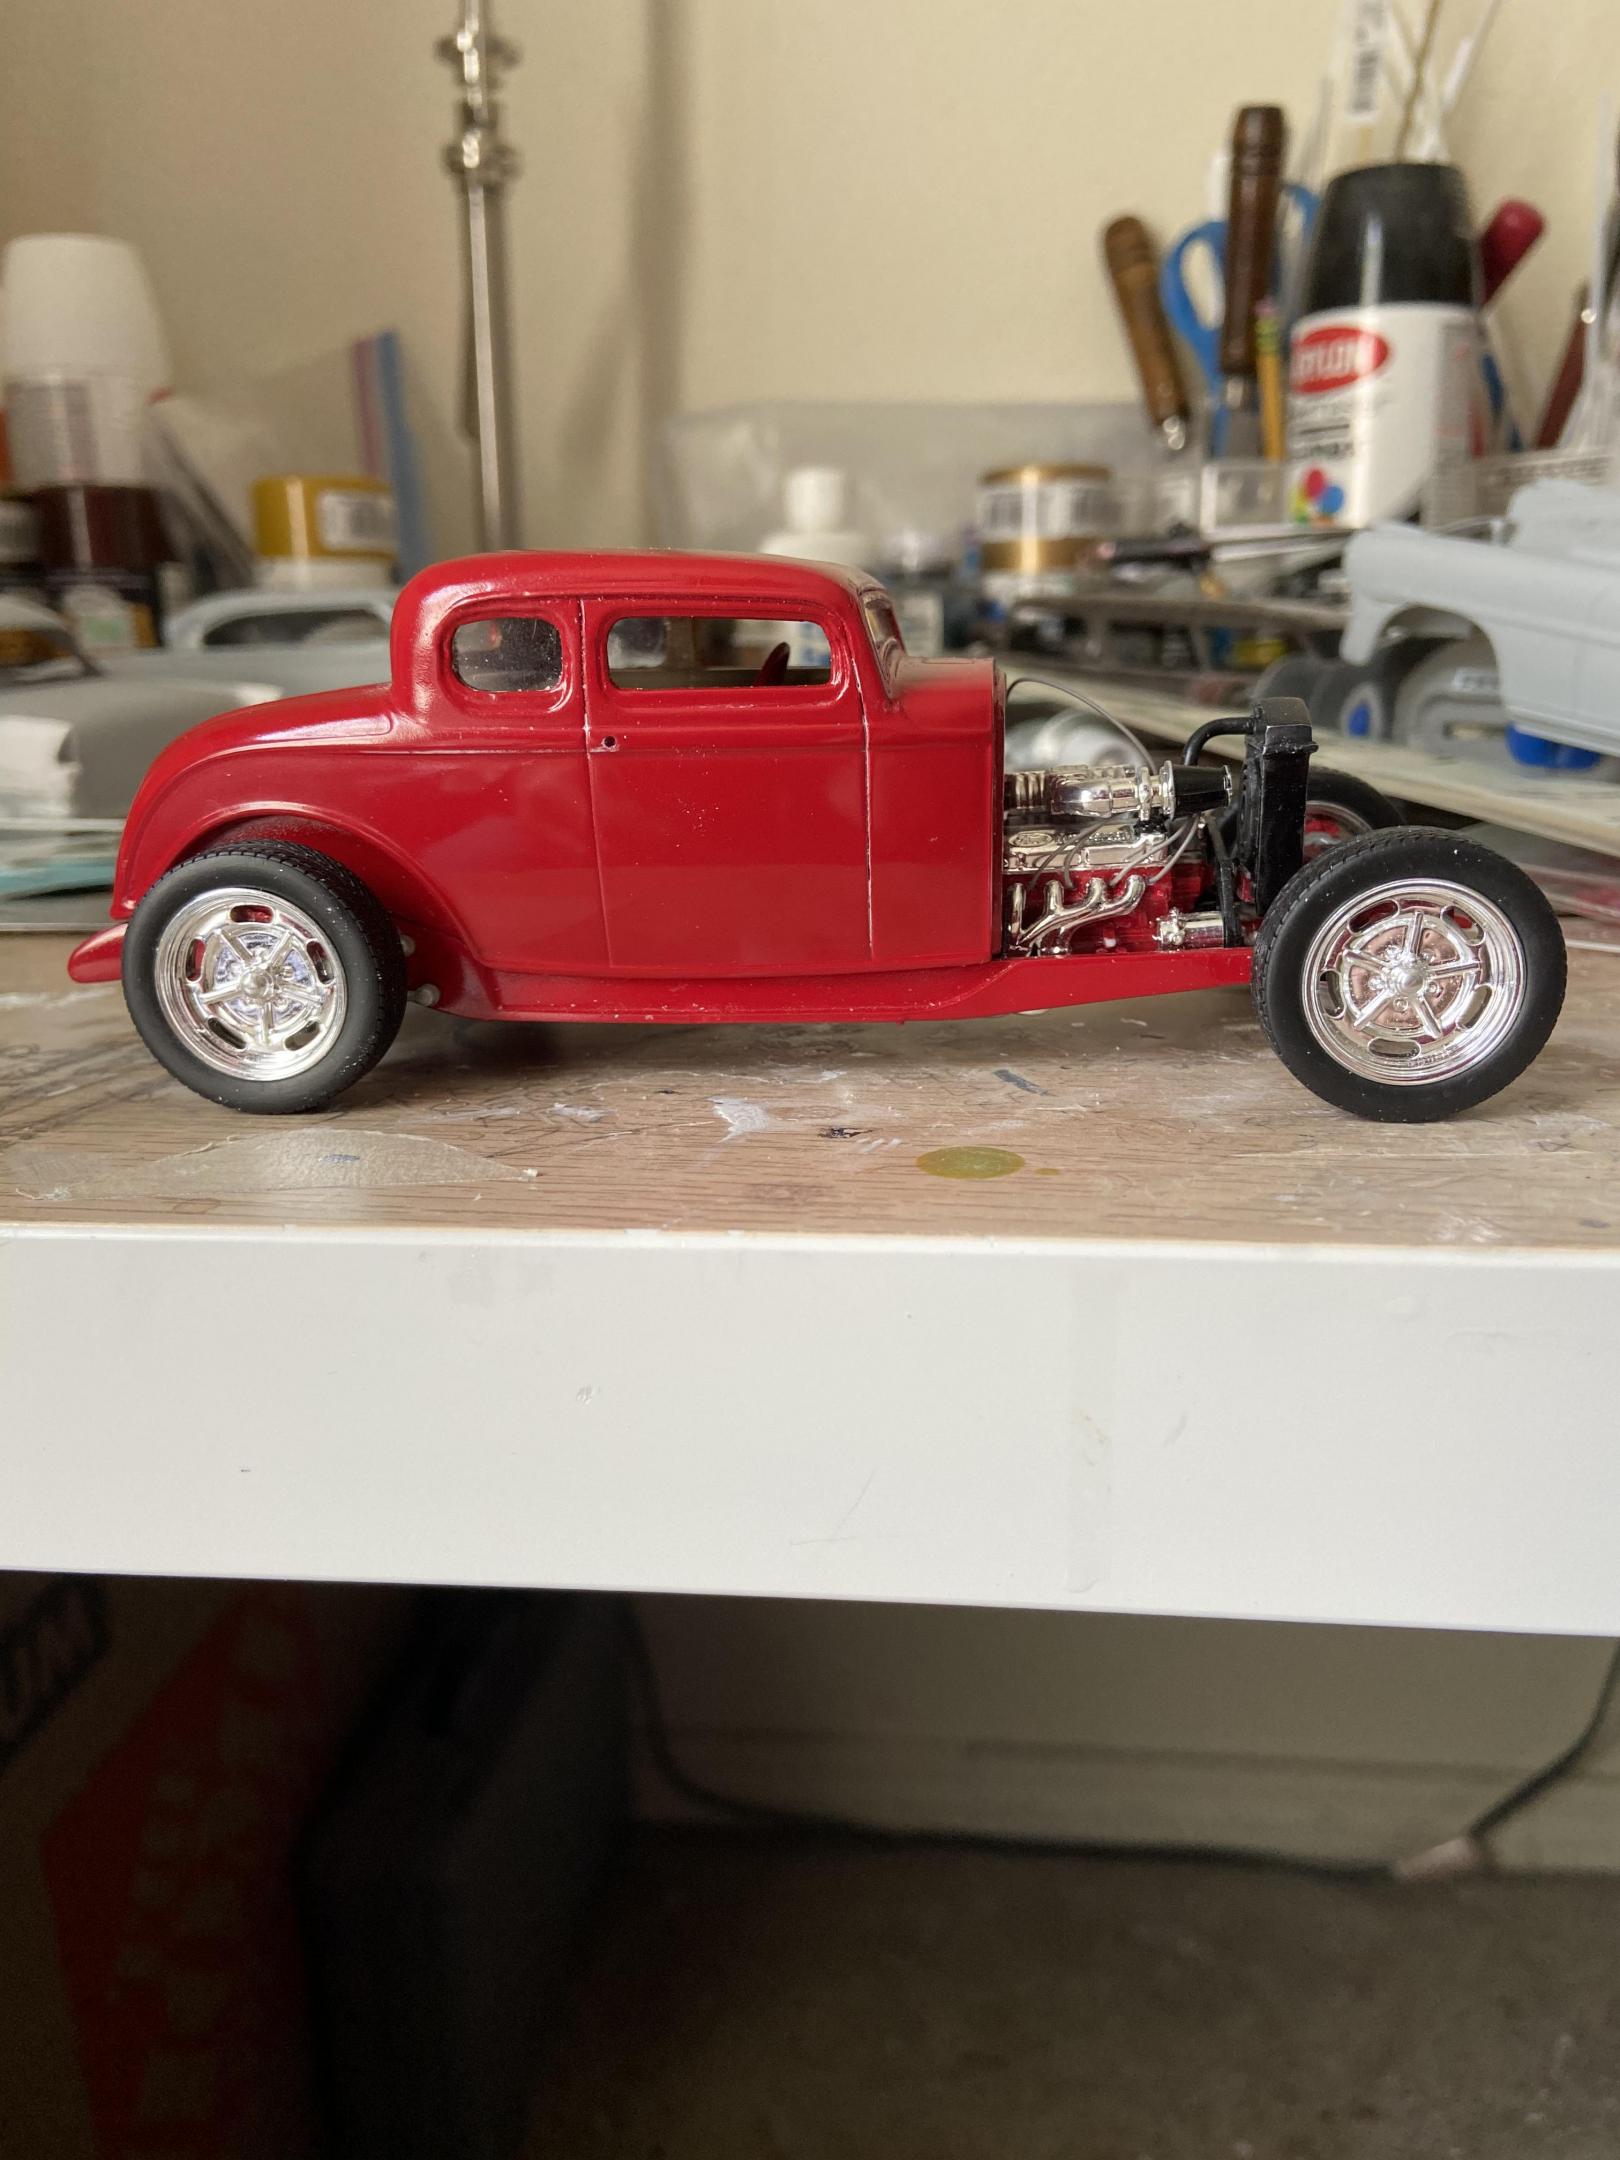
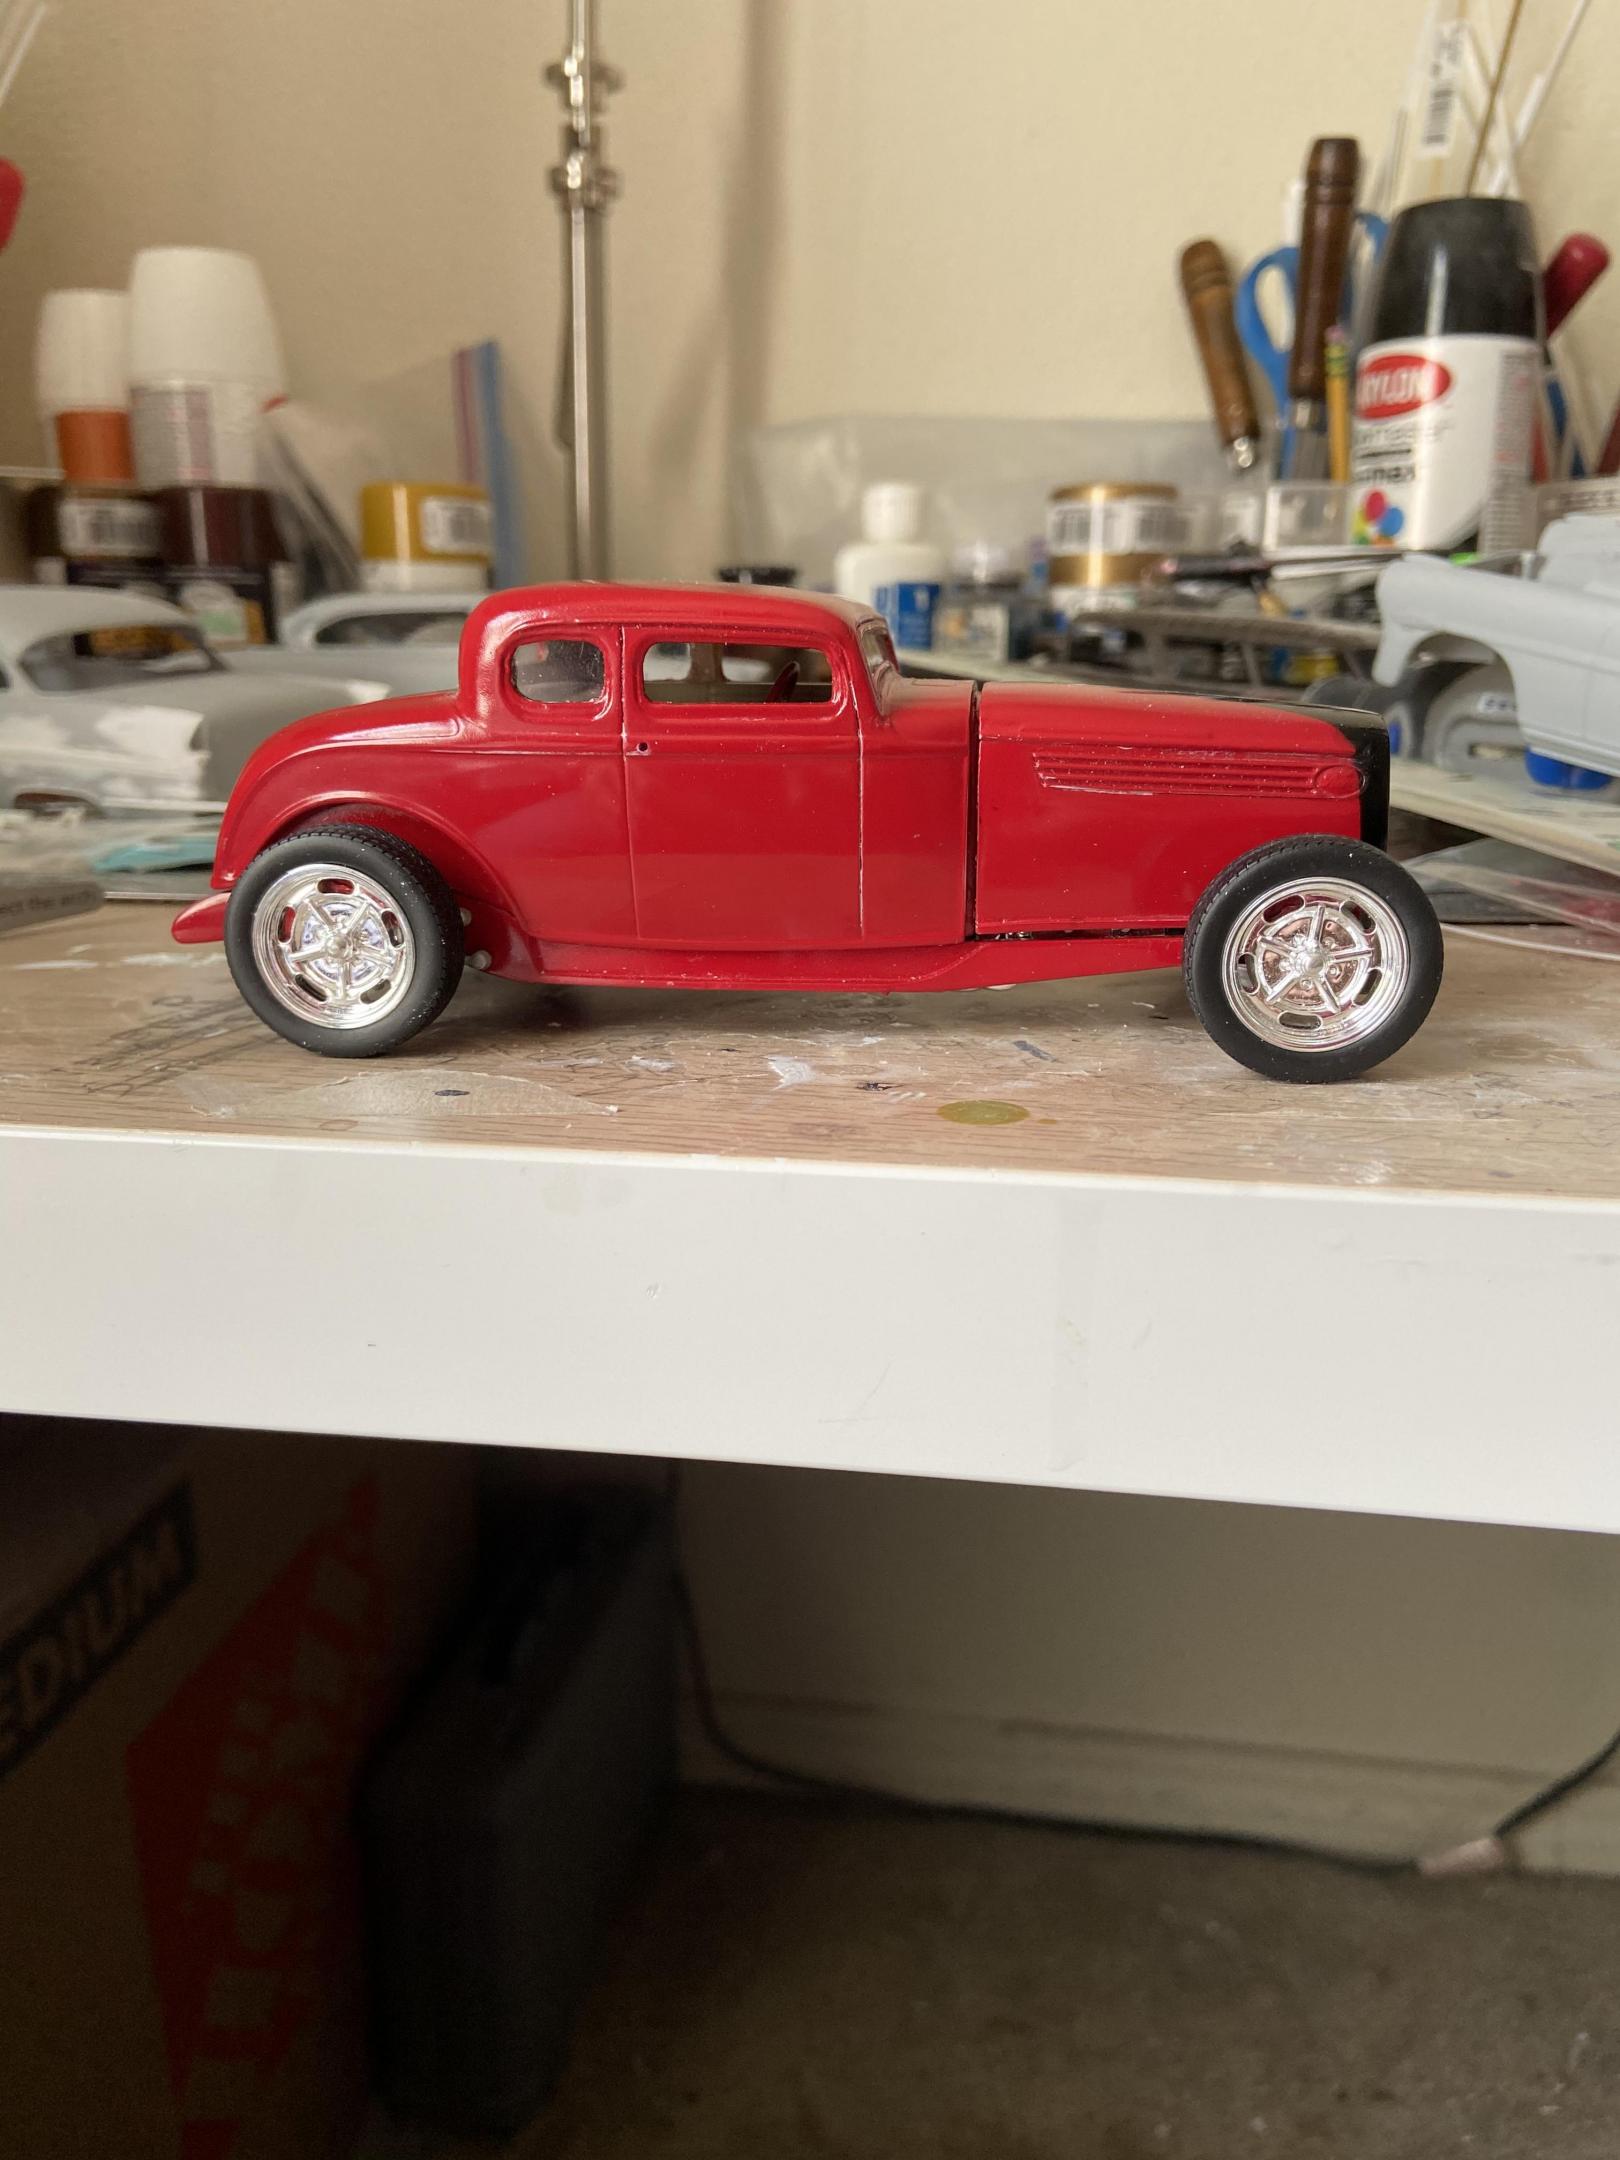
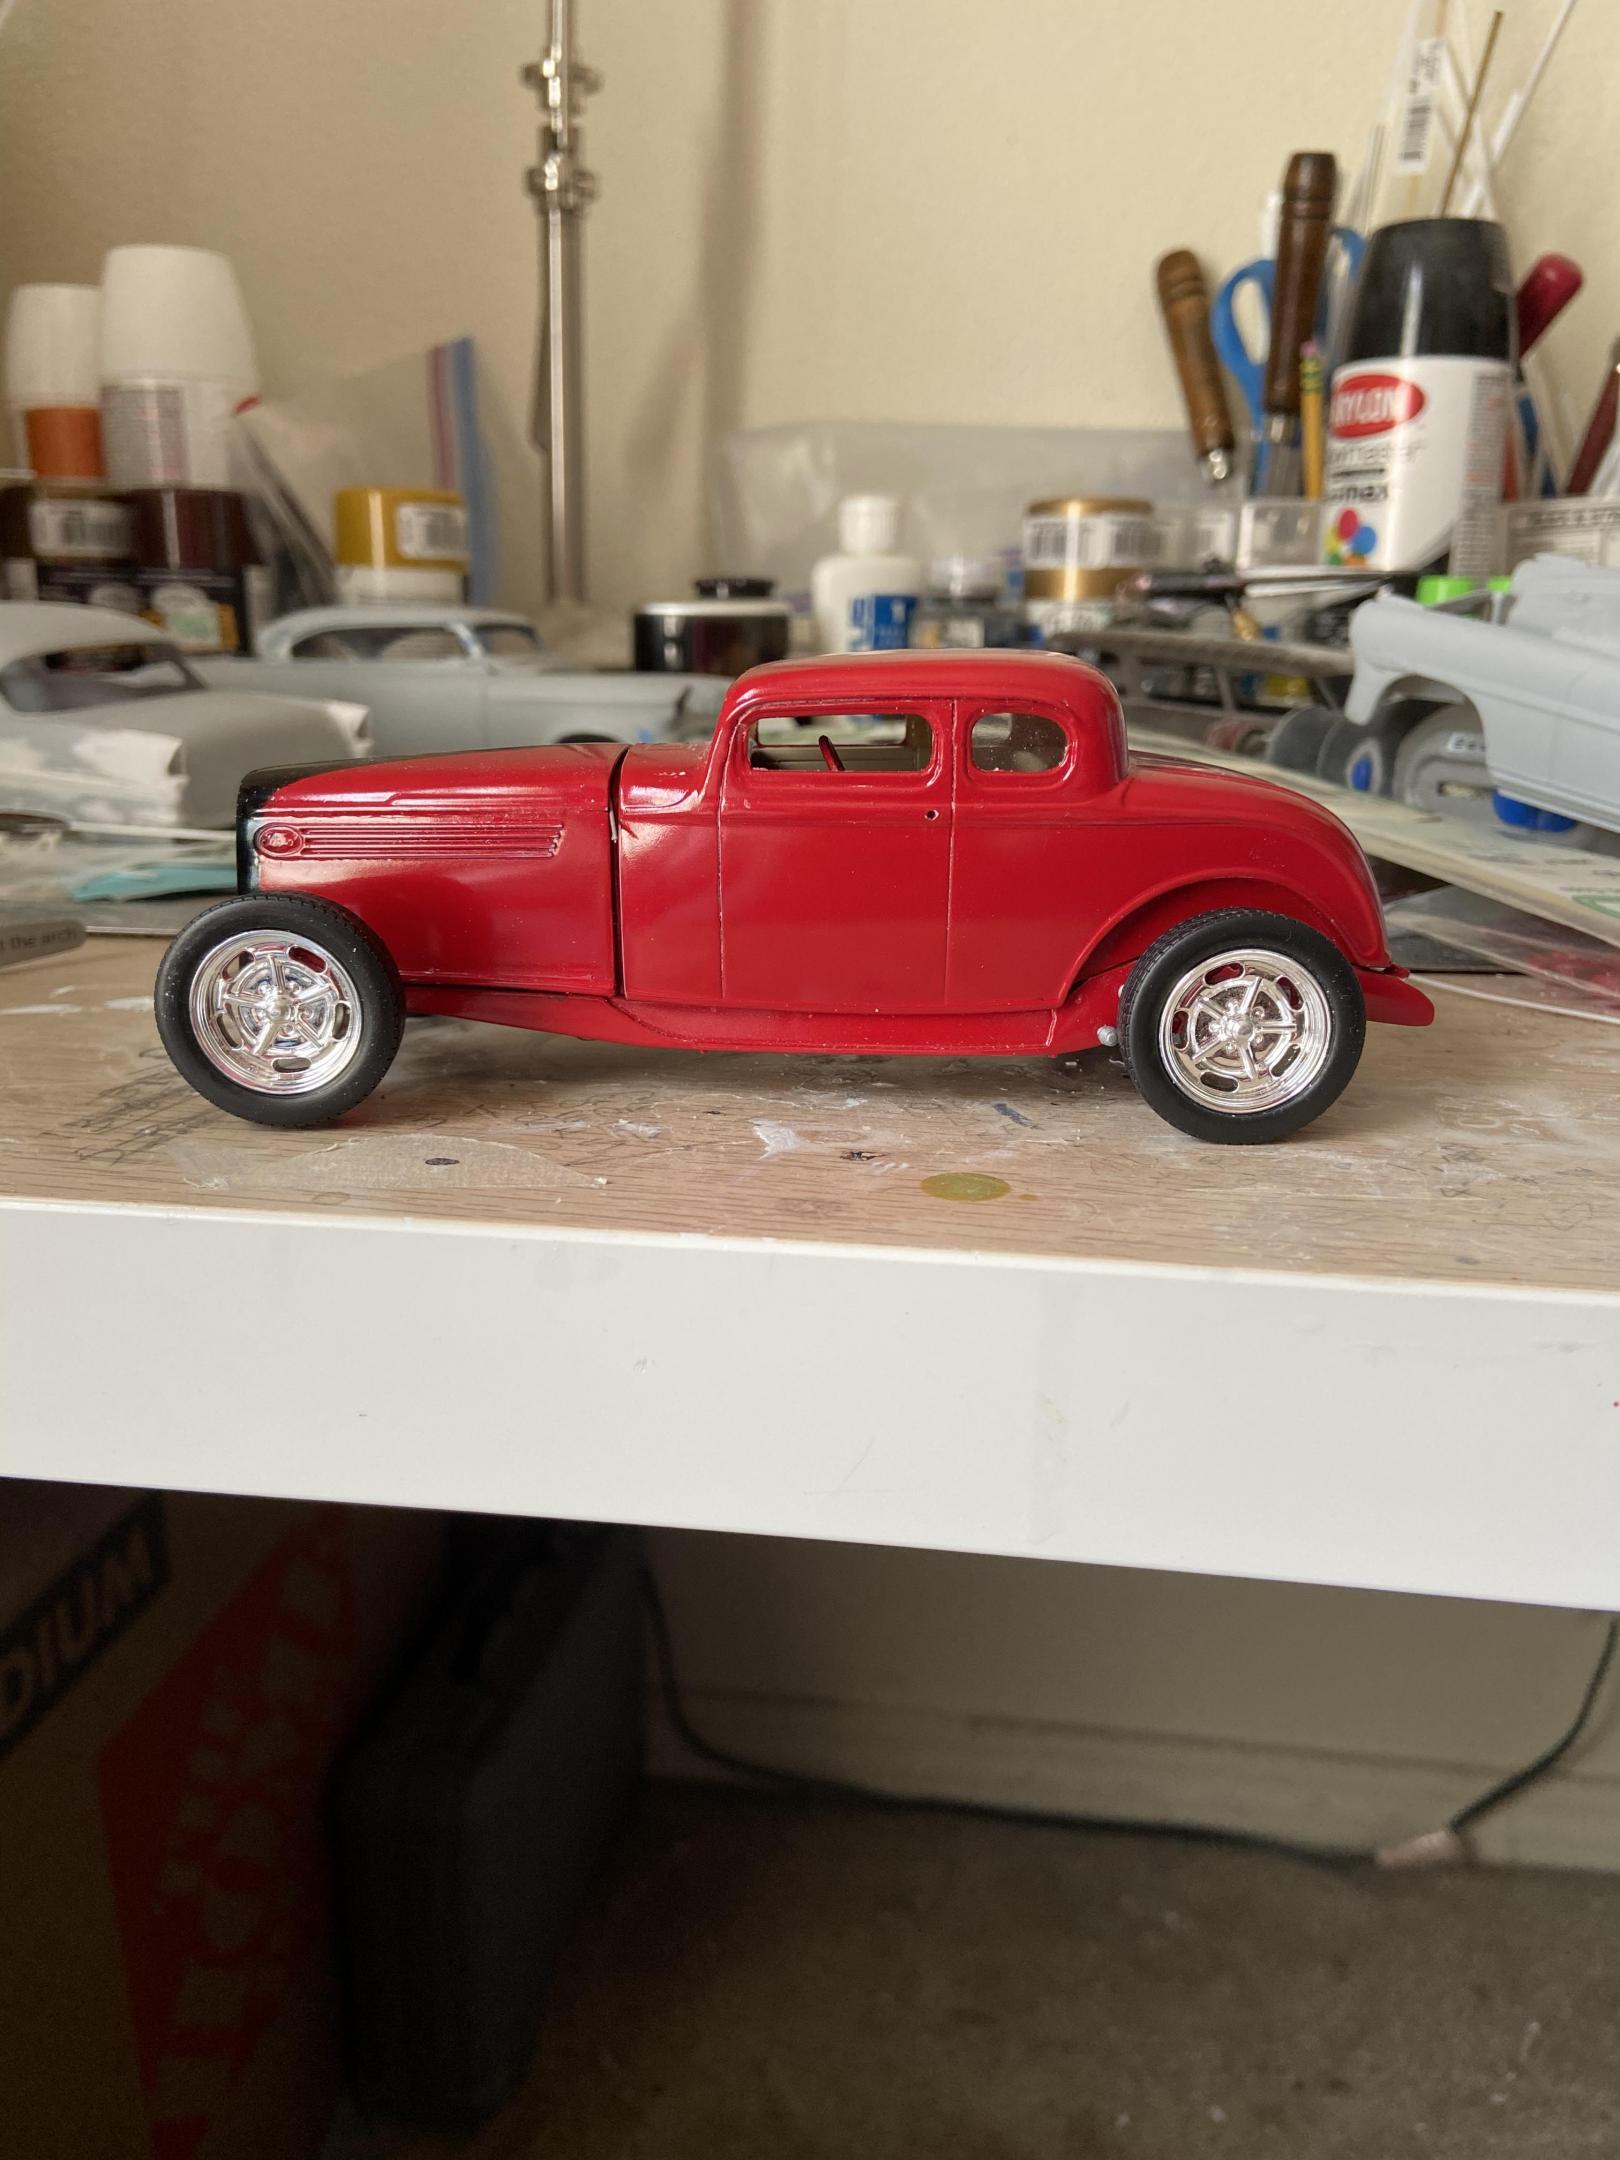
This build was started on January 2021 for a Facebook group challenge build for a 4 wheel drive challenge. It was intended to be only a 3 month build but I seriously missed that deadline. inspiration came primarily from the Summit Racing 1932 Quadradeuce, specifically the version from Troy’s Hot Rods. But the finish paint job snd execution is more in line with the Rolling Bones hot rod shop. There are a few compromises that occurred but overall I’m pleased. There are plans to revisit this theme again sometime hopefully soon. Keep smiling ?
-
-
1964 Dodge D100
carnut replied to carnut's topic in WIP: Model Trucks: Pickups, Vans, SUVs, Light Commercial
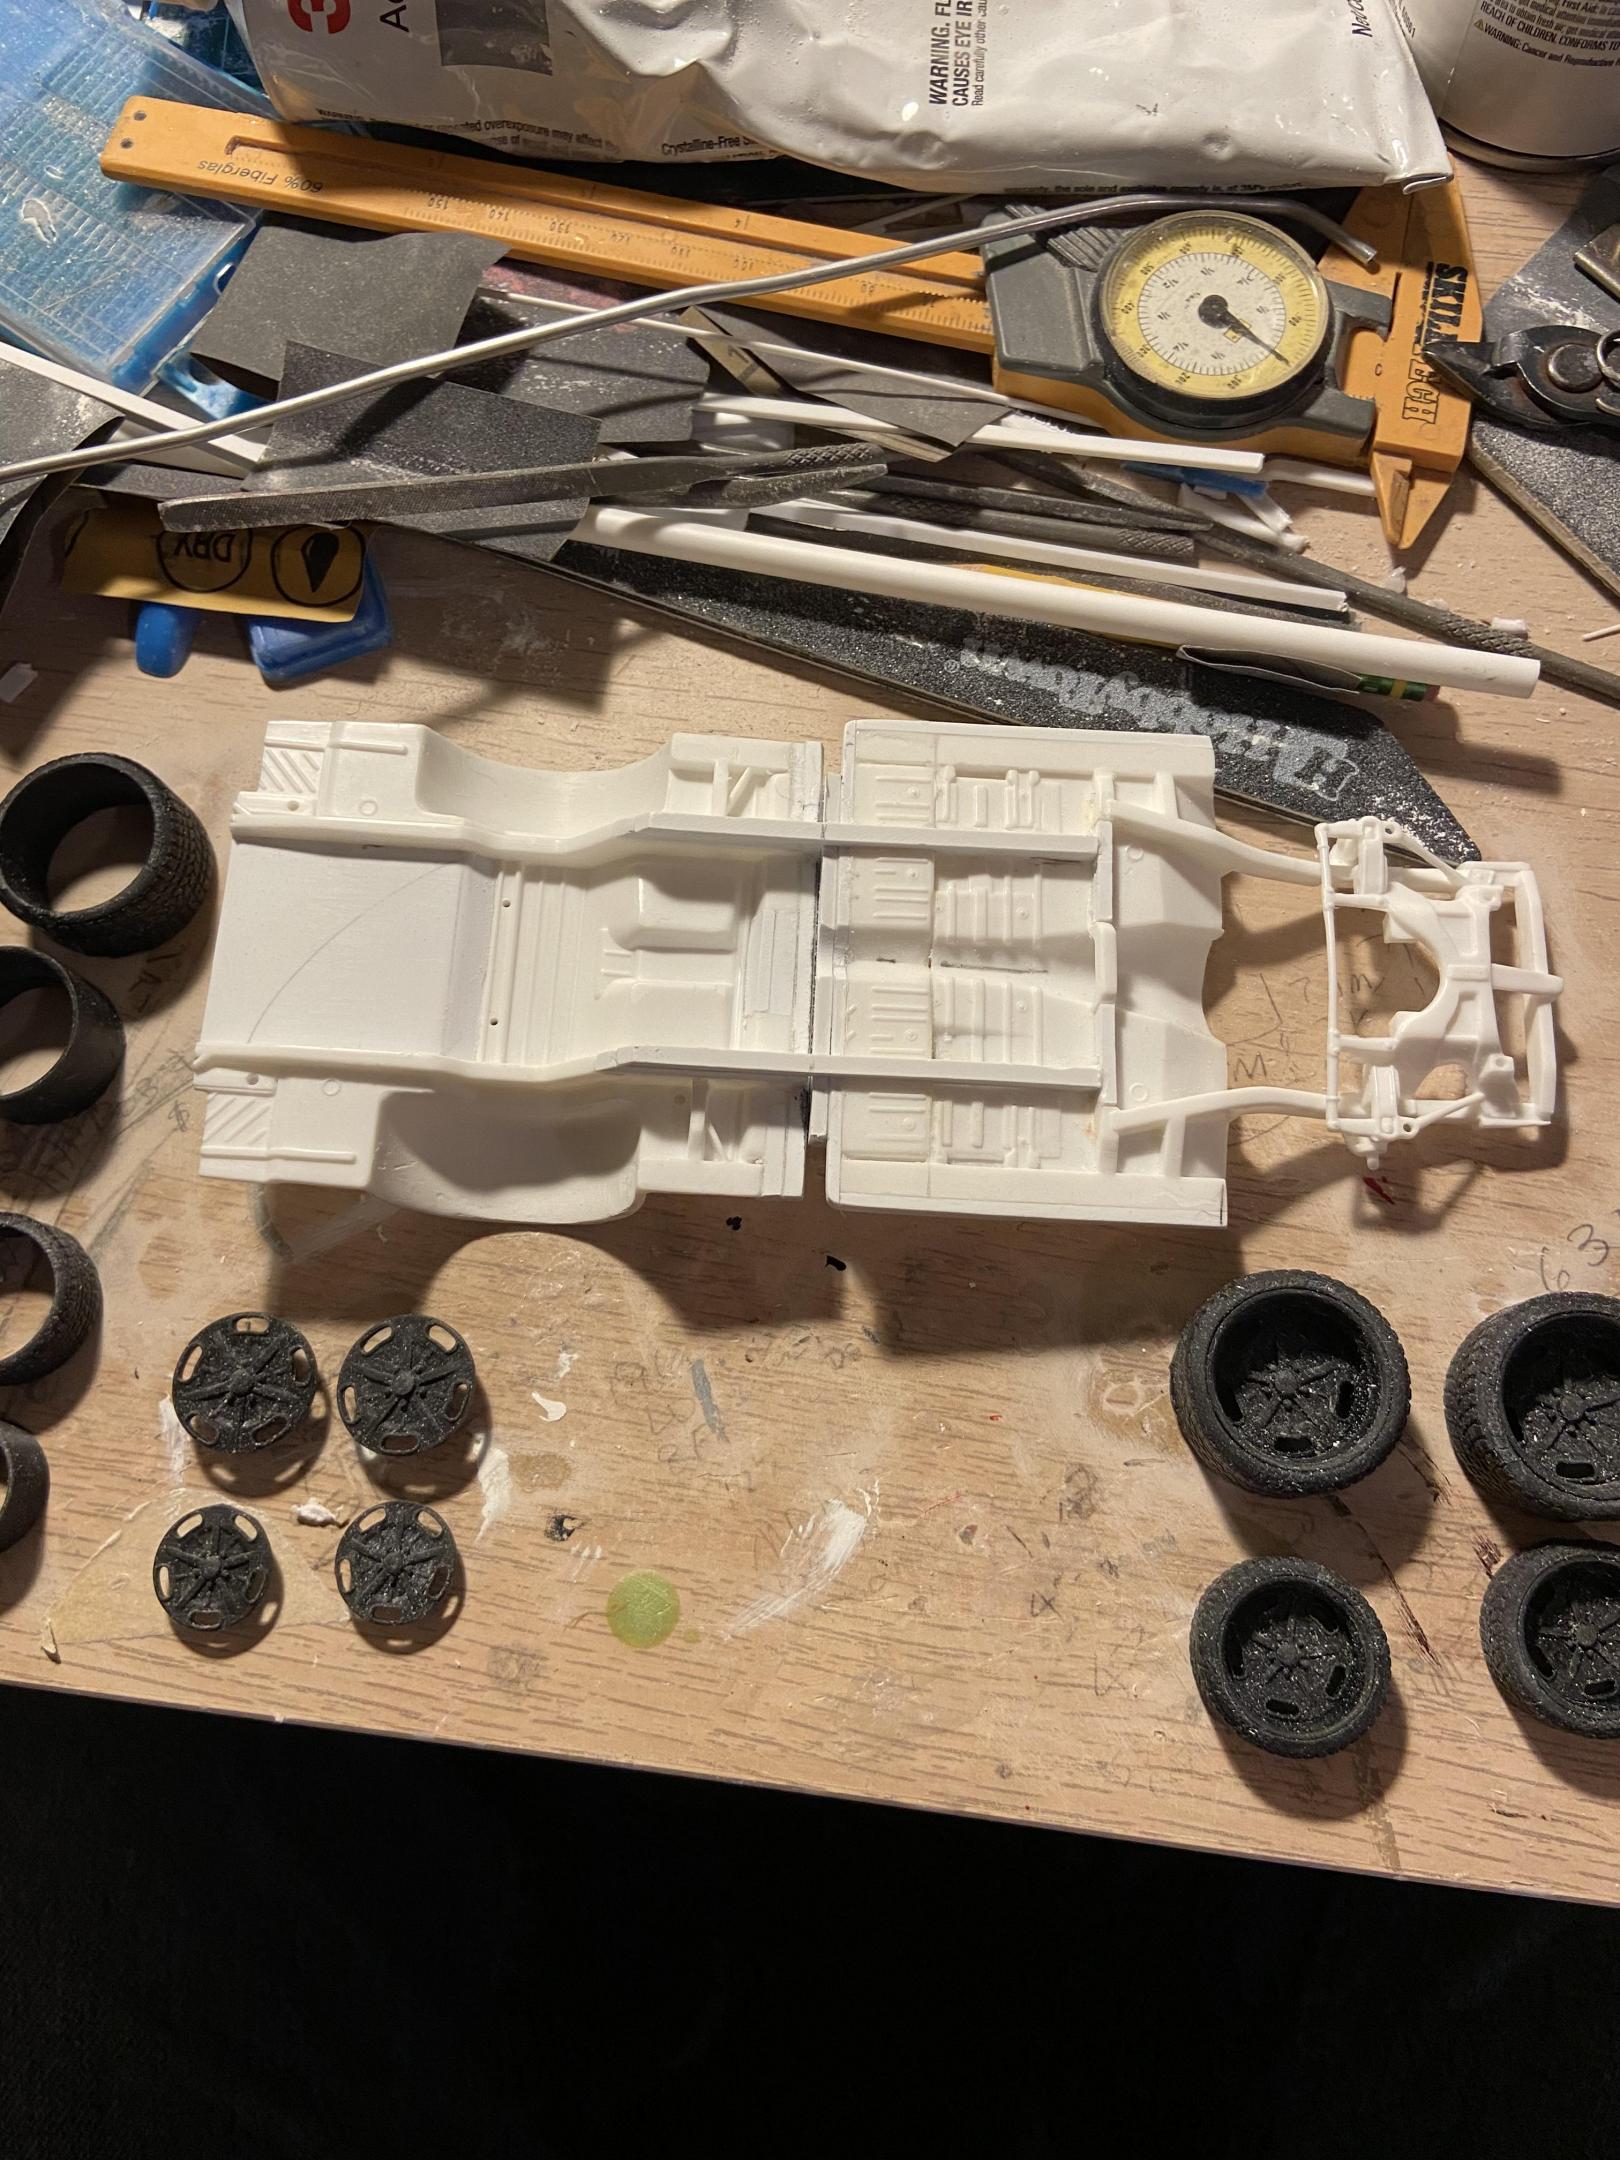
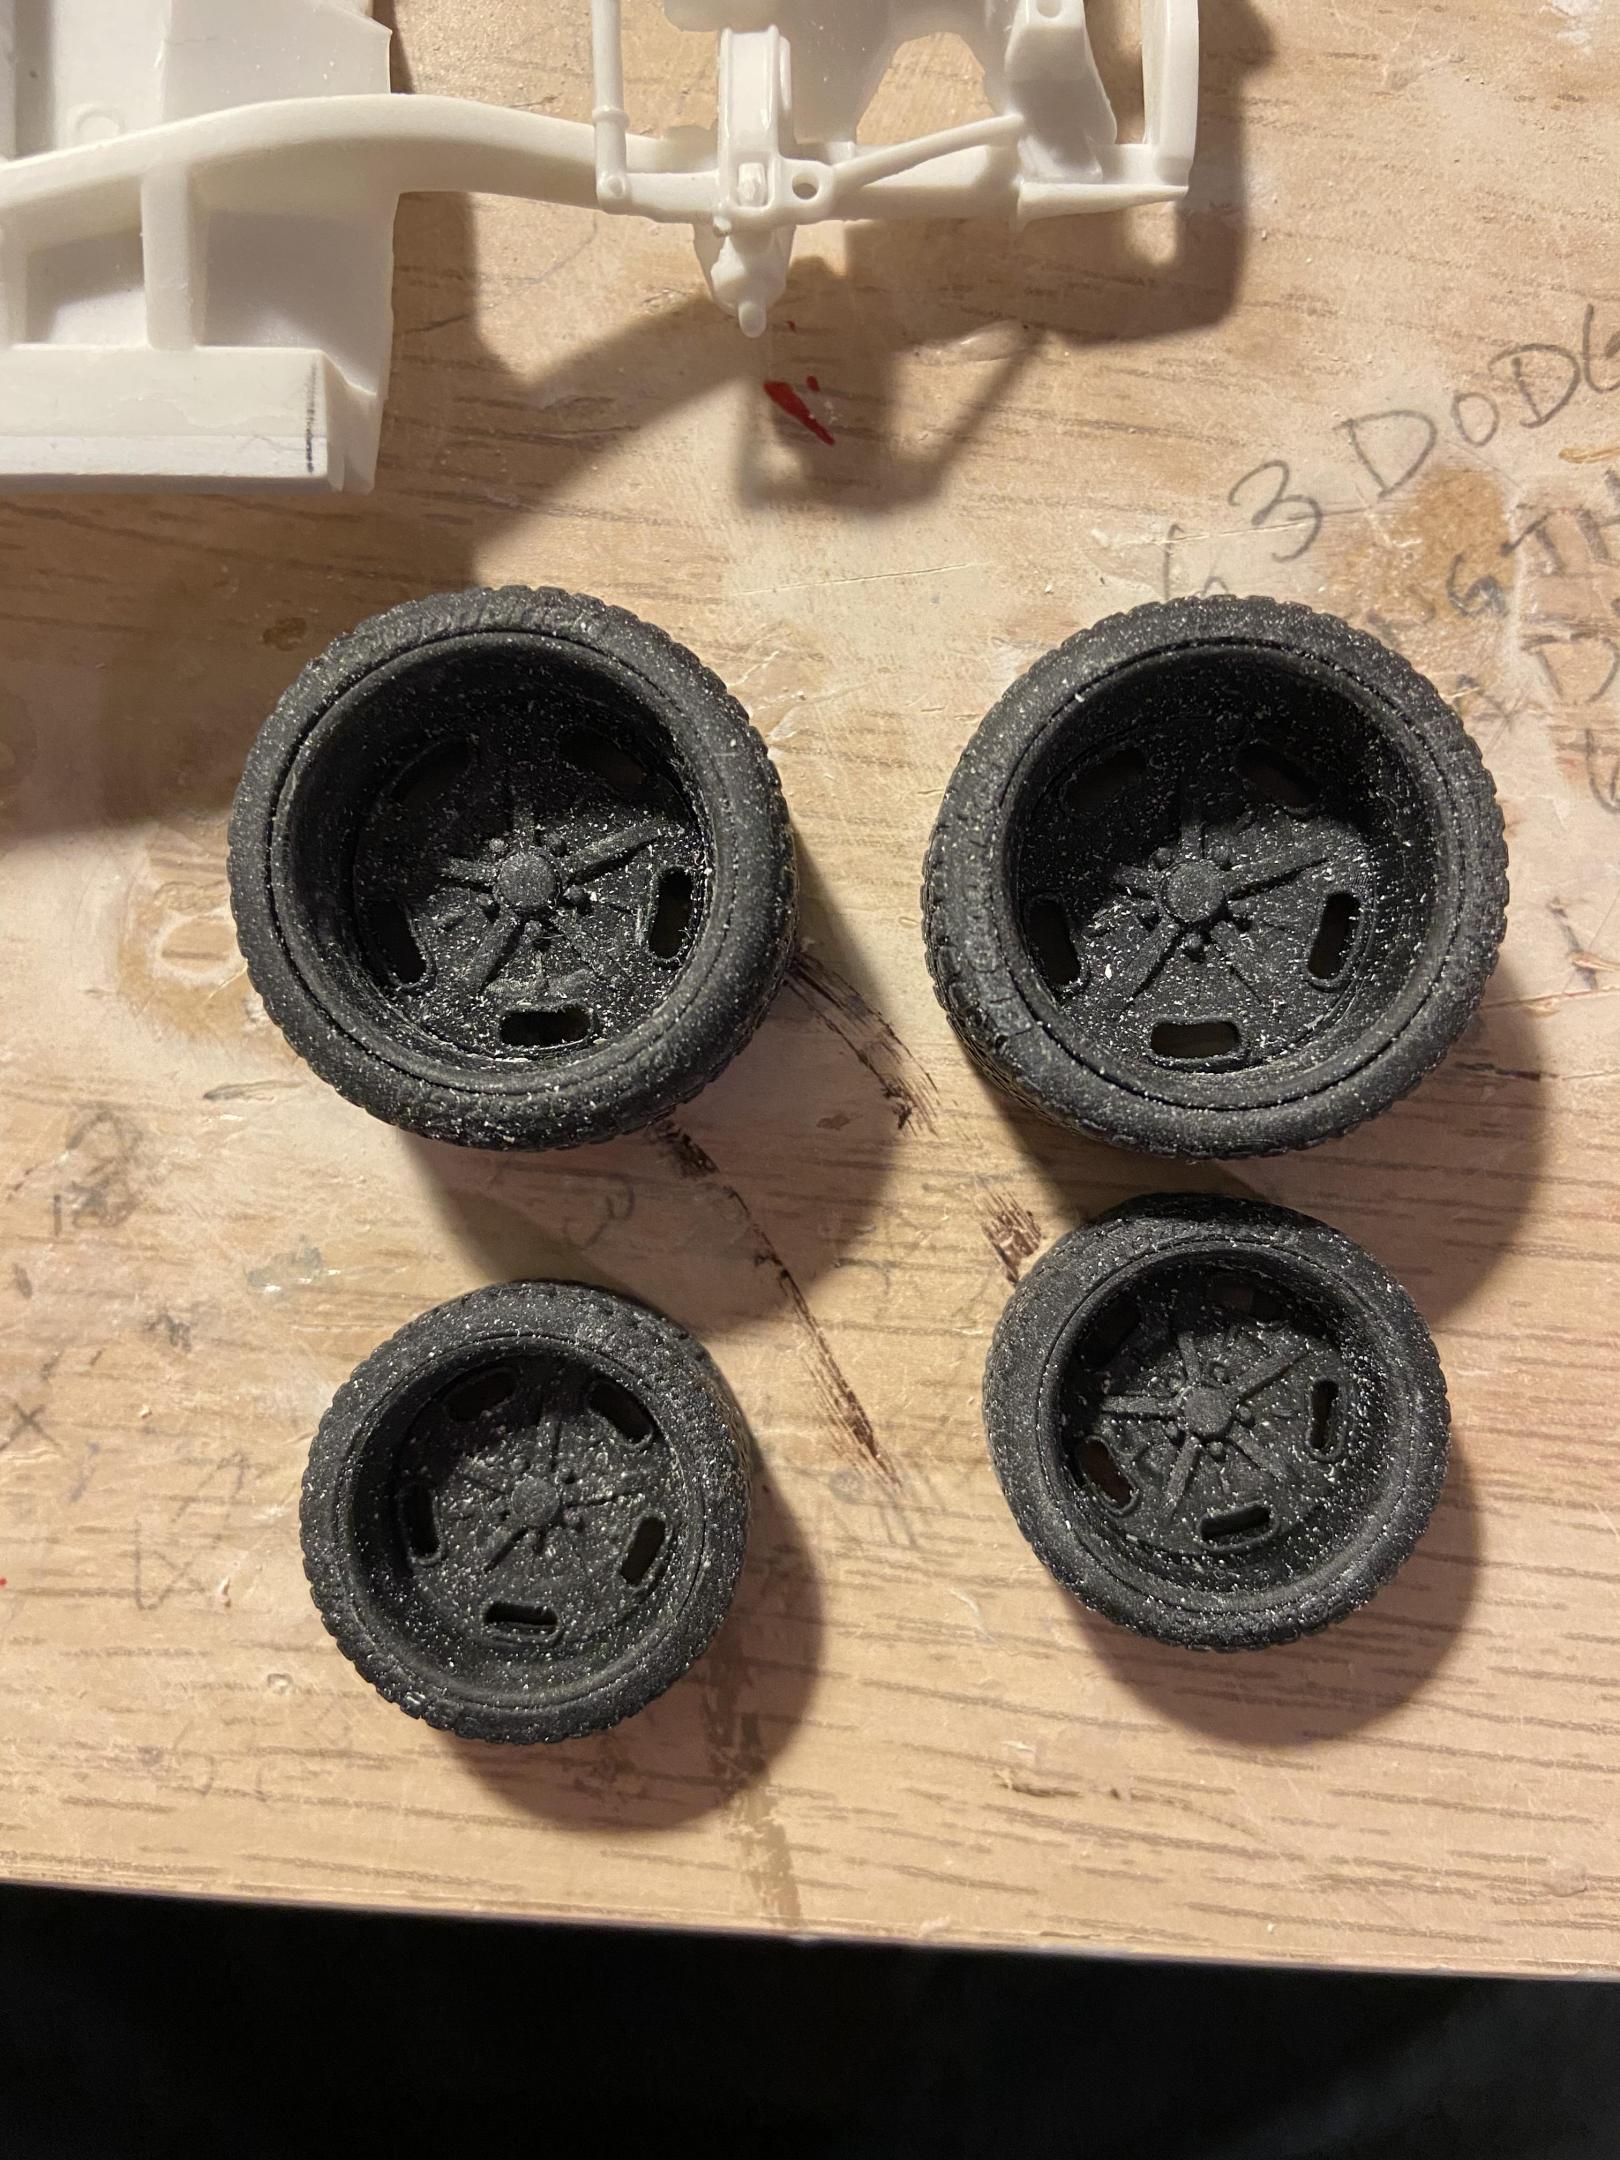
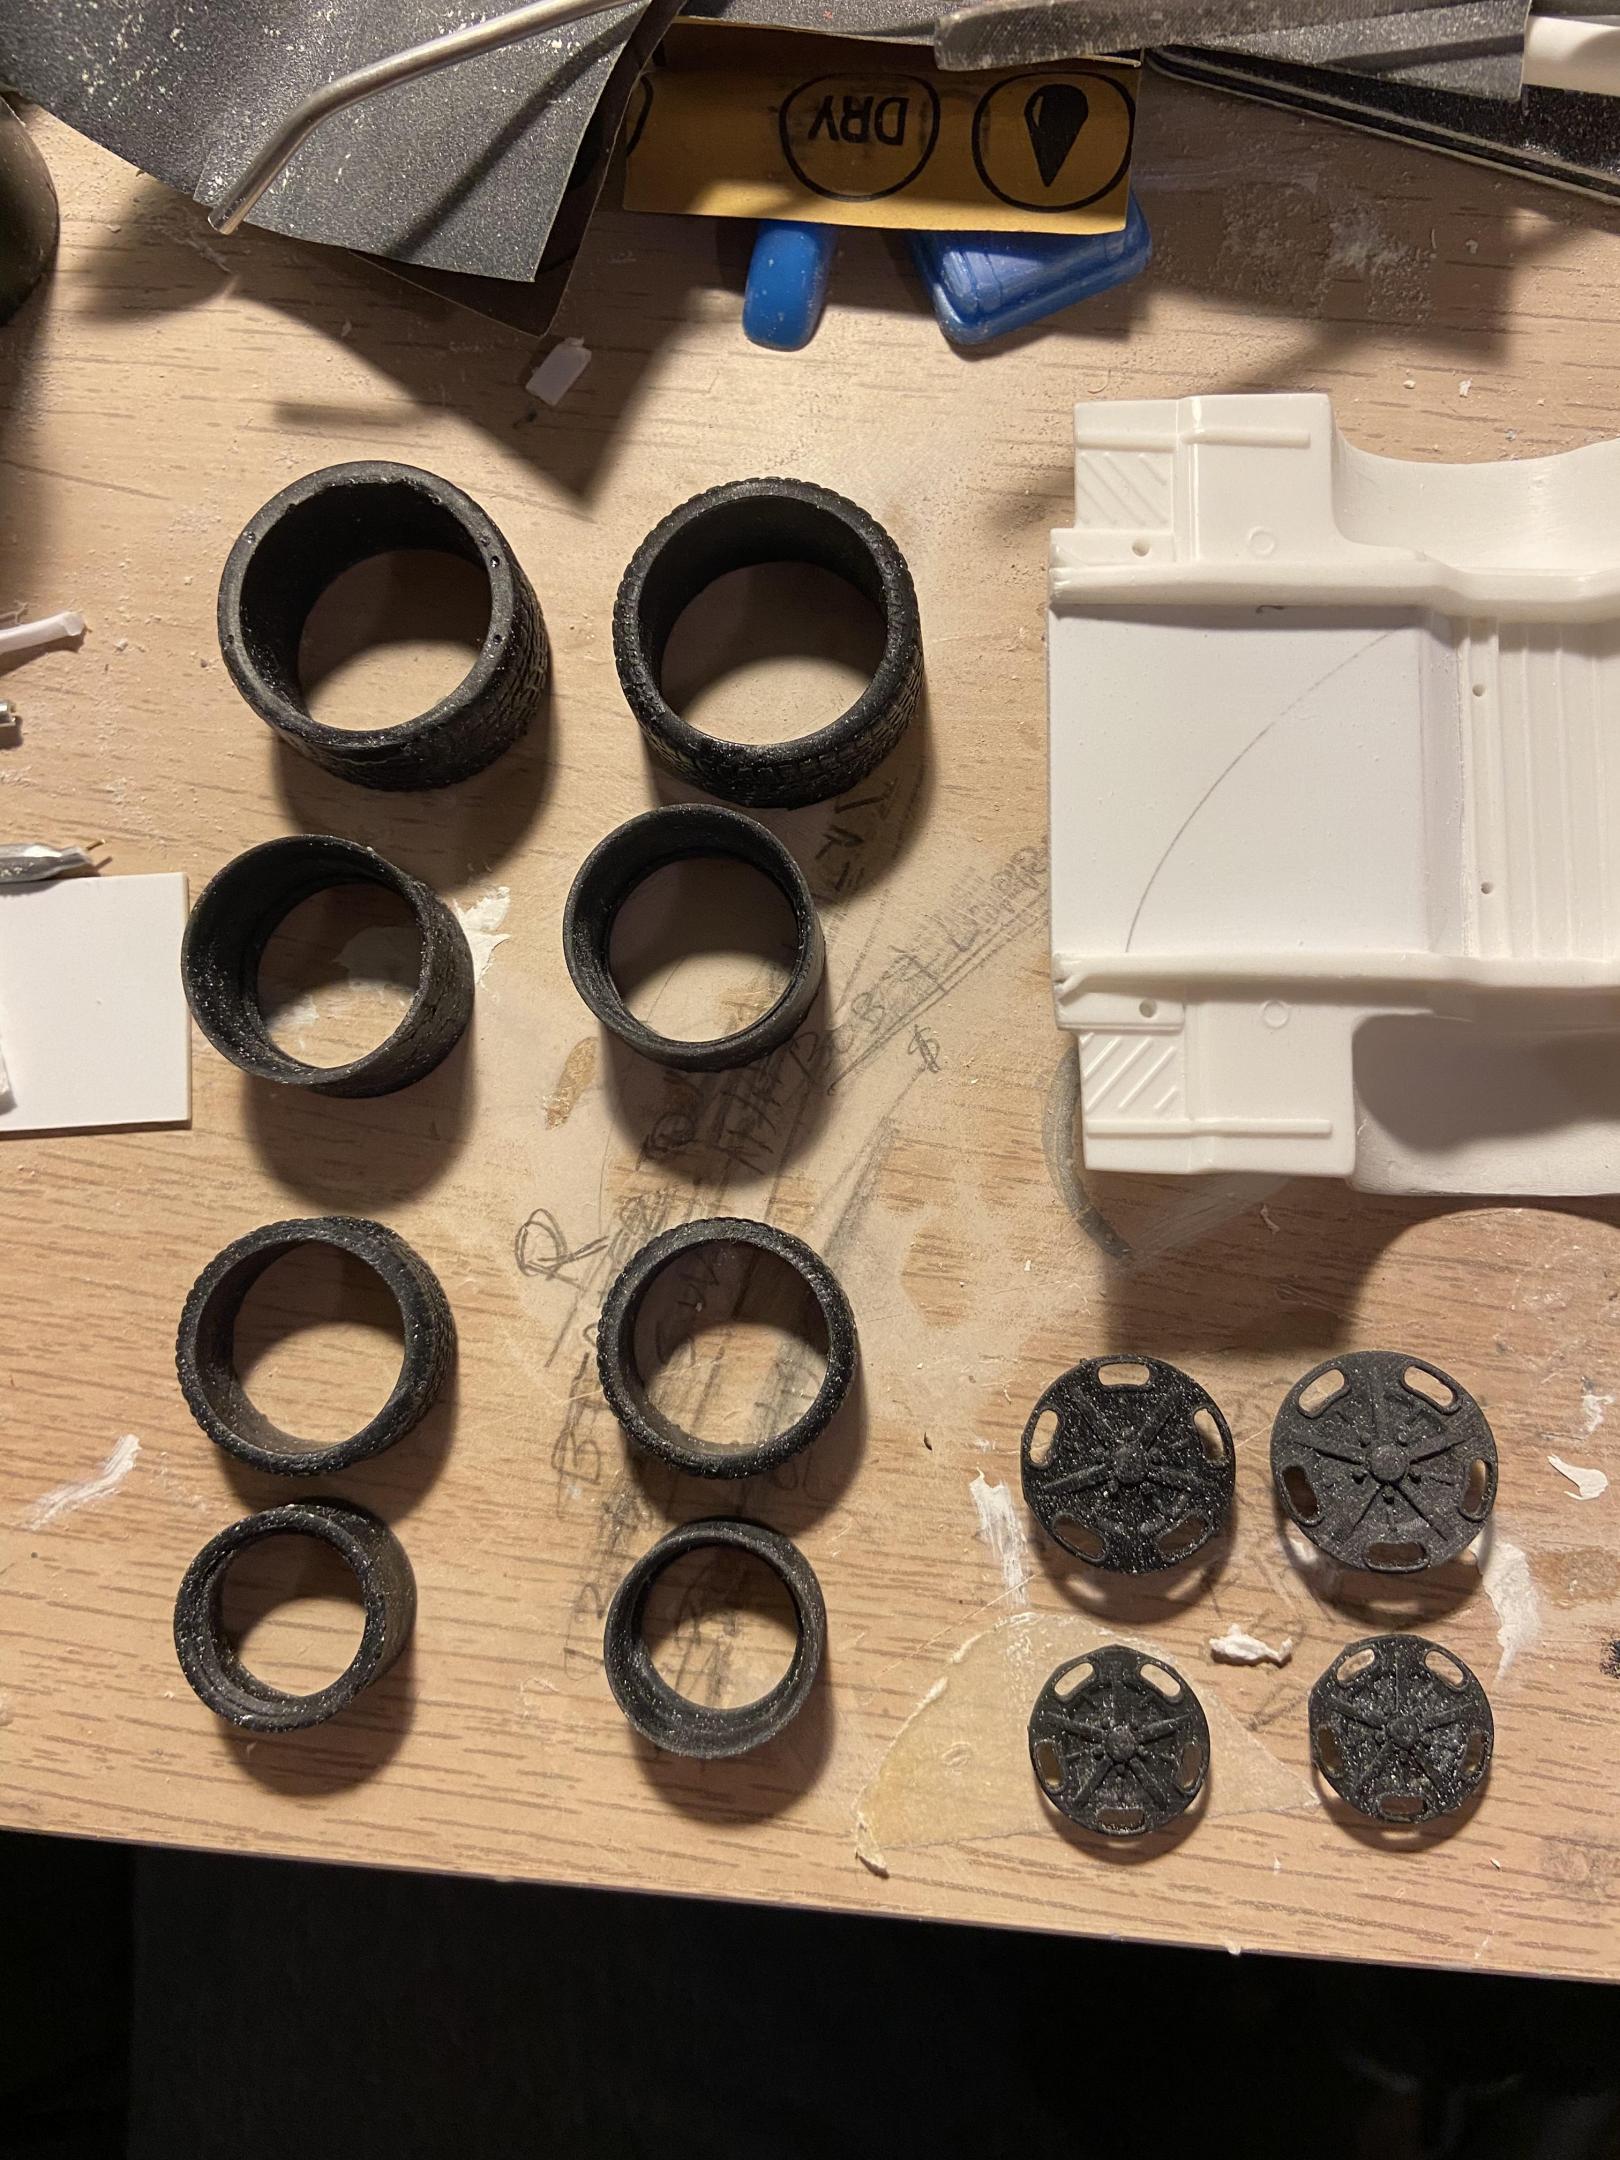
An update on the Dodge D100: I had to do some more work on the chassis frame and so I cut out the donor kit molded in gas tank and I replaced it with some Evergreen sheet styrene cut to fill the hole I cut. The plan is to build a new gas tank. Also what I’ve been waiting for has finally come in. A friend of mine offered to 3-D print some Hillebrand‘s for this project and I can’t wait to put them on. It looks like I’ve got everything now set to finish this off hopefully. The next thing to decide is what color to paint this I’ve been thinking of a two-tone bronze and root beer brown but now I’m starting to think of doing a weathered paint job on it kinda like Roadkill. We’ll see, cheers -
My apologies for not getting back to this I’ve been rather busy on other projects and work. I finally got a support bracket for the transfer case made and the exhaust is in. I tried various ways and designs and none worked. A good friend on this board Exotics Builder helped me out tremendously. Now on to the headlights and other finishing touches. Cheers.
-

1964 Dodge D100
carnut replied to carnut's topic in WIP: Model Trucks: Pickups, Vans, SUVs, Light Commercial
Thanks everyone for the kind comments. I’ve been kind of held up waiting for some custom wheels to come in and they have not yet so I need to contact the person who’s 3-D printing a set for me and see what’s going on. I may have to pick an alternative. I’m kind of anxious to get this going again. Thanks again everyone cheers. -
Update: I spent the time Monday afternoon getting the wheels and tires together and mounted. More details are to still yet to be done but it’s looking promising. I’m living with the stance. Thanks for all the comments guys.

