Sidney Schwartz
-
Posts
418 -
Joined
-
Last visited
Content Type
Profiles
Forums
Events
Gallery
Everything posted by Sidney Schwartz
-
That looks way too good for a Lindberg kit. ?
-
Glad you posted this...it's one of my all time favorite cars. Nice work!
-
Excellent job on a beautiful auto. ?
-
I have one of these on the way. Also found a Monogram '41 Lincoln on eBay that I'm bidding on.
-
I'm likin' it! Very nice work, great color. The Corvair was underappreciated and unfairly criticized. Who makes the kit, and did you have any issues with it?
-
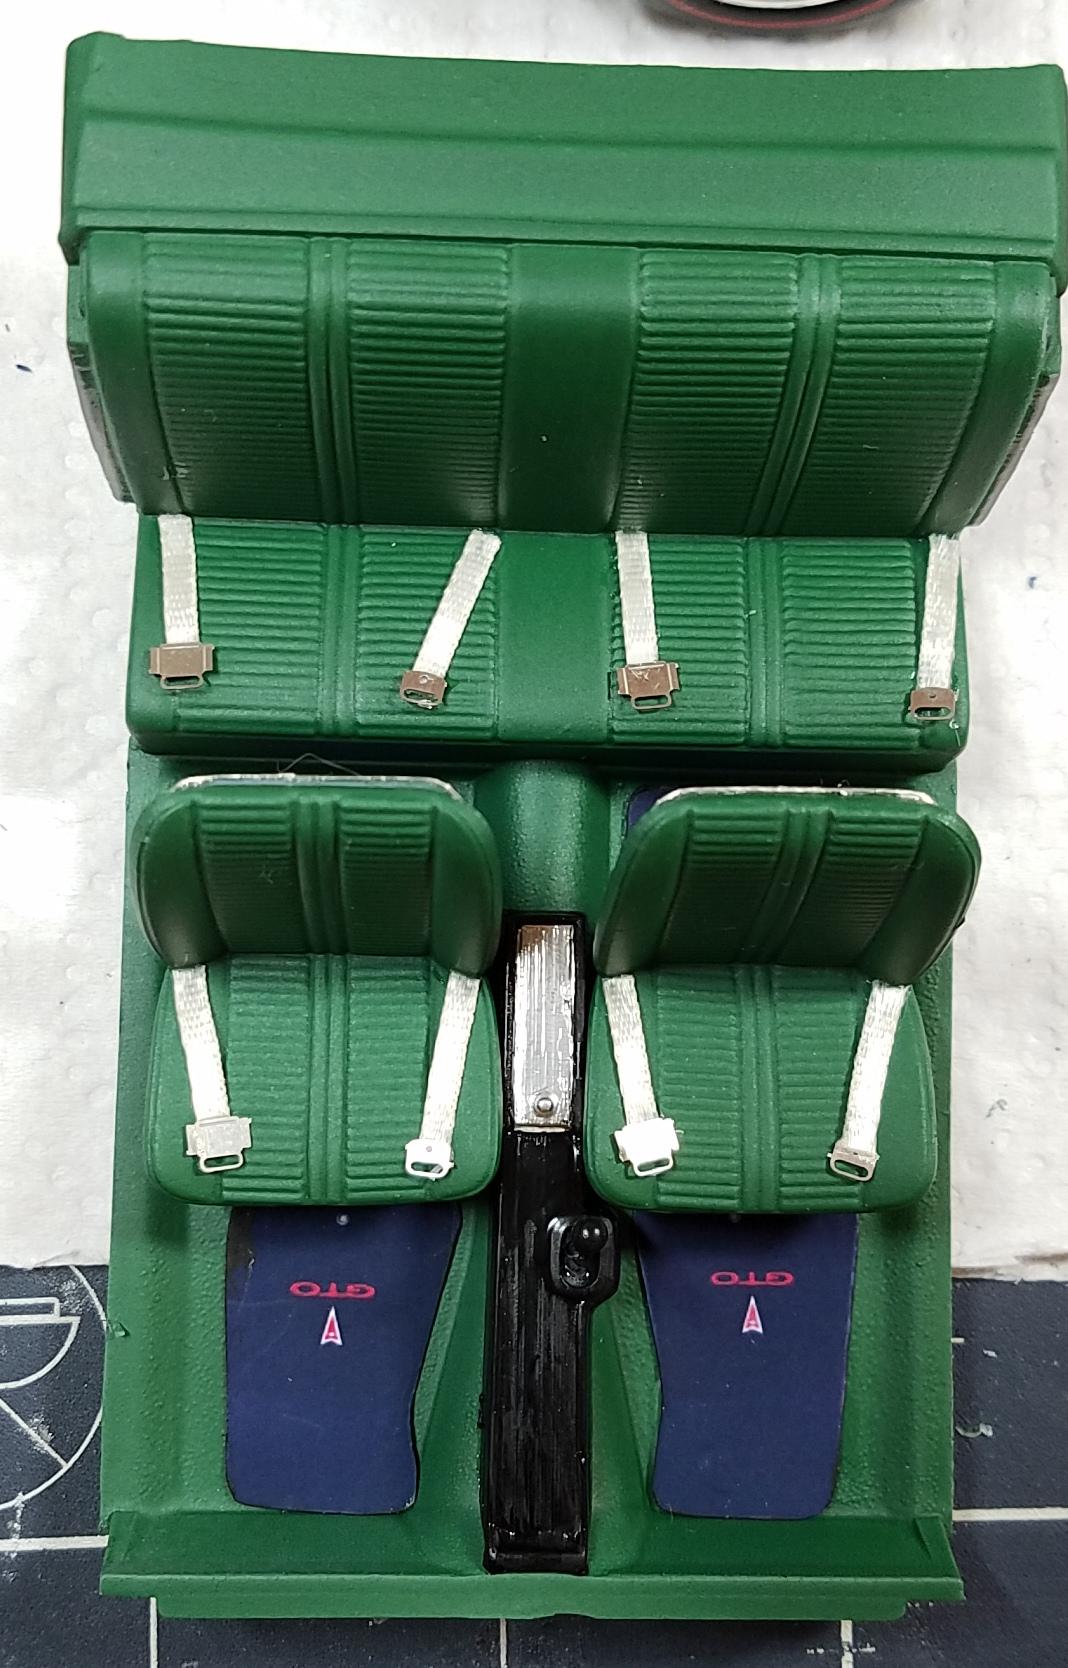
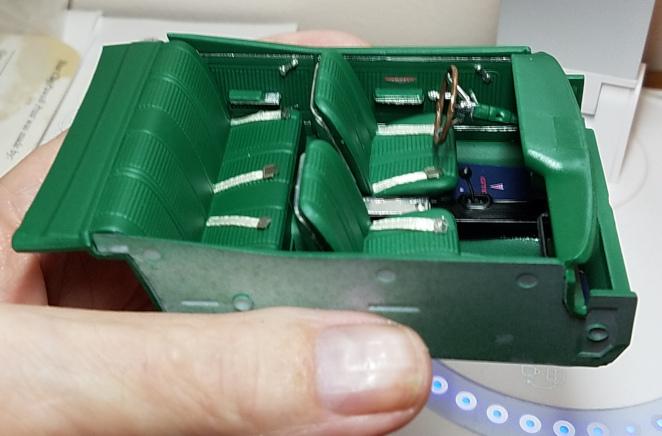
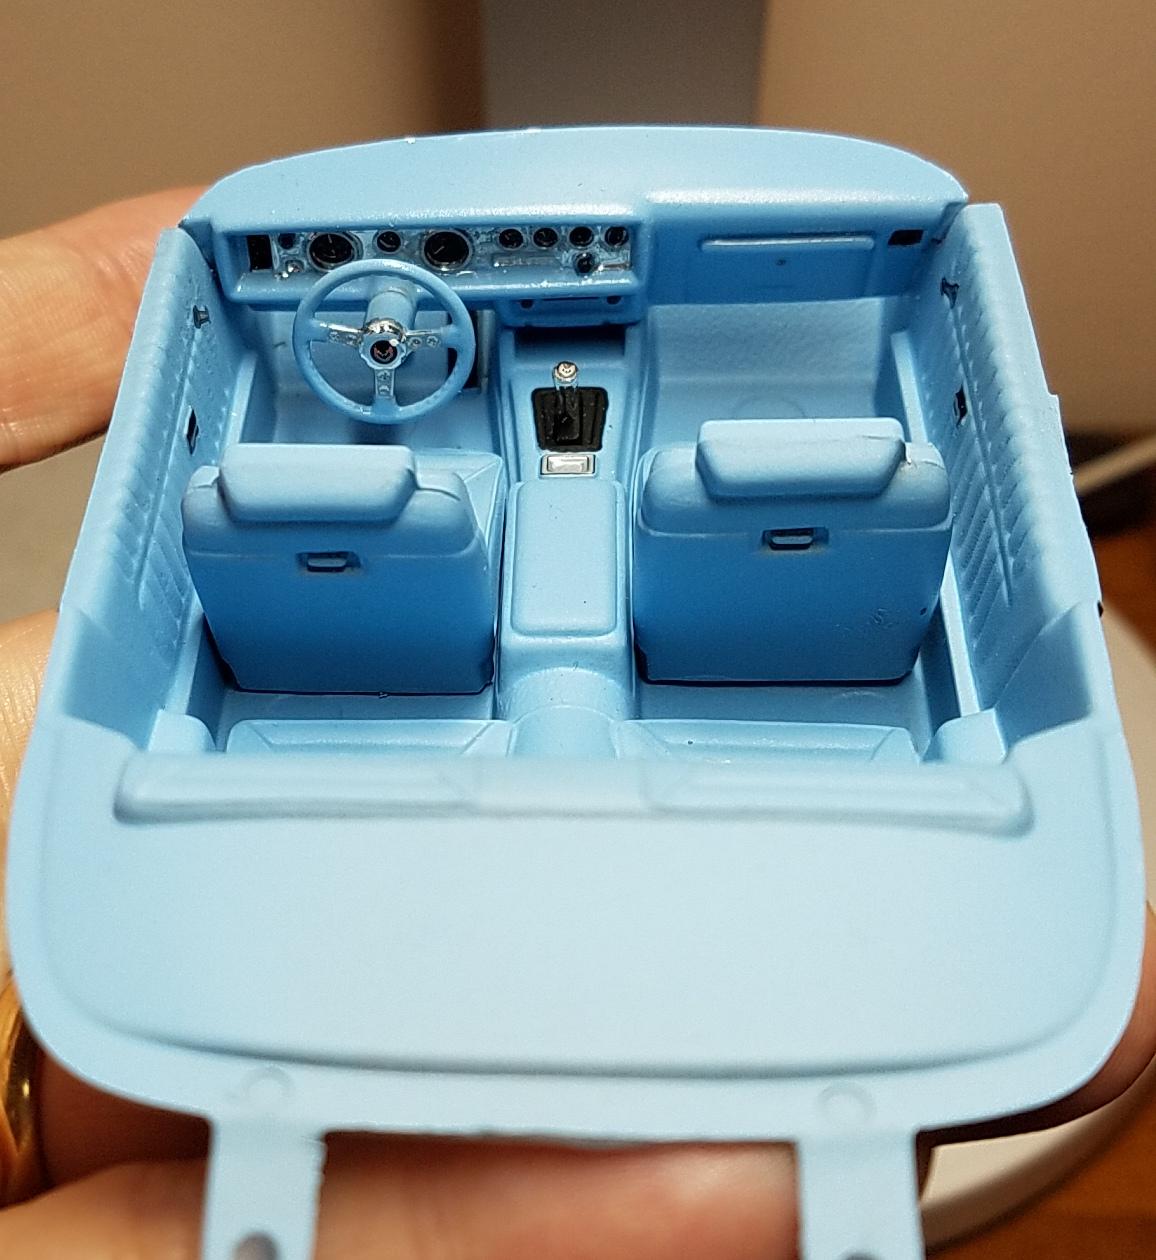
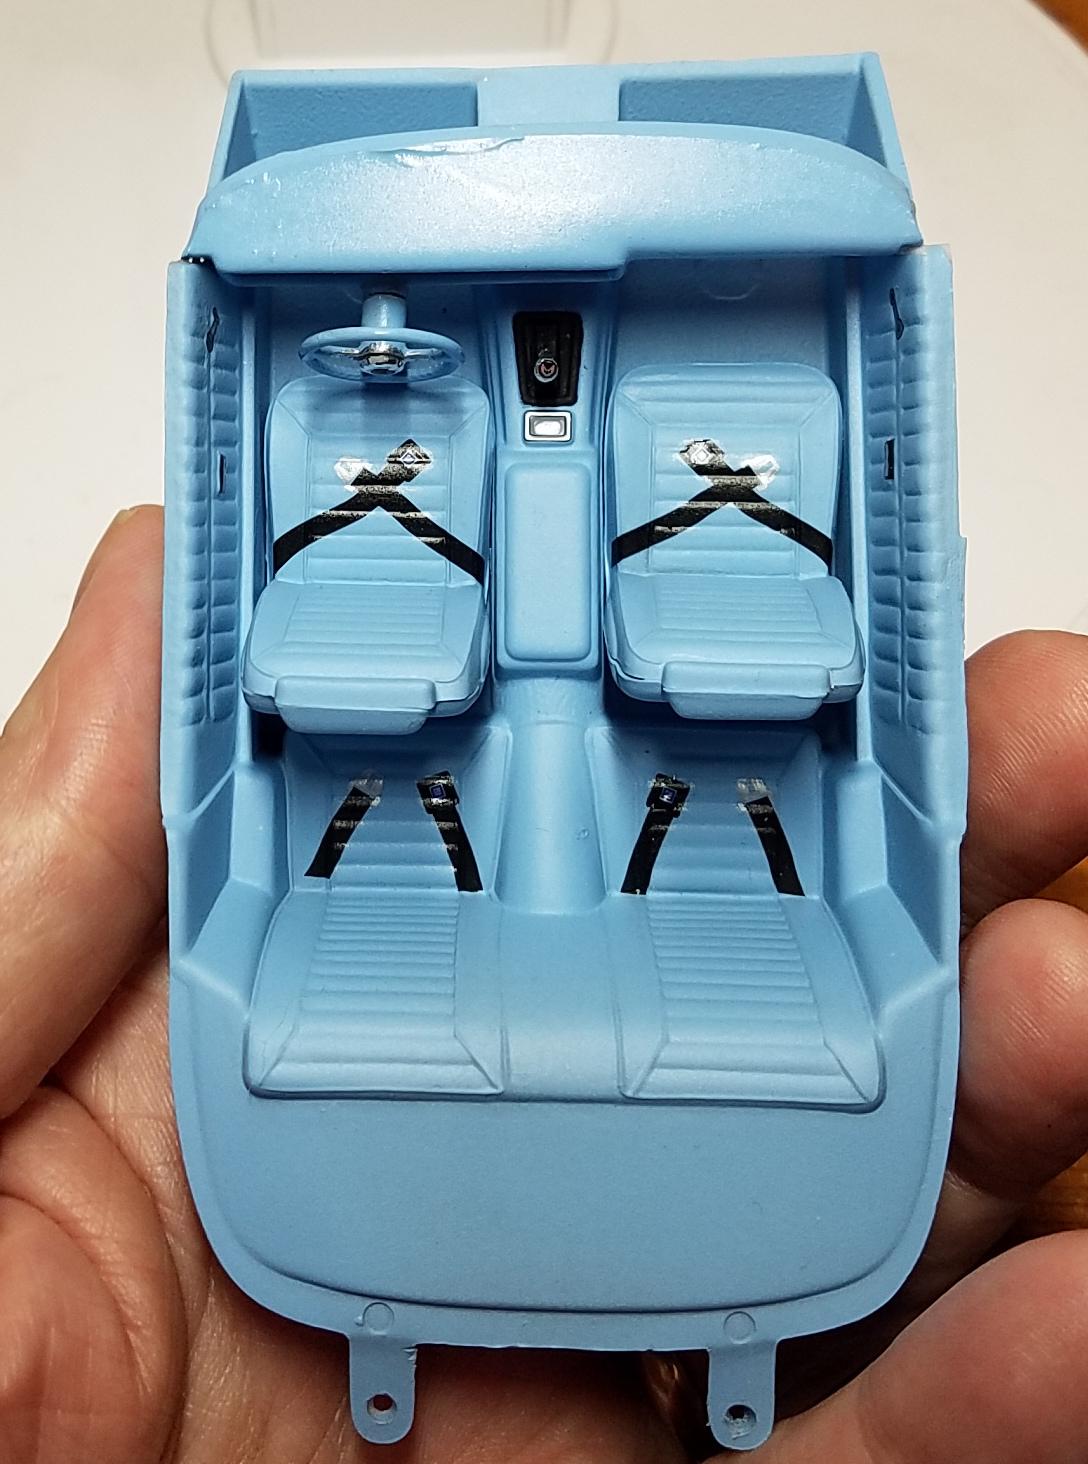
The floor mats are just an image I found using Google and printed out on paper. Very low tech but effective. ?
-
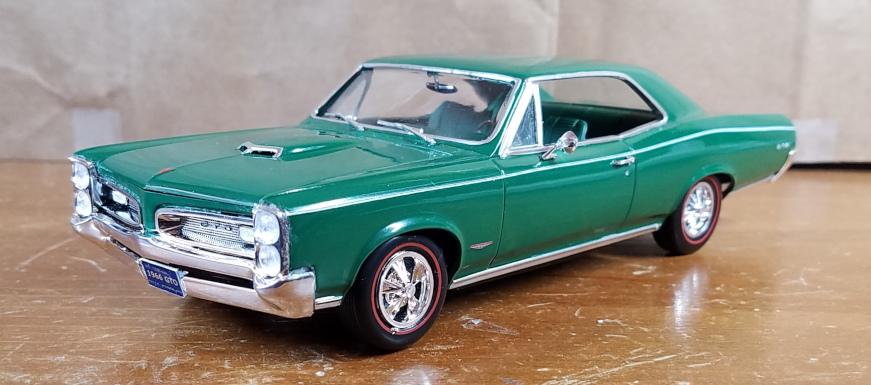
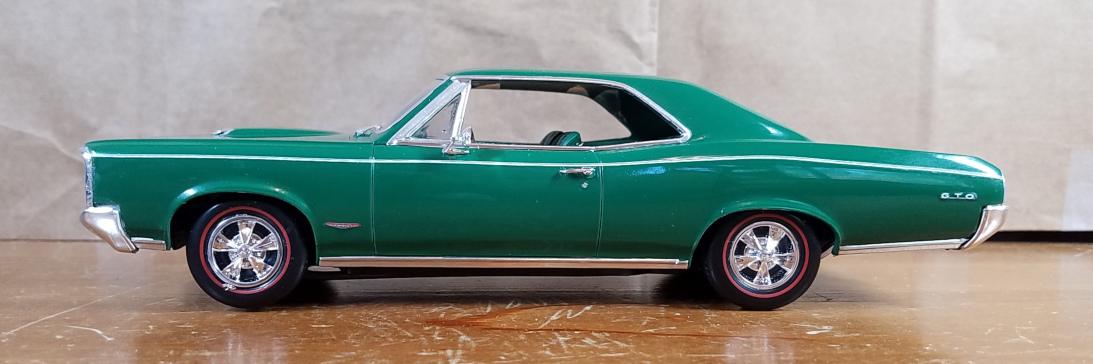
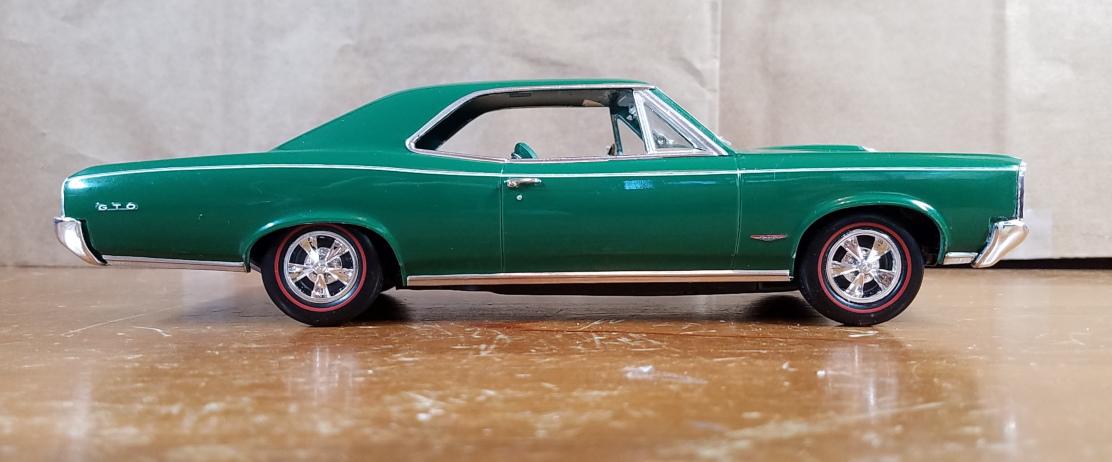
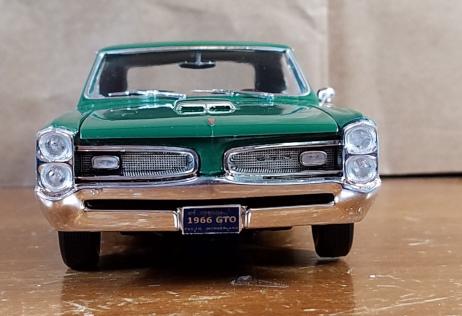
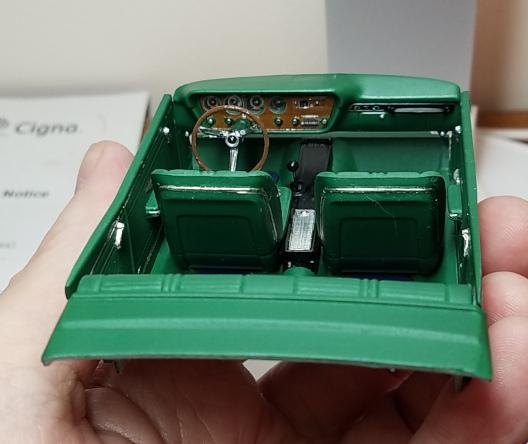
Nice kit! The color is just what I wanted and I like the way it came out. Good stuff: 1. Beautiful car...hard to go wrong. 2. Parts fit for the most part is very good. No serious issues. 3. Great decal set, especially the interior/dash. Not so good stuff: 1. Only problem I had was getting the front bumper to adhere. The fit was a bit off, but the main issue was that the contact surface between the bumper and the body was very small. Took three of four tries to get it to stay on, and as a result of that the body finish in that area got a bit marred. Test build looked great...

-
Very nice...love the color. Love these cars and didn't know anyone made a model of it. Does the kit have issues?
-
I just bought one of these. What are the shortcomings you mentioned?
-
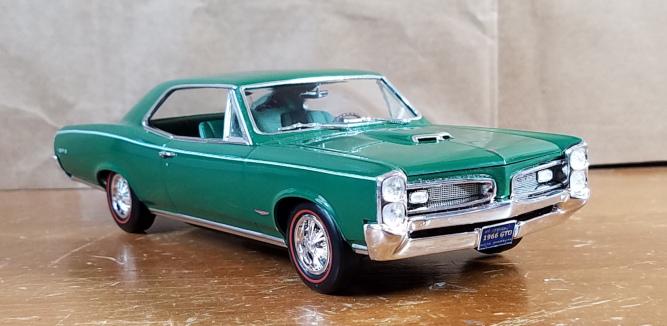
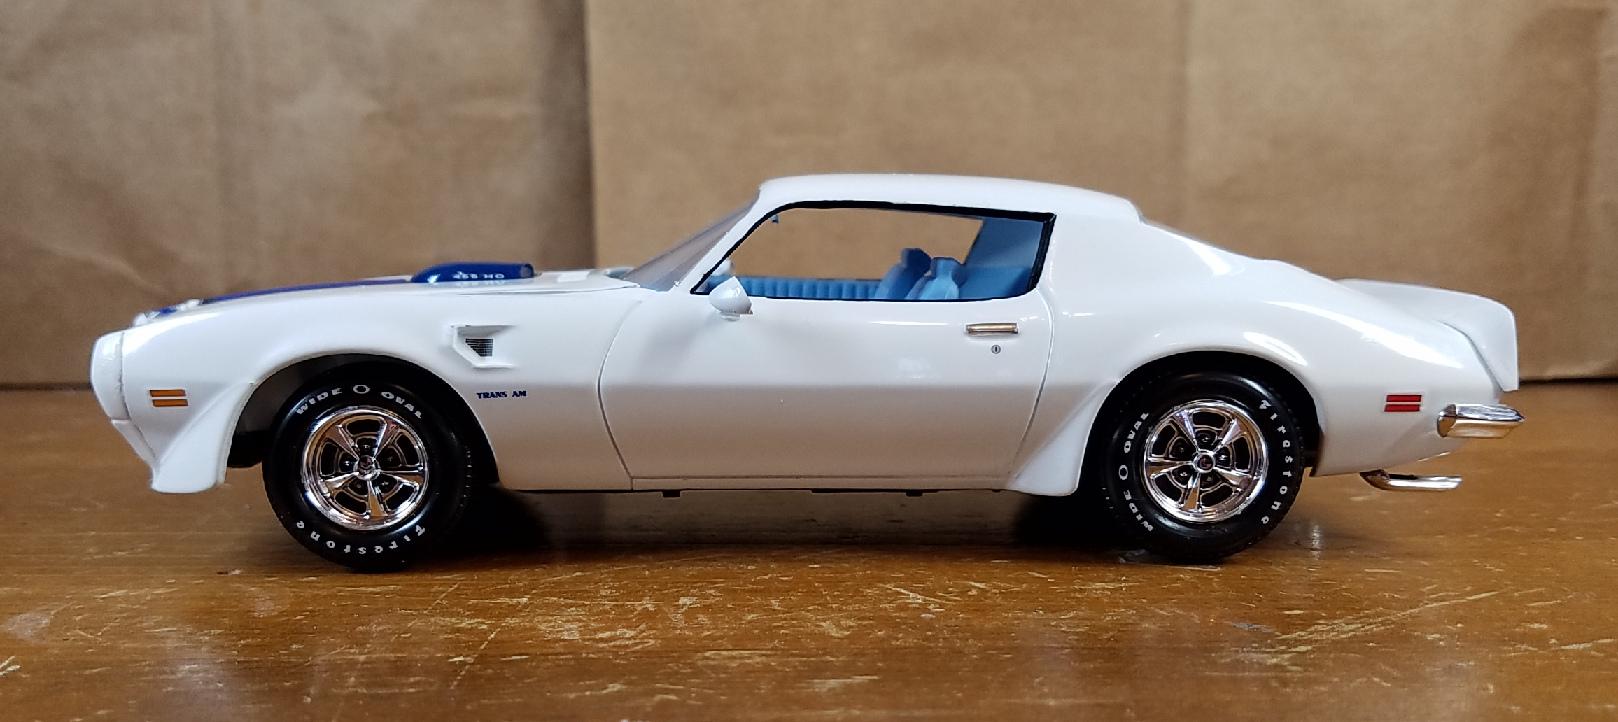
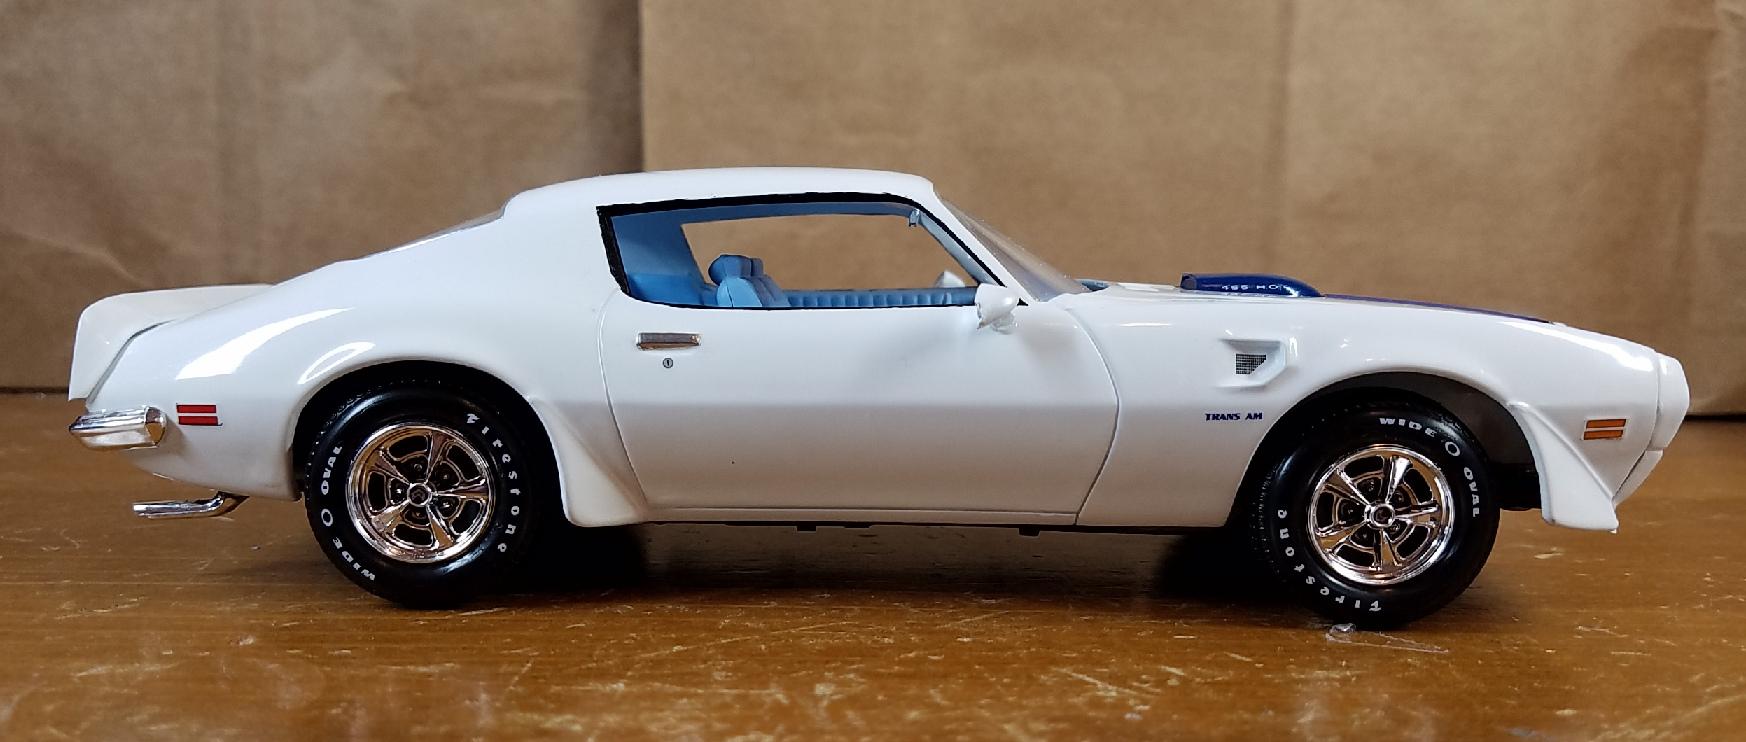
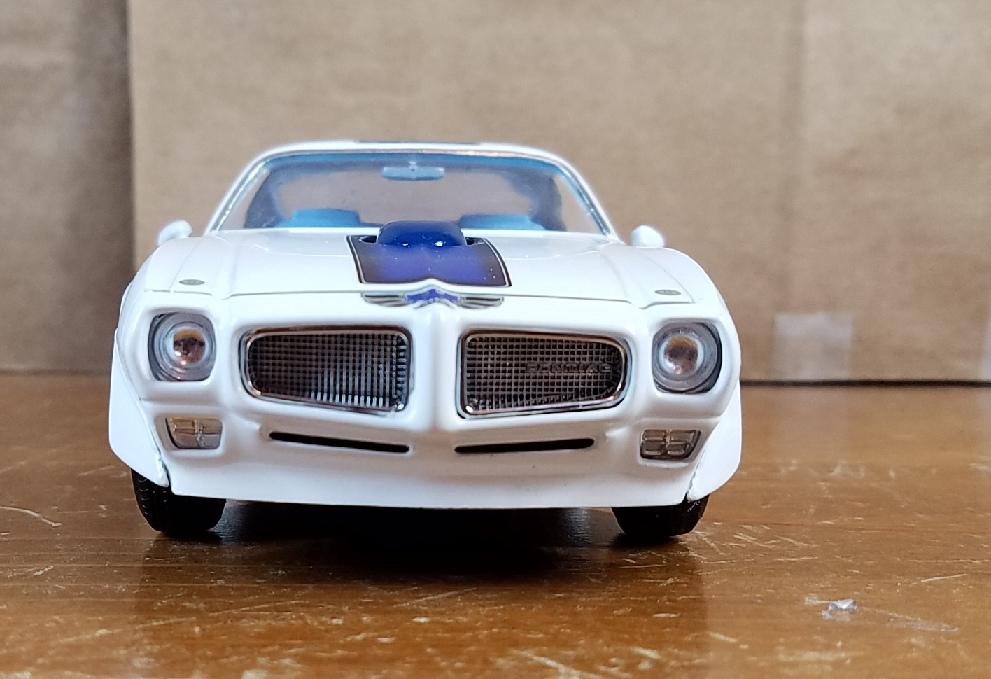
Gorgeous! Love a well done white paint job.
-
Lindberg dodge charger super bee (2007?) 1/24
Sidney Schwartz replied to happy grumpy's topic in Model Cars
Wow, you did a beautiful job! I also like the newer Chargers. How do you do your panel lines...I like how they look. -
That look horrible. I mean that in the best way possible. ? Michelle likes her MOPARS.
-
Why is acrylics spraying splattery?
Sidney Schwartz replied to Milo's topic in Model Building Questions and Answers
You're right. Forget that part. ? -
Why is acrylics spraying splattery?
Sidney Schwartz replied to Milo's topic in Model Building Questions and Answers
These days I use craft paints 95% of the time. These of course need thinning as they are normally quite thick. It took me a long time to get the hang of thinning paints (and using an airbrush in general), but with time and patience I got the hang of it. I first I tried some of the tricks mentioned here, like dabbing the paint on something and timing how long it took to drip down X distance, etc. Nowadays I can usually nail the paint/thinner ratio, or get very close, just by looking at the paint as I mix it. But mainly I let the airbrush tell me what needs to be done. For what it's worth here's some of what I've learned. 1. I have a Paasche airbrush. I always use the size 3 (.73mm) needle. I've also tried the .55mm and 1.06mm needles and this is the one that works best. 2. I set my compressor at 20 psi and leave it there. My experience has been that if I thin the paint correctly, I should never have to change needles or psi setting. 3. I use Vallejo airbrush thinner. I've also used water, wiper fluid or Windex (alcohol), Liquitex airbrush medium, and probably others I've forgotten. The Vallejo seems to work just fine and it's inexpensive. 4. I use one of those battery powered paint mixers. Thorough mixing is important and the mixers are cheap. 5. I'll start with about a 1:1 ratio of paint to thinner and add more according to how the paint looks...this just takes experience. 6. ALWAYS test spray. IMO this is the only way to tell if you got it right or need to adjust. I keep a stack of index cards cut in half and use those for testing. I look for a few things when testing. A) I should not have to pull back the airbrush trigger more than about halfway before the paint starts to spray. B ) The sound of the paint spraying should be even with no hesitations or stutterings. C) The spray should be 100% even with no blobs or spattering. D) The paint on the card (held vertically) should not drip or run, but also cover well. The most common problem I'll have is that the paint needs to be thinned more. I keep a jar of water at the work station and use that the flush the too heavy paint out of the airbrush, thin the paint some more and re-test. In rare cases I'll have to disassemble the airbrush and give it a more thorough cleaning. This all sounds complicated but it goes very quickly. I can't imagine it taking me more than five minutes to get the paint properly thinned and ready to spray. Keep at it...it gets easier. -
Very nicely done. This one is on my list...I learned to drive in a '64 Impala. Is this a good kit? Any problems?
-
Hard_2_Handle_454 says he didn't have the problem I had, so there may be different versions of the kit. I always do a test build on mine to see if there are problems like this.
-
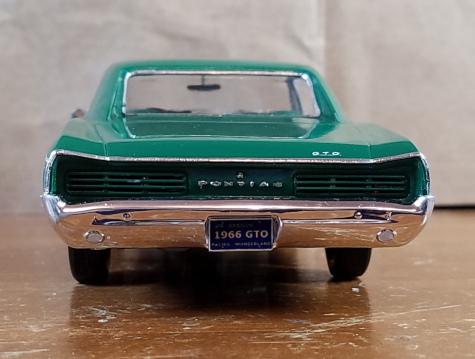
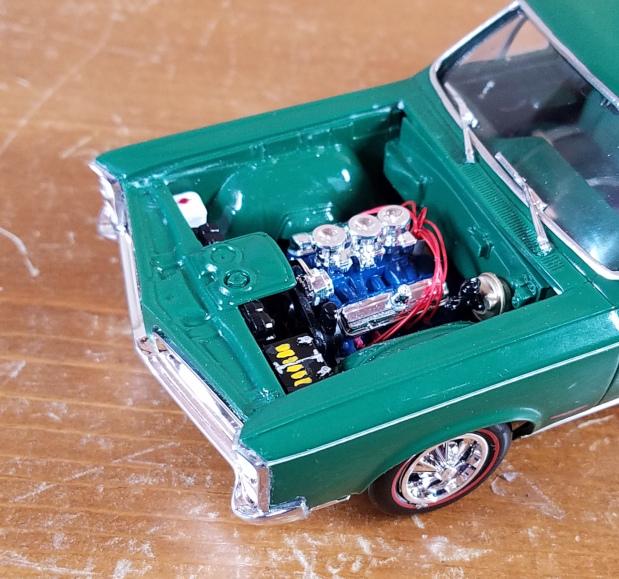
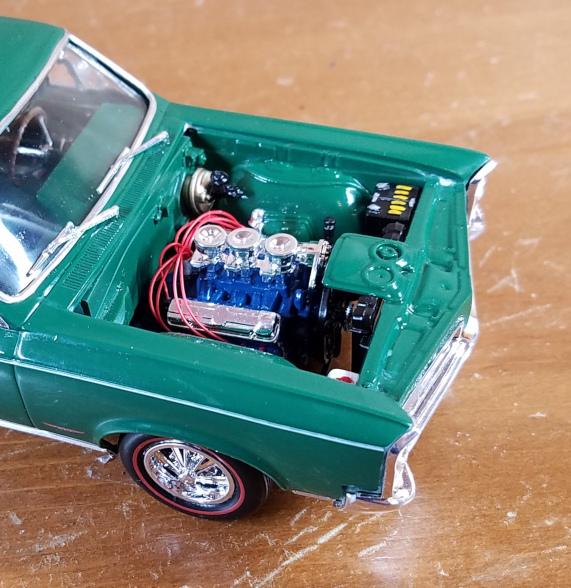
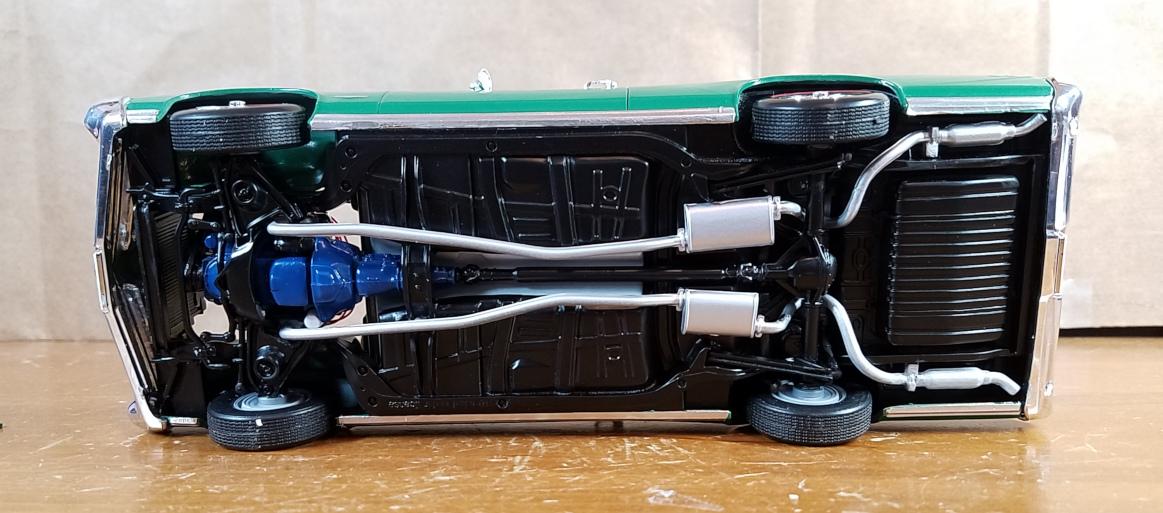
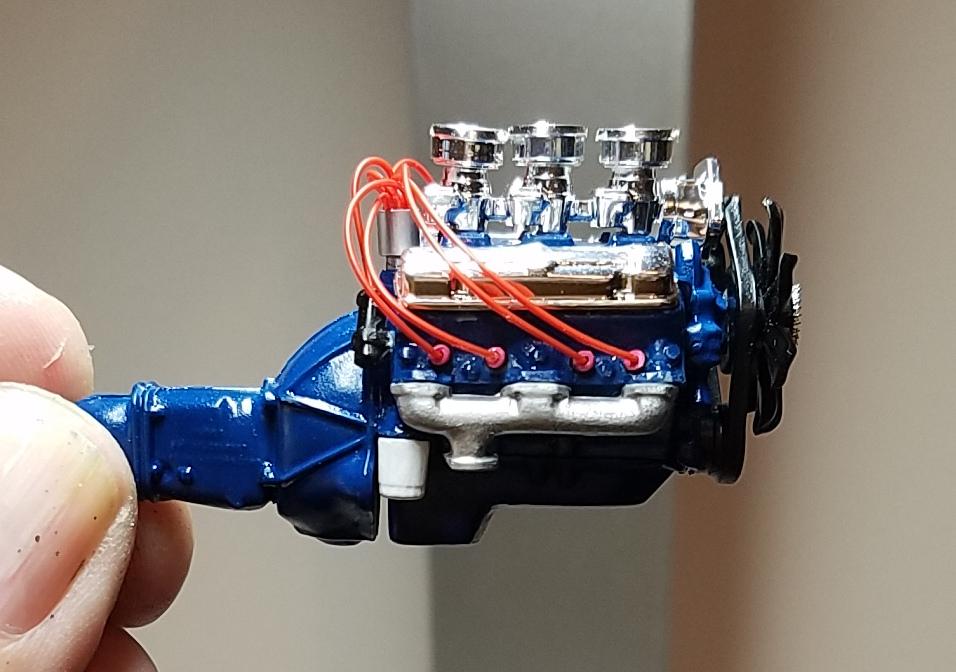
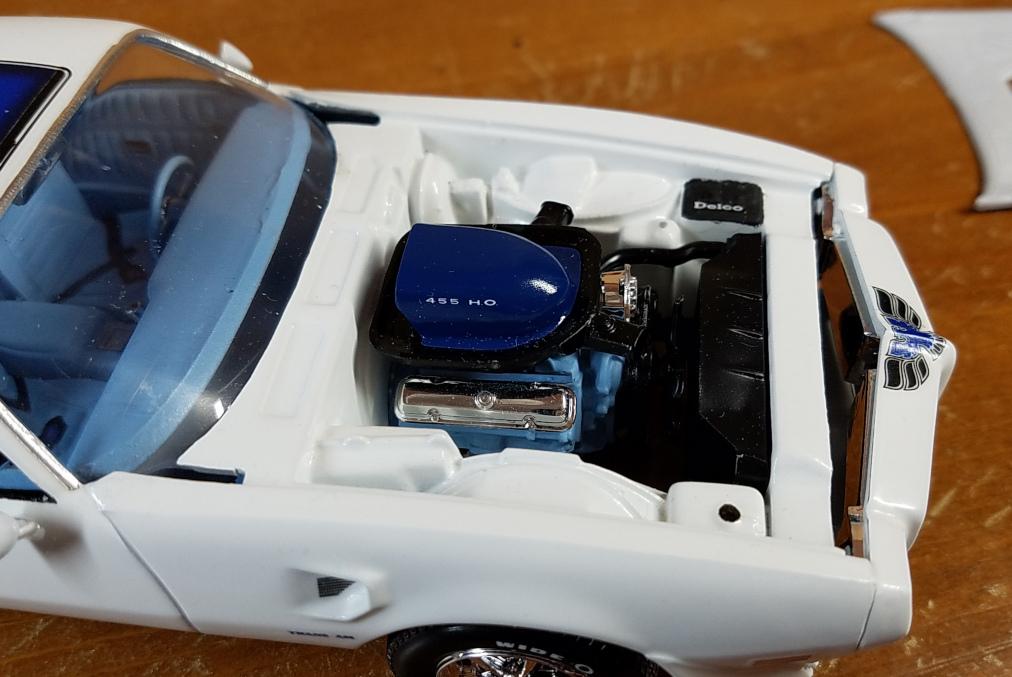
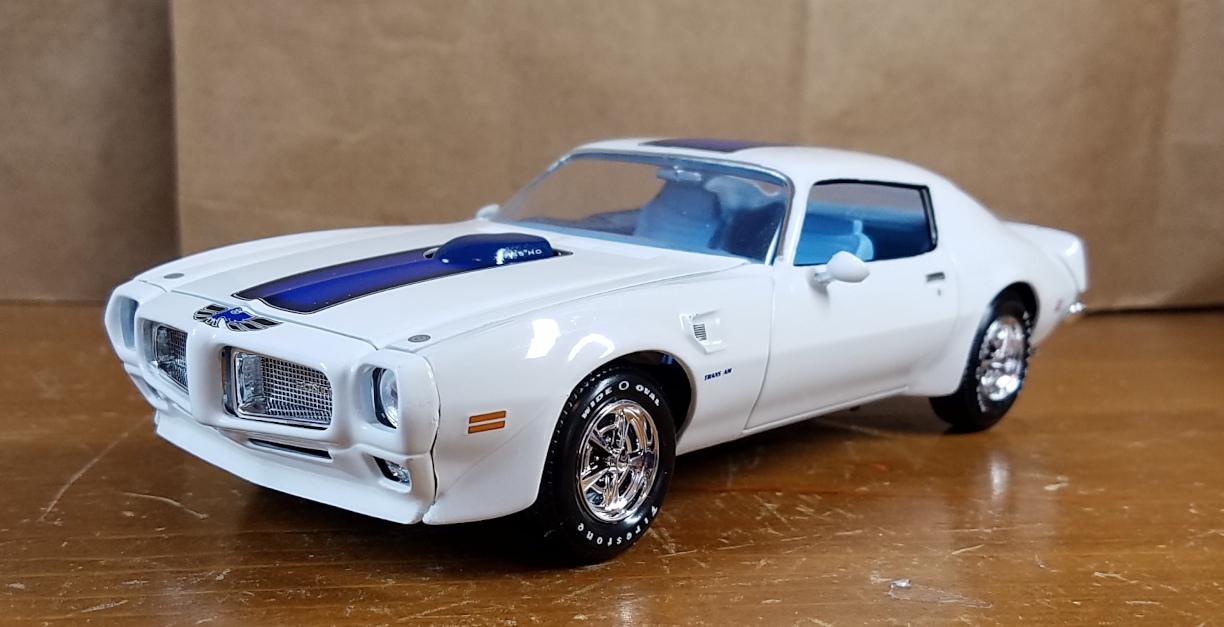
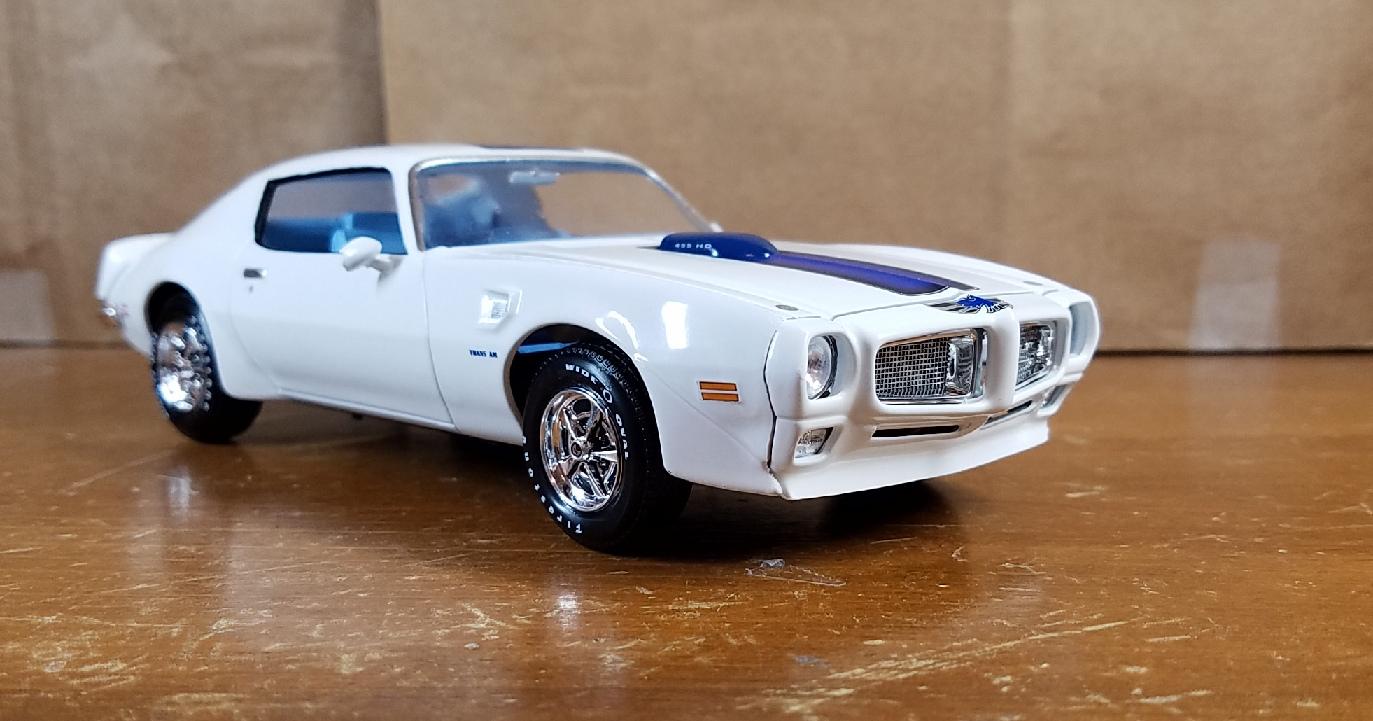
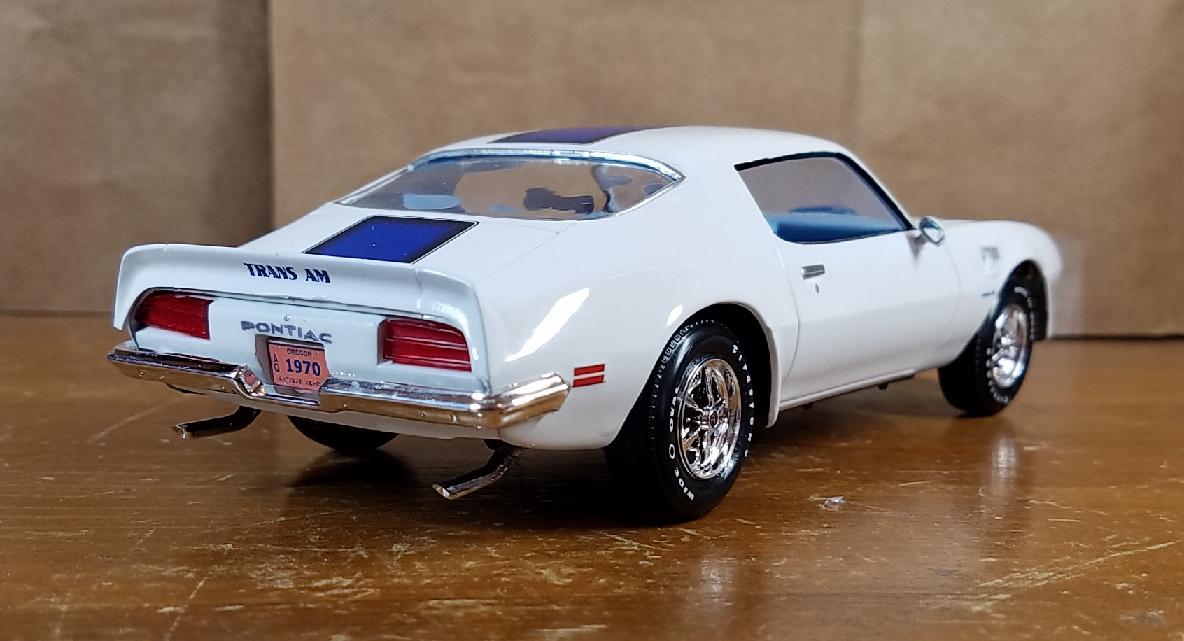
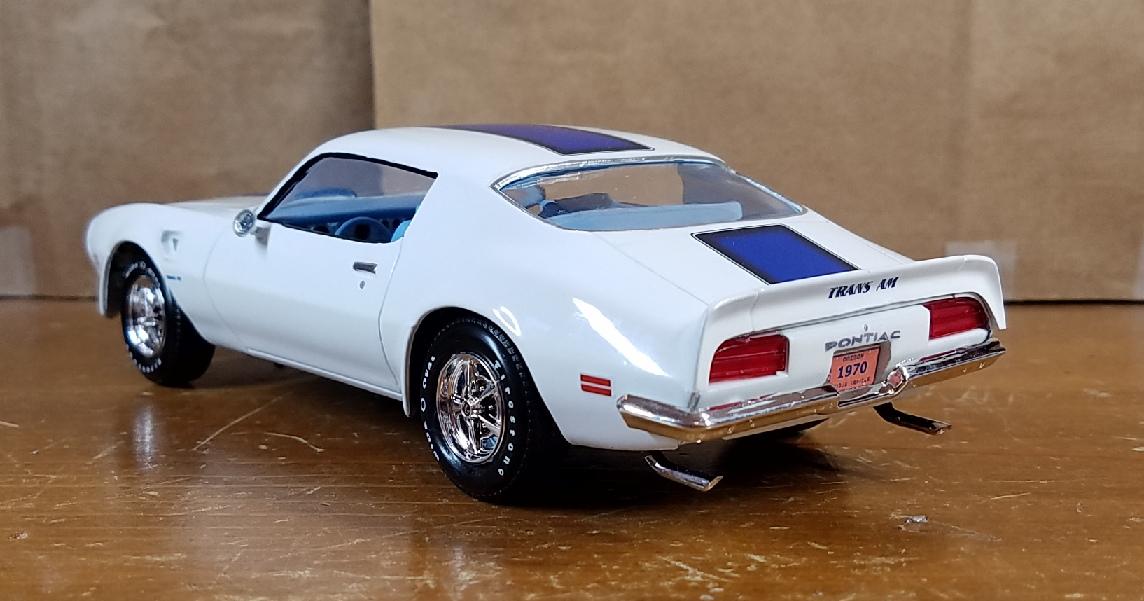
Really pleased with how this one came out. White can be a difficult color to deal with, but no complaints here. Deco Art Americana Cool White craft paint under Krylon Crystal Clear . Good stuff: 1. A nice representation of a gorgeous car. 2. Mucho decals. We love decals. 3. Parts fit very good for the most part. No so good stuff: 1. Engine too high to allow hood to close. Fixed it by reducing height of carb and air cleaner. This left no room for a distributor, so the engine is not wired. 2. Engine bay detail not as well done as the rest of the model. Enjoy, and thanks for looking.
-
revell parts replacement?
Sidney Schwartz replied to MrMiles's topic in Model Building Questions and Answers
We have a winner! ? -
Dueling Barracudas
Sidney Schwartz replied to Sidney Schwartz's topic in Model Building Questions and Answers
It's Cudapalooza! Thanks. ? -
Quite a while ago I had built the 1971 'Cuda from the "Revell Muscle" series. I was just looking online for one and also saw a Revell/Monogram version of the same car, and a Monogram version as well. Are these all the same kit?
-
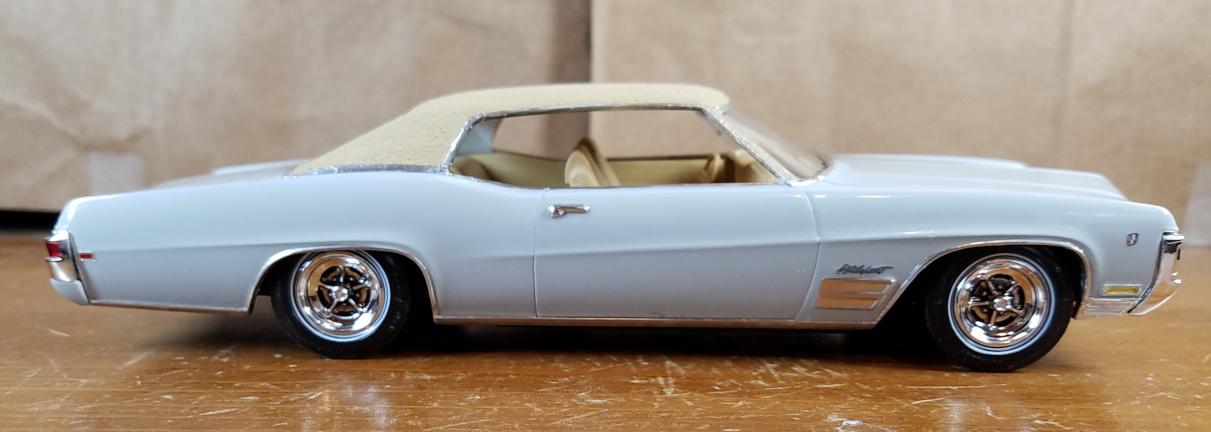
All I did with the wheels was apply some Vallejo black wash. An easy way to spiff up a model. Thanks all for the comments.
-
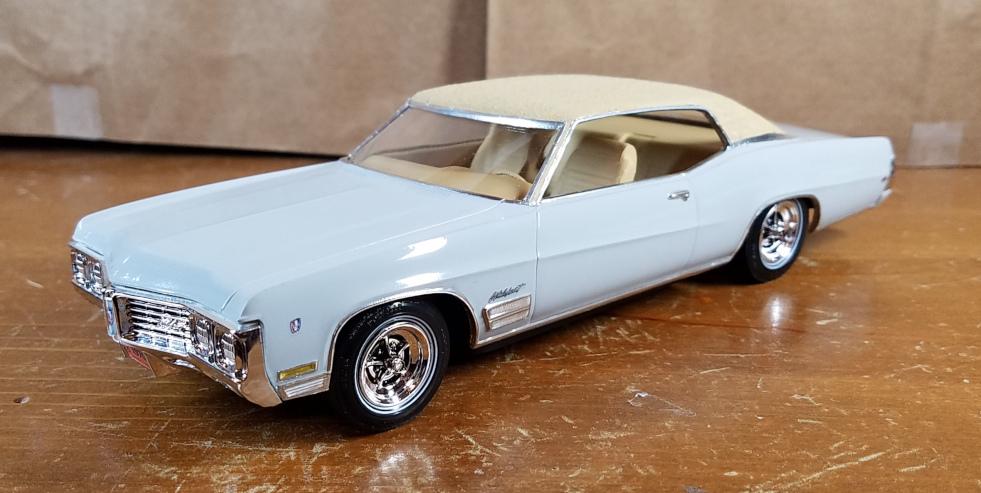
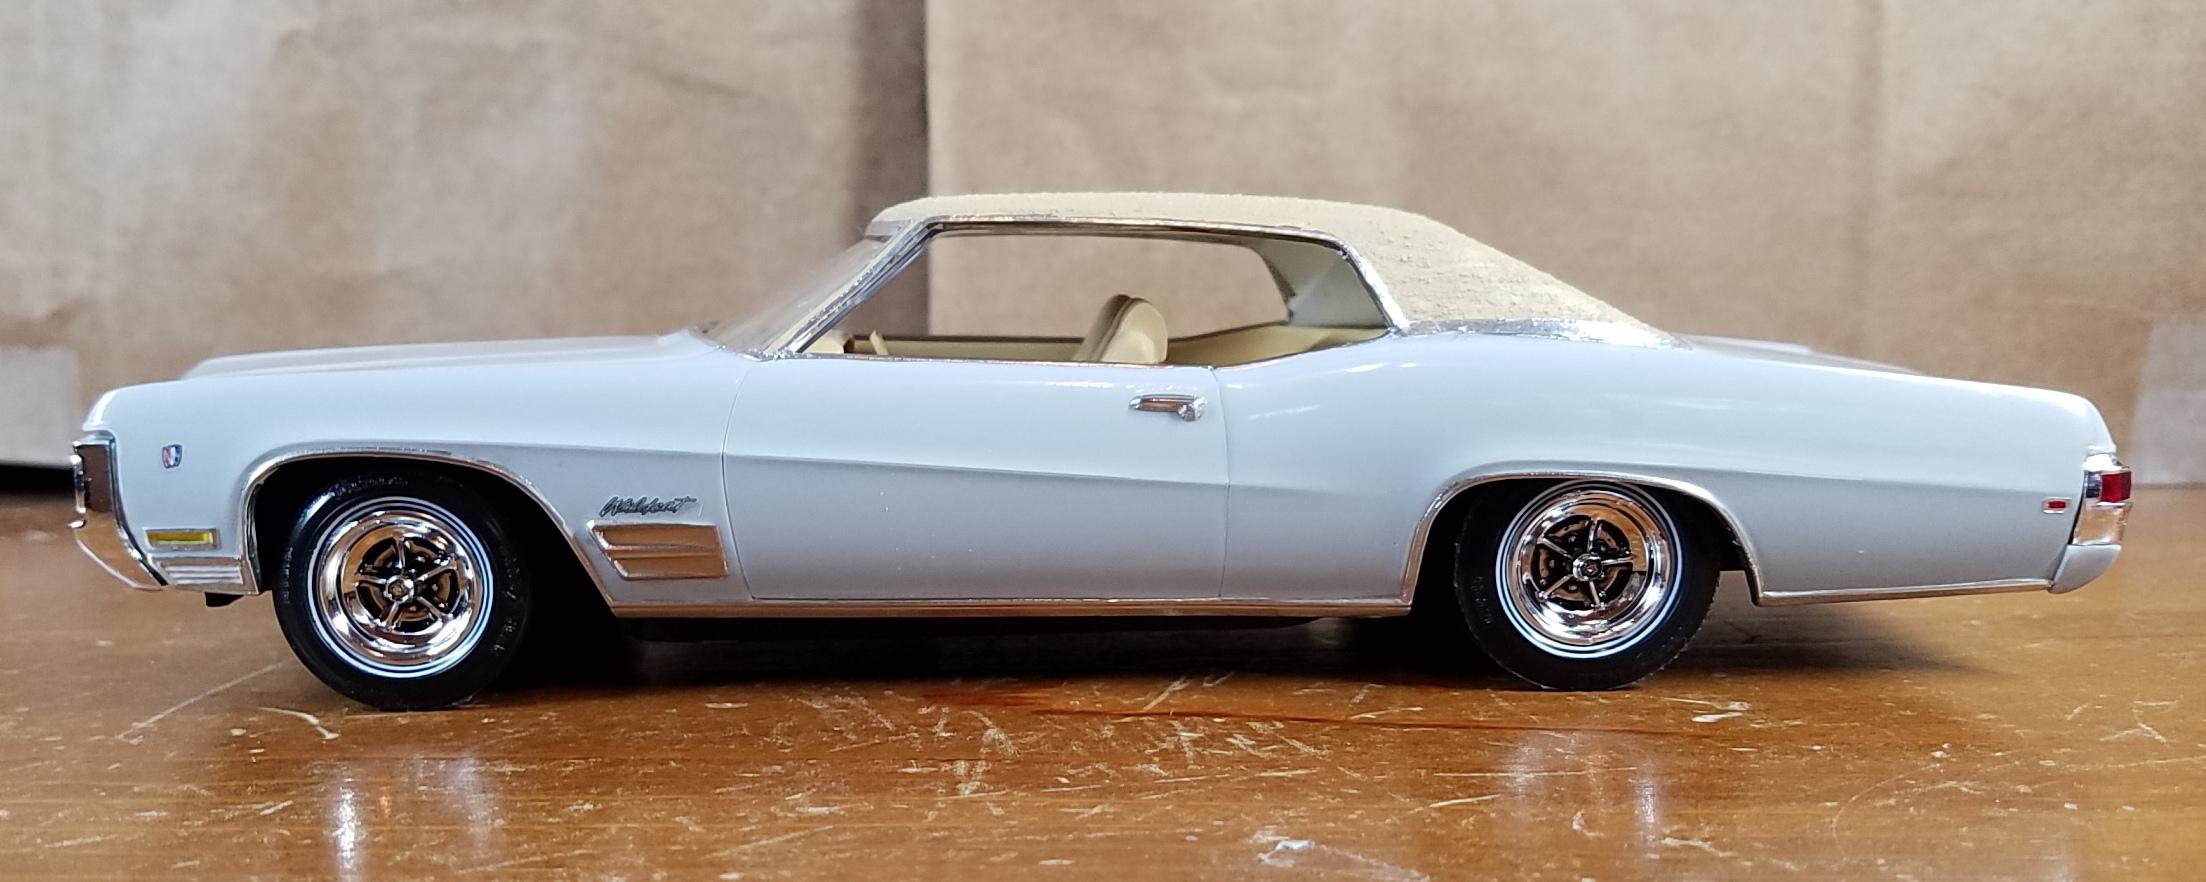
A very simple kit...no engine, and very little chassis and interior detail. Metal axle rods and screw-on body. The body is nicely detailed, though. This was my first try at a vinyl top. I made by adding "sand" texture to paint and brushing it on. Trim is masking tape. The result is not great...the texture is too course. Next time I'll try a different method. Comments appreciated. Enjoy and thanks for looking.
-
revell parts replacement?
Sidney Schwartz replied to MrMiles's topic in Model Building Questions and Answers
Here's the link to the form I used... Spare parts service – Revell GmbH (revell-service.de) -
revell parts replacement?
Sidney Schwartz replied to MrMiles's topic in Model Building Questions and Answers
I asked Revell for a replacement part two weeks ago and today got an email saying the part is on its way. I had expected to have to pay for it, but I got no request from them to do so. -
For those thinking of buying this one, just be aware that it's a very simple, old-school kit. No engine, one piece chassis/suspension, very little interior detail, metal rods for axels, screws to mount interior and chassis to body. The body is very nicely detailed, though, and I'm glad I got it anyway.