CabDriver
-
Posts
5,104 -
Joined
-
Last visited
Content Type
Profiles
Forums
Events
Gallery
Everything posted by CabDriver
-
Thanks buddy! Not sure where that image was from originally, I found it online - I’m stealing the loose concept for my other build though ?
-
This is cool! Love it! You’re going to have some tricky foiling ahead, it looks like - but those colors look cool together!
-
And I think this one is about done!

-
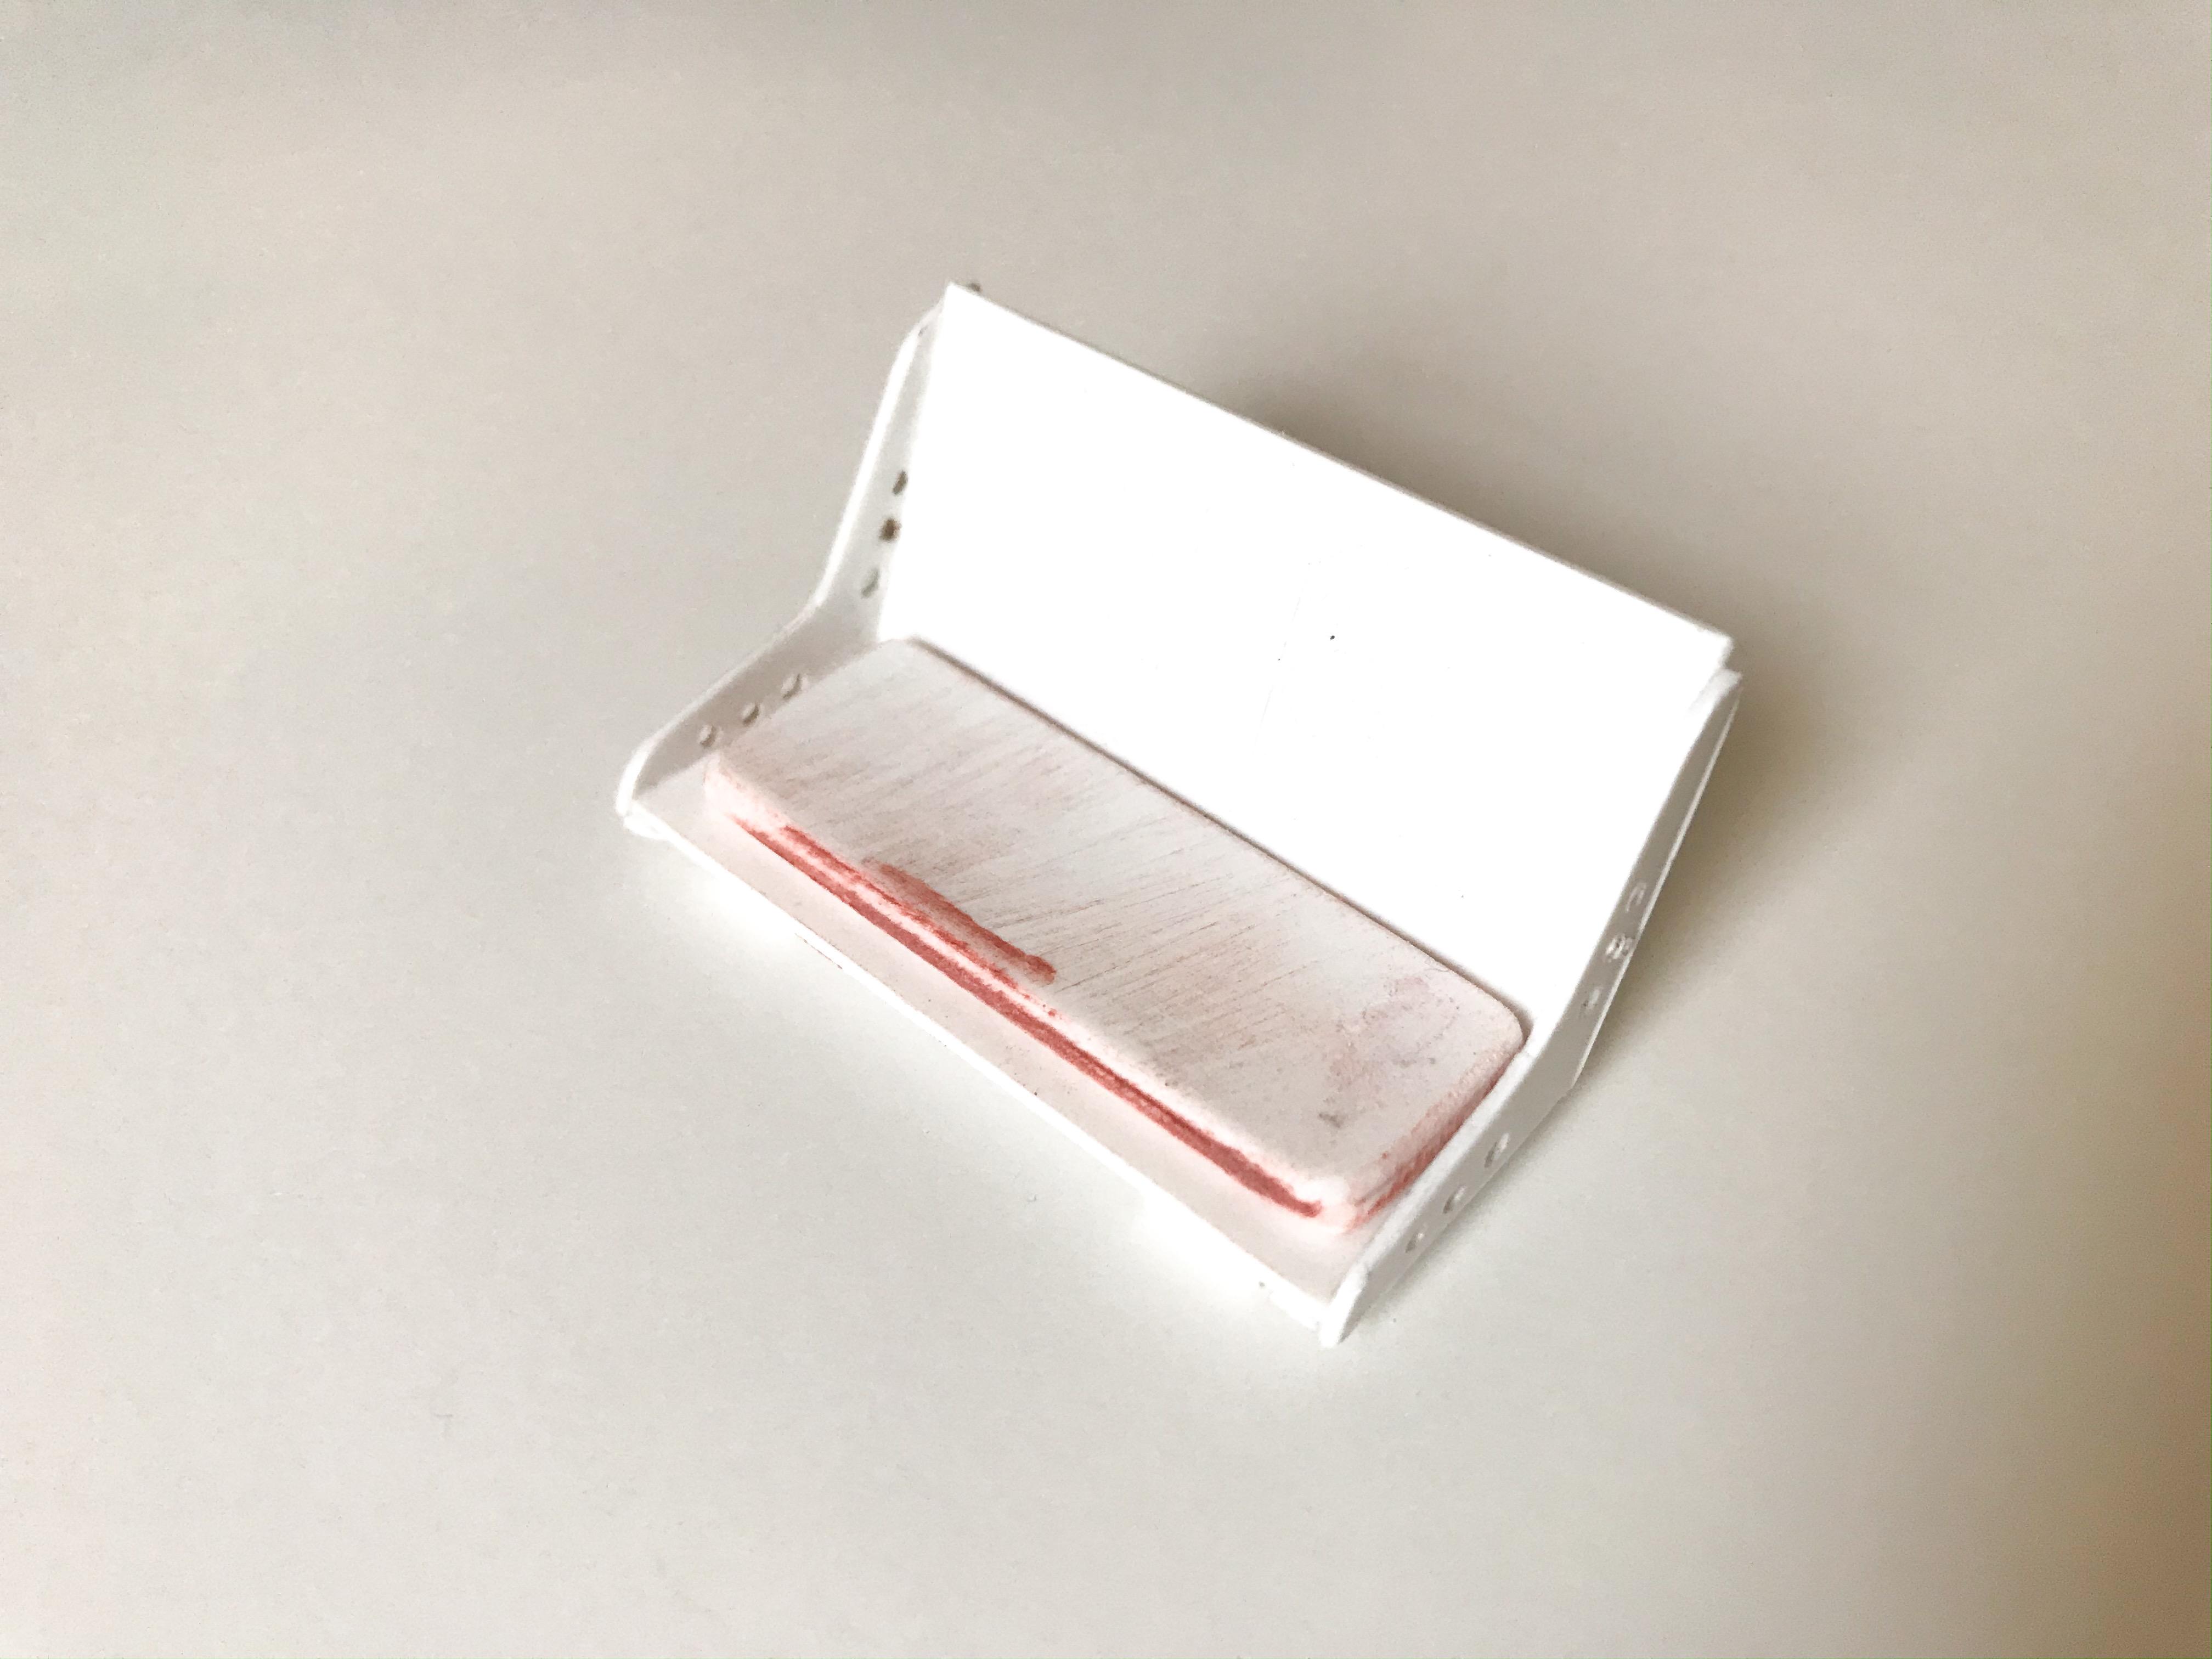
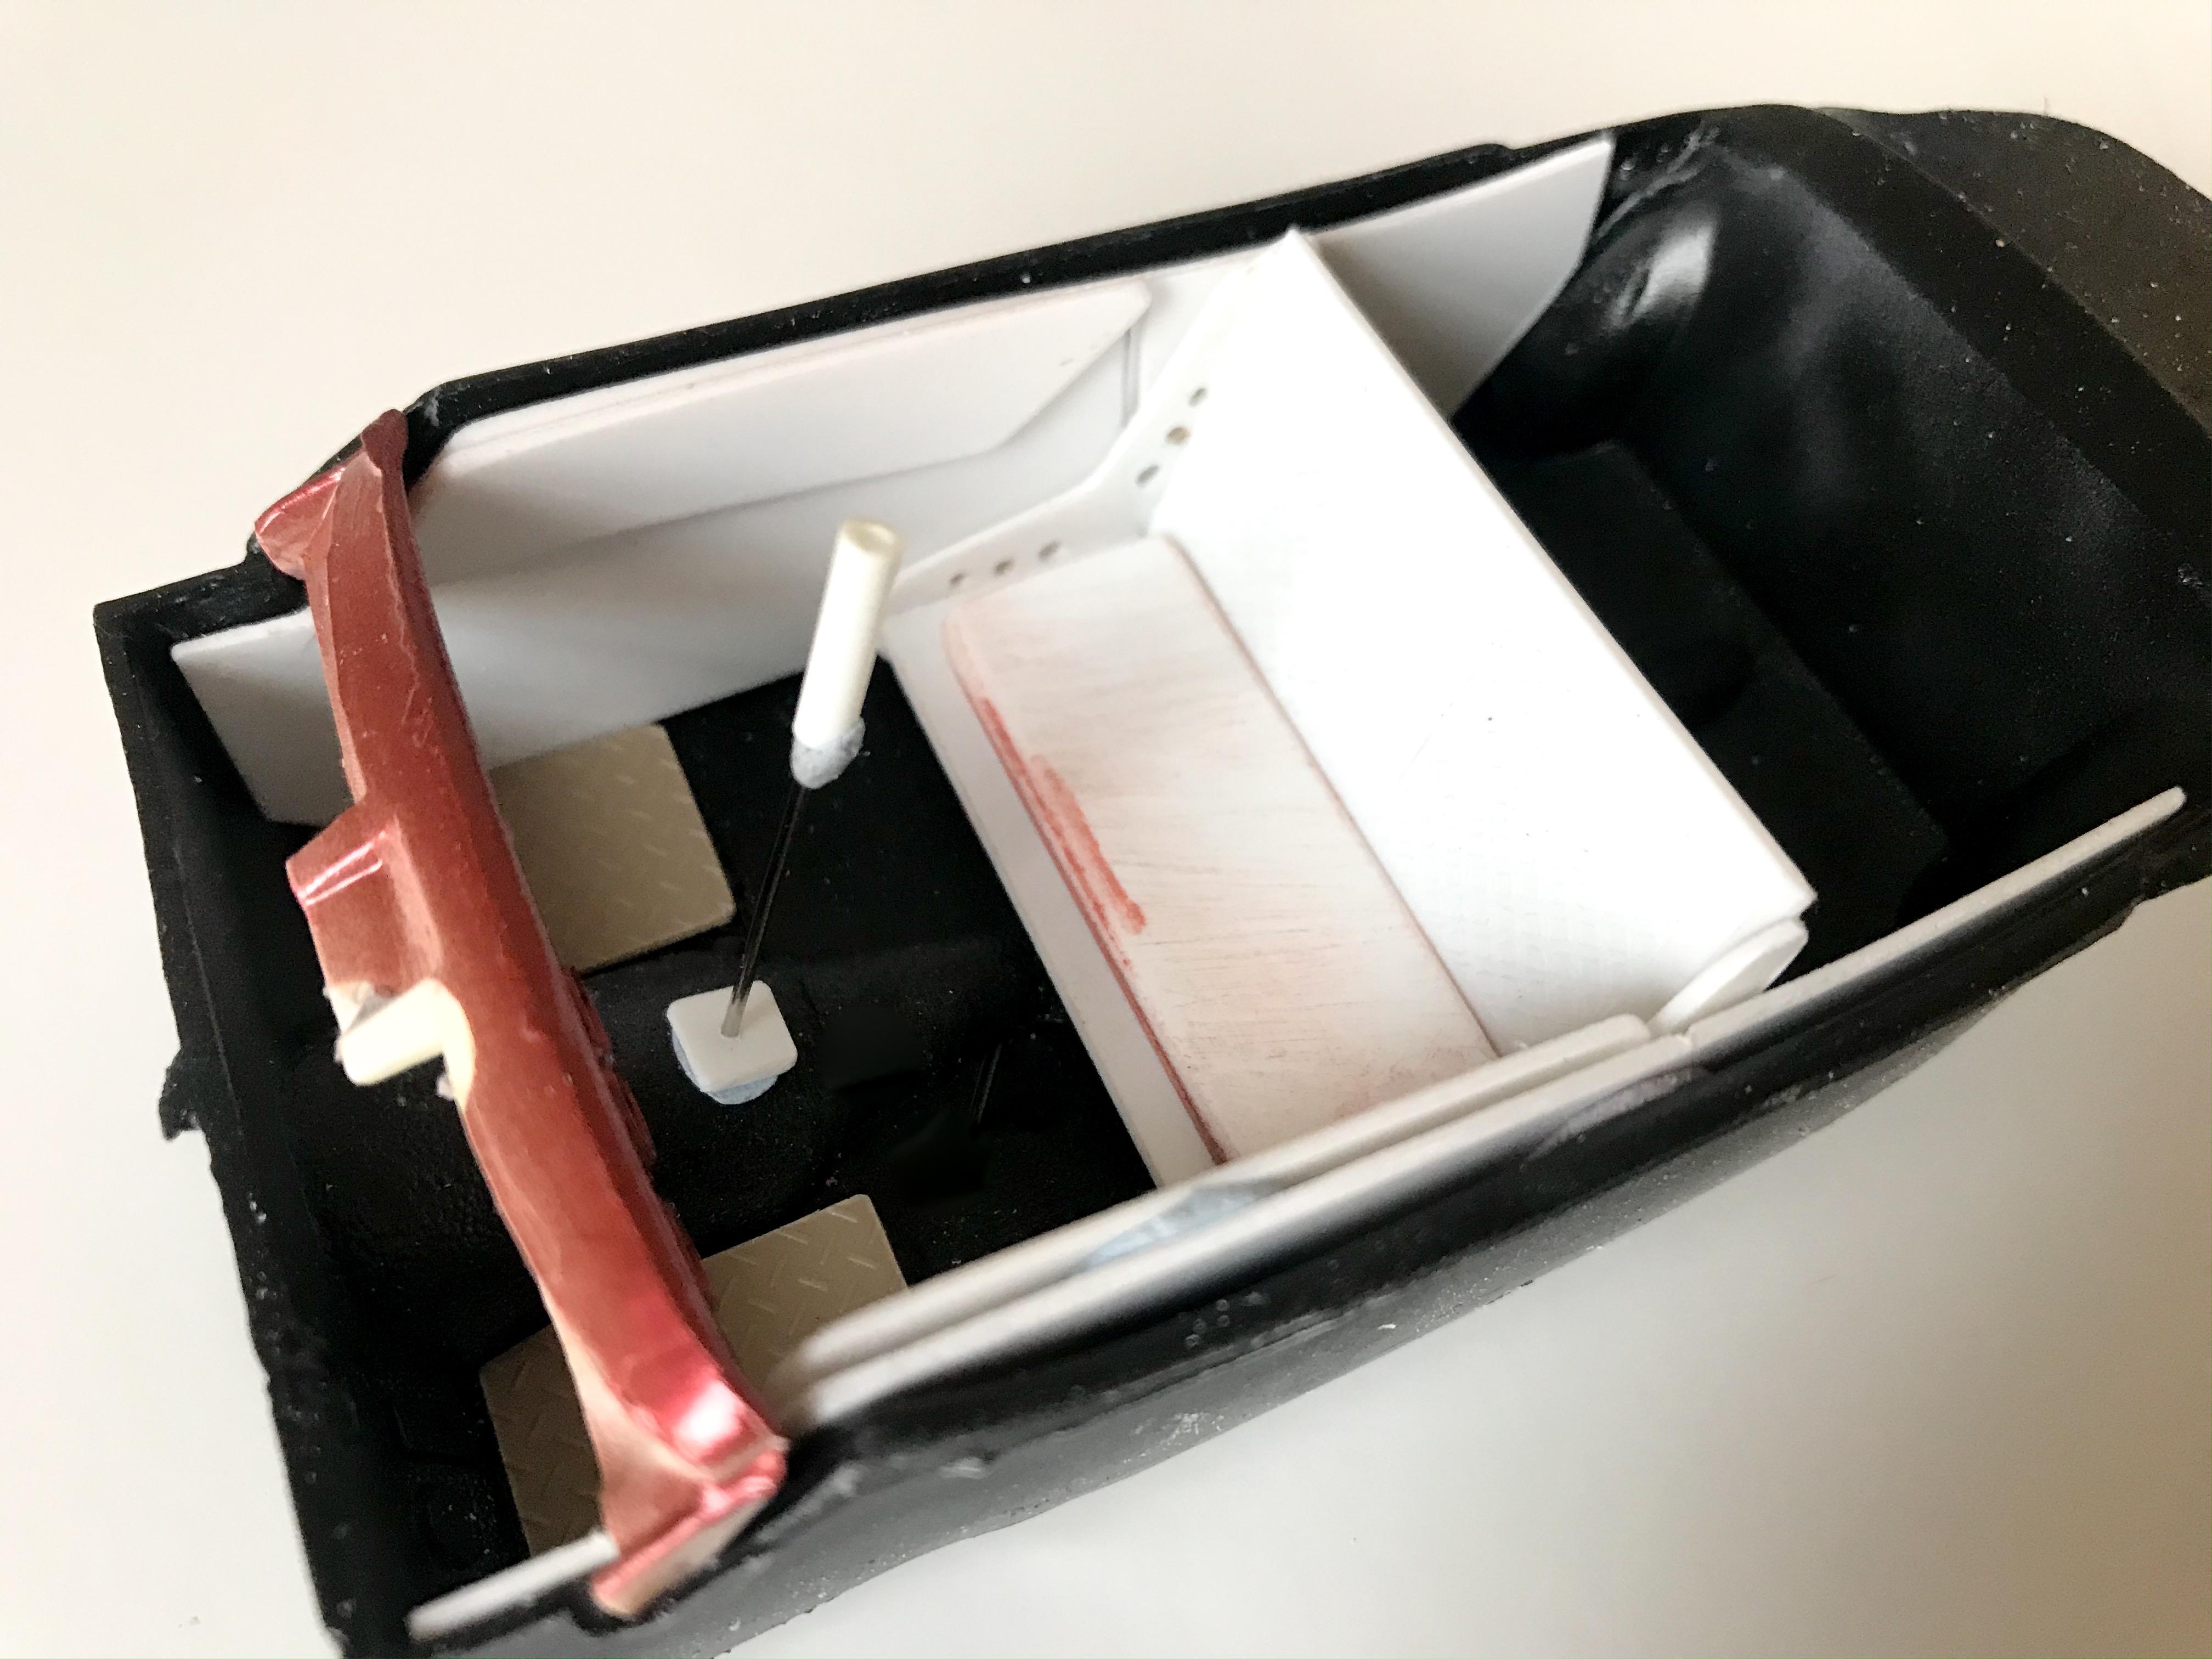
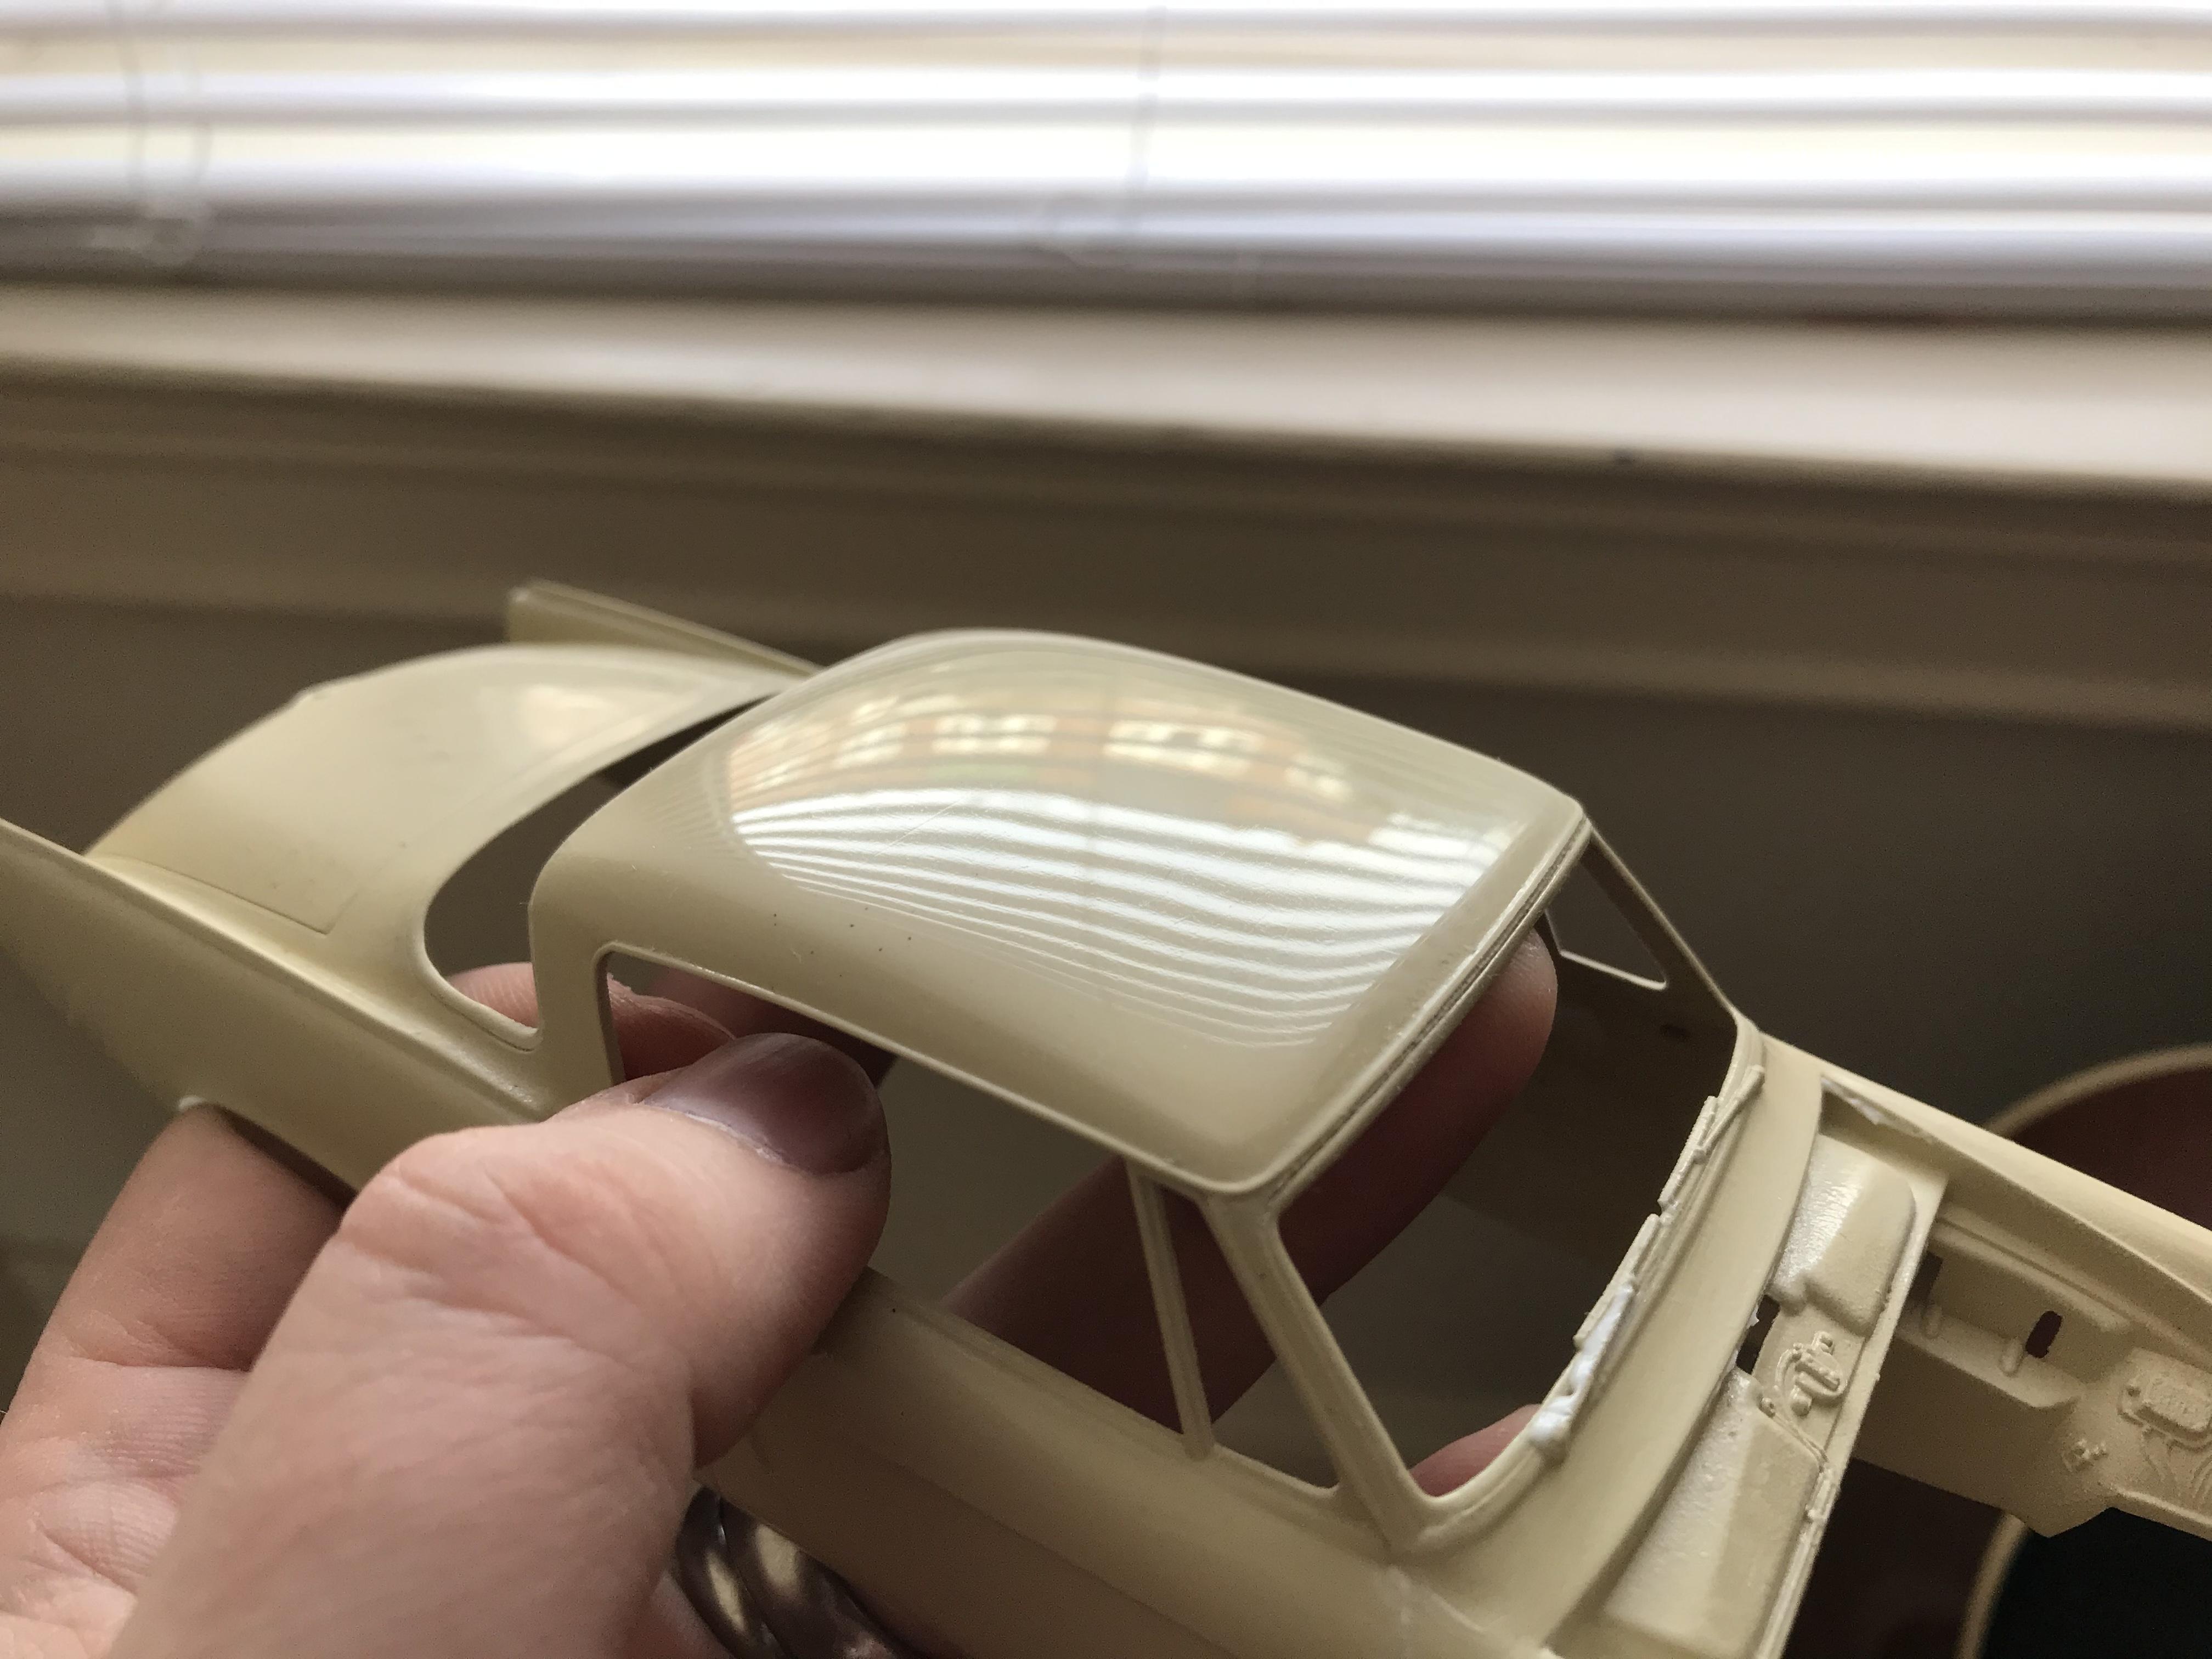
I did have it on the other side originally, then I decided that if I was driving it I’d rather have the cool air for myself and let the passenger have the better visibility ??♂️ Thank you sir! A couple of little updates - had the idea for a bomber BENCH seat, so I made one of those: I used my scrapbook cutter to put a pattern on the back panel of the seat but it’s not really visible yet - I’ll need to squirt some paint over it to bring that out. I made the cushion from some styrene sheet, laminated together to make one piece - I’ve got a particular design in mind for the fabrics which I’m excited to get done... The interior rub that I had was a real mess, so I’m making new door panels and some little bits and pieces for that: And here’s a hint at the first step of the interior fabrics color scheme - more on that soon!
-

What glue to use during building?
CabDriver replied to ThreeThree's topic in Model Building Questions and Answers
Are you talking about glue to assemble parts (for good, such as engine halves) before painting or to mock parts up or for final assembly? I like regular styrene cement for assembling styrene to styrene parts, poster tack or white glue for mocking up and Krazy glue for most final assembly tasks that I couldn’t do before the painting was done -
Awesome!! This looks great already - can’t wait to see more!
-
Gave this one a week or so to dry and gave it a polish this morning - that Donn Yost paint method really does work well! Still some polishing to do, but this is just the cloths on the roof and a little Meguiars in a couple of tricky to reach spots - no wax or anything yet. And a vid, because I was pleased with it! ? Next job is the foil (again)...didn’t enjoy that the FIRST time ?. More soon, soon as I’ve motivated myself here ??
-
Hey Claude! We have a couple or threee kinda ratty-but-running cars around my neighborhood...not quite like this build but still cool enough to turn my head! I always wonder what happened to this Astro van to make it so patina-y:
-
Thank you! I wasn’t totally decided if I liked it...but now it’s painted I’m warming to it: Just needs some cool whatevers to put on it!
-
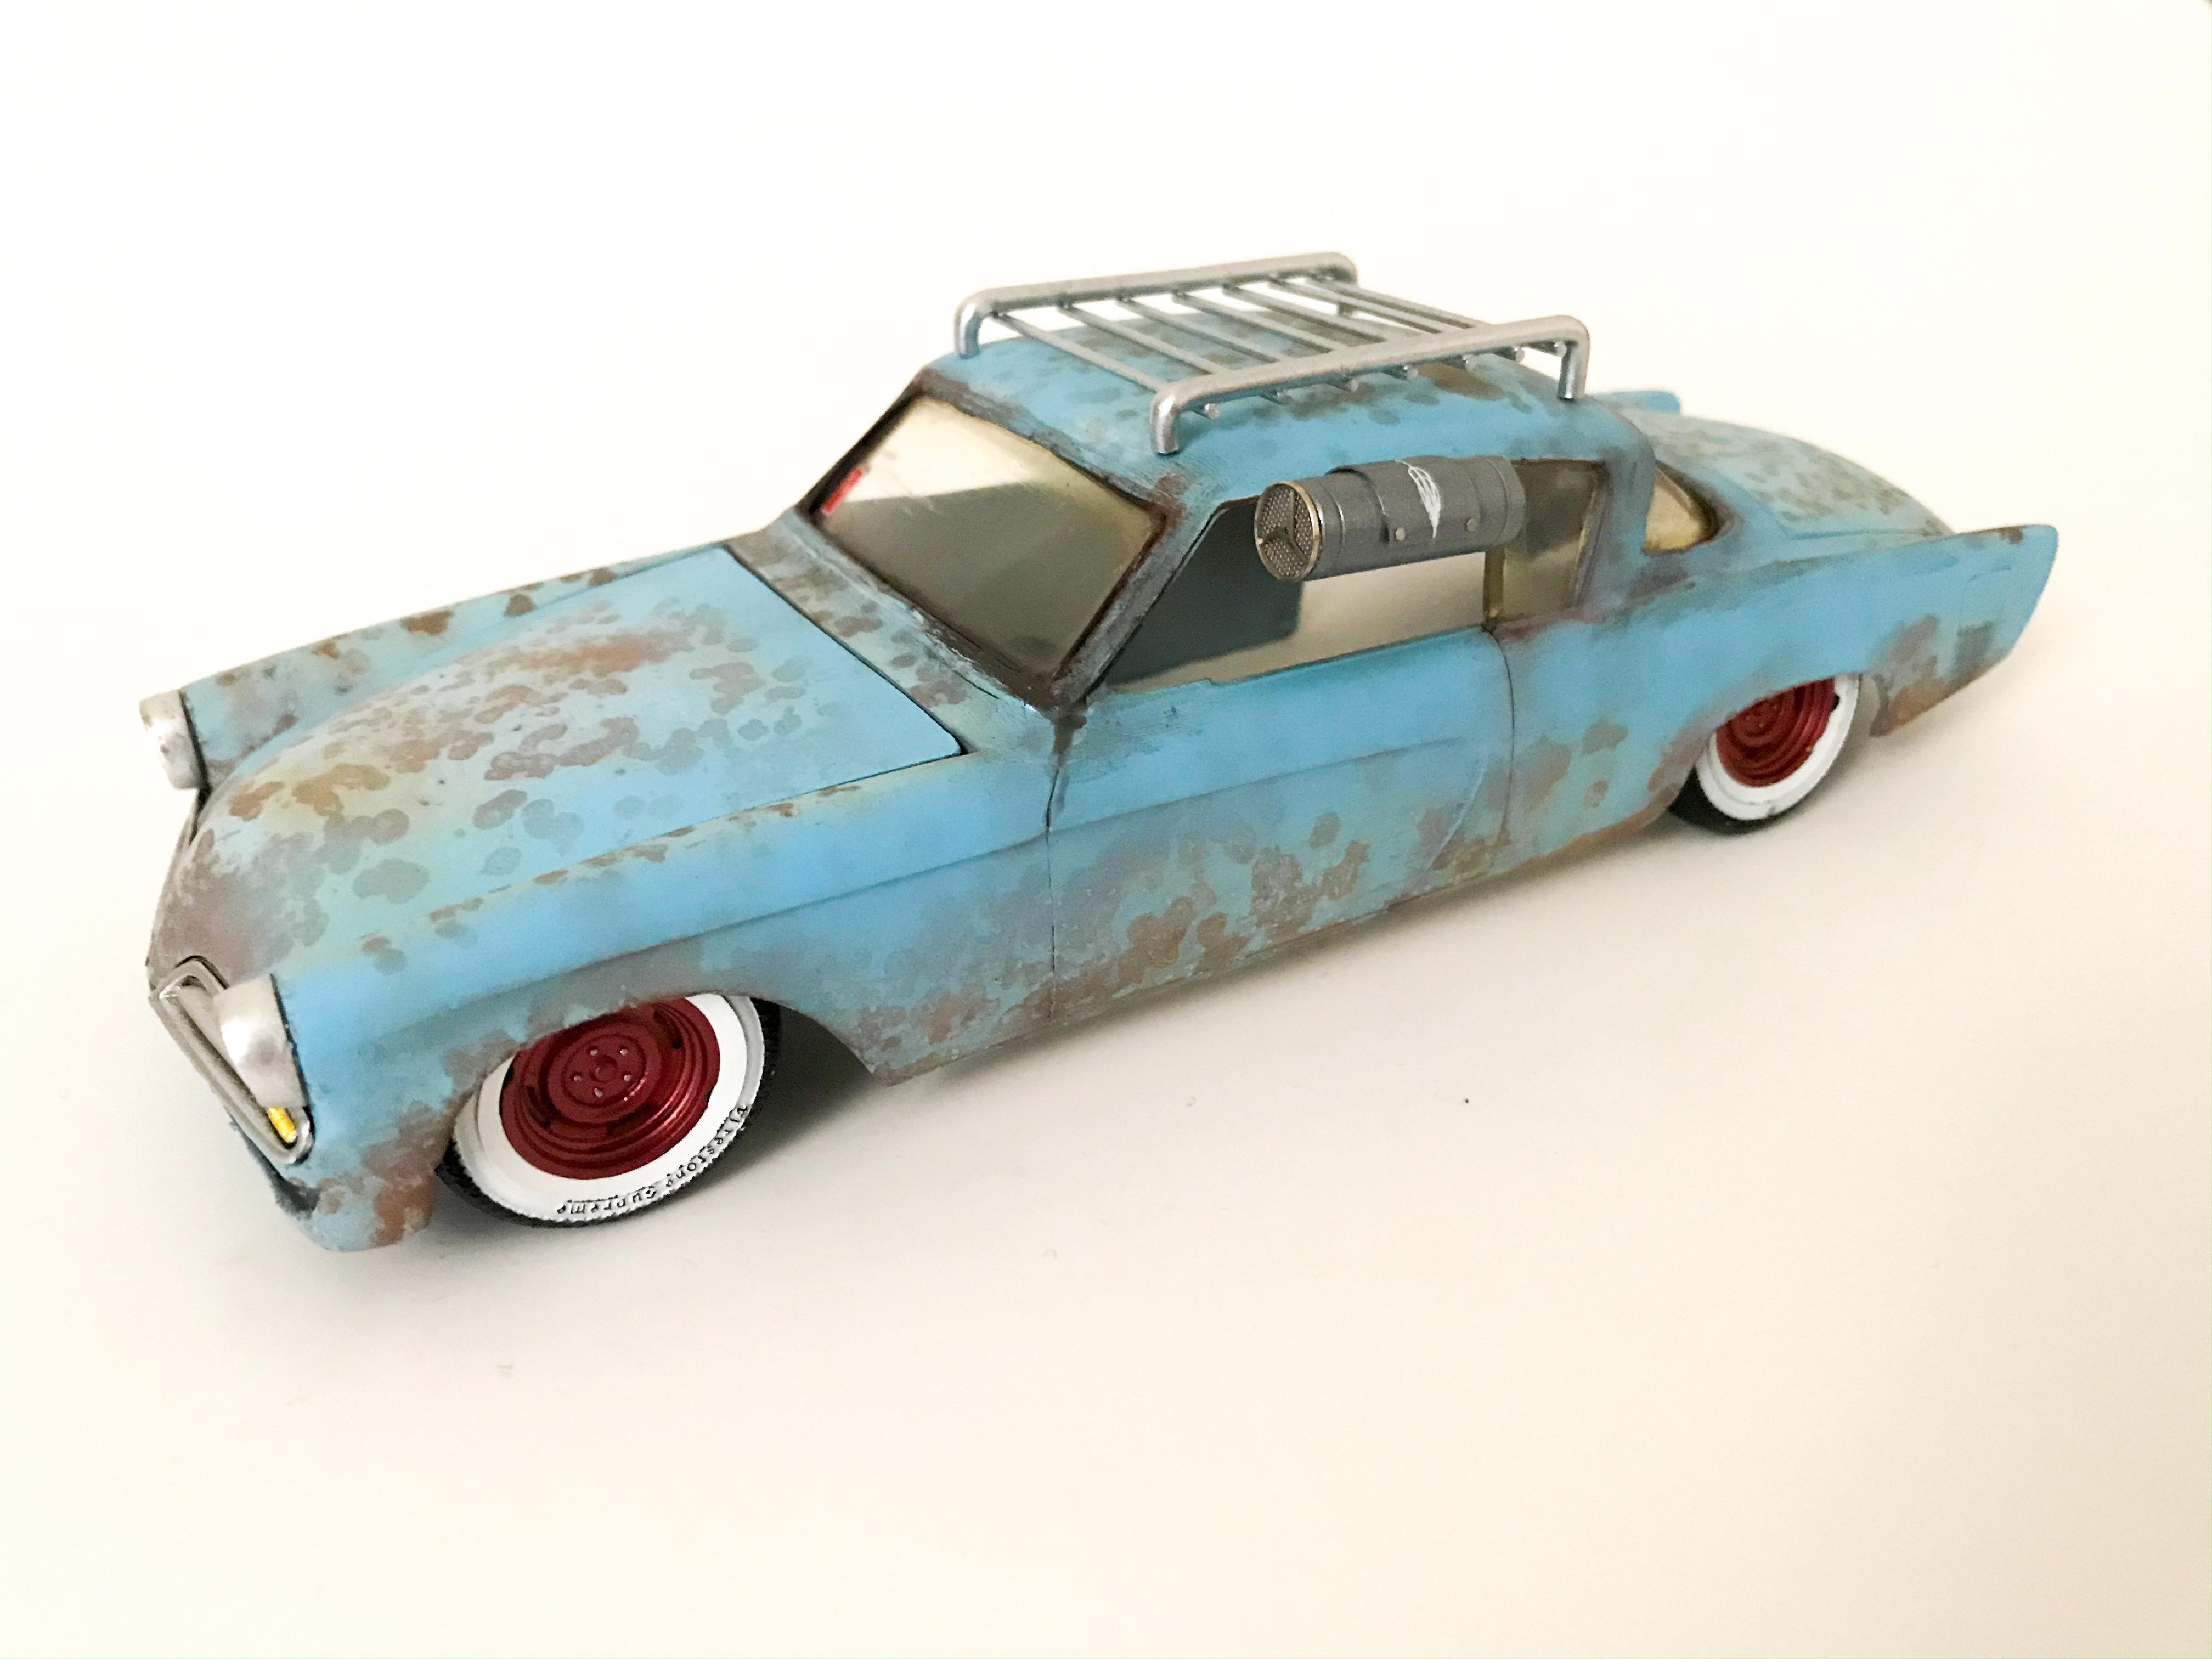
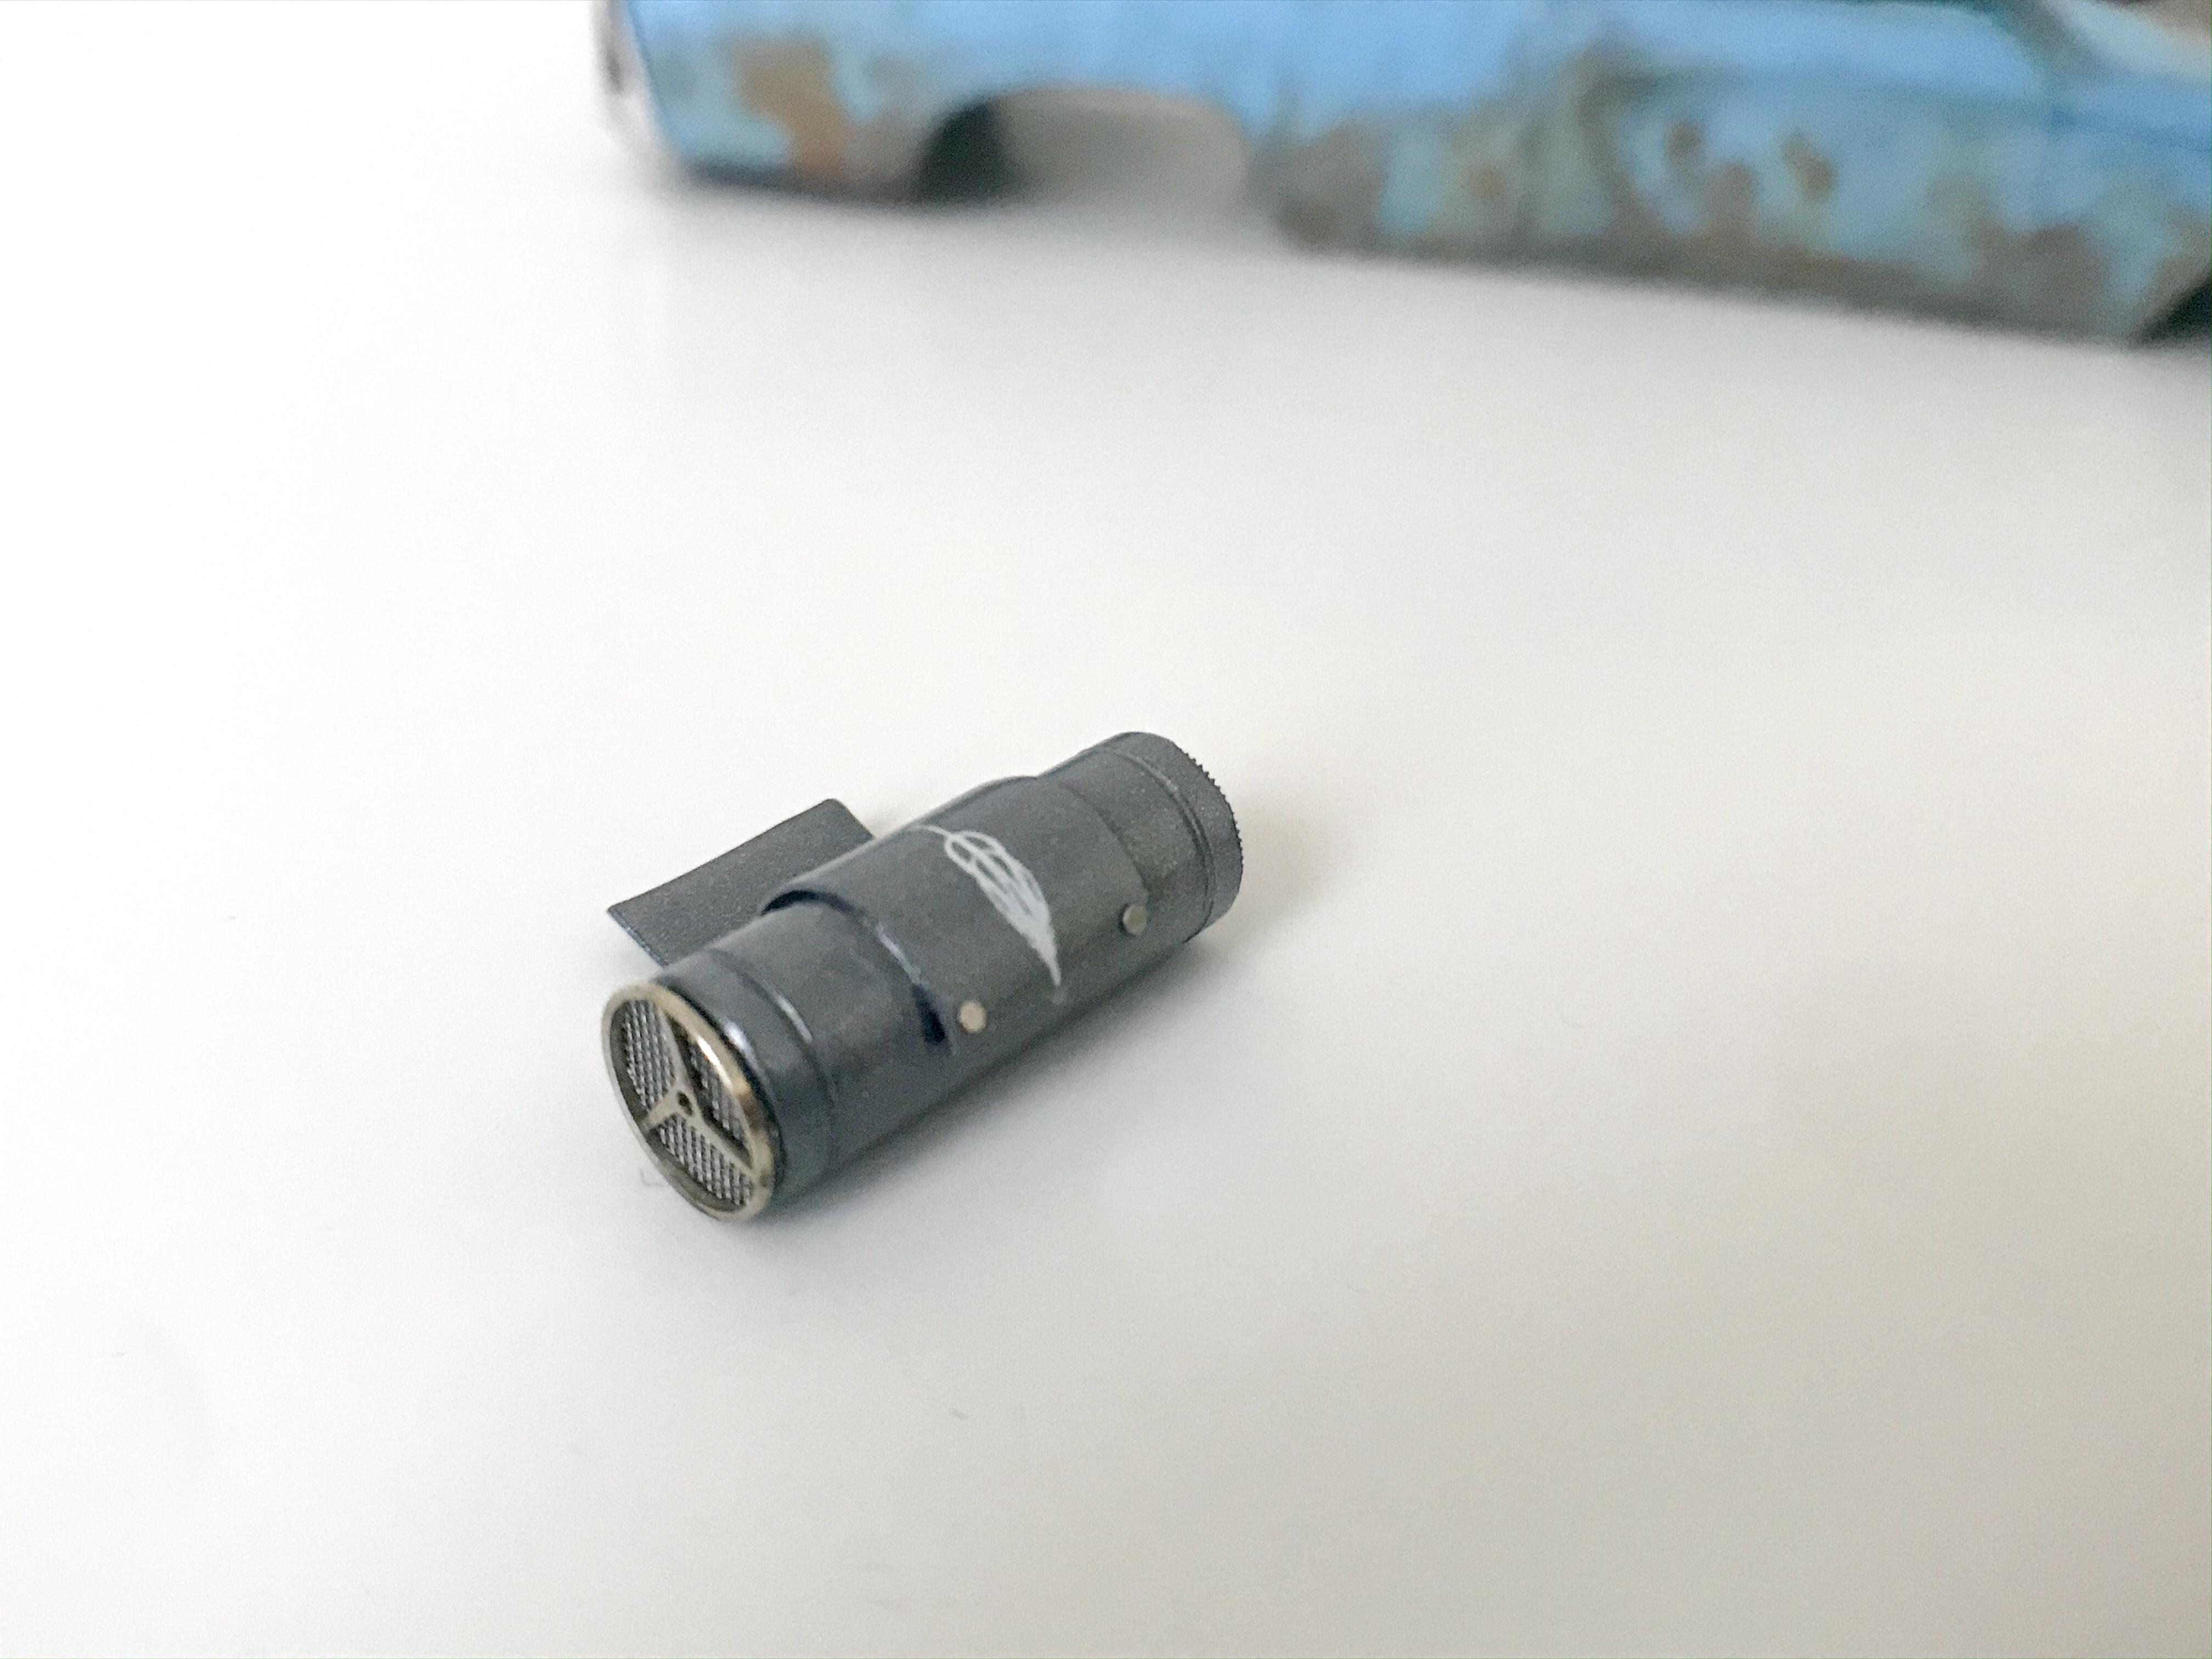
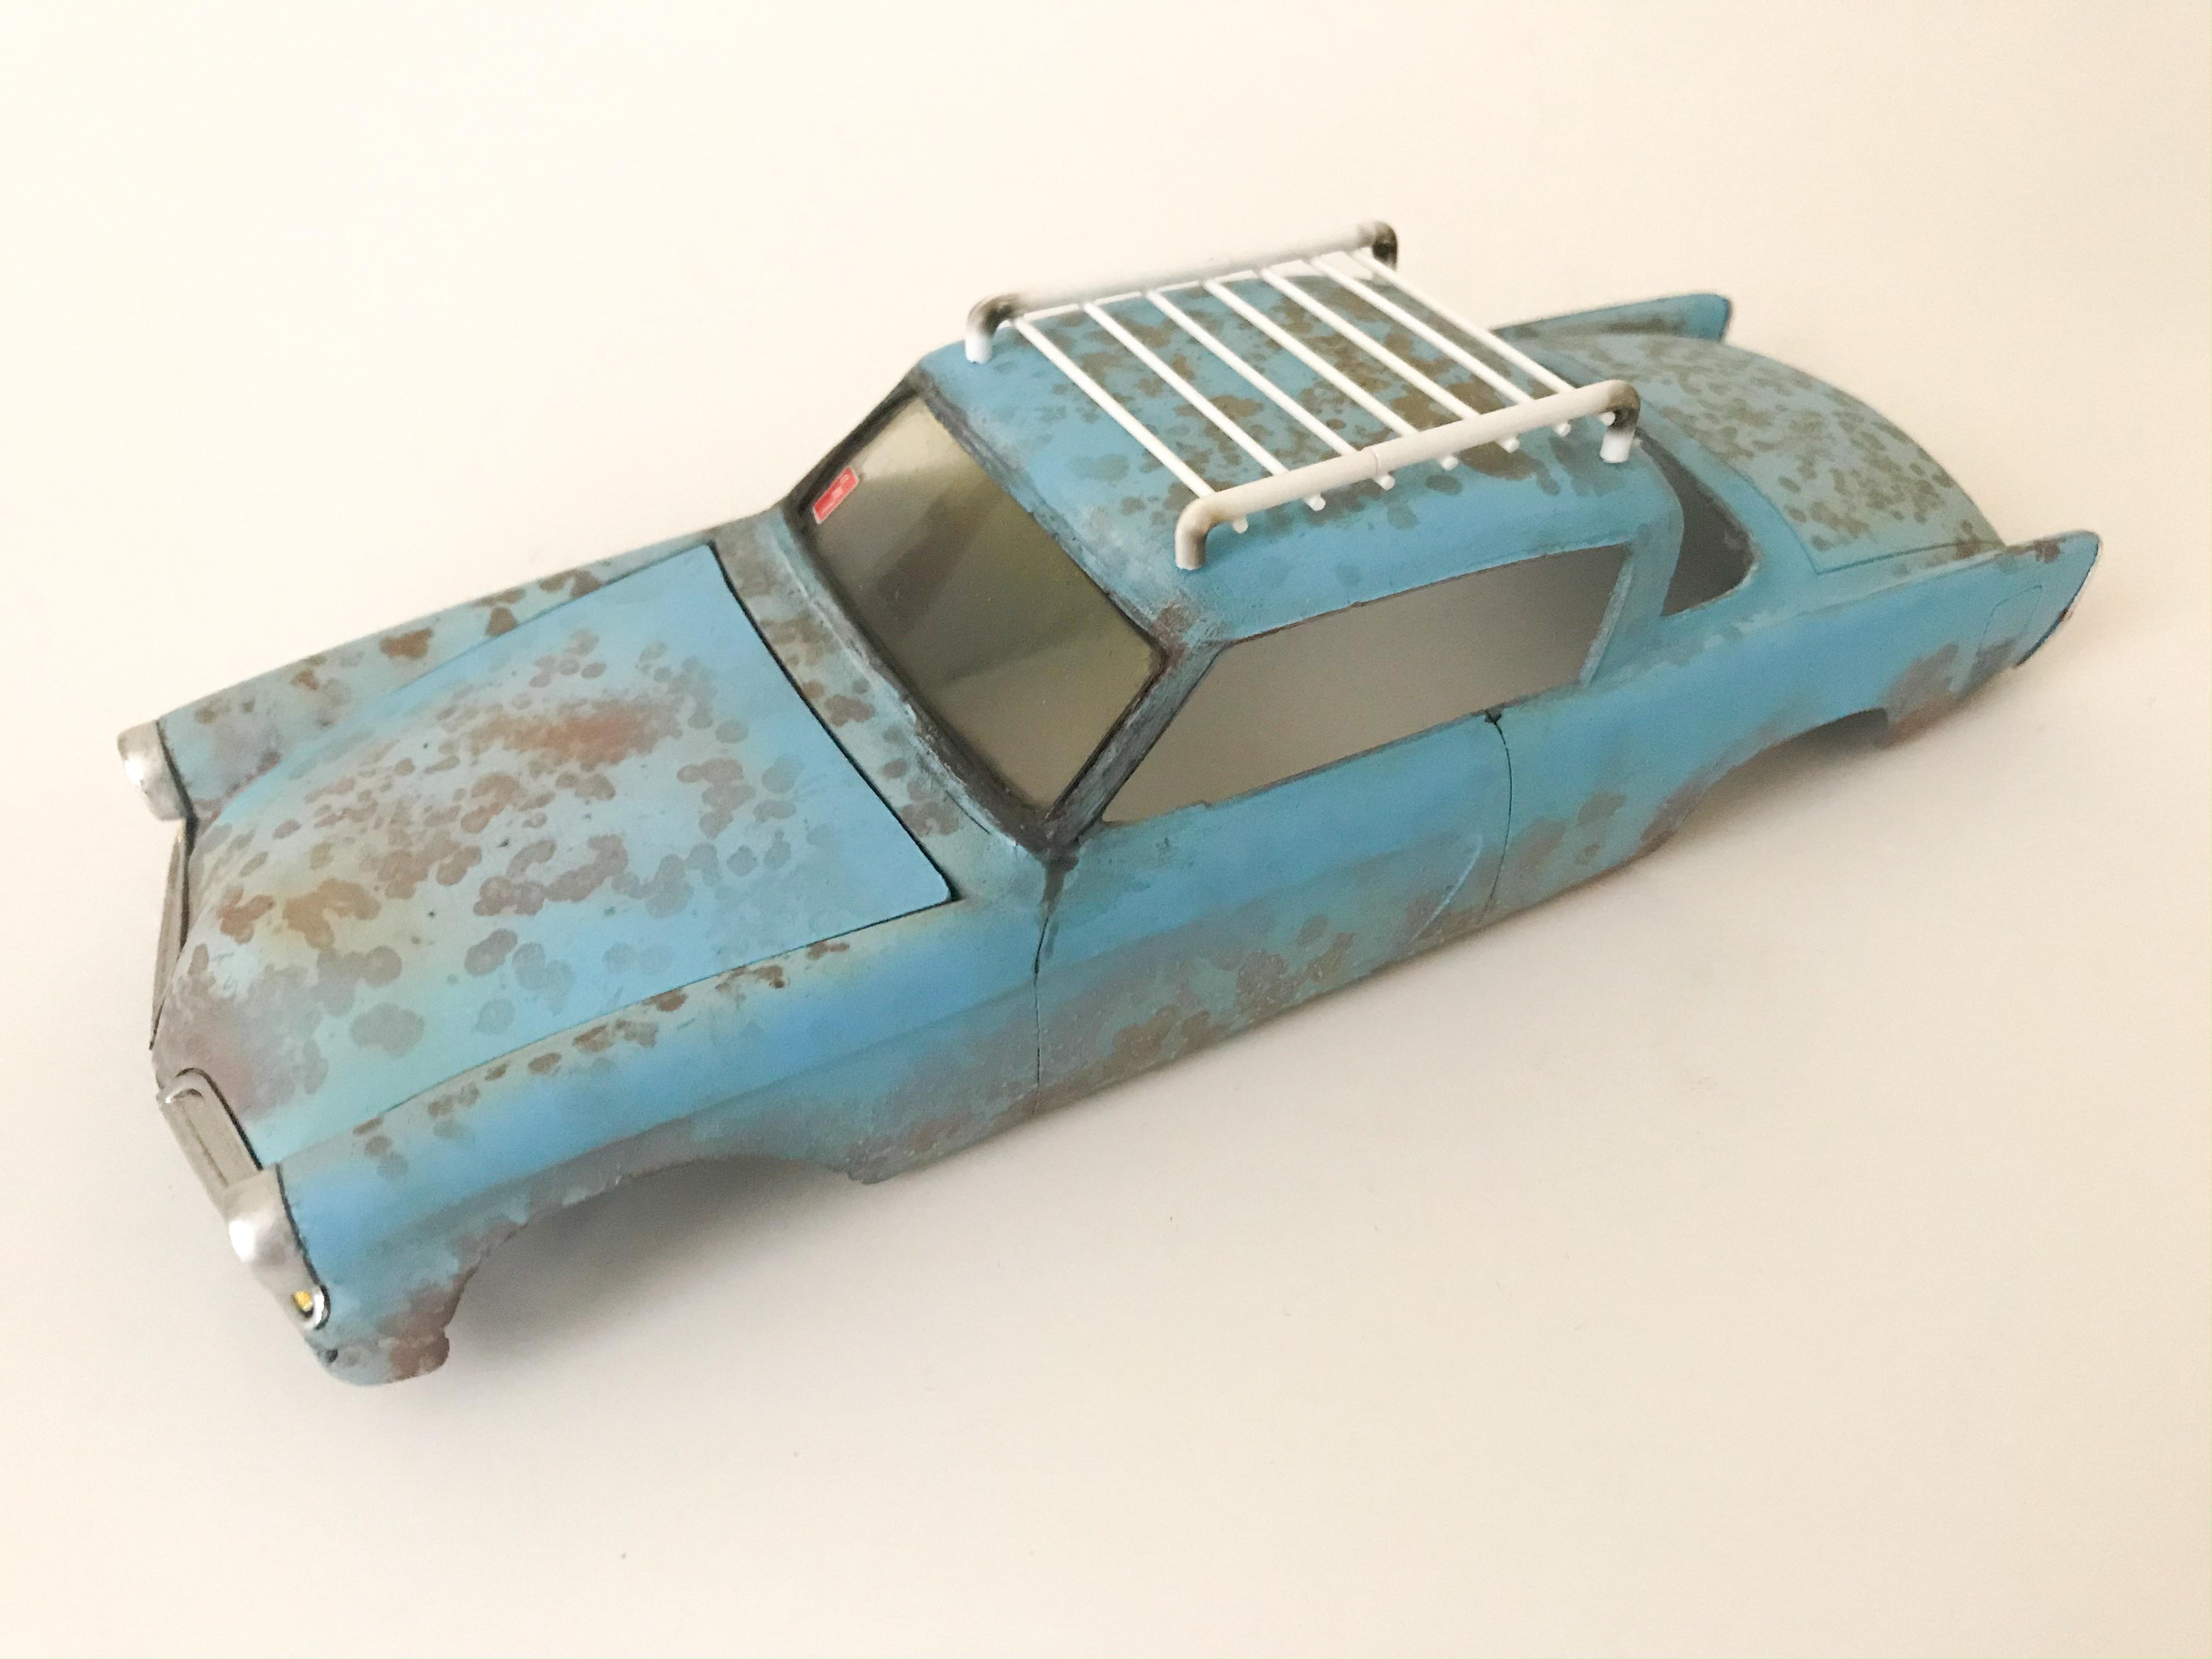
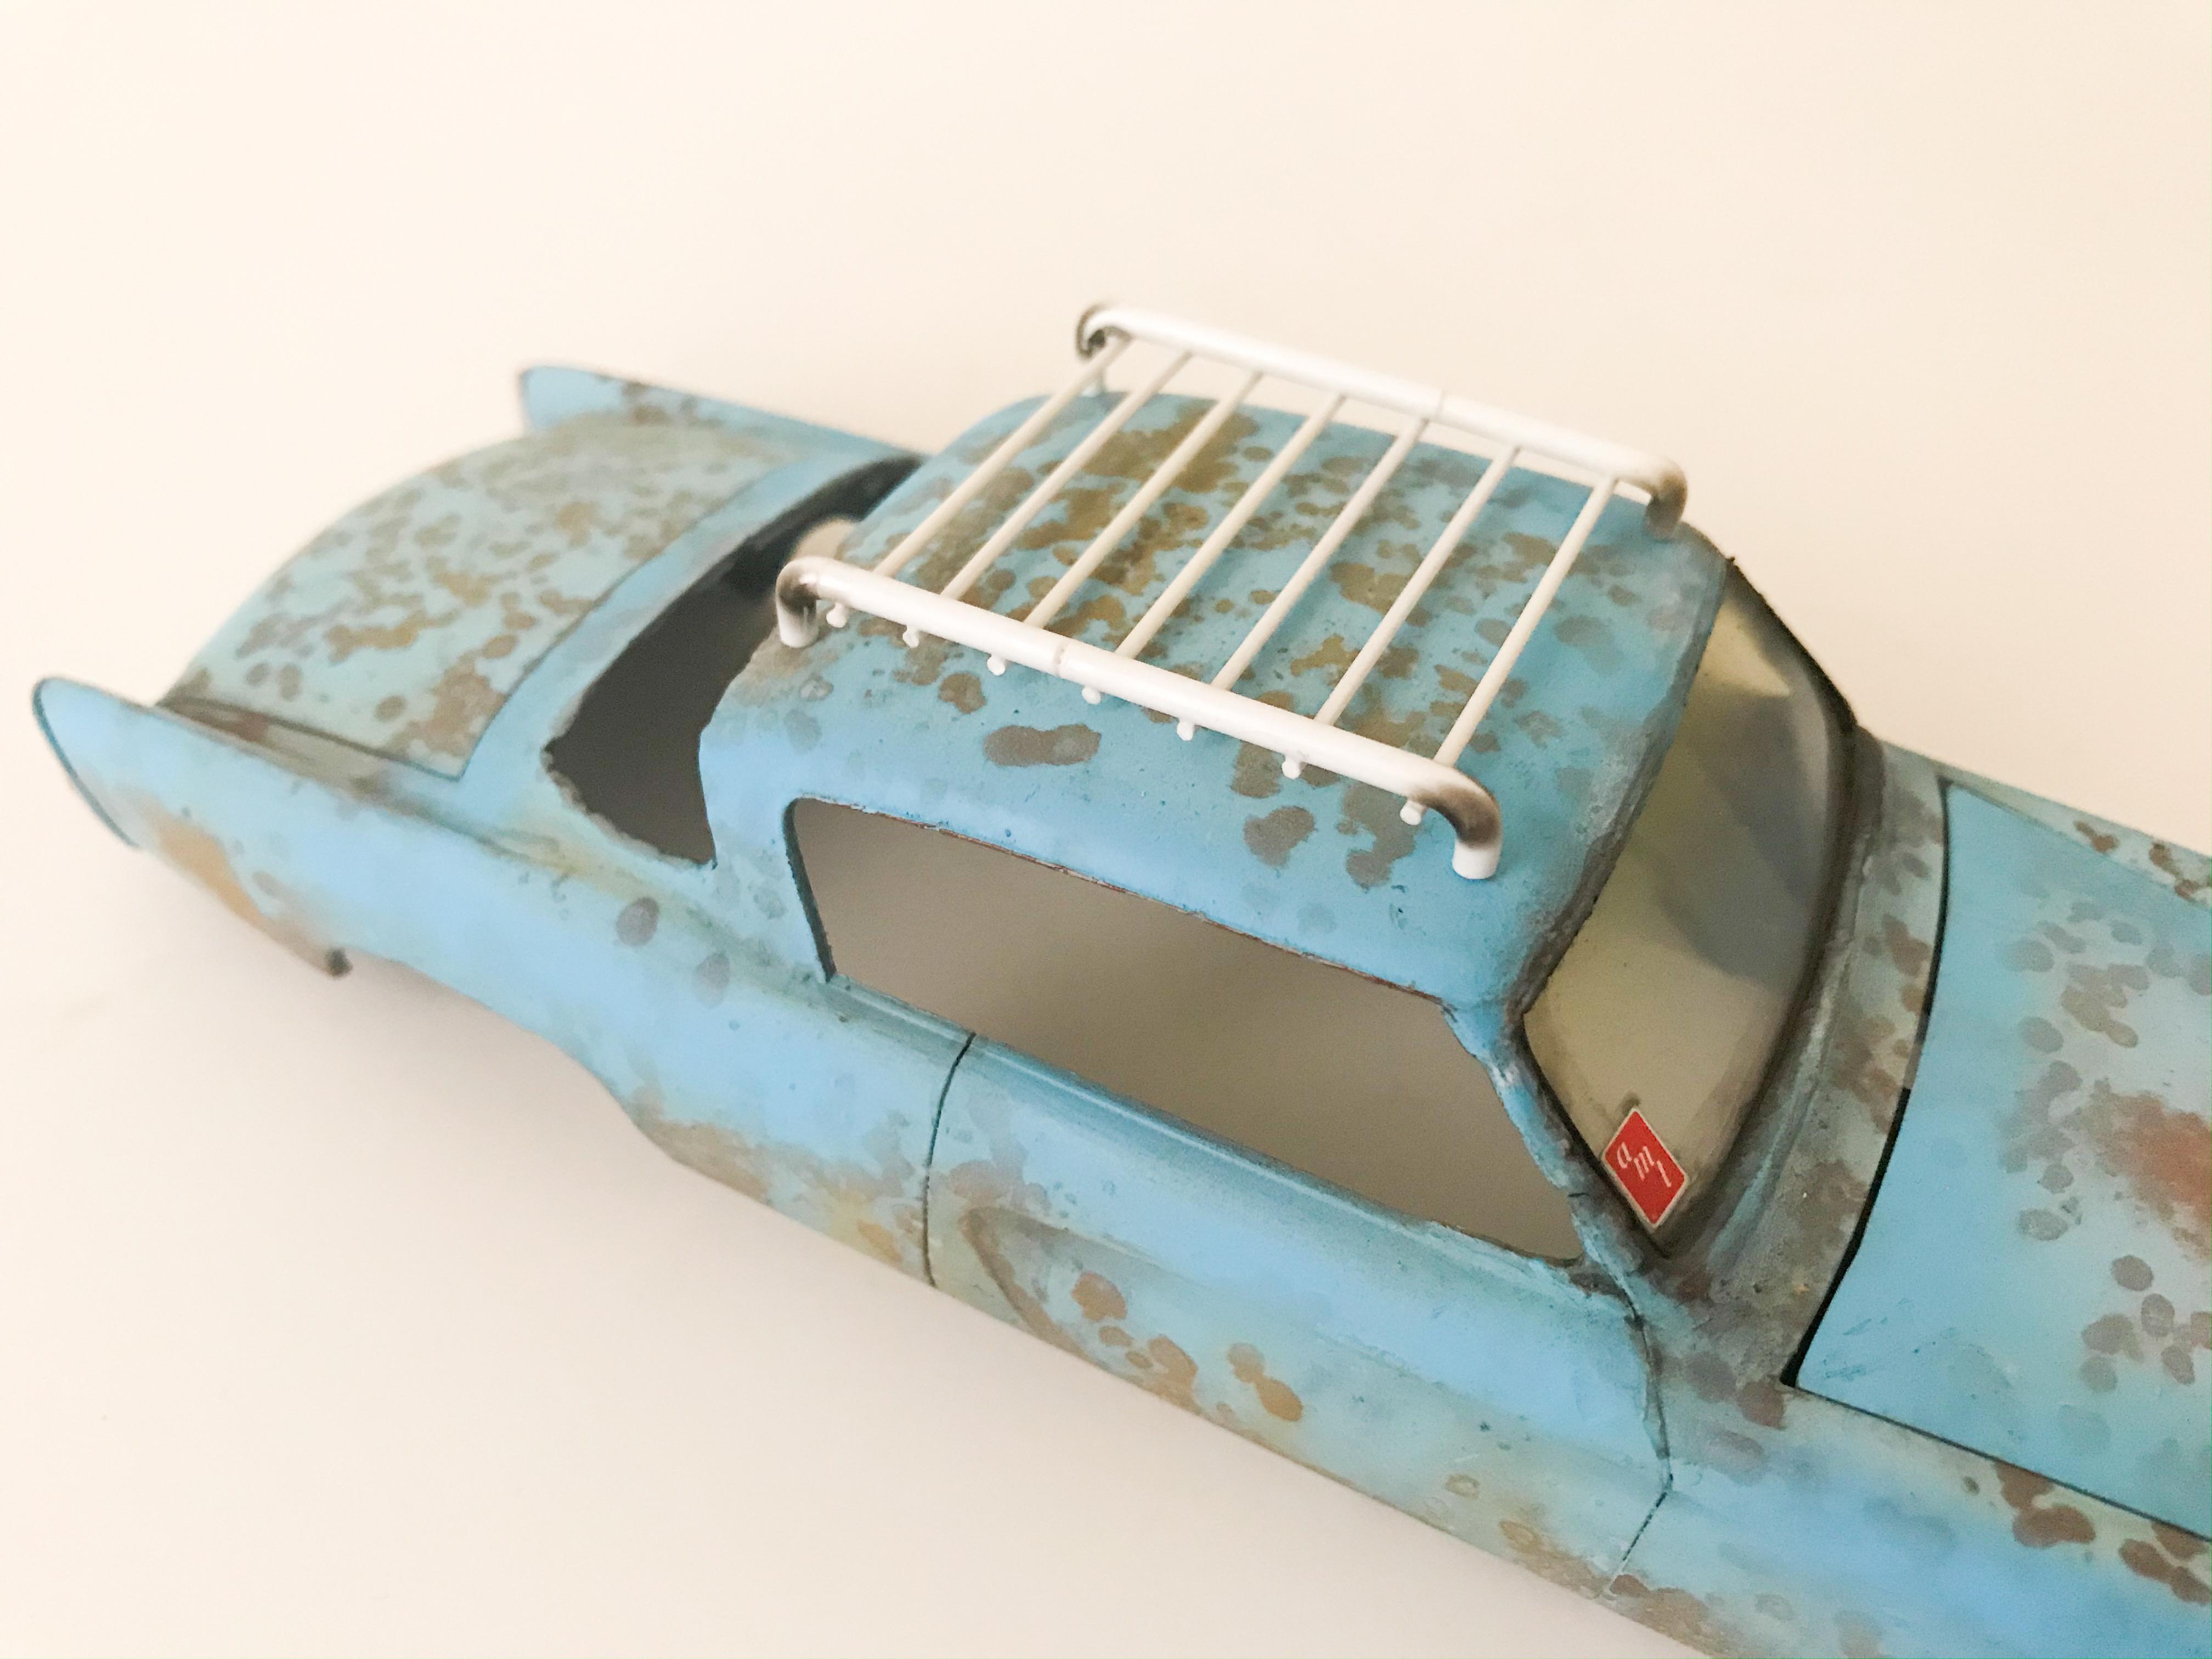
A little more on this one...had a busy week so didn’t get as much done as I hoped but still got a couple of little bits done... Got the rear and side windows made from some PVC sheet, and added a rubber gasket around the edge of the rear one before weathering and adding a ‘sticker’: Worked on a swamp cooler for the driver’s window - scratchbuilt this from styrene and brass, with a couple of metal parts and some photoetch: And I’m debating having a roof rack with some stuff in it (Radio Flyer cart, a cooler maybe, perhaps a Jerry can or something) so I built one of those to see how I felt about it... More soon, soon as I’ve done more! ??
-
Brilliant! Thank you! I’ve got a bunch of their plastic ones, but I hadn’t seen the brass ones before. Cool!
-
This is a great build, I’m really enjoying it! Quick question - who makes those nice model railroad bolts? I’ve been looking for some like that for a project
-
Awesome!!! Thank you! Can’t wait to dig into that thread! ?
-
That’s a great tip Tom, yes! It’s really useful to know how the real thing rusts - especially if you’re doing an extreme look with rust holes and other damage. A couple of little bits, as I’m still at the bench and replying anyway...had Walgreens print a licence plate and used a photoetch frame and some photoetch bolts to finish it off: I shot the headlamp buckets with the same Krylon chrome (which doesn’t look chrome at all, but does a decent job of brushed aluminum) as the bumpers and gave the lenses a little tint with some clear yellow. The race car-style tape crosses aren’t a thing anyone seems to be doing in 1:1 but I cut some with some more vinyl and added those for an extra little detail. This build is too much fun! More soon!
-
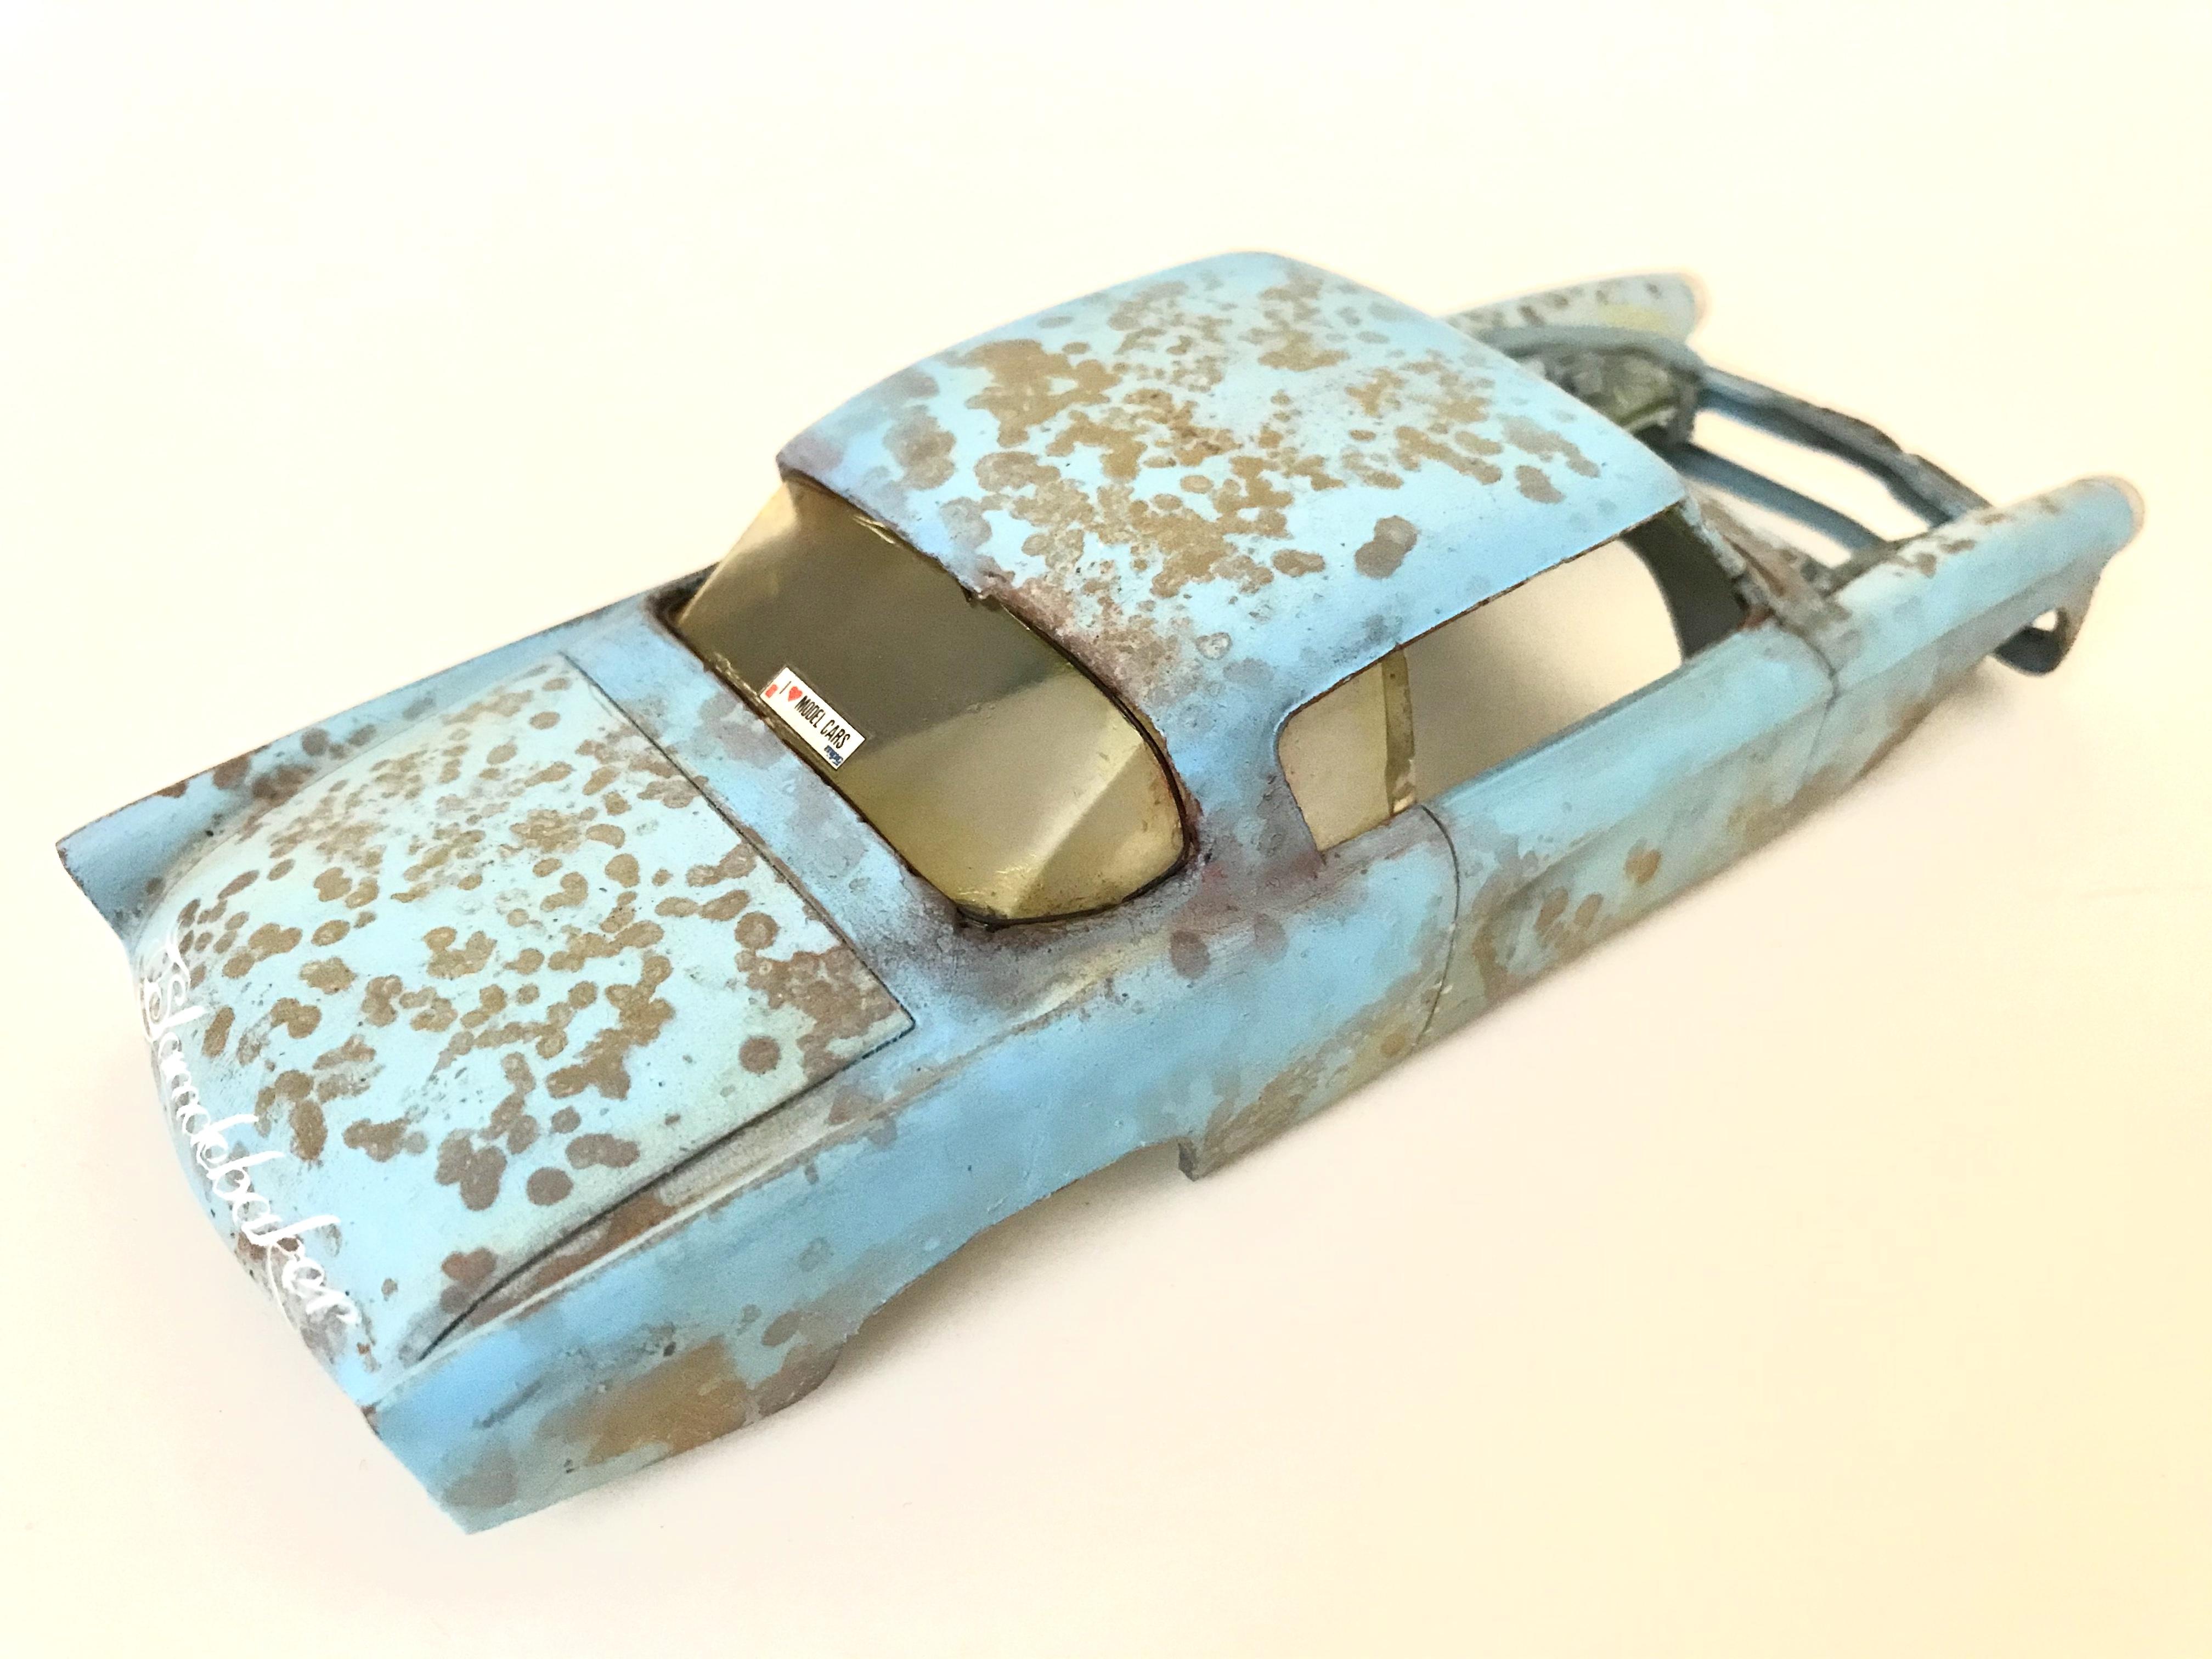
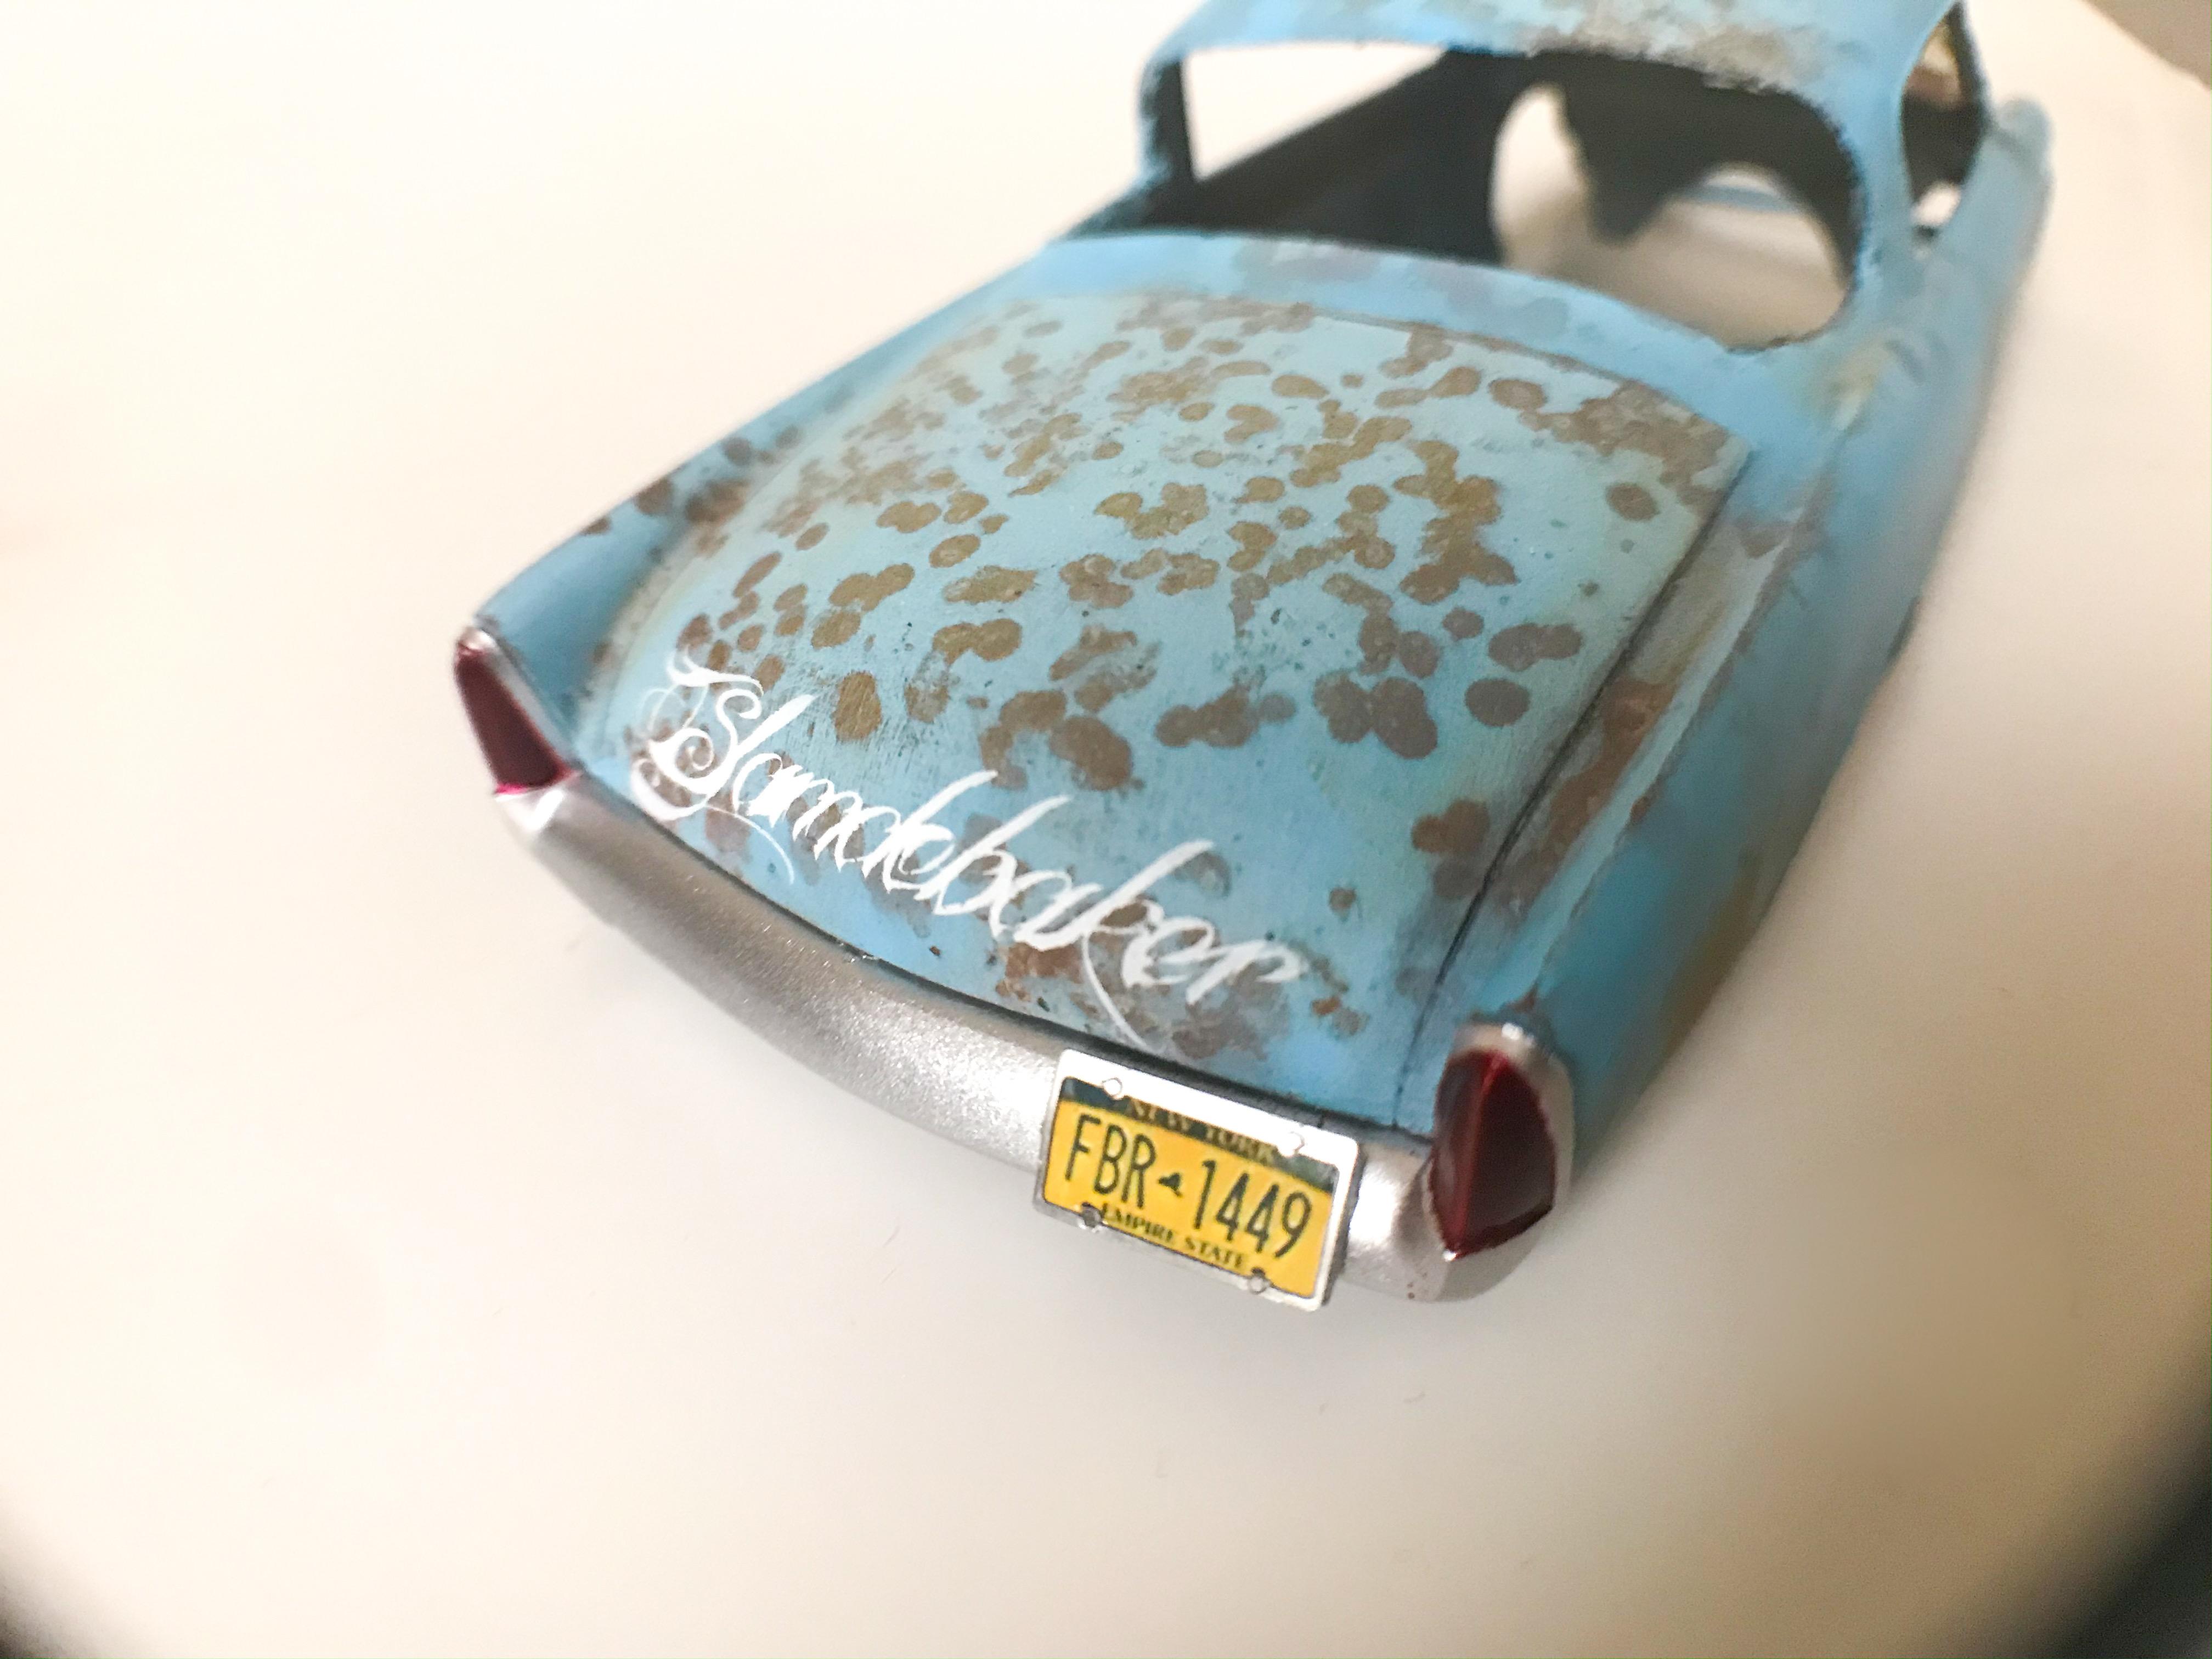
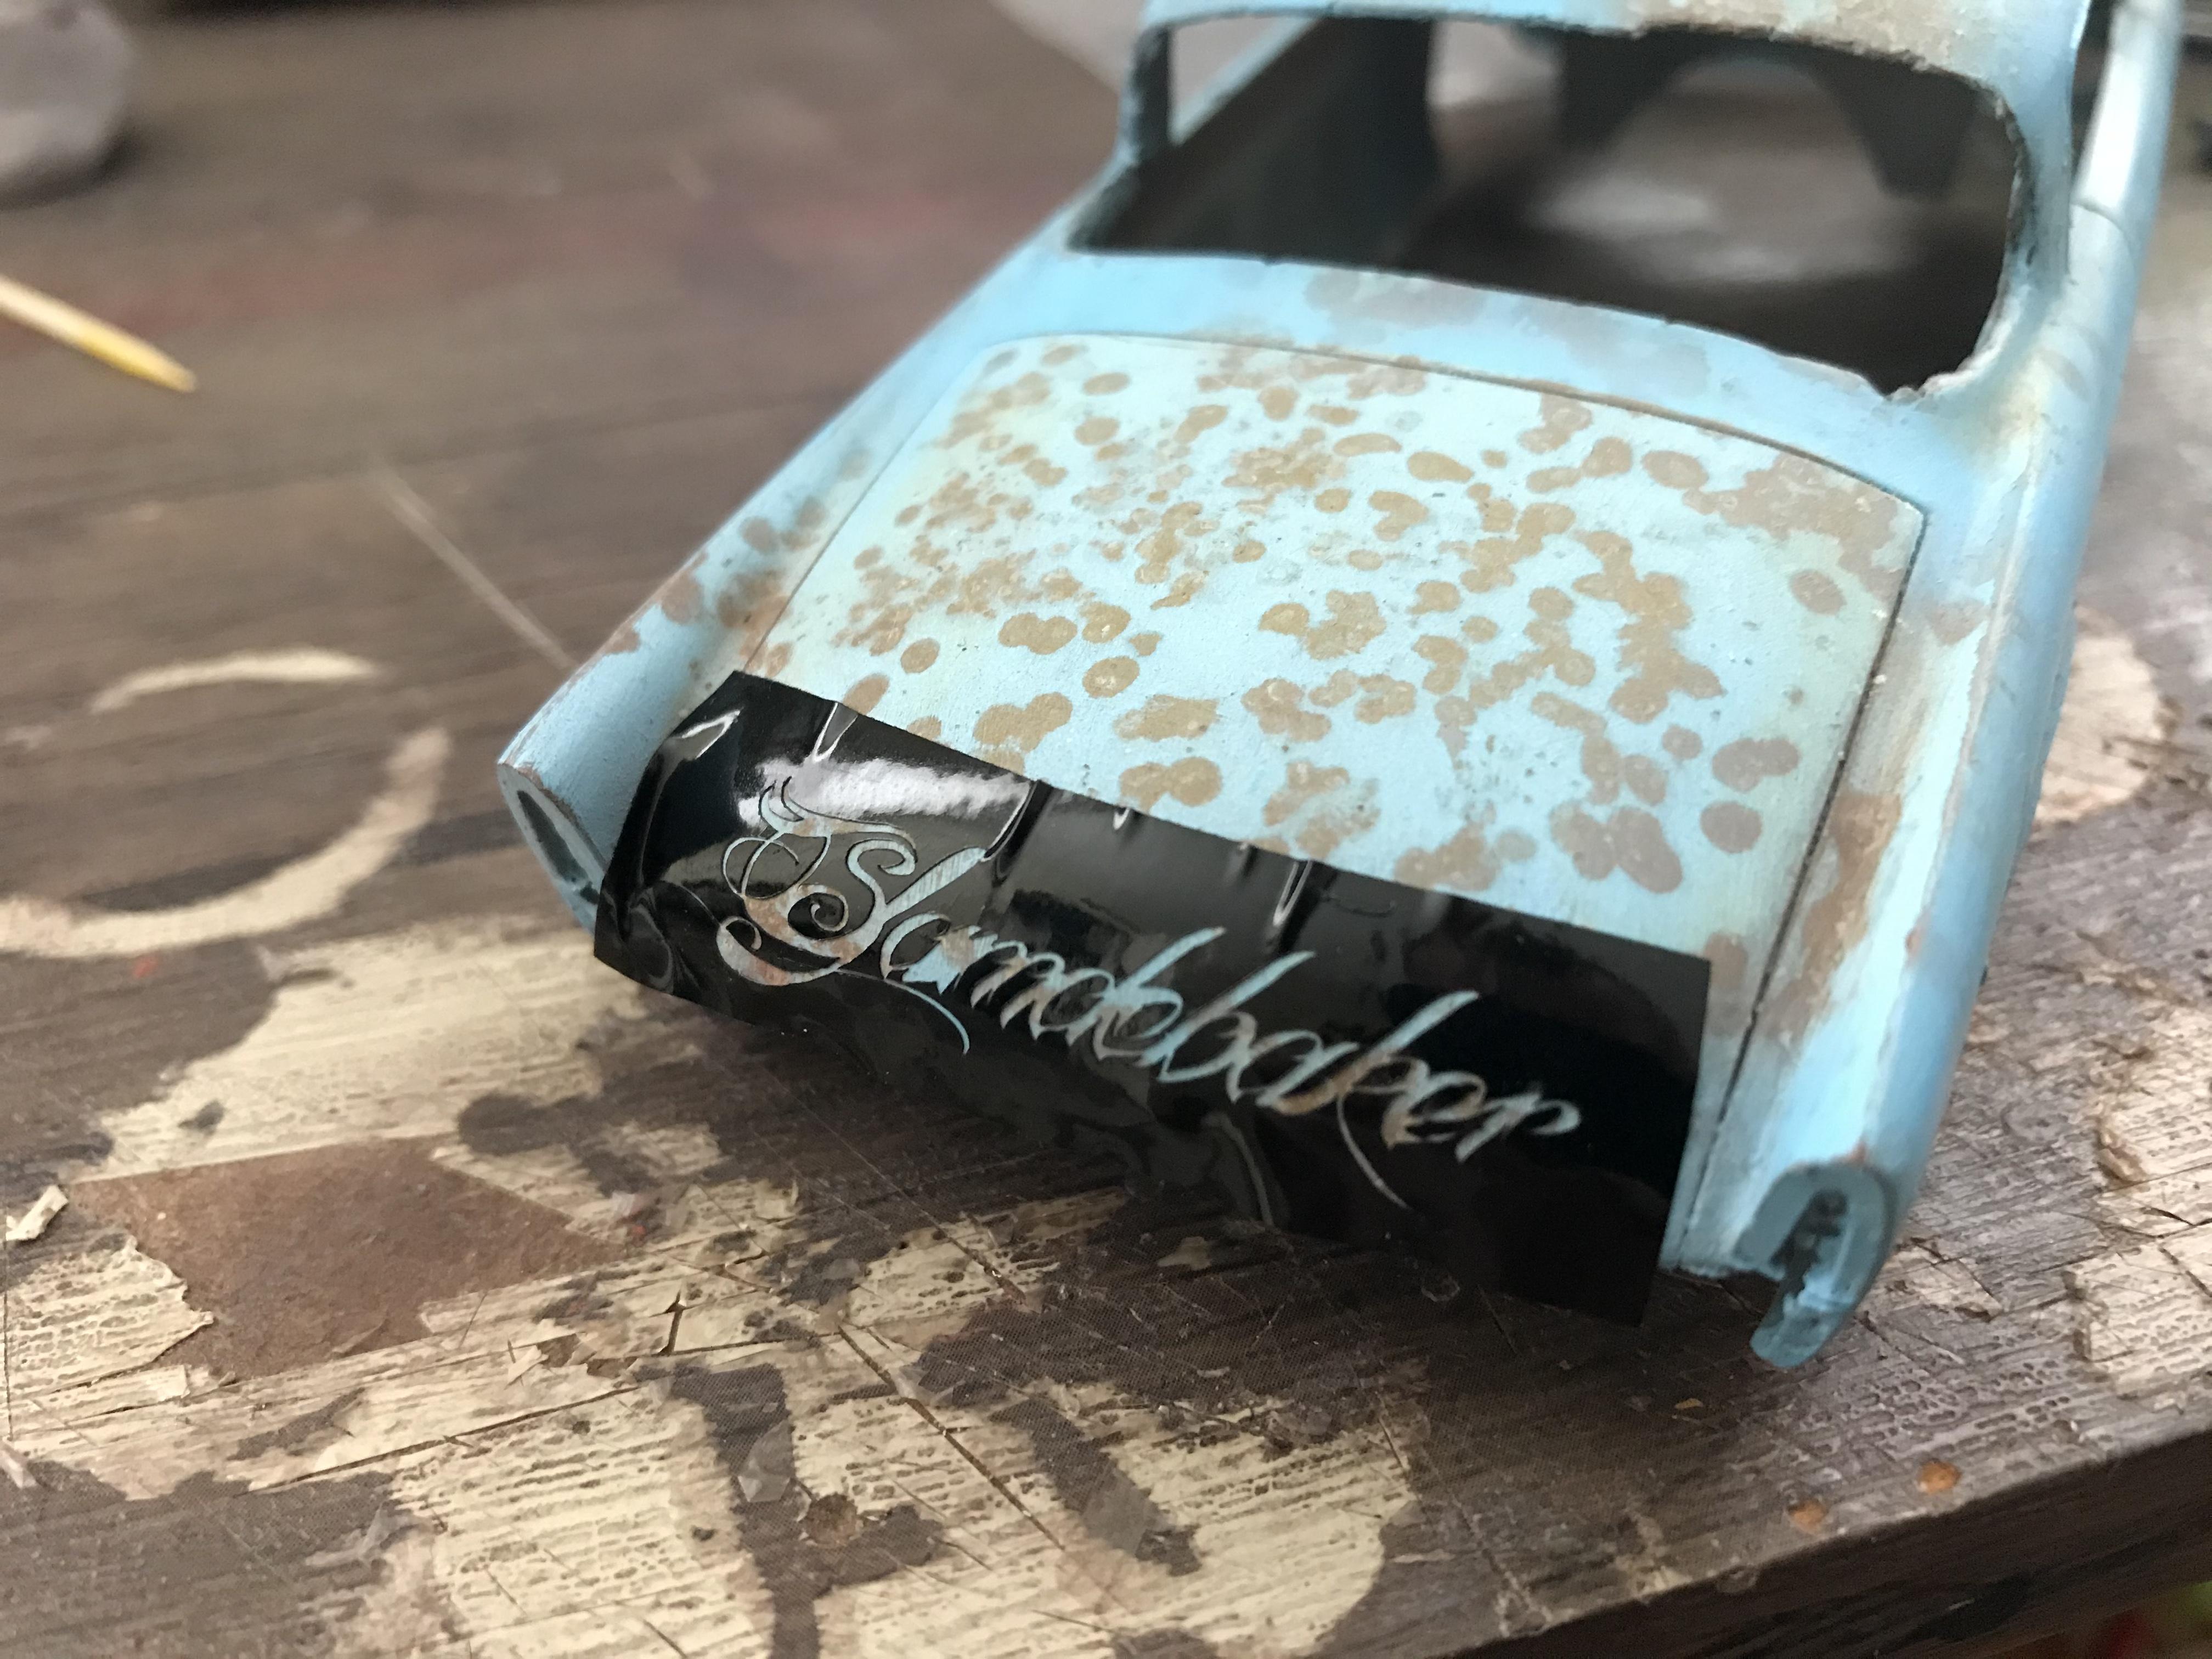
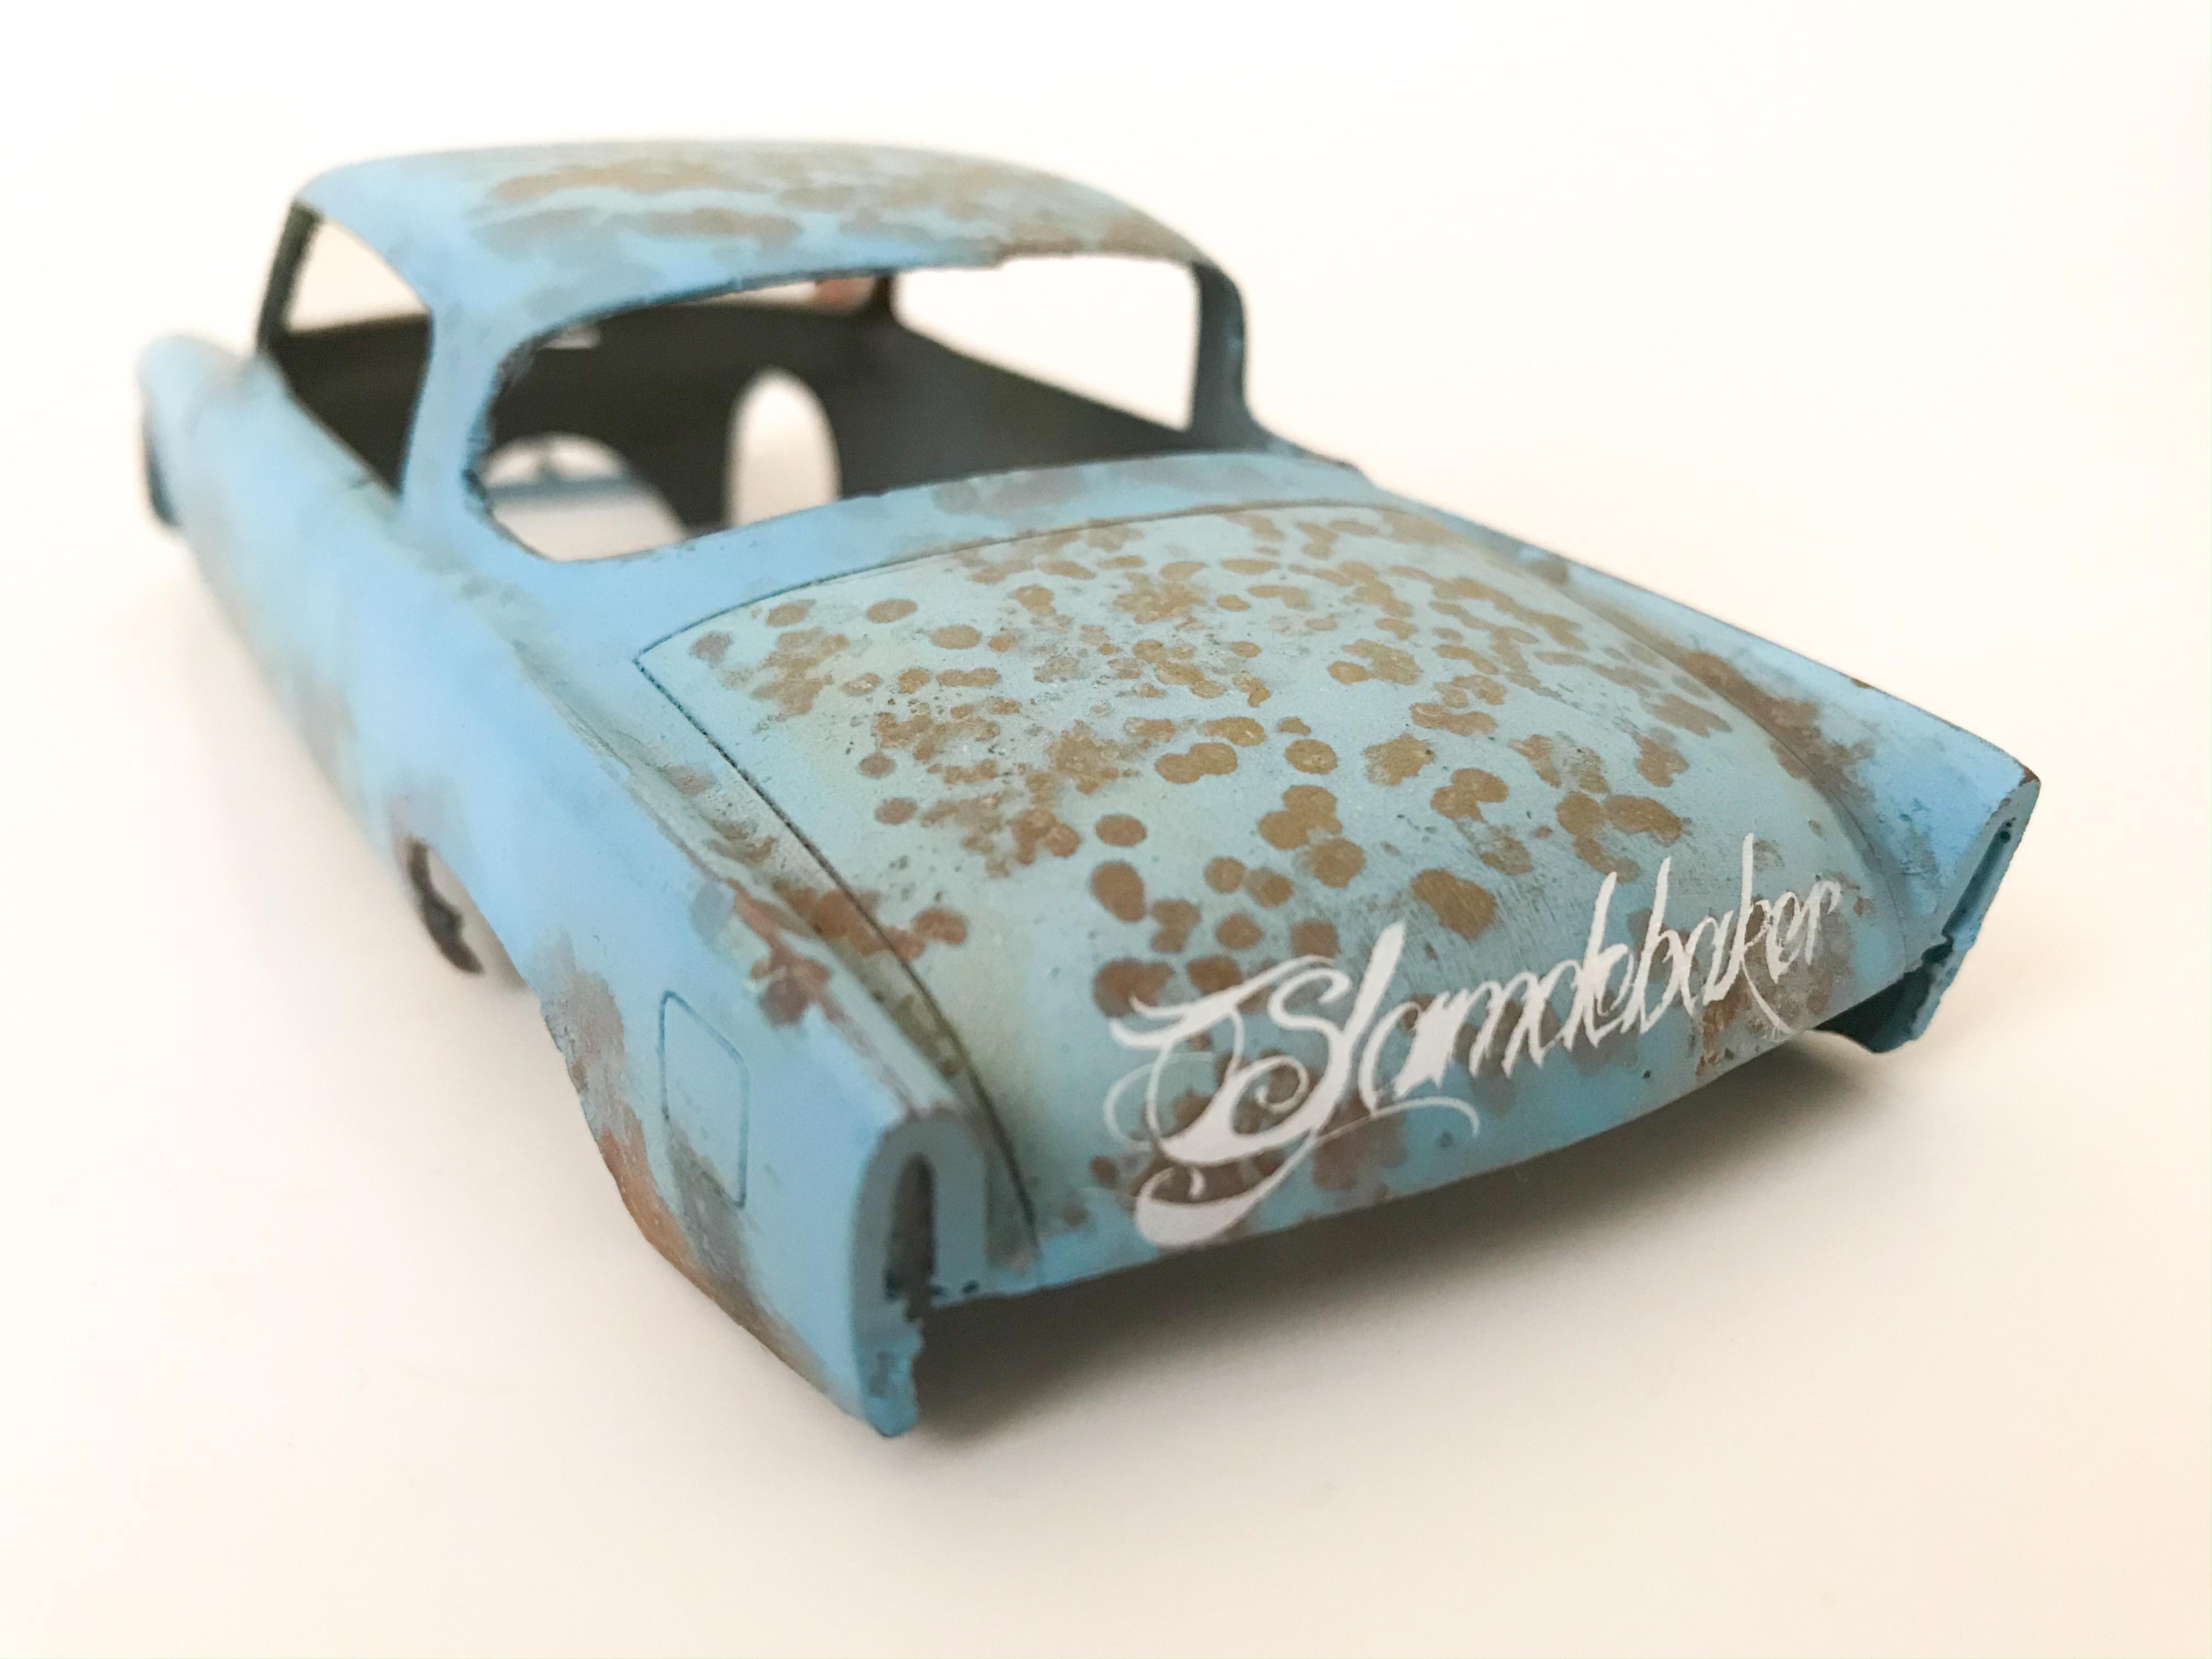
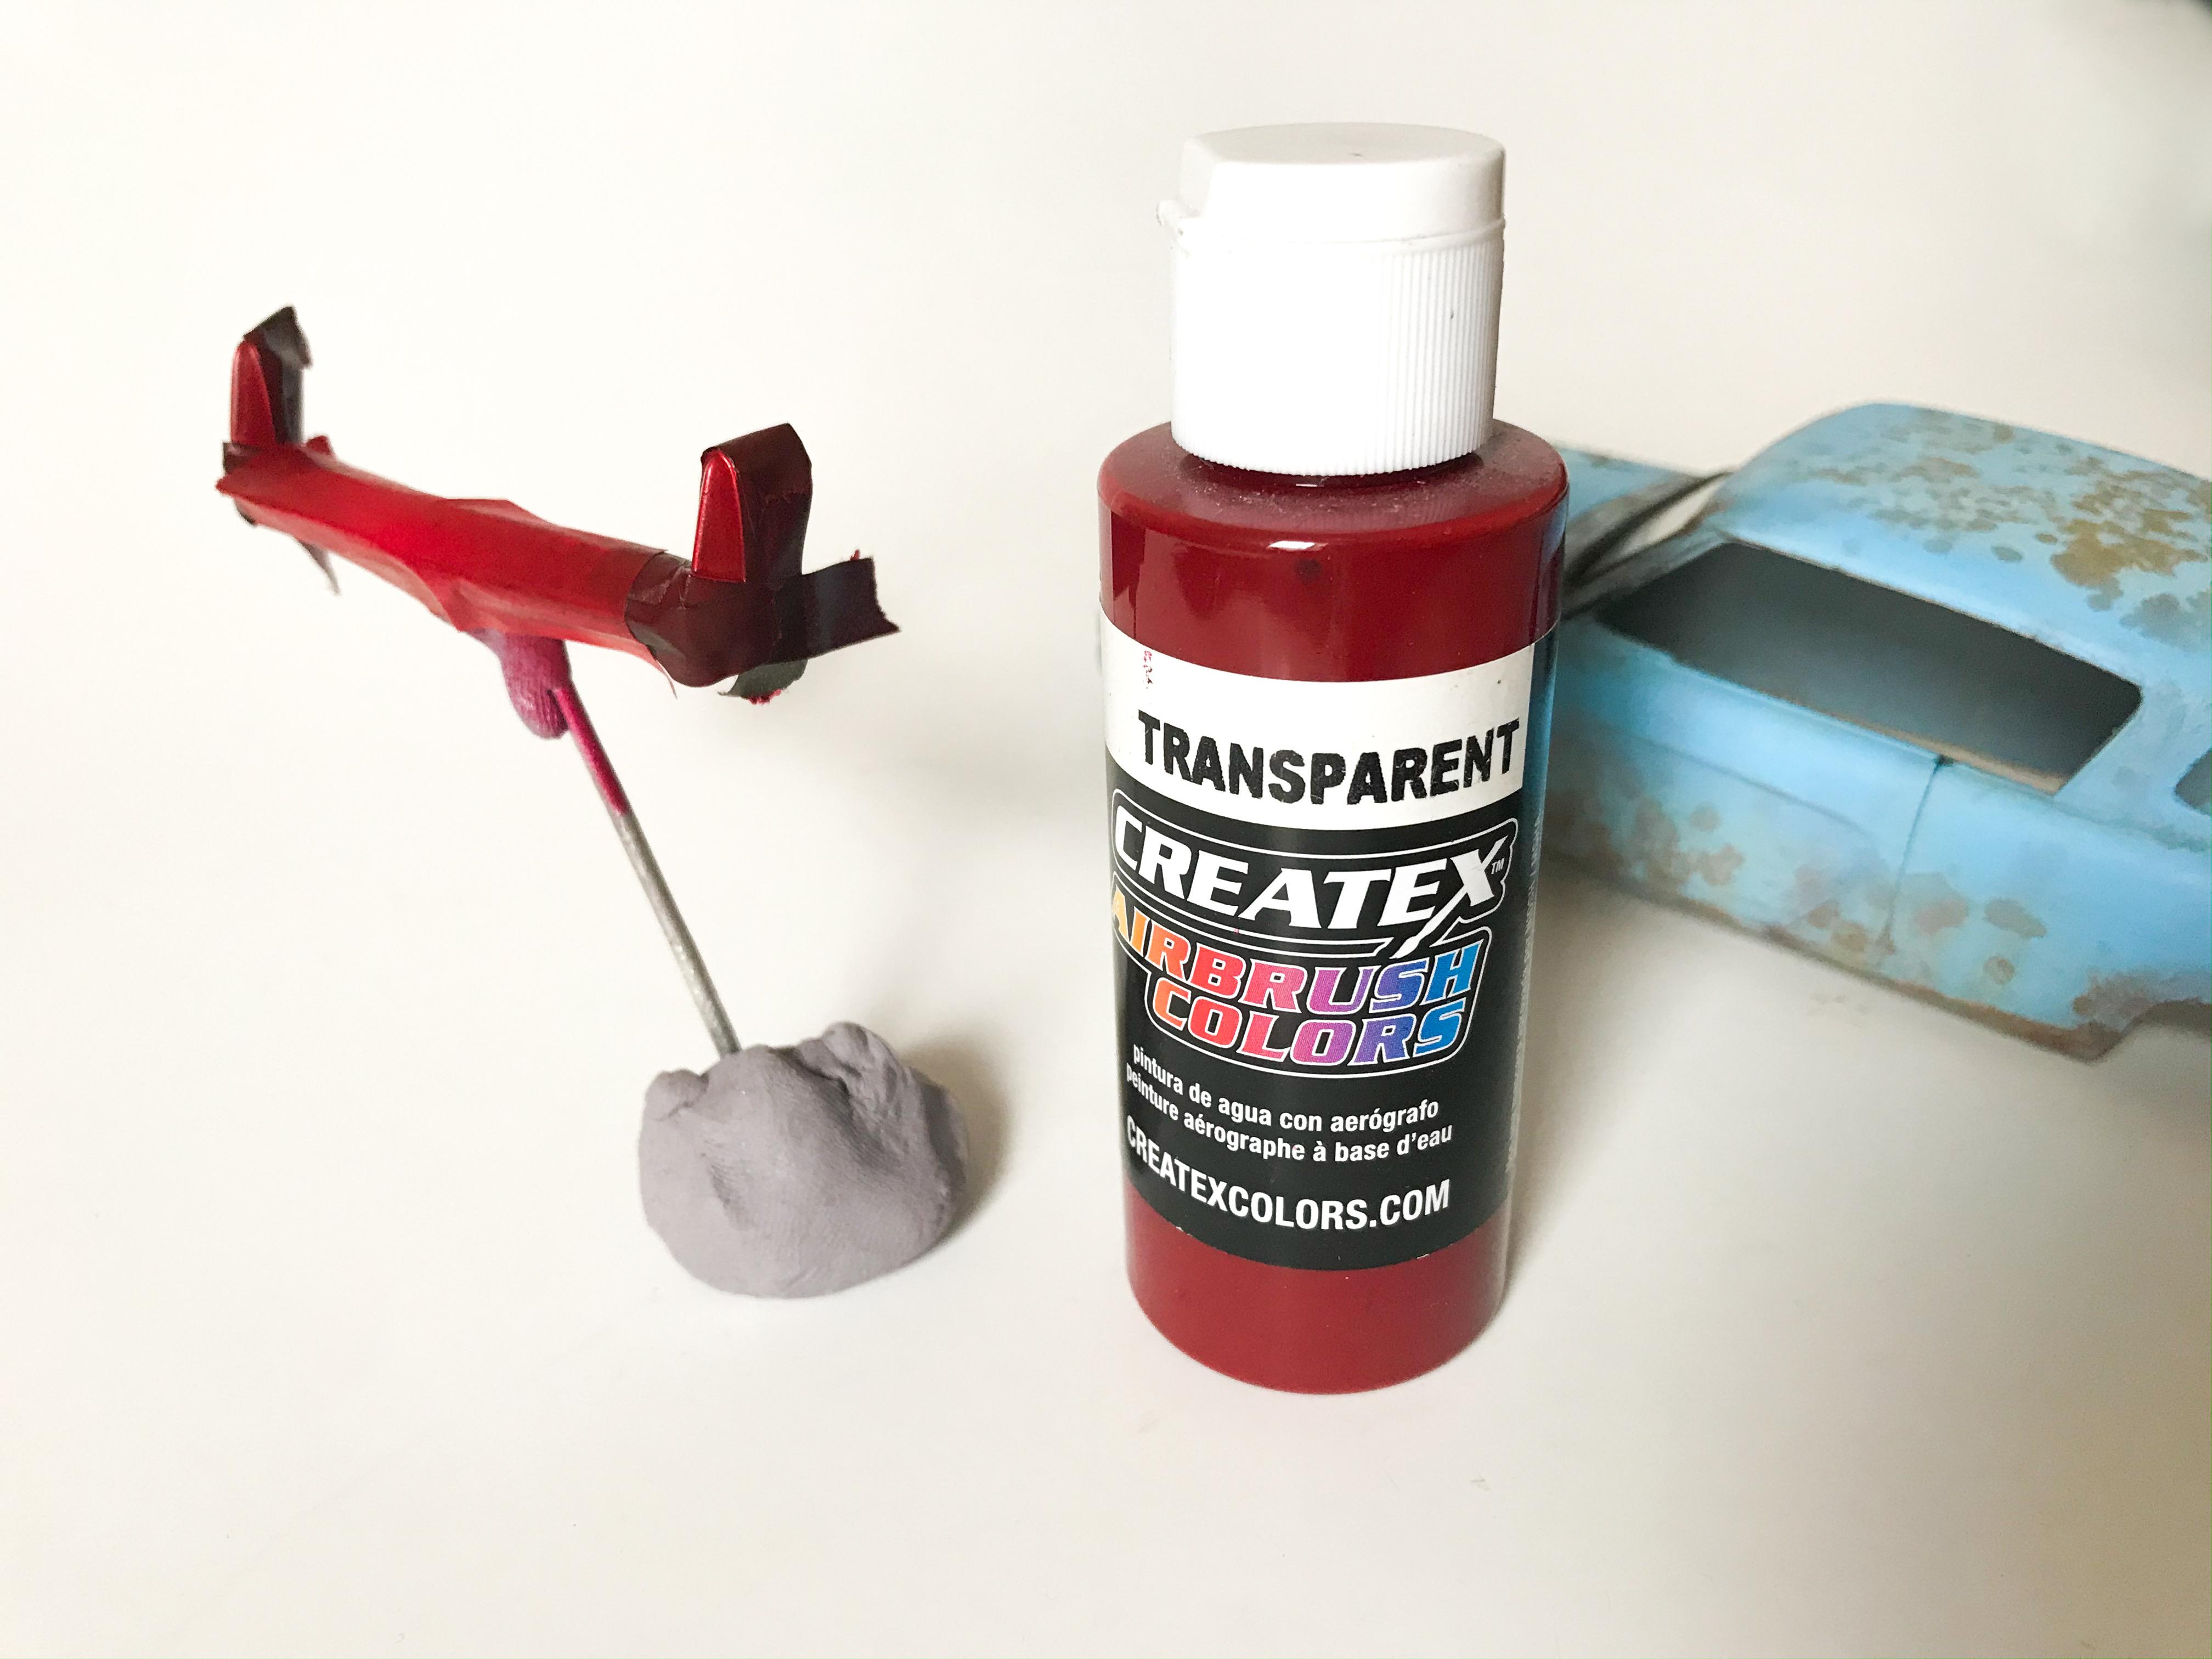
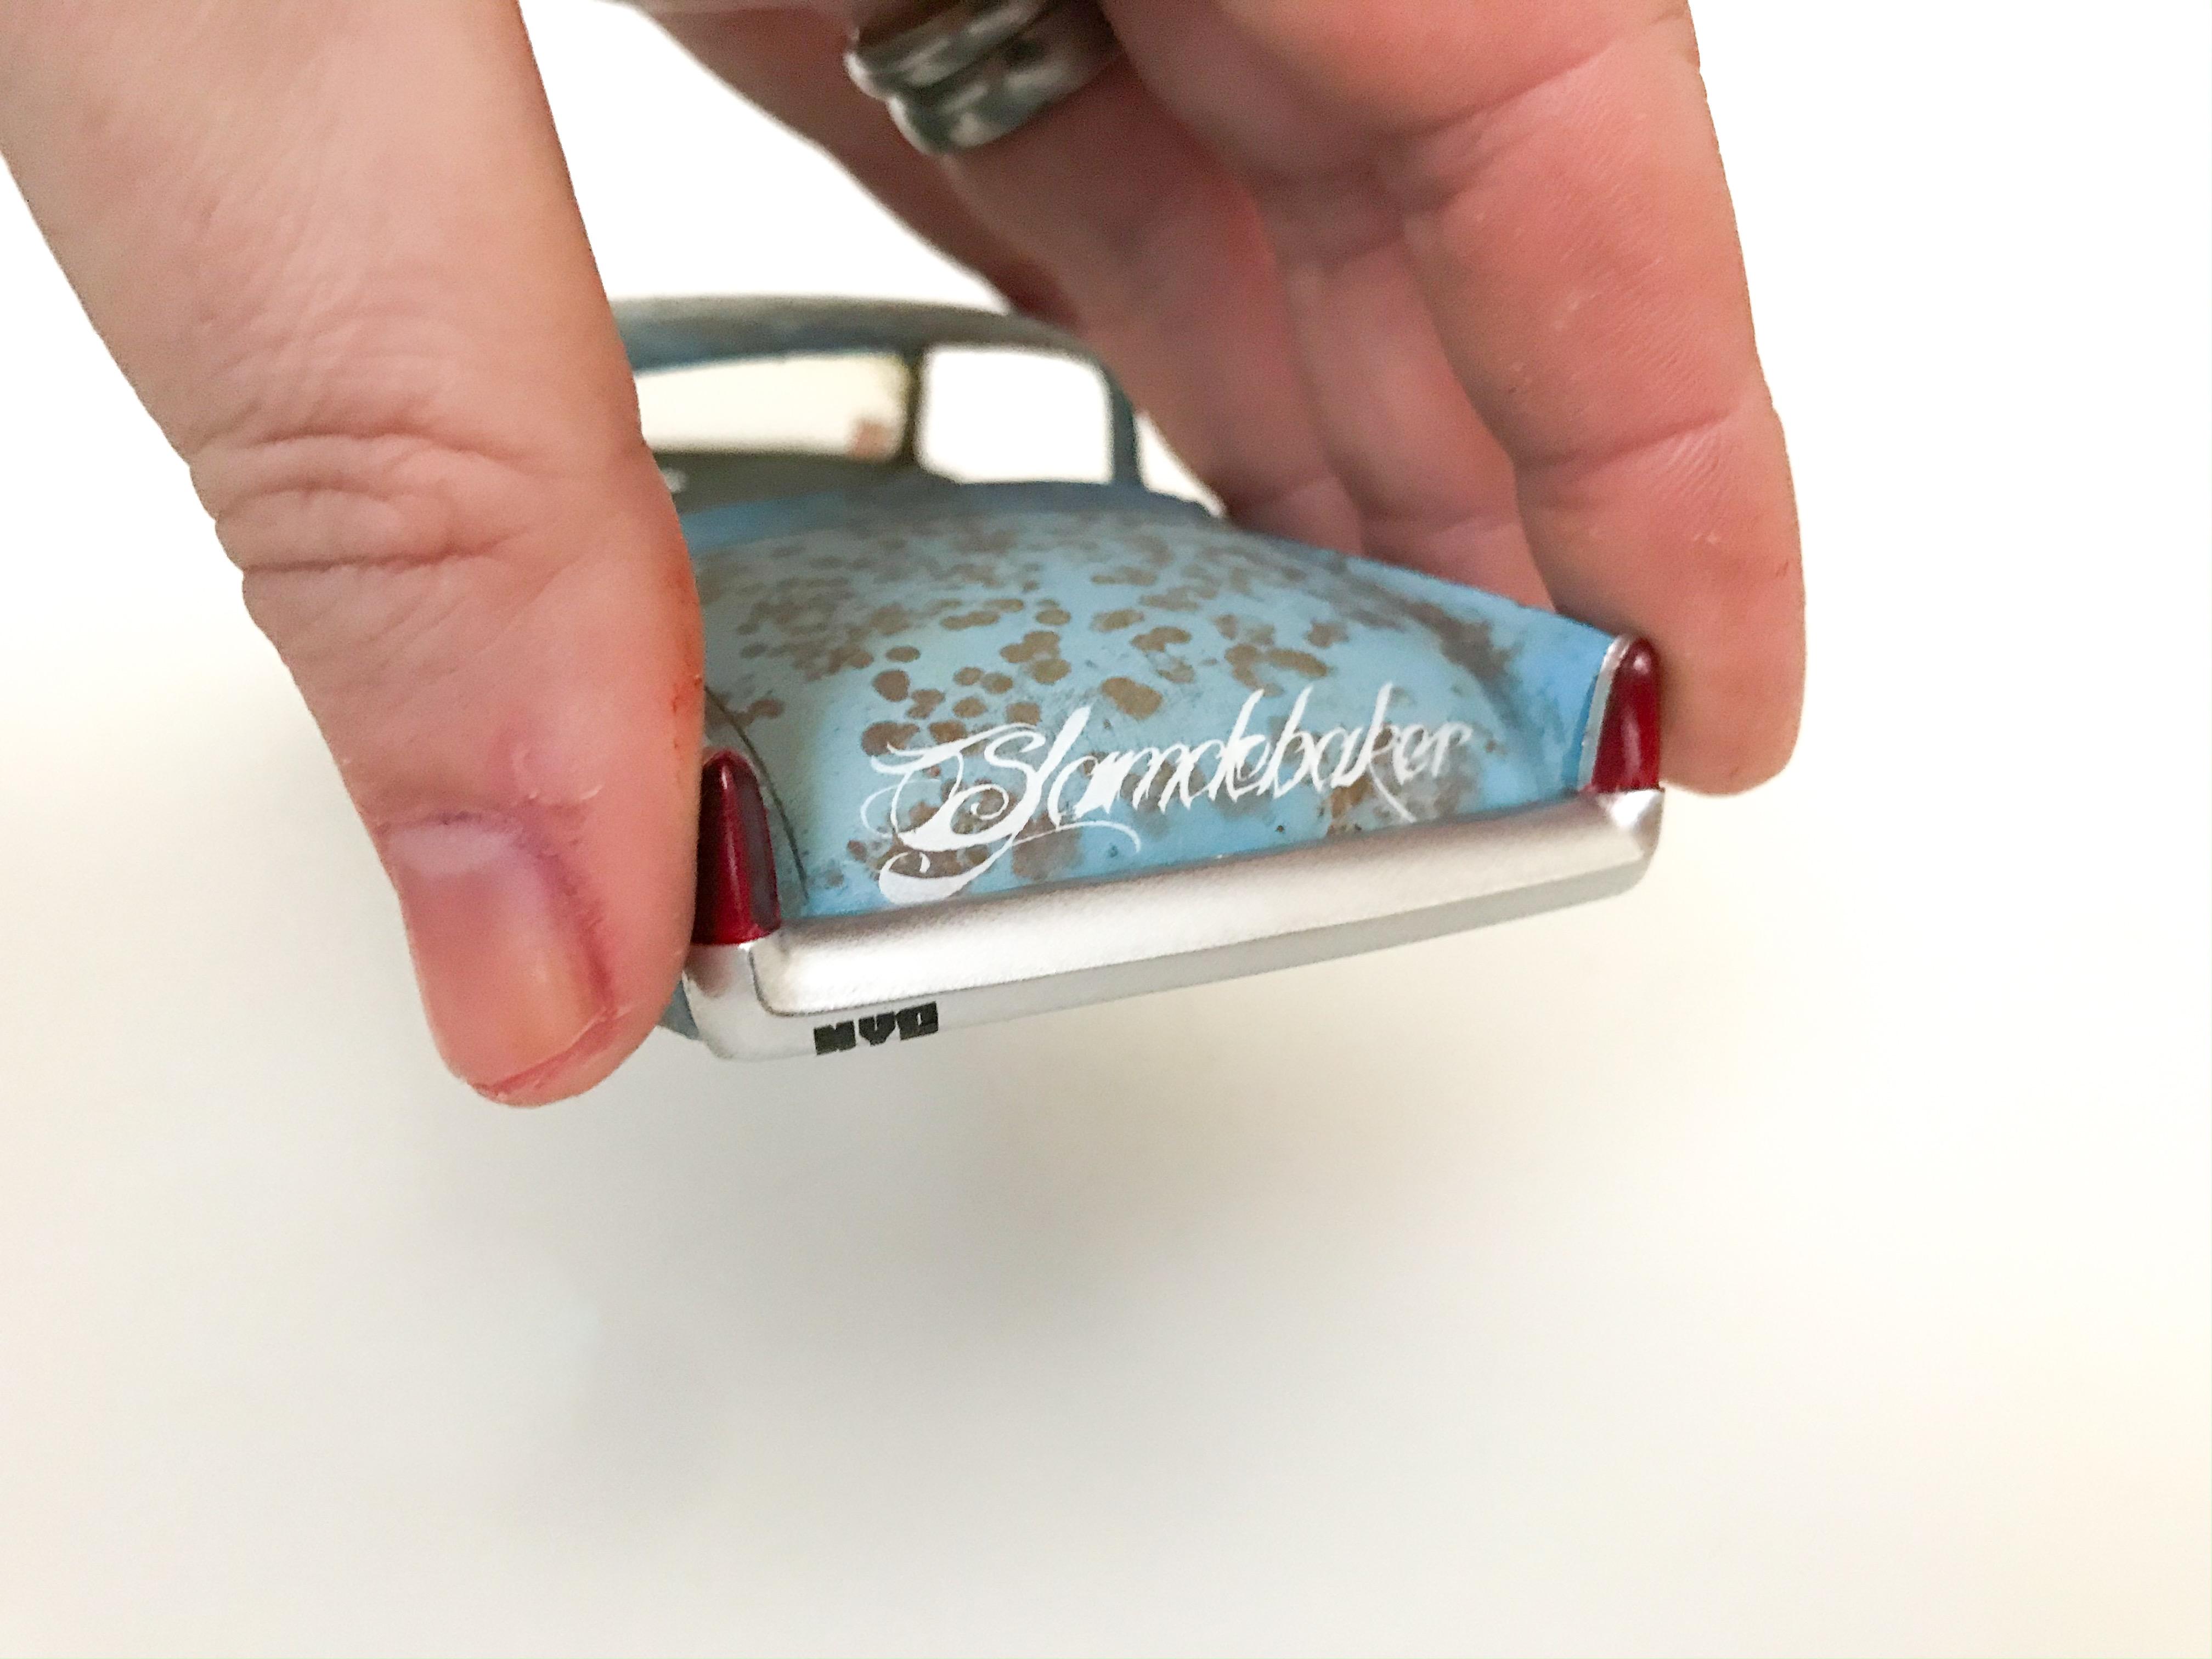
That’s a good tip! I have some of that here! Will definitely be trying that out! Meanwhile, I cut a mask (actually five, to get a good one ?) to add some lettering to the rear decklid: I tried a few different types of vinyl to get one that would work - it was tricky because of how intricate the design and regular airbrush mask was too thin to cut without tearing - got there in the end though, and shot some Createx opaque white through it and got pretty much what I was trying for anyway: I wanted to see how it looked with the bumper, so next job was to mask up the lights and shoot them. I wanted a real dark red taillight rather than the bright red that you get from Tamiya clear red so I used another Createx color for this too: Their transparent clears aren’t quite as transparent as Tamiya clears or most candies, but it got the look I was after: Whilst I had the cutter running I cut that little bumper sticker from some thin signwriter’s vinyl: I really need to start working on the chassis, but I’m having too much fun doing these details on the body ? More soon, soon as I’ve done more!
-
That looks GREAT! Is there a build thread for that one somewhere?
-
I always enjoy seeing your builds Claude, and you do very impressive work so I’m sure you’ll make good use of that technique! I’m definitely no expert at it myself; it takes me a few tries to get an acceptable result usually...but a fun trick I’ve been playing with today on some practice pieces is to use mediums other than salt for different size and shapes of rust patches. Herbs, spices, sand - all kinds of different materials could be employed to get some different results!
-
Anyone Getting Ready For Winter?
CabDriver replied to OldTrucker's topic in General Automotive Talk (Trucks and Cars)
Is anyone else thinking “I should really get some bodies painted whilst the humidity is low?” I prepped some projects today because we’re due to have some low-moisture days in the next week and I figured I should make the most of that before the weather gets bad here on the east coast -
Nice builds Snake! And I really like that poster art Tom! Brad did a great job! What car IS that top one? I’m sure I SHOULD know...Impala?
-
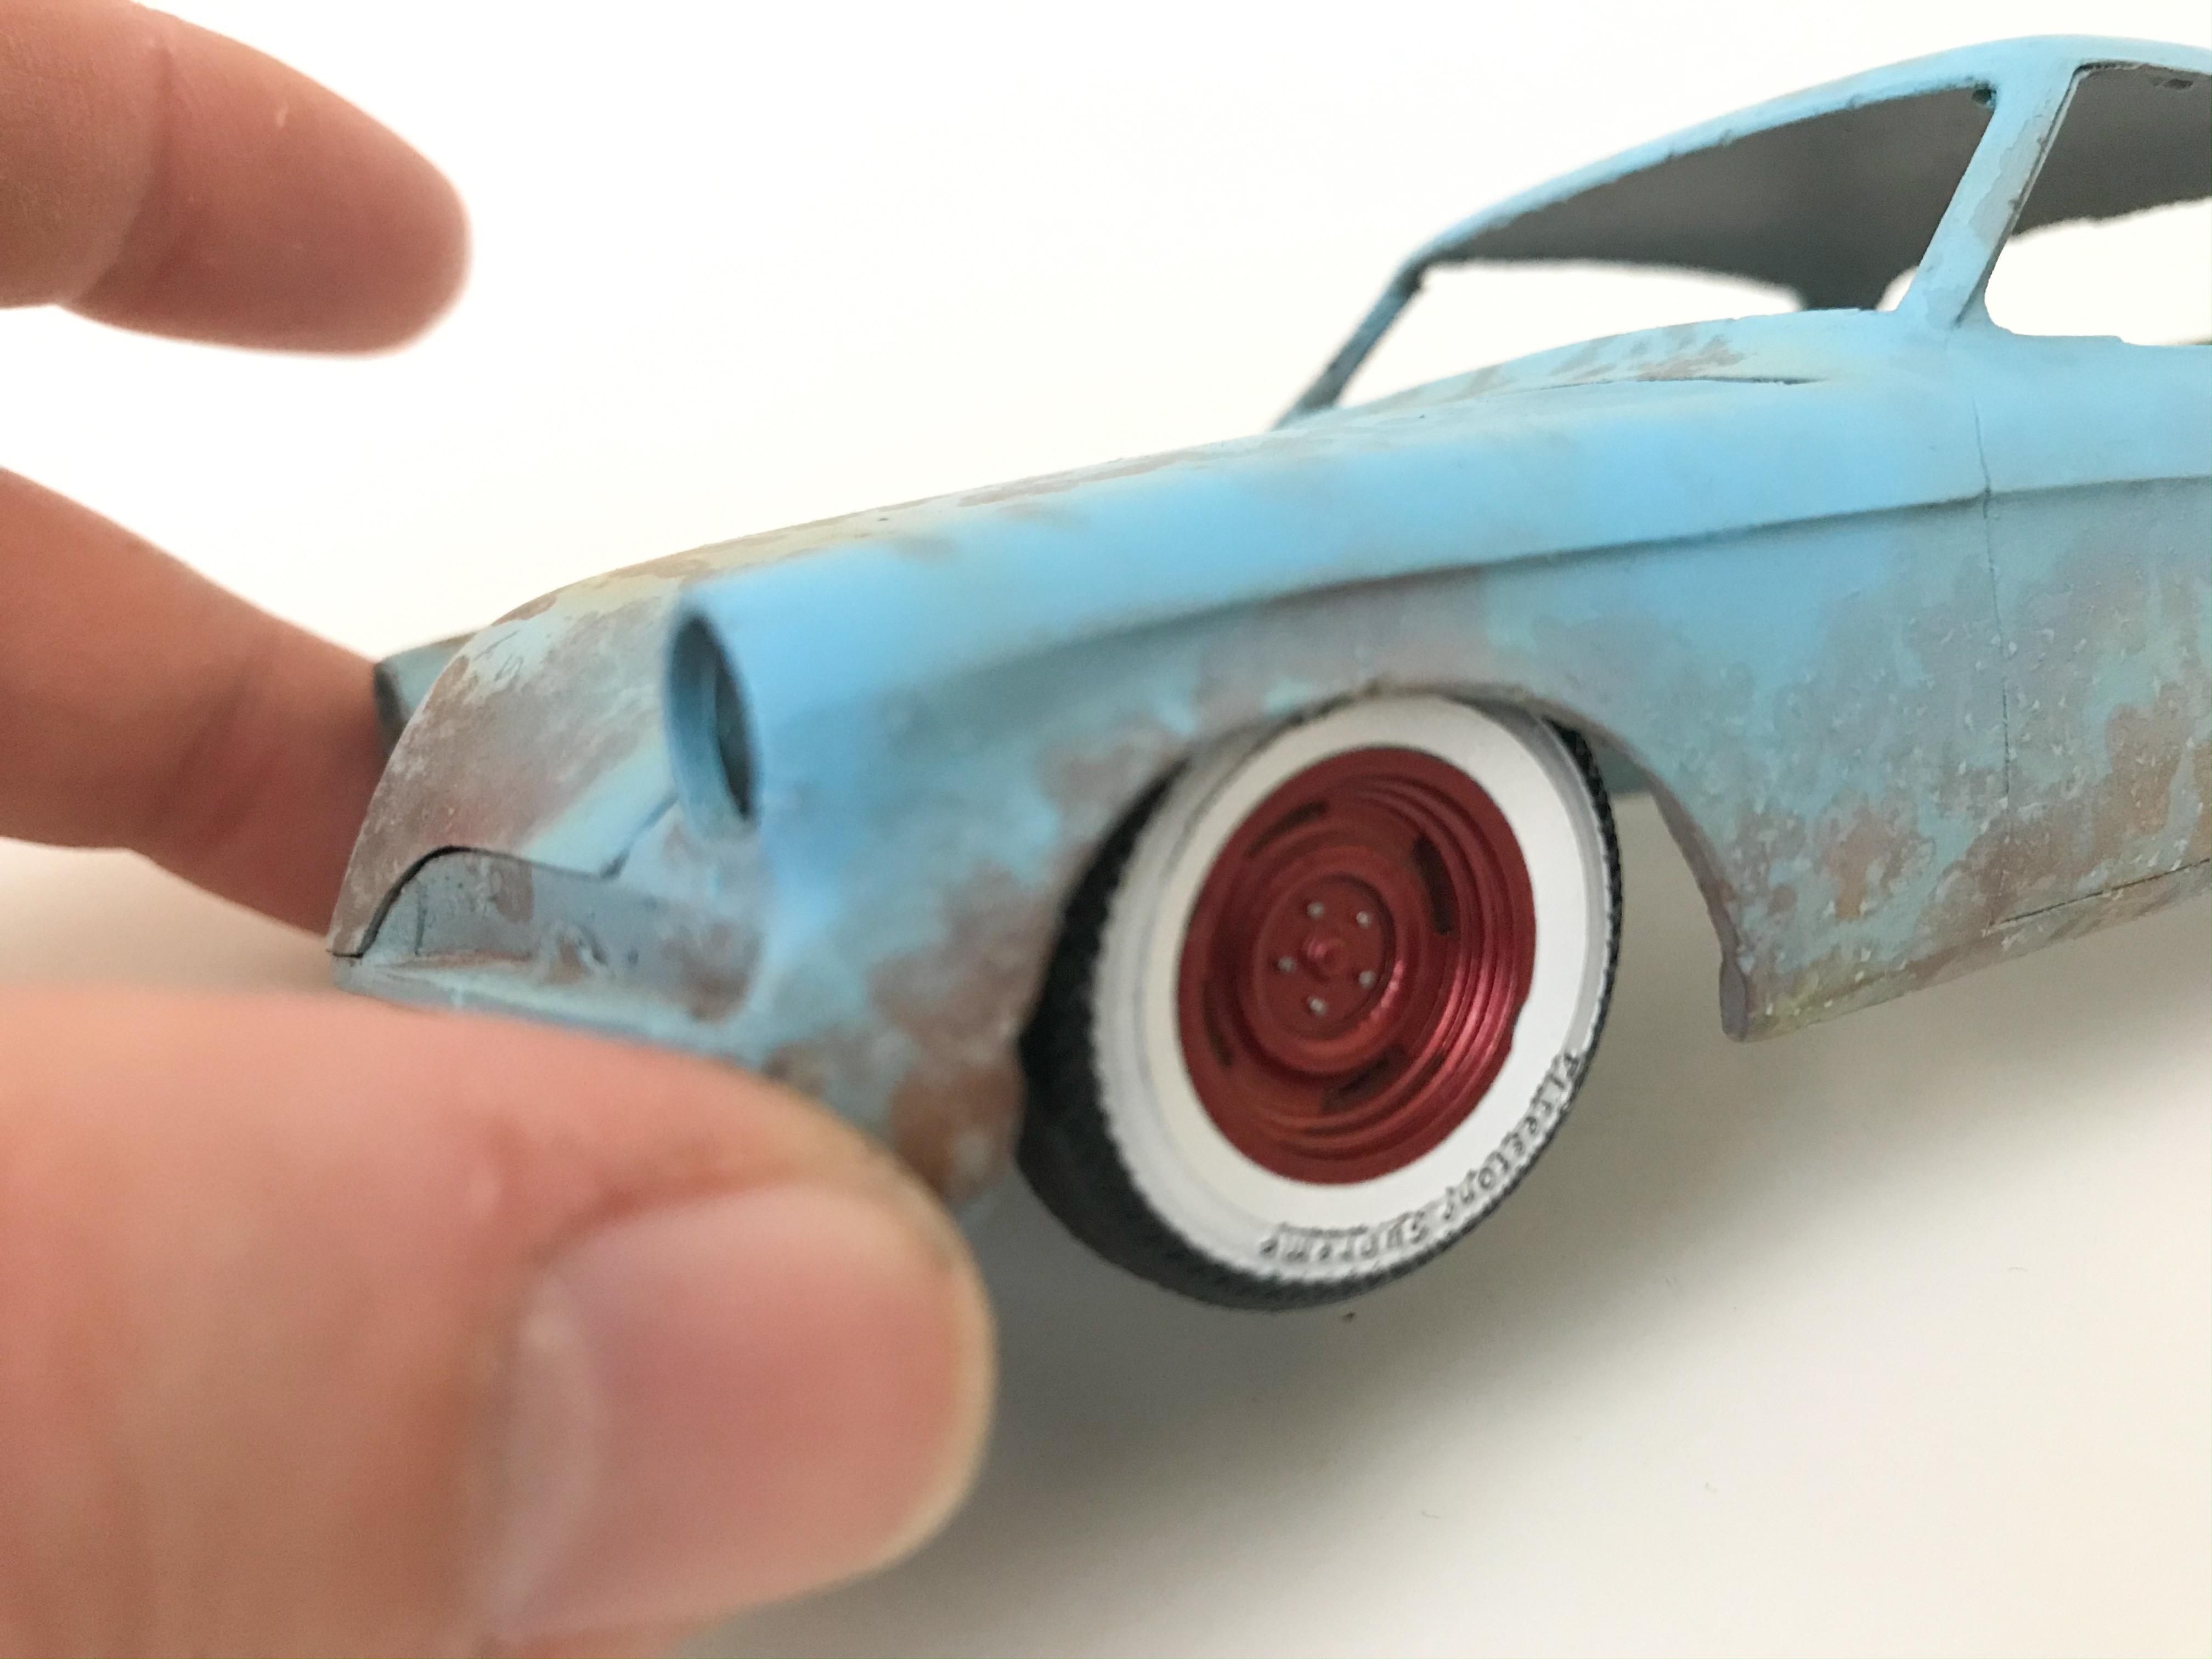
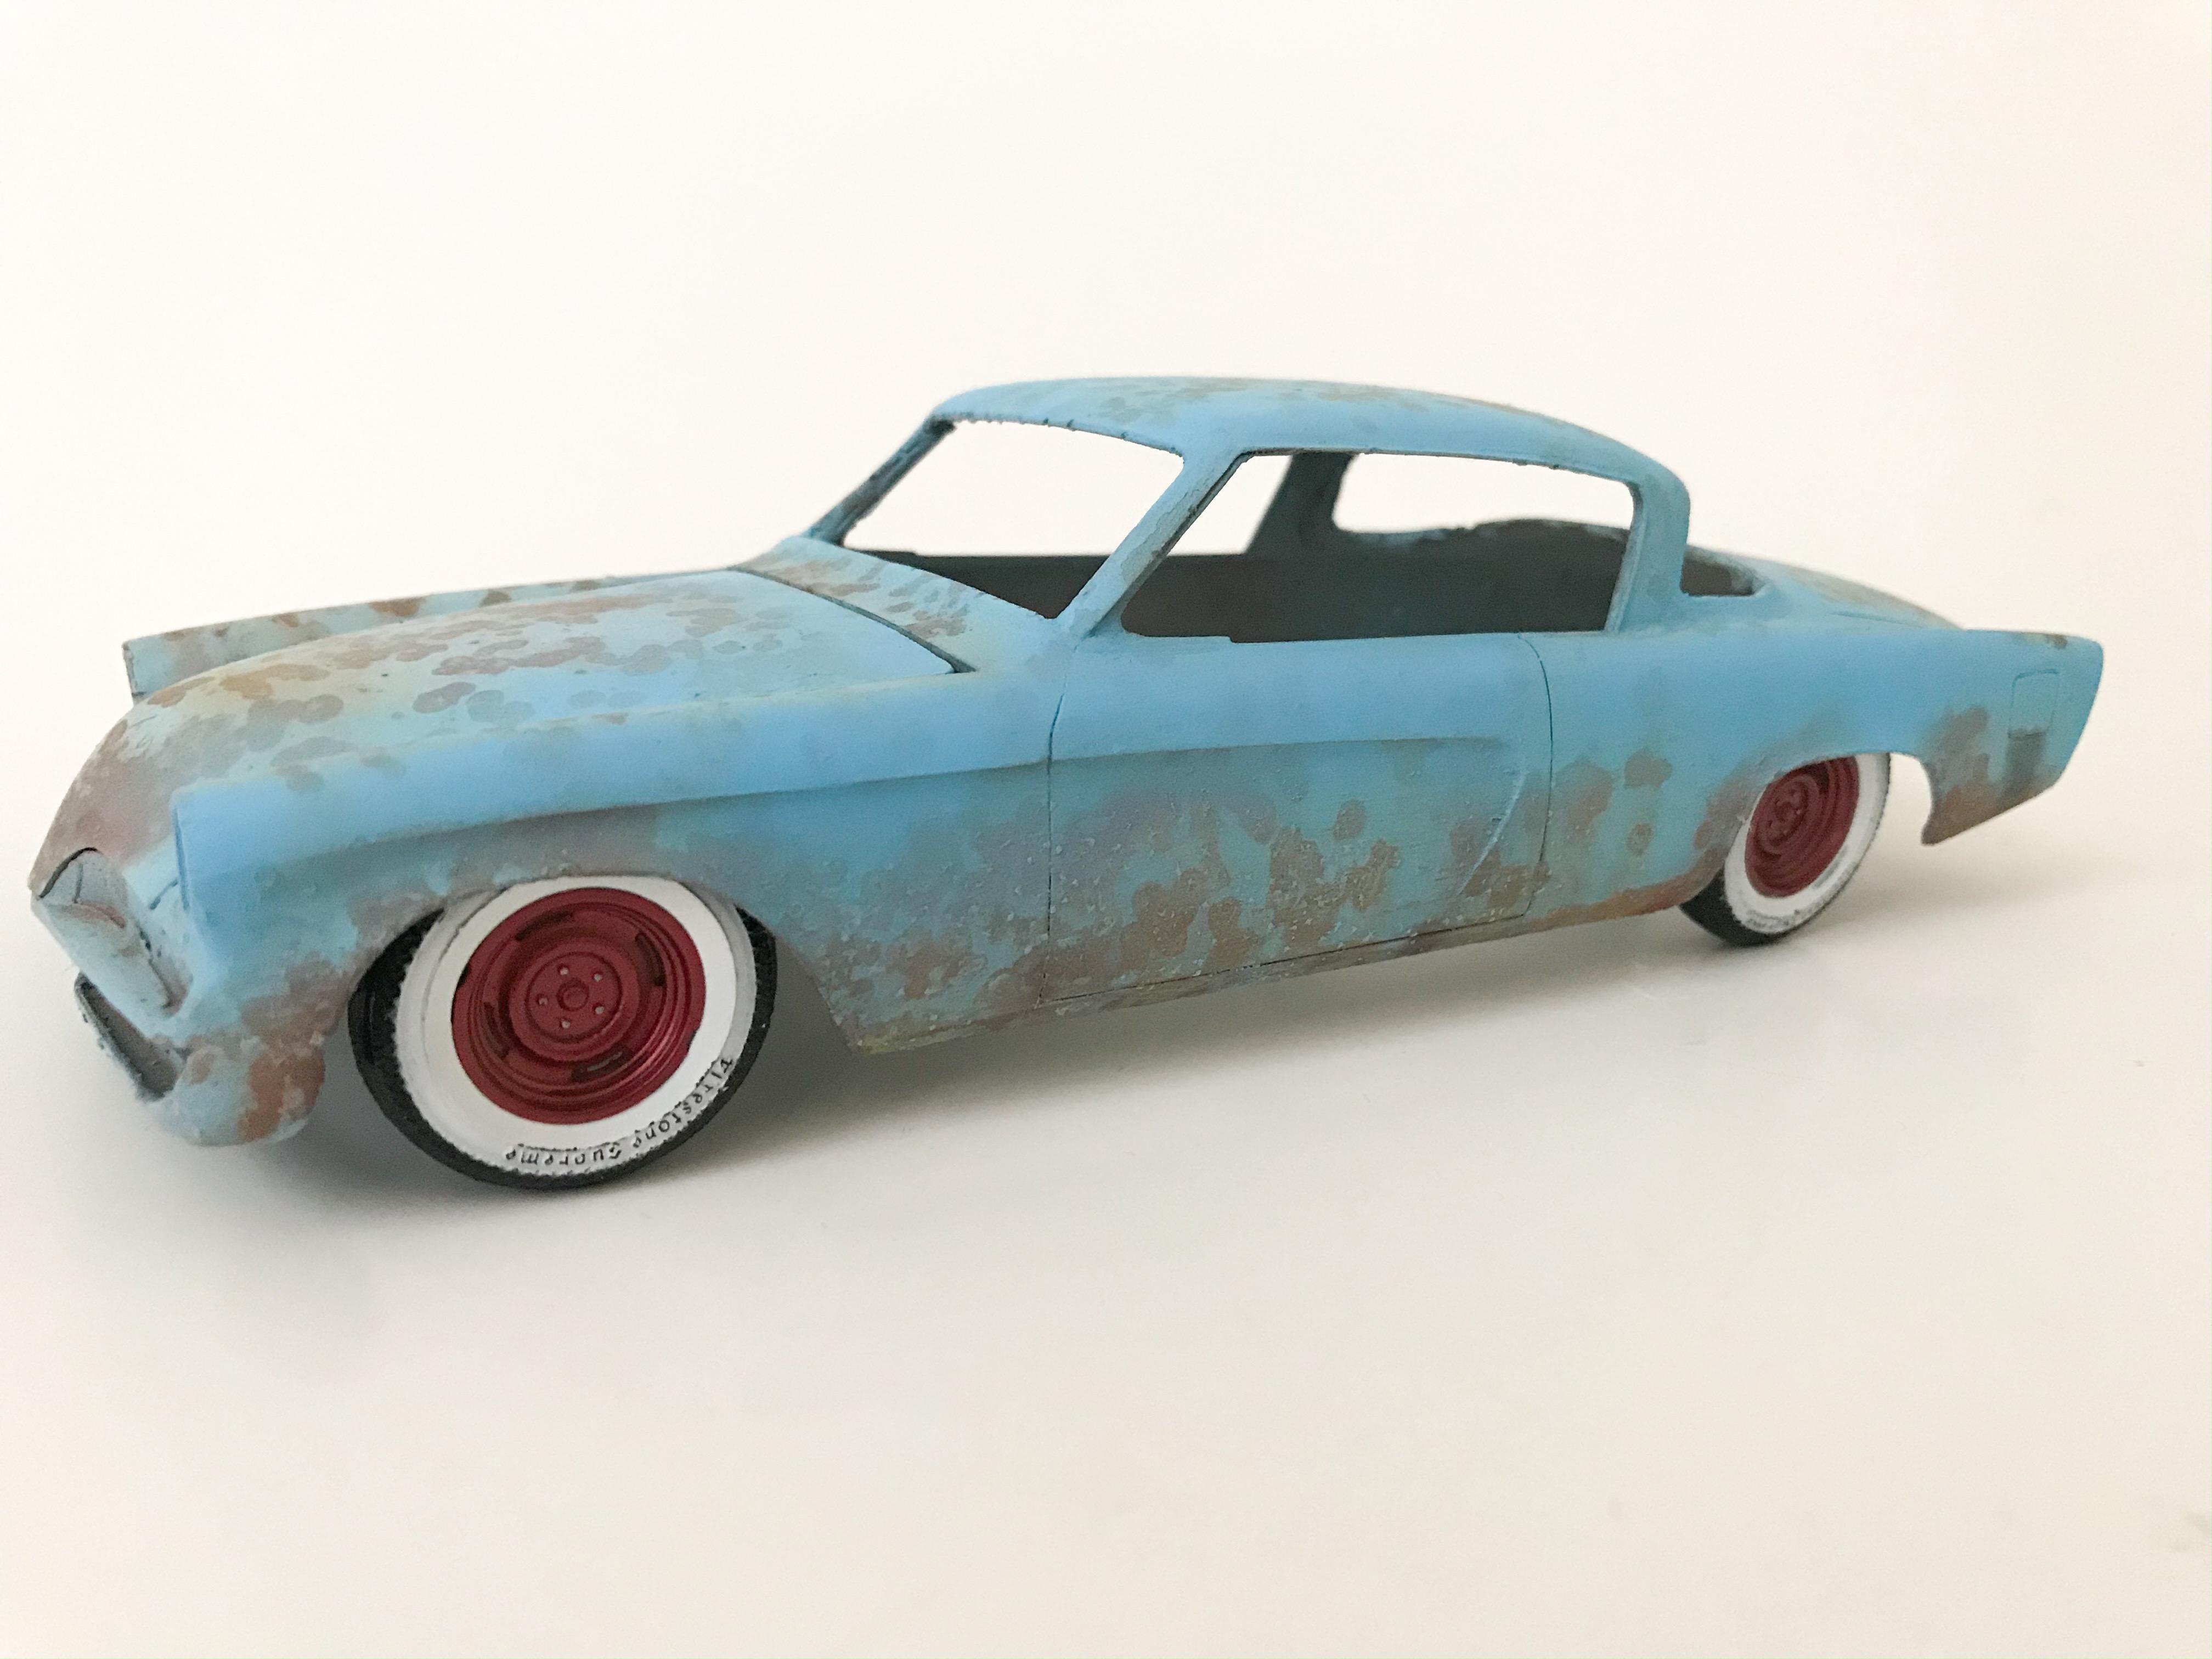
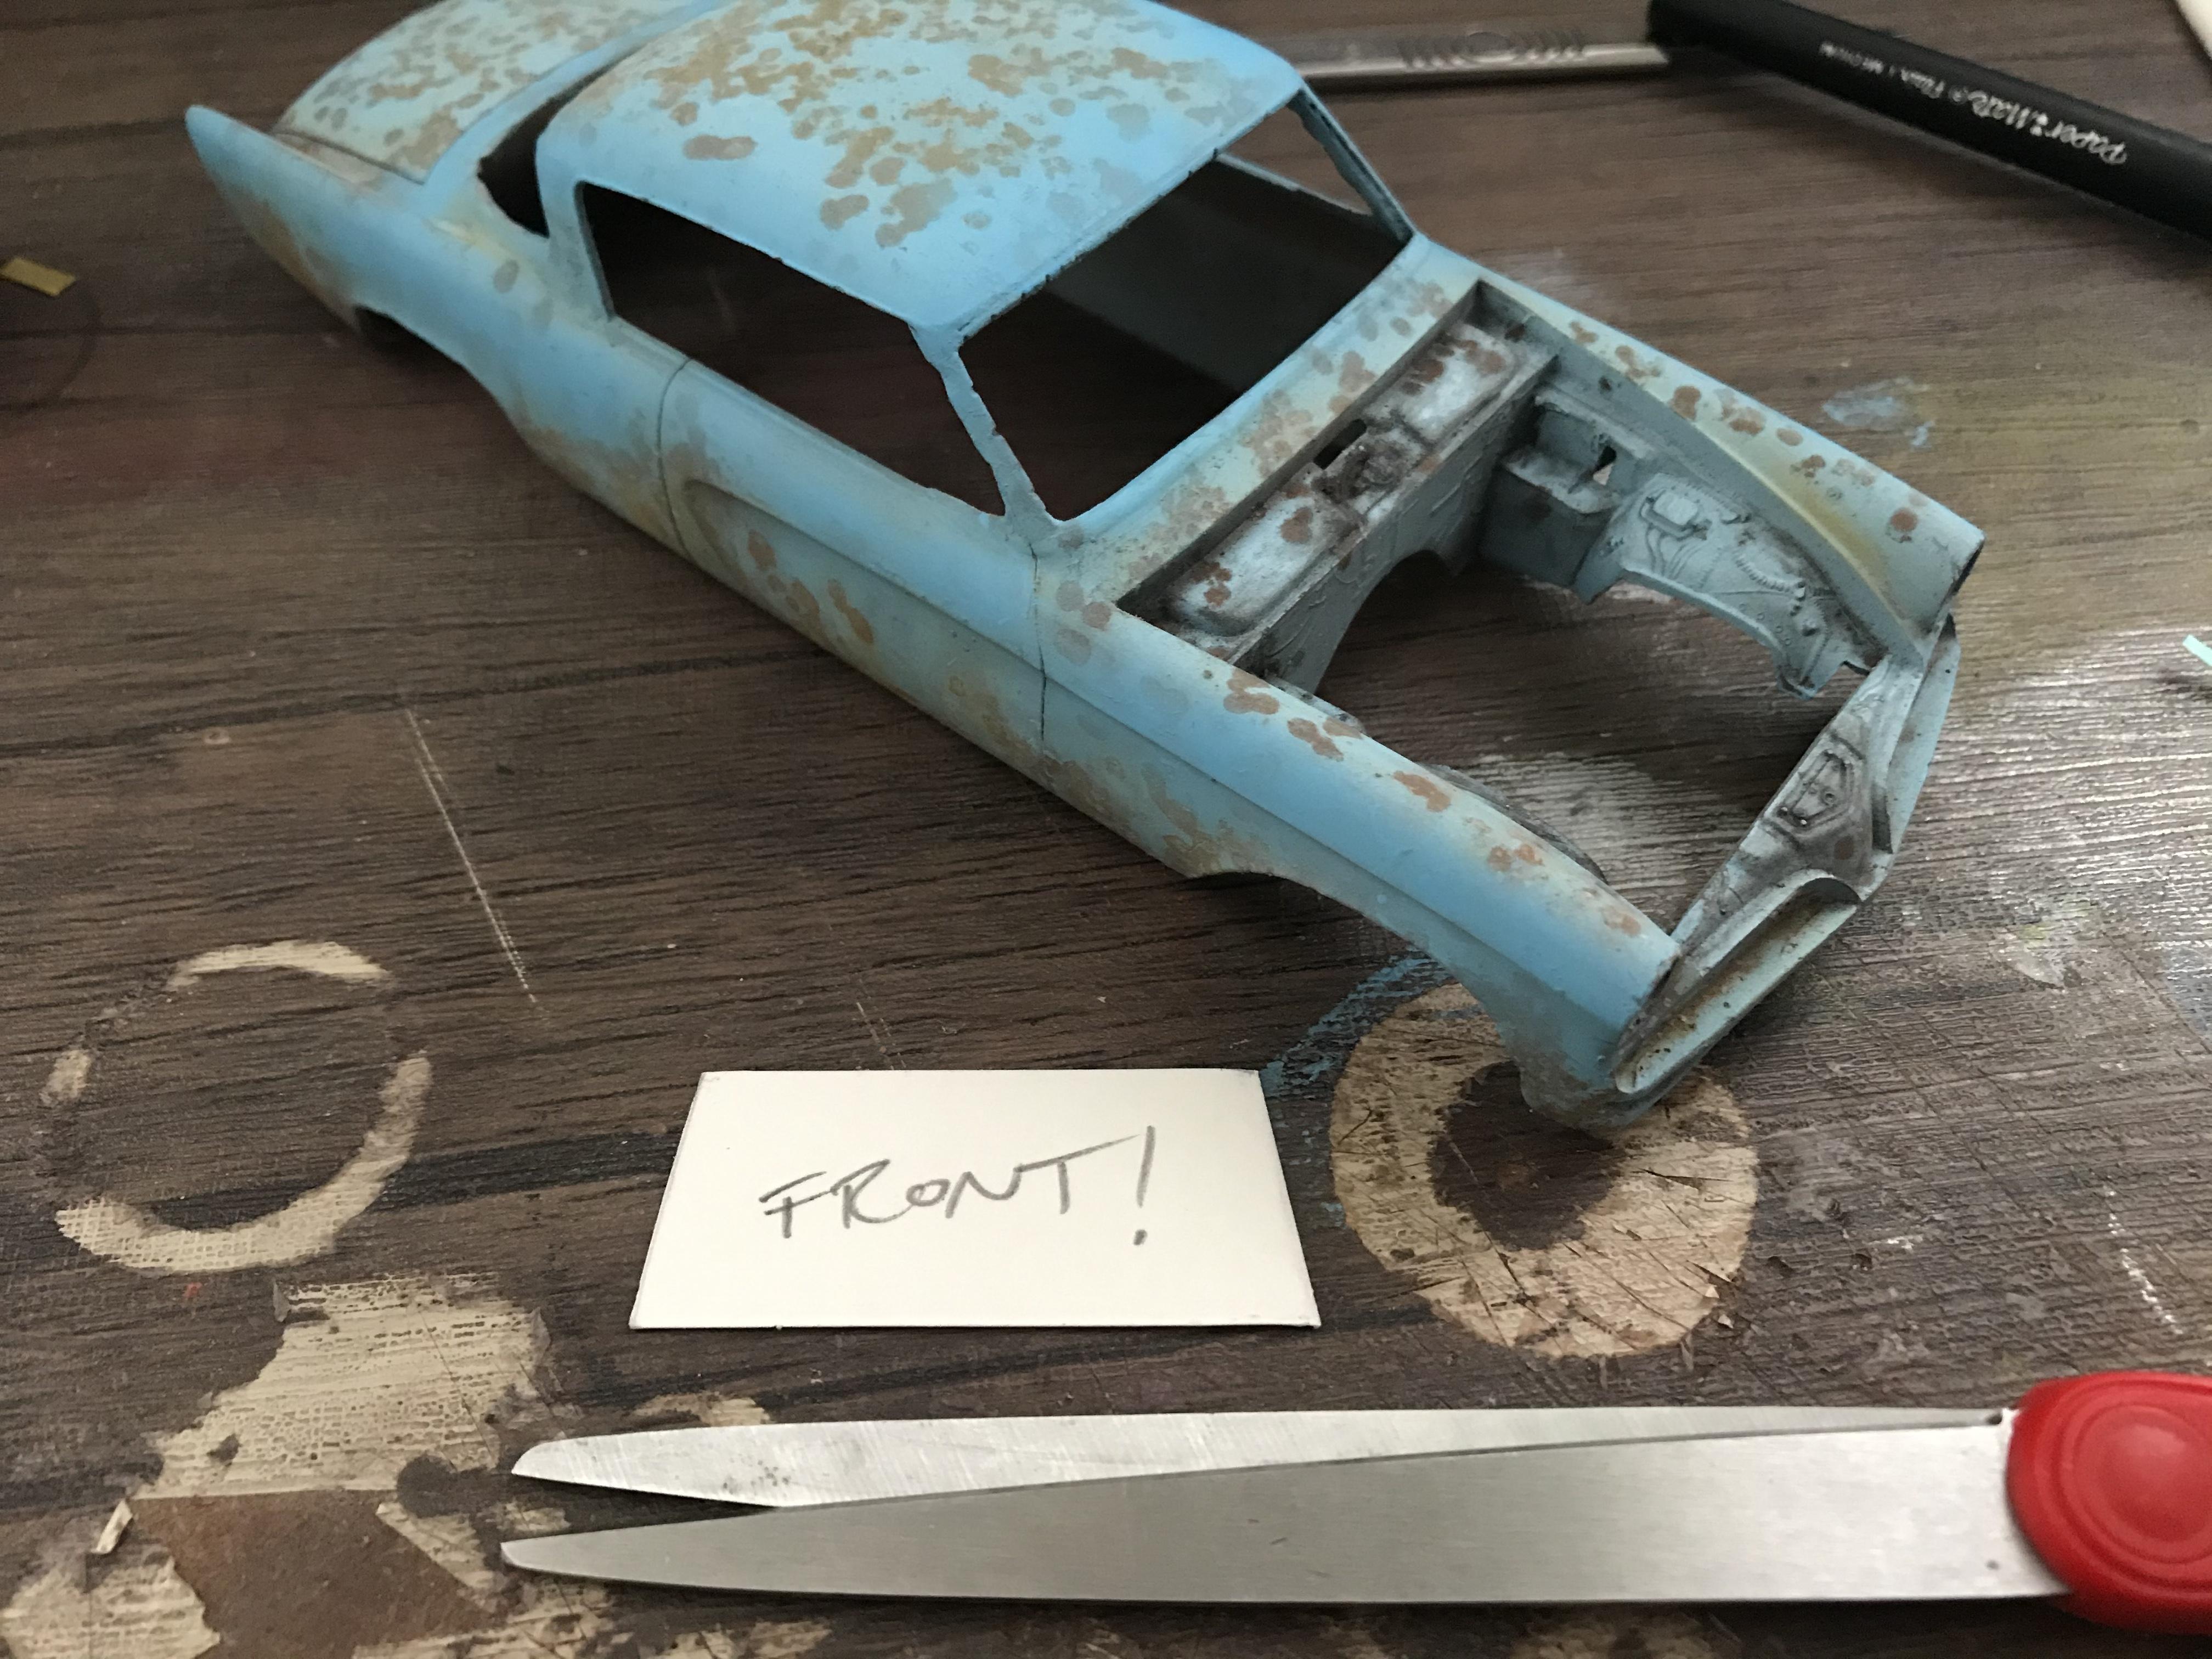
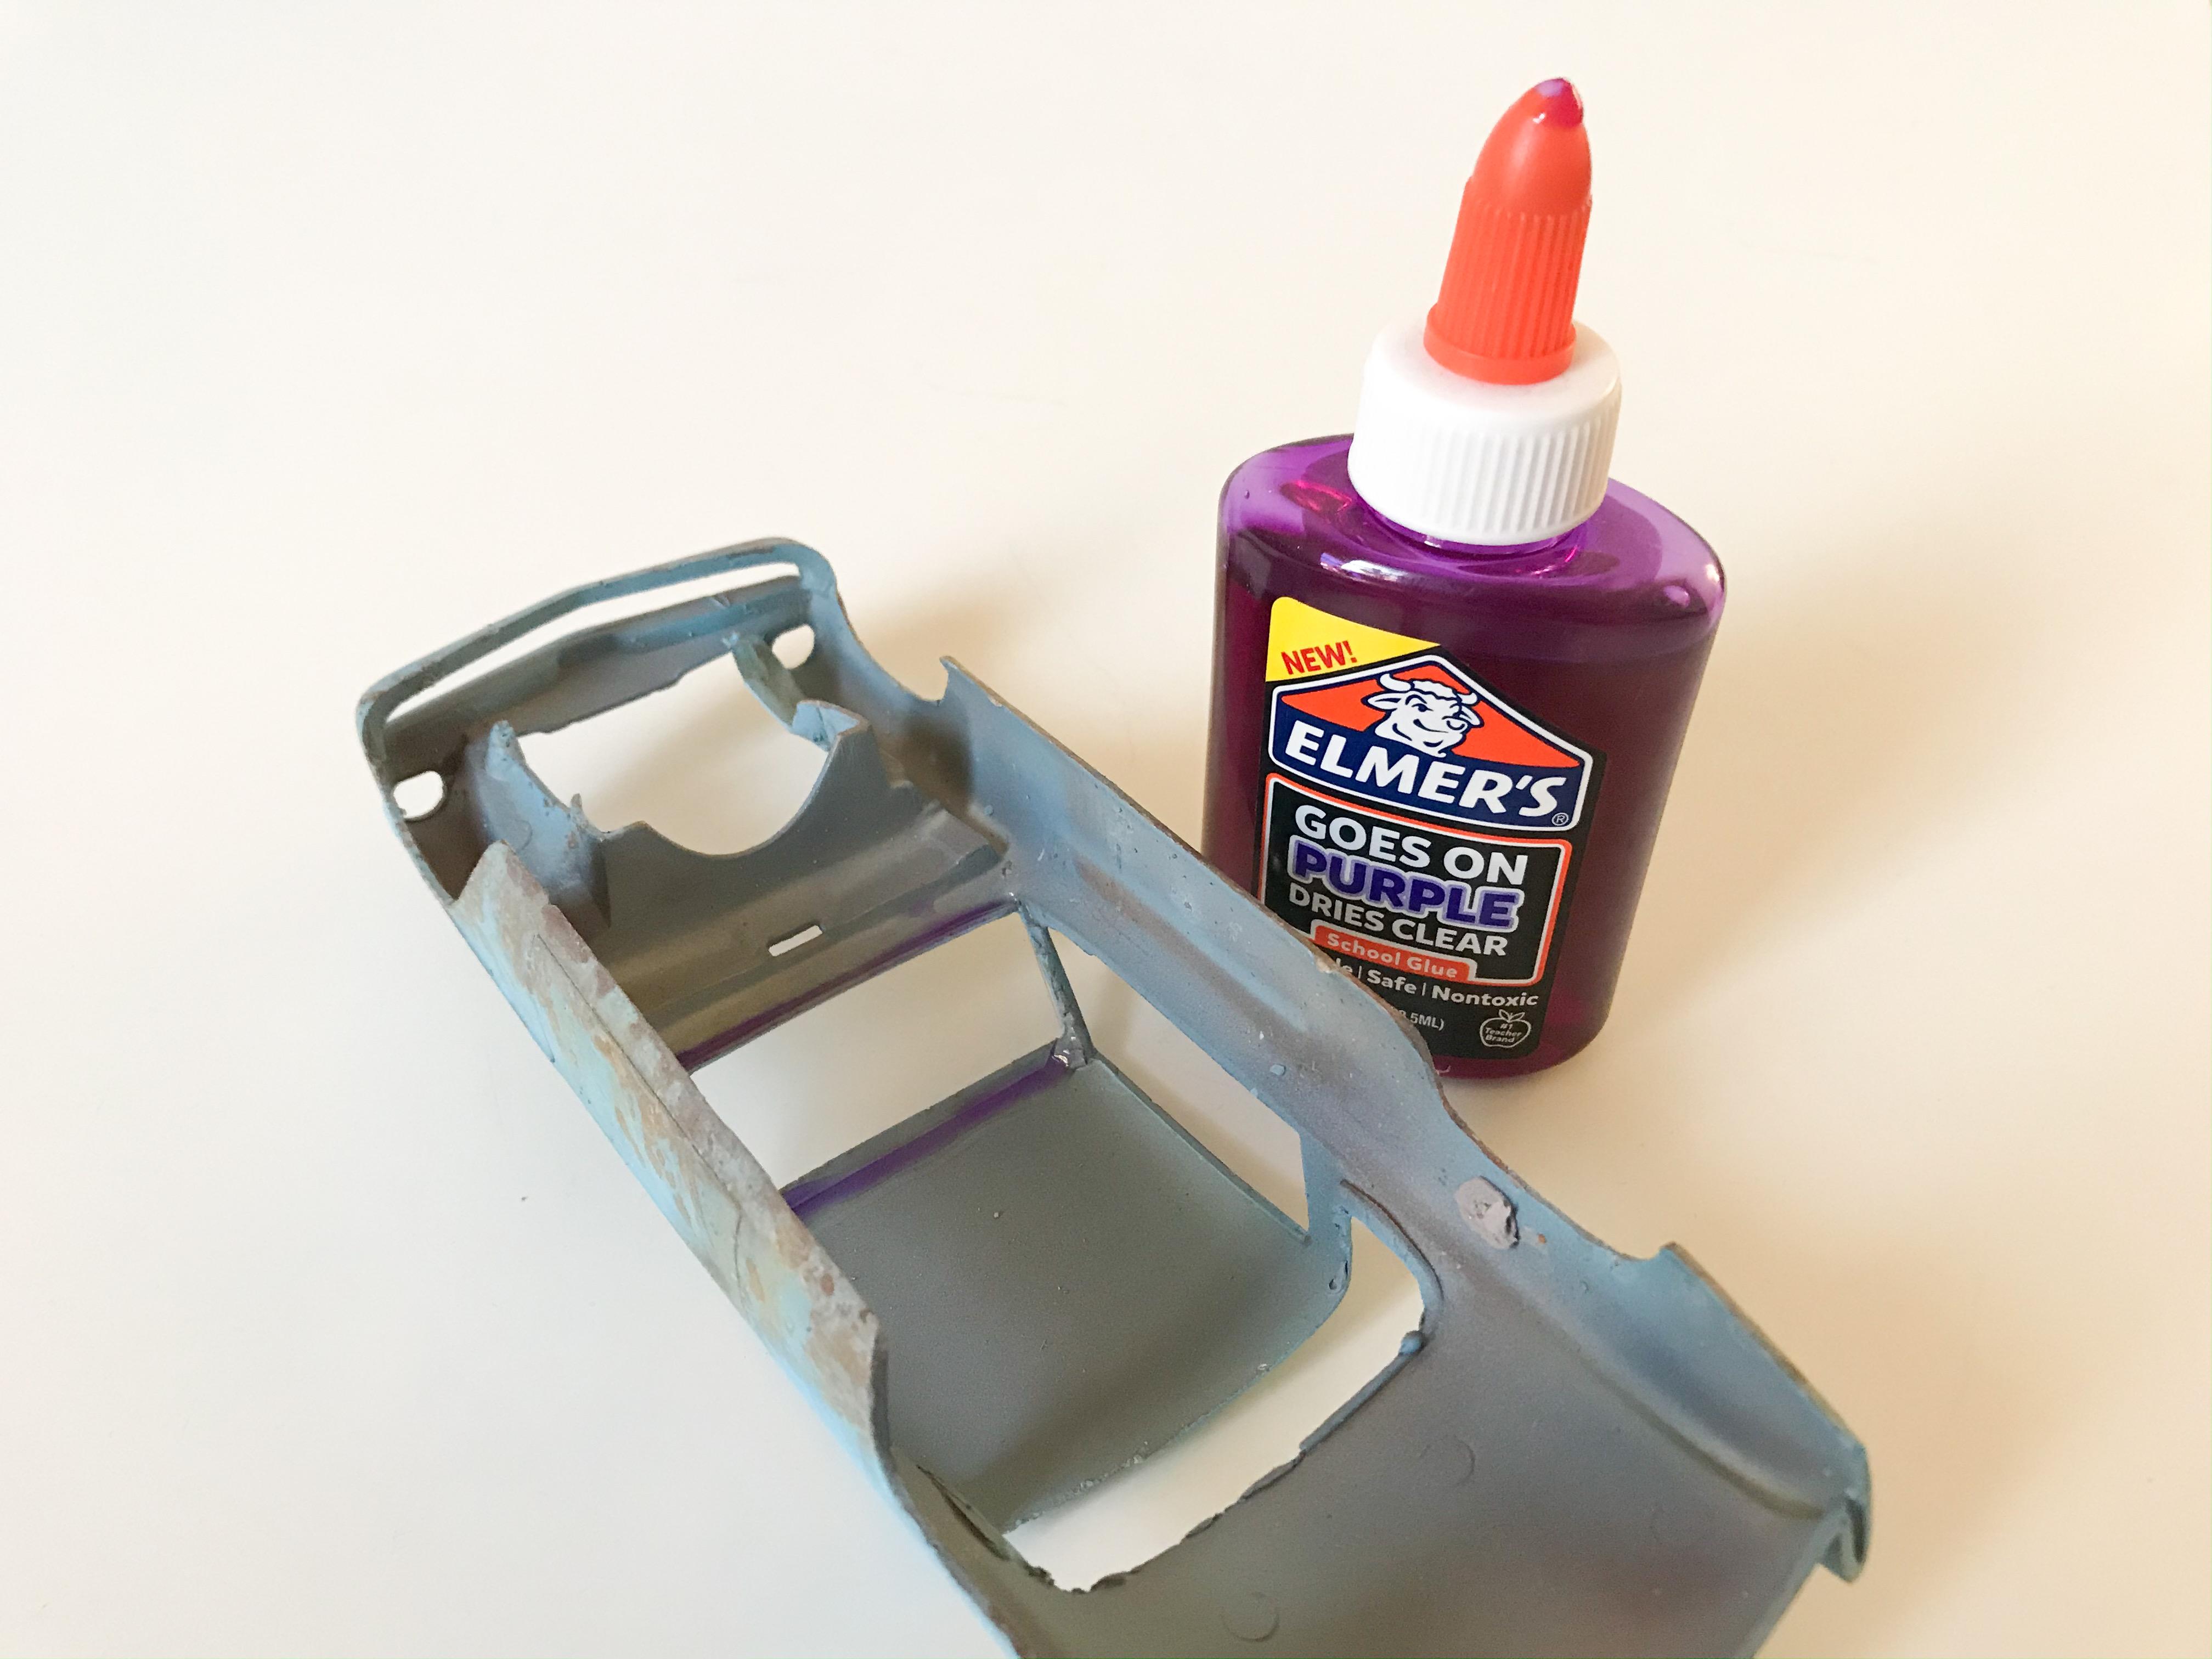
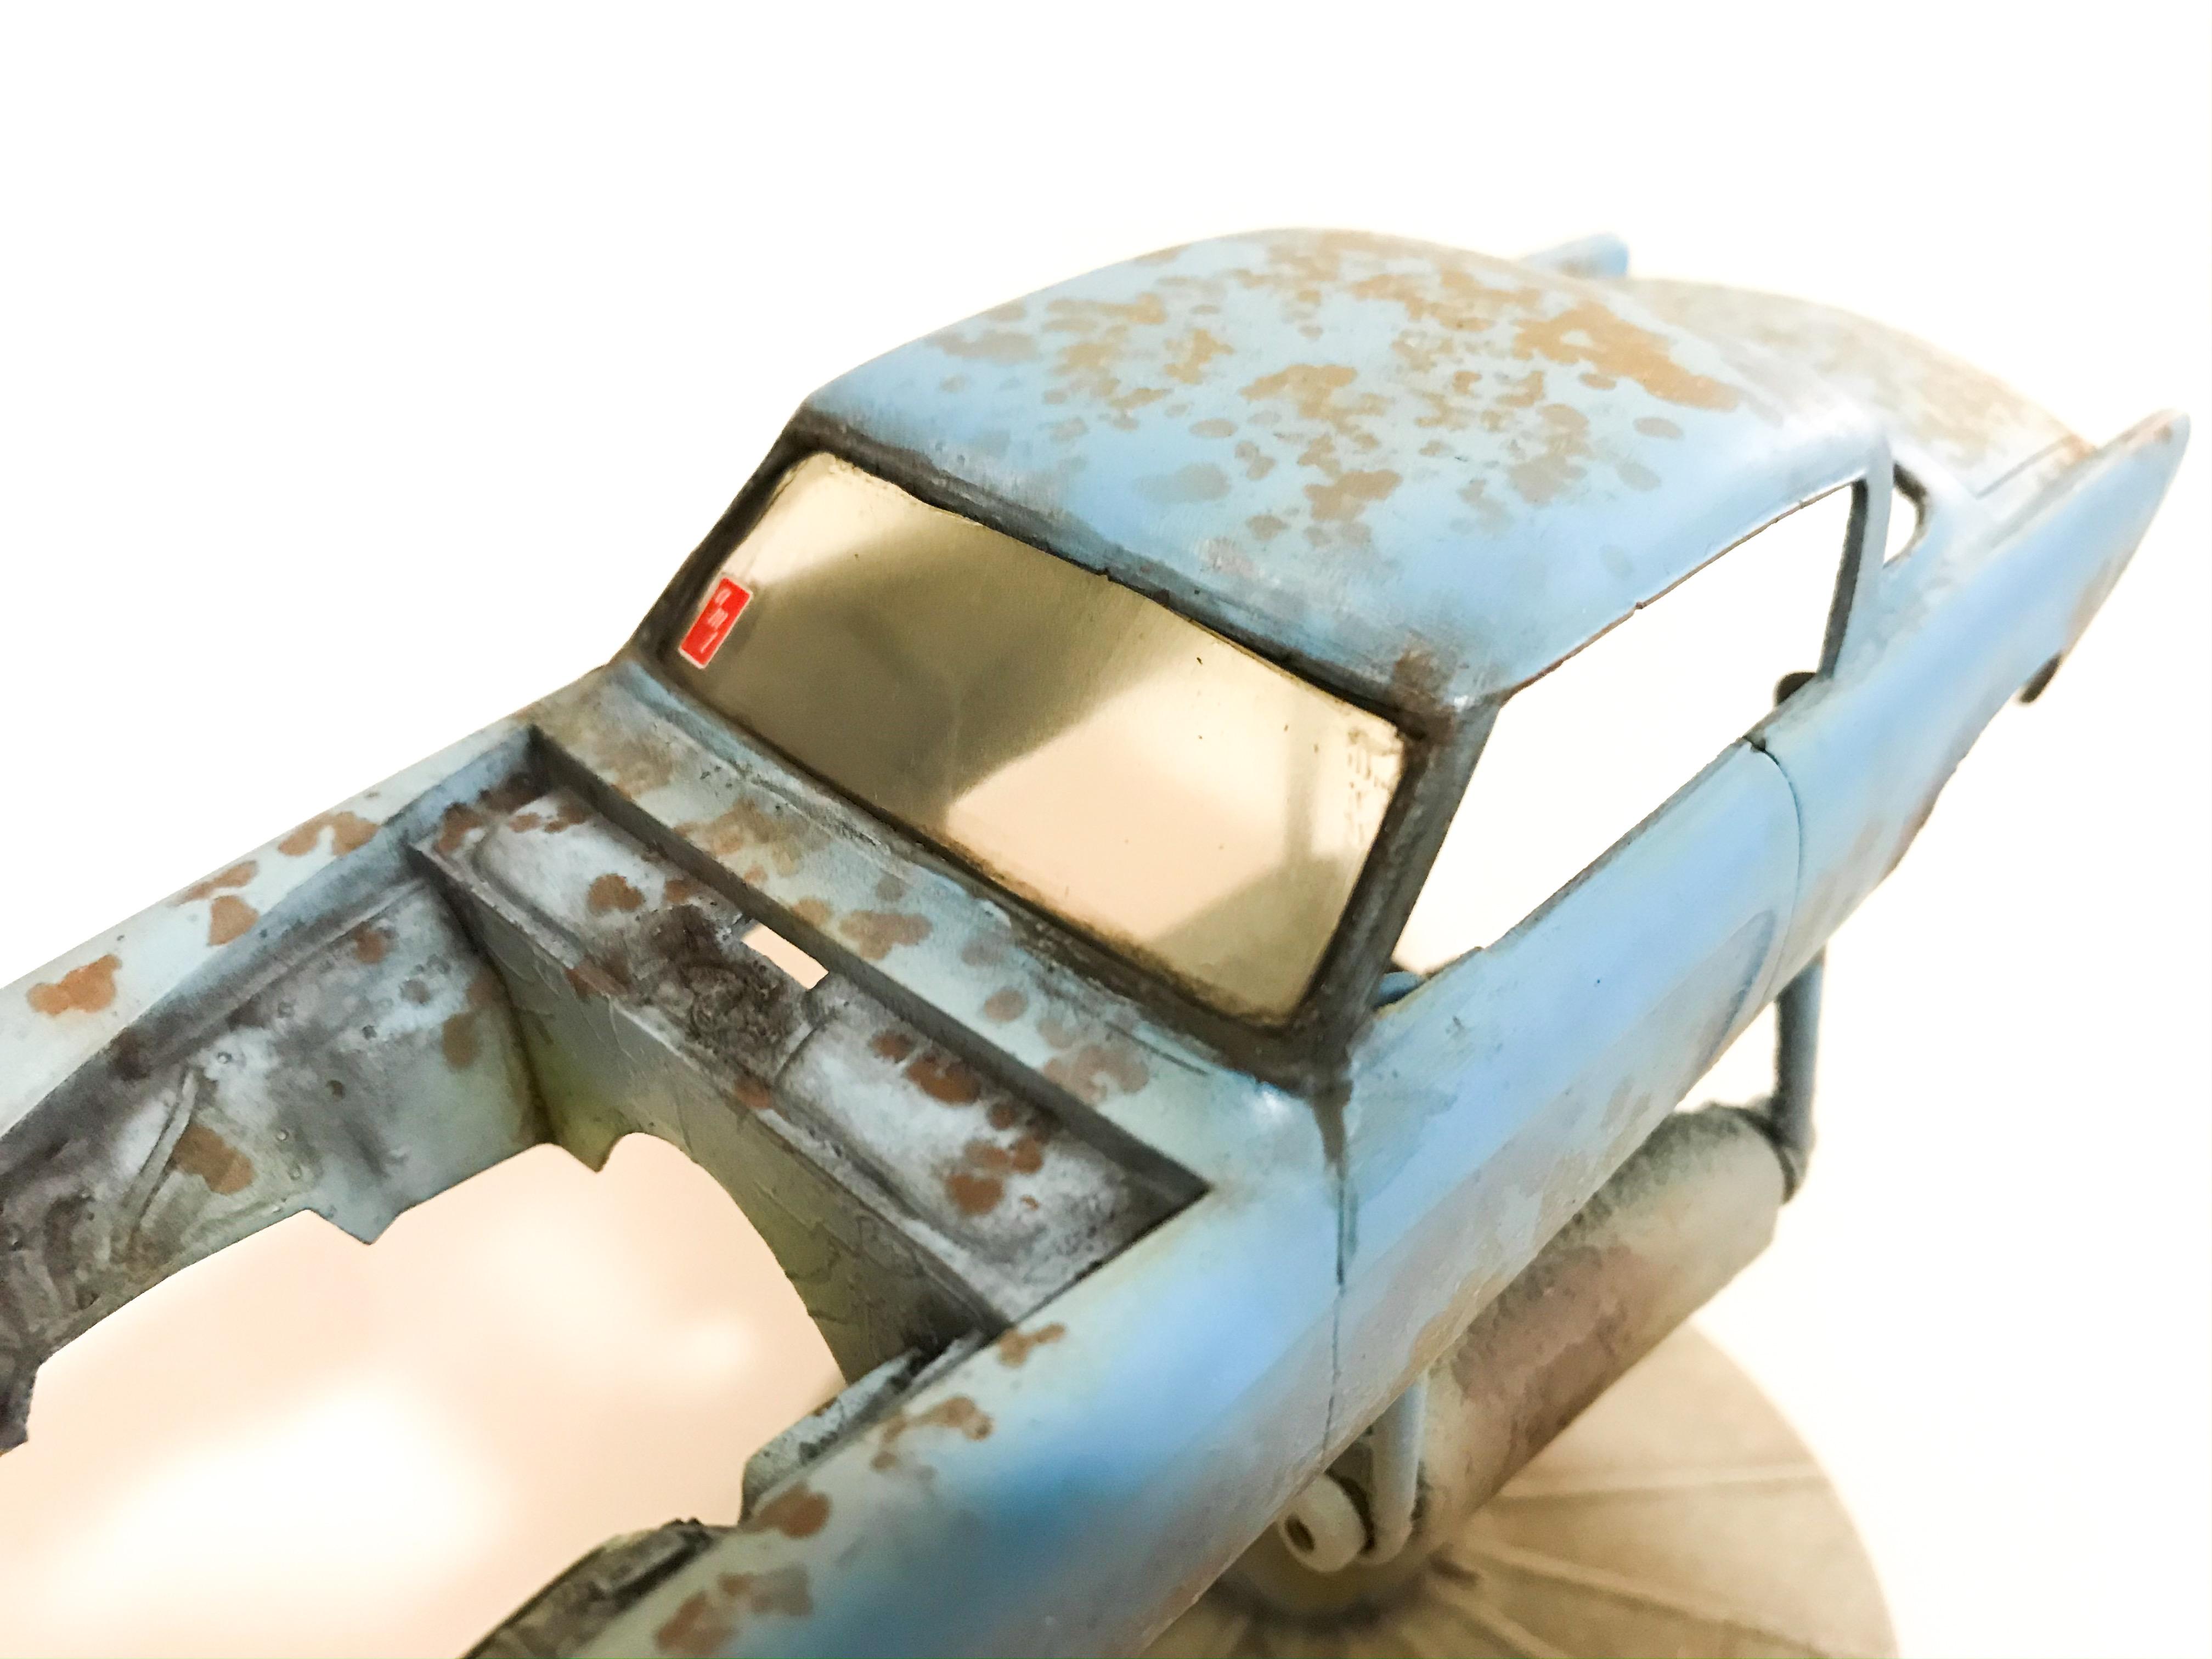
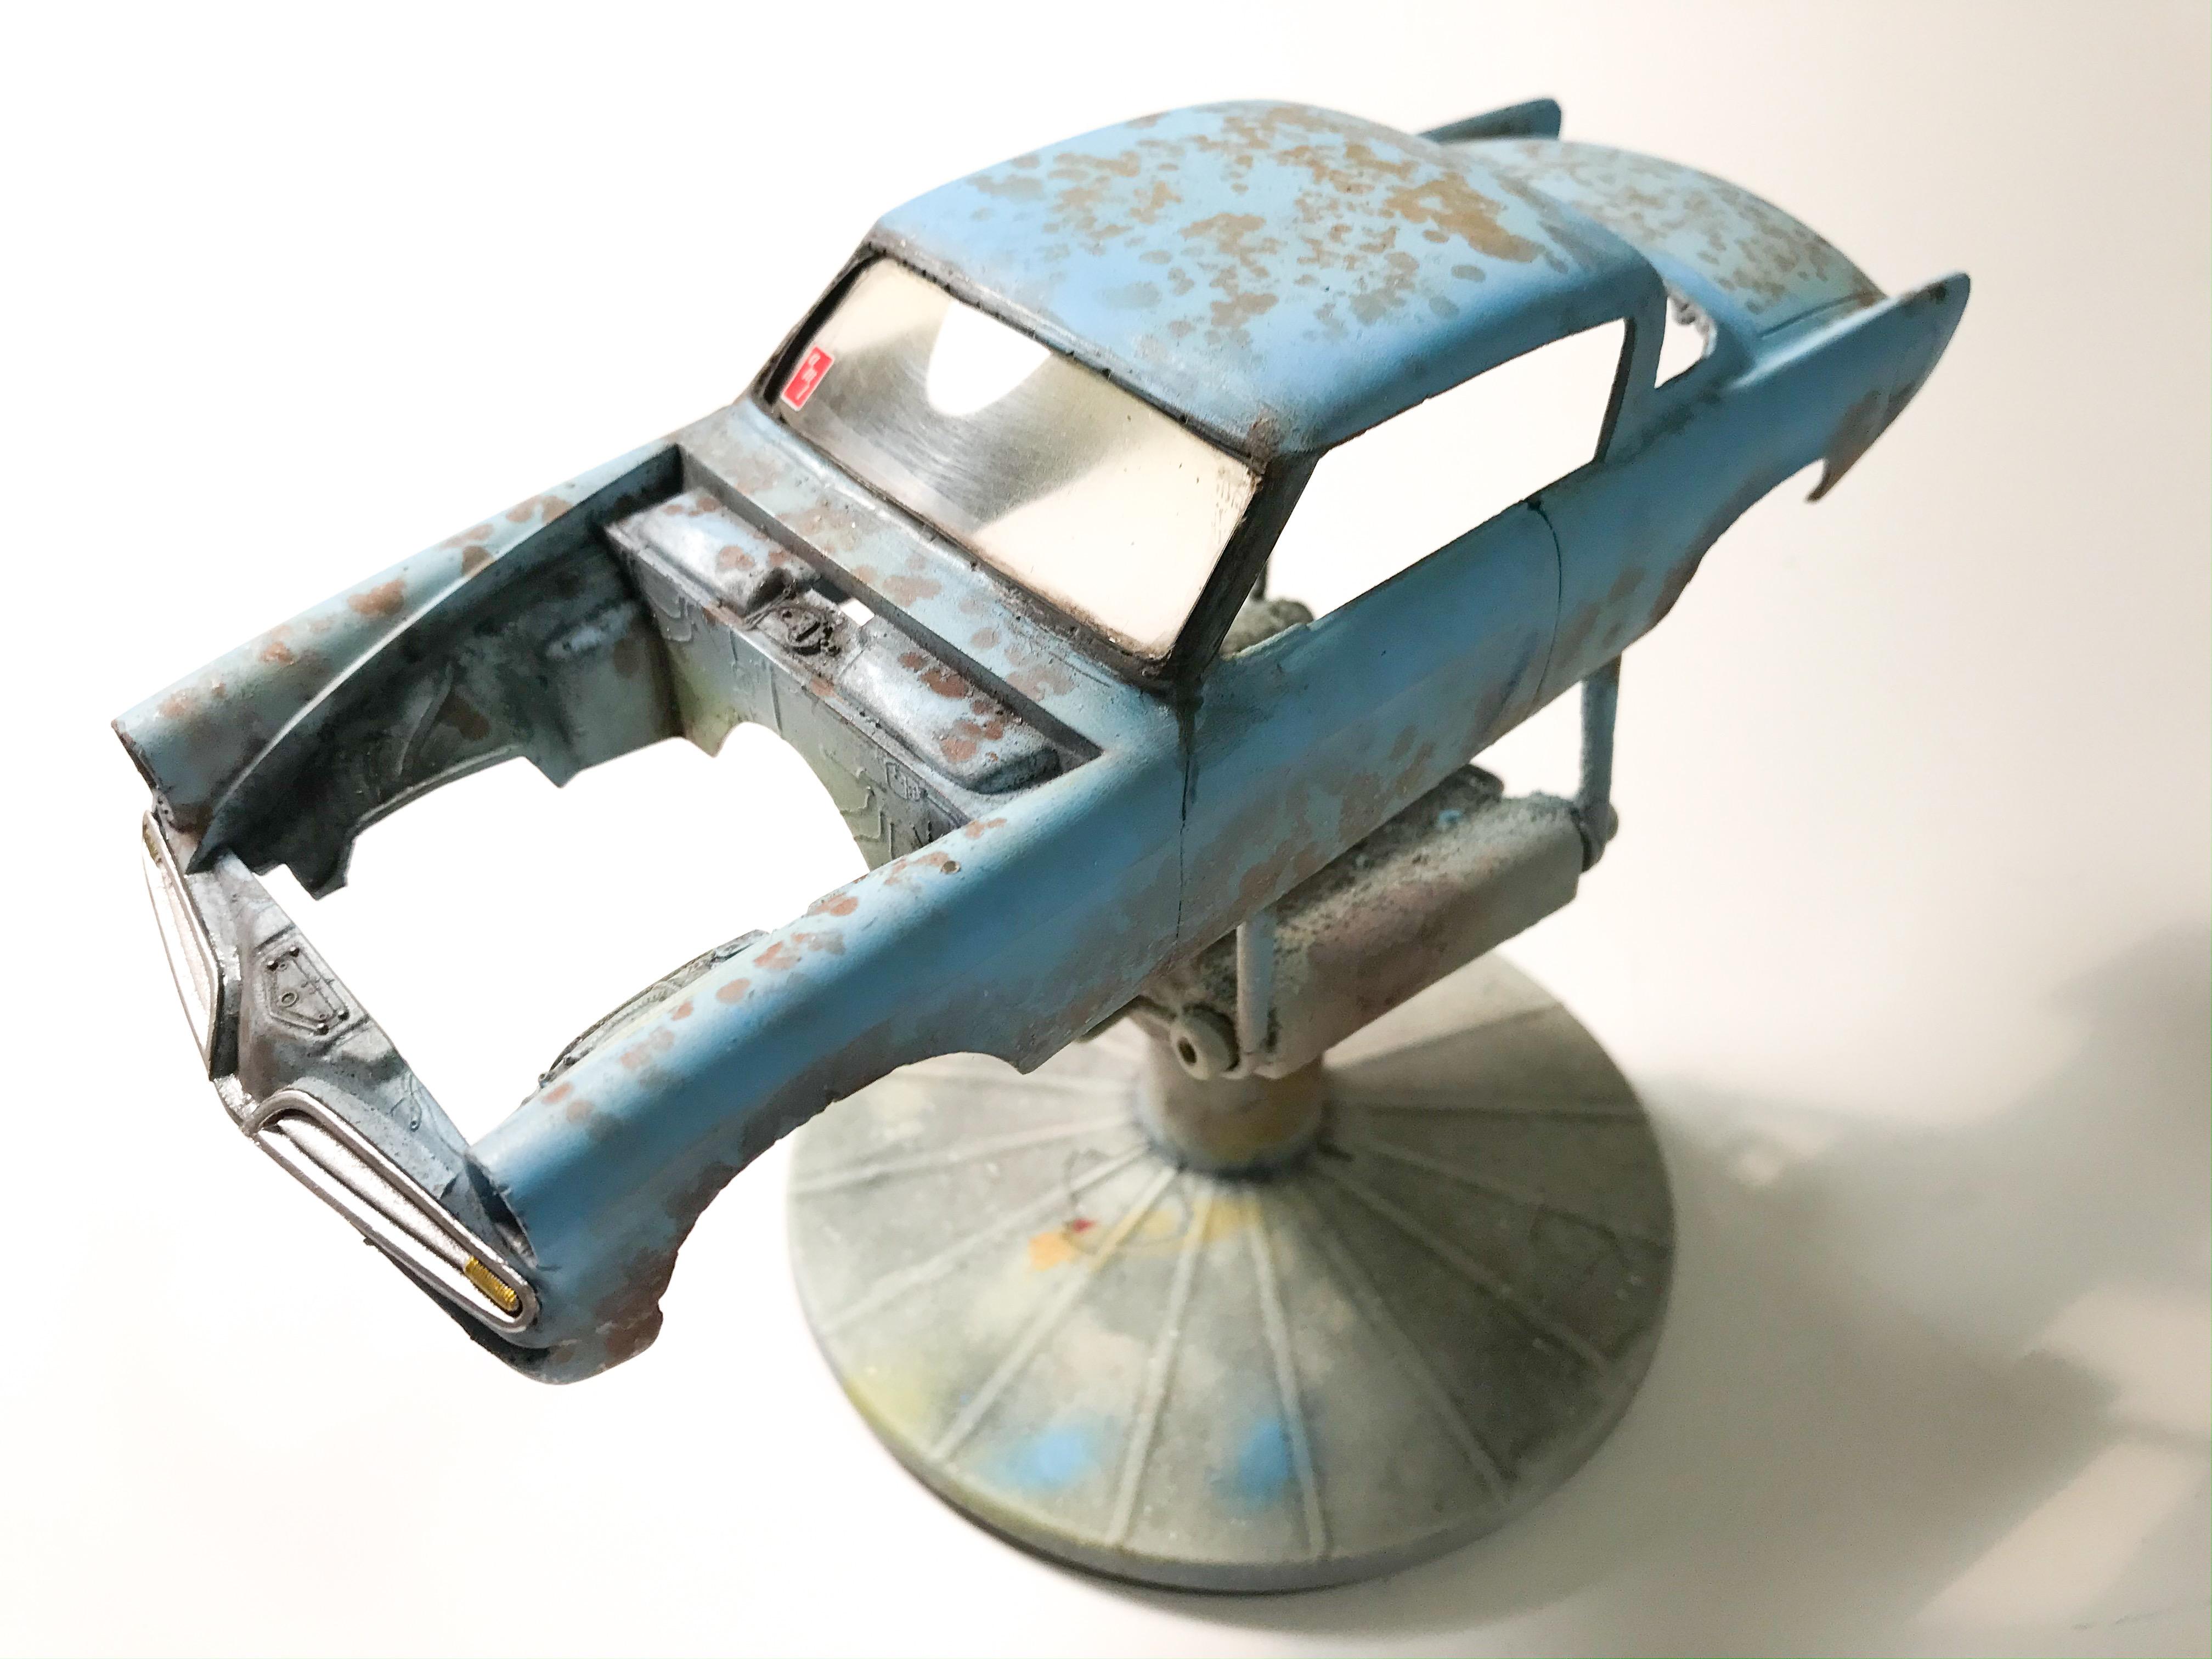
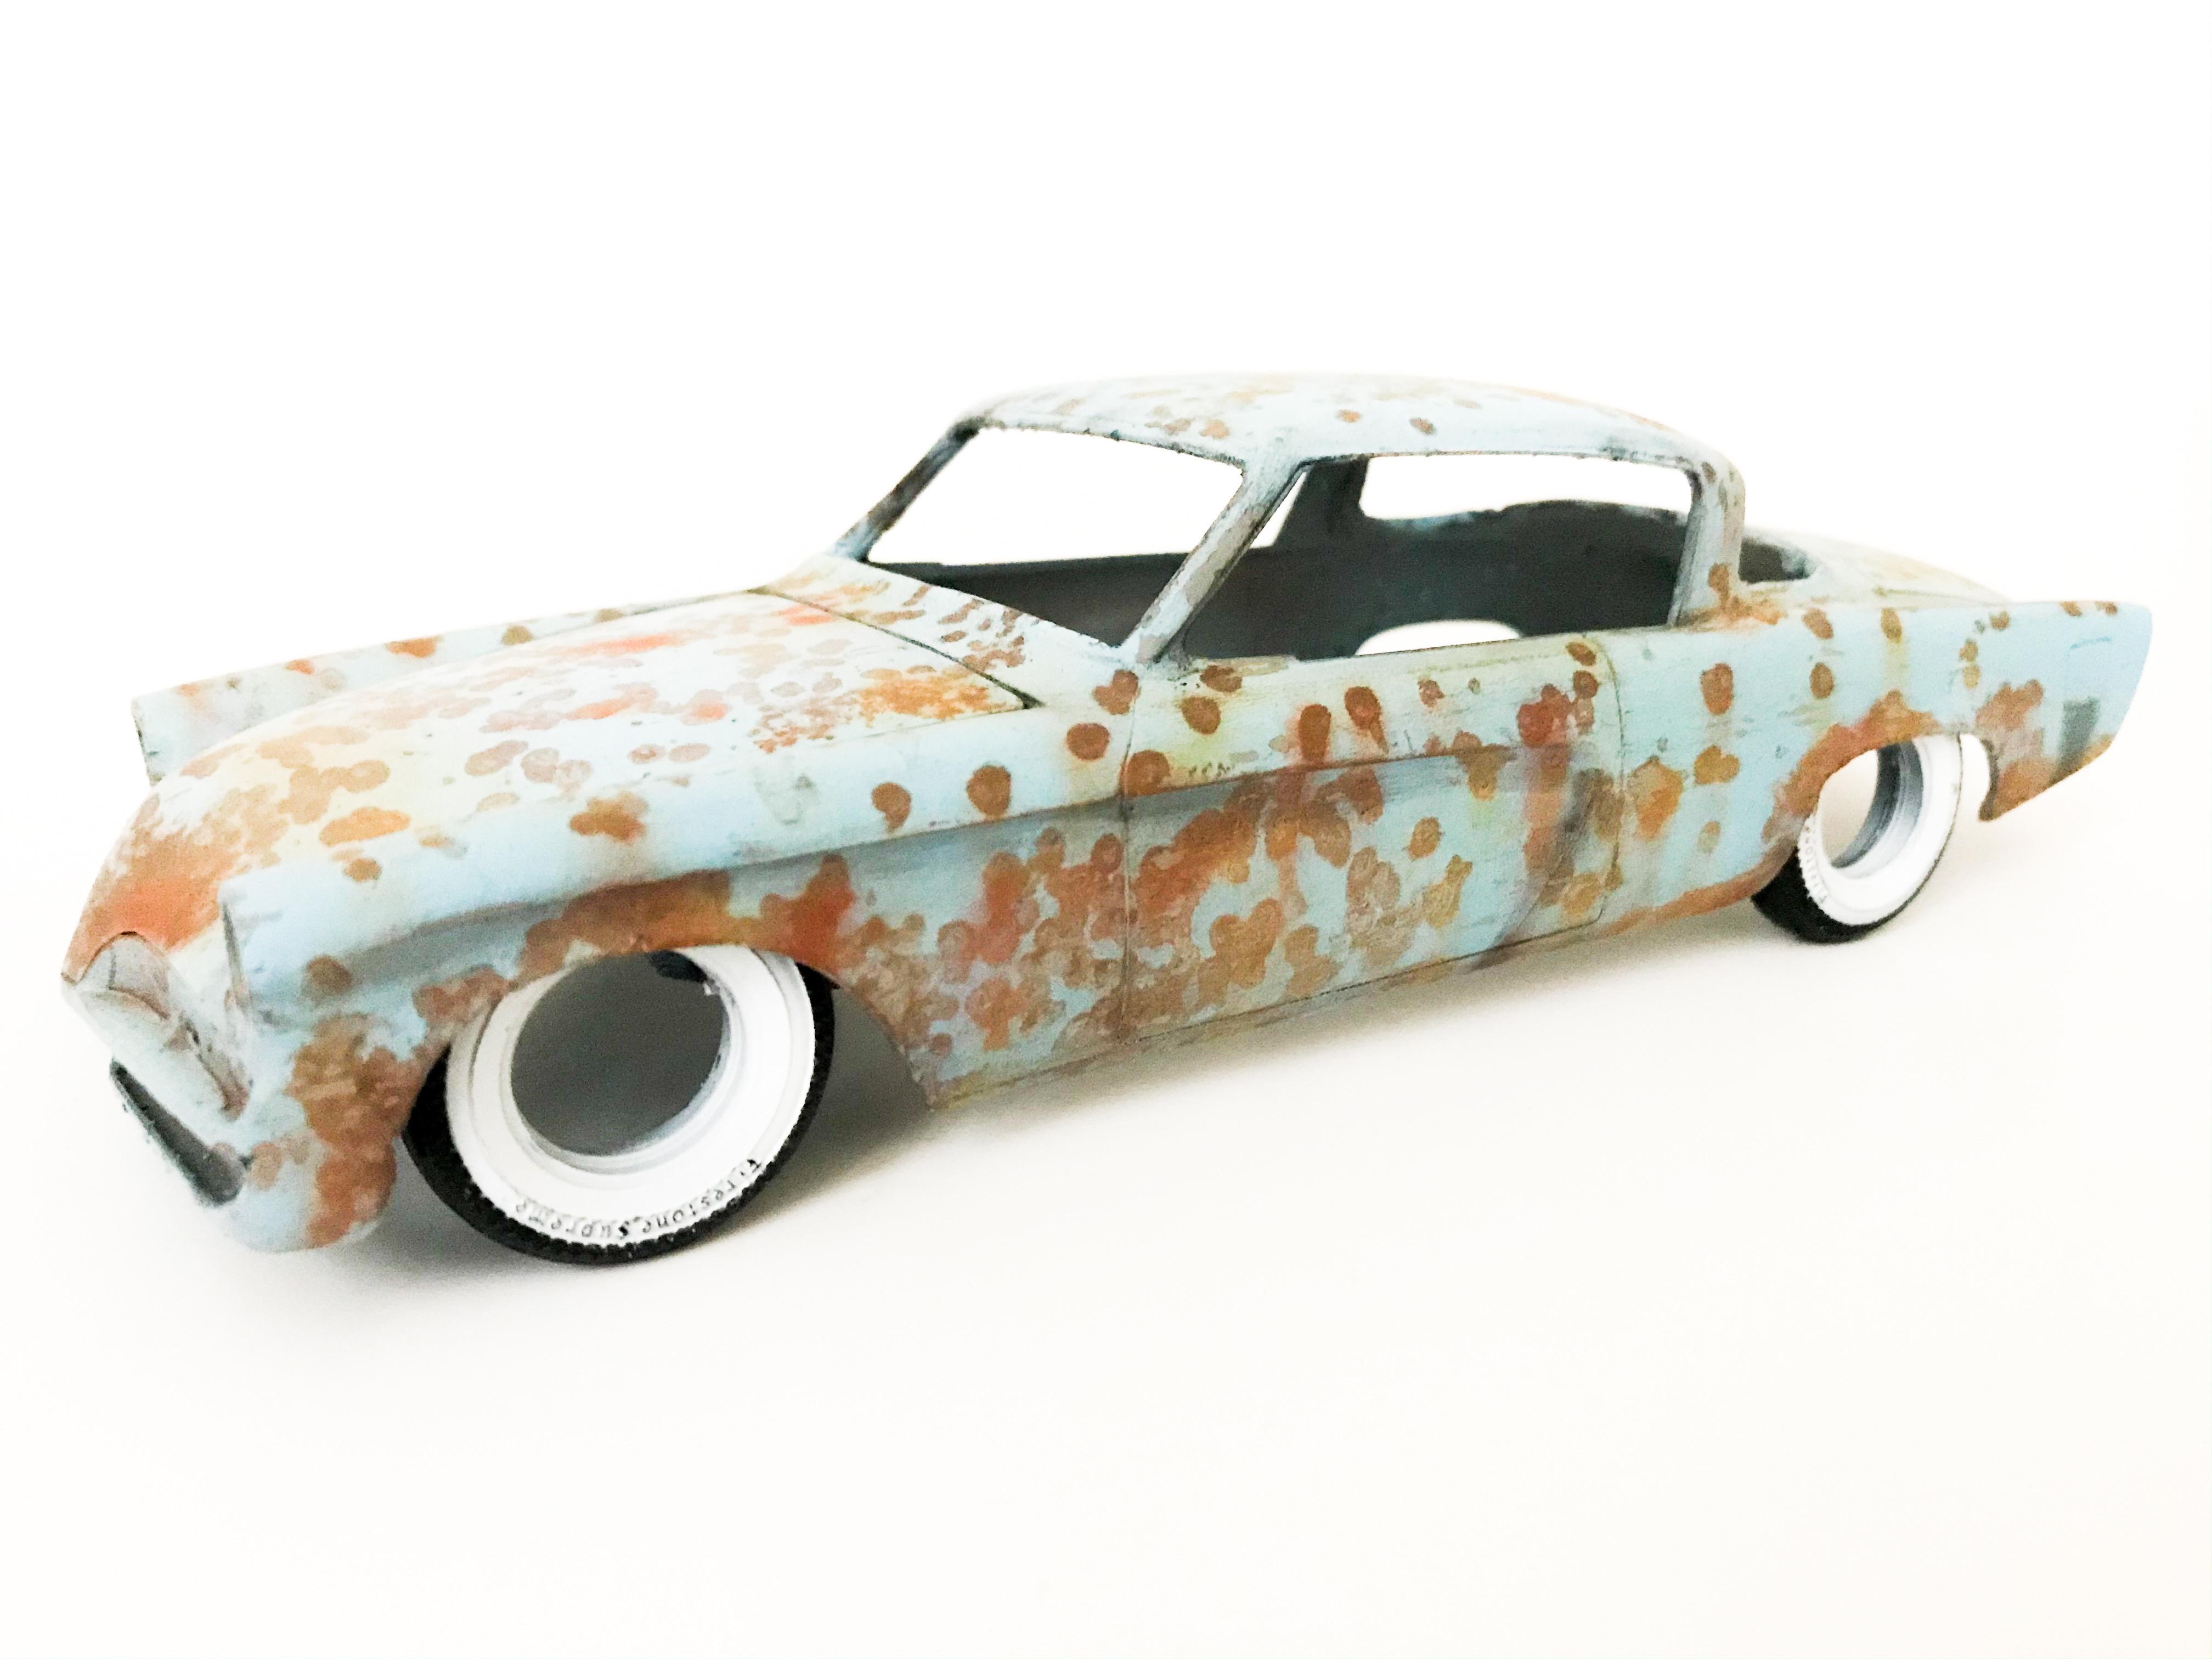
I should! It was a little too extreme so I feathered some of the rust out with the airbrush today and got it a little more realistic and less ‘spotty’. Today’s projects were to give those wheels a wash and pick out the lug nuts with a Molotow pen, and then airbrush some whitewalls onto the kit tires: I weathered the whitewalls a little - they looked too clean but I like how they look with the car now: And a shot of the slightly less rusty body: I needed to make a windshield, so I employed some CAD for that (cardboard aided design ?) I really like this Elmer’s purple glue for holding glass in - the fact that it loses it’s purple tiny when it’s dry is really useful: And a little weathering (and some light airbrushing later...): I also made a rubber gasket with some thin black wire to add a little detail, although it’s hard to see how I’ve blended I’d all in with pastels and whatnot: I’m just working on a swamp cooler to hang in that driver’s window - More soon, soon as I’ve done more!
-
I was looking at the themes for NNL East next year and the main theme is “Known Survivors - original old customs from our youth”. I don’t remember any customs from my youth ??. Well, maybe KITT from Knight Rider, if that even counts... I was wondering what imagery that prompt brought to anyone else’s mind...anyone building something cool for this theme for next year’s show? I’d love to build something for this, but I definitely need some help with inspiration...
-
Anyone Getting Ready For Winter?
CabDriver replied to OldTrucker's topic in General Automotive Talk (Trucks and Cars)
Are Junkman and Regular Guy the same person? -
I’ll be watching Tom! Cool looking build so far!
-
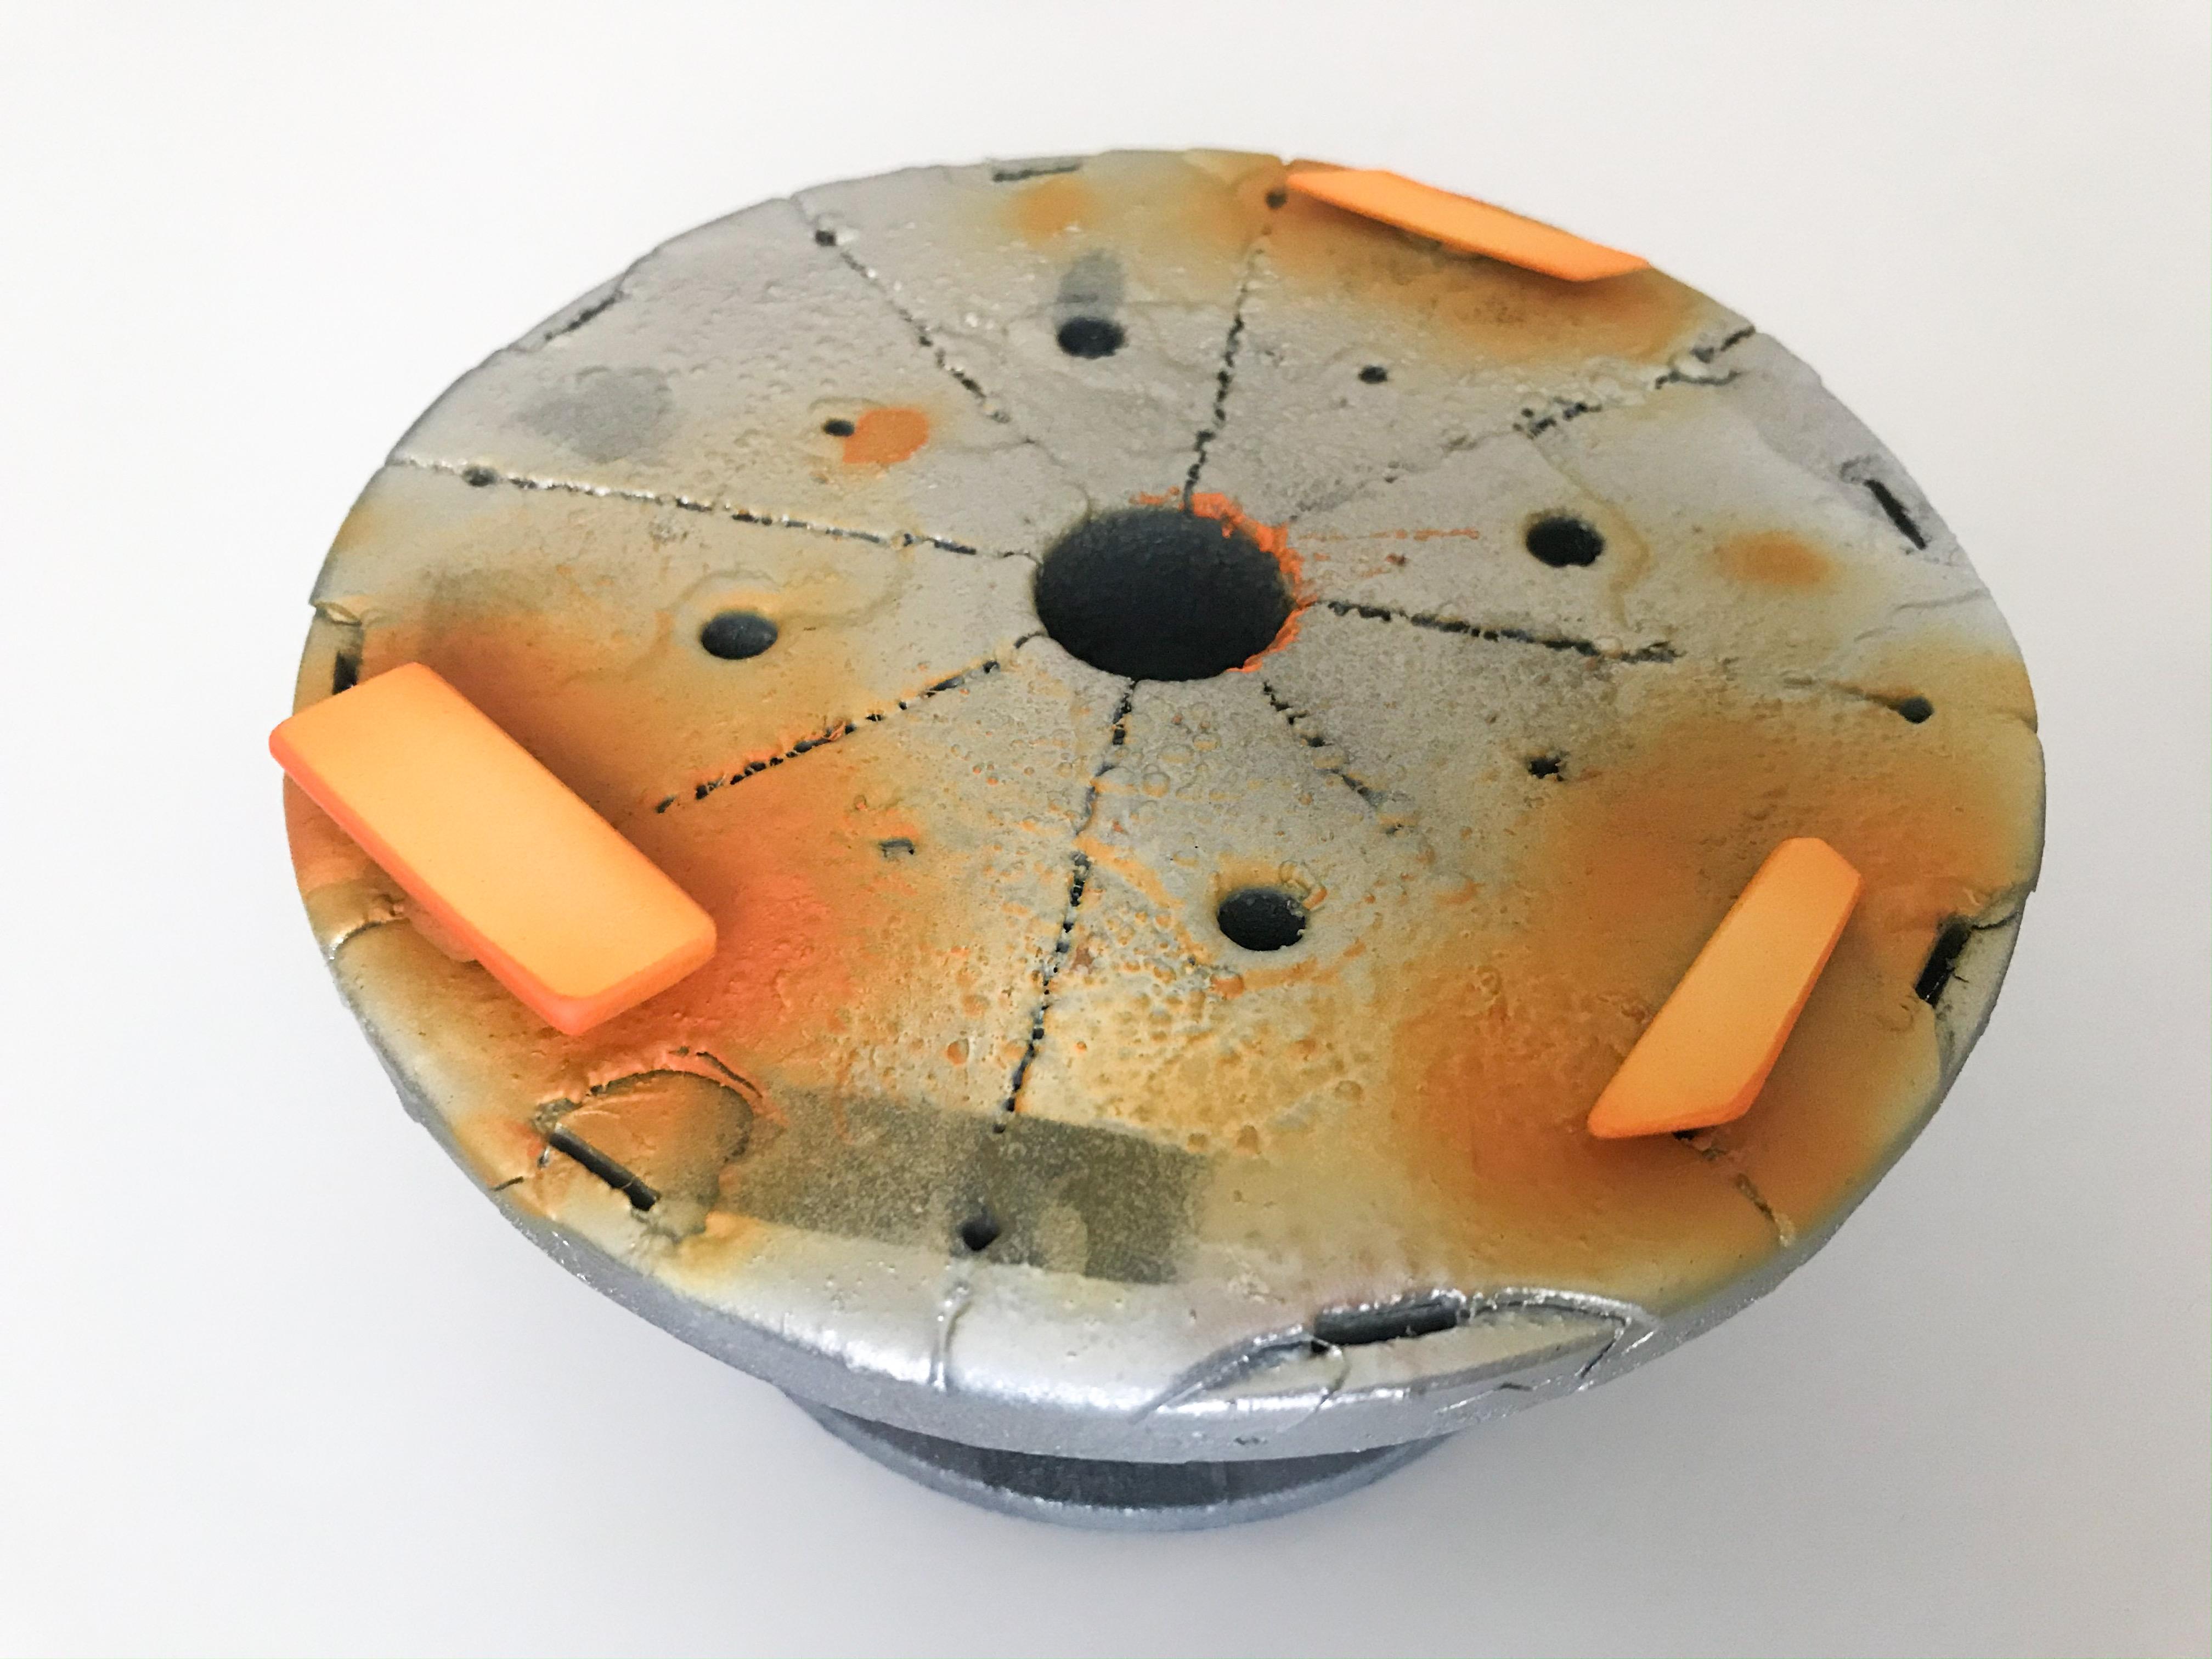
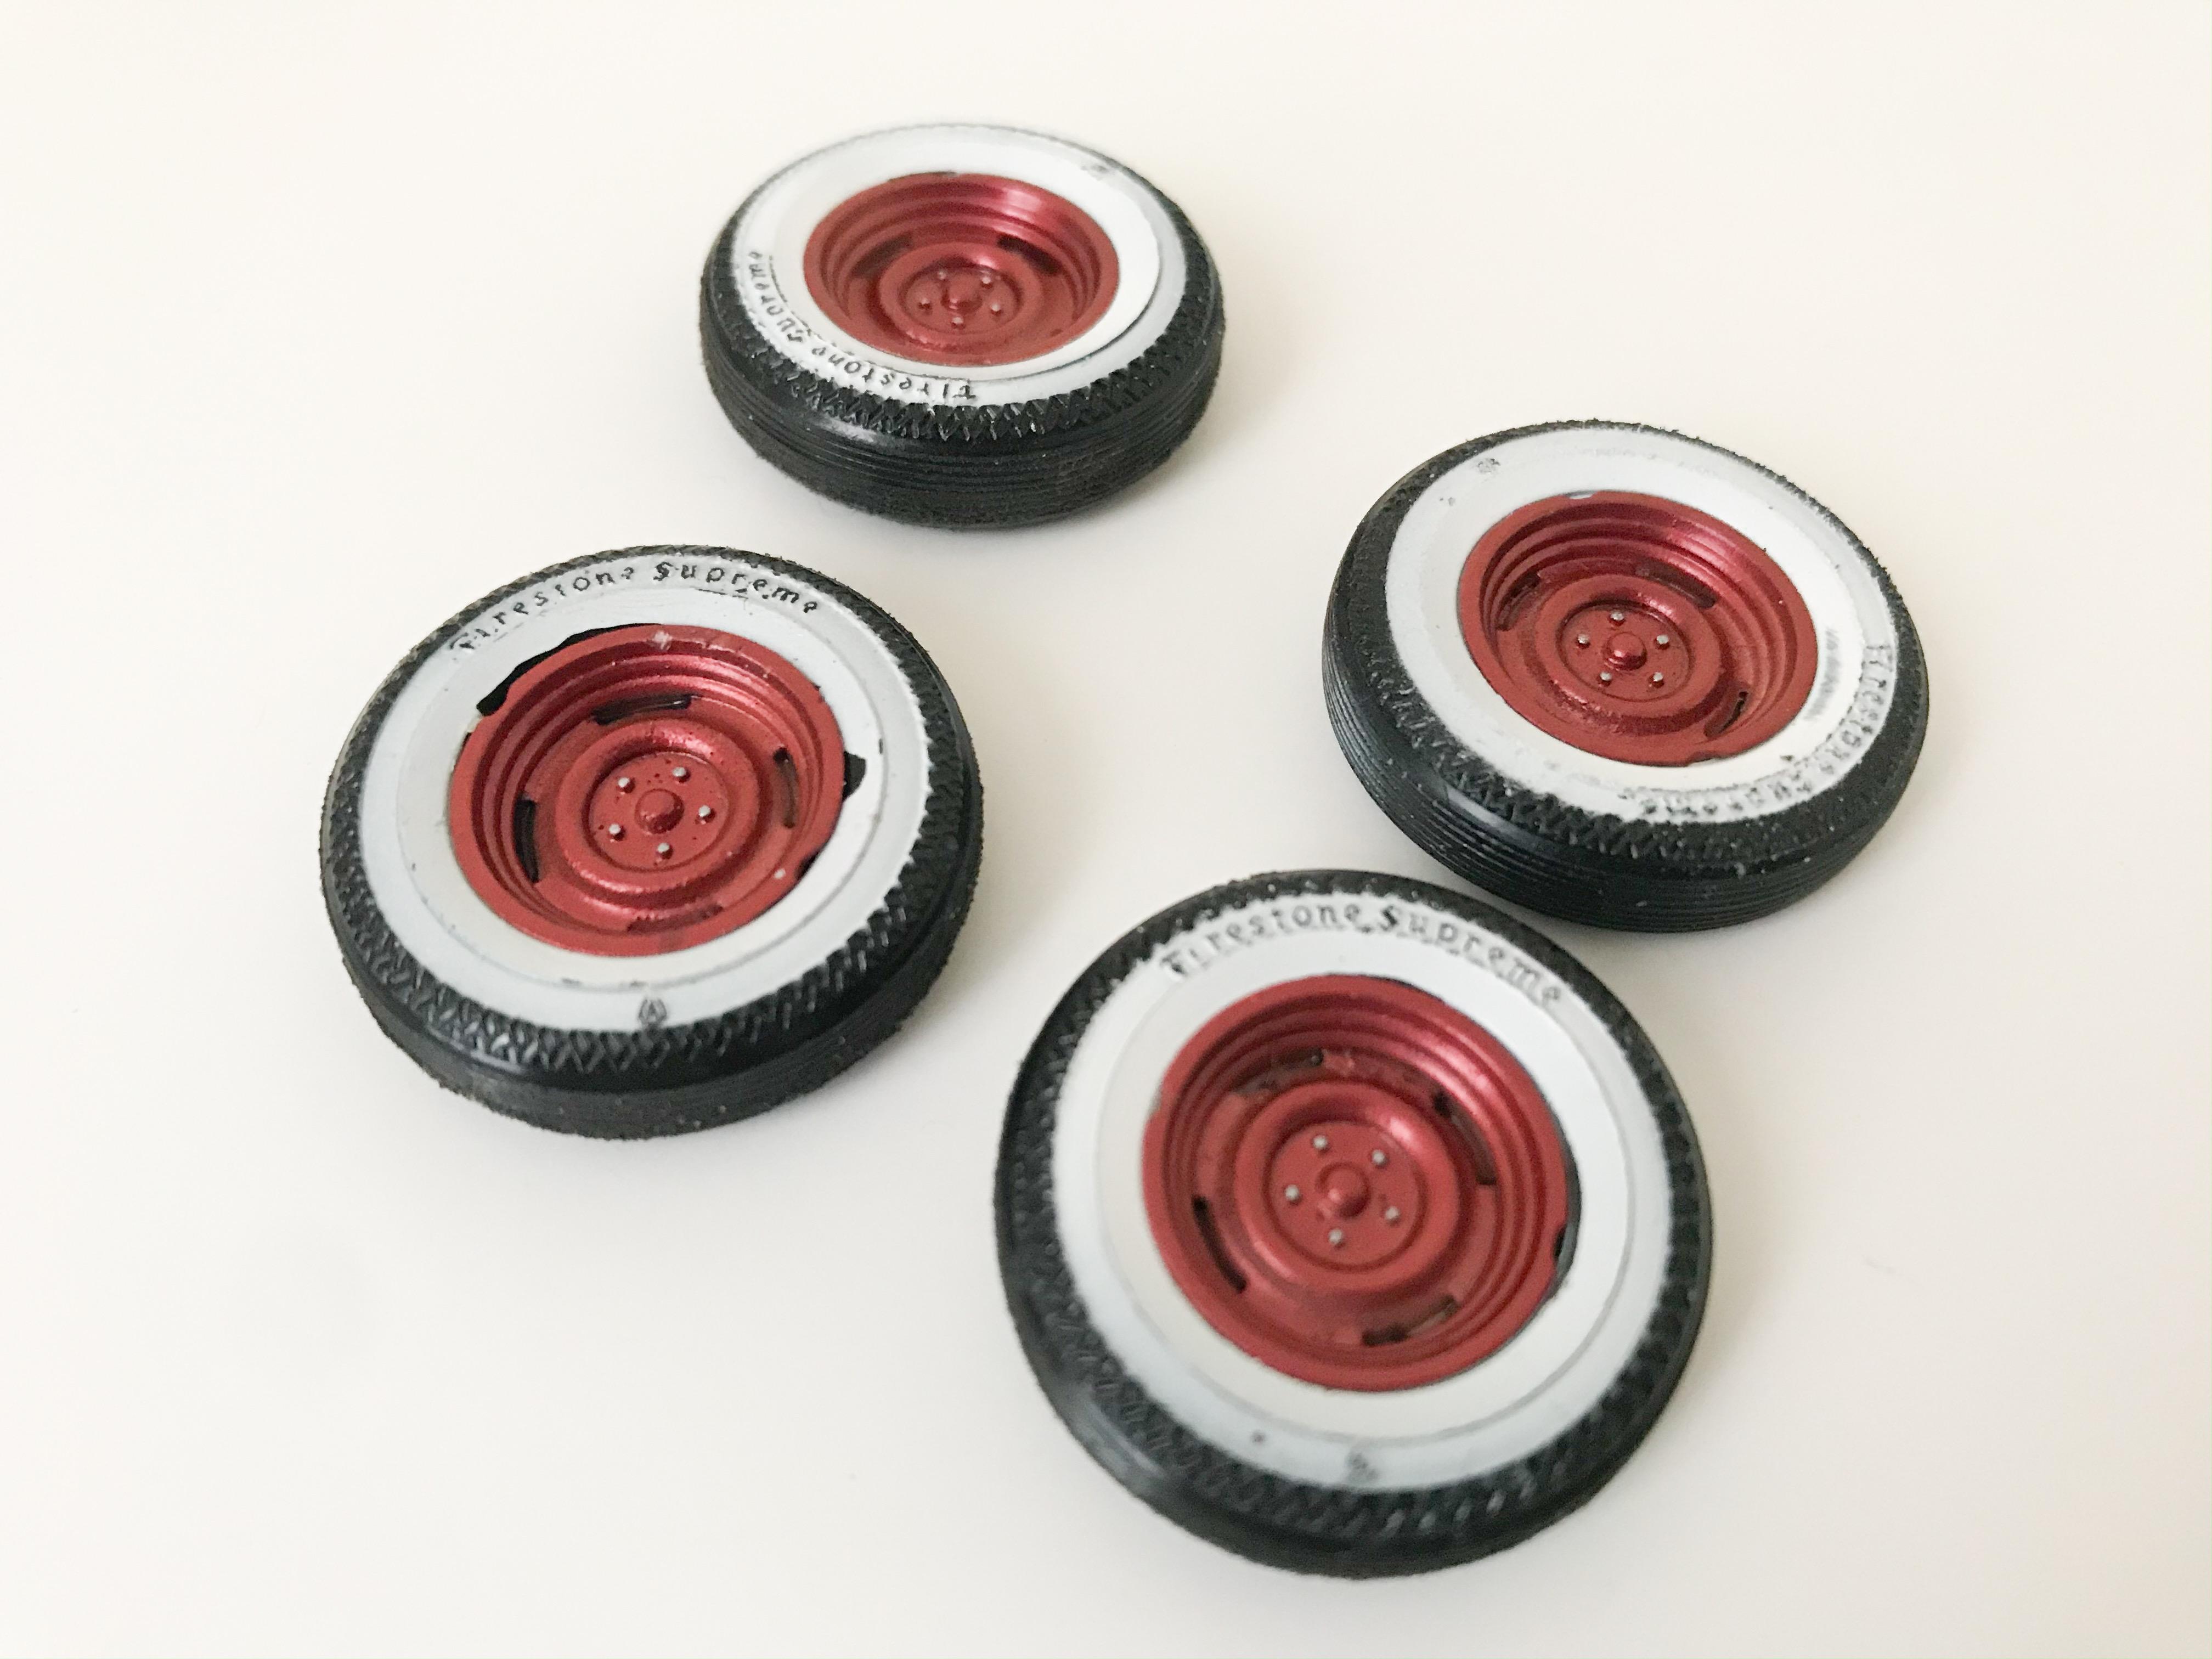
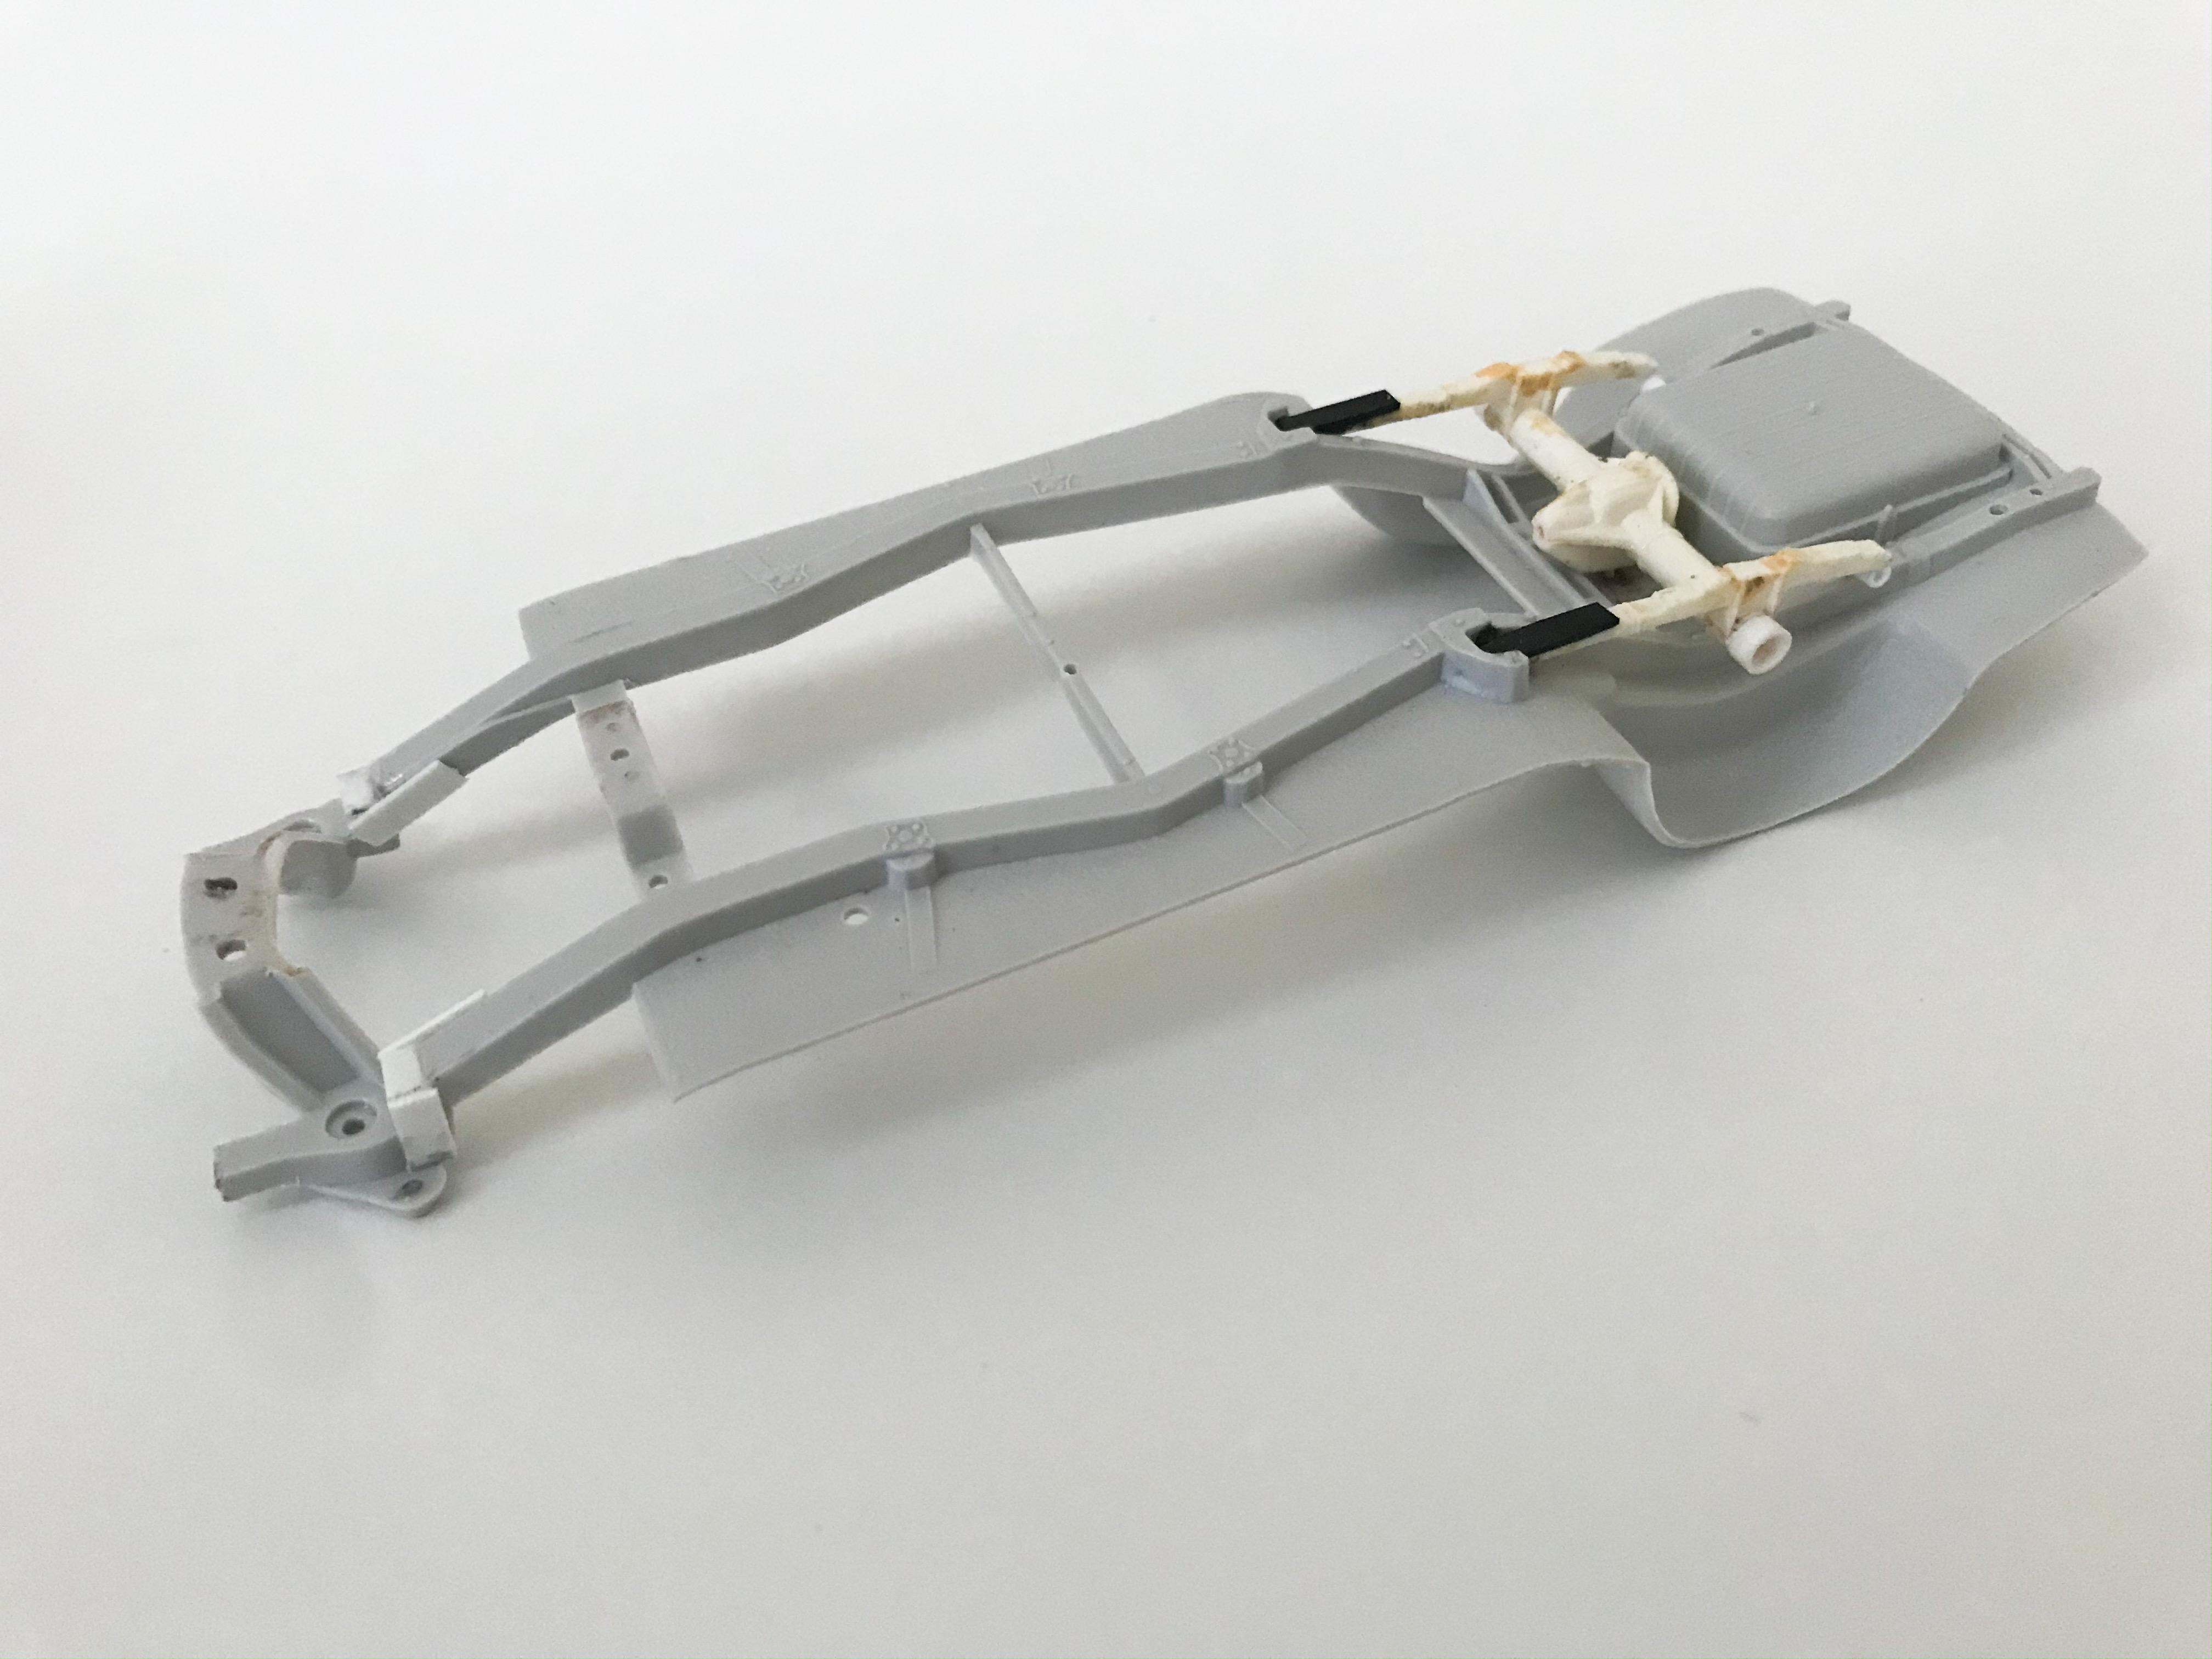
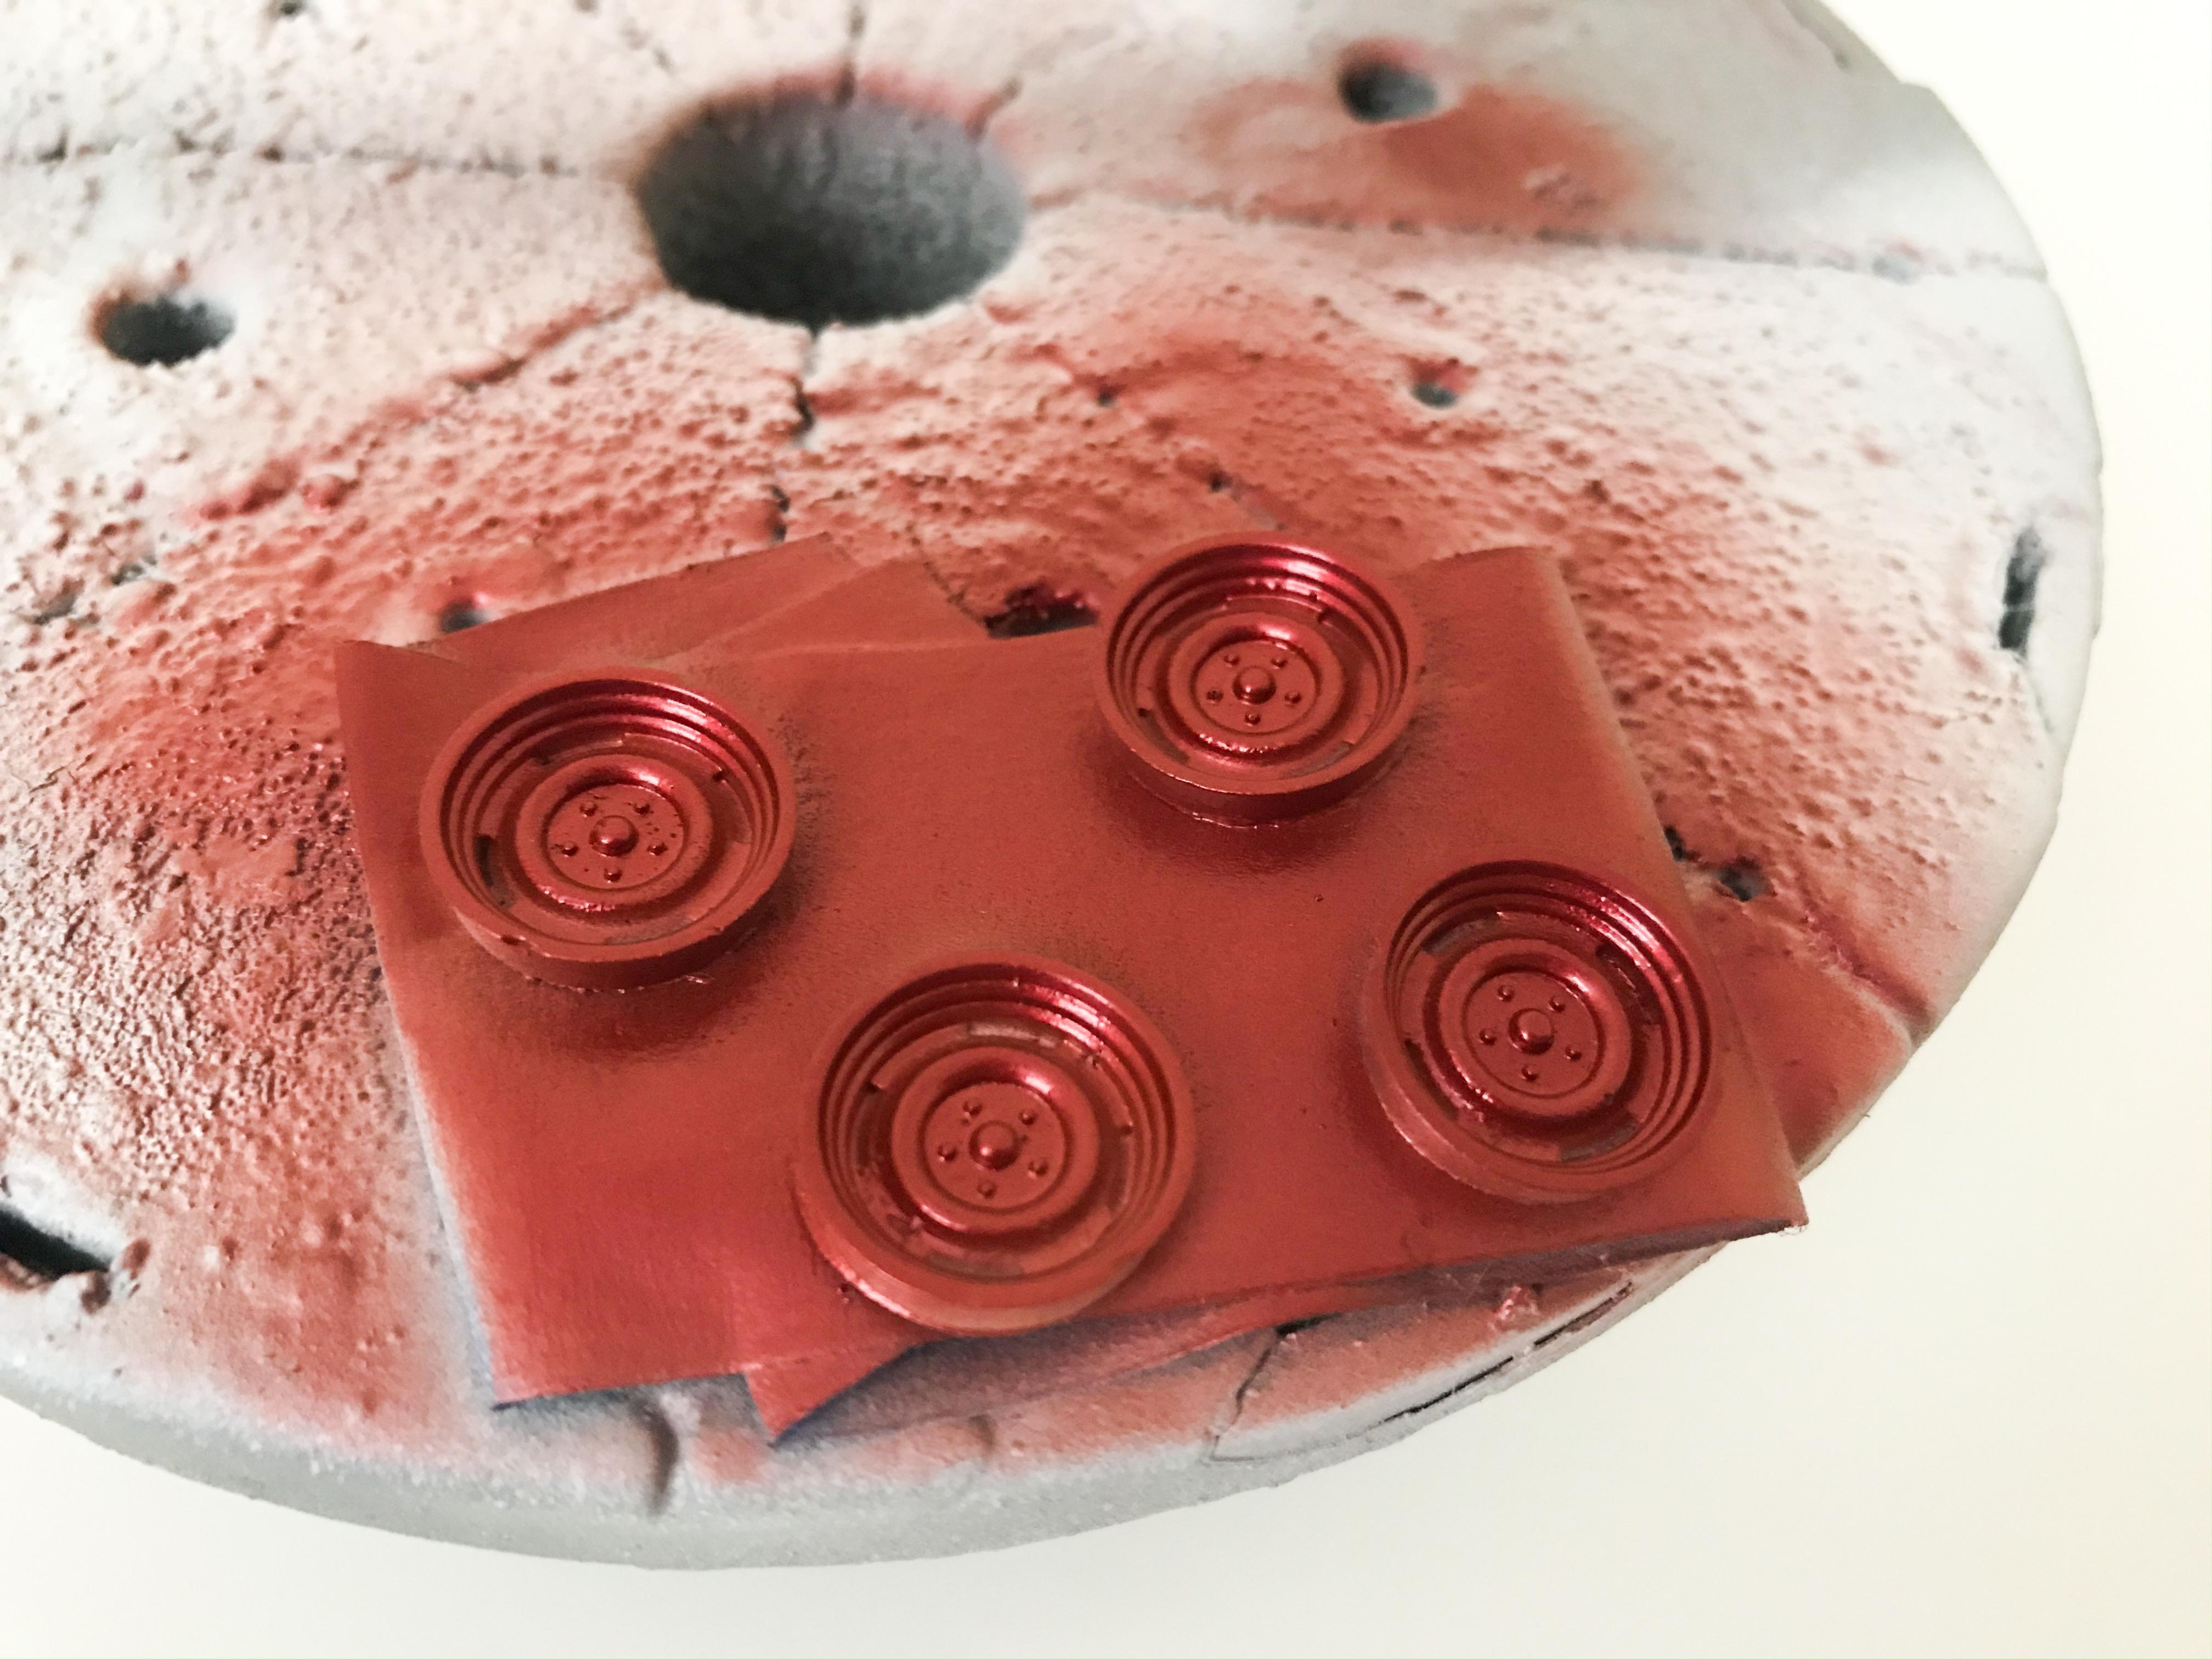
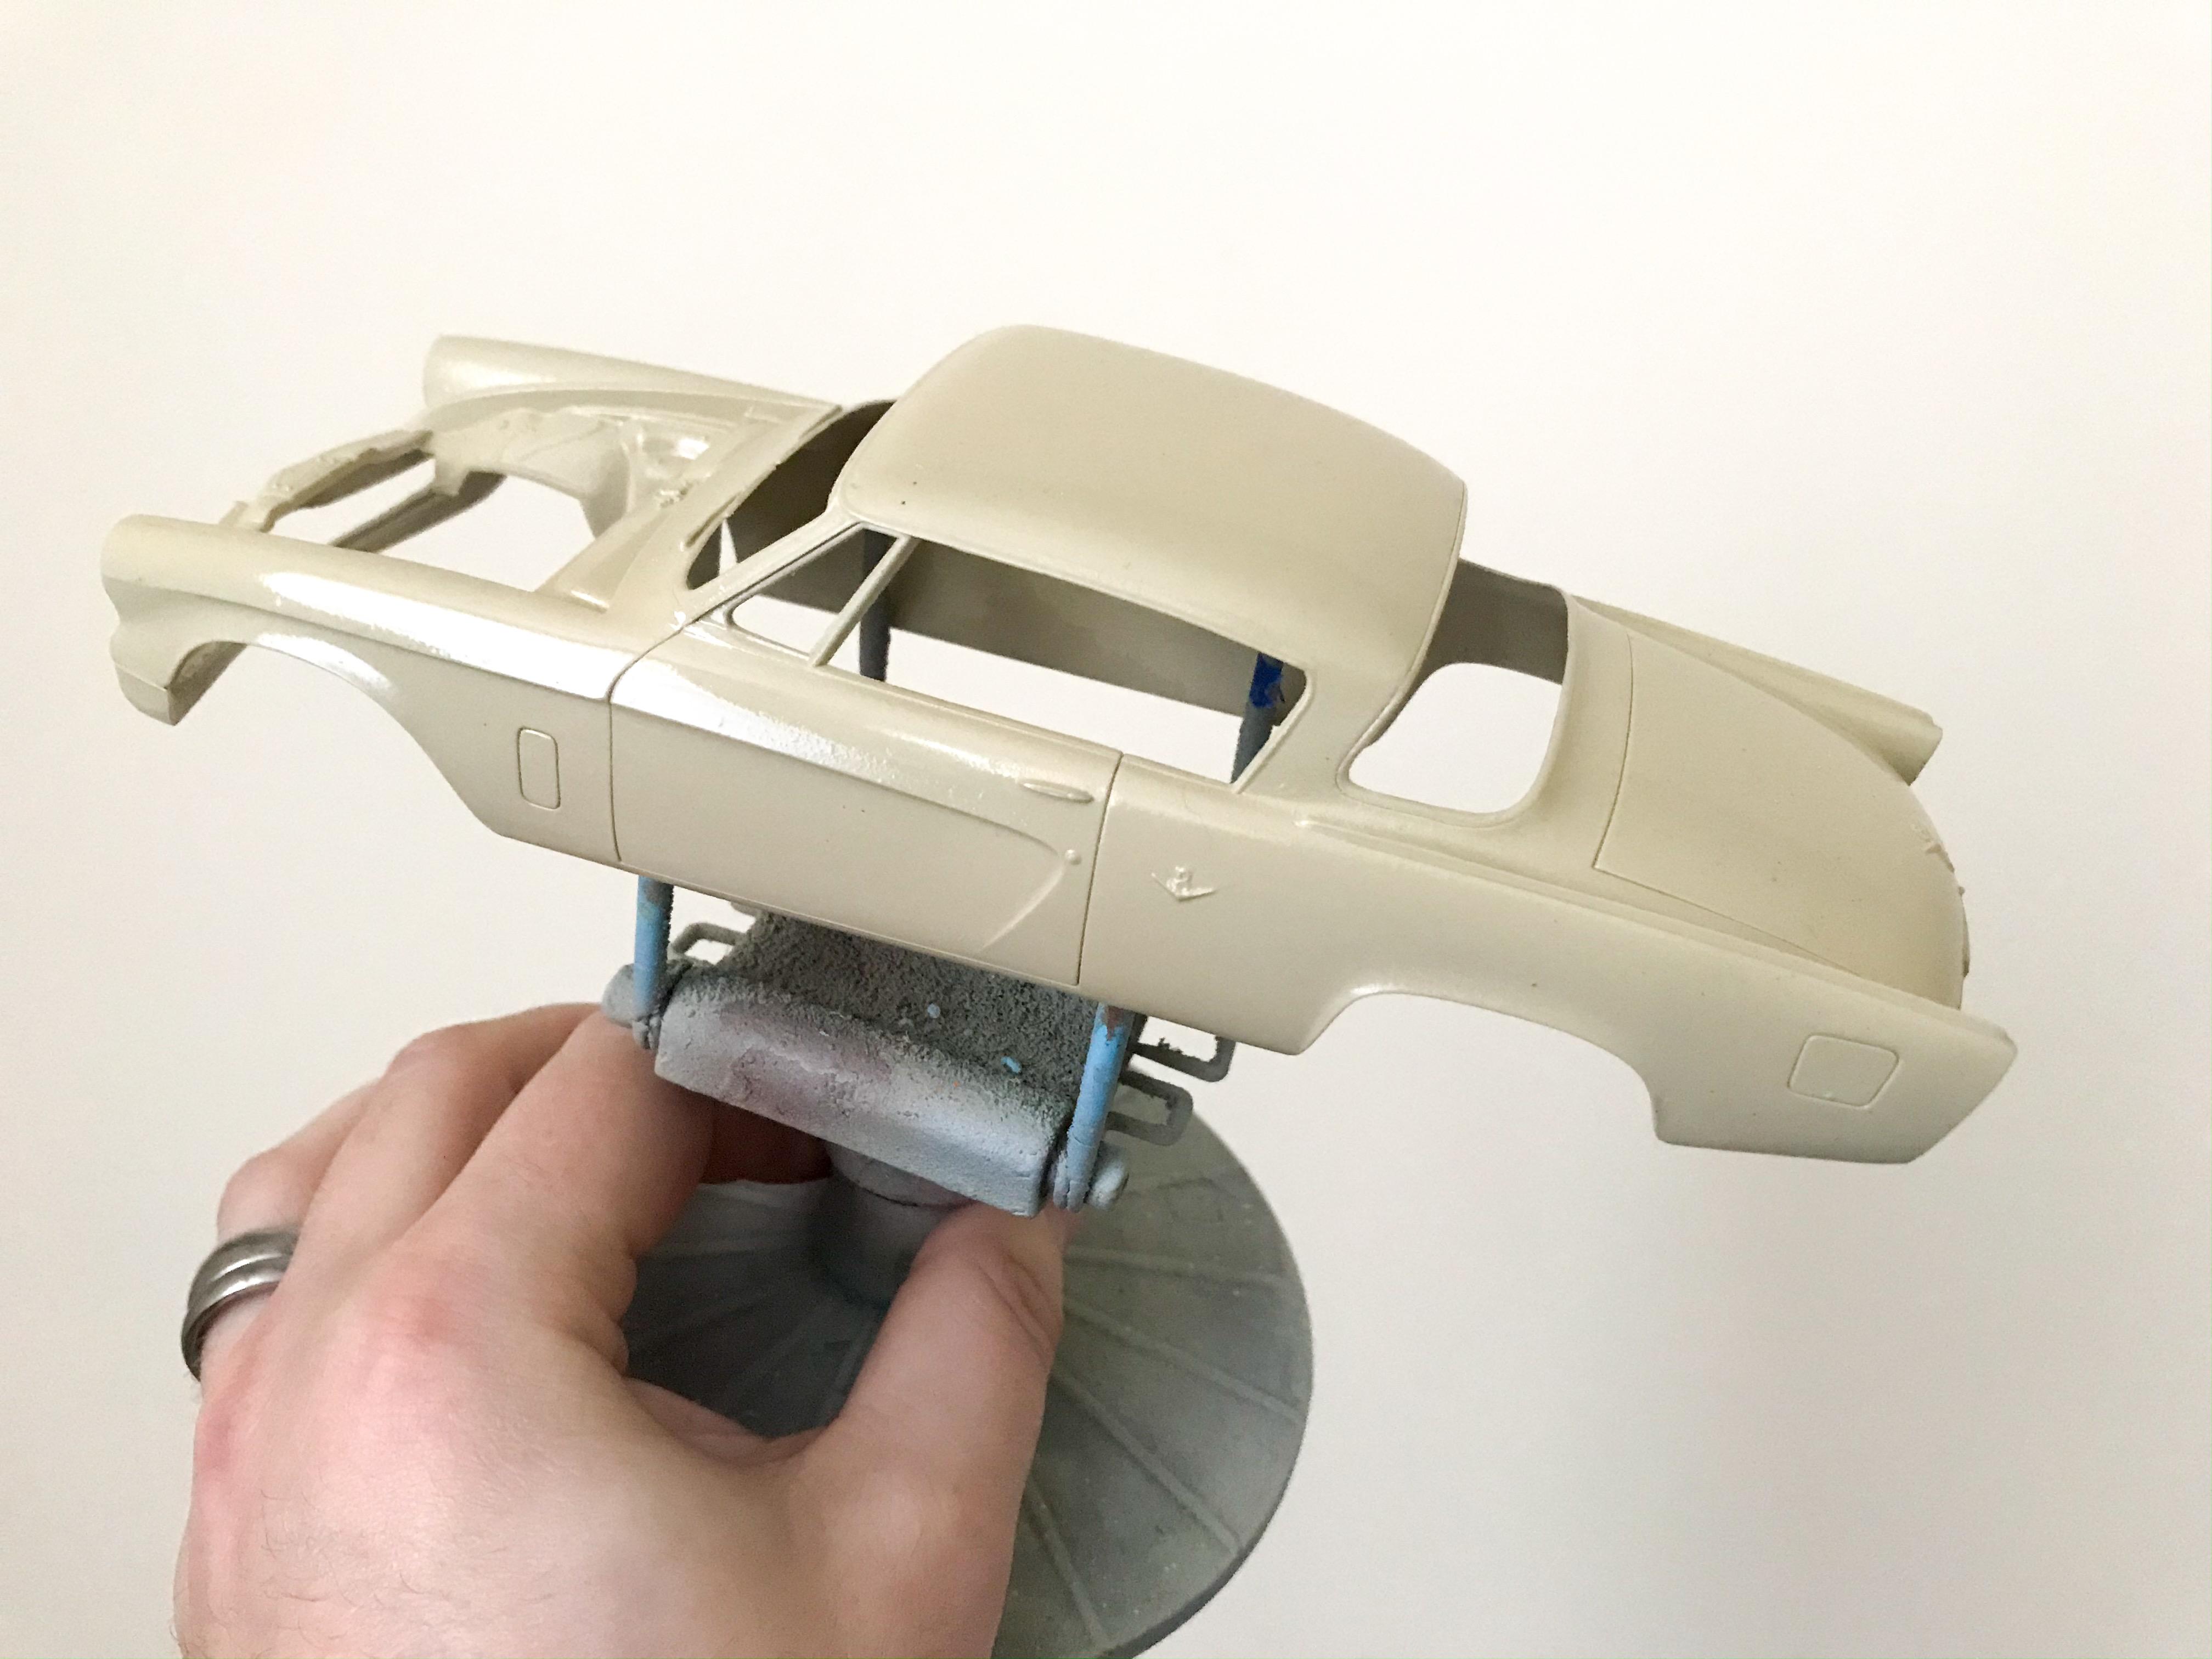
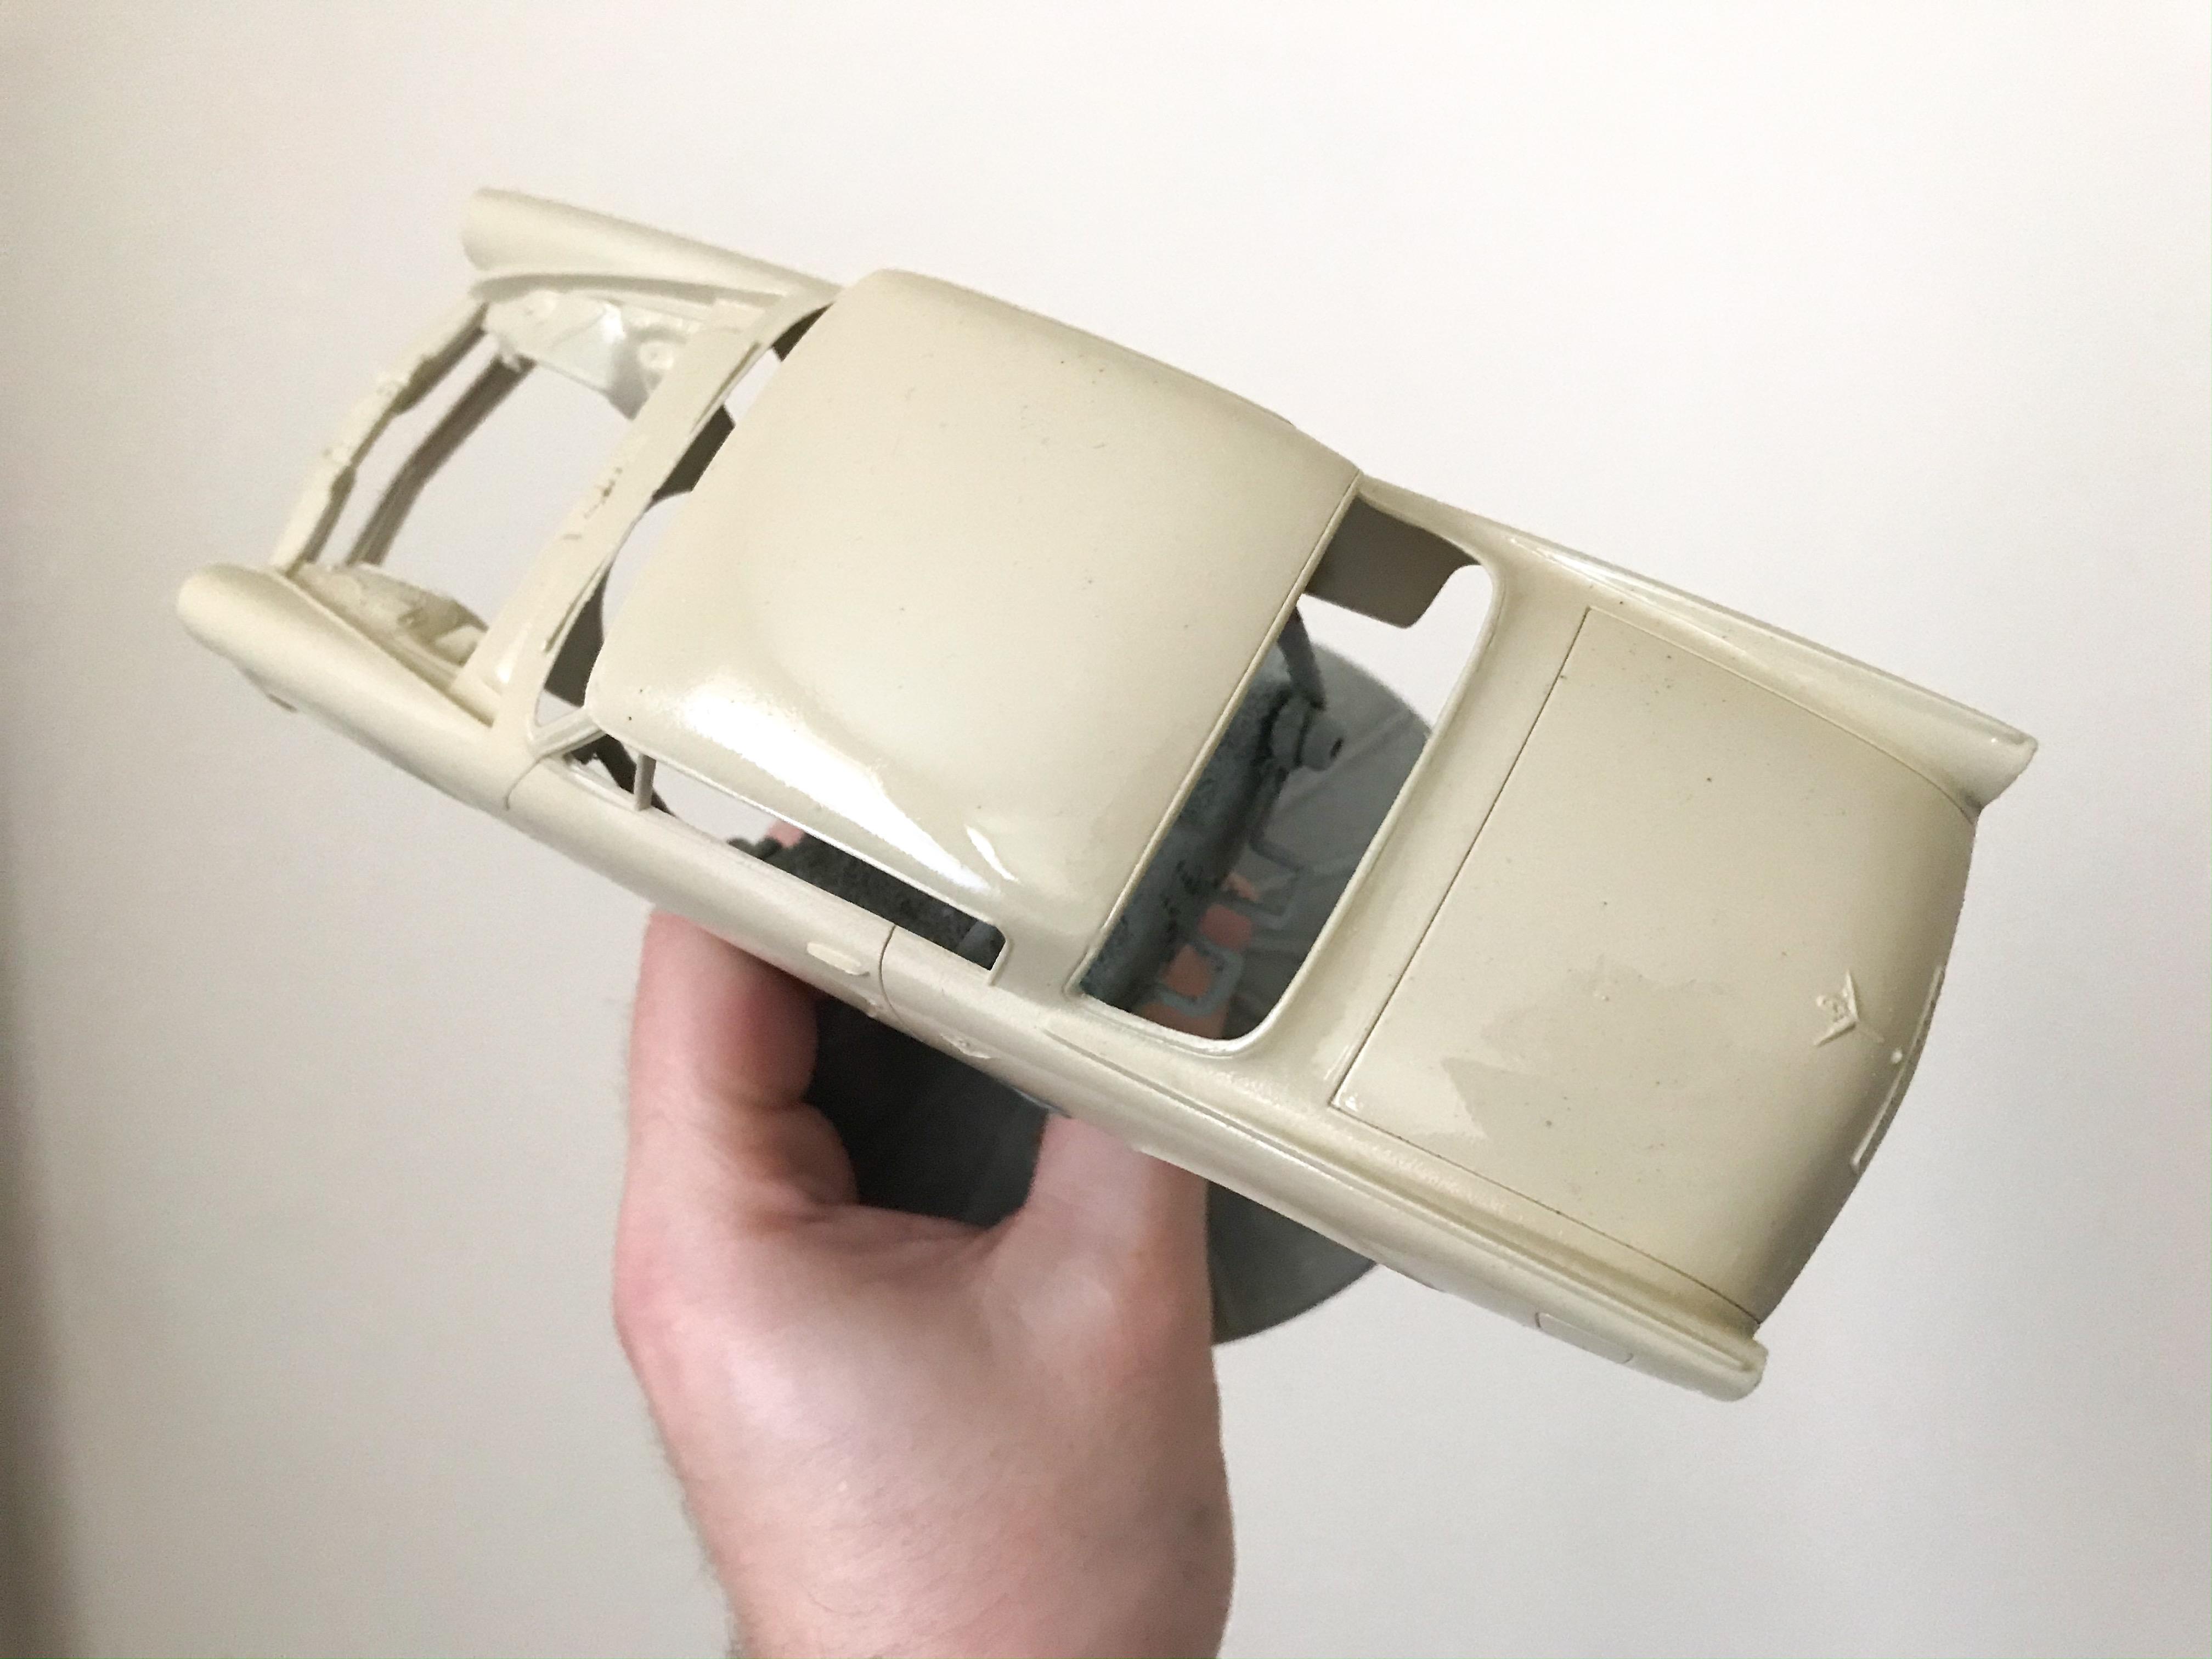
You’re not wrong ?. Im thinking this thing would look really cool over a set of whitewalls, something like this: I want certain elements to look nice and new and clean and well done, and some to look ratty - like someone put a sketchy body over a decent frame and added some nice touches to make something that isn’t just a straight rat rod. I’m not intending to do a bunch of detail to the frame or underside of this, but I did z the front to help drop it a scale 10 inches (!) and did some mods to the rear axle to drop that a bunch too. I’m trying to keep everything so it COULD drive and steer, even if there’s only a few inches of suspension travel at best: I imagined this thing having bright red steelies on it - all shiny and brand new looking...then my wife showed me a cool nail color that she liked so I ‘borrowed’ some of that to paint some resin wheels: Love the color! Wish there was enough in the bottle to paint a whole body, but there was enough to shoot these and the dash anyway... More soon, soon as I’ve done more!
-
I didn’t forget about this one...but we had a straight two weeks here of above-helpful humidity that stopped me getting the clear laid down on the repainted body. Only 45% moisture in the air today though, so I managed to shoot some enamel on this thing - let it sit a couple of hours and I’m pretty pleased with how the clear is setting up! The body is all that’s holding this one up now, so I’ll give it a few days to set up nice and hard and give it a polish and redo all that foiling that I didn’t enjoy the first time and don’t want to do again ? More soon, soon as I’ve done more!