Gt fan
-
Posts
748 -
Joined
-
Last visited
Content Type
Profiles
Forums
Events
Gallery
Everything posted by Gt fan
-
love the way that you did the interior, it hits the tonal look spot on. Great job on this build.
-
Thank you...I made one out of some scraps. Just waiting till the head goes on.
-
Thank you.. a labor of love.. hope to finish it soon
-
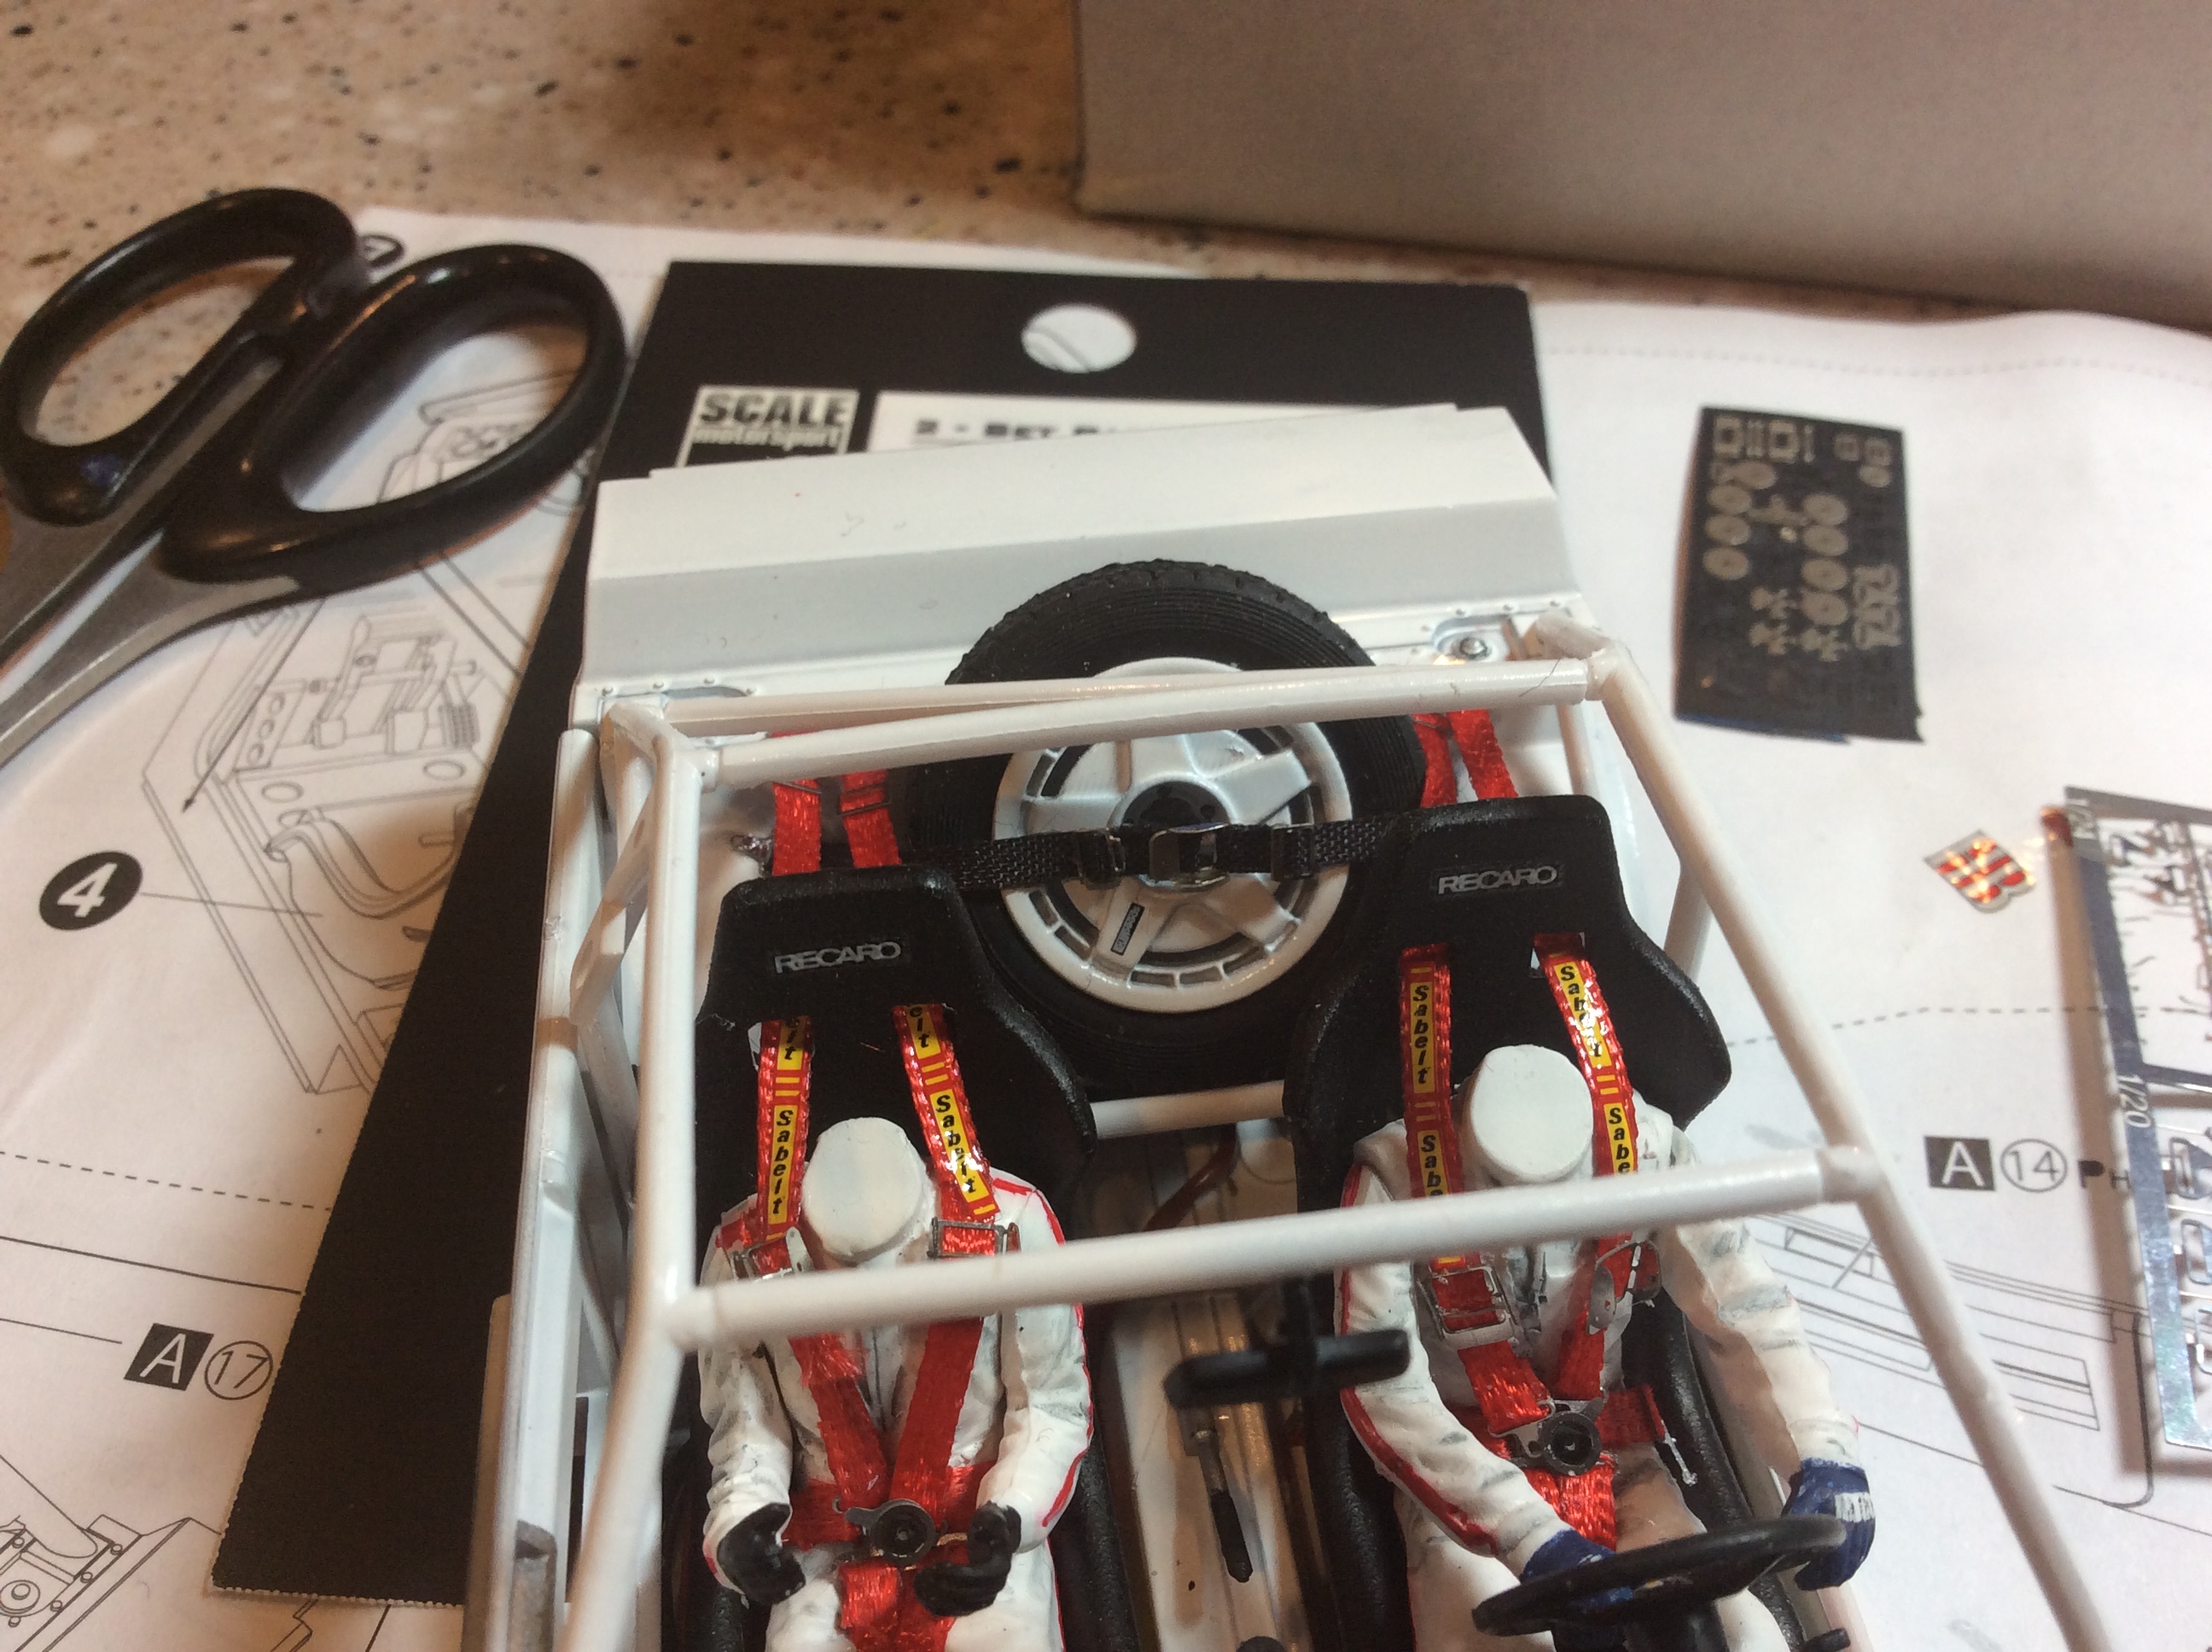
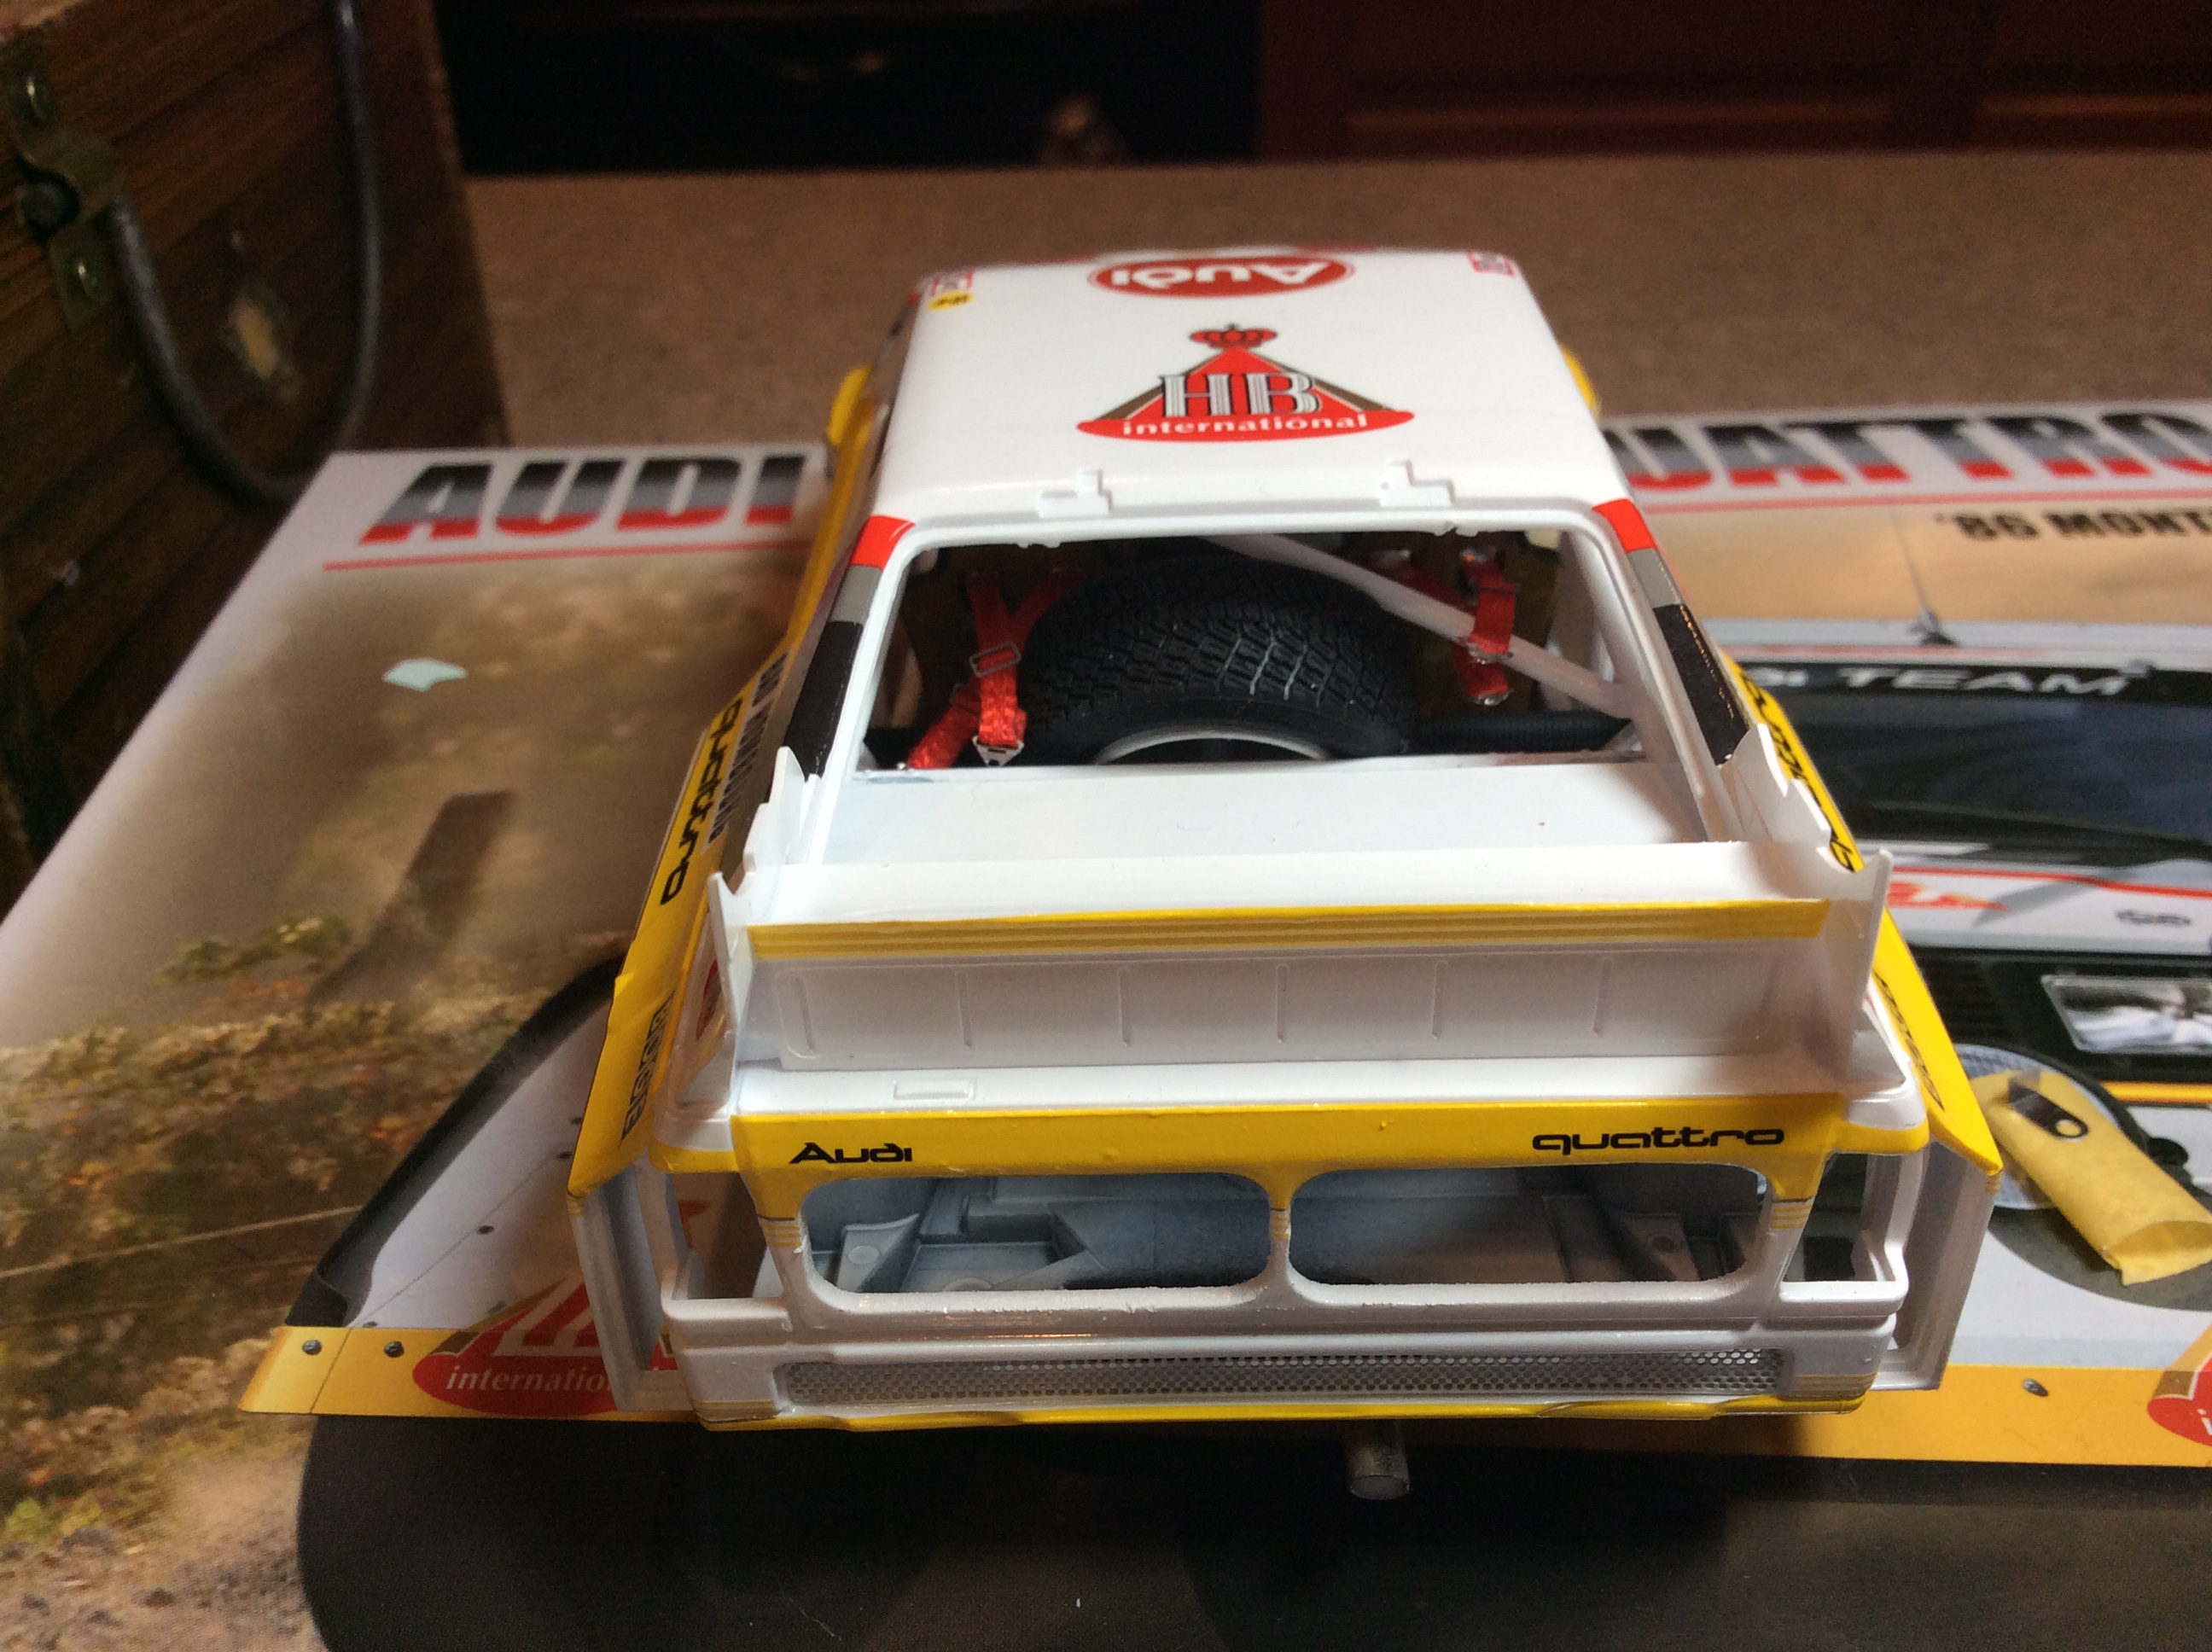
Got to do a little work on the interior, made the hold down for the tire out of some parts box leftovers. Not a 100% but looks convincing though the window.

-
There is no clear on the weathering. I used the Tamiya stuff. It’s in the little cases like makeup. It will rub off if you want it too. The decals were not that bad. I love decaling stuff. The hard part is there is a thin navy line that goes tip to tall. Is on the door tops and a long the bottom.
-
Thank you .. hope to have it done soon.
-
The decal instructions are vague in some of the placements. I’ve been using a photo of the race and car . The decals are good though. Lay down very well.
-
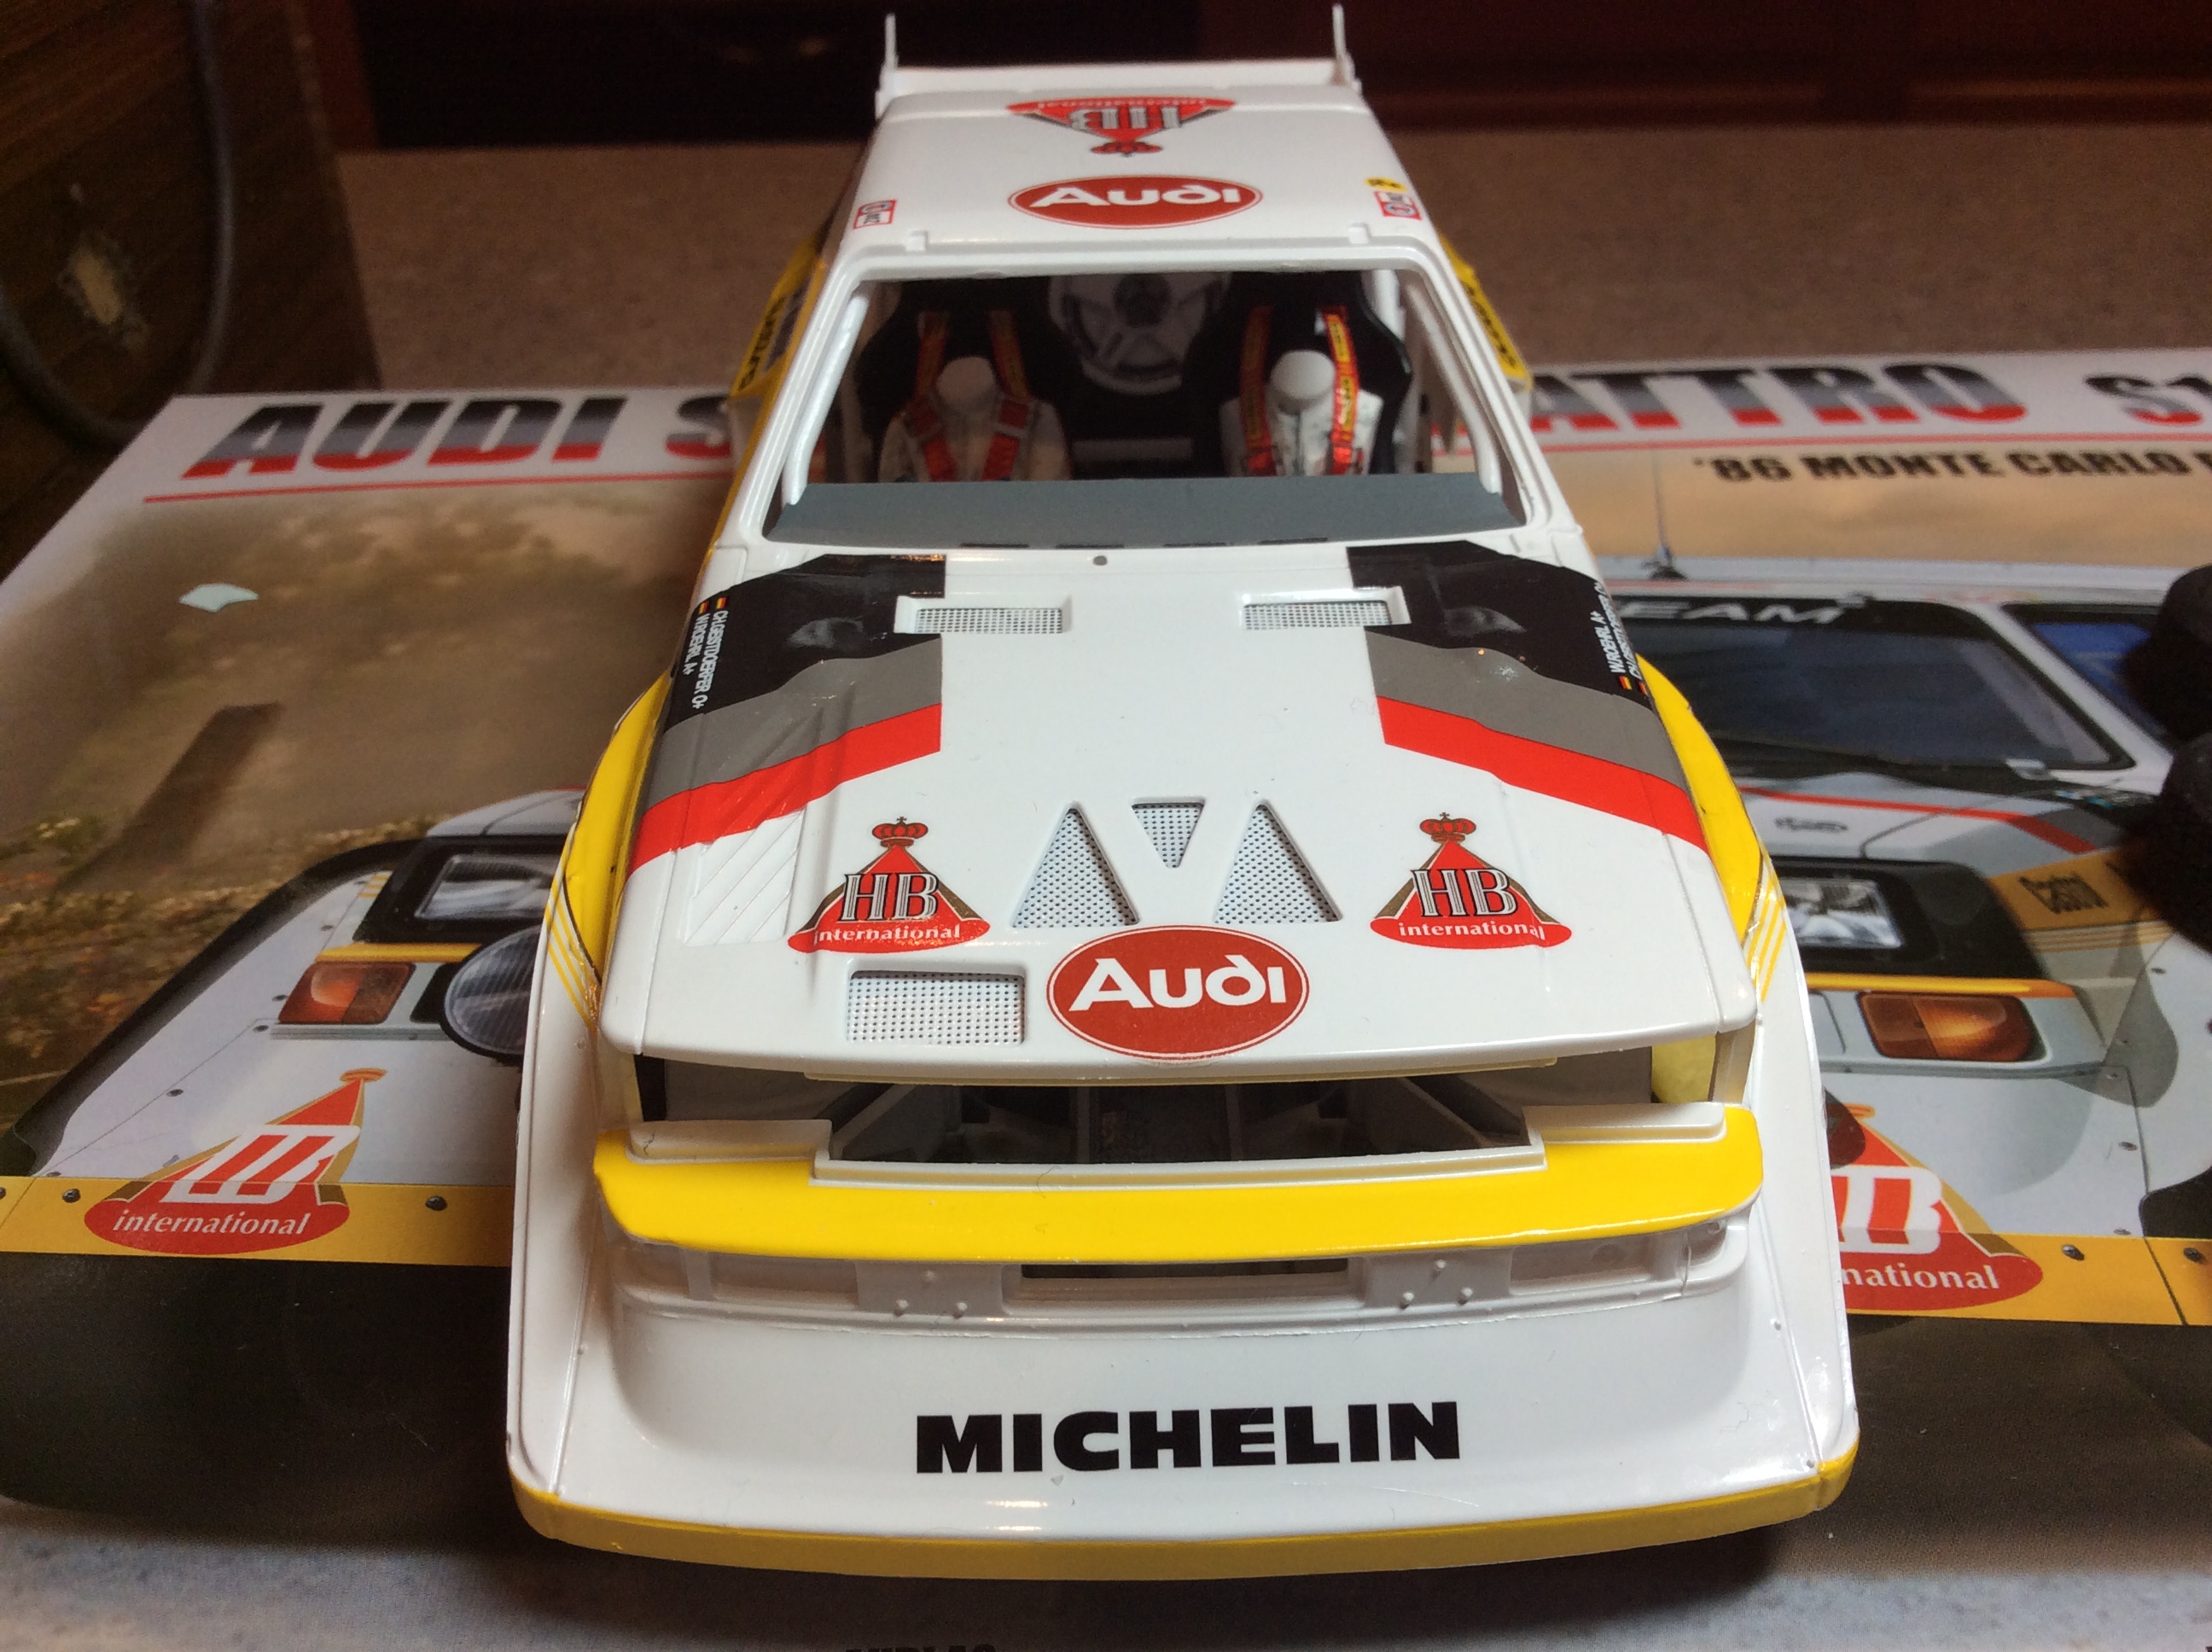
The HB logos are hidden in the detail set. I like the snow tire, love this picture, this is the look that I am going for. Notice on the front no HB logos. This picture has the drives names on the door. The ones I’ve been using have them on the fenders.
-
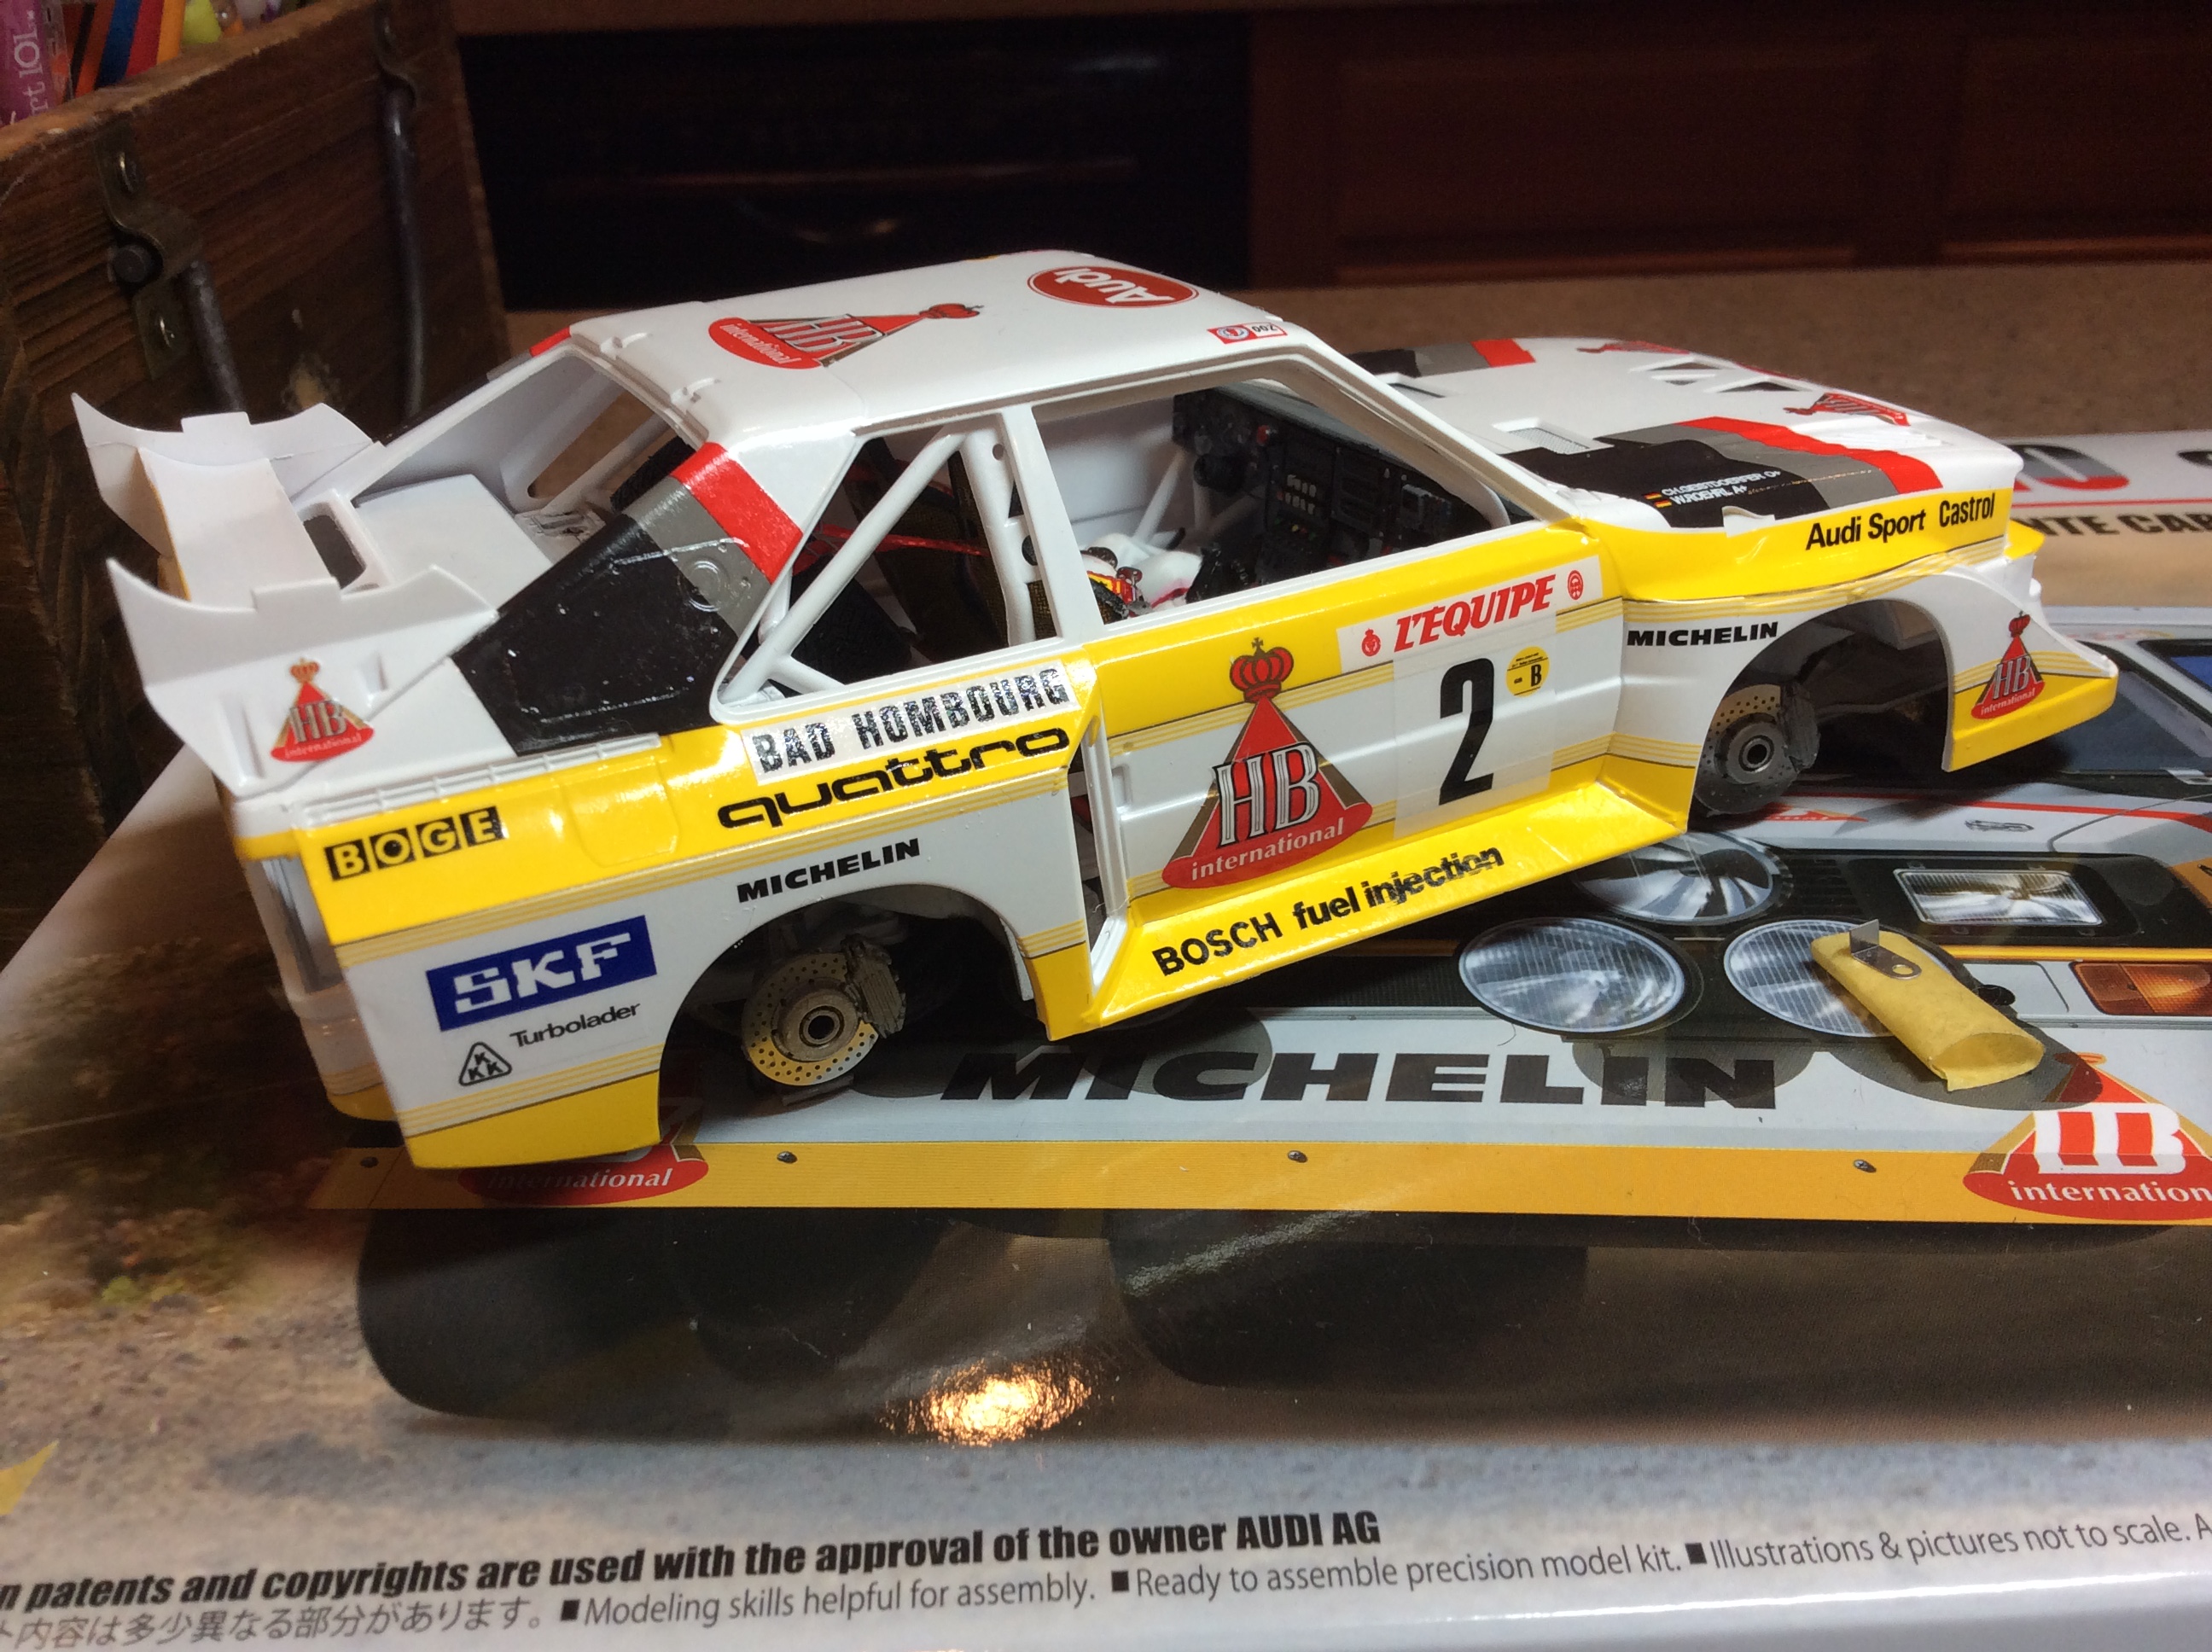
Most of the main decals are in place now. All that has to be added is the license plates and rally event plates. In the kit they give you a etched plate for the rally event plate and the license plate , on photos that I’ve seen it looks to tight to the body to be a metal plate. Any help on these would be great. Here is the progress . Now it’s off to dry for a few days.
-
Well done.. great job.
-
One side done with all the base decals. The trick is keep the thin navy line and the pinstripes all in line. One tip... if you add the rear wing on before putting the c pillar decal on,you will need to trim it a bit.
-
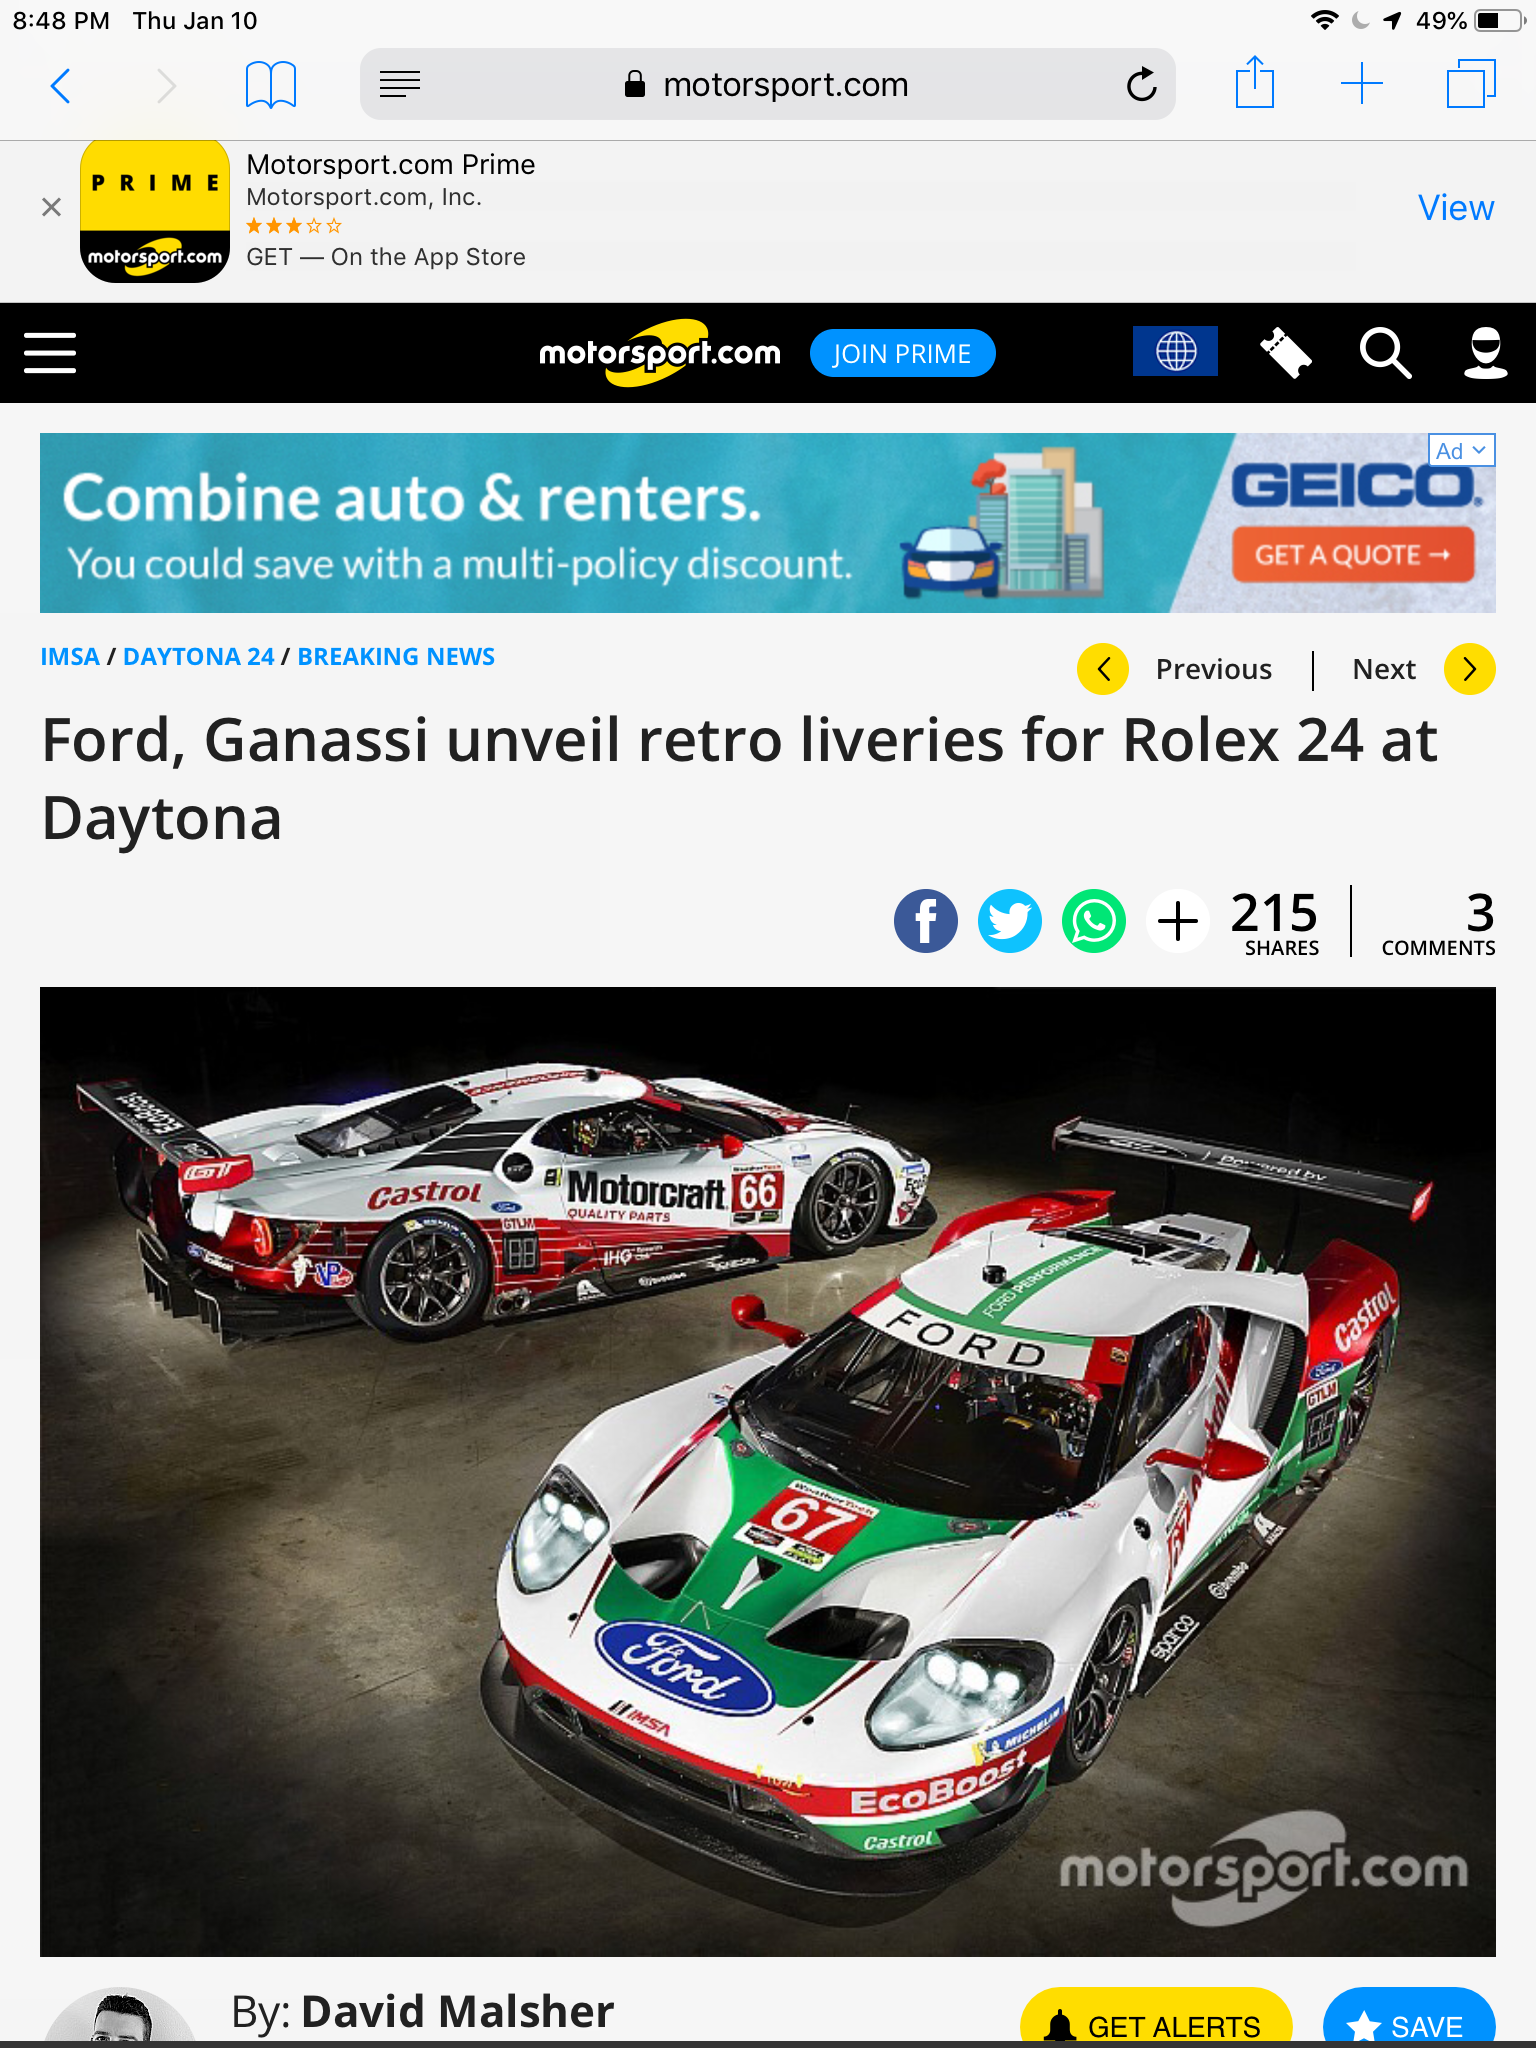
Saw this while on Motorsports.com They look great. Some please make the decals
-
Yes. I use the Microsol stuff. The decals do stick . I grab the decal with tweezers and dumb it in the decal set bottle real quick. I have even used a bit of flat clear over them,because it is a sewn on patch.
-
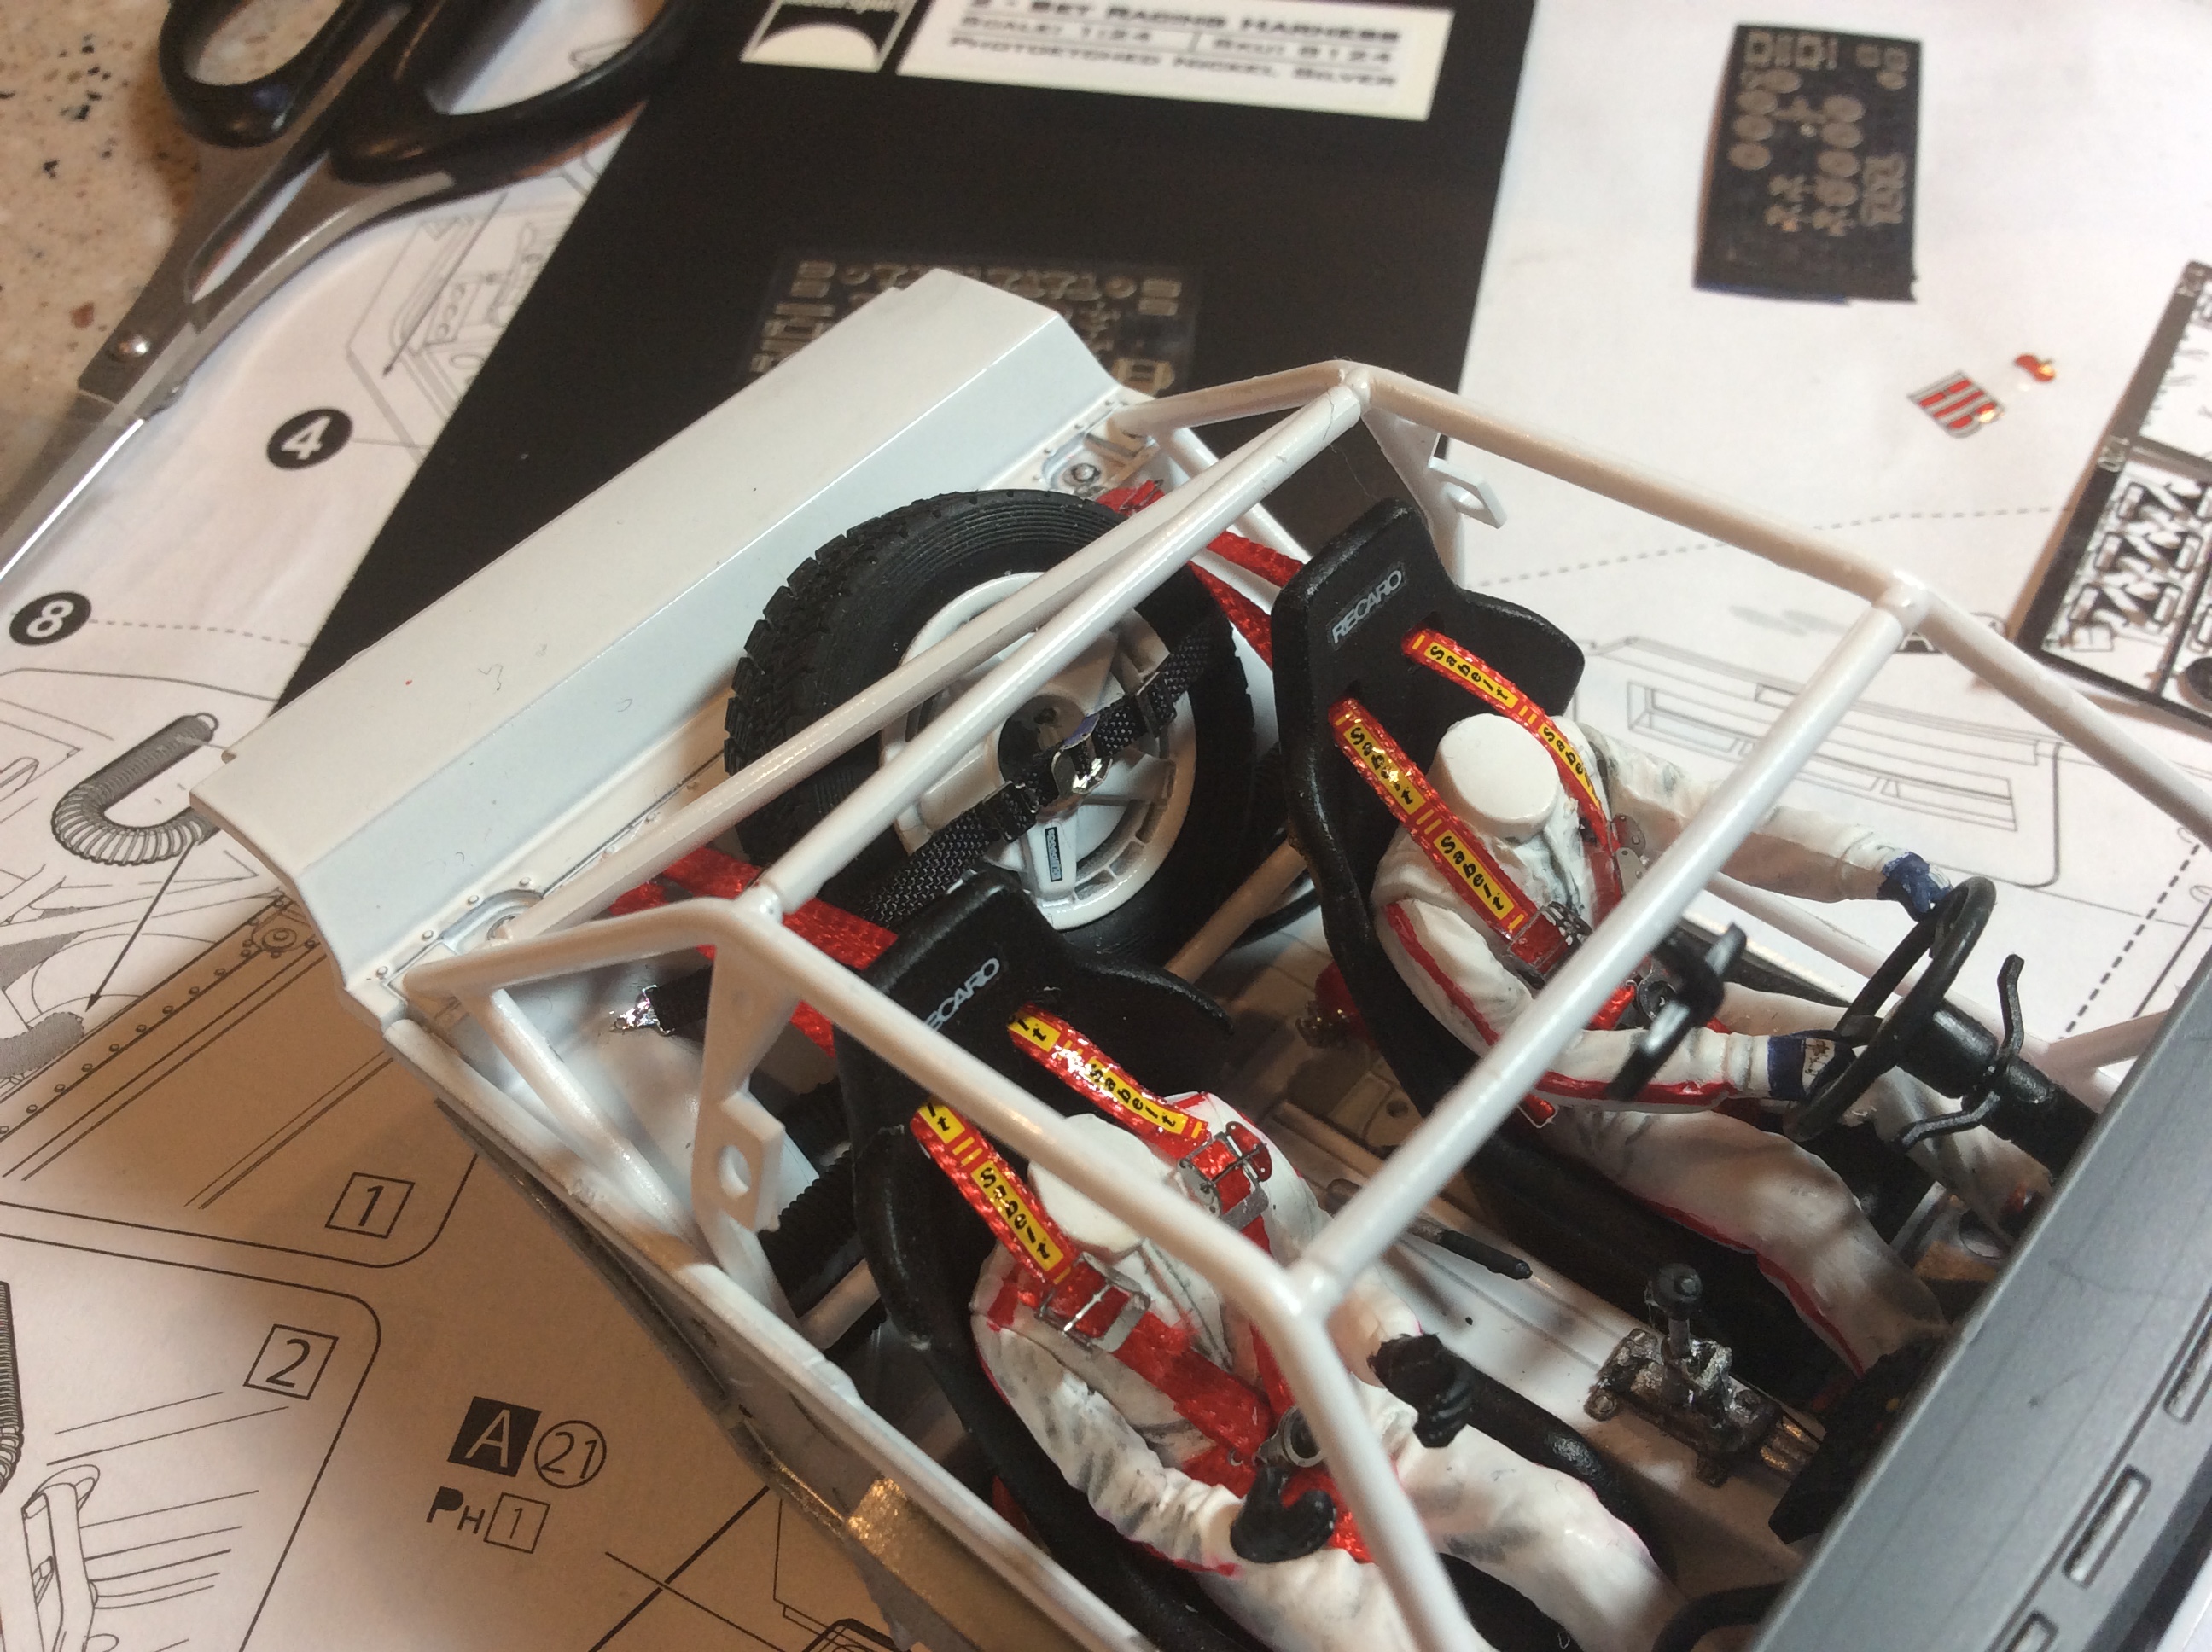
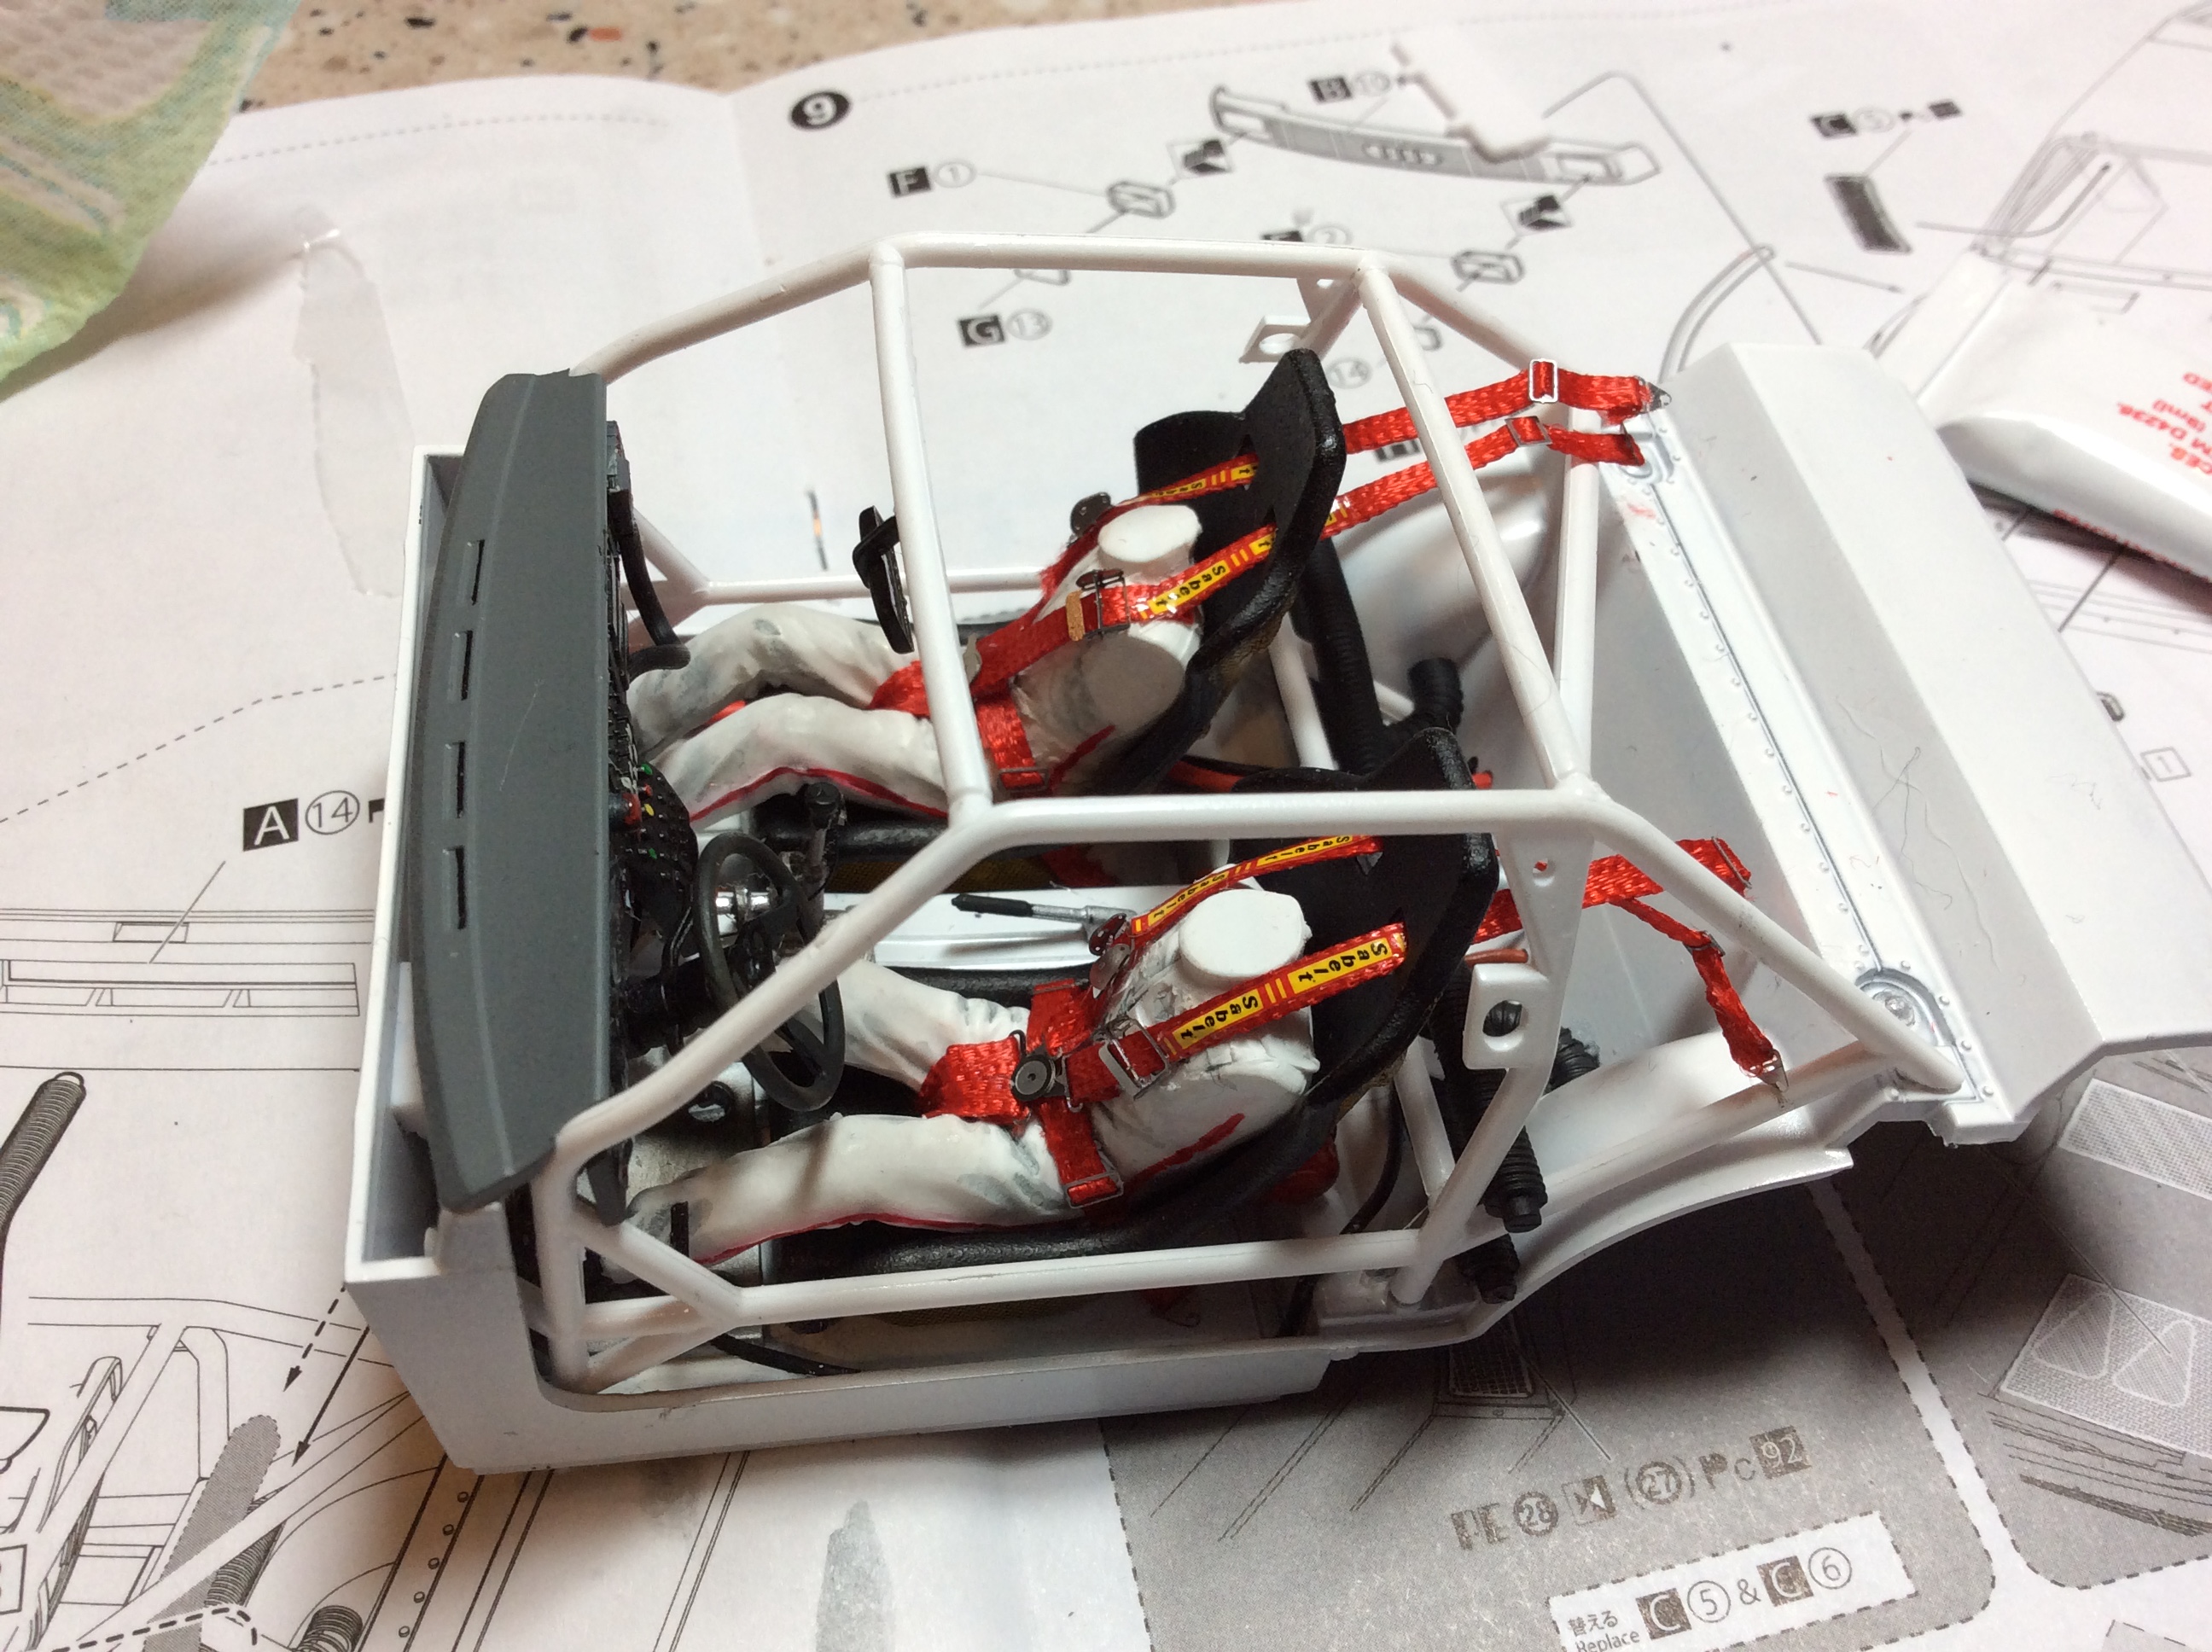
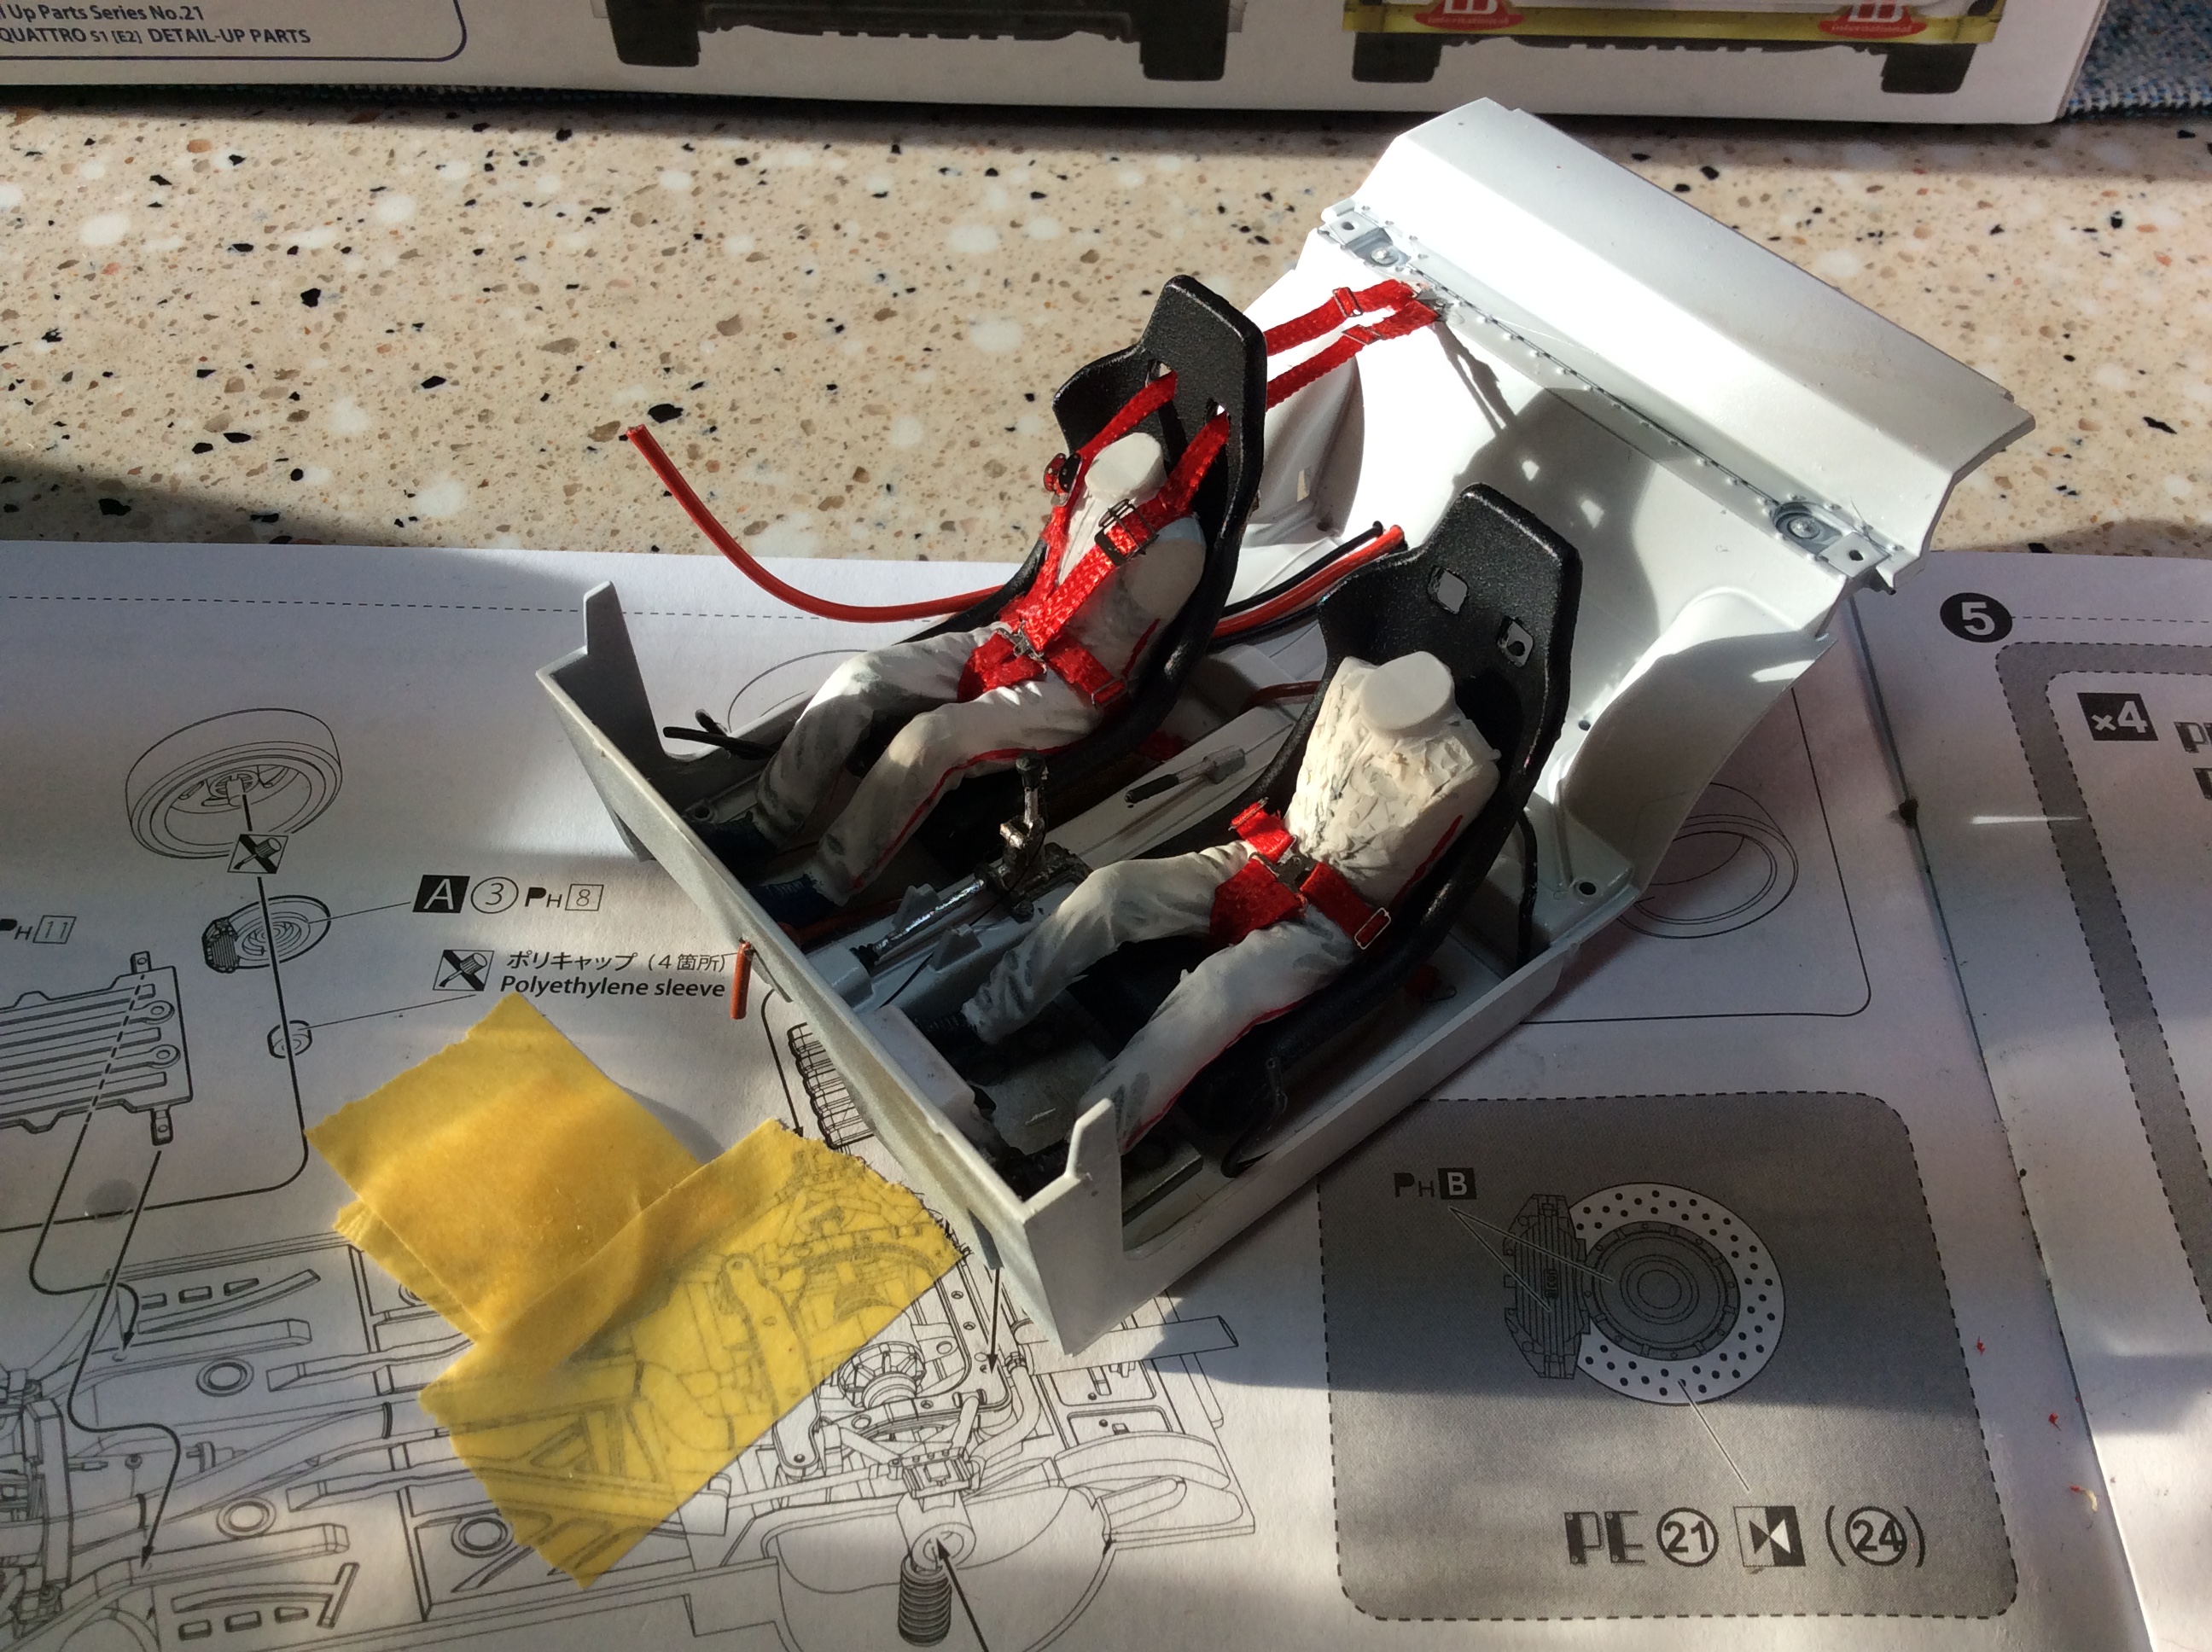
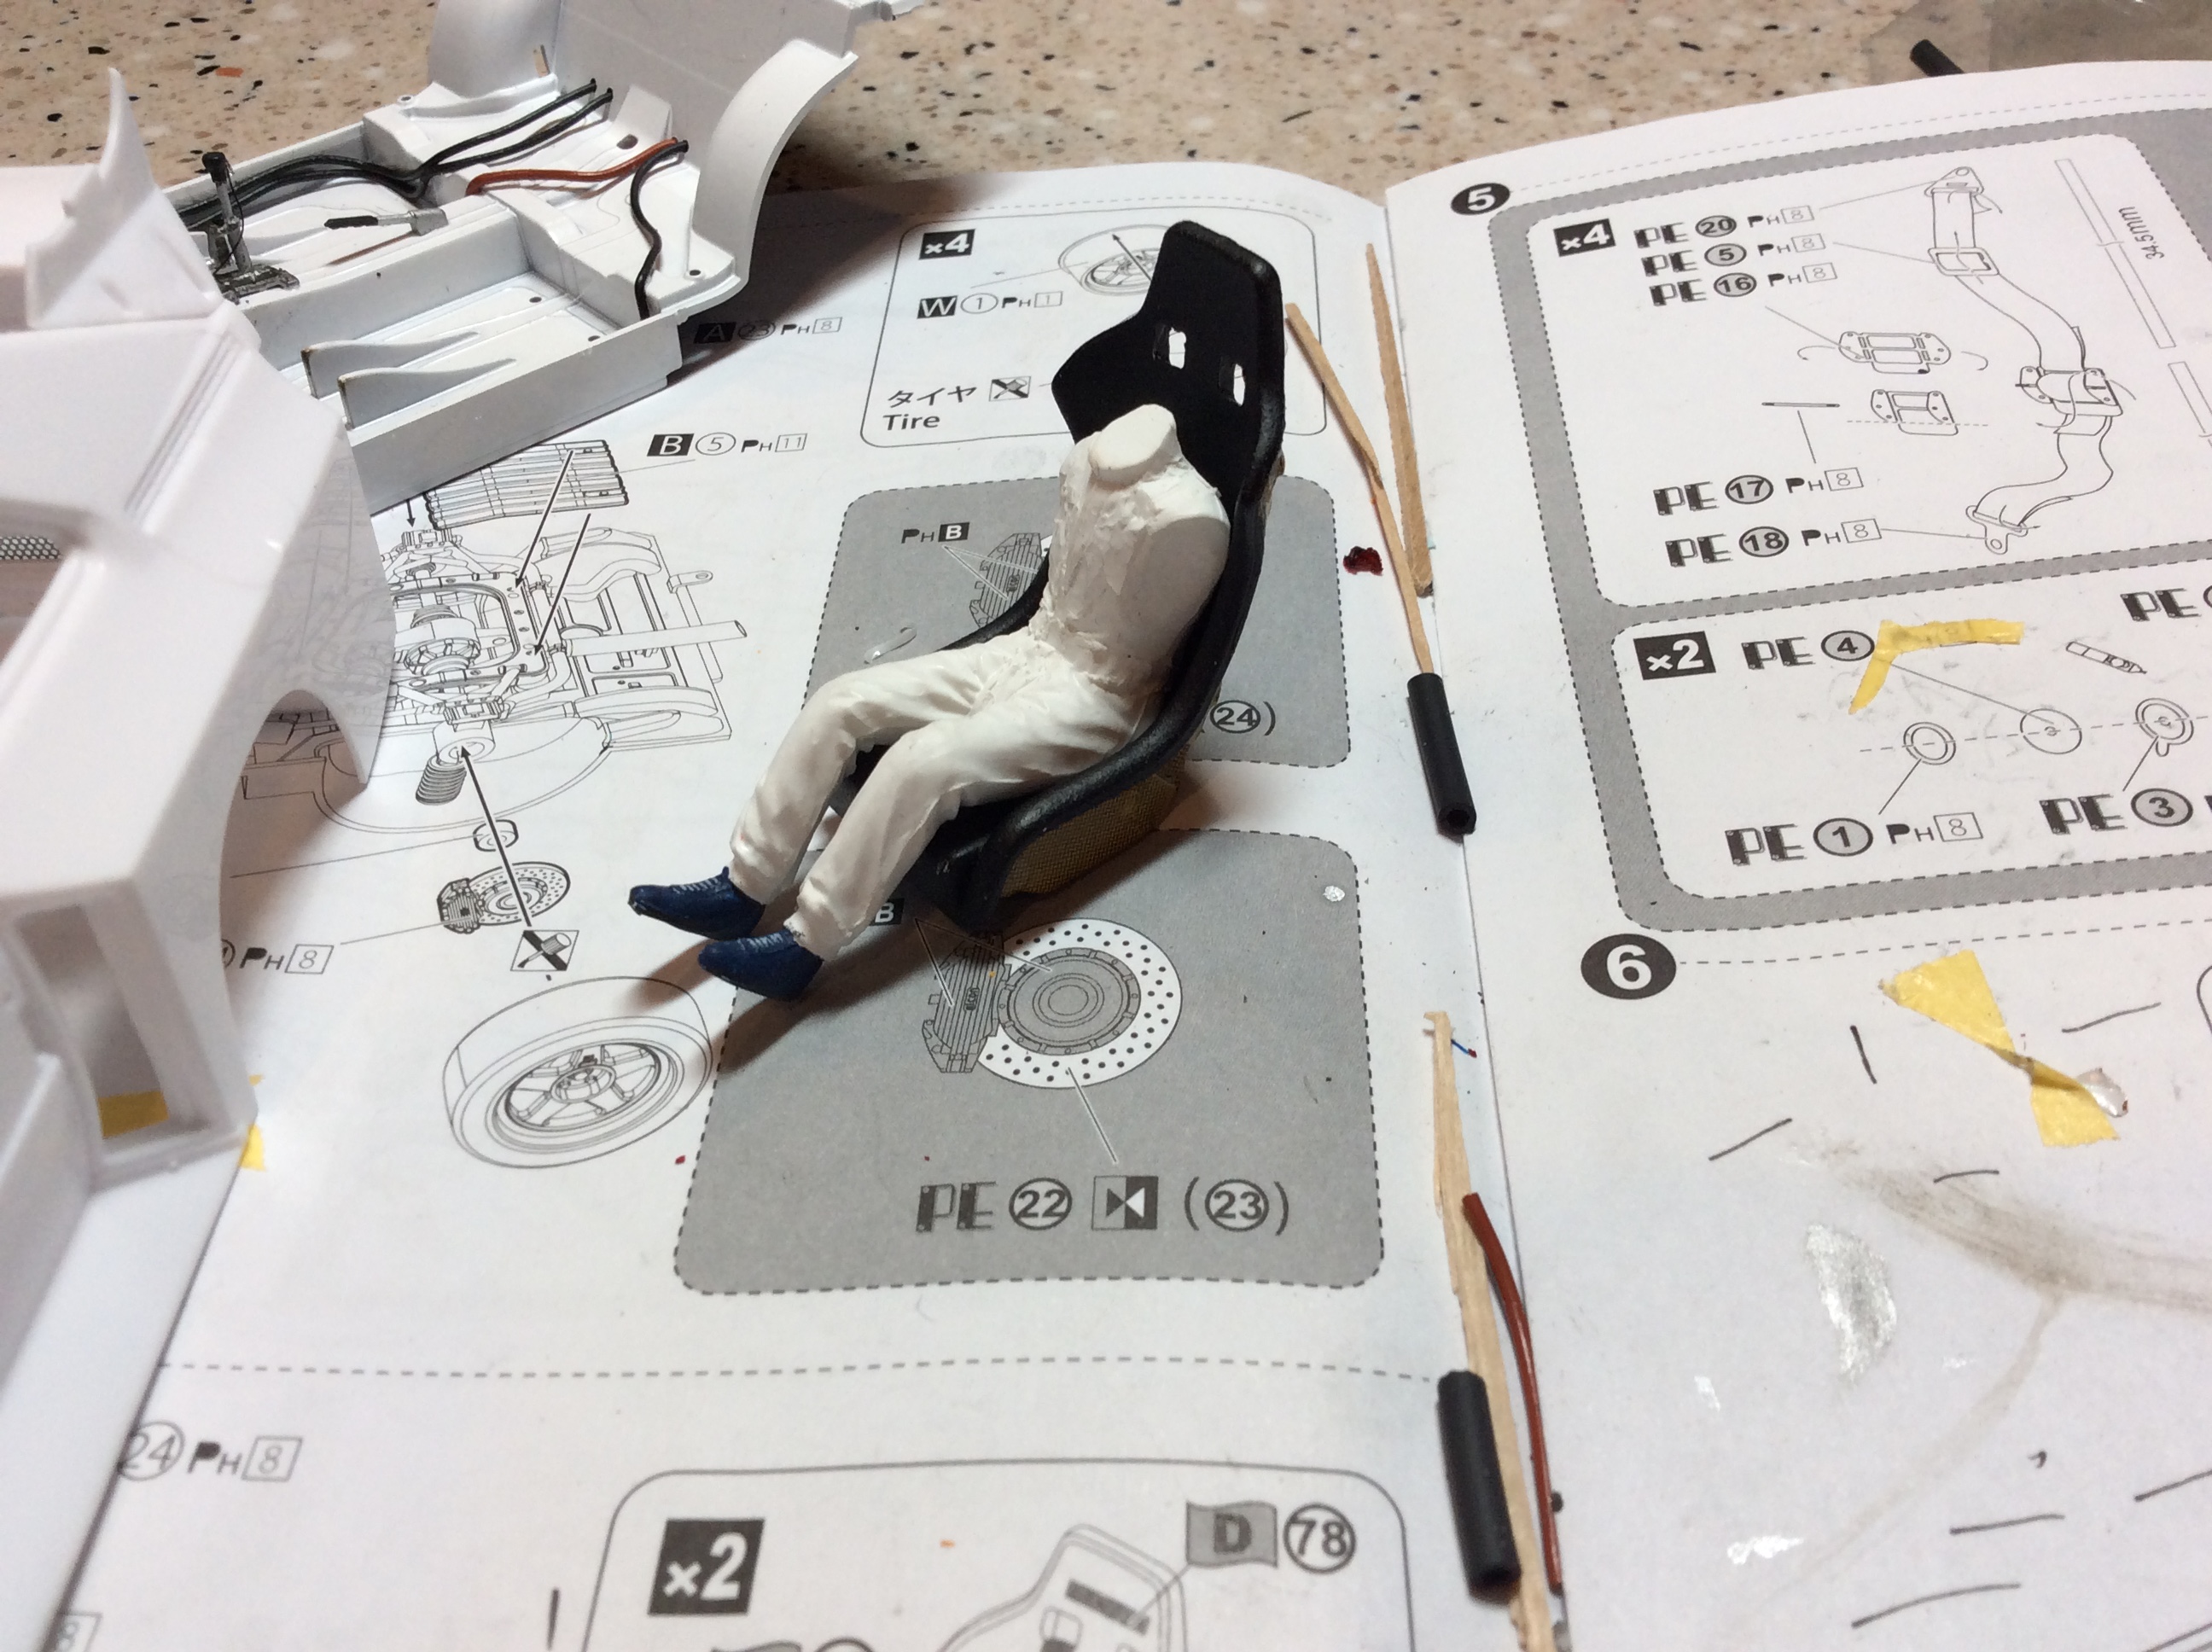
I noticed that a bit to late into the build. The interior in the Audi is very small. From were the seat mounts,the Tamiya drive was a tight squeeze. There feet are against the firewall. . Drives look good in your car.
-
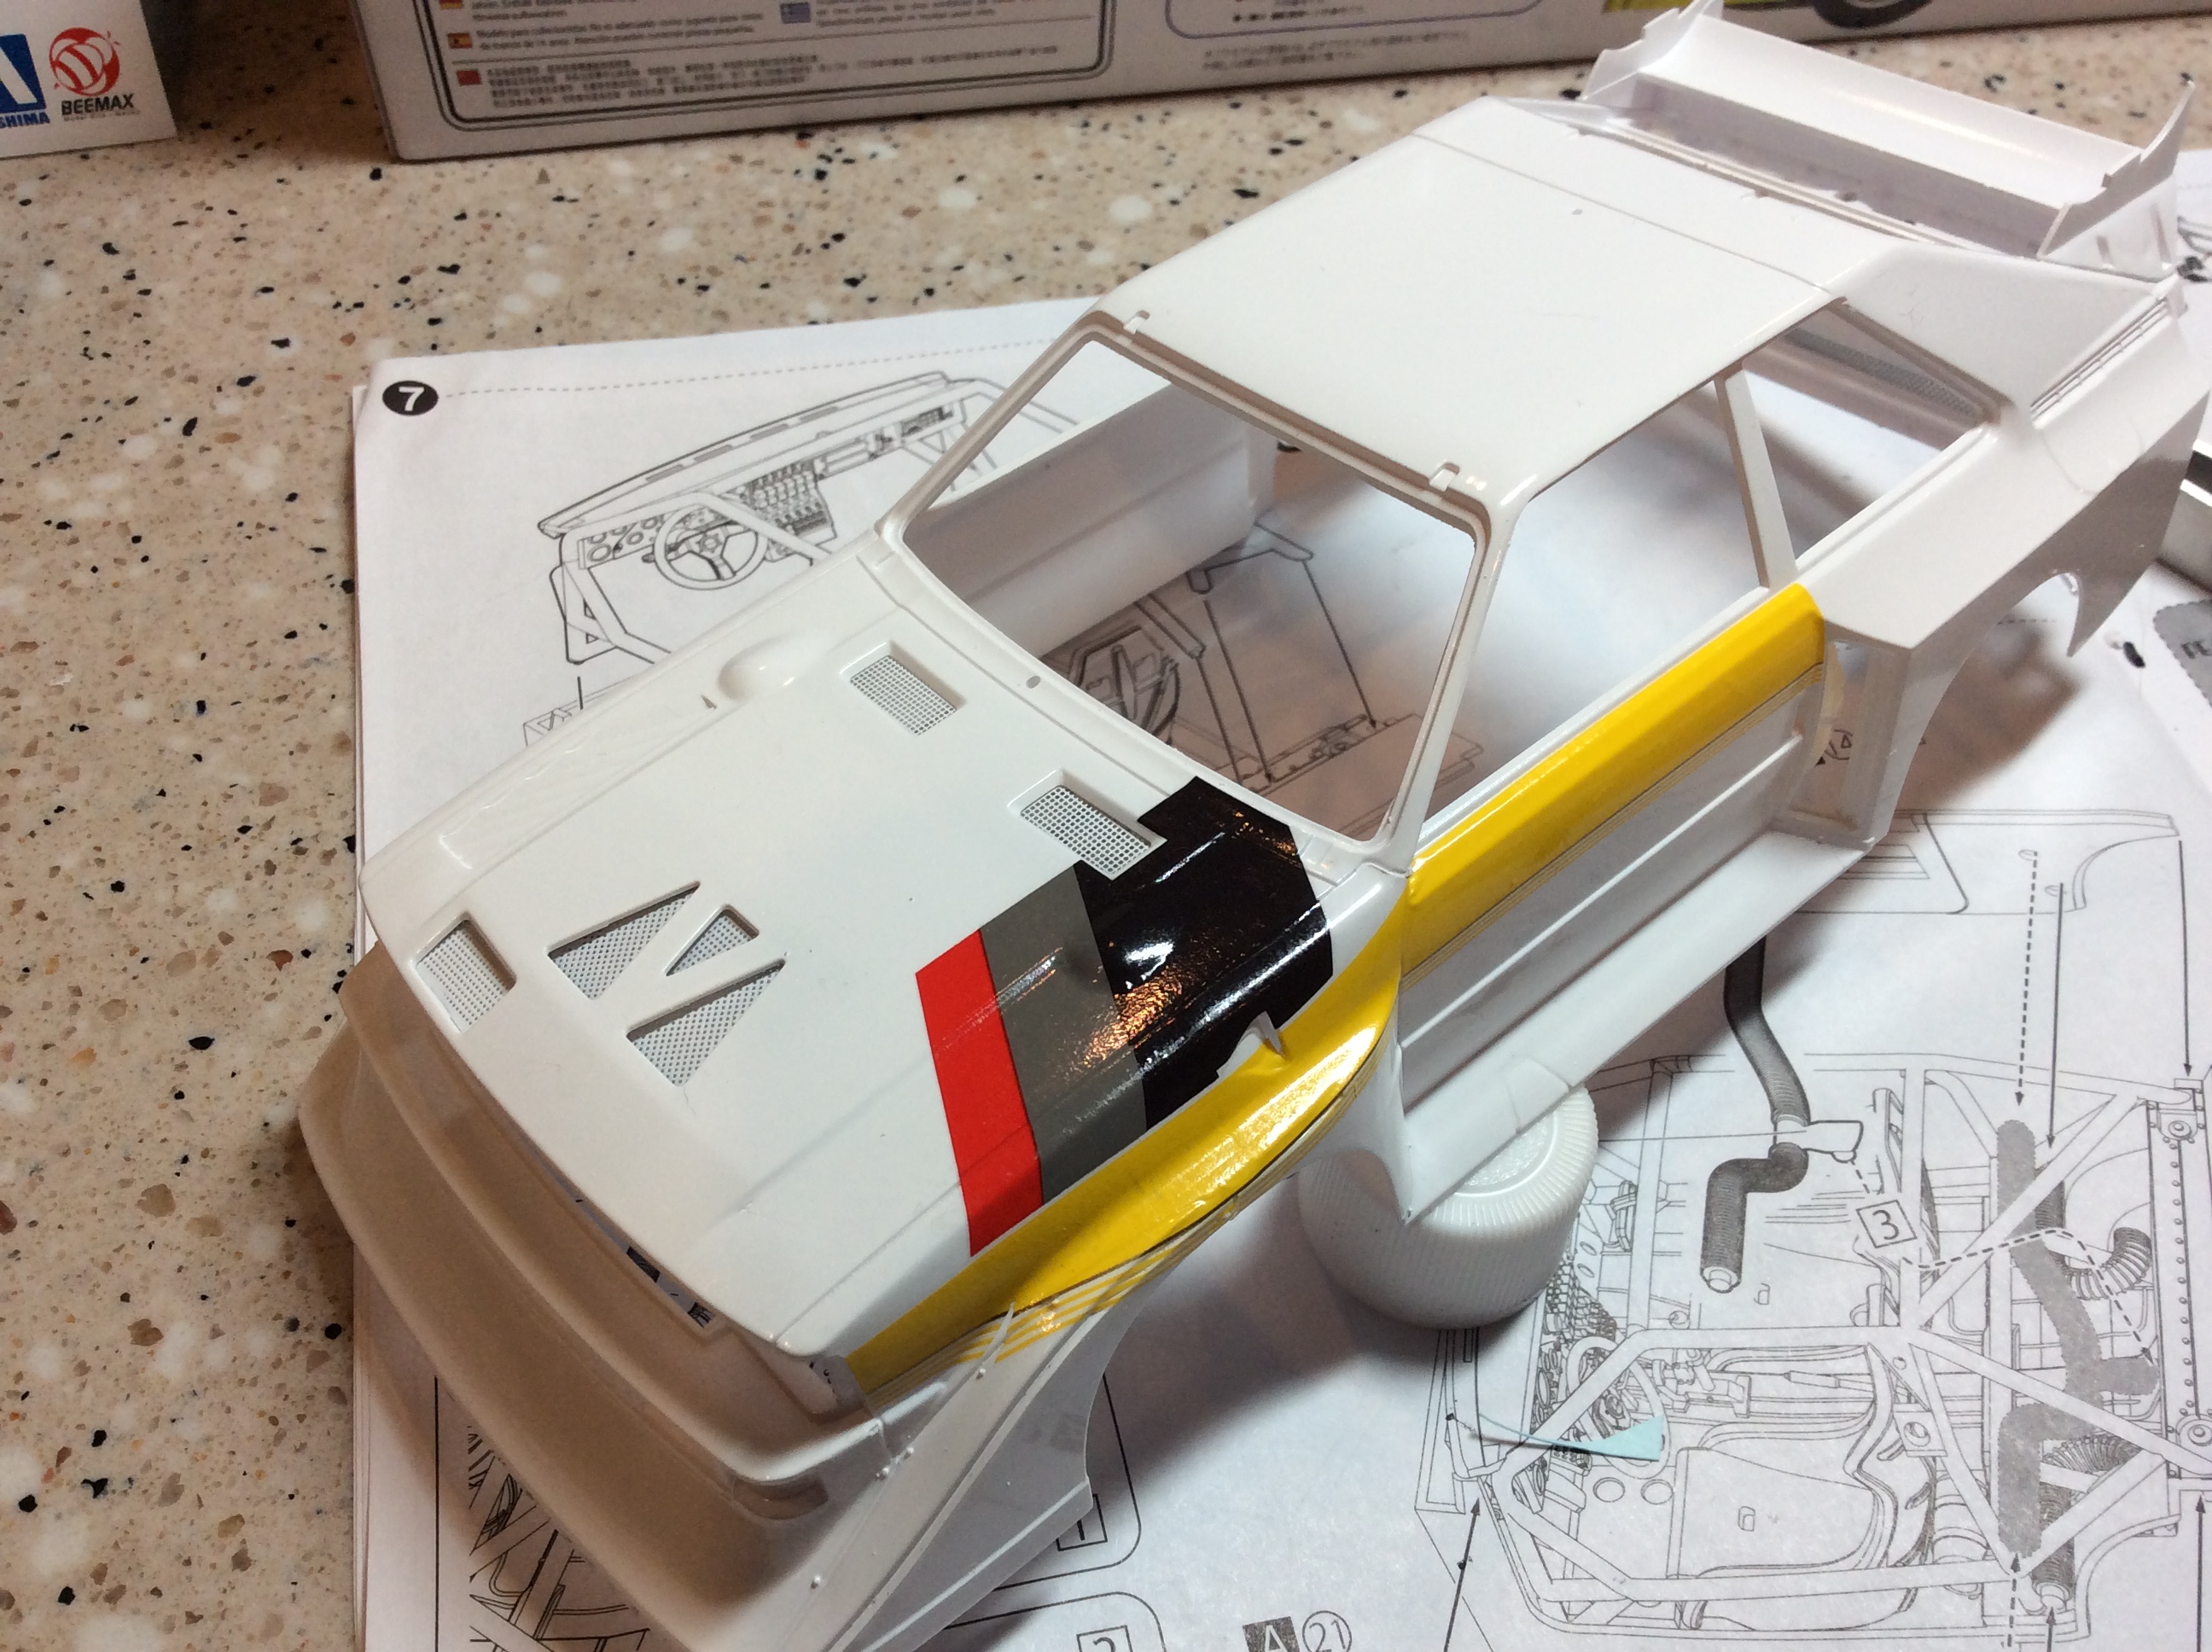
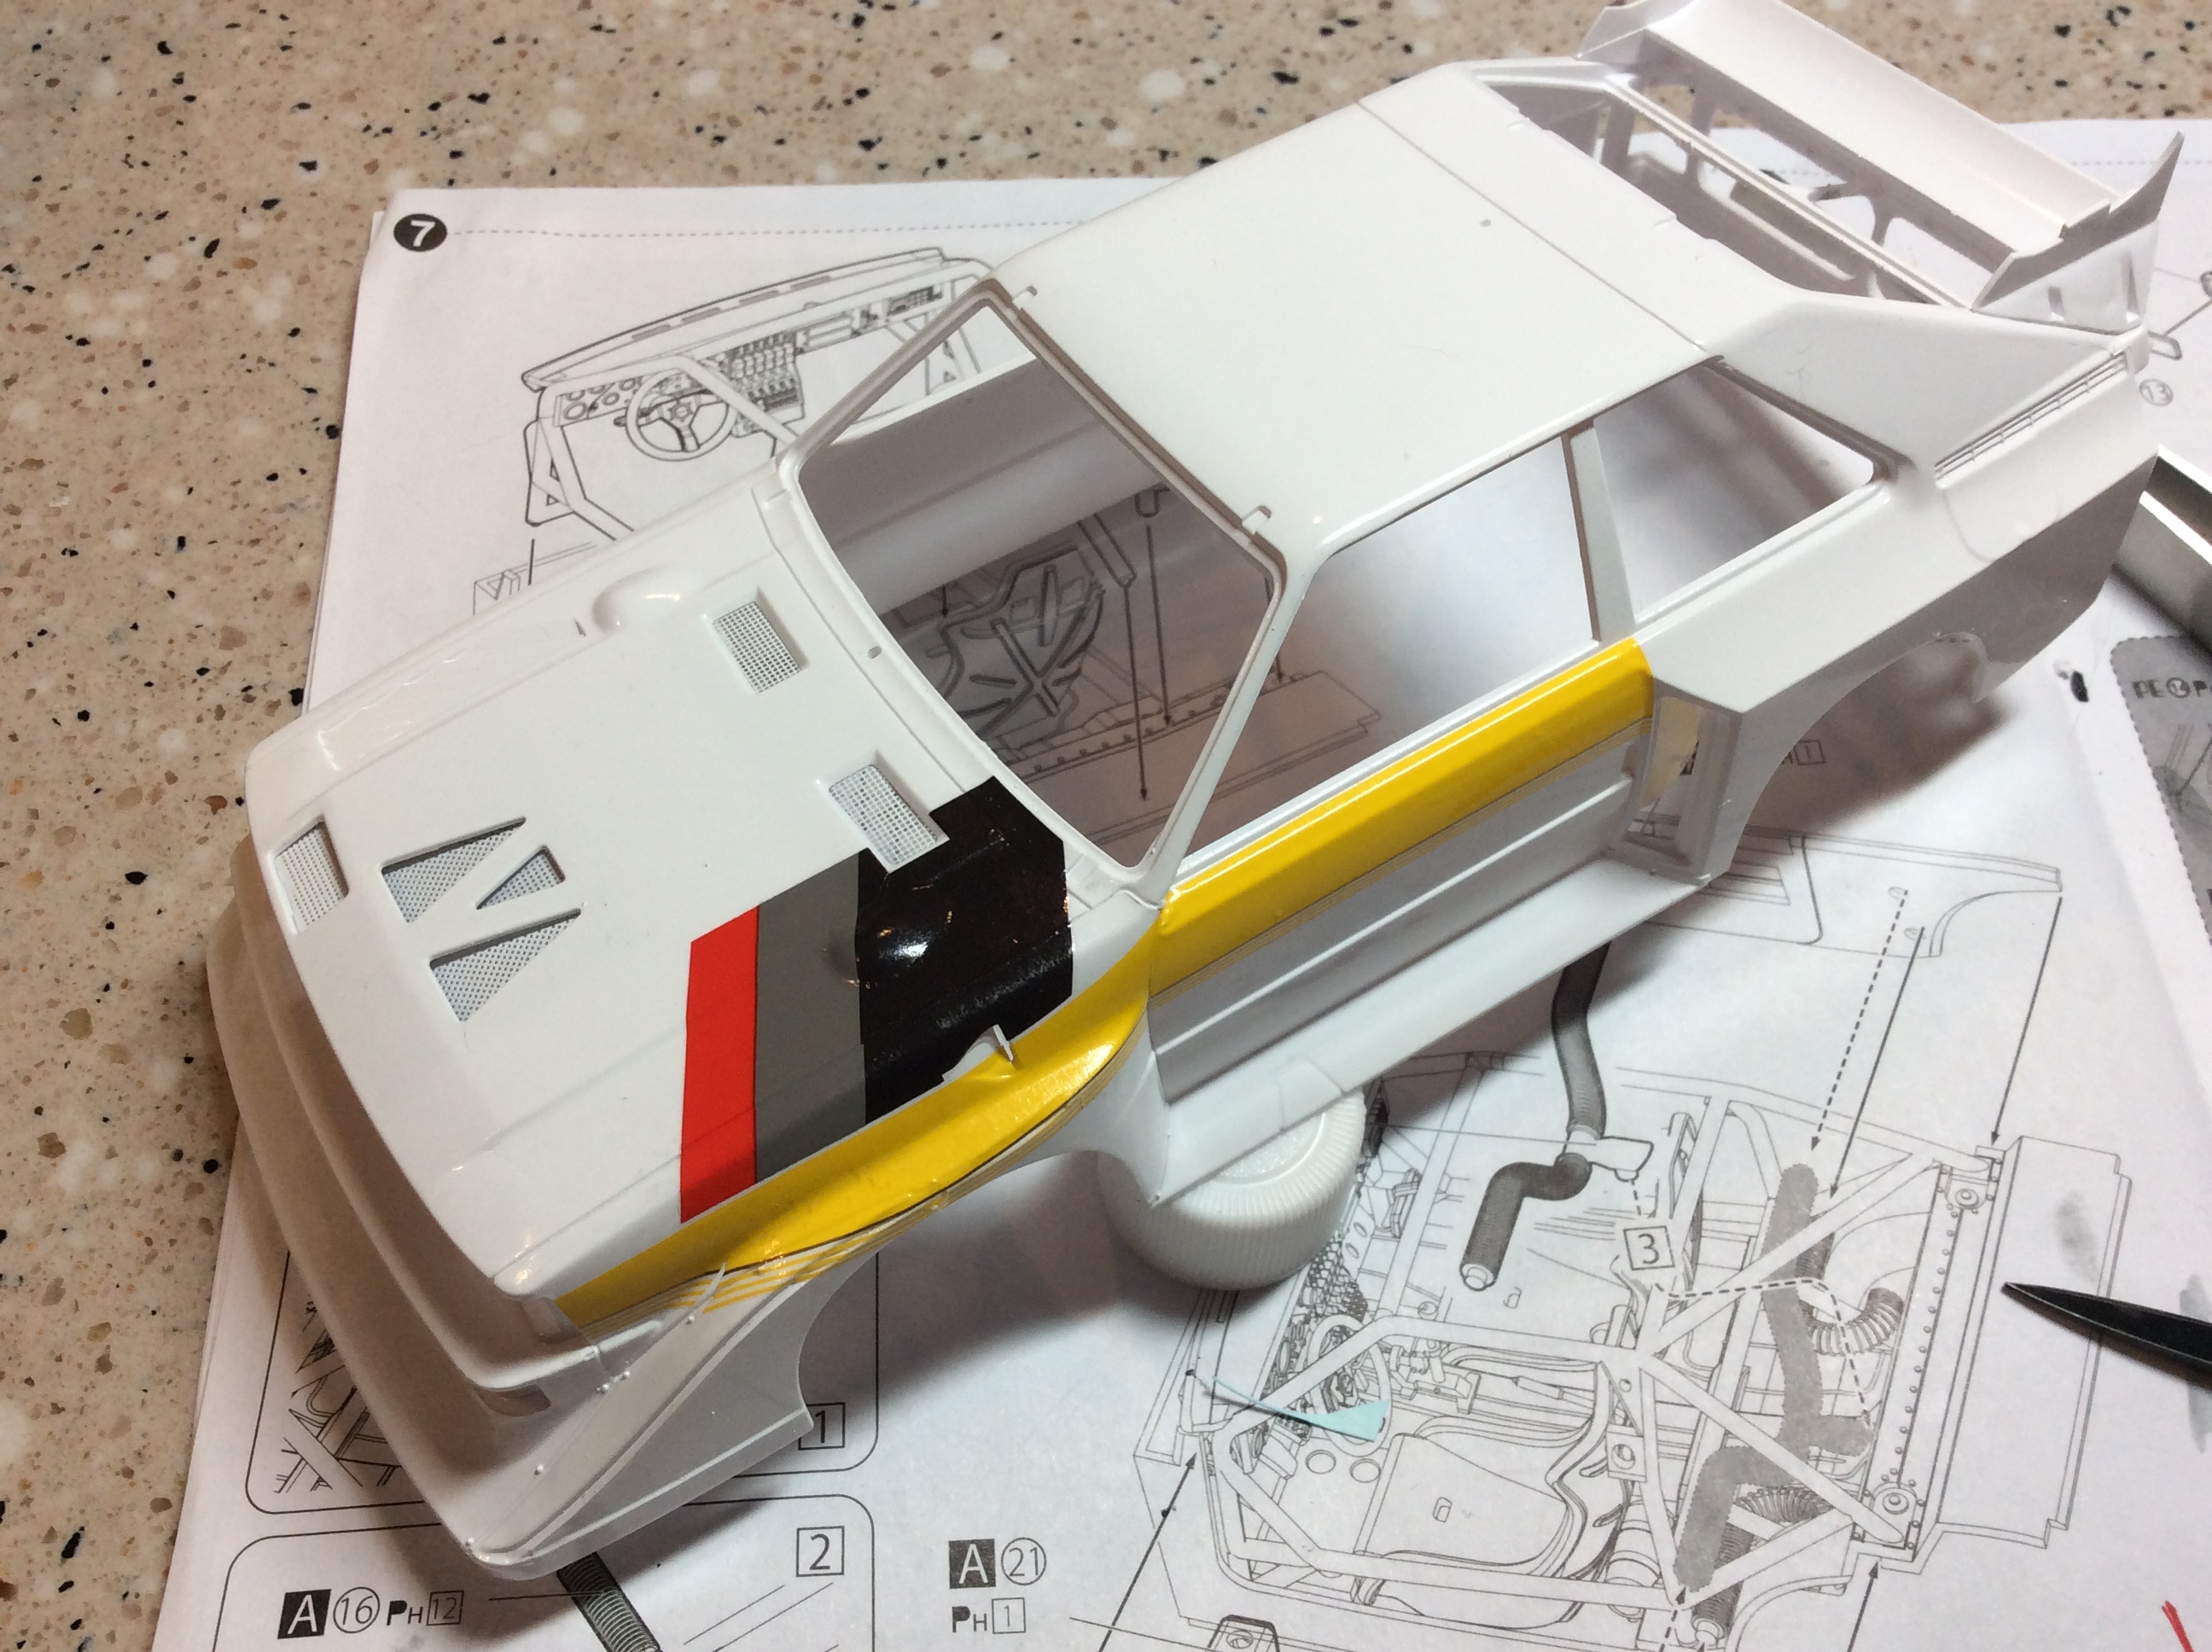
Let the decal madness begin. Started adding the front fender decals. The yellow part over the front wheel needs to be trimmed after it is applied. There is a trim line that can be followed. The fender decal is probably the hardest one. Goes over the hood wart and though the fender vent. Decals are a bit thick,but got it to bend with red label set and a hair dryer.
-
2011 LeMans winning C6R GT2
Gt fan replied to ismaelg's topic in WIP: Other Racing: Road Racing, Land Speed Racers
I maybe wrong, but studio 27 make a kit of this car a few years back. A while ago Hobbyeasy.com had some on sale. -
Silk Cut Jaguar XJR-8 Sprint Type
Gt fan replied to stevehansen's topic in Other Racing: Road Racing, Salt Flat Racers
Looks very good. Great job with the decals, I know there not the easiest to work with. -
Got back to doing some building today. Interior is just about done. The arms and heads need to be added as well with the spare tire. I need to make the hold down straps for it. In the one picture it’s just mocked in.i need to do a bit of weathering on the door panels and they go on. The body is primed and drying.
-
Looking good Dale. Off to a great start.
-
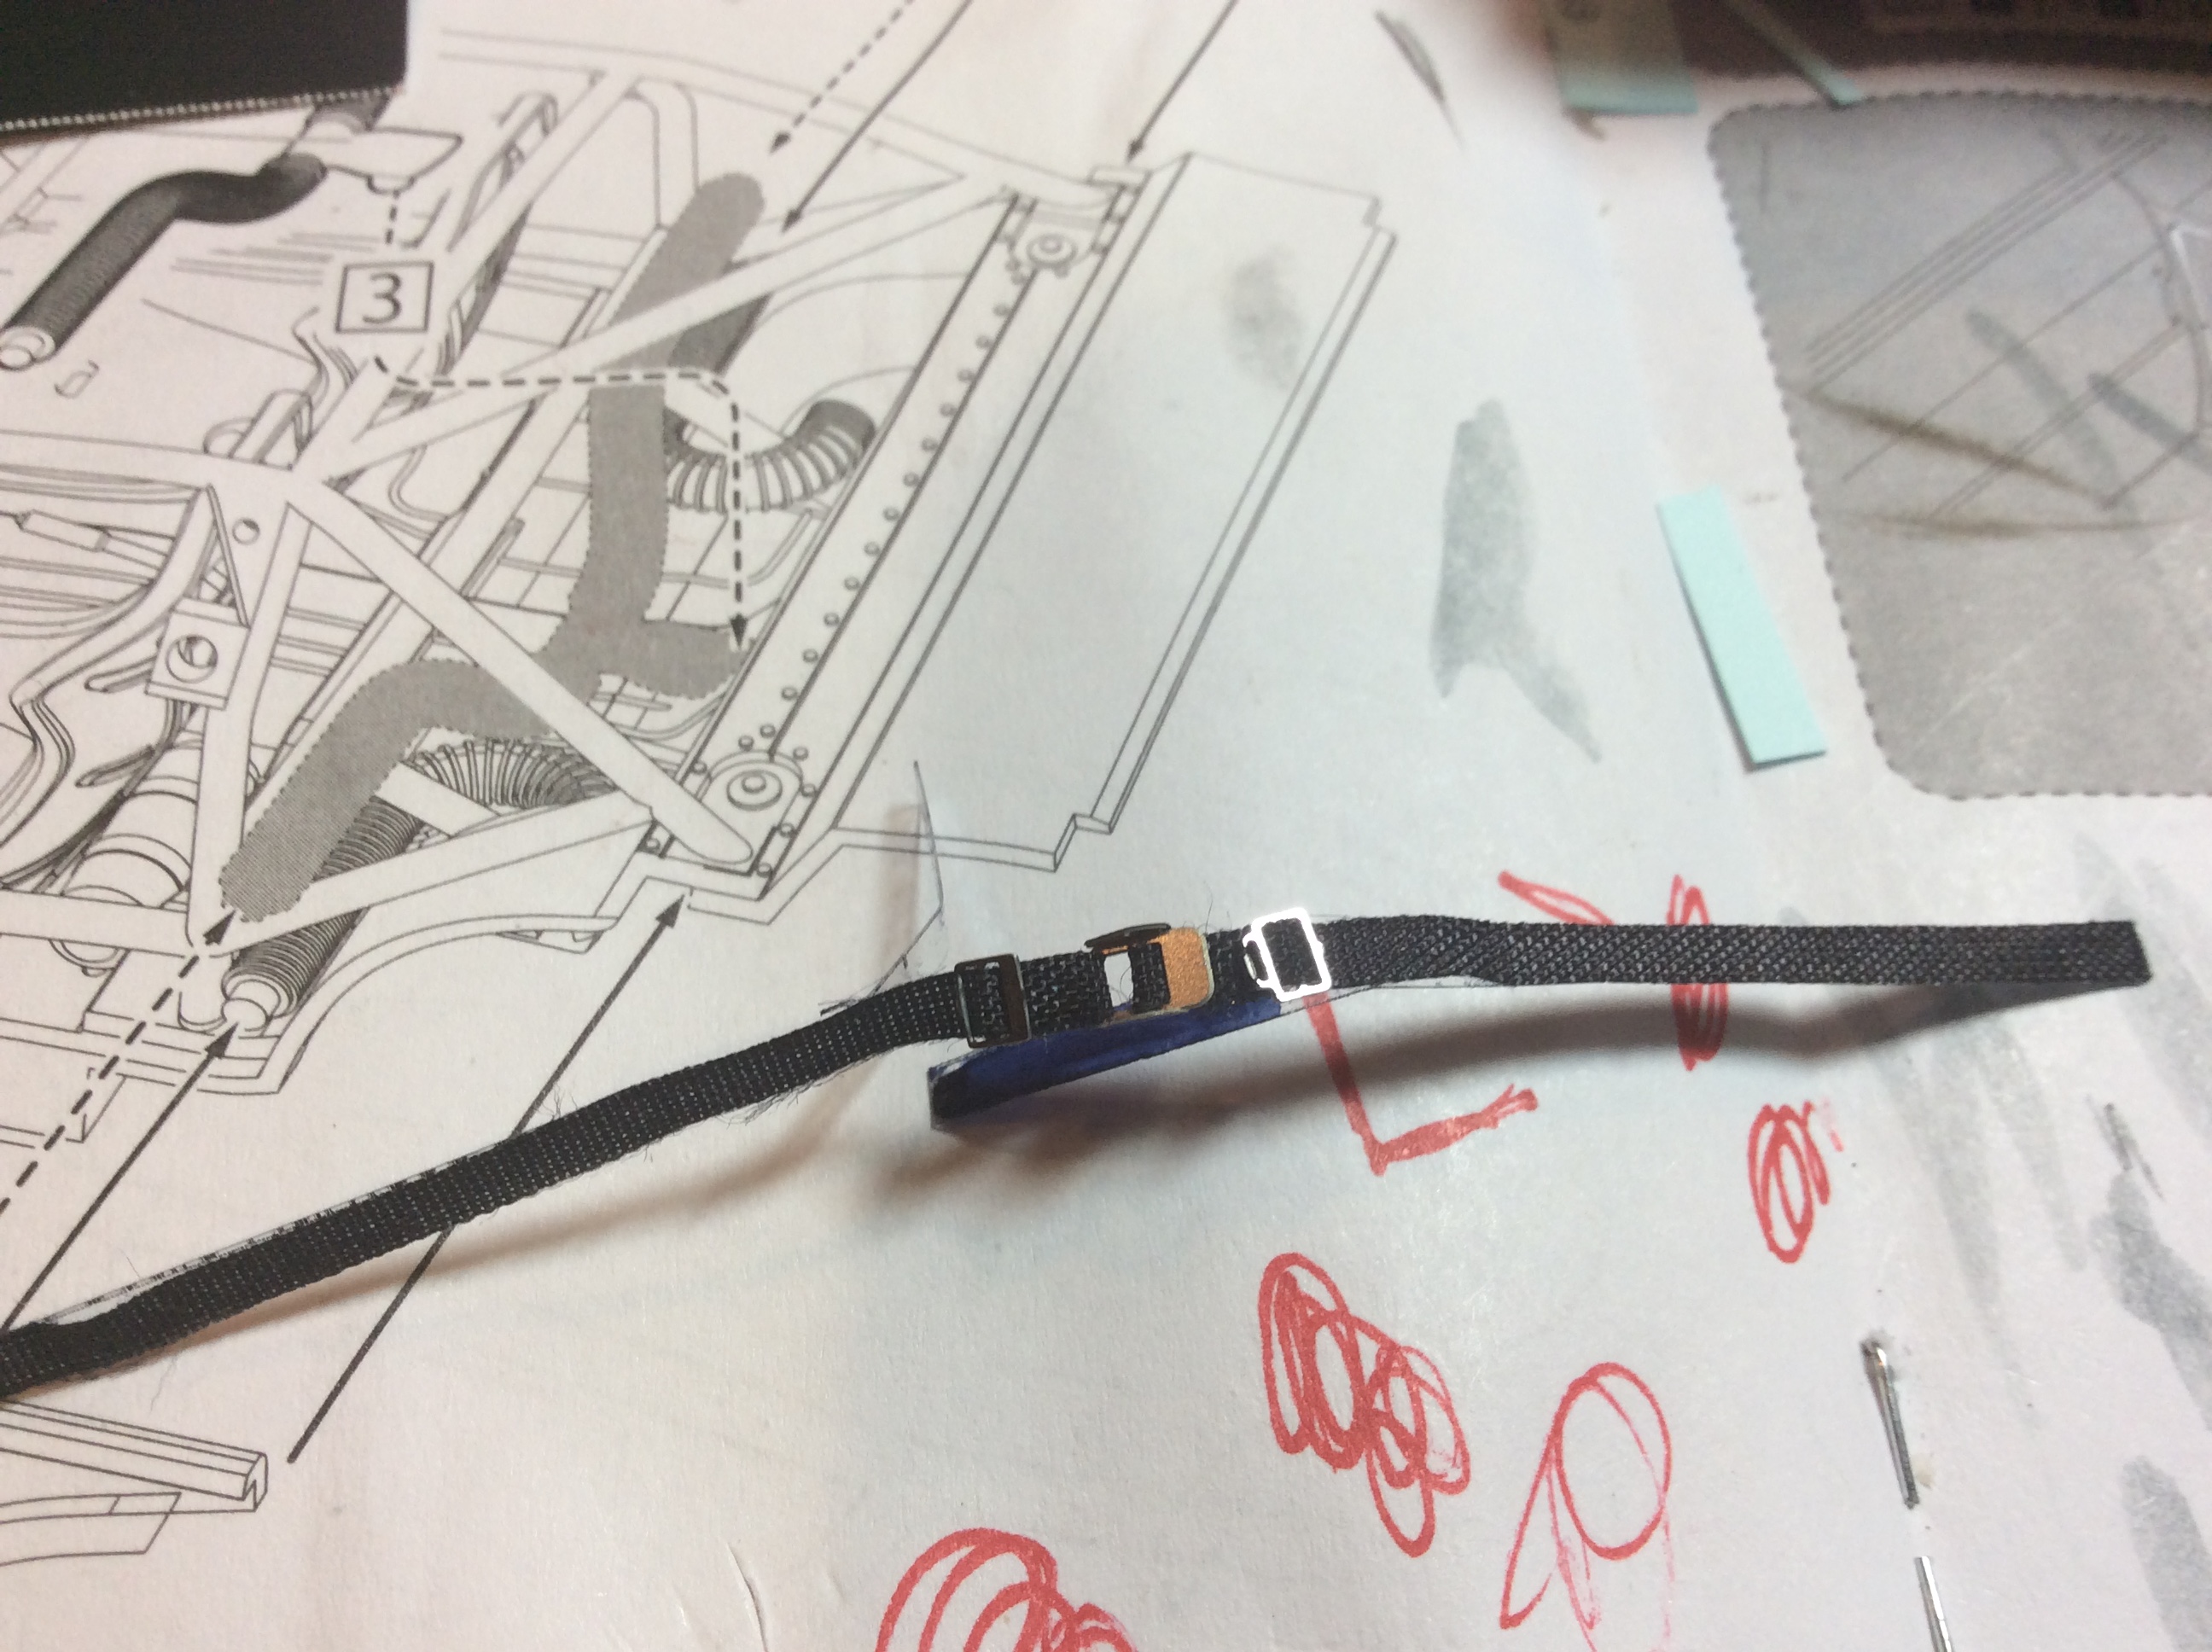
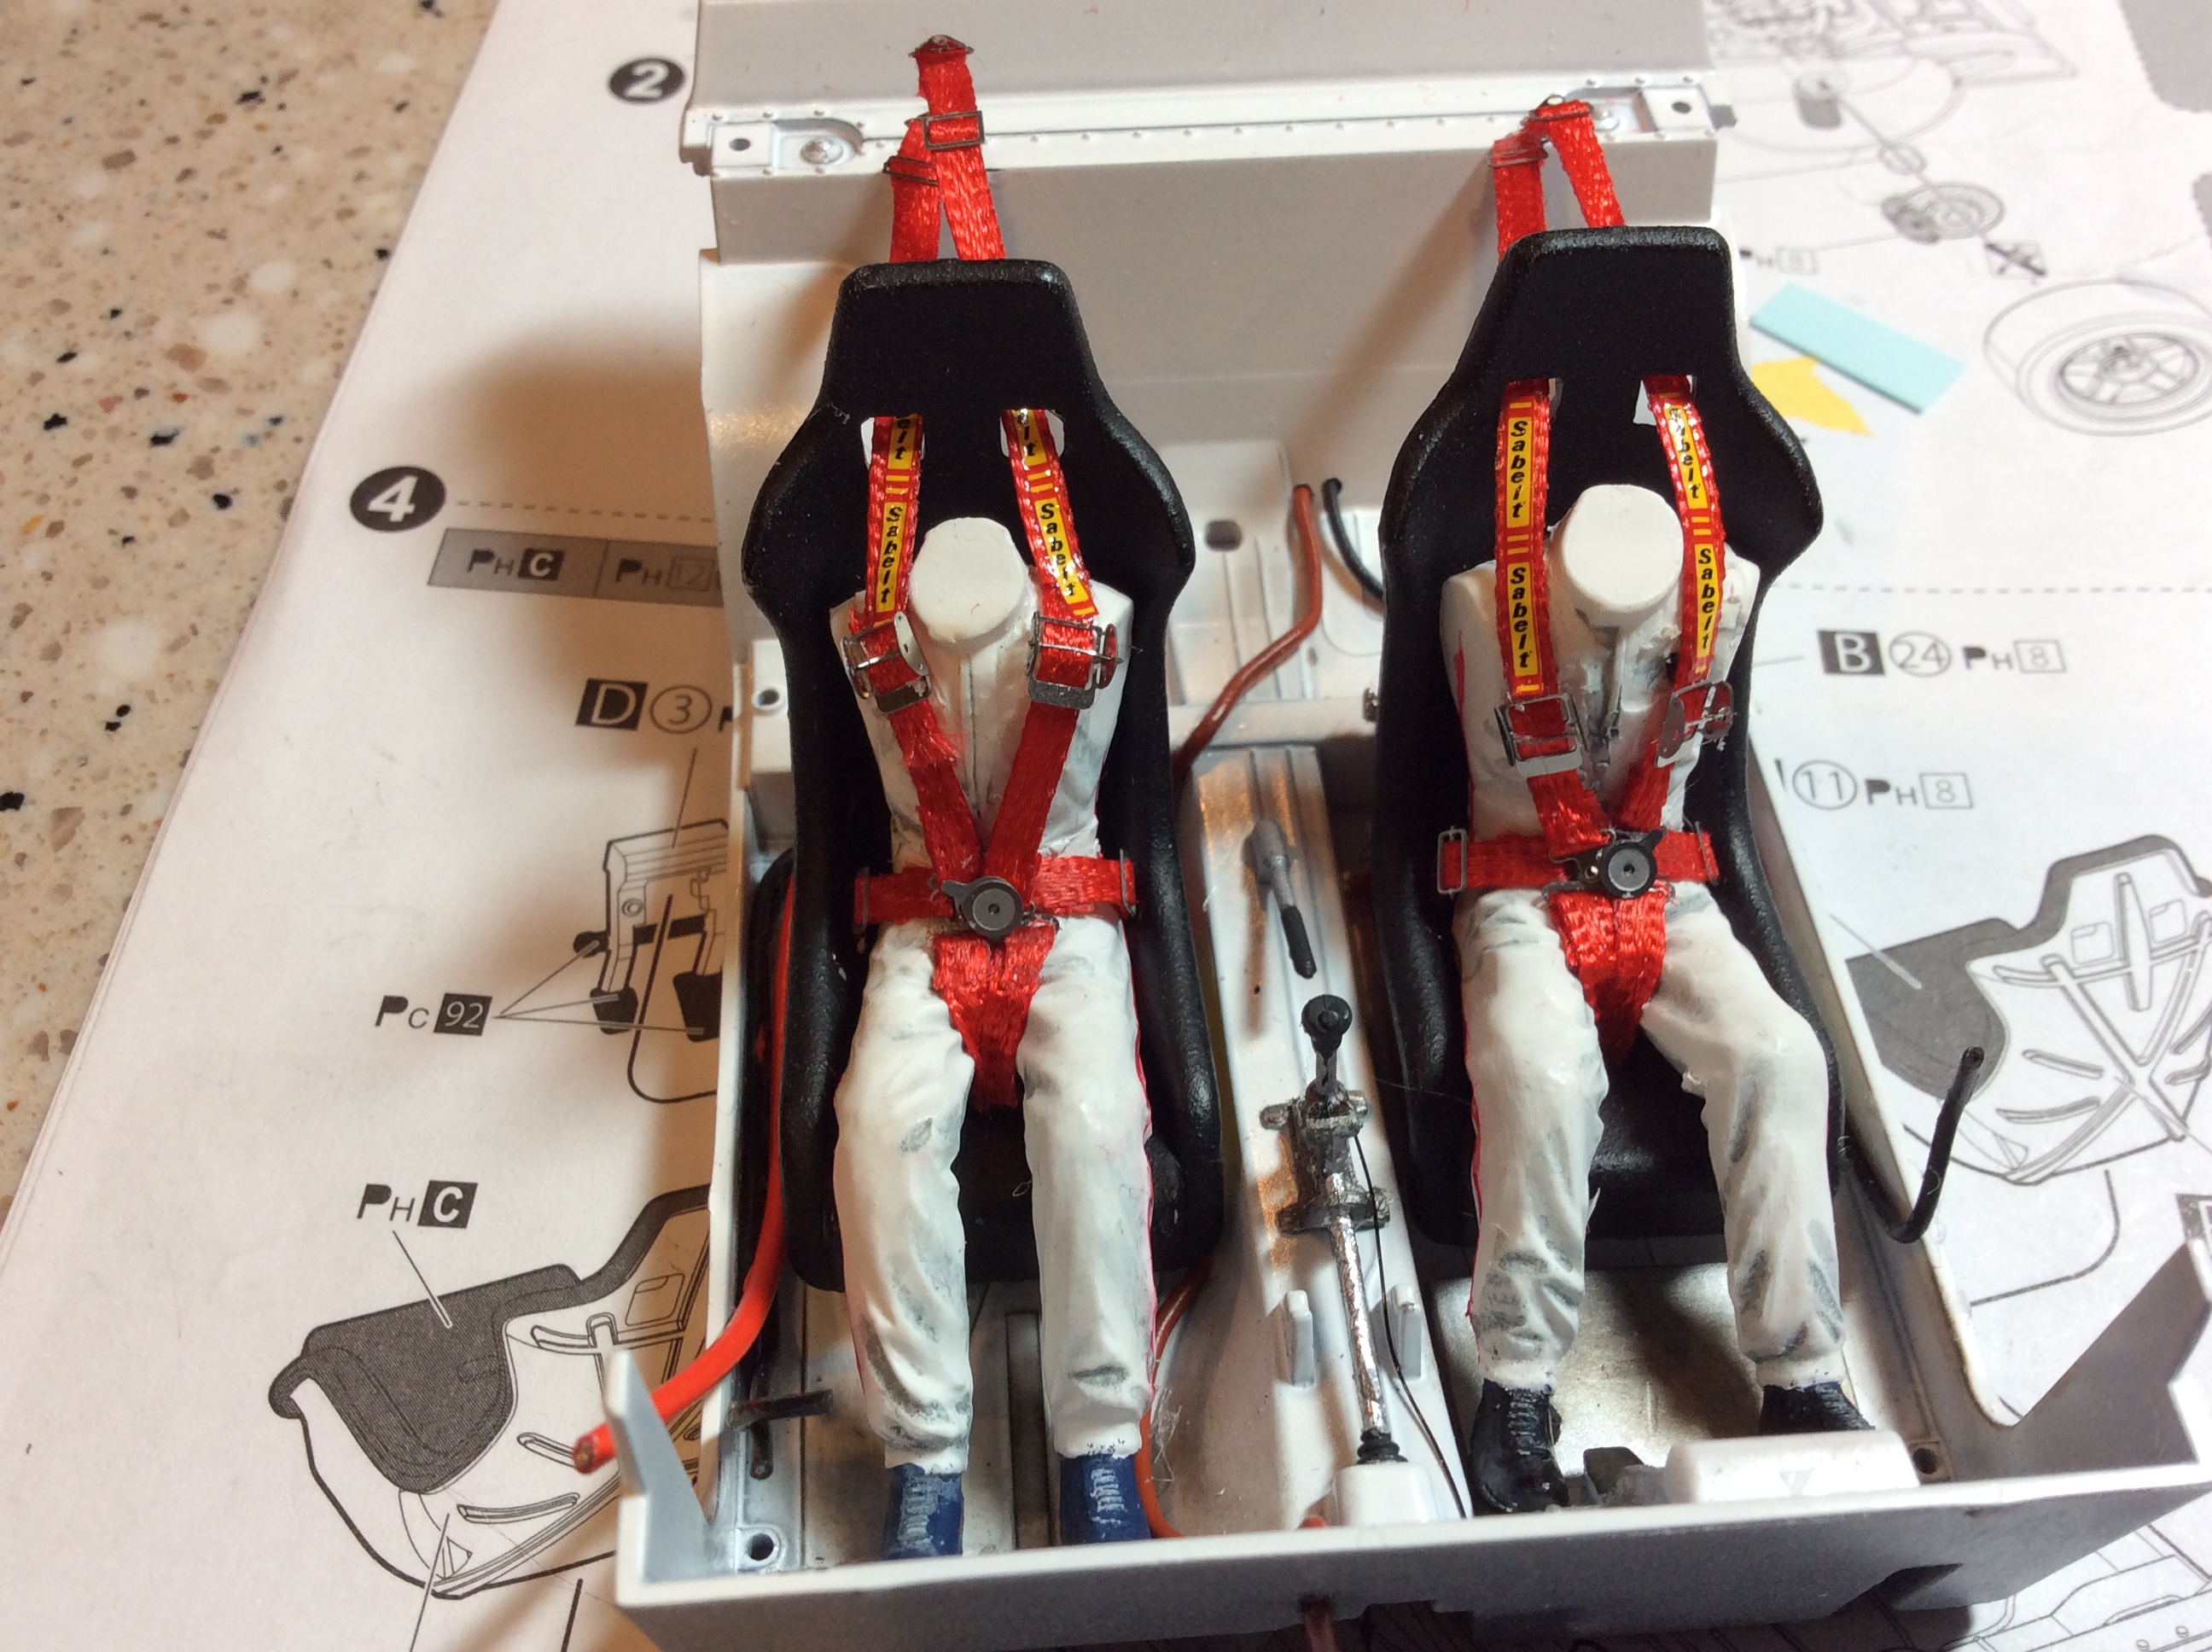
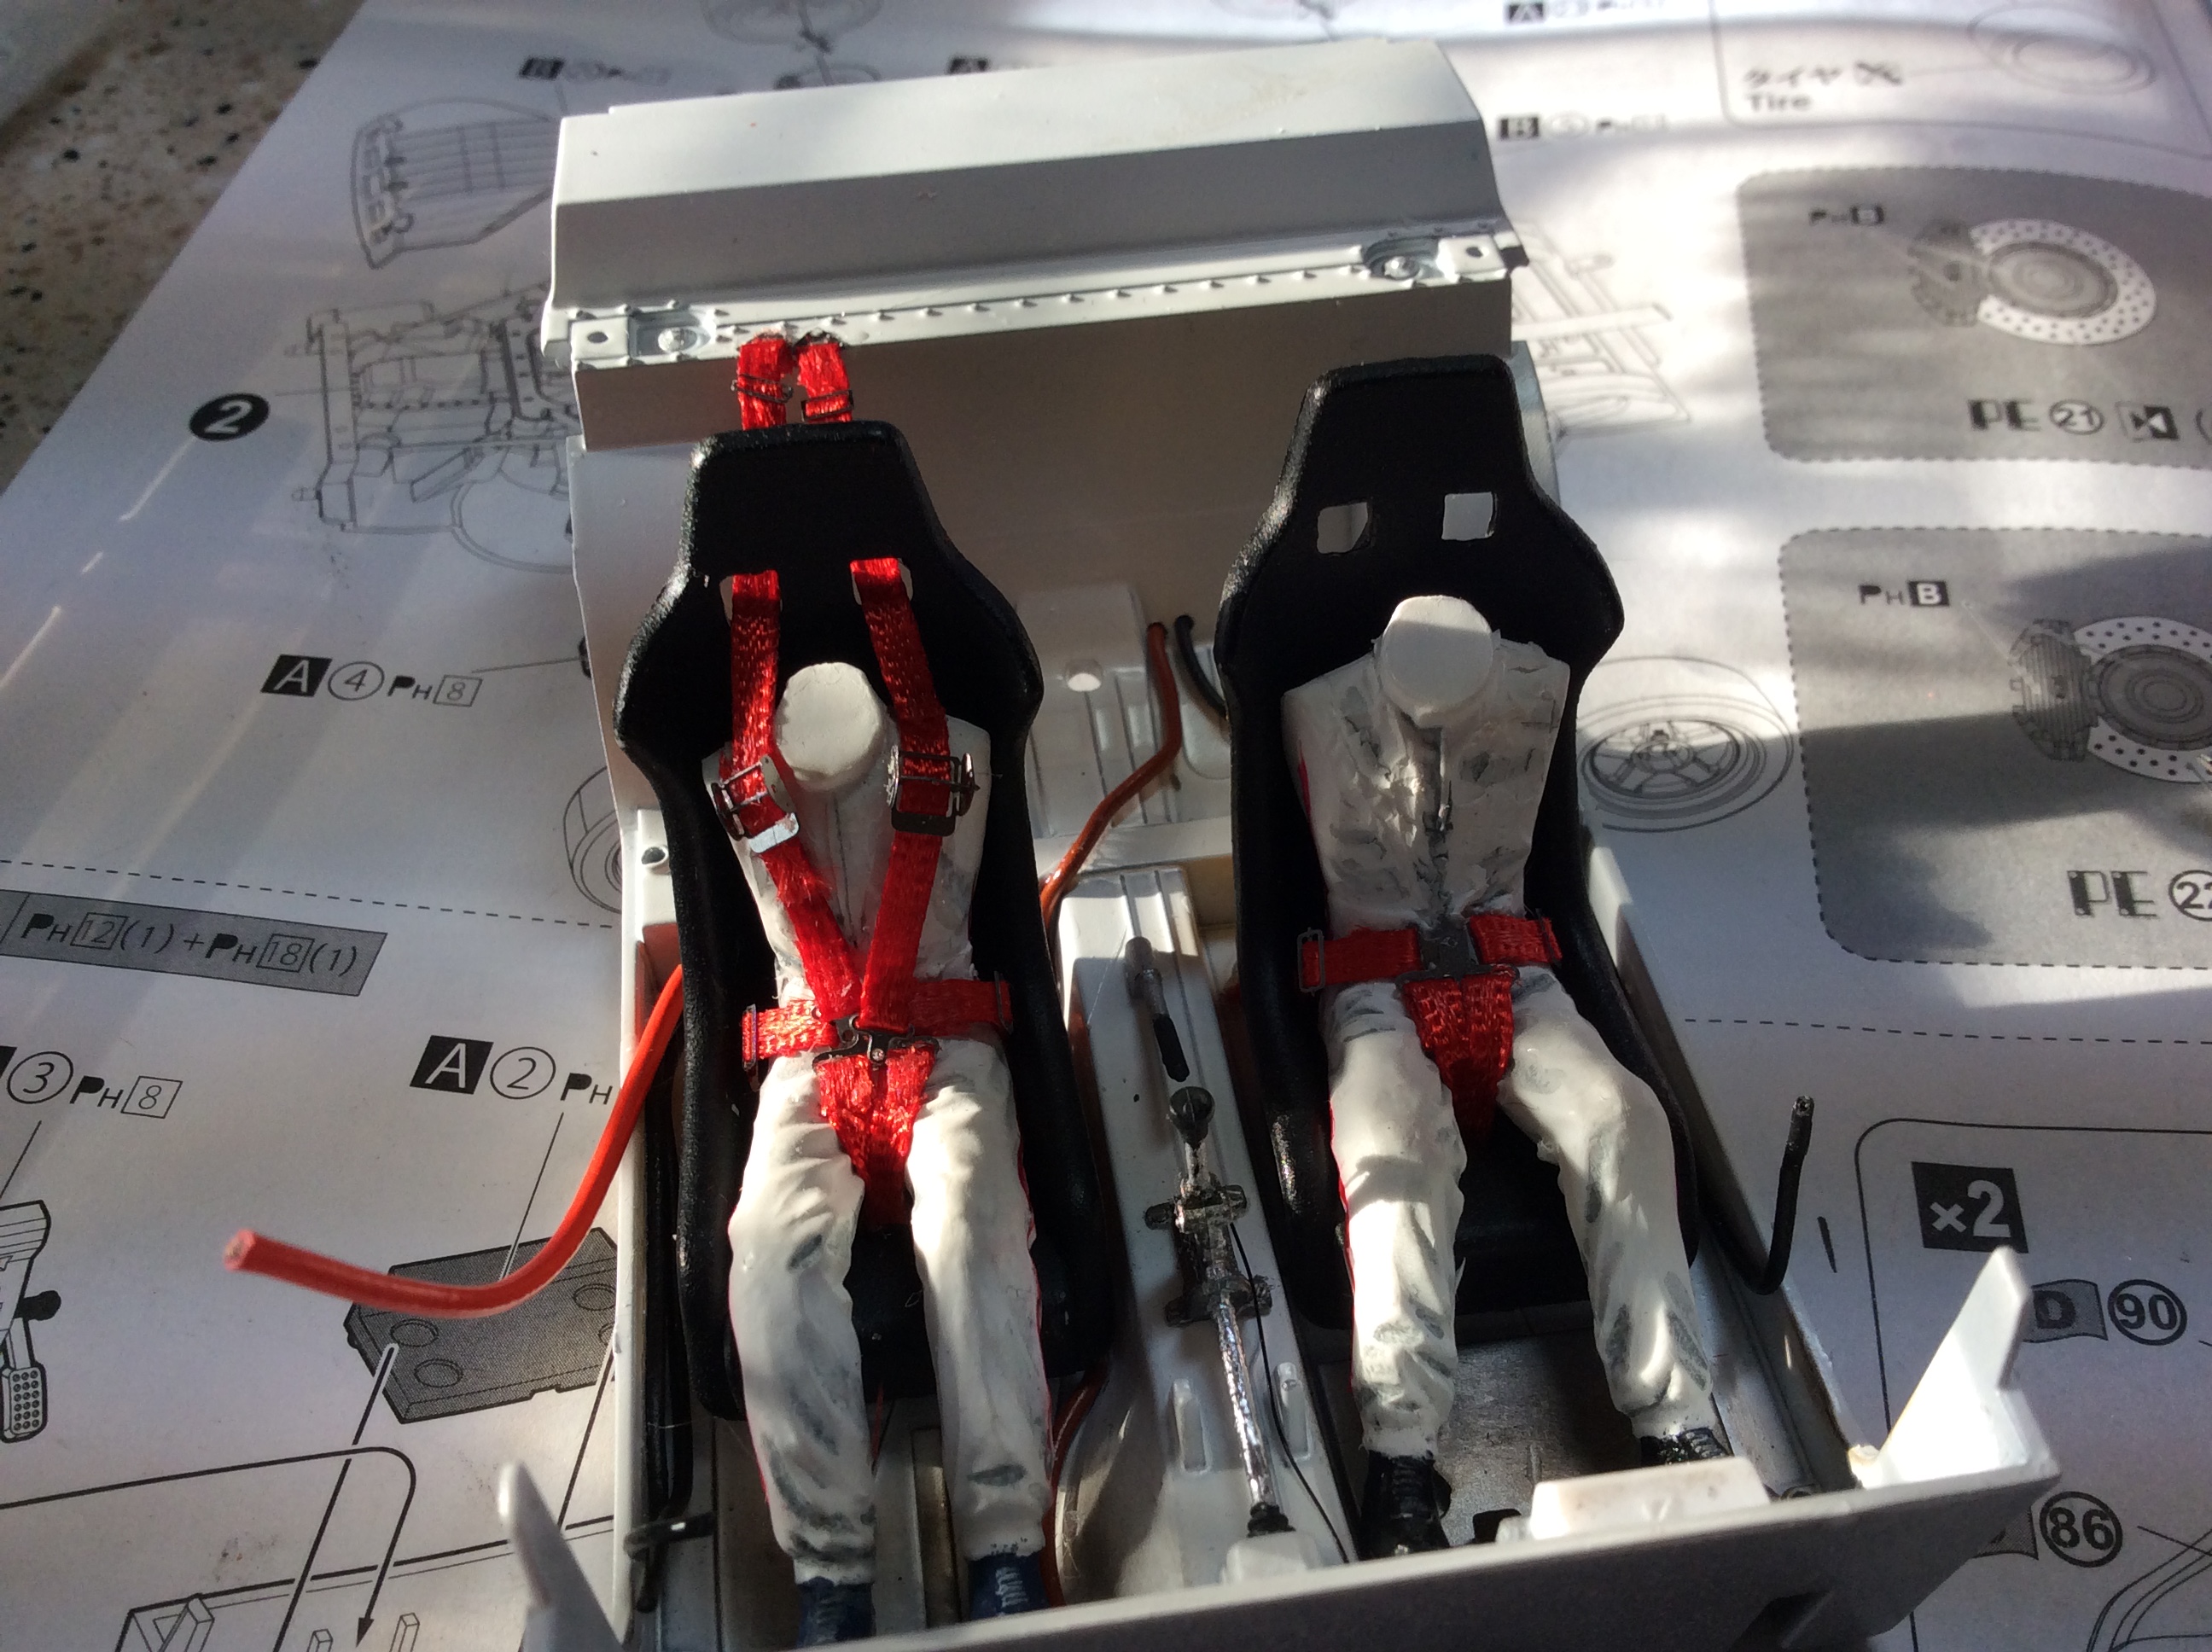
I had some time to do a few more things today. I love days off from work. Started working on the drivers and the belts. A bit disappointed in the detail kit as it does not give you enough material to make the full belts. I think they need to give you two pairs of ribbon. I have plenty in the supply box?. The drivers came from a Tamiya kit. I used the panel line detail in dark grey to pick out some of the wrinkles in the suit. Red line was done with a medium Sharpie. Suits were painted flat white. I put the body on just for a mock up.
-
Great car... Off to a good start. I wish Revell did more of these. I did one and it was fun to build. Hobby design makes a detail kit for these cars. Hood looks good.
-
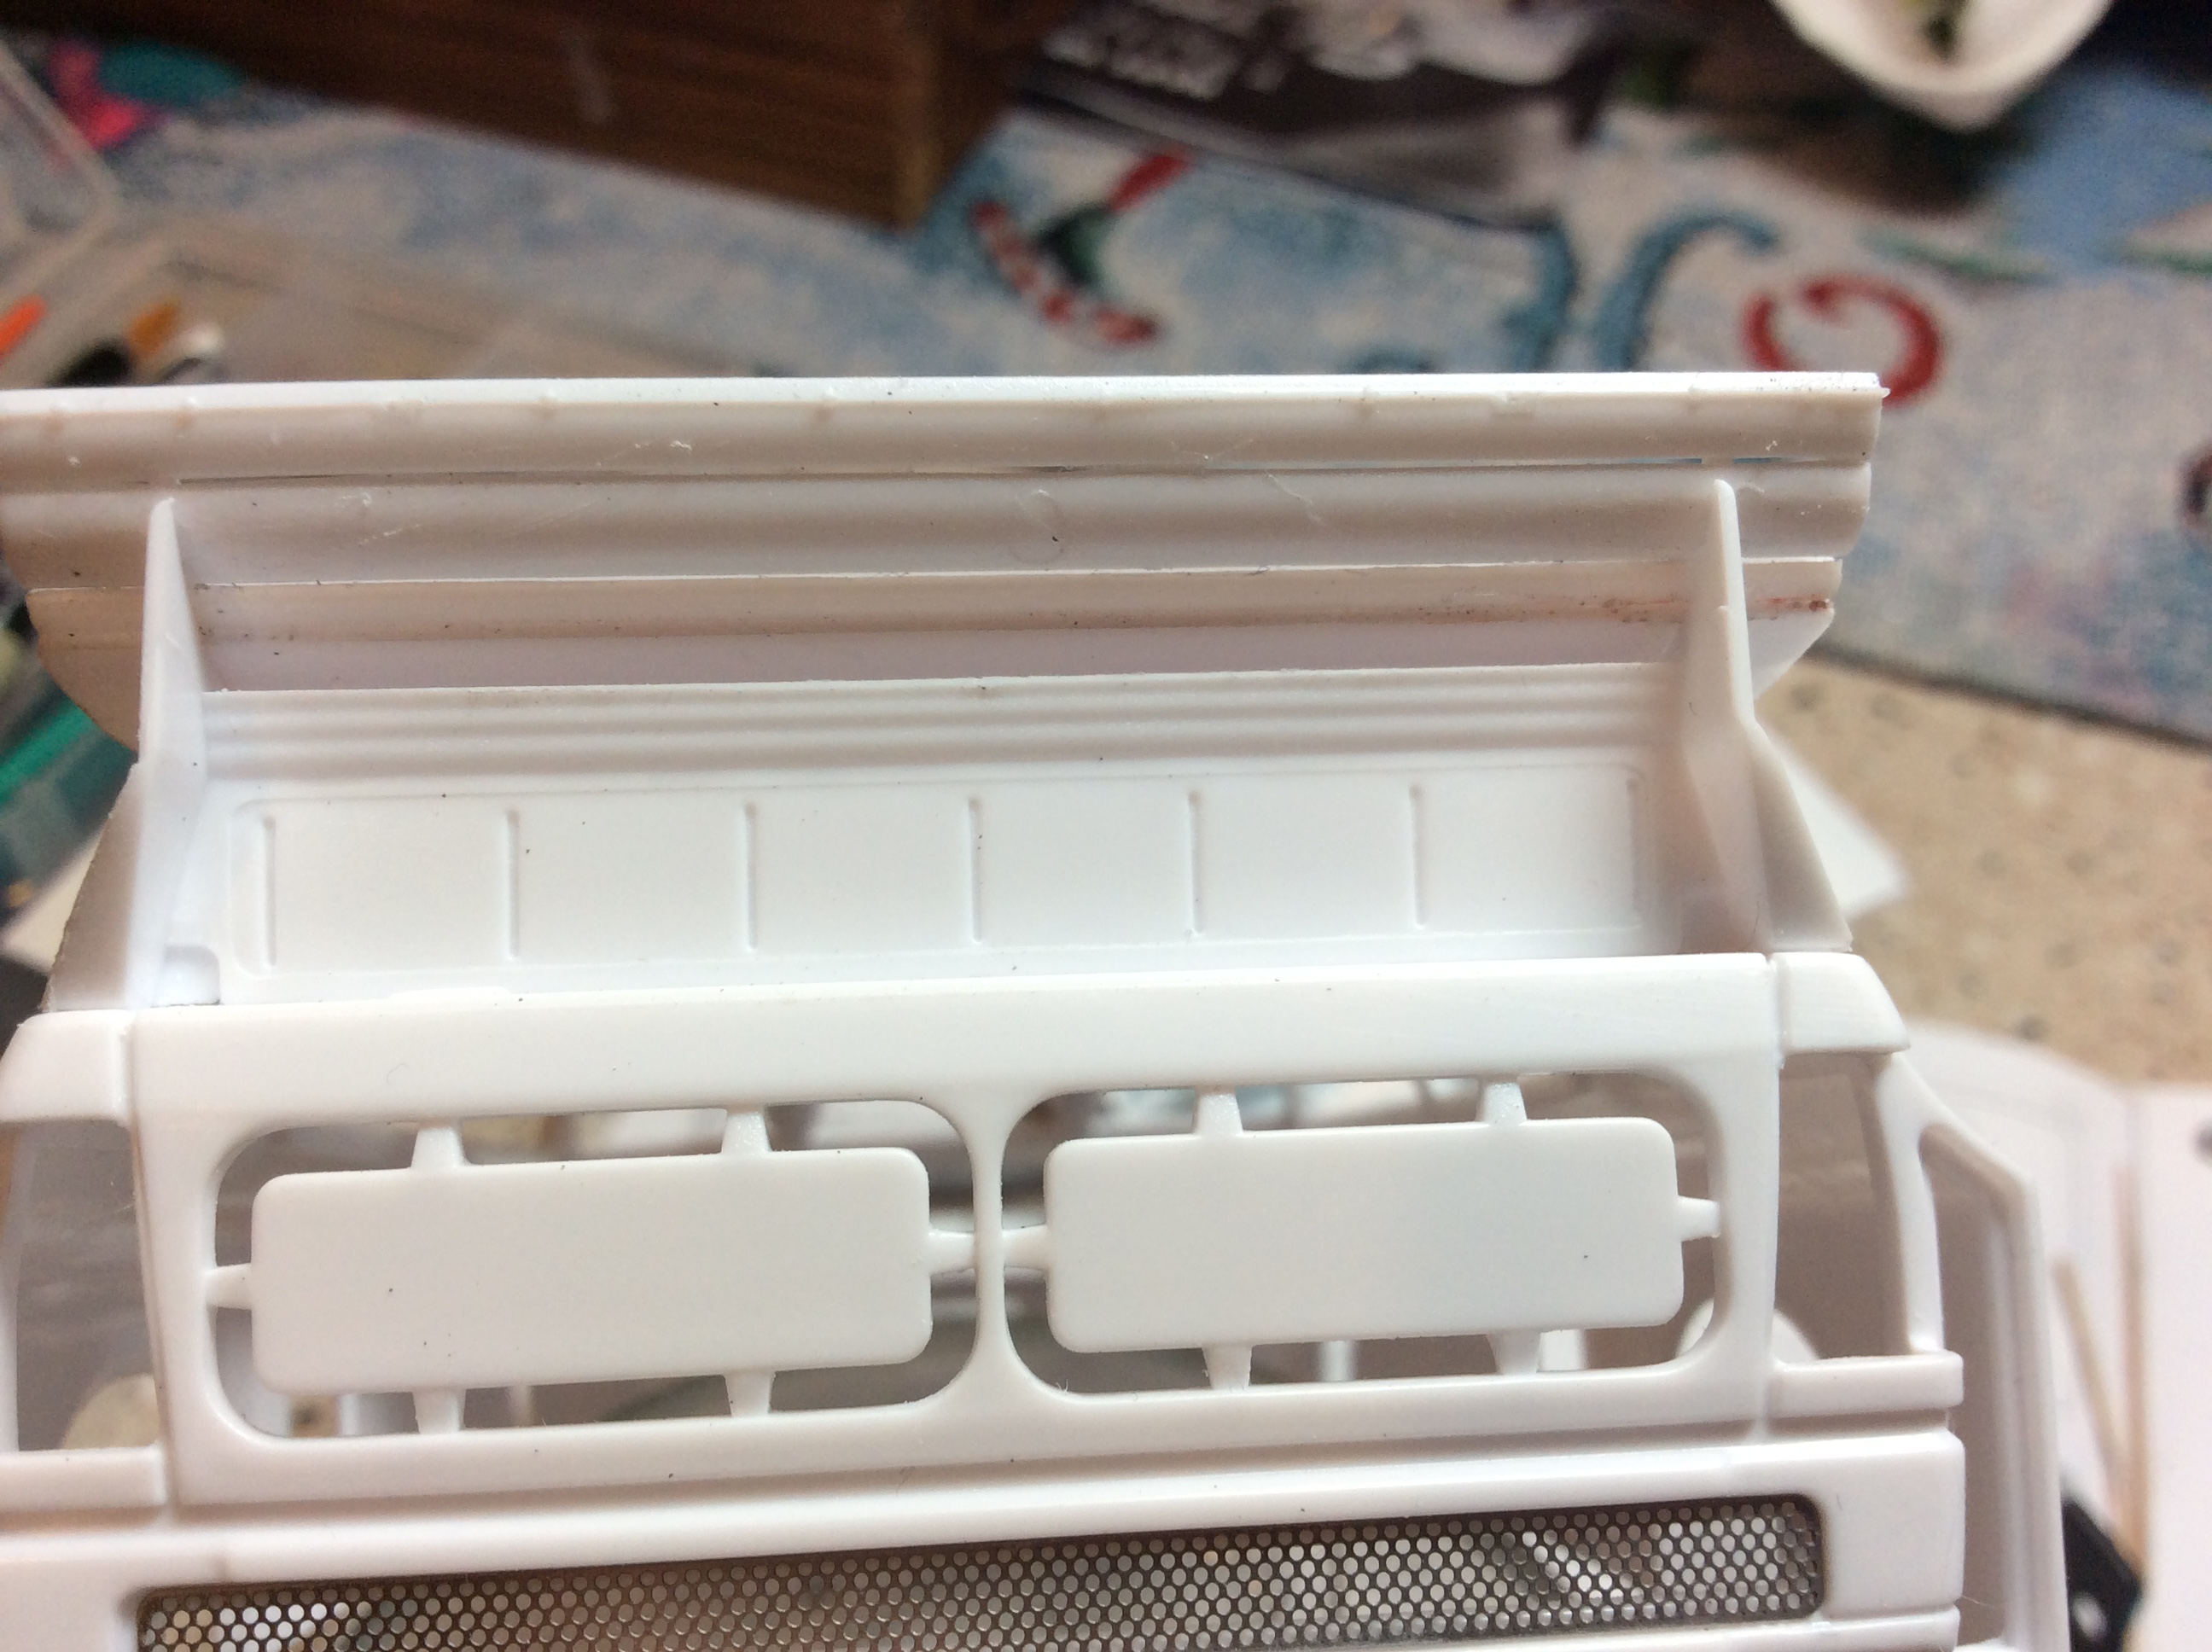
The kit I used was Tamiya 24262 Peugeot 206.. It has the dirt stage options in it. Silver car with red graphics. I plan on doing this as the night snow stage car. I love the way these cars look with all the lights. Thanks for the support. I hope to have it done soon. The kit has some very thin parts, the rear wing and area were the rear vents go.
-
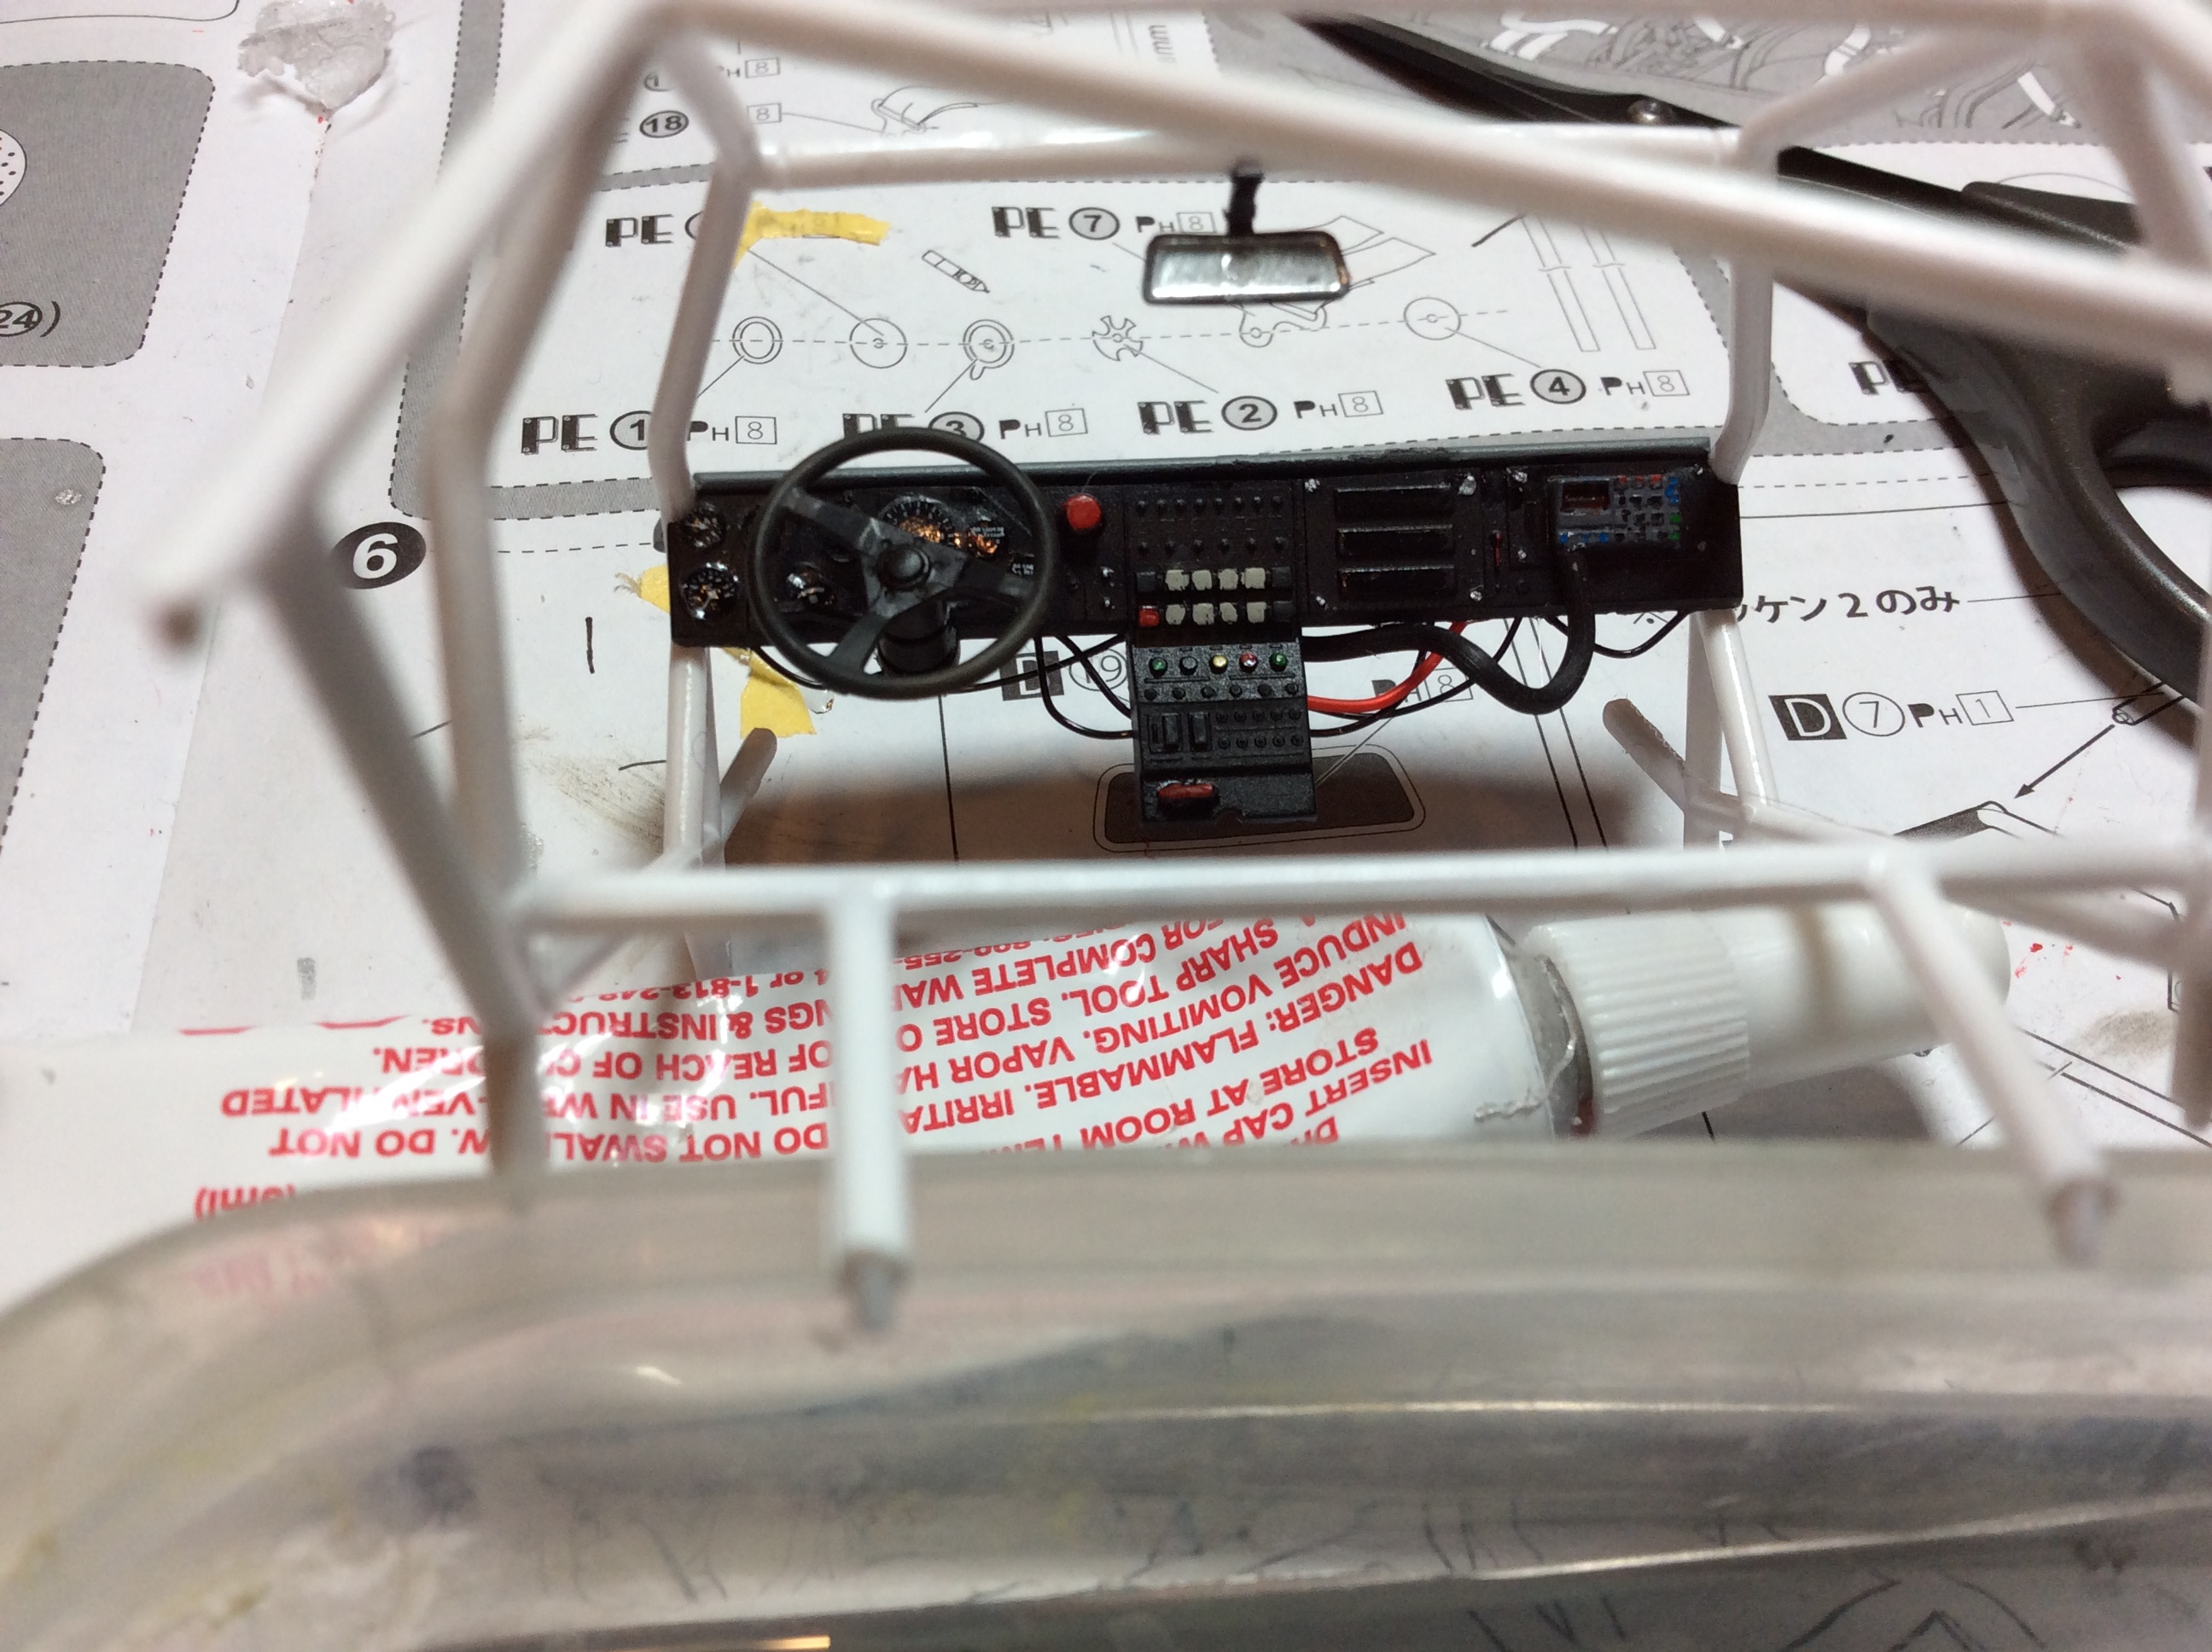
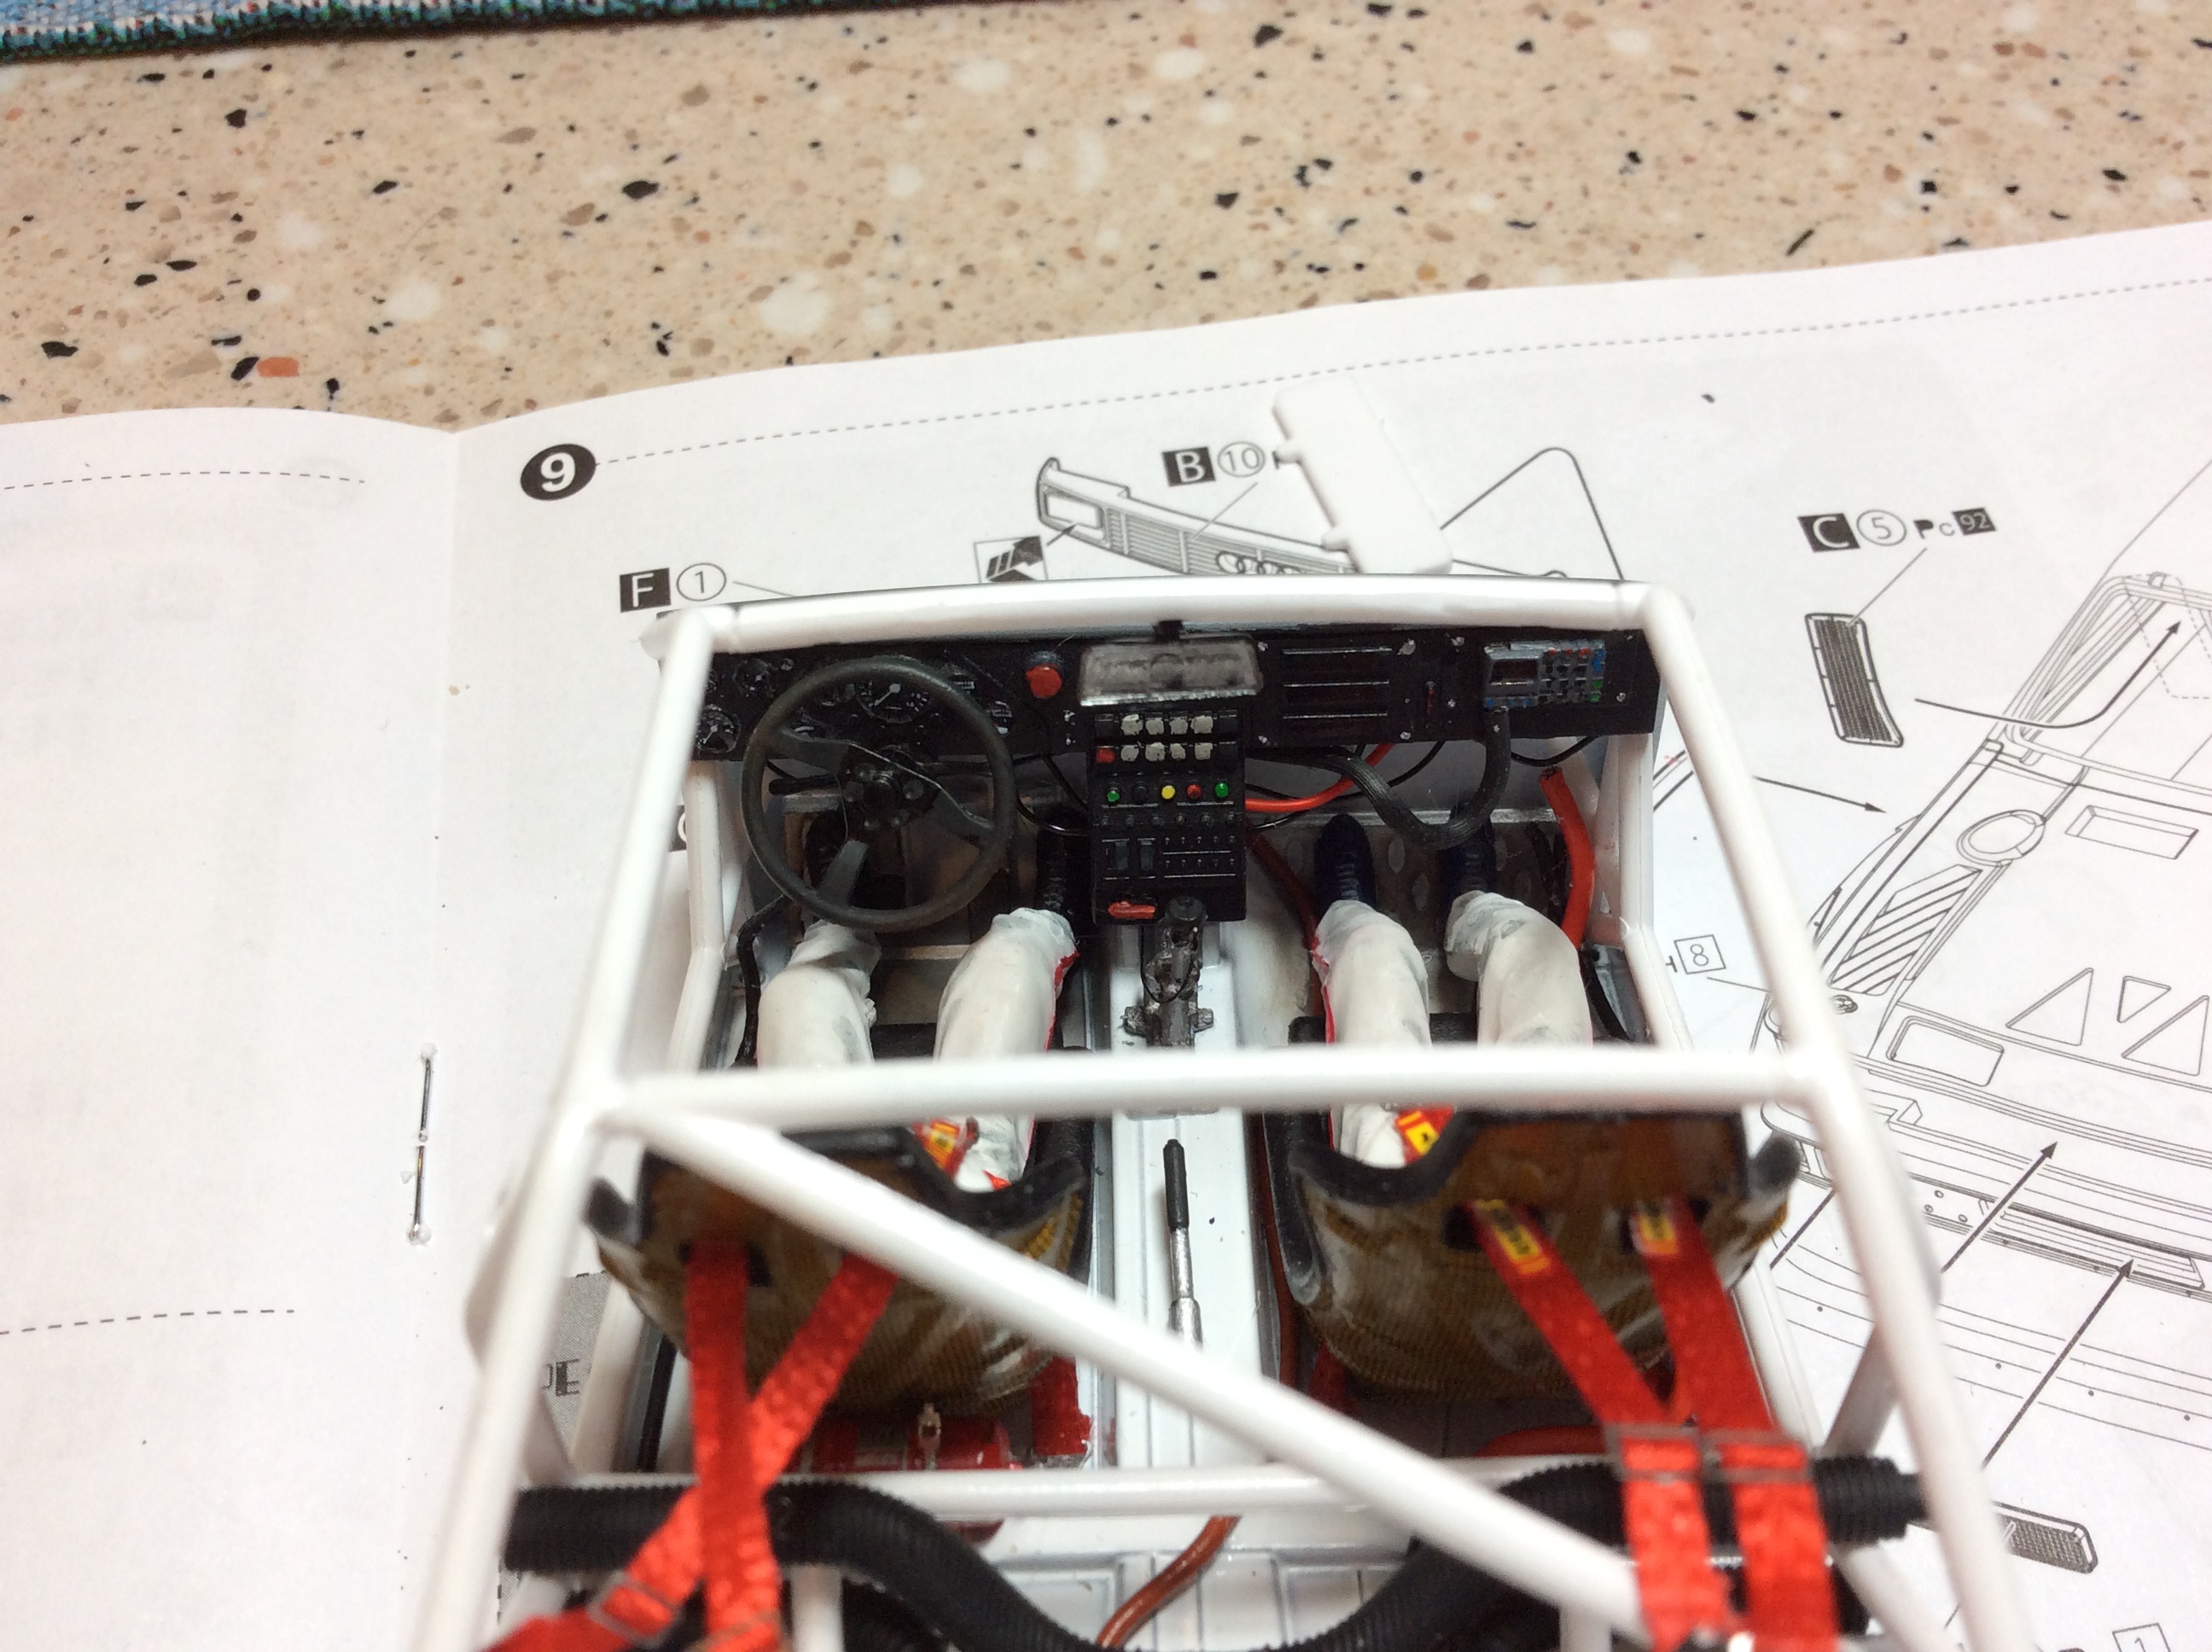
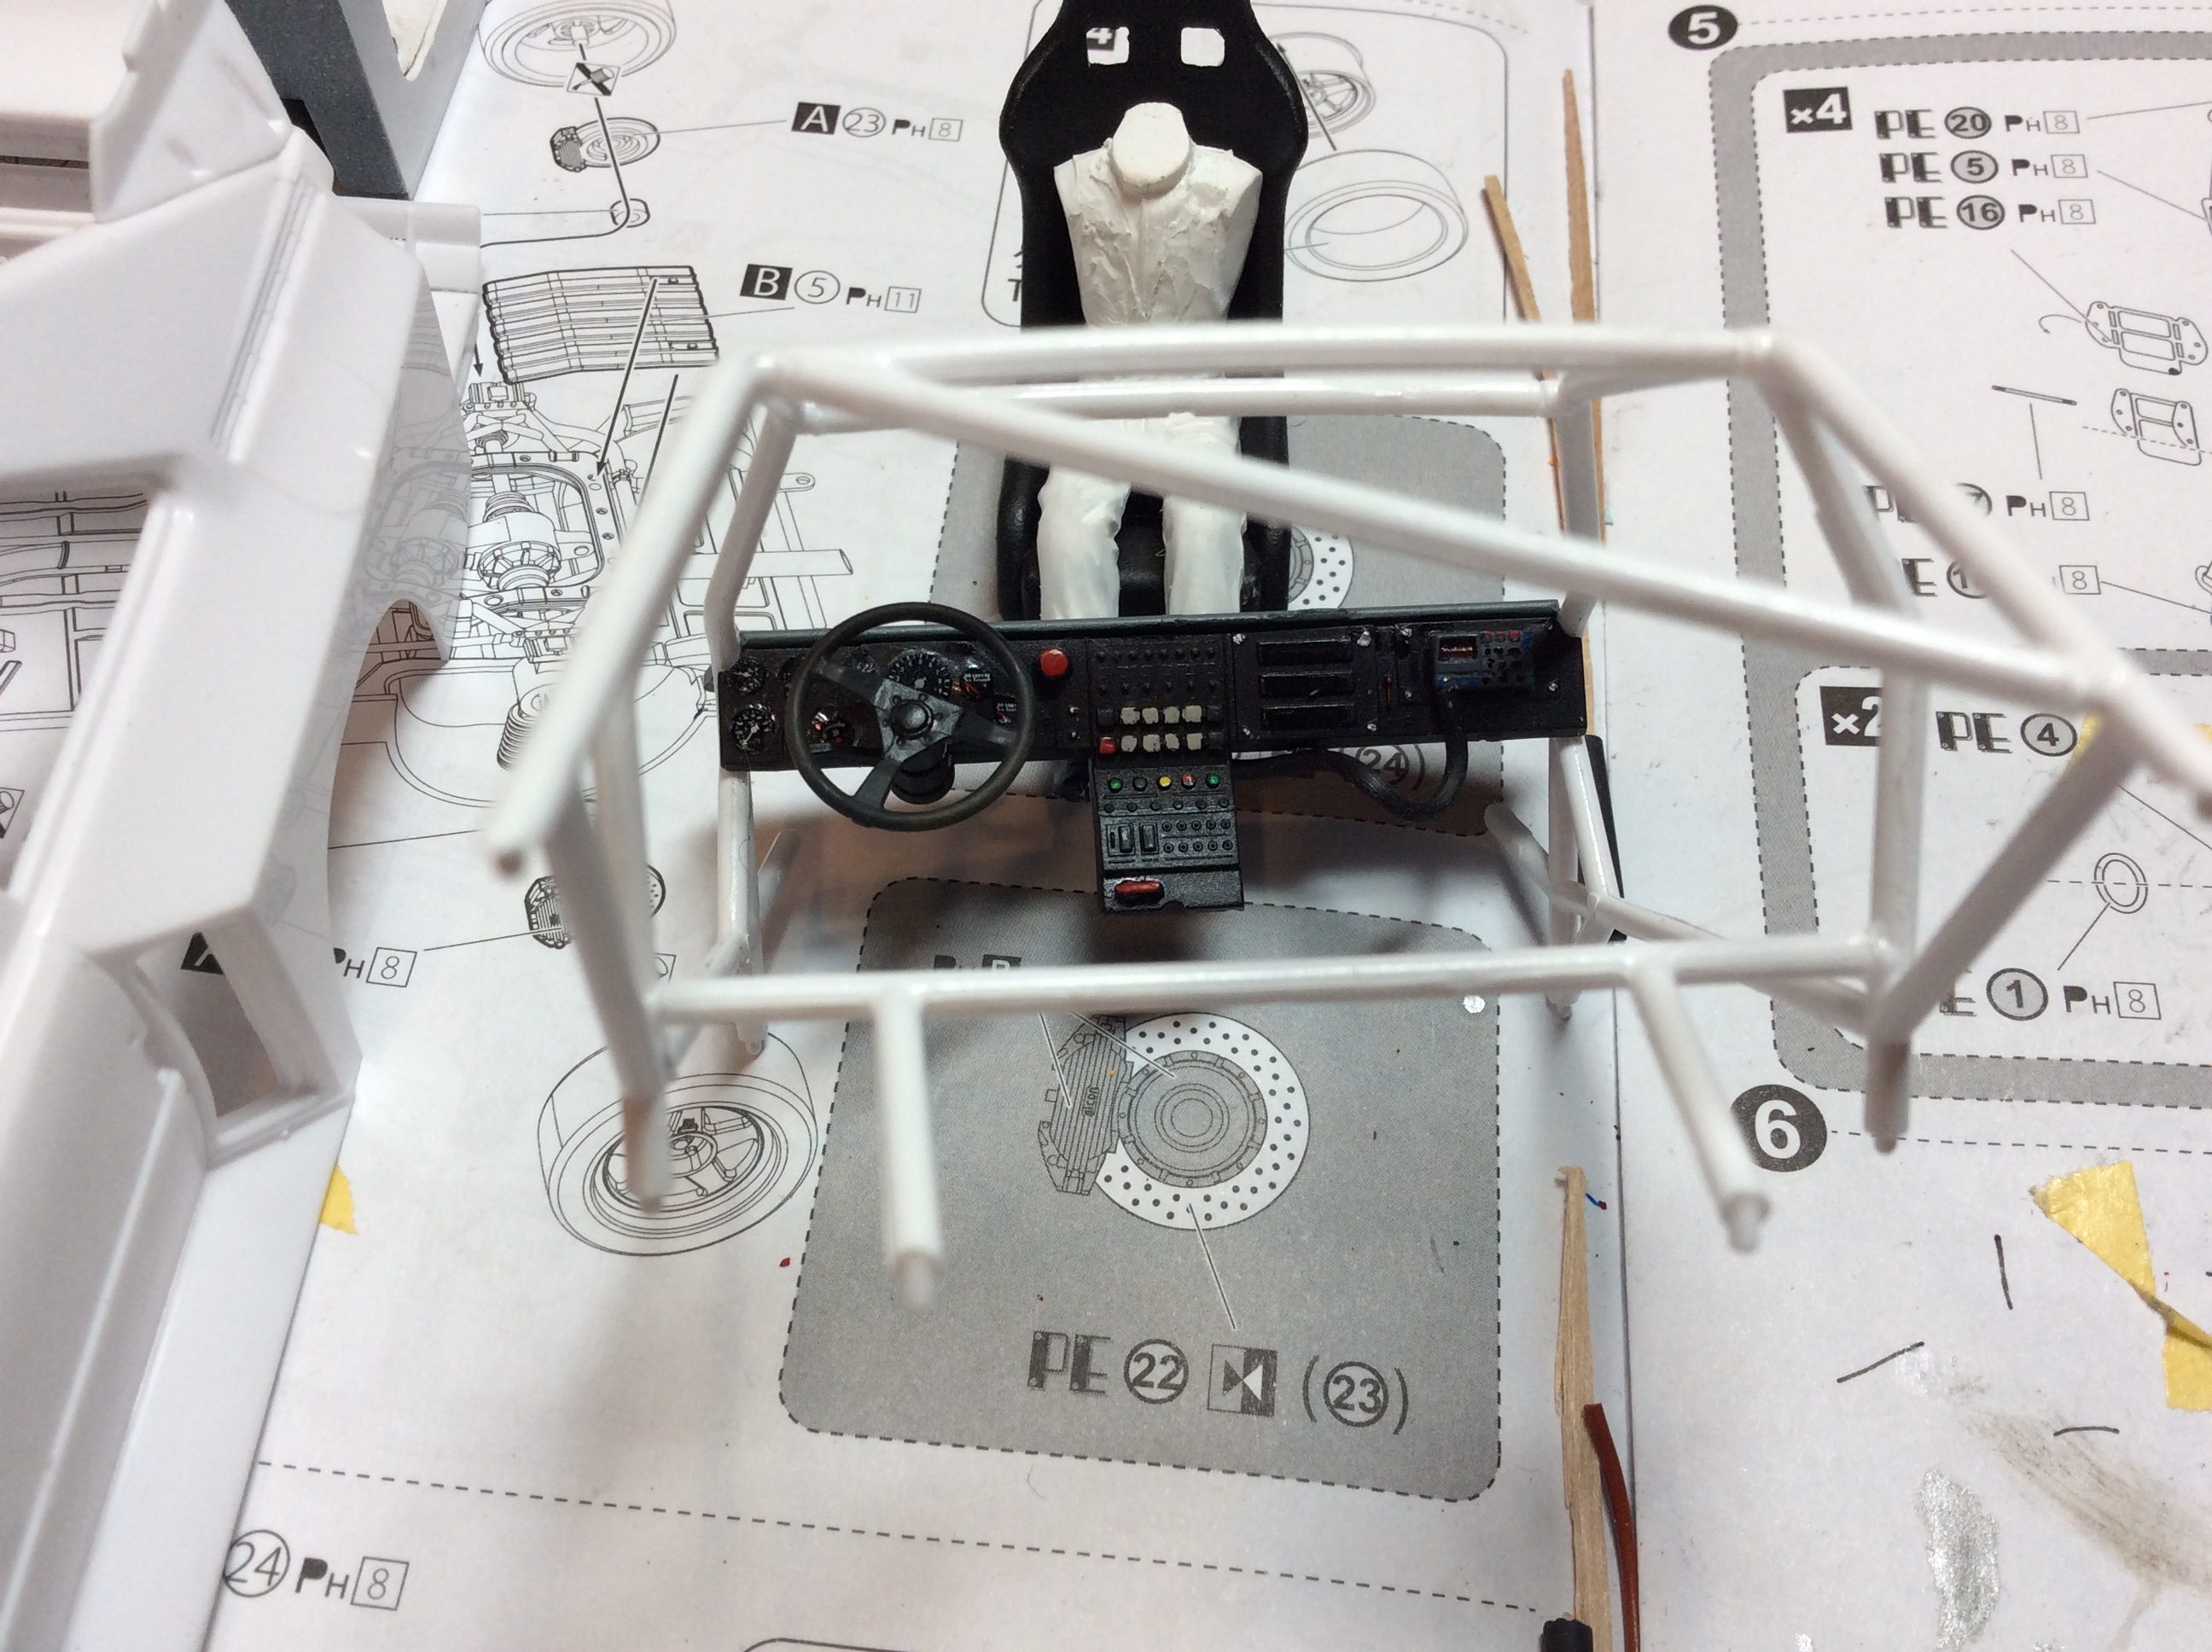
Had found some time over the weekend to get some things done with the Audi. I ran some lines in the interior just have to add the fuel line. The fire extinguisher is painted and drying. It goes behind the front seats. The dash is in place and decals and some details have been added. The wheel has been weathered with some light brown to simulate a worn look. Co driver has been fitted into the seat and I will start to detail it with some light and medium grey washes. The rear wing base has been fitted and the top elements have been dry fitted. If you build this kit the wing is very flimsy. There are three injection marks on the thinnest element. The two tiny nubs that stick out of the wing fit against the wing base.
-
Welcome ... great idea for this car. Would Tamiya pink with a pearl clear coat work for the color?
-
Well done... Looks really good