rbarlow1
-
Posts
27 -
Joined
-
Last visited
Content Type
Profiles
Forums
Events
Gallery
Everything posted by rbarlow1
-
Absolutely beautiful work. I'd love to know more about how you created the fiberglass effect on the fuel tank and other parts if you wouldn't mind - very impressive!
-
Tamiya Porsche Carrera GT (updated January 14th)
rbarlow1 replied to rbarlow1's topic in WIP: Model Cars
Thanks! They're these ones: http://www.rbmotion.com/index.php?route=product/product&path=60_59&product_id=52 -
Tamiya Porsche Carrera GT (updated January 14th)
rbarlow1 replied to rbarlow1's topic in WIP: Model Cars
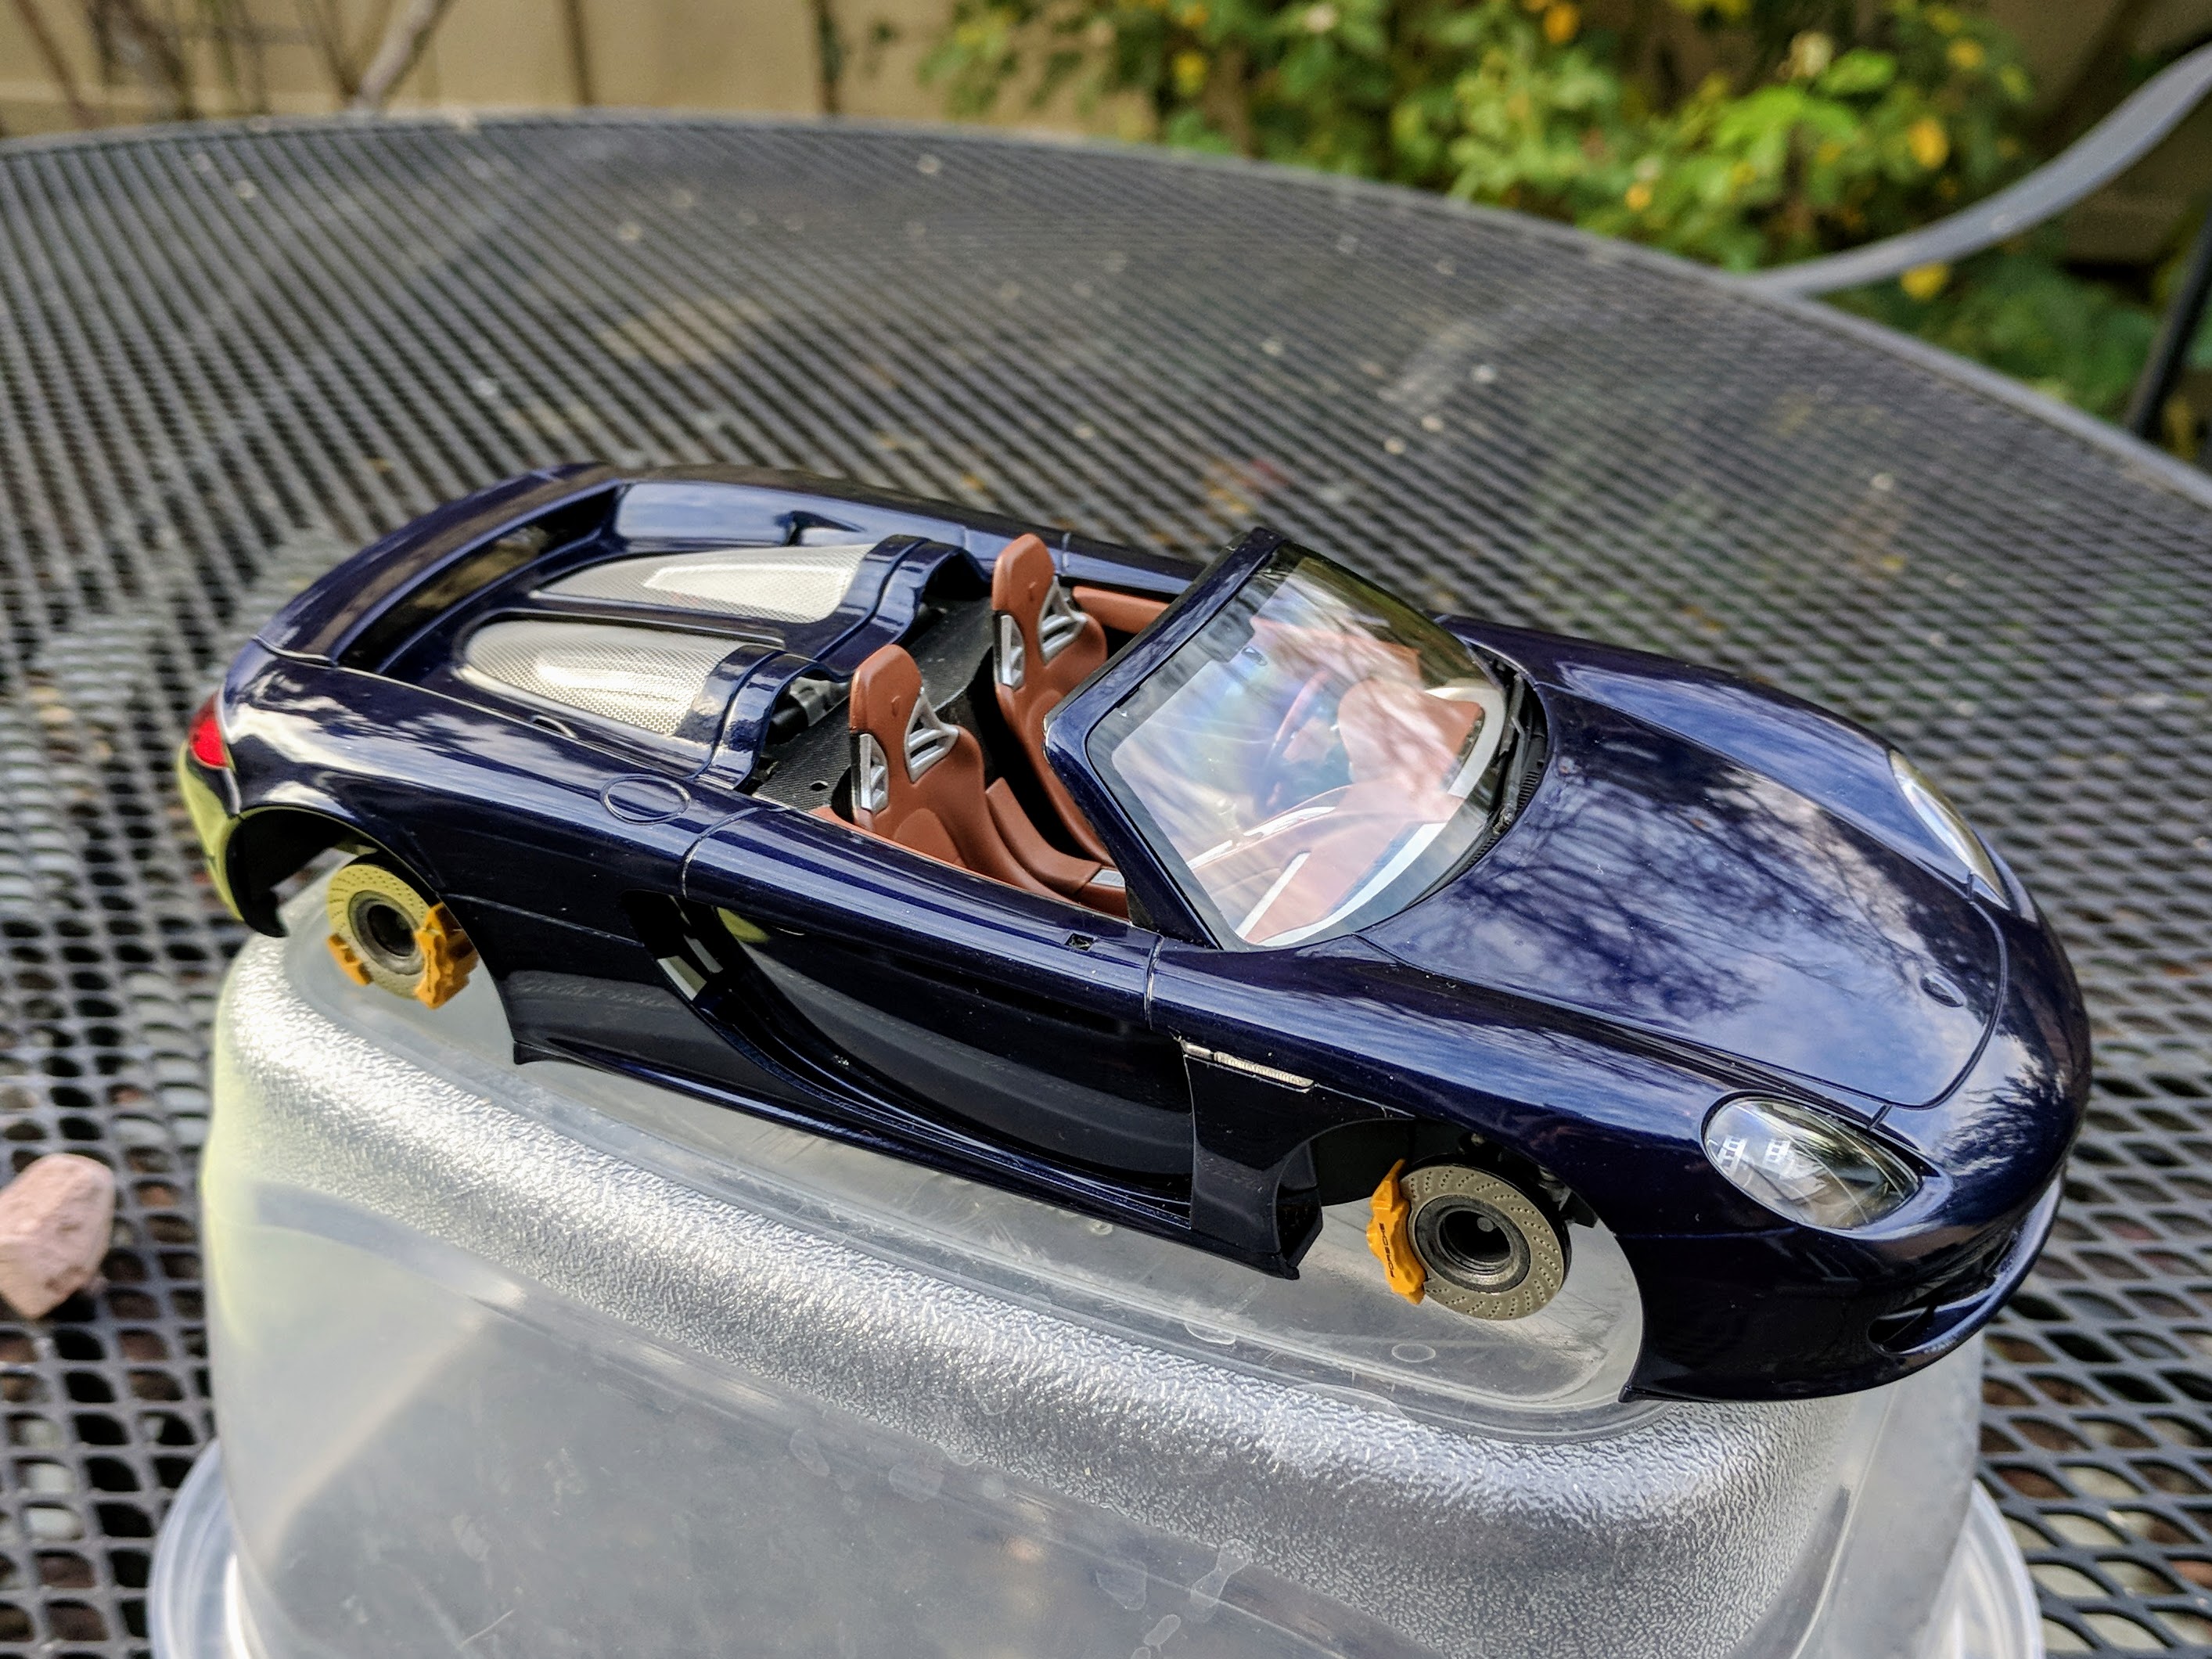
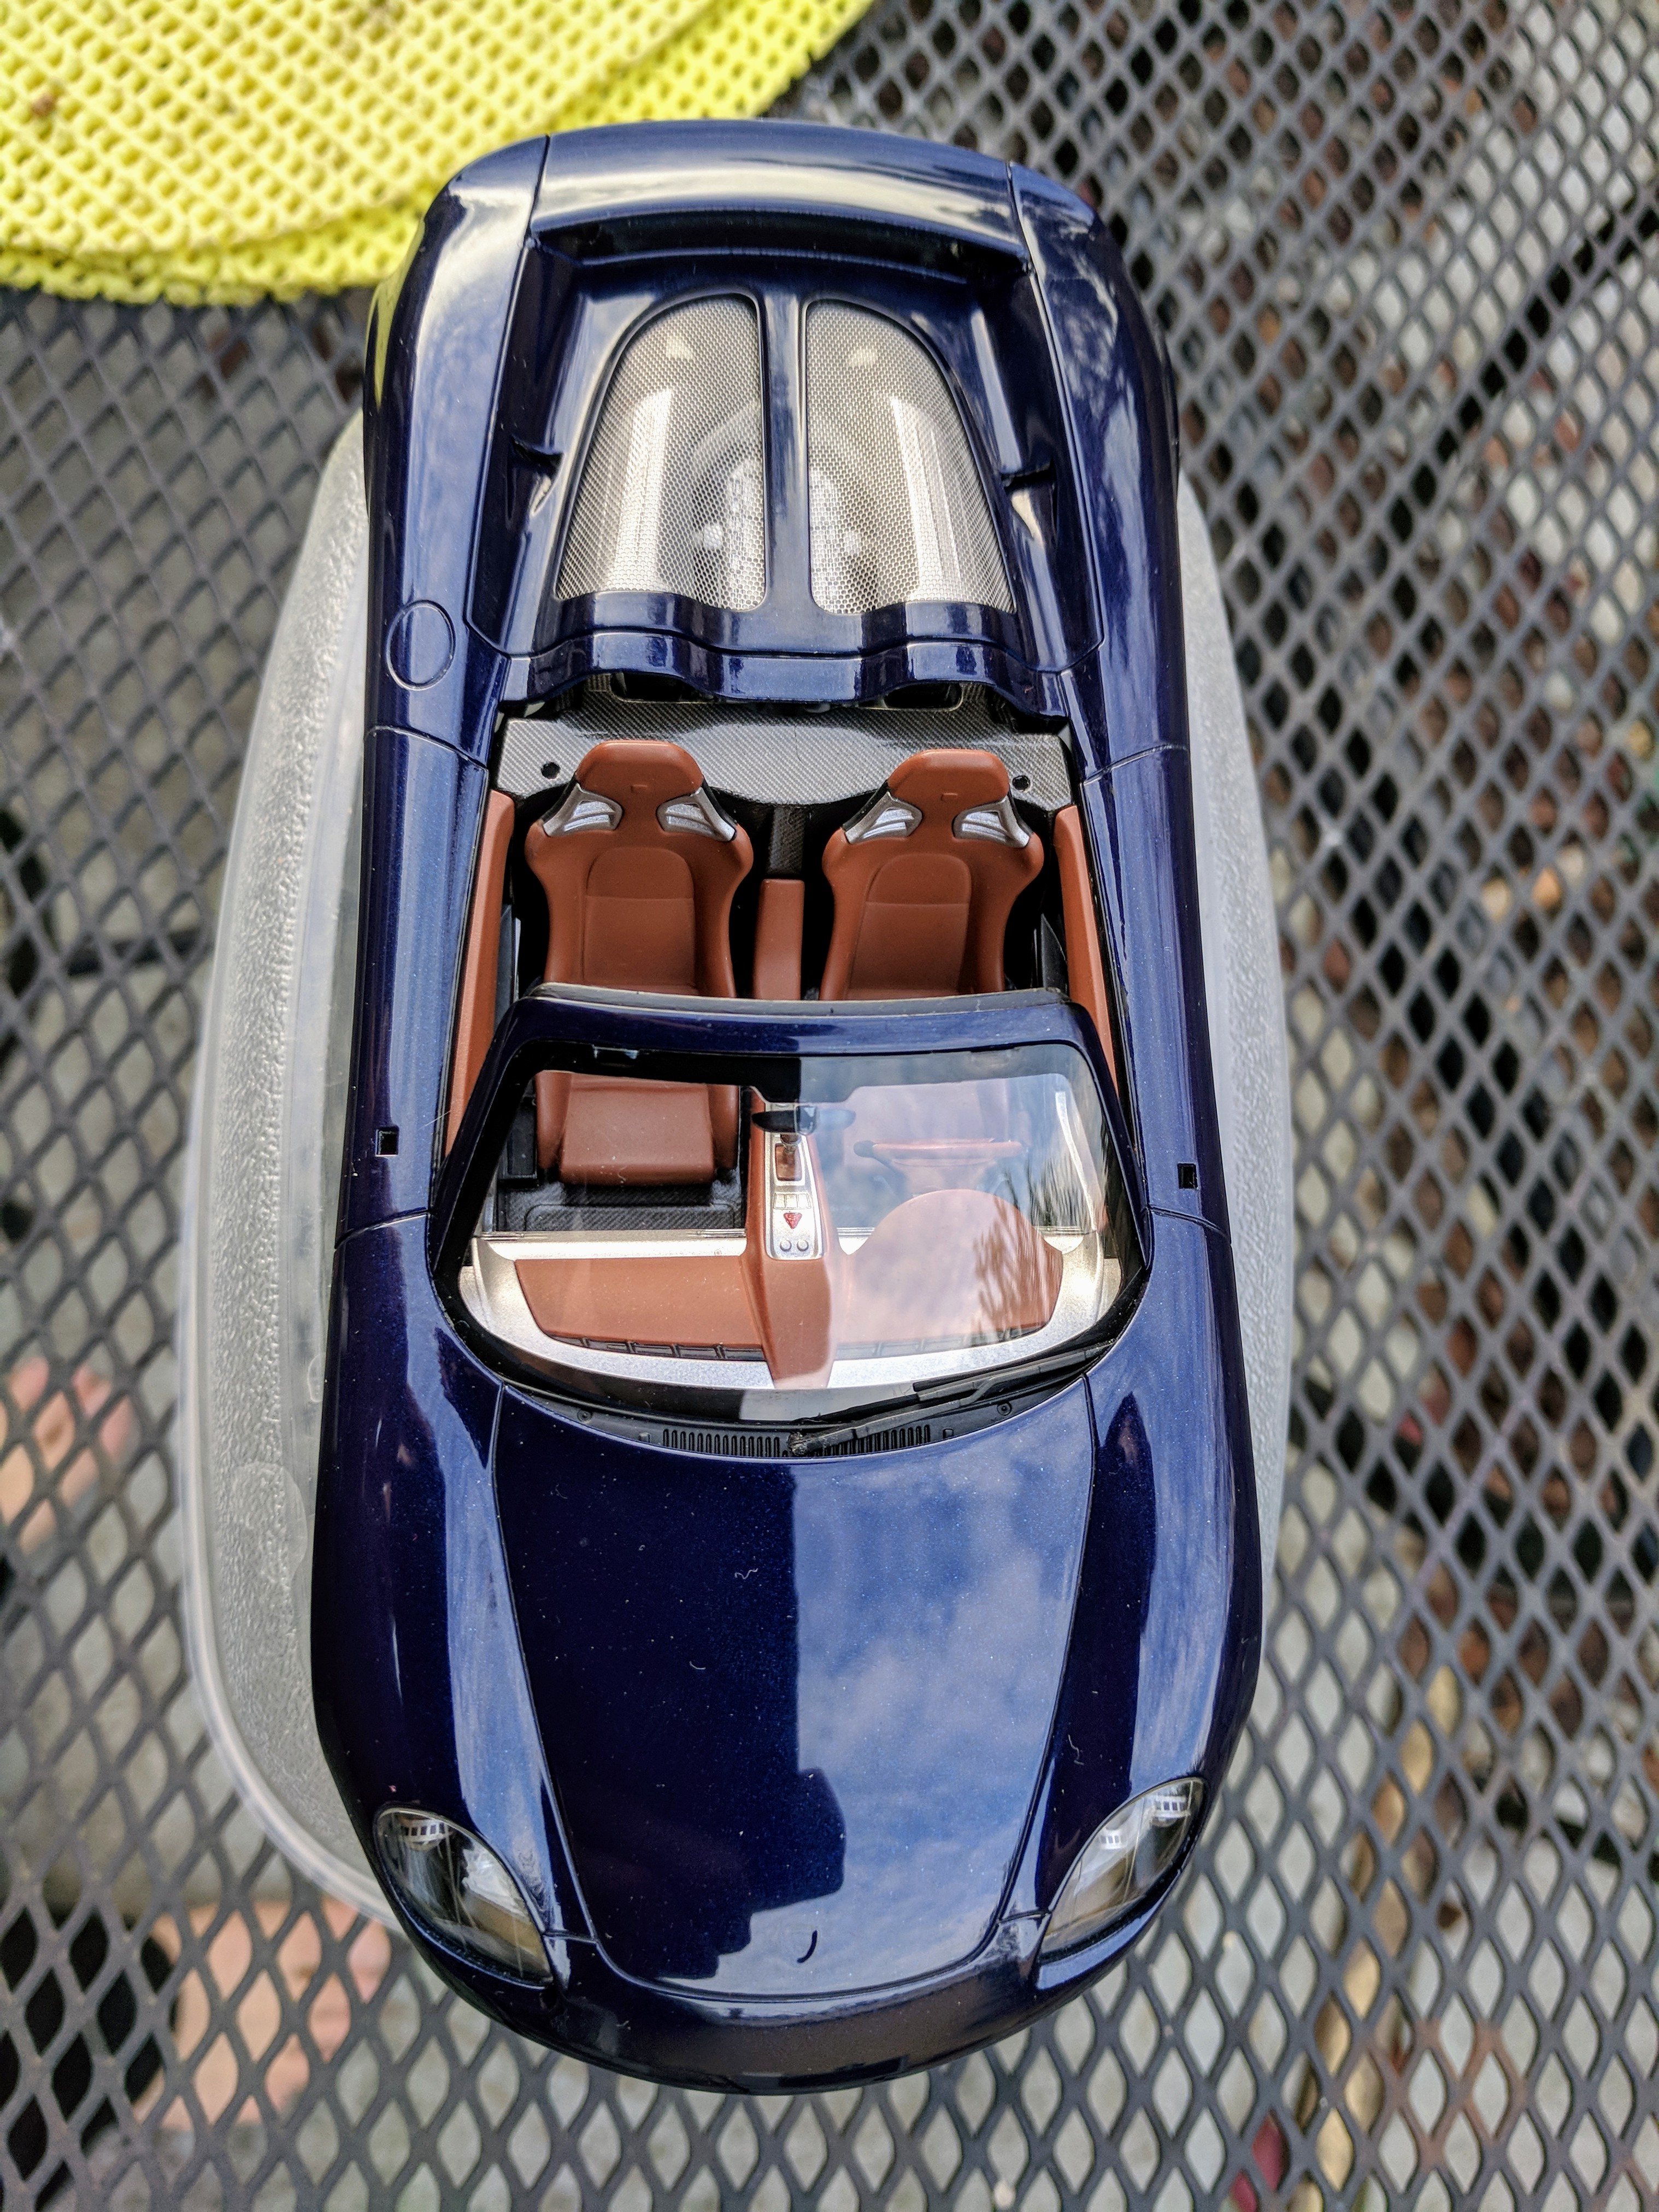
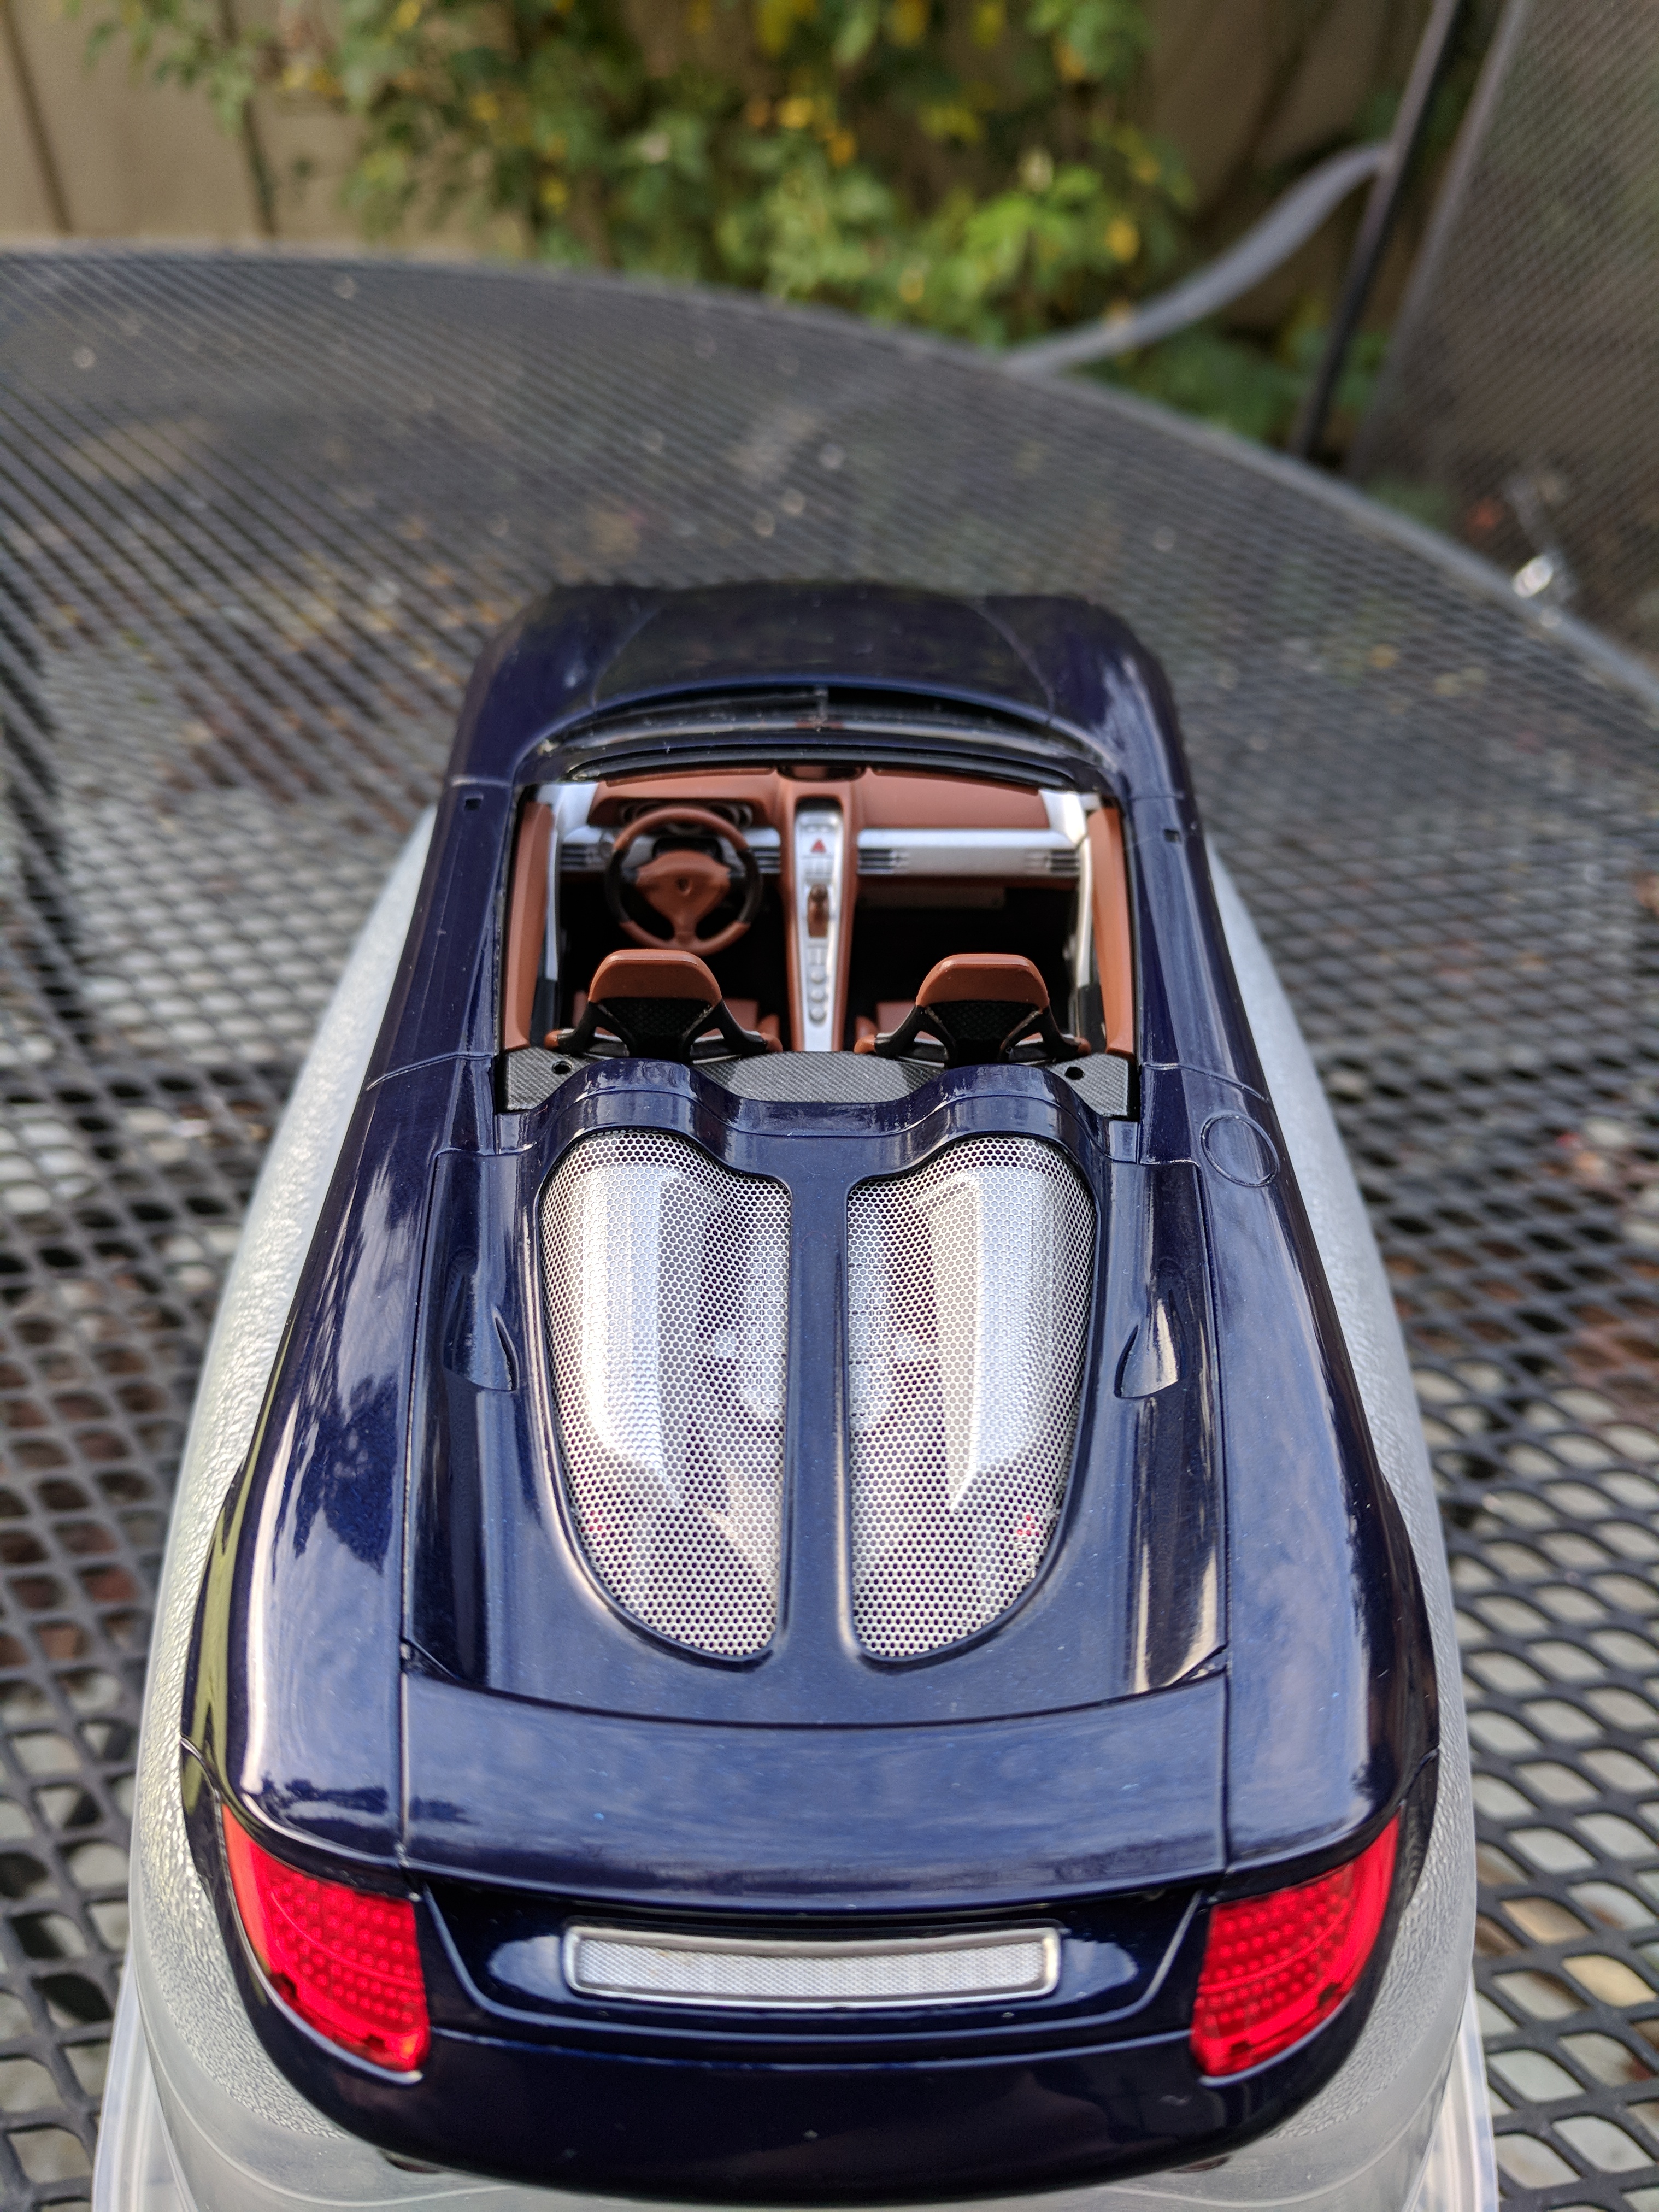
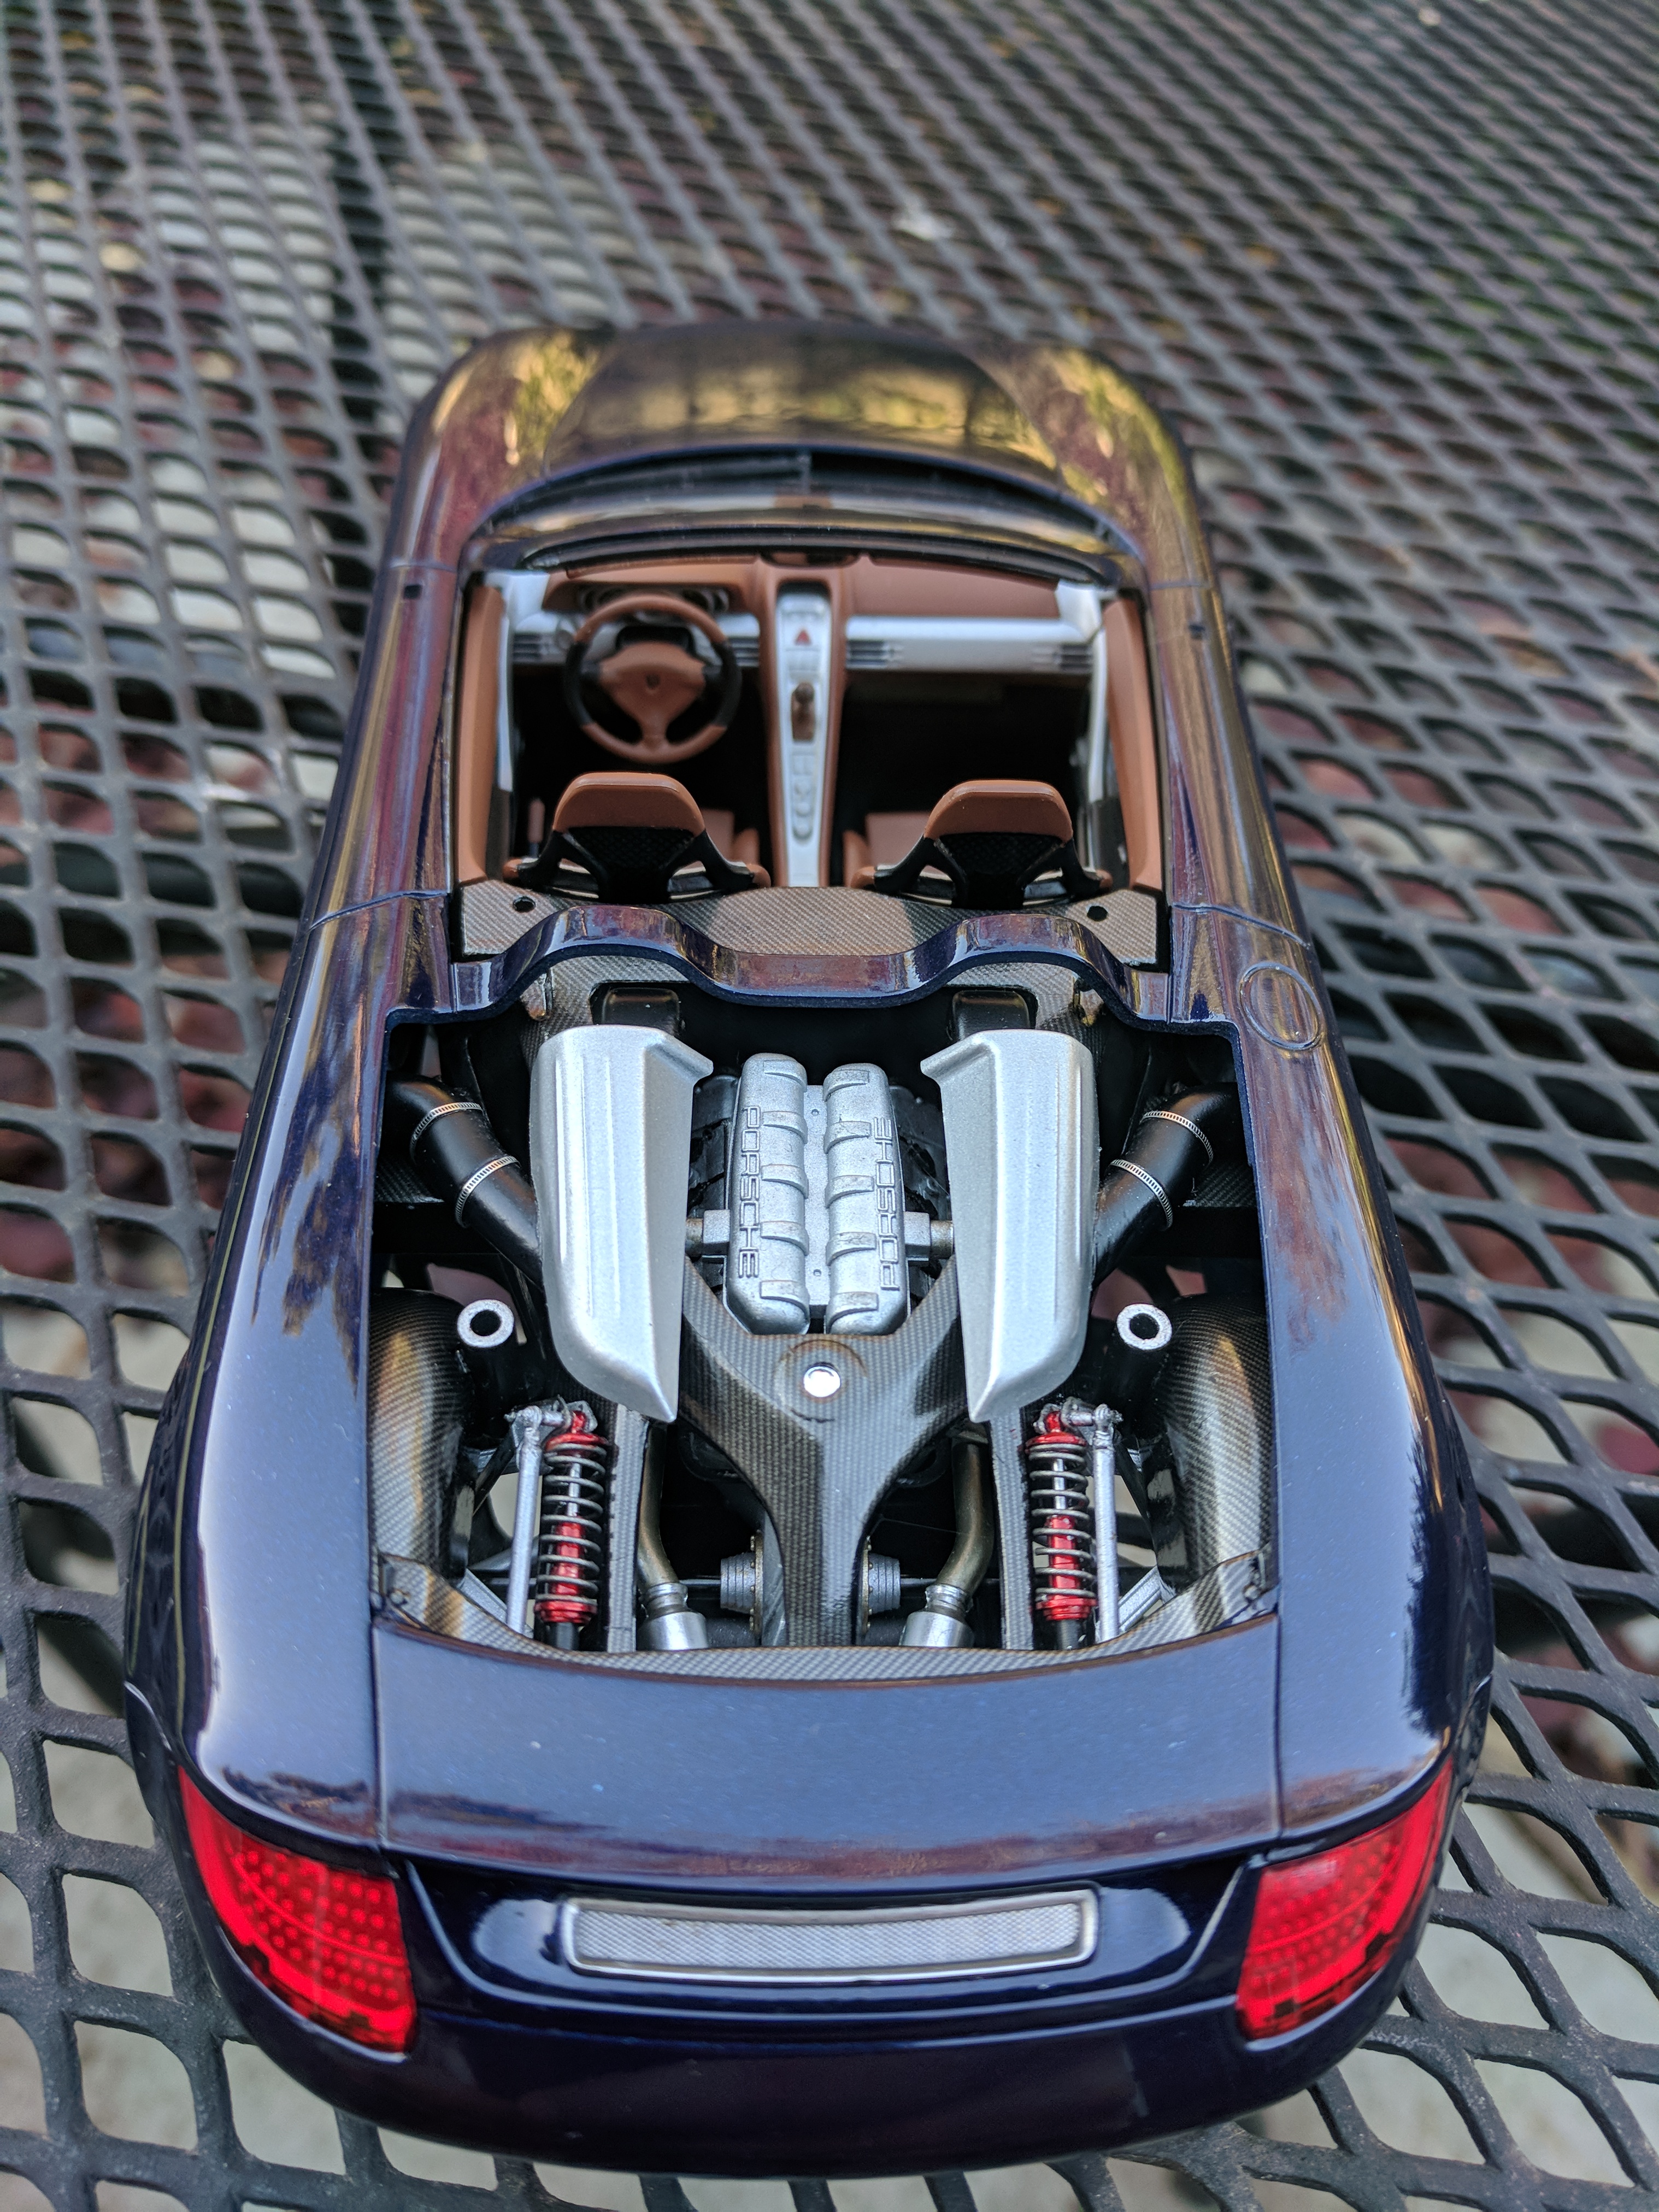
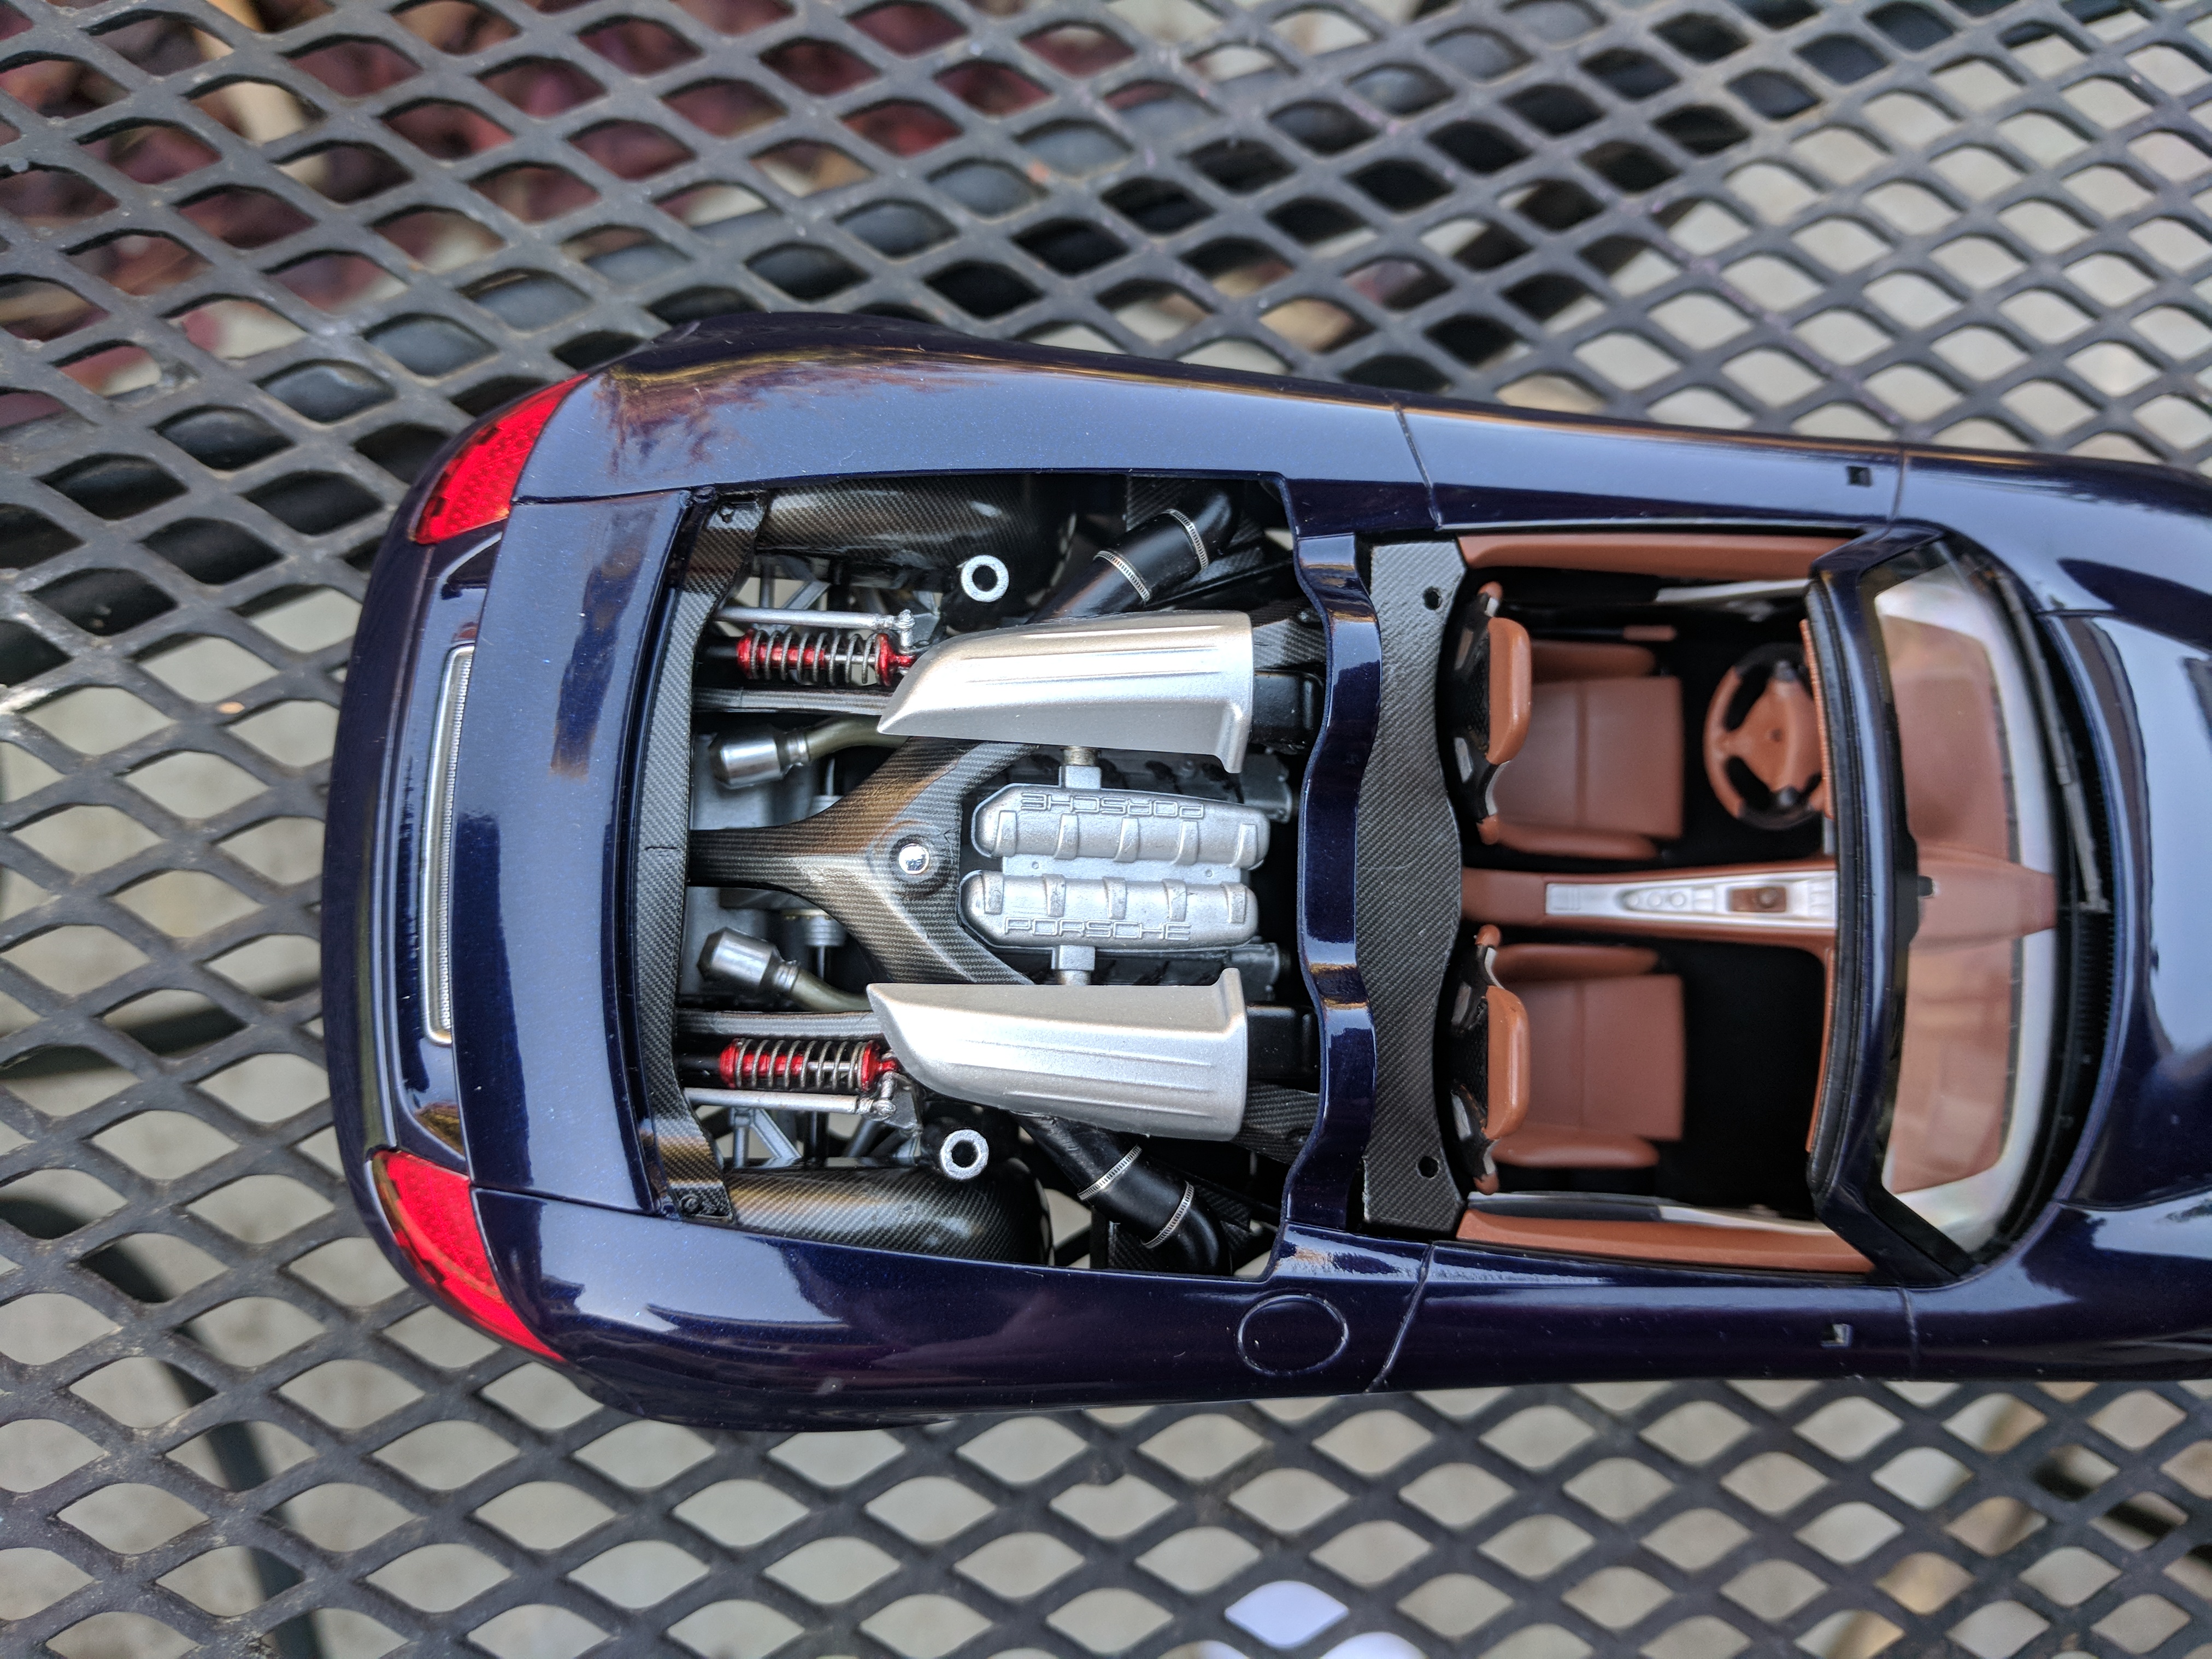
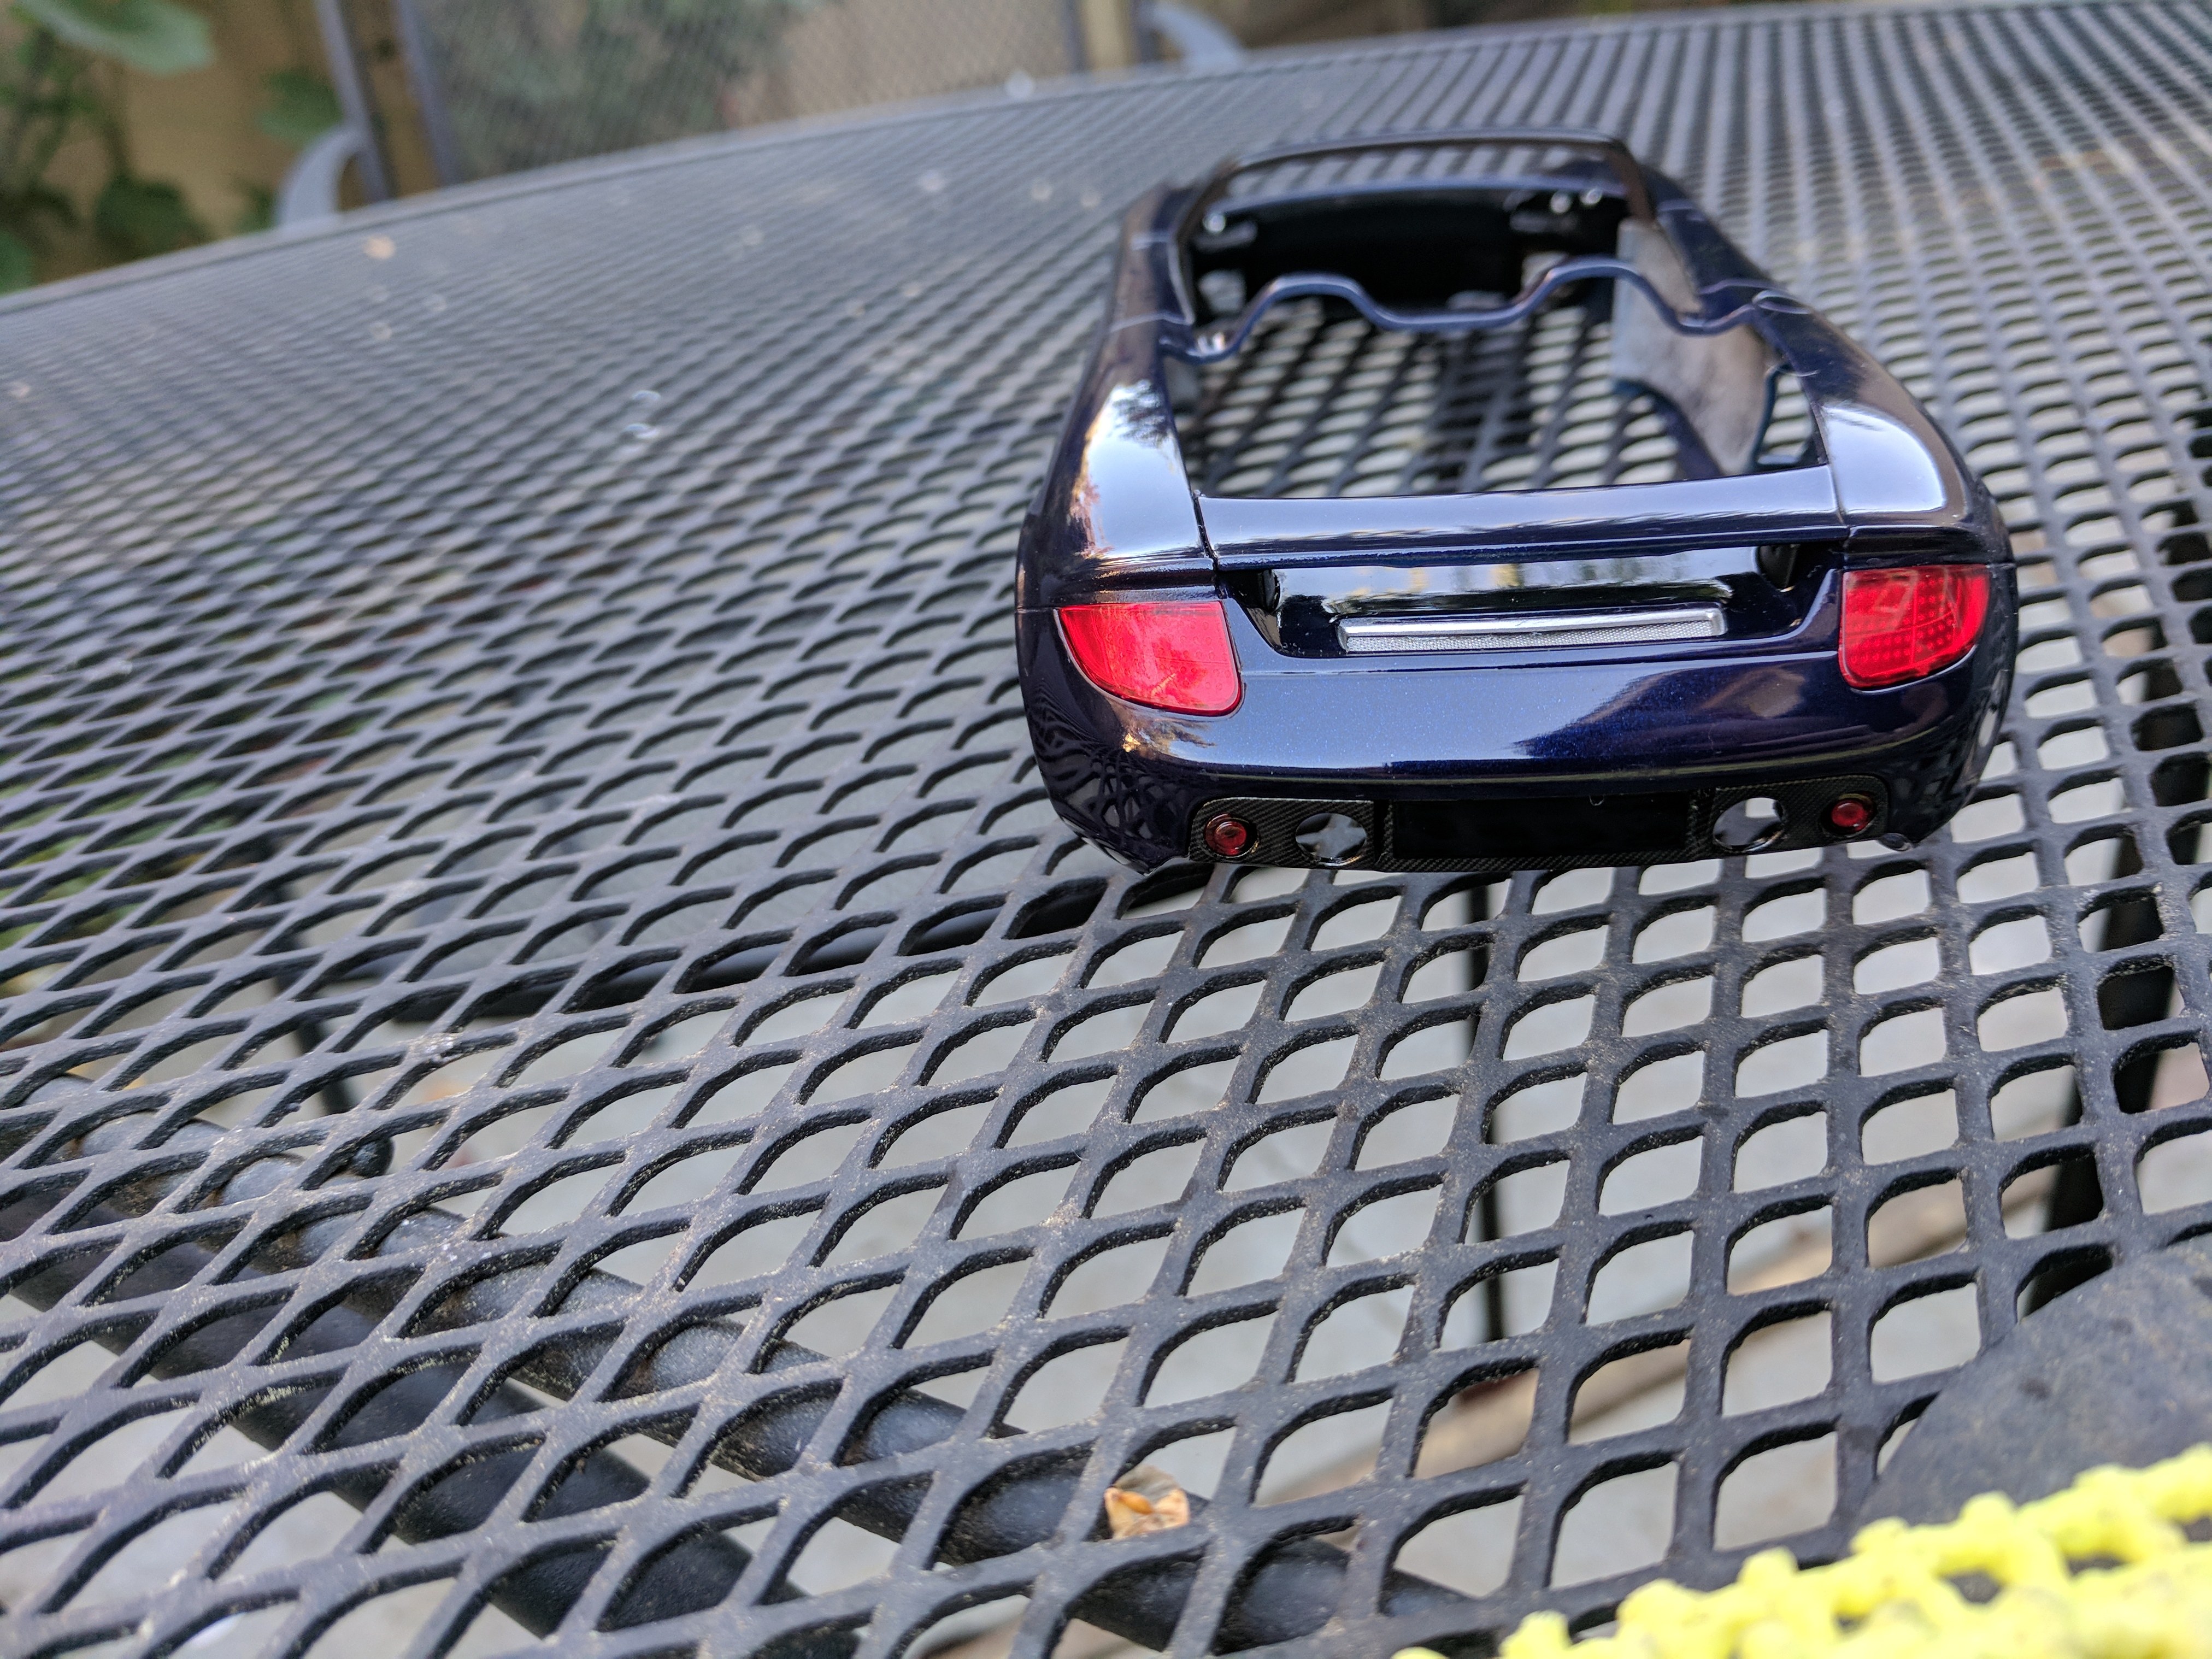
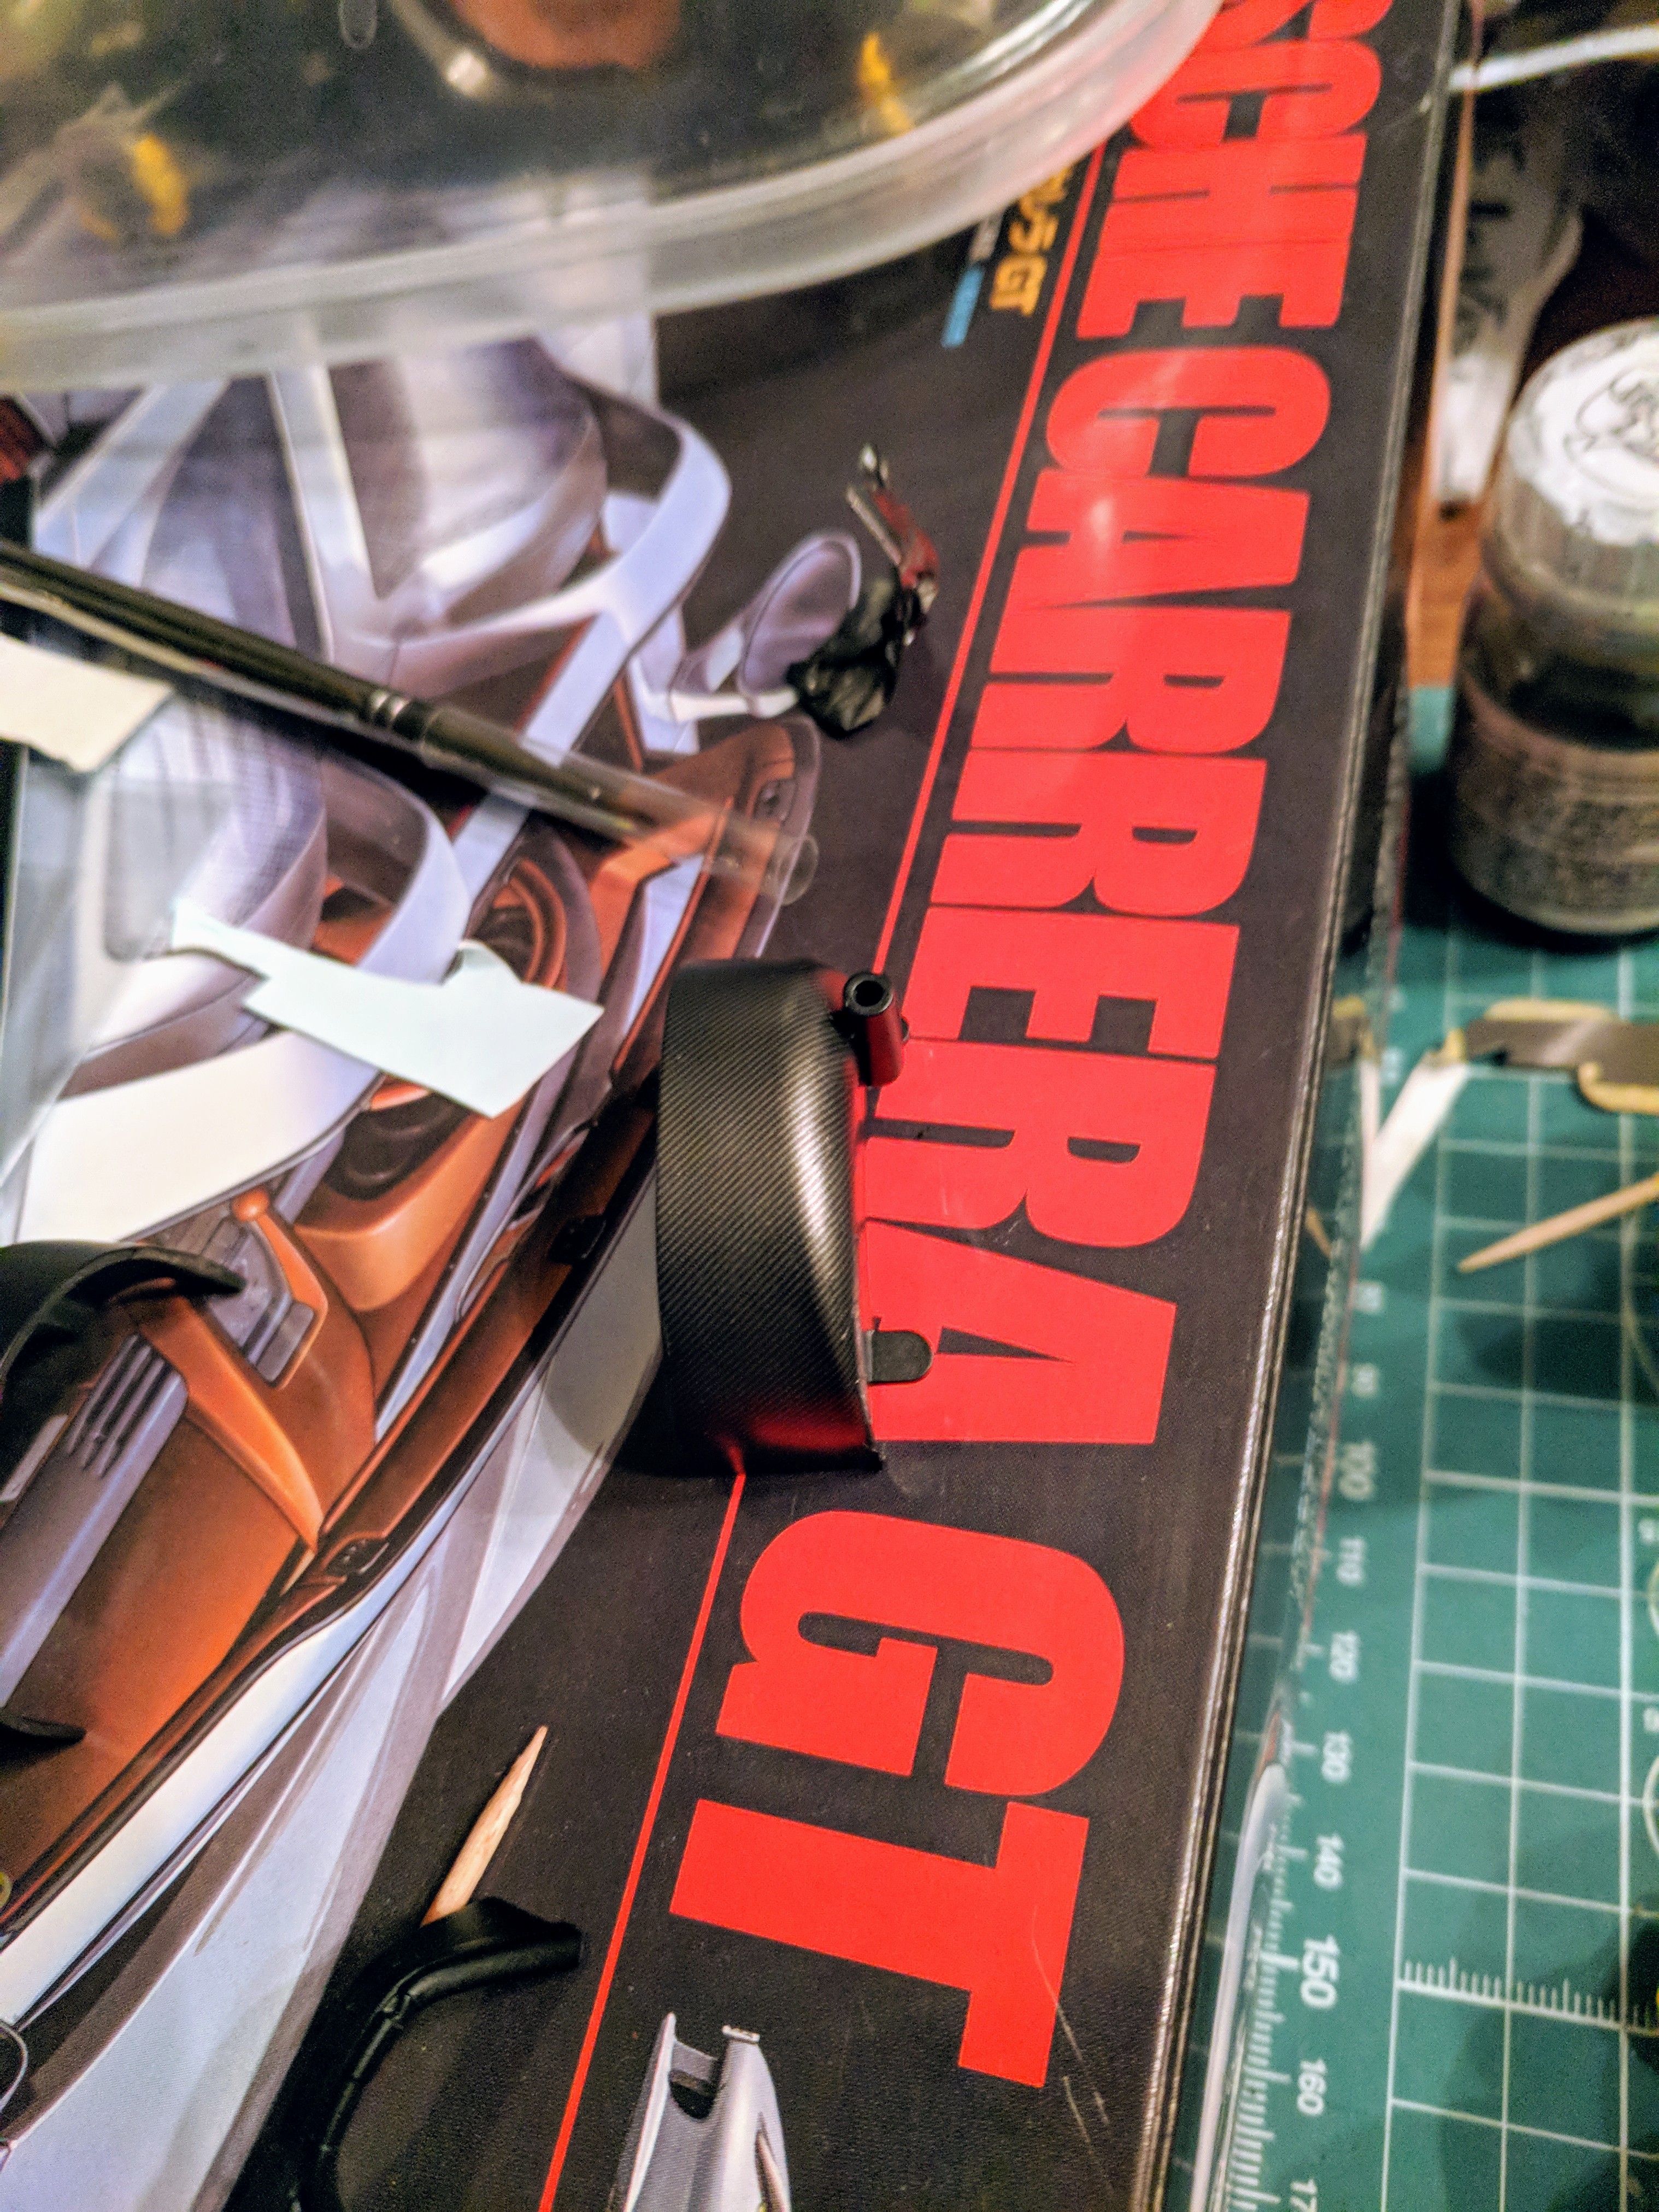
Got around to doing some new work the past week after spending the previous little while redoing the shocks more cleanly. Started work on the rear engine hatch, first molding the hexagonal mesh for it, then finishing the underside, then installing. Along the way, the mesh slipped through the hold and chipped the paint finish on the top quite badly, so I ended up stripping and repainting it. Then painting and carbon fibering the "inside", and today installing the mesh. Once installed, the lid is so tight, I don't see how I'm going to be able to get it to open and close without damaging the delicate hinge mechanism, so I'm considering removing the hinges altogether and just removing the hood when I want to display the internals. We'll see what happens. Just about finished: time for wheels, then rear windshield, and finally the baseplate under the car, and I'll be done. I've taken some more not the greatest photos and attached them here. I'll take some nice properly staged ones for "under glass".
-
Tamiya Porsche Carrera GT (updated January 14th)
rbarlow1 replied to rbarlow1's topic in WIP: Model Cars
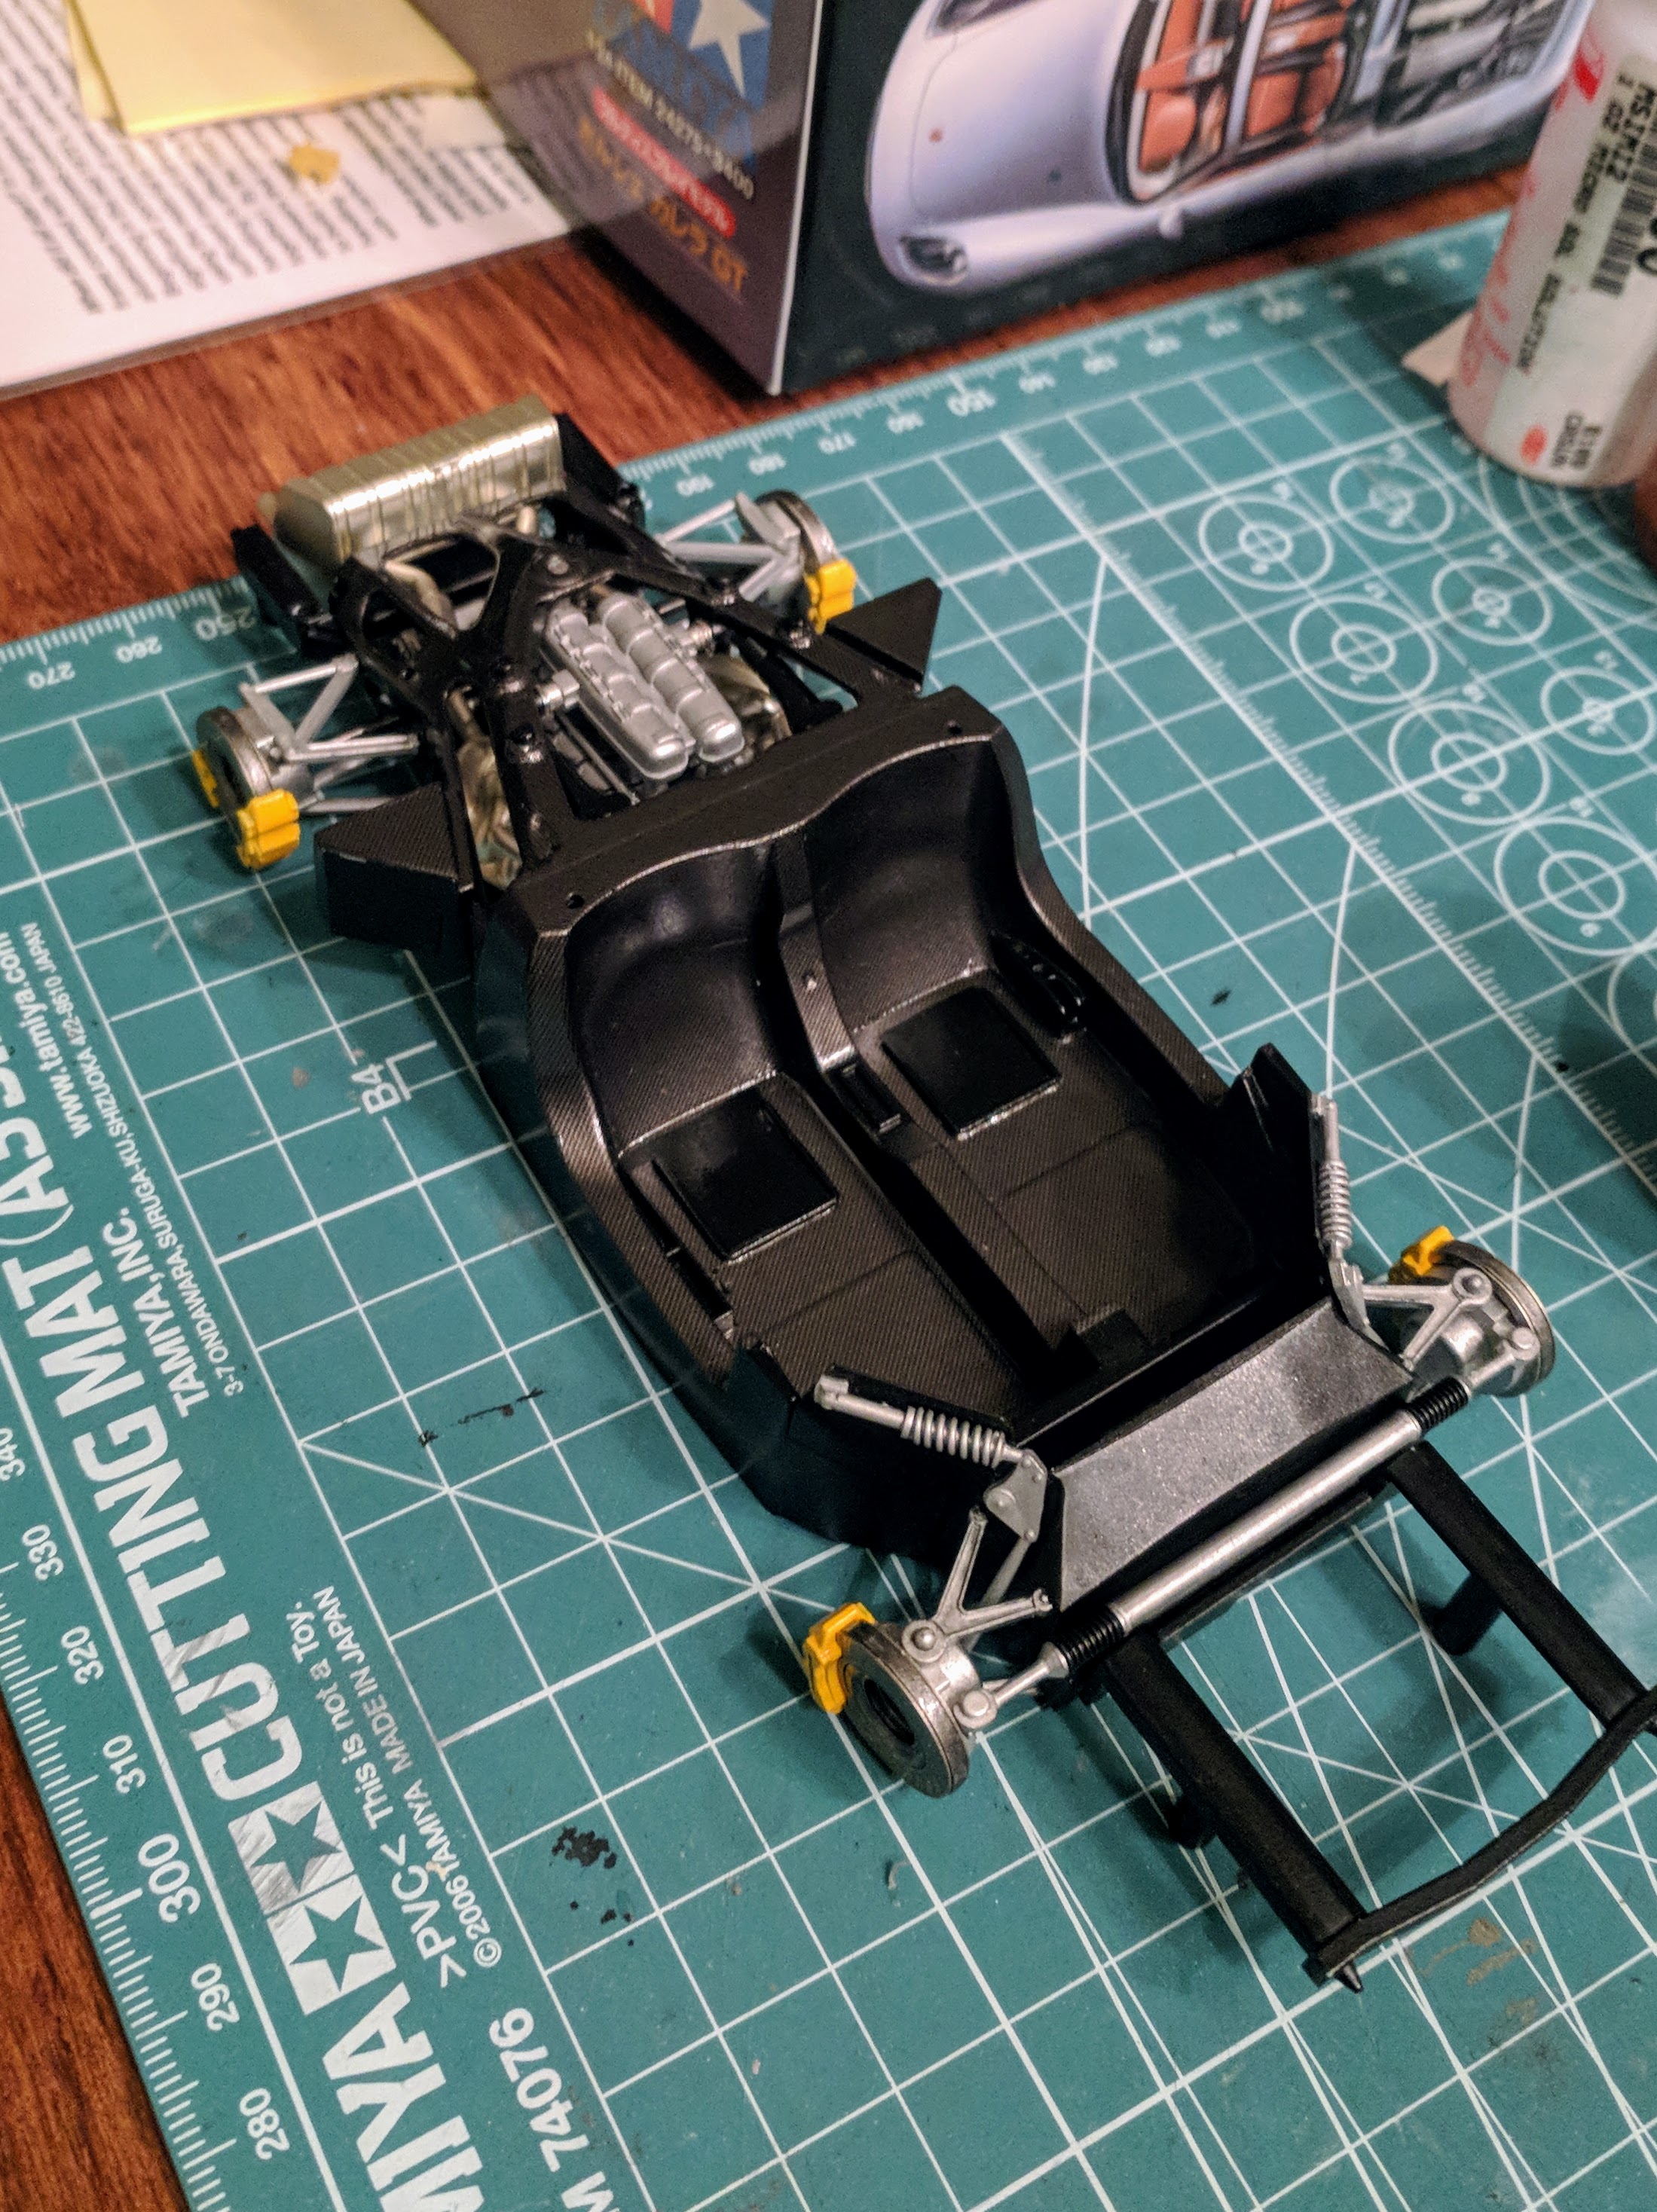
Some progress pics. Shock assembly has been installed, so has the windshield. Body is now mounted on the frame. Pretty excited about how things are looking so far.
-
Very cool. With the body mods, the shape is (appropriately) a bit reminiscent of a Viper.
-
Tamiya Porsche Carrera GT (updated January 14th)
rbarlow1 replied to rbarlow1's topic in WIP: Model Cars
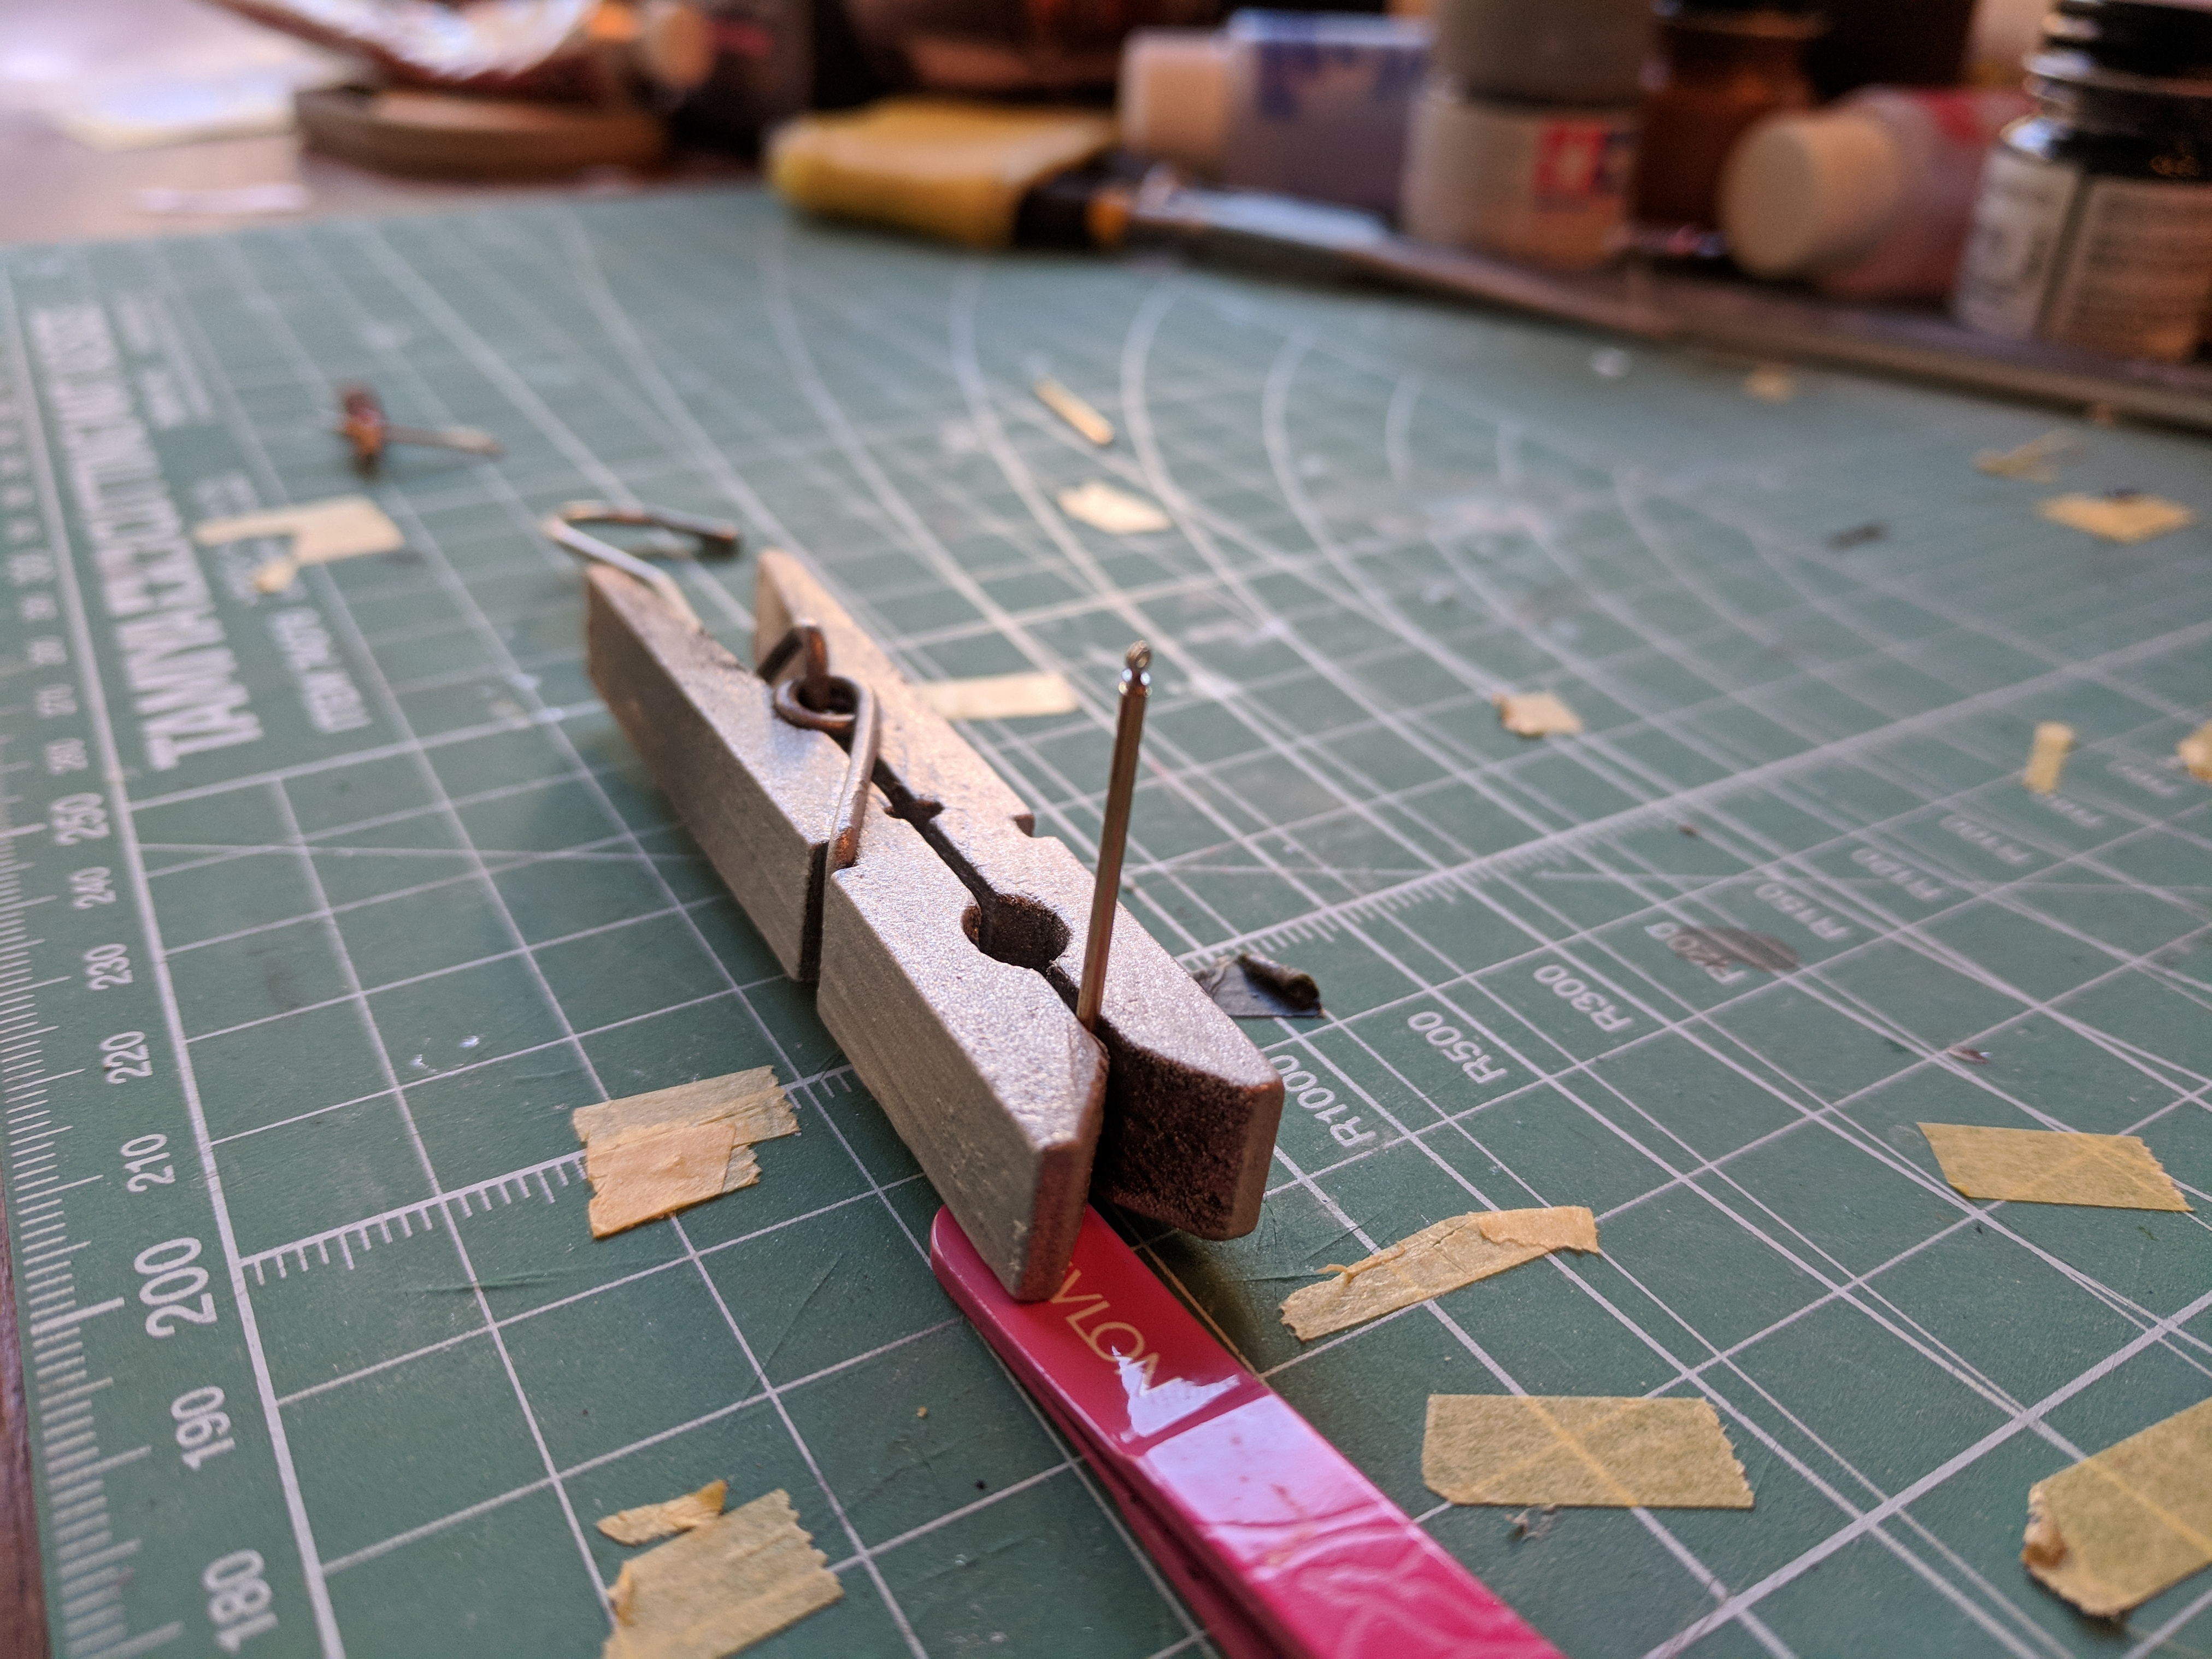
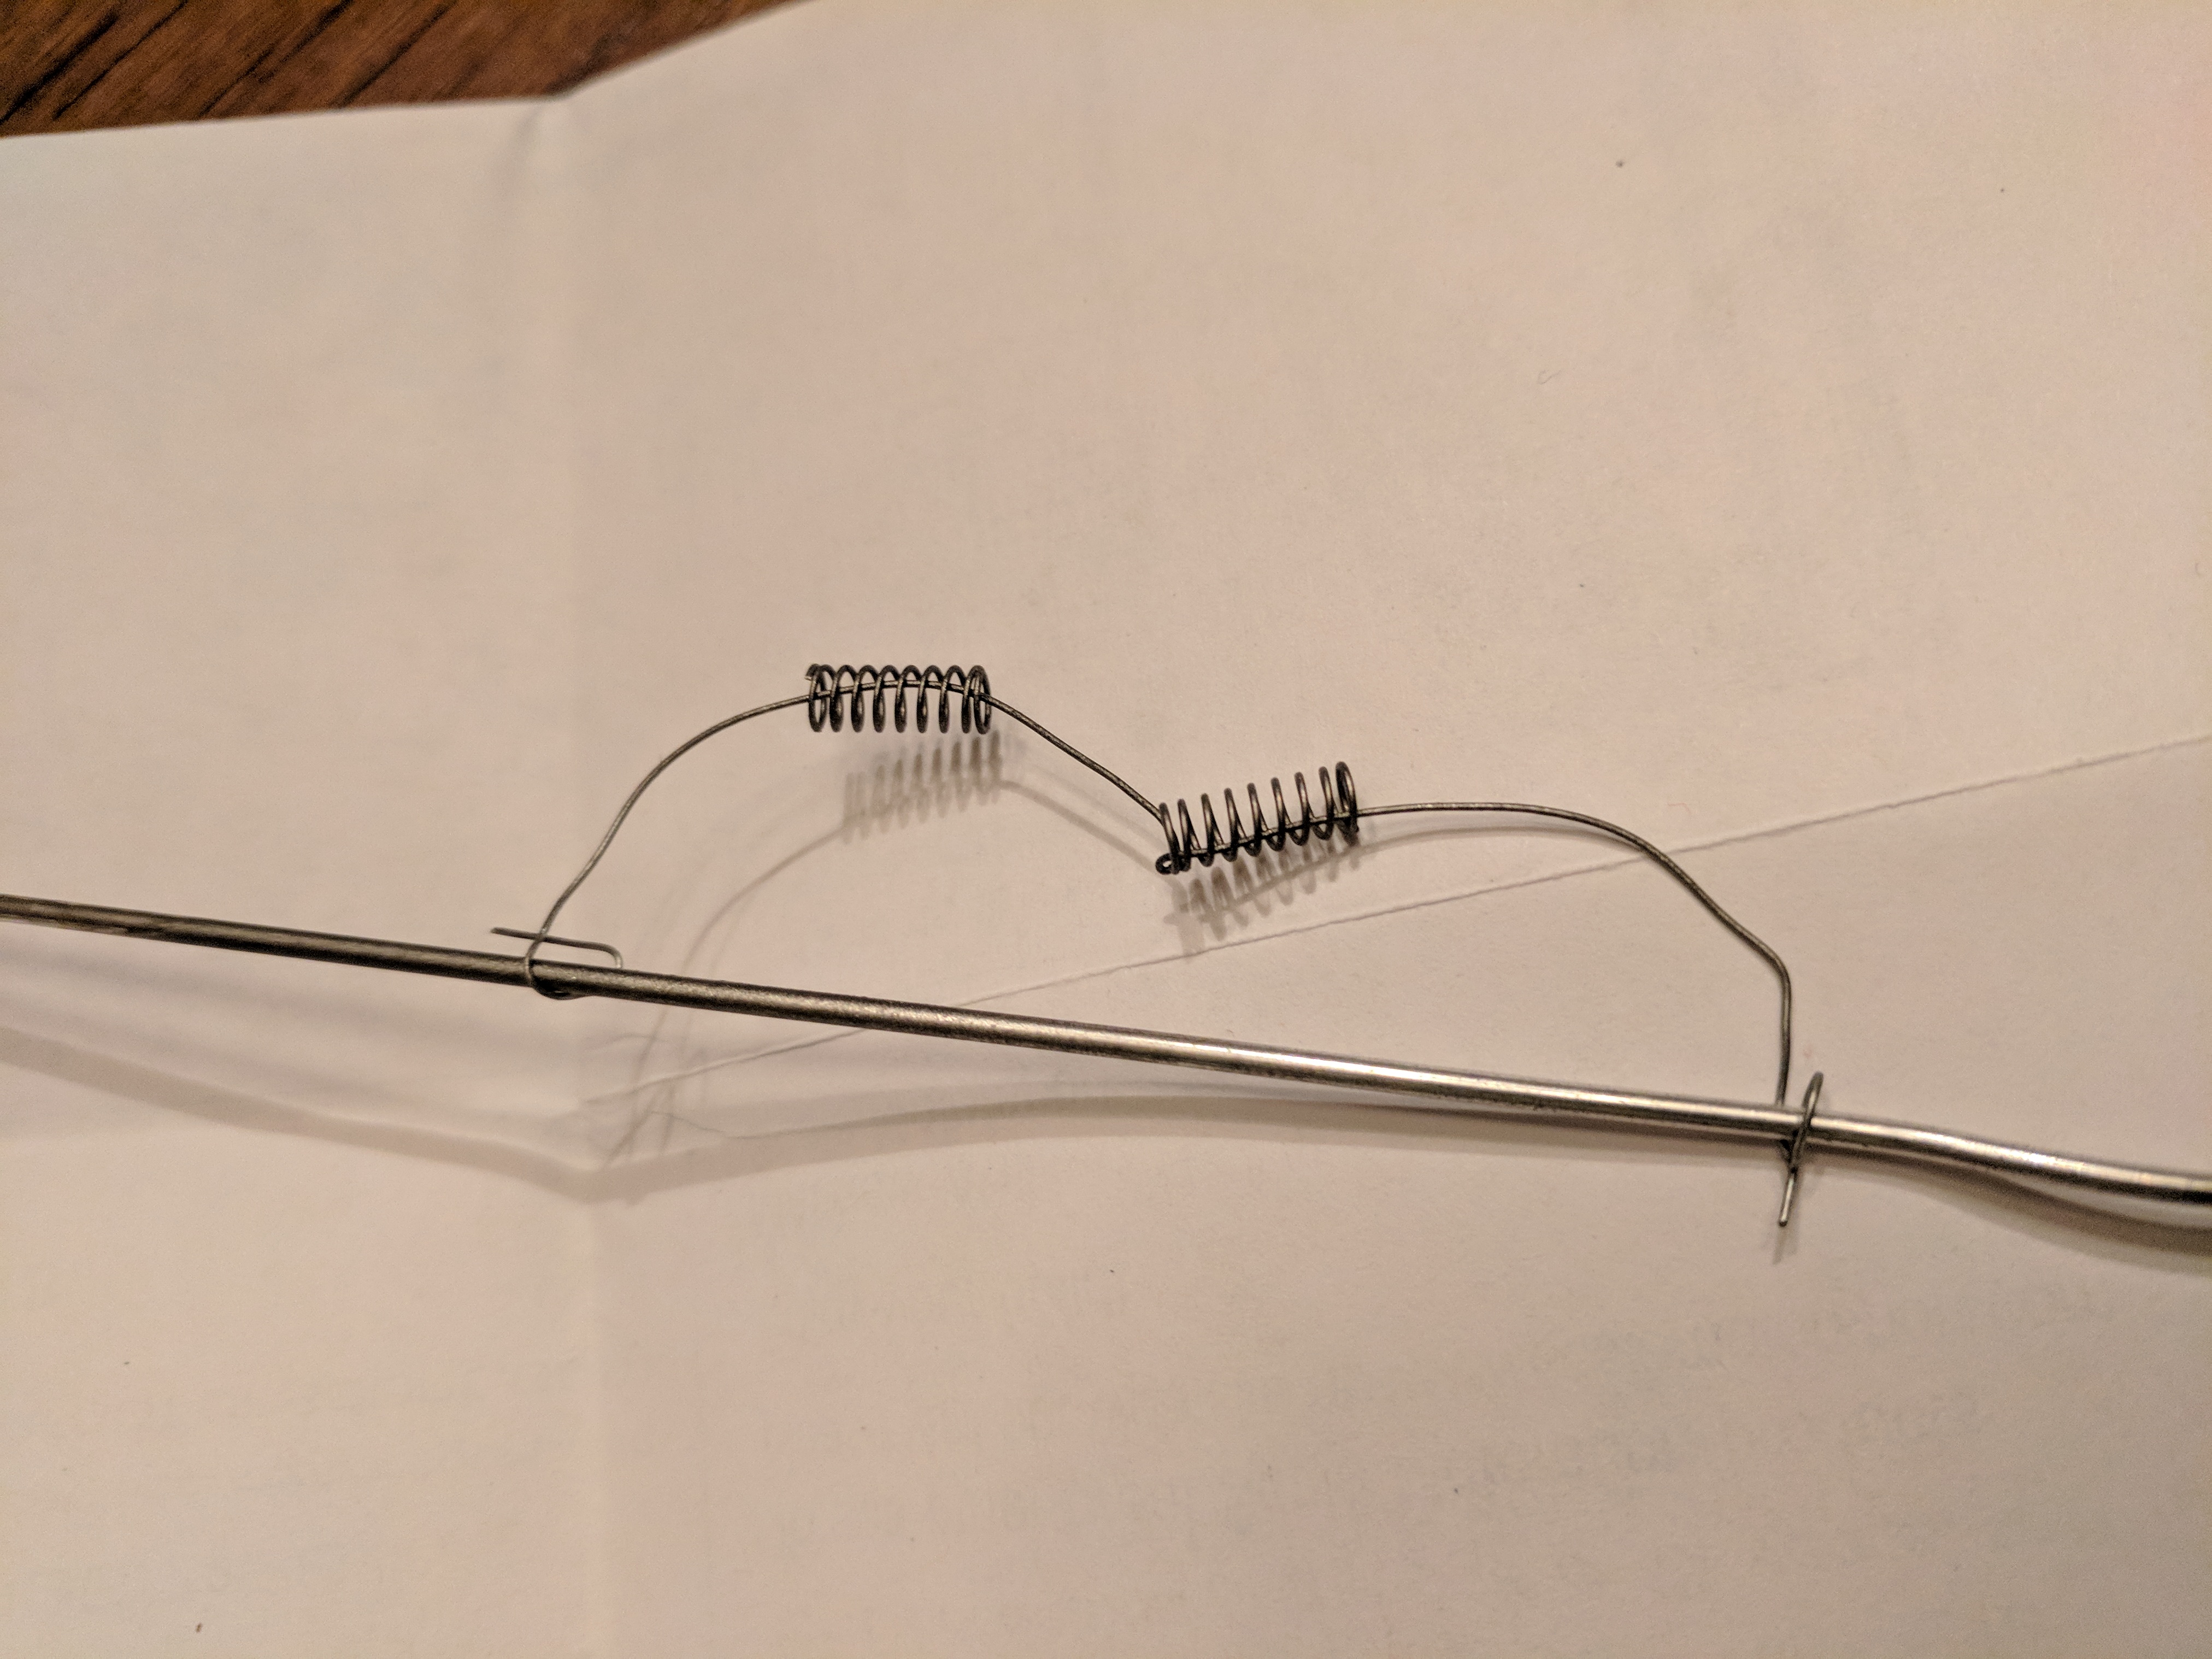
Brief update: Started working on putting together the rear shock system using photoetch and RBMotion parts. Coming together slowly, it's taken some thought to figure out how to get it all in place since it needs to attach in three places at once, and fit, and I'd like it to move if possible. The photoetch for the rear springs was broken on the tree. Probably my fault somewhere along the line. I'm robbing the parts from the front to use in the rear since they won't be seen anyways. That means the shape of the heim joint linkage thing is slightly incorrect, but I'm not too concerned about it. Should have it all installed by Tuesday, and then it's time to drop the body on top and start the final stages of assembly. Mixal: I've just used tamiya acrylic clear red on the shocks. A bit rubbed off while assembling, but I just touched it up through the springs with a tiny brush and it looks good as new.
-
That color is incredible!
-
Really beautiful work!
-
Very cool and a wonderful start. Would you mind posting a pic (no pressure of course) of how they compare in terms of size with a 1/24 or 1/25 kit? Just very curious about these.
-
Tamiya Porsche Carrera GT (updated January 14th)
rbarlow1 replied to rbarlow1's topic in WIP: Model Cars
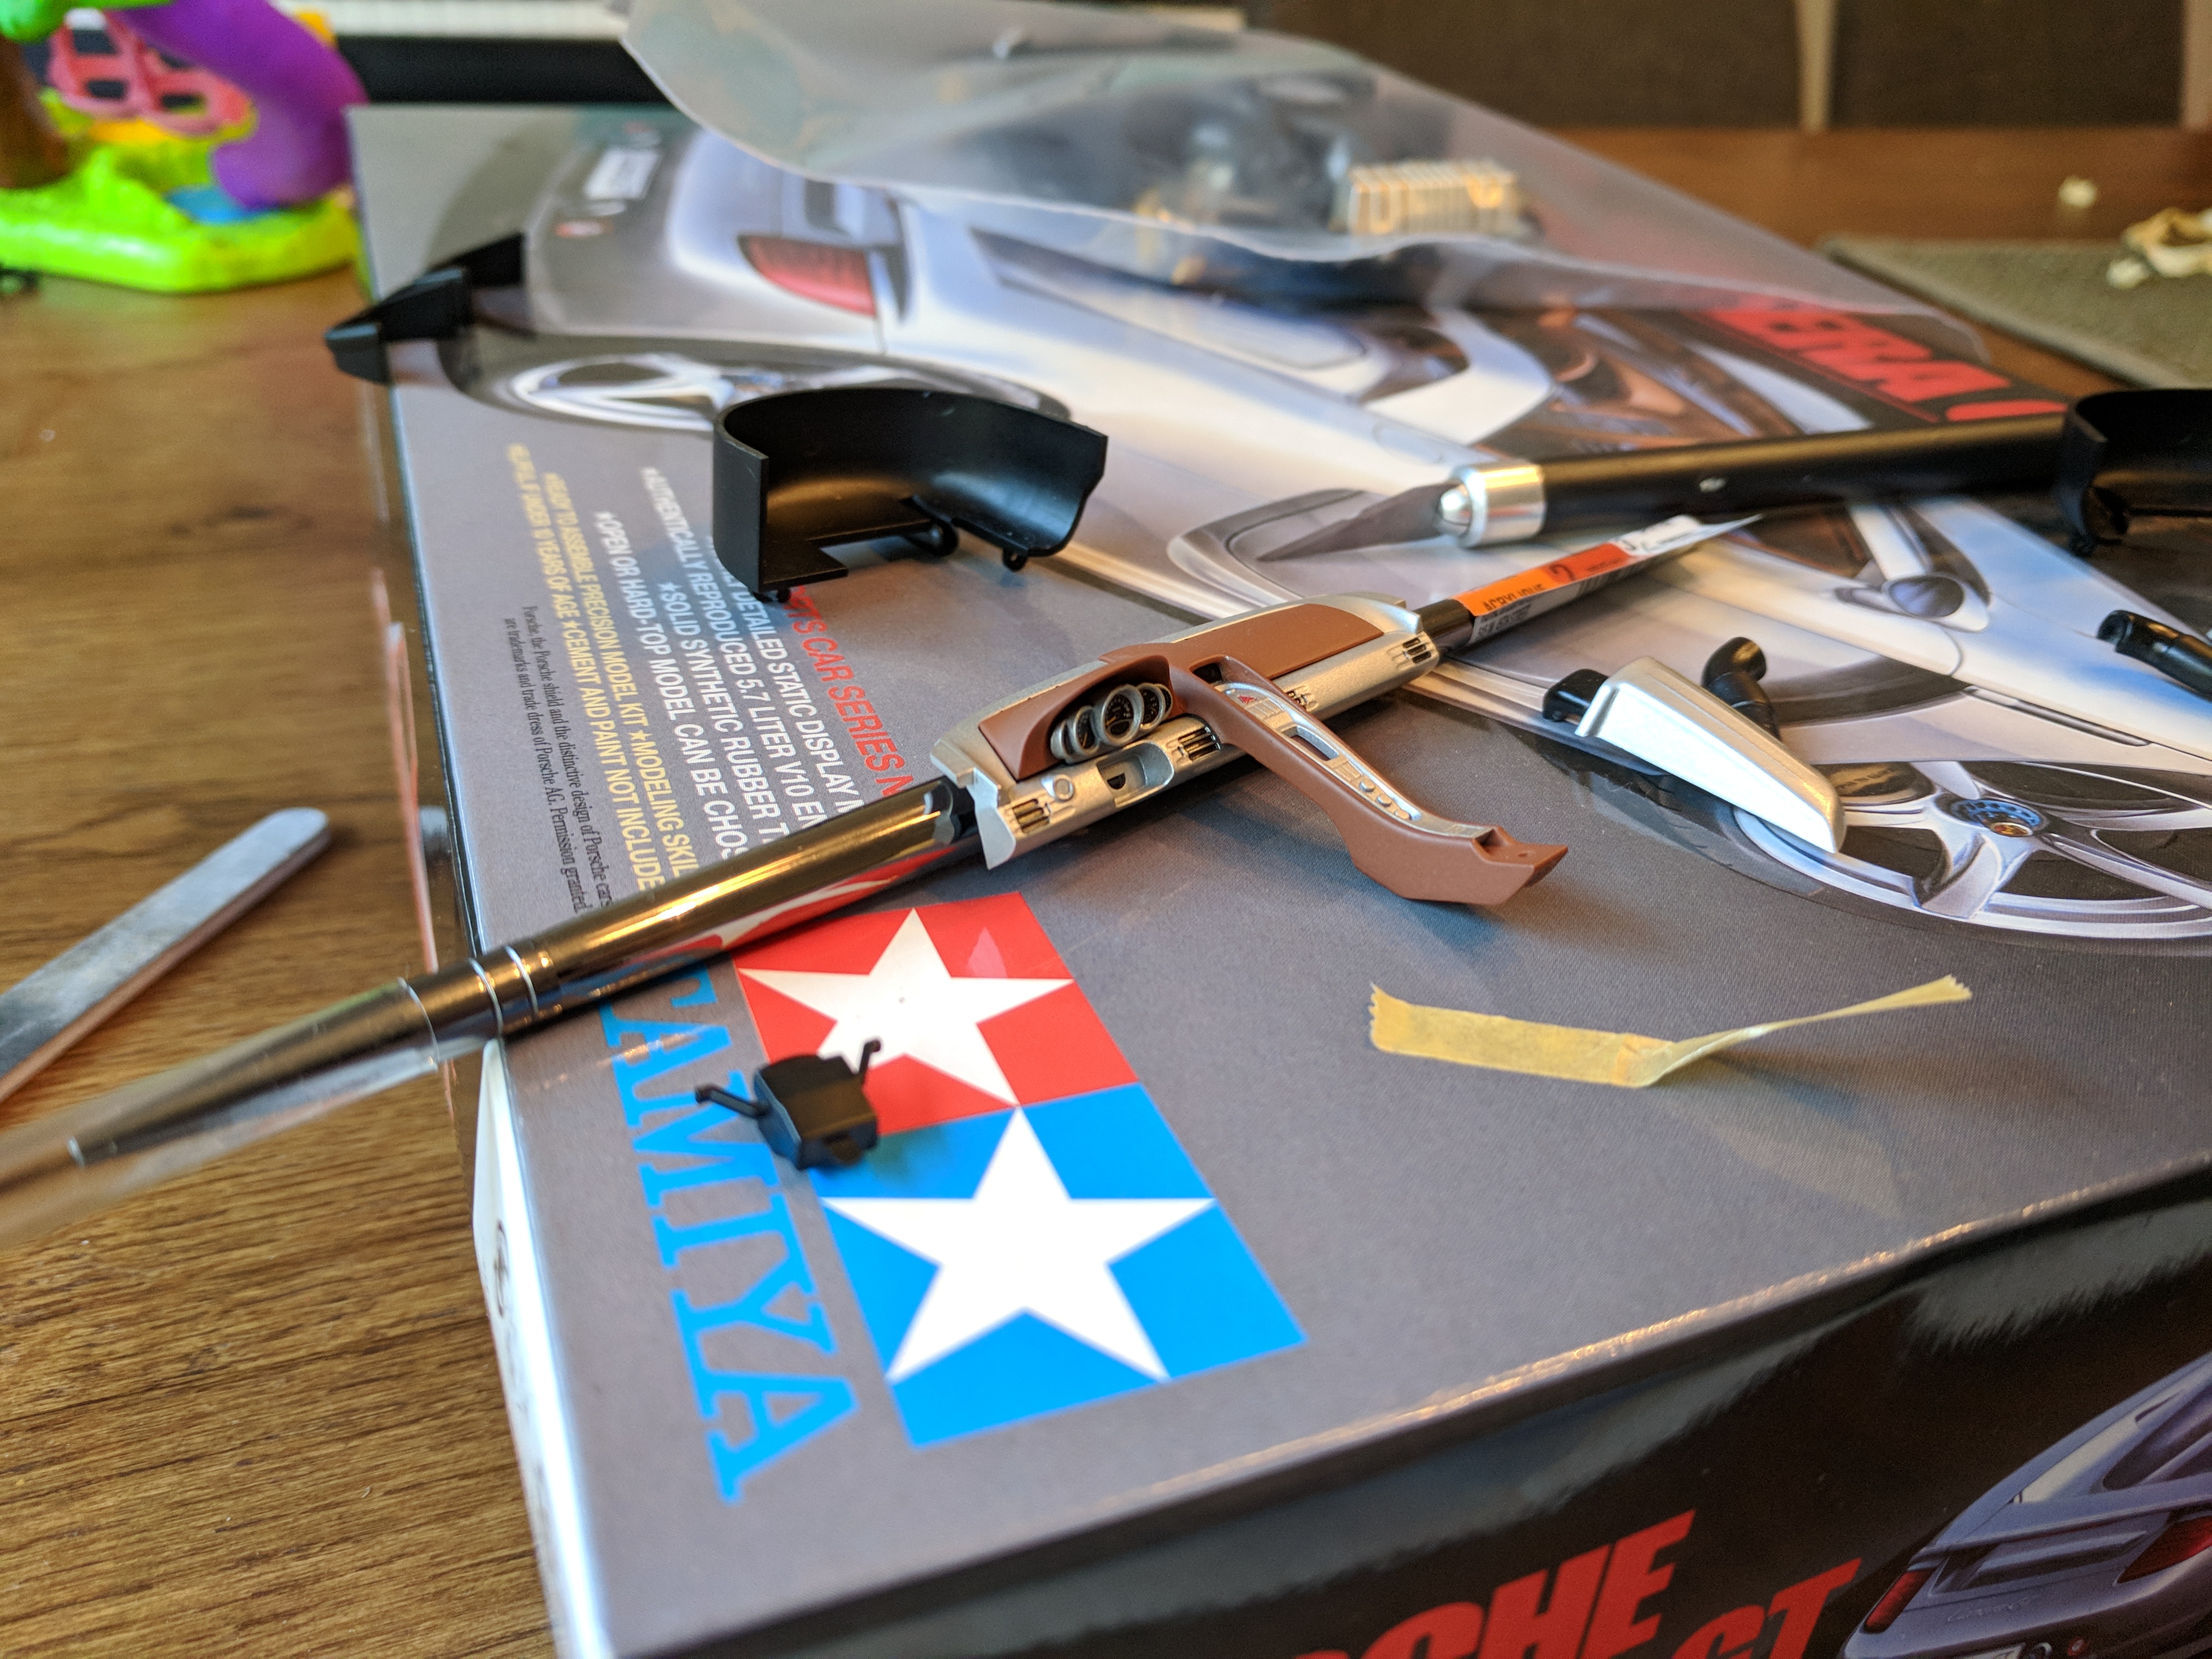
Thanks guys, much appreciated. A bit more progress tonight. Assembled the doors and painted the RB Motion shocks, excited to get them put together and installed.
-
Great color! Looks good.
-
Starting to come together, like some others said, that's some really nice tapework and finishing.
-
Sometimes these things just work out when we focus on just building the BLAH_BLAH_BLAH_BLAH things. This is a really cool combination of colors and finishes.
-
Amazing amount of work here, look forward to following.
-
Tamiya Porsche Carrera GT (updated January 14th)
rbarlow1 replied to rbarlow1's topic in WIP: Model Cars
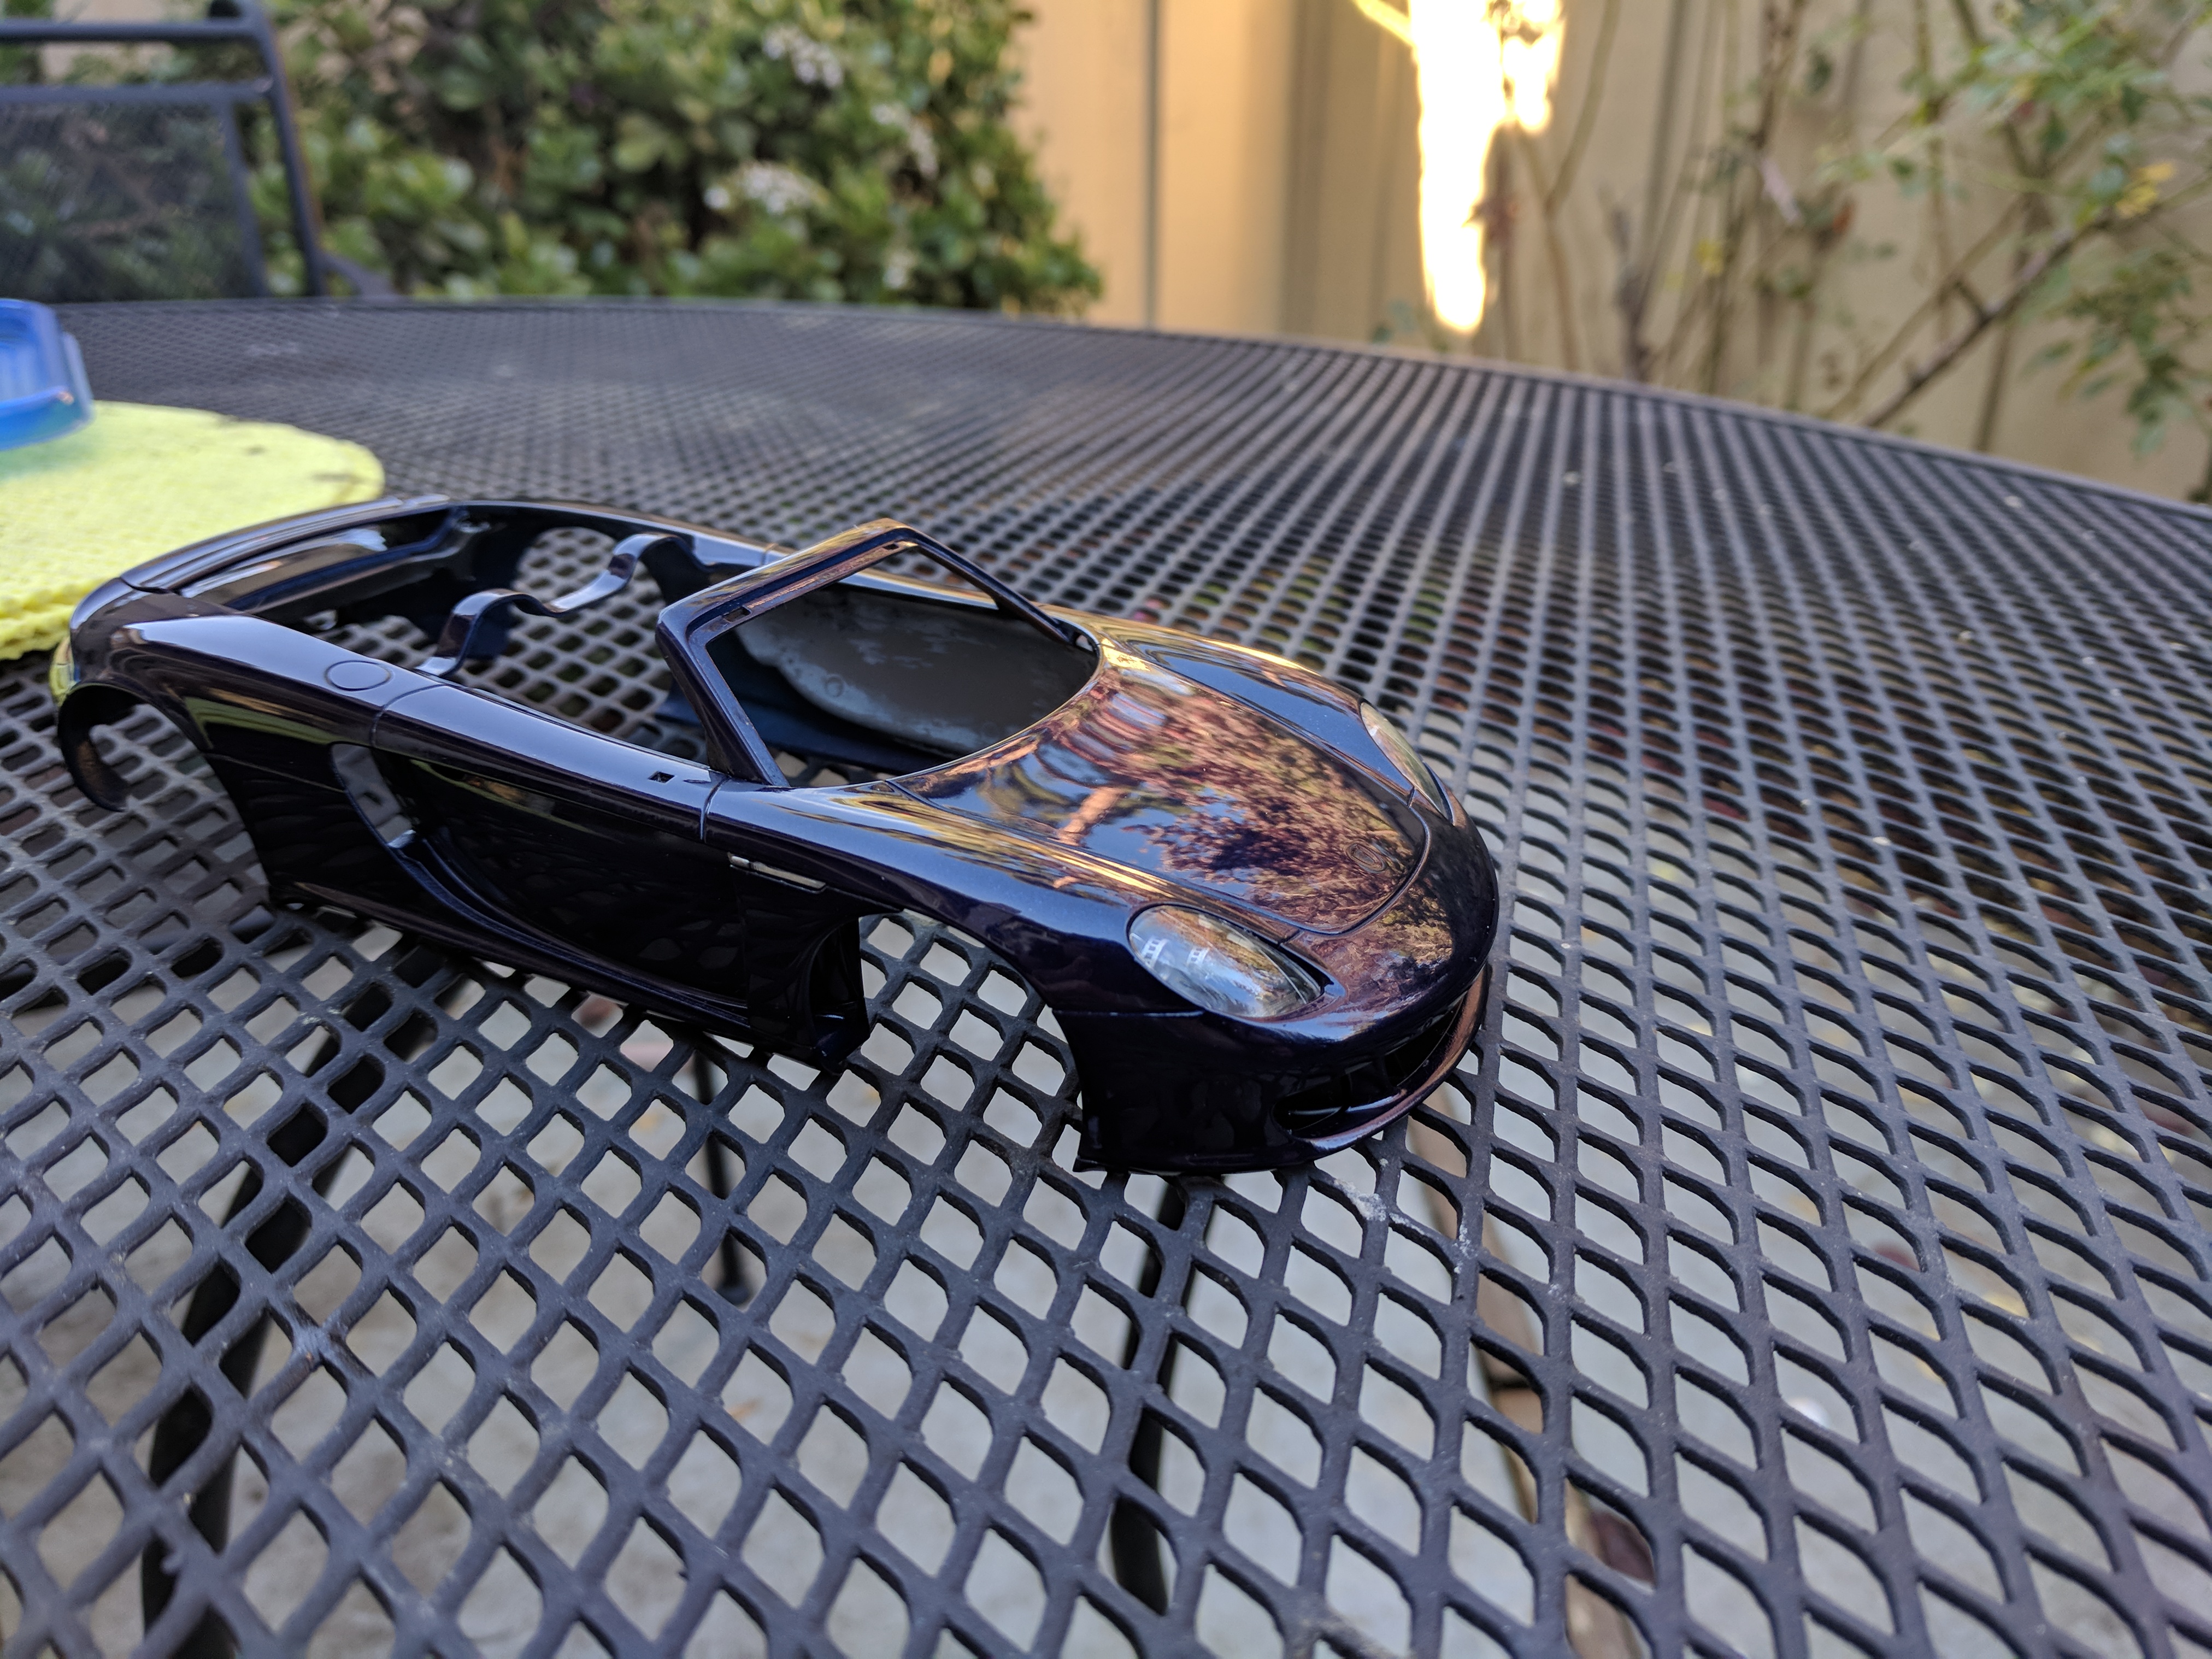
Some body shots. Paint is duplicolor, primer base and clear, shot through an airbrush.
-
HI all, I've been working on this version of my favorite exotic of all time for over a year now between other projects, slowly but surely, and thought I'd post some mediocre pics I've collected over the past few days. I'll take some body shots and post them later. It's been painted a non-traditional color - a dark pearl blue. Pics will take you right up to where I'm currently at. This is the first time I've gone all-out with the carbon fiber decals. The rear portion of the monocoque is notoriously difficult to get flat, but I've managed to ensure that the places where there are flaws are by and large going to be covered up by components. The wheel tubs were also a bear, but I've finally managed to finish them. CF decals are scale motorsport, as are the photoetch components (other than the hose clamps - they're detail master I believe).
-
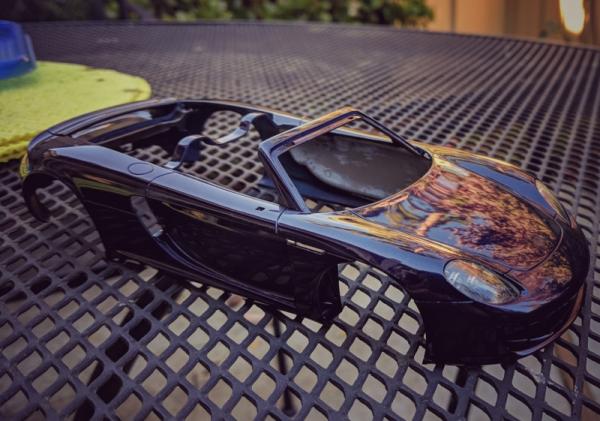
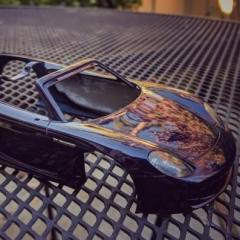
Thanks guys. Yeah Jim, you could mean two things, either of which is probably true. 1) the flames aren't really my thing, but I wanted to try out different bases in a tri coat job. 2) apparently frisket is harder to operate than I had anticipated
-
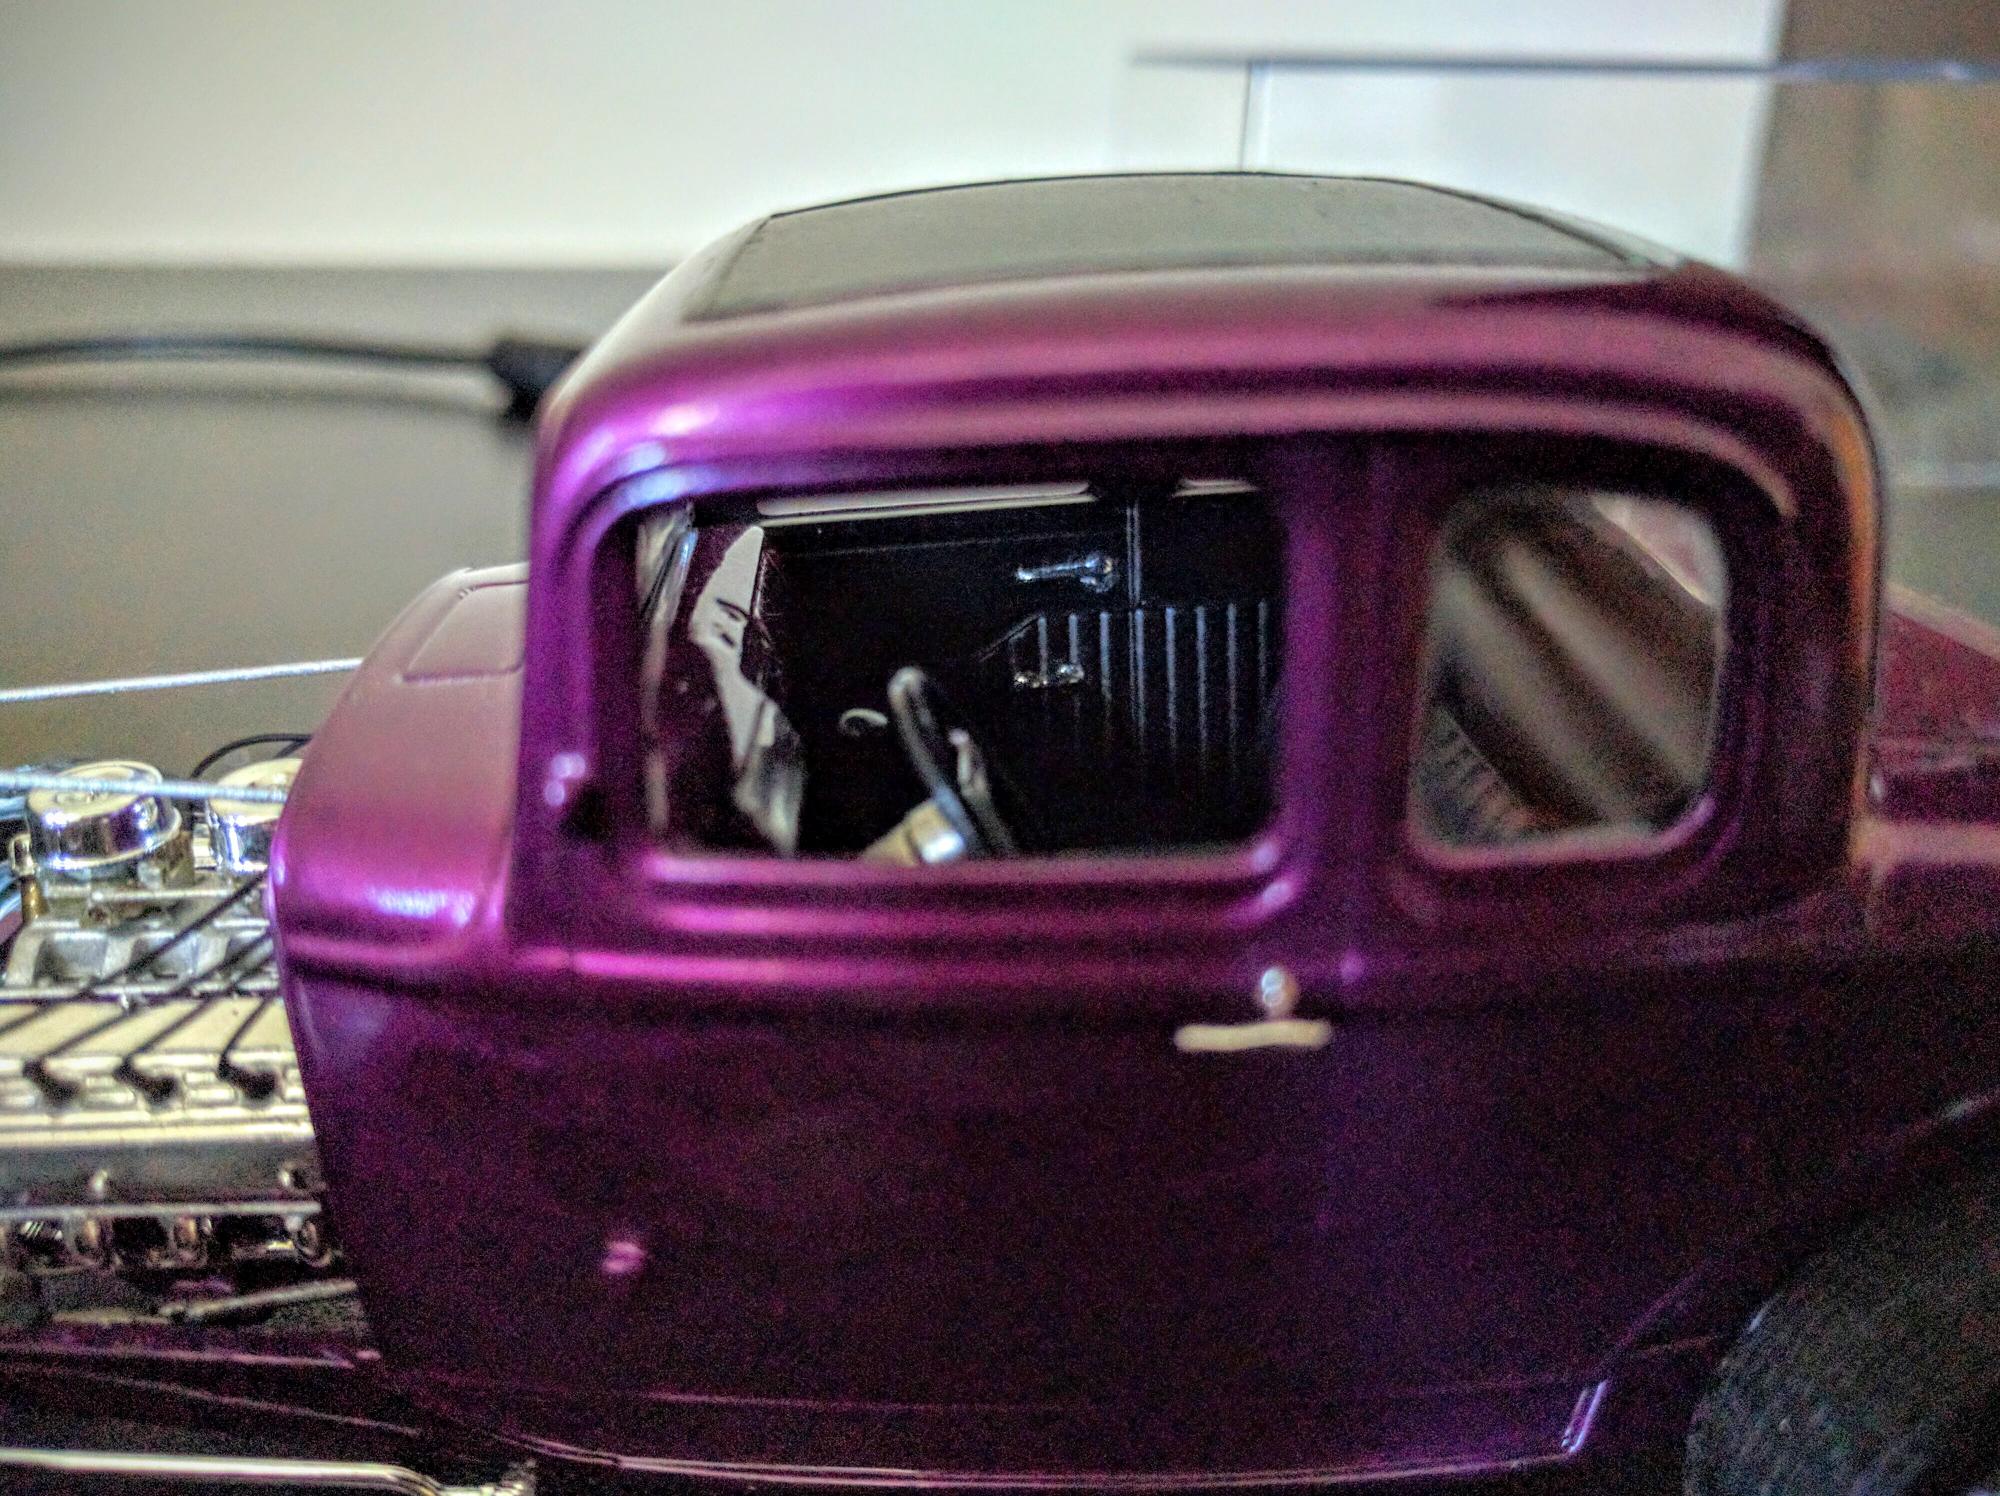
Just thought I'd attach a few quick pics of a couple of recent builds. Comments, critiques, ideas all appreciated! I posted the bug in the workshop a while back, worked on it with my daughter - she chose the colors, etc. The Ford was finished pretty quickly - I wanted to see if I could approximate ghost flames (not bad for first go) and figured a big, exposed hemi was a good opportunity to take a first stab at doing some wiring/linkage/fuel lines stuff (i.e., no fancy headers - though I did have a go at it - or chopping/channeling/etc.) I actually learned a lot about hot rods and hot rodding culture working on it, and I think it was pretty successful for a first go at it. Wife and daughter chose the colors on it too. My next one will probably be very different. Next projects (all already in progress): a '62 corvette in Honduras Maroon, a bronze '68 Charger, a deep blue Porsche Carrera GT with photetch, carbon fiber, the whole bit (this one's going really well), and a Lamborghini Sesto Elemento I'm just starting to paint. I'm going to set up some workshop posts for these as I work them to completion. EDIT: I'm going to take some more pictures of the bug in the morning - the ones I have are no good. EDIT 2: I just realized there's no driveshaft on the rod. I'll have to track that down, lol!
-
Beautiful. As the previous poster said, could easily fool someone into thinking this is the real car with the right background. I take it this is curbside?
-
Just received this in the mail as well - still working on a Carrera GT, but this is next up. Look forward to following your build! Thanks for being the guinea pig...
-
Ha! I came across your car a while ago, and I have to say that it's absolutely beautiful. I love the foil and fender beading - I'm not going to mess around with that this time around, it's been enough of a challenge to get the paint coming out flat as it is, I don't want to risk messing it up further on this go 'round. I'll have to show it to her. The coral blue just seems like a natural color for these things though, doesn't it? I was sure I was going to end up having to coax her away from the pink cans, and had a metallic purple recommendation at the ready, but she went straight for the coral blue. I'm guessing she recognized it as being similar to the bahama blue on the model box, but I'm not going to complain. Is the chrome on your windows chrome foil, alclad, or some other kind of foil? It looks more "muted" than what I've got, and I think I prefer it. I think I might try masking + alclad if I get one of these where the foil goes straight onto the window again - the glass gets very messy with the adhesive, and hasn't been a whole lot of fun to clean up.
-
It goes together great - my only complaint would be the fit of the windows, which do fit, but require some touchy work to hold in place and glue in without making a mess, but I've certainly enjoyed it. There's so much room for customization.
-
Beautiful. I'm learning as much about cars as i do about models here - never actually seen a Cobra with a convertible hardtop before, and yours looks great! The dash looks incredible.
-
Absolutely beautiful so far. Love all the realistic detail, staining on the springs, etc.
-
Thanks for the tip Tom - it sure does seem to be sneaky stuff. Hairspray sounds like a pretty great idea, I'll have to try that next time. I've definitely learned some things about the order in which to do different things on the model, seems I've found a new one.