.jpg.54ecf0d4a006234146ea24c7f6762038.jpg)
redneckrigger
-
Posts
1,578 -
Joined
-
Last visited
Content Type
Profiles
Forums
Events
Gallery
Everything posted by redneckrigger
-
.thumb.jpg.4bca3333e1da4027c381d8d56a564ec1.jpg)
My Coronavirus collection
redneckrigger replied to tbill's topic in Model Trucks: Big Rigs and Heavy Equipment
You've been BUSY!!!! Great work! -
Absolutely stunning work sir!!! And the engineering put into this is beyond belief! The hydraulic and air fittings look like the real thing............................incredible!!!! WOW!
-
Transtar II Log Truck
redneckrigger replied to DRIPTROIT 71's topic in WIP: Model Trucks: Big Rigs and Heavy Equipment
Wow.............you're on a roll! Beautiful work. And GREAT subject matter! -
1957 Reo Gold Comet
redneckrigger replied to Chariots of Fire's topic in WIP: Model Trucks: Big Rigs and Heavy Equipment
Simply stunning!!!!! -
Yup, as a retired paramedic, I've seen it too......................flashing lights in WalMart for example. Even our ambulance lights can be disruptive. Epilepsy is a very real and serious disorder, misunderstood by many.
-
BRBO IHC 2070
redneckrigger replied to redneckrigger's topic in WIP: Model Trucks: Big Rigs and Heavy Equipment
For sure..........the Cummins needed a twelve foot long shoehorn to get it in! I actually swapped one years ago in a fire department tanker.................what a ROTTEN job. That old girl was about 18" short of qualifying as a cabover! -
BRBO IHC 2070
redneckrigger replied to redneckrigger's topic in WIP: Model Trucks: Big Rigs and Heavy Equipment
Thank you............and thank you for the lead on the 73 Grand Am!!! It's a small world! -
1957 Reo Gold Comet
redneckrigger replied to Chariots of Fire's topic in WIP: Model Trucks: Big Rigs and Heavy Equipment
Used to drive one of those exact trucks with a flat bed on her hauling hay in from the fields about 50 years ago. Amazing thing is that old truck is still around and in better shape than I am. The grandson of the farmer still has it, and actually has it for sale at this moment in North Adams, MA. If that one you are building was a faded green flatbed, I'd swear you had a shrinking machine! -
Absolutely phenomenal work sir! Superb details, and wow, what a total package! Thank you for sharing the build. Incredible.
-
BRBO IHC 2070
redneckrigger replied to redneckrigger's topic in WIP: Model Trucks: Big Rigs and Heavy Equipment
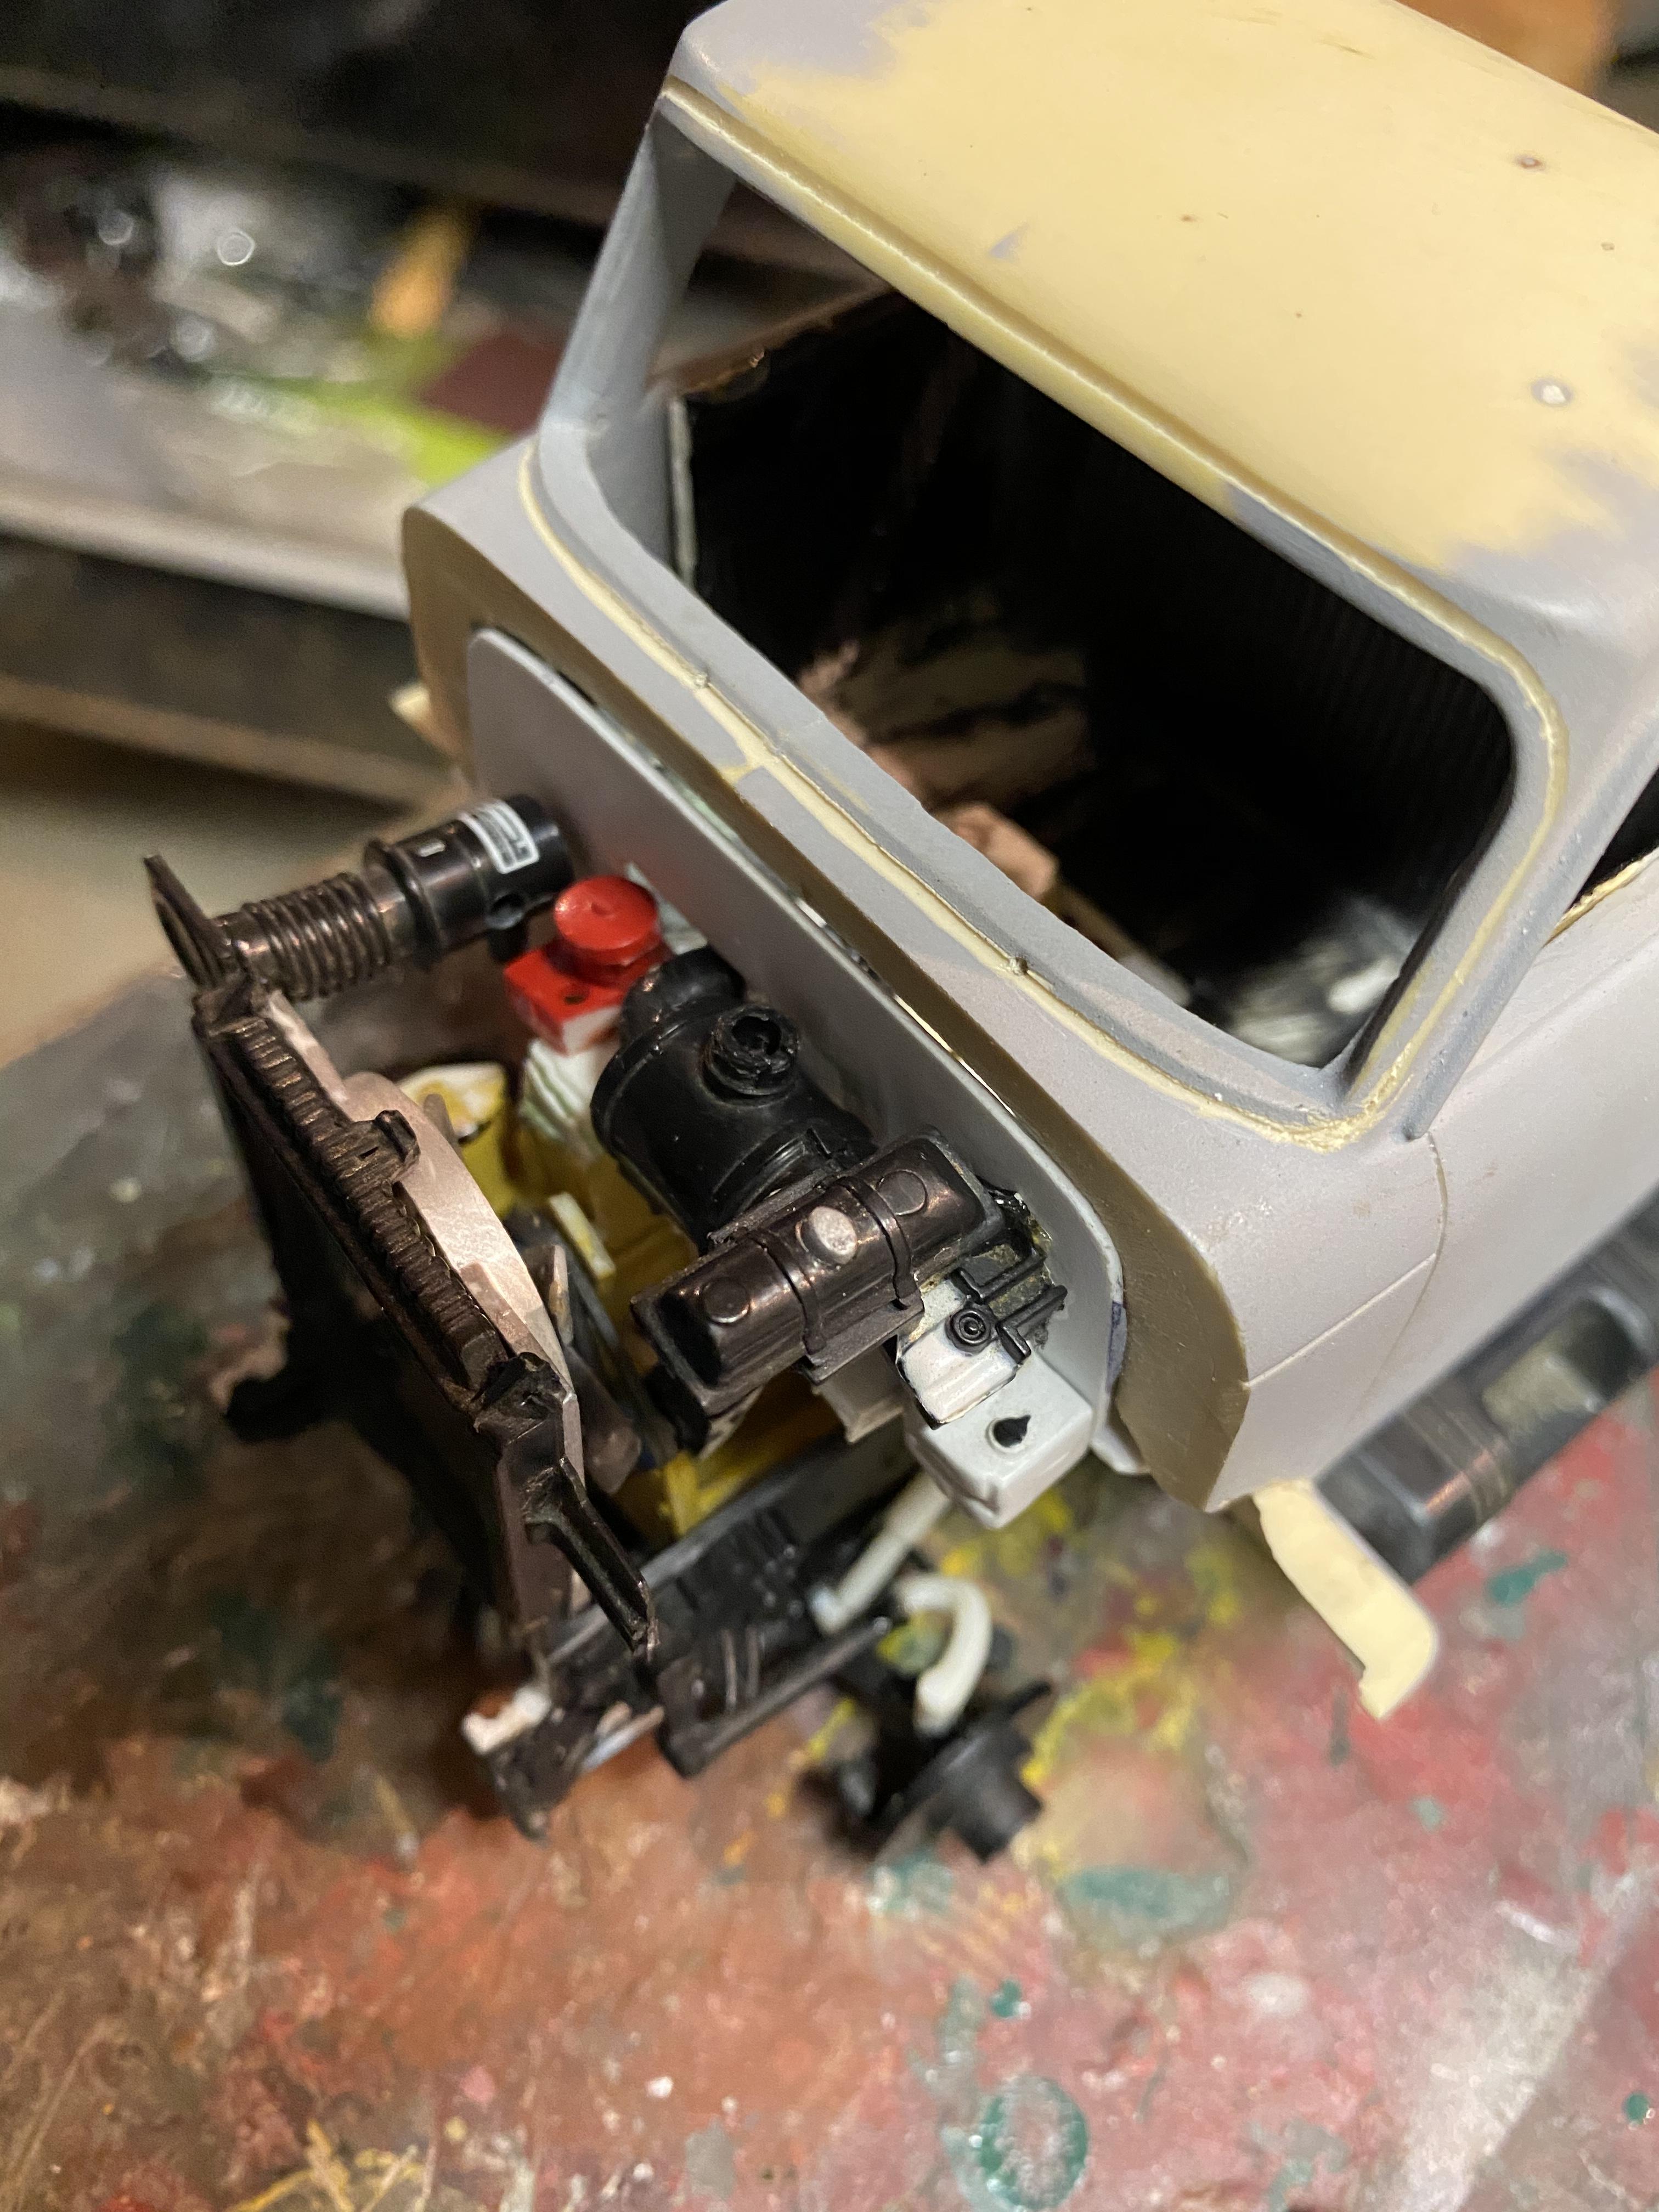
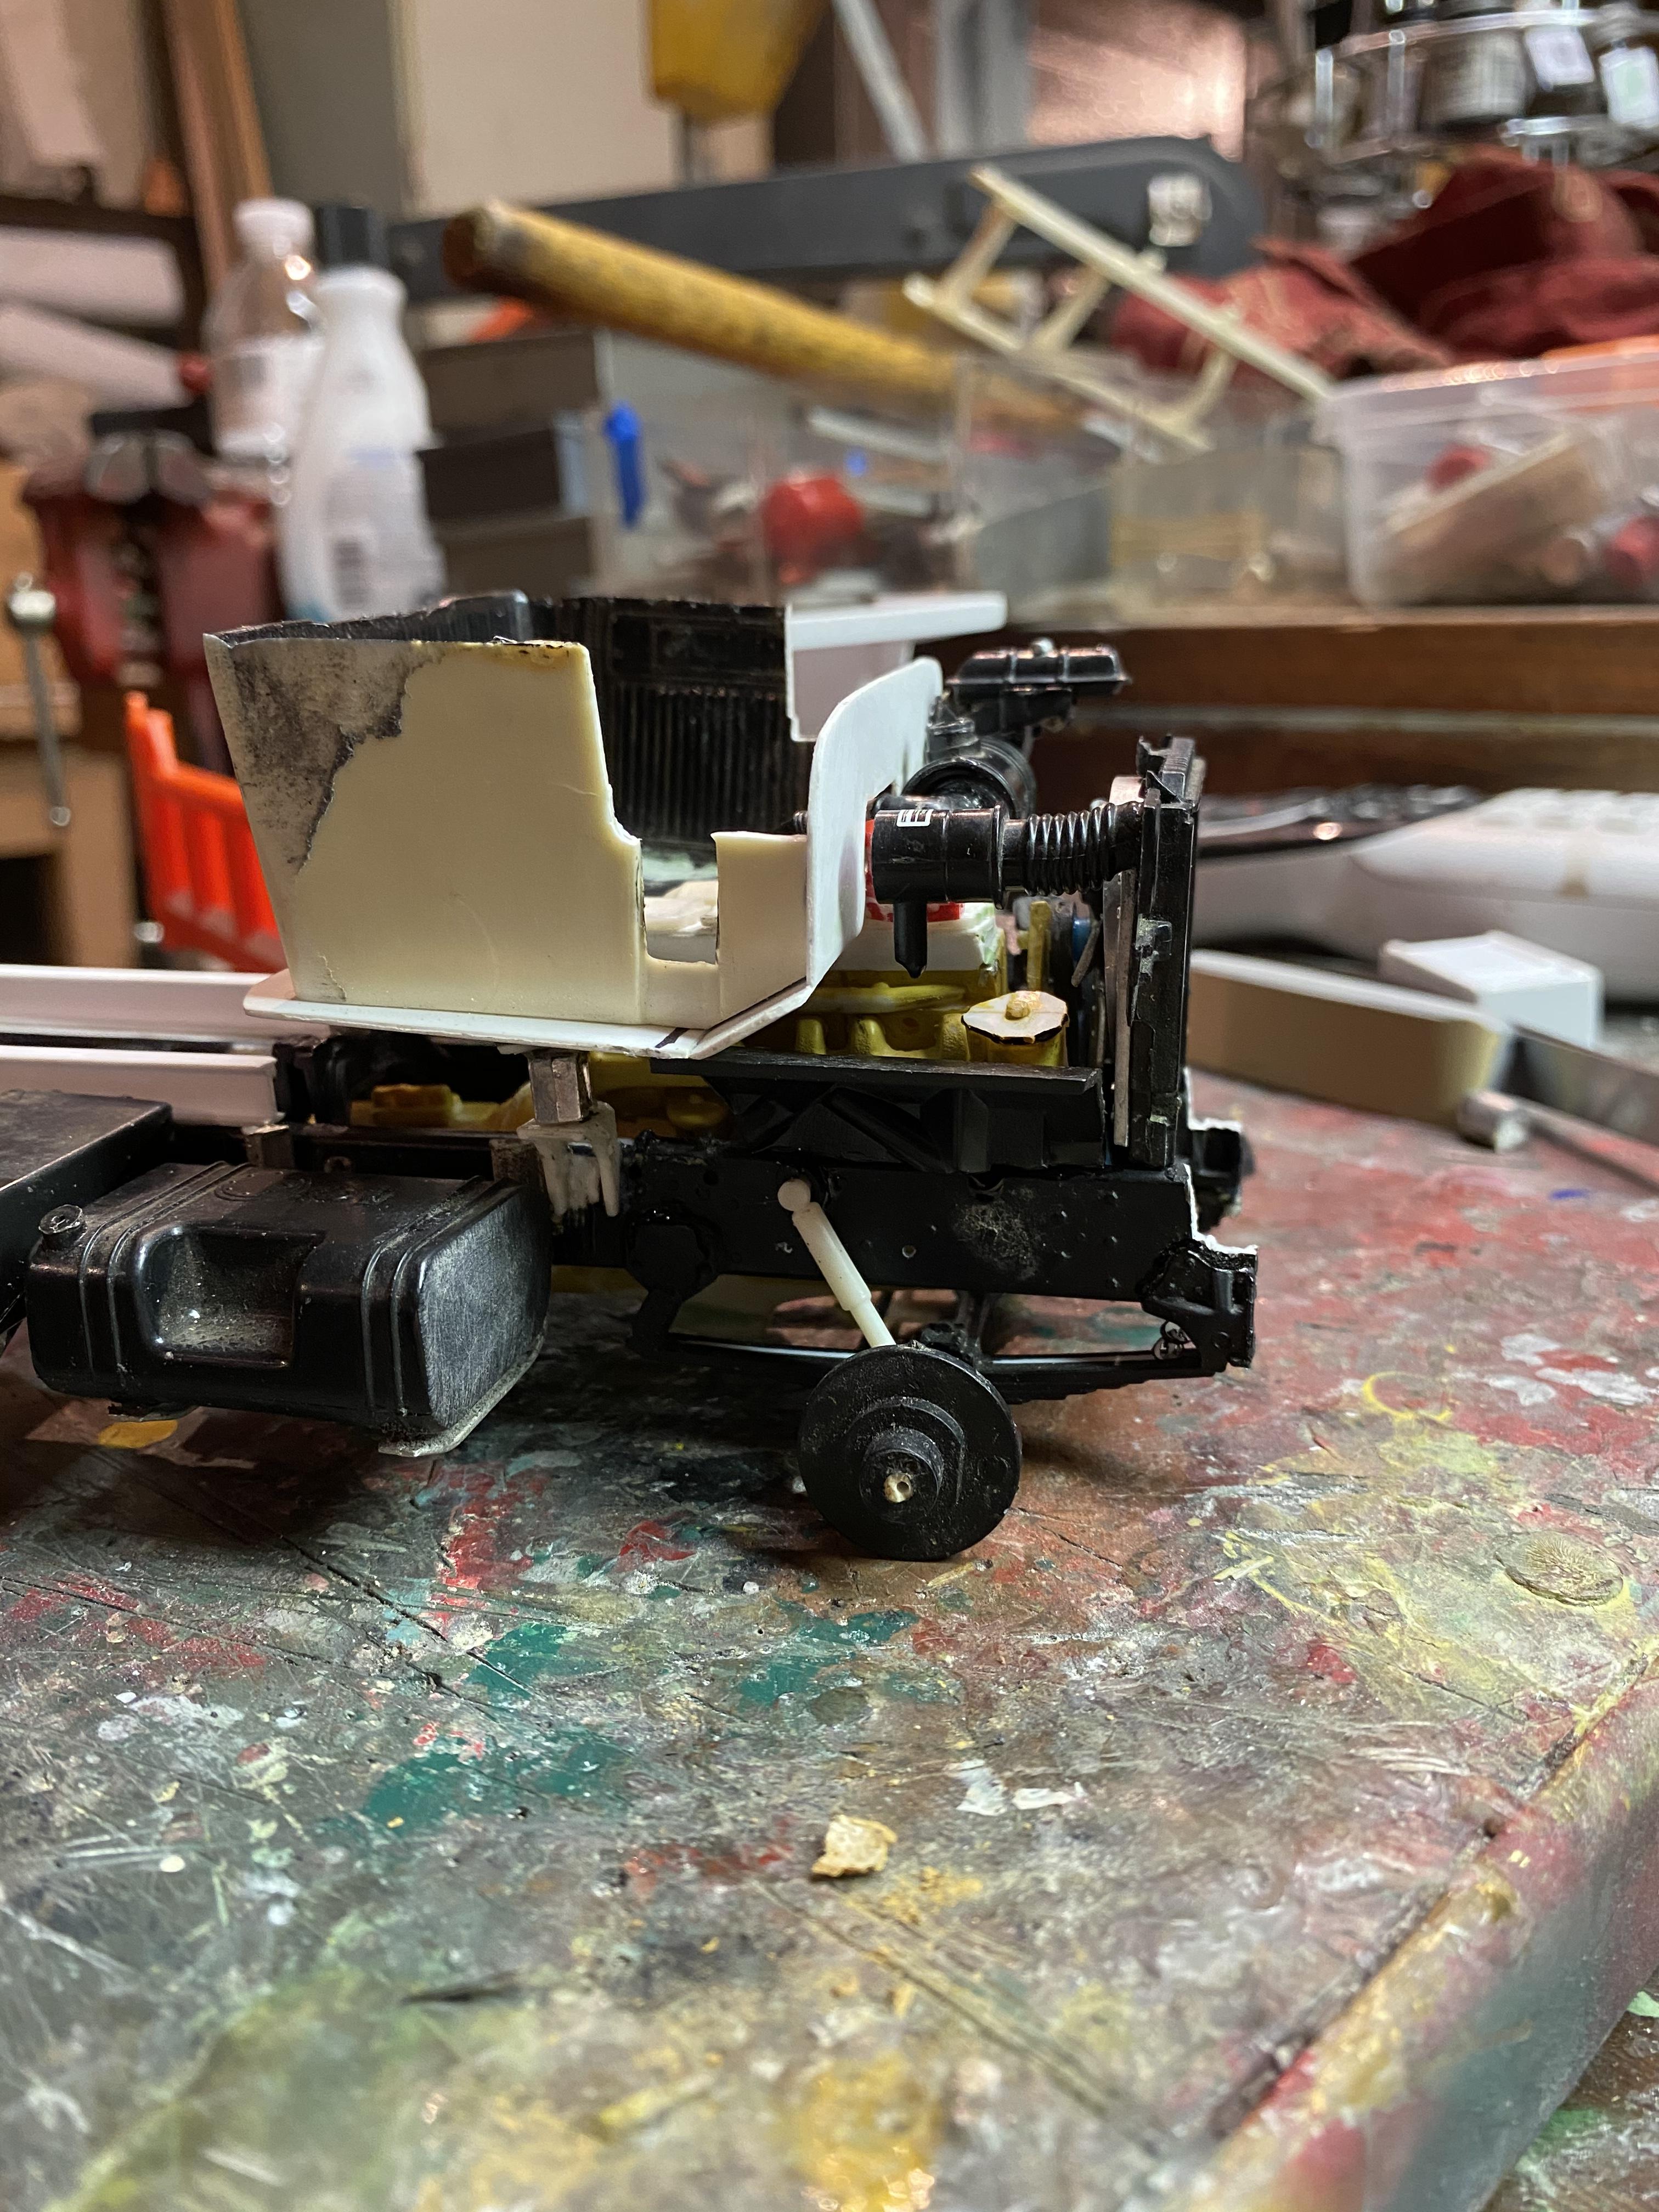
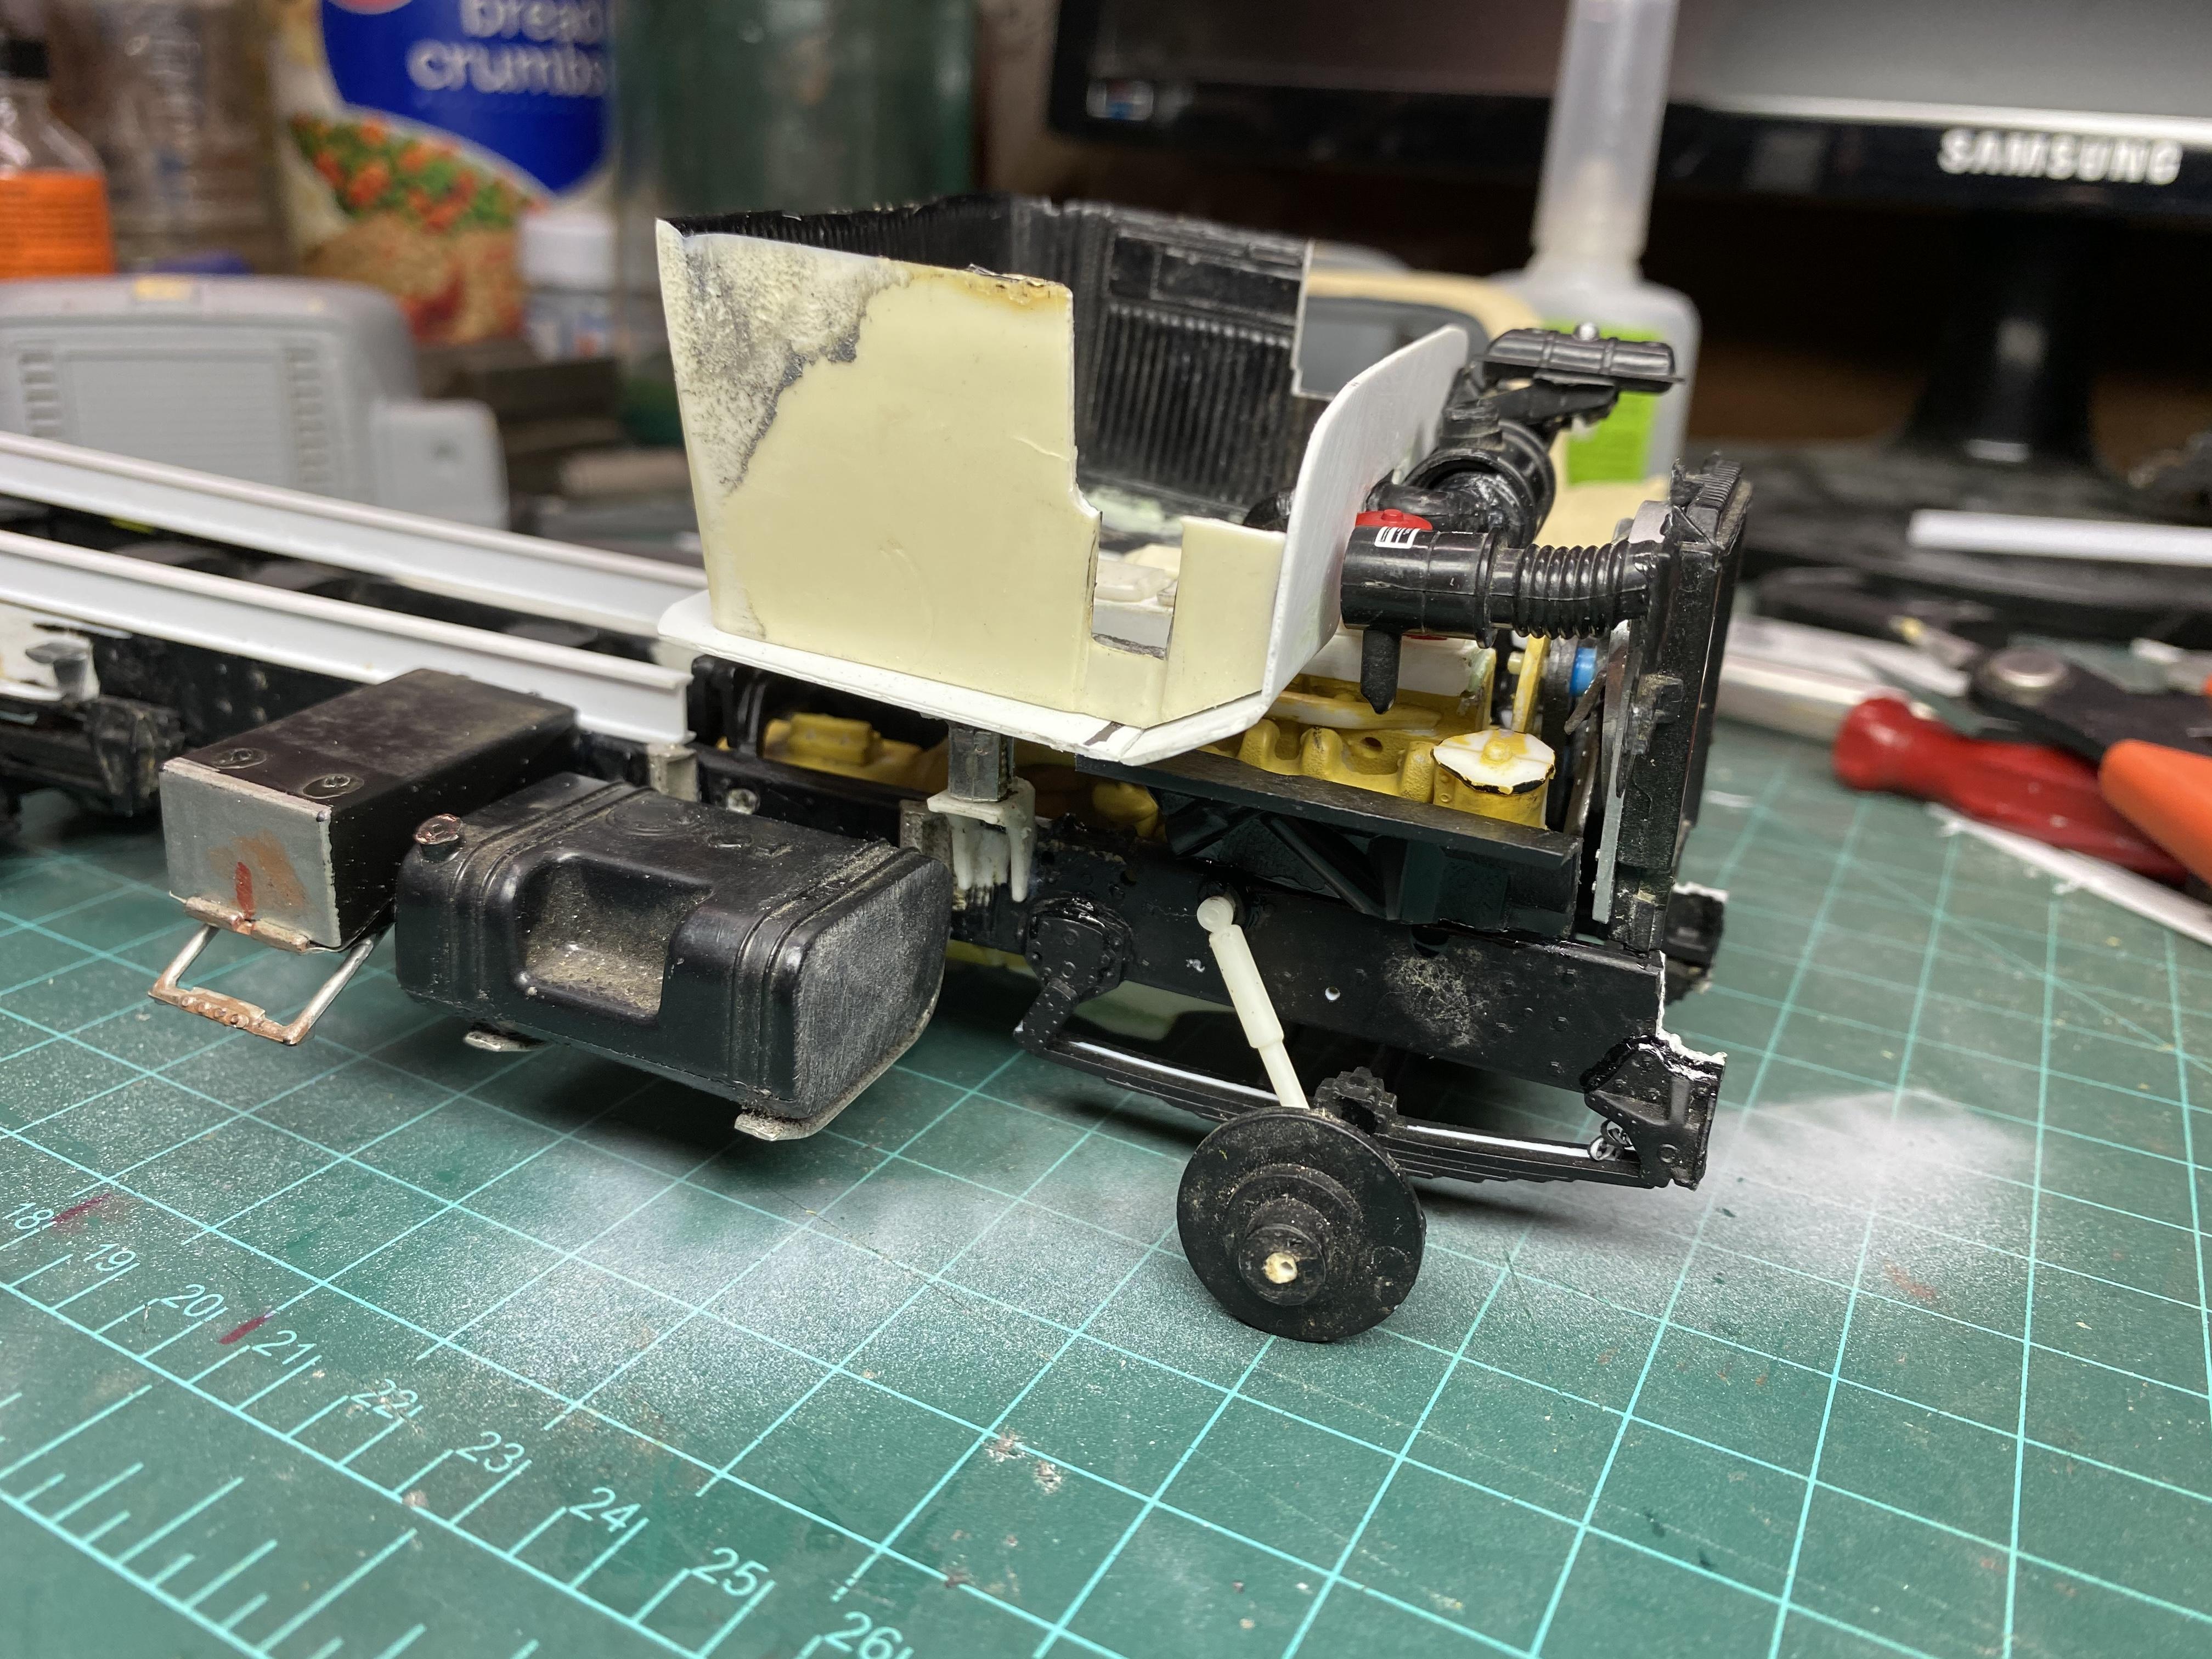
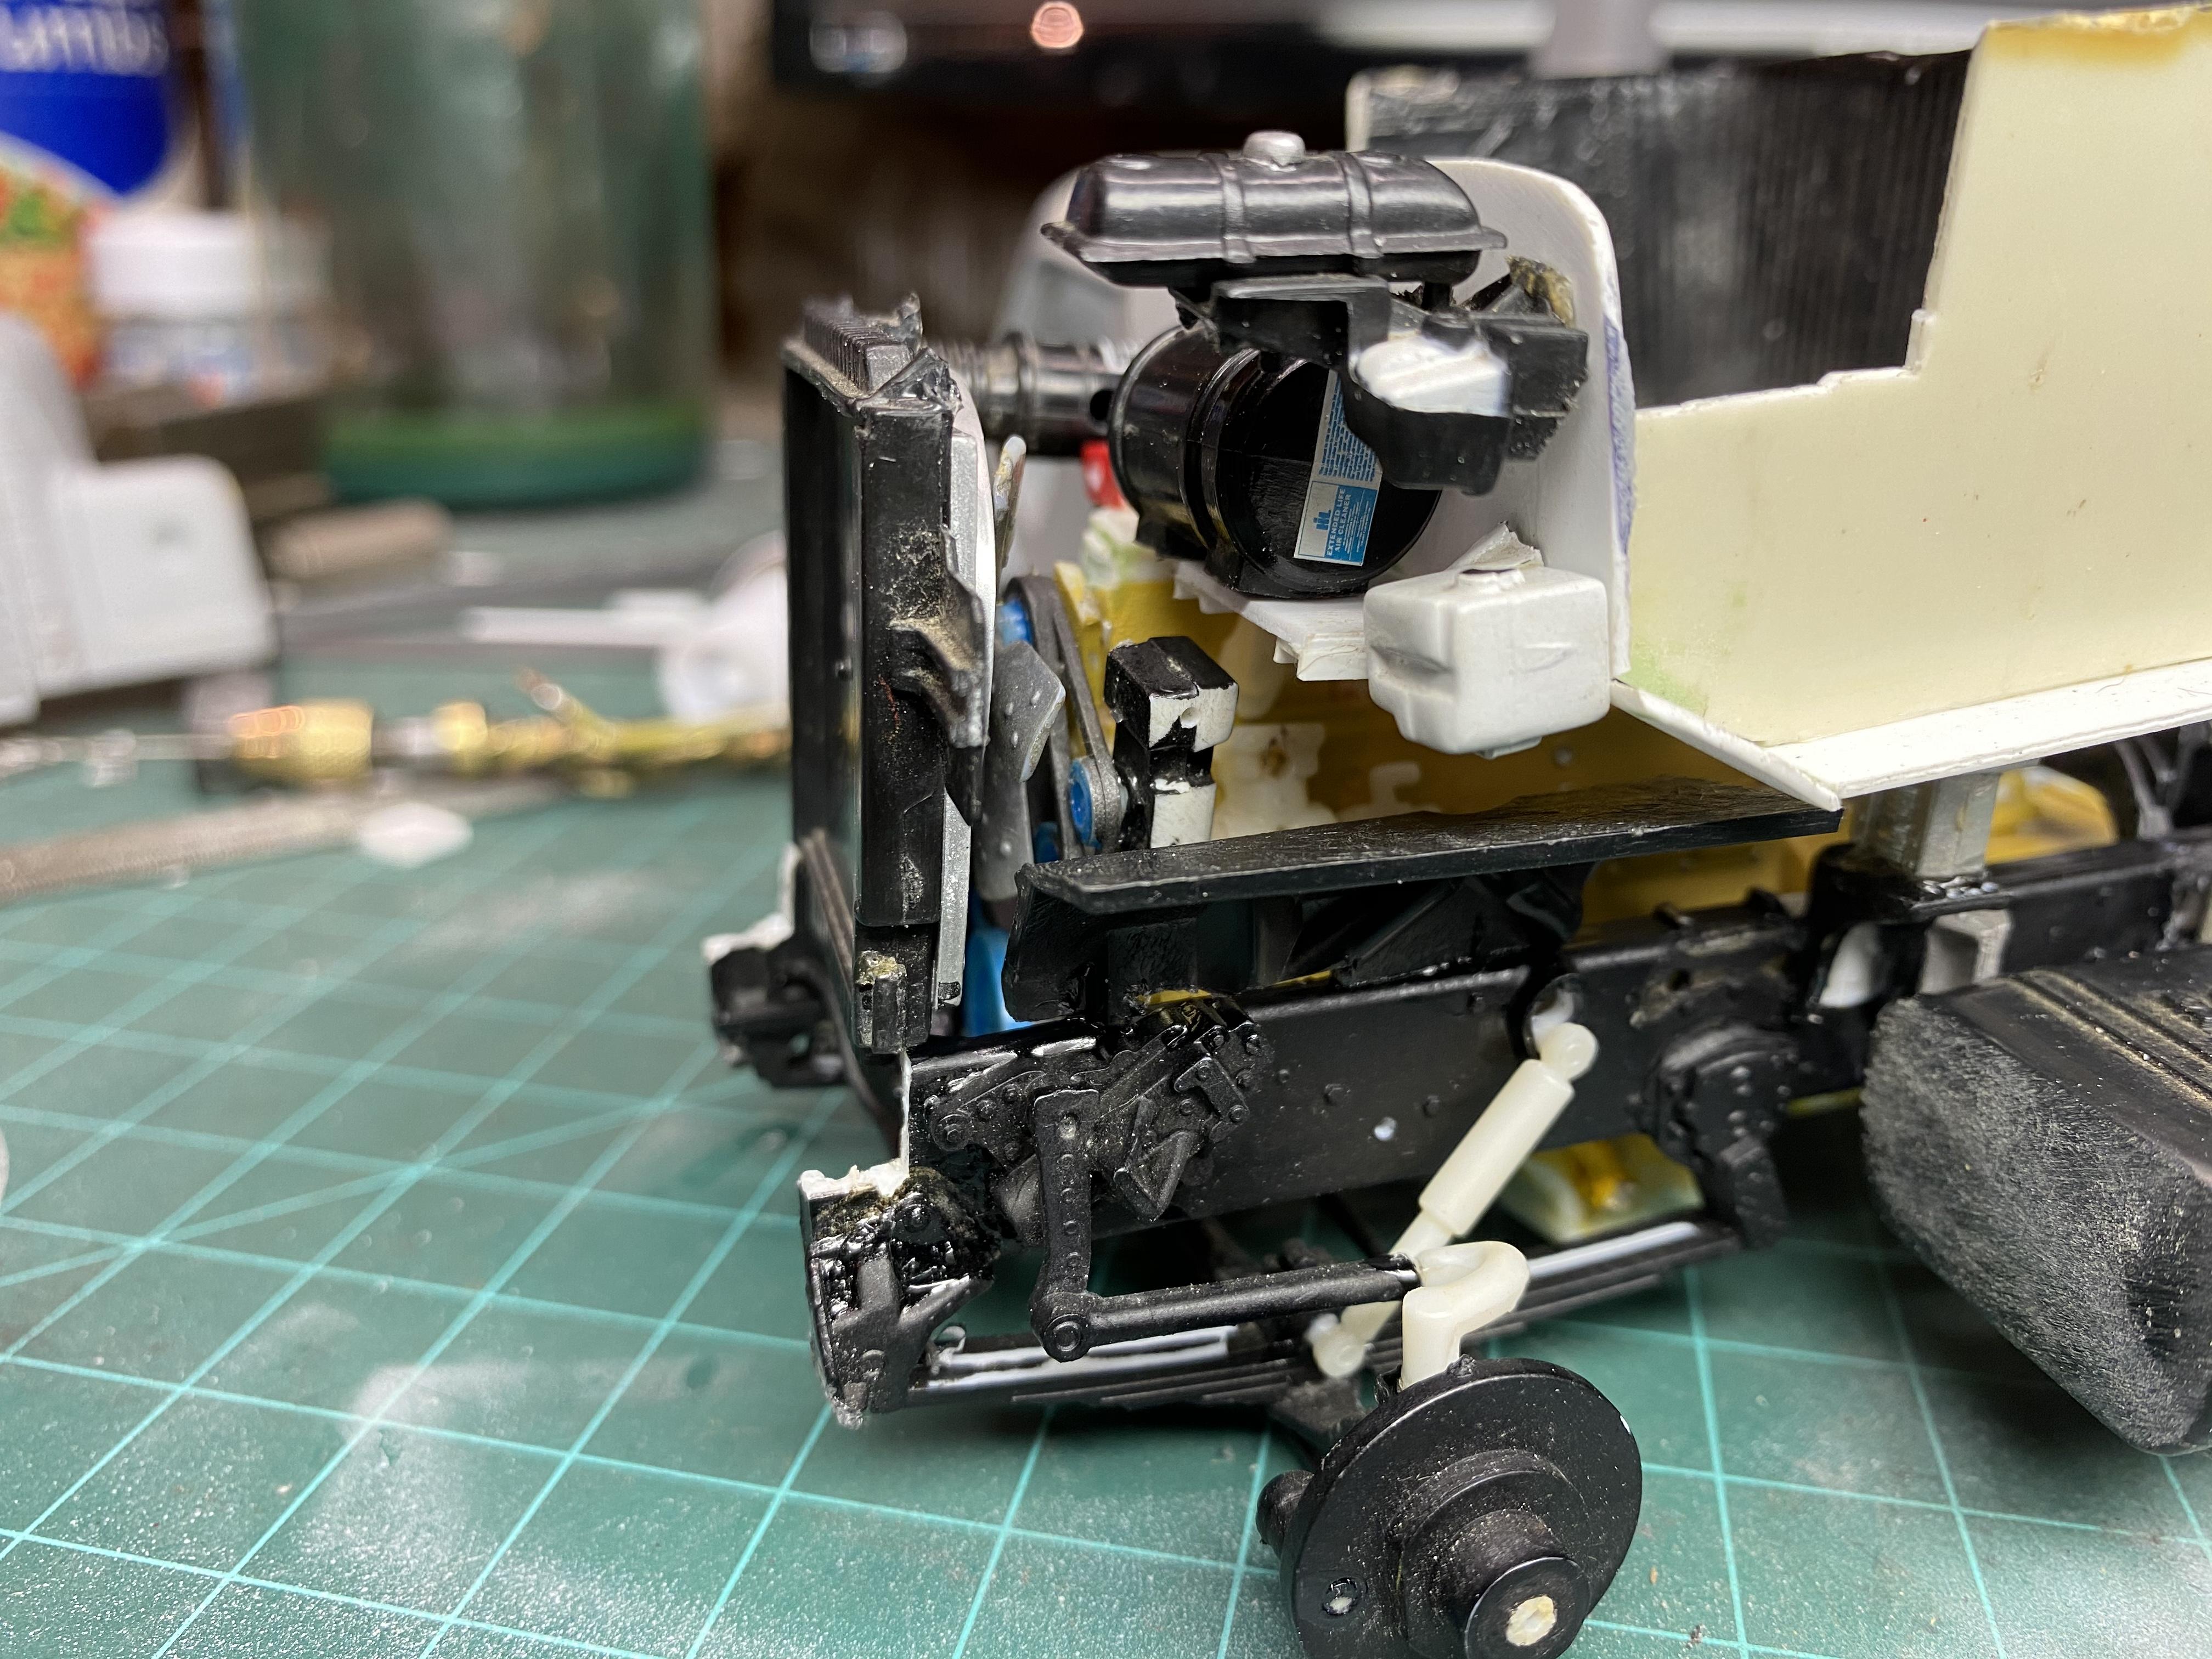
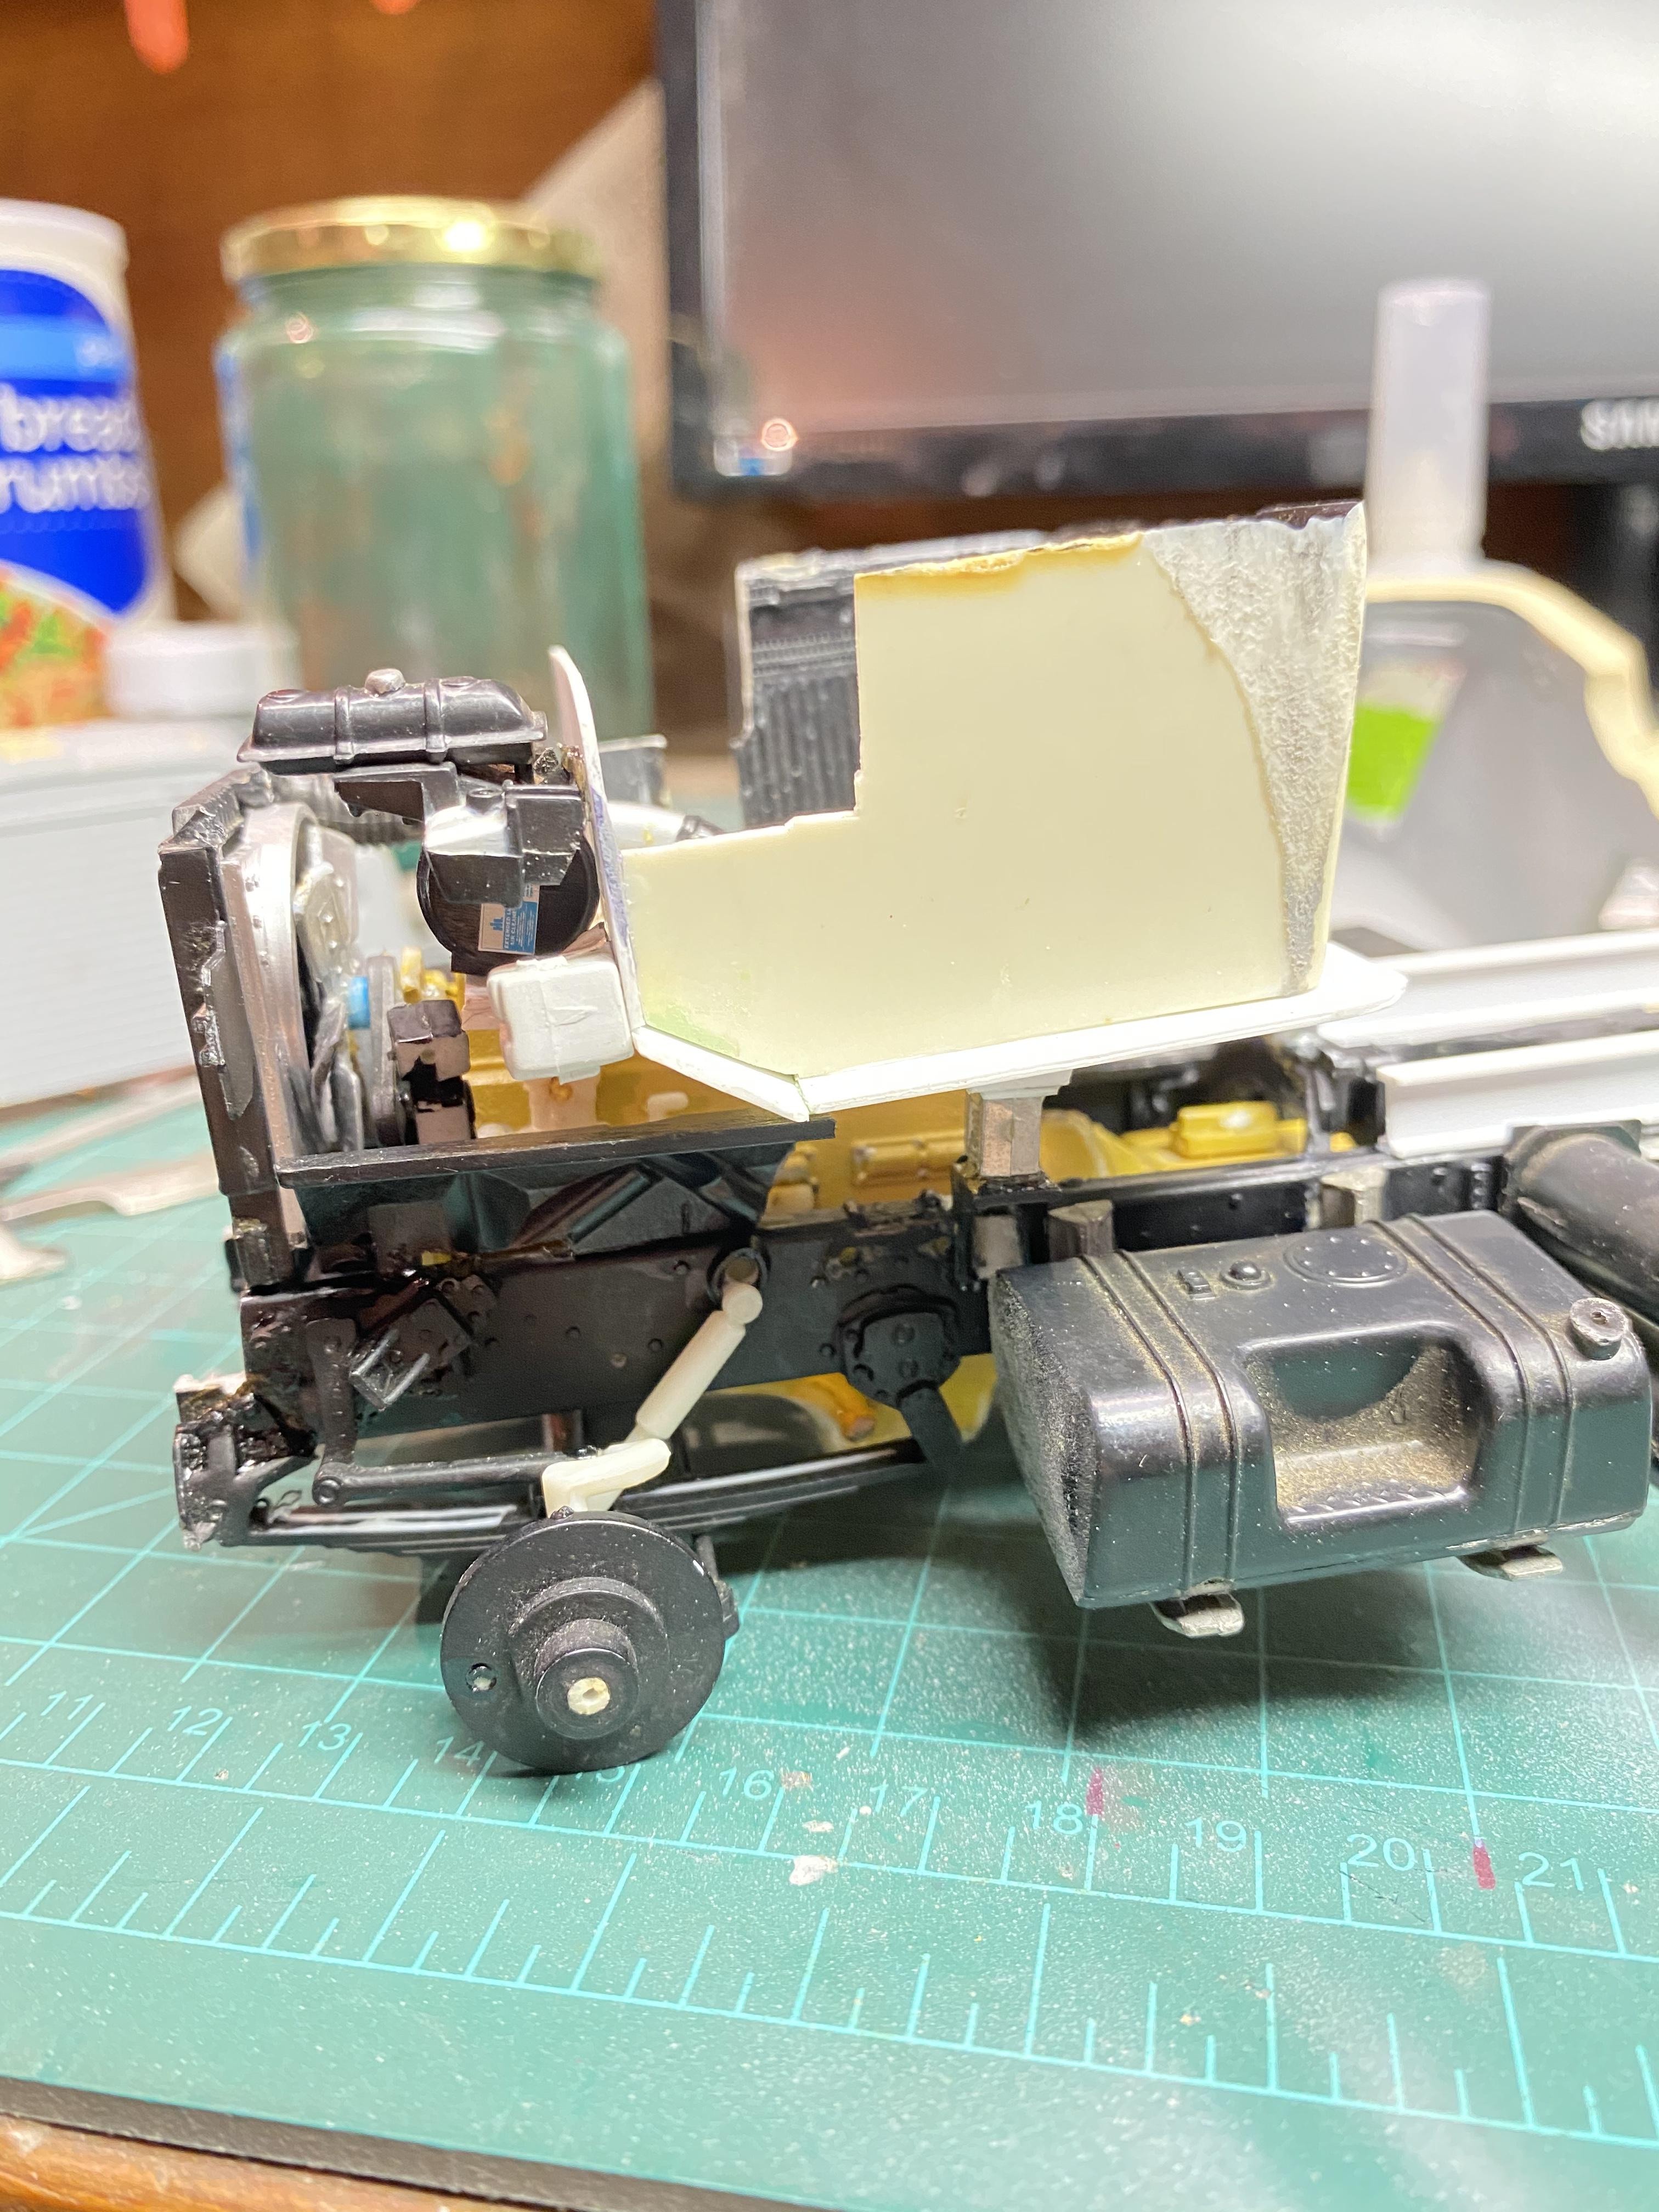
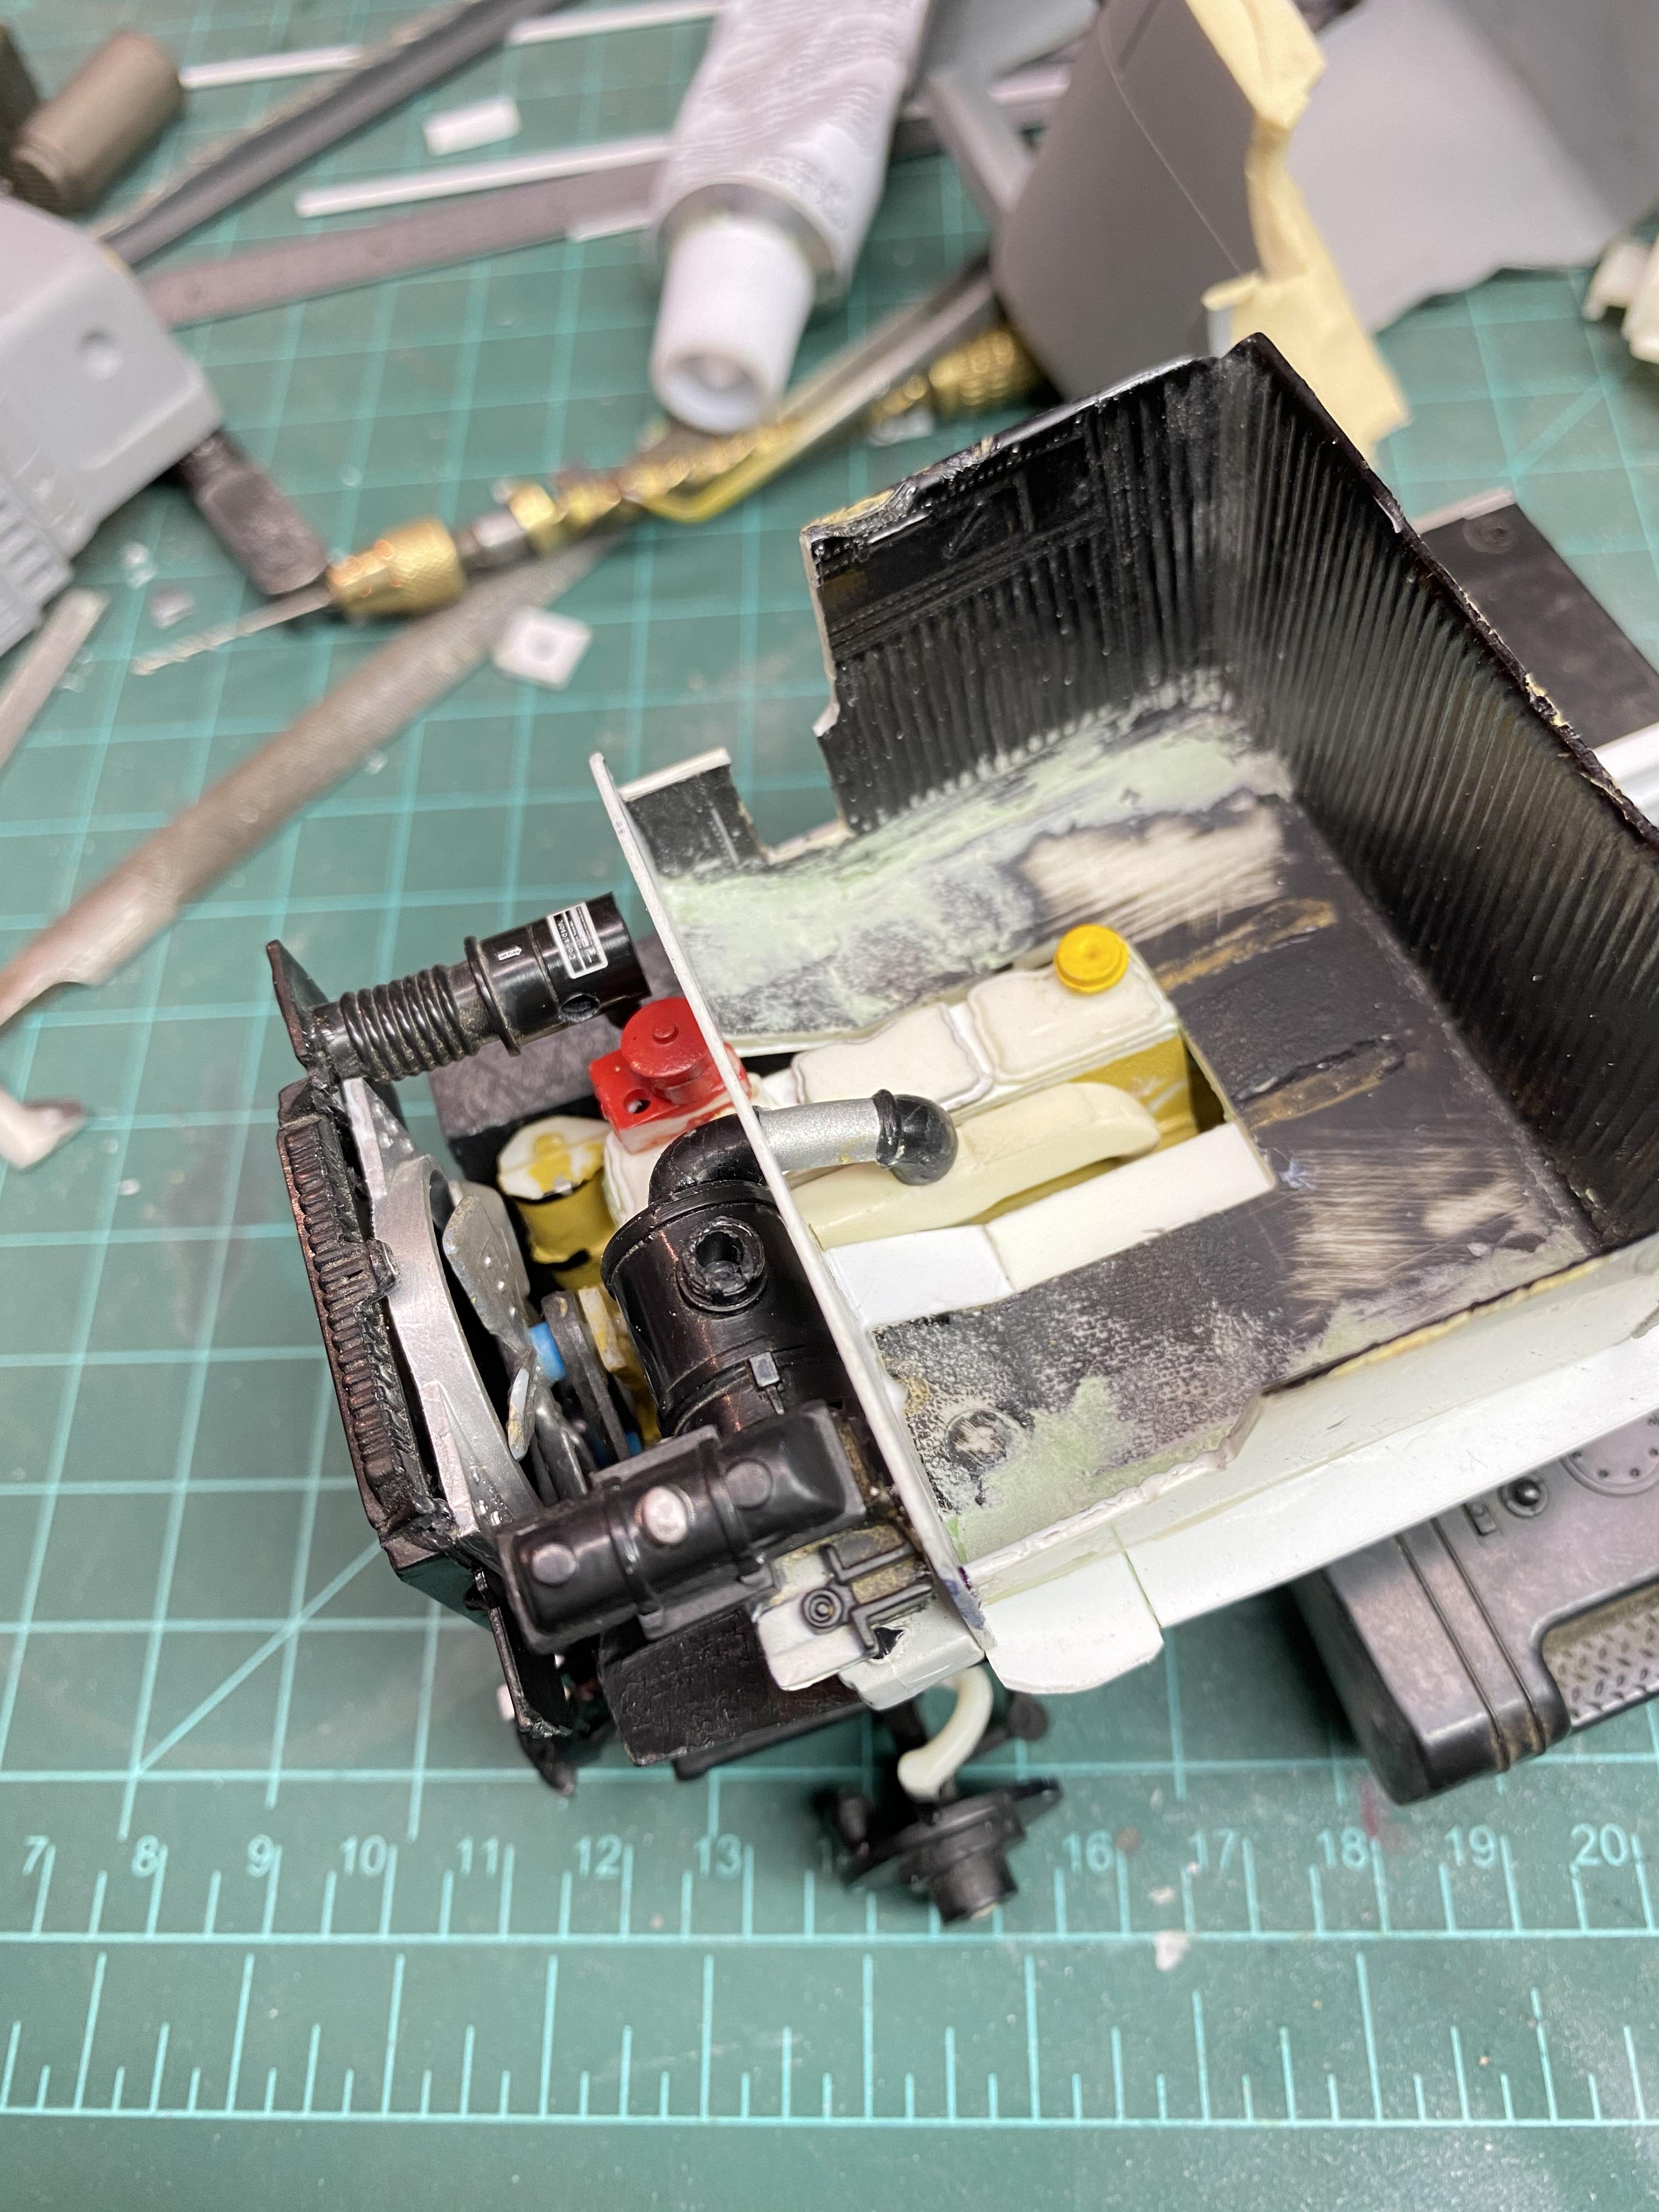
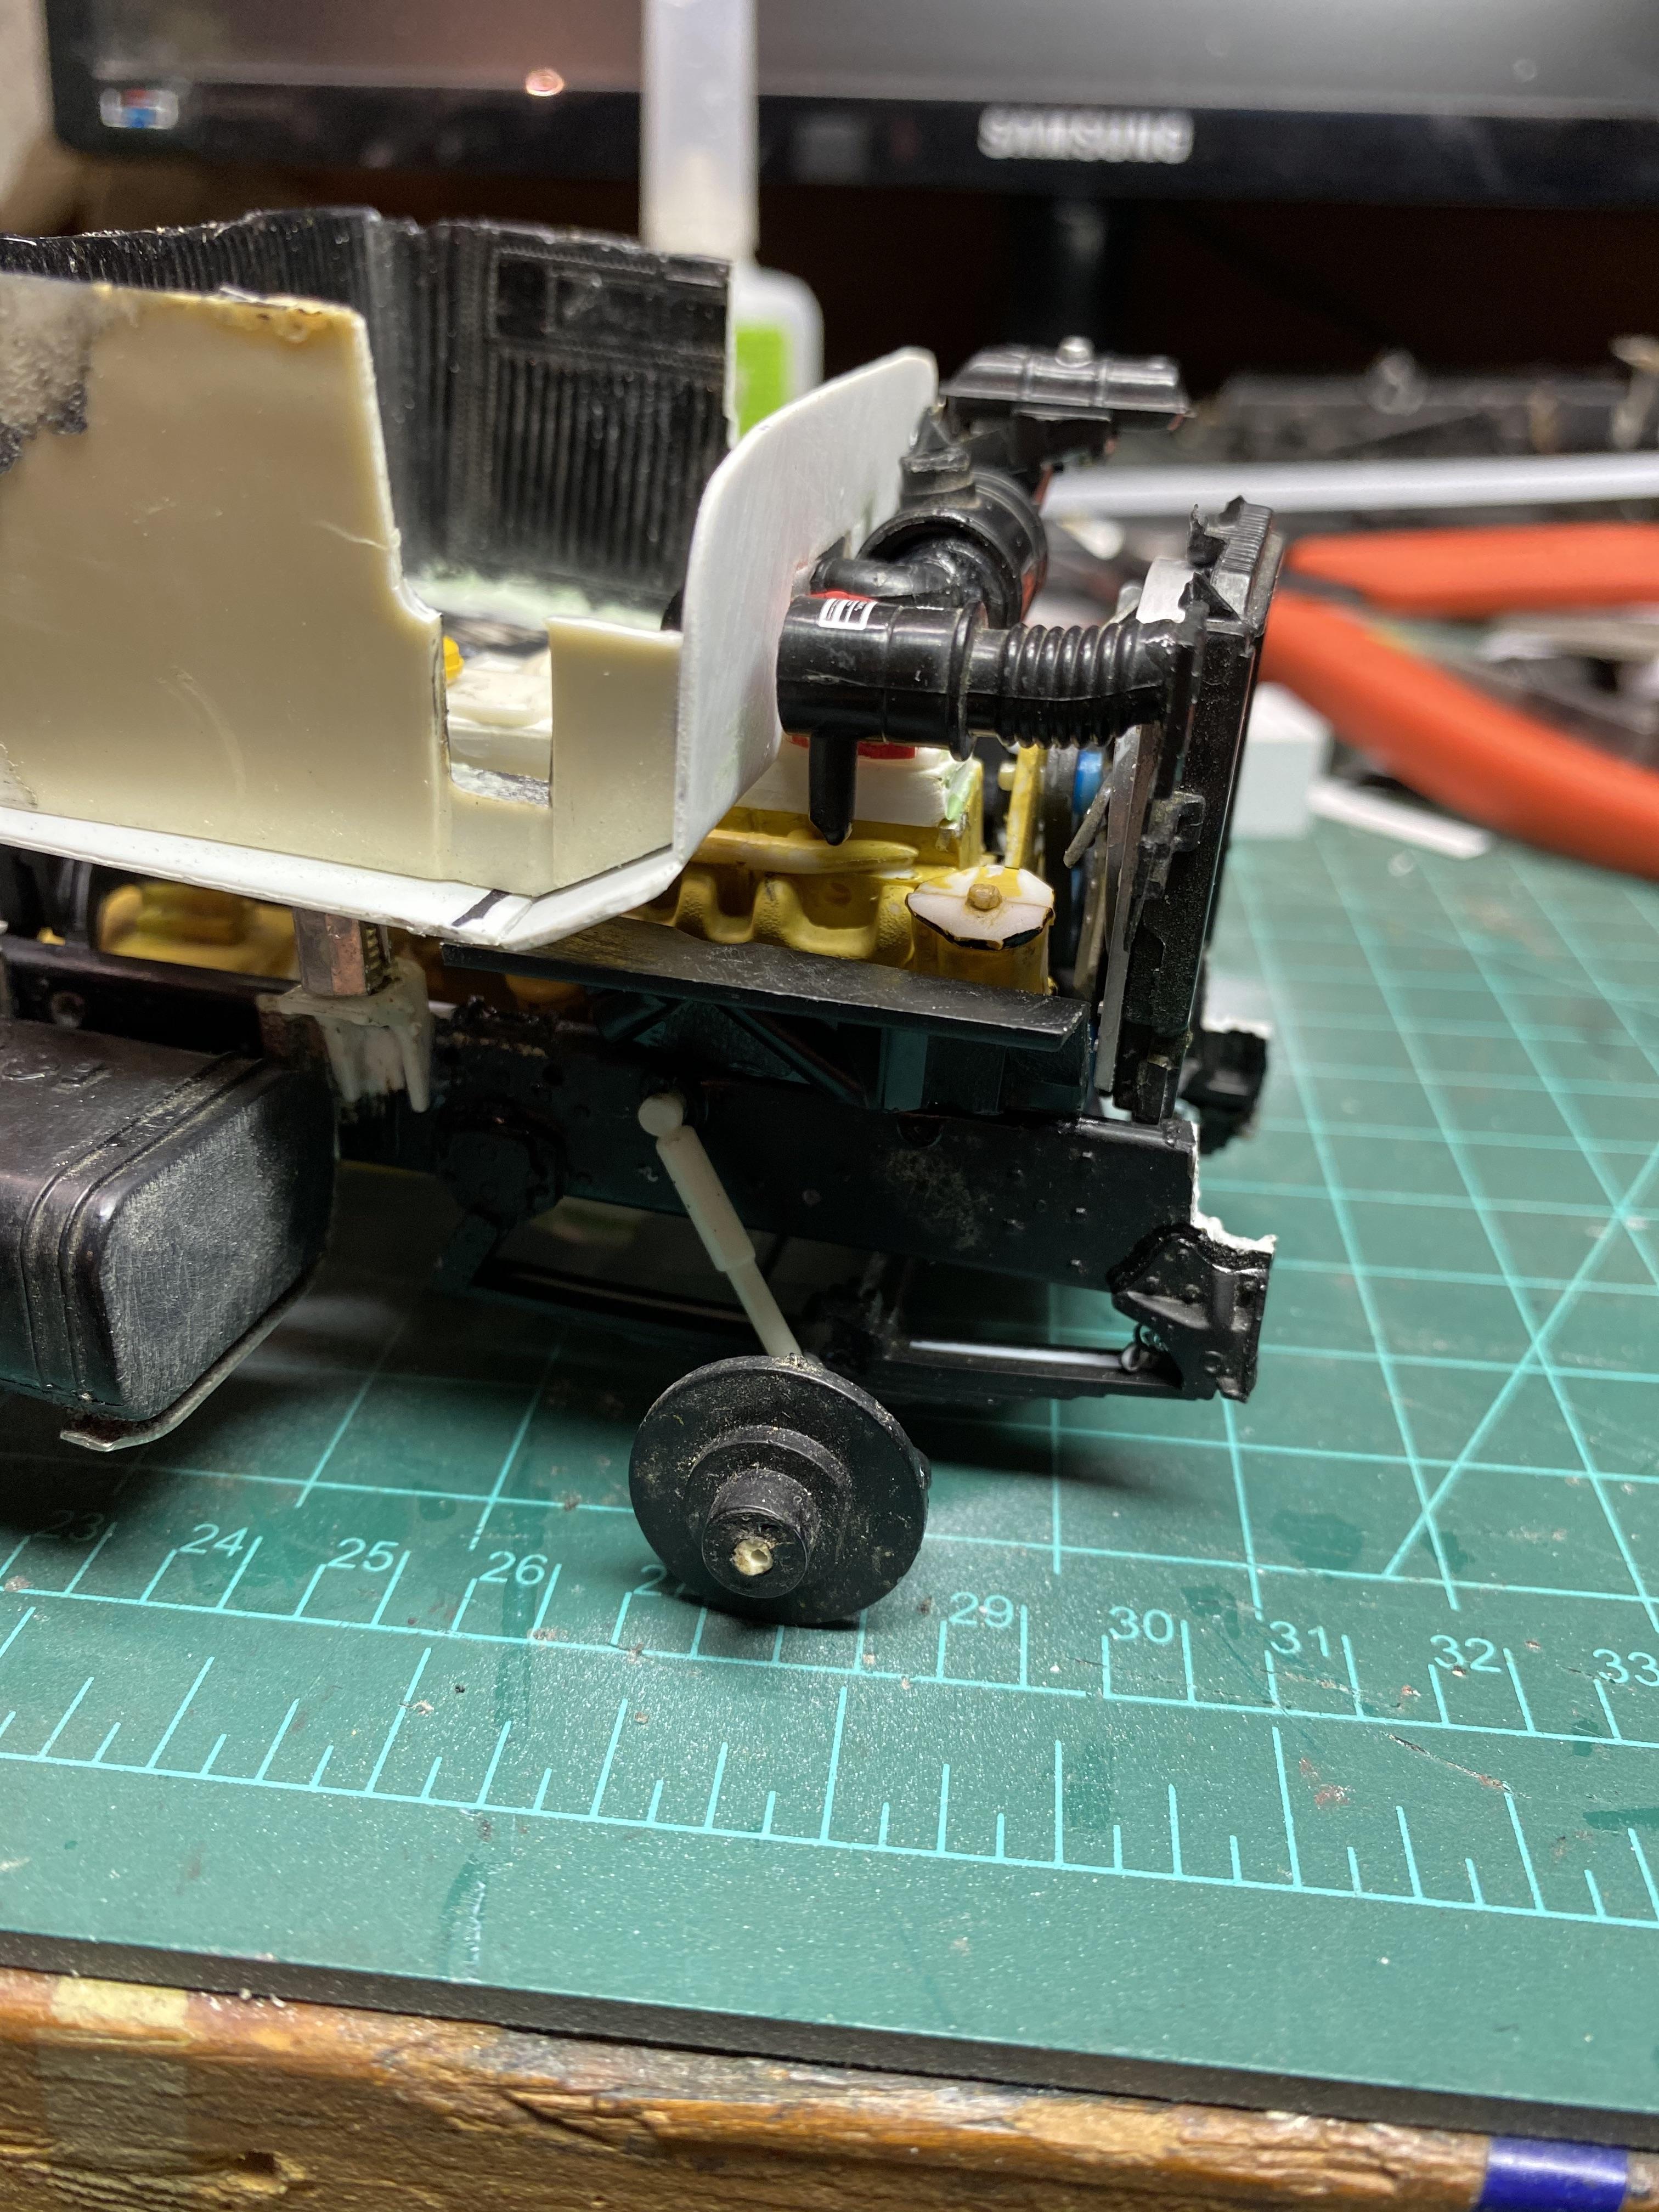
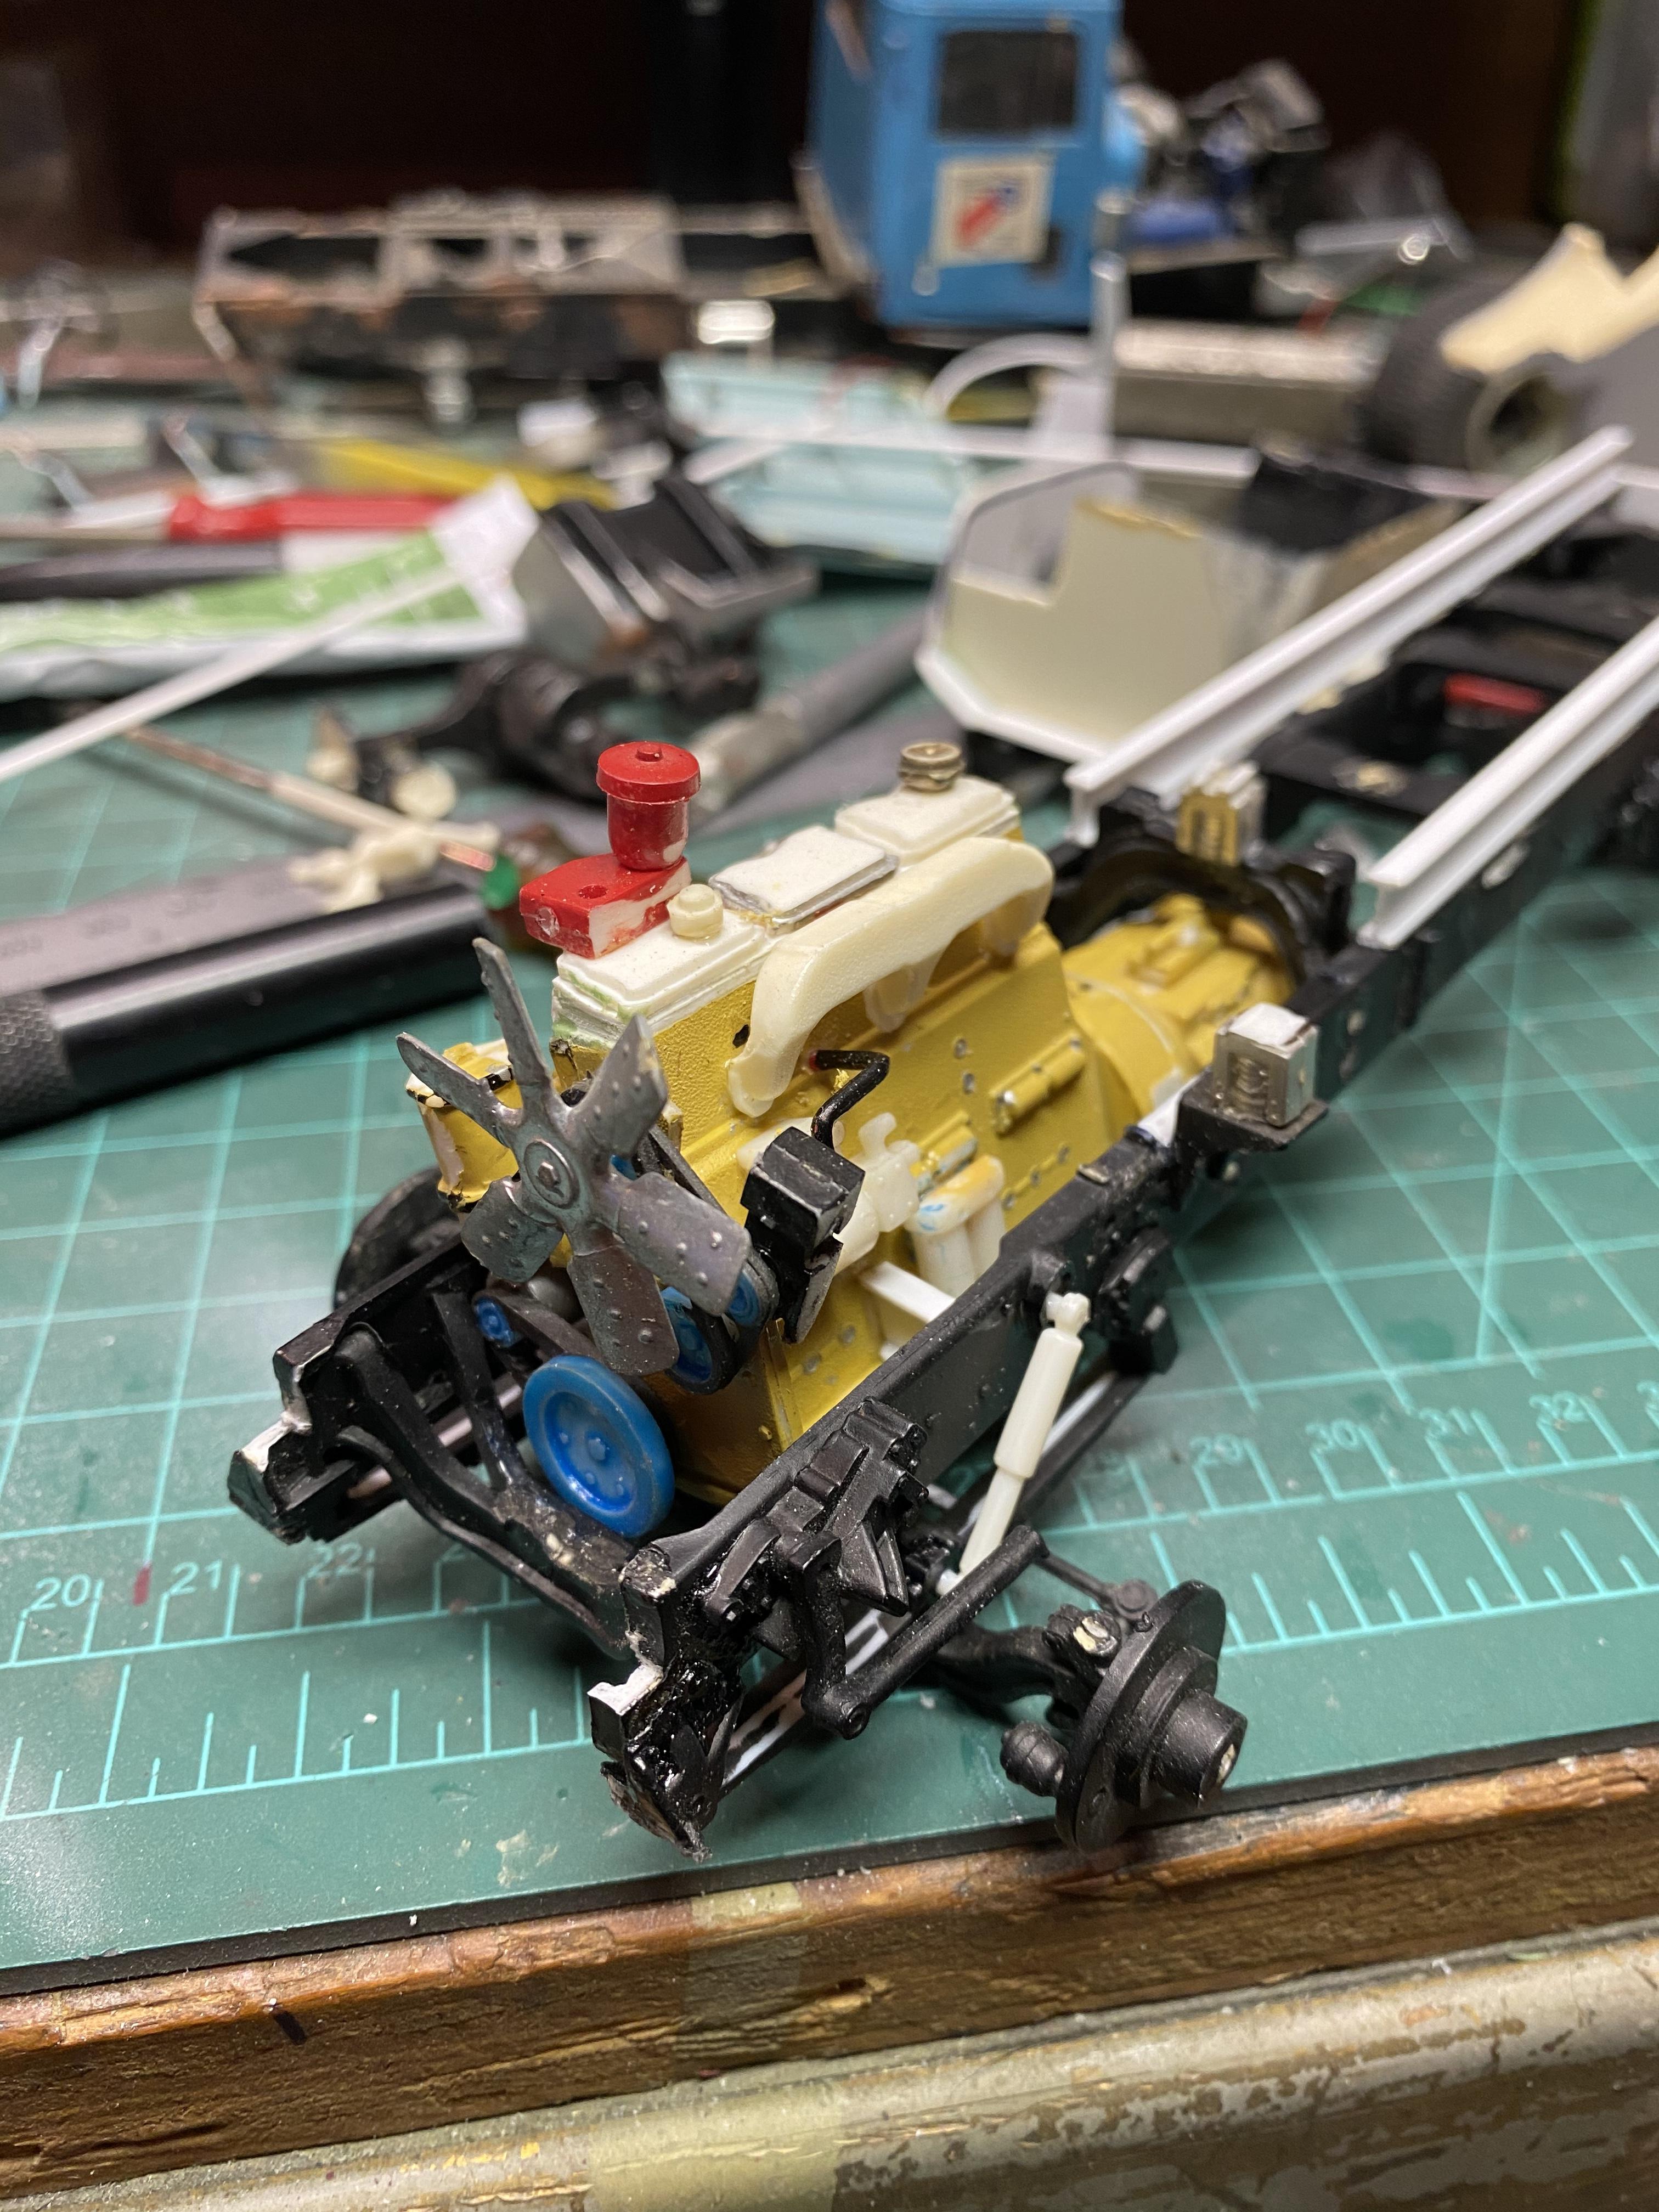
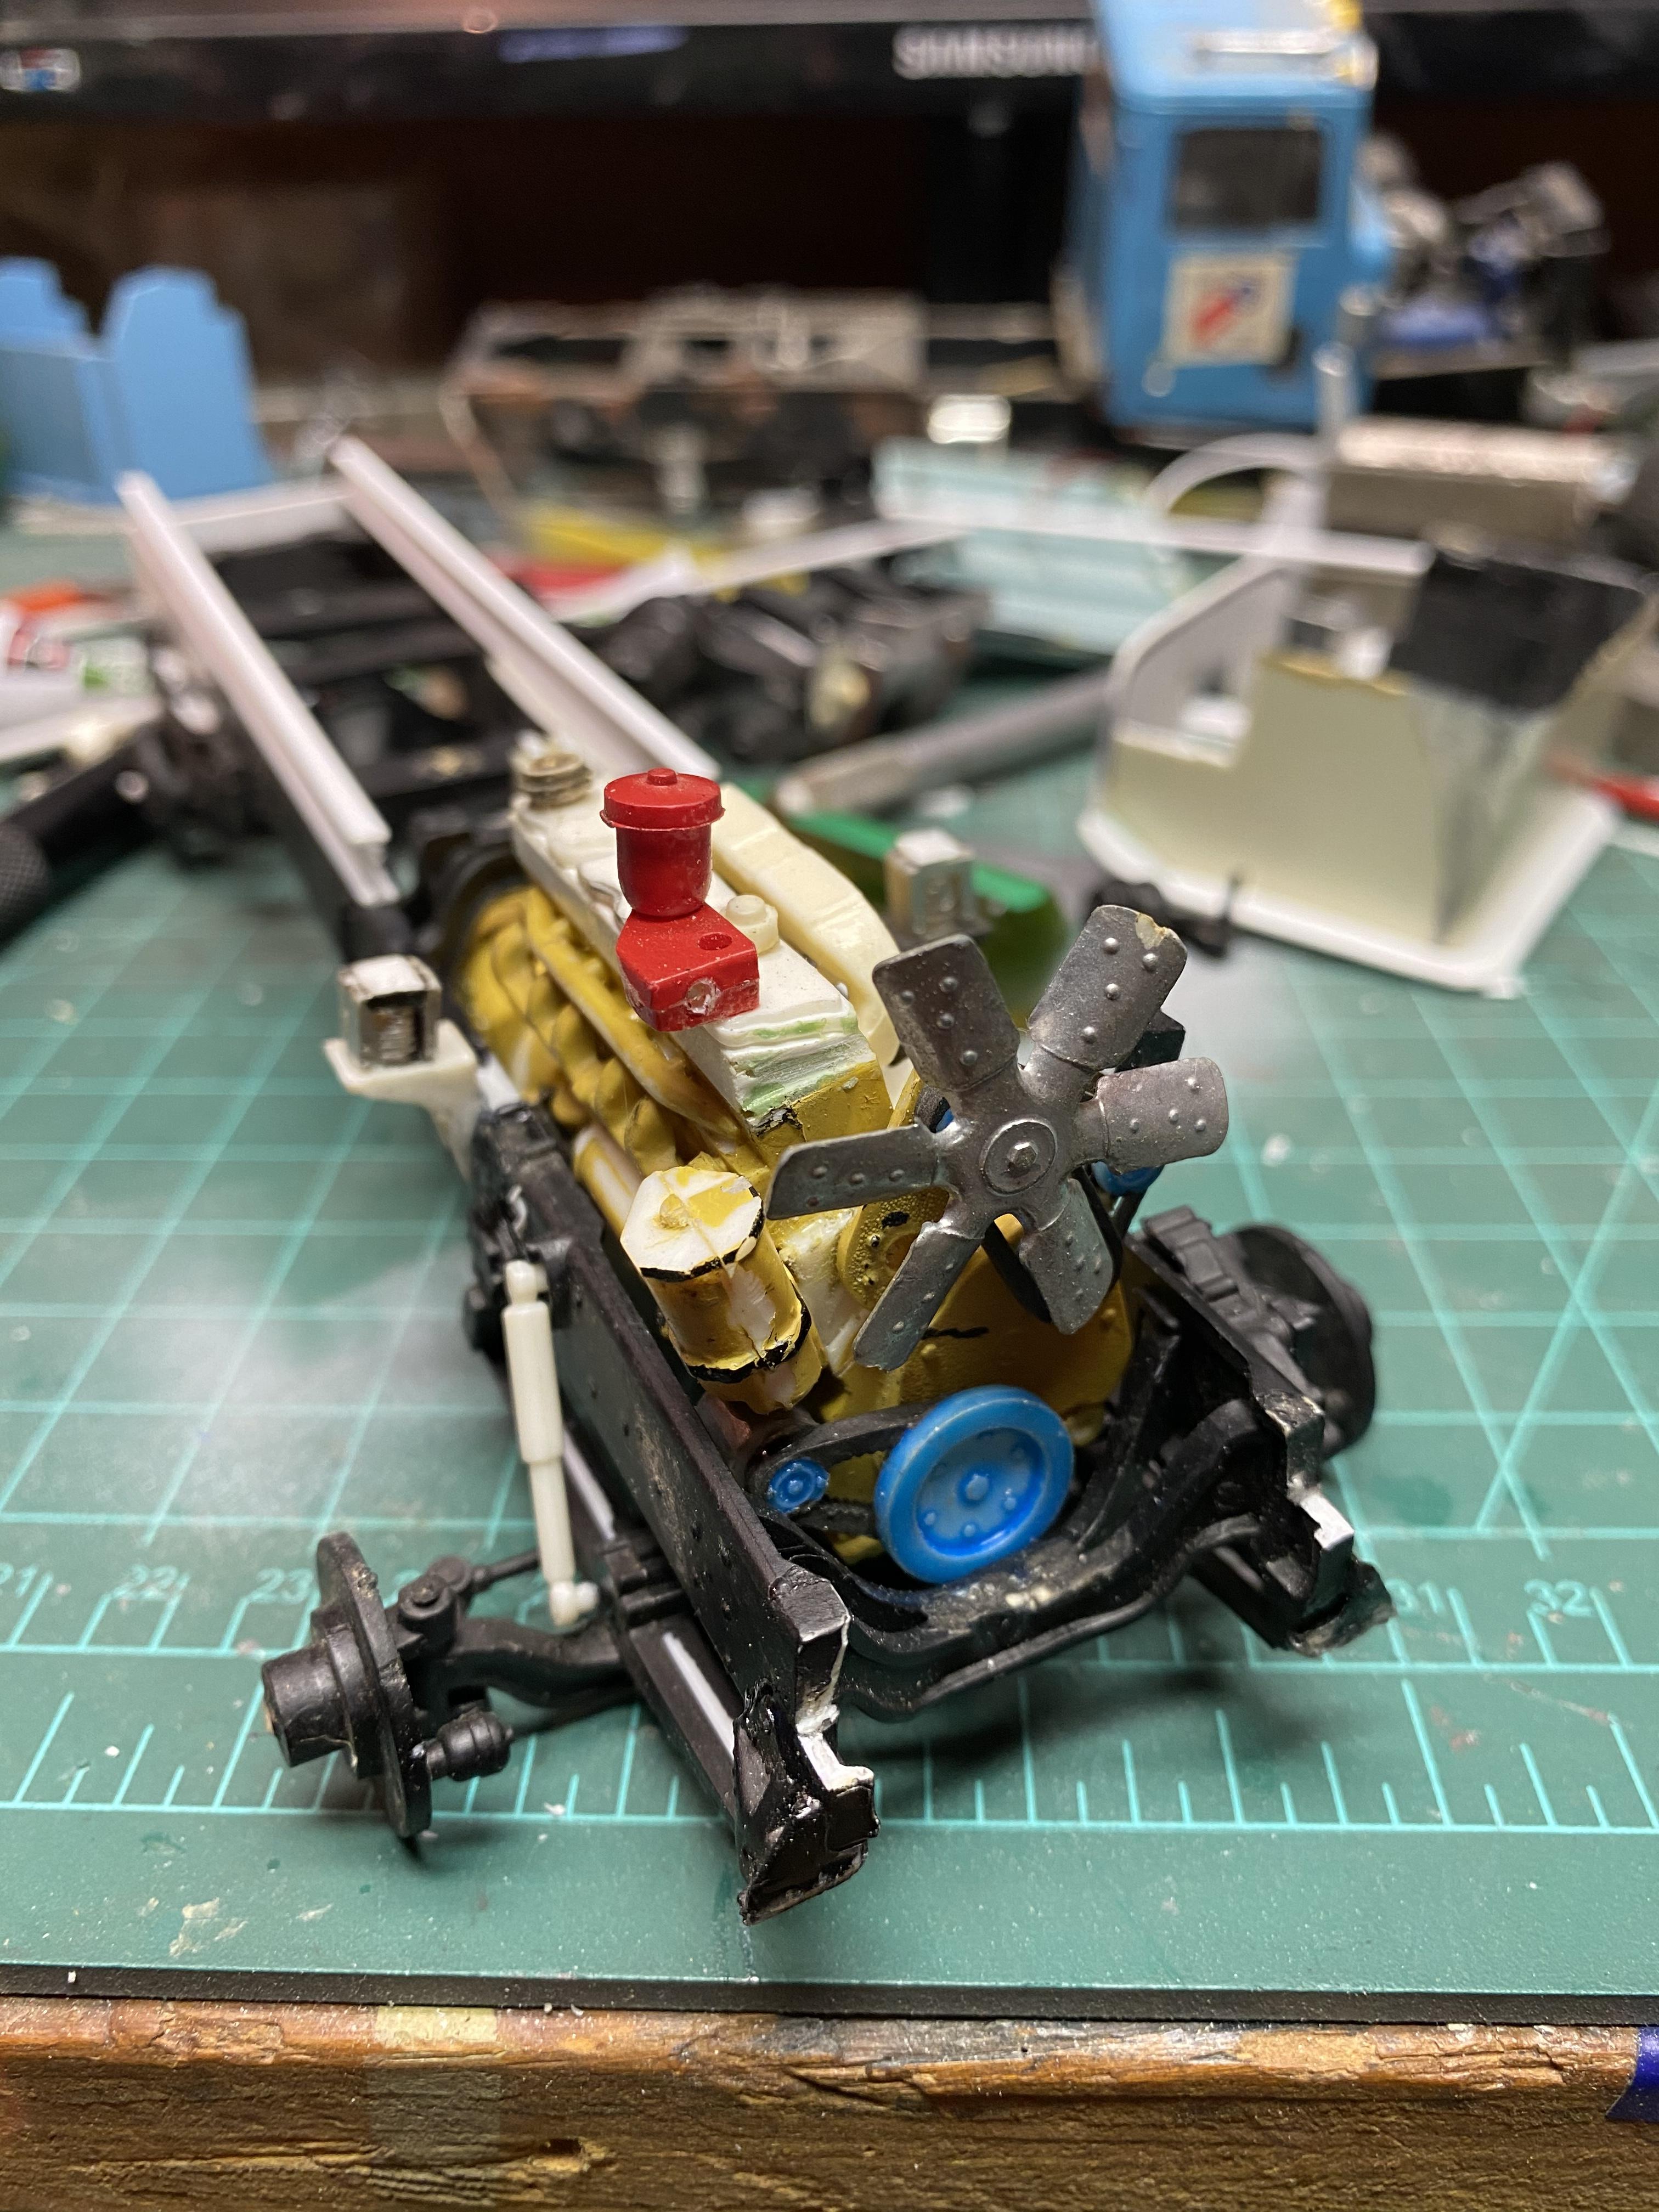
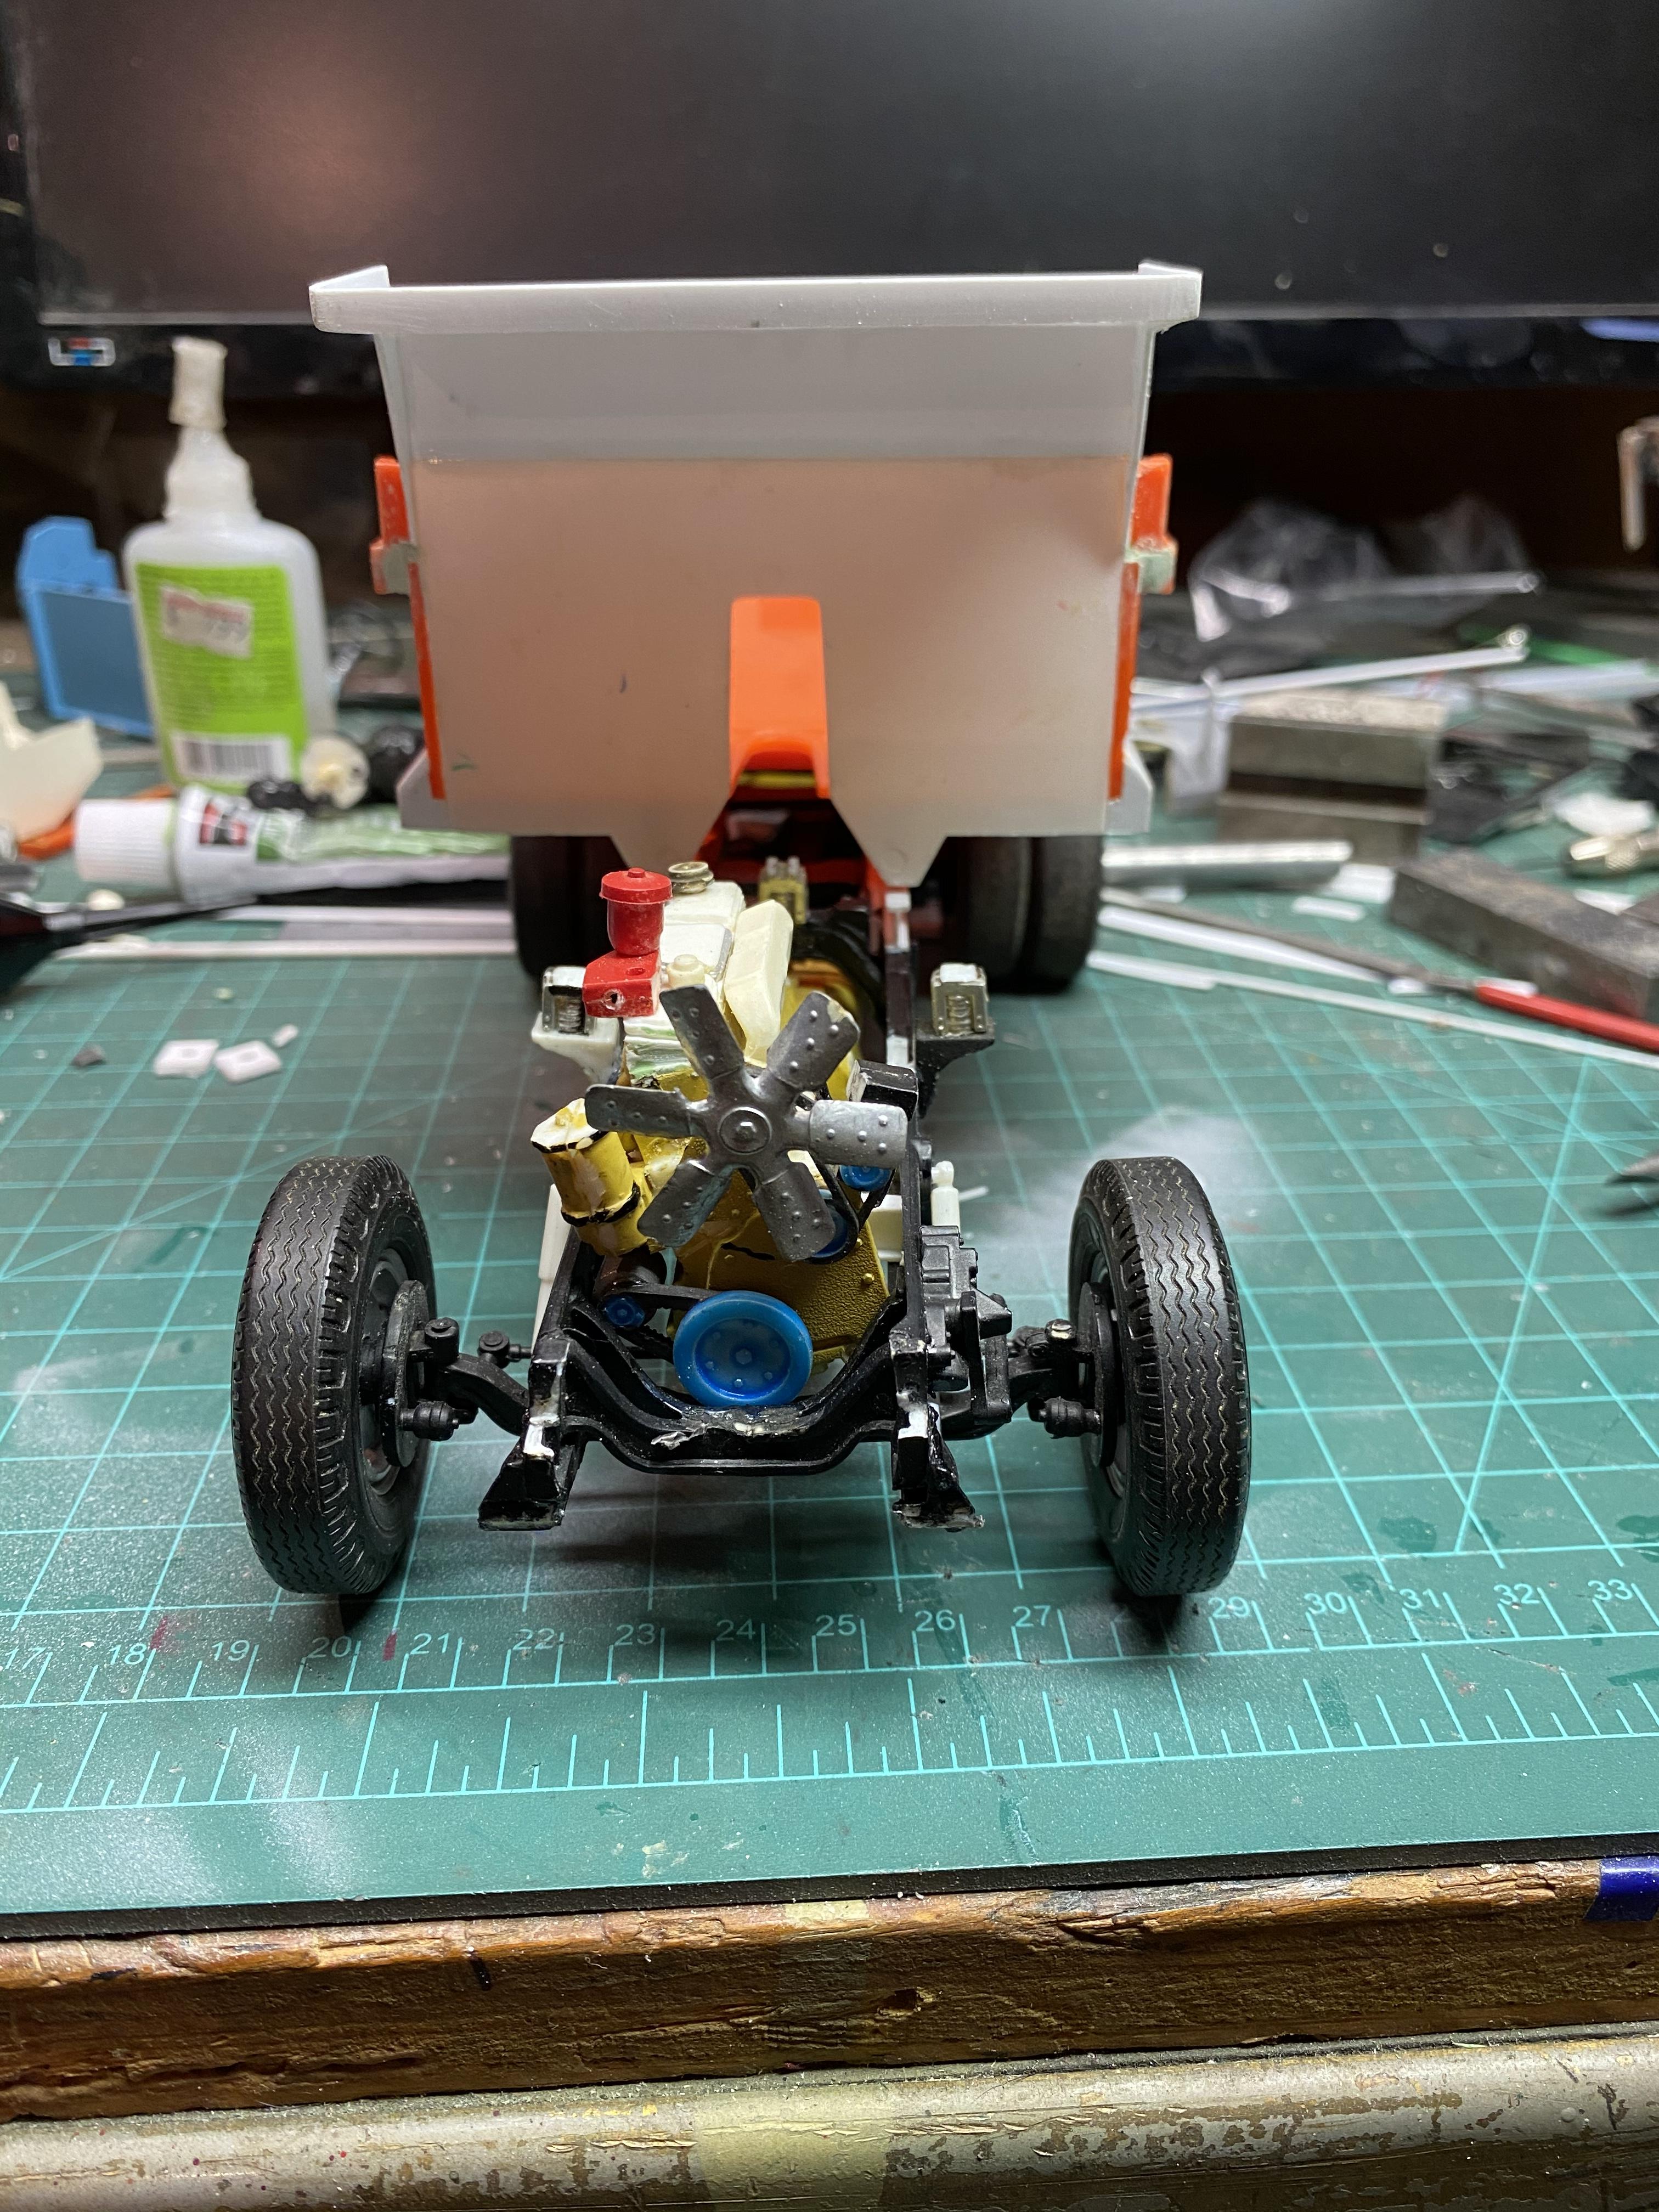
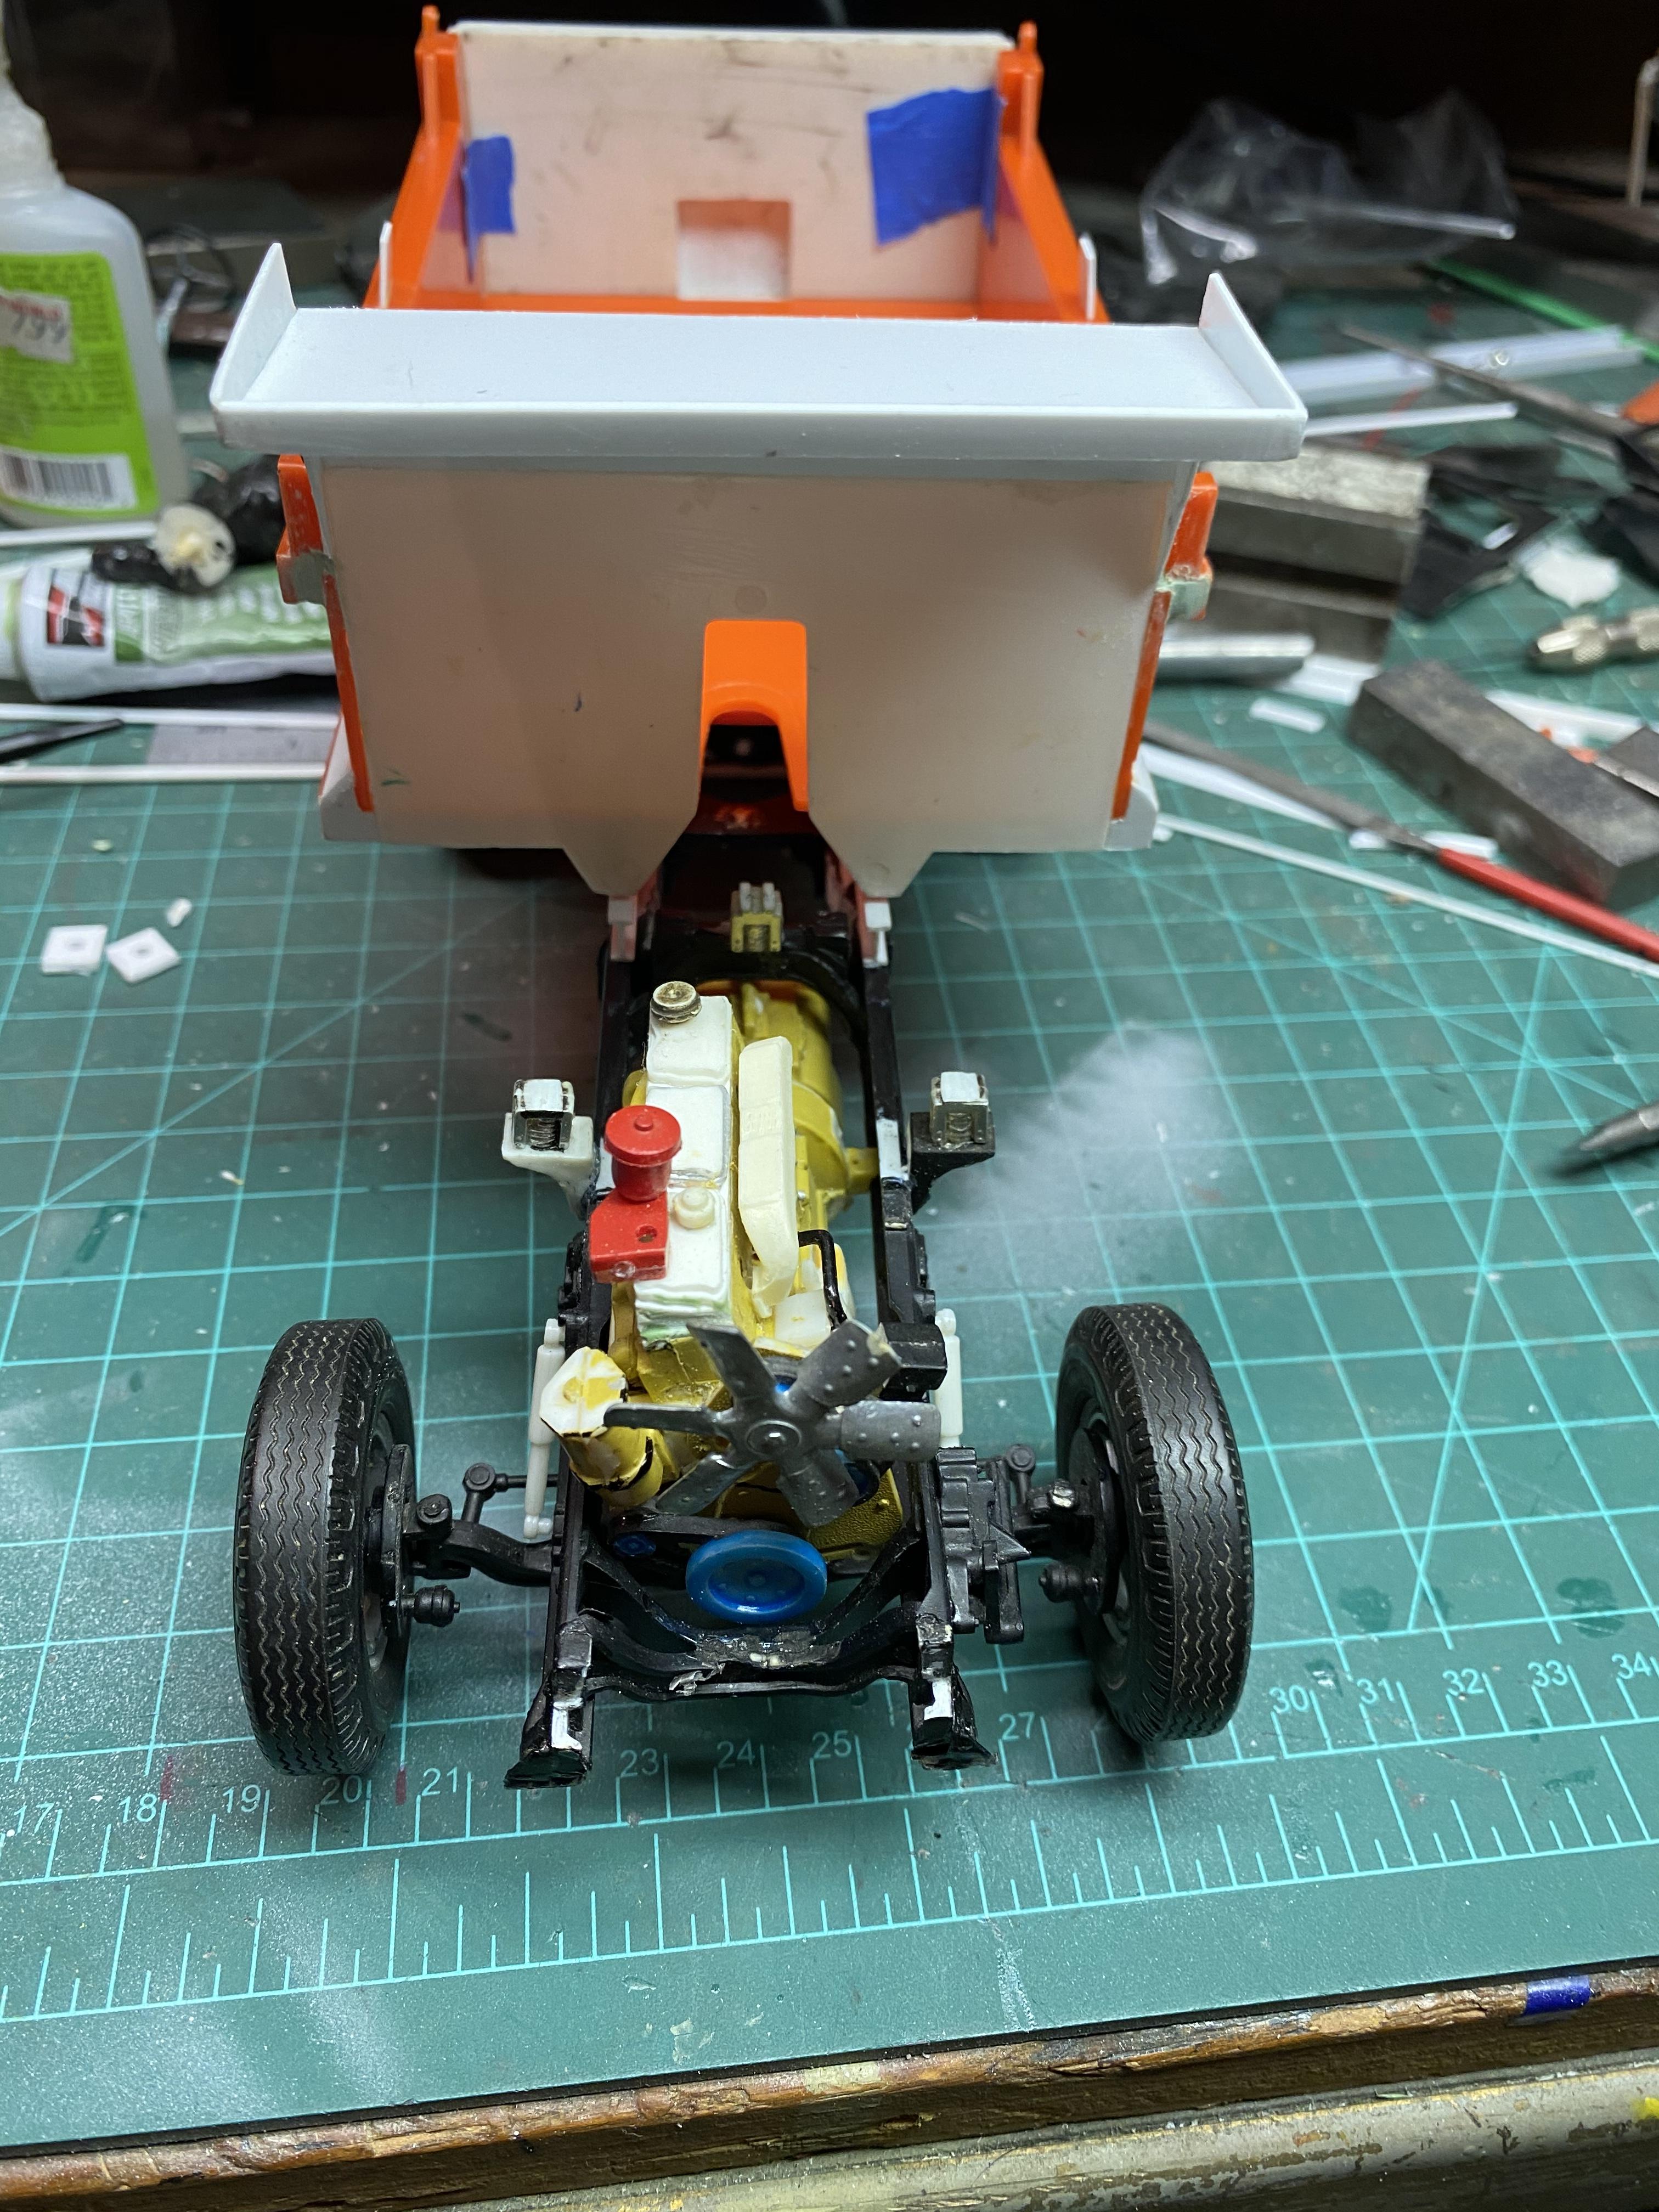
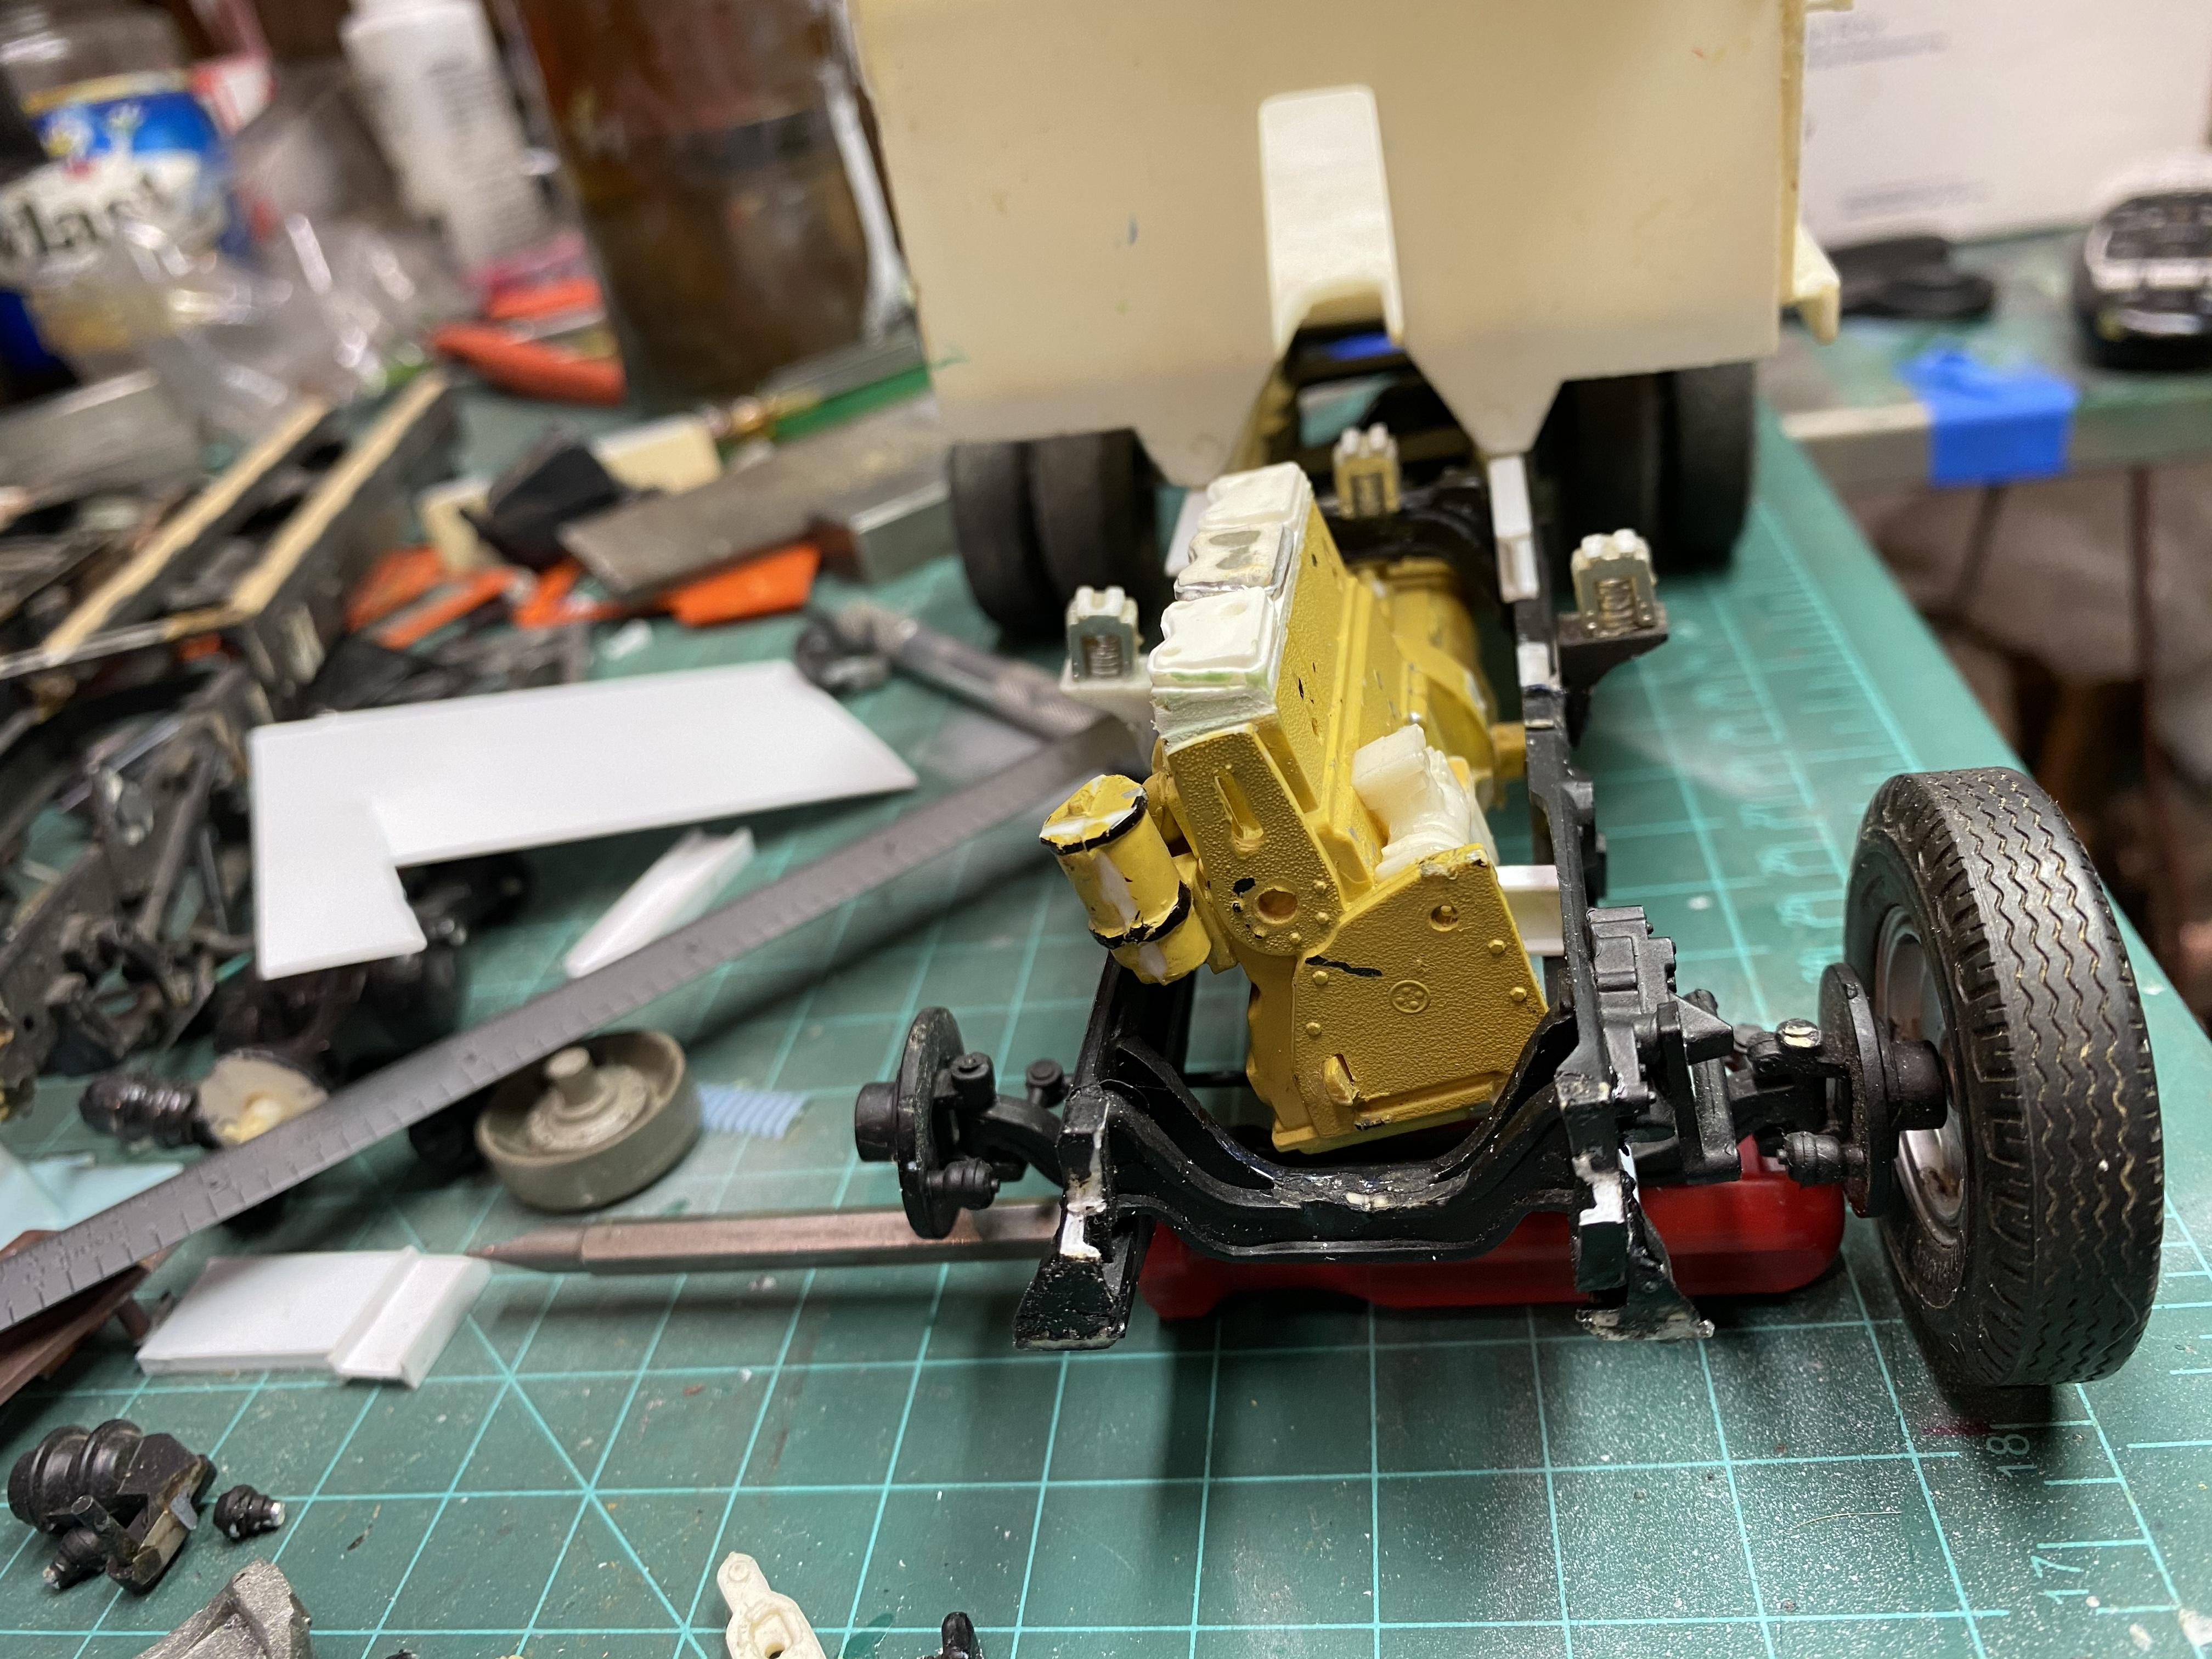
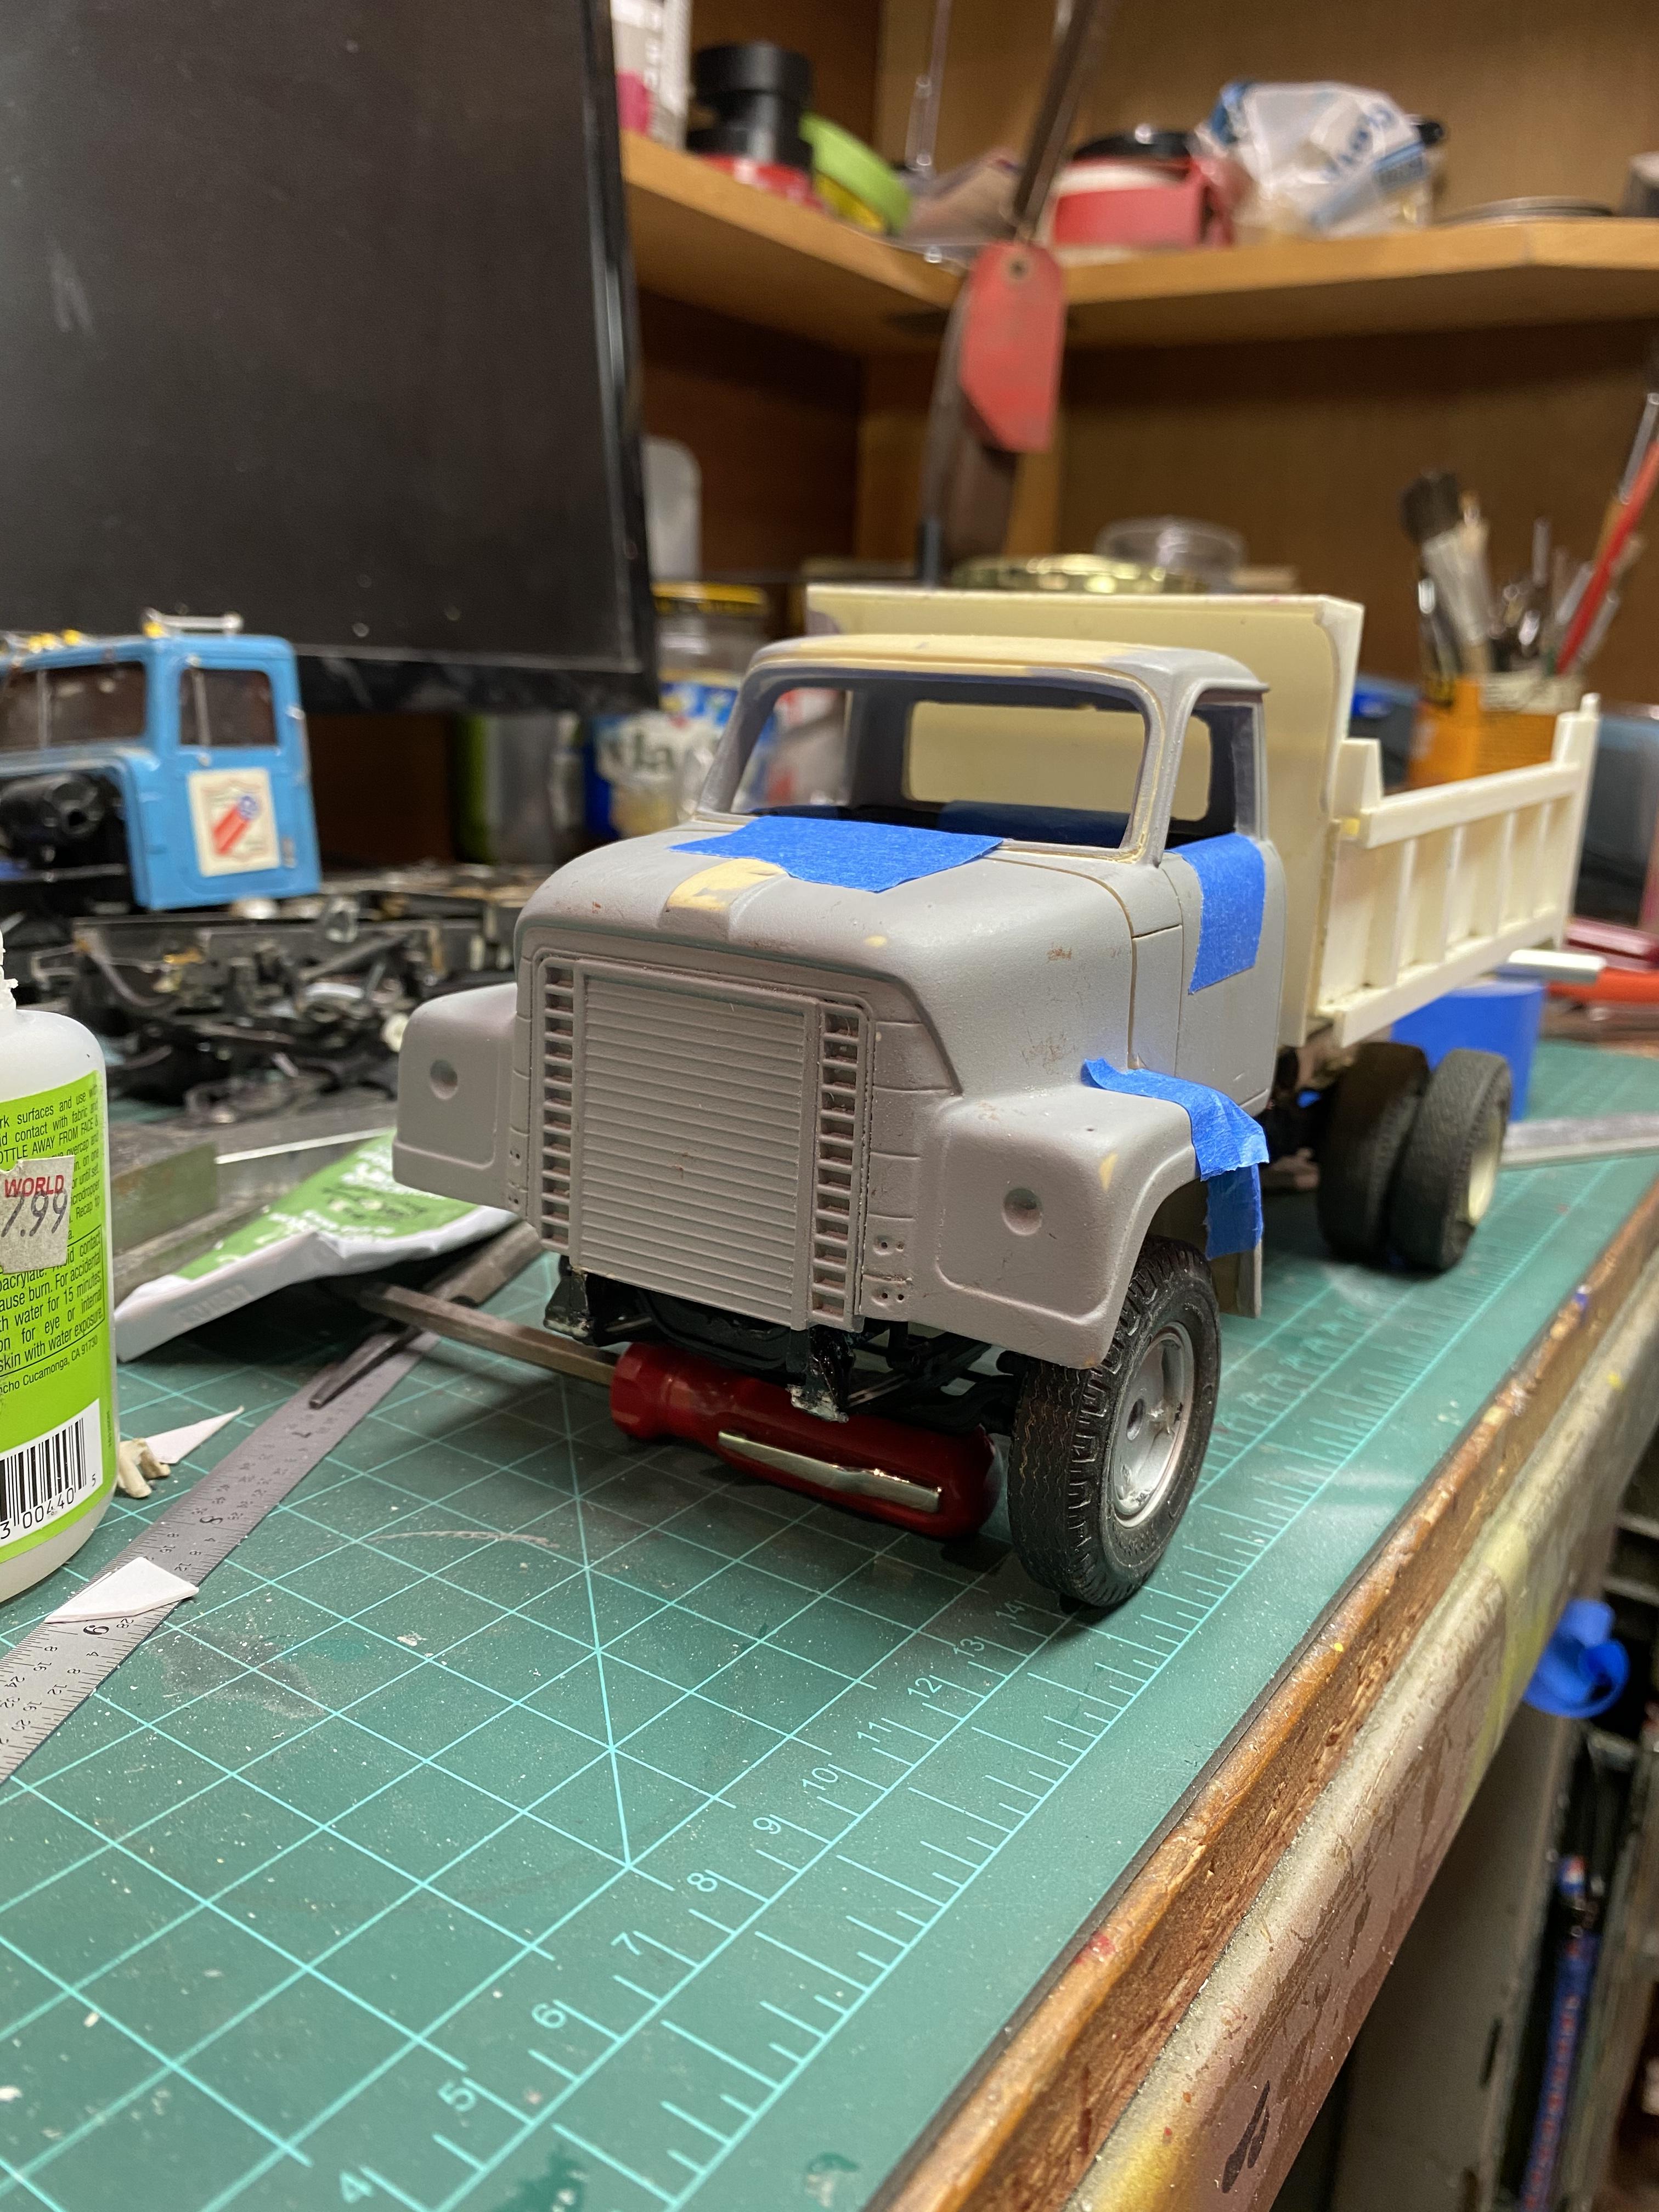
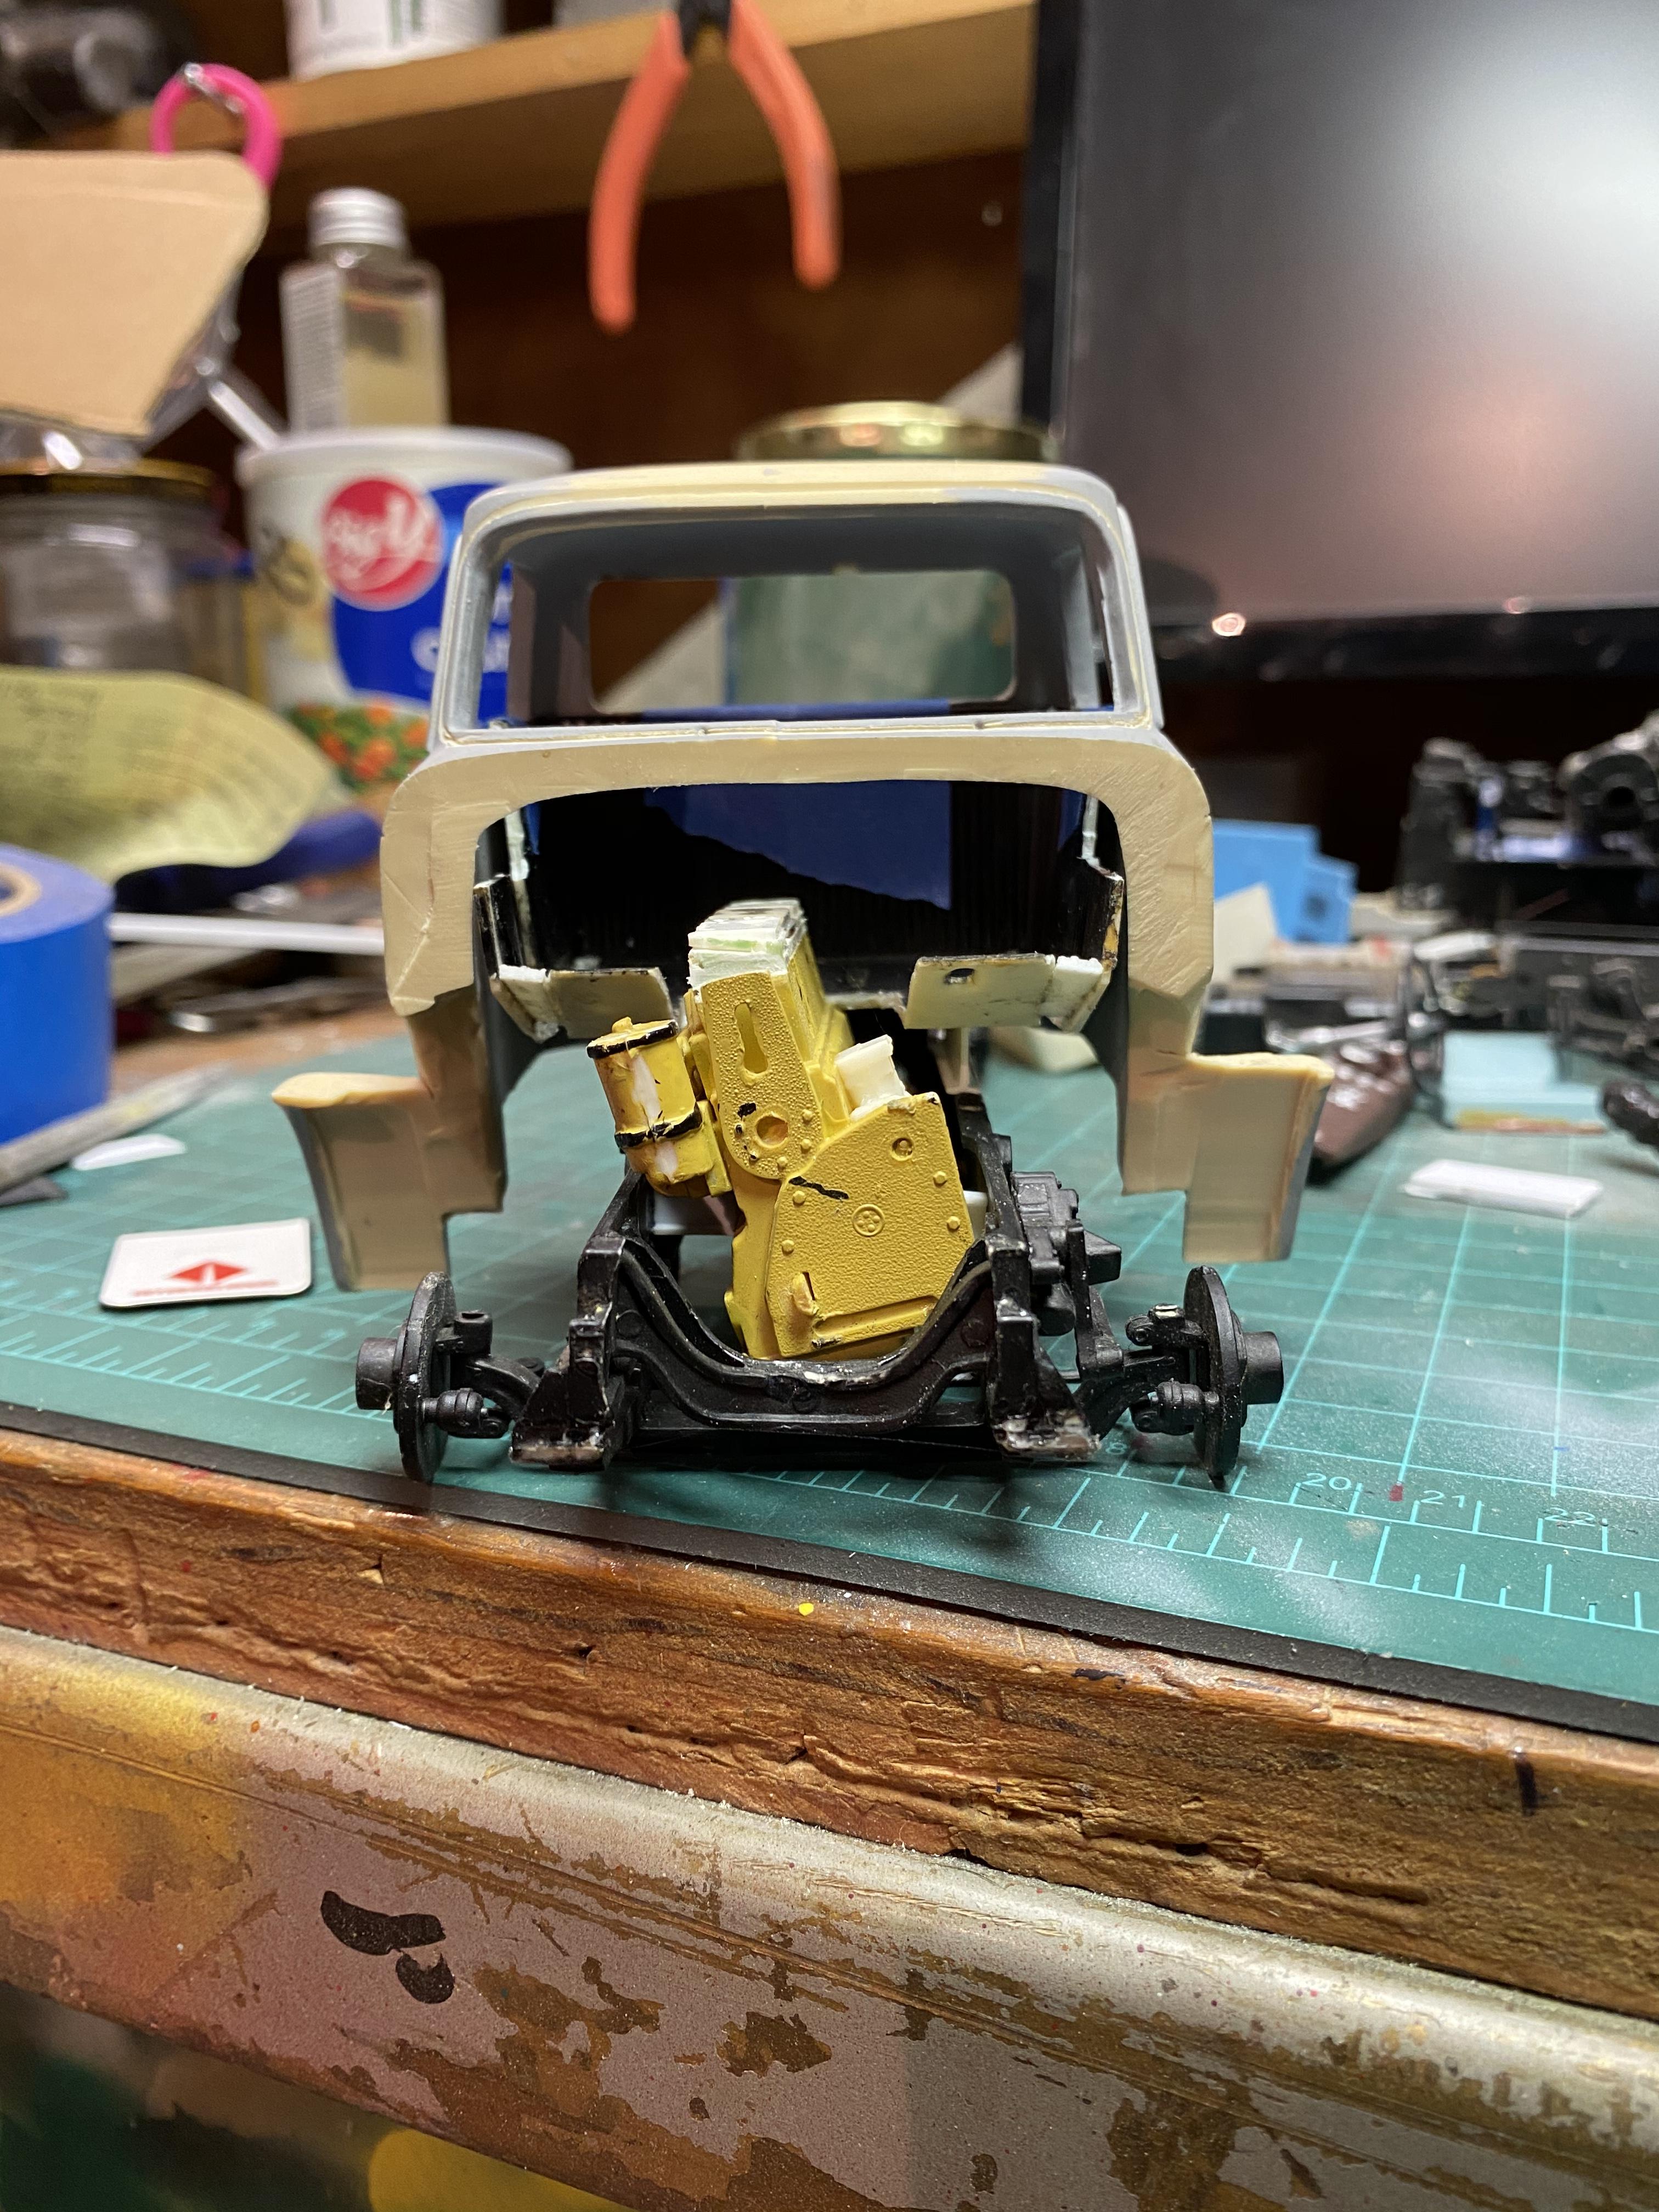
Mocked up the radiator, inner fenders, radiator overflow, windshield washer tank, and air cleaner to check fit. Added the fuel tanks, air tanks, battery box. Time now for wiring and hoses, making the hydraulic cylinder and cab details. Now it’s easy to see just how tight these old girls were under the hood. Yikes! Brings back lots of bloody skinned knuckle memories!
-
1957 Reo Gold Comet
redneckrigger replied to Chariots of Fire's topic in WIP: Model Trucks: Big Rigs and Heavy Equipment
Beautiful work Charlie. You definitely have captured the "look" of that old girl. -
My Compliments on the New Categories
redneckrigger replied to Motor City's topic in How To Use This Board
Yes sir, that works. But for THIS old guy, when trying to find info about a certain truck, and wanting to search old posts that I may have already seen, now it is impossible as the truck content is drowned out by the cars. And to what end? Nothing for the benefit of the hobby, IMHO, but rather to make the site appeal more to someone's sense of order. Again, just my opinion. -
My Compliments on the New Categories
redneckrigger replied to Motor City's topic in How To Use This Board
I fully understand the reasoning behind the combination of 1:1 trucks and 1:1 cars into one section. Makes sense from an operations point of view, at least to someone who does not think of trucks as an entity deserving of it's own thread. However, when one looks at it from an historical perspective, WAY back in the day when truck kits were first introduced, they hit with a splash, and then were slowly gentrified into a mish-mash with cars, industry wise. And they darned near disappeared completely. We are presently in the middle of a resurrection of truck modelling. Truck modellers strive for extreme accuracy of a prototype , in my experience, more than car builders. Please don't take that away from us. The Truck Stop was an invaluable resource for all things in the 1:1 truck world, and was highly used, by myself and almost every truck modeler I am aware of. Now, to find one thread, it is endless scrolling, as trucks have once again been overshadowed by cars. This is not good, IMHO. Please reconsider this move, and perhaps just make one section "The Pit Stop" for cars, and one section "The Truck Stop" for trucks. This really should not affect the way that the forum is used by smartphone users, and it will not affect the operation of this forum in the least. It will also go a LONG way to providing the all too valuable, and now lost, (or at least HARD to find) resource that the Truck Stop was. We have already lost a HUGE resource when we lost Hank's Truck Forum and his photo site. To lose this now too, or at least make it impossible to use, is a double whammy the truck modelling community does not need. Knowing that management knew that the elimination of The Truck Stop would be received negatively is a given. But to assume that users would use tags and keywords to make the truck content stand out is foolish, IMHO. And to make it easier to search and group together would not be necessary if you left the two topics separate and already together within the topic. Look at this group, and see the age demographics. It is, at least in my mind, a bit of a stretch to think that we are all savvy enough to use keywords and tags. To be honest, tags are the metal things on the front and rear of my truck that tell the state it's registered in, and key words are the words I yell out loud when I lose my keys. The rest of the changes are fine, again IMHO, but the conglomeration that resulted in The Truck Stop becoming largely invisible is not acceptable. Thank you for the opportunity to vent. -
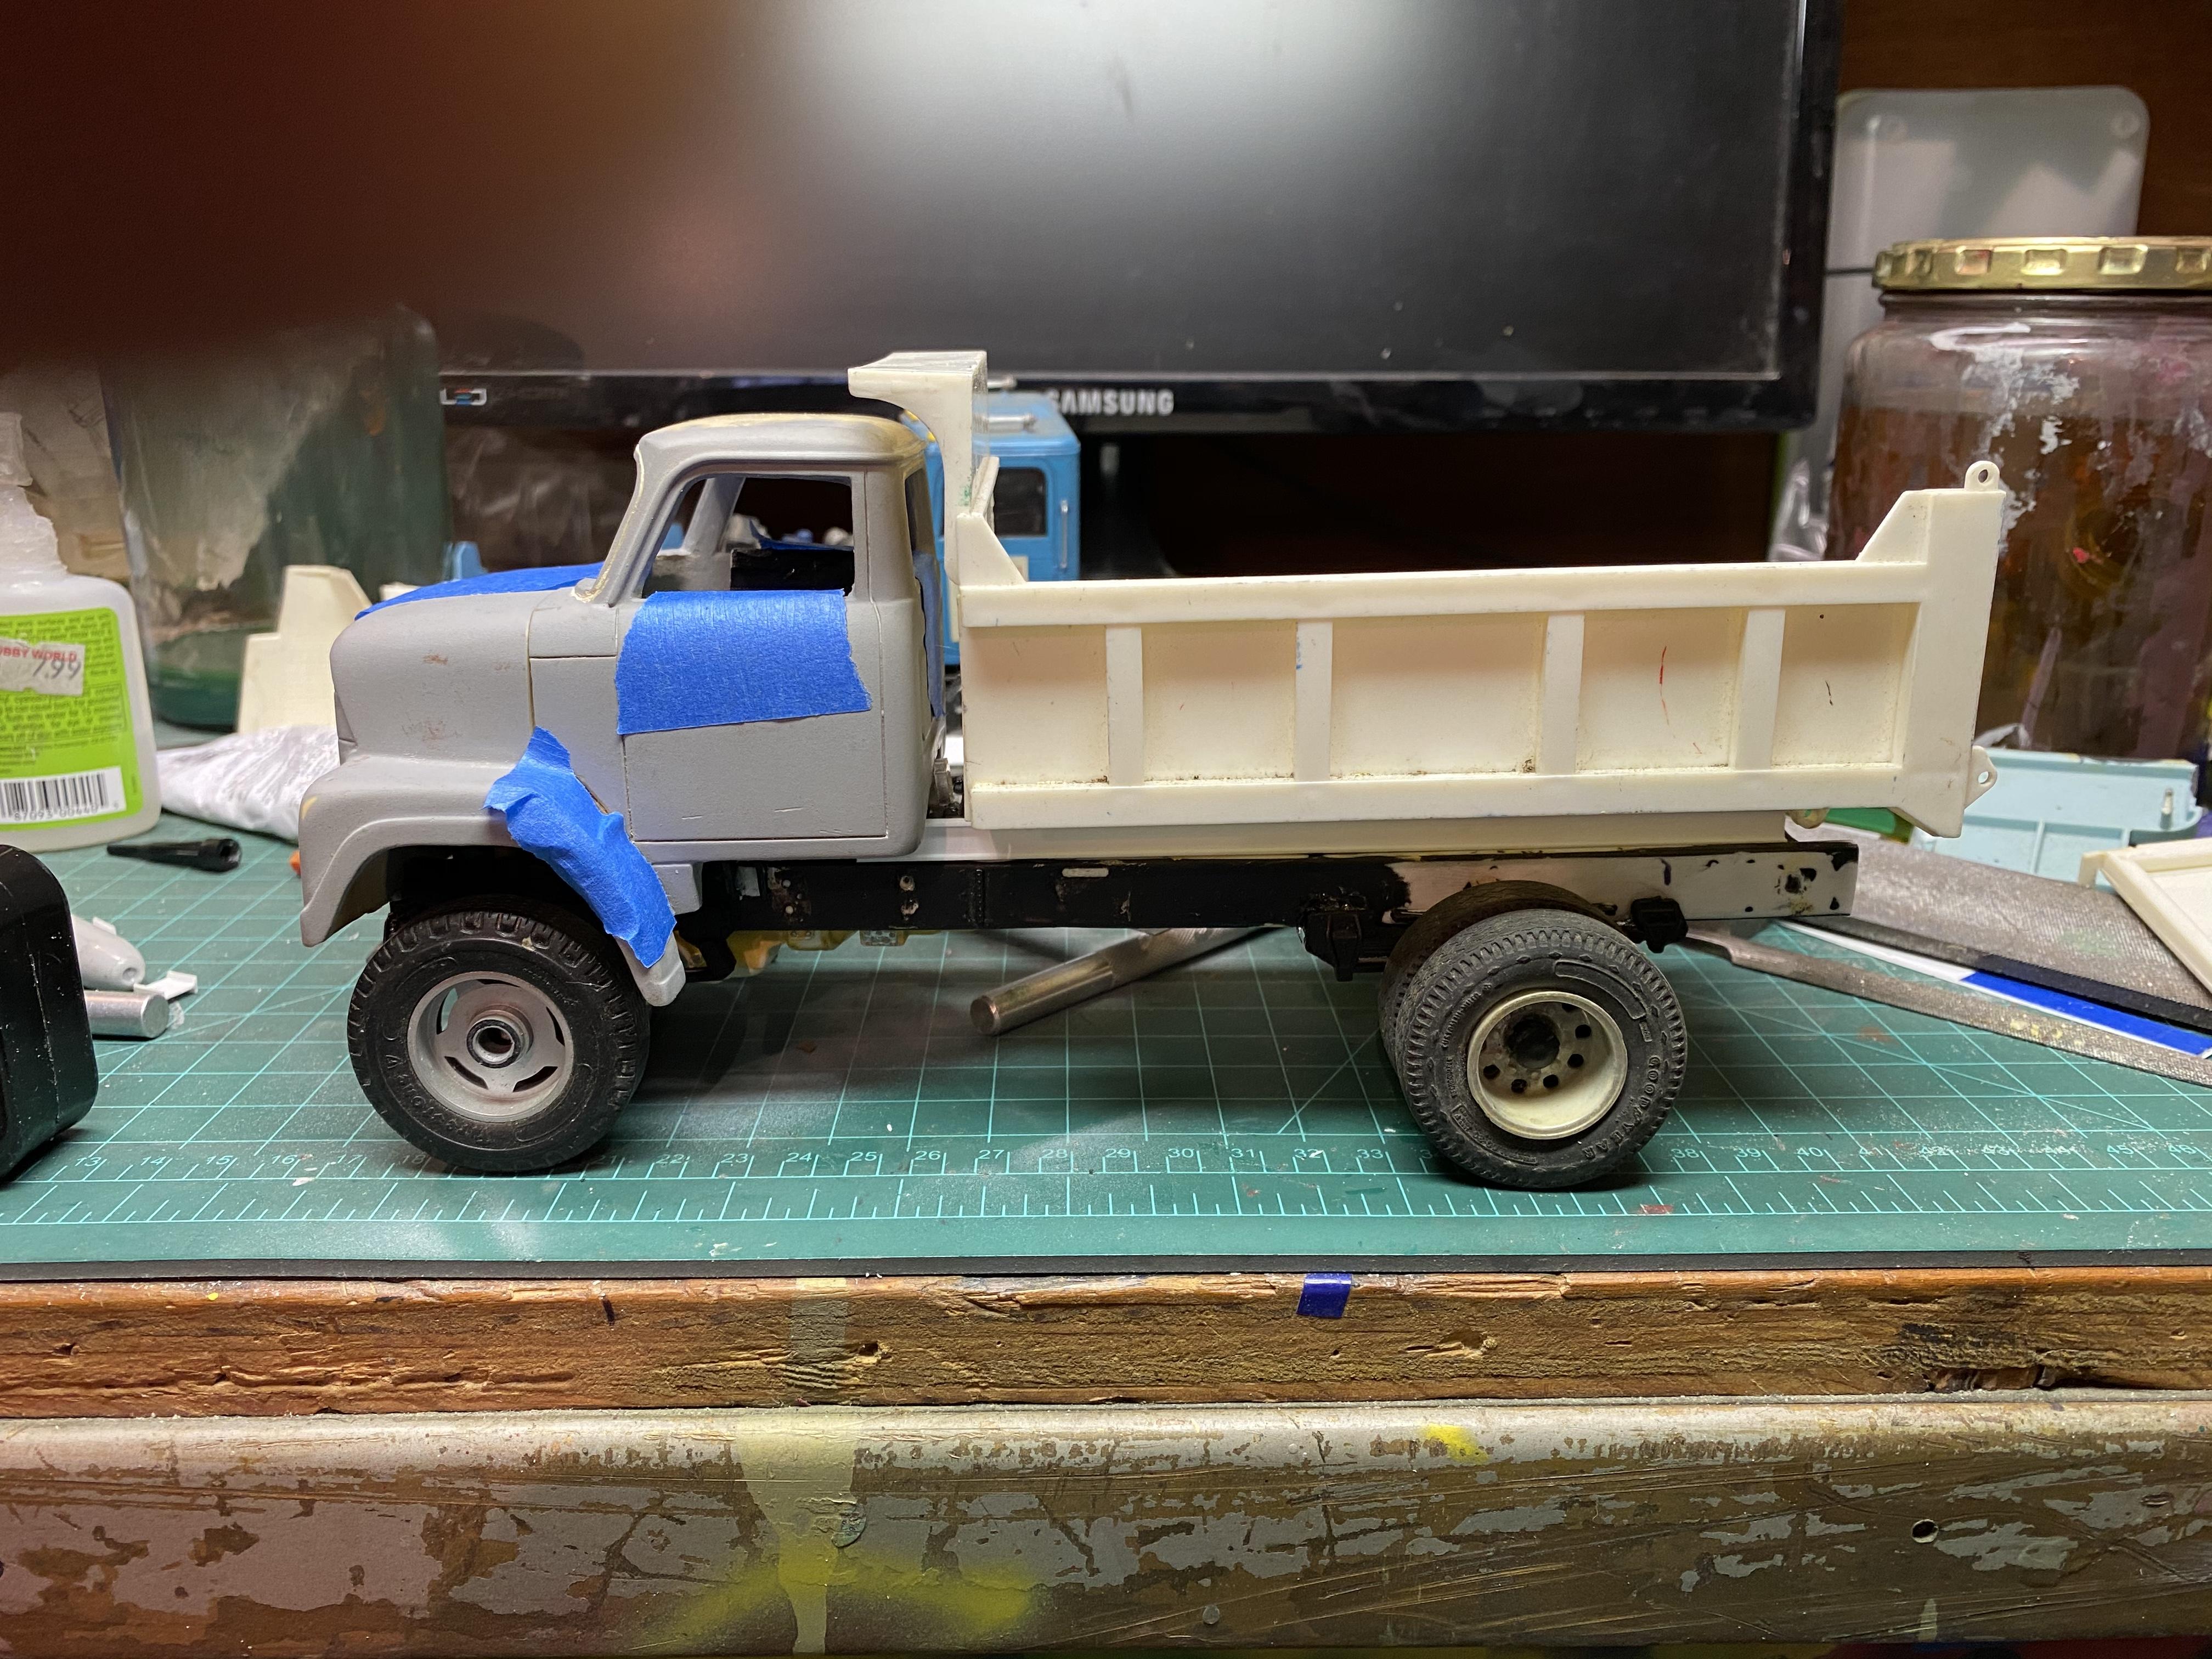
BRBO IHC 2070
redneckrigger replied to redneckrigger's topic in WIP: Model Trucks: Big Rigs and Heavy Equipment
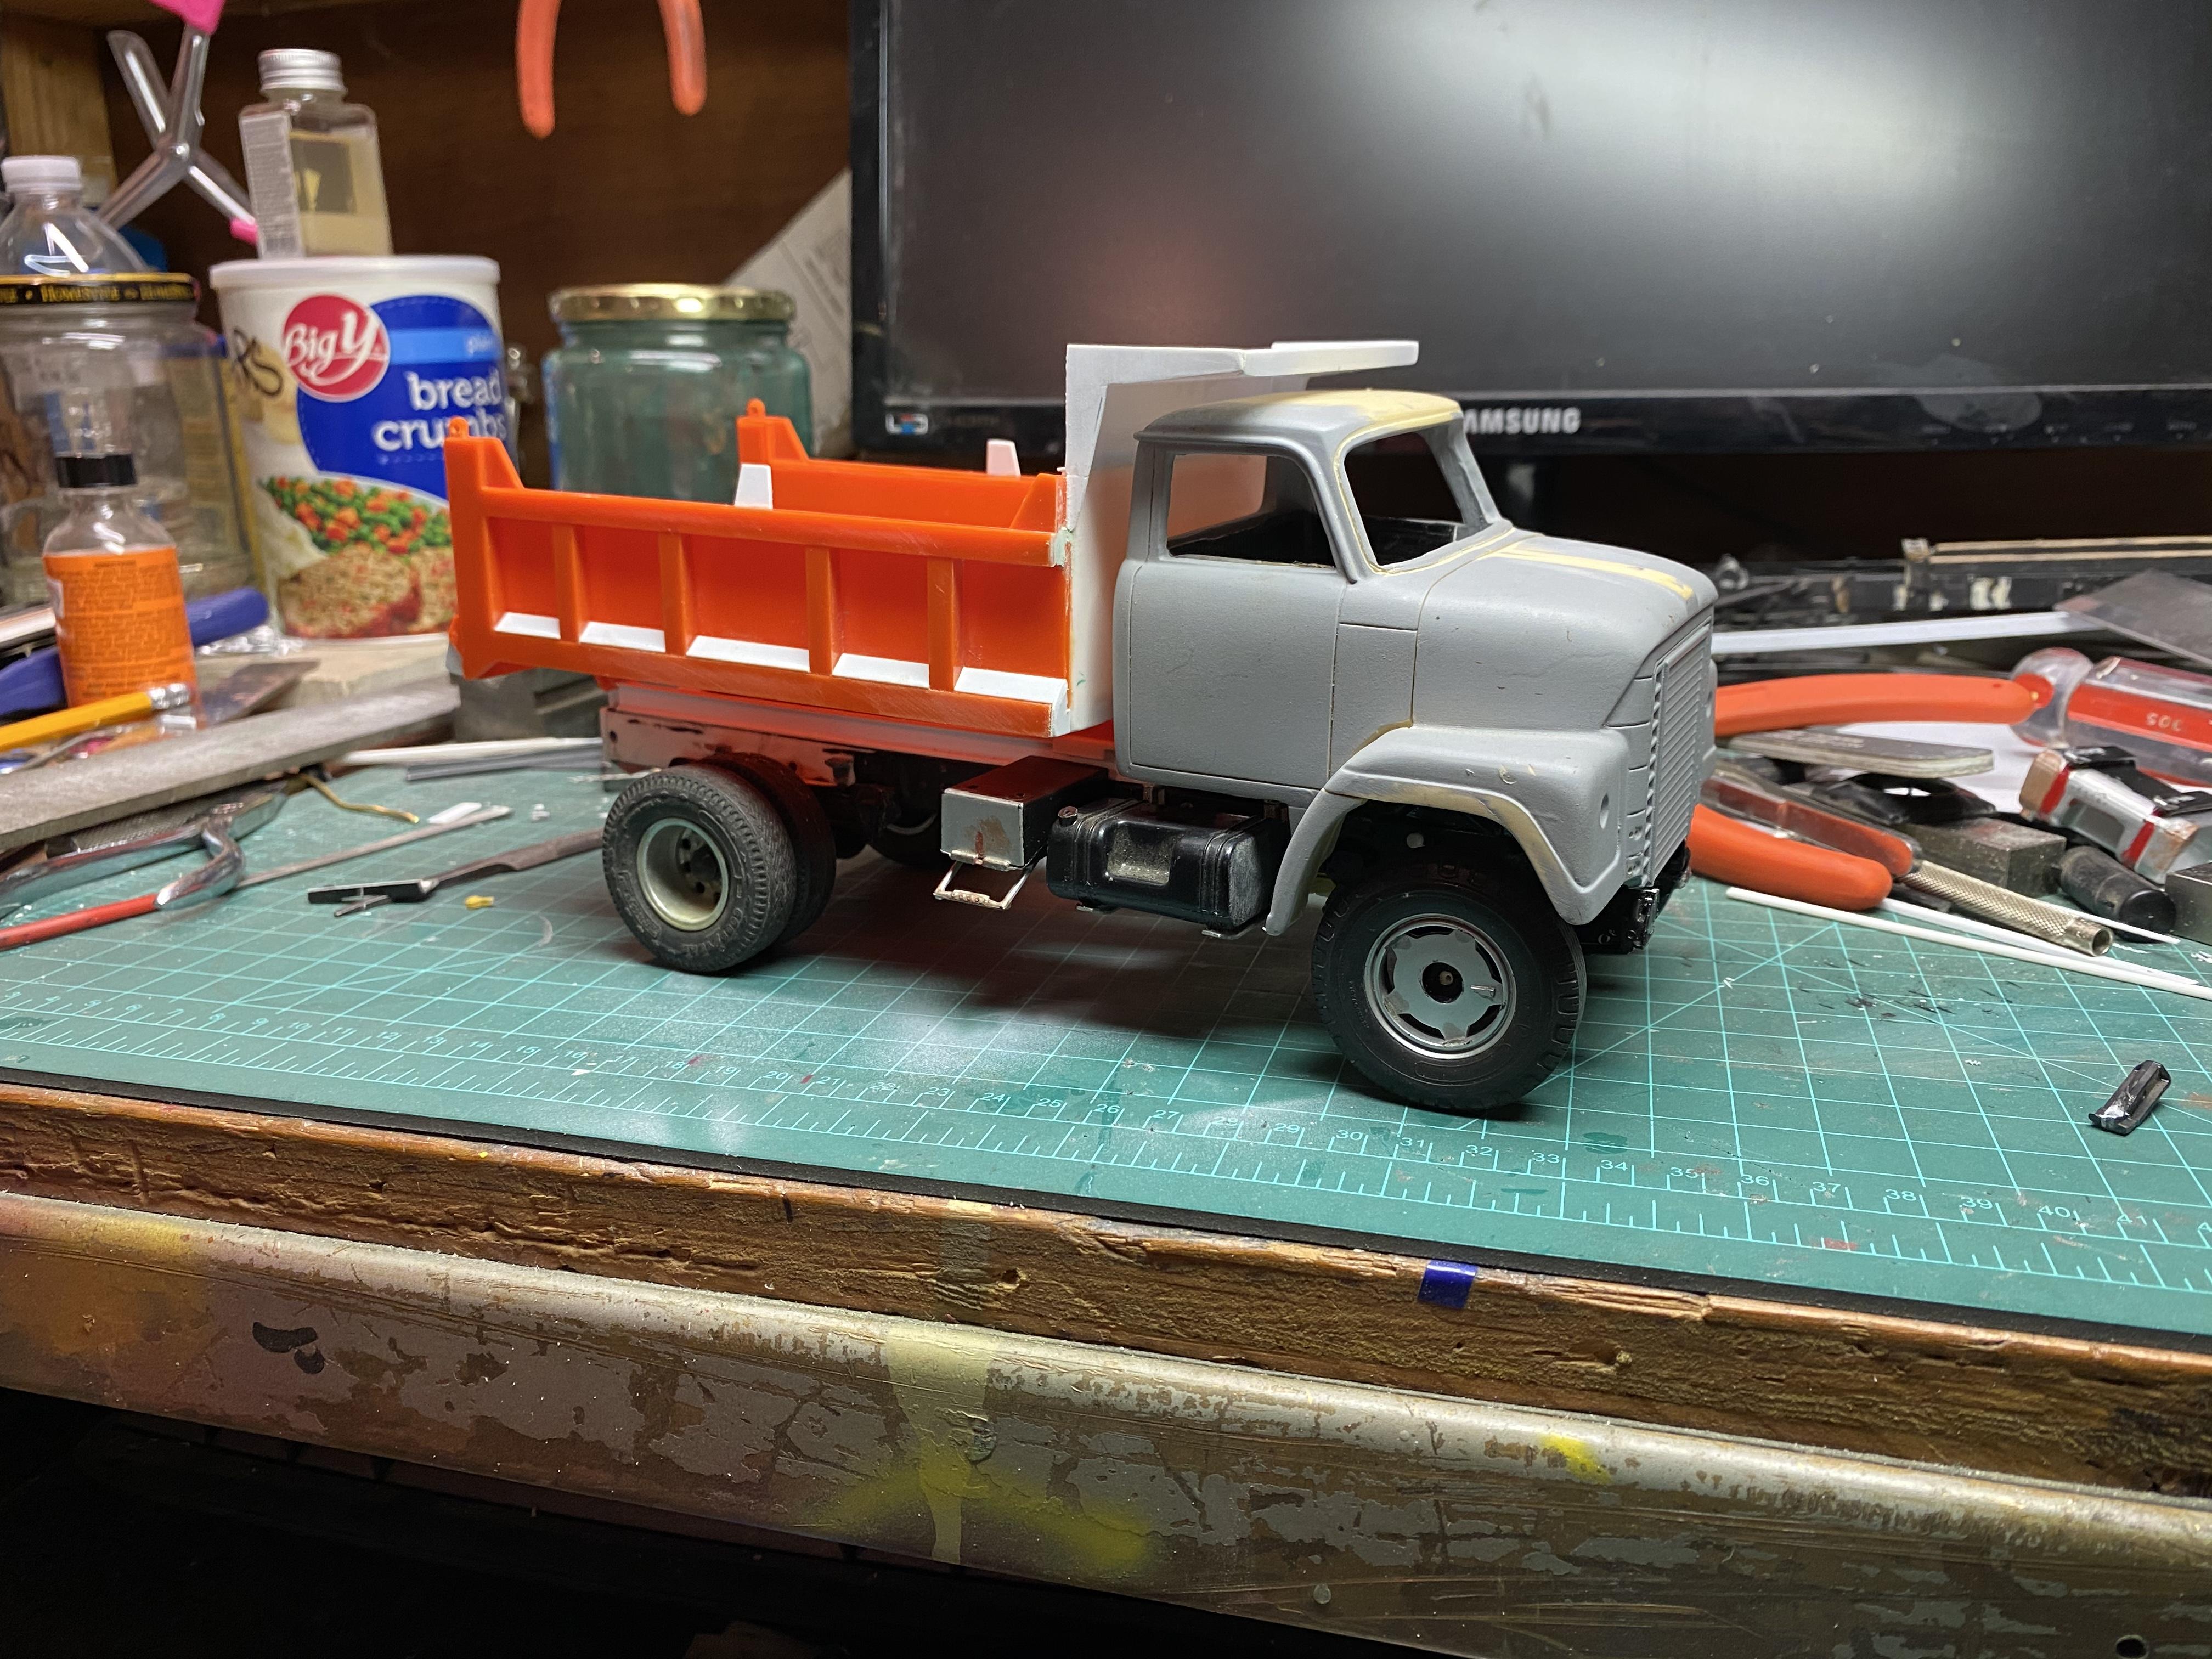
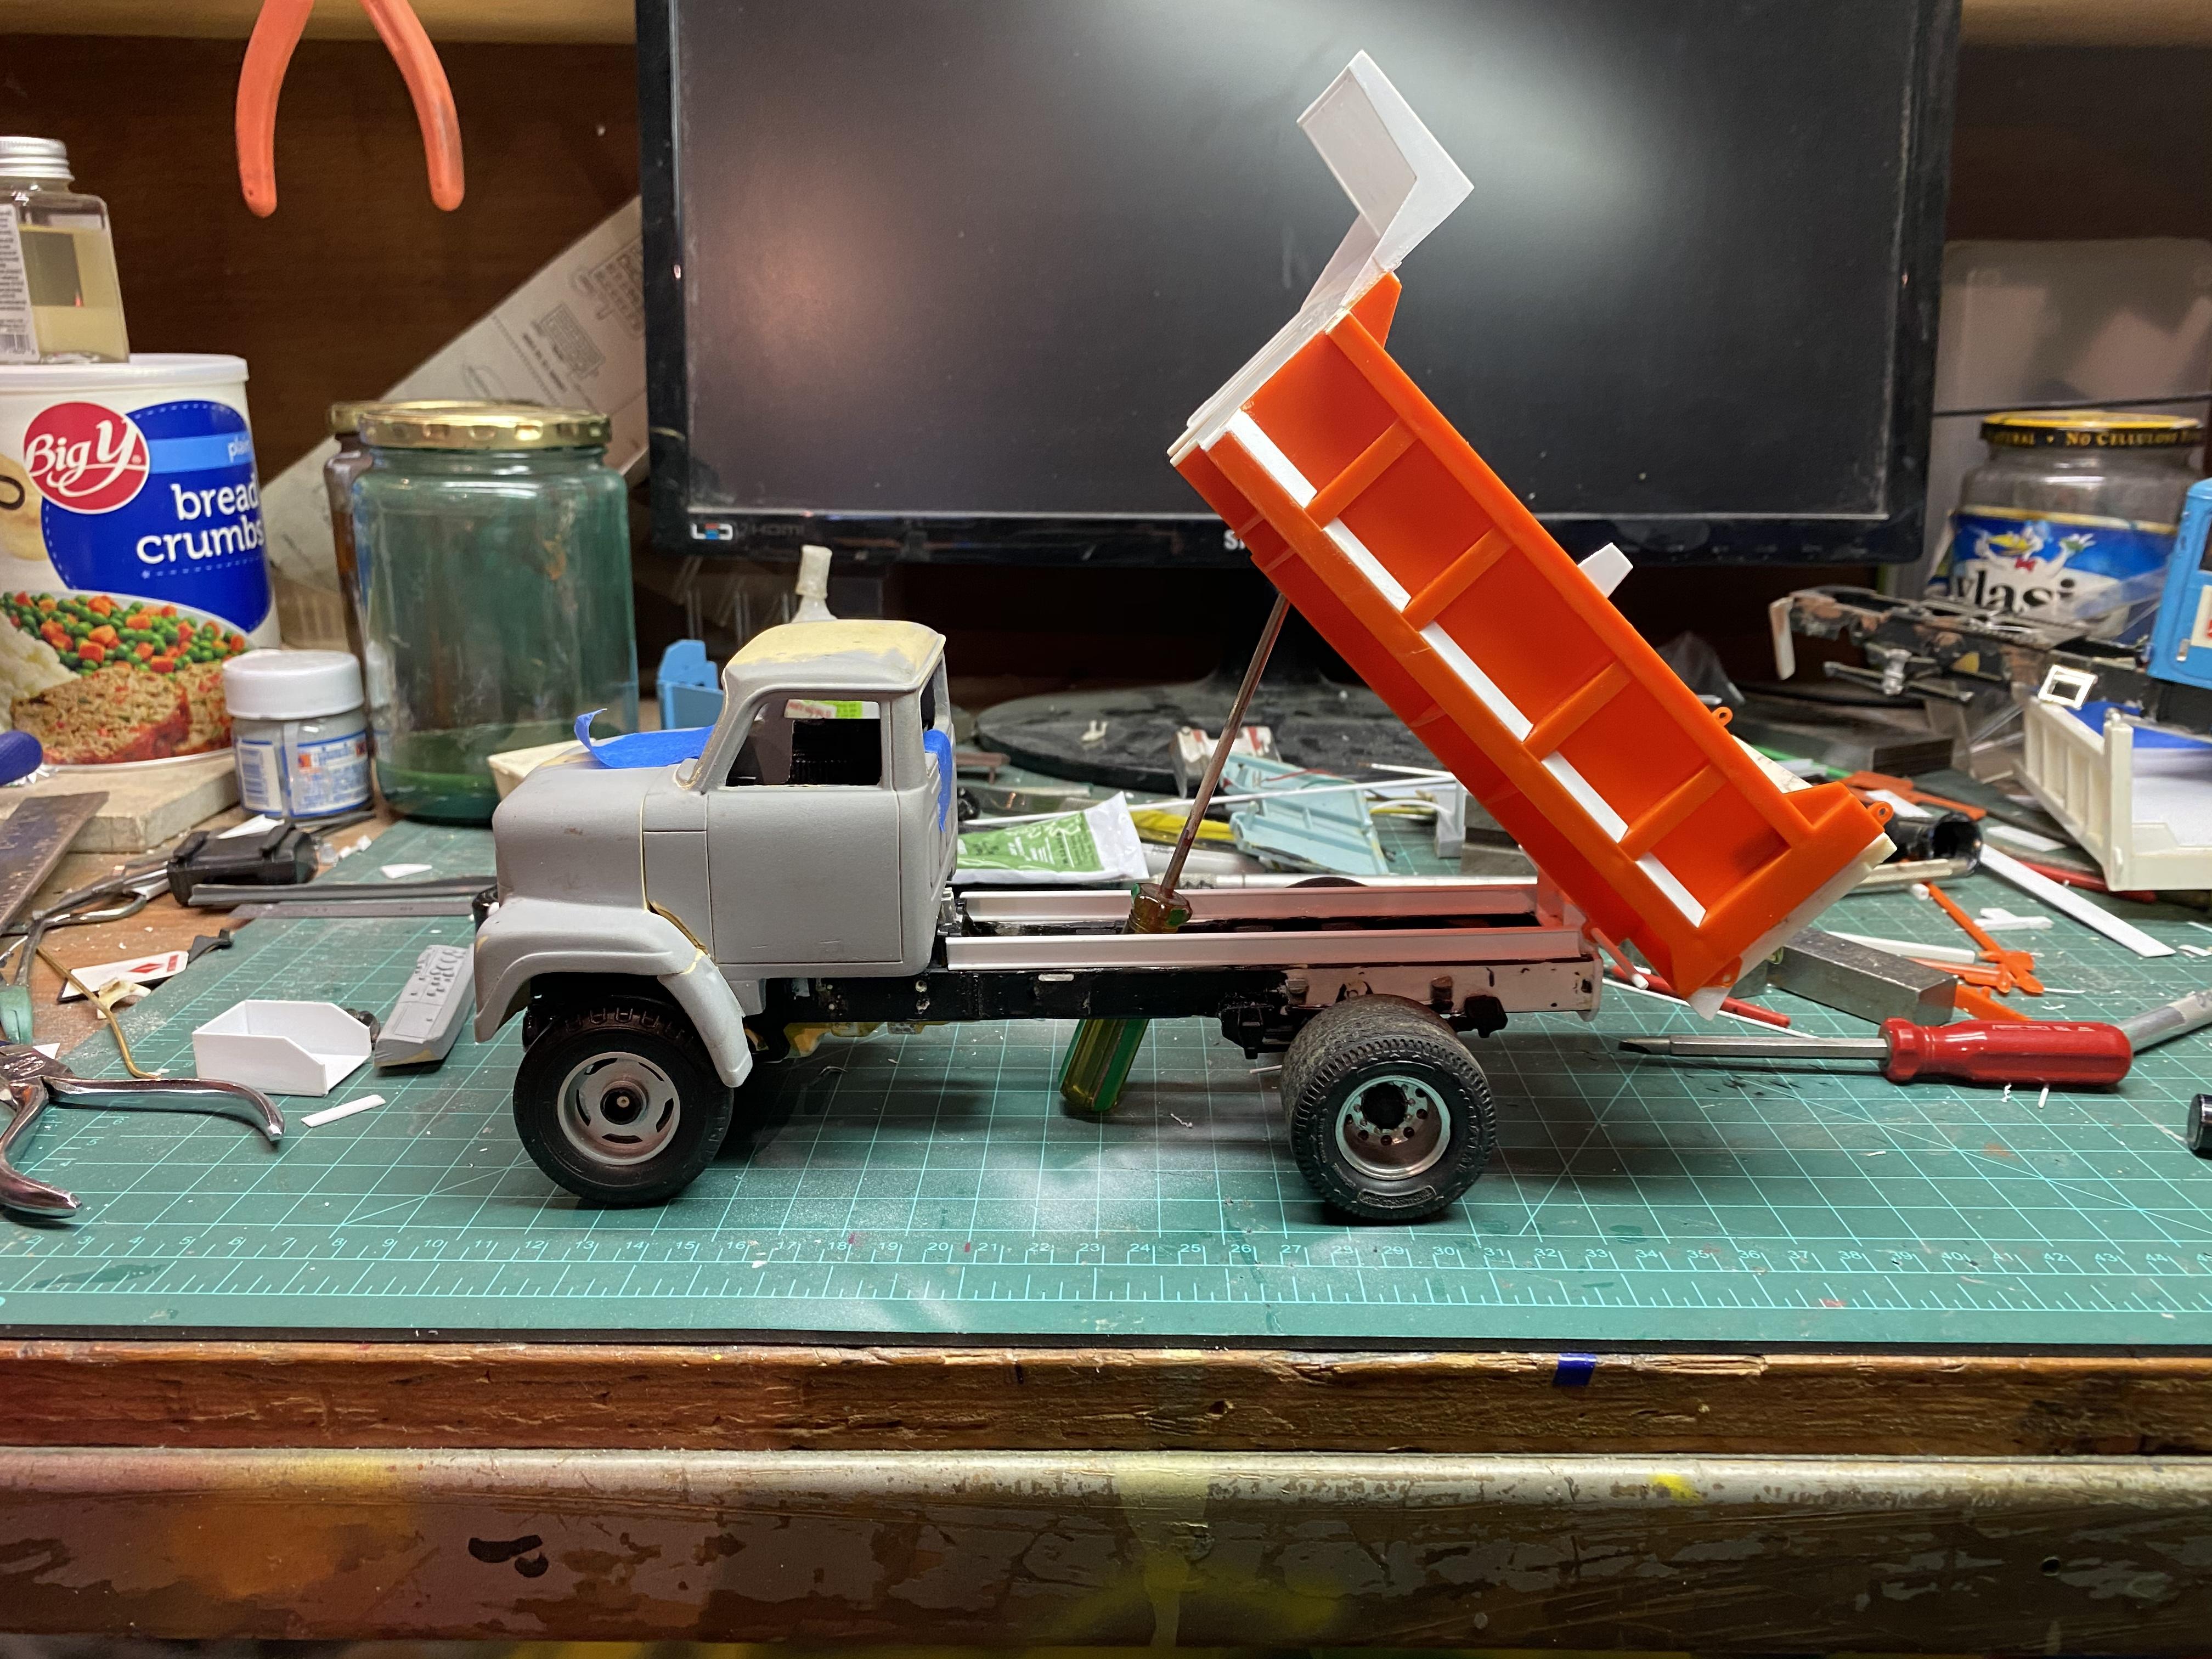
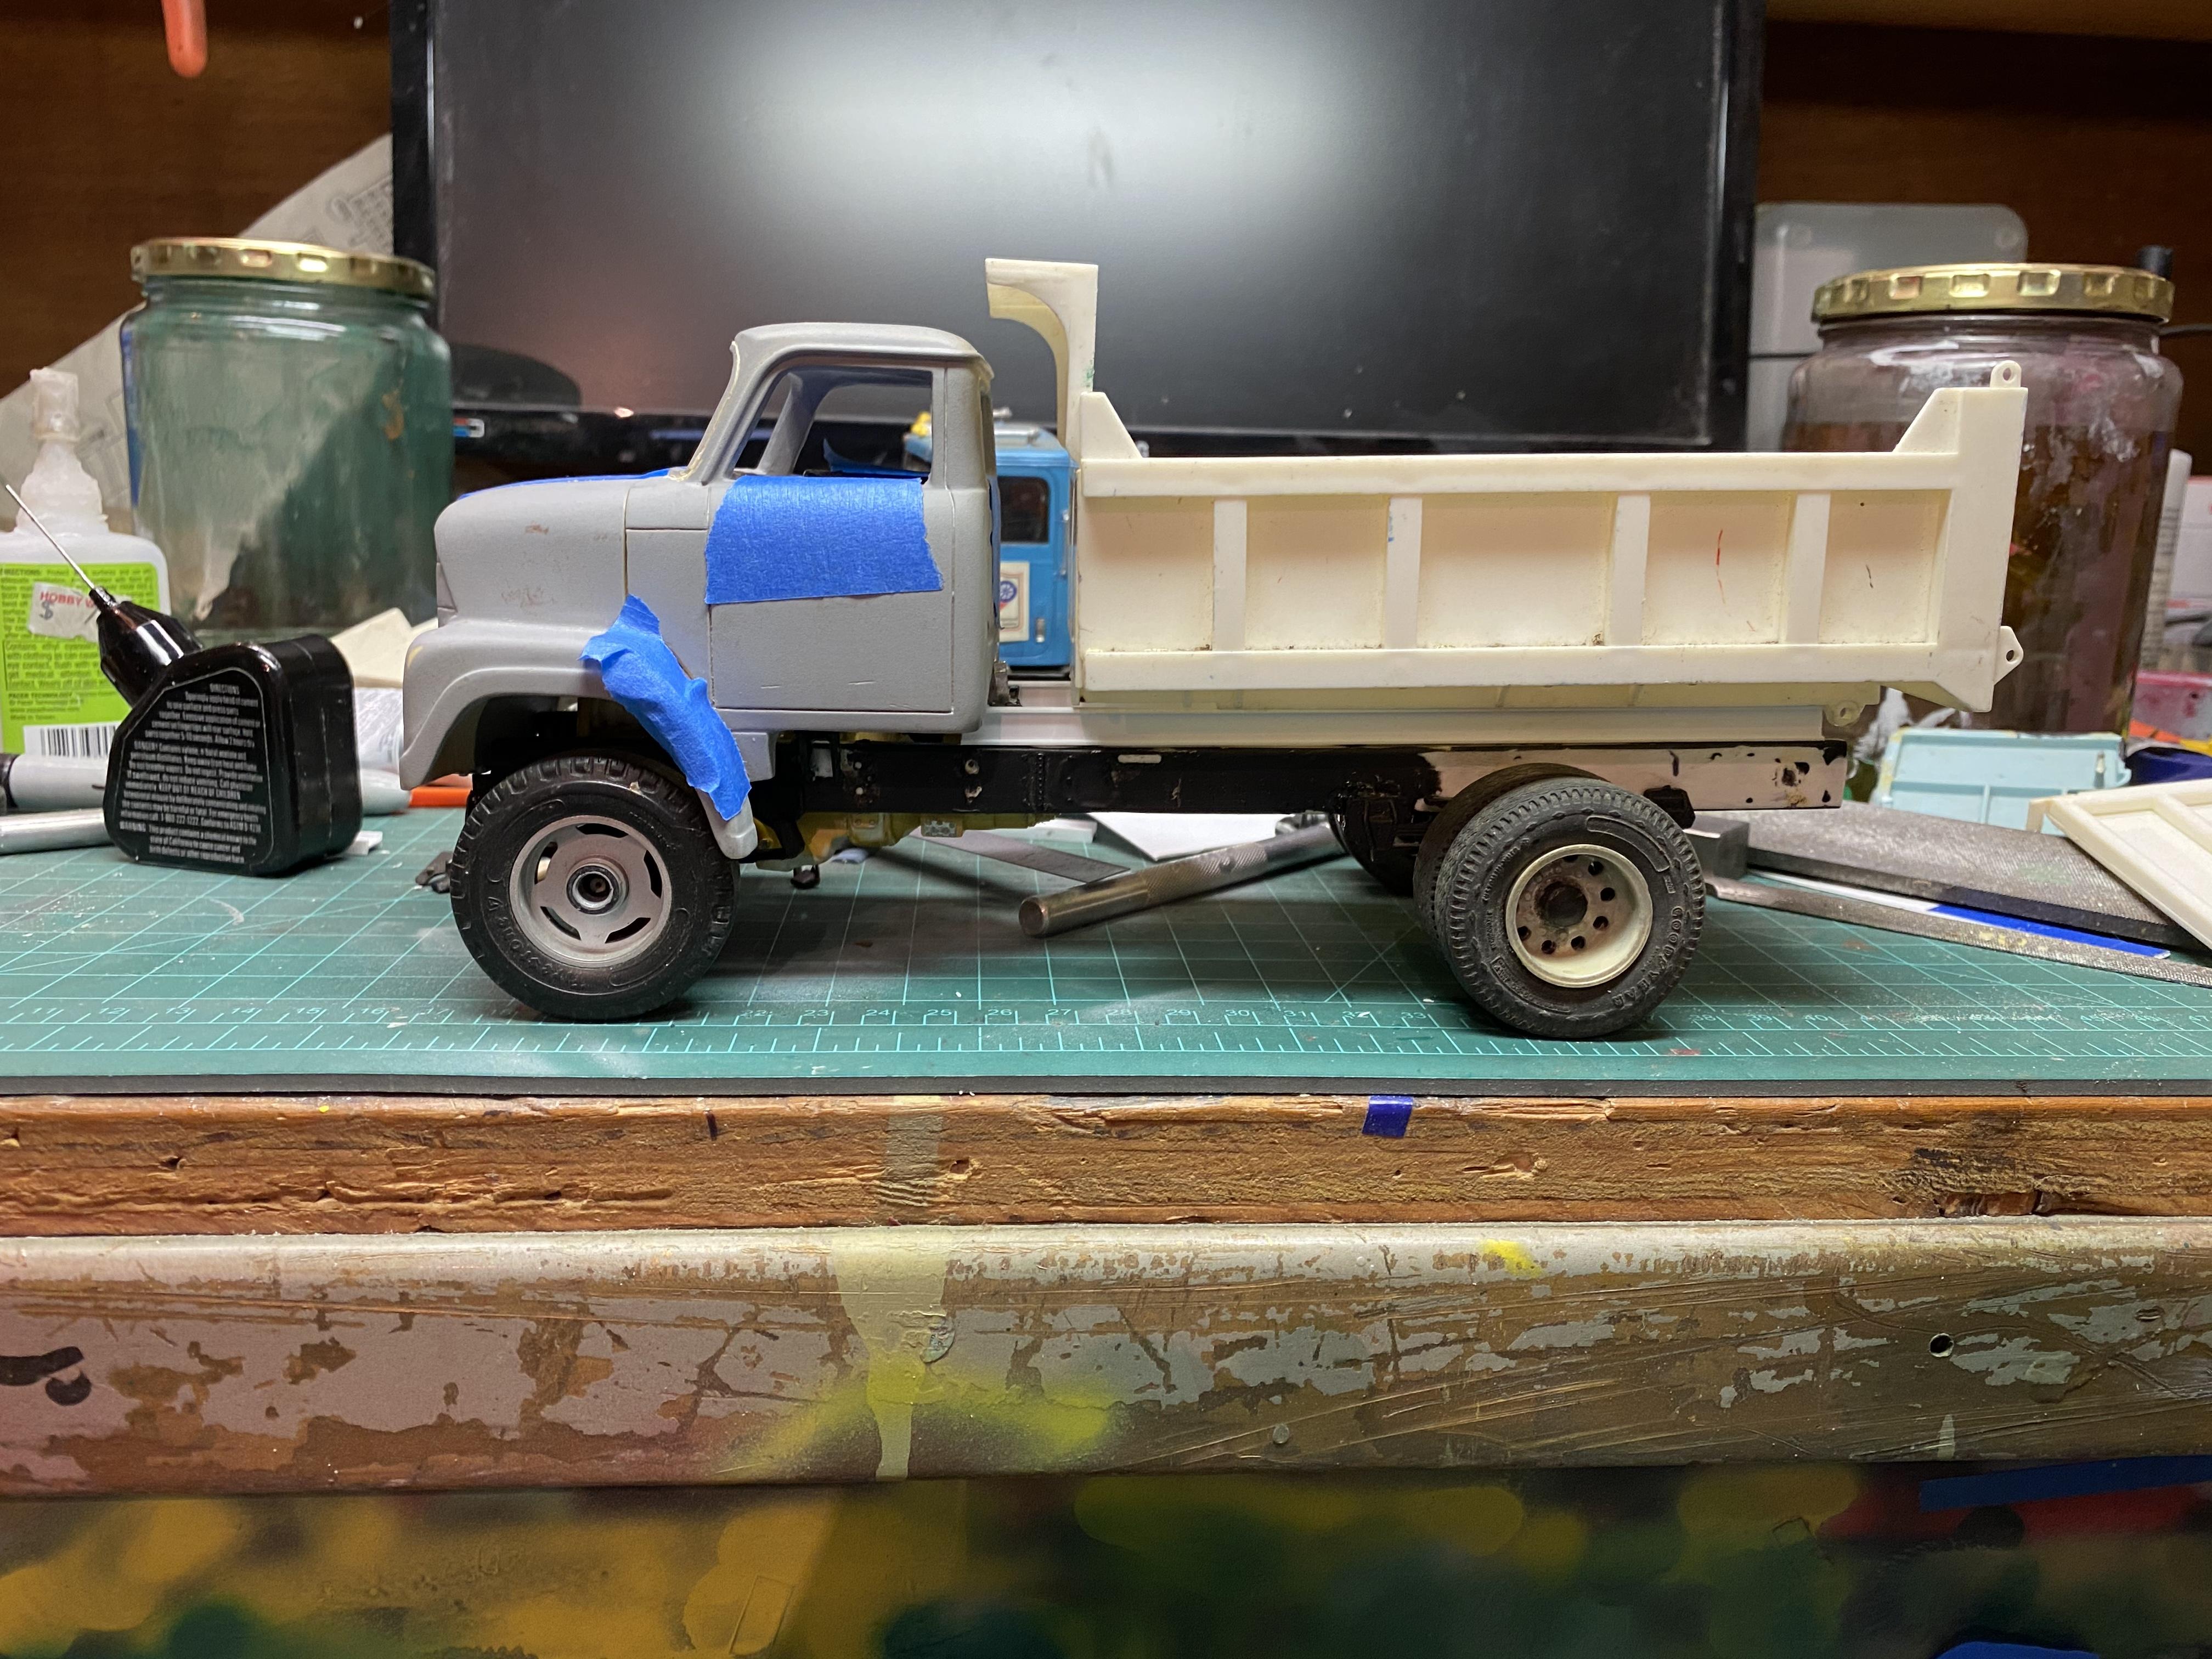
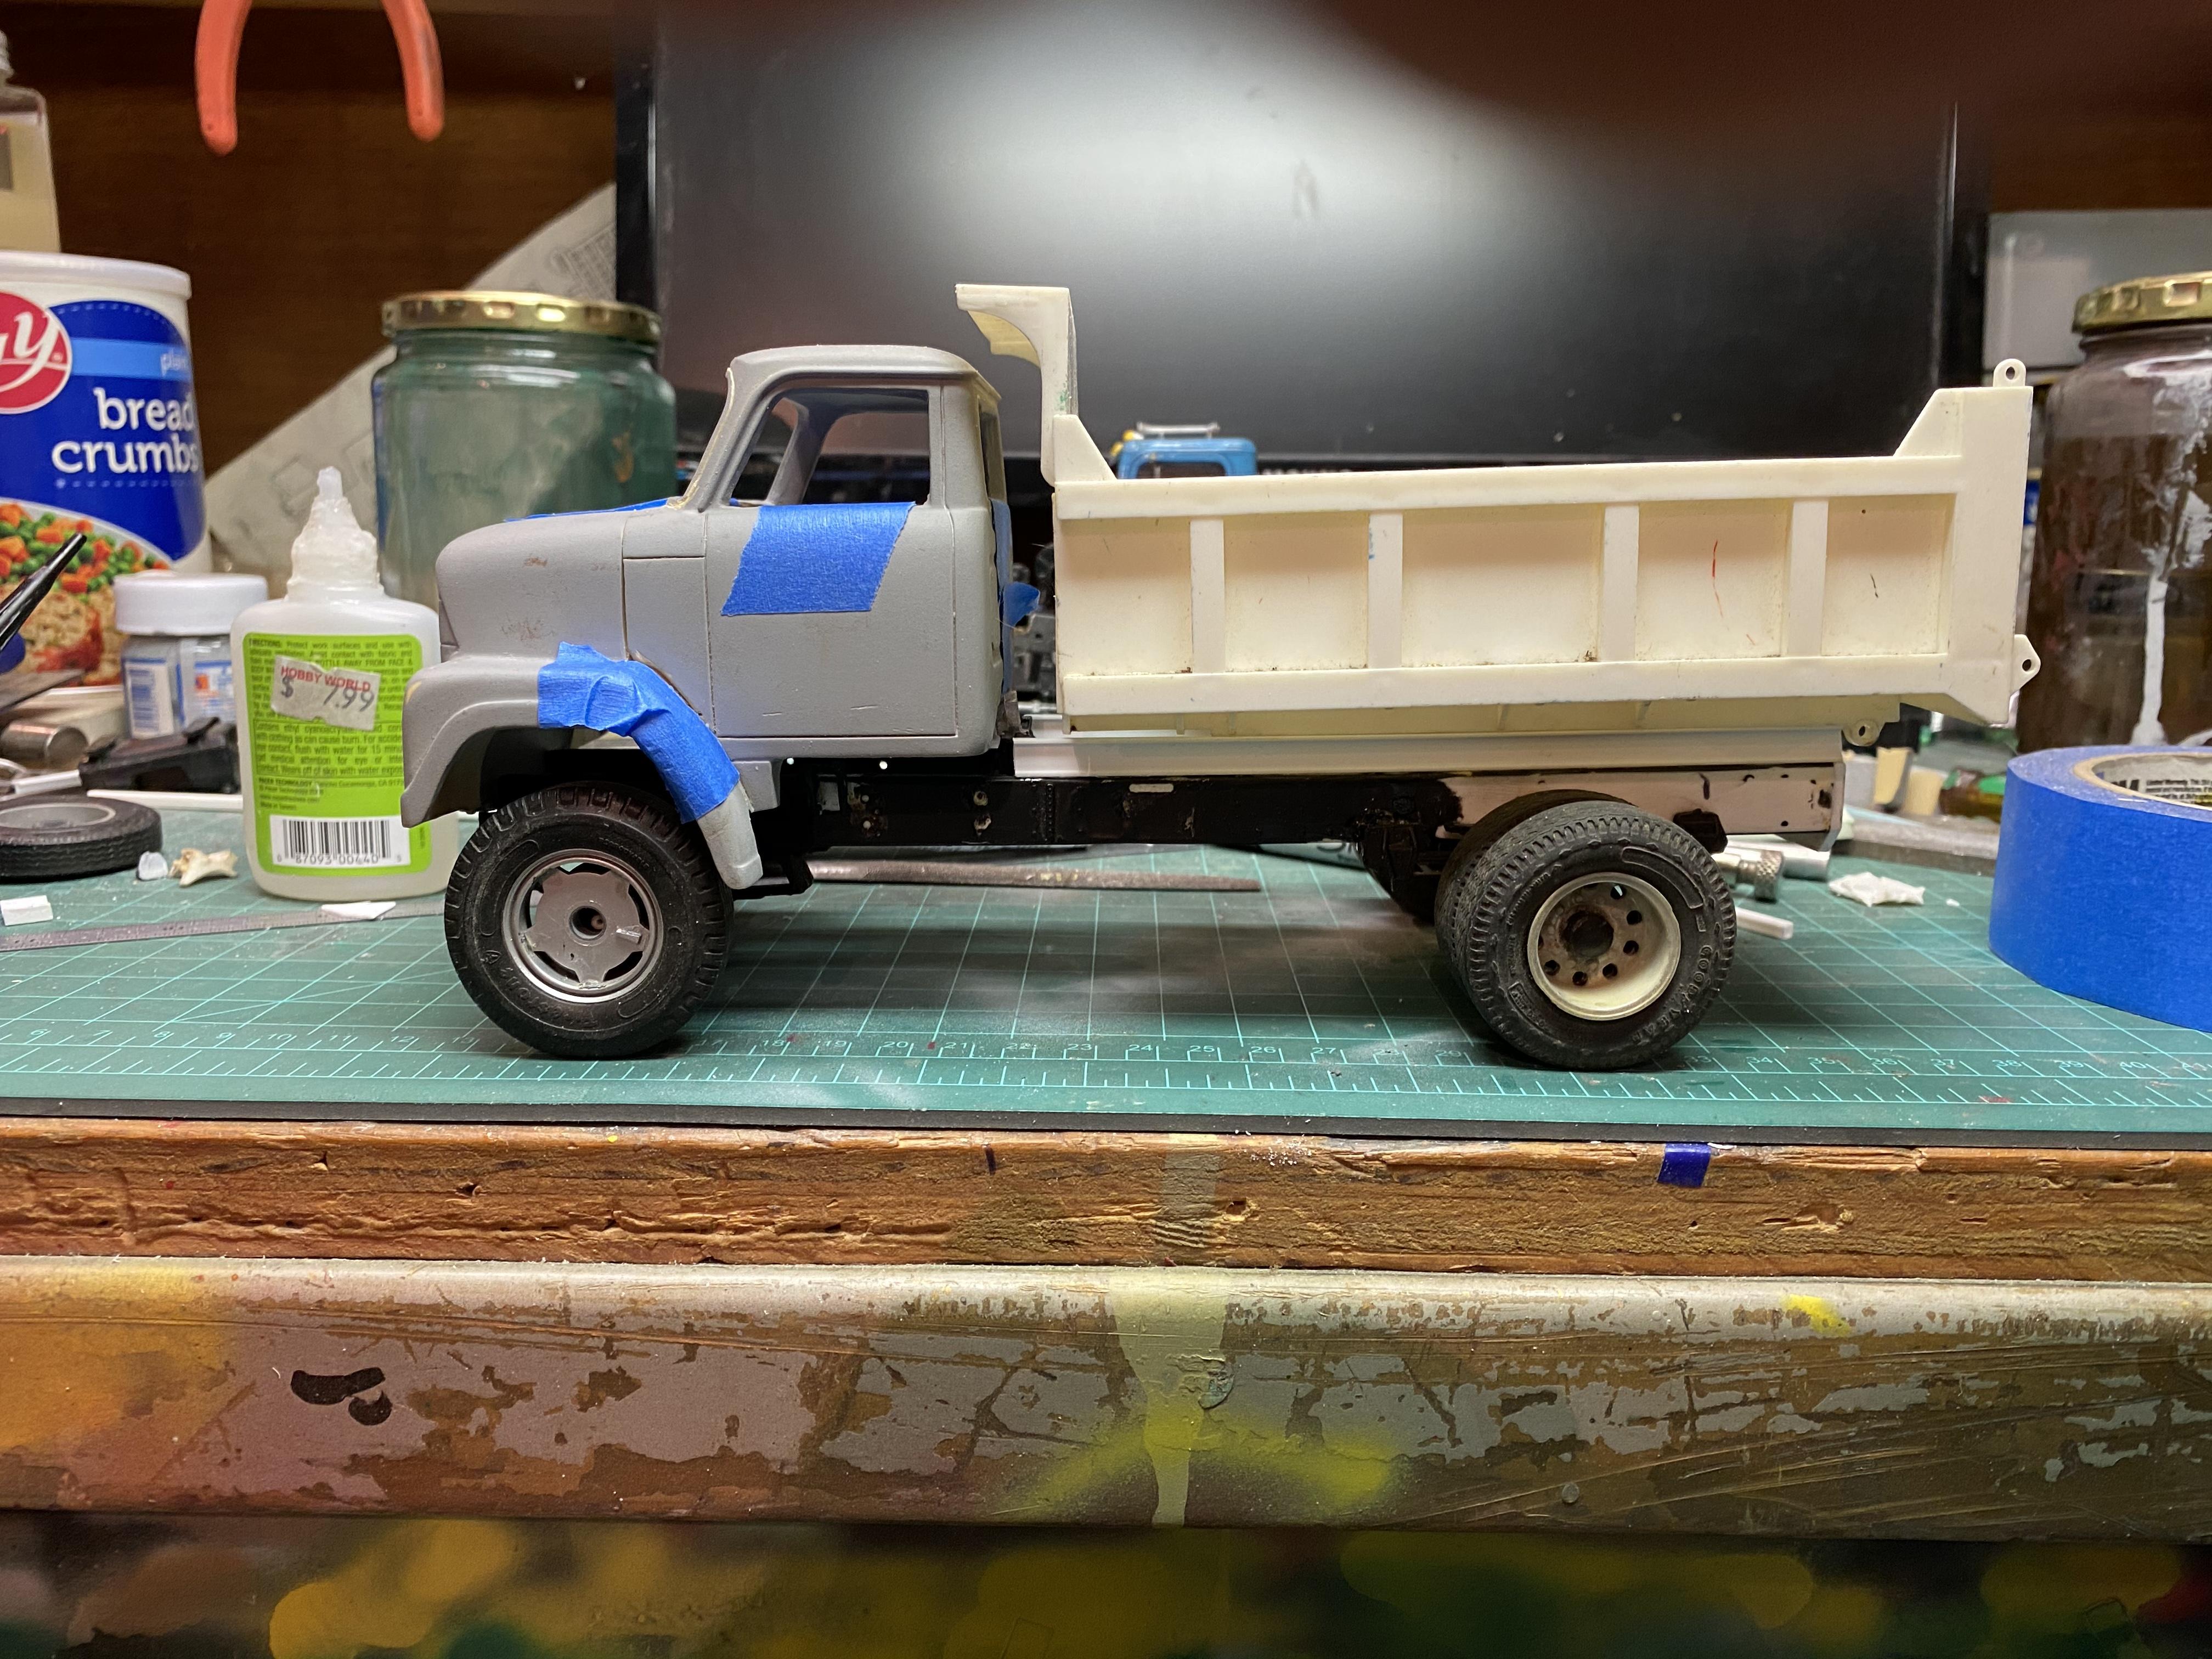
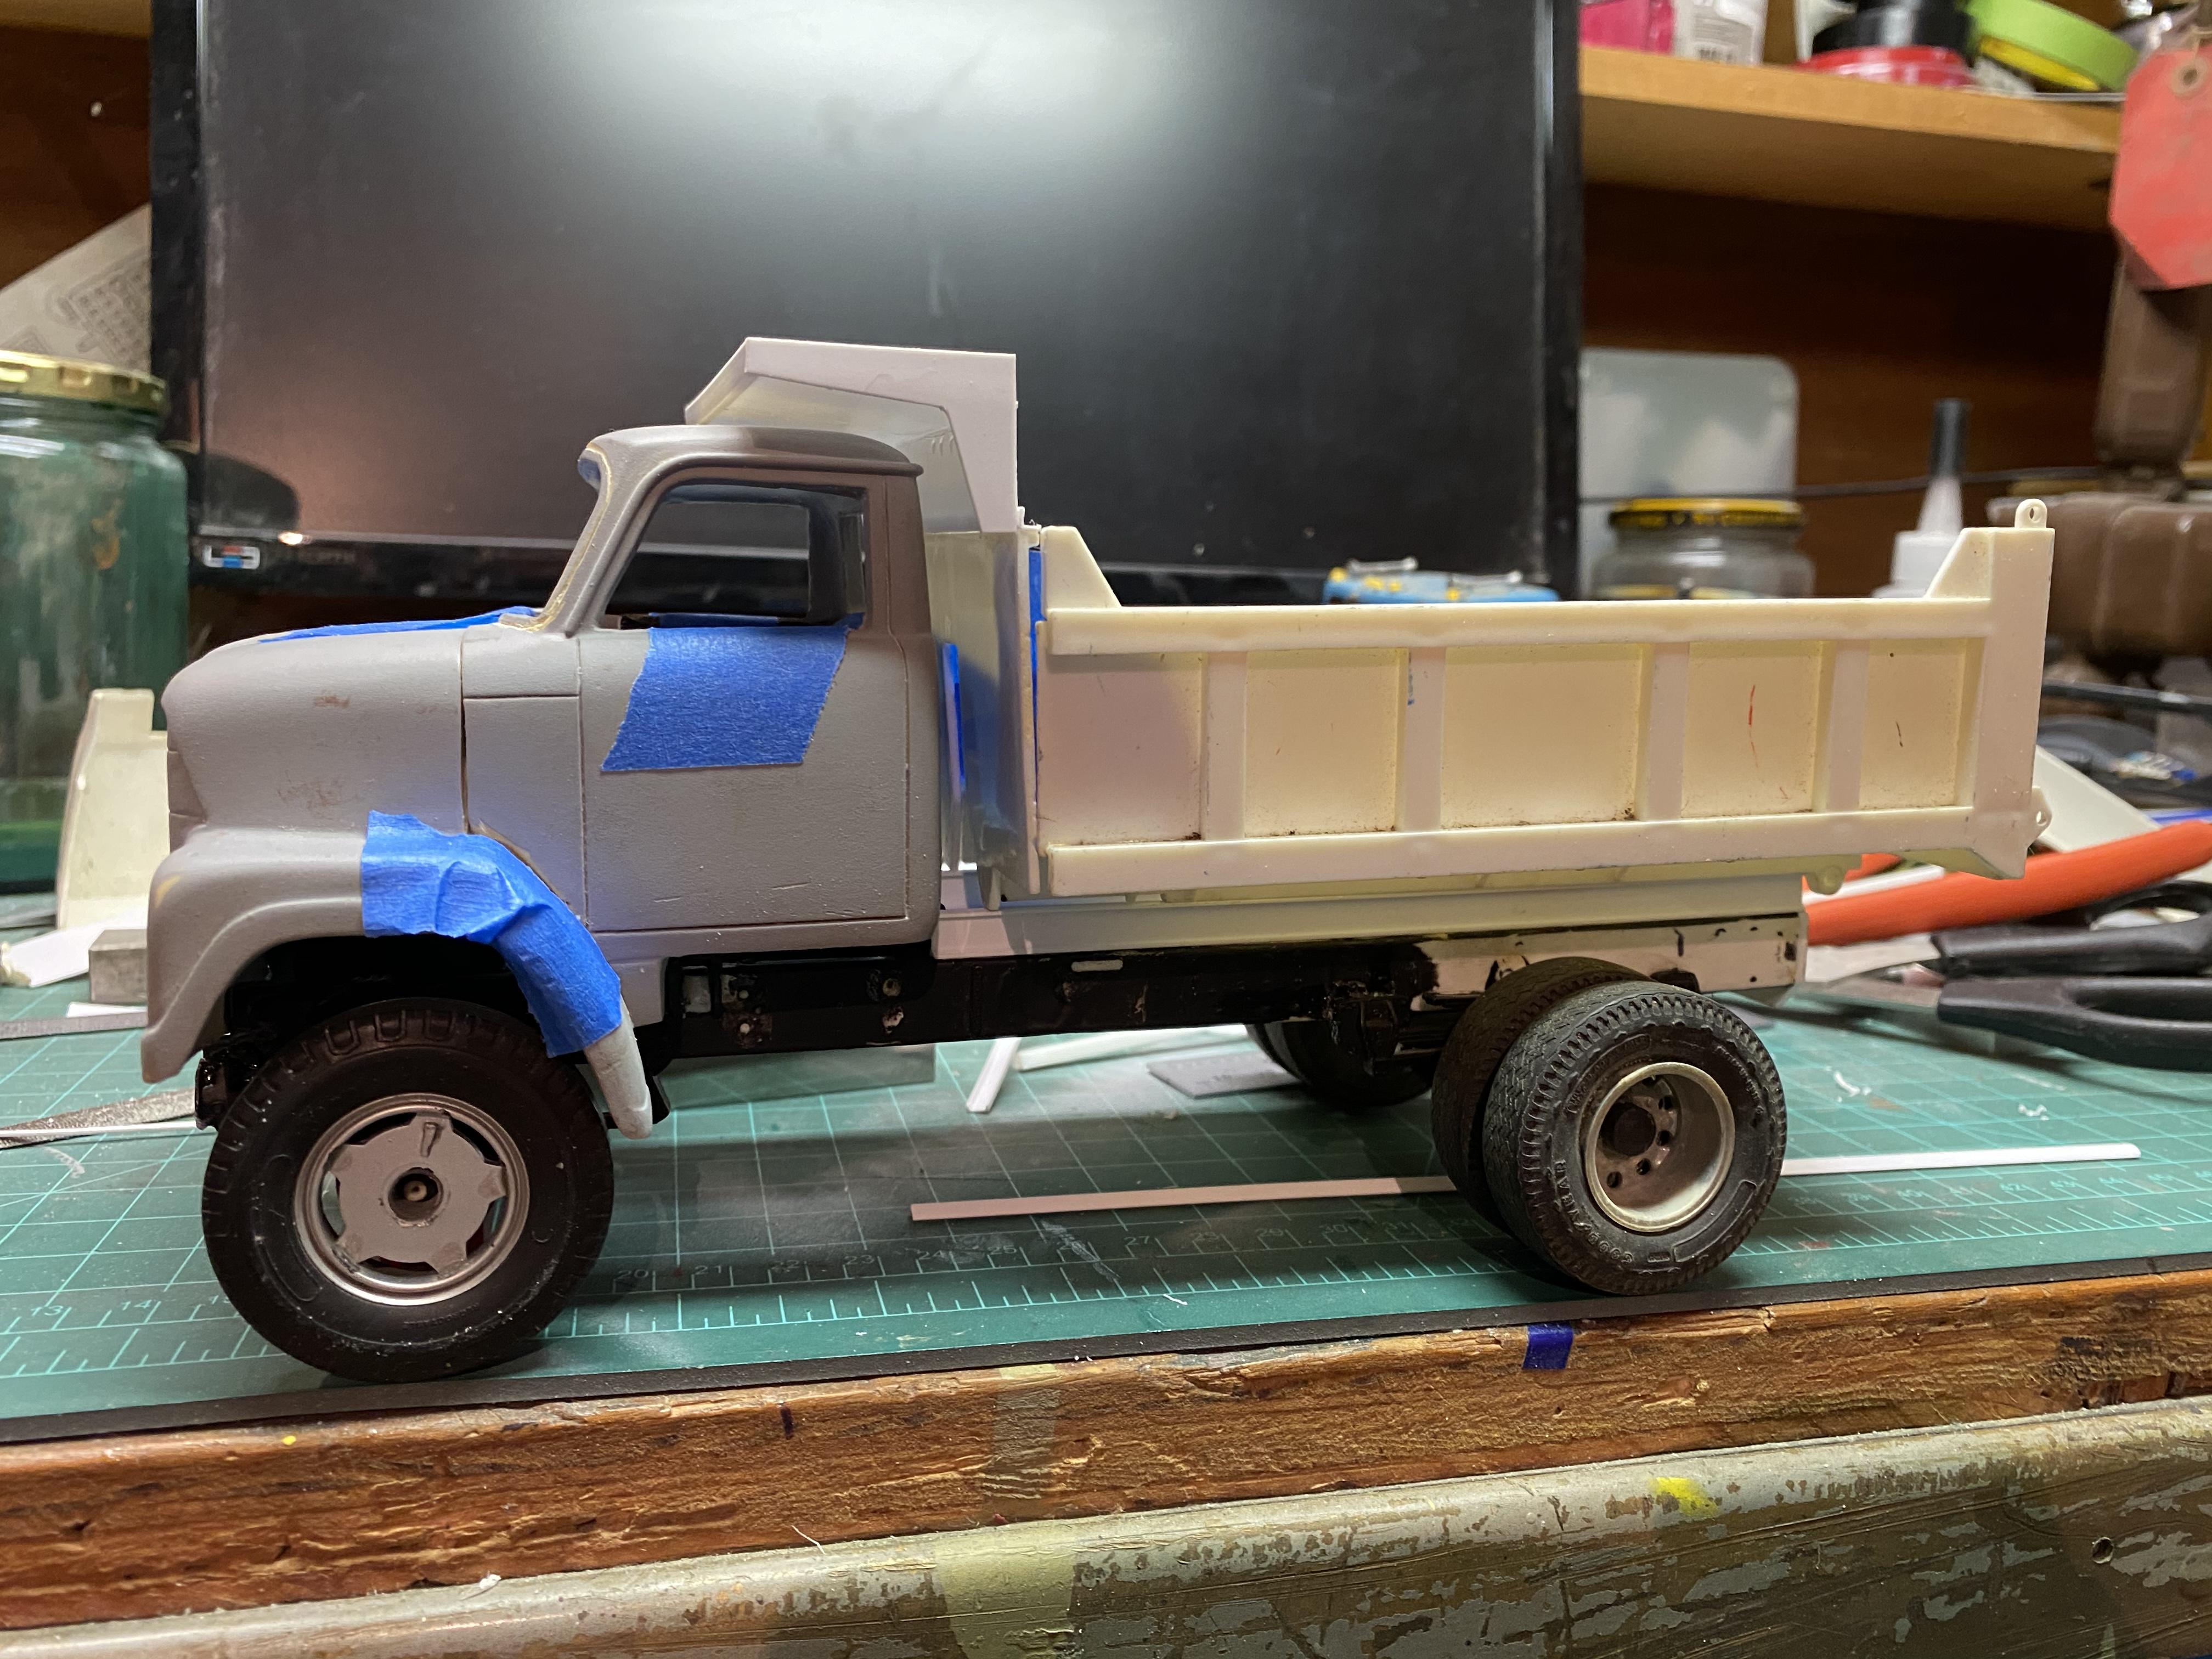
Got the engine all dressed up, brake cans and front shocks added, body hinges installed, and a good mockup for this point. Finally got the look I was shooting for. Best thing about this whole build is it’s completely from the parts boxes with the exception of the very old Jim Etter resin cab from years ago. Recycling is good!!!
-
BRBO IHC 2070
redneckrigger replied to redneckrigger's topic in WIP: Model Trucks: Big Rigs and Heavy Equipment
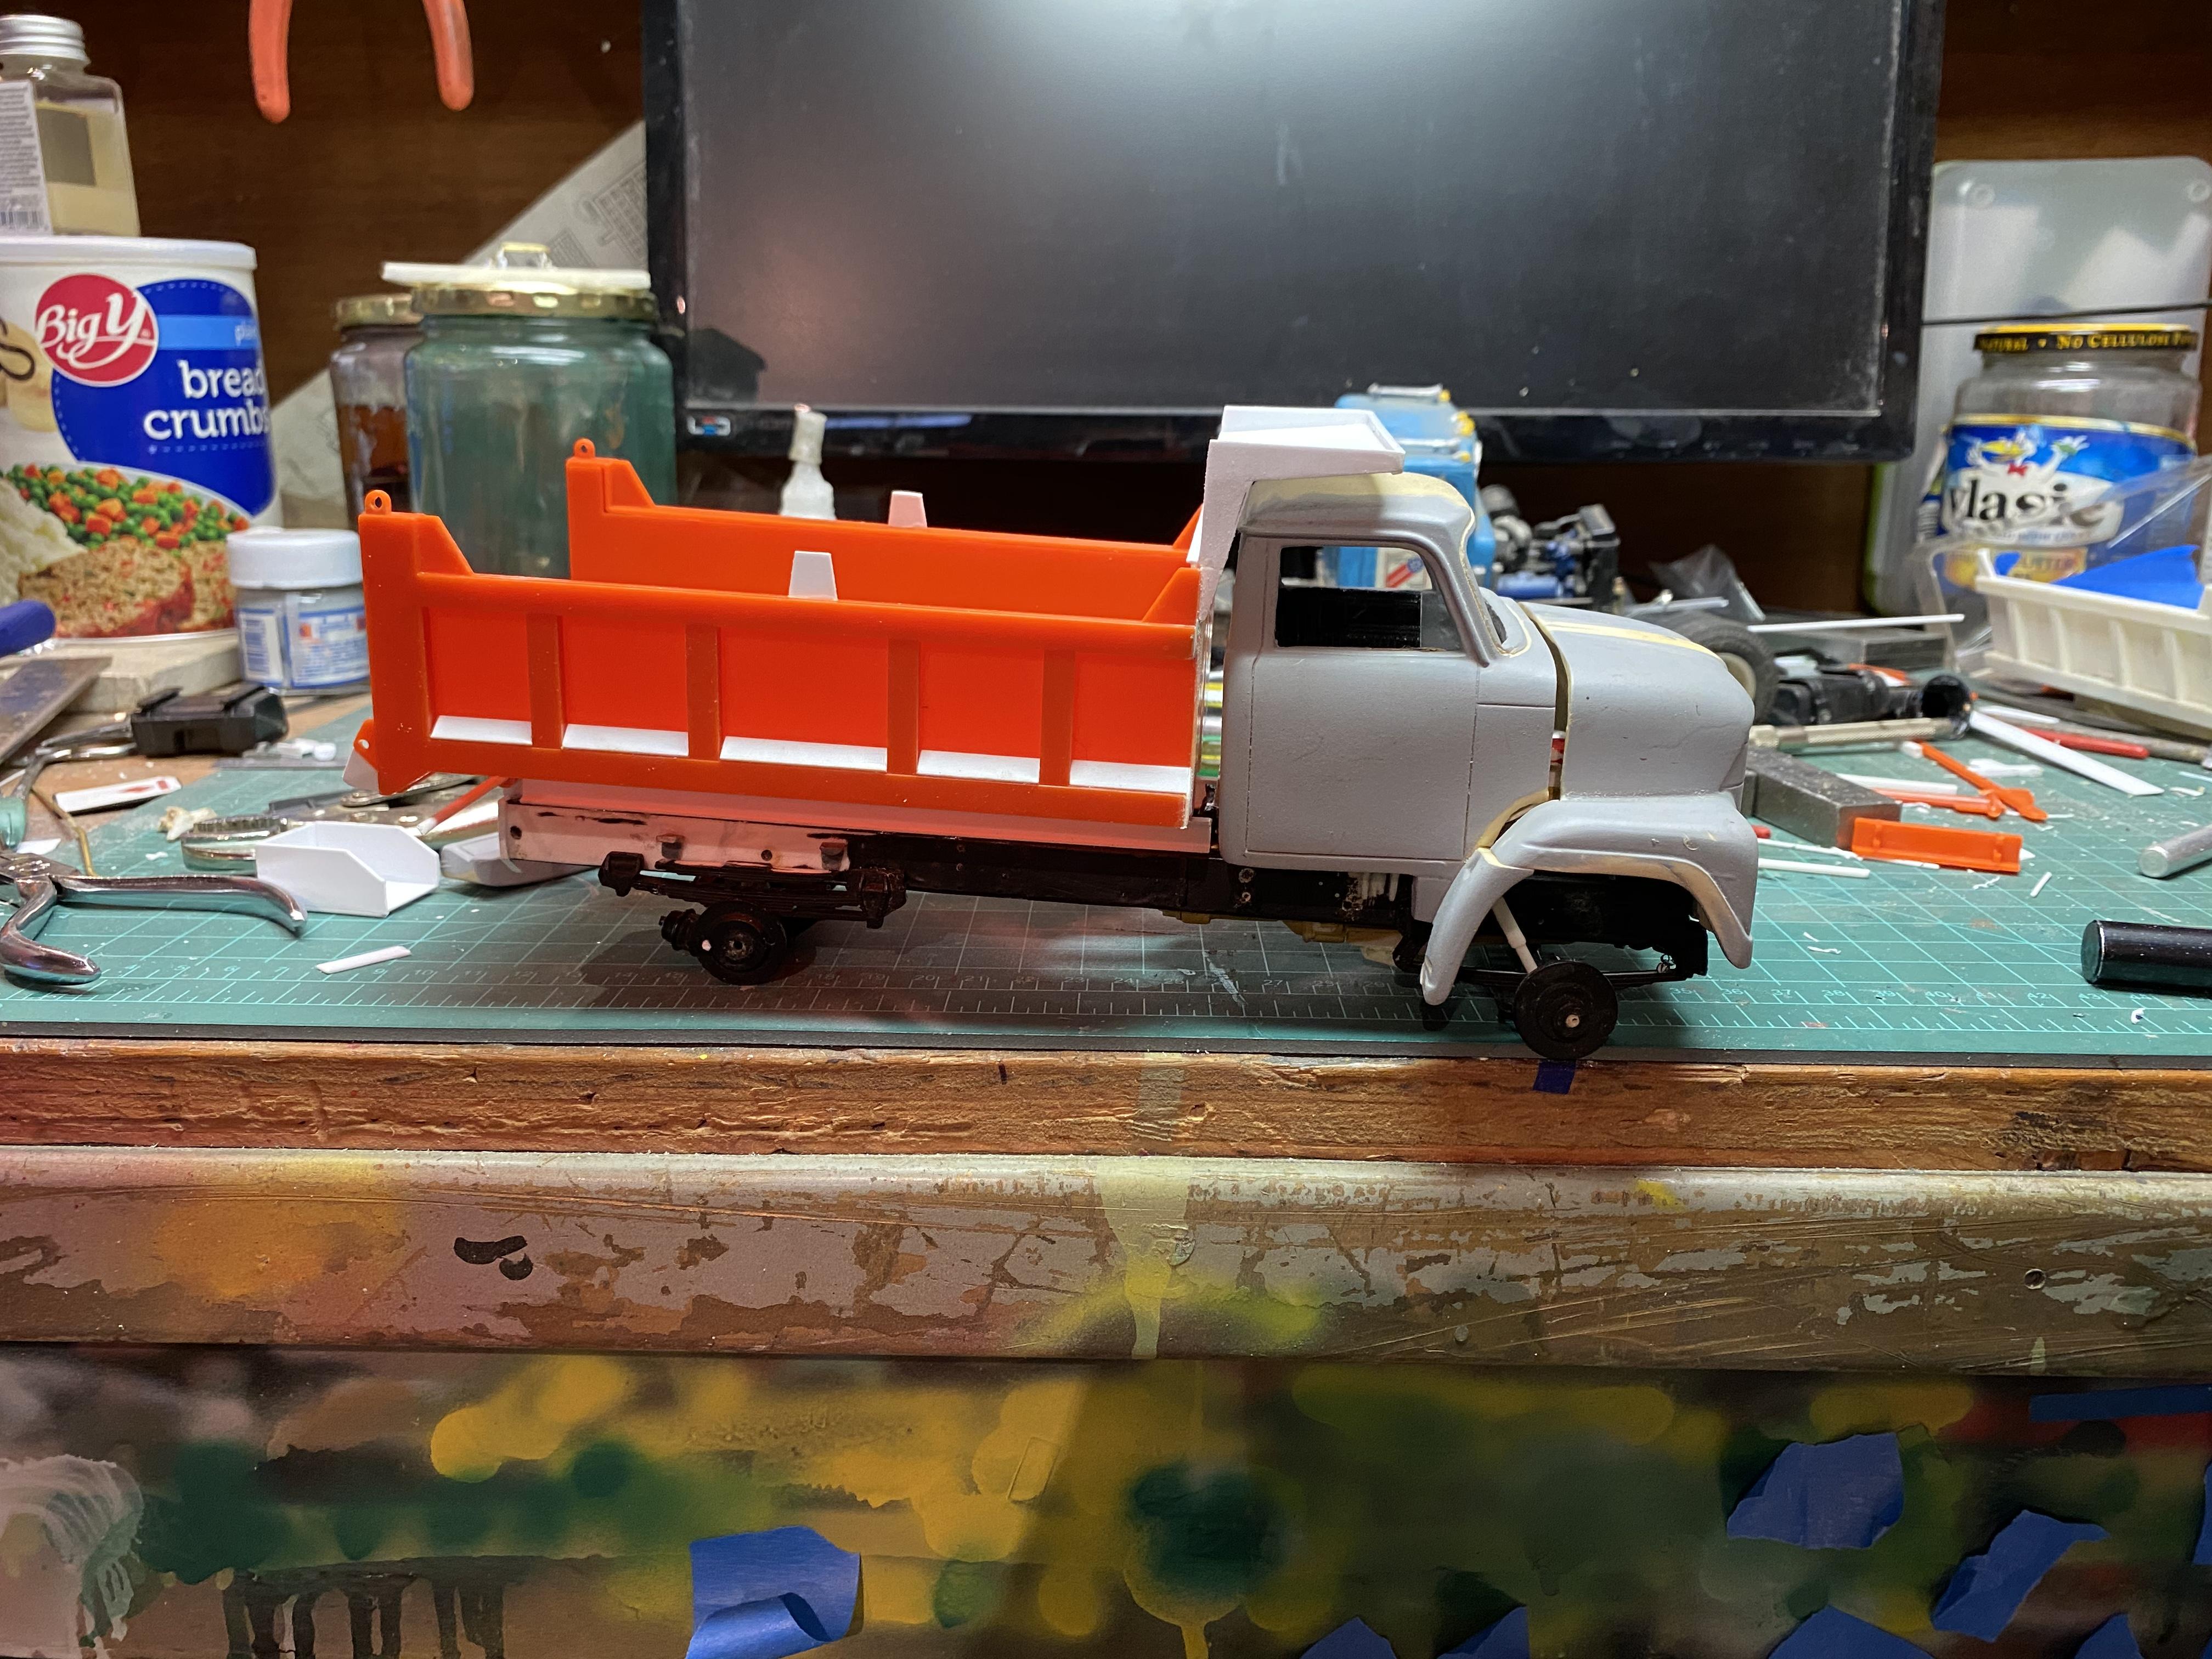
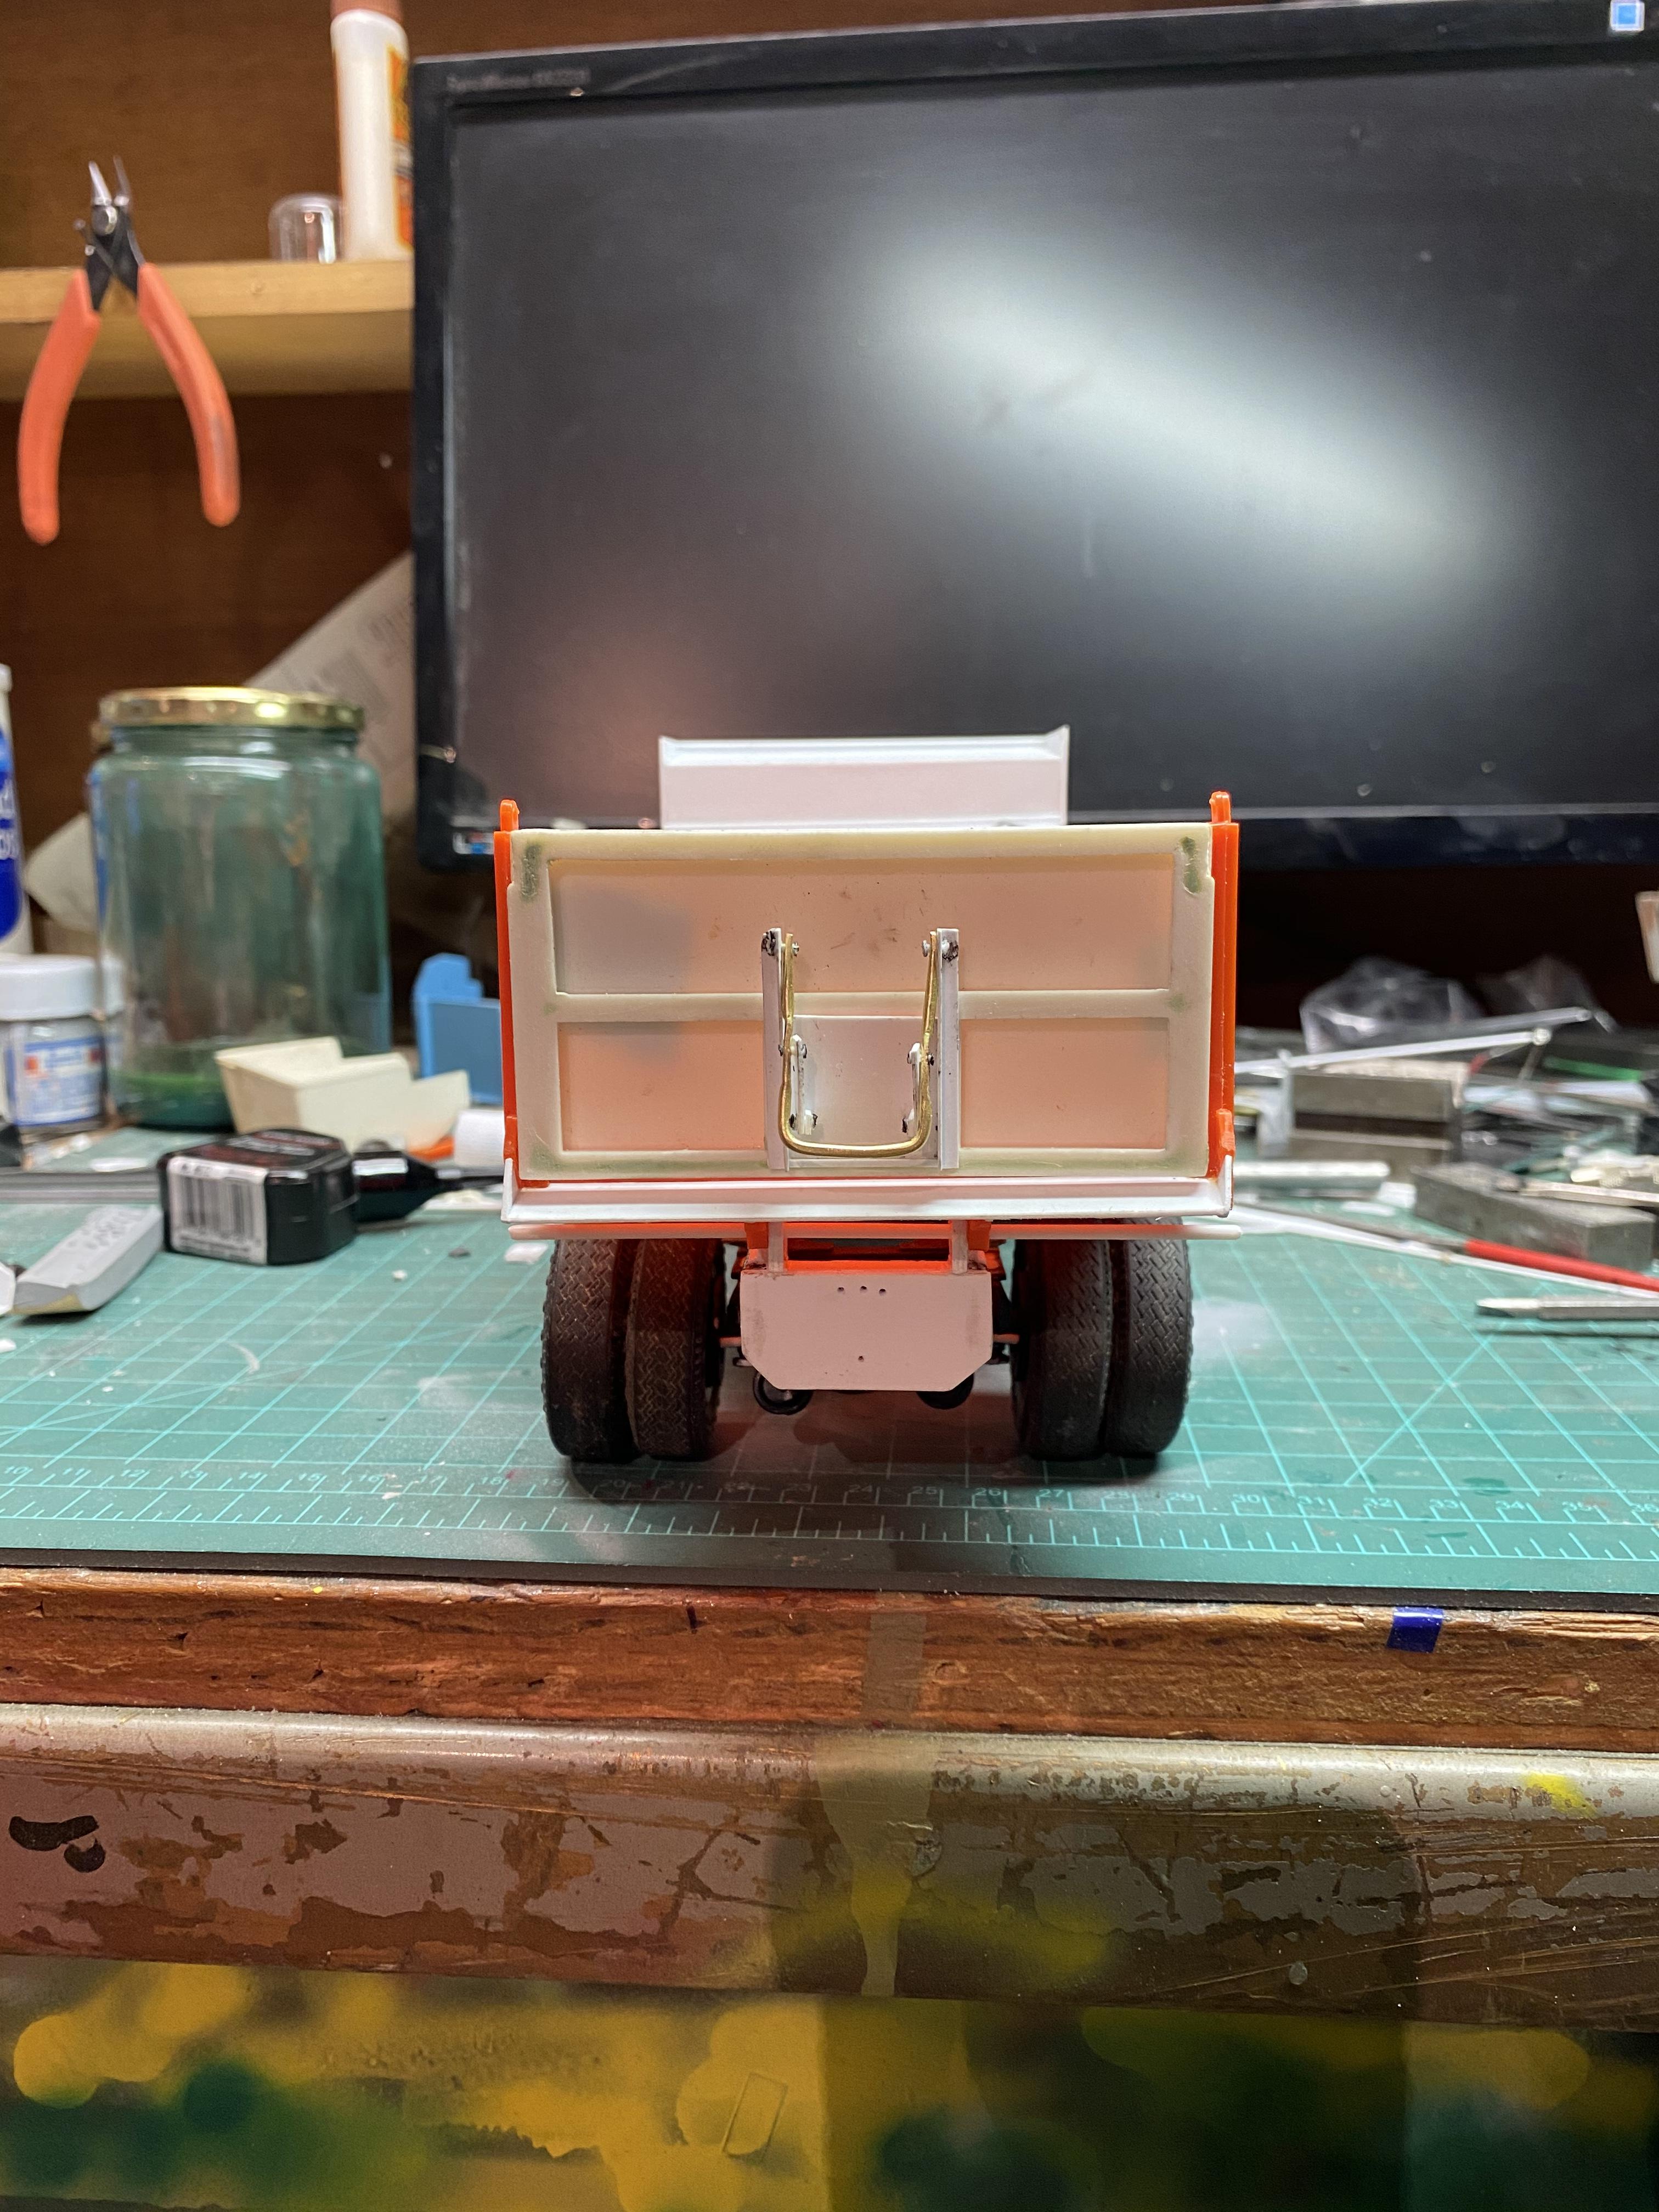
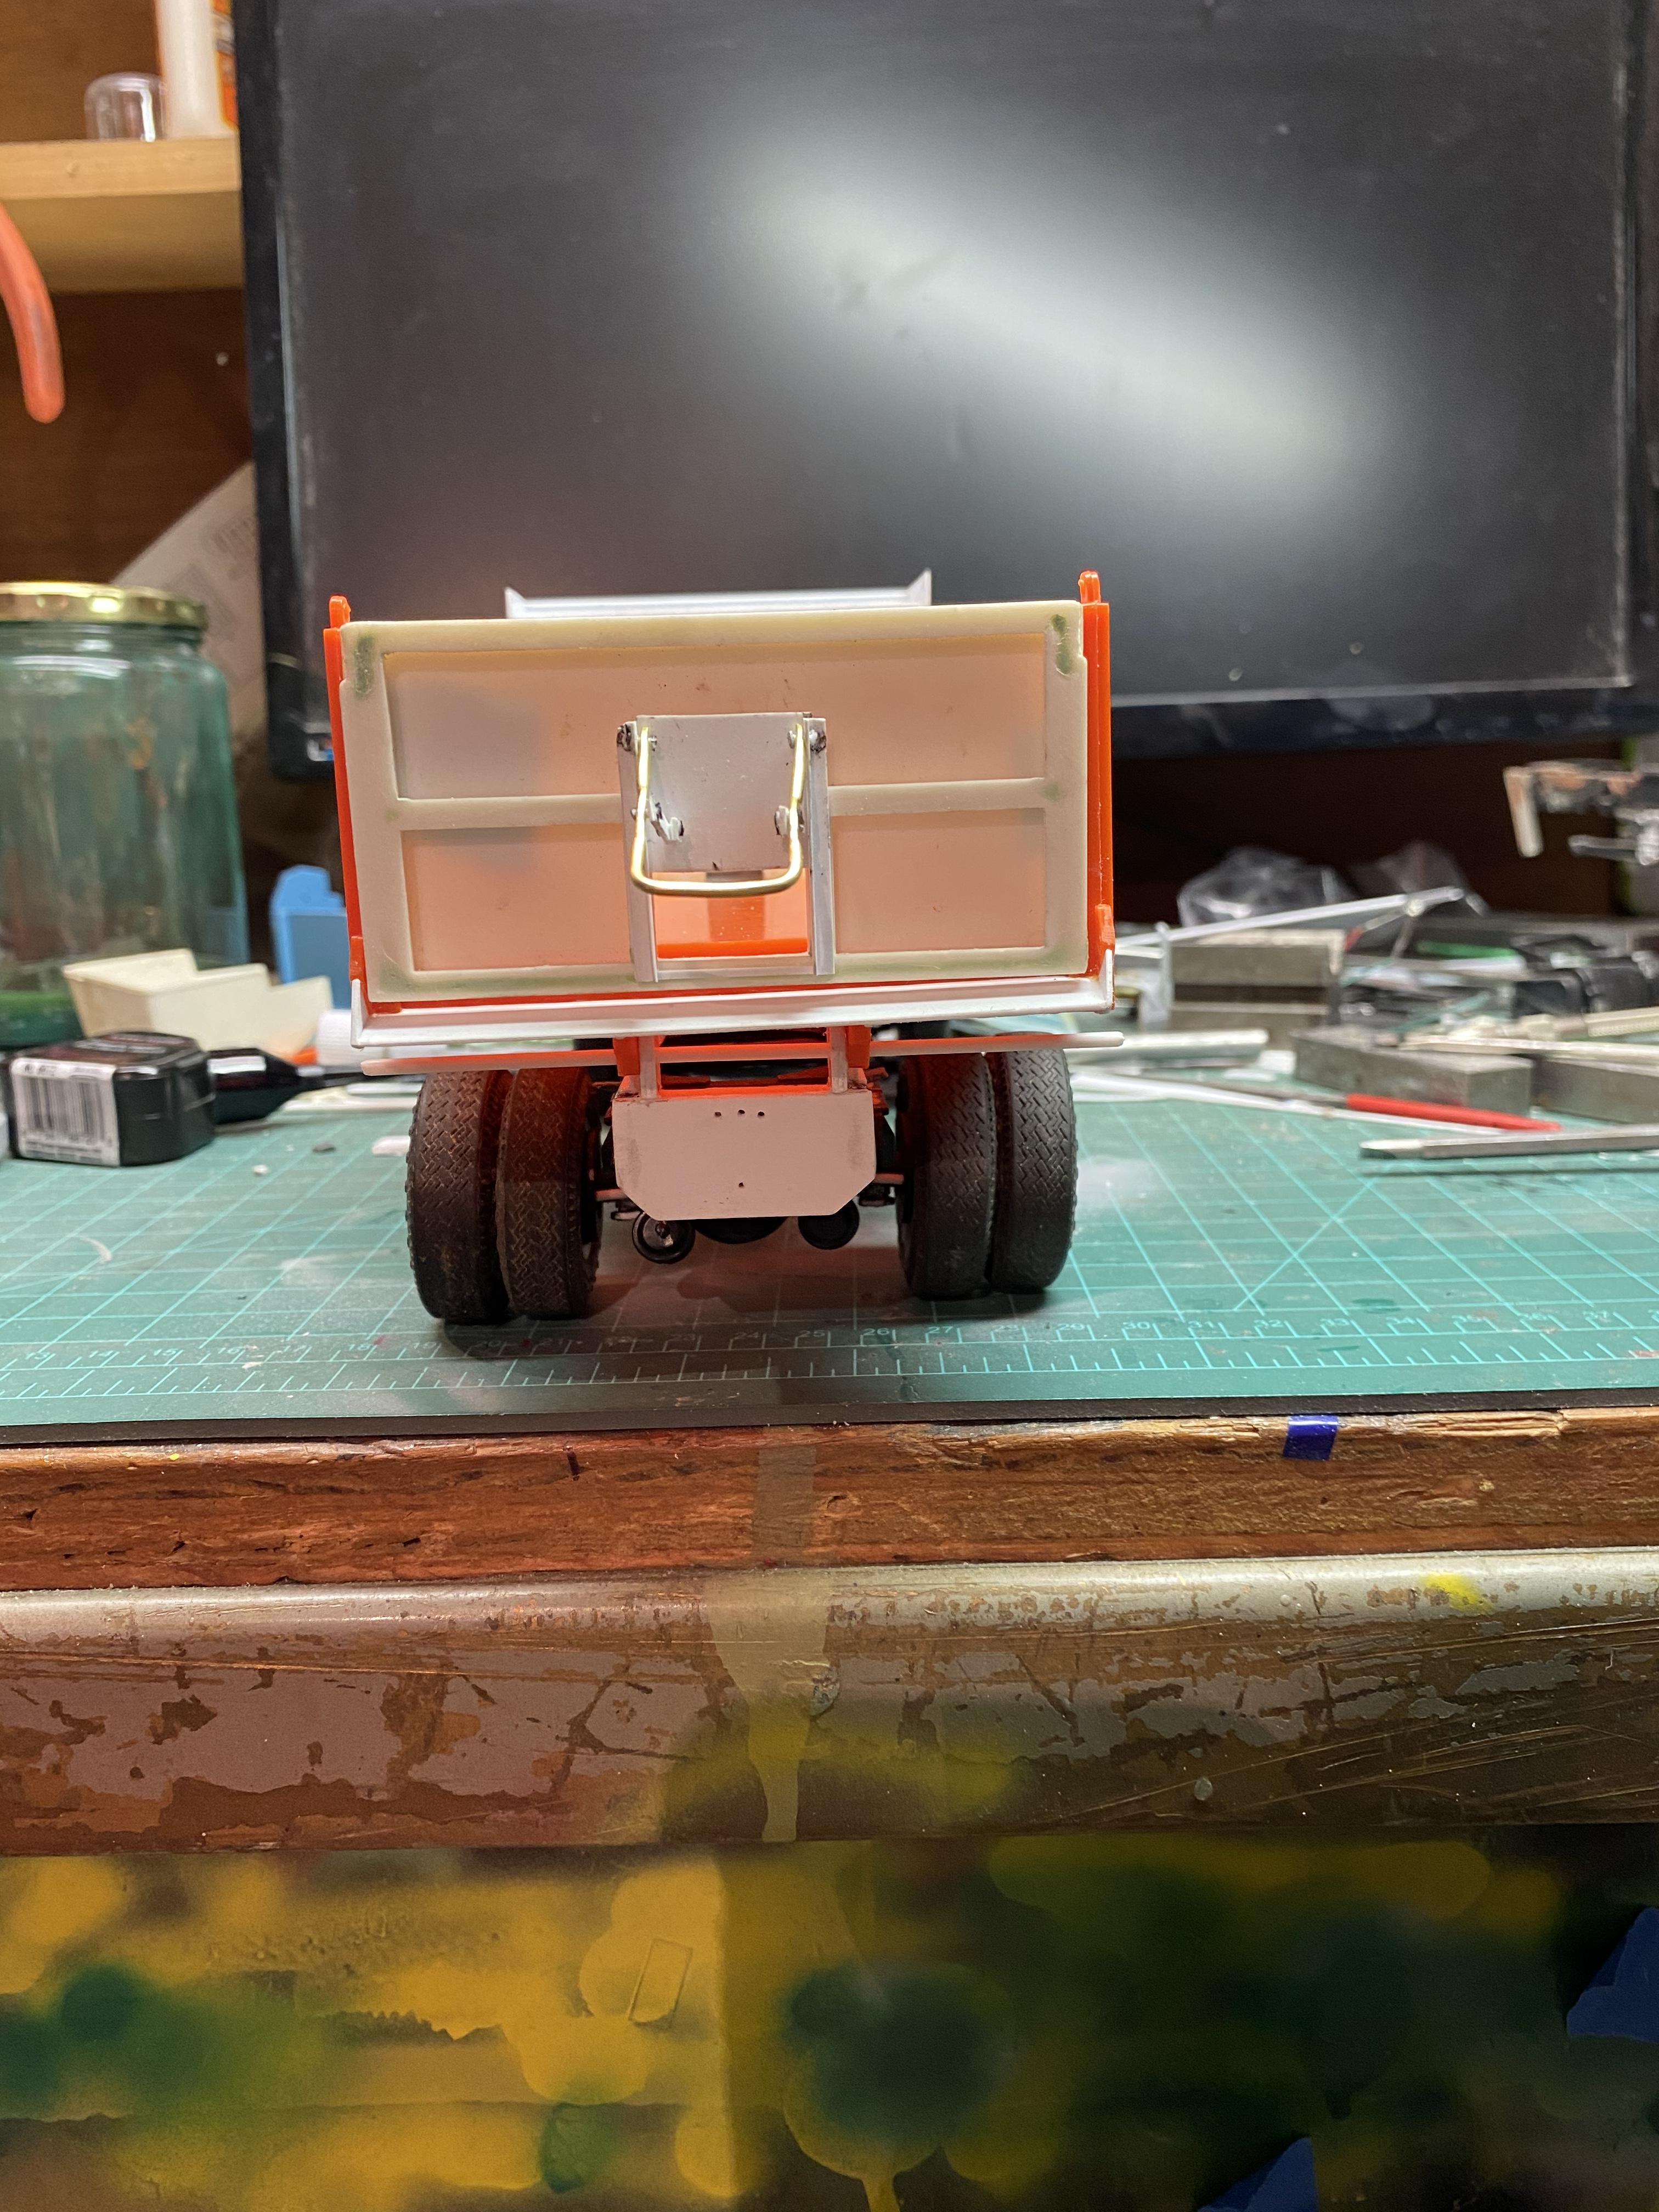
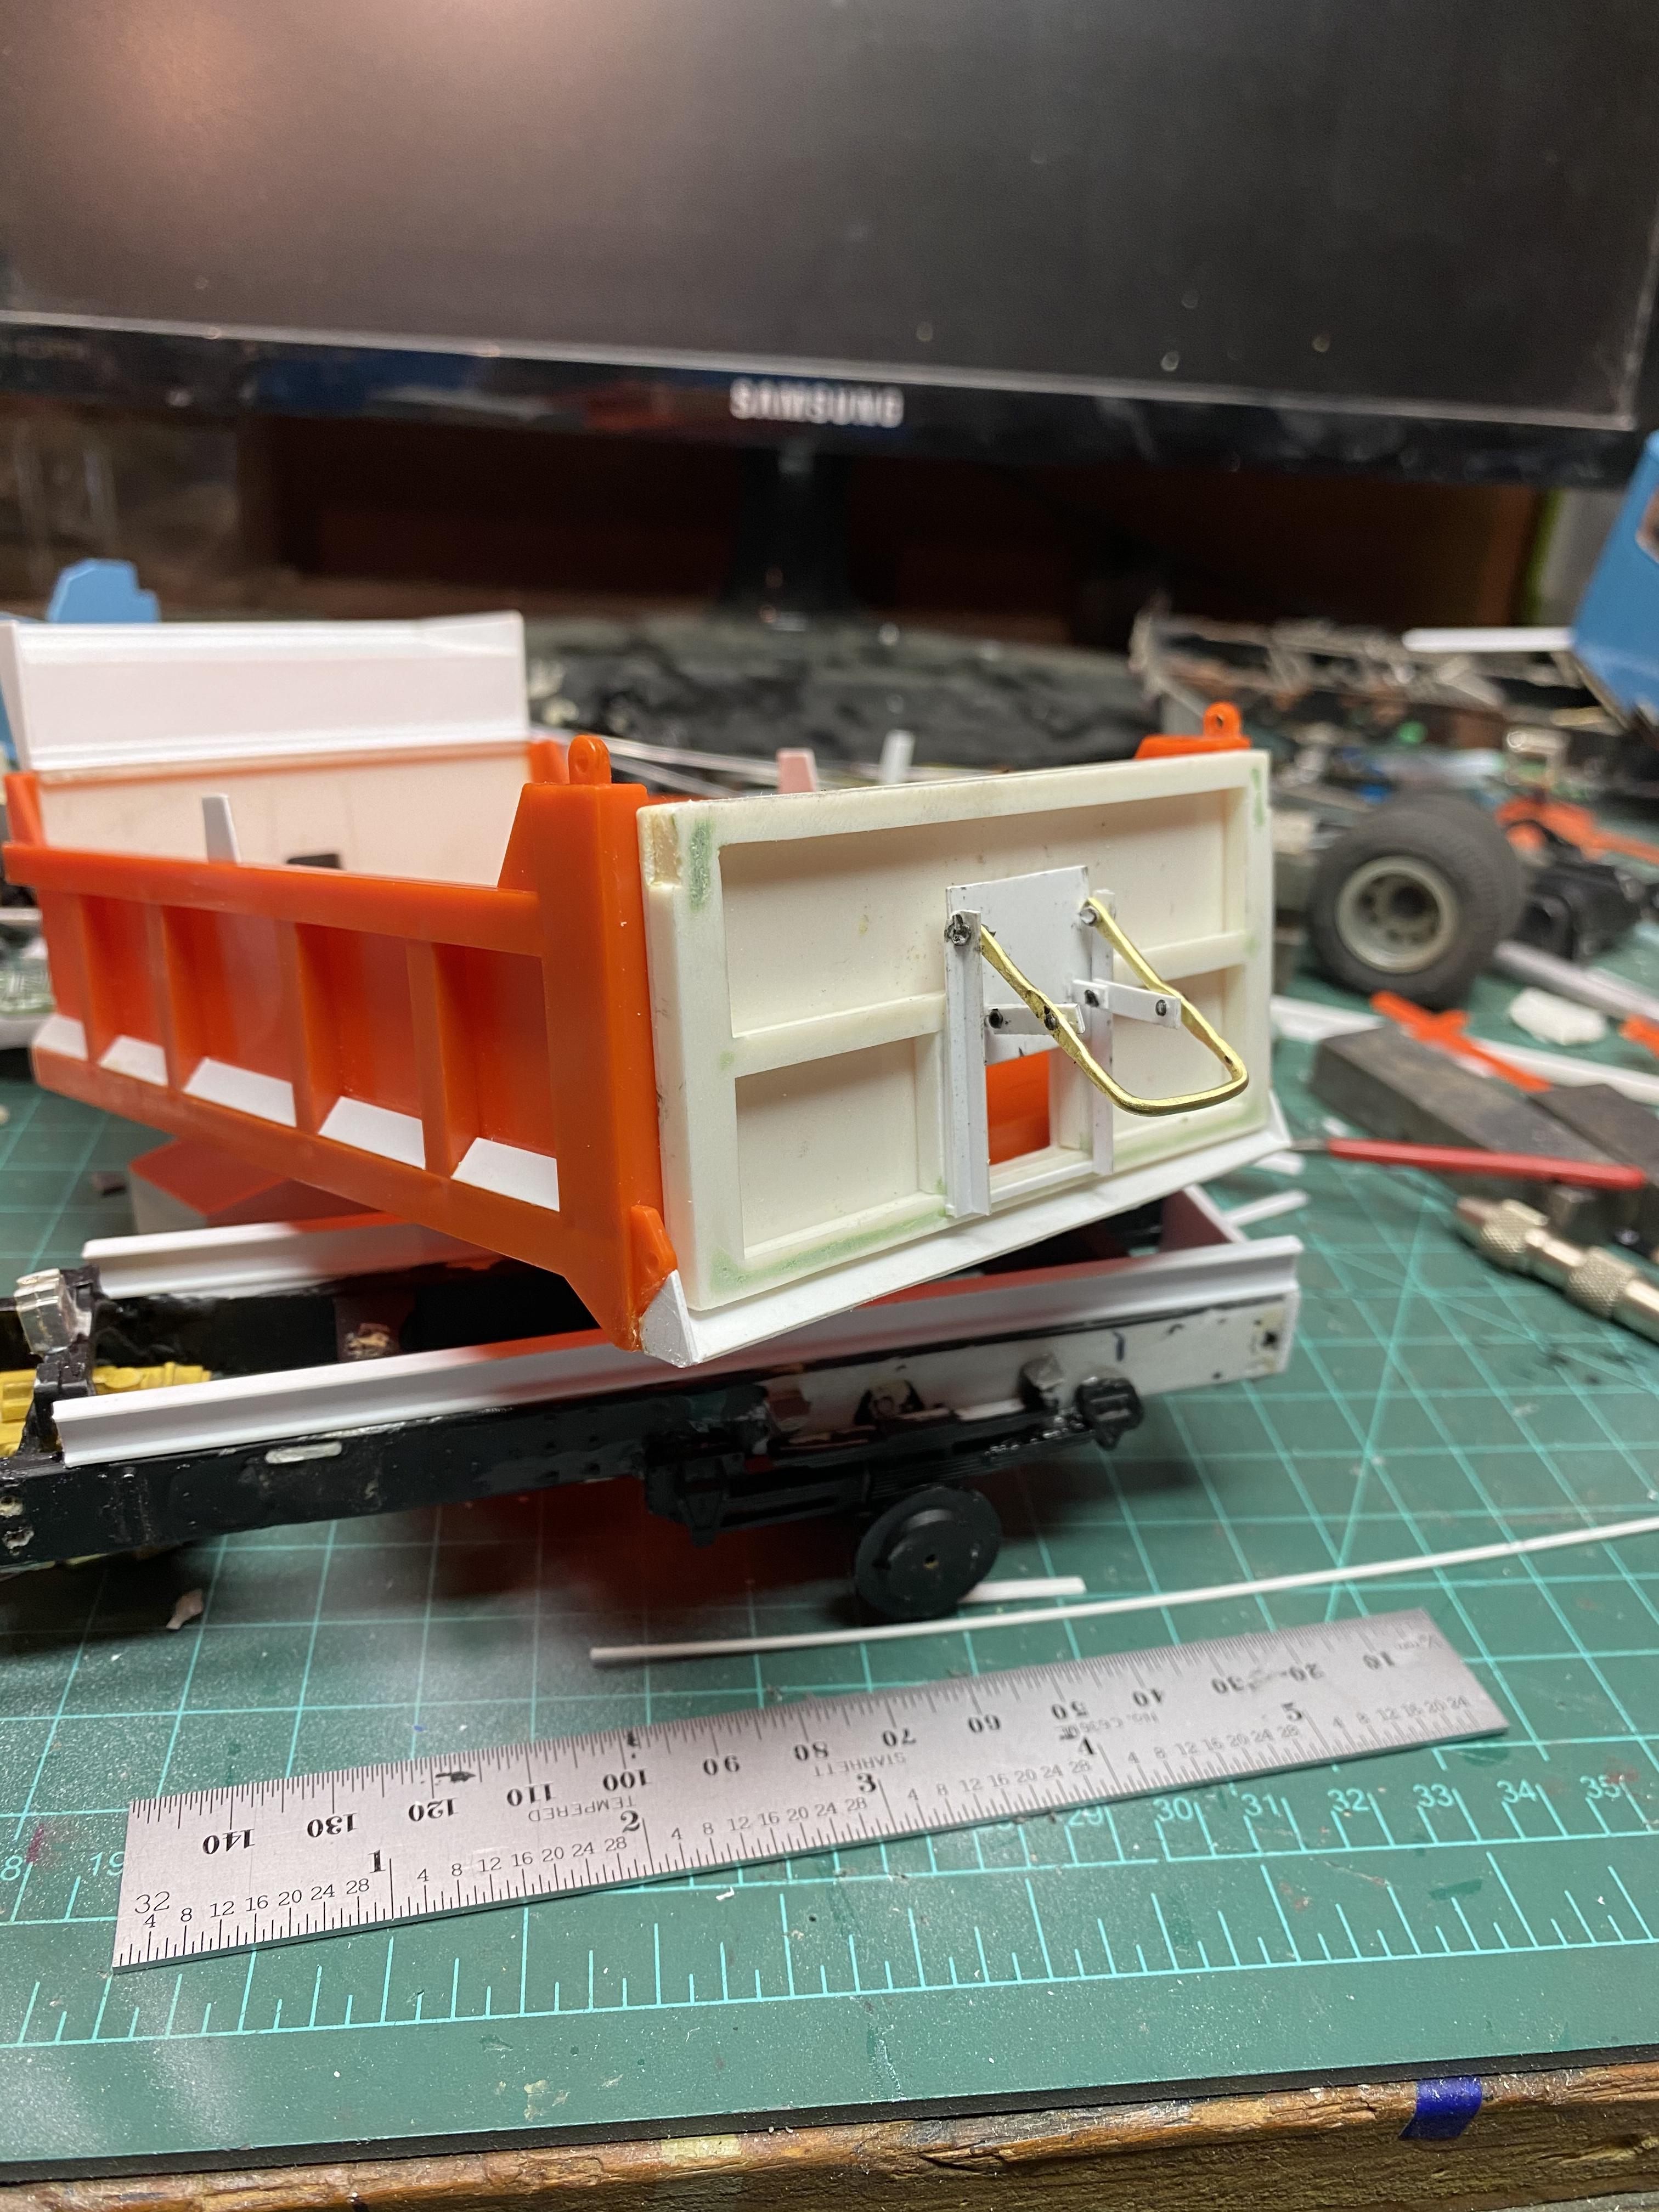
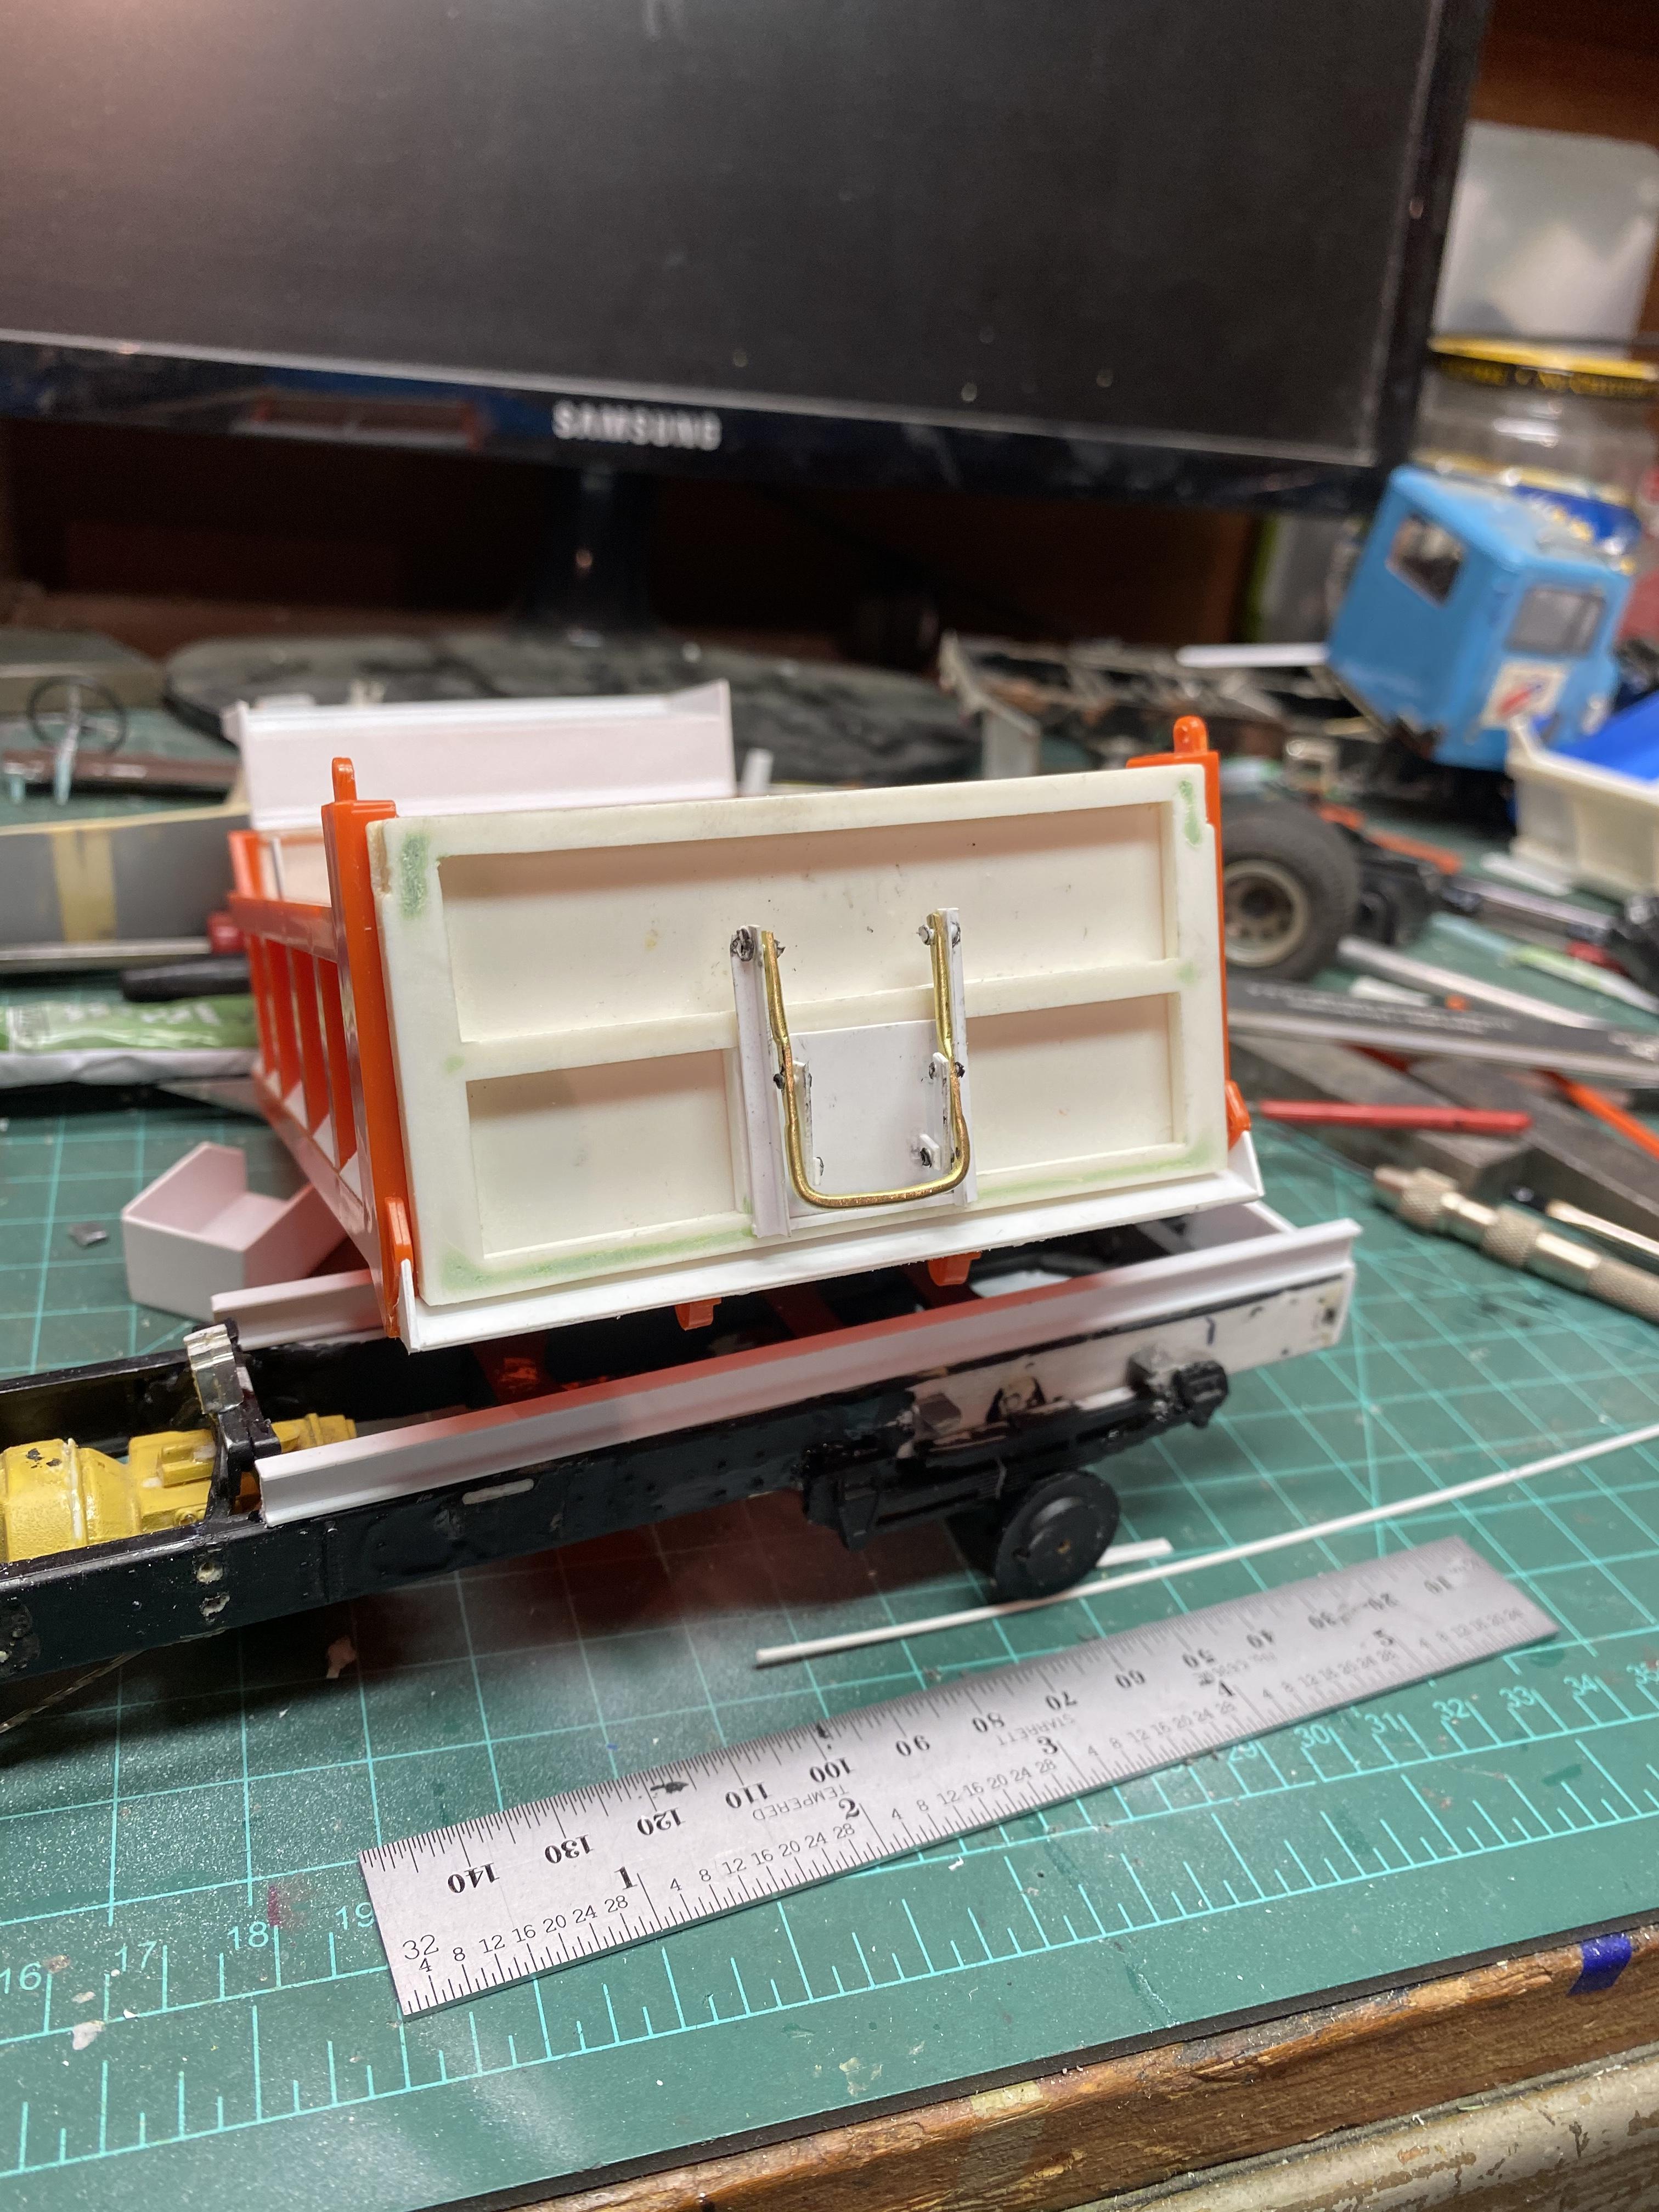
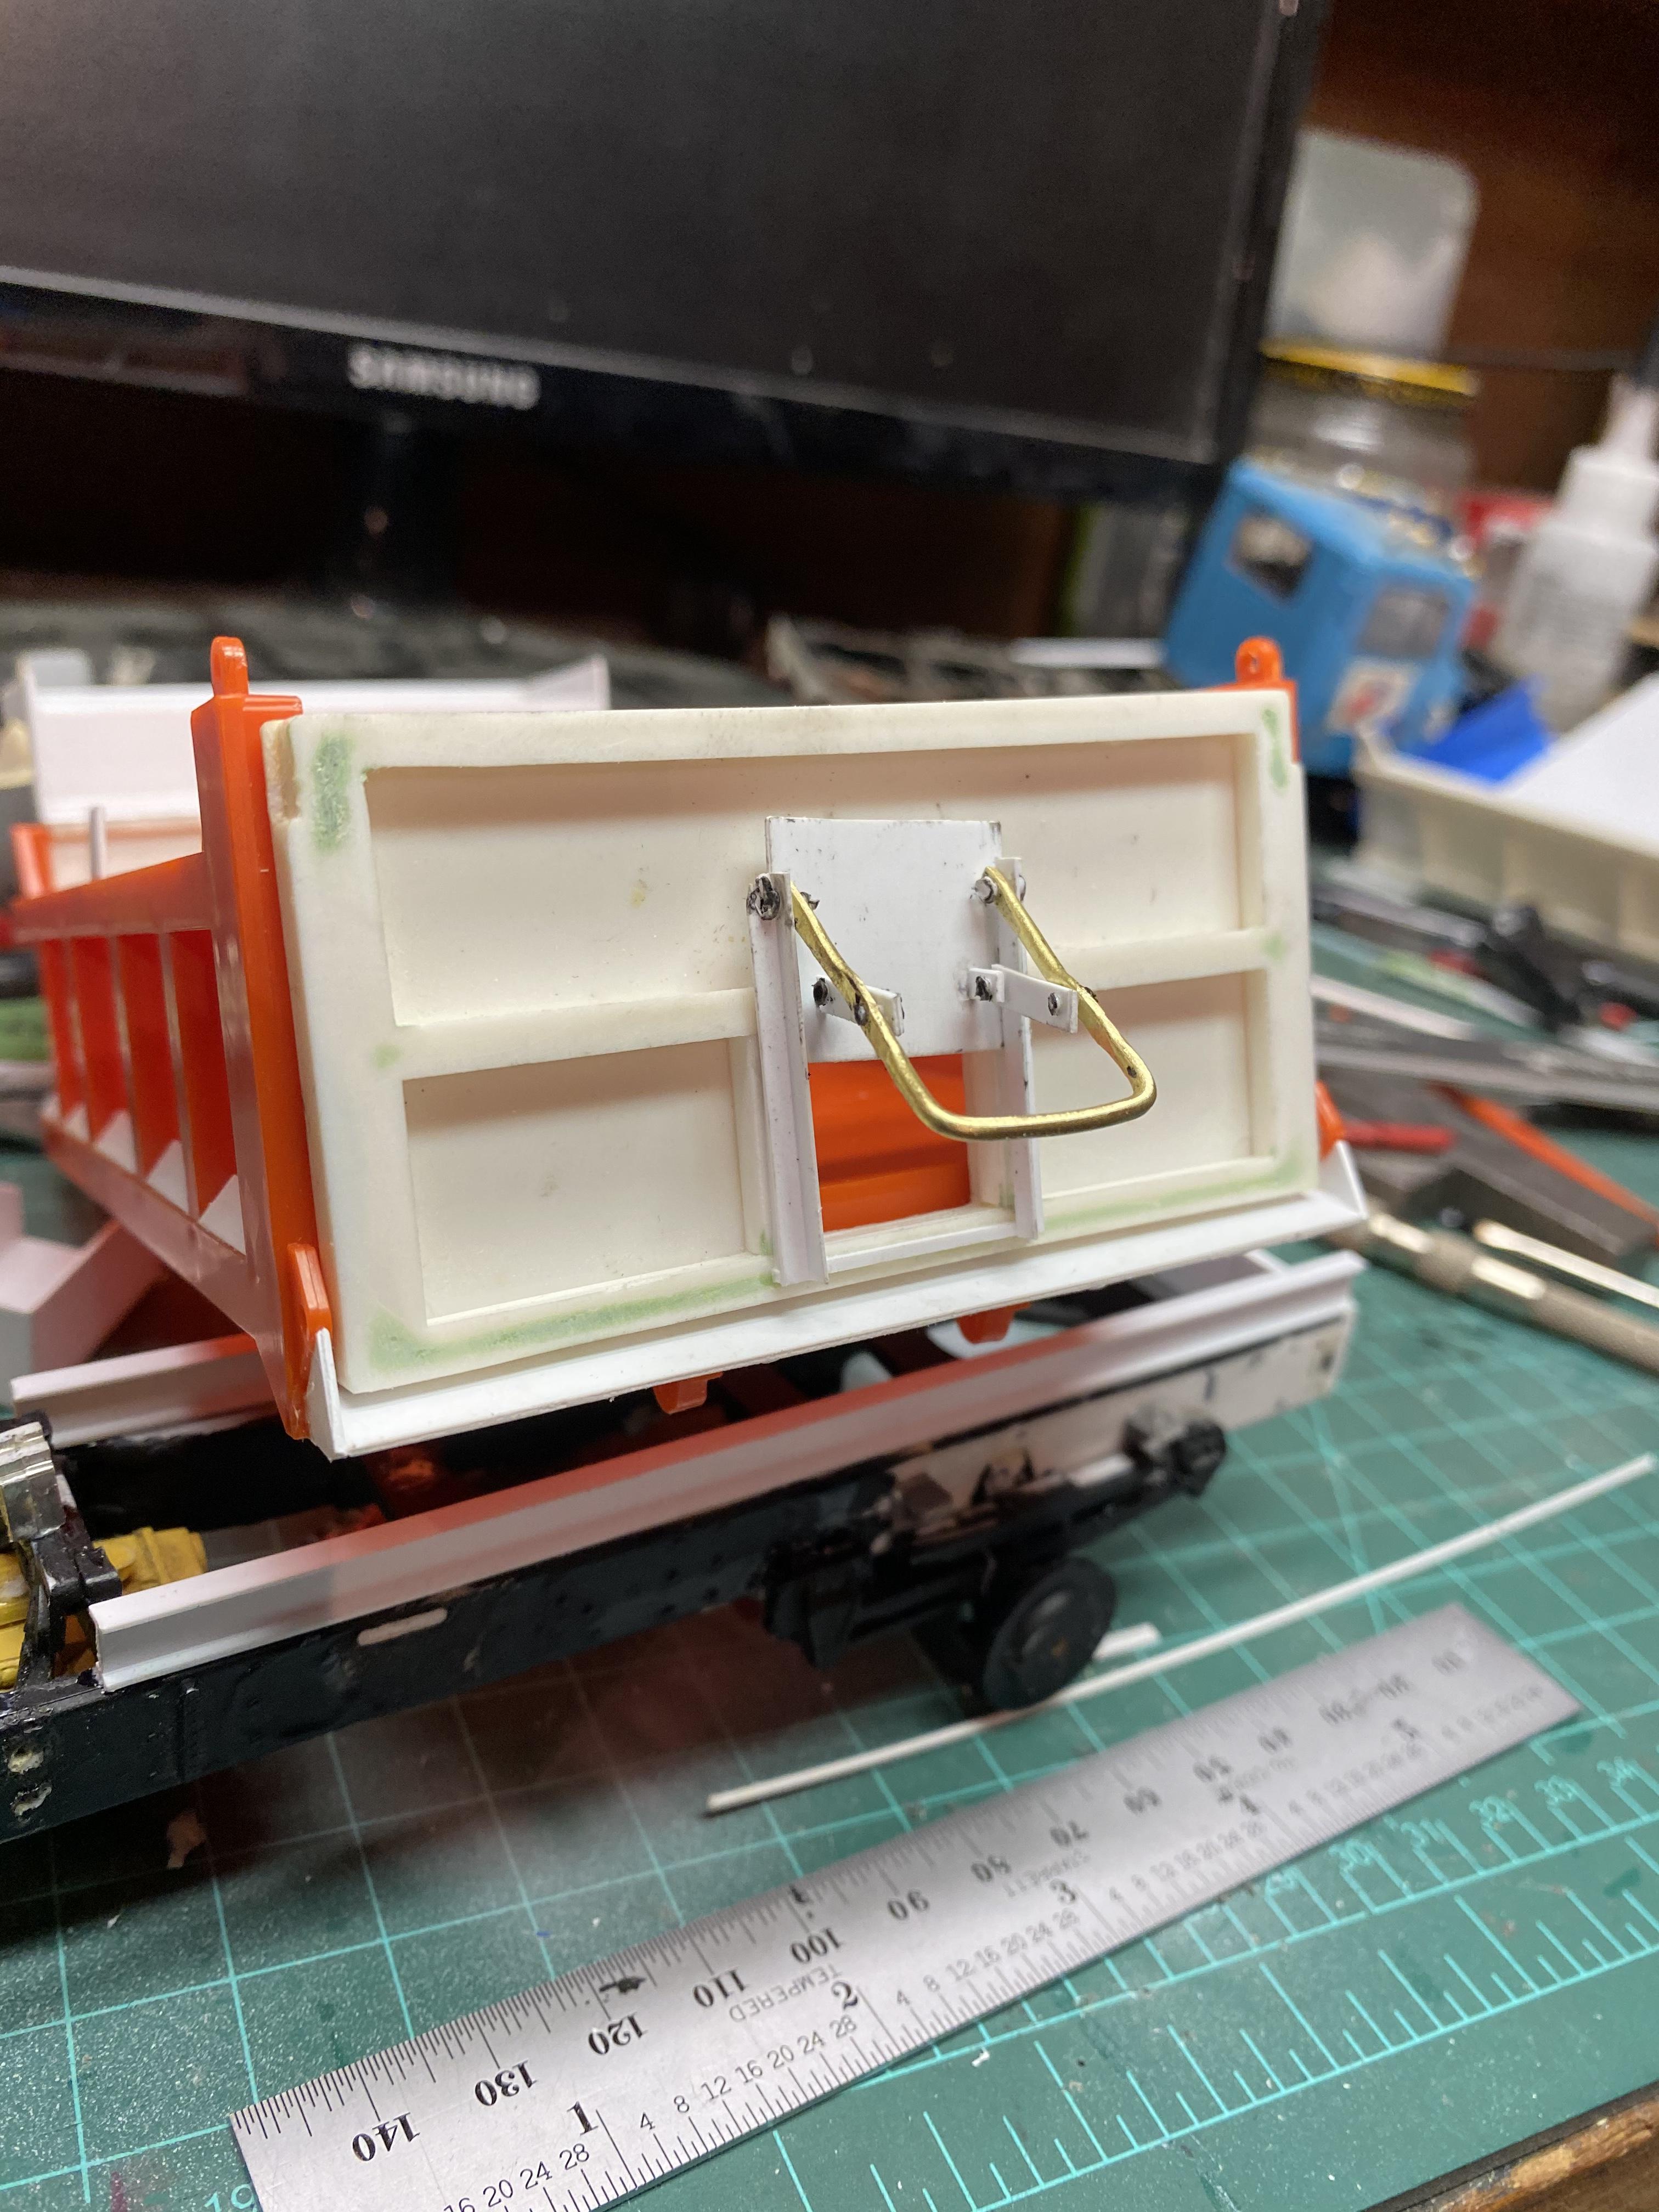
I added the apron on the back of the dump and the gate linkage for the gate door. Little steps.....
-
Here is the WIP thread for the lowboy: Here is the Under Glass thread:
-
My Compliments on the New Categories
redneckrigger replied to Motor City's topic in How To Use This Board
I have no issue with the redo, EXCEPT that the Truck Stop is now embedded into the general automotive talk section, and is literally lost there. Yup, people need to do a better job of titling a thread, but the truck subjects are now spread out FAR and wide in this section, and instead of going there to peruse them, it is now a job of scroll, and scroll, and scroll...... This could have been done with a Car Talk section, and keeping the Truck Stop section, and not gentrifying them both together in a mish mash. Otherwise, well done. -
BRBO IHC 2070
redneckrigger replied to redneckrigger's topic in WIP: Model Trucks: Big Rigs and Heavy Equipment
Well, it's that or boredom building something from the box! LOL! And it lets me use up at least some of the literally thousands of parts and rebuilders I have here, have lots of stuff new in the box, but just can't seem to build one! -
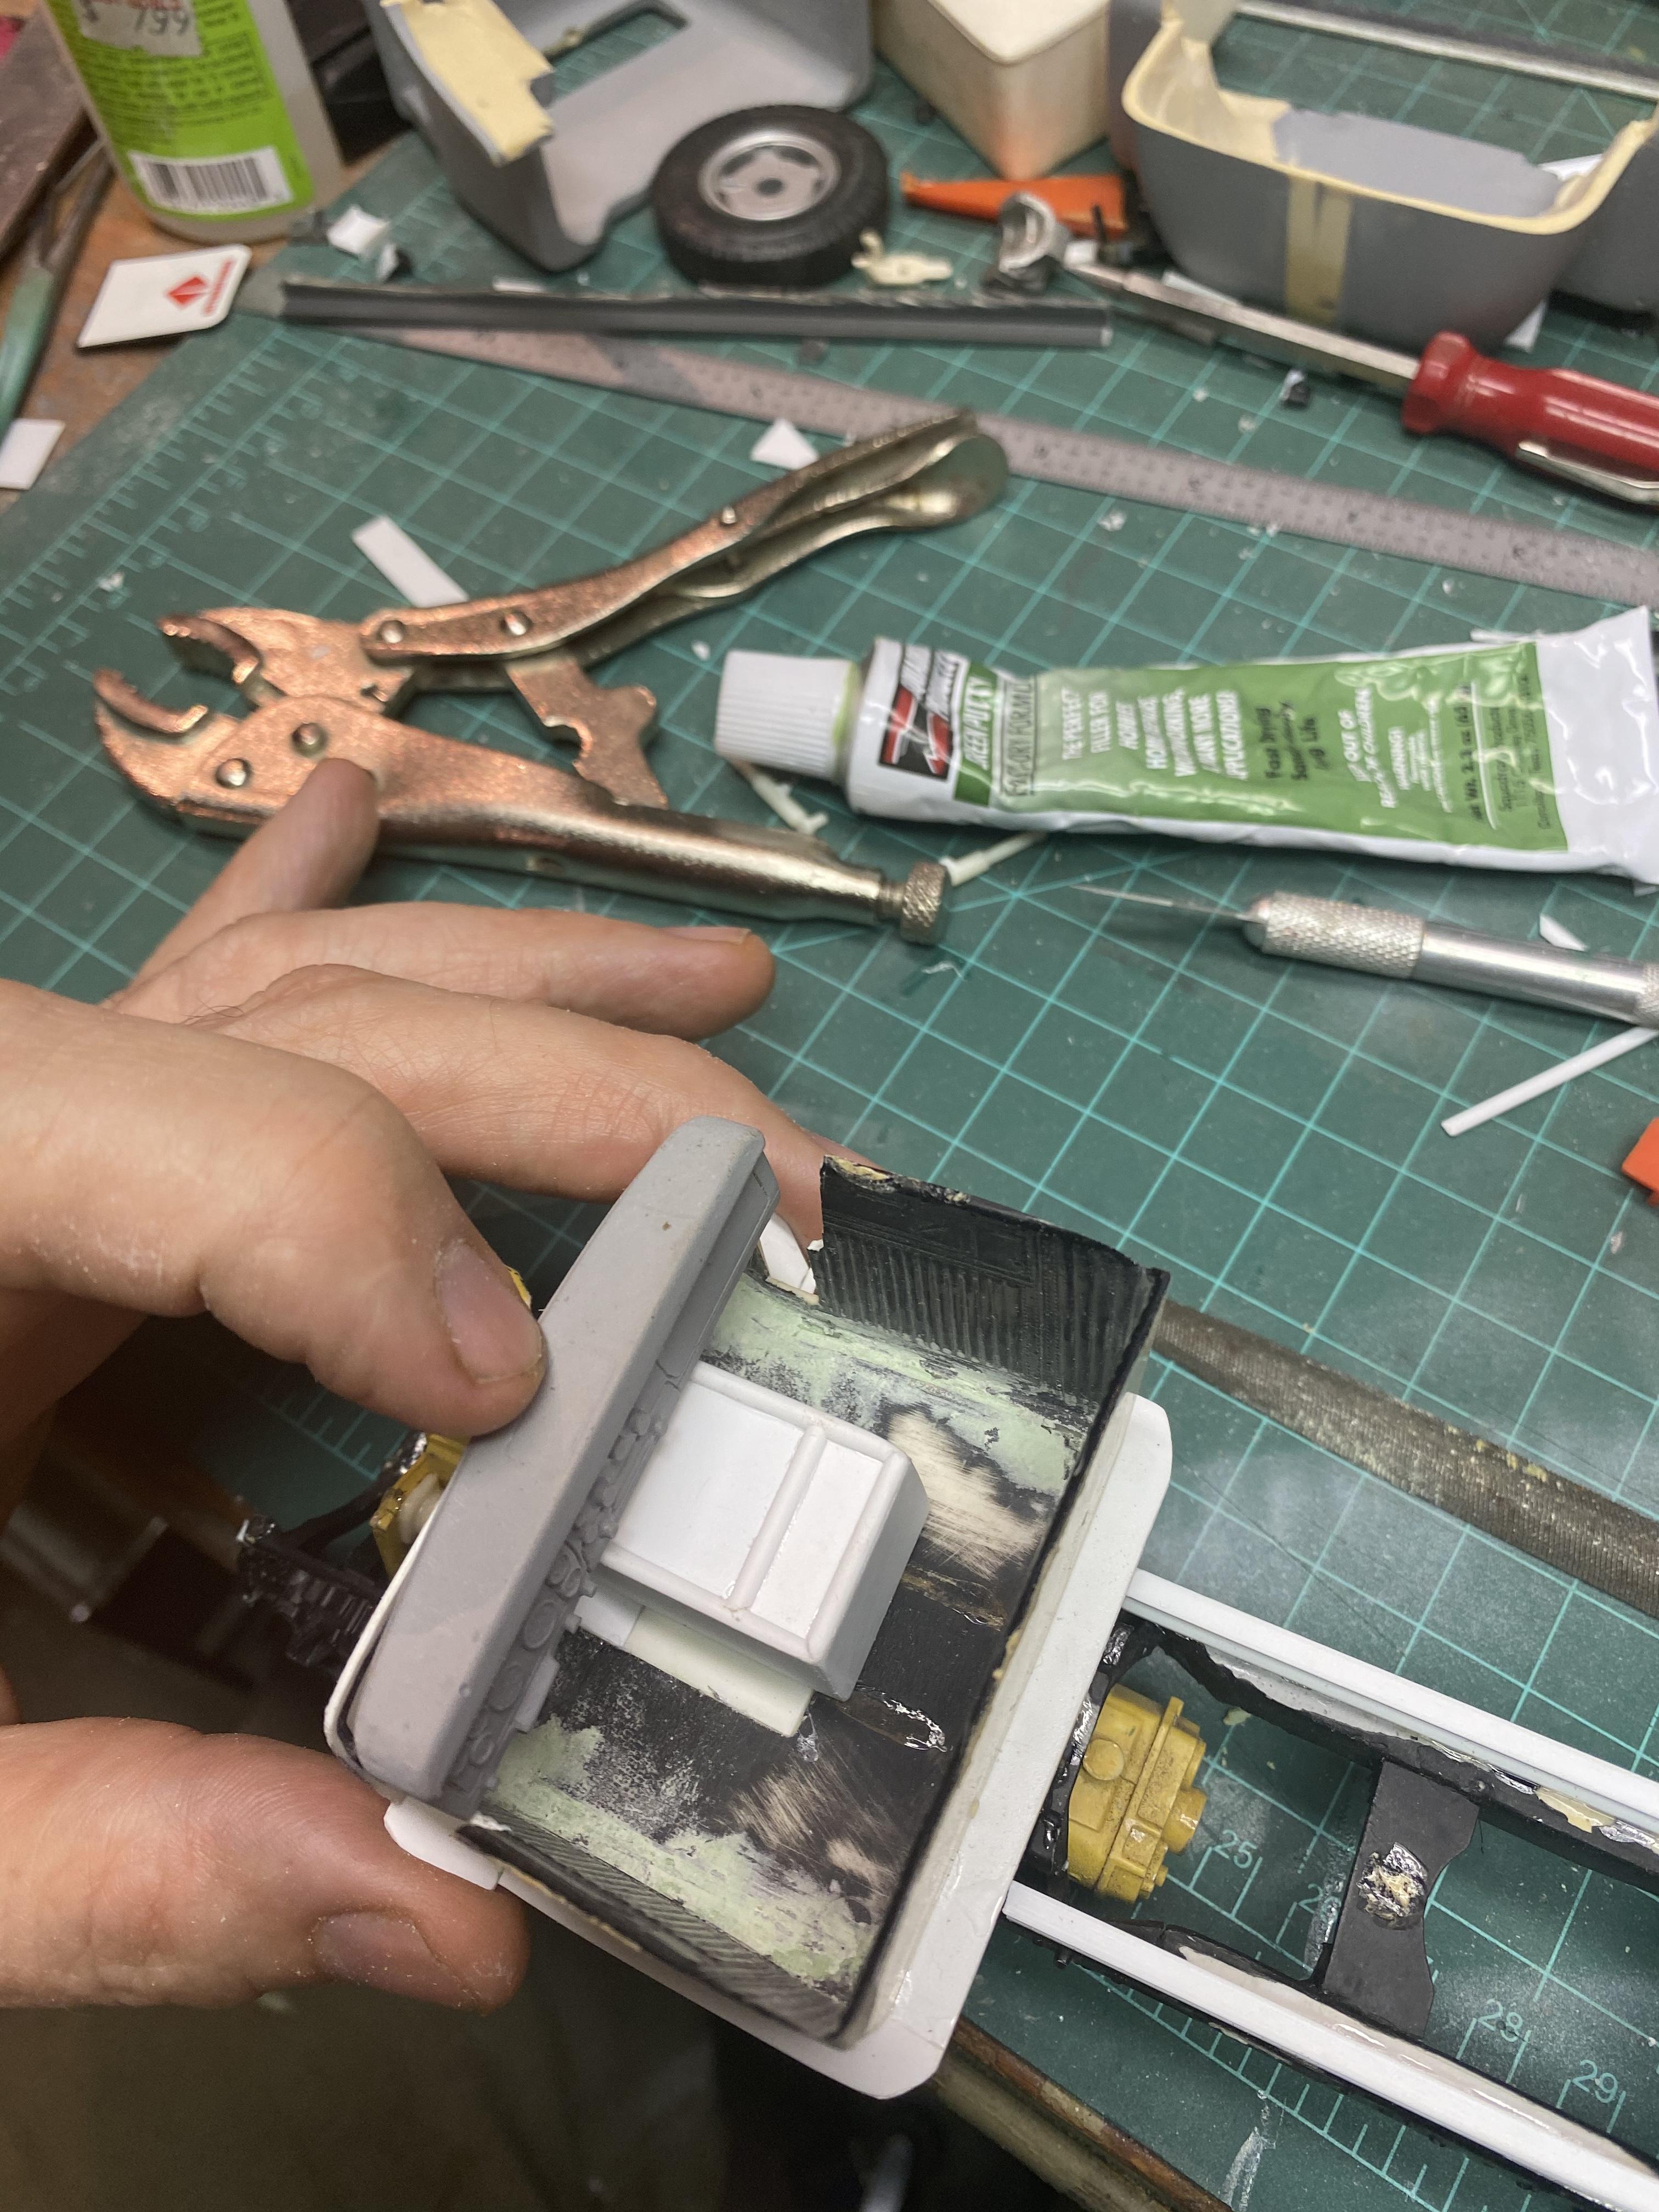
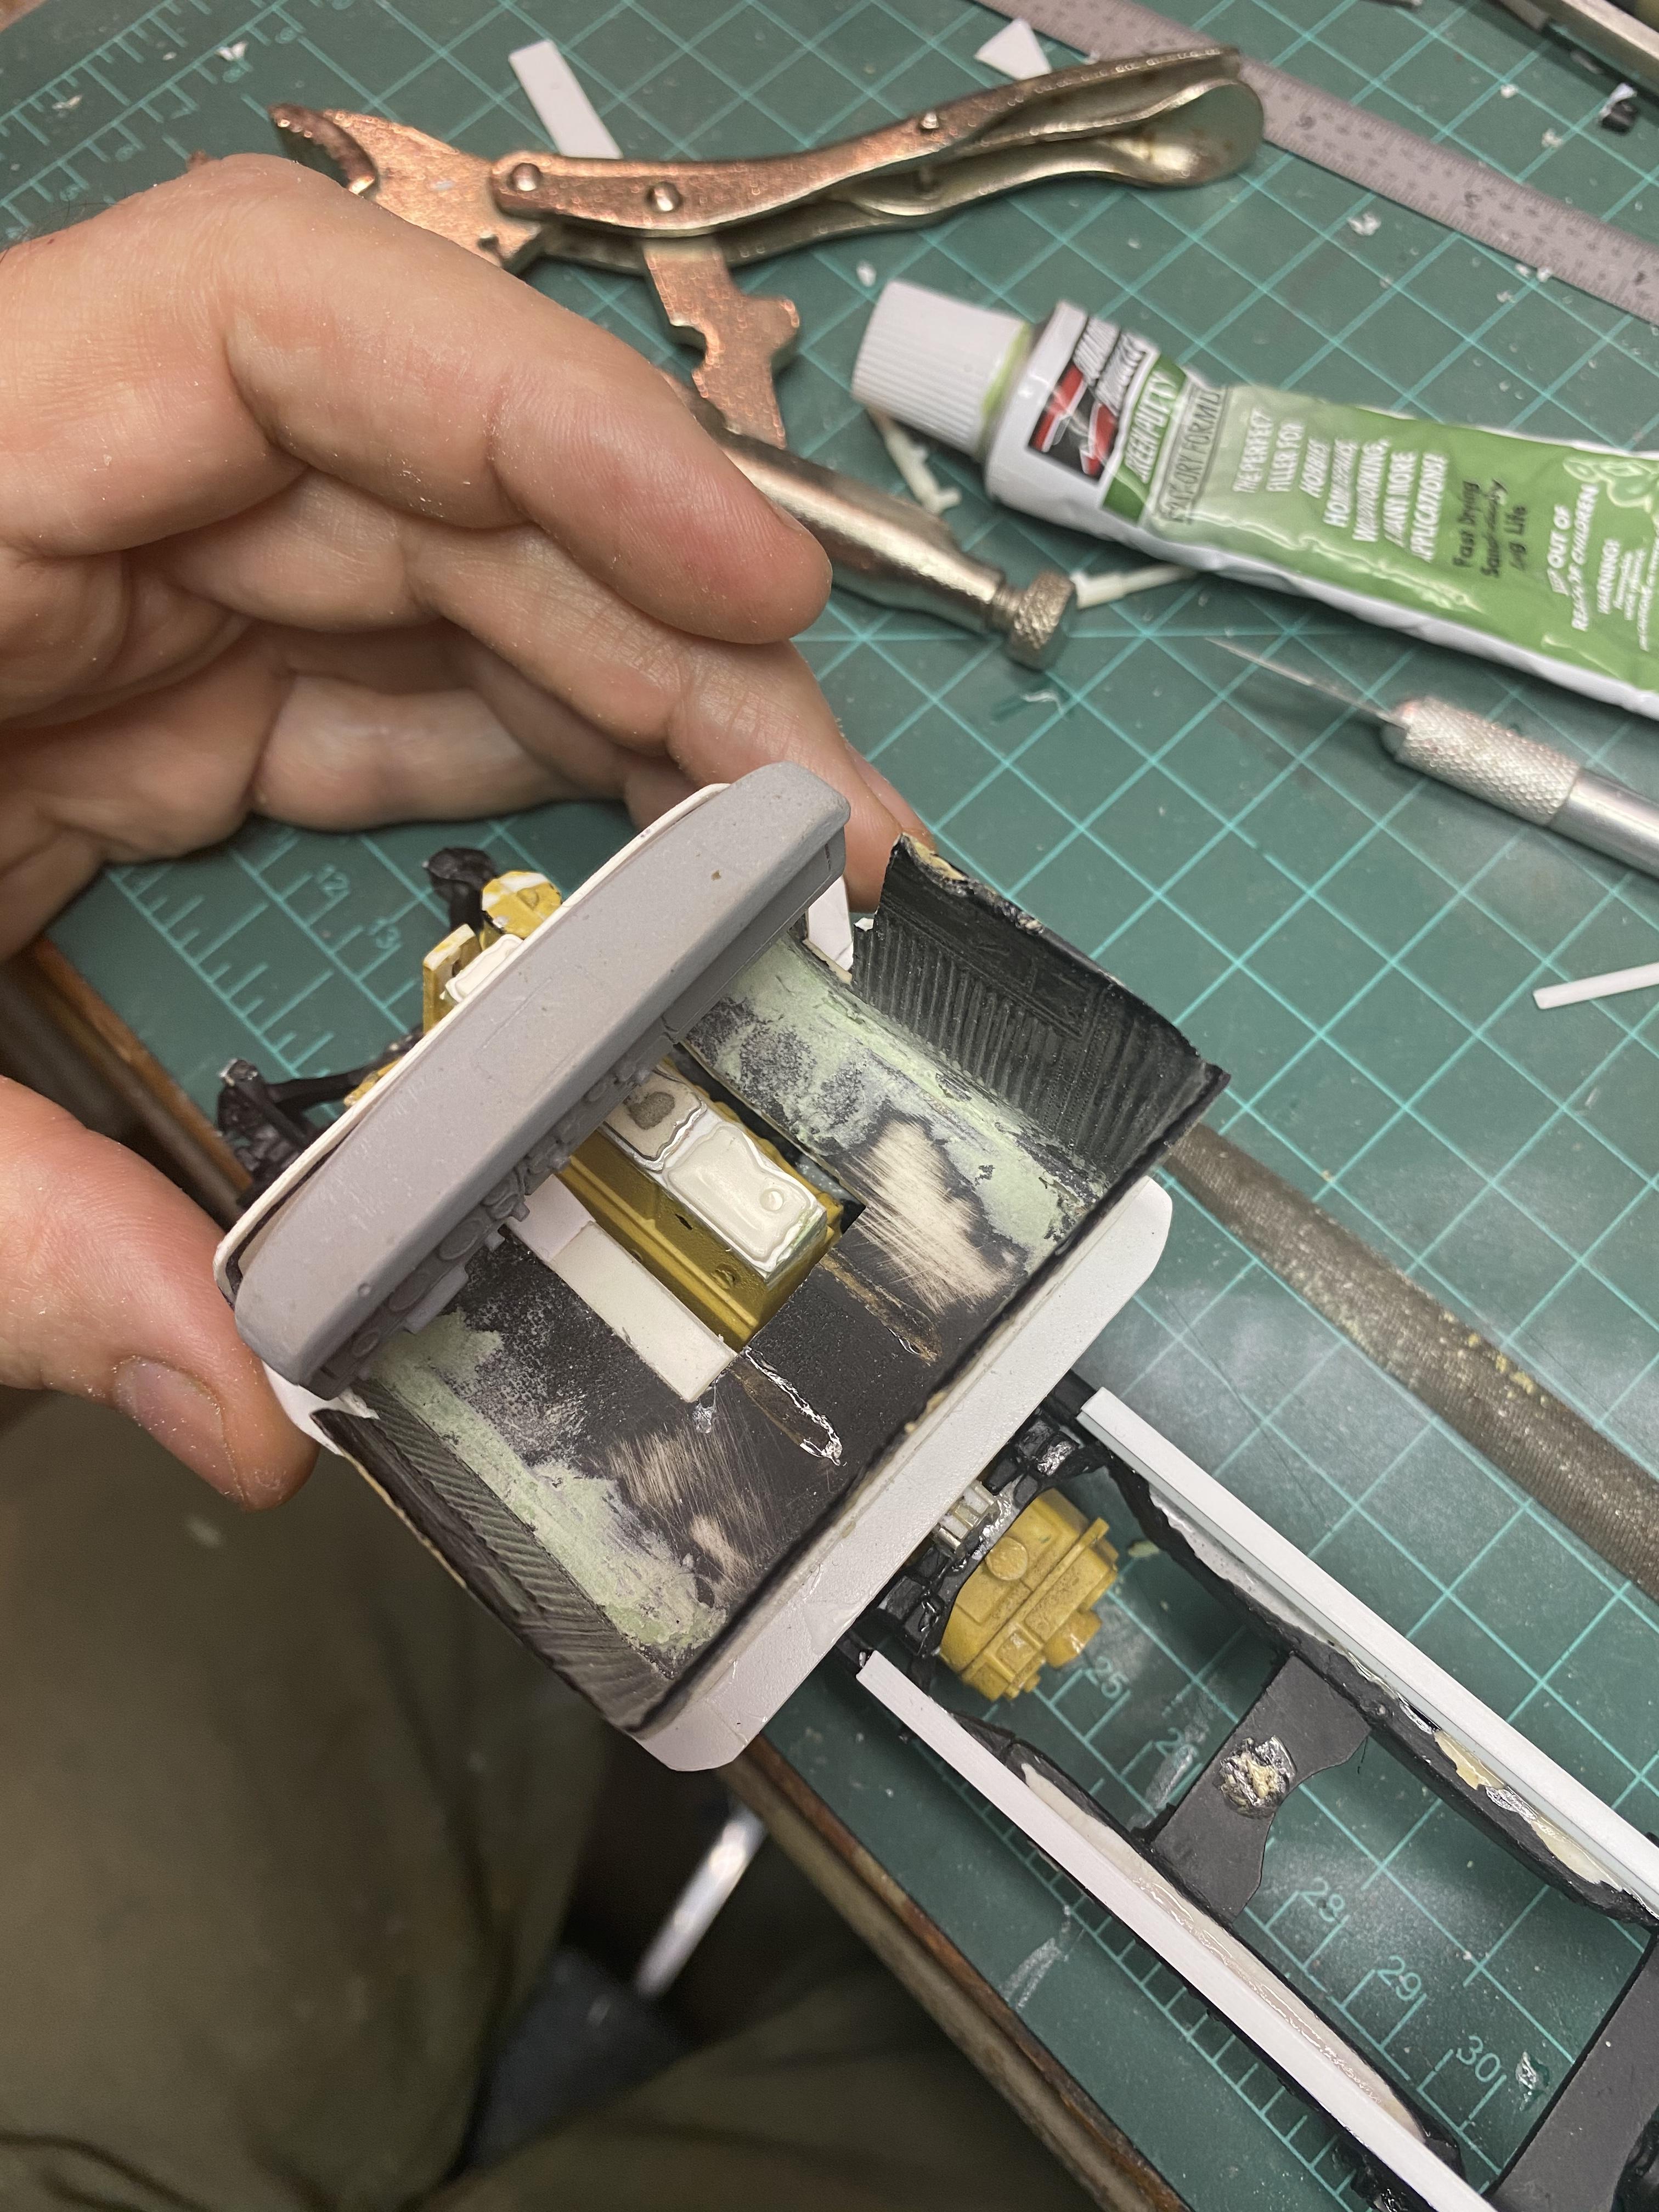
BRBO IHC 2070
redneckrigger replied to redneckrigger's topic in WIP: Model Trucks: Big Rigs and Heavy Equipment
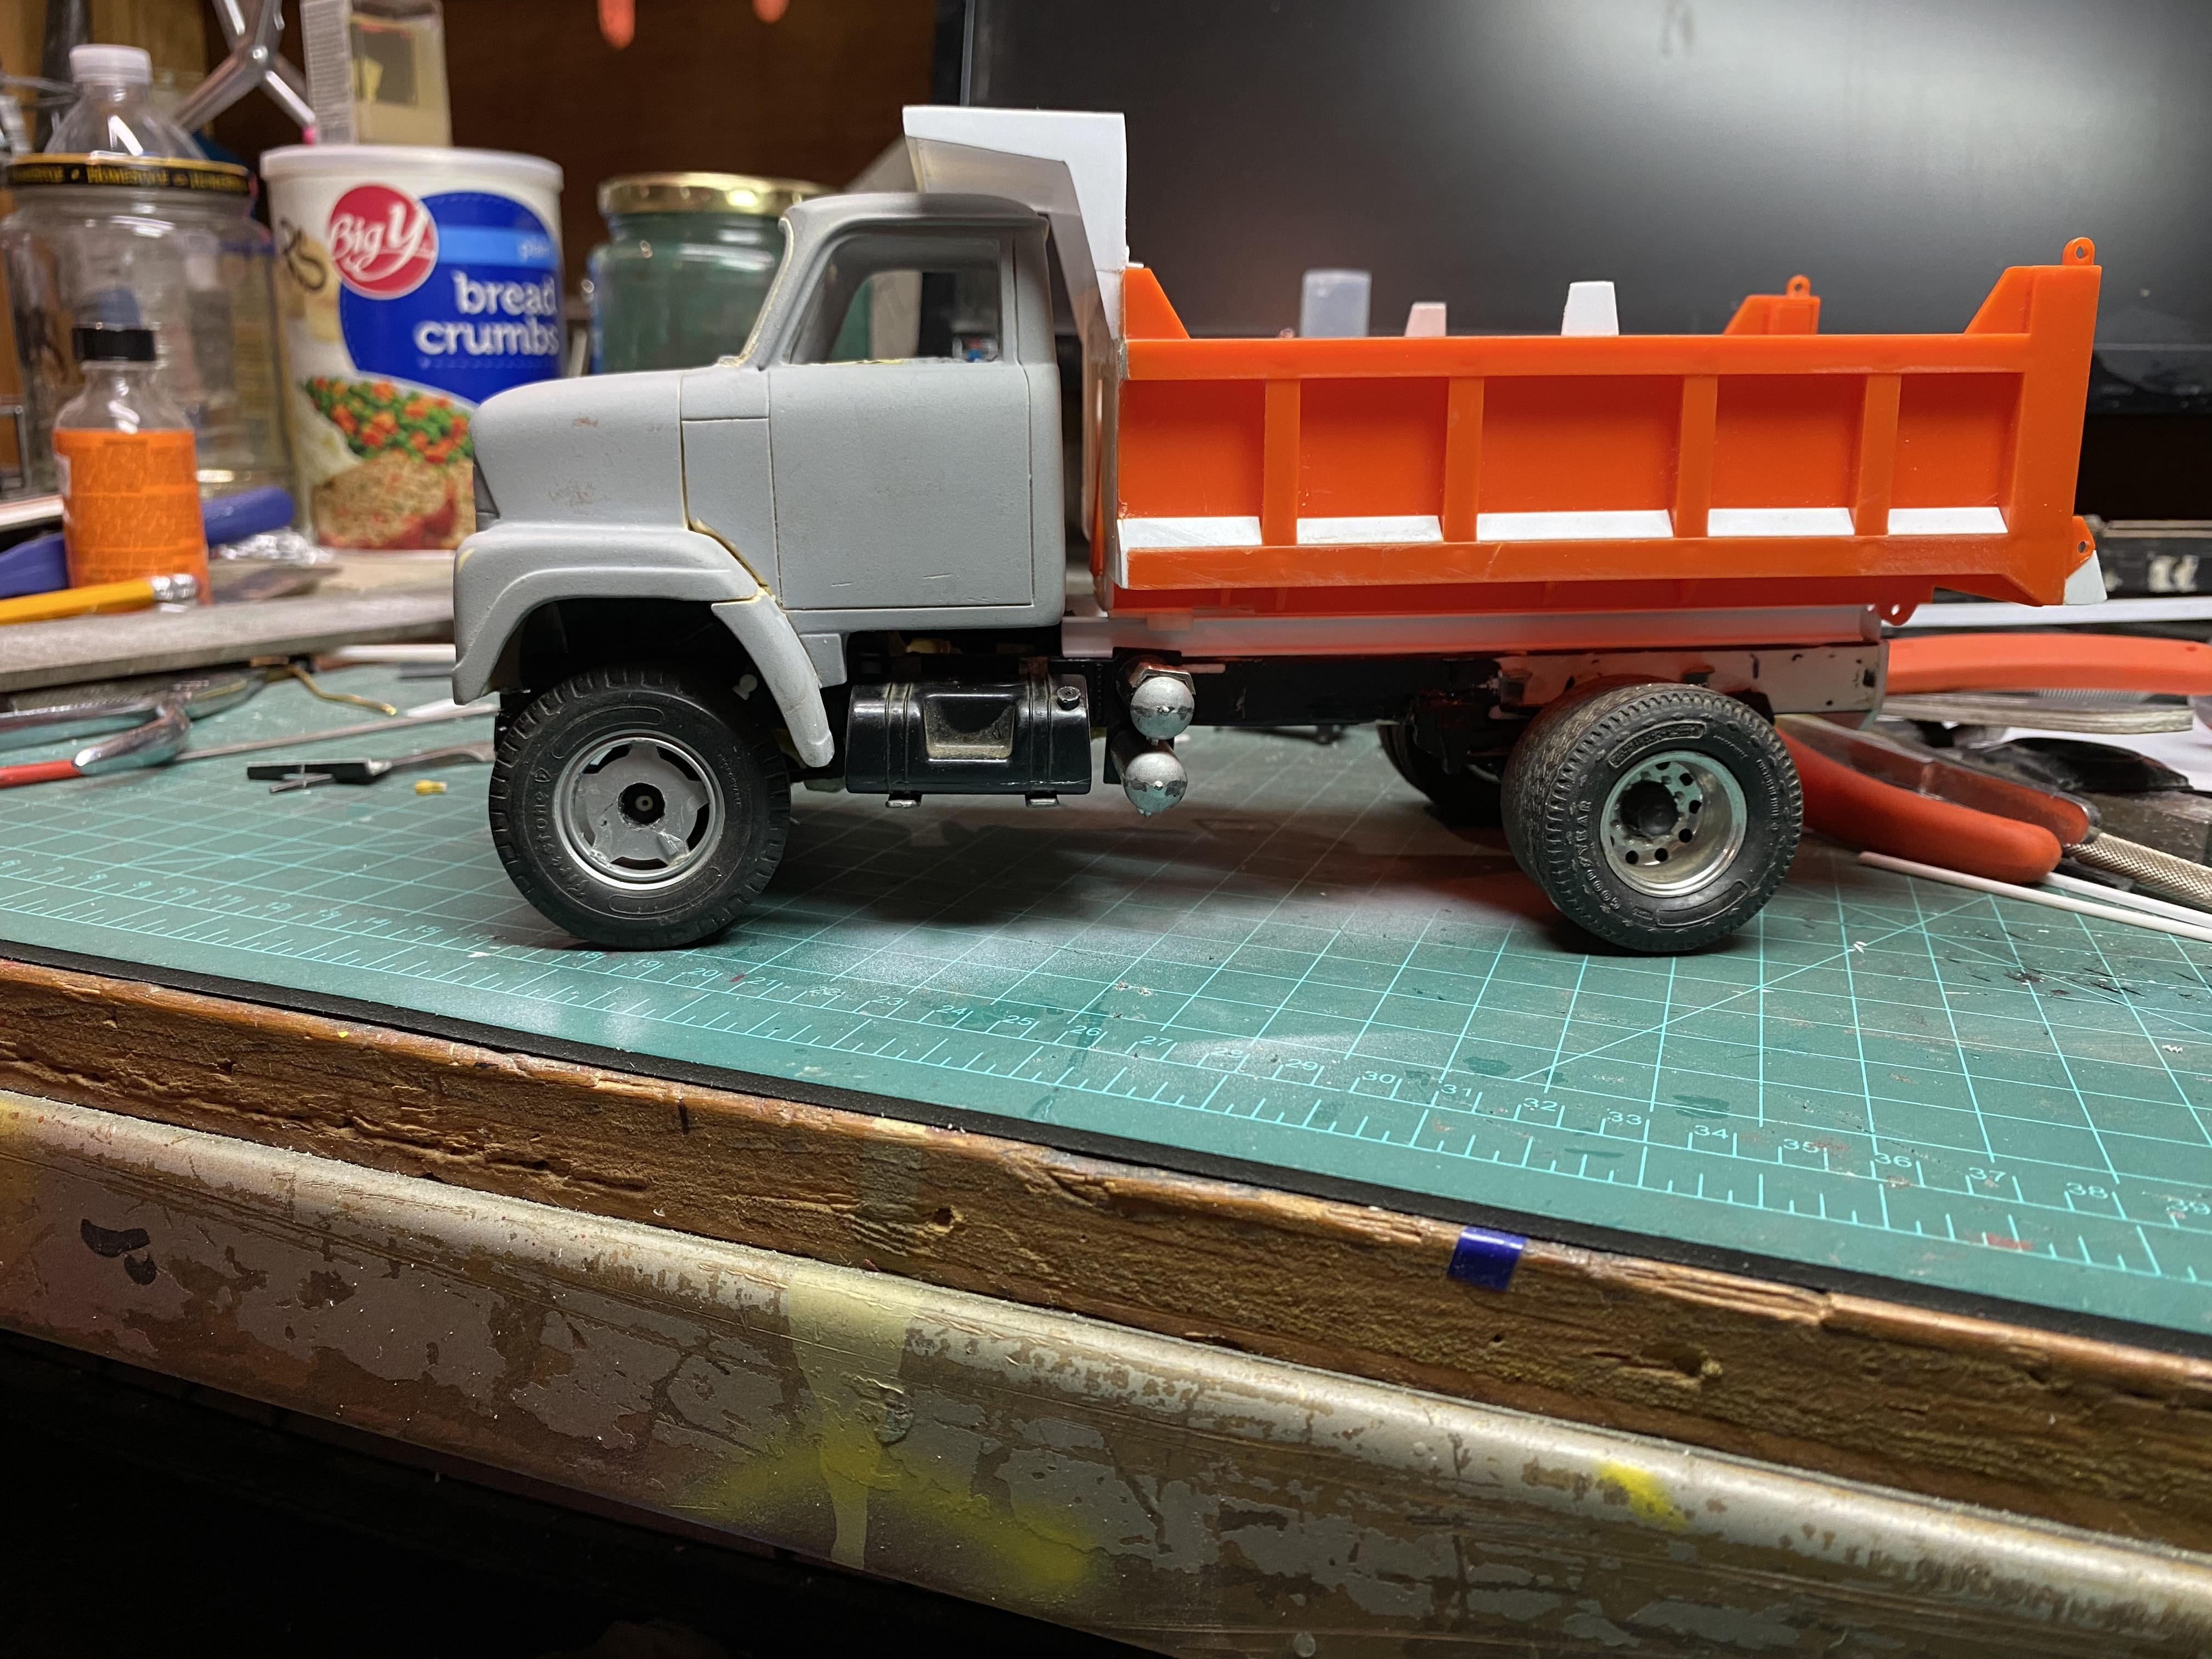
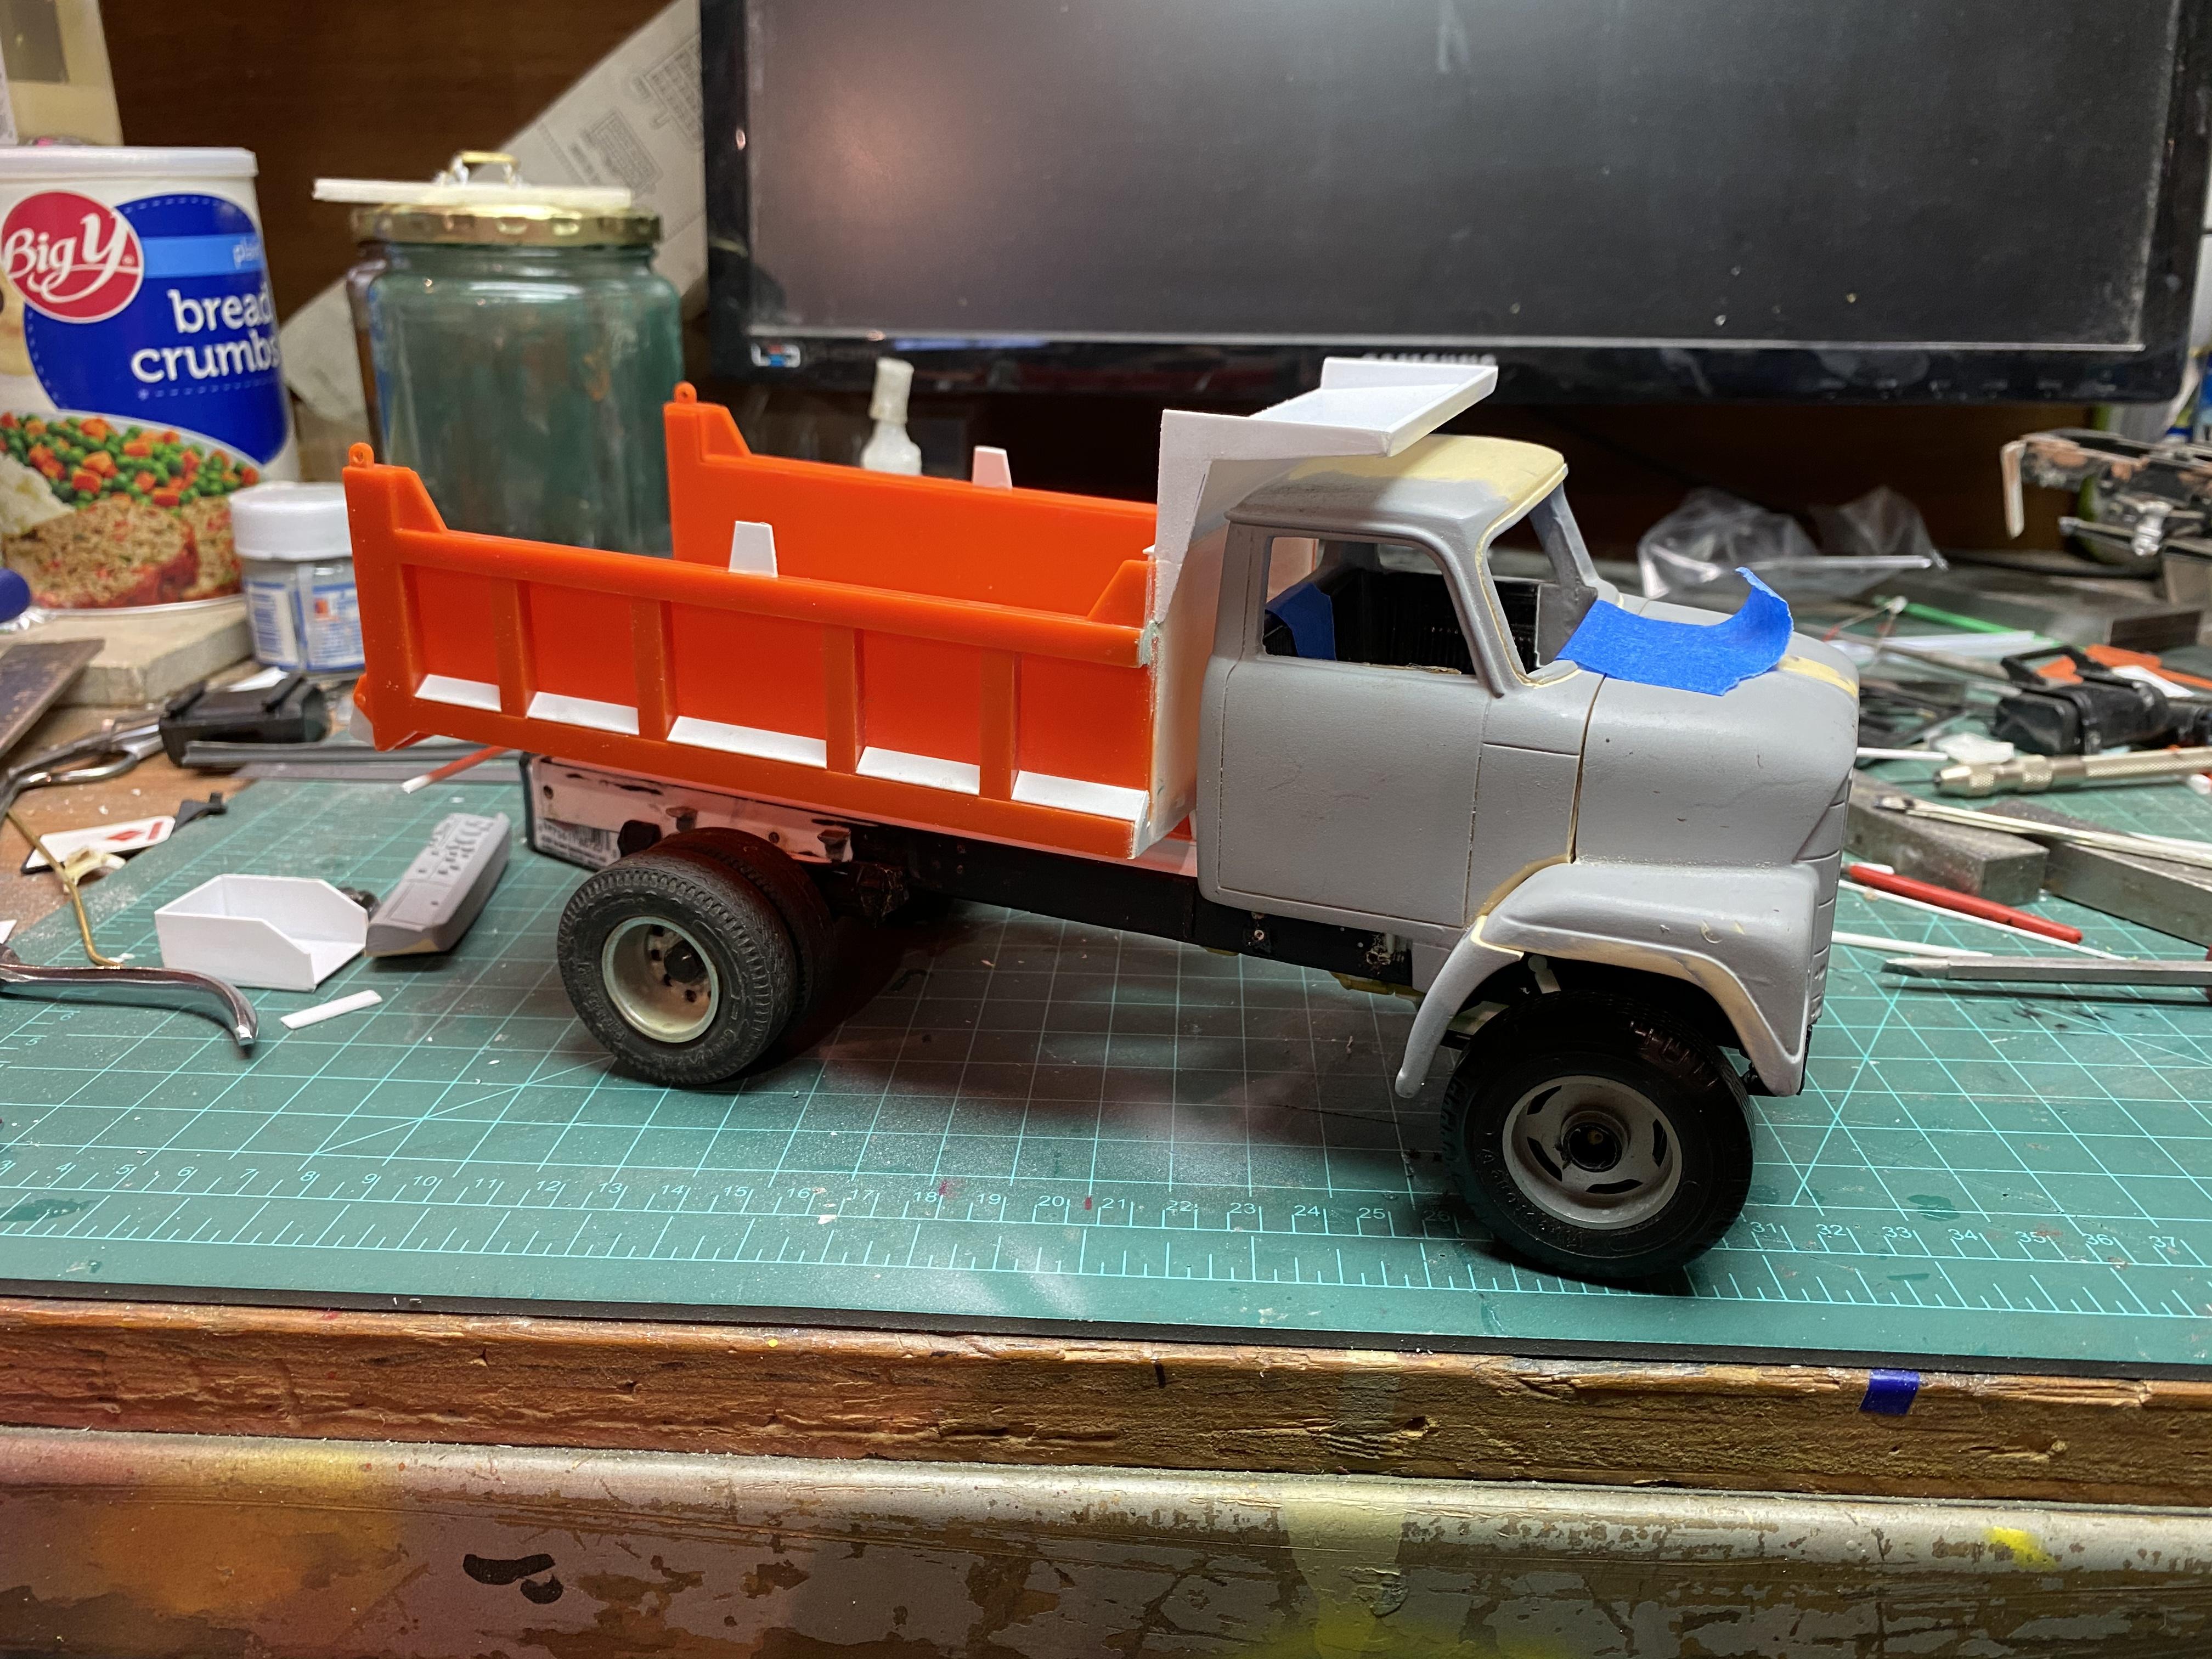
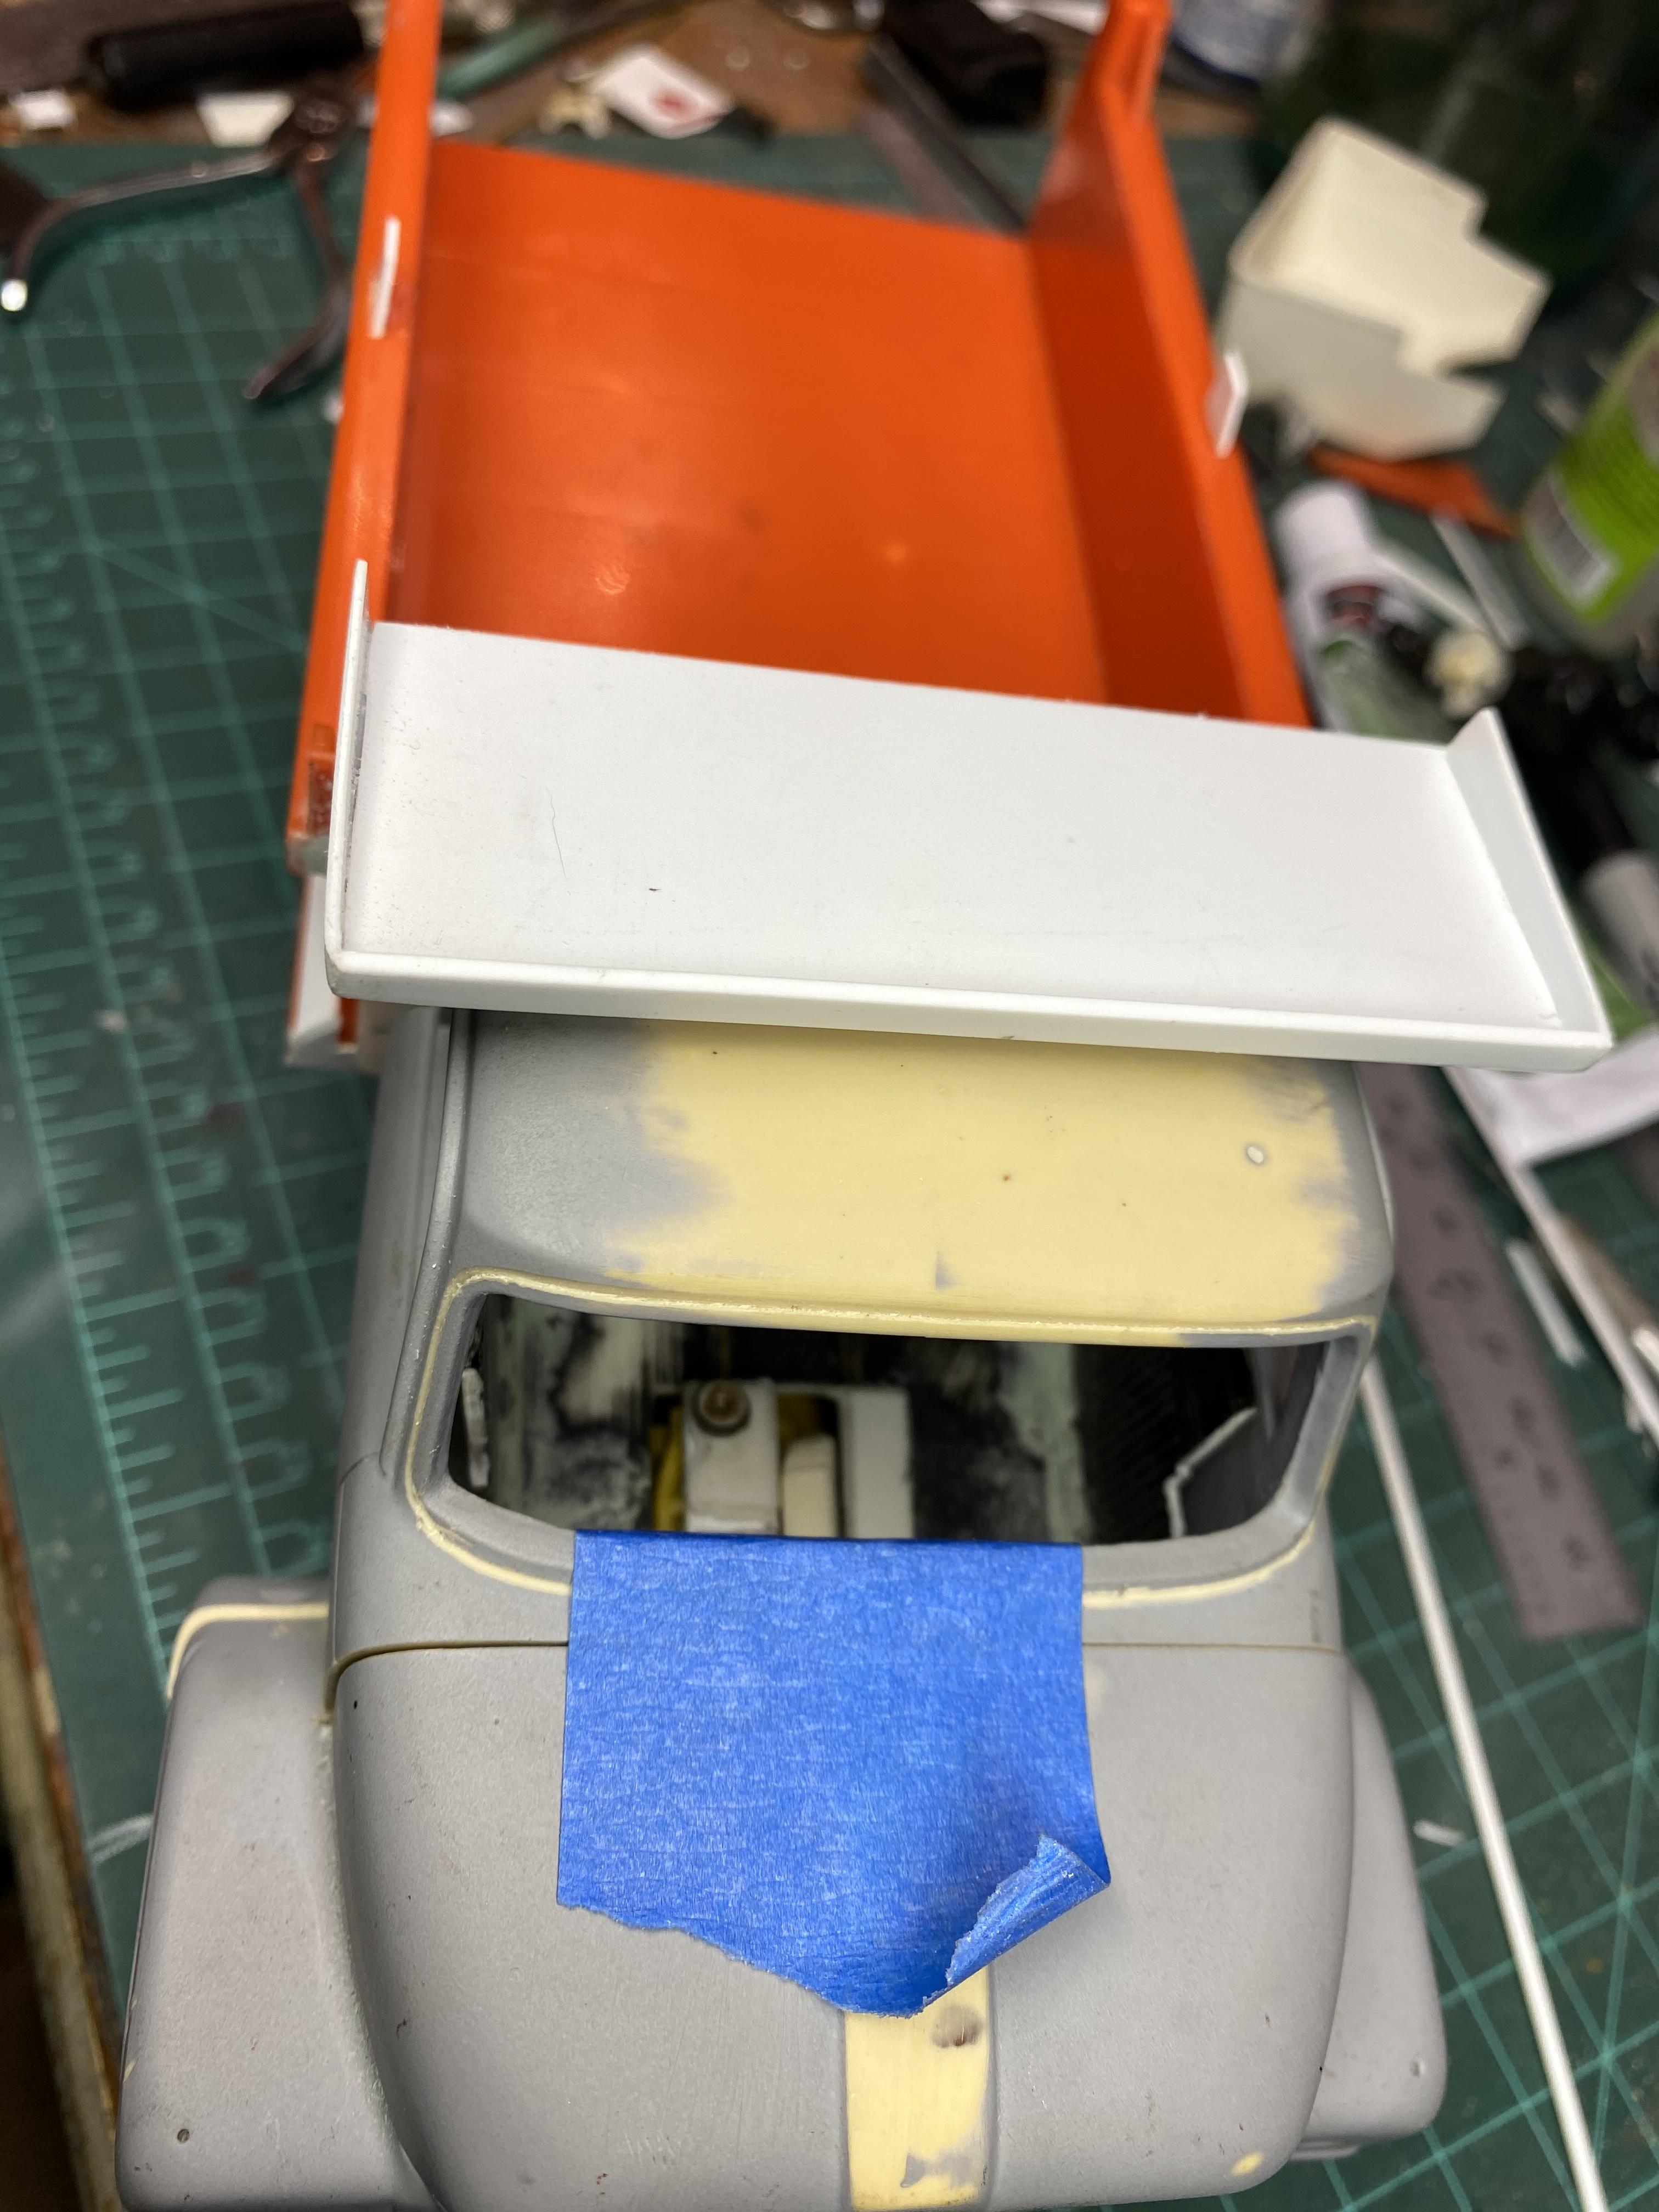
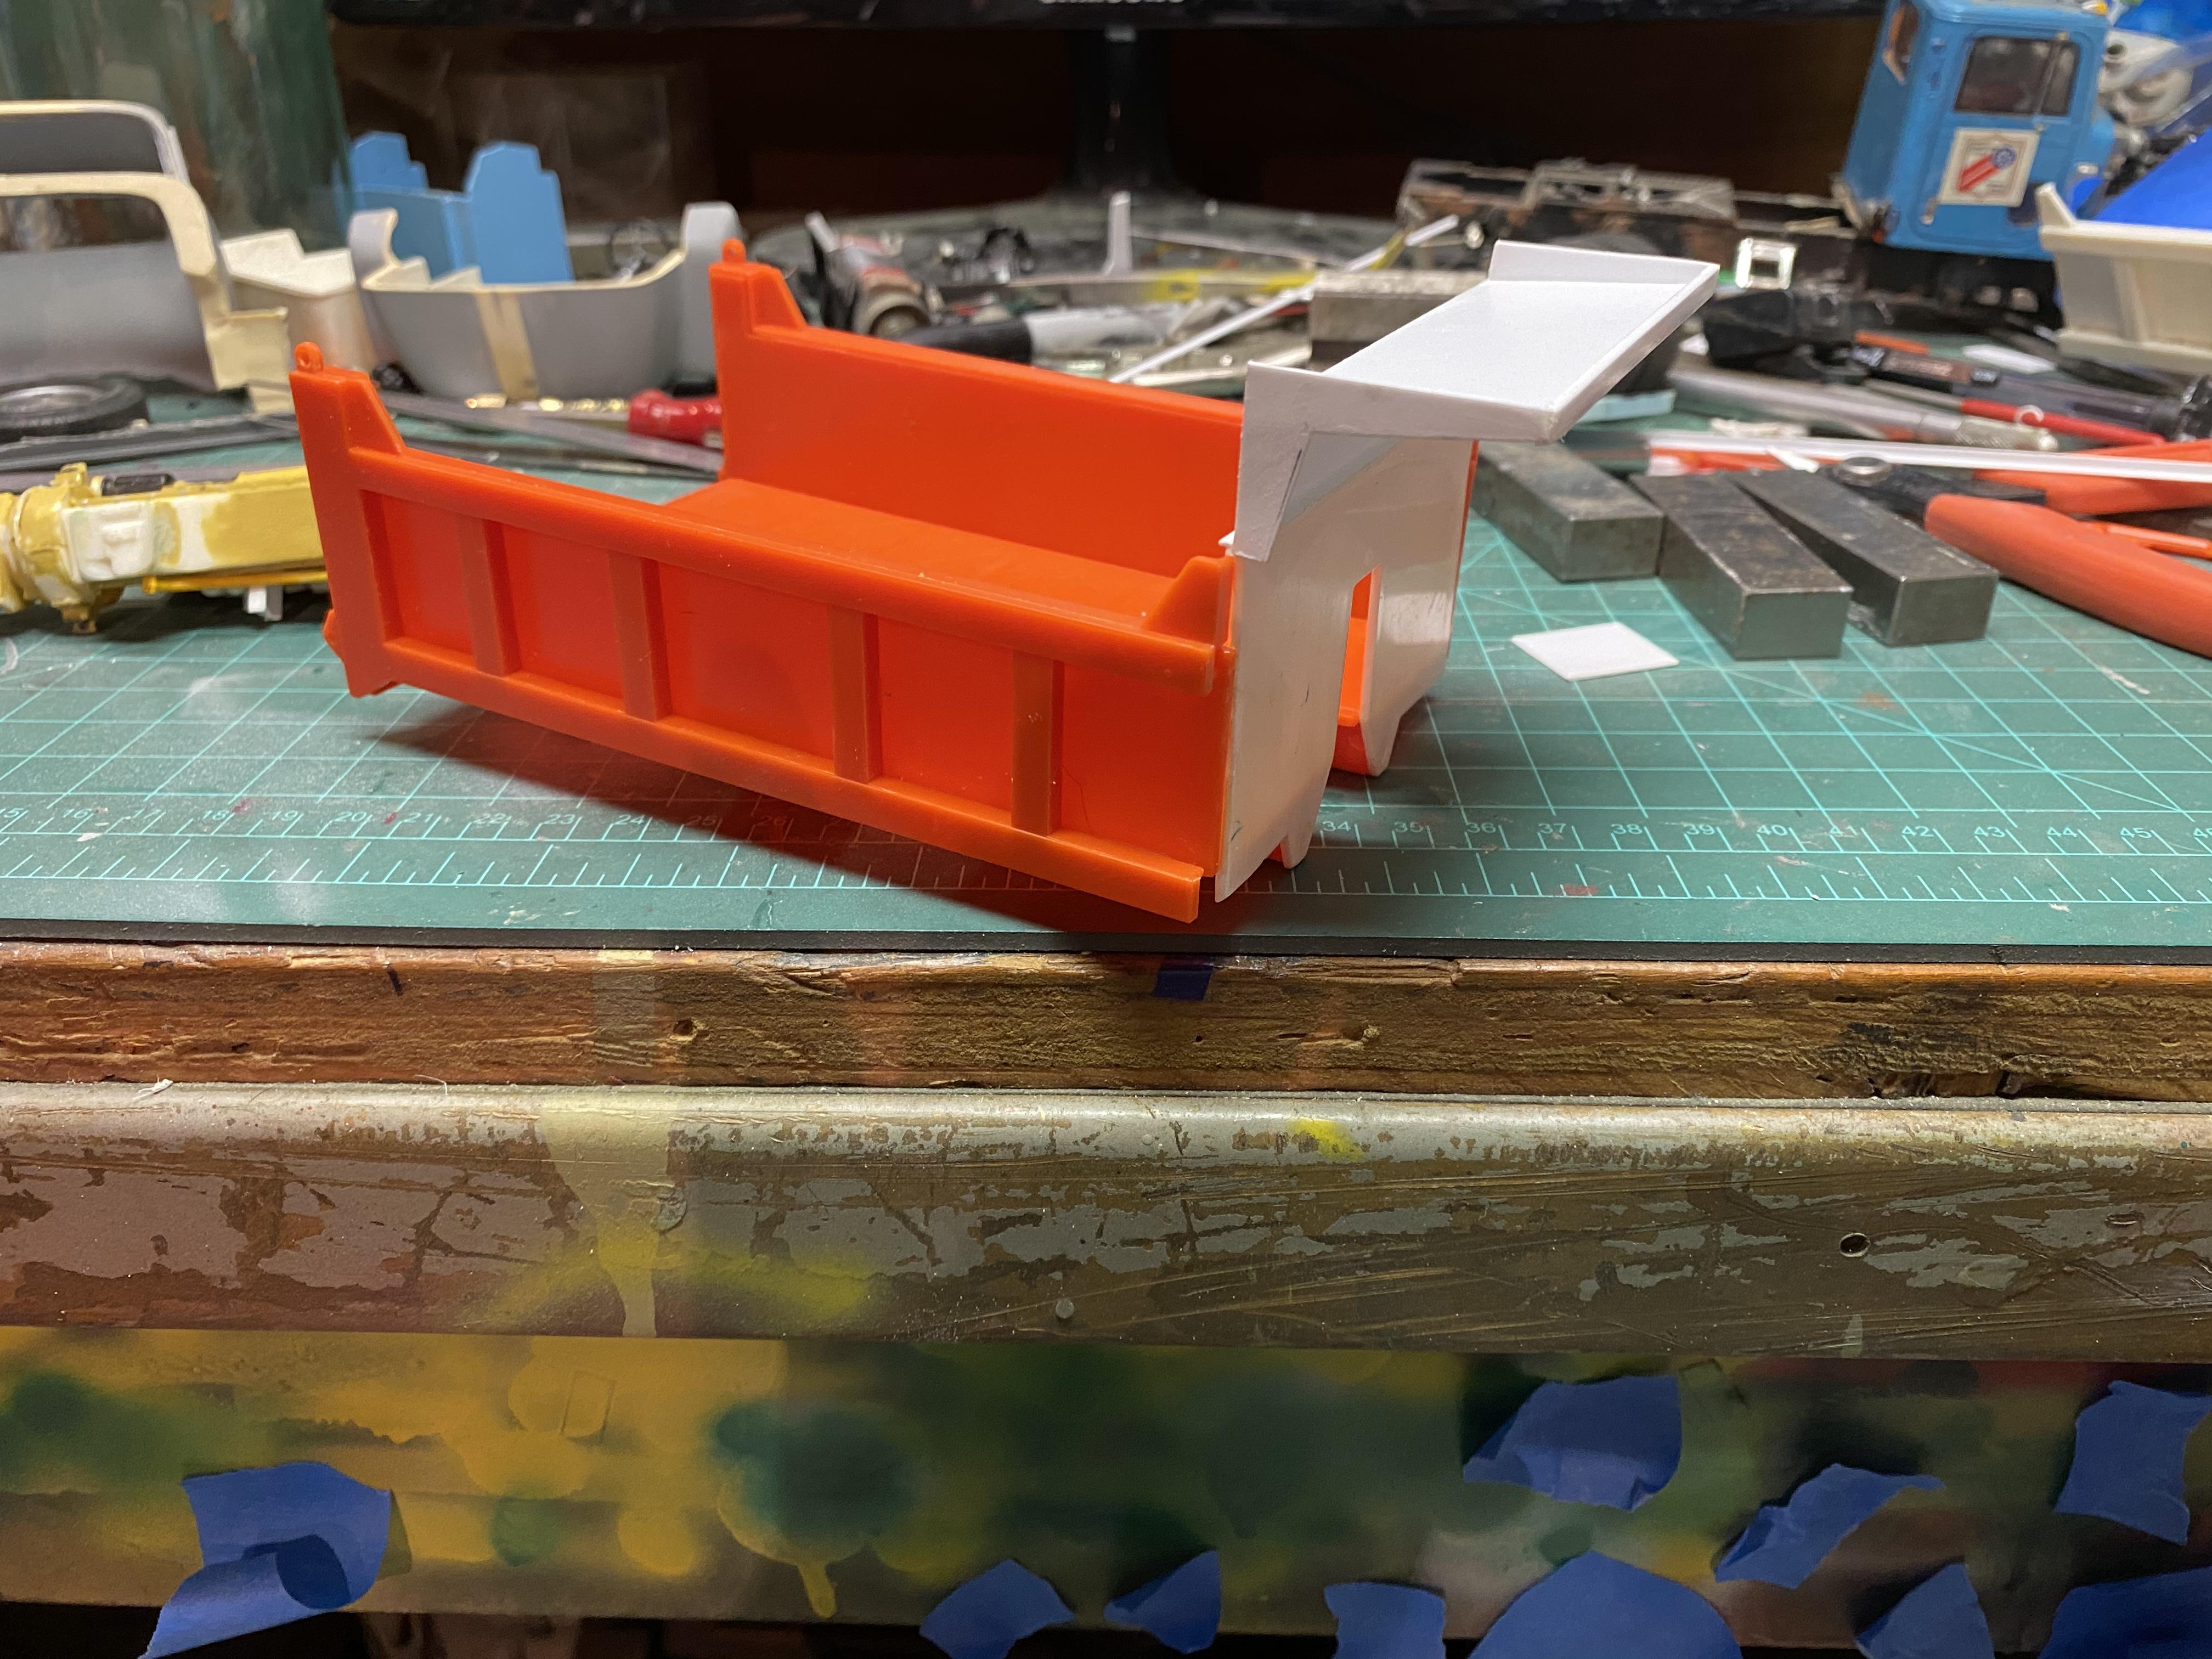
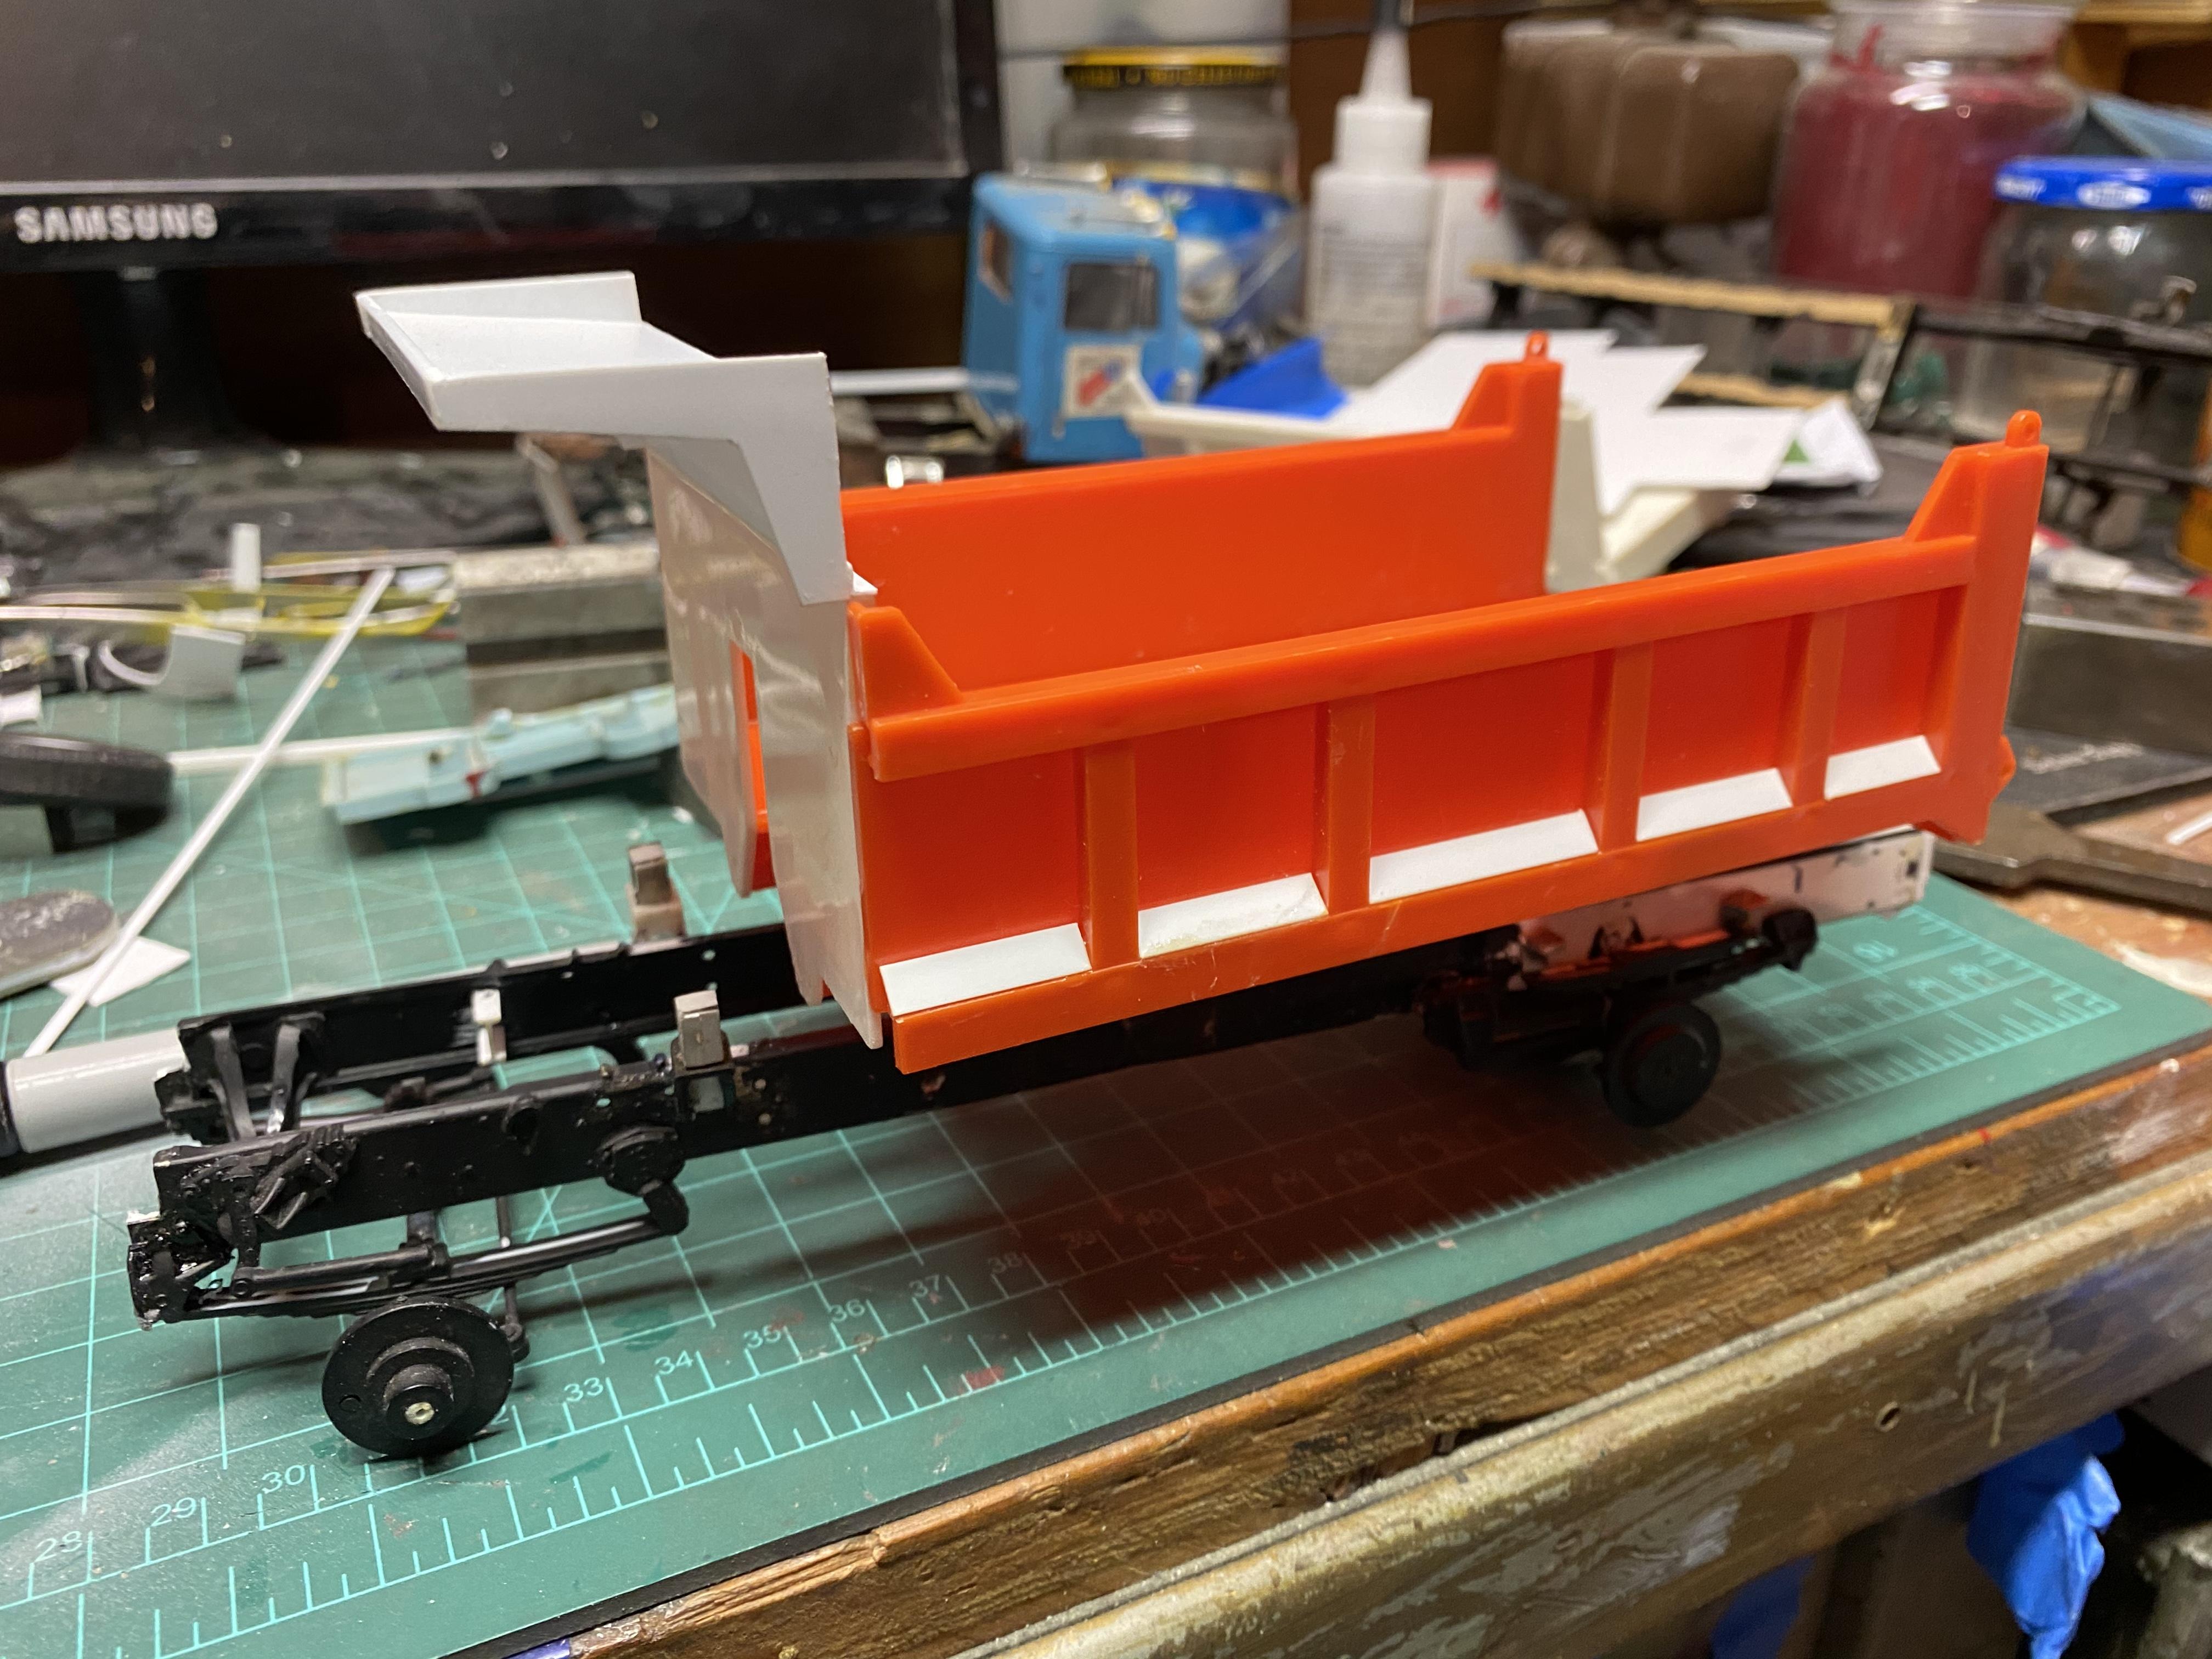
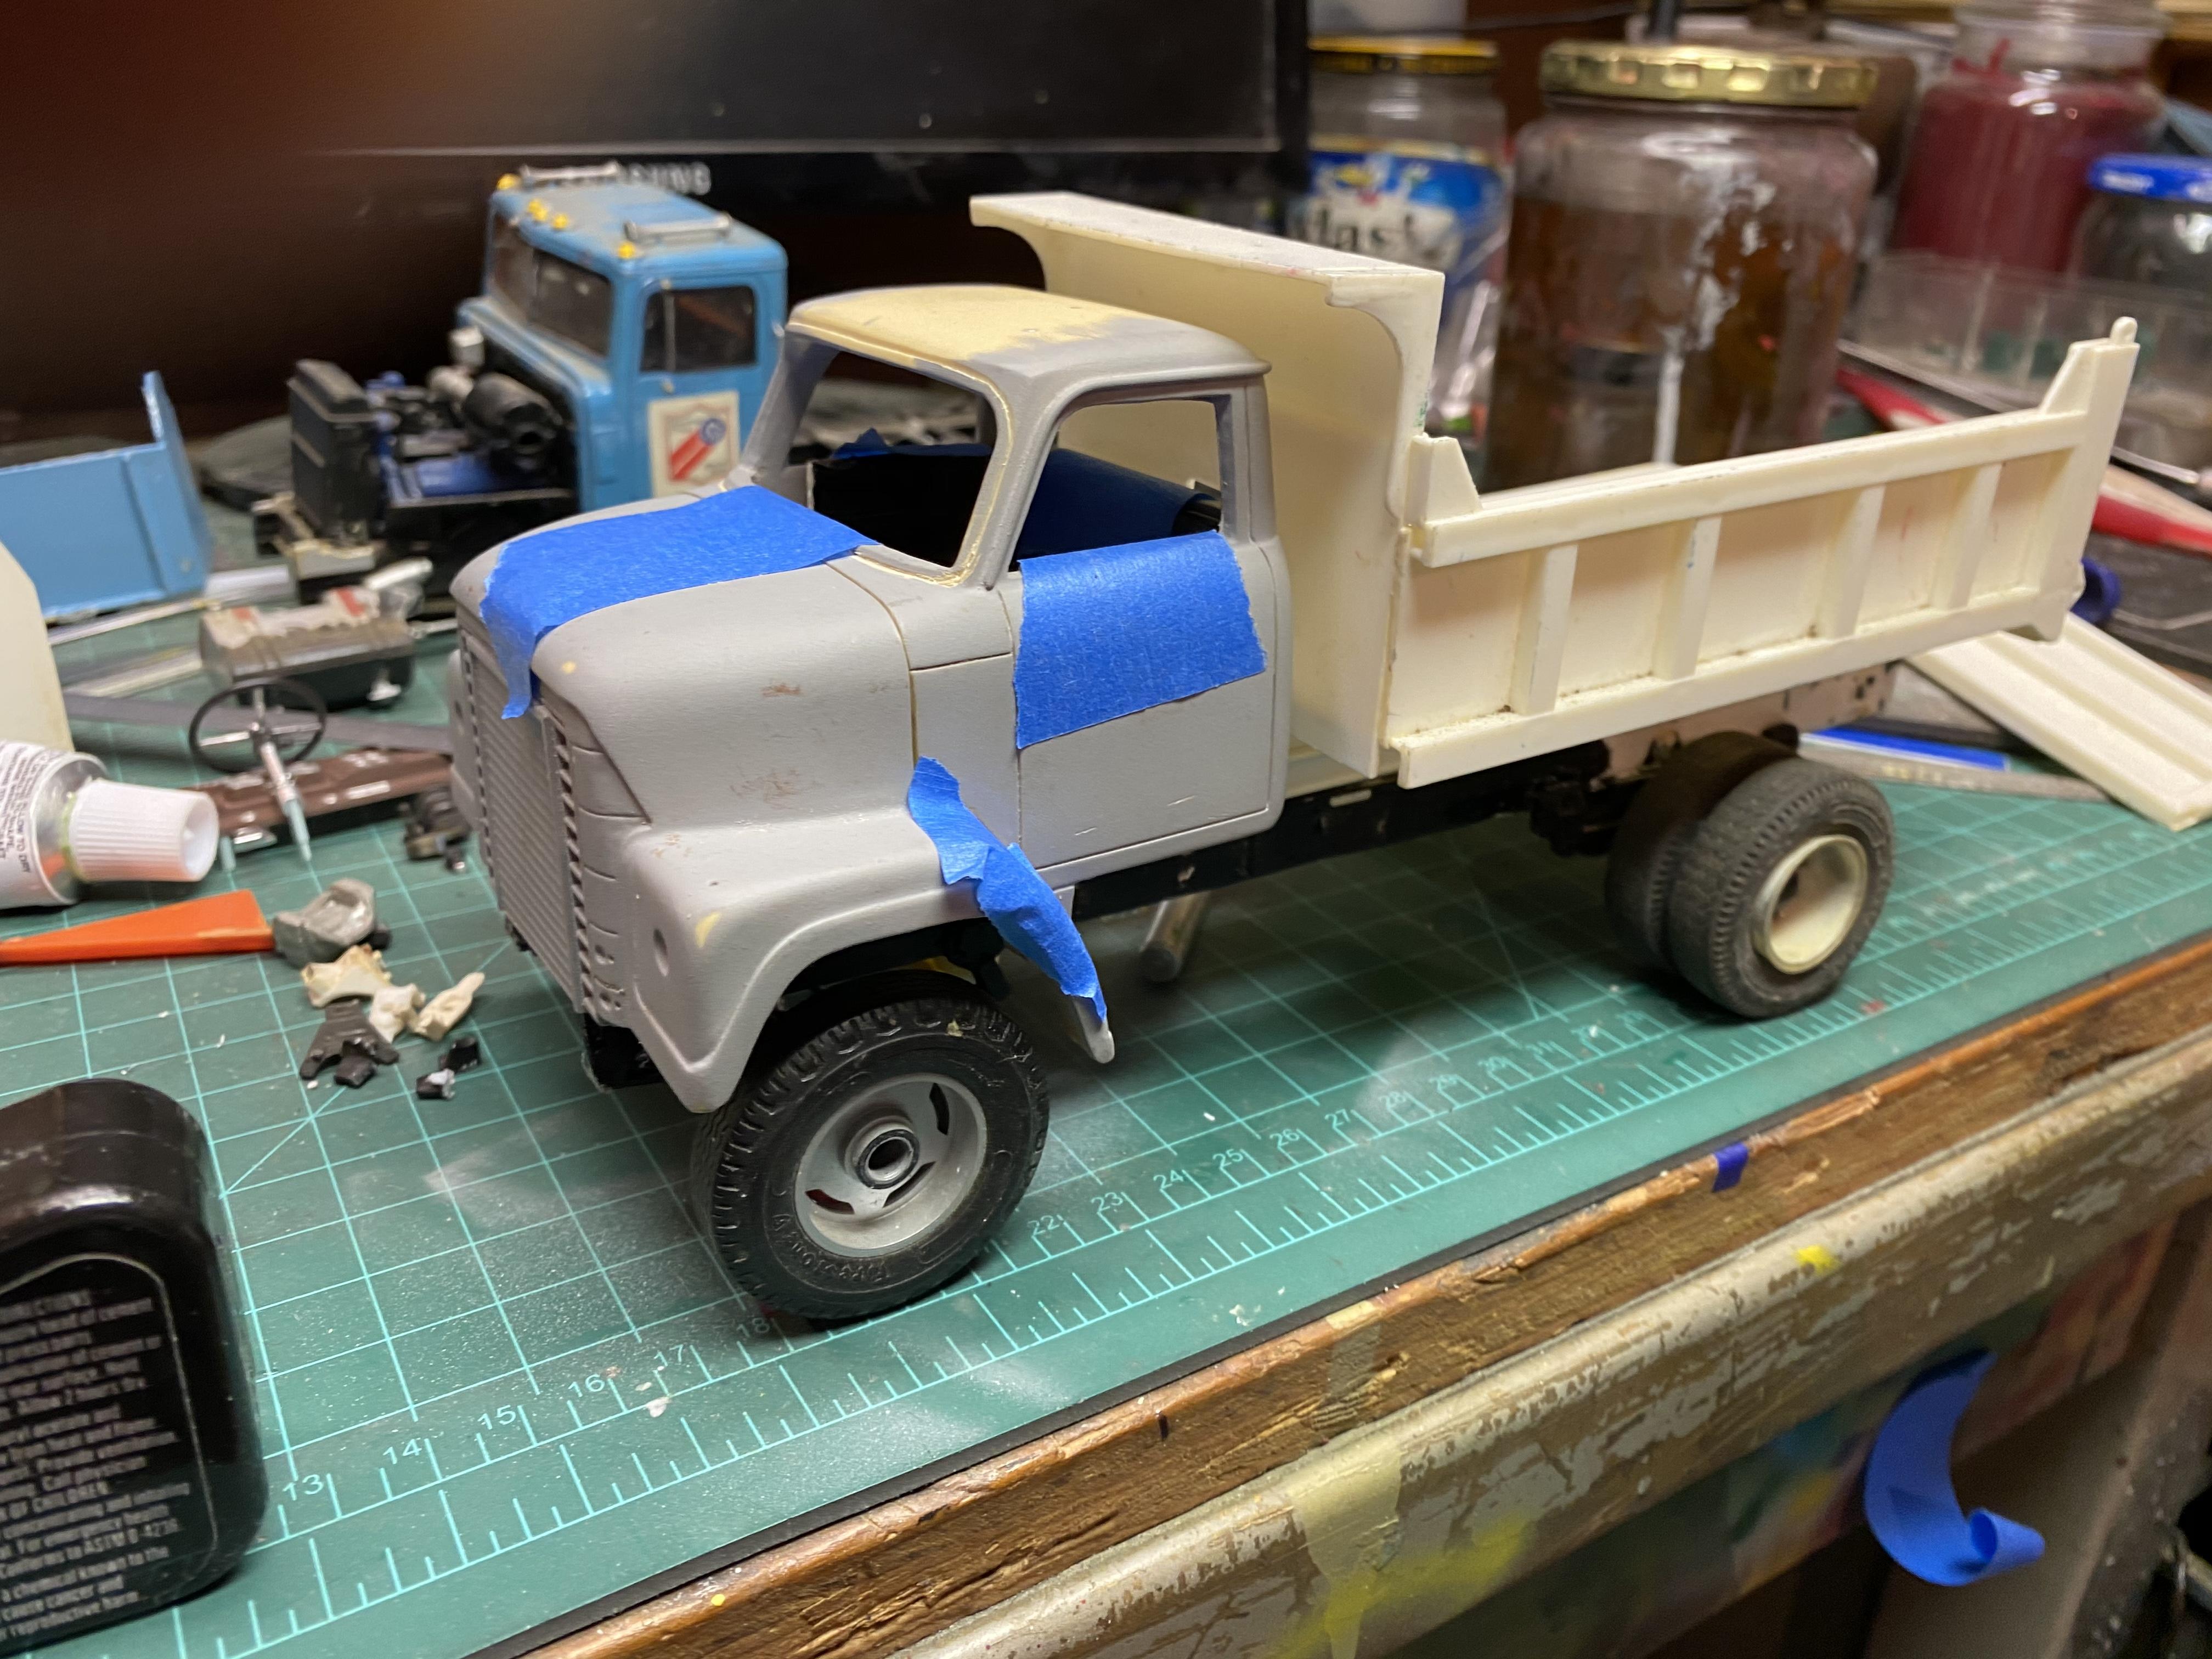
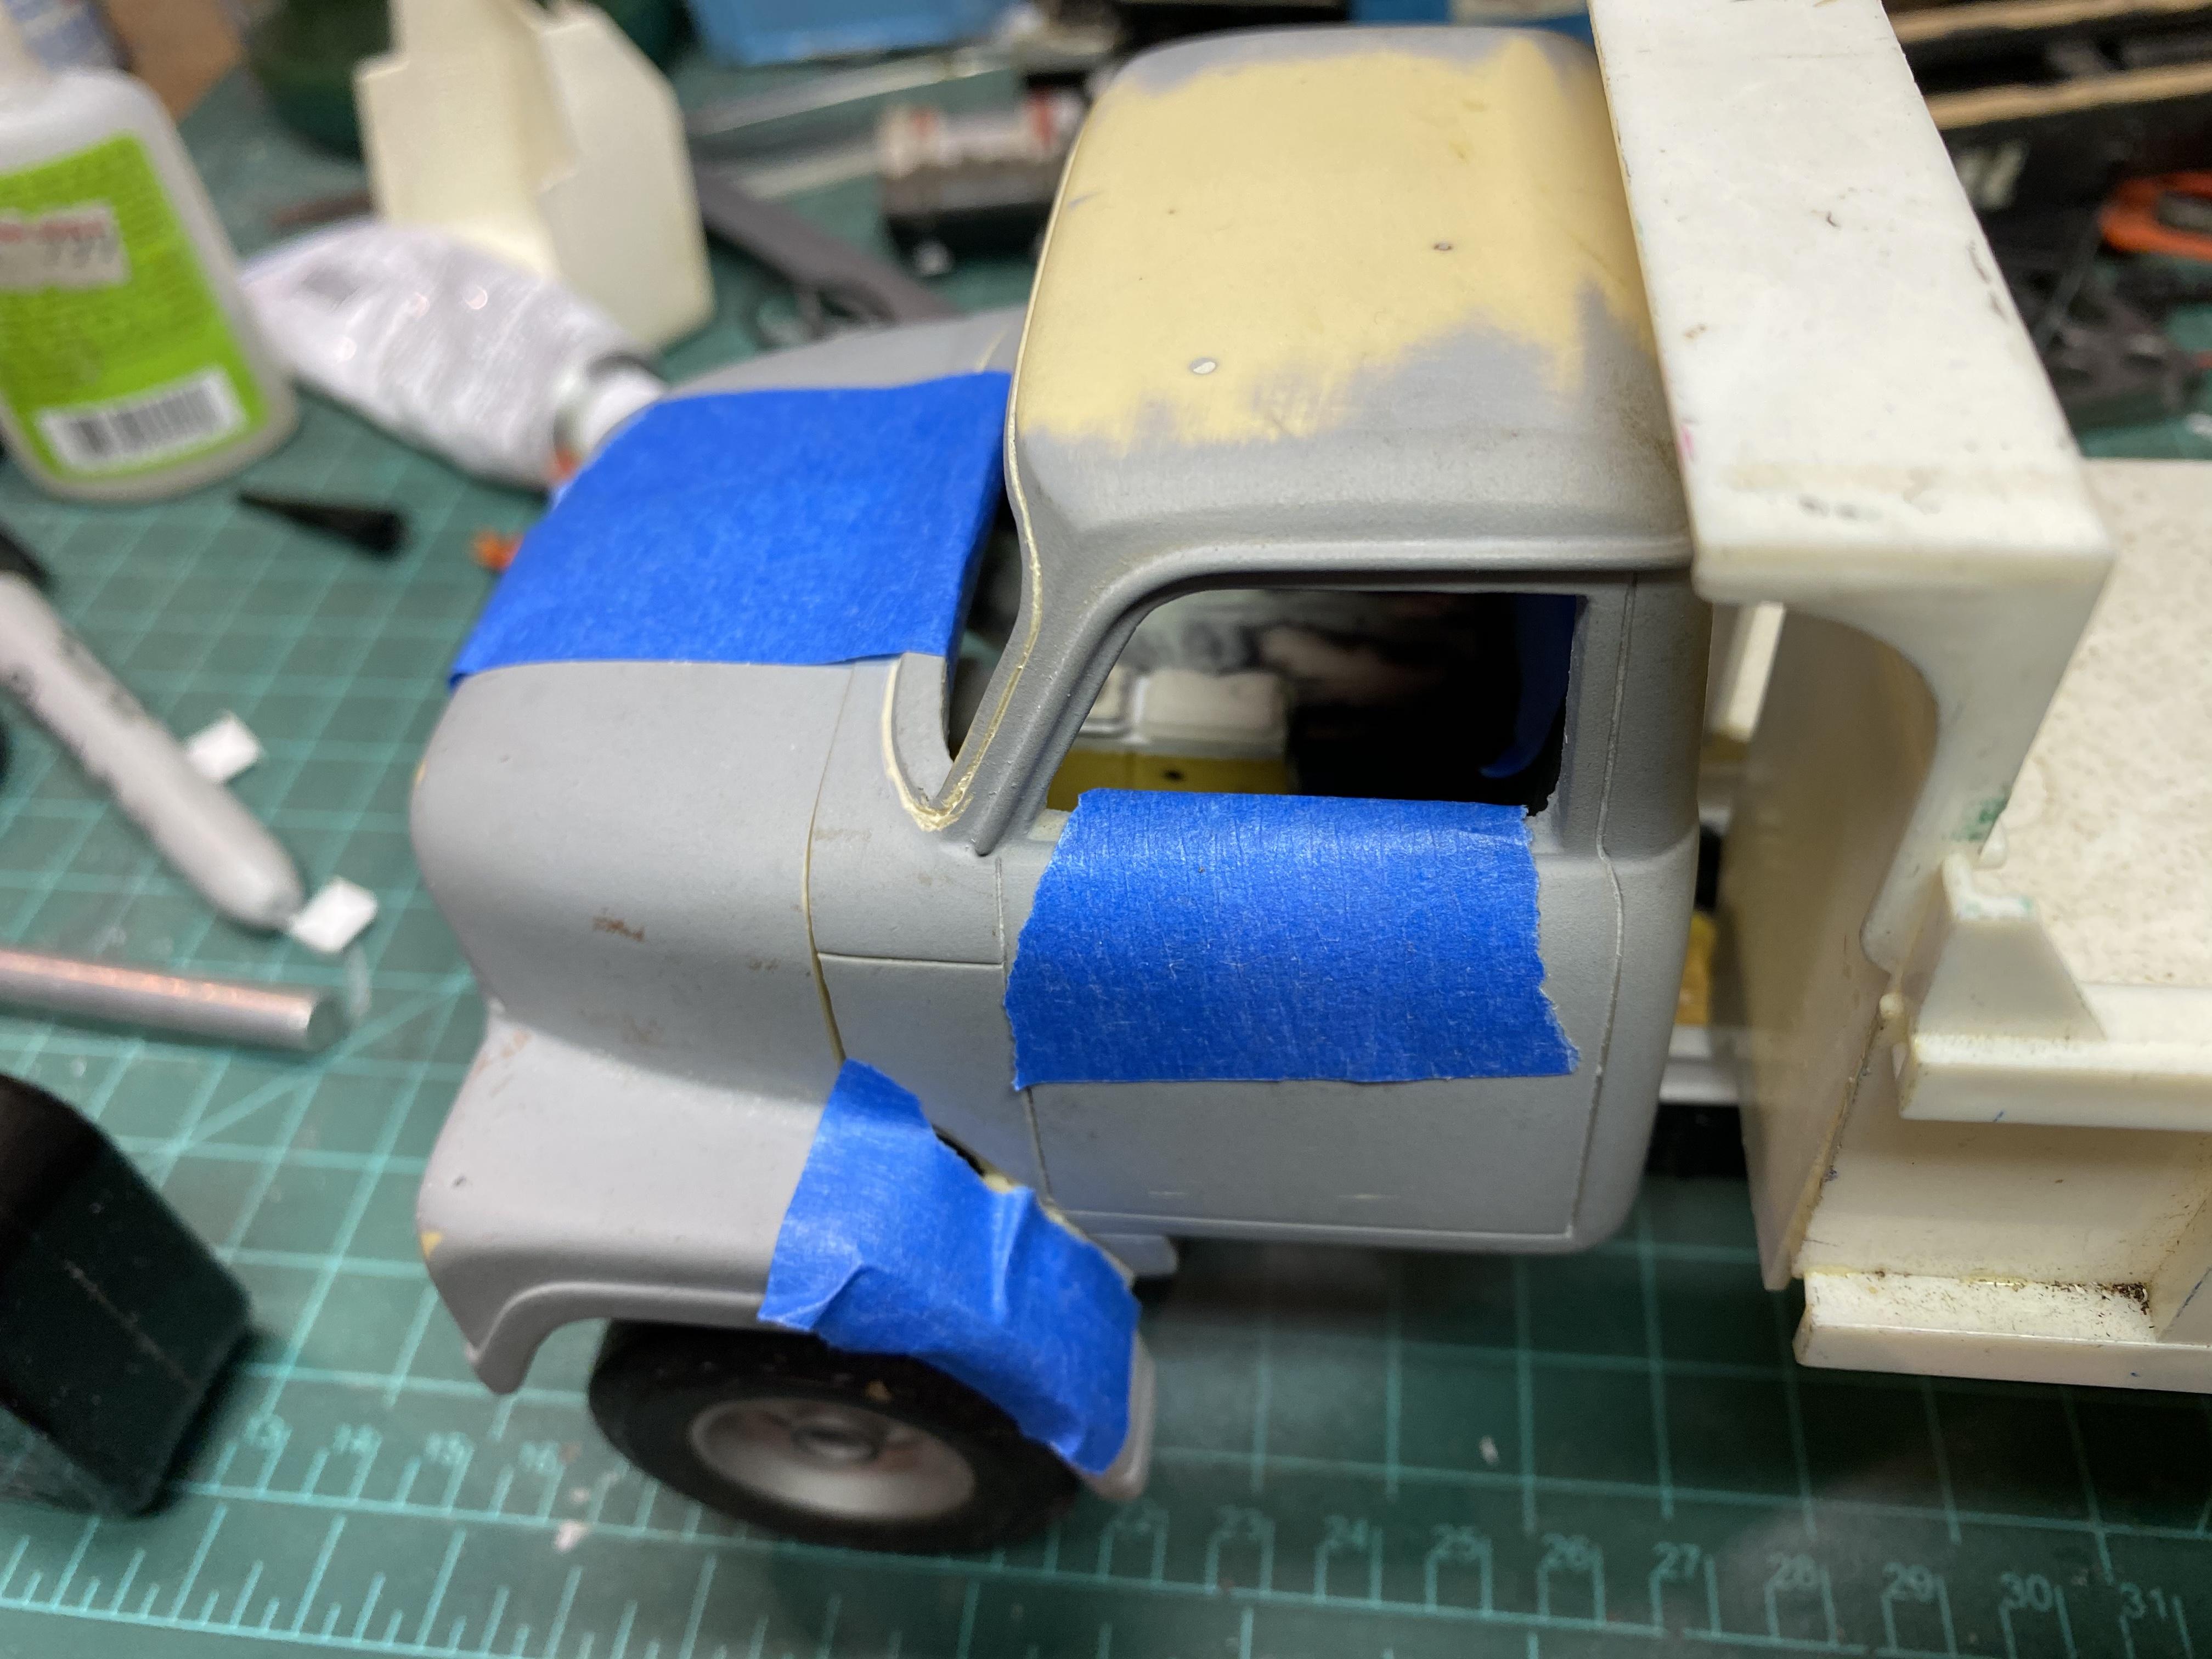
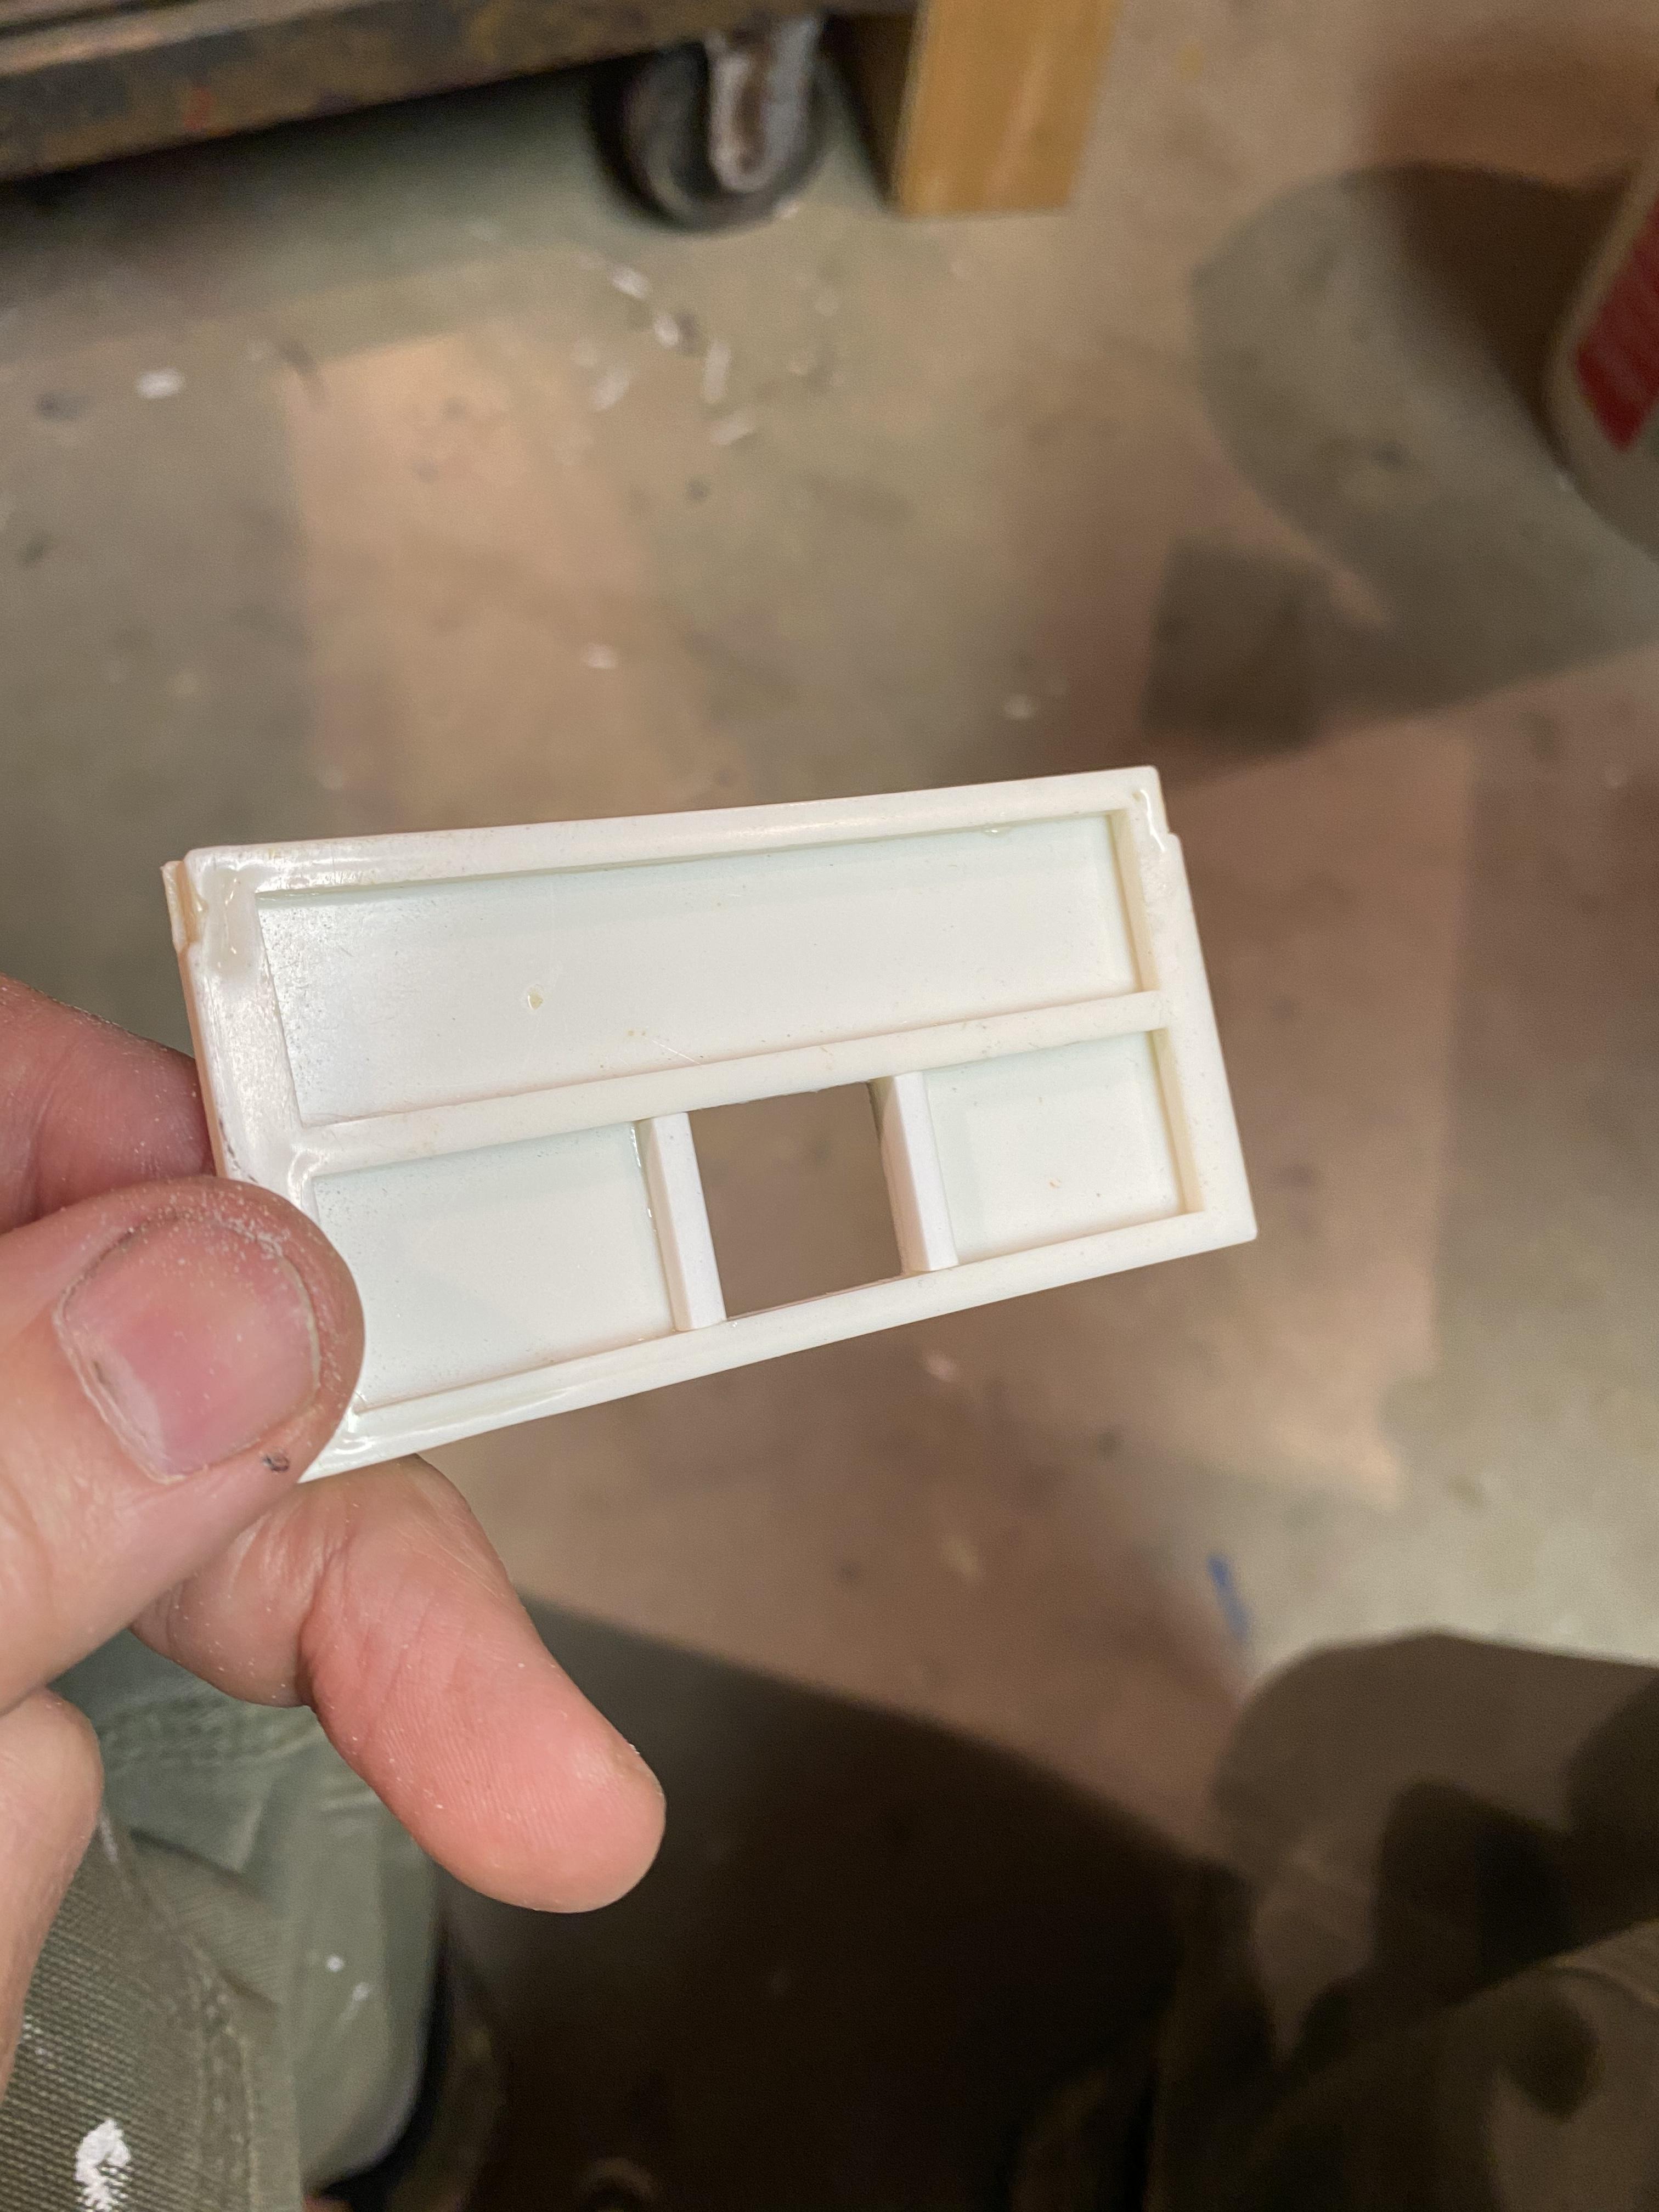
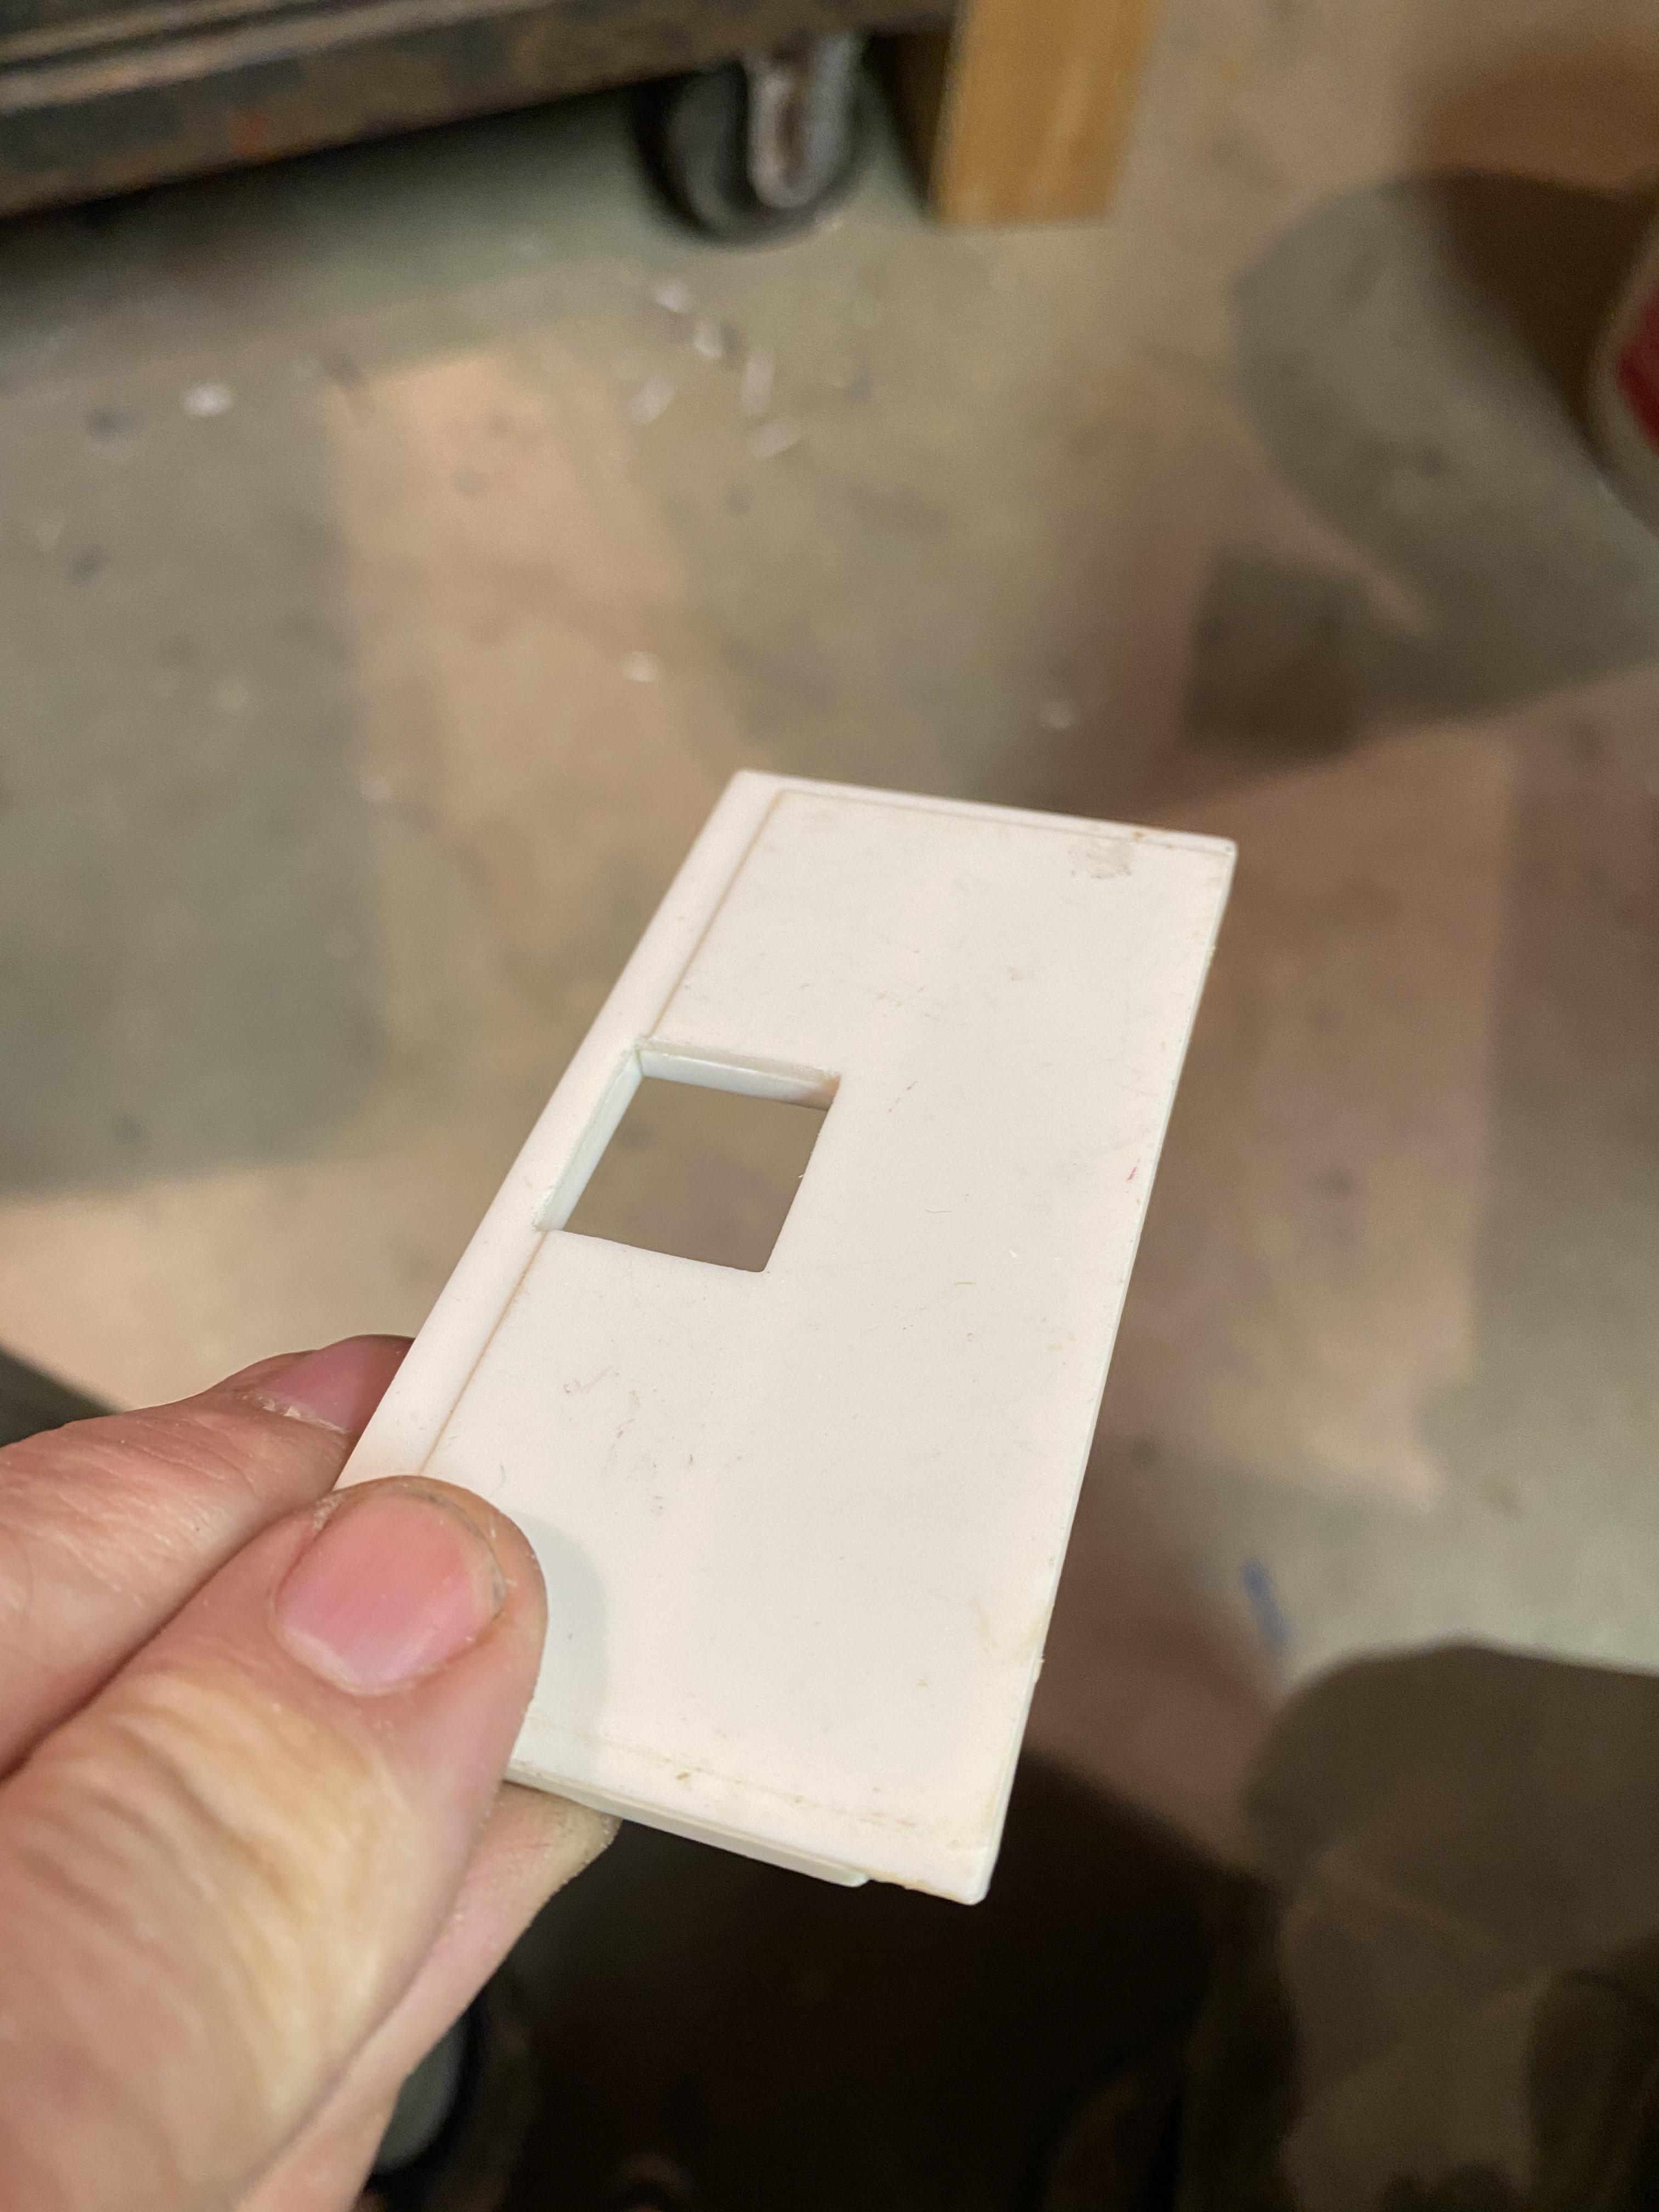
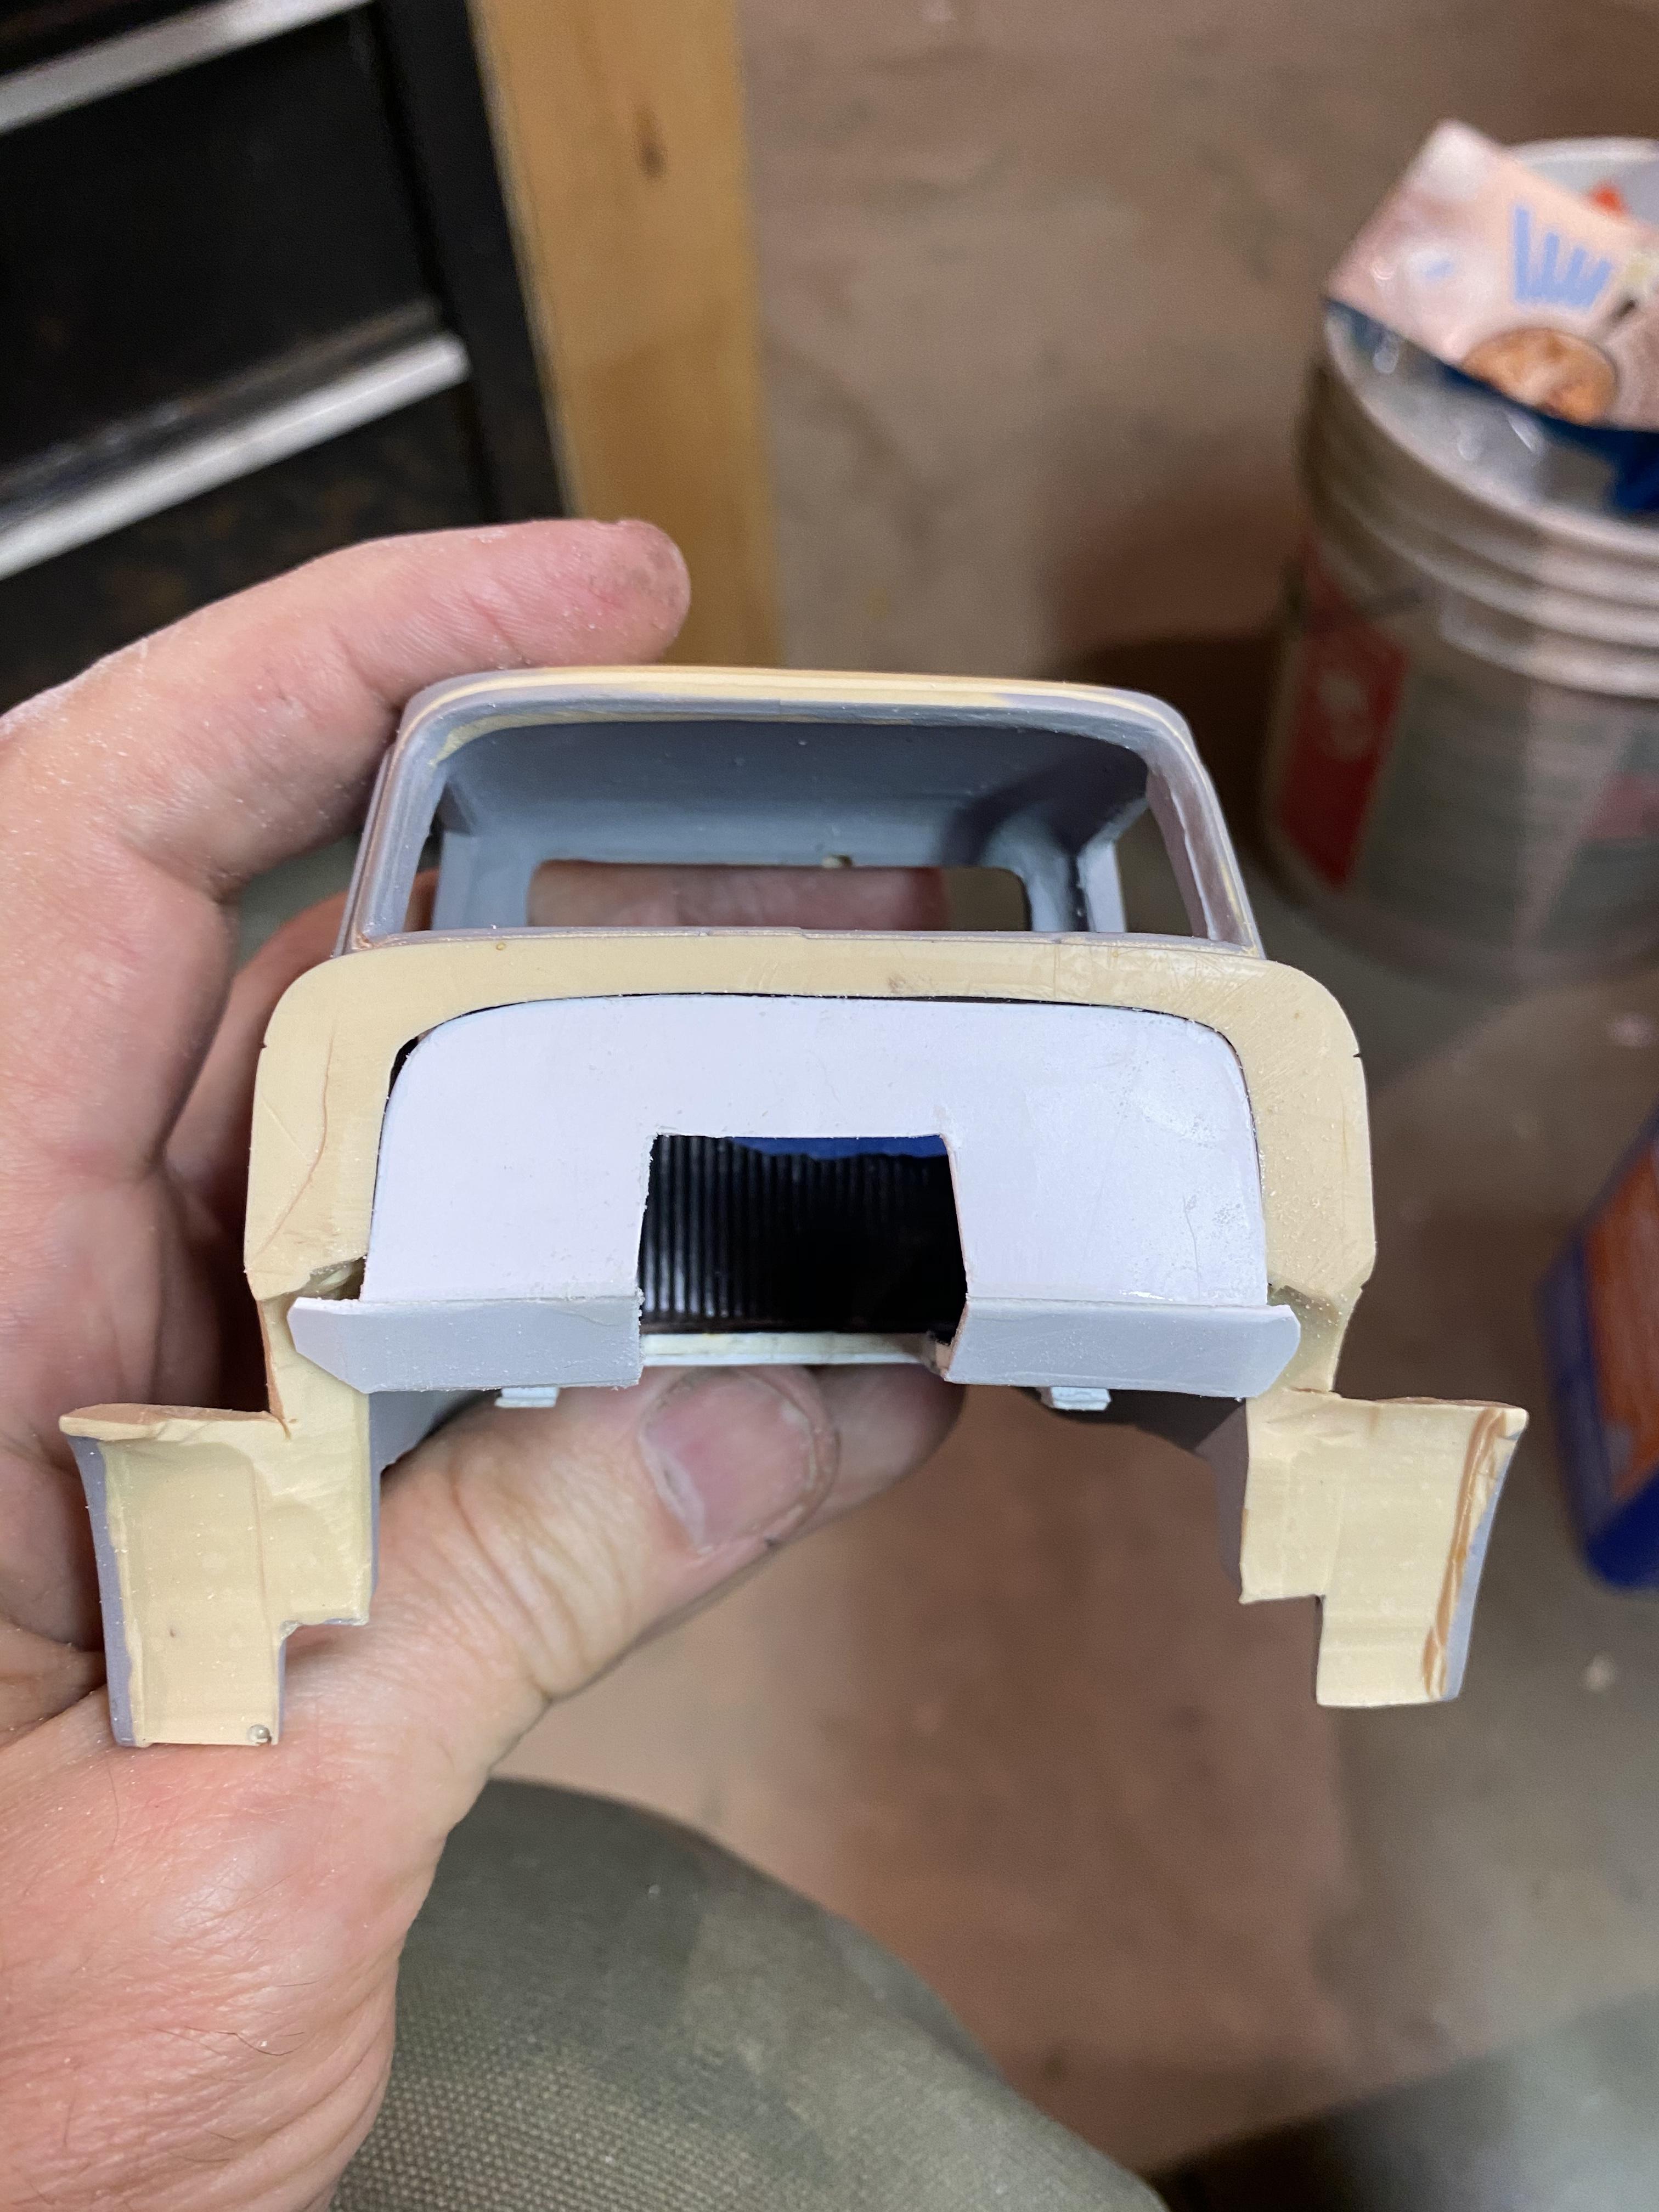
Made a new cab protector for the dump box, got the interior tub finished, assembled the dump body, made a pintle mounting plate, modified the sides of the box with angled fillers, and made up a doghouse for the interior.
-
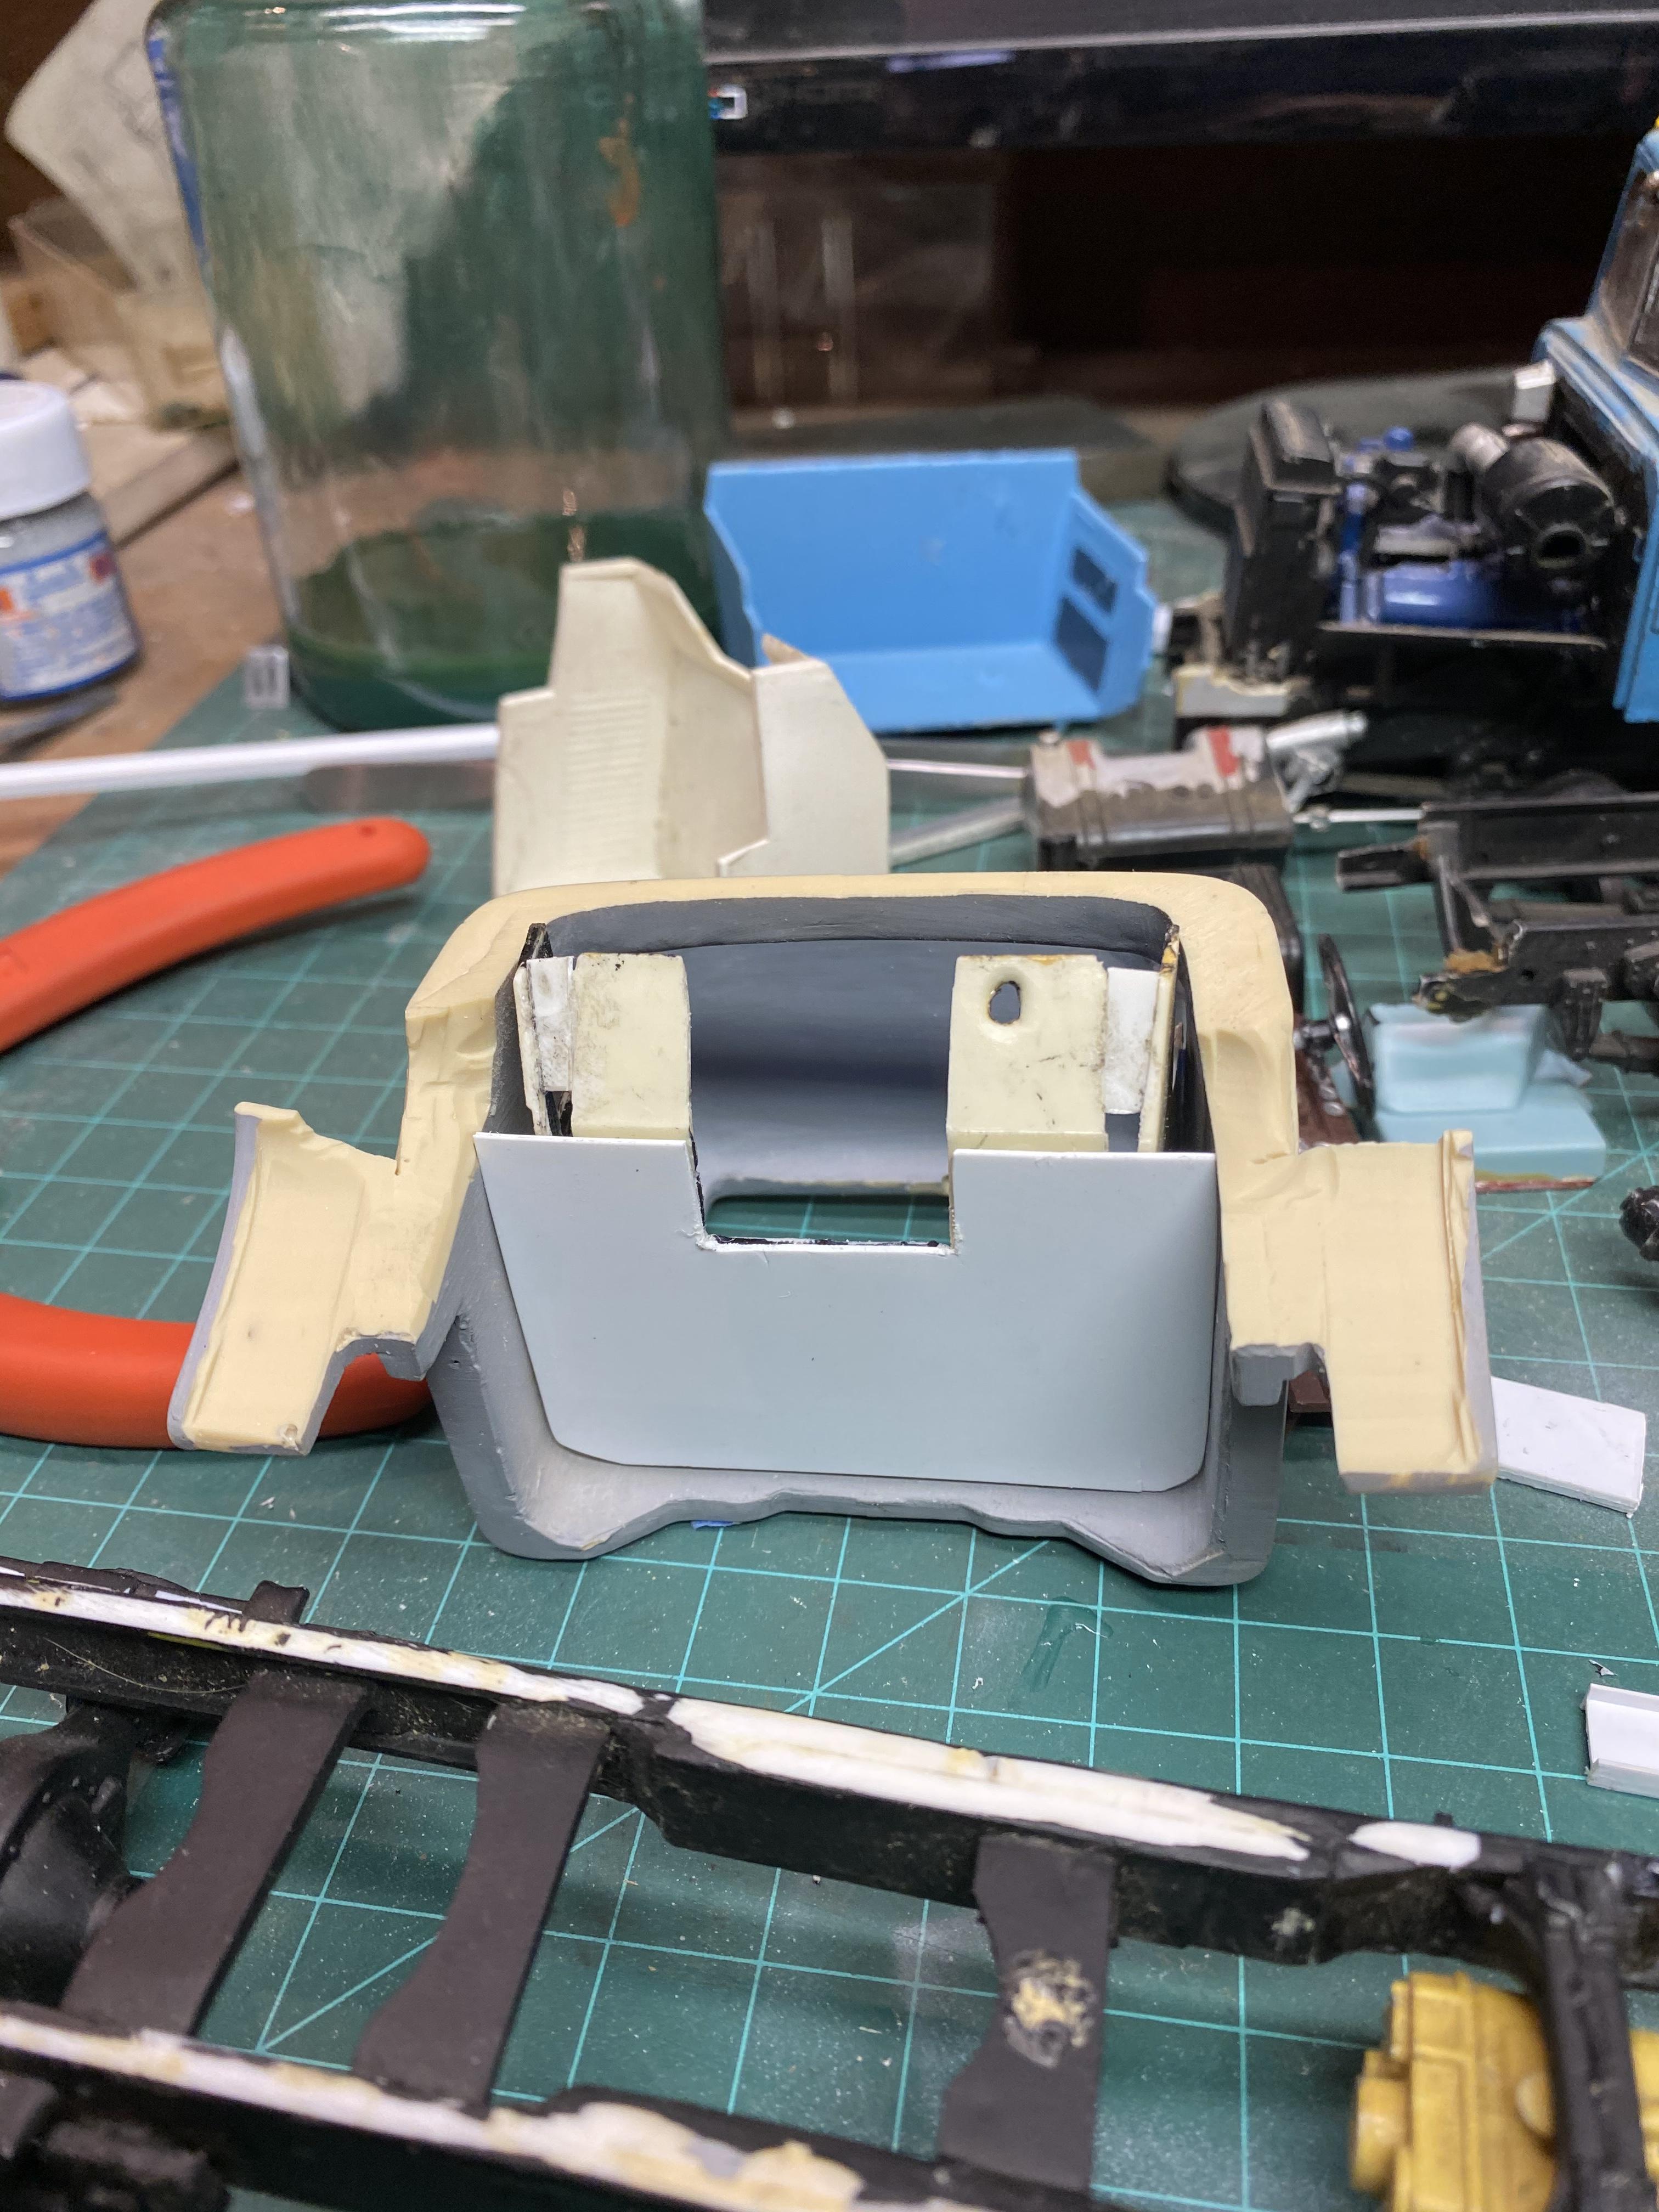
BRBO IHC 2070
redneckrigger replied to redneckrigger's topic in WIP: Model Trucks: Big Rigs and Heavy Equipment
Yeah, the one I am modeling this after was a tanker in our fire department many years ago. We killed the engine and put a better one in it. It required changing the pan, rocker boxes, motor mounts and oil pickup along with other differences in the intake and exhaust. Other than those few things, if memory serves me right, there was little else that was different. But it sure was a challenge changing it! So while awaiting parts for the crane, I got a few things done on this. (It’s also nice to do something a bit more simple than the paver to recharge the creative batteries!) Shortened the wheelbase, made an interior tub, and firewall, and made a new cab protector for the dump body. I also cut a door in the gate for small paving jobs.
-
The issues with scratch building
redneckrigger replied to IbuildScaleModels's topic in Tips, Tricks, and Tutorials
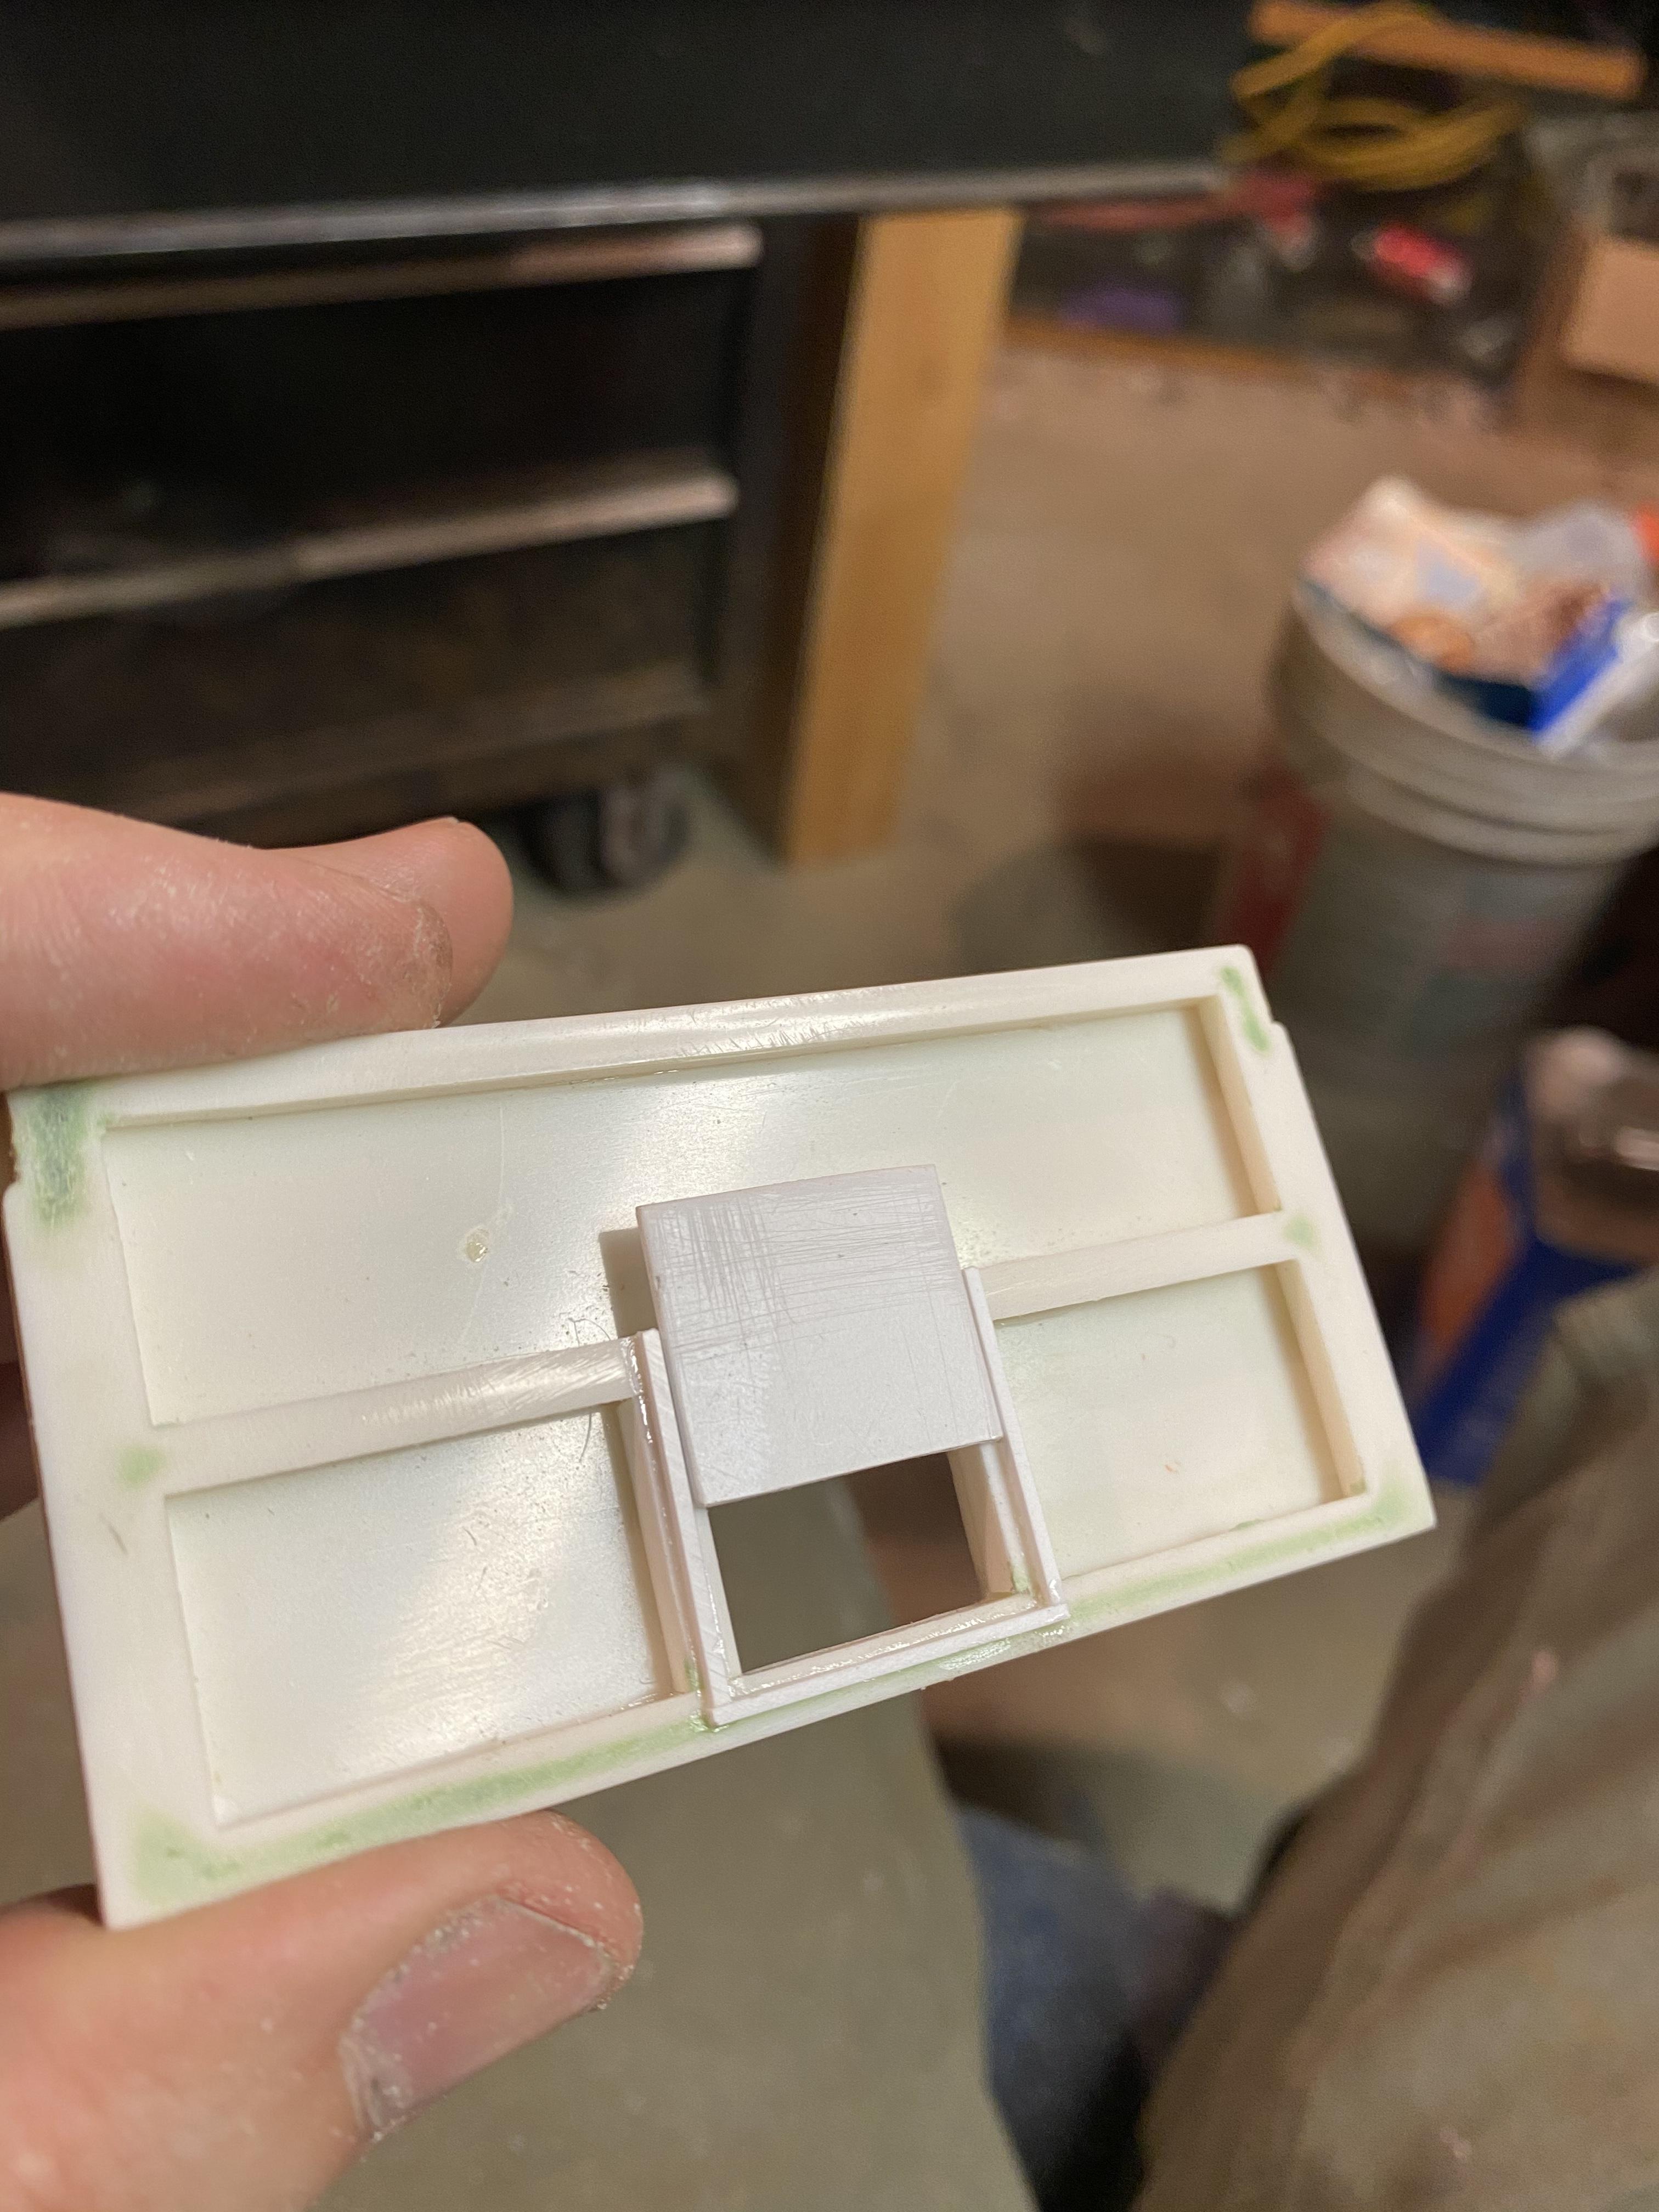
I primarily use a variety of plastic parts and shapes, Evergreen, Plastruct, etc. I use epoxies, CA, and regular styrene cements. I do use some various materials such as aluminum and brass, but use CA to attach them. I have not yet tried soldering. But, I have found that I have always been able to figure out how to make something from styrene, so far! When it comes to trying to replicate a 1:1 part, I tend to break the desired part down into pieces, just like the real piece would be fabricated from metal in the 1:1 world. -
That is a stunning build! Love the combo of colors, and combined with the lowboy....................WOW!
-
I am always impressed with a superb build like this, and enjoy the details and the subject matter and the thought that gets put into them, BUT, the one thing that continually blows me away is the weathering. WOW!!! Wish I could do 1% of that, and I'd be happy. Awesome work!
-
You never fail to amaze, Pat.........................GREAT subject matter and FANTASTIC work!
-
Great tip!!! Thanks!