.jpg.54ecf0d4a006234146ea24c7f6762038.jpg)
redneckrigger
-
Posts
1,578 -
Joined
-
Last visited
Content Type
Profiles
Forums
Events
Gallery
Everything posted by redneckrigger
-
VERY nicely done...............!
-
.thumb.jpg.4bca3333e1da4027c381d8d56a564ec1.jpg) We had one of these where I used to work that was in the bone yard. We also had a couple of the Blaw Knox versions that got retired while I was there in favor of a brand new Cat model on rubber. Since I was able to find a good batch of manuals for it, figured I'd give it a go! If it turns out half as well as the crane did, I will be very pleased!
We had one of these where I used to work that was in the bone yard. We also had a couple of the Blaw Knox versions that got retired while I was there in favor of a brand new Cat model on rubber. Since I was able to find a good batch of manuals for it, figured I'd give it a go! If it turns out half as well as the crane did, I will be very pleased! -
Yes sir, from the scrap box.
-
Figured out what the next project will be. It is going to be a Barber-Geeene paver. Started gathering parts tonite. Of course, I started with the manuals!

-
Autocar DK Dump and trailer
redneckrigger replied to Warren D's topic in WIP: Model Trucks: Big Rigs and Heavy Equipment
Outstanding!!!! -
Issue #206, Contest Issue, MAILED!!!
redneckrigger replied to Gregg's topic in General Automotive Talk (Trucks and Cars)
Got my issue a couple days ago......THANK YOU Gregg! -
Brockway Wrecker
redneckrigger replied to Warren D's topic in Model Trucks: Big Rigs and Heavy Equipment
That is a FANTASTIC looking Brockway! Love the paint for sure. And the wrecker body looks WAY better on that truck than it did sitting on my shelf! AWESOME!!! -
Mack Superliner Wrecker
redneckrigger replied to PierreR89's topic in Model Trucks: Big Rigs and Heavy Equipment
Nice build.....................and great paint! Well done! -
Oshkosh snow plow
redneckrigger replied to gotnitro?'s topic in WIP: Model Trucks: Big Rigs and Heavy Equipment
Absolutely beautiful! Had one of those in our town with a V plow.....a beast! -
Beautiful work sir!
-
1/32 Mack B-61 Tandem axle Tractor
redneckrigger replied to Pete68's topic in WIP: Model Trucks: Big Rigs and Heavy Equipment
Fantastic work! I've never seen a 1/32 B Model.......awesome! -
Superb work, and a great pictorial of how you did it too!
-
Started a new master...
redneckrigger replied to Repstock's topic in Truck Aftermarket / Resin / 3D Printed
I would be interested in one when you make them available.................fantastic work sir! -
Your work is INCREDIBLE Pat.......fantastic! Your post here on dioramas is one of my favorites on the whole forum!
-
Oshkosh M1070
redneckrigger replied to Grzegorz's topic in Model Trucks: Big Rigs and Heavy Equipment
That is phenomenal work! And in 1/24th!!! Wow! Absolutely off the charts! -
American Musclecar Transport
redneckrigger replied to Bills72sj's topic in Model Trucks: Big Rigs and Heavy Equipment
Wonderful work! Well done sir! -
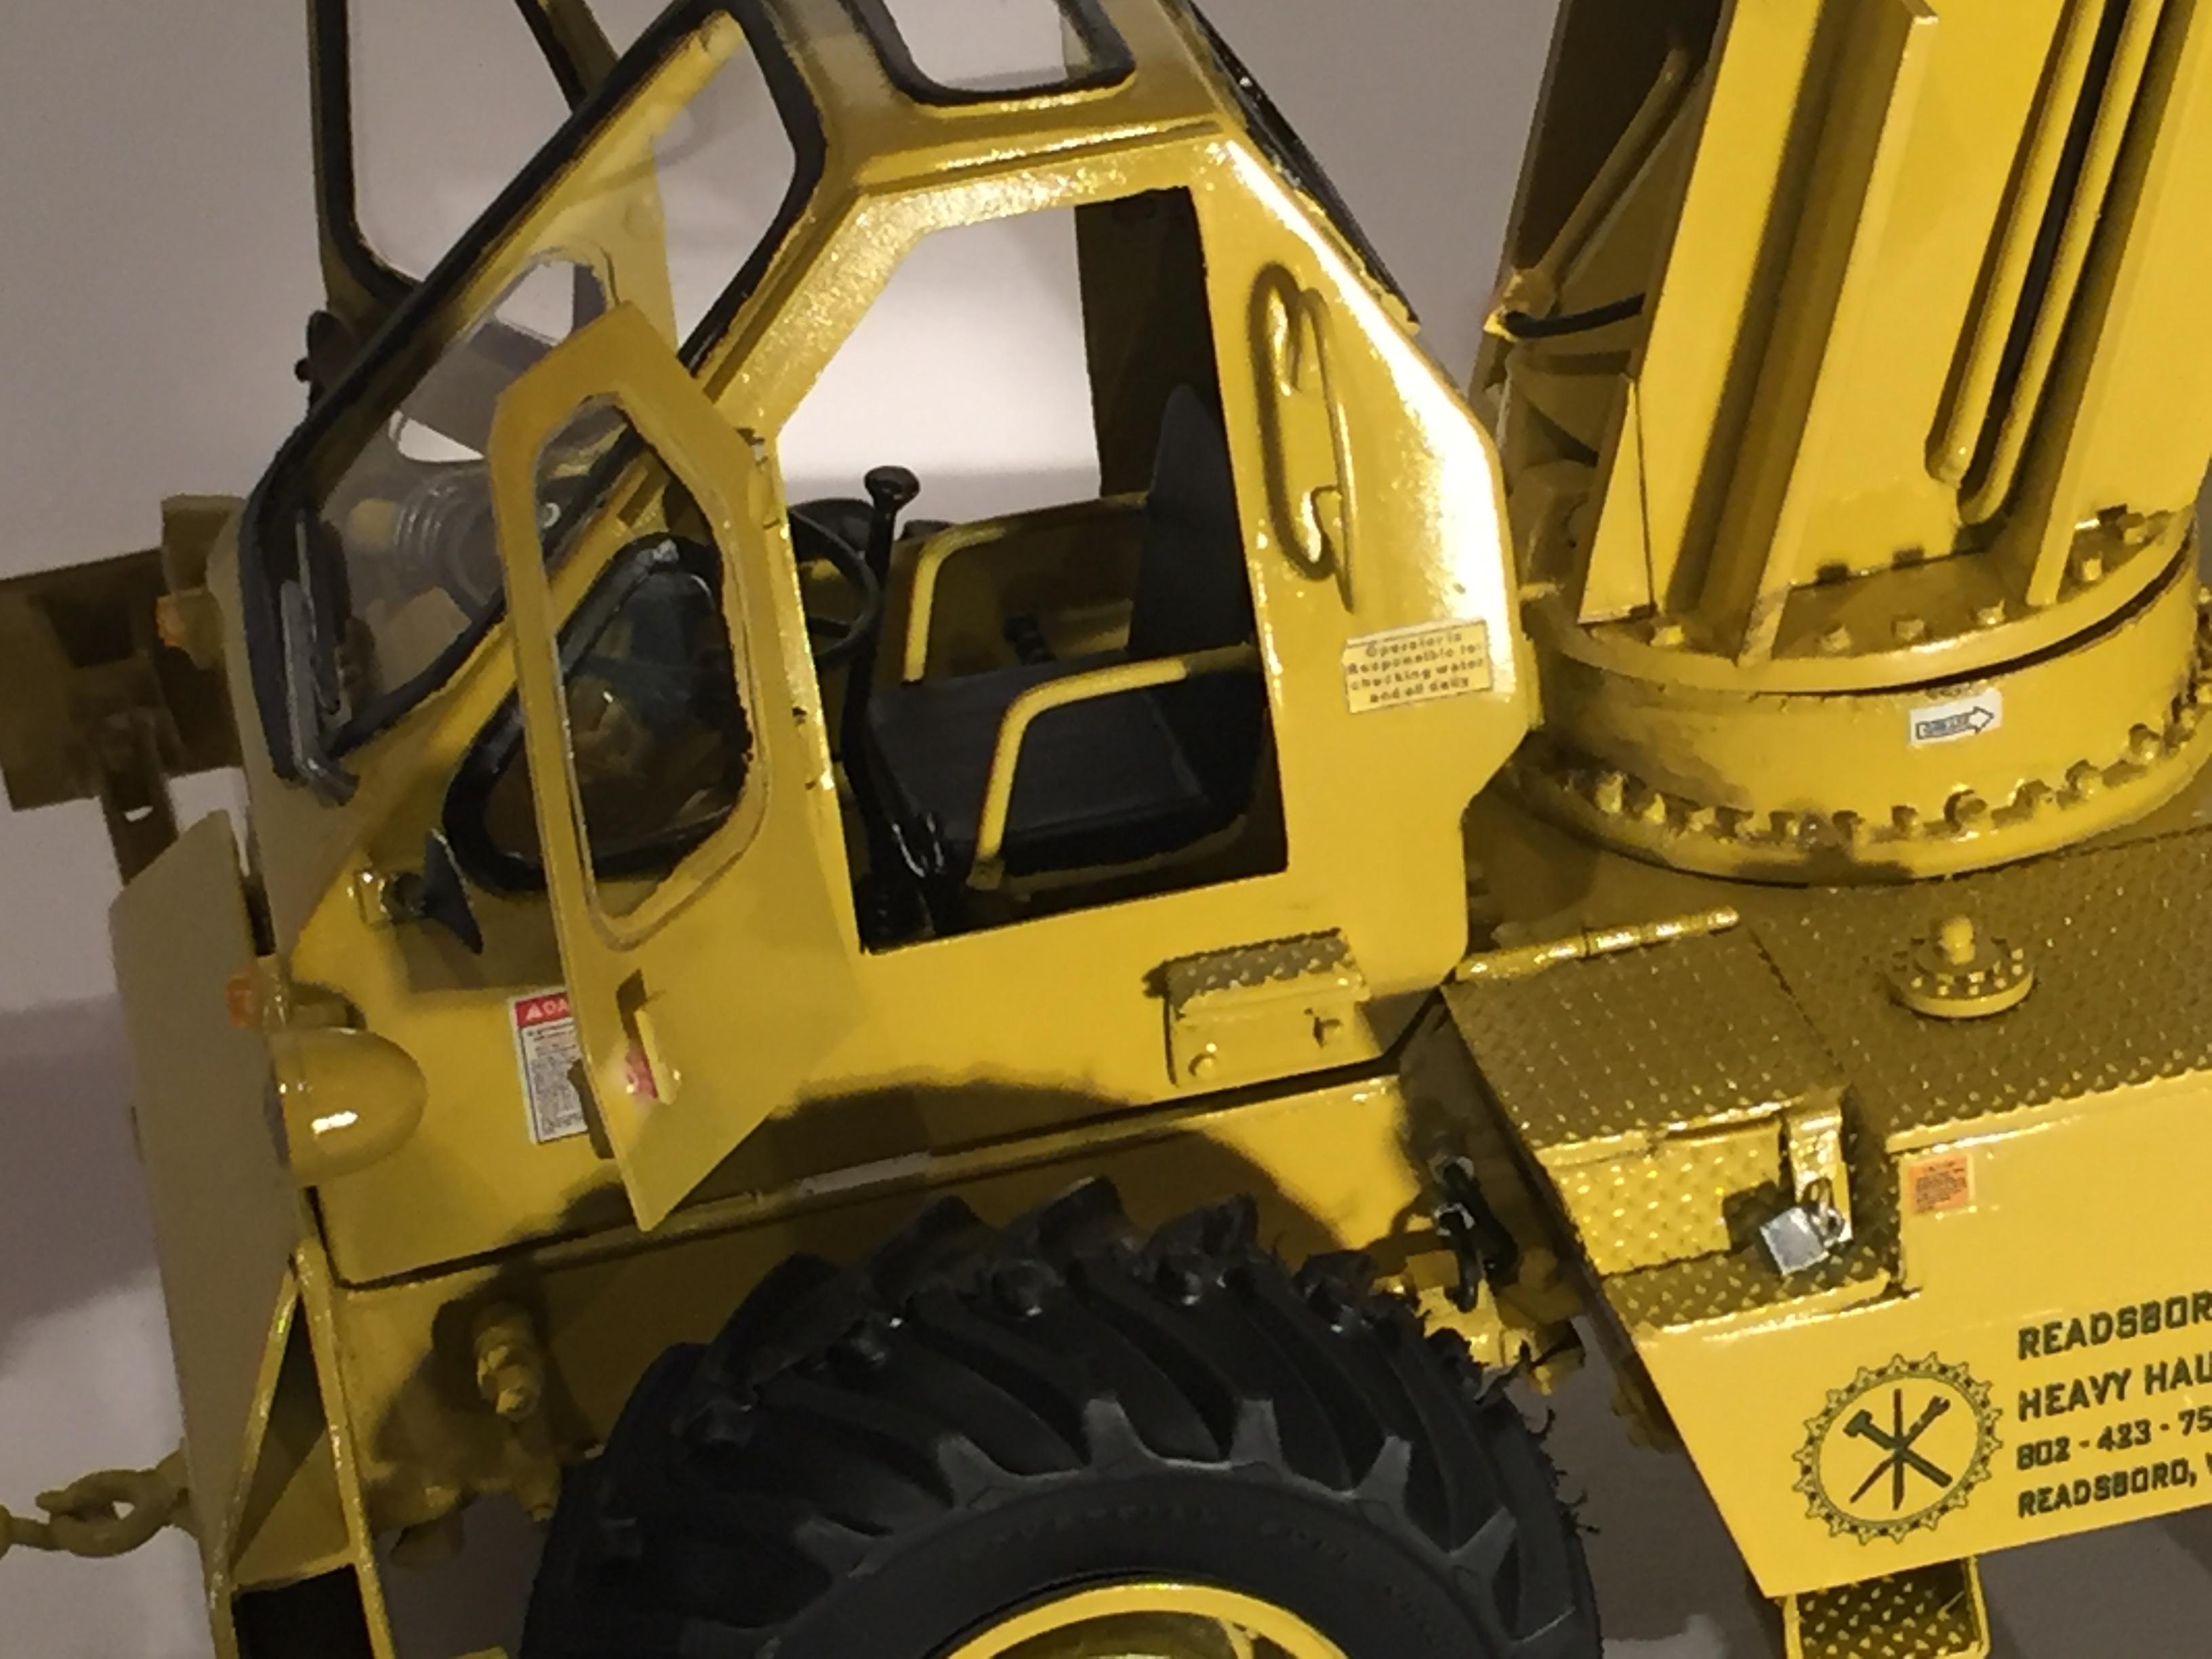
Thanks Charlie! For everything, especially the advice on the windows and gaskets. That was the one part of the build that caused me the most trepidation. I simply couldn't figure it out, but your method, modified a bit to avoid cutting out the gasket while glued to the cab because the cab is SO fragile, worked PERFECTLY! And, you're right about getting it done. The punch list helps me finish, but it was a hard climb through the last parts of the build, as it seemed it would never get done, and then POOF.....done. Now it's kind of.....what do I do now??!! And now that Gradall has been planted in my head with everything else cluttered up there. Just gotta figure which one to pull out first! Time will tell!
-
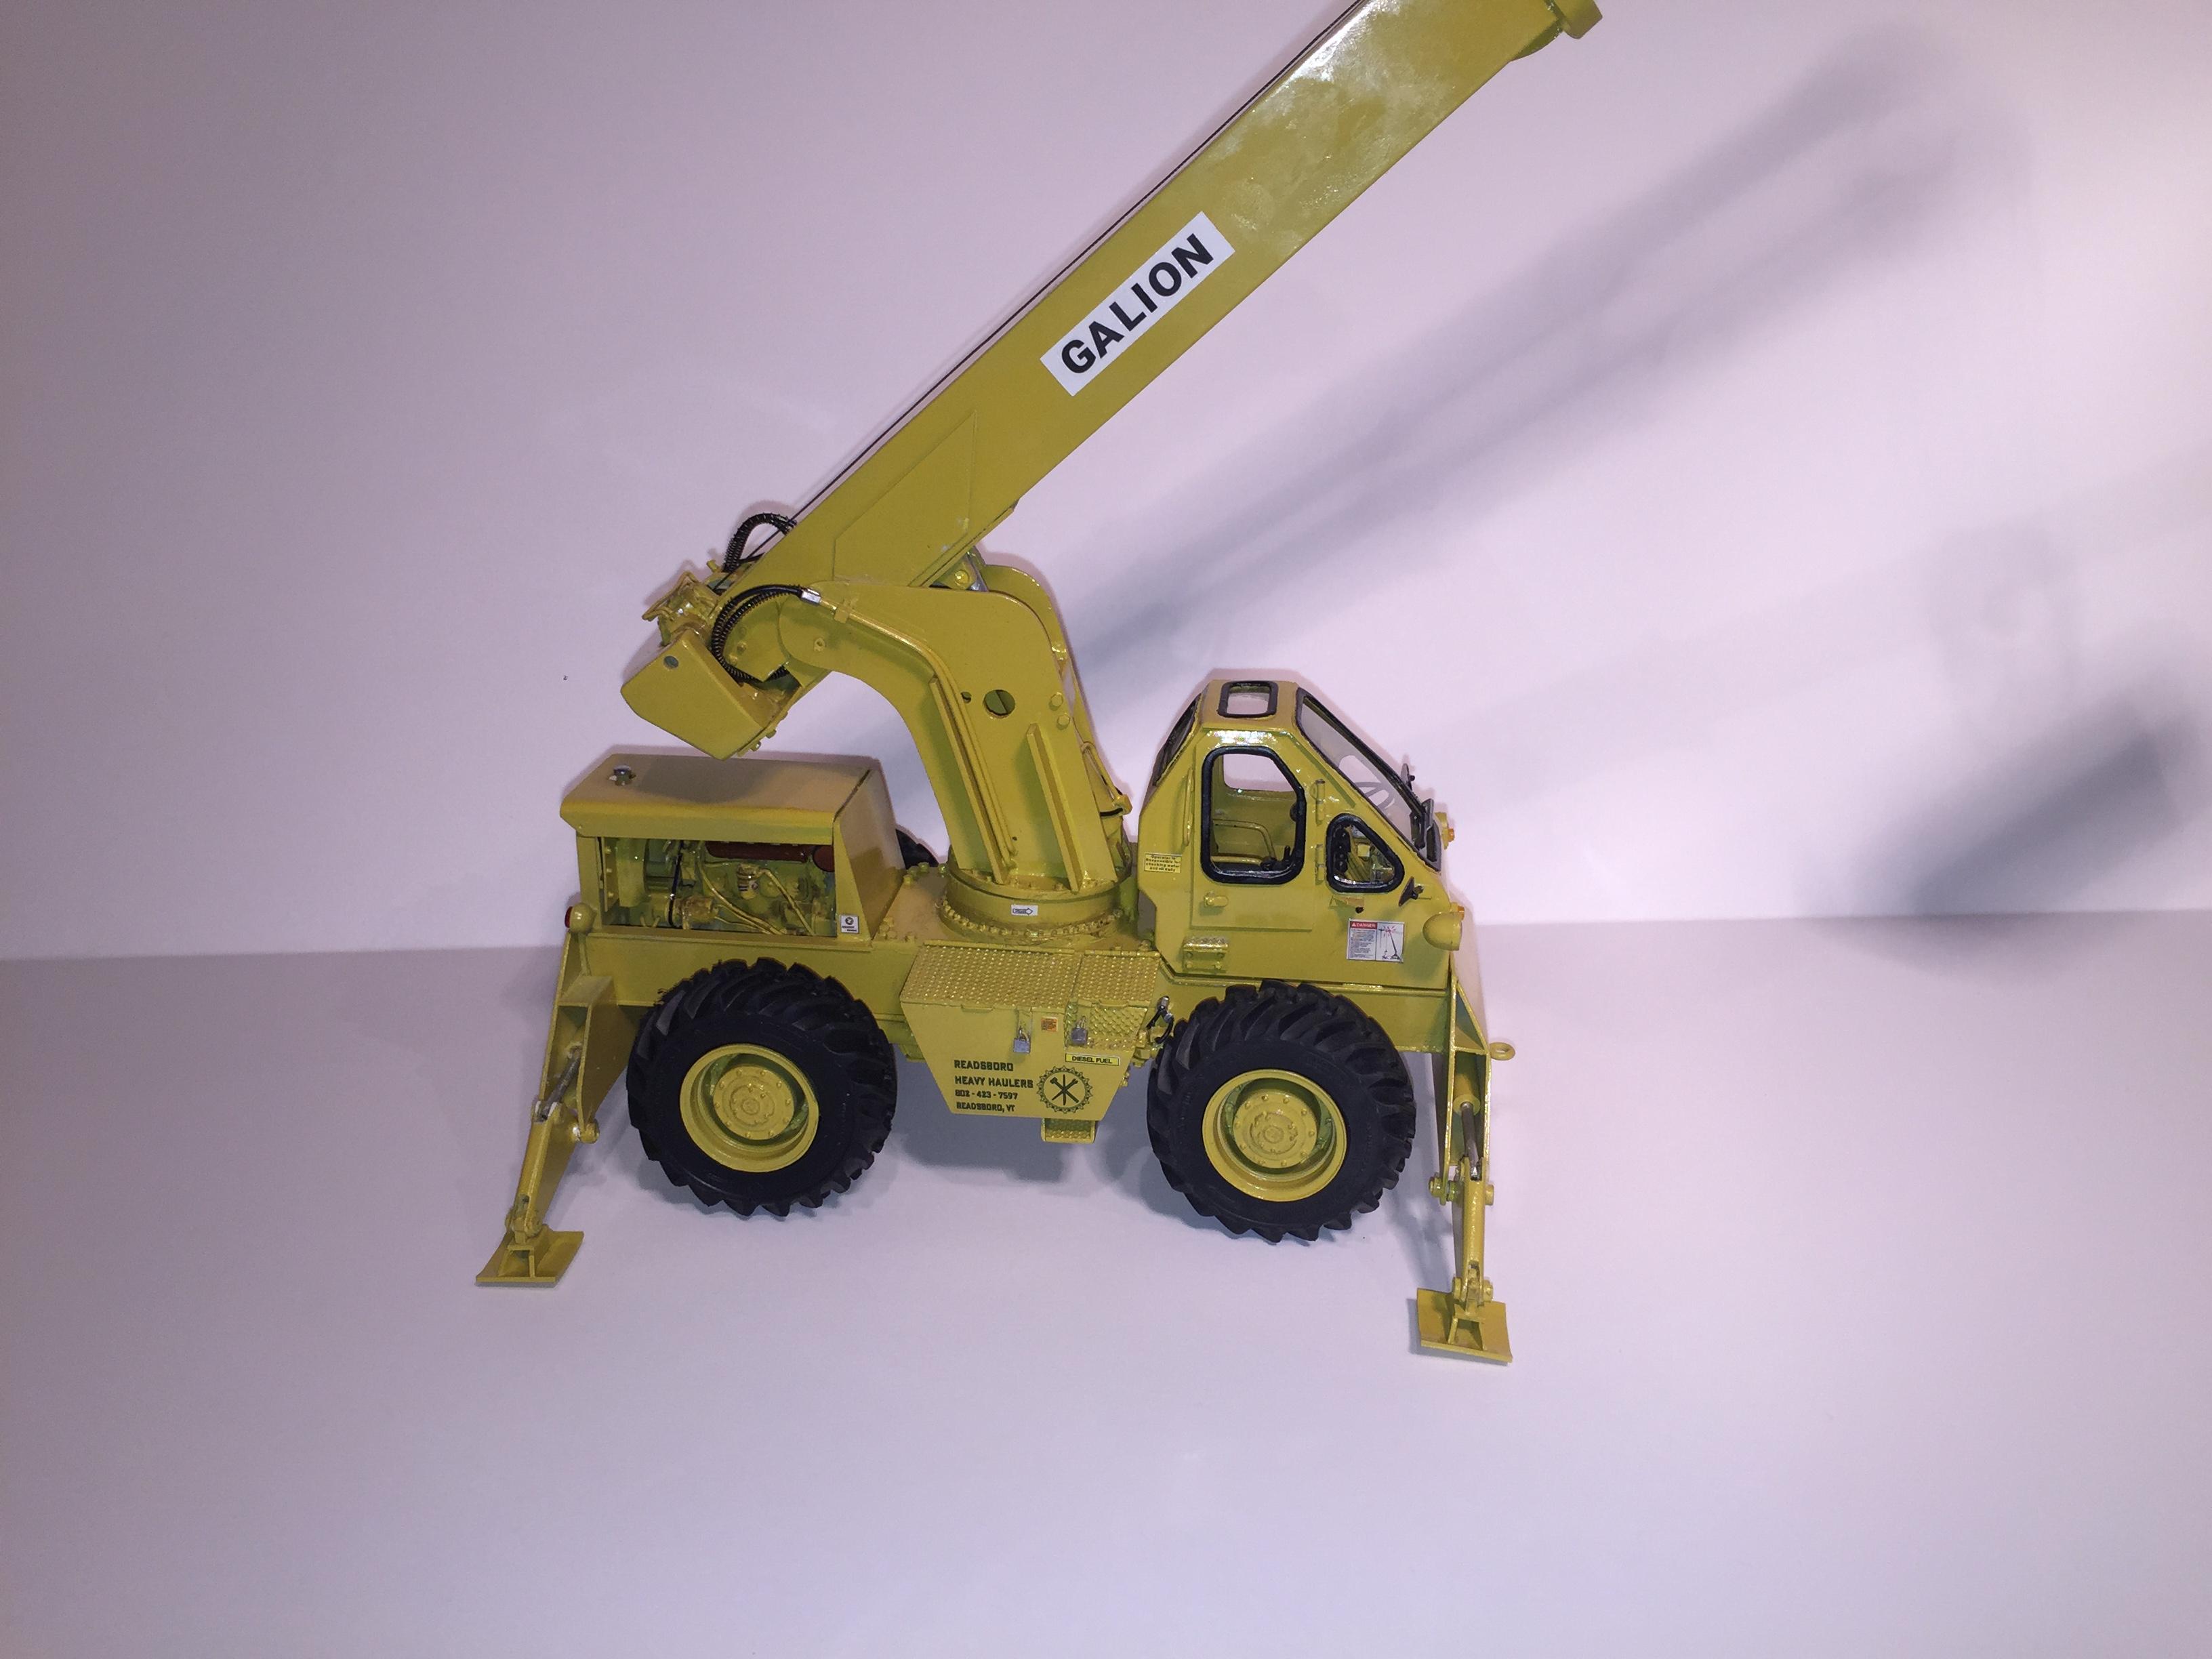
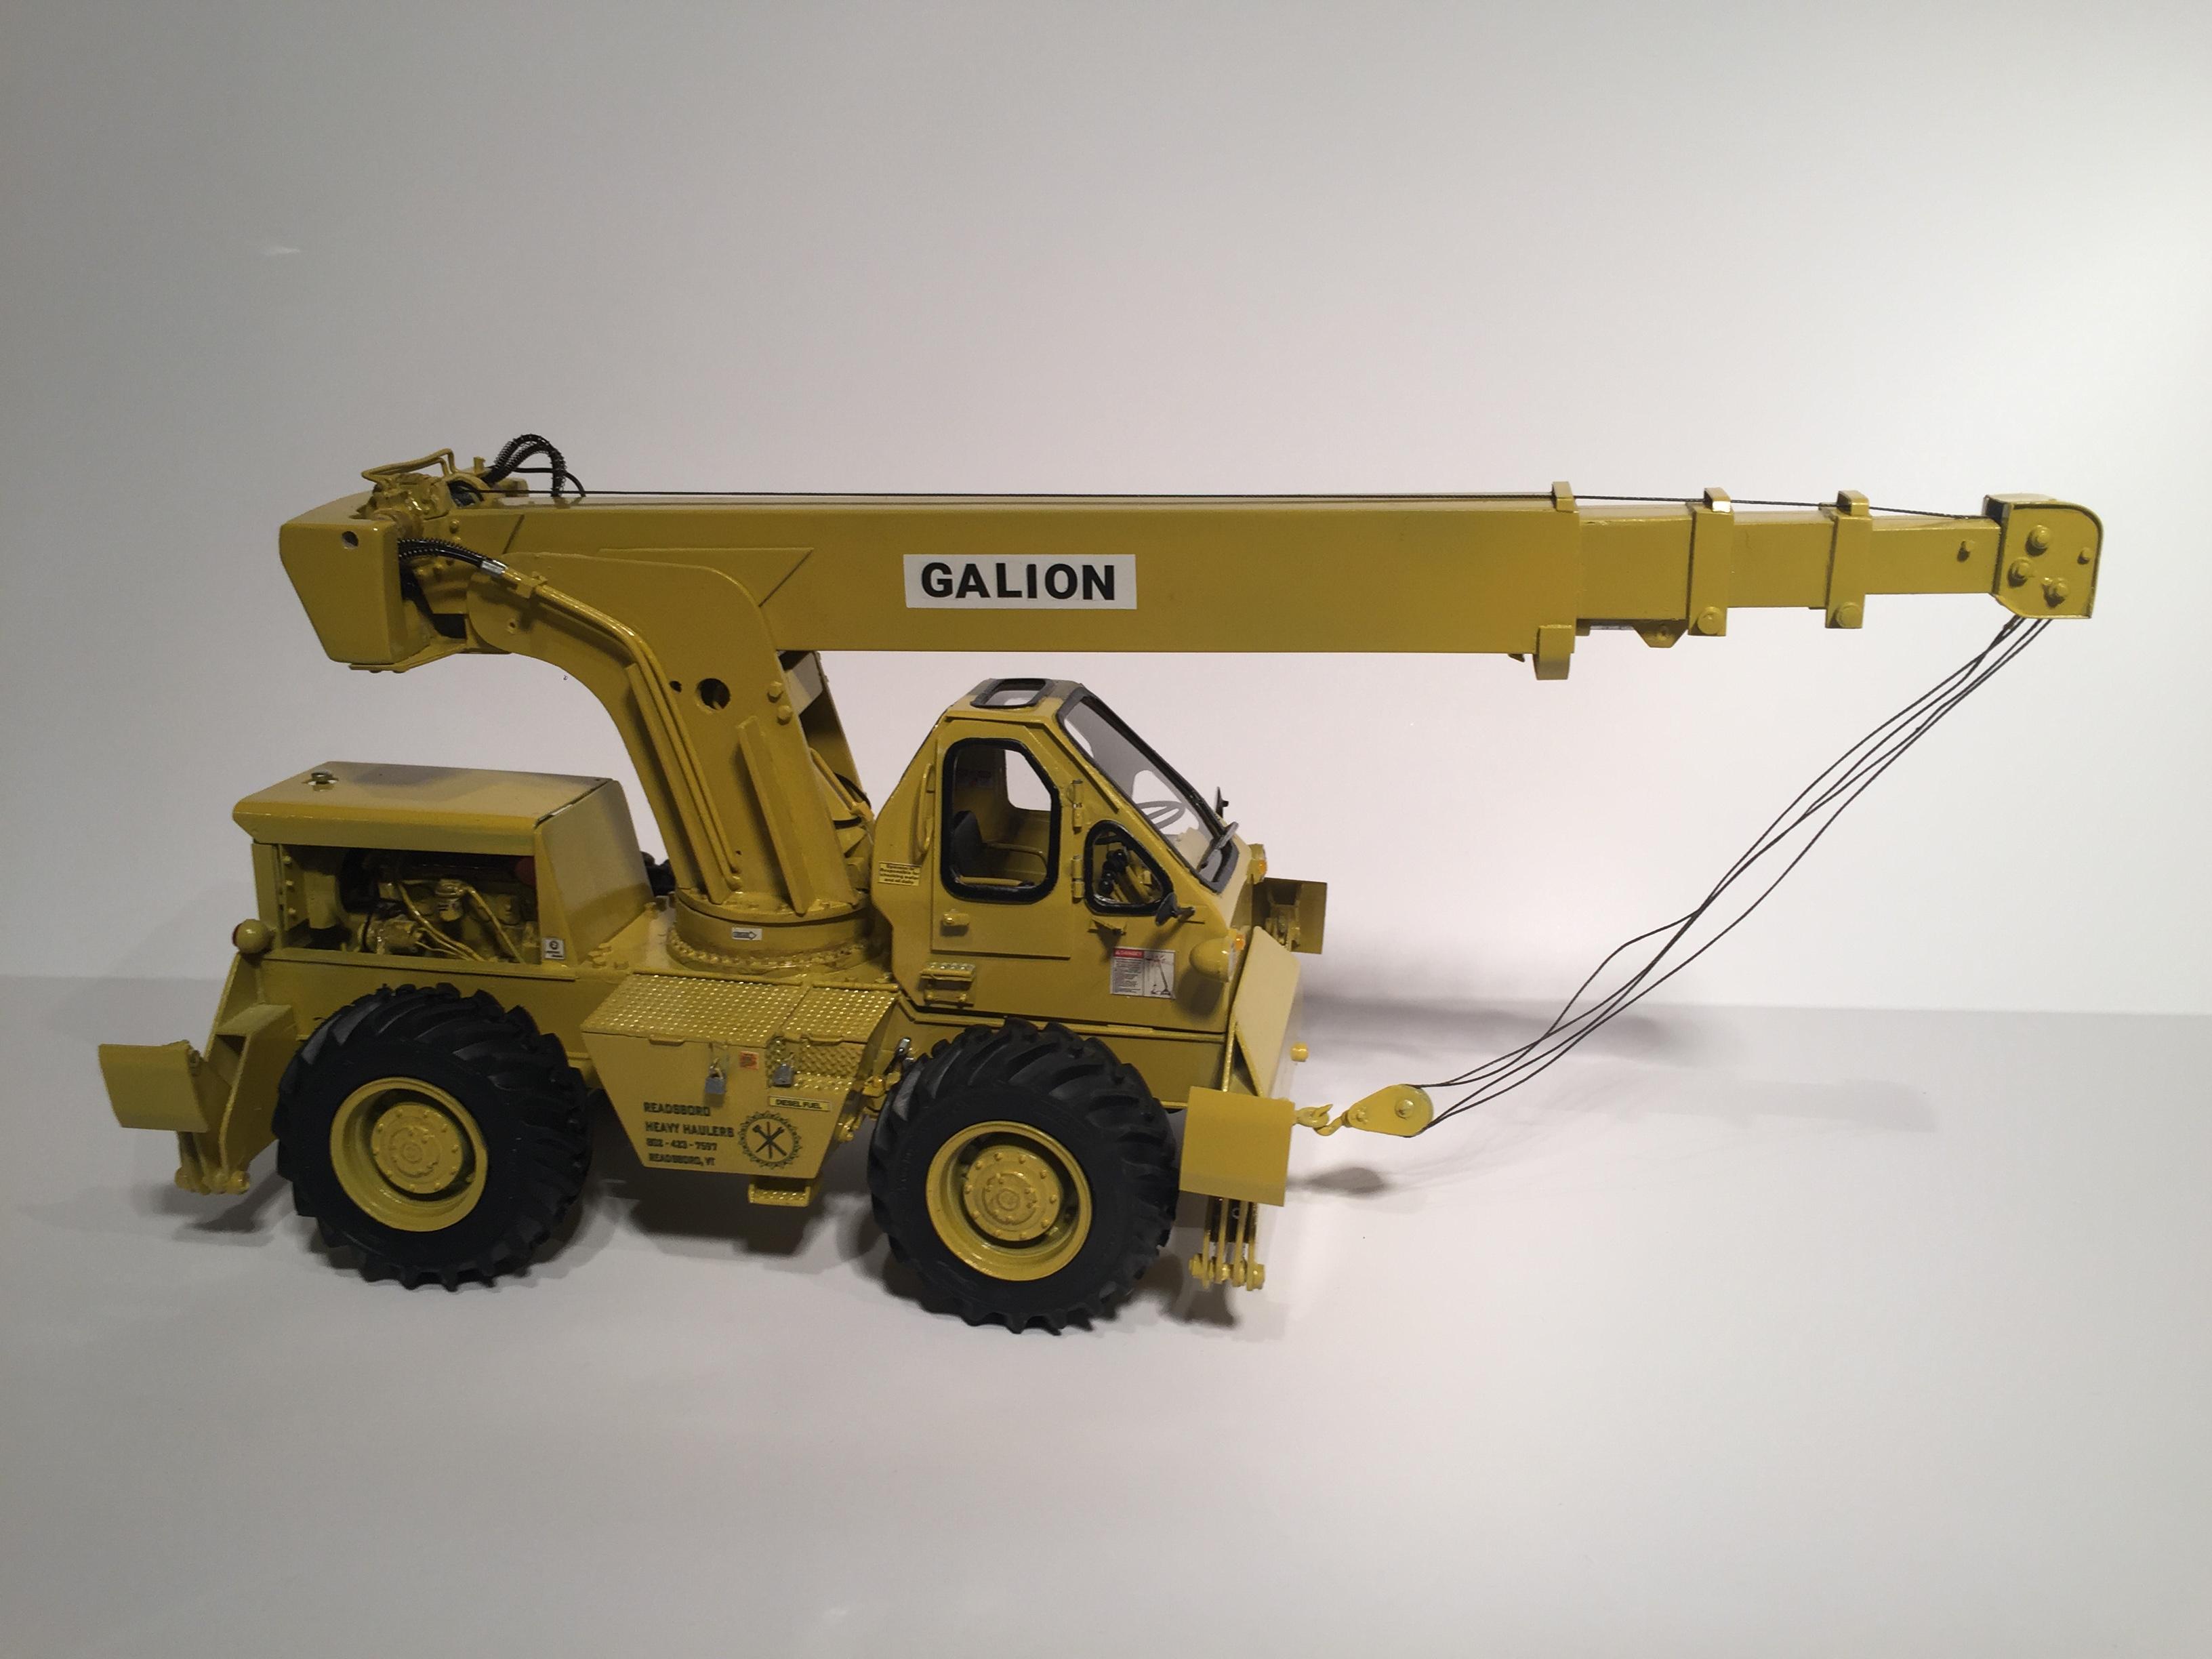
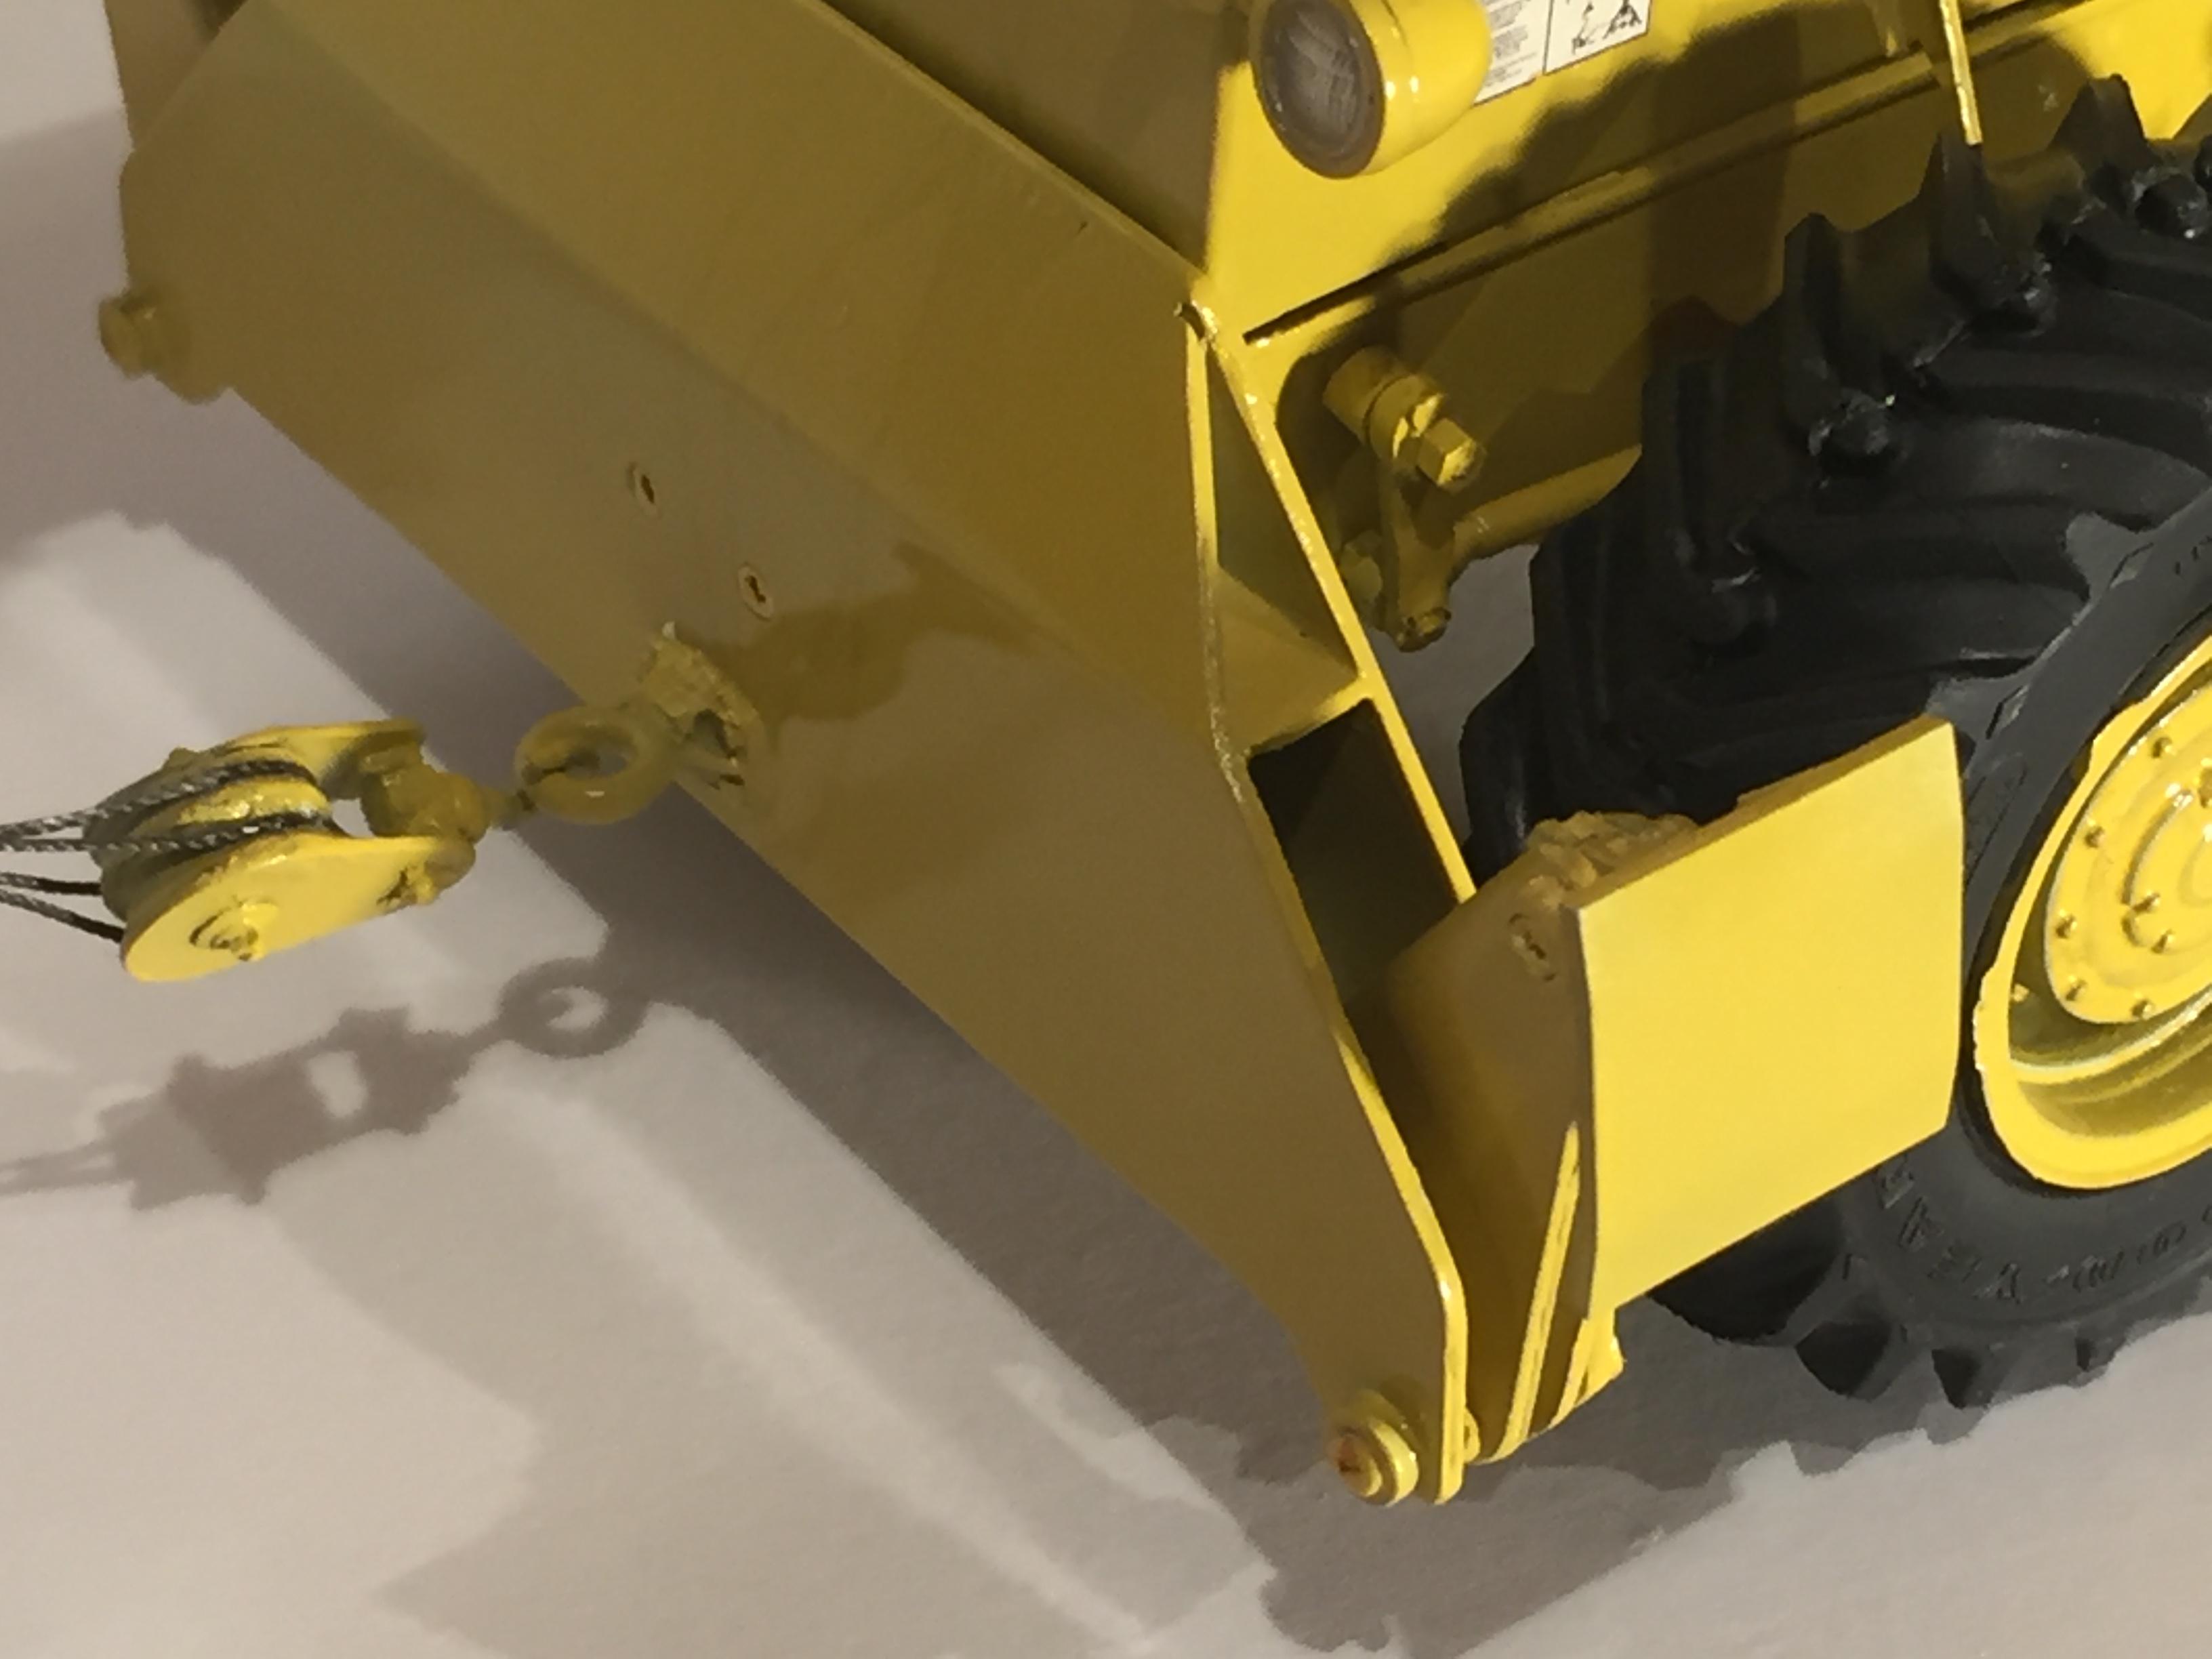
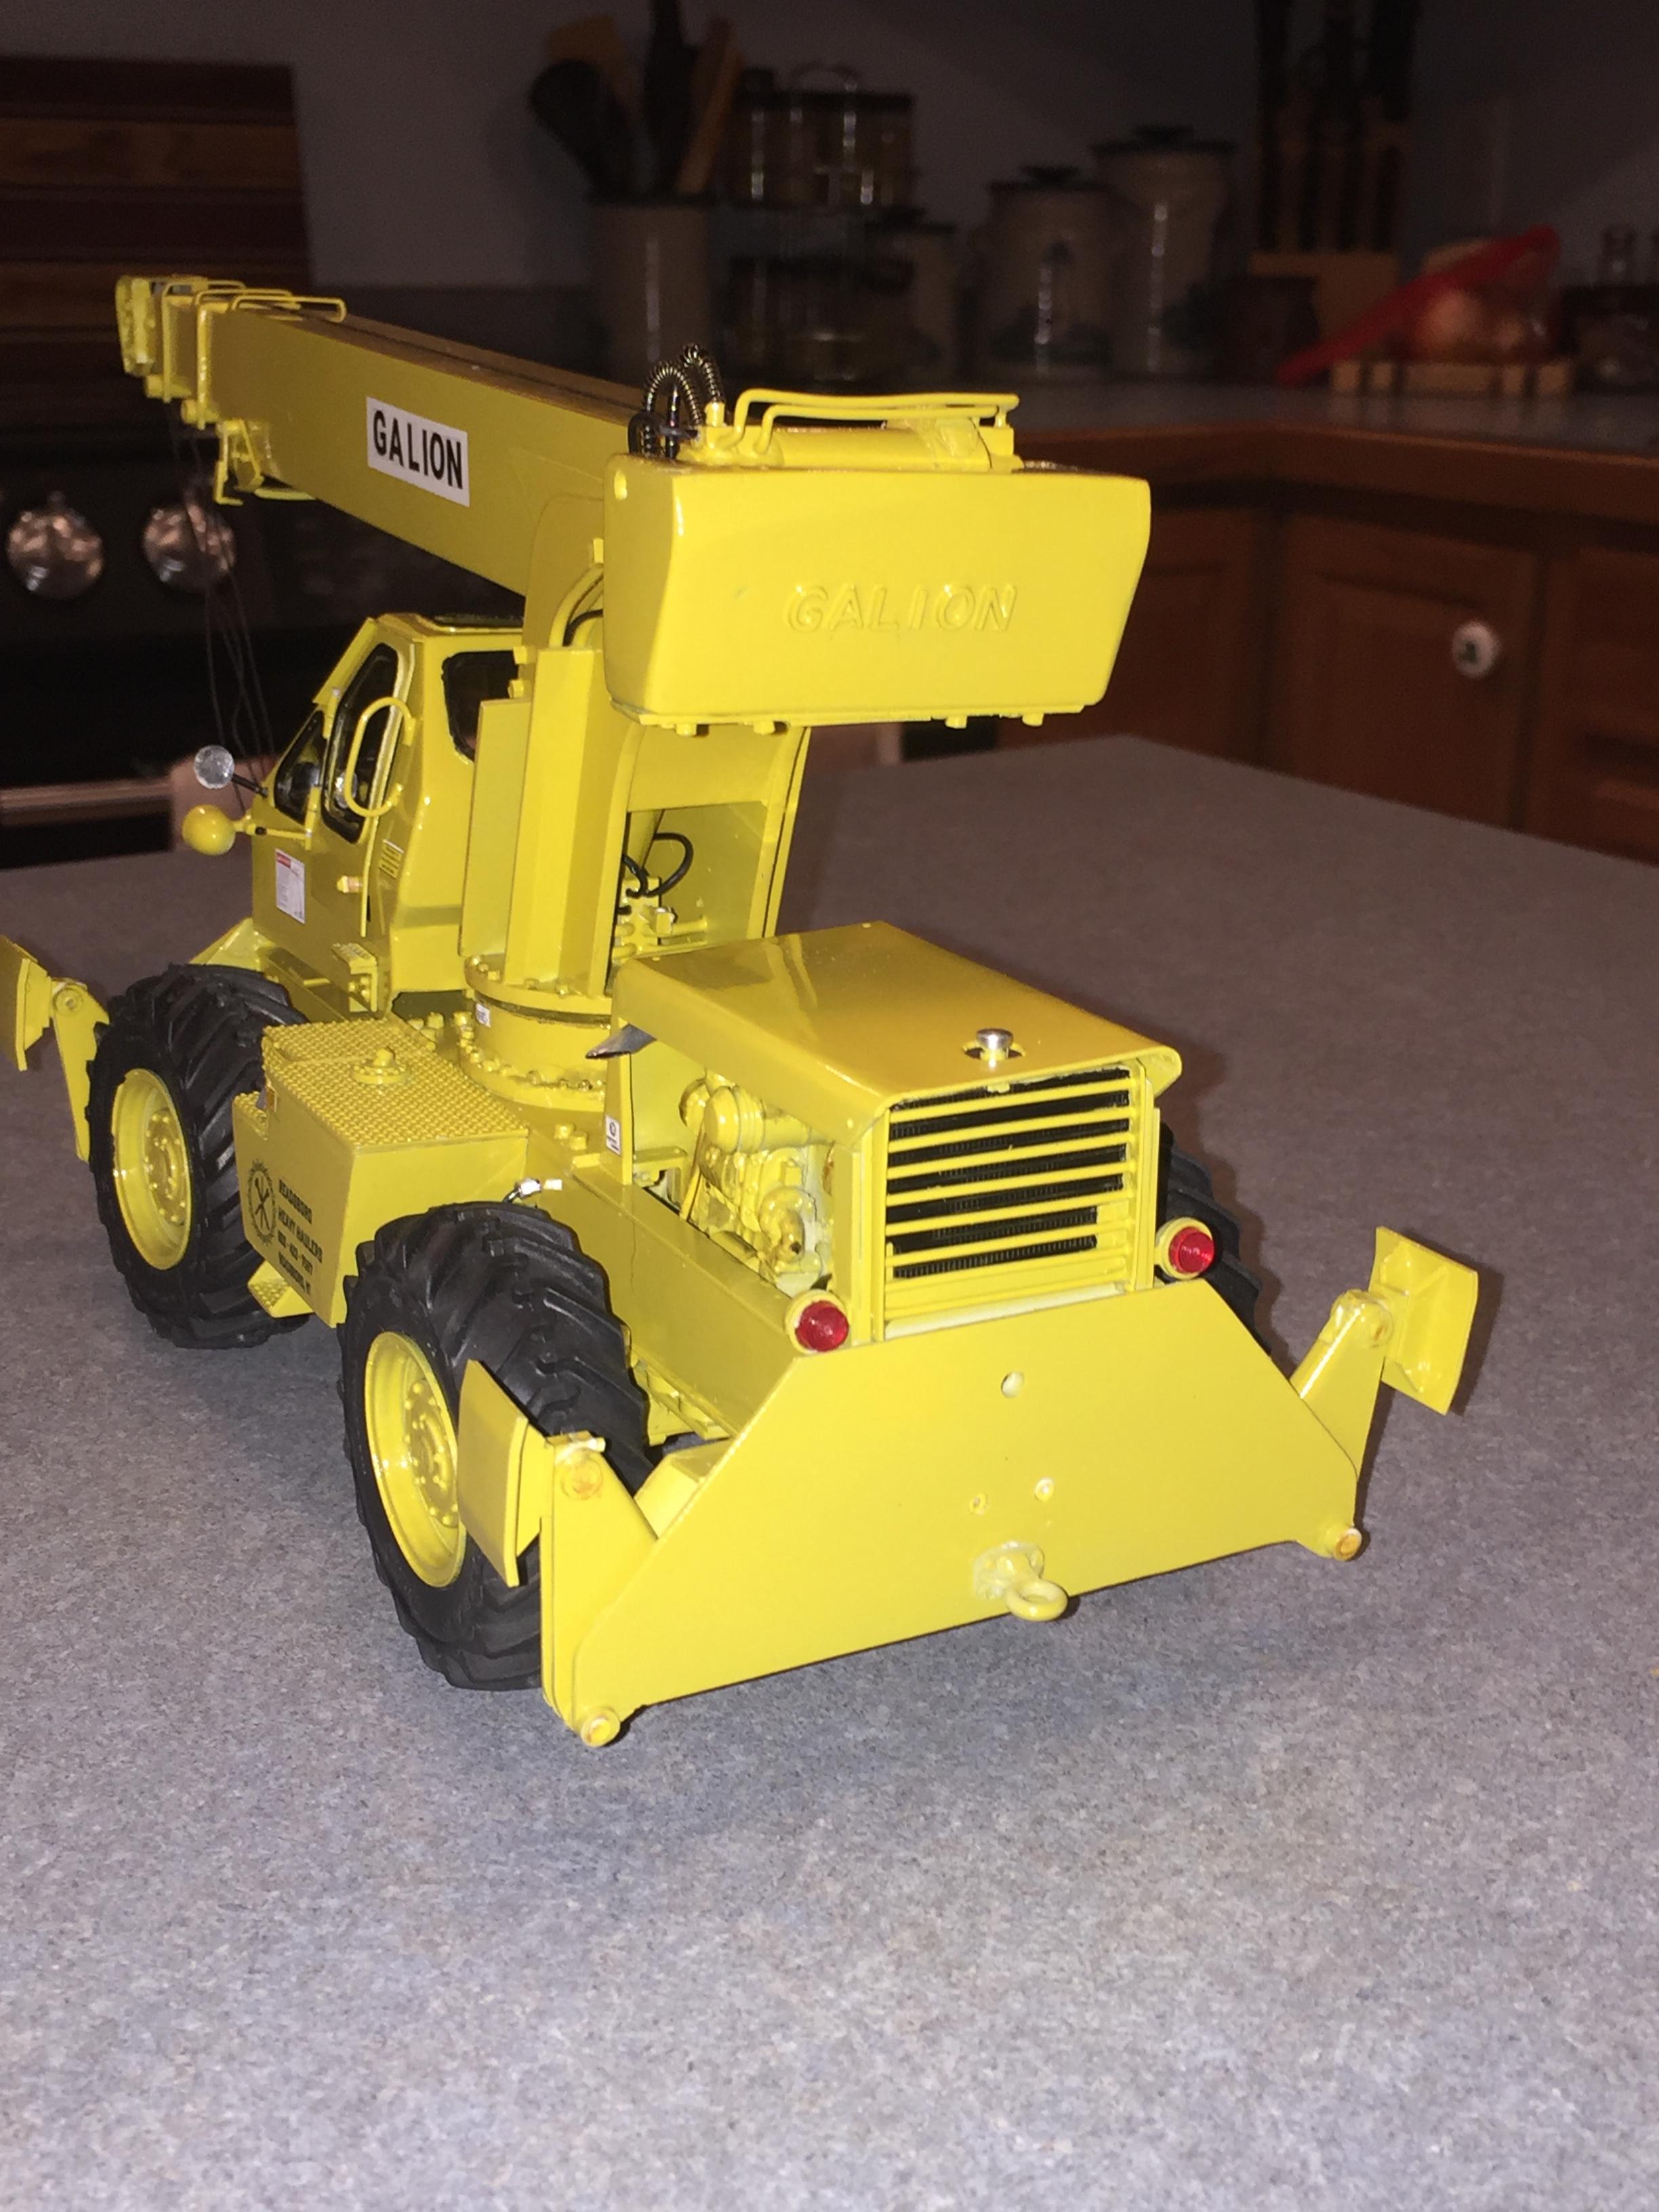
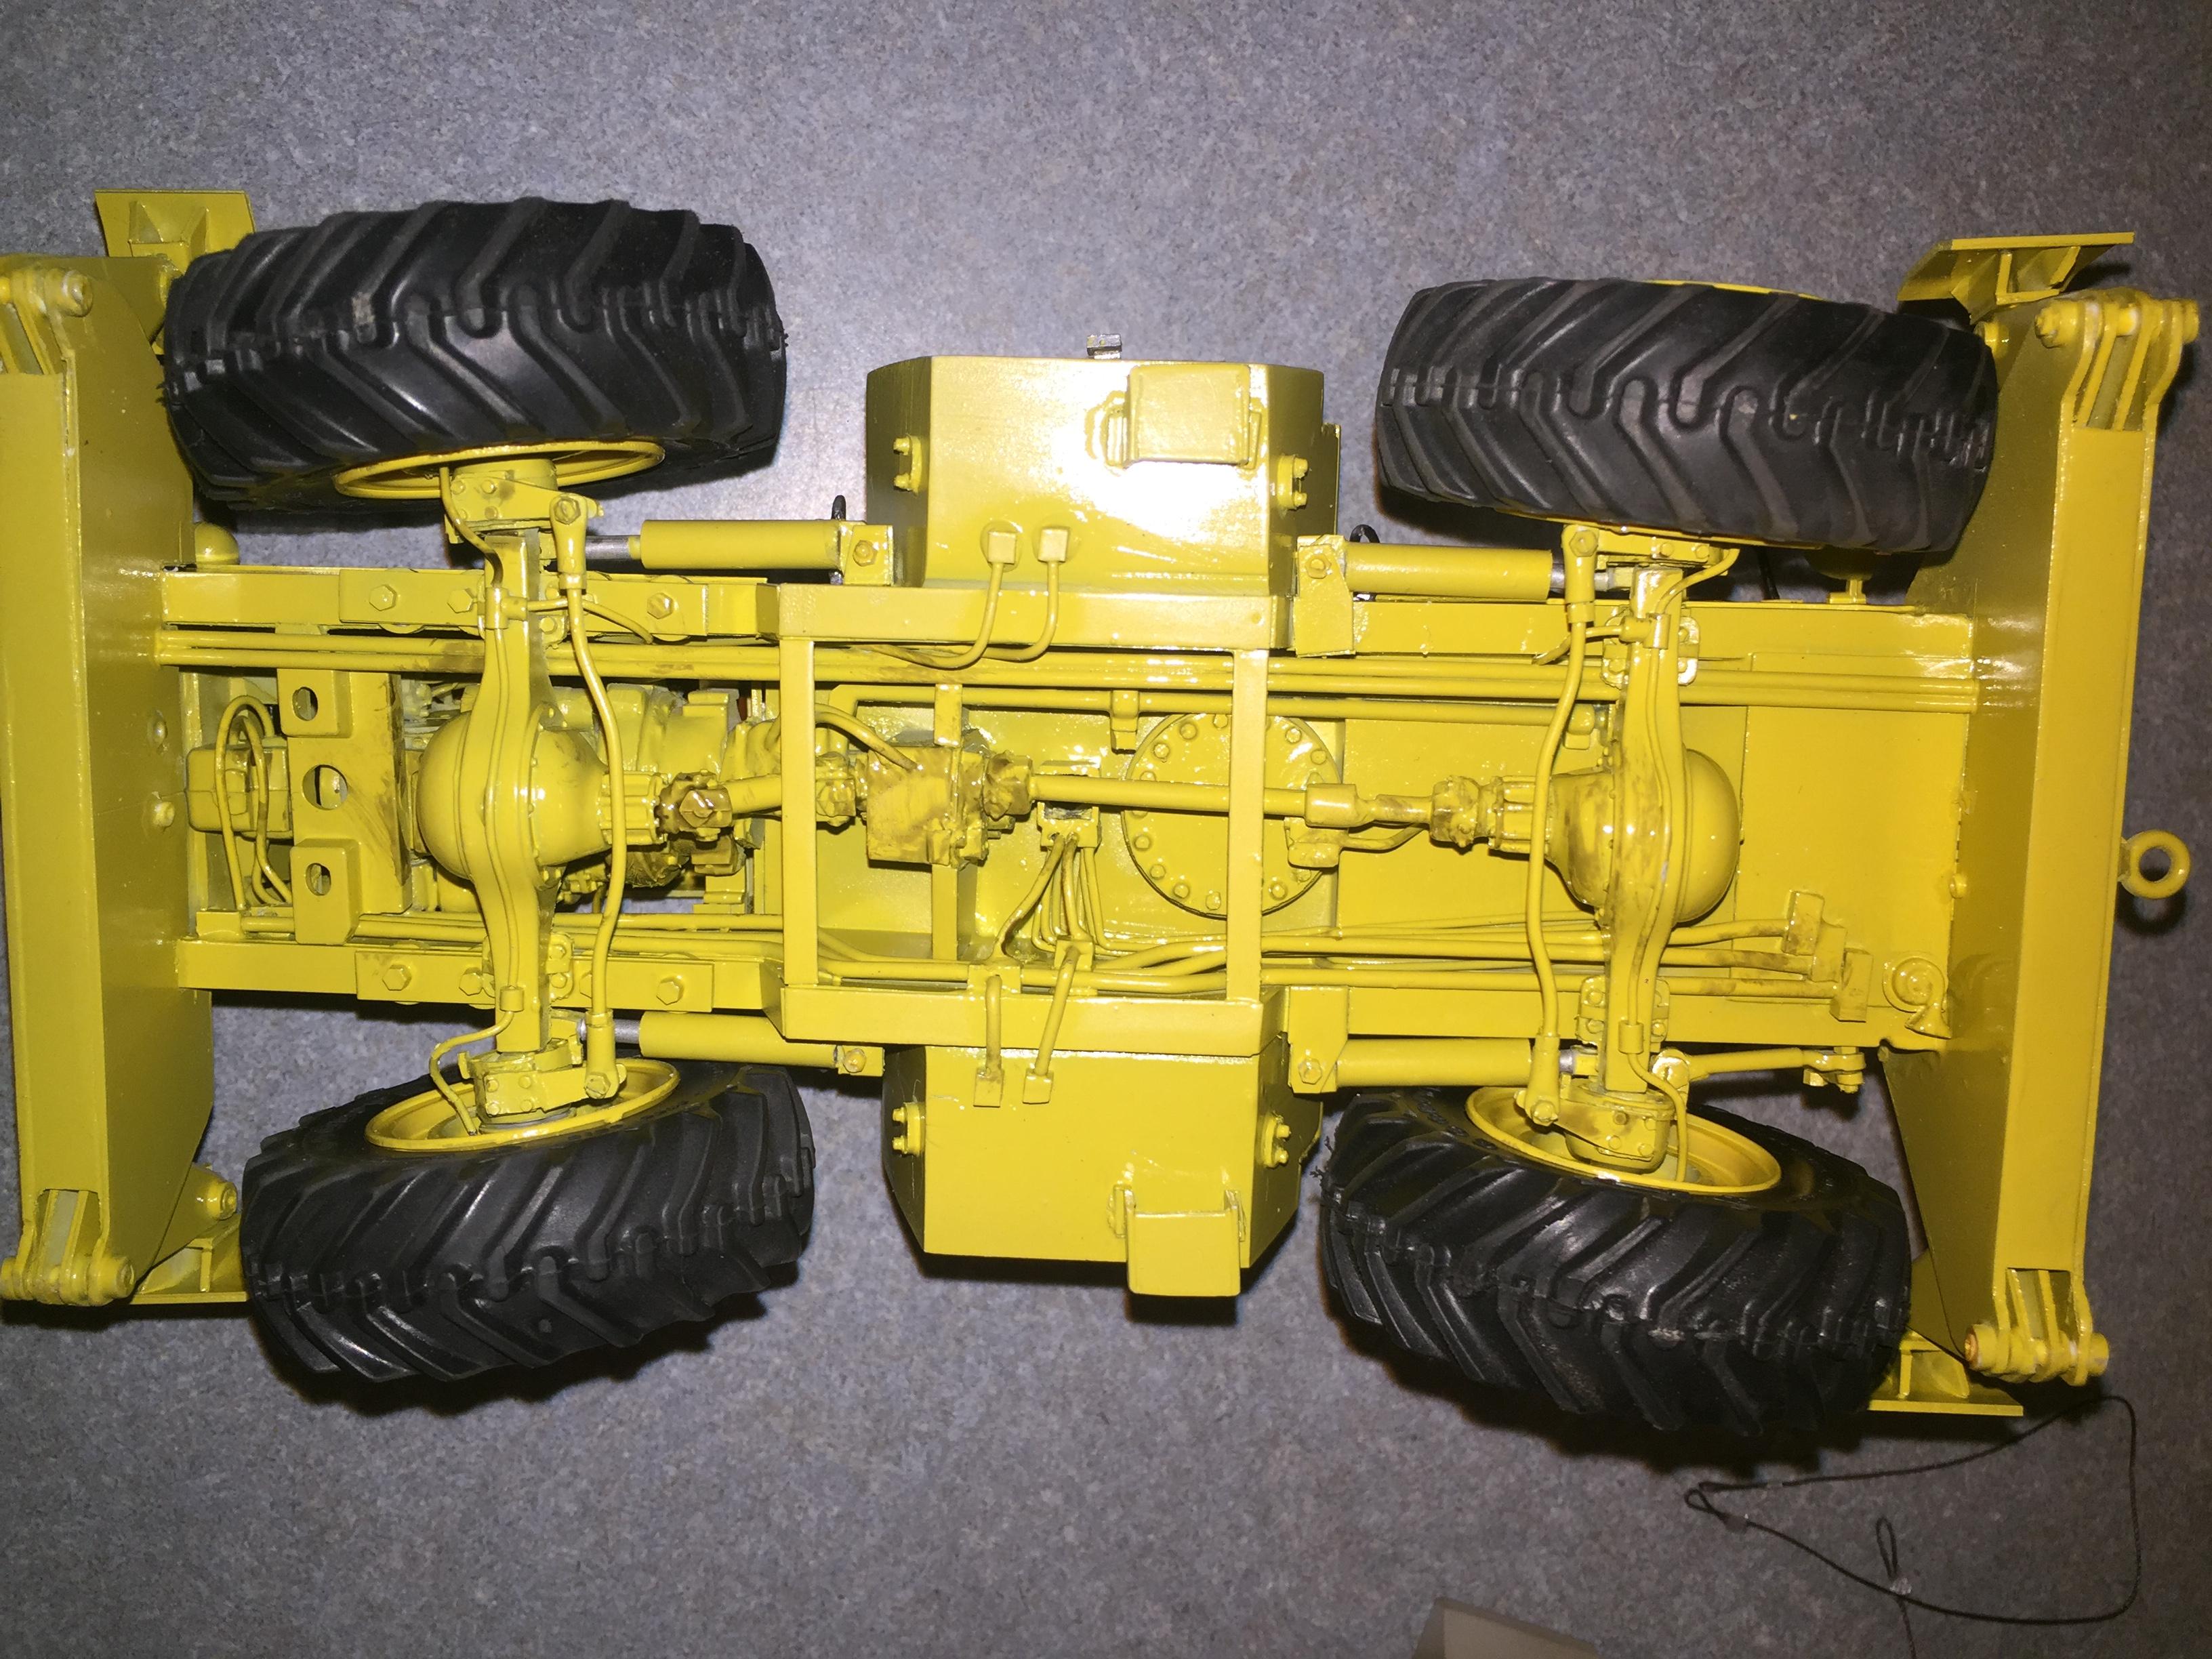
Had an off day for the crane crew.....so they brought it back to the shop to fix the winch. Had to remove the counterweight to access the winch. The end of the shaft had a hole in it where I pushed a larger shaft into it to turn the winch by friction. Bad idea. So, I glued a screw into the end of the shaft to turn with a screwdriver so now the crowd function works as designed....... could not crowd out if the winch would not turn. All is well!
-
Very nicely done classic truck!
-
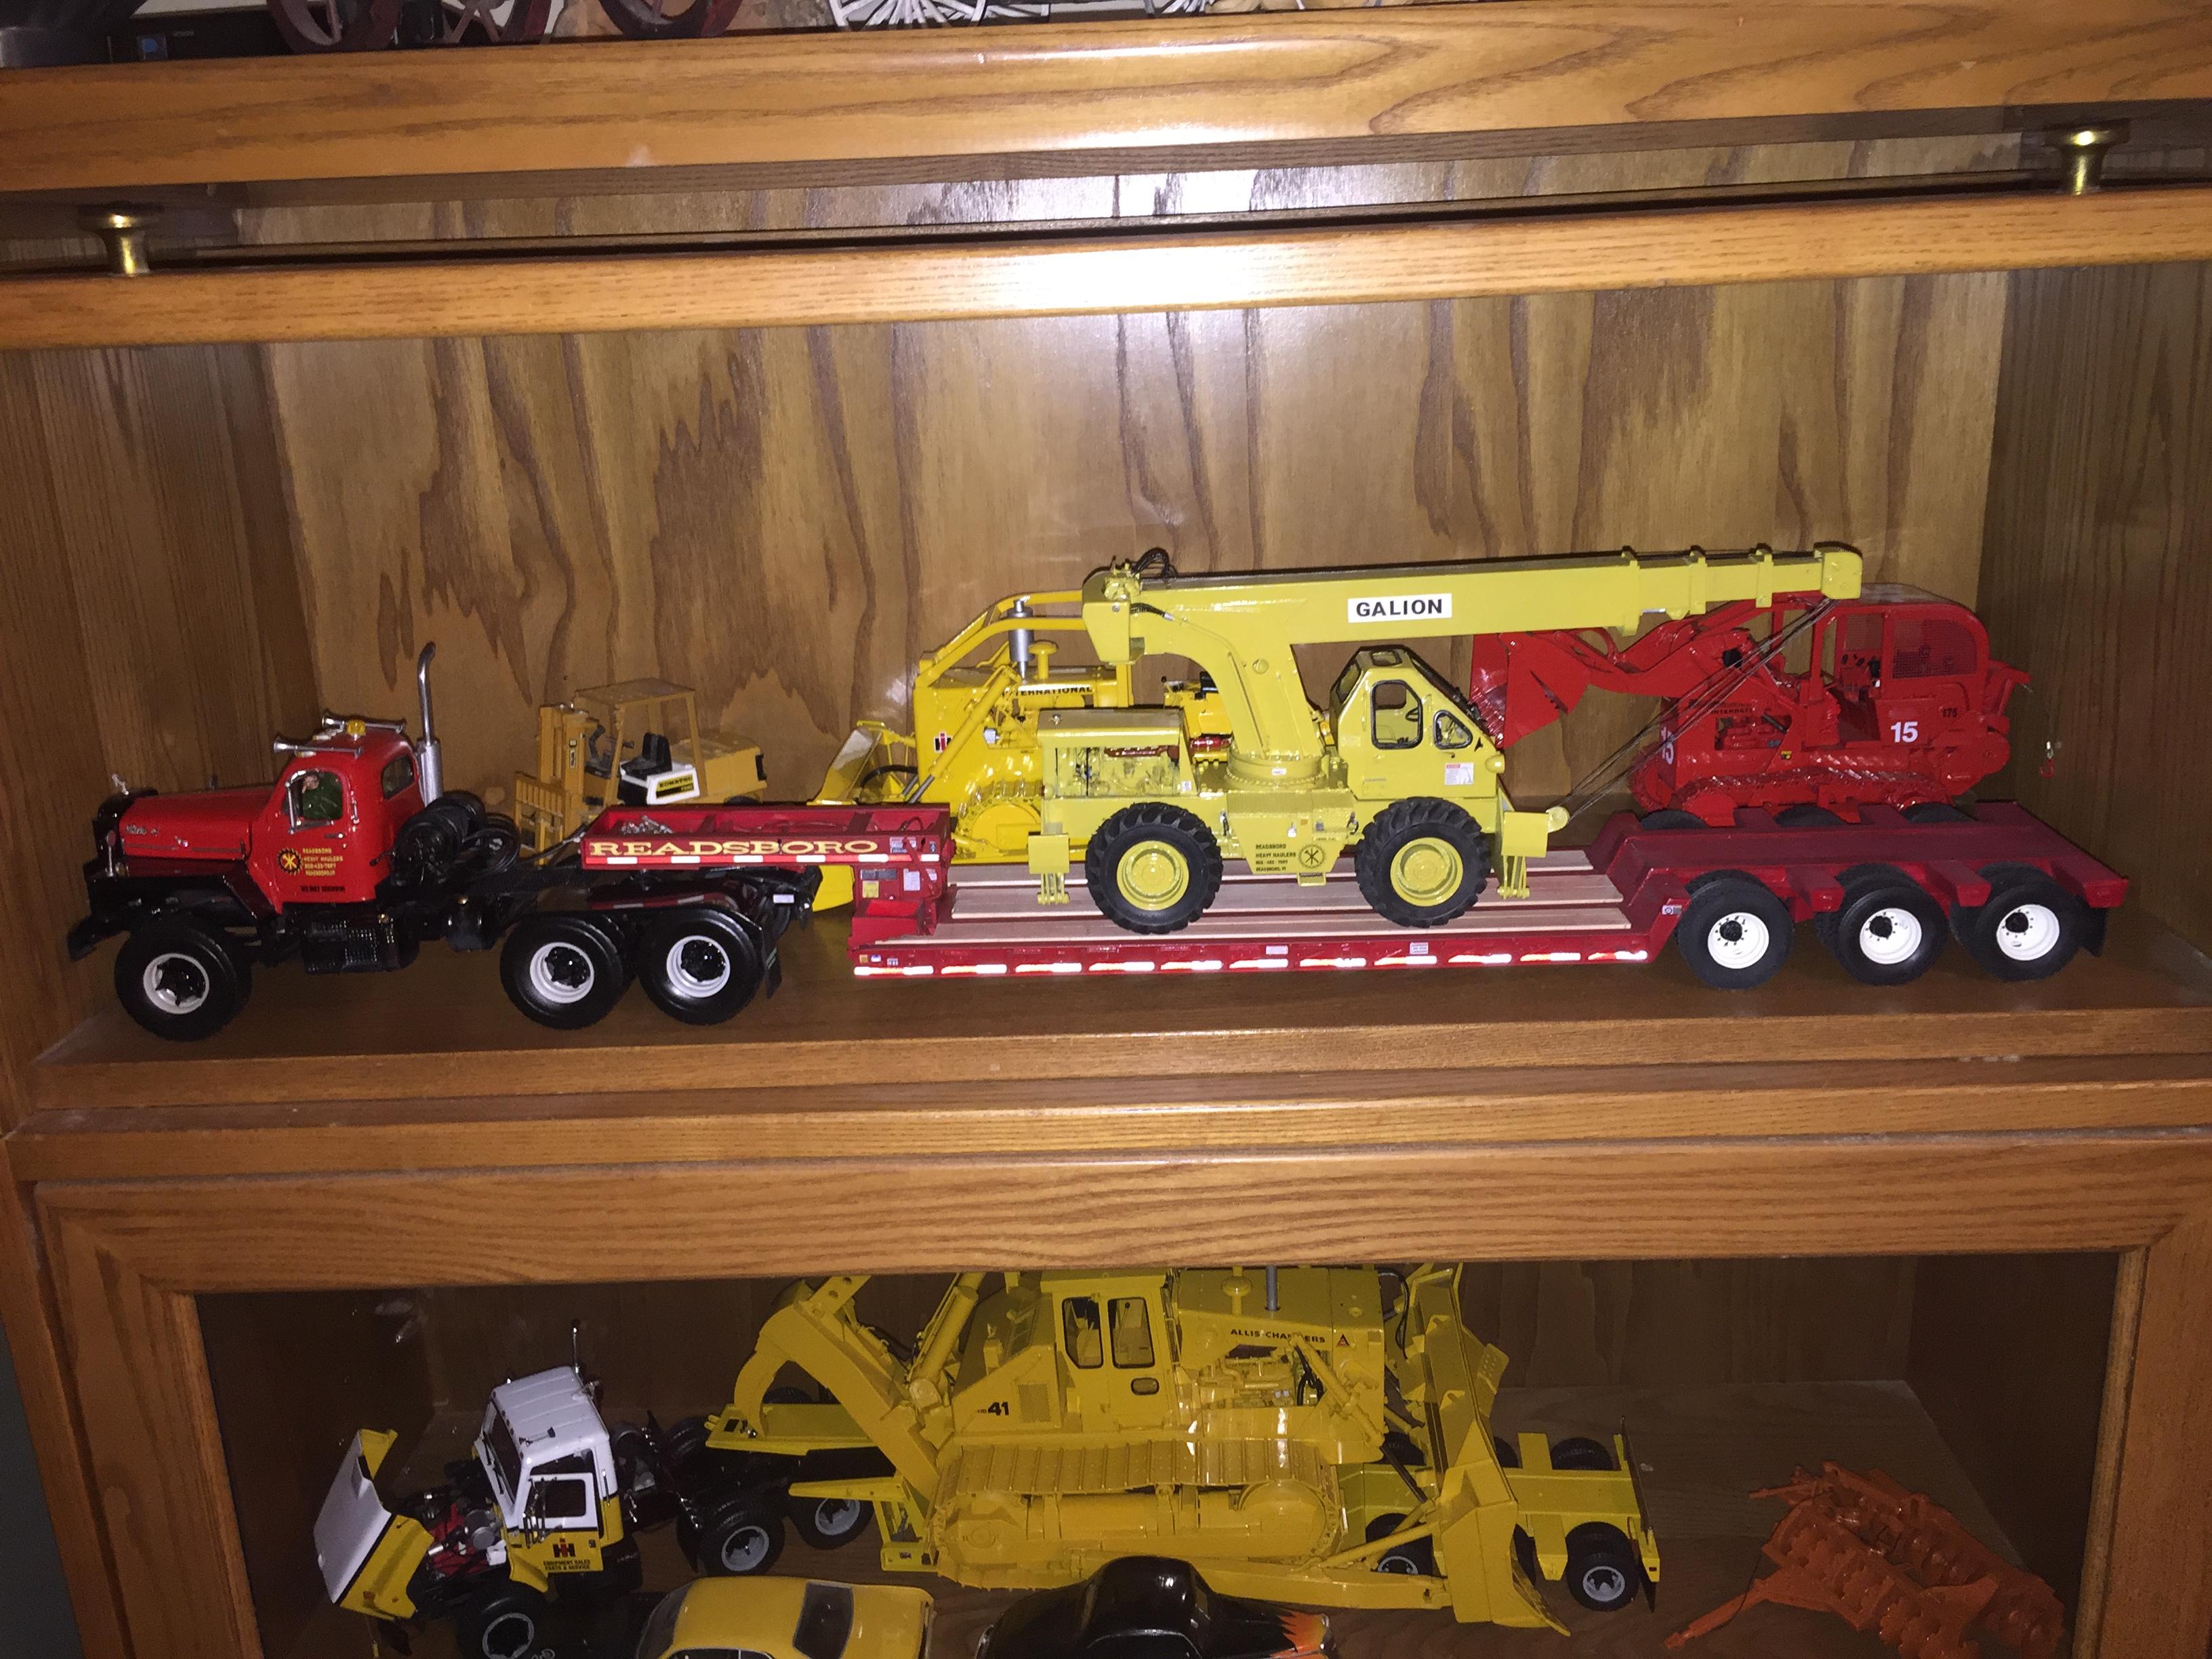
Loaded up and on the way to the next project!
-
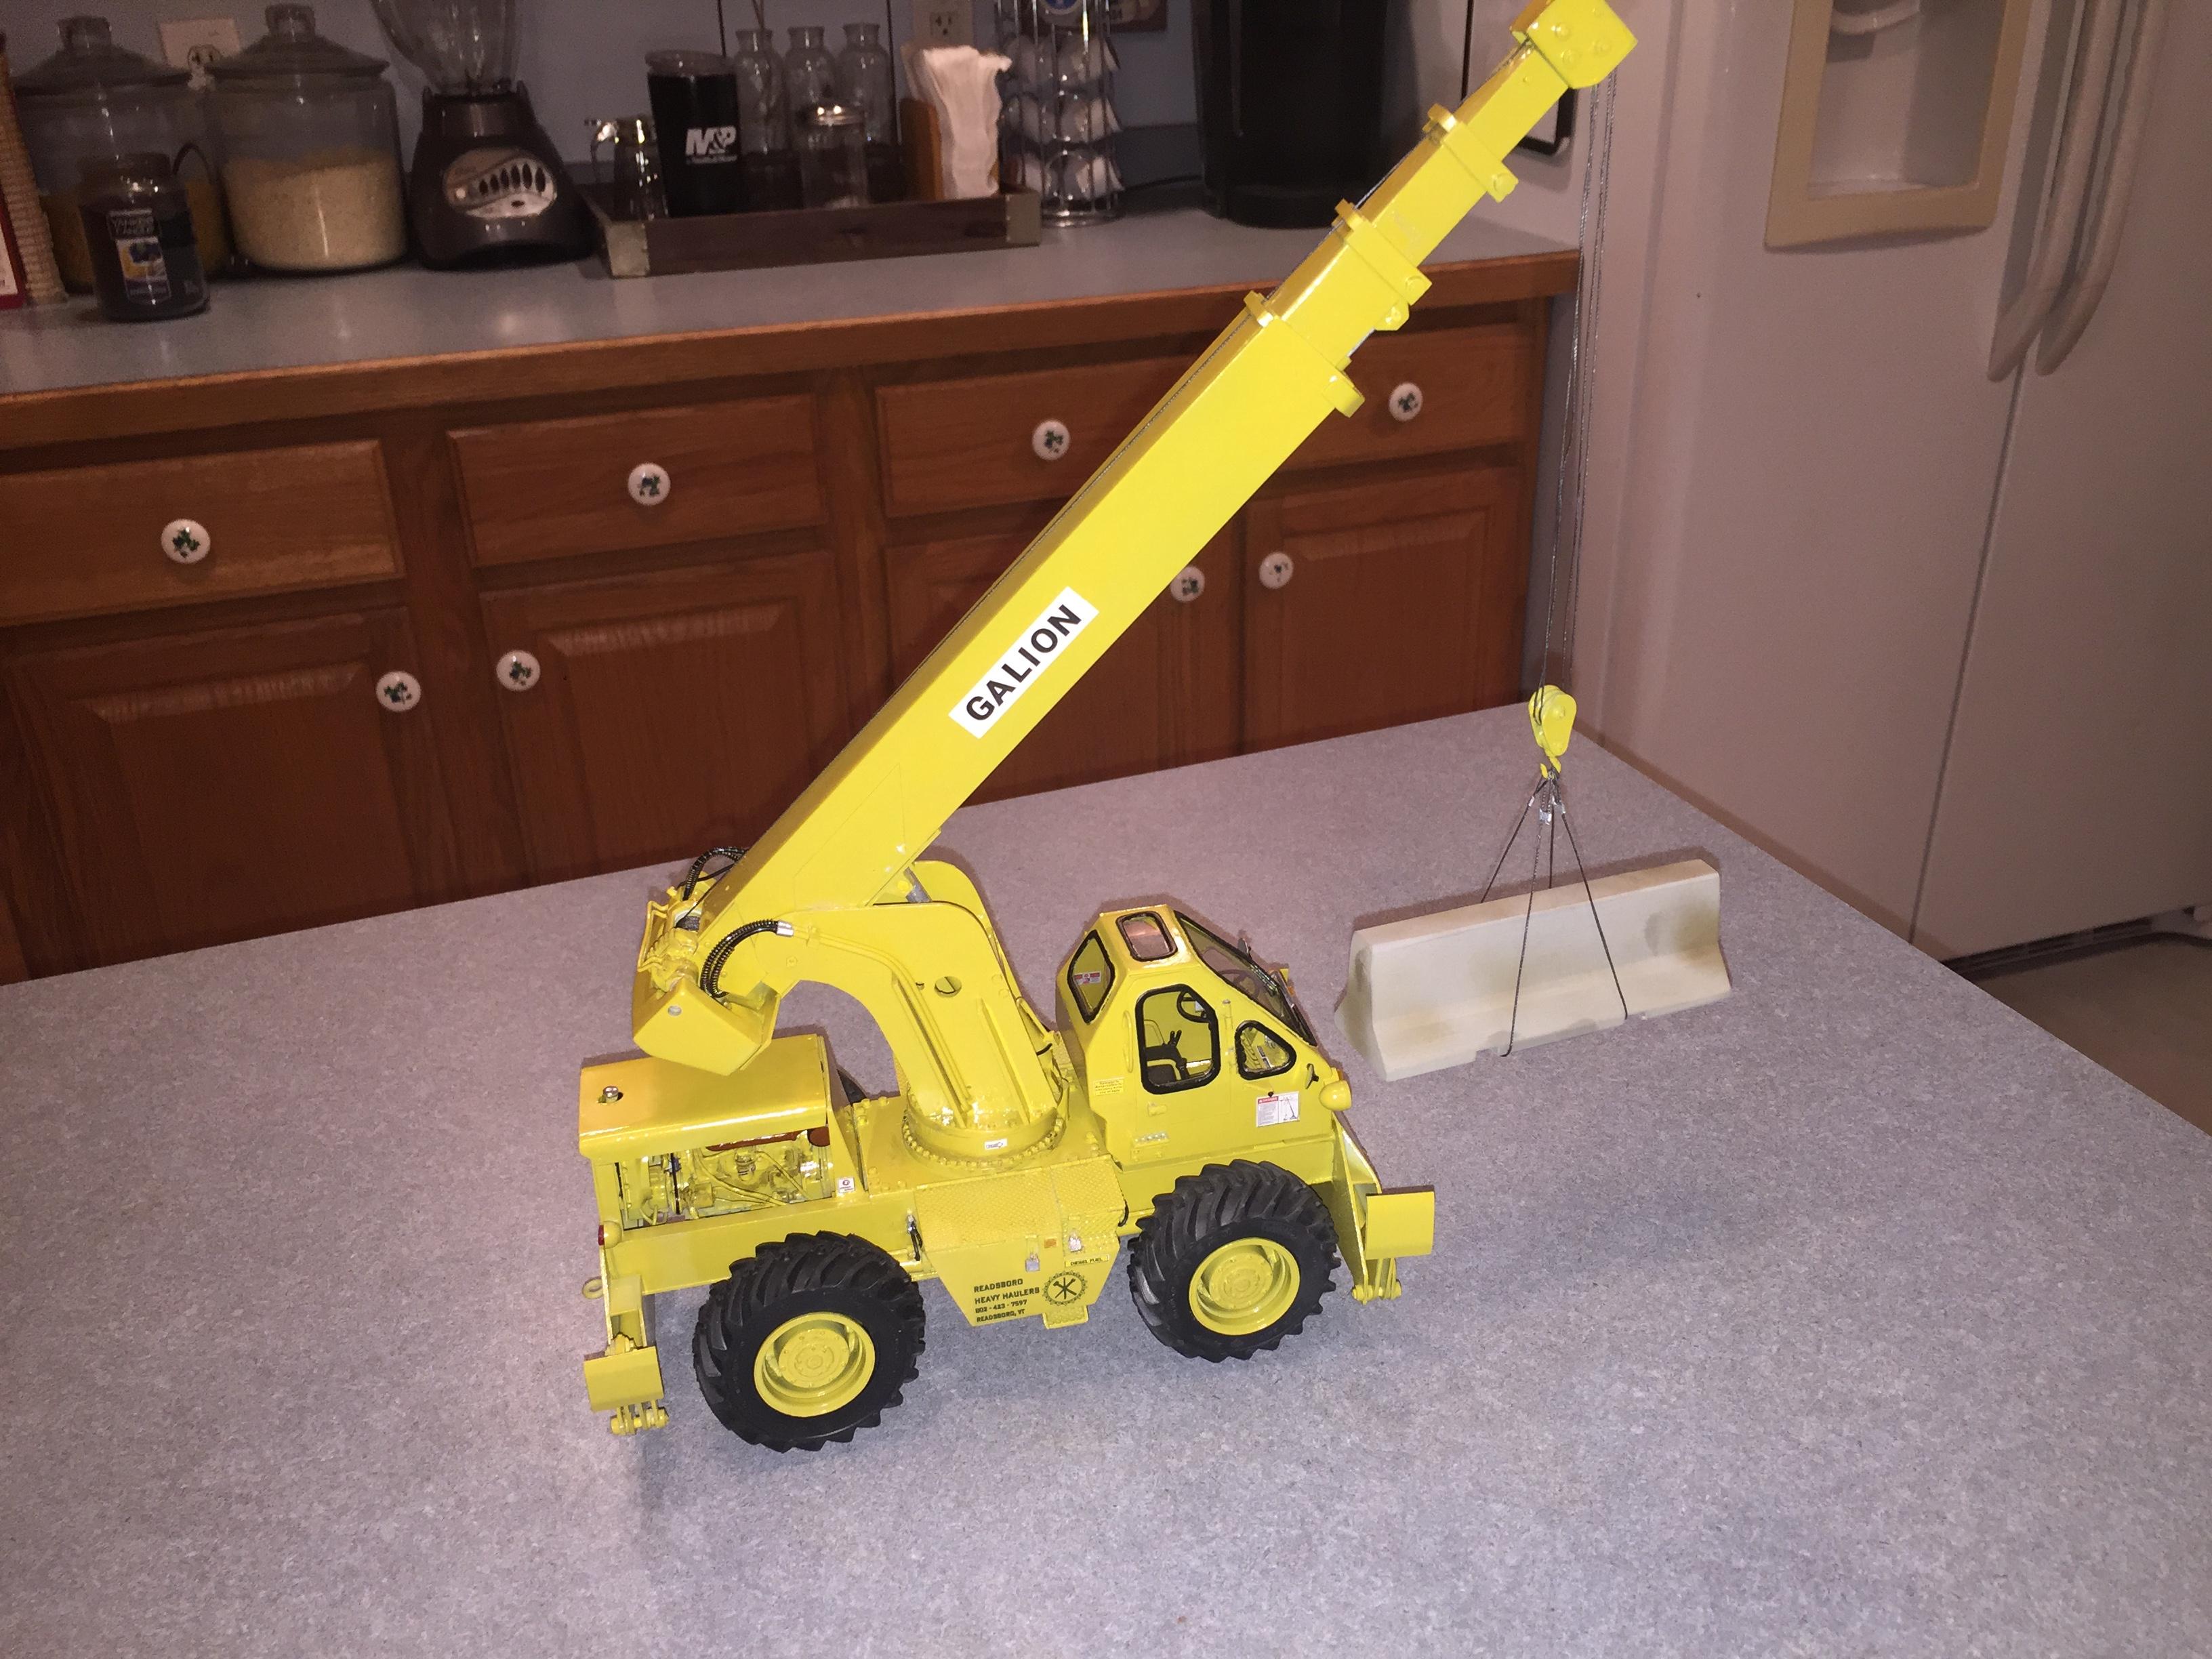
Well, to be honest, I never intended to make everything work. It just kind of developed along the way, as I said why not? It really was a challenge to myself to see what I could do, and I am probably happier with the results than any of my other builds. Now on to the next............!
-
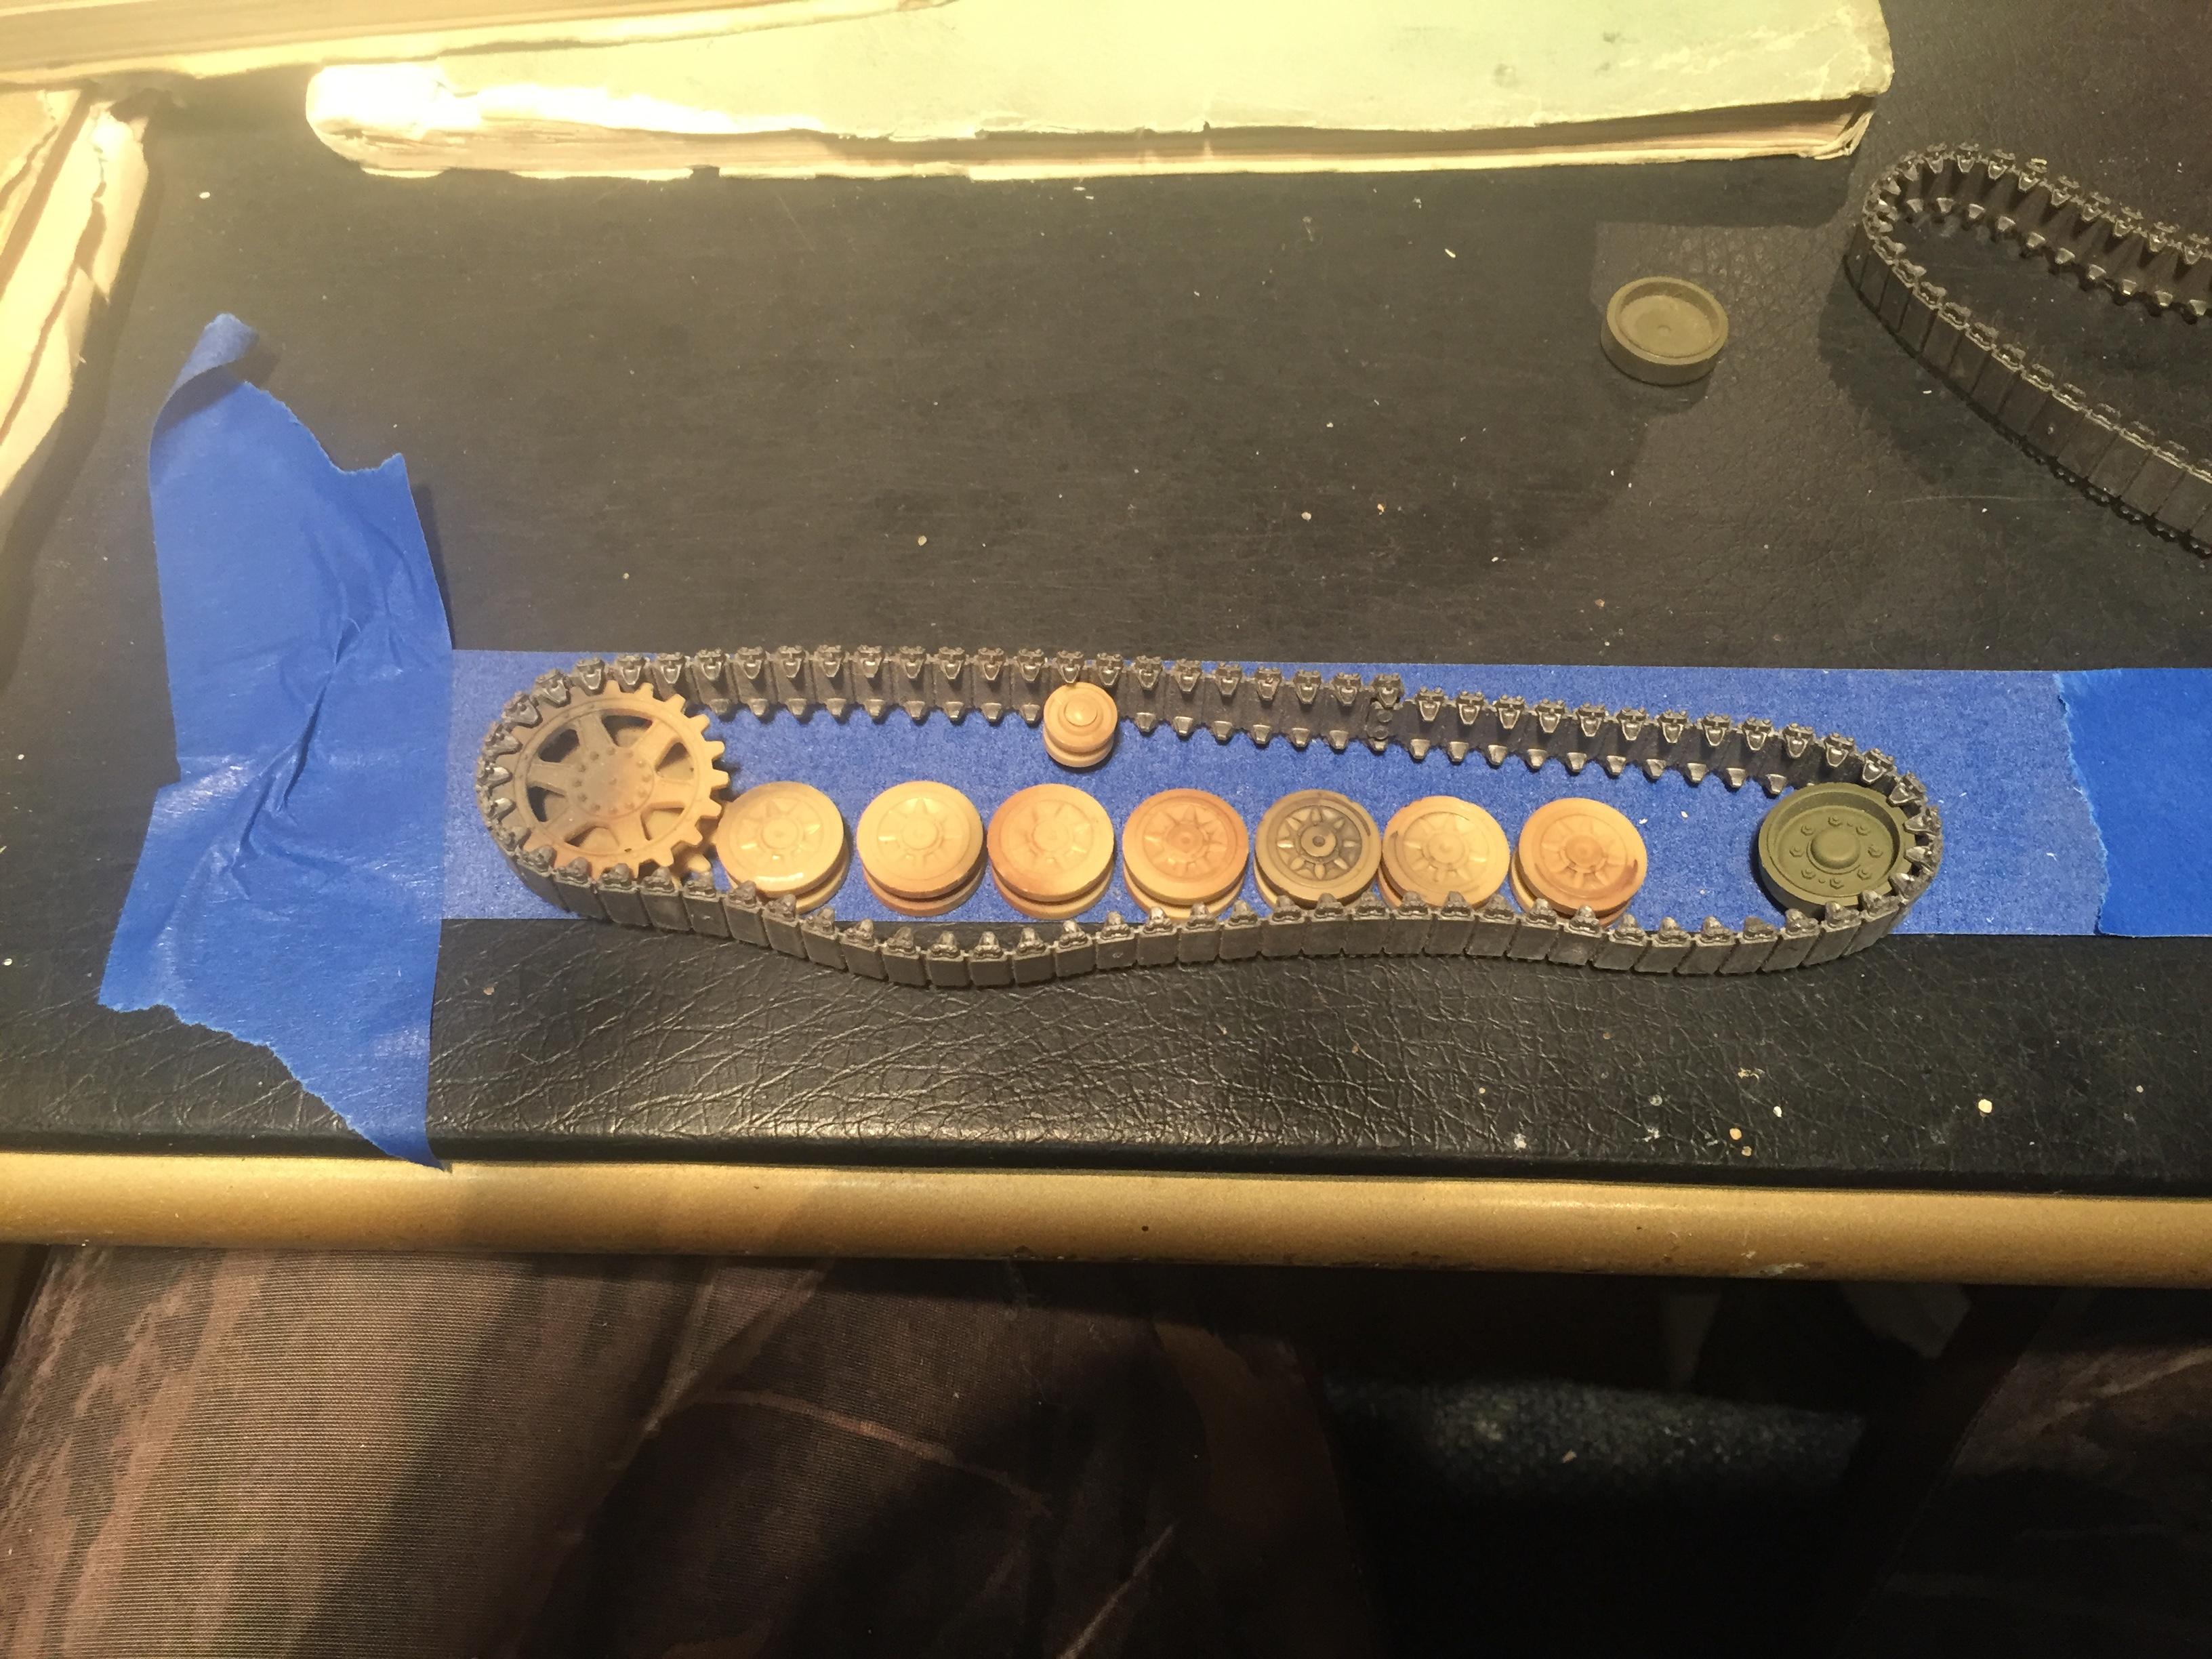
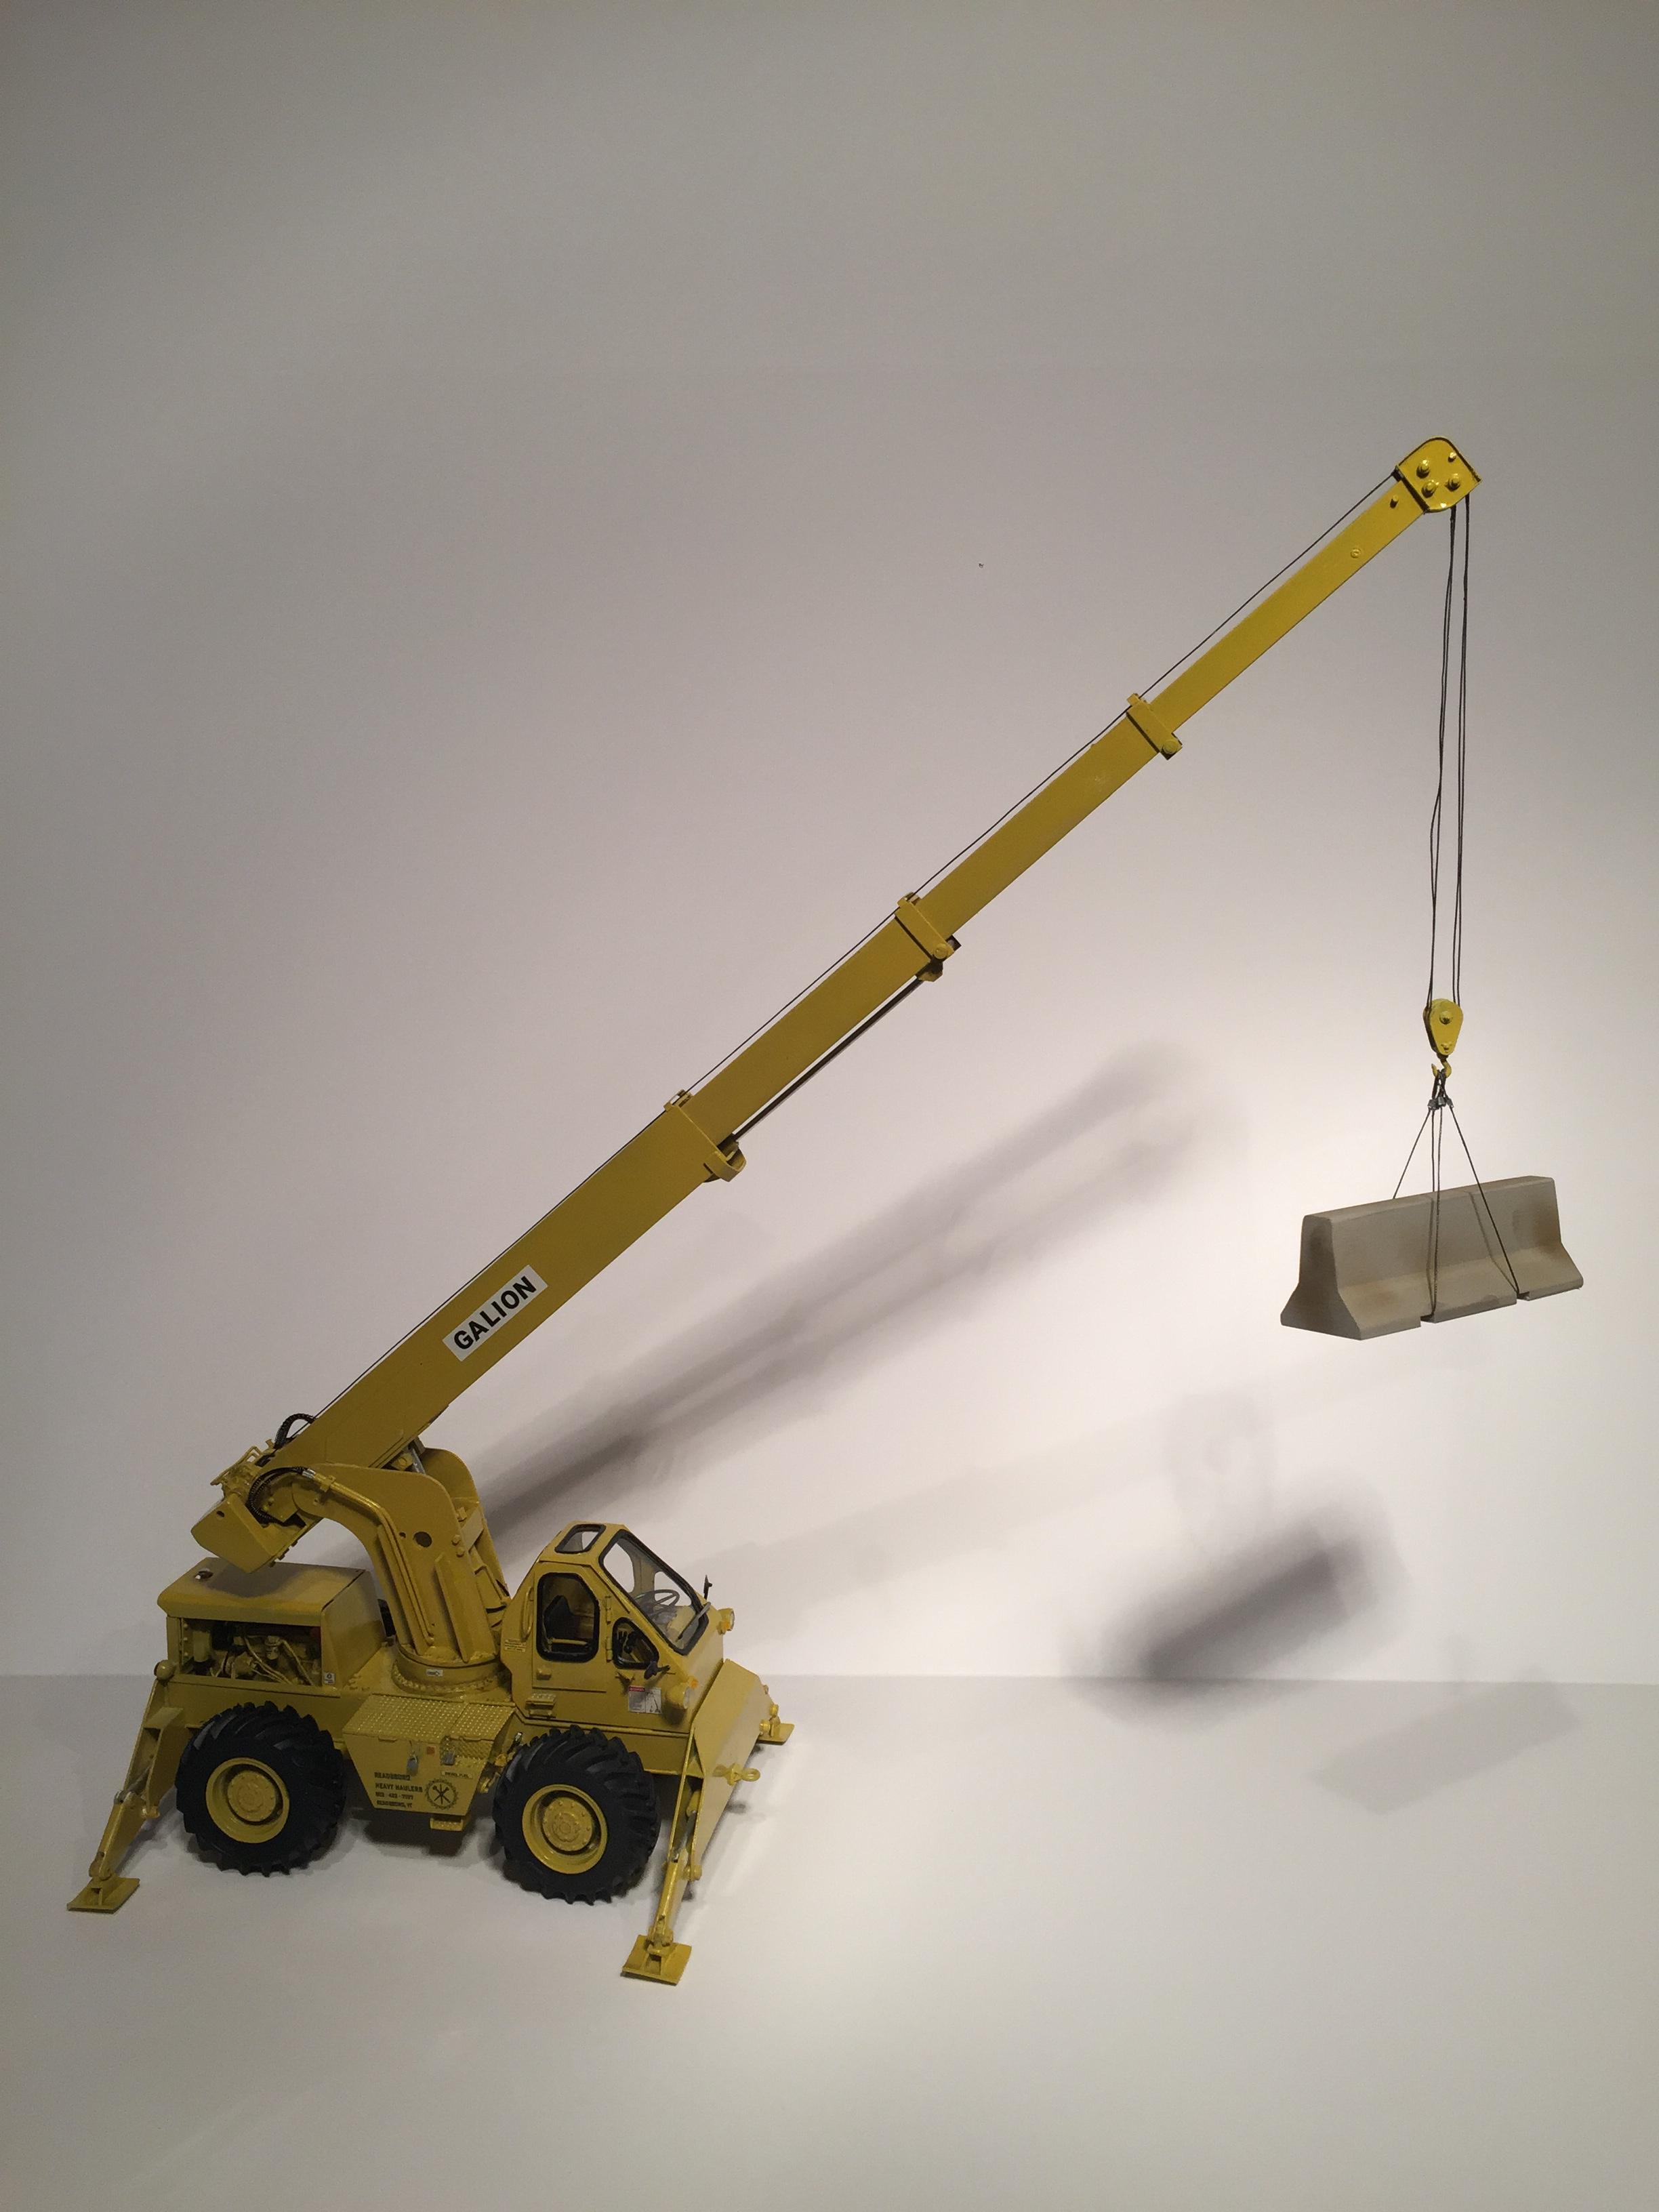
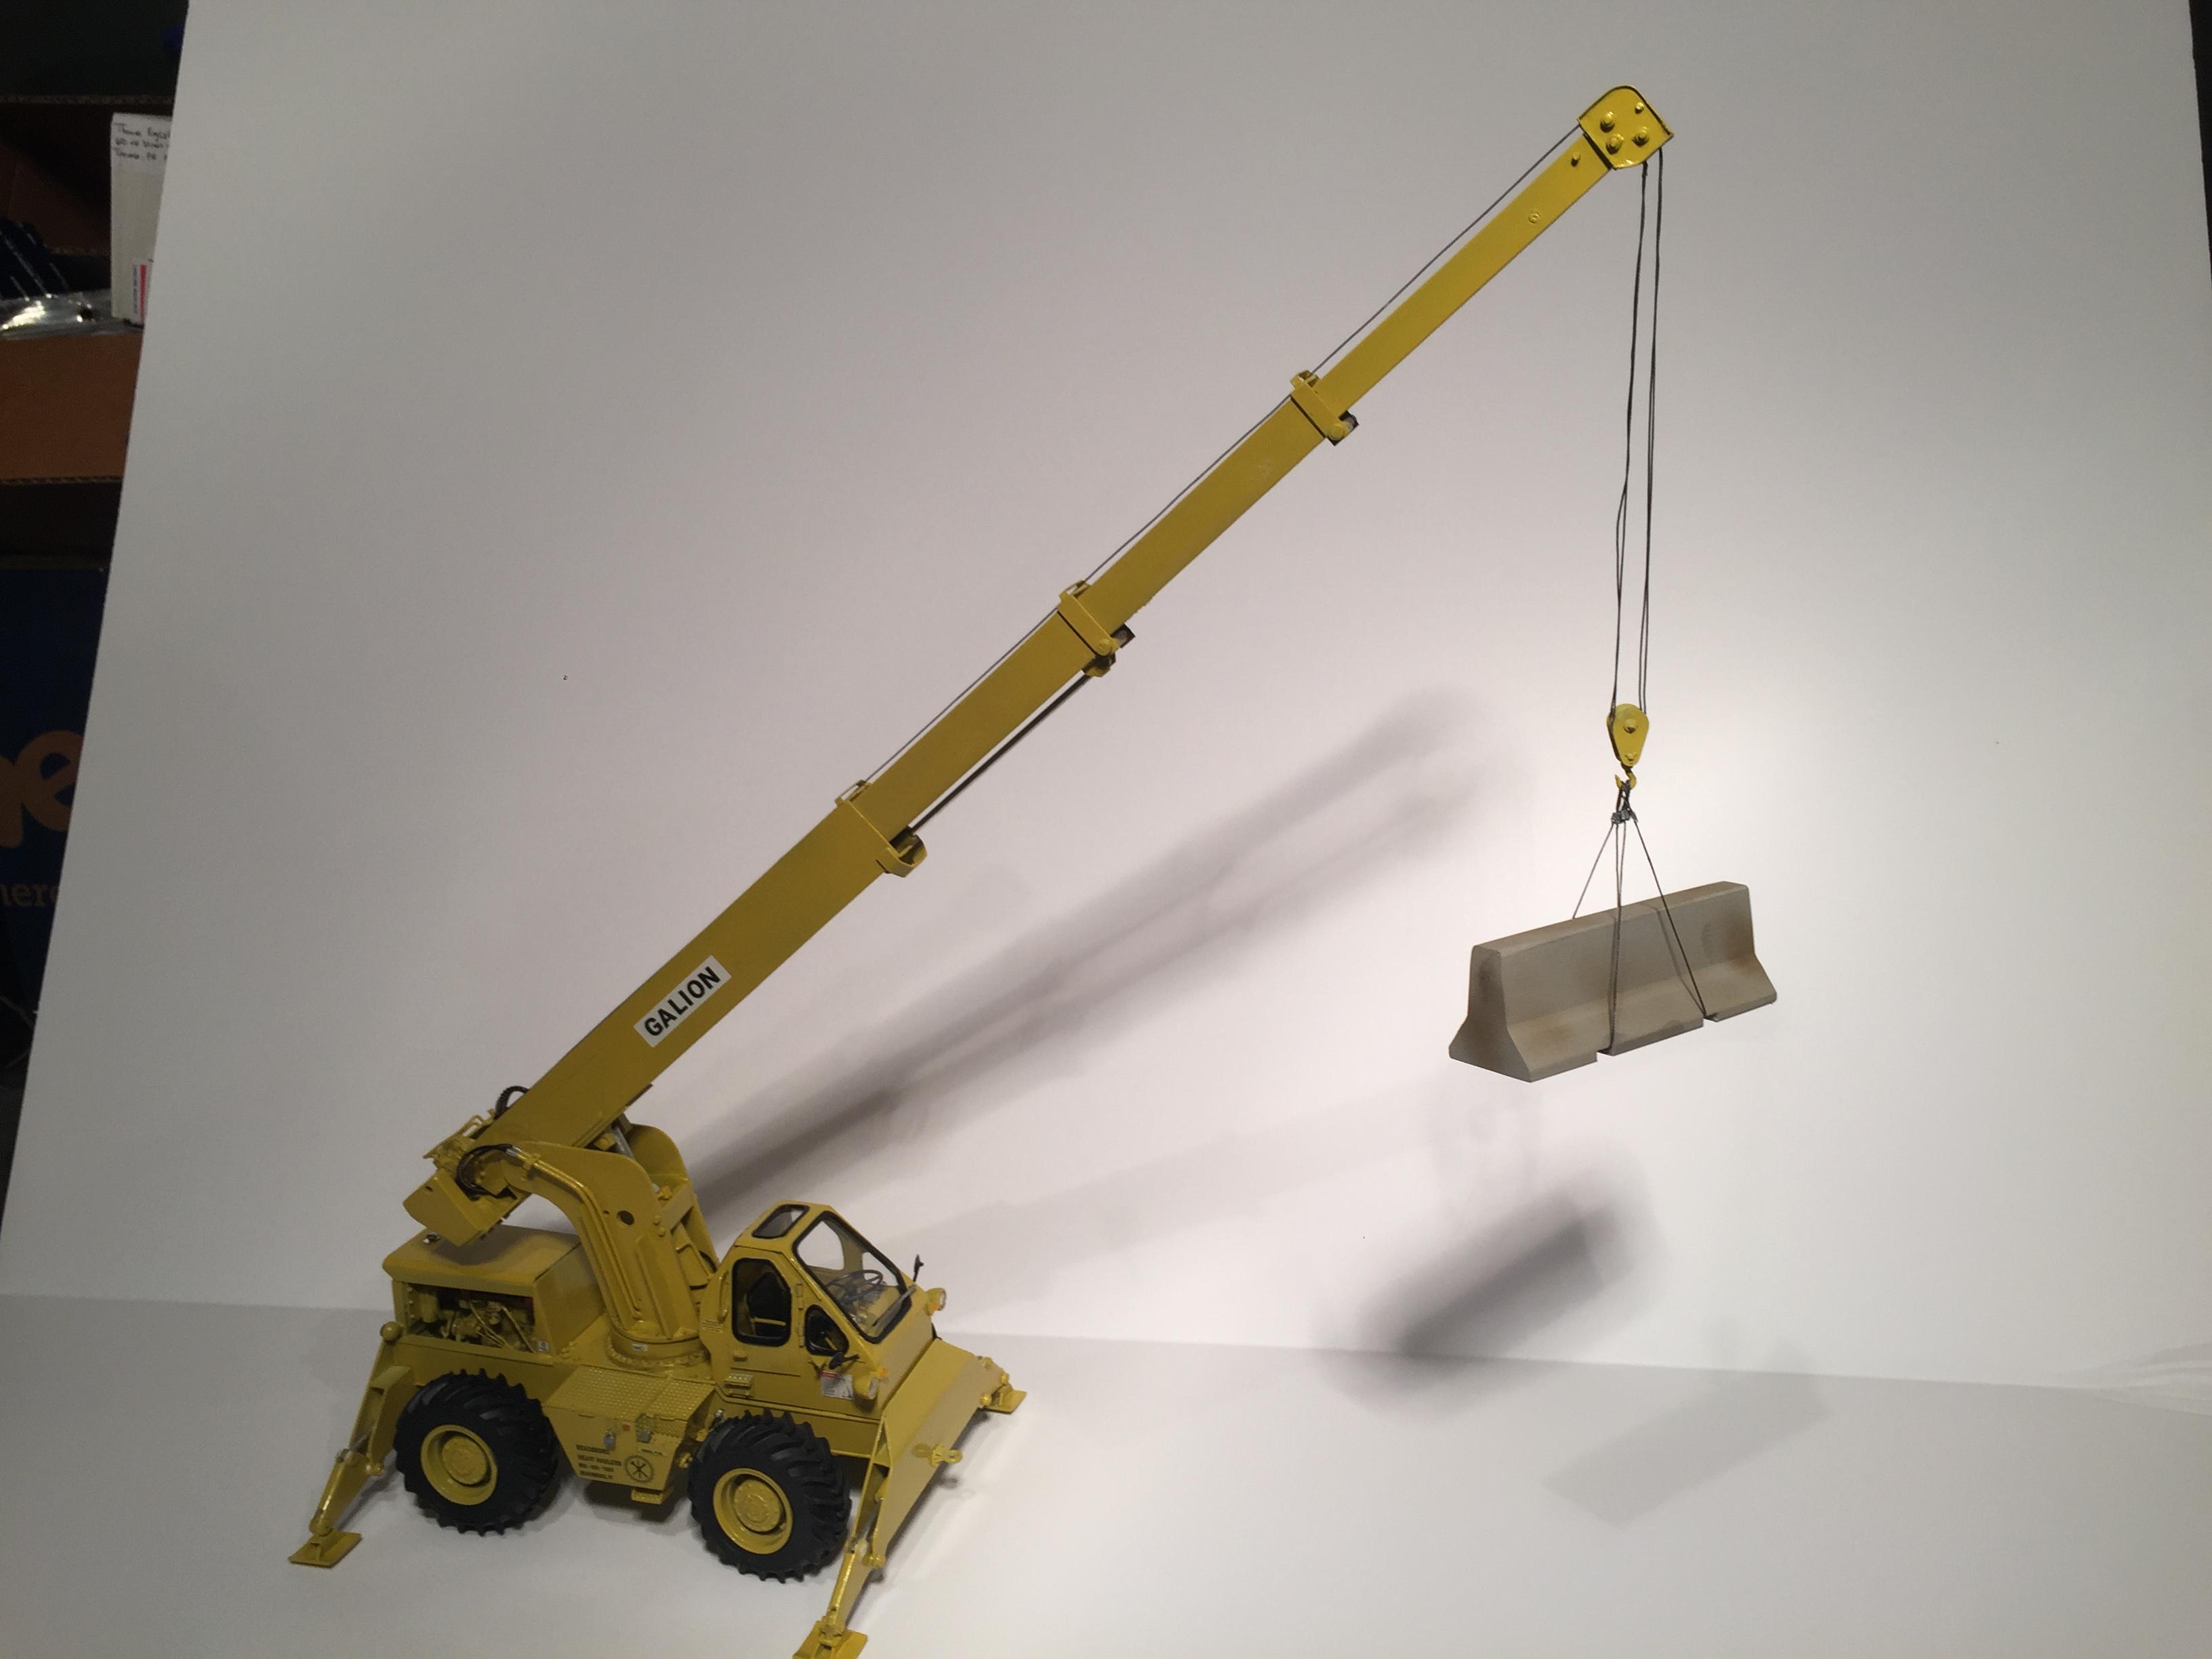
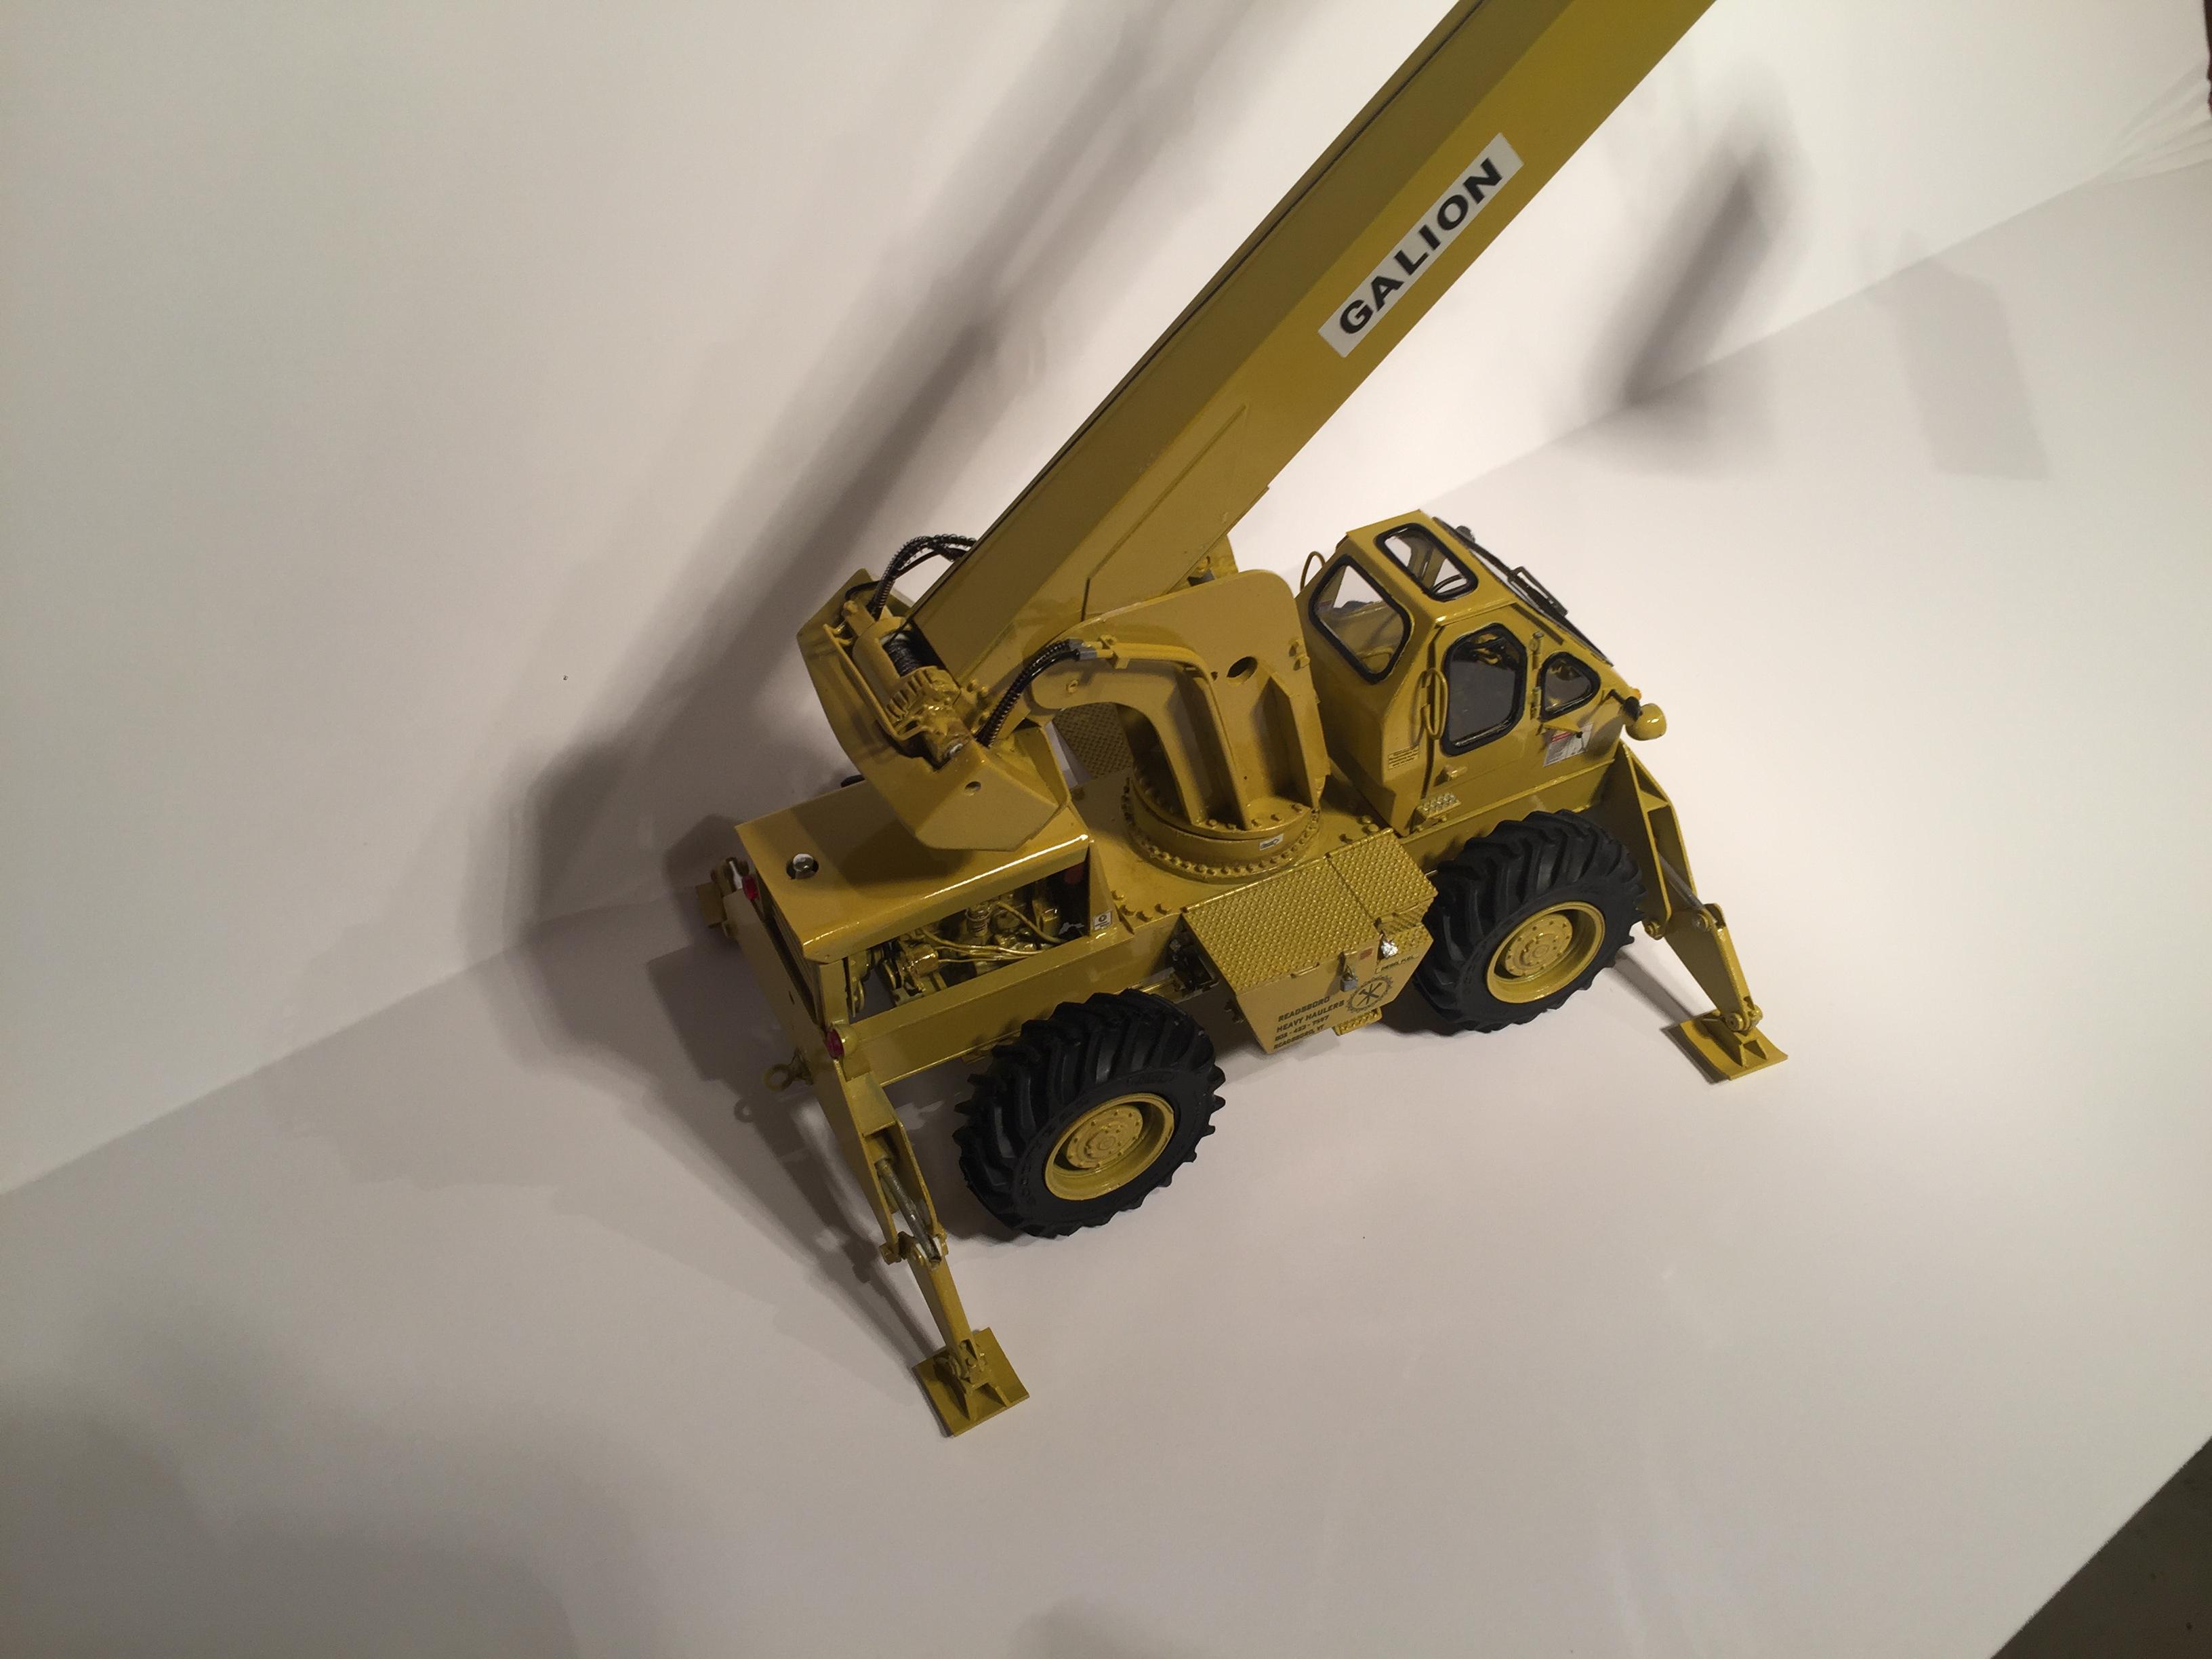
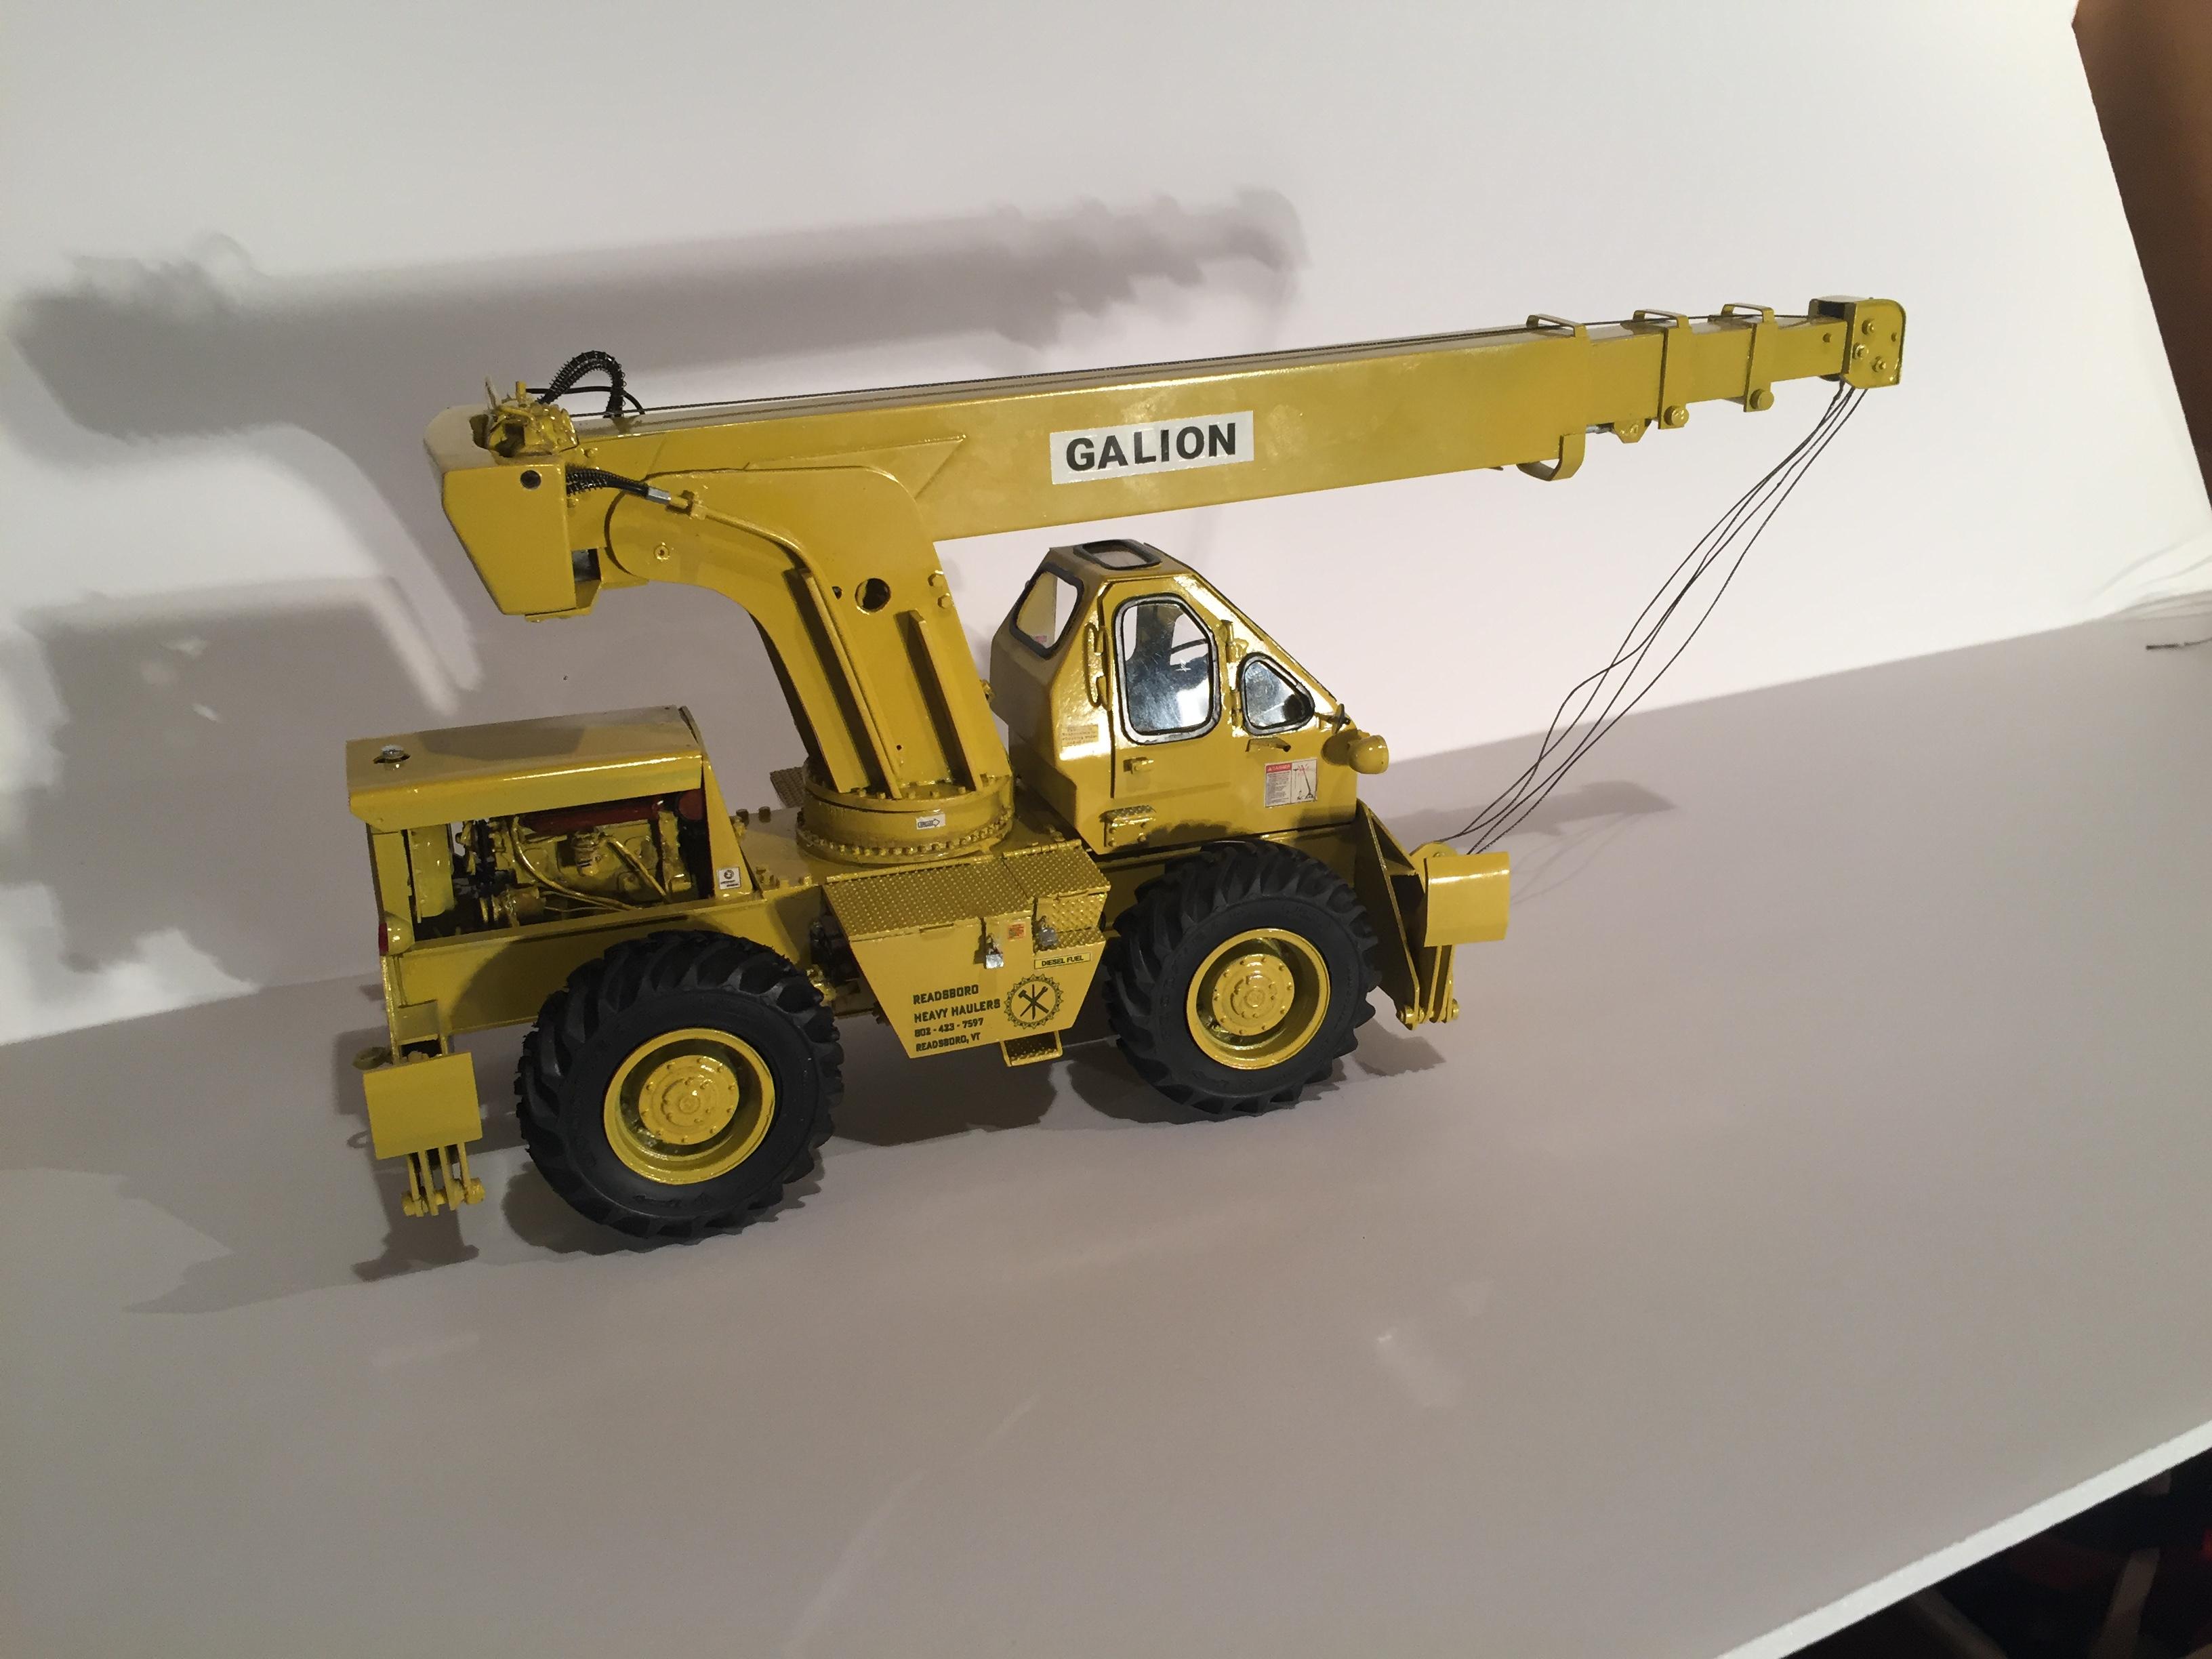
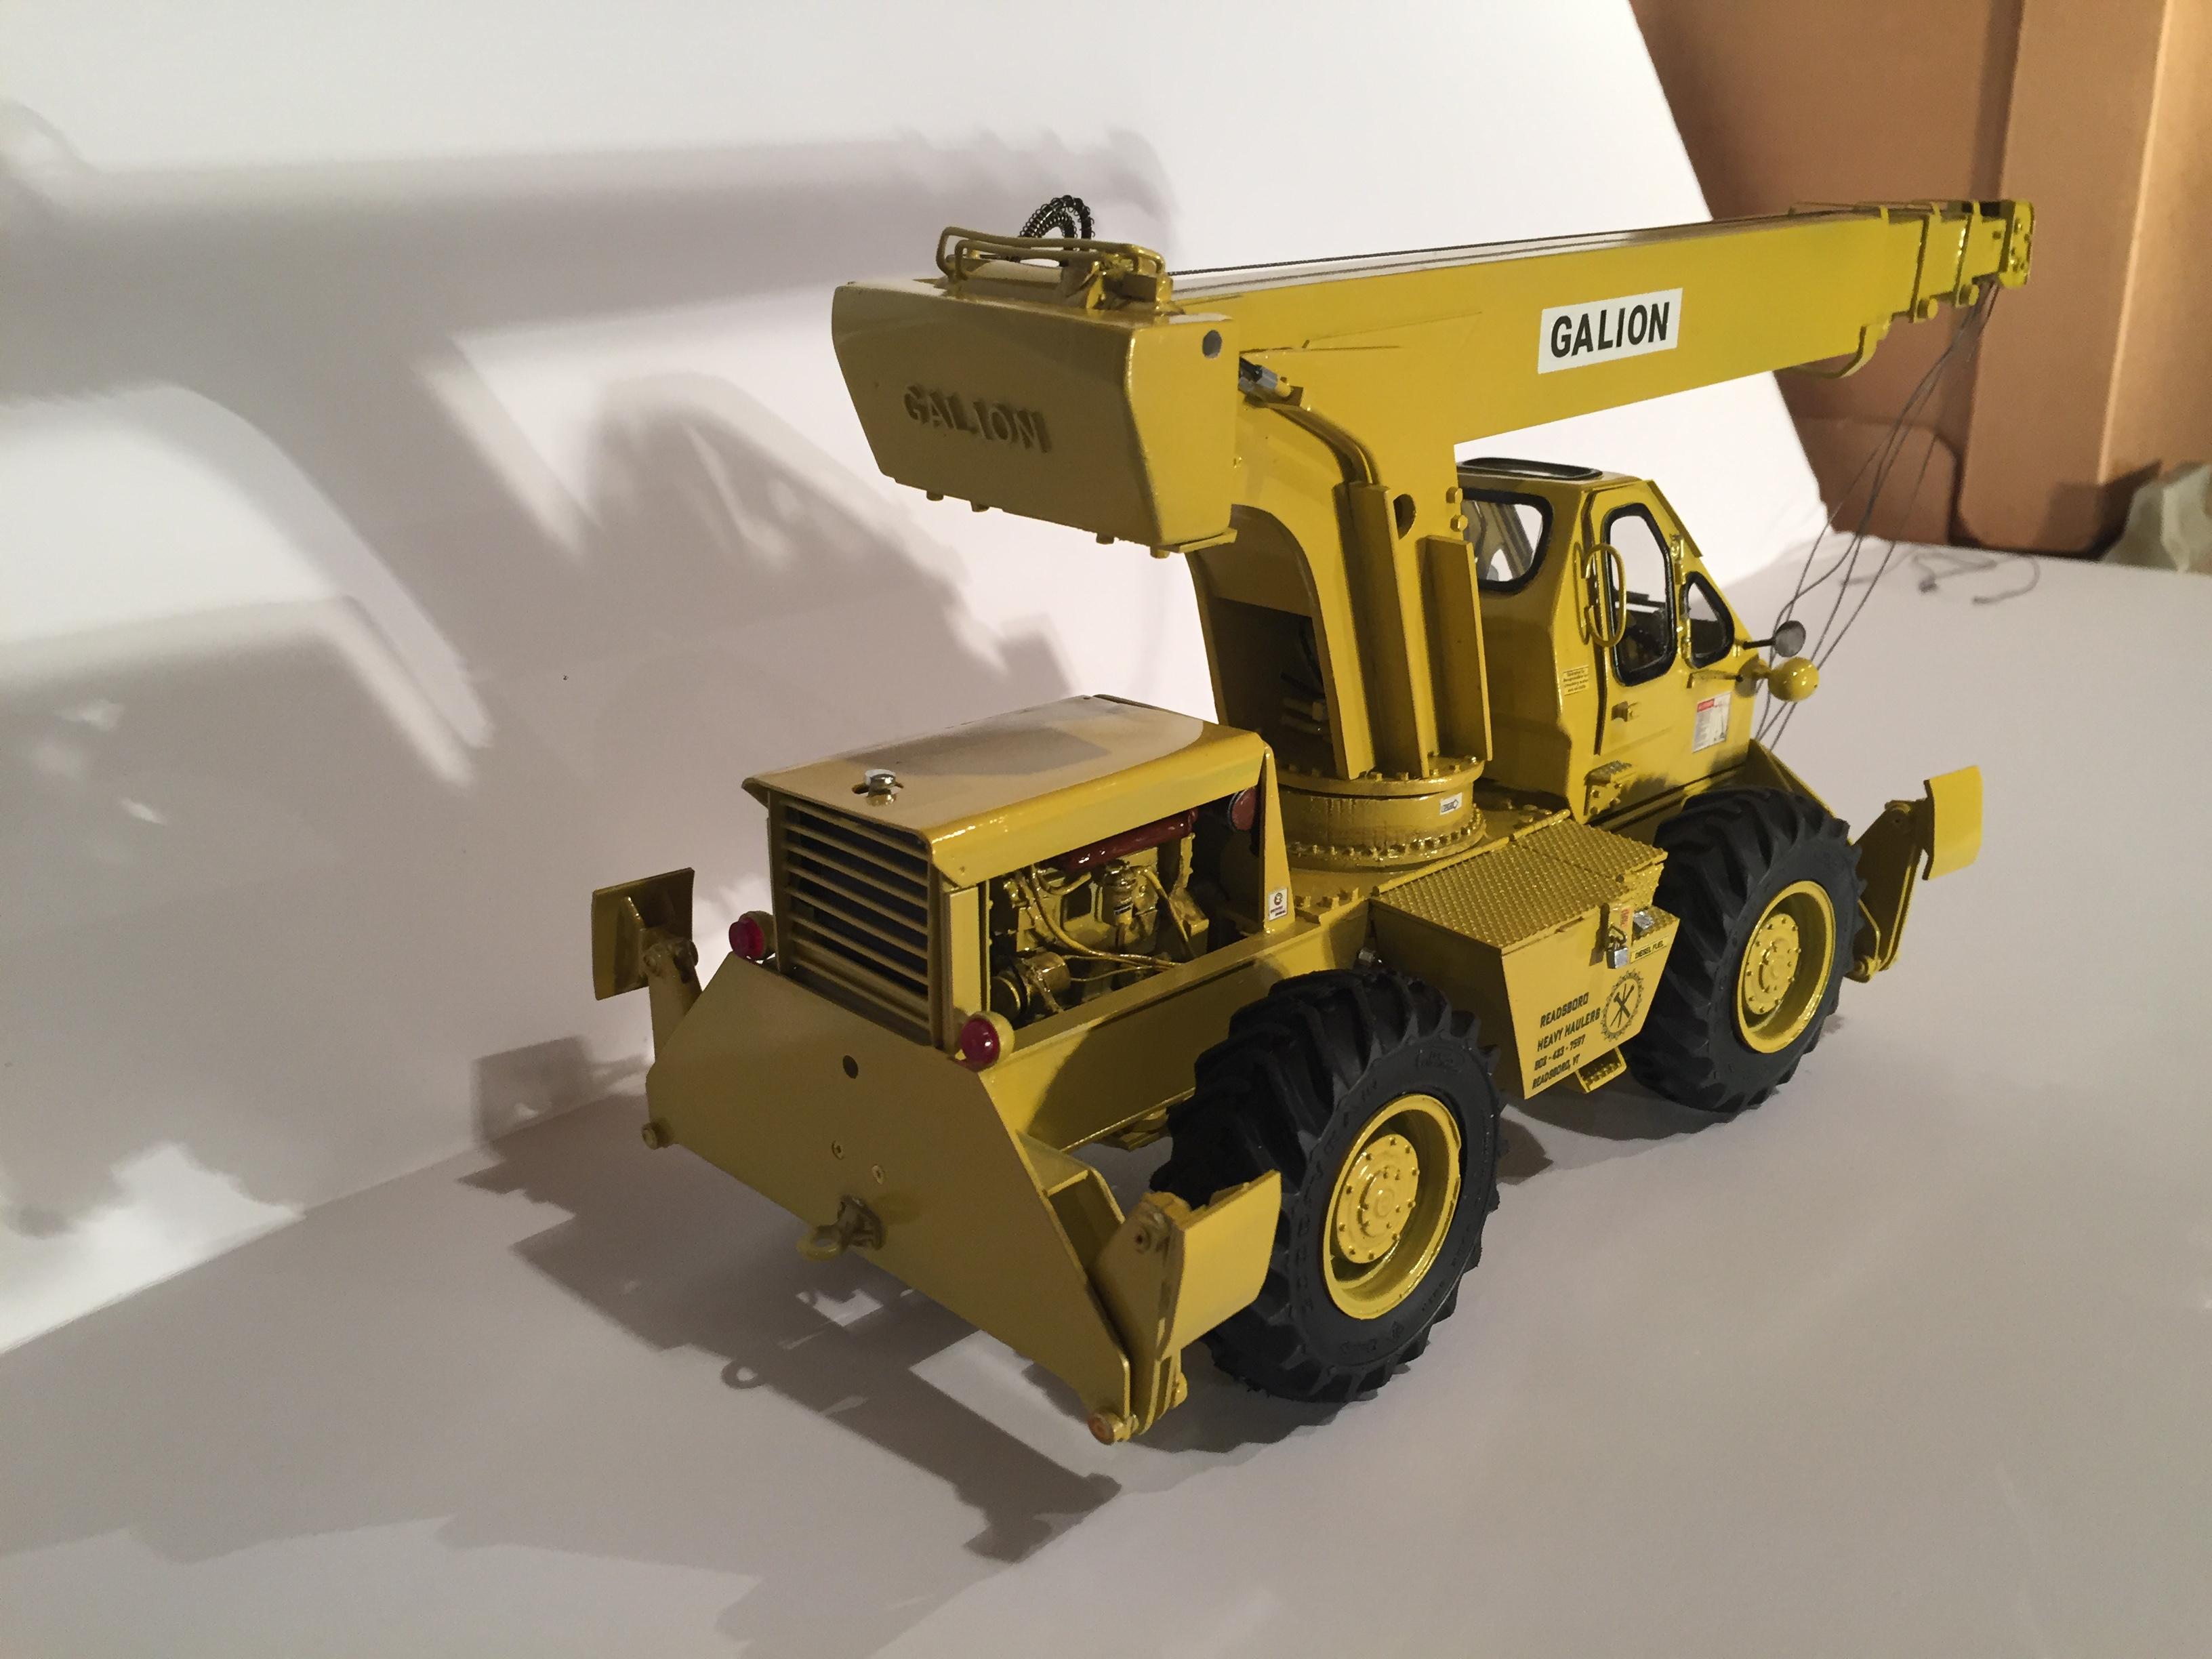
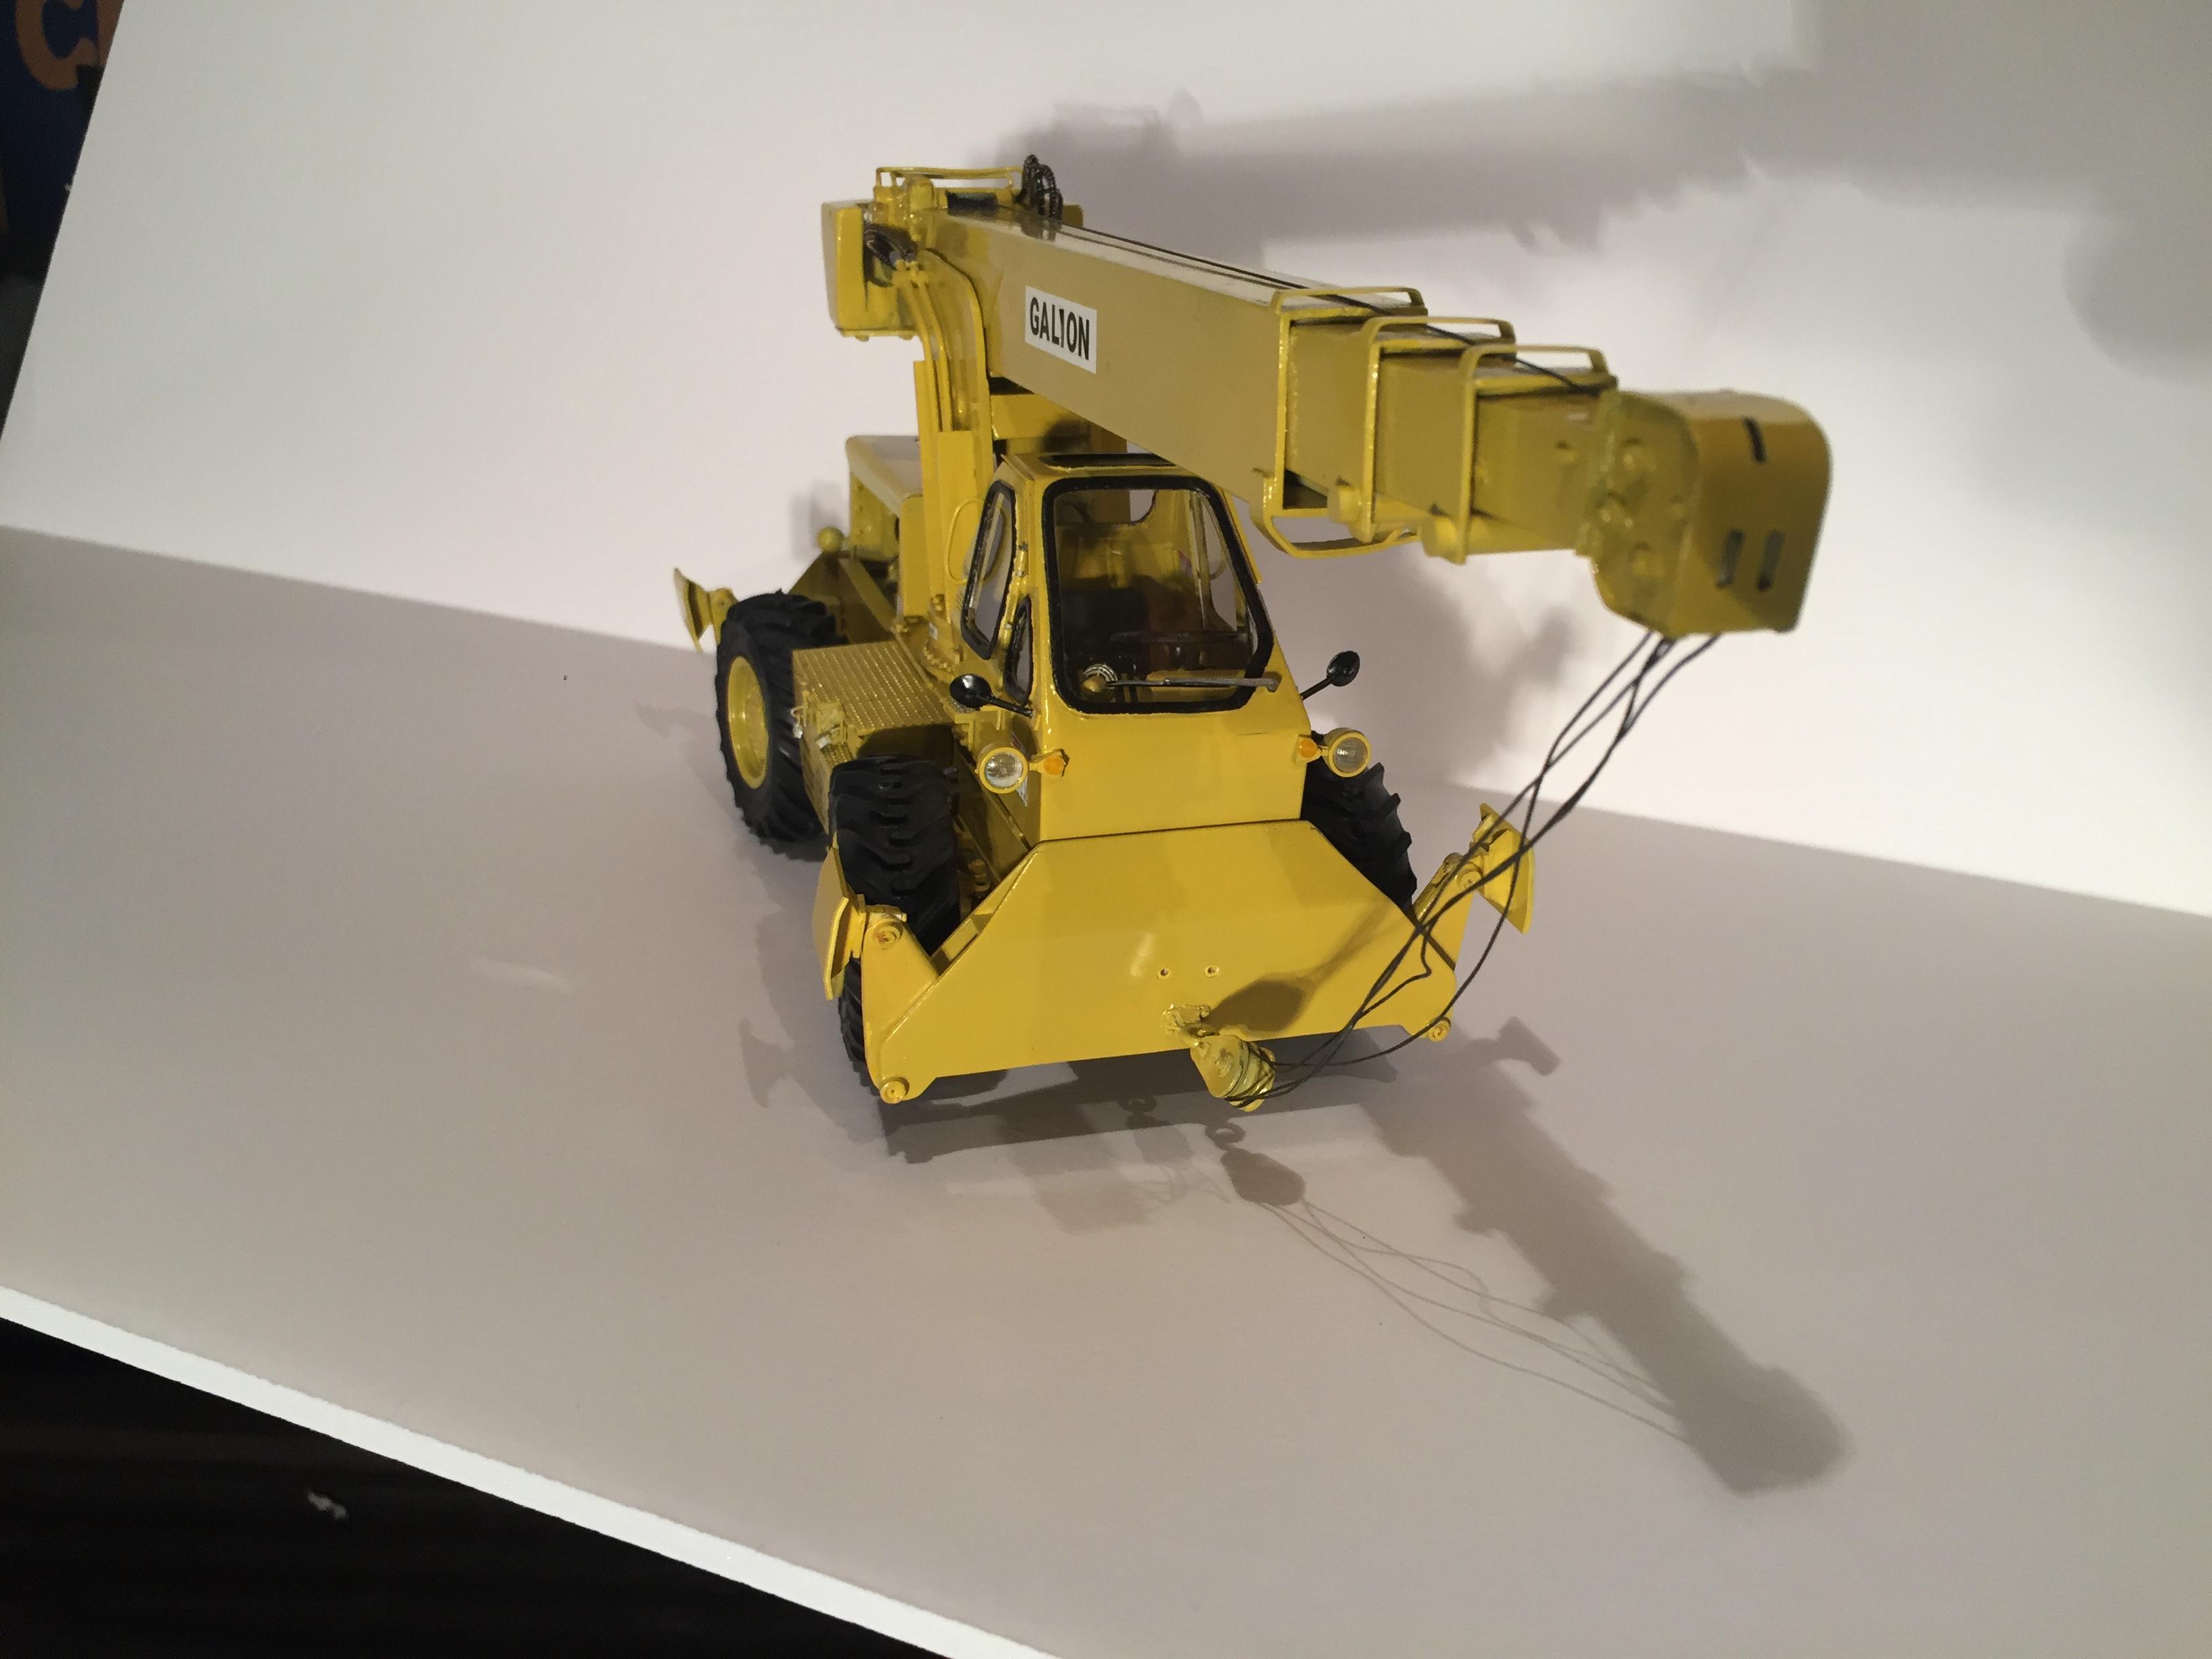
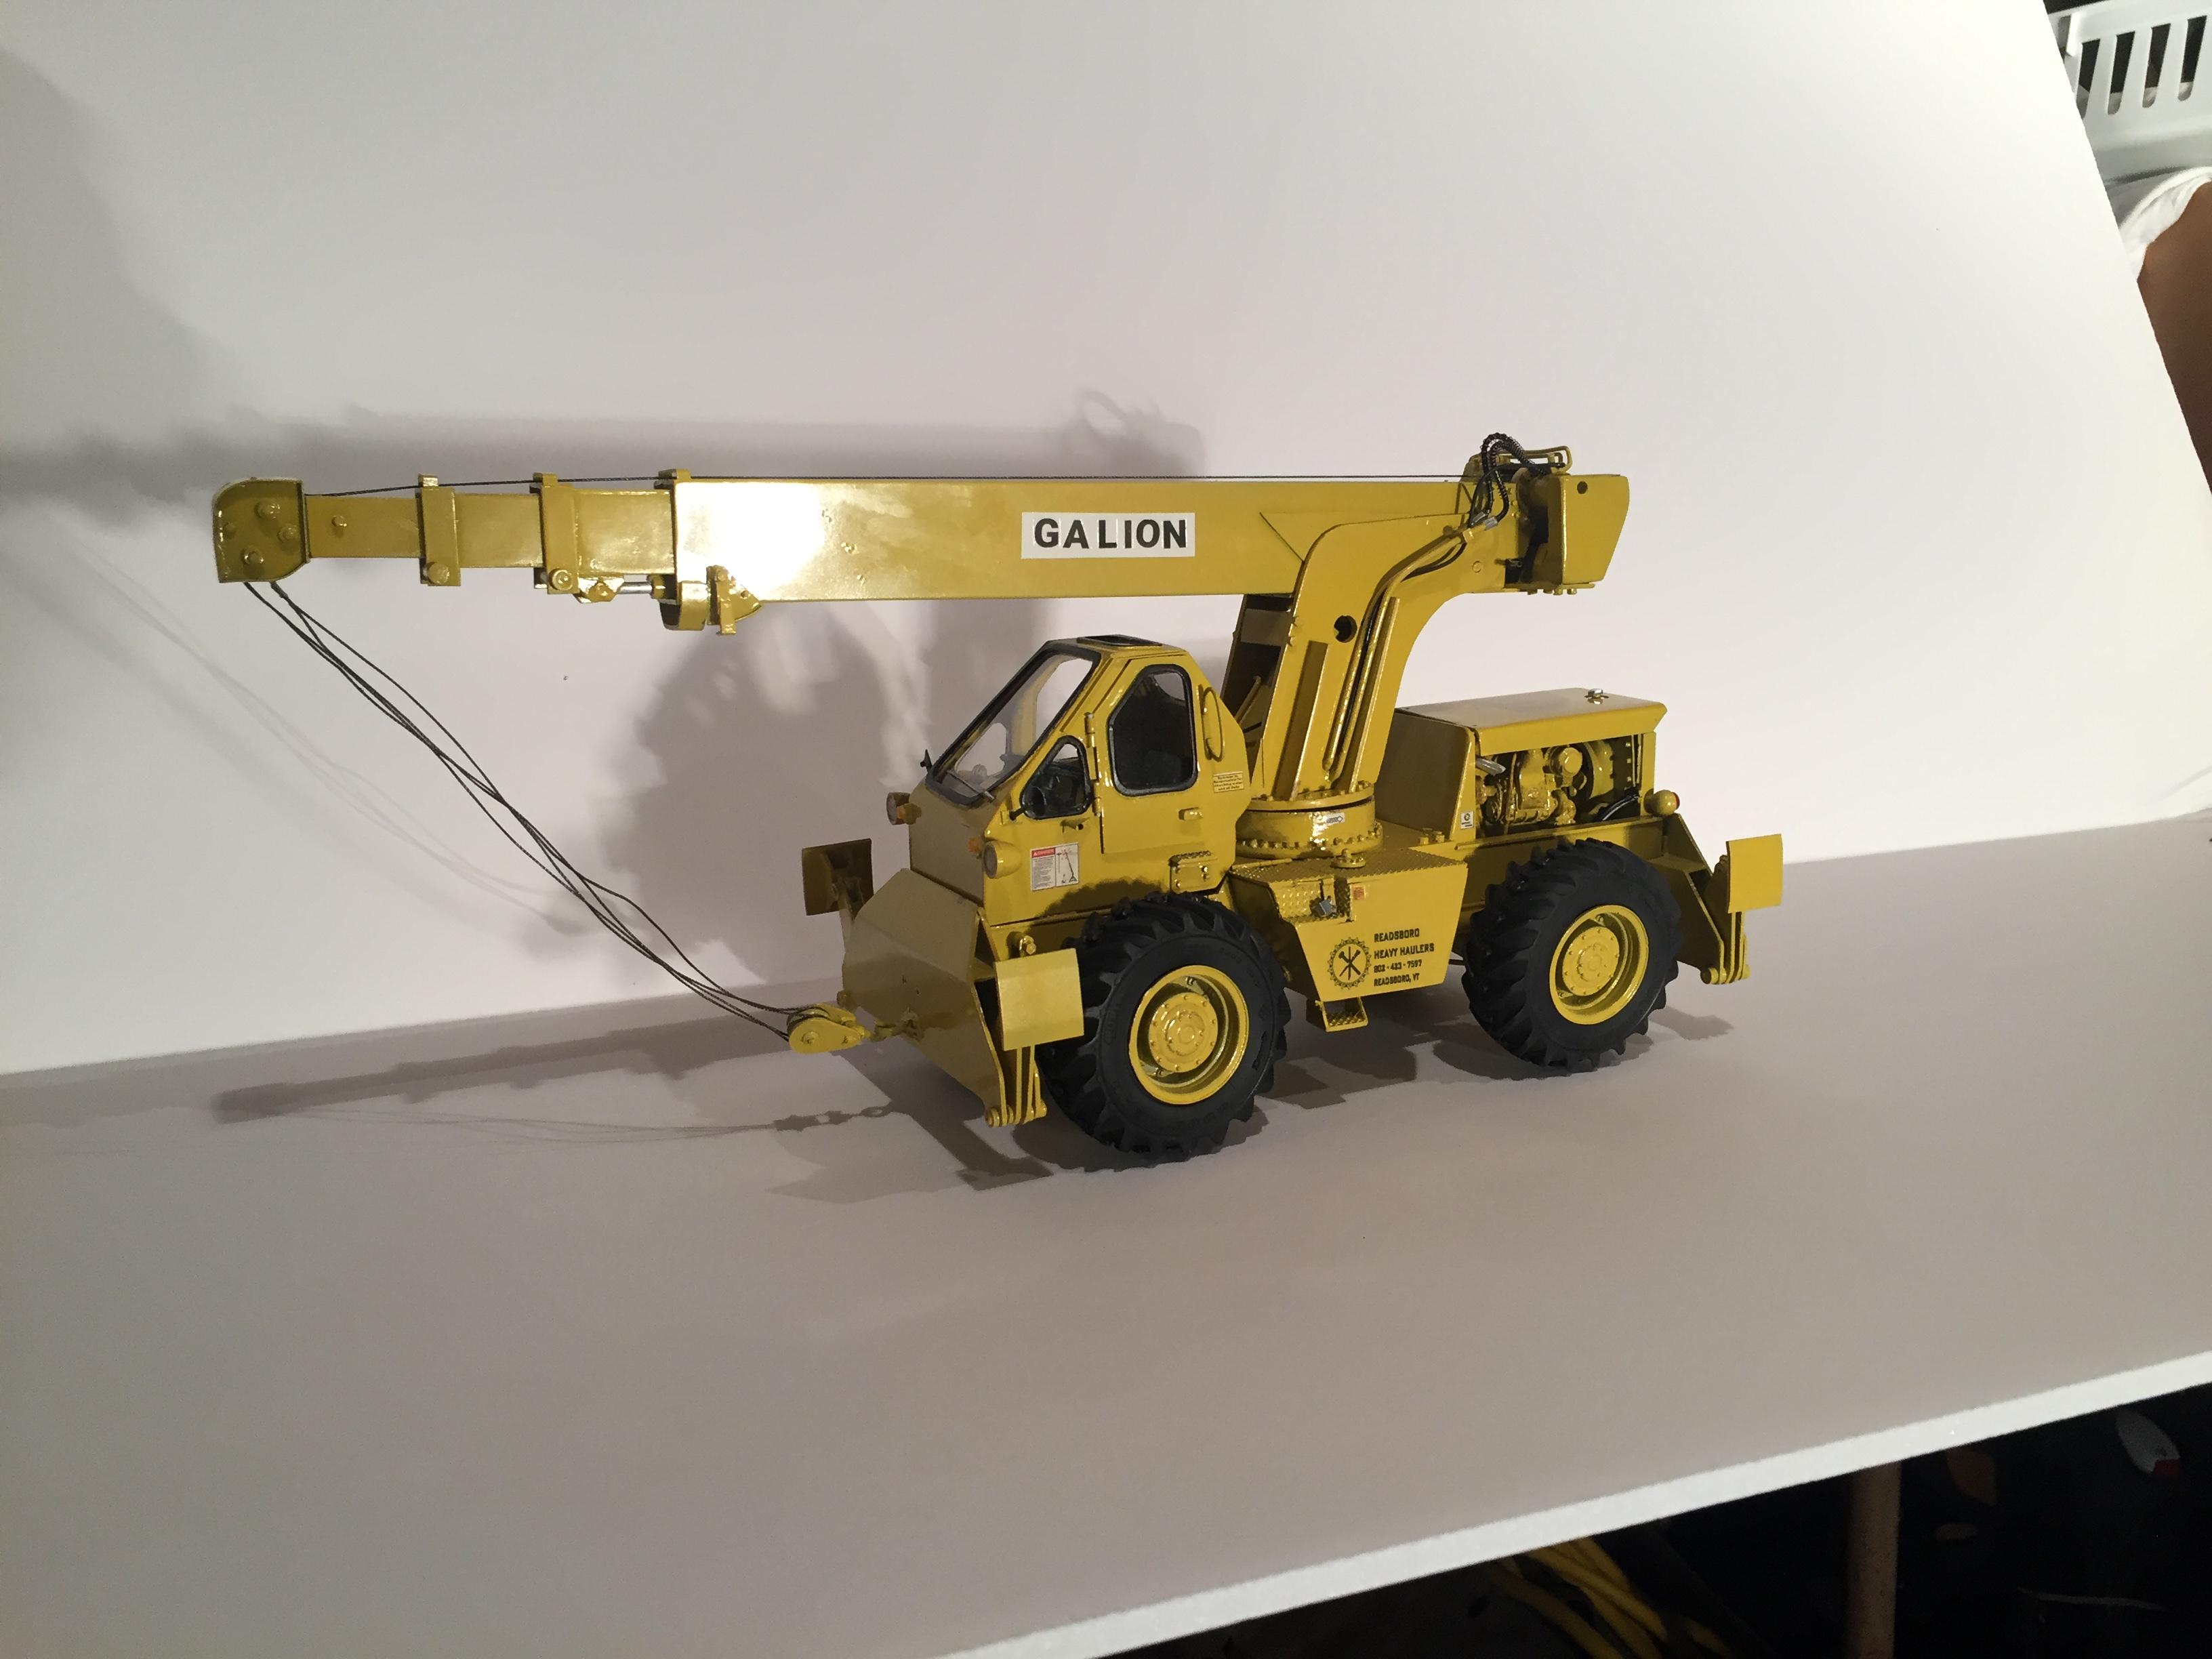
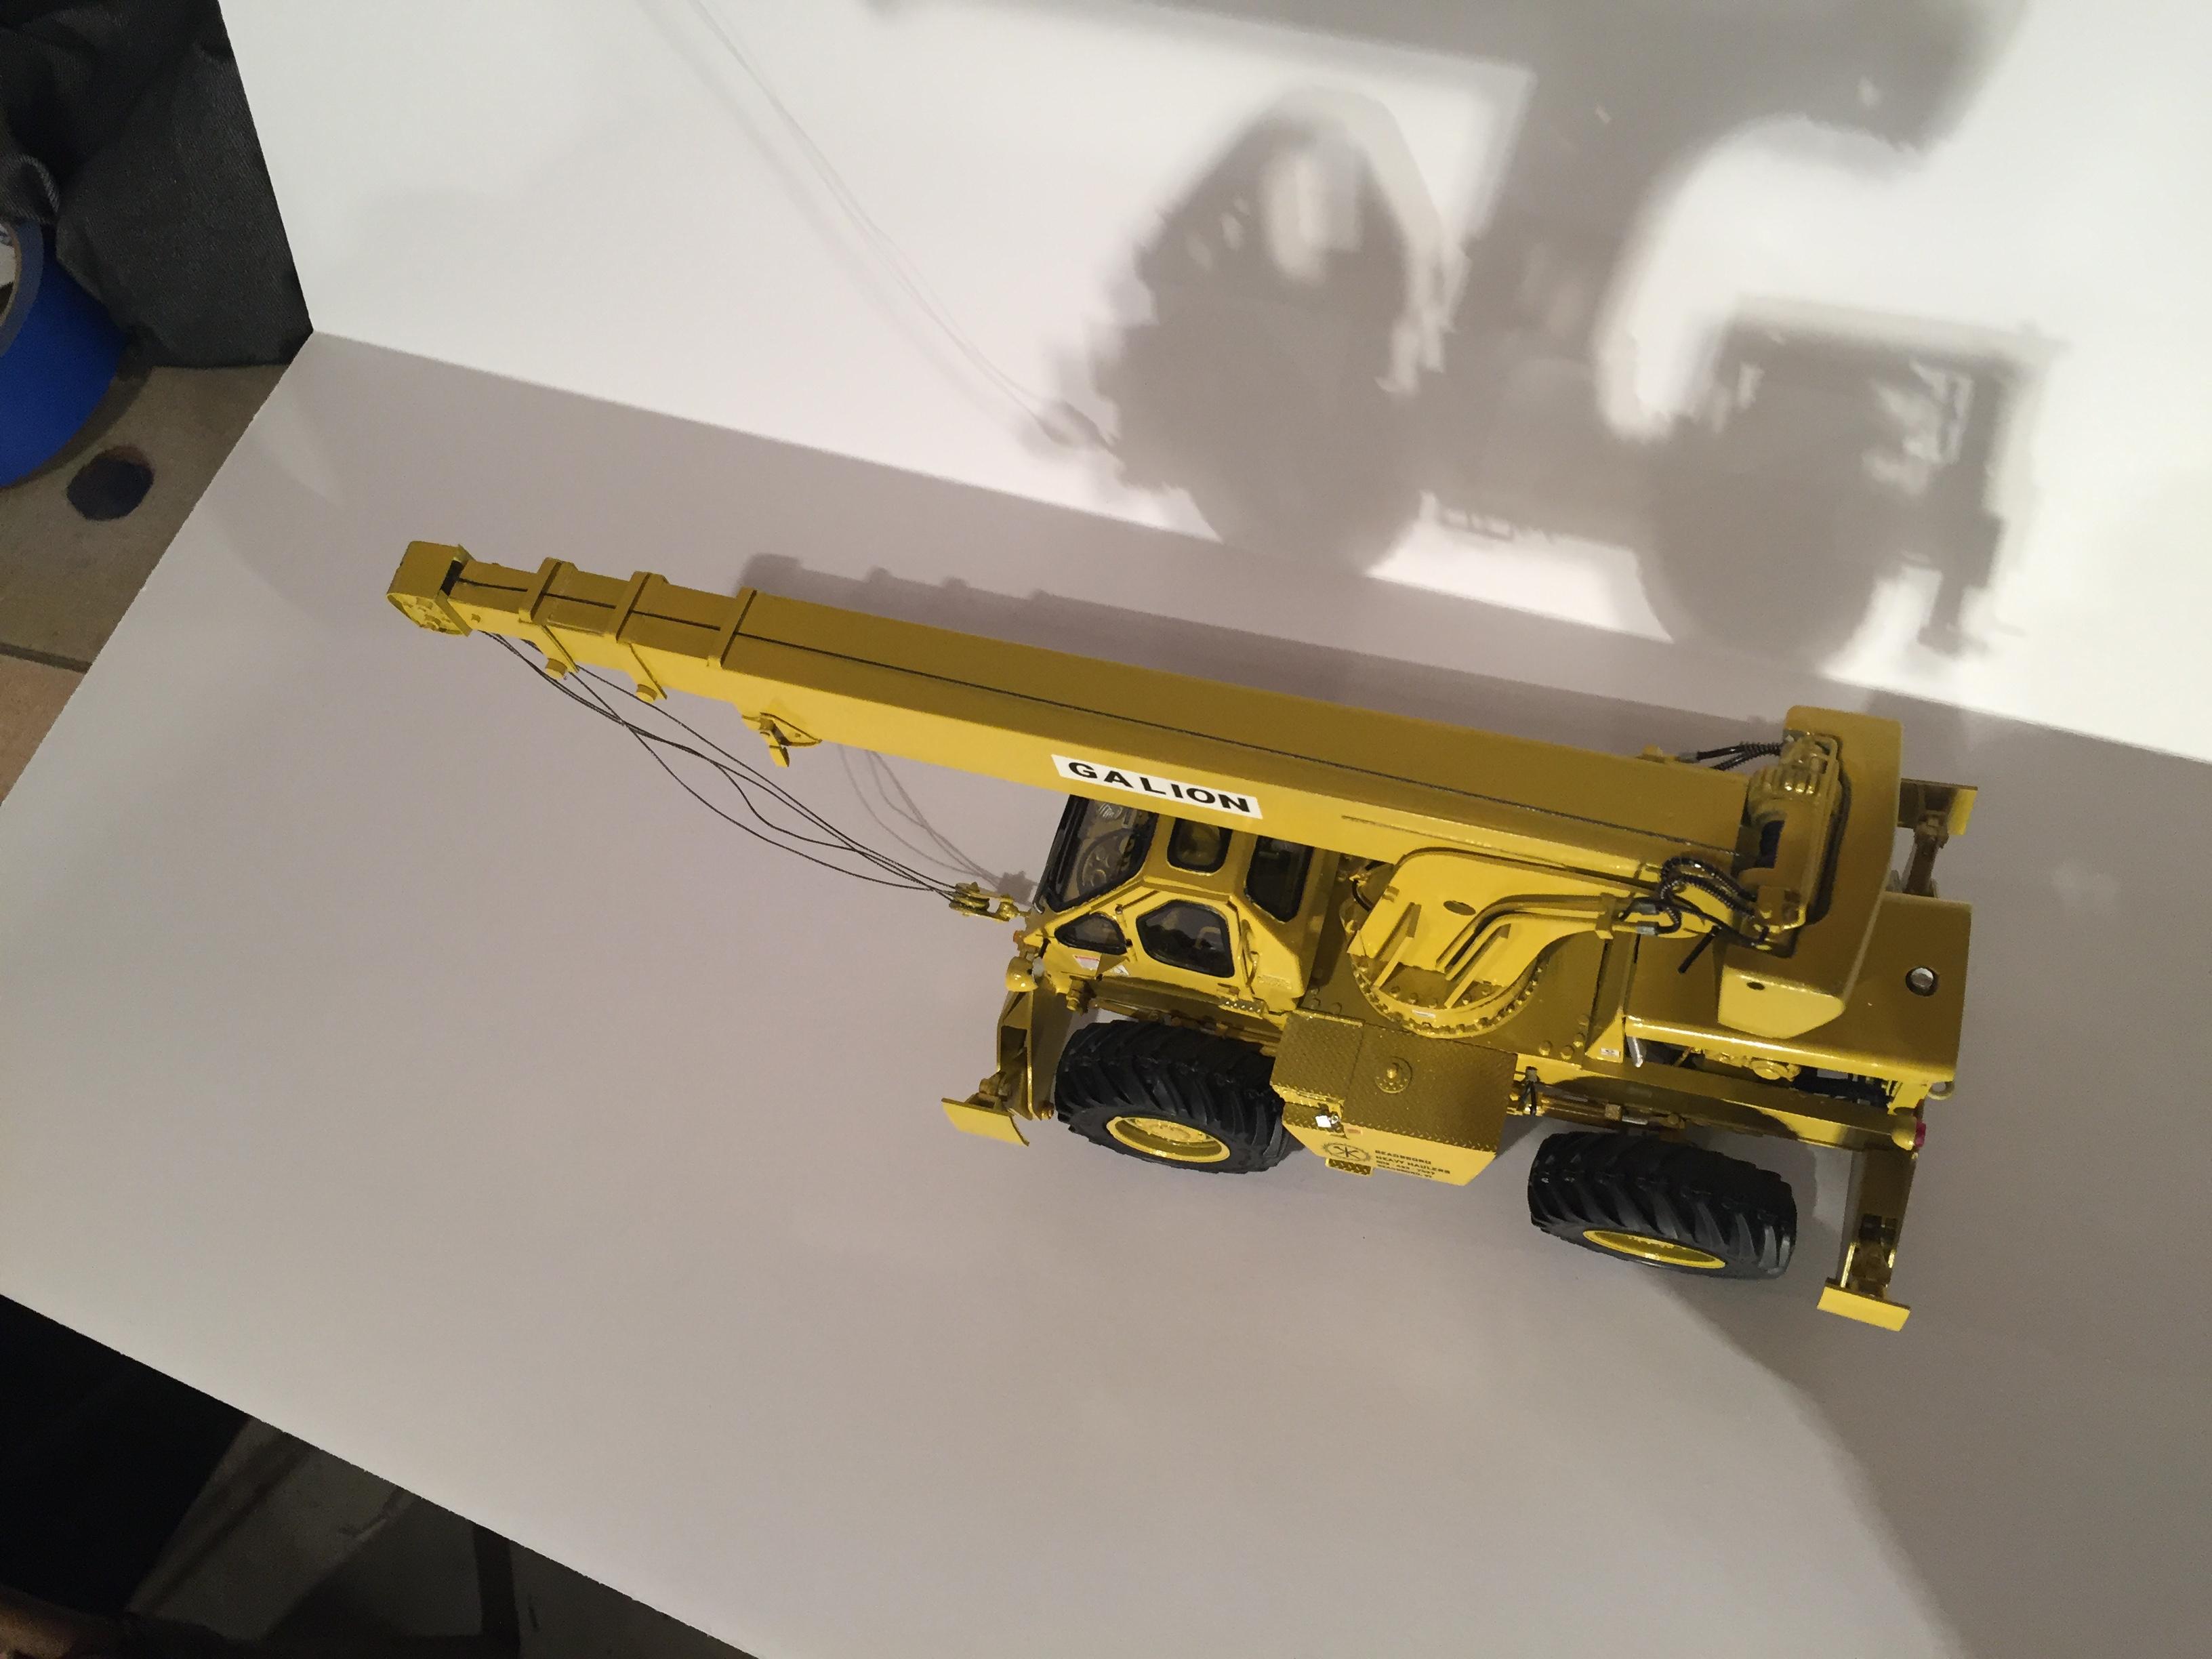
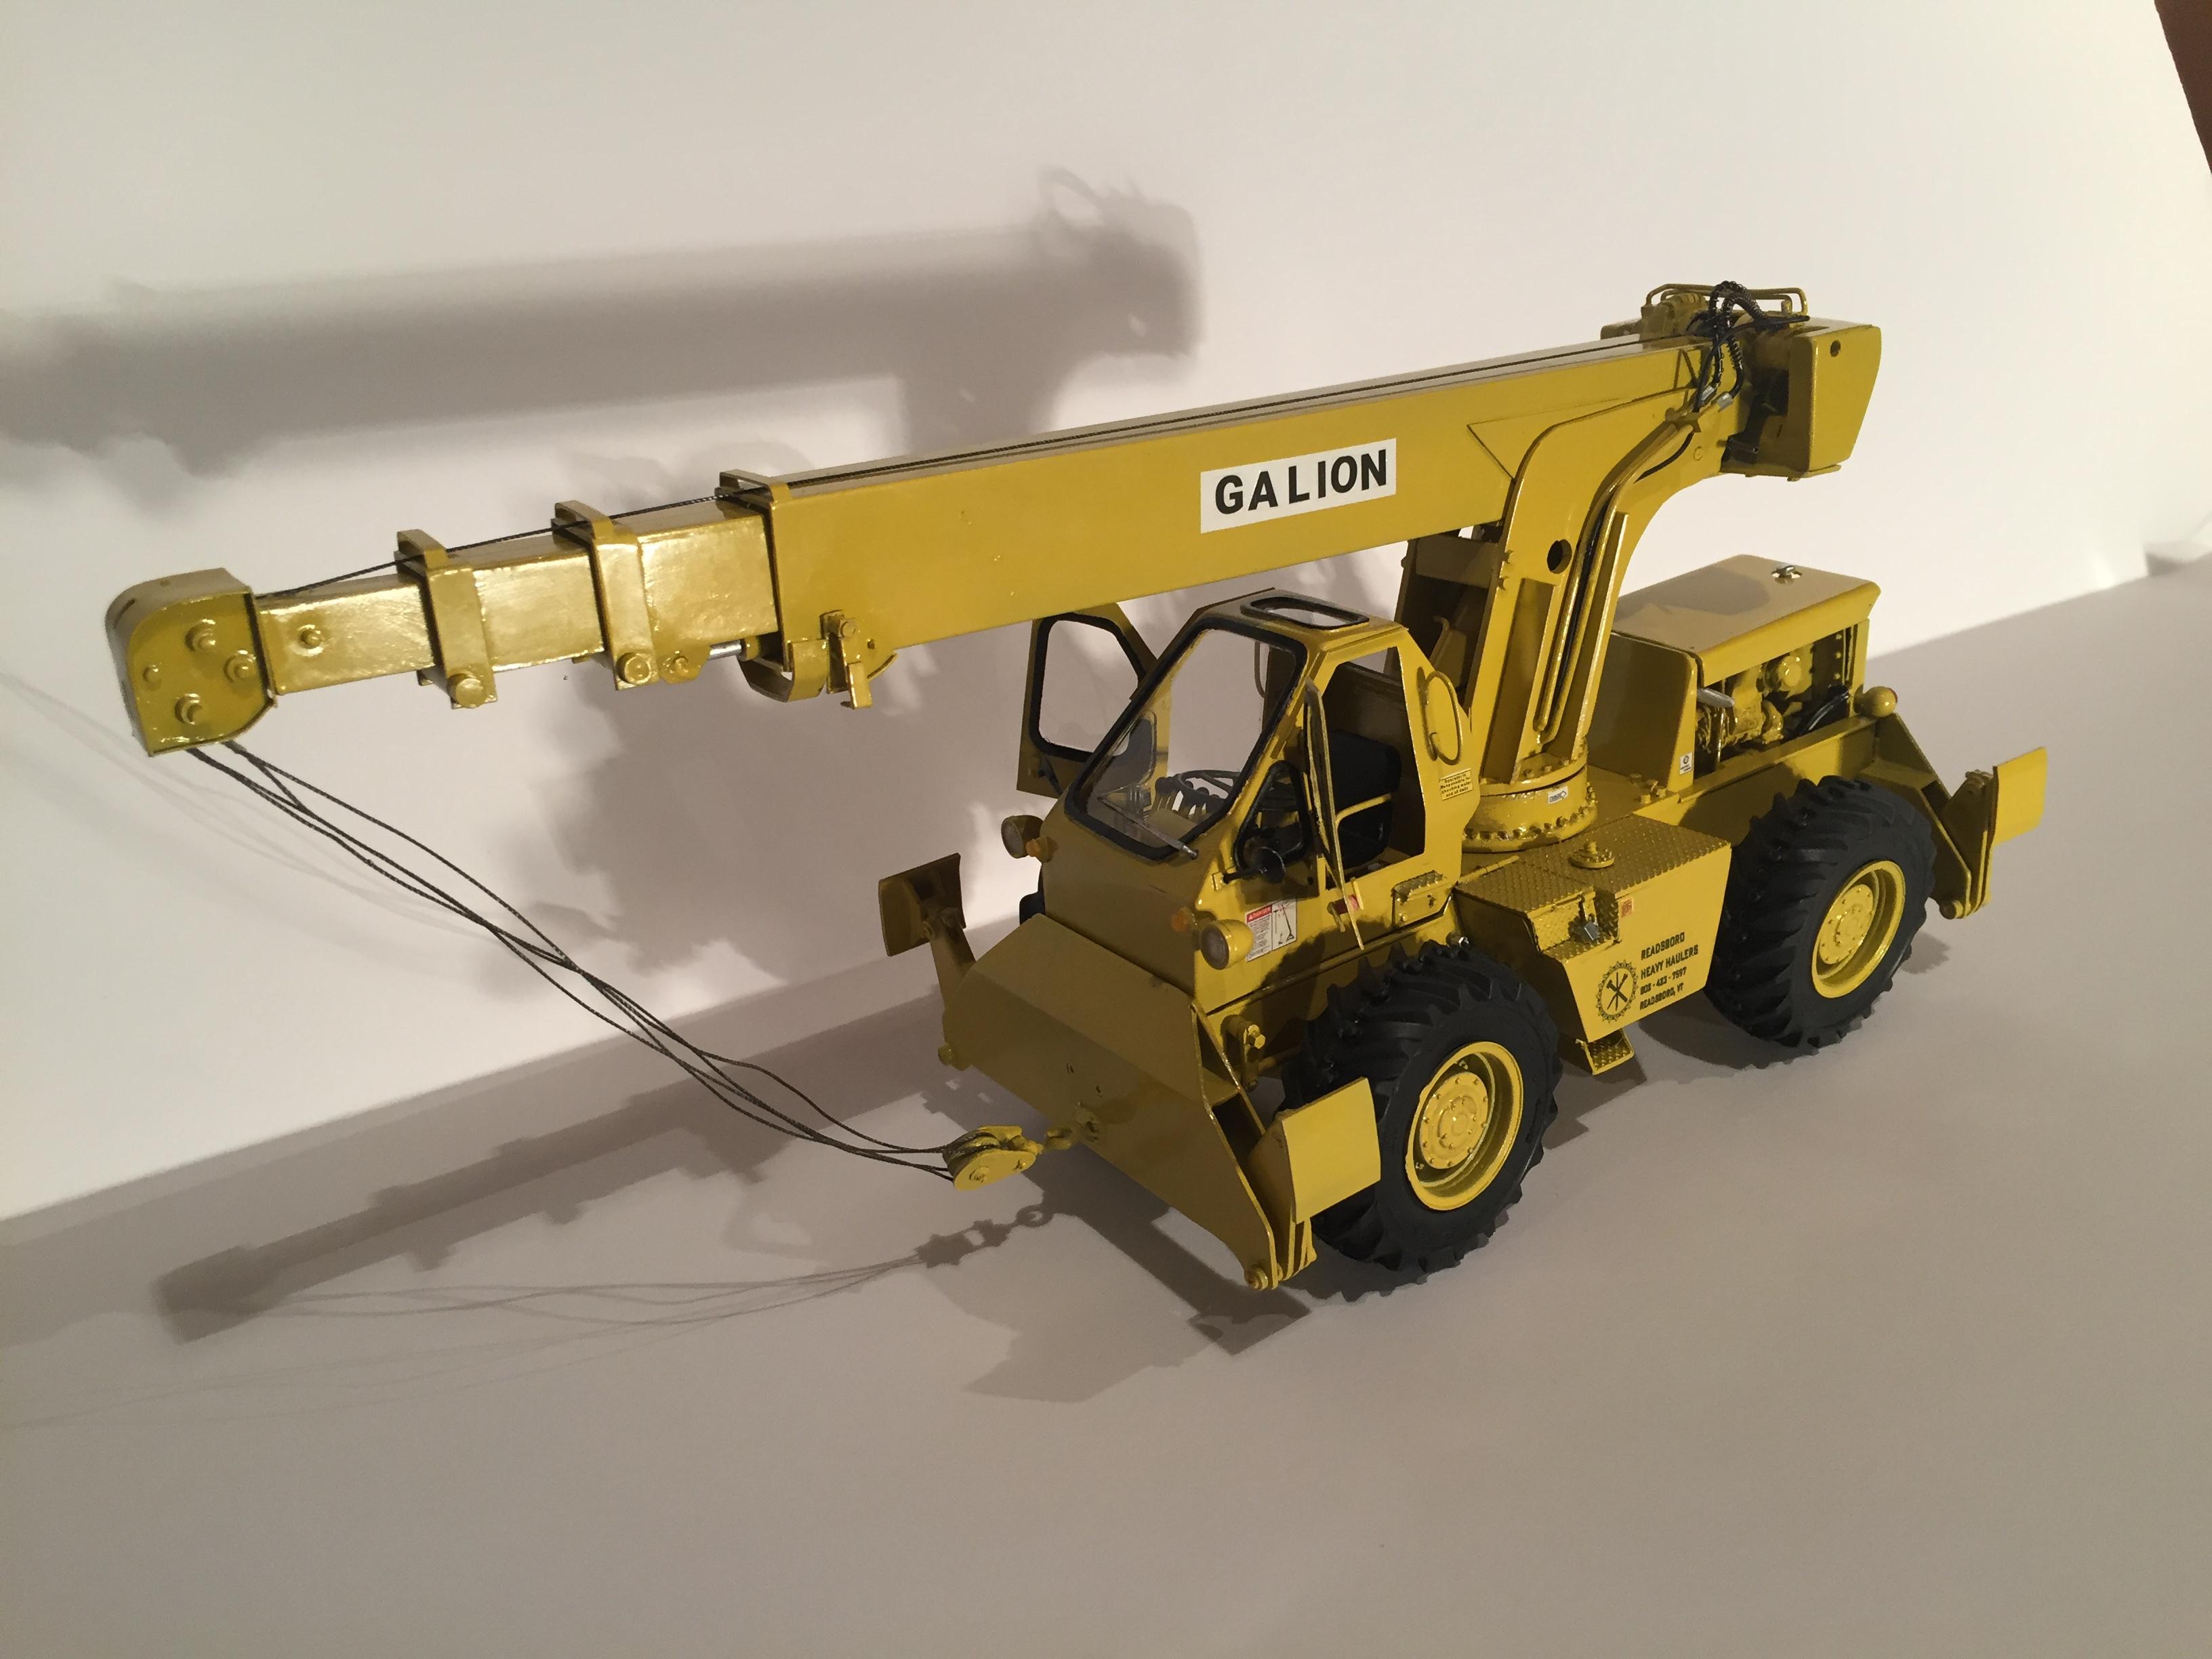
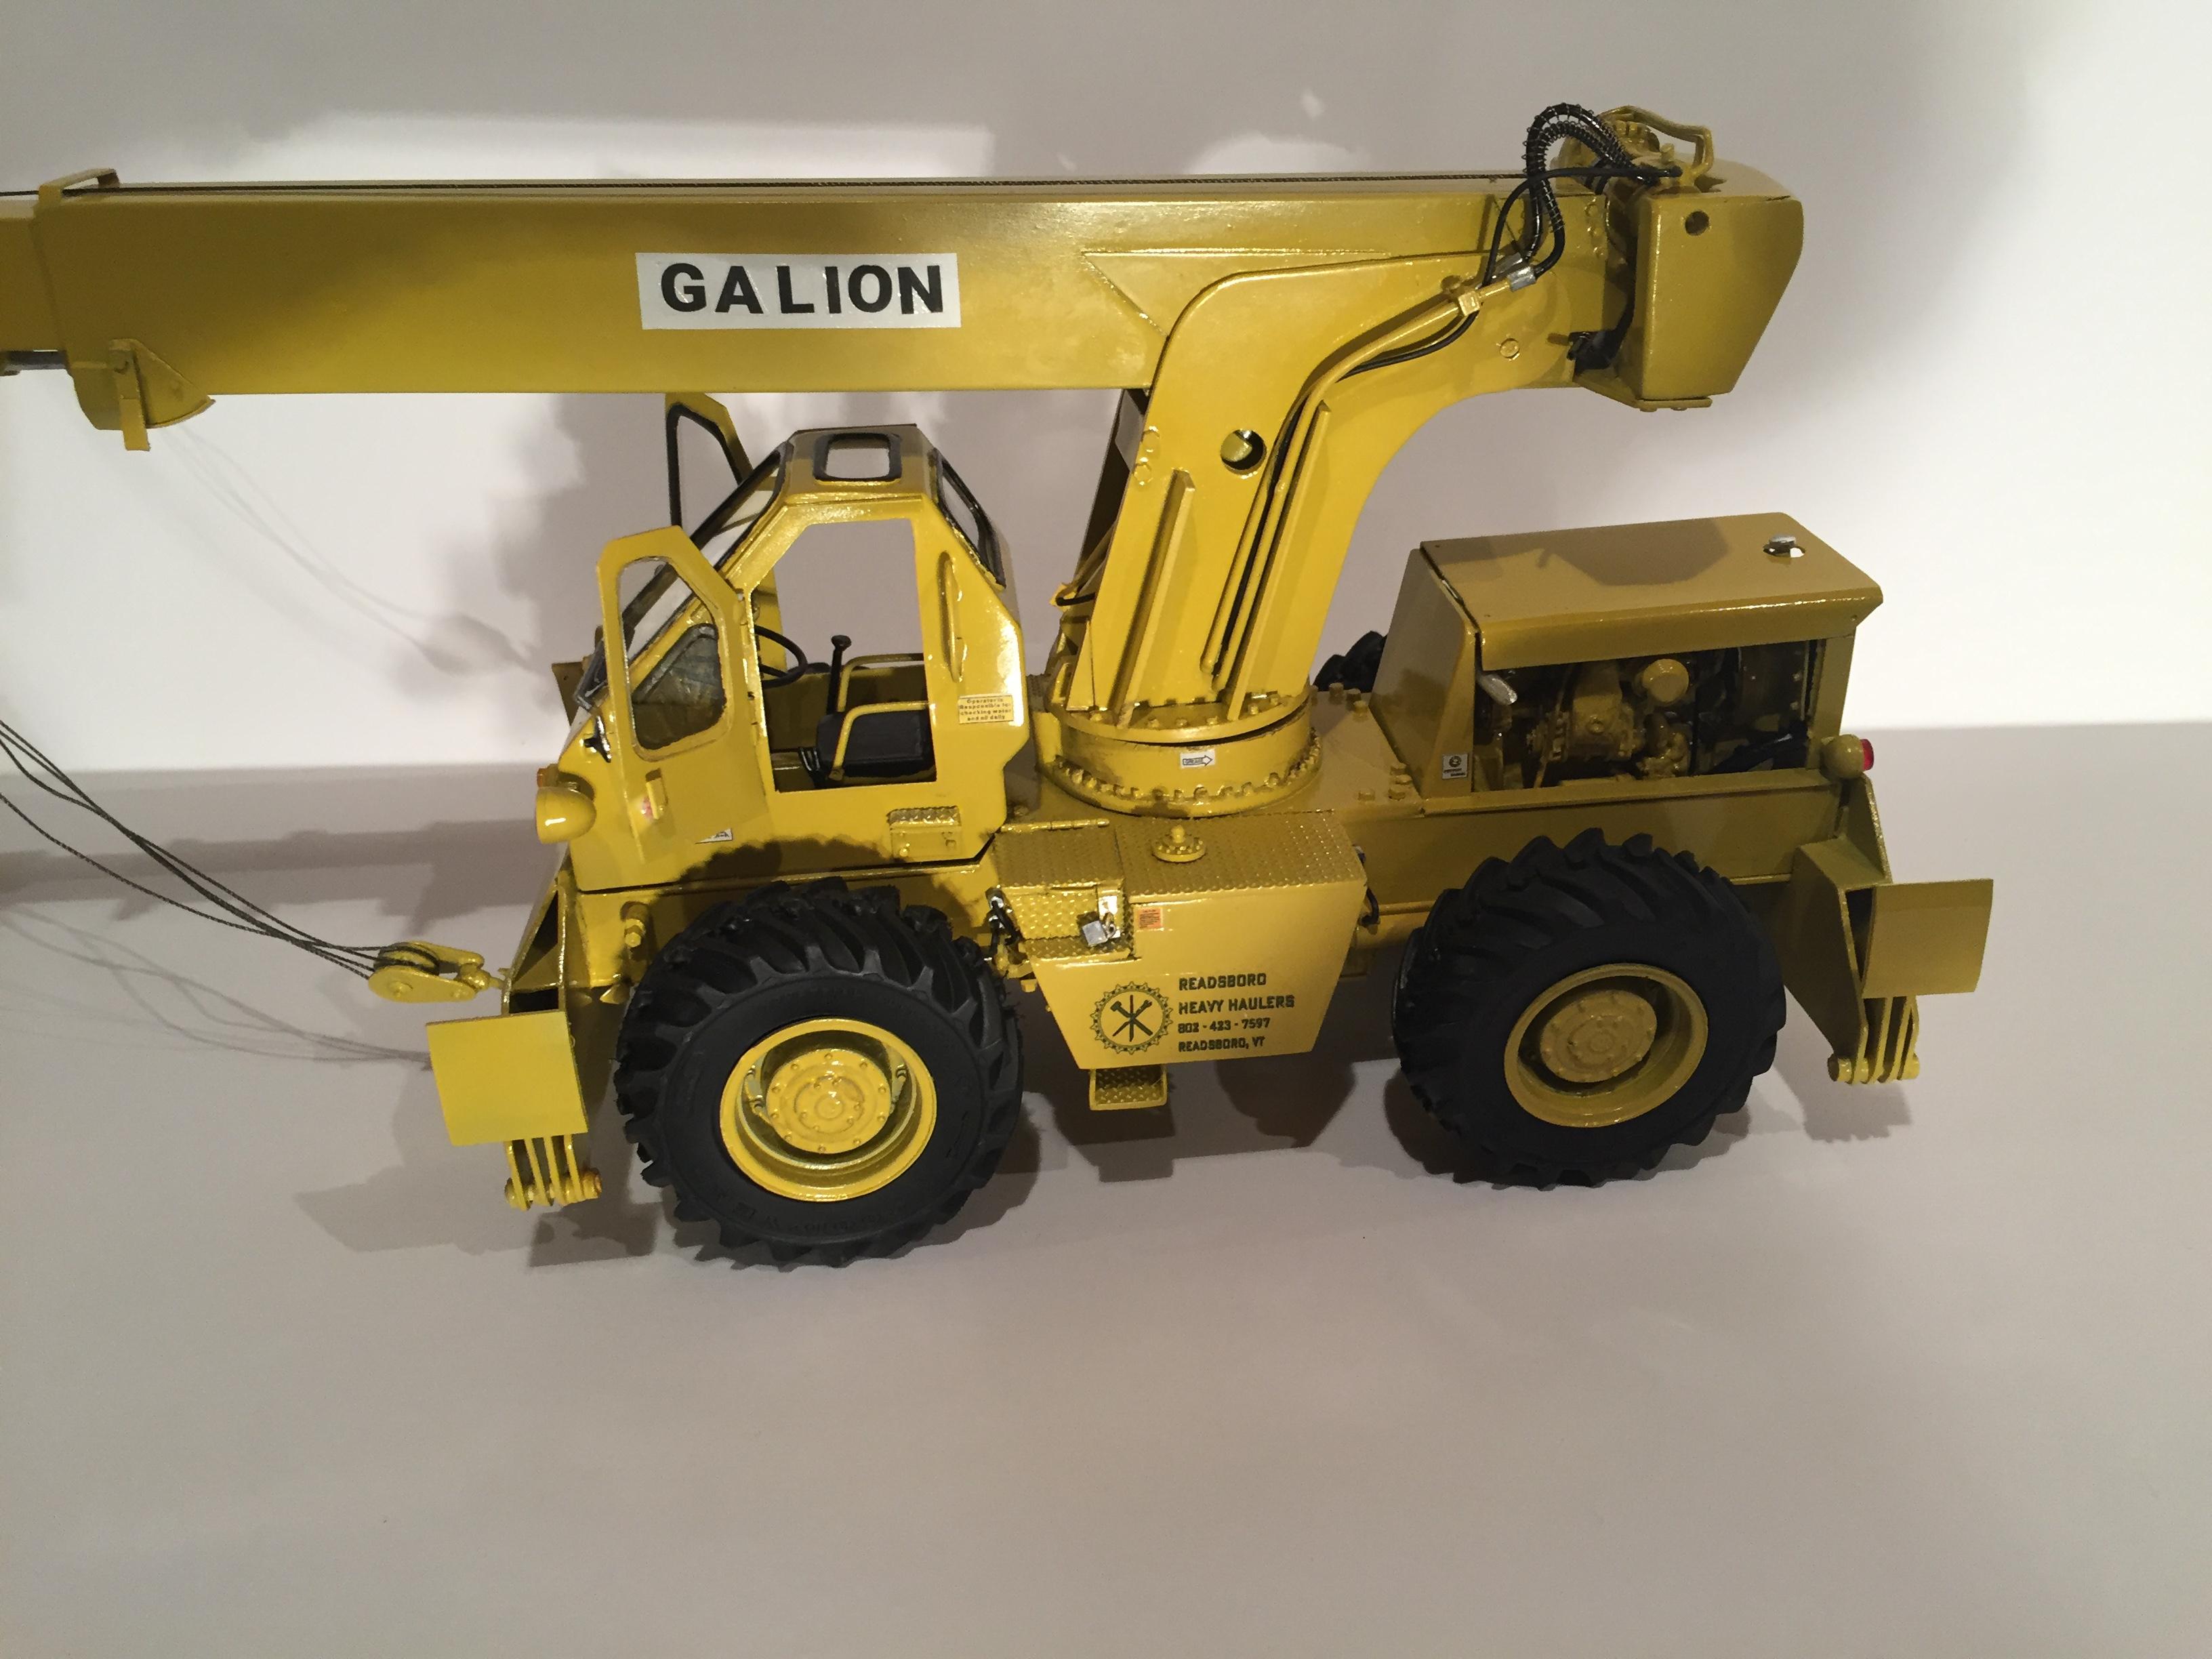
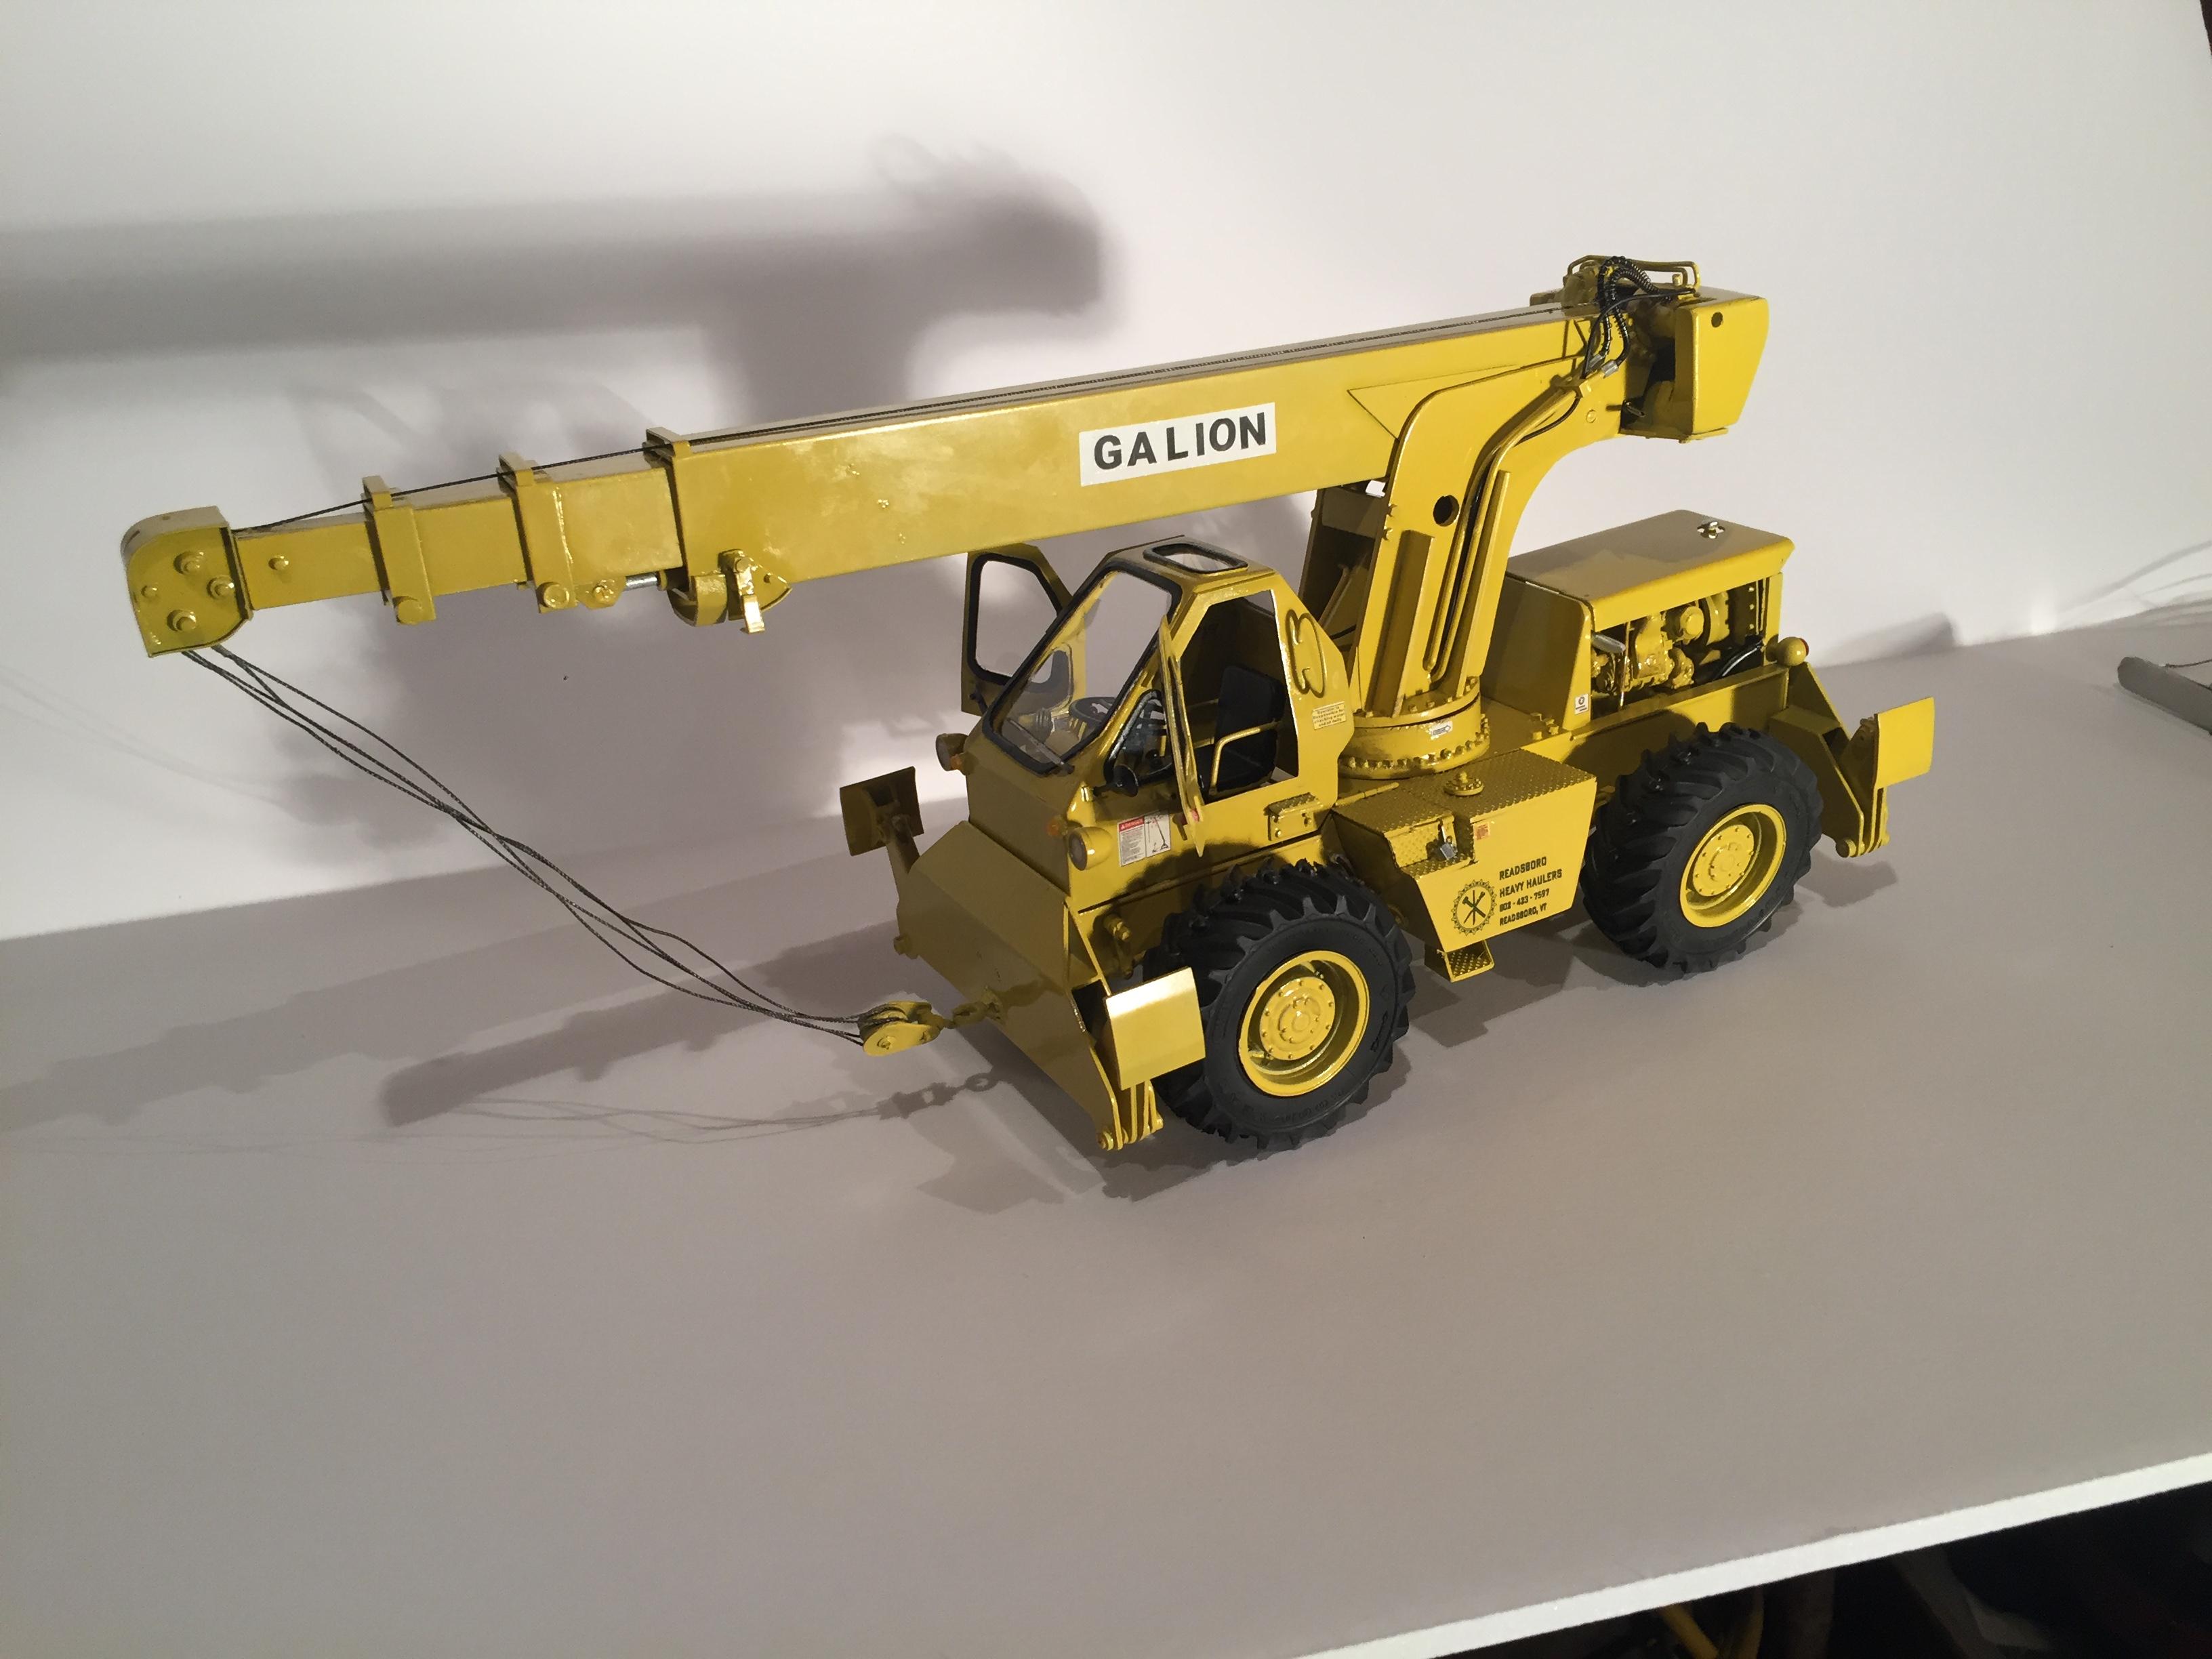
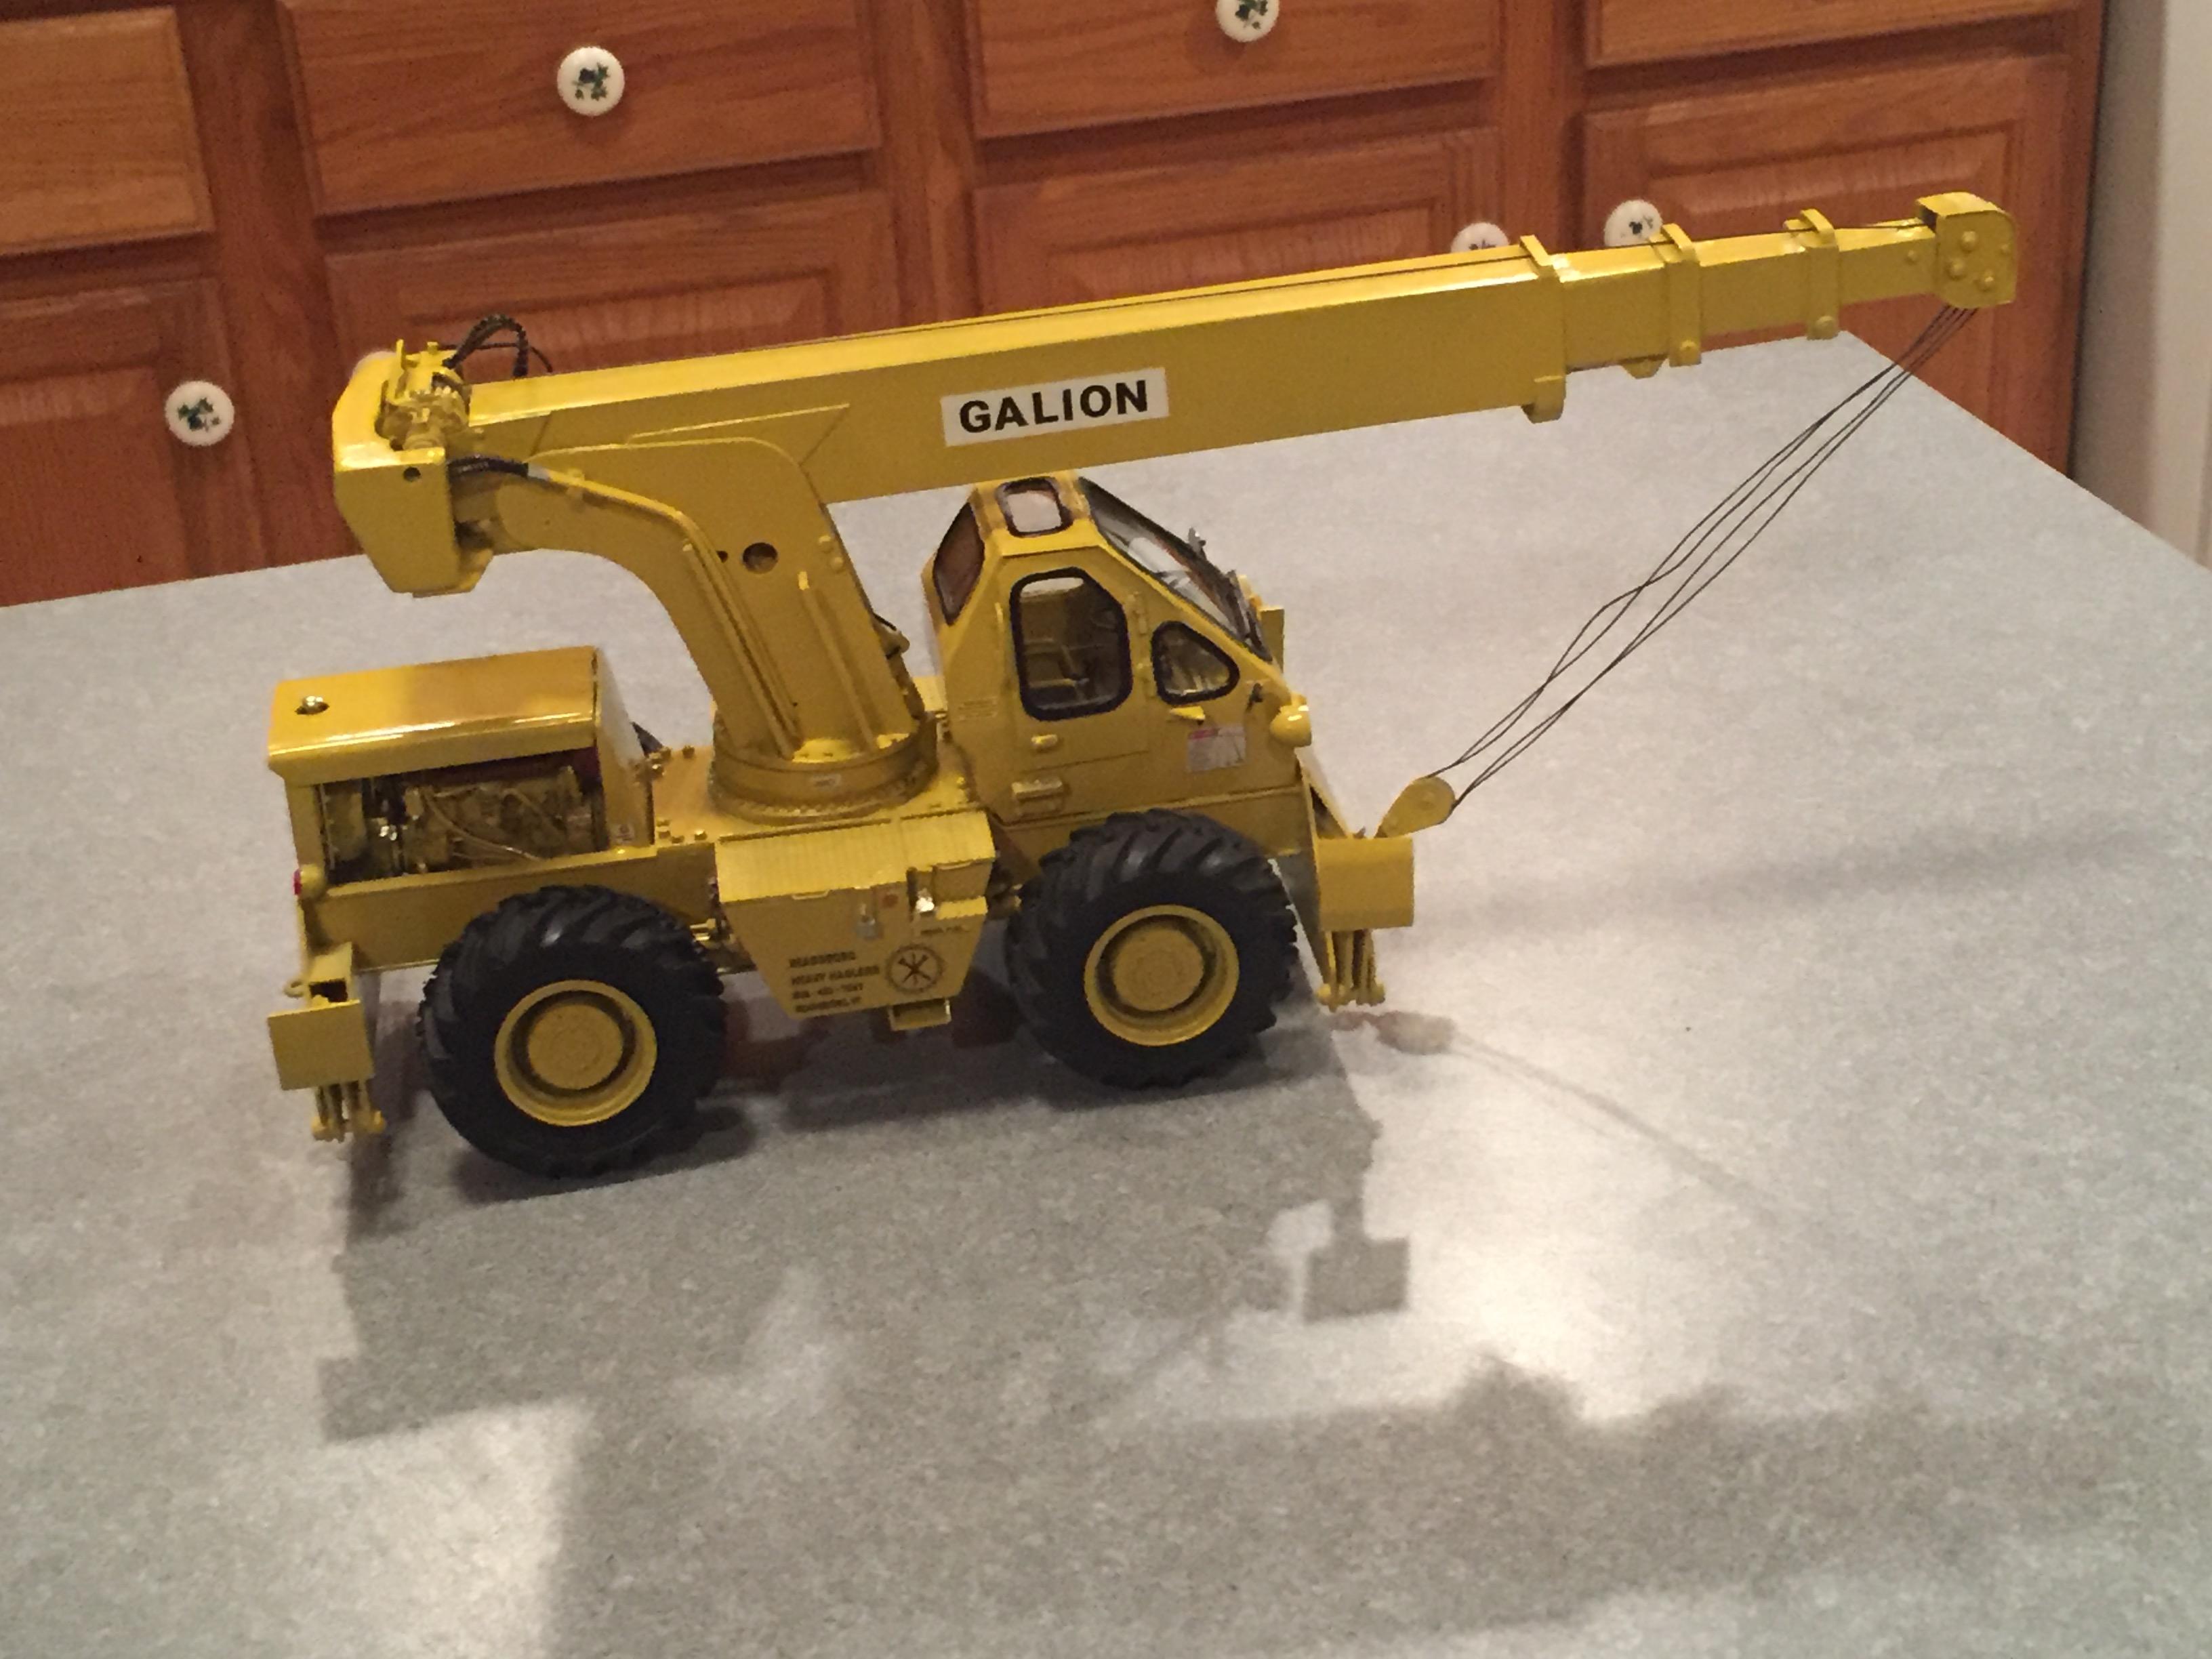
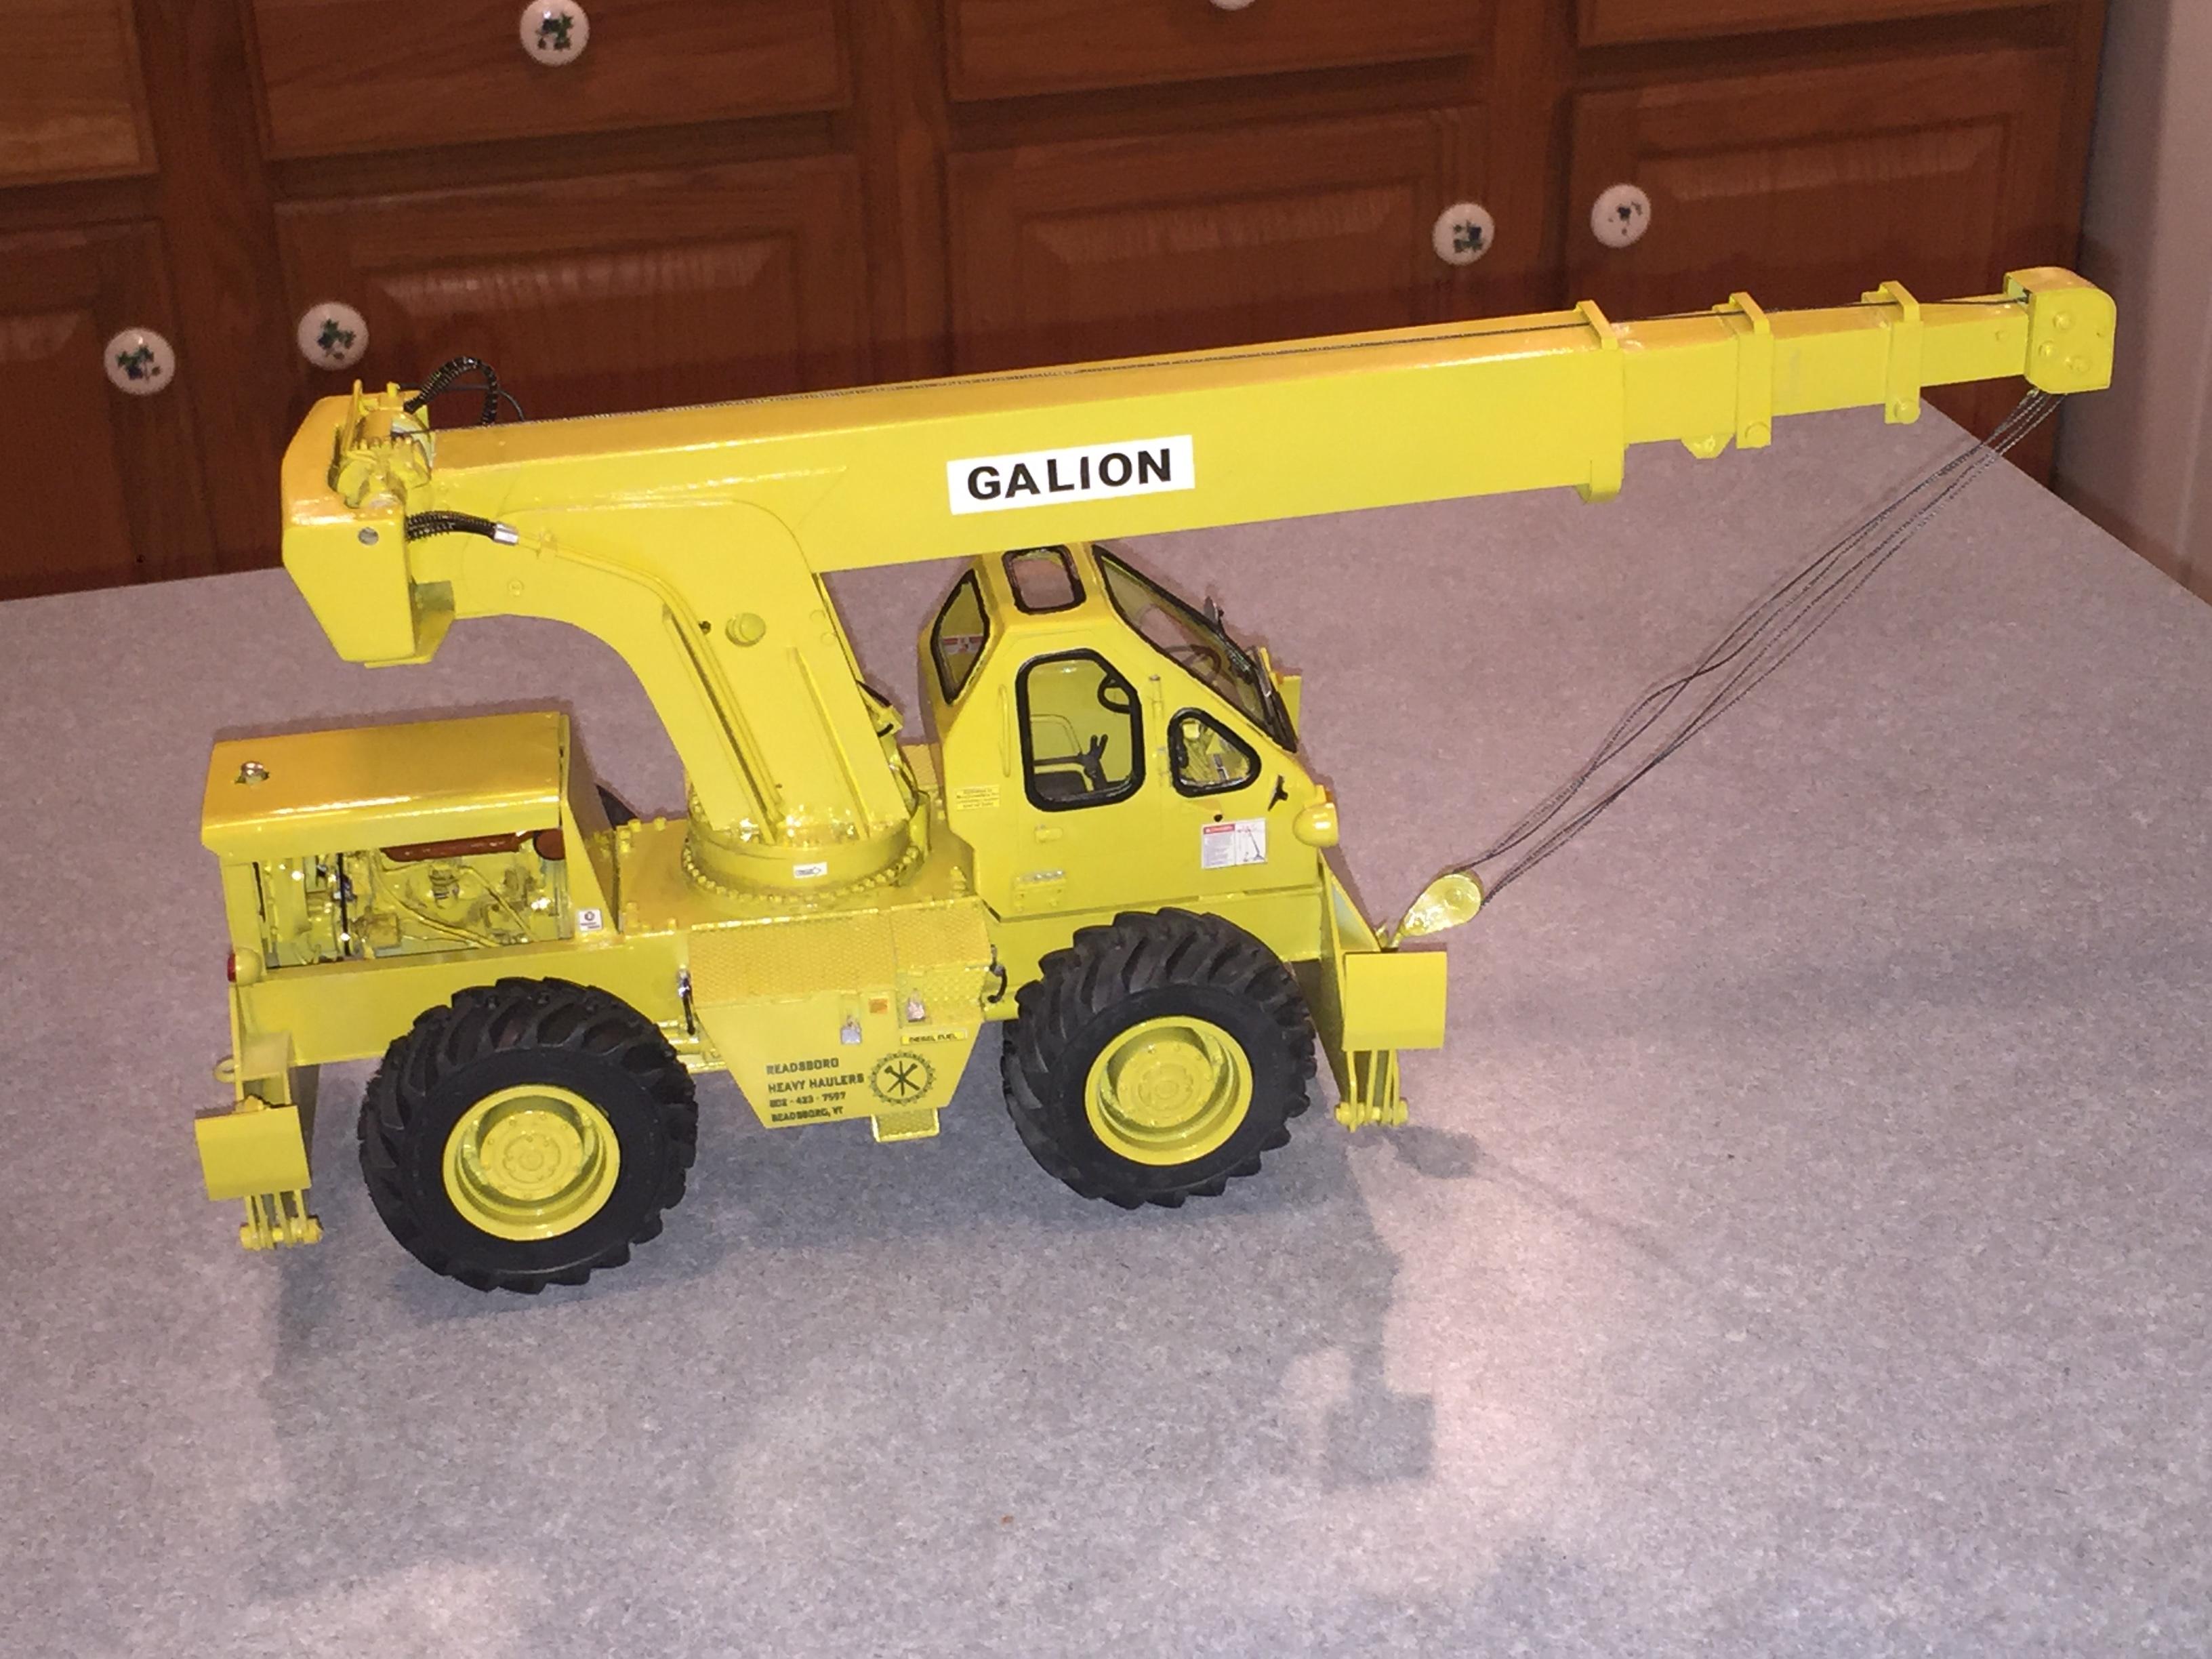
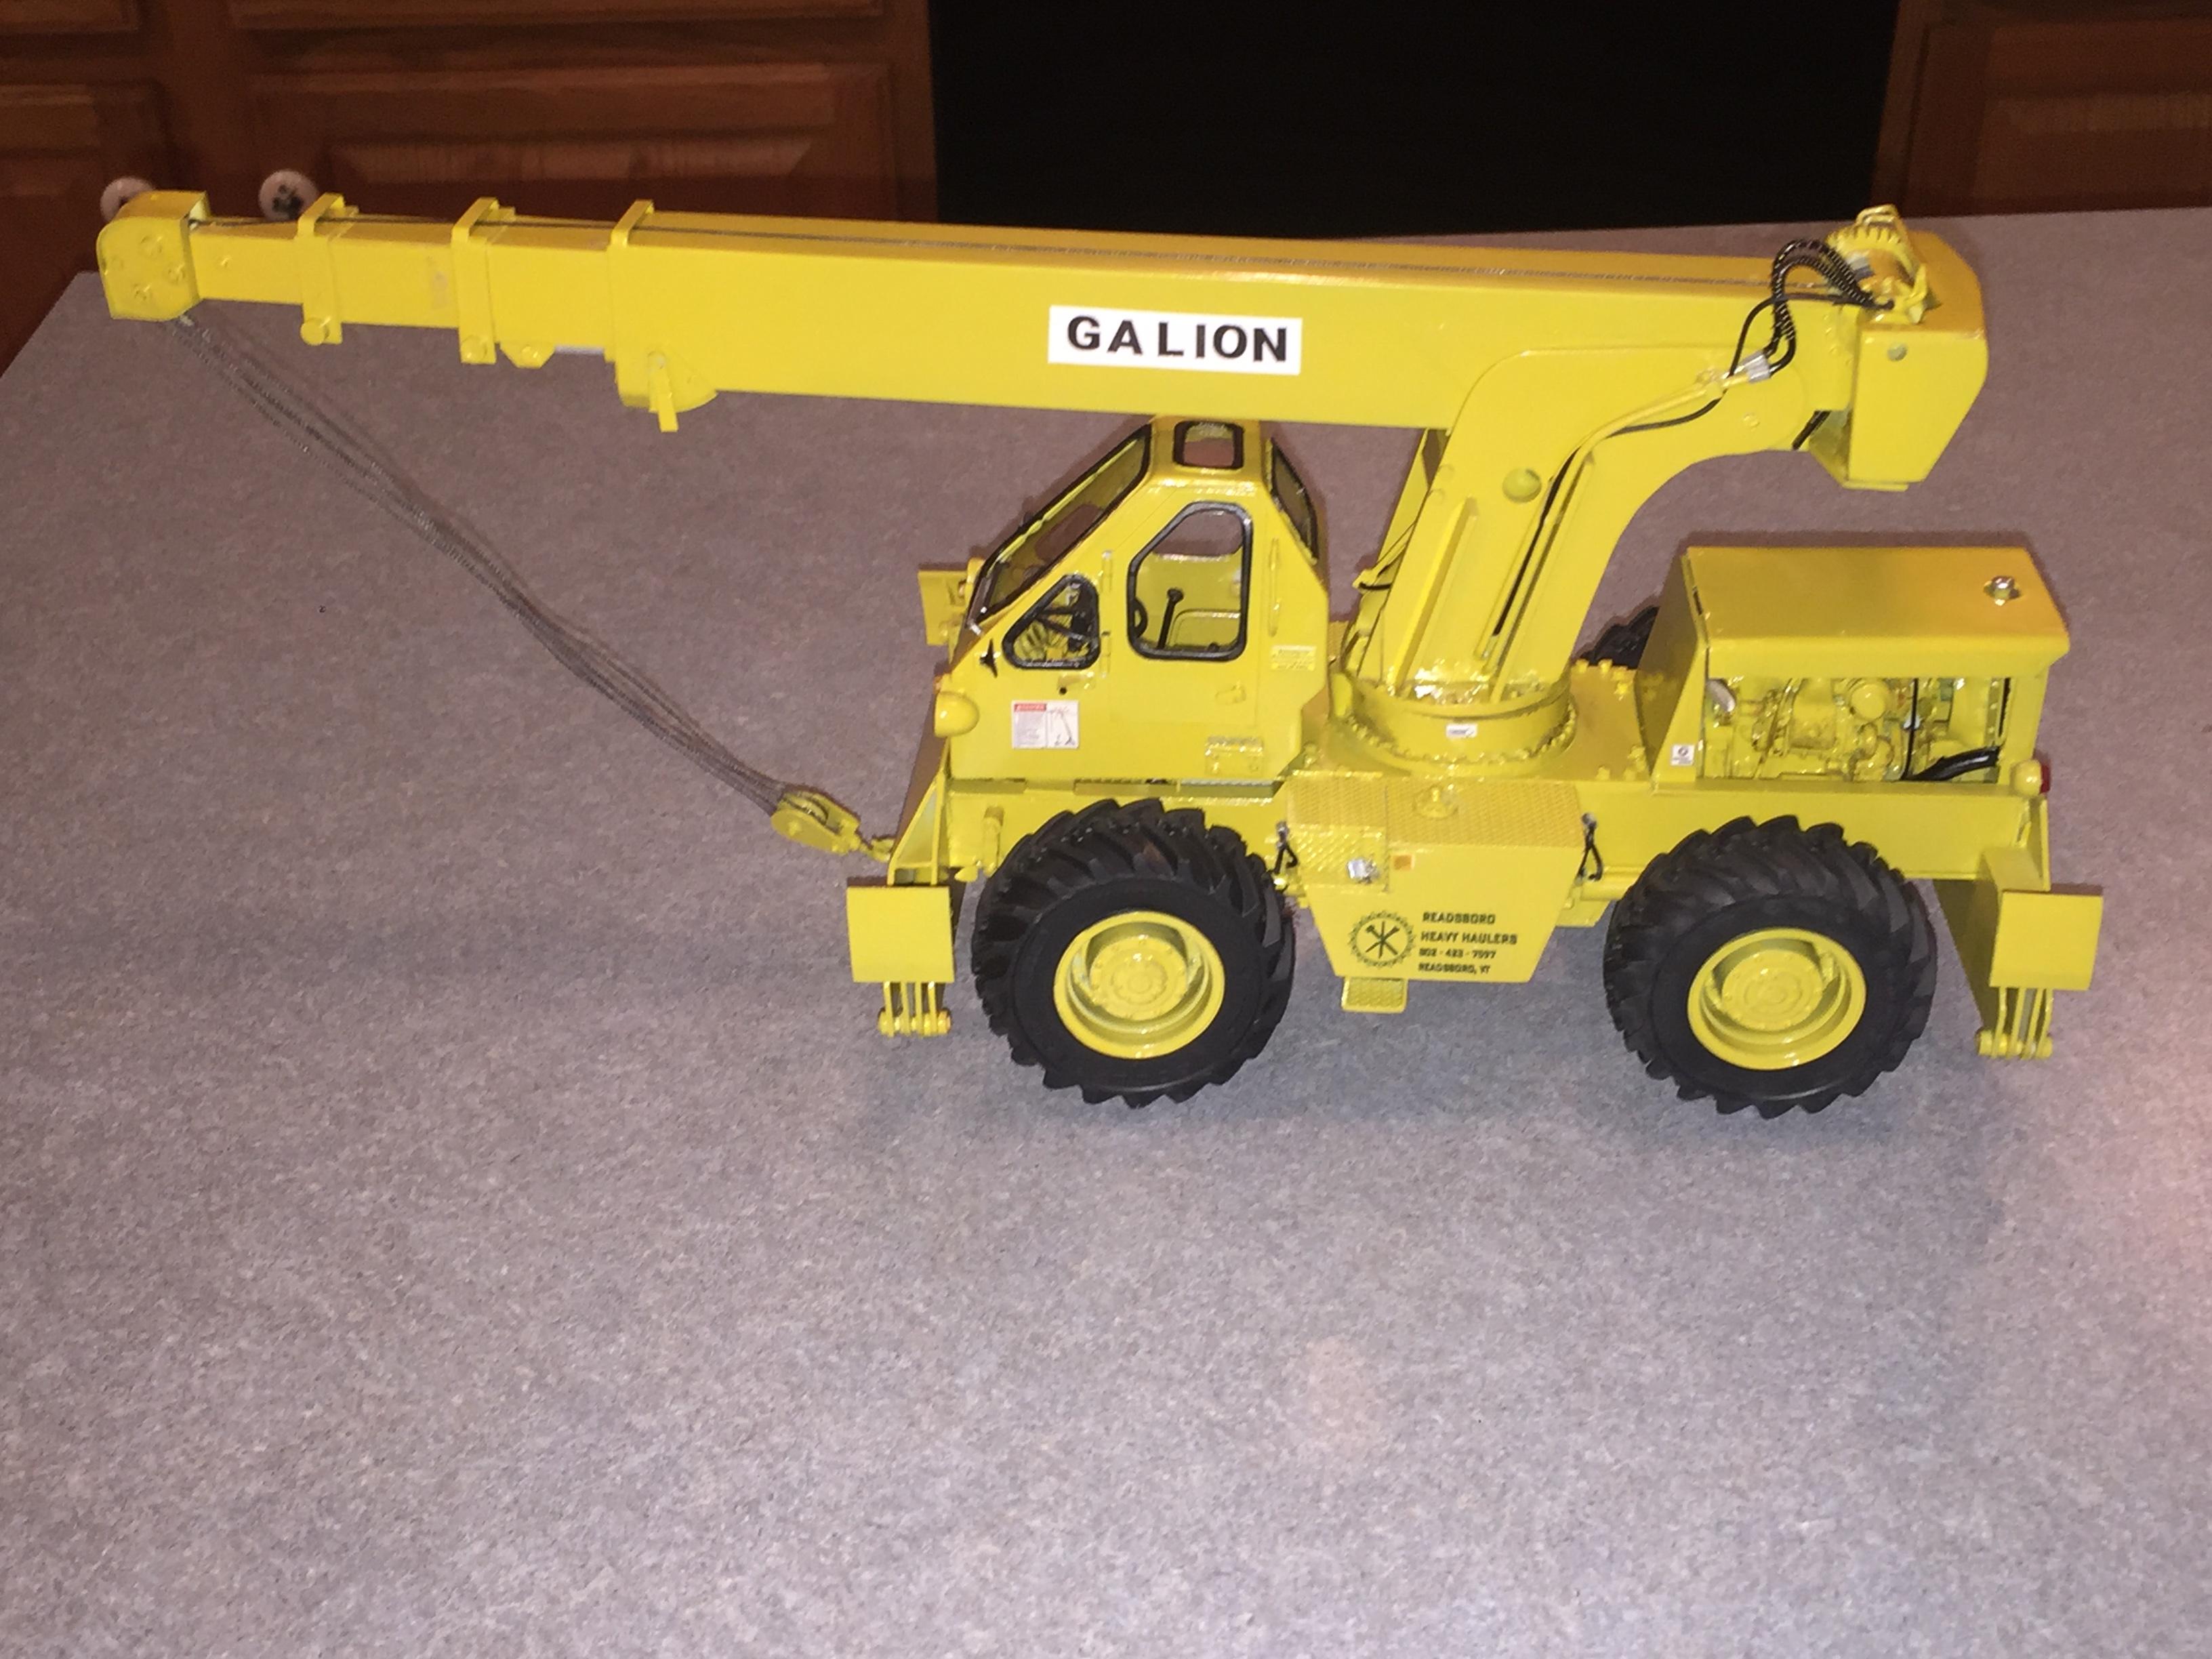
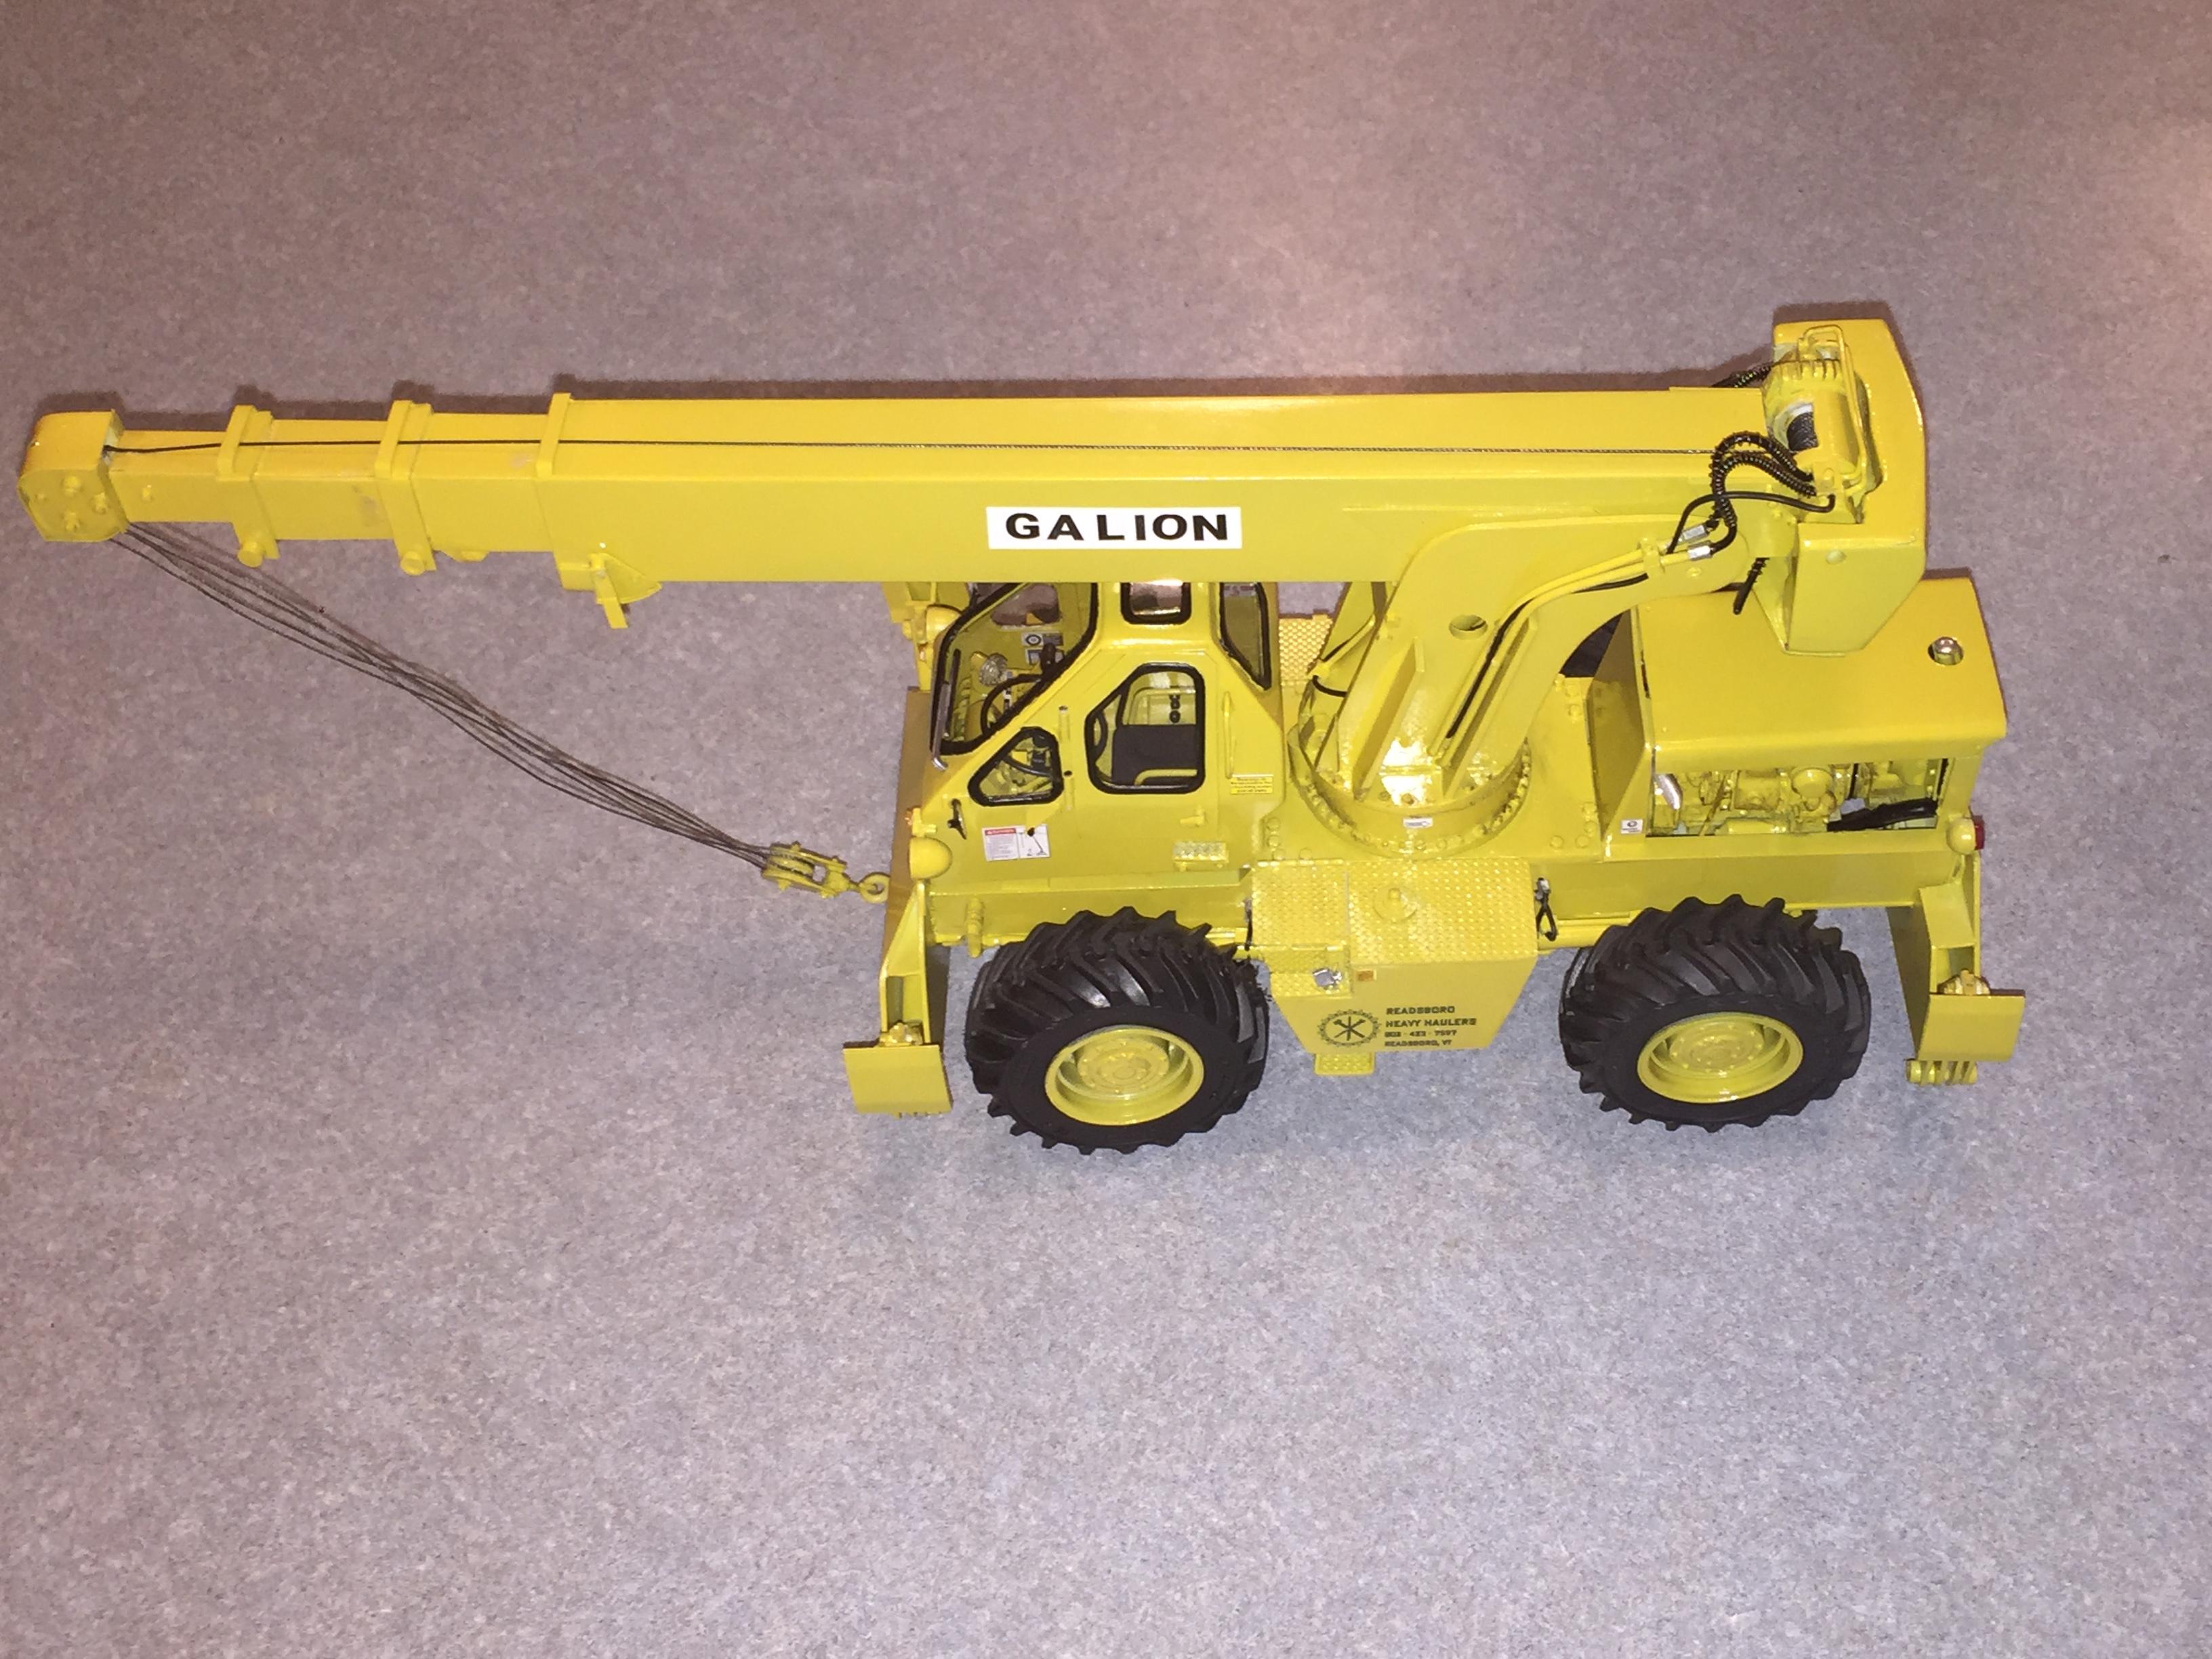
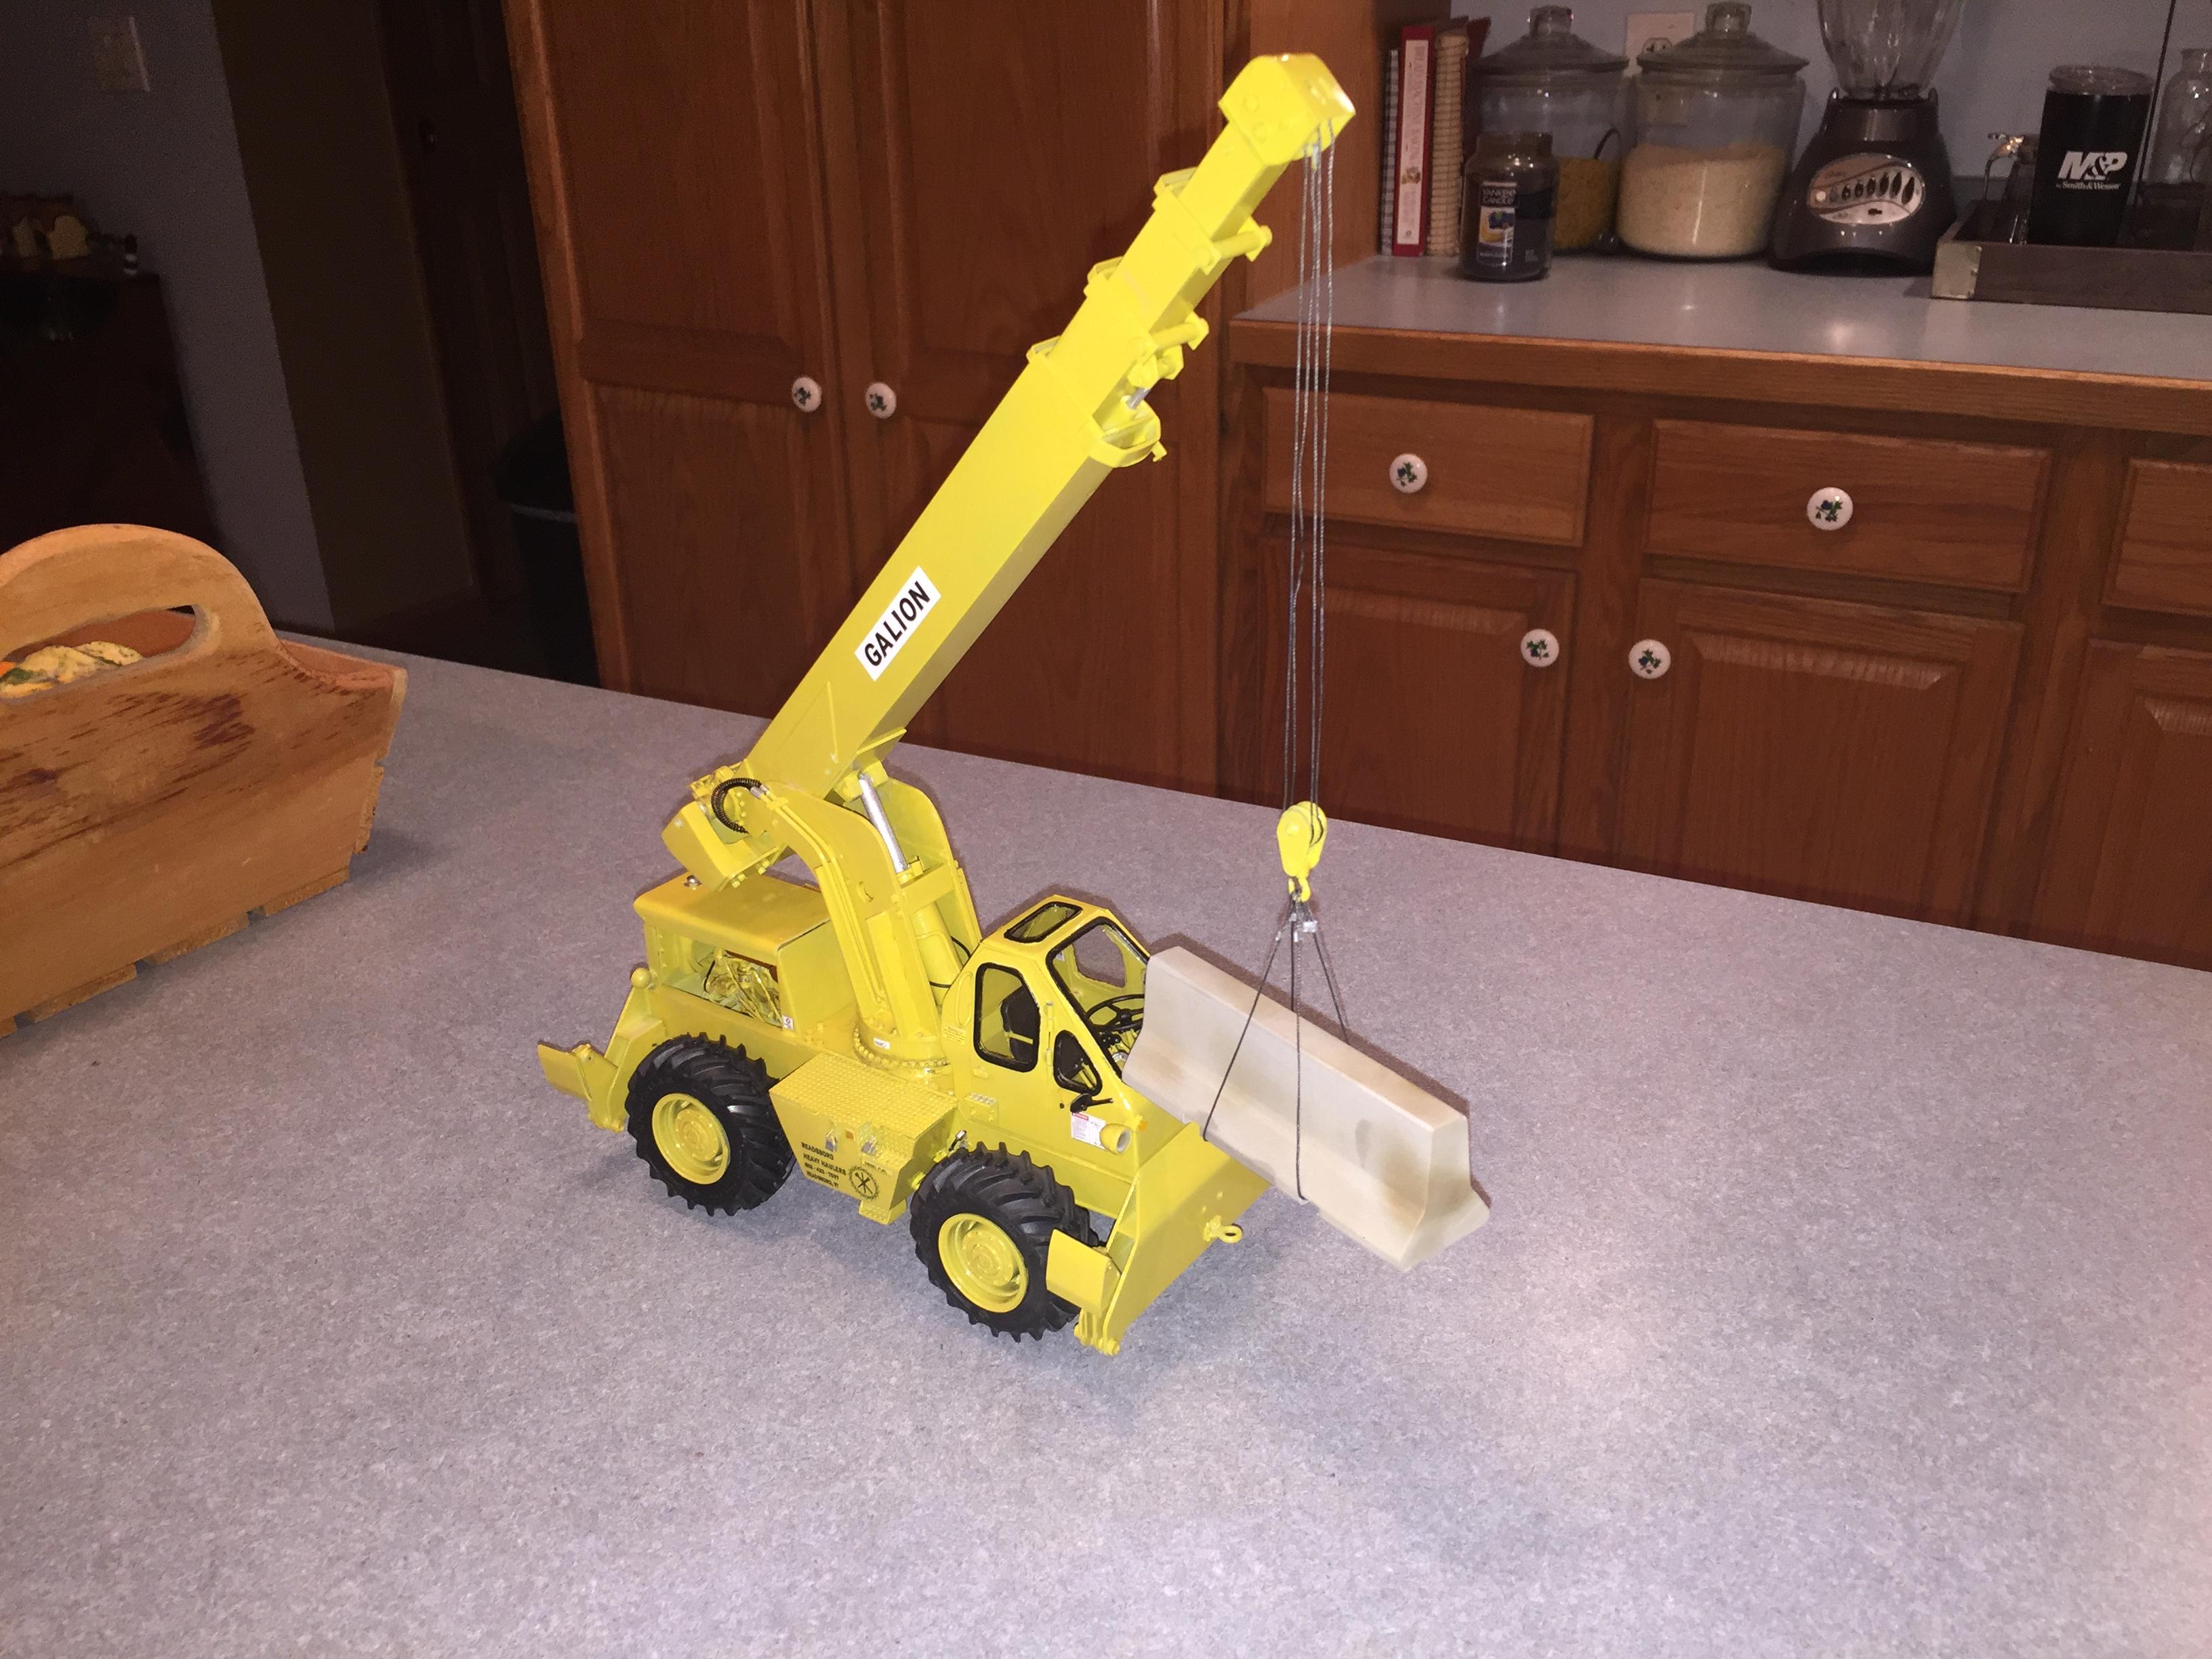
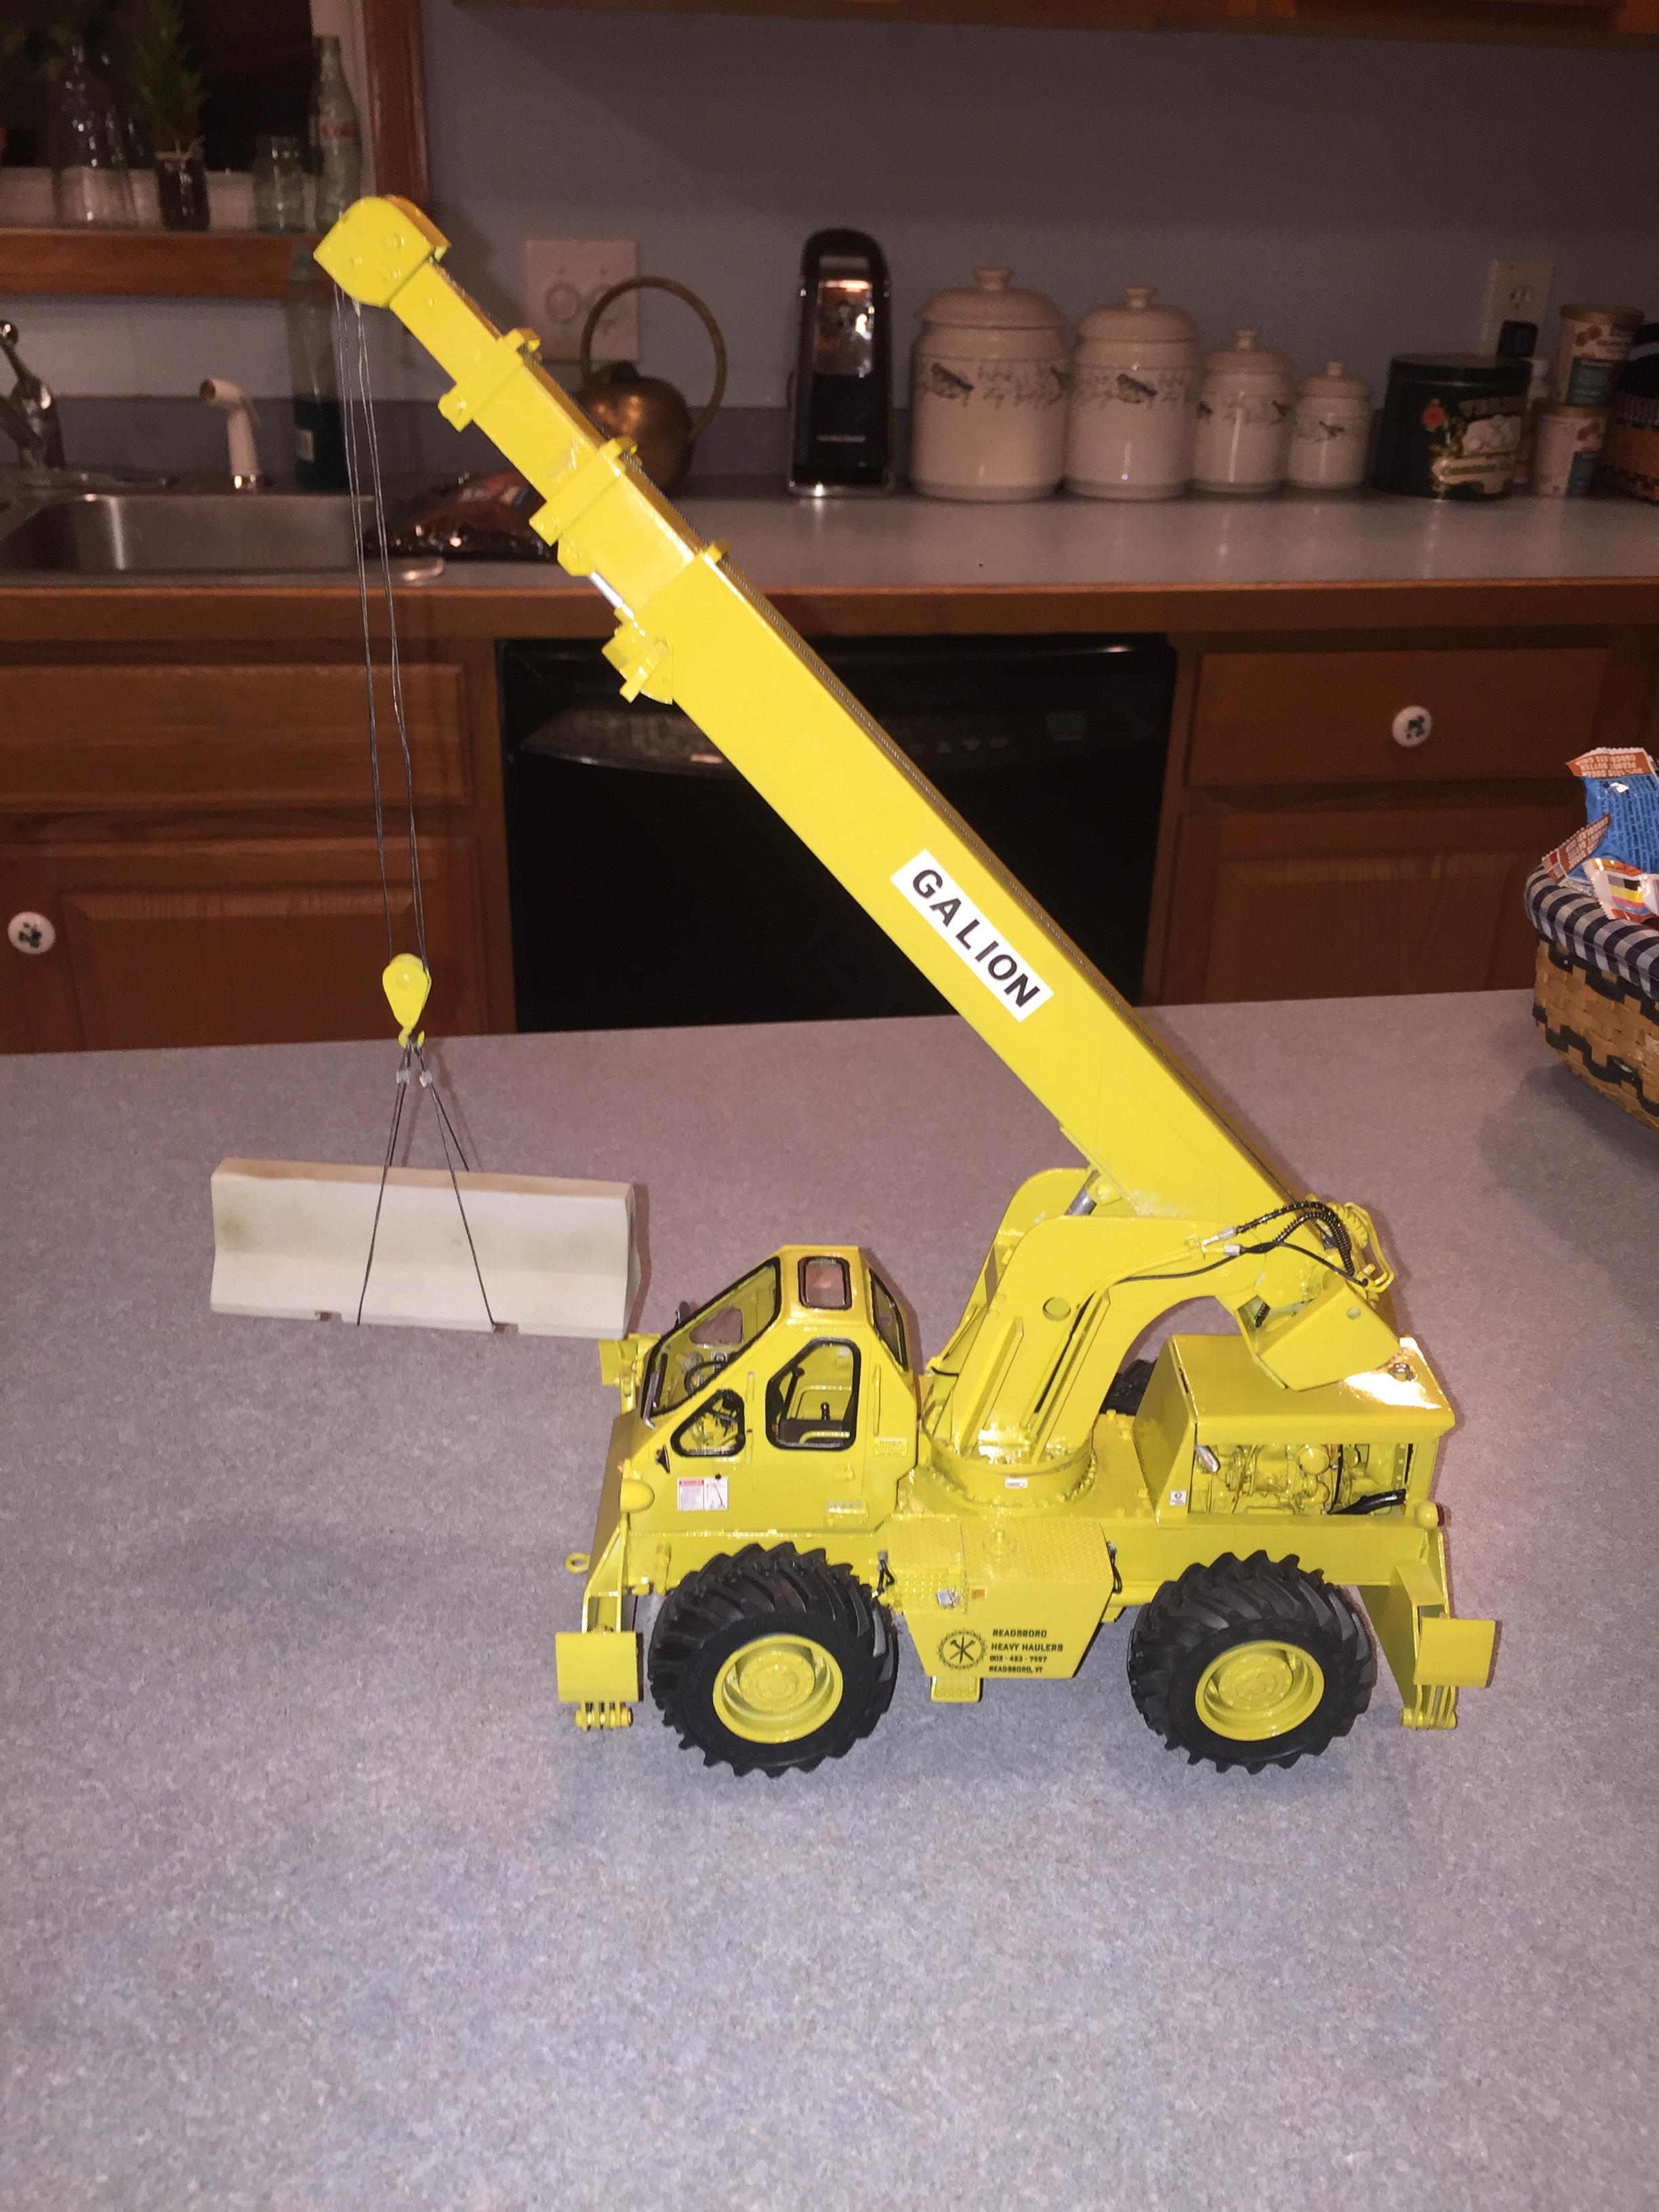
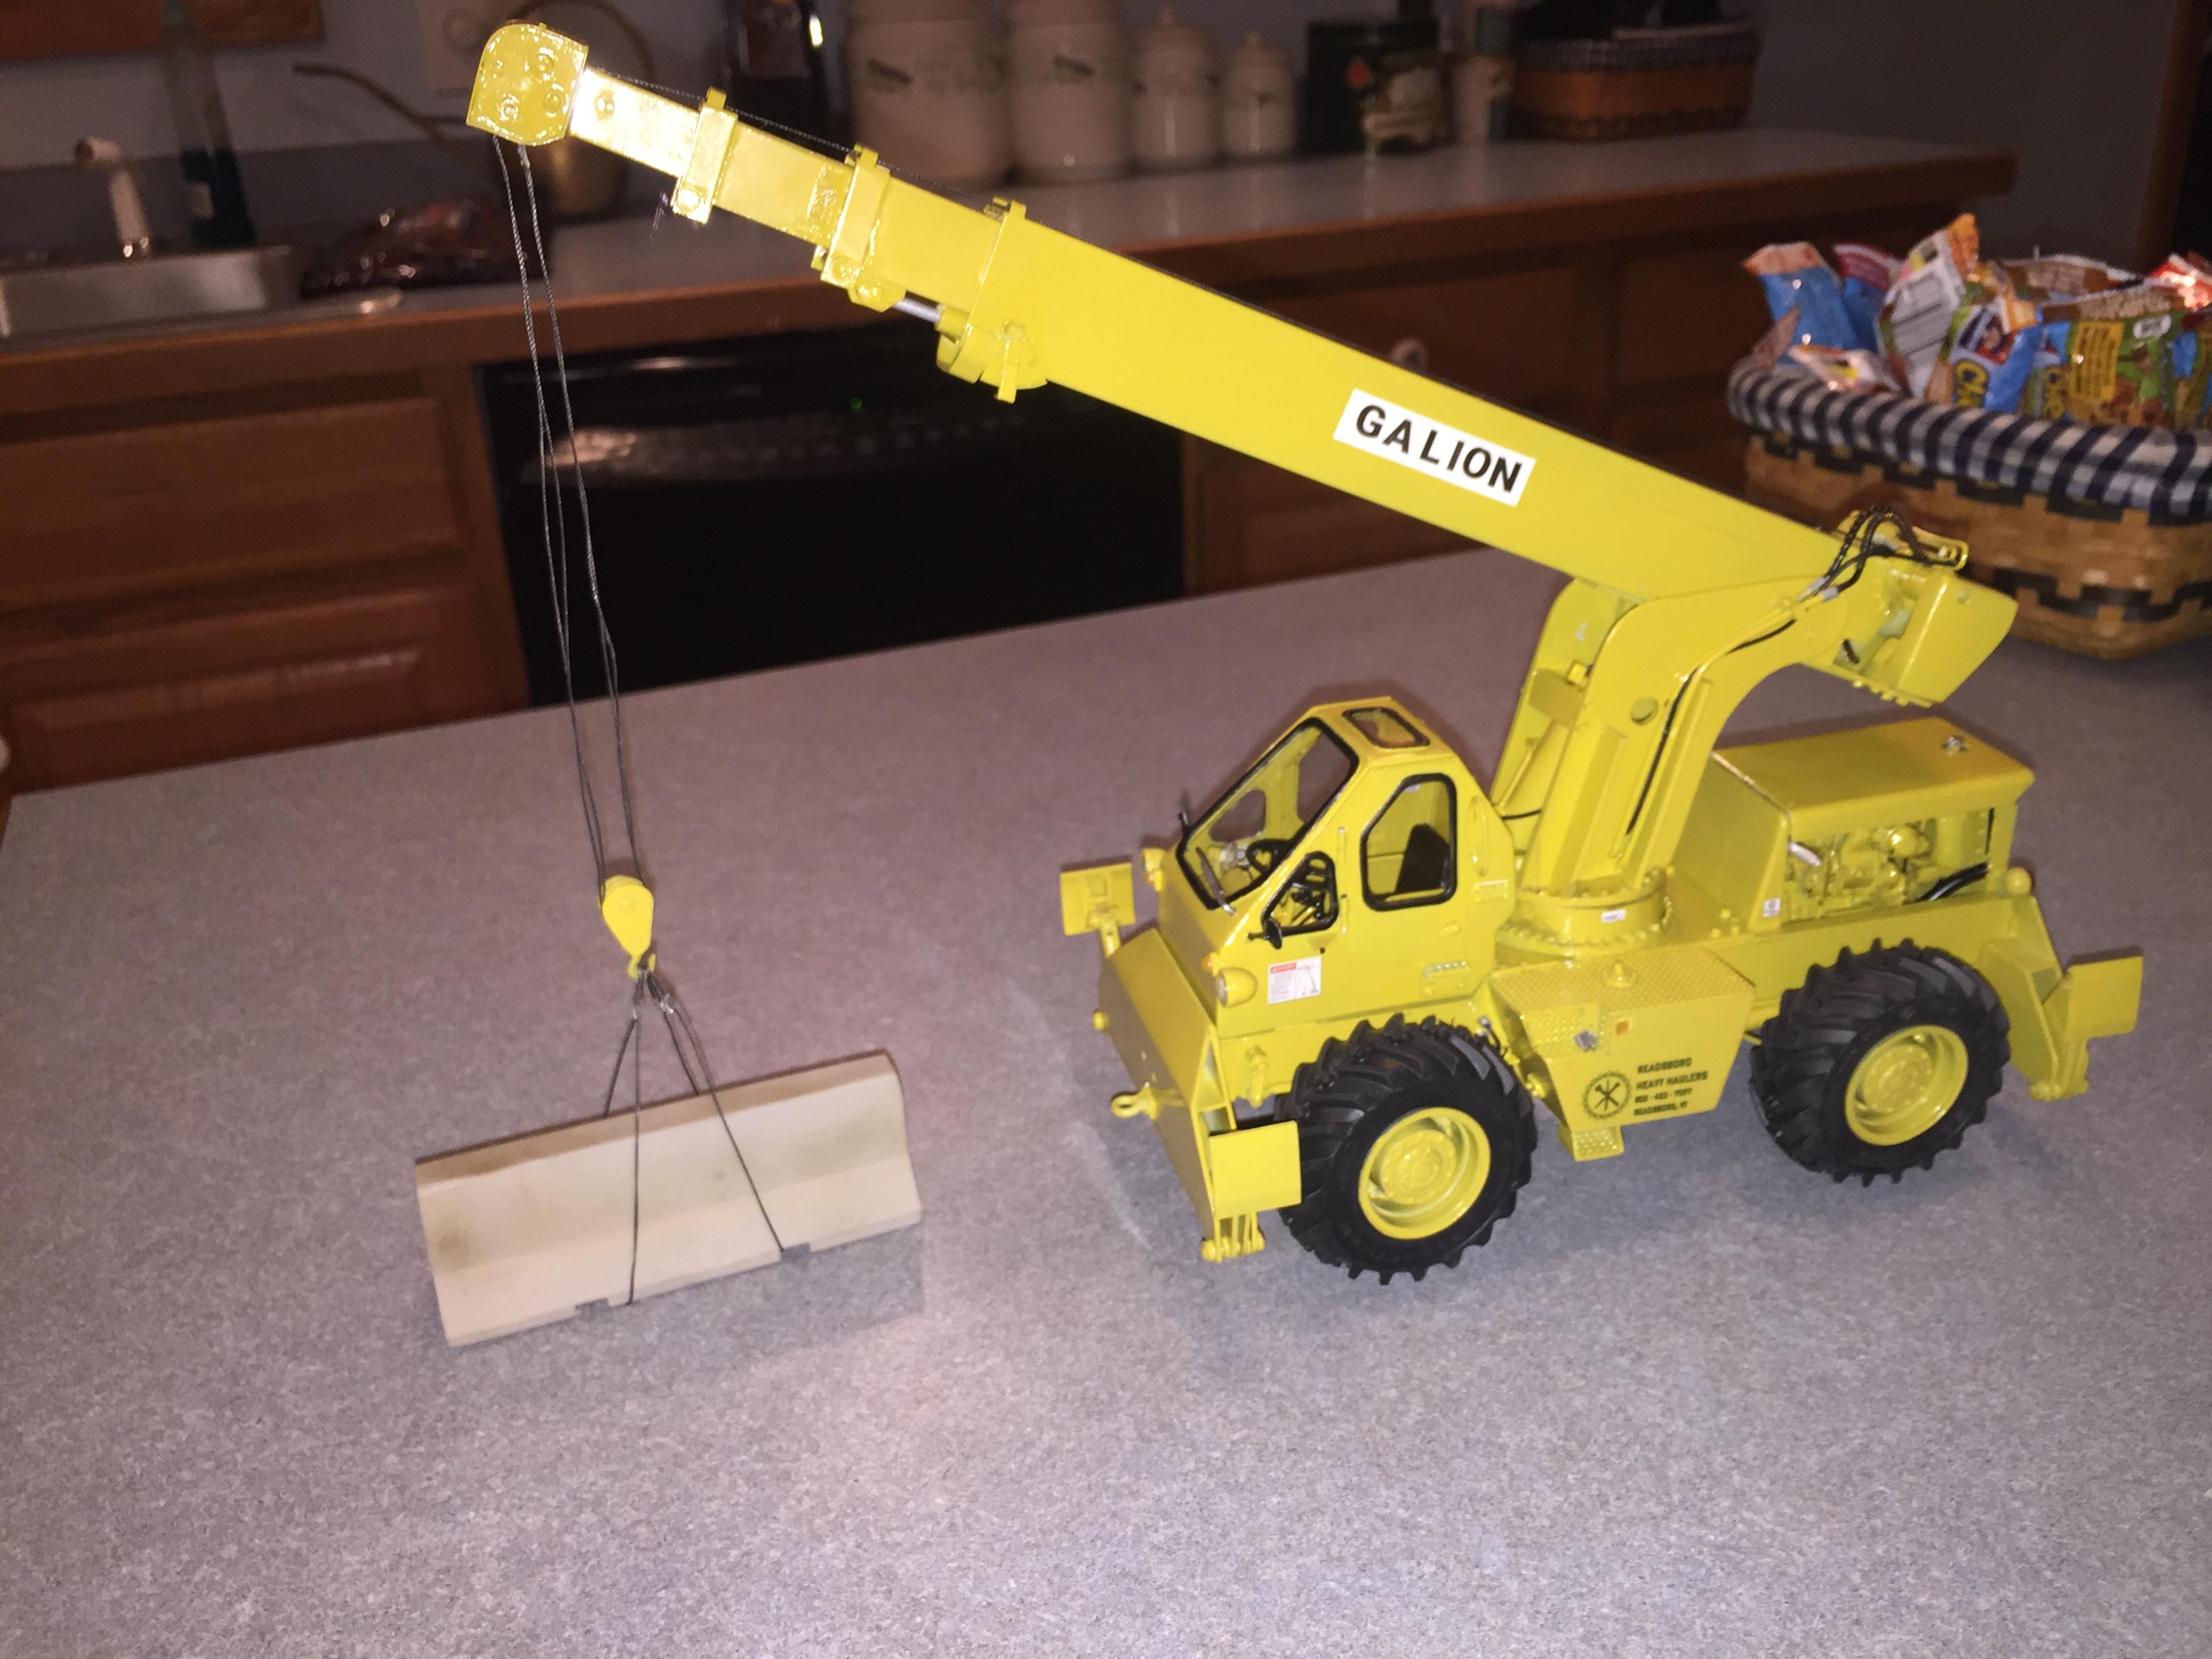
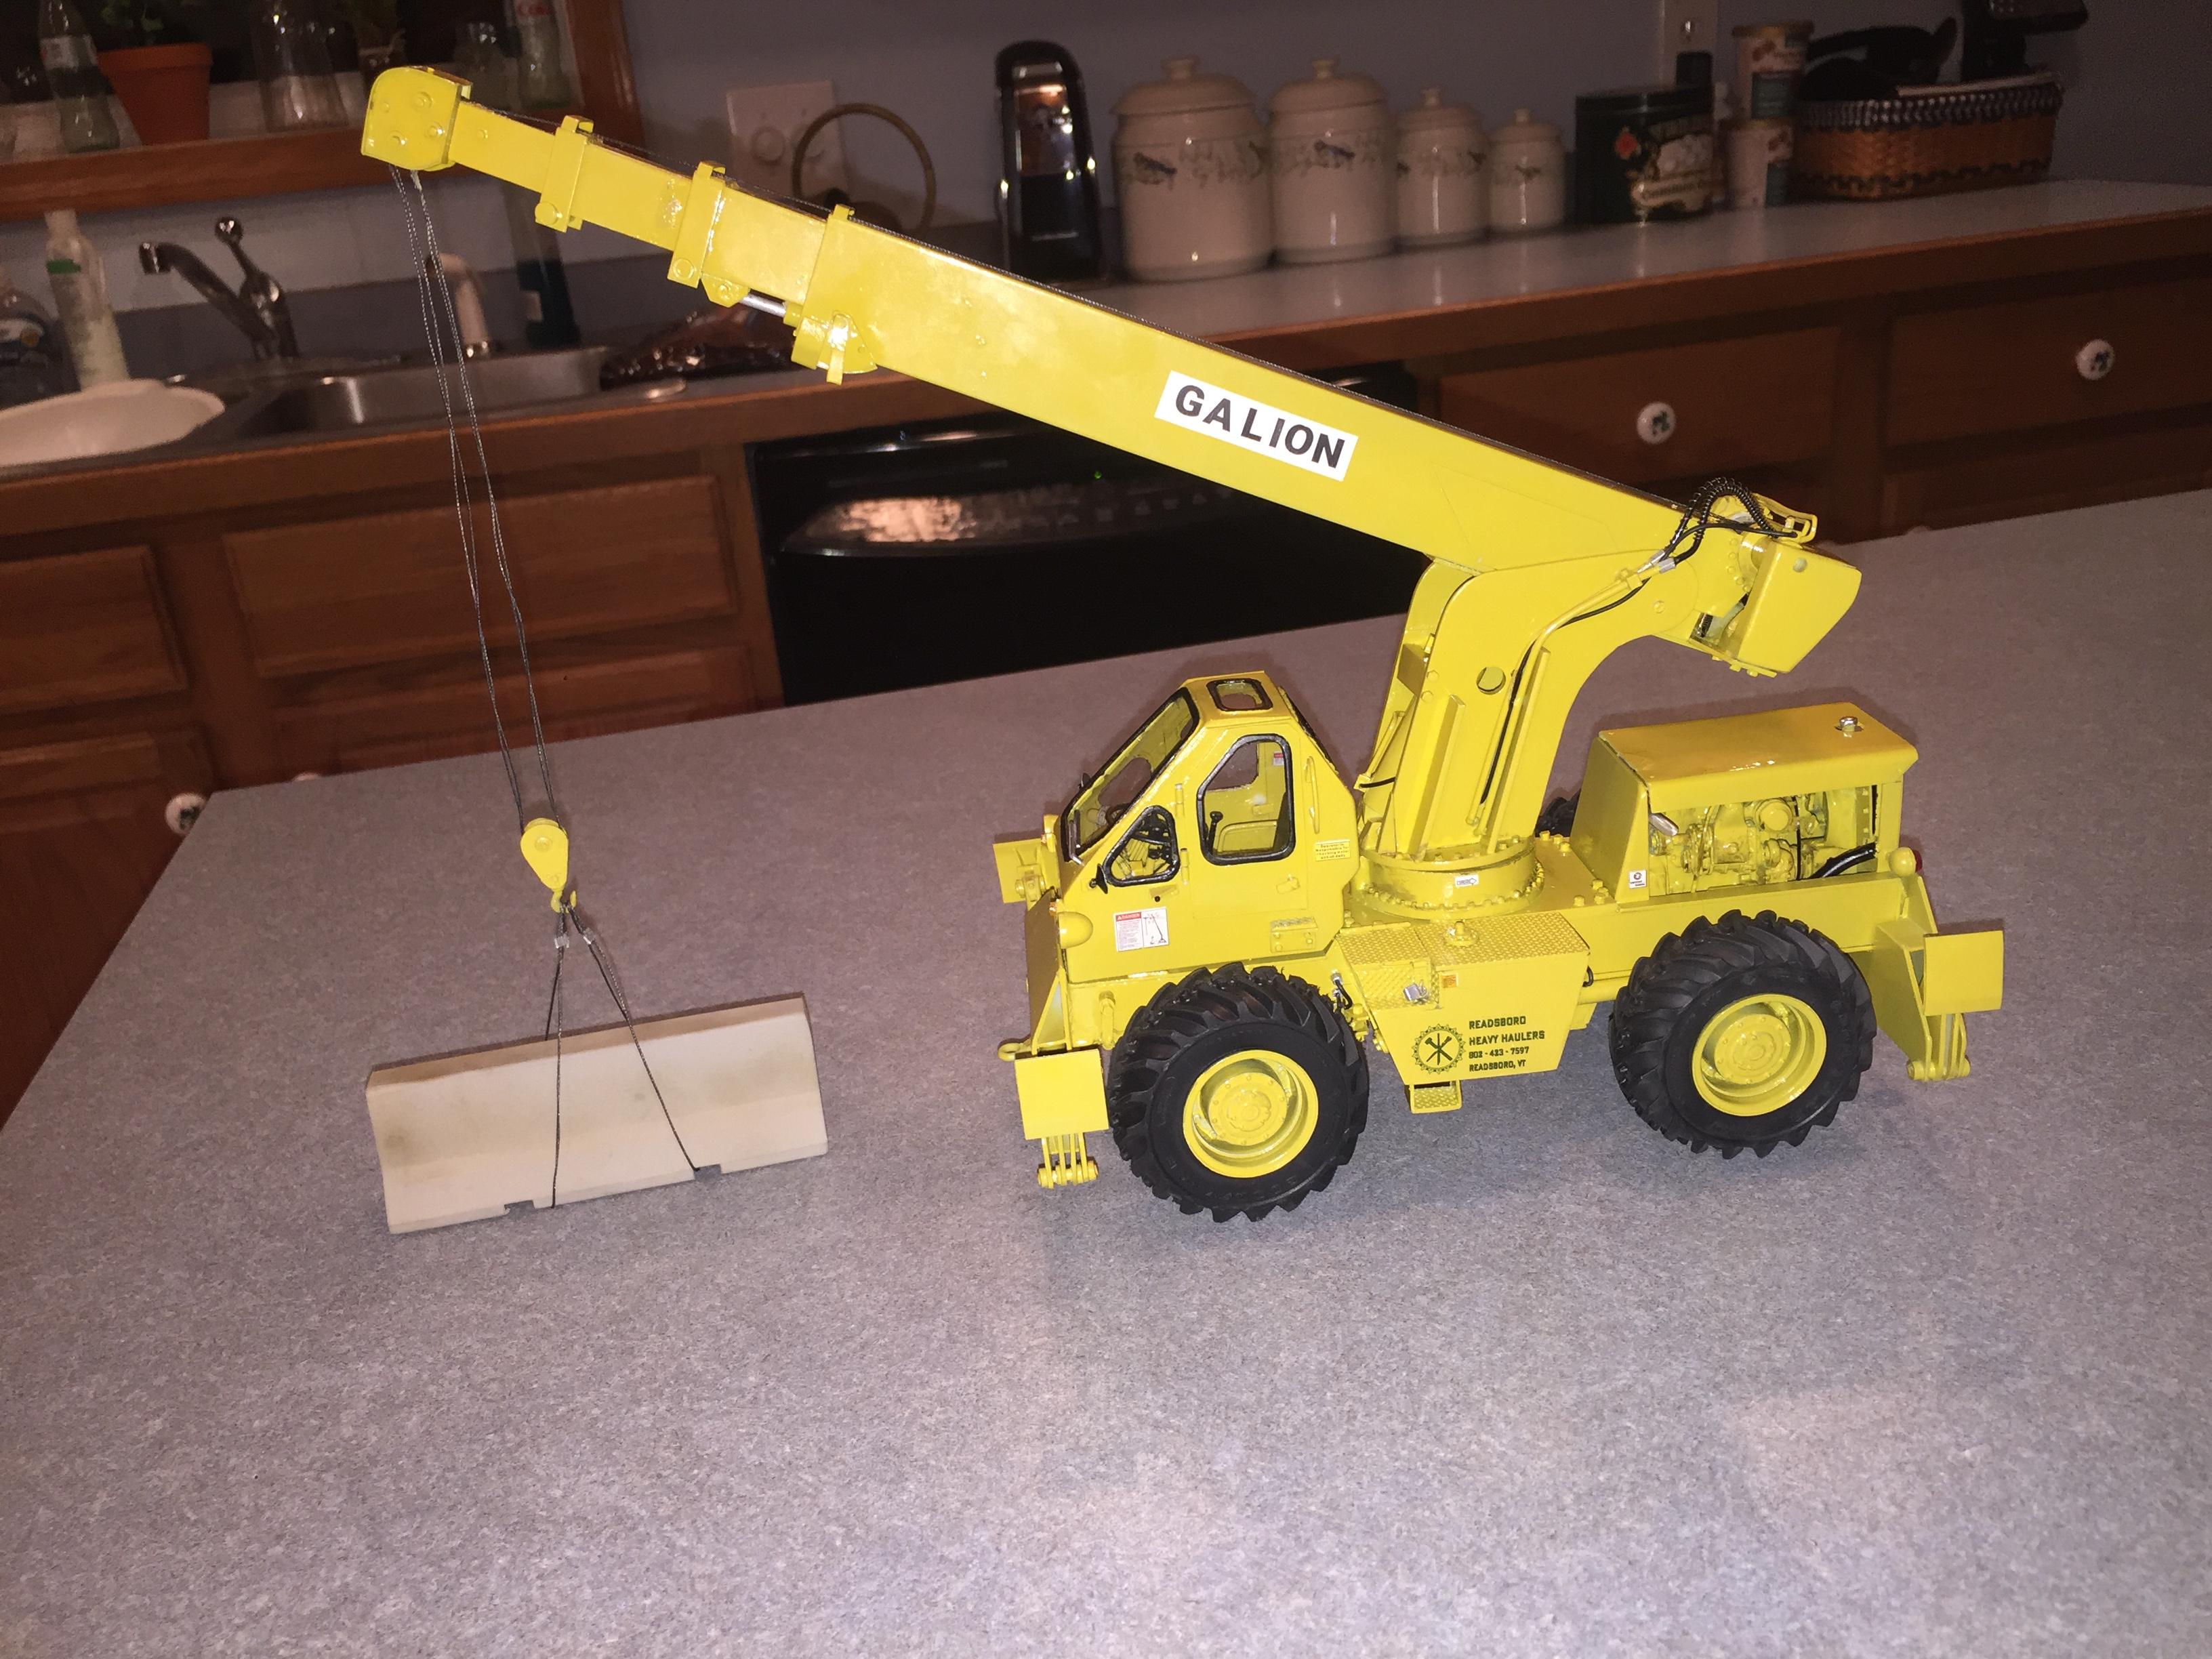
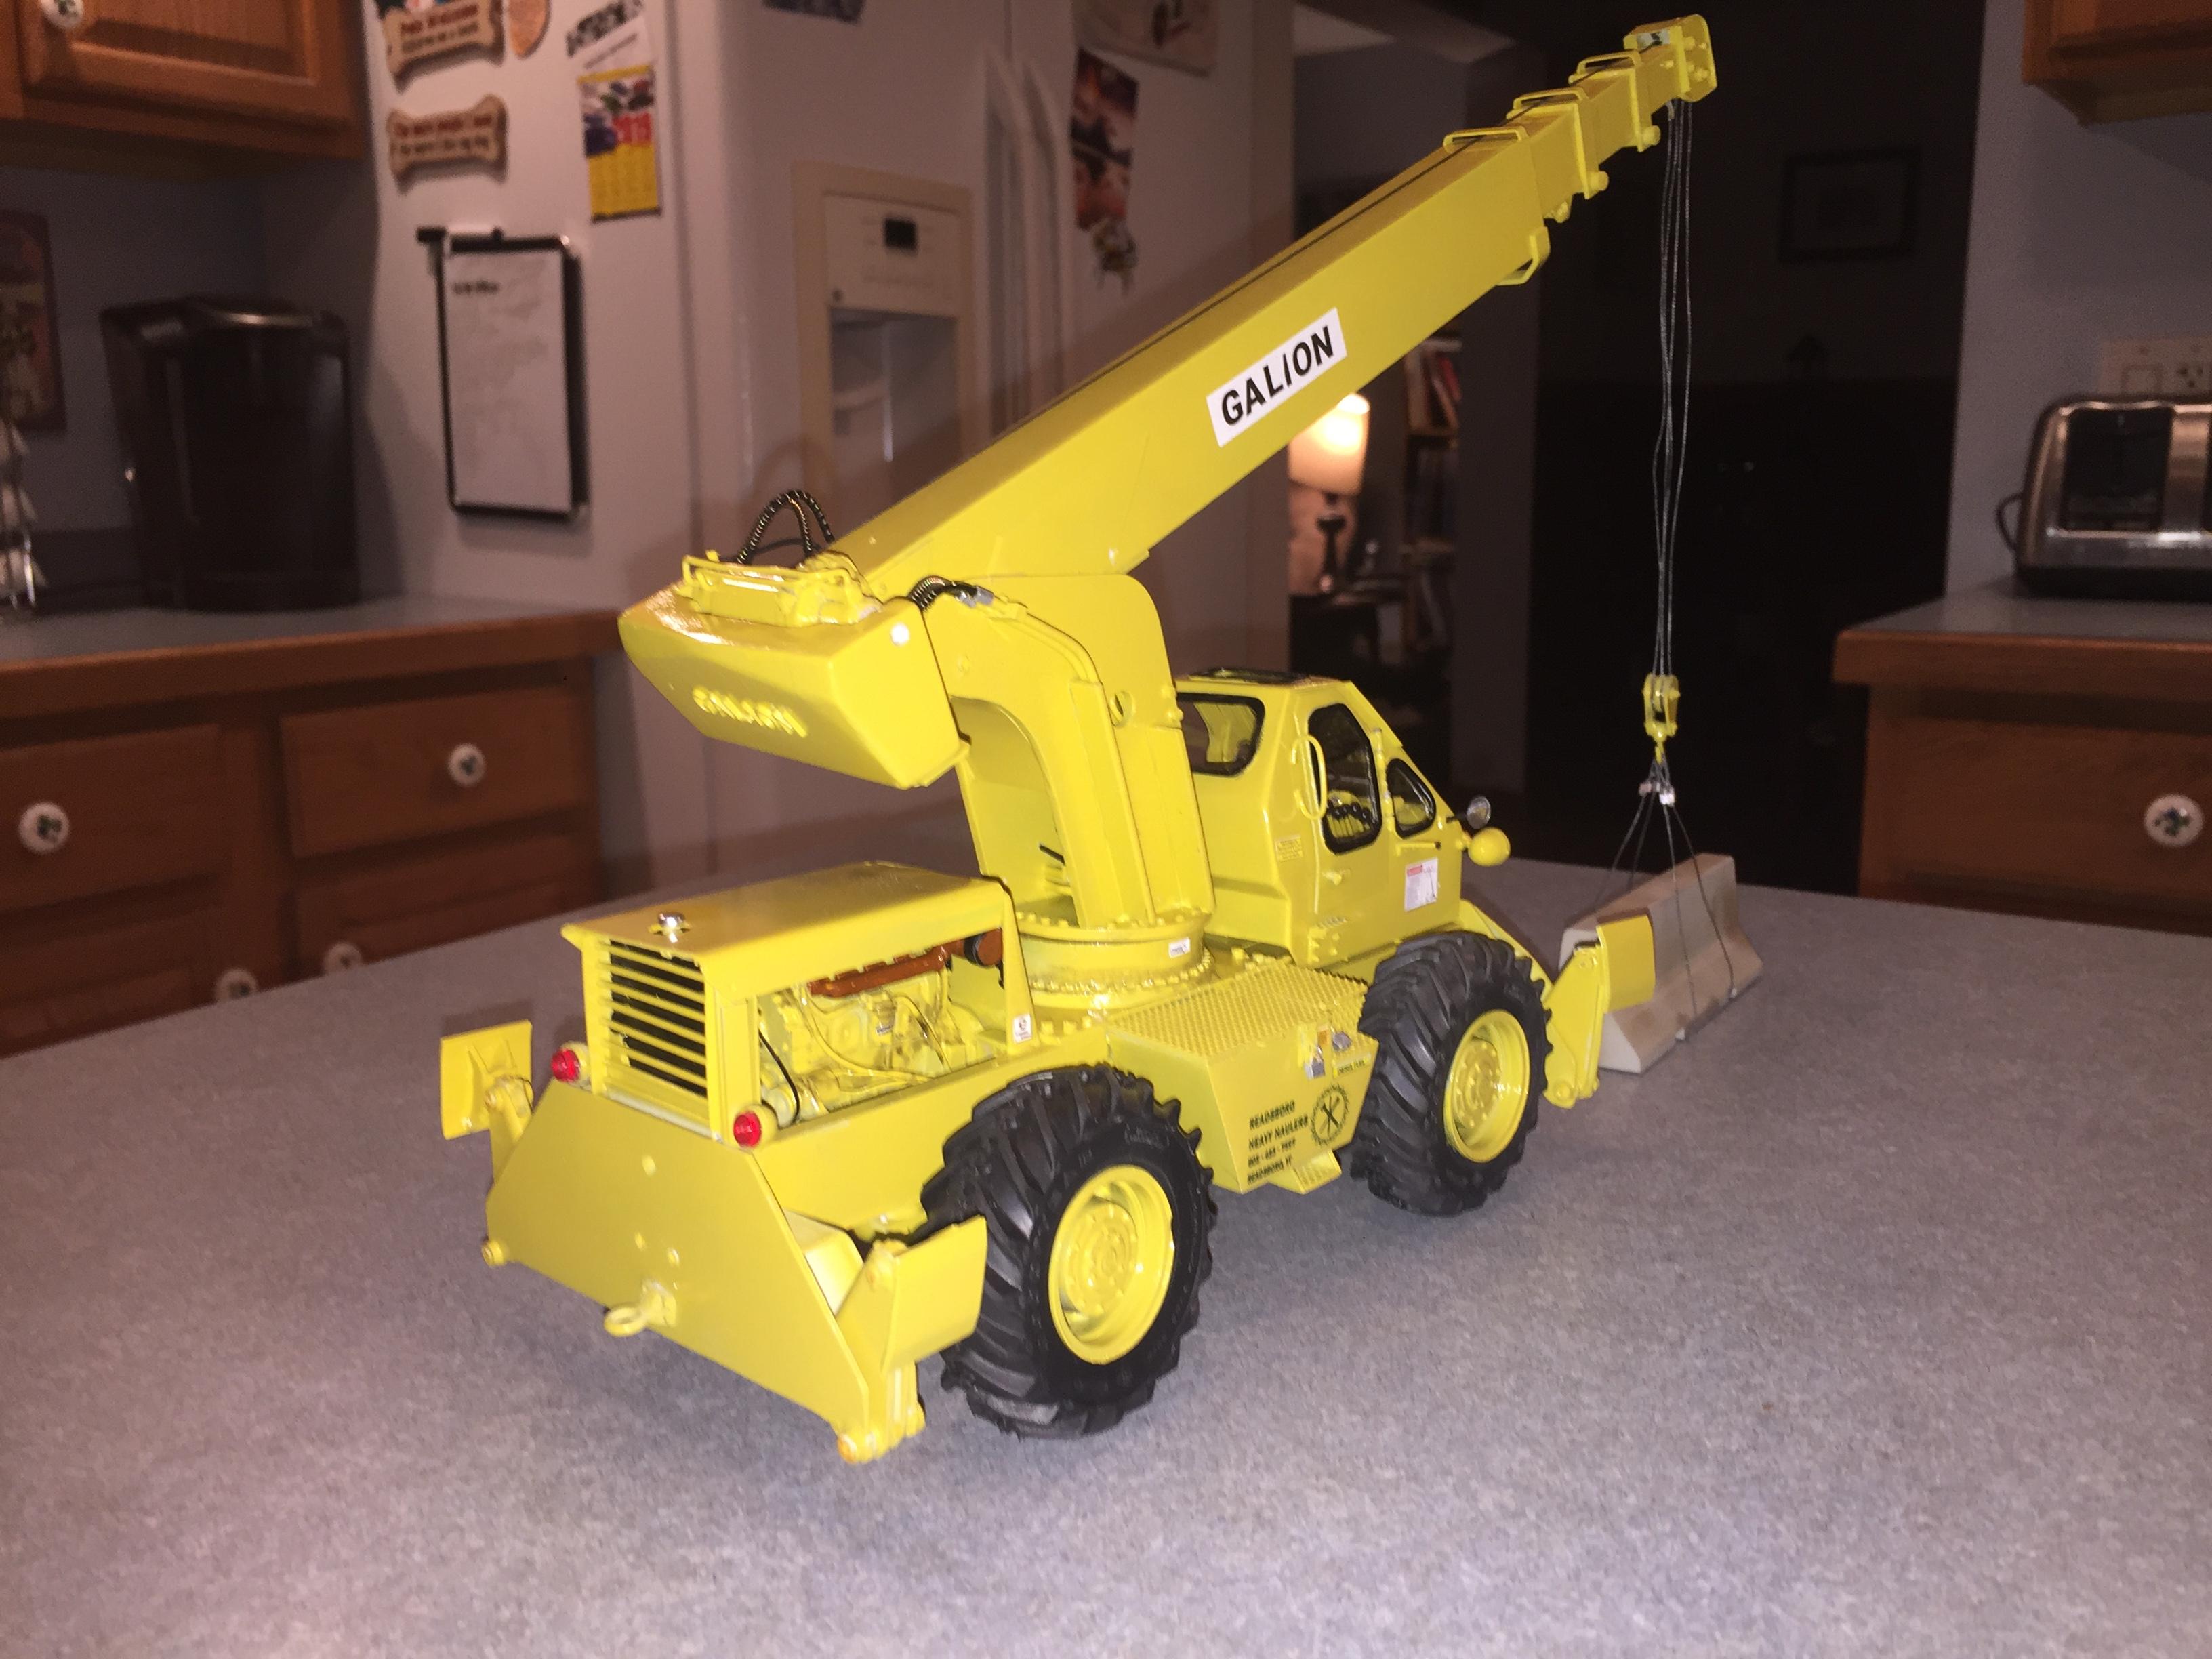
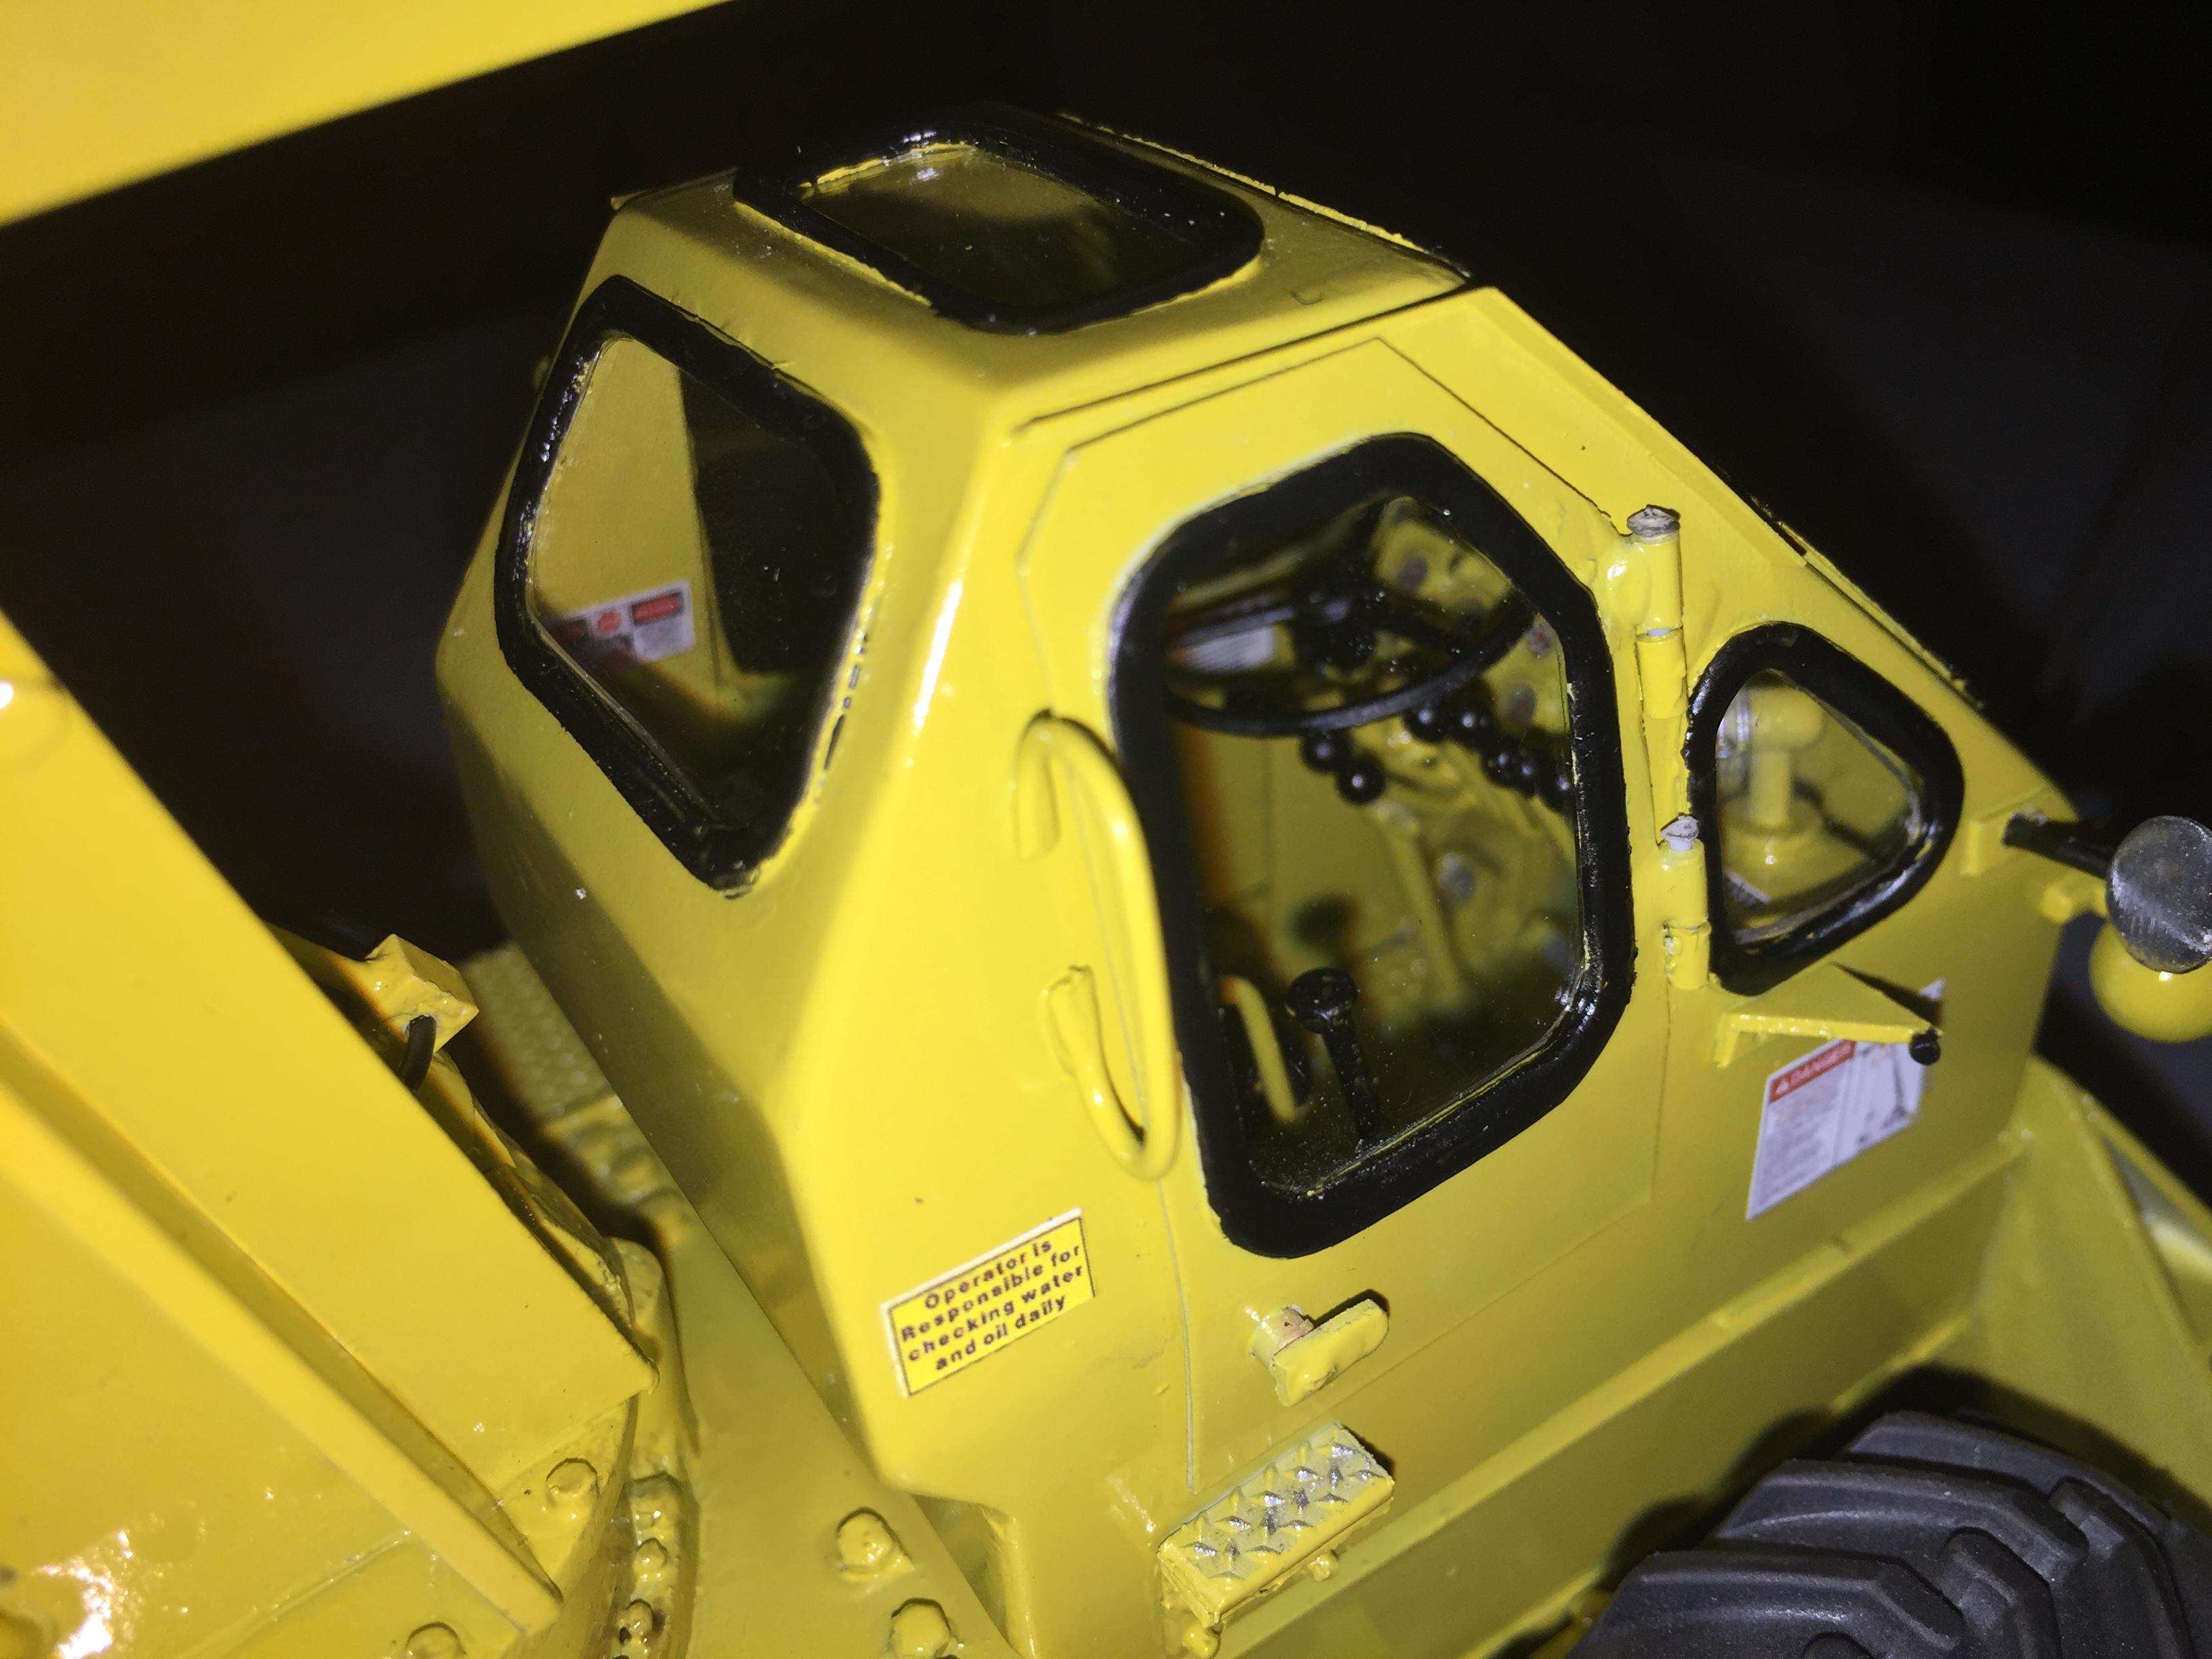
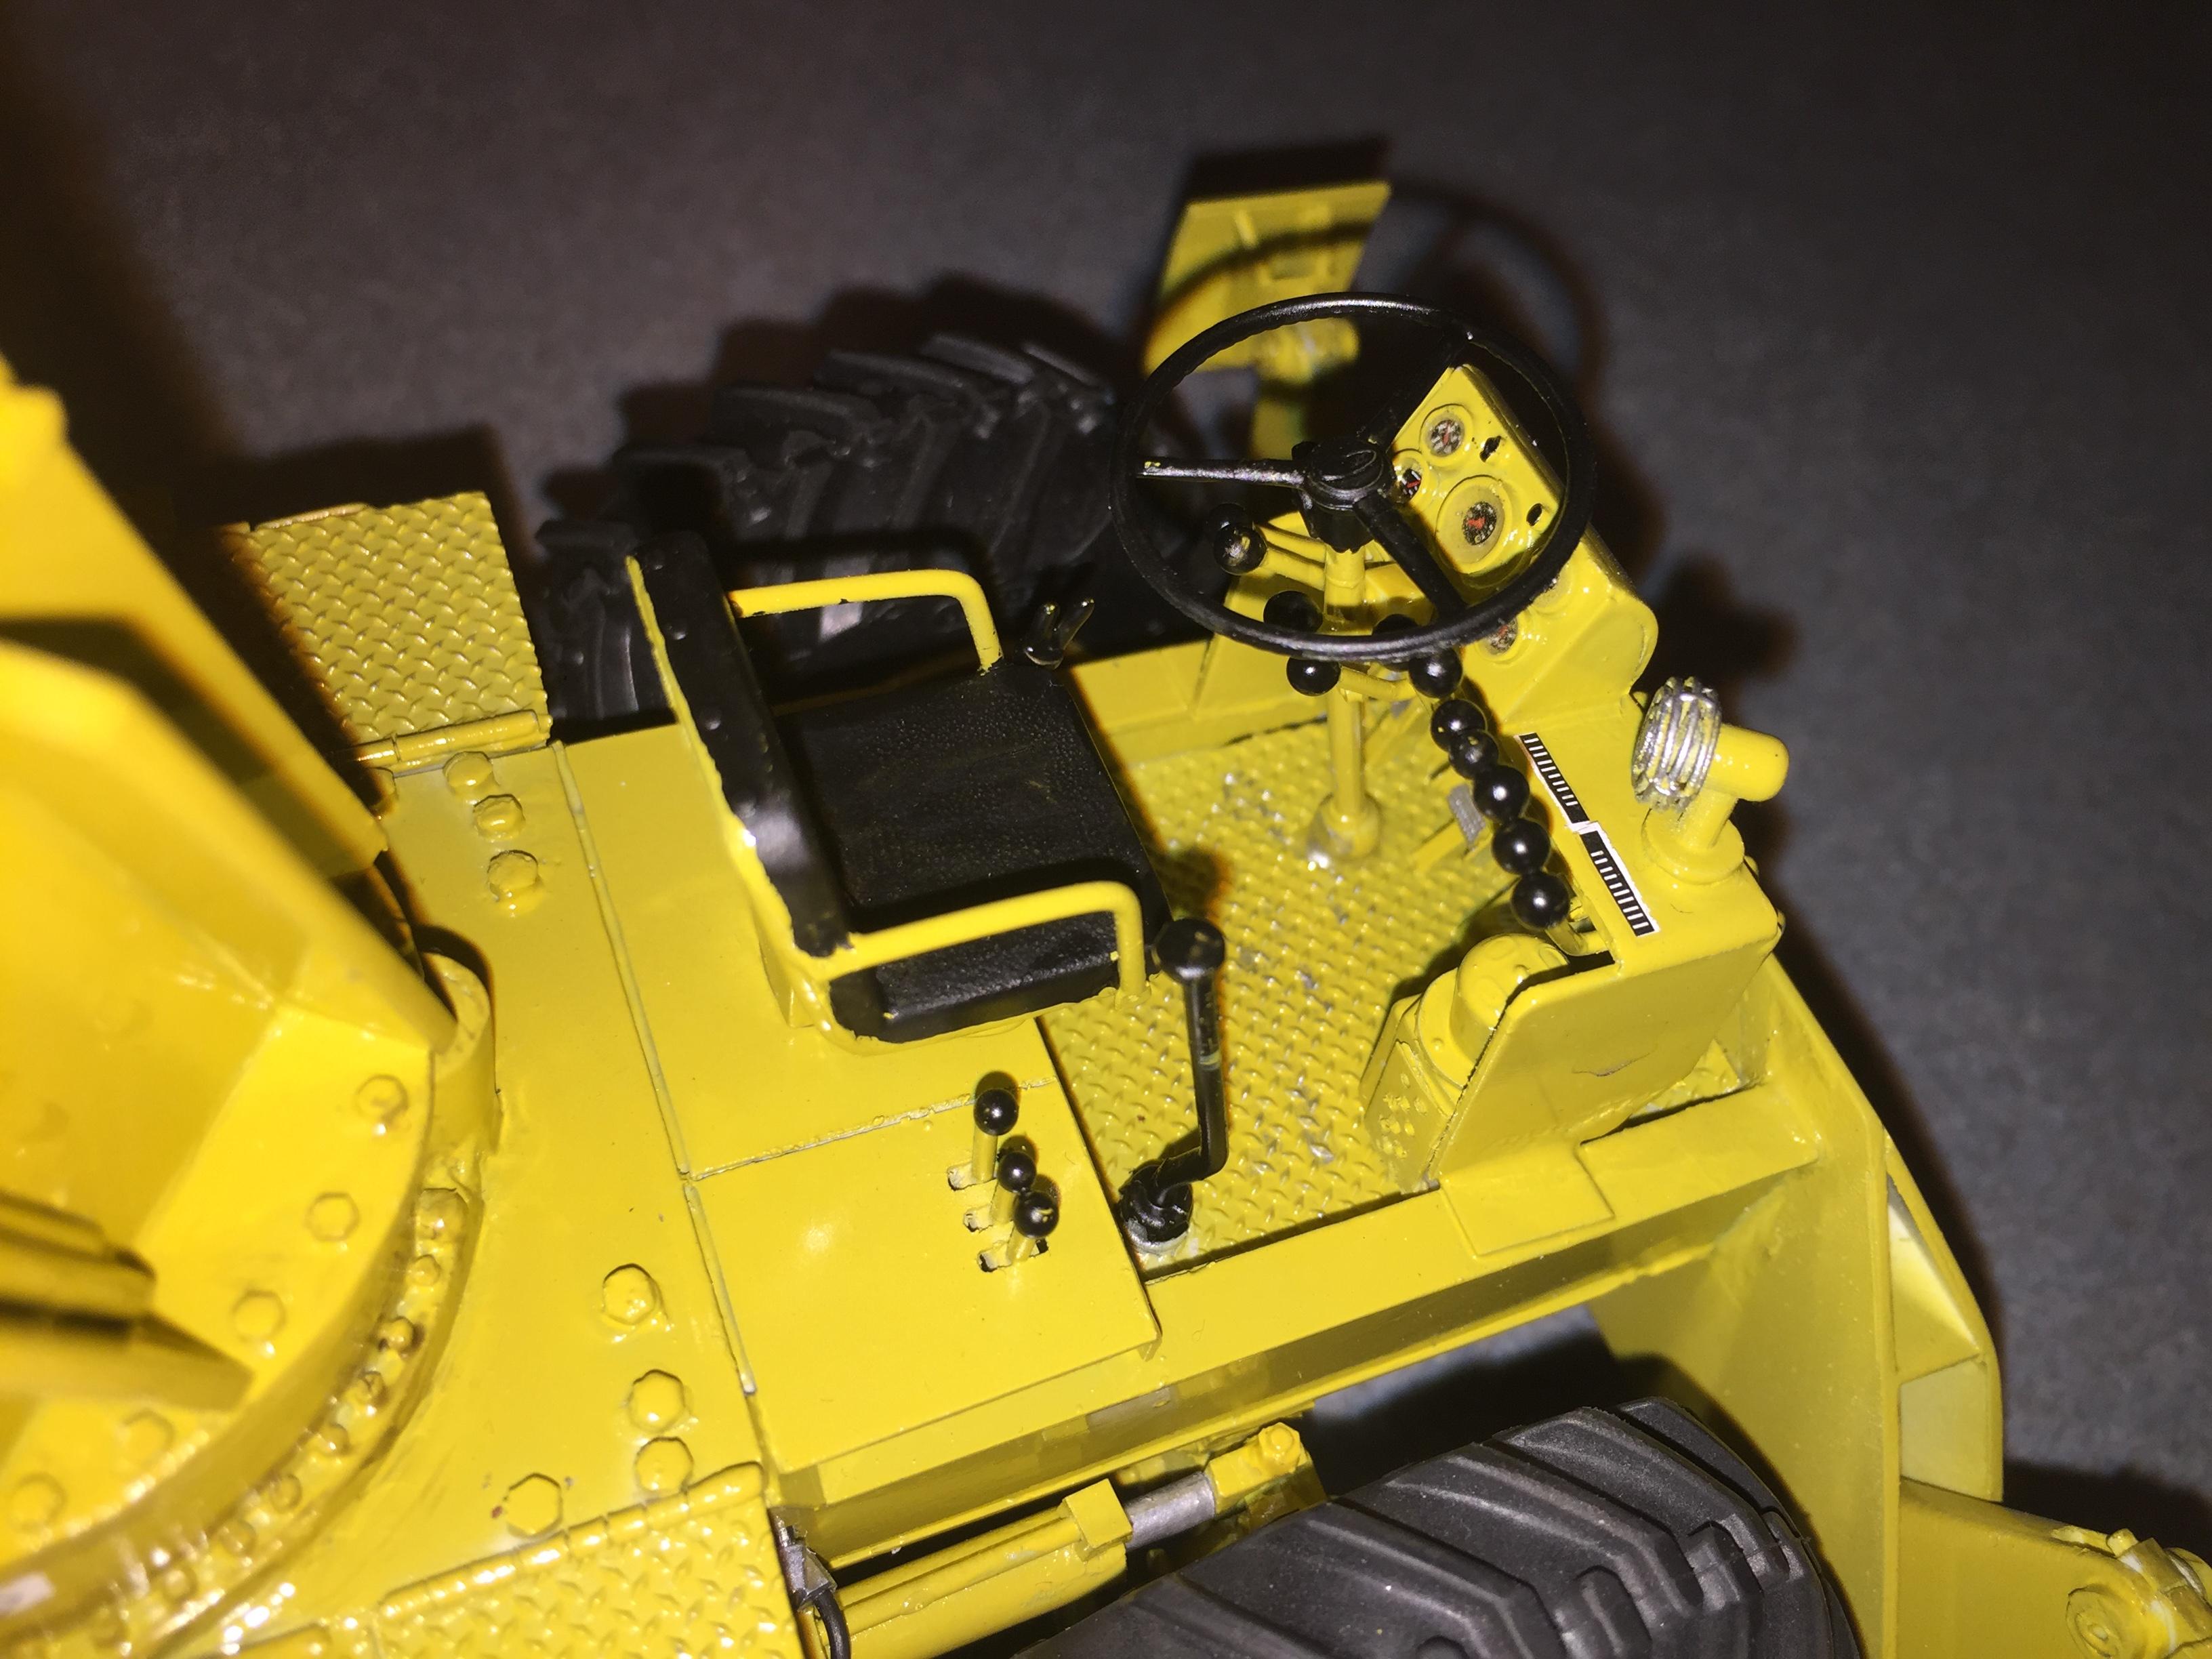
Here is my Galion 12 1/2 ton rough terrain crane. Took just about five months to do, which for me is a world record. Everything works as the real one, outriggers, doors, steering both regular and crab, boom up and crowd and swing. Had one casualty right at the very end when the winch spool simply decided to seize up so that will be a trip to the repair shop in the near future. This has been by far, the most challenging mind wracking build I have ever attempted, and I want to thank all who helped me overcome obstacles along the way! I hope you all enjoyed the build. Please forgive the photography skills, or lack thereof. One thing I am not is a photographer/lighting pro!
-
Done!!!!! Moved to Under Glass! Thank you for all of the comments and to all who followed this build!! Much appreciated!
-
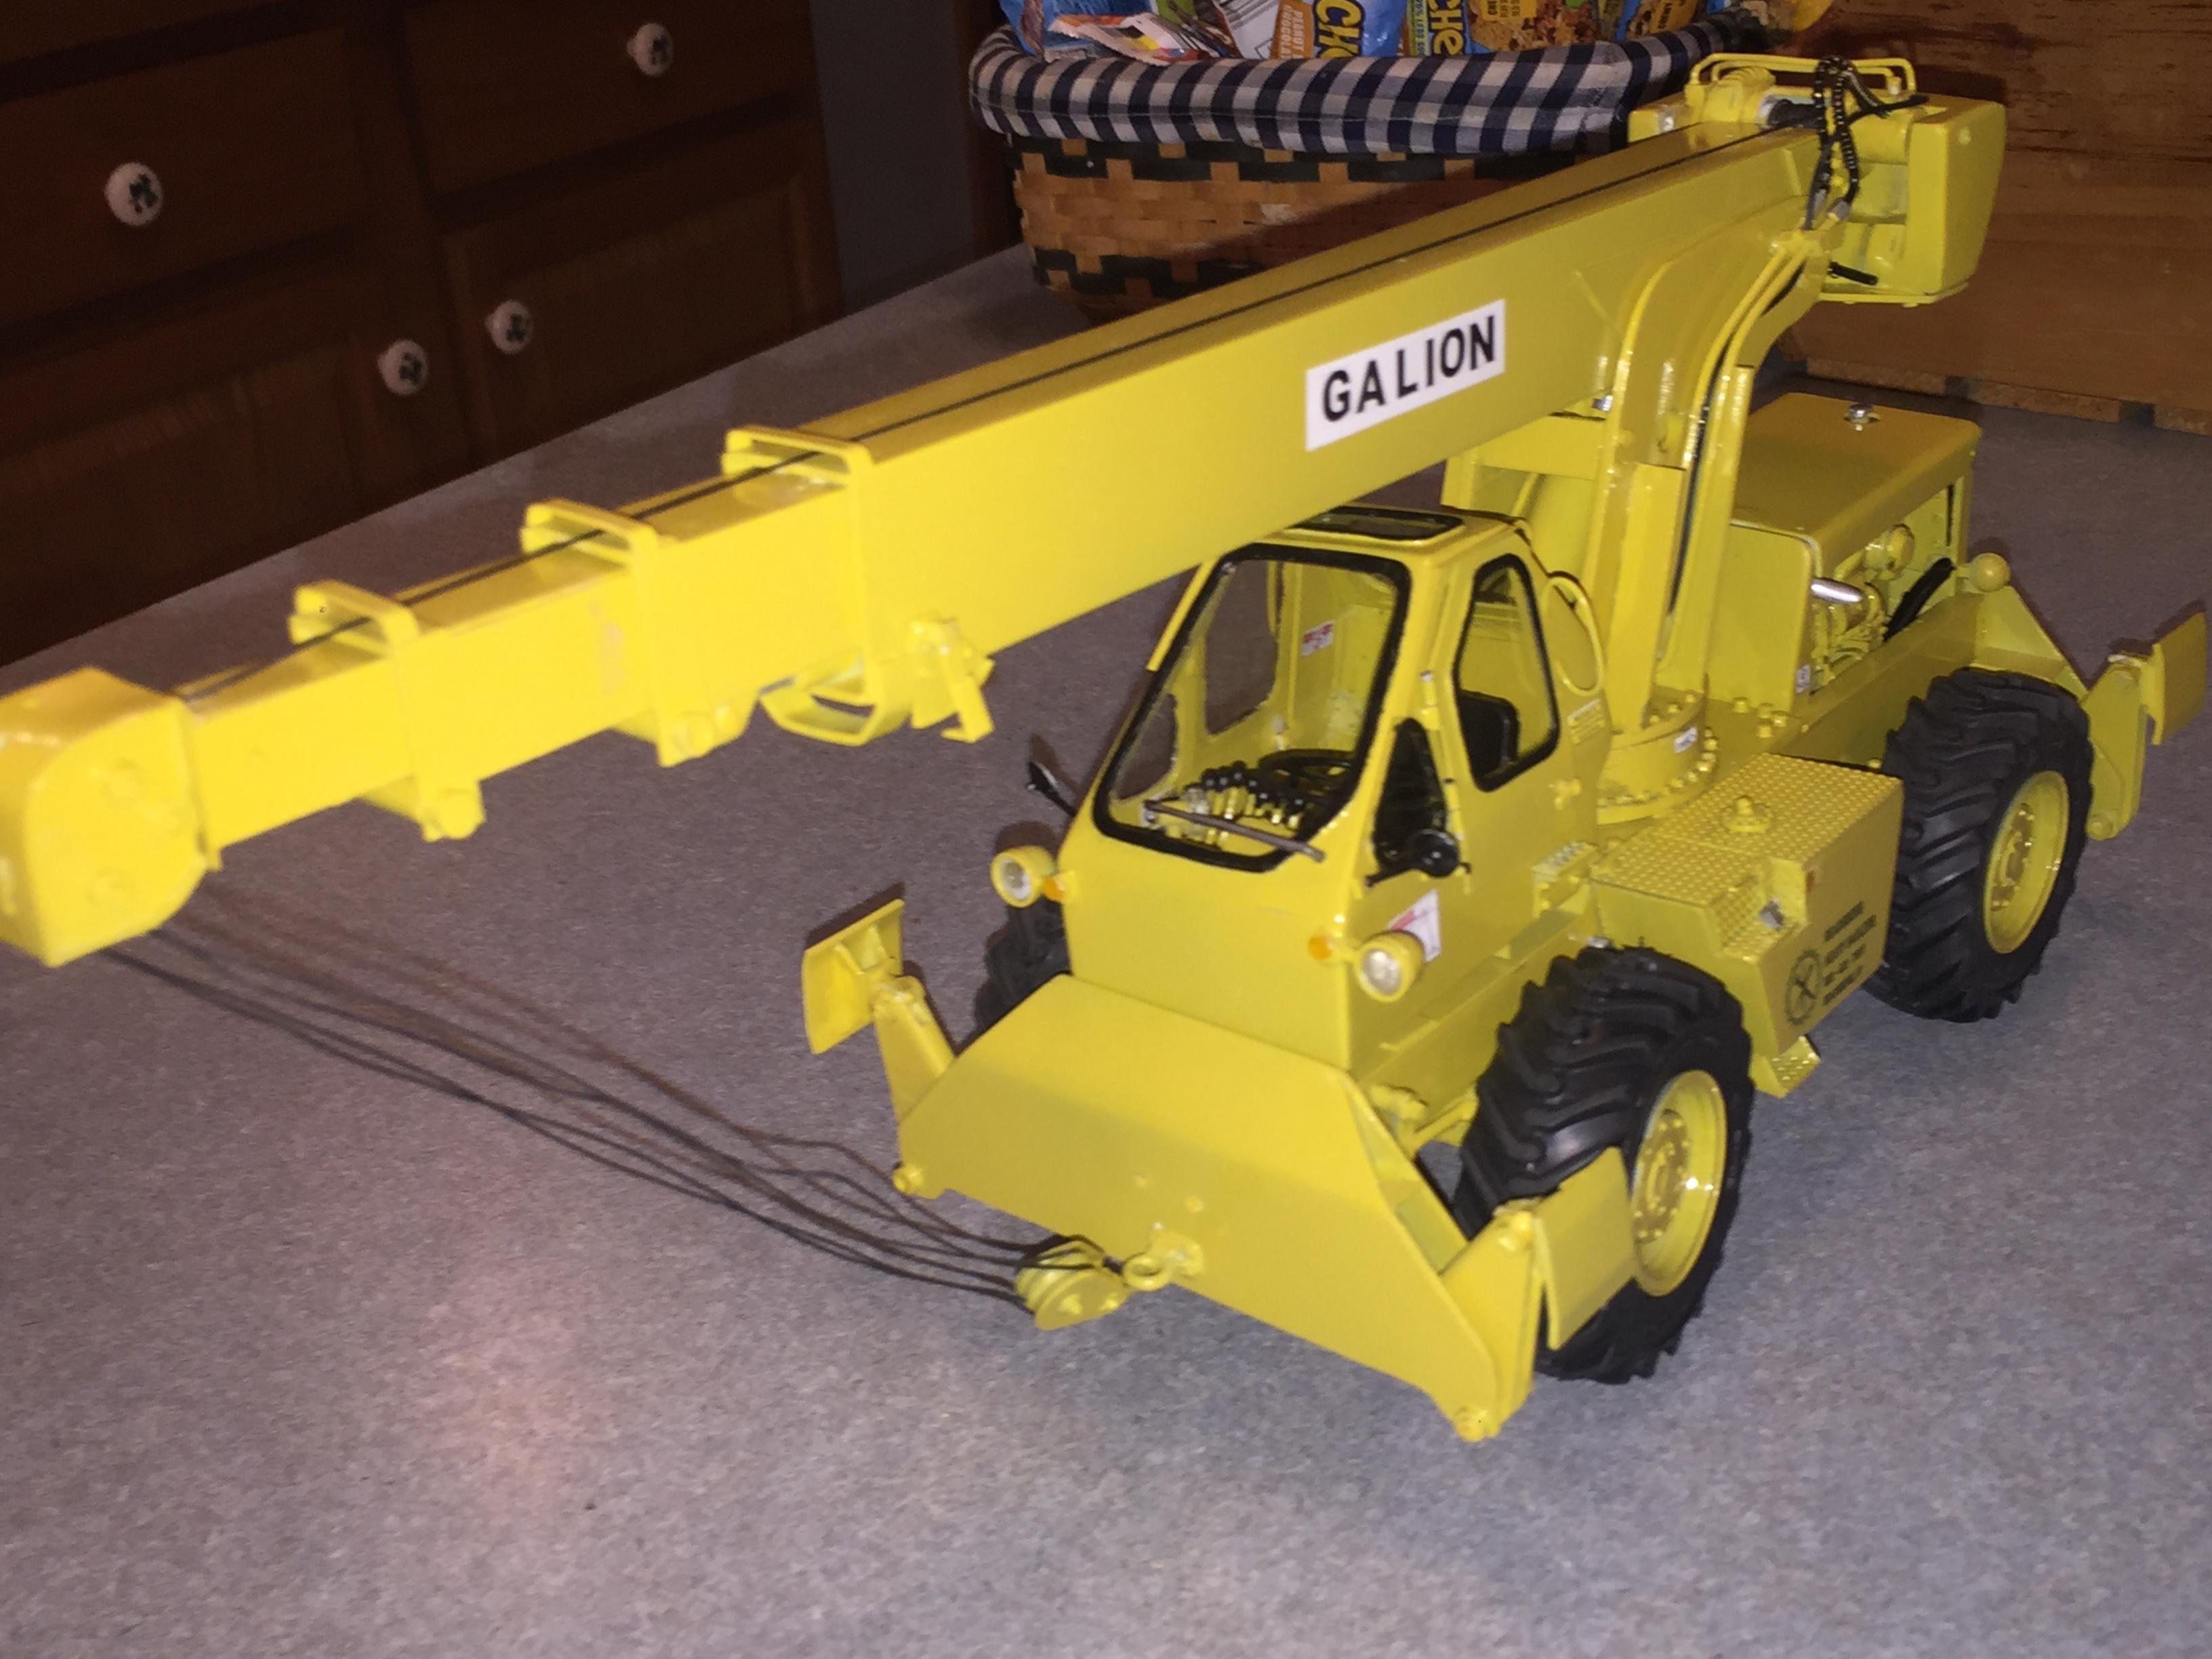
Got the boom assembly all piped up with reinforcing wire armor on the hoses. Assembled the boom and started installing glass in the cab. Have to wait for the installed glass to dry before I can finish. Now I just have to figure out how to install the cable and make it work properly. I am my own worst critic but I am pleased with this one.