.jpg.54ecf0d4a006234146ea24c7f6762038.jpg)
redneckrigger
-
Posts
1,578 -
Joined
-
Last visited
Content Type
Profiles
Forums
Events
Gallery
Everything posted by redneckrigger
-
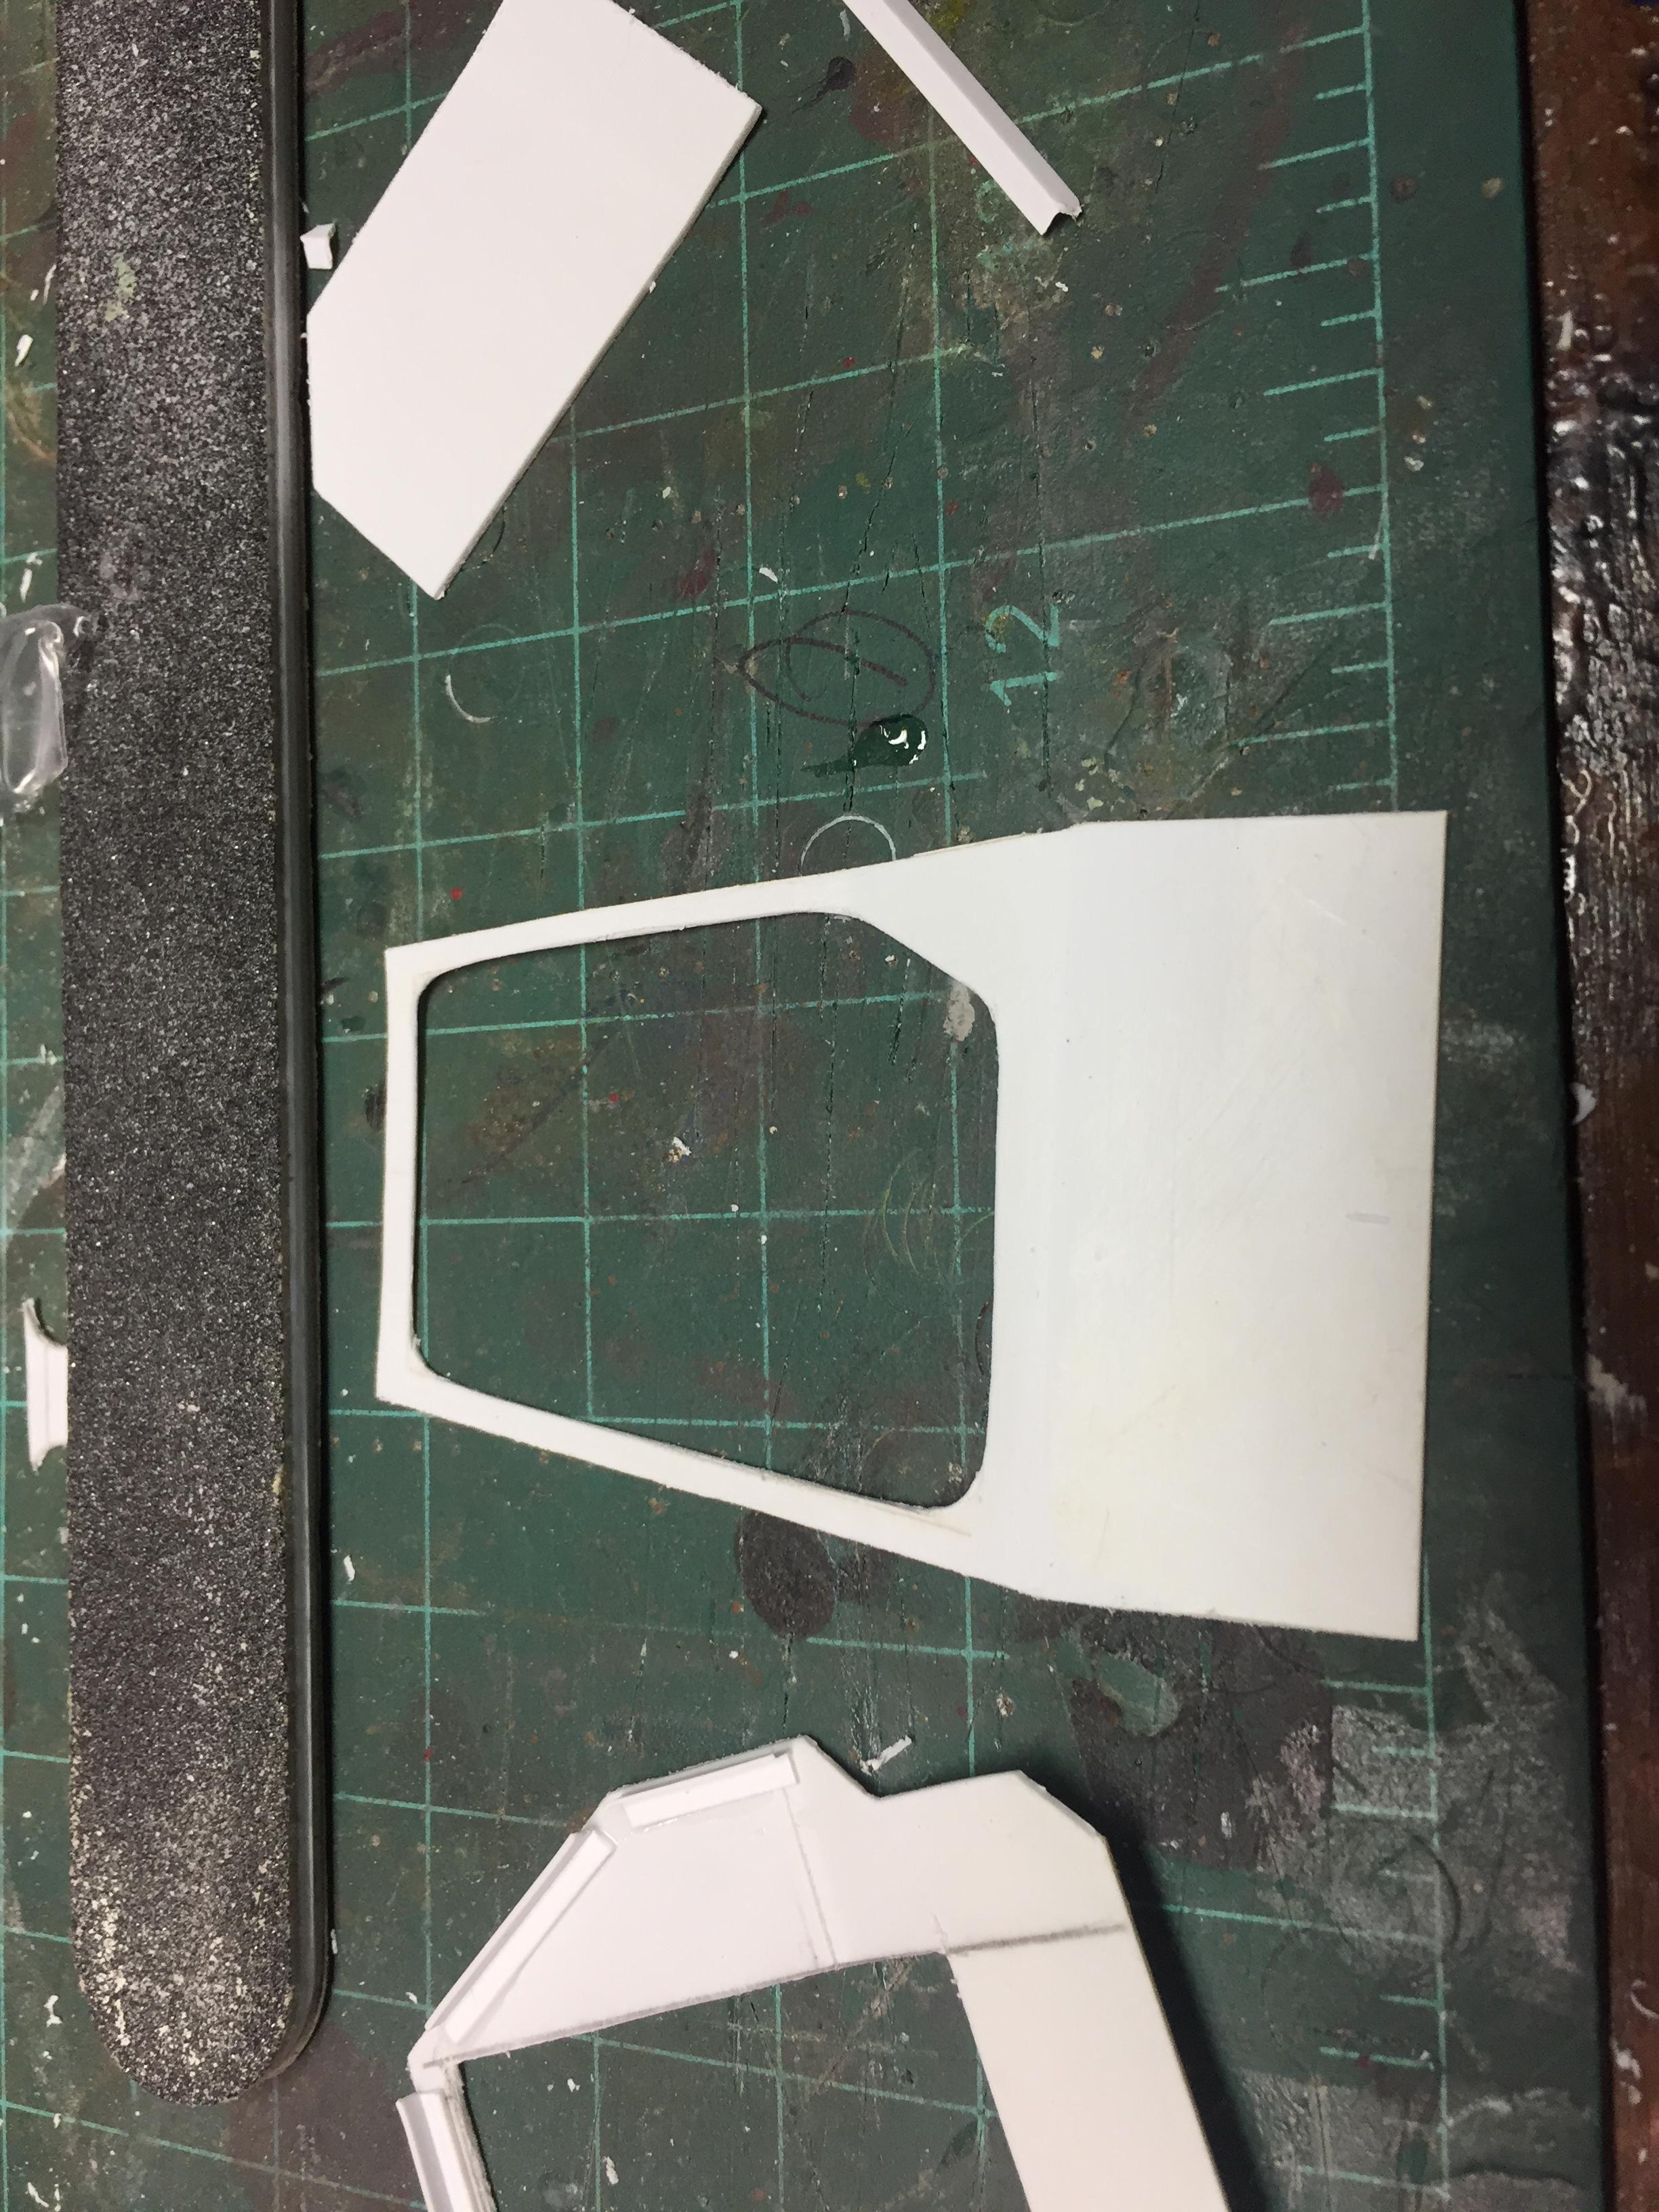
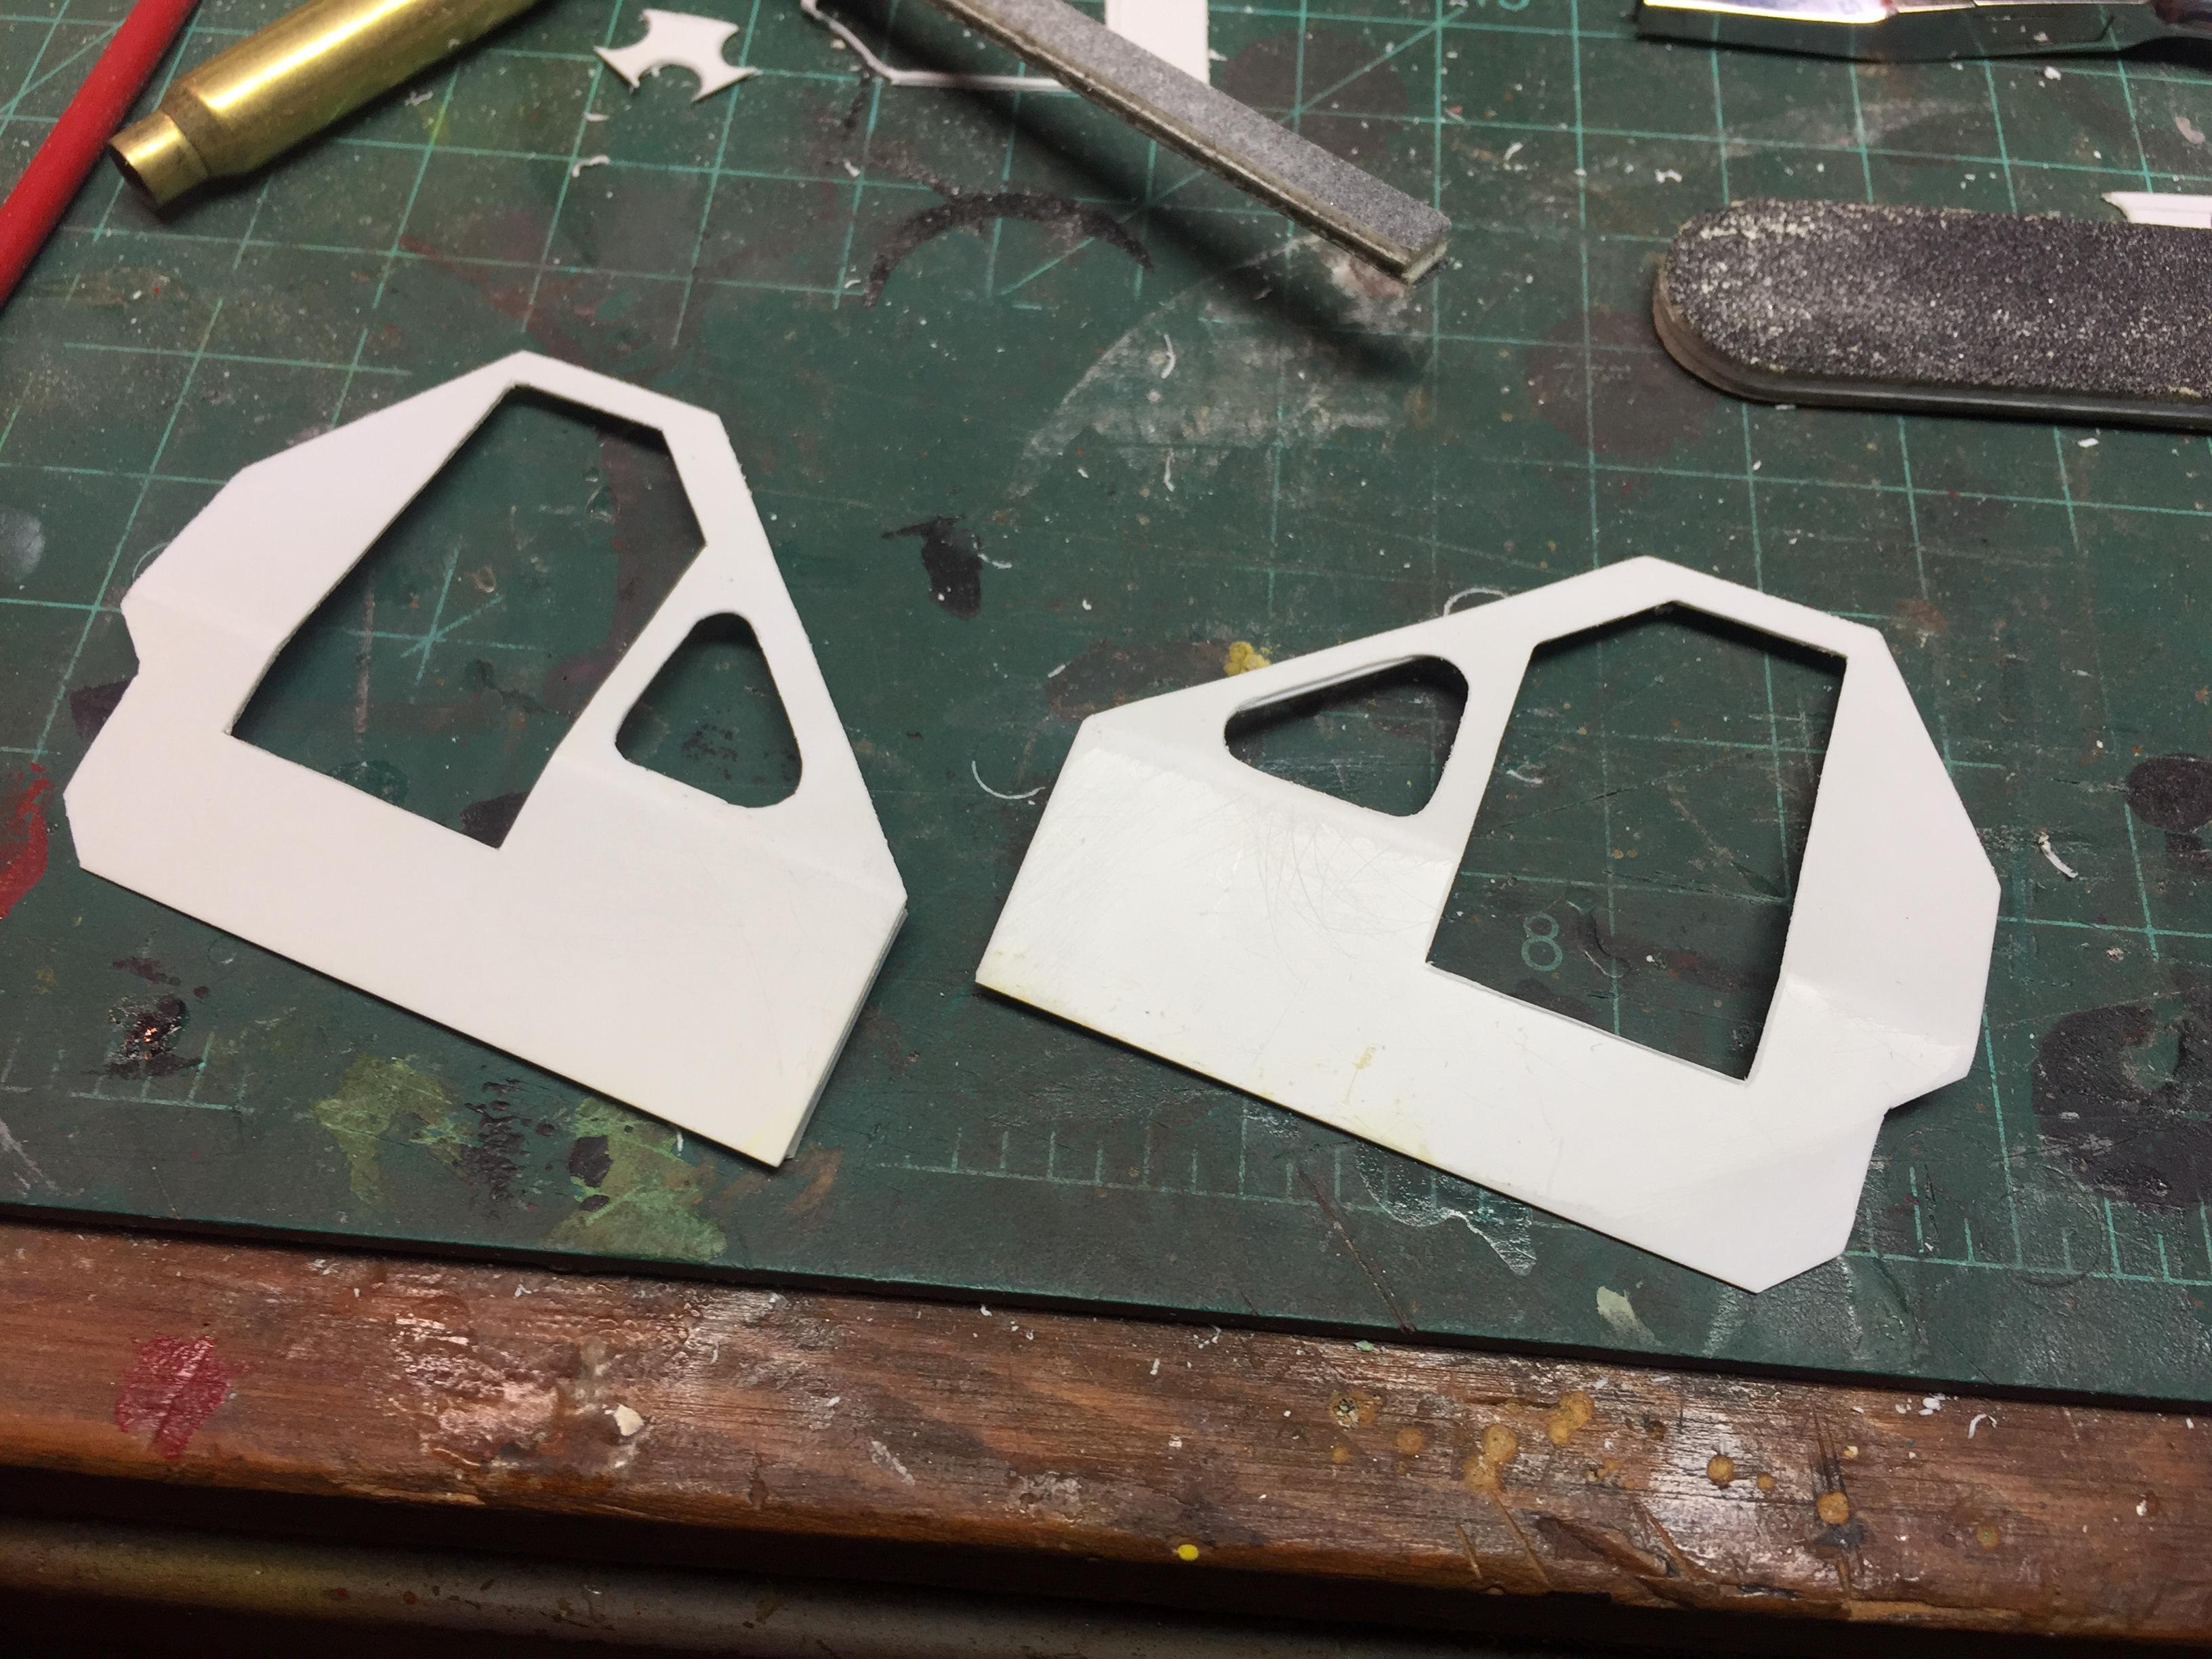
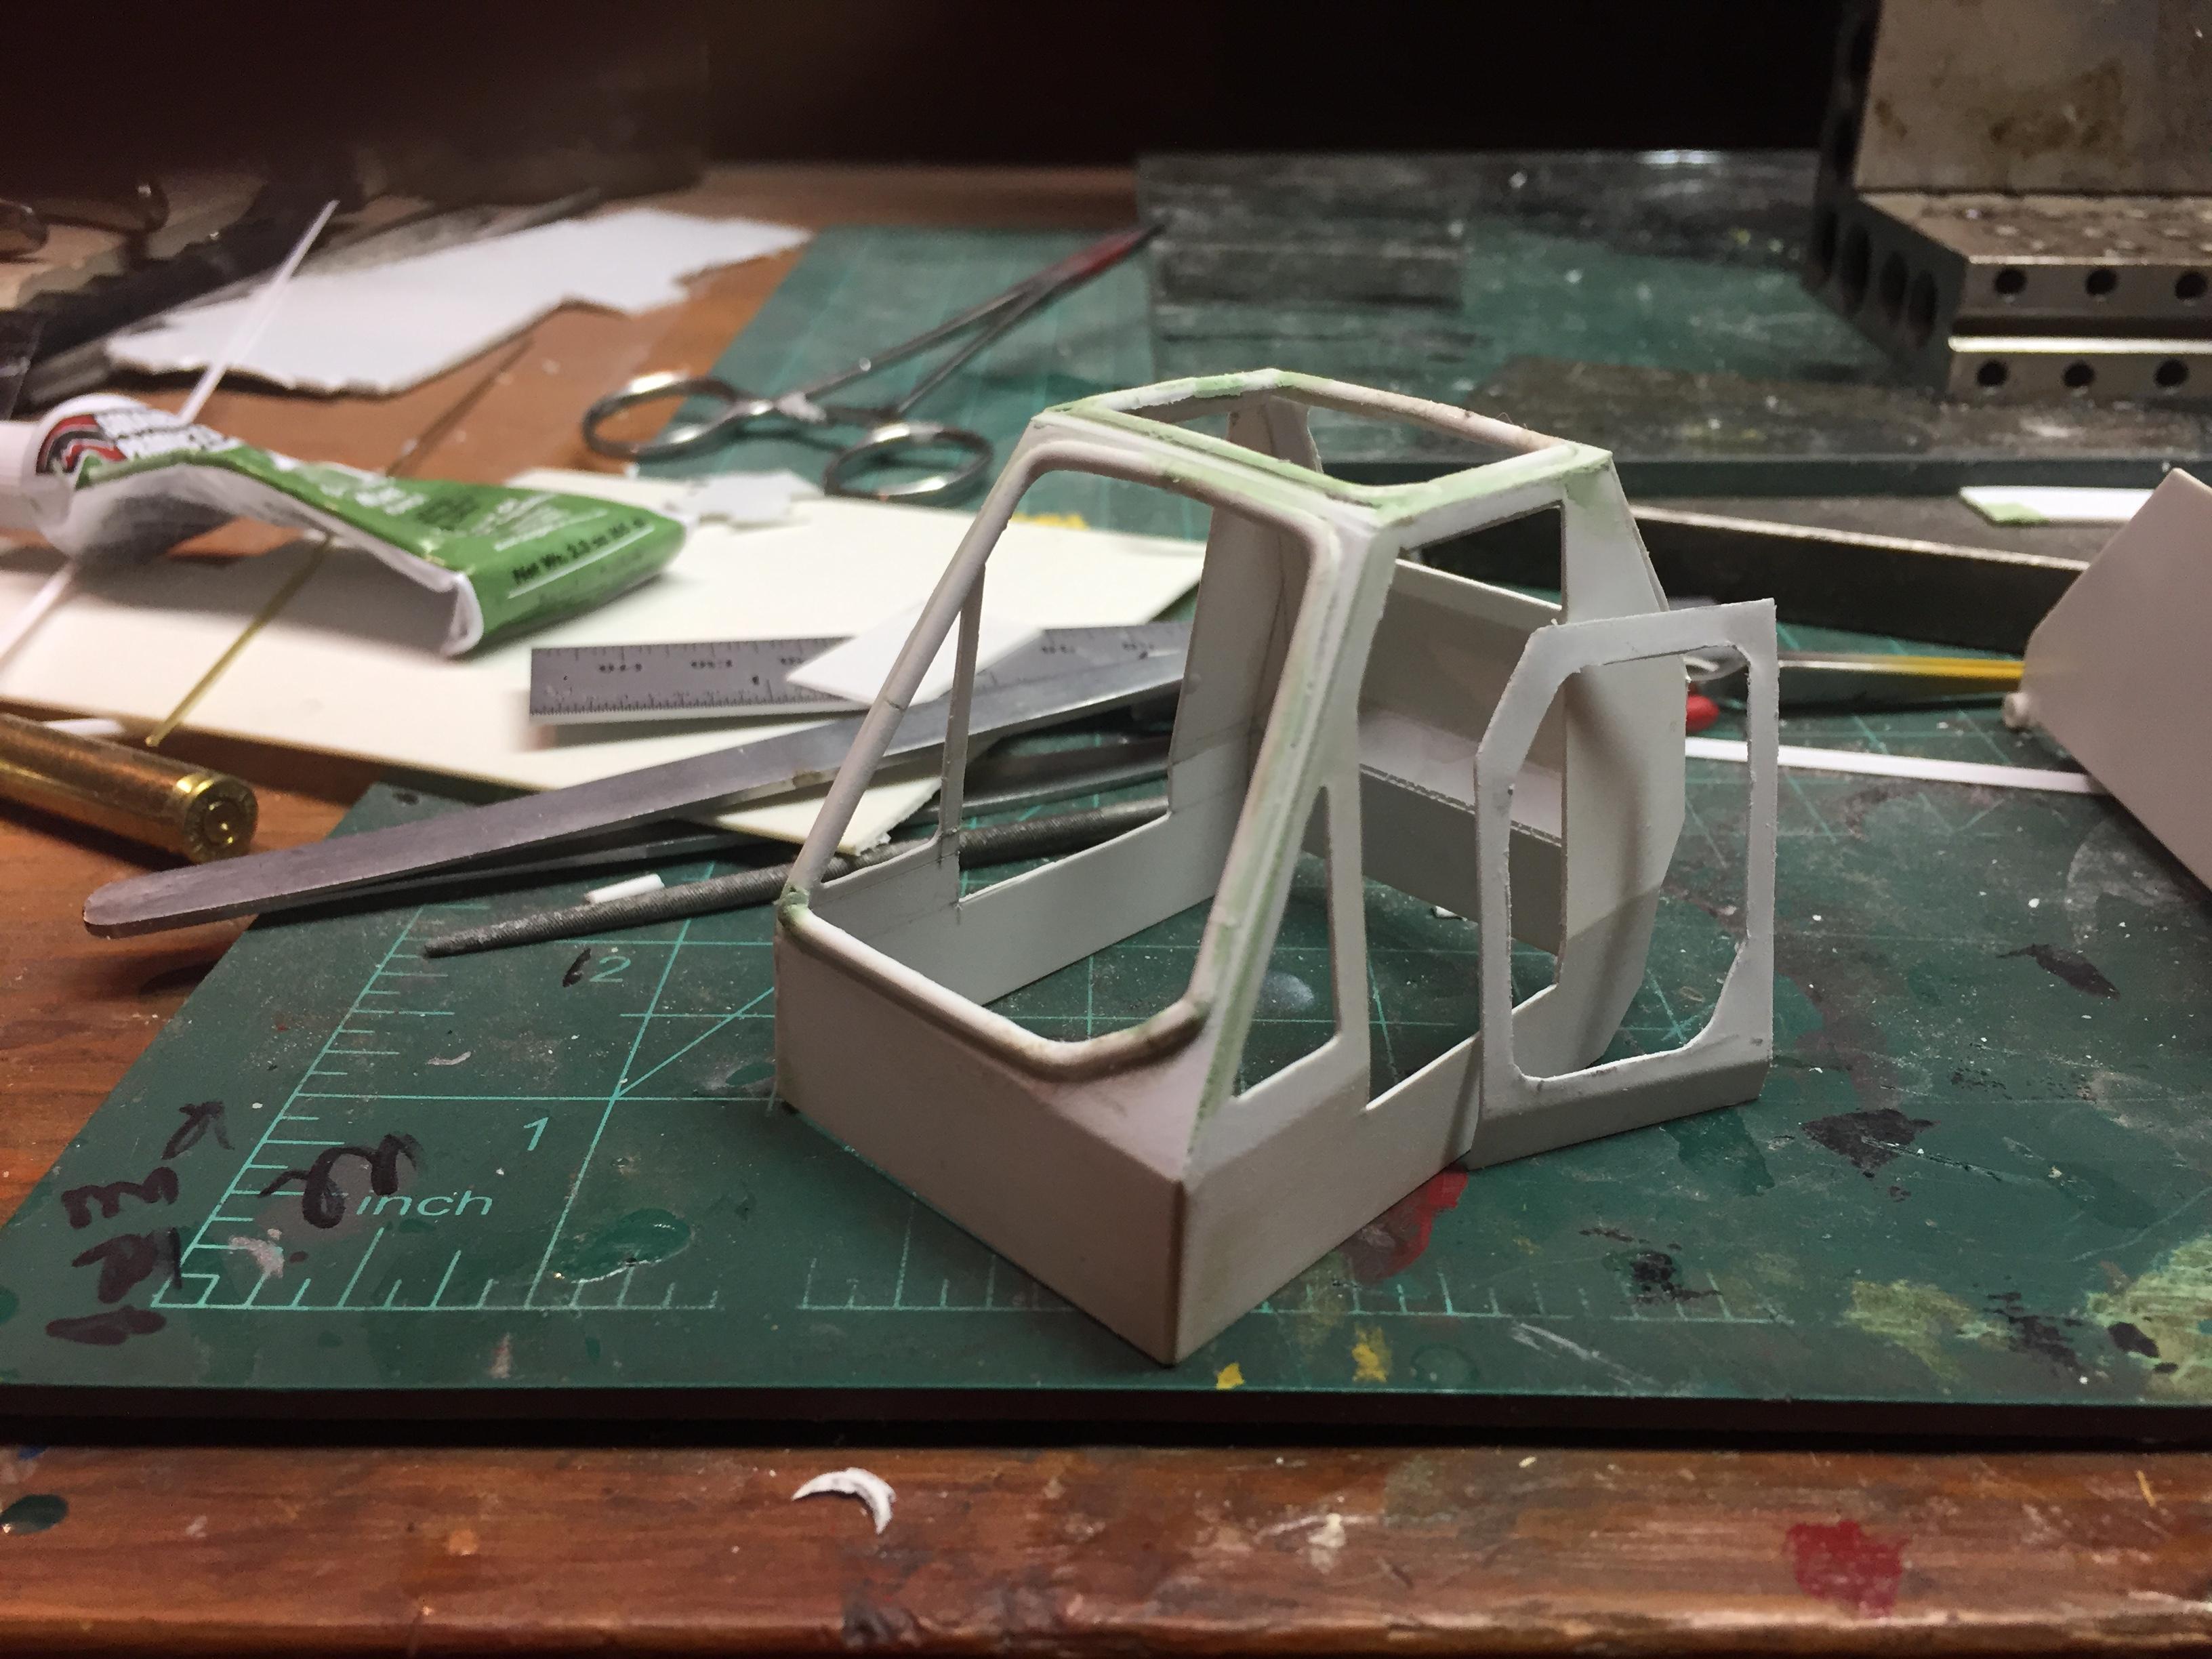
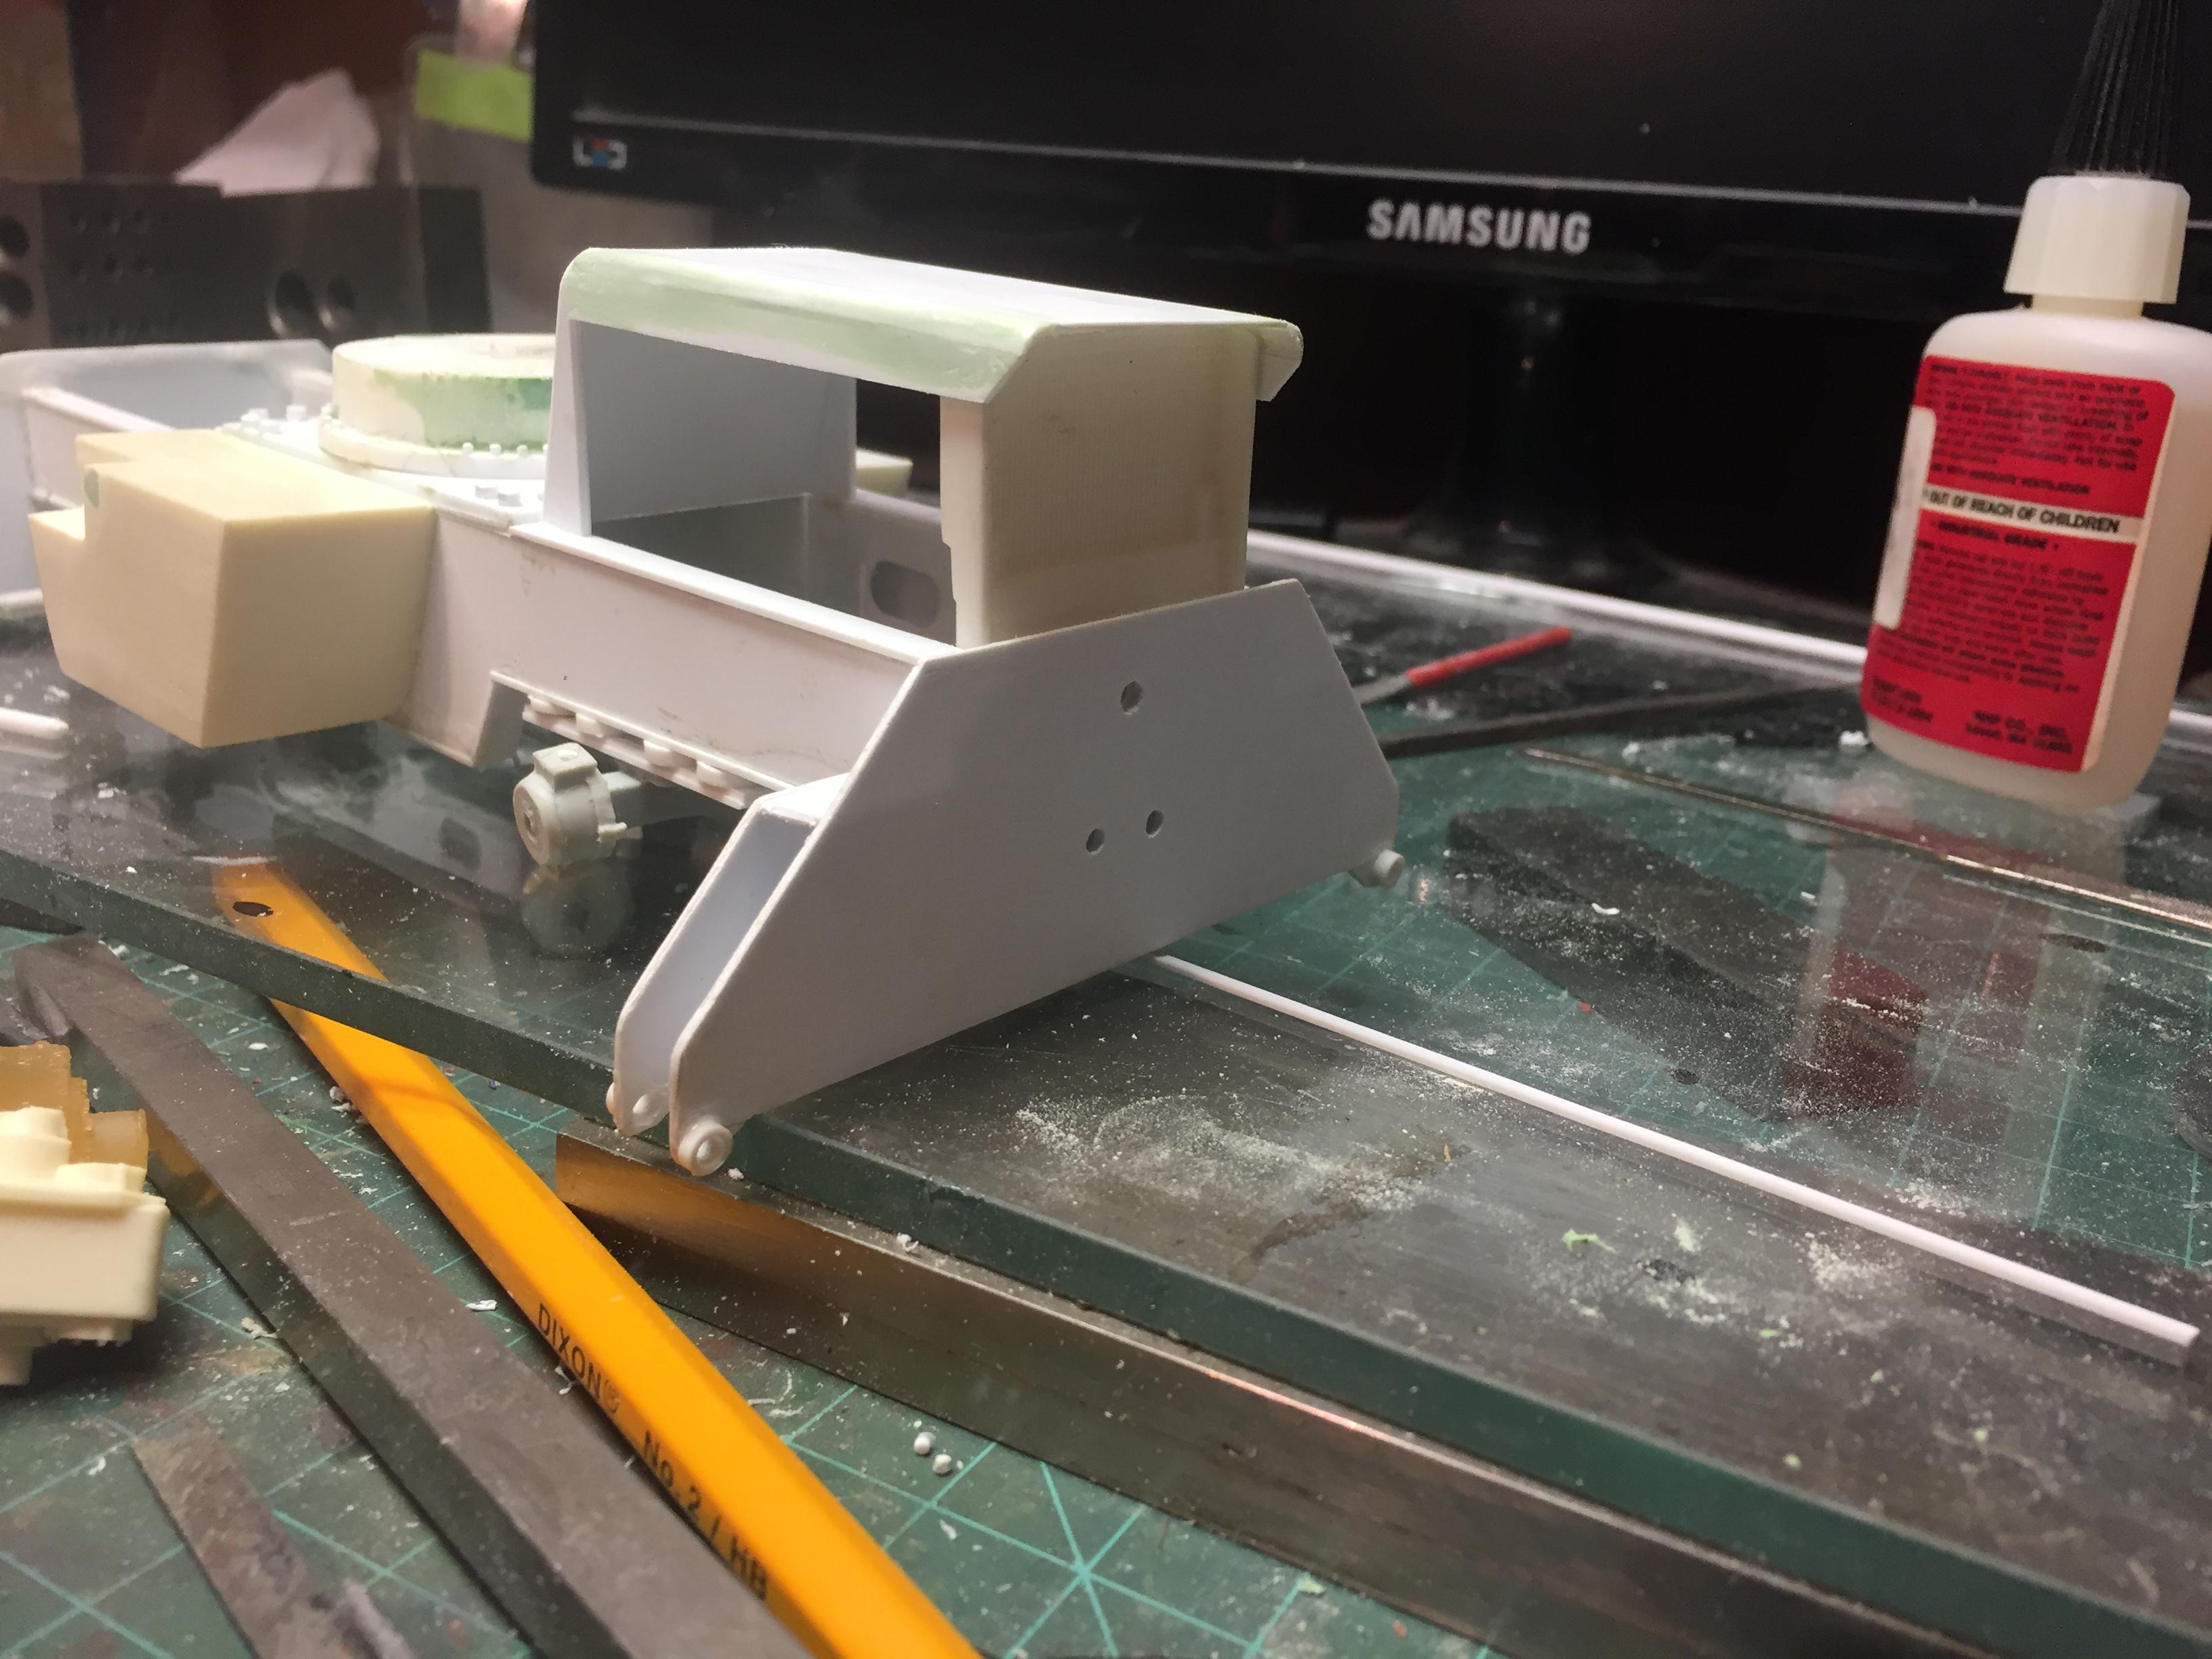
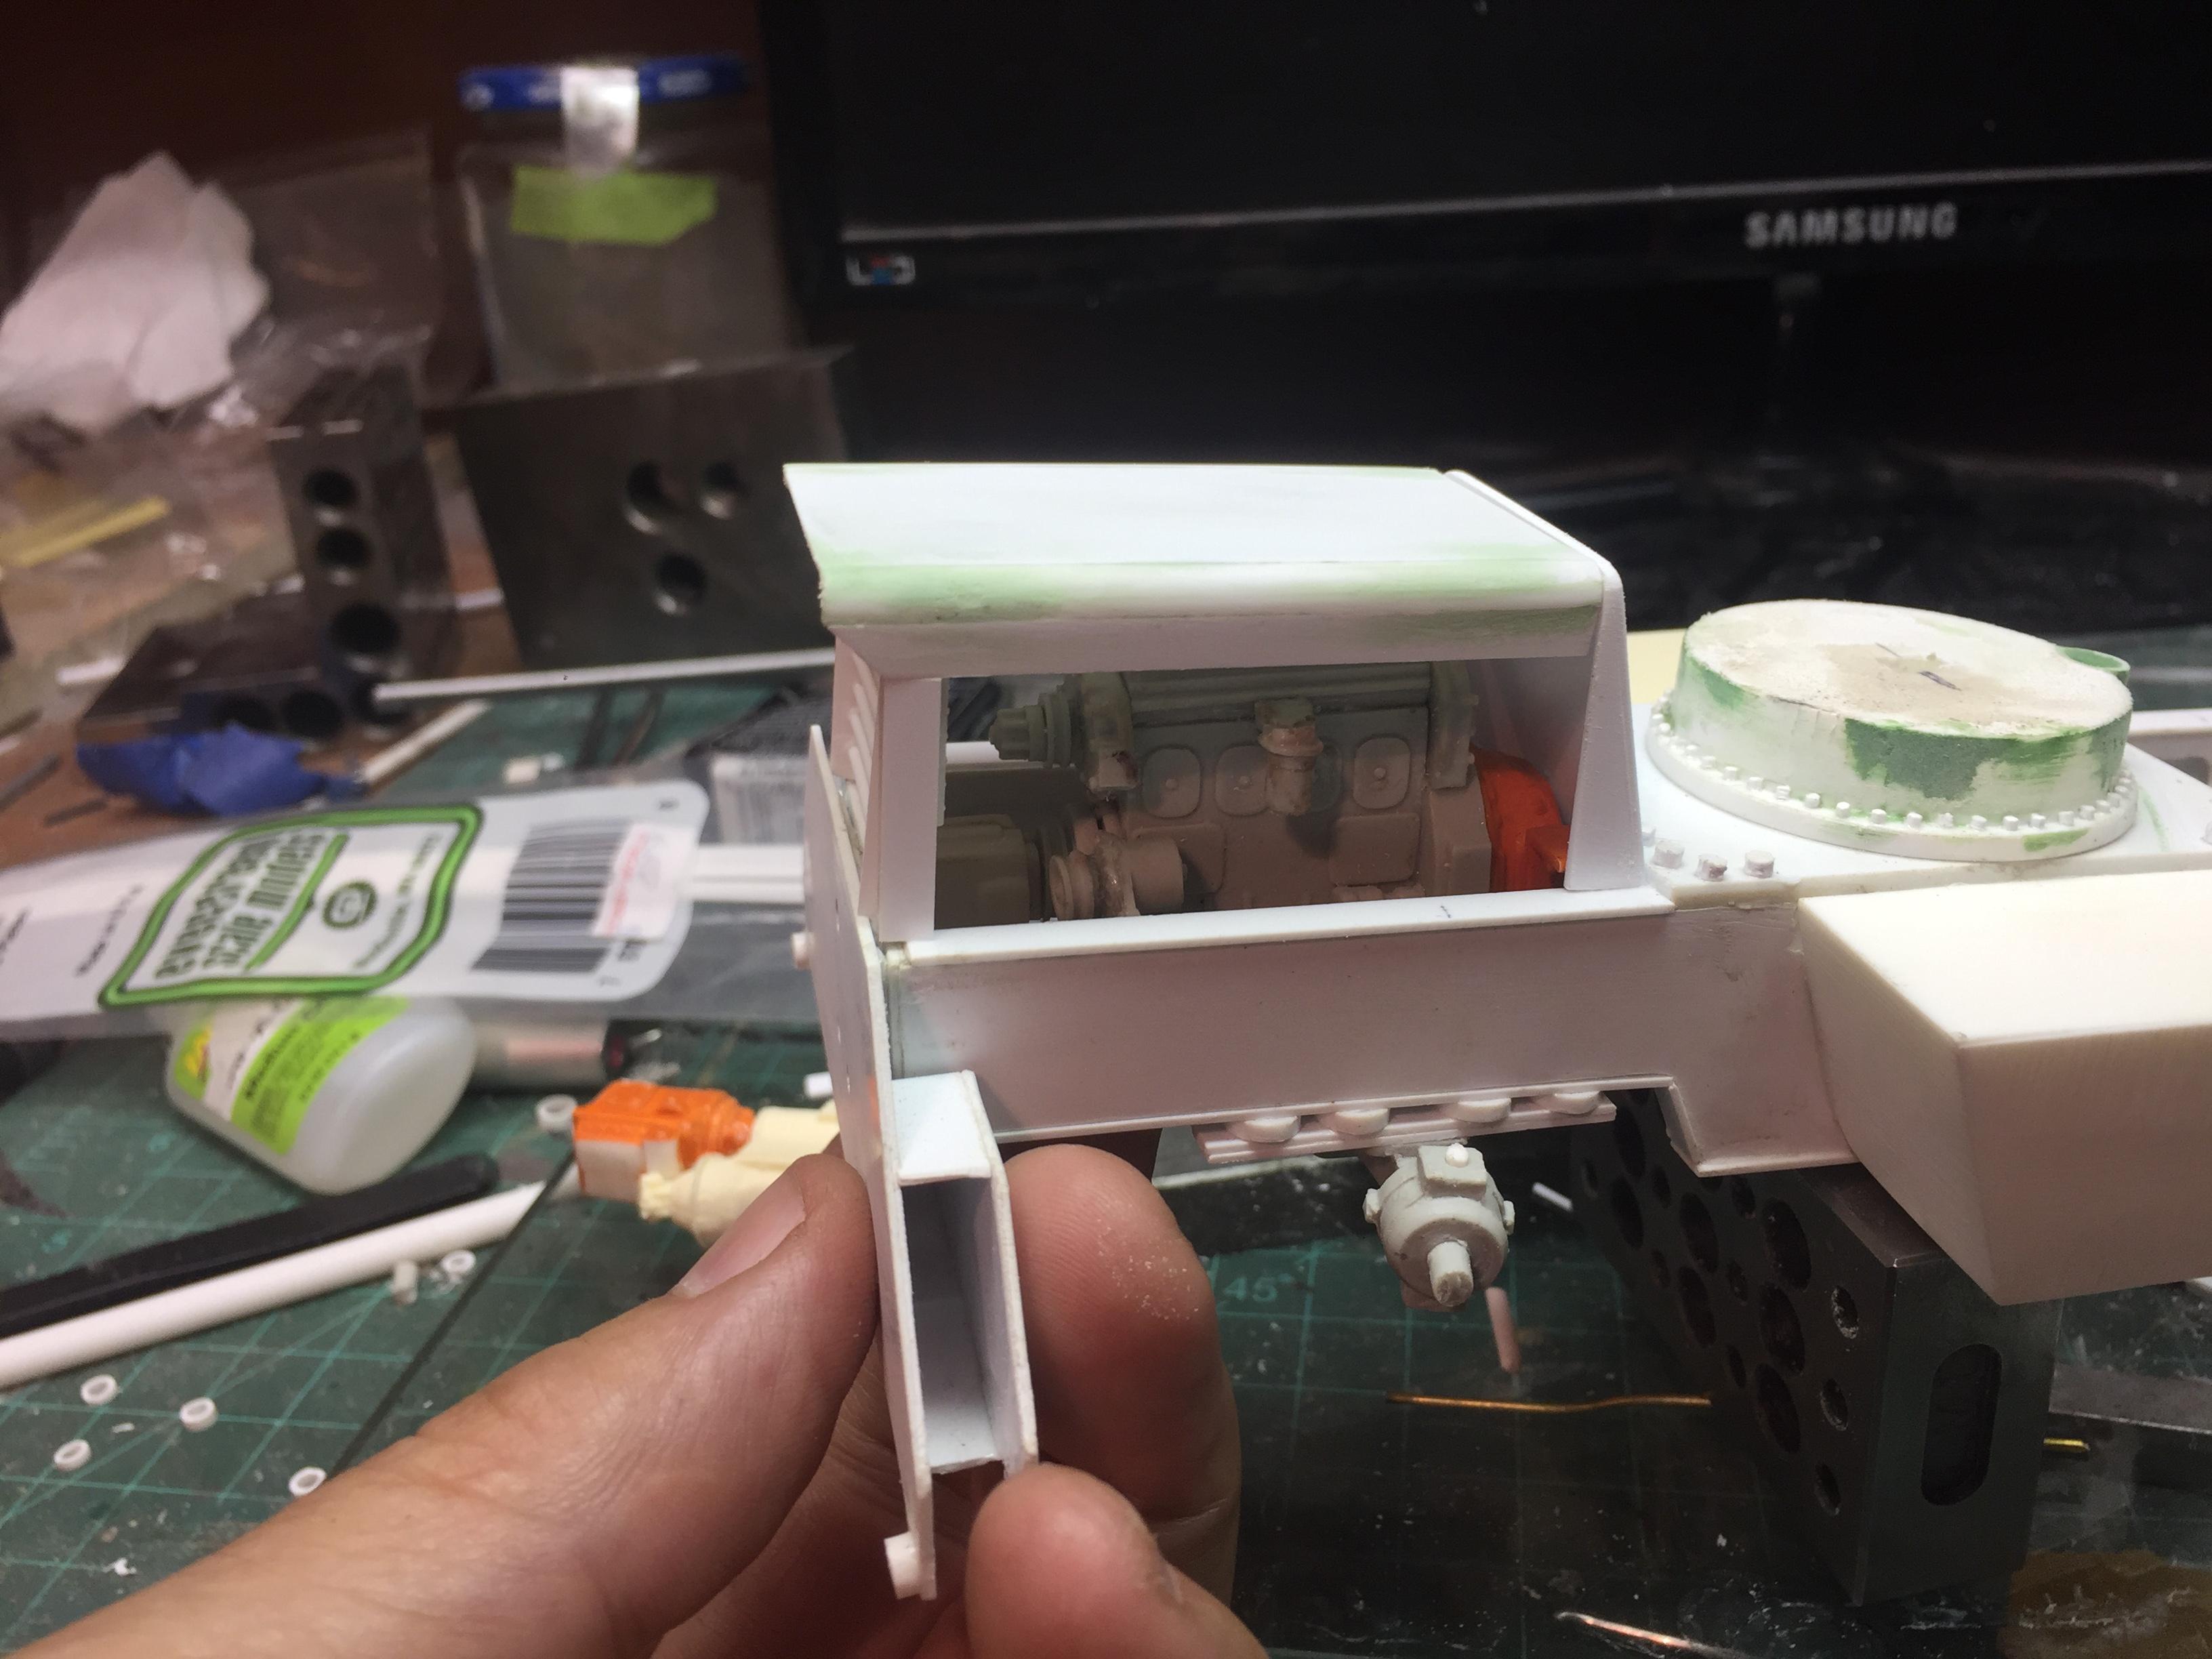
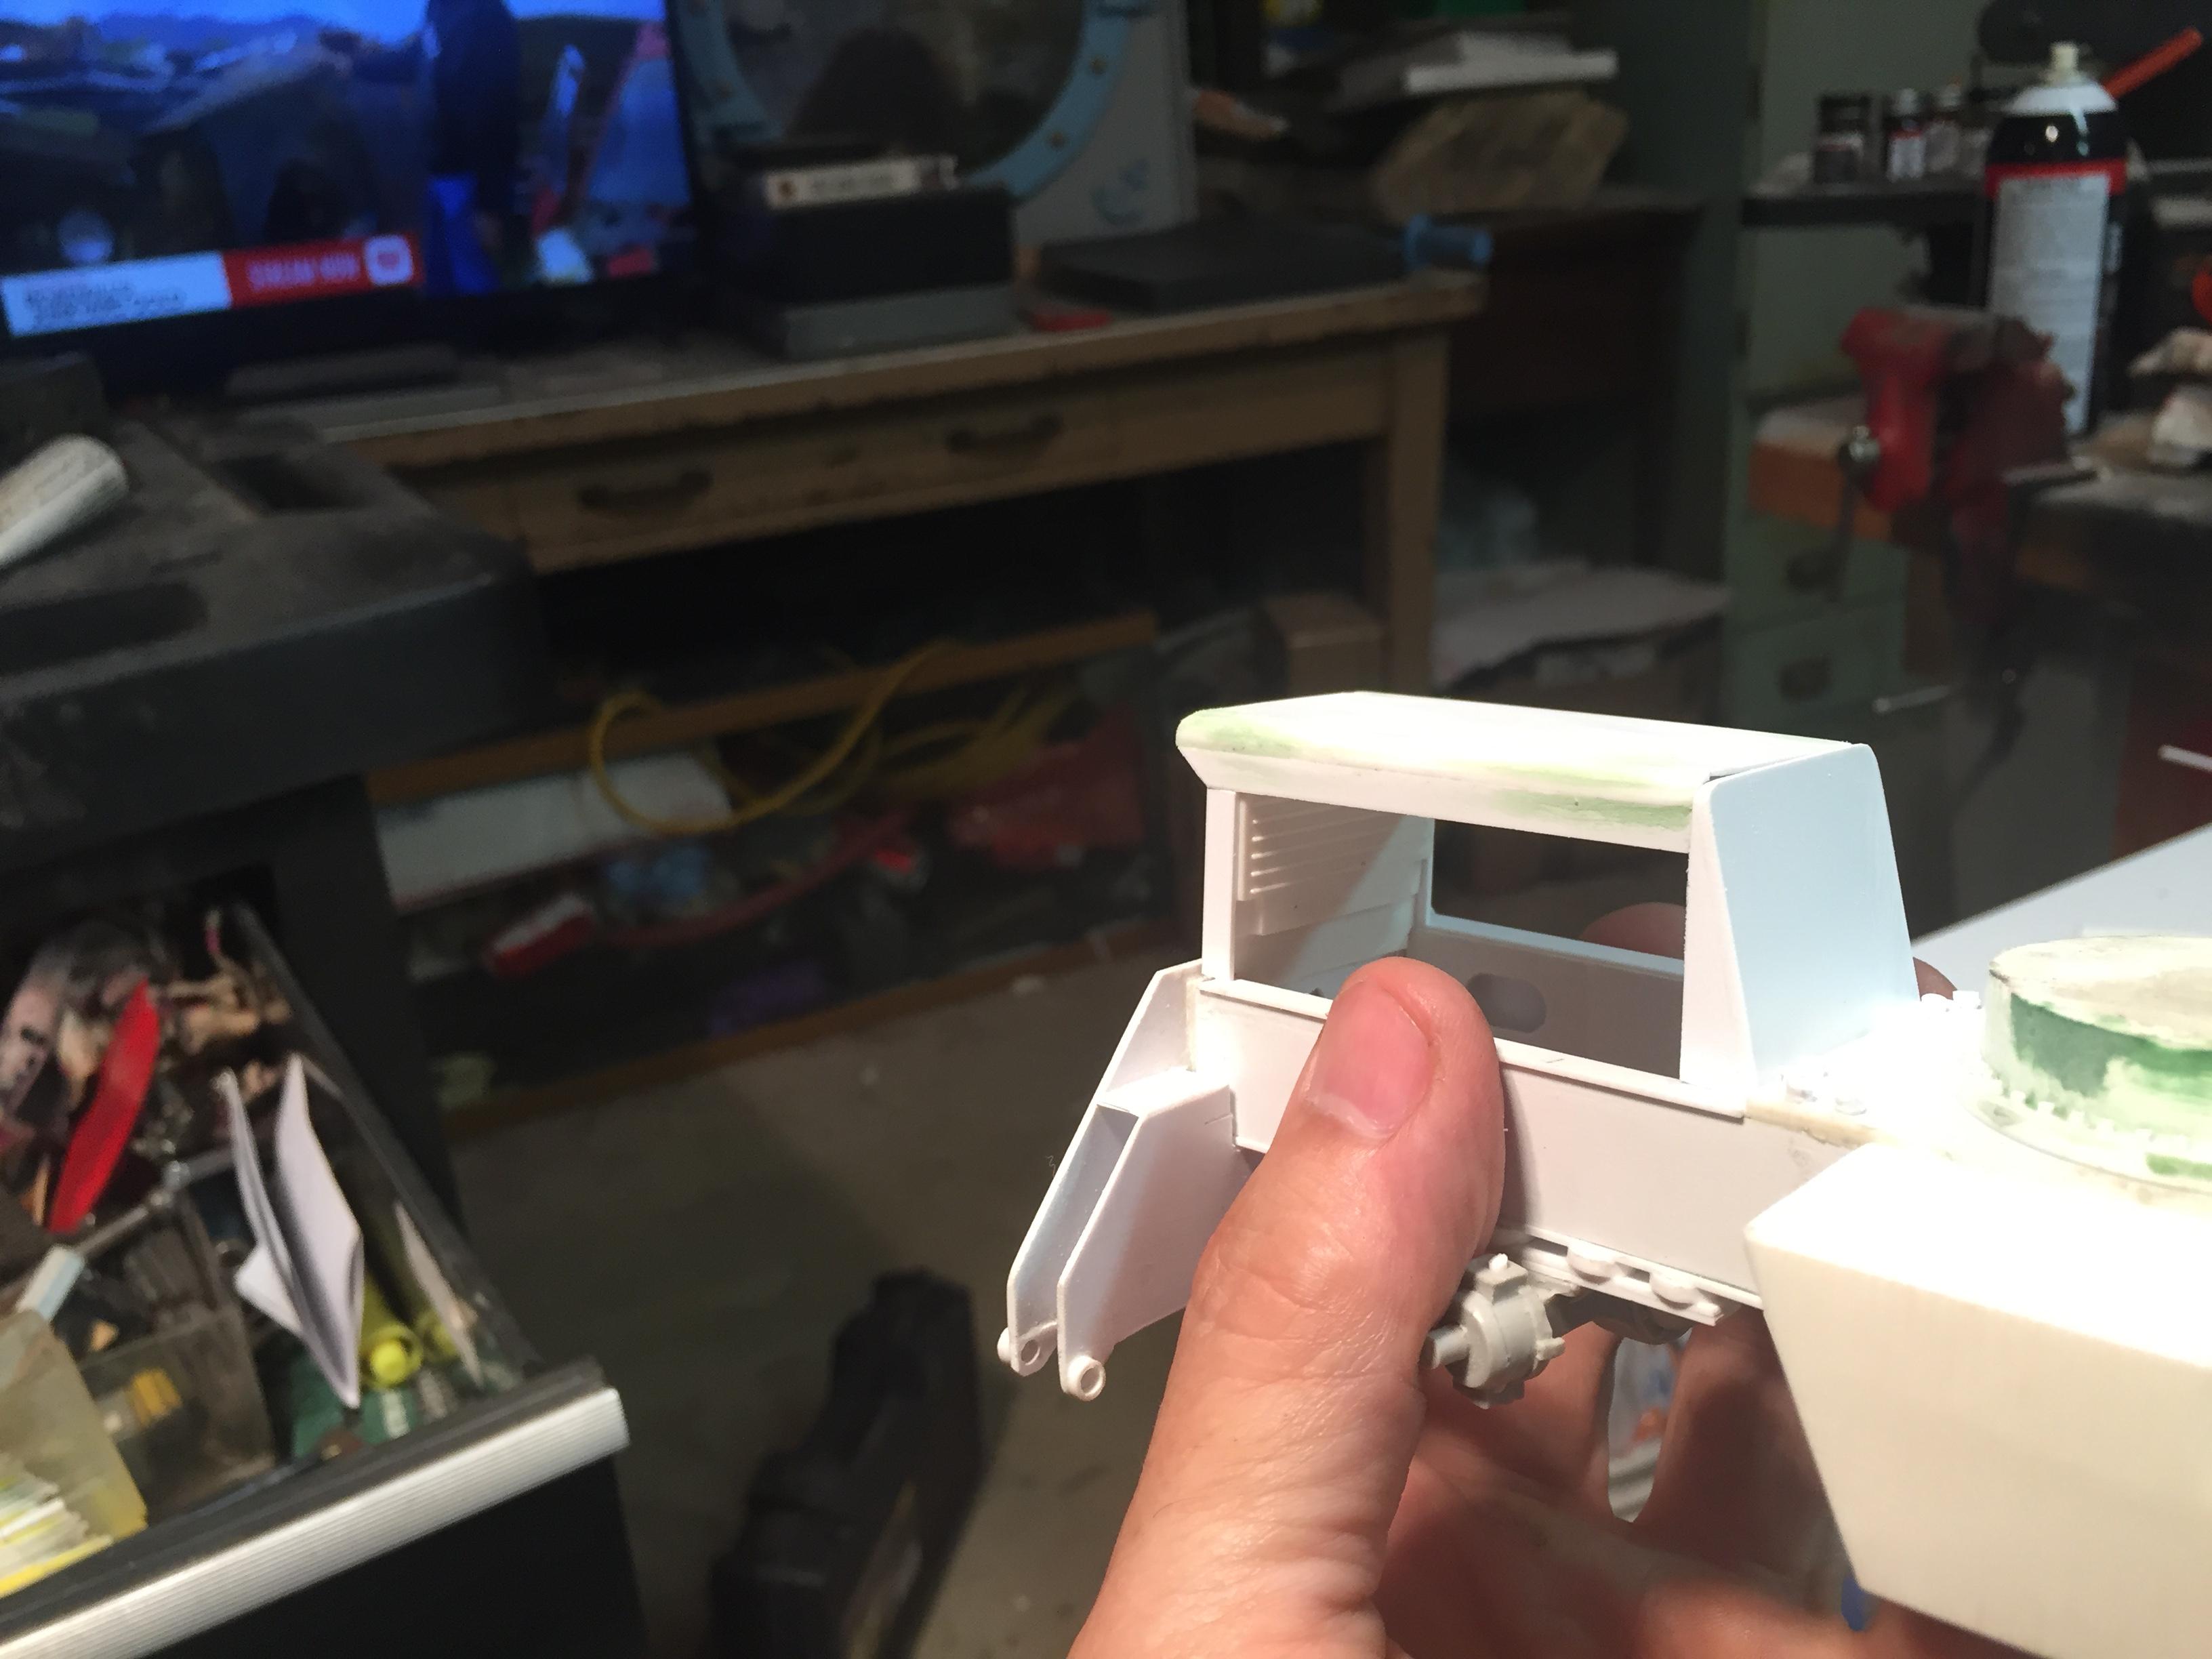
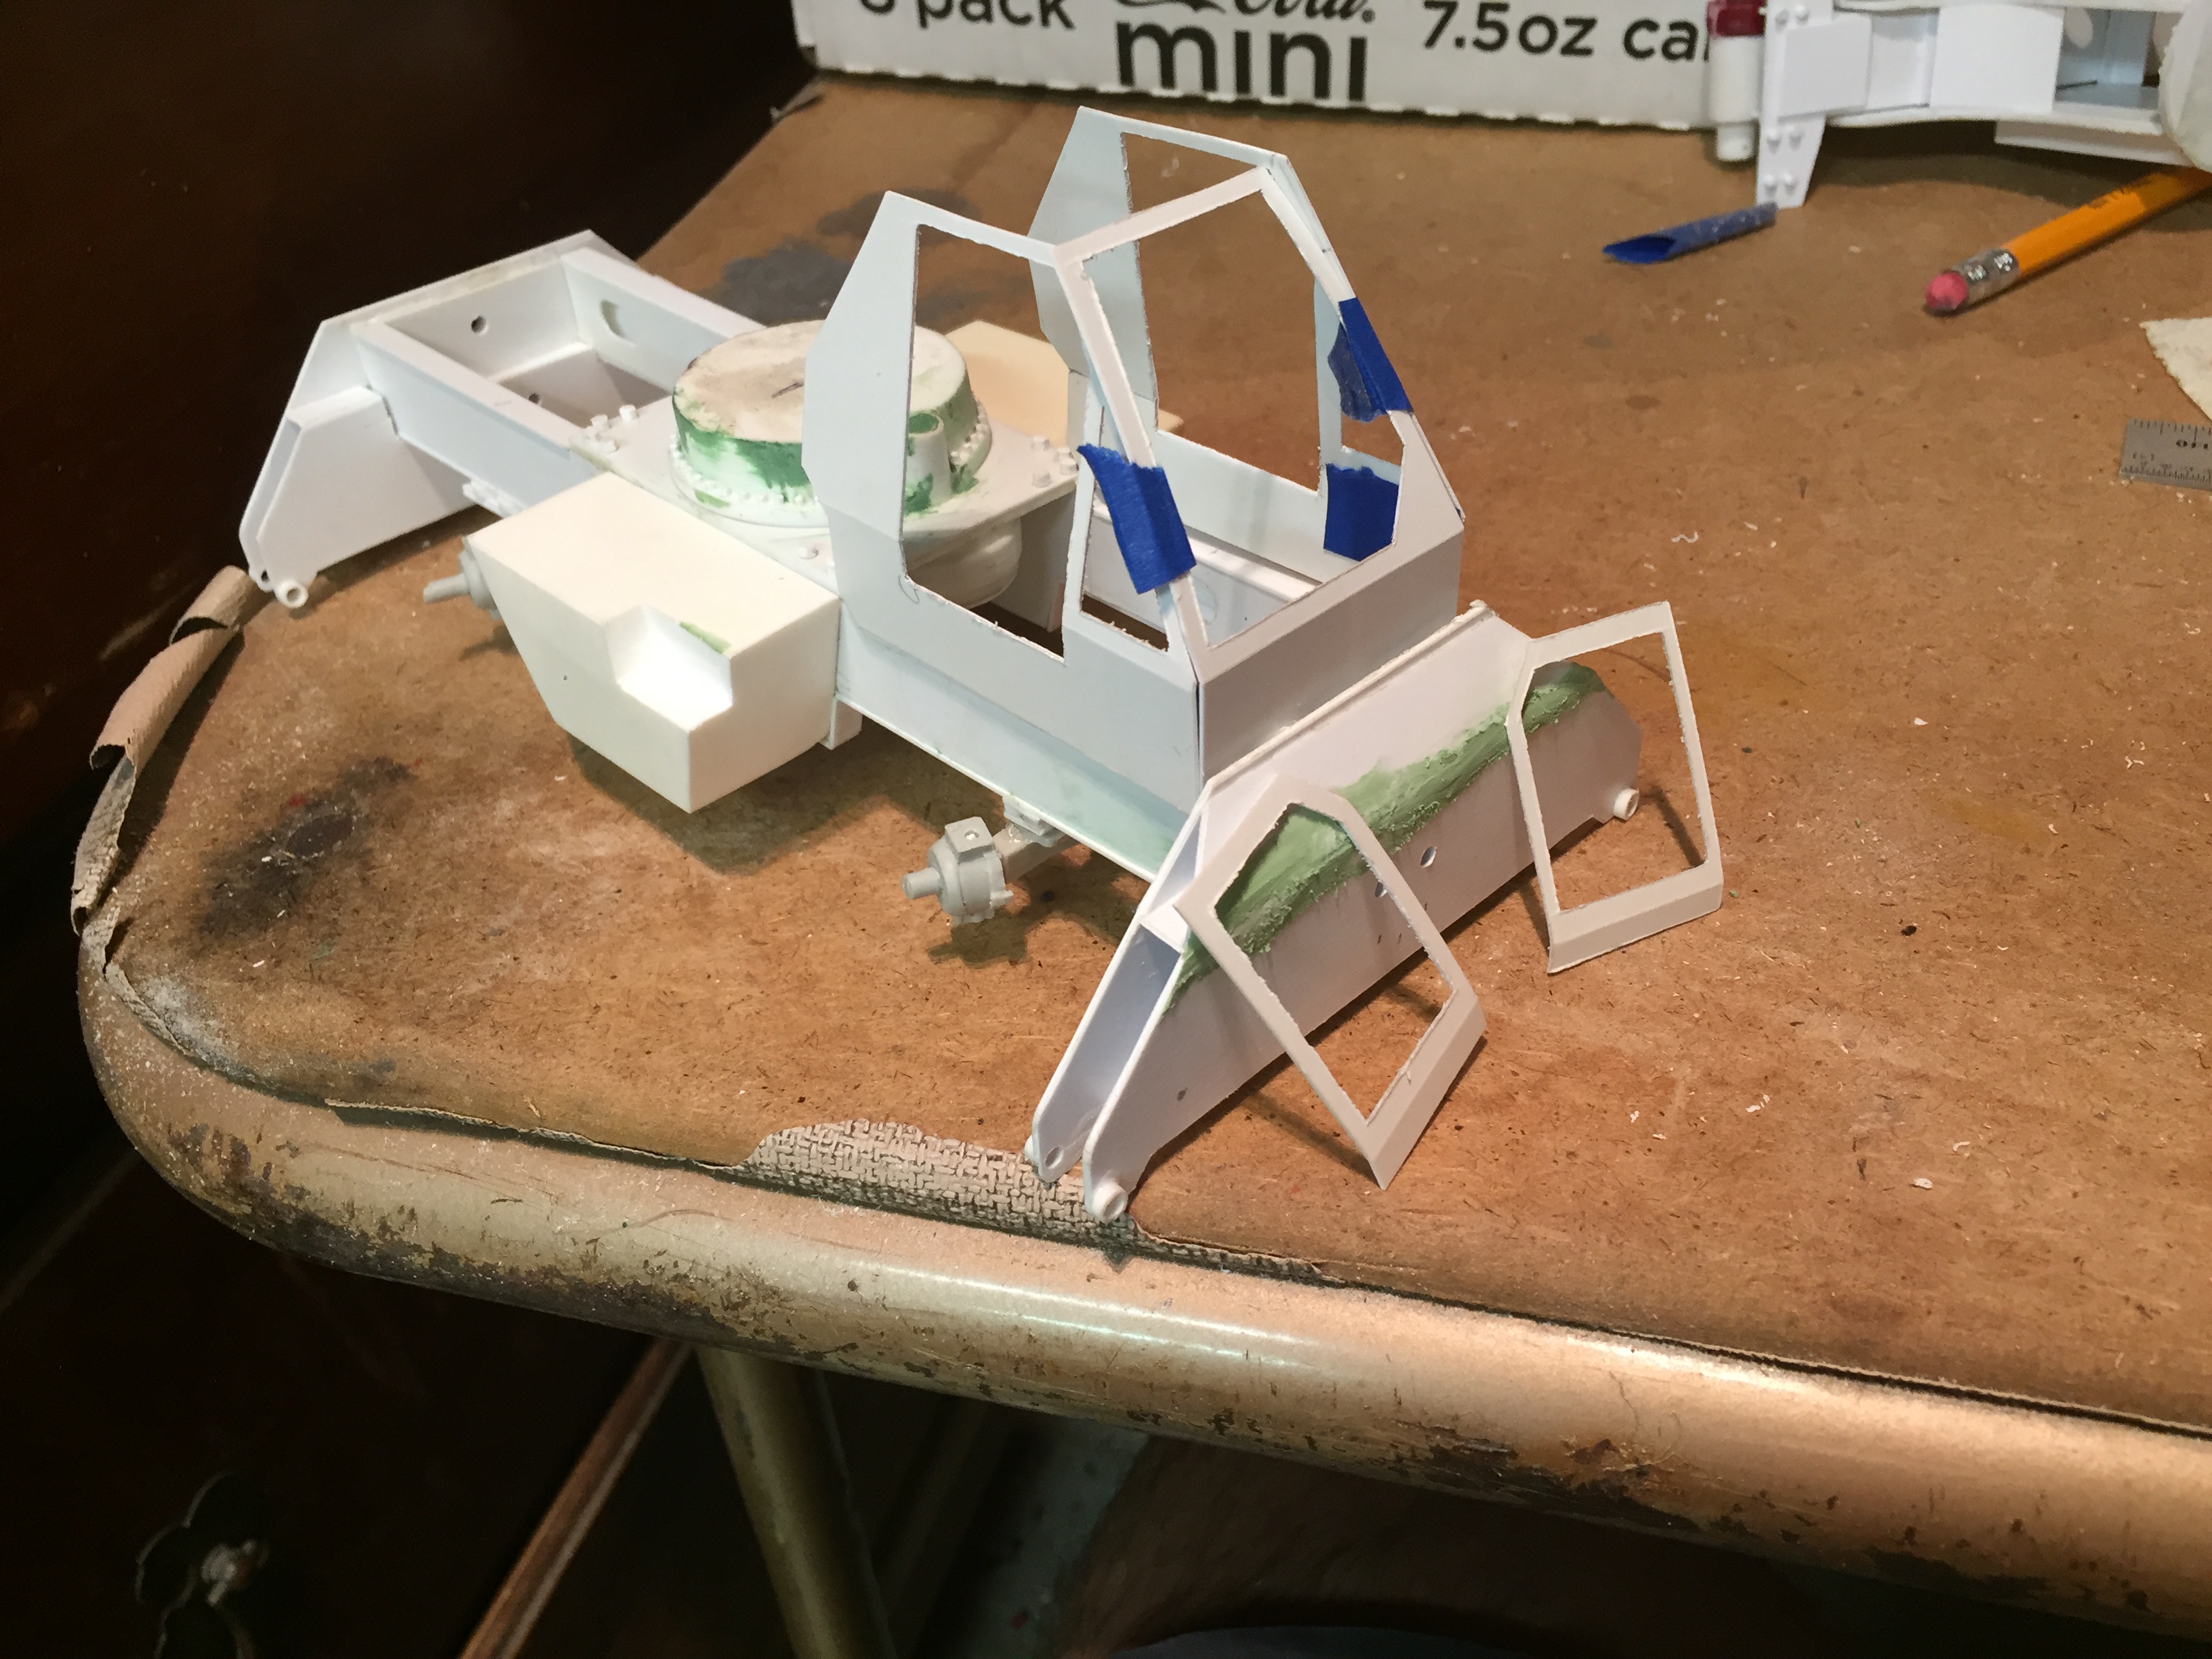
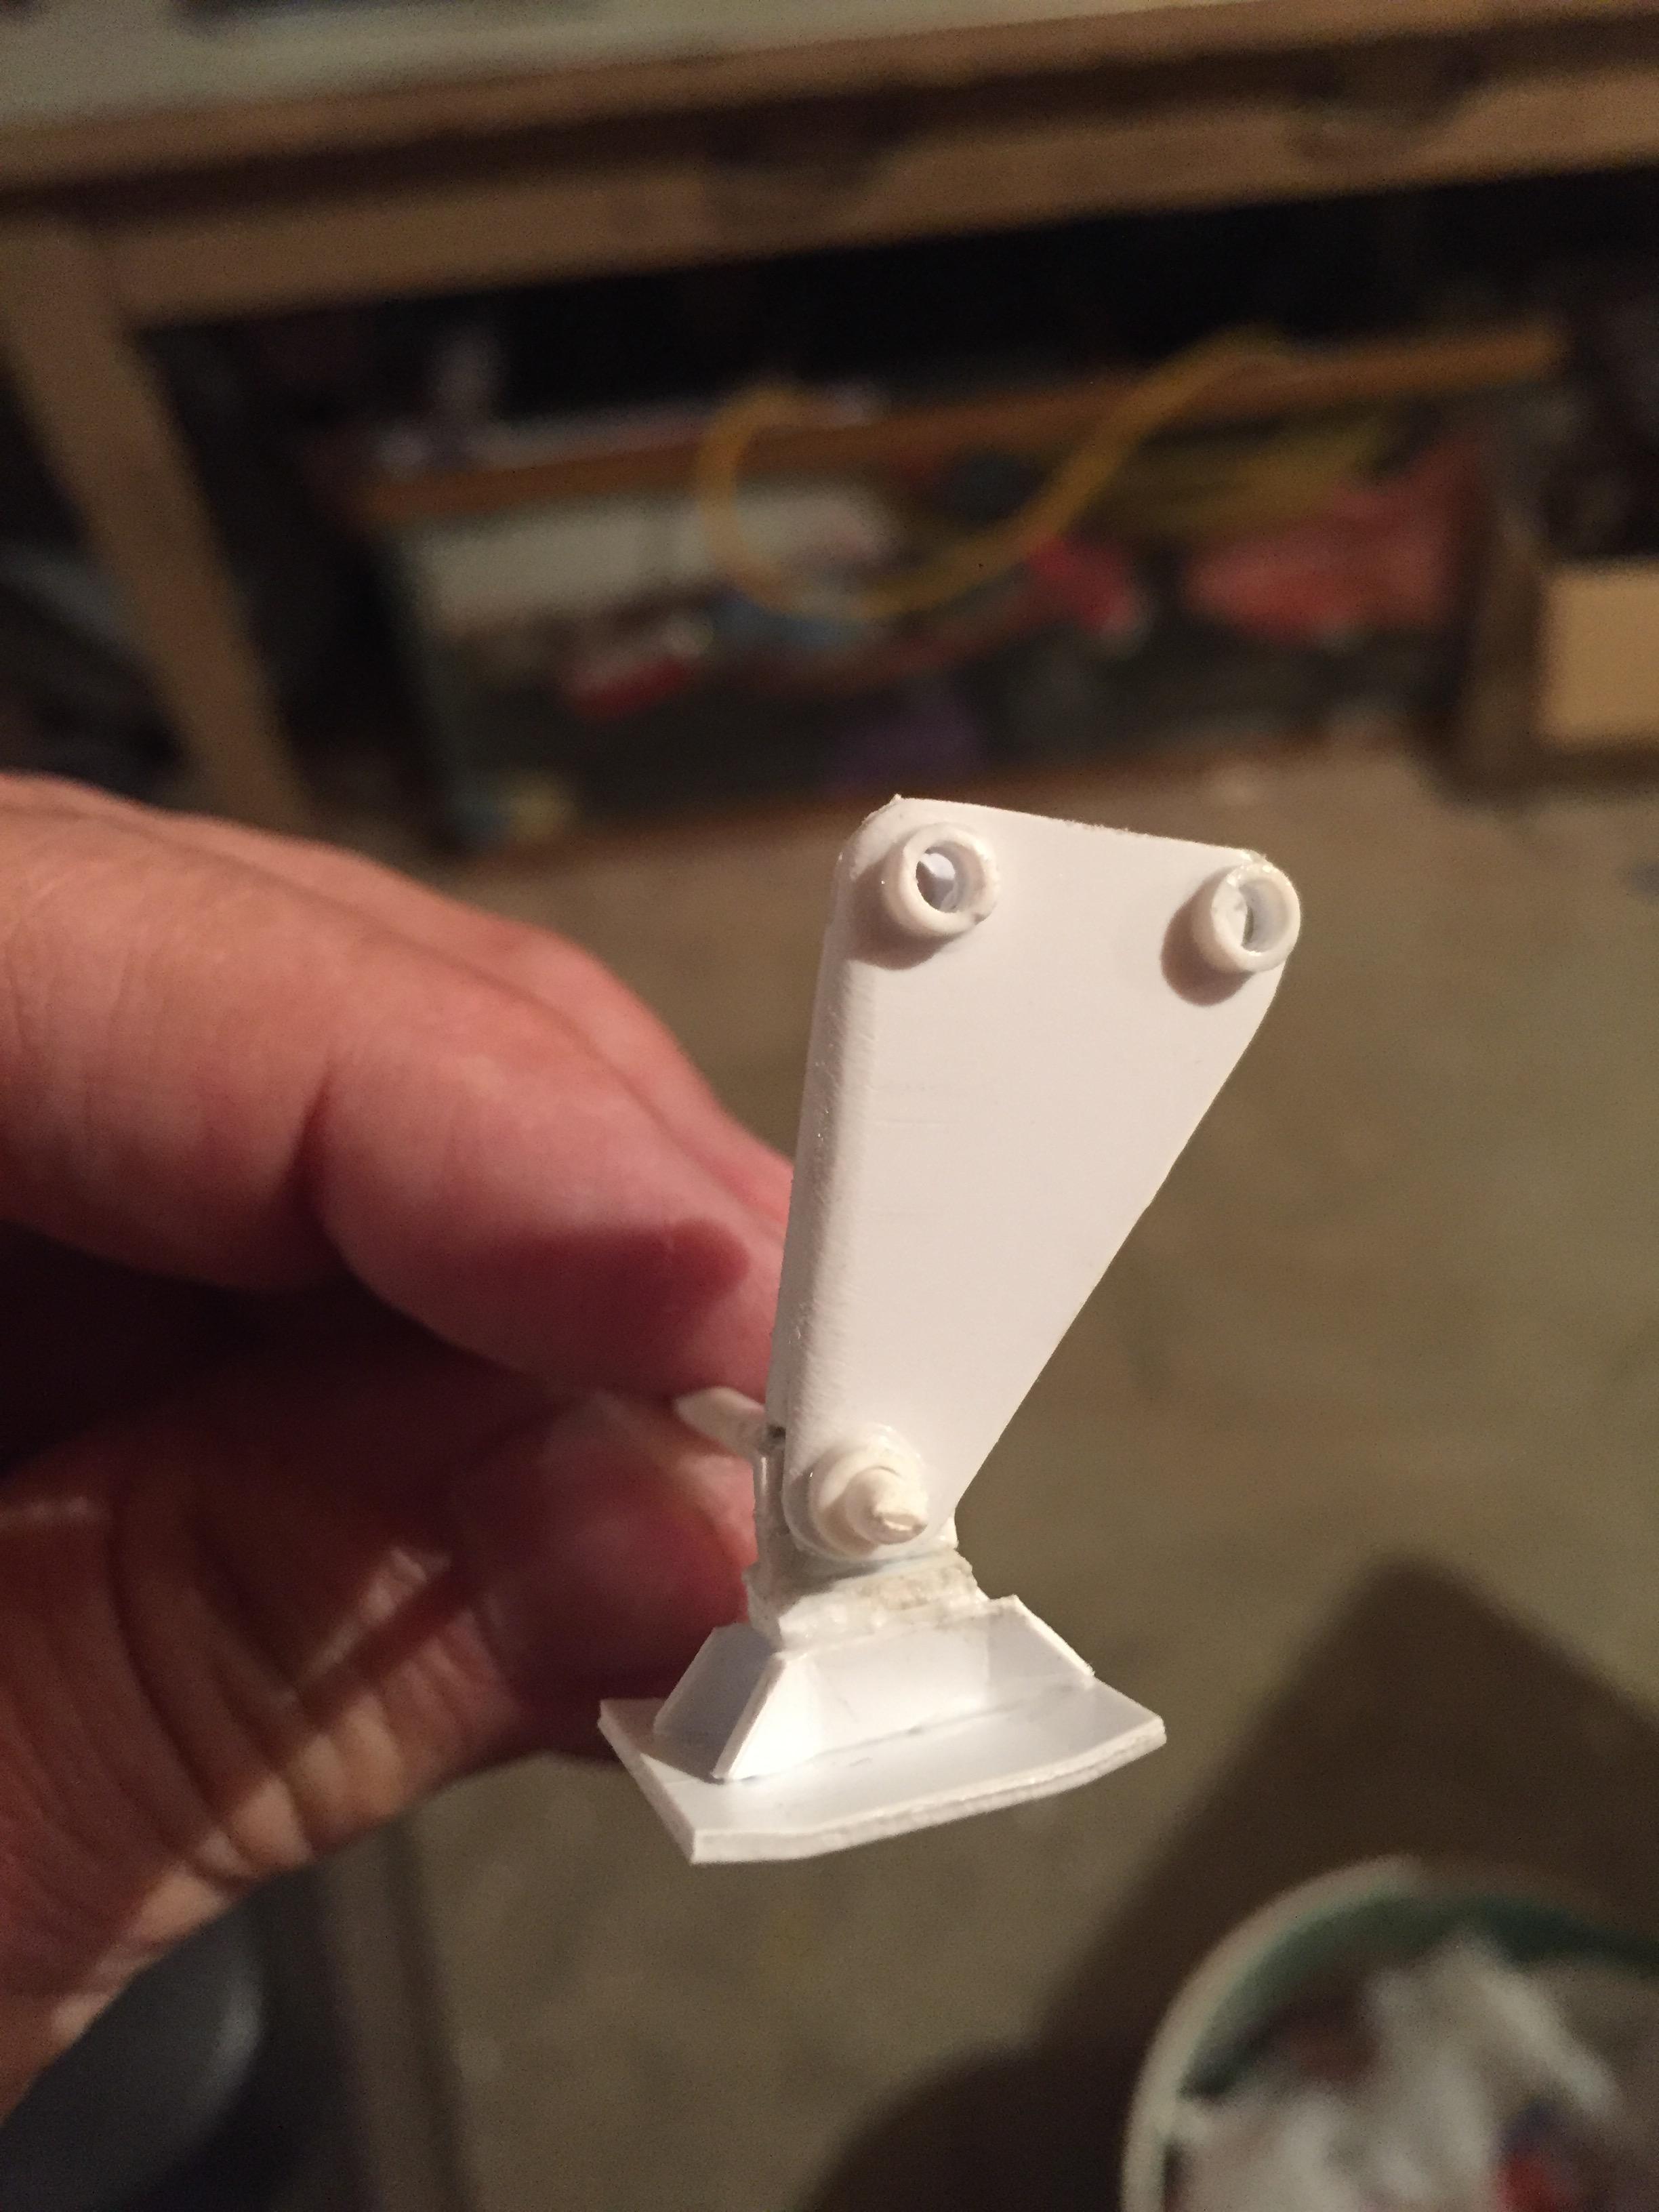
.thumb.jpg.4bca3333e1da4027c381d8d56a564ec1.jpg) Finally got back to the bench. Life interfered last month in a big way with a vacation and then the passing of an old friend and then my Father-in-law and I just didn't even get within 20 feet of my bench. But, got back at it tonight. The operator's cab just had too many issues to please me, so into the scrap bin it went, and this is Act 2 of the cab. It looks so much better, at least to my eyes.
Finally got back to the bench. Life interfered last month in a big way with a vacation and then the passing of an old friend and then my Father-in-law and I just didn't even get within 20 feet of my bench. But, got back at it tonight. The operator's cab just had too many issues to please me, so into the scrap bin it went, and this is Act 2 of the cab. It looks so much better, at least to my eyes.
-
Chevy truck cab lights
redneckrigger replied to Greg Wann's topic in Truck Aftermarket / Resin / 3D Printed
Great effort, Greg. Count me in for a few sets once you get them done! -
Parts recommendations please!
redneckrigger replied to Jantrix's topic in Model Building Questions and Answers
VERY cool idea..............! As for an engine, try a Detroit Diesel 4 or 6 cylinder. These can be had from Jamie at Moluminum.com. -
You are so right, Mike. Charlie should write a book.................it would be a best seller for sure!
-
Holy COW! Am definitely going to try this! That sure looks a lot easier than what I was doing and it produces a one piece gasket. That is sweet! Thanks Charlie as always for the incredible info! I had tried to think of many different ways, none of which would work as well as this. This just proves it never hurts to ask for a bit of advice, and this is great advice. Update: I tried it on a test piece, and wow.......................so easy, simple and totally convincing and effective! Thank you sir! I also removed the previous attempt from the cab. I intend to try this method on the existing cab, at least to get used to it, and then, most likely construct a new cab. Thank you Charlie!
-
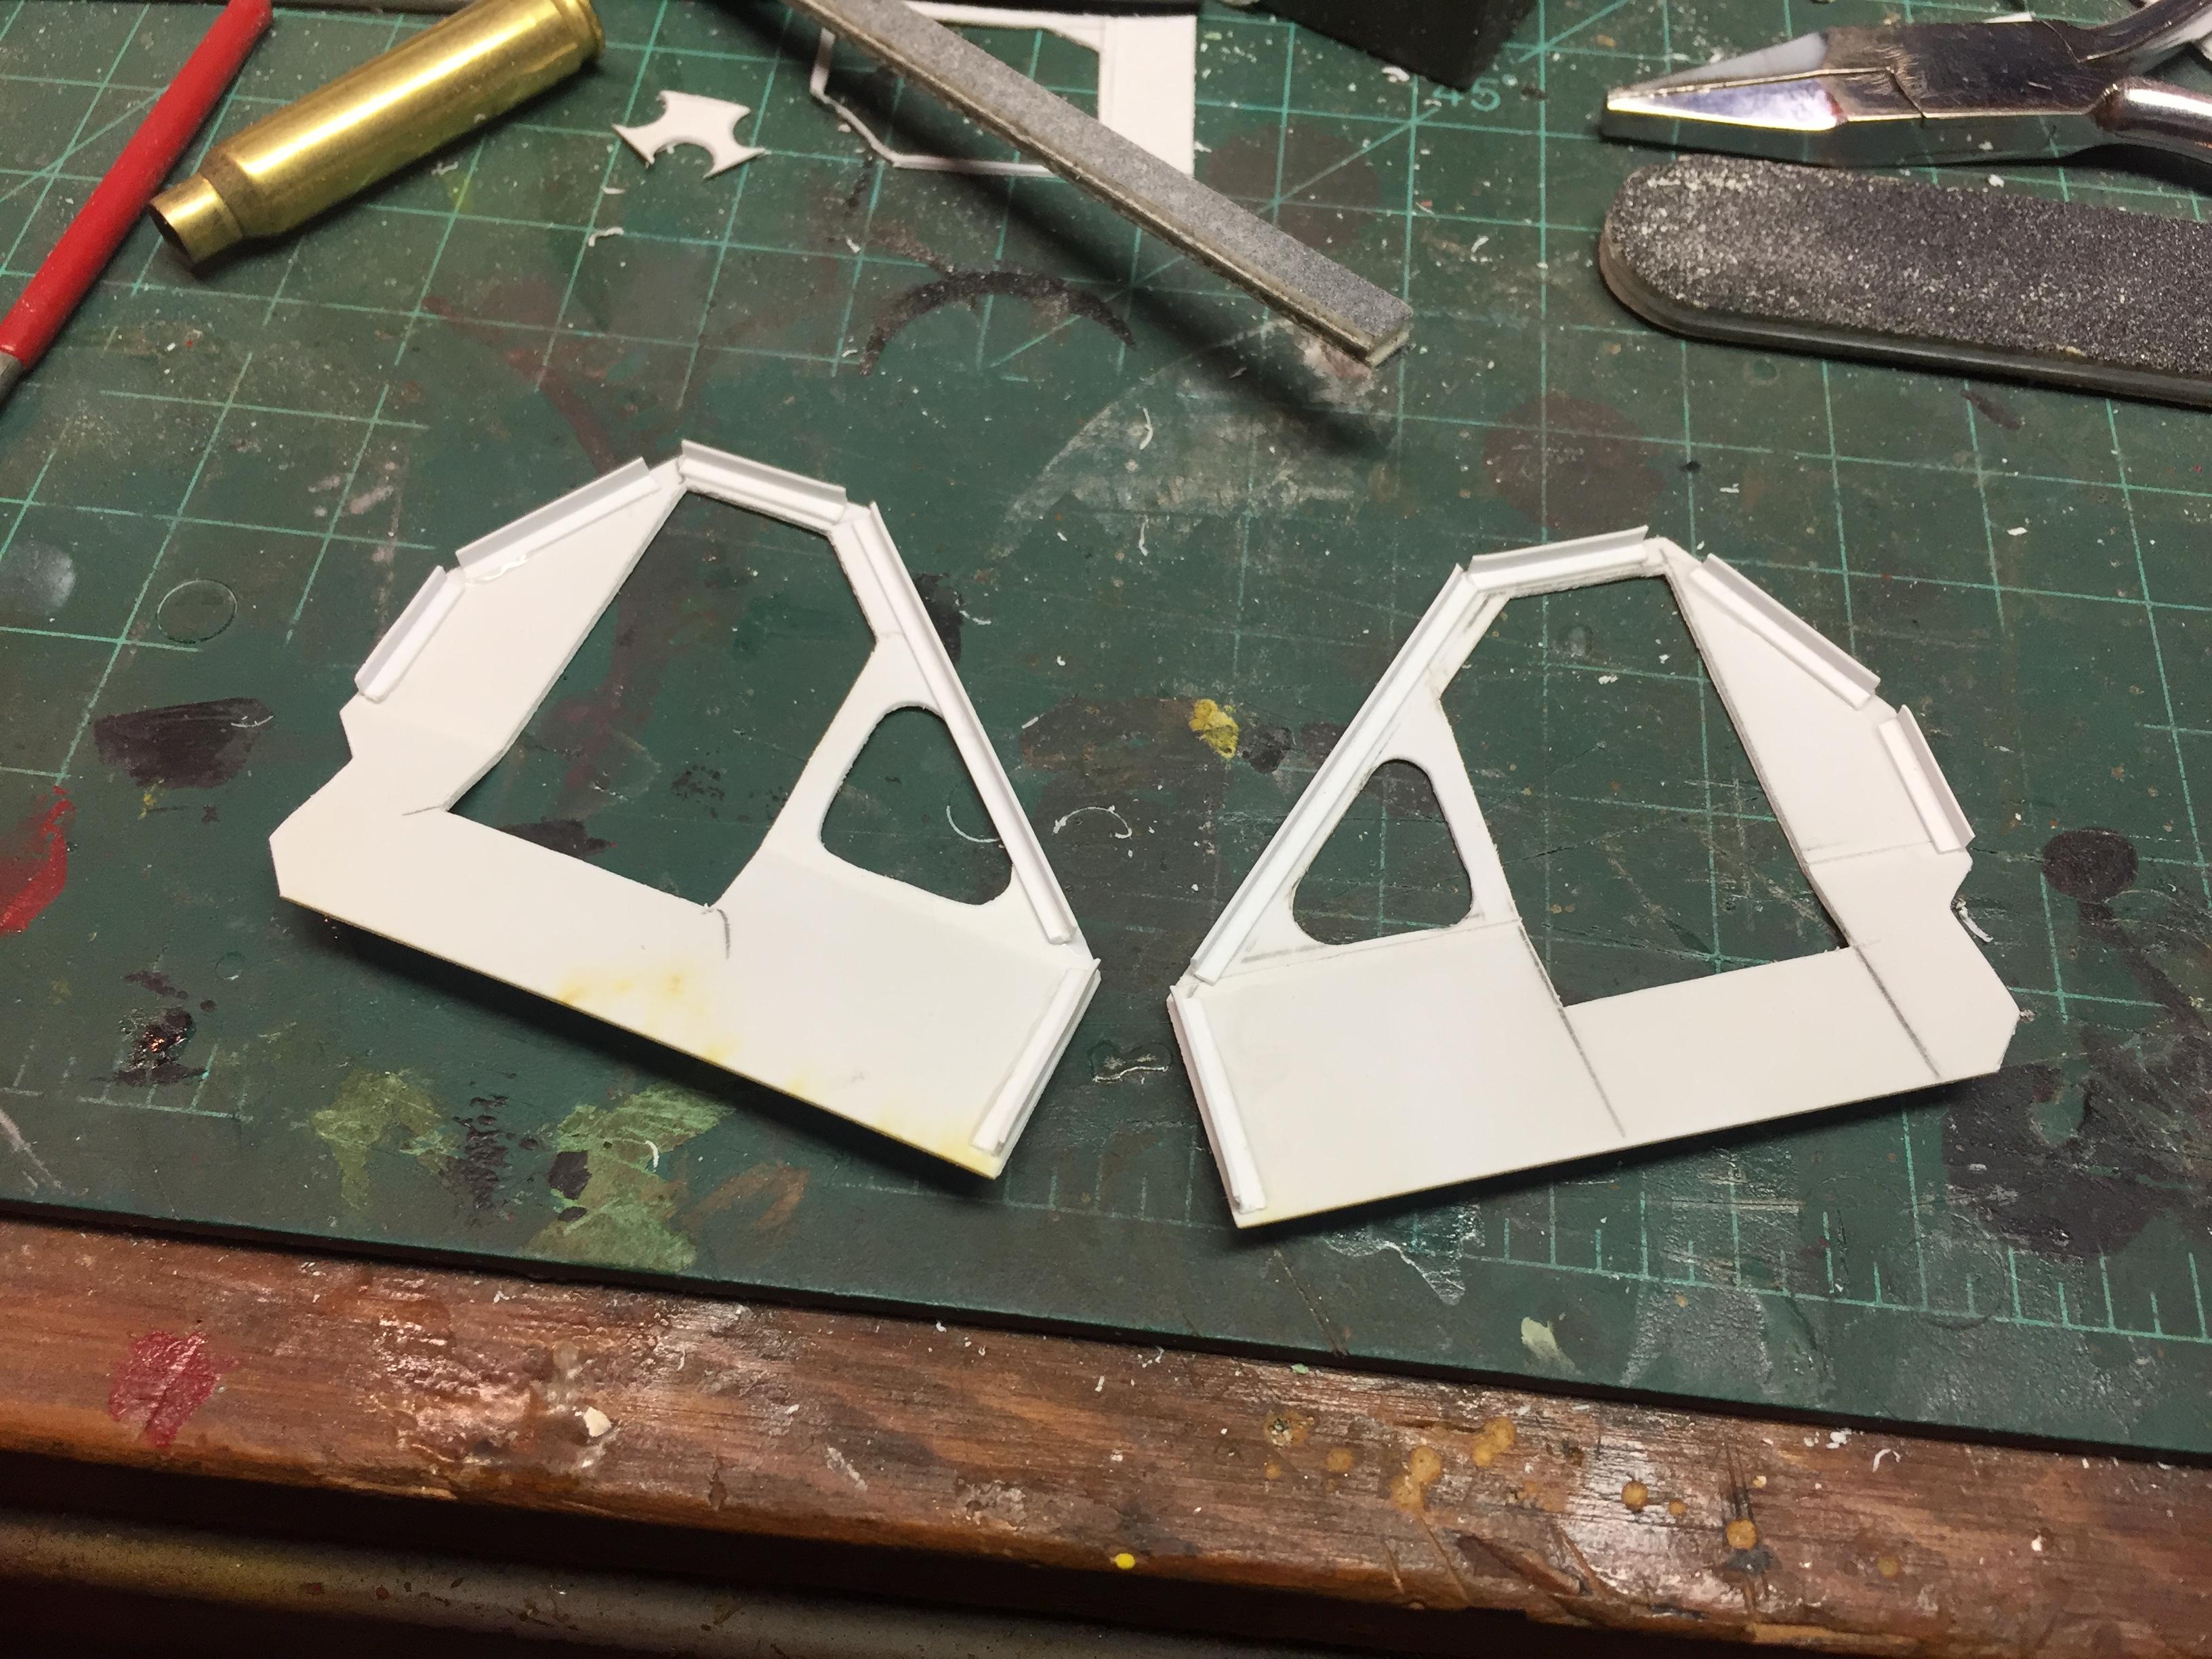
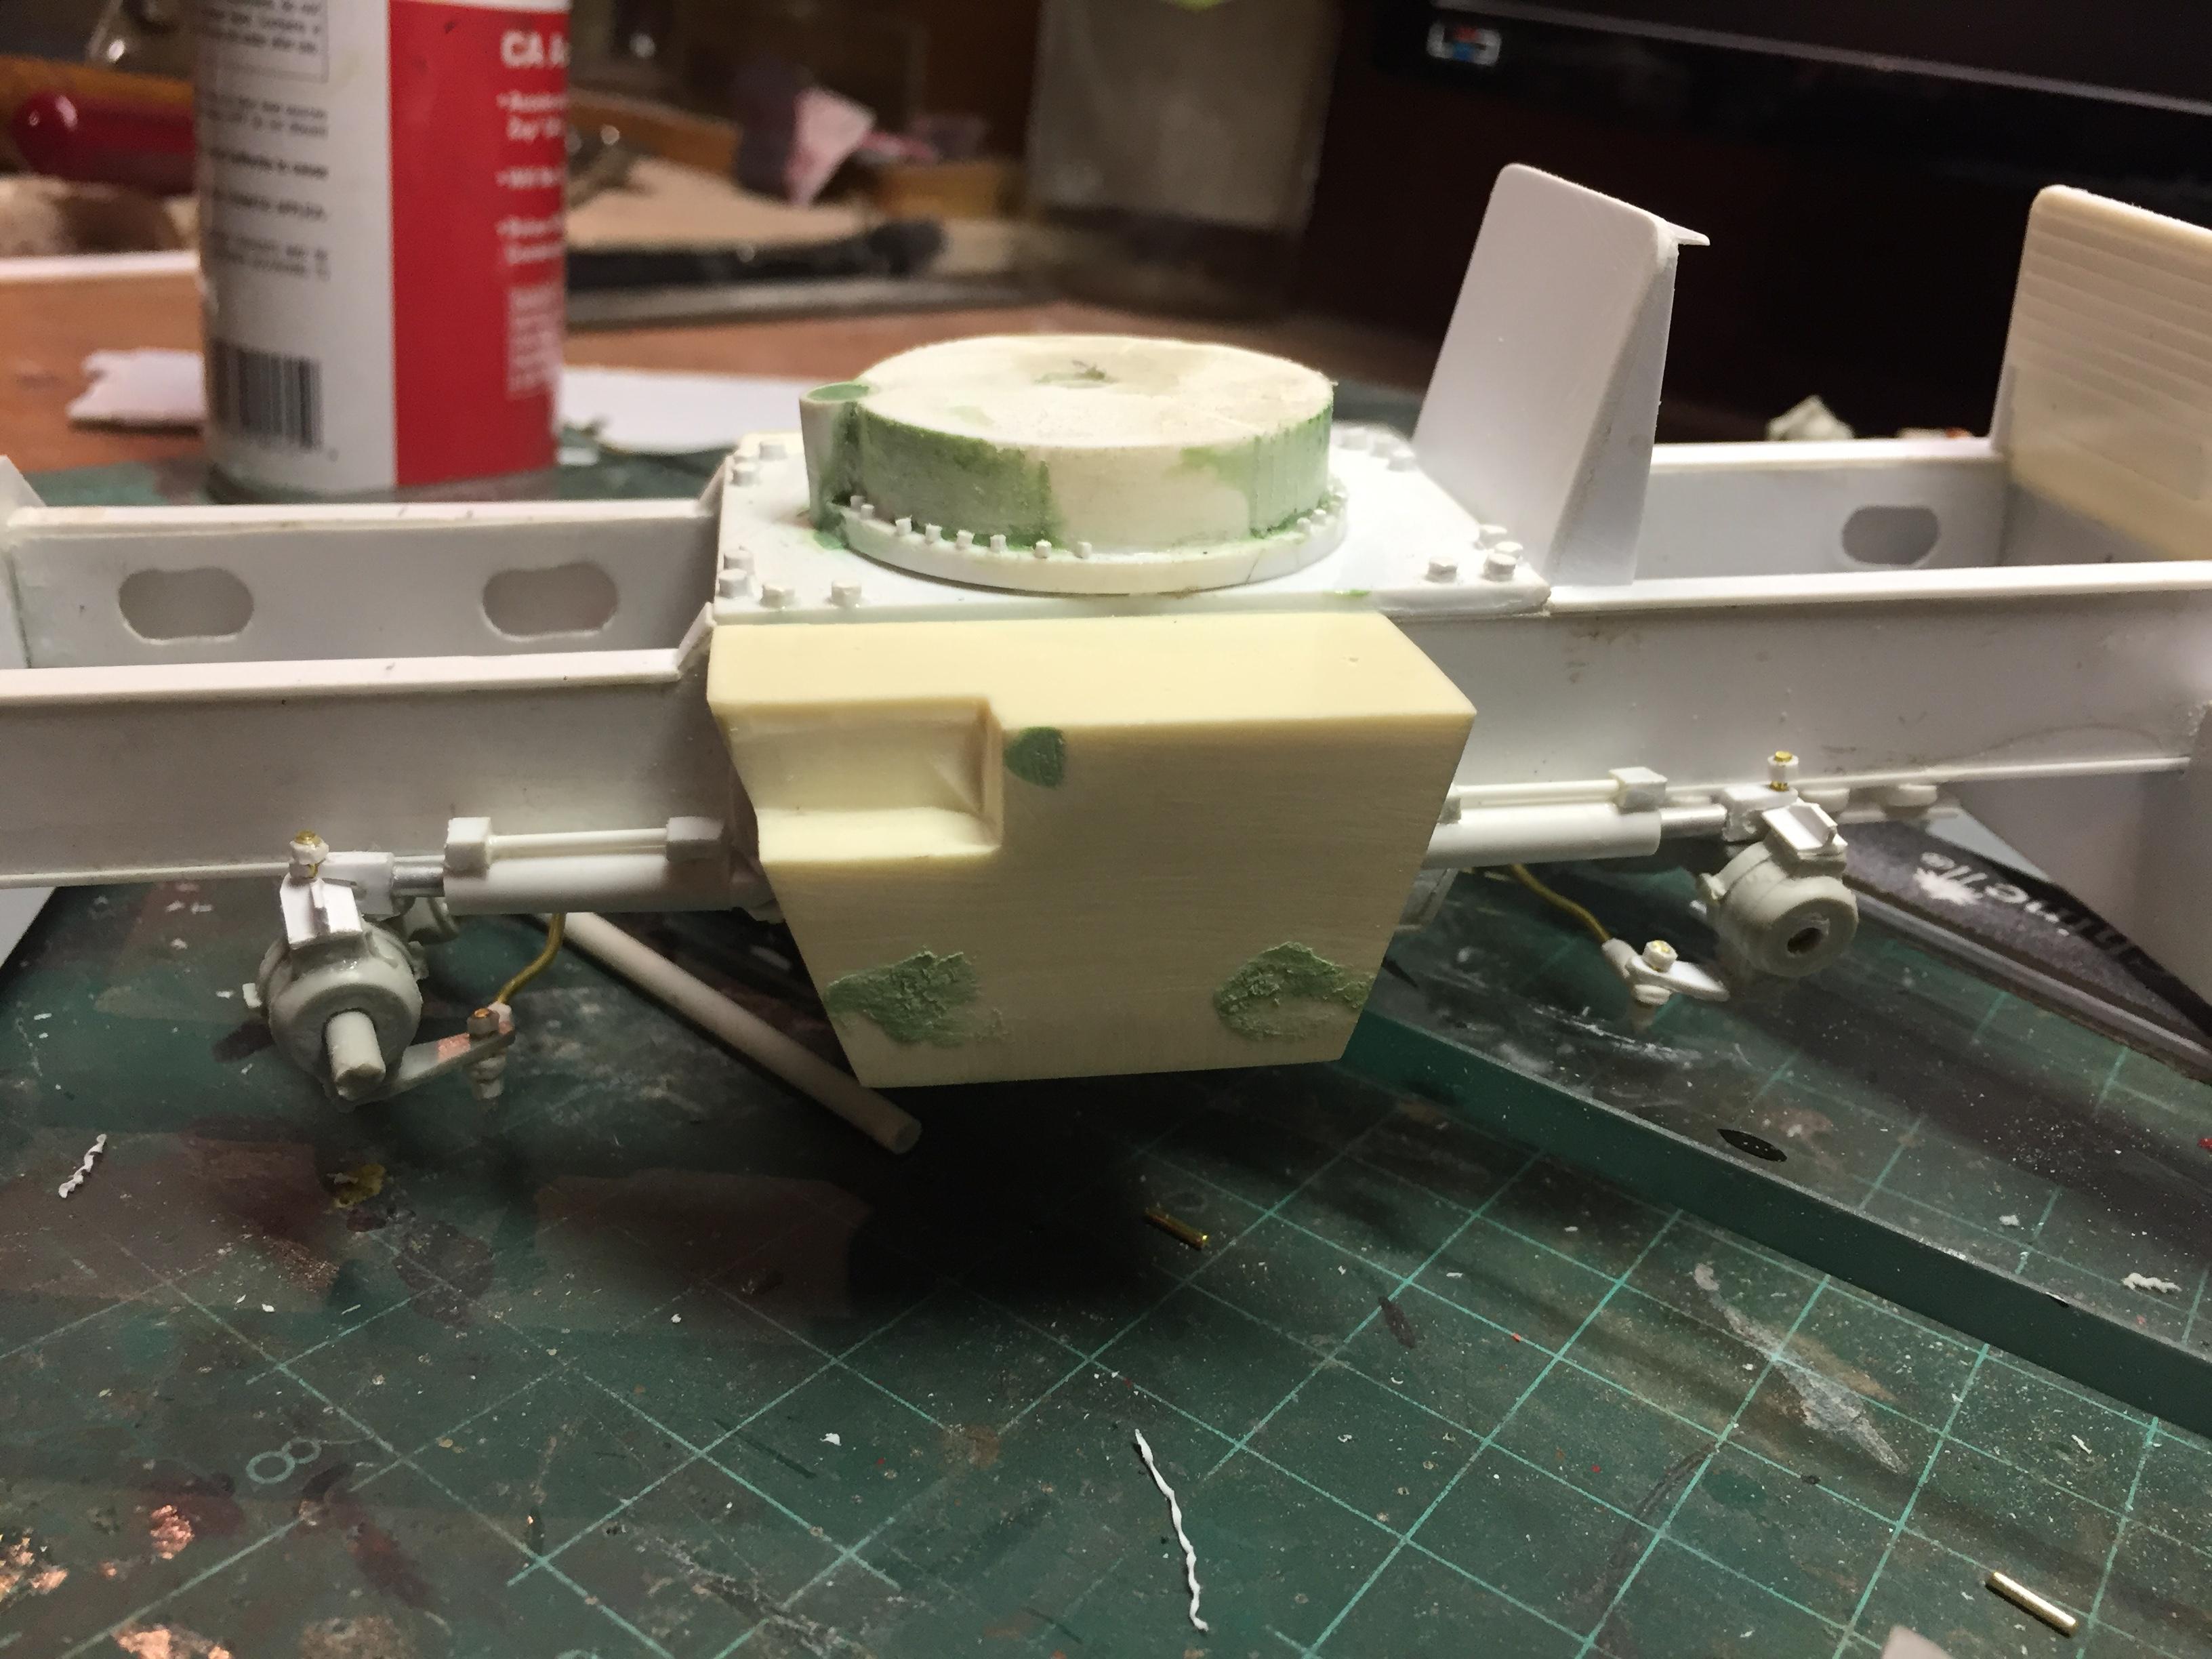
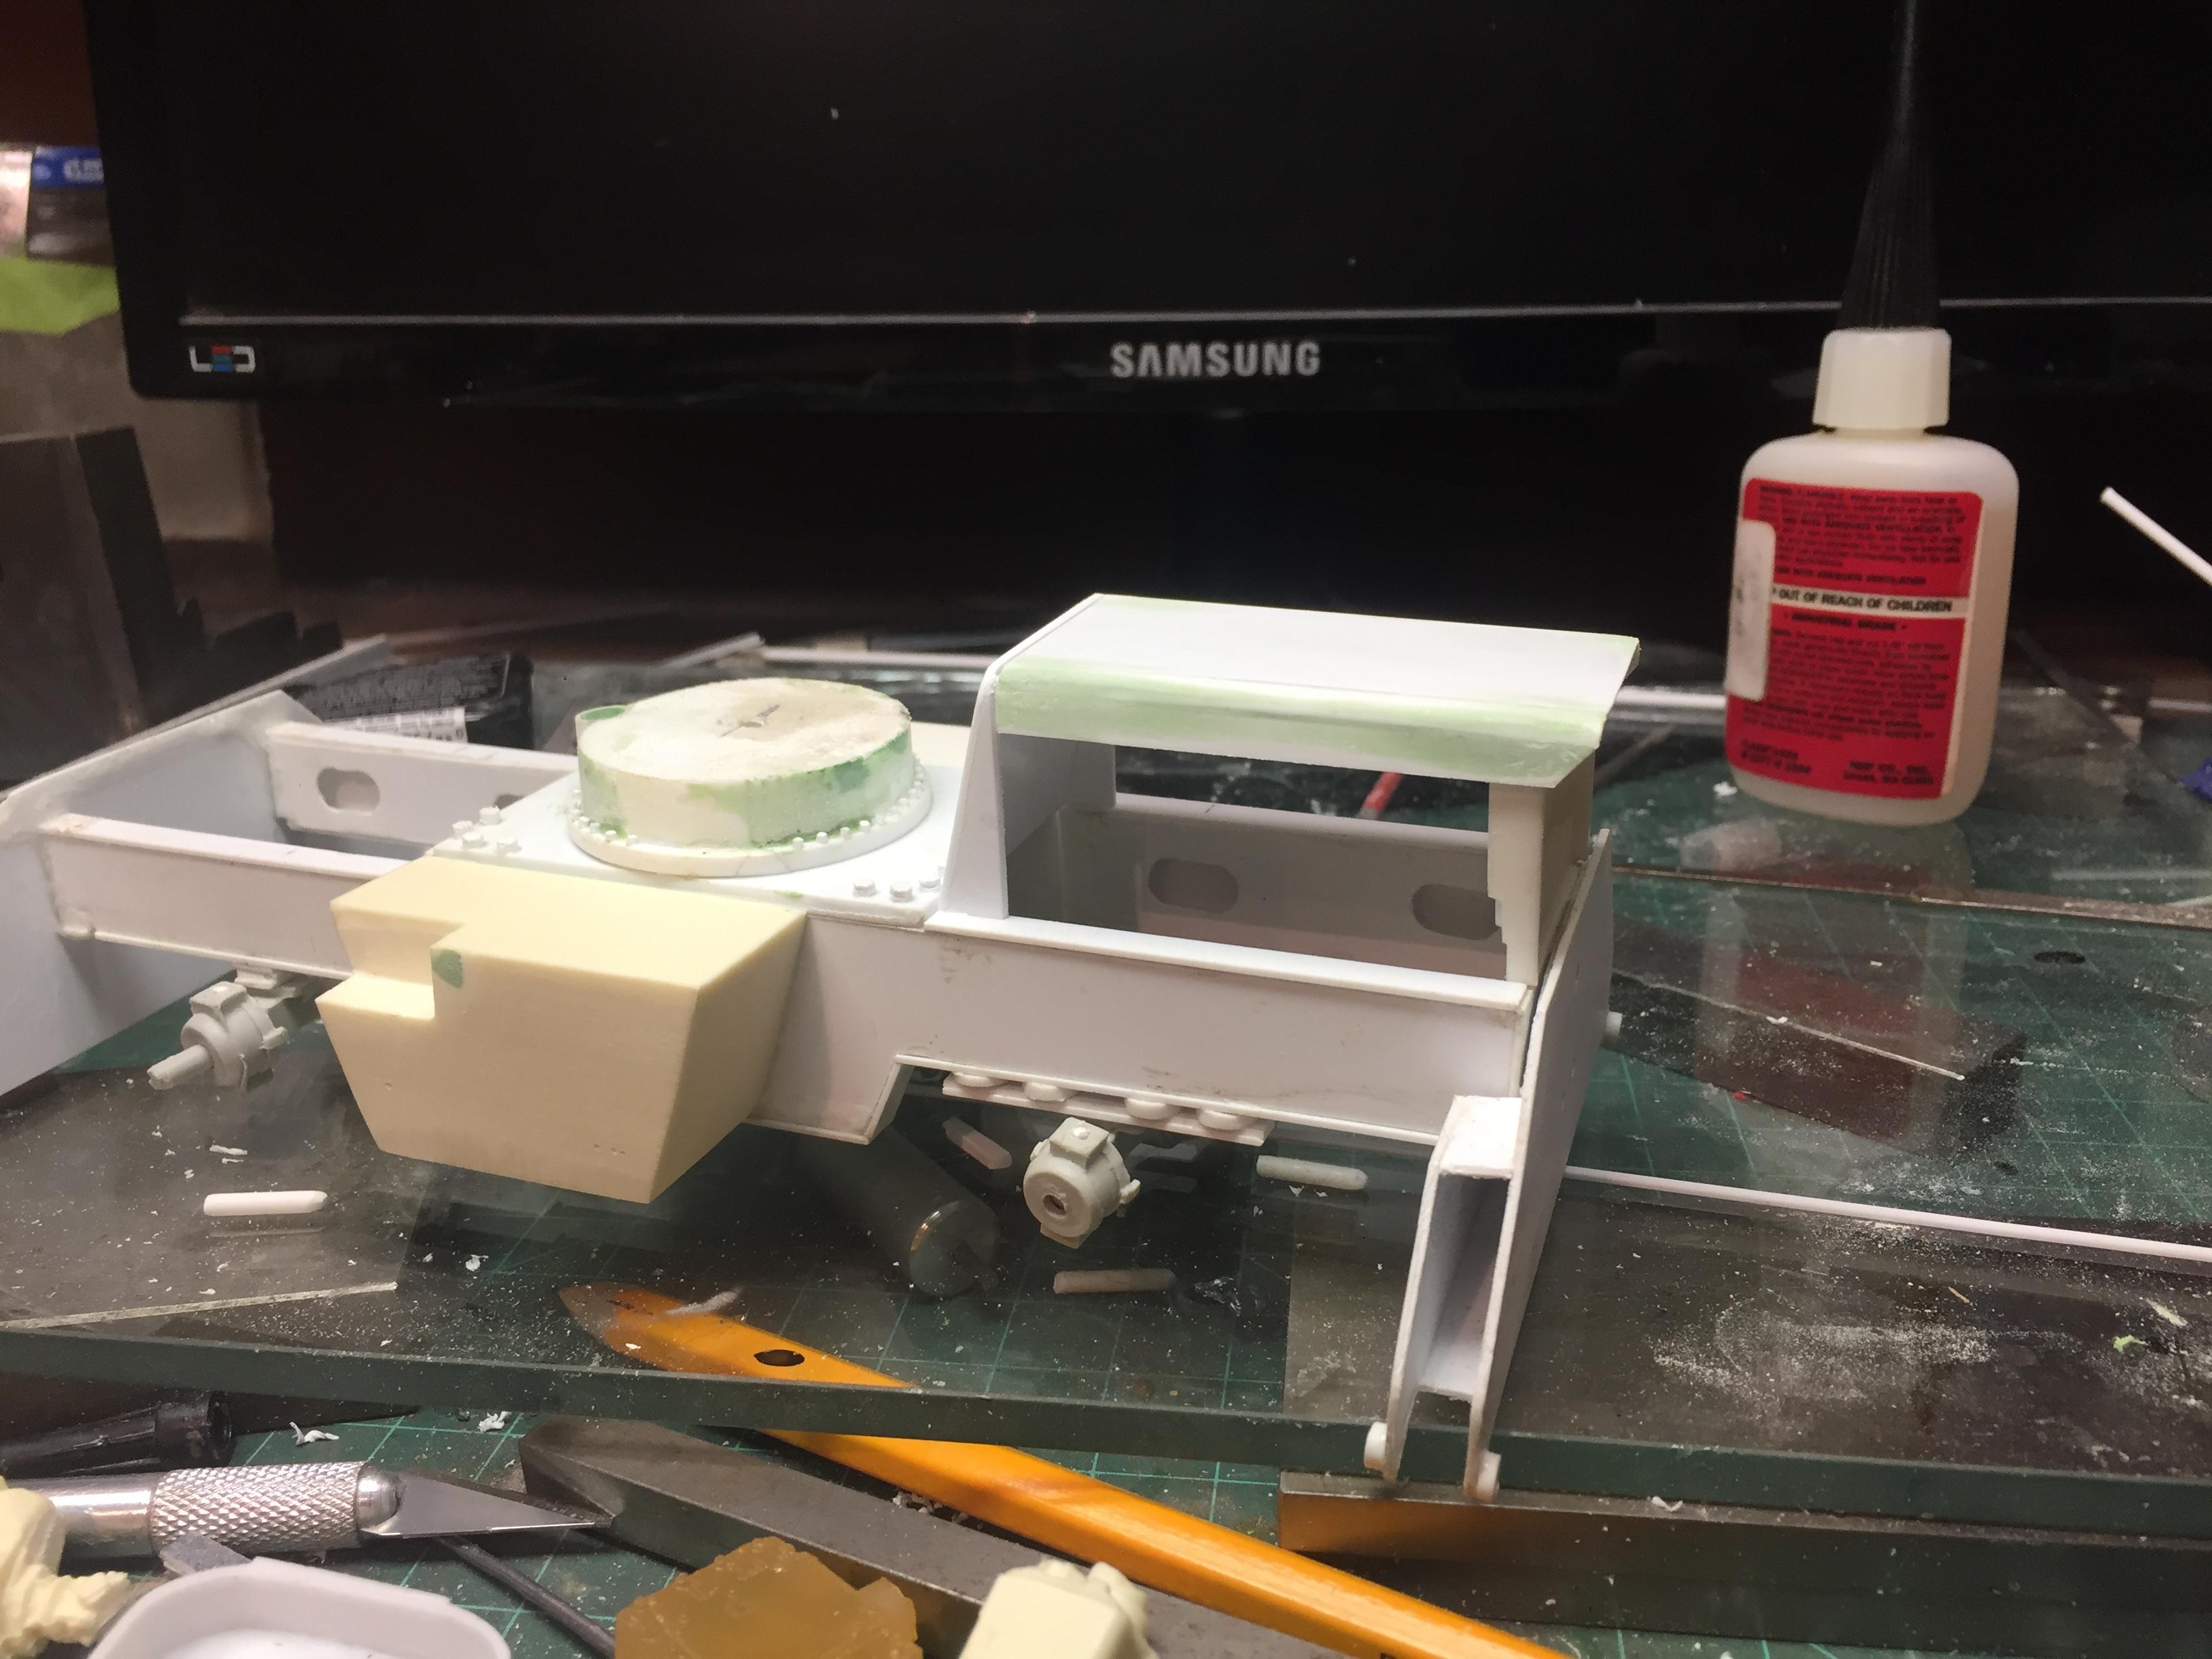
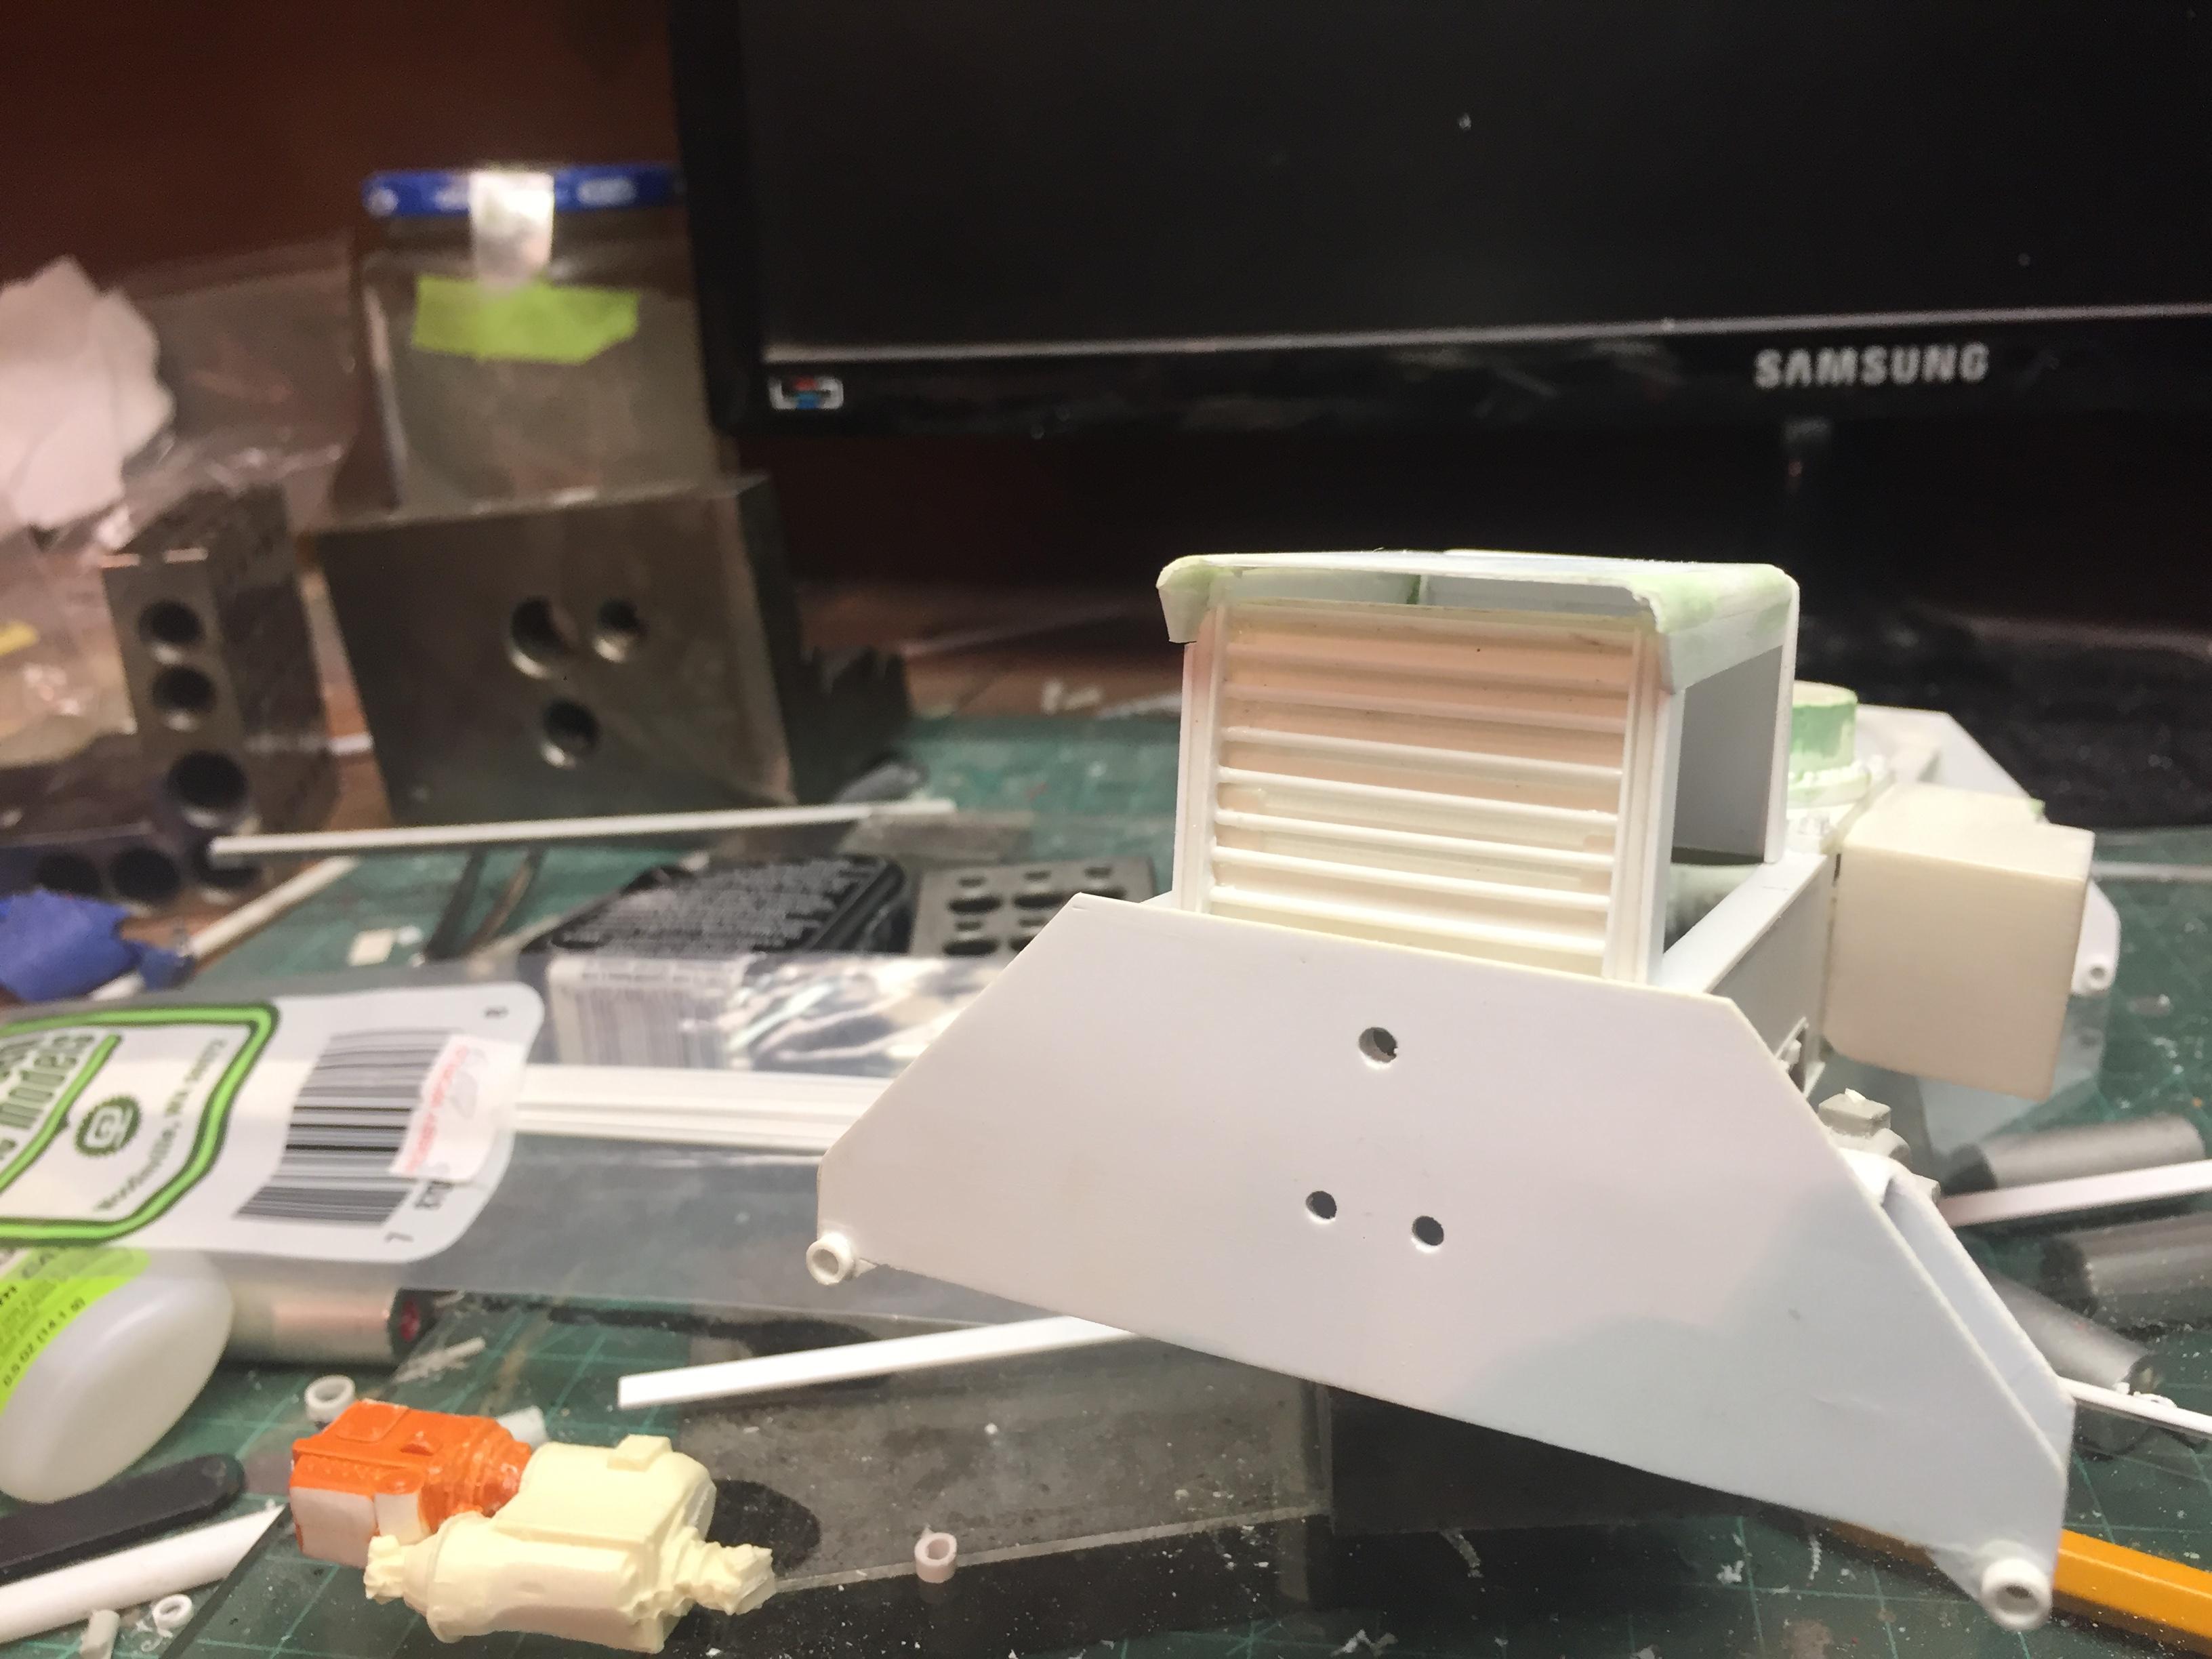
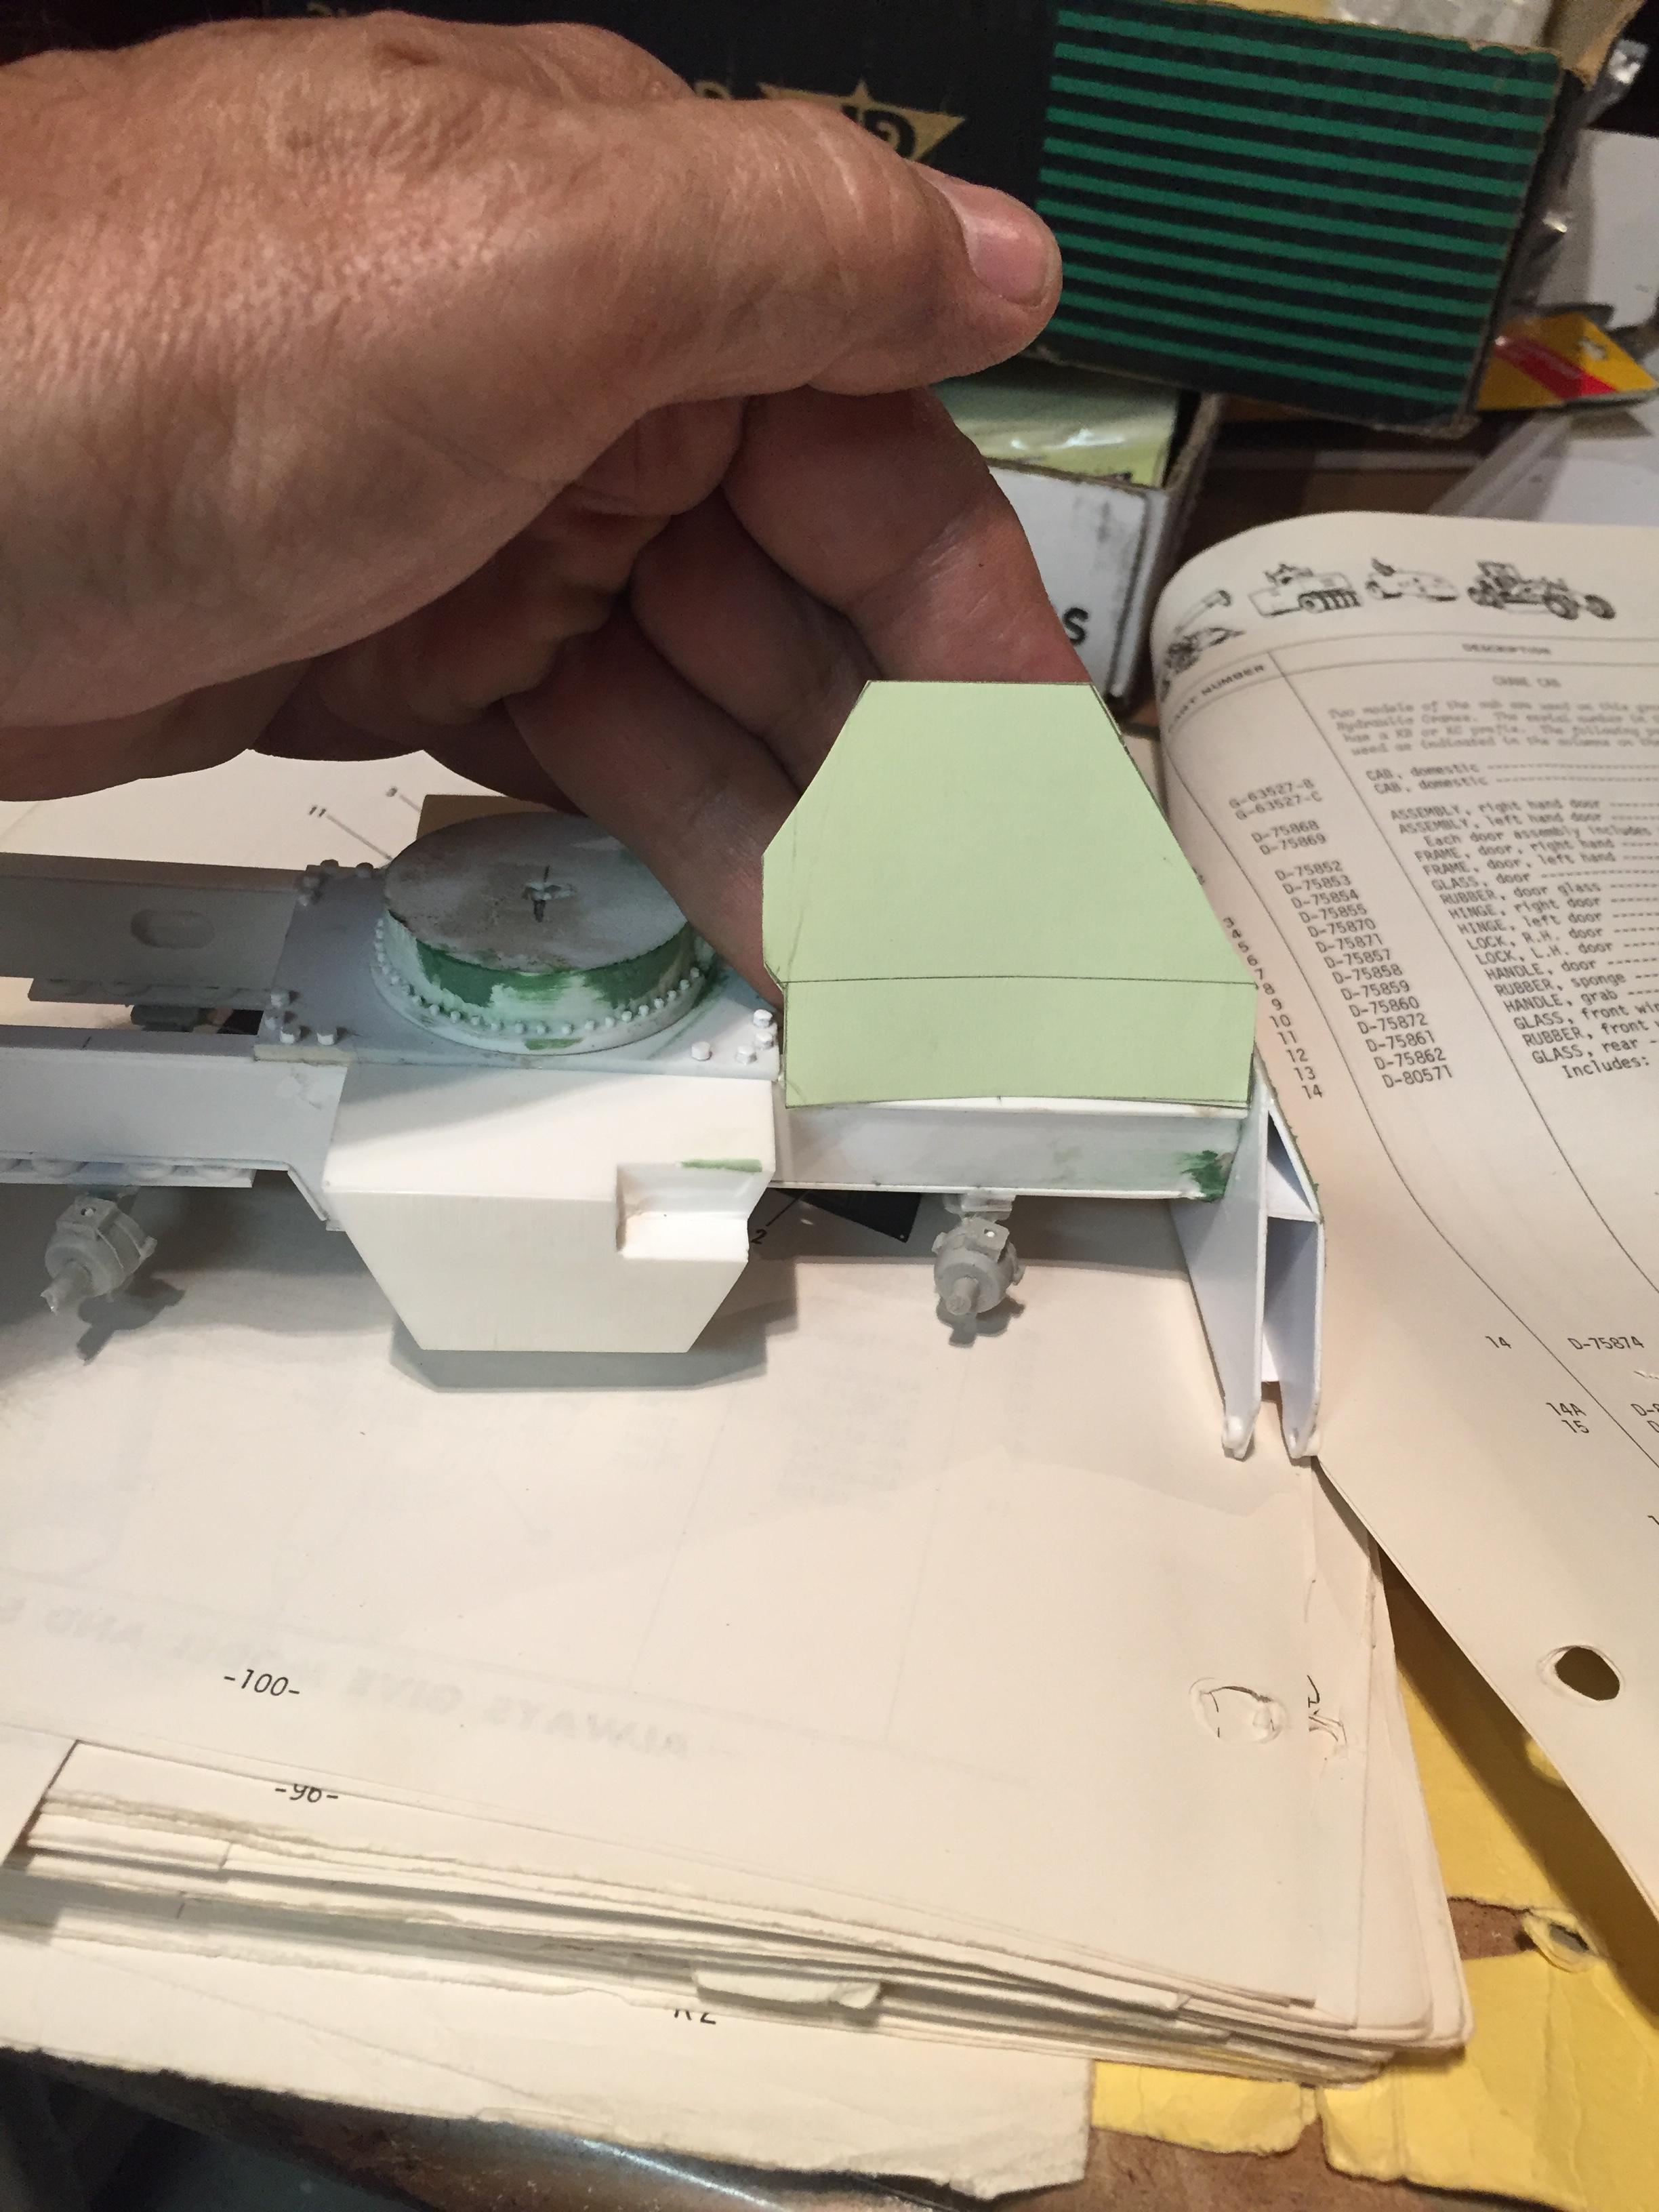
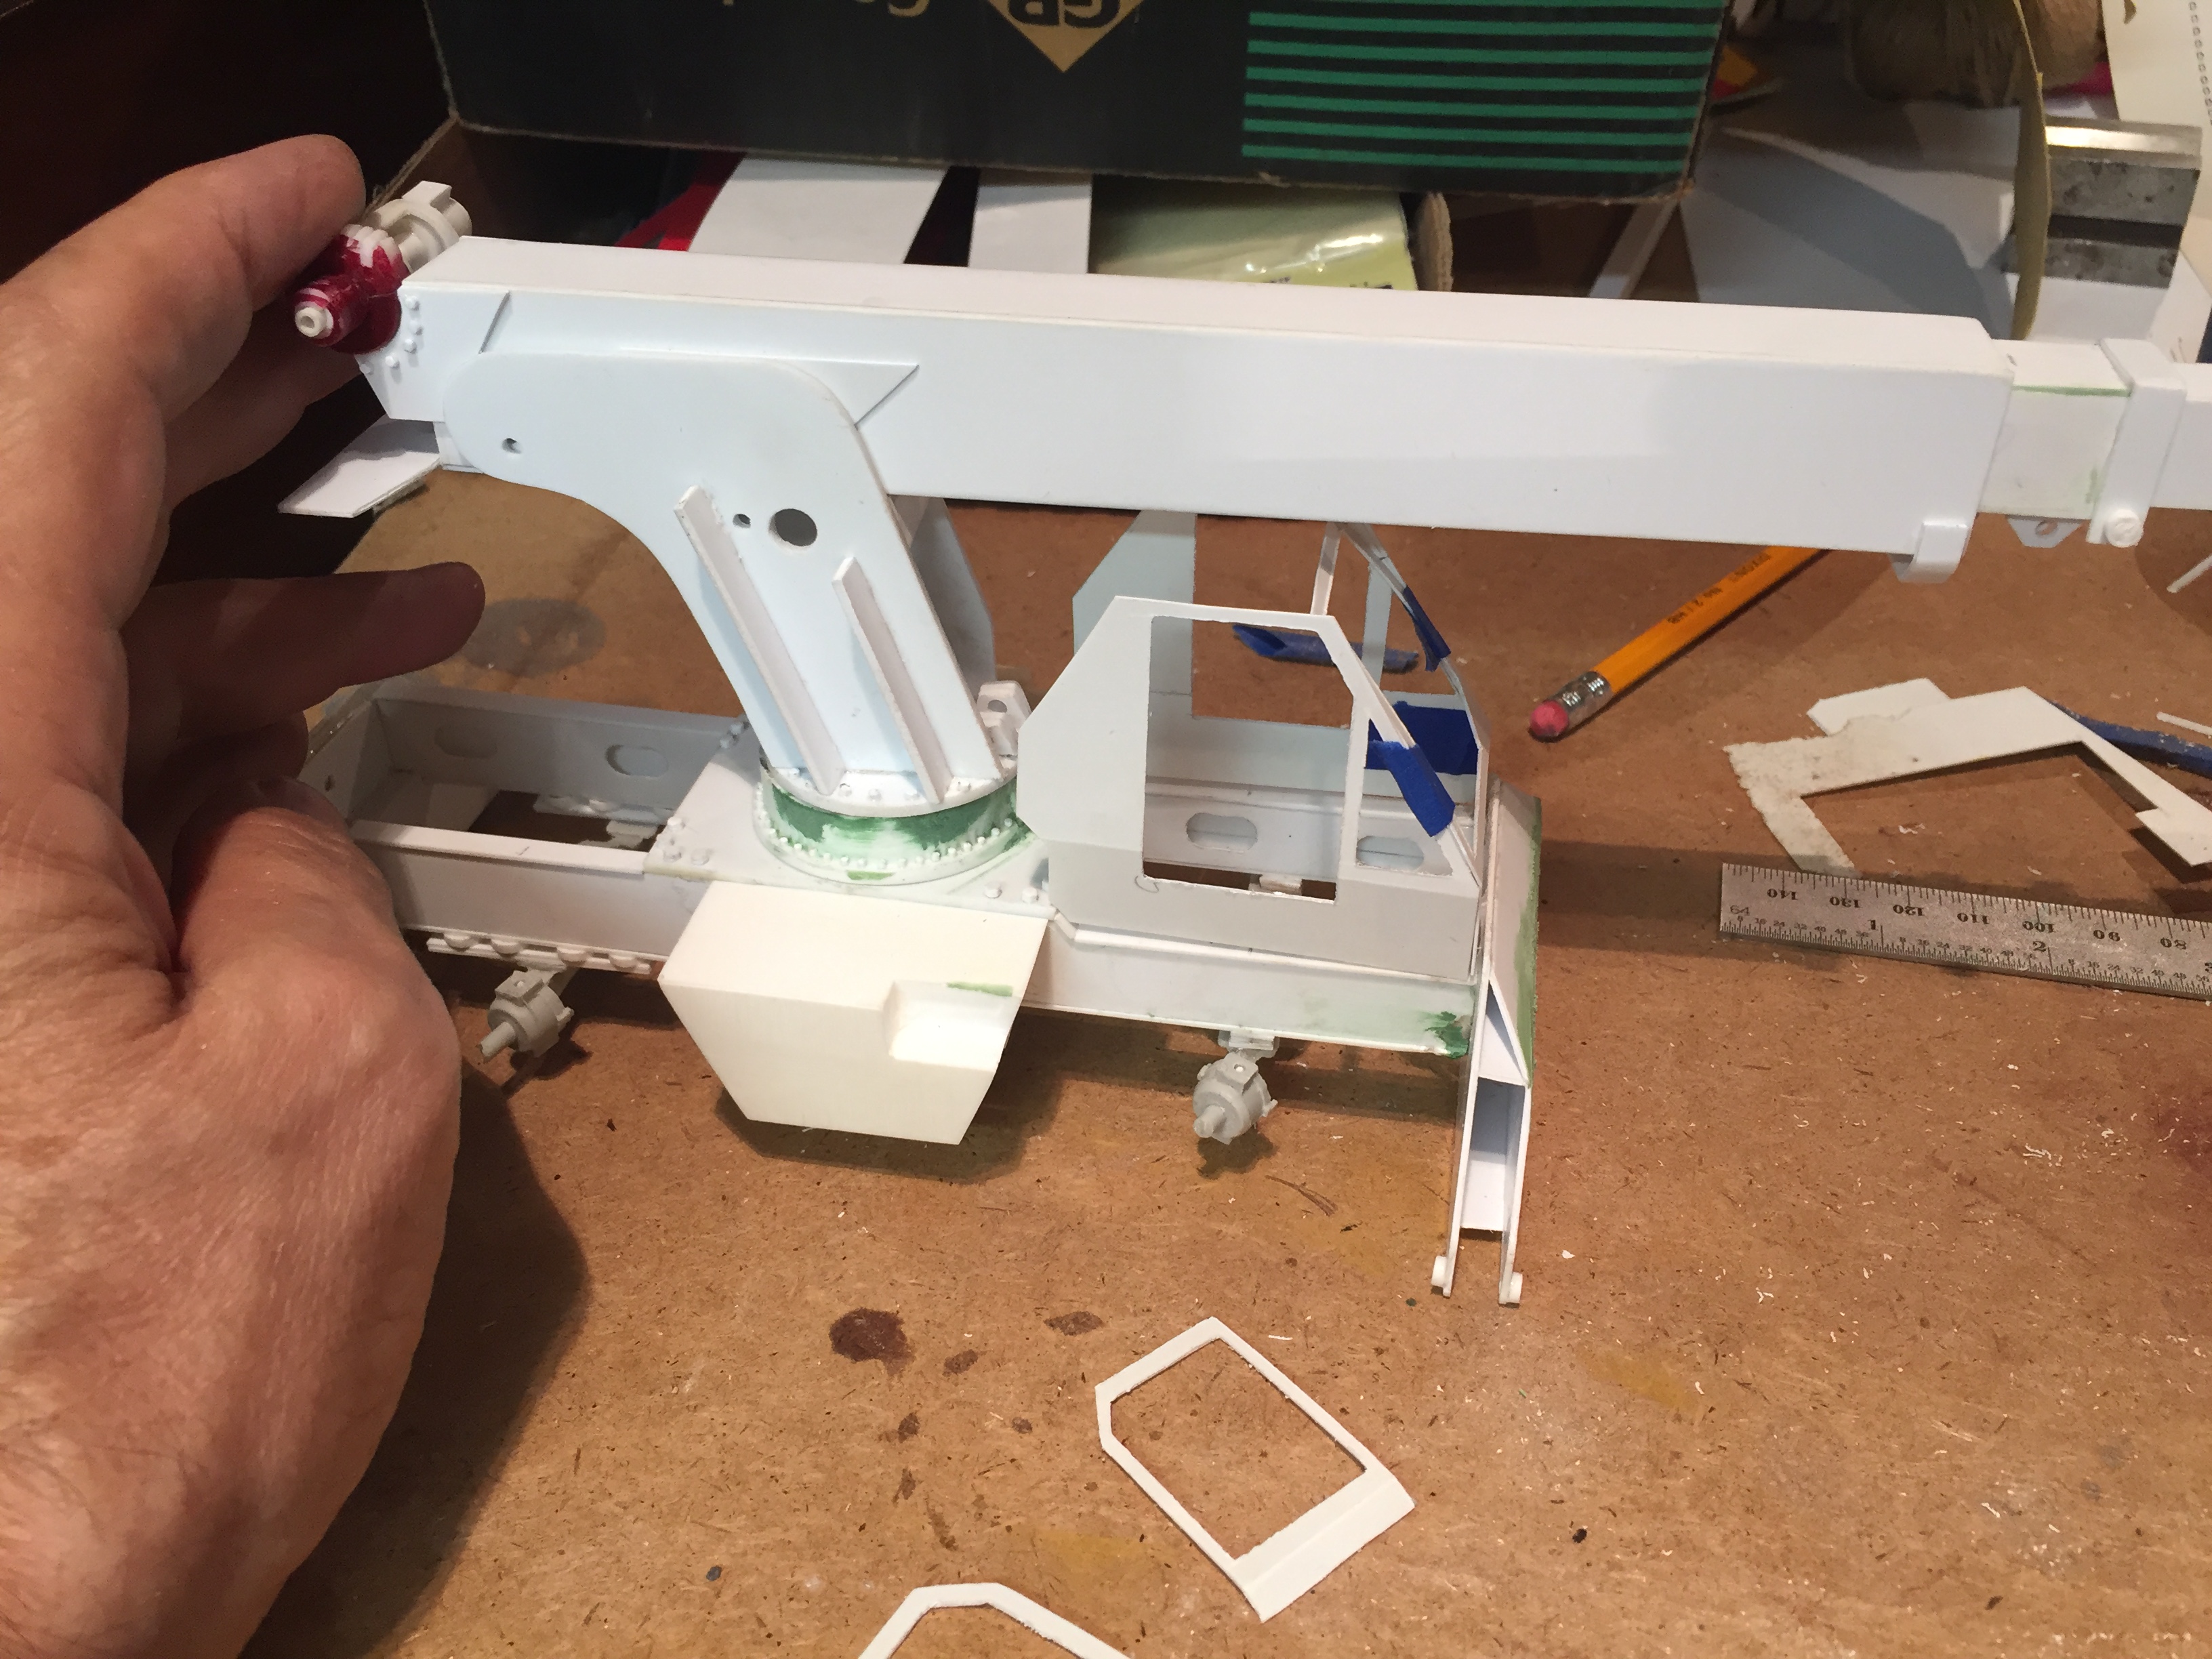
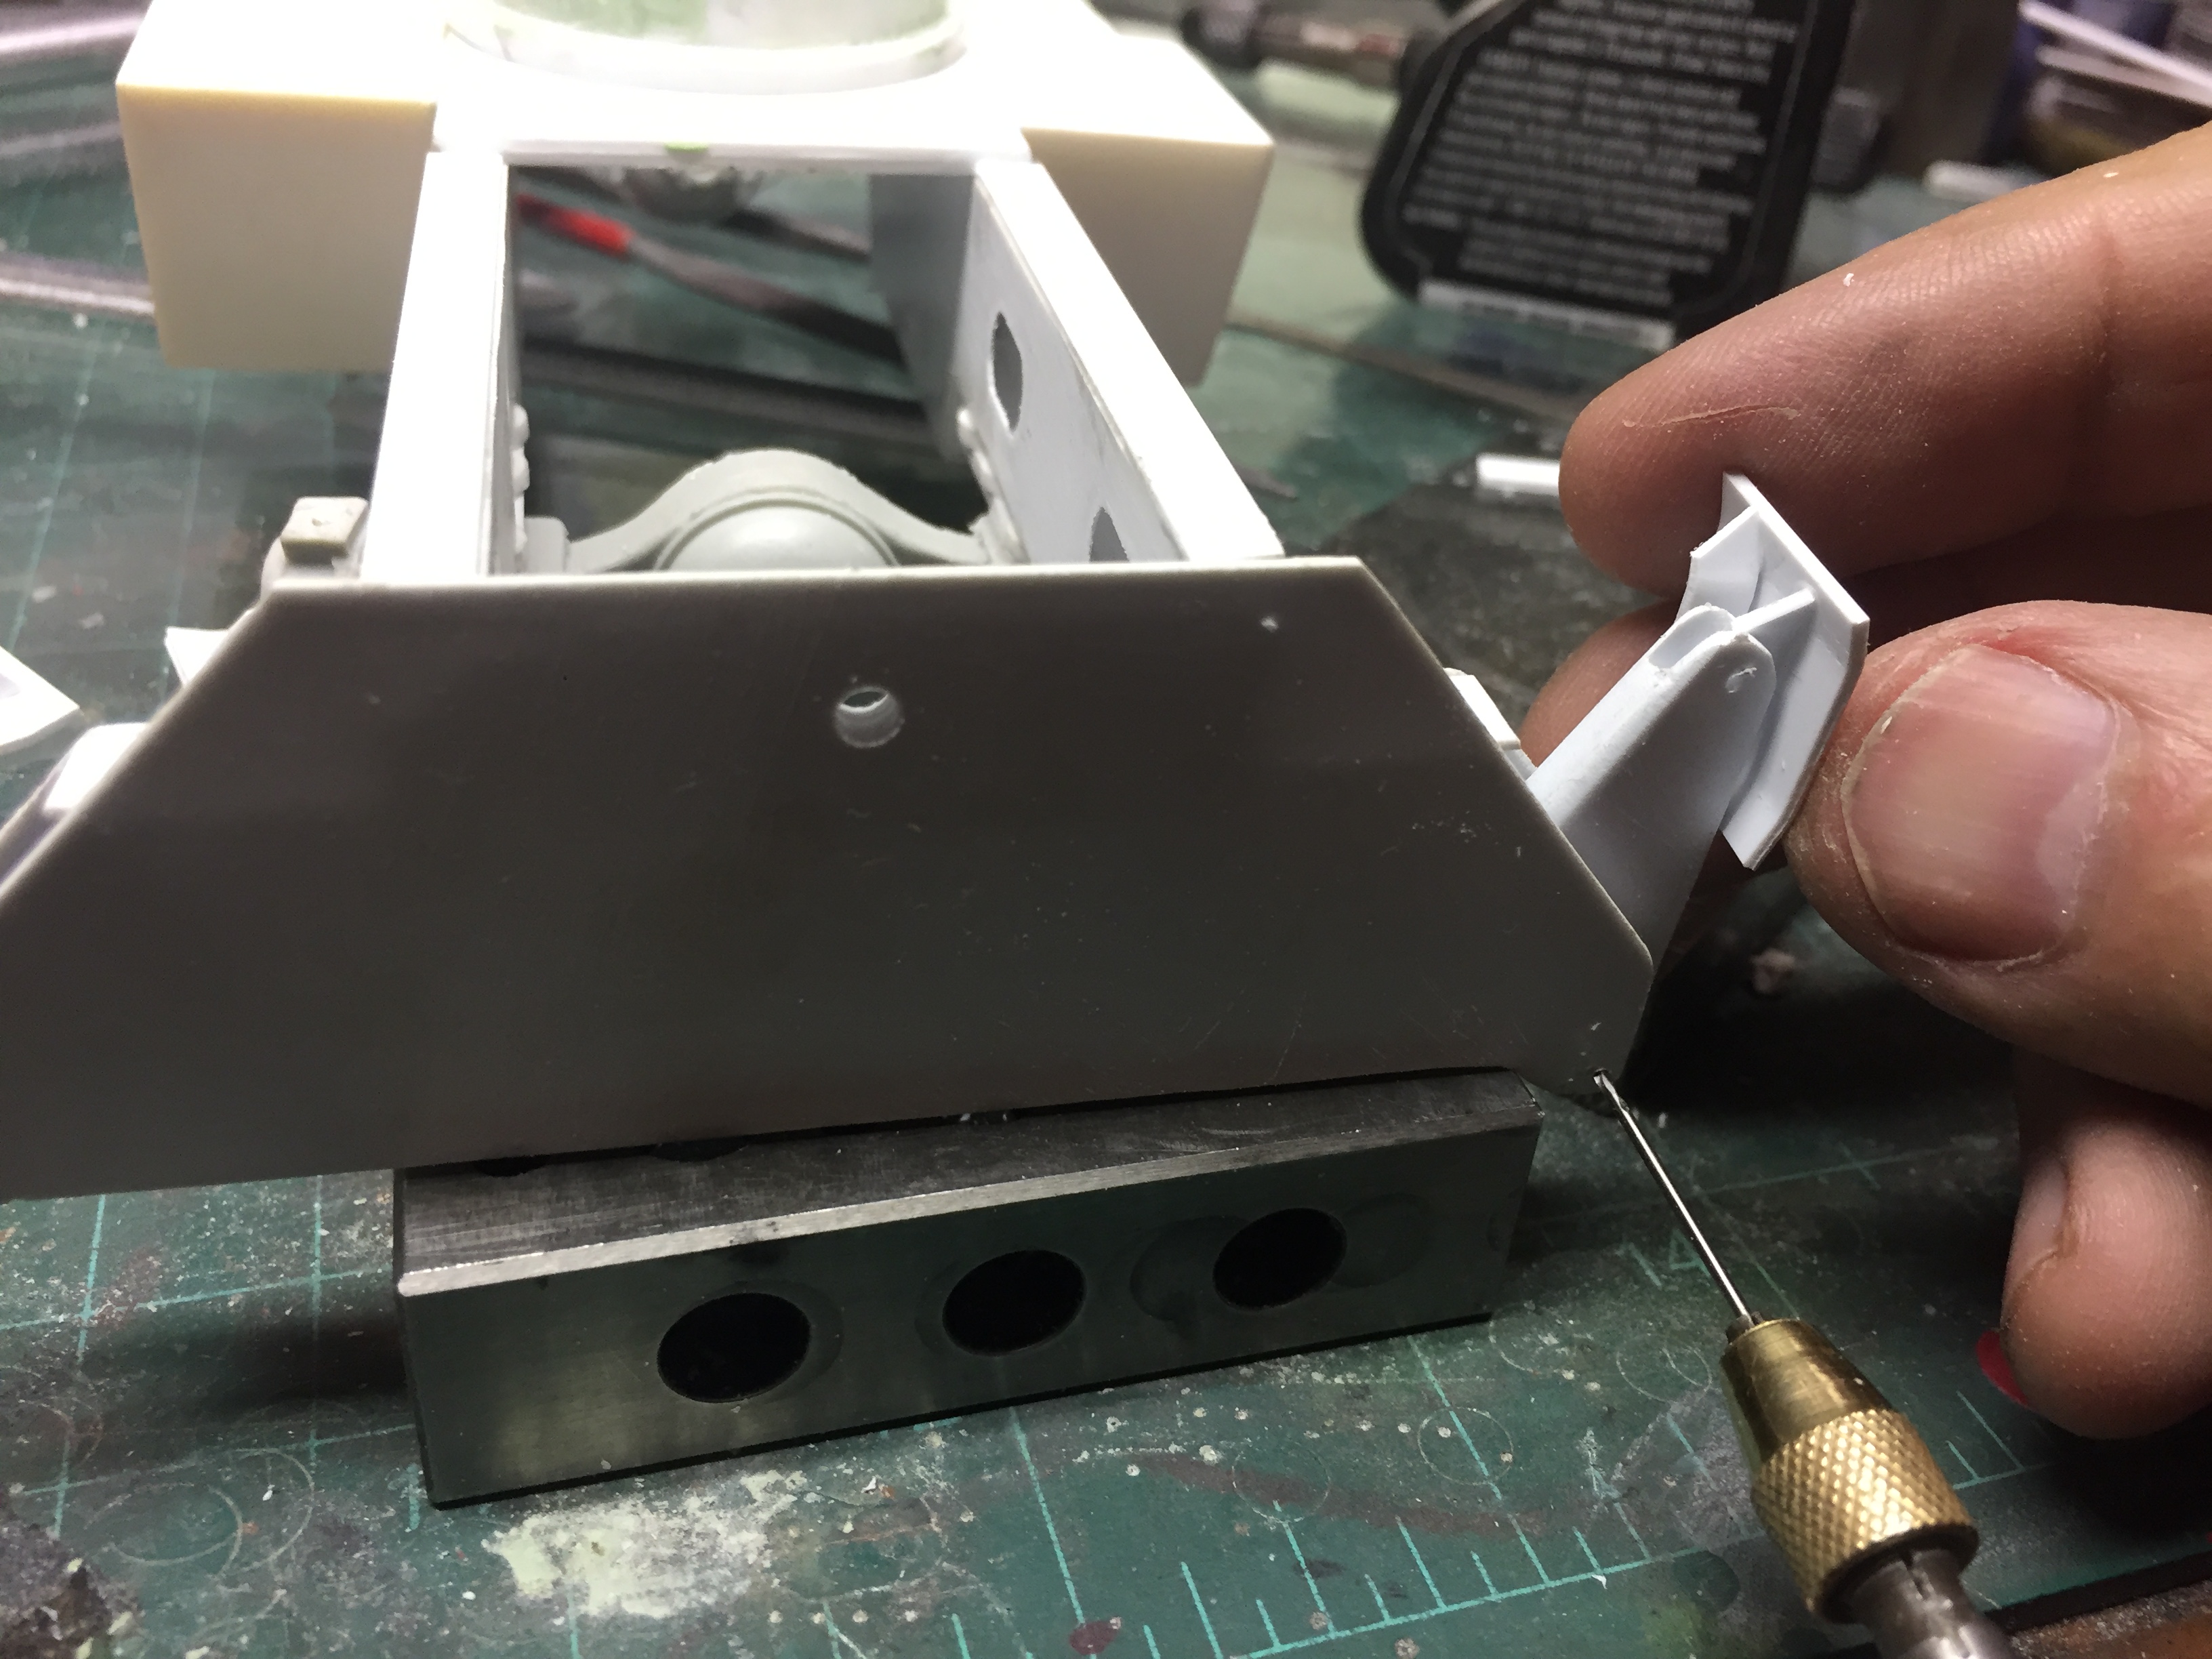
Well, this project has been going great, without my all too typical one step forward three in reverse technique. But, it is time for that now. I am not happy with the operator's cab in several aspects. Most of them can be lived with, but the rubber window gasket simply does not make me happy. So.........................I have scrapped the cab, and am going to start over on it. I tried half round Evergreen. The smaller size looks far better but is evil to try to make it work. The larger size was far easier to work with, but it looks like..................well, it does not please me! So, I have a few other ideas to try, and will be not only making a new cab to fix the other problems it has, but will be hopefully finding a method to do the gaskets that looks better! I am also considering telling the crane operator to stock up on long johns and mittens, and foregoing the cab.......................! I am sure he would file a grievance with the union though!
-
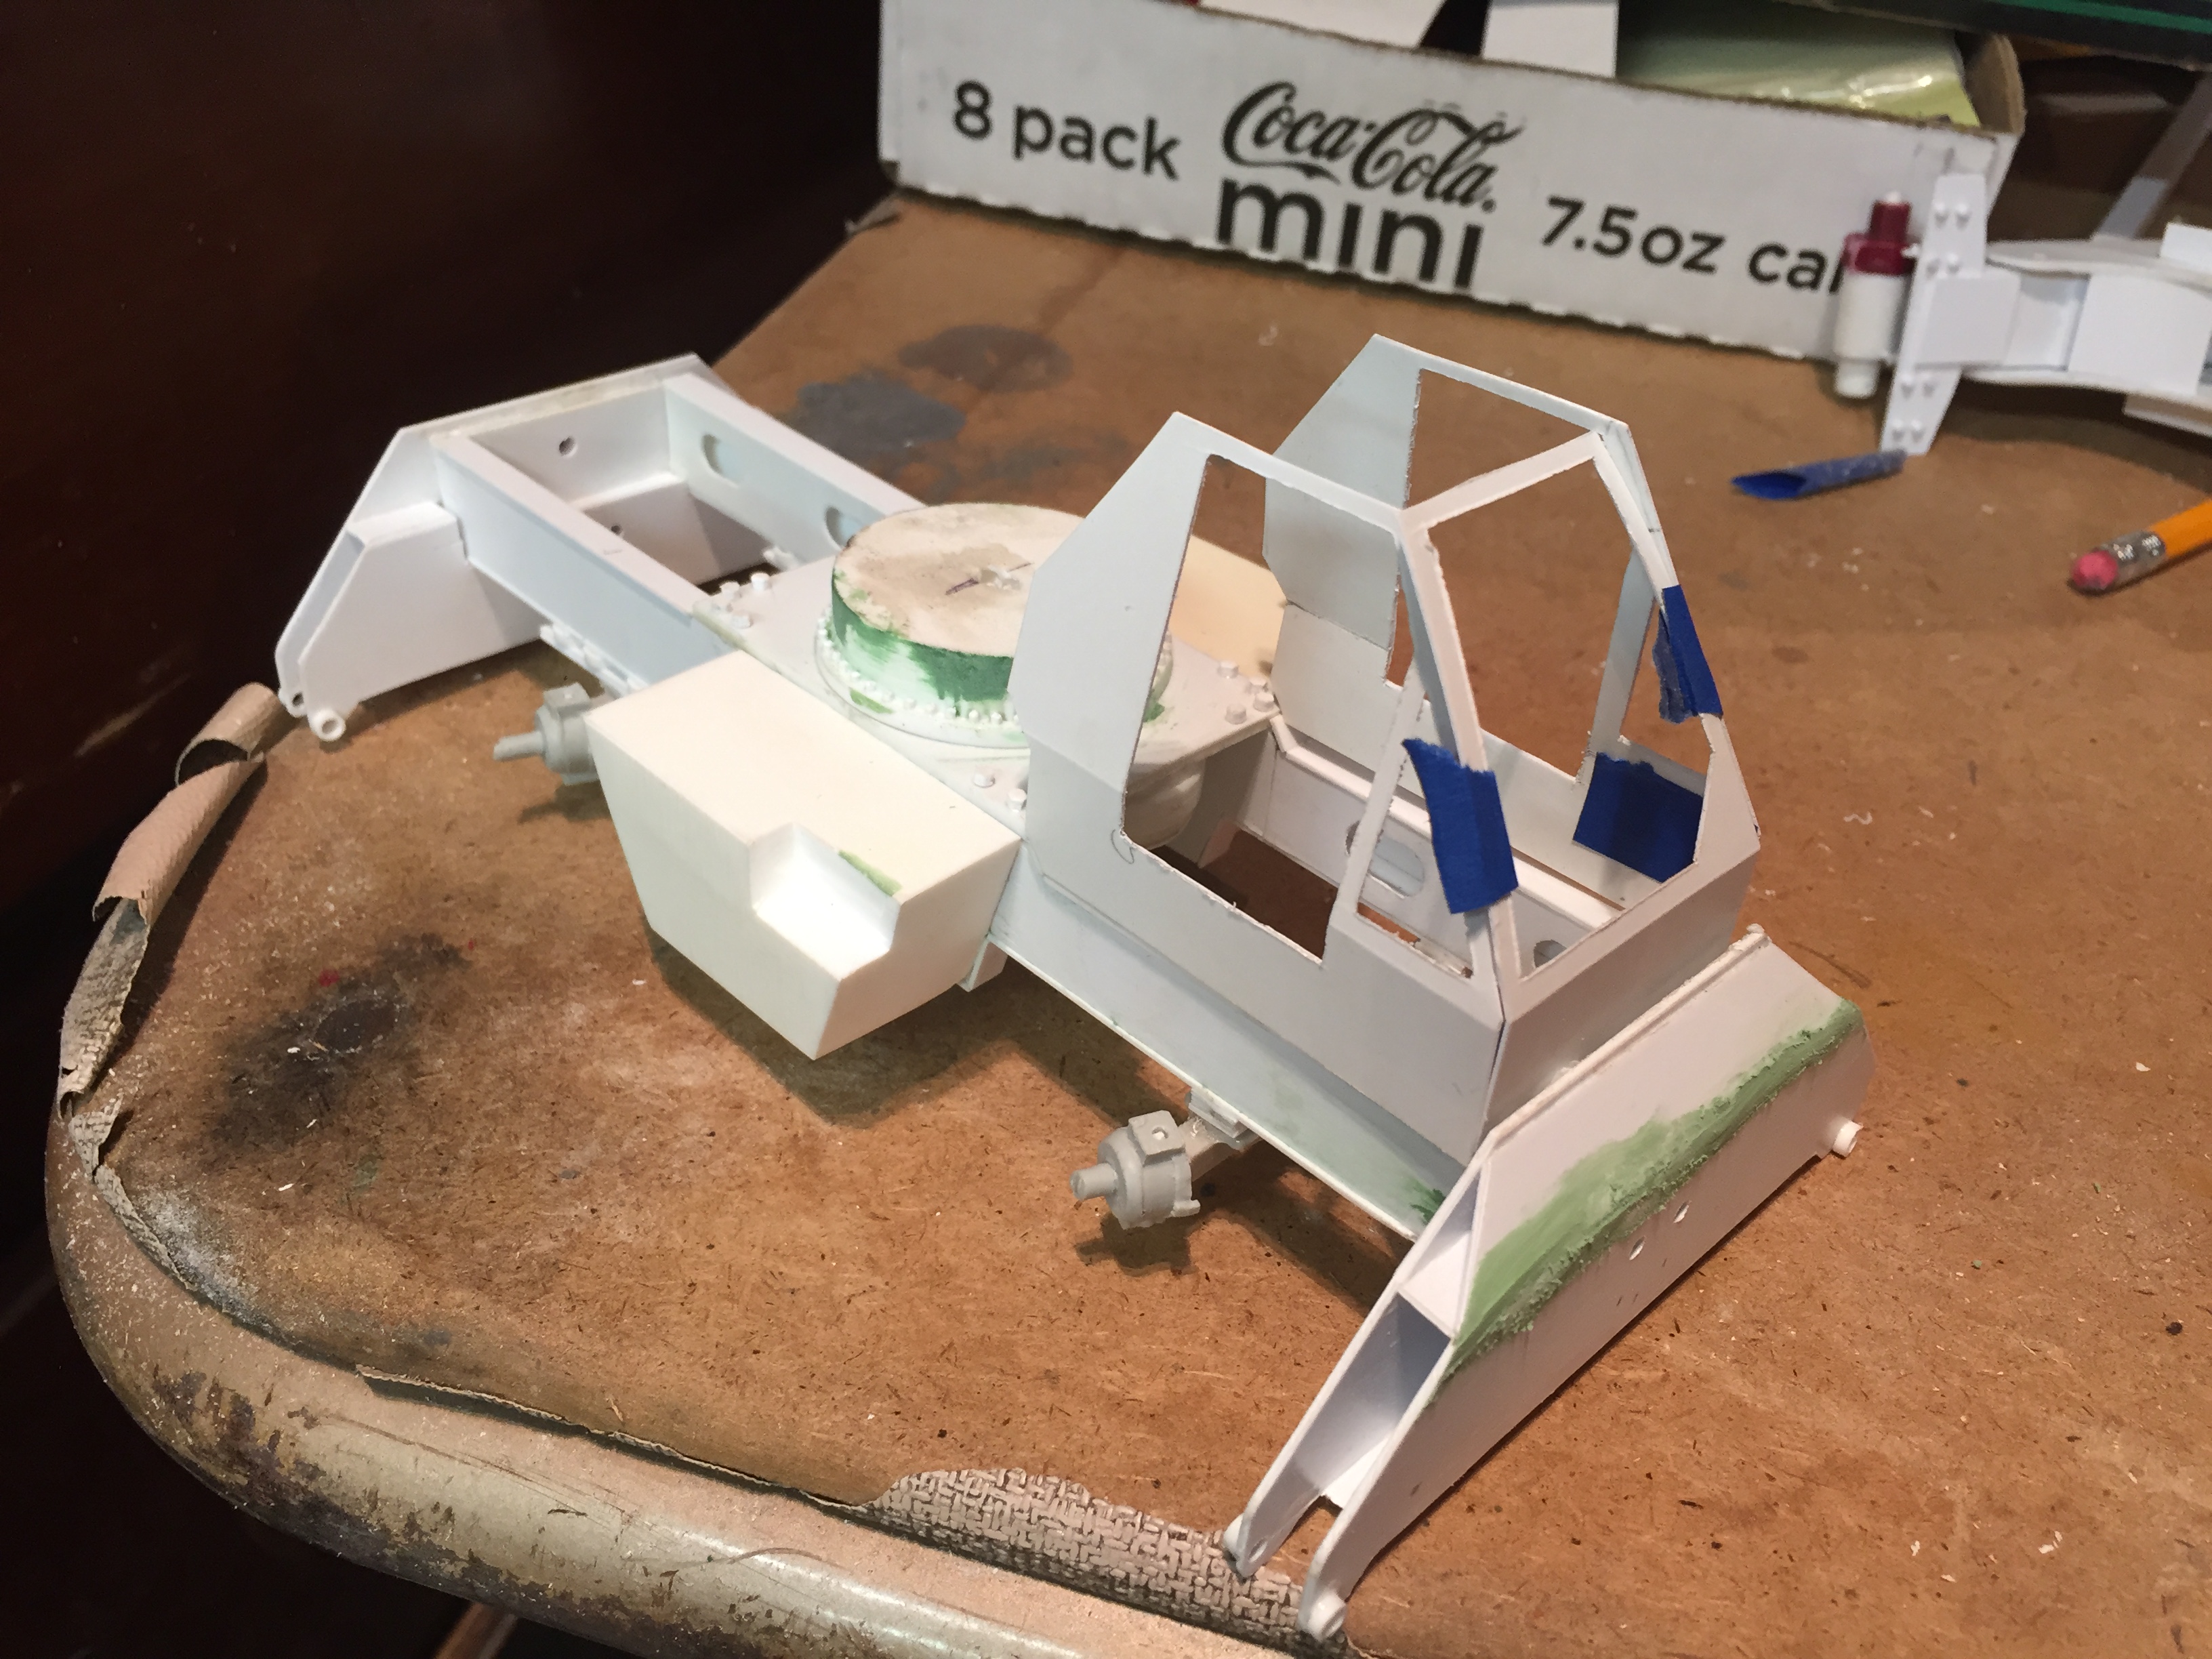
Rainy day today so got a little bit done. Got the rubber window gasket roughed in on the windshield and the roof window. Made up a set of new doors that overlap the opening the proper way. Mounted the transfer case/transmission. Made and installed the driveshafts and installed the drivers compartment floor and roughed in the instrument panel. Also installed diamond plate on the fuel and hydraulic tanks. The window gasket looks so-so. Lots of fine tuning to do. I am almost tempted to build this without the optional cab but the crane operator would be very upset with me with the cold snowy winters here in Vermont!
-
Outstanding work........................upholstery is amazing!
-
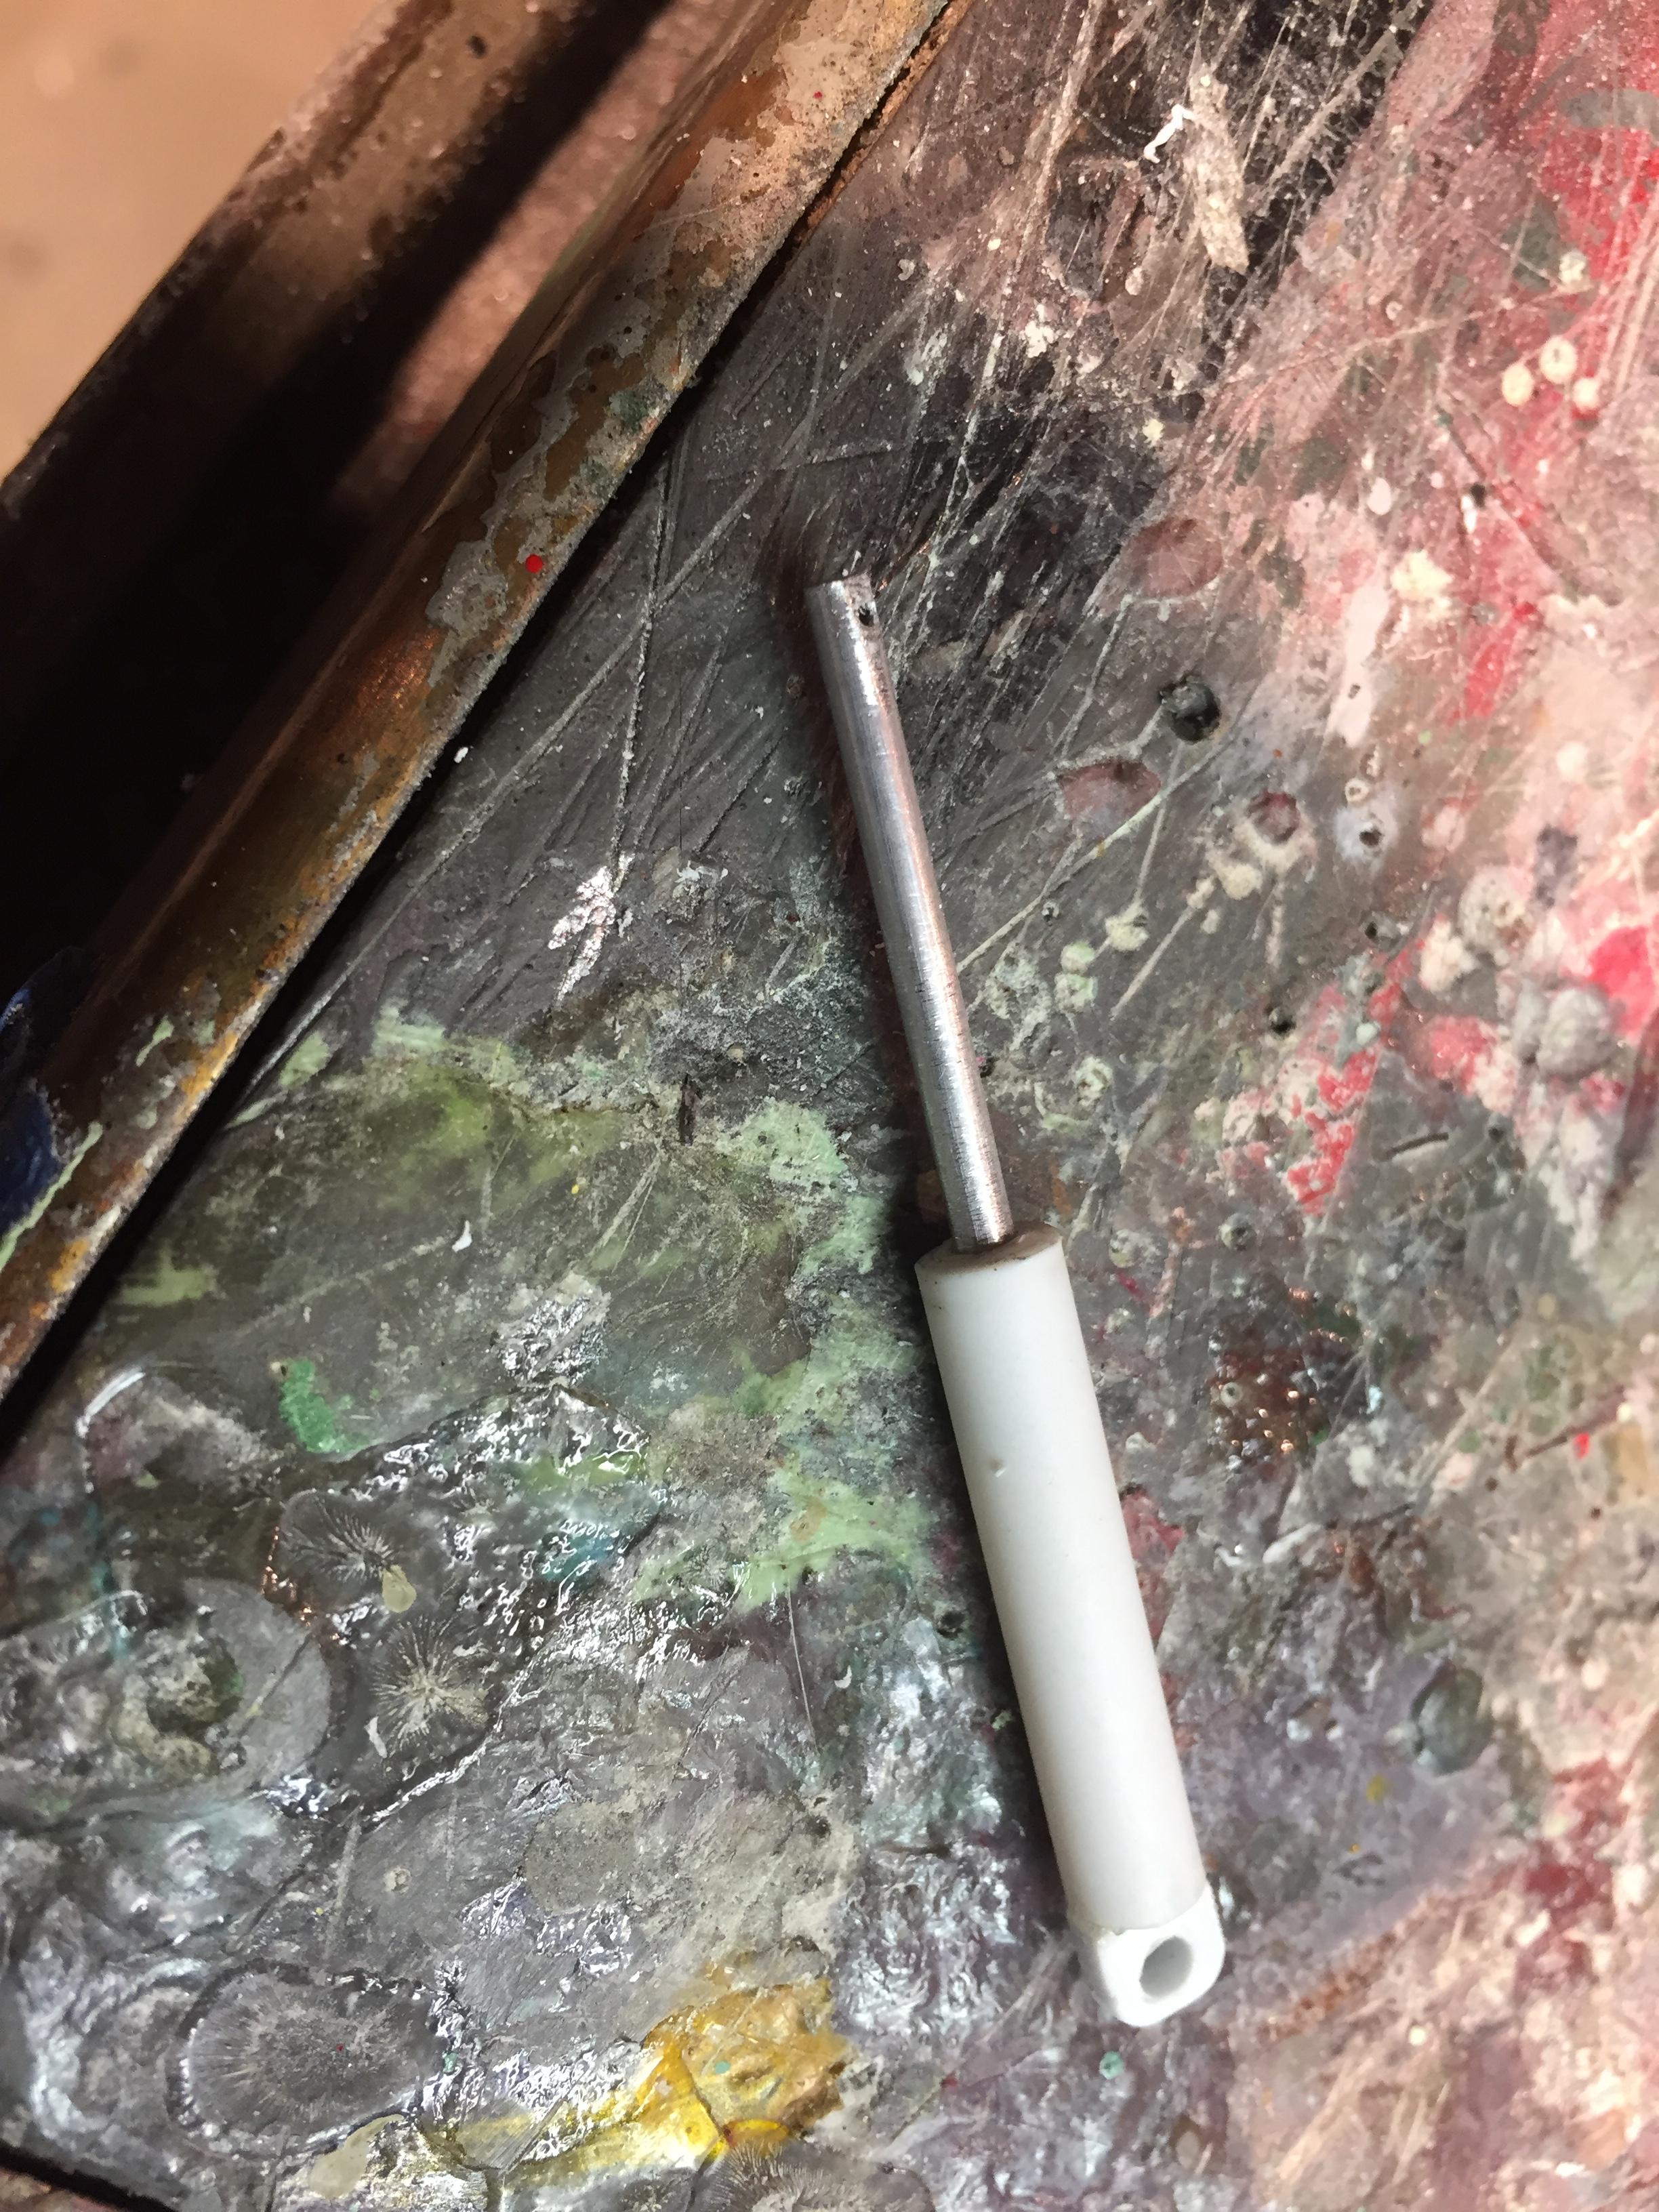
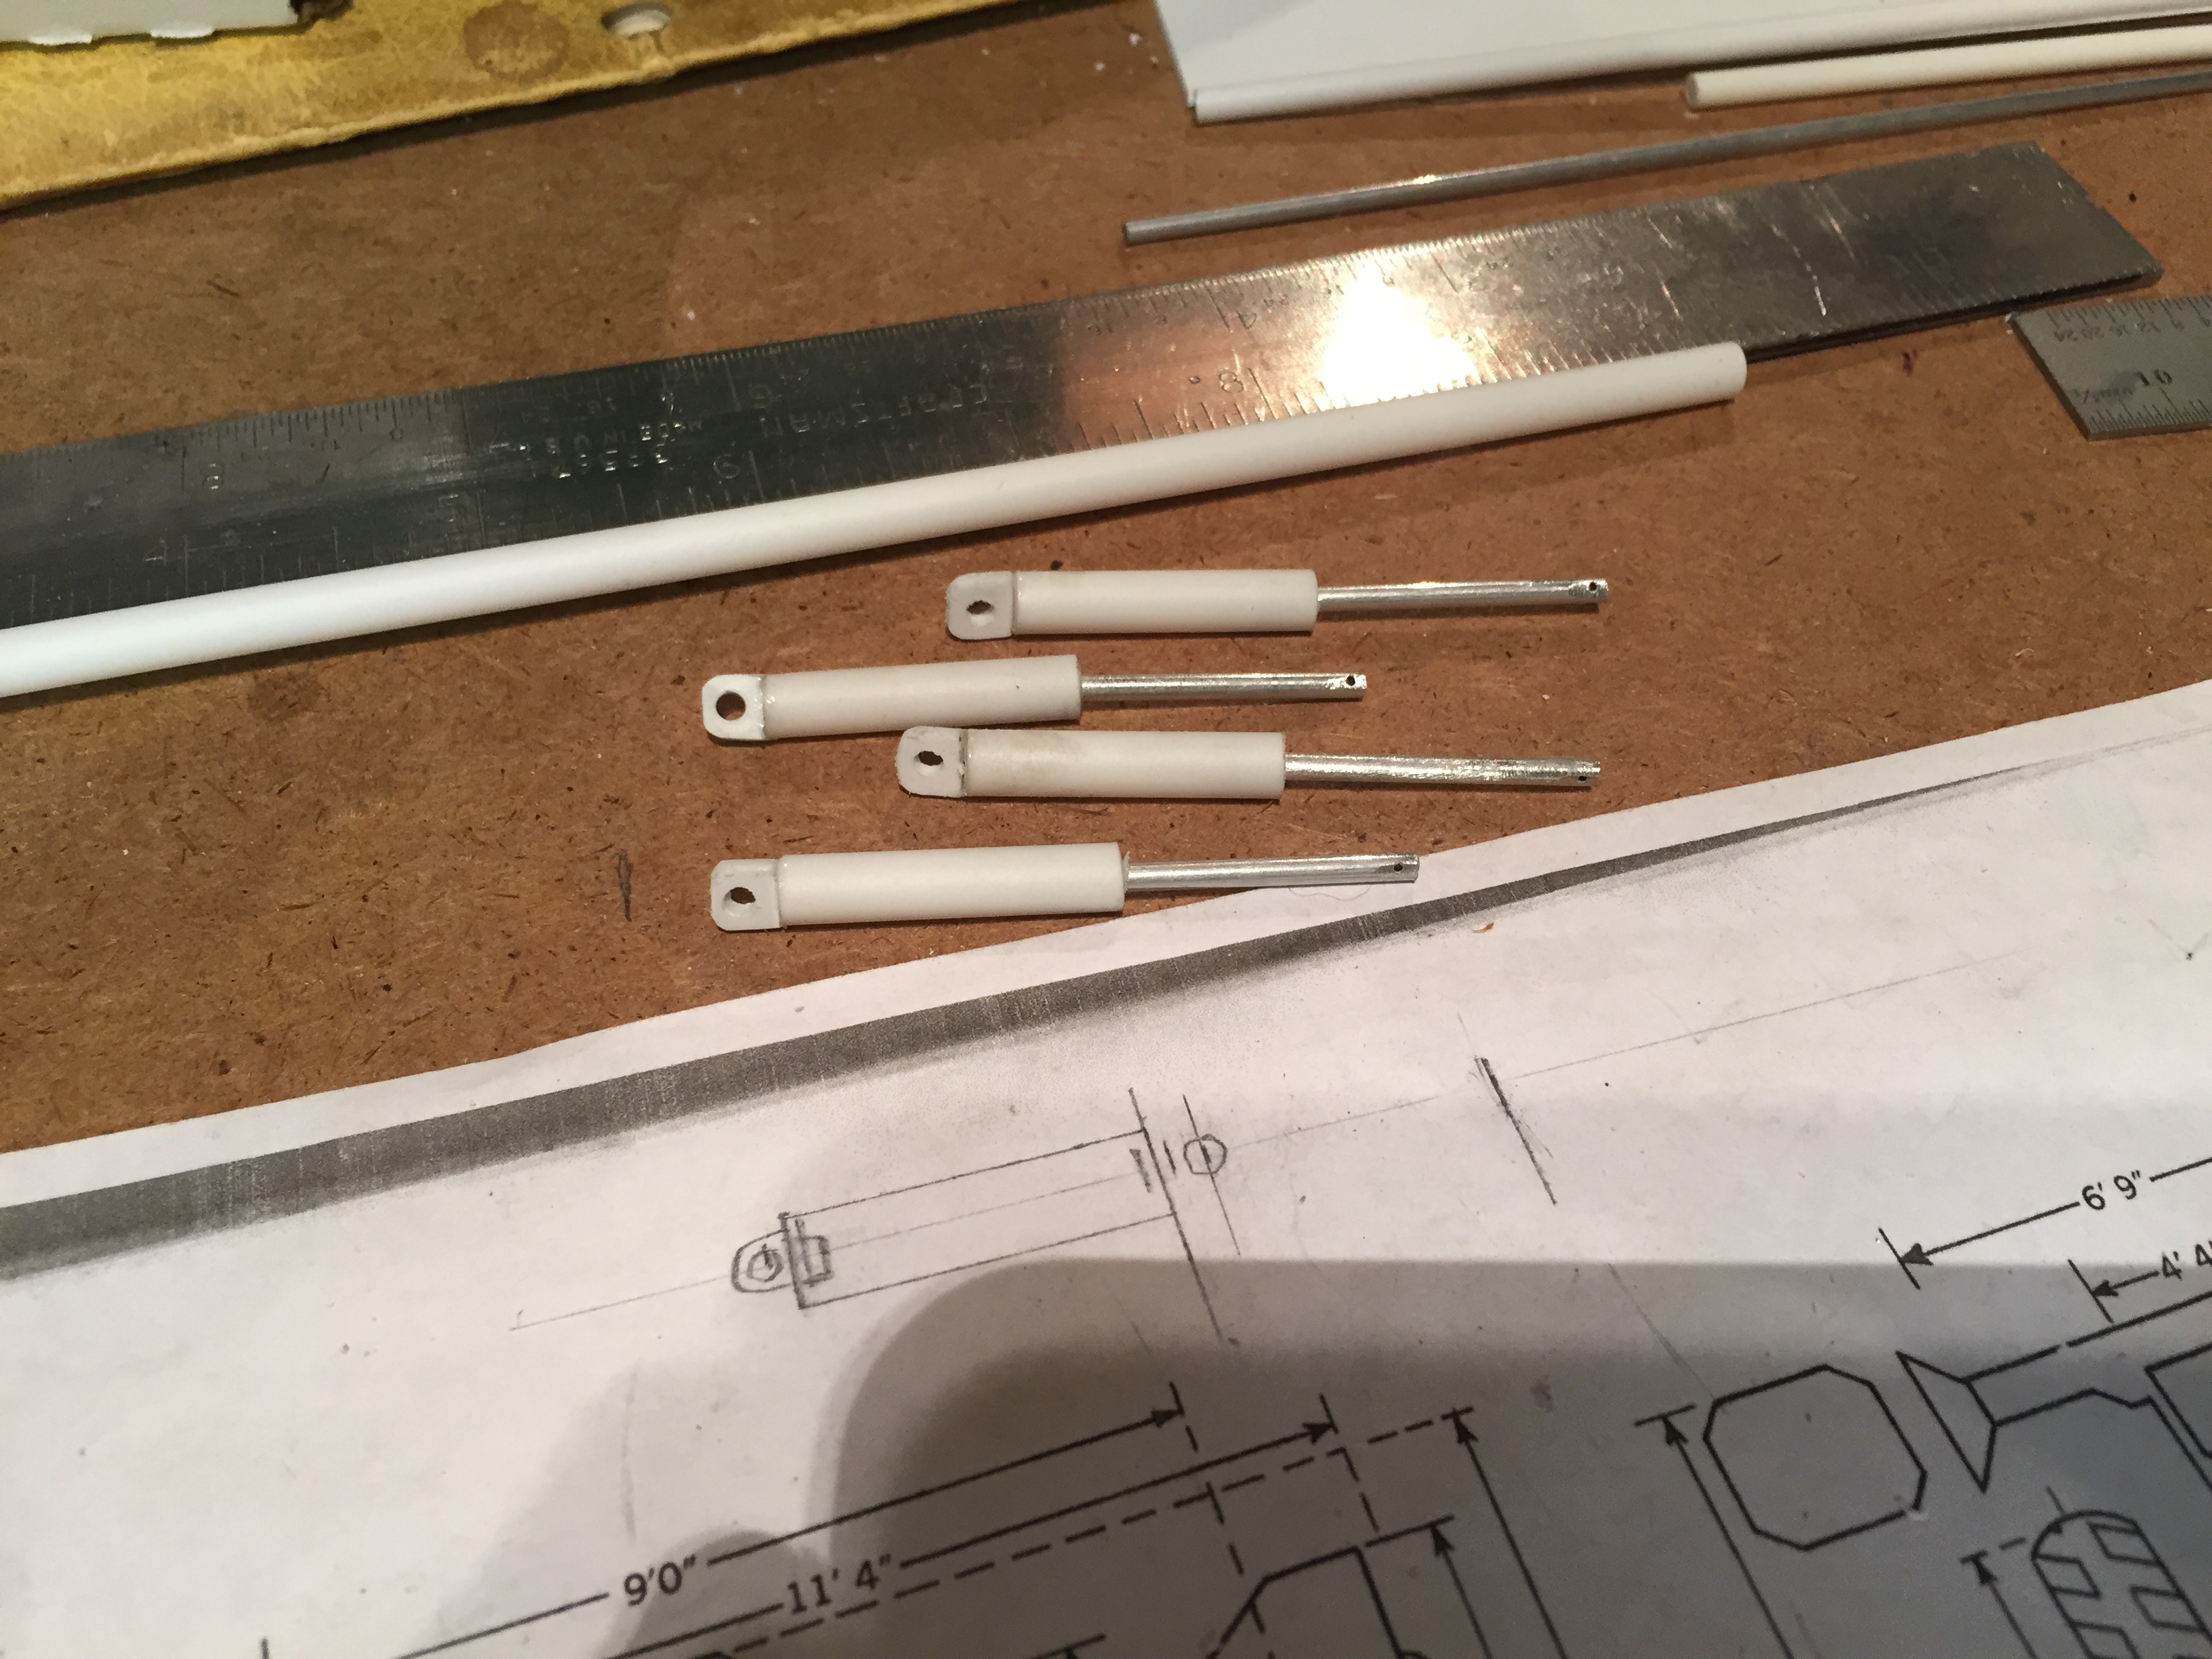
I glue a small piece of tubing whose outside diameter fits the inside of the cylinder onto the end of the piston rod, making the piston. I then glue another piece of the same size tubing into the rod end of the cylinder to act as the cylinder cap, which prevents the piston and rod from coming out of the cylinder, exactly like a real cylinder is made. You can find details and photos previously posted in this thread. Works very well! You can also make tie tod type cylinders very easily by adding square heads with tie rods holding them together as can be seen in a former thread on my Galion roller in " On The Workbench." It's fun to do too, as long as I have bright lights and good tweezers!
-
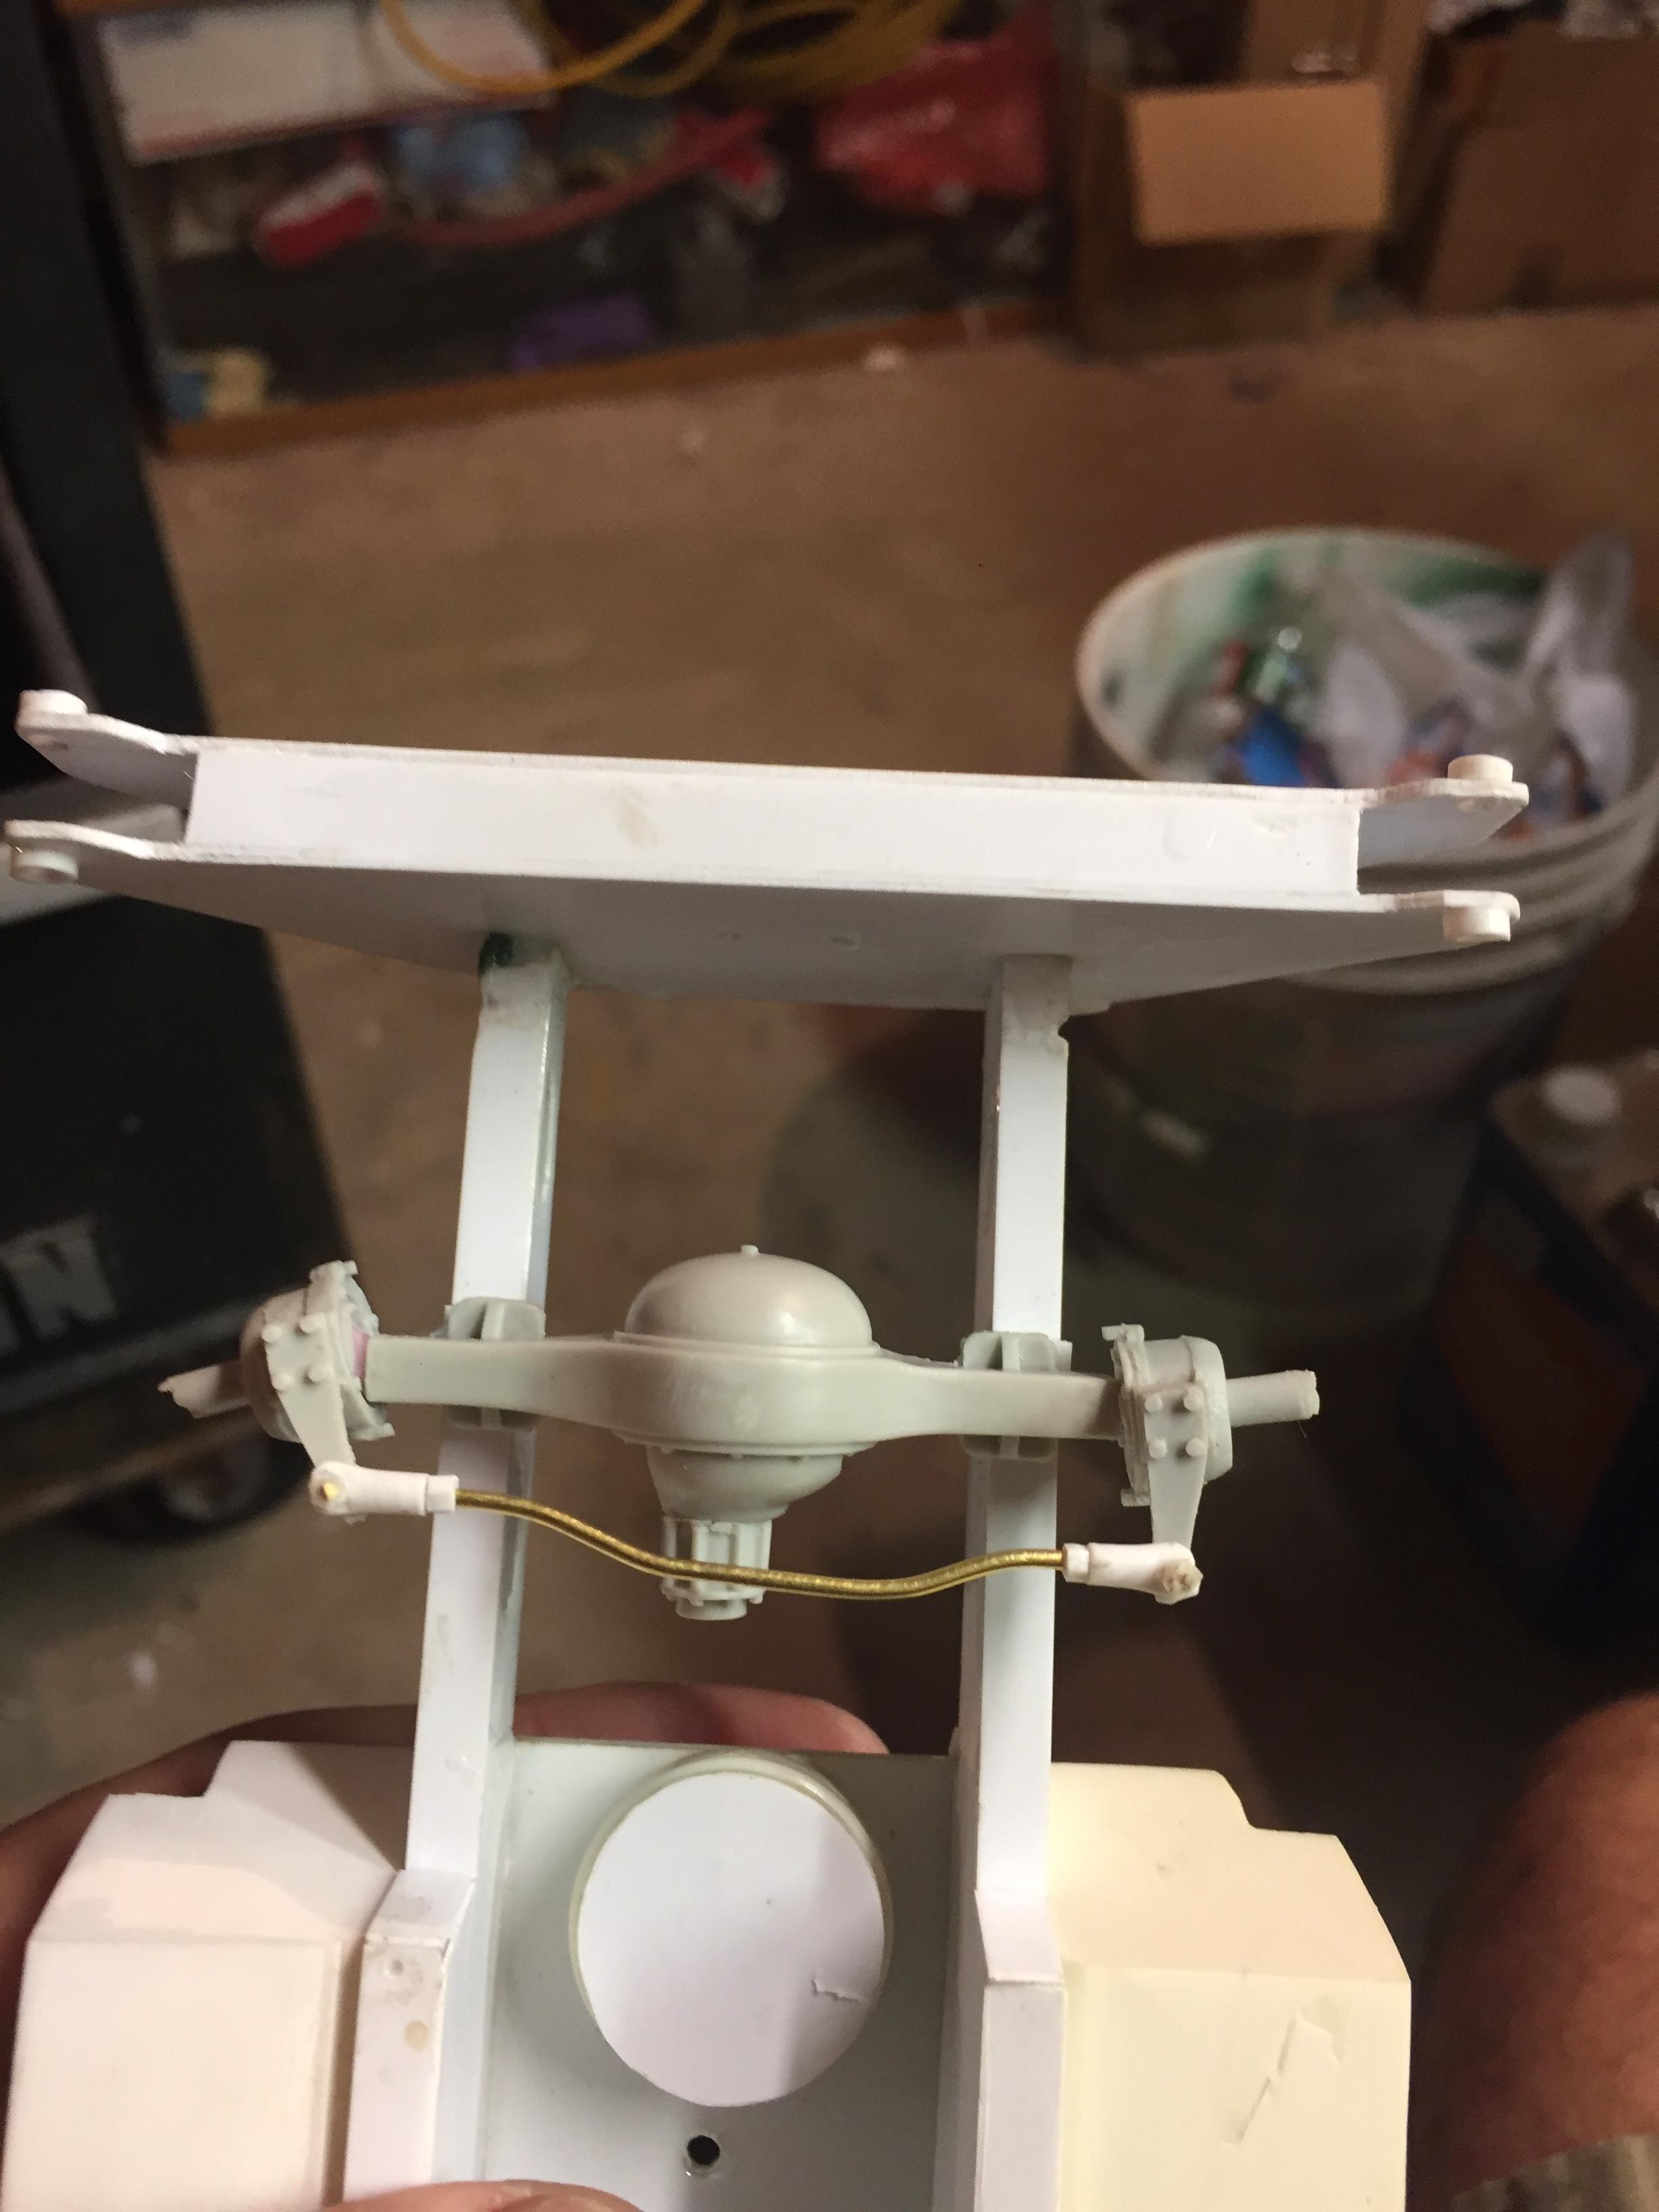
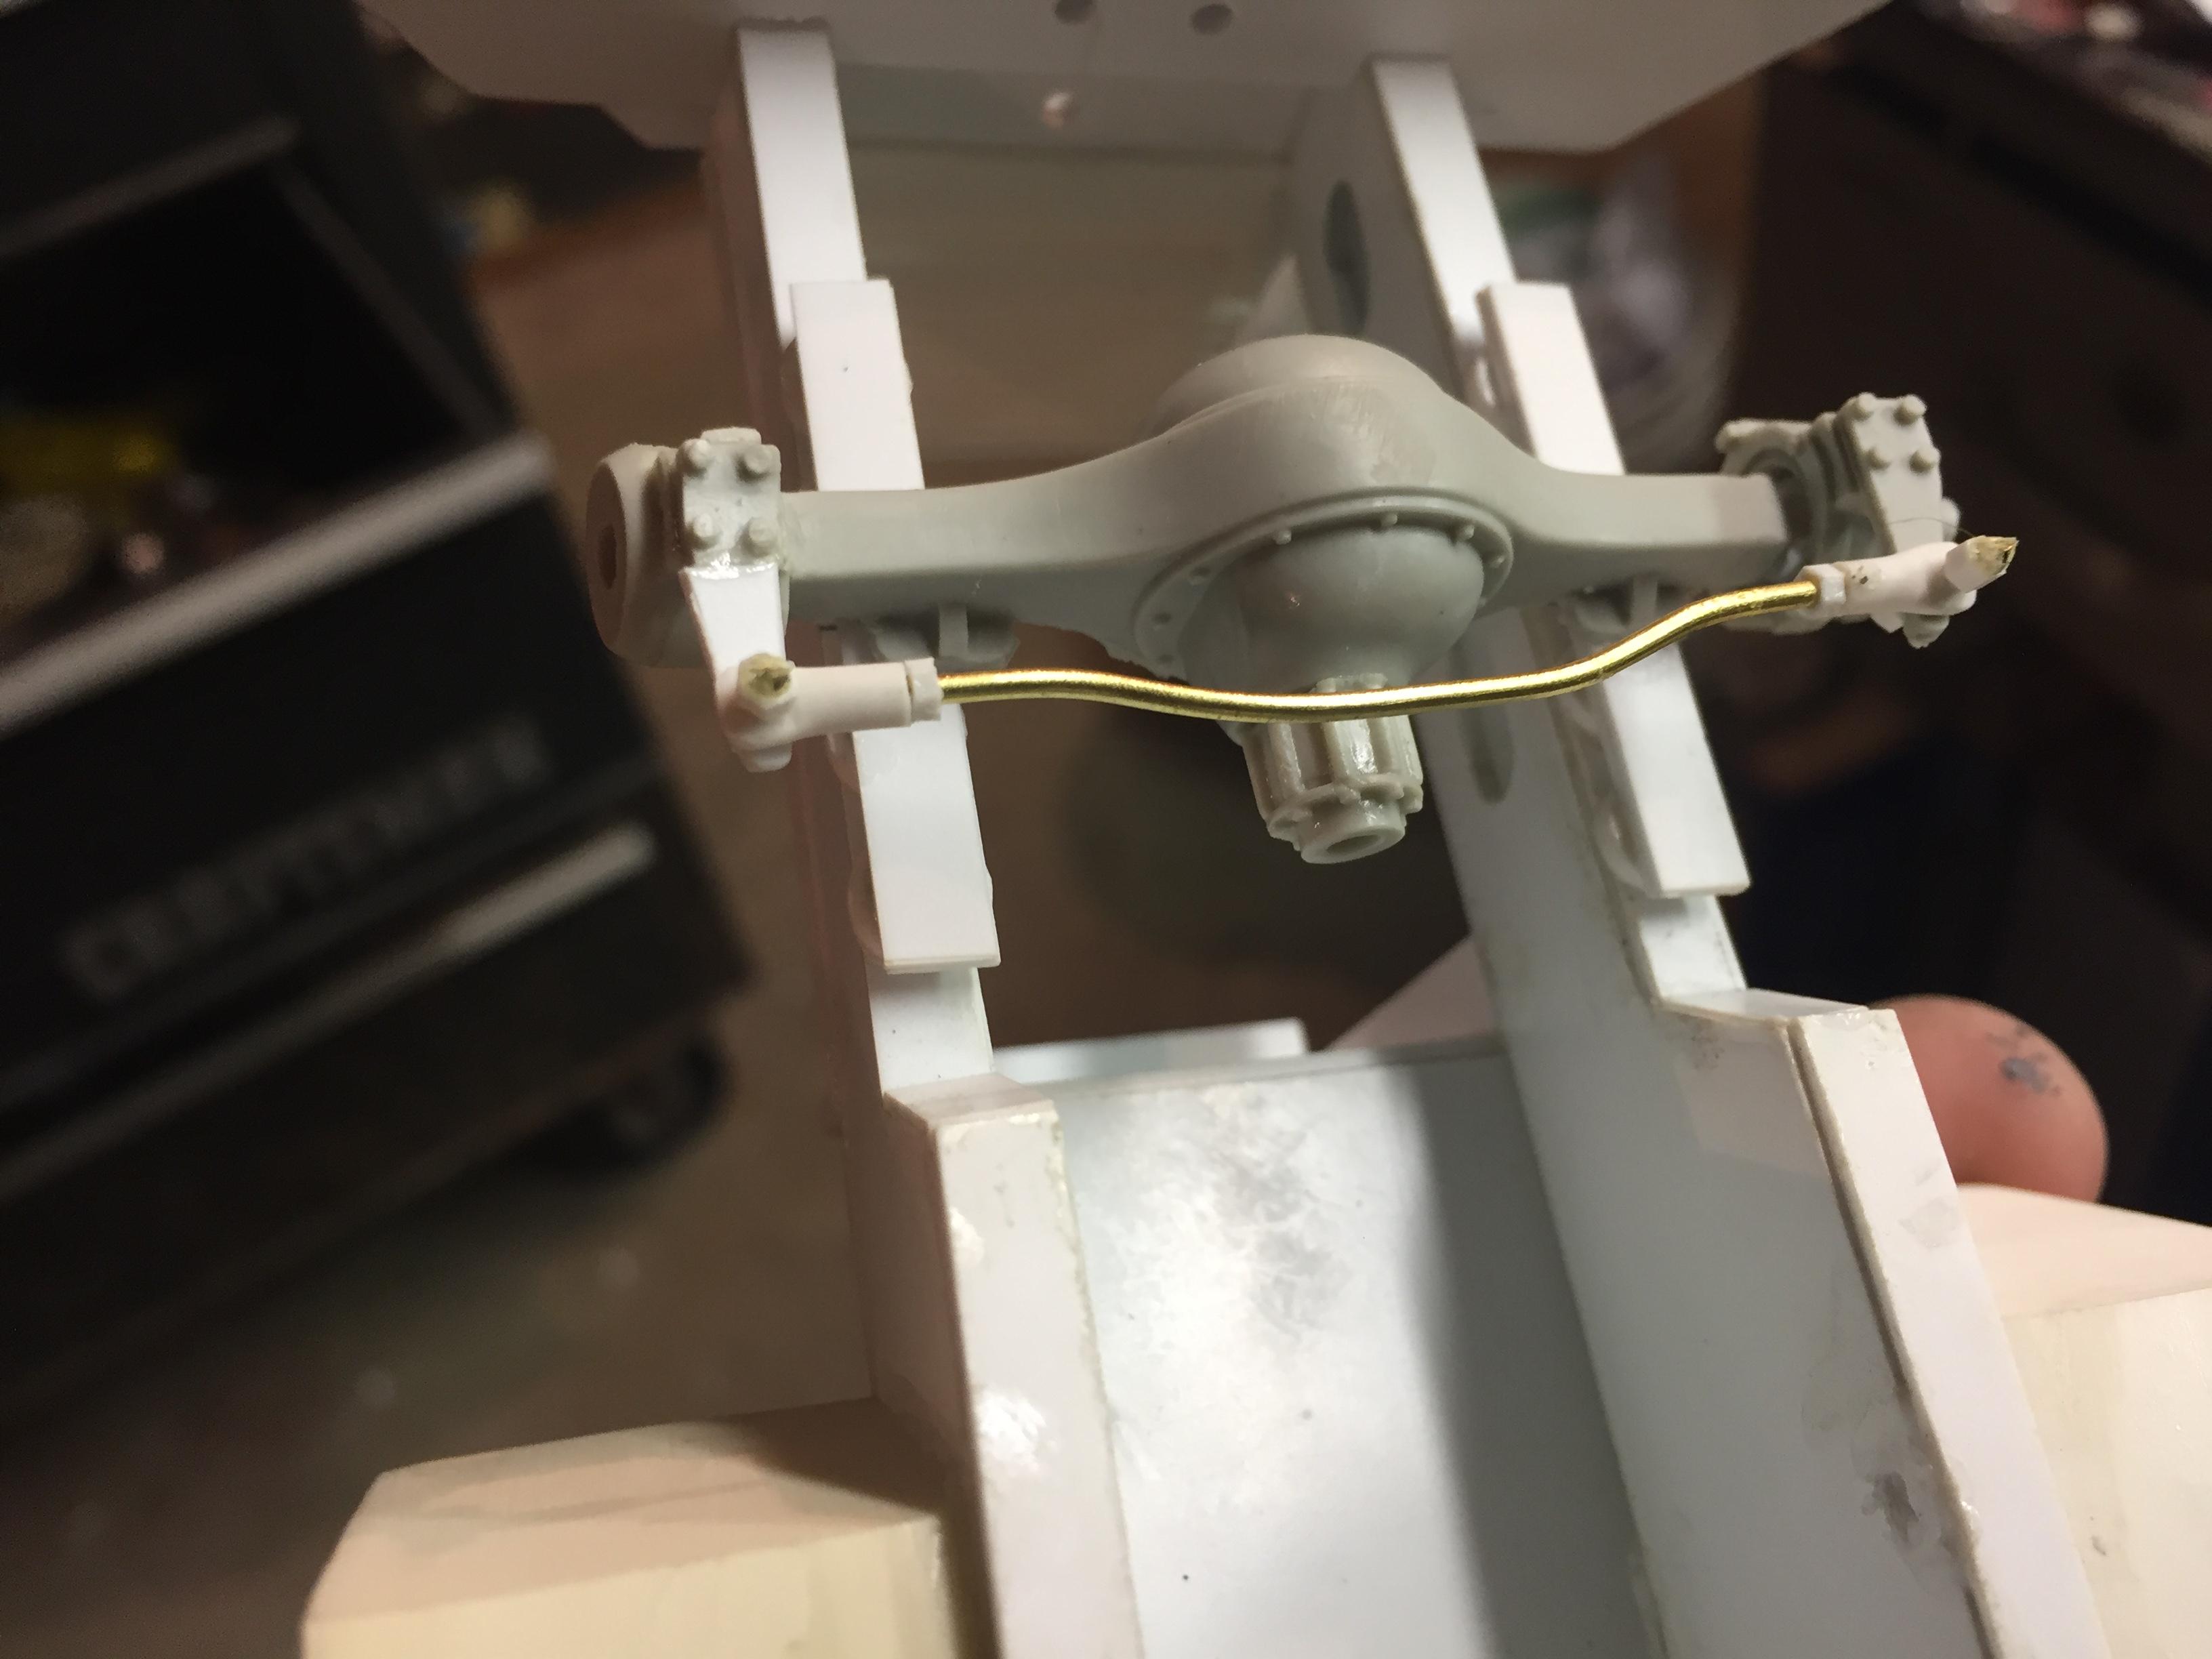
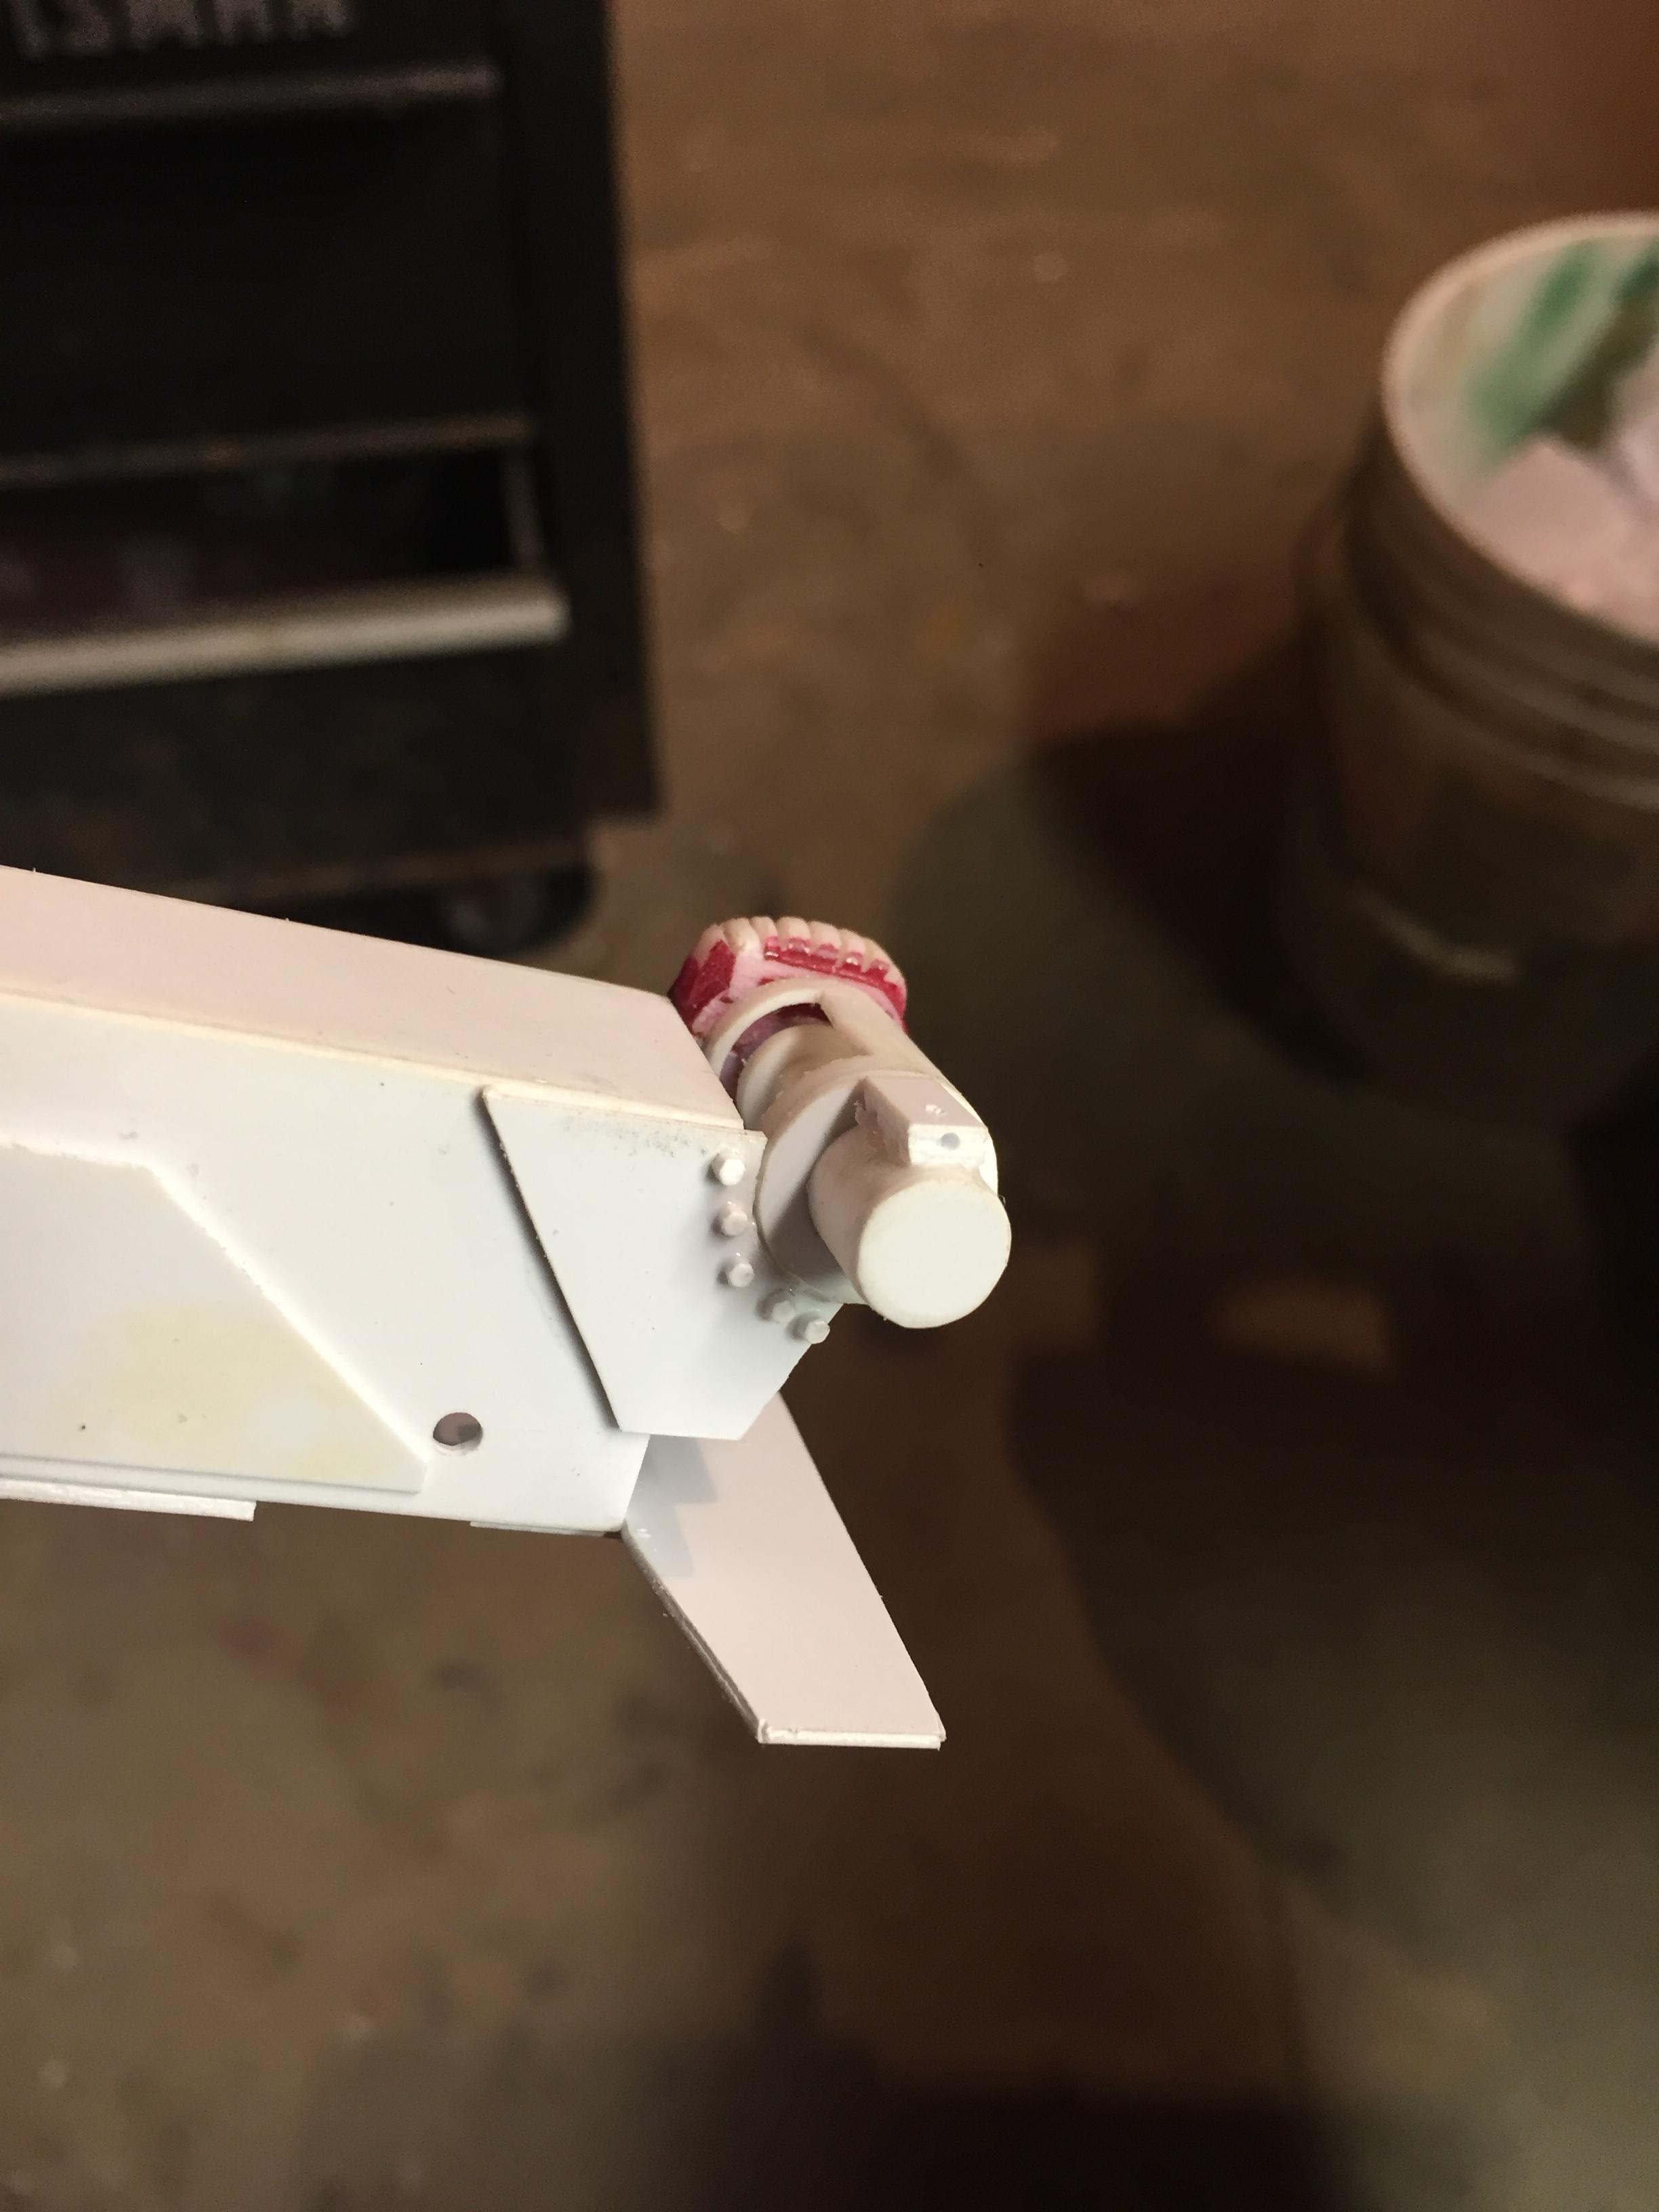
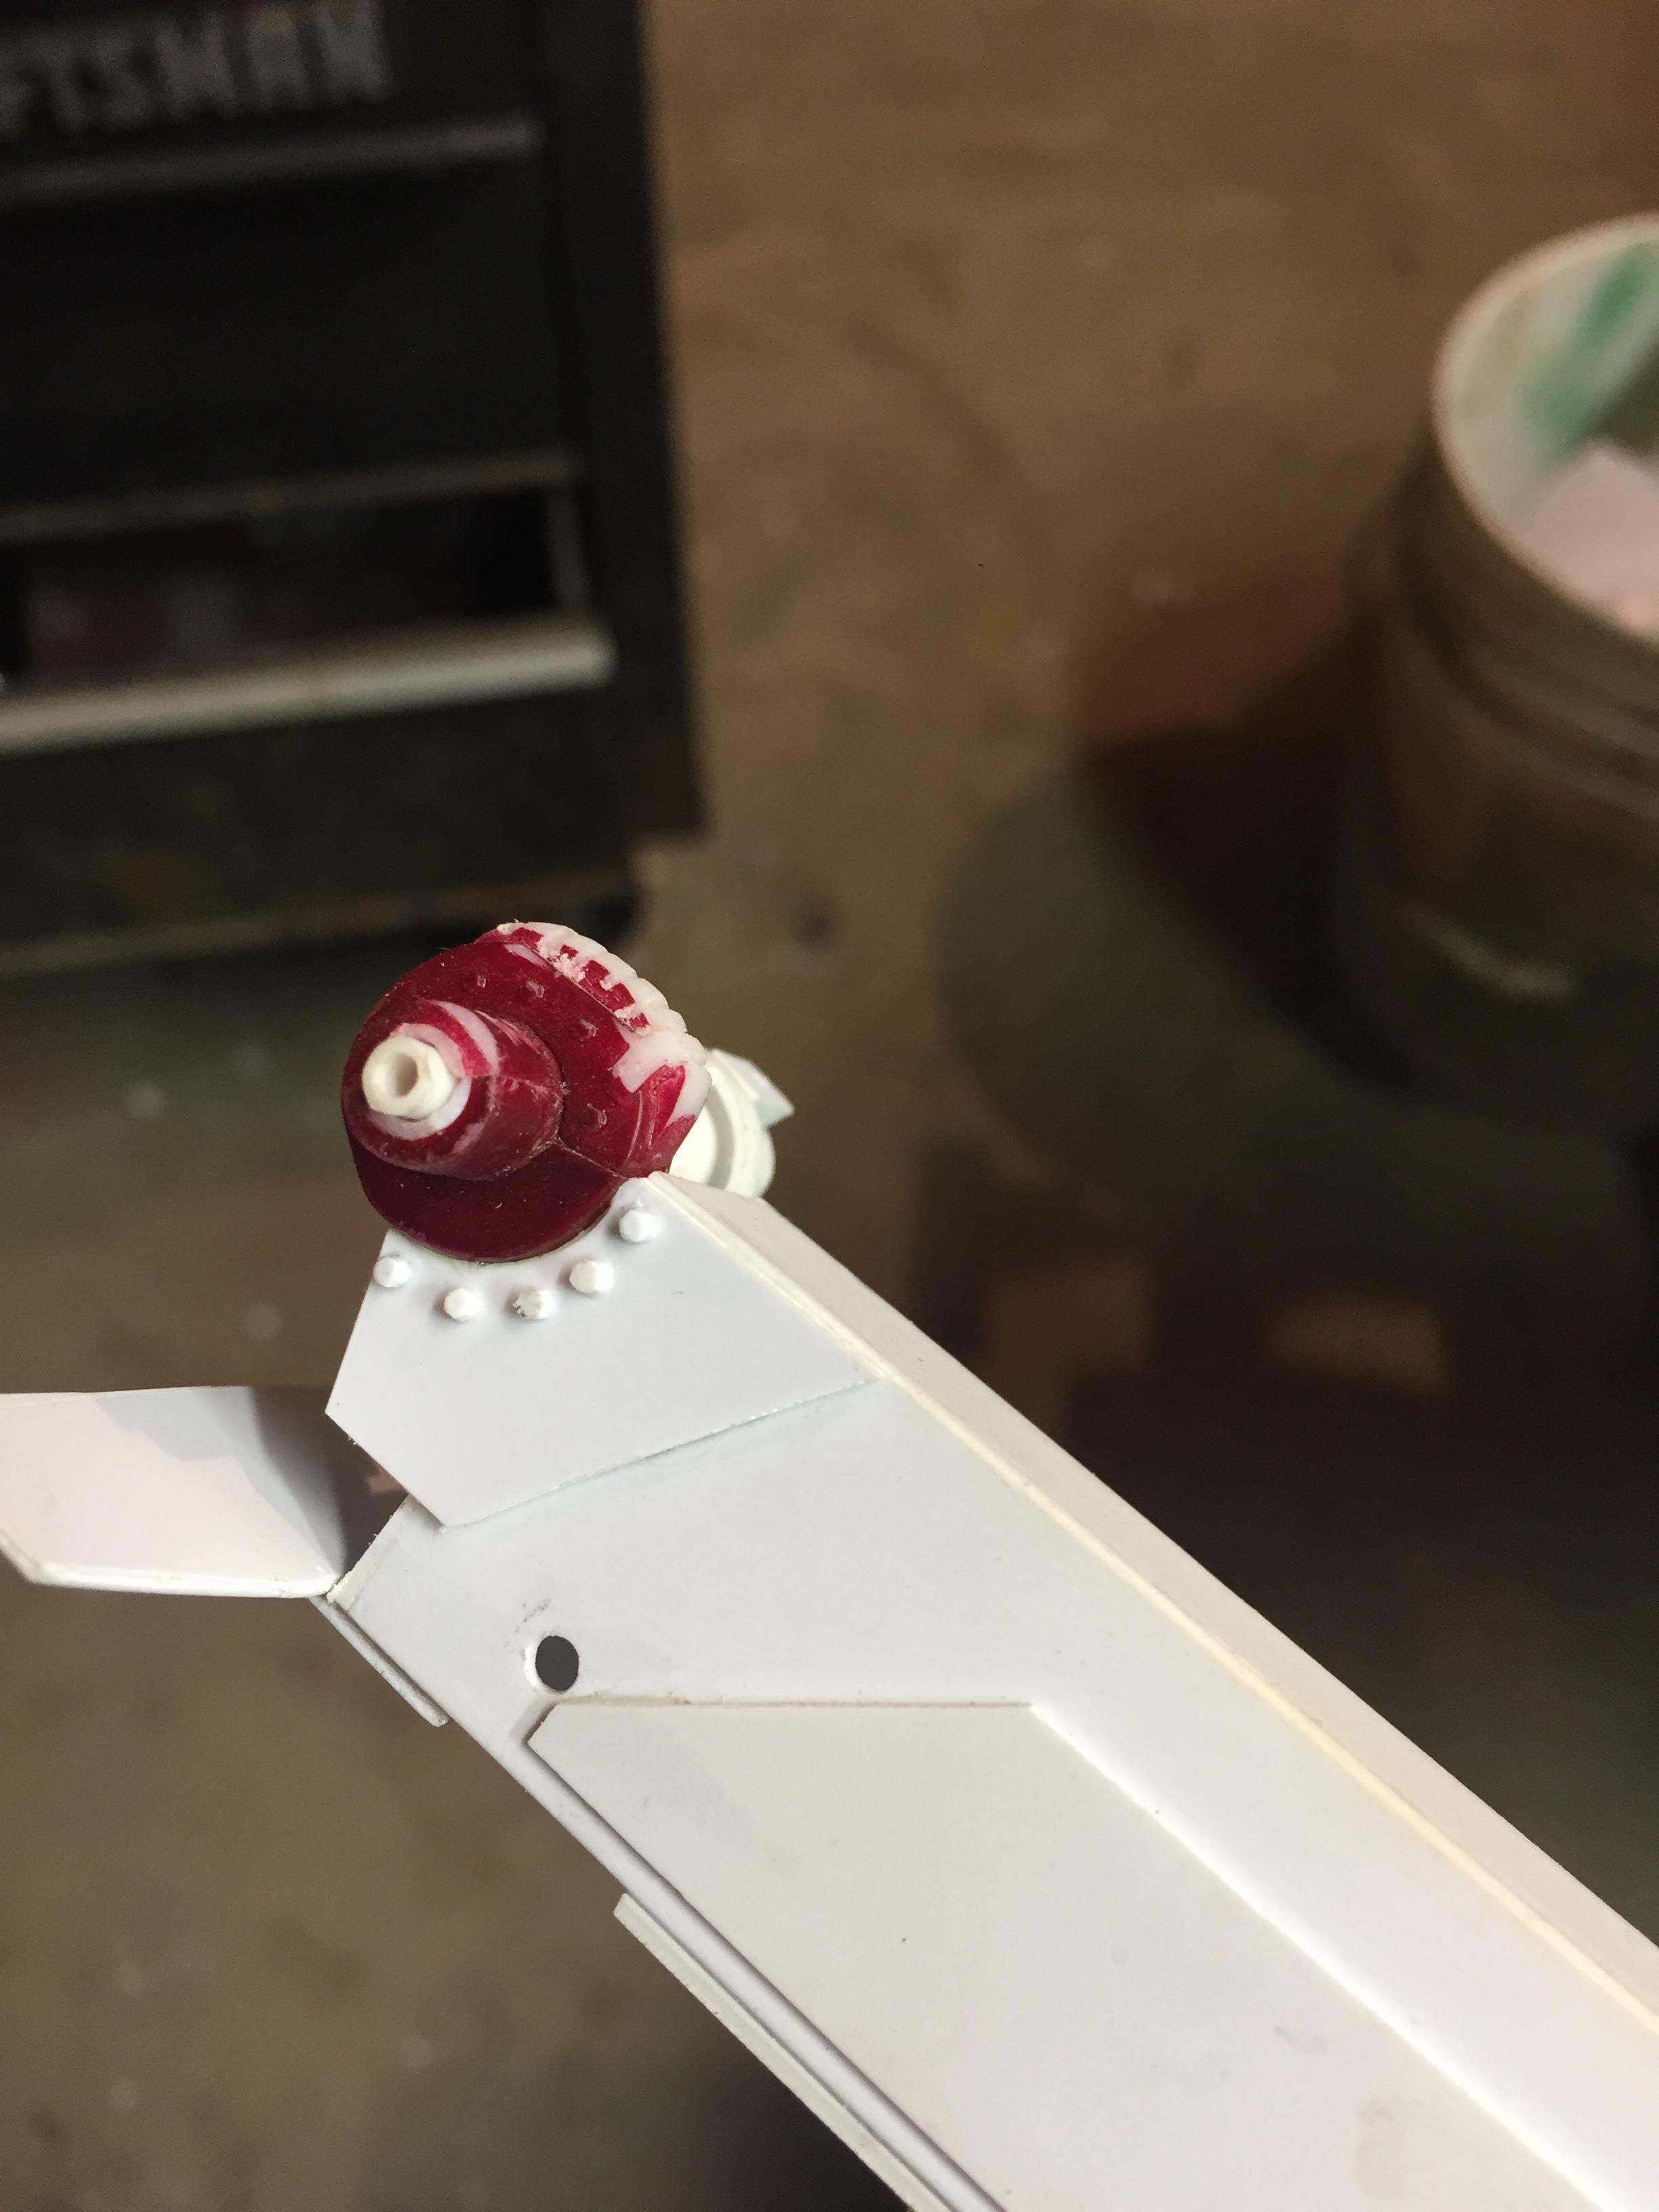
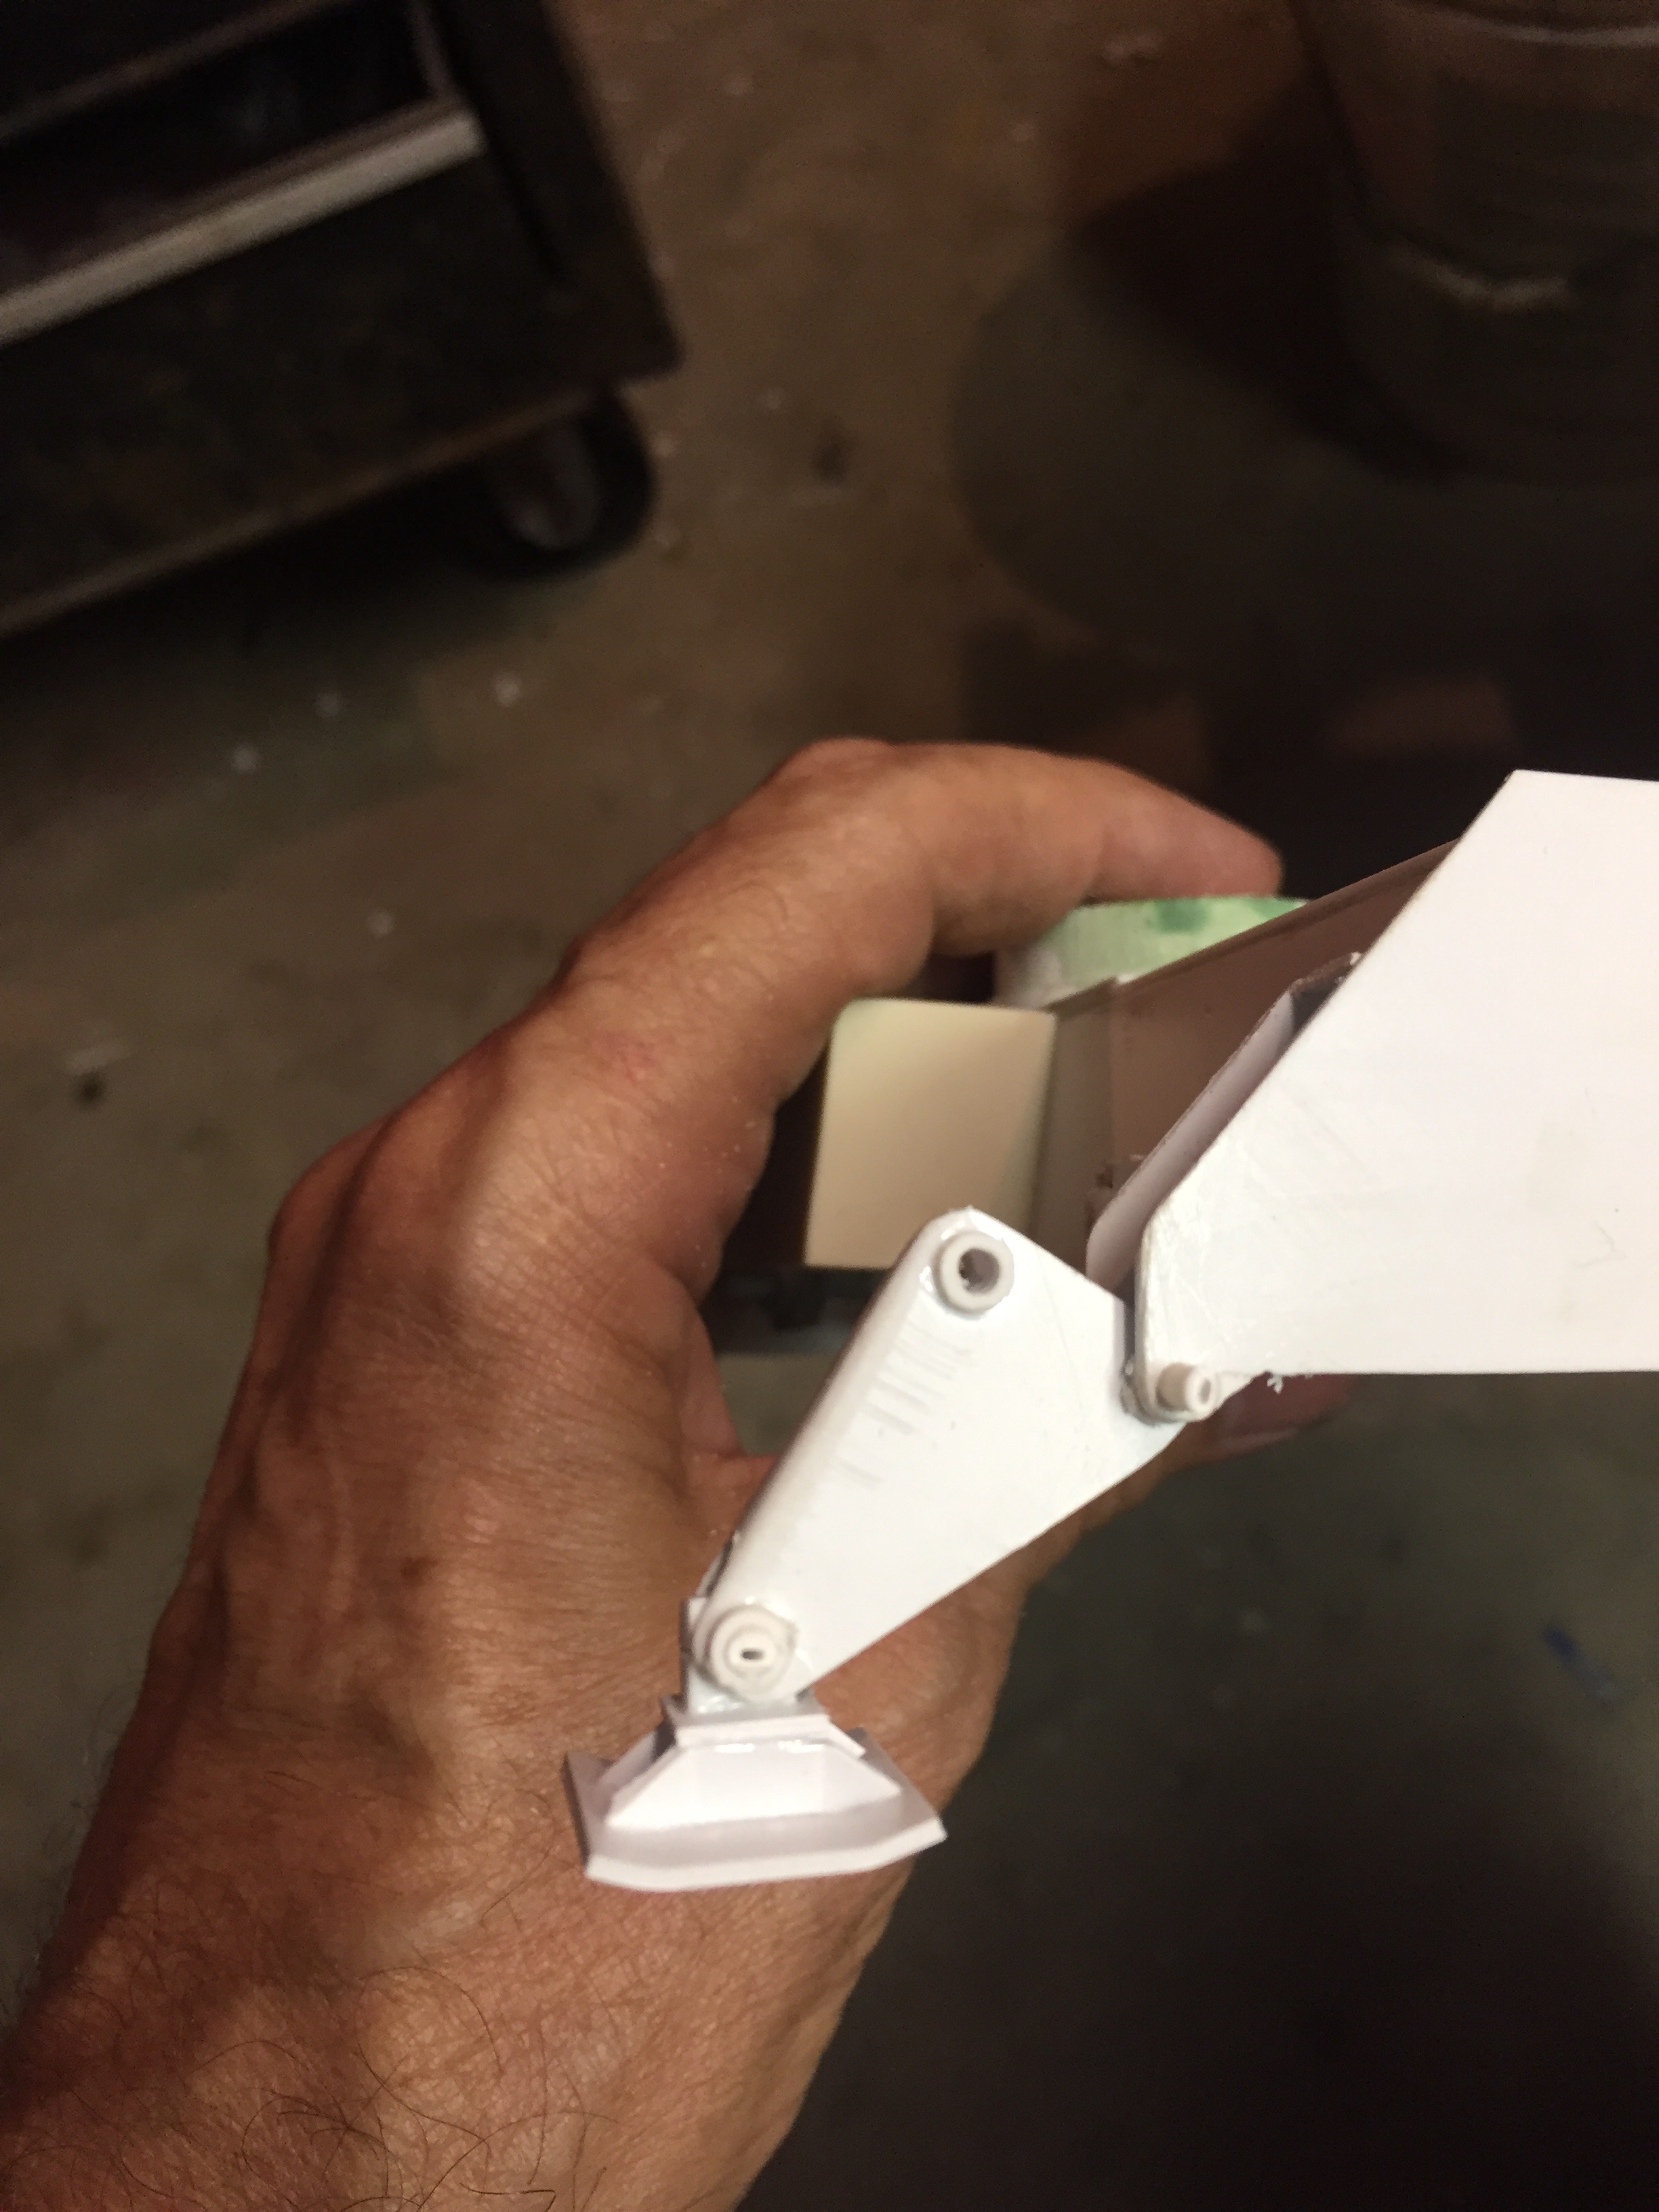
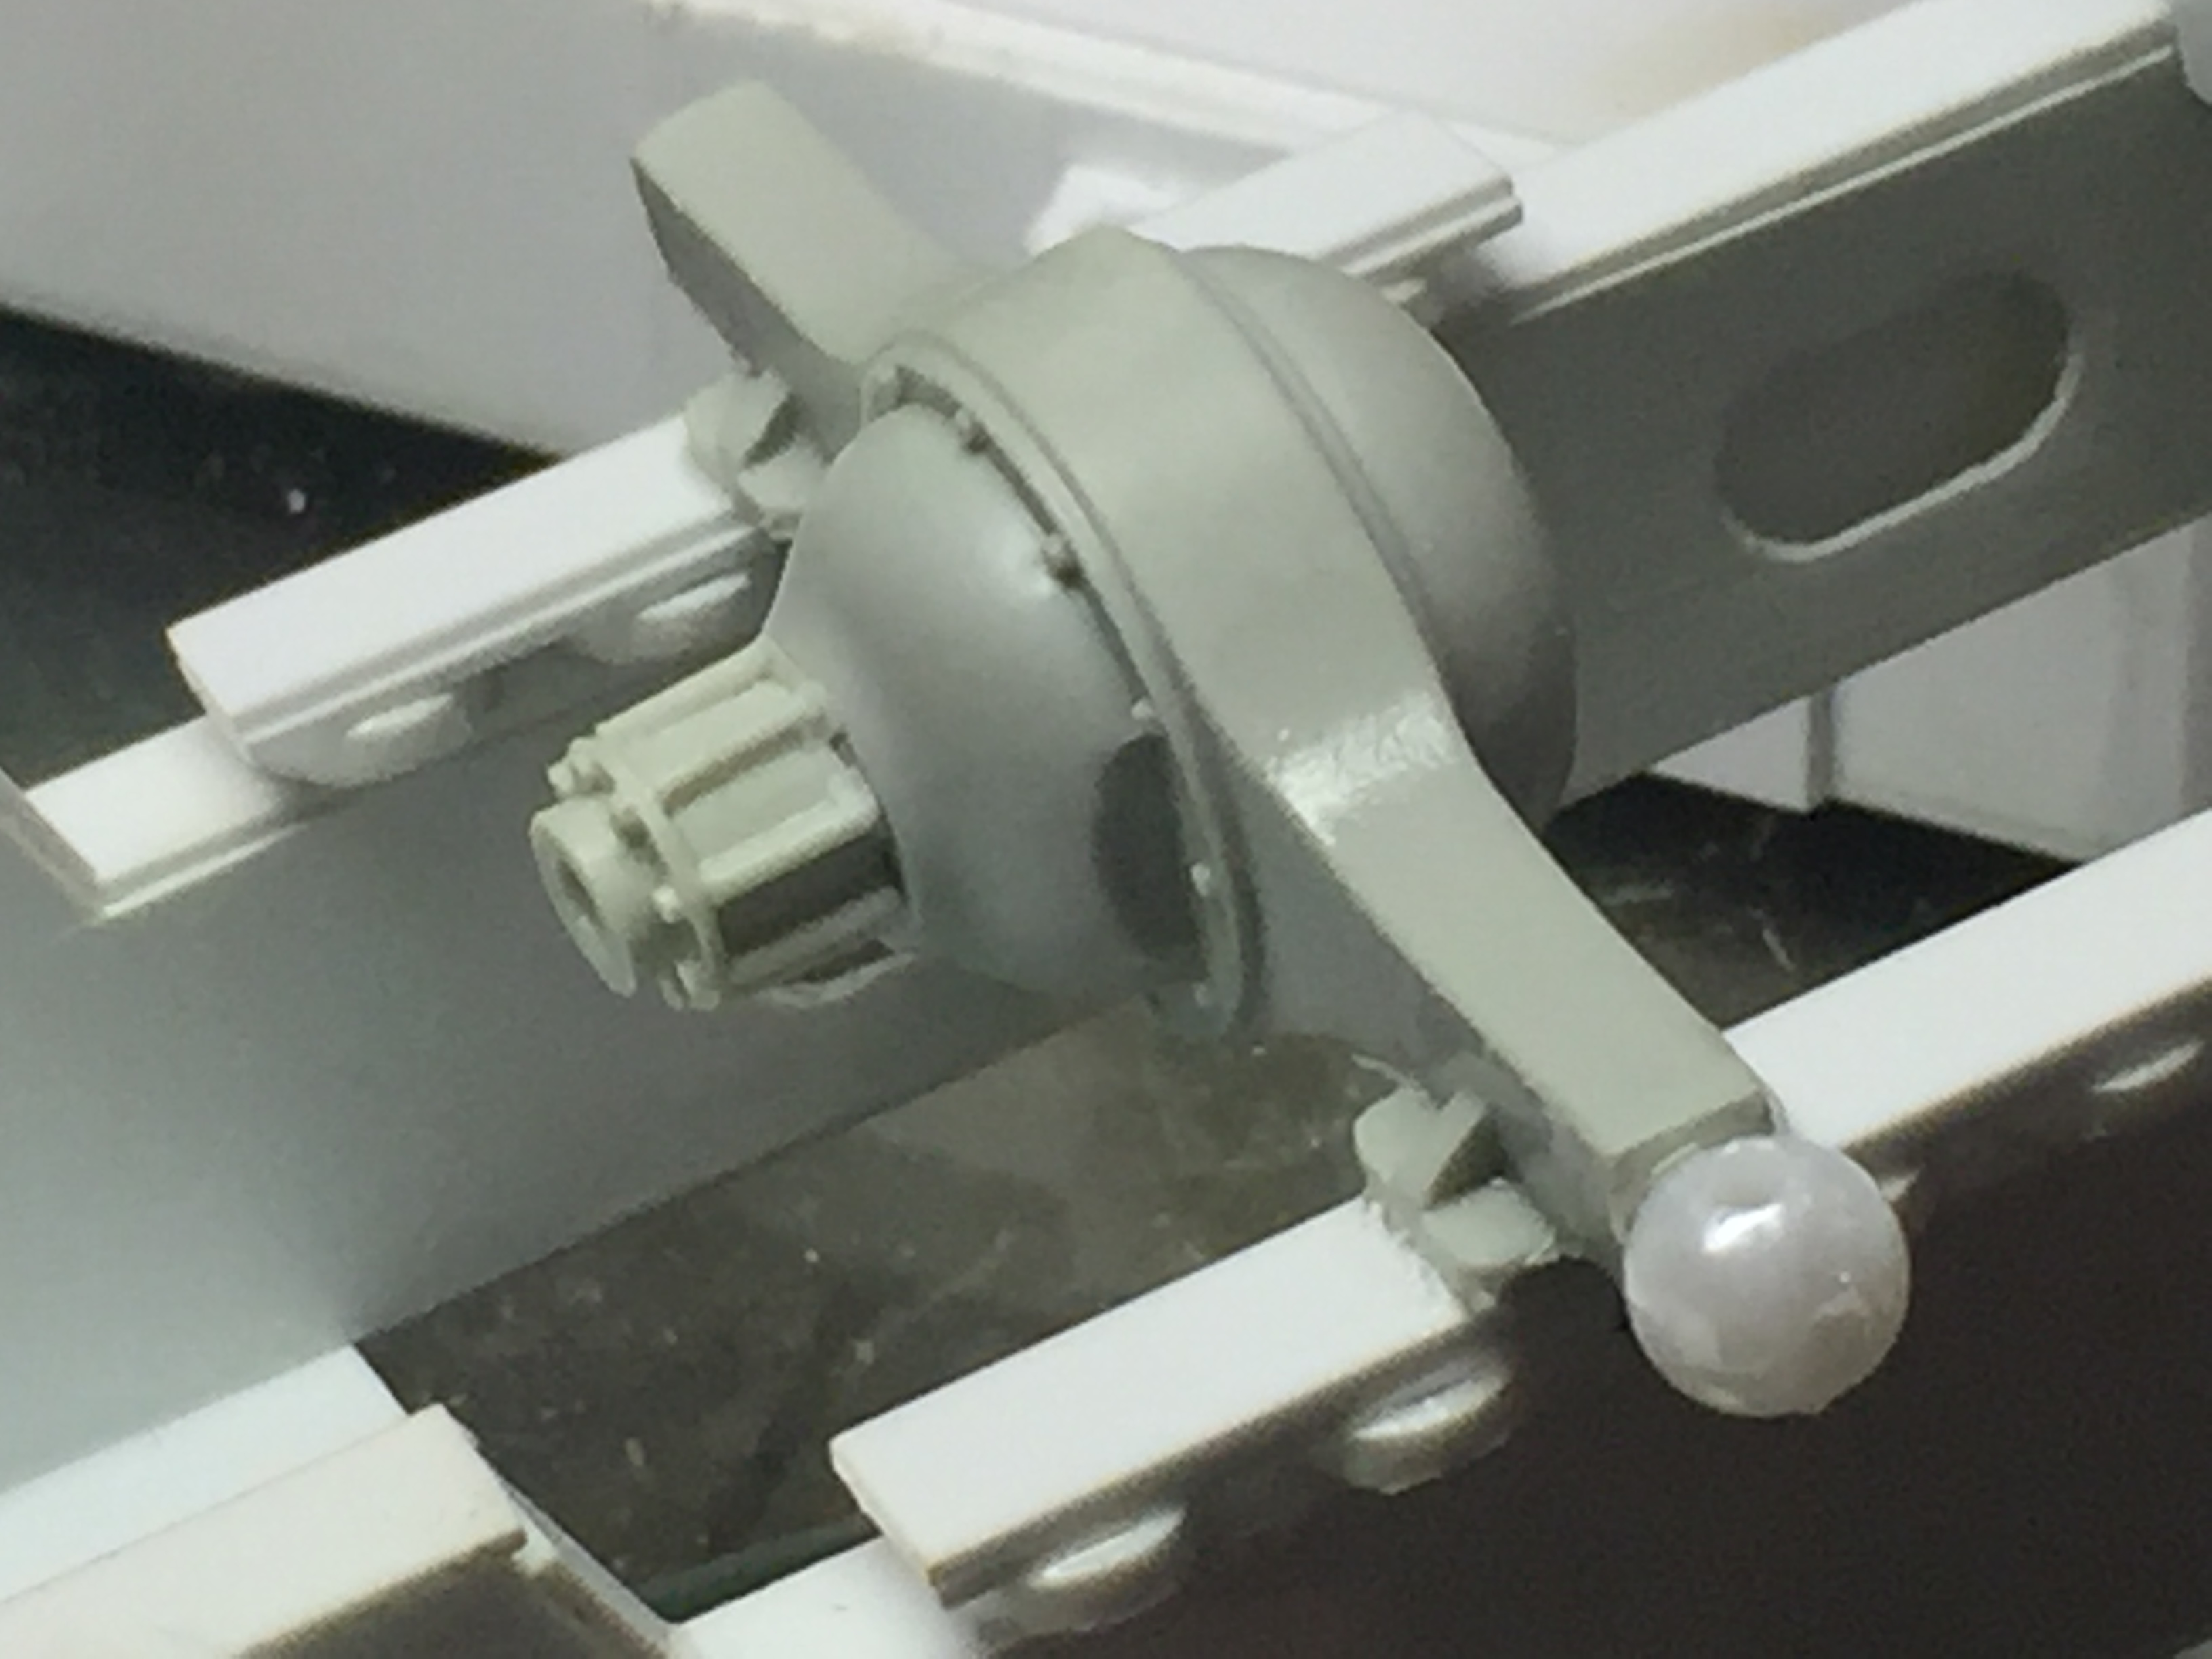
Steering cylinders assembled and installed. Sometimes I wish I was building this in 1/12 scale!
-
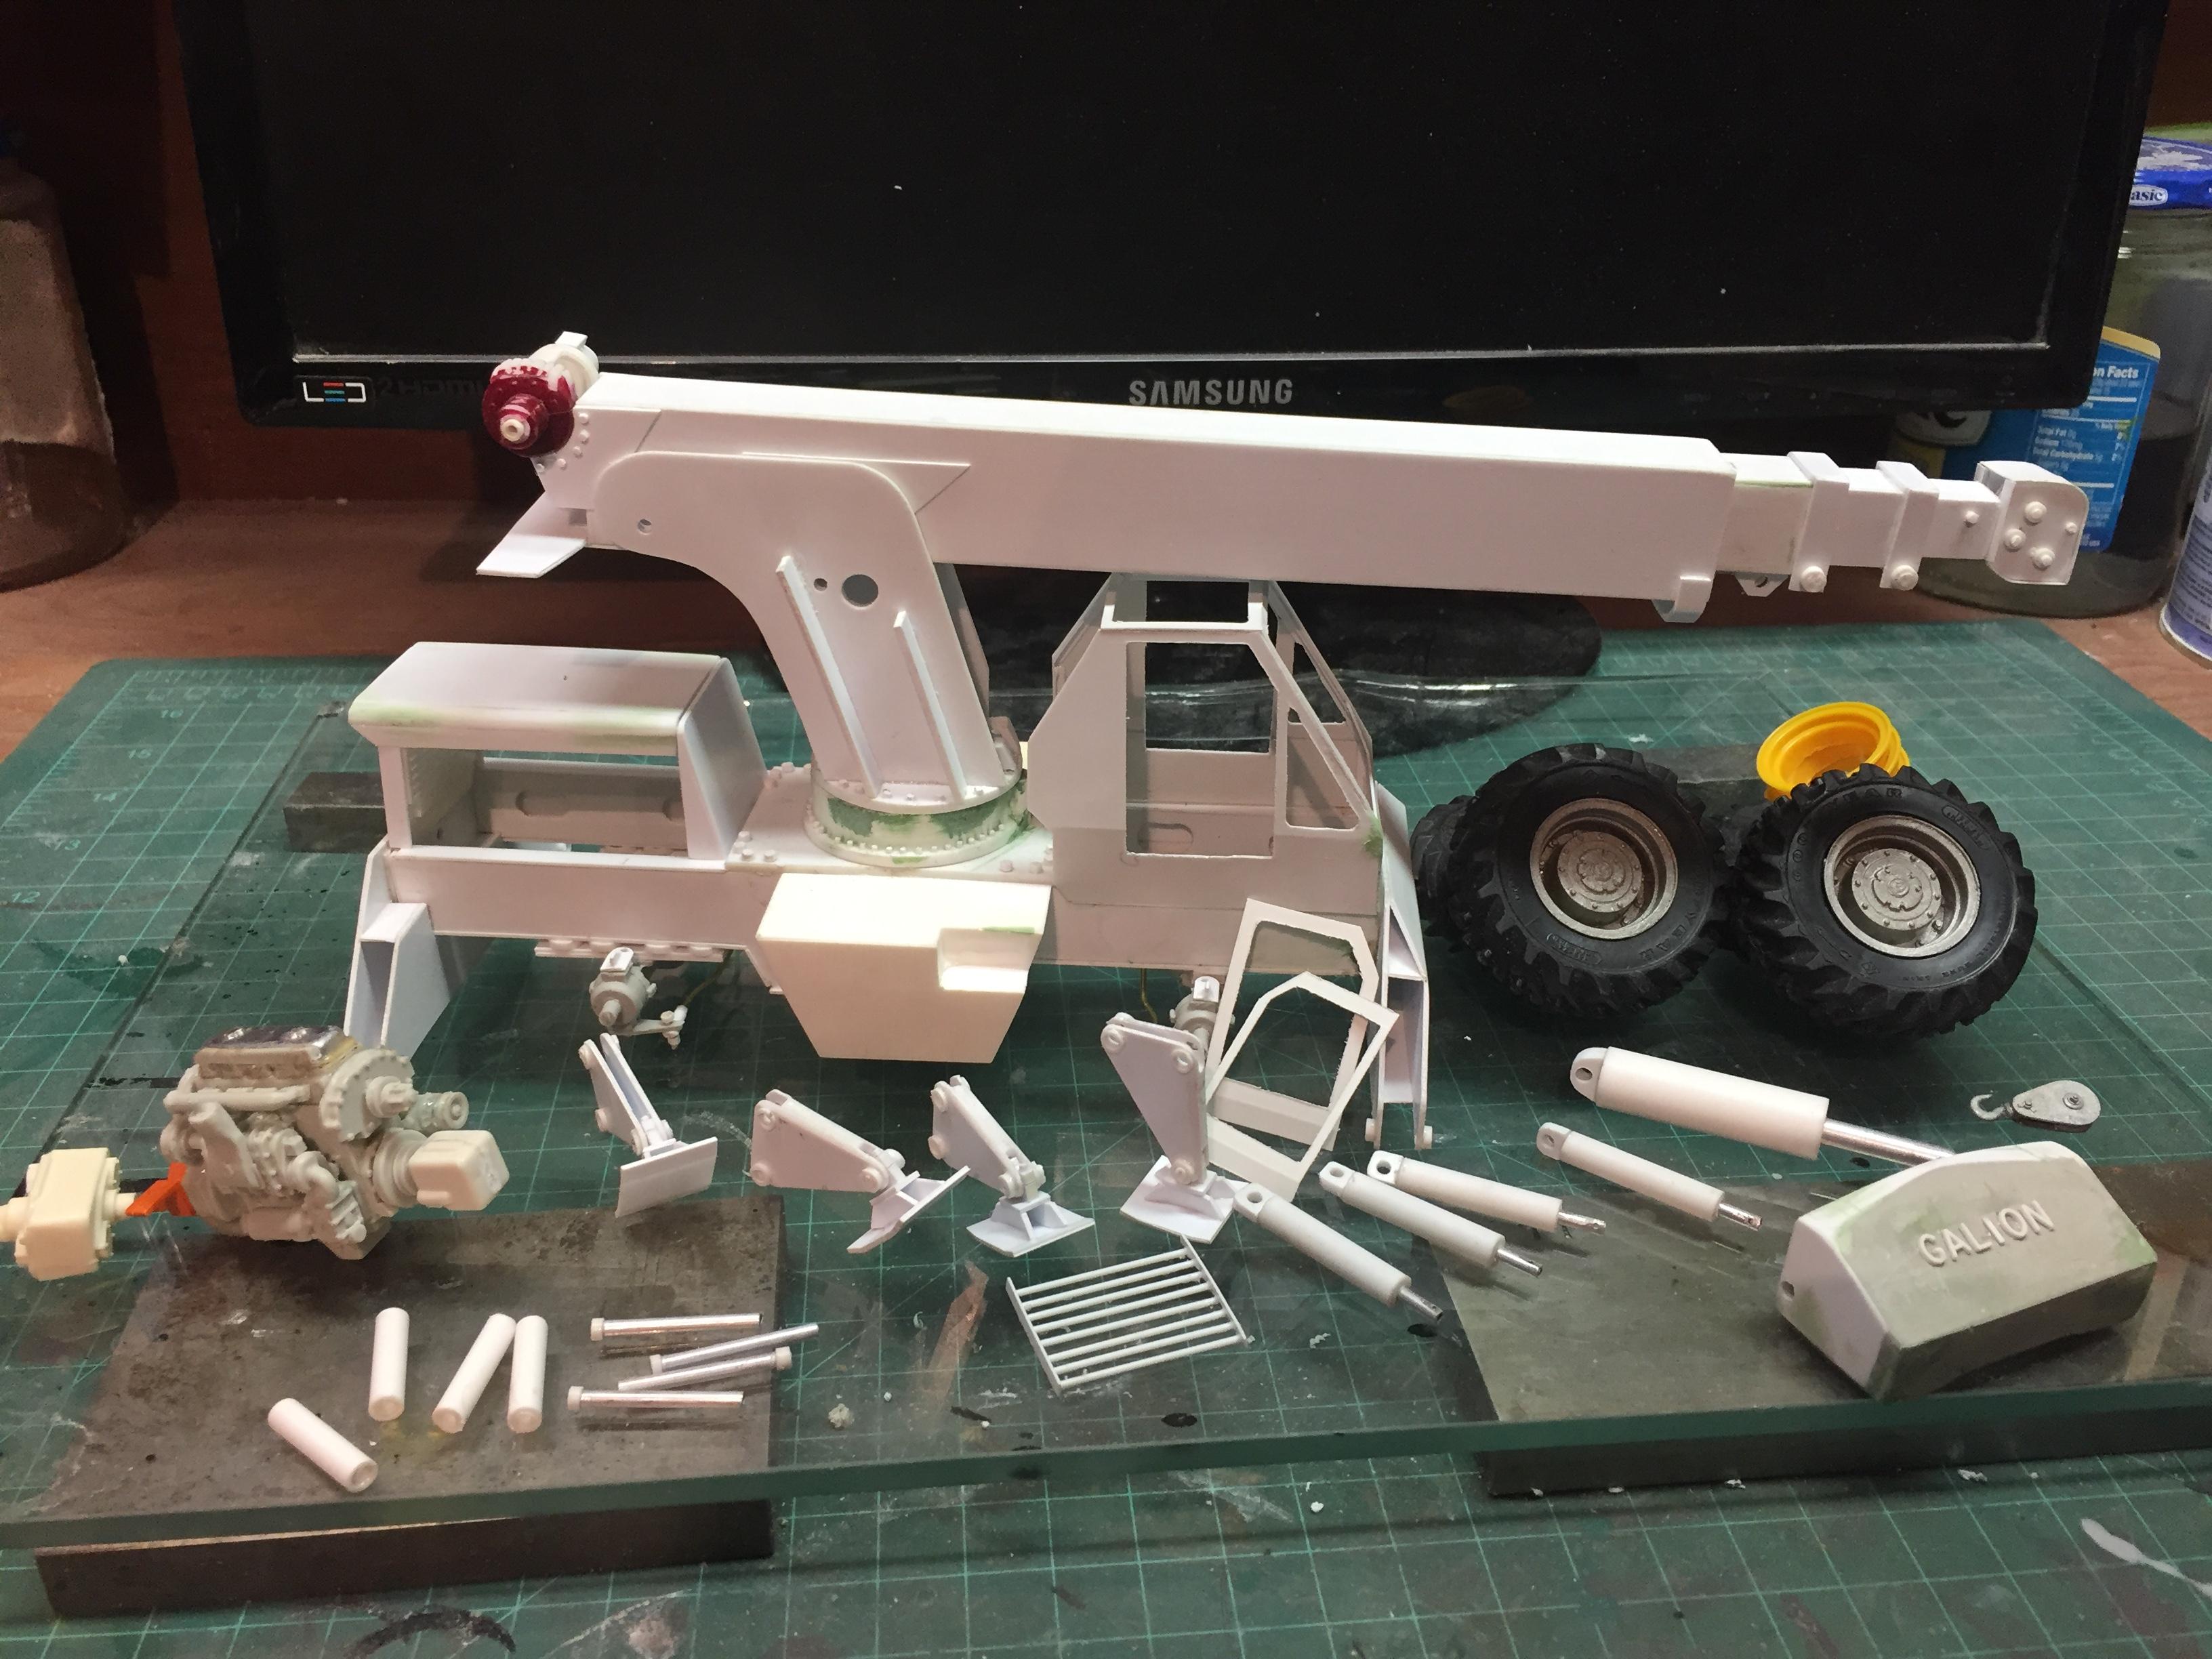
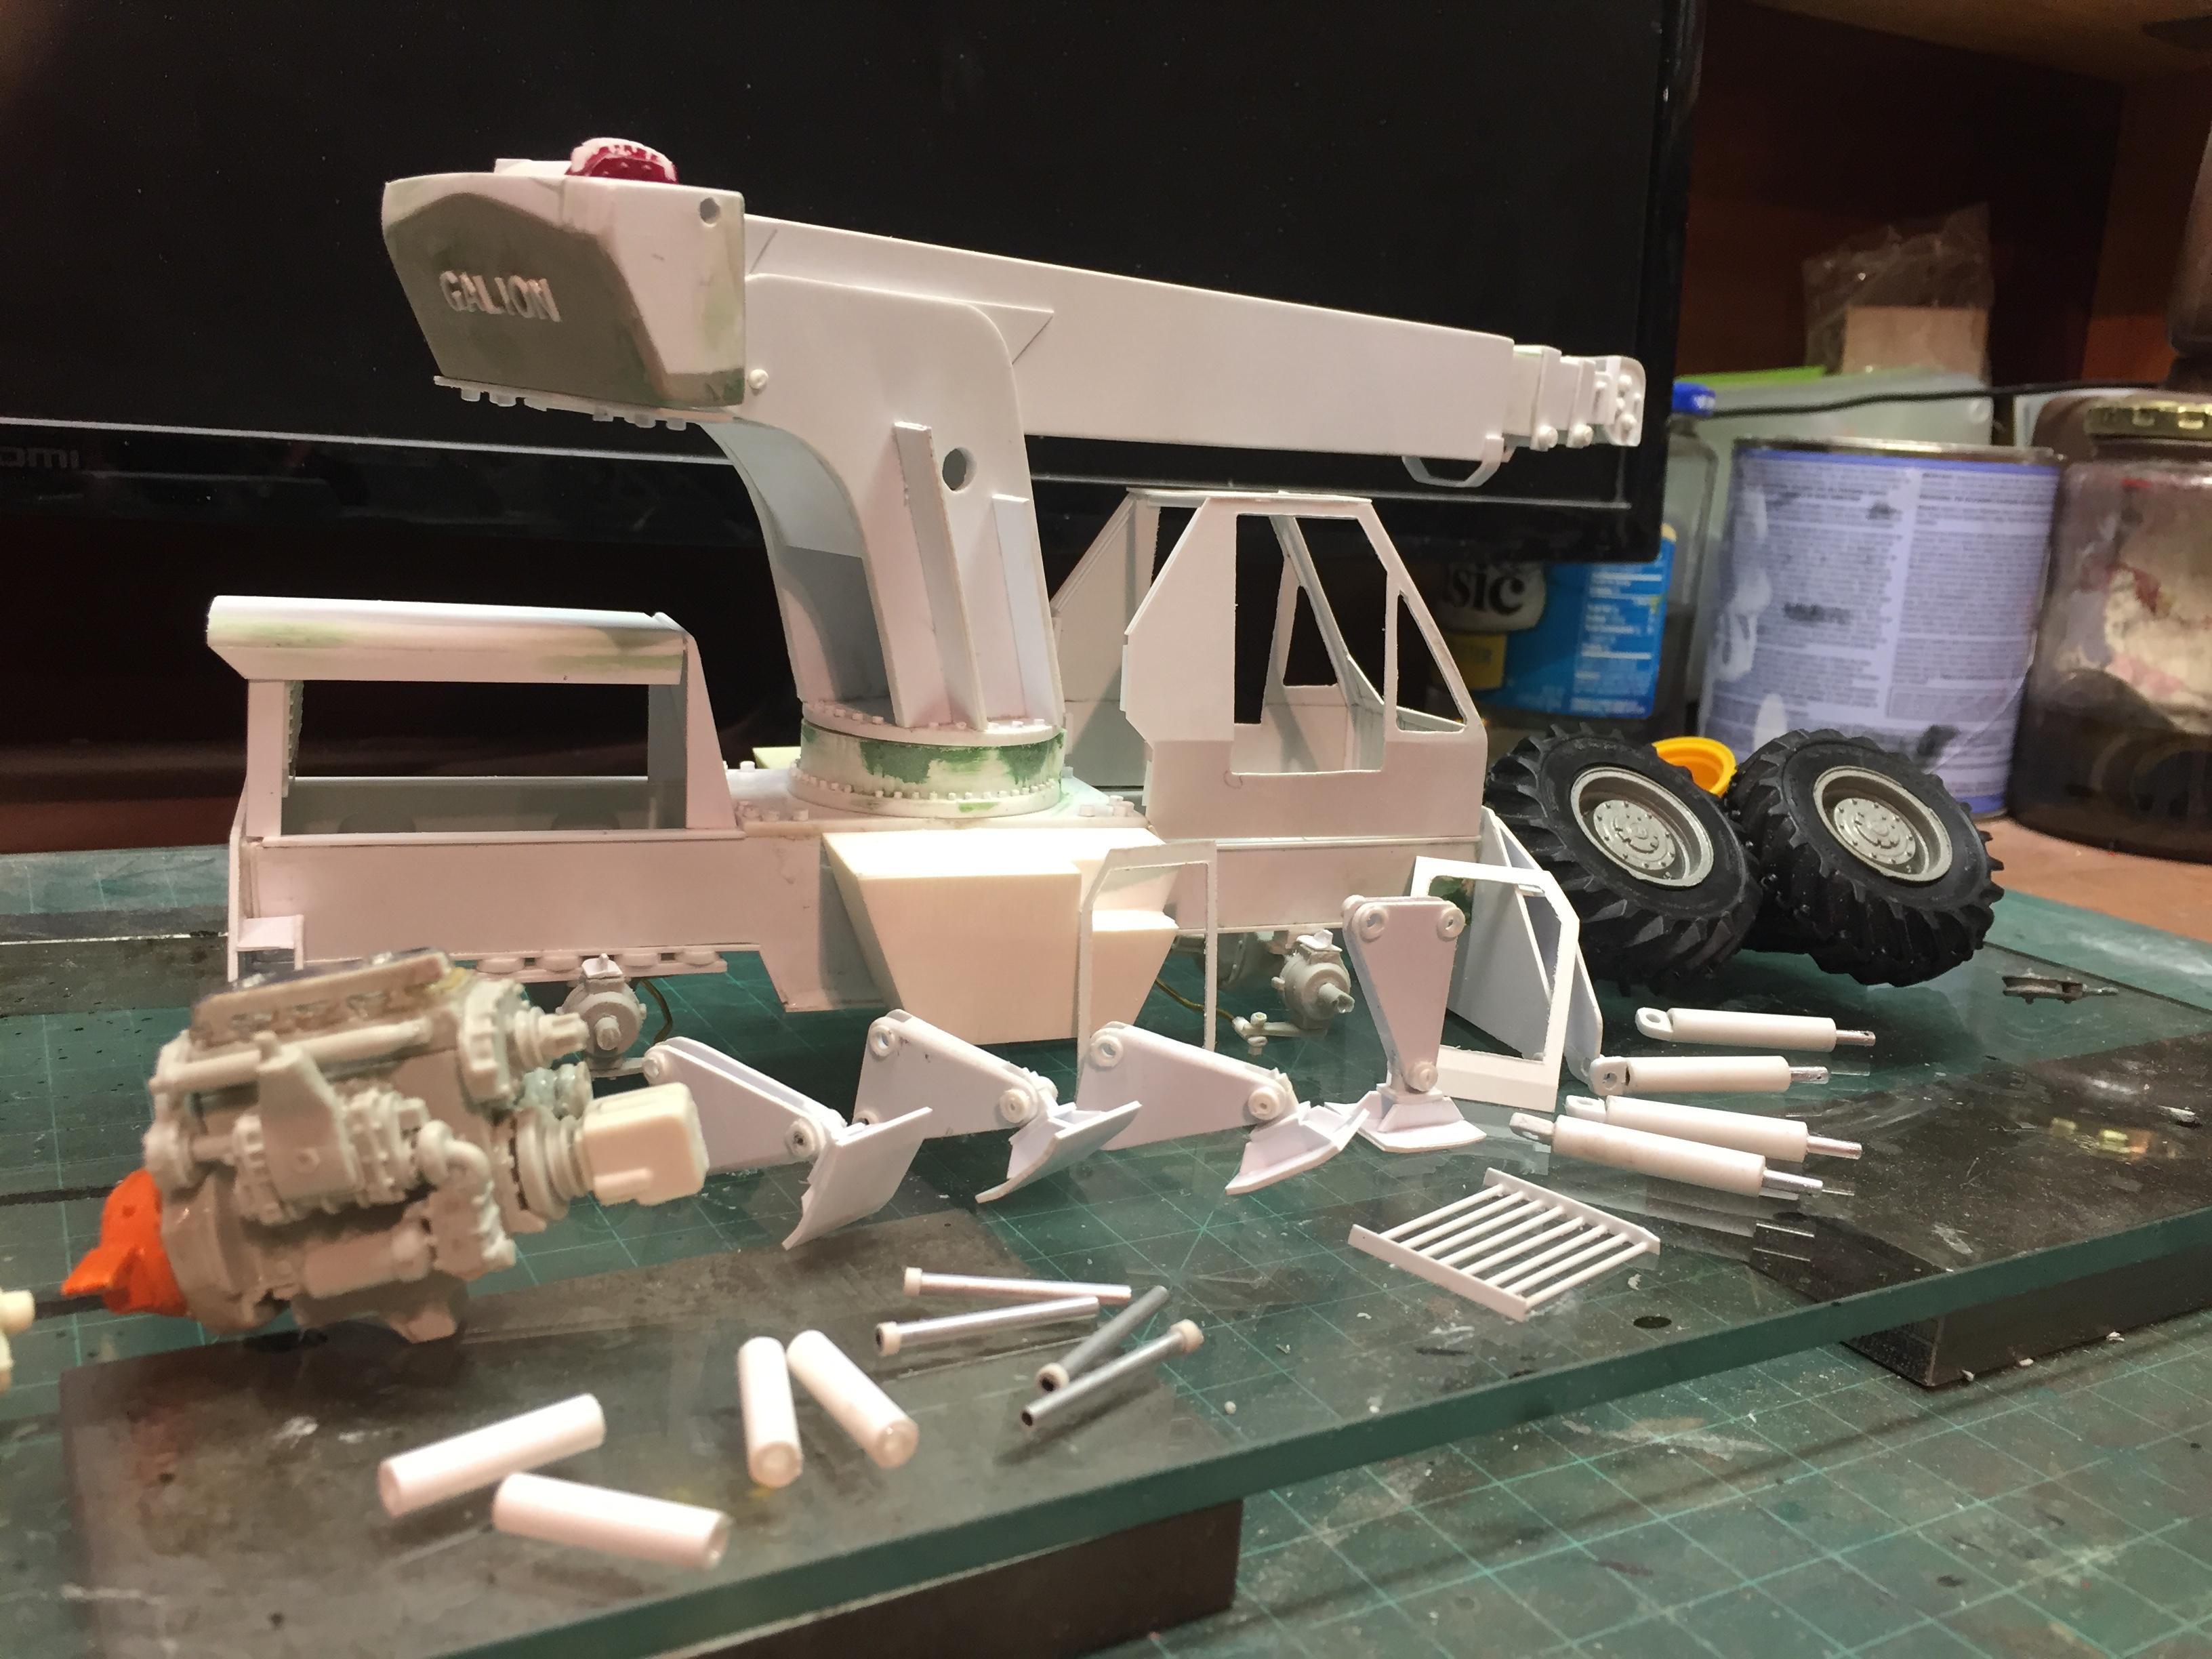
The lettering is actually from a company called Kit Kraft. Here is the link: Don't remember seeing a brand name..........https://kitkraft.com/products/3-16-plastic-letters They are easy to use and come in several different sizes................perfect for the cast name plates these old machines commonly had. Kit Kraft has lots of neat items on their site that I have used for various things in several builds. Yeah, there are a lot of parts..............and a LOT more to come, though most of them will be detail parts. The larger sub assemblies are almost done, except for the rest of the drive train and the operators cab. This will absolutely be the most involved piping job I have ever attempted, but it sure will be fun!
-
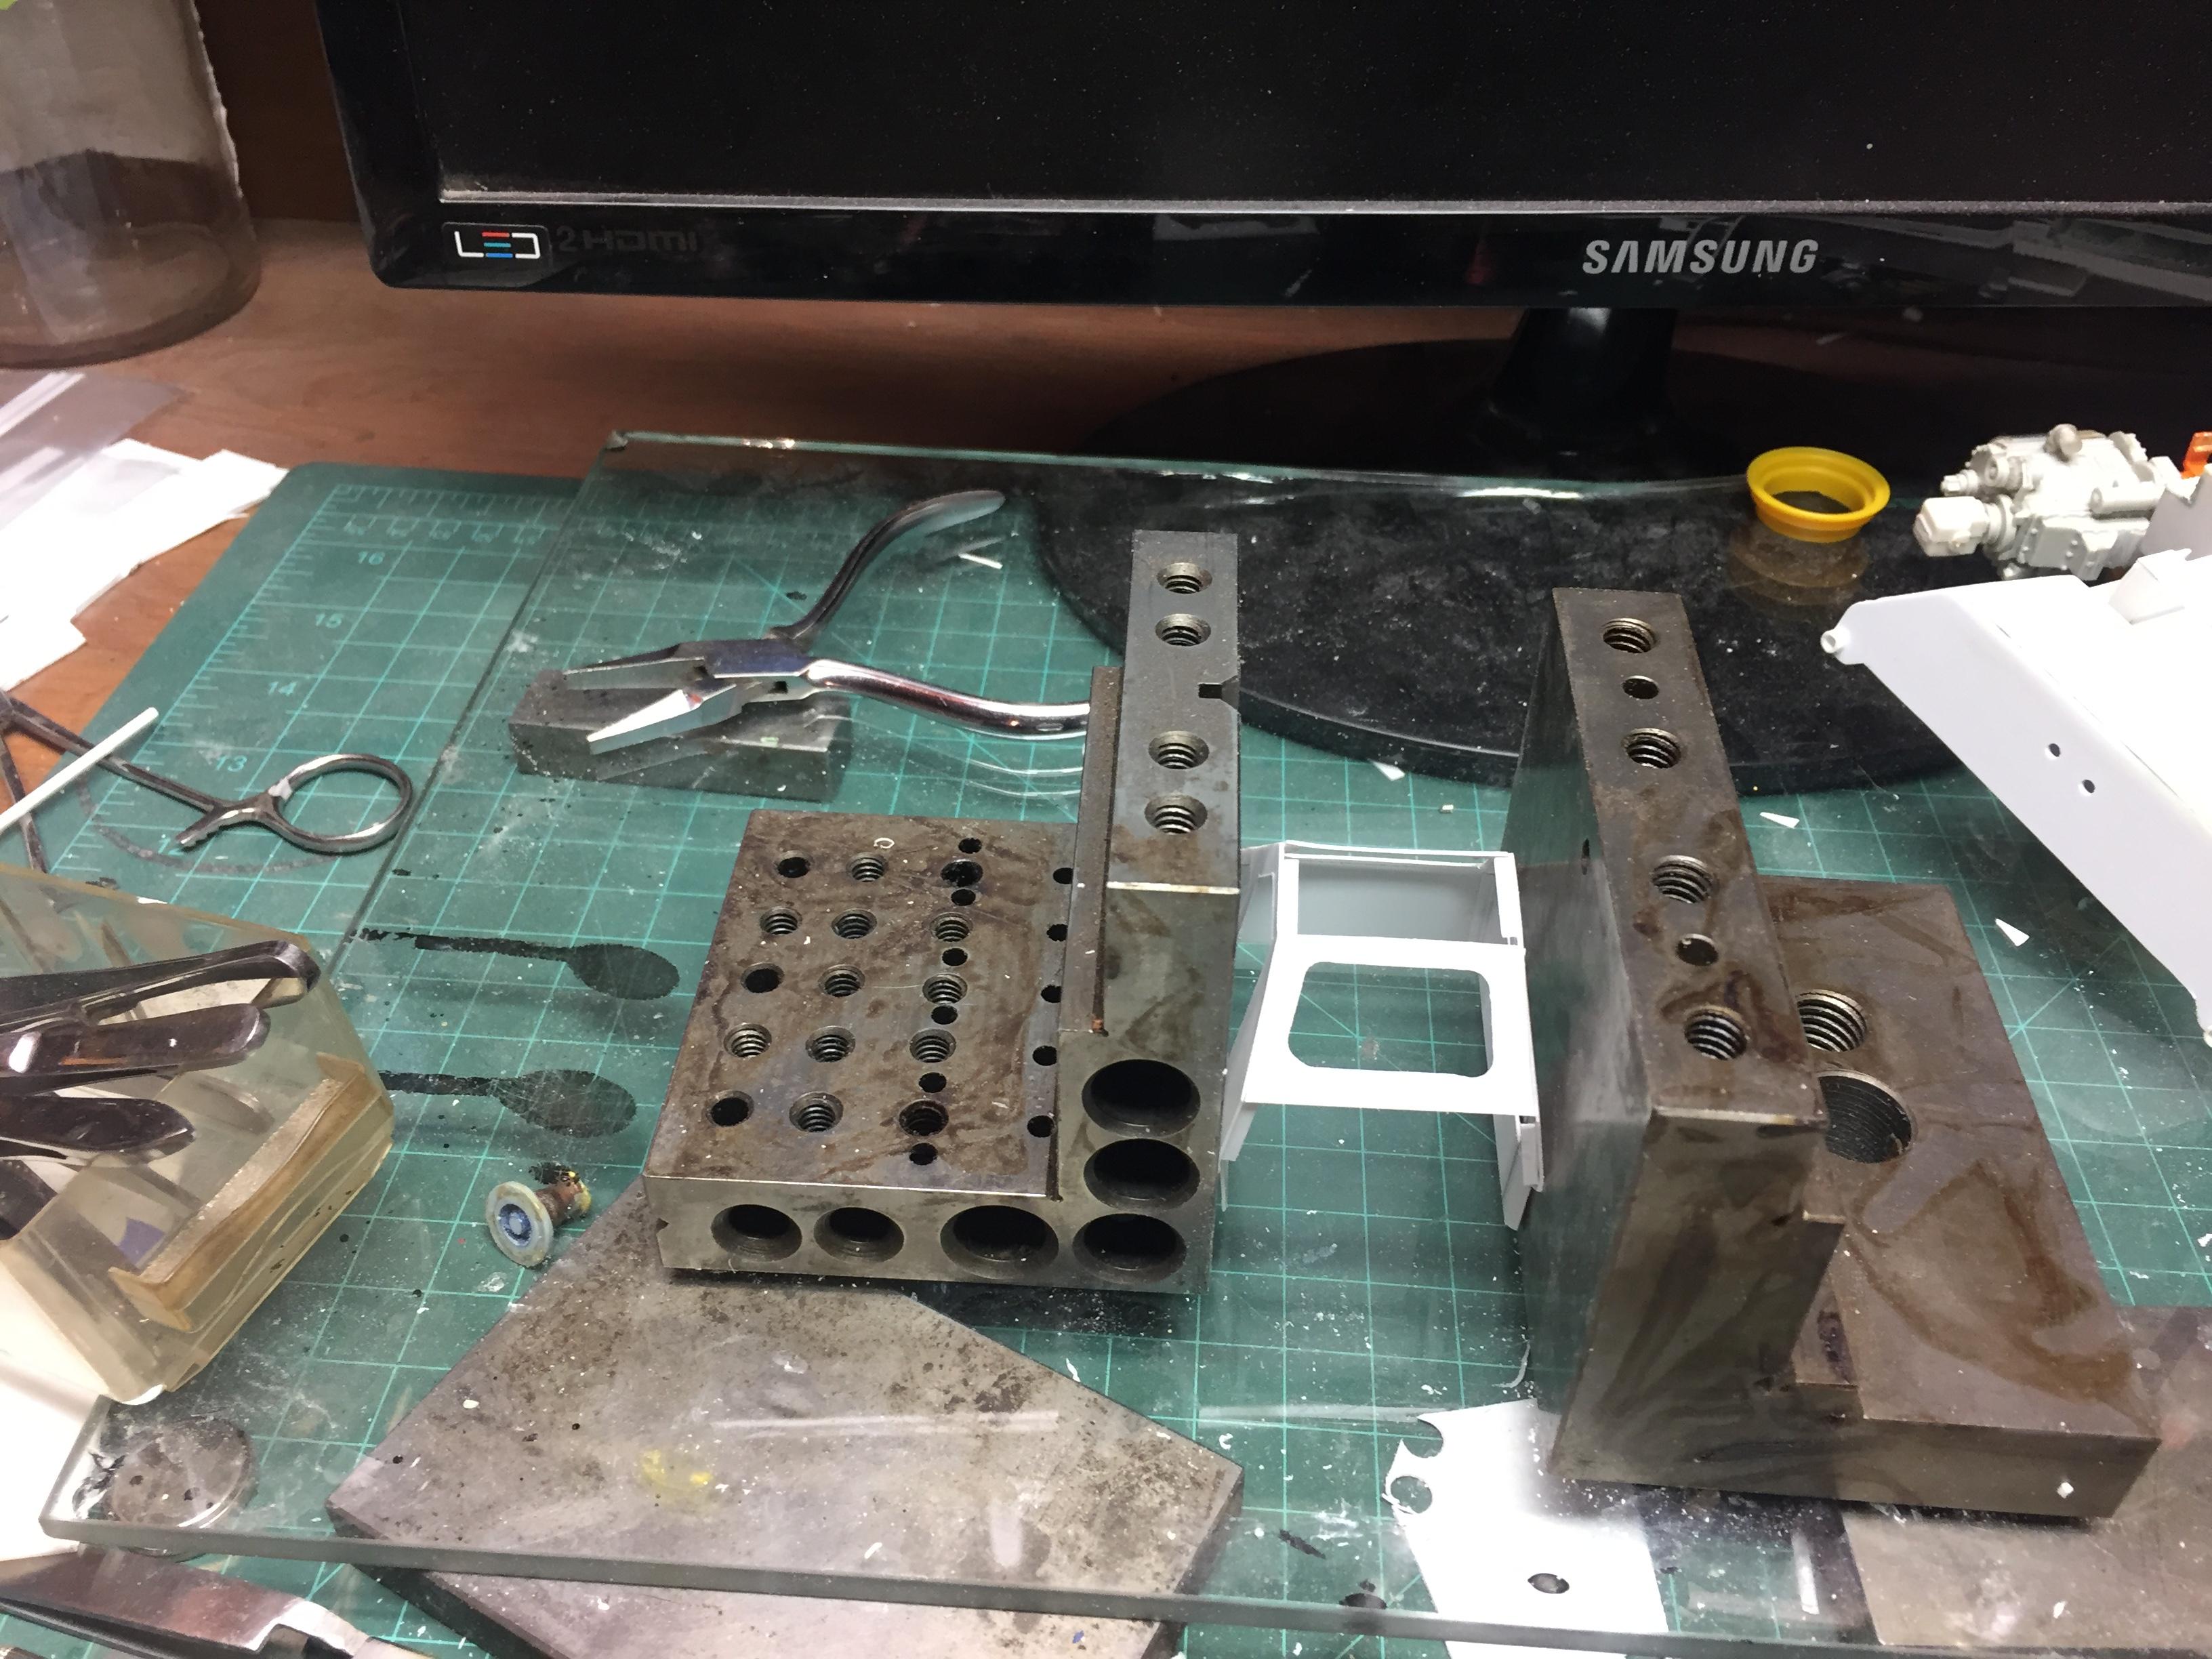
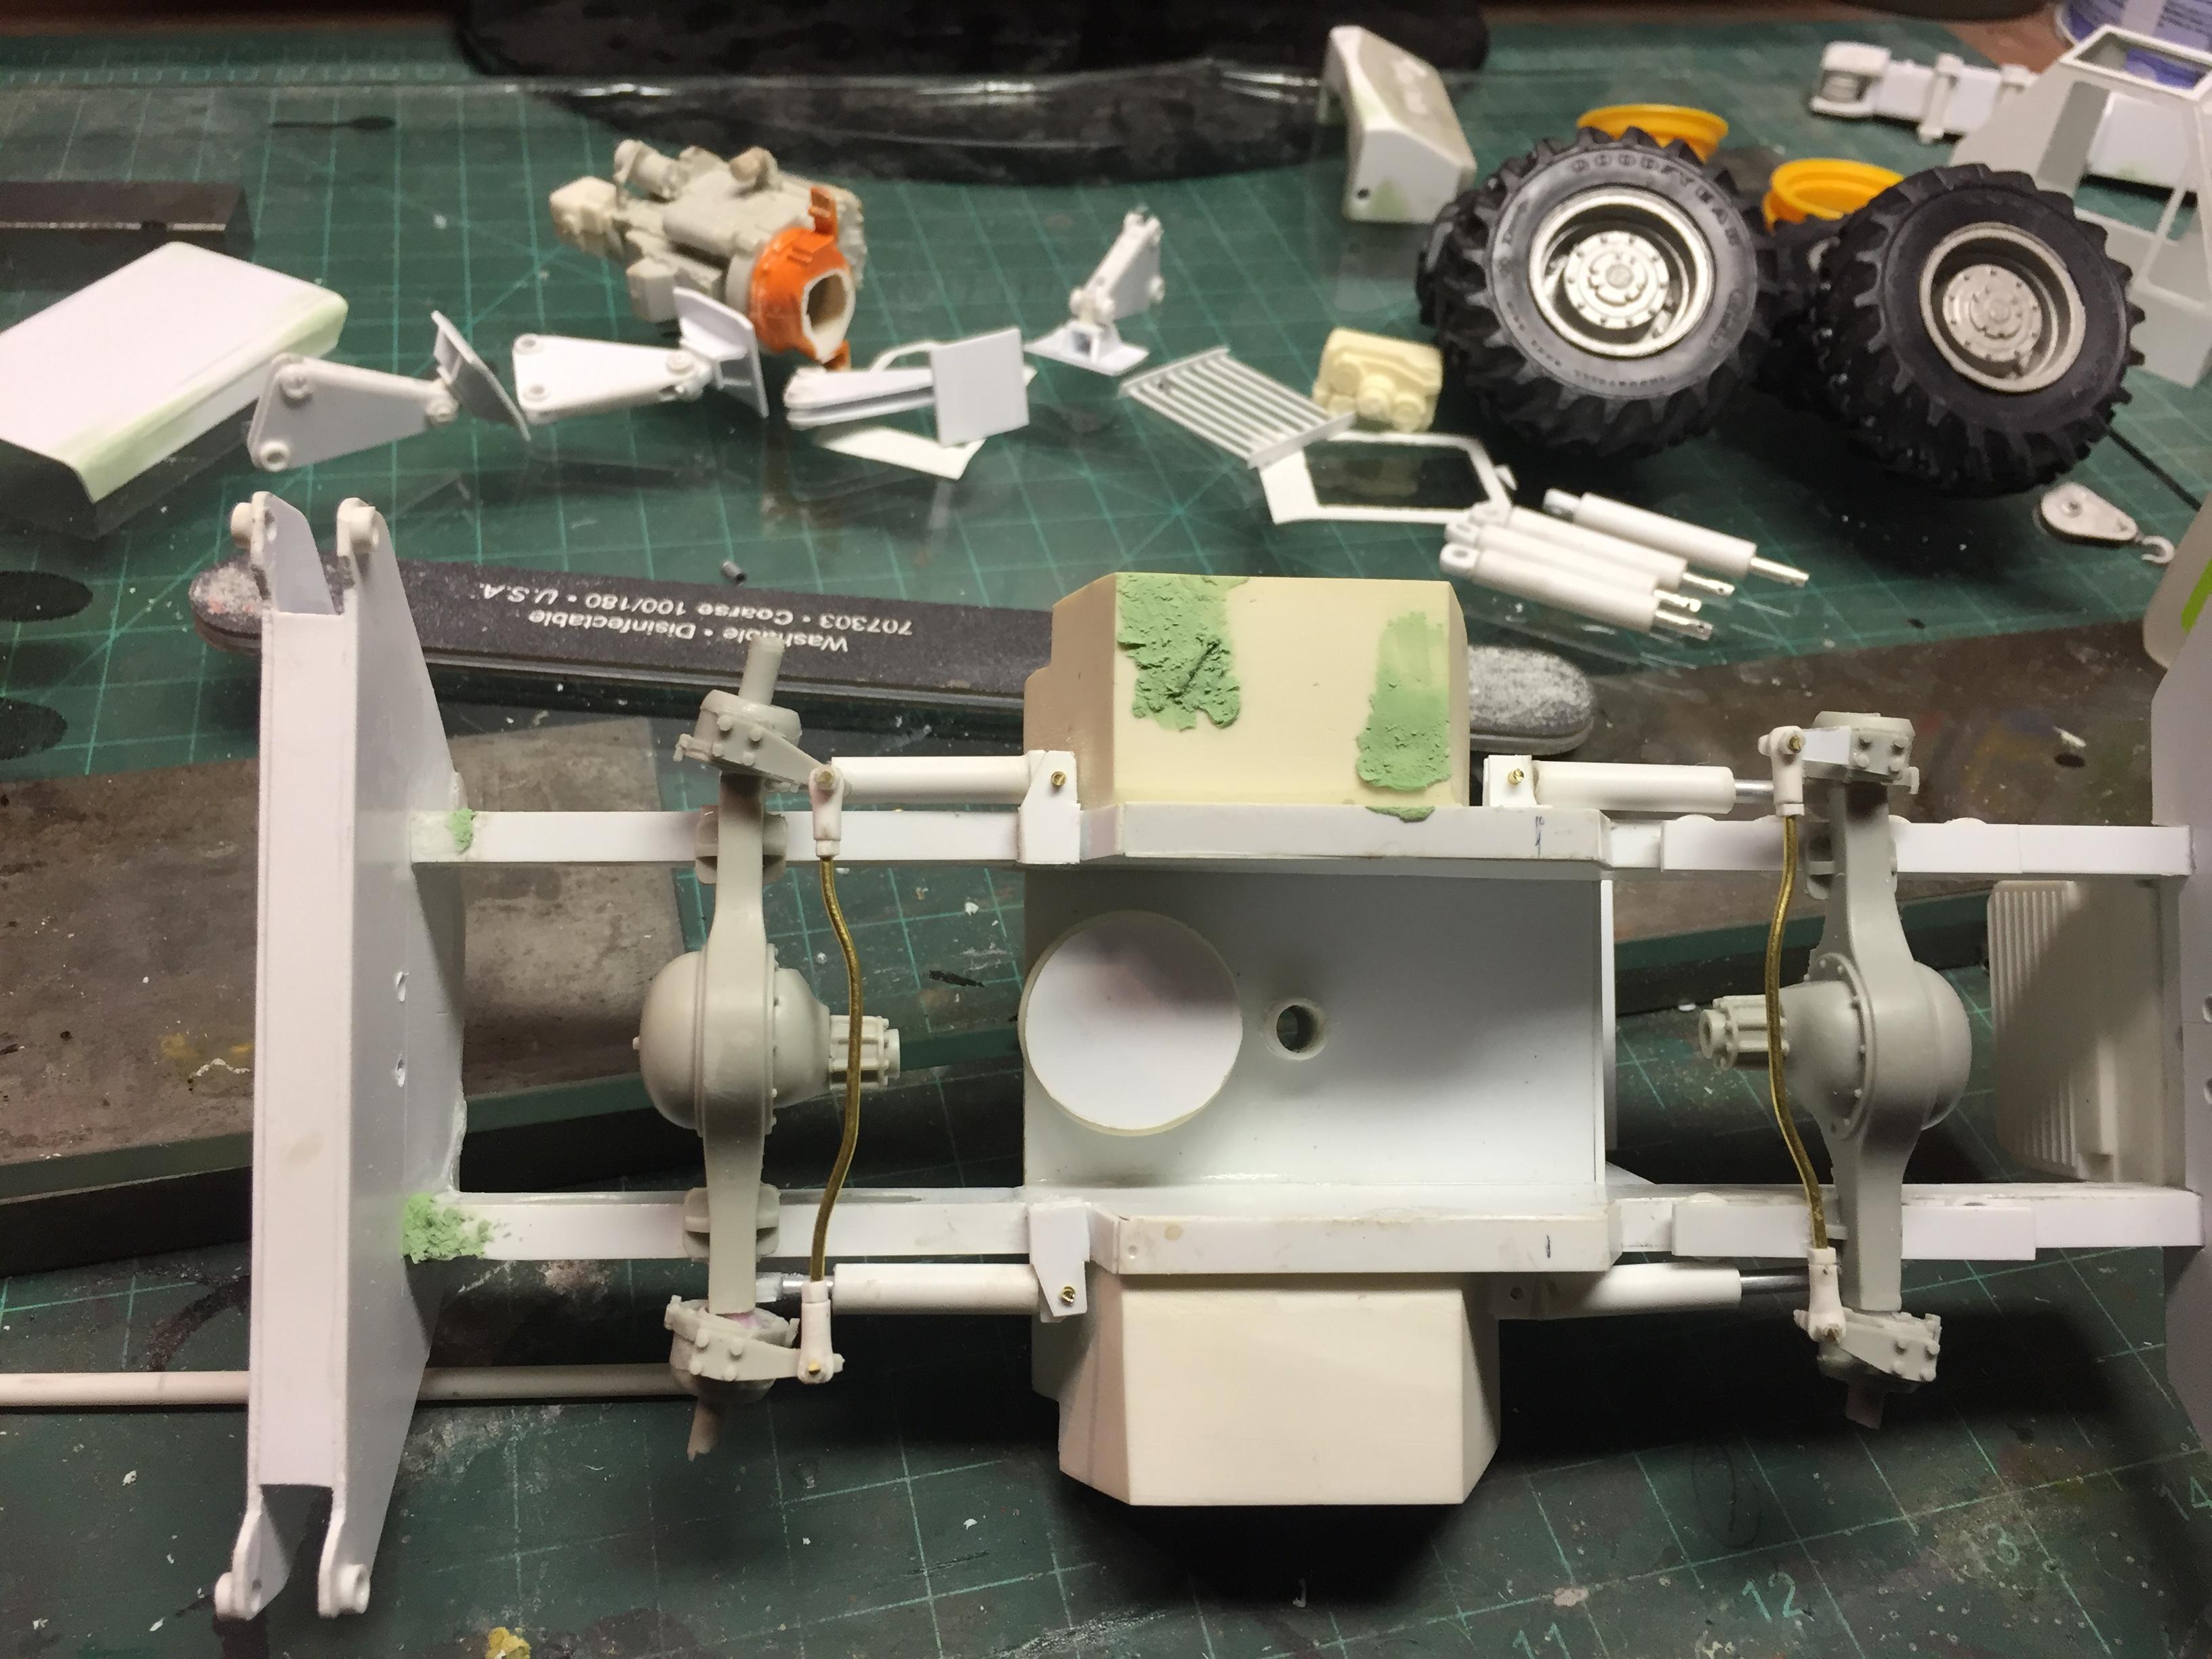
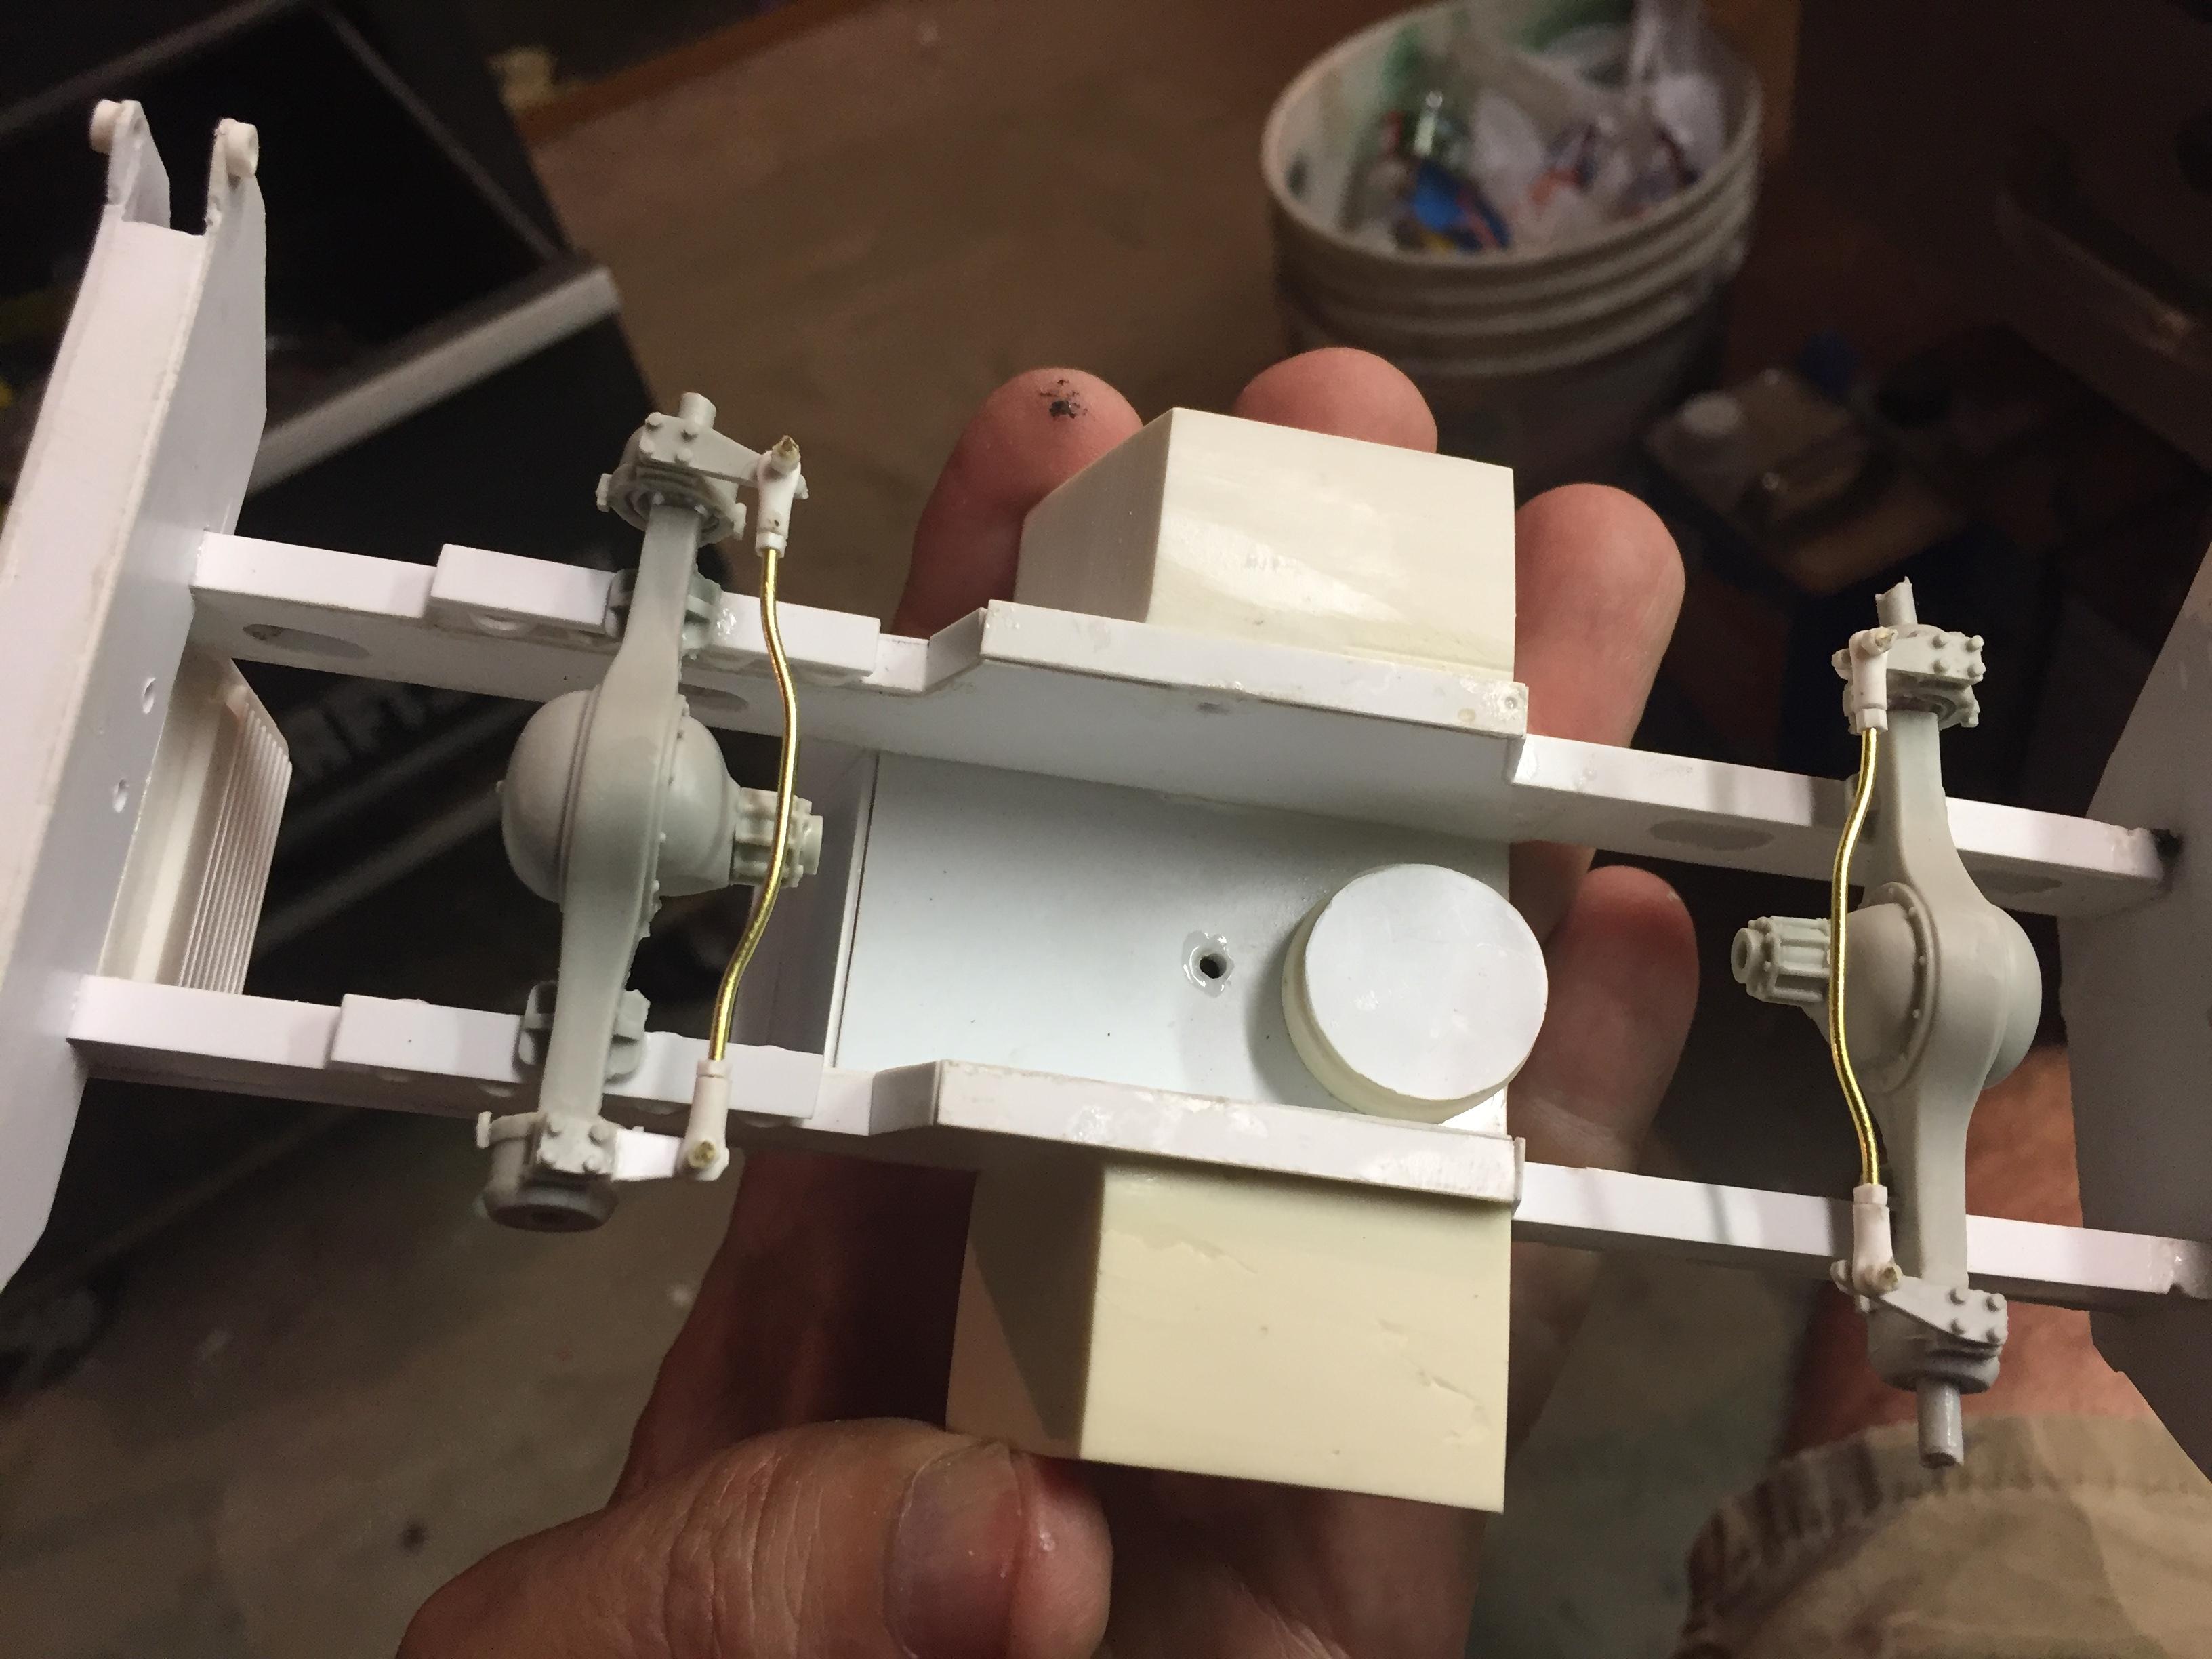
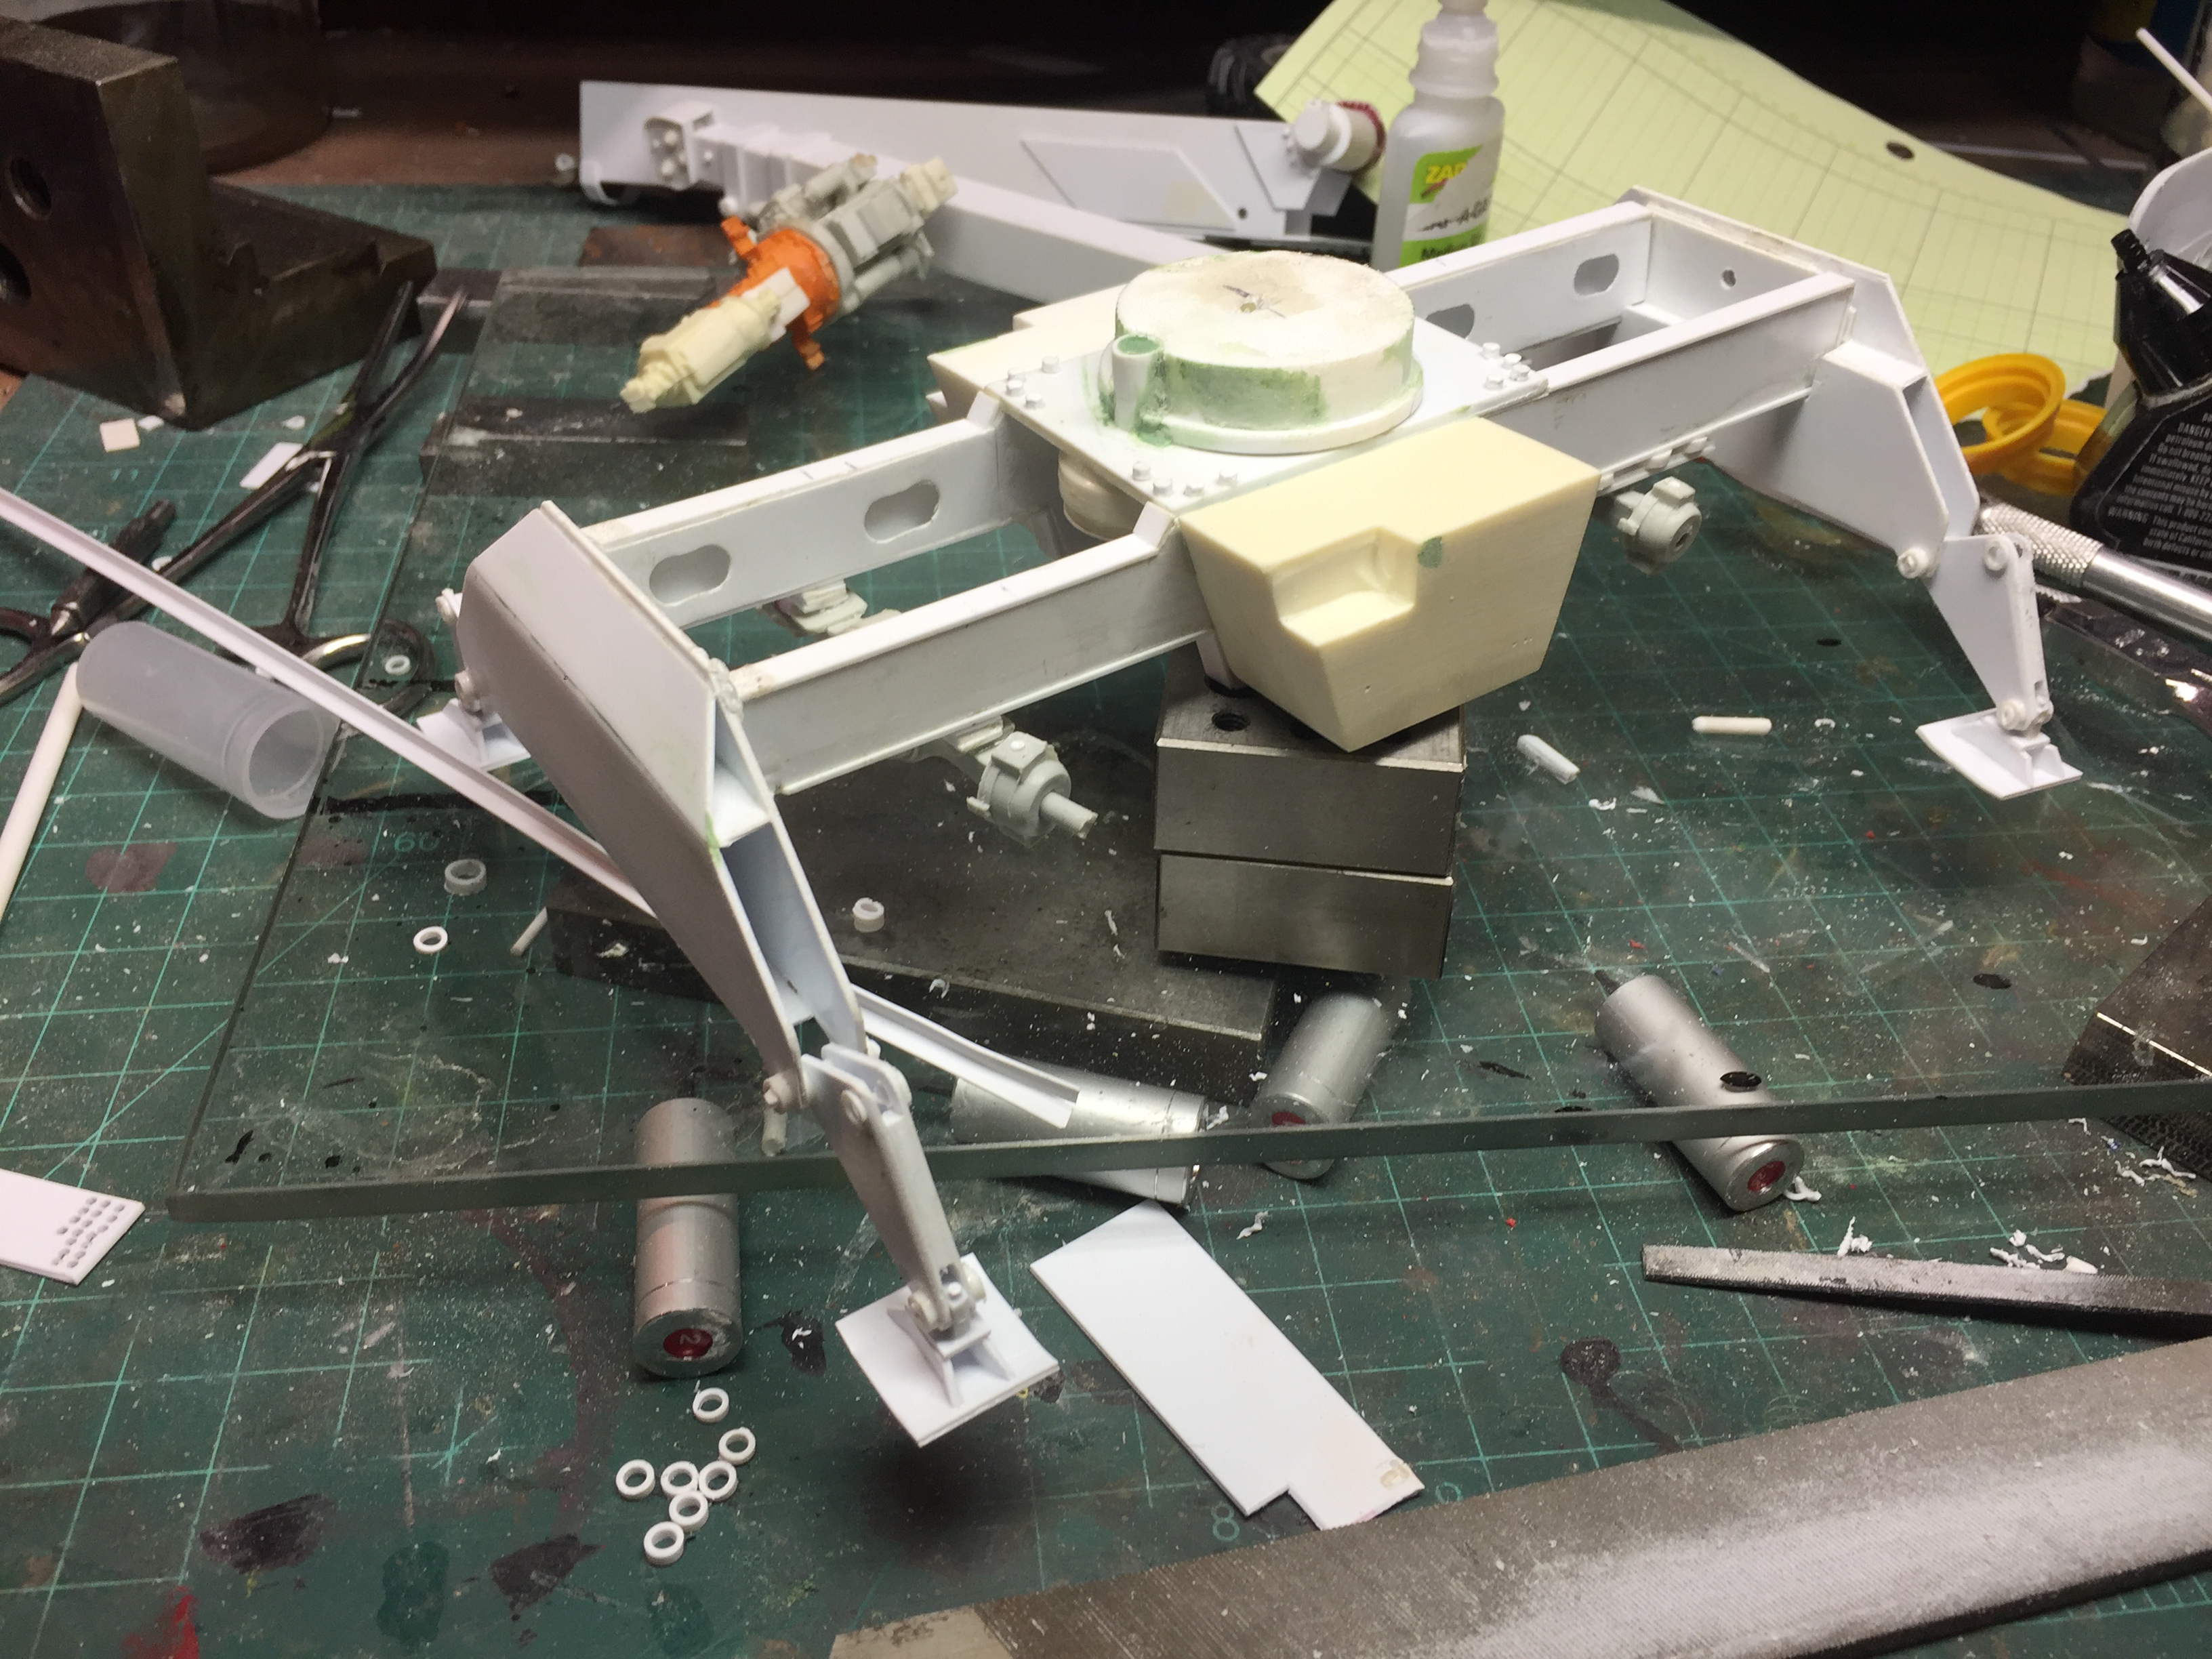
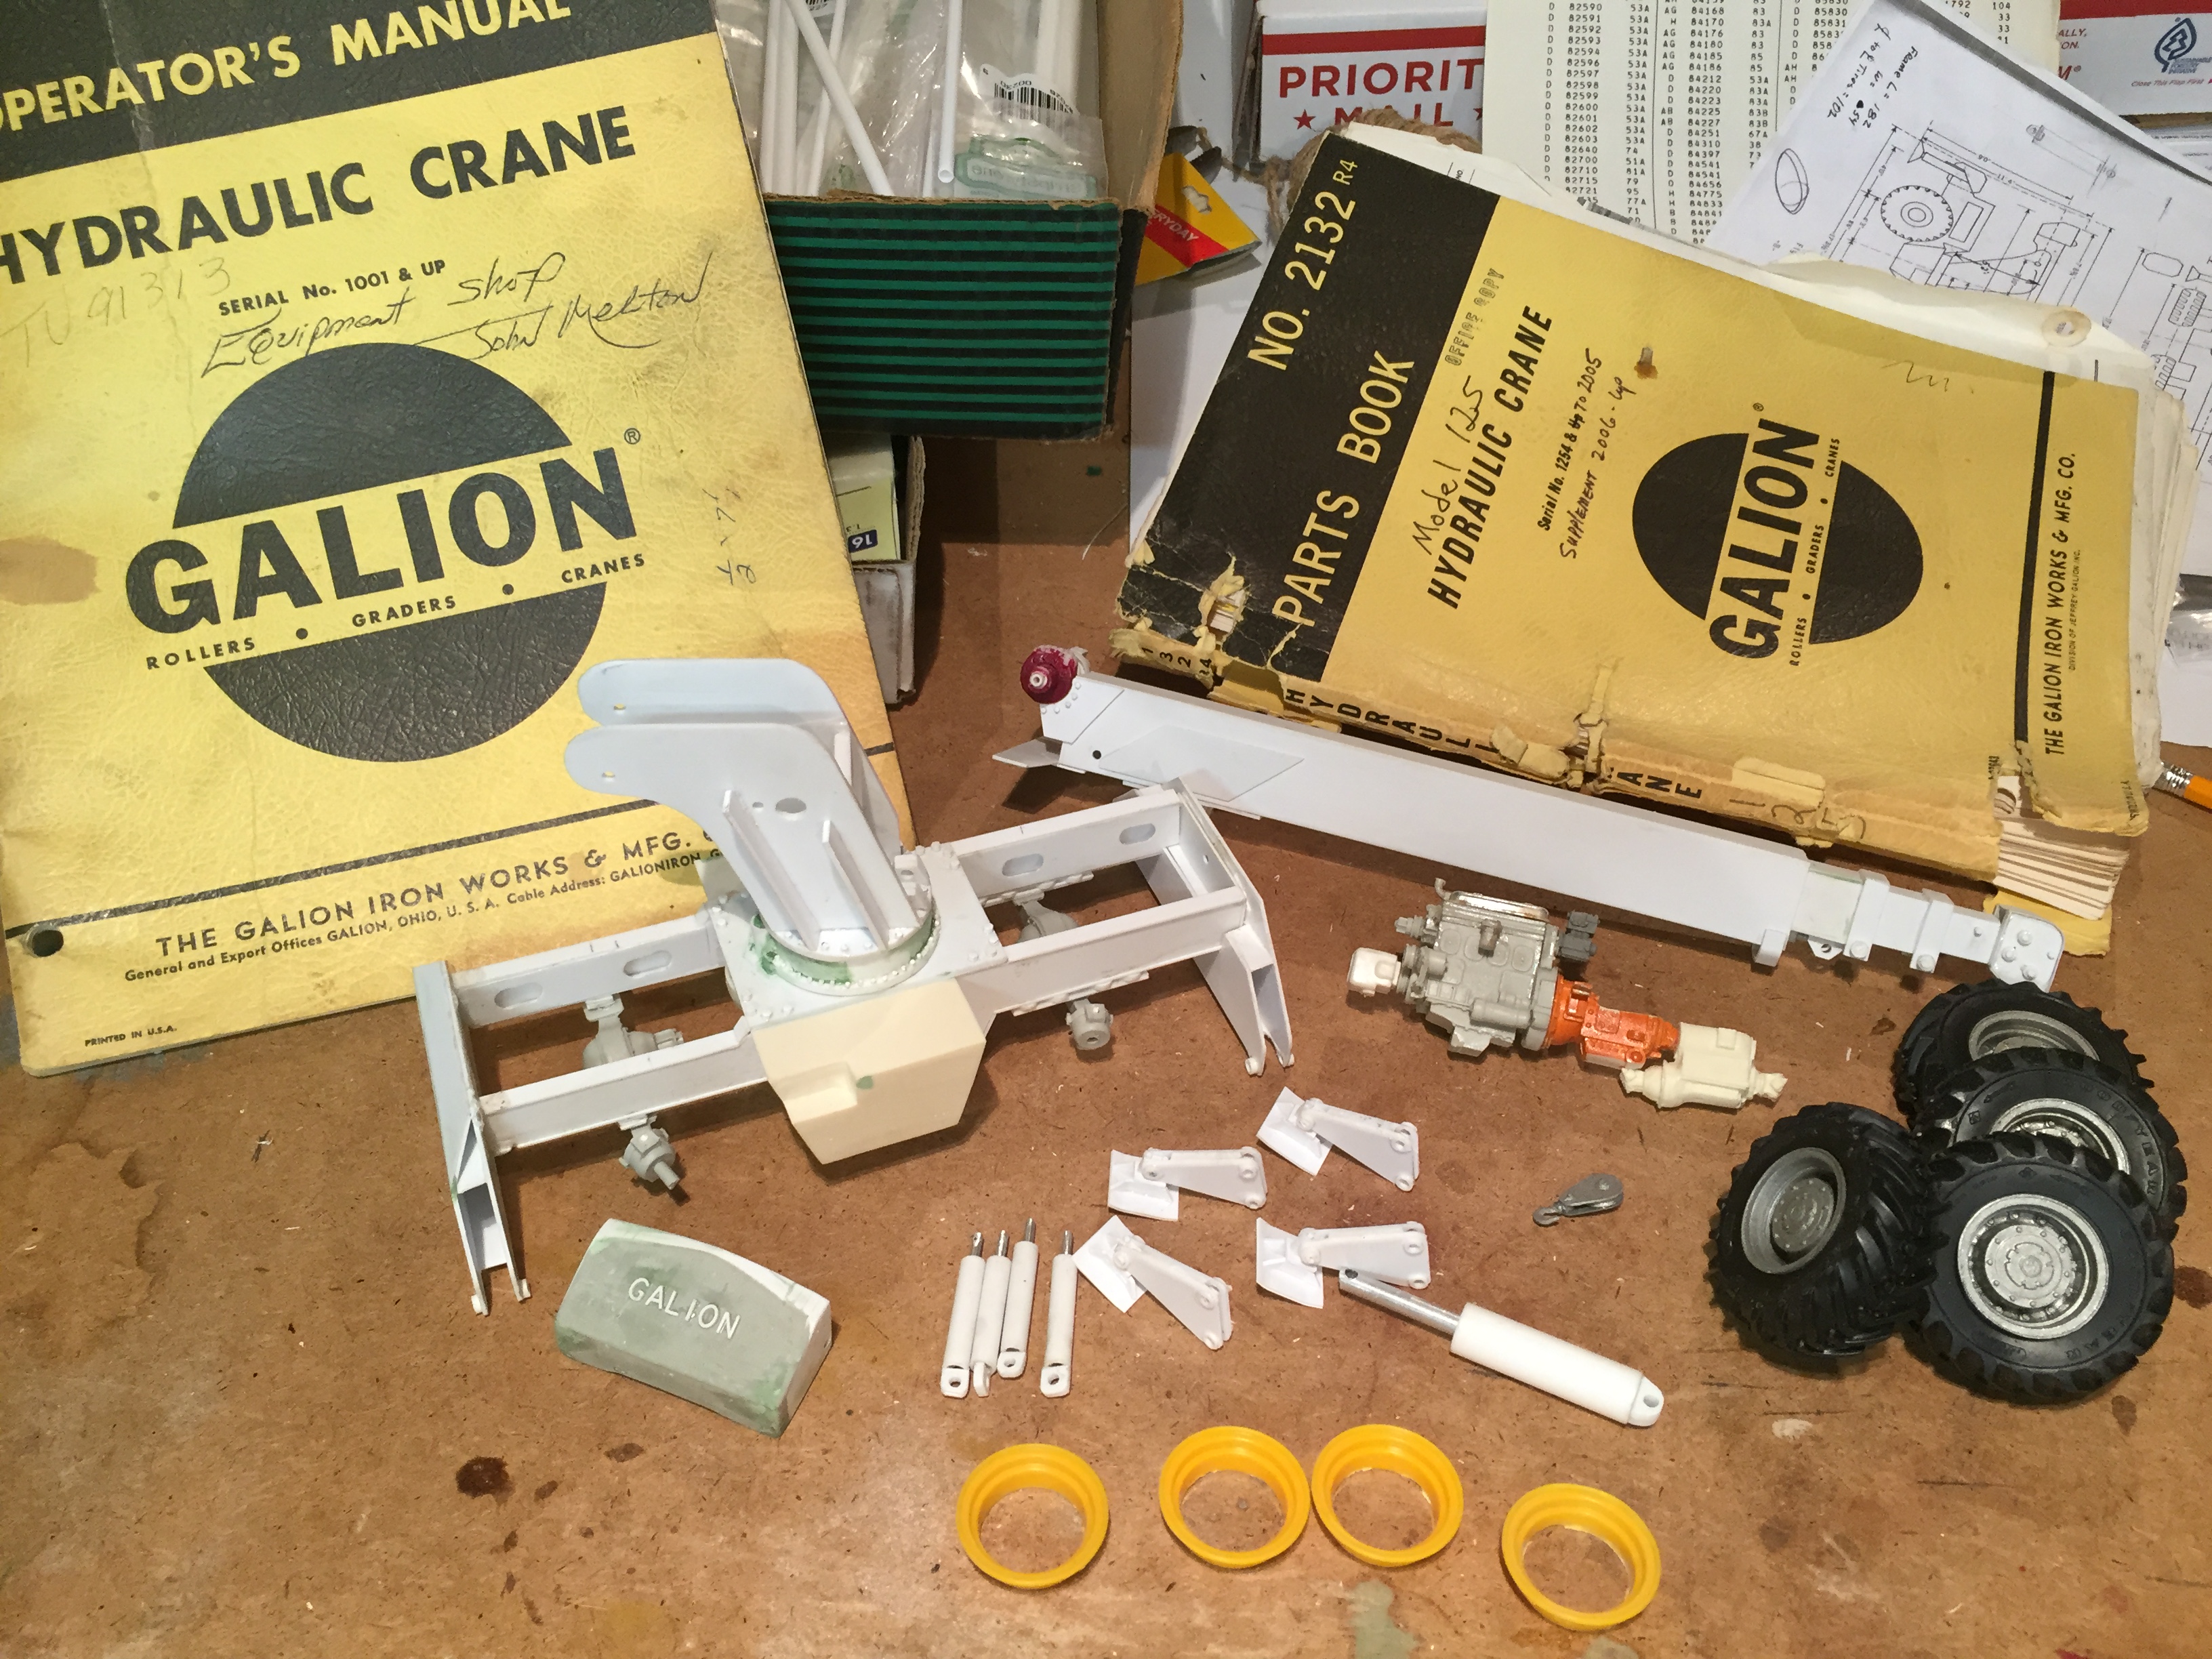
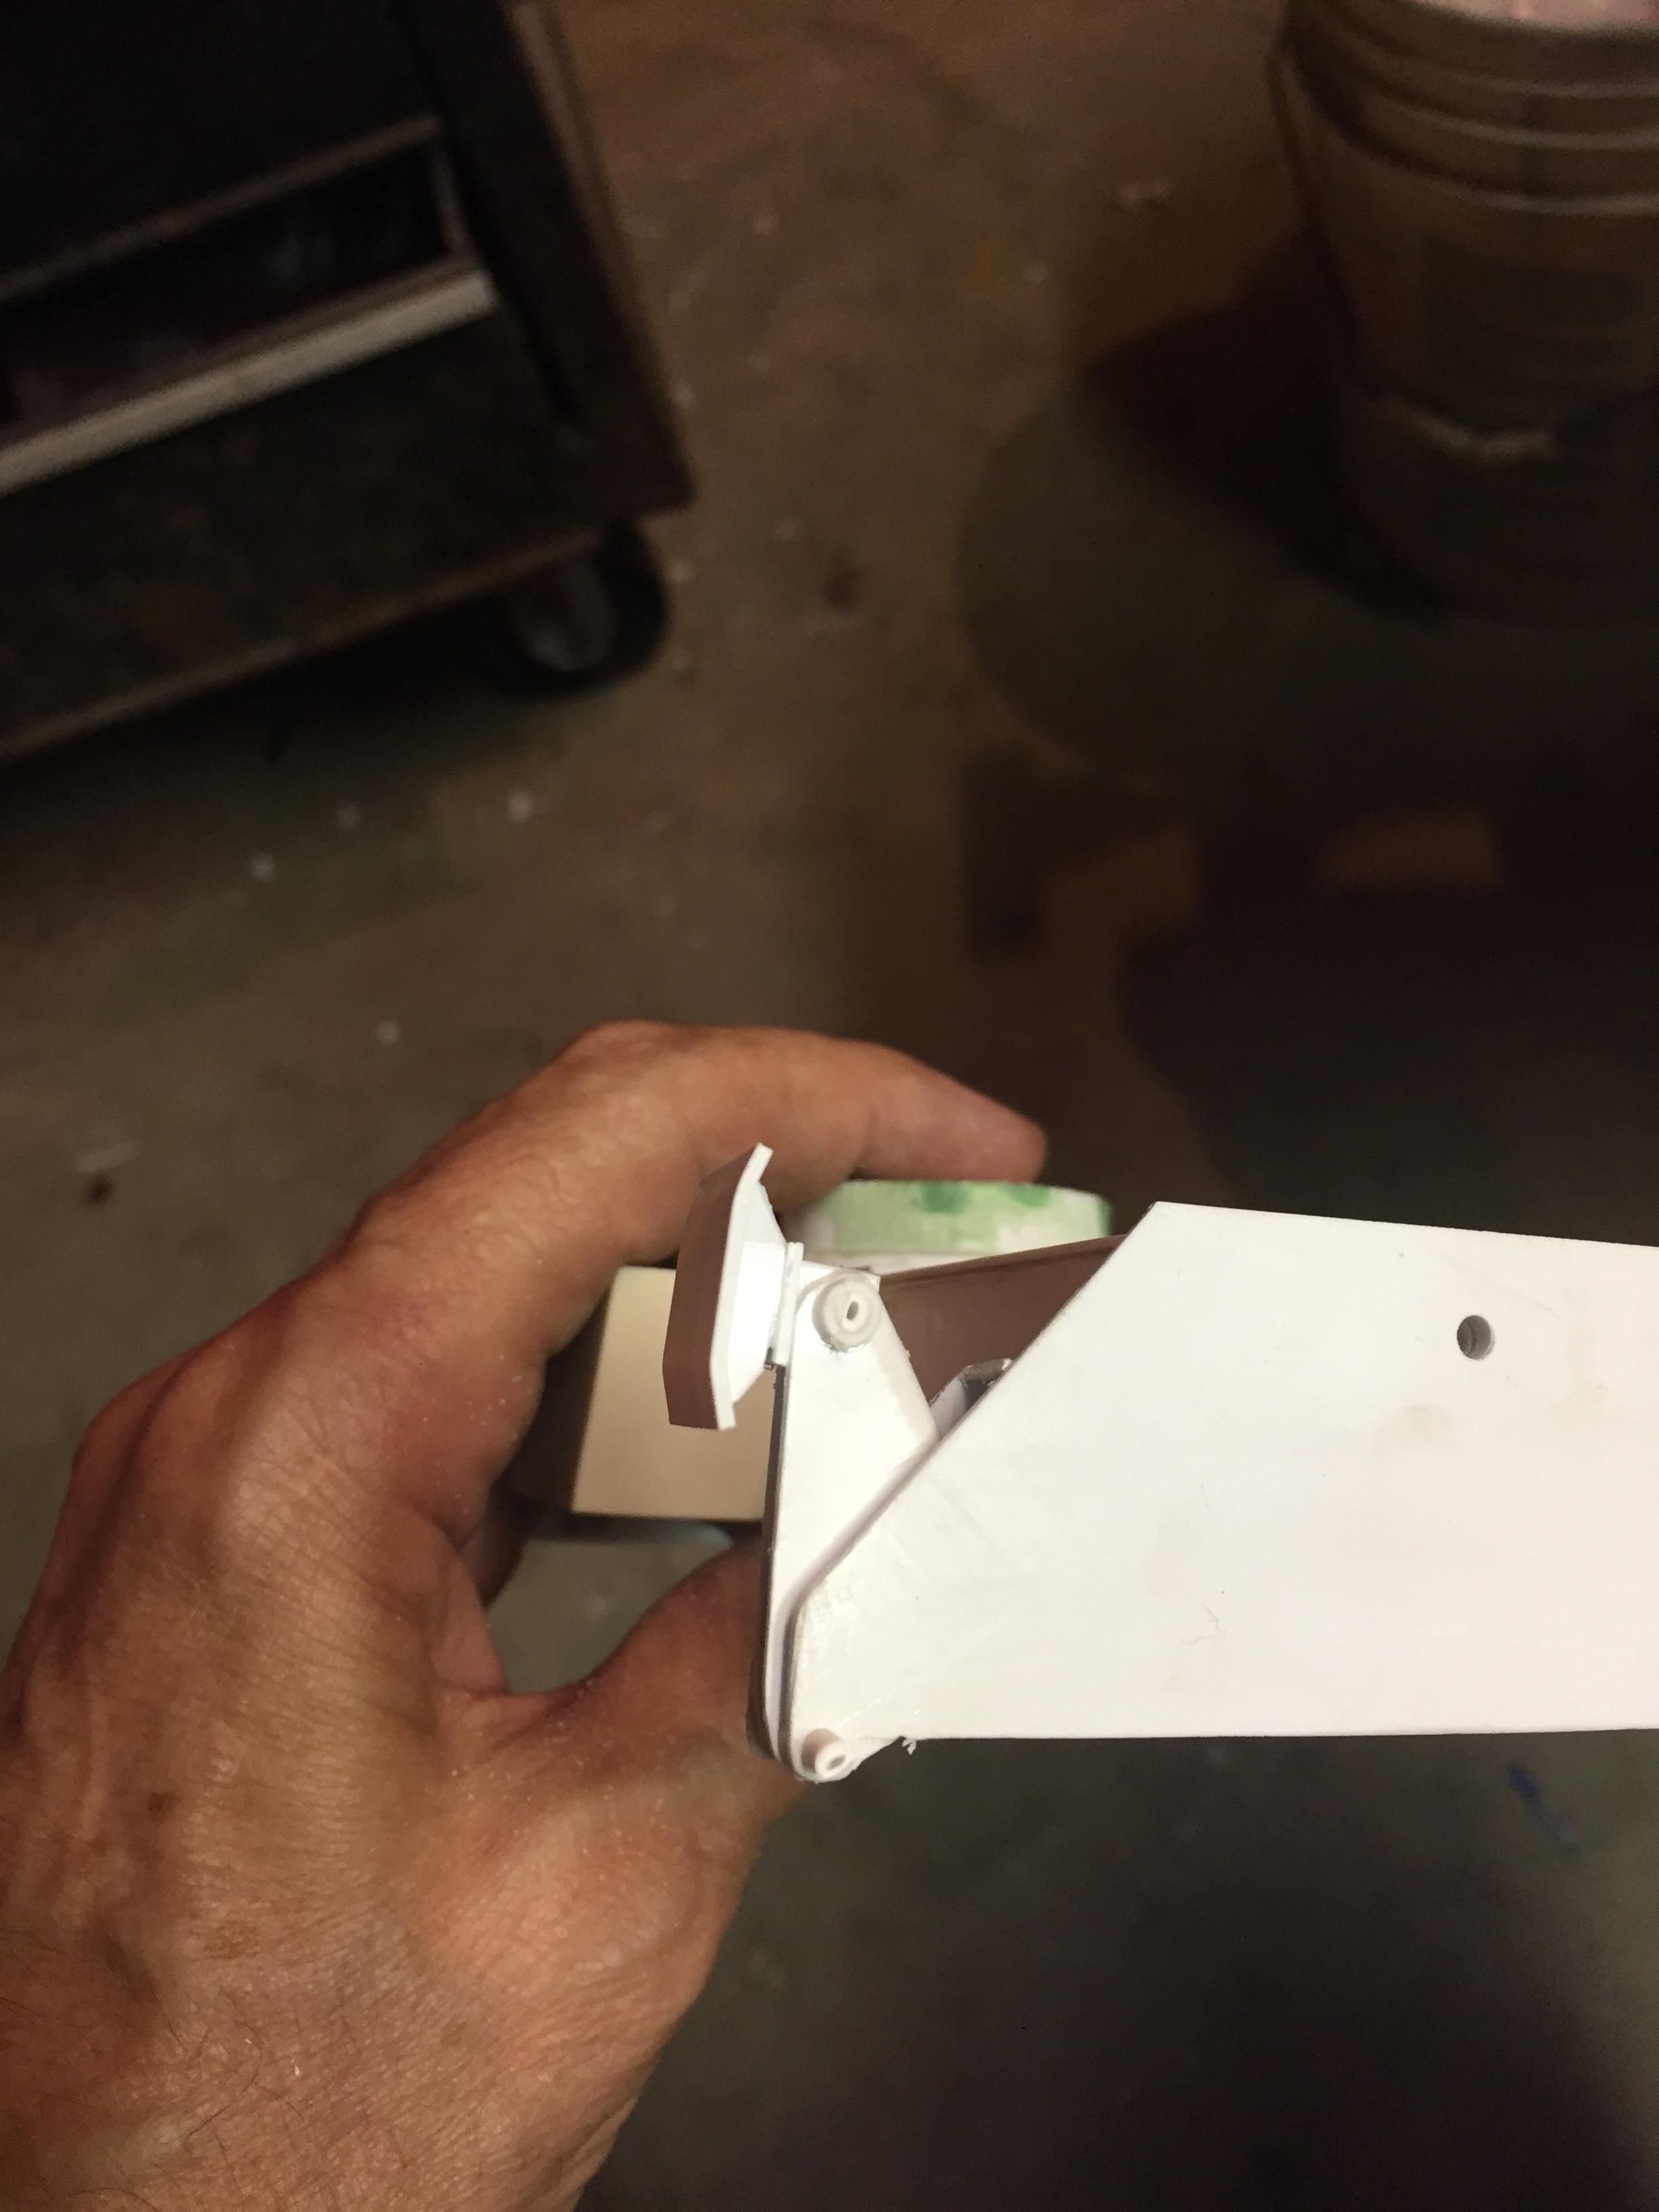
Made up the tie rods and installed them so the steering works. Added the steering arms for the hydraulic steering cylinders and installed them to the knuckles. Made up the parts for the four steering cylinders. Little tiny things but a huge step in the build. After the cylinders dry, they will be assembled and installed to each knuckle. Also shown here are all of the subassemblies and pieces so far, AFTER a major bench cleaning, as it got so bad I couldn't even see the bench! Next to be done after the steering cylinders, will be the operator's station, controls, and the rest of the cab, and the rest of the frame with the torque converter and drive shafts. And............THEN the detailing..............which will most likely be more work than has been spent so far!
-
It's getting there.................everything is still in the rough stage, and will need lots of fine finishing, but it's starting to take shape! Thank you to all for the words of encouragement!
-
Made up the engine enclosure and installed the radiator. Also made a radiator guard of rod and strip styrene. Tried the half round softened by glue, and it seems it will work. Still have LOTS to go!
-
Fantastic idea Mike! Never thought of softening it with the glue.....gonna give that a try! That is the problem I was having.....trying to make a radius. Now THAT'S why I love this forum! Thanks!
-
I will give that a try. Thanks!
-
I thought about that but haven't figured out how to get it in the half round shape. Might try to make a mold in clay for each window using a piece of wire half way into the clay and pour resin in it with a wire reinforcement in it. Lots of ideas, lots of time!
-
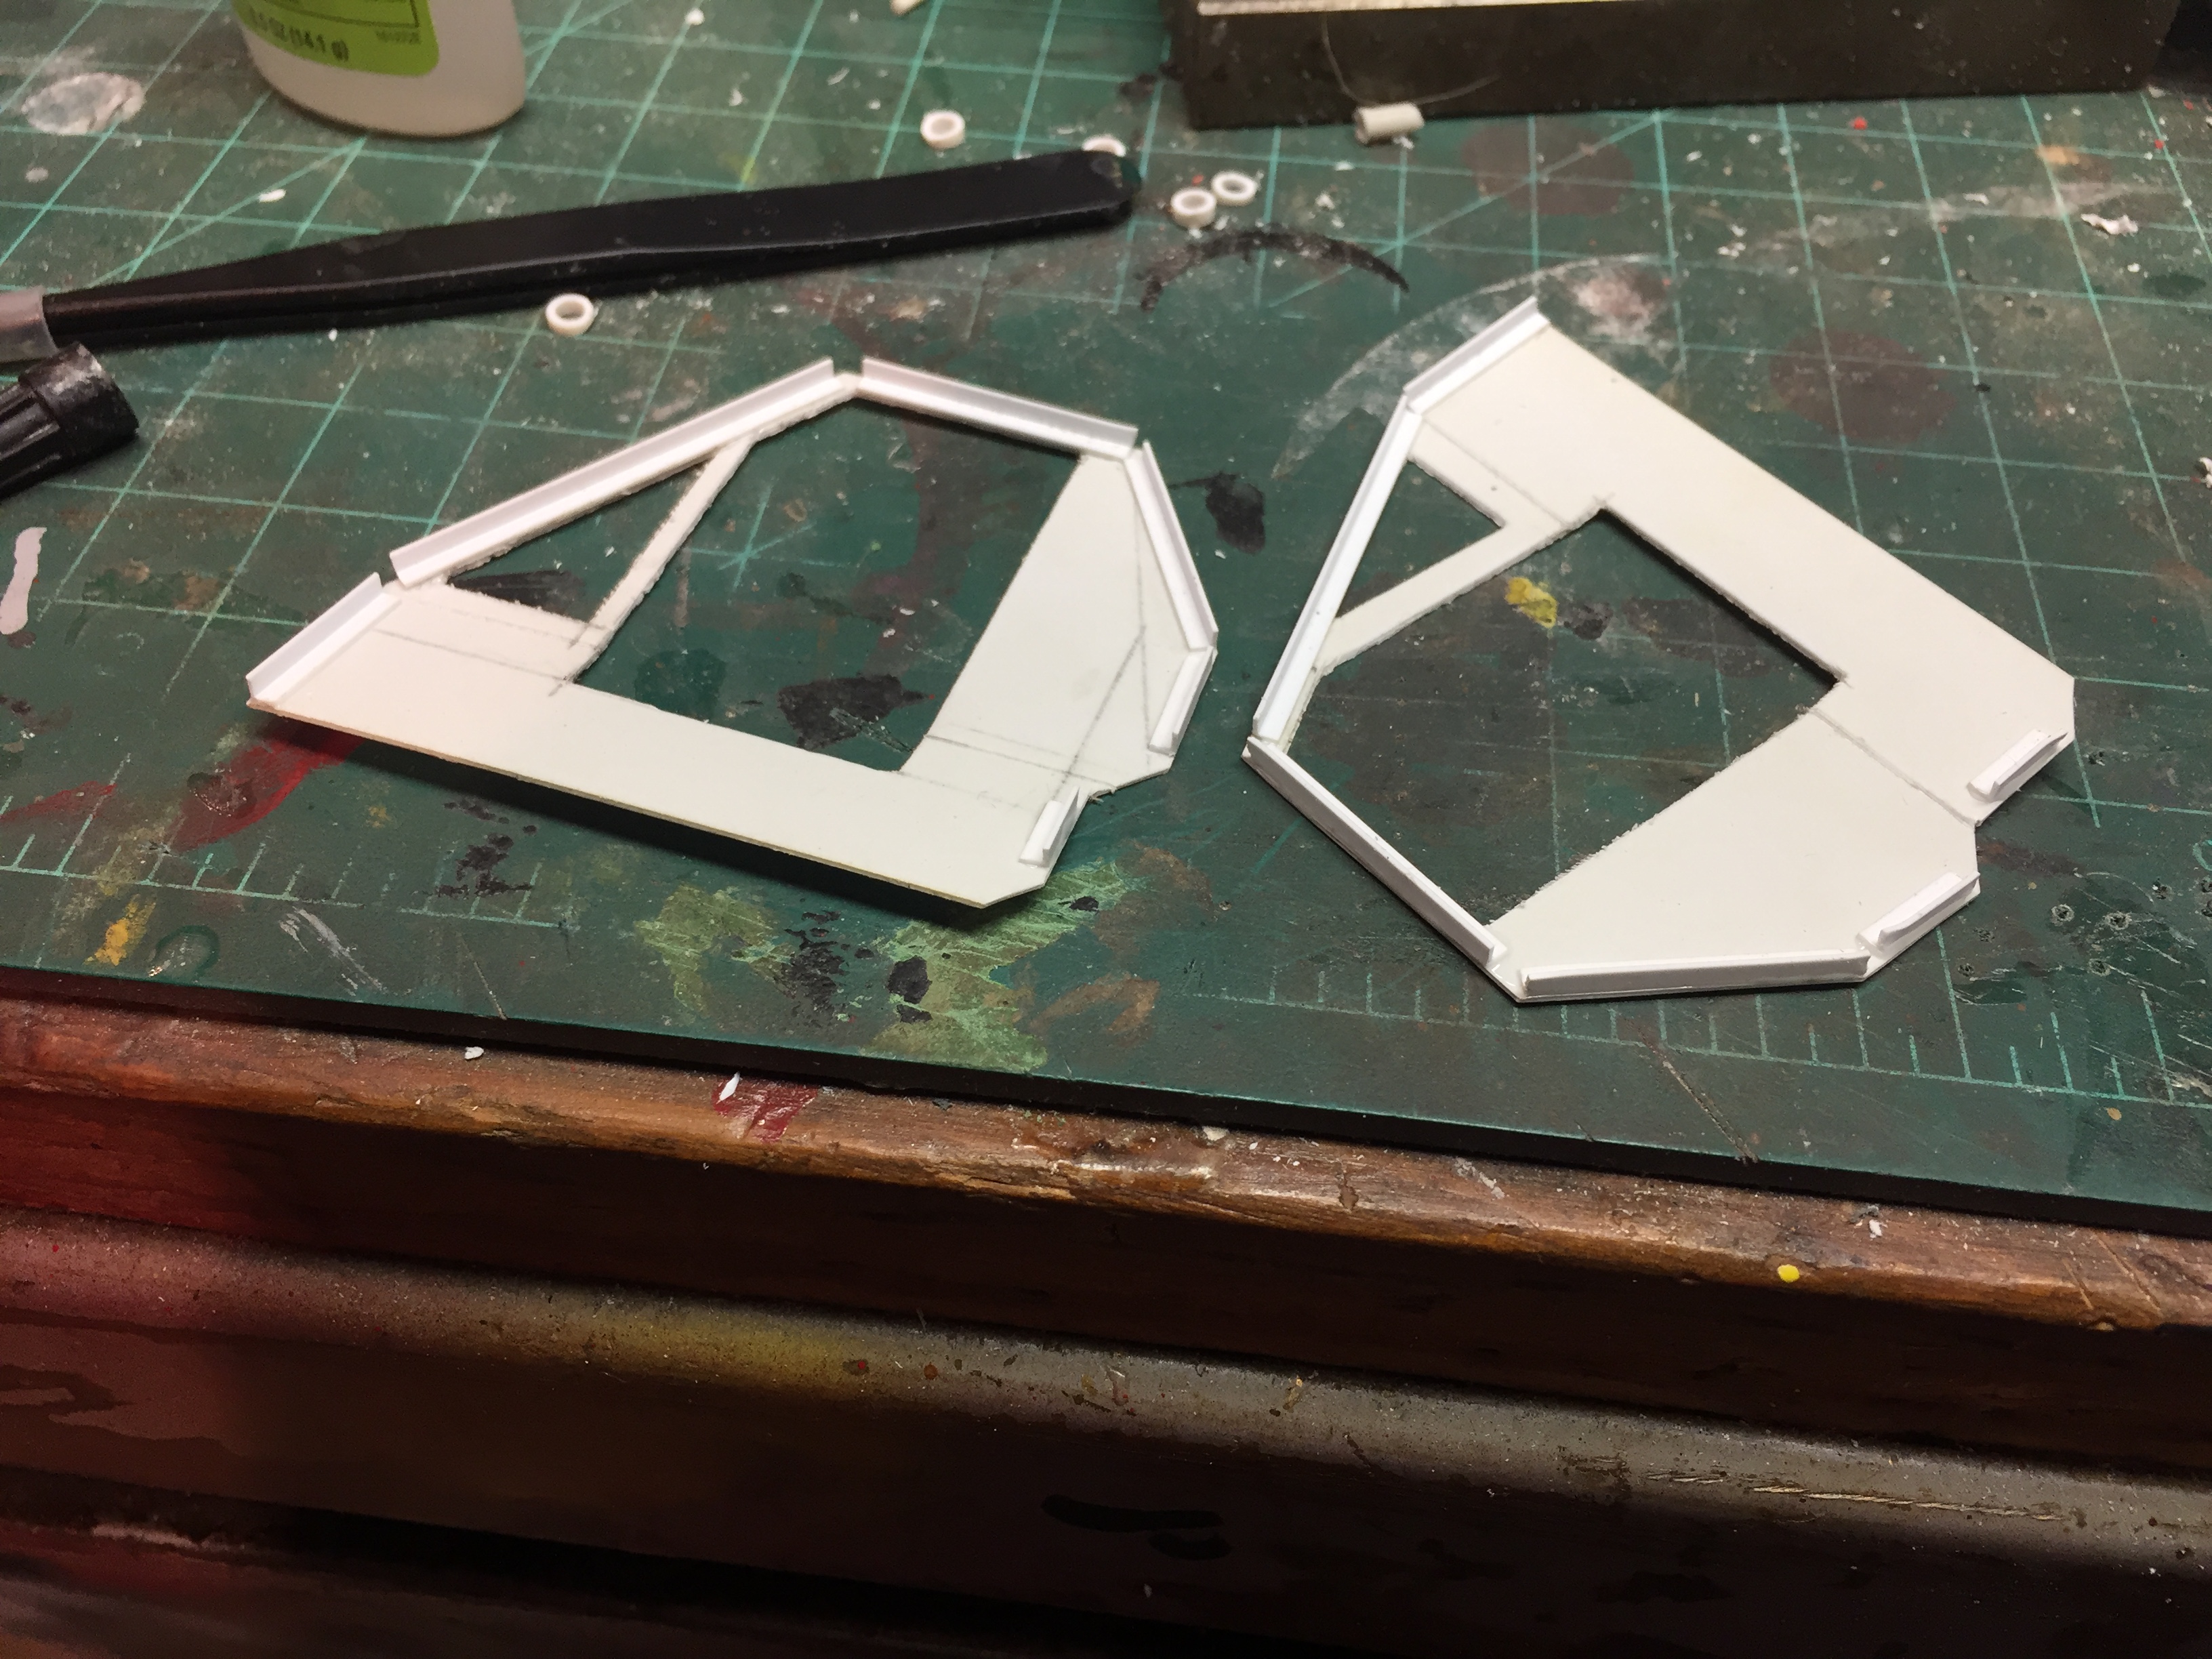
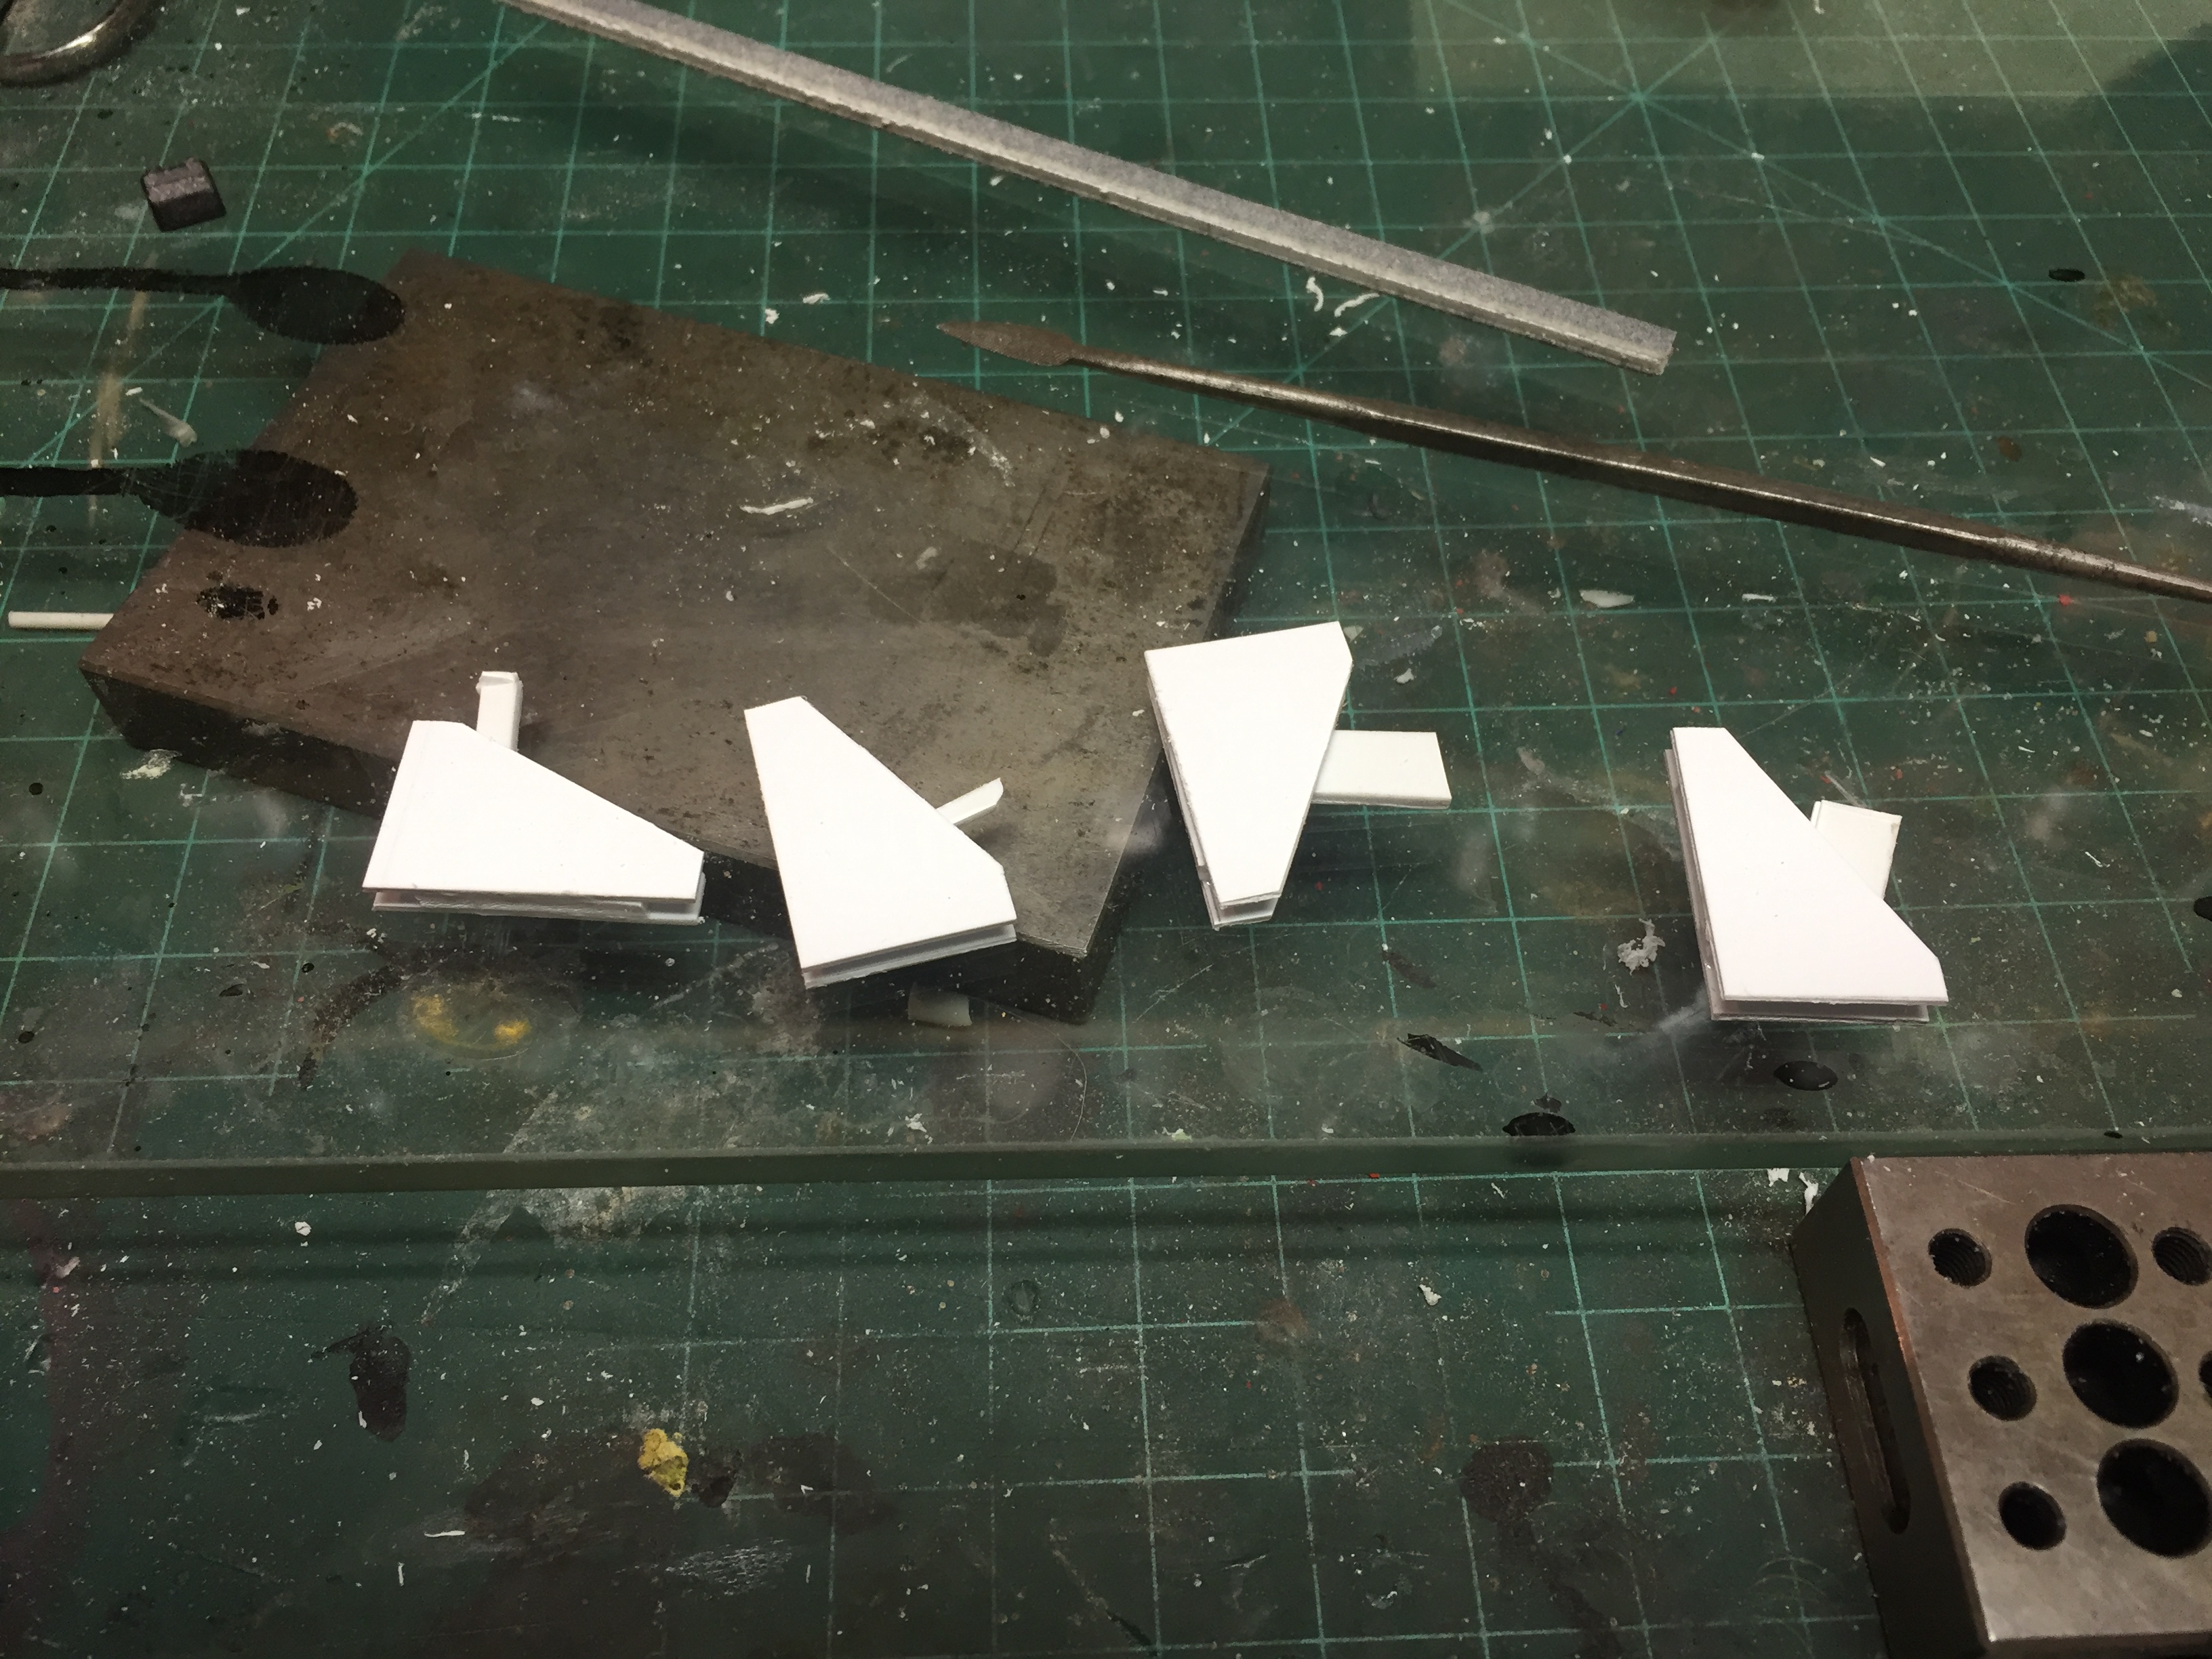
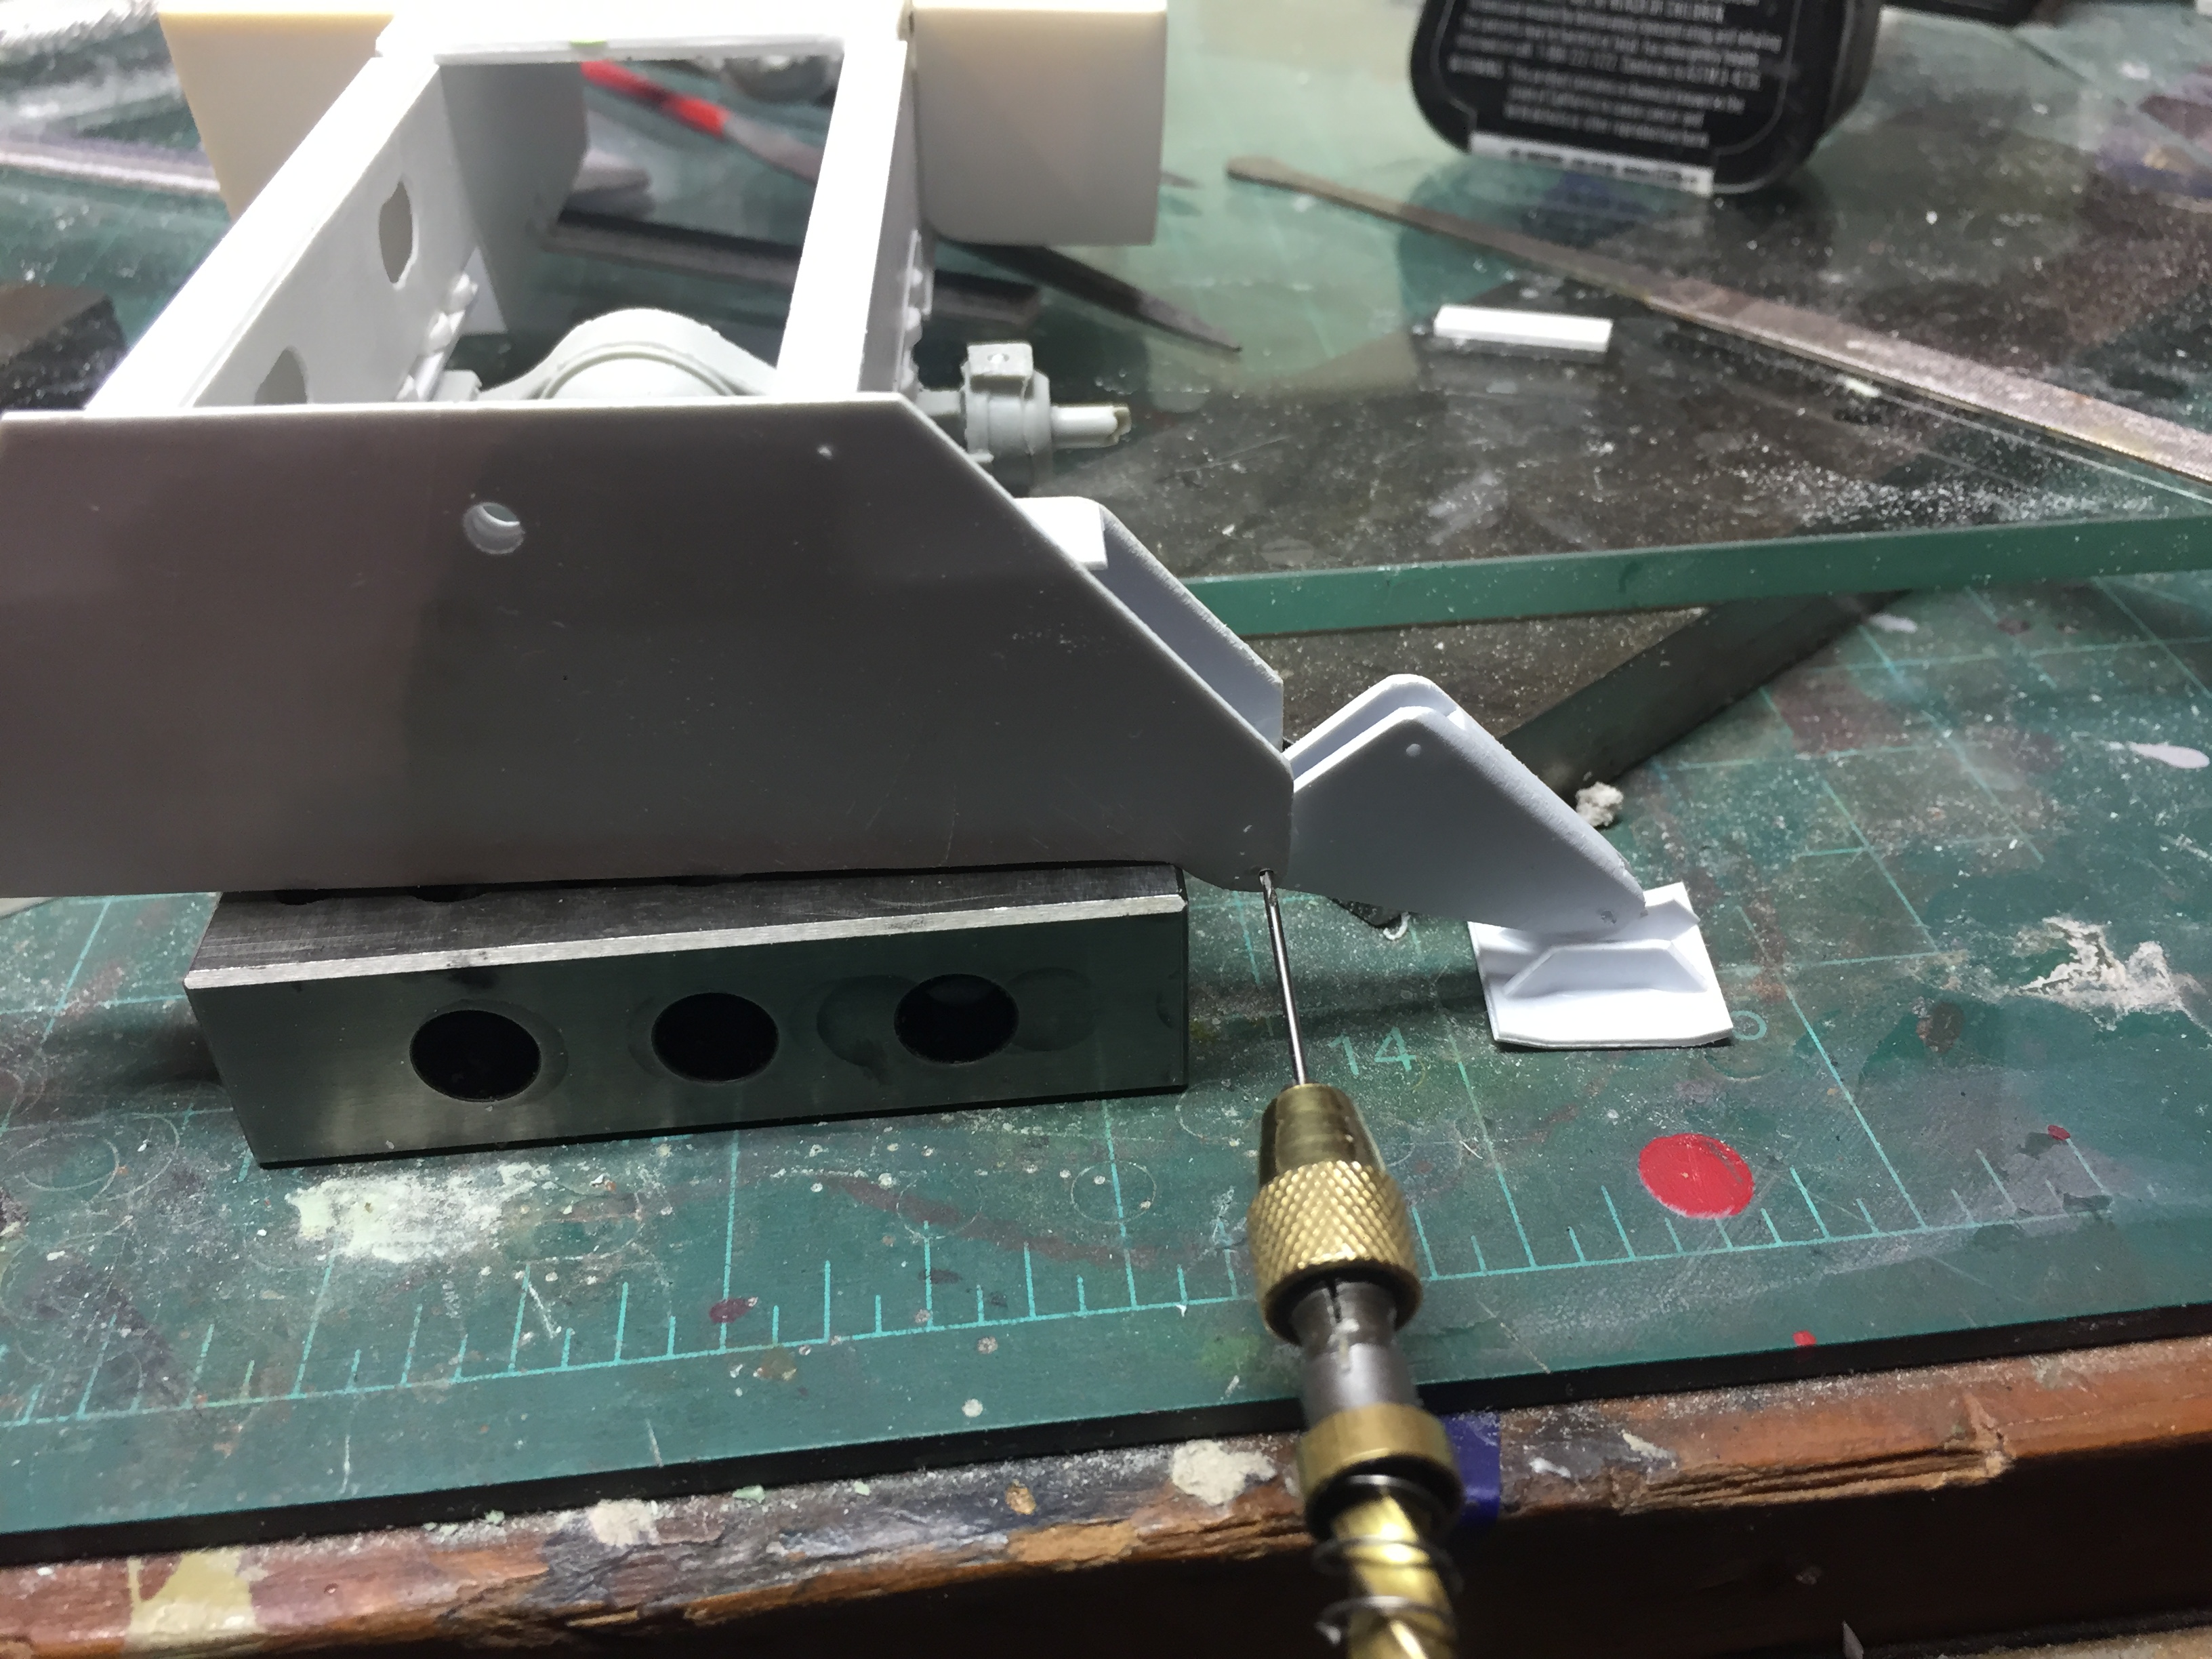
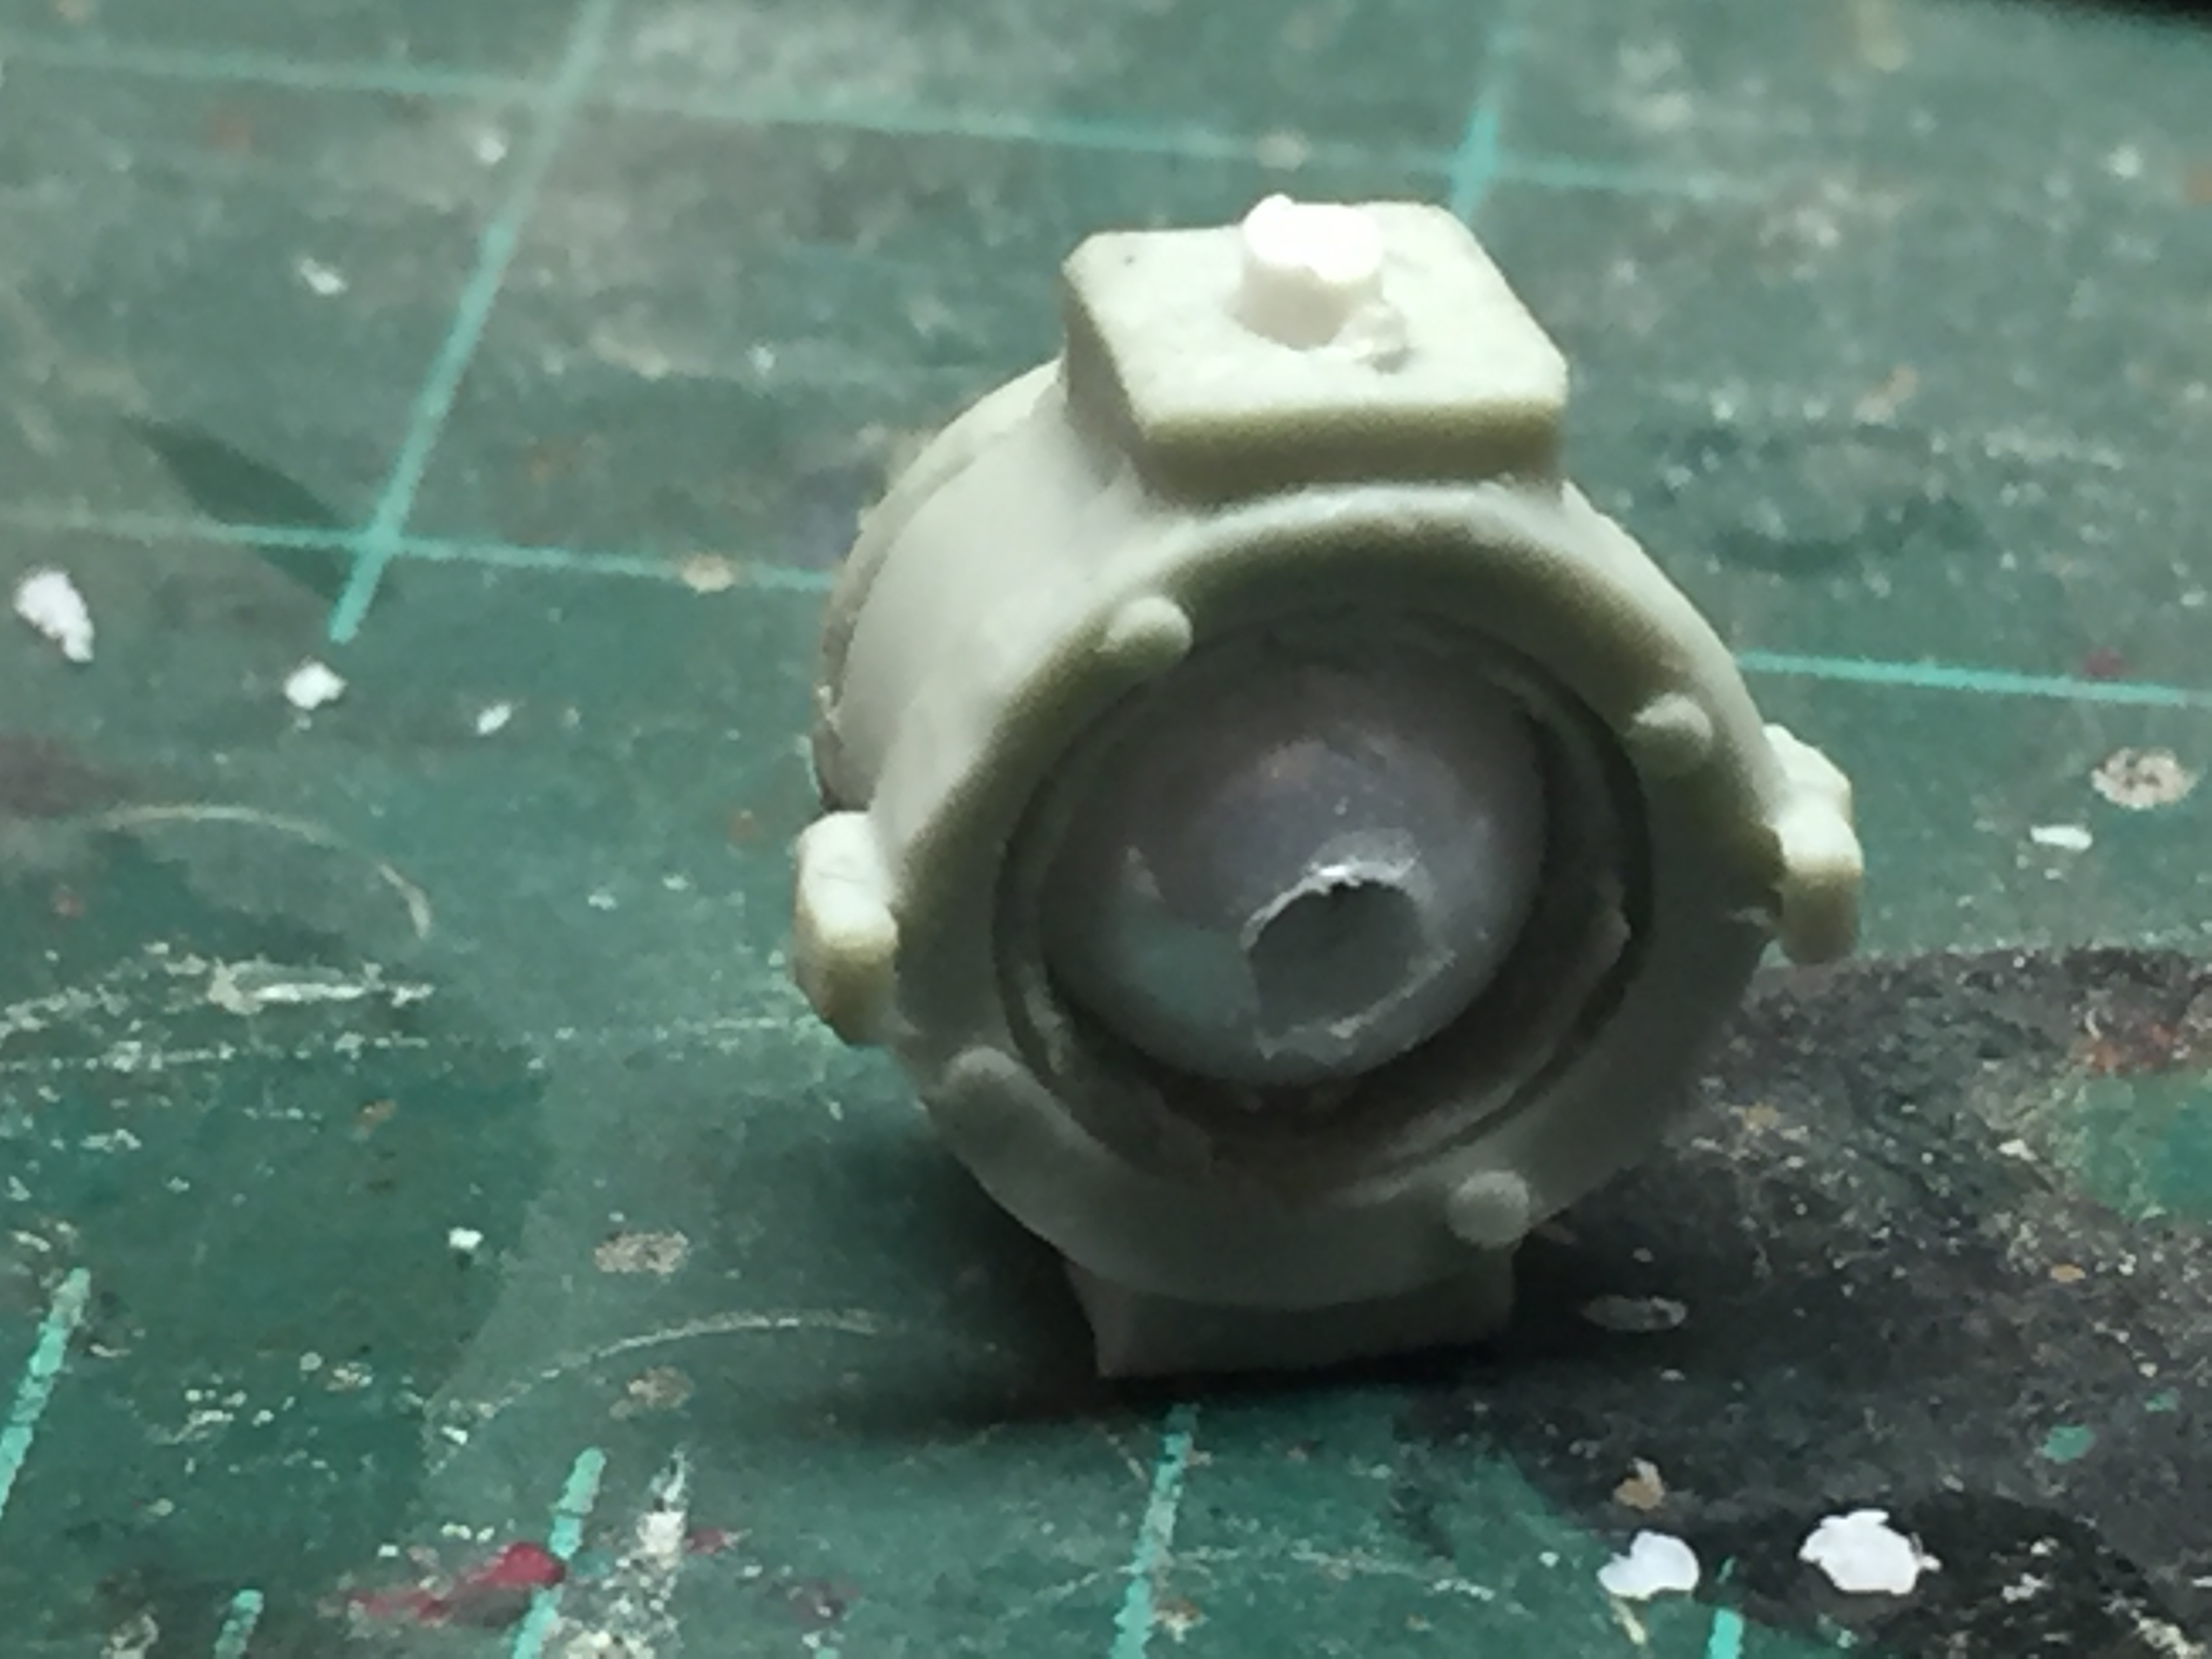
Now that I have the cab roughed in, I am racking my brain to figure out a way to make the window glass rubber moldings. The windows do not have sharp corners, but have a radius to them. I have tried various things so far to get a half round molding to go around the opening with a radius at the corners, but nothing has looked right so far.............................
-
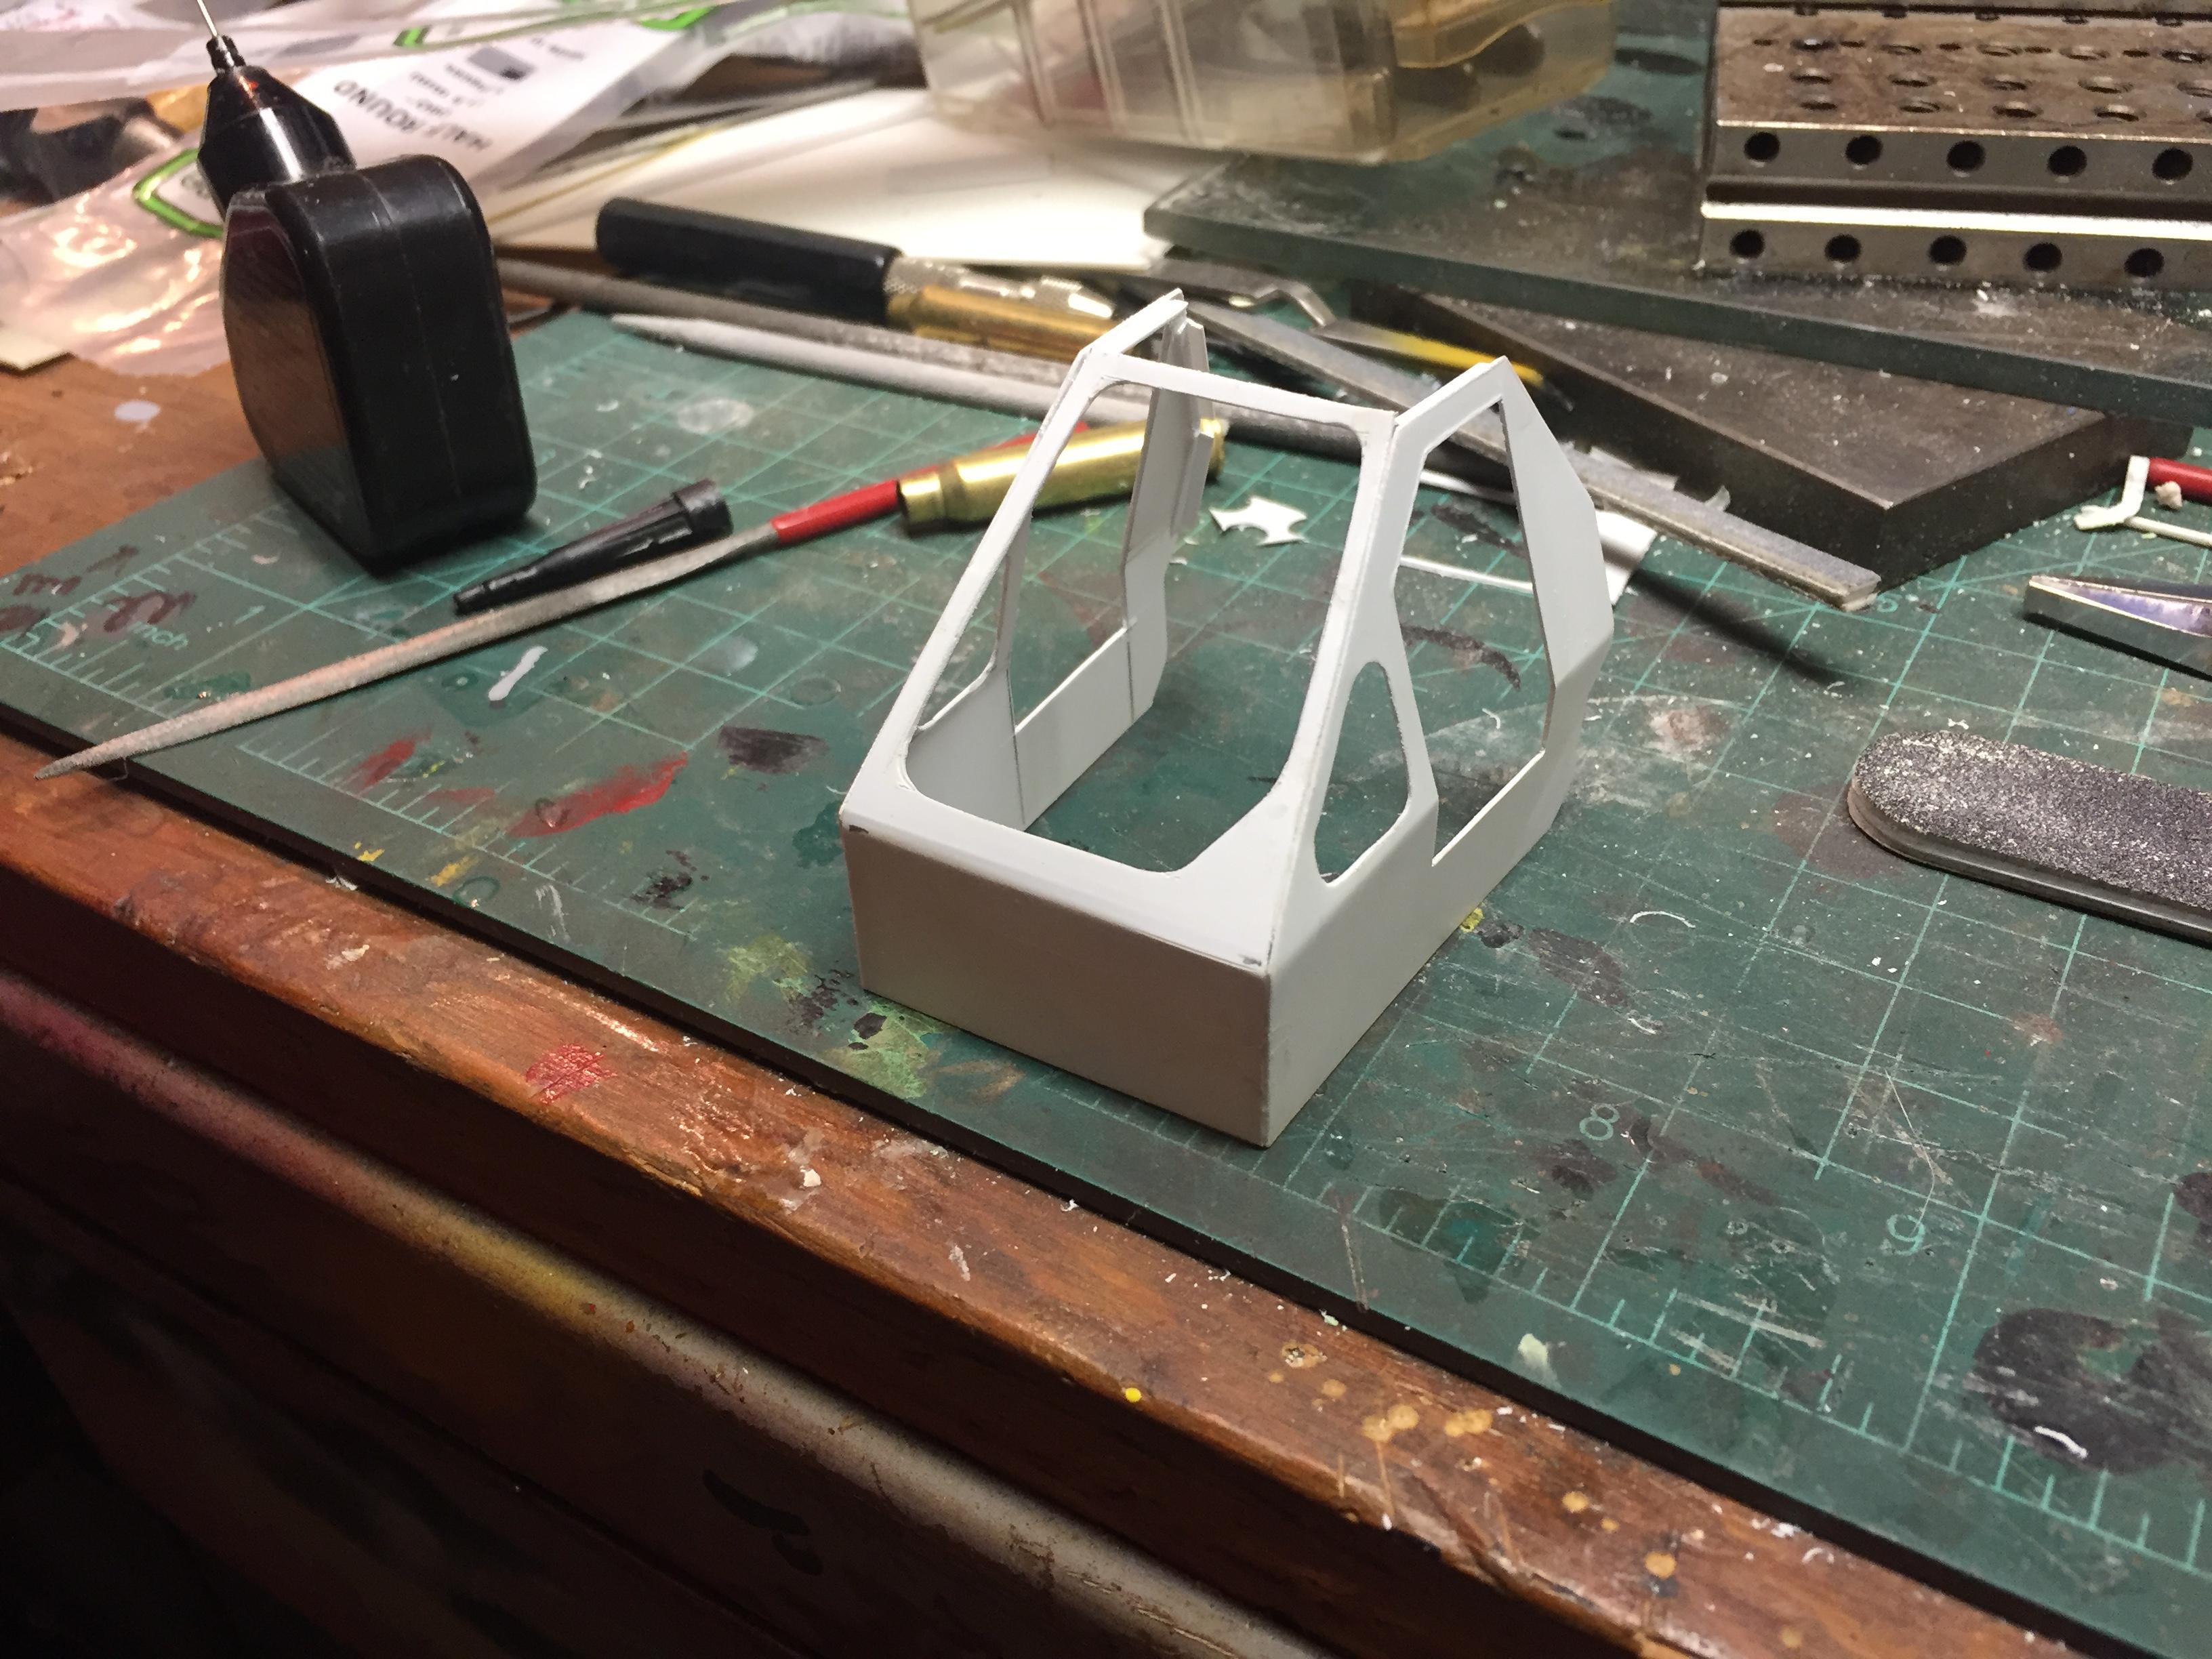
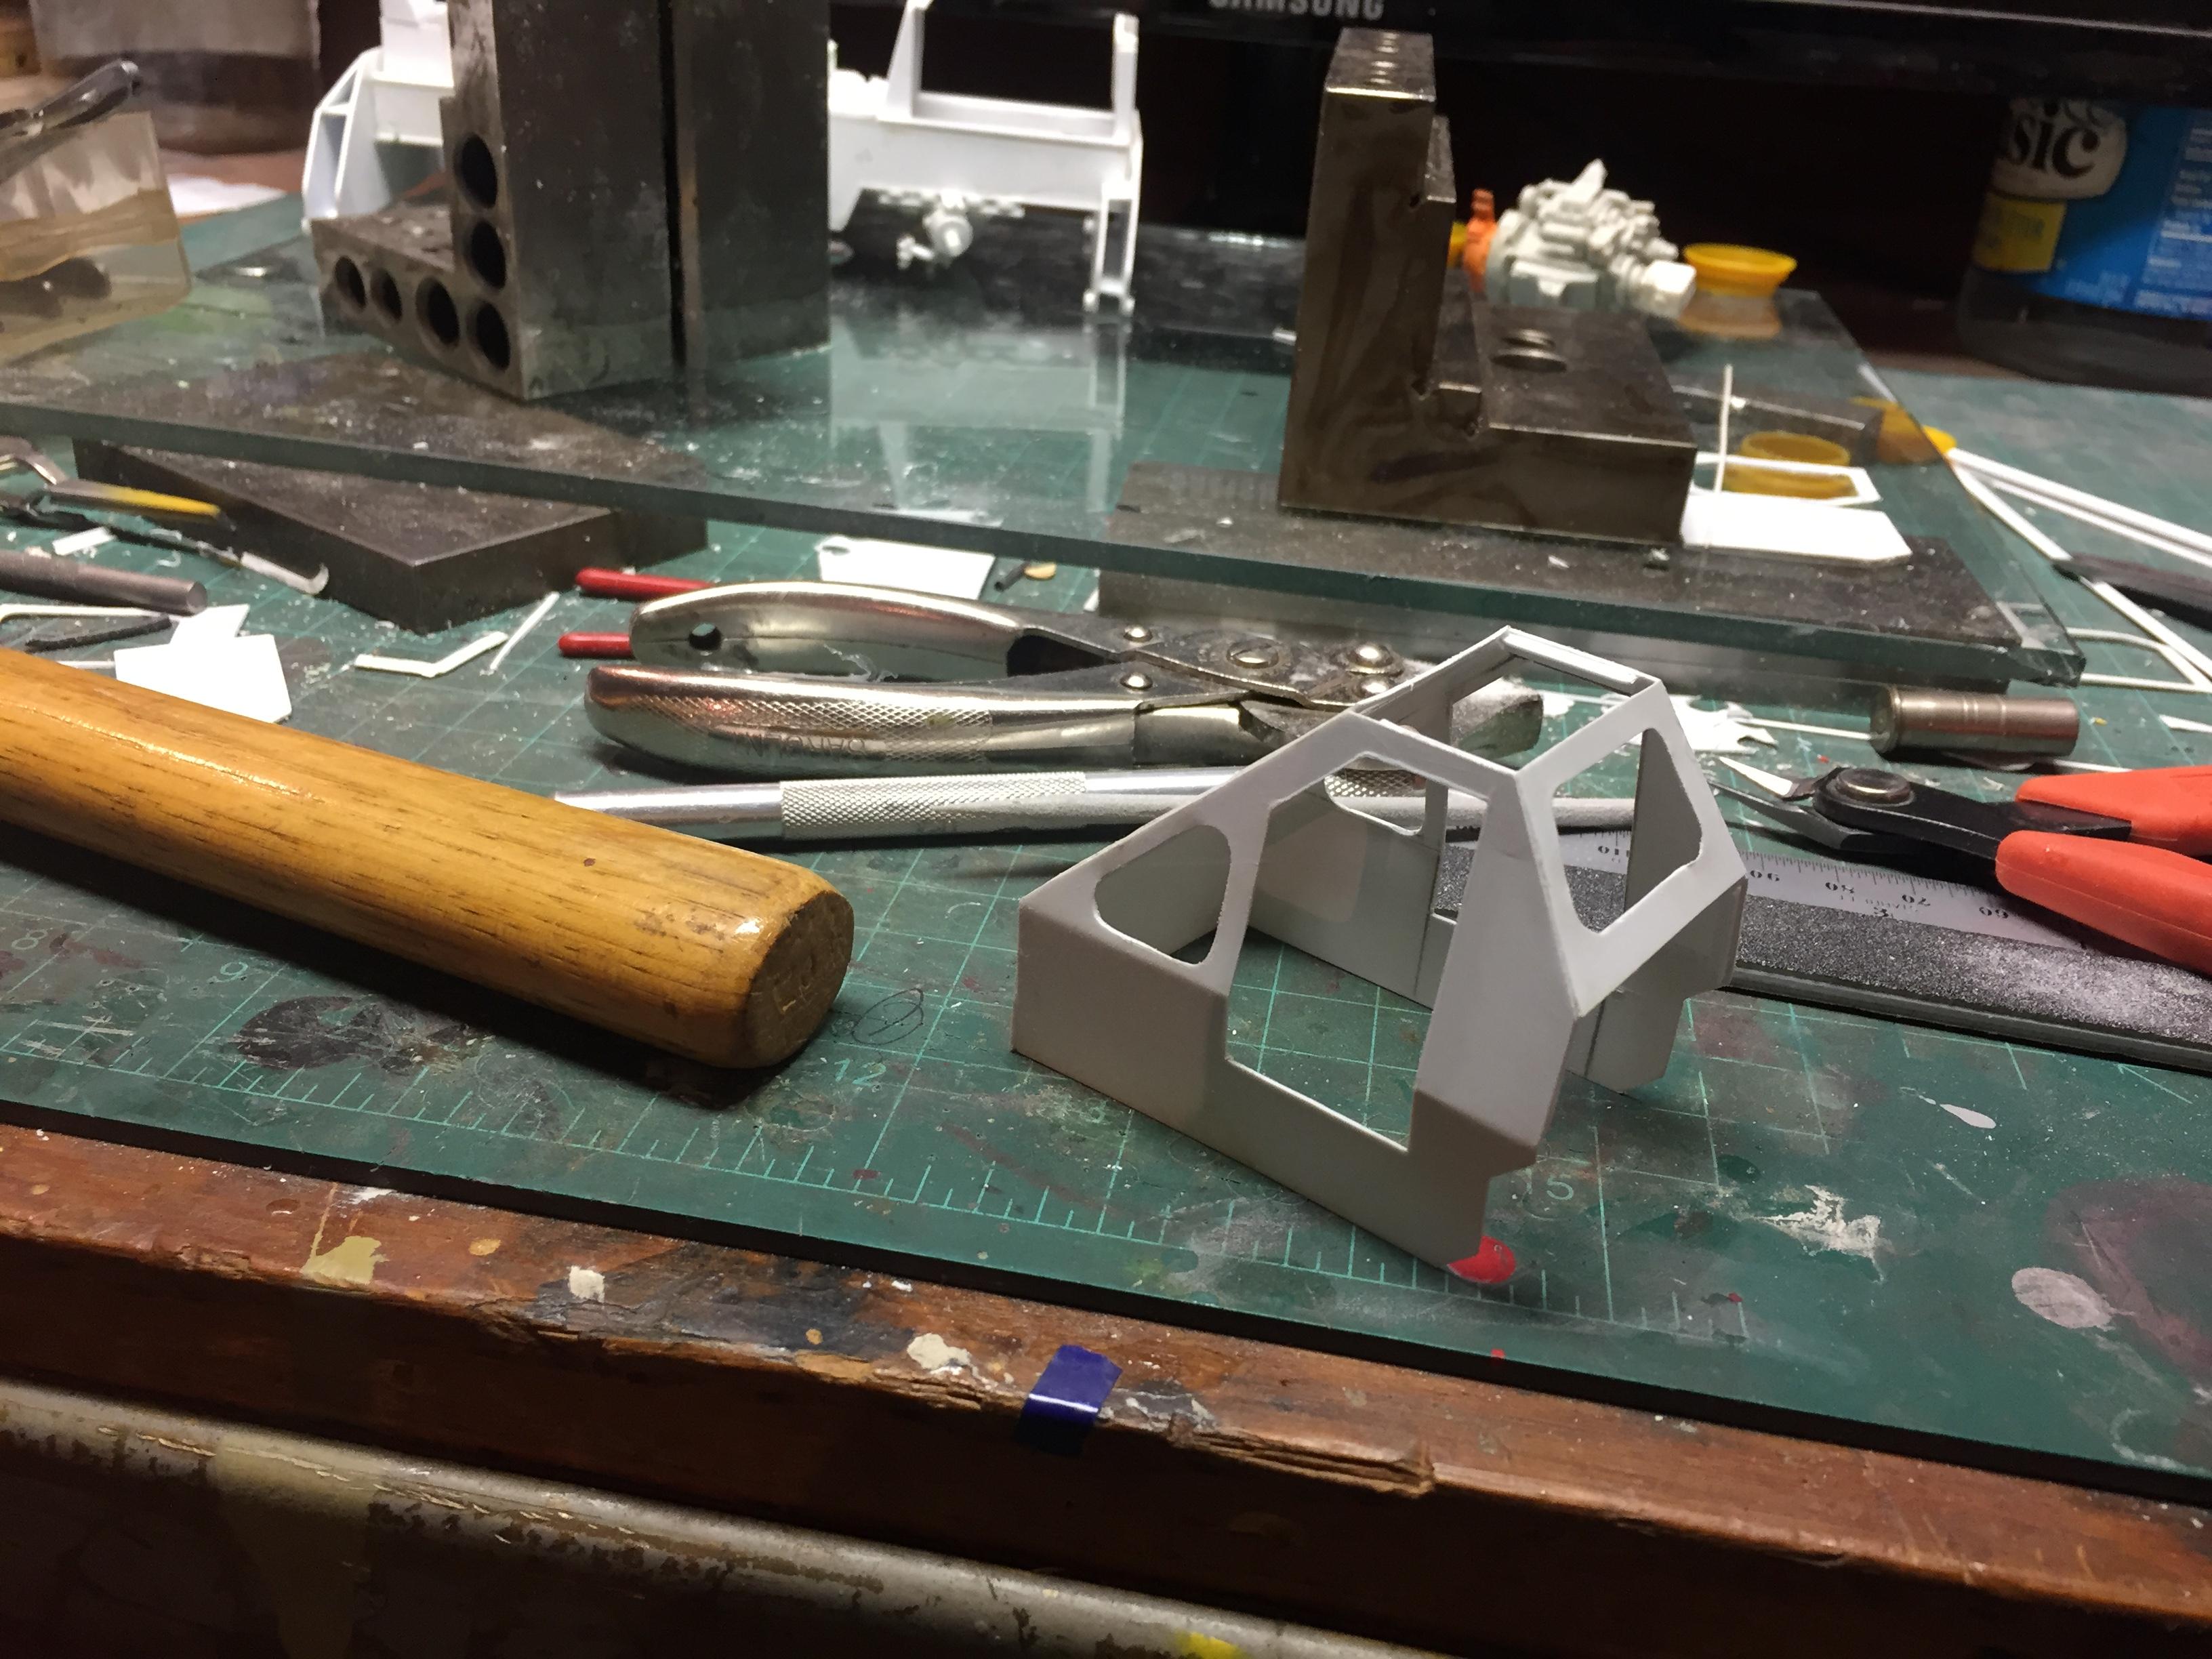
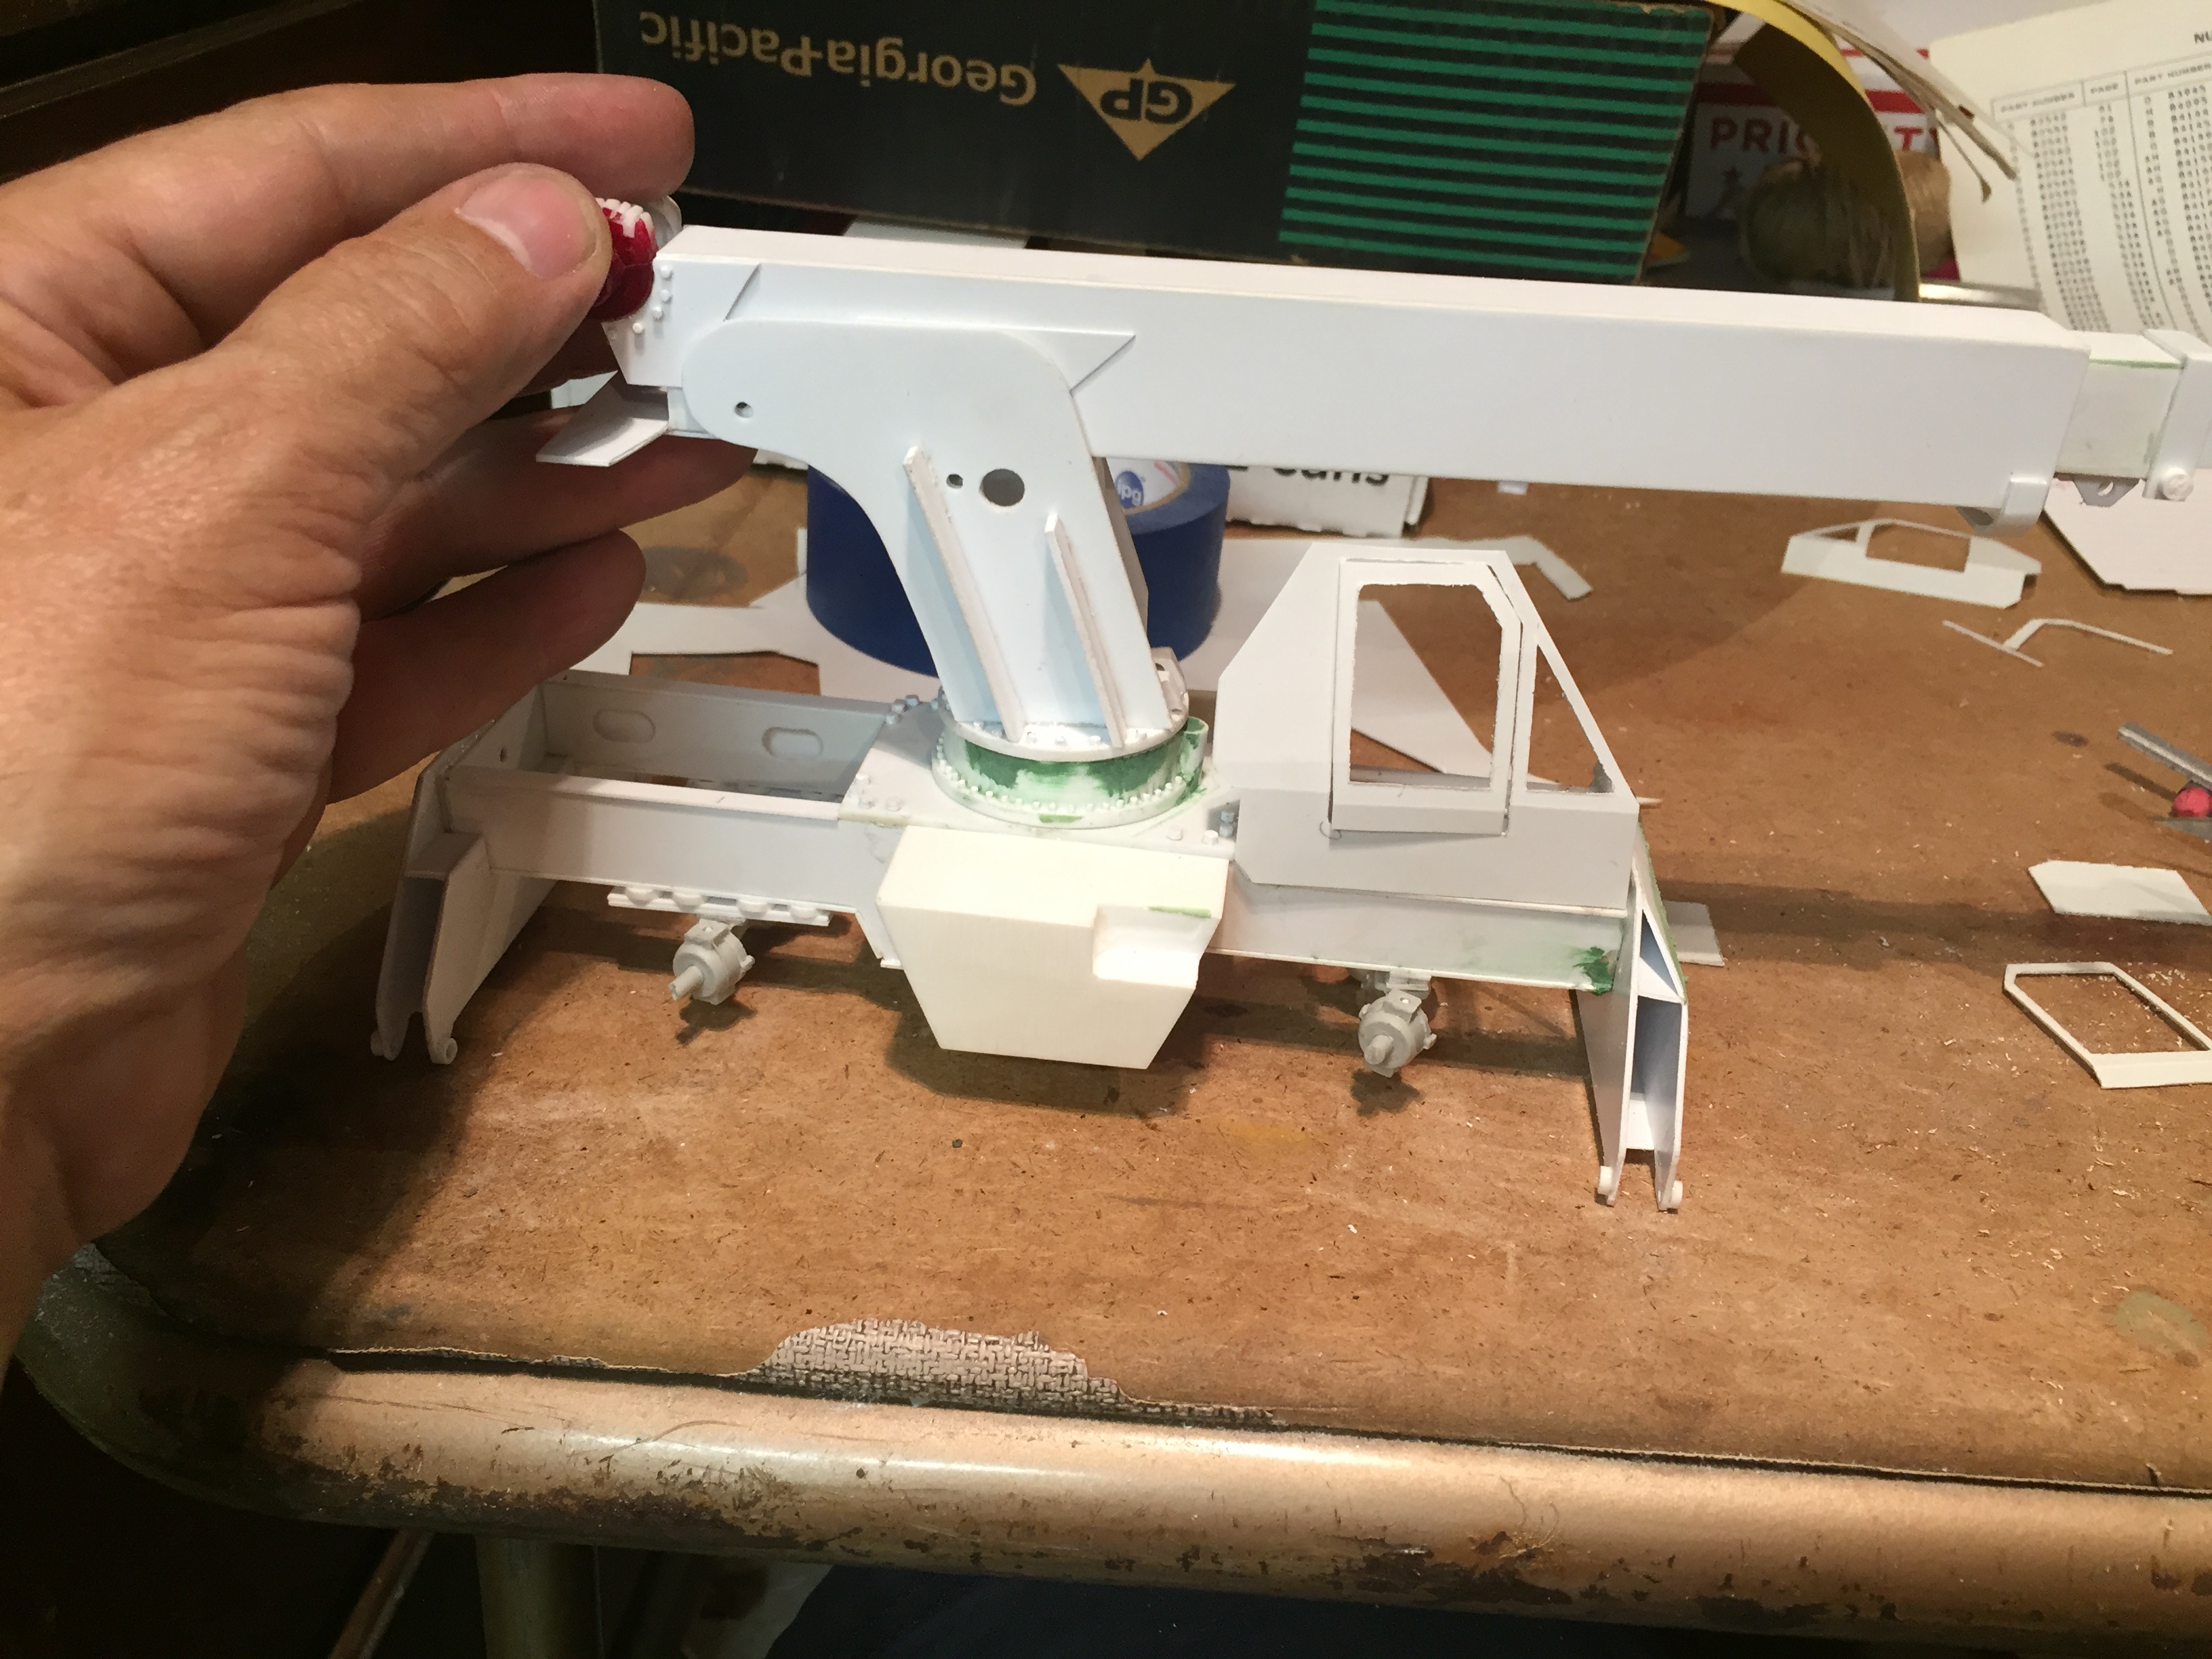
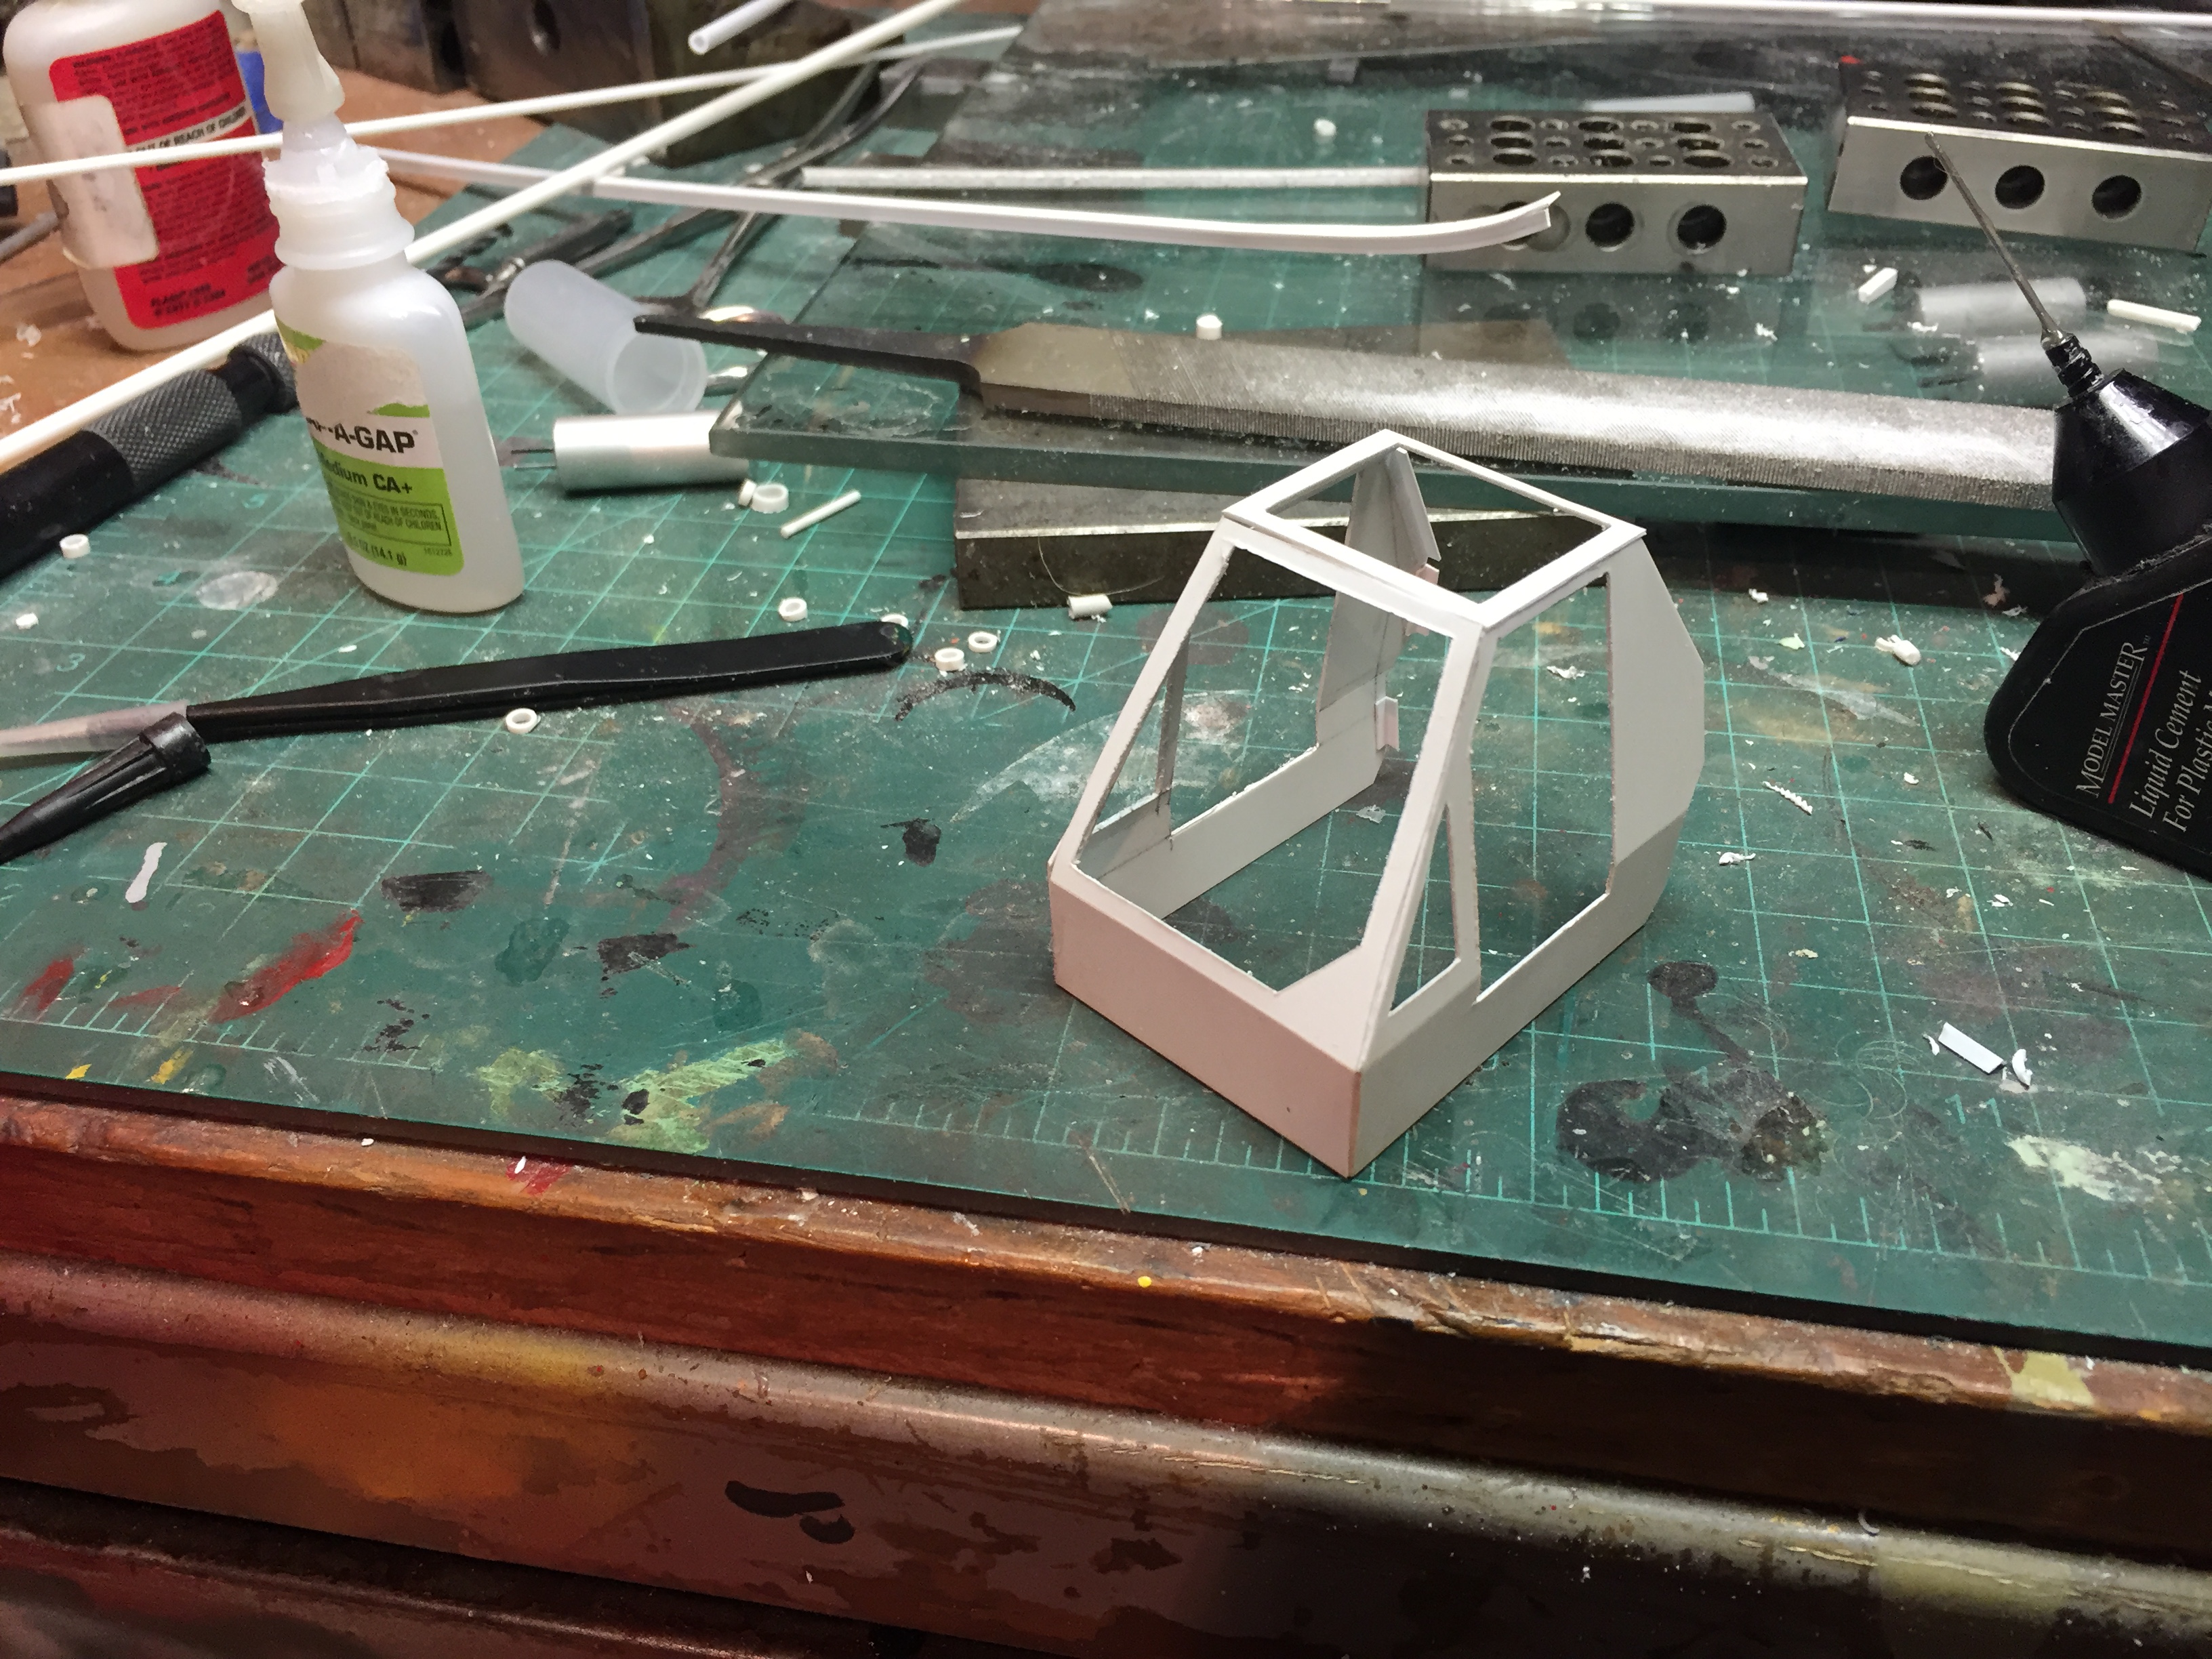
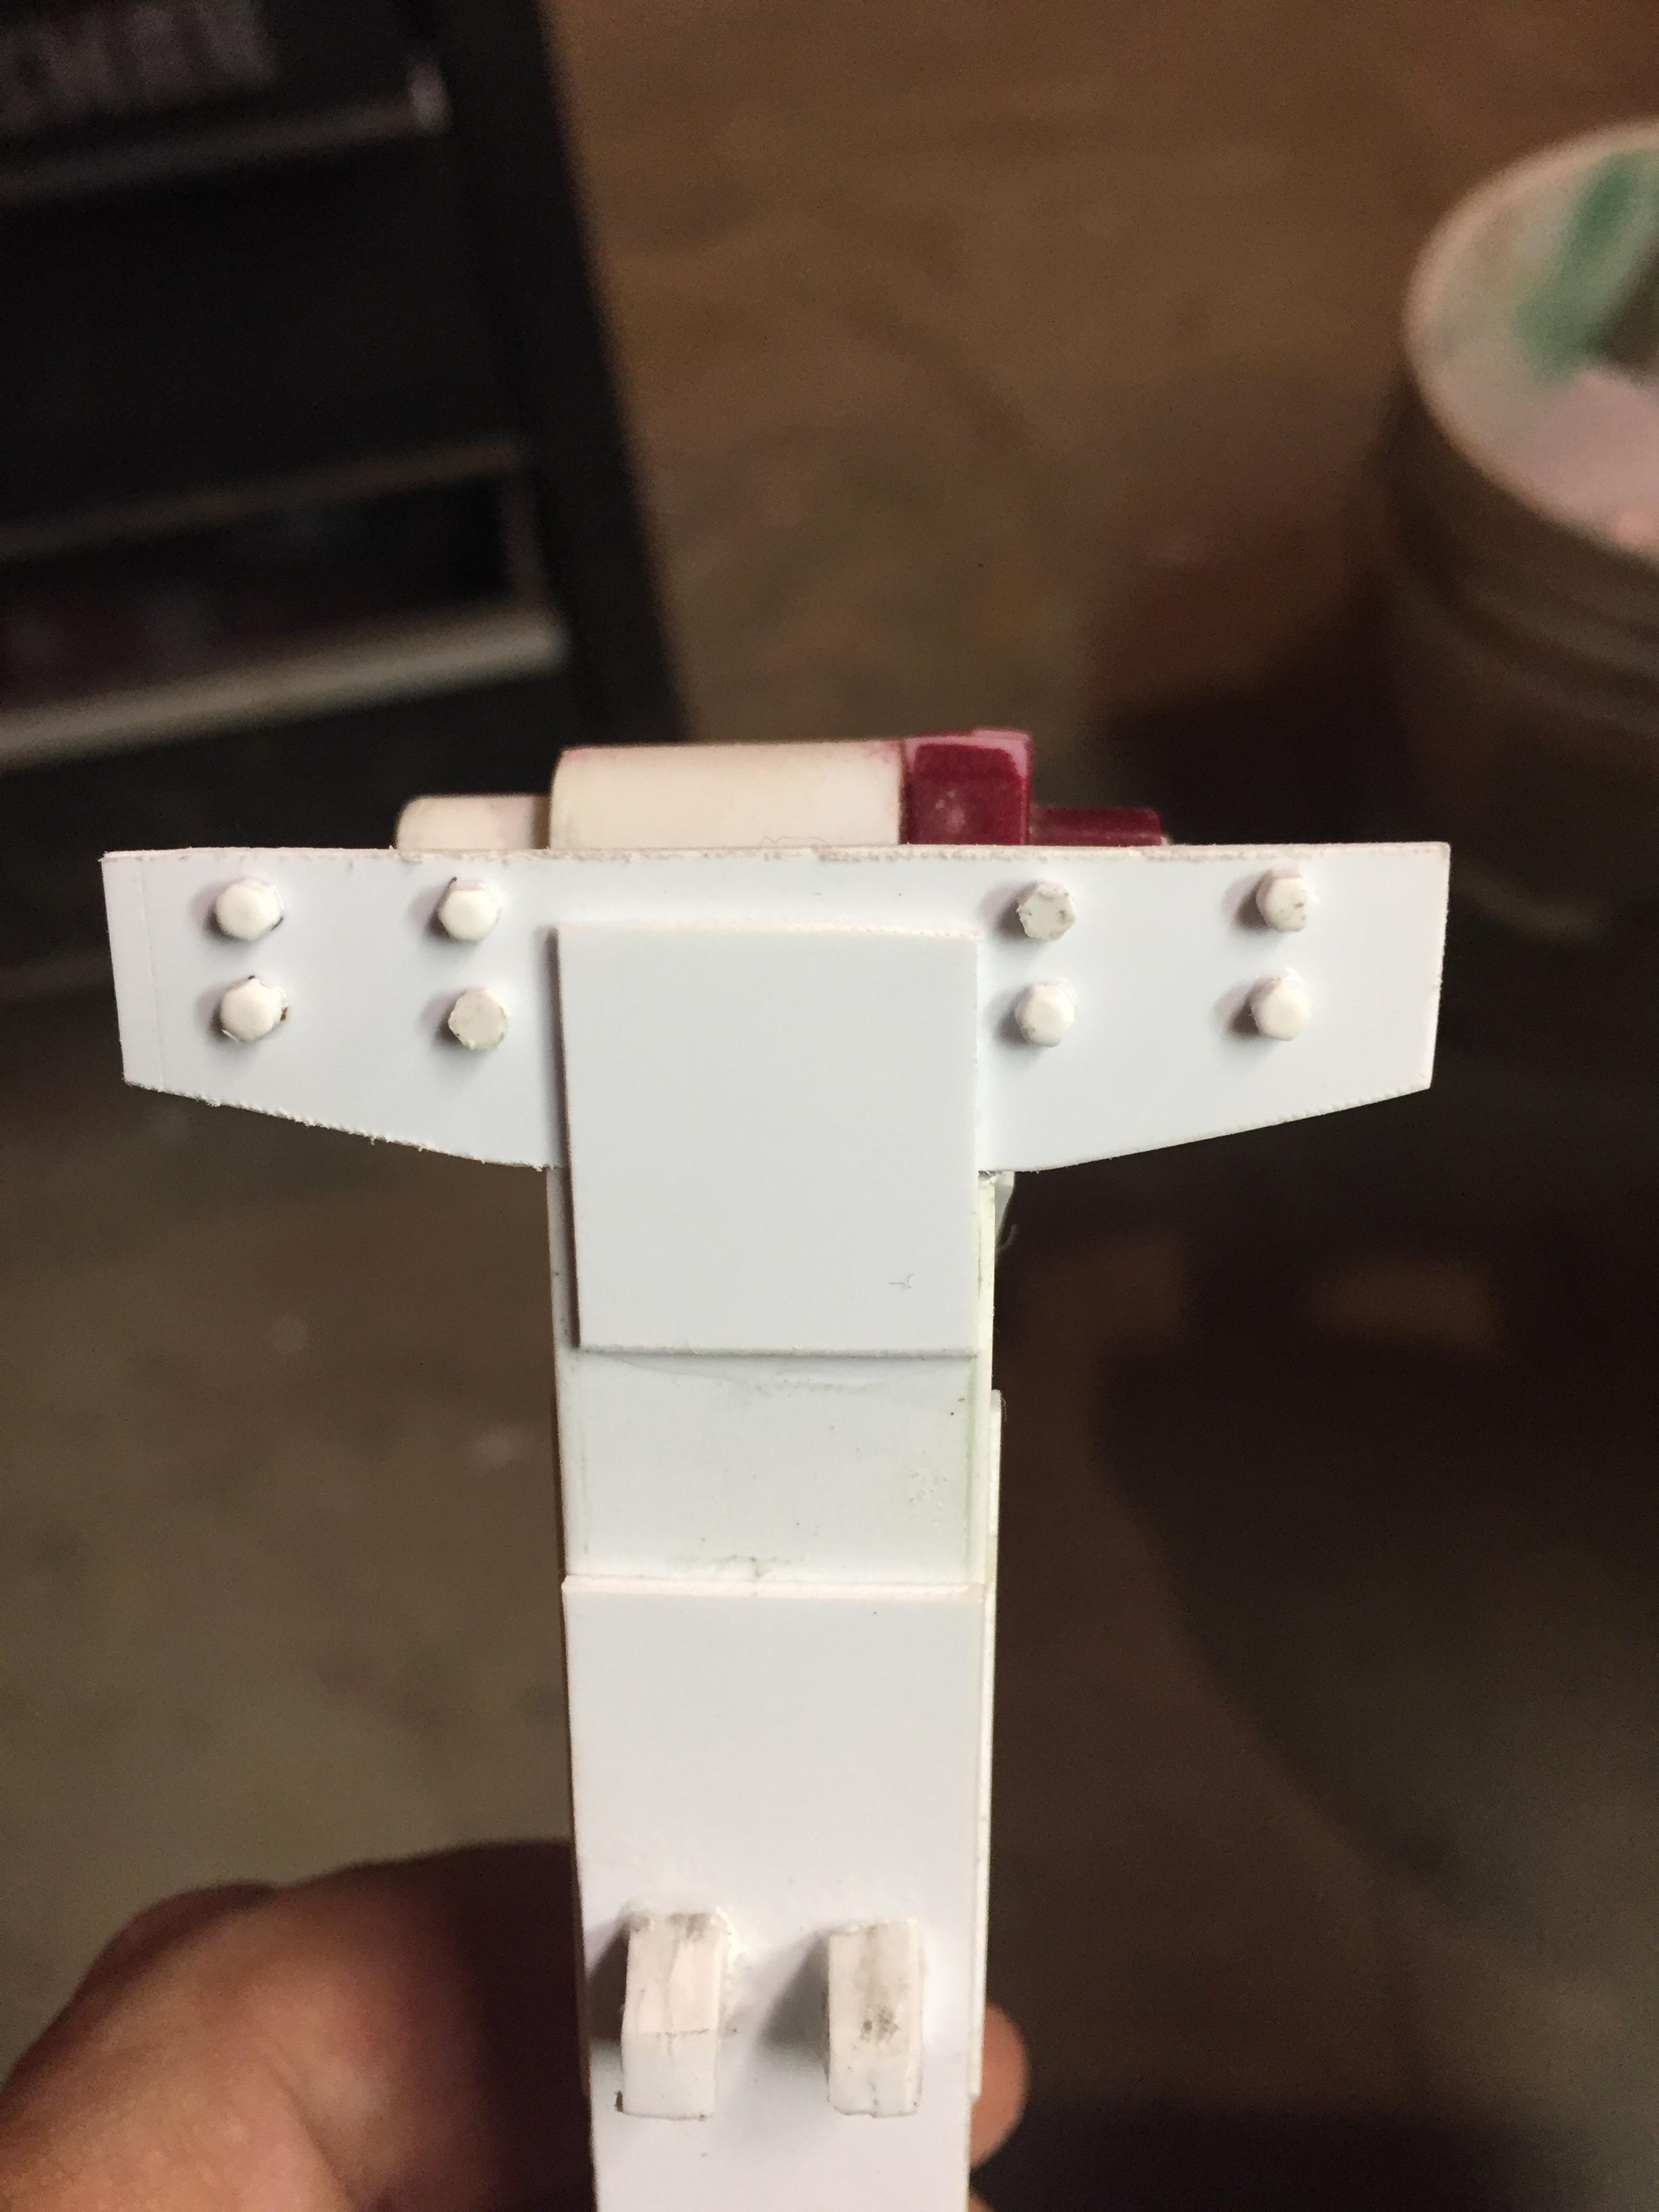
Operators cab basic structure, still needs back wall.....started this build on 16 June.....have put in an average of about eight to ten hours per week. Cylinders and cab took about two hours today. Tons of fun!
-
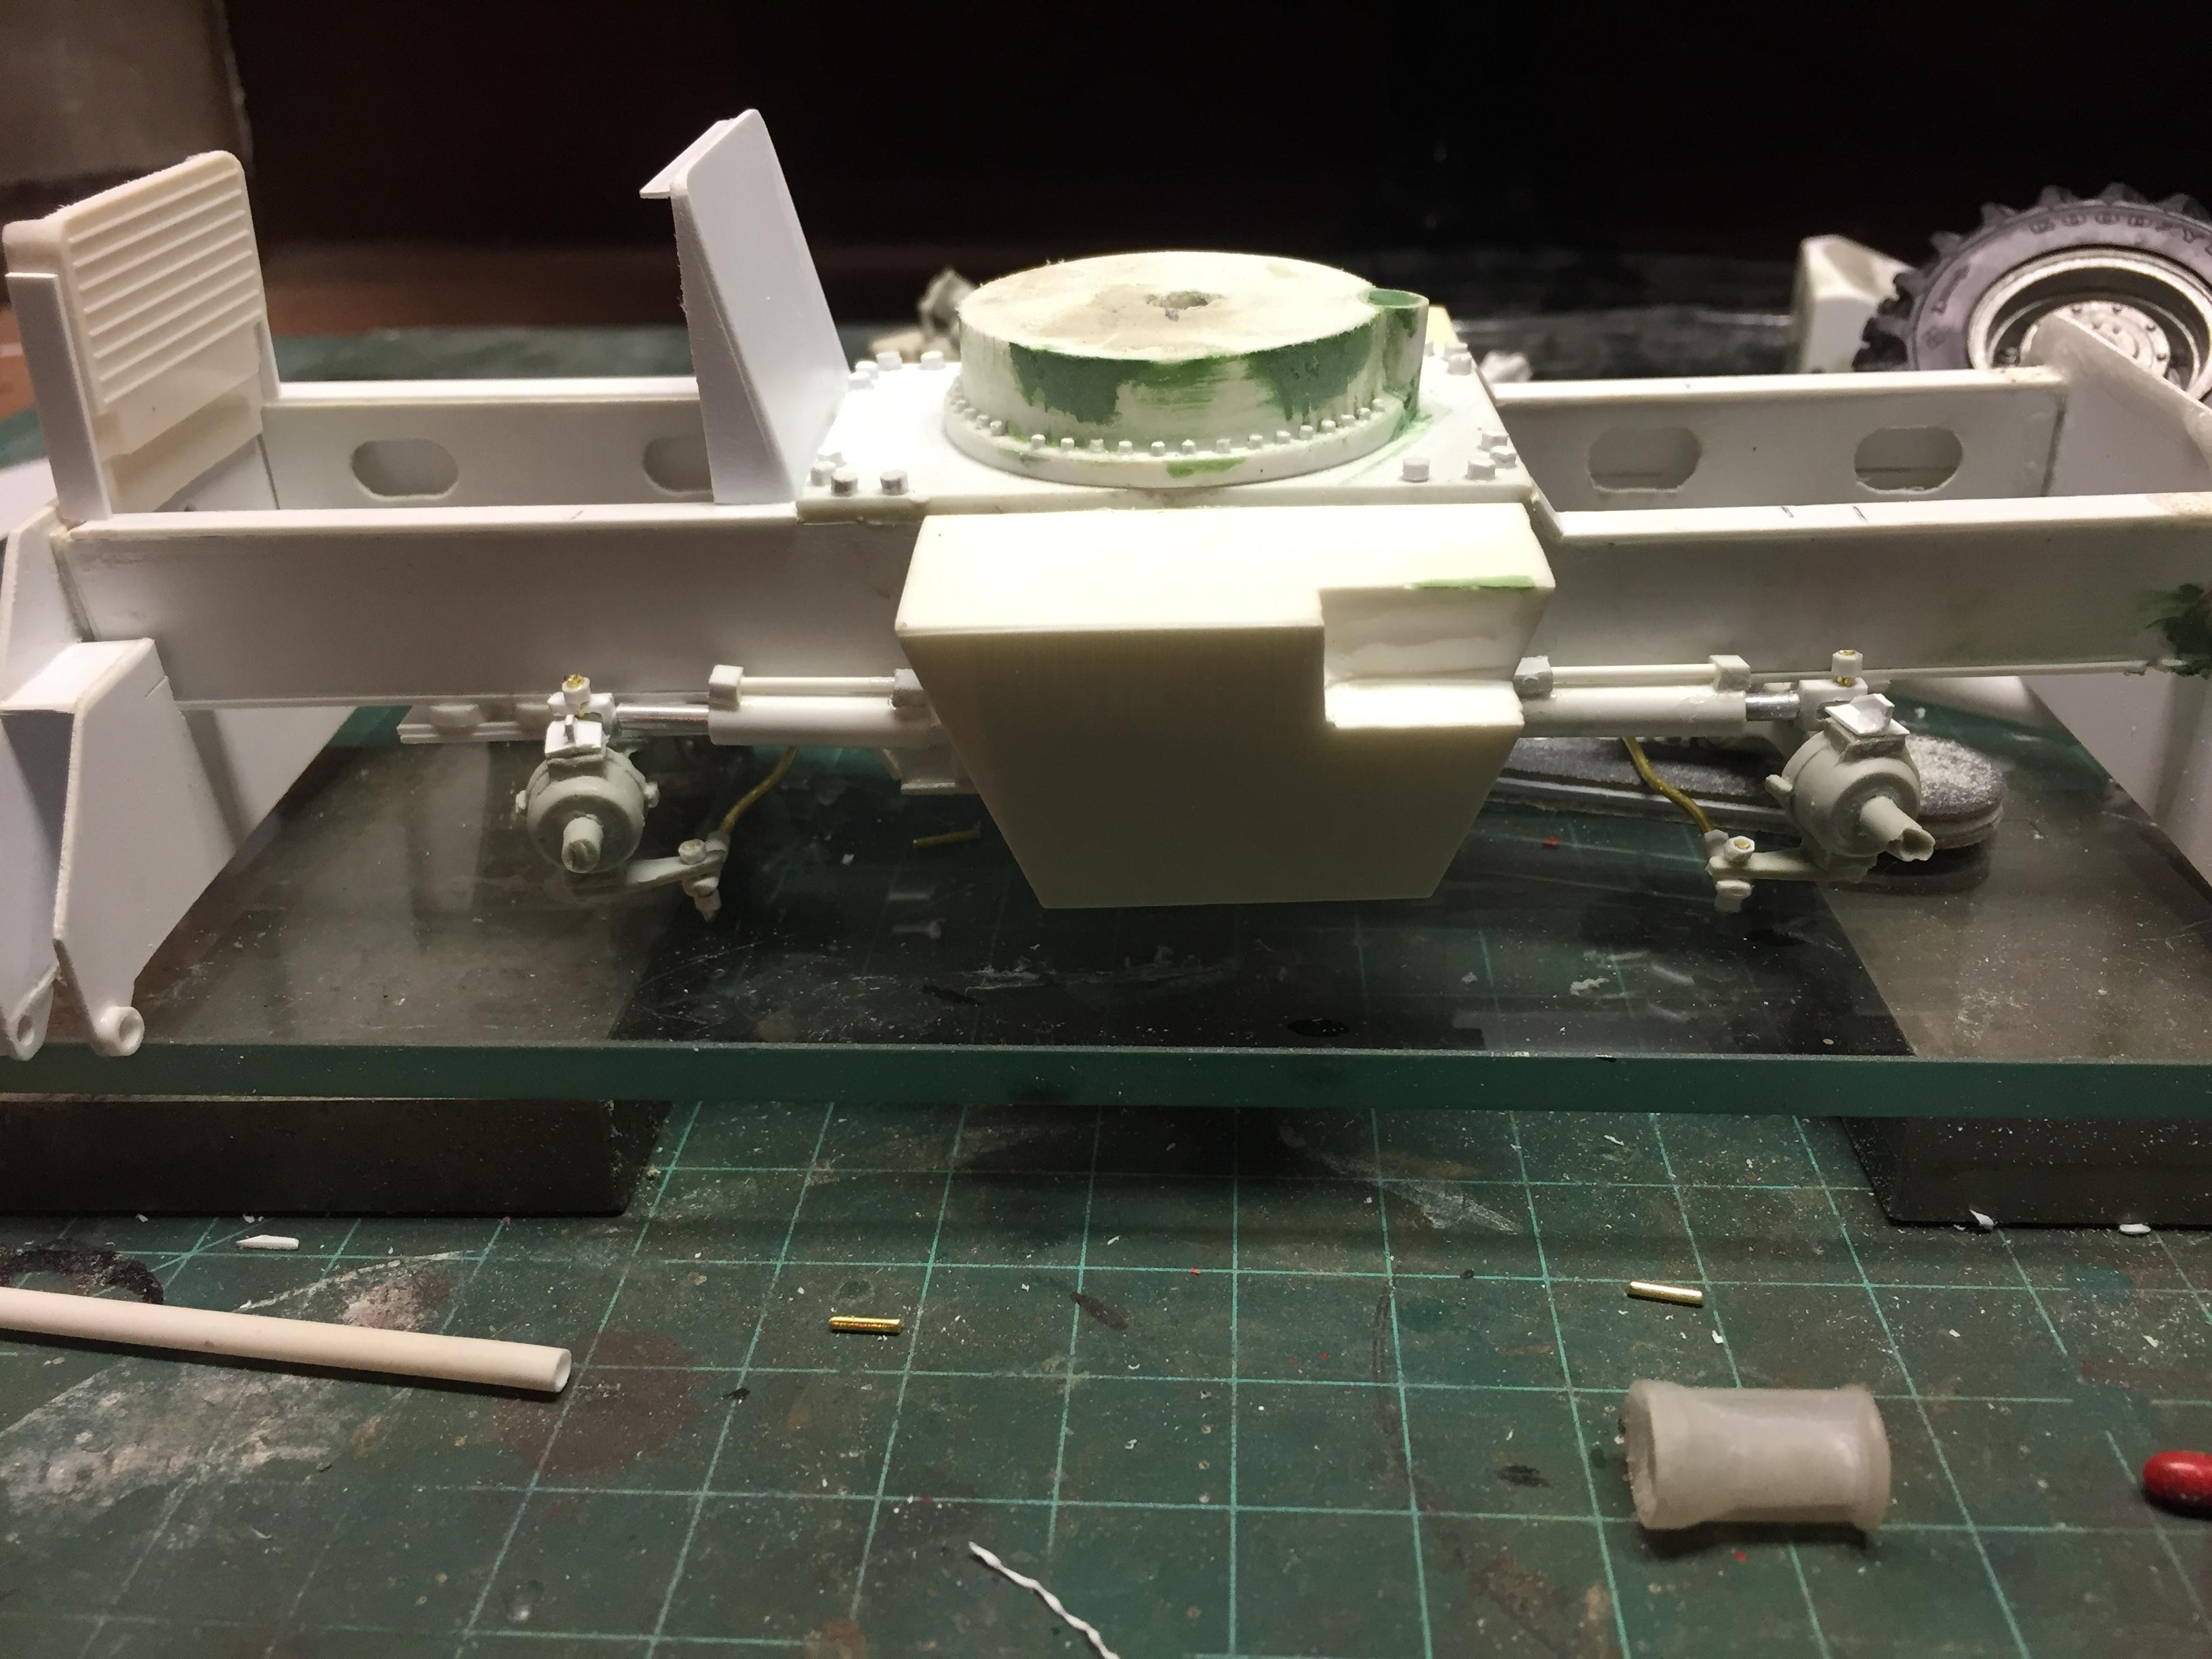
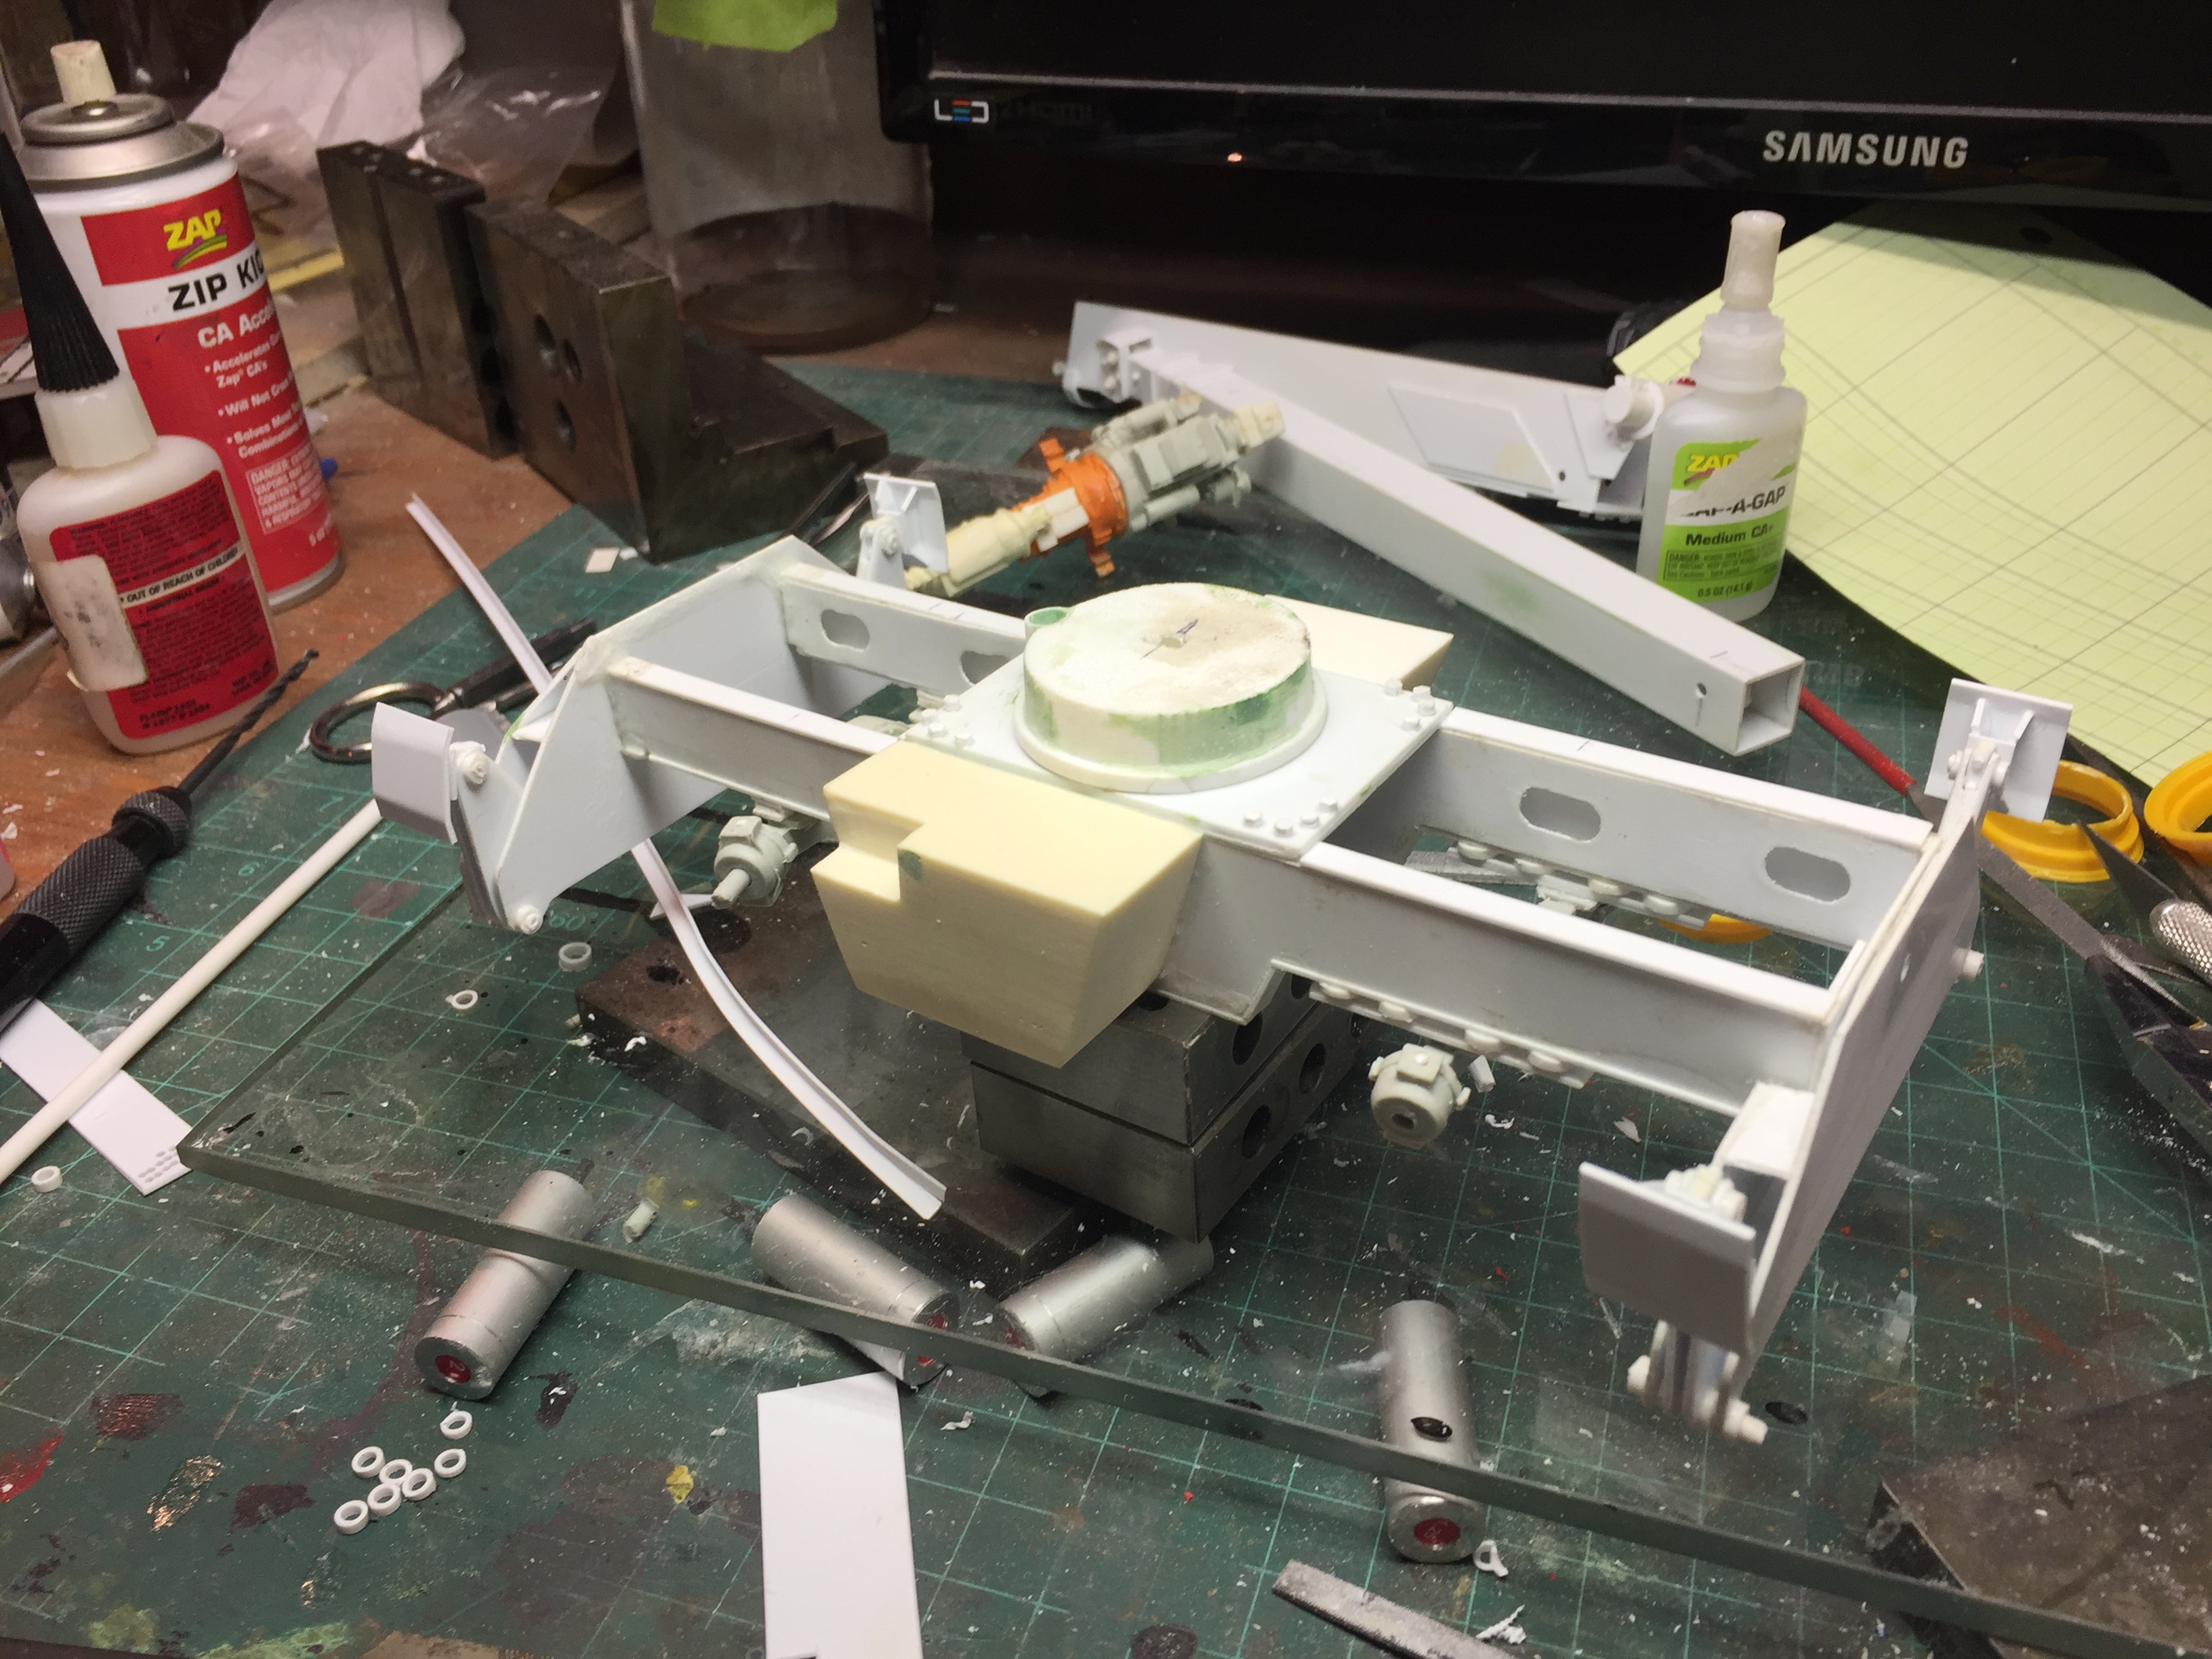
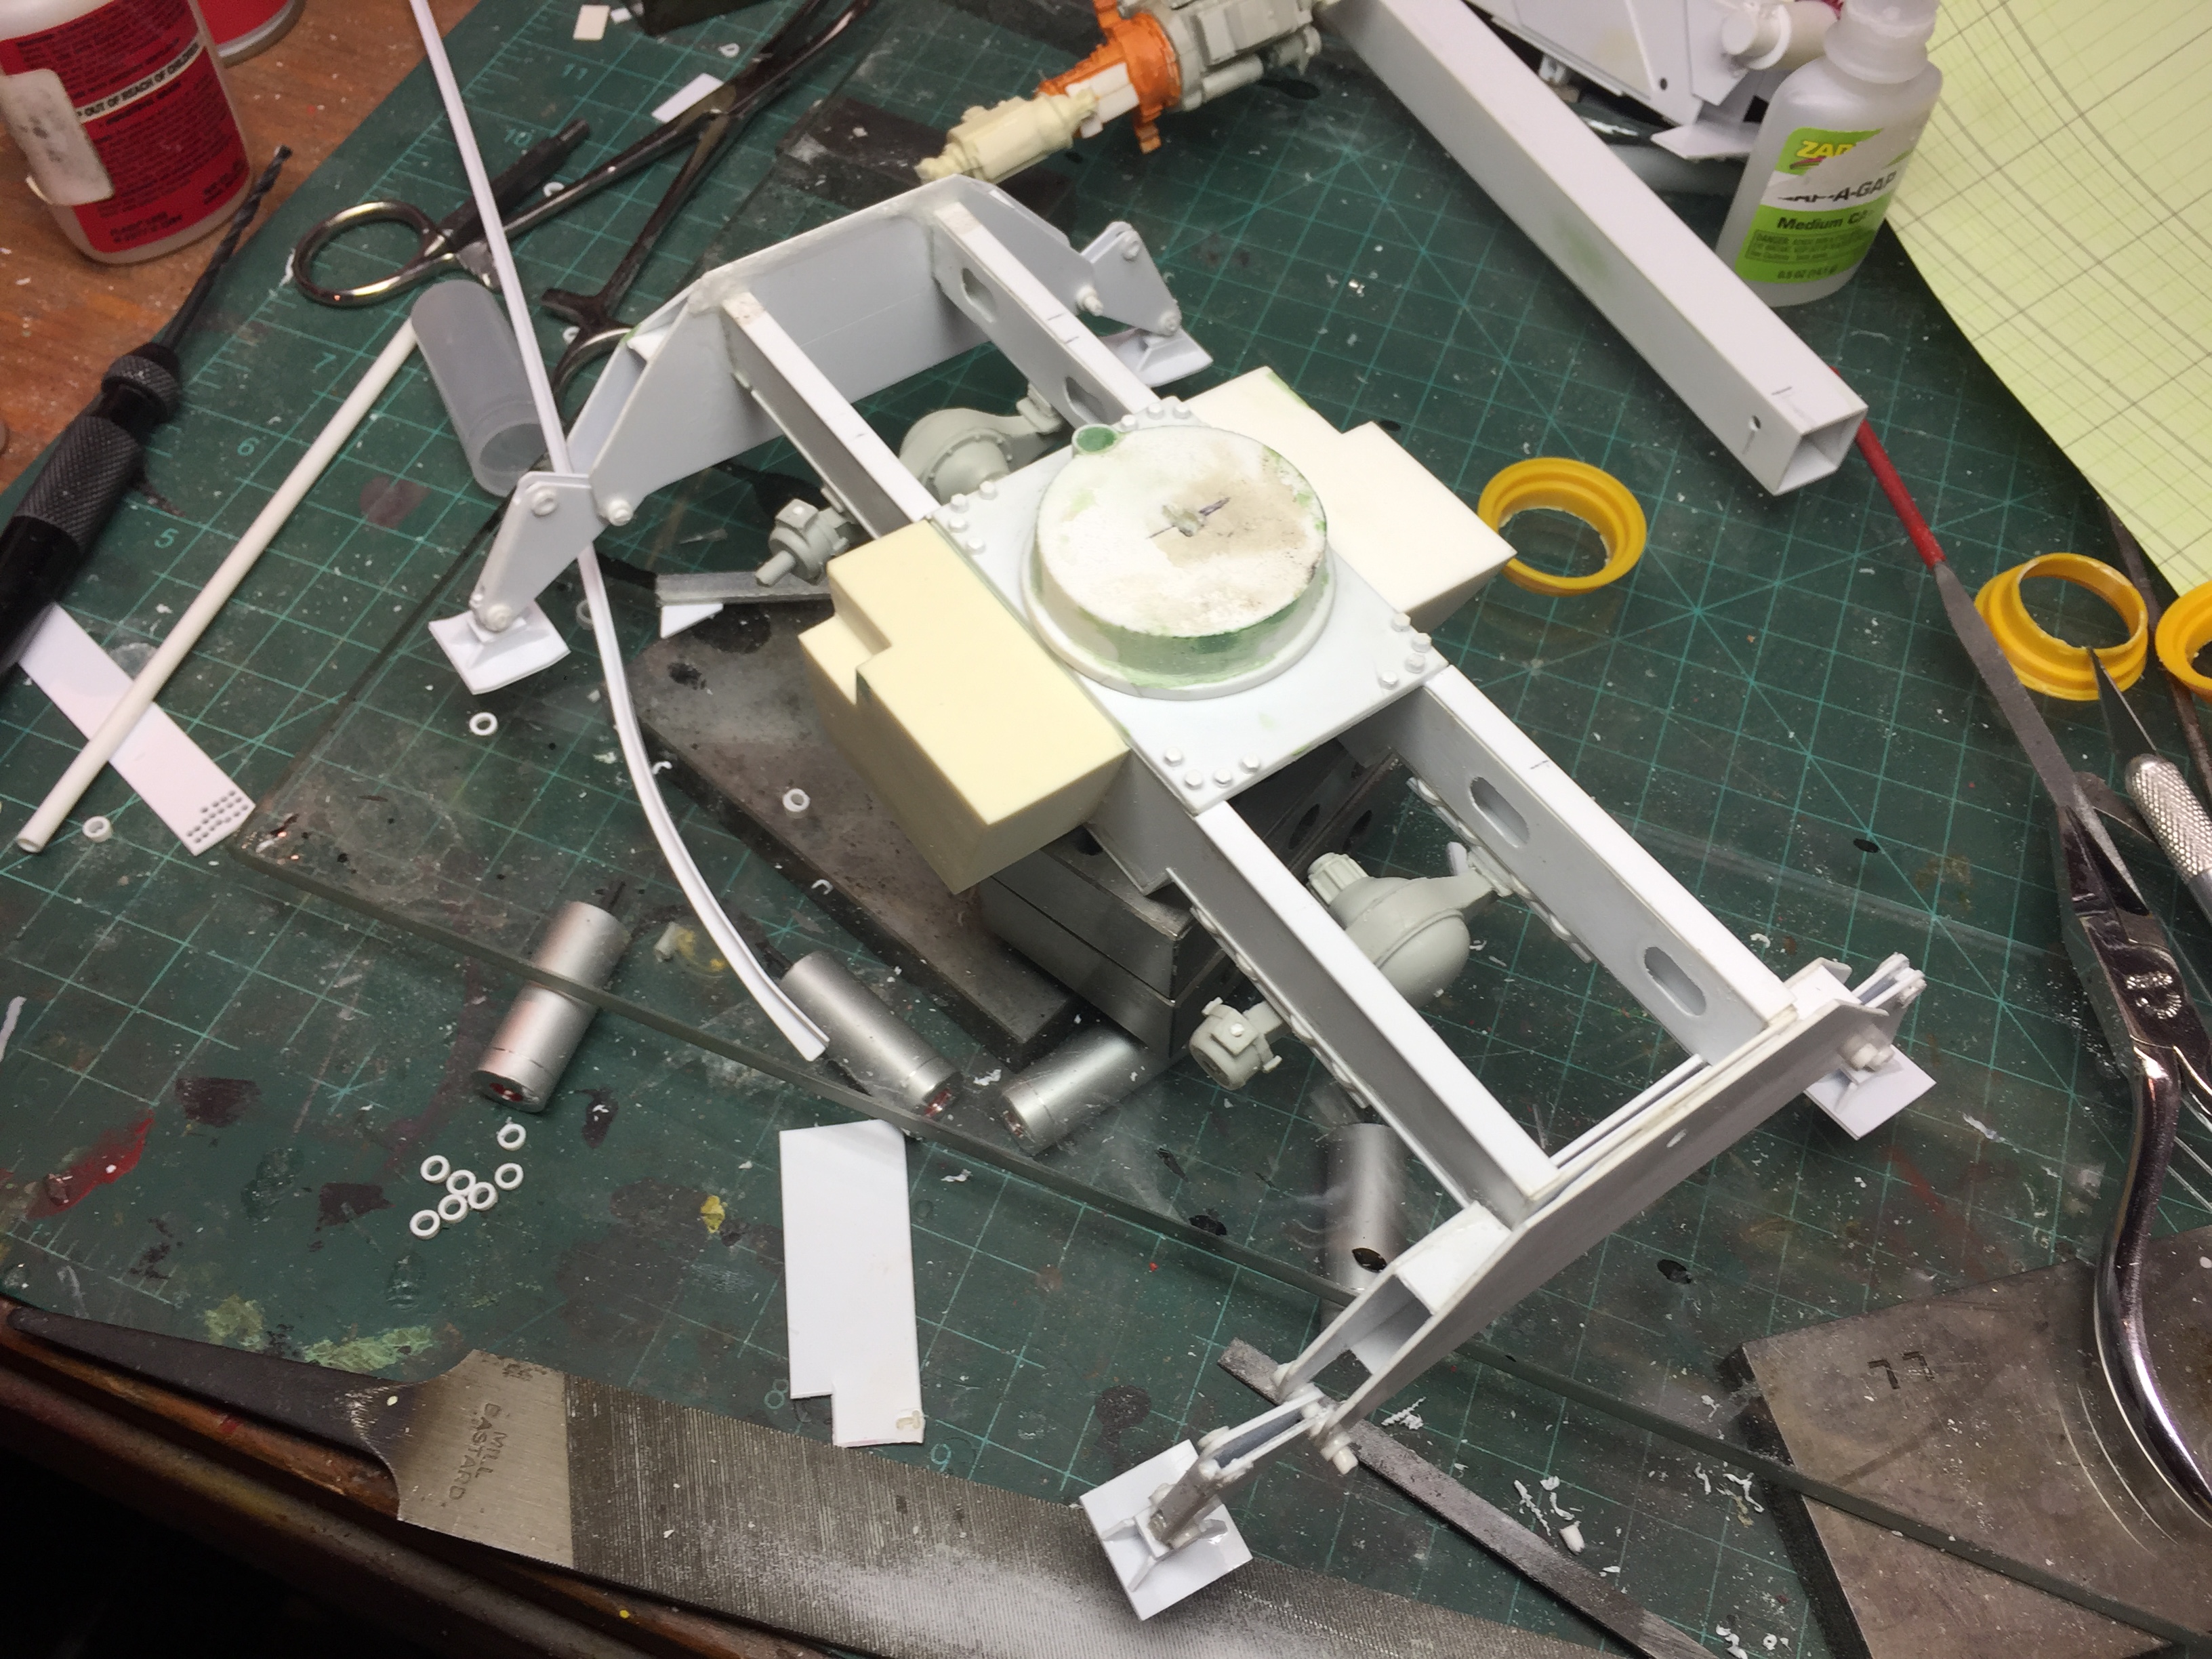
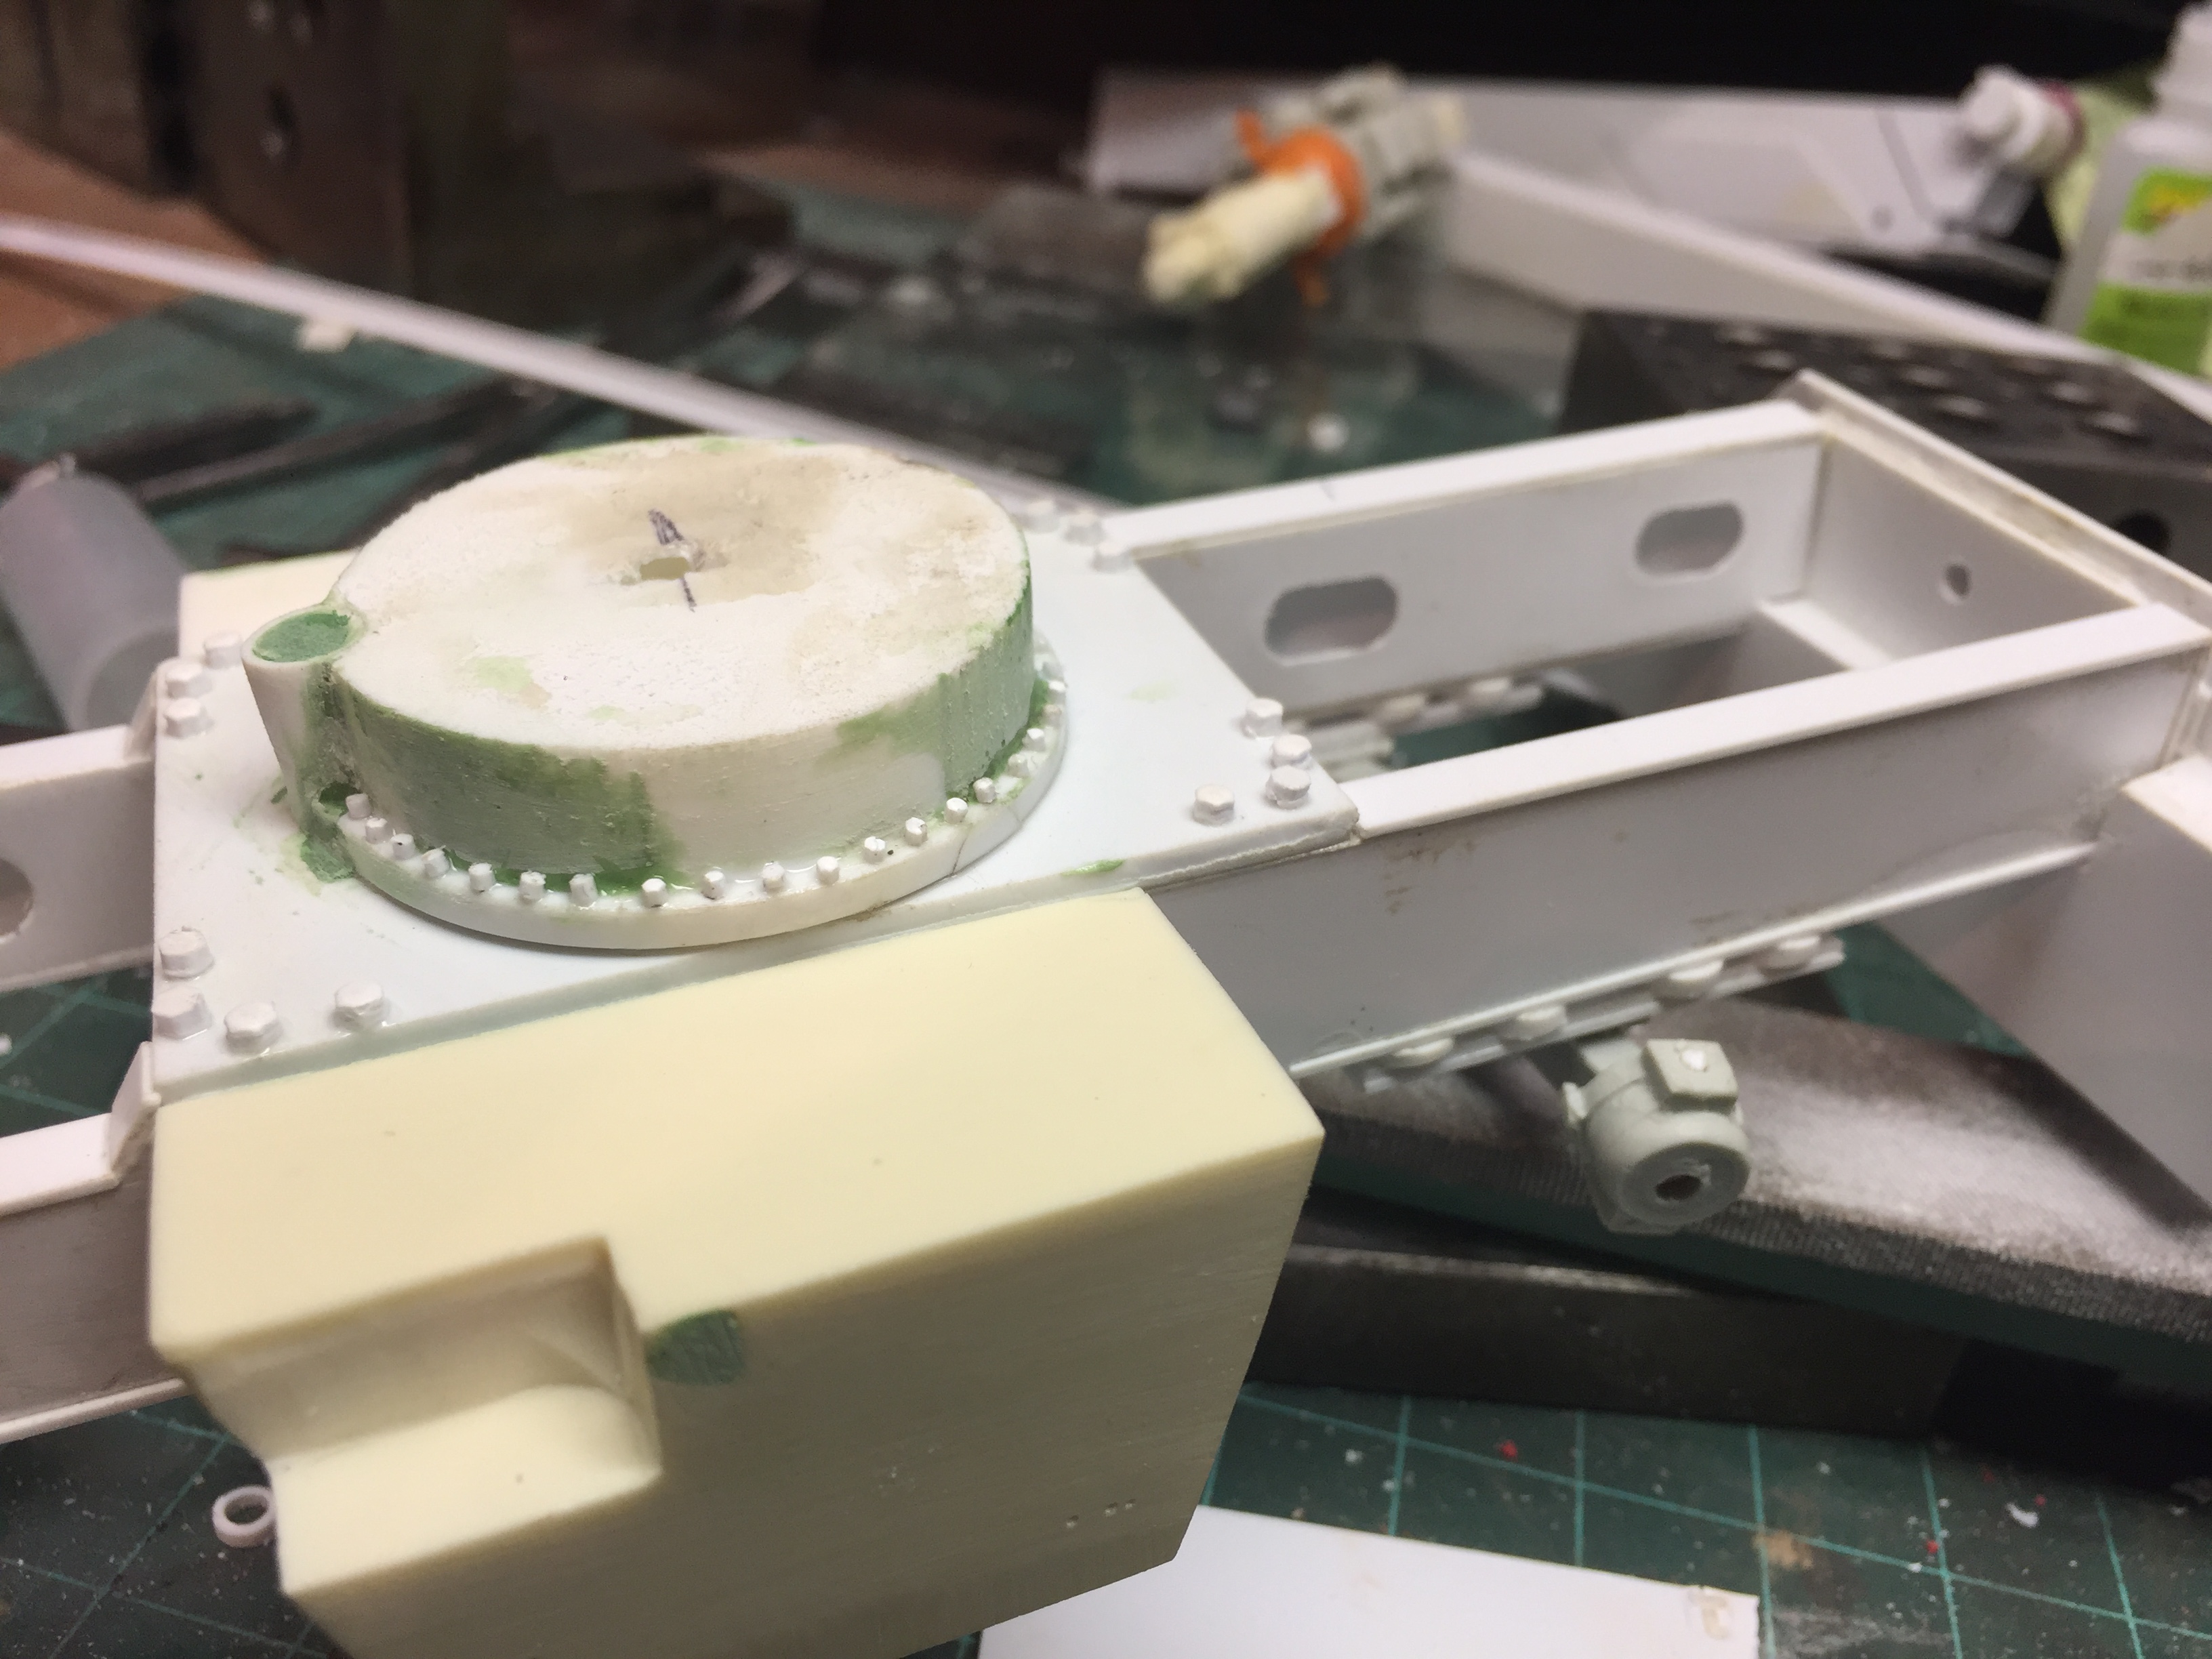
Made up the outrigger cylinders today and installed all of the 43 bolts that hold the turntable to the deck. Here is a shot of all of the subassemblies so far. Next big things to do are the engine enclosure, steering cylinders and operators station and cab.
-
Yeah, quite the gams, no? LOL!
-
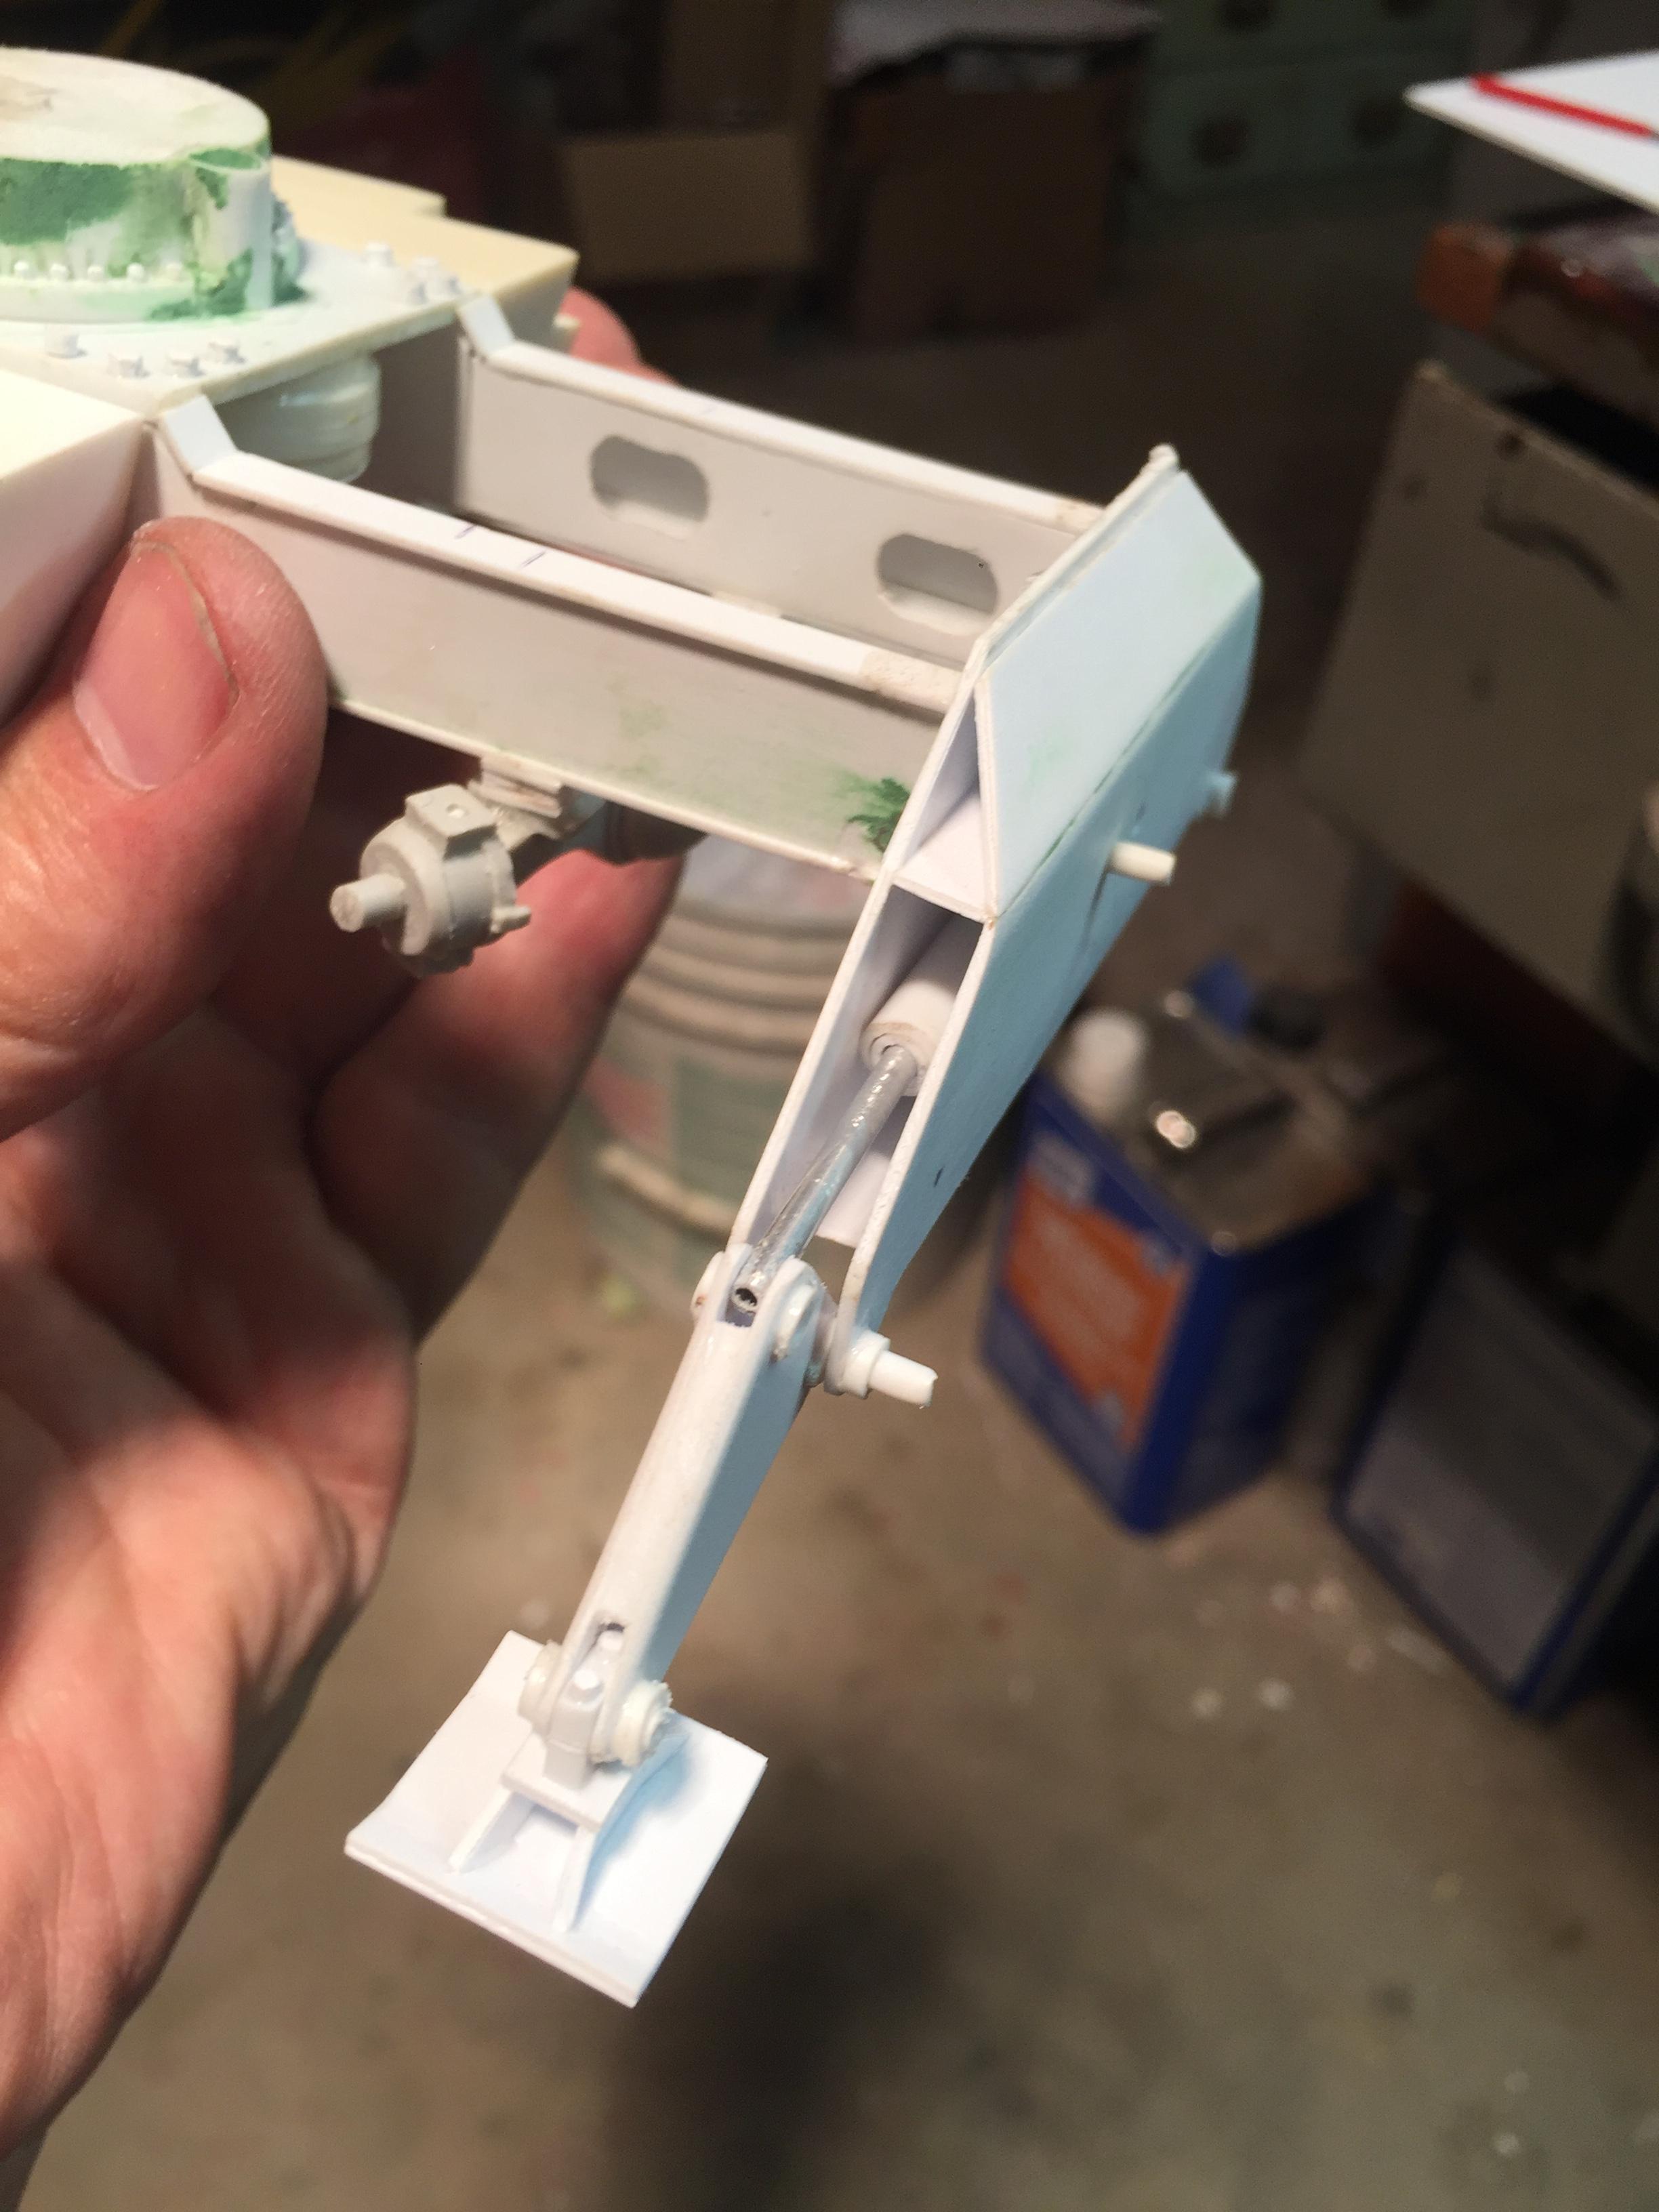
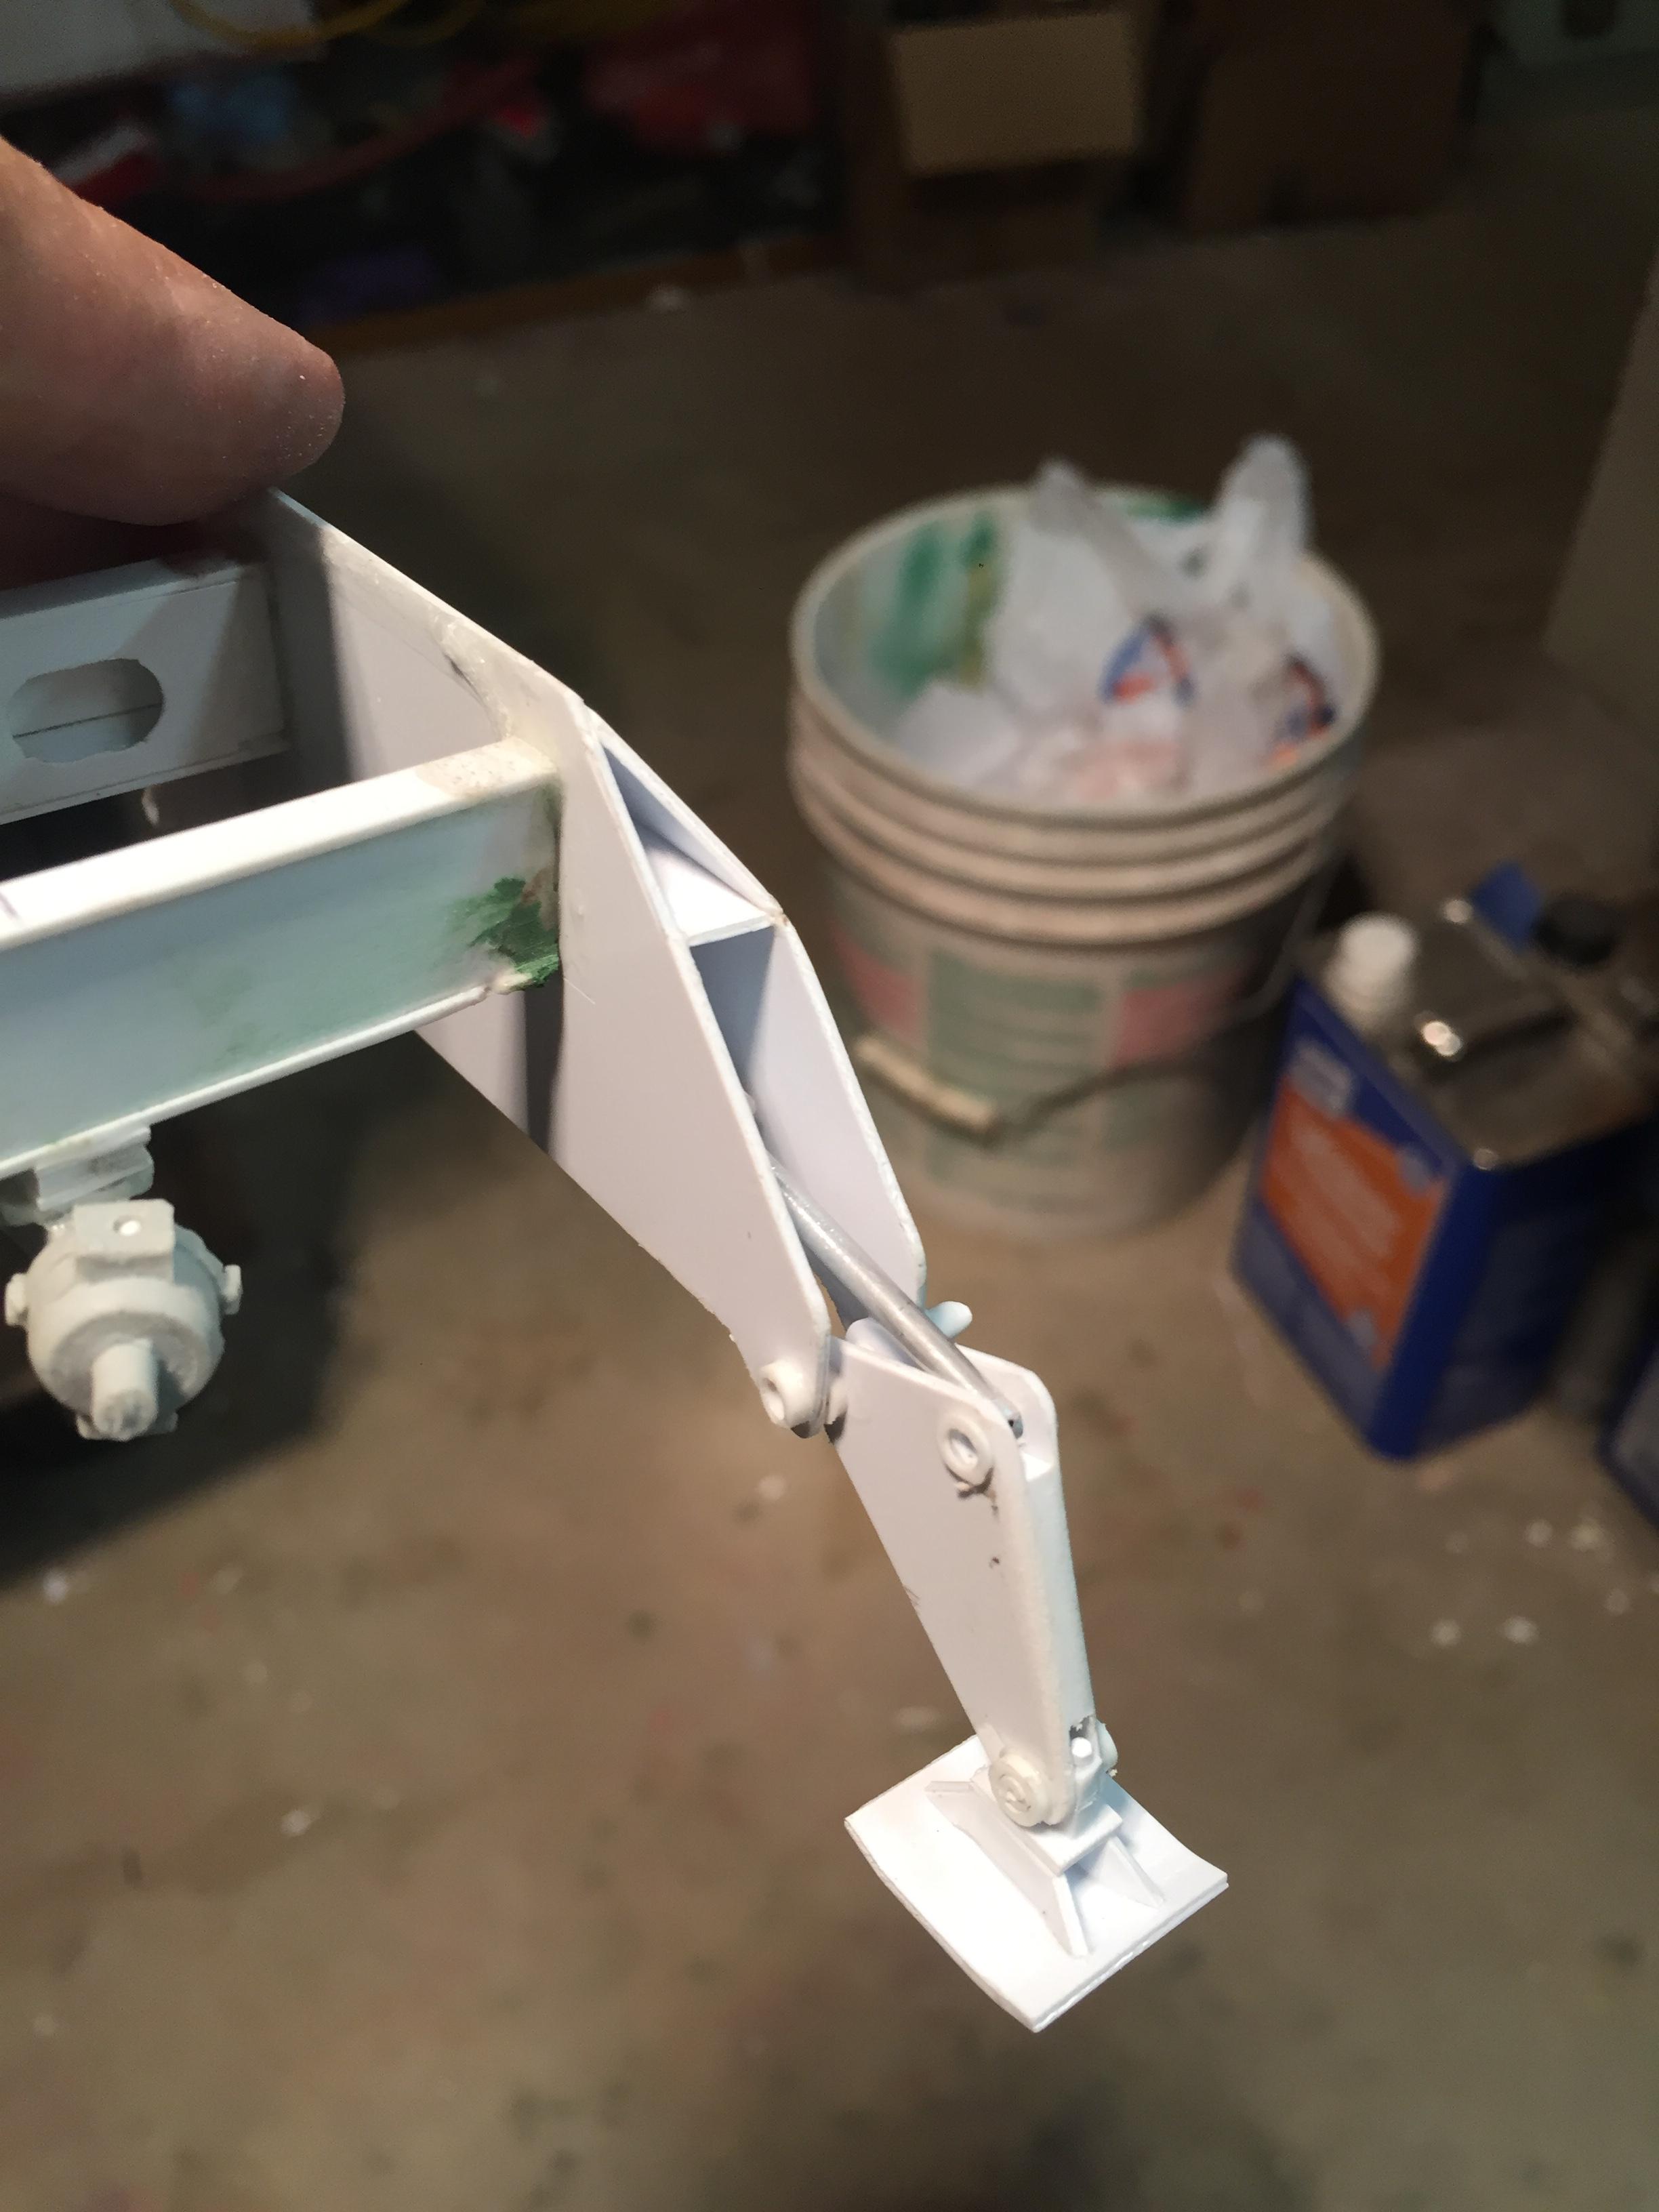
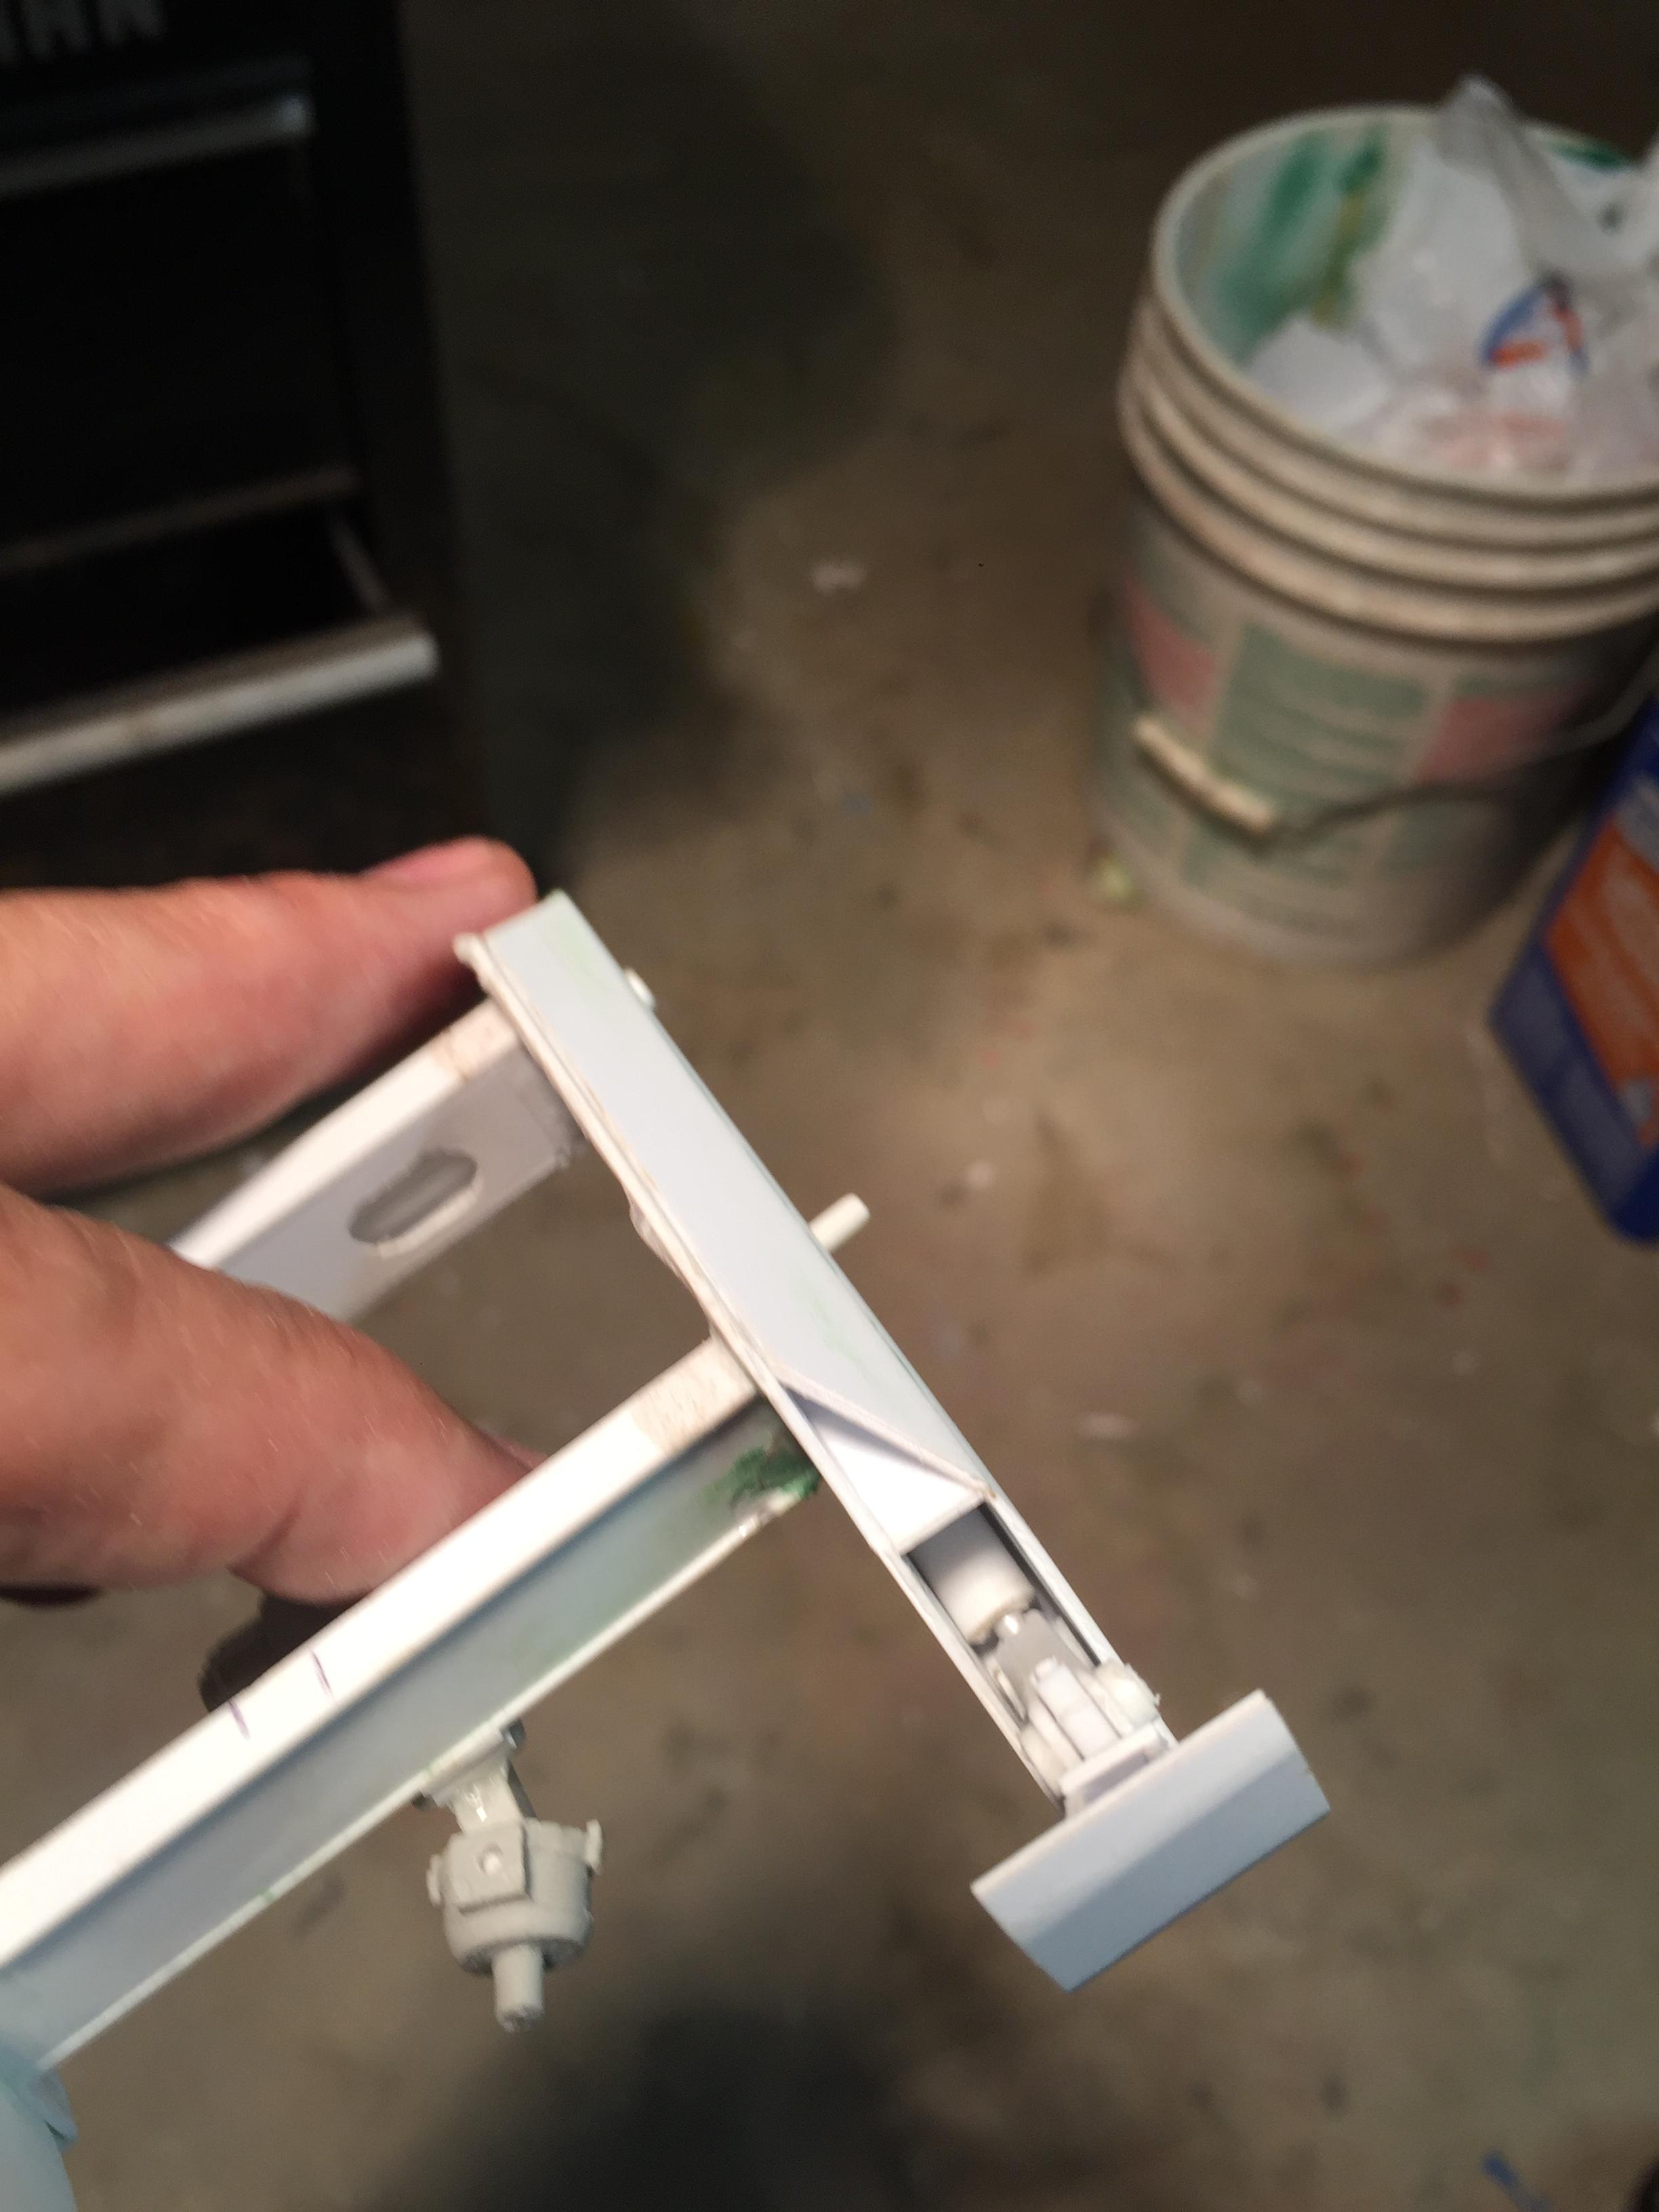
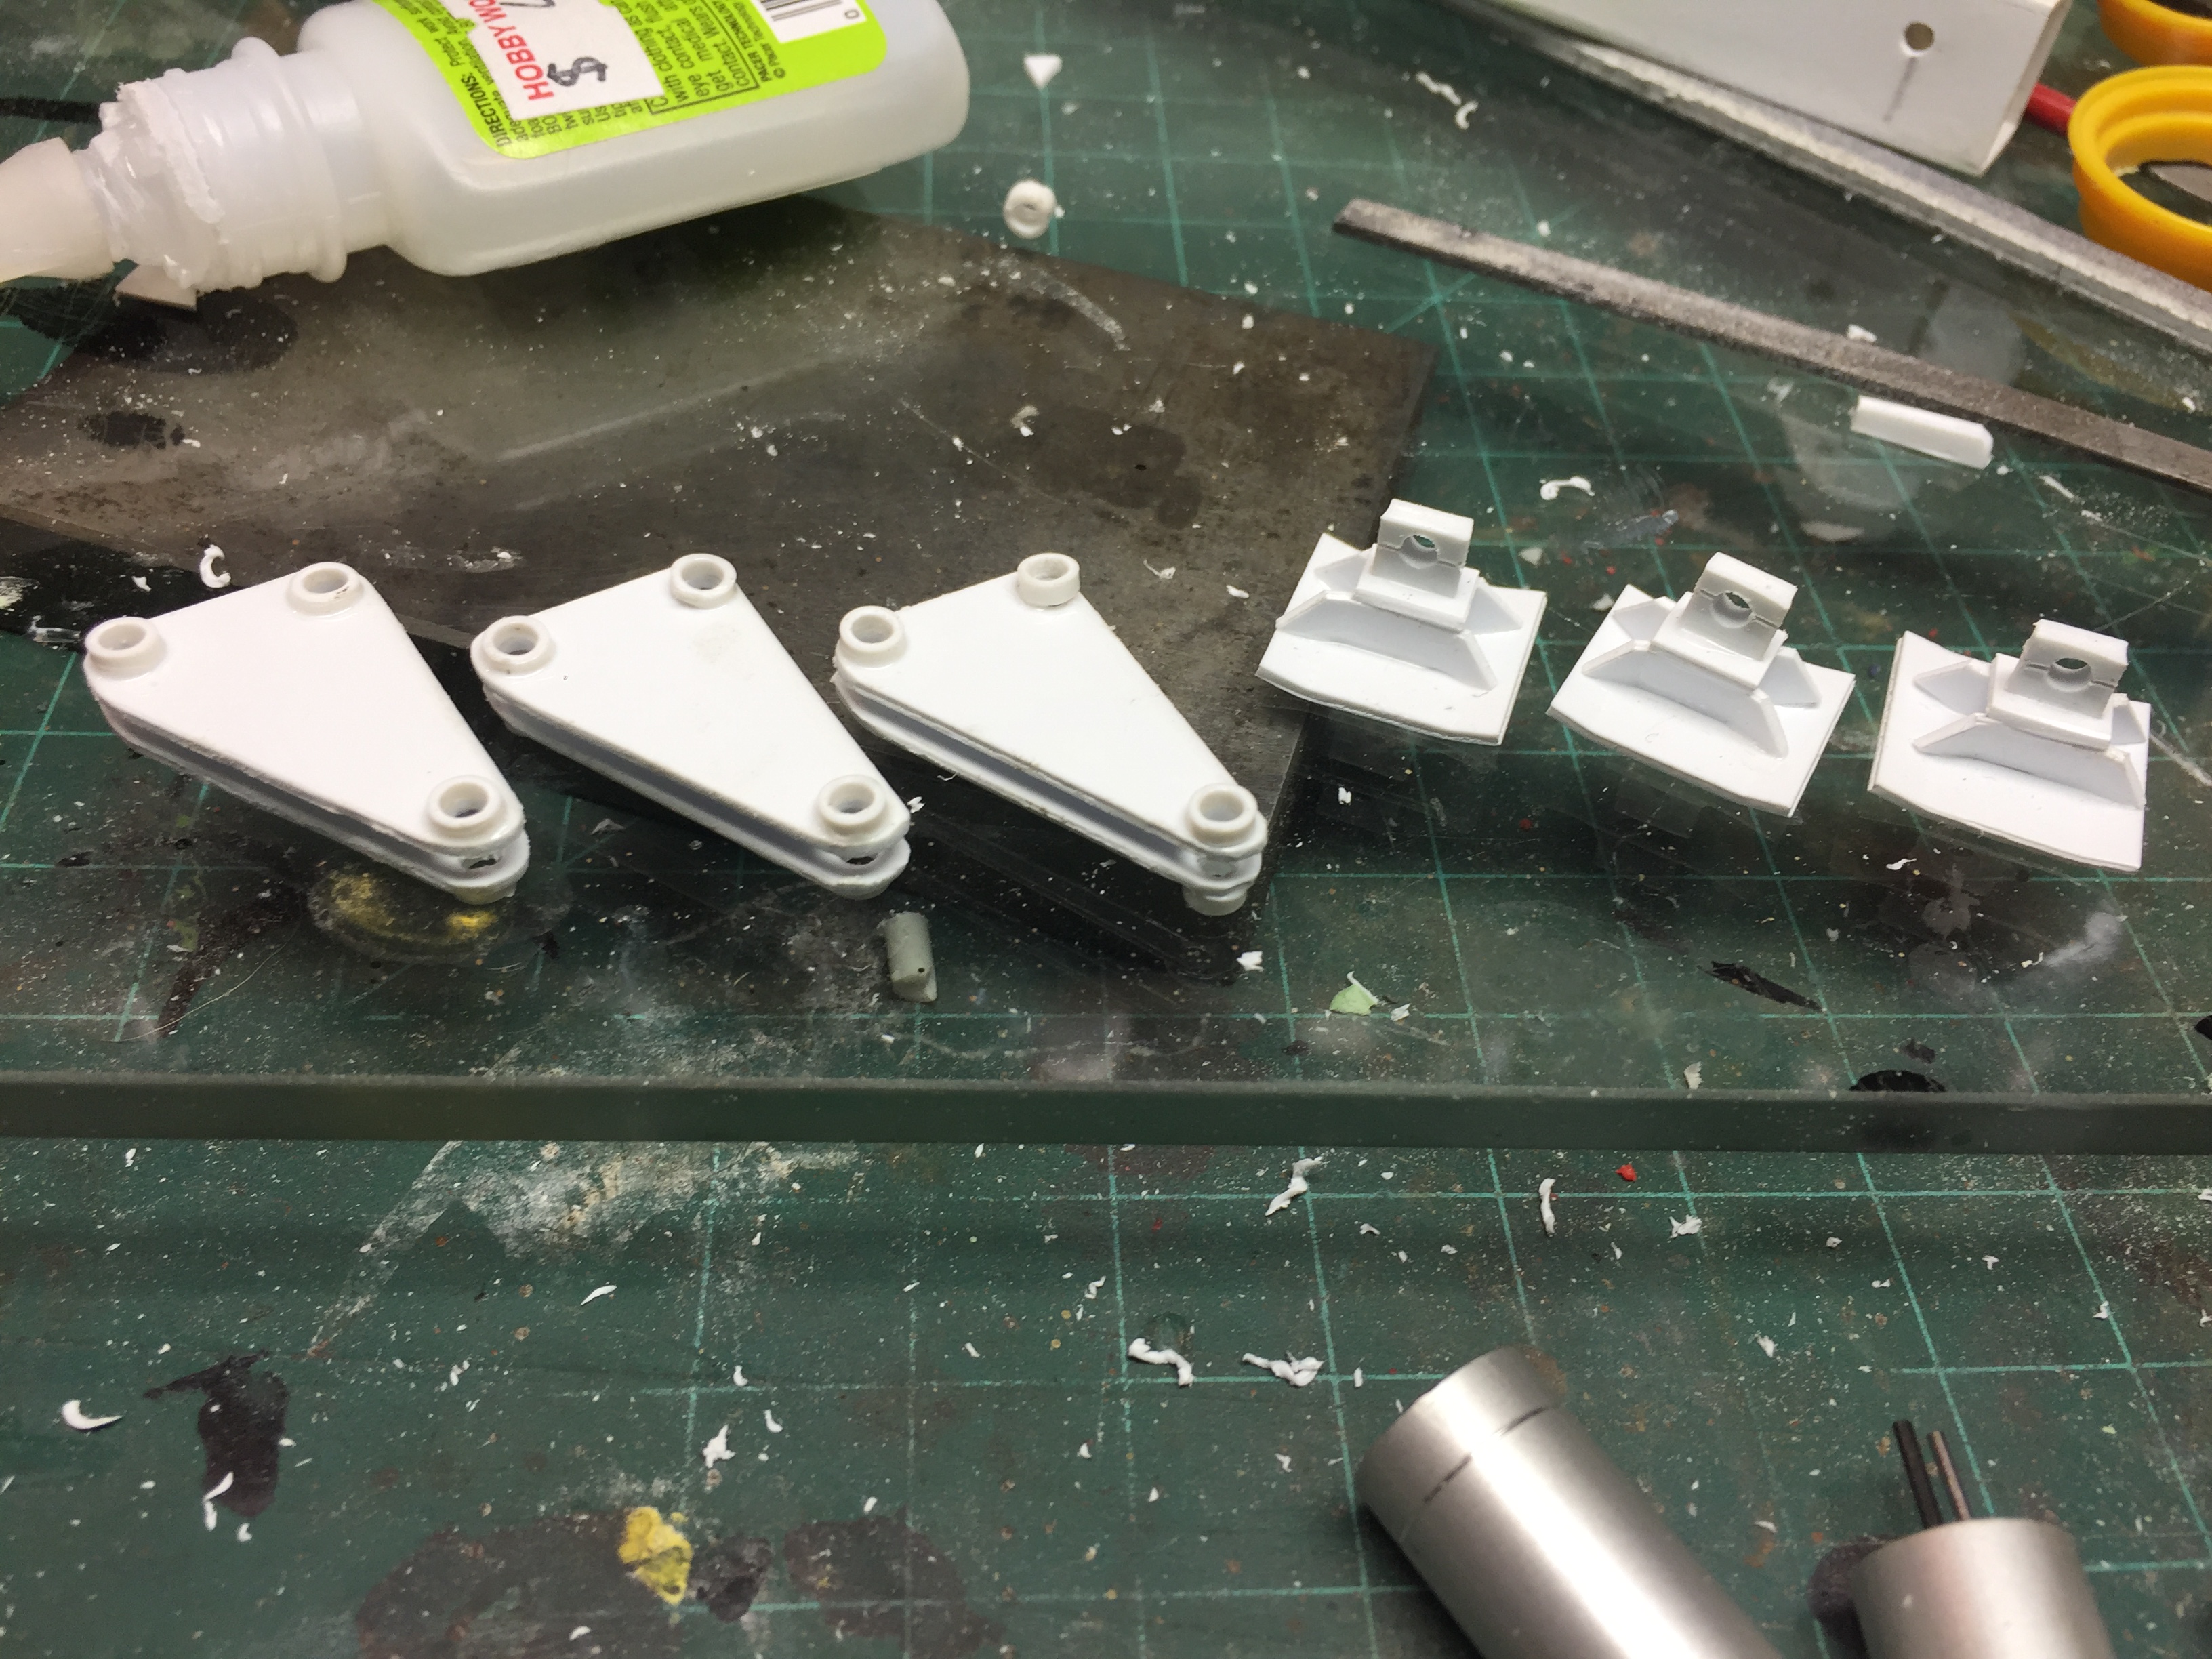
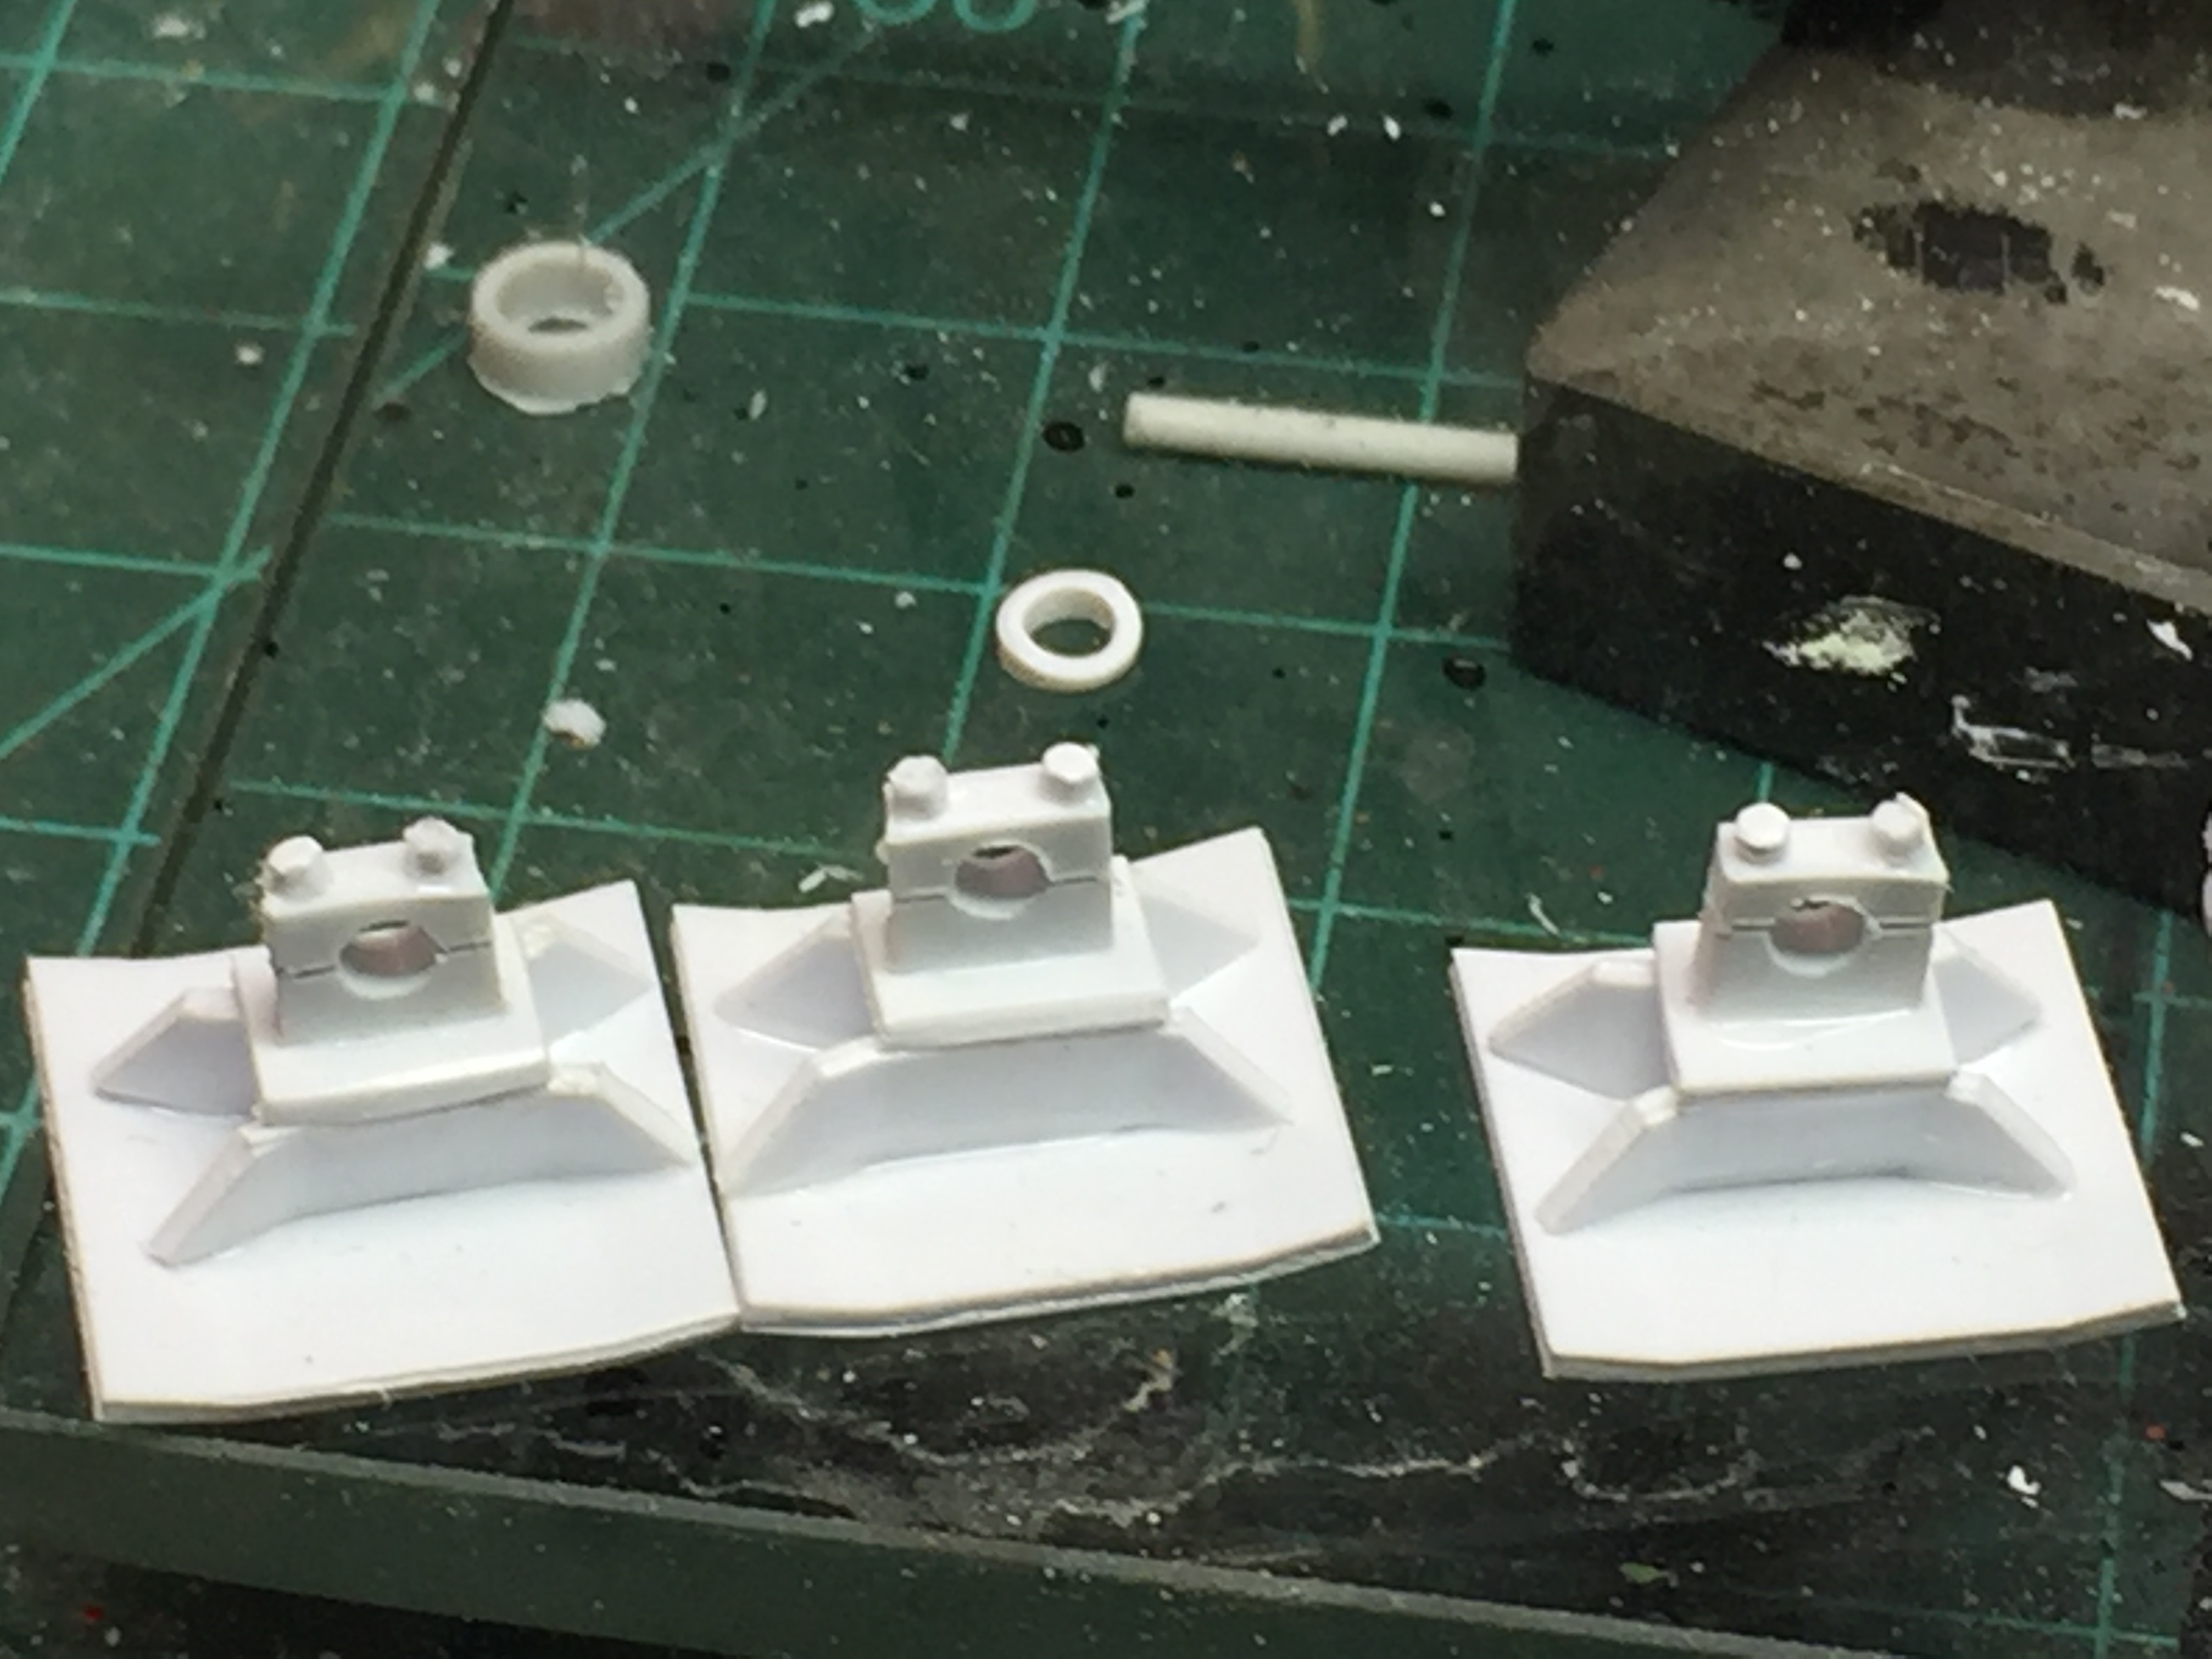
Worked on the outriggers tonight. Got all four of them made up with the pivot bushings and made the pads as well with the pivot bearings and caps and bolts holding them together. Did a mockup of one of them to see how it works. Just need to make the cylinders now. Also installed the winch and the bolts holding it in place. Put the bolts on the turntable support and the boom support too. Also installed the bolts that attach the counterweight. The counterweight won't be installed until after all of the piping is done. The painting on this build will be done in many subassemblies and then assembled because of the complexity. Really is an adventure! Starting to look like something!
-
Those have a mechanism that locks the handle when at full clamp. It can be easily released. Cheap and effective.
-
Thanks! This scratch building itch just won't go away. Love it!
-
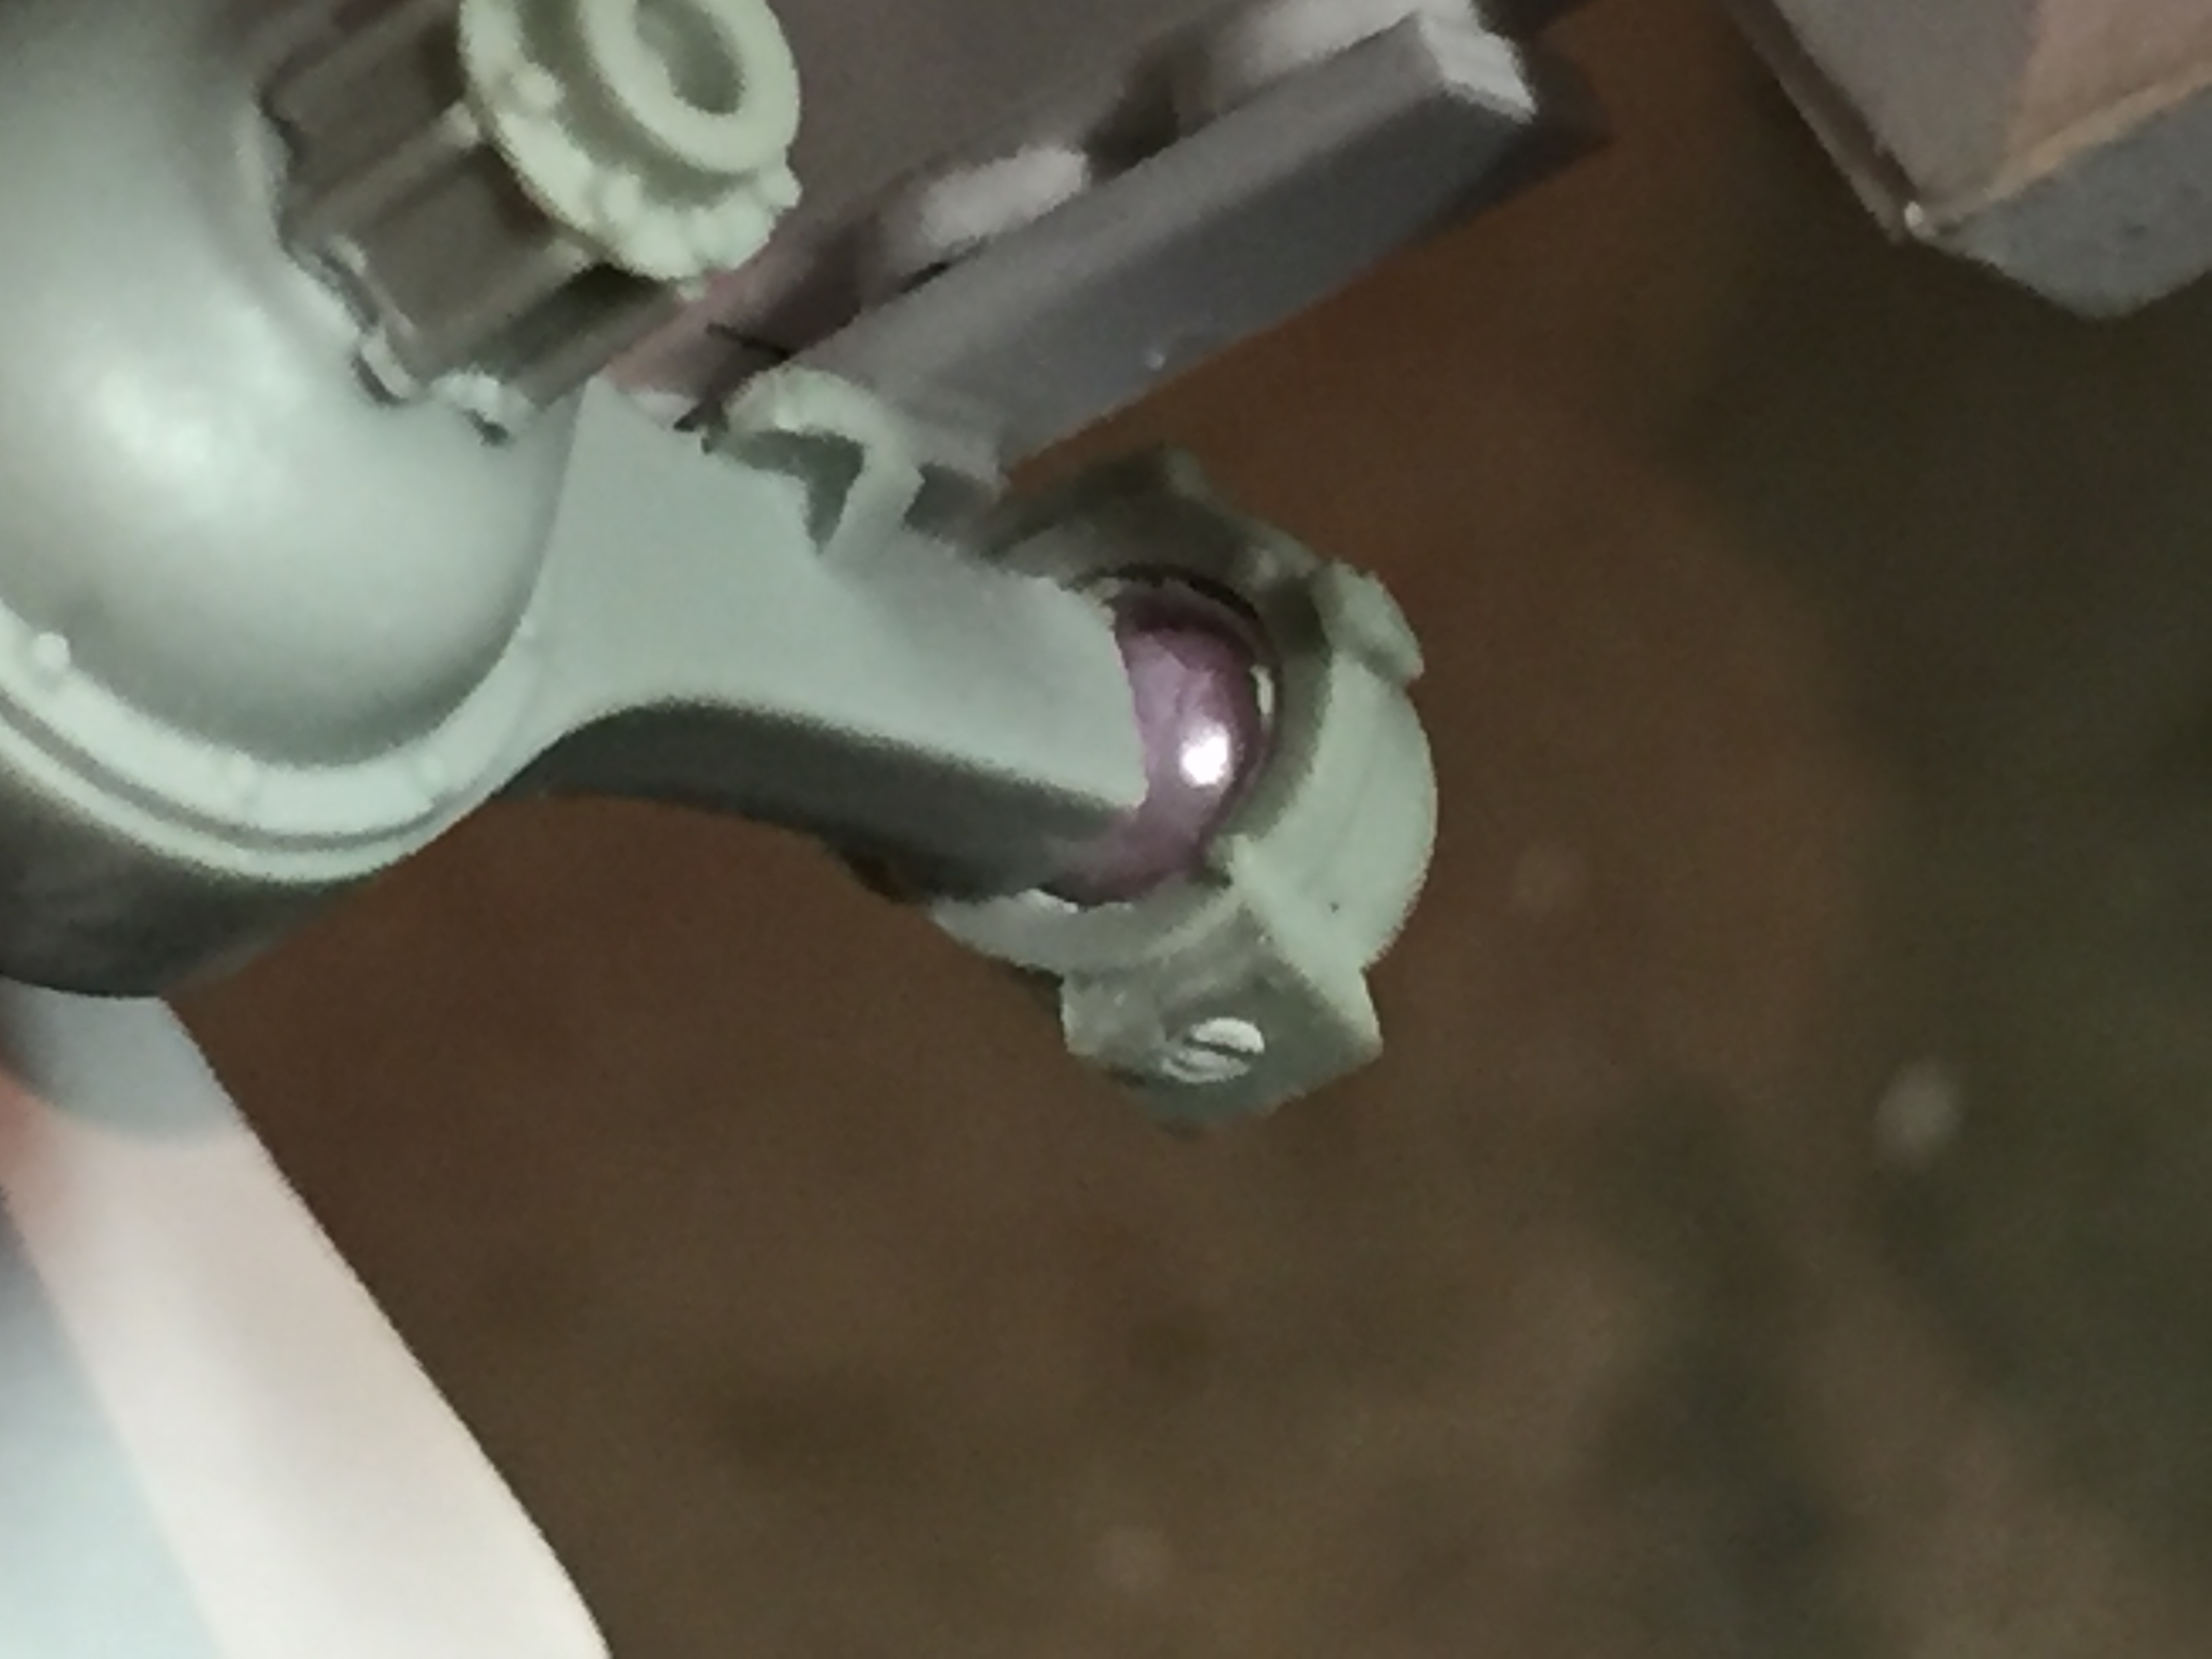
I drilled the cast in knuckles out with a regular drill bit, deep enough to accept a new ball. I then found a package of plastic craft beads at Walmart. These already have a hole drilled through them. I simply drilled another hole at 90 degrees to the existing hole, but only until it intersected the original hole, not all the way through. Then it was simply a matter of orienting the ball in the knuckle with the original hole vertical with the pivot point of the knuckle and drilling a hole in the top and bottom of the knuckle to line up with the hole in the ball. I then glued the ball to the metal rod in the end of the axle housing using the hole I drilled part way through. Then I installed the knuckle and pressed a styrene rod into the top down through the ball and through the bottom of the knuckle. Made a pretty good and extremely easily done working approximation of the real deal!