

Dann Tier
-
Posts
8,151 -
Joined
-
Last visited
Content Type
Profiles
Forums
Events
Gallery
Everything posted by Dann Tier
-
Simply BEAUTIFUL, bud!!!!! I woulda built one of these, but i havent found a clean enough way to replicate the honeycomb pattern in the taillights.
-
Thanks, Bud!...its a sweet kit actually!...i'm still working on that freaking garden...i think i'm on the home stretch now....i only have a section thats 100'x10' left to do, before i can get back to modelling full tilt.
-
 Looking BRILLIANT, Bud!!!.....i love making stencils as well as using canopy glue.
 -
Another BEAUTIFUL build!!!!....thanks for the suggestions, Bud!.....is there anything i should be aware of concerning the lower body panel between the doors, and wheel arches?...they look a bit lower than the rest of the body lines.
-
I see....like the Pagani....gotcha, thanks, Bud!!
-
Thanks, Bud!
-
LOL!!!
-
WOW!!!!.....Absolutely LOVE the sparkle on this!!!!!
-
It looks OUTSTANDING!!!!....bugger the "Period correct" thing!
-
Its different.....done well so far, and doesnt look bad....i will be following!!
-
I have this kit in my stash as well....the TWR version, I'm REALLY looking forward to this one, Bud!!!!!
-
That sounds familiar....i havent been modelling much either, i've been hand weeding our 400'x10' garden. This weird start of the year caused mega growth....i still have a few days left of it, sadly.
-
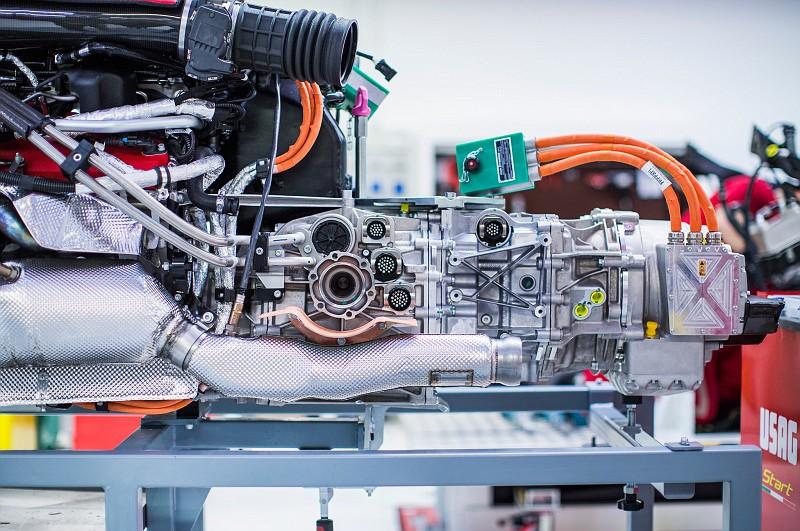
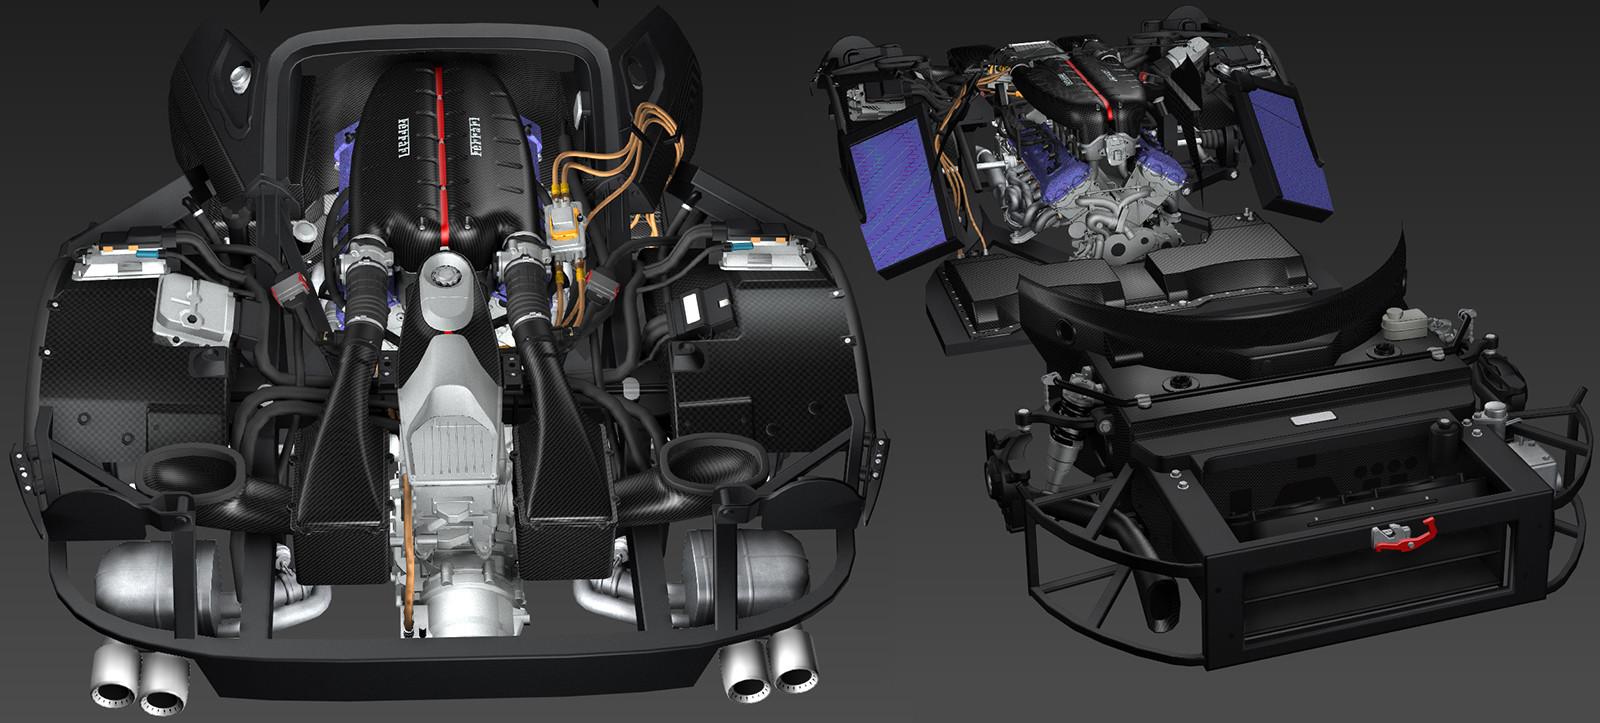
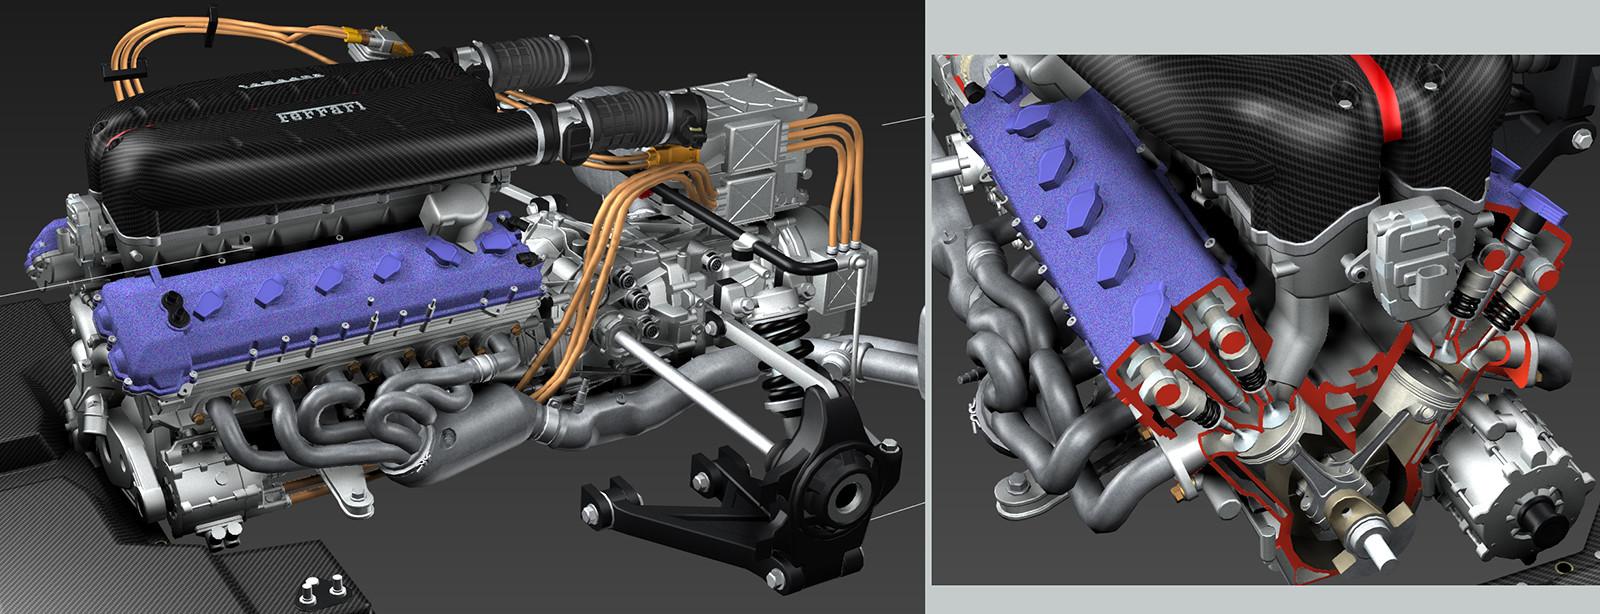
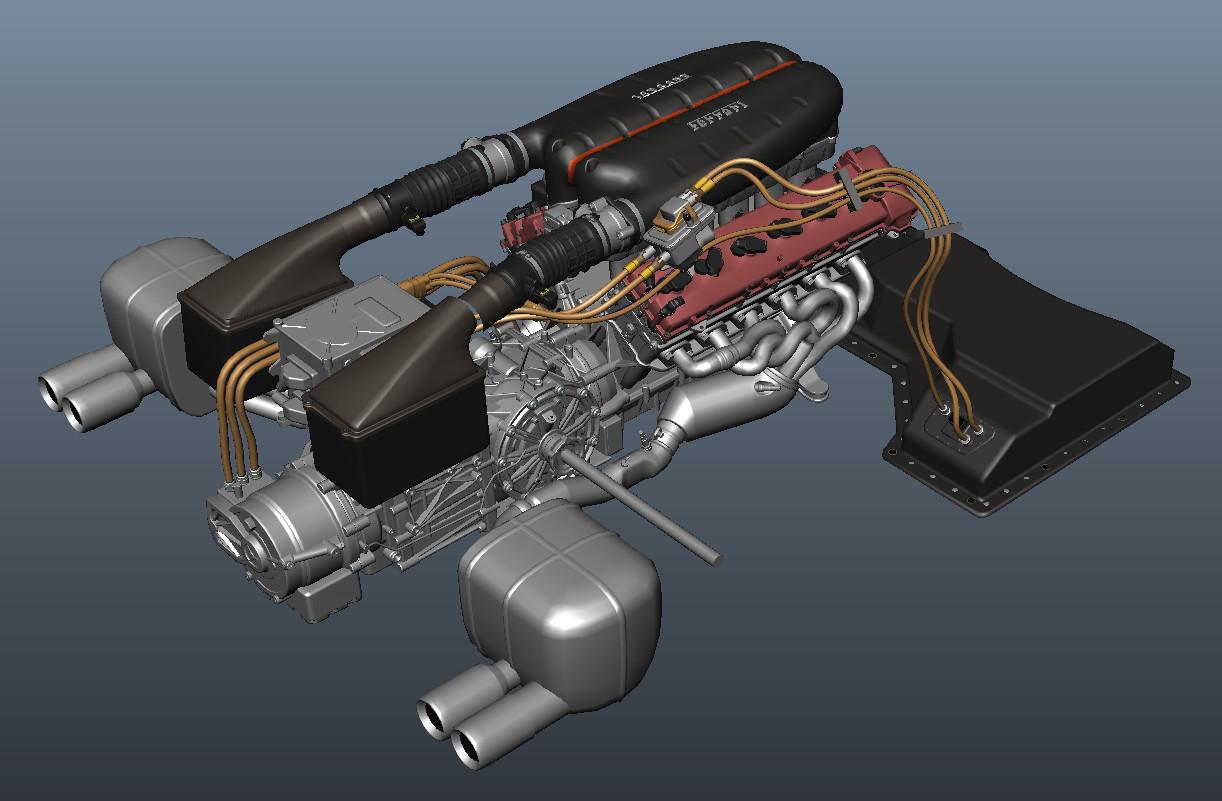
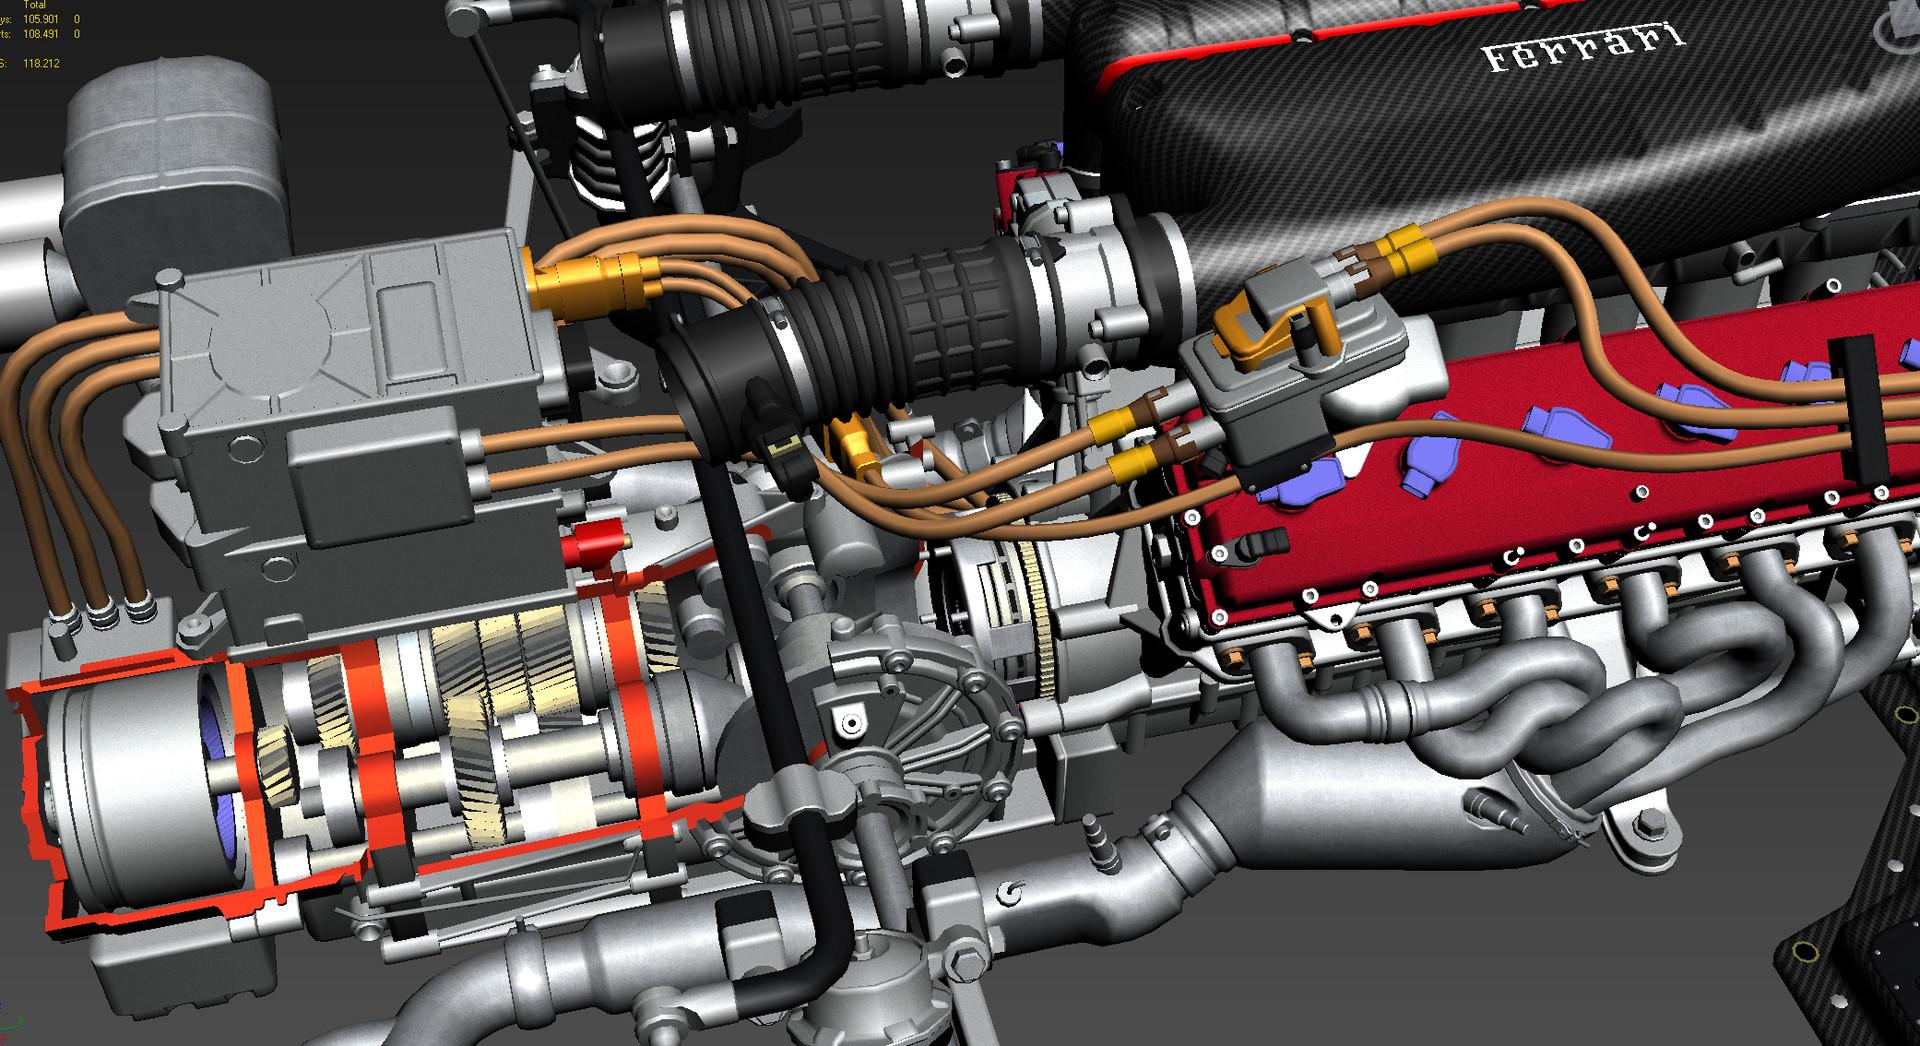
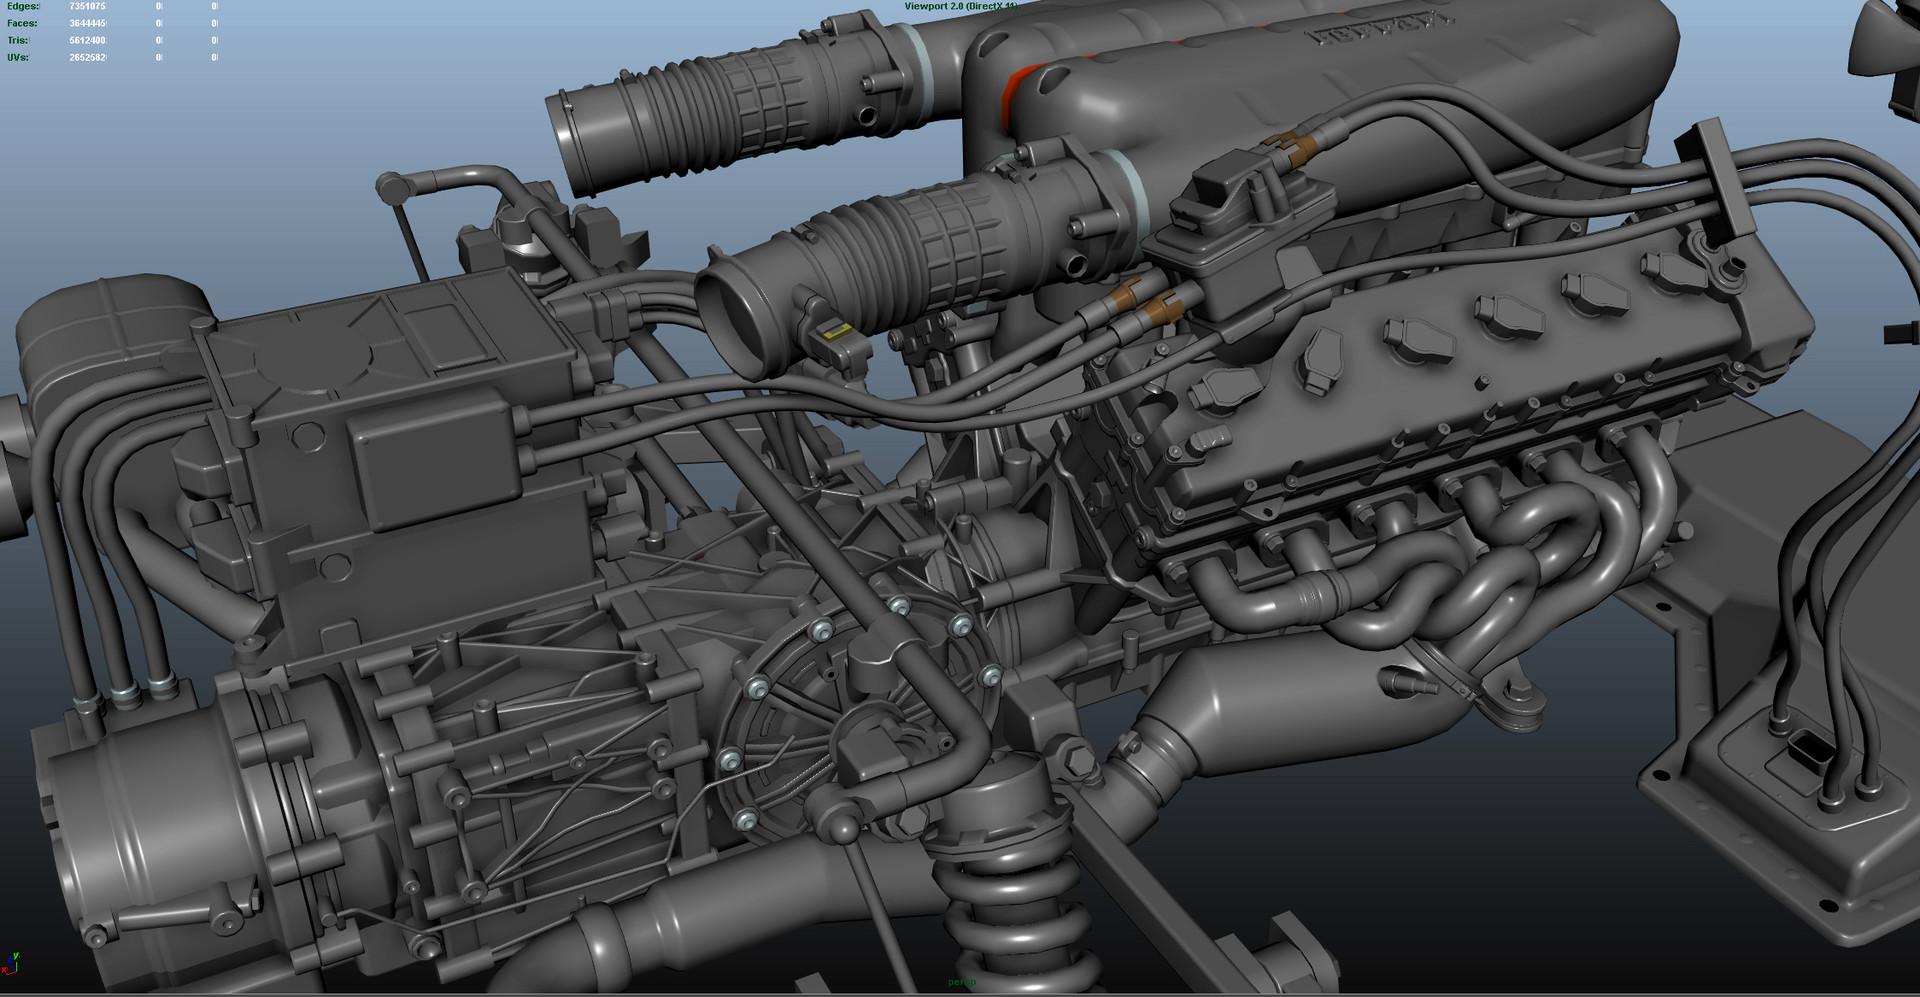
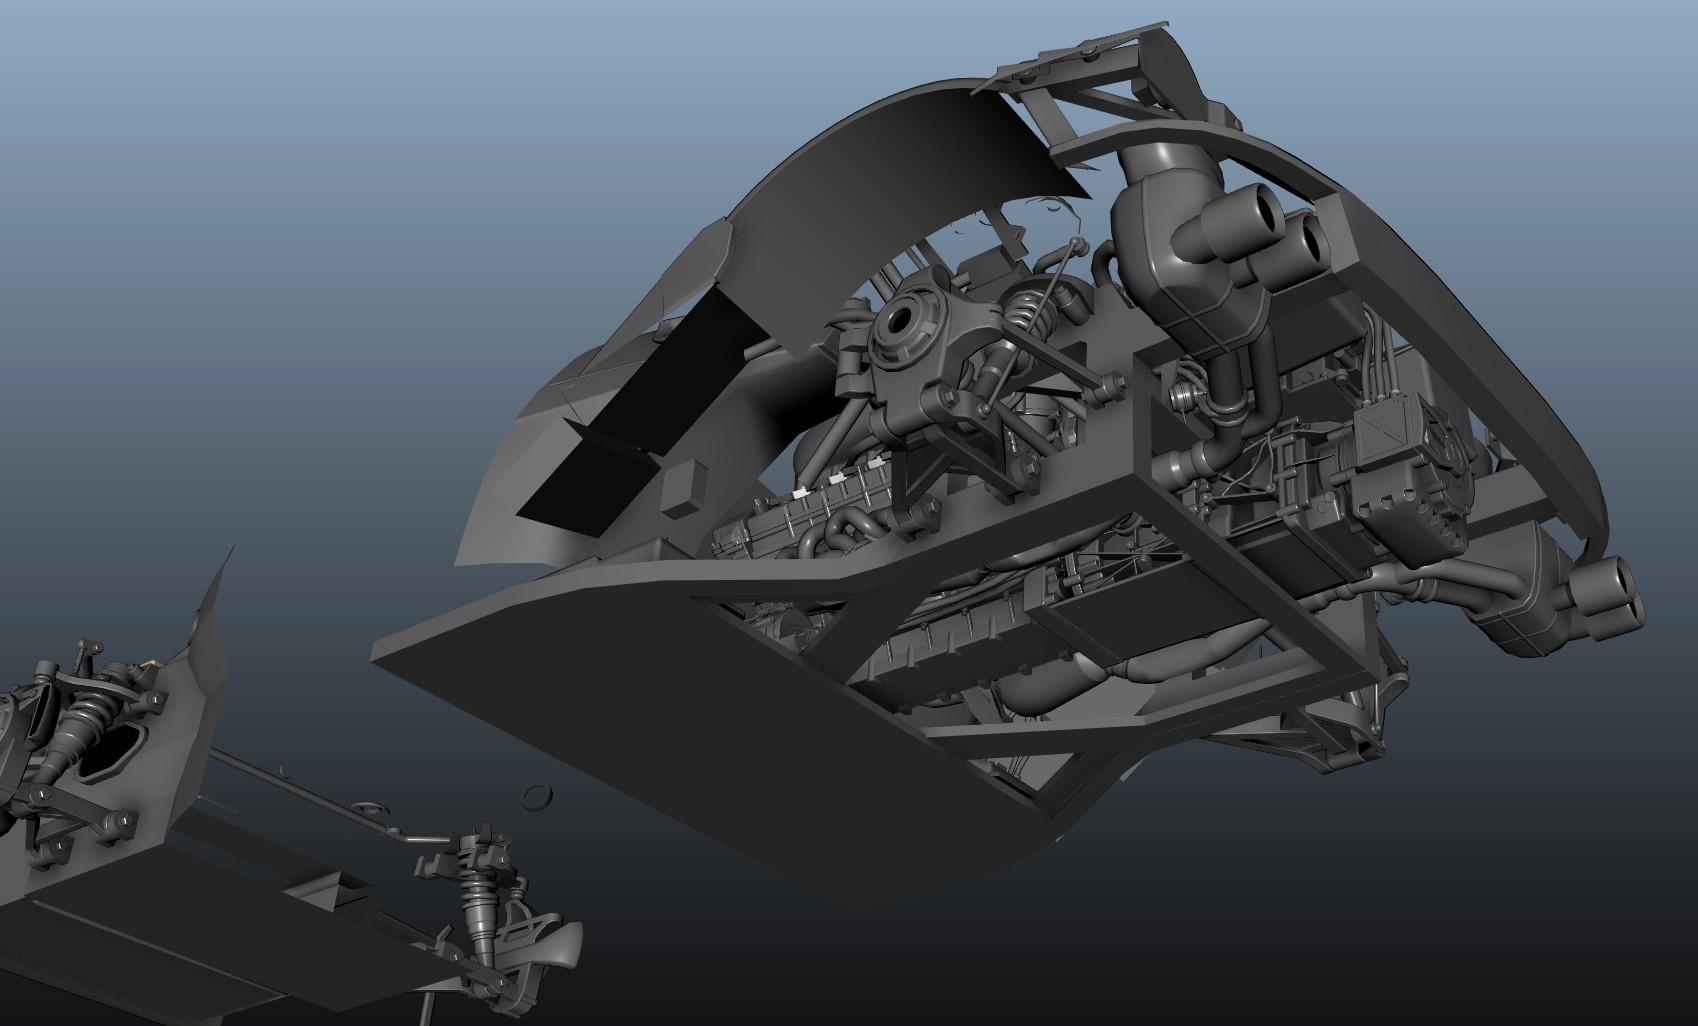
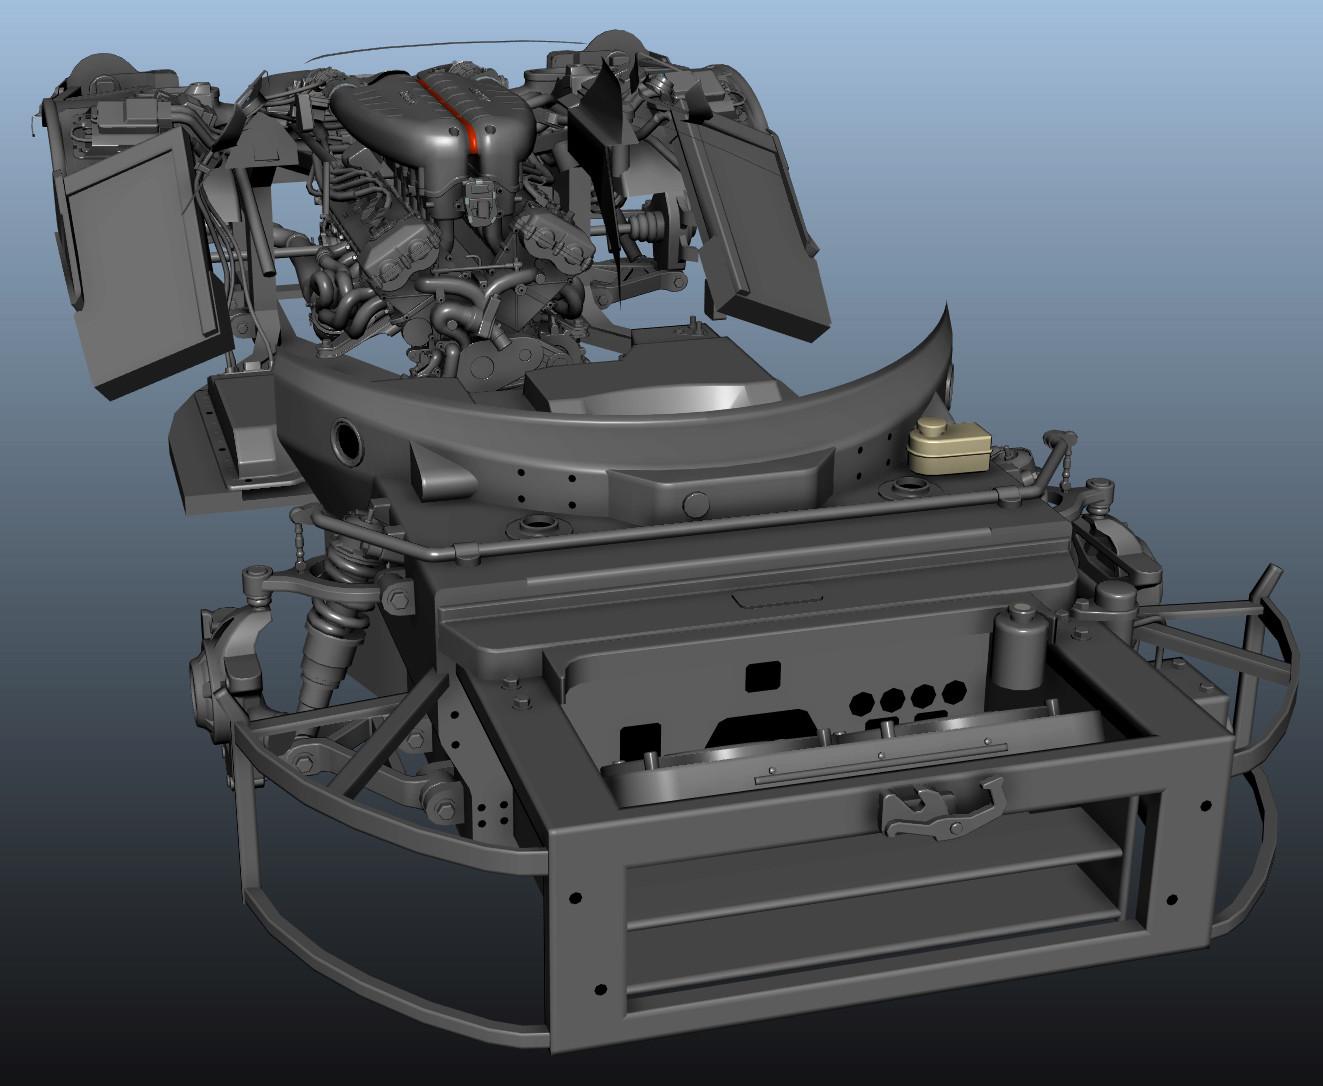
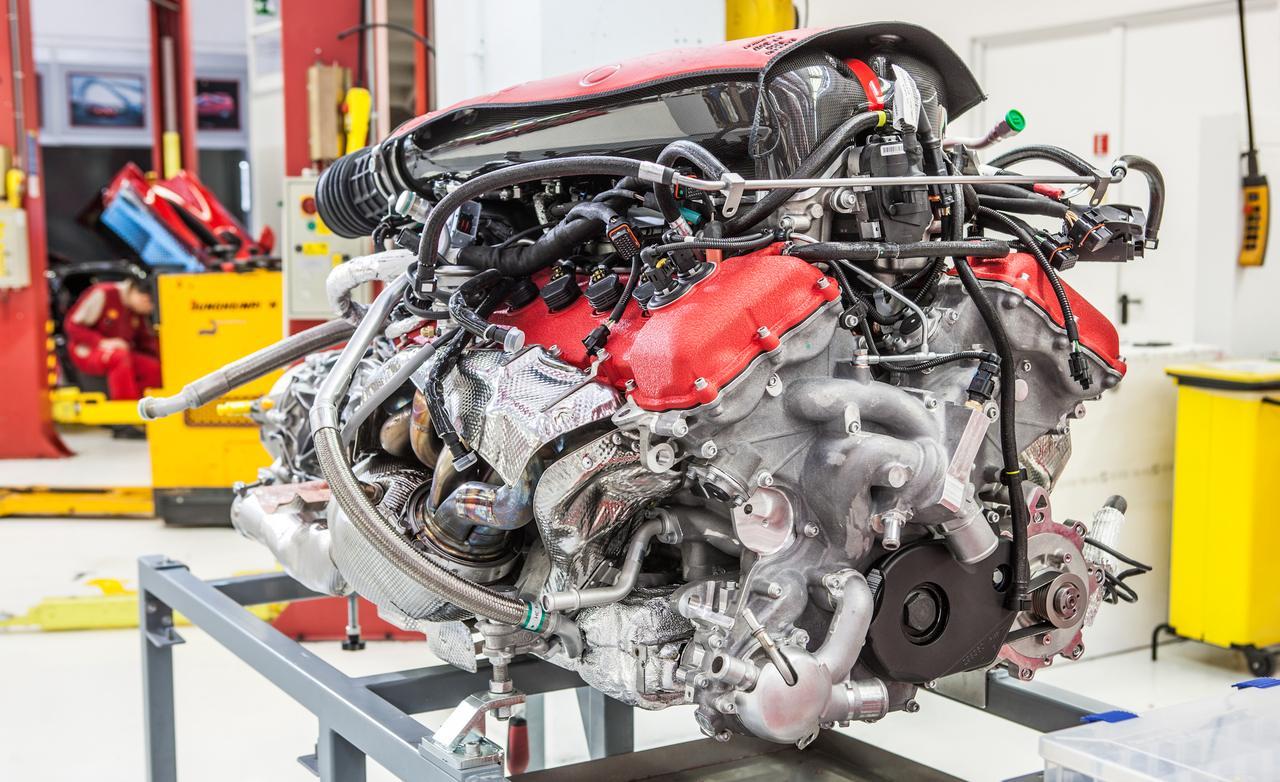
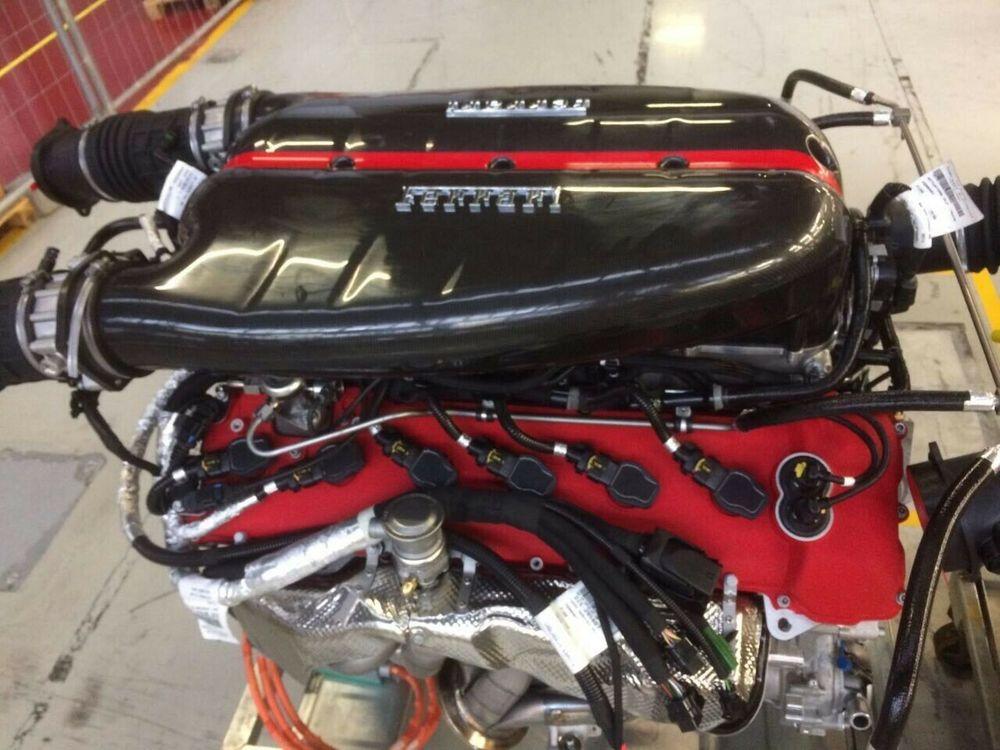
I found some excellent reference photos ...FINALLY!!.....some are La Ferrari, but are still VERY useful as you know!....here are a few...

-
Thanks alot for these, Bud!!, i was even more persistant myself, and scored with a TON of great photos in CAD form!!!
-
I really hope so, Bud!, its my third favorite Ferrari of all time...is this kit prone to fit issues?...its been falling together for me so far...
-
Thanks alot, Bud!!
-
I hope so, Bud!, i wont ever use CF decals on any of my builds -dont really like the look....and since not all CF is exposed, i'm good to go, lol
-
This is a BEAUTIFUL FXXK!!!!!
-
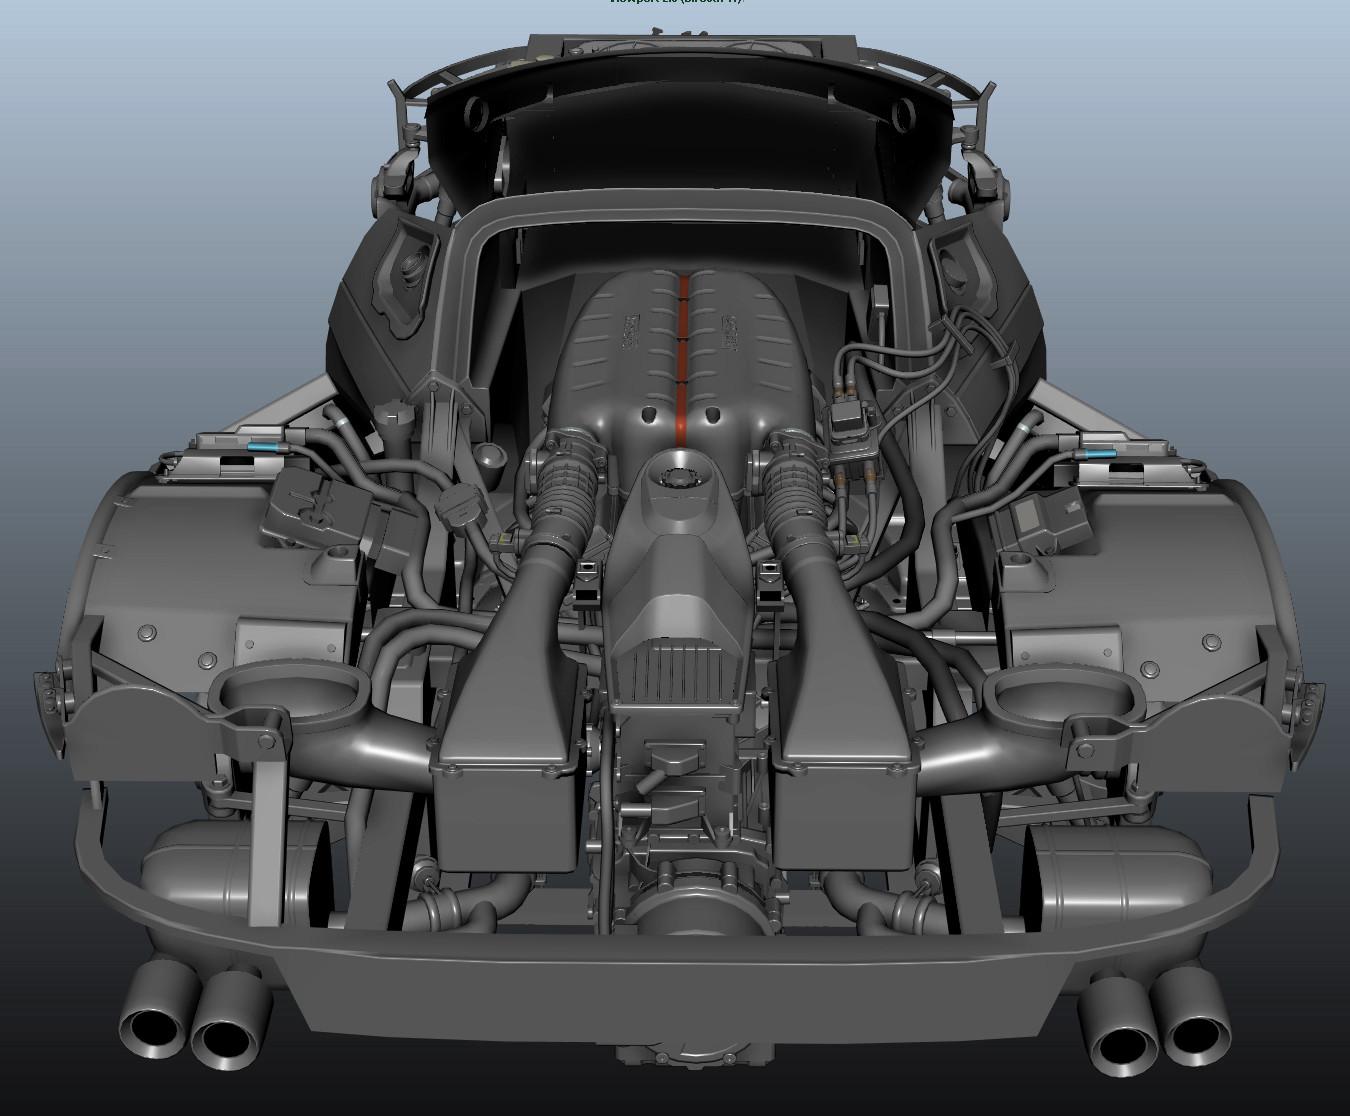
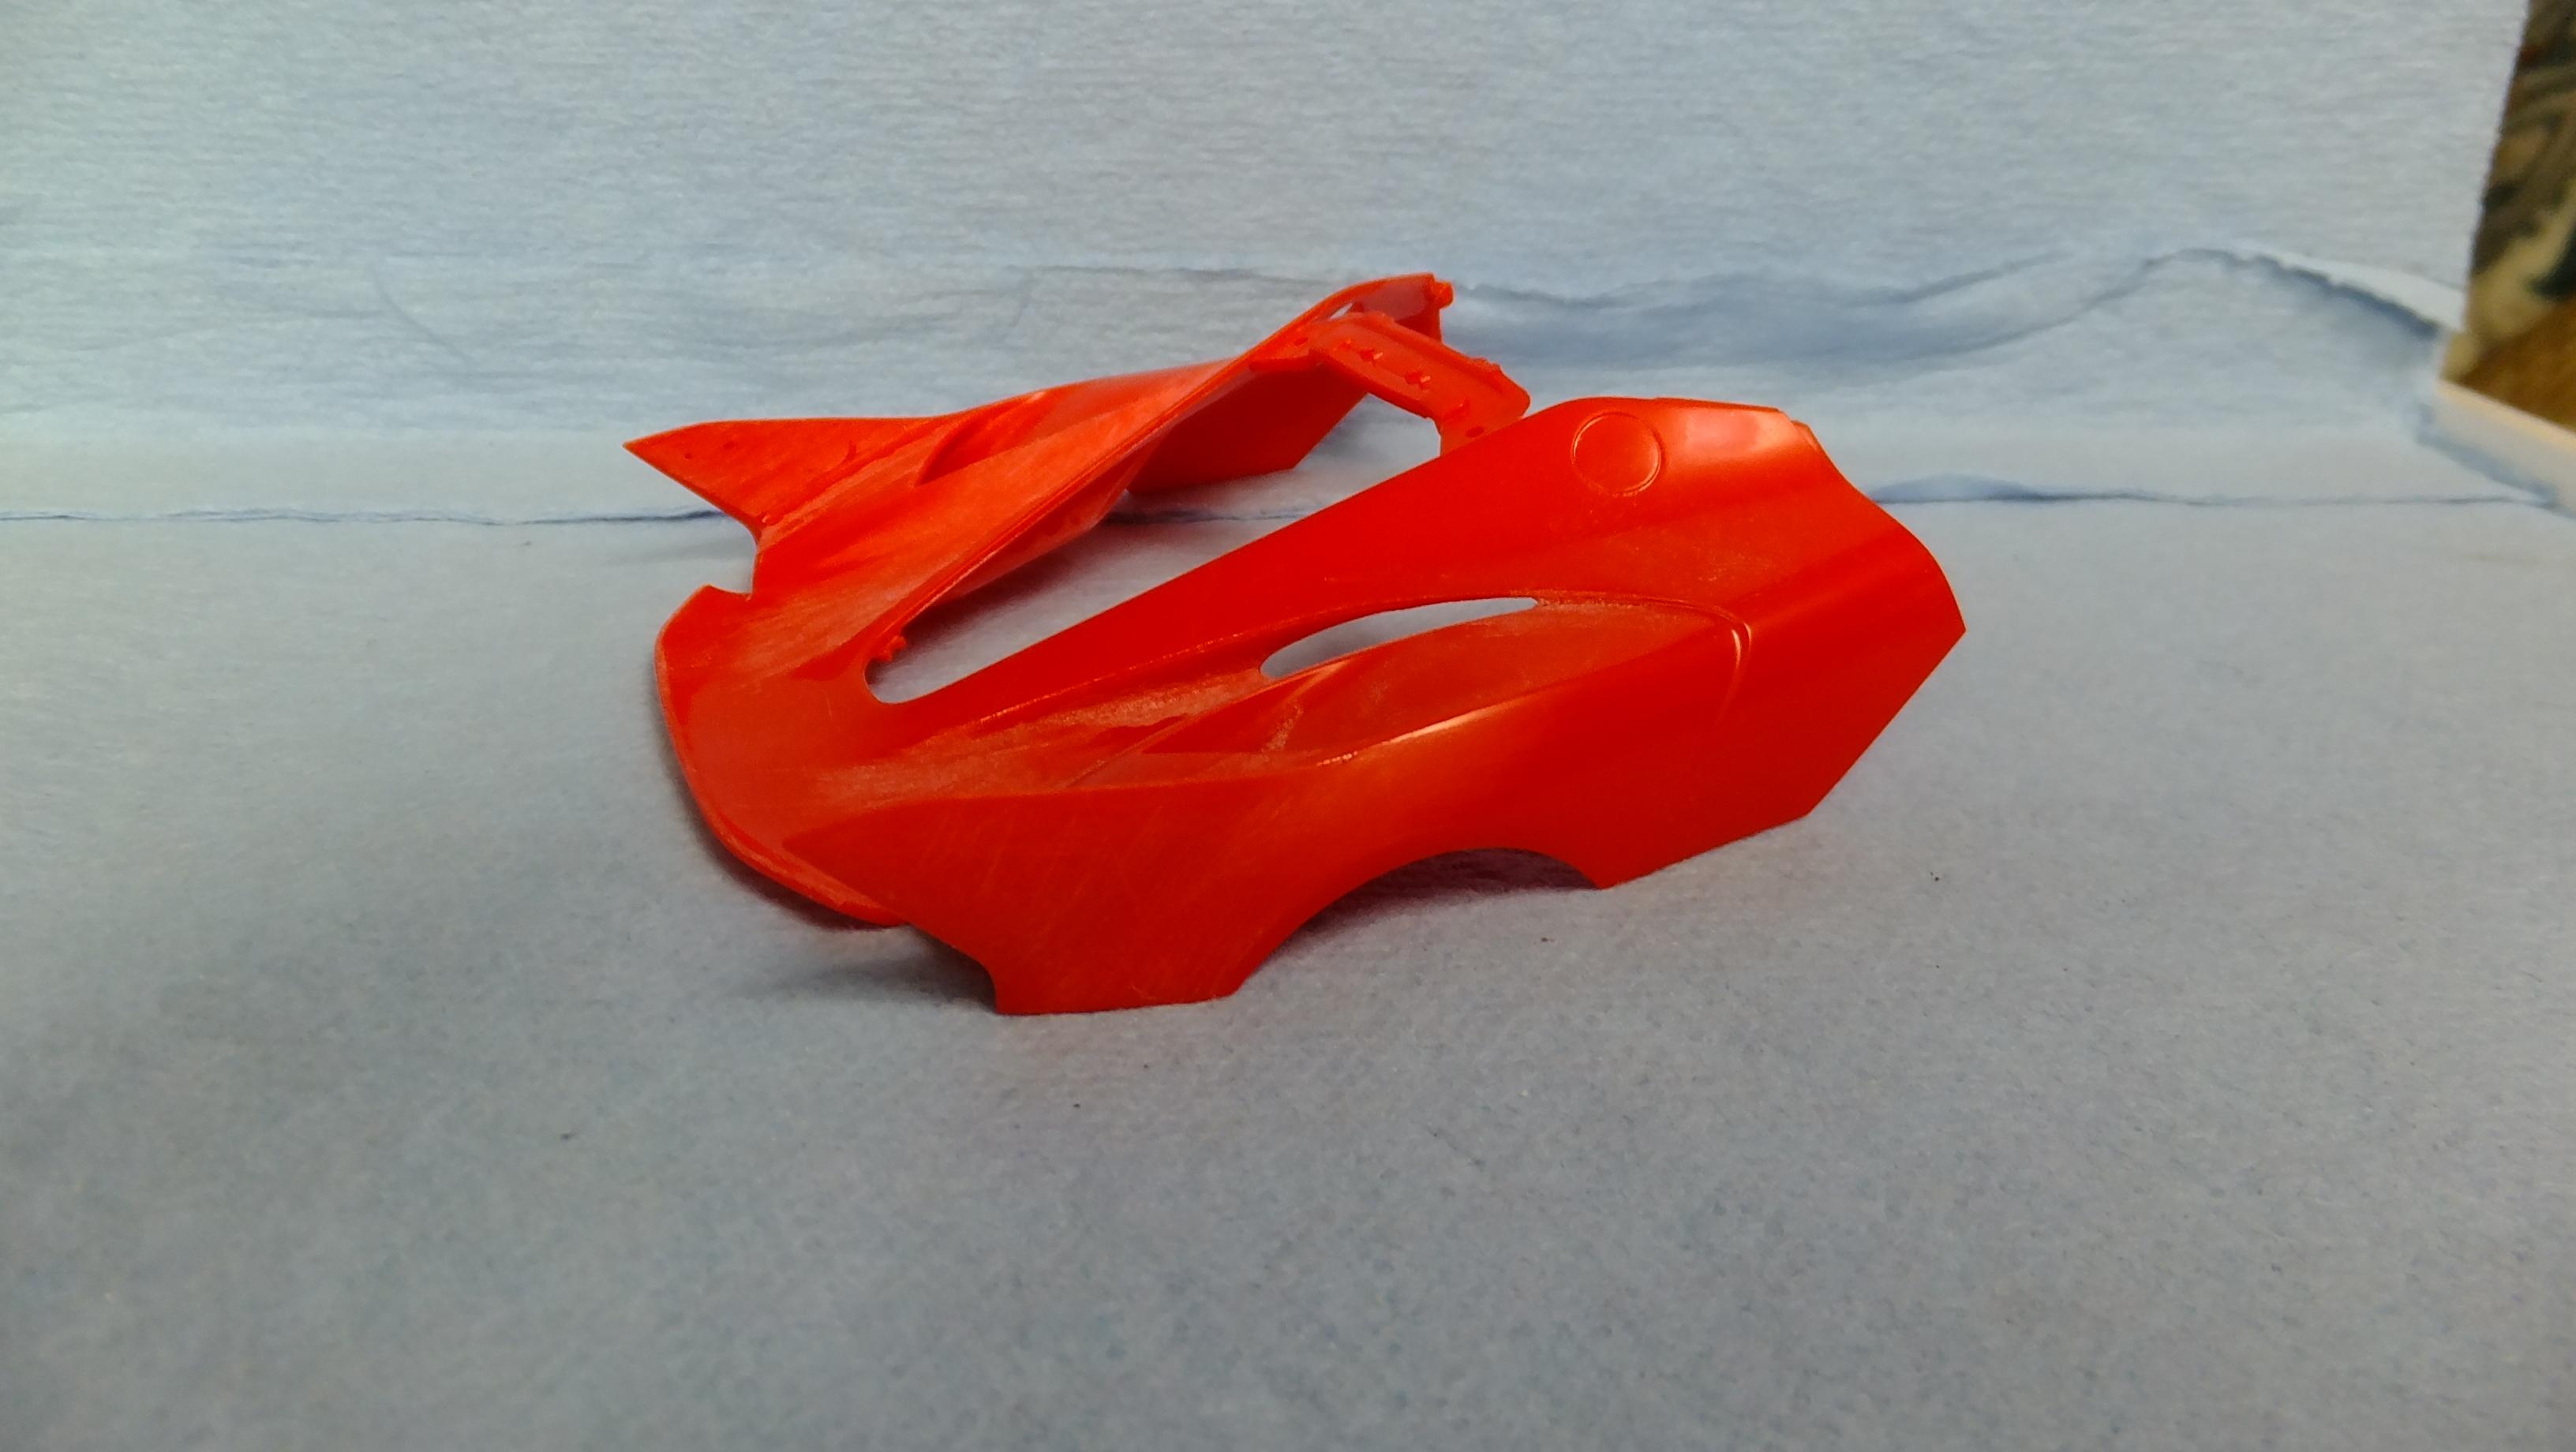
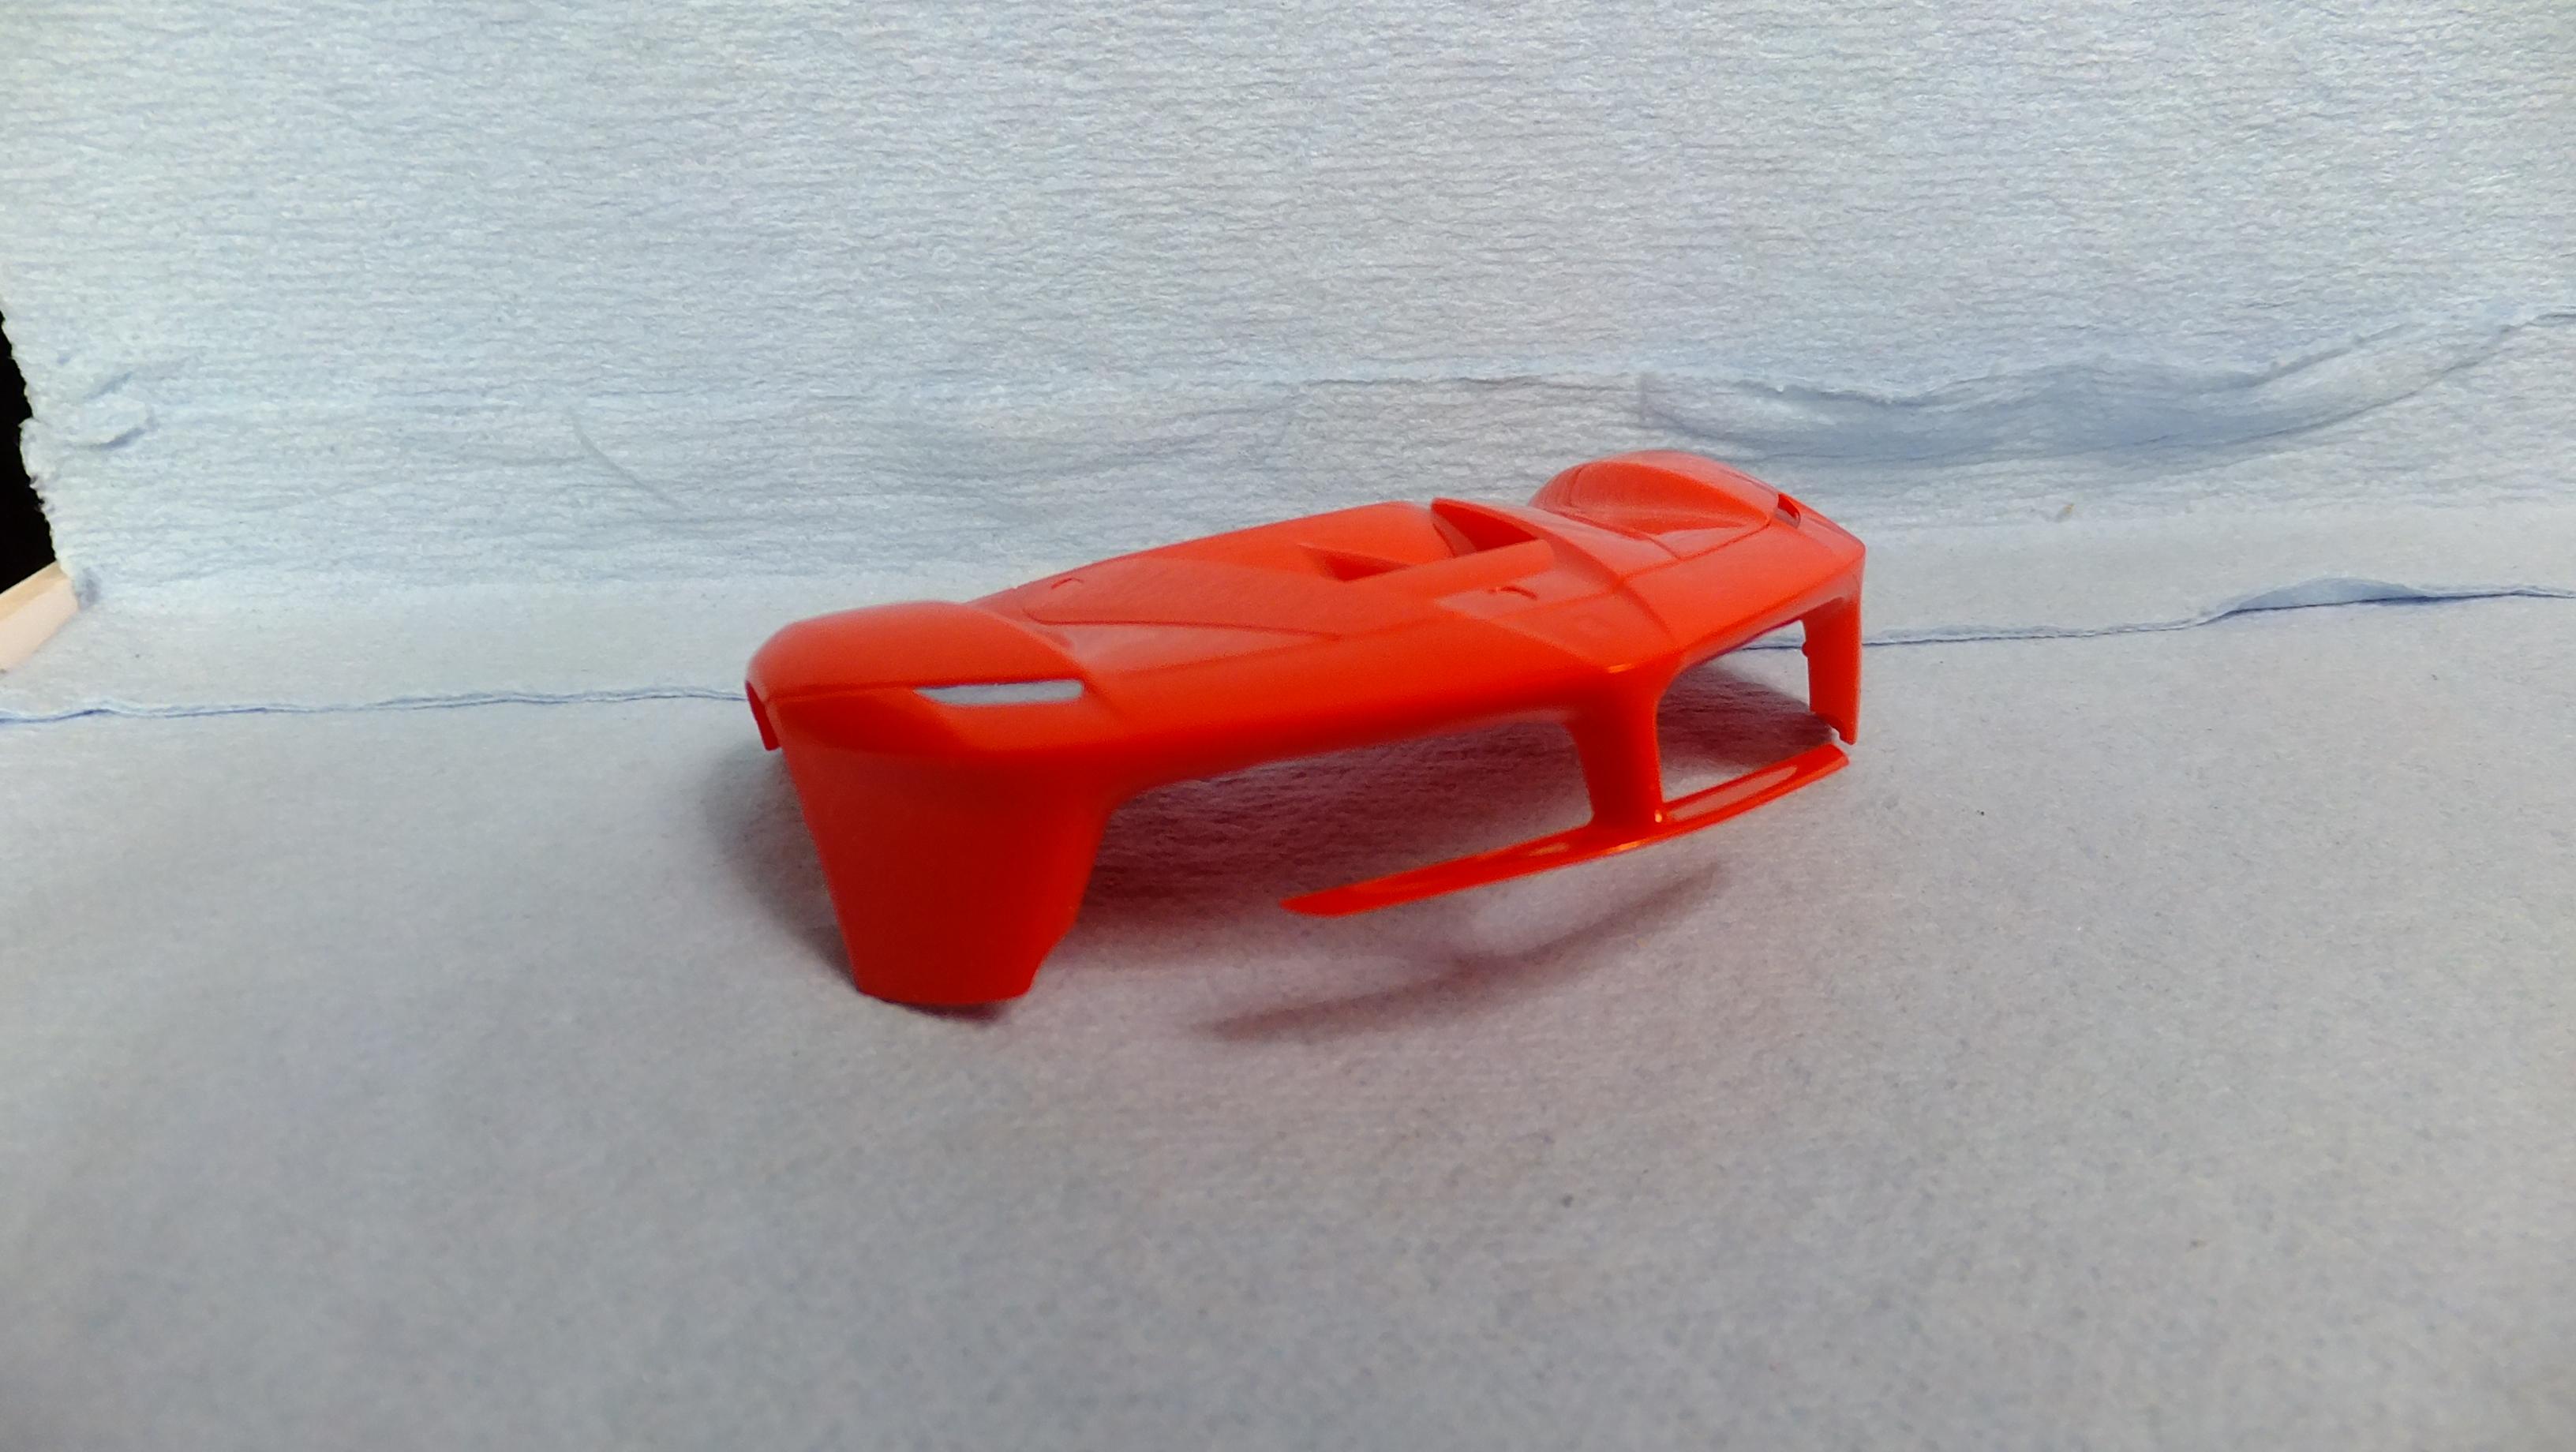
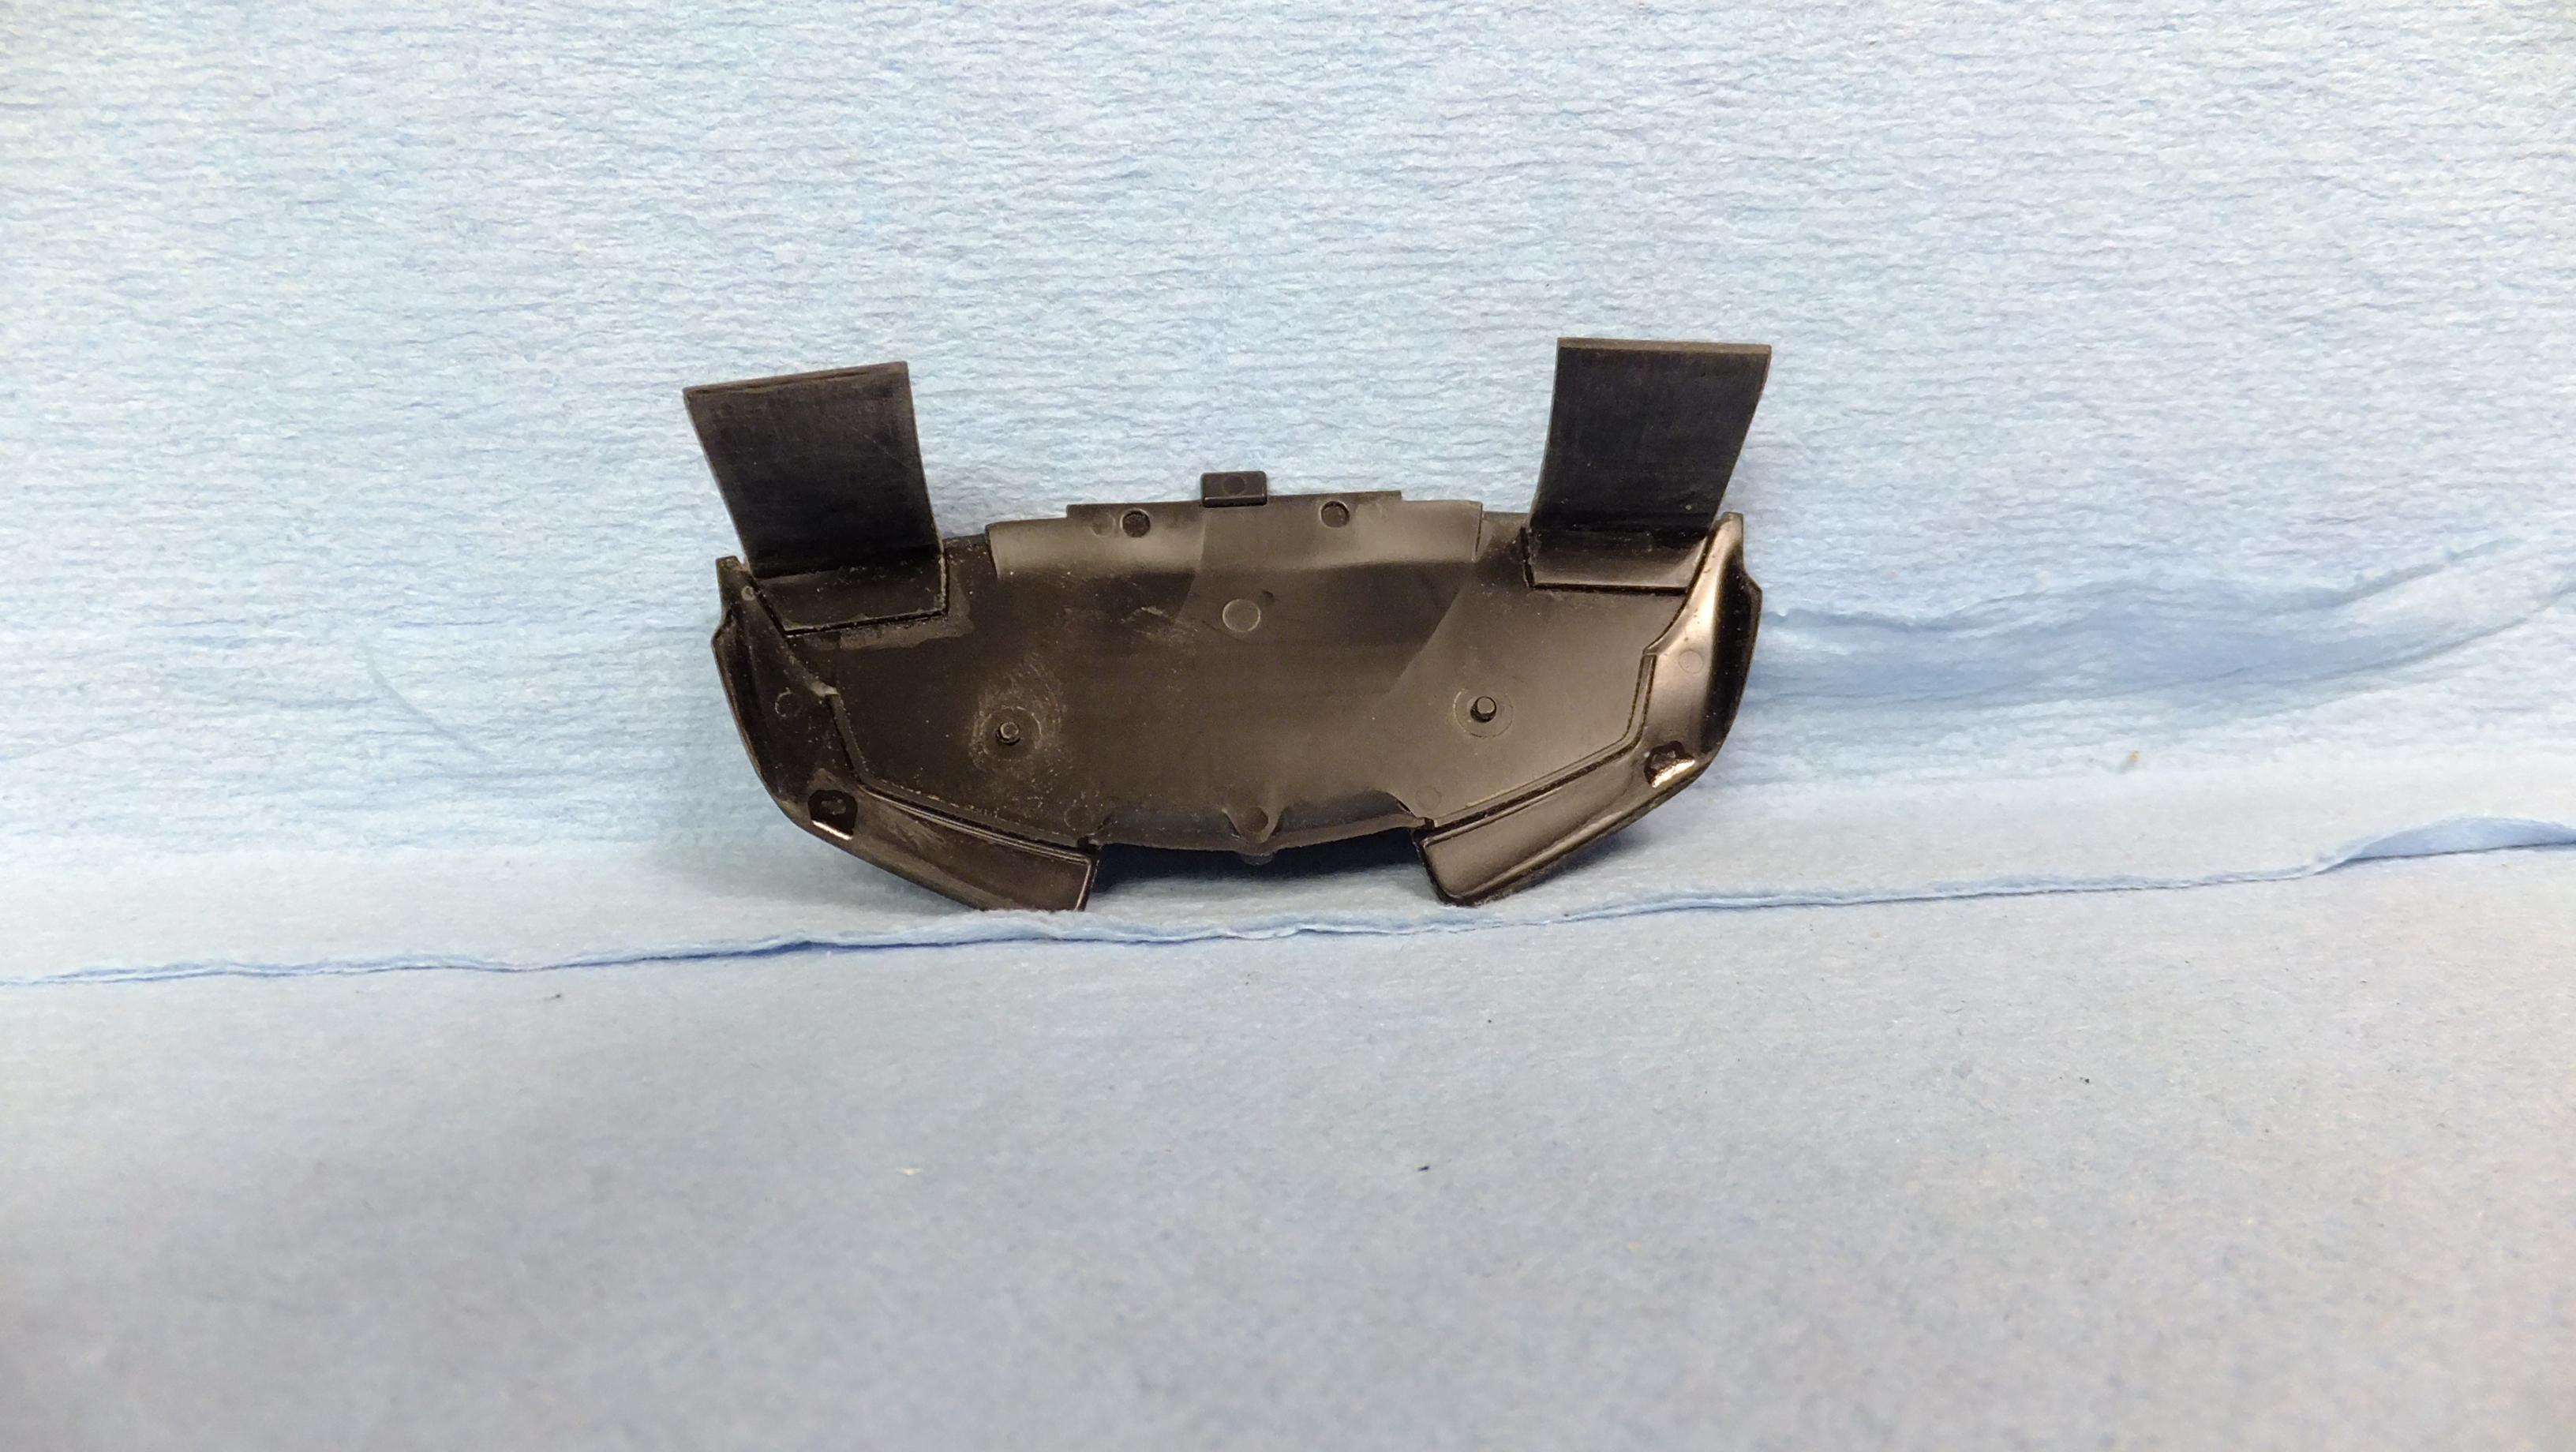
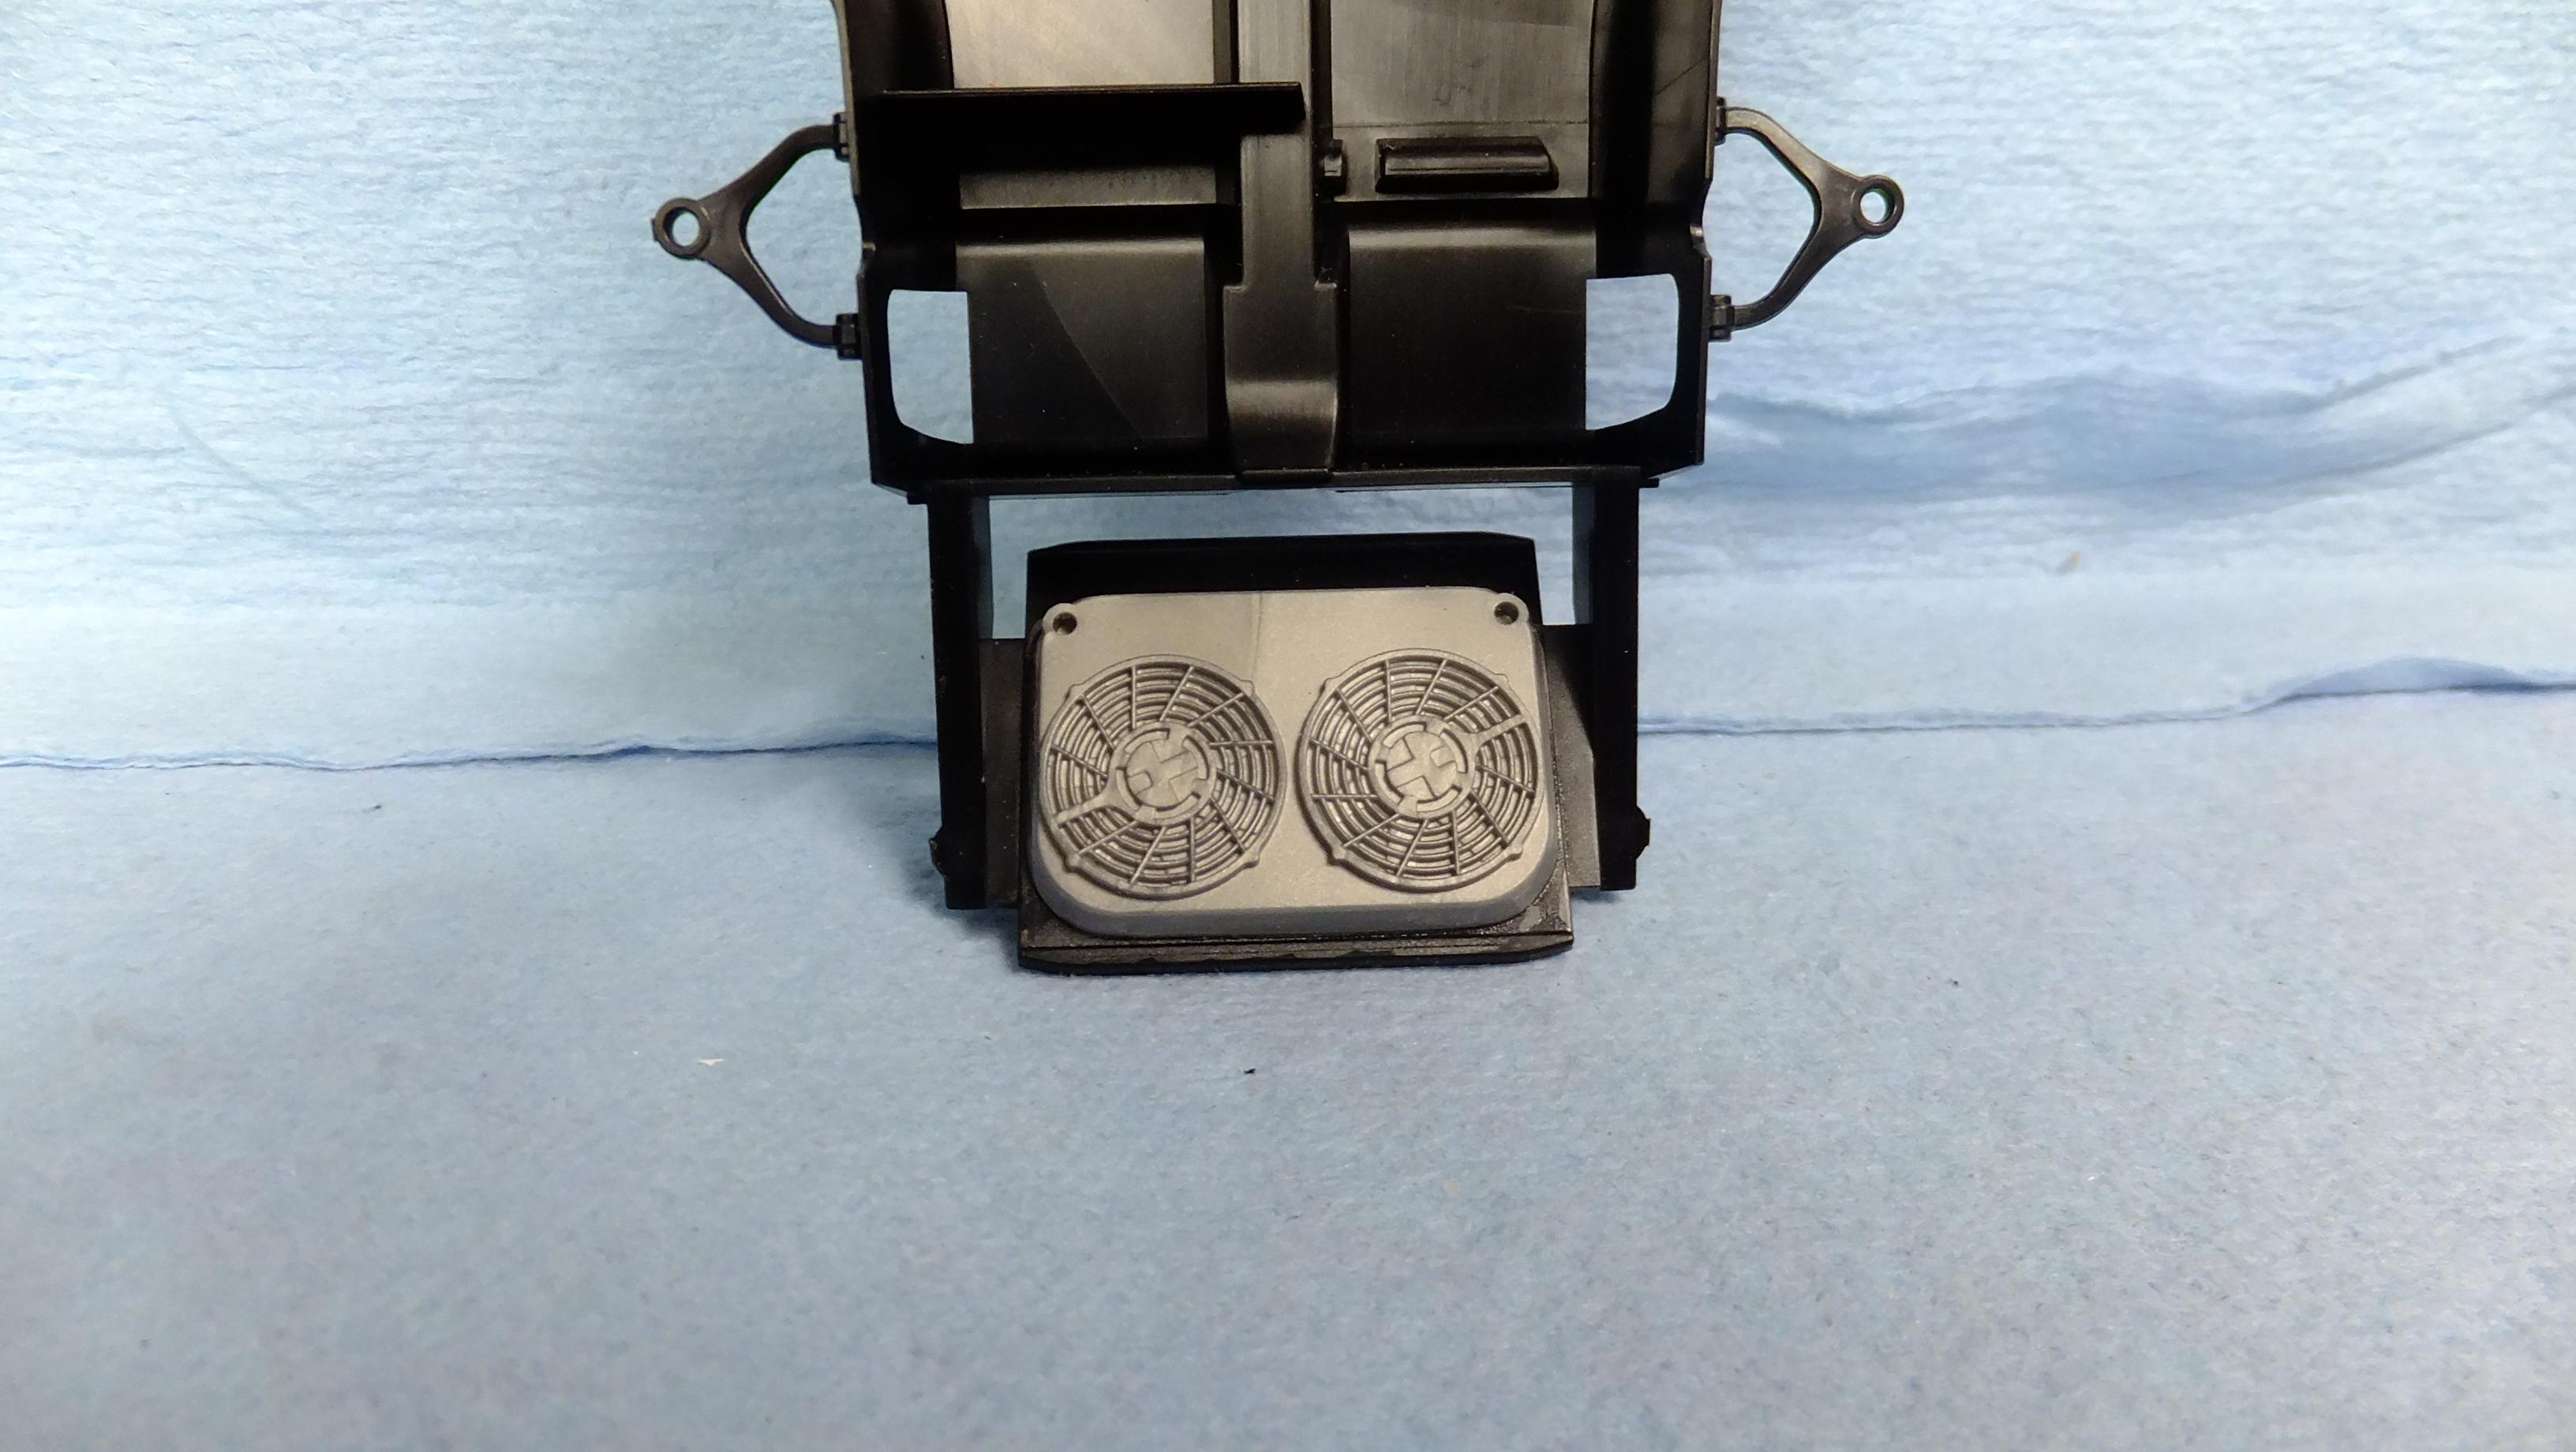
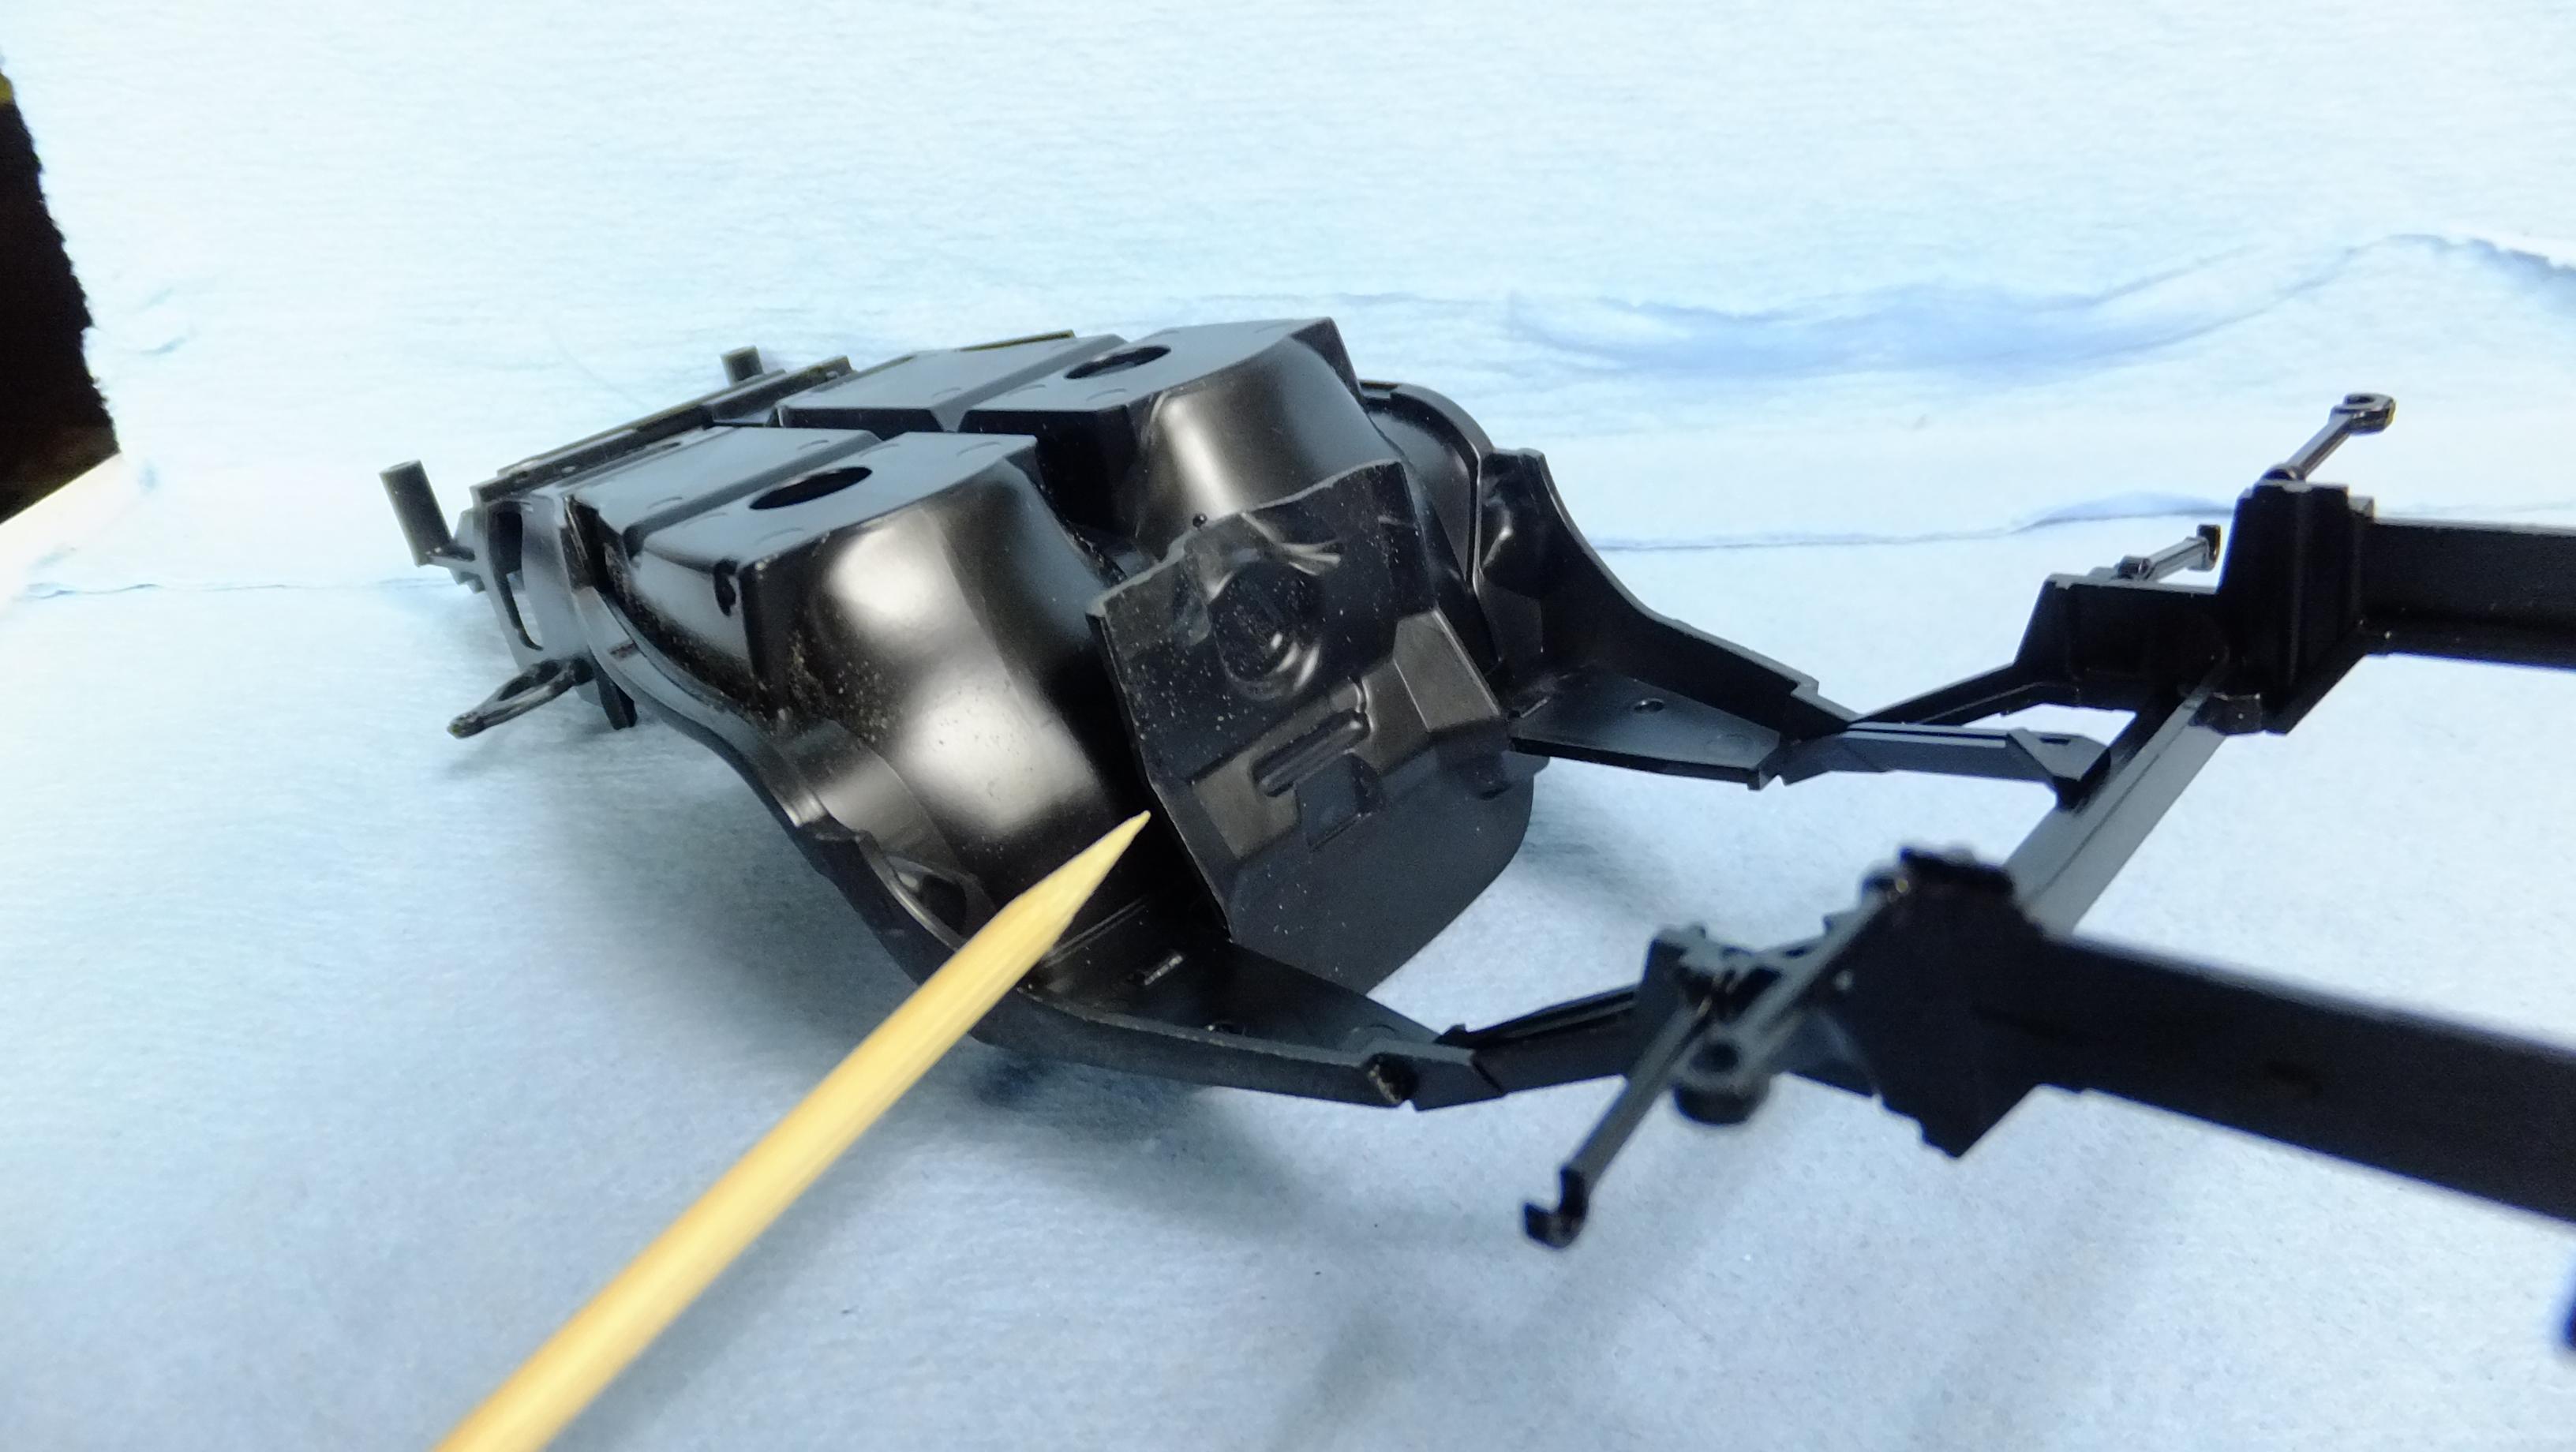
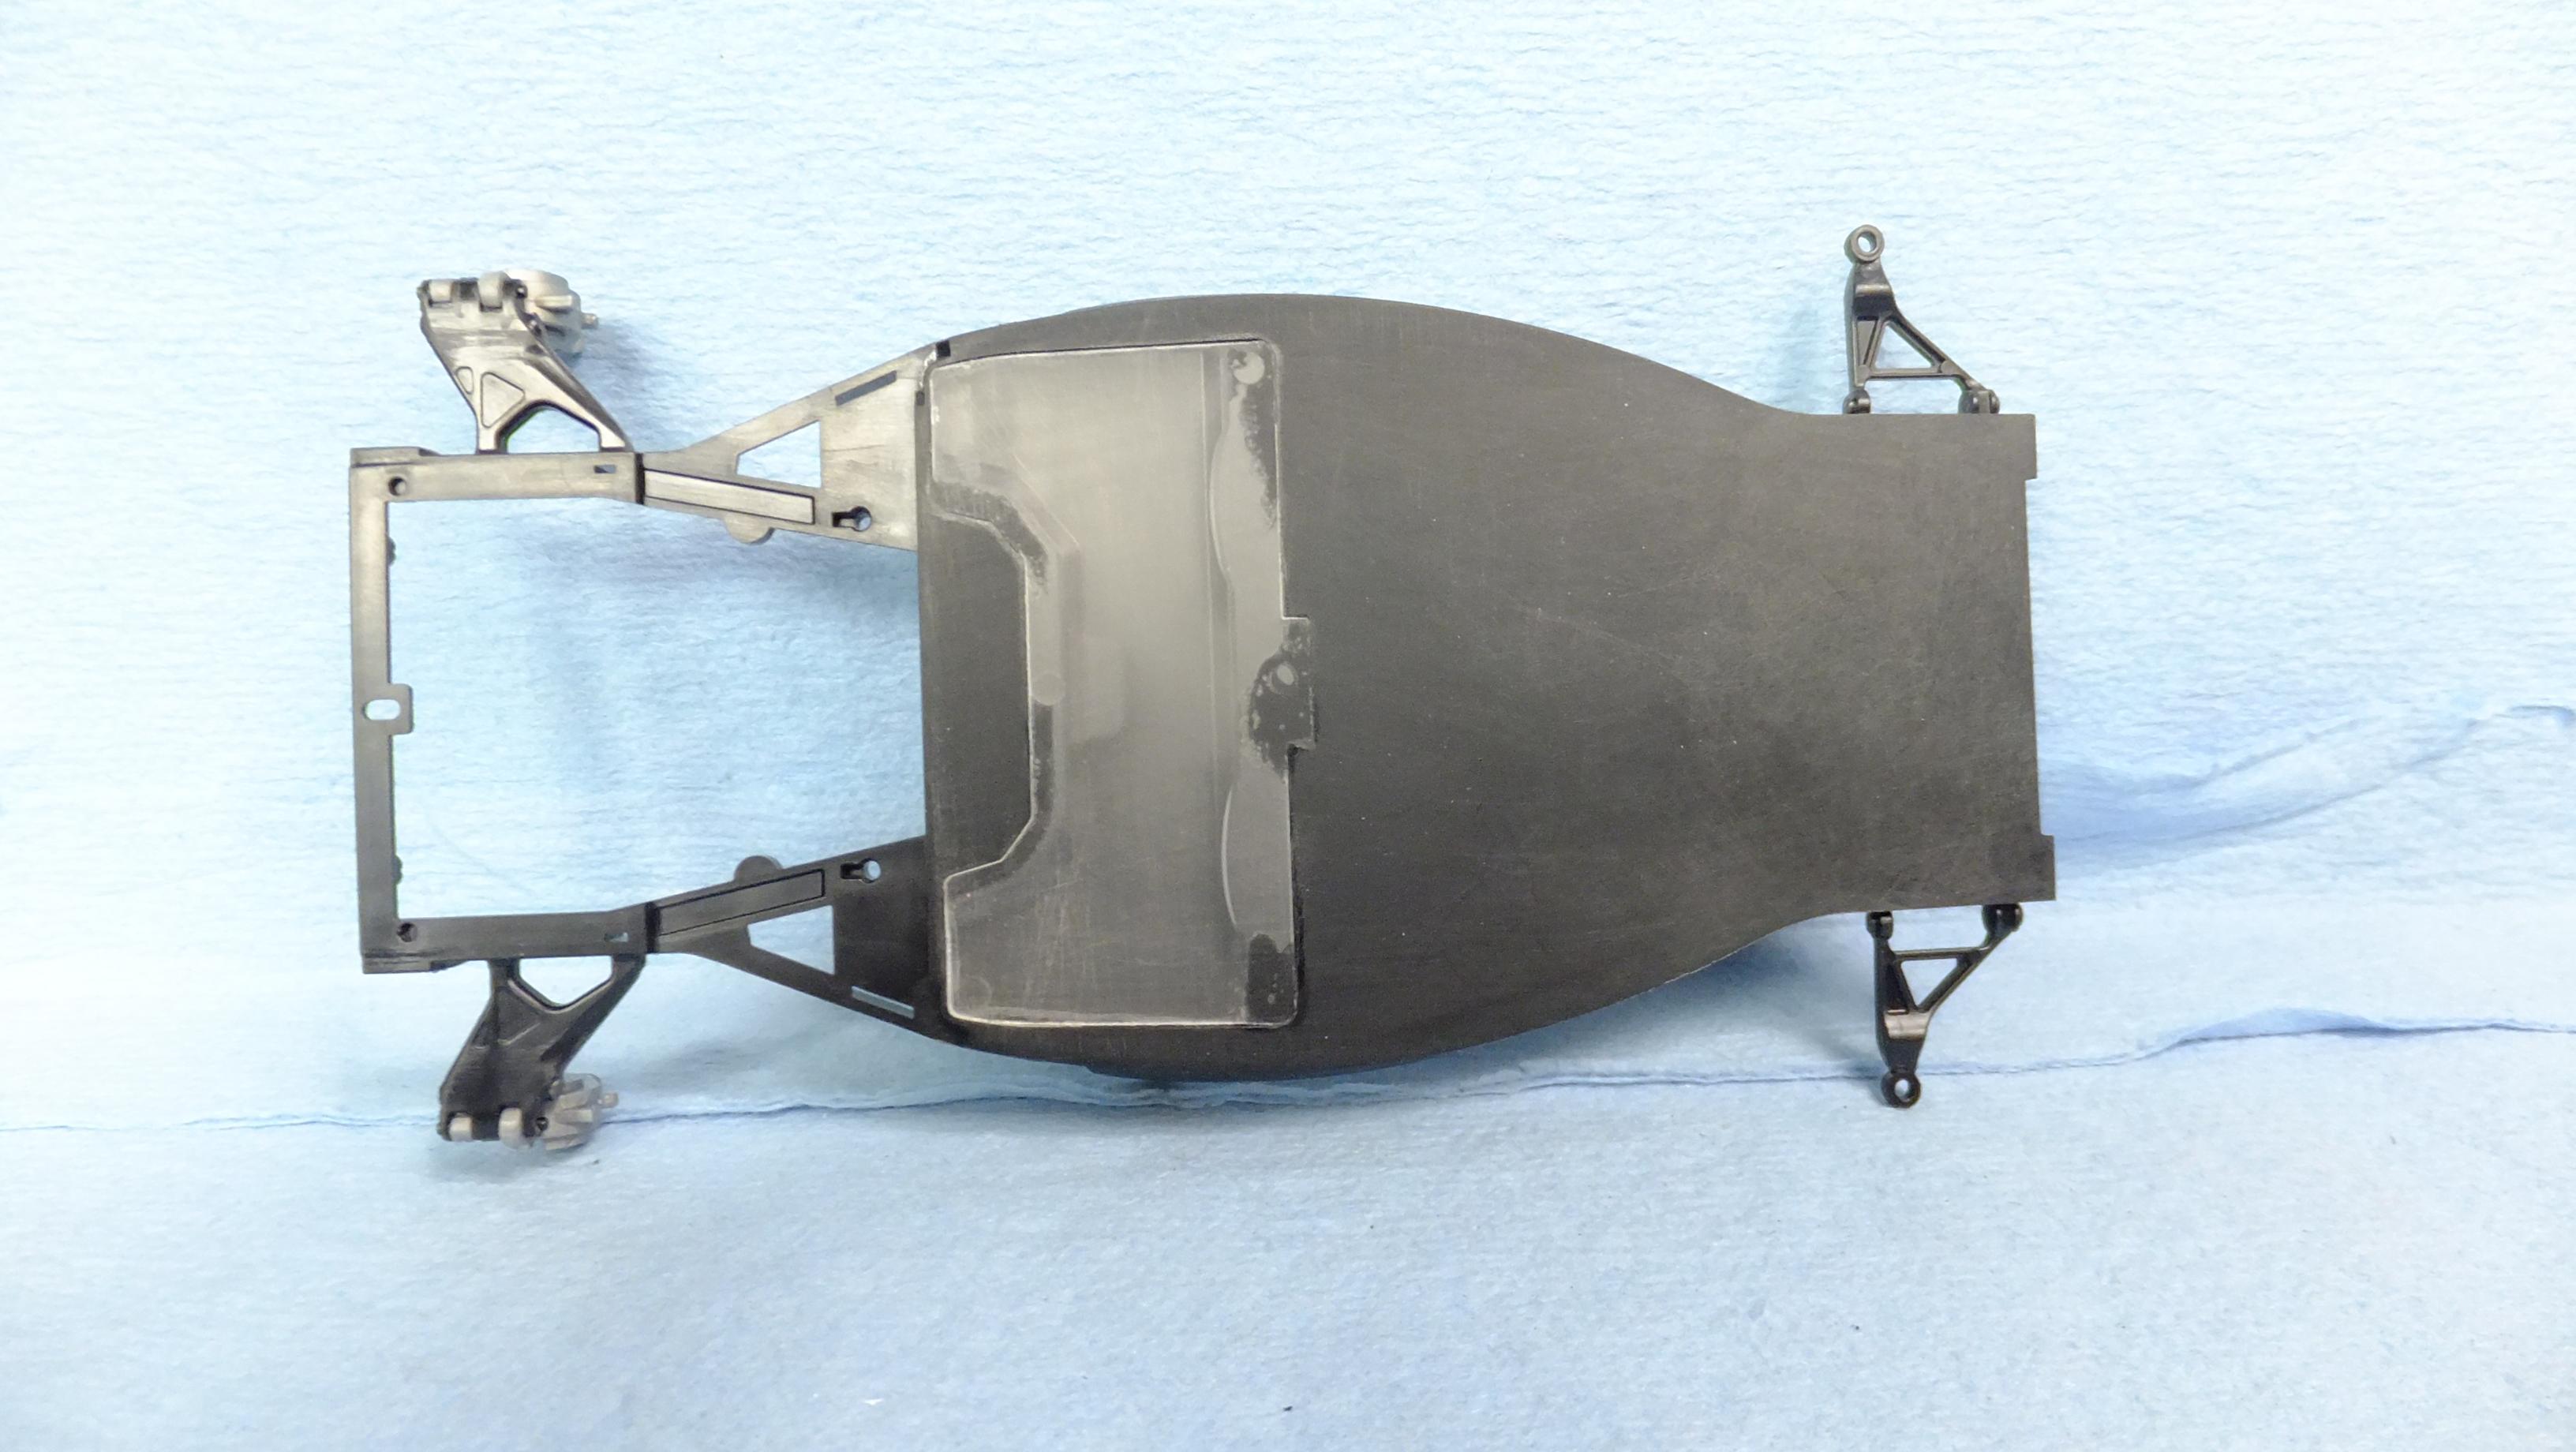
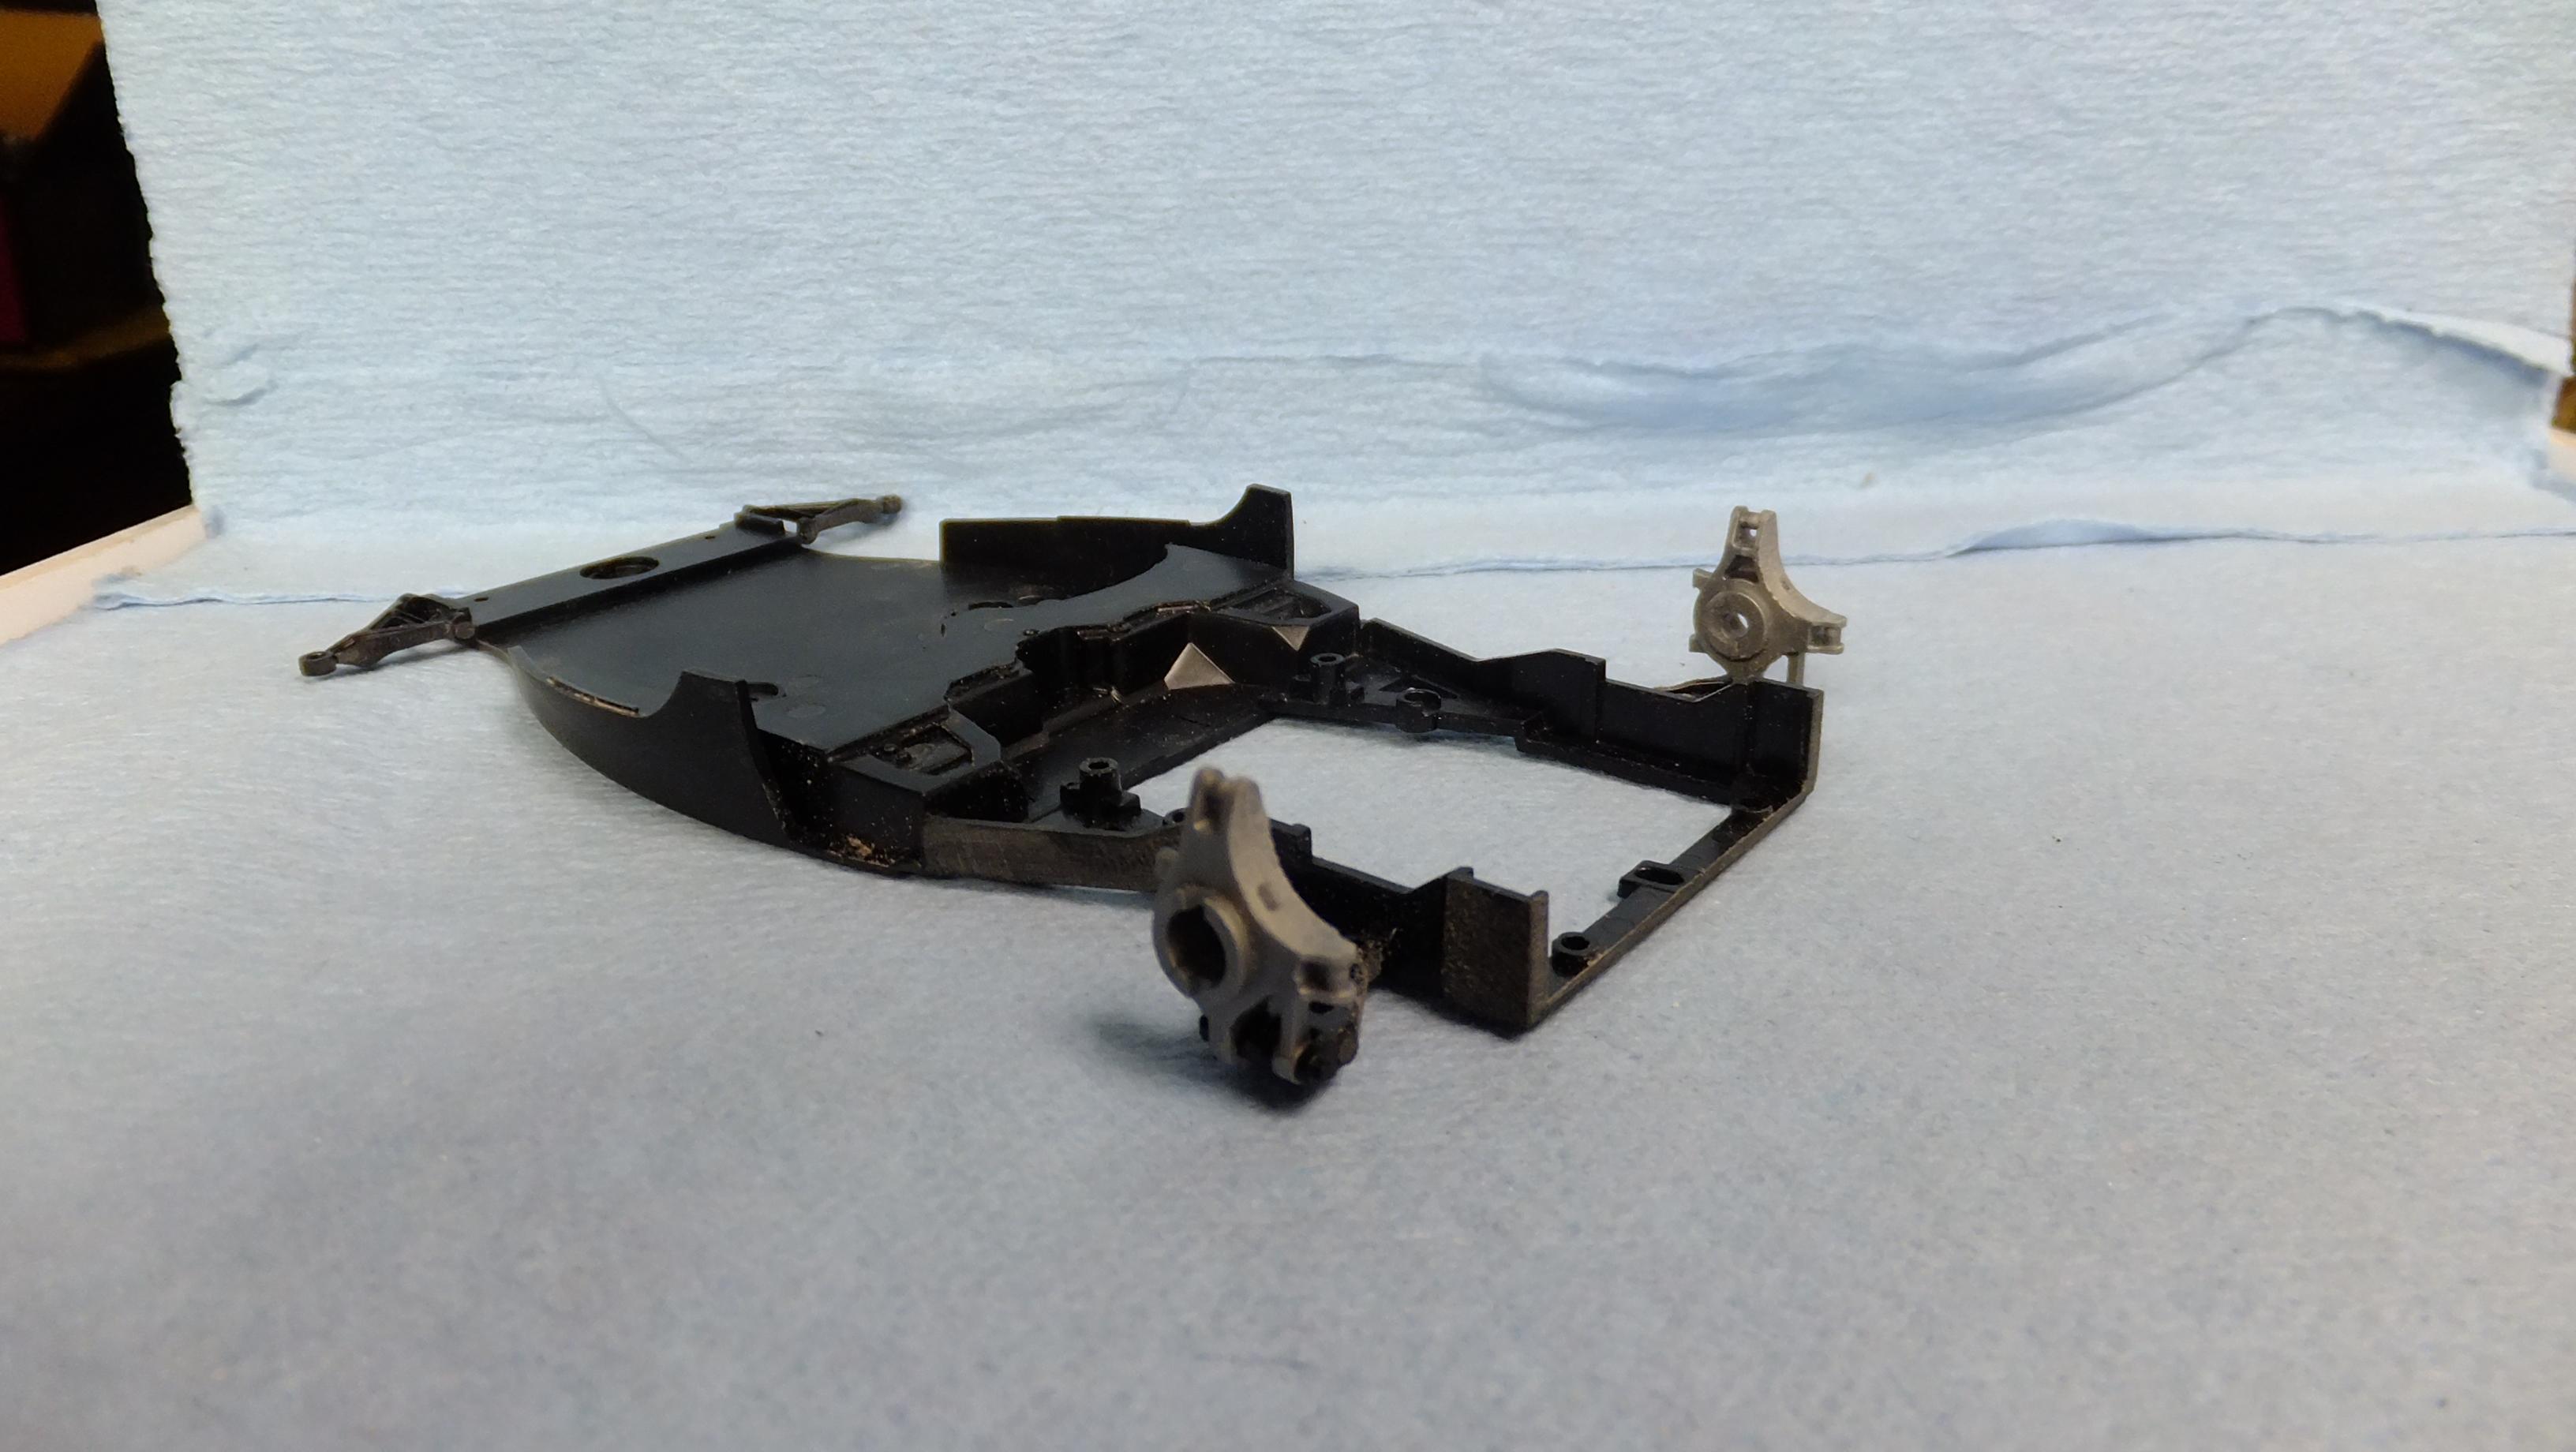
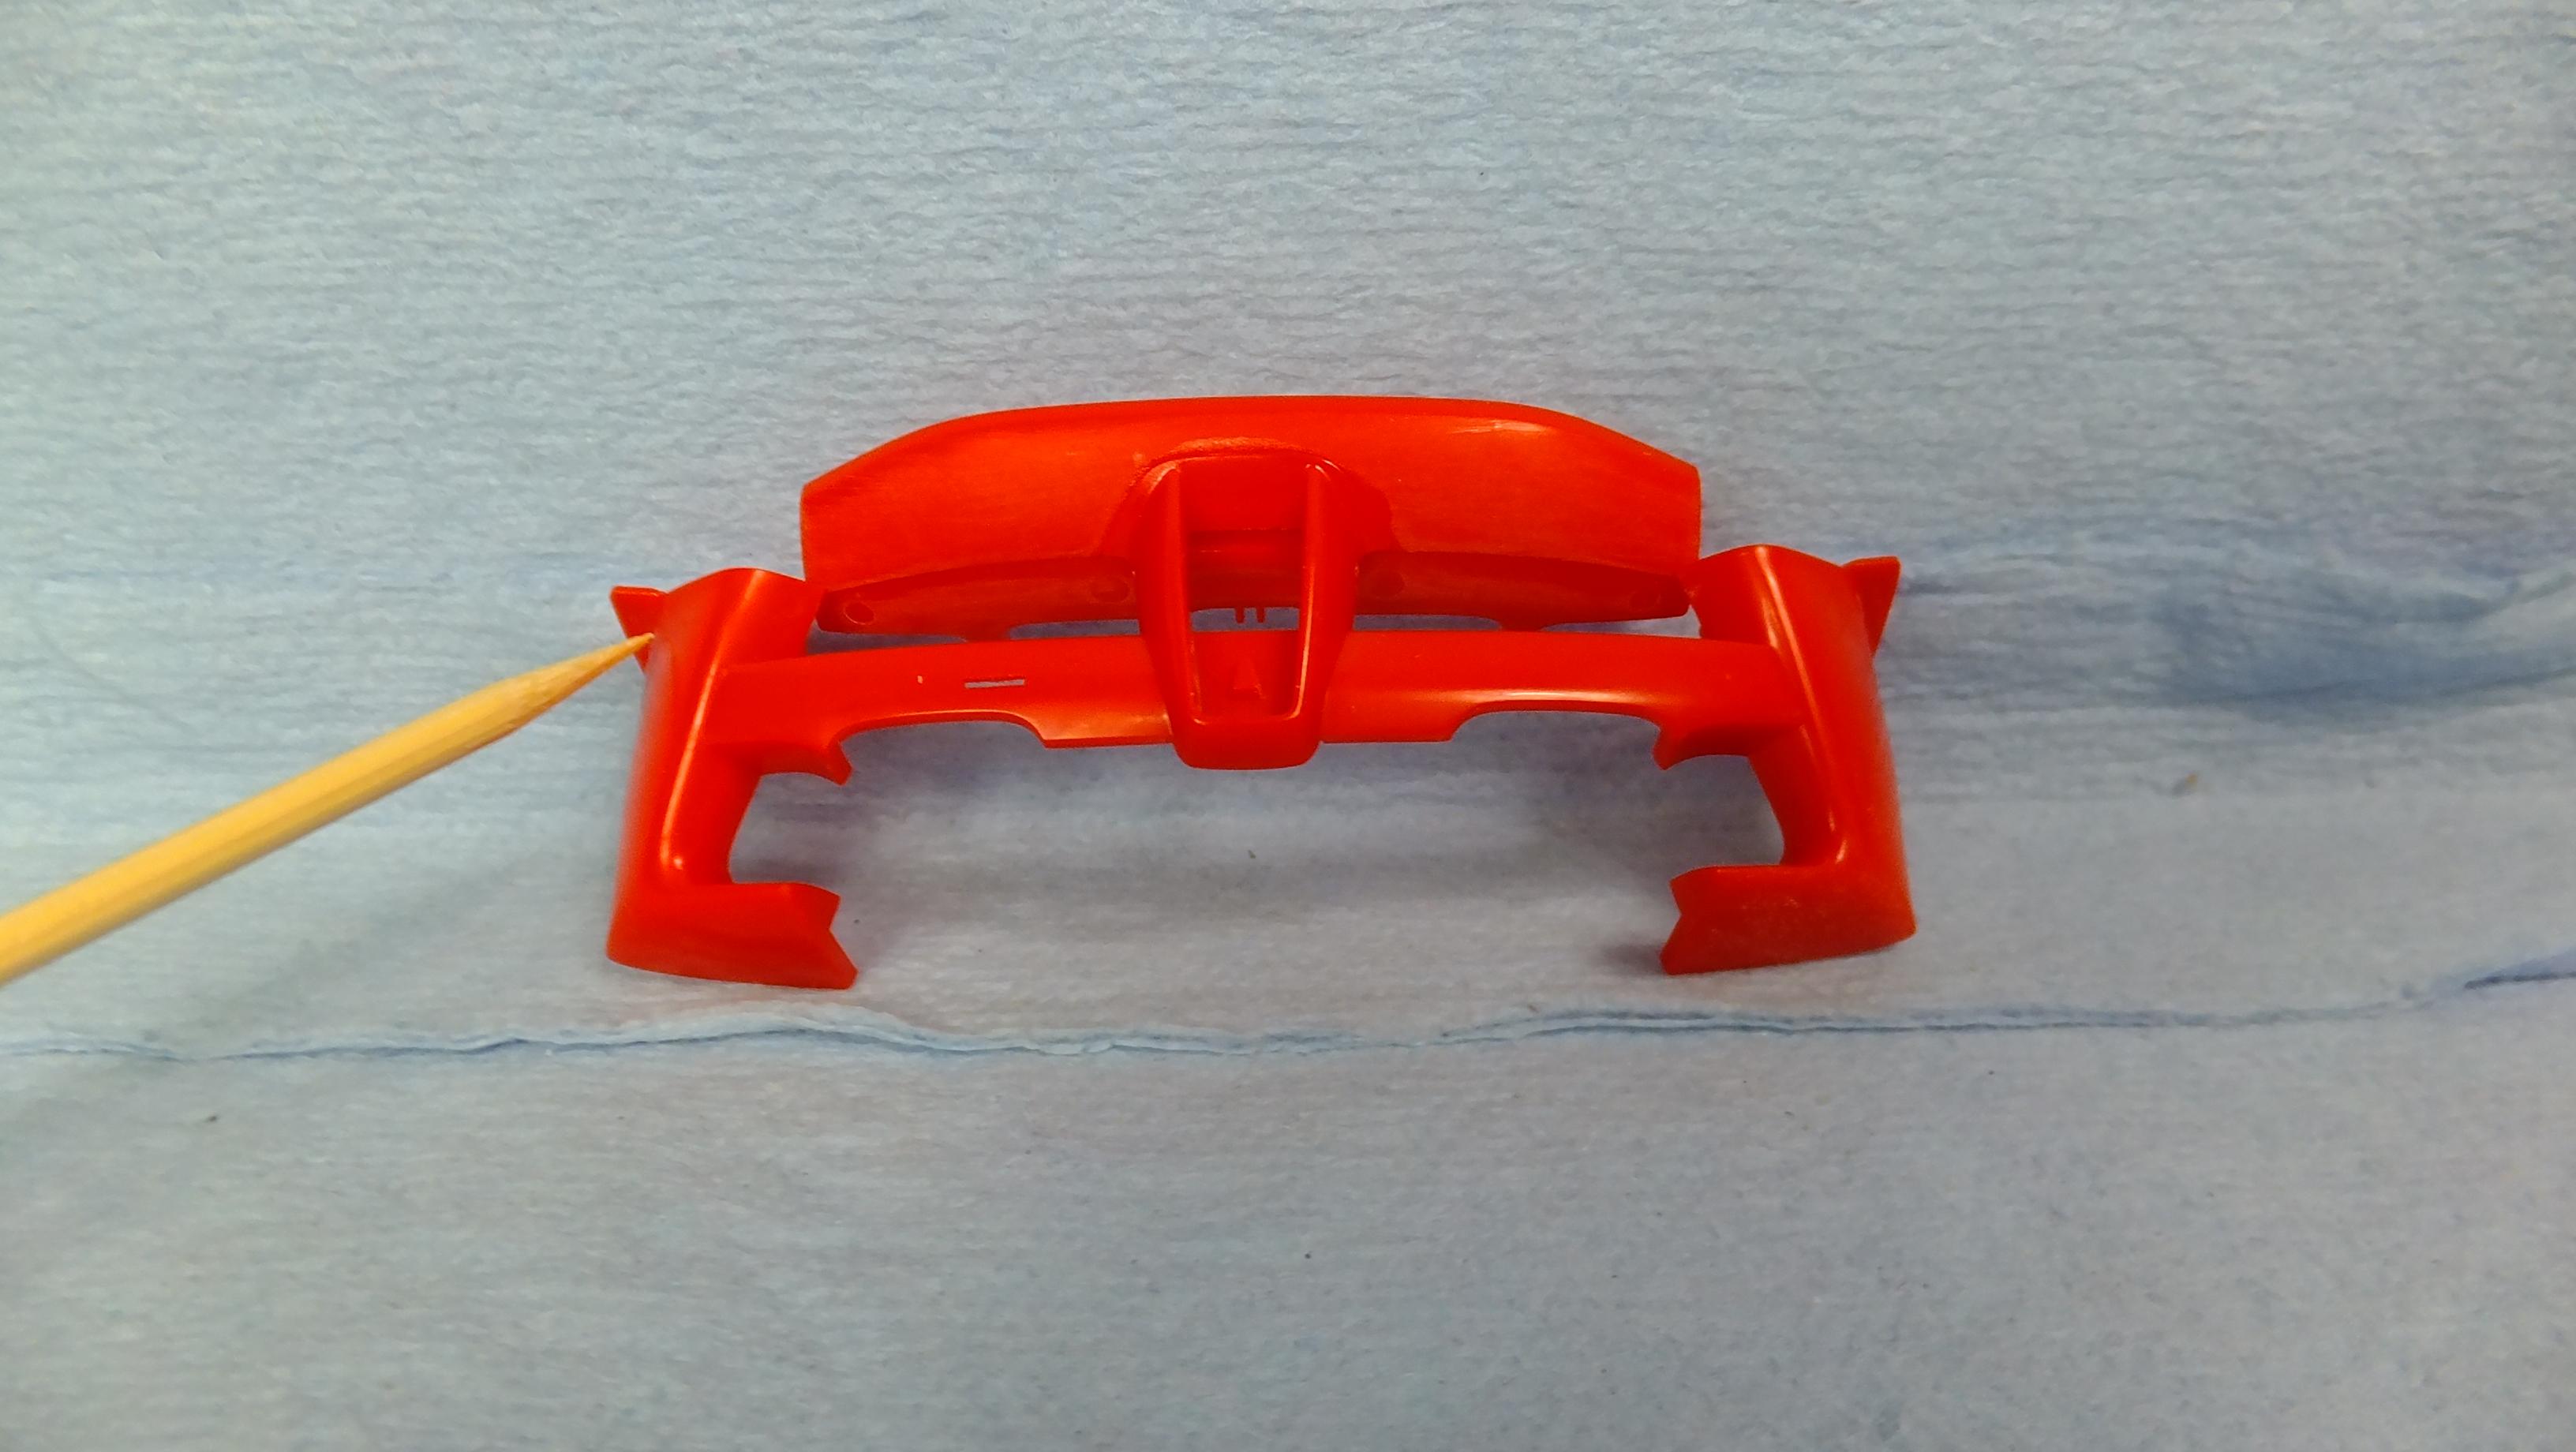
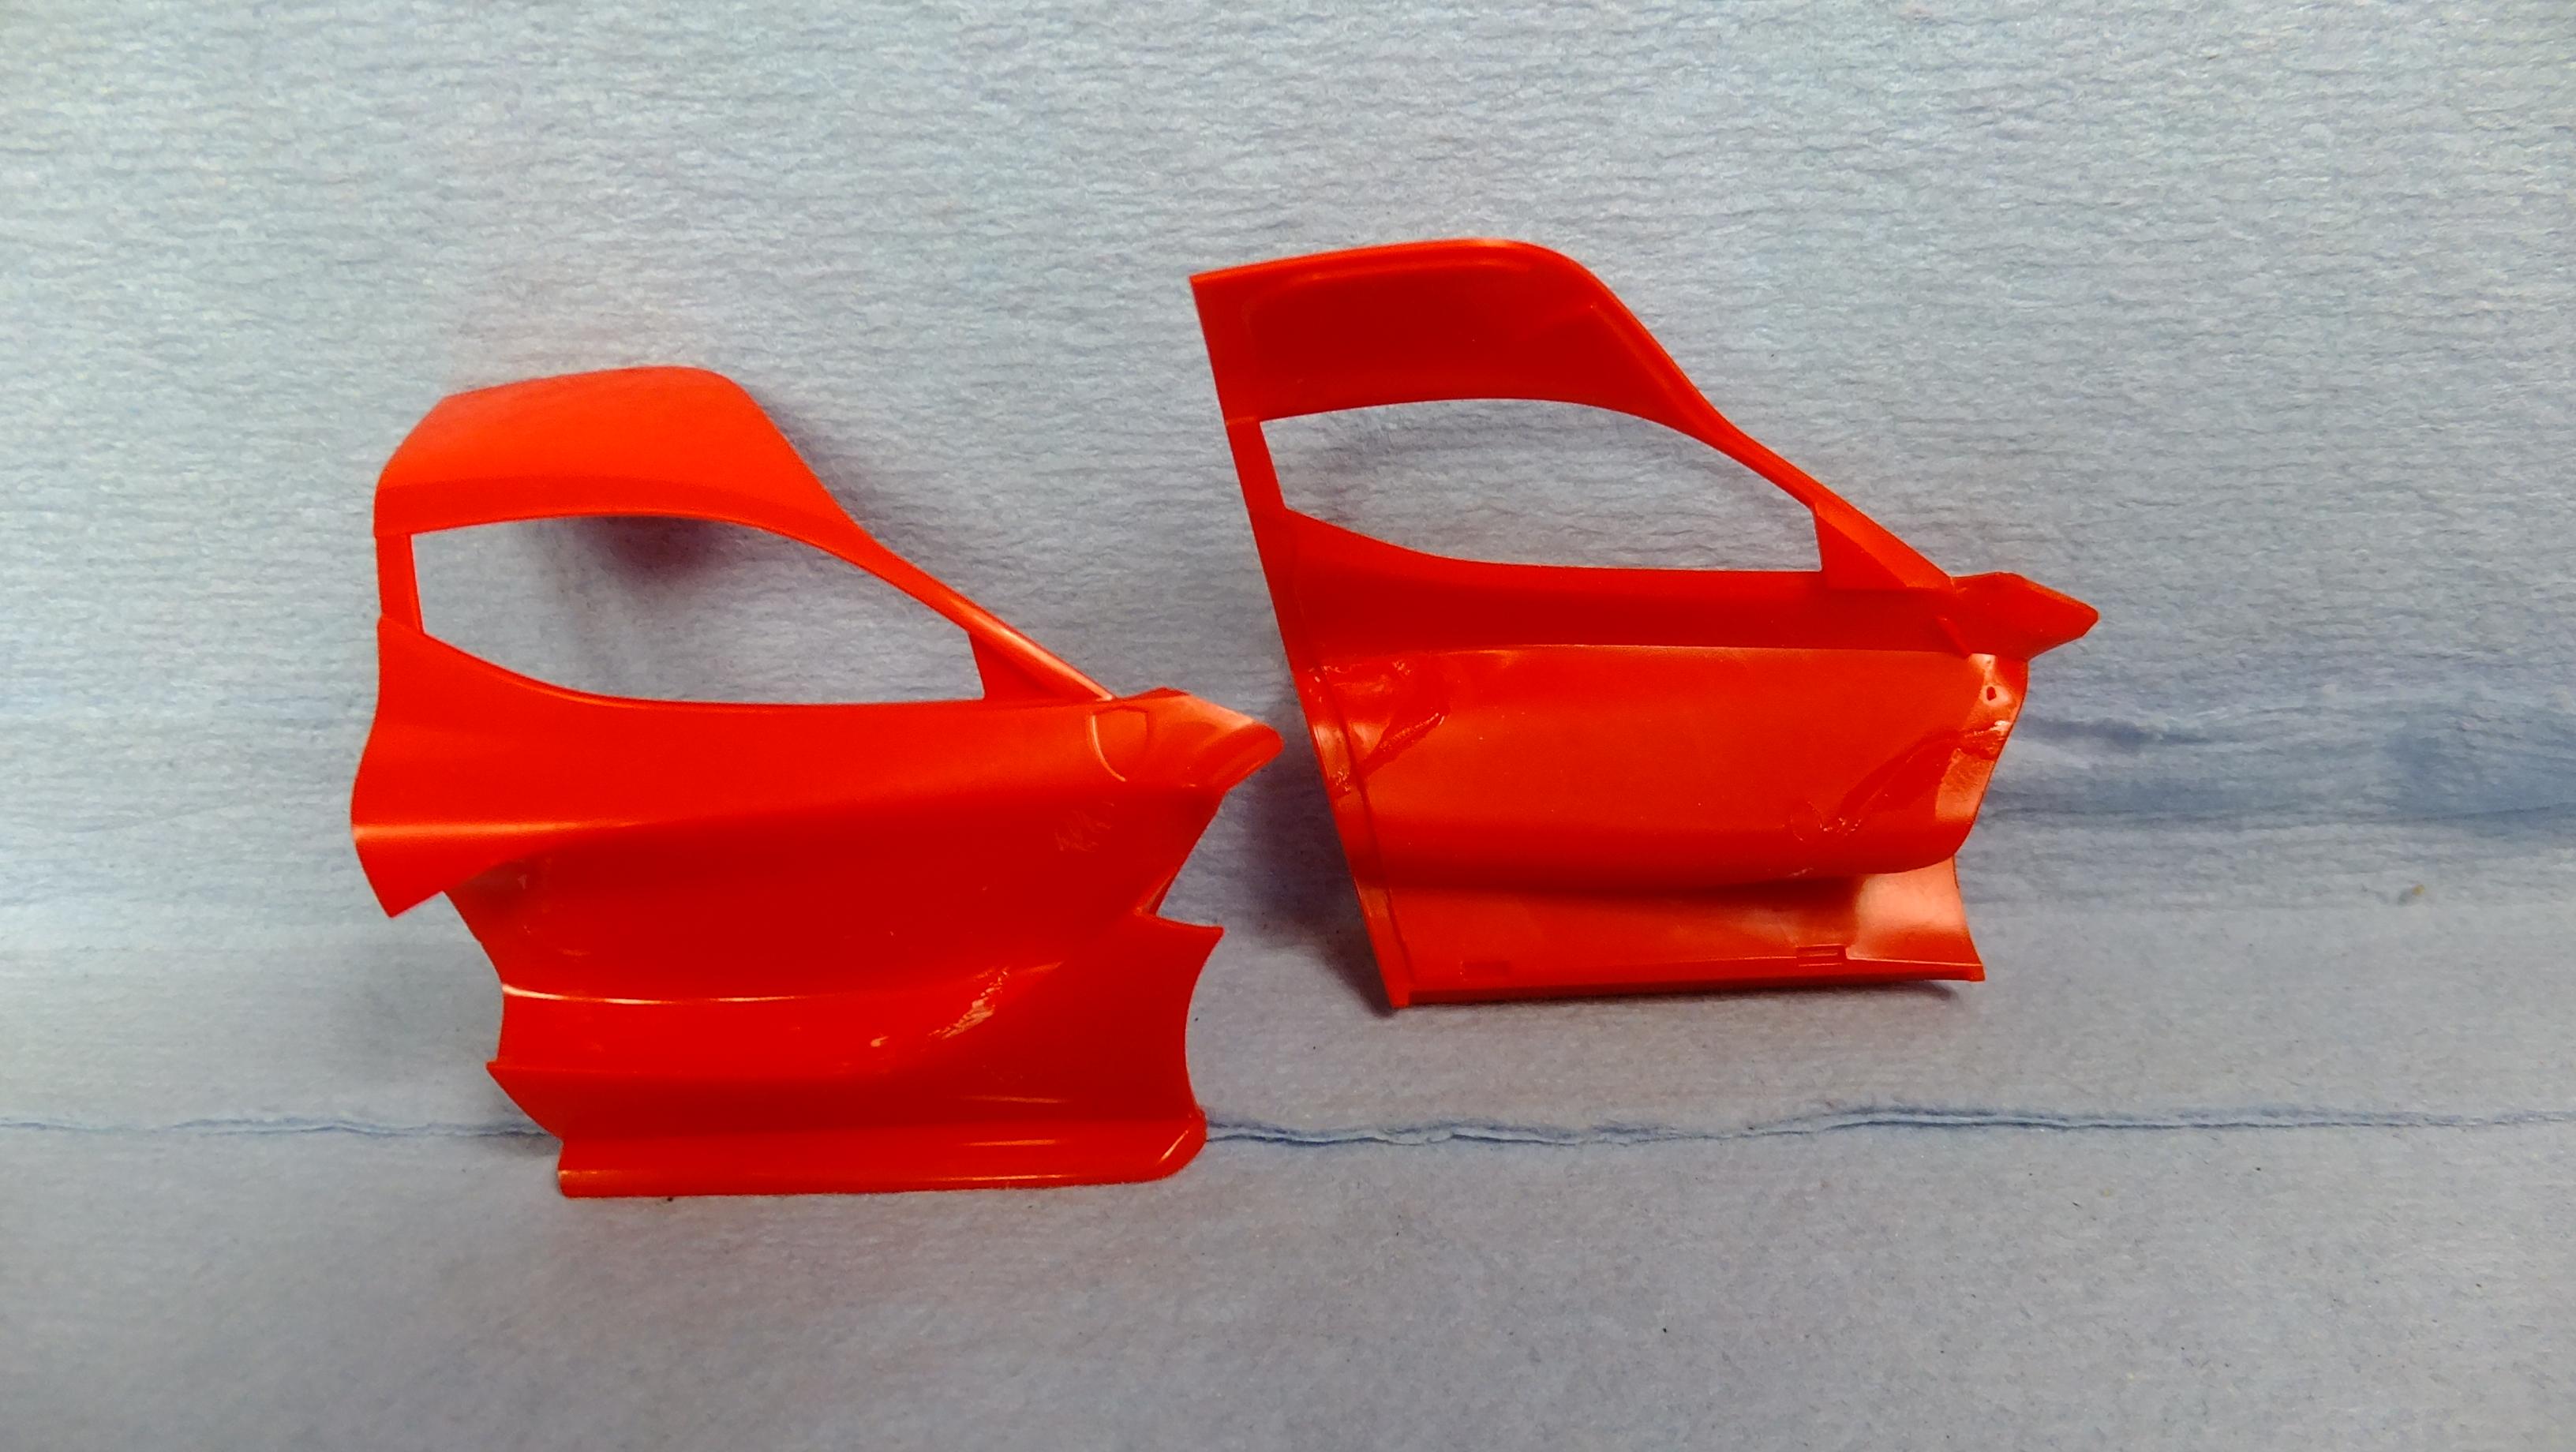
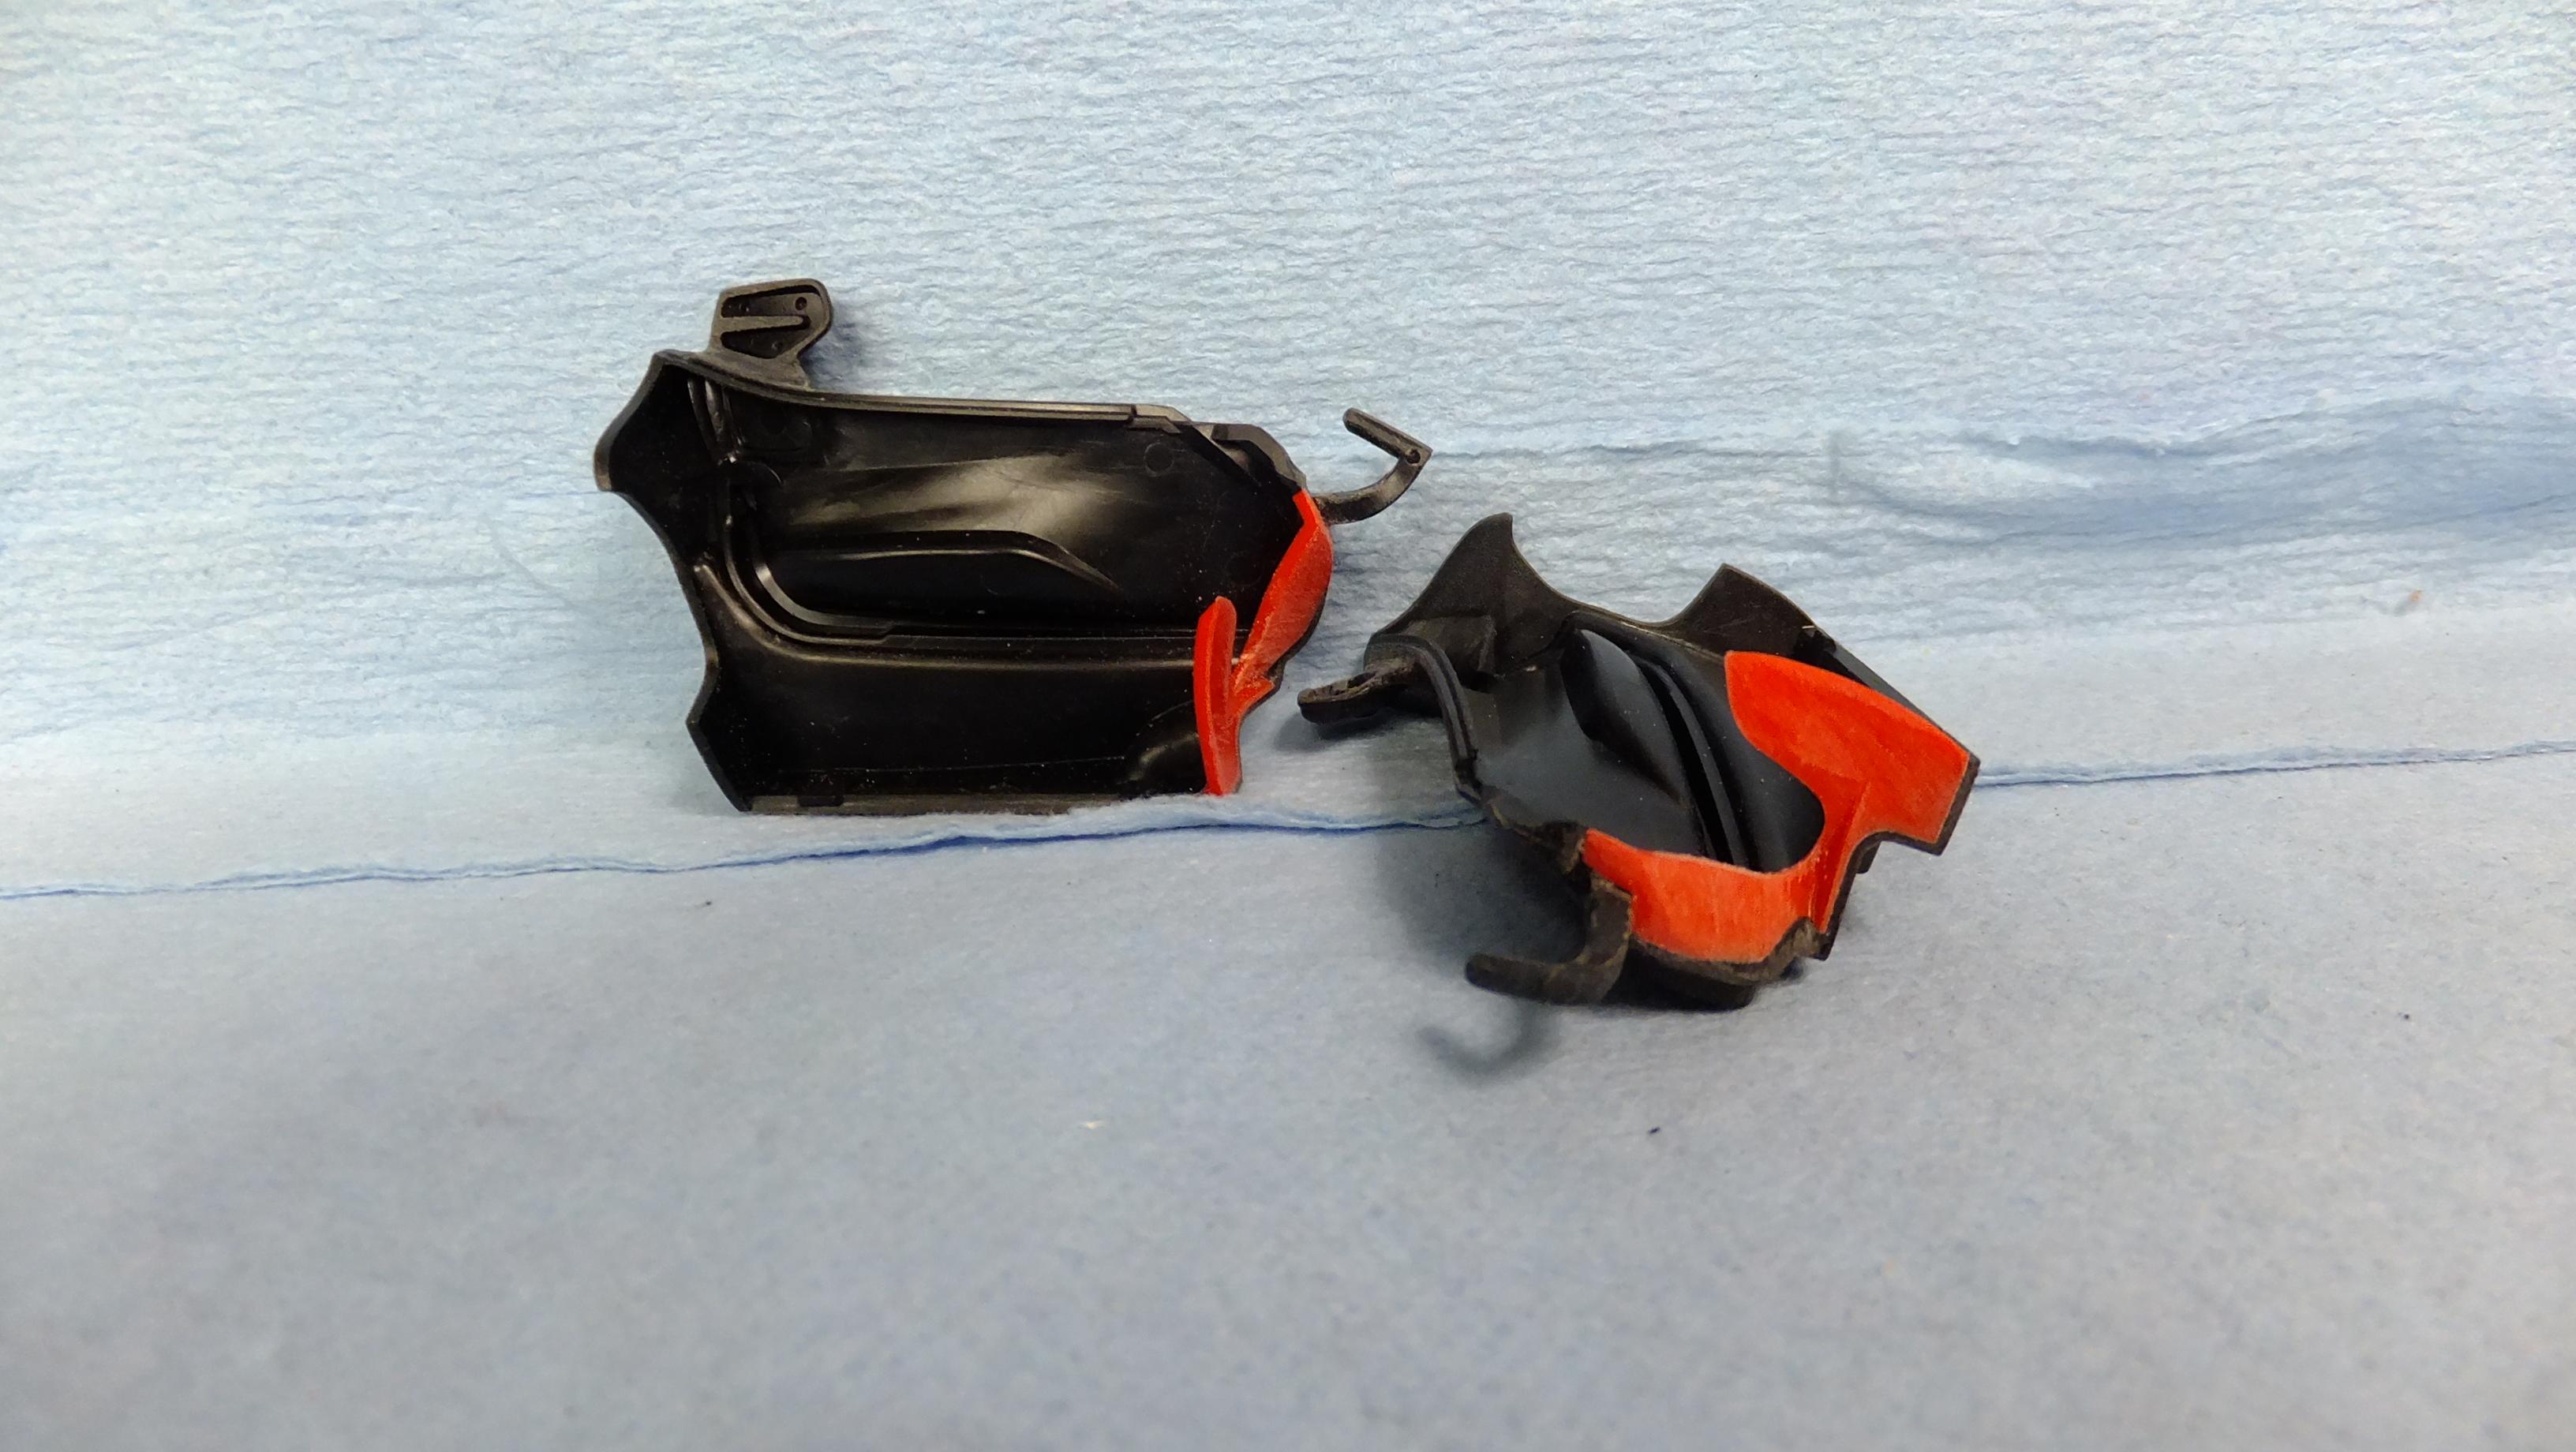
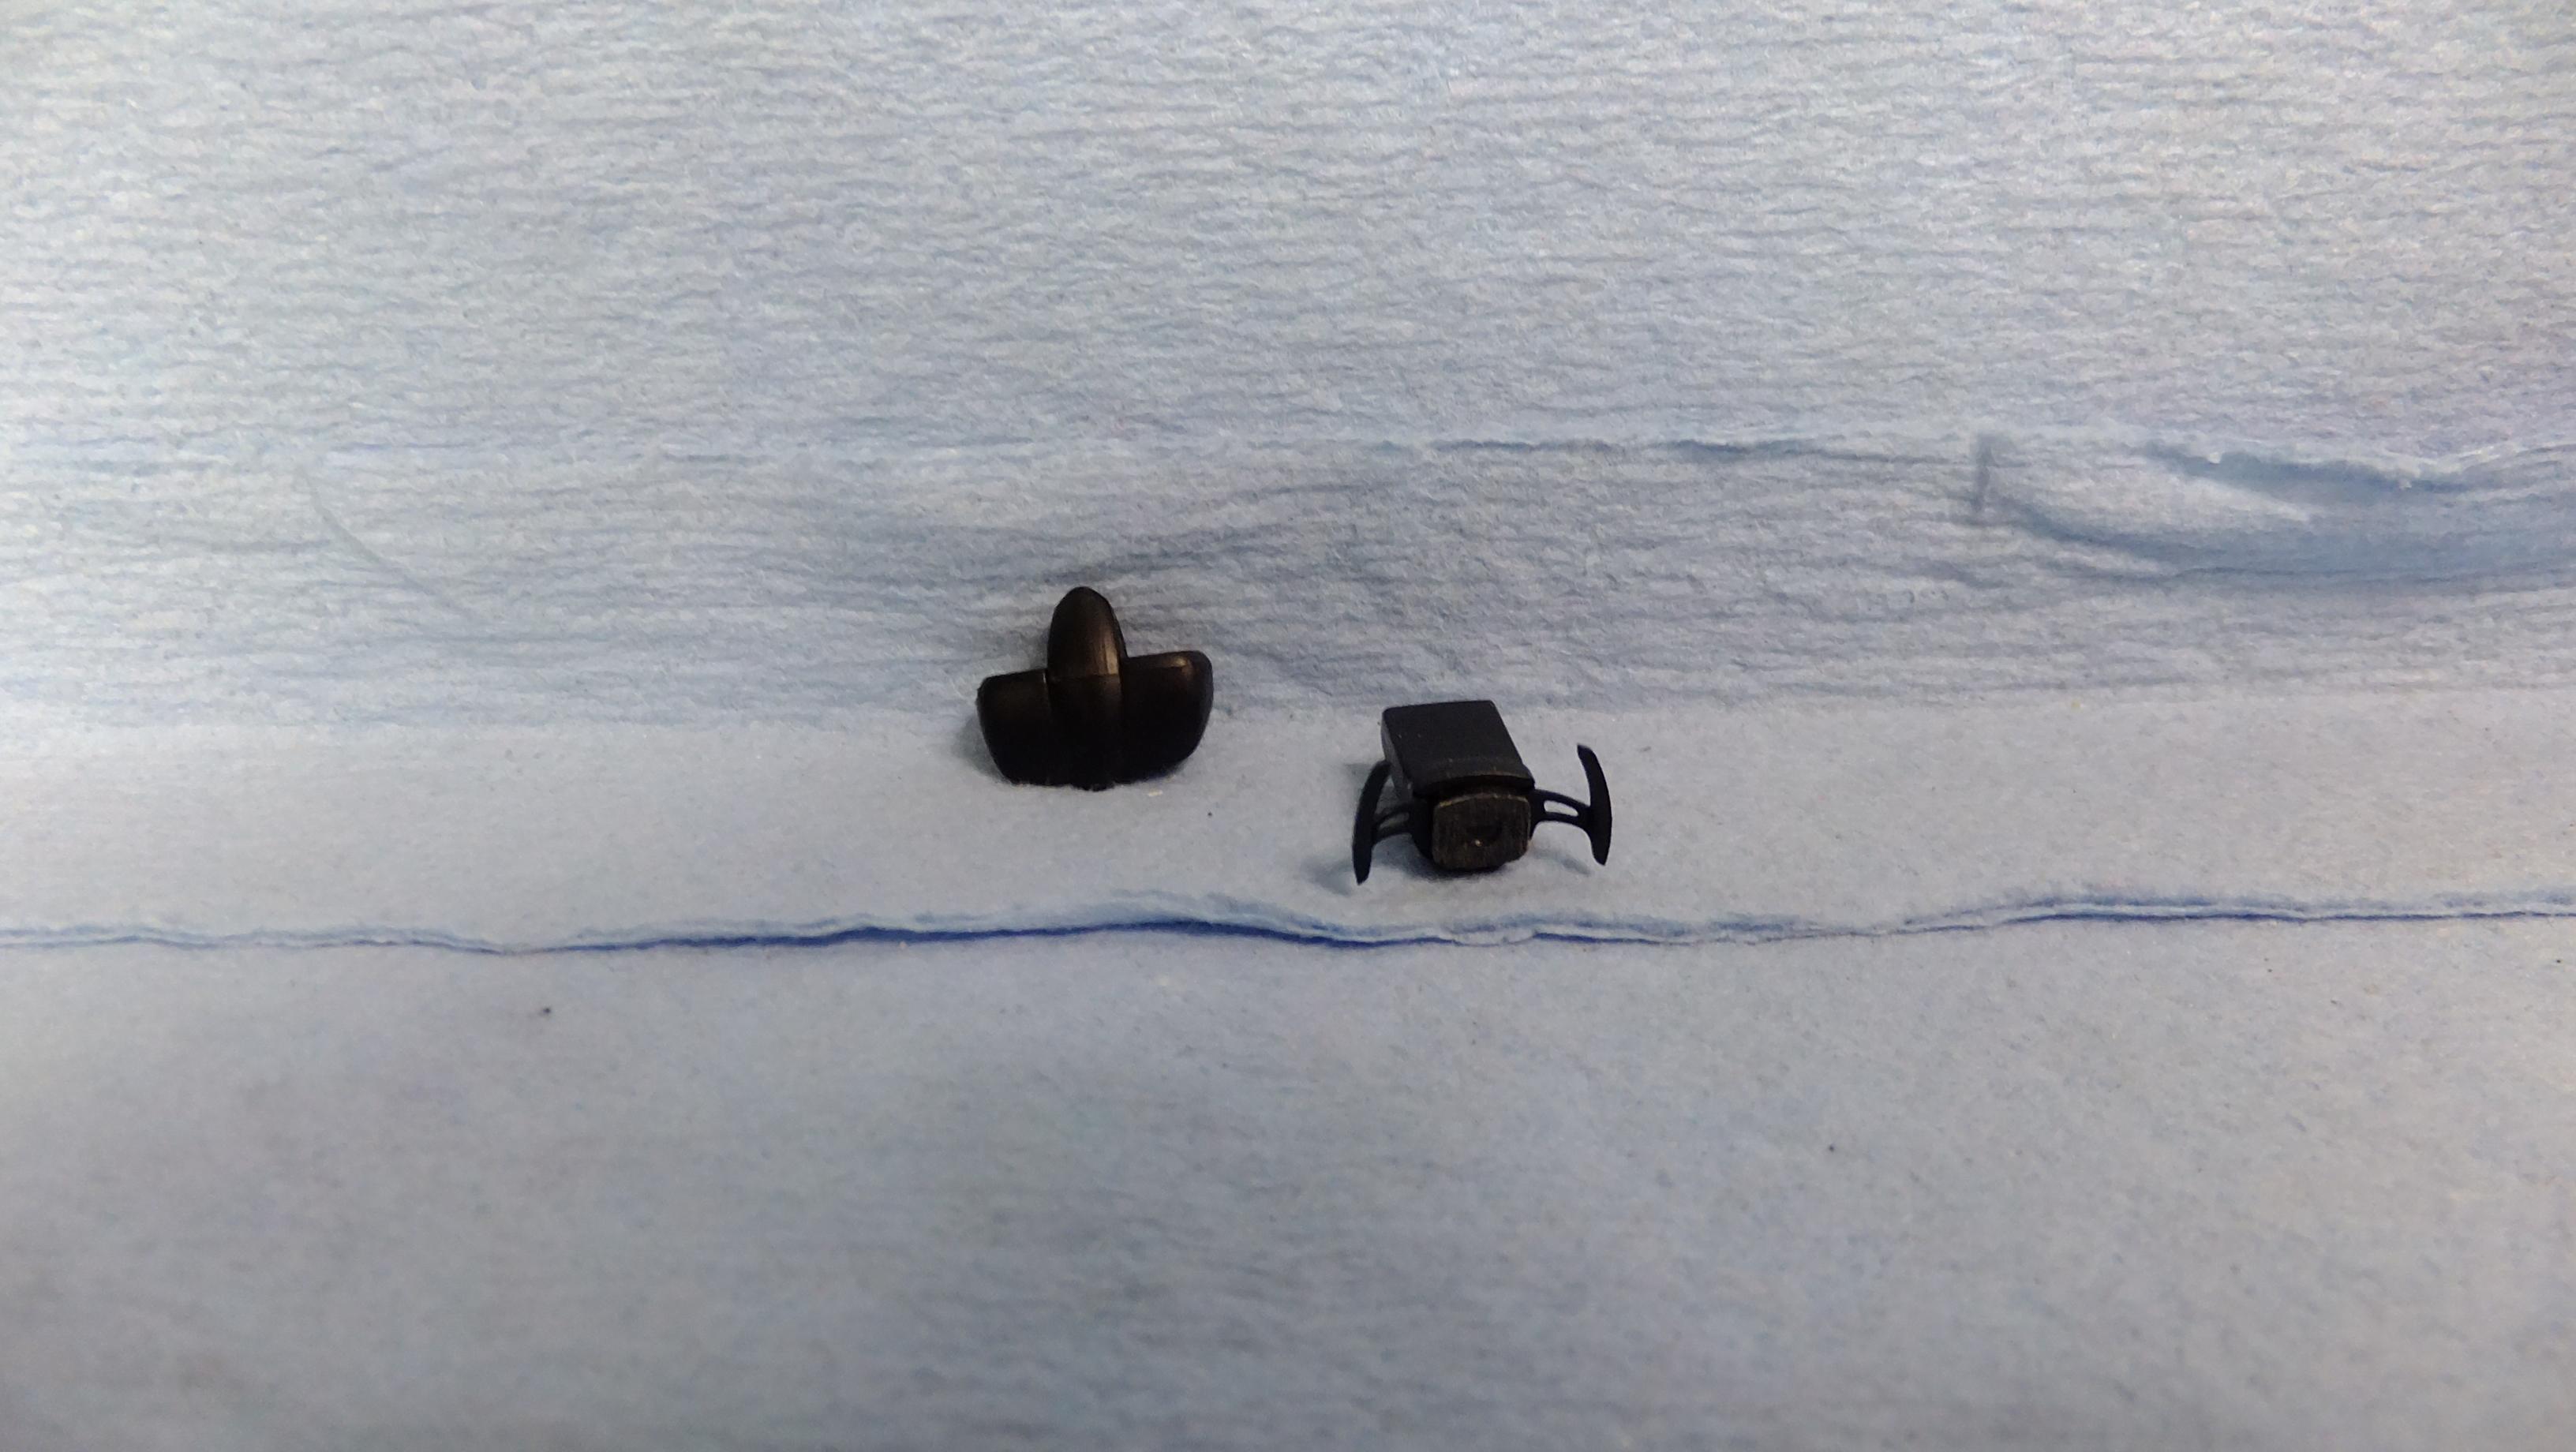
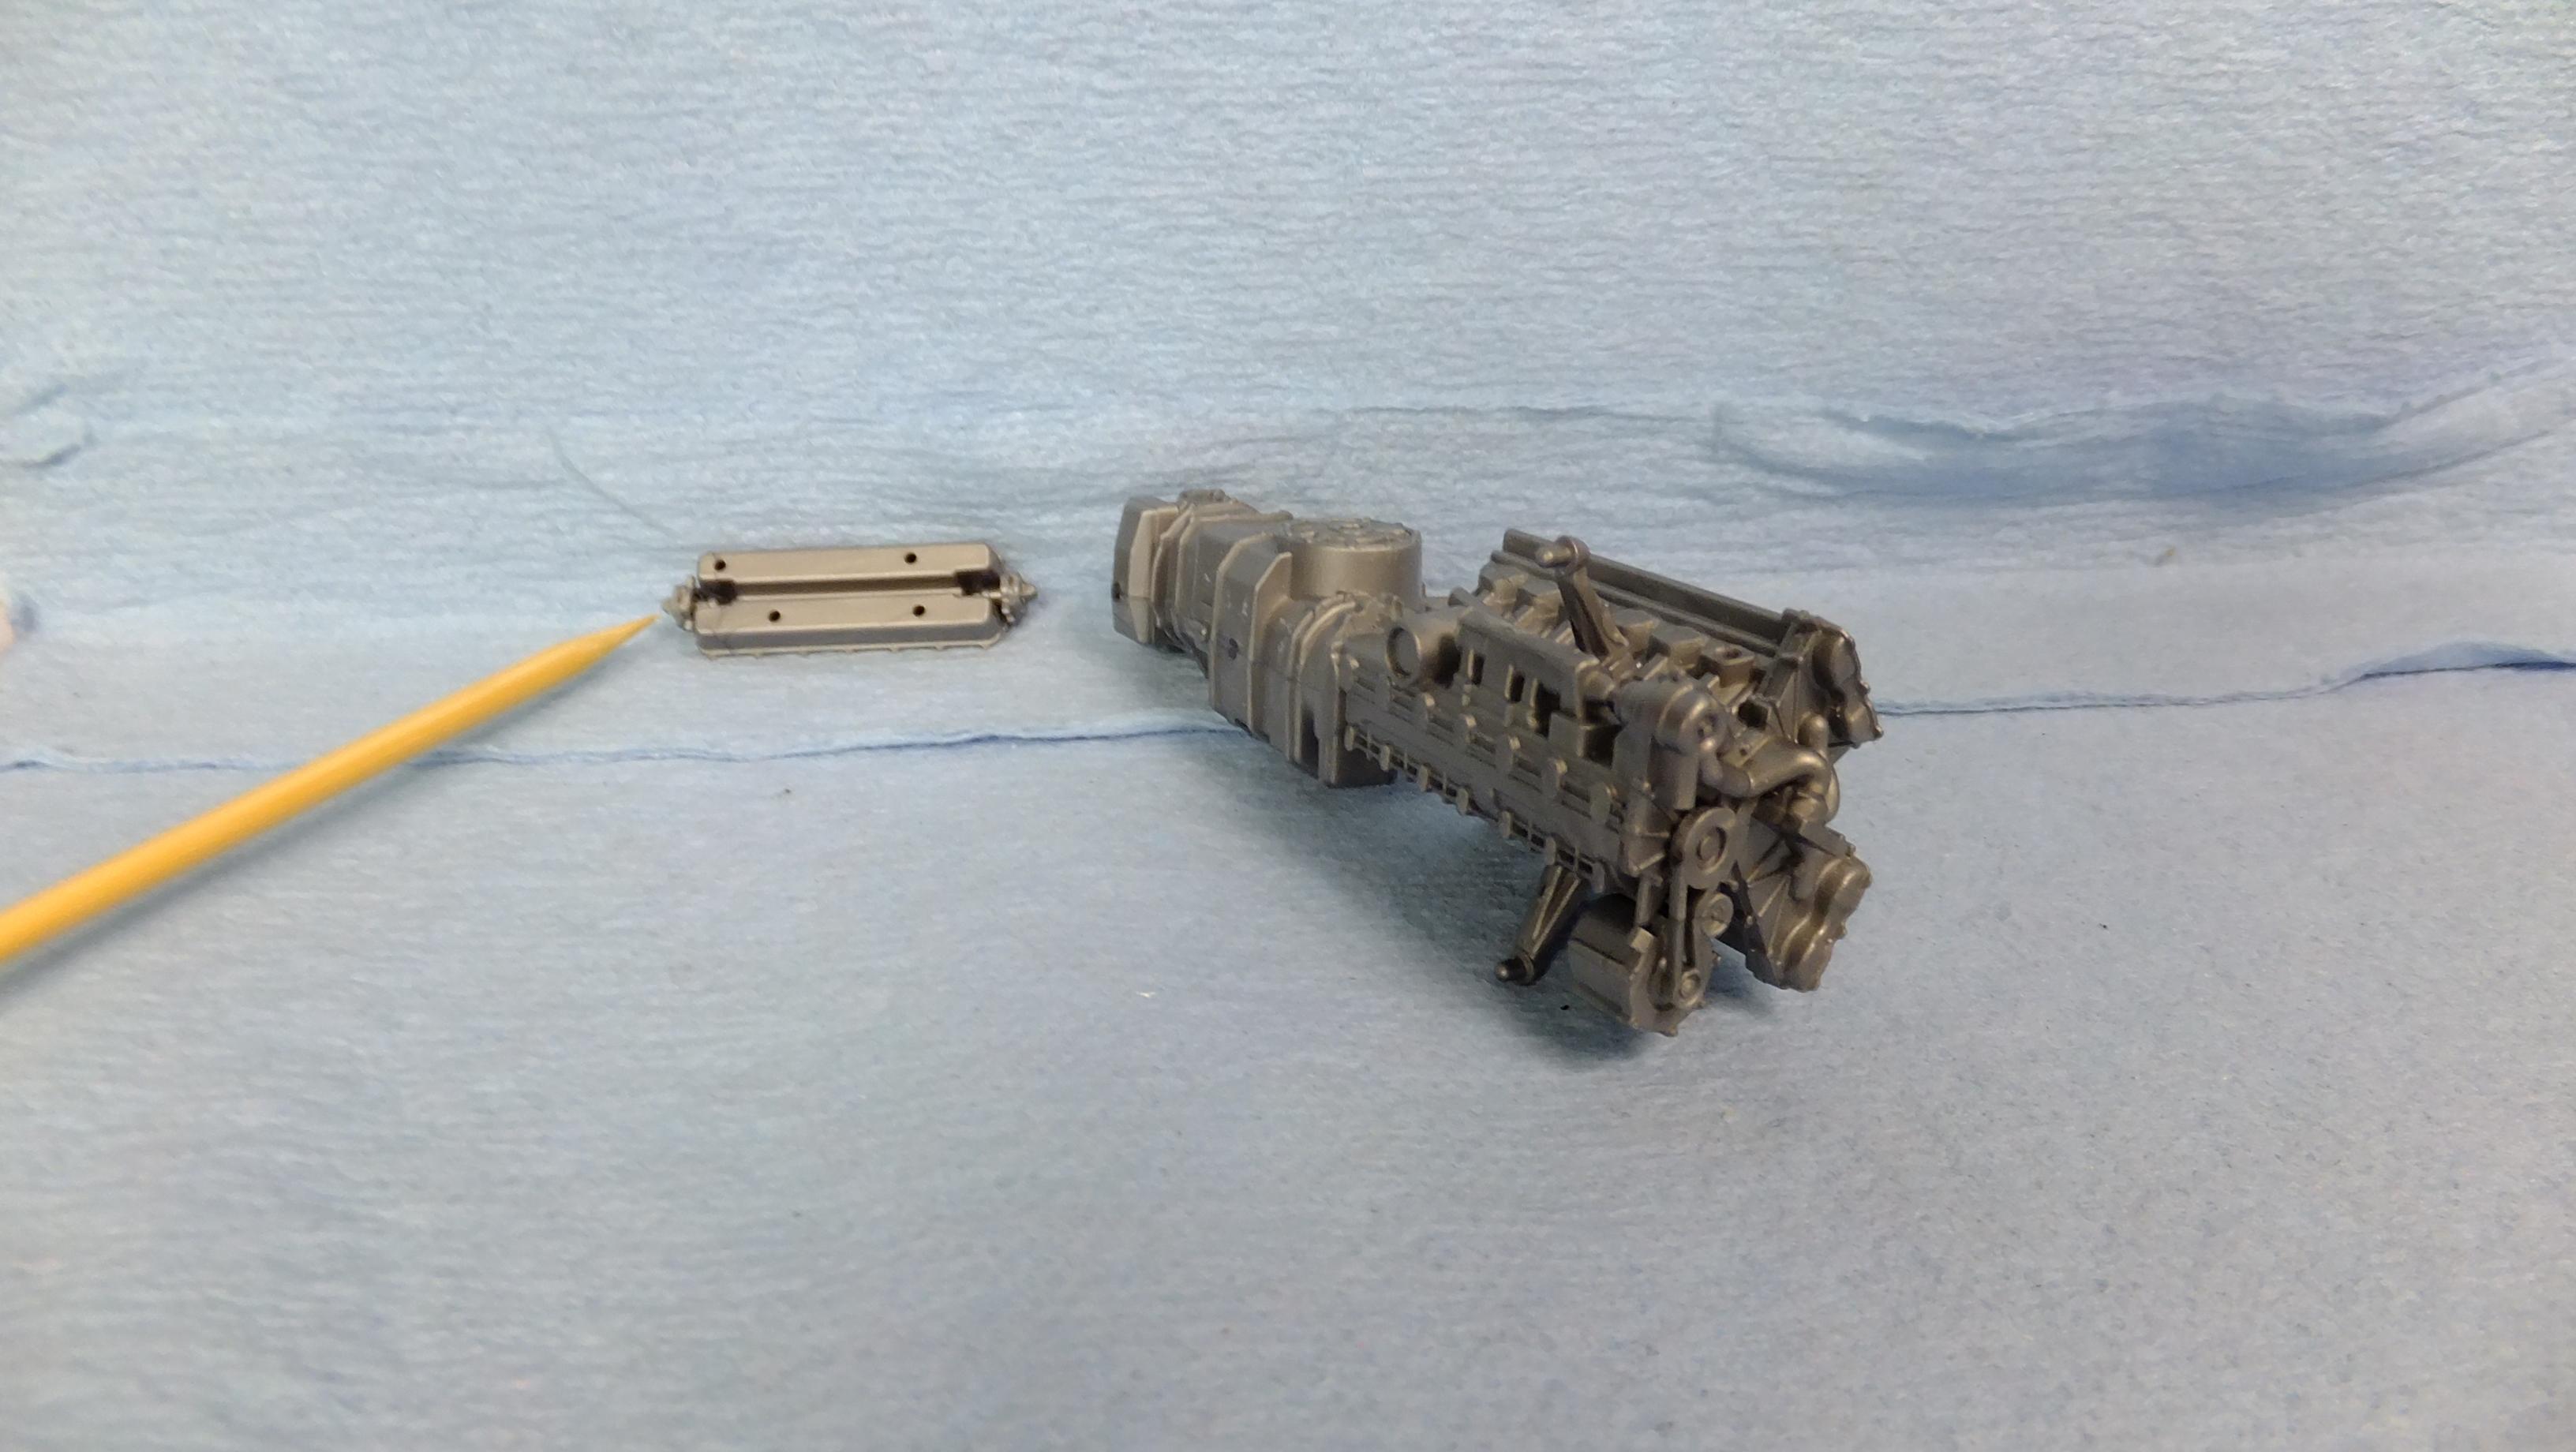
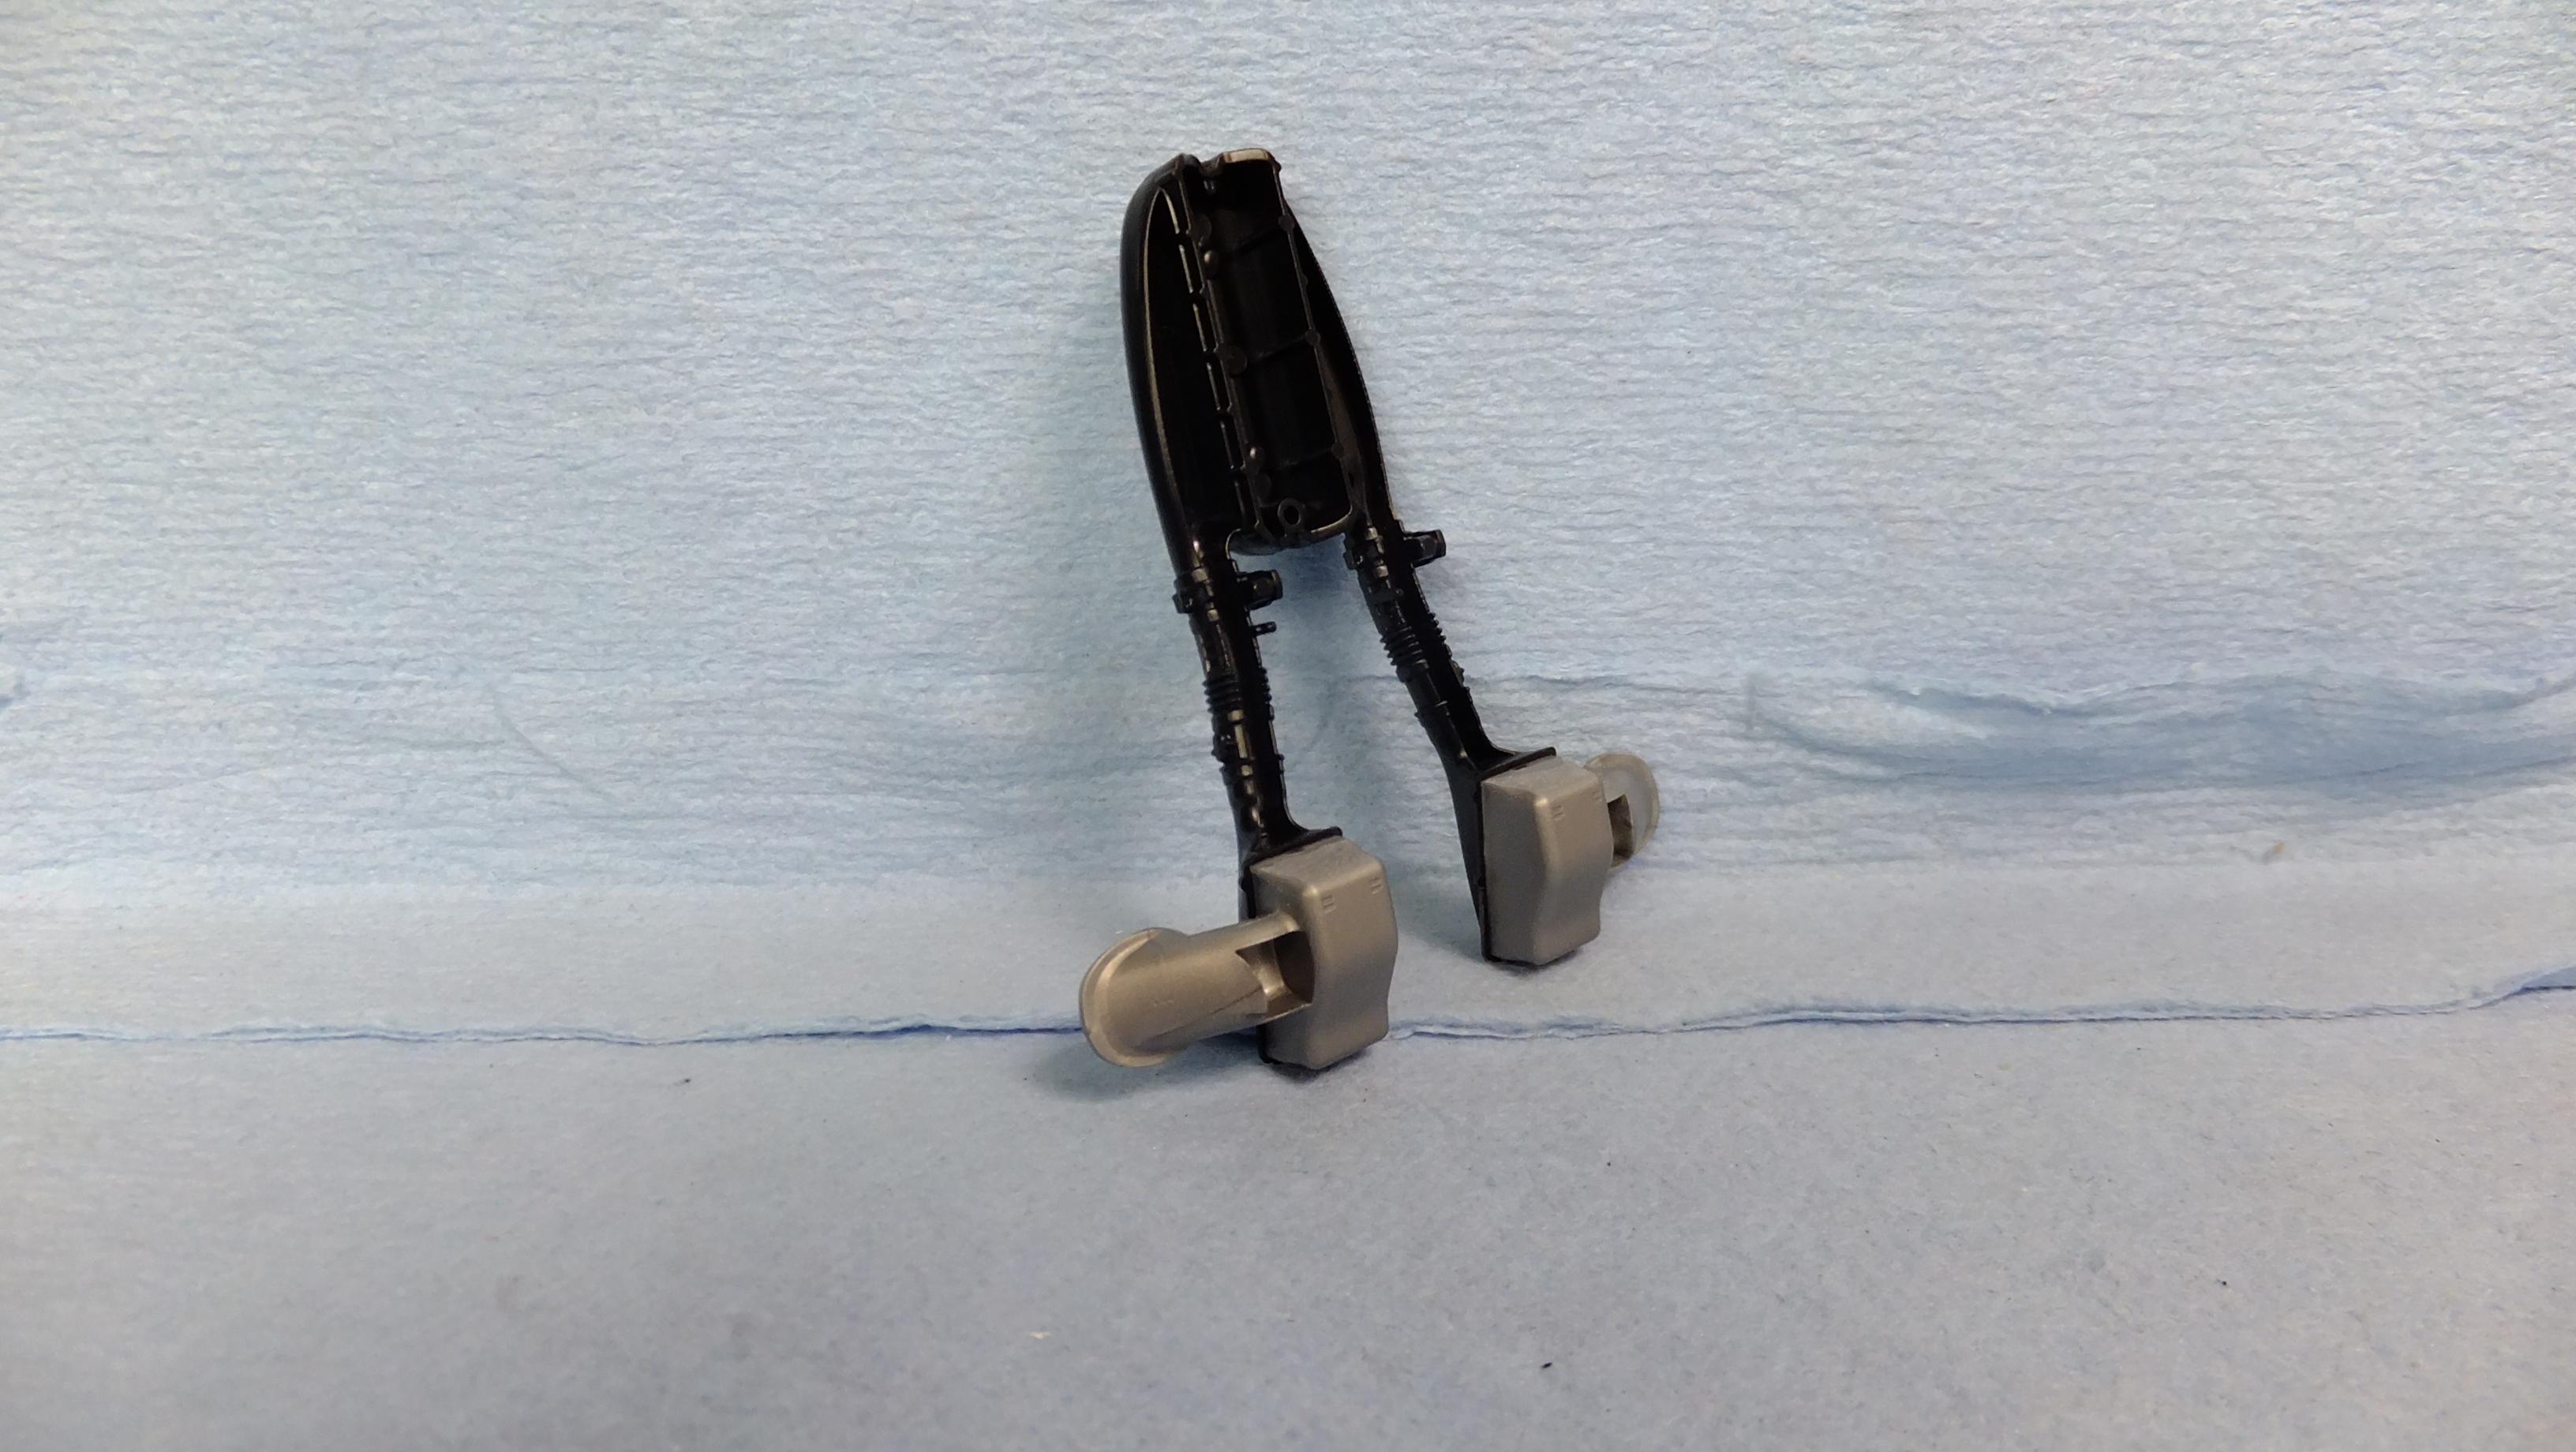
As promised, My first update, is all the bits that i pre-assembled. I sanded for fitment, then started gluing the bits together...filled things, and am now in the process of rough sanding. -Photo 1&2; This rear cowl was the worst bit to fill, and sand all six bits that i attached...at least they al fit extremely well. The blotchy spots are where i added super glue to final fill things. -Photo 3; Three parts were joined together here. -Photo 4; Splash guards attached... -Photo 5; Lower control arms, and intercooler added... -Photo 6;Firewall plate added... -Photo 7: I decided to glue the clear belly plate in, and i'm not bothered with the two parts that went in there, since i'm gonna paint it all over. -Photo 8; I decided to add the rear wheel hubs. -Photo 9; Here the rear wing, and side fins are on... -Photo 10; ...the four door vent sides as well. -Photo 11; These door ends were VERY impressive as far as the fitment -so many different angles, and yet they fit better than any part i've ever seen! -Photo 12; The two part guage cluster, and steering column were joined. -Photo 13&14; All these engine bits were assembled... -Photo 15; All 5 bits to the lower half of the dash were pre-assembled as well.......next will be Rough sanding it all!
-
Ya, i found that one too, but theres nothing for suspension, or the lower part of engine.....even tried photos of the La Ferrari.....i spent 5 hours looking all over...
-
Nice!!....almost ready to start up!!
-
Thanks, Bud!.....again, Purists will get their knickers in a twist over this one, lol
-
Its nice not to be alone, lol
-
Thanks, bud!...its really stuck in there, lol
-
Well, everyone, i could not resist starting another car....when you feel motivated this strongly, you gotta go with it, right?! This will be another Uber build for me, and like always, i have some different suprises up my sleeve. What i will tell you now, is that it will be a road car, and it will be semi-gloss white. I spent hours, and hours trying to find detailed photos of the engine, and suspension, but couldnt find that much, so i will do my best with what i did find. I started off by doing as many pre-assembly things i could, and filling seams. I havent started sanding yet, but later today, i will have photos of all those bits.


.jpg.b7a433b7c9d320889ea33237e3fd1978.jpg)
.jpg.47d1ed9e242d5b3c10f8d3aaf3364e8f.jpg)
.jpg.00bfff429a8443af6025a2aae14e5158.jpg)