Dann Tier
-
Posts
8,151 -
Joined
-
Last visited
Content Type
Profiles
Forums
Events
Gallery
Everything posted by Dann Tier
-
It was on hold for a little while, but its back on top again -thanks for following!
-
Much appreciated, Bud!
-
Thanks, Bud!
-
Thank God i bought my Minis a loooooong time ago. I think the Lotus Super Sevens motor would work too. No problem about the hijack...its my doing too, lol
-
Yes they are...it wont be too far in the future that i start it...a month or two.
-
A great update here...i scribbed all the panel lines, and made the parascope. As of now, its all cleaned, and ready for primer tomorrow! -Note; I still wasnt happy with the wiper cover, so i redid it again -now i'm happy with it.

-
They are great, arent they?...They are basically the same, just different model years. Top Gear did a funny "Roll-Over" episode too!
-
Thanks, Bud!...which Pantera?....the 73, or custom V12?
-
LOL...i like to do it once in a while. My next total SB will be this;
-
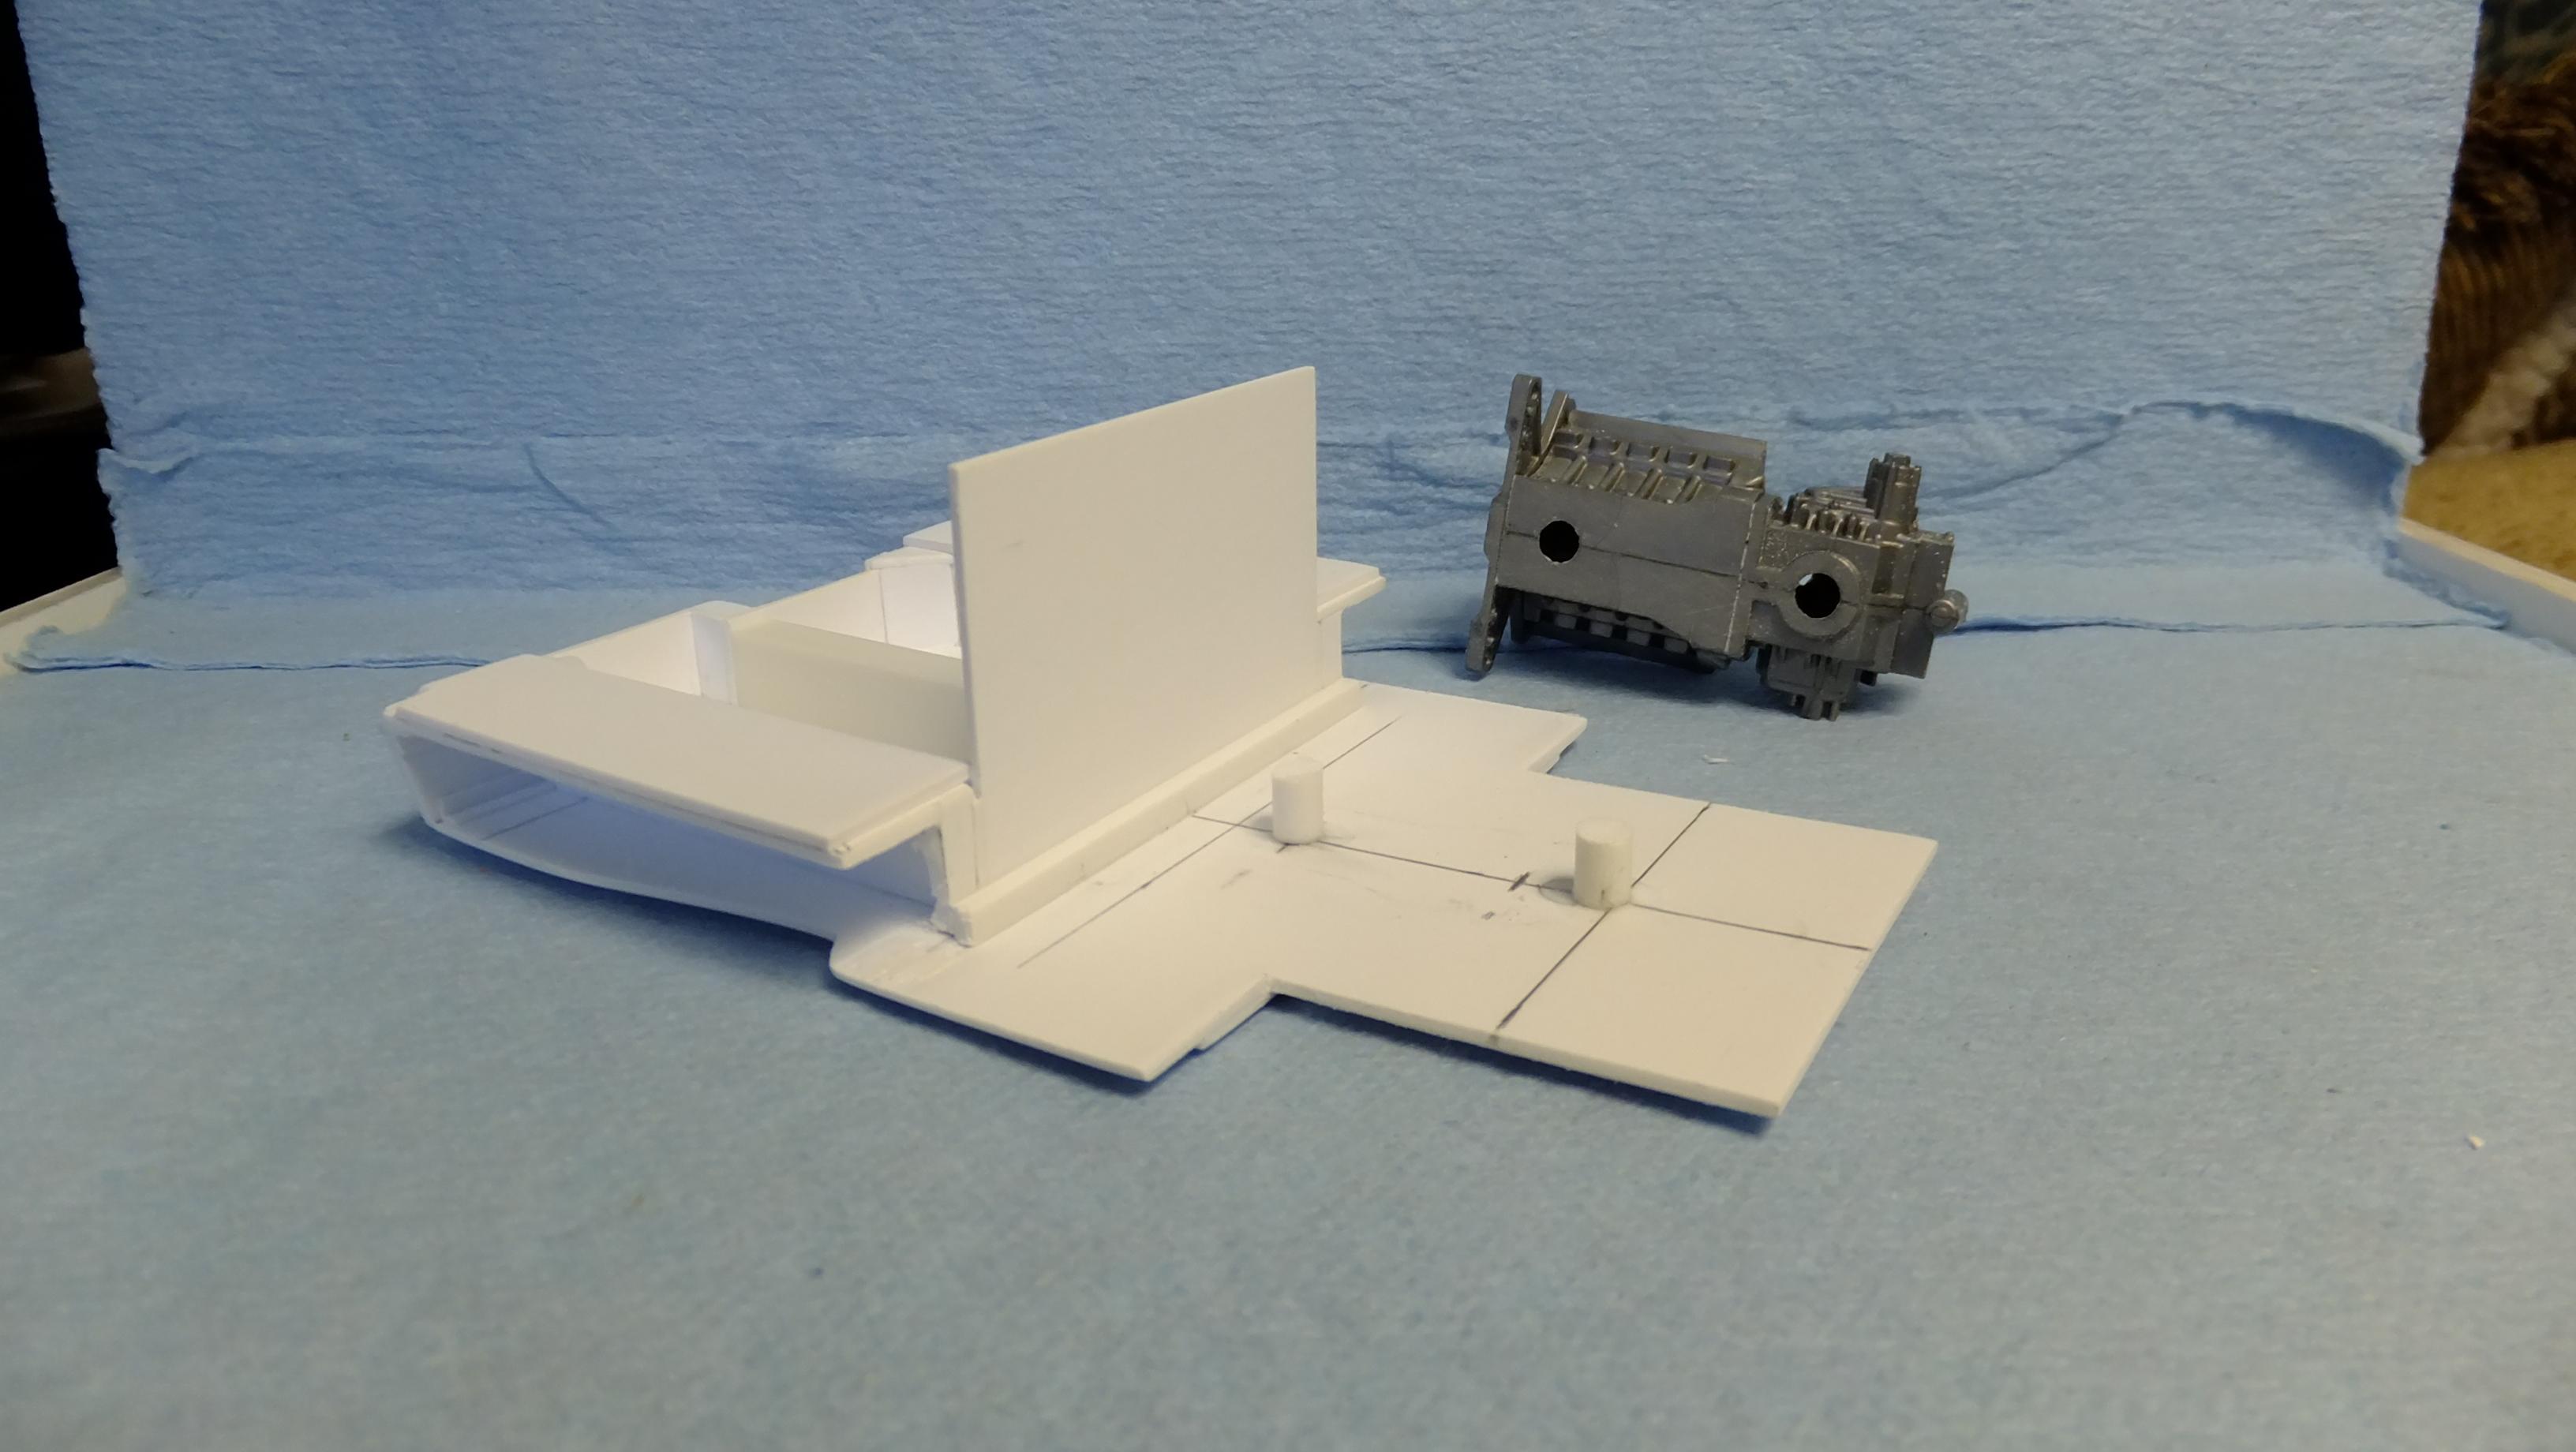
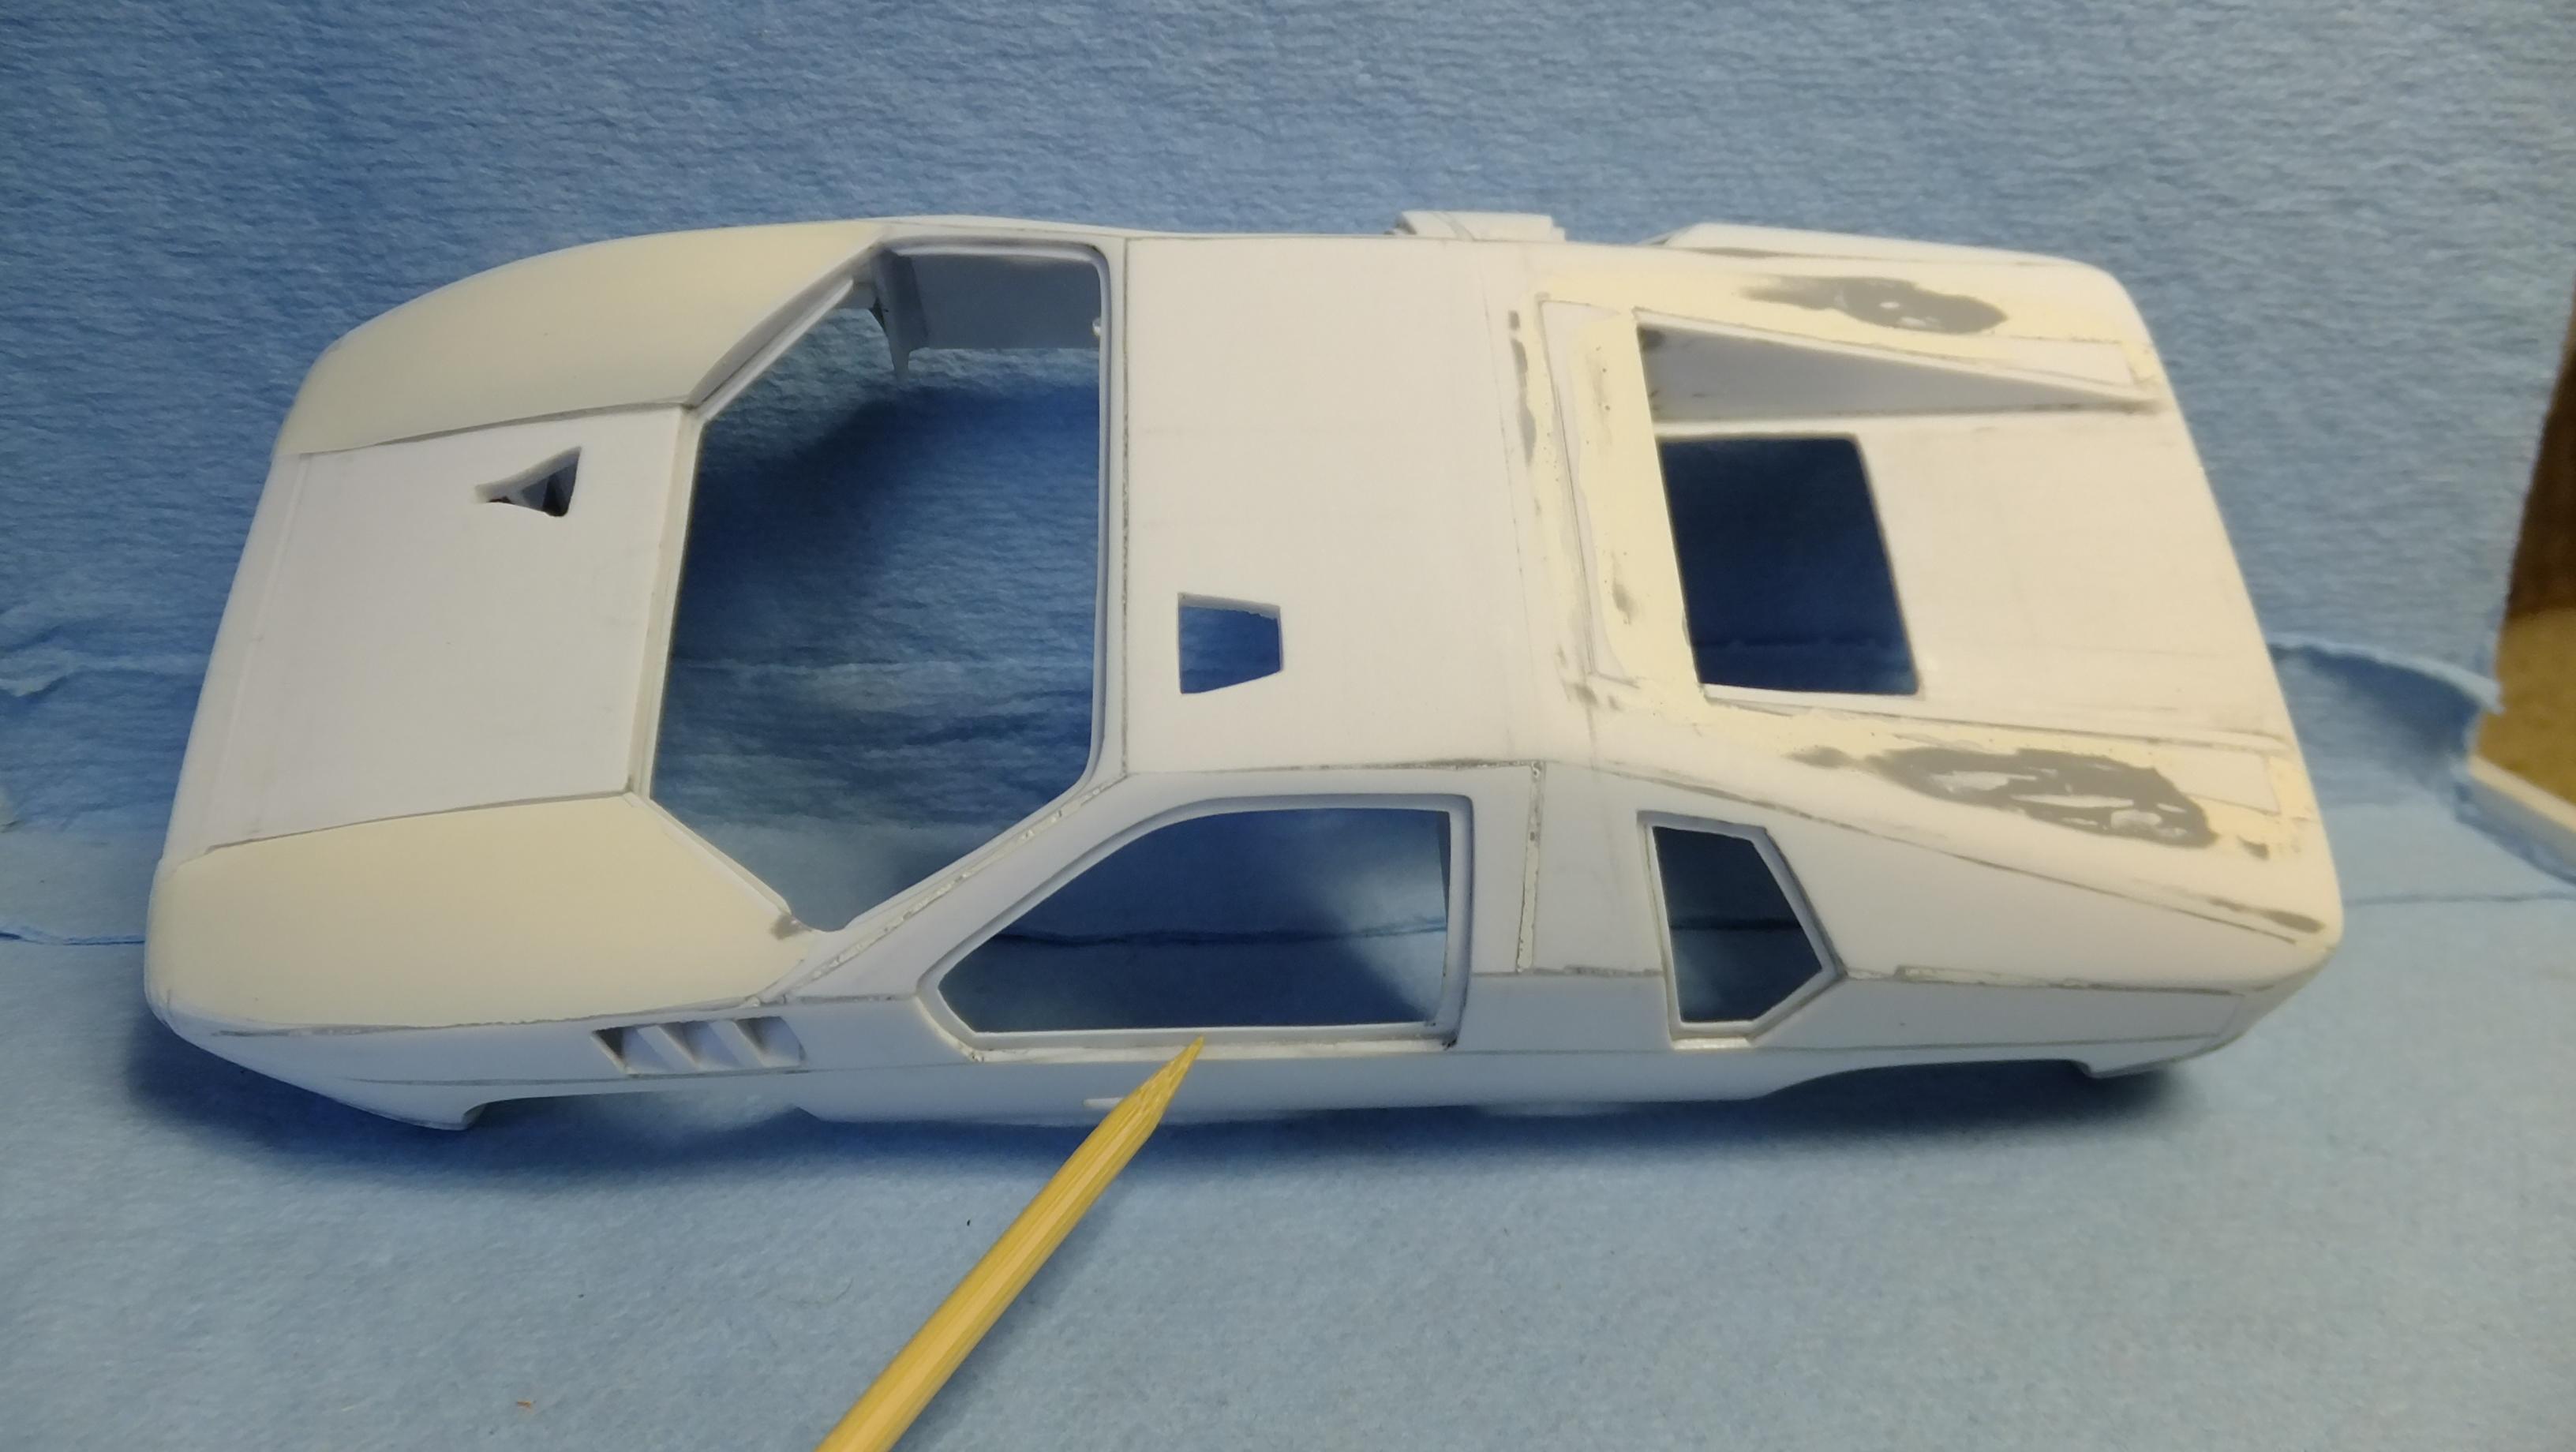
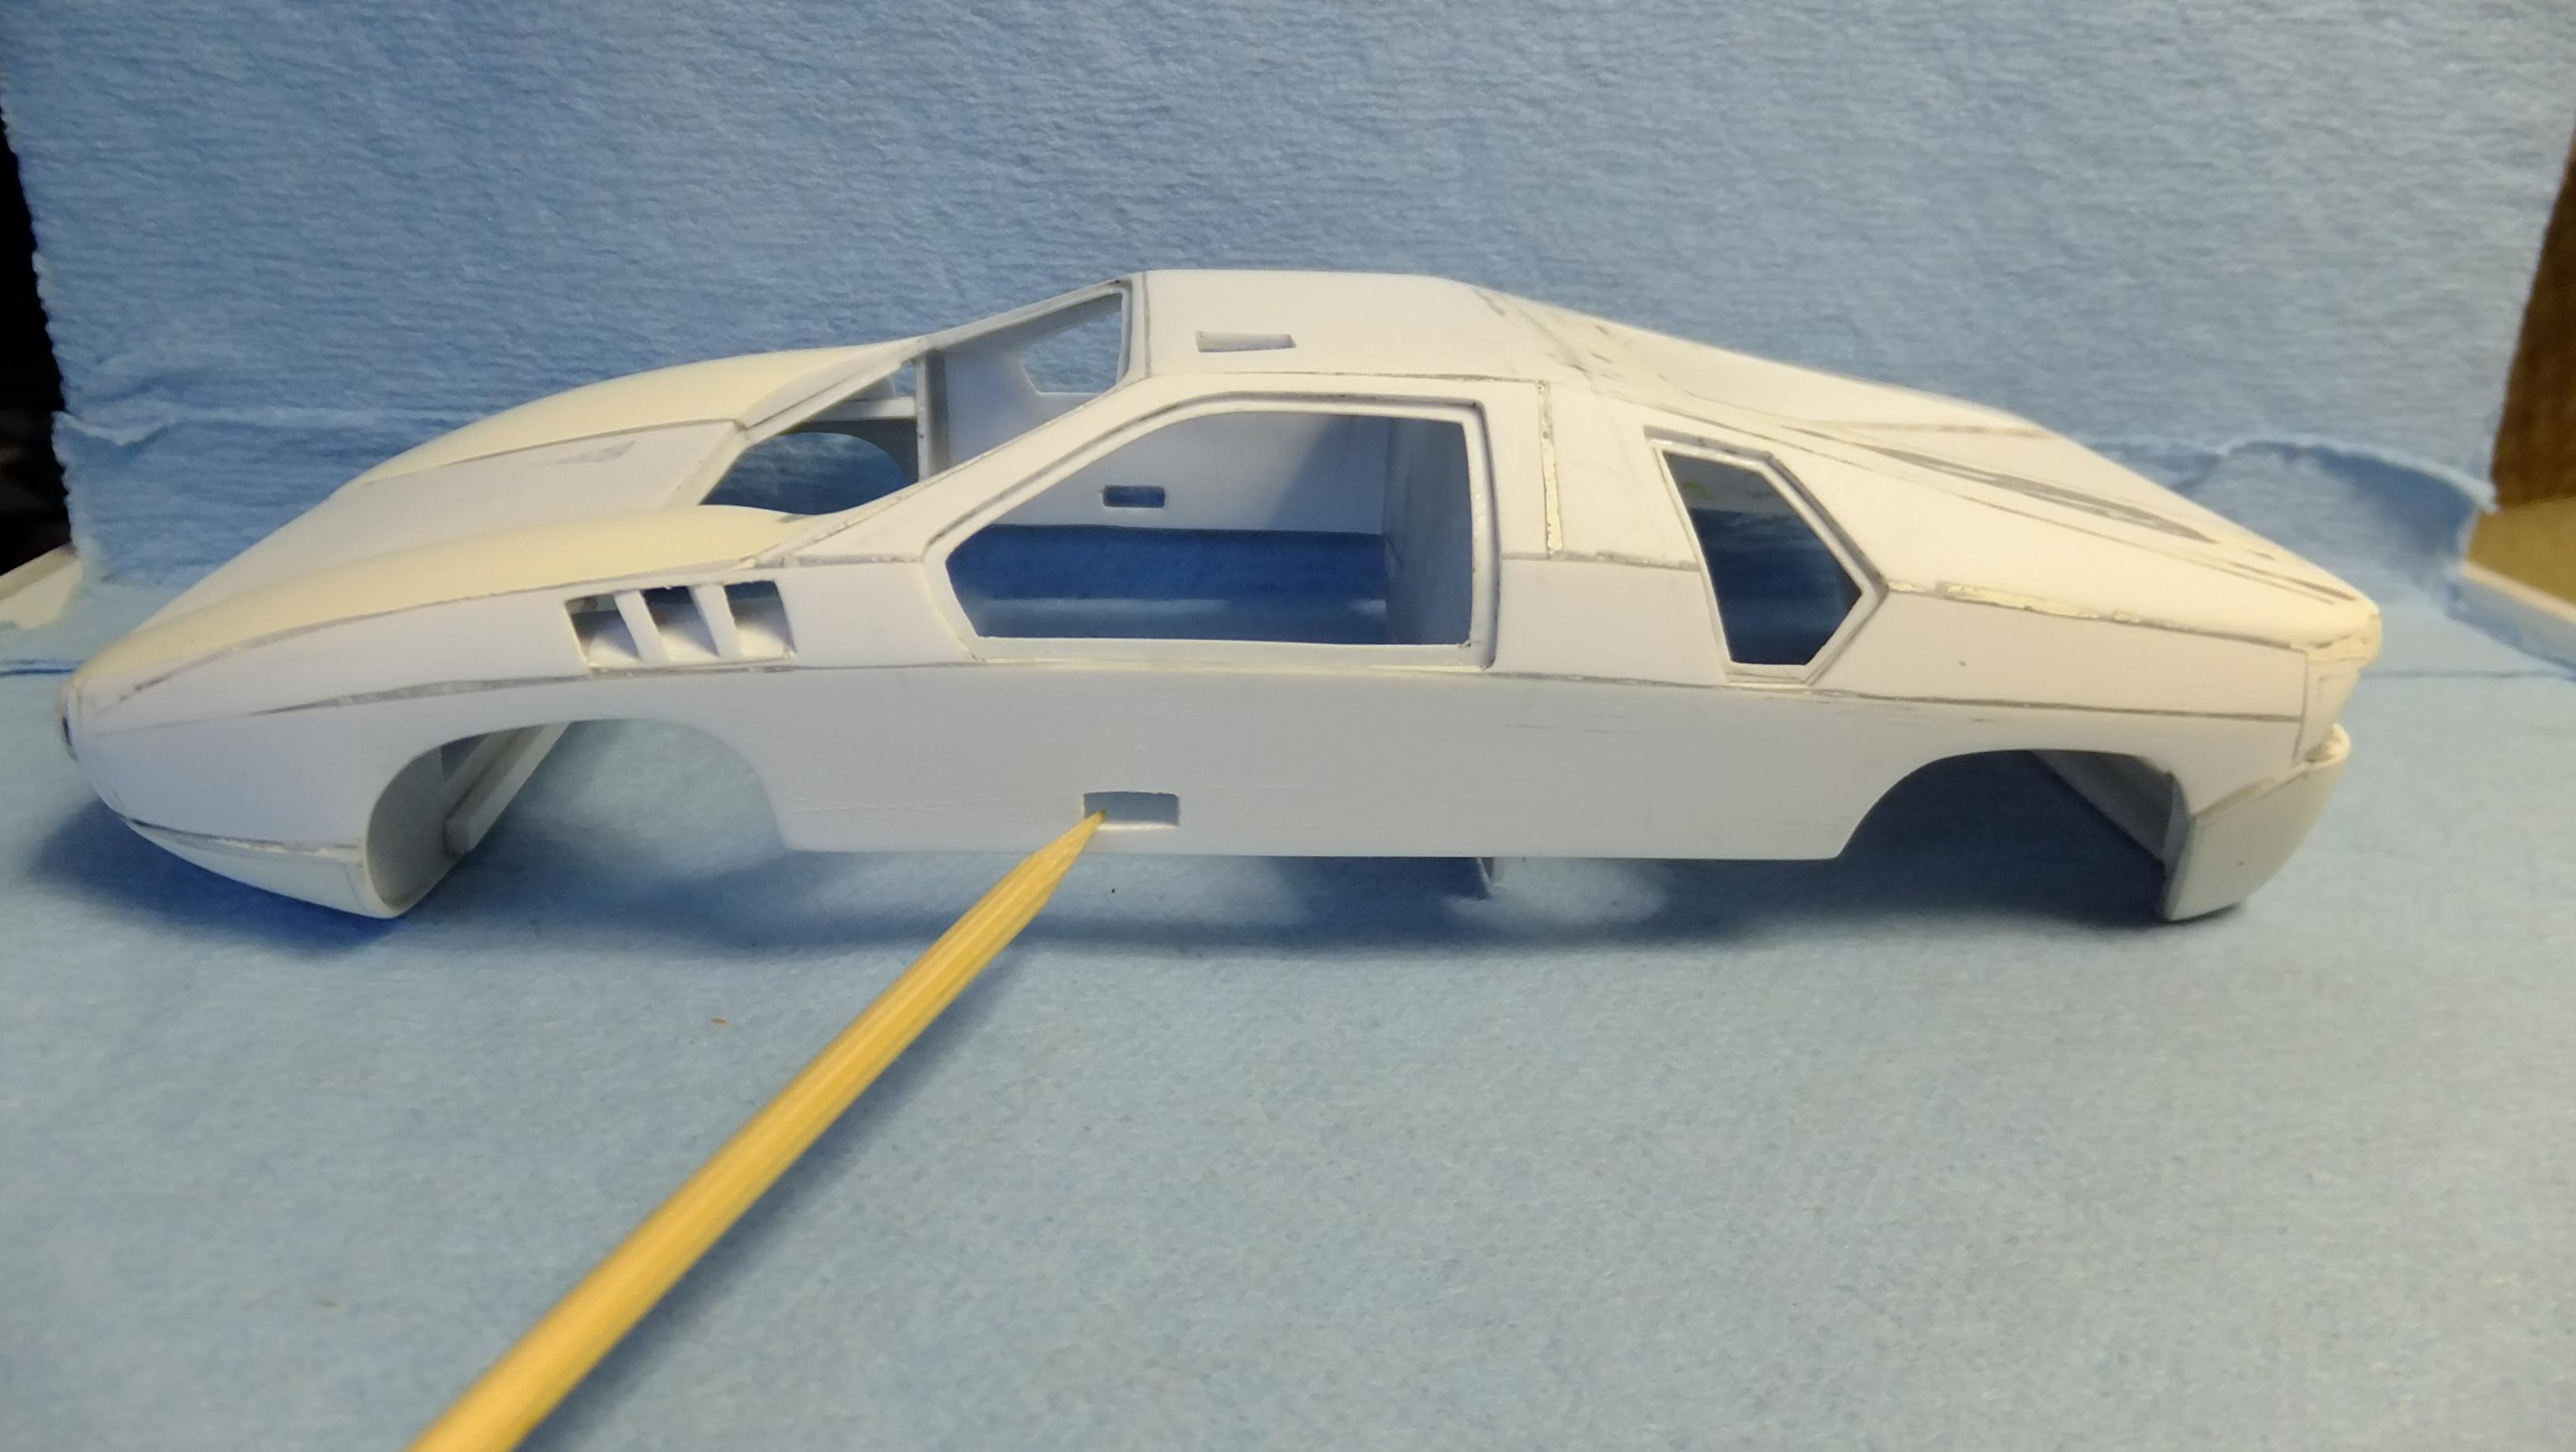
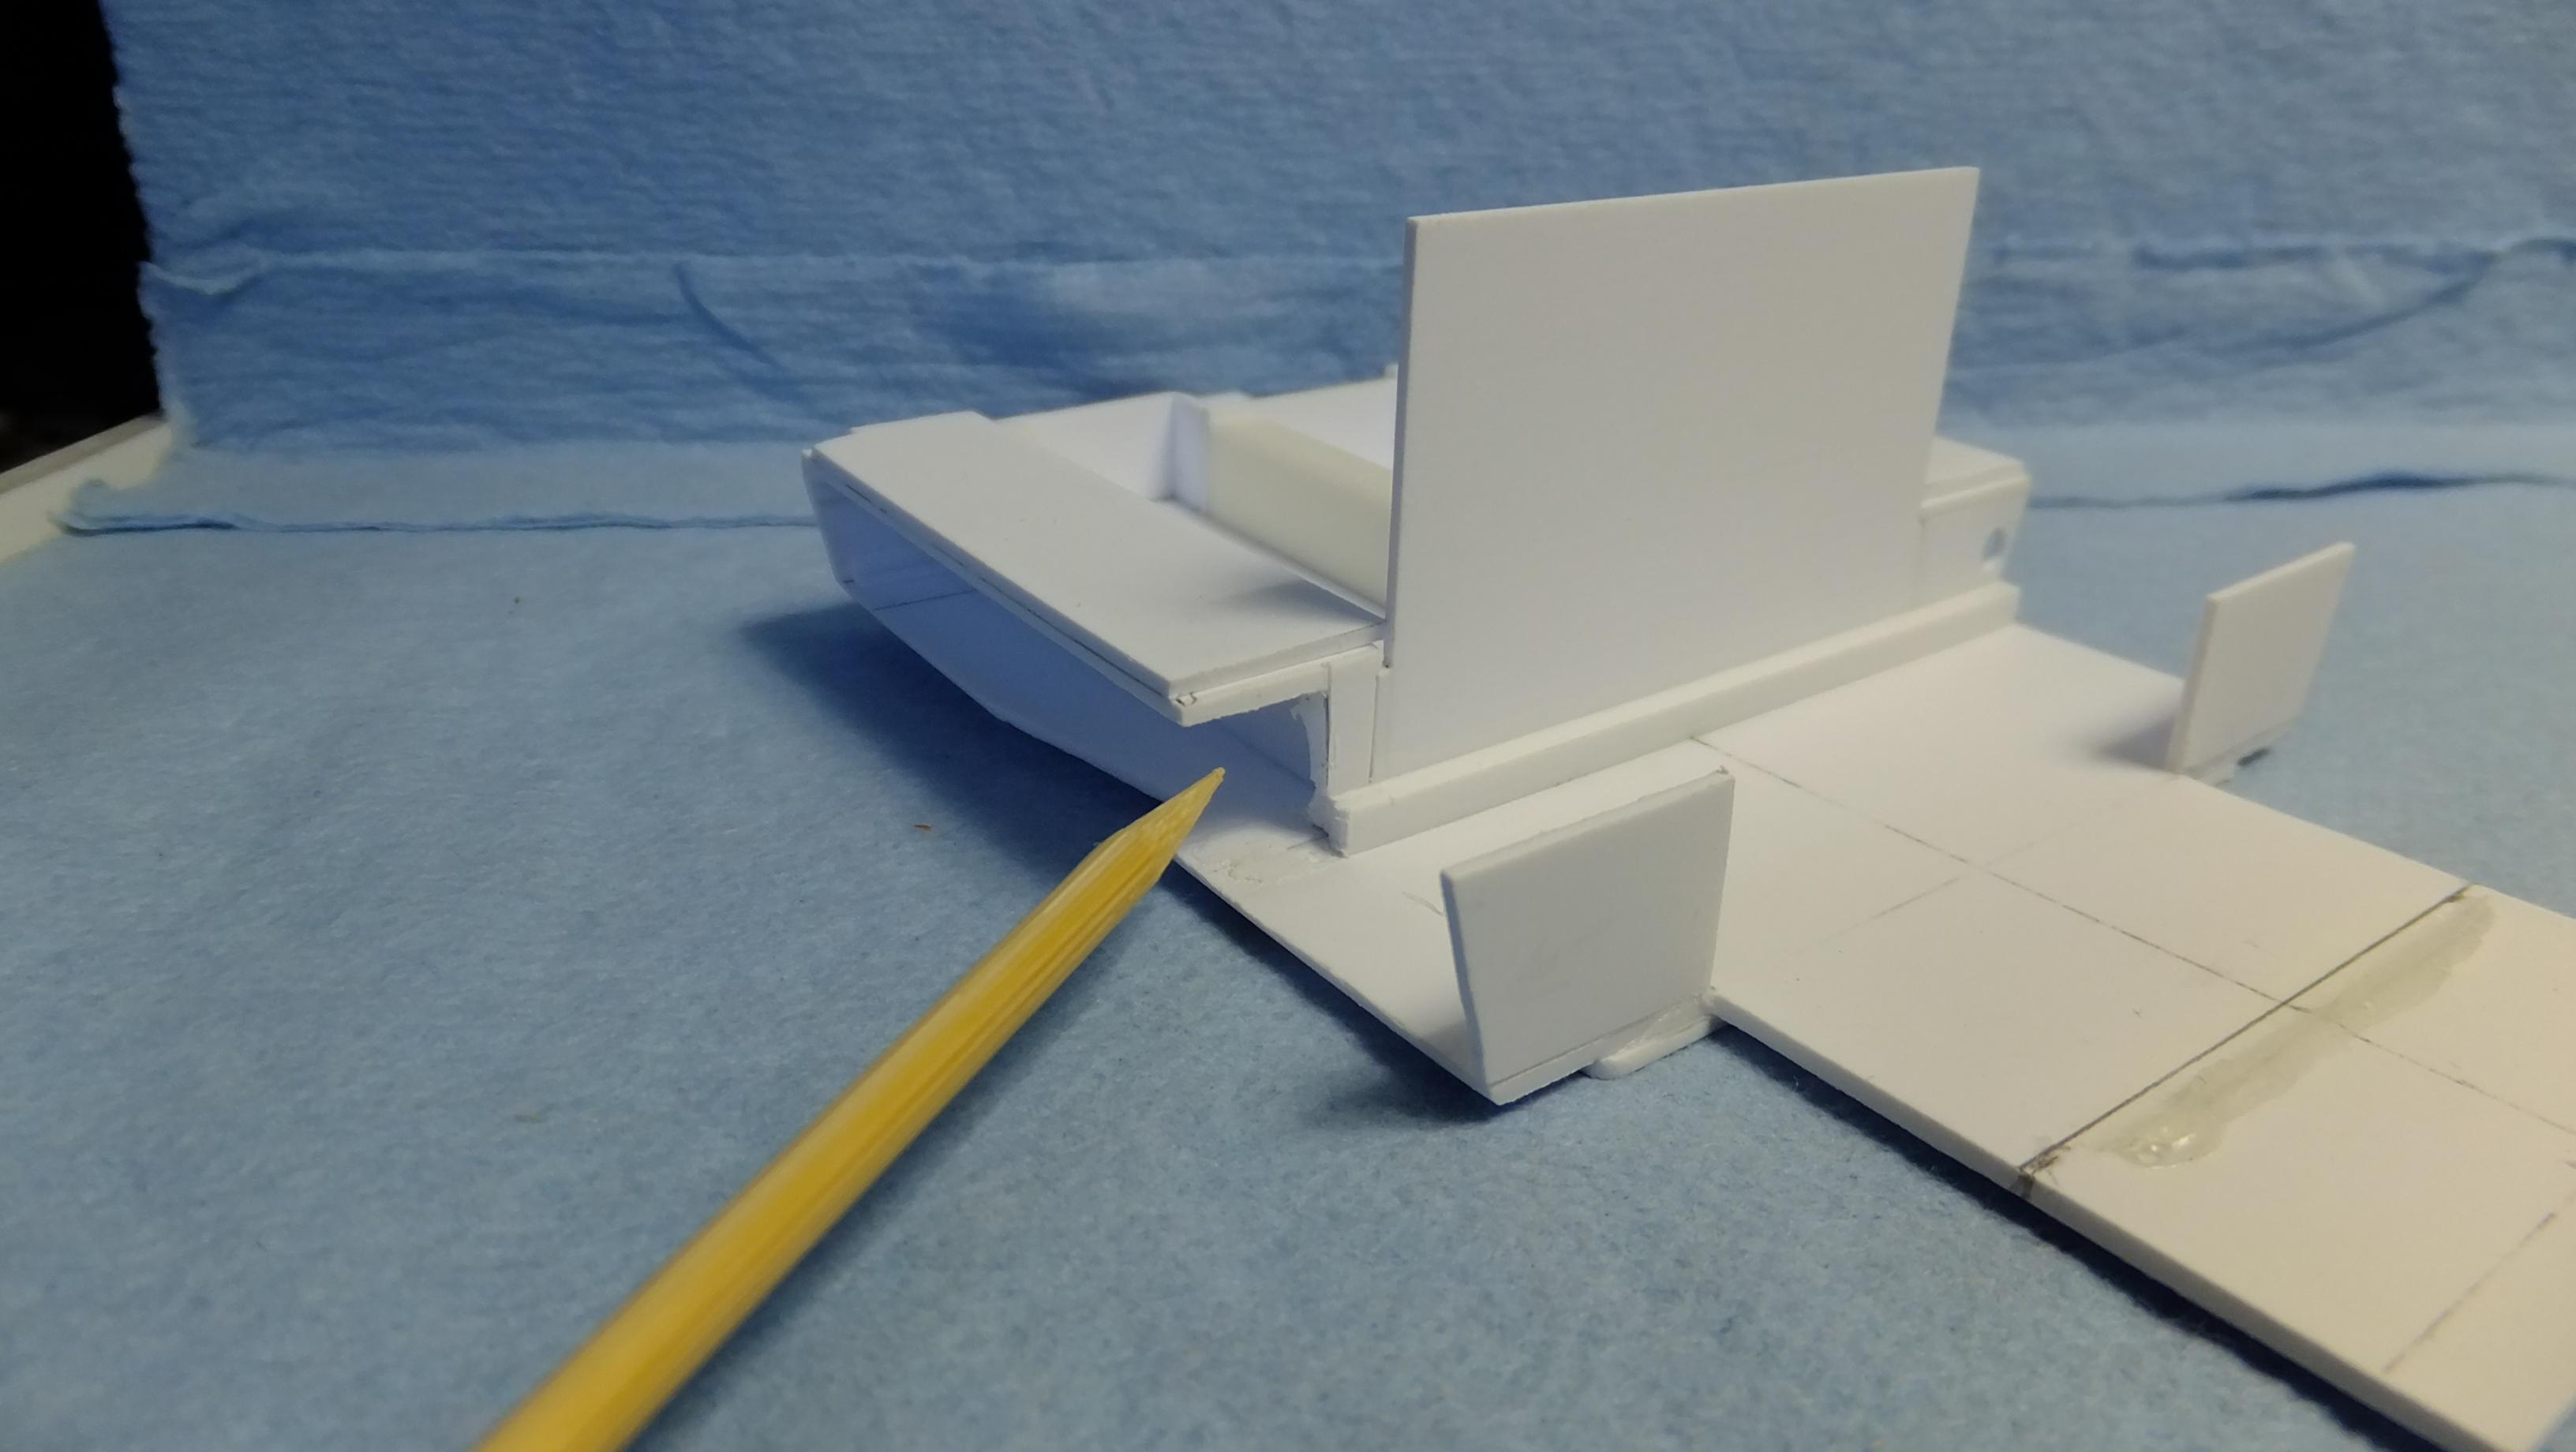
I'm on a roll!!, after i clean up these new bits, i can scribe the seams, and cut open the doors, and rear cowl -then paint!! -Photo 1; Time to make stencils for the NACA ducts. -Photo 2; Starting to put the vents in after curving them inward. -Photo 3; All these bits will be trimmed after the glue has dried. -Photo 4; I added the backing to the door handles. -Photo 5&6; Bonnet vent all in. -Photo 7&8; This is the windscreen wiper cover that is molded into the bonnet. -Photo 9&10; Since i dont do replica stock, heres where i'm changing things up...the AMG V8 NO turbo, will be replaced with this AMG V10 twin turbo.
-
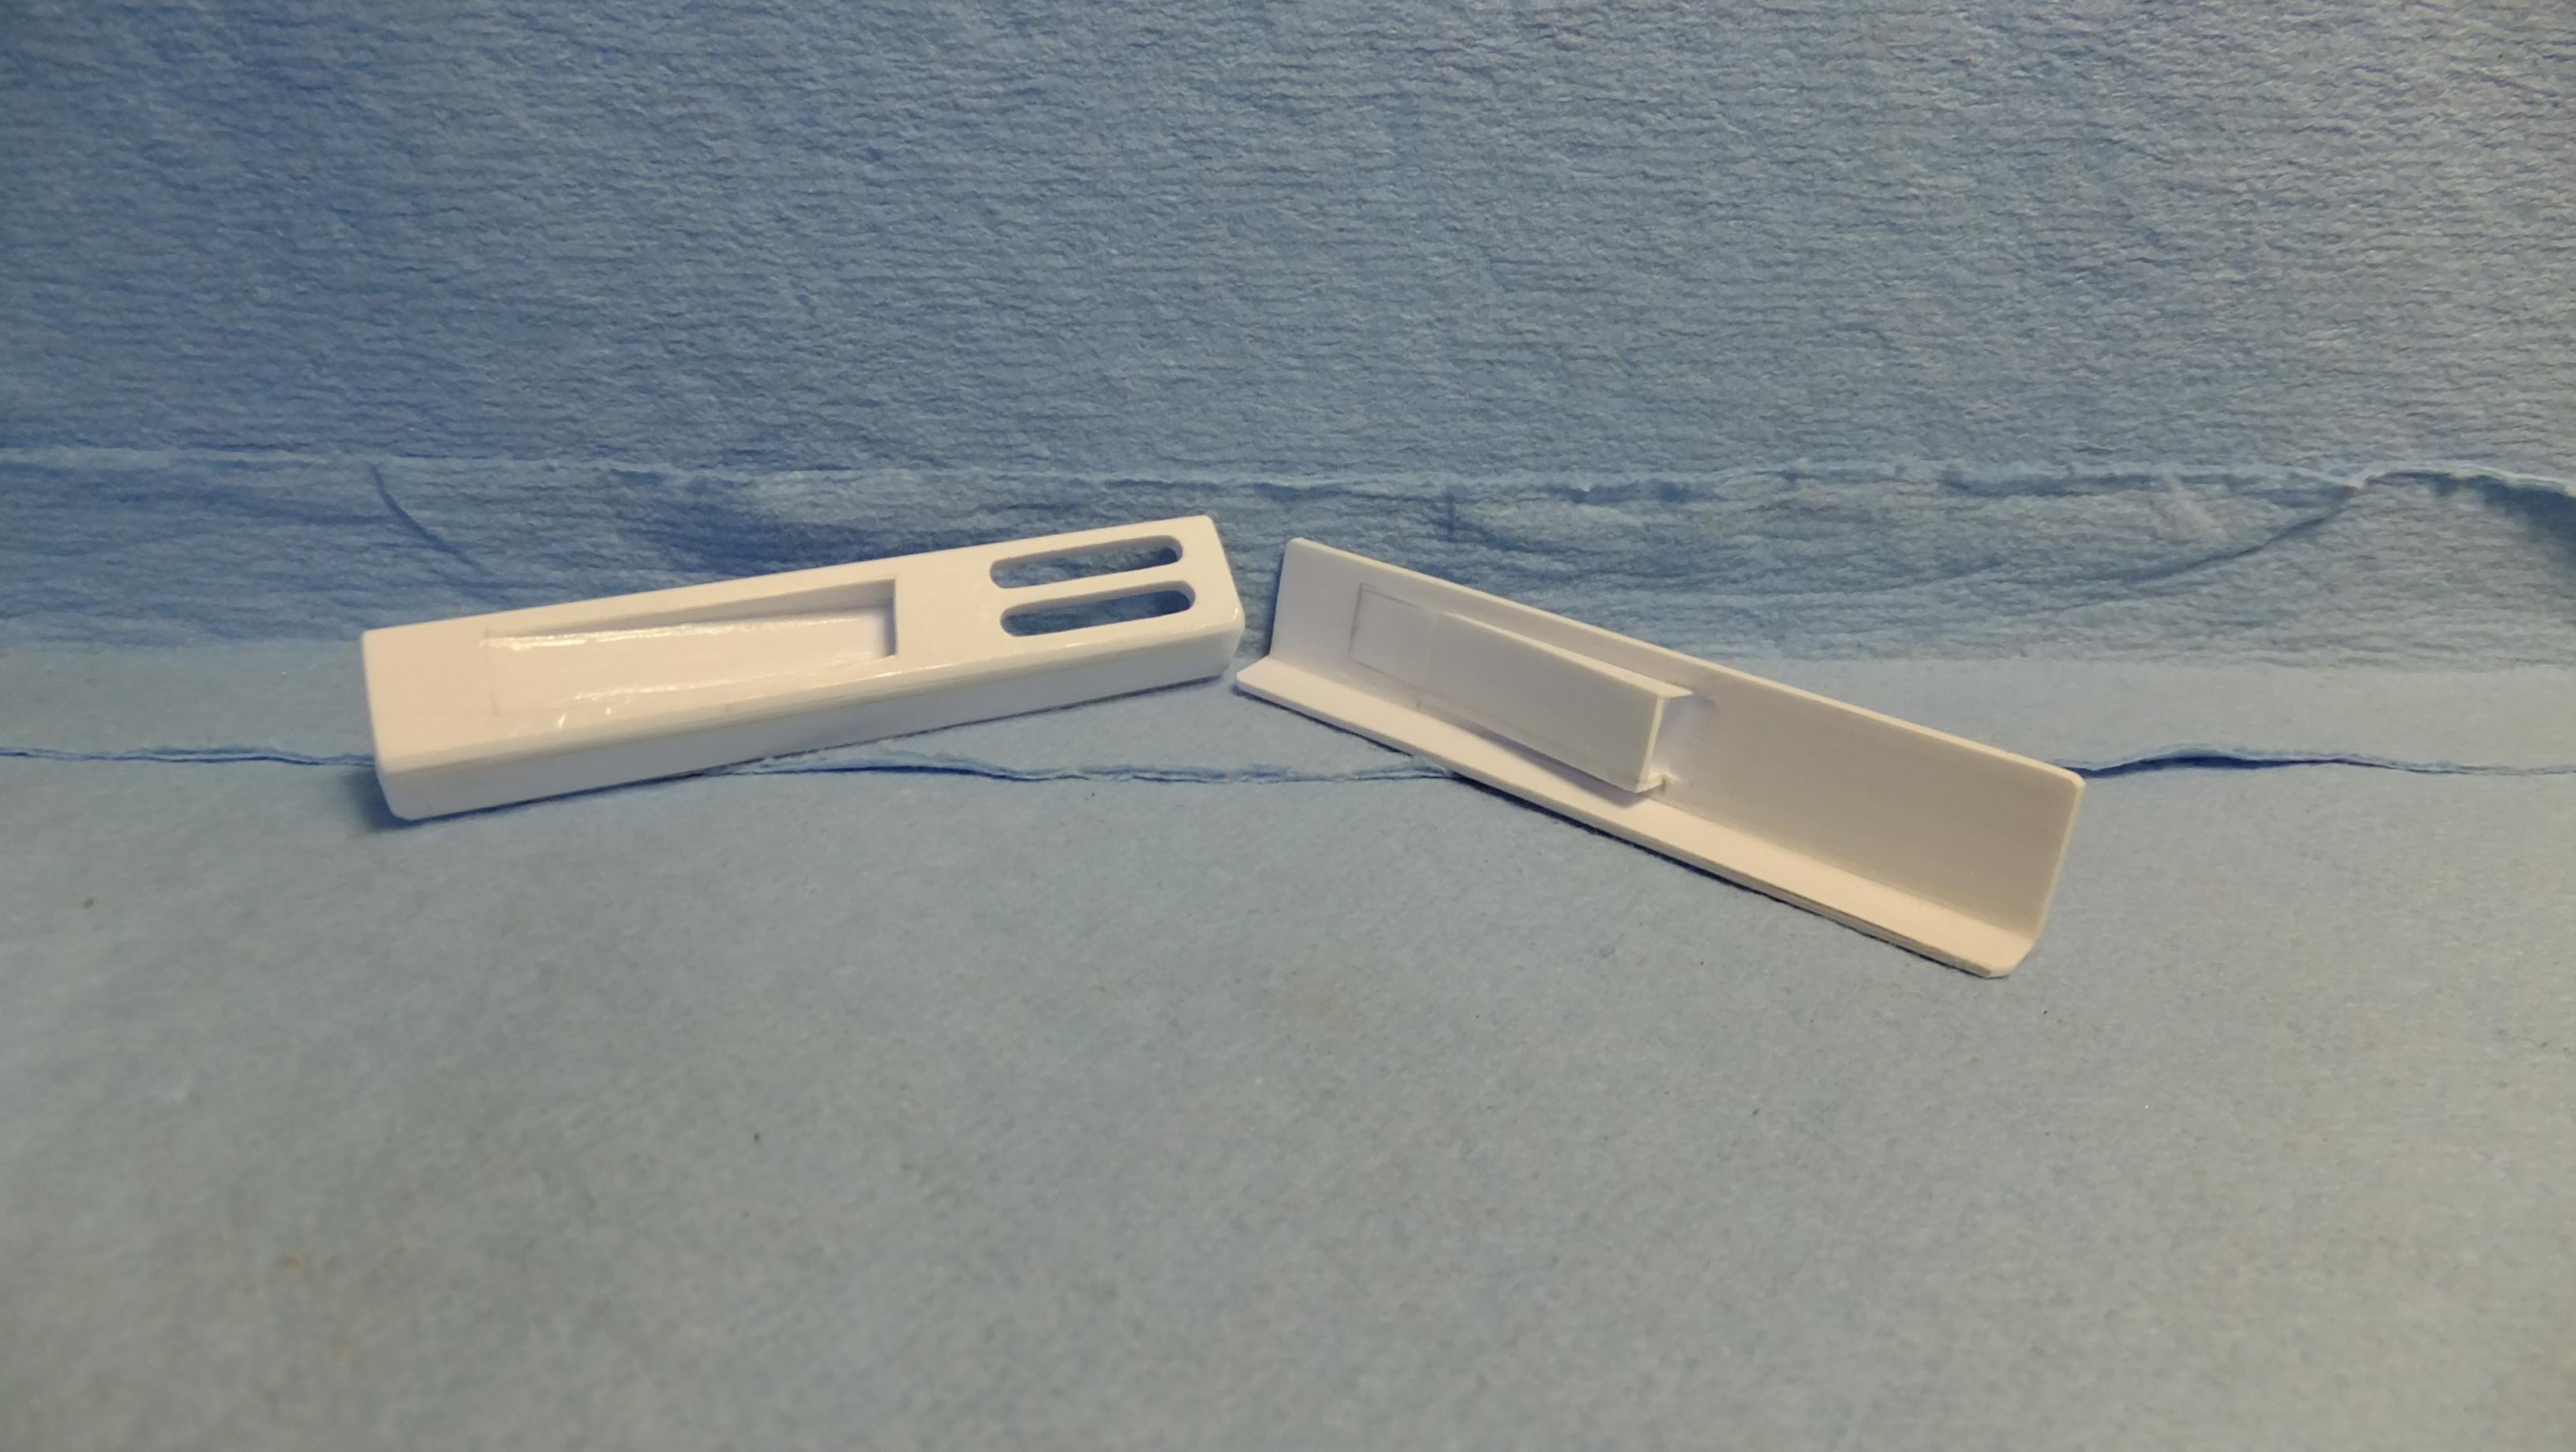
-Photo 1; There were two reasons for gluing a large strip of super thin styrene to the under side of the roof, and doors...1;It provides extra strength to all the glue joints, and is perfect for creating a lip for windows to attach to. I didnt cut open the windows until after the strips were glued in. -Photo 2; nice lips for windows that ARE stronger than expected. -Photo 3; I cut open area for door handles. -Photo 4; These vents were suprisingly easy to make. -Photo 5; Time to cut open the hood. -Photo 6&7; I needed to thin the NACA duct here for a more realistic look. -Photo 8; I needed to add another belly plate that will help locate the rockers, as well as give them a stronger glue point. -Photo 9&10; In order to create a realistic door sill lip/door stop, i needed to add another strip of styrene to the tops of the sills. -Photo 11; To help locate the rockers, i started the splash guards. -Photo 12; To give a wee bit more room for the exhaust, i needed to cut open this area. -Photo 13; They still need to be cleaned up, but here are the rockers. -Photo 15; They fit like magic! -Photo 16; Ready for the last few bits...then paint!!!
-

Otaki 1/12 Lamborghini Countach Twin Turbo...Mission Statement
Dann Tier replied to Dann Tier's topic in WIP: Model Cars
LOL....thanks, Bud!.....I'm gonna redo the fluid containers....they are too faint for my liking, but i gotta clean my model room first today. There will be more updates soon -thanks for following!!! -
Hasegawas Lamborghini Miura SV....new update!
Dann Tier replied to Dann Tier's topic in WIP: Model Cars
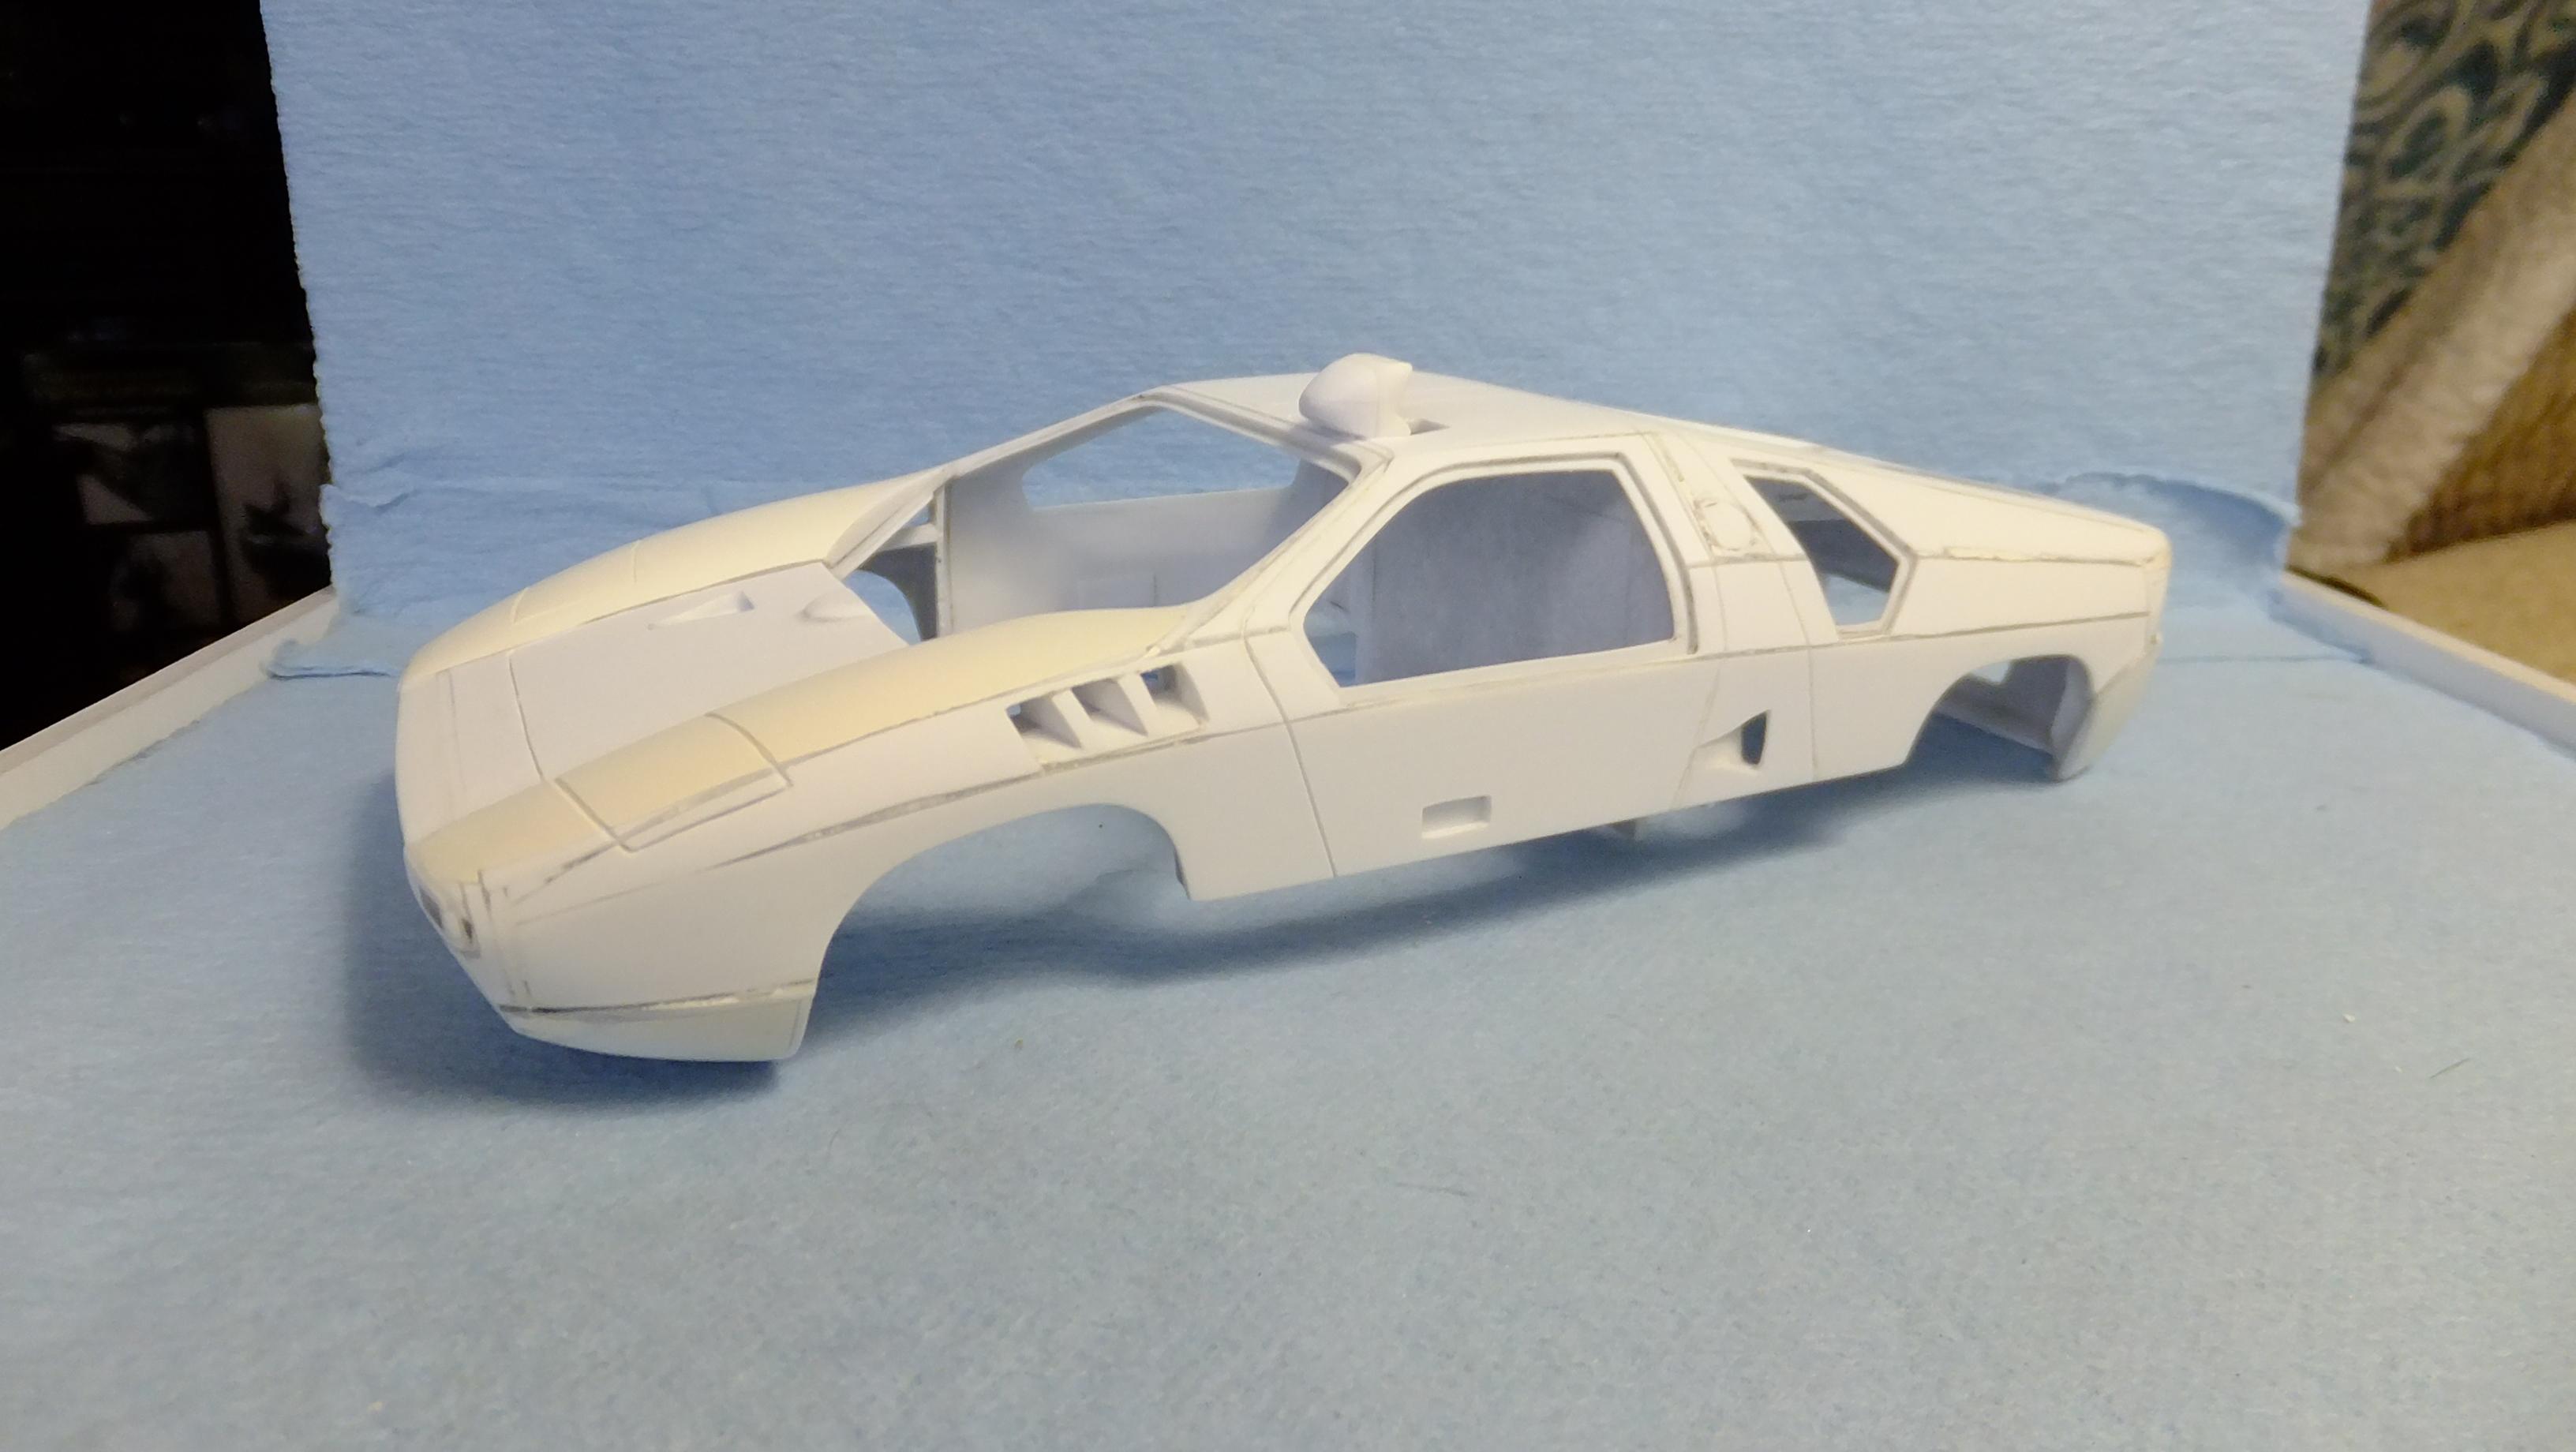
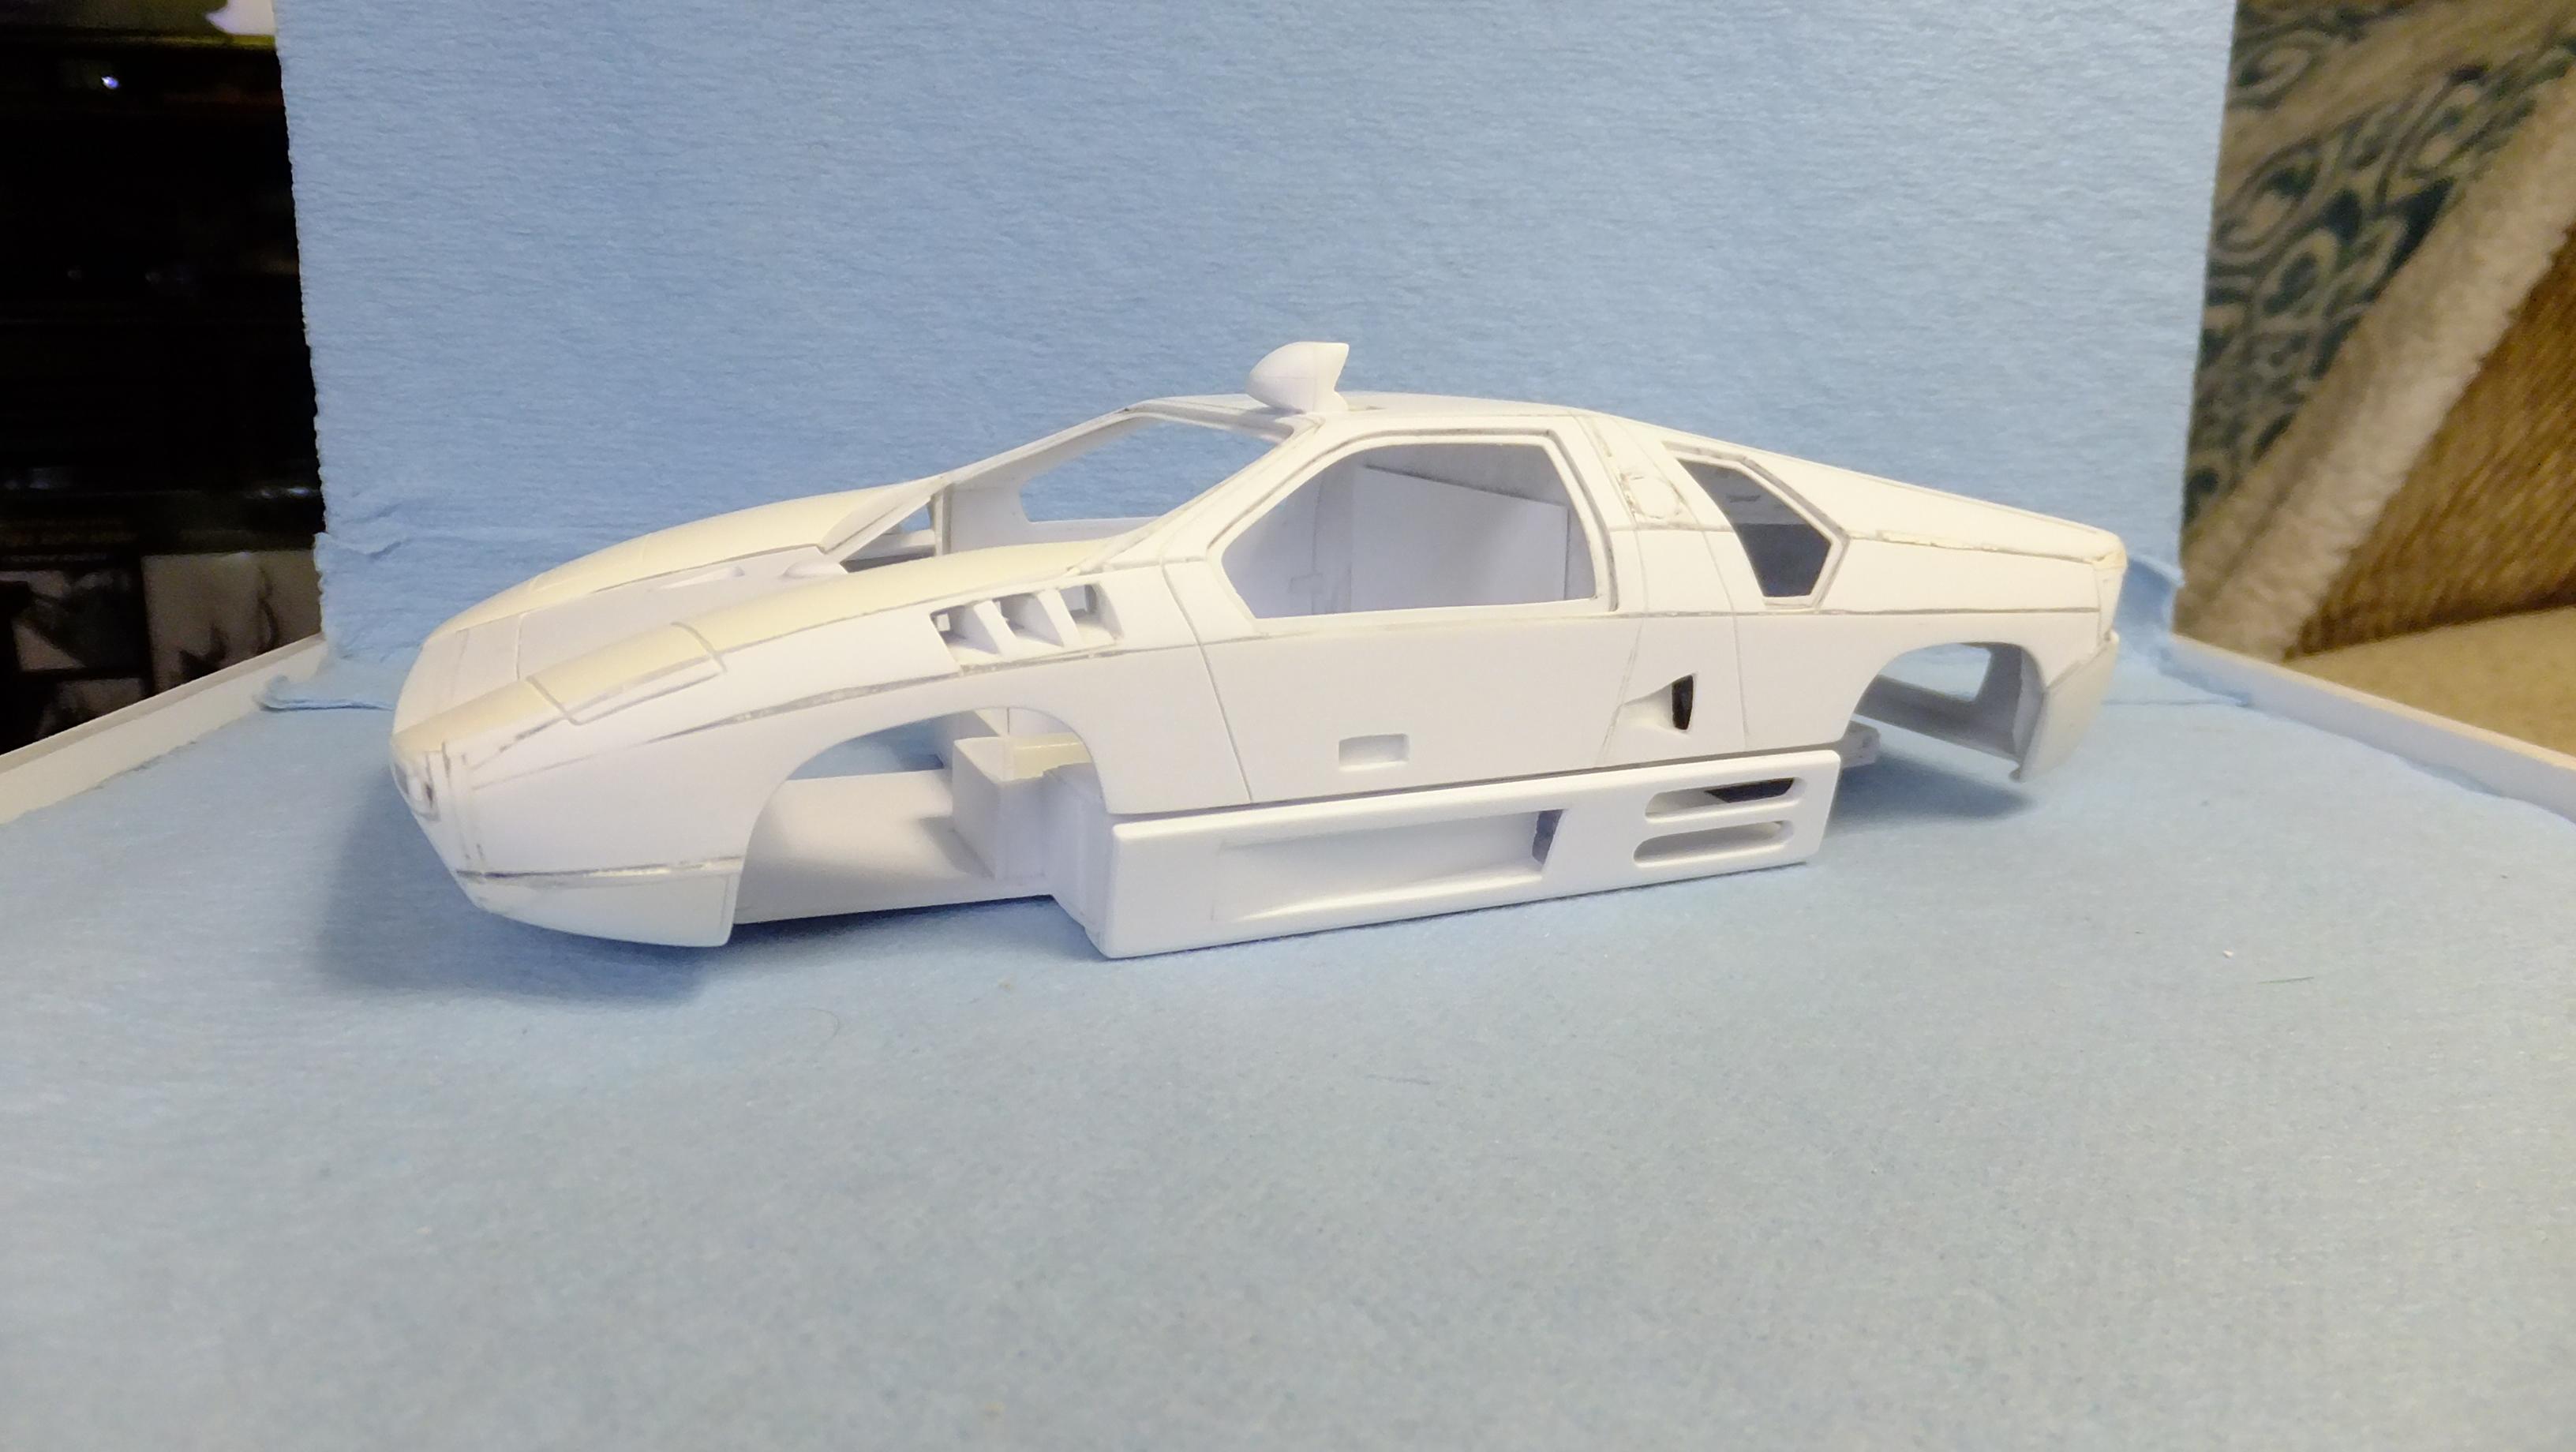
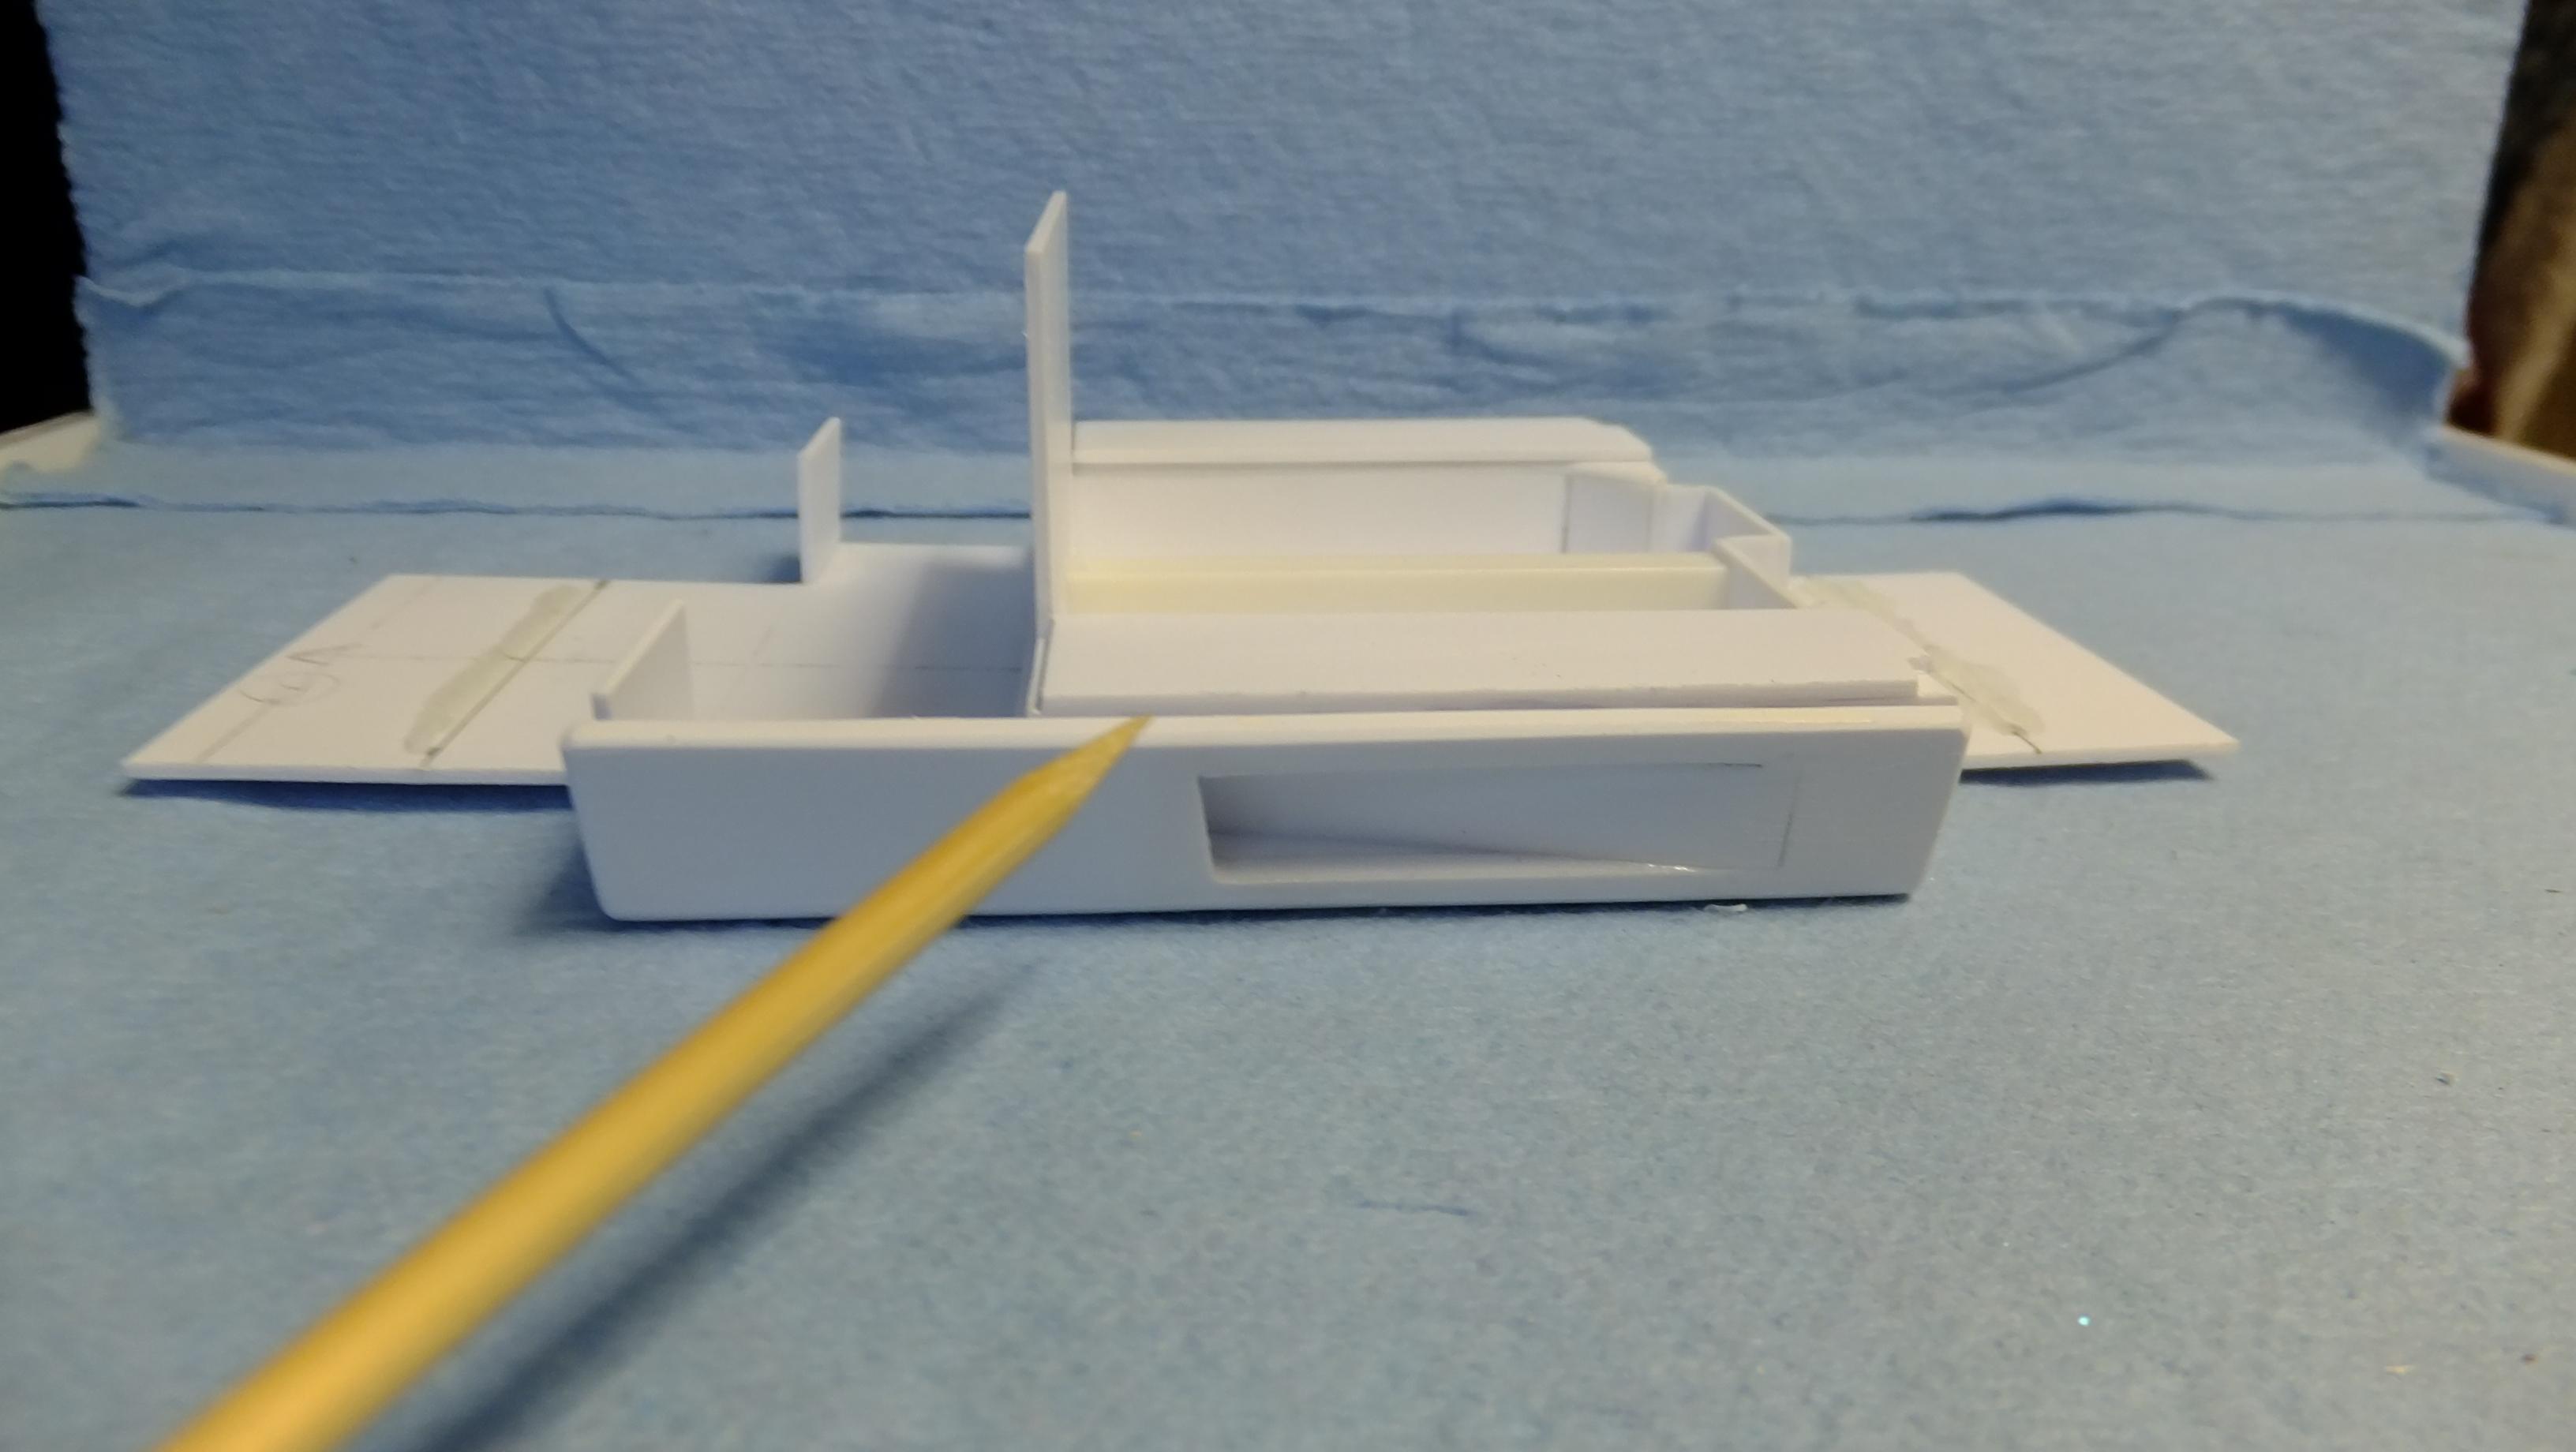
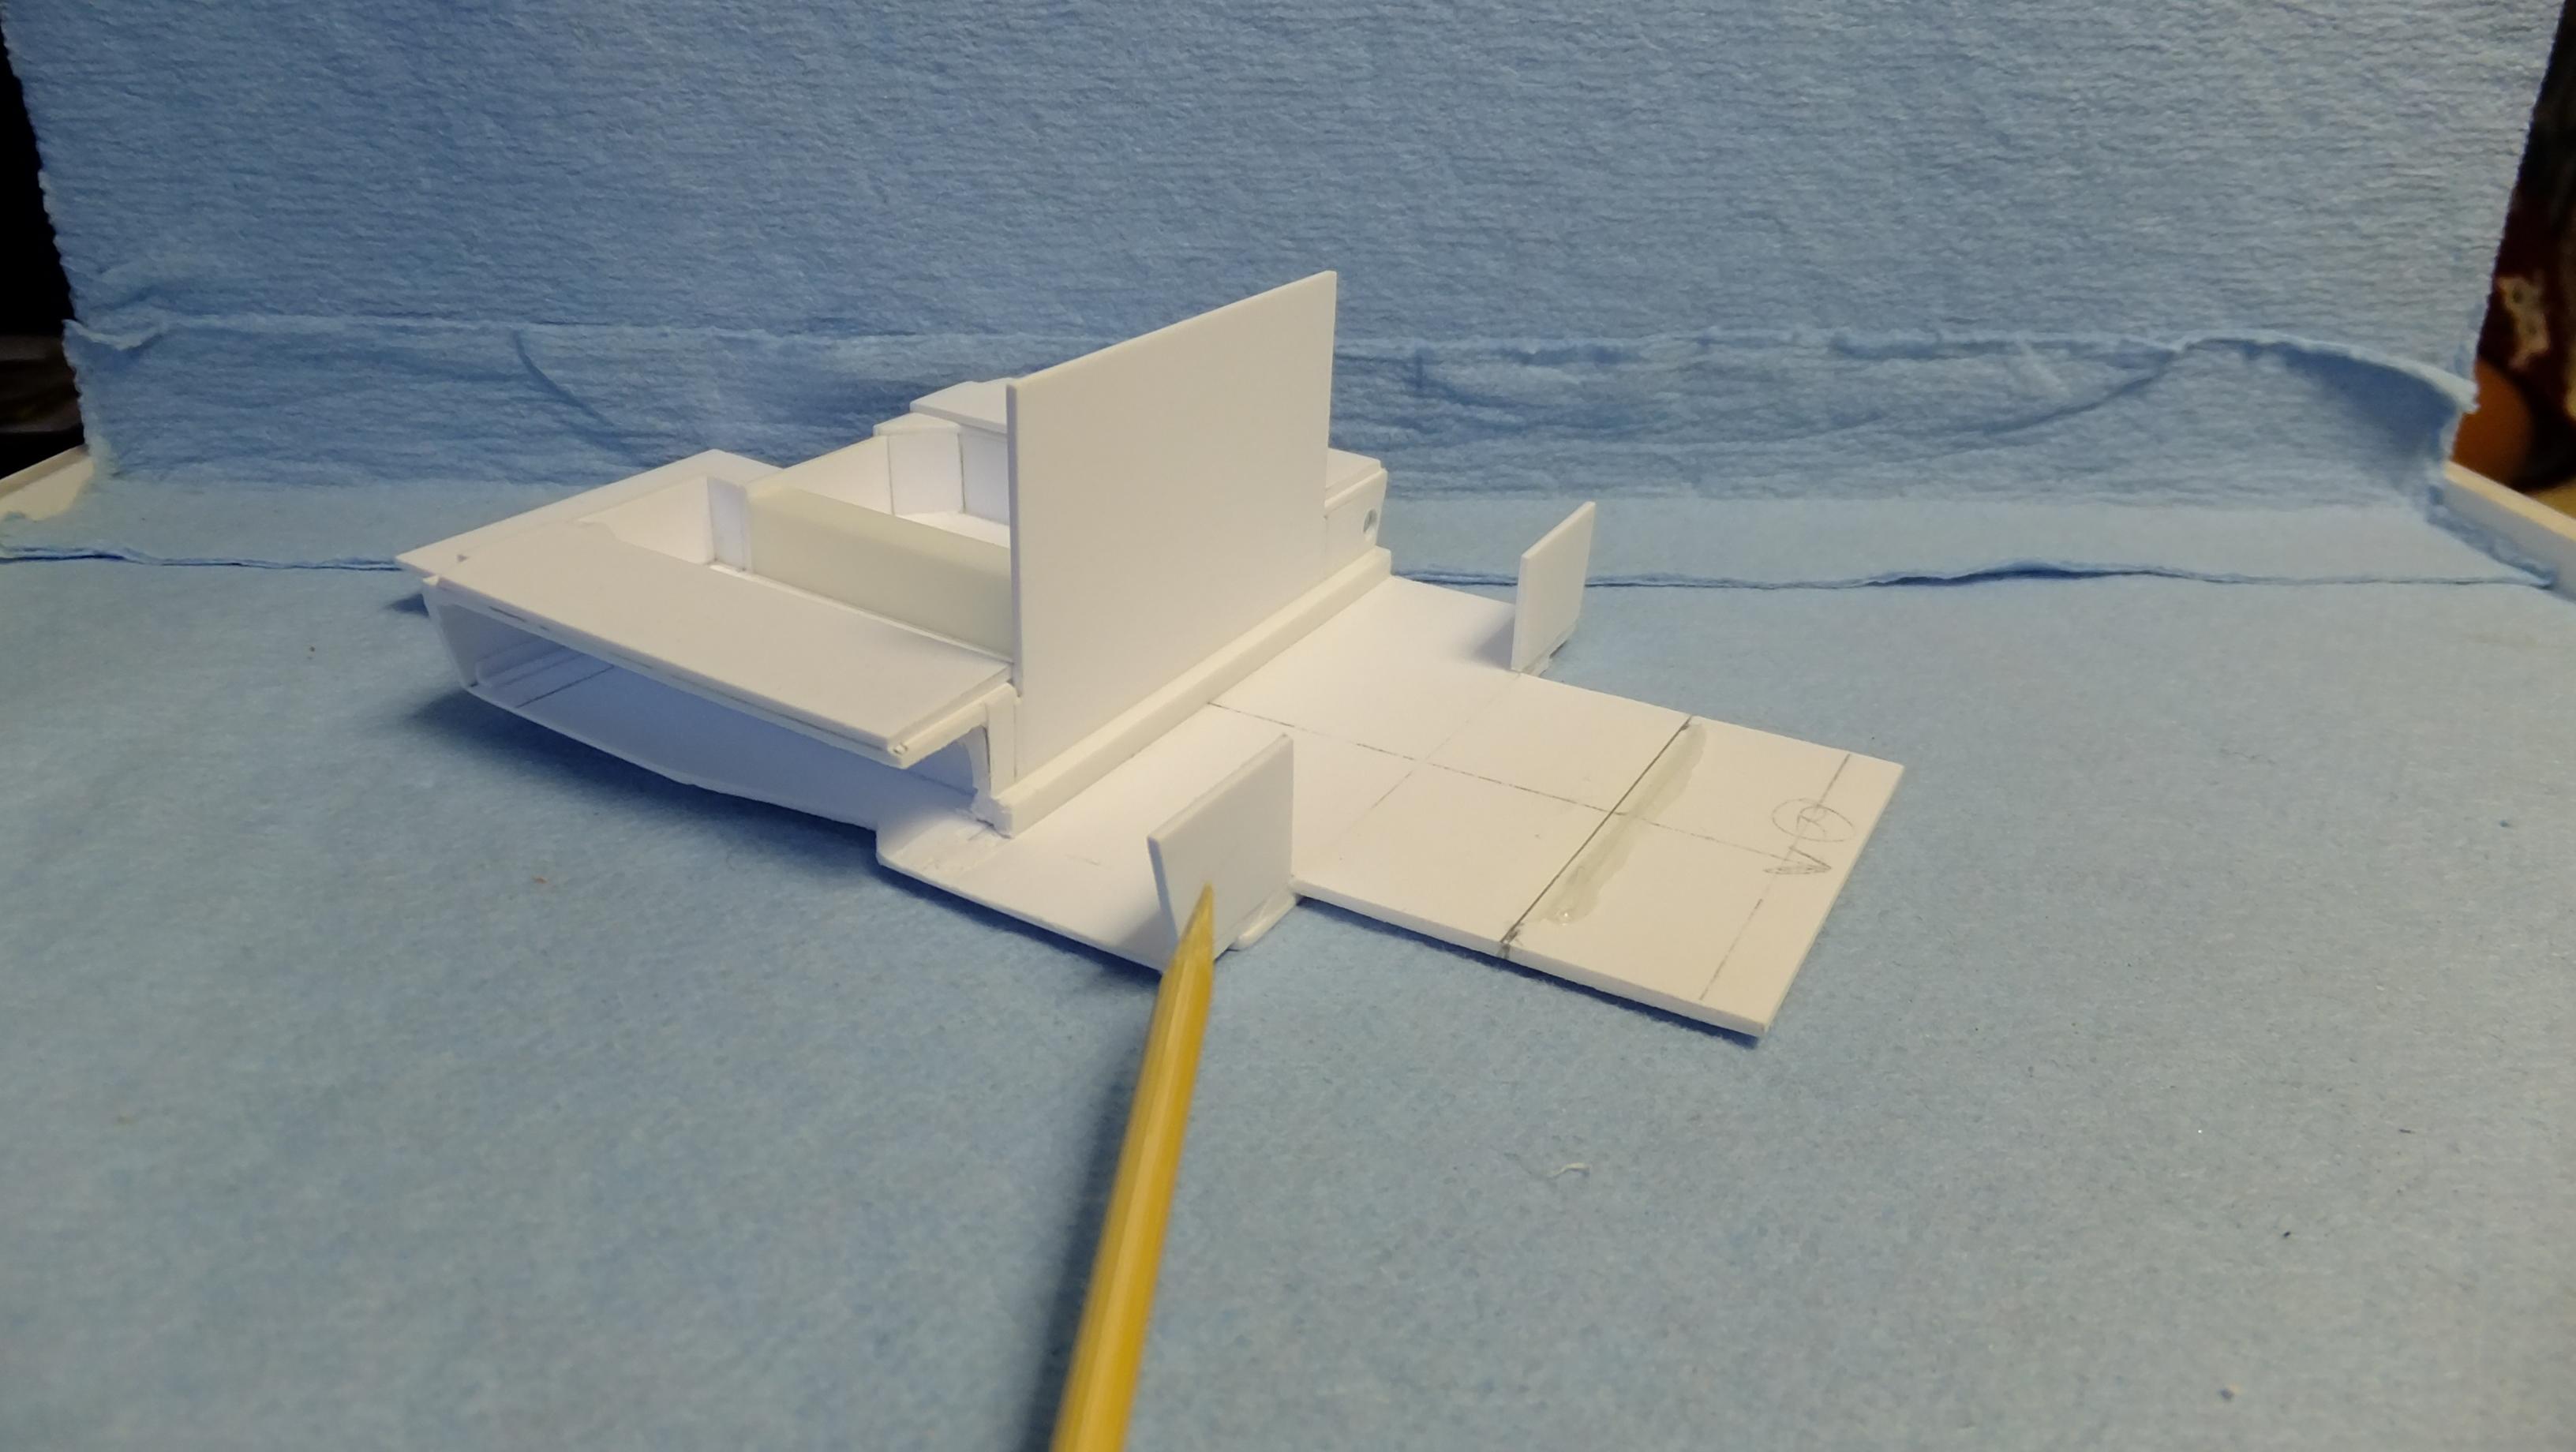
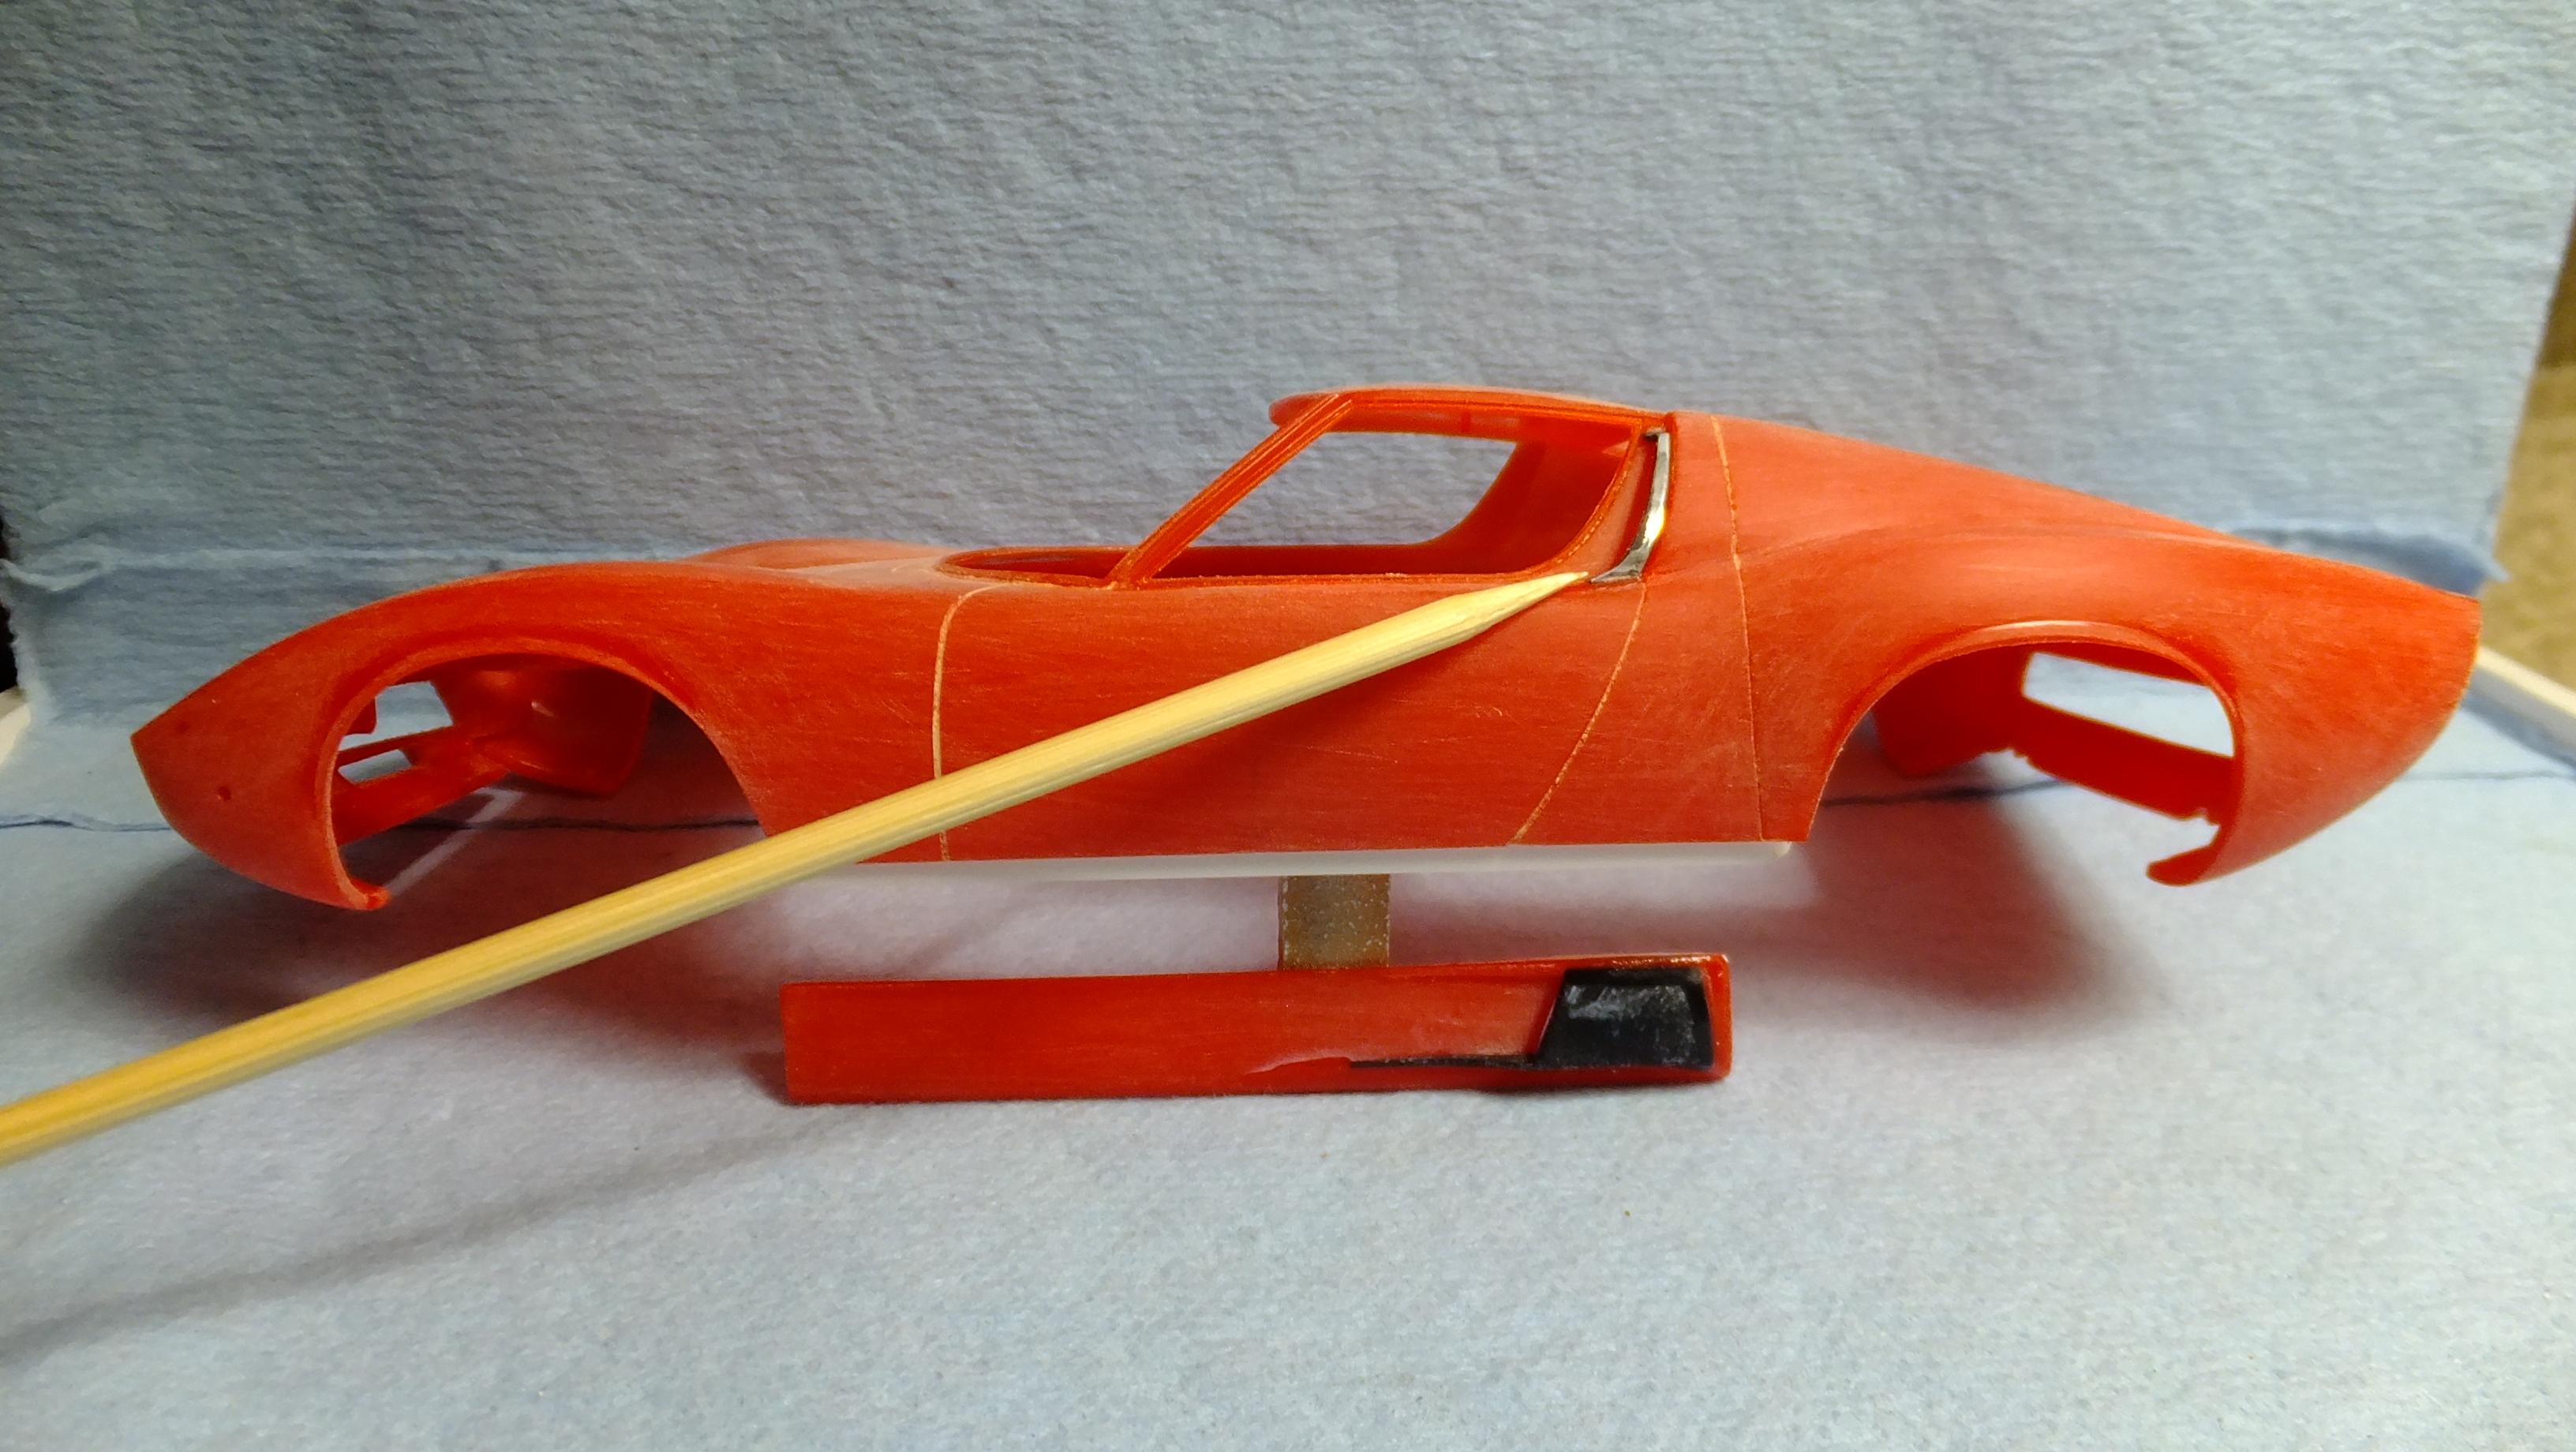
Hey, everyone! here is a bit of an update... -Photo 1; This the the part that most people get wrong when trying to build replica stock. This bit needs to be blended into the door -it is not a separate part on the real car. -Photo 2; As you can see from the previous photo as well, i decided to separate the rockers from the body because my scribbing was a total mess, and it was gonna look worse if i kept trying to clean it up. It'll be better this way. I needed to add a strip if styrene for the upper glue, point, and i will add one to the bottom inside edges as well for a really strong/definite contact all-round. -Photo 3; It cant hurt to attach the headlamp base plates at this point....they will get painted easier this way. -Photo 4; The underside of the louvers was the WORST filling nightmare i've ever encountered, but who wanted to have it open?....me. -Photo 5; Cutting open the molded in grill on this kit has ALWAYS been nerve wrecking, but i got it without breaking it. next step for it will be stripping the chrome, then attaching the PE mesh before painting. Note: I will now be able to FINALLY paint the body, and get this build going again! Time for washing, and primering!
-
This is gonna be GREAT!!!! i've built a couple of these, and they are FUN, and fit together like a dream!!!.....if you need any help, just hit me up!
-
Looks great!!!.....love that metallic red too!!!
-
Looking good, Bud!!!, i just made my windscreen frame from shaped styrene....worked a treat...BTW, i LOVE Fujimi's Borannis!!!!
-
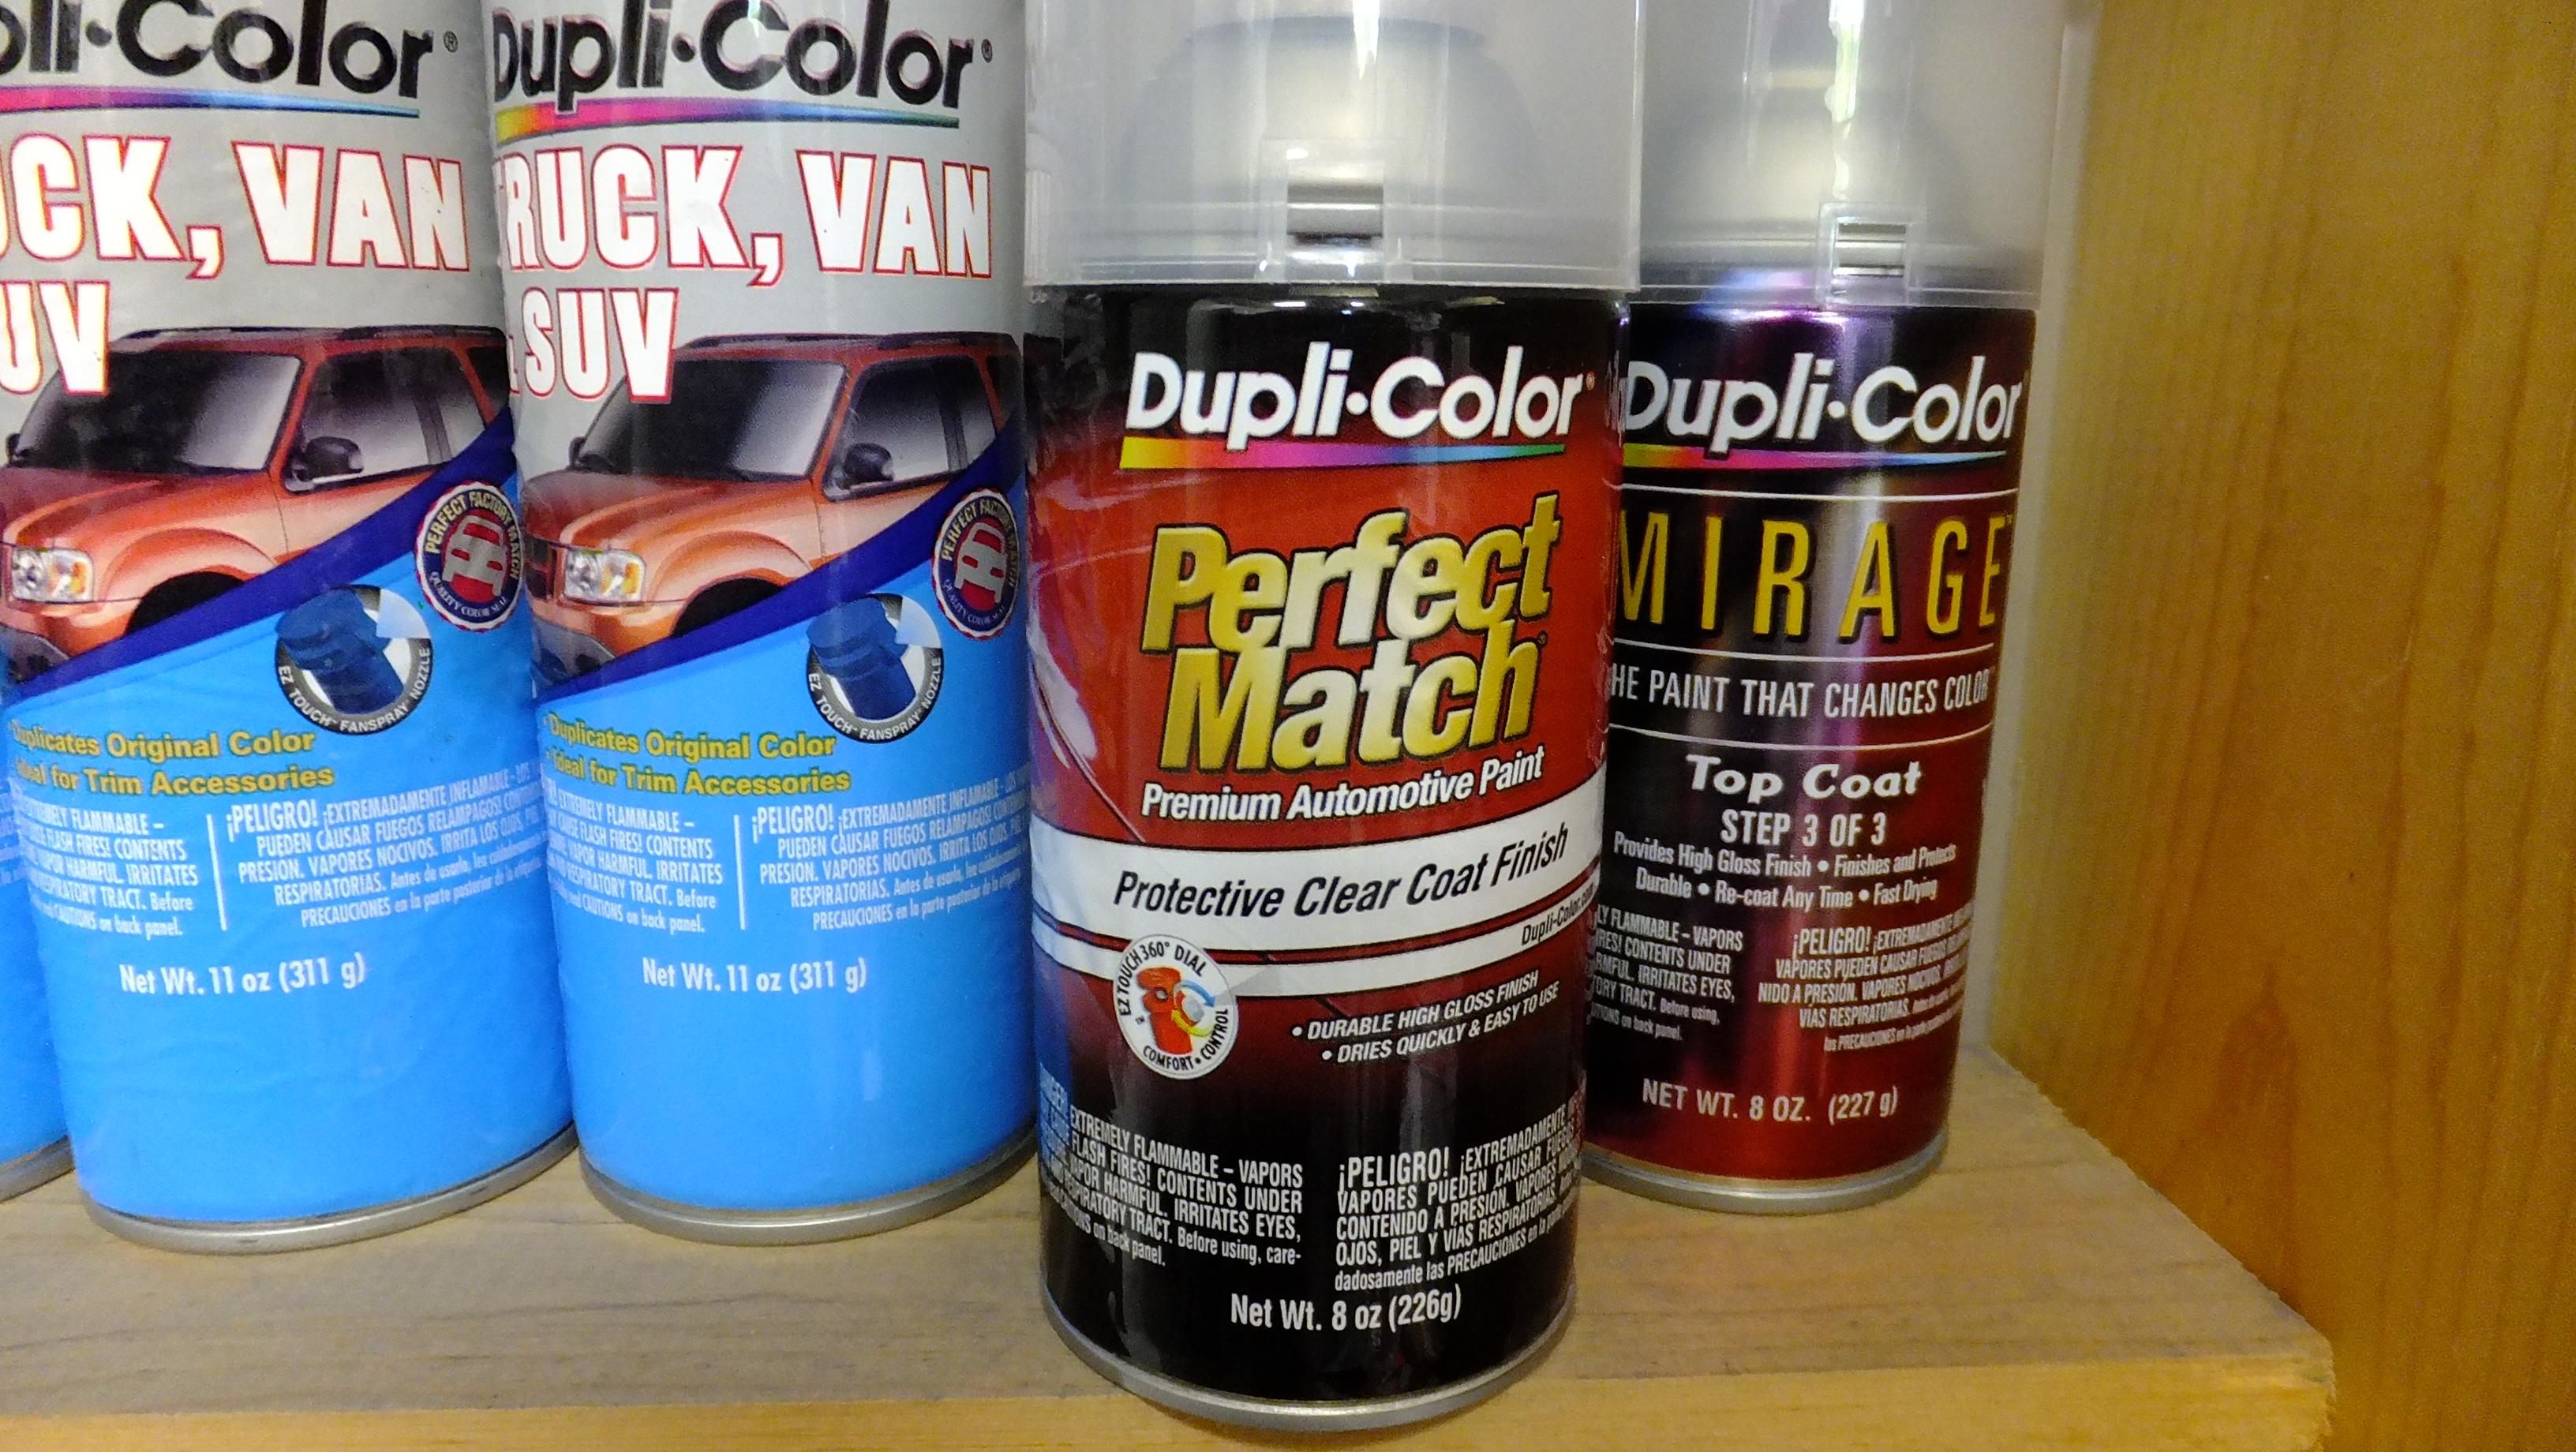
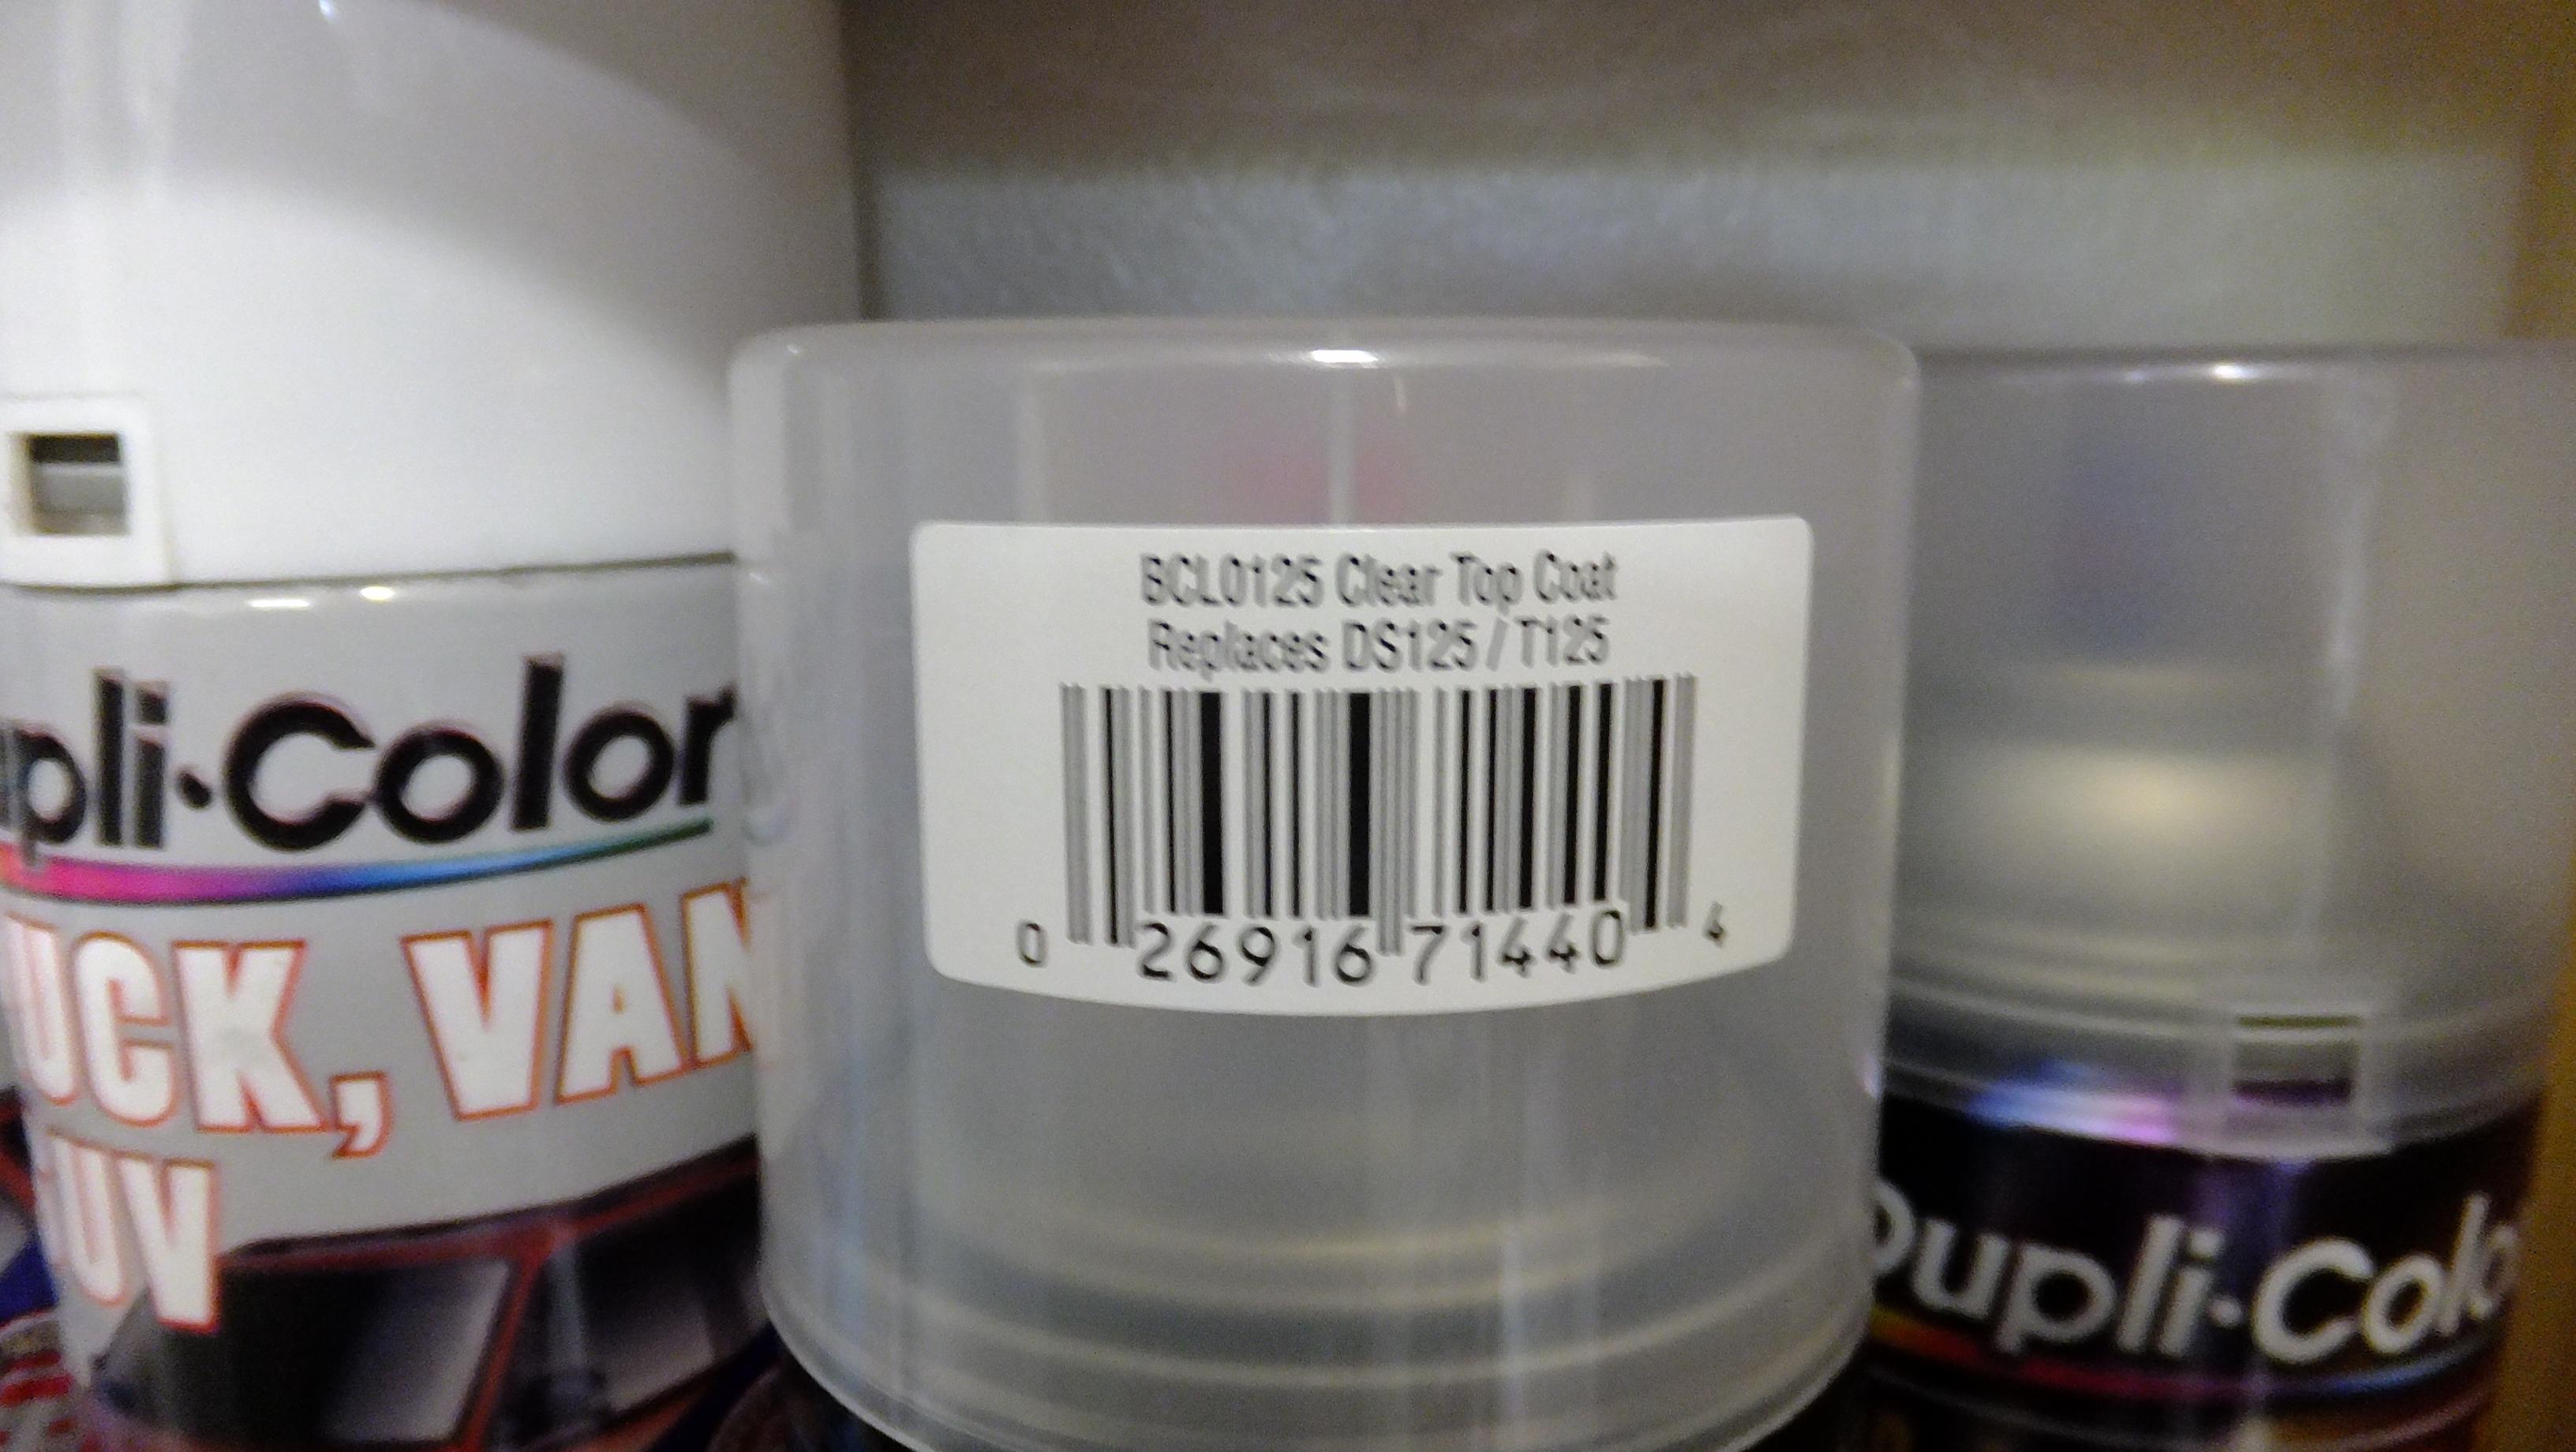
I too just read about your paint issue!.....that is so strange!....sorry to hear that. Duplicolor paints are my first, and favorite go-to, and i must say, i've NEVER seen that happen before. I've seen that clear before, but never used it.....this is the clear i use without any issues.....the Mirage topcoat next to it works great too -its the same stuff.
-
Looking GREAT!!! I like to clear over all my foil work because i know what happens to self-adhesive things later on....they dry out, and things start falling off. I even clear over the chrome metal transfers in the japanese kits
-
LOL, it hooks up to the fake wheel well exhaust trumpets -totally for looks.
-
Mine will have those....love the Michigan plate!!...thats where i live.
-
Sure can.
-
Mine will have the functional SC.
-
I feel that all too well....i've been gone to with outside construction projects.
-
Otaki 1/12 Lamborghini Countach Twin Turbo...Mission Statement
Dann Tier replied to Dann Tier's topic in WIP: Model Cars
Thanks, Andrew!, but i decided i need to redo a couple things....hopefully soon. -
Yup...i was right again! -BEAUTIFUL!!!!!