Dann Tier
-
Posts
8,151 -
Joined
-
Last visited
Content Type
Profiles
Forums
Events
Gallery
Everything posted by Dann Tier
-
Thanks, Bud!...i know they do, but i was suppose to keep it as close to box as i could, lol...with a couple exceptions...lol
-
LOL...no worries of that, Bud!, i prefer to have my Minis with their factory motors all beefed up, lol...they sure do look like a blast!!!
-
Really looking forward to seeing more!!...this is looking PERFECT, Bud!!!
-
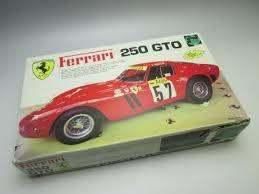
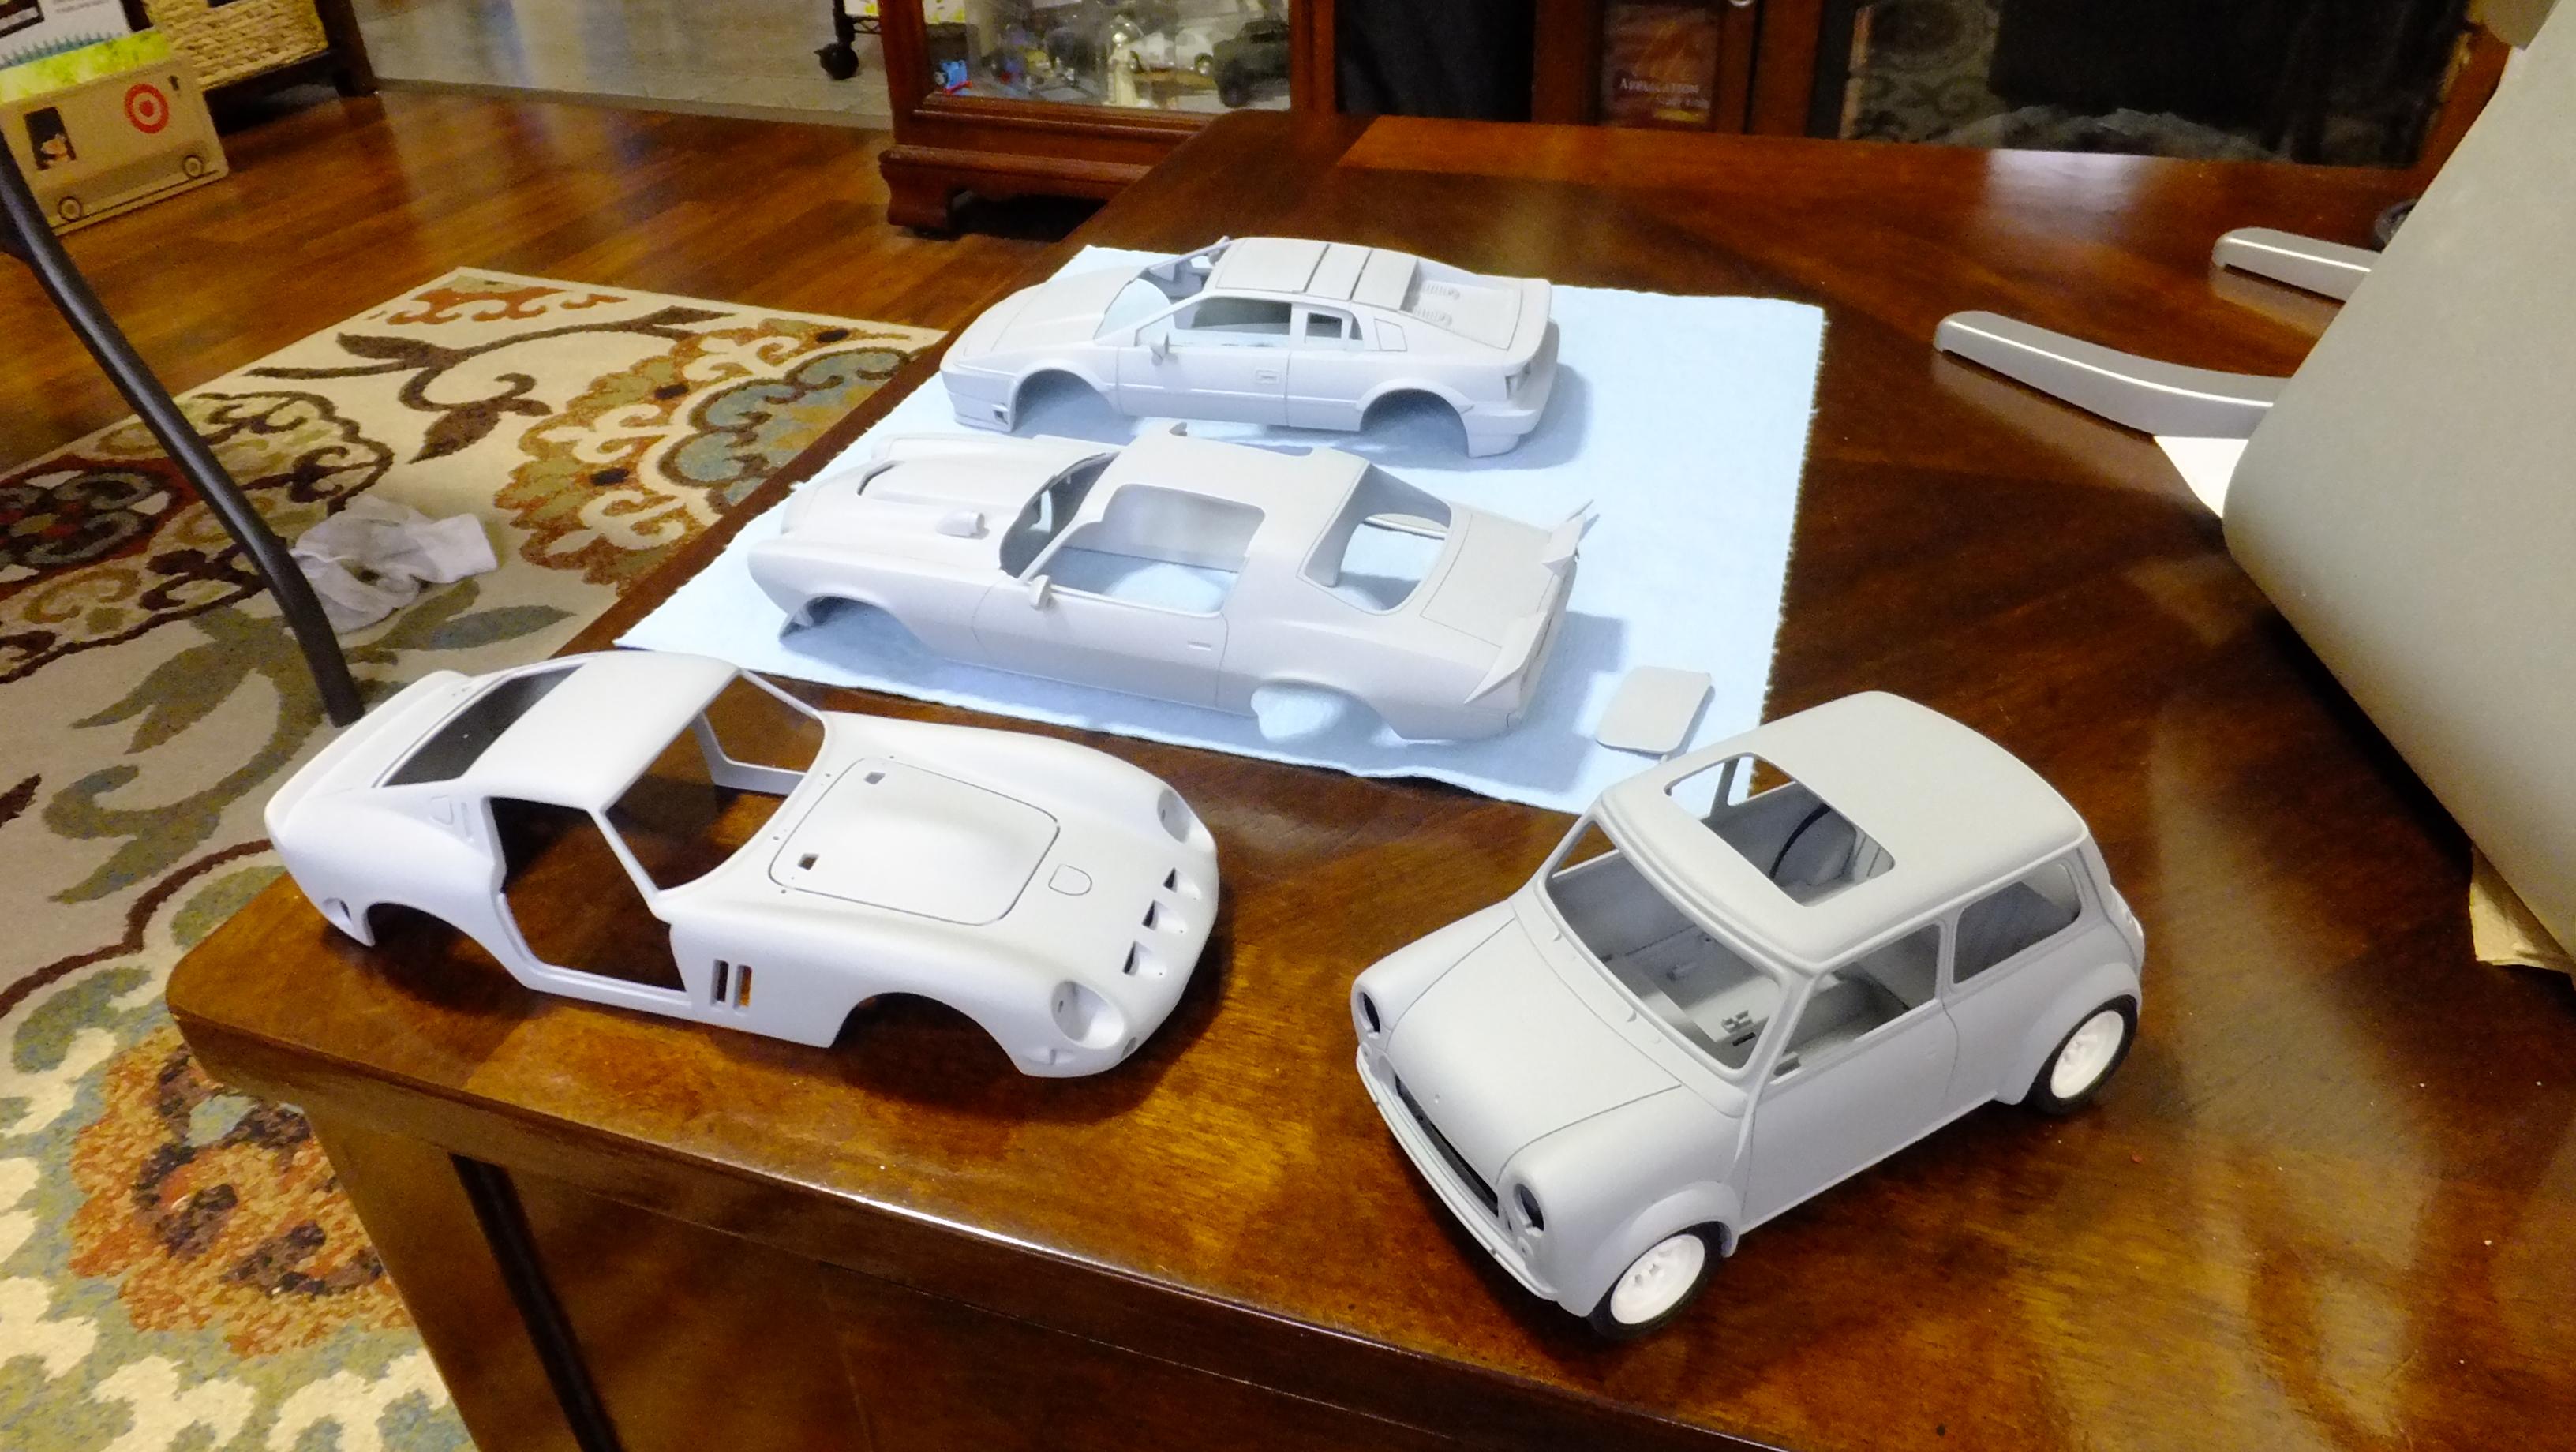
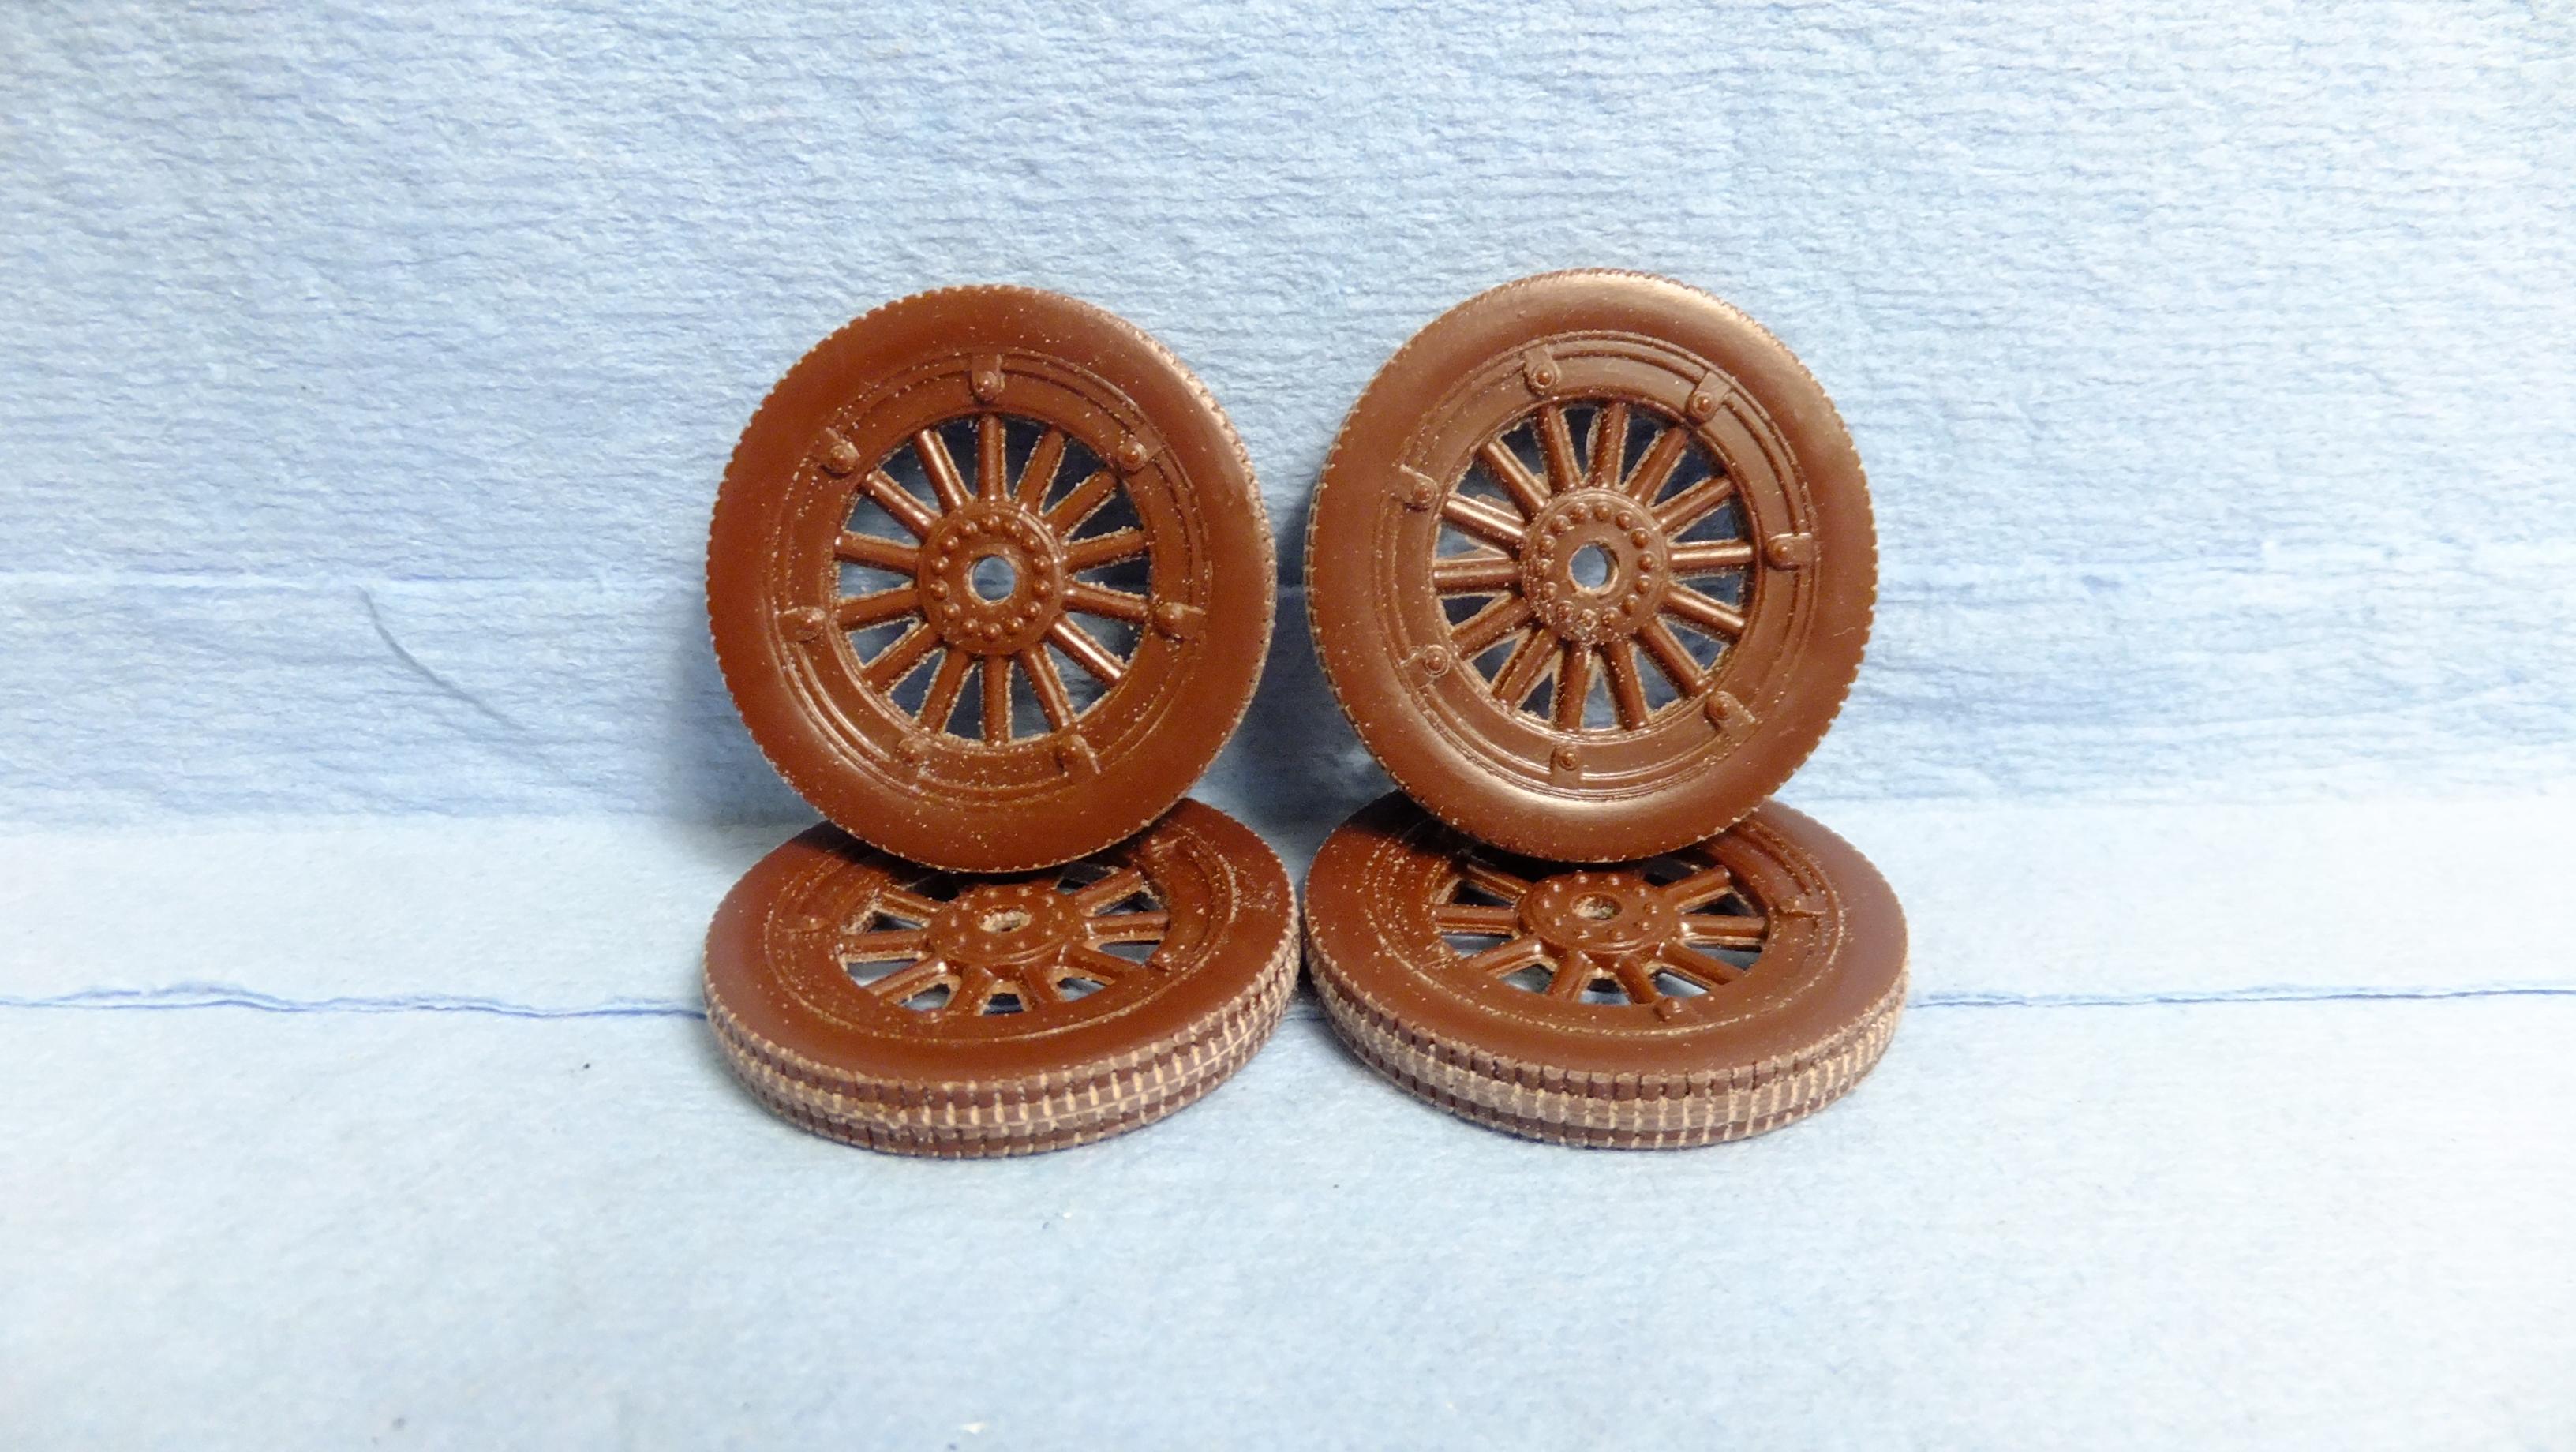
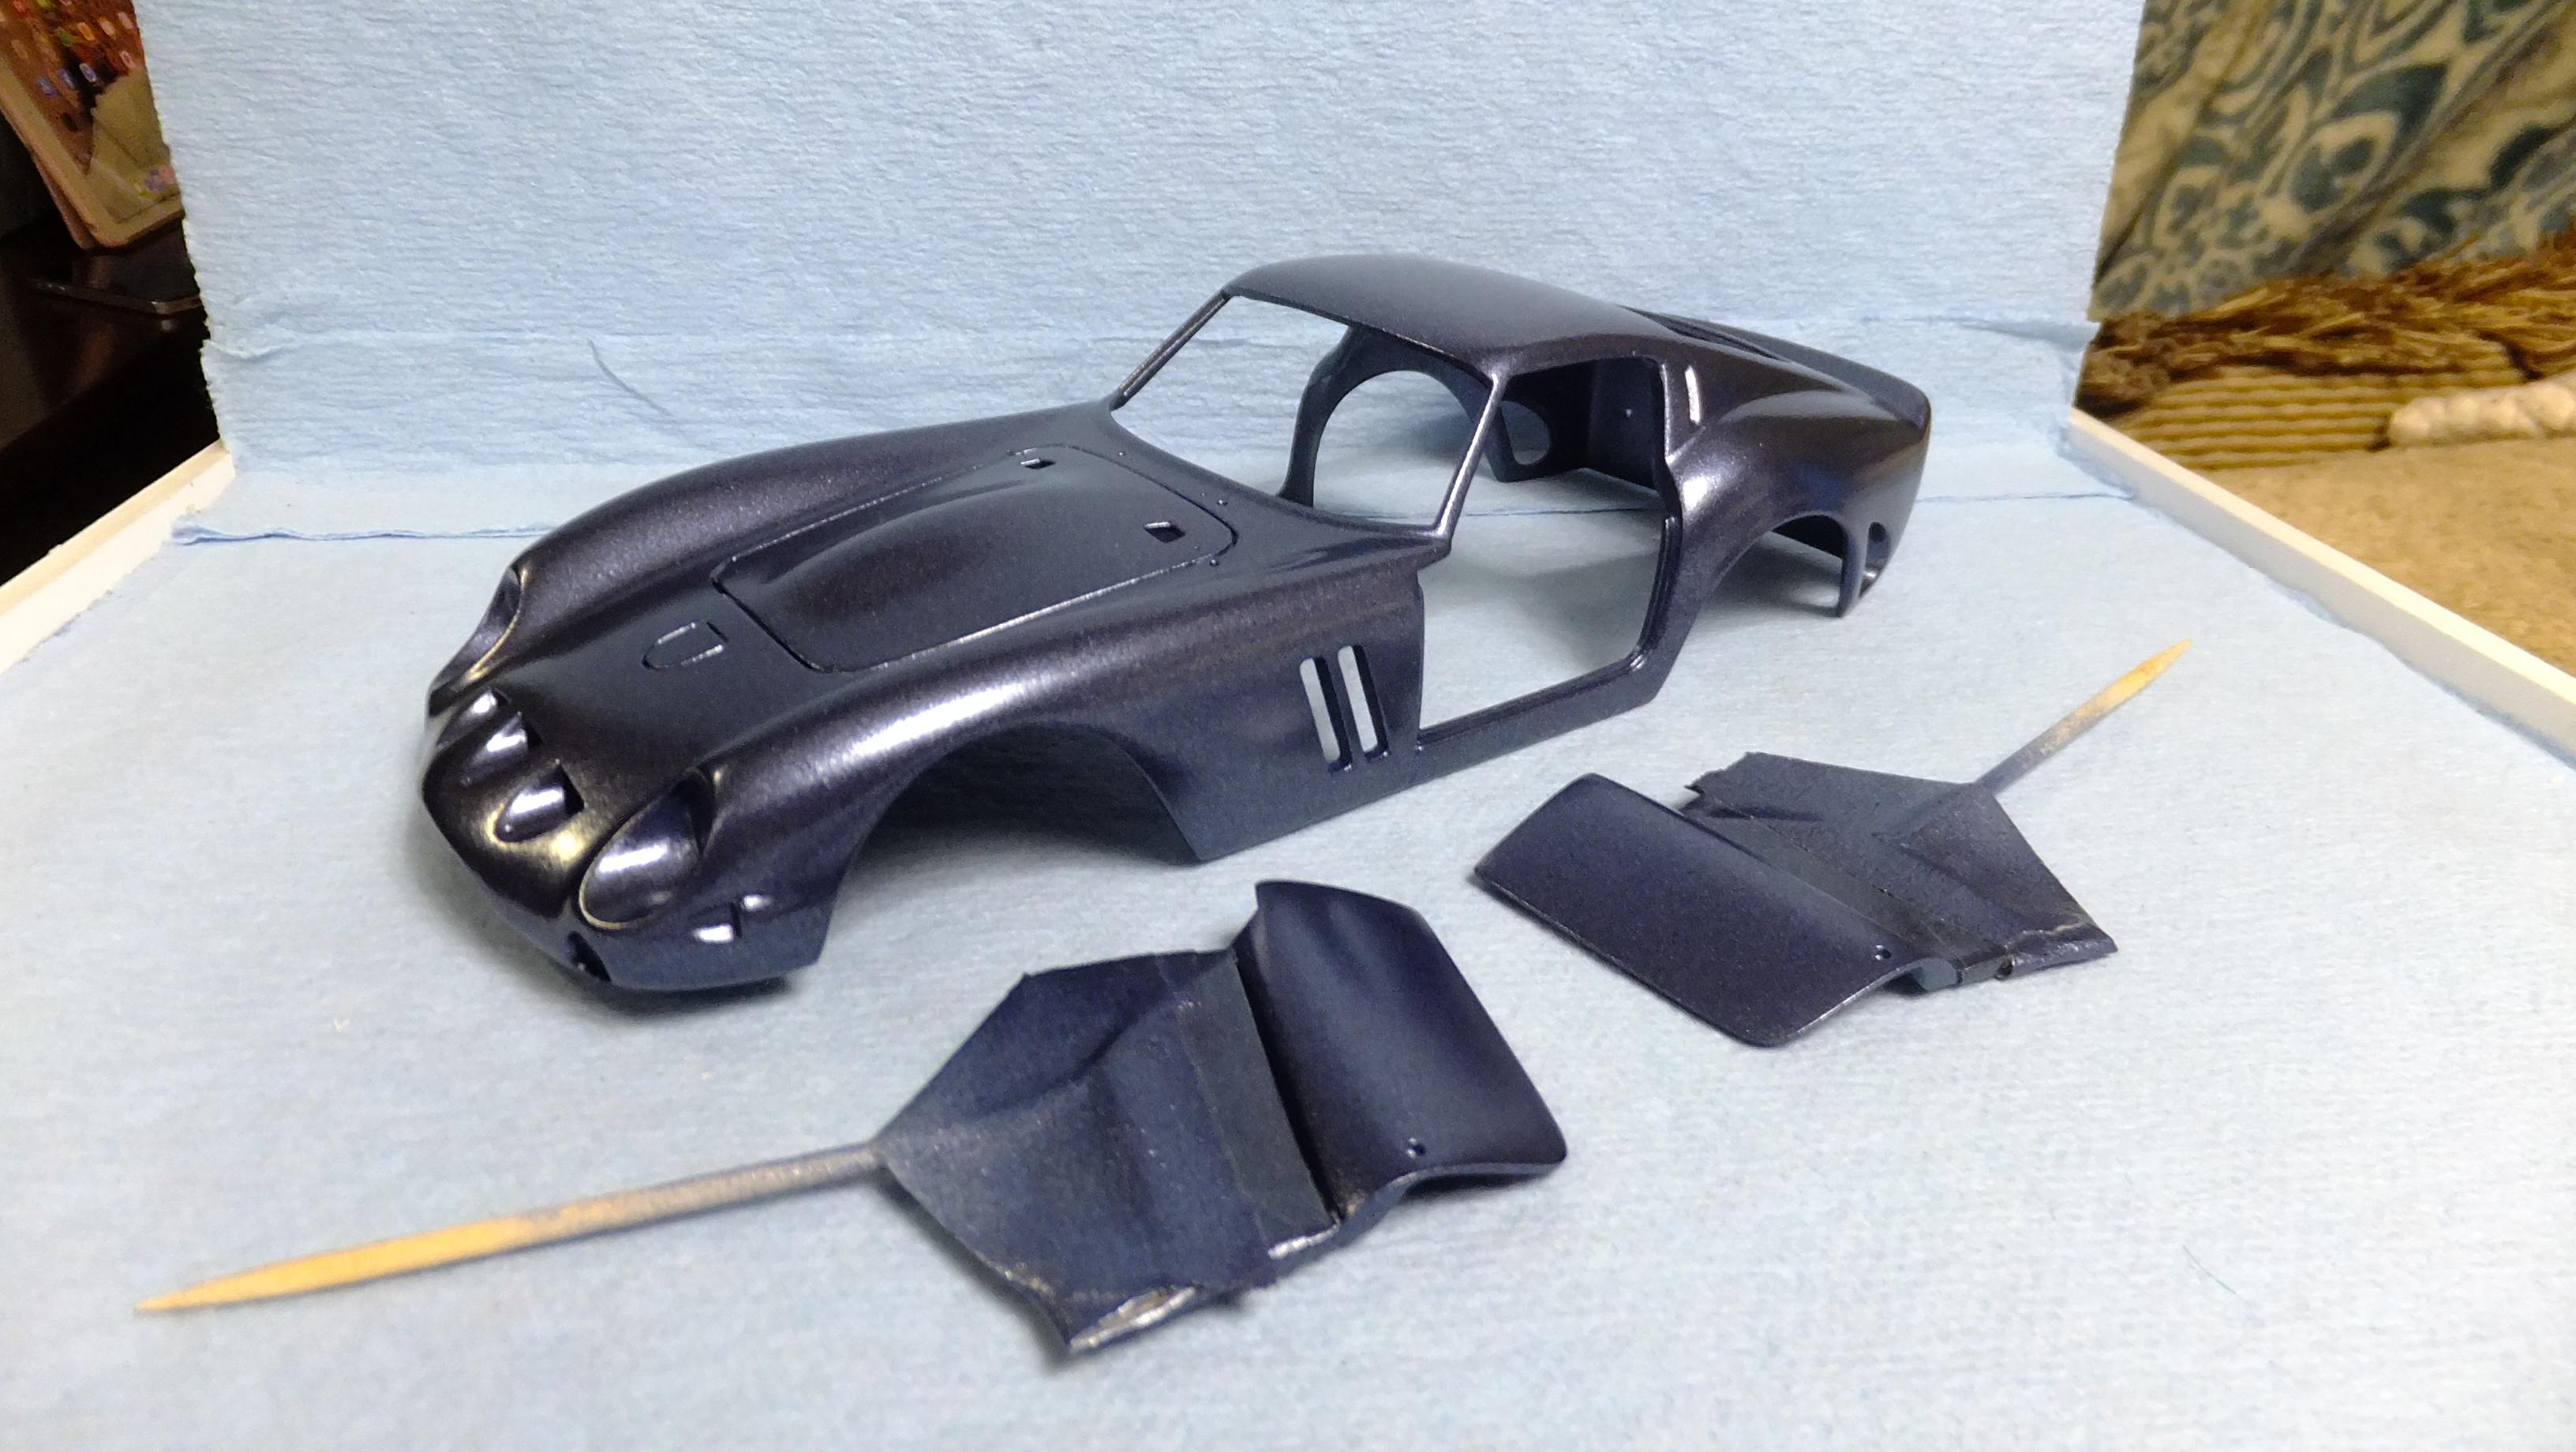
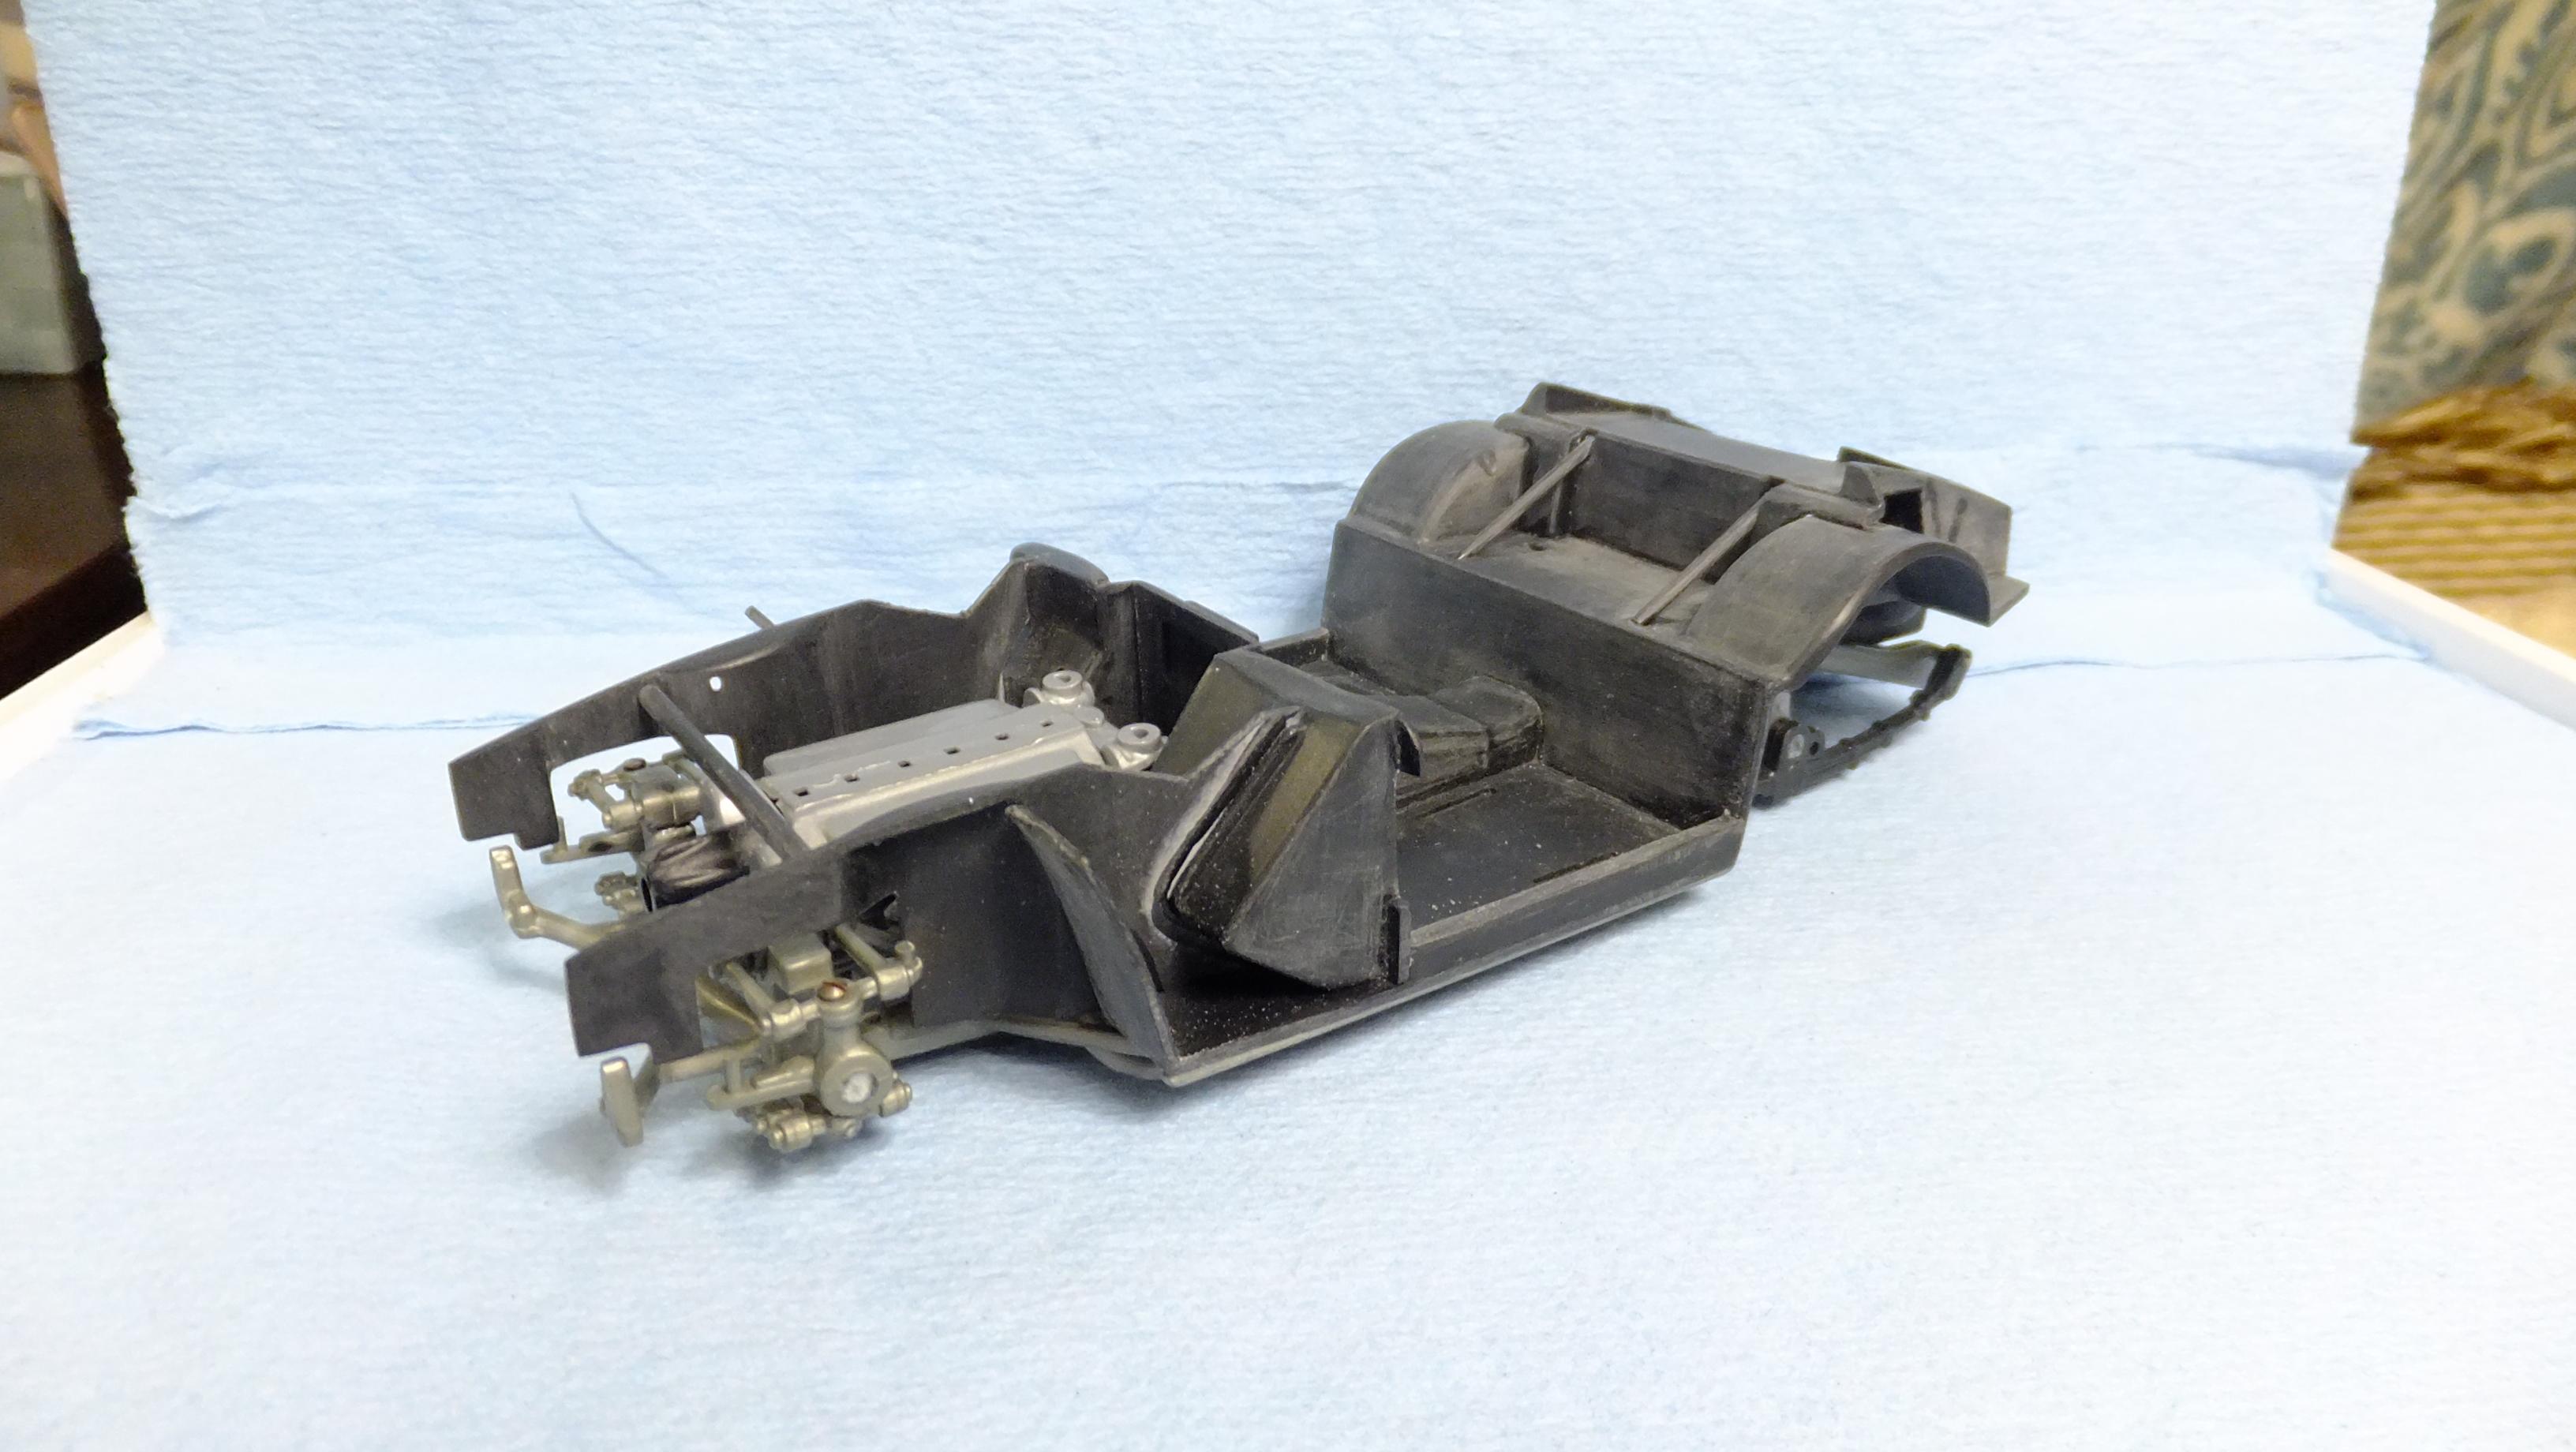
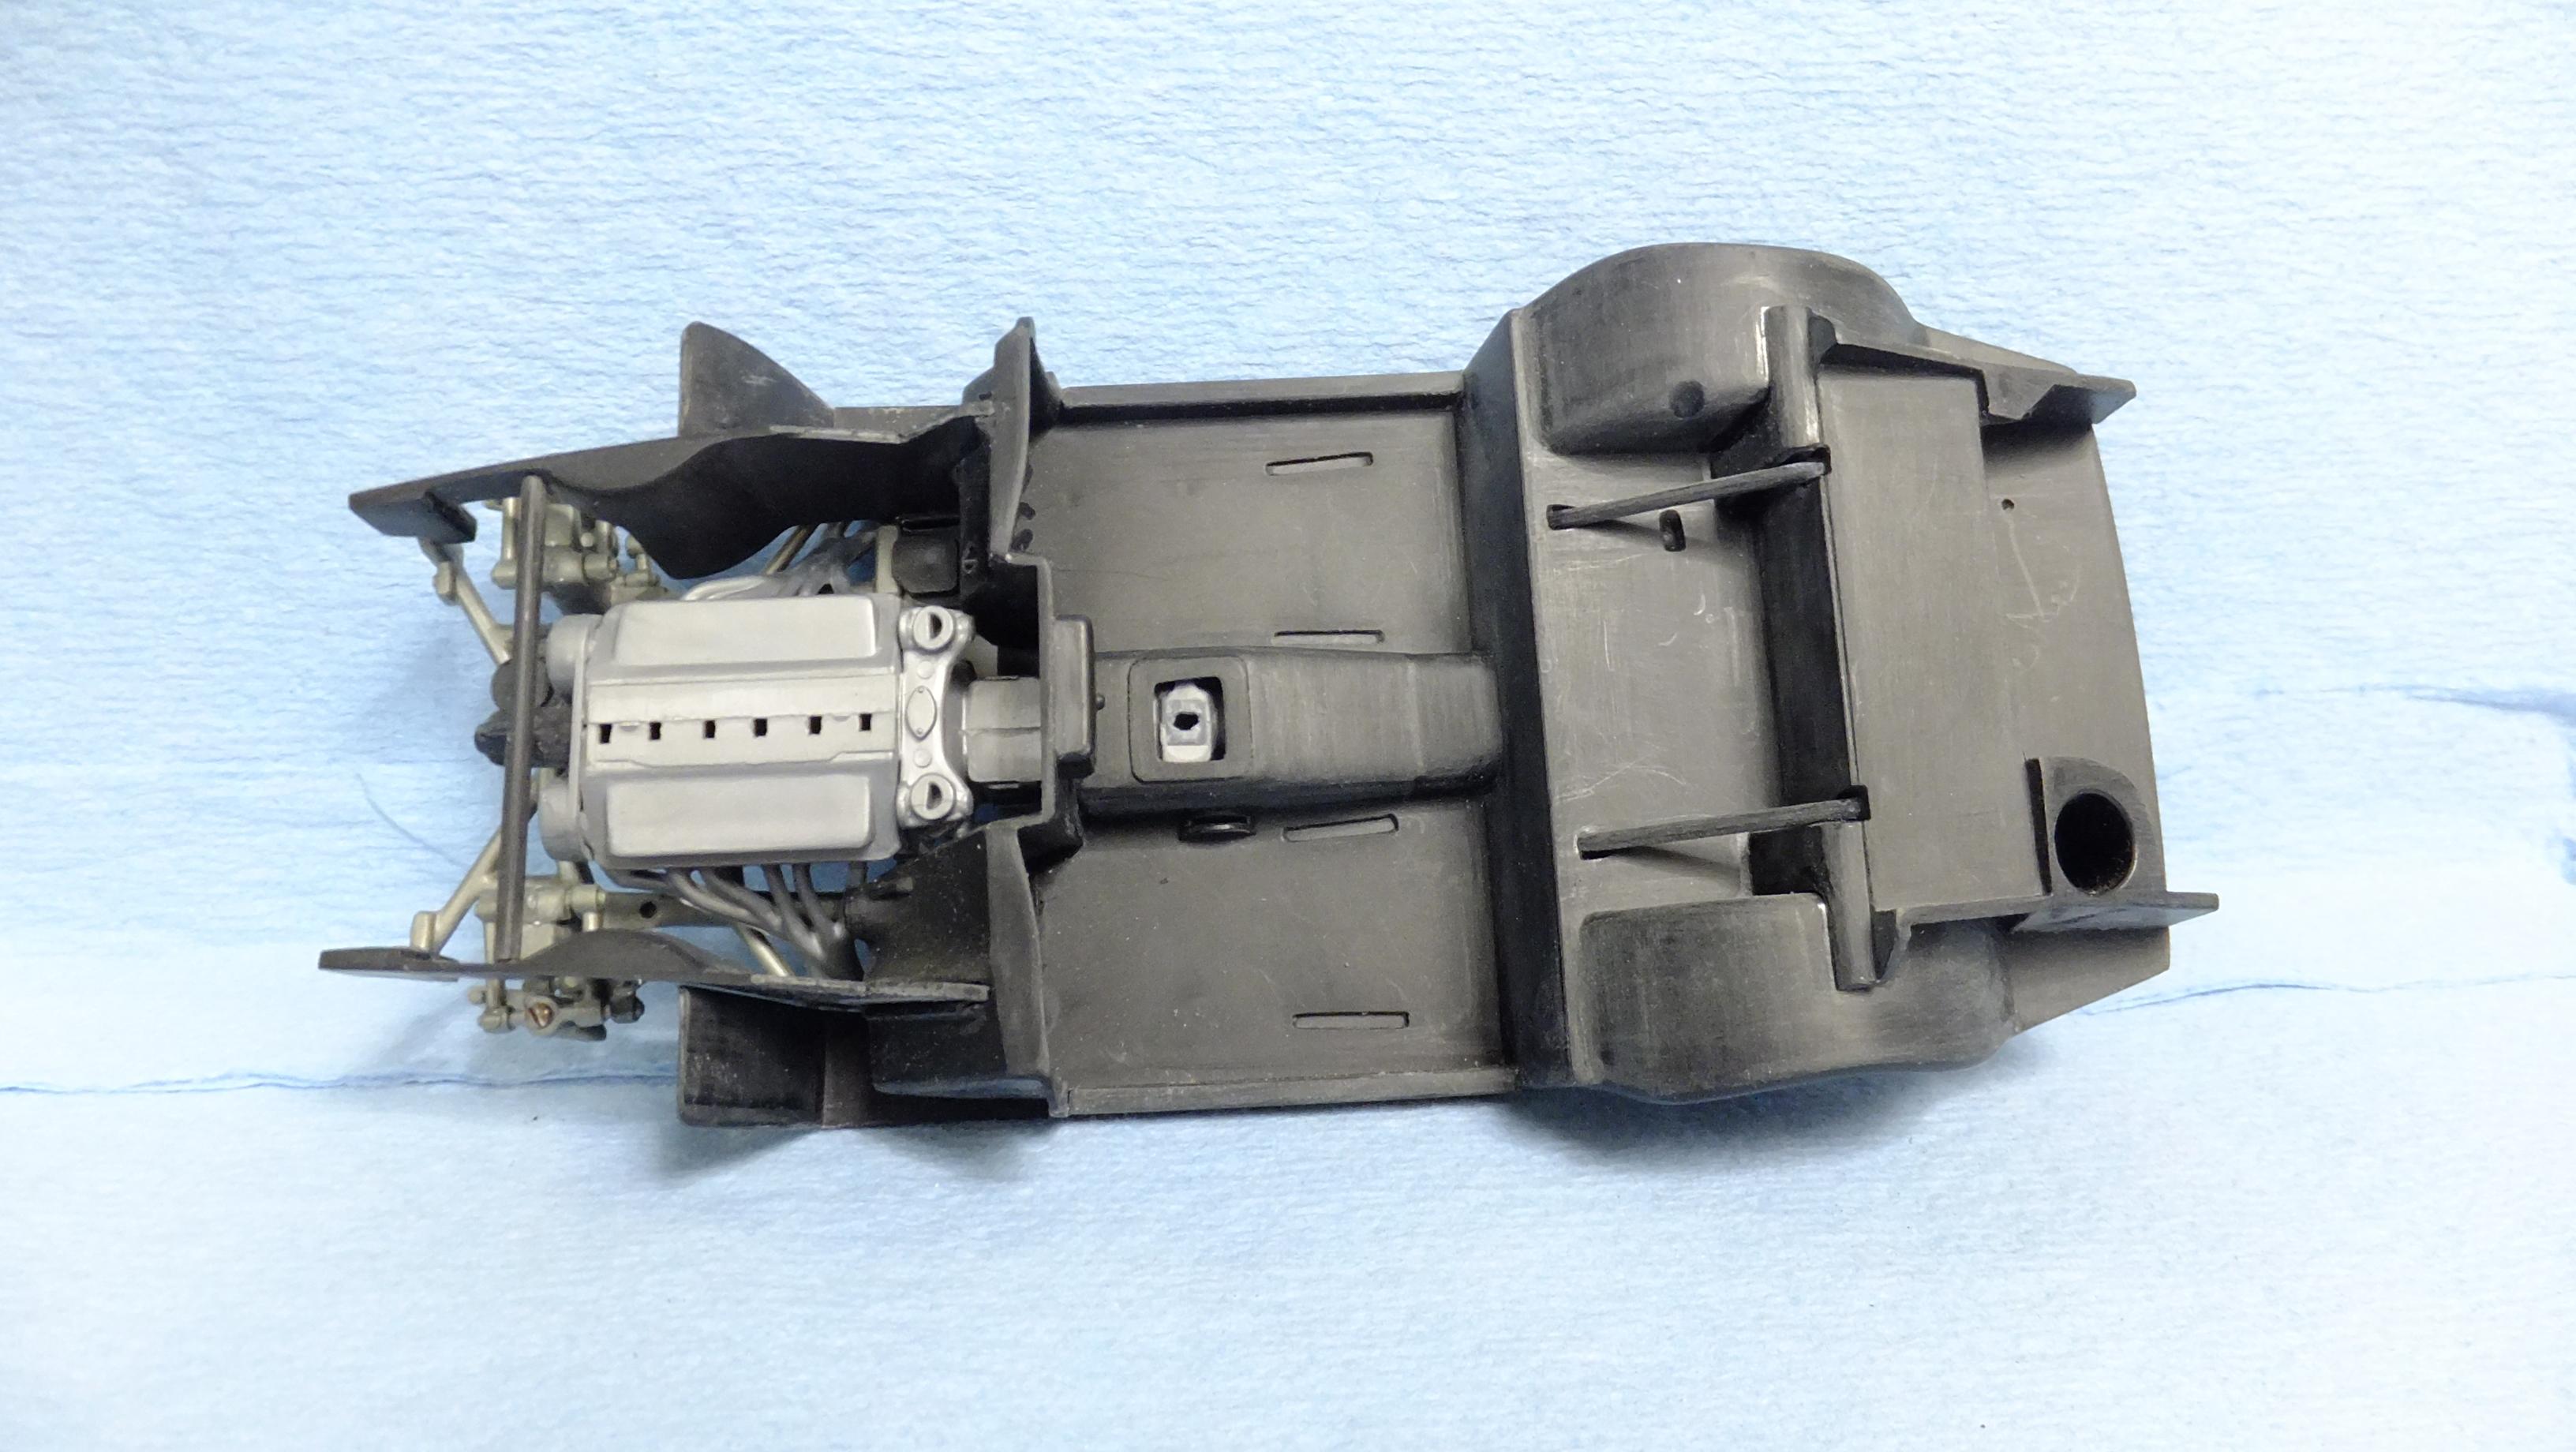
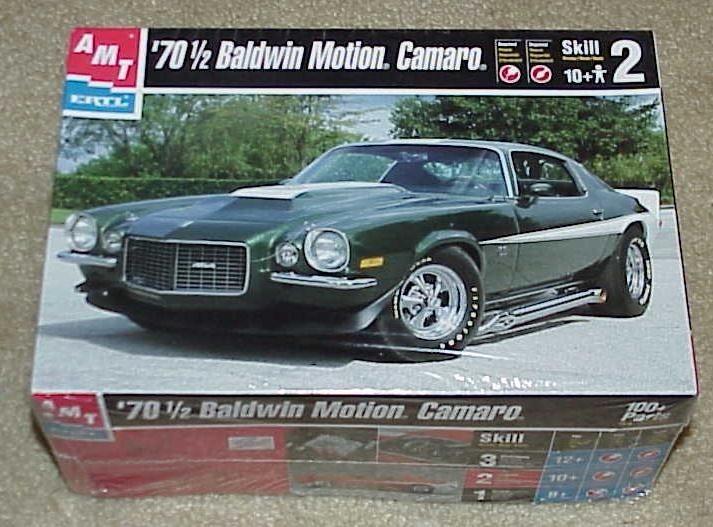
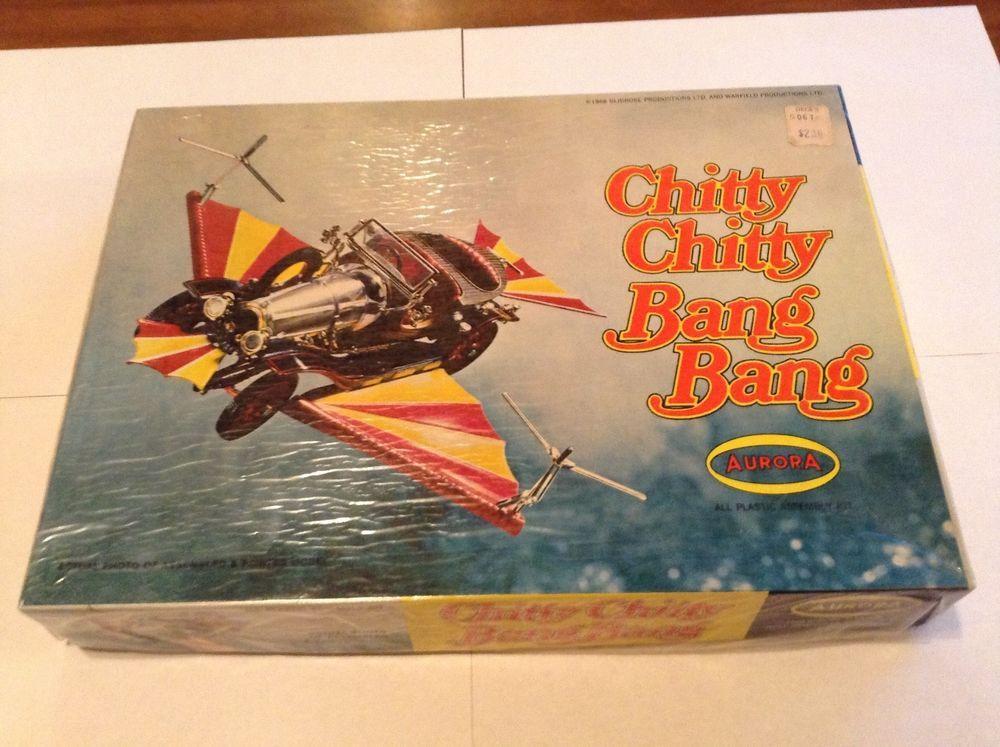
I decided to build this now -collectors would CRINGE!! Tina got me this kit in mint...still sealed, but i'm a Builder!....hope you all enjoy following! -Photo 1-3; It feels like my car is in the same shape as when Potts himself found it, lol...these are all the main builds being rough sanded.

-
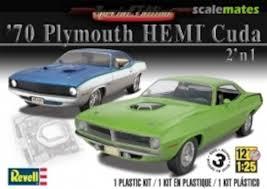
Heres the kit that everyone loves to bash for the littlest reasons...mostly for the square rear end. I agree its not right, BUT it doesnt look UGLY either. Instead of fixing it, i decided to just call it a kit car, of which are actually a popular subject. I will do it curbside, as a fun, quick build. The body is ready for decals, and clear, and the interior/chassis assembly is now ready for paint! -Photo 2-4; This is all one mass of pre-assembly...
-
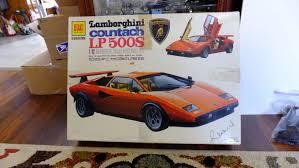
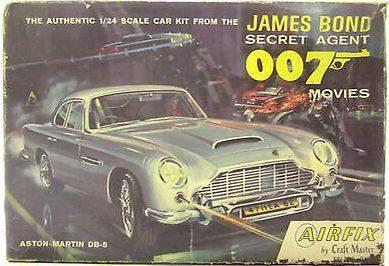
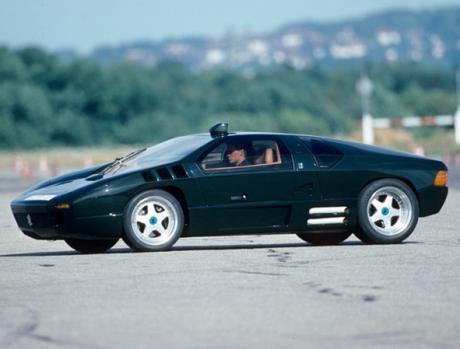
Hey, everyone!...heres a Countach update as well! -Photo 1; Body needs decals, and clear next..and i'm using Aoshima Countach mirrors, and had to SB a better -more realistic muffler heat shield -the molded in one was too short, and not see through. -Photo 2; I removed the molded in license plate frame, and will use Fujimi fog lights for better realism. -Photo 3; Looks waaay better with the lowered ride height, and wider tyres!...notice all the new vents i made for the hood. -photo 4; Better view of the 500s hood that i made. -Photo 5; I added these hollow square tubing to have a contact for the shocks. -Photo 6;All the interior bits ready for detailing, and assembly!...this will be the next build that gets finished.
-

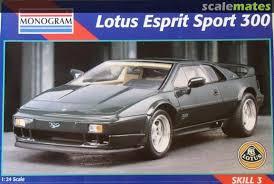
Re-engineering Monograms Lotus Esprit...new update!
Dann Tier replied to Dann Tier's topic in WIP: Model Cars
Hey, everyone!, i finally have kolor on this bad boy!, next step is decals, and clear coat. I will continue finishing off the body, so that i can perminantly install the interior which as you know, has been done for quite some time. It is not needed for engine fitment anymore. Even the door handles i made turned out way better than the molded in ones.
-
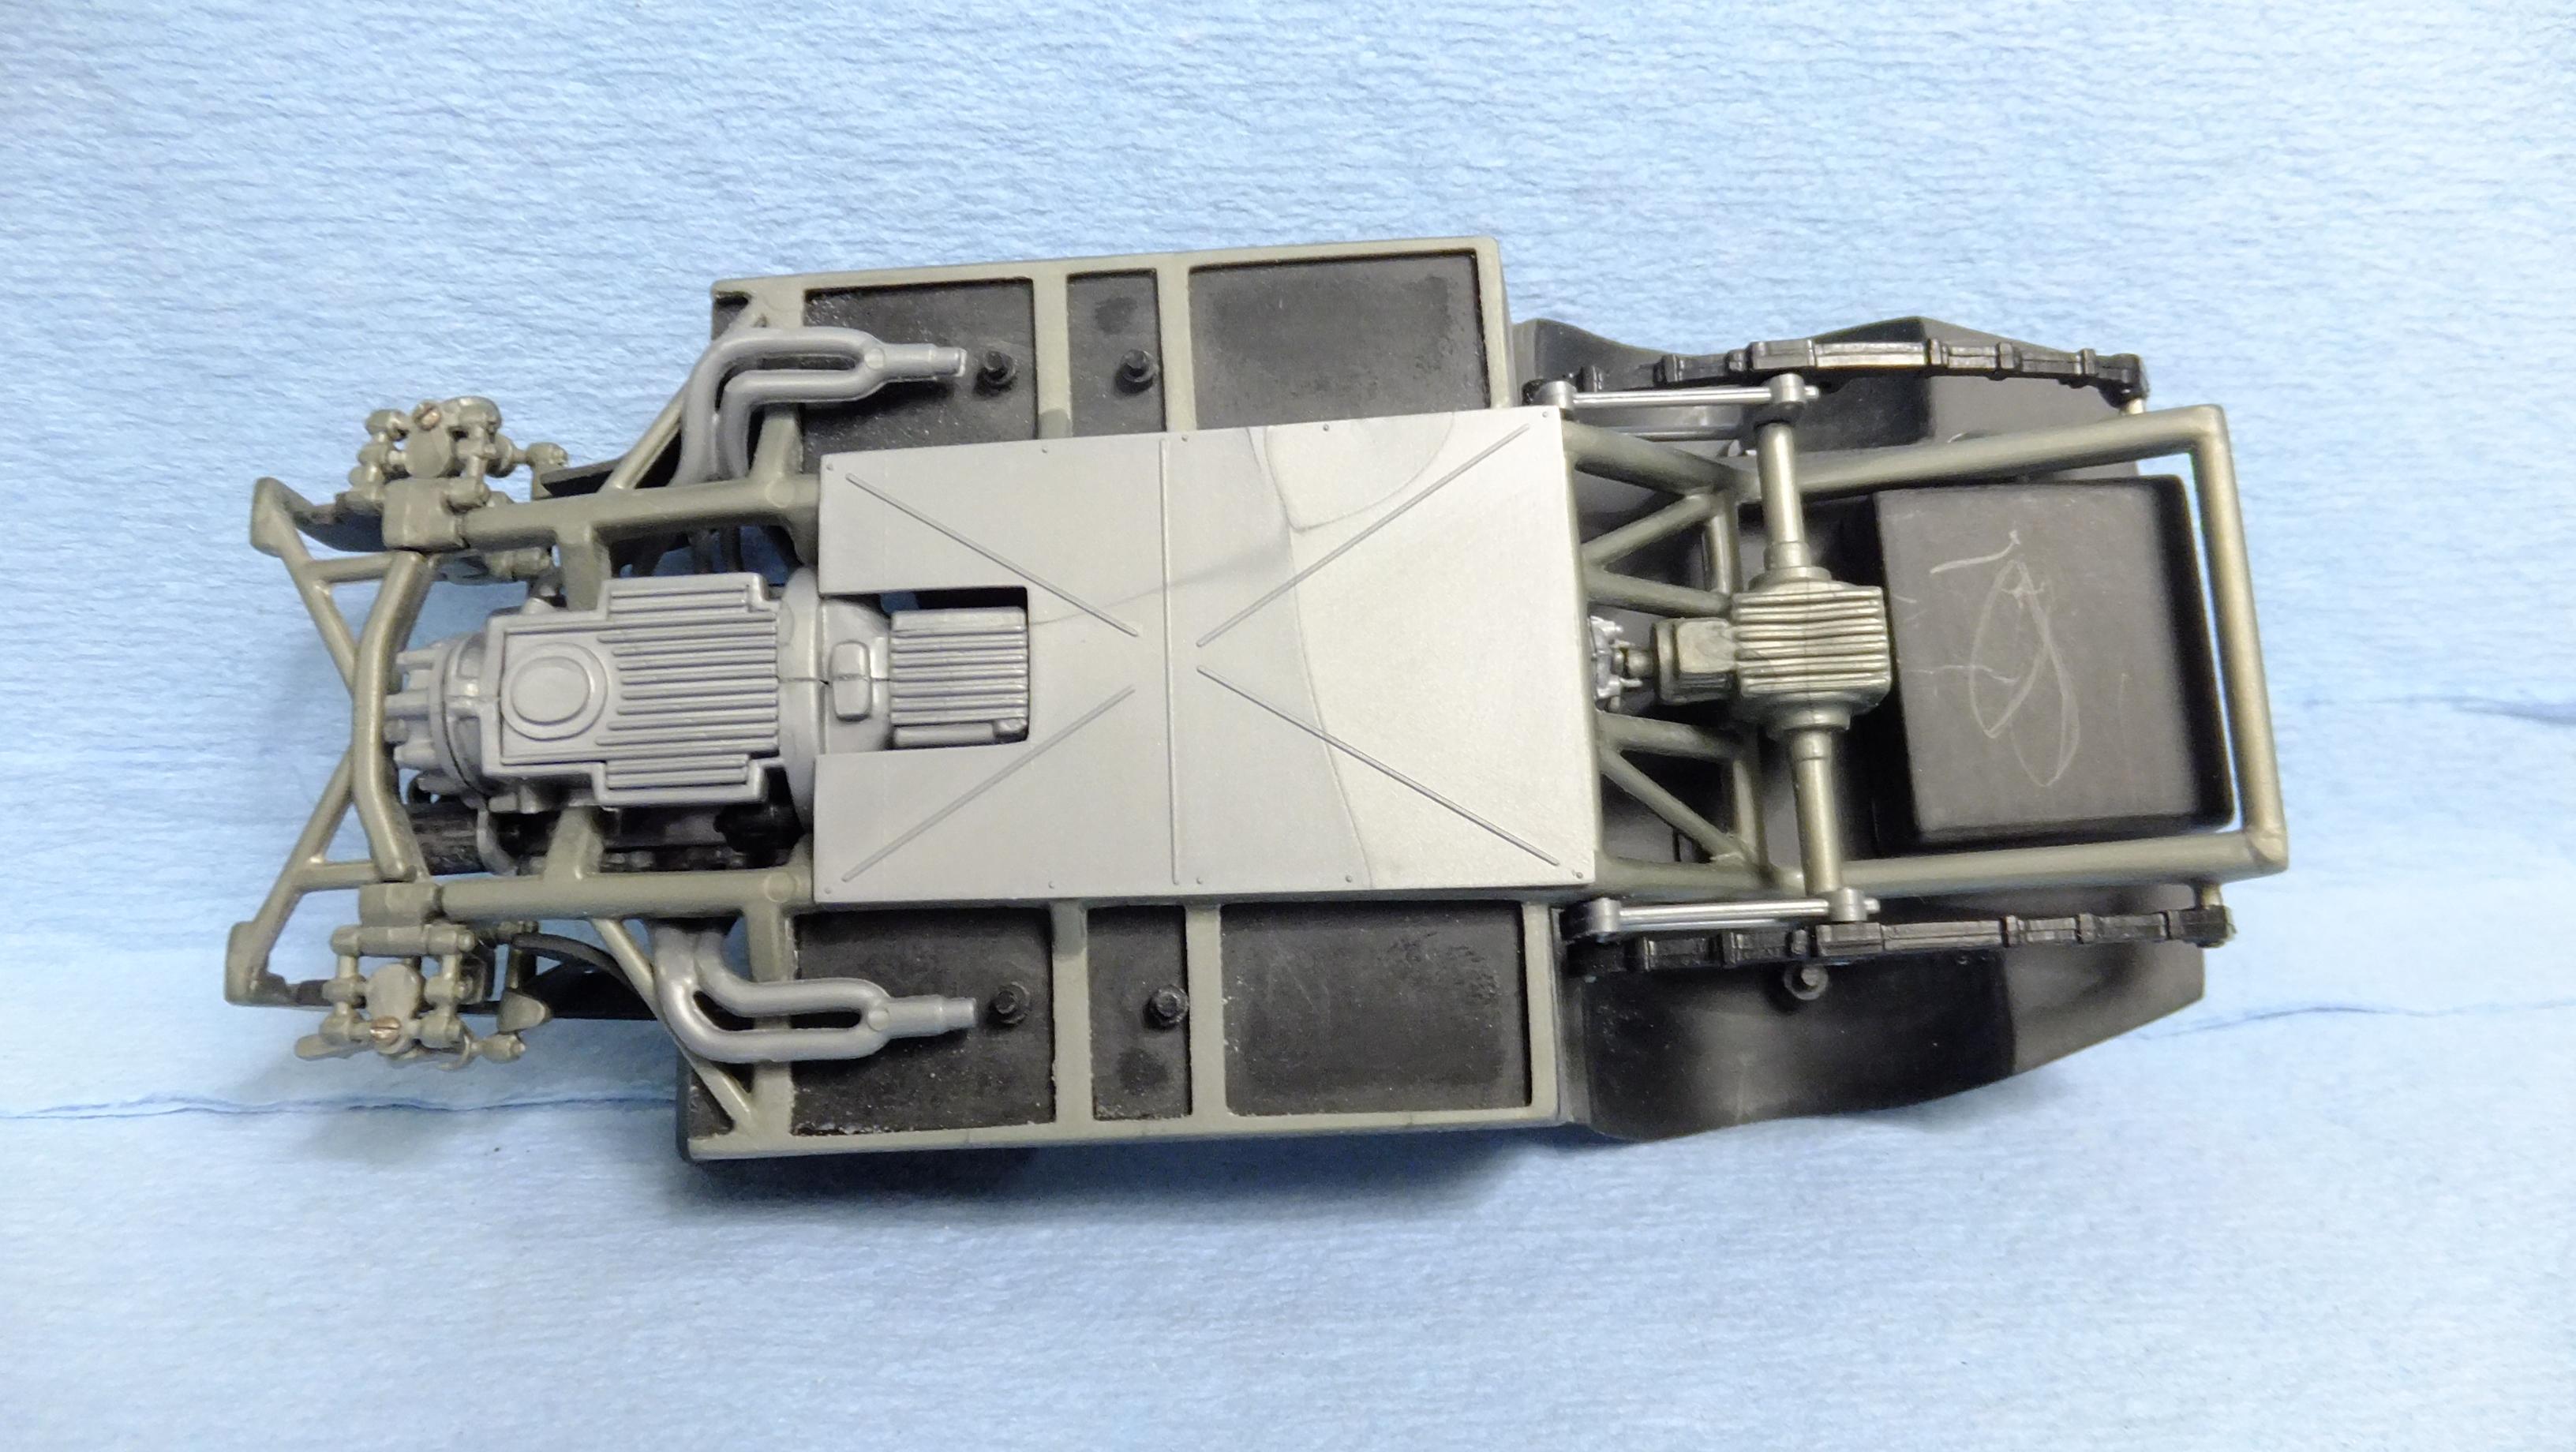
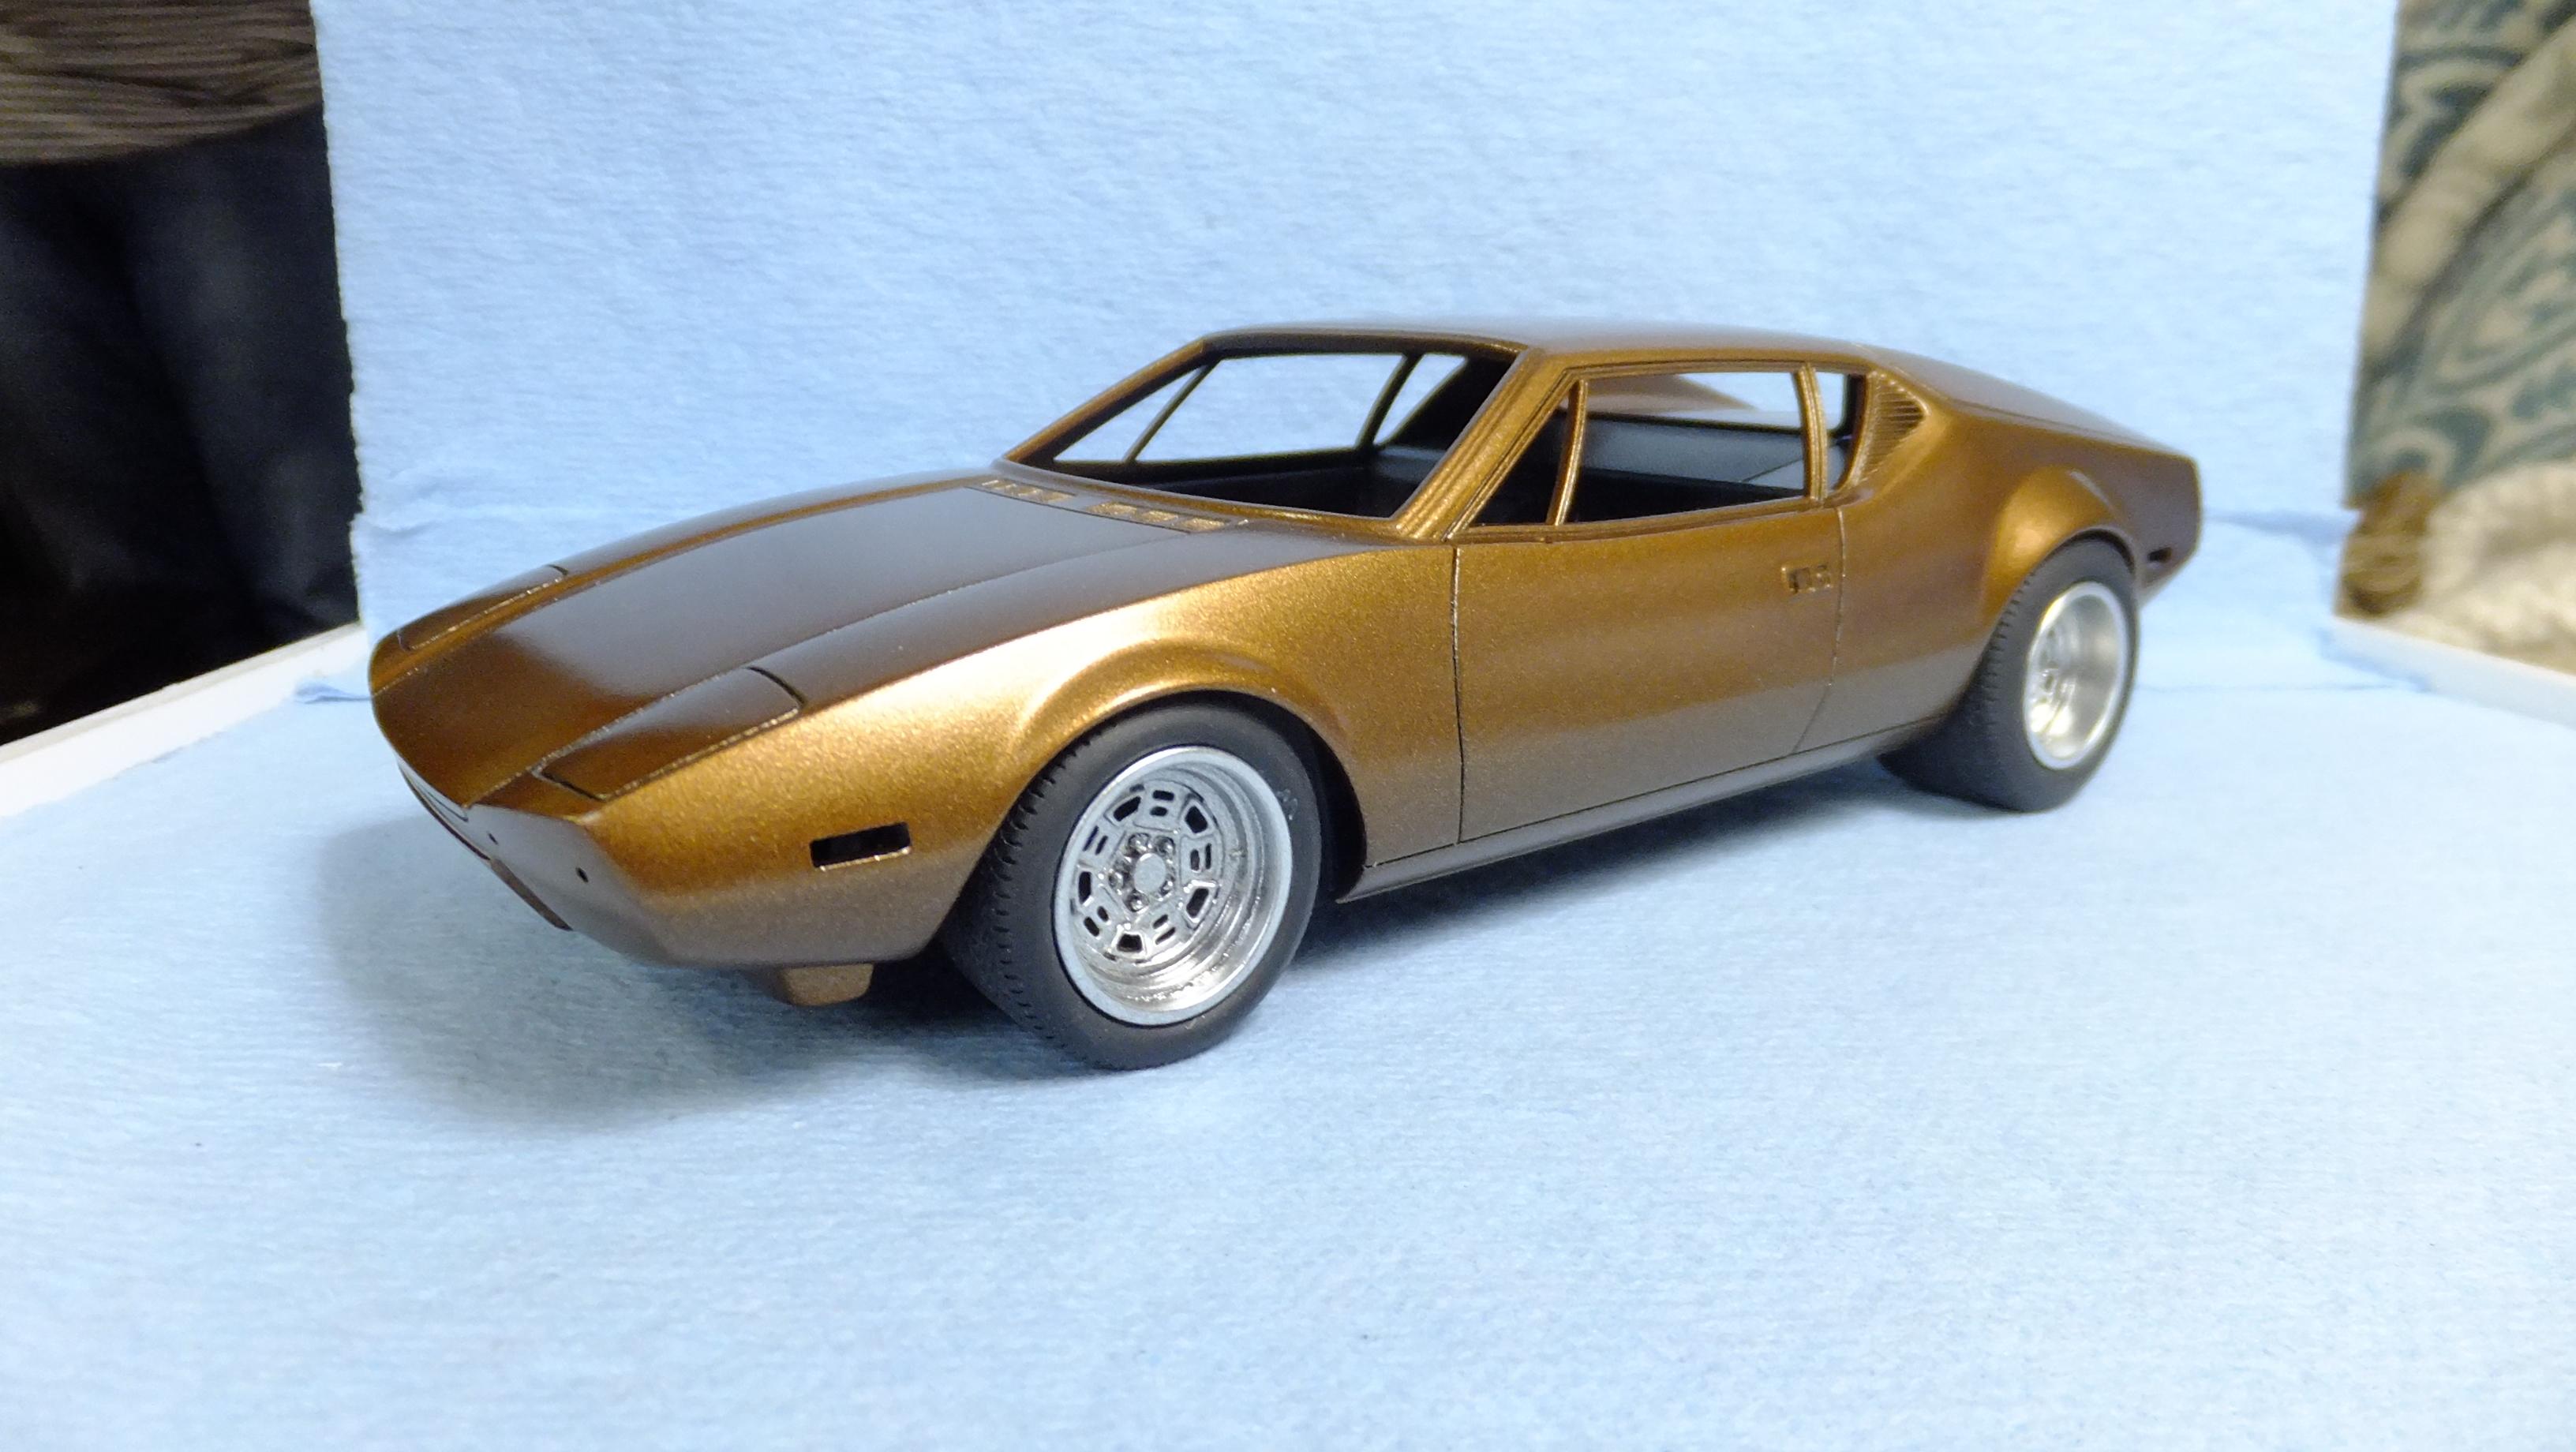
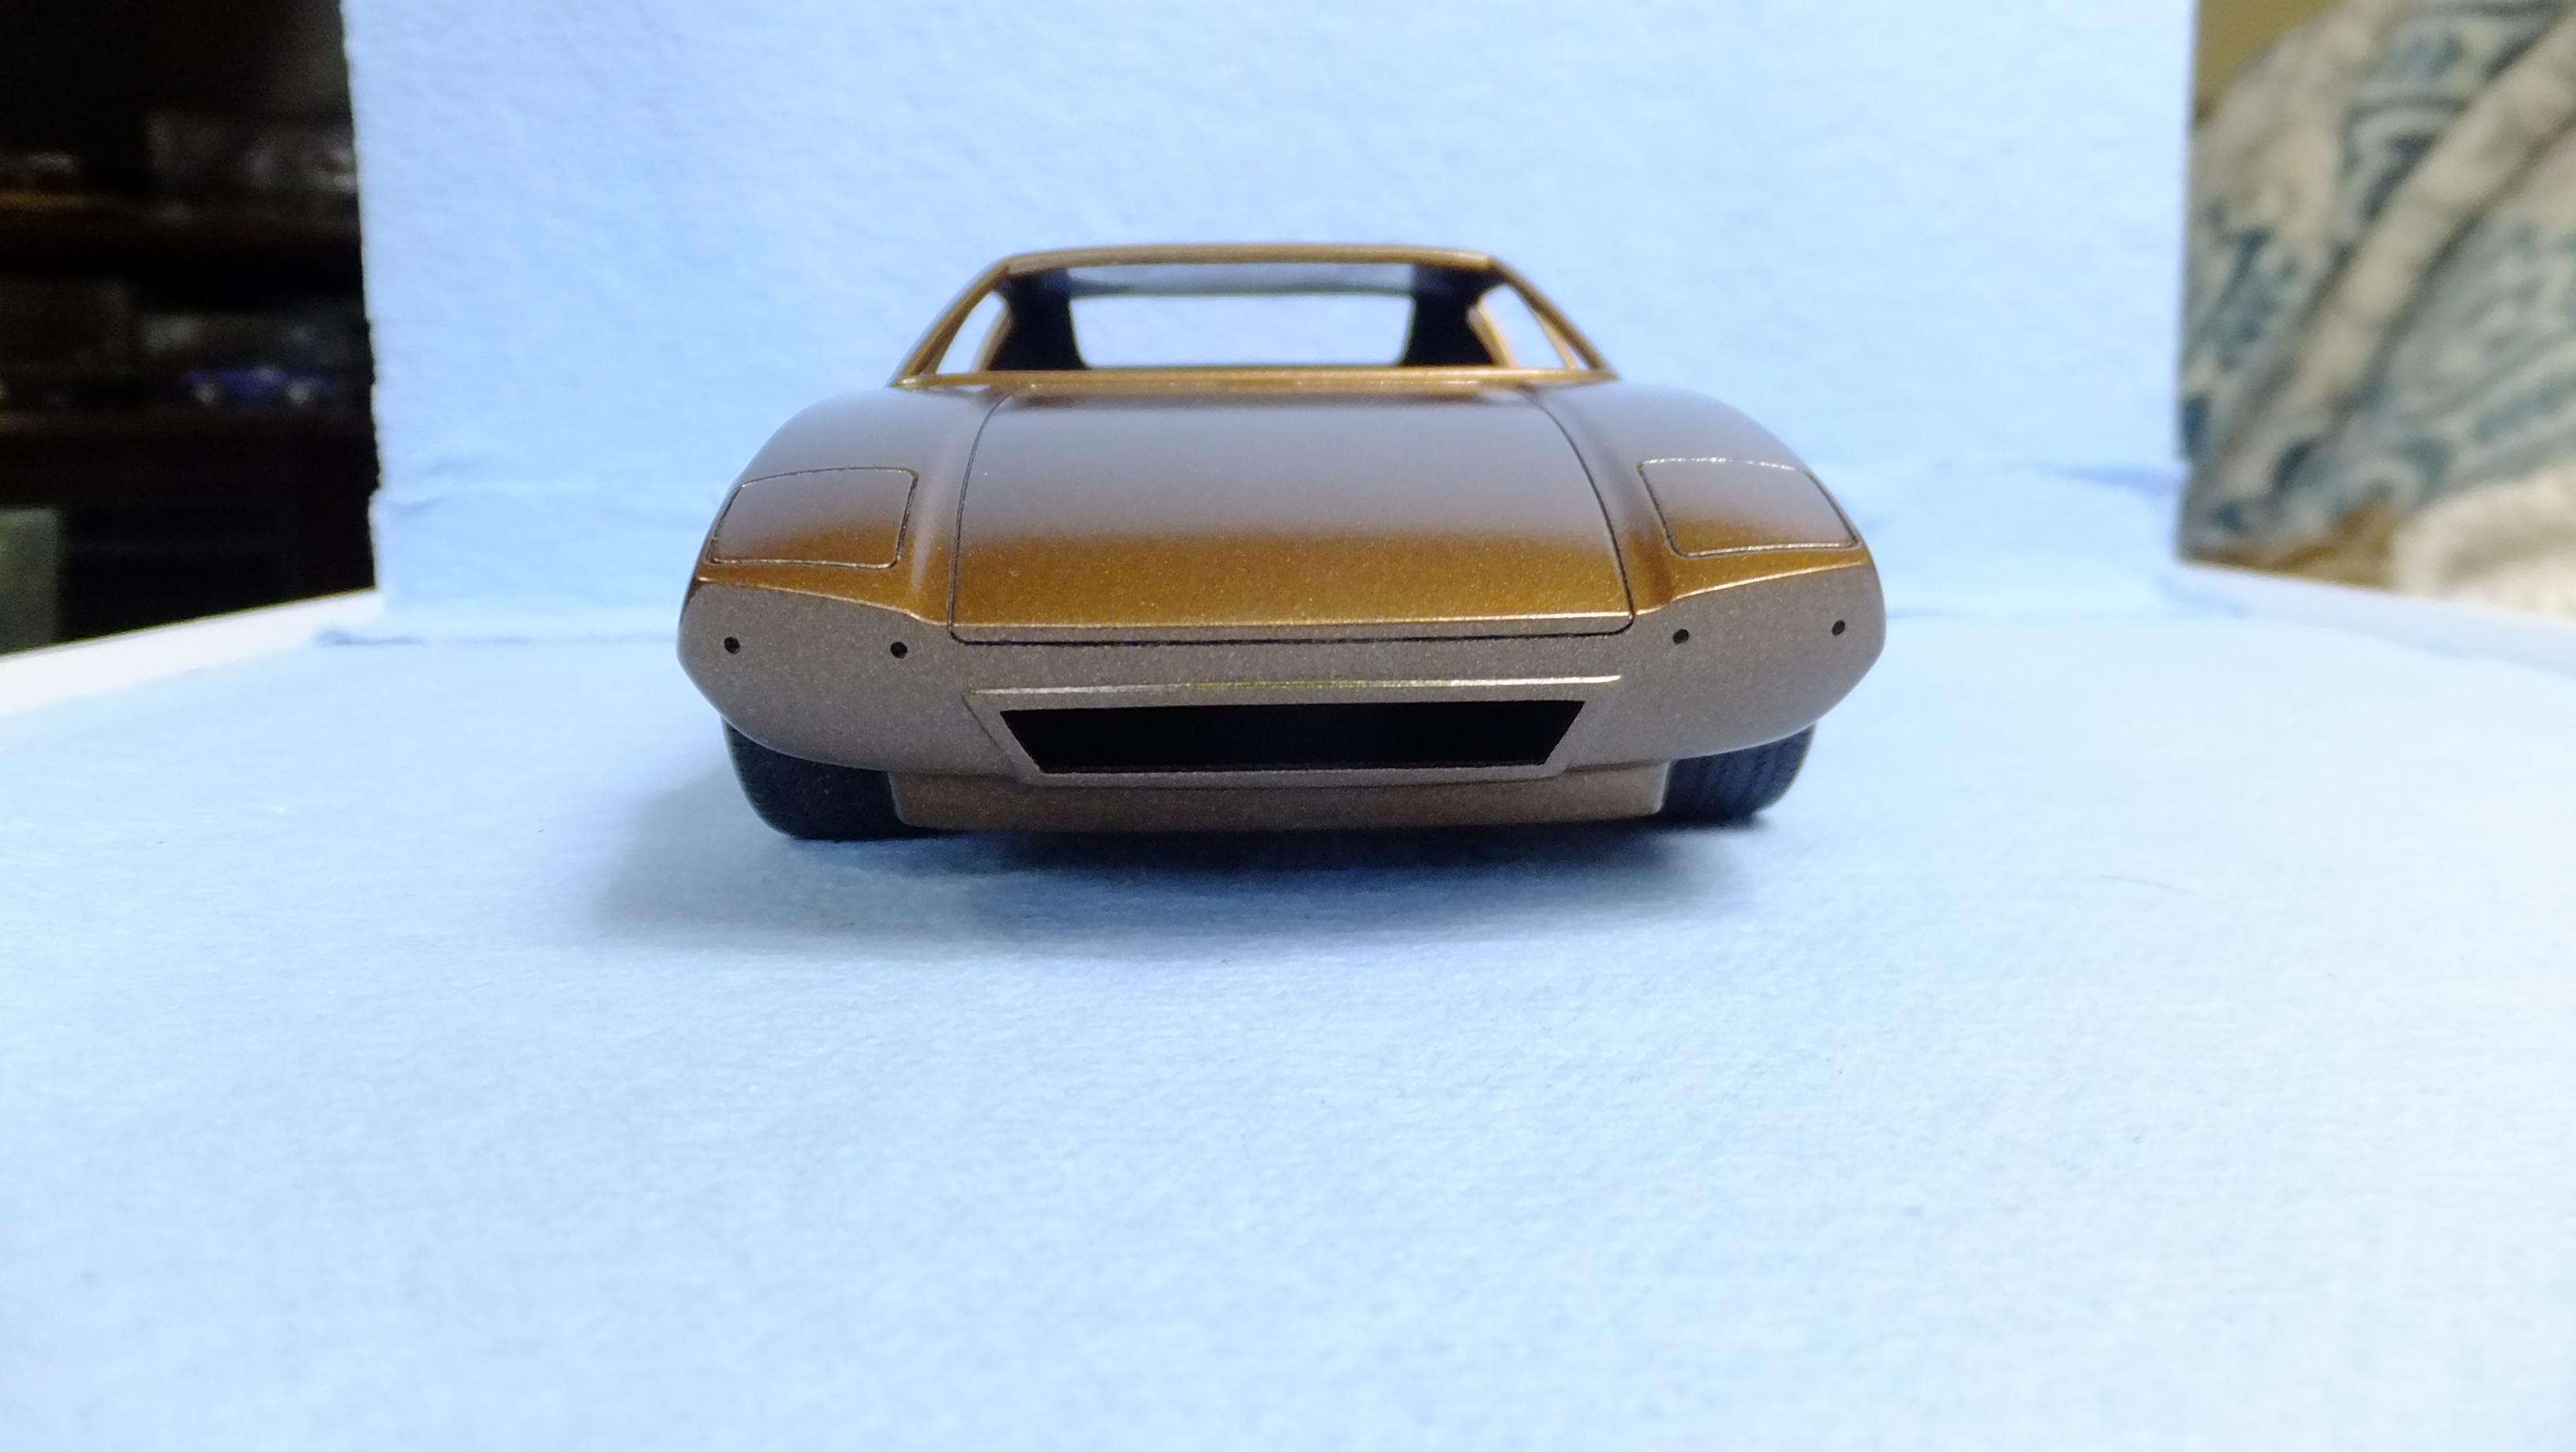
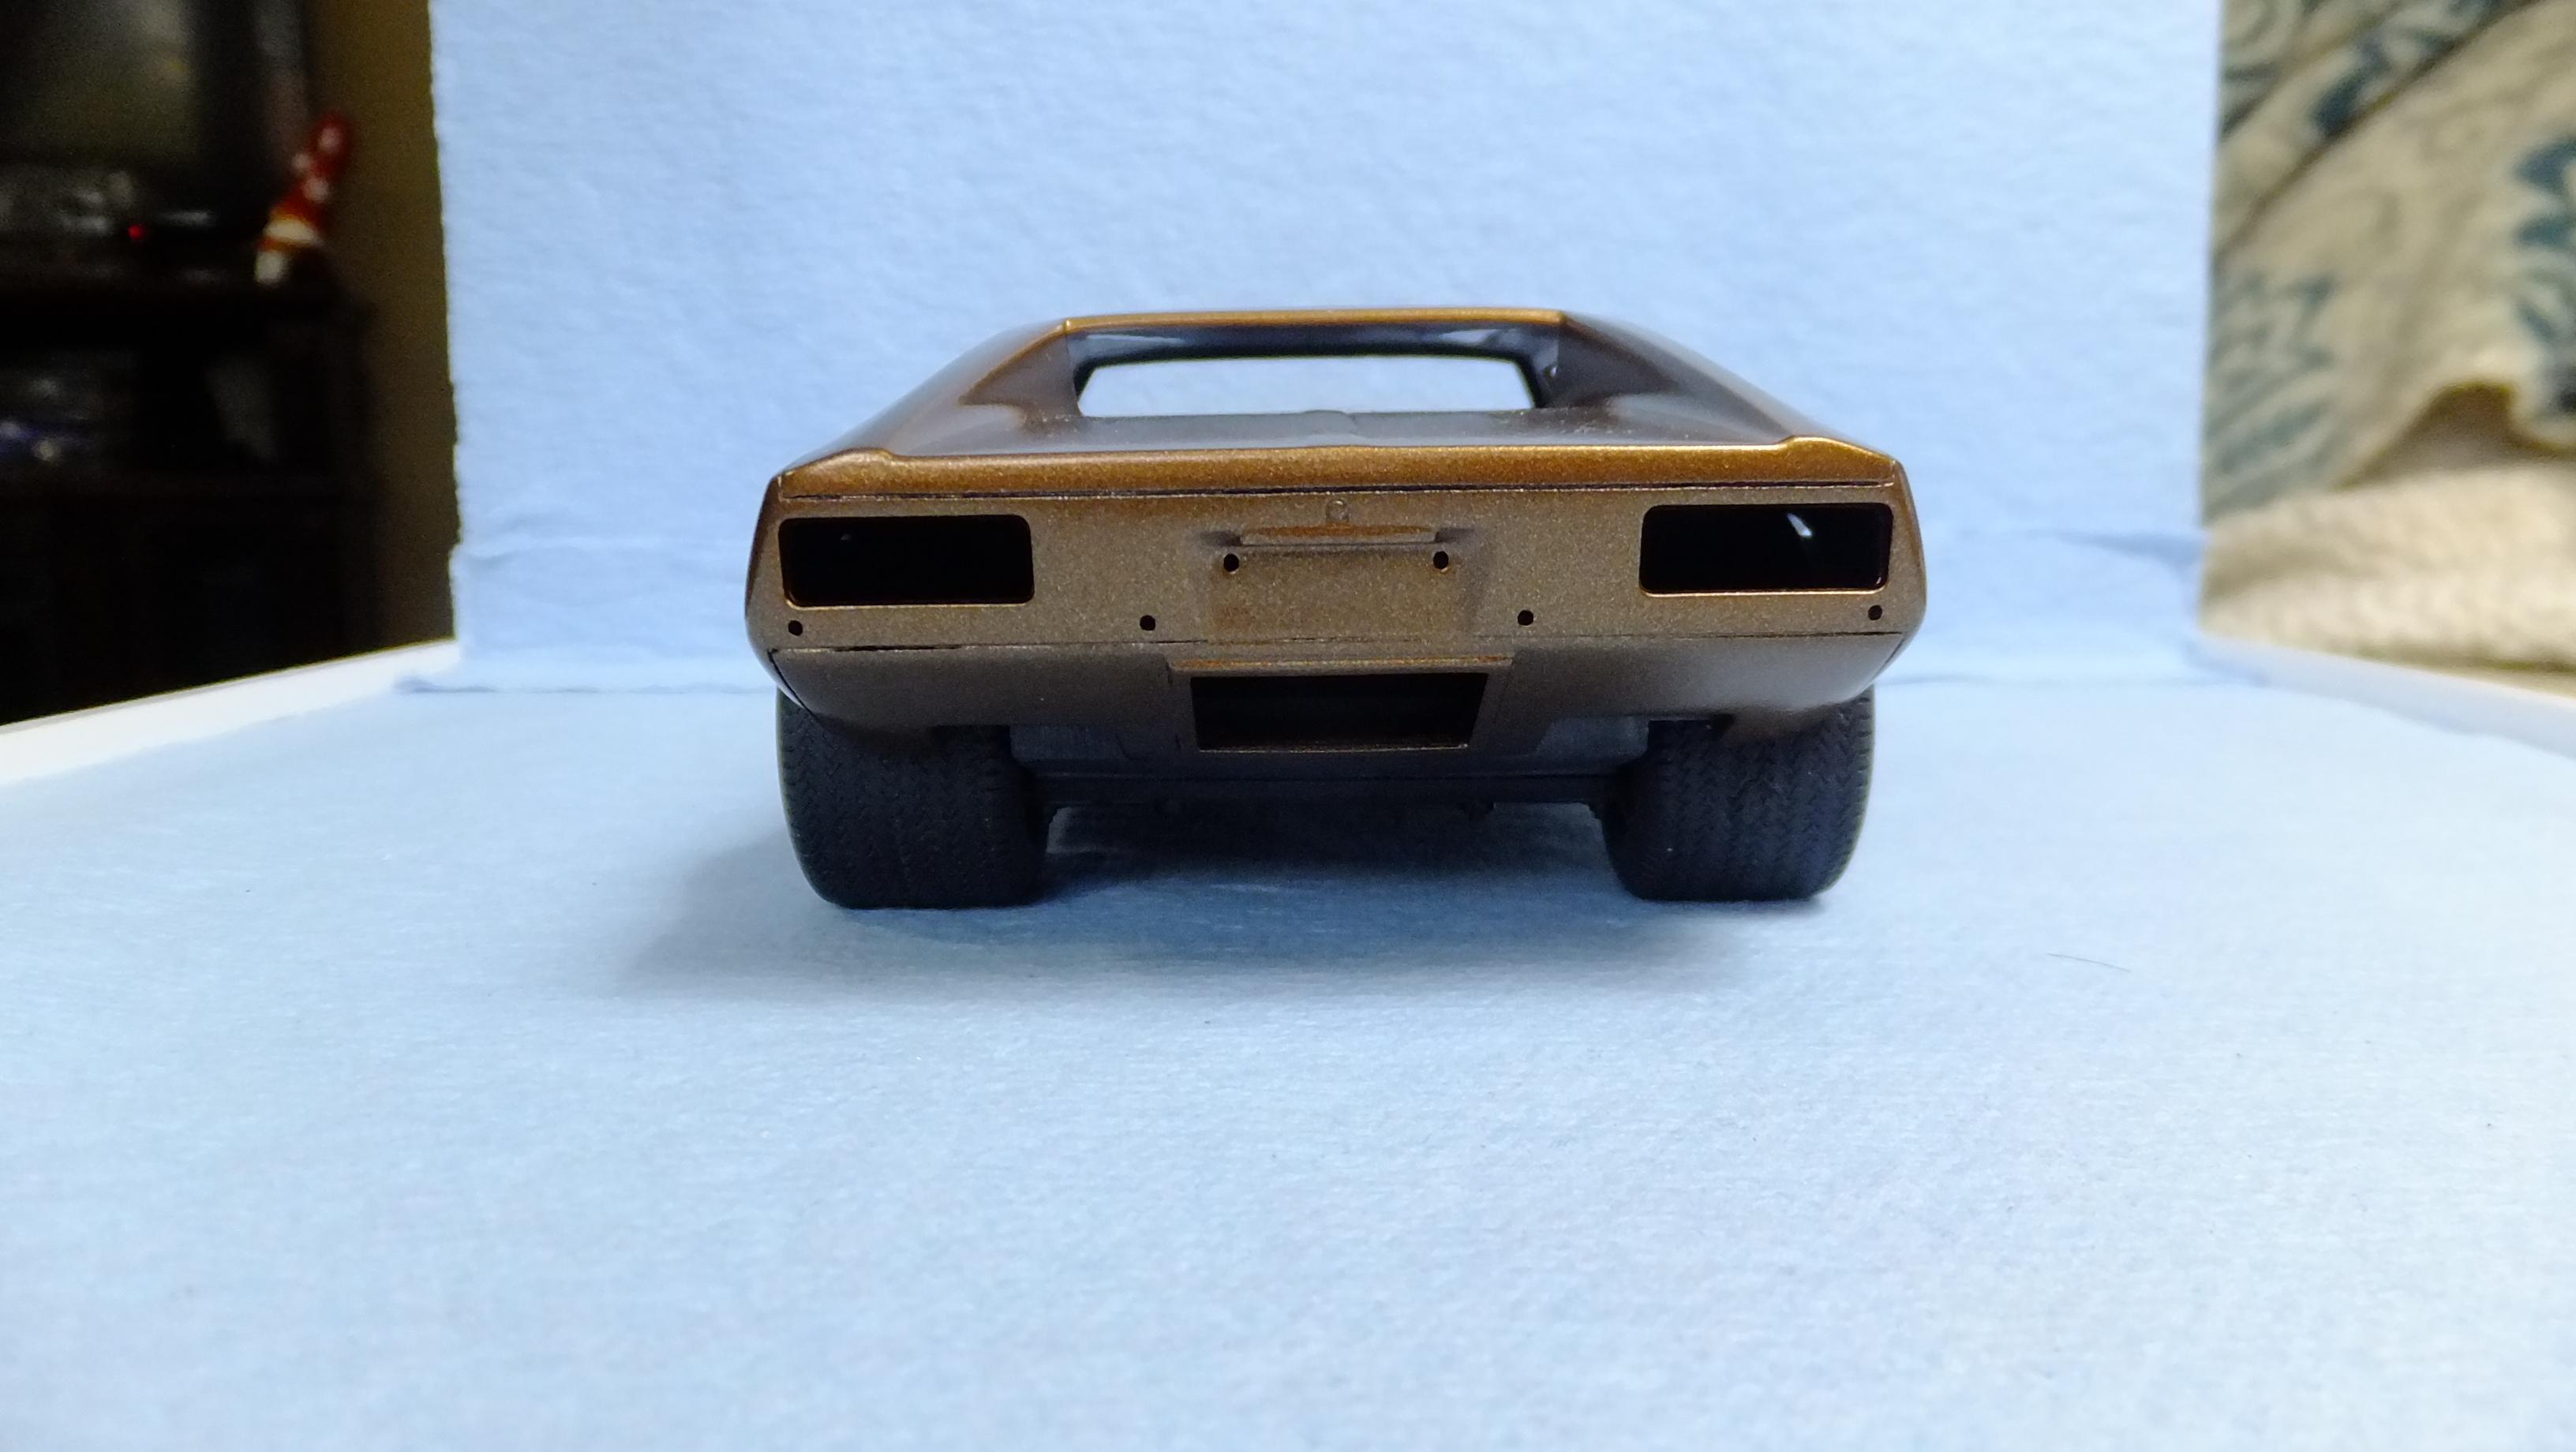
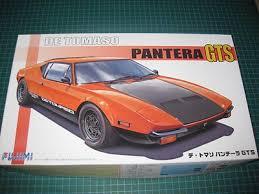
Hey, everyone!...got another update here!....the body is all ready for clear coat now, and i painted up the wheels....now i just have to decide if i'm gonna build the interior that Fujimi made (which has a center column i've NEVER seen before on ANY Pantera), or make it the factory way?....any thoughts?
-
Update here...Finally!, the body just needs decals and clear, and probably an engine bay spray up. -Photo 2; On the left was my original idea for a new guage cluster.....then i had a more unique idea -make a new one like the bow tie...paint it body kolor, and use this smoked, self adhesive acitate over white guages, which will be filling up the bow tie. All the interior bits are now ready for paint -this bugger should be picking up quickly now!
-
Thanks, Bud!!
-
Thanks, Bud!...i'd own one if i could -my favorite little car ever!!
-
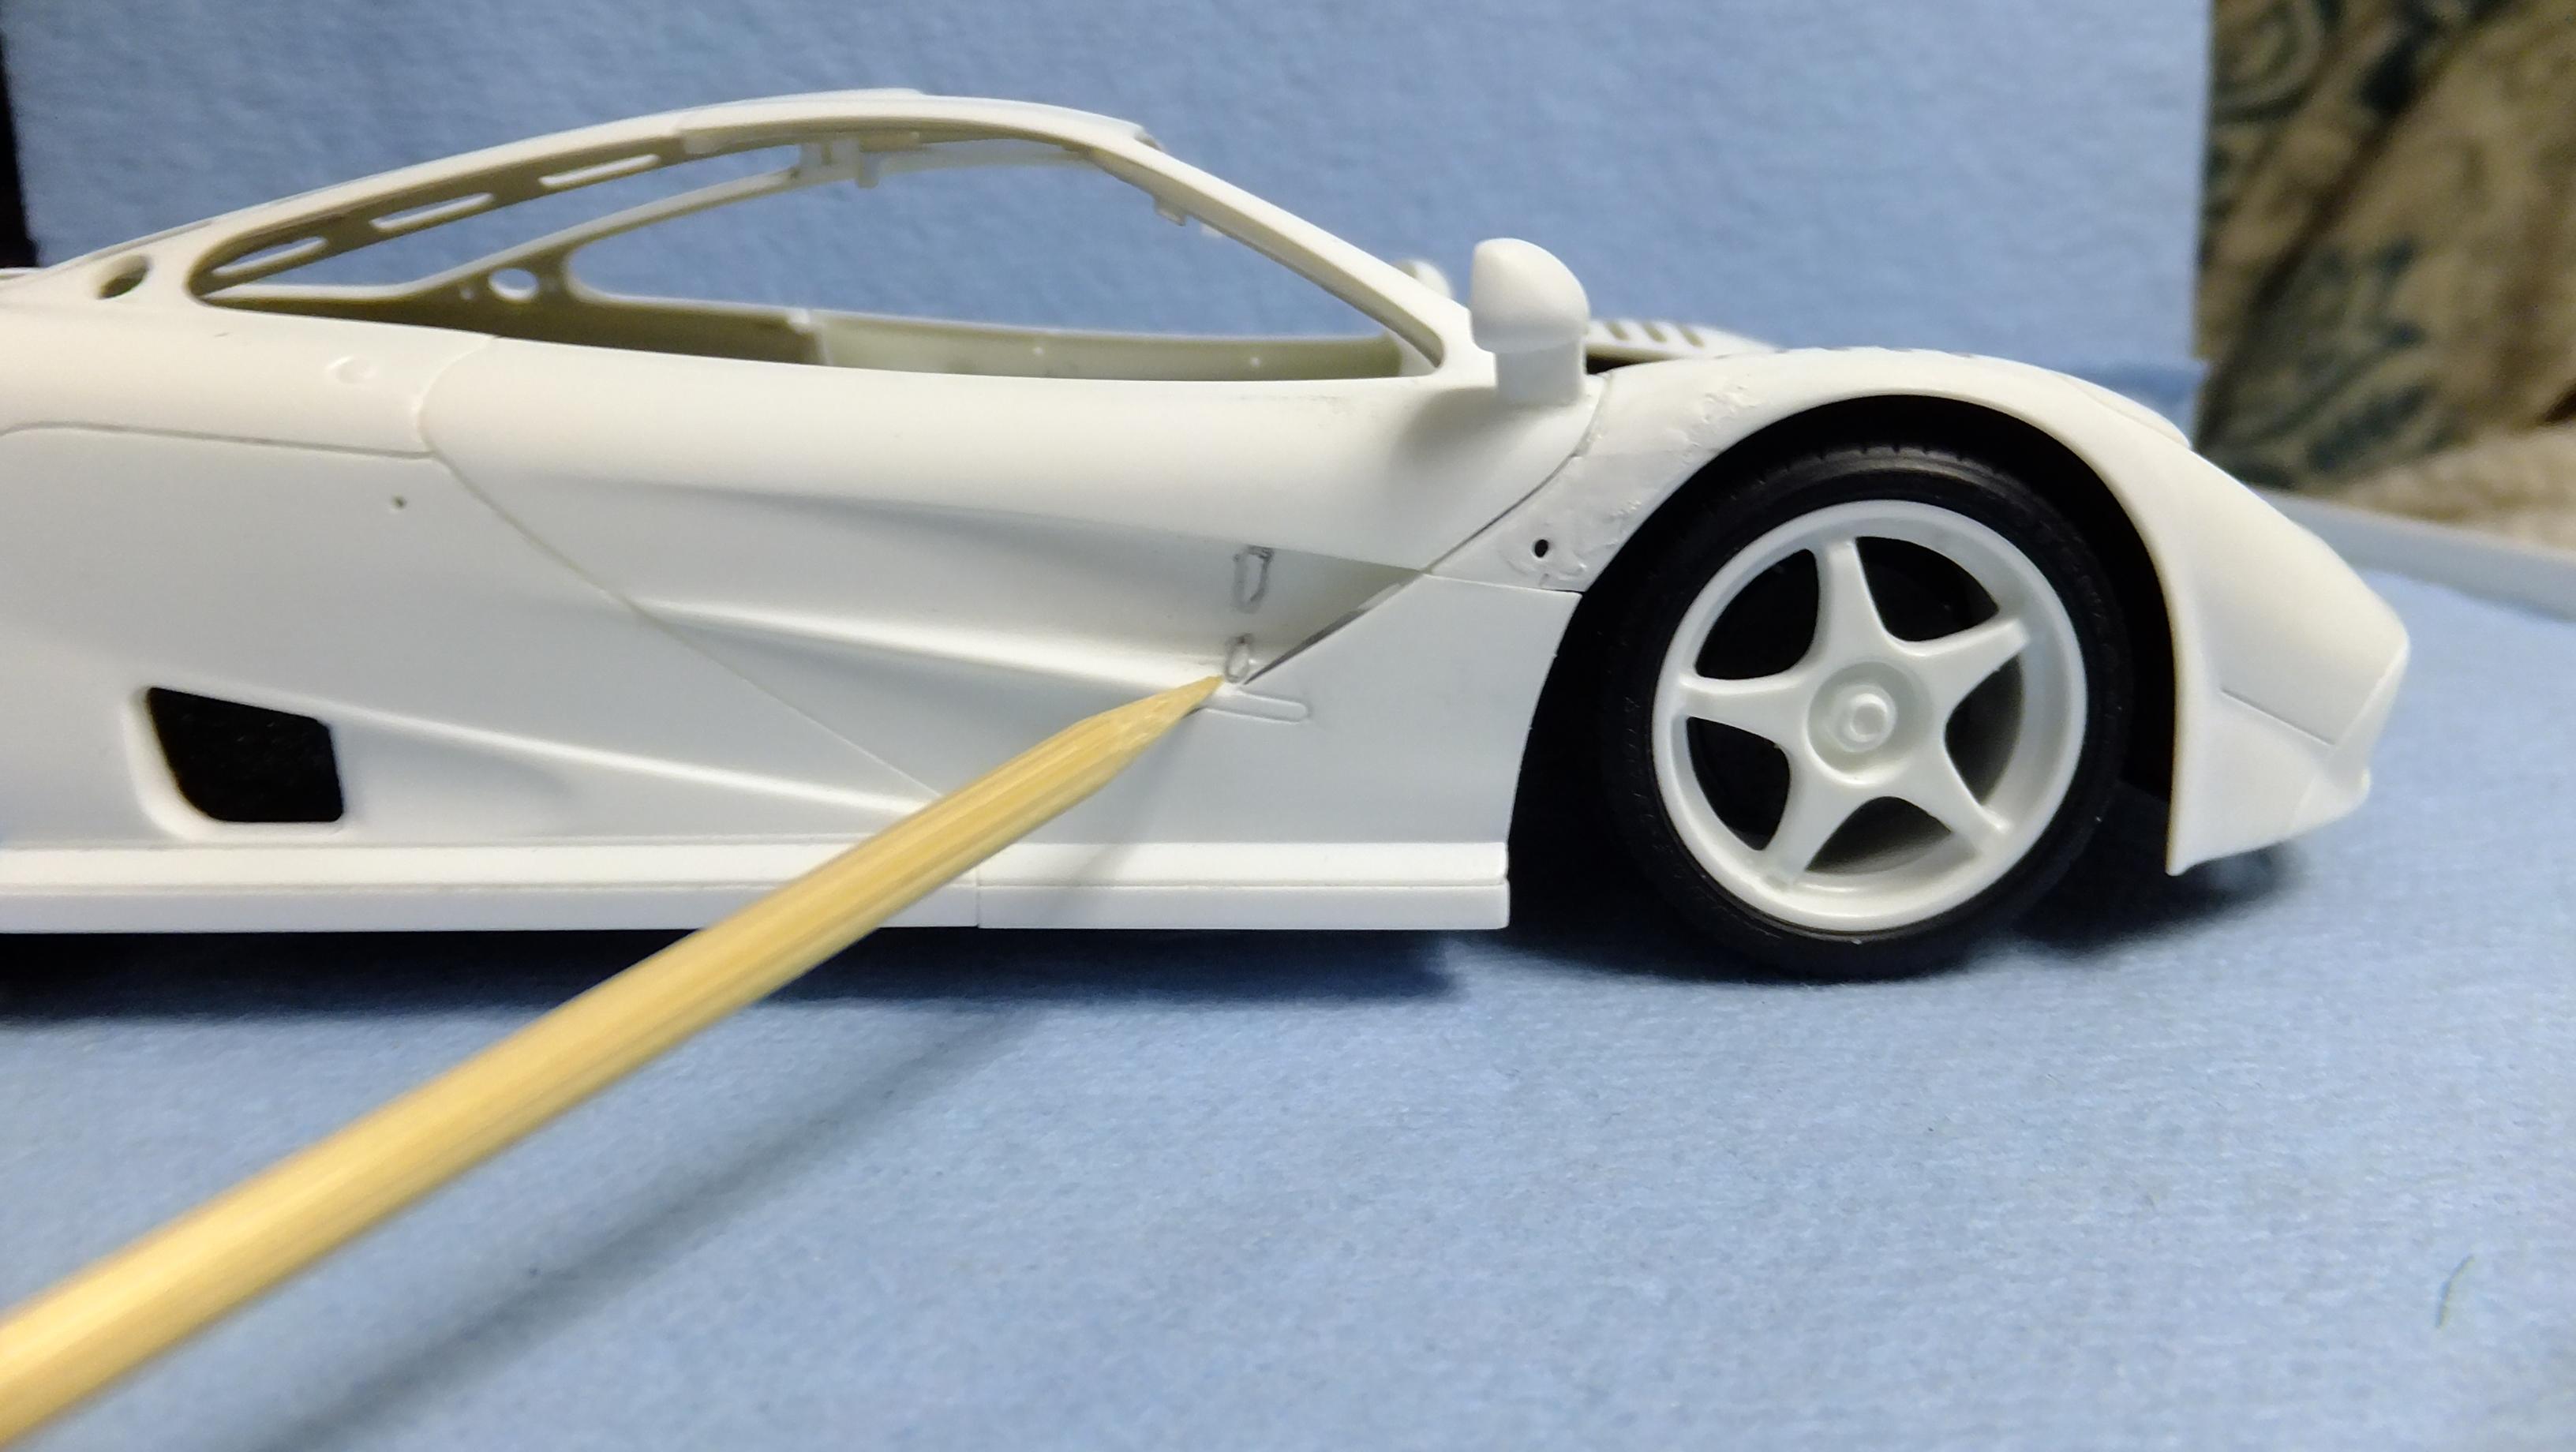
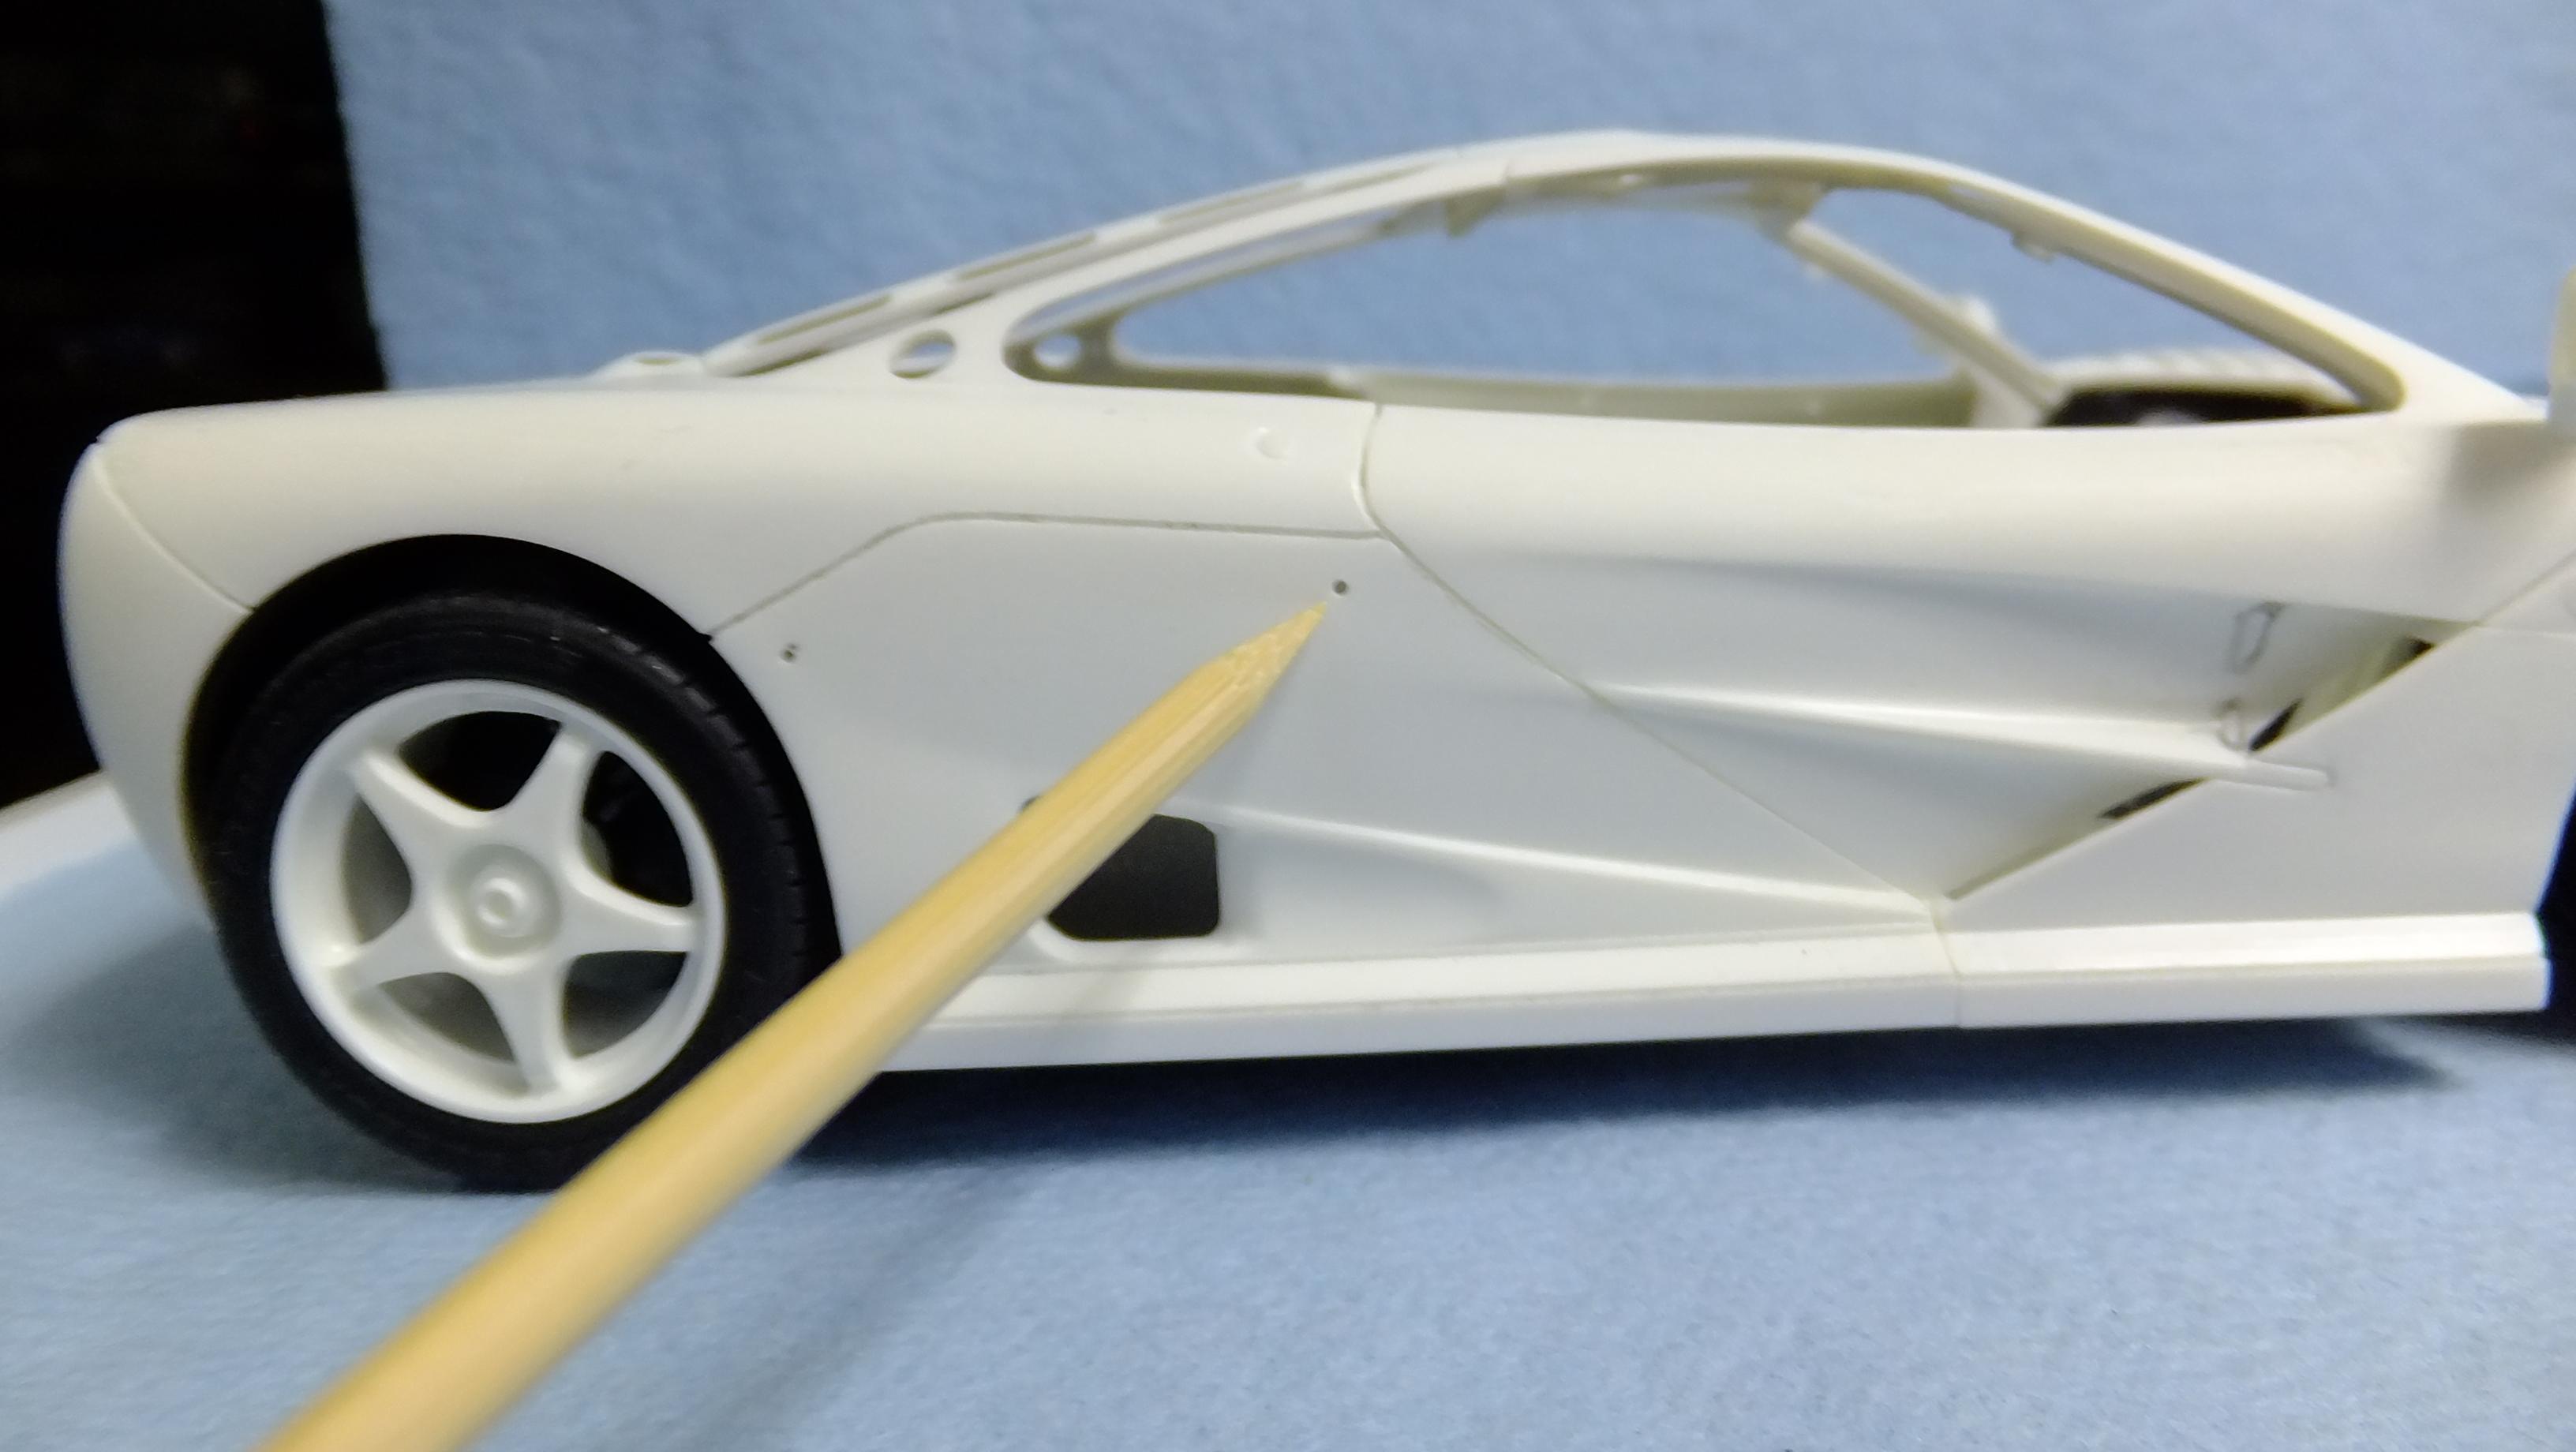
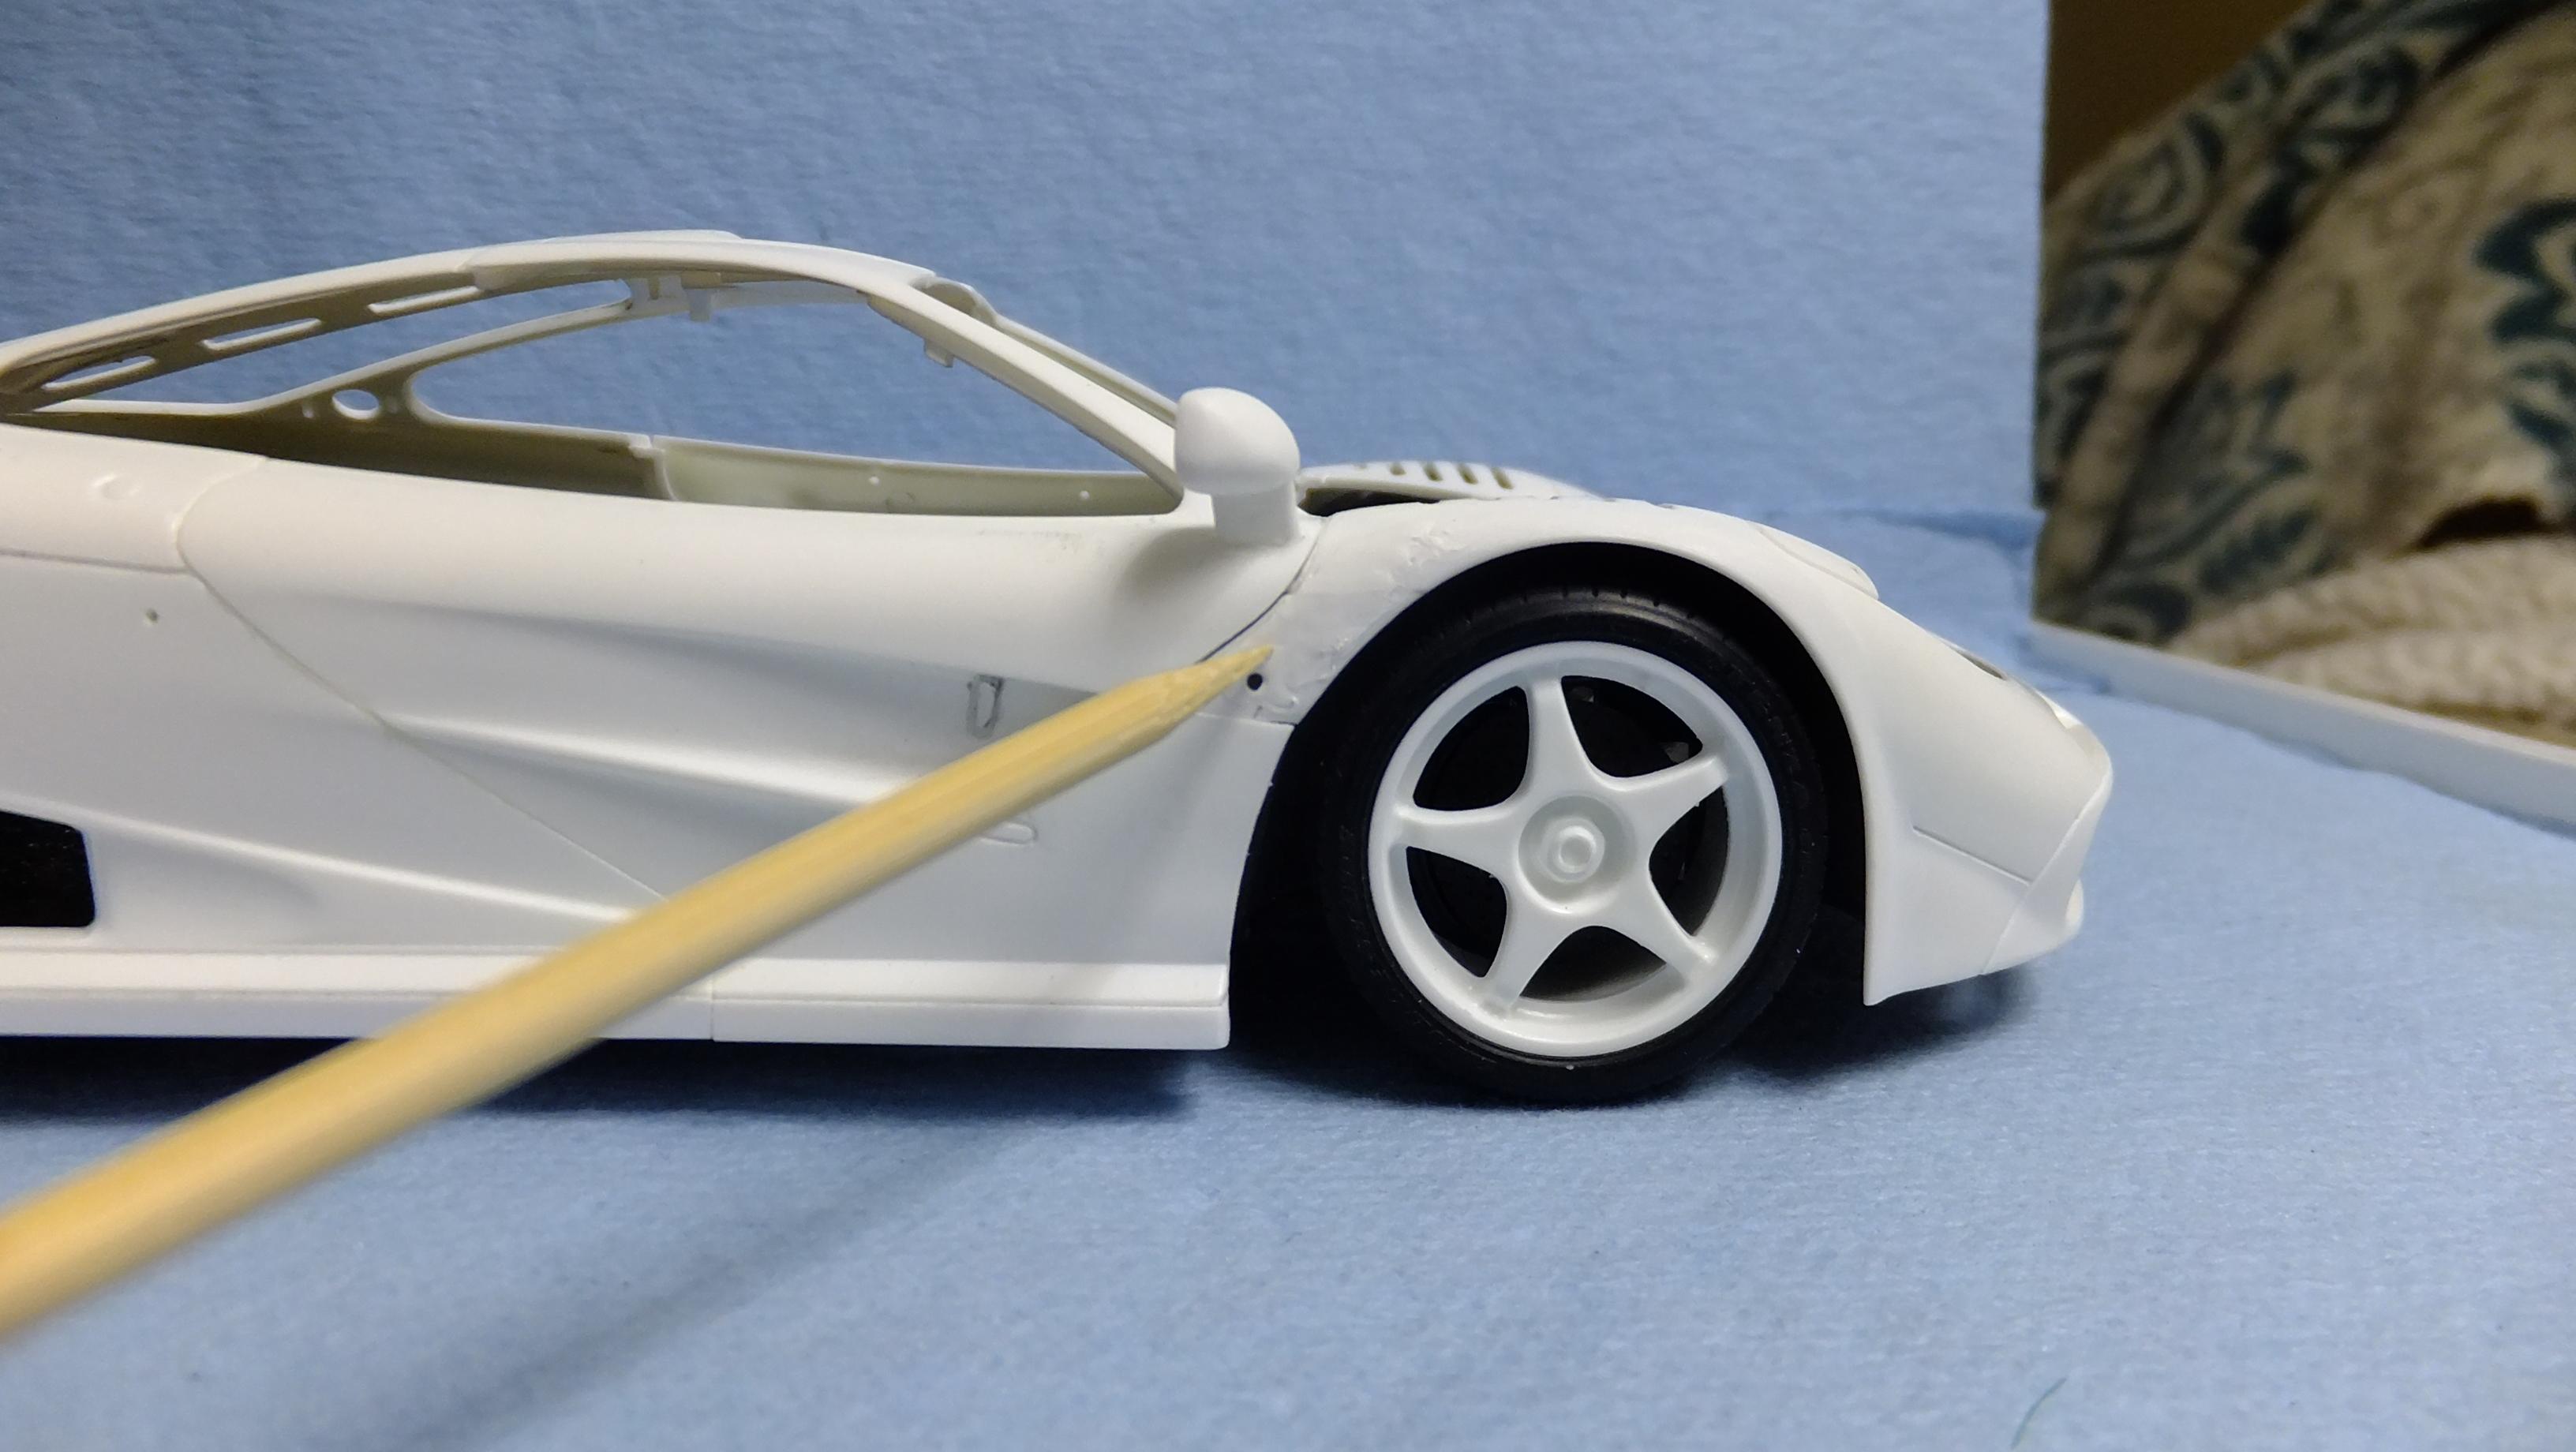
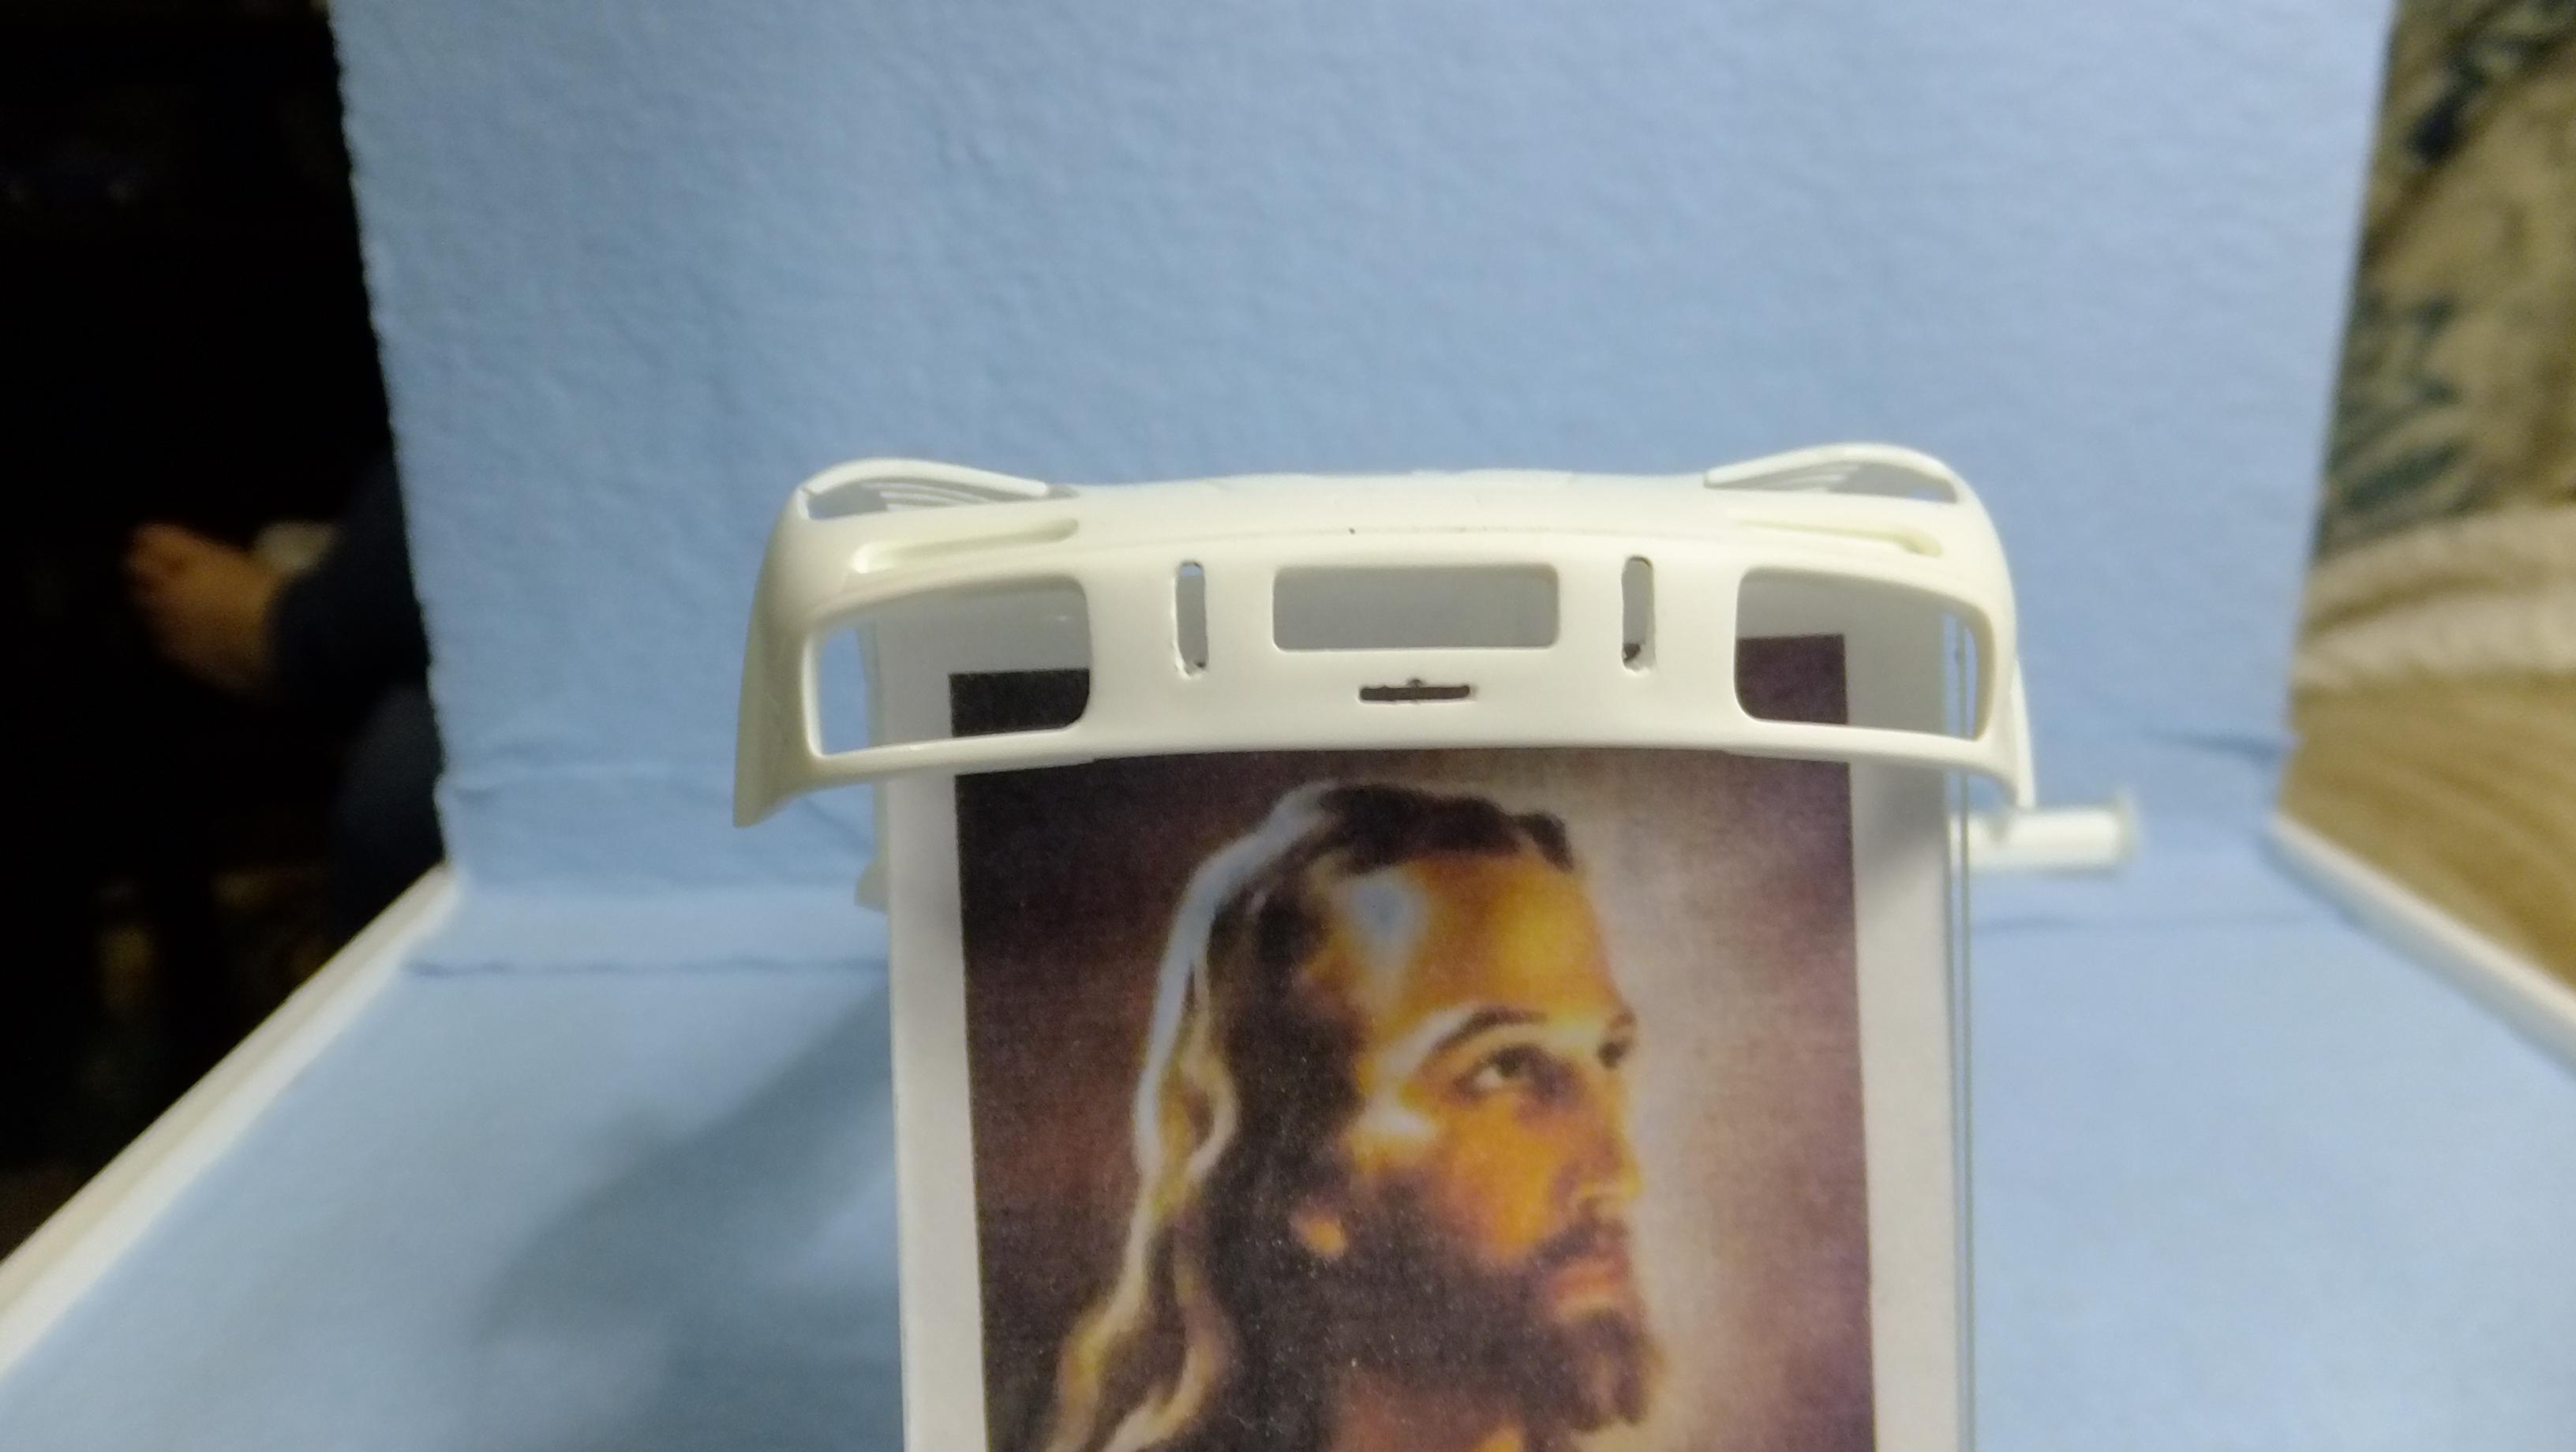
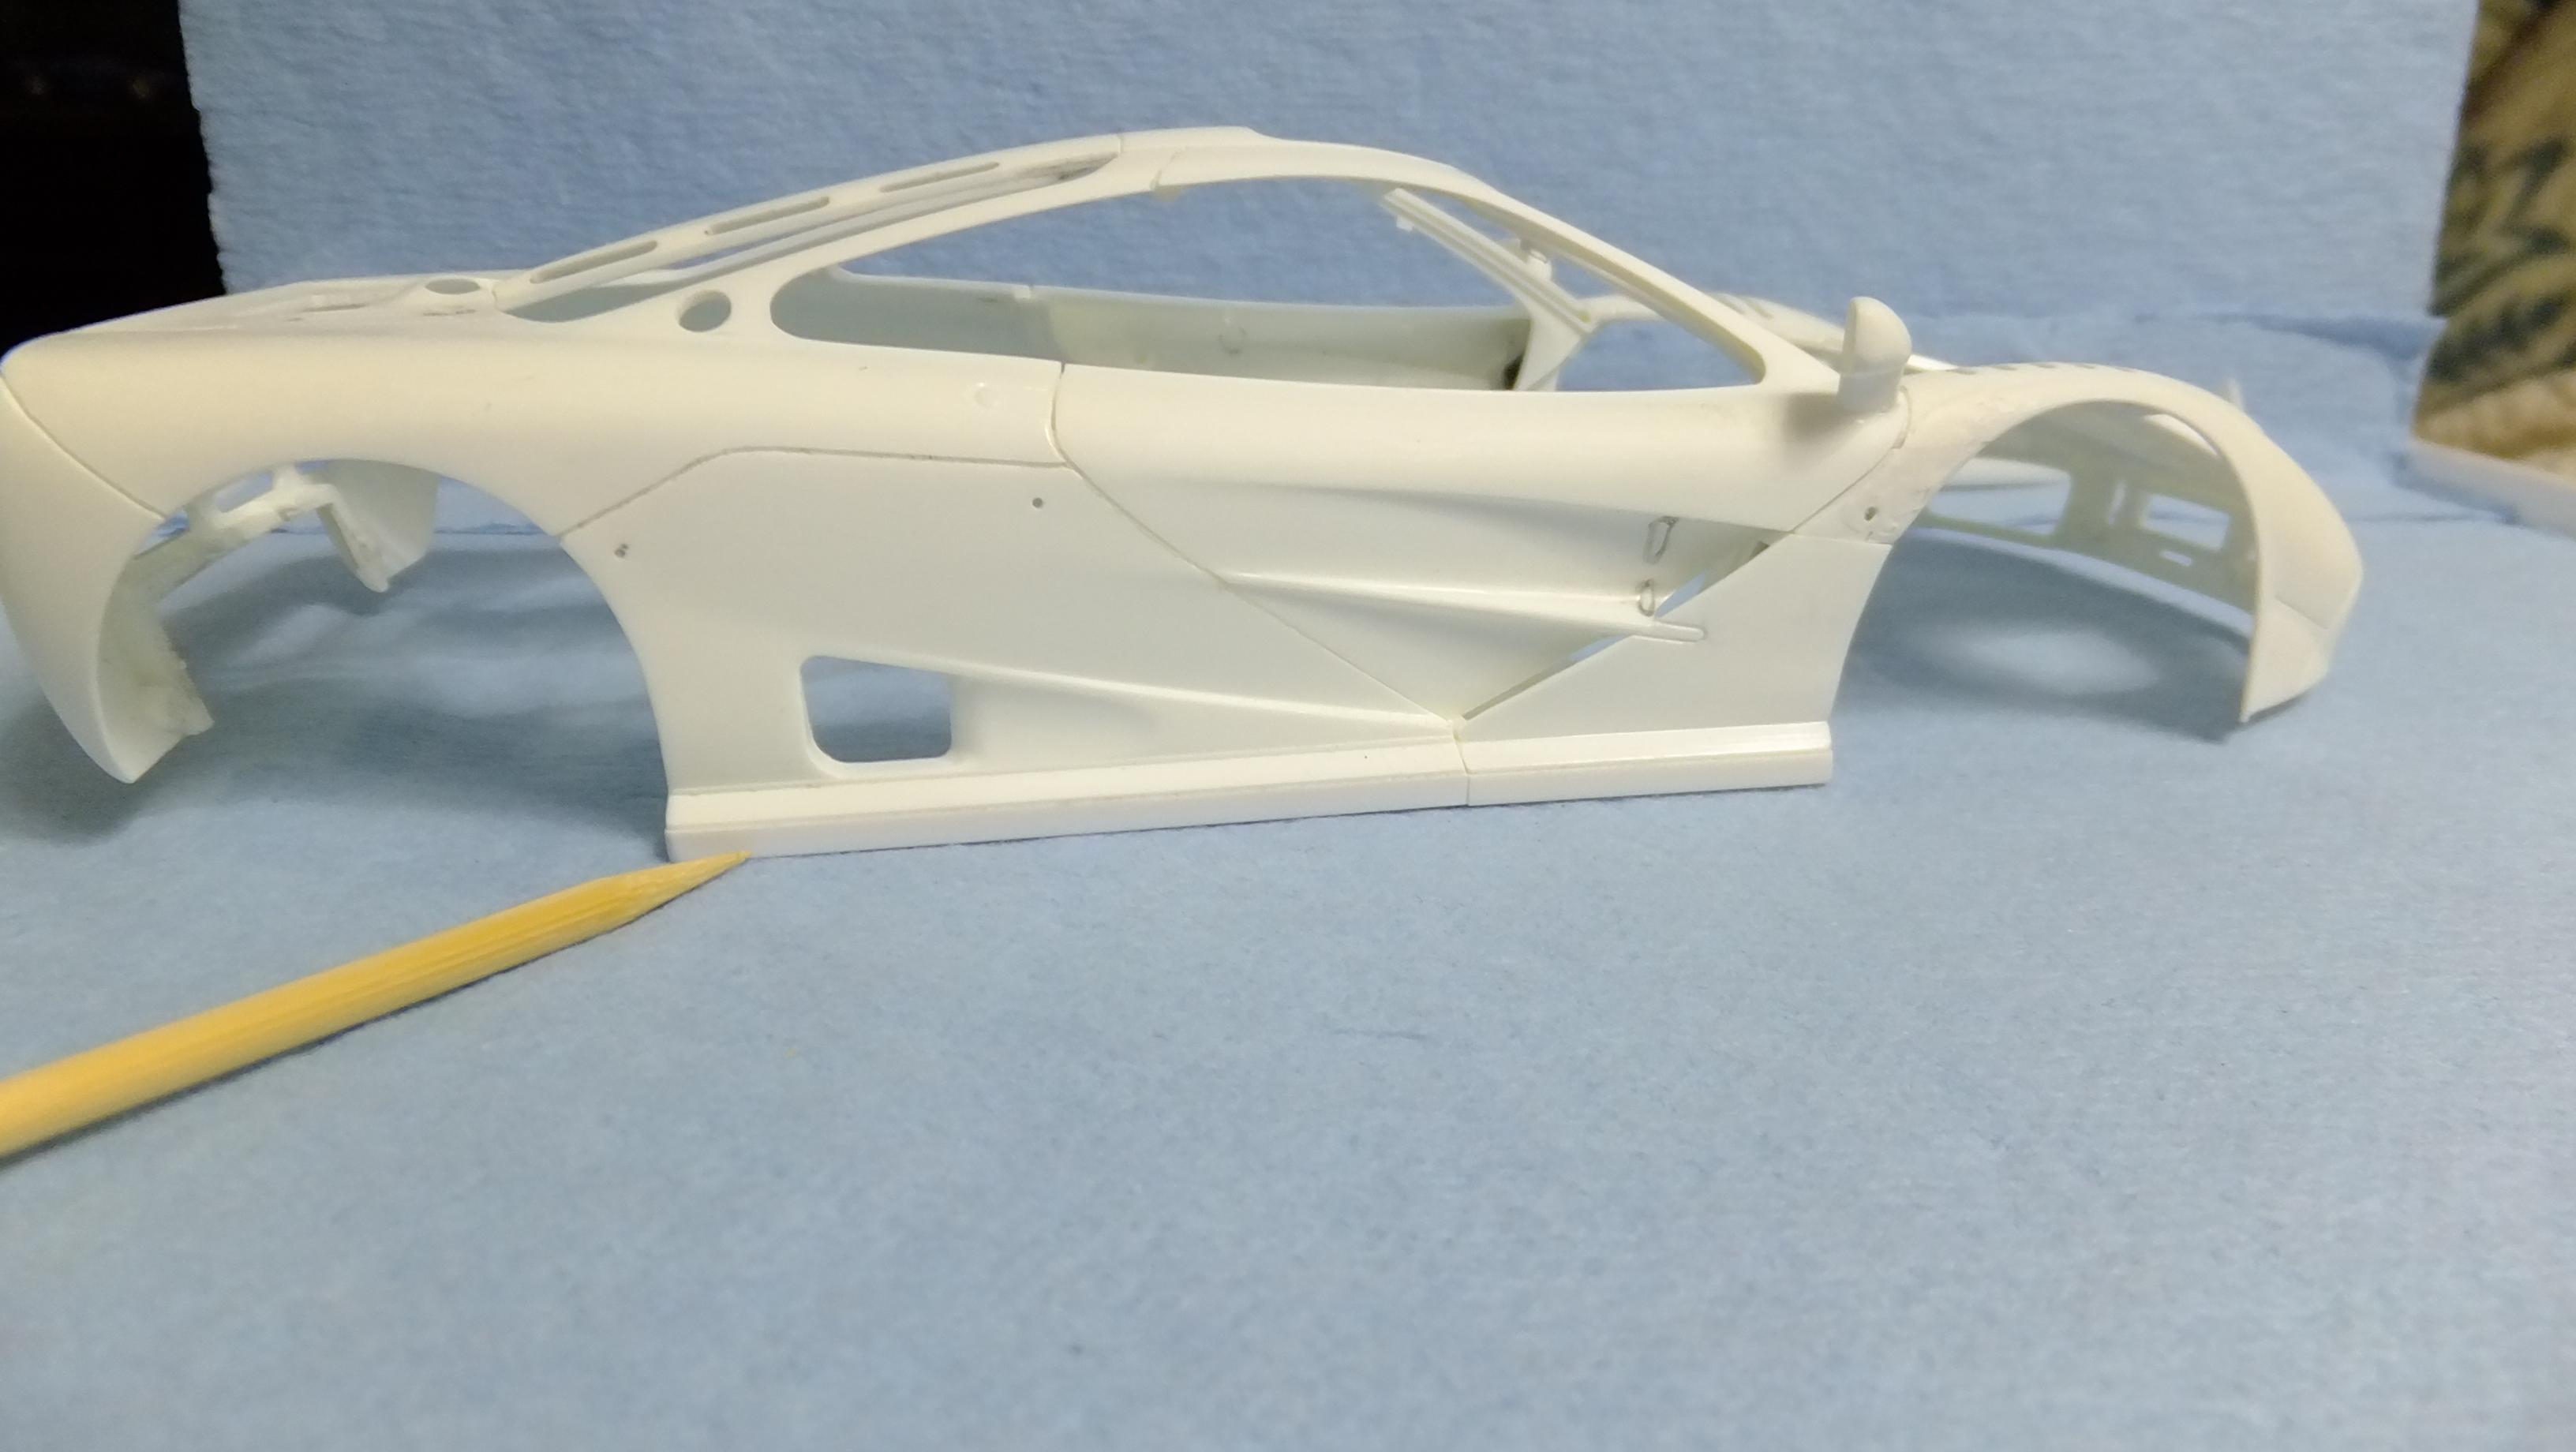
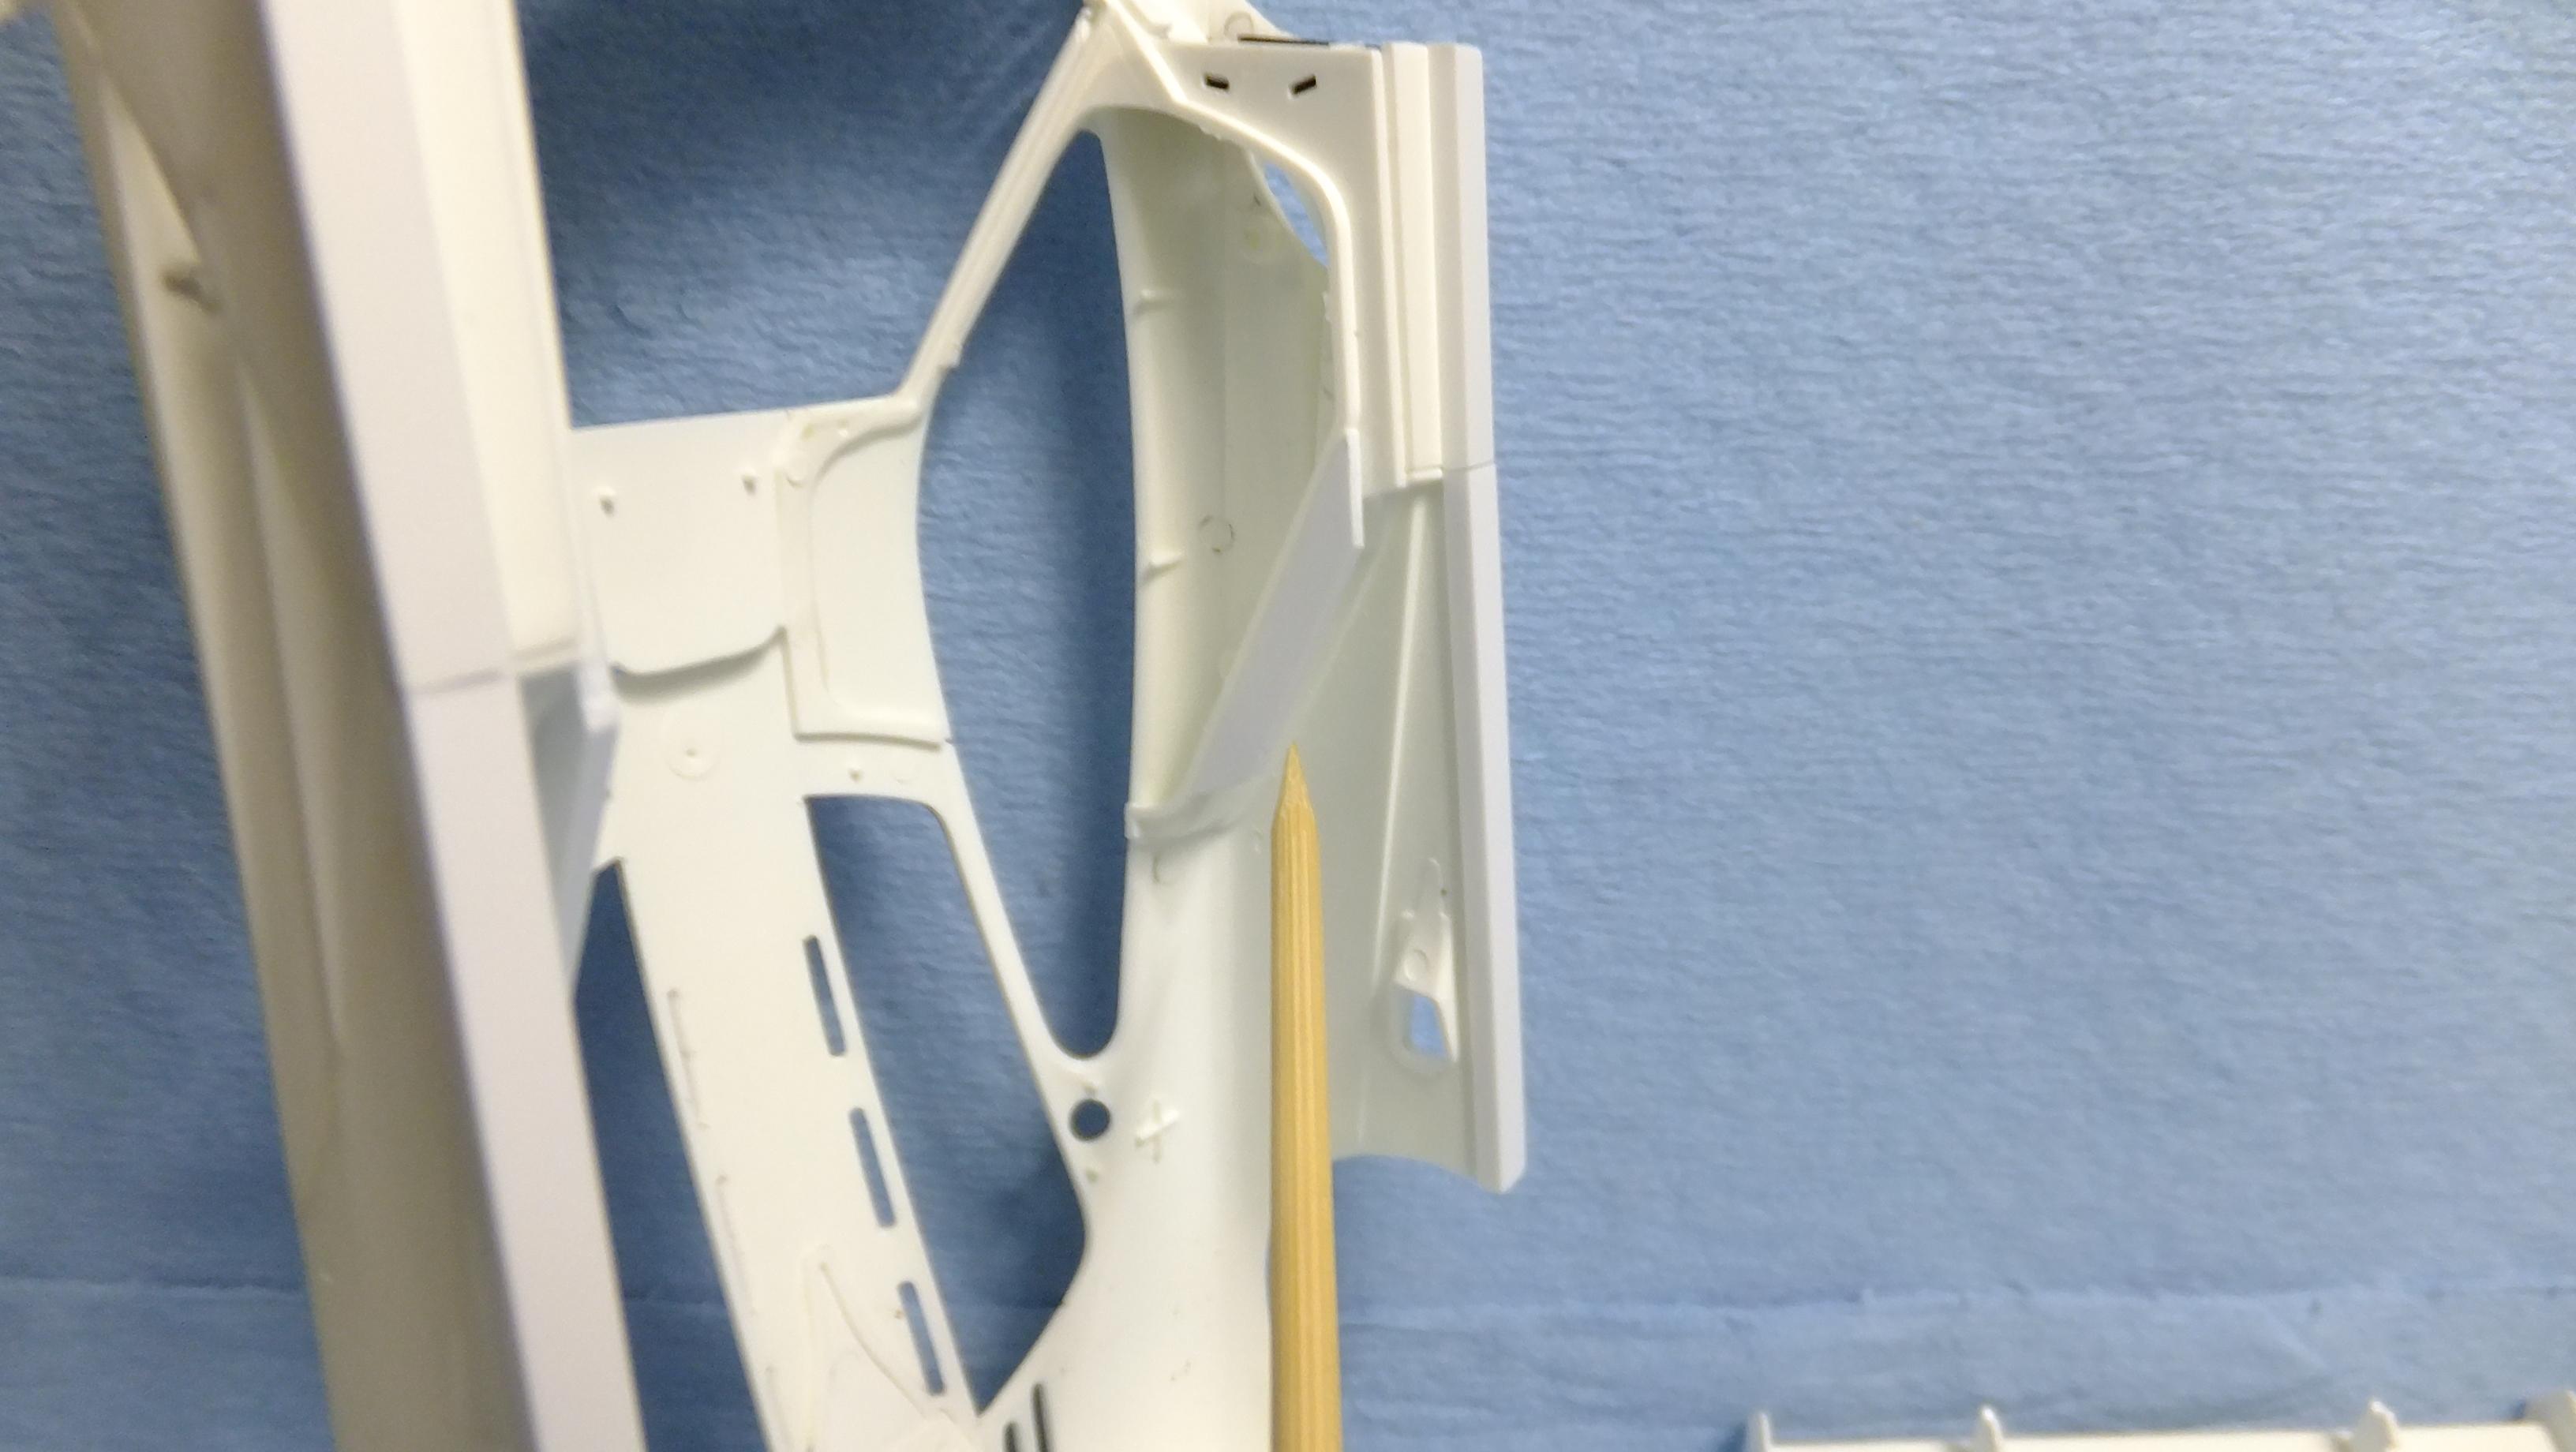
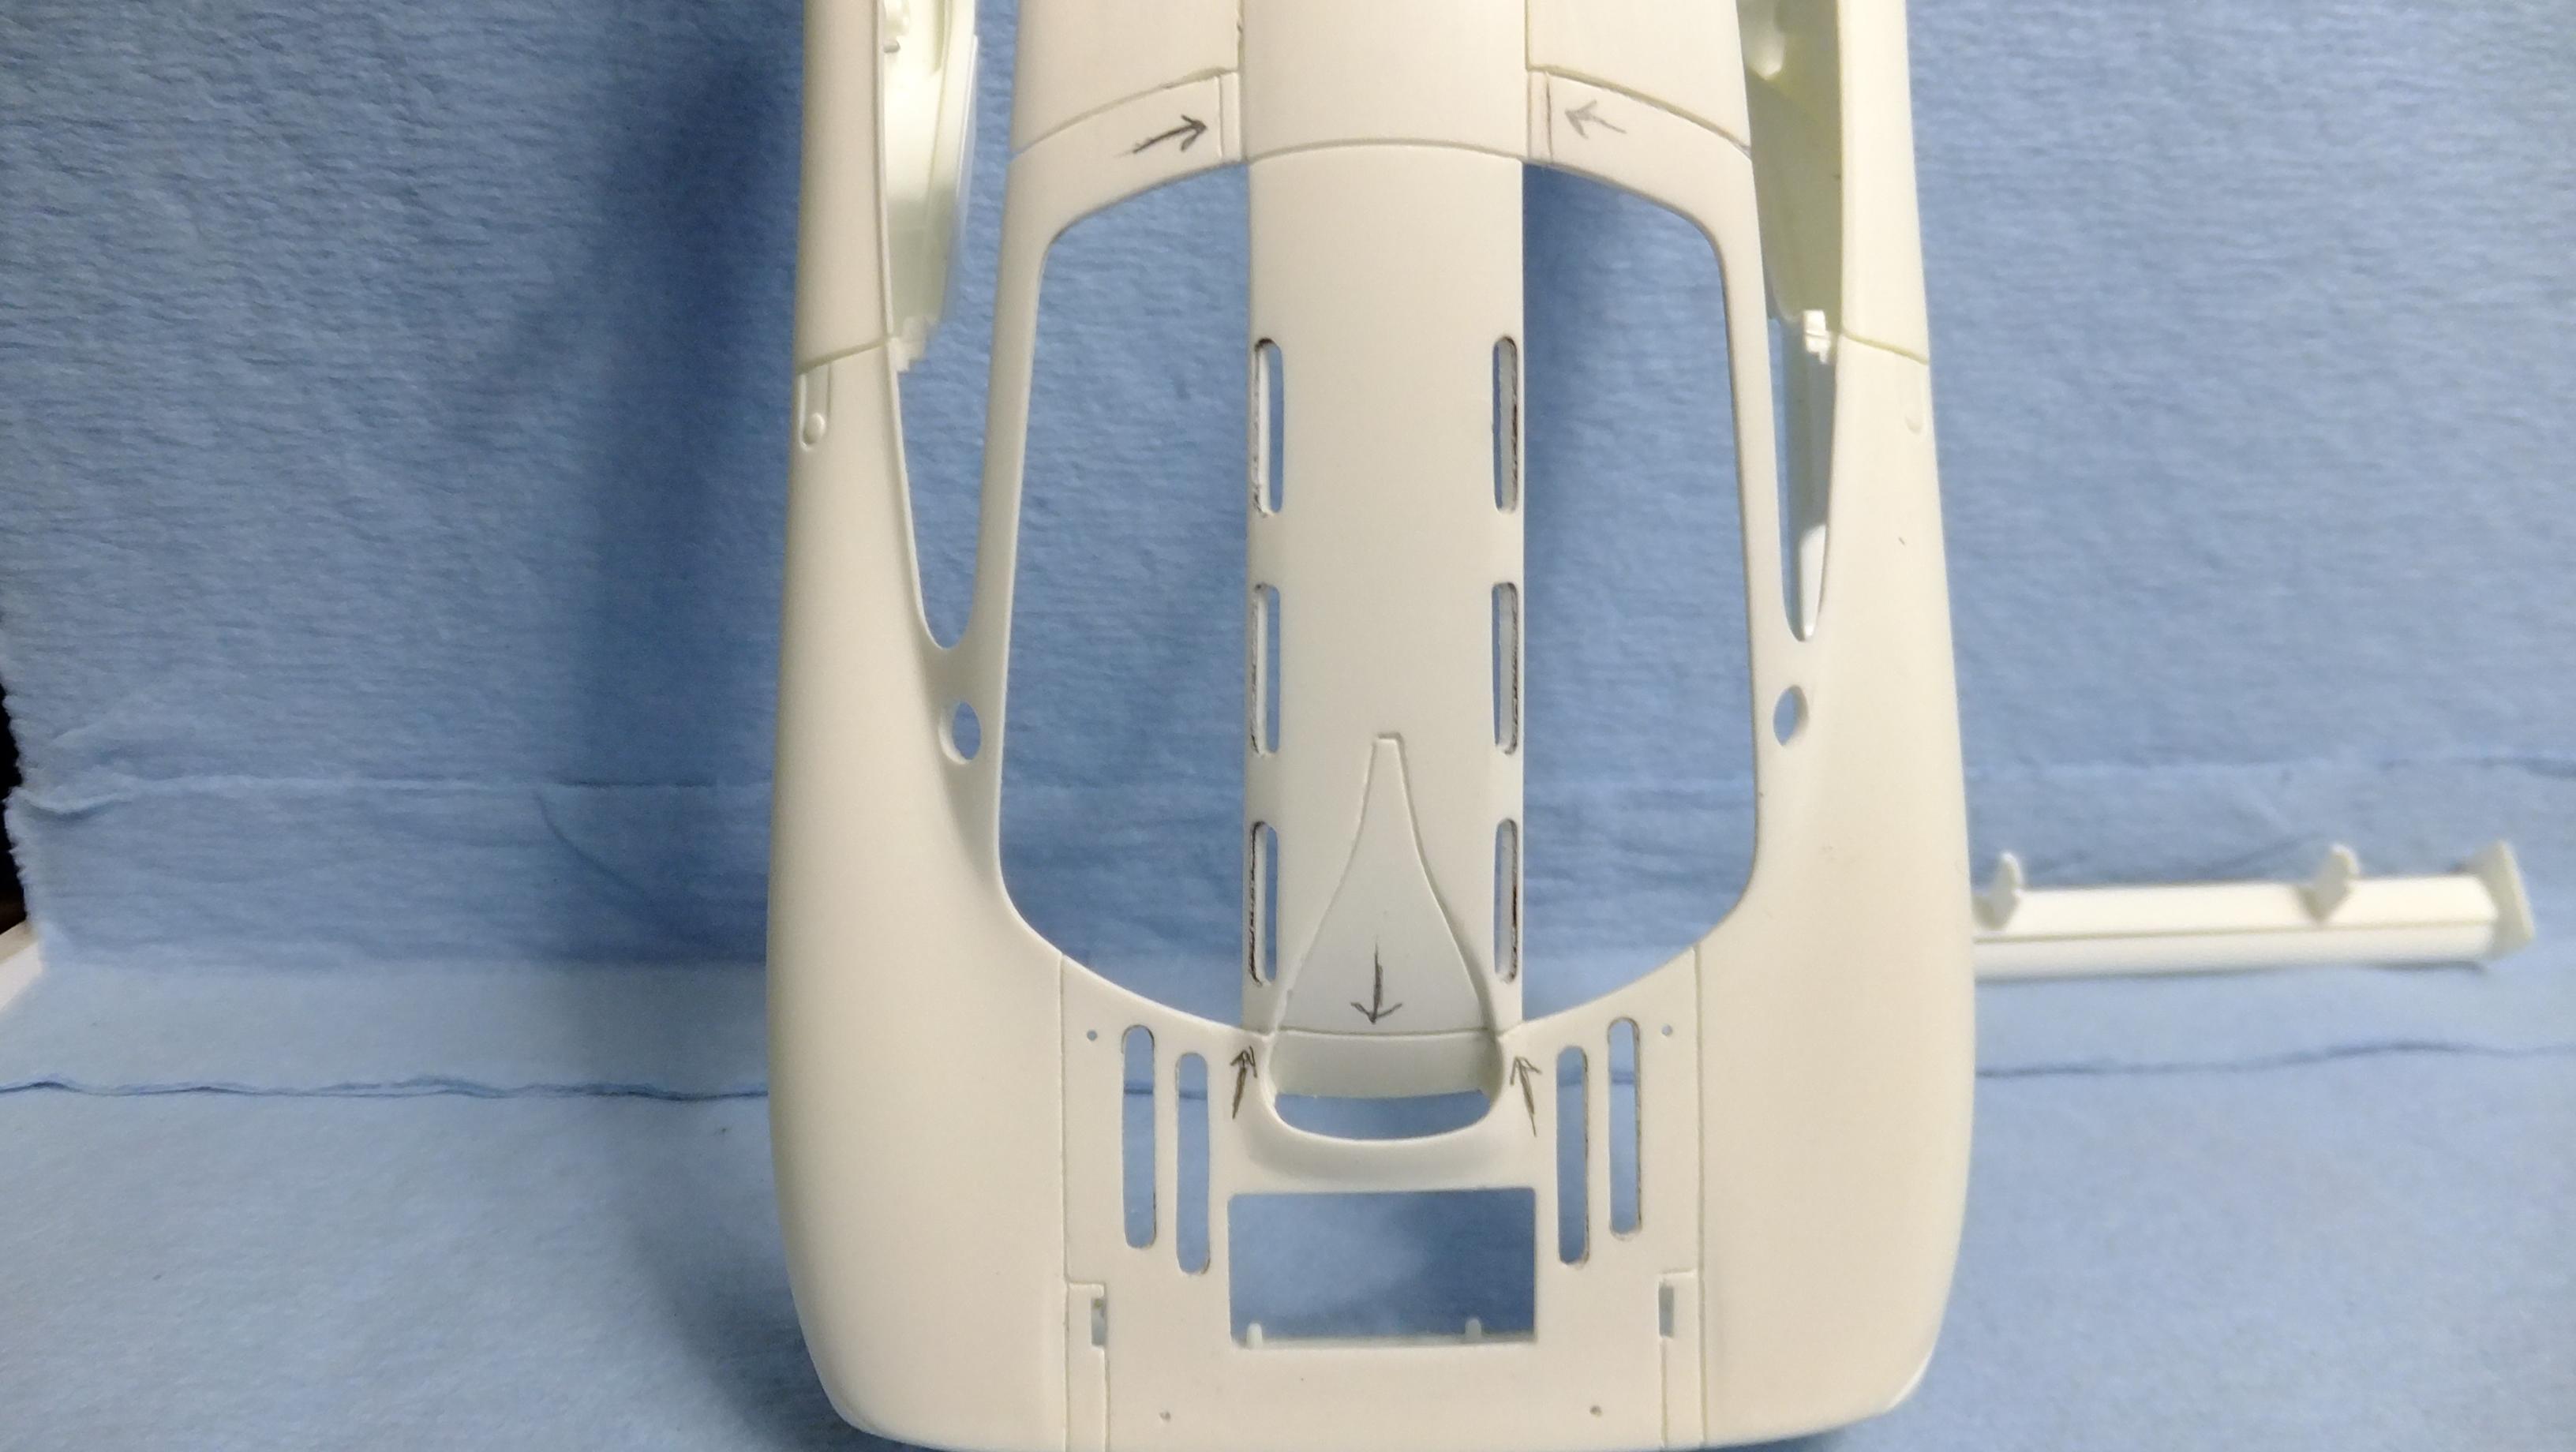
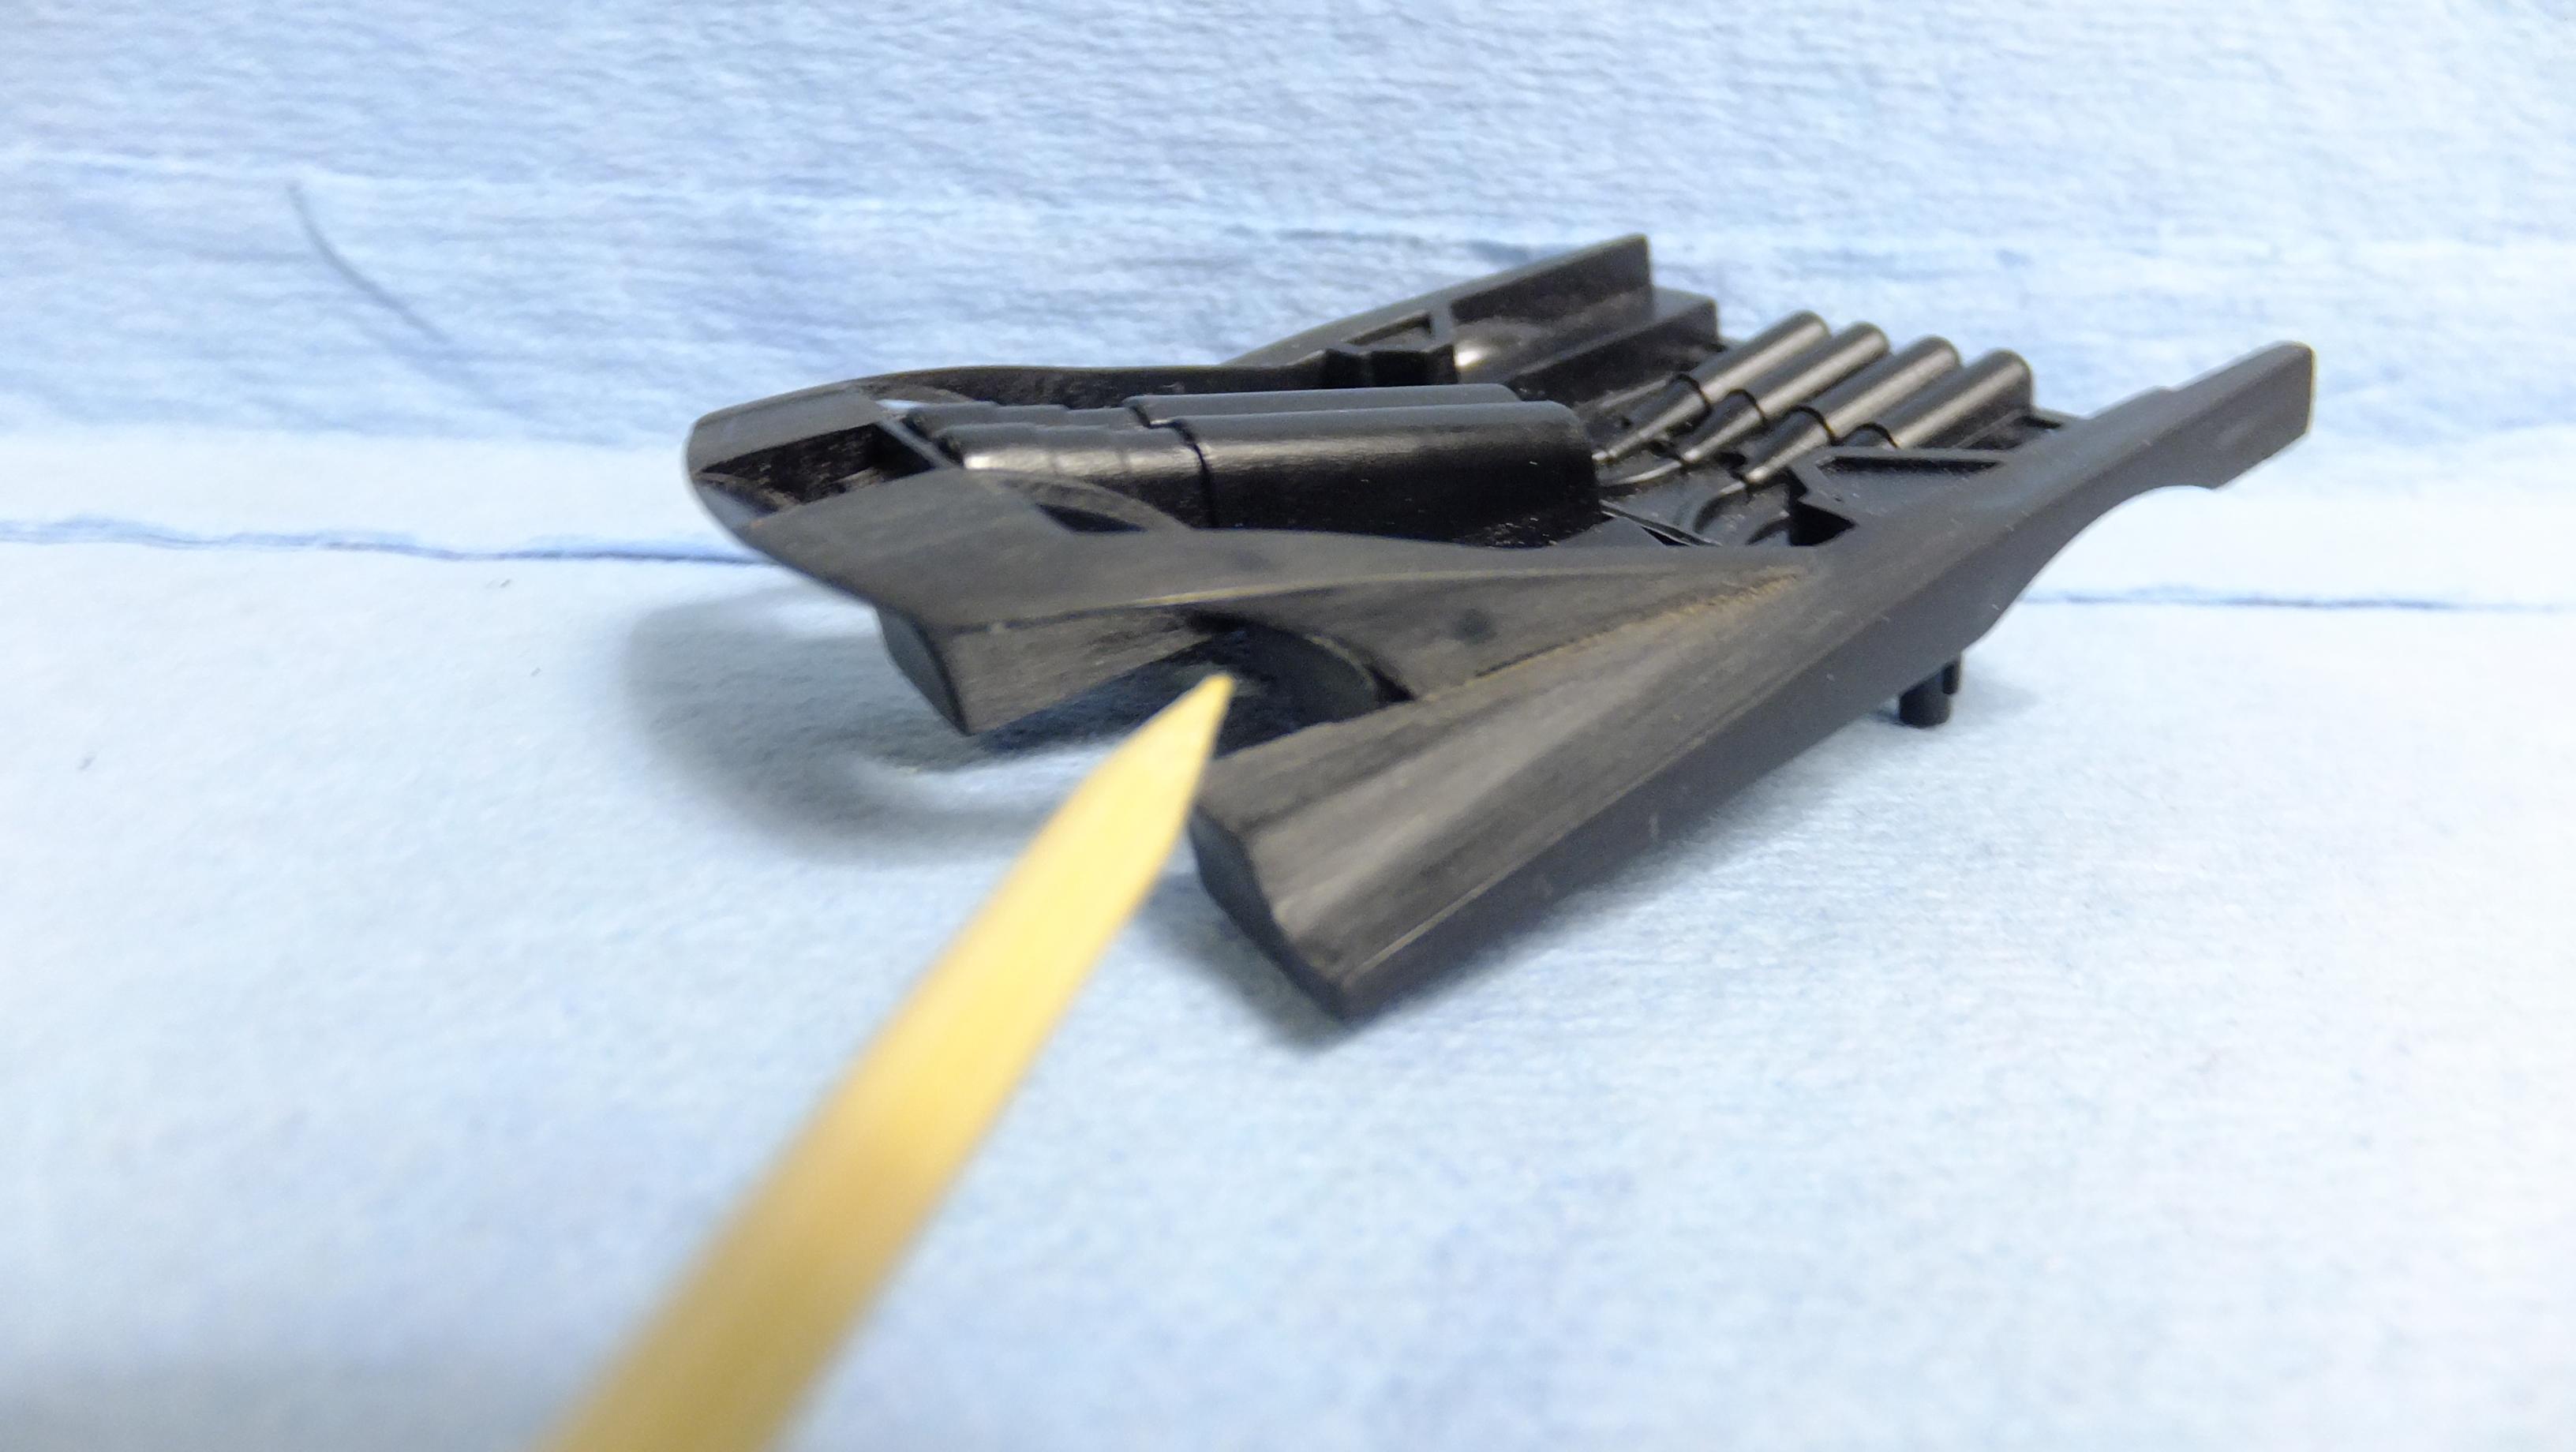
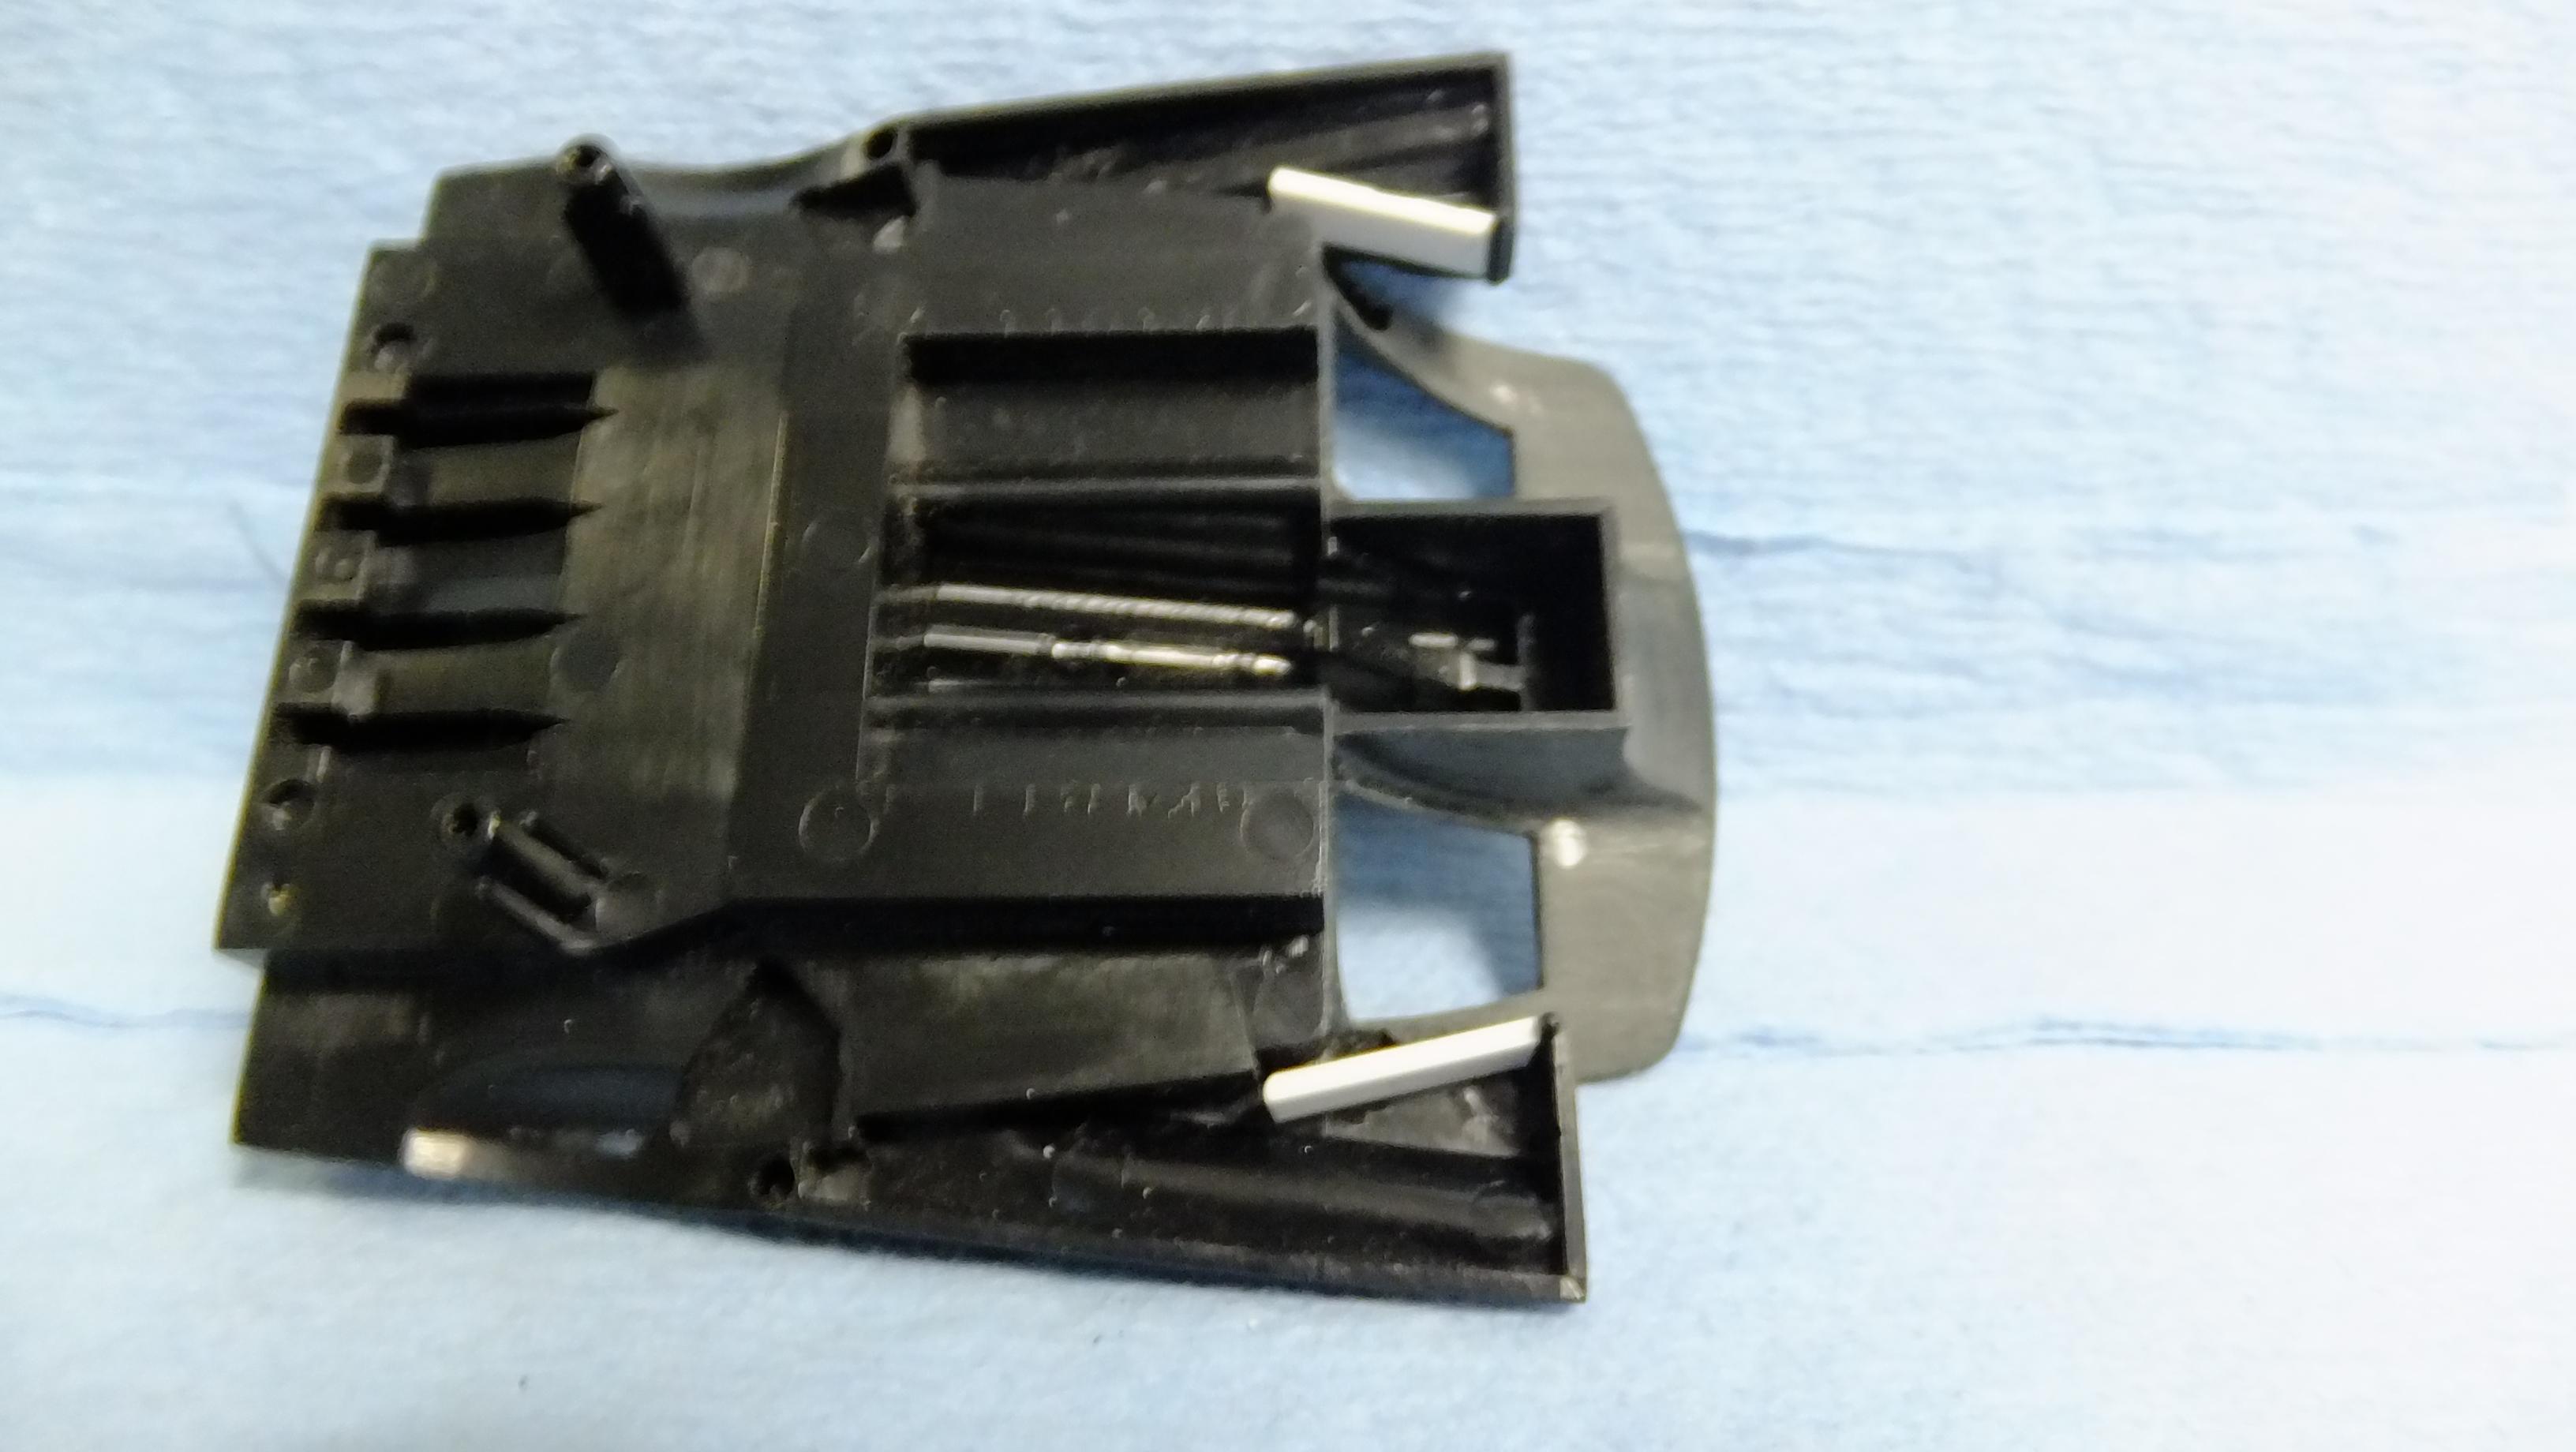
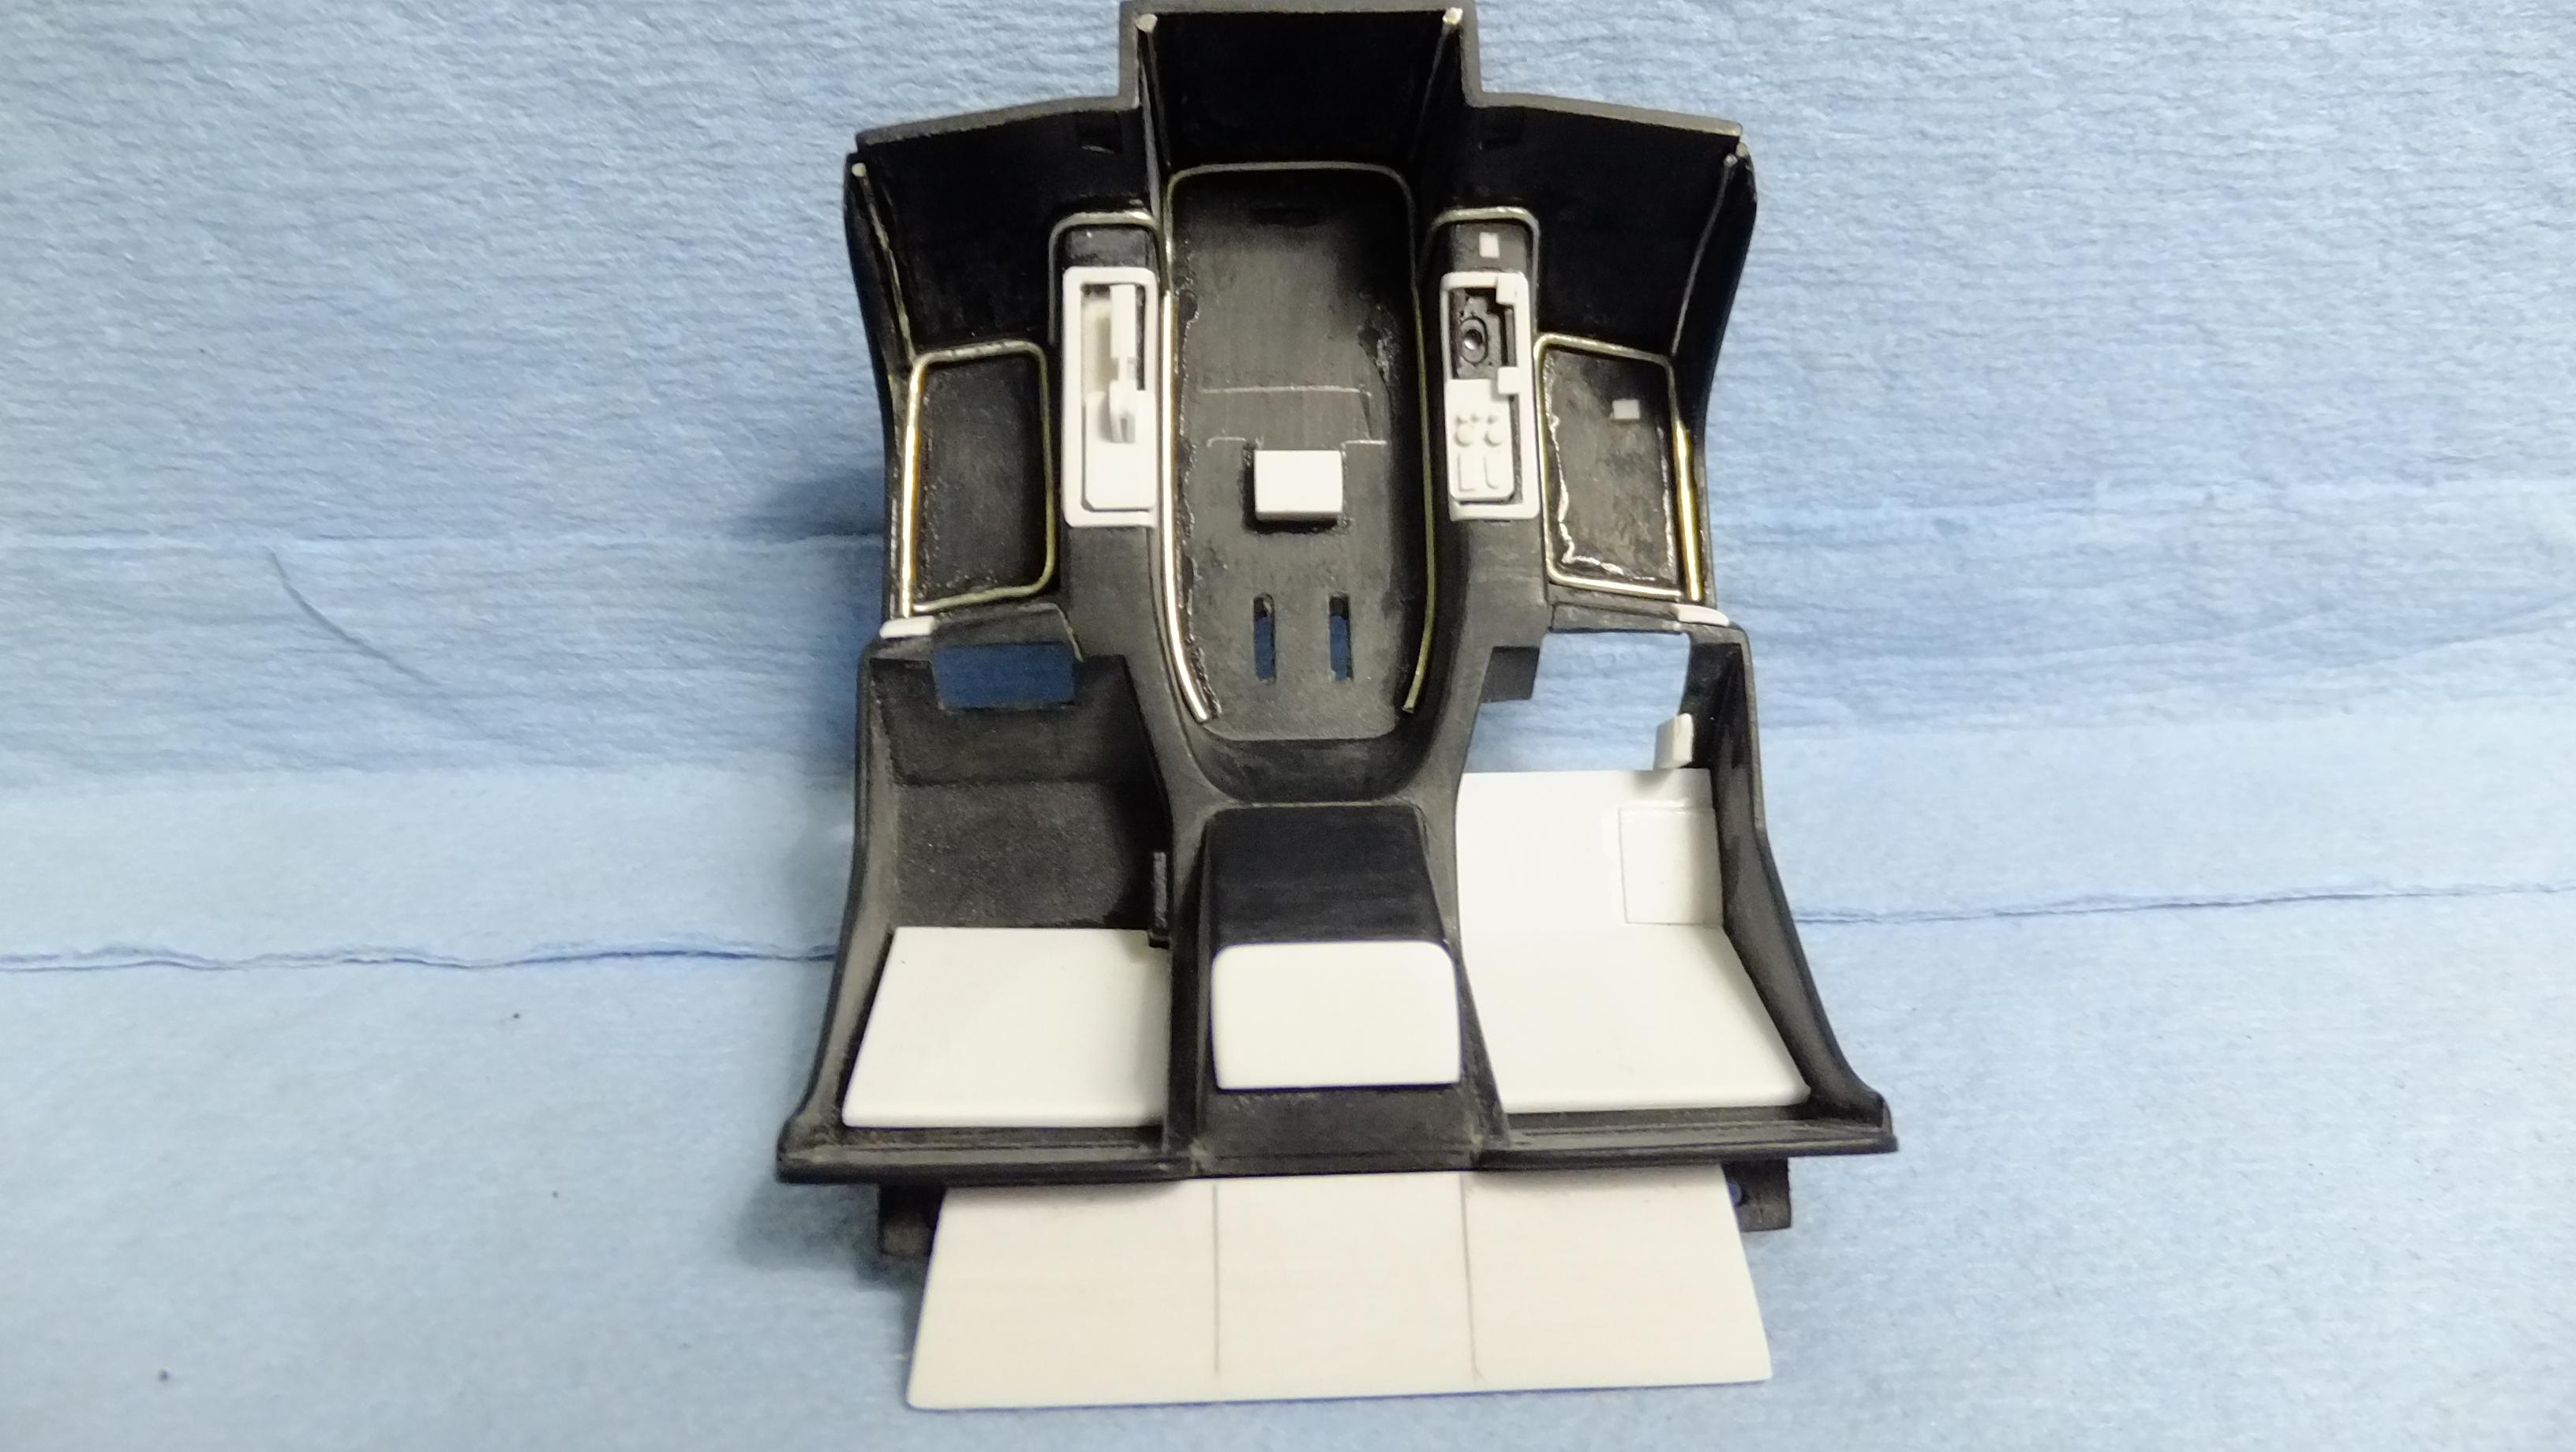
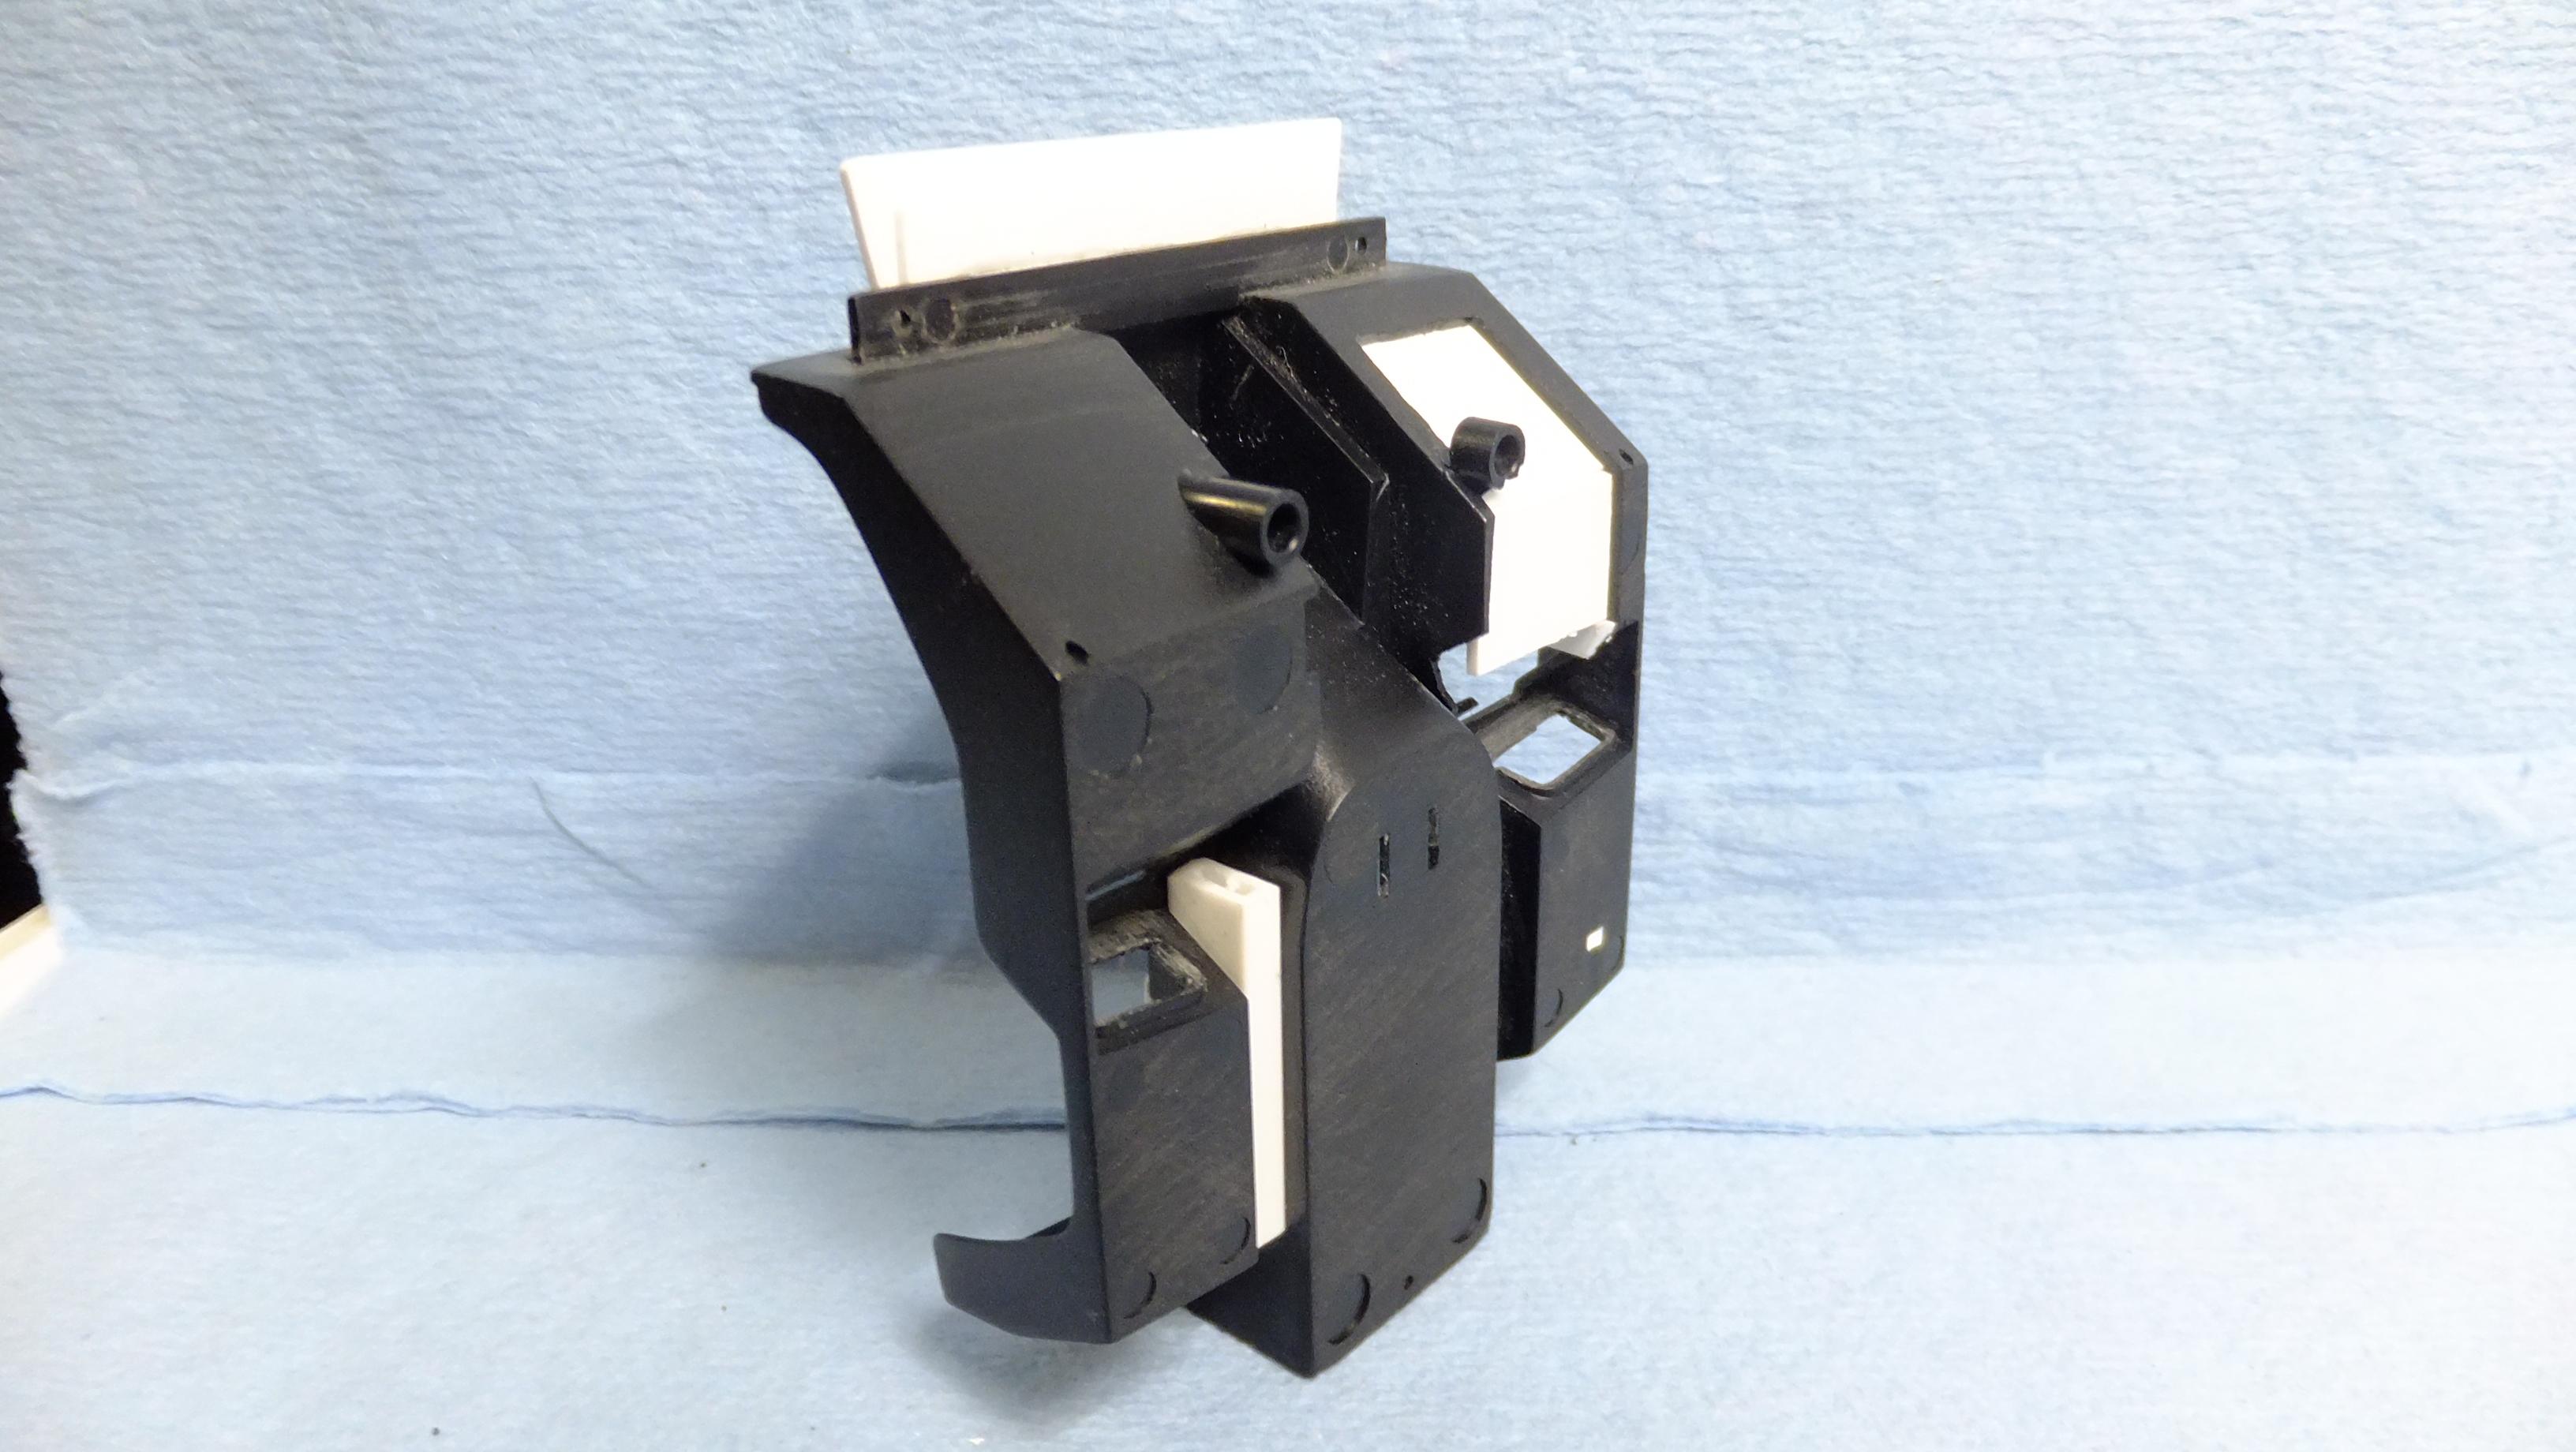
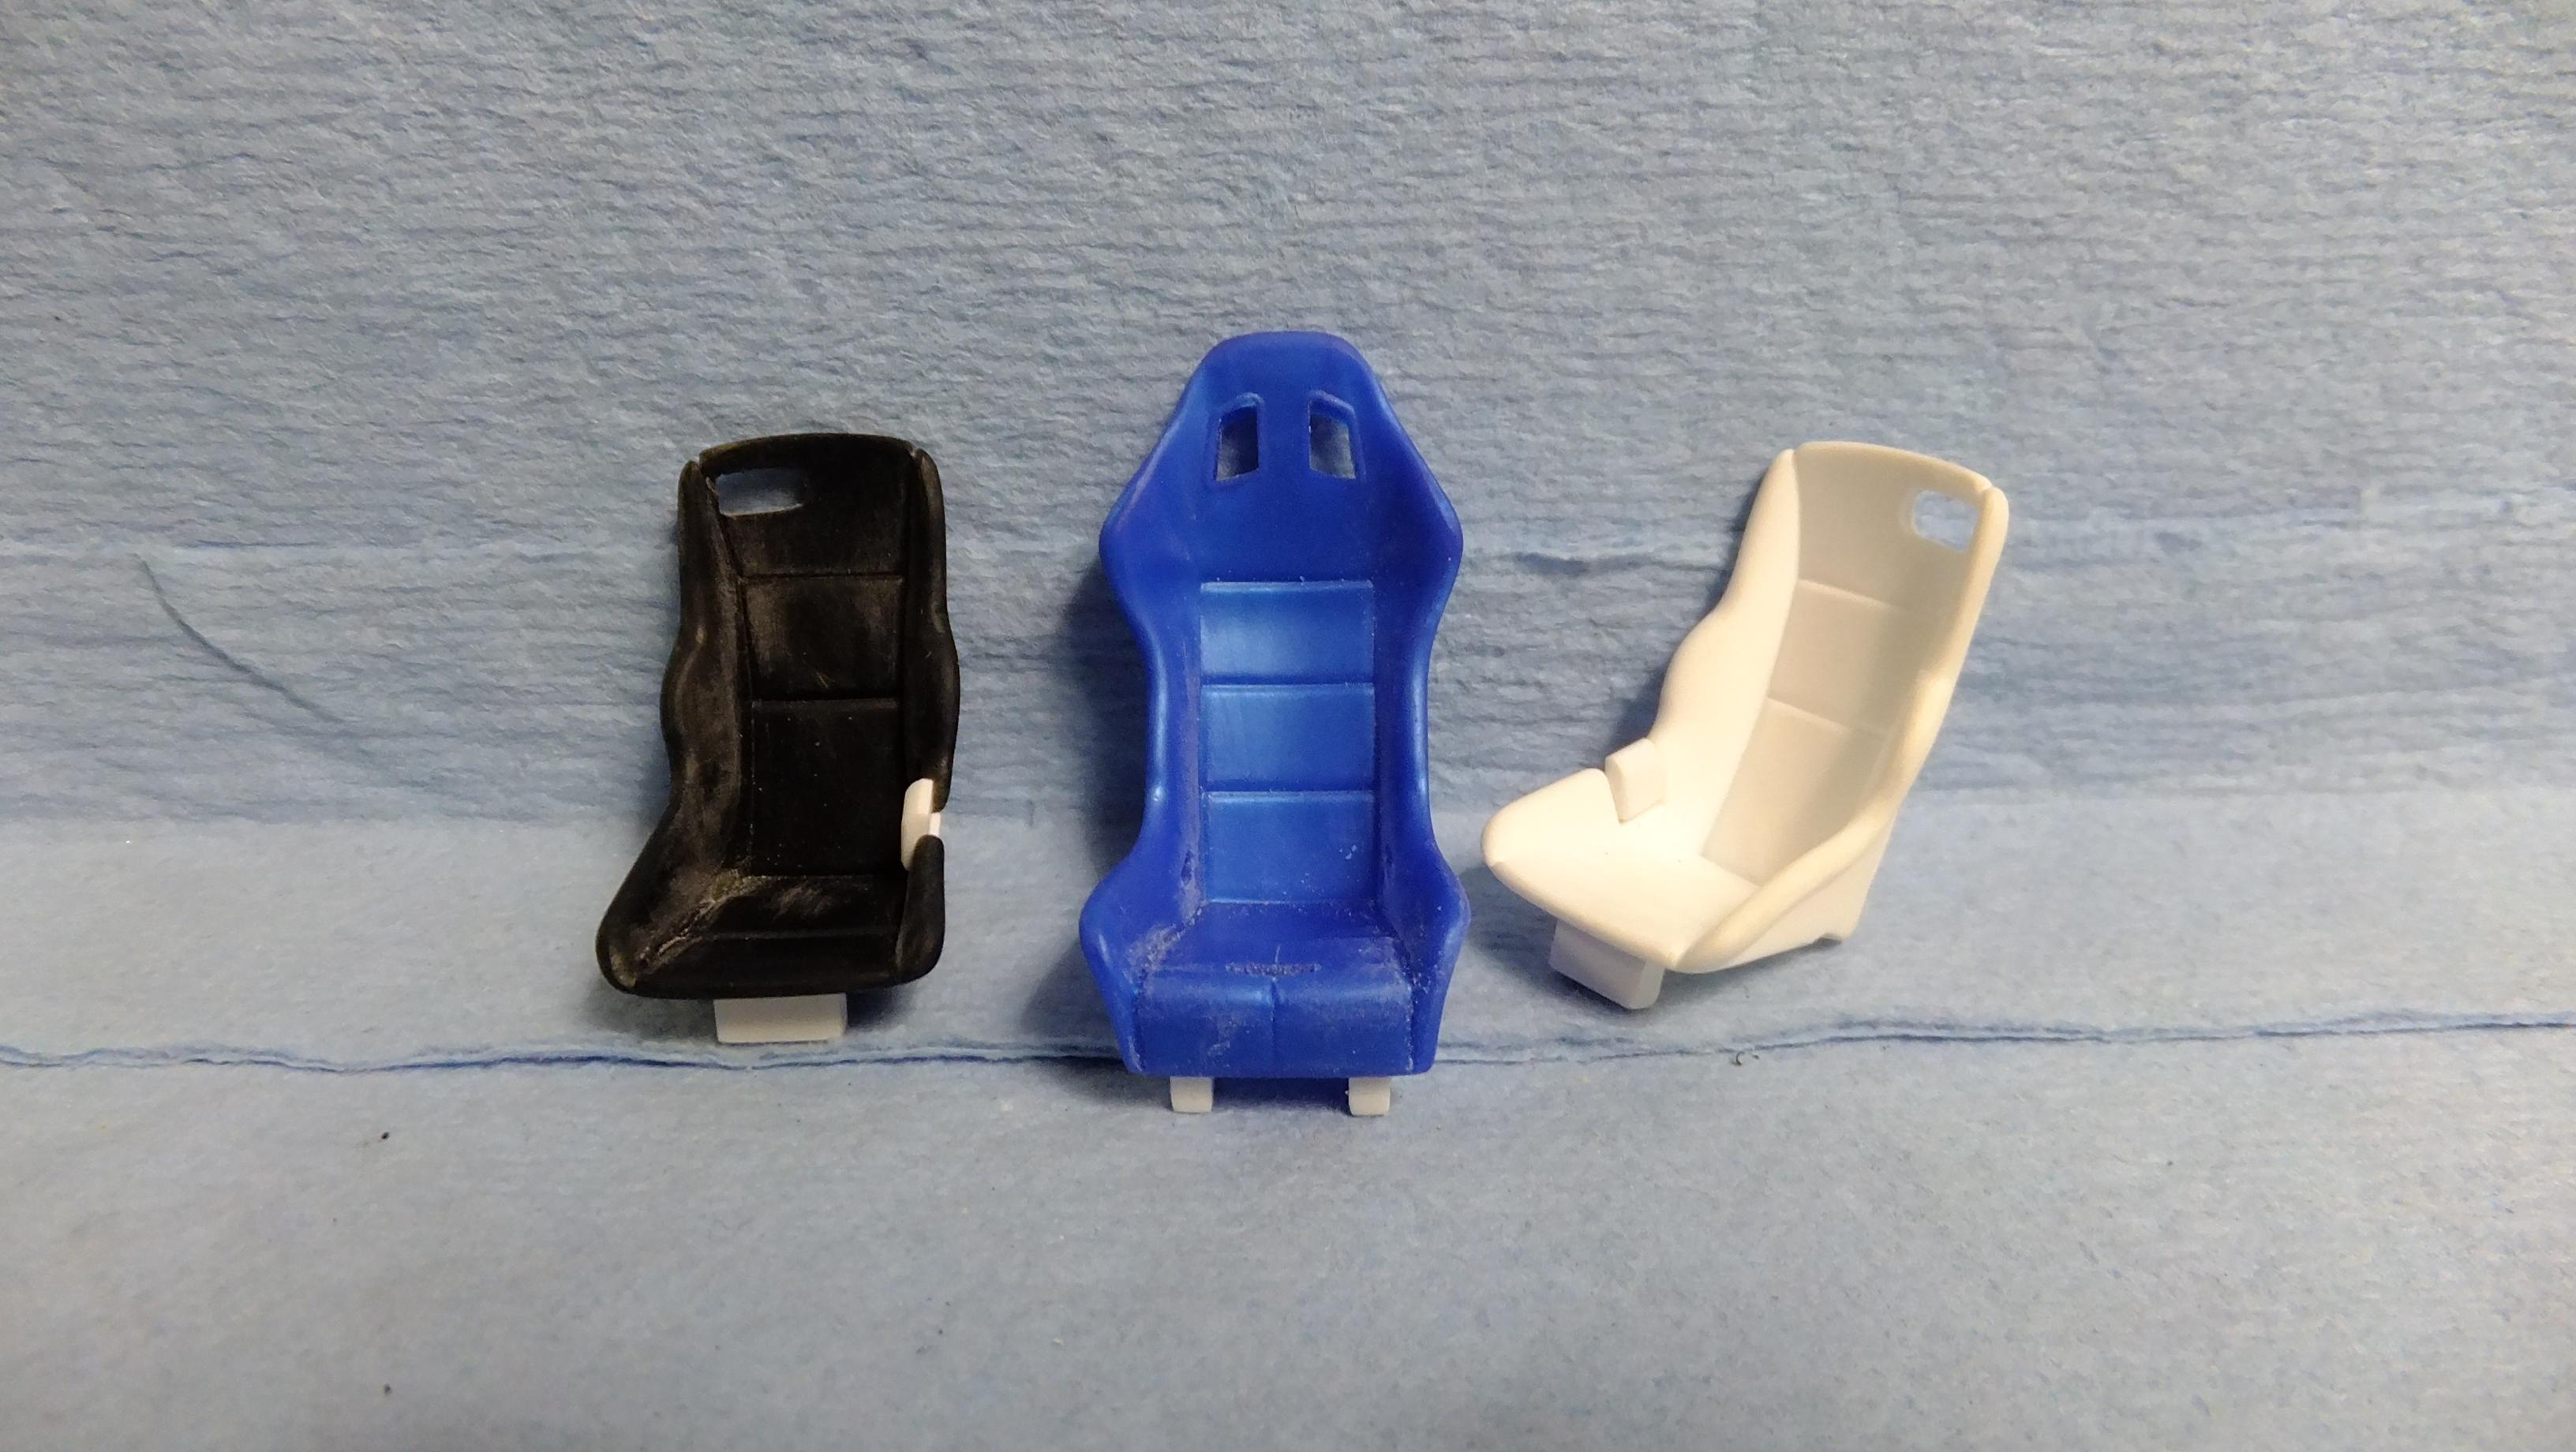
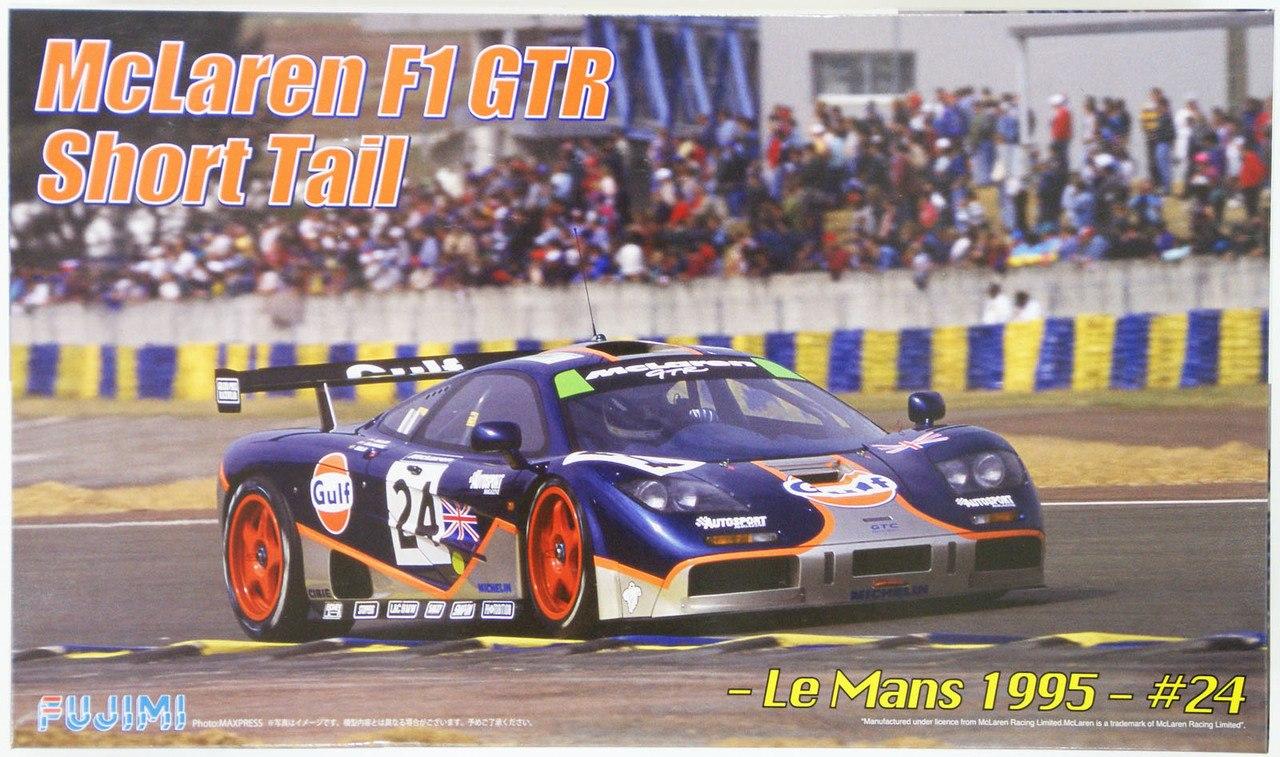
Hey, everyone!, since i wasnt able to post photos, i started my F1, and since now i can post, here now, heres what i have done so far... The objective here is a street version, so all the work will be in the interior from the looks of it. -Photo 1; Everything here is pre-assembled, minus the wing to body contact, and the doors -i Canopy glued them in place while i sanded the body even, and smooth. -Photo 2; I have no idea what these bumps are...they are only on some of the real cars....maybe a bad representation of number lights? -Photo 3; Something i like to do, is drill tiny holes to make it easier to locate, and attach bits...works a treat! -Photo 4; This bit was a separate piece in the kit, but not on the real car, so some fillerin needed to be done because they didnt really line up all that great. -Photo 5; I had to open ALL the vents you see here!....why? Fujimi has a weird way of choosing which ones to do. -Photo 6; I opened these three too, as well as the tow slot... -Photo 7; The angle of the rocker skirts wasnt low enough like the real car, but instead of cutting it off, i just added styrene stock to it, and it looks good with a nice ride height now. -Photo 8; I noticed during a test fit, that there was a slight see-through crack between the body, and interior tub, so just incase, i added styrene stock as you see it -problem solved! -Photo 9; All the arrows point to lines seams that shoulda already been there, but they werent, so i had to scribe them. -Photo 10; Lets see what i can do with this sad engine bay...i opened the rear windows, and cut out the molded in stabilizing bar -i have a more realistic one from Plastistruck. --Photo 11; I opened up the sides here like on the real car... -Photo 12; ...now i needed styrene to fill in the spaces to the parcel tray areas. -Photo 13; Here is a test fit of most of the interior bits...they all fit in harmony. -Photo 14; I really had to chop this bugger up to get the right look. Obviously all the white bits i made, and i added the carpet trimming....its all ready for paint now. -Photo 15; Just another angle with seat belt slots EVERYWHERE!!!...man thats tiring!...I'm also pointing at the storage areas i had to open up, I also had to scribe some seams that shoulda been there. -Photo 16; Believe it or not, but these seats were all the same....until i tweaked the back? two....no they arent stock, but there isnt just one kind either, i often use artistic license, and couldnt give a toss if someone didnt agree, lol I also SB seatbelts that resemble some of the real cars. -Photo 17; In order to make the dash more realistic, i needed to scribe a seam around the top of the guage cluster. The real street version of this car has a slightly different dash, but i like this one better. Since i will be gluing the doors shut, I needed to modify the door cards...i.e., Cut all the sides off. -Photo 18; Here are the last bits...i added more details to the peddles, and drilled out the exhaust tips for better realism...with the size they were, and how shallow they were, even flat black paint wouldnt look okay.
-
Lock down; might as well do ALOT of painting, and building!
Dann Tier replied to Dann Tier's topic in WIP: Model Cars
LOL!!!!!!!!!!!!!!!!!!!!!! -
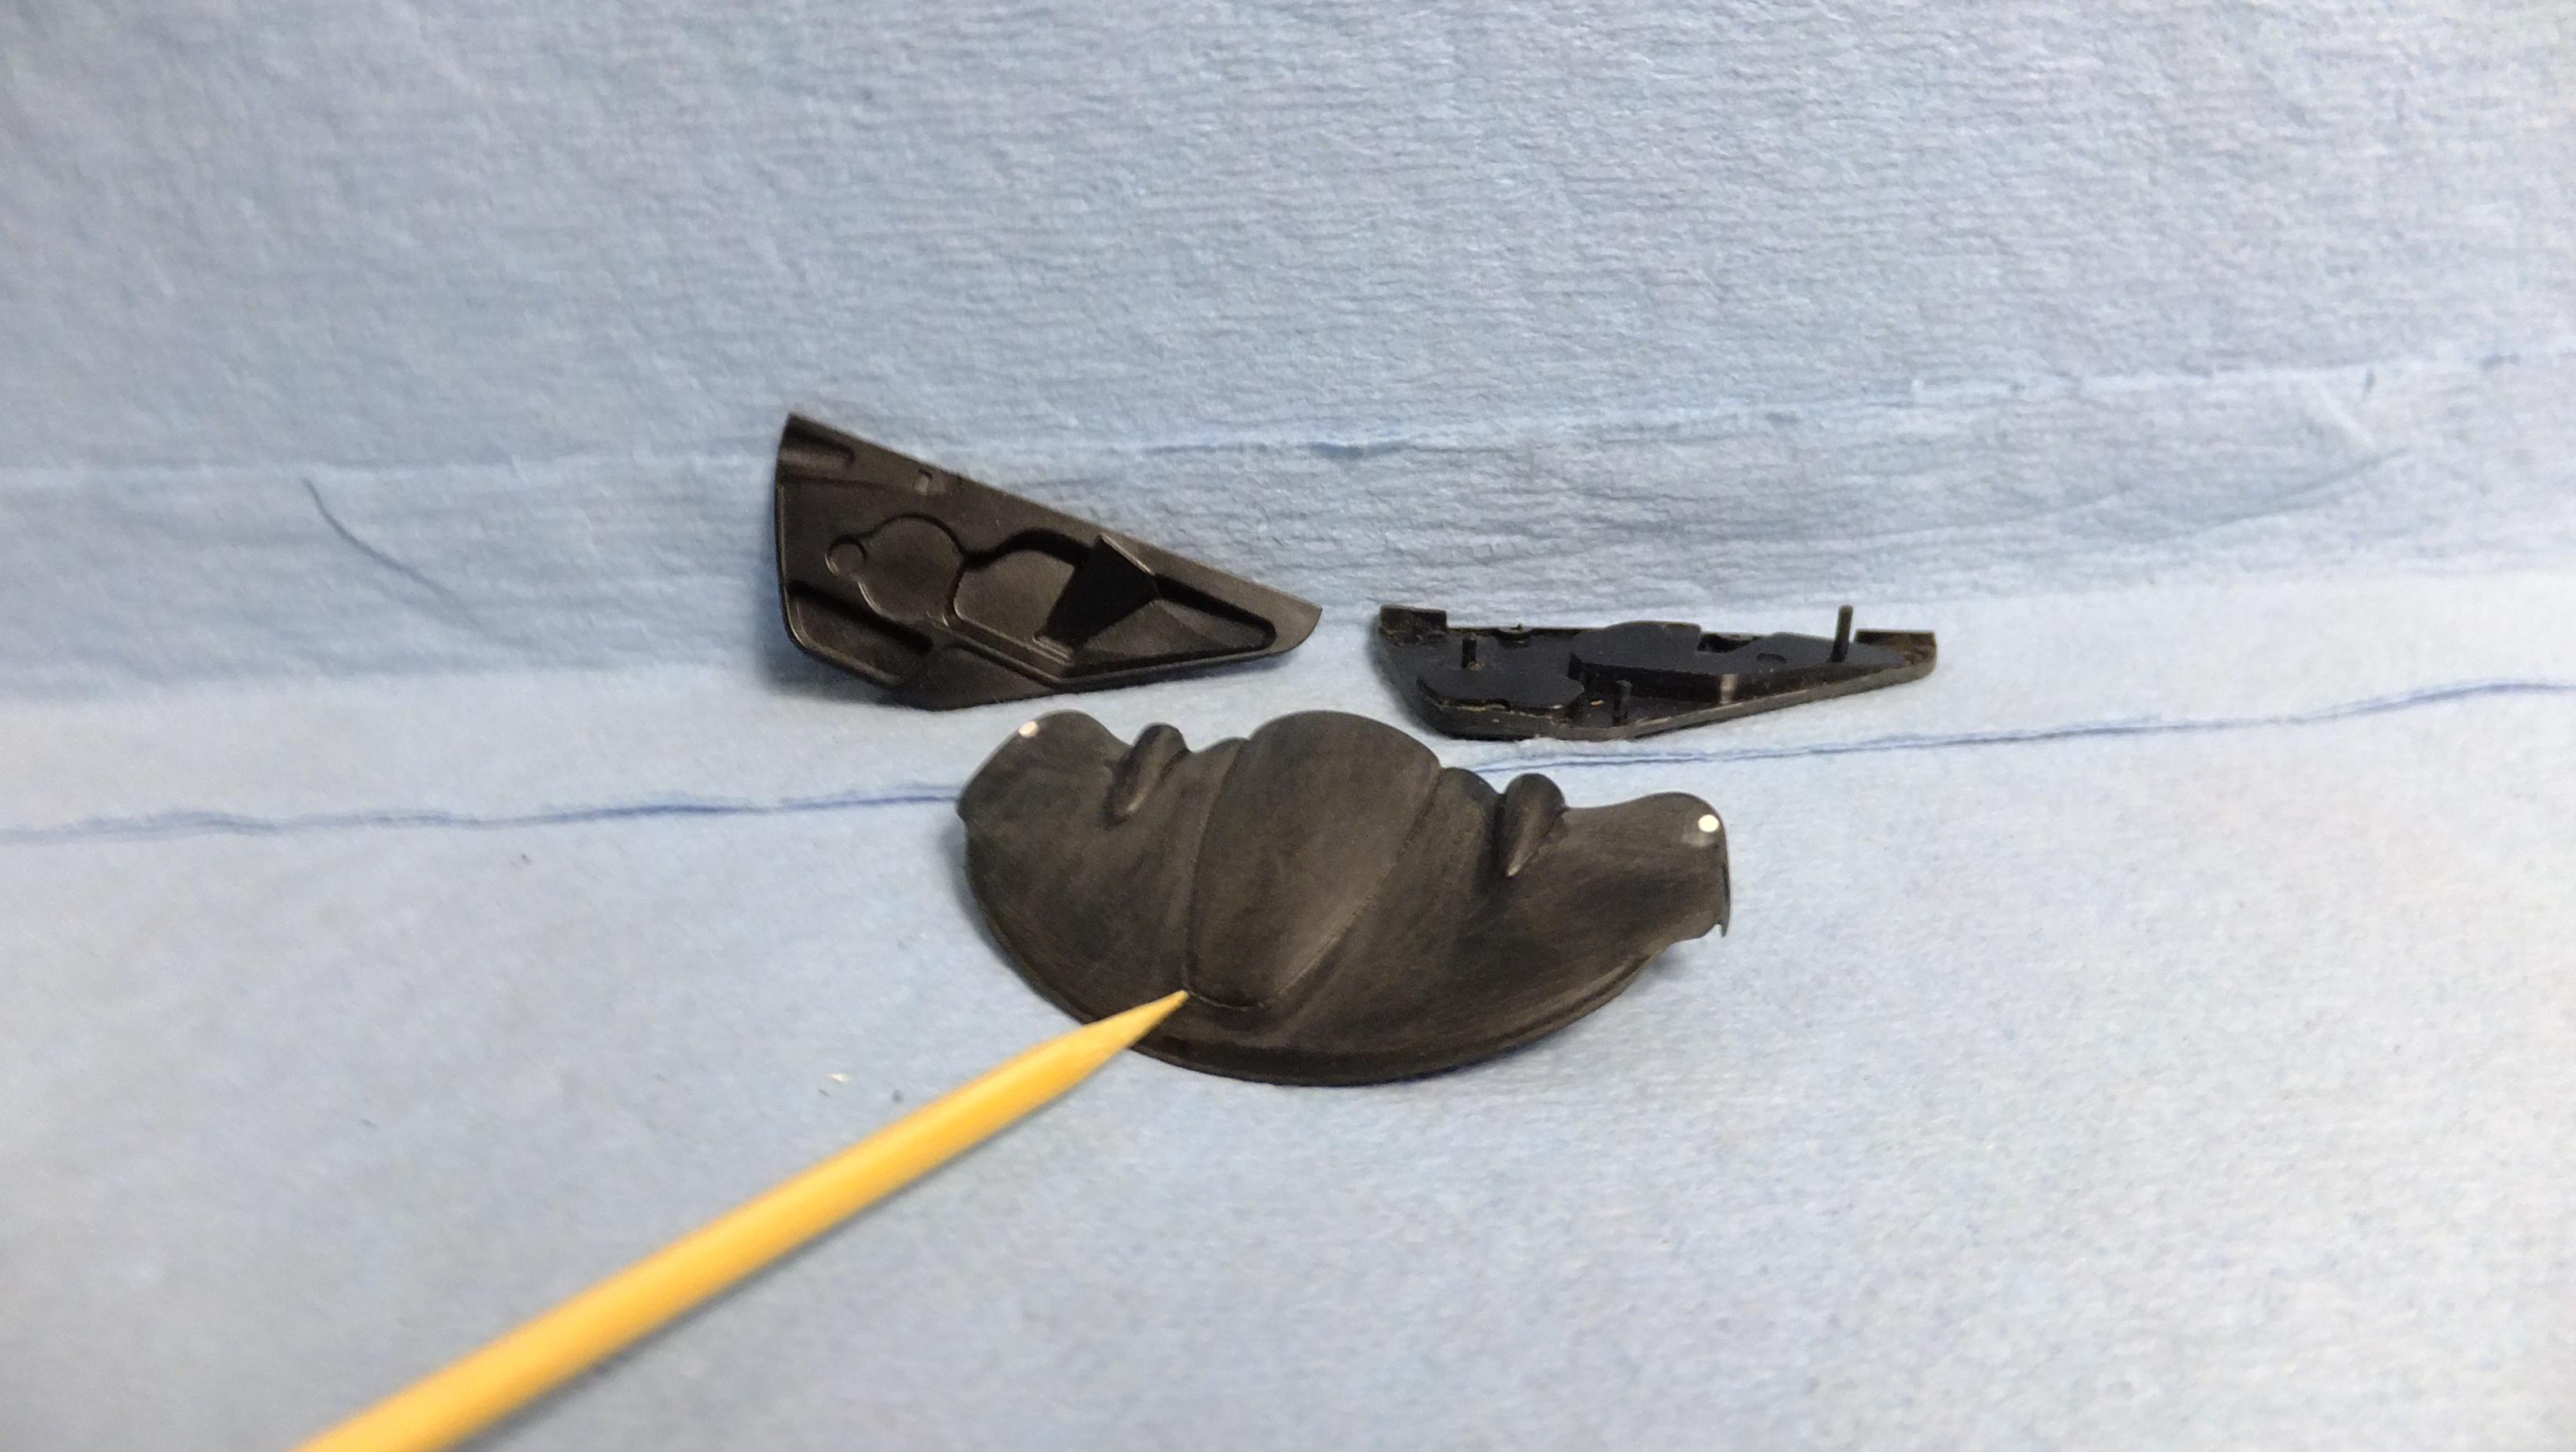
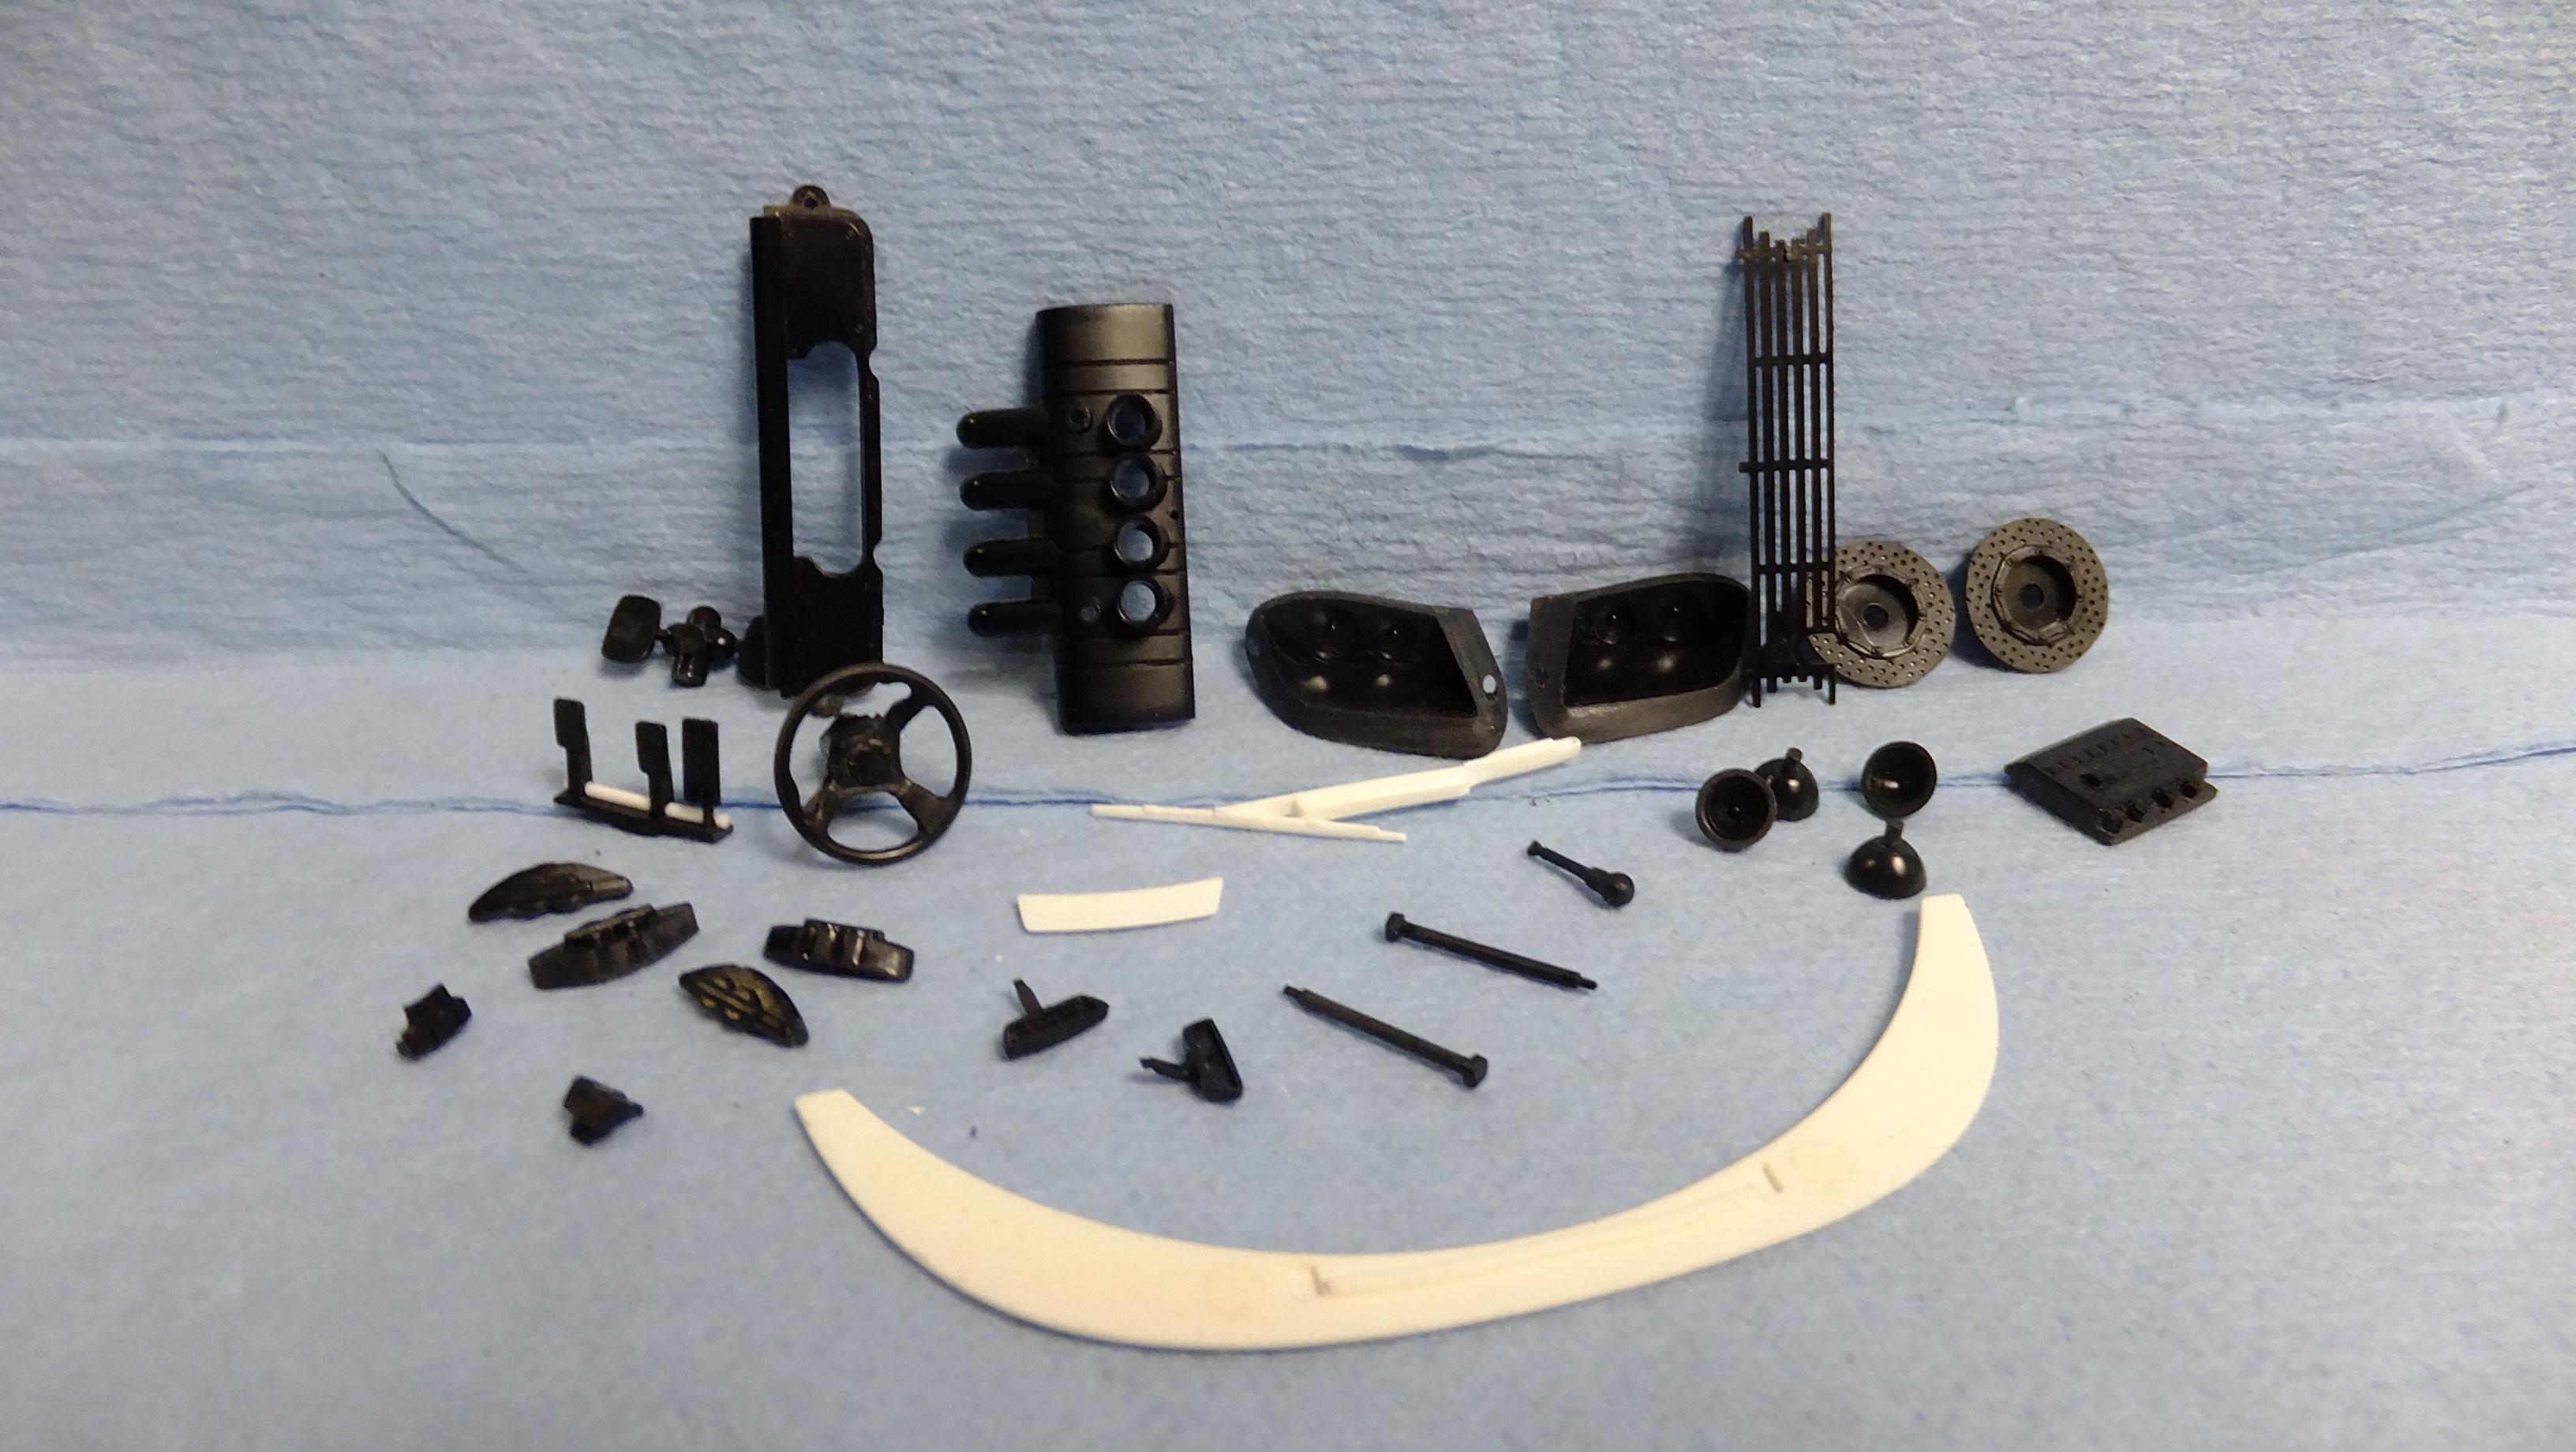
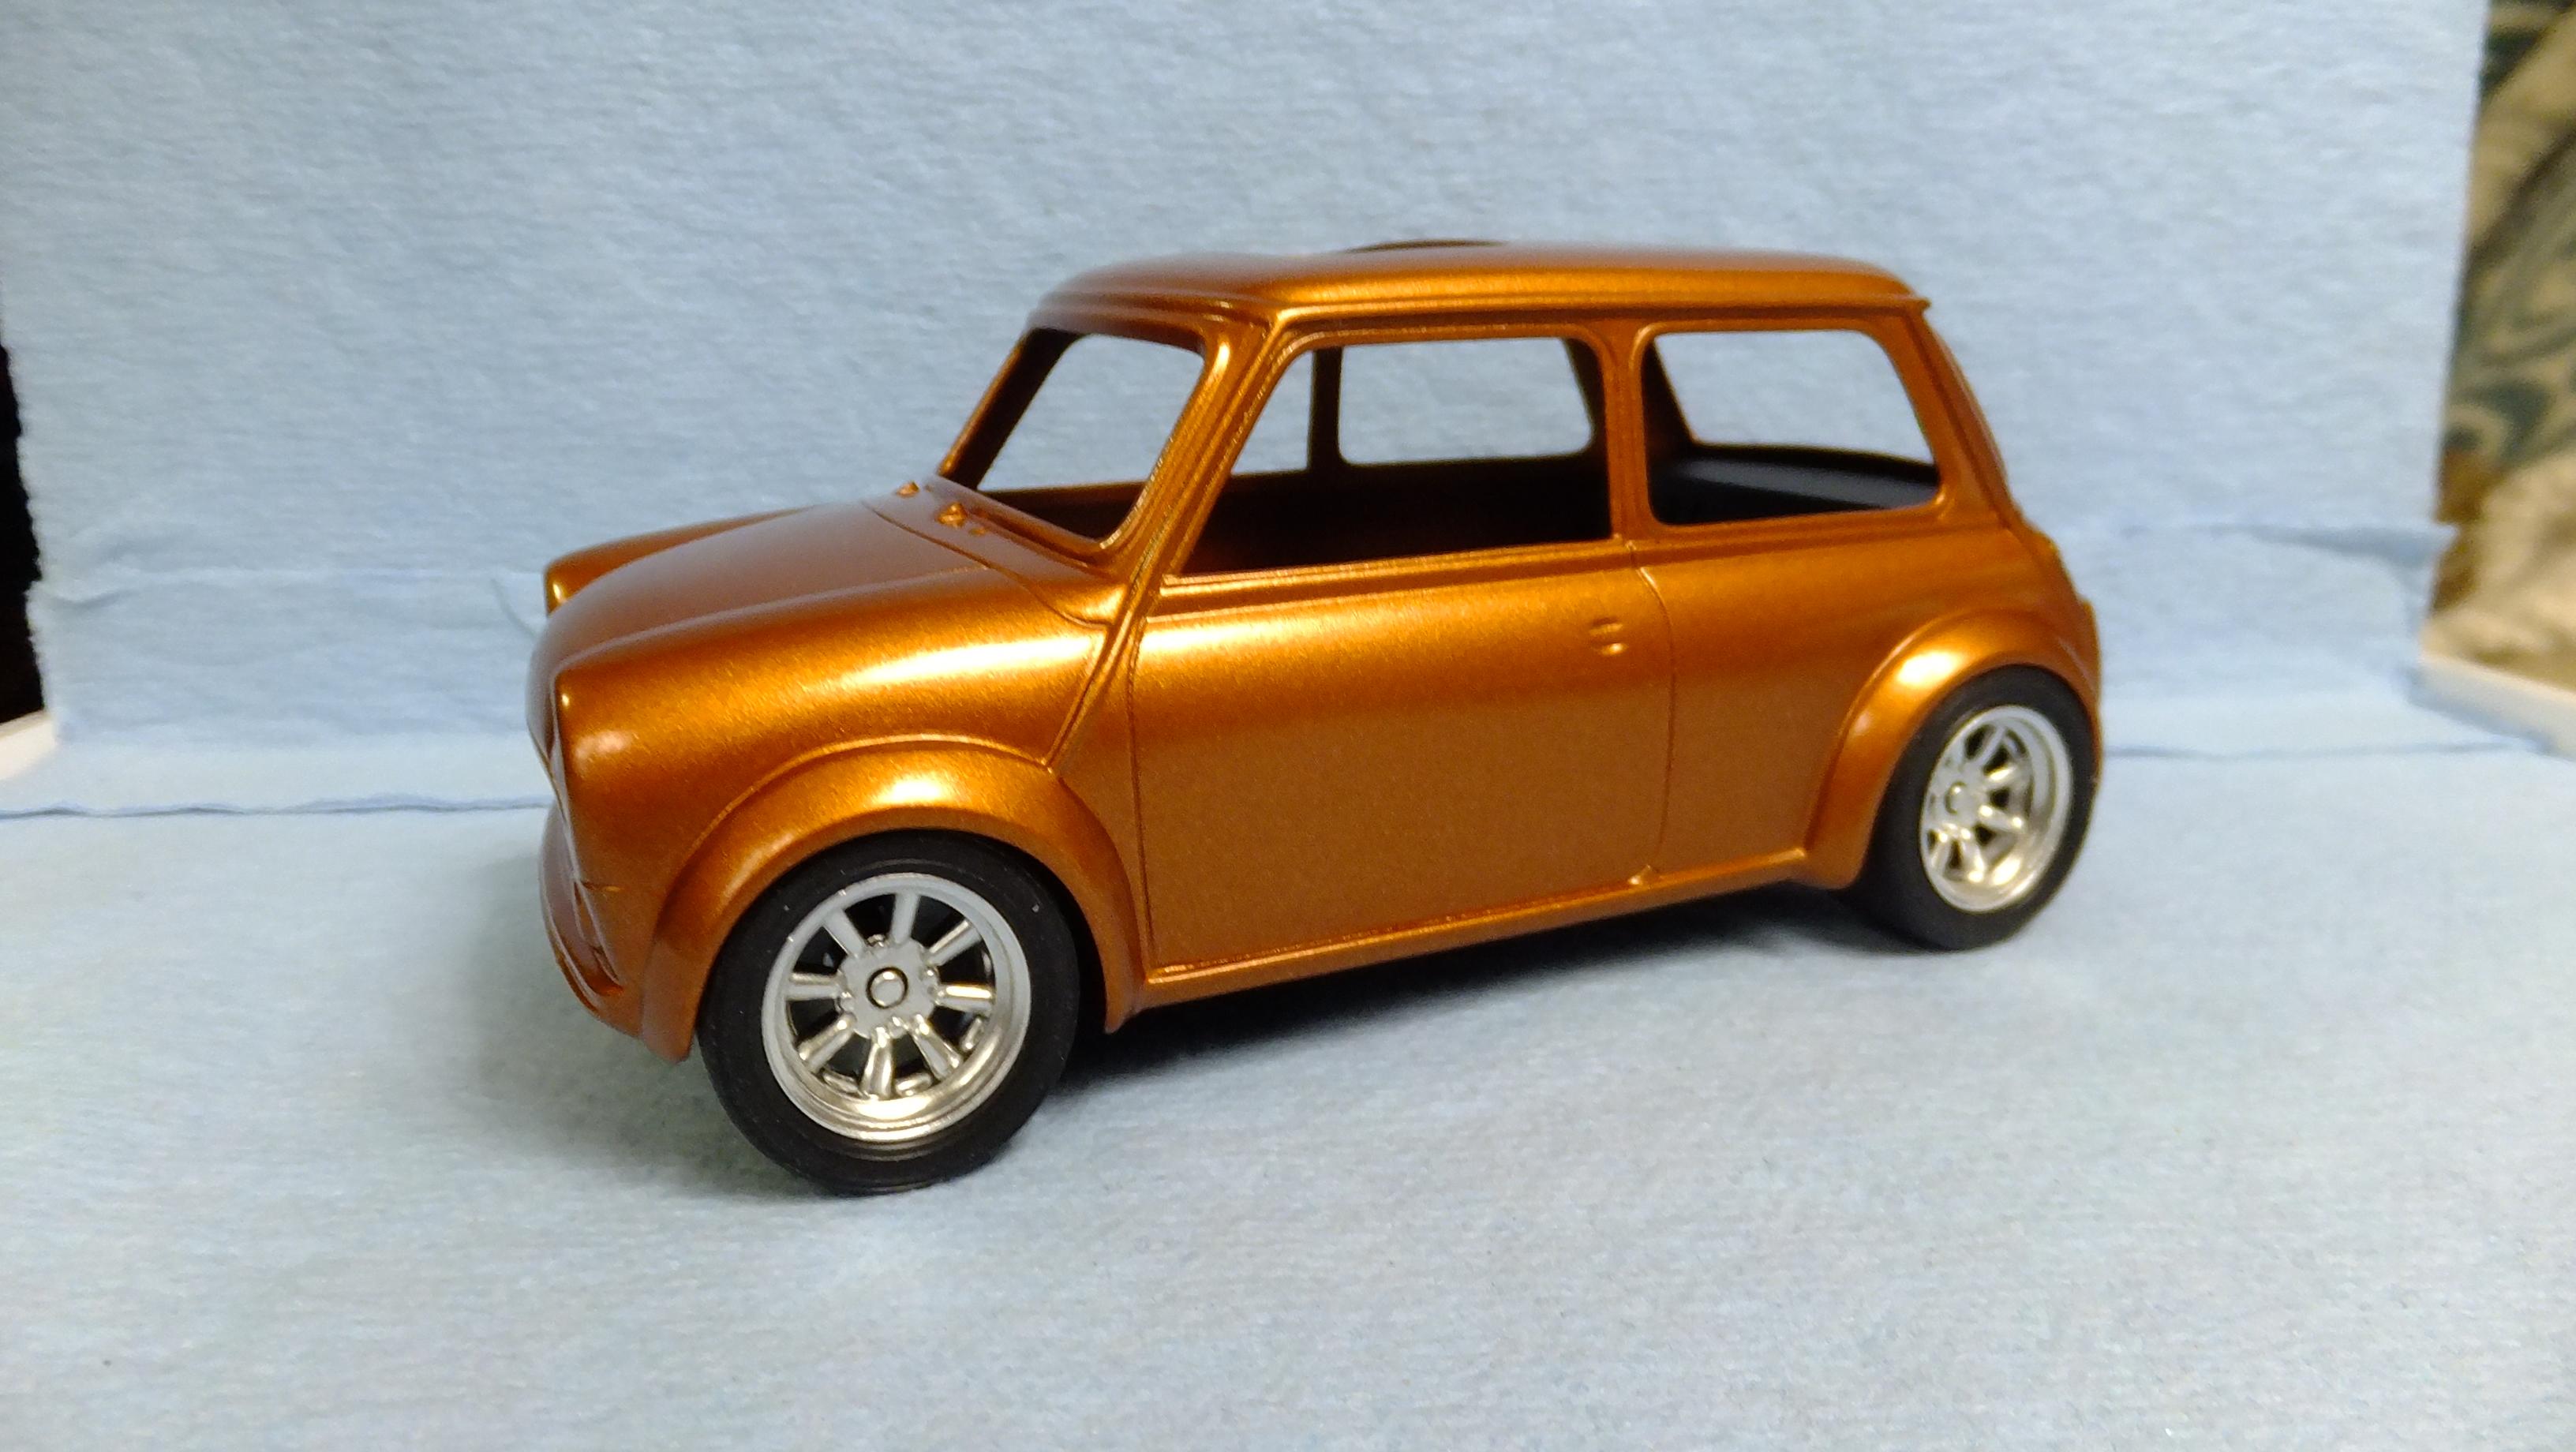
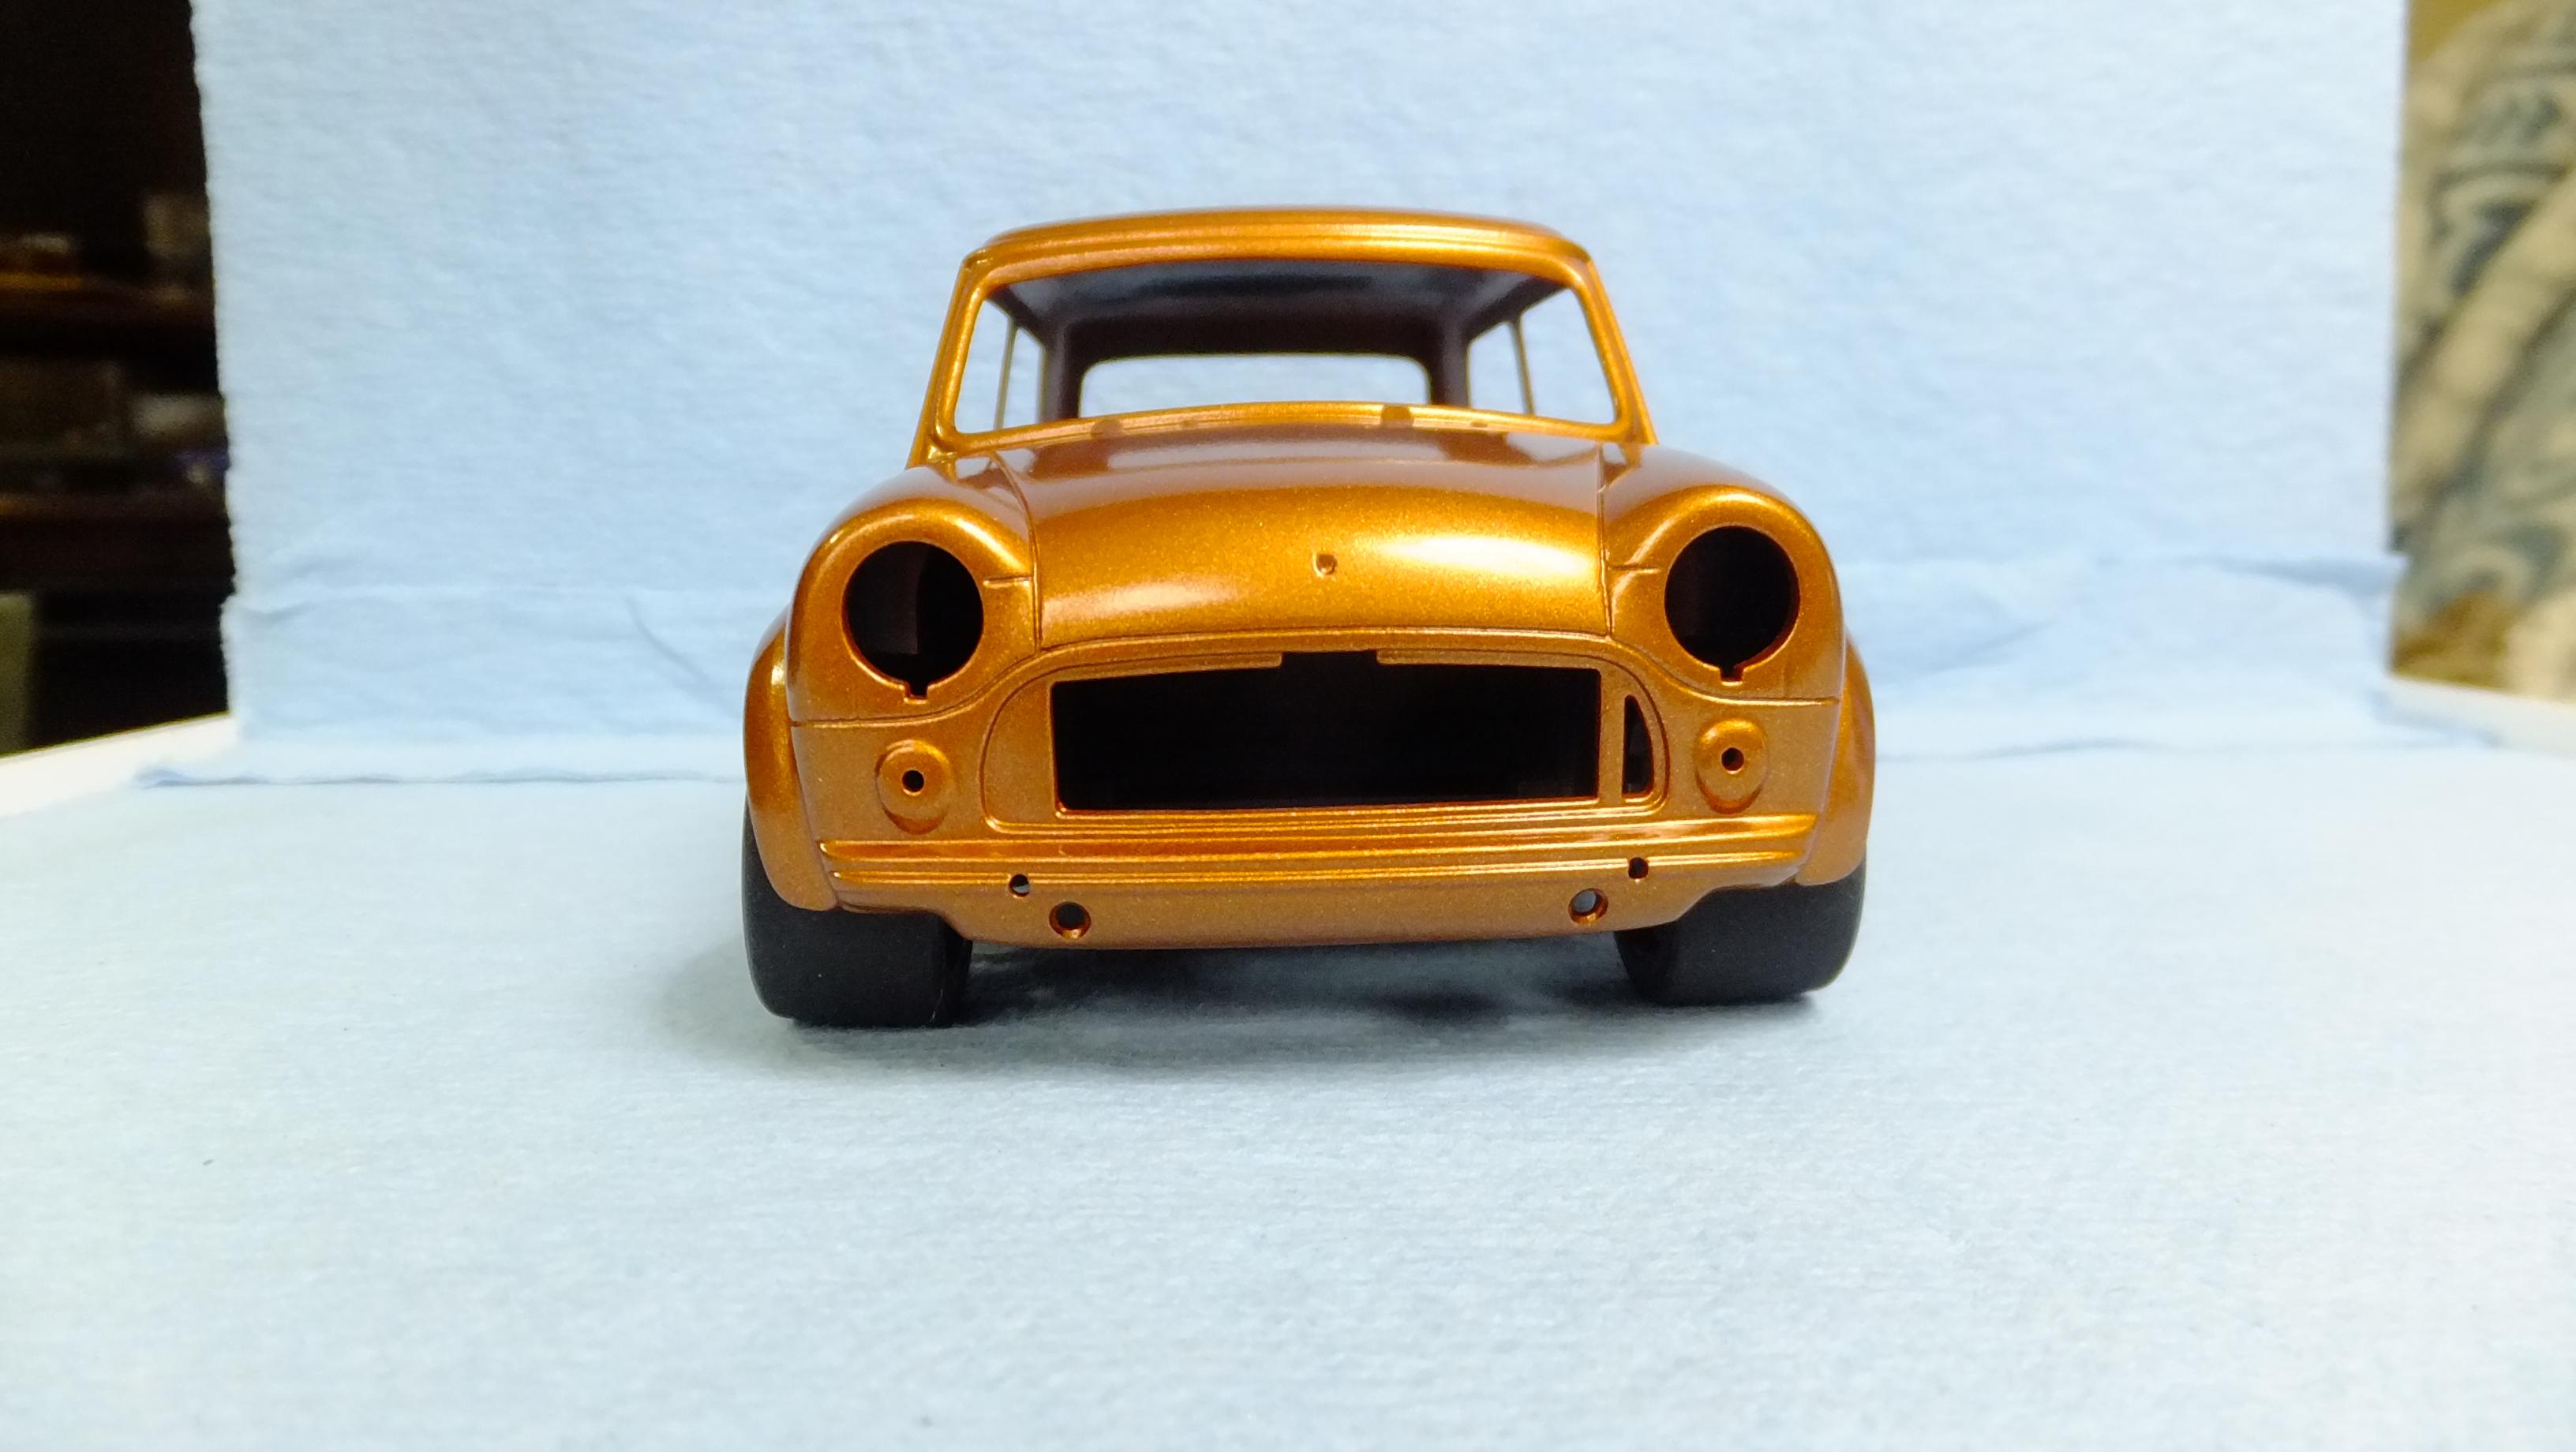
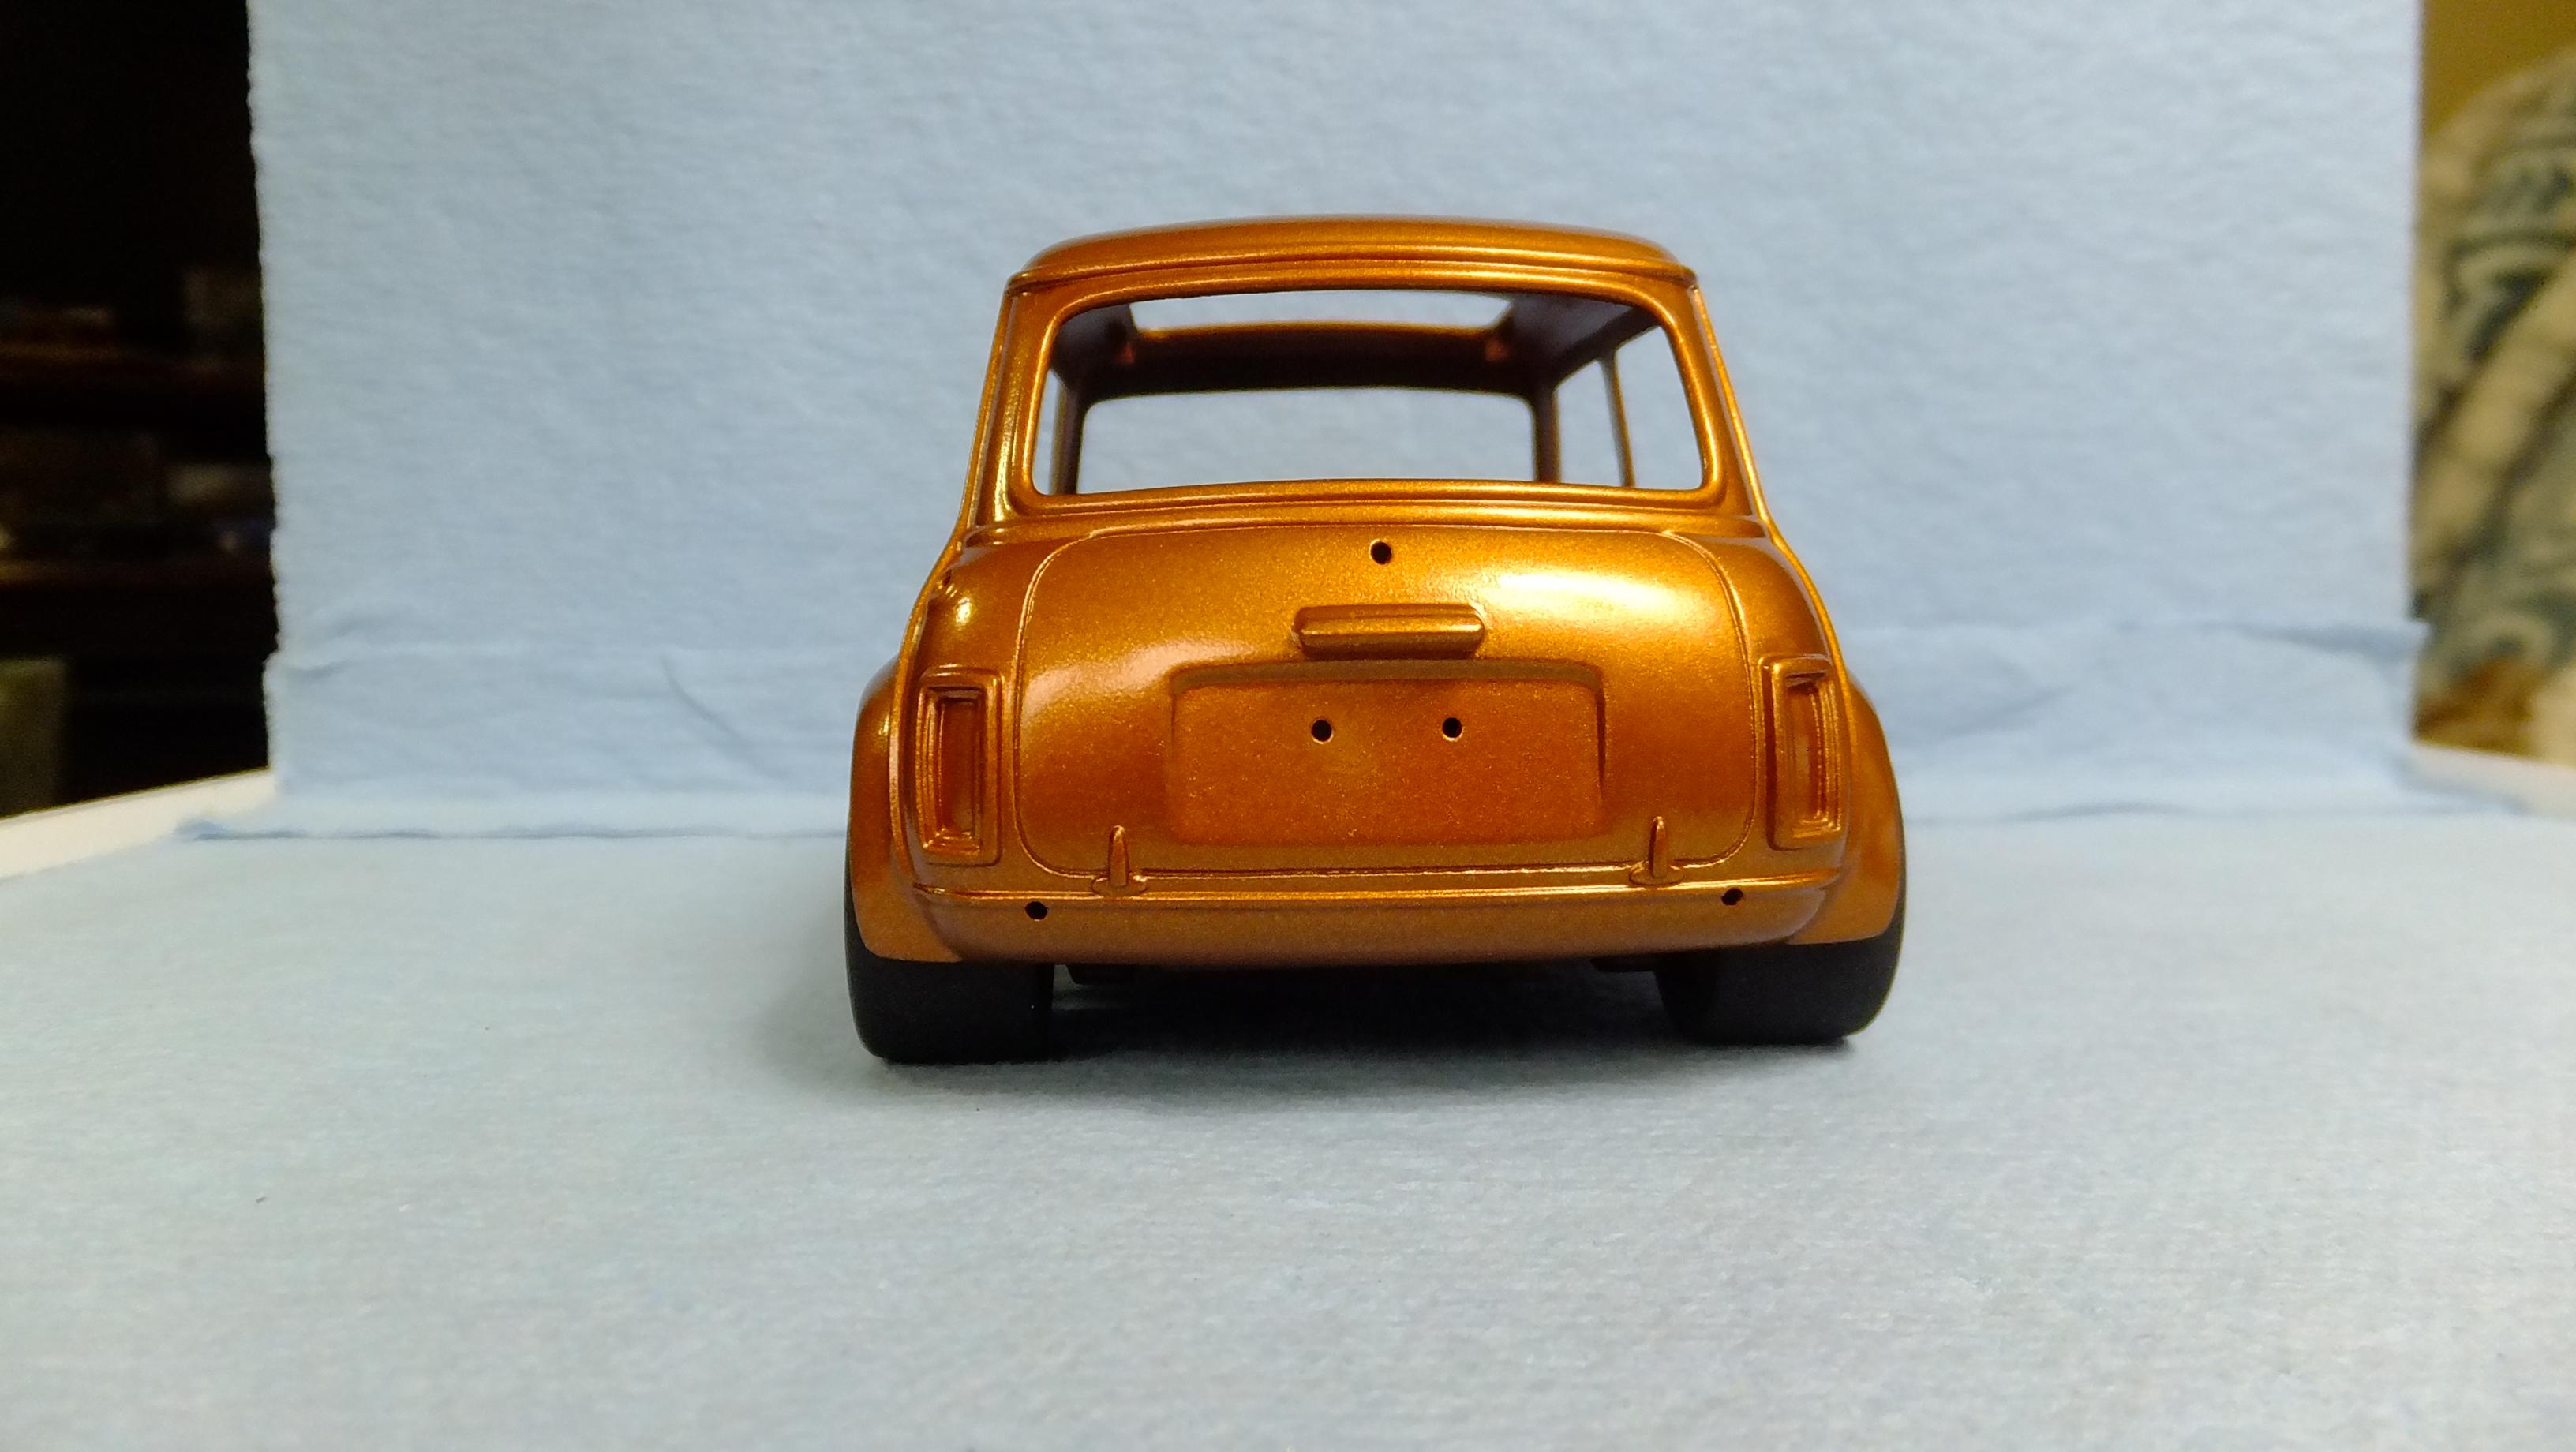
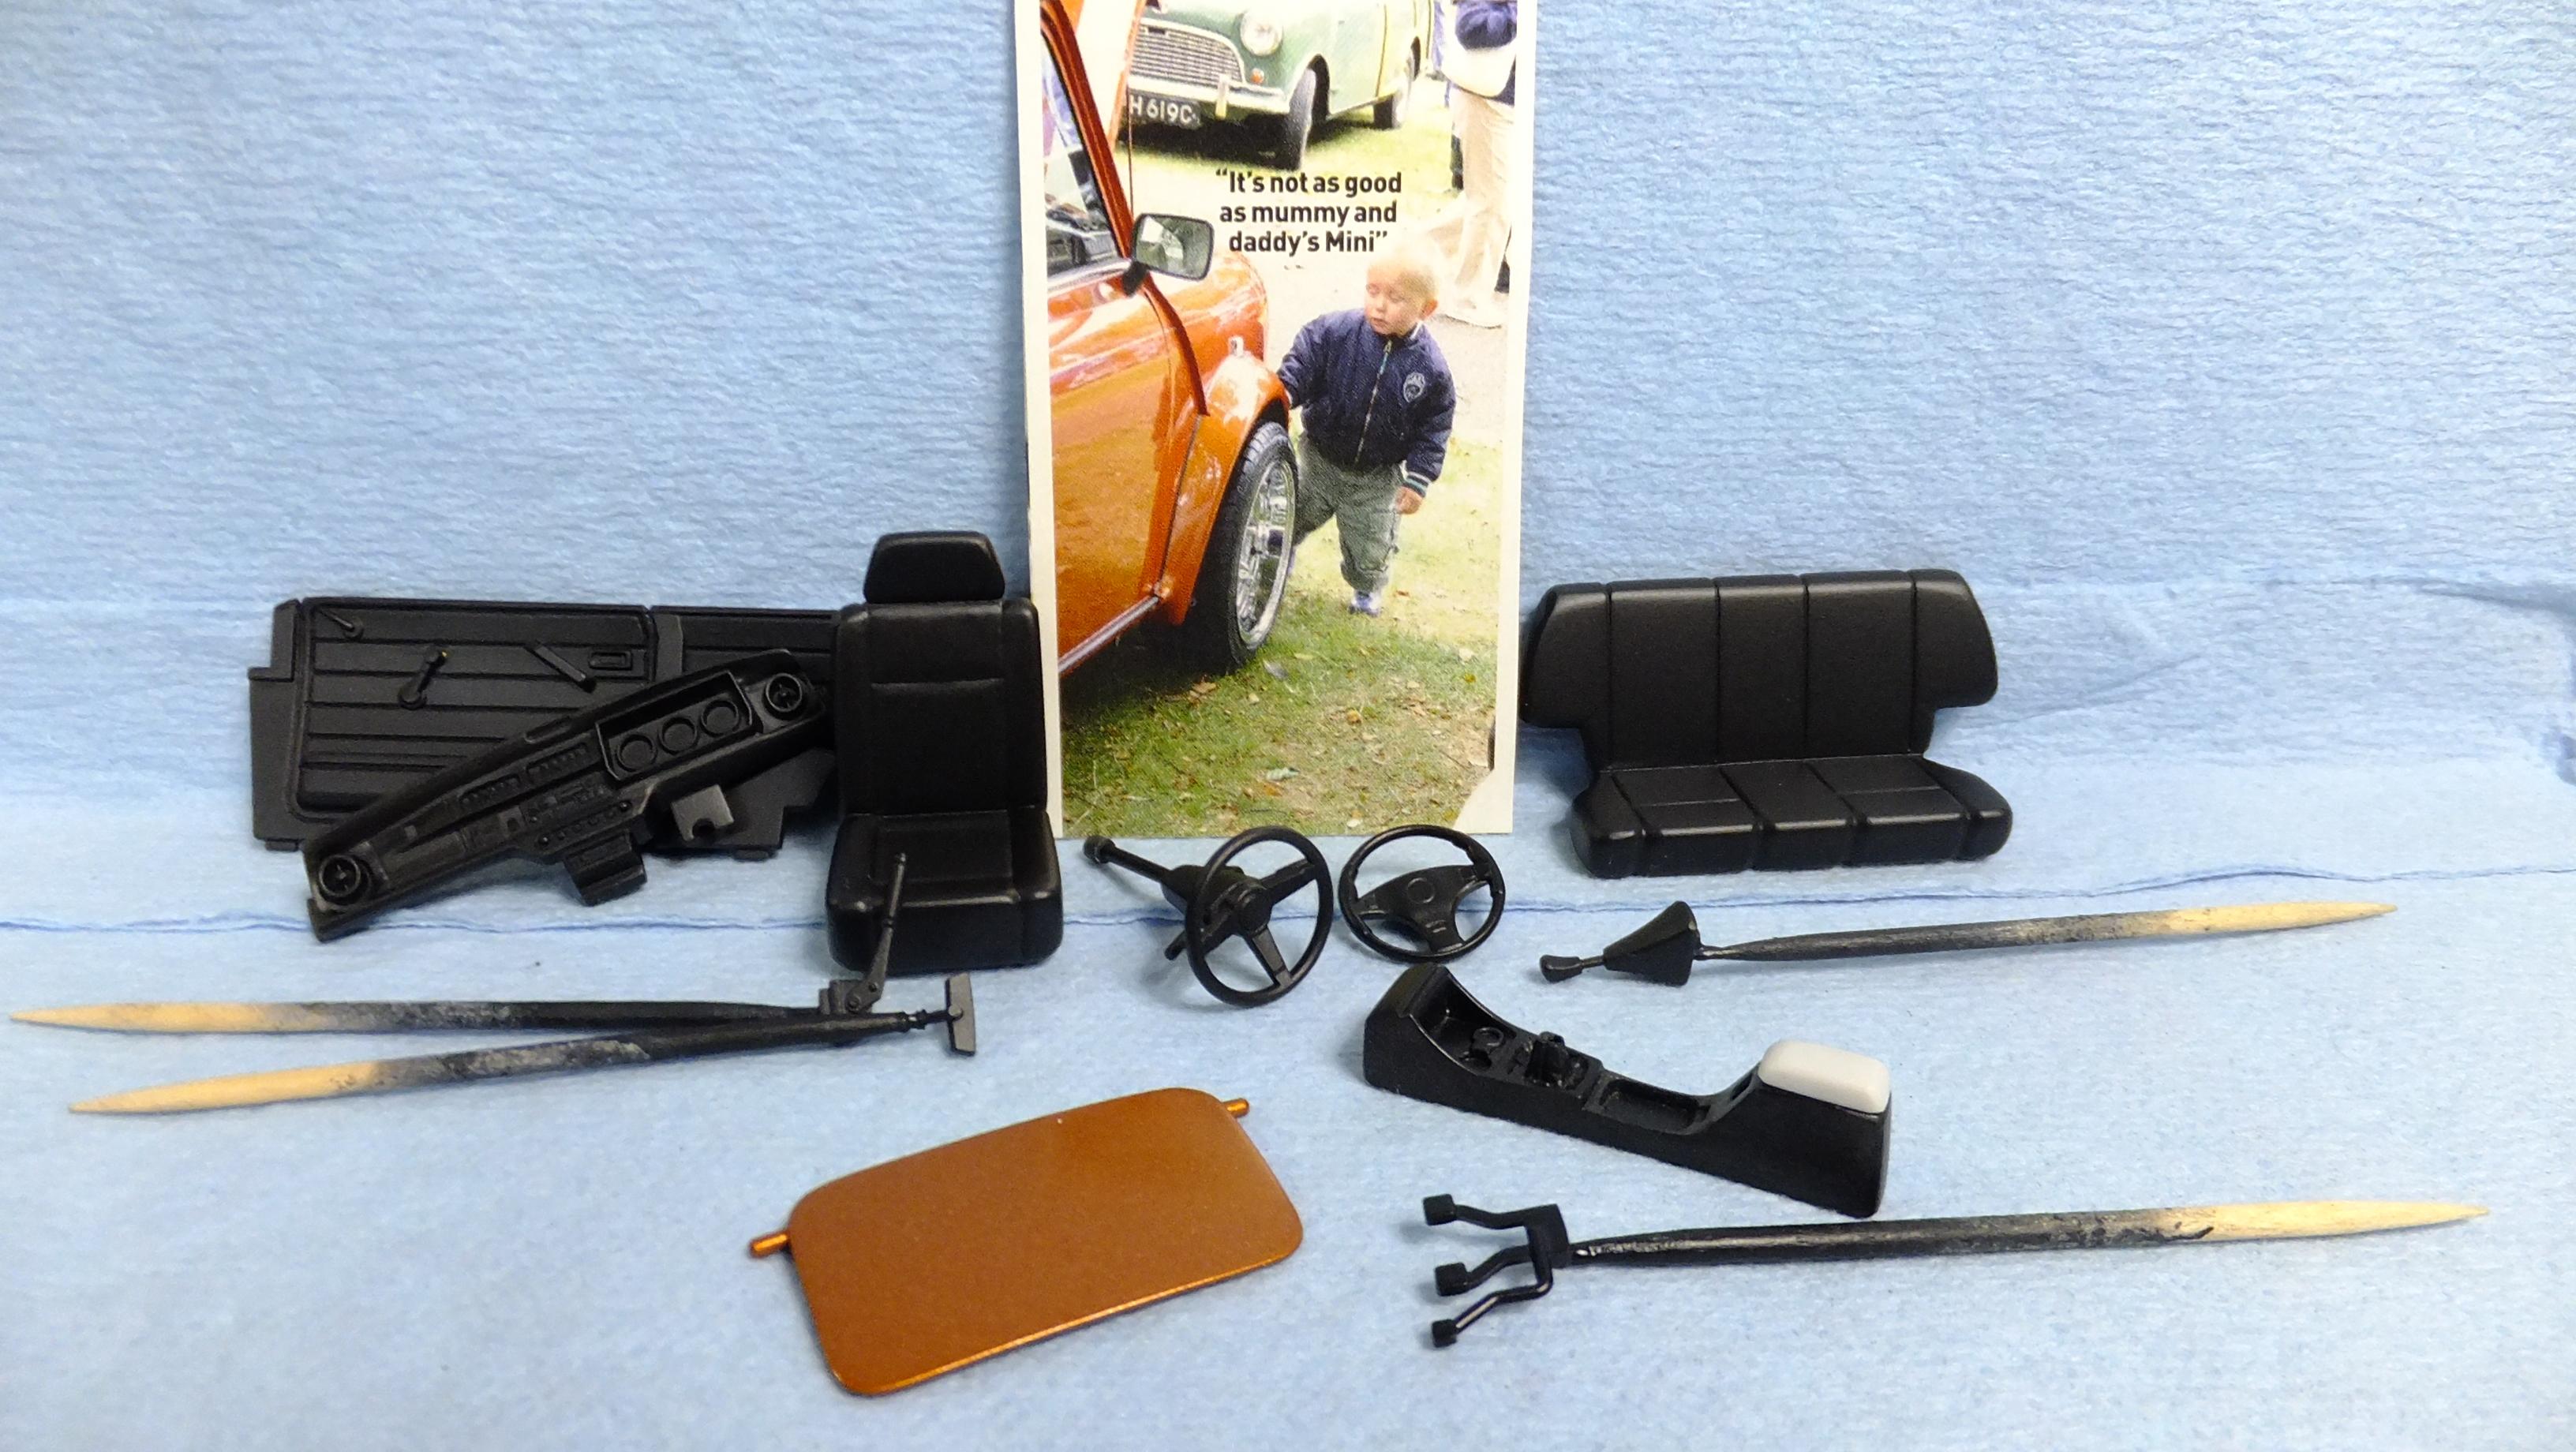
Hey, everyone! here is where my custom Mini is right now. The body needs decals , and clear, and the rest of it just needs to be detailed, and assembled -should only take a LITTLE more time, lol -Photo 1-3; I removed the factory fender flares, and made me own out of Milliput. The wheels came from a Fujimi Skyline GTR 2000 , and the wide tyres came from a Tamiya racing VW GTI -old kit....Oh ya, i lowered the ride height too. -Photo 4; Miscillanious bits ready for detailing, and assembly...alot of Fixed-up Minis even have center columns -this will too!
-
Lock down; might as well do ALOT of painting, and building!
Dann Tier replied to Dann Tier's topic in WIP: Model Cars
Okay!...i will post that update first! -
Lock down; might as well do ALOT of painting, and building!
Dann Tier replied to Dann Tier's topic in WIP: Model Cars
Thanks, Bud!....its good to post back...be back! -
Lock down; might as well do ALOT of painting, and building!
Dann Tier replied to Dann Tier's topic in WIP: Model Cars
LOL!! -
Thanks, Bud!...its going to under glass tomorrow!
-
Lock down; might as well do ALOT of painting, and building!
Dann Tier replied to Dann Tier's topic in WIP: Model Cars
Here are the kits that i am actively working on...many of them are getting close to being done!
-
Hey, everyone!, Somehow Tina got my laptop working with photo posting -at least at the moment, so i decided to stop building, and post all my updates for a day. Here are a few bodies that i have all primered up ready for paint...and yes, i added a couple more, lol Hope you are all staying safe, and away from the nutters trying to cause fear, and hopelessness...we will all get through this TOGETHER!! -God bless!!!!
-
Thanks, Bud!
-
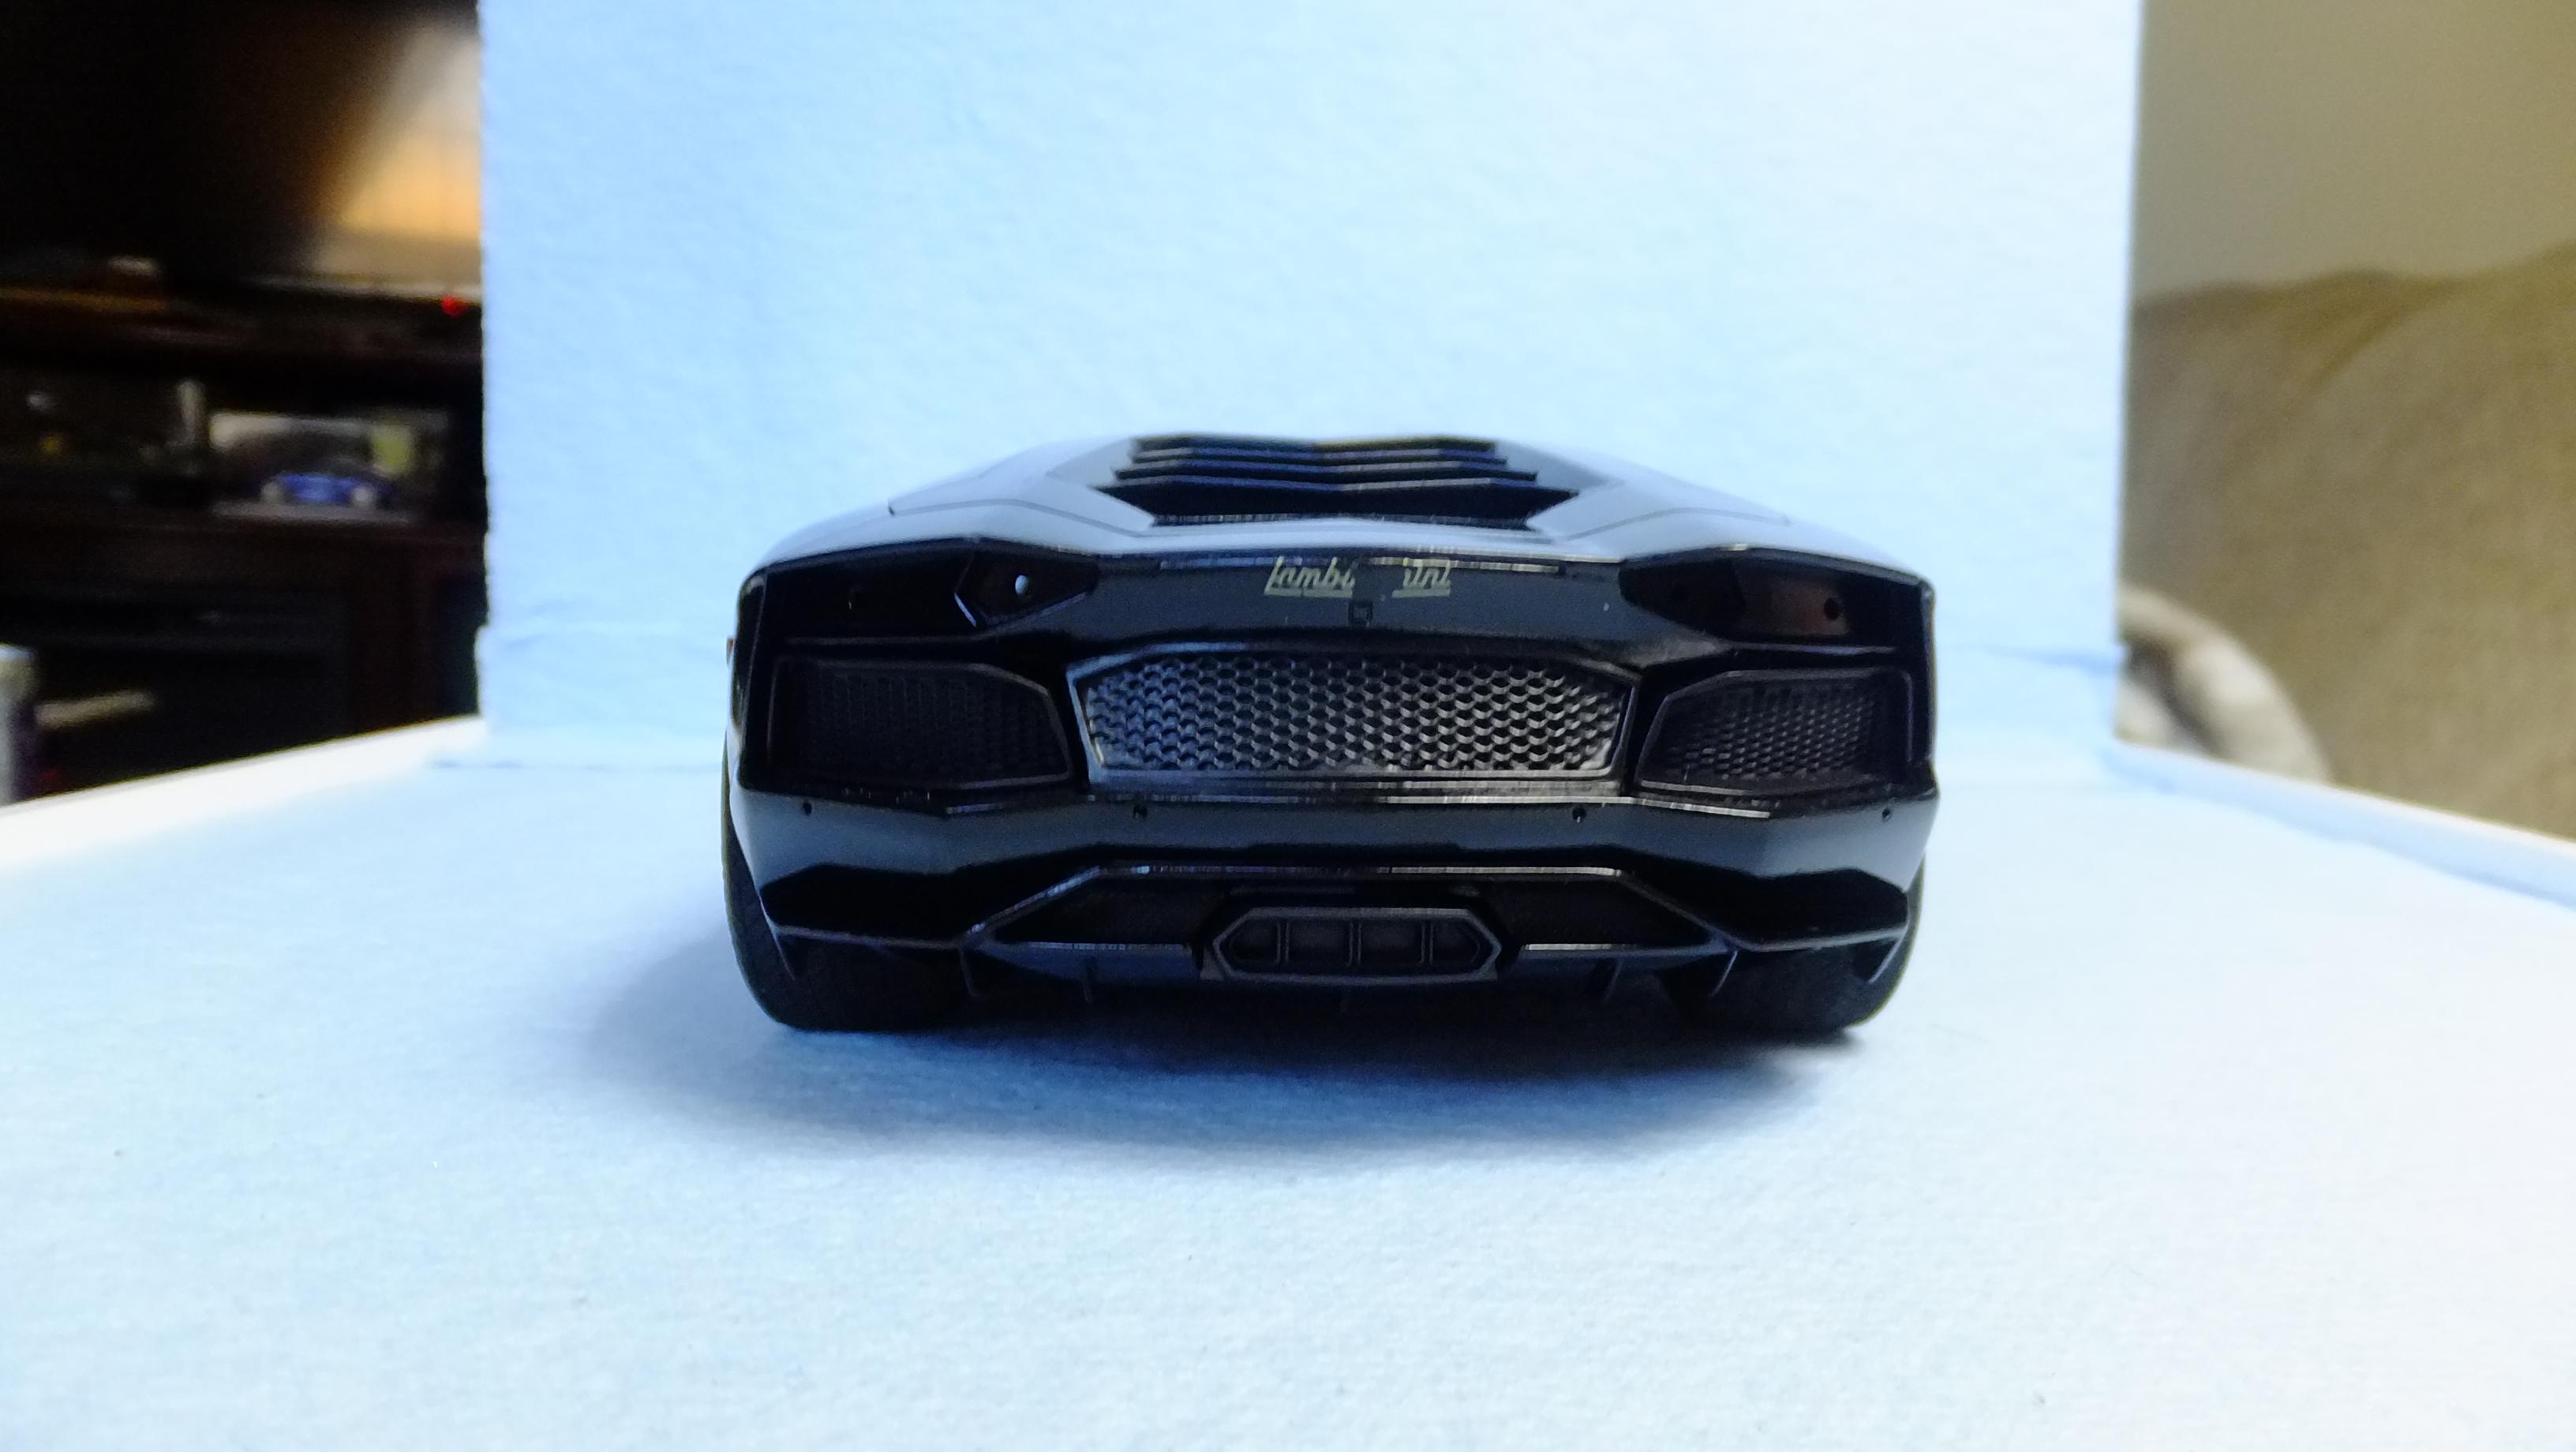
(ABOVE PHOTOS) -Photo 1; Speaking of gaps...there is NO contact between the door glass, and surrounding trim...i did not fix this because i told myself it looks like the window is cracked for a smoker, which is realistic still. -Photo 2; As far as the crispness in the detail goes, as well as the fitment, Fujimis headlamp assemblies are better than Aoshimas, BUT you have to try to paint a convincing headlamp, whereas Aoshima gives you clear bits for them. The usual Me woulda drilled them out, and put clear bits in. I did a decent job of it i think, with a three step process; 1;paint lights silver, or chrome, 2;mix one part white, with two parts gloss clear, and do a coat. then, 3;paint straight gloss clear, and it looks pretty decent. I also use this technique for painting reverse lights. -Photo 3; The rear mesh is all painted, but when i pulled the masking off, it took the middle out of my decal....even though it was cleared!...i took the rest of it off, and put a new one on. FINAL THOUGHTS; Having already built Aoshimas version, i can honostly say that no matter what Fujimi did better, if you want a VERY nice, detailed replication of this car, with minimal scratch building(SB), then Aoshima is the one for you, BUT if you arent concerned about the real factory look, then this Fujimi kit will meet your needs perfectly...its a nice, fun build, and the only real thing that lets it down, is the lack of realistic details in the interior i.e.; no door speakers, no door controls, no hand brake, and lastly... no leather rear window trim.
-
-
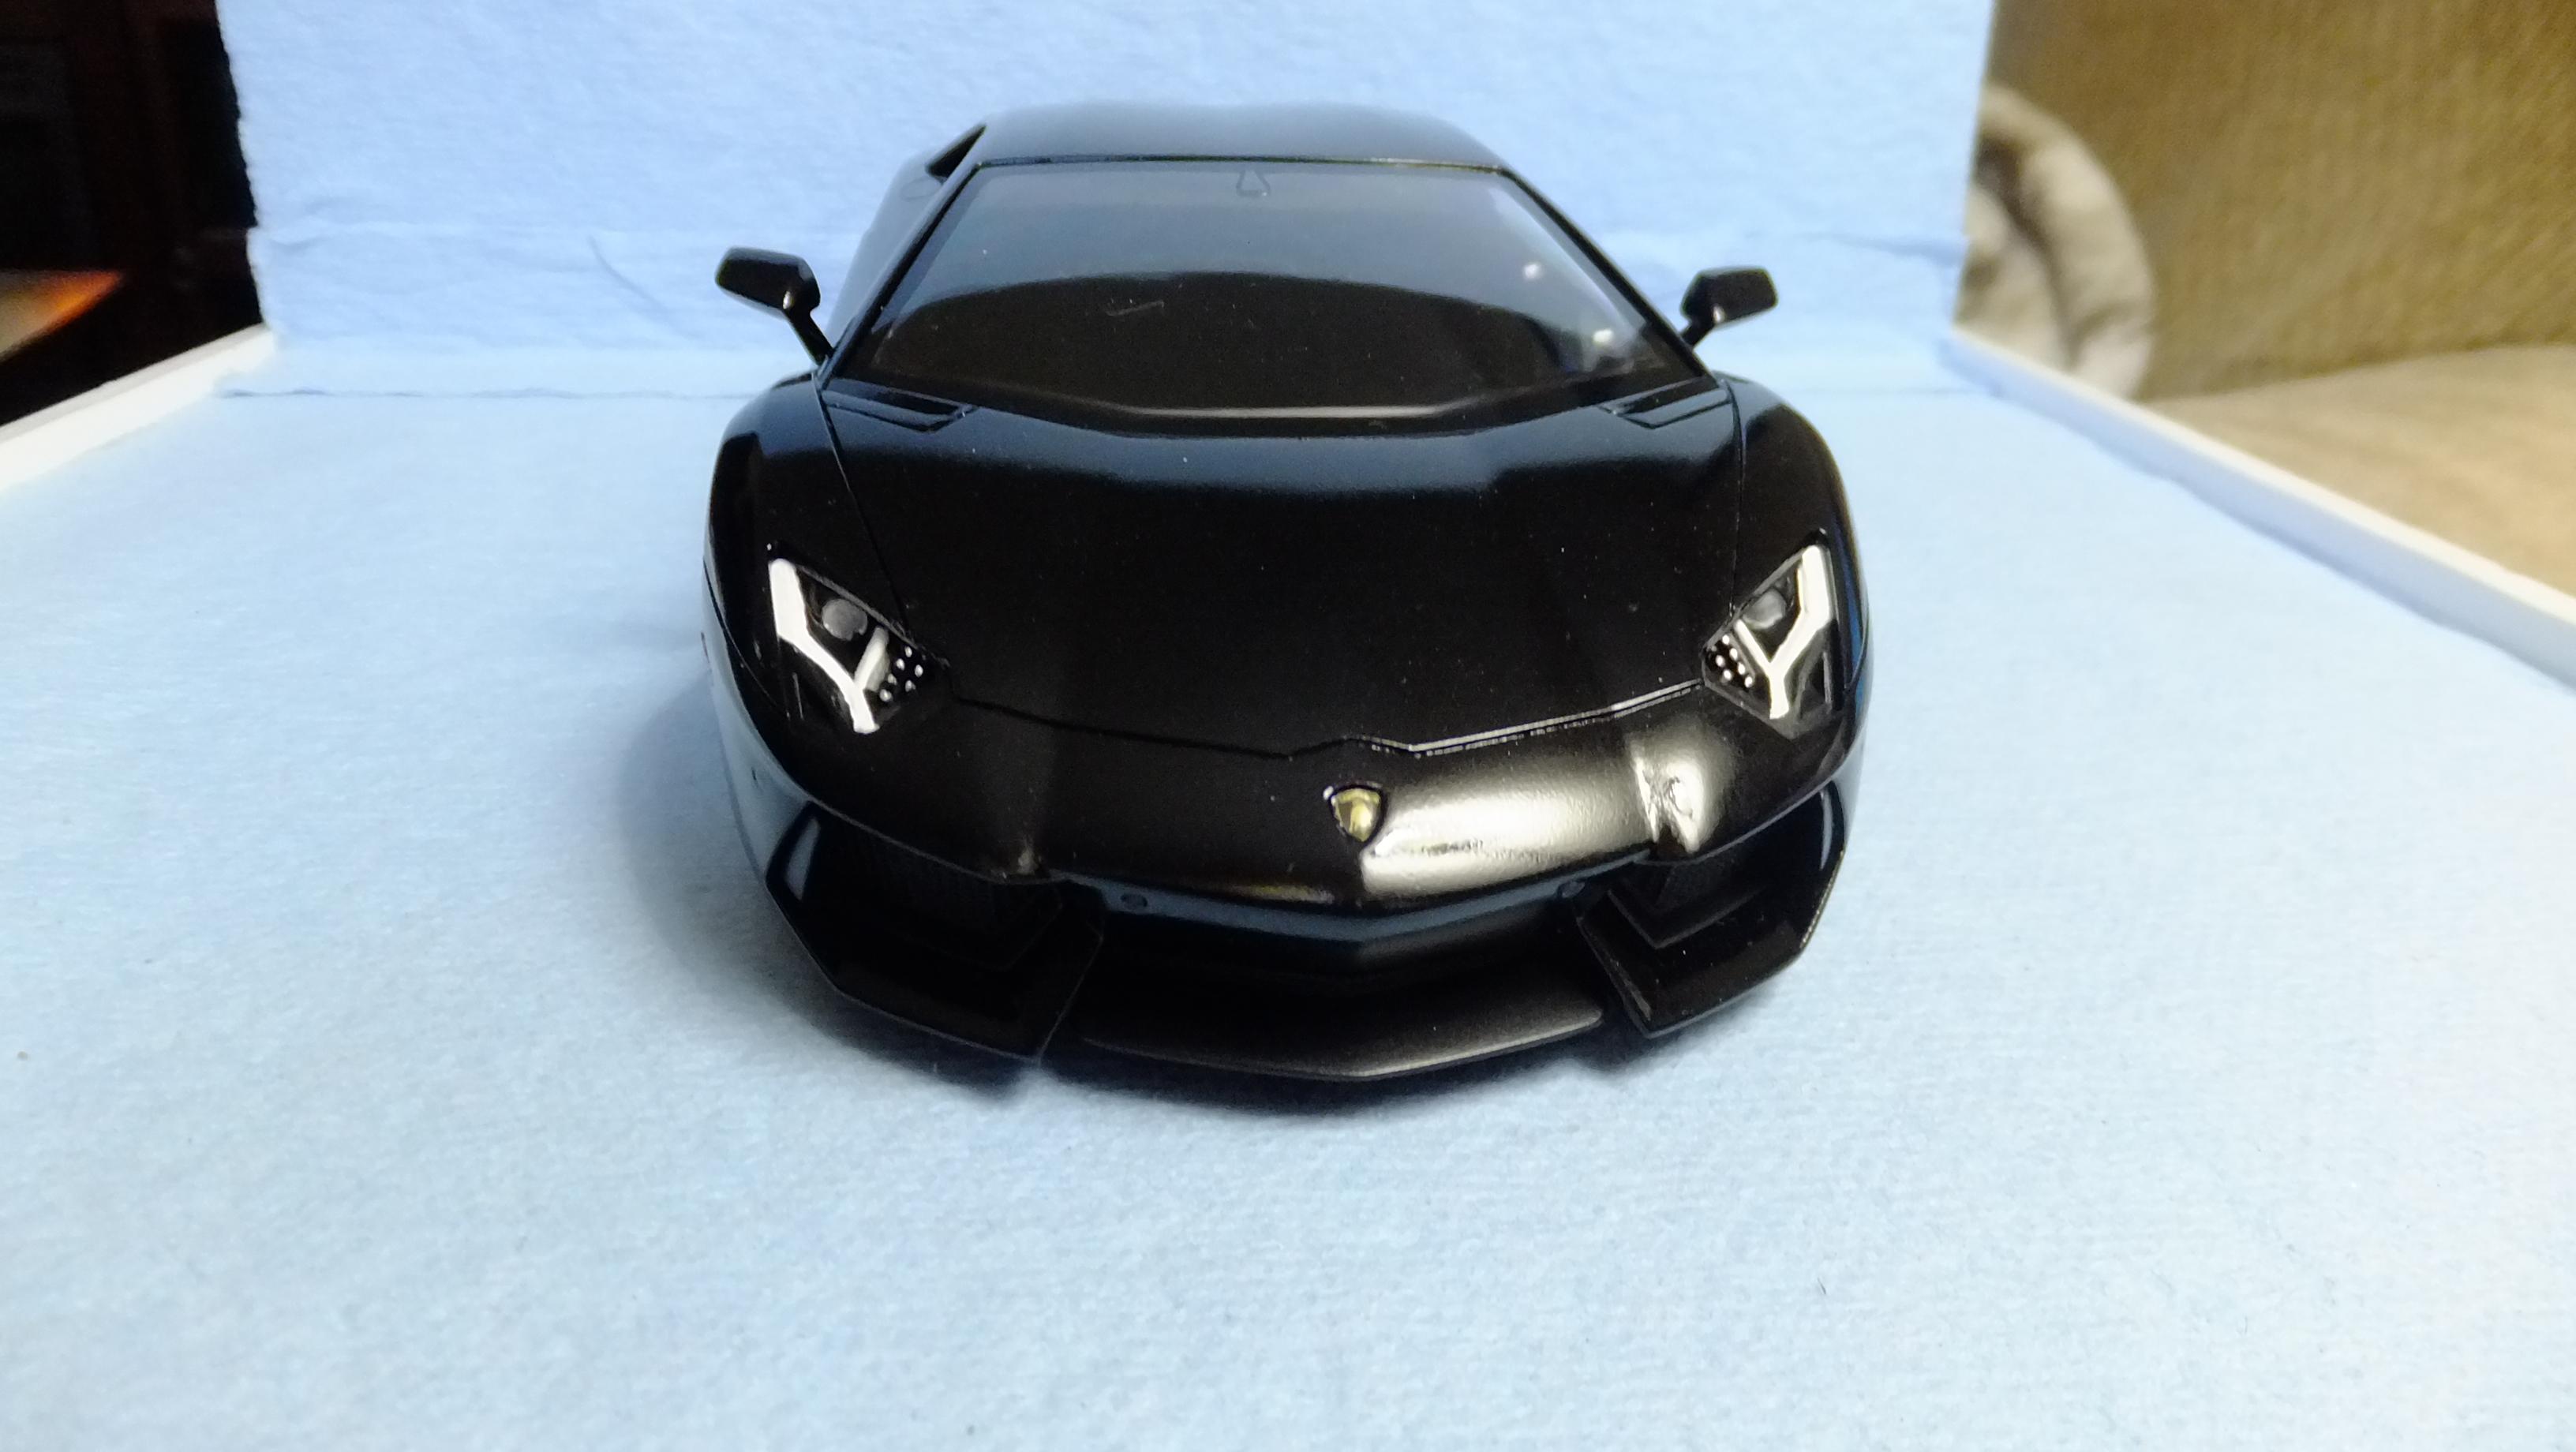
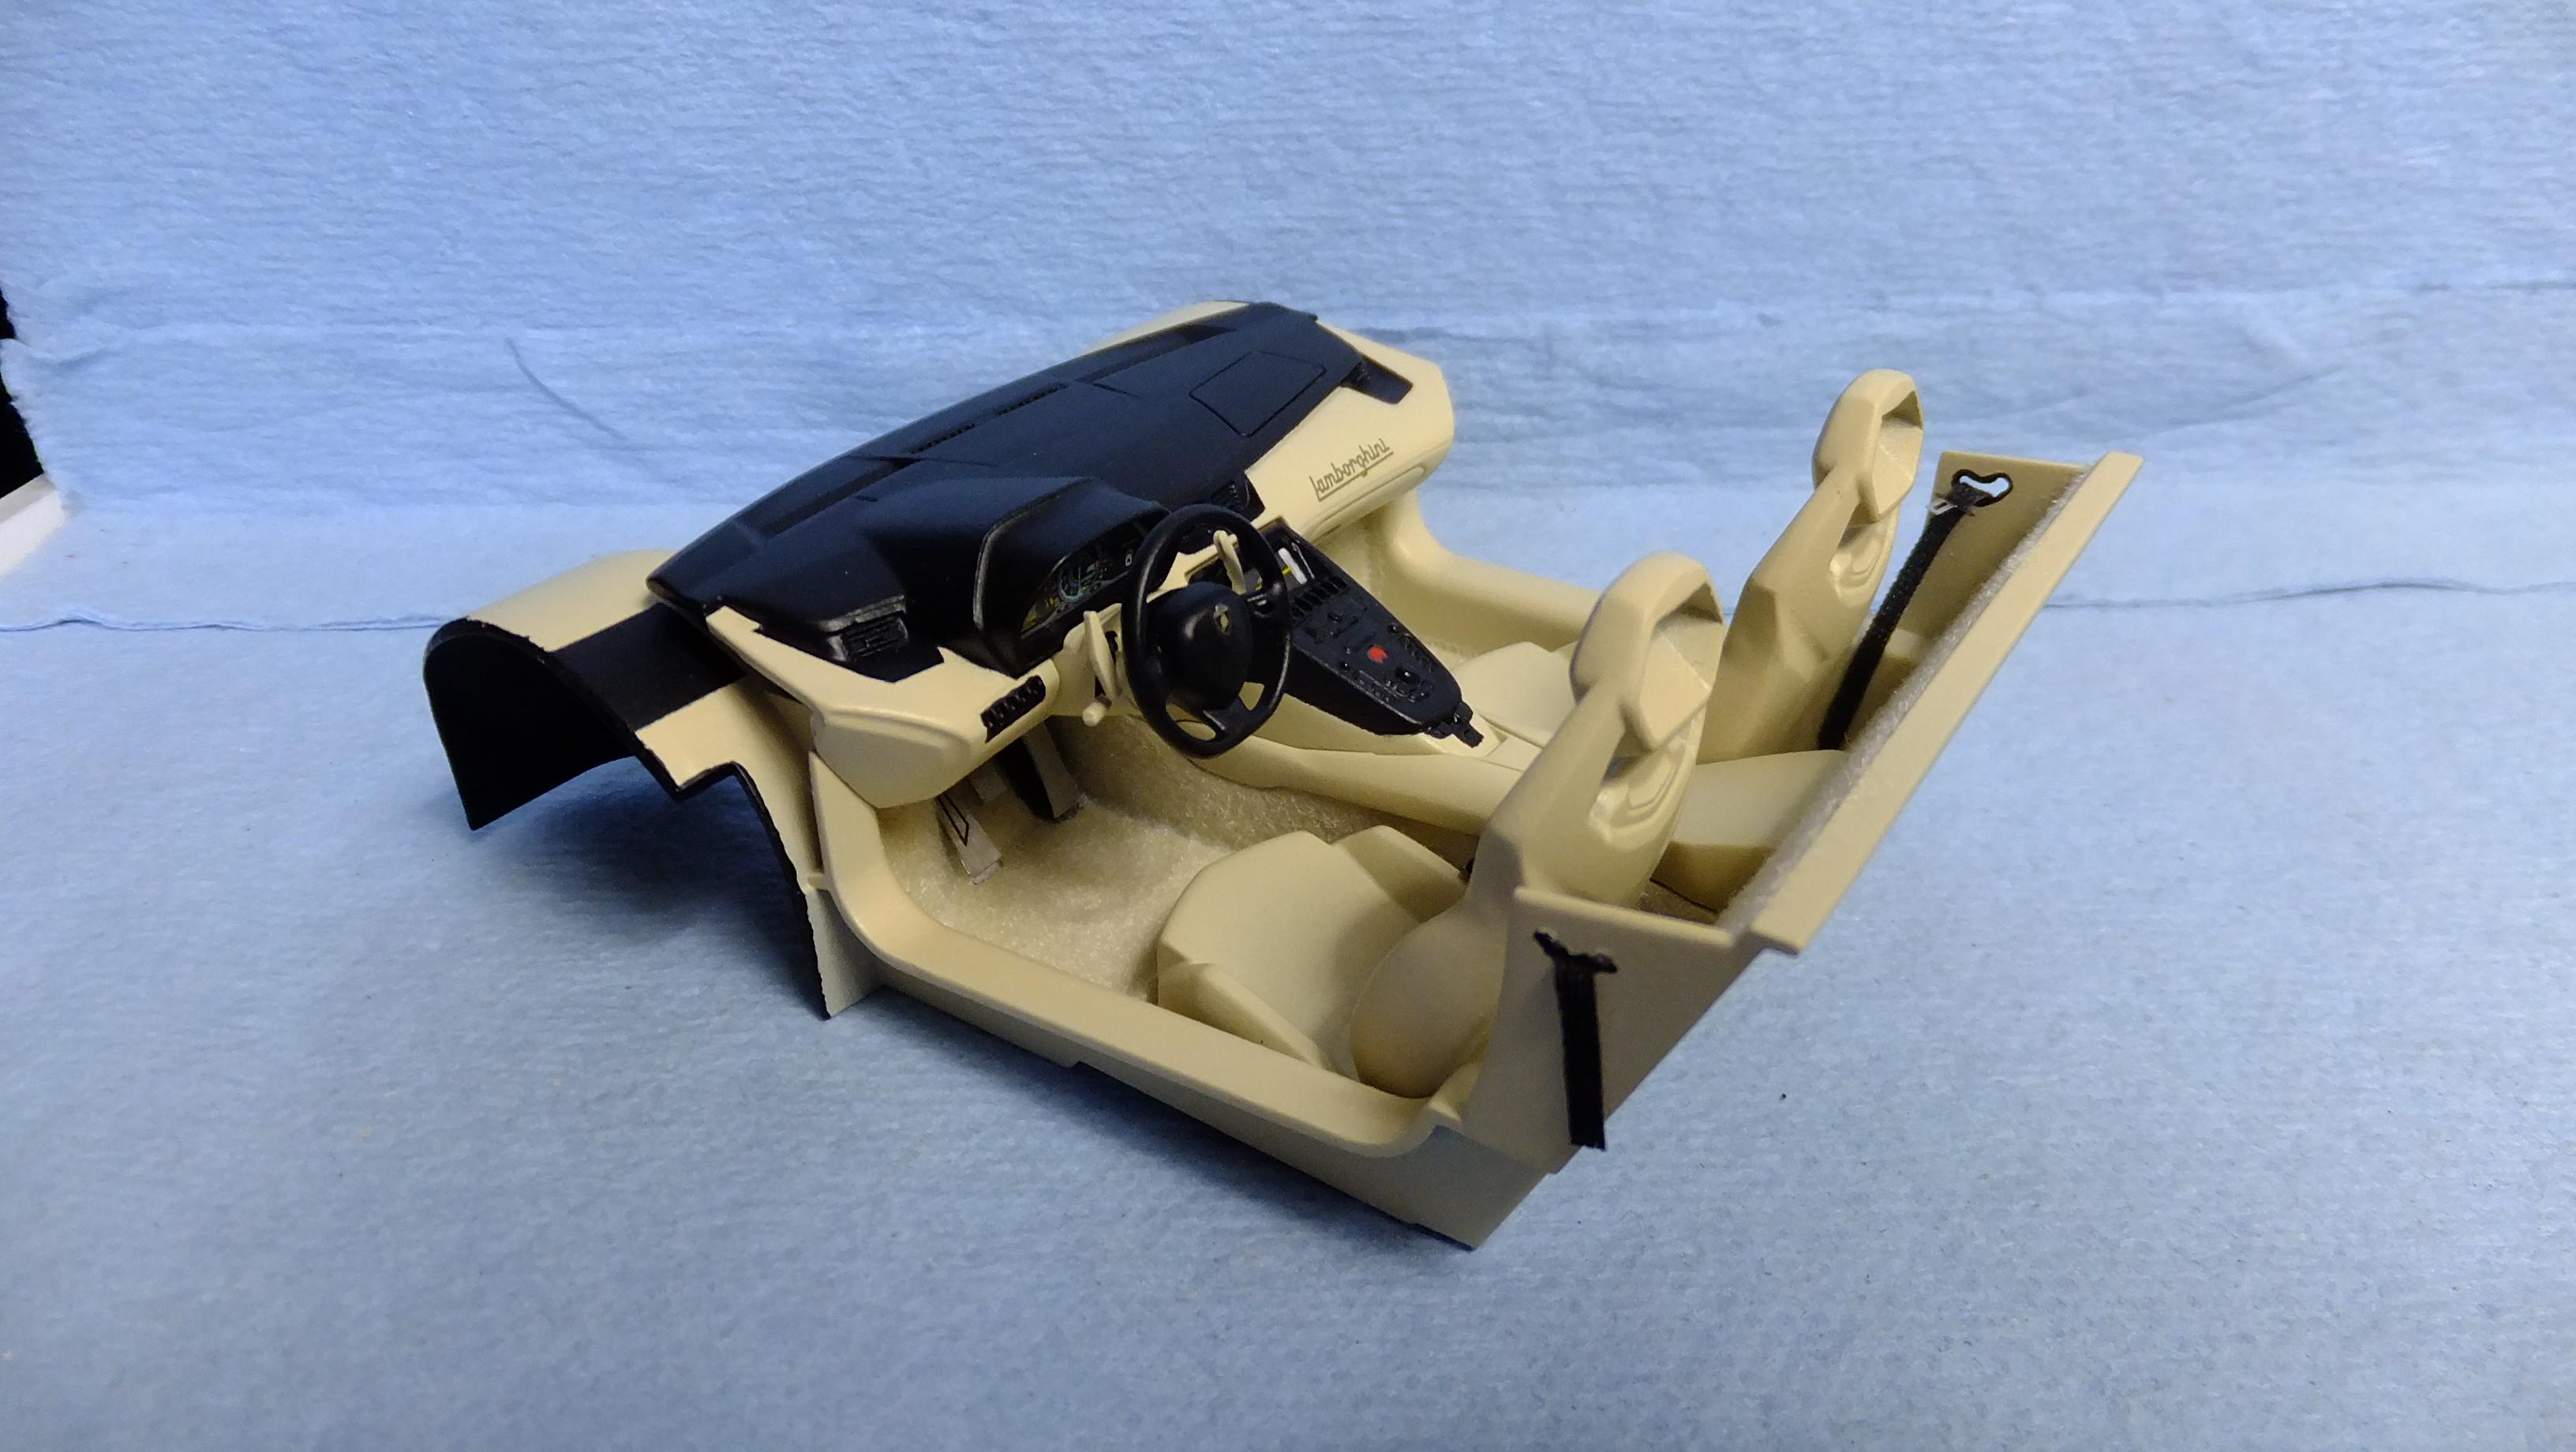
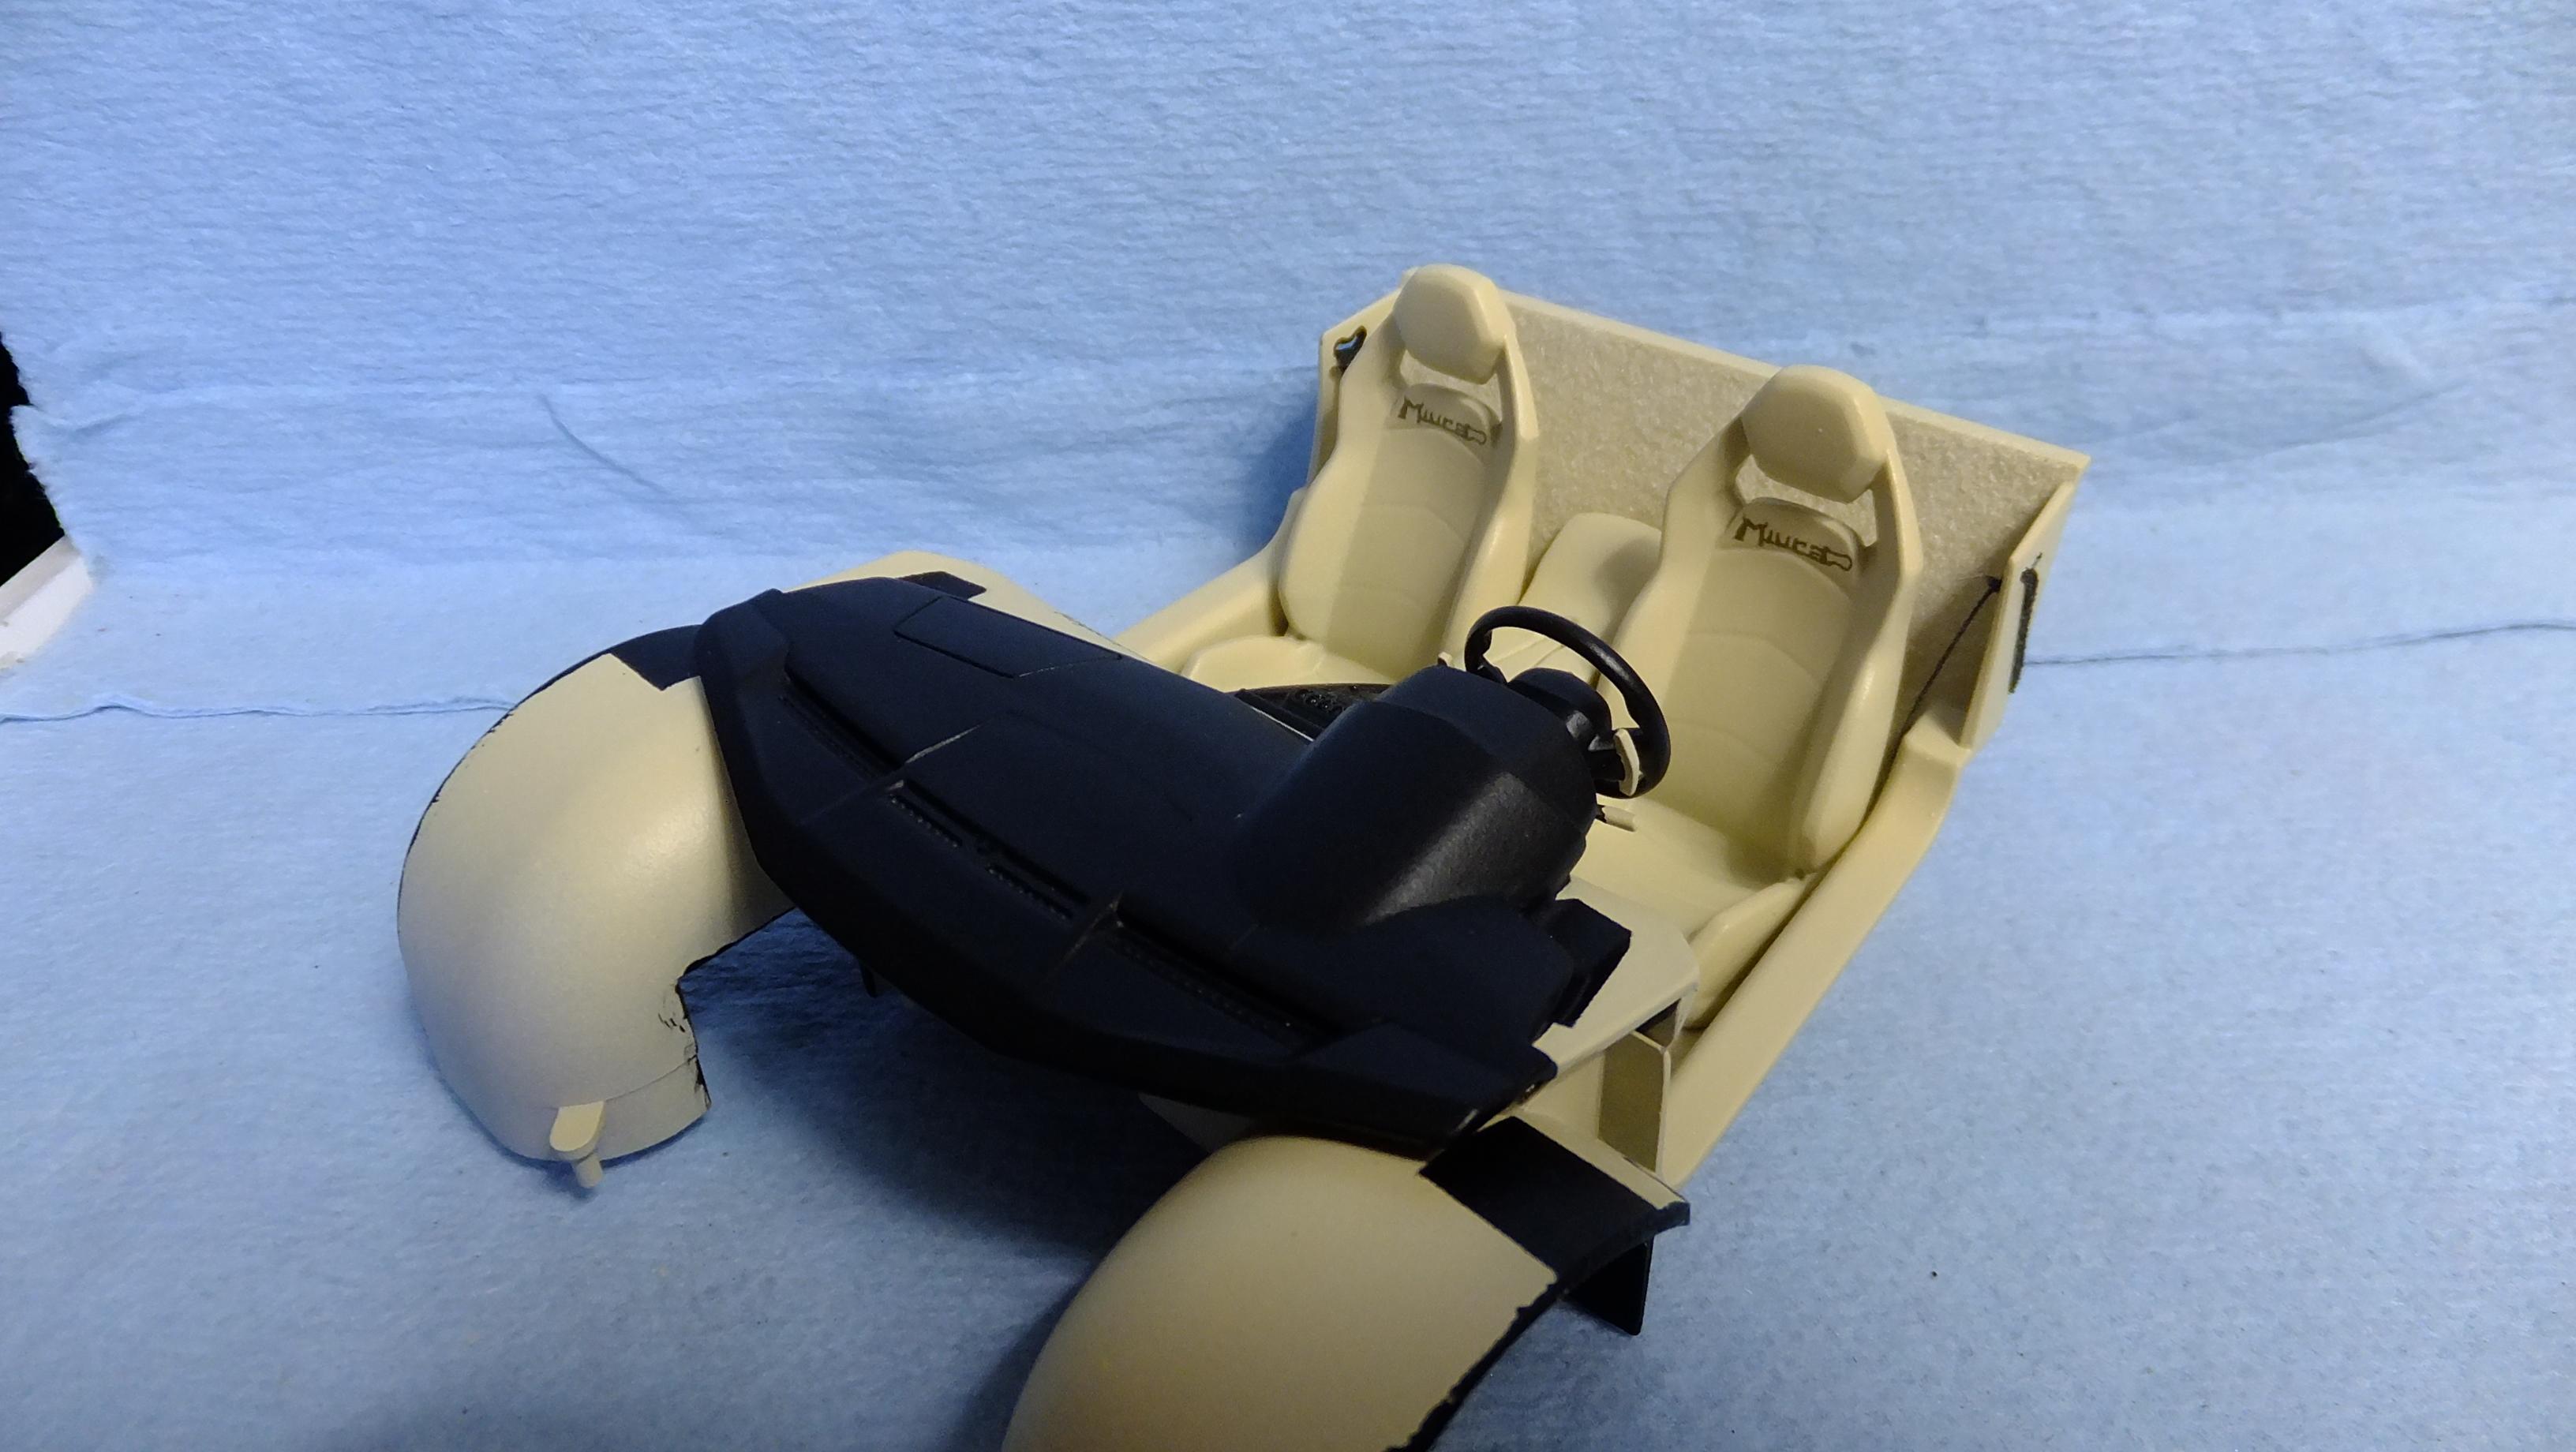
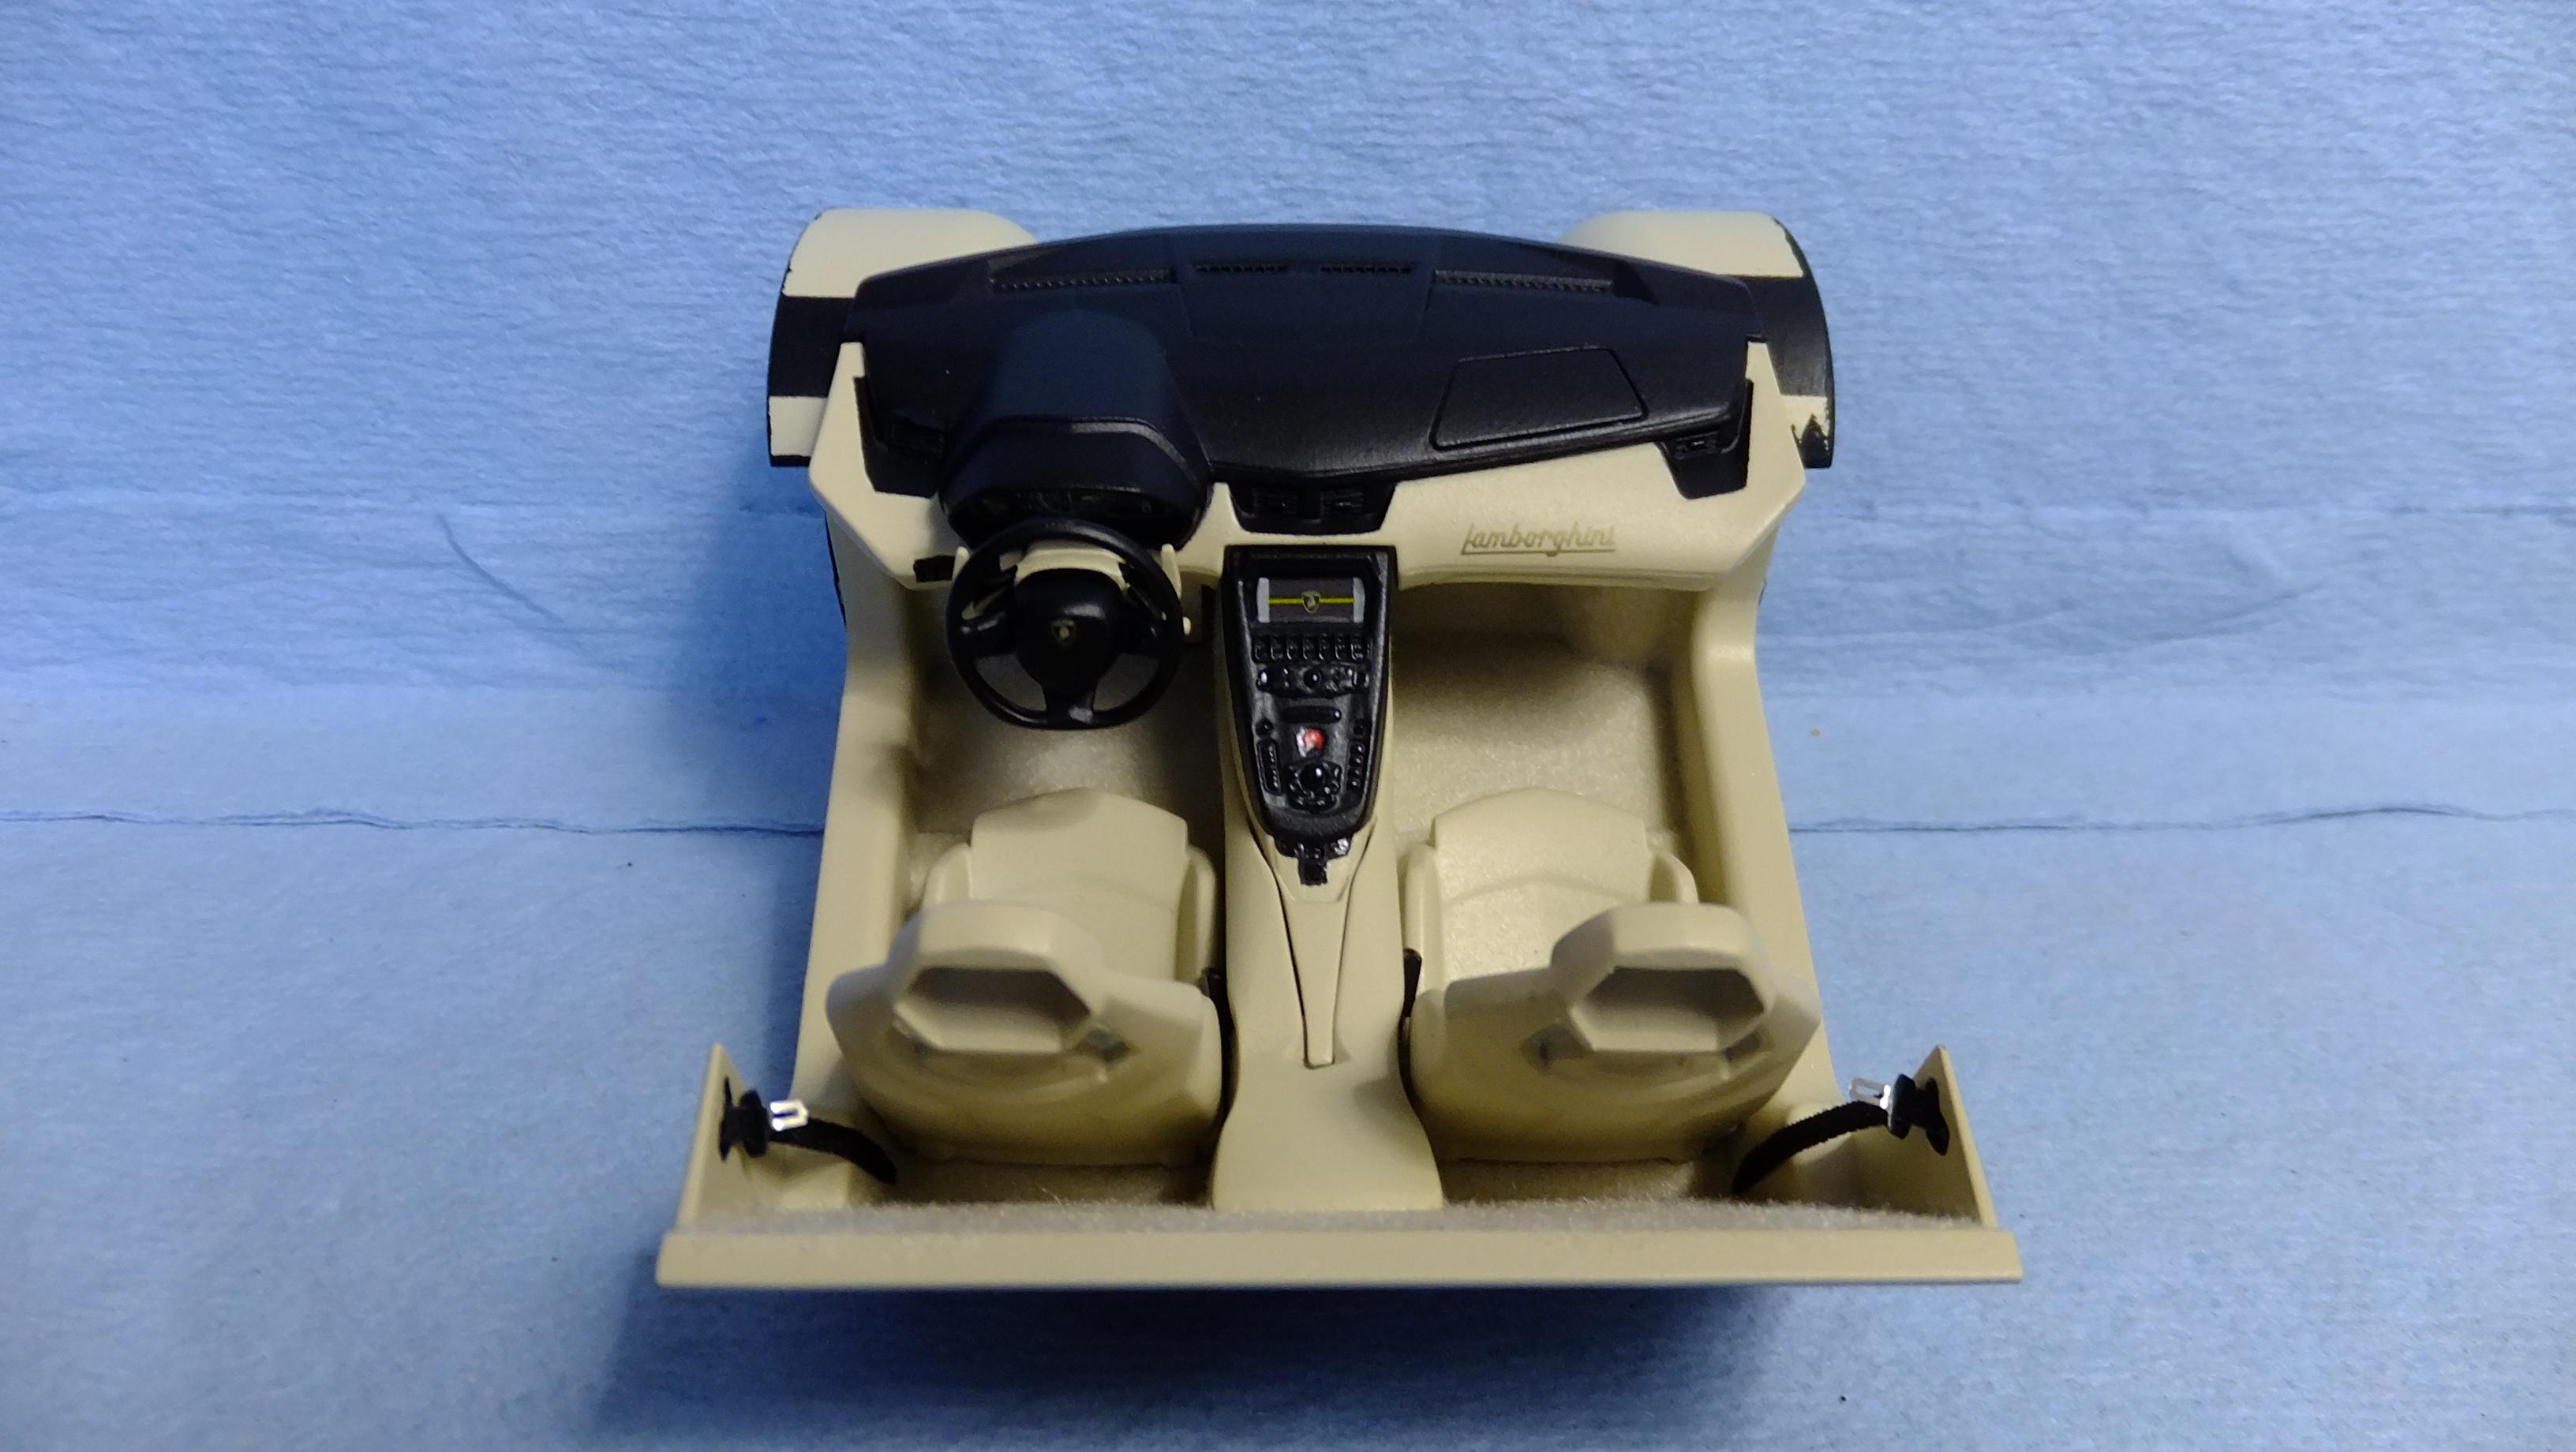
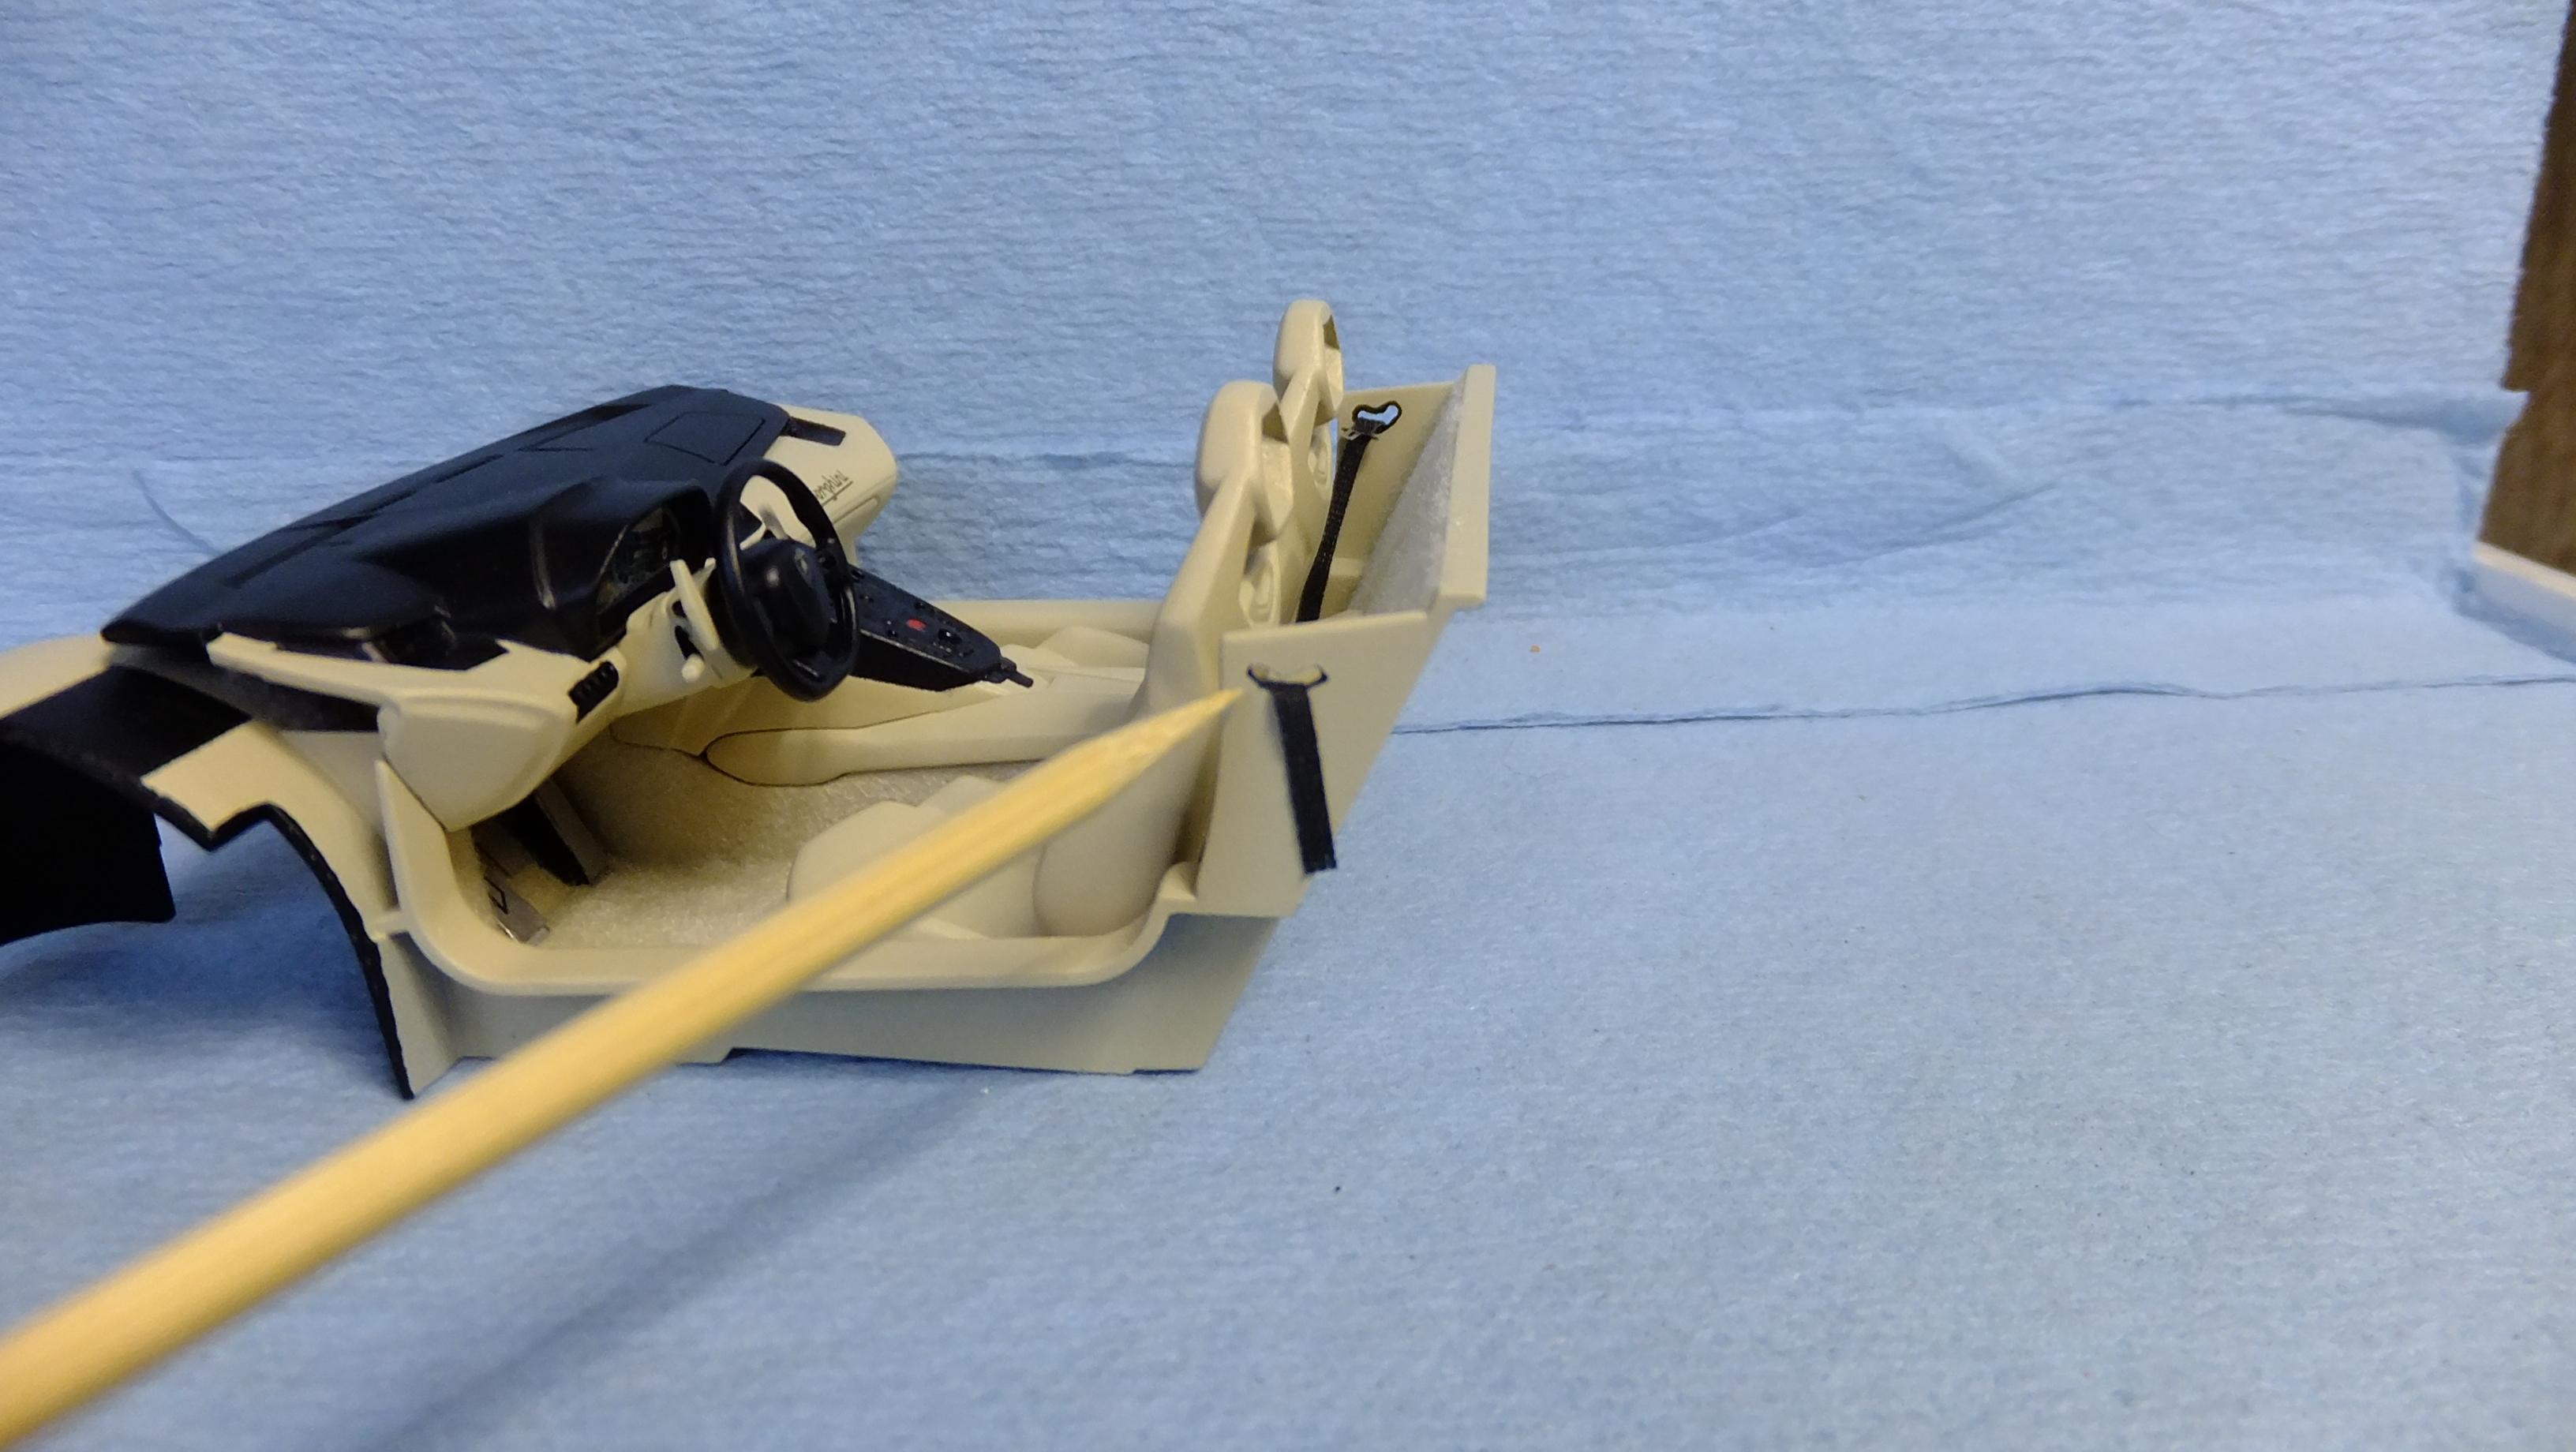
Hey, everyone!, looks like i can post photos at the moment...i've been testing the computer off and on, and Tina got it working, so hopefully it will stay that way -God willing! Now, time for business! -Photo 1-3; Here is my completed interior, since the windows will be Limo tinted, i forced myself to not bother with filling the backs of the headrests, and i didnt want any silber in this interior. -Photo 4; I cut slits for the seat belts...a bit too much of a curve, but i'm alright with it. -Photo 5; Oddly, this kit has no door speakers -i dont know of ANY Aventador that doesnt have them...I'm trying build this kit without changing/modifying it as much as possible, which is VERY hard for me, and i almost gave in a couple times, lol. -Photo 6;These spots need to be painted trim kolor, because if you dont... -Photo 7; ...your interior kolor will show through a gap between the glass, and door skin -NOT realistic.
-
Welcome to the group! I love this car/kit!....I built mine a year or so ago, and Uber detailed it, but i didnt bother with fixing the wheel hubs as you are doing here...they wouldnt really be seen on mine, but this is my kind of detailing!!!


.jpg.22fe94e785ce85885163b795d1b982e6.jpg)

.jpg.e6c1047e80f0991ef9c499e675acb9a2.jpg)
.jpg.6faba2d3c020cd86d1ee40bb09f19e7e.jpg)
.jpg.520e498e08cd3402a7934323c44a249b.jpg)
.jpg.63bbca11fe2555ad48e56d5d8c595622.jpg)