STYRENE-SURFER
-
Posts
868 -
Joined
-
Last visited
Content Type
Profiles
Forums
Events
Gallery
Everything posted by STYRENE-SURFER
-
They shoot horses, don't they?
STYRENE-SURFER replied to STYRENE-SURFER's topic in WIP: Drag Racing Models
Thanx for looking and commenting. spent some time doing more research, not allot out there on how these chassis where built. I will let you all in on how I removed the varnish left over from removing the chrome on parts. Now, I don't know the long term effects on this plastic. I did do a 24 hour test on a piece of cut off sprue.No ill effects. I mixed 3 oz. denatured Alcohol with about 5cc of cheap lacquer thiner in a jar. After several hours soaking the parts in this it was soft enough to start removing it. Picking it off w/toothpick and sharpened piece of plastic sprue. Also scrubbing w/hard bristled toothbrush. Took 3 soakings and picking,scrubbing to get cleaned up. So far there seems to be no ill effects from this. -
x-minus two million. I luv when the real colors shine. Sorry southern states, you are behind the times. Ha Ha!
-
-
-
They shoot horses, don't they?
STYRENE-SURFER replied to STYRENE-SURFER's topic in WIP: Drag Racing Models
Thanx for the comments, Snake, I totally agree with you on what improvements are possible. This build is turning out to be much more enjoyable than I expected. Researching and learning about these old drag racing Mustangs has been interesting. I don't think I am going to build a specific car from back then, but something representing the short history of those AFX cars. Your idea about constructing the frame and interior is interesting. I taped the chassis to the interior tub, to see if it was possible to slip them into the body as a group. It is possible, with some flexing of the body. Now thinking it would look better to remove the rear part of the tub, the sort of mono-tub area in the back, exposing the real chassis, and tying the roll cage into the rear frame. -
They shoot horses, don't they?
STYRENE-SURFER replied to STYRENE-SURFER's topic in WIP: Drag Racing Models
Snake, yah there is lots of things that would be nice to correct about this kit. 1. interior, tub is just wrong. 2. Exterior, no door pulls, but wipers exist. There is allot about this thing that is just wrong. But still, trying to pull it off. Here is another angle of the different solutions to the front bracing. Thoughts?
-
Montana is a beautiful state, I could see living there. And if I did, I would buy me a pygmy pony and start a dental floss business.(Yippy-Ty-O-Ty-Ay)
-
They shoot horses, don't they?
STYRENE-SURFER replied to STYRENE-SURFER's topic in WIP: Drag Racing Models
Thanx, Snake I wonder if I could ask you how to deal with the front frame braces? The 427 block is allot to reach around. Mocked up two different solutions; one taking the shortest rout and the other going higher w/an more abrupt angel down to the main frame rail. don't know which is more correct. Here is a nice 1966 mustang gasser that I found on the web. http://bangshift.com/bangshift1320/the-war-horse-a-1966-straight-axle-mustang-fast-back-that-punches-all-the-right-bangshift-buttons/
-
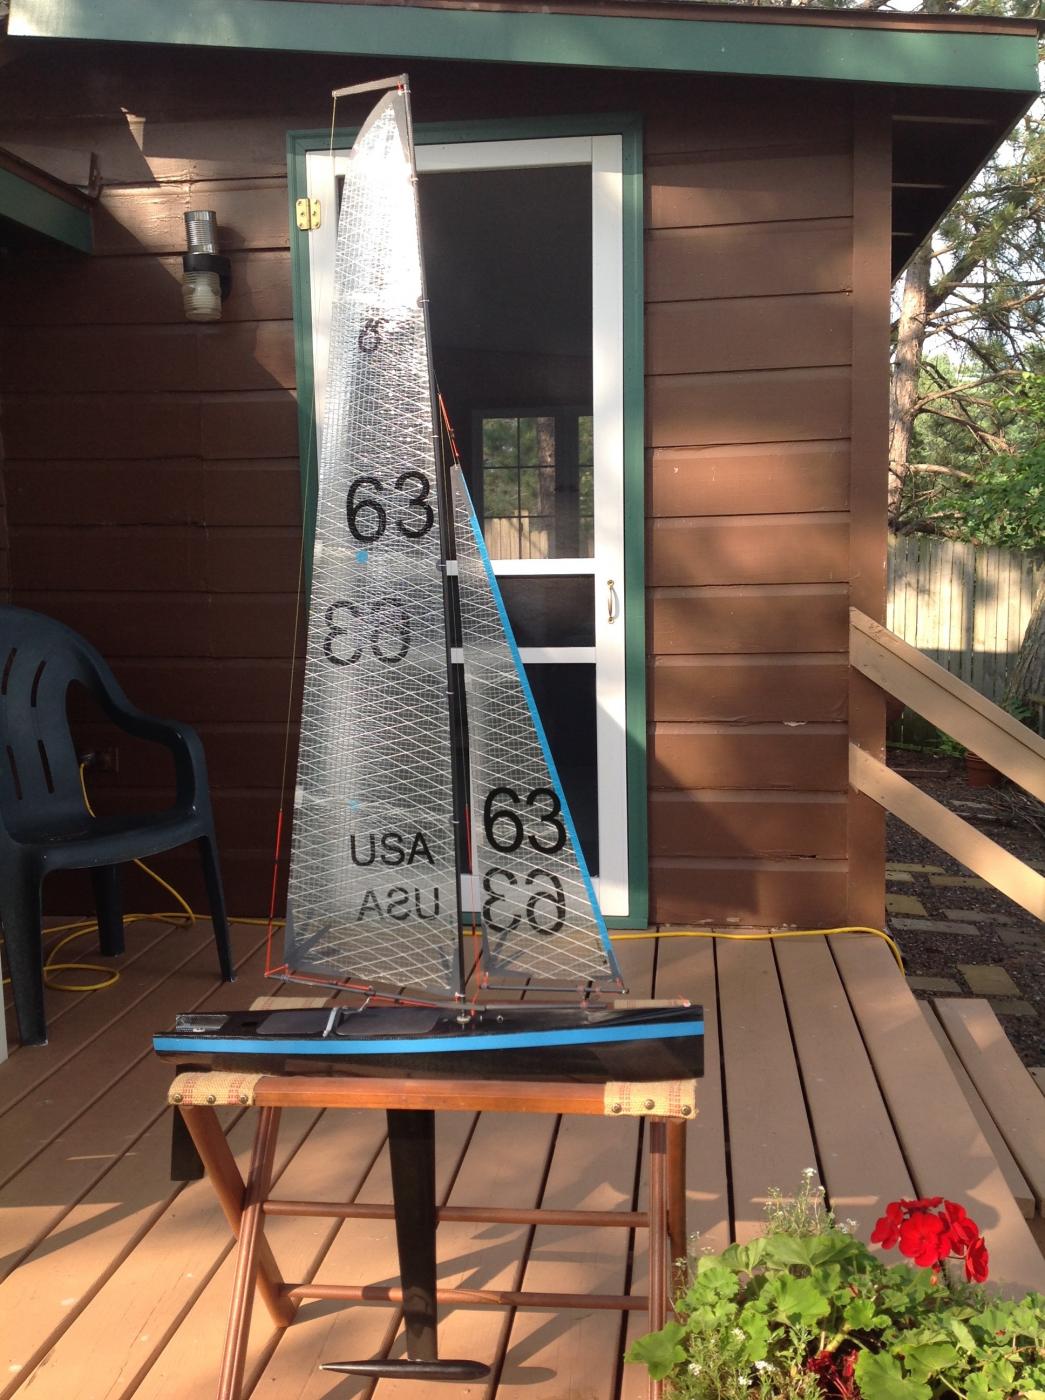
R.C. sailing. here is my RG-65 "Razor"
-
They shoot horses, don't they?
STYRENE-SURFER replied to STYRENE-SURFER's topic in WIP: Drag Racing Models
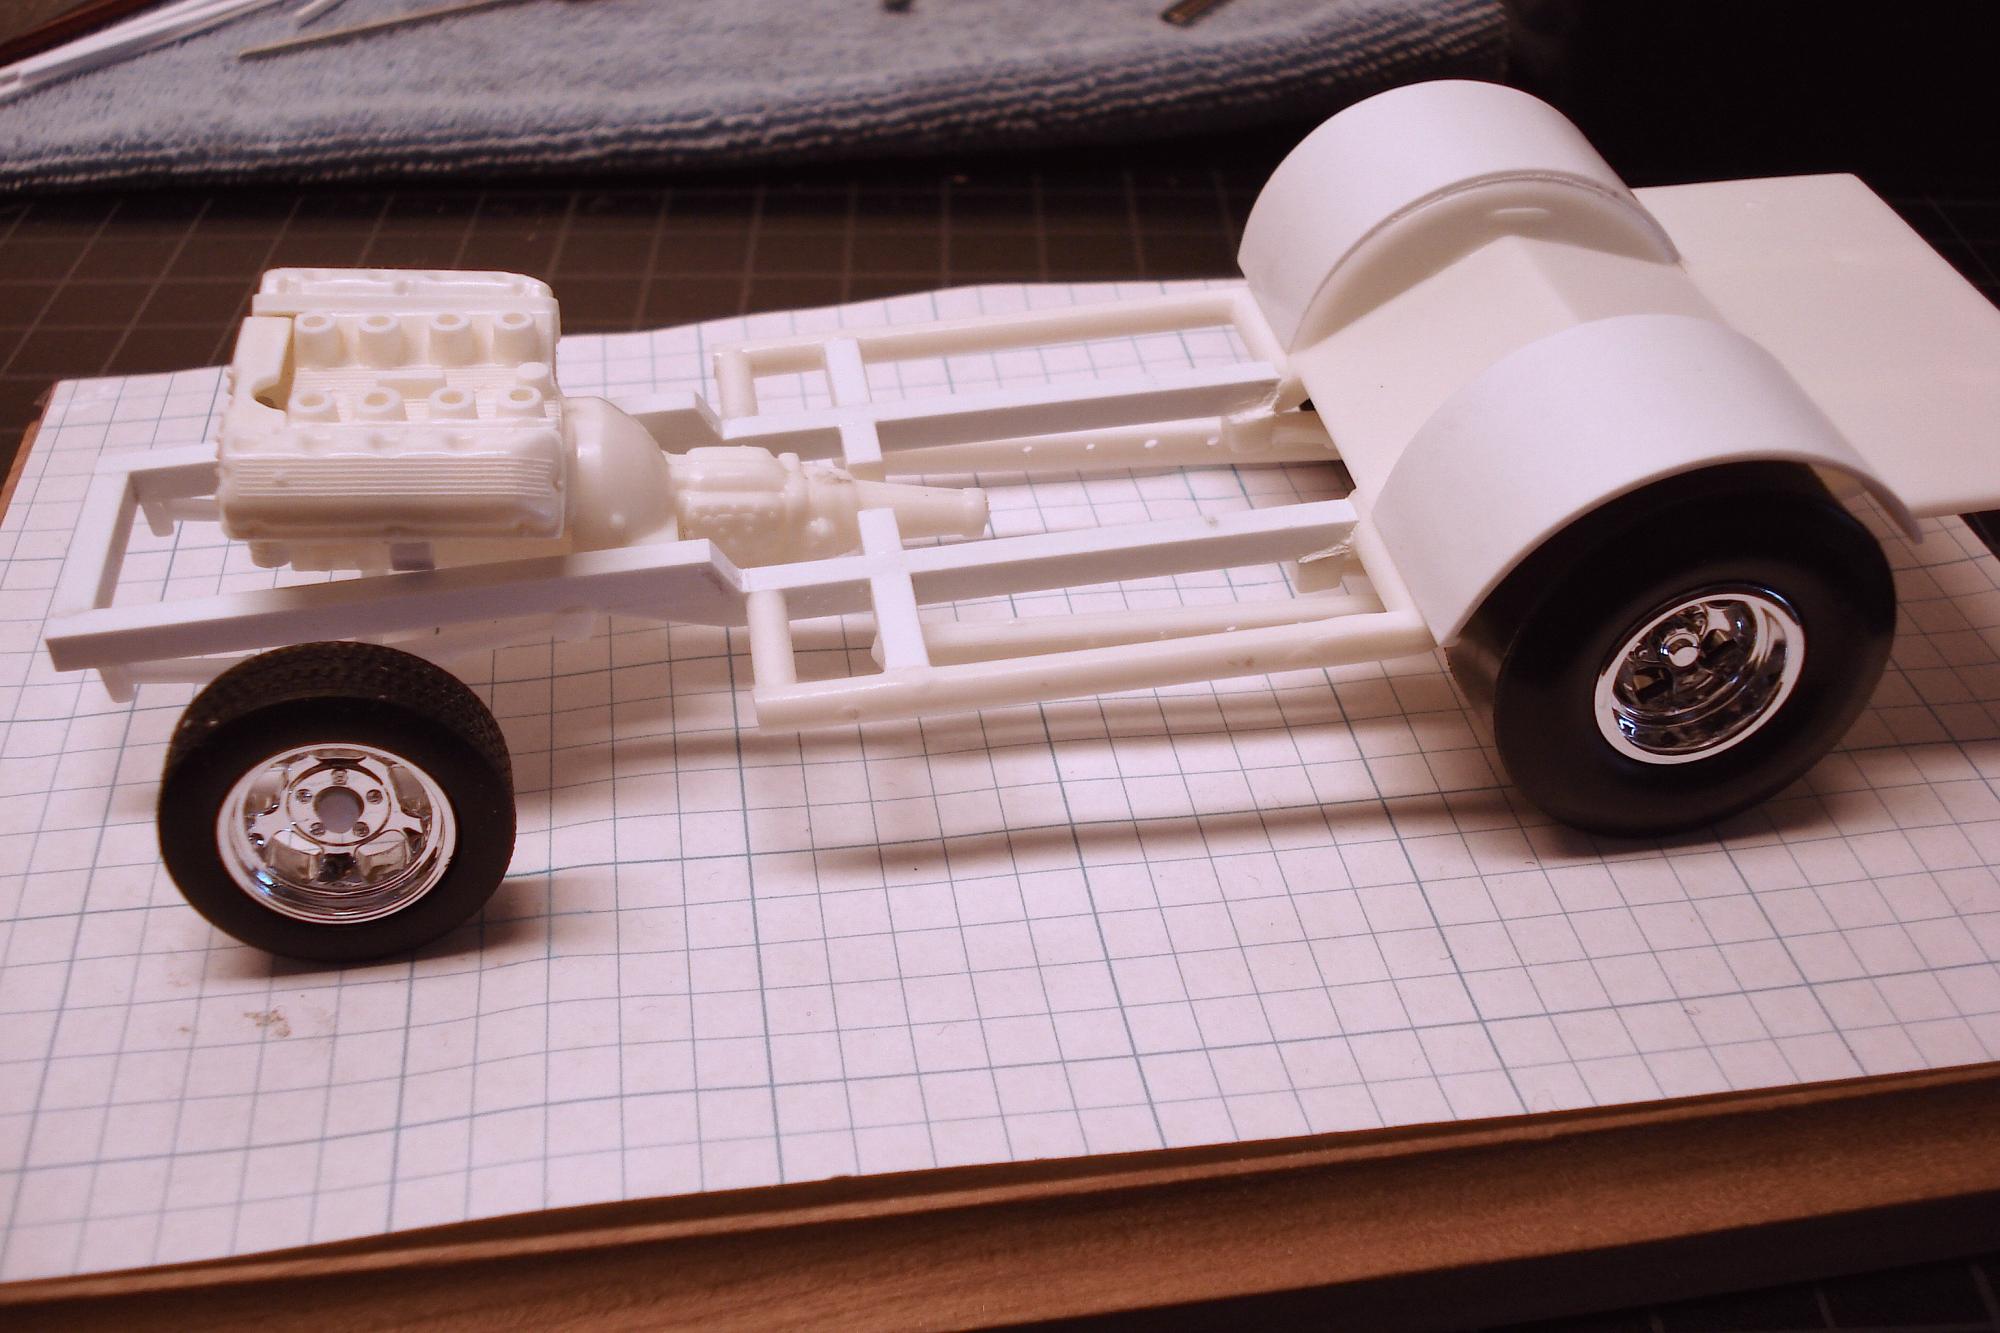
Things got a little slowed down on this due to the amount of time and work that I spent de-chrominrg parts. Had to go medieval on the nasty varnish goo that is part of the plating process. While soaking the parts in a solution I did some Google image searches of these old drag racing Mustangs. So with some inspiration from the "BOWANI II" of Sam Auxier Jr., I did some chassis work. Changing the front end to a double leaf spring arrangement. Using parts from the K.S. Pittman Willys; front axle, leaf springs, wheels and tires. Some Evergreen .125 square strip for frame rails, w/just enough room between to fudge the 427's injectors centering the (out of center, as moulded) hood opening. Exhaust manifolds will reach over the outsides of the frame, rather than between. Well, that is if all works out.
-
Thanx, Will. Those look nice.
-
A T-shirt..., Really? Hmm. try looking here.https://www.youtube.com/watch?v=_Ud3TWUz4WM
-
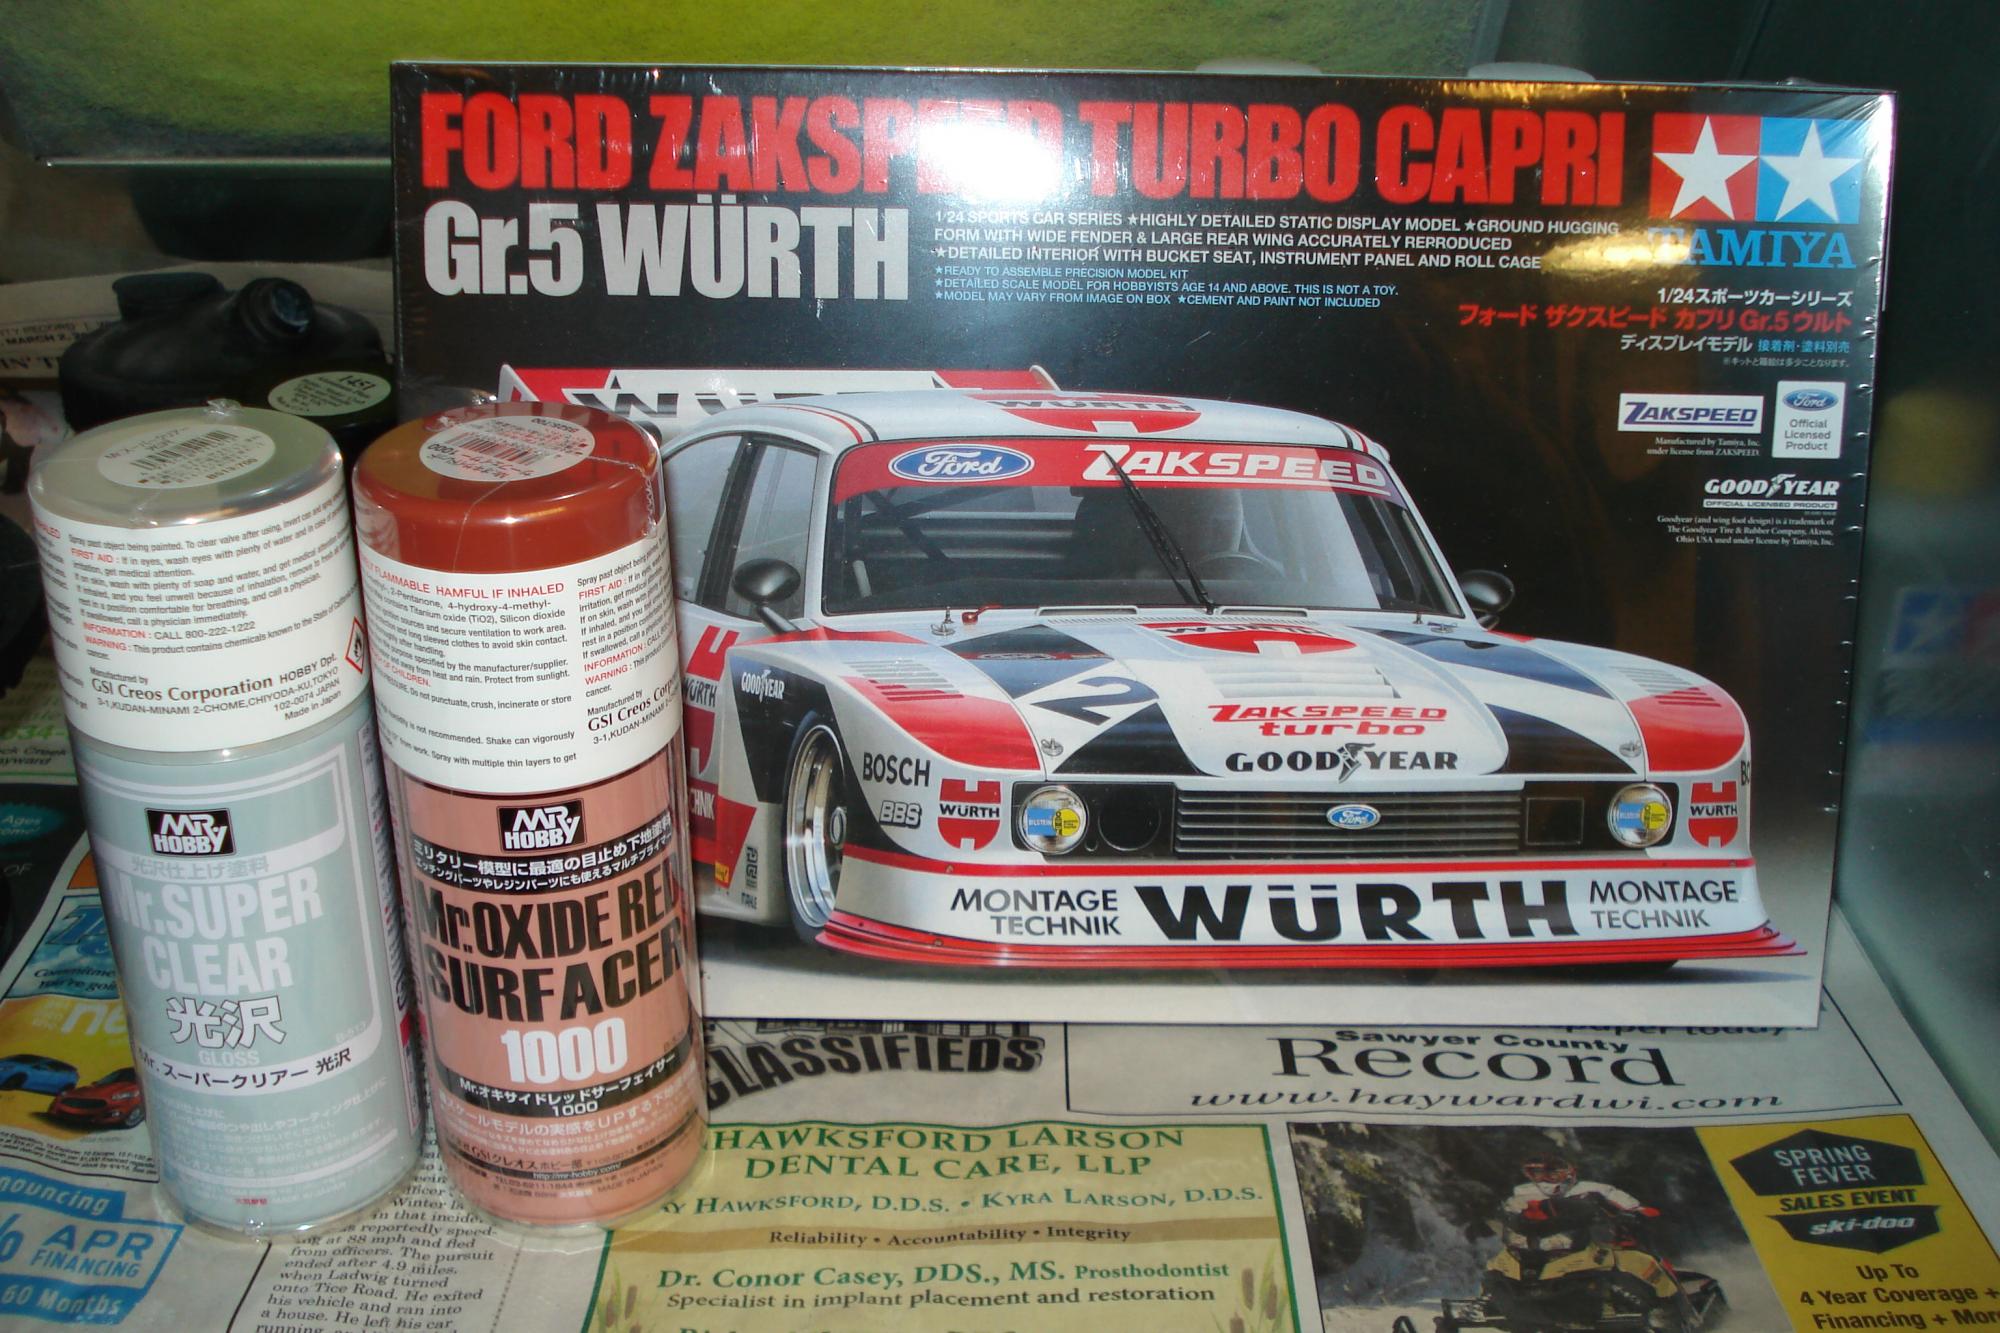
Got these from Hobbylink.com today. The red oxide primer is for another future project. Never tried the clear before, but thought I'd give it a try. This Tamiya kit is going ahead of the line of some other projects going on here.
-
Well, that went from bacon to making it quickly!
-
Bill Jenkins' Black Arrow 1965 Belvedere
STYRENE-SURFER replied to Jim_Kampmann's topic in WIP: Drag Racing Models
Wow,fantastic looking. The slightly turned front tires make it even more realistic. -
Thanx for the info Bill. As crude as they look by todays standards, those old dragsters had some science behind them. Thanks for the physics lesson
-
They shoot horses, don't they?
STYRENE-SURFER replied to STYRENE-SURFER's topic in WIP: Drag Racing Models
Spent about two hours today just cleaning up the Trailing links. Moving the front axle forward meant changing there attachment points. I am trying to use only parts from this kit, as bad as it is. Big problem now is the front axle is so narrow, what to do? -
Nice work, I like your idea of using channel to create the spindles. The front end looks just right, I have never understood the physics of why these dragsters have such weird angles up front. Something I'll have to Google LOL You have a great start on an old school short dragster.
-
They shoot horses, don't they?
STYRENE-SURFER replied to STYRENE-SURFER's topic in WIP: Drag Racing Models
By the way, If you want to build an accurate A/FX Mustang from the day, don't start w/this kit. Here is a interesting thread from the H.A.M.B. dealing w/the front suspension on these cars. Hope it's okay to link here, I searched for ever to find this info. http://www.jalopyjournal.com/forum/threads/ford-a-fx-torsion-front-suspension.820584/ I have no idea why this link is acting this way, copy and paste. sorry. Well It is working now... Hmmm. -
They shoot horses, don't they?
STYRENE-SURFER replied to STYRENE-SURFER's topic in WIP: Drag Racing Models
Well, not a lot of progress today. A little shook up really, someone tried to break into the house last night. The idiot is in jail now thanks in part to the snow that was falling at the time. they tracked him down into some woods nearby. I don't usually appreciate the S word this time of the year, but it helped. So back to subject... changed the rear wheel tubs so they are not so visible when viewed from..., well lets just say they were a problem. Did some work on front and rear bumpers, front narrowed a bit. and locating pins added to fit the previously filled in gaps above the front and rear fascia.
-
They shoot horses, don't they?
STYRENE-SURFER replied to STYRENE-SURFER's topic in WIP: Drag Racing Models
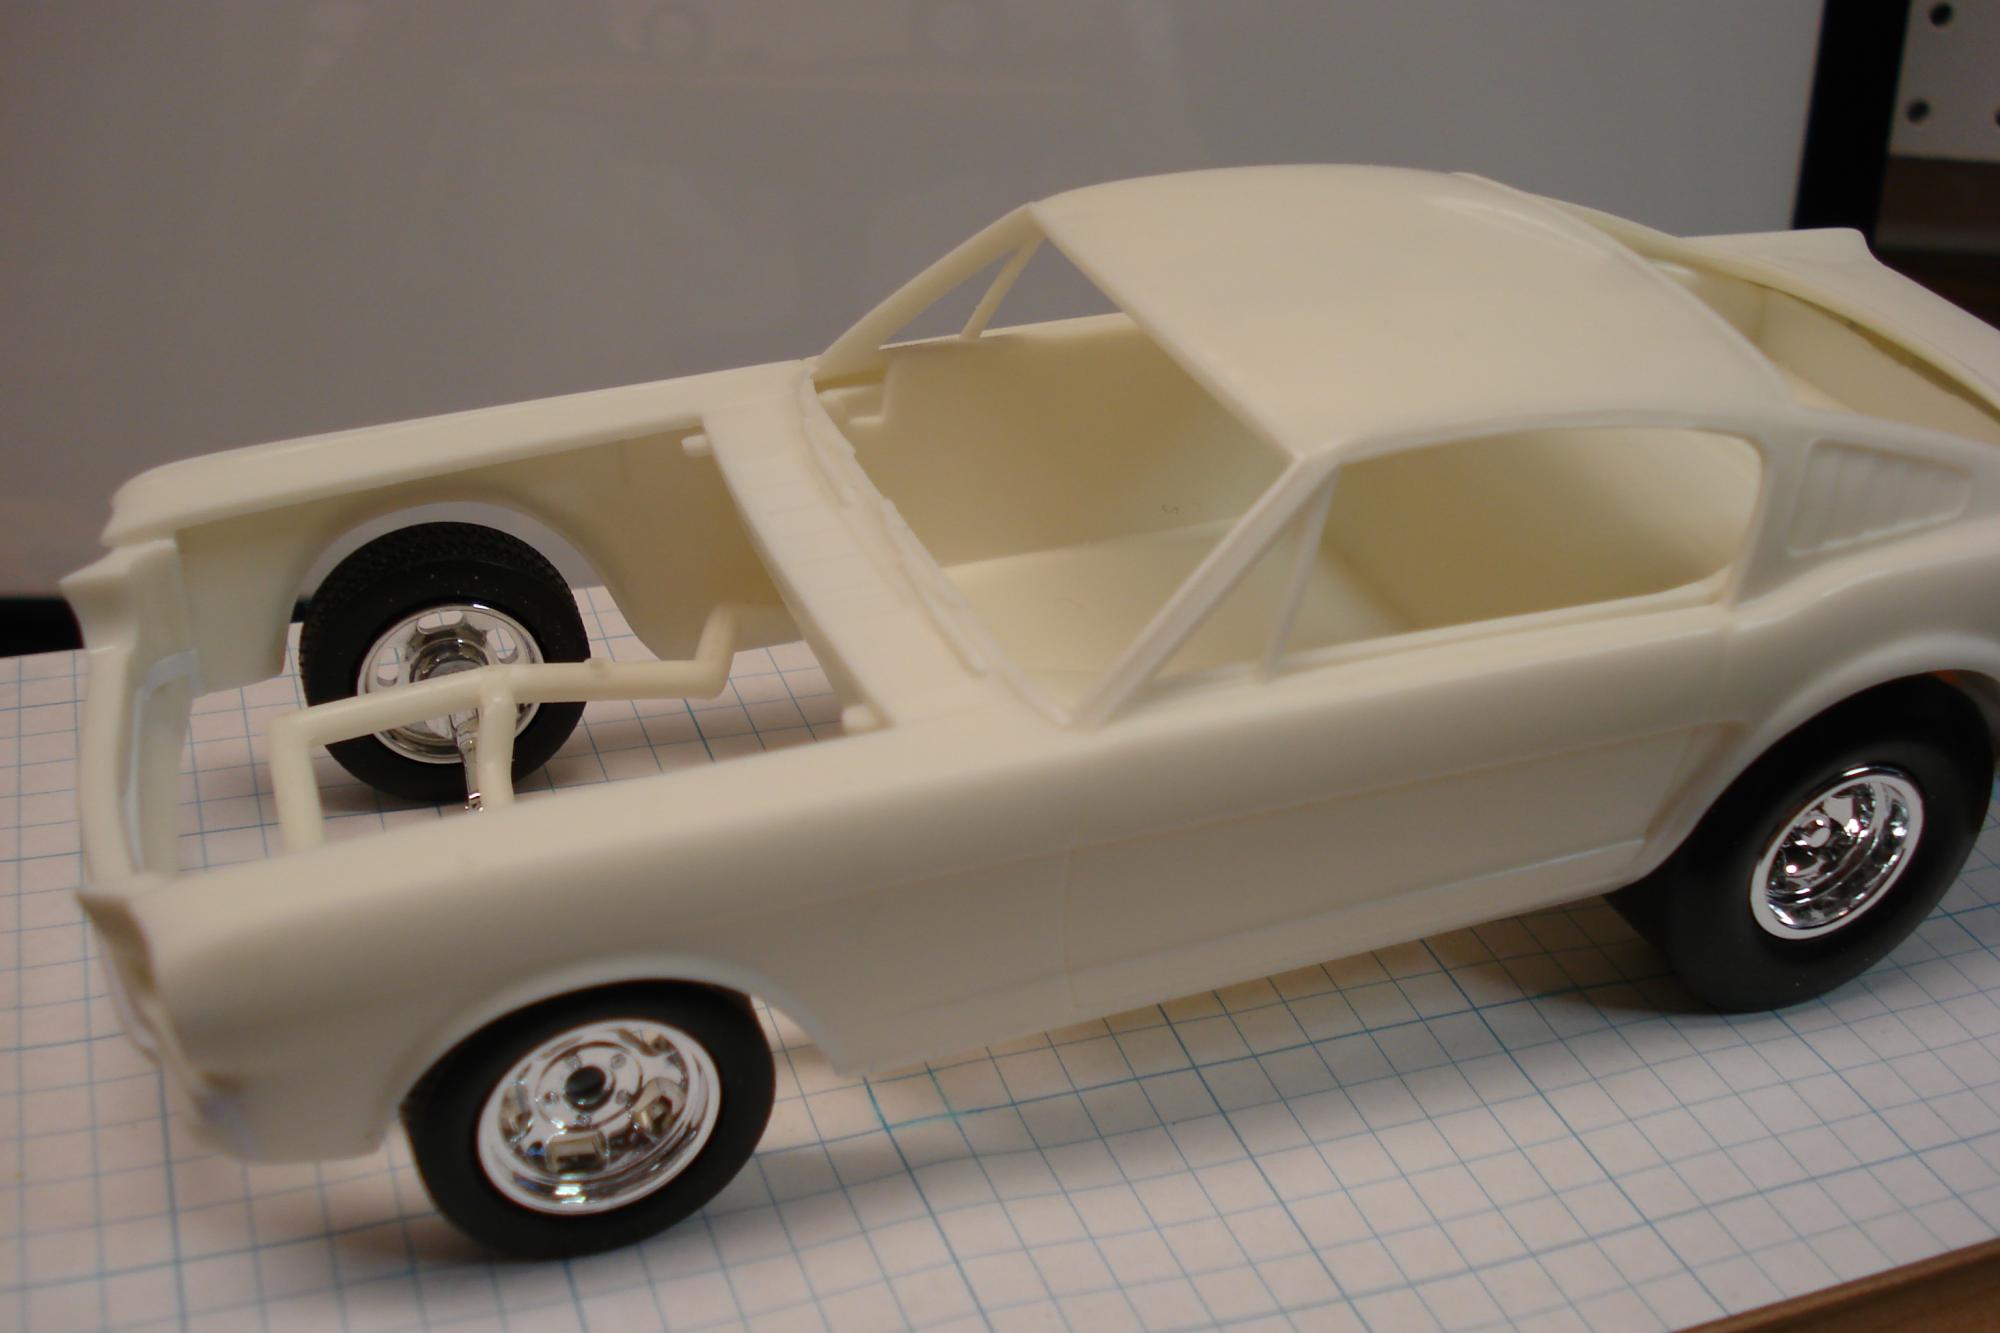
Thanx. Amazingly the glass fits front and rear quite well, dash as well. take a careful look at this next picture, I outlined the Teardrop scoop with pencil. I don't know if I'm up to correcting that hood, so the engine will have to be shifted to the left side to look right.
-
They shoot horses, don't they?
STYRENE-SURFER replied to STYRENE-SURFER's topic in WIP: Drag Racing Models
Mock up, wrong tires sorry.
-
They shoot horses, don't they?
STYRENE-SURFER replied to STYRENE-SURFER's topic in WIP: Drag Racing Models
Z'd frame... twisted the K-member forward to move the axel.
-
They shoot horses, don't they?
STYRENE-SURFER replied to STYRENE-SURFER's topic in WIP: Drag Racing Models
chassis tweaking. Zing the frame.
-
They shoot horses, don't they?
STYRENE-SURFER replied to STYRENE-SURFER's topic in WIP: Drag Racing Models
So.. after getting that interior tub sorted, I created these locators useing the pins molded into the original body.