bill lanfear
-
Posts
686 -
Joined
-
Last visited
Content Type
Profiles
Forums
Events
Gallery
Everything posted by bill lanfear
-
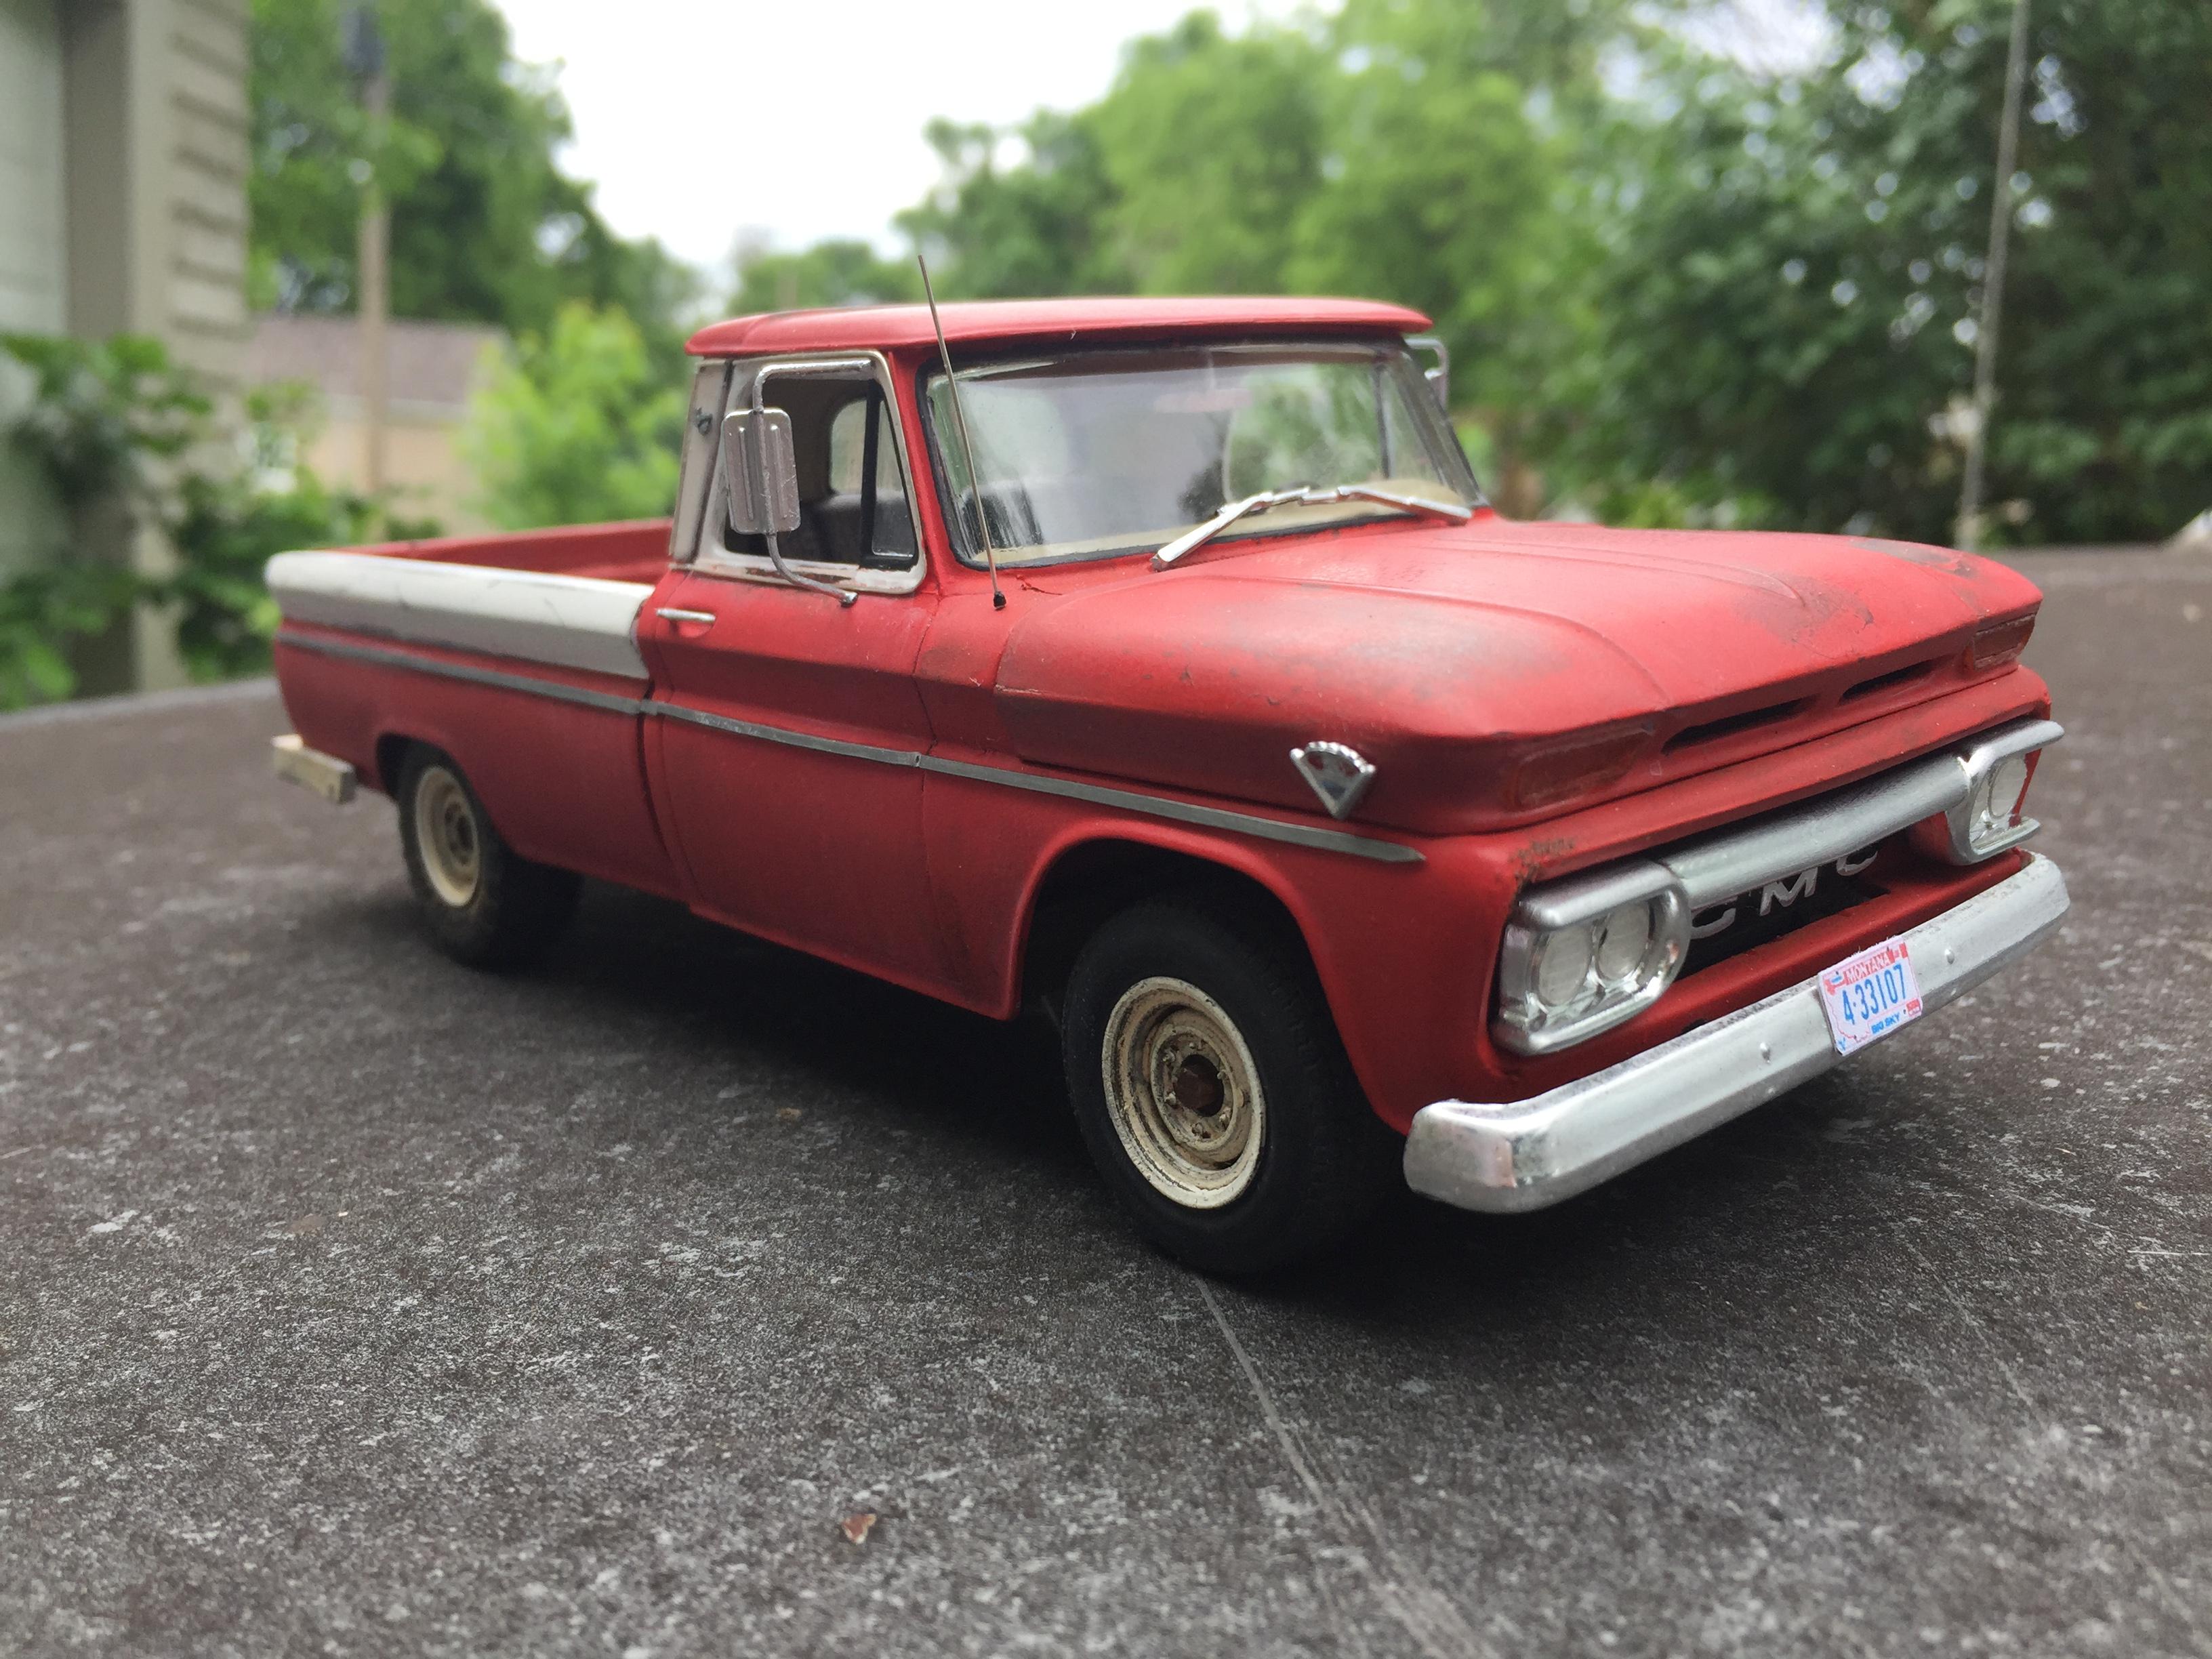
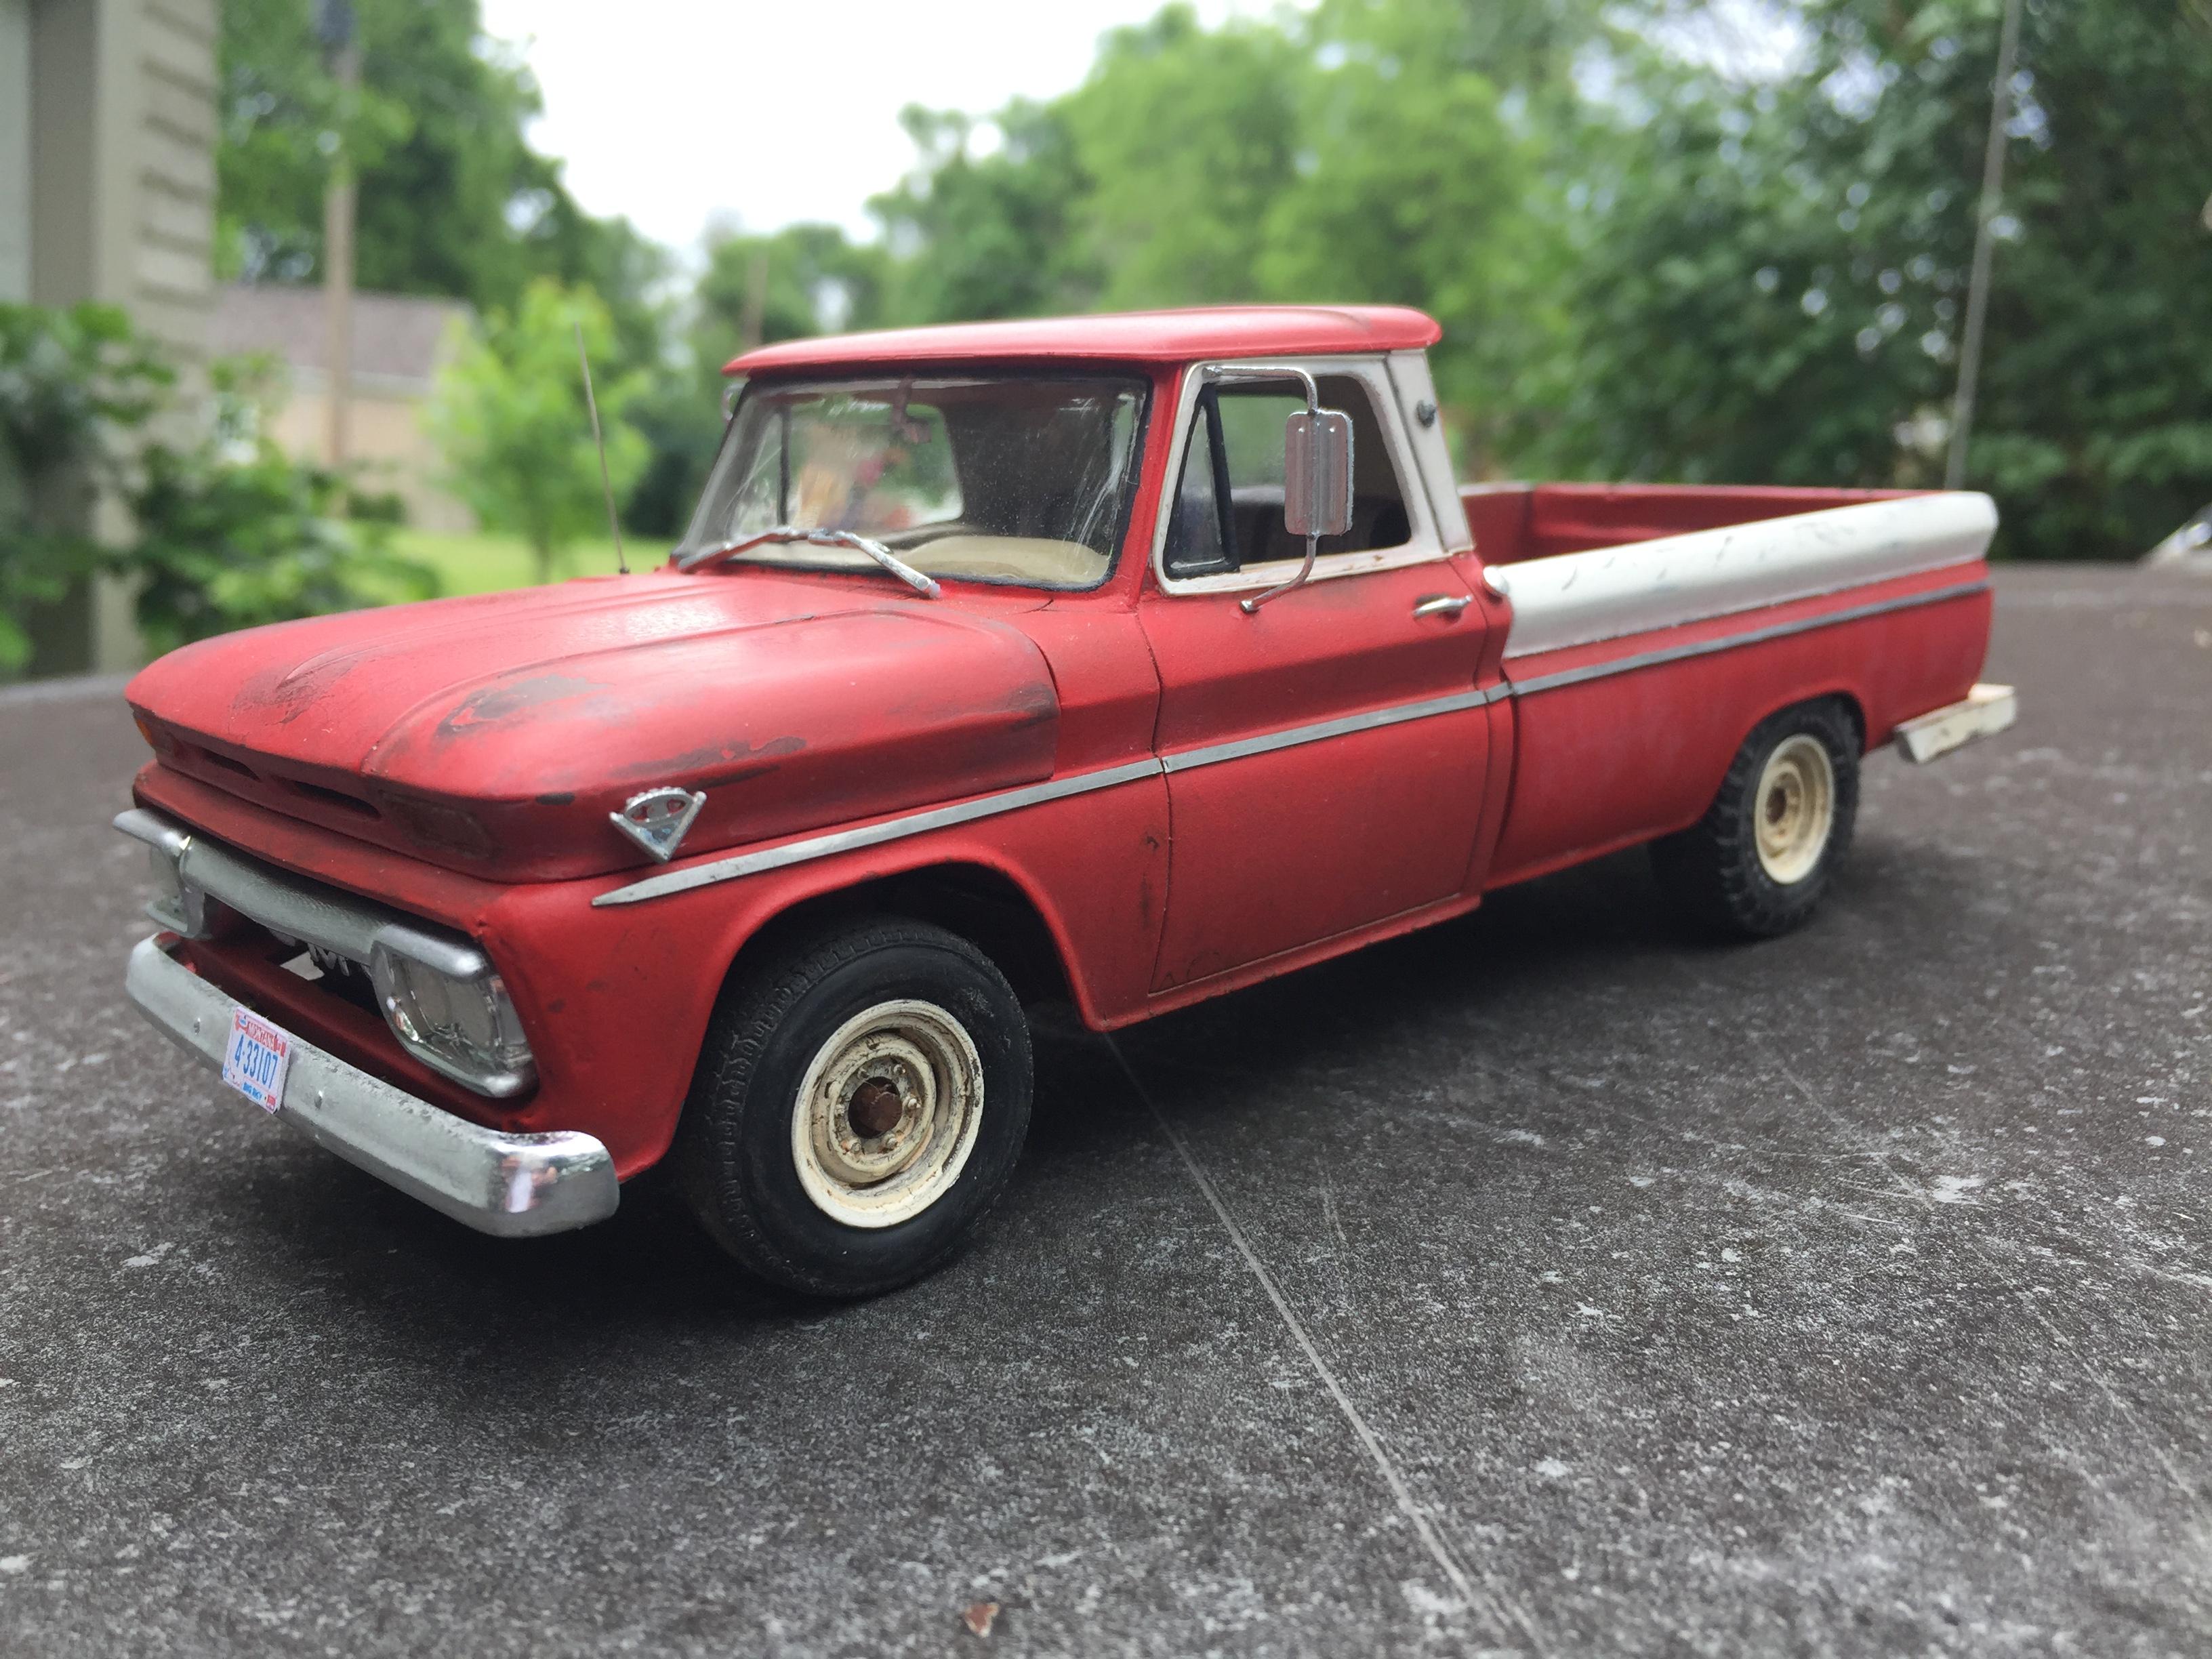
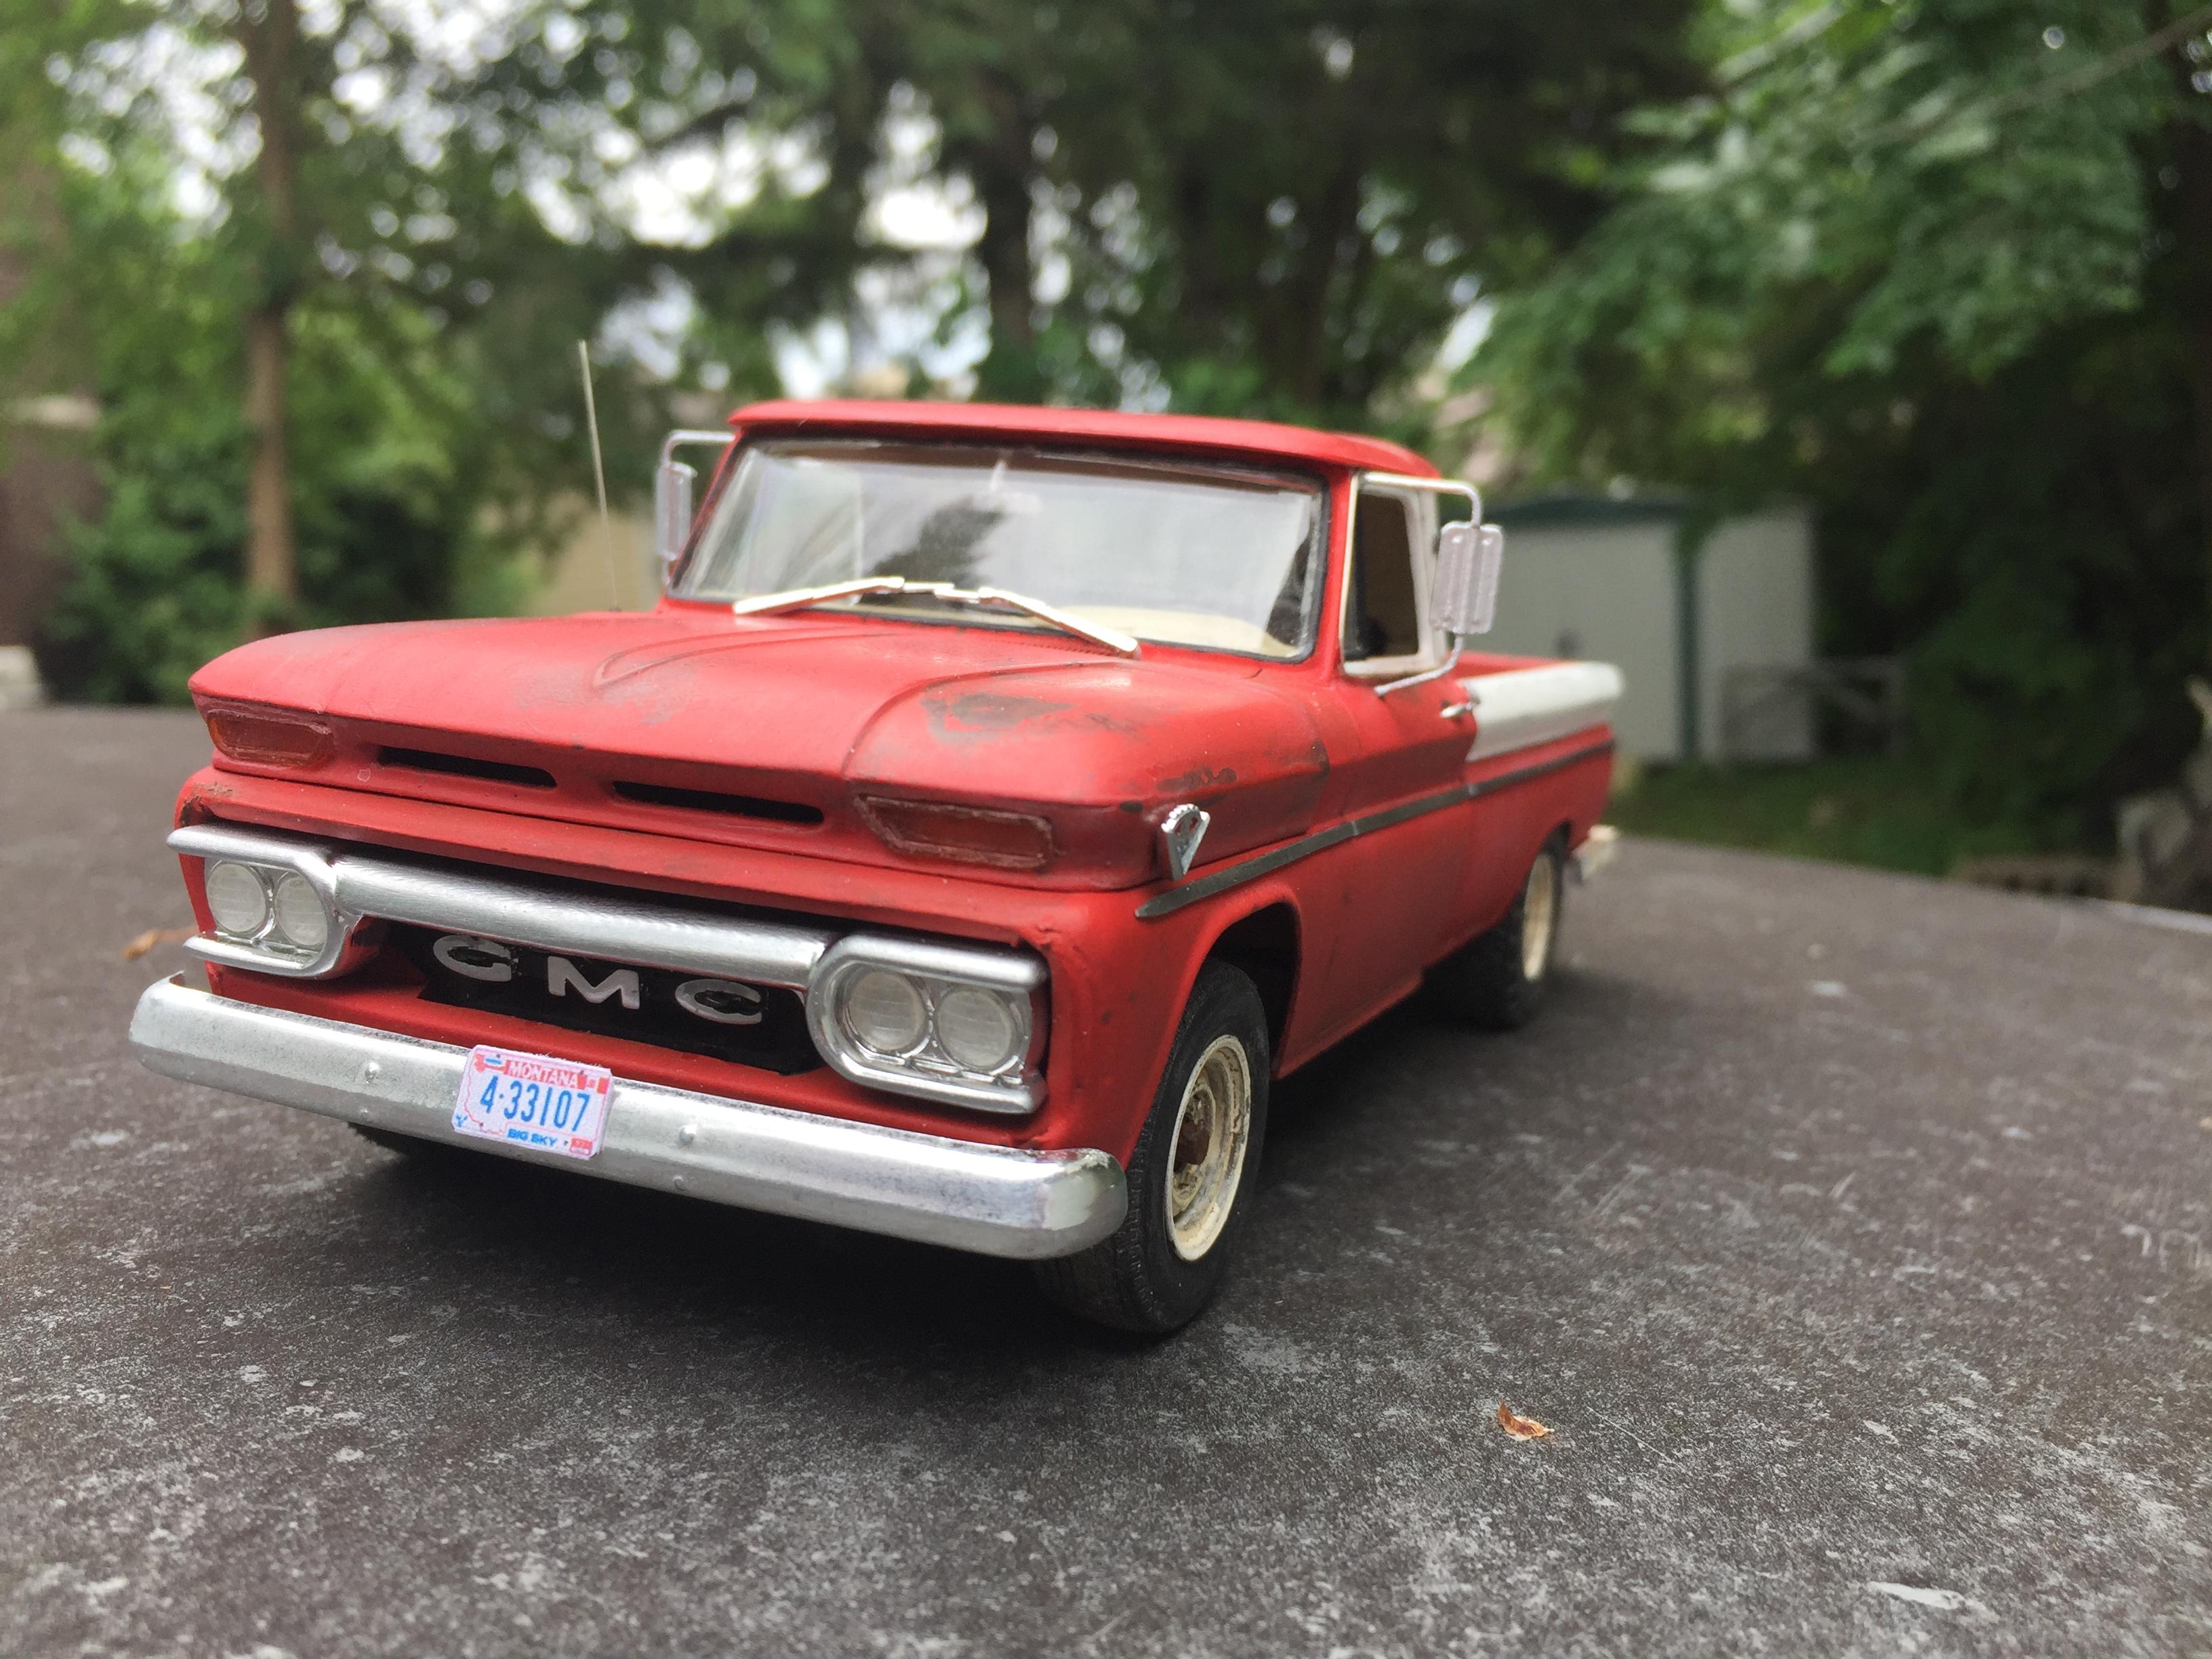
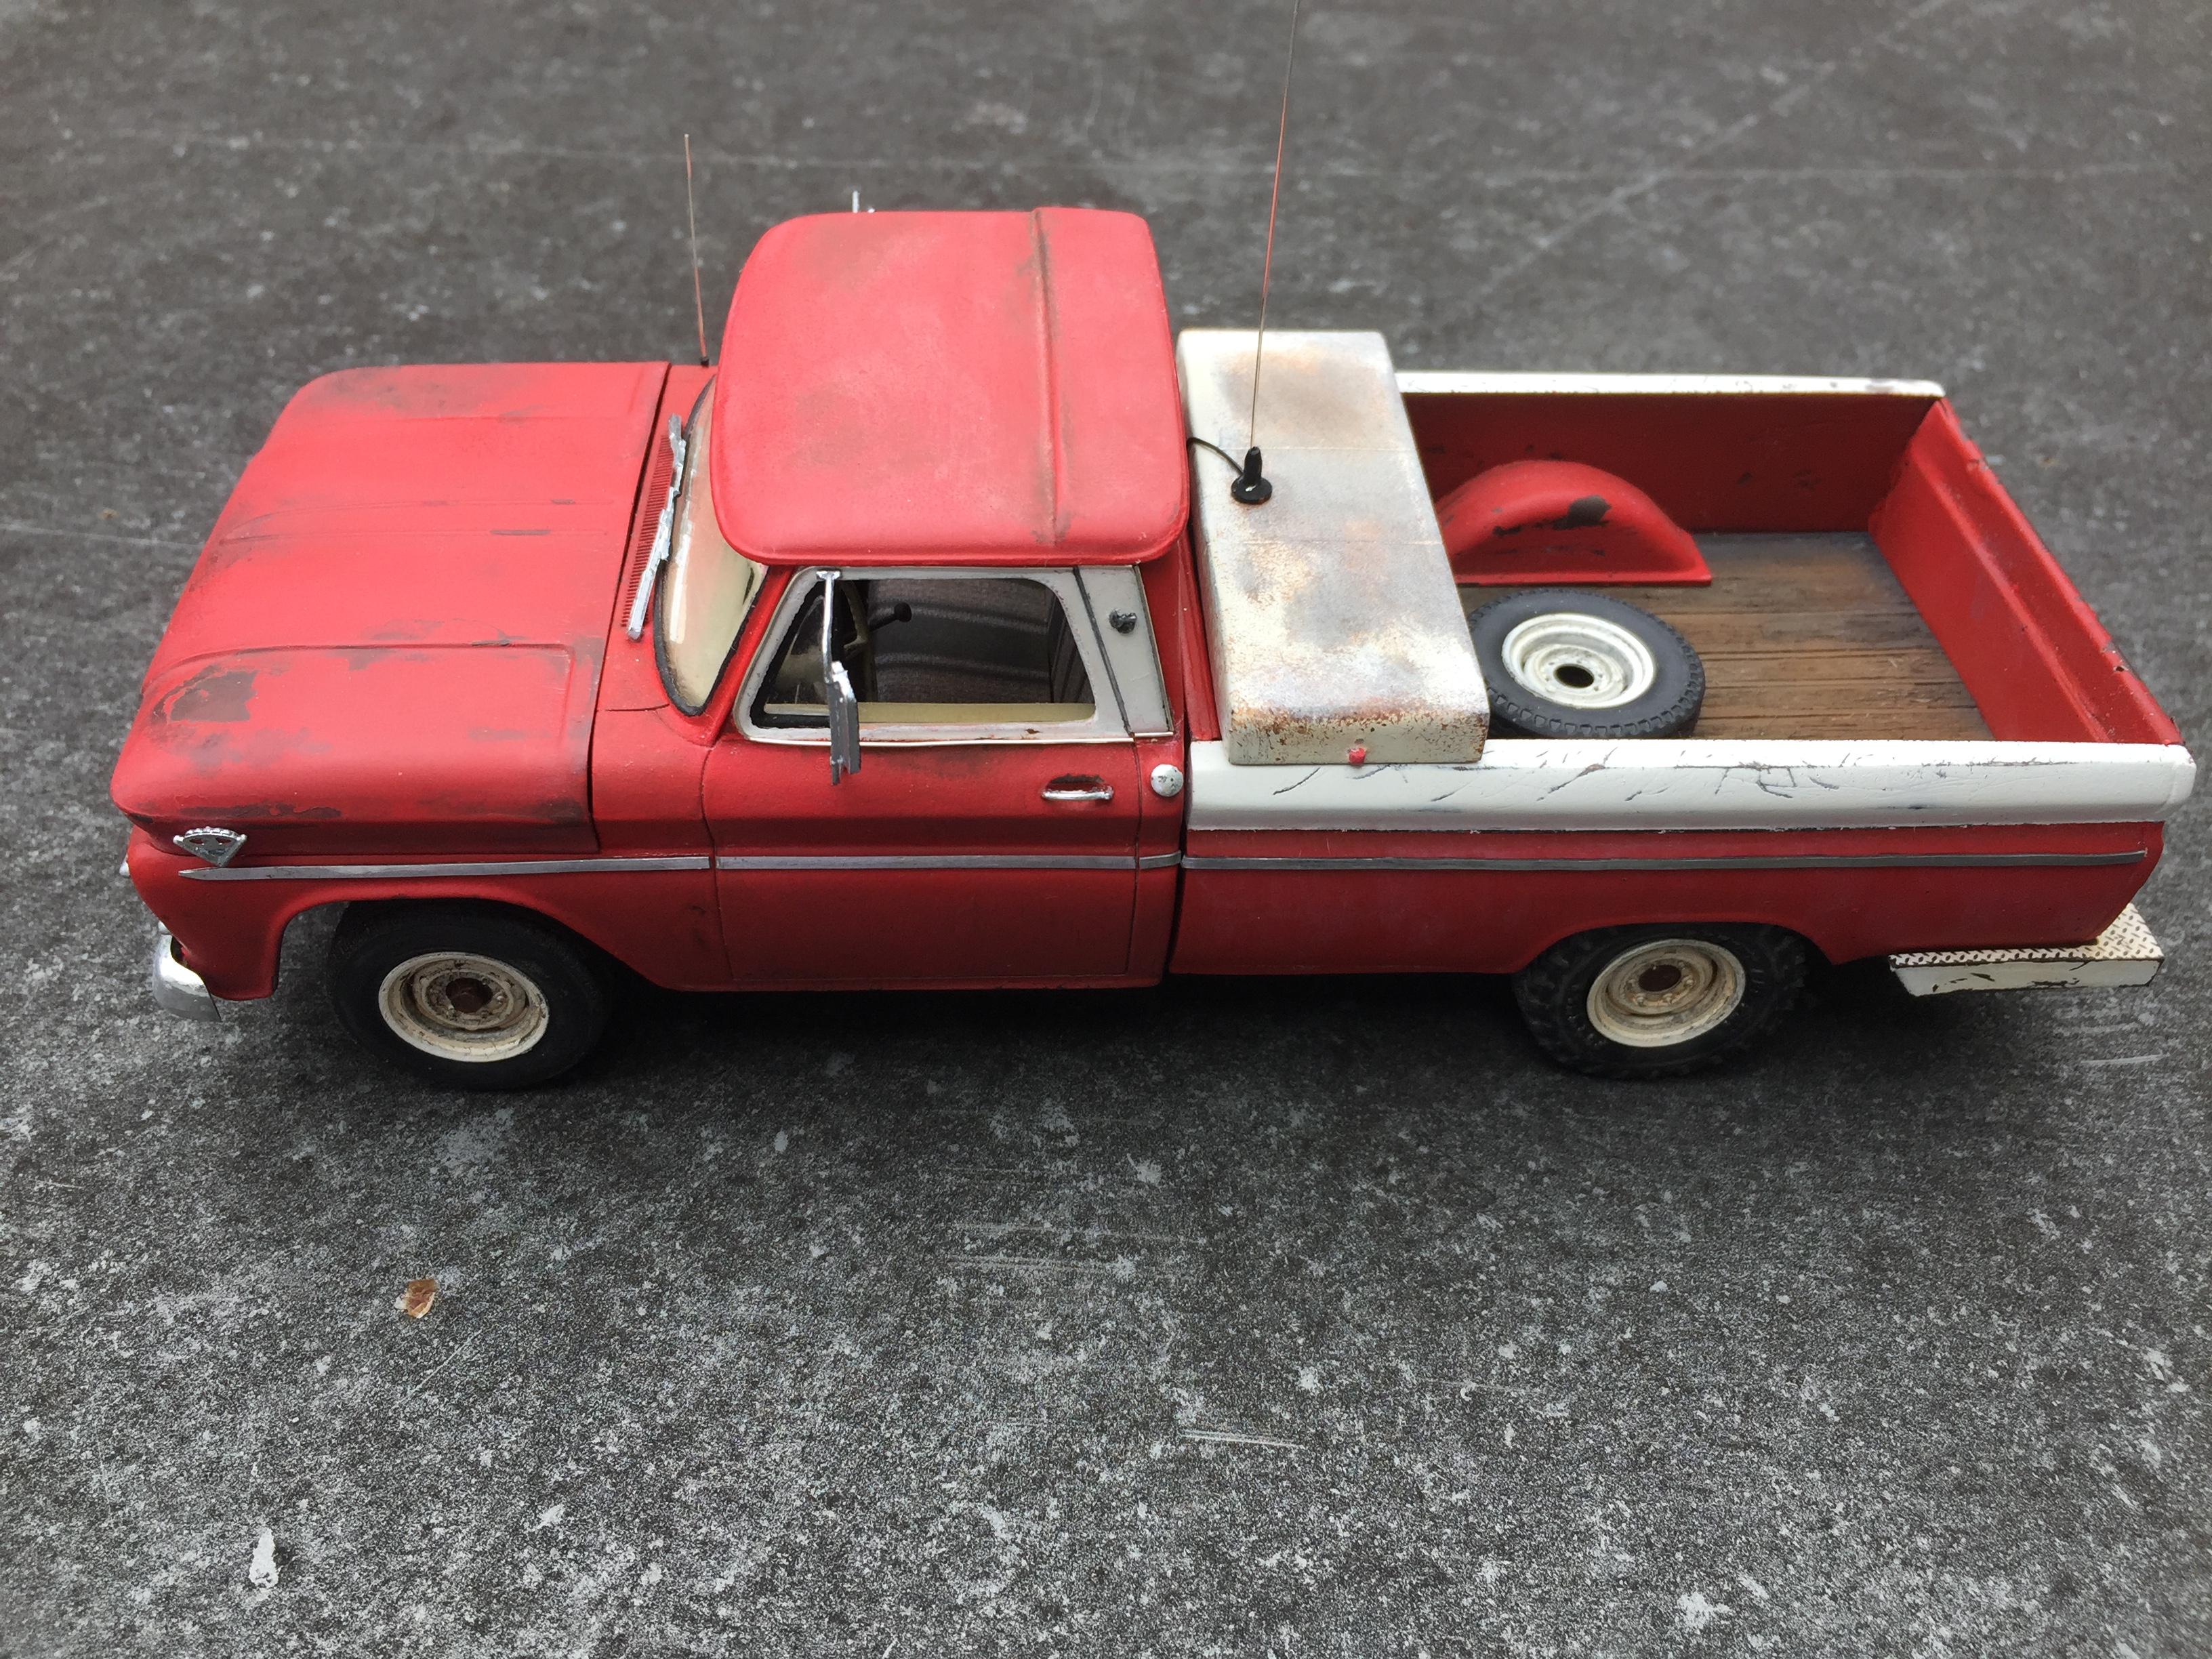
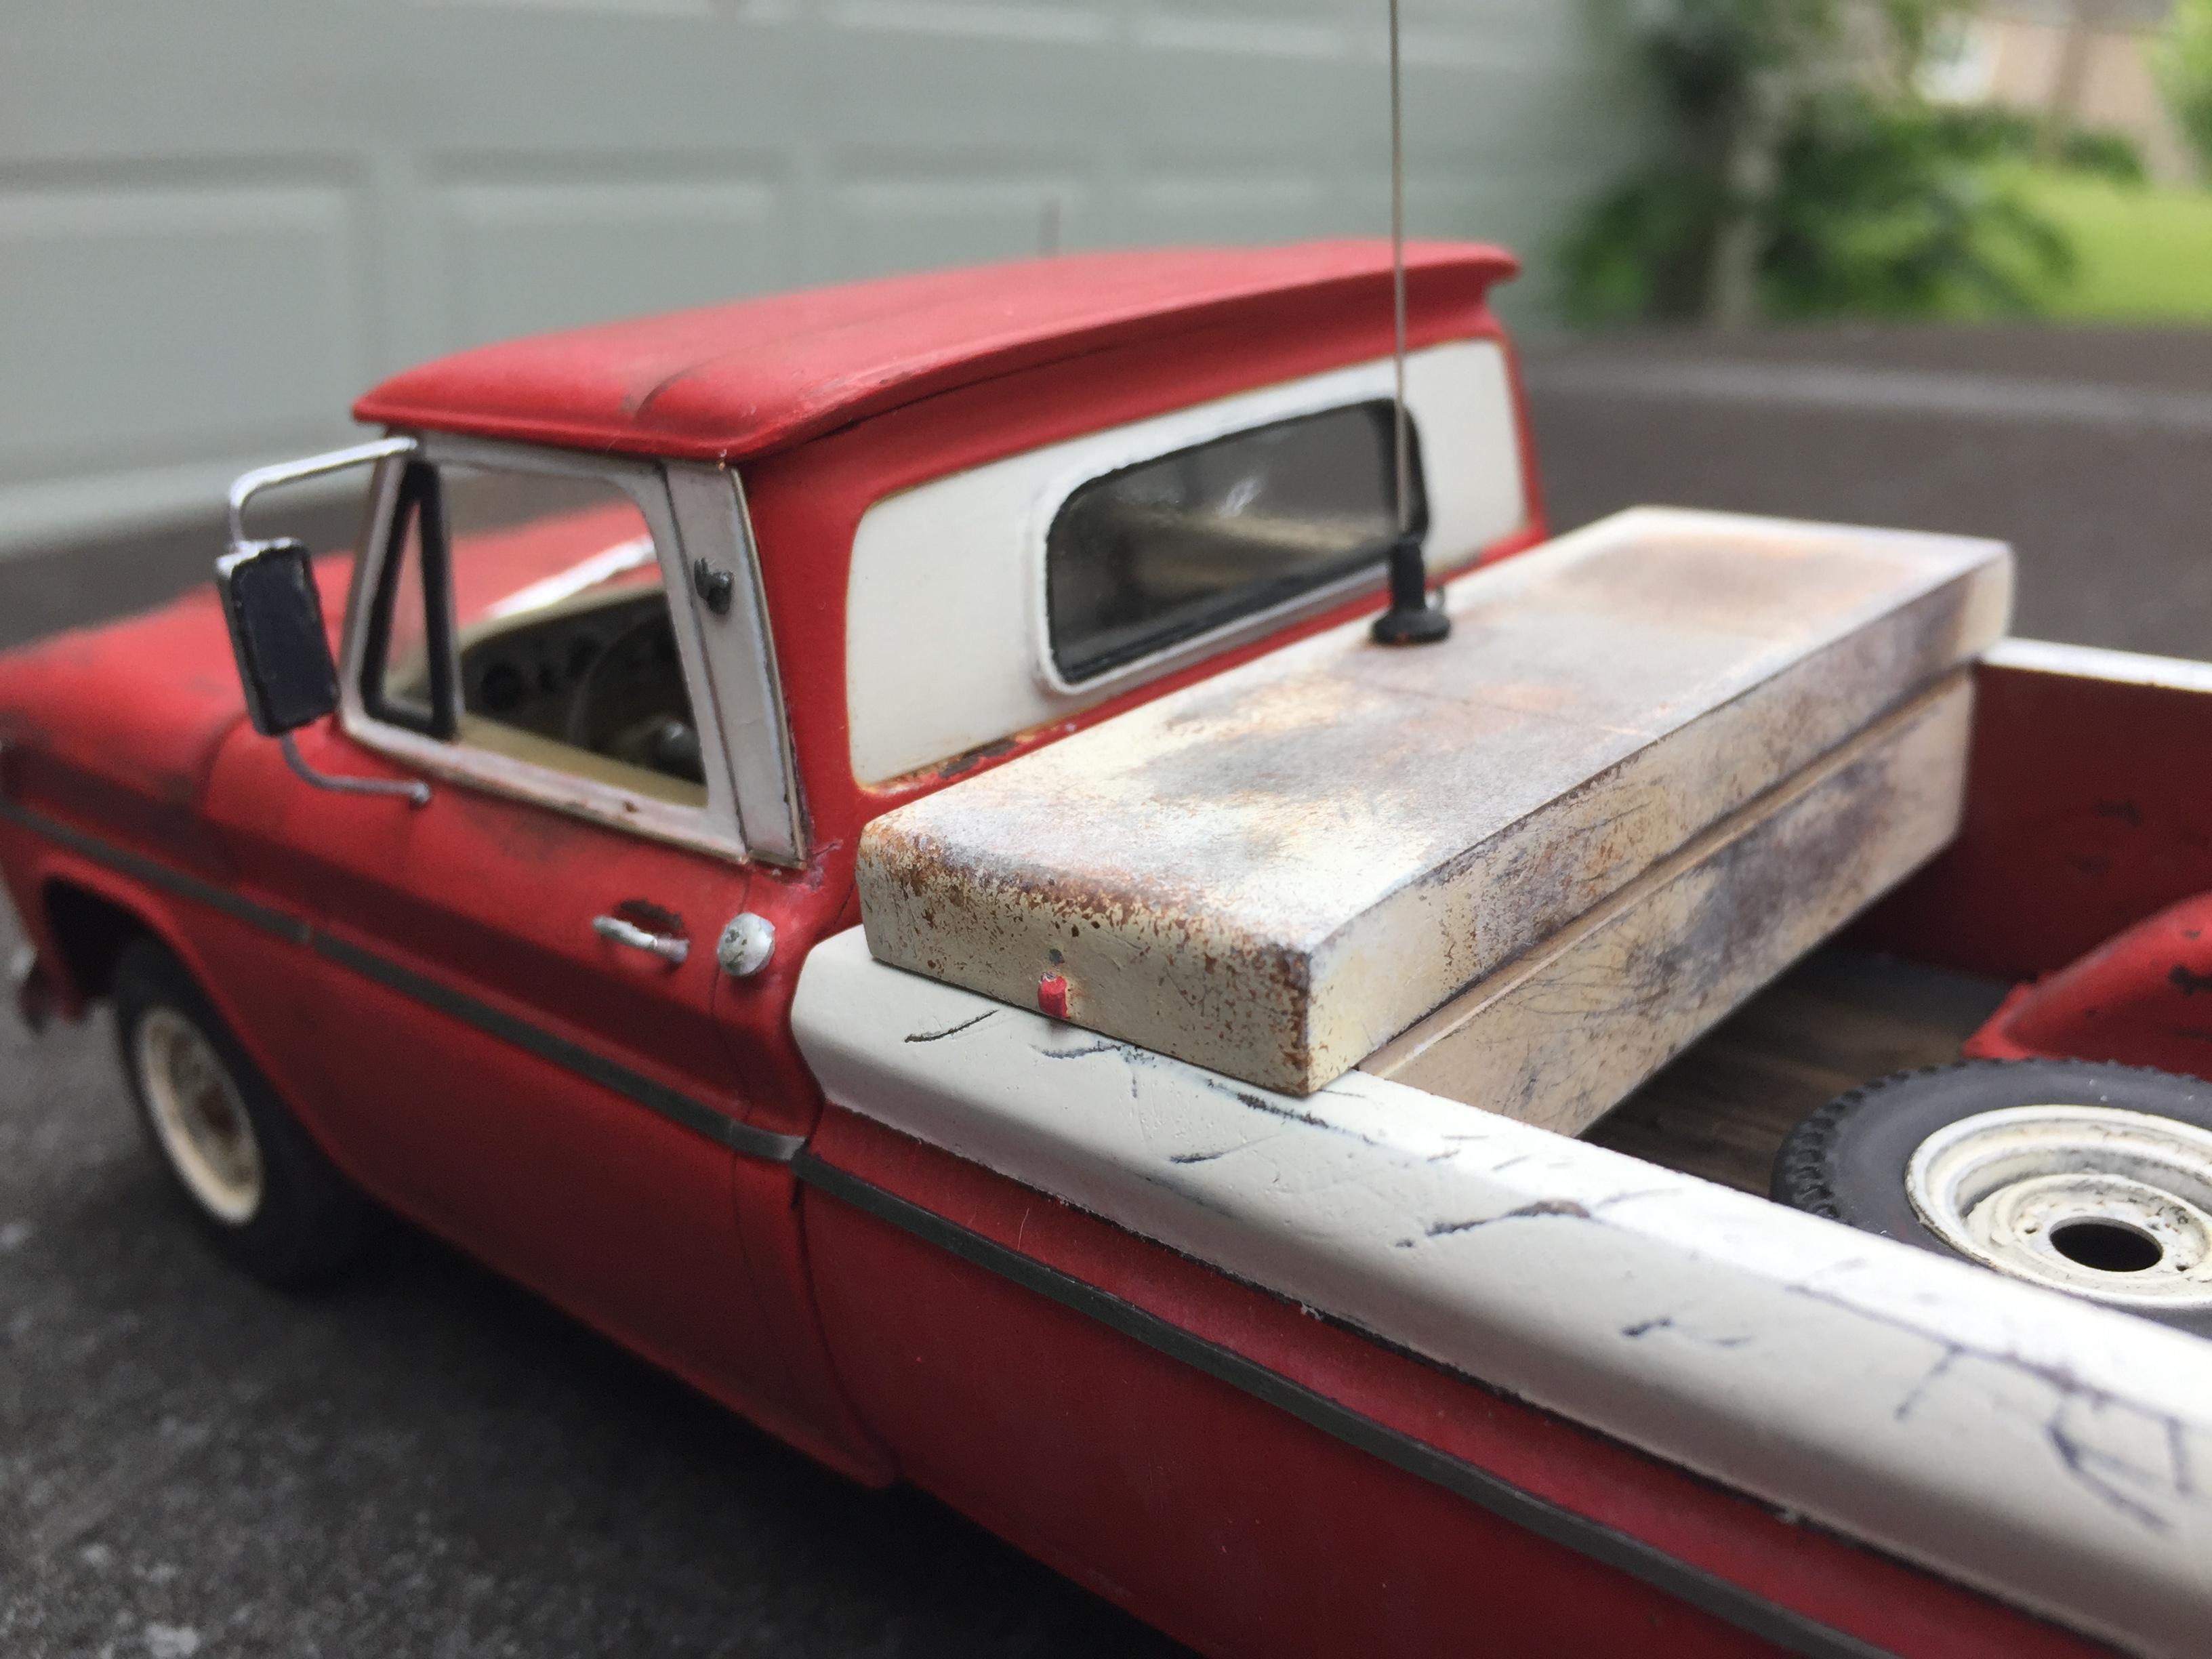
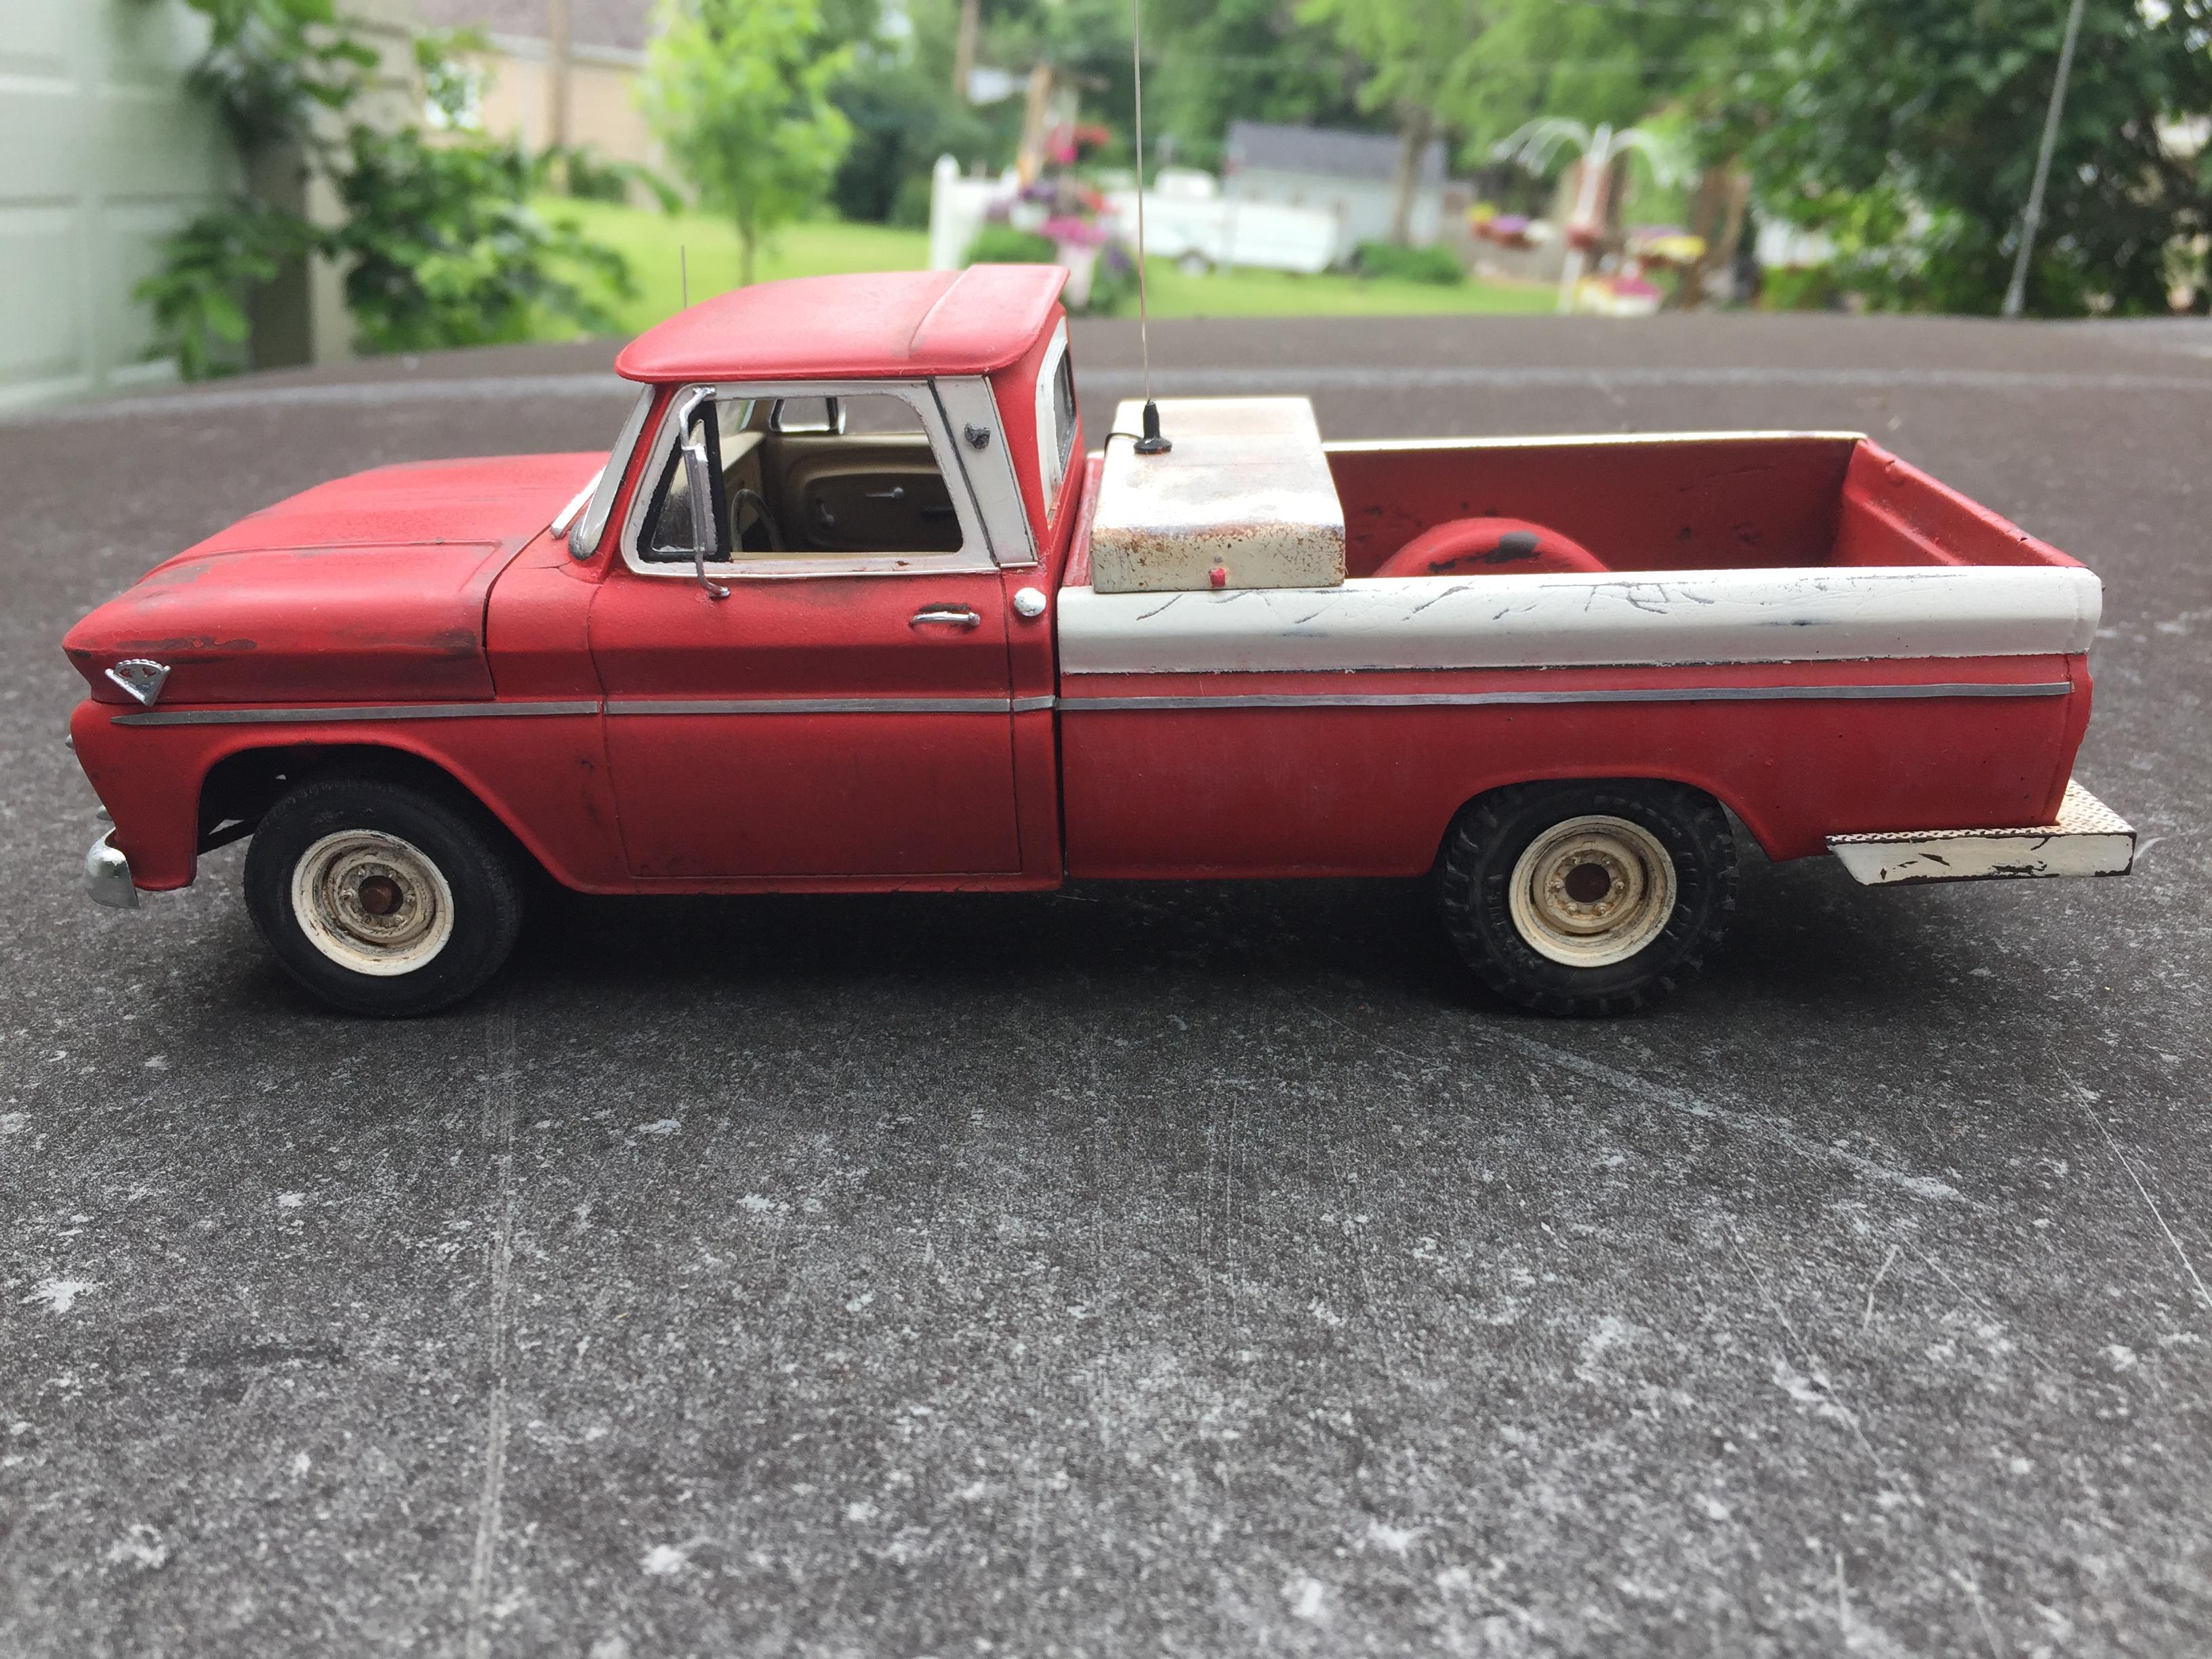
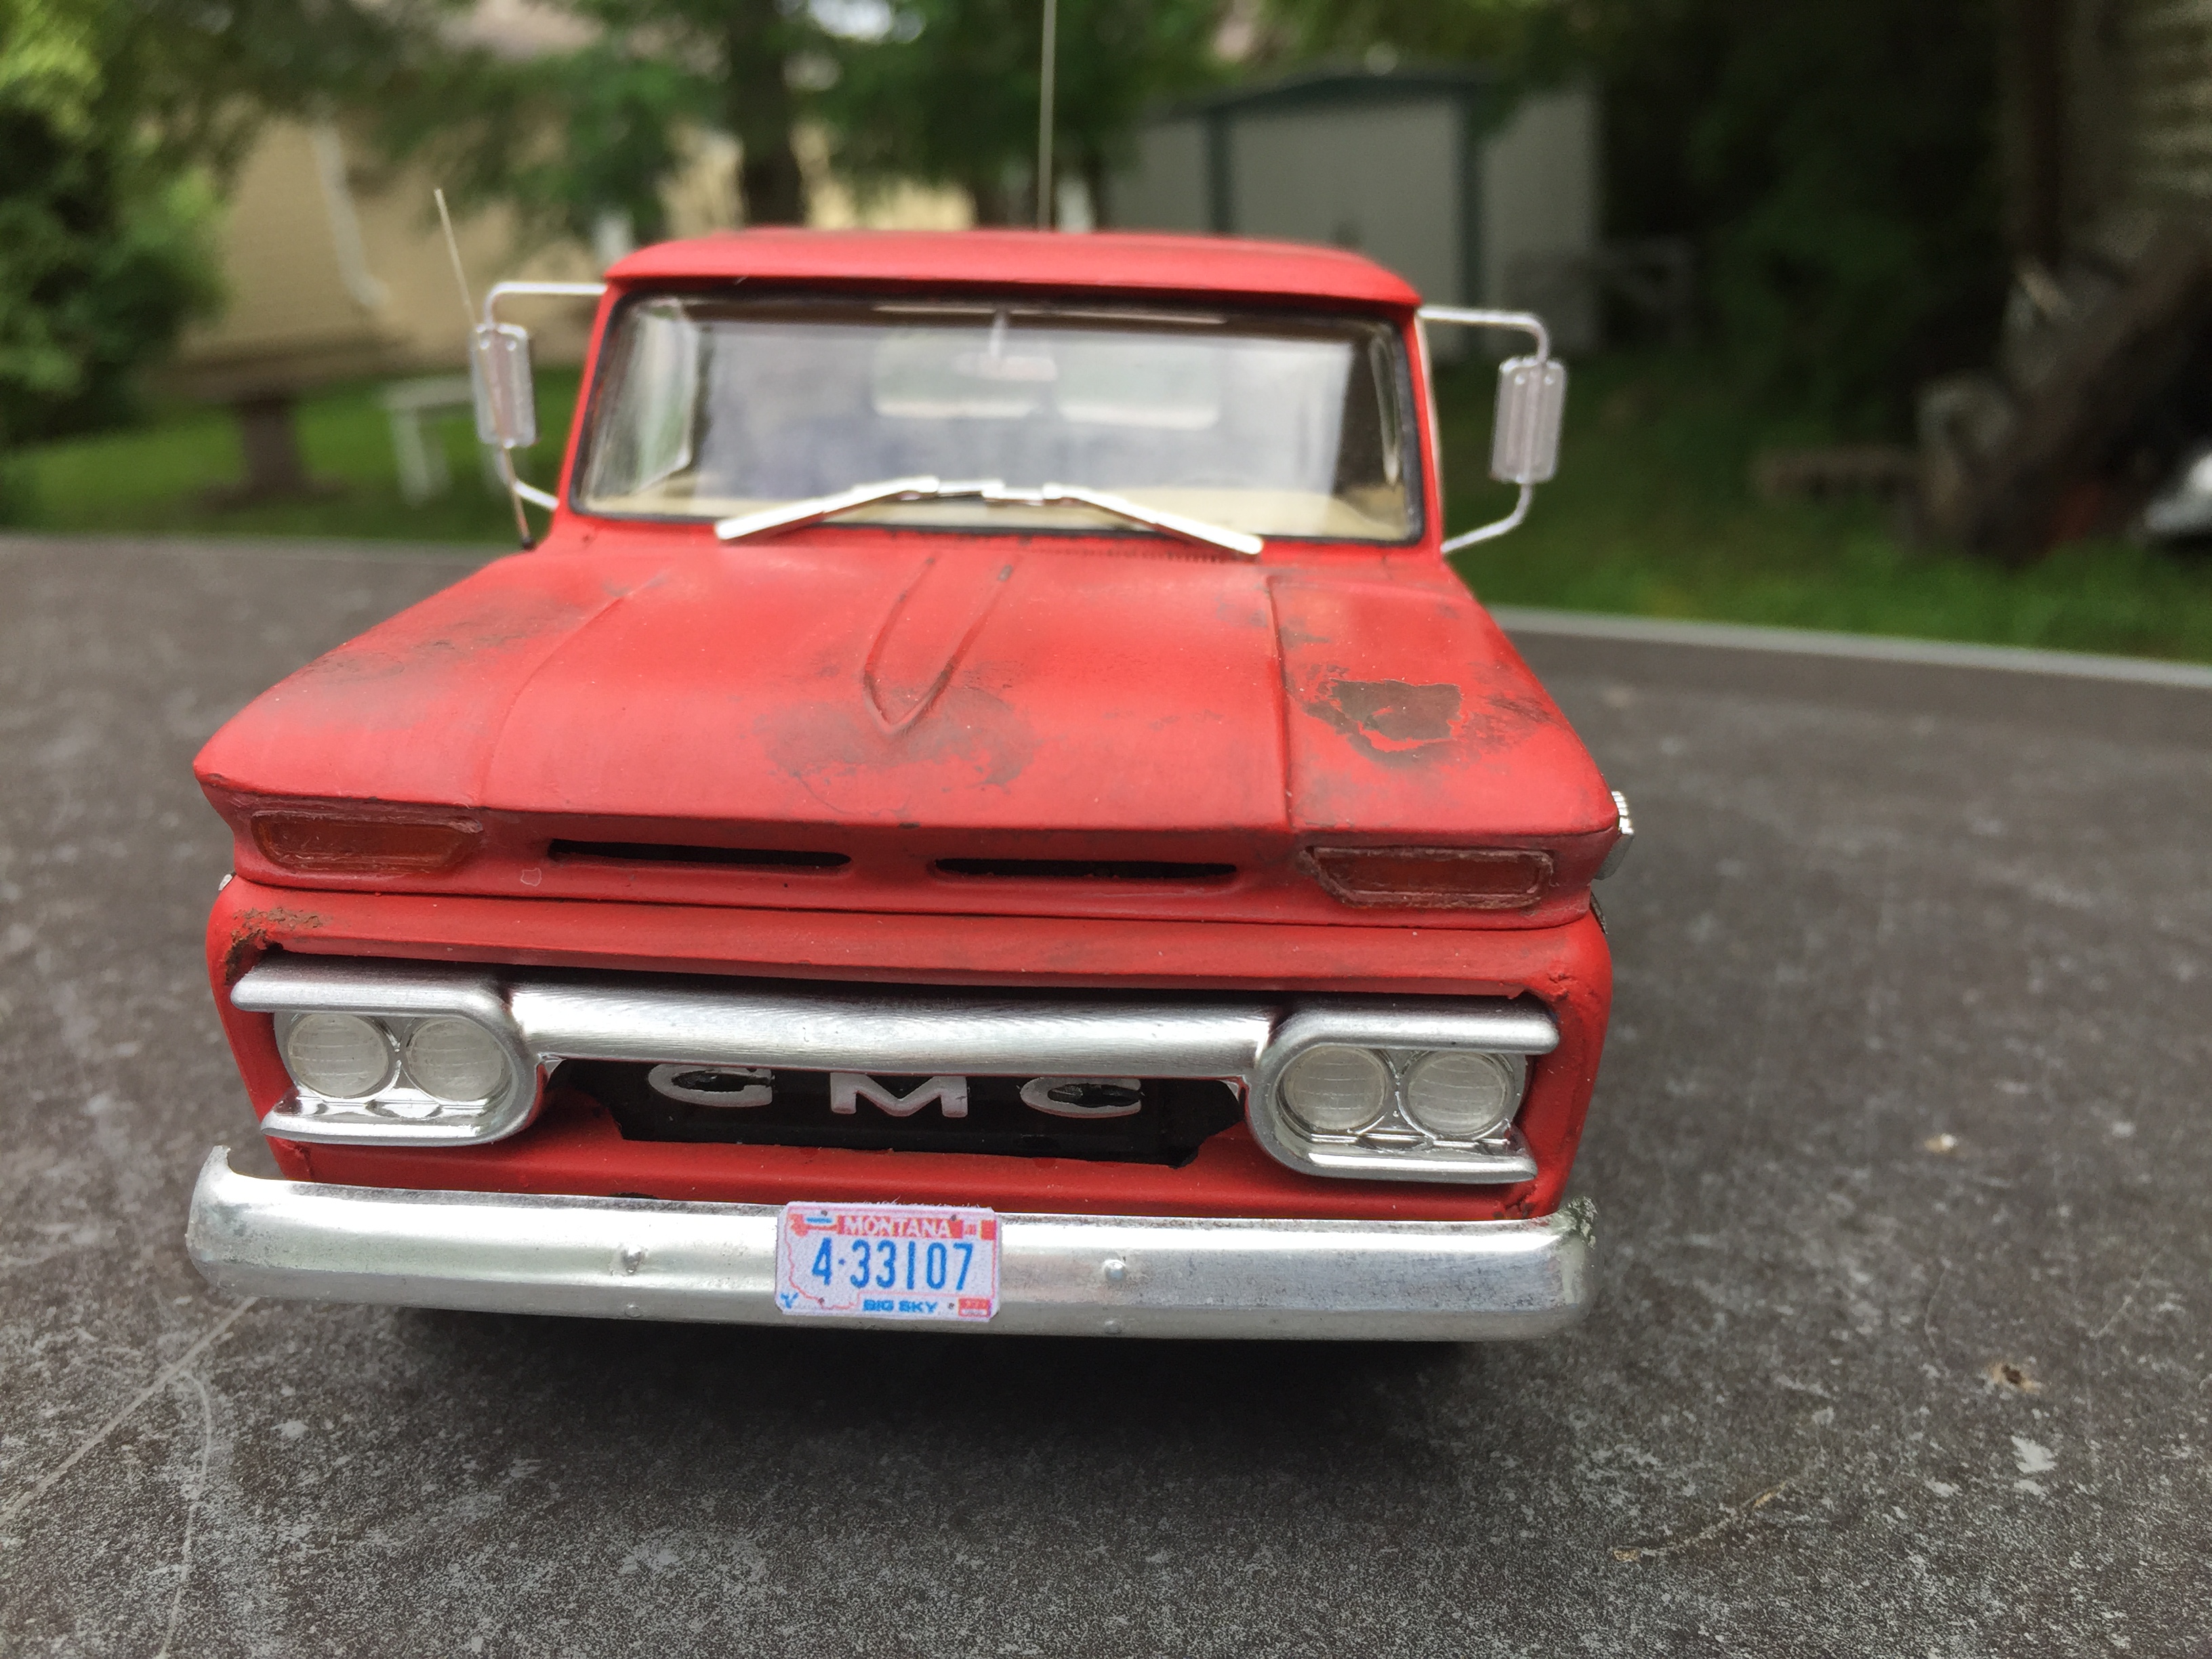
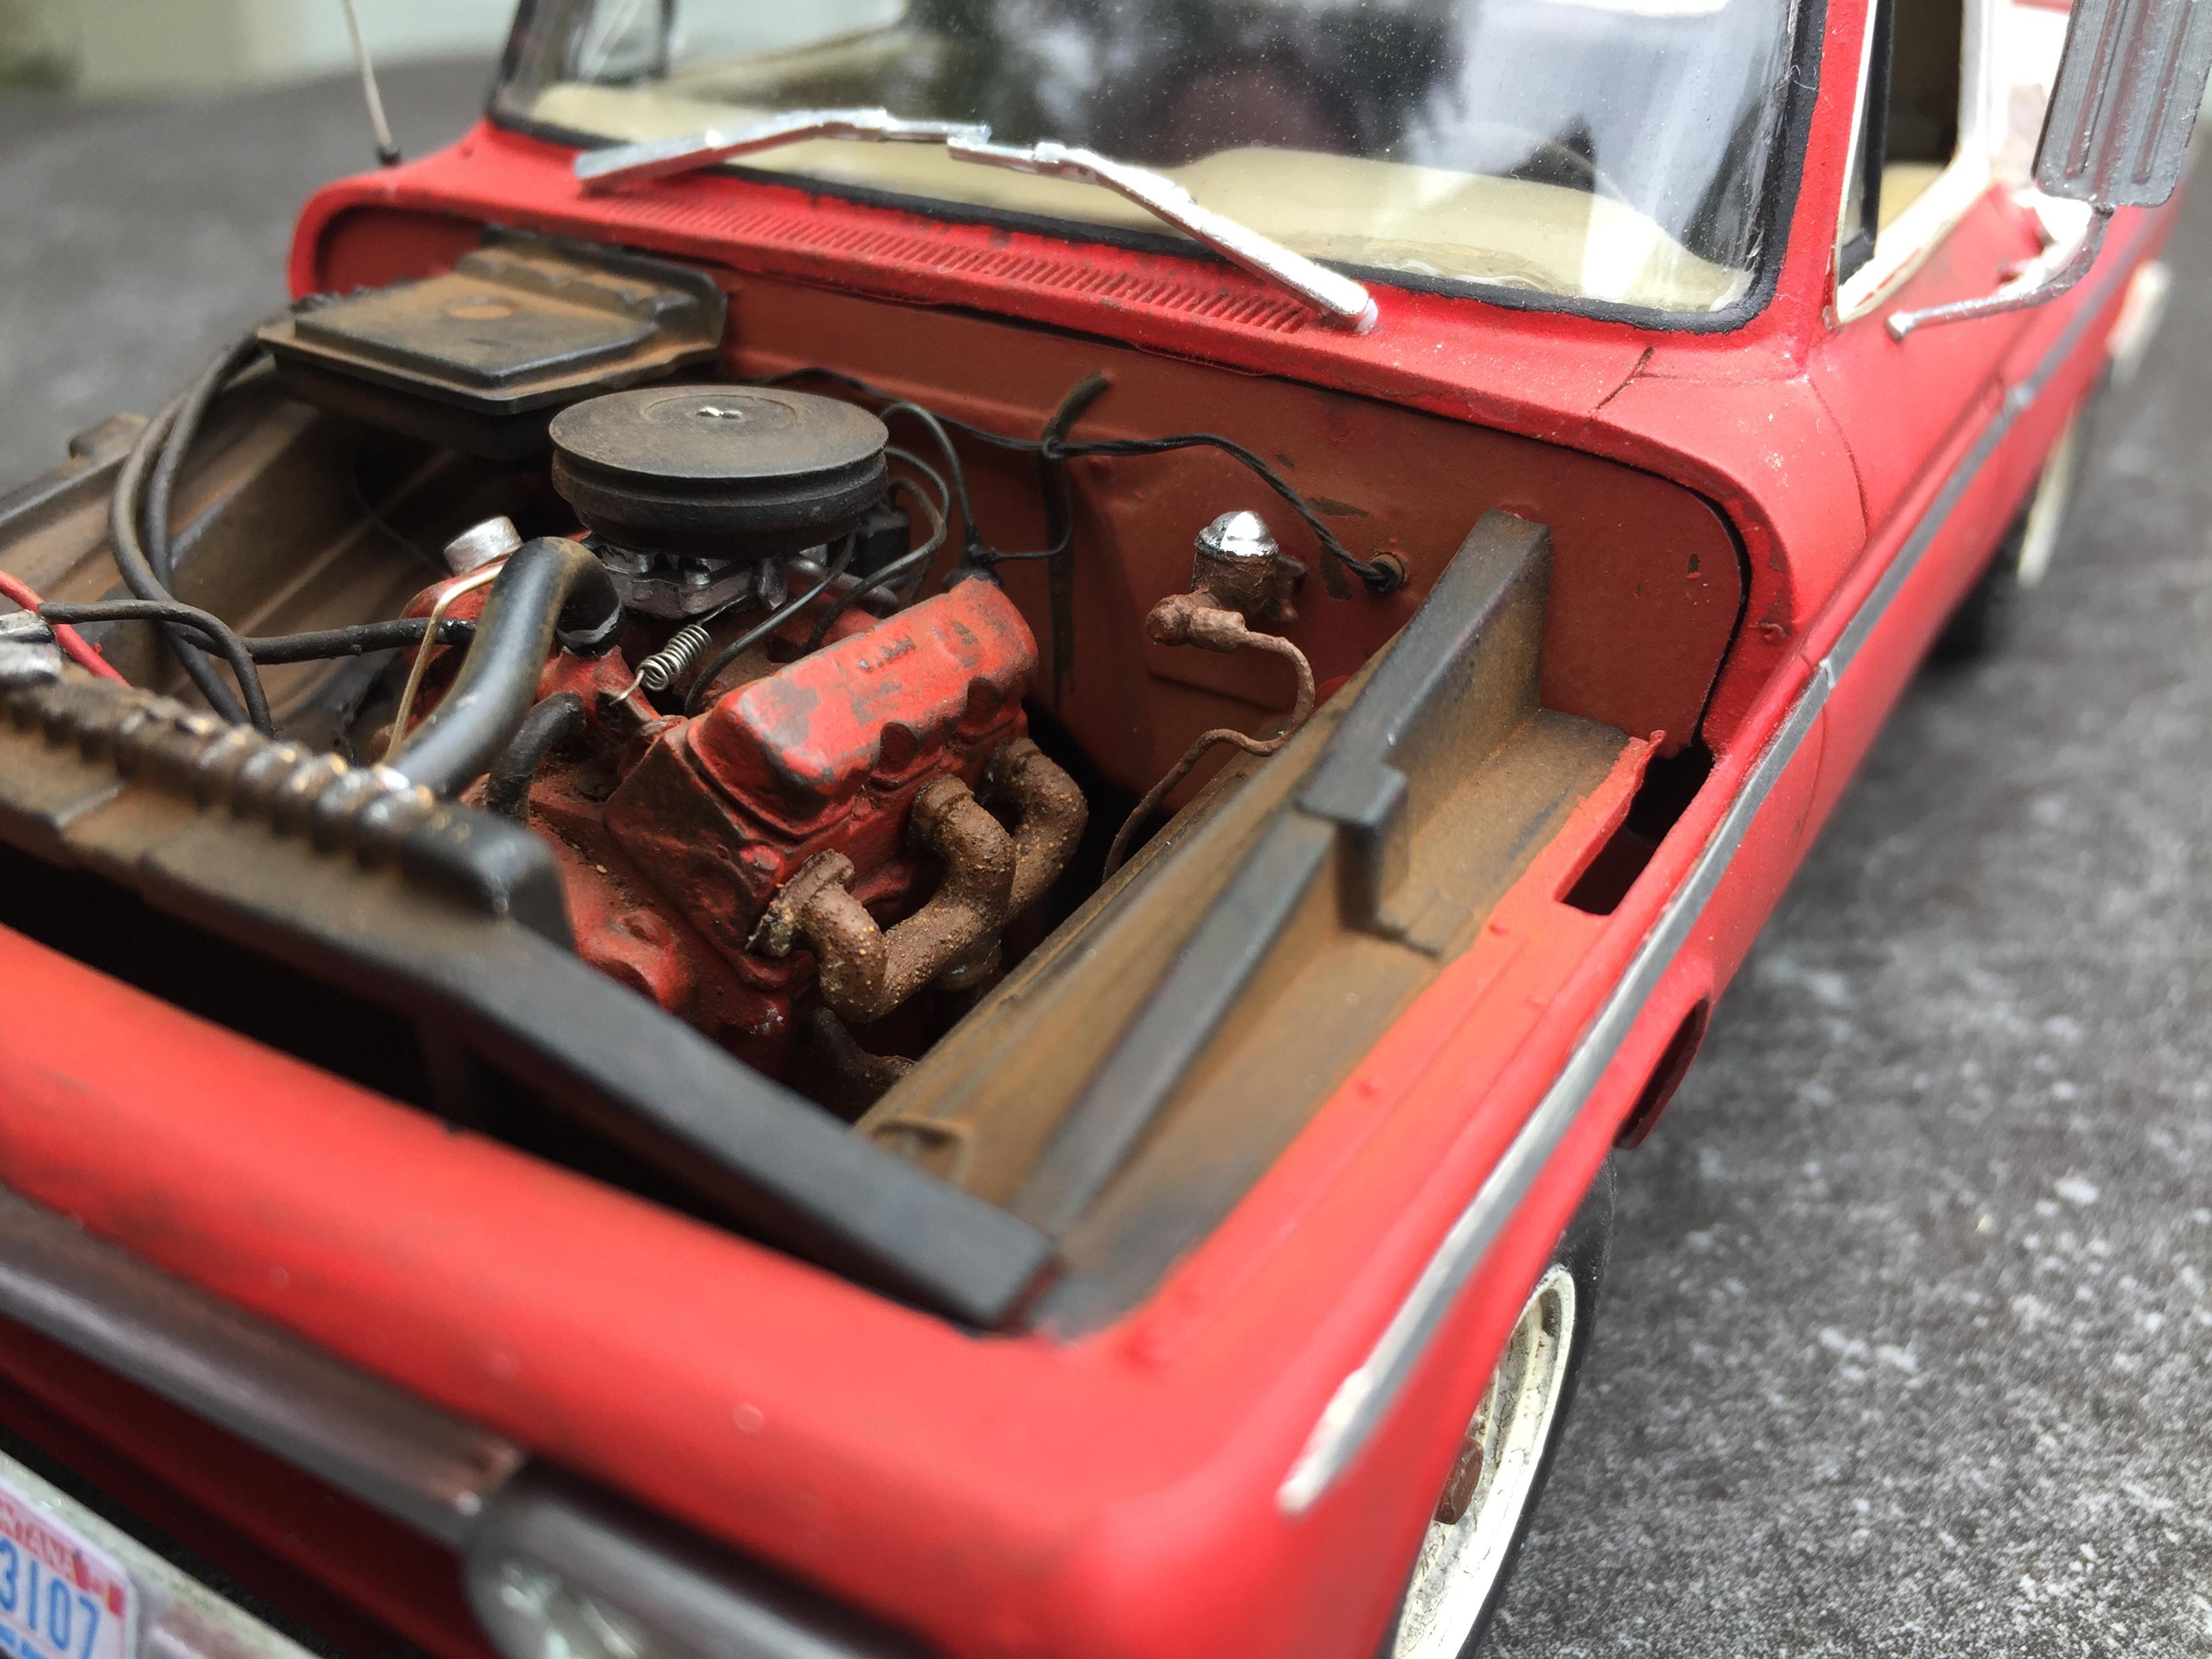
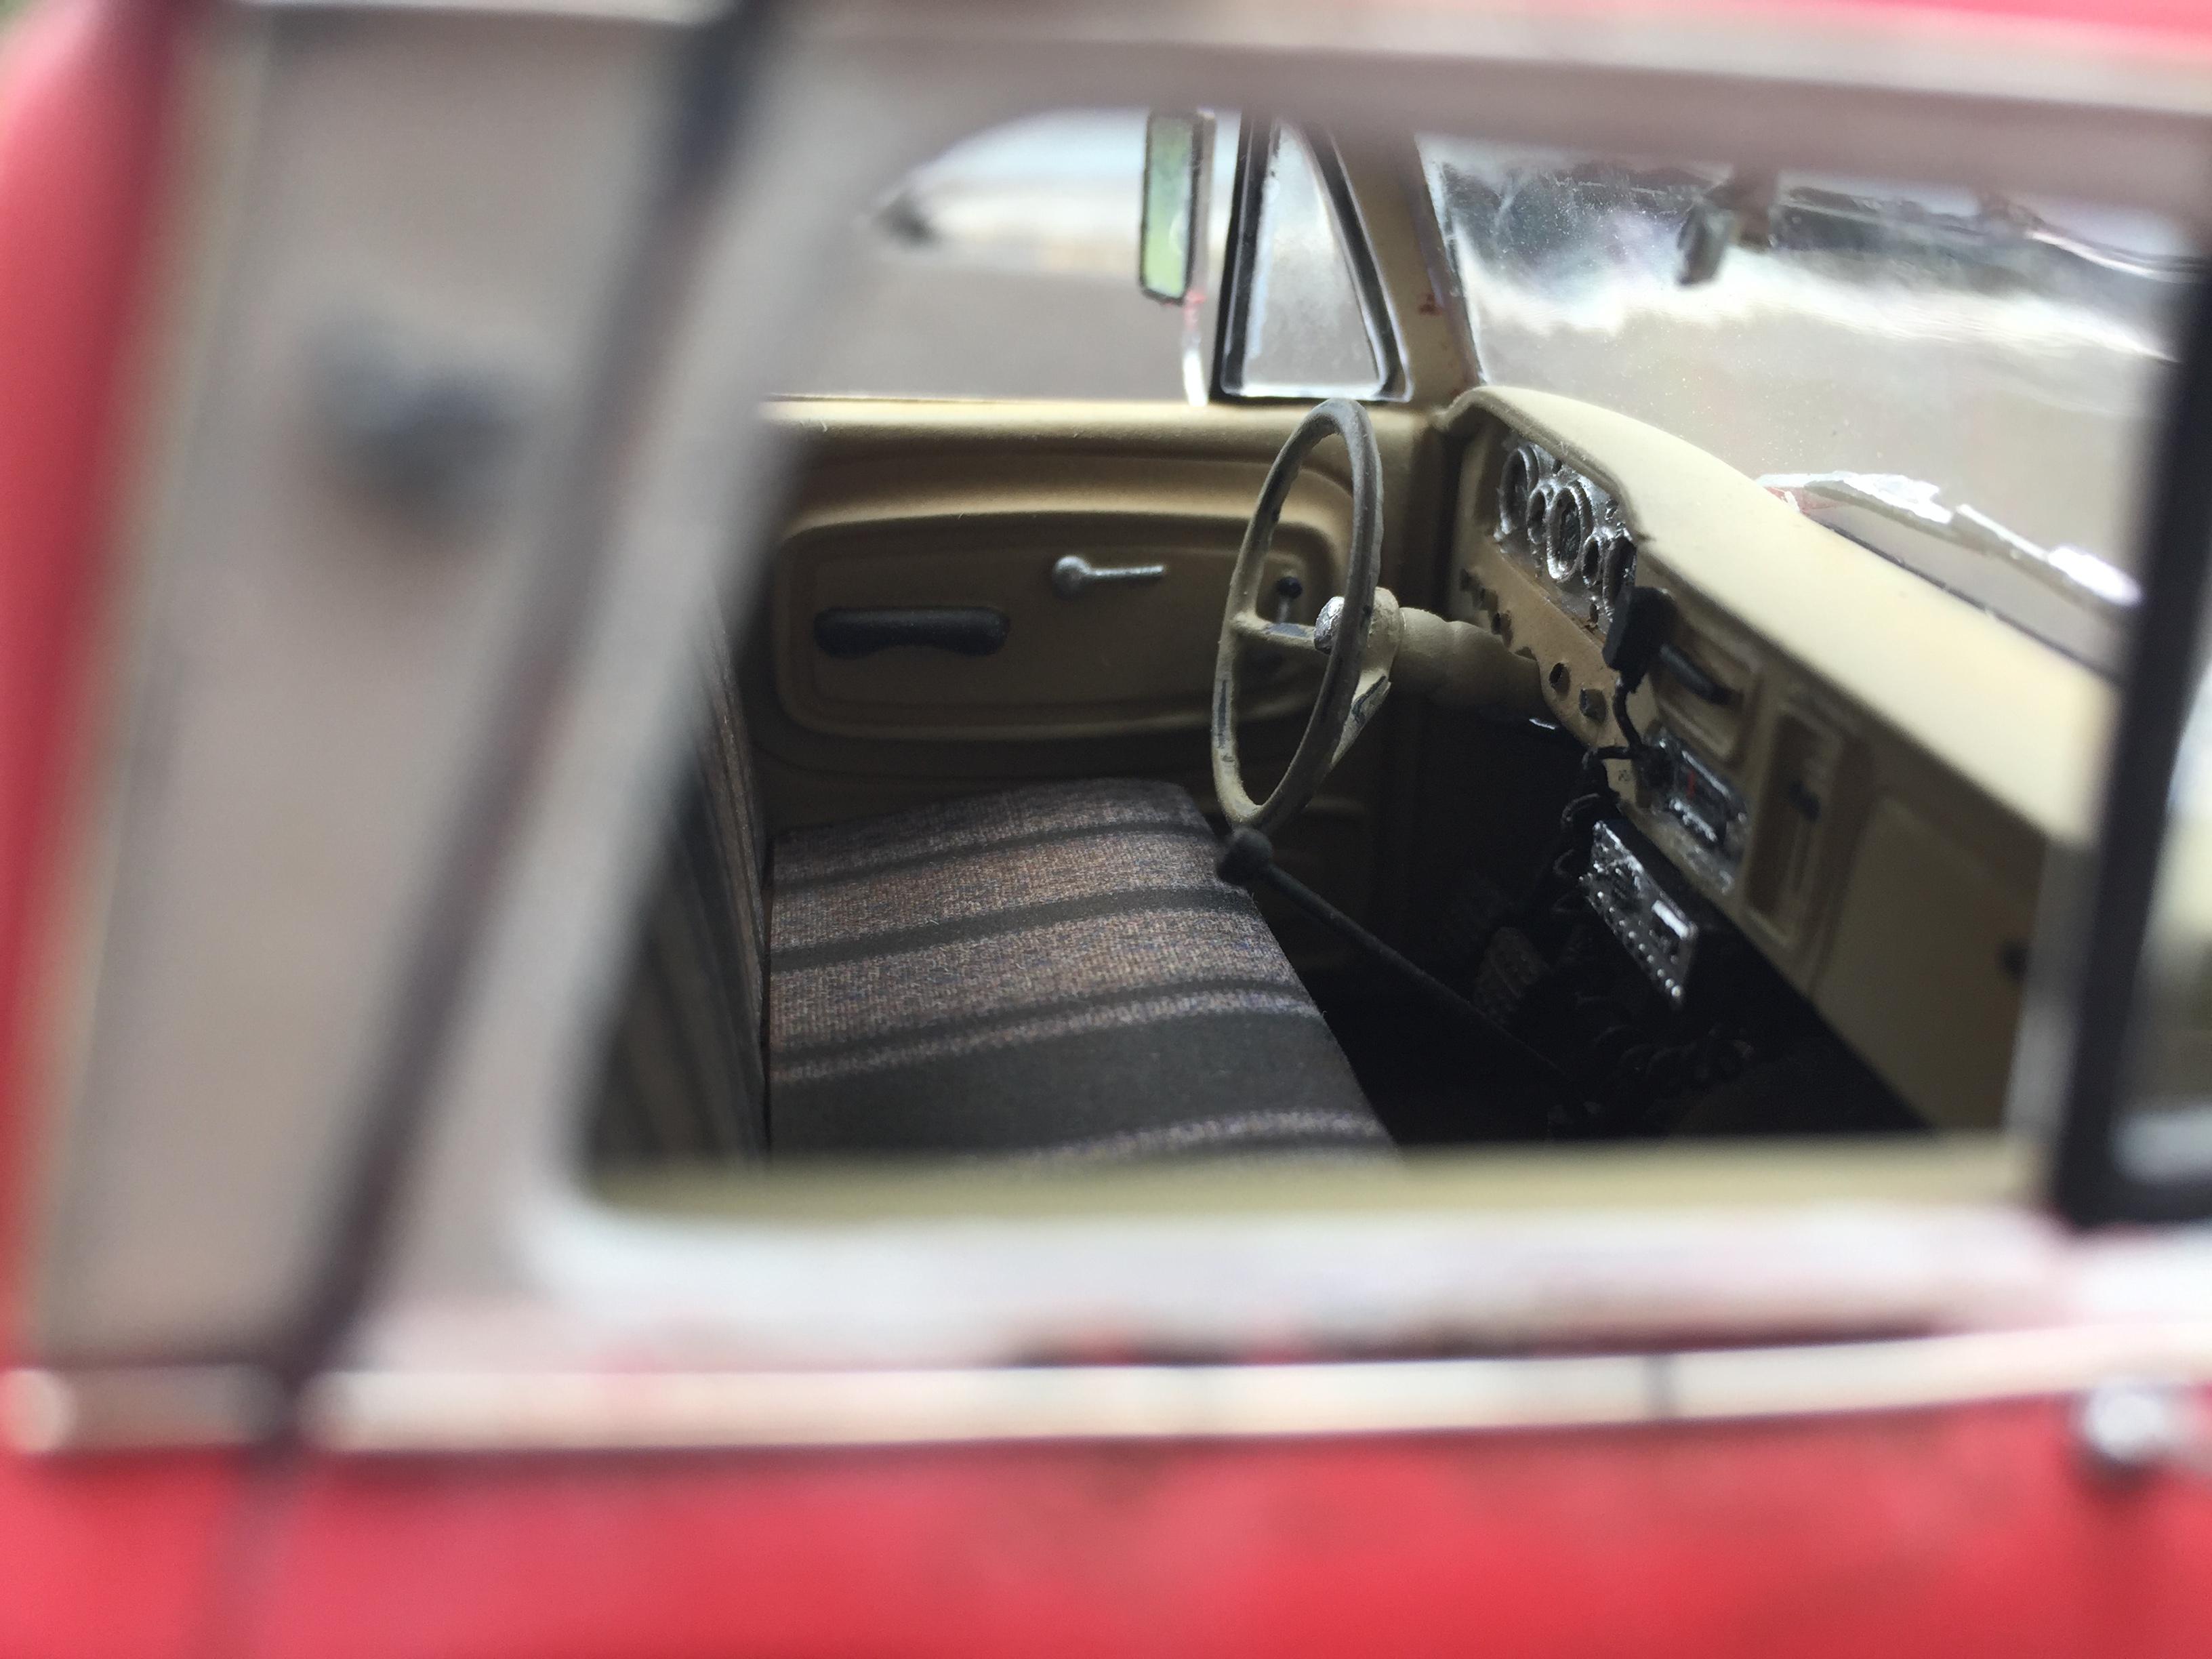
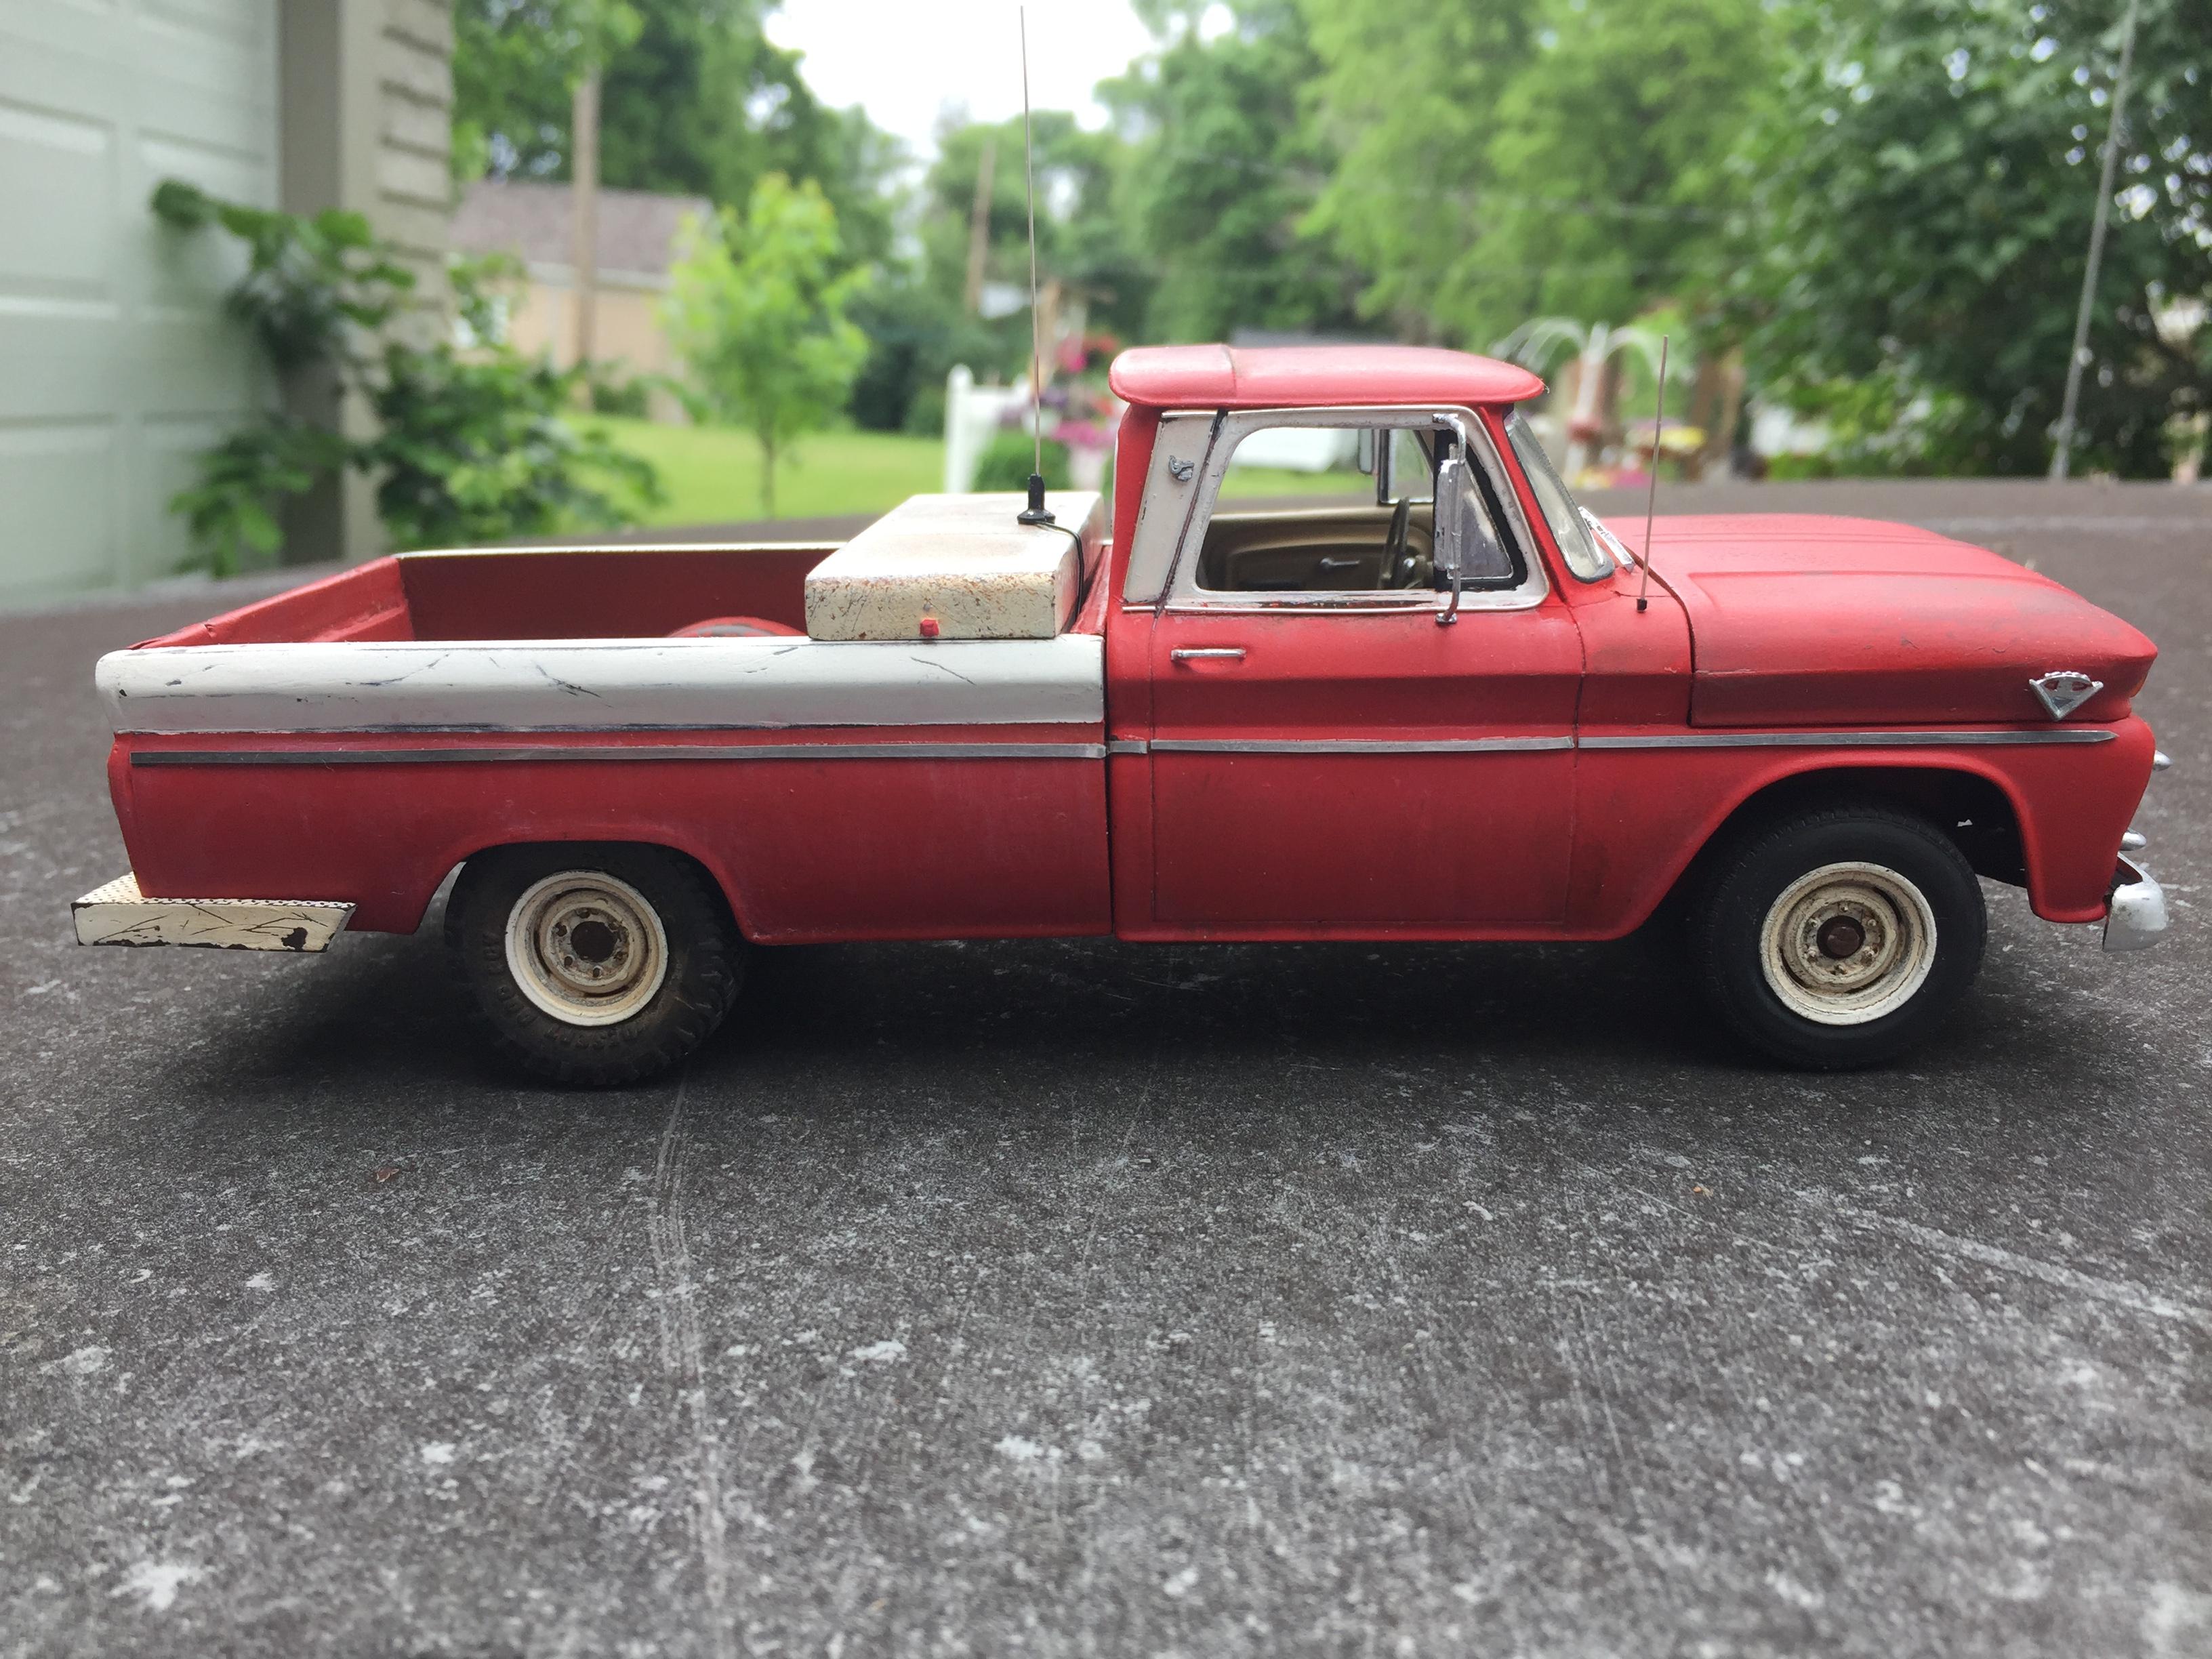
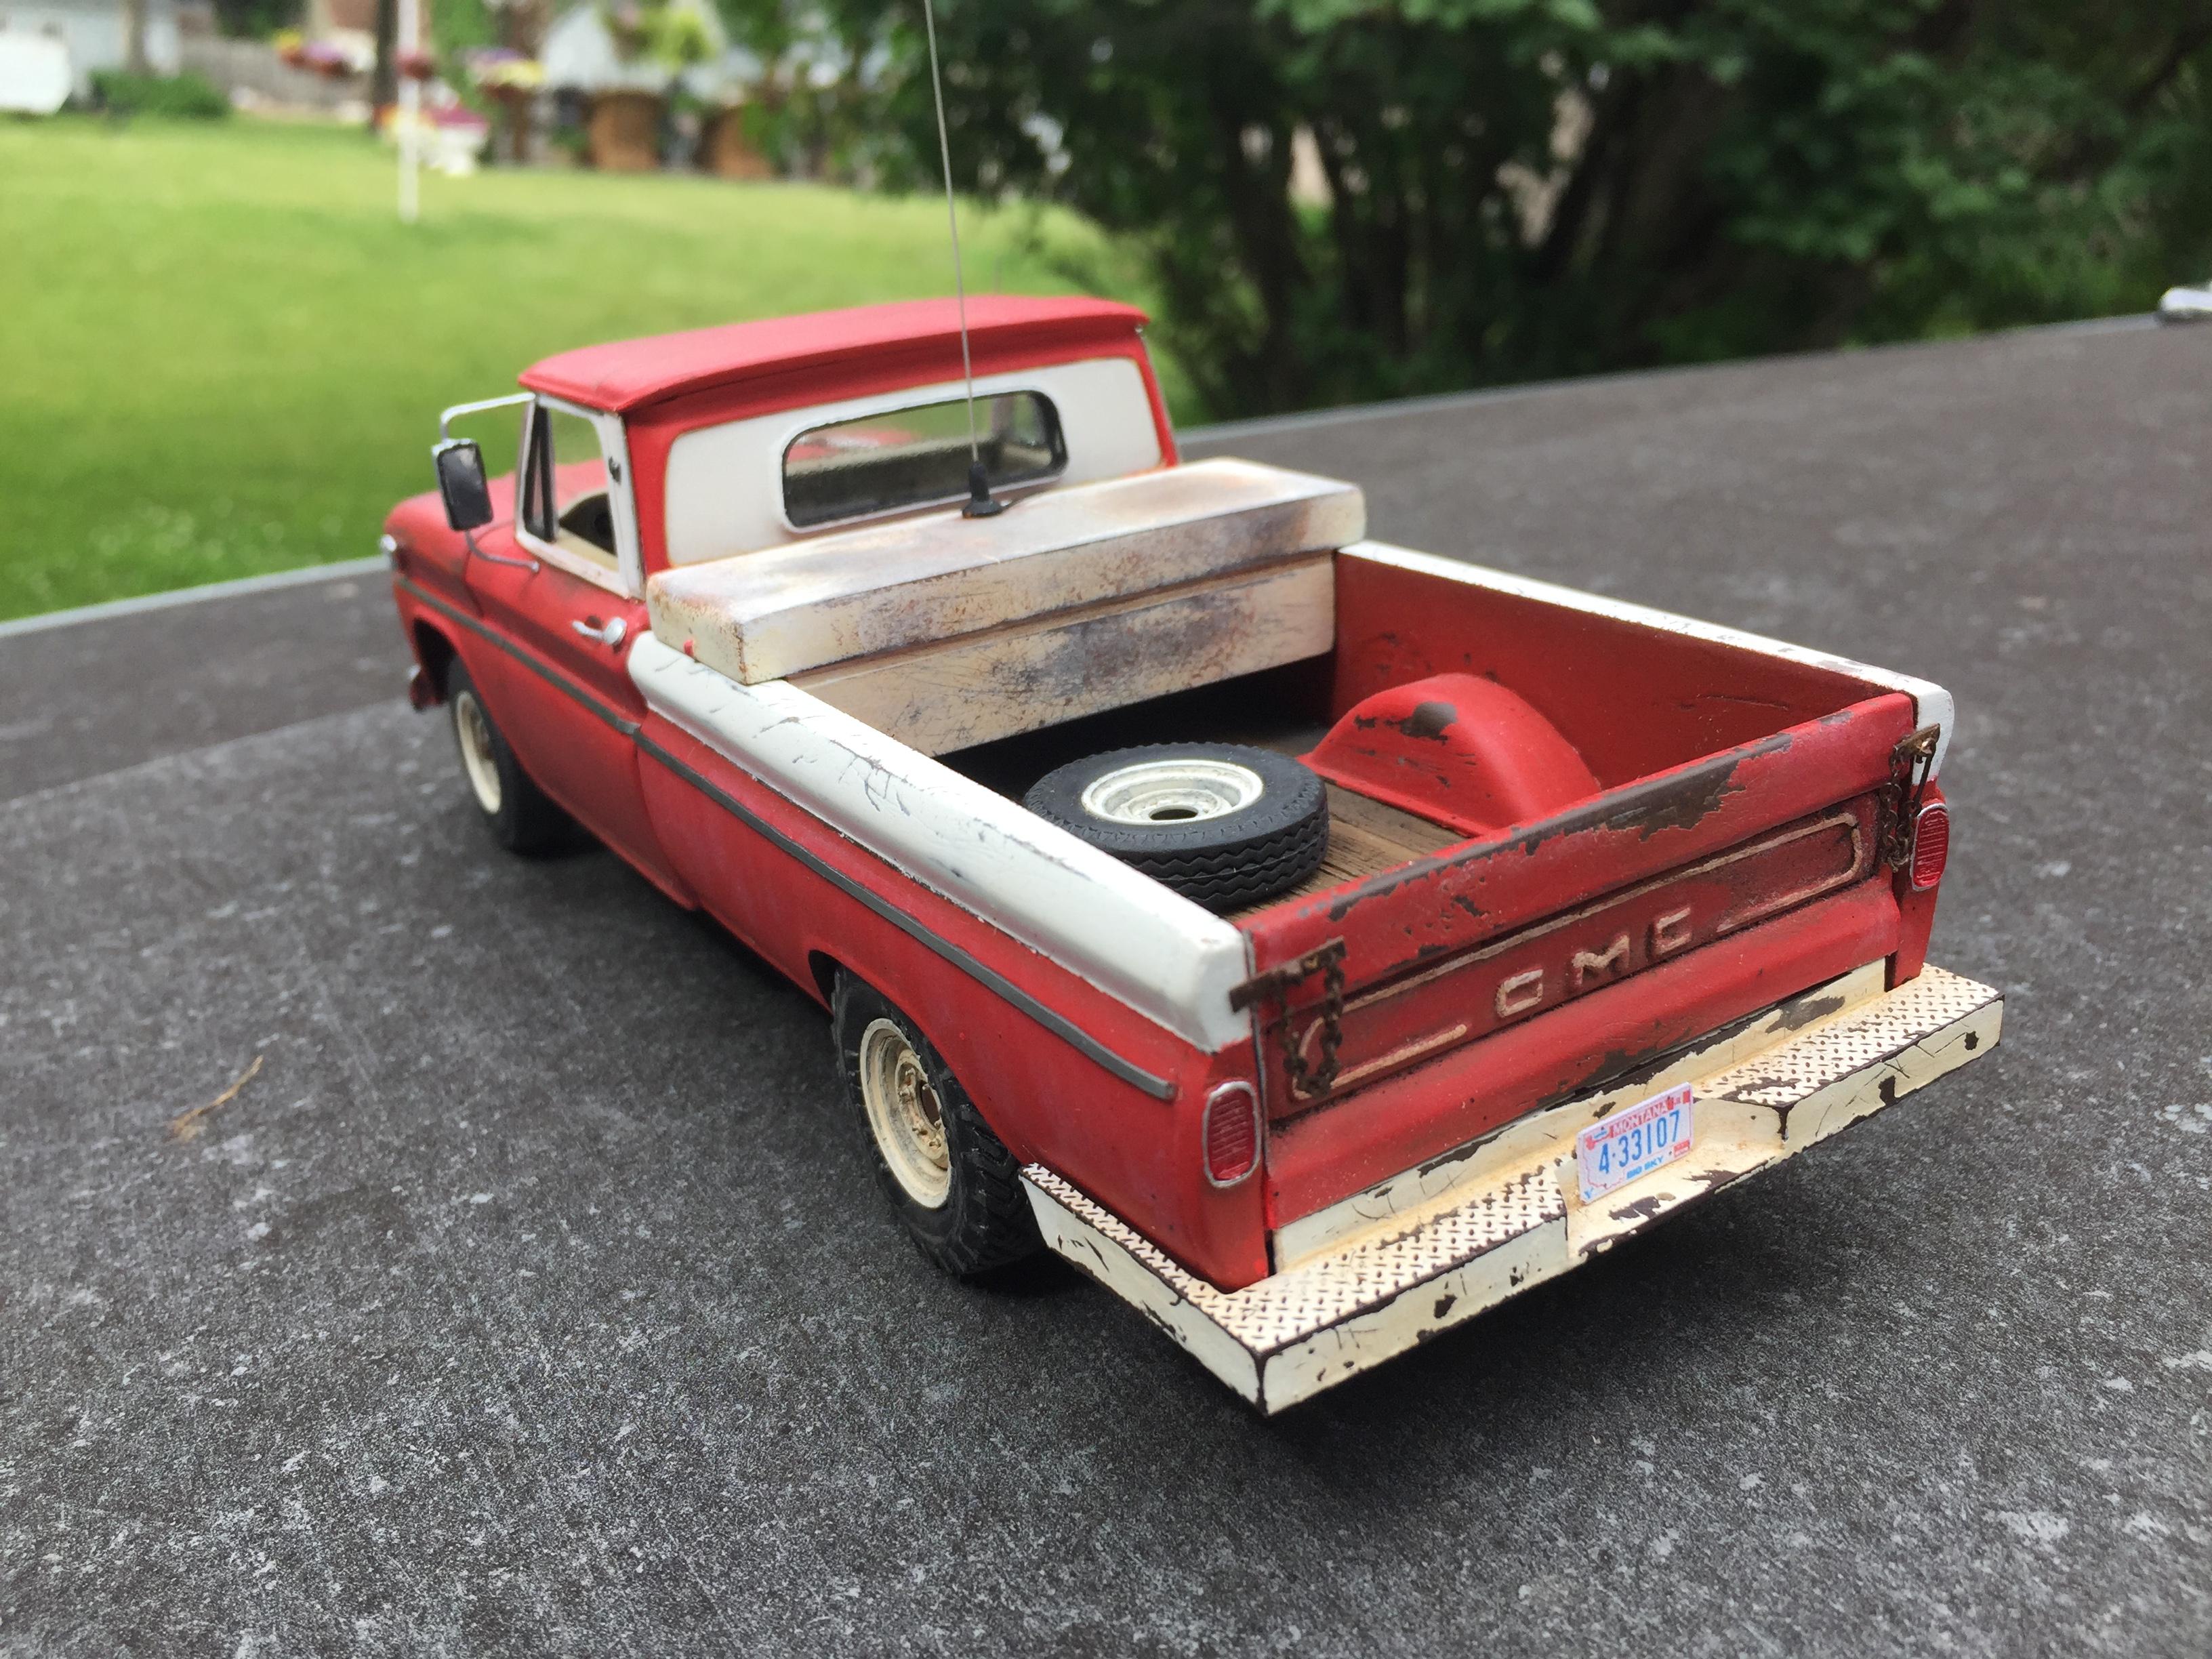
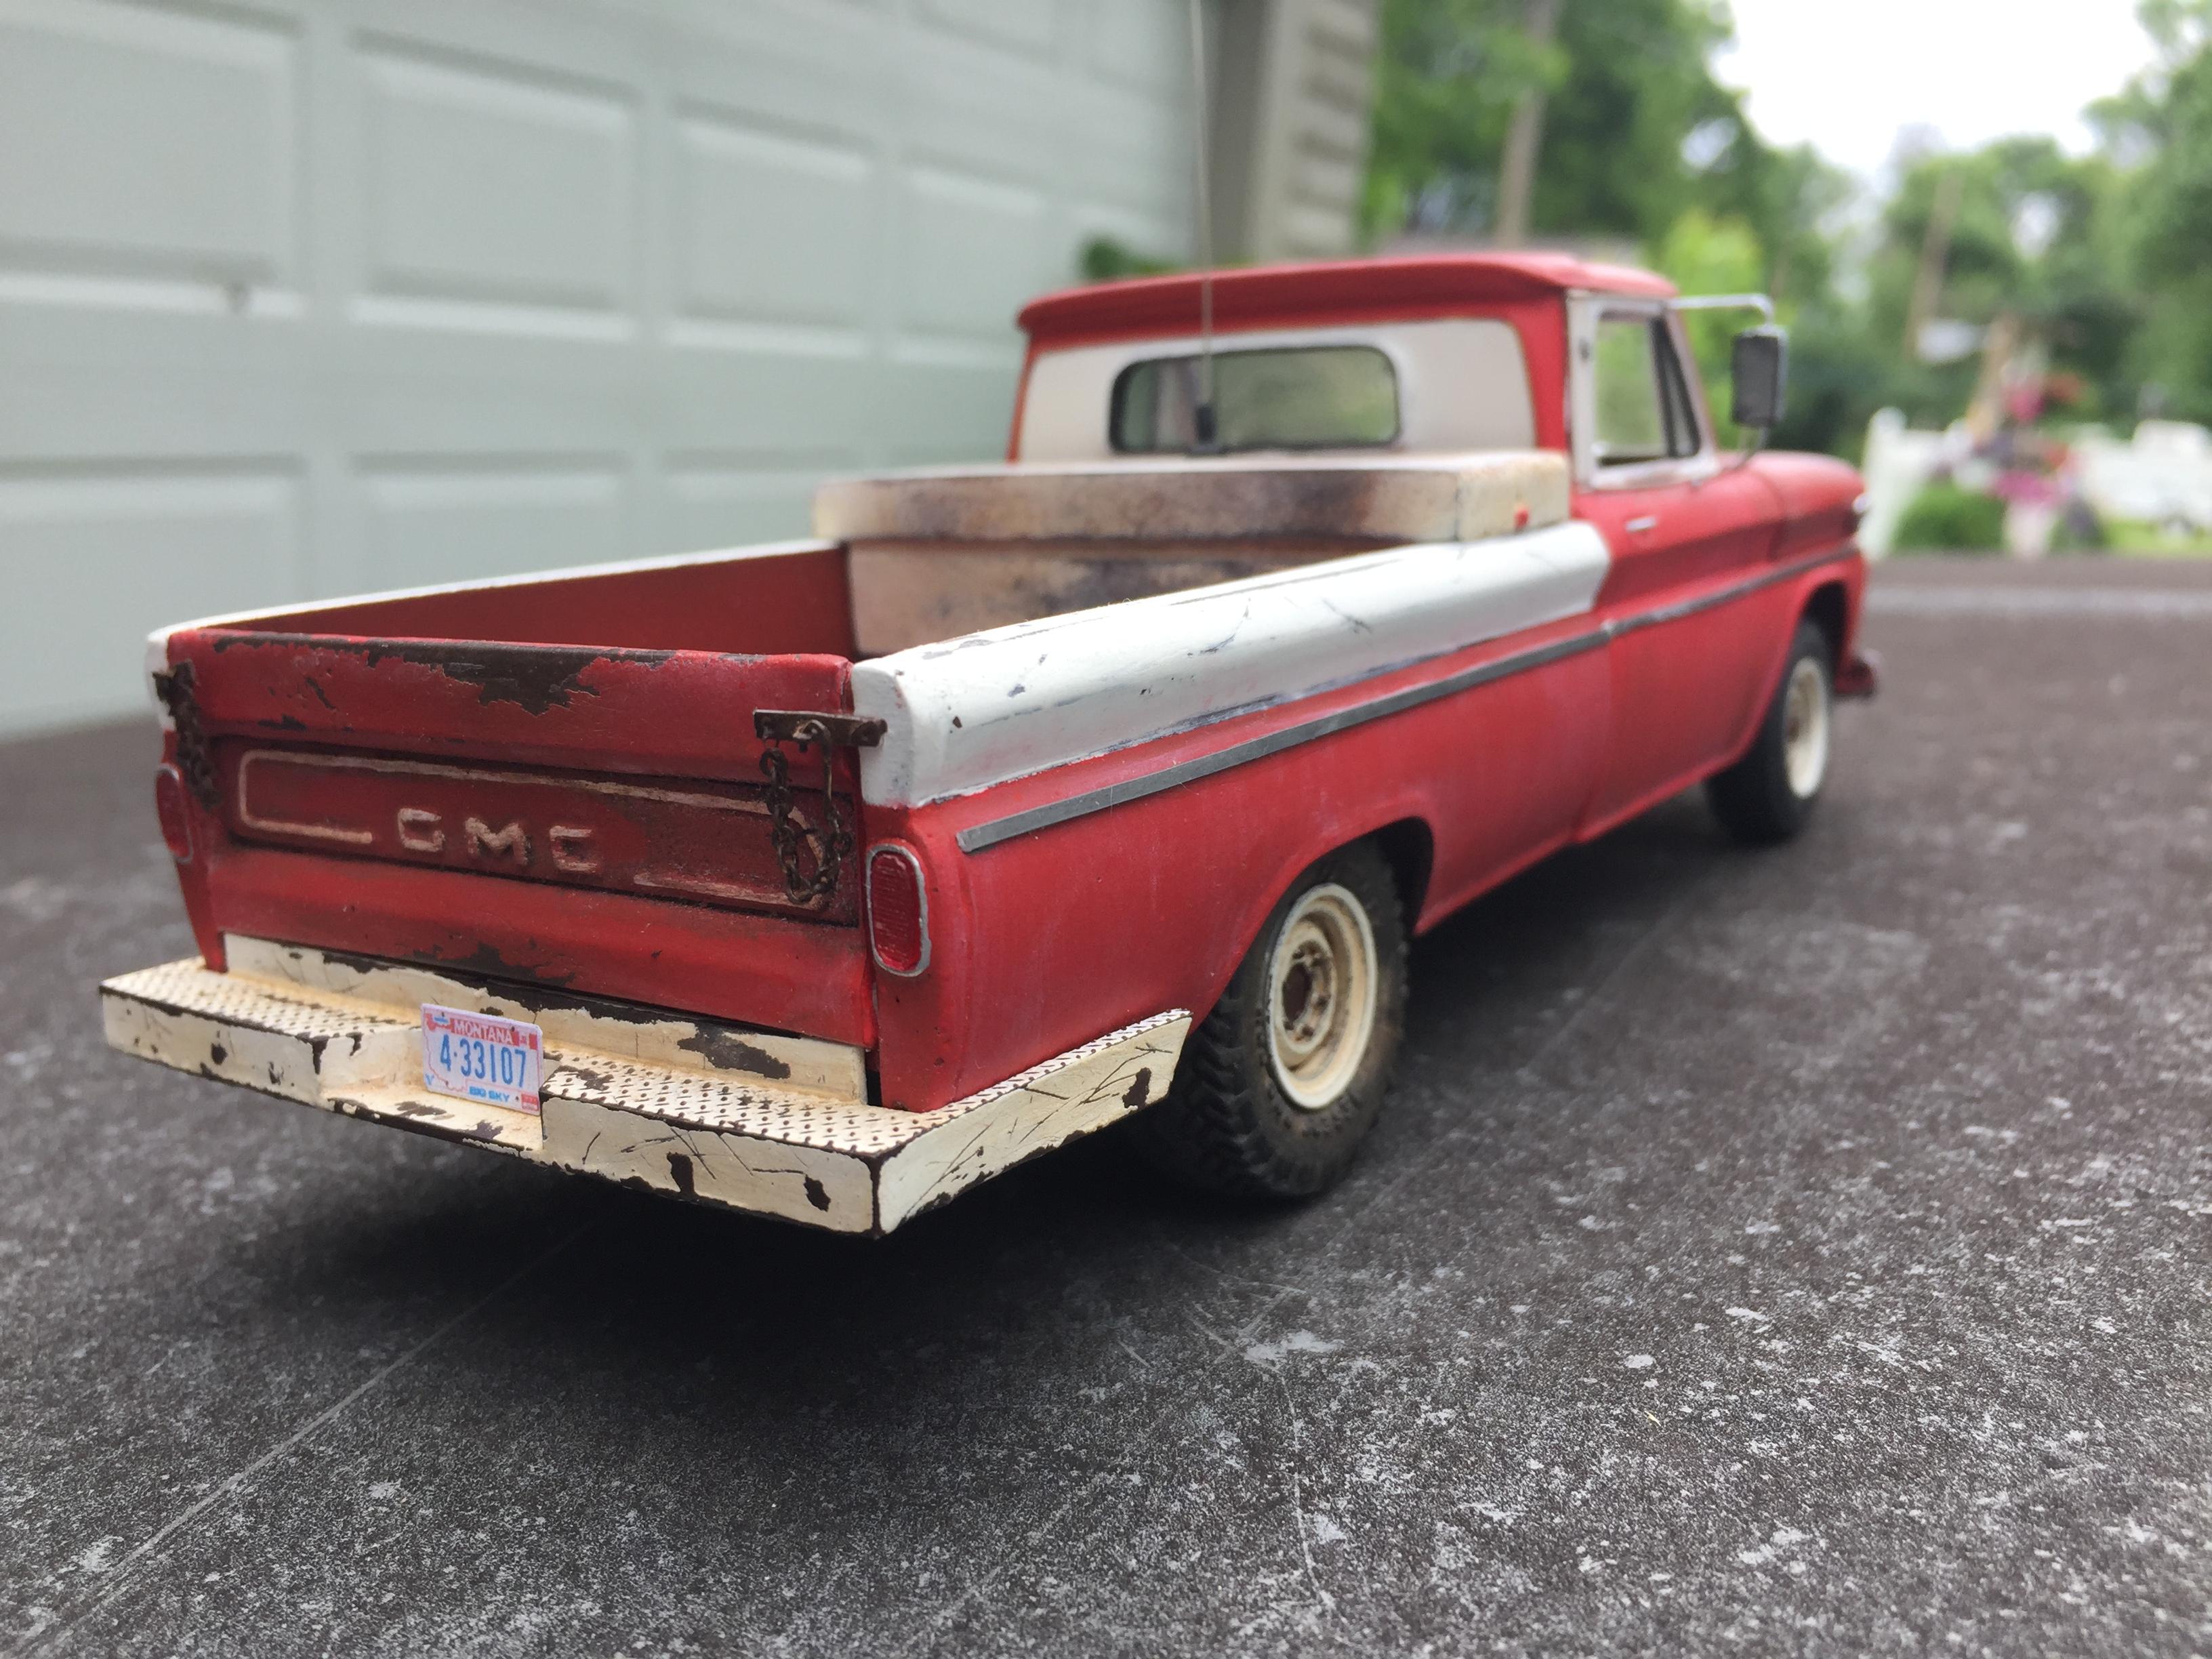
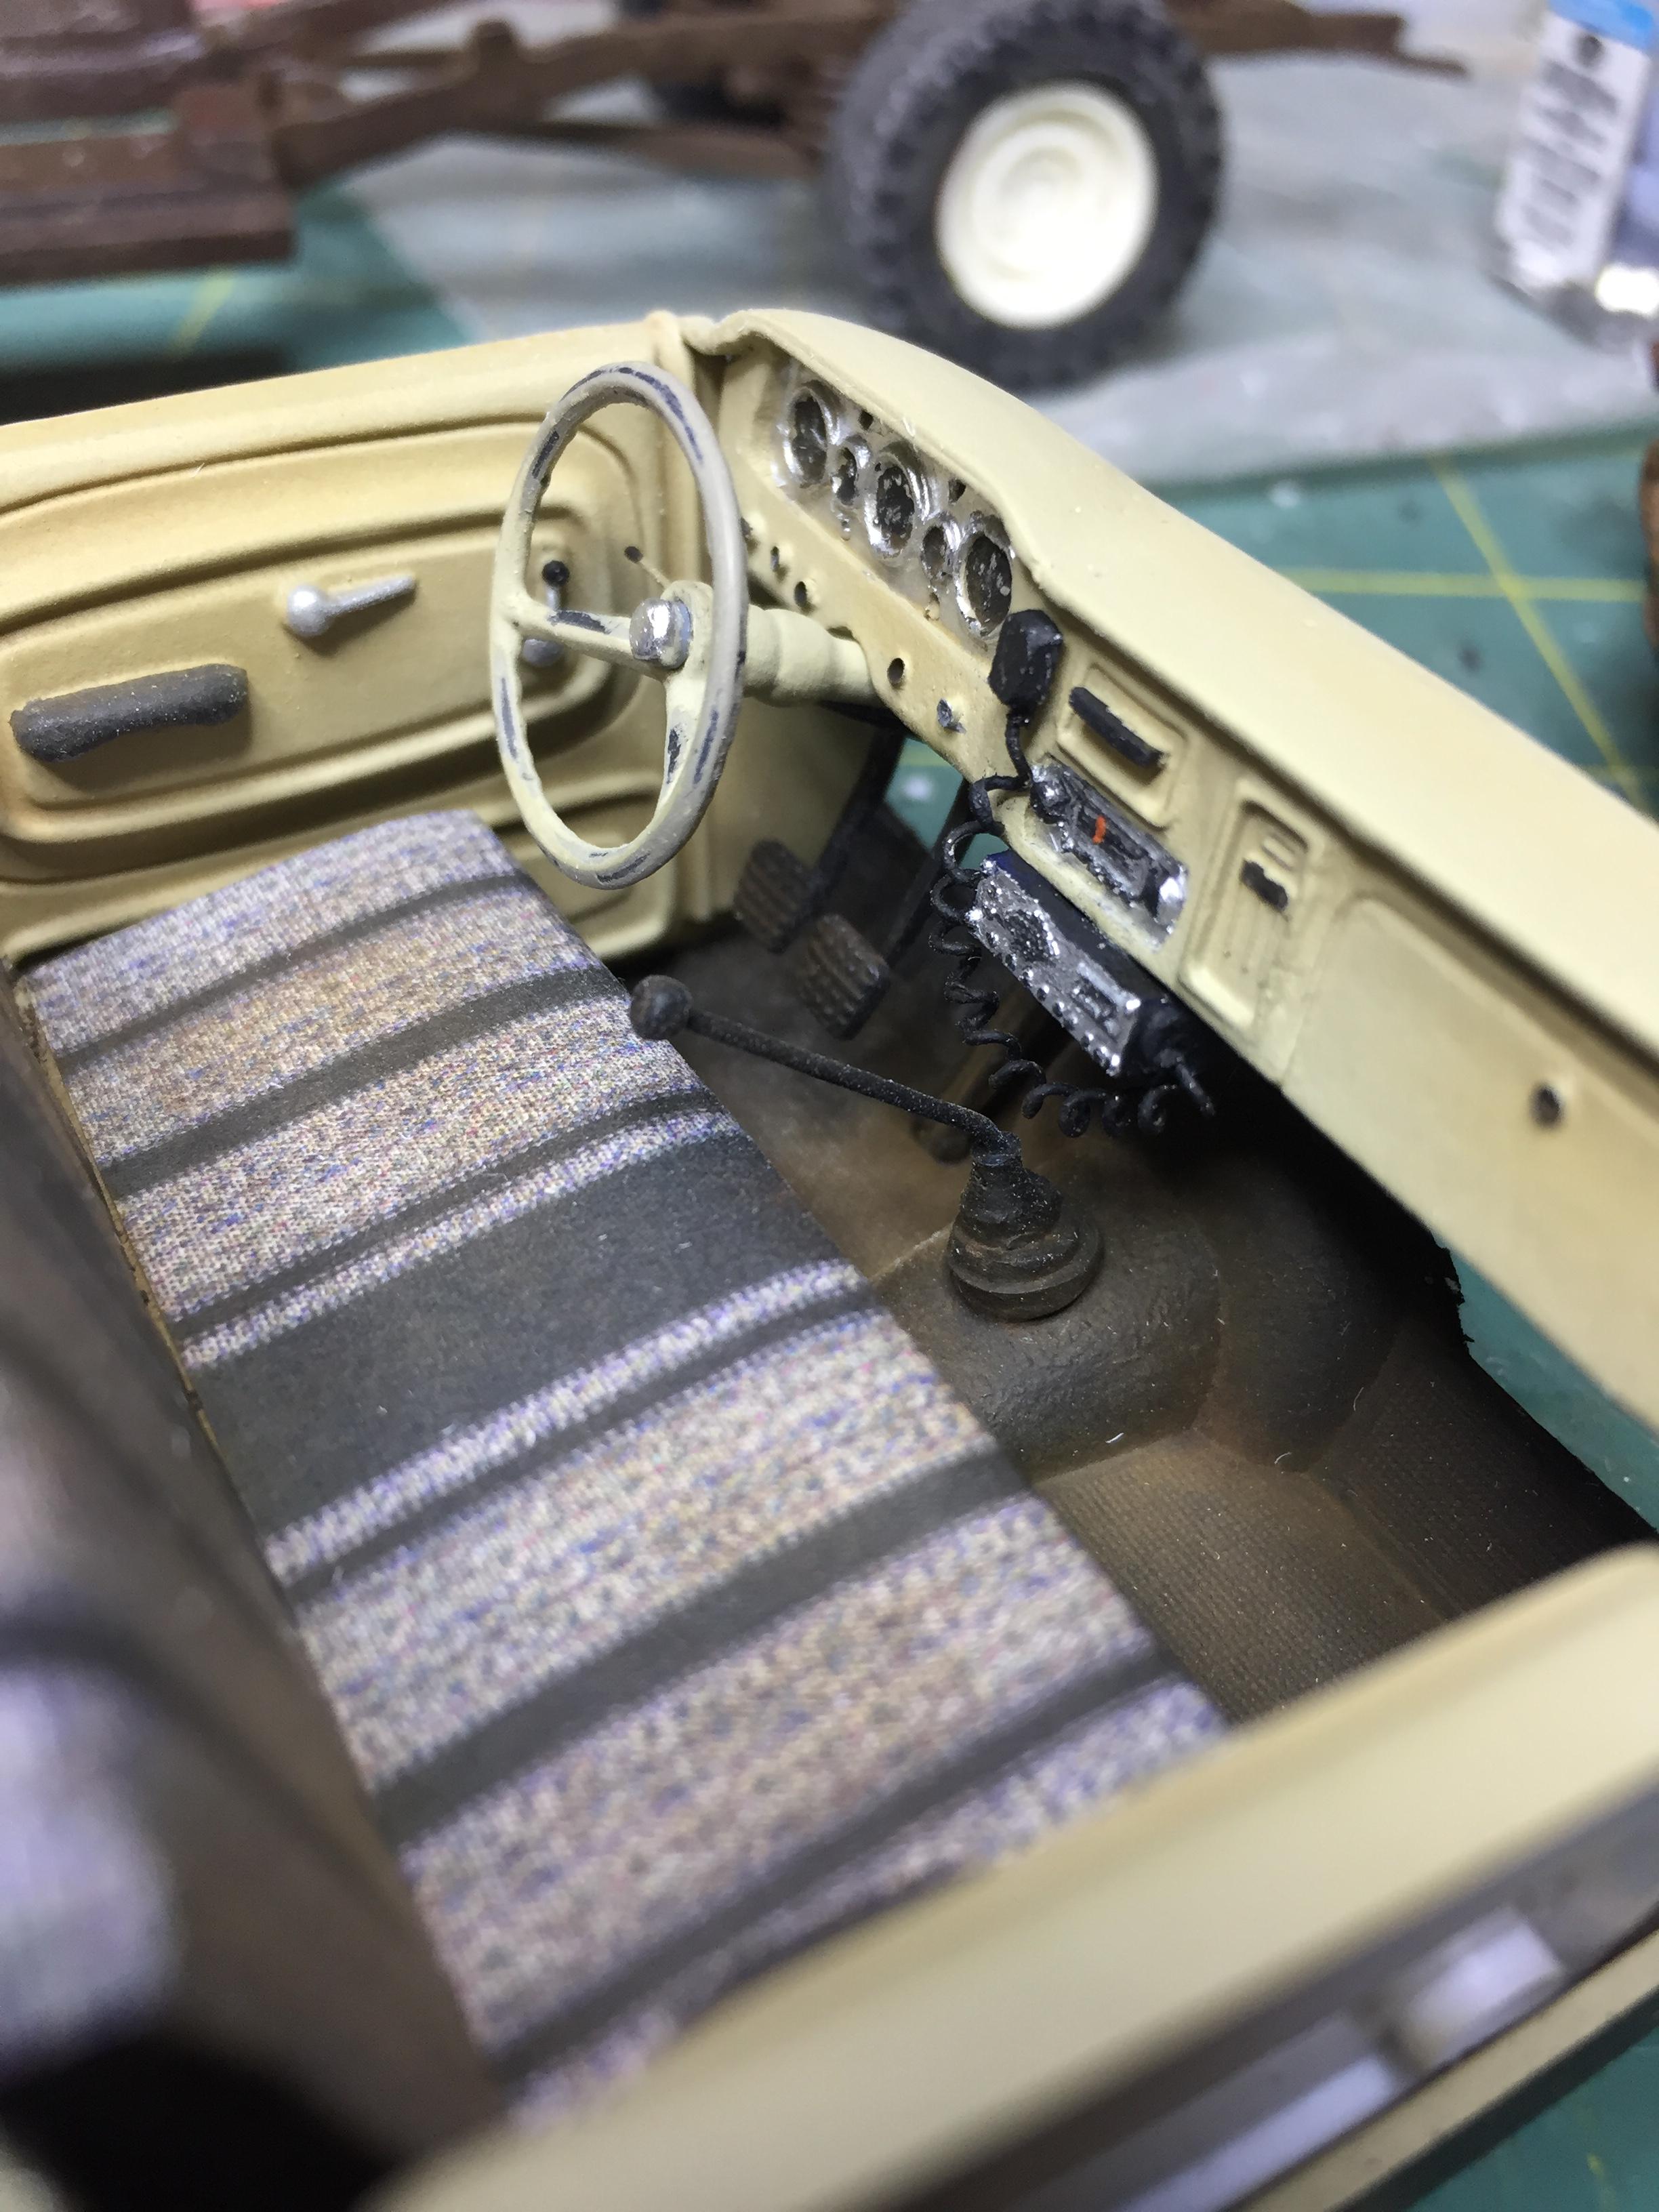
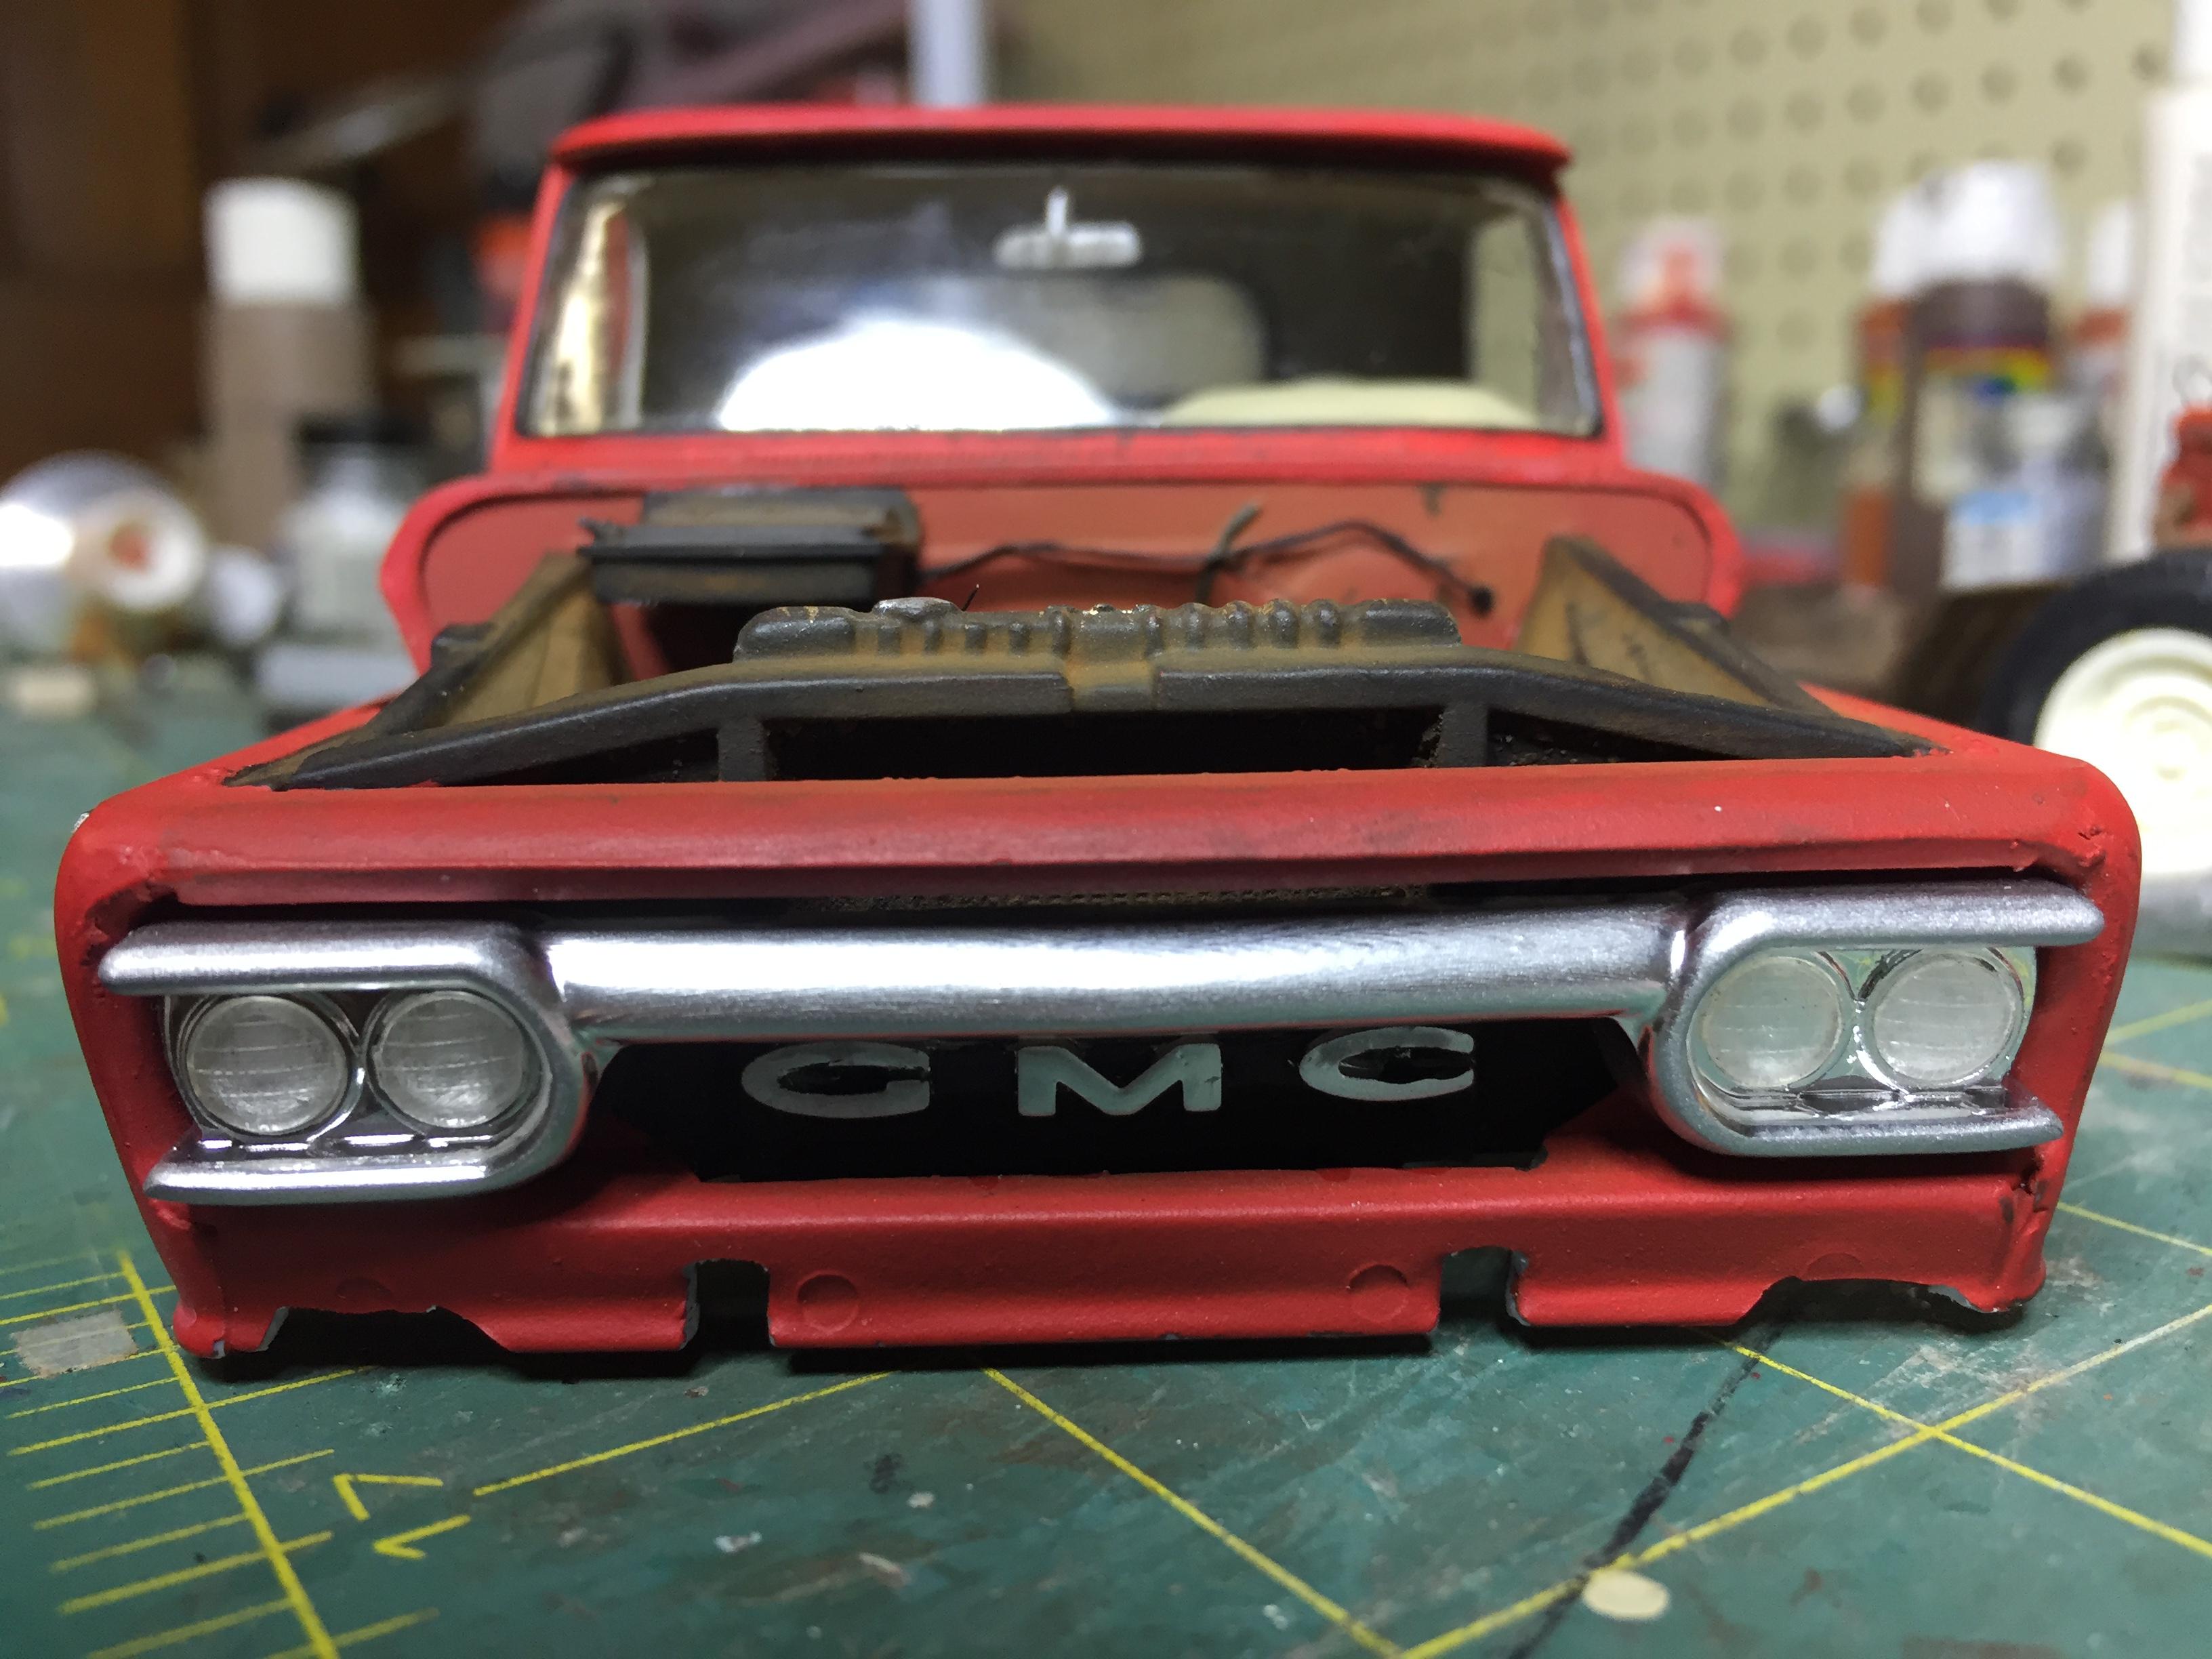
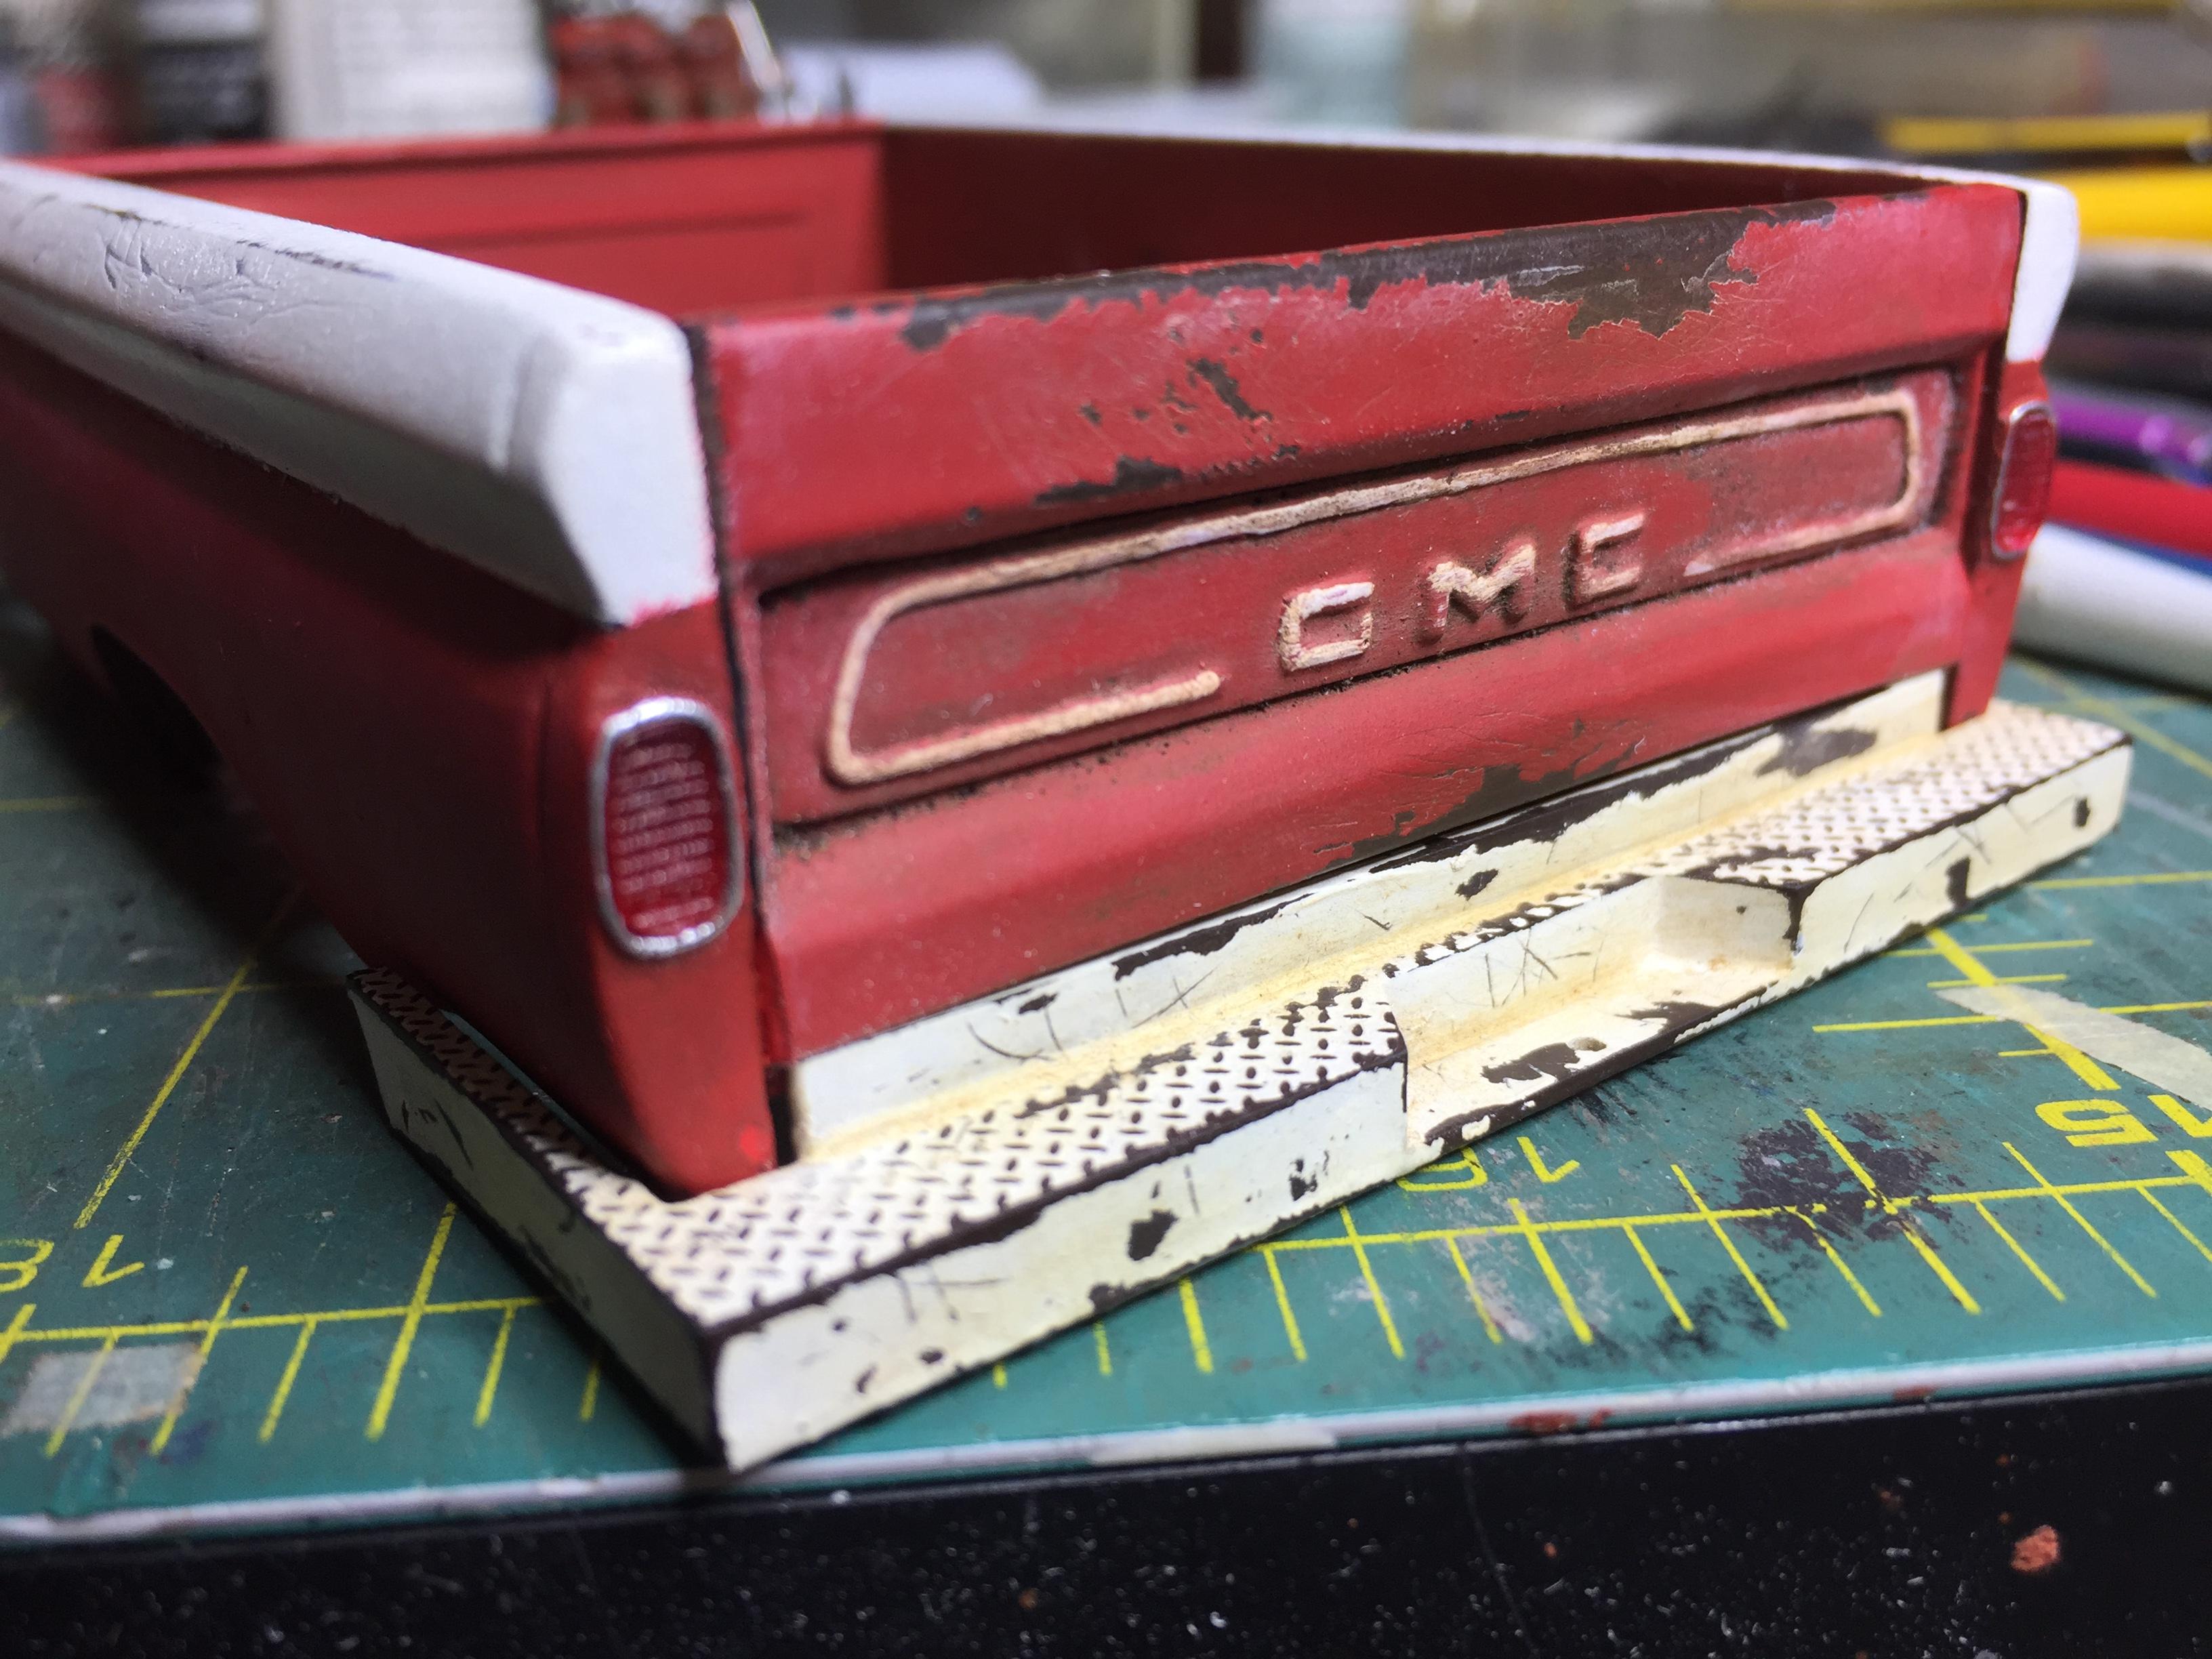
Well it is finally finished! Started with the Revell 65 Chevy step side. I used the cab, hood, firewall, seat and door panels, suspensions and parts of the frame, windshield and a few little do dads from the kit. I fabricated from scratch or on a computer and printed the following: Front turn signals, grill and letters, 305 V6 engine, V6 emblems on the hood, mirrors, dash board, rear small window insert, toolbox, entire bed, rear bumper, and 6 lug rims. Other mods include lengthening the frame, new pedal braces, emergency brake lever, steering wheel, raised the seat and made a seat cover, made a shifter, cb radio, antennas, and tailgate chains/ brackets. I am happy with it for the most part. Its not my best work but overall not bad. I go back in and redo the wipers as I dont like how they look. Most of you know I will offer the parts once I get a website put together. My focus right now is getting the 67-69 Ford grills finished and out to market. If you can't wait, I can do some limited sales if you PM me. Thanks for looking and of course comments are welcome!

-
ford f 250 revell
bill lanfear replied to alexandr1977's topic in WIP: Model Trucks: Pickups, Vans, SUVs, Light Commercial
Very well executed! Your painting skills are excellent! Nice details and overall a very clean build! -
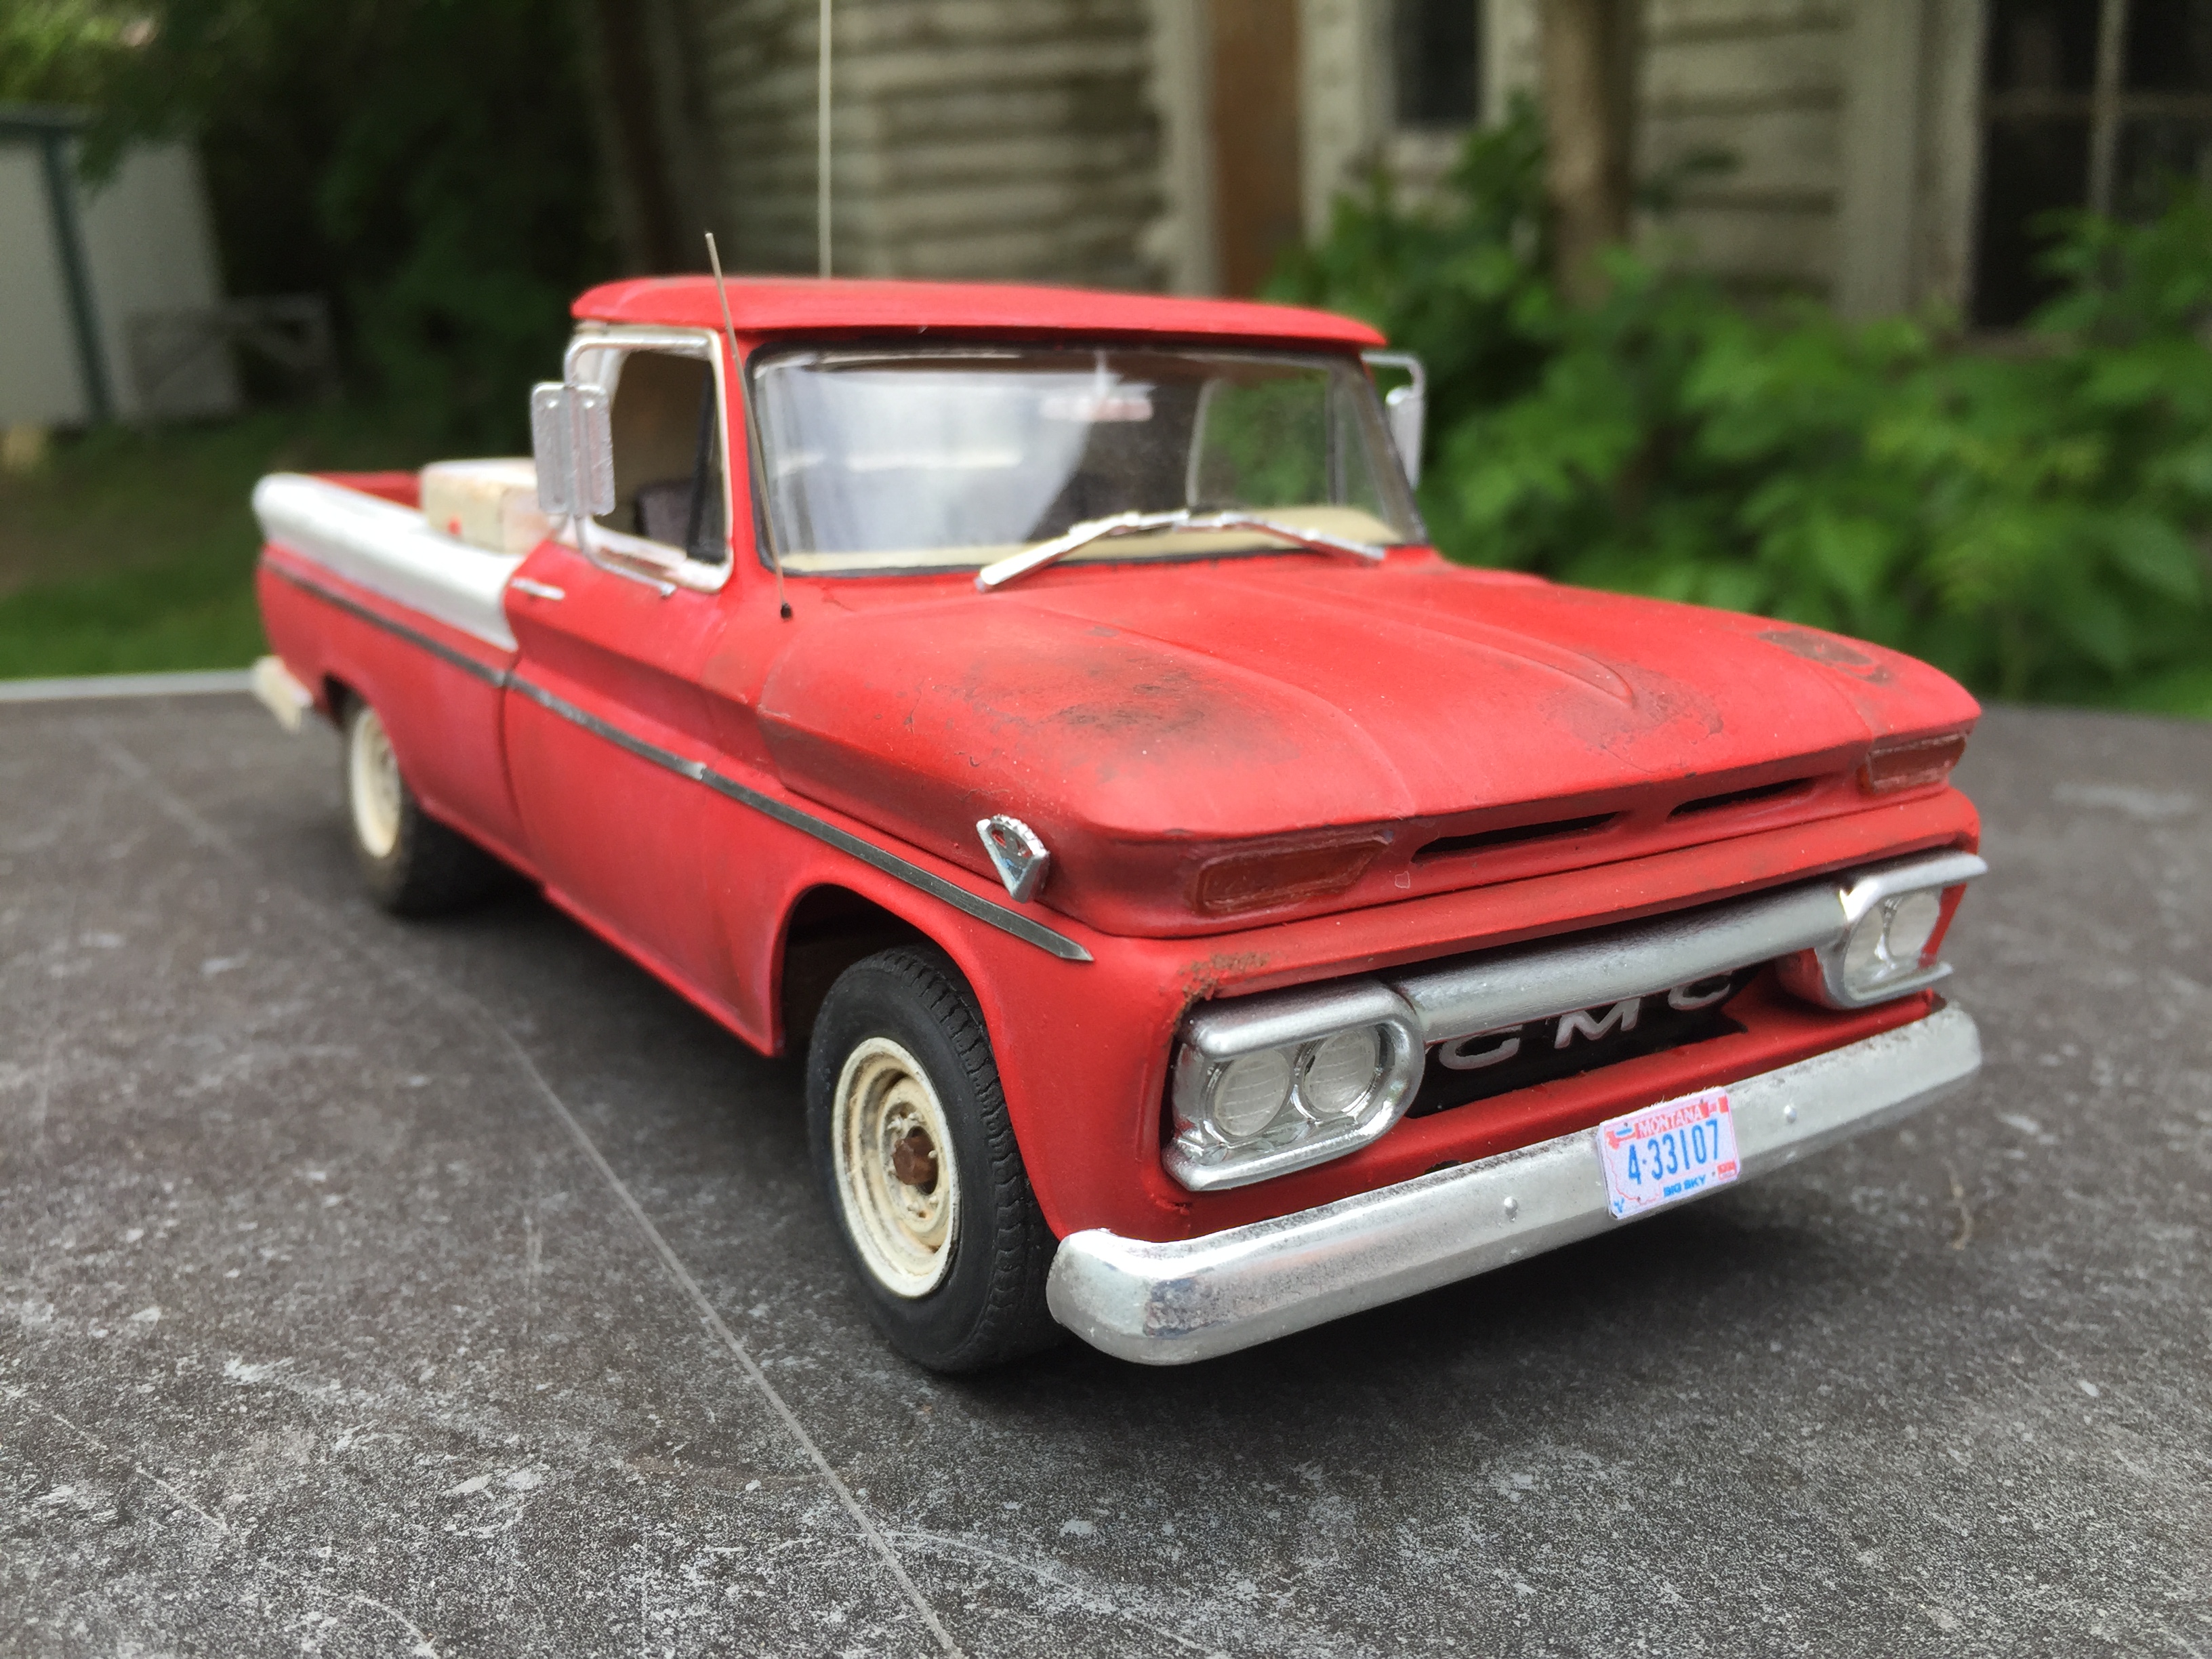
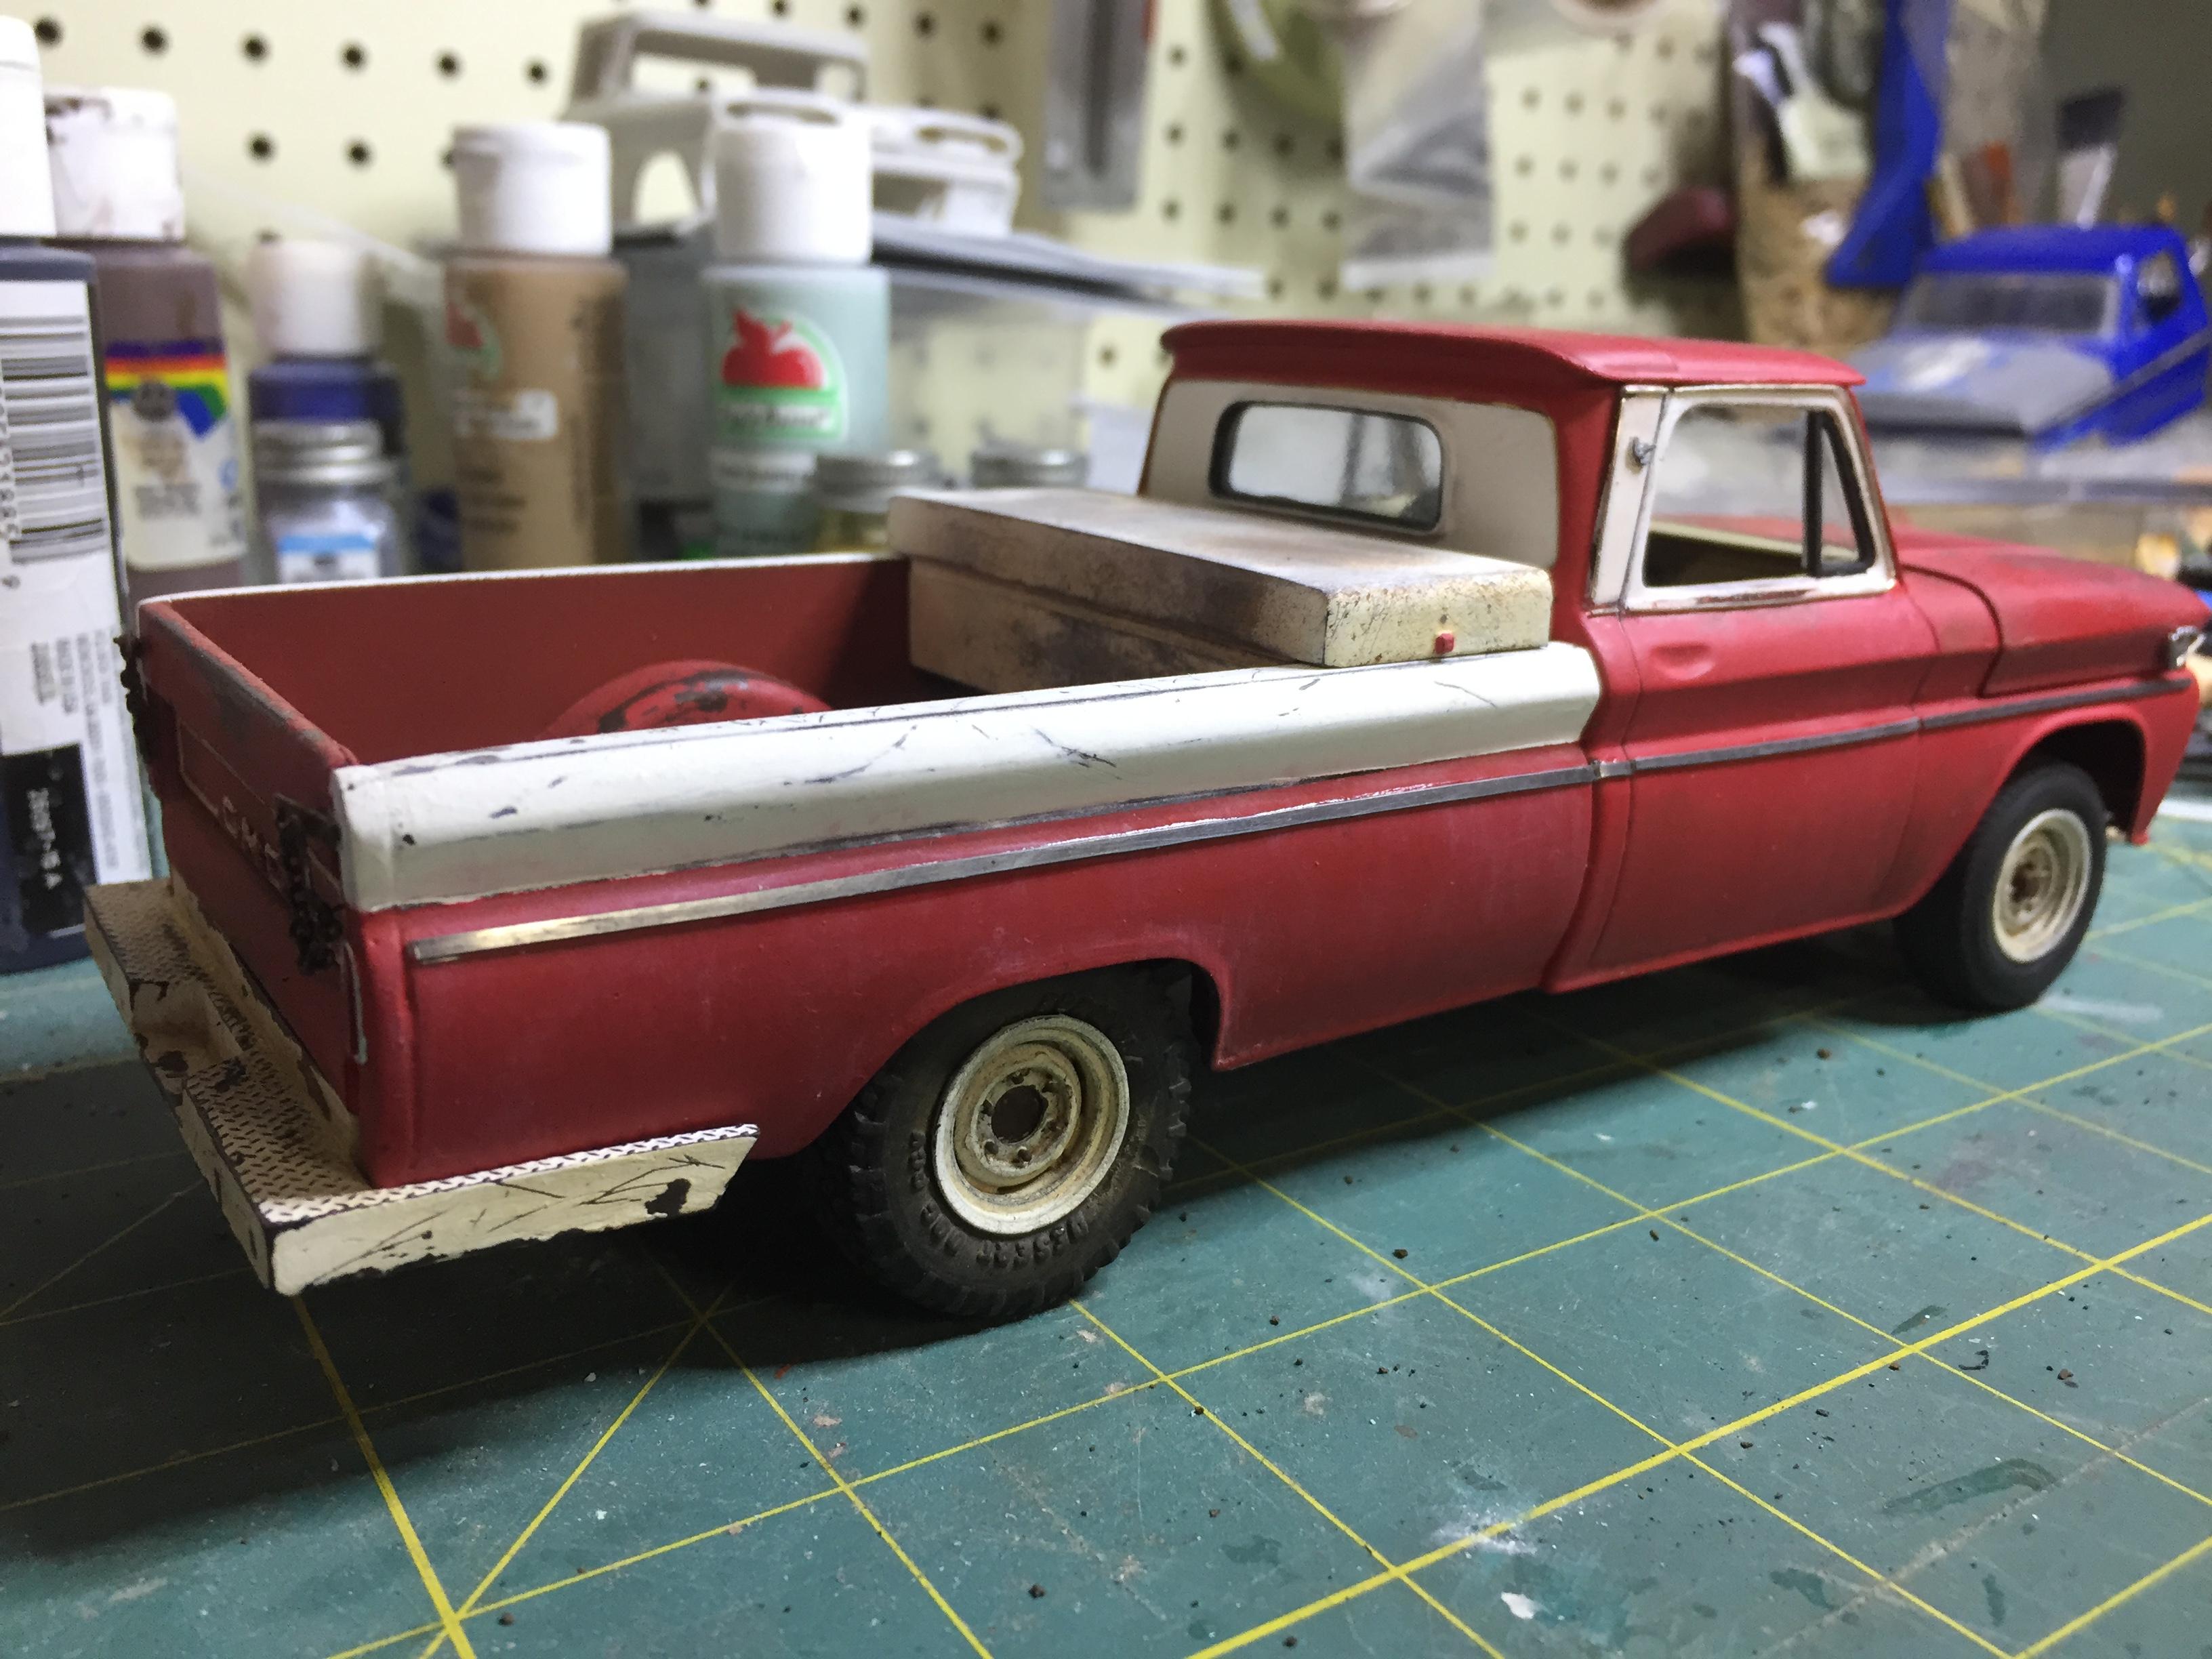
Small update! This is probably the last shot on the workbench for this one! I got the rest of the trim on the bed and cab, the chains on the tailgate, made a toolbox for it, and made some wheels as I found I did not have any 6 lug stock rims. All that is left is Weathering the white on the box sides, mirrors, antenna, engine bay, front bumper, wipers, and door handles. Hope you like it, thanks for following this slow build and thank you all for your positive feedback....see you under glass!
-
50 ford truck
bill lanfear replied to ssman's topic in Model Trucks: Pickups, Vans, SUVs, Light Commercial
Love it! beautifully done, the back window looks especially great! -
Very nice! Excellent weathering with just the right amount!!
-
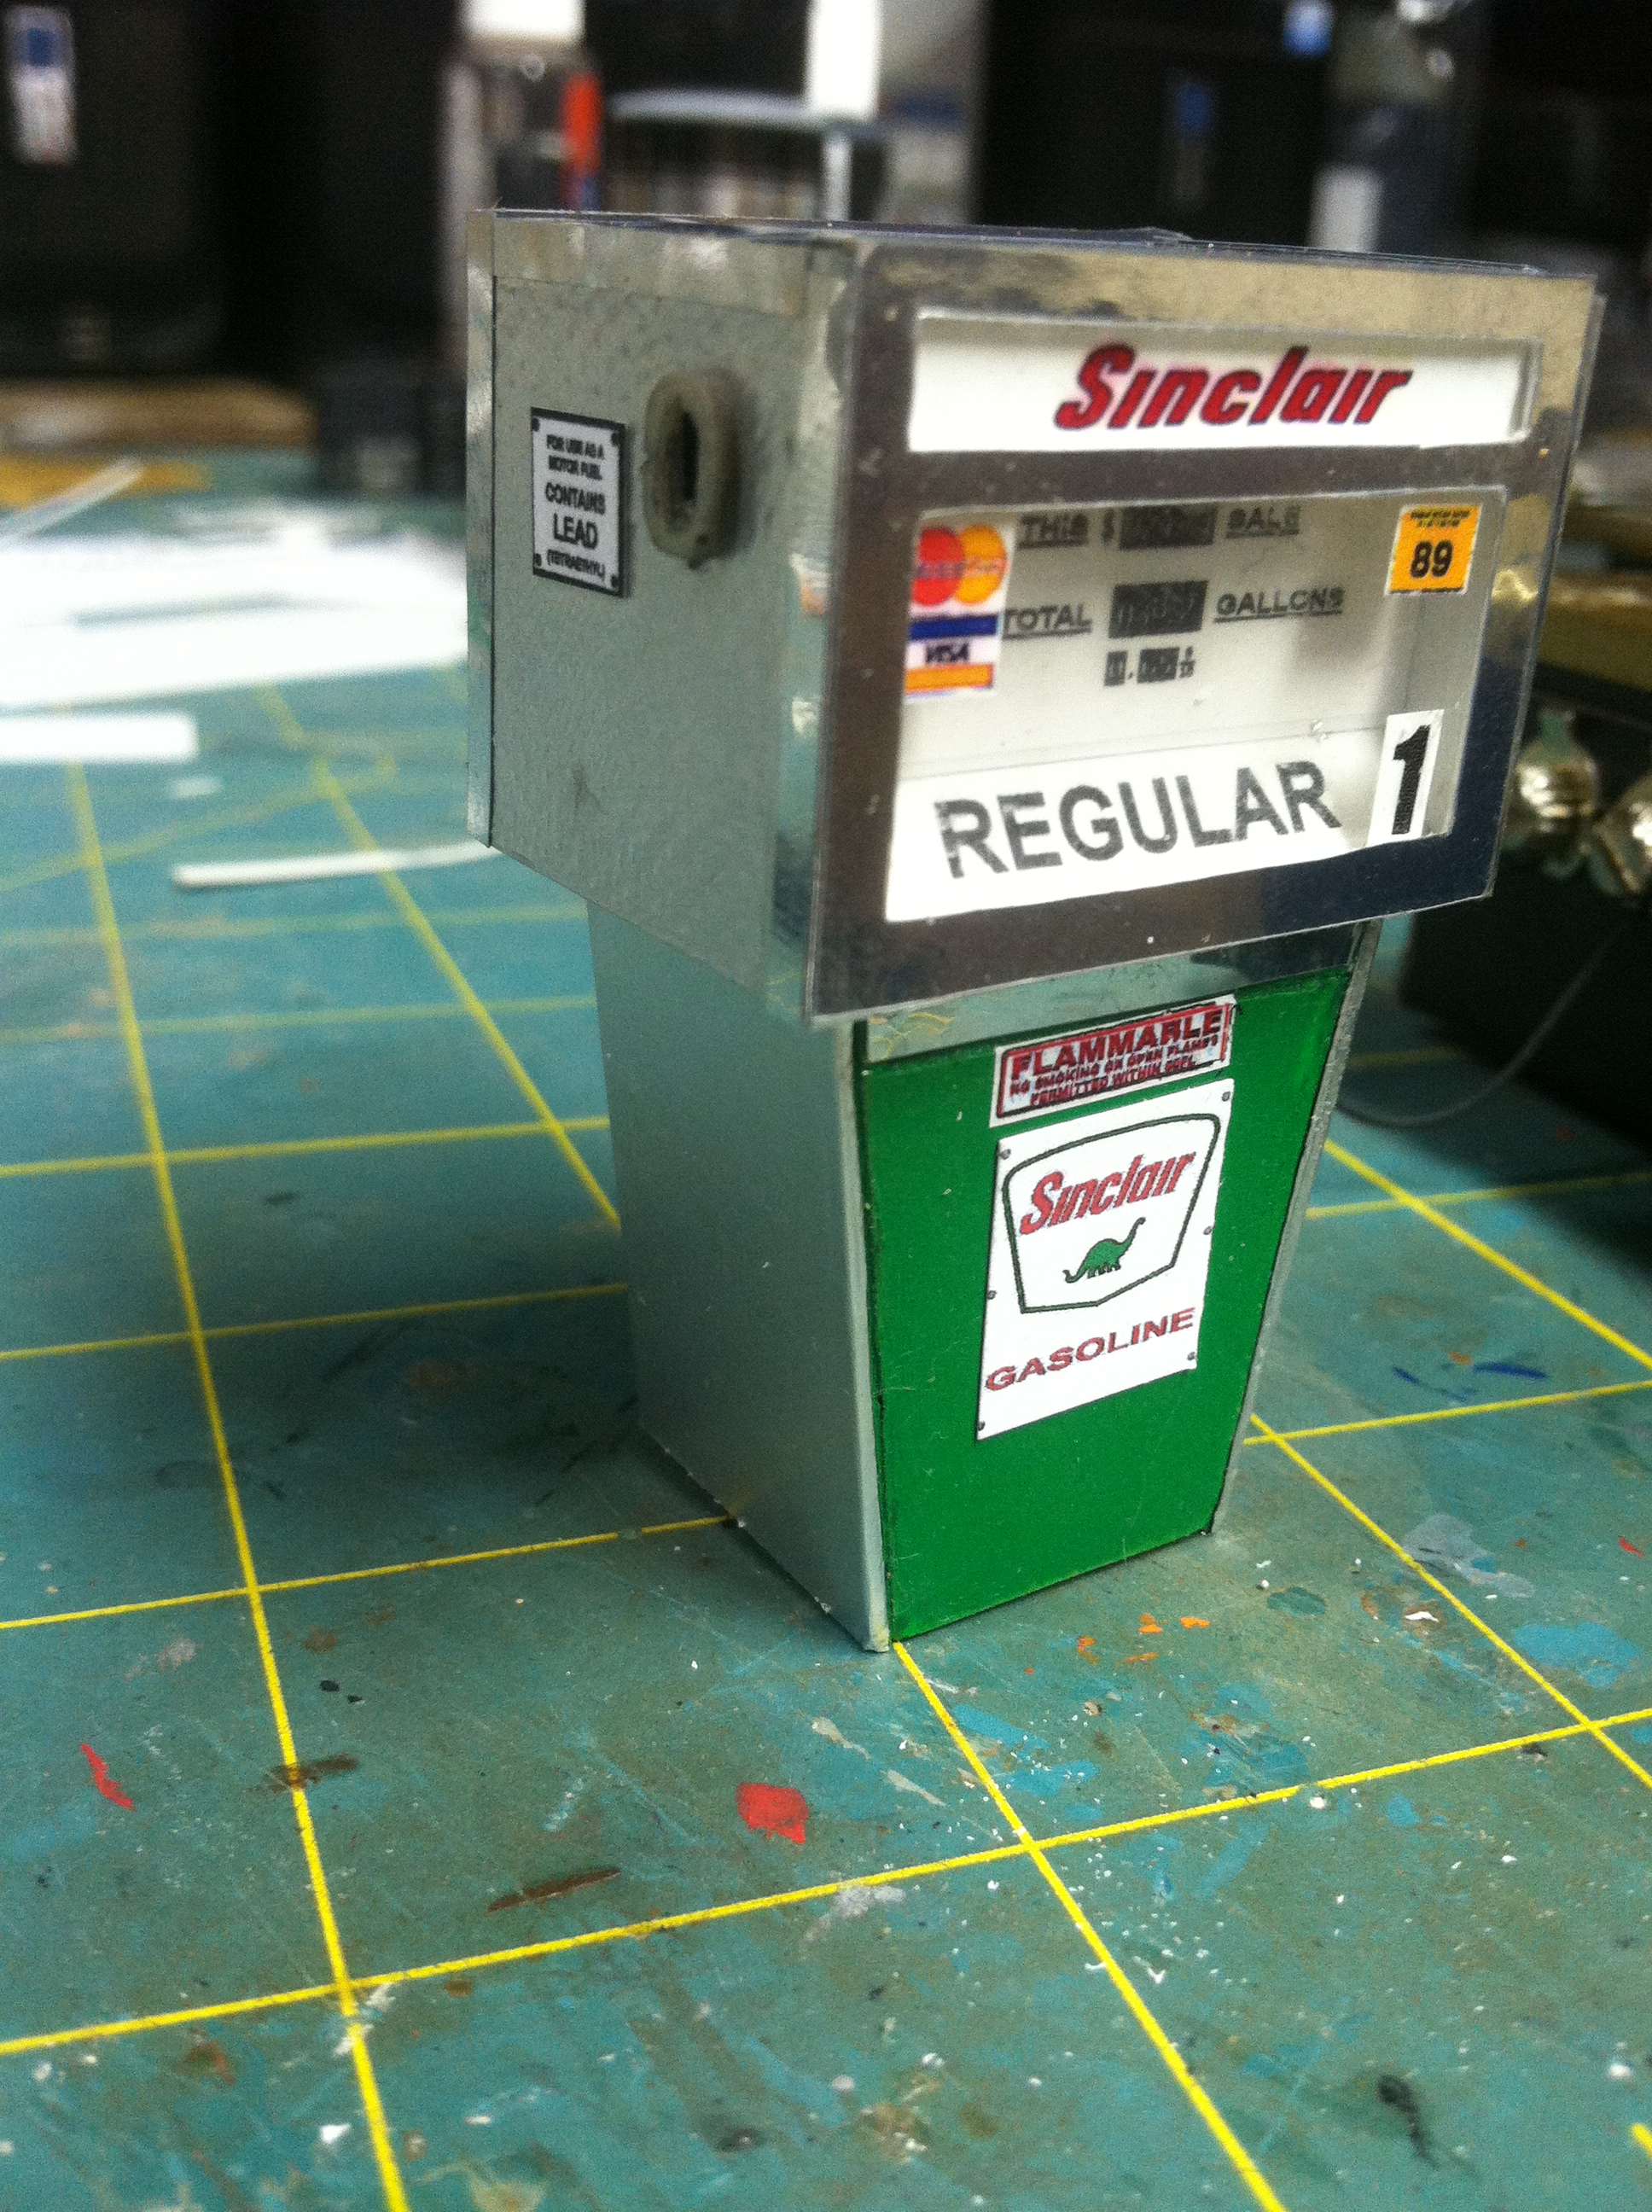
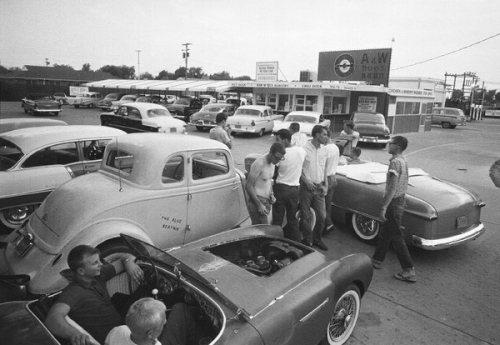
Maybe it was just one, it has been a while since I looked. All I remember was that I couldn't quite justify that much plus shipping. My diorama requires 7 of them and there was just no way. That is when I decided to build my own.
-
Doozy has some awesome 1/24 scale pumps but at a cost at around $30 for two. I made my own from styrene and tin foil and "other" stuff and made them to light up.
-
Picked up these at an antique store for $10-17 each. All were opened but complete and unstarted. The 65 Riviera and the Deserter were bought new at HL.
-
Thanks Dave, much appreciated!
-
A Better Grill
bill lanfear replied to bill lanfear's topic in Truck Aftermarket / Resin / 3D Printed
Thanks guys and yes that was considered and attempted but they are just too thin and fragile to get a consistent product from my limited casting abilities. After making a mold and a dozen attempts, I only got 3 that made it out of the mold in one piece, so I scrapped that idea. I appreciate the considerations though! -
Very nice!
-
Nice work..I like the color combo. .I think the hood is from the Monogram 1/24 scale 69 Z28.
-
1970 Ford F100
bill lanfear replied to Chuck Most's topic in Model Trucks: Pickups, Vans, SUVs, Light Commercial
Looks great! Love the battered look and the tires were a great choice! -
1966 Ford F100
bill lanfear replied to Chuck Most's topic in Model Trucks: Pickups, Vans, SUVs, Light Commercial
Very nice! Nailed it! -
A Better Grill
bill lanfear replied to bill lanfear's topic in Truck Aftermarket / Resin / 3D Printed
Thanks, and looking forward to doing business with you, I will try to address the 72 grill issues eventually as I have a pretty good grasp on the sizing, cab issues, etc now so it should go quick once I iron out the fit issues and accuracy of the 67-69 grills. I am on a 2 month vacation from work now so I will be getting these wrapped up real soon! -
A Better Grill
bill lanfear replied to bill lanfear's topic in Truck Aftermarket / Resin / 3D Printed
Thanks, I worked on the taper you mentioned last night as I agree and think that is why the headlight seems small...we will see when I print one out if that cures it. -
A Better Grill
bill lanfear replied to bill lanfear's topic in Truck Aftermarket / Resin / 3D Printed
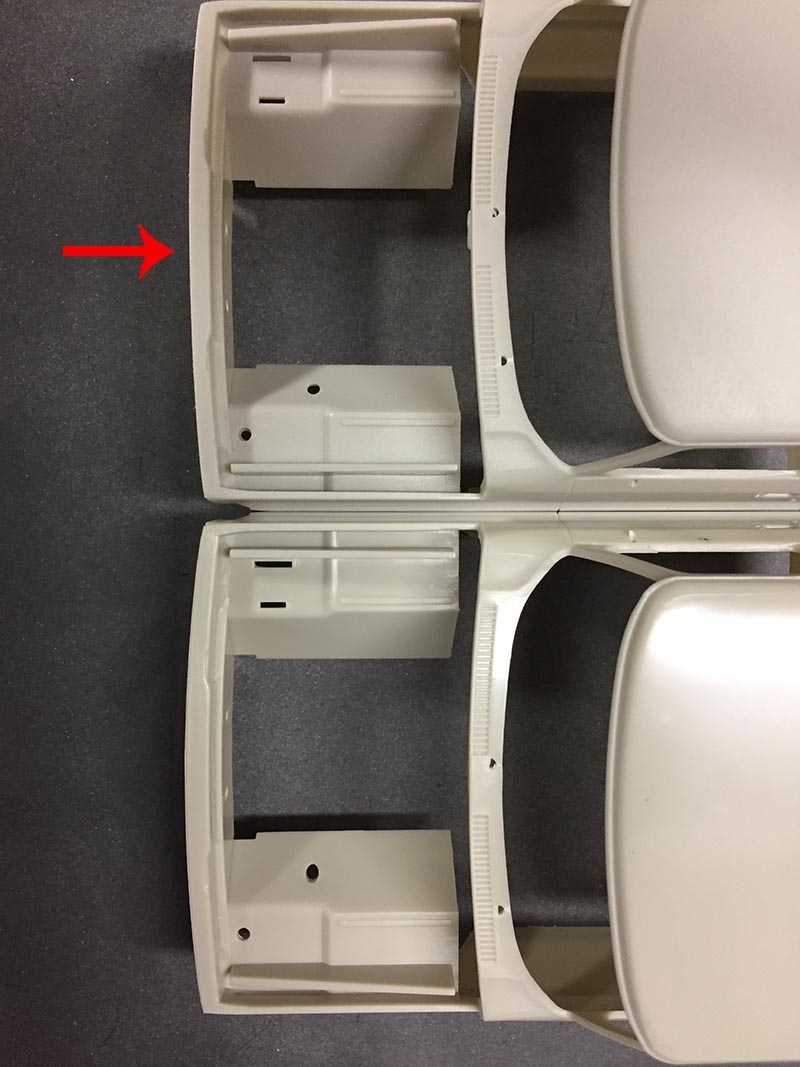
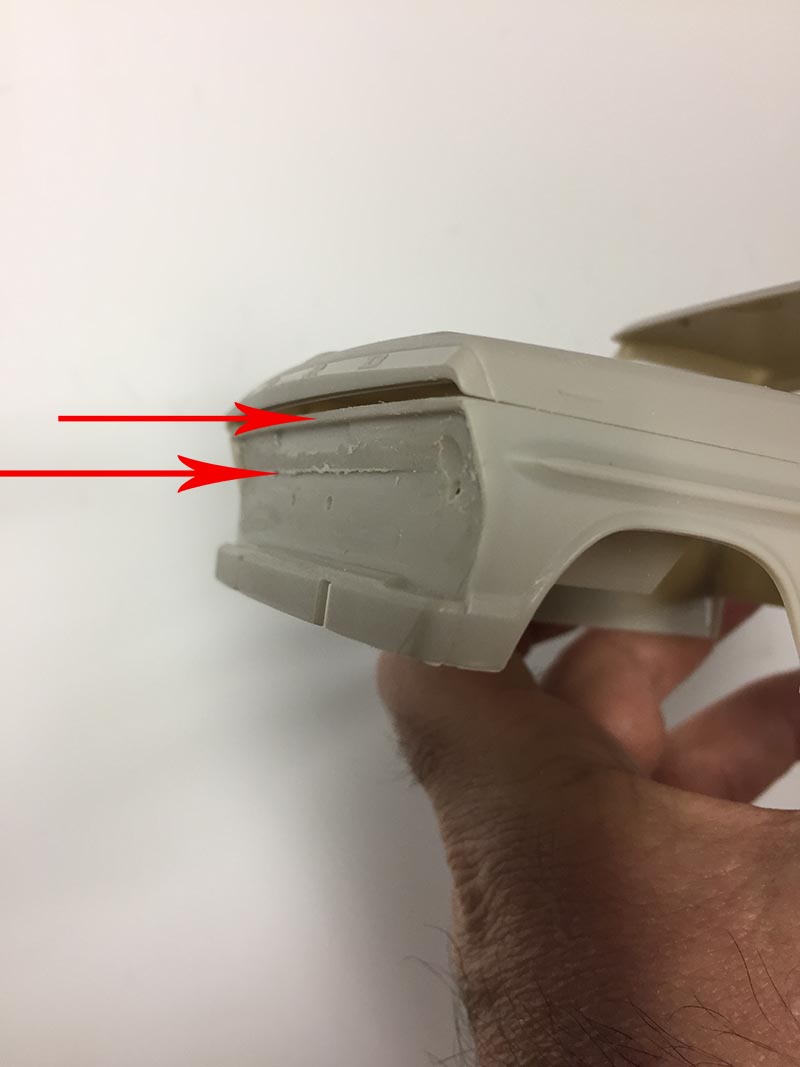
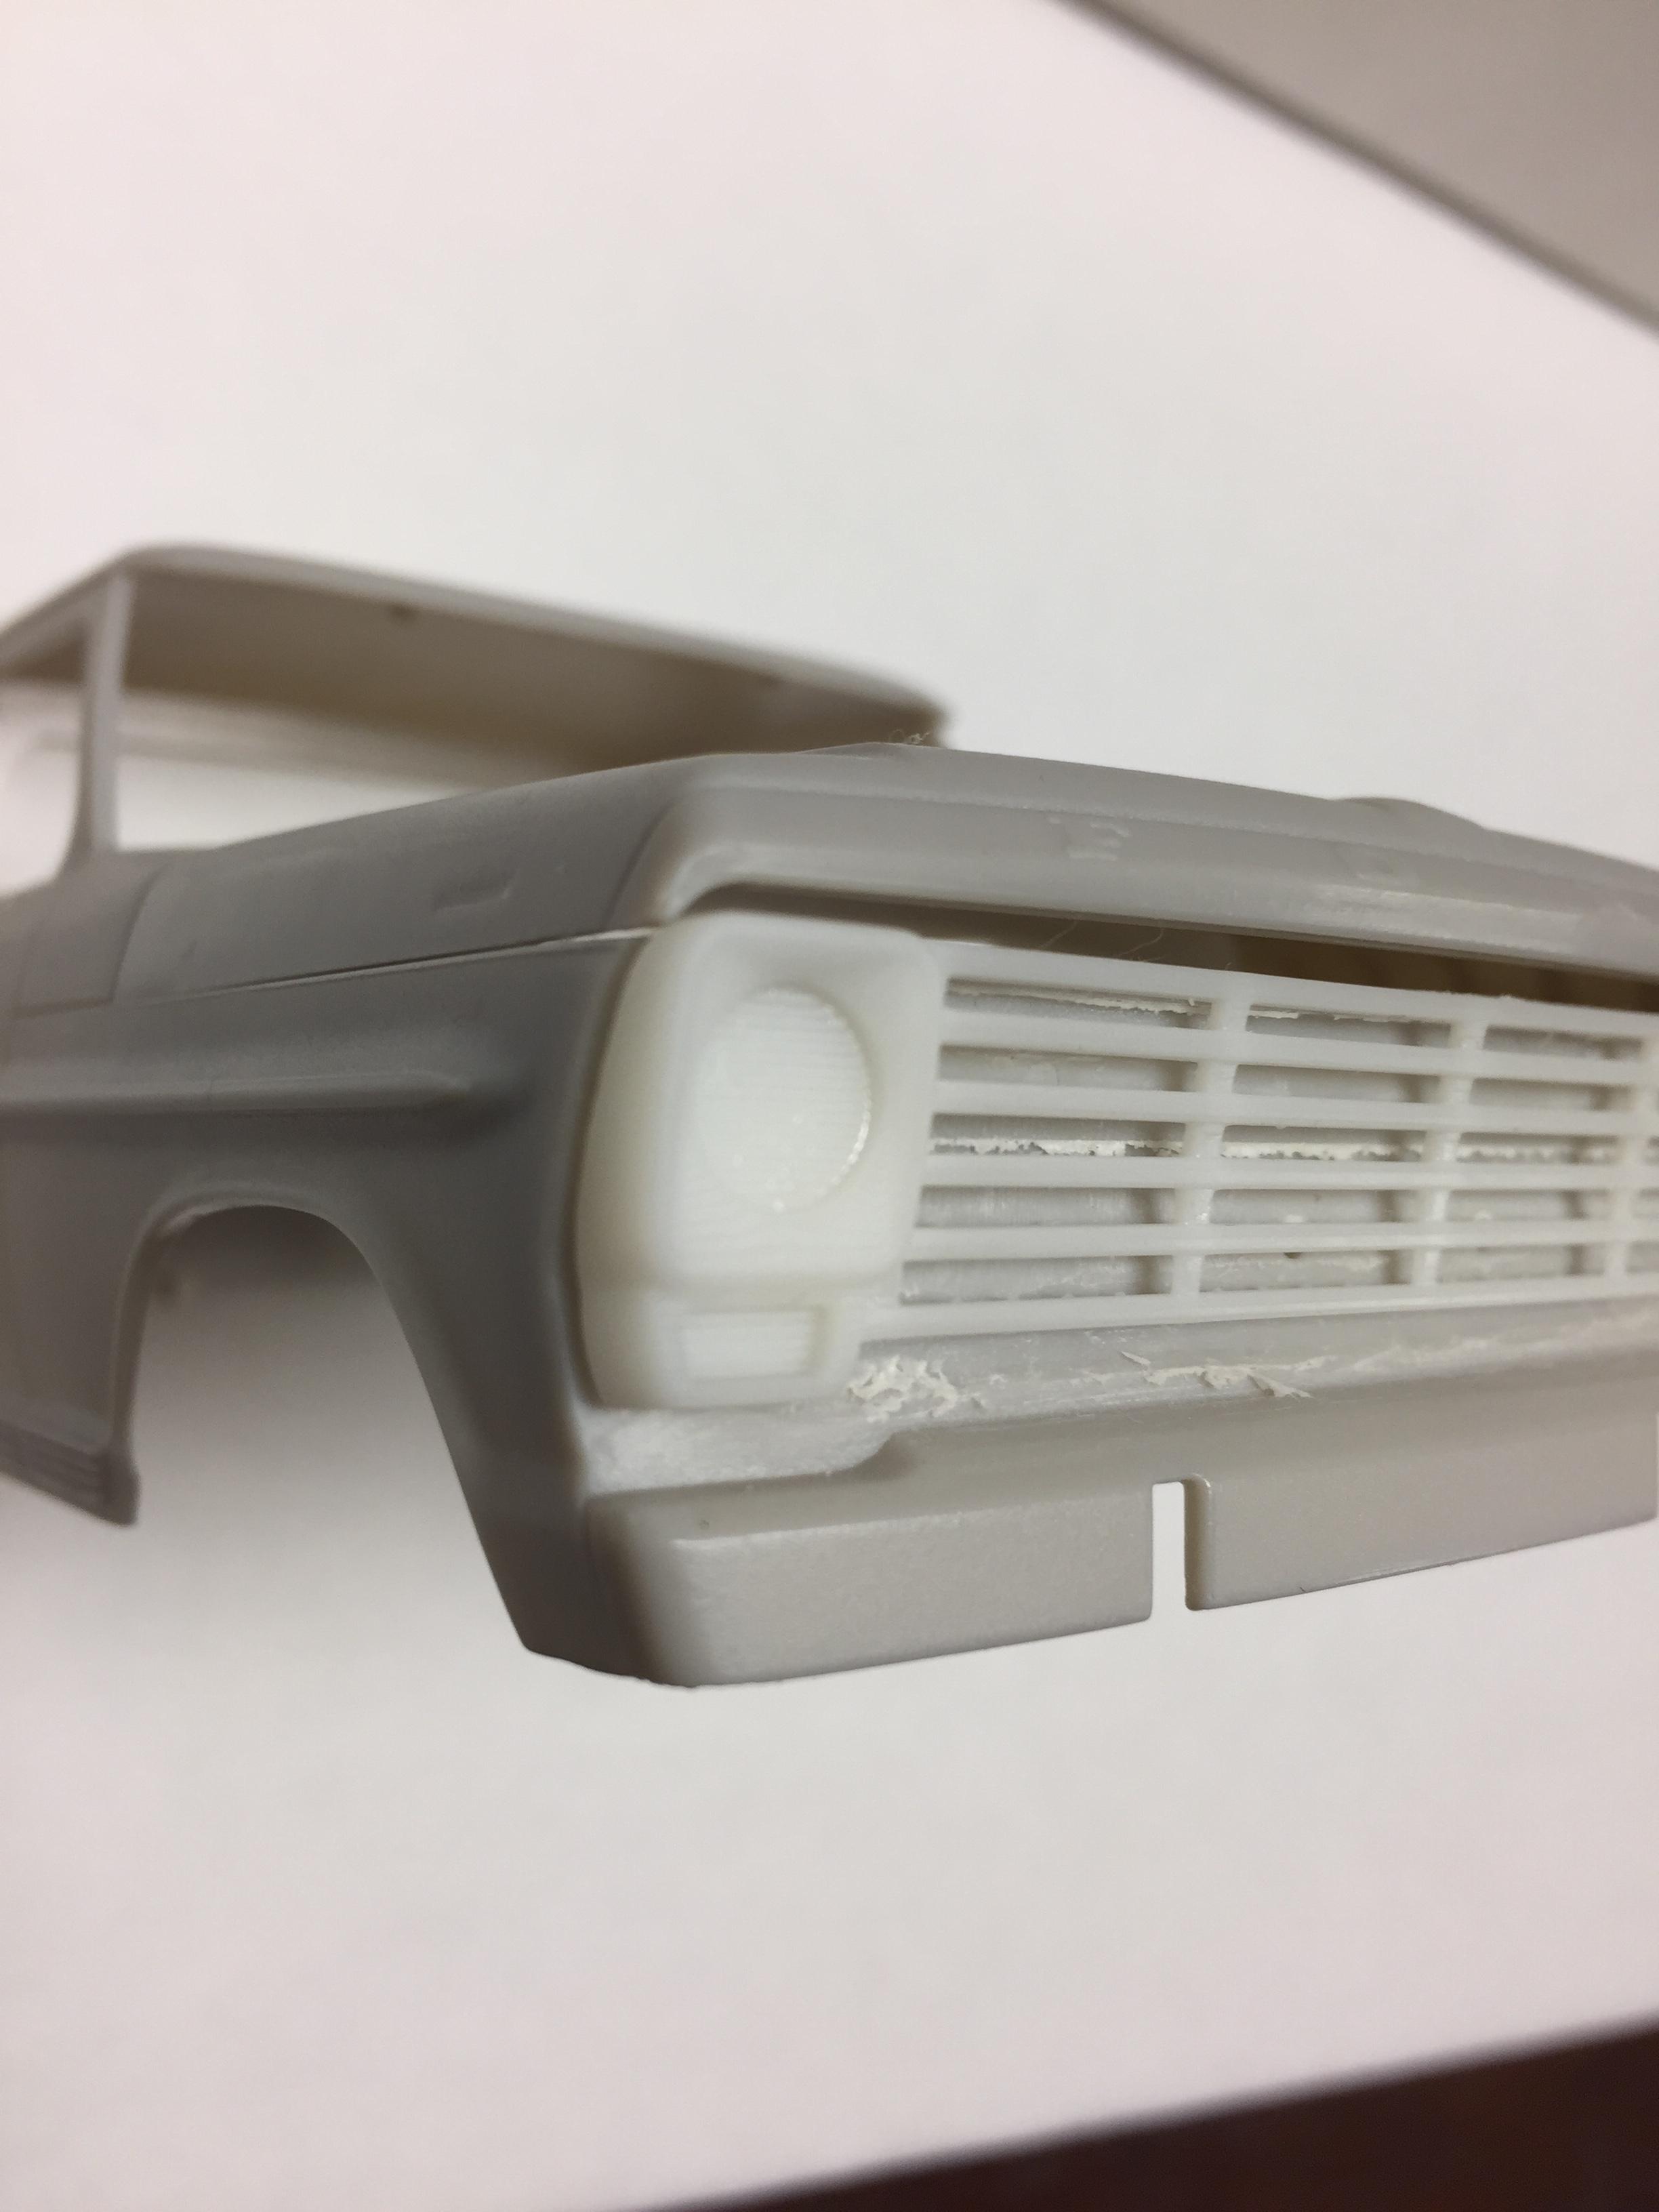
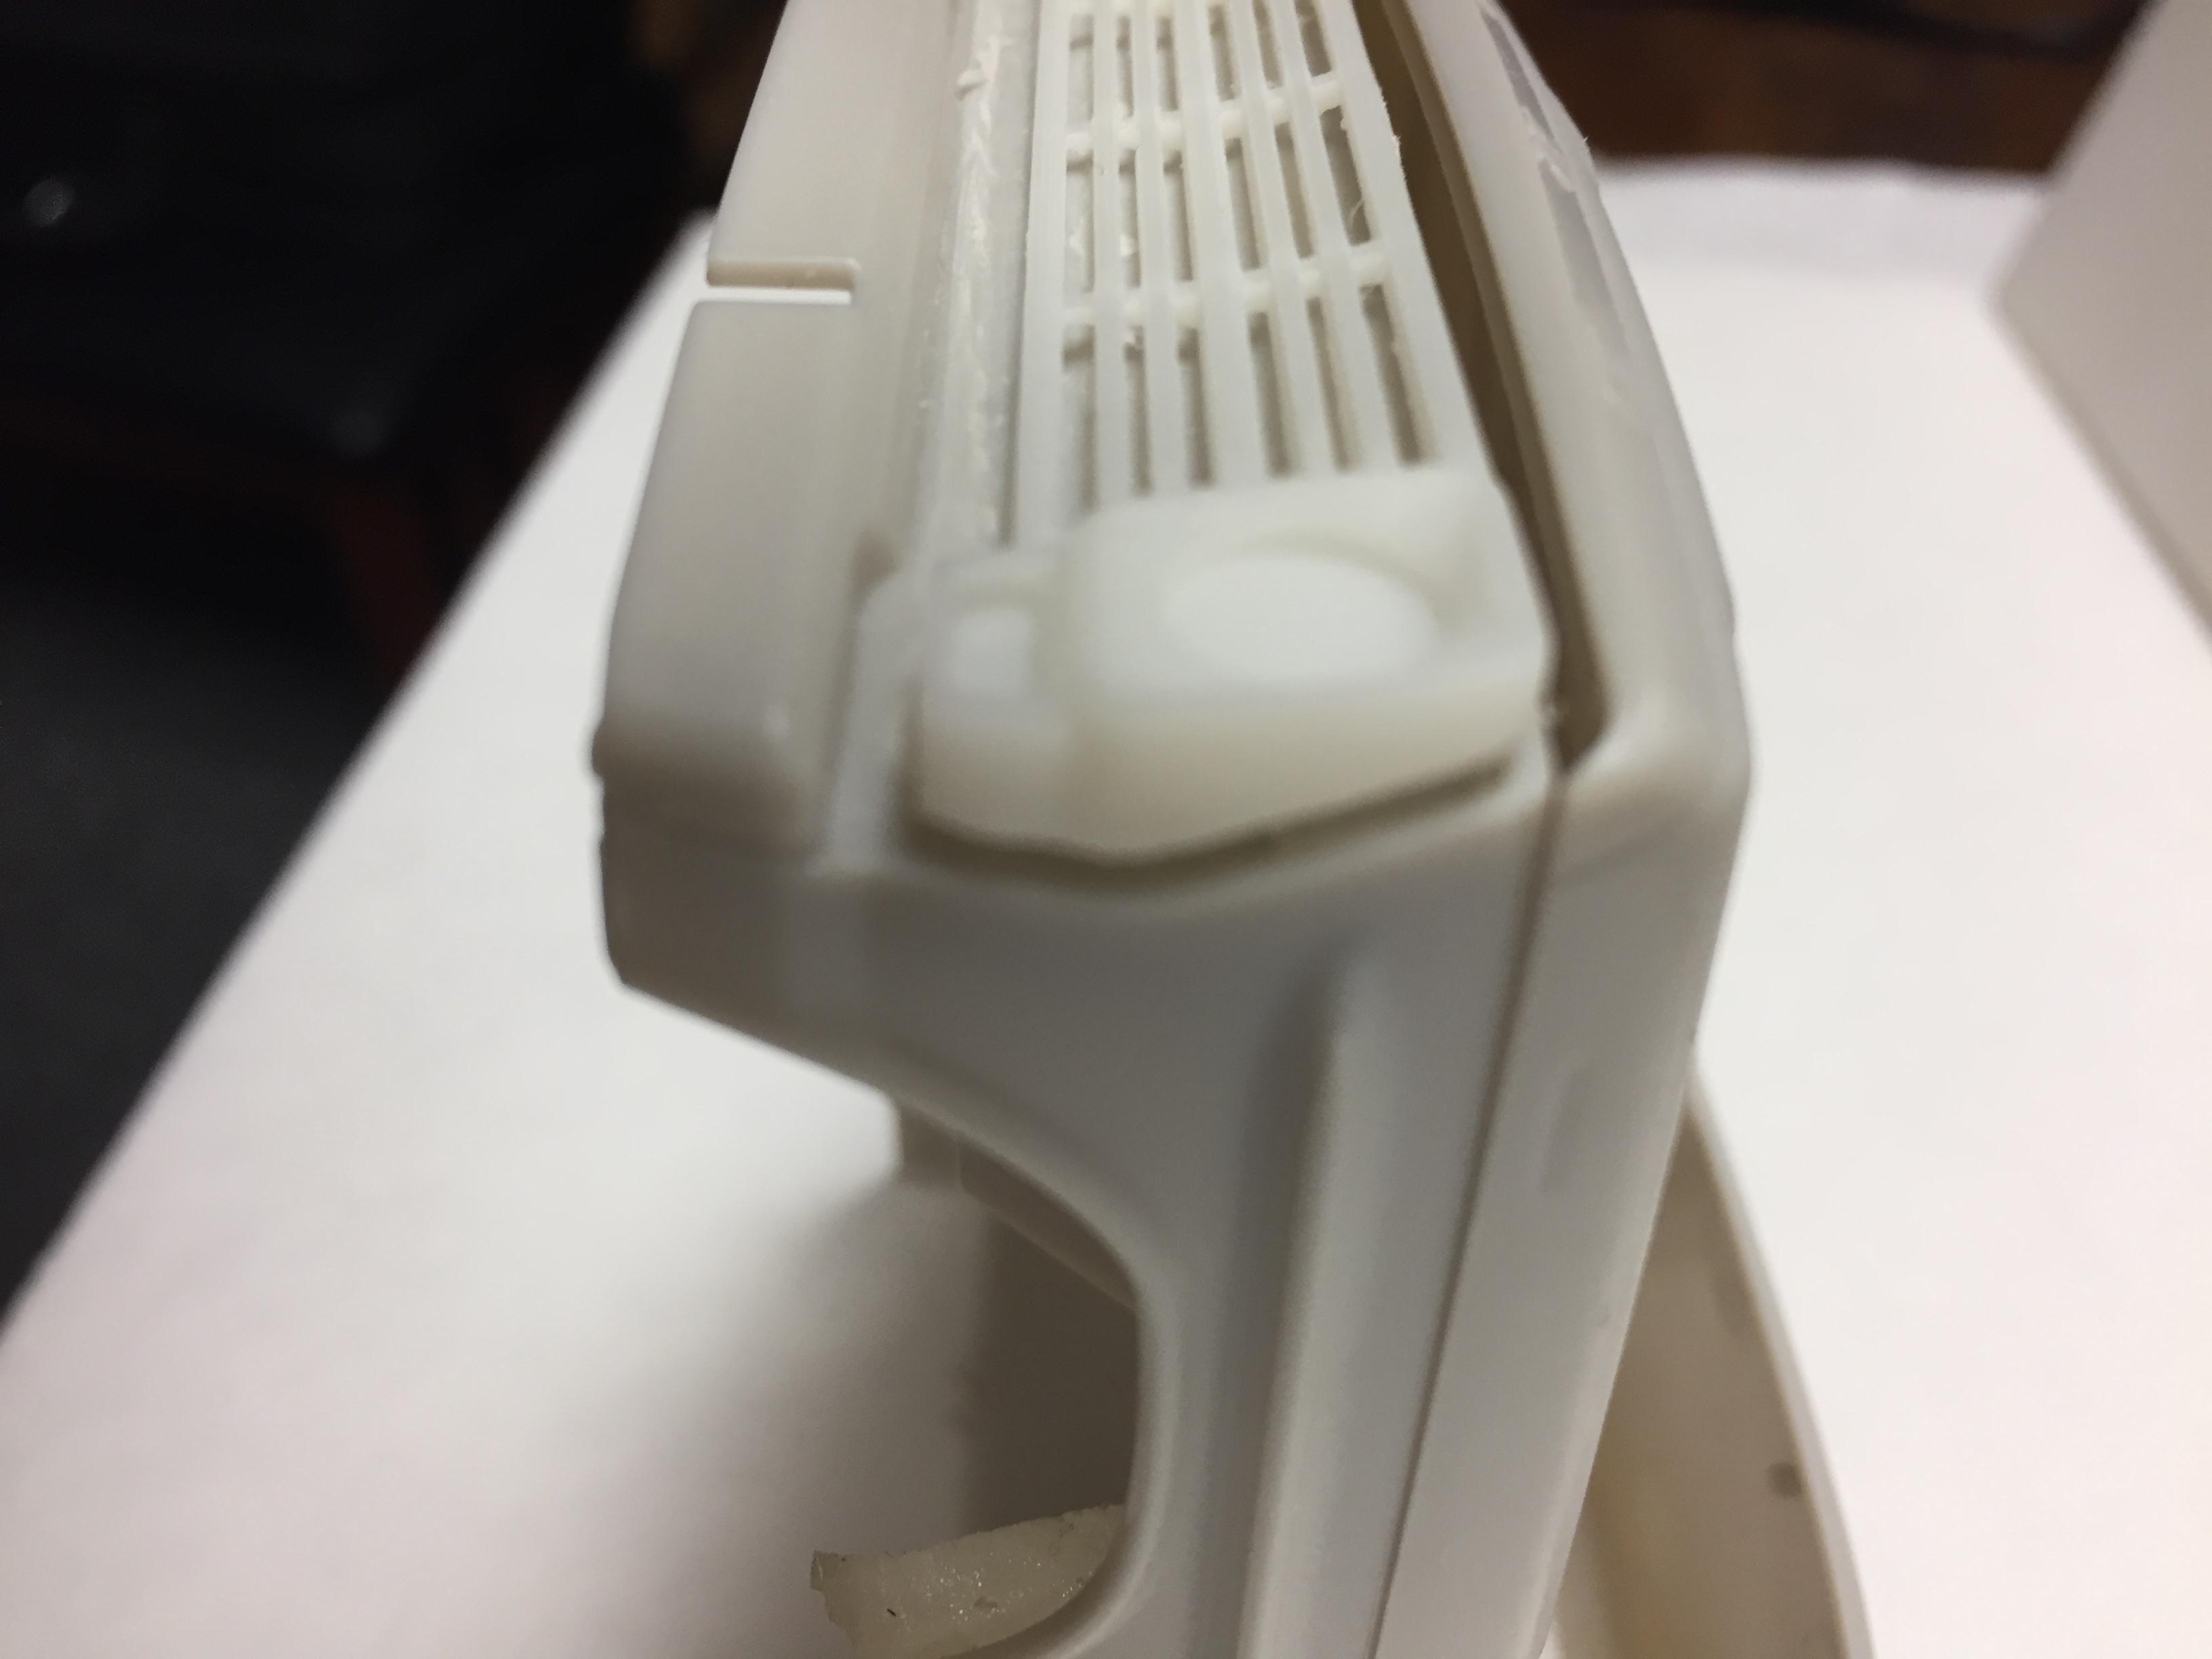
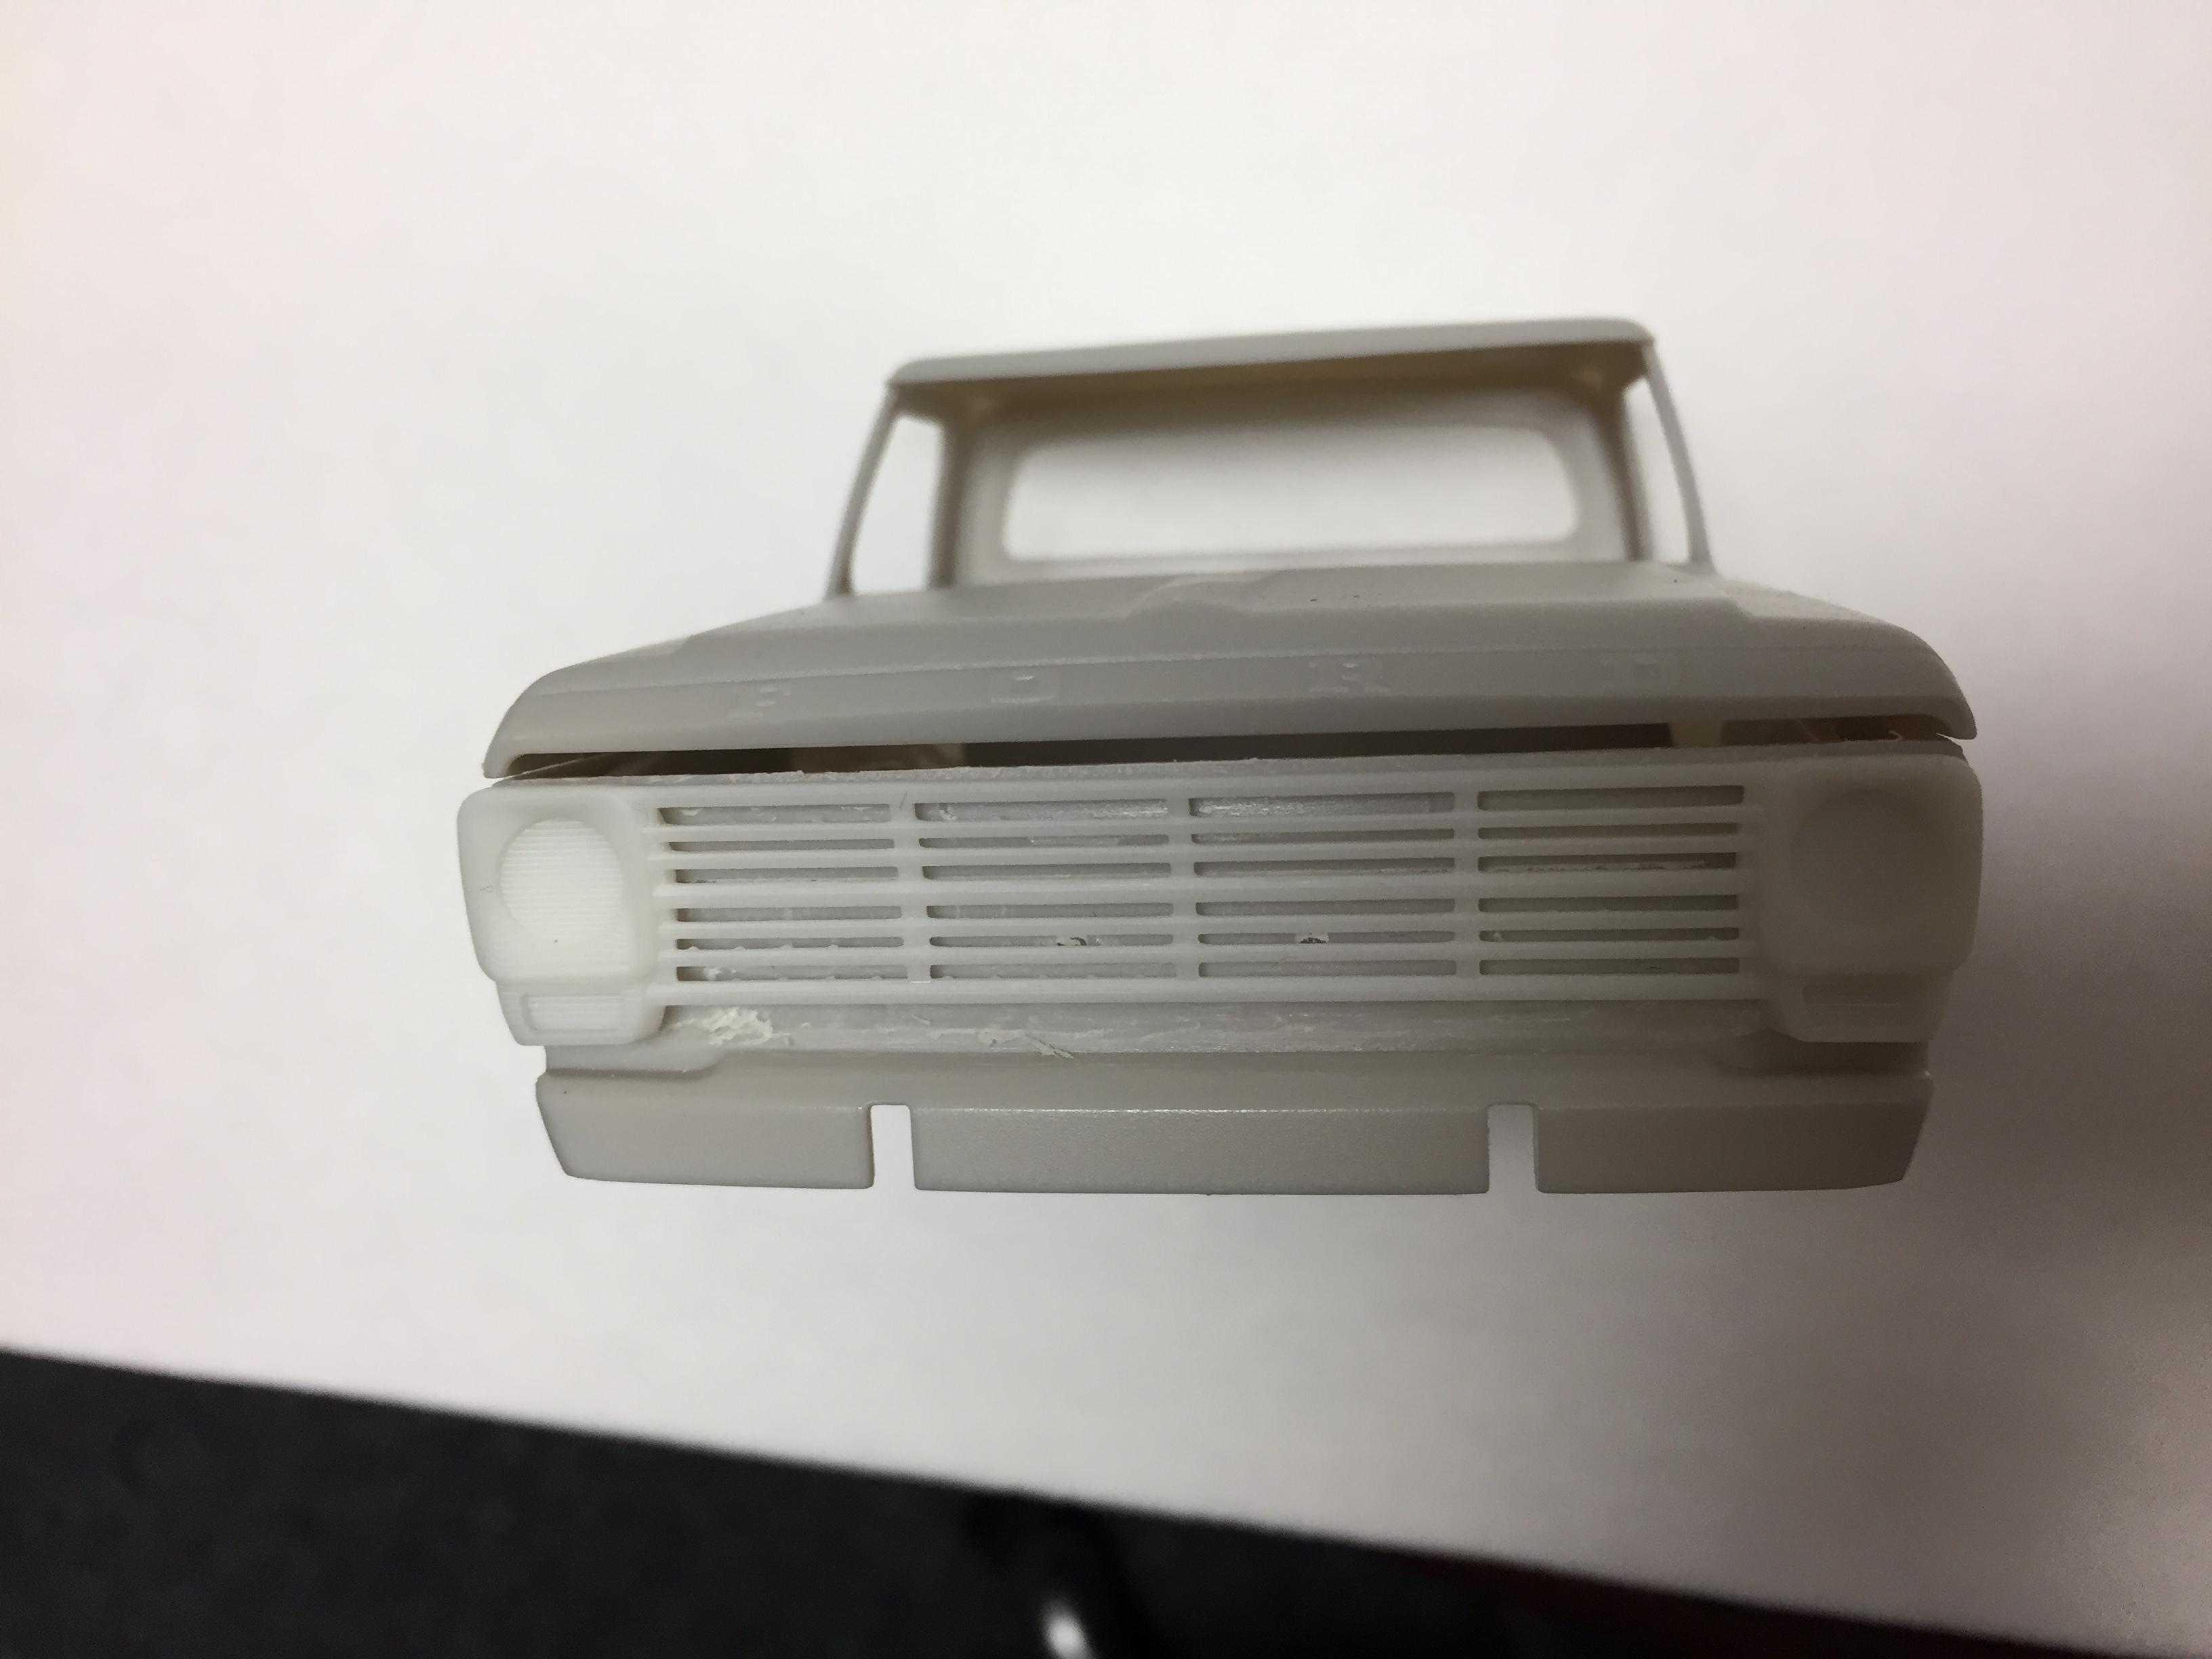
Hey Matt, I have them pretty much ready to go except I am still having fit issues. I corresponded with MK11 and hopefully got the bezels corrected. There is a little work involved in getting a good fit as the cab has an excessive curvature and the grills are printed flat. They flex a little to rap to some curve but its tricky to not get a "smiley face" appearance without removing some of the curve. That is what has been delaying these things. I pretty much ground off most of the lip right under the hood and shaved some from the radiator area on the cab and its so close its not even funny. You can see the comparison in the pictures of the cab I modified to the untouched cab. Its very doable at this point but I have been trying to get them to work with minimal mods to the cab and will continue to work on them. In the next few weeks I will be able to work more on them as I am off work for the next 3 months. If you need some right now, I can send some...just send me a PM and we can work out a deal. Keep in mind these are 3d printed and will require some fine sanding around the bezels, especially if you are going to chrome them. The pics are all non sanded pieces...straight out of the printer after they hardened a little. Test fitted the kit headlight to see if it works. mods to cab and cab comparisons You can see they are close but not quite fitting smooth...a little push and they are there. These pics show them just resting in place and are not glued in! 69 Ranger 67 grill 68-69 plain I think the headlight area still needs some attention as the headlight lens itself seems a tad bit small. The bezels were measured from a 1:1 so I know they are good. Let me know what you want to do and thanks for your patience.
-
Thank you, I use lego's for the box and clay for the base then two part smooth on liquid silicone for the mold.
-
AMT's 68 El Camino
bill lanfear replied to shoopdog's topic in Model Trucks: Pickups, Vans, SUVs, Light Commercial
Very nice! The stance is perfect! -
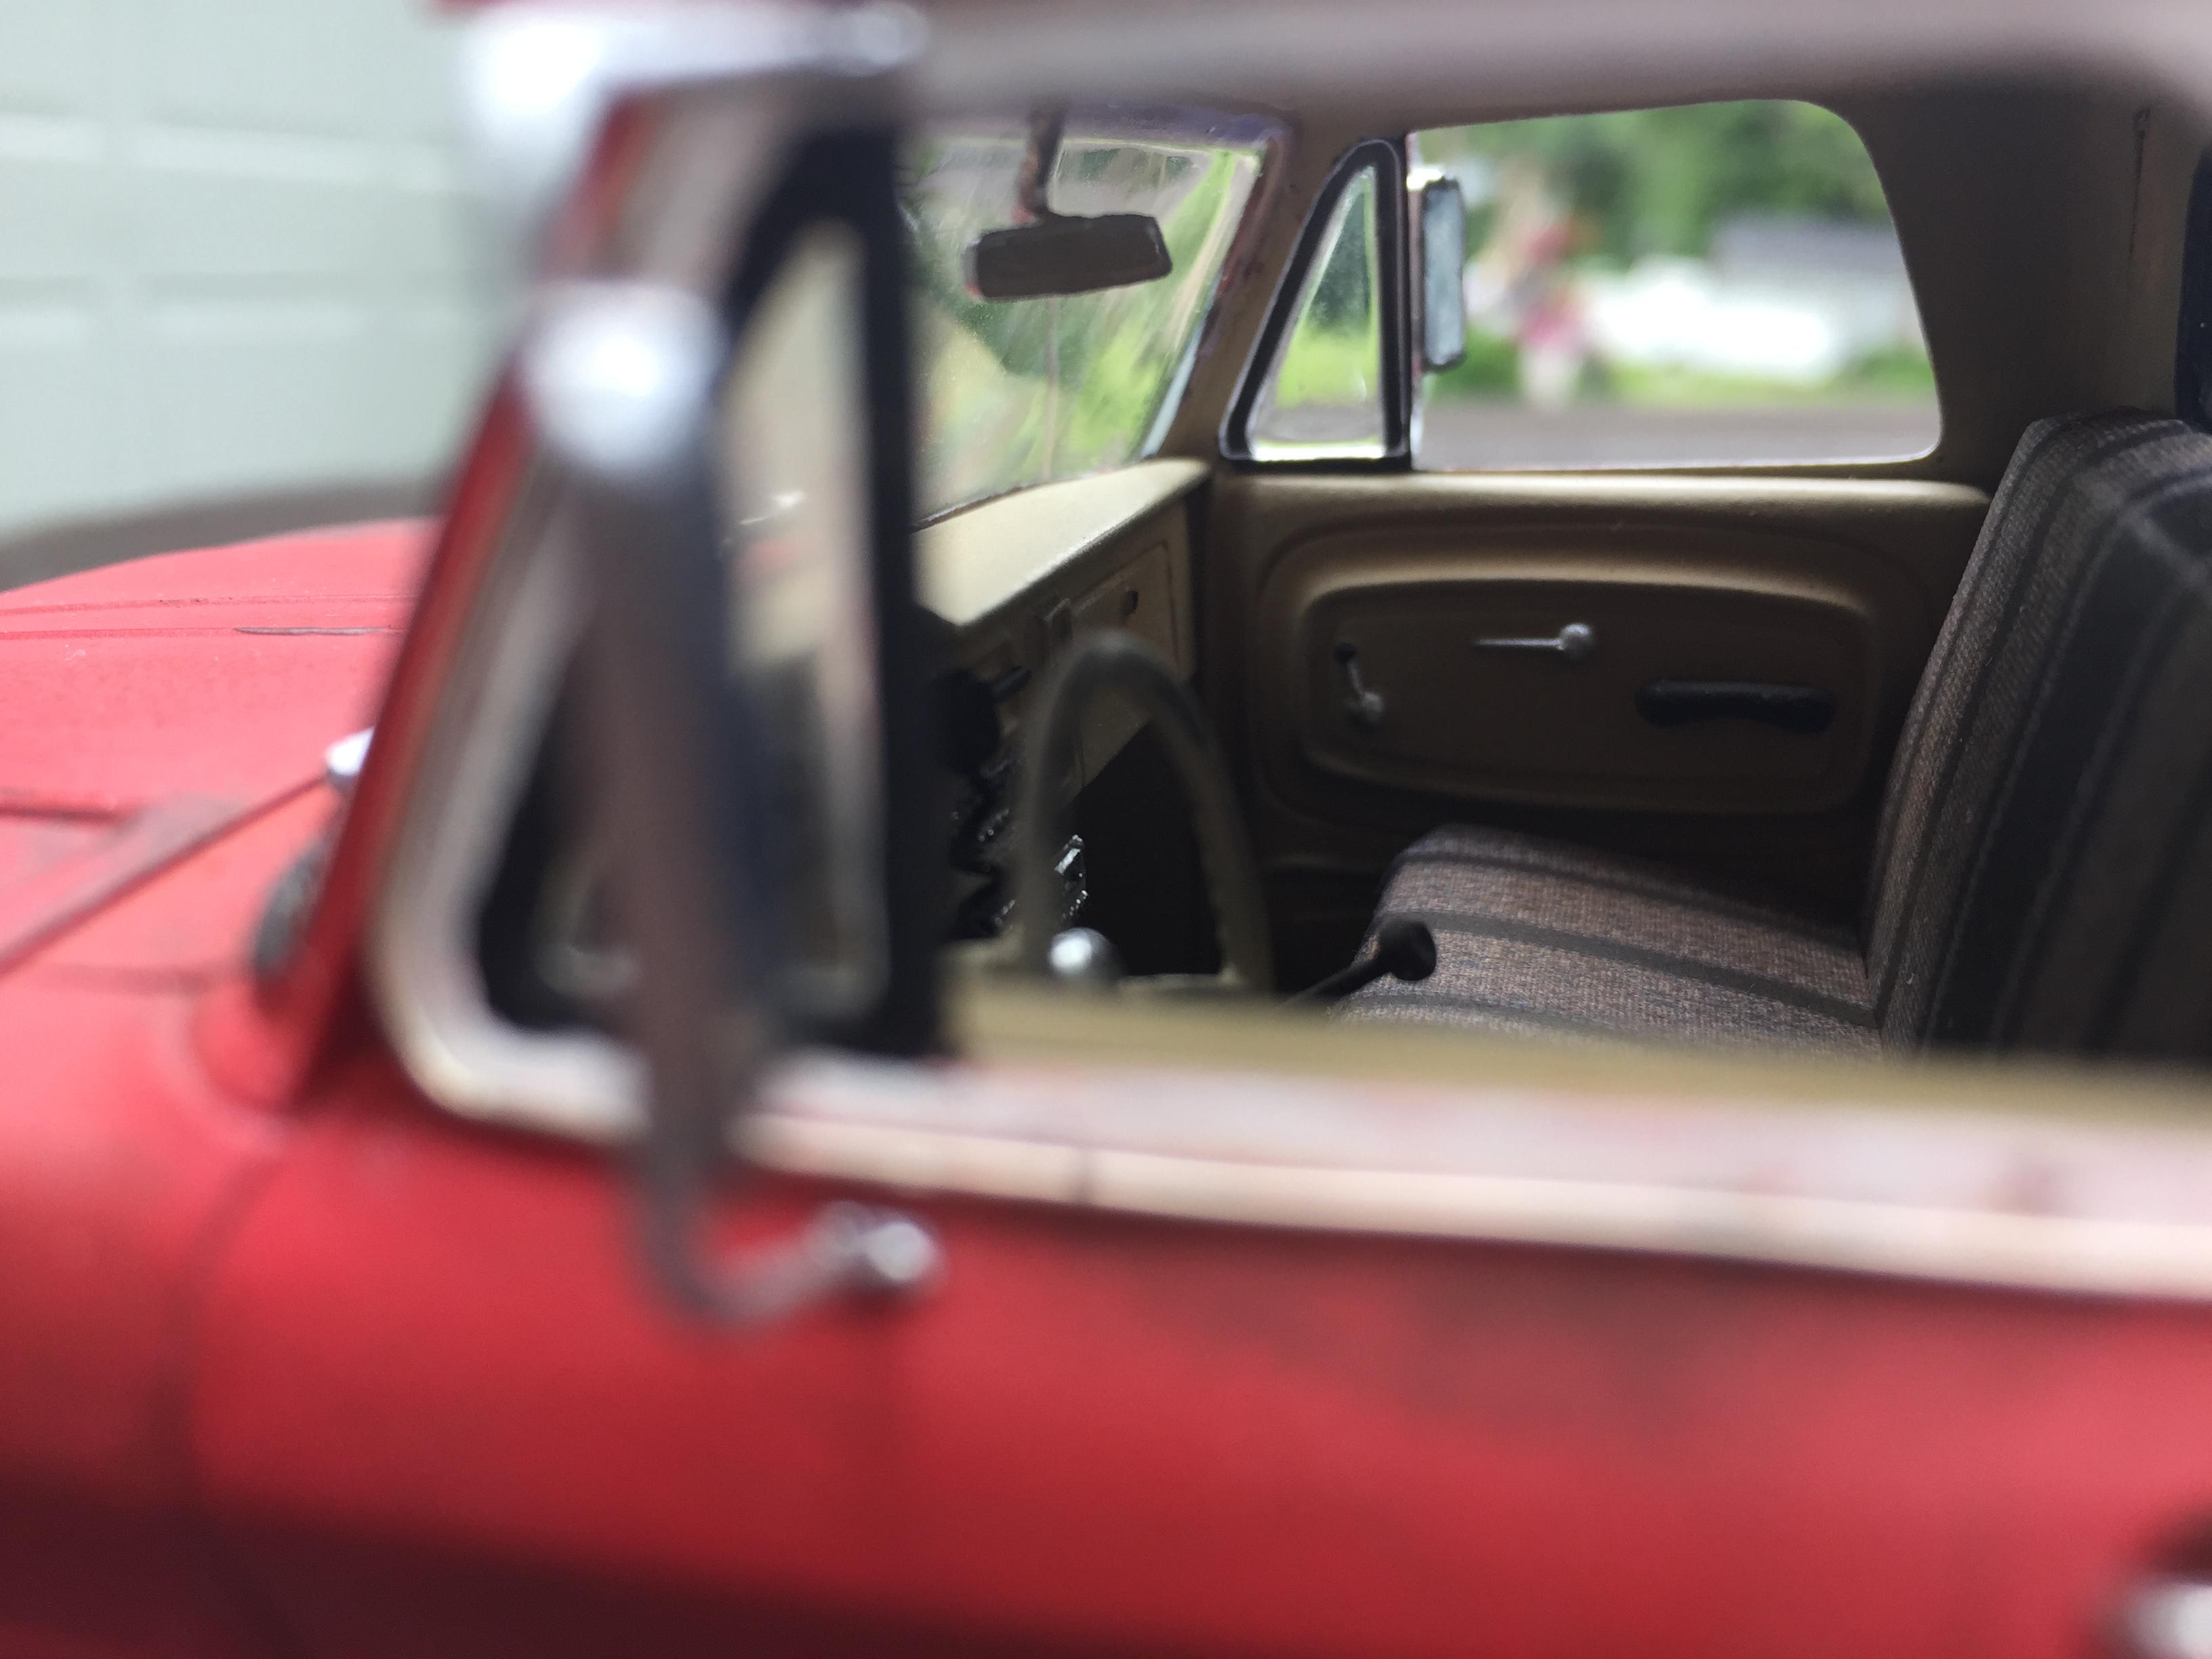
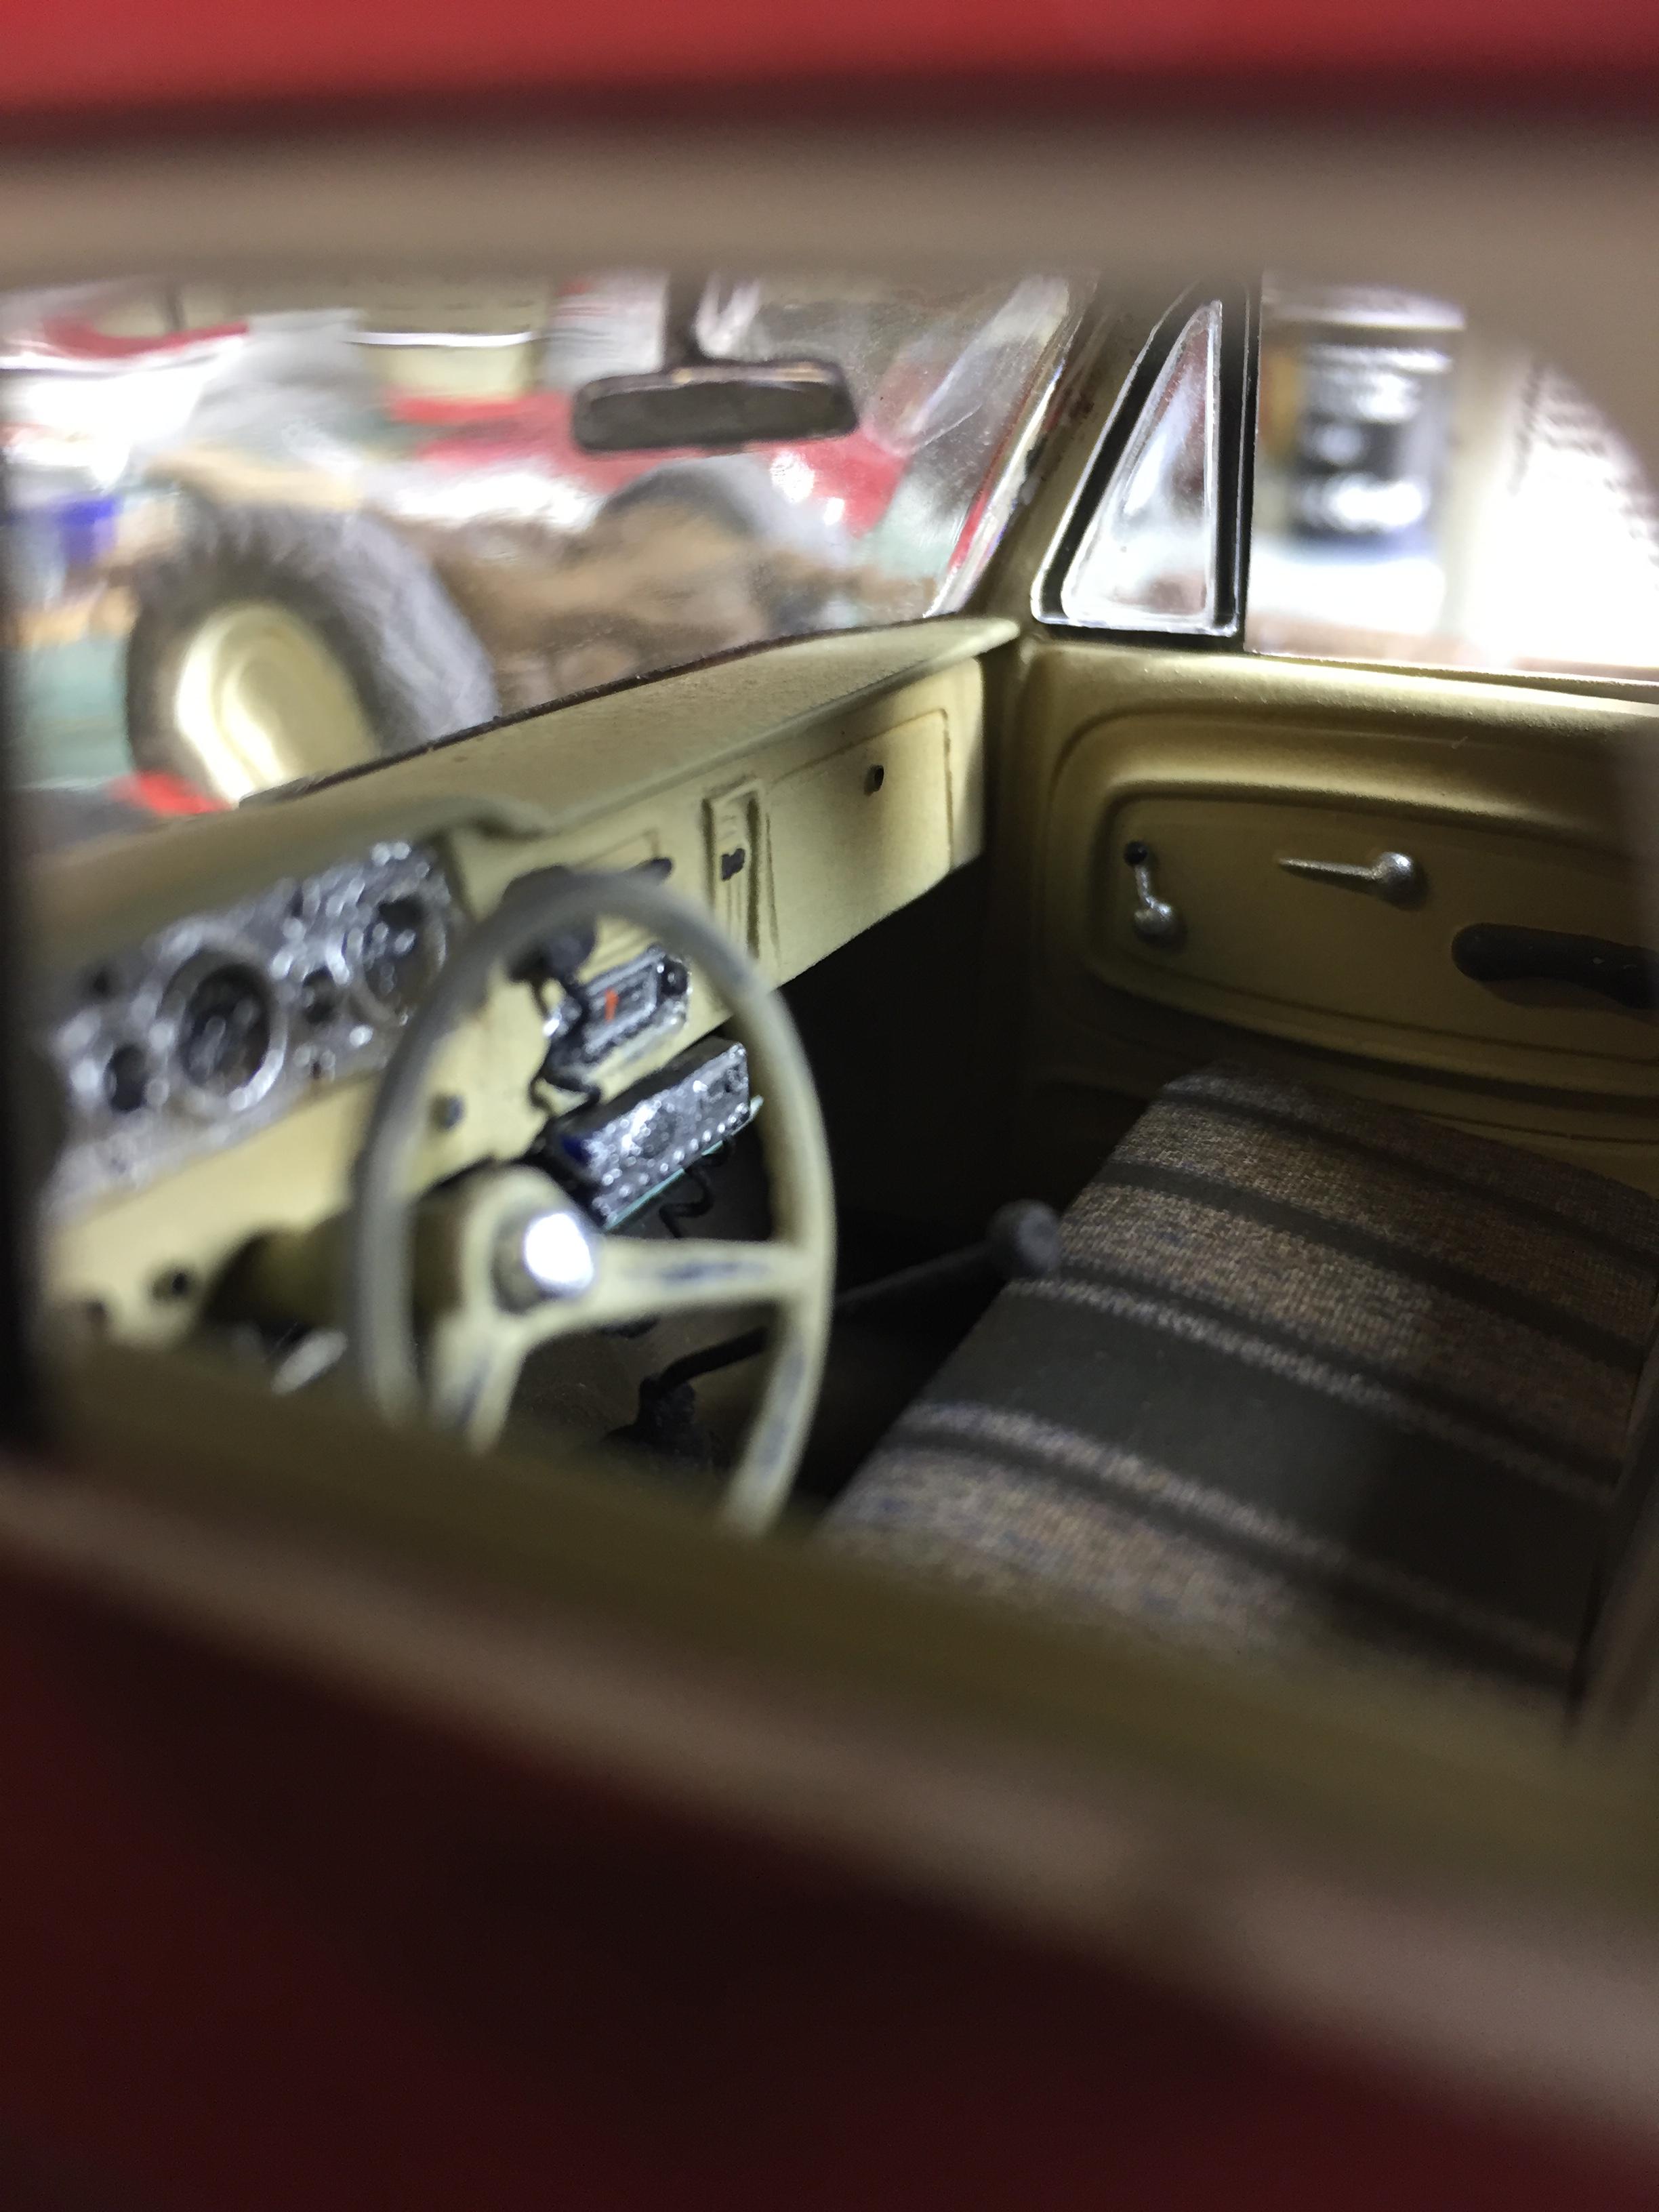
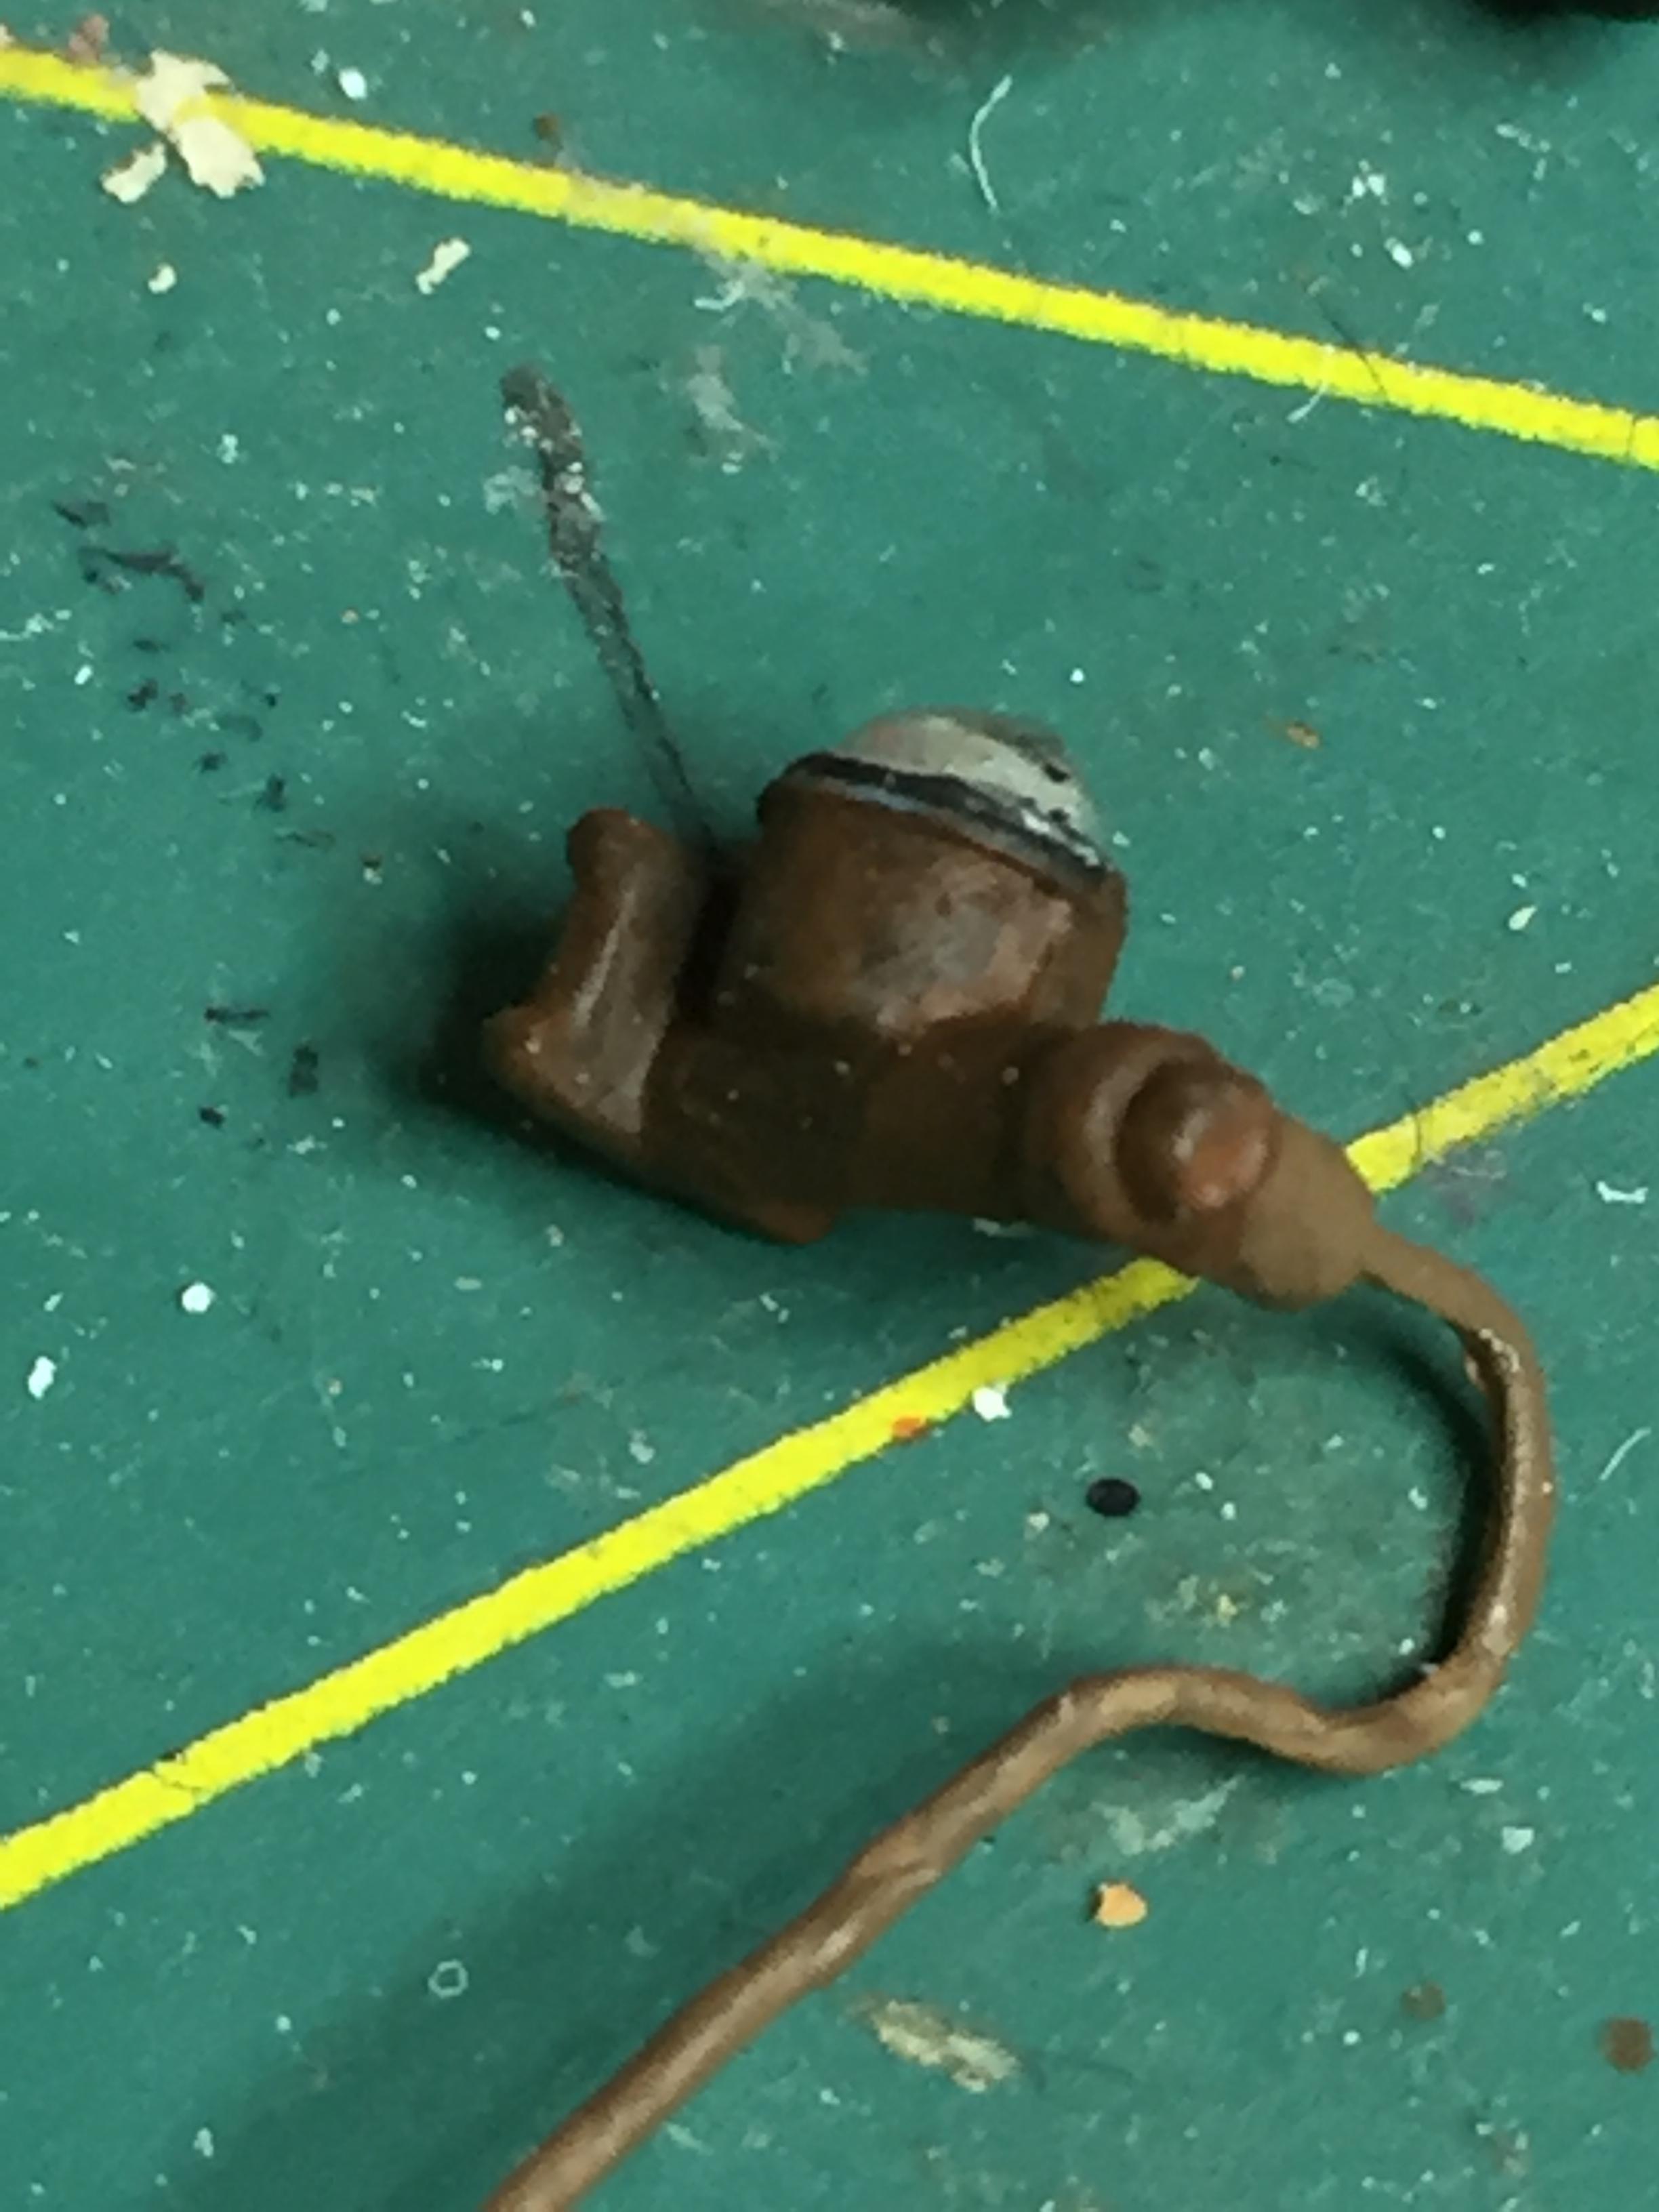
Small update. I can't believe how slow this one is going! Not much to add but I got the bumper painted, weathered and installed, windshield installed, back glass finished with surround, interior finished and installed, grill installed, and began weathering and dirtying up the engine bay. I started the wiring on the firewall, painted and weathered the master cylinder and attached the brake line. I need to do the spear trim on the bed yet and of course the engine bay, exhaust, mirrors, door handles etc. Still have lots to do but its coming along! Thanks for following this slow build!
-
Thanks Tom, I do have most of the parts ready...except casting the tailgate. The master is done, just need to mold it.
-
69 COPO Nova in “Primer Pearl?” PICS FINALLY LOADED
bill lanfear replied to Kmb0319's topic in Model Cars
Very nice! -
1978 Dodge D100
bill lanfear replied to tuffone20's topic in Model Trucks: Pickups, Vans, SUVs, Light Commercial
Nice! -
Very nice representation of a rare car! As everyone has stated, your work is outstanding!
-
Very nice! Lots of great detailing and very clean work!