Warren D
-
Posts
1,839 -
Joined
-
Last visited
Content Type
Profiles
Forums
Events
Gallery
Everything posted by Warren D
-
The Same but “ a little “ Different
Warren D replied to Biggu's topic in WIP: Model Trucks: Big Rigs and Heavy Equipment
Great job on the weathering so far. As they say about military vehicles, if it ain't leakin' it's out of oil! -
International V190 Quarry Dump
Warren D replied to Warren D's topic in WIP: Model Trucks: Big Rigs and Heavy Equipment
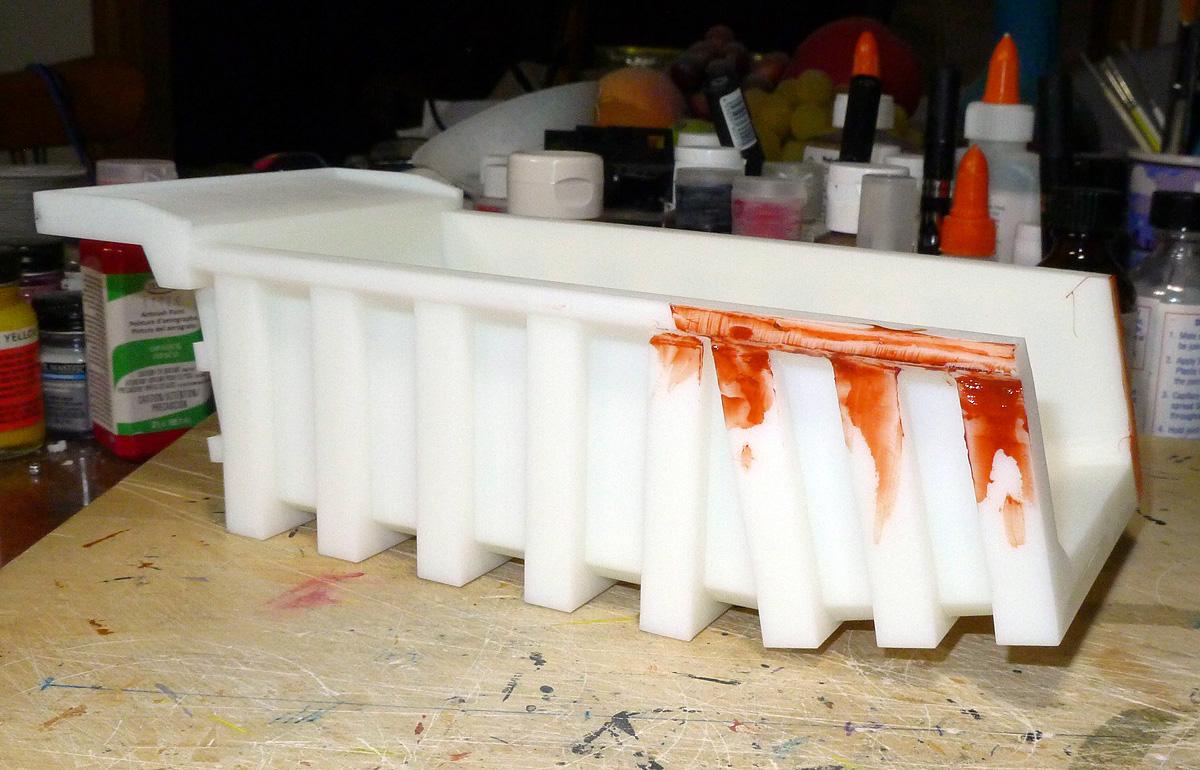
Well, I made the decision to go ahead and make an operable tailgate. In the process of removing the attached one, it's no longer usable so I'll be making a new one from scratch using the Autocar one as a pattern. Filler is curing after which there will be some sanding and more filler.
-
White Road Commander 2
Warren D replied to DRIPTROIT 71's topic in Model Trucks: Big Rigs and Heavy Equipment
Looks great, the decals are perfect! -
M-20 and M-9 trailer are complete.
Warren D replied to Chariots of Fire's topic in Model Trucks: Big Rigs and Heavy Equipment
Yeah, what he said! X2! -
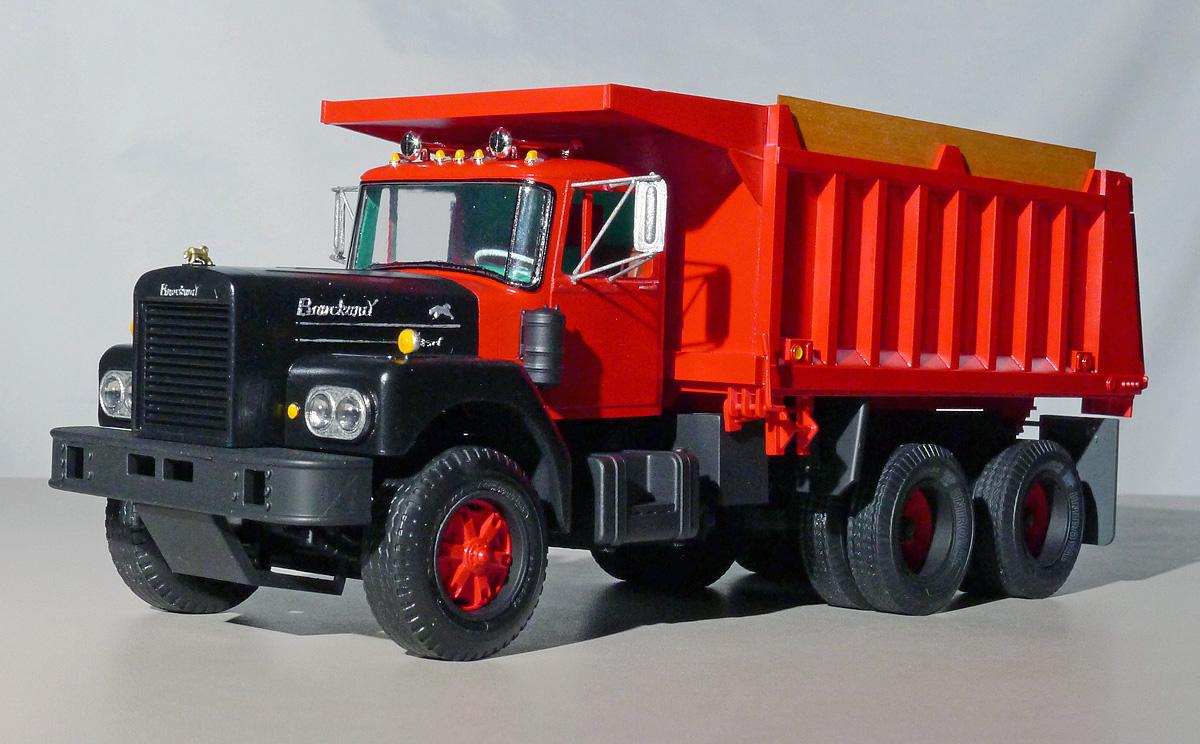
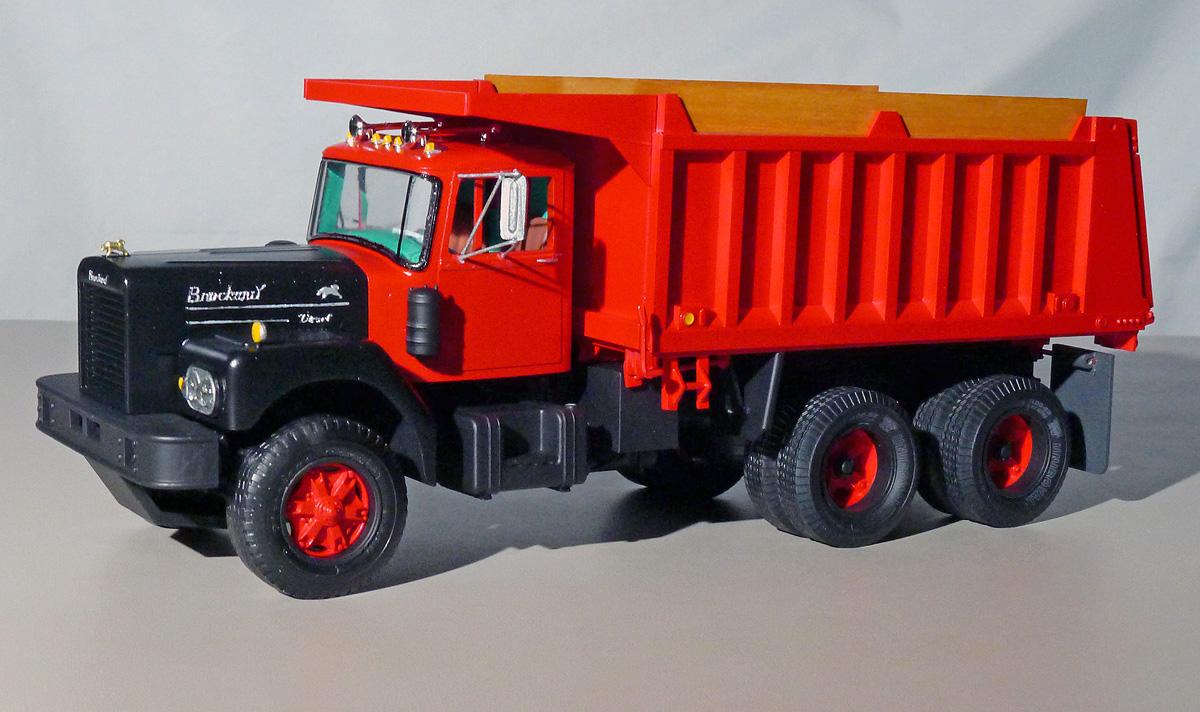
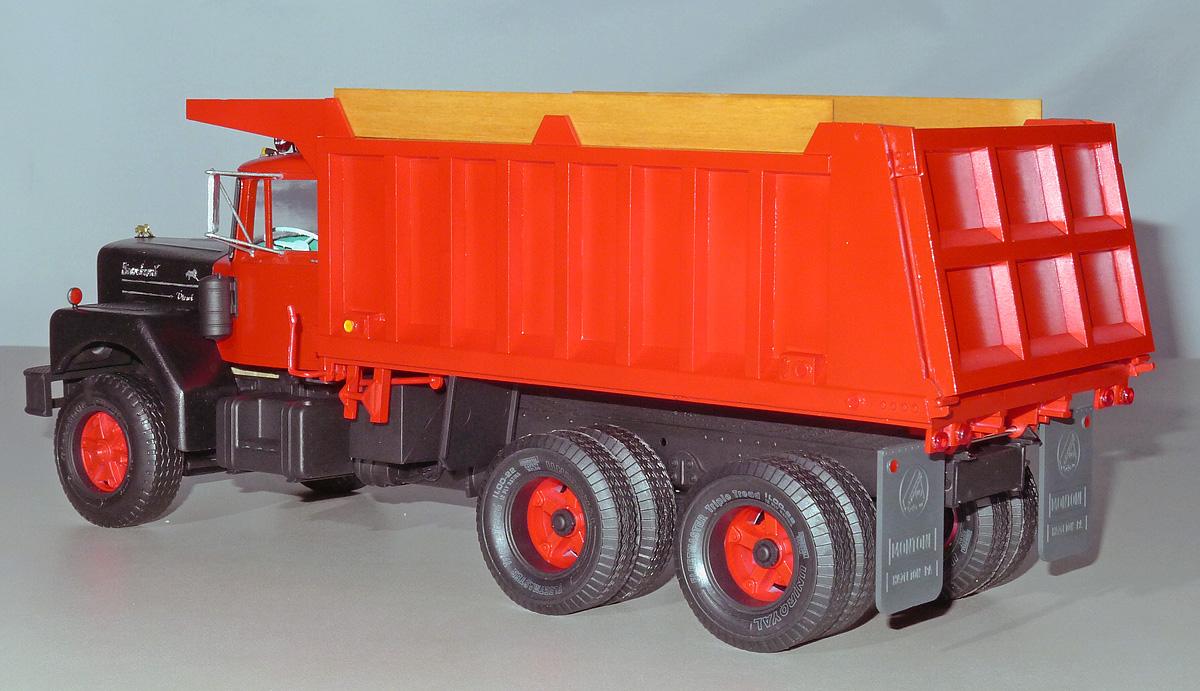
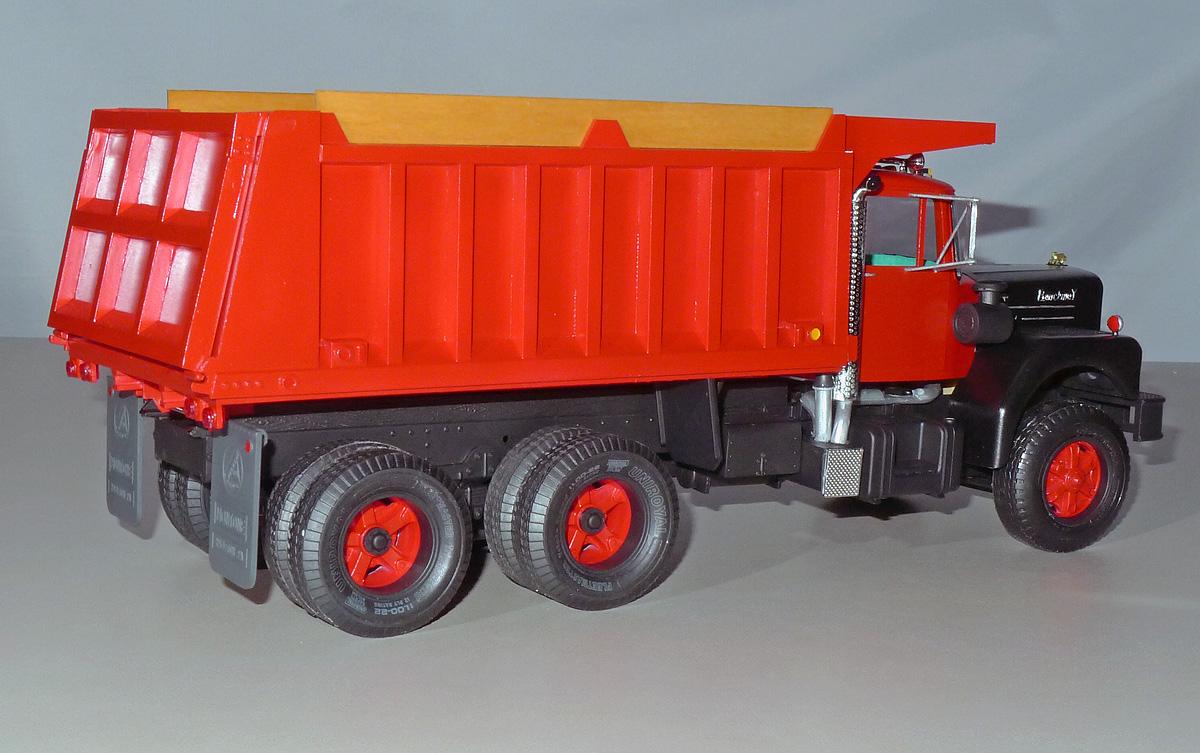
The cab/hood is from Global Scale Models and the rest is from the AMT Autocar Dump kit. Inspiration was from a Brock owned by Joe Turco in RI which has been seen at Zagray Farm musuem as well as NE Rockbusters shows. It wasn't a hard conversion, but the engine needed to be moved back 3/8" and the rear pivots for the dump body had to come forward a bit to move the body to the rear. Front mudflaps on the body as had to move forward one rib.
-
International V190 Quarry Dump
Warren D replied to Warren D's topic in WIP: Model Trucks: Big Rigs and Heavy Equipment
Well, the tailgate is attached to the body and doesn't appear to be easily removed so it'll likely stay shut. I'd also have to remove the pivot arms from the top of the body and replace them. Not saying I won't do it.....but you have given me reason to take a second look. An operating tailgate would be pretty nice....... -
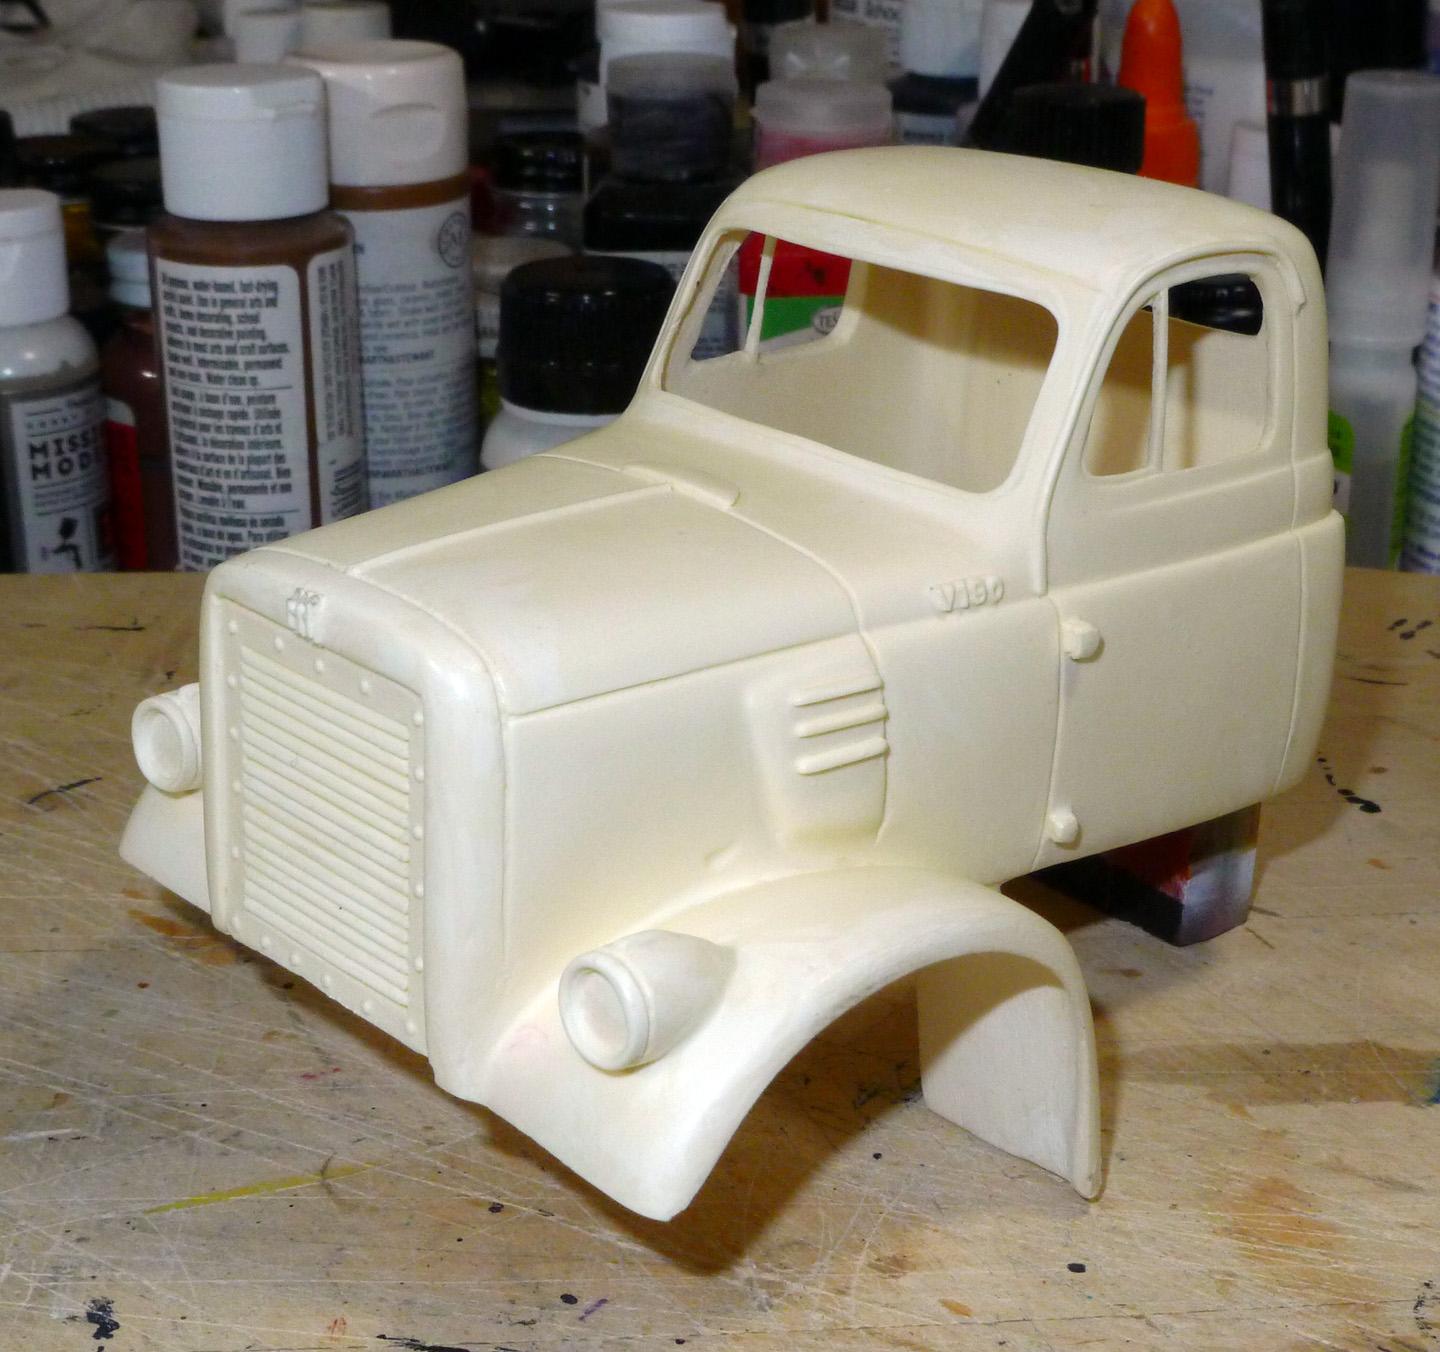
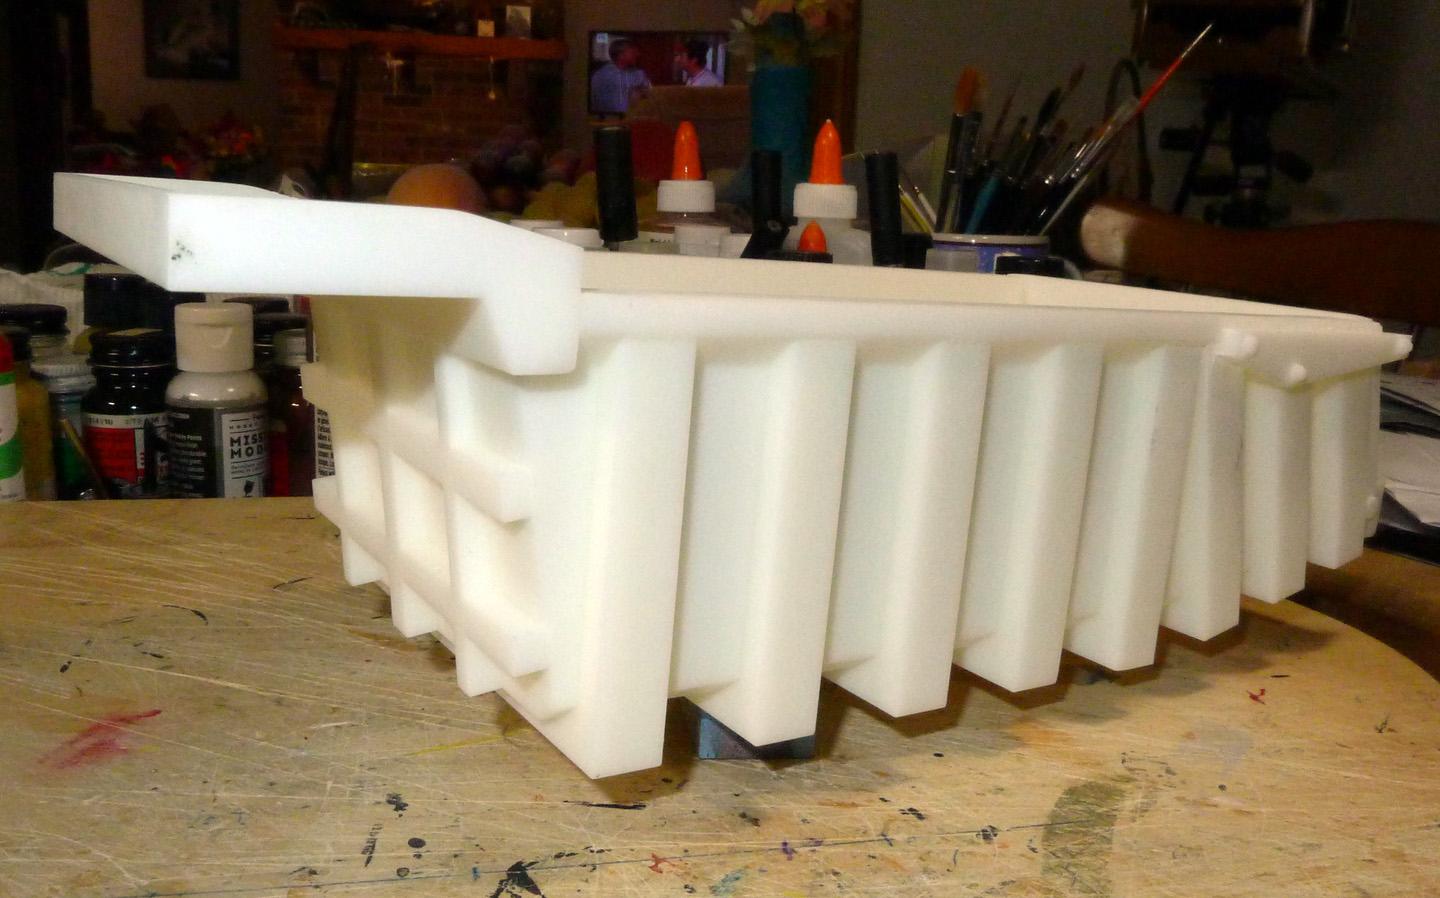
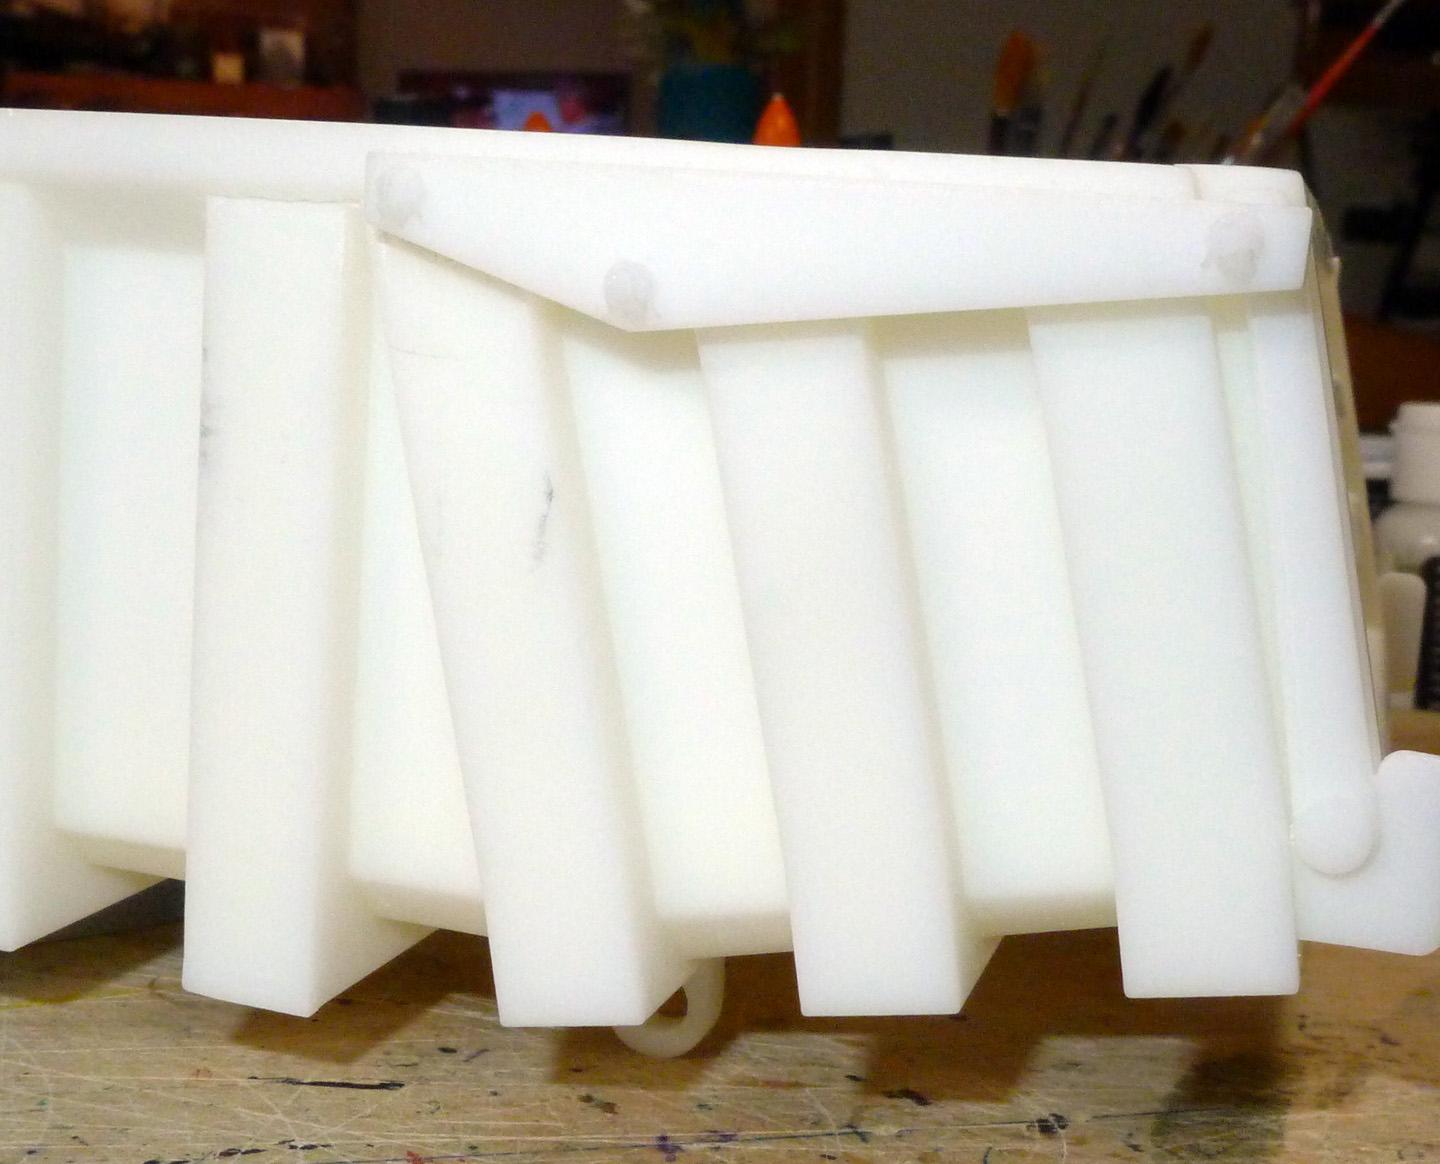
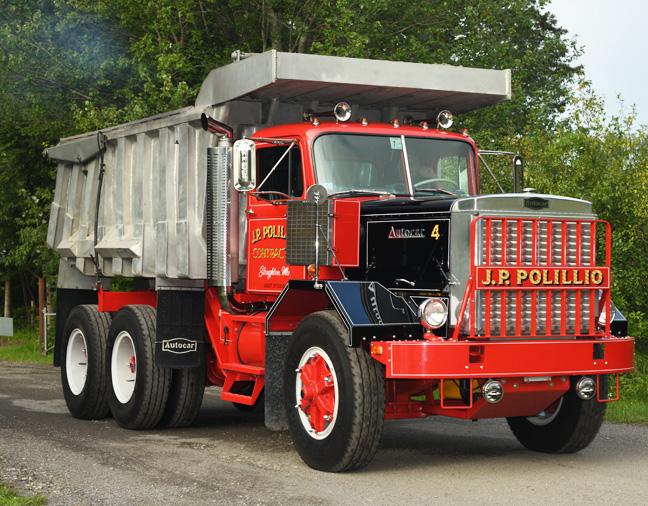
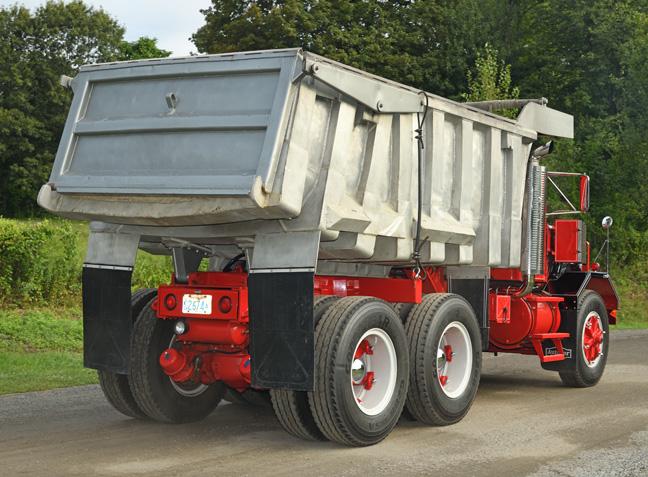
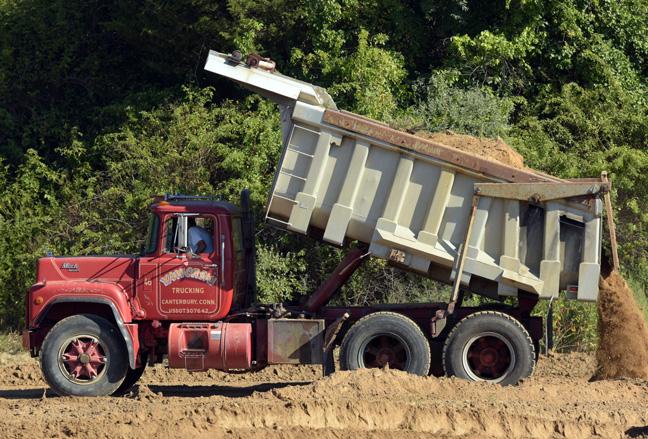
As I'm winding up another build (never posted it to the WIP but it will be in the Under Glass section by the end of the week), I'm gearing up for this one. I've wanted to do a quarry dump for many years and now that Global has a 3D Atlas-type quarry dump body, this is a good time. I selected the IH V190 as it has the look I'm after. I recall getting the V190 off the auction site, maybe from a resin caster in PA. It's not AITM. The dump body is from Global and the donor chassis is the IH 4300. Wheels and tires will be from Jamie at Moluminum. The first issue I encountered is the dump body. The tailgate pivot mechanism just wouldn't fit between any of the current suspension systems. I wanted leaf springs so that was a bit limiting as well. The pieces hanging down would interfere with the tires so I got out the saws and removed the lower parts. You'll need to go to Global's website to see what it looked like before, the "offending" parts were off before I thought to take pics. Attached below are a couple of reference pics of trucks with quarry bodies. The A-Car just has a cable while the Mack has the linkage. Not sure yet which way I'll go but it should be easy enough. The next mod will be the dump pivot. Both trucks seem to have the pivot farther back than the 3D print so I'll be moving the pivot back and probably making new supports as they will need to be longer. The chassis doesn't look like it will need too much modification to accept the V190 cab, but it usually ends up being more involved than I first figure.
-
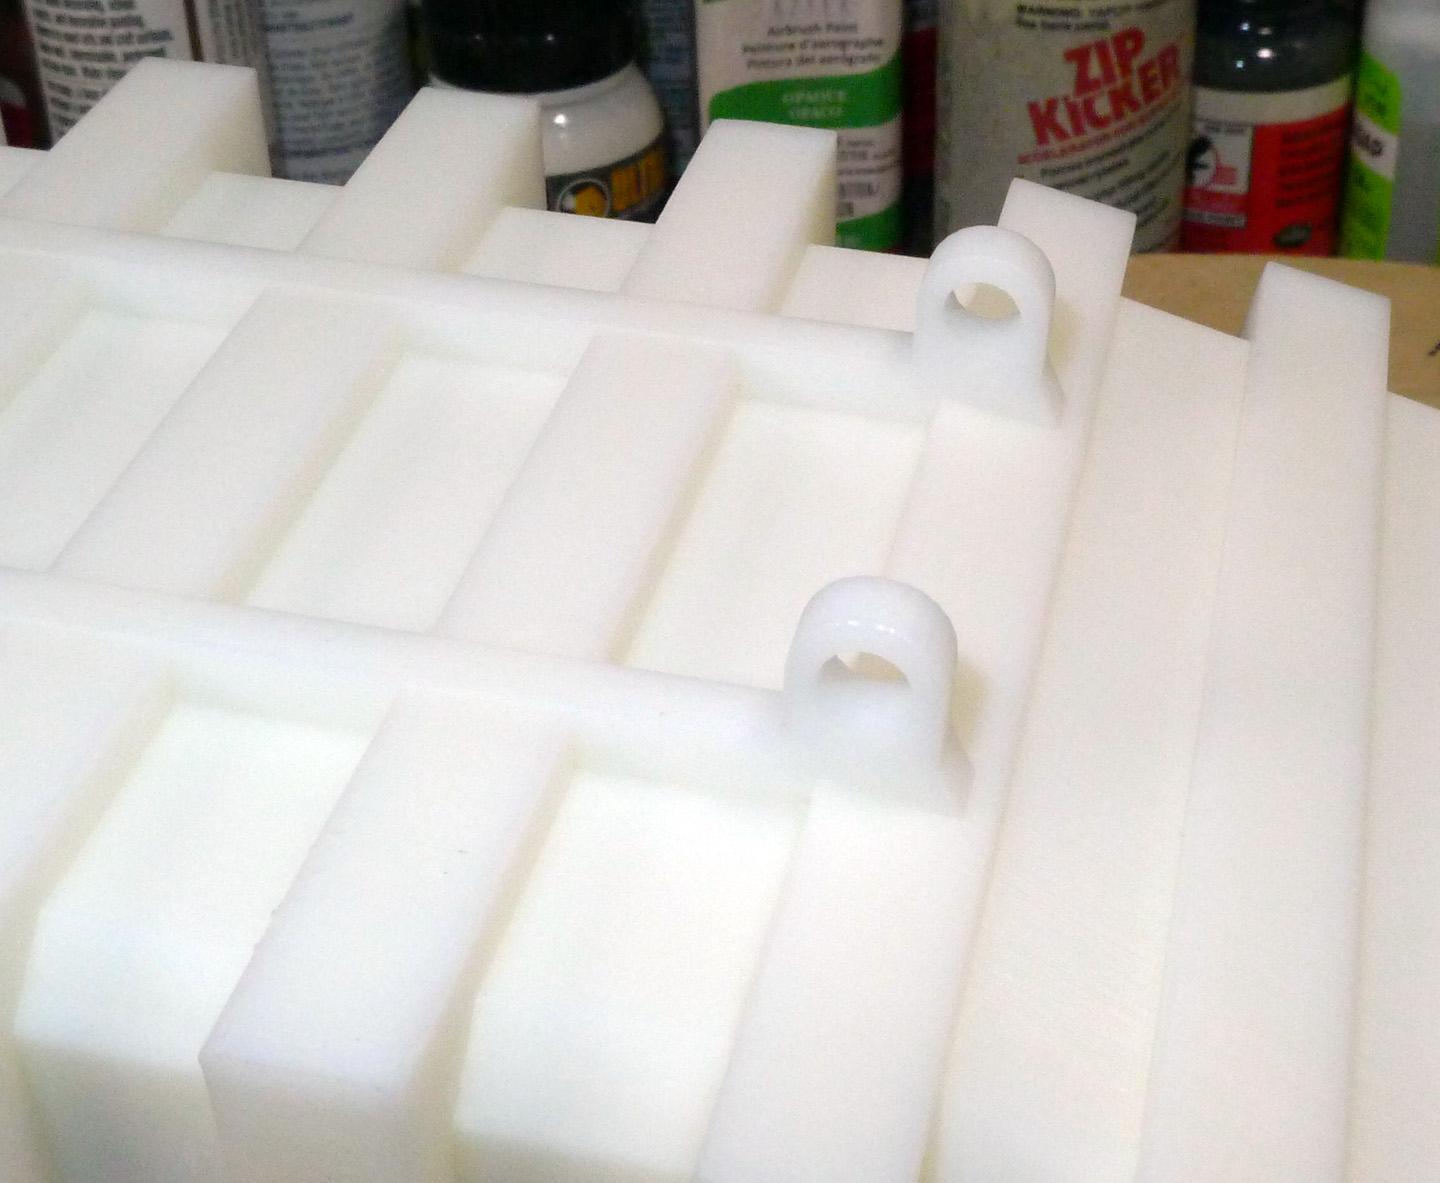
Hi Charles,
I noticed in your current military trailer build you resin cast your wheels. I find myself in a bit of a jam, I need at least a dozen of the AITM Brockway fuel tanks and battery boxes. I have a couple of each left. I've asked Mark Natale and his father didn't have any in his personal collection. I've asked a few resin casters if they would copy the ones I have but no one has gotten back to me. I would prefer not to work with the resin (I have enough health issues and I'm not sure it's safe to use). I only want them for my own use, no intentions of selling them.
Just curious if you have any ideas. I guess I could try copying them myself but don't know the first thing about it nor where to get supplies etc. It looks like you are using a high quality white resin (looks like the stuff Dave Carey uses).
I would appreciate your thoughts.
Thanks,
Warren Disbrow
-
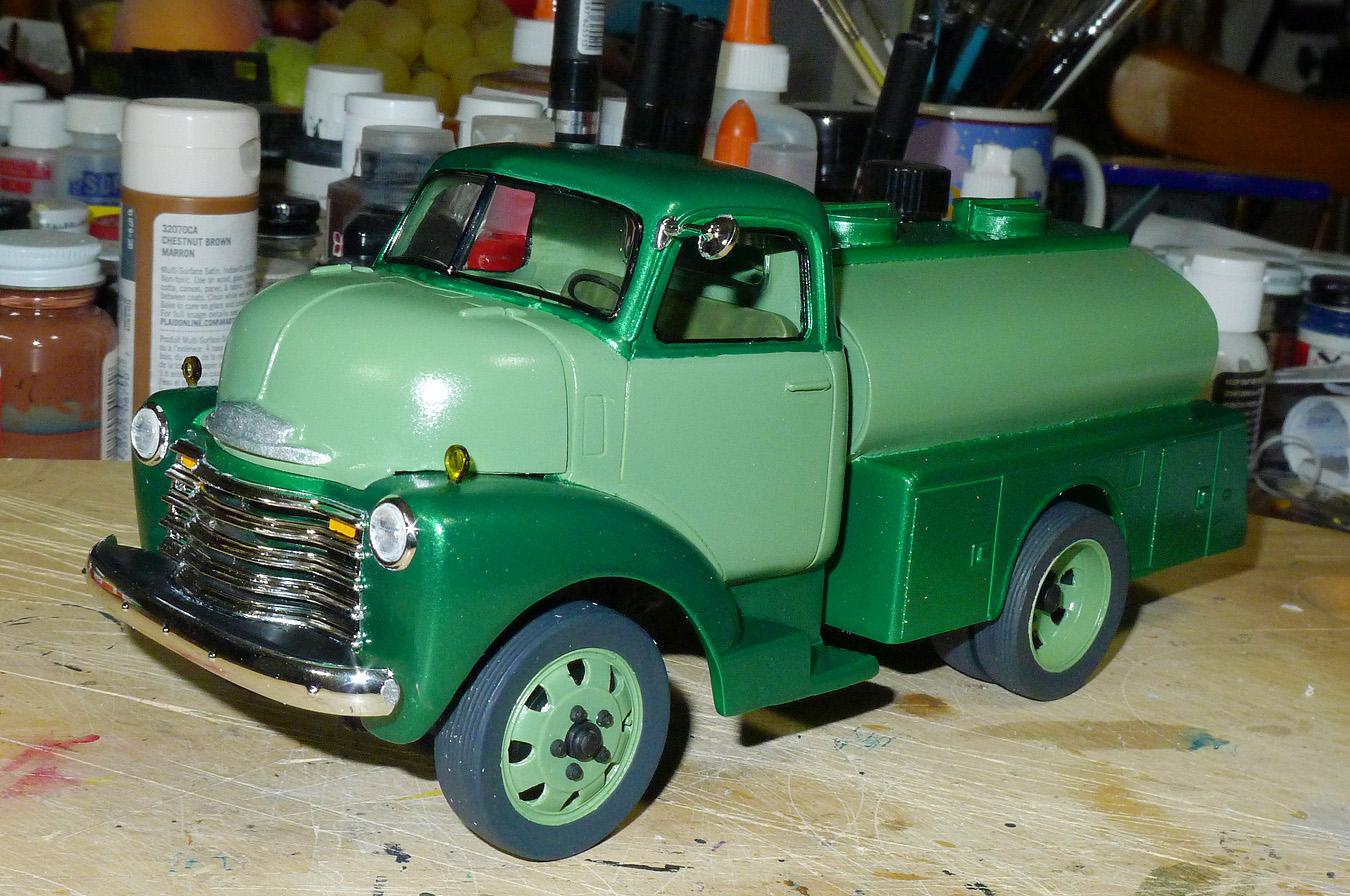
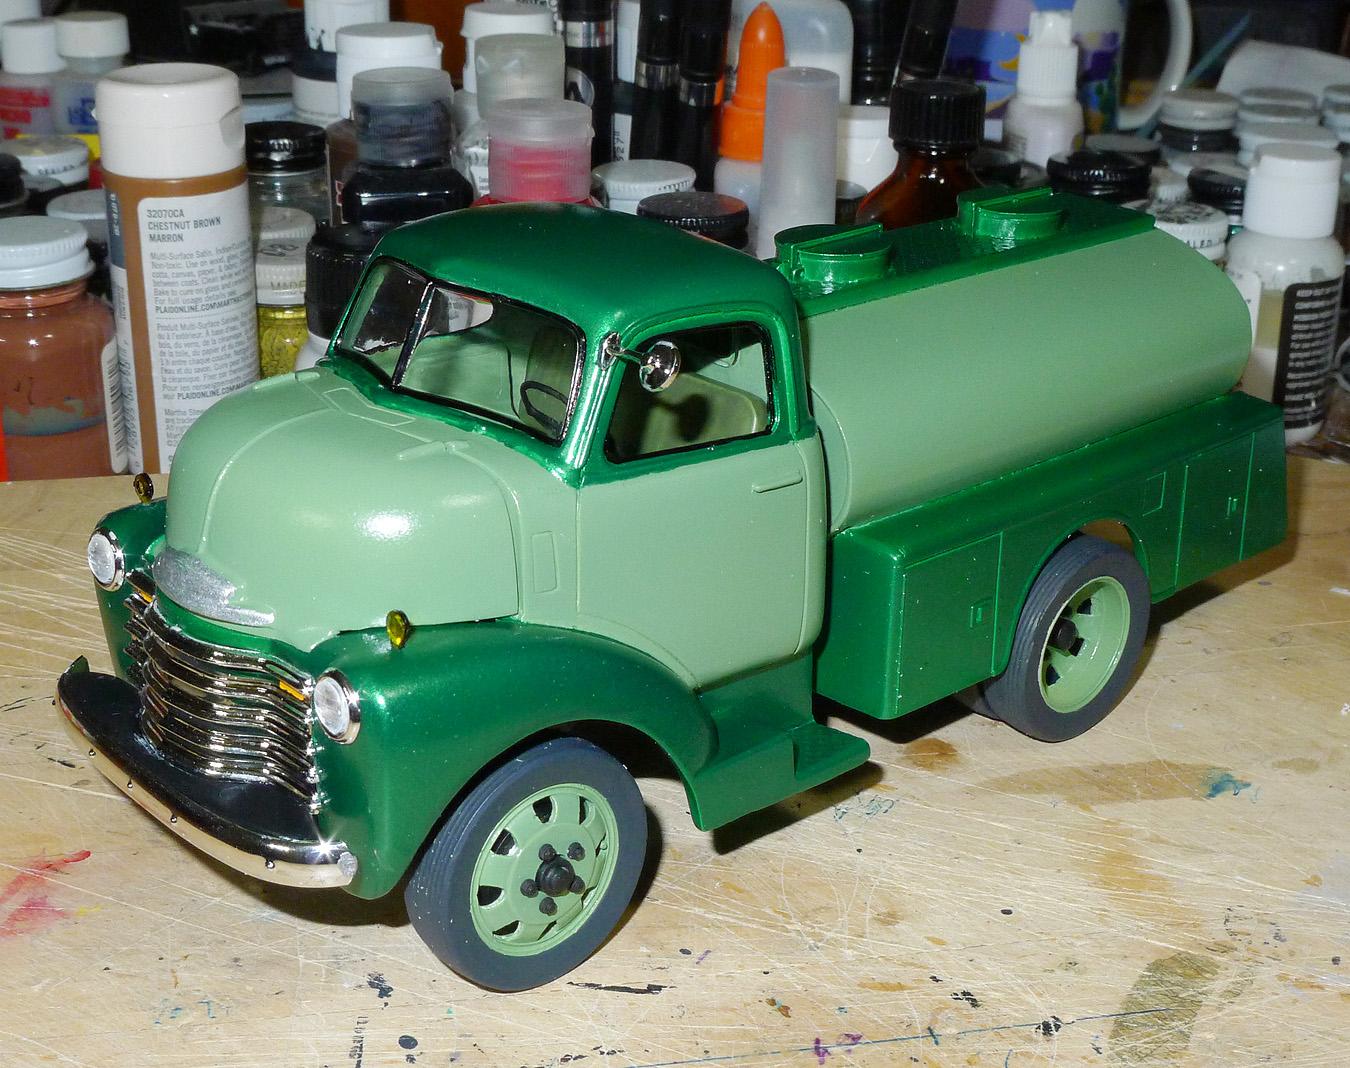
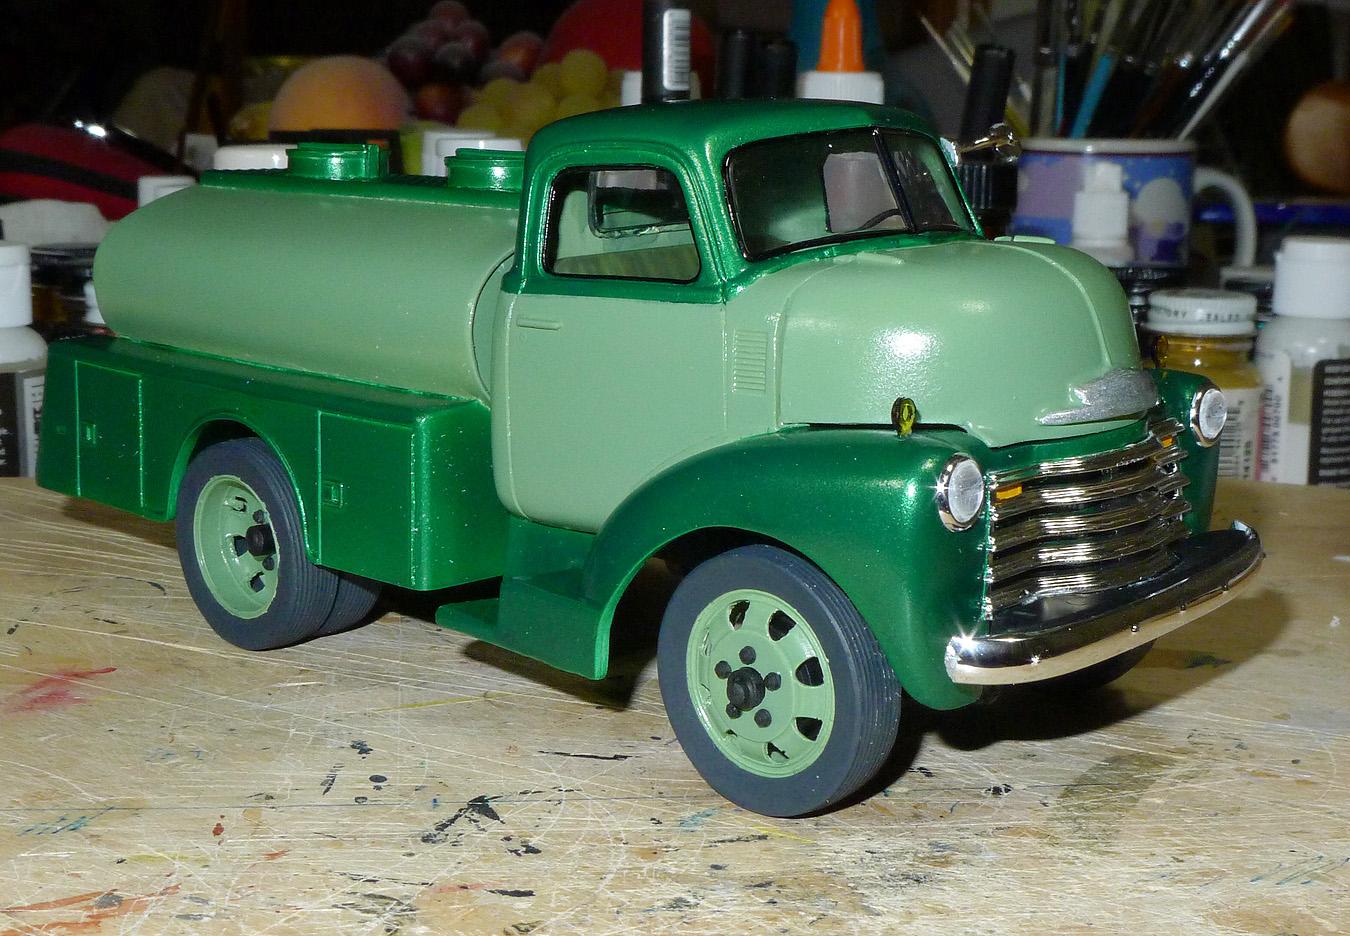
1950 Chevy COE Tanker
Warren D replied to Warren D's topic in Model Trucks: Big Rigs and Heavy Equipment
Thanks, the JF stuff is pretty nice. Surprized more folks aren't building them. Thank you Thanks Thanks -
1950 Chevy COE Tanker
Warren D replied to Warren D's topic in Model Trucks: Big Rigs and Heavy Equipment
Thanks, not sure there is a prototype but it could be something that was found in a rural area in the mid-late 1950's. -
PETERBILT WRECKER
Warren D replied to Brutalform's topic in Model Trucks: Big Rigs and Heavy Equipment
Nice looking wrecker, I like the color scheme. -
I started this build almost 9 years ago and it sat for the last 8.9 years. When I did my White 3000 COE, I had bought several castings from Jimmy Flintstone including this COE. Parts include Jimmy Flintstone Cab, tank body and wheels/tires Chassis is from the Lindberg Dodge COE, interior, cab parts/details, engine are from the AMT 1950 Chevy pickup Paint is supposed to match the White 3000 but time killed the dark green (no longer available) so the dark green is a little lighter.
-
Ford LN 8000 abd Tank Trailer
Warren D replied to OldTrucker's topic in Model Trucks: Big Rigs and Heavy Equipment
Looks good, I hear you about the mirrors! -
Michigan L190 Front End Loader
Warren D replied to Warren D's topic in Model Trucks: Big Rigs and Heavy Equipment
Thanks, Charles. I was looking at the pics earlier and saw I left the screen around the exhaust stack off. Took a while to find where it got to but it's on and the lift piston rod that came apart during the pics is now fixed as well. That "old Brockway" has a Cat 3408 hiding under there! -
Michigan L190 Front End Loader
Warren D replied to Warren D's topic in Model Trucks: Big Rigs and Heavy Equipment
Thanks, I've thought about picking up another one but I'm not sure I have room for it!!! -
If I had a Real Pete
Warren D replied to Biggu's topic in Model Trucks: Big Rigs and Heavy Equipment
Looks great to me. I'm my own worst critic, I don't know of any build I've done that there isn't something I feel I didn't do right or would do differently next time. -
Michigan L190 Front End Loader
Warren D replied to Warren D's topic in Model Trucks: Big Rigs and Heavy Equipment
It's all in the gears. I have plans for a Brockway 360U (the one with the Buzzin' dozen, 12 cylinder Detroit) but need the AITM 360 as a start. Hopefully the AITM line will come back soon! -
Michigan L190 Front End Loader
Warren D replied to Warren D's topic in Model Trucks: Big Rigs and Heavy Equipment
Thanks! Thanks, most everything looks good behind a Huskie! Thanks! -
Some pics from the truck show last weekend: https://pbase.com/baywing/mohawk24 More than a few build ideas for classic truck builders.
-
- 1
-

-
Michigan L190 Front End Loader
Warren D replied to Warren D's topic in Model Trucks: Big Rigs and Heavy Equipment
Thanks Thank you Thanks -
Looks good. I recall a guy from VT did a self-propelled crane a few years back, all from scratch.
-
KFS Michigan Loader
Warren D replied to Warren D's topic in WIP: Model Trucks: Big Rigs and Heavy Equipment
Calling it done, though I do have one minor repair to make..... -
Michigan L190 Front End Loader
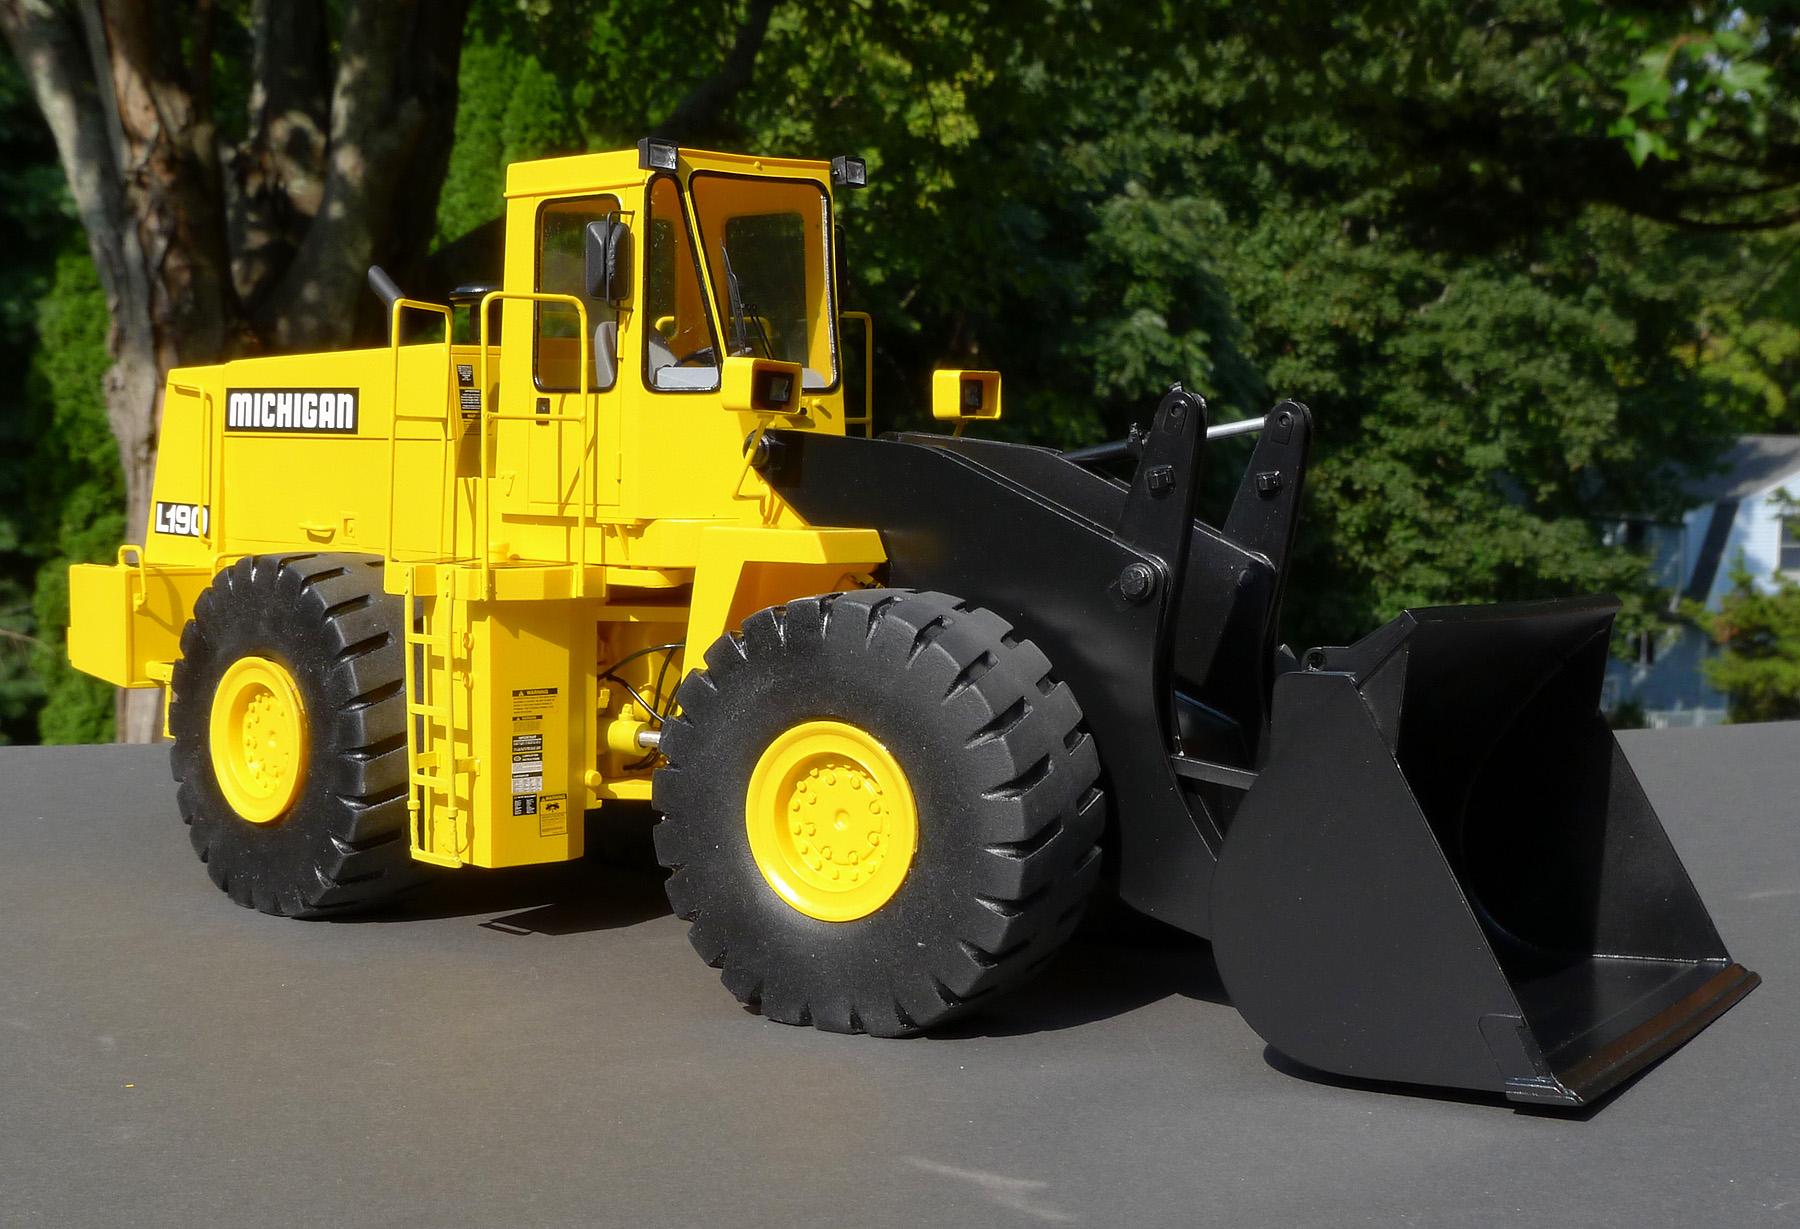
Warren D posted a topic in Model Trucks: Big Rigs and Heavy Equipment
Calling it done for now. I made some changes to the lights from the KFS instructions using the sales brochure as a reference. I also added some height to the railings, again, as shown in the brochure. Yellow is Pollyscale CSX Yellow (acrylic) and black is Pollyscale Steam Engine Black. It weighs a lot!
-
I think a 10 wheeler is fine. We have a few large construction companies left (most have gone the way of the dodo bird) and I seem to recall seeing a 10 wheel service truck. I would think mostly engine oil, hydro oil and grease. Antifreeze and the things you already listed and you're getting pretty heavy for a single axle.
-
New Truck Bodies from Global Scale Models
Warren D replied to Warren D's topic in Truck Aftermarket / Resin / 3D Printed
Looks similar to the one Keystone did a few years ago, but it has much more detail.