Anglia105E
-
Posts
3,486 -
Joined
-
Last visited
Content Type
Profiles
Forums
Events
Gallery
Everything posted by Anglia105E
-
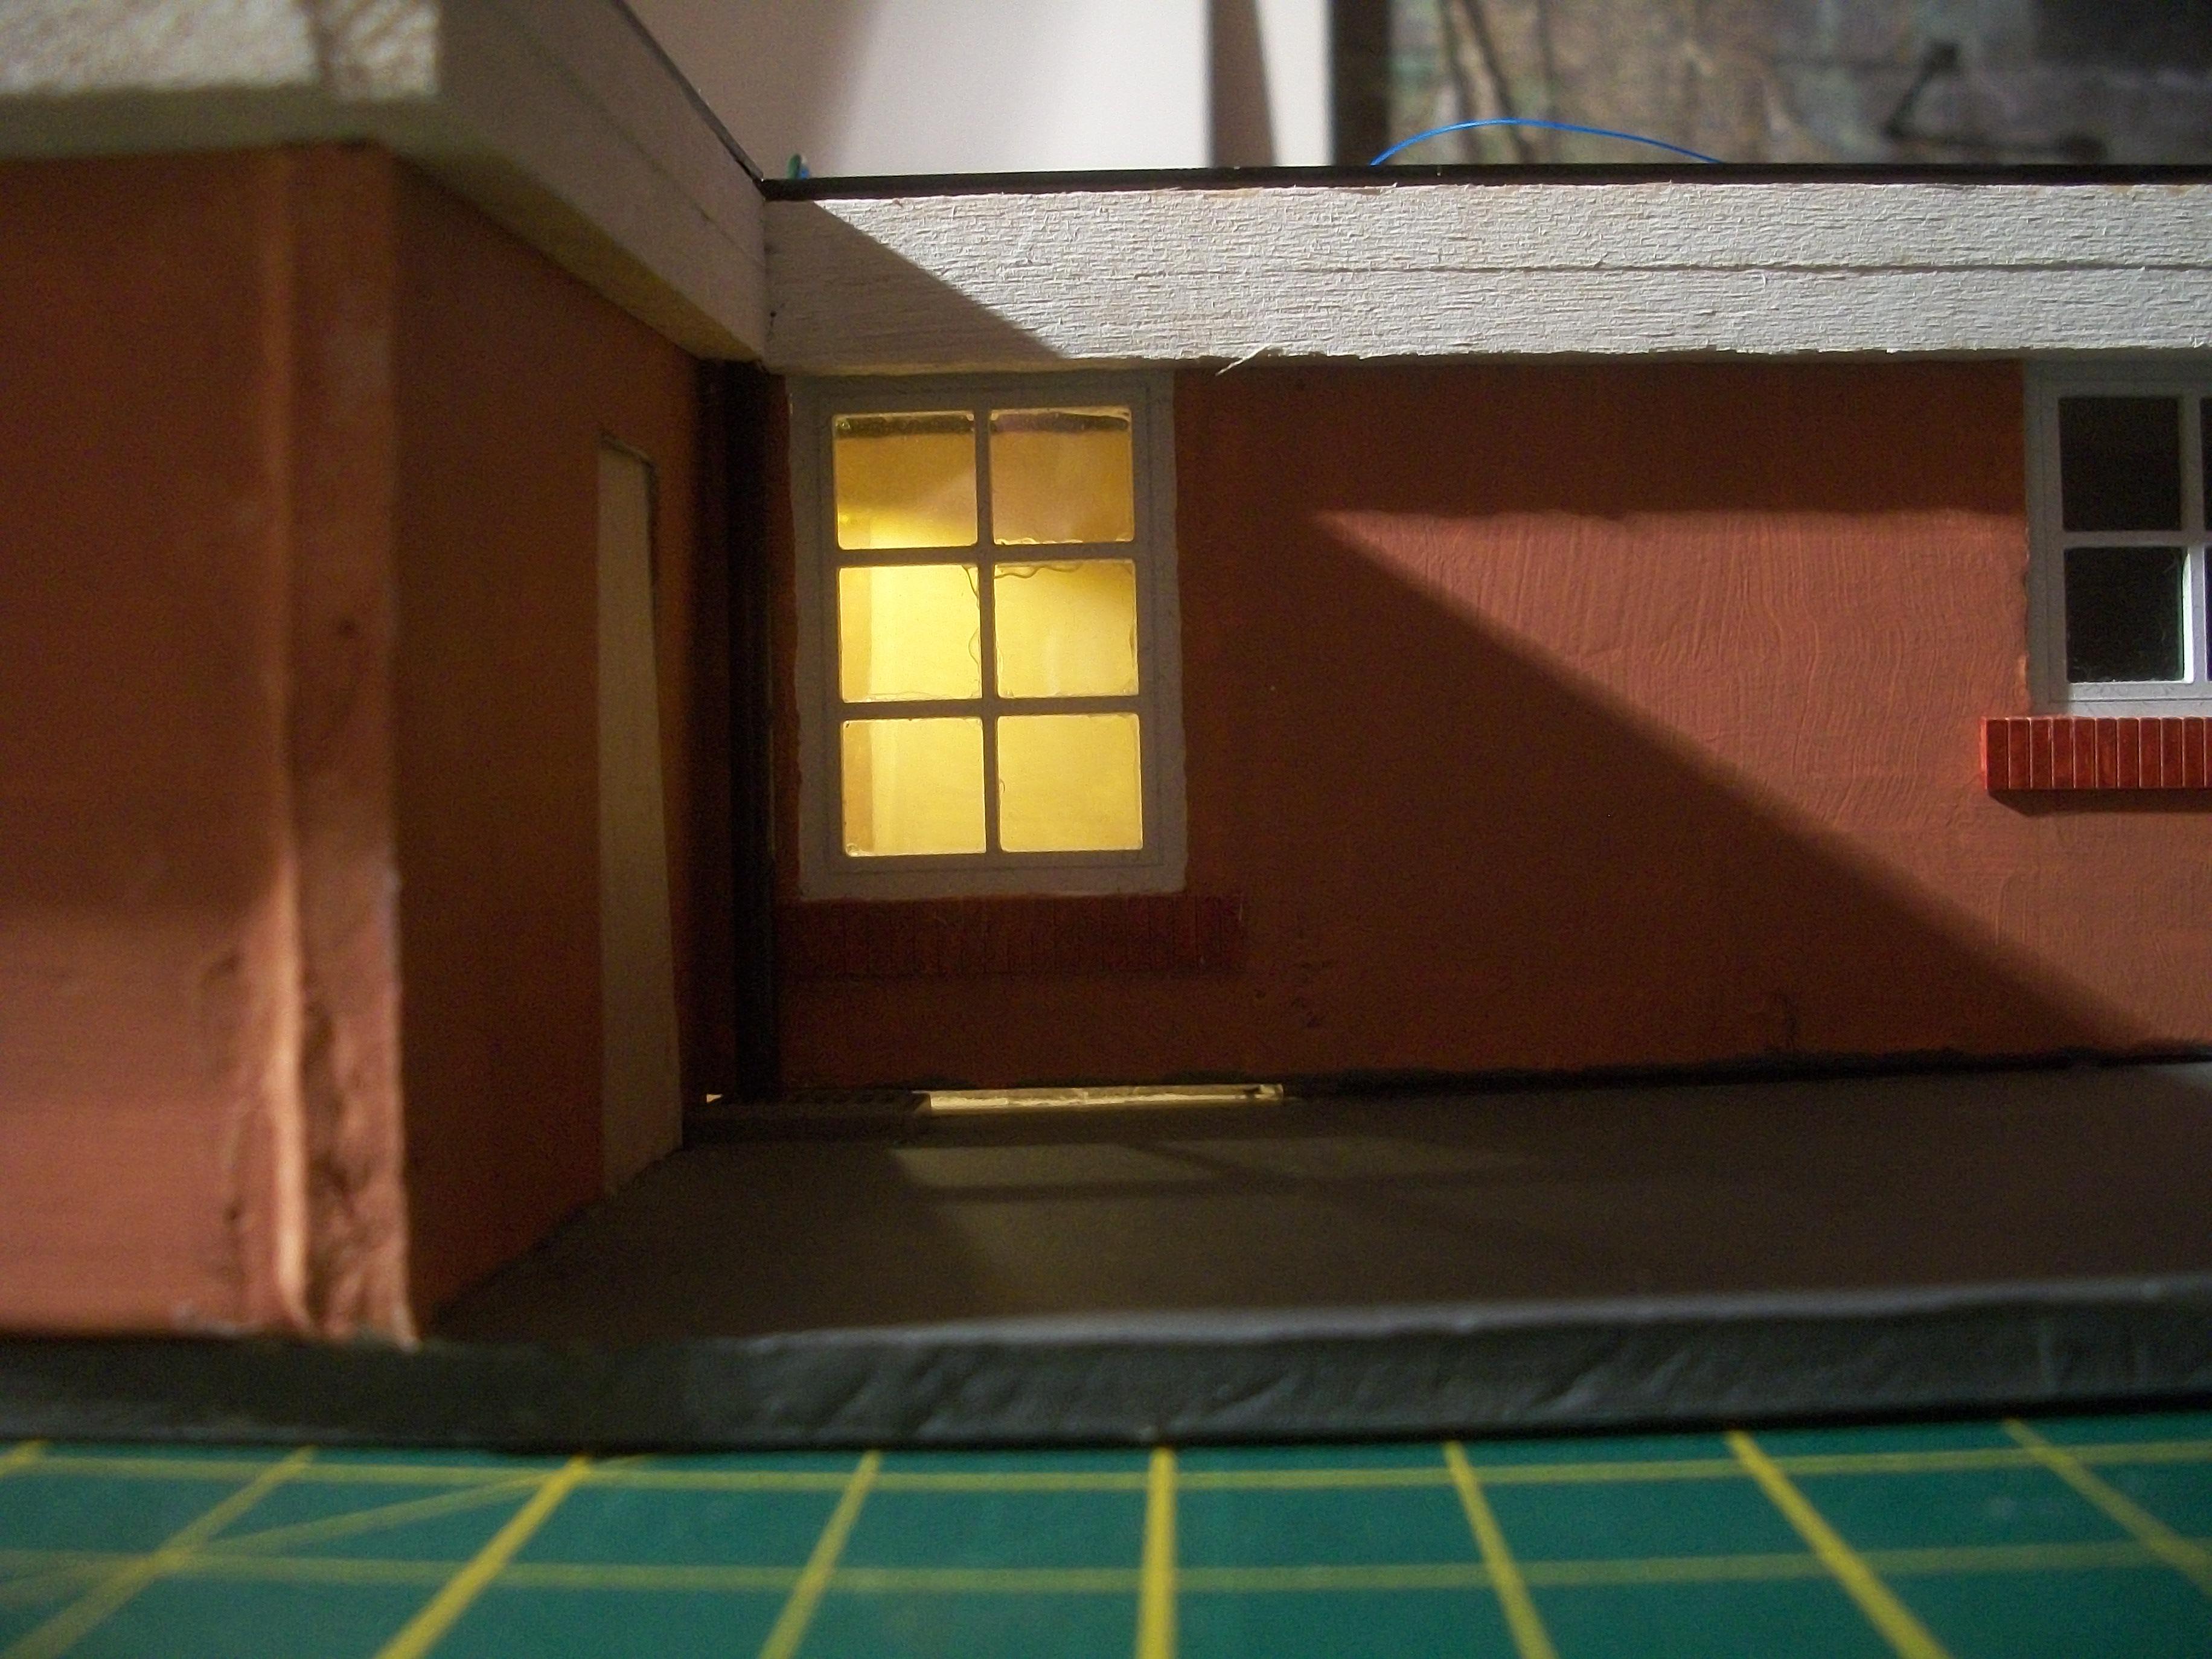
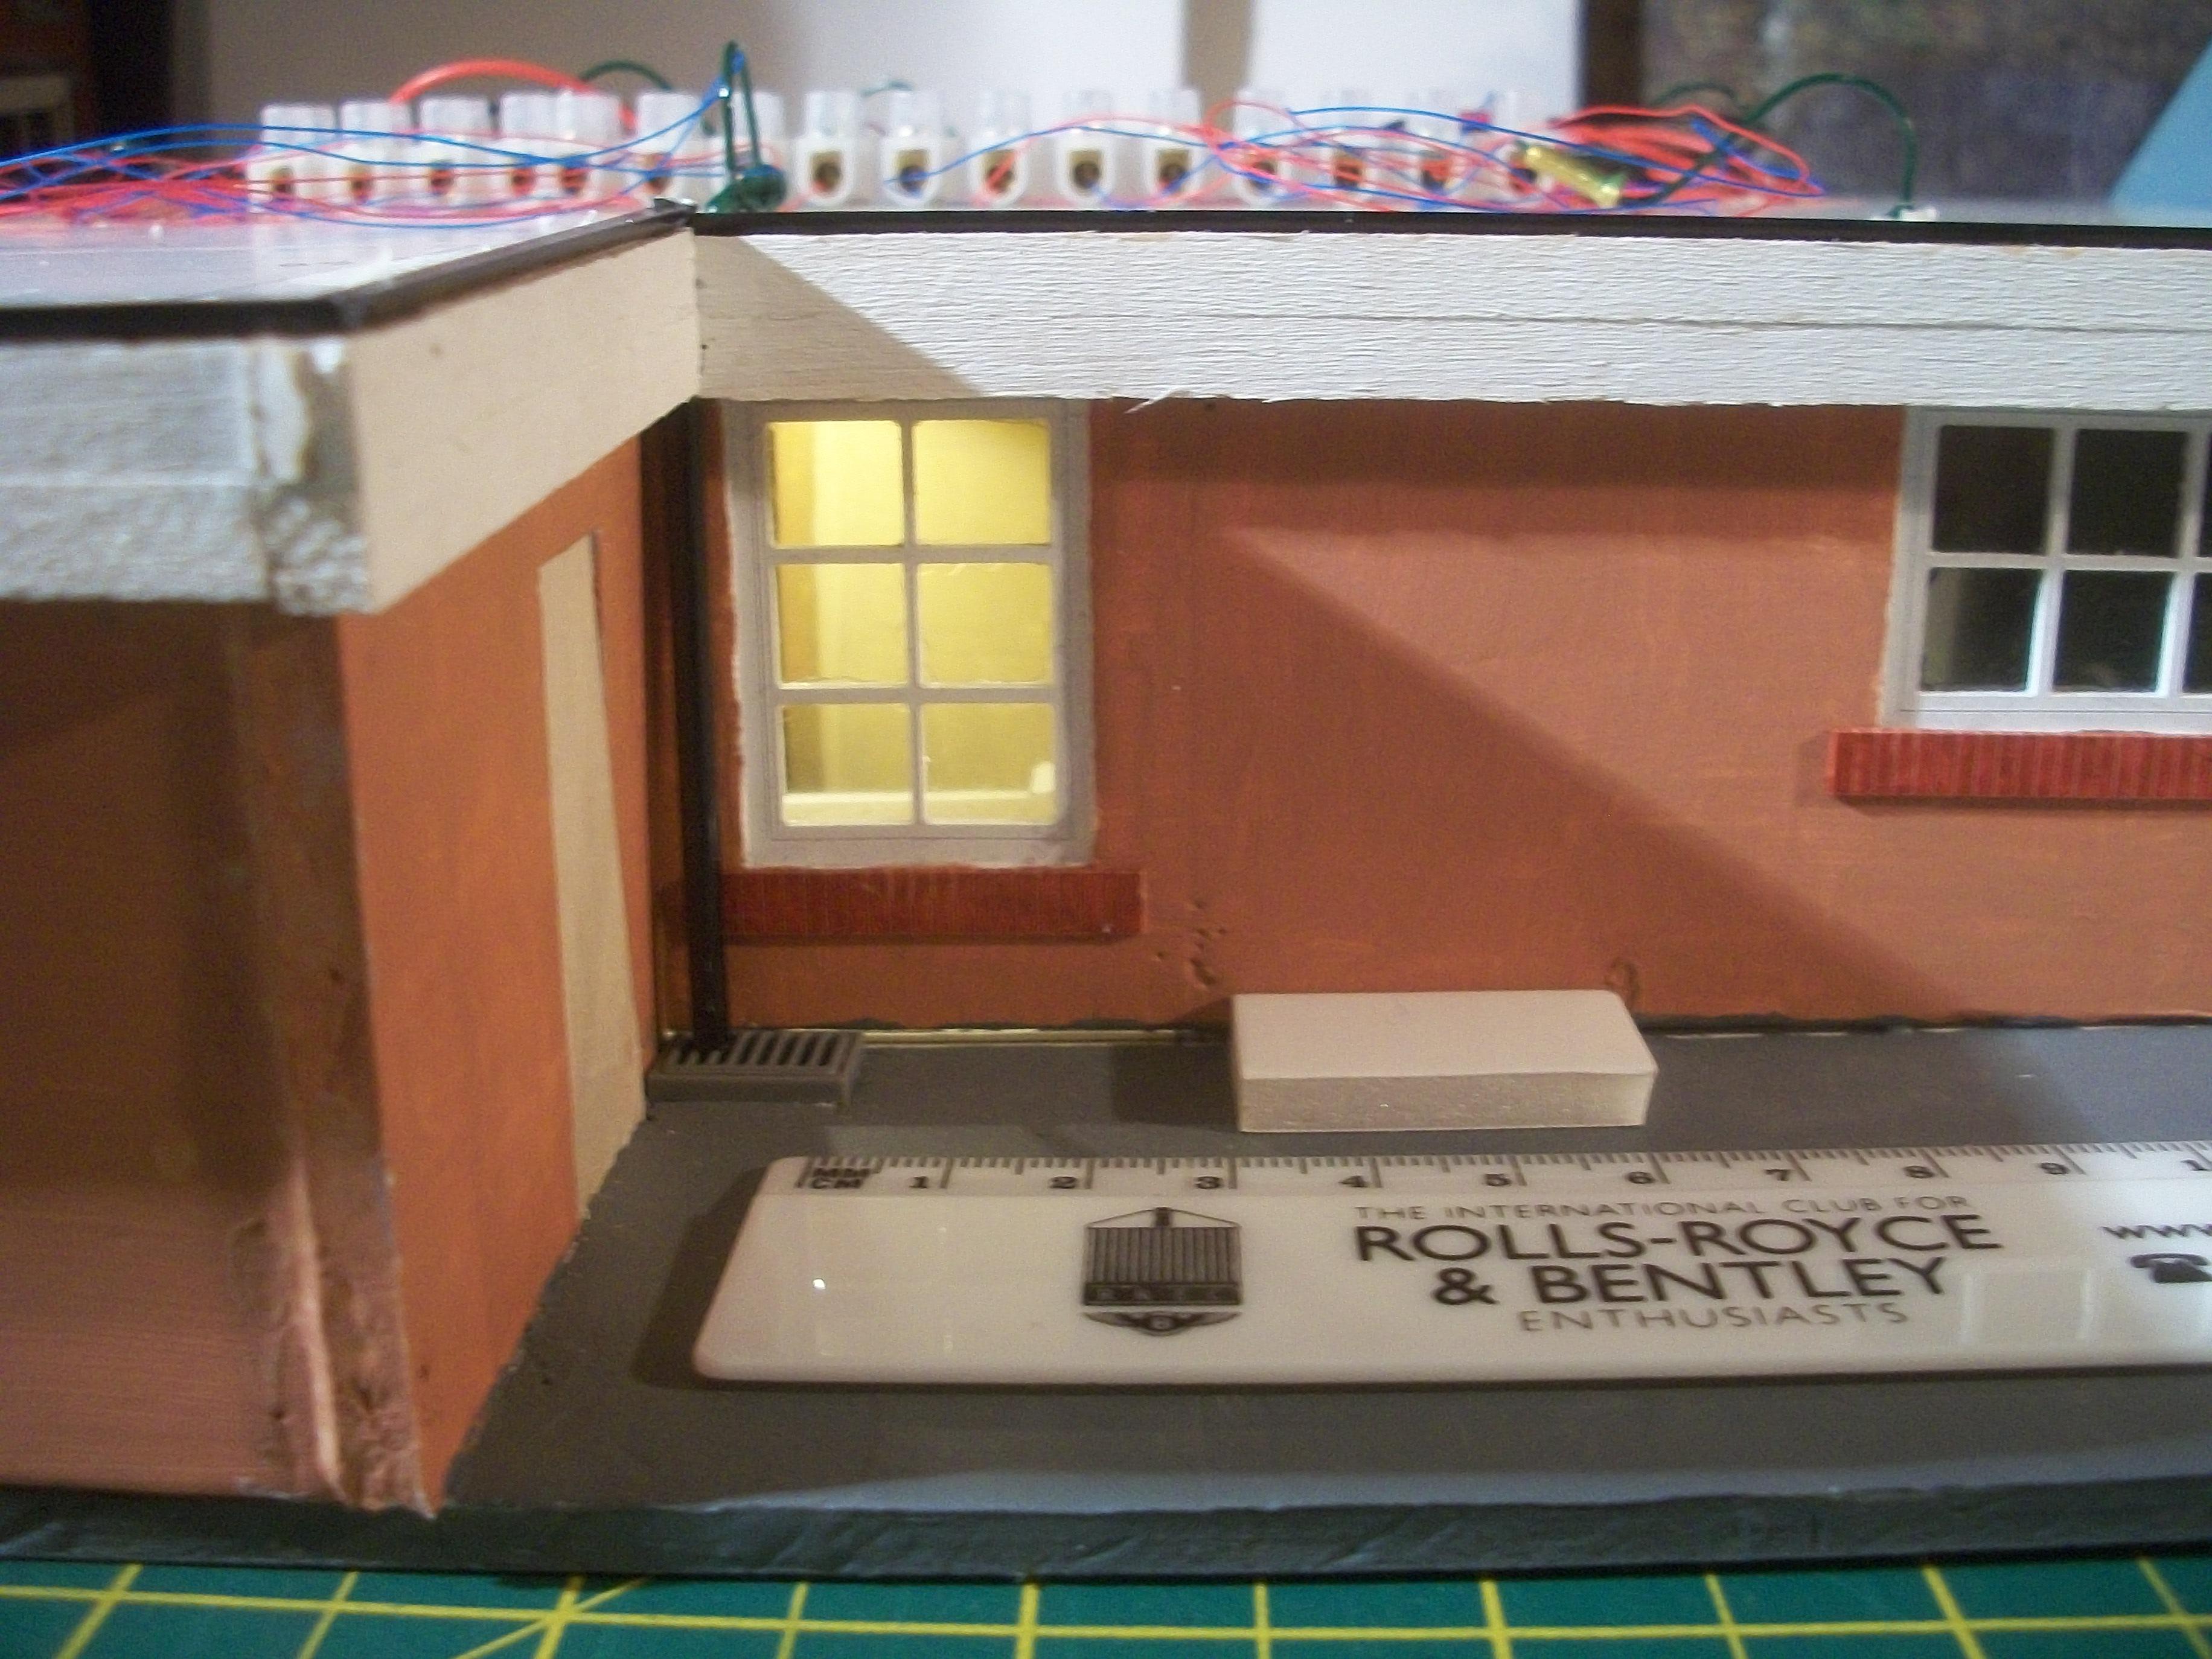
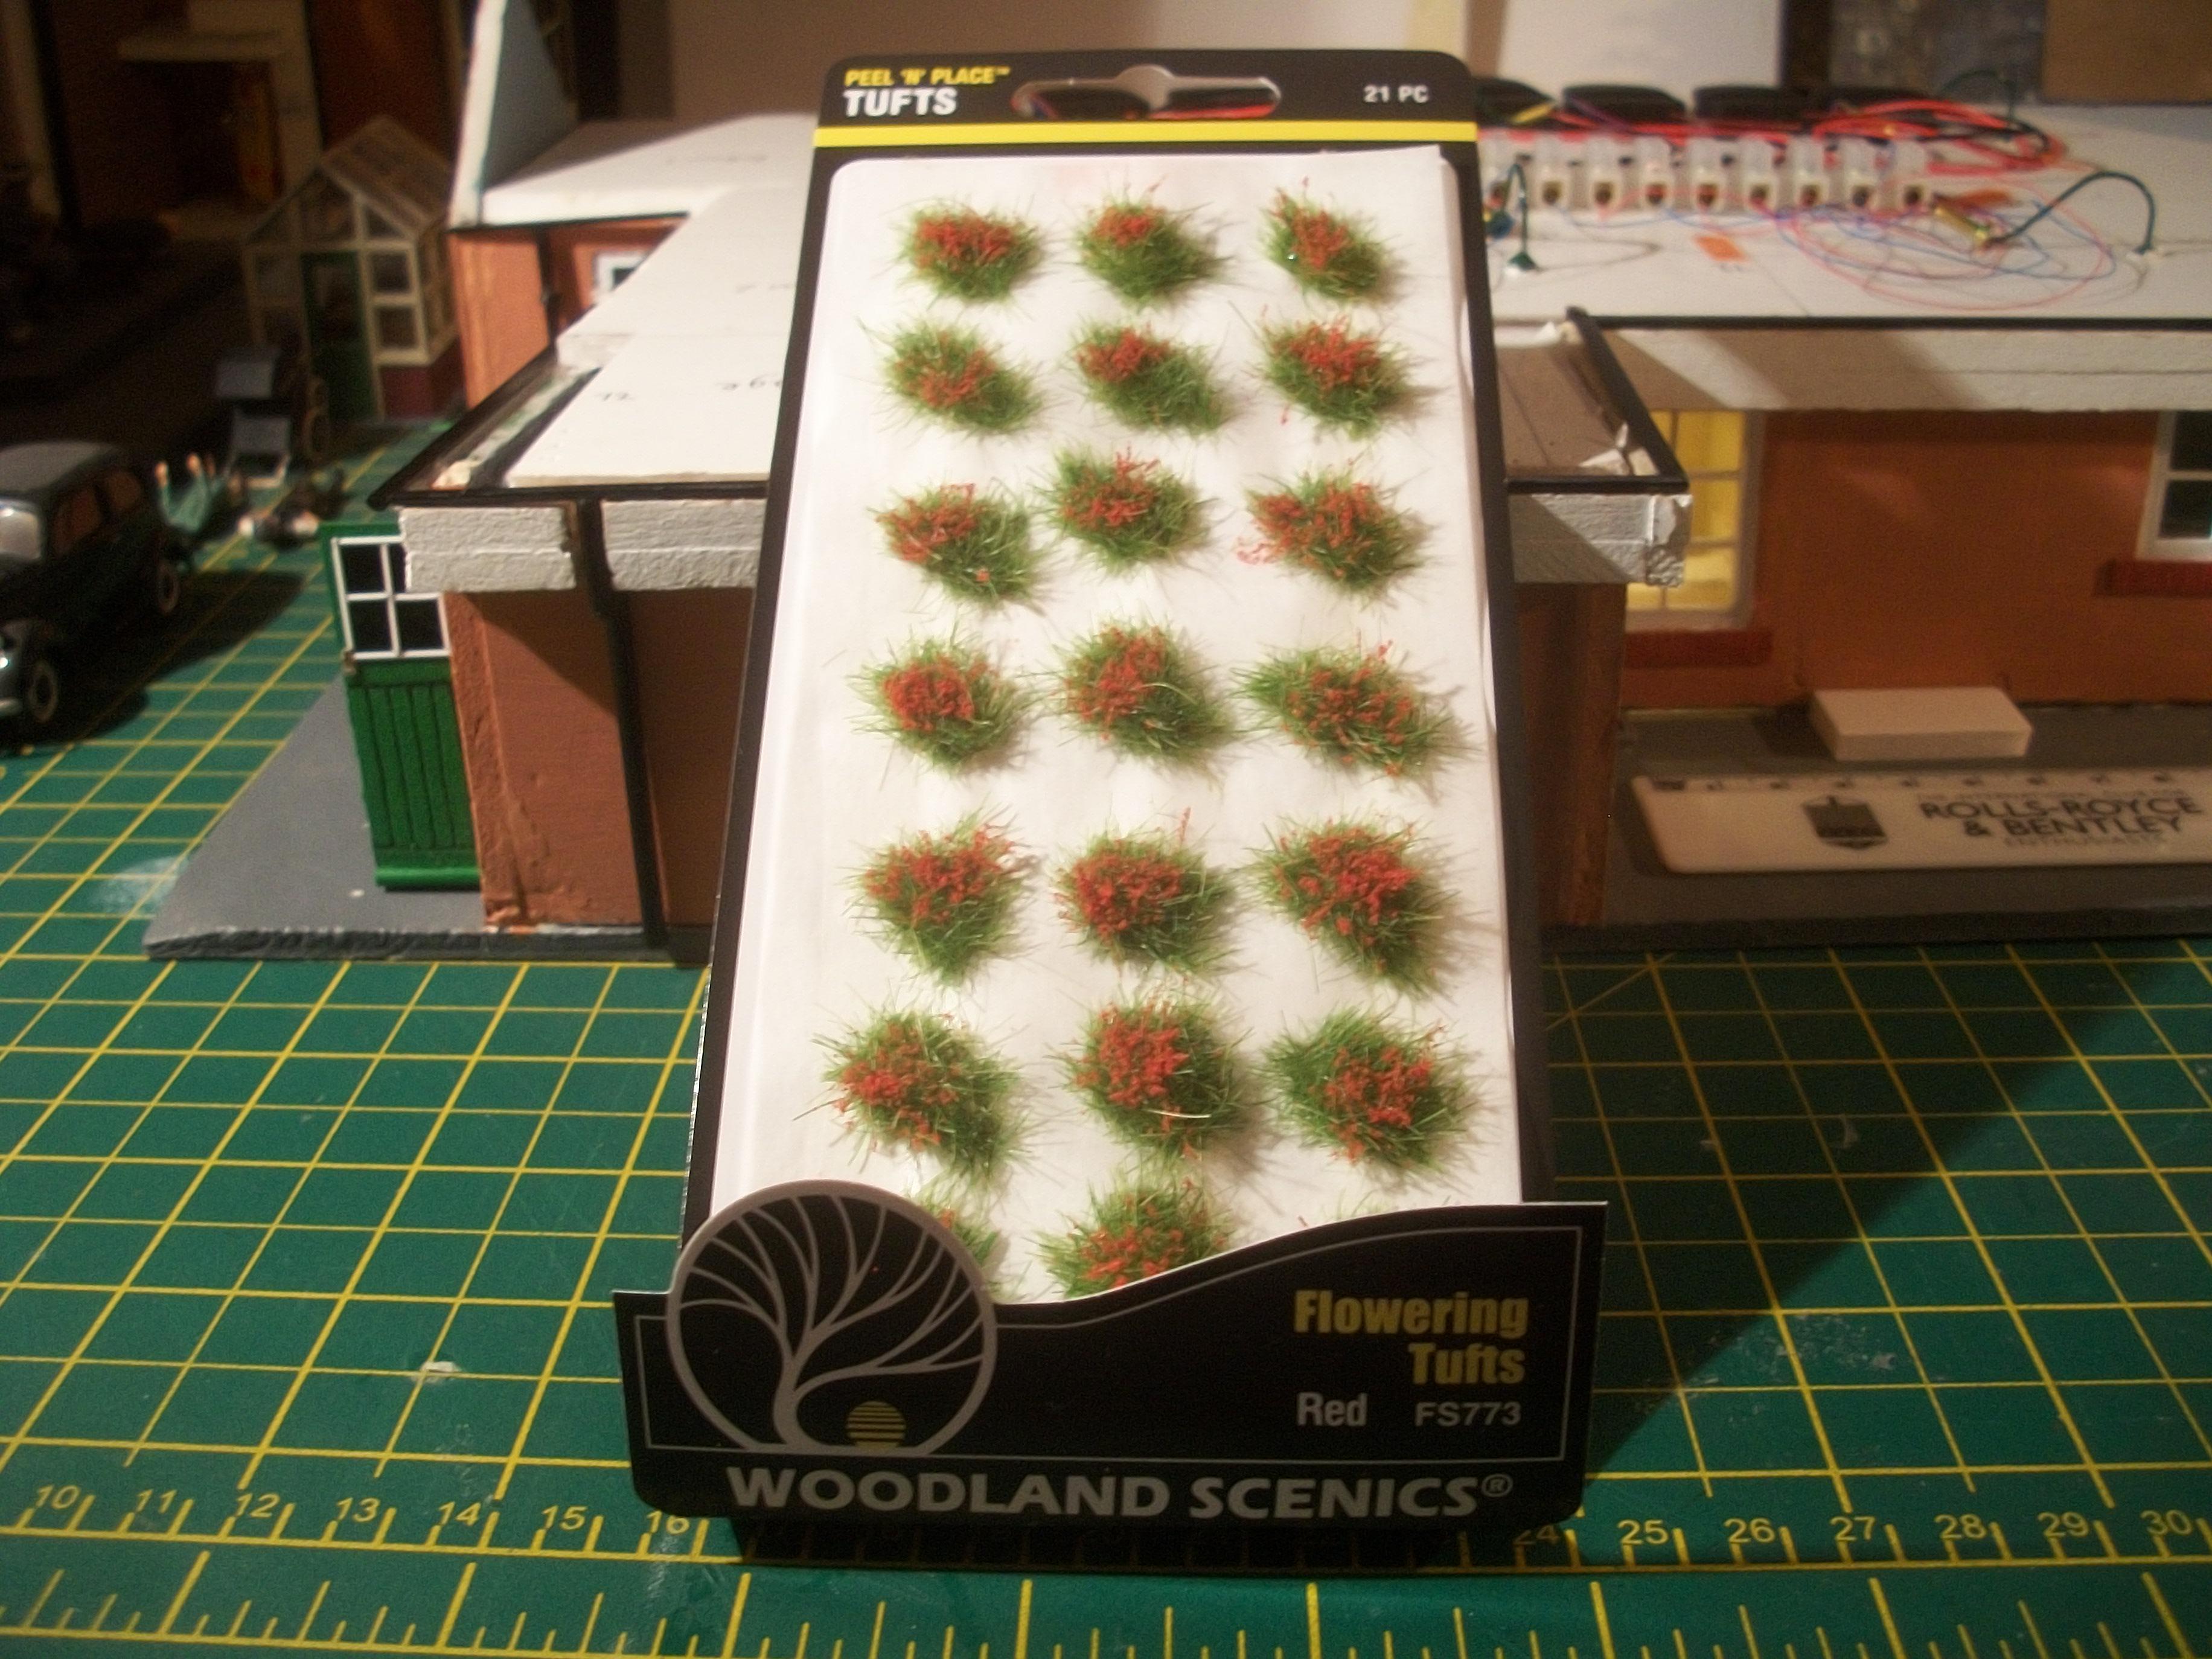
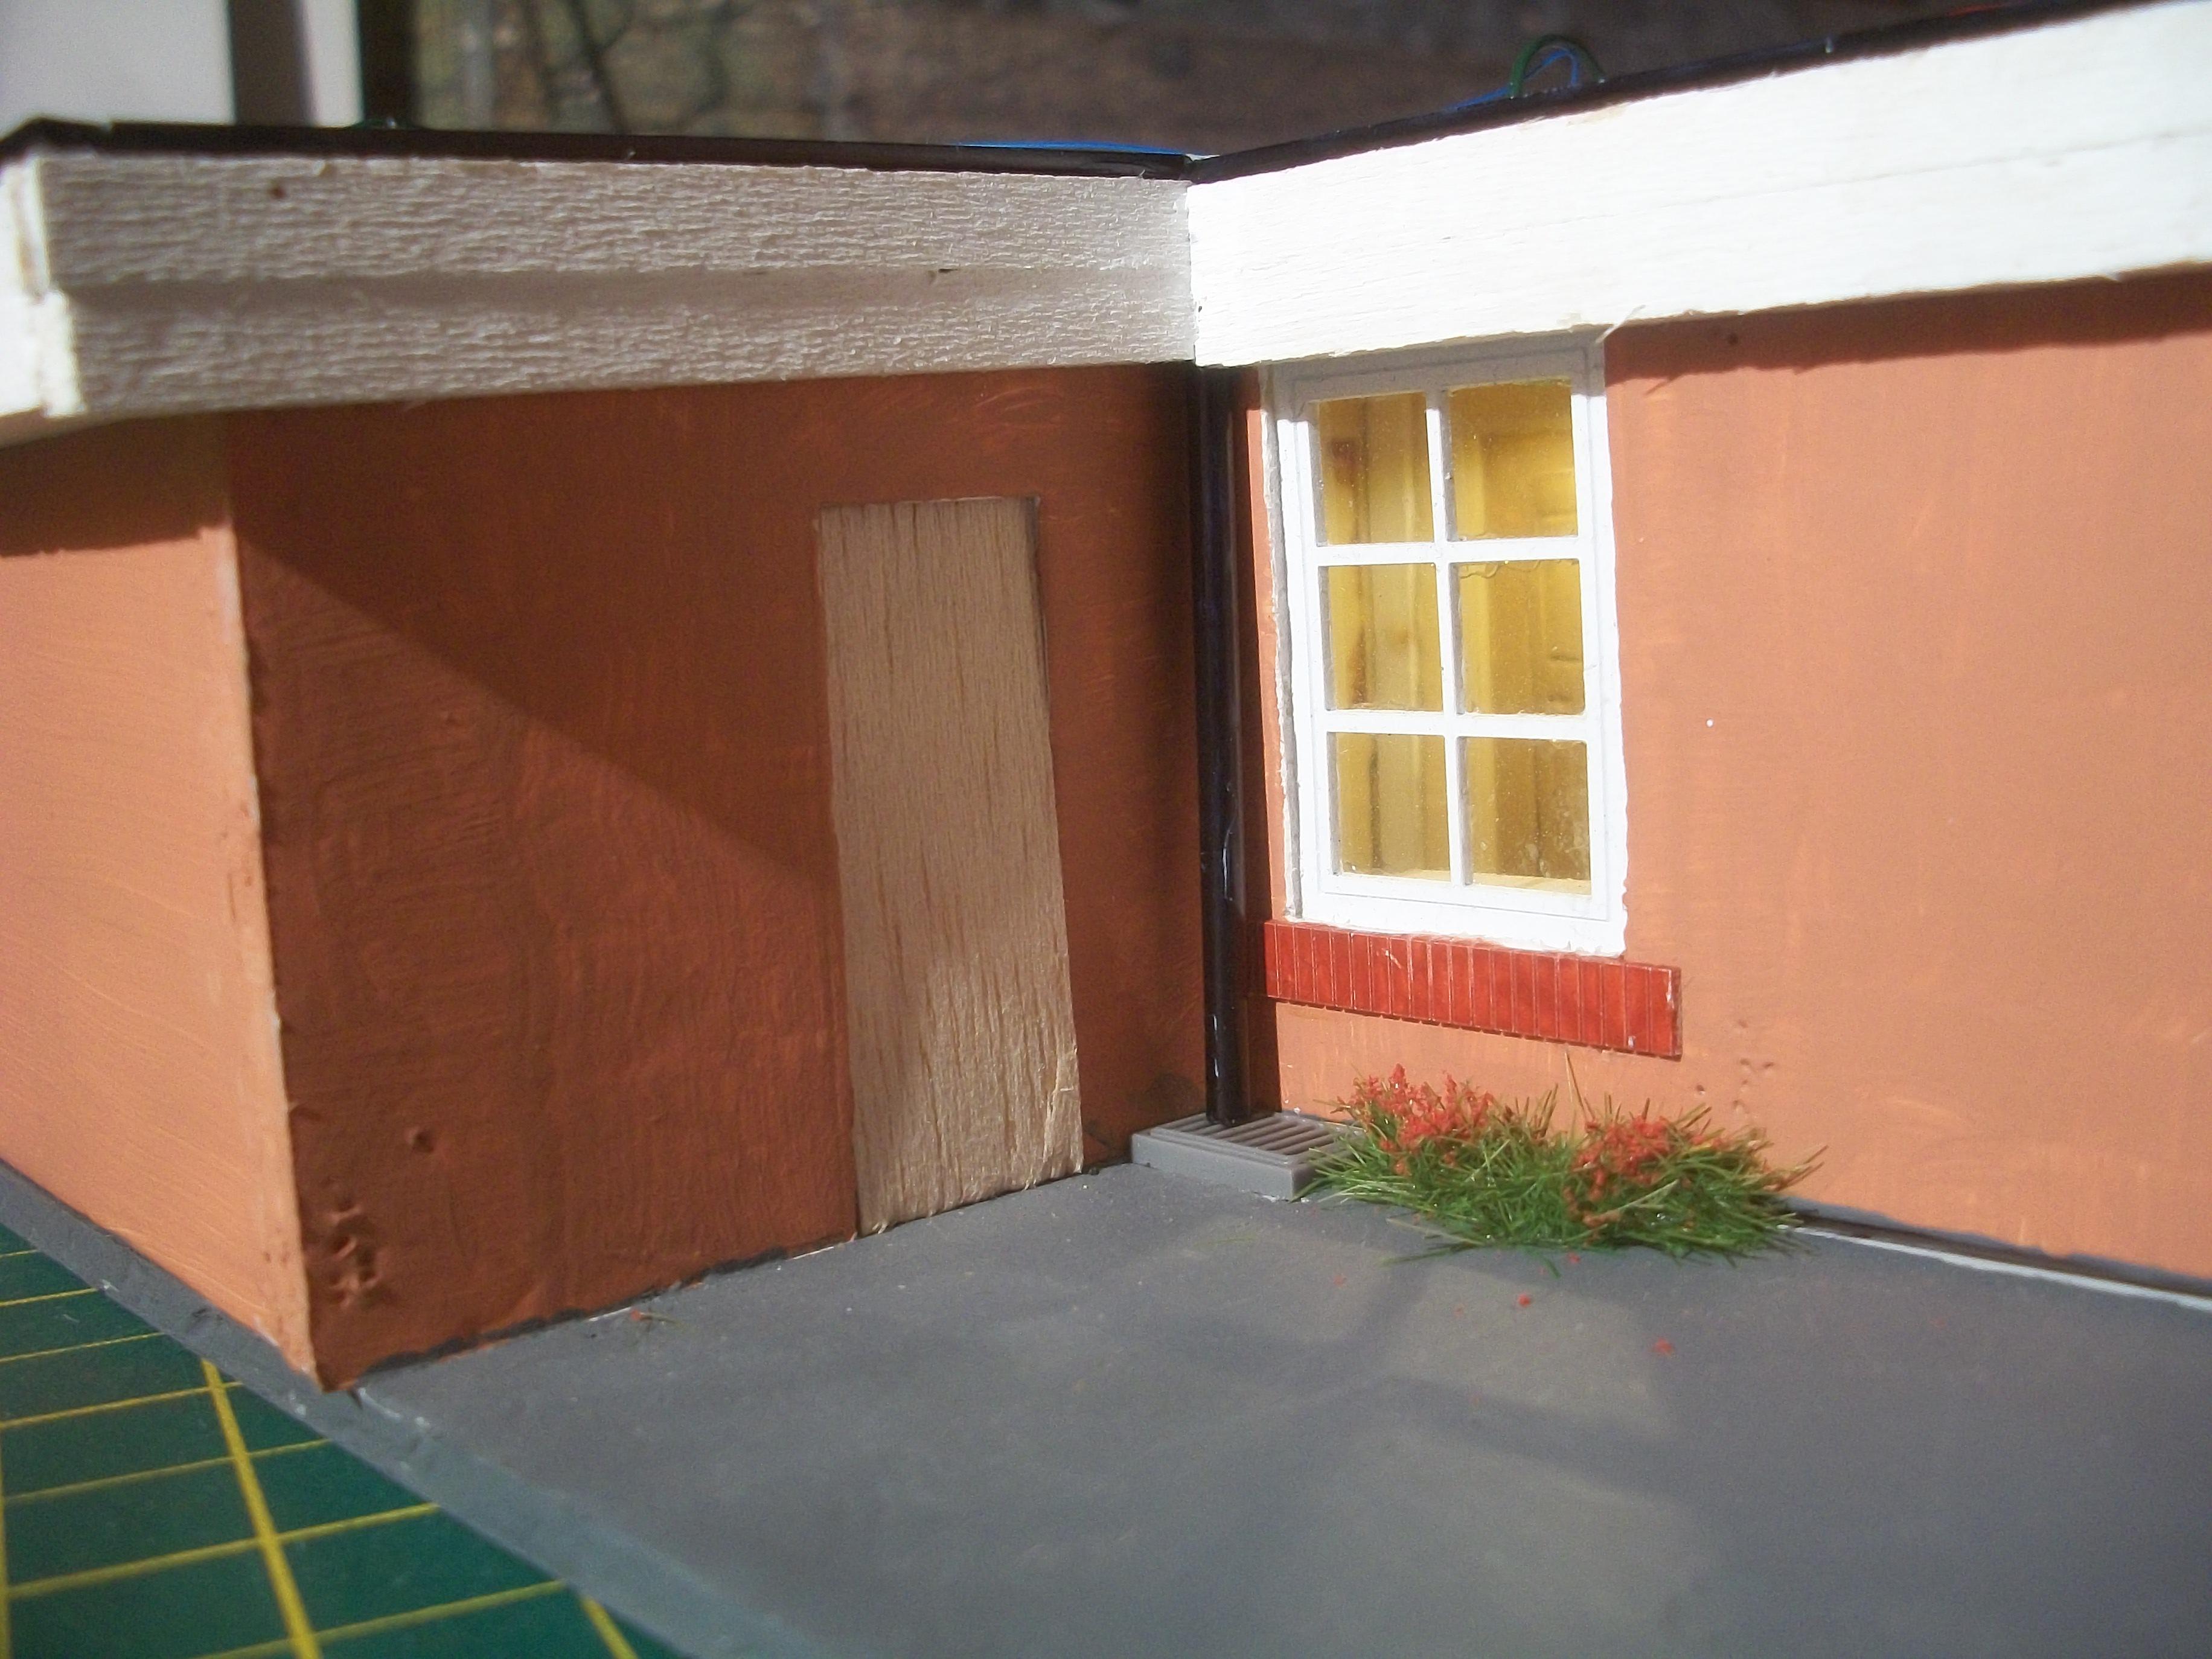
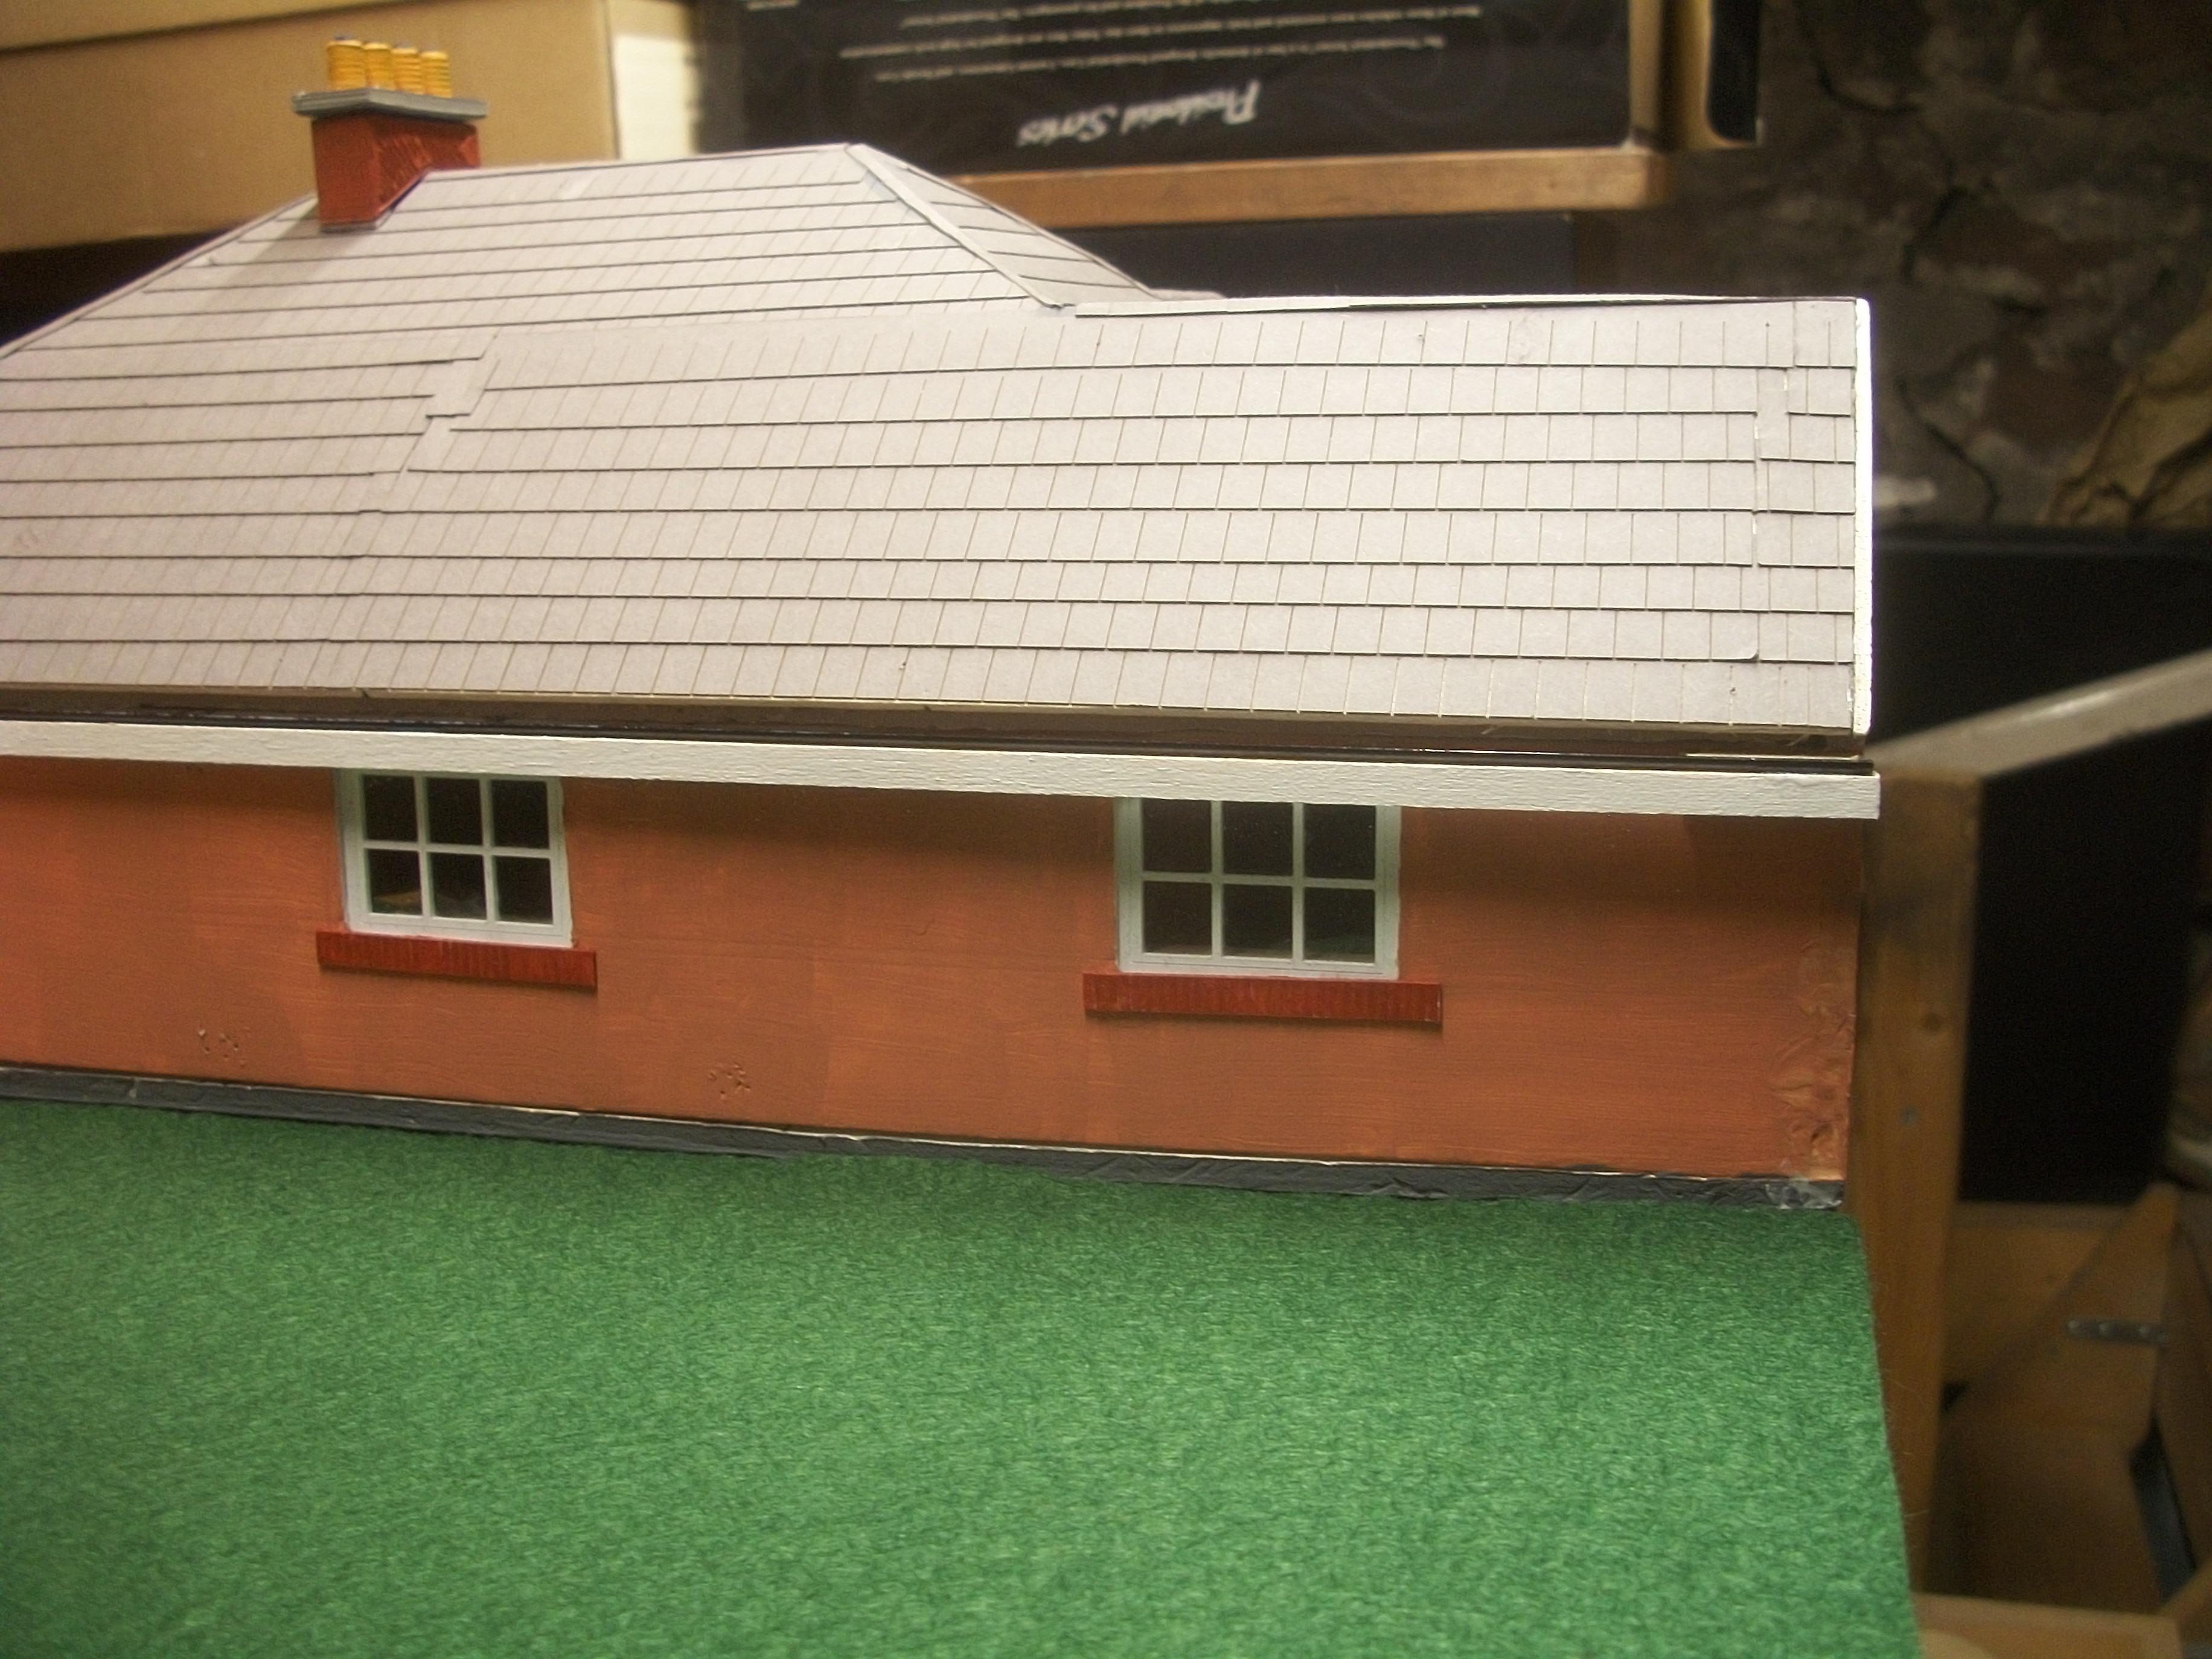
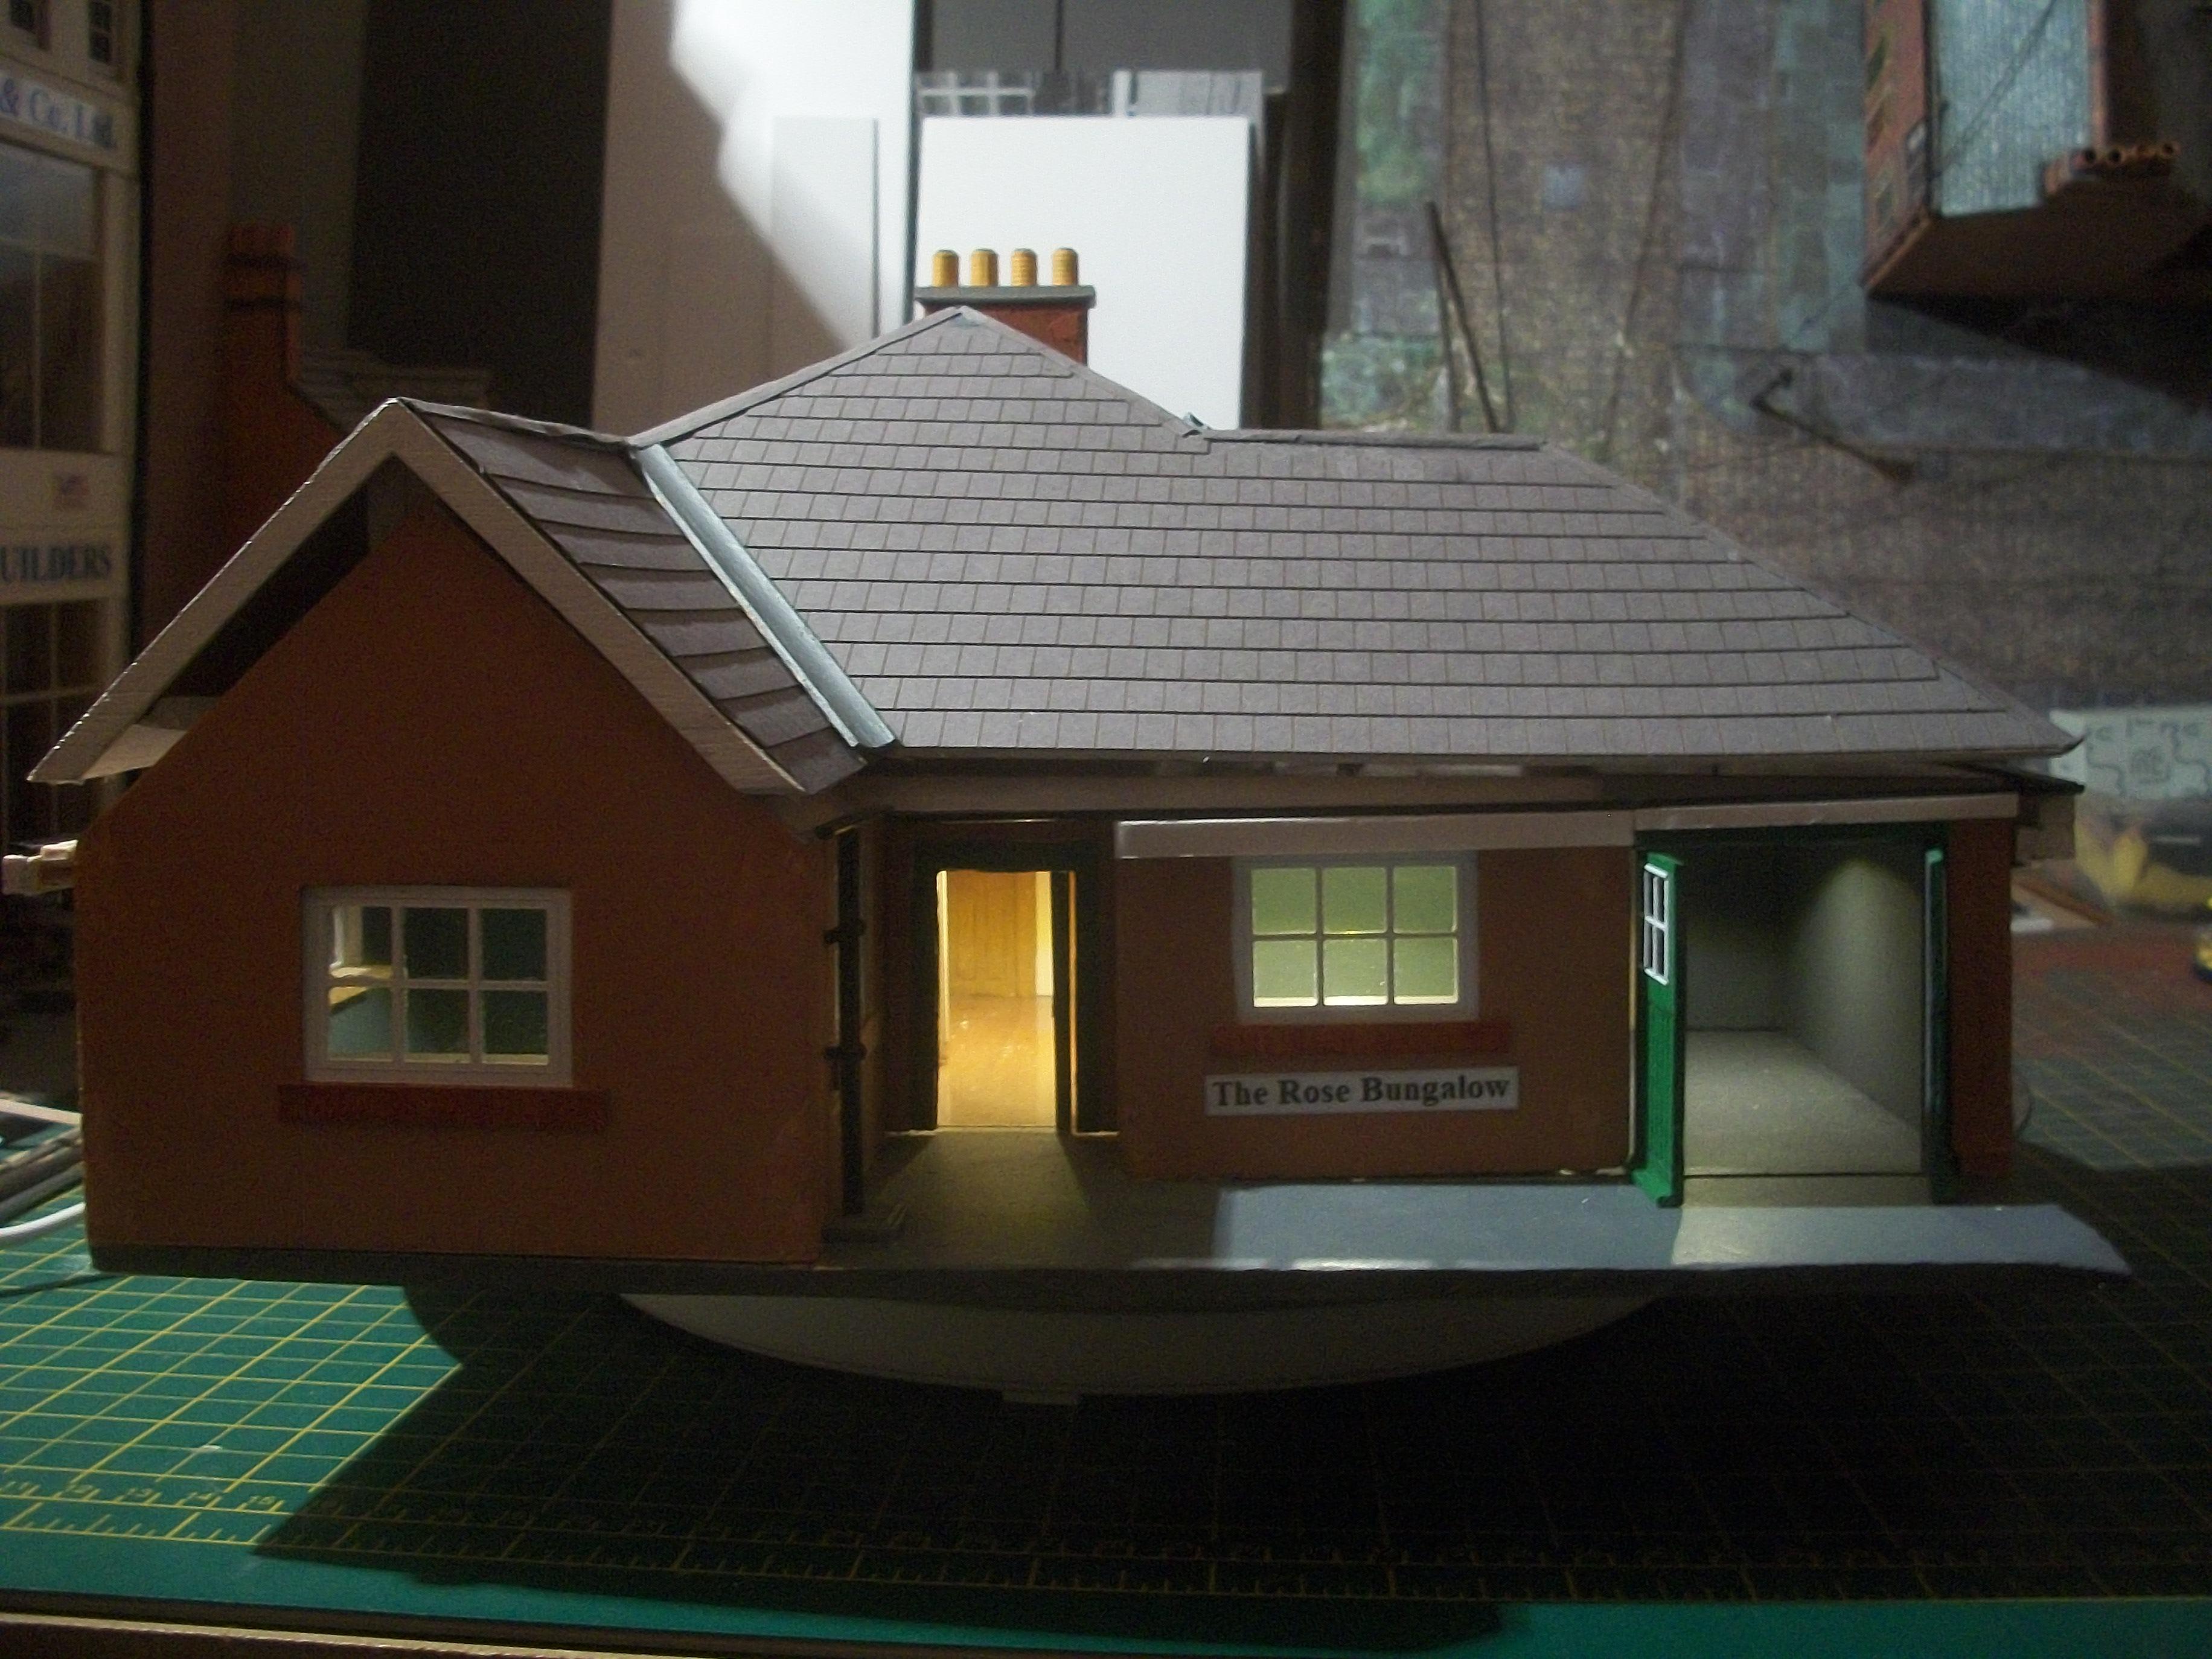
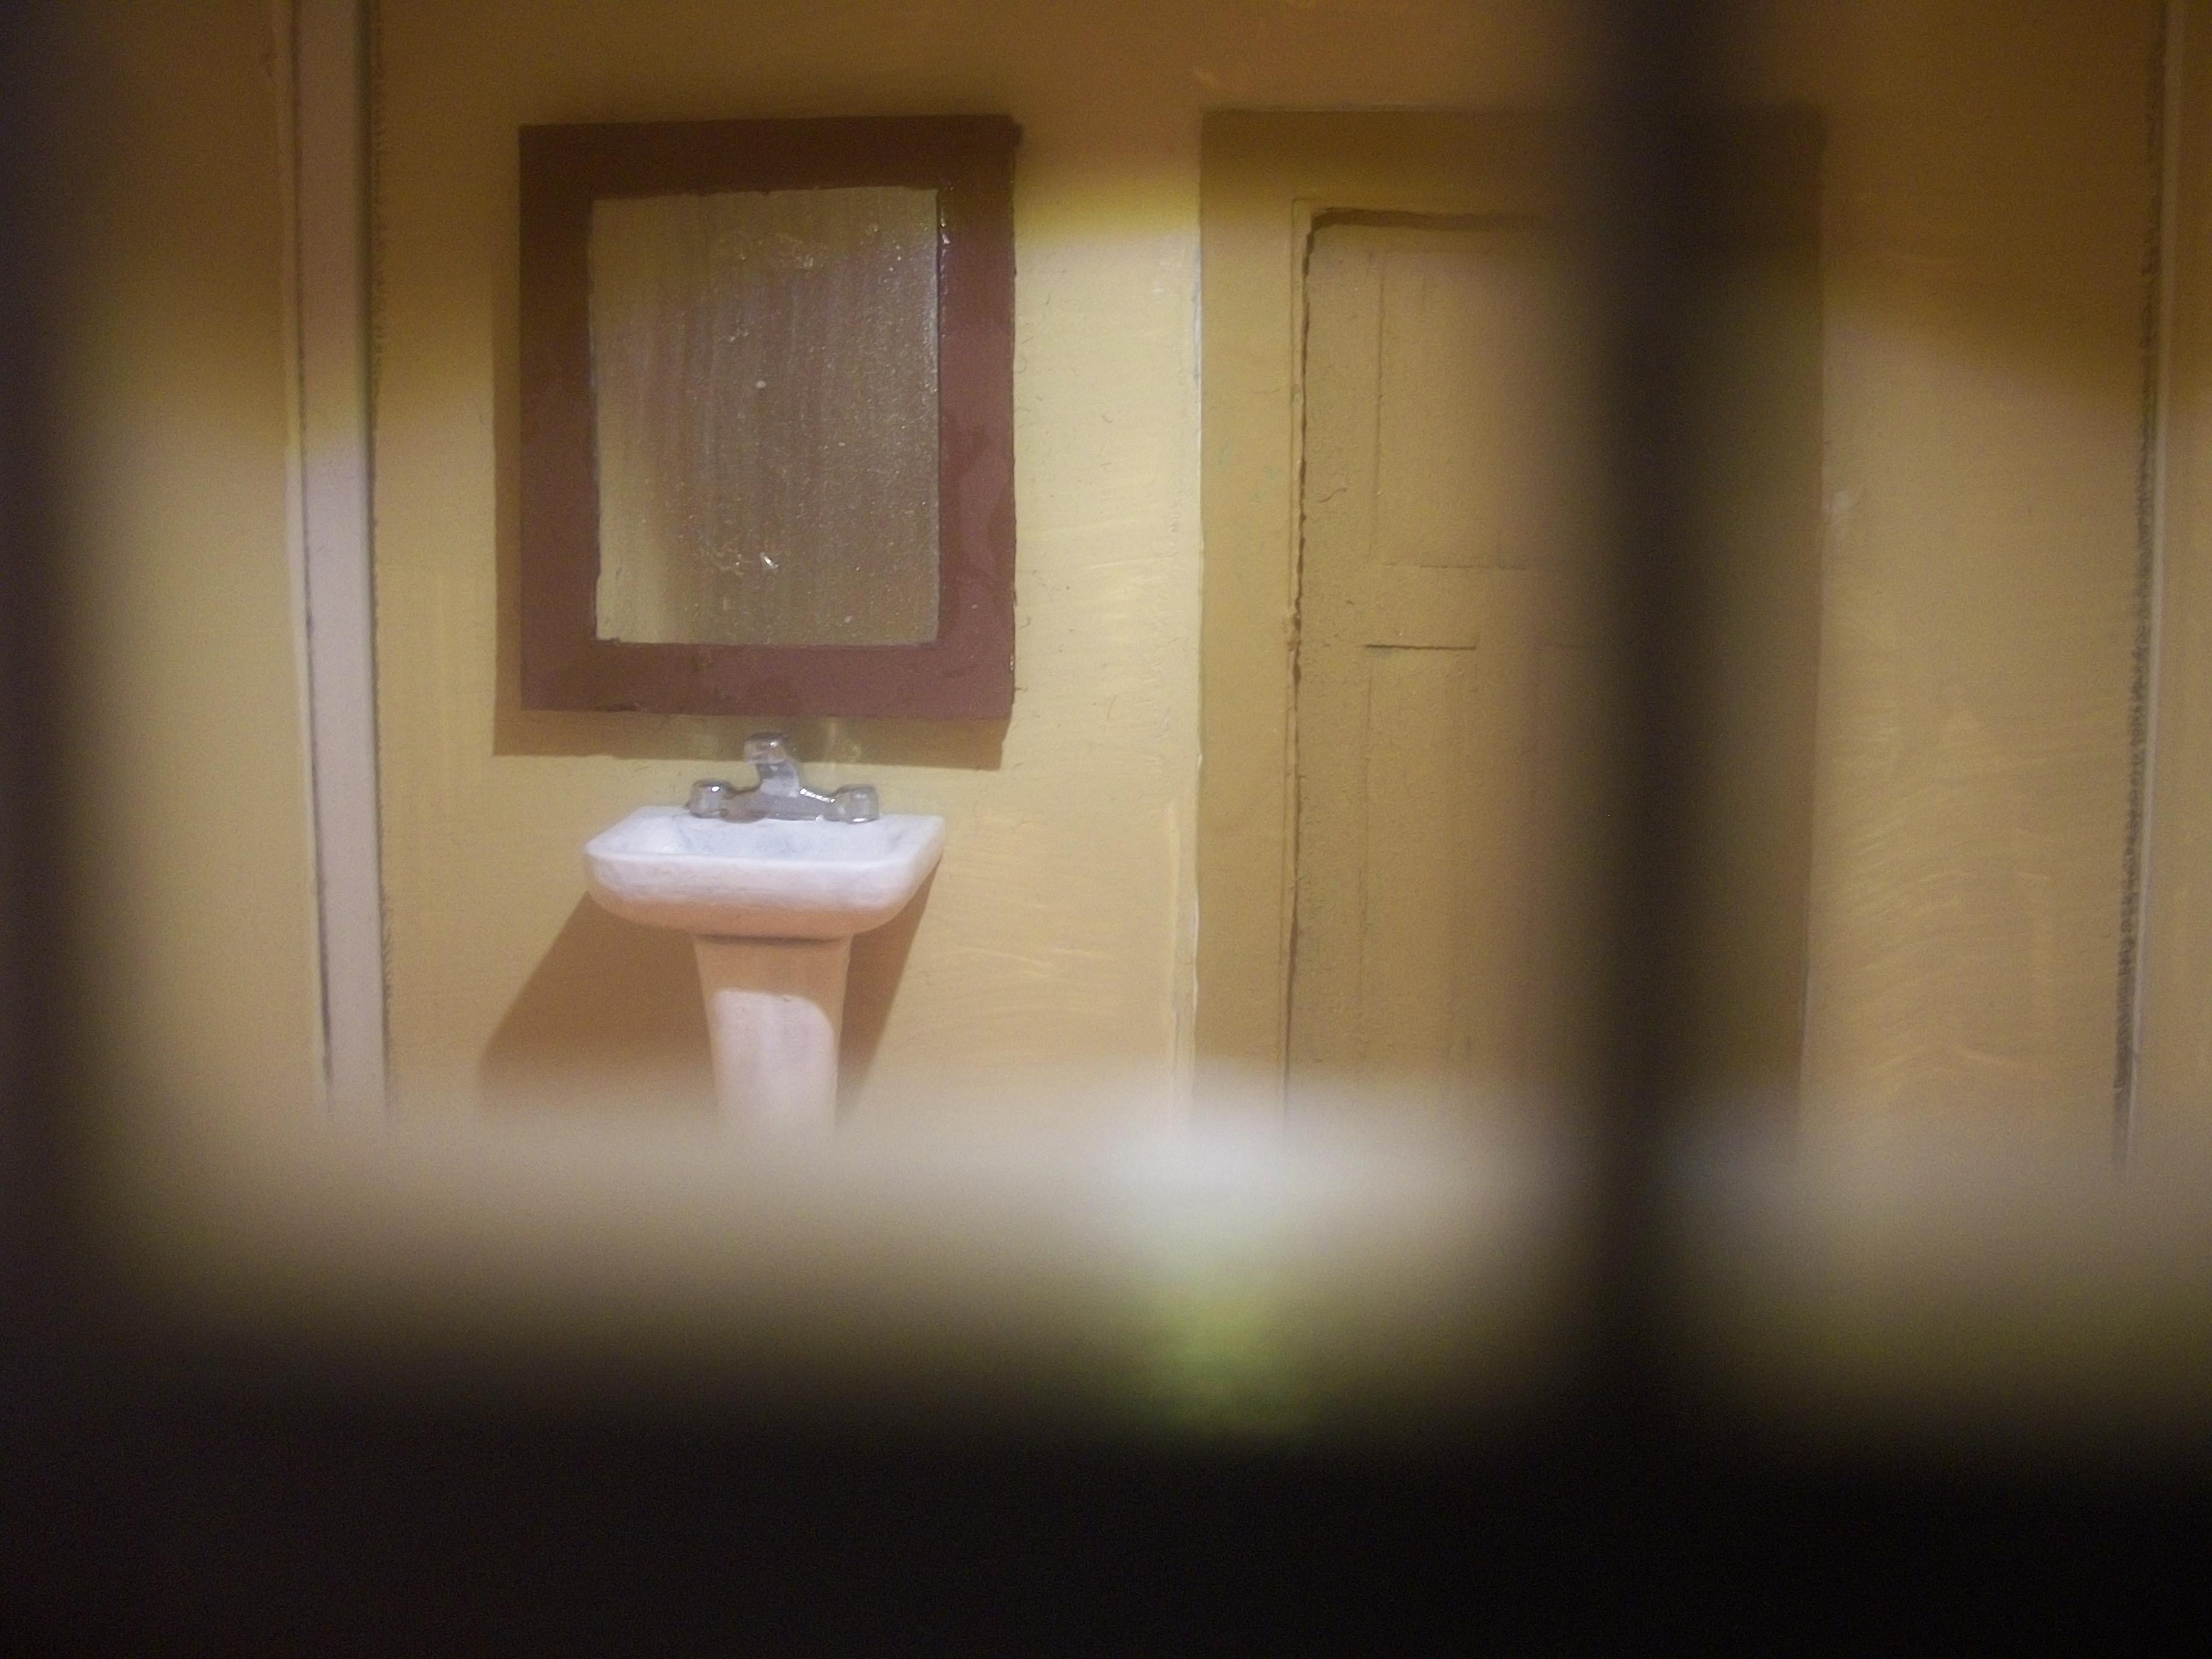
Over on the right hand side of the bungalow, looking from the front, and below the window of bedroom three there is a small gap between the wall and the baseboard . . . When the external lights are turned off and my room is in darkness, you can see a thin strip of light when the bedroom three light is switched on. I decided to rectify this issue by ' planting ' some tufts of grass and red flowers along the bottom edge of the wall. These are Woodland Scenics Flowering Tufts, and they obscure the thin strip of light perfectly . . . Checking round the perimeter of the bungalow while the interior lights were all switched on, the only remaining gaps are below the kitchen window and also the bathroom window . . .This is on the left hand side of the bungalow where there is no baseboard that extends beyond the base of the wall. I shall need to seek an alternative method of hiding the thin strips of light, possibly by applying filler and painting . . . David

-
Thank you David G. . . . The standard of photography will improve at a later stage, so these recent shots are simply test photos really . . . Dare I ask, how is the Golden Hind build going for you ? David
-
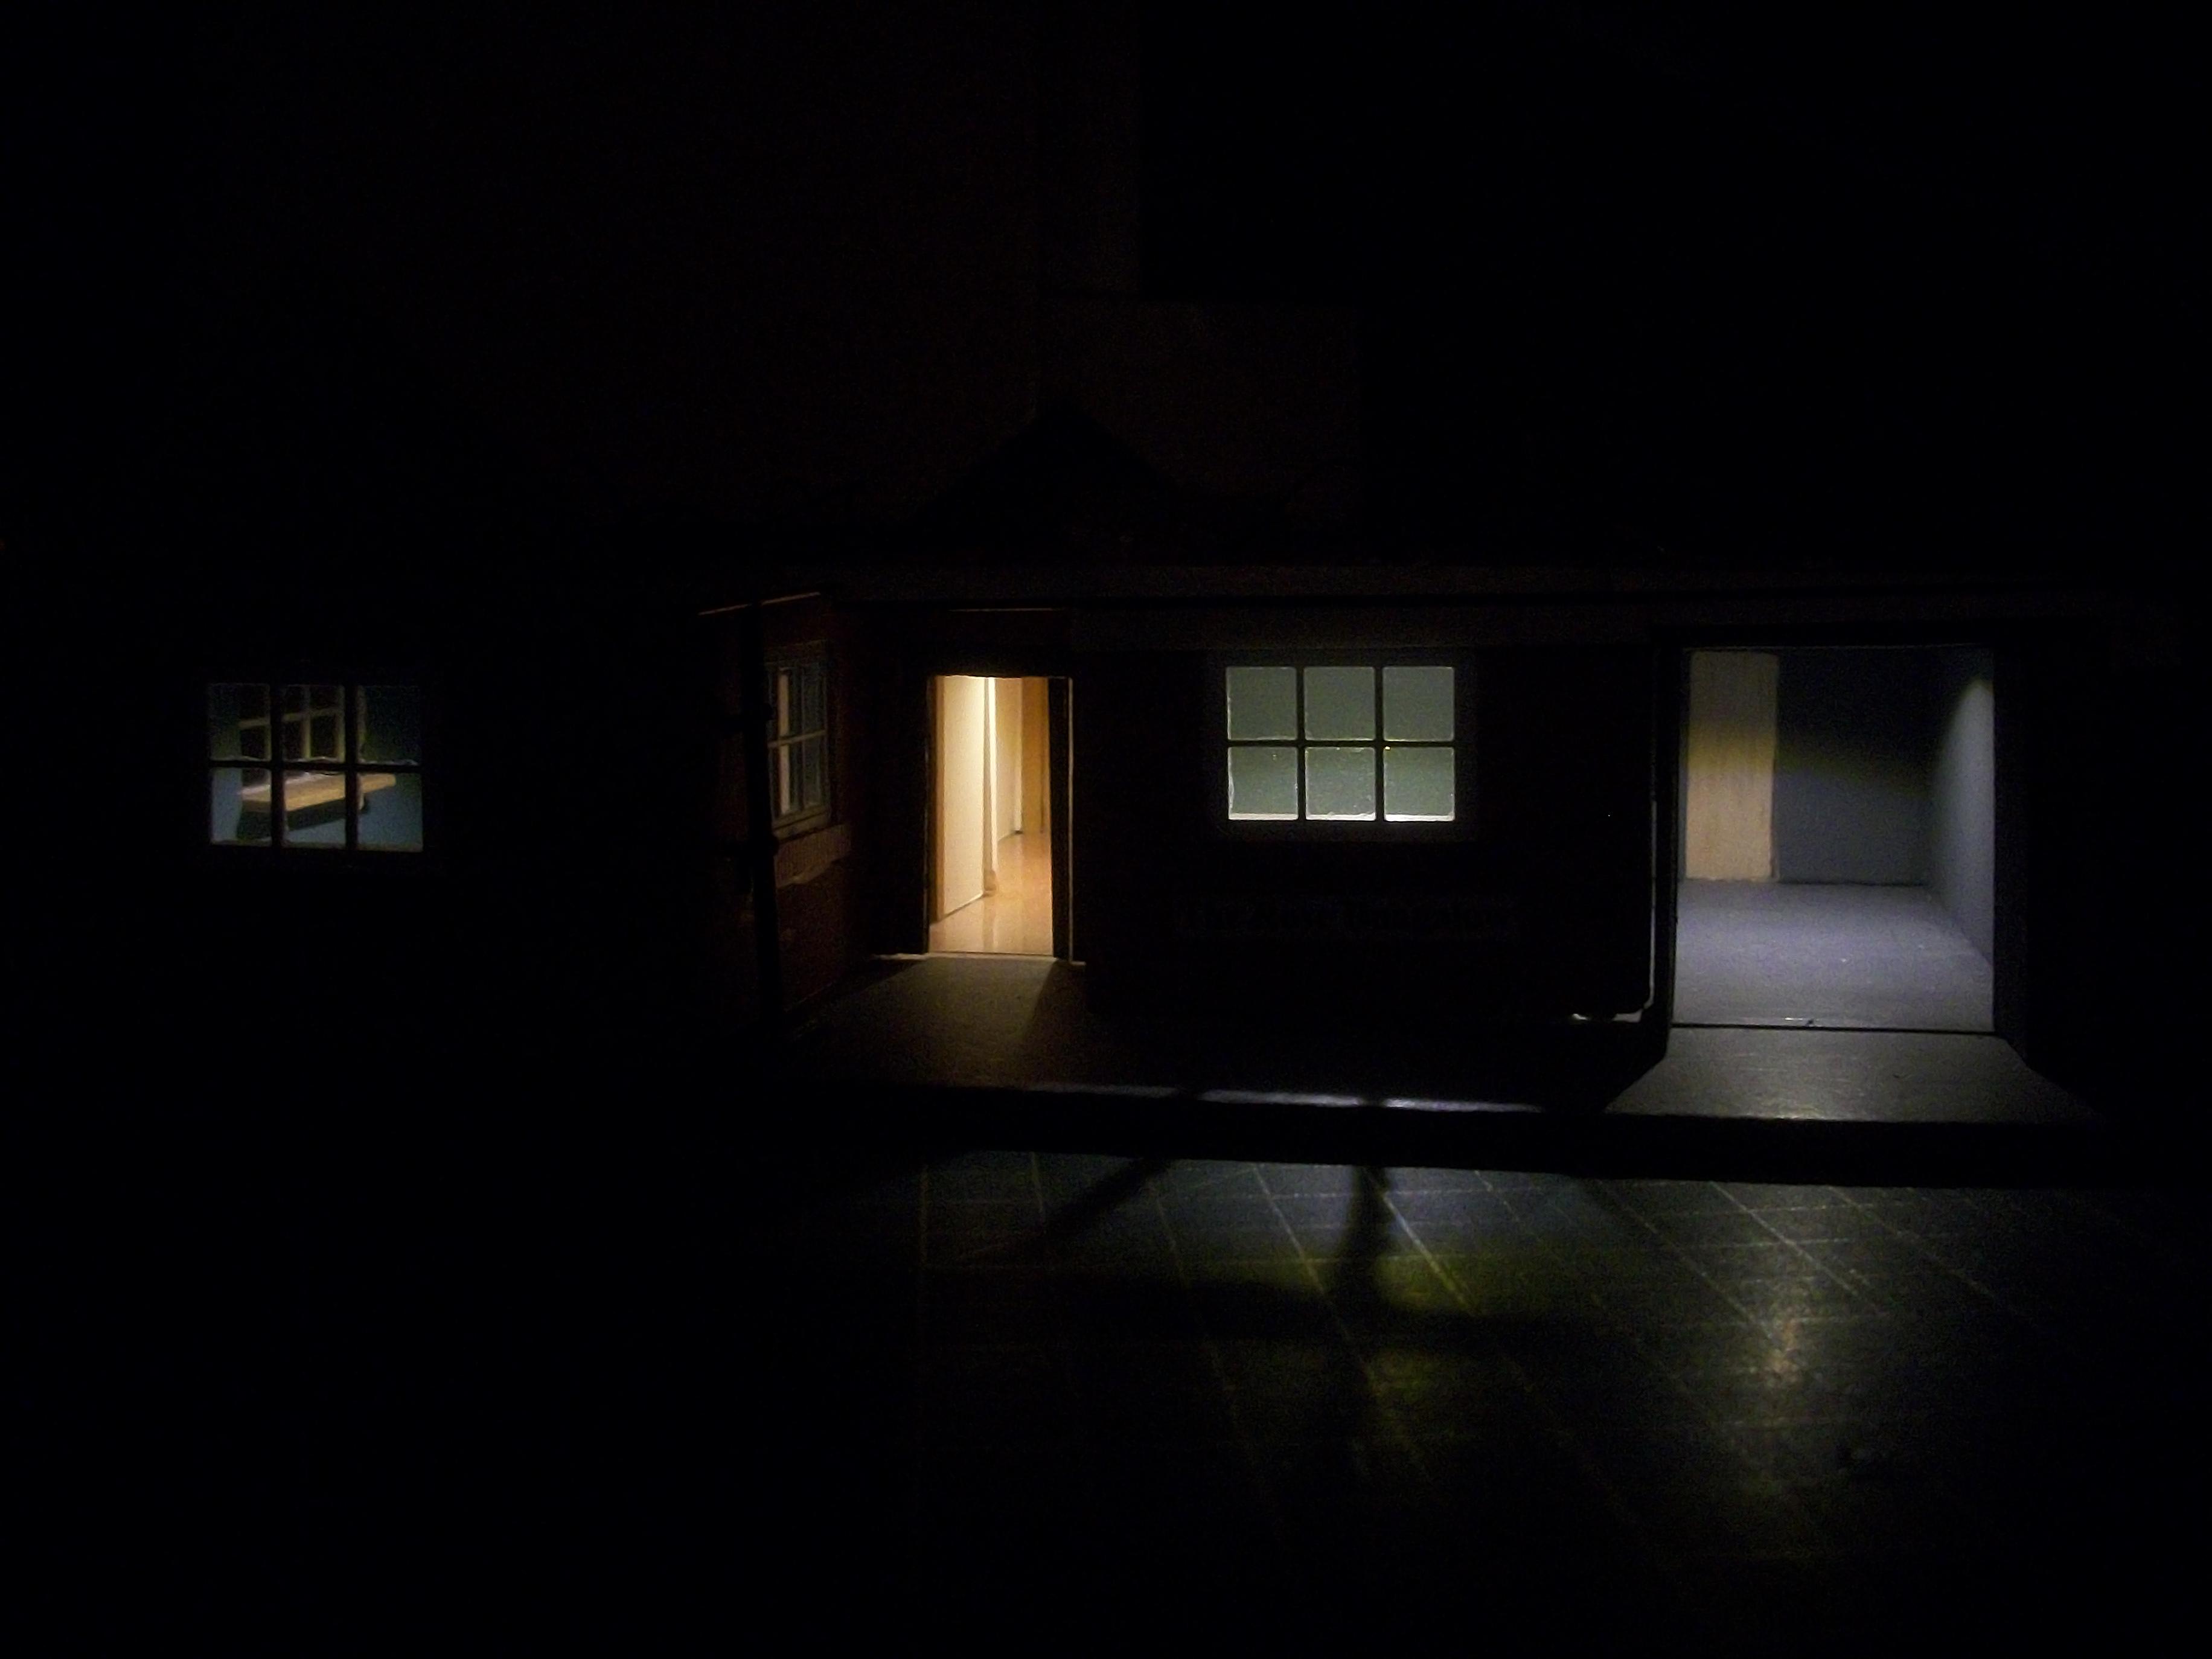
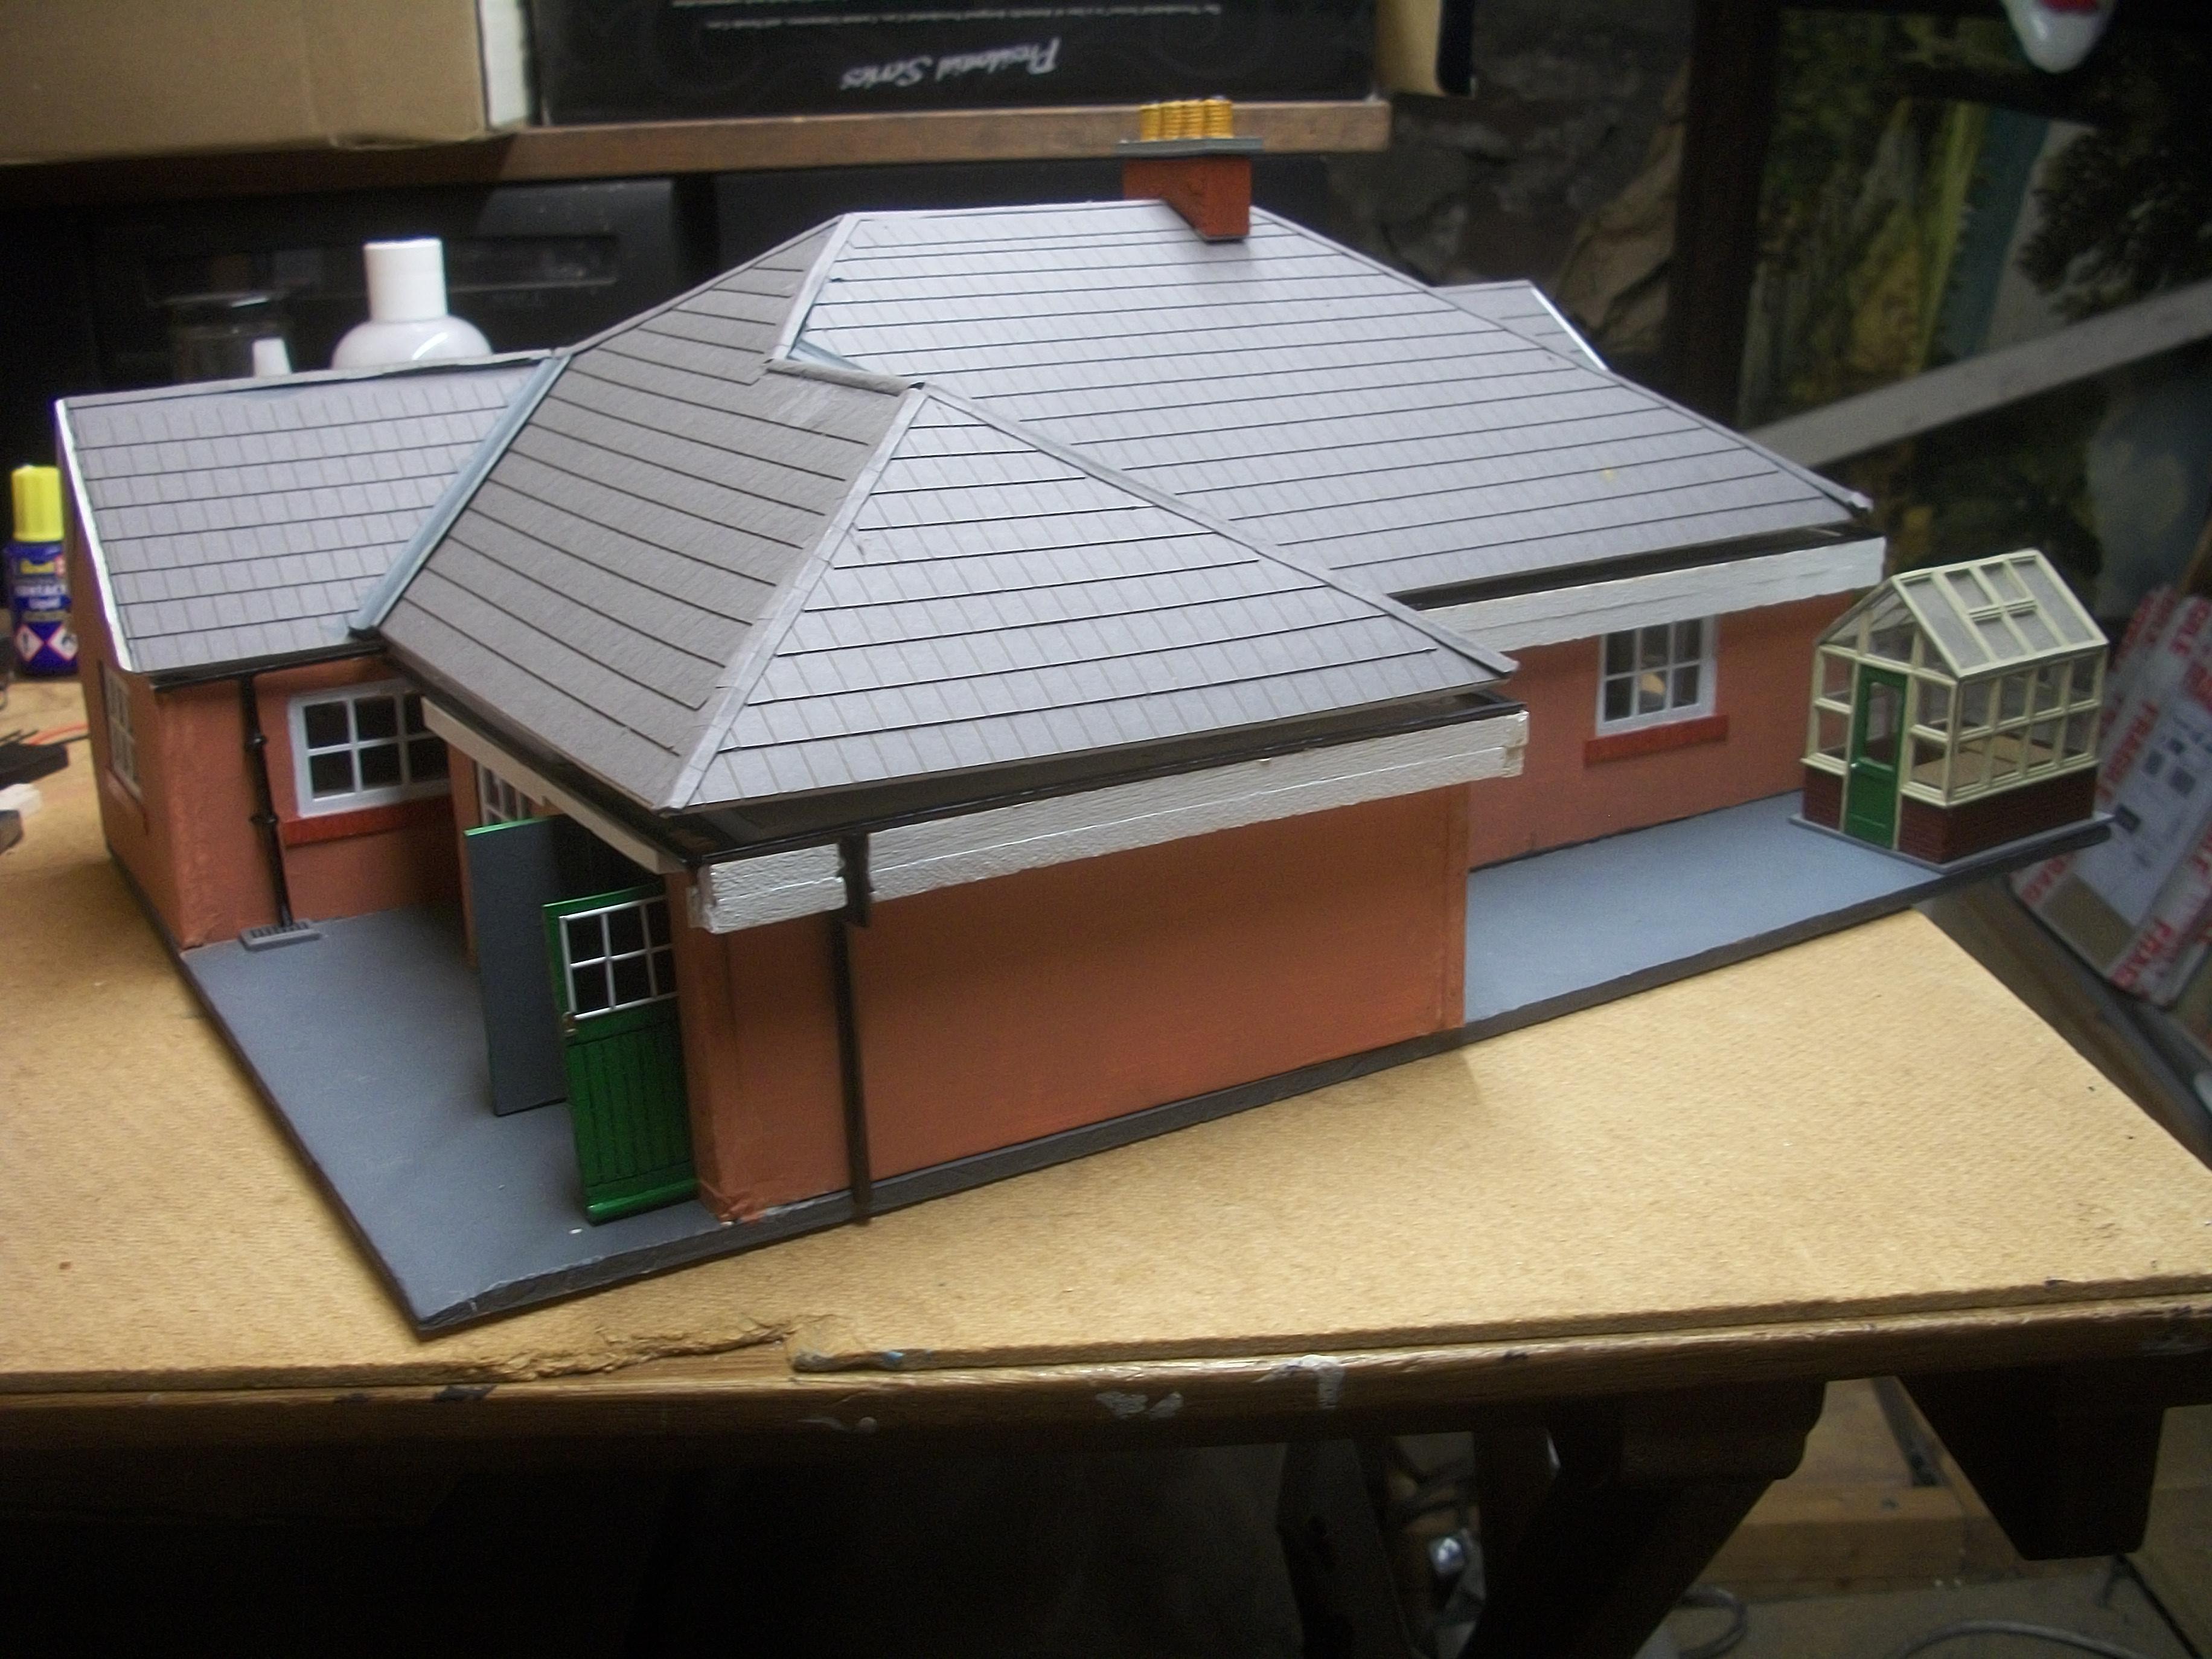
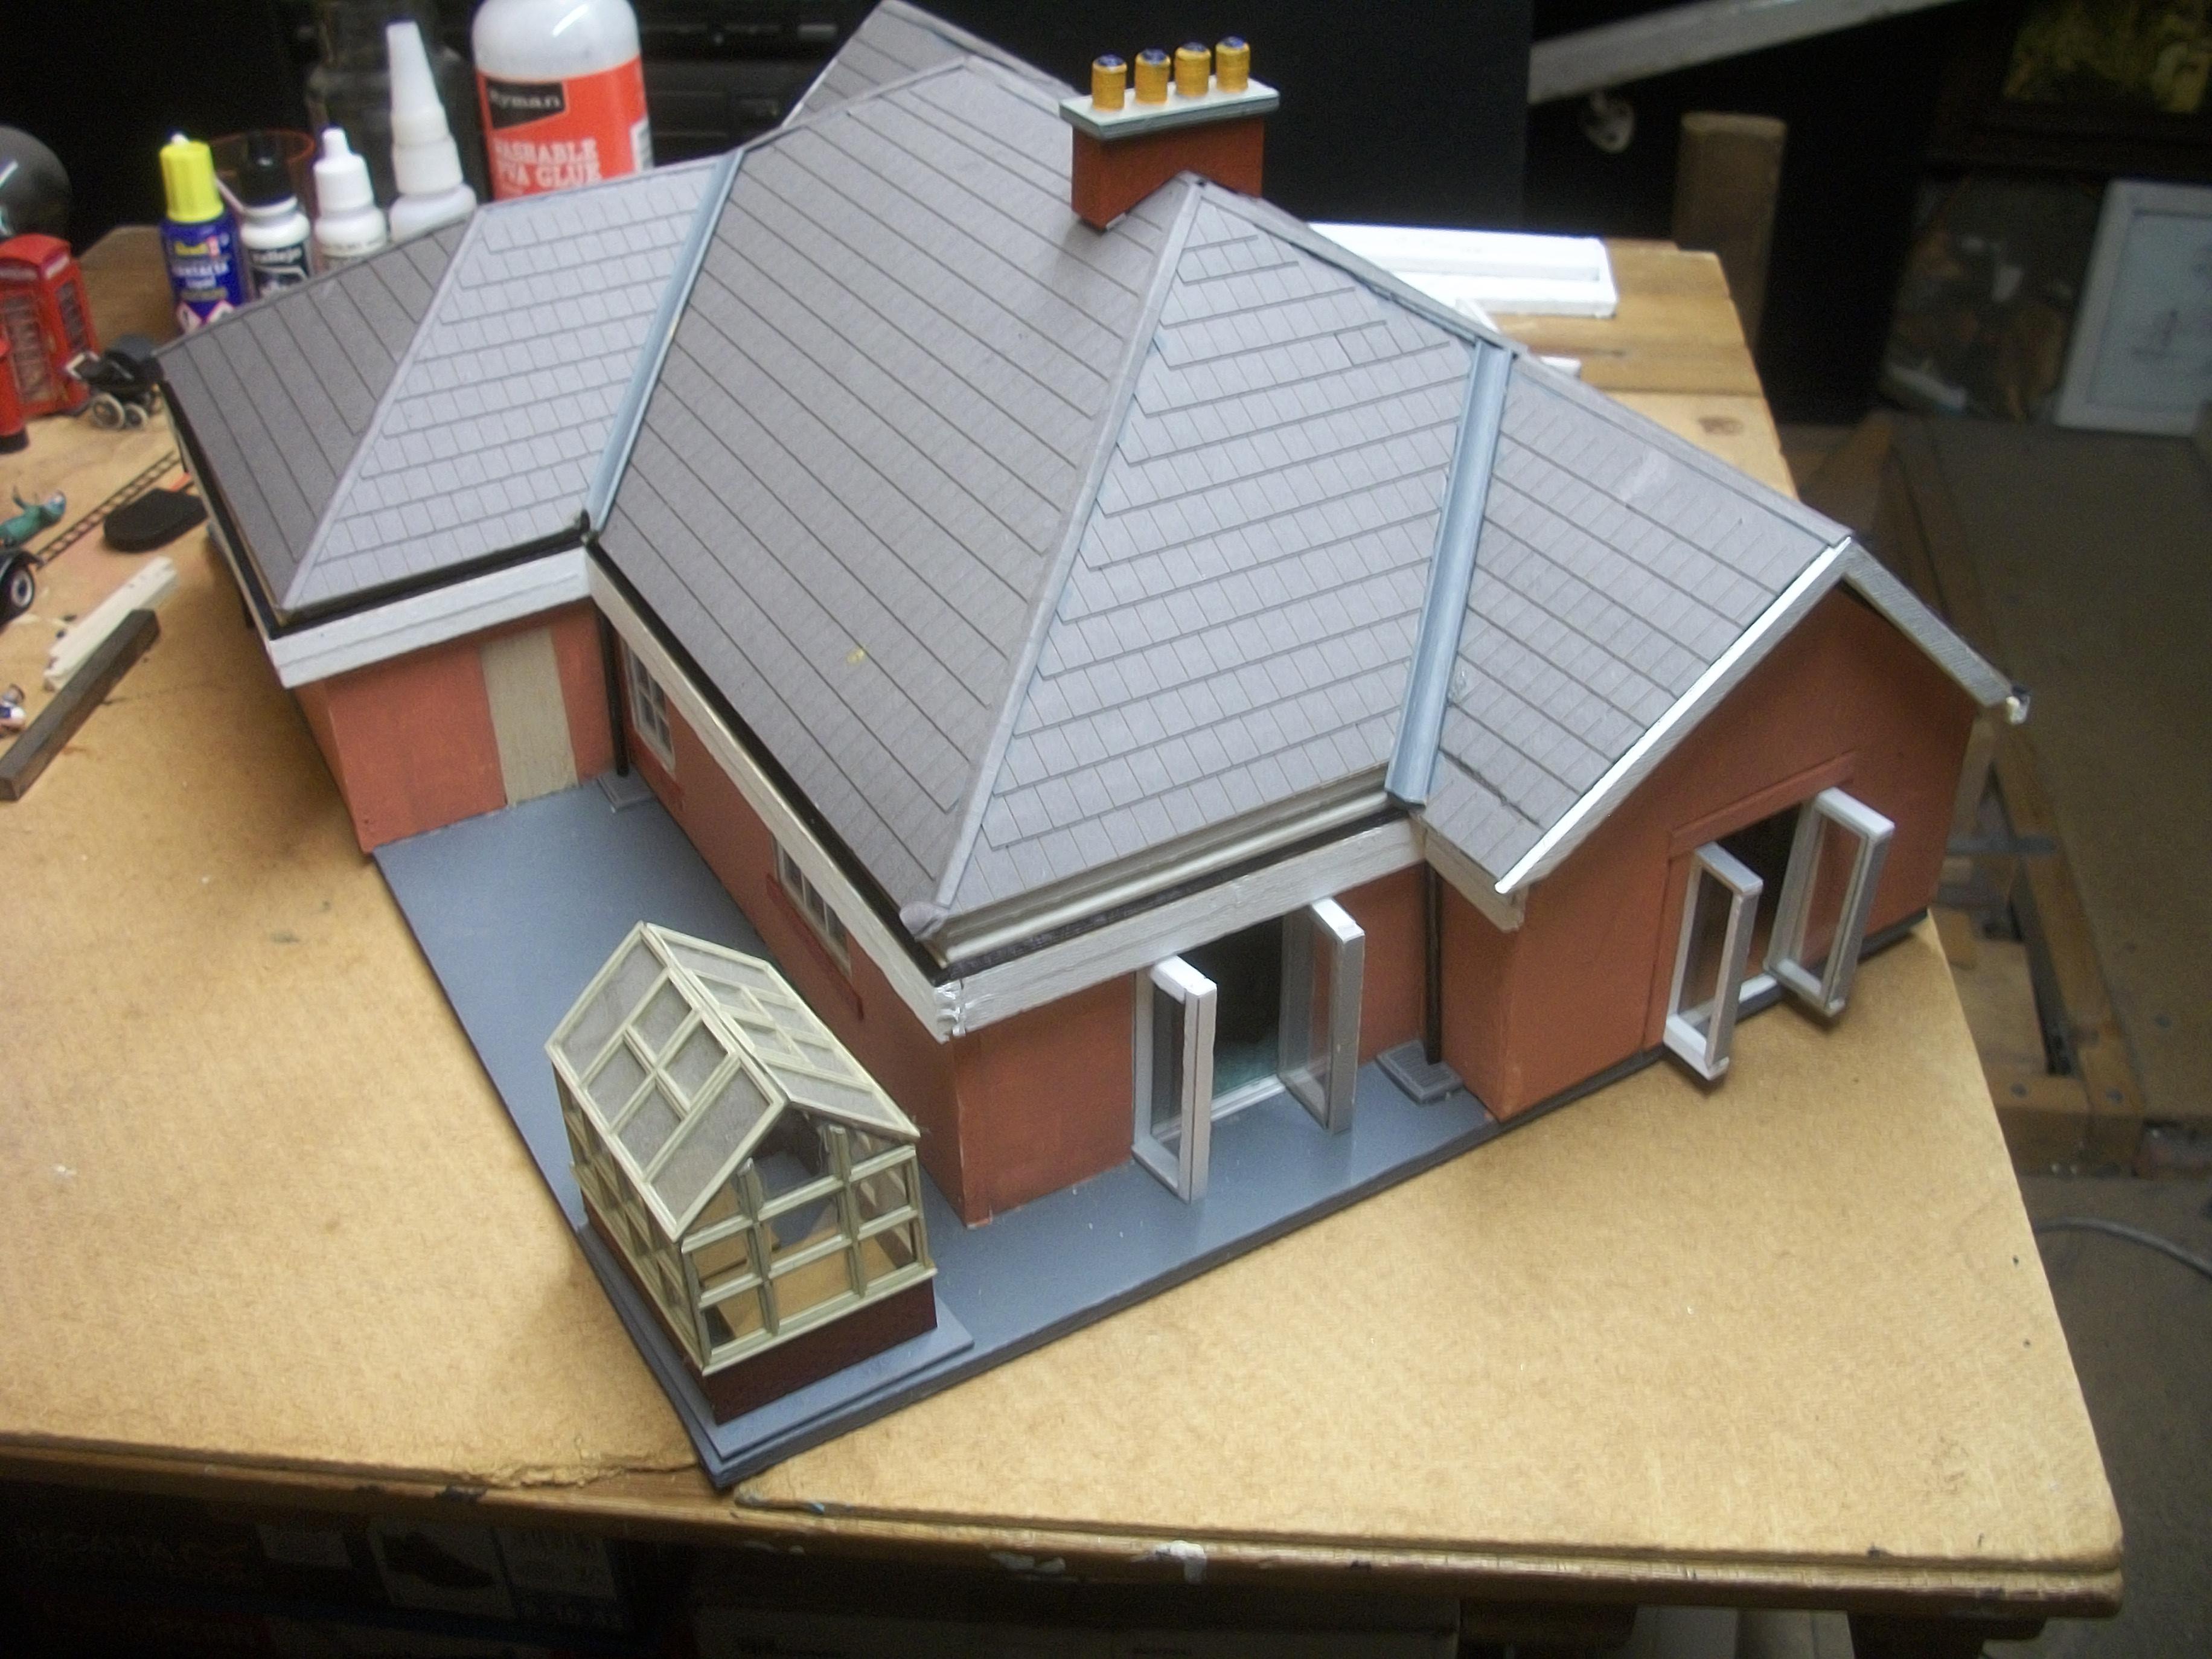
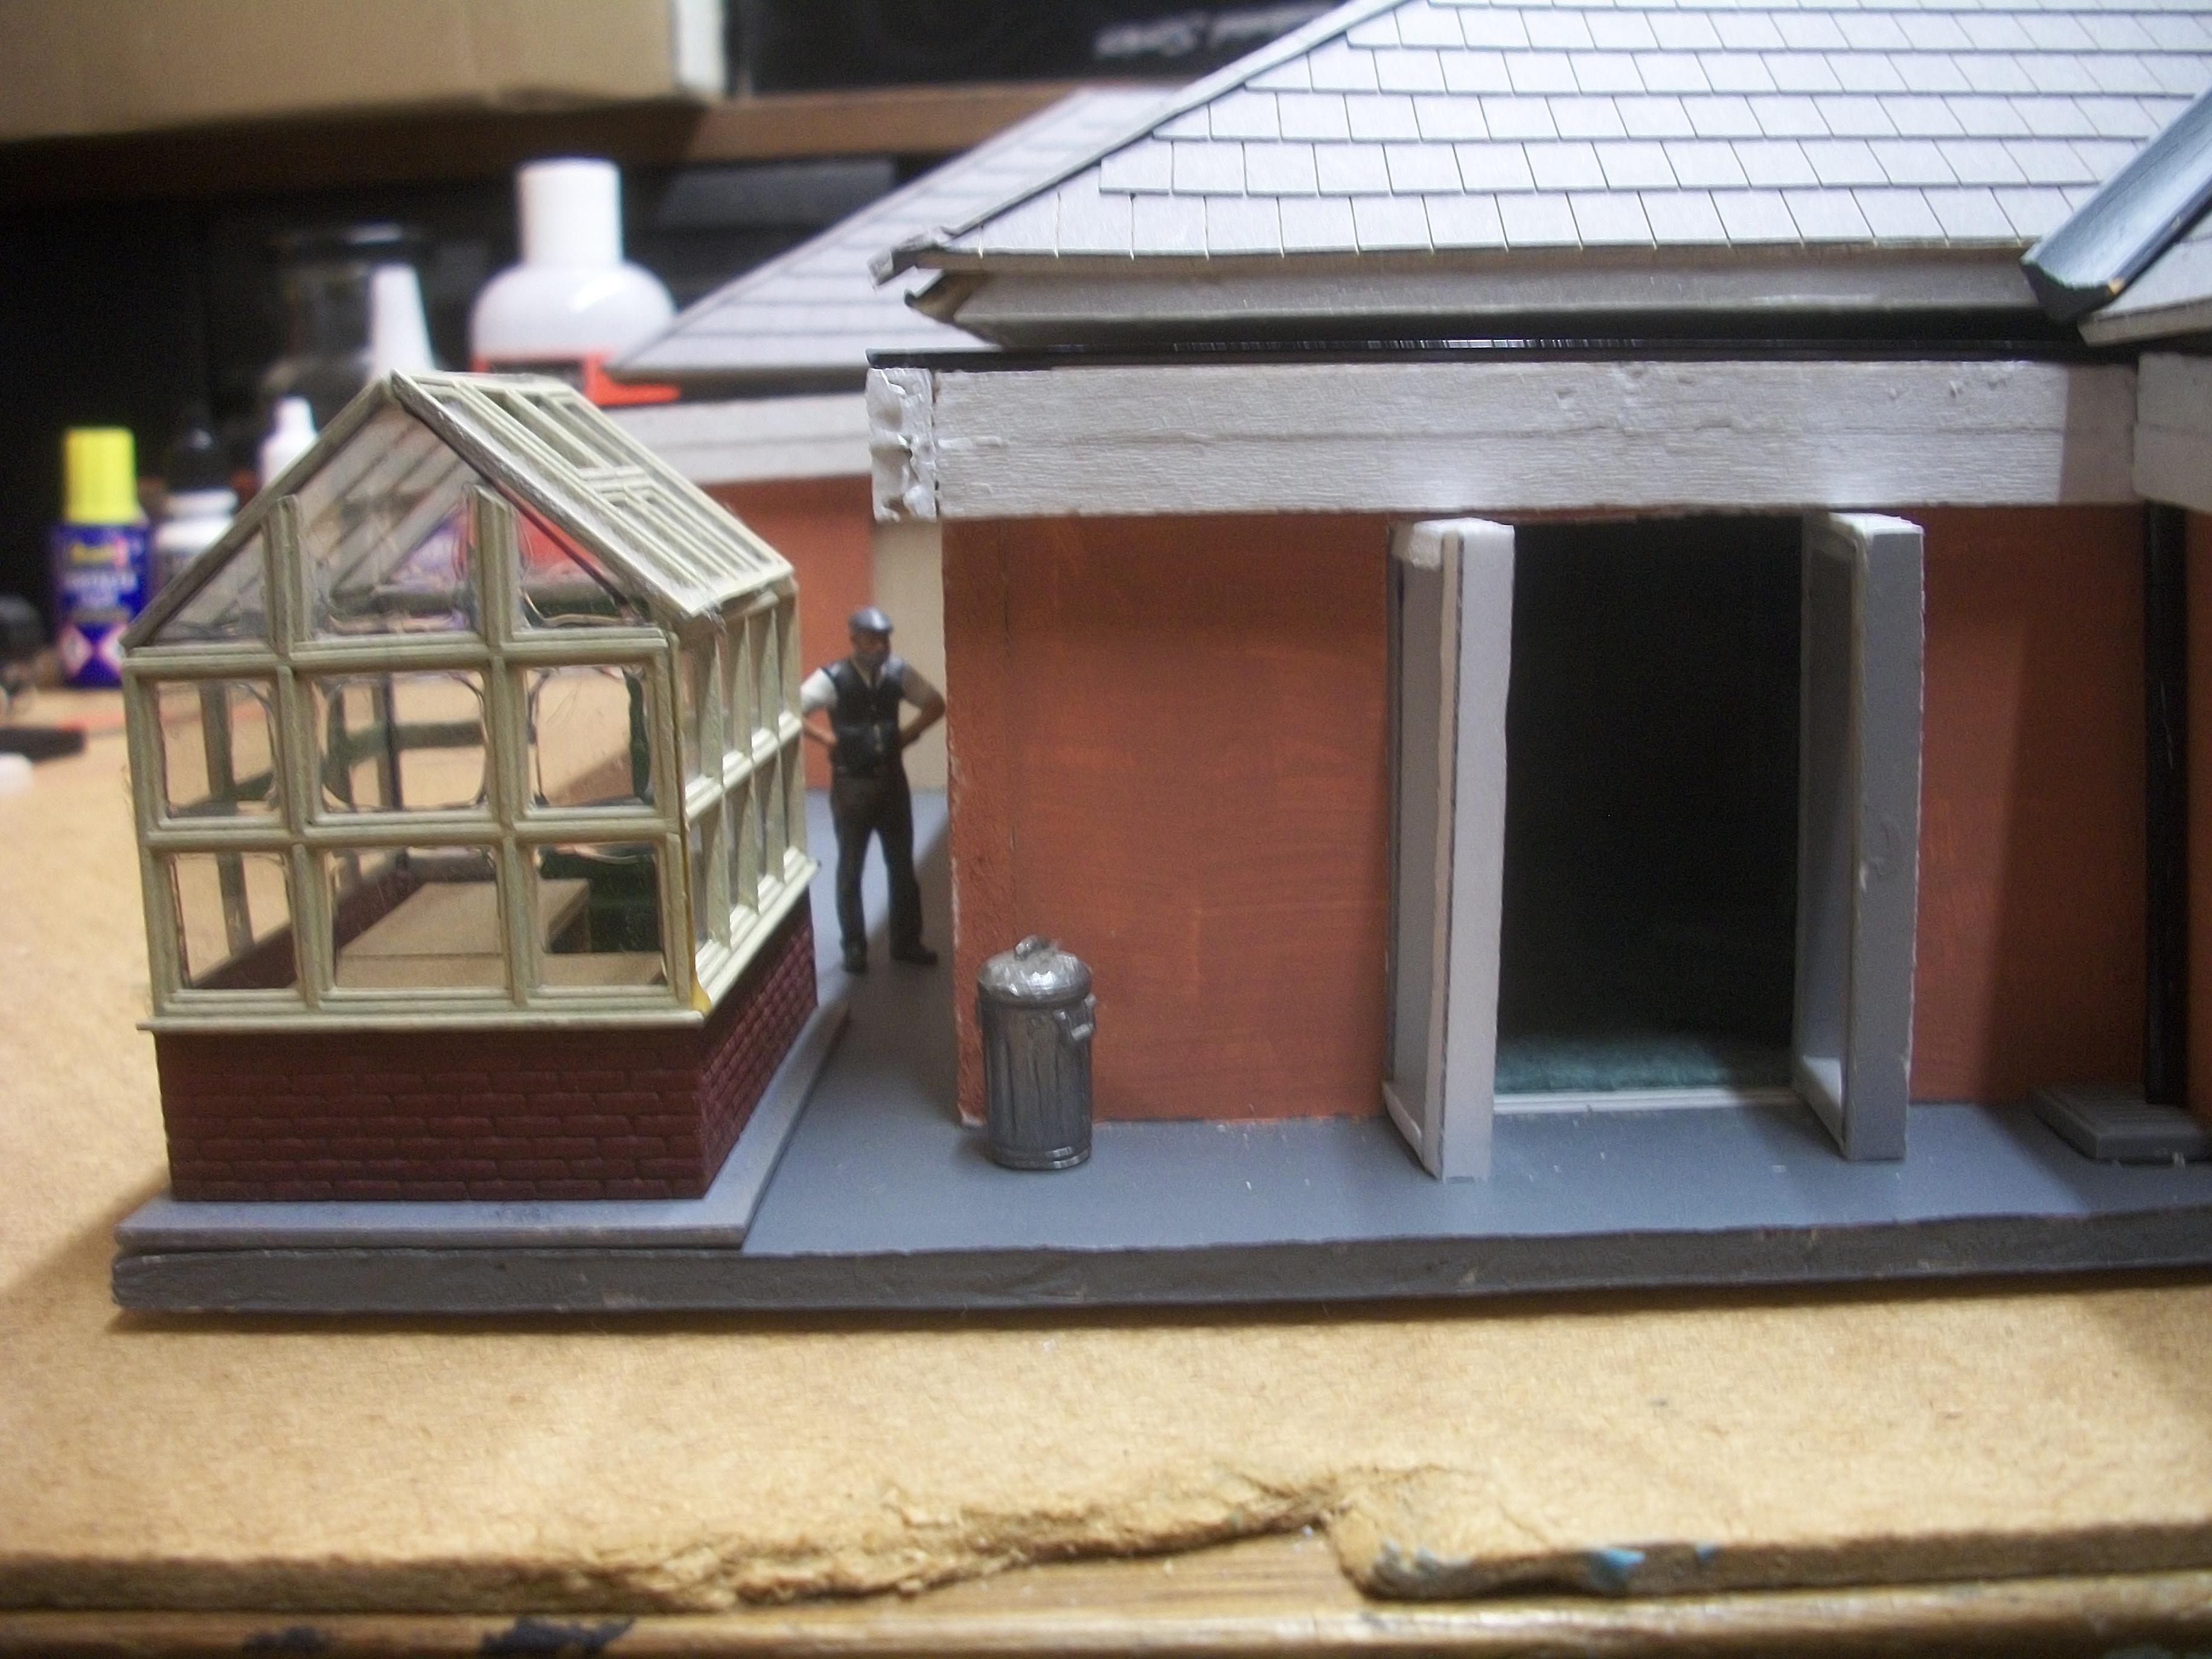
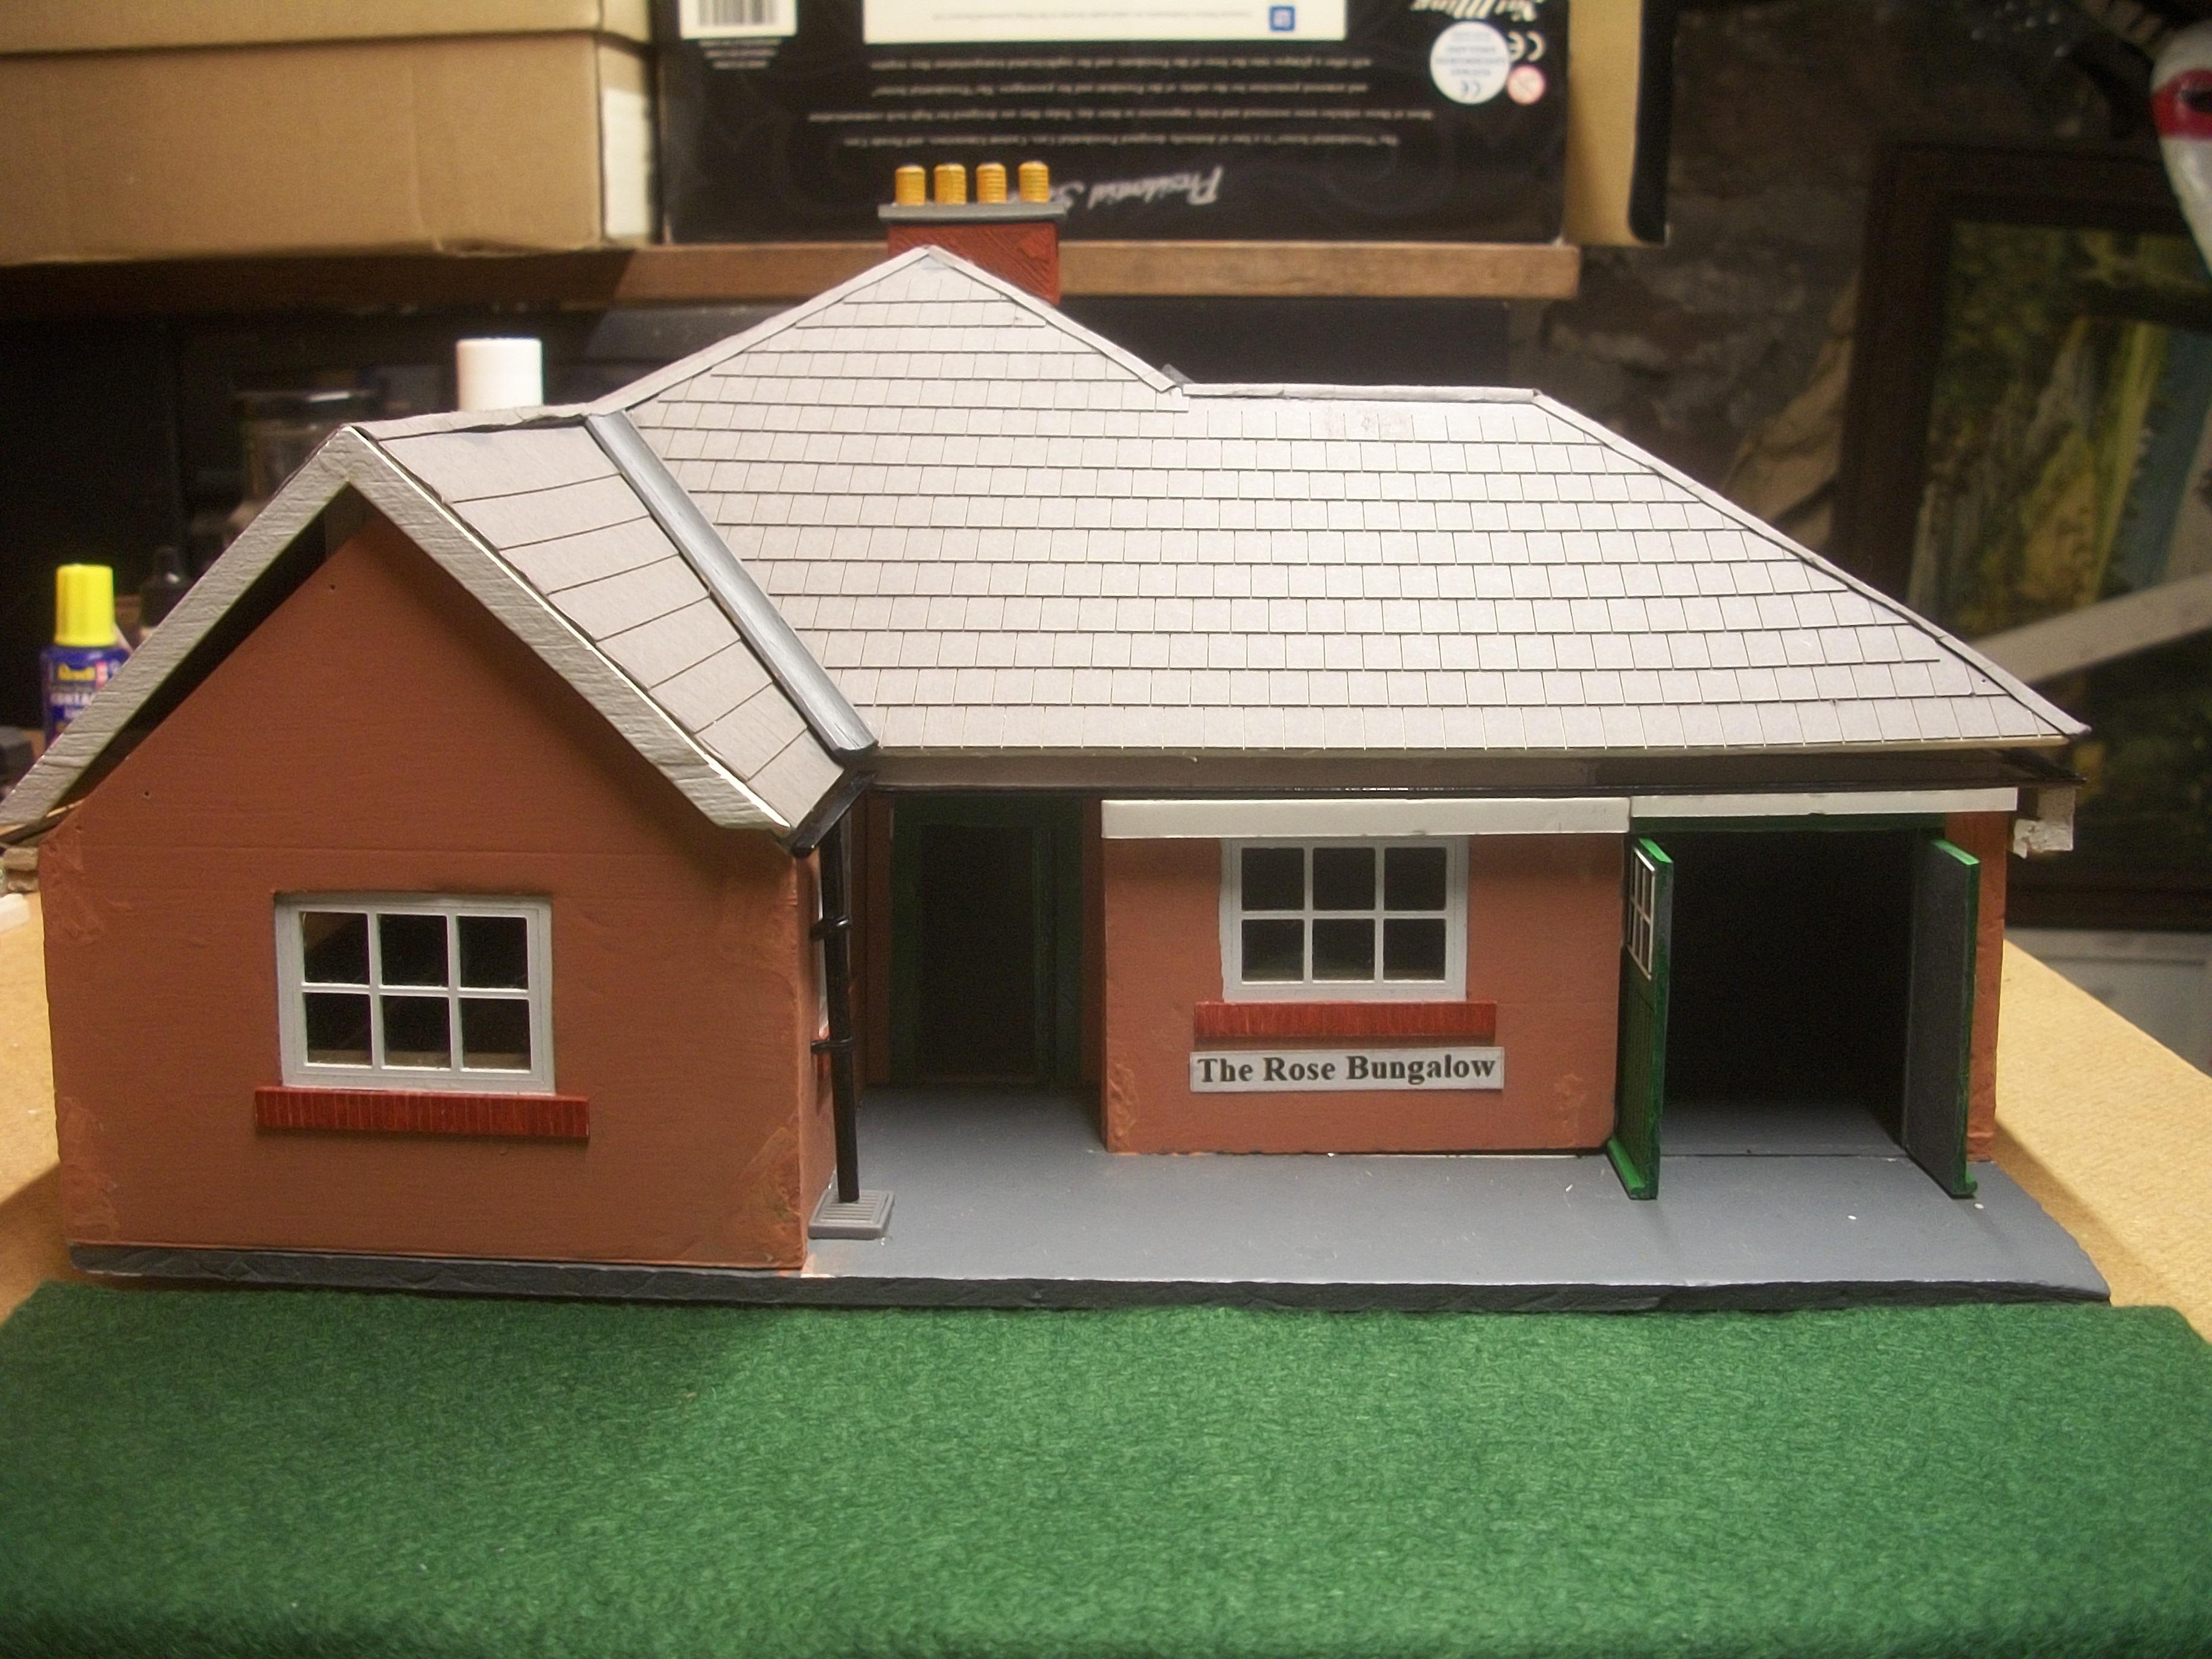
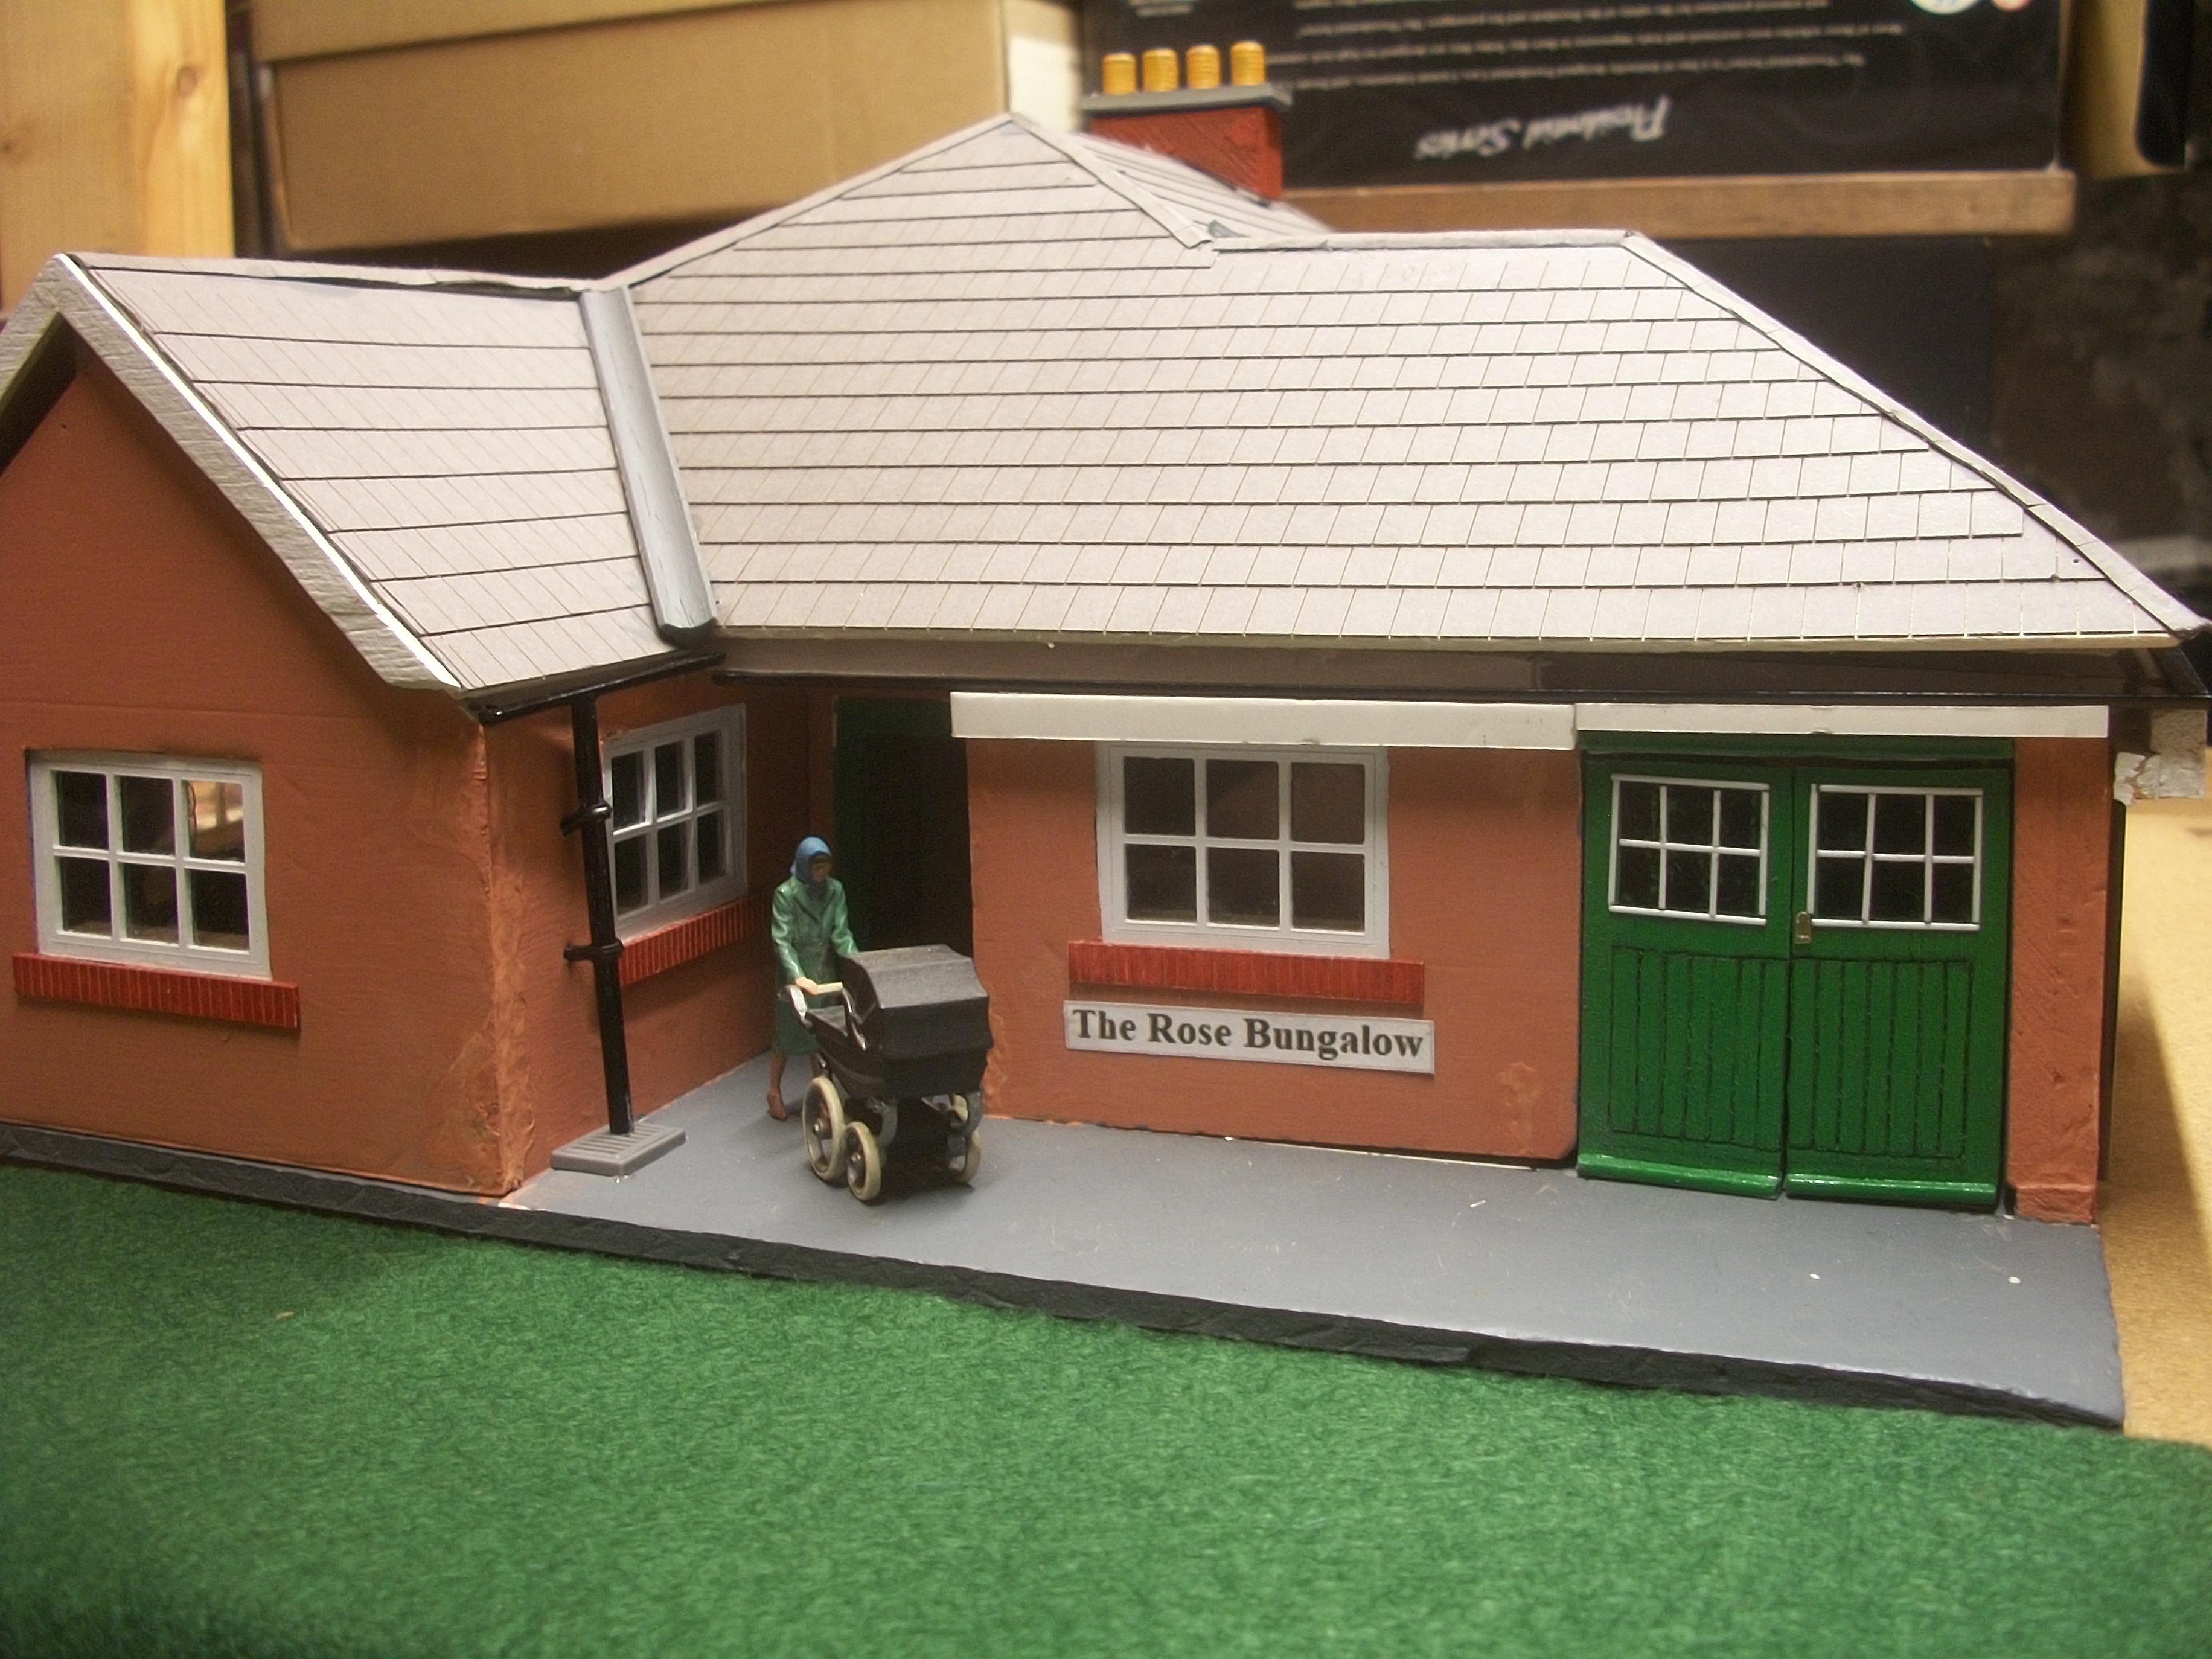
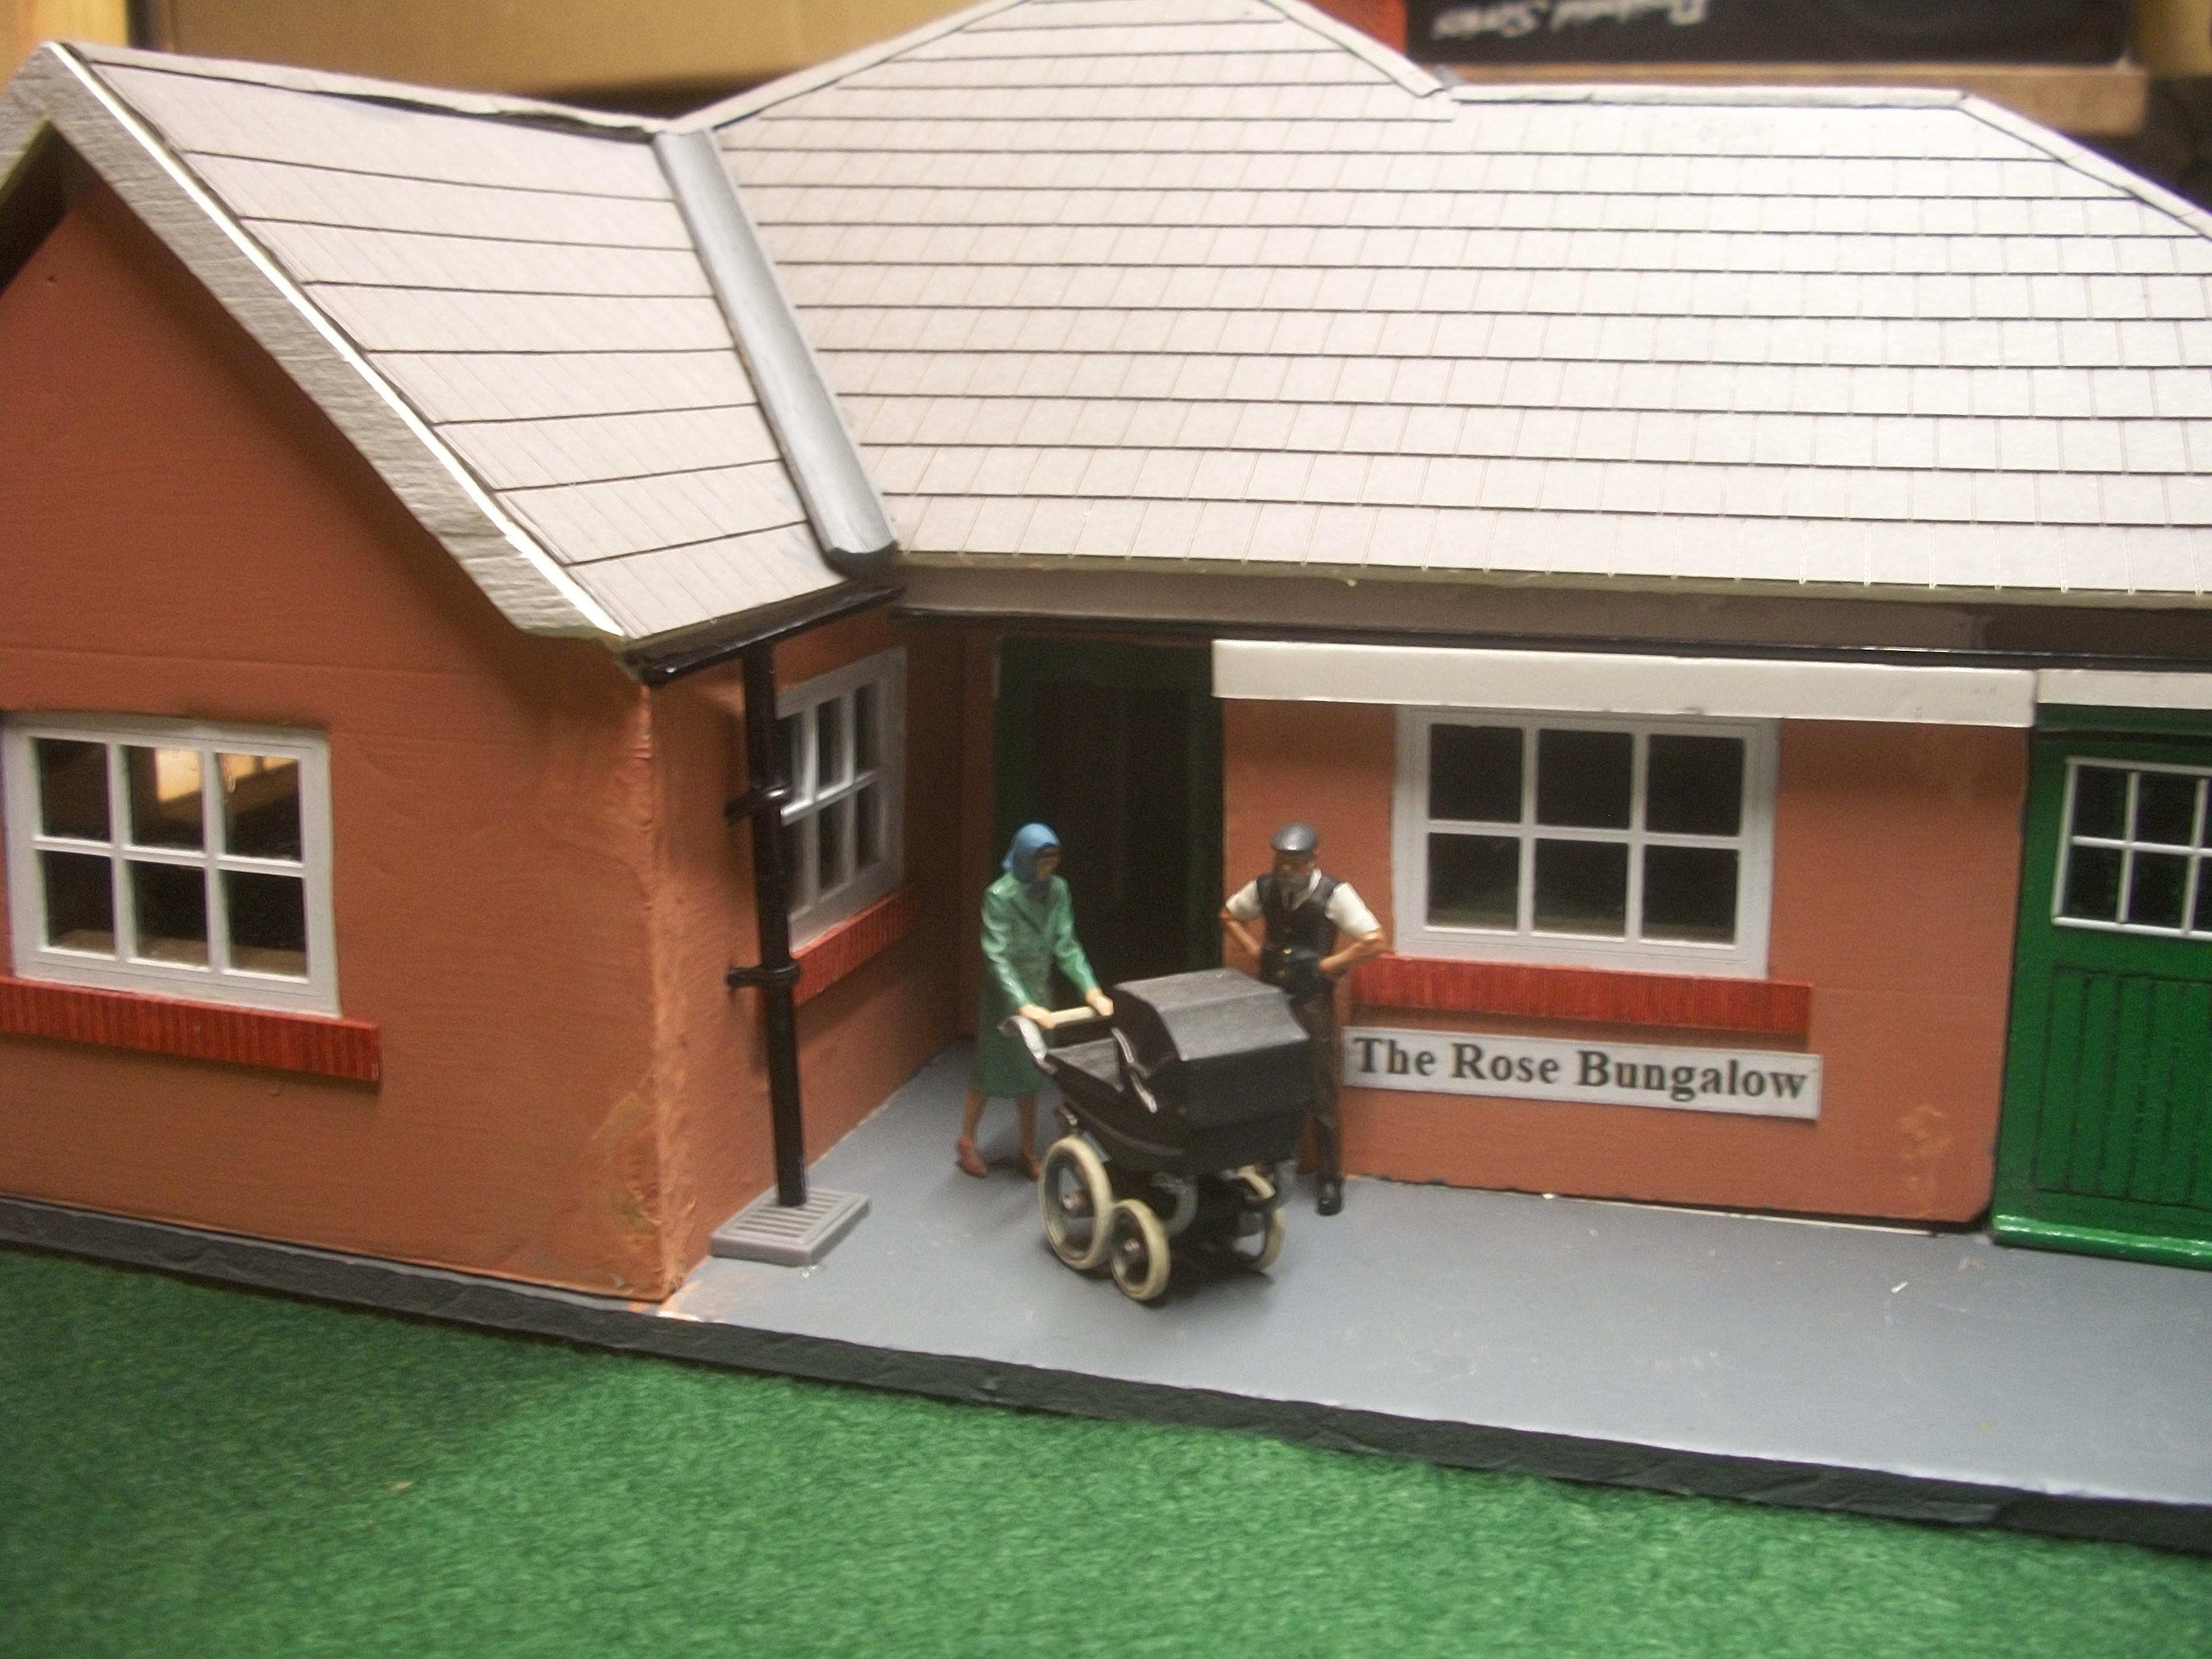
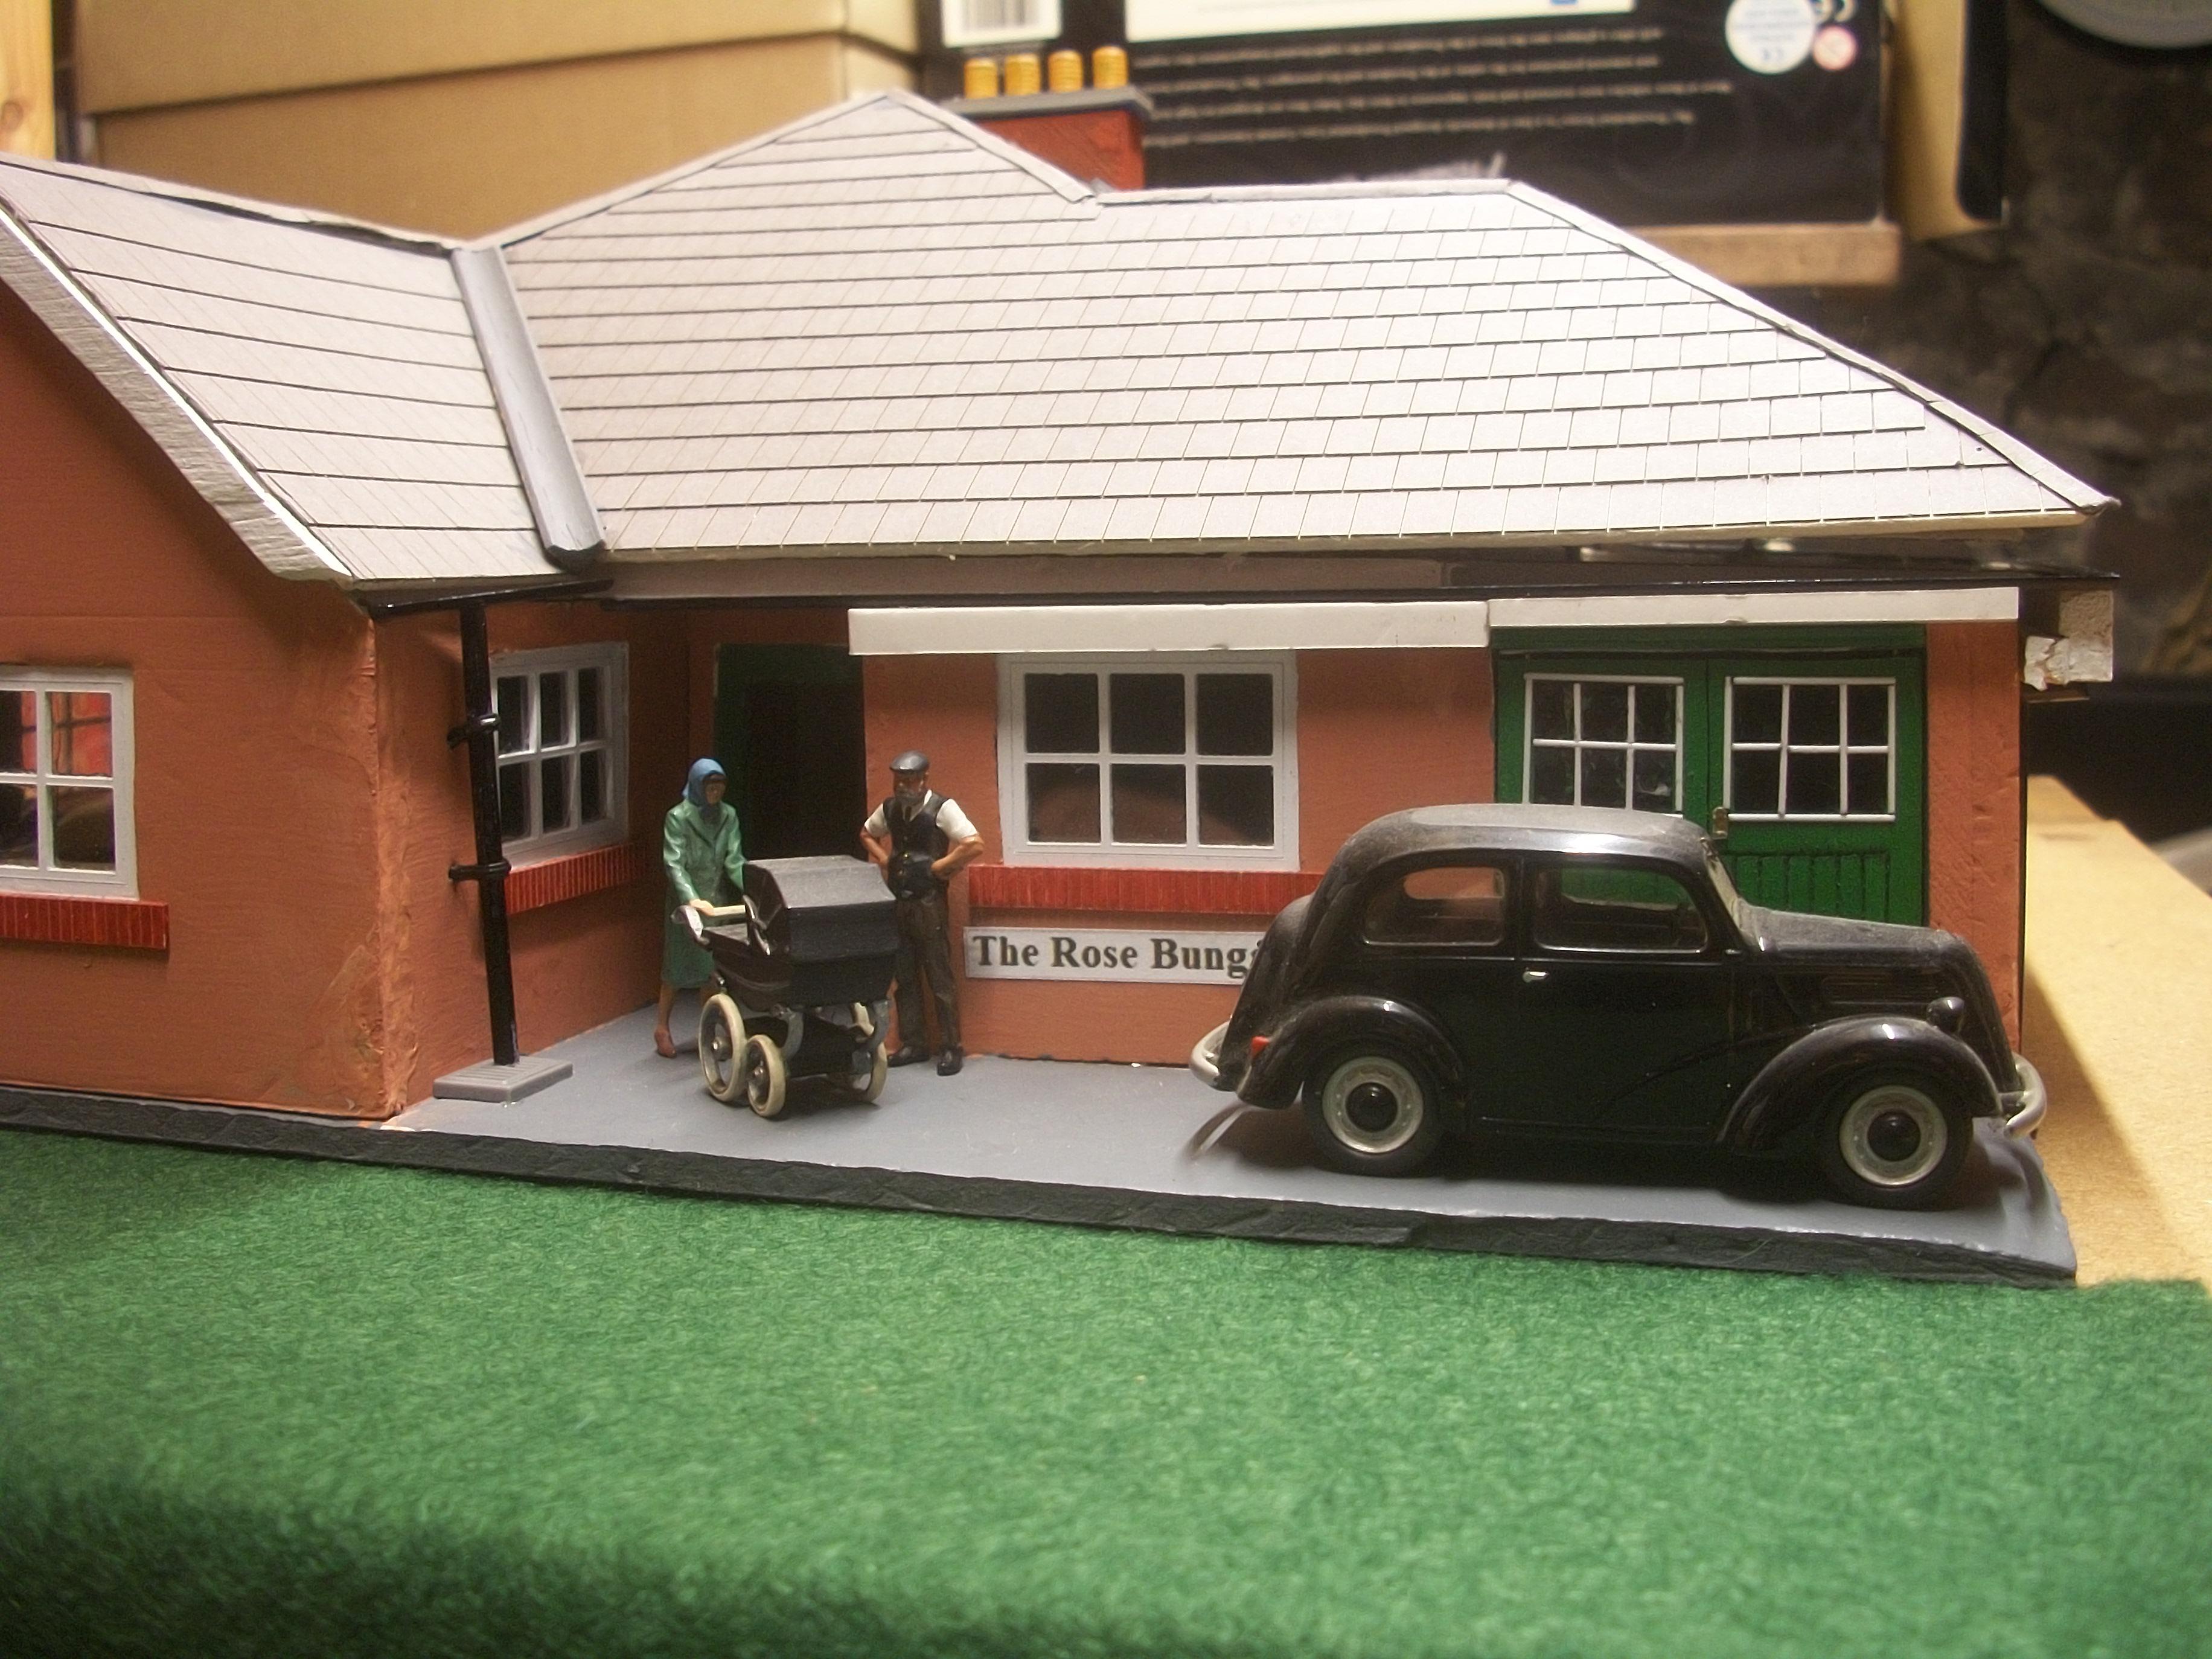
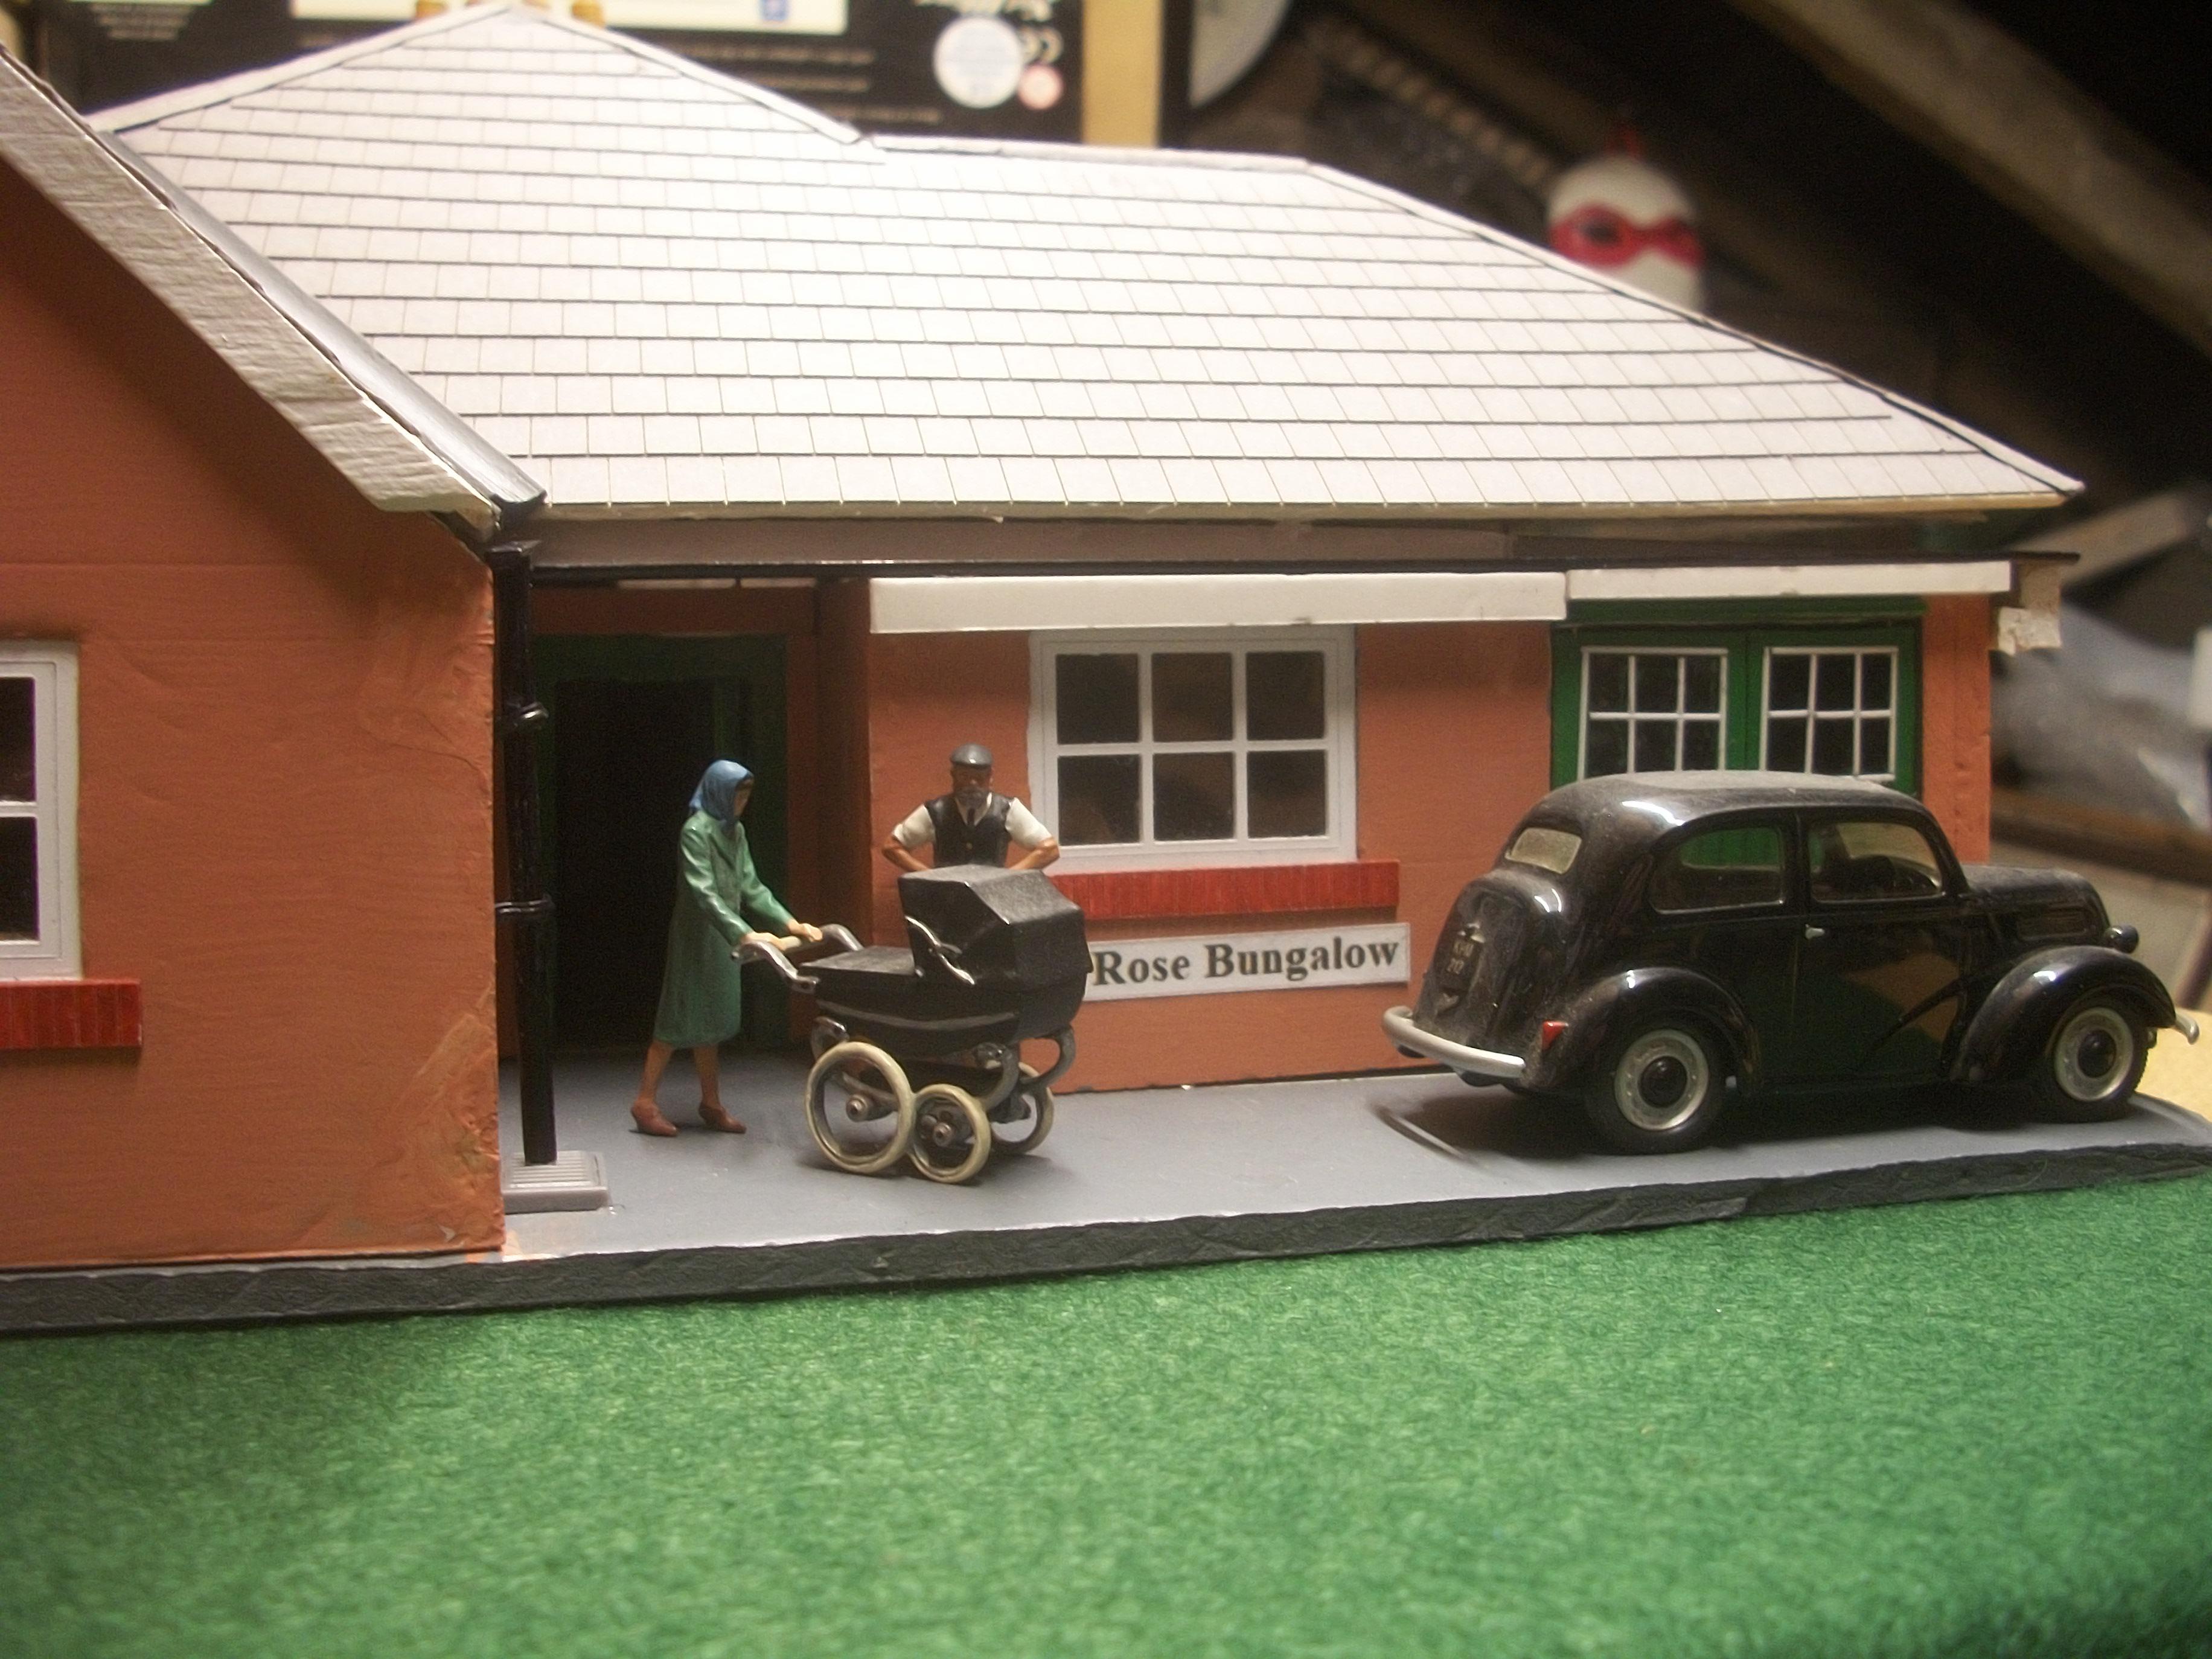
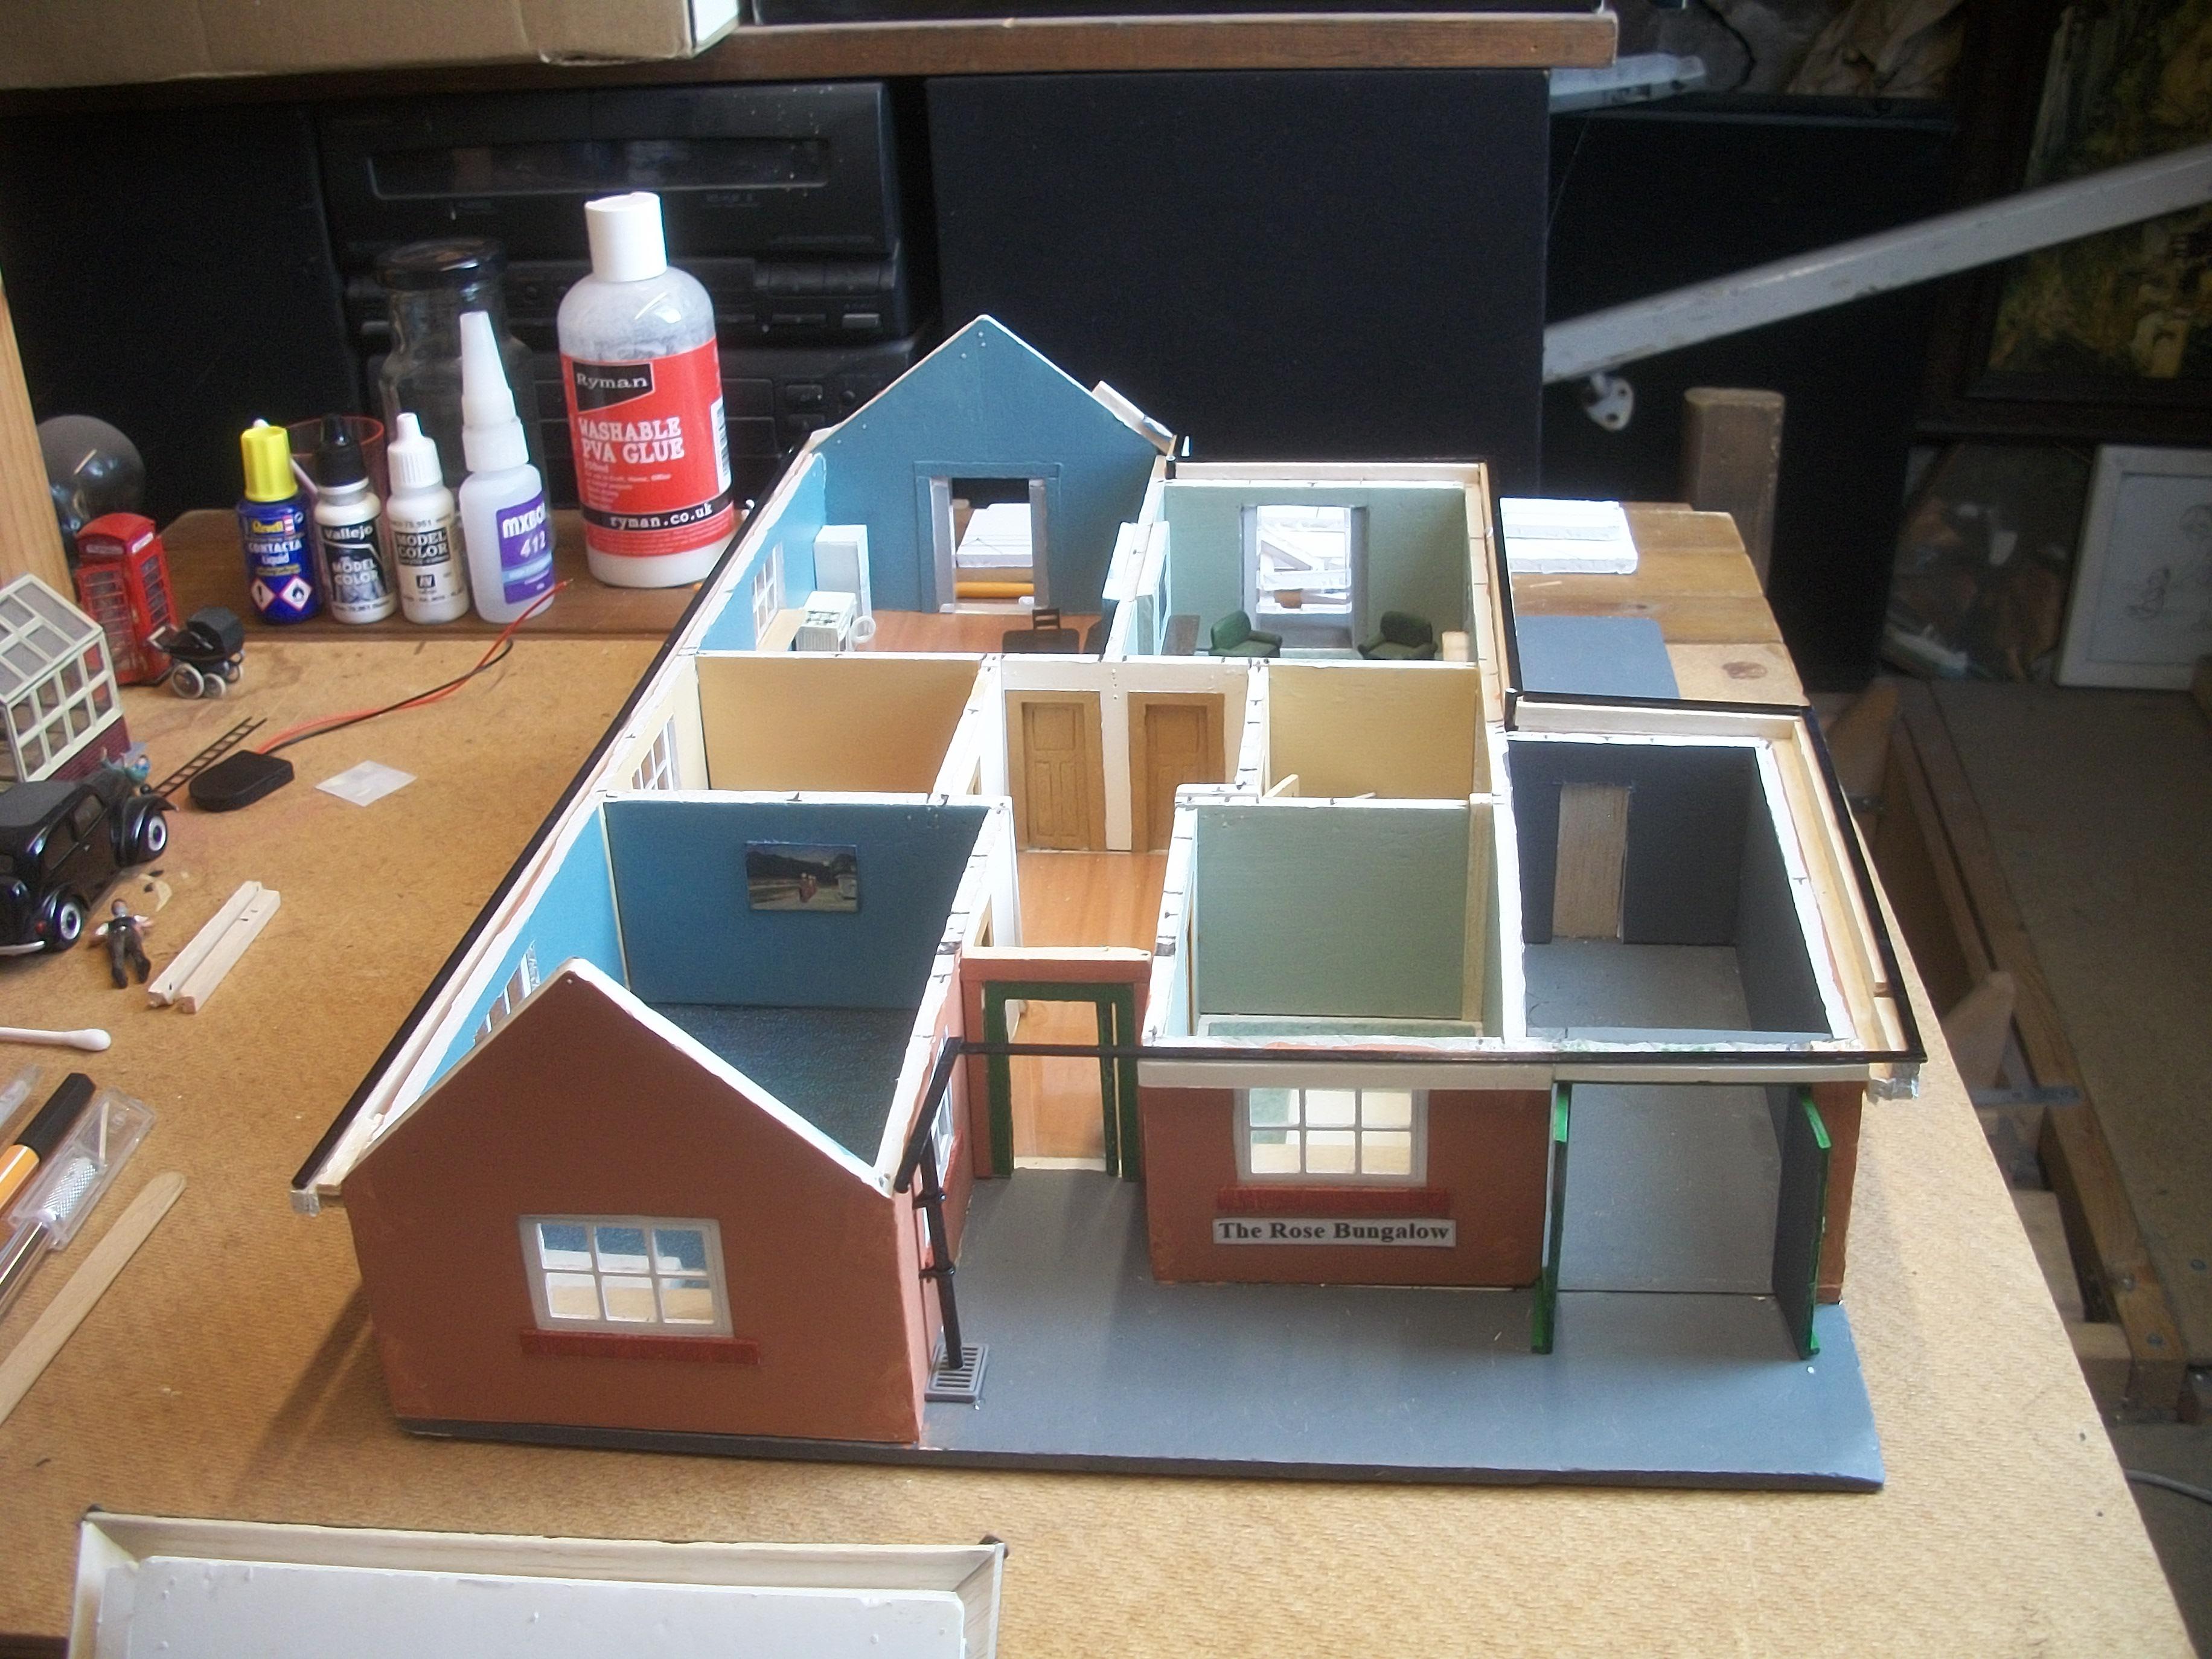
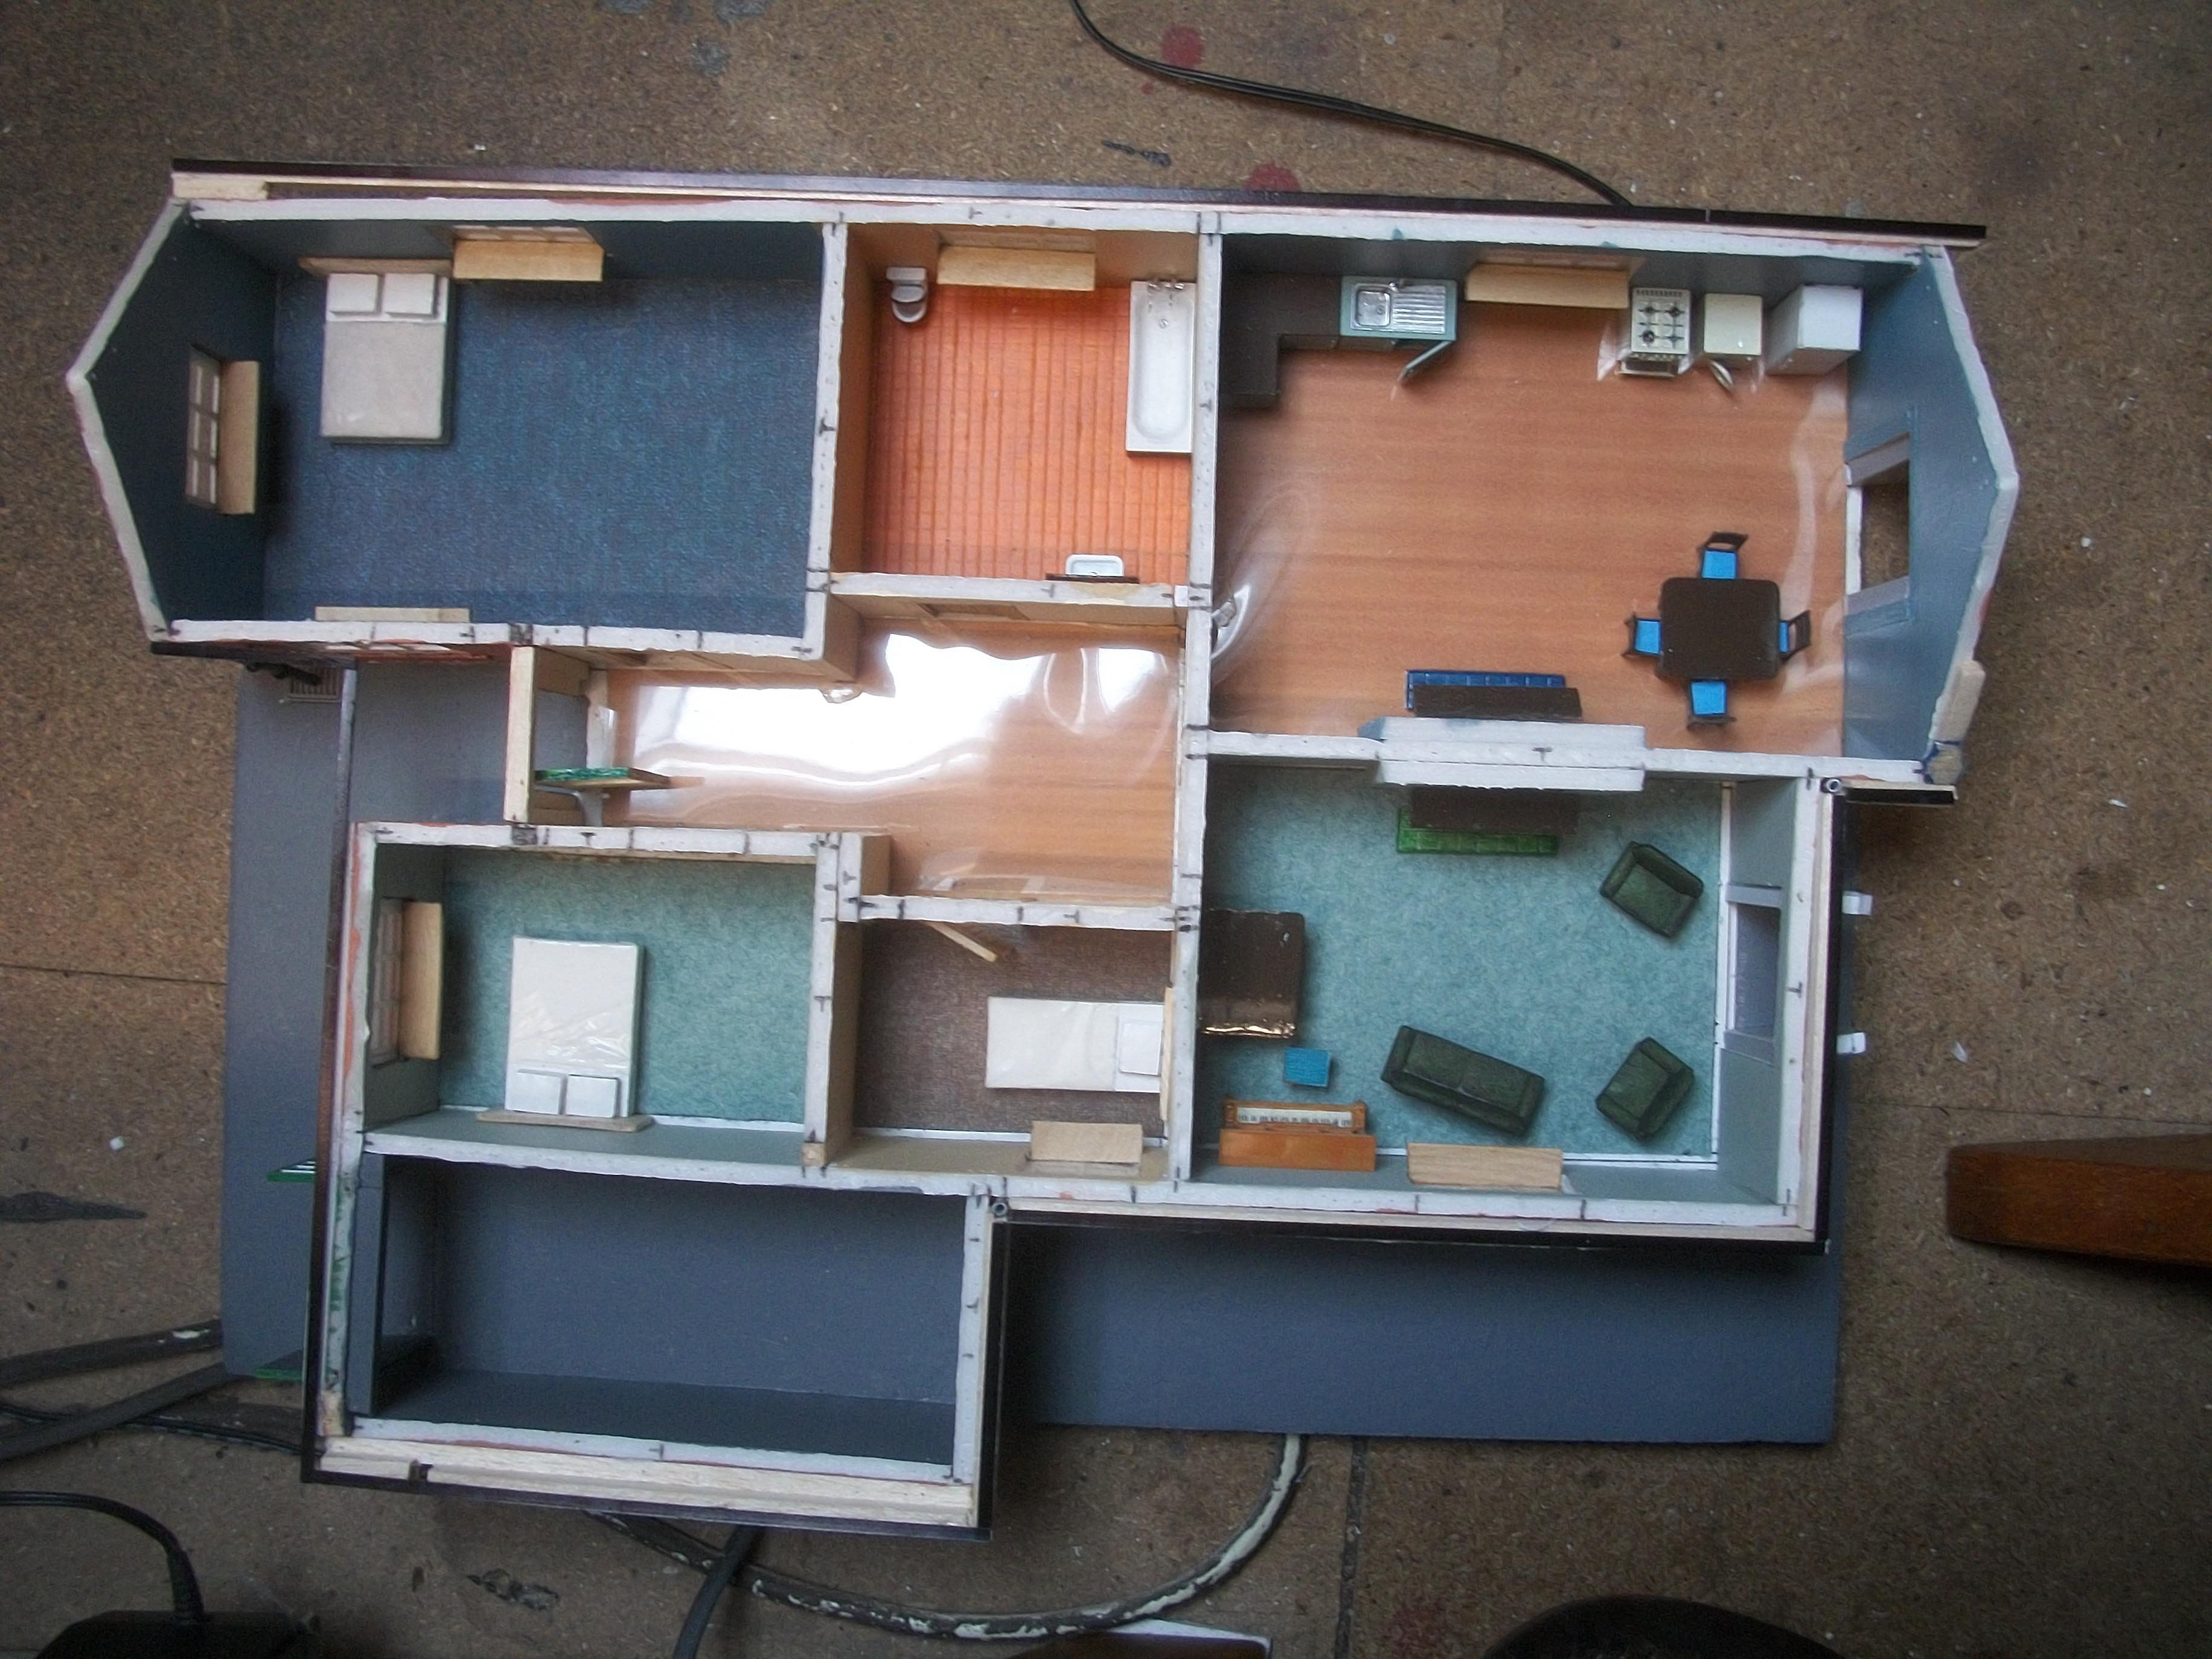
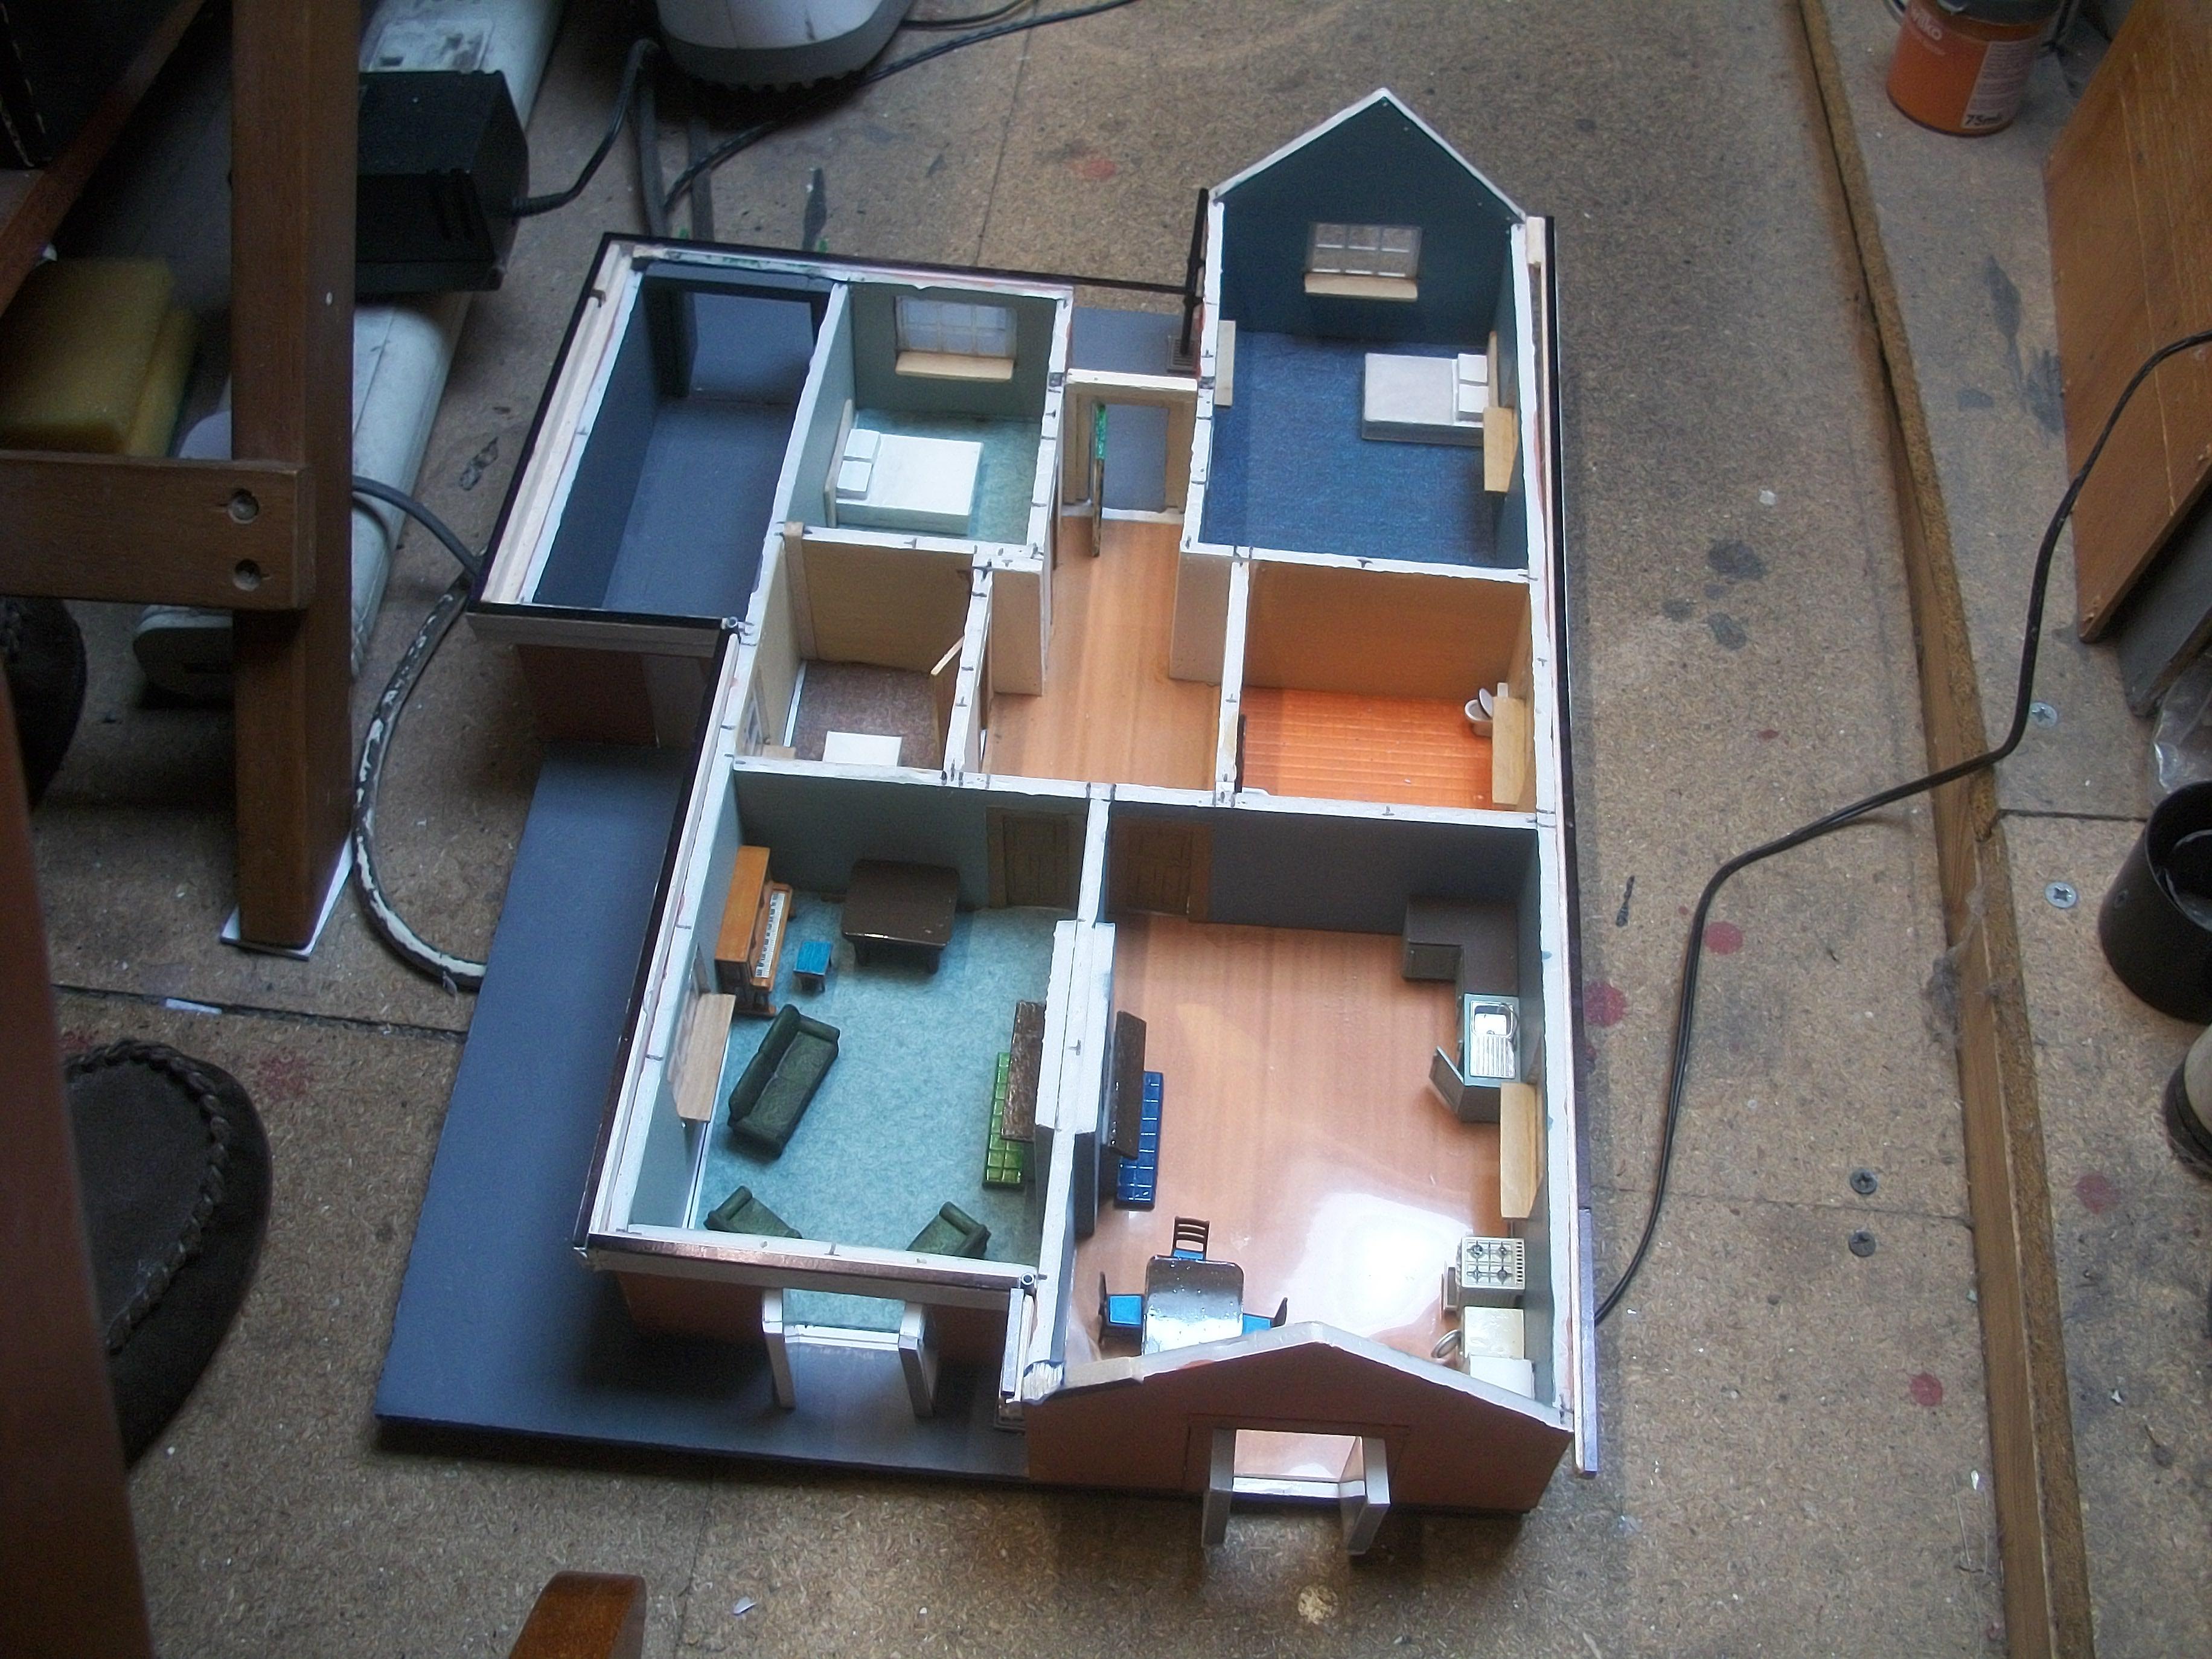
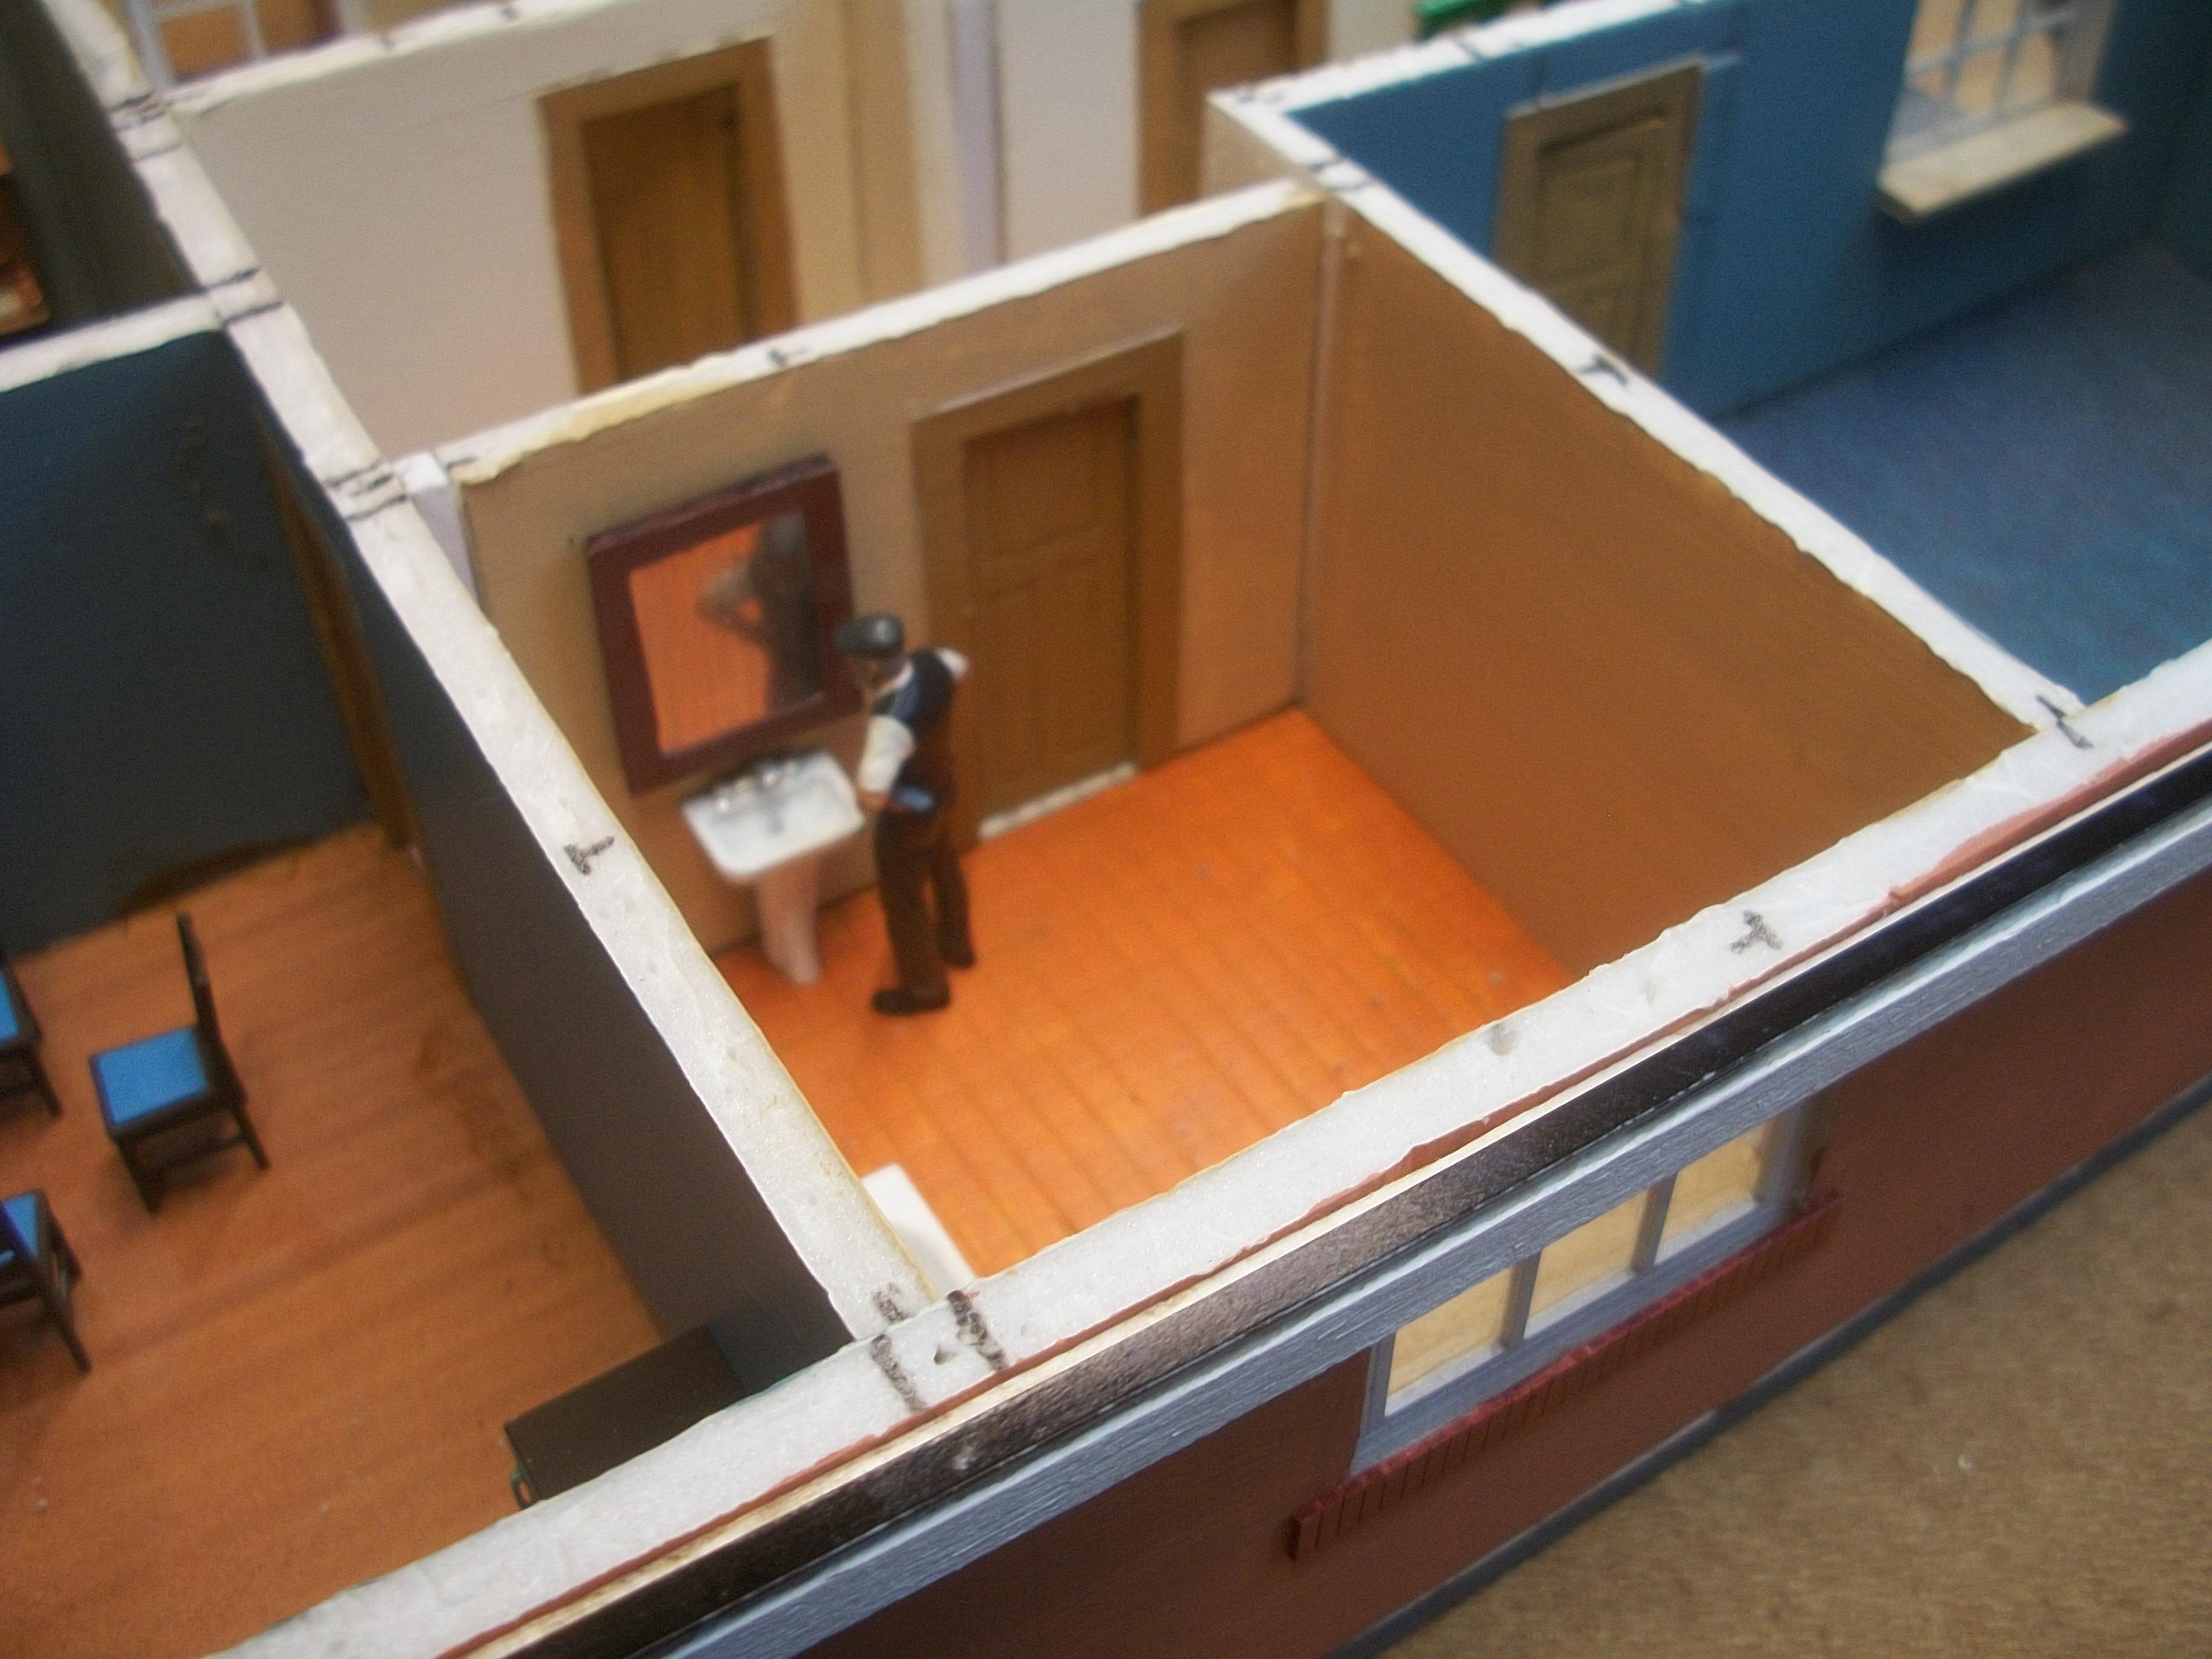
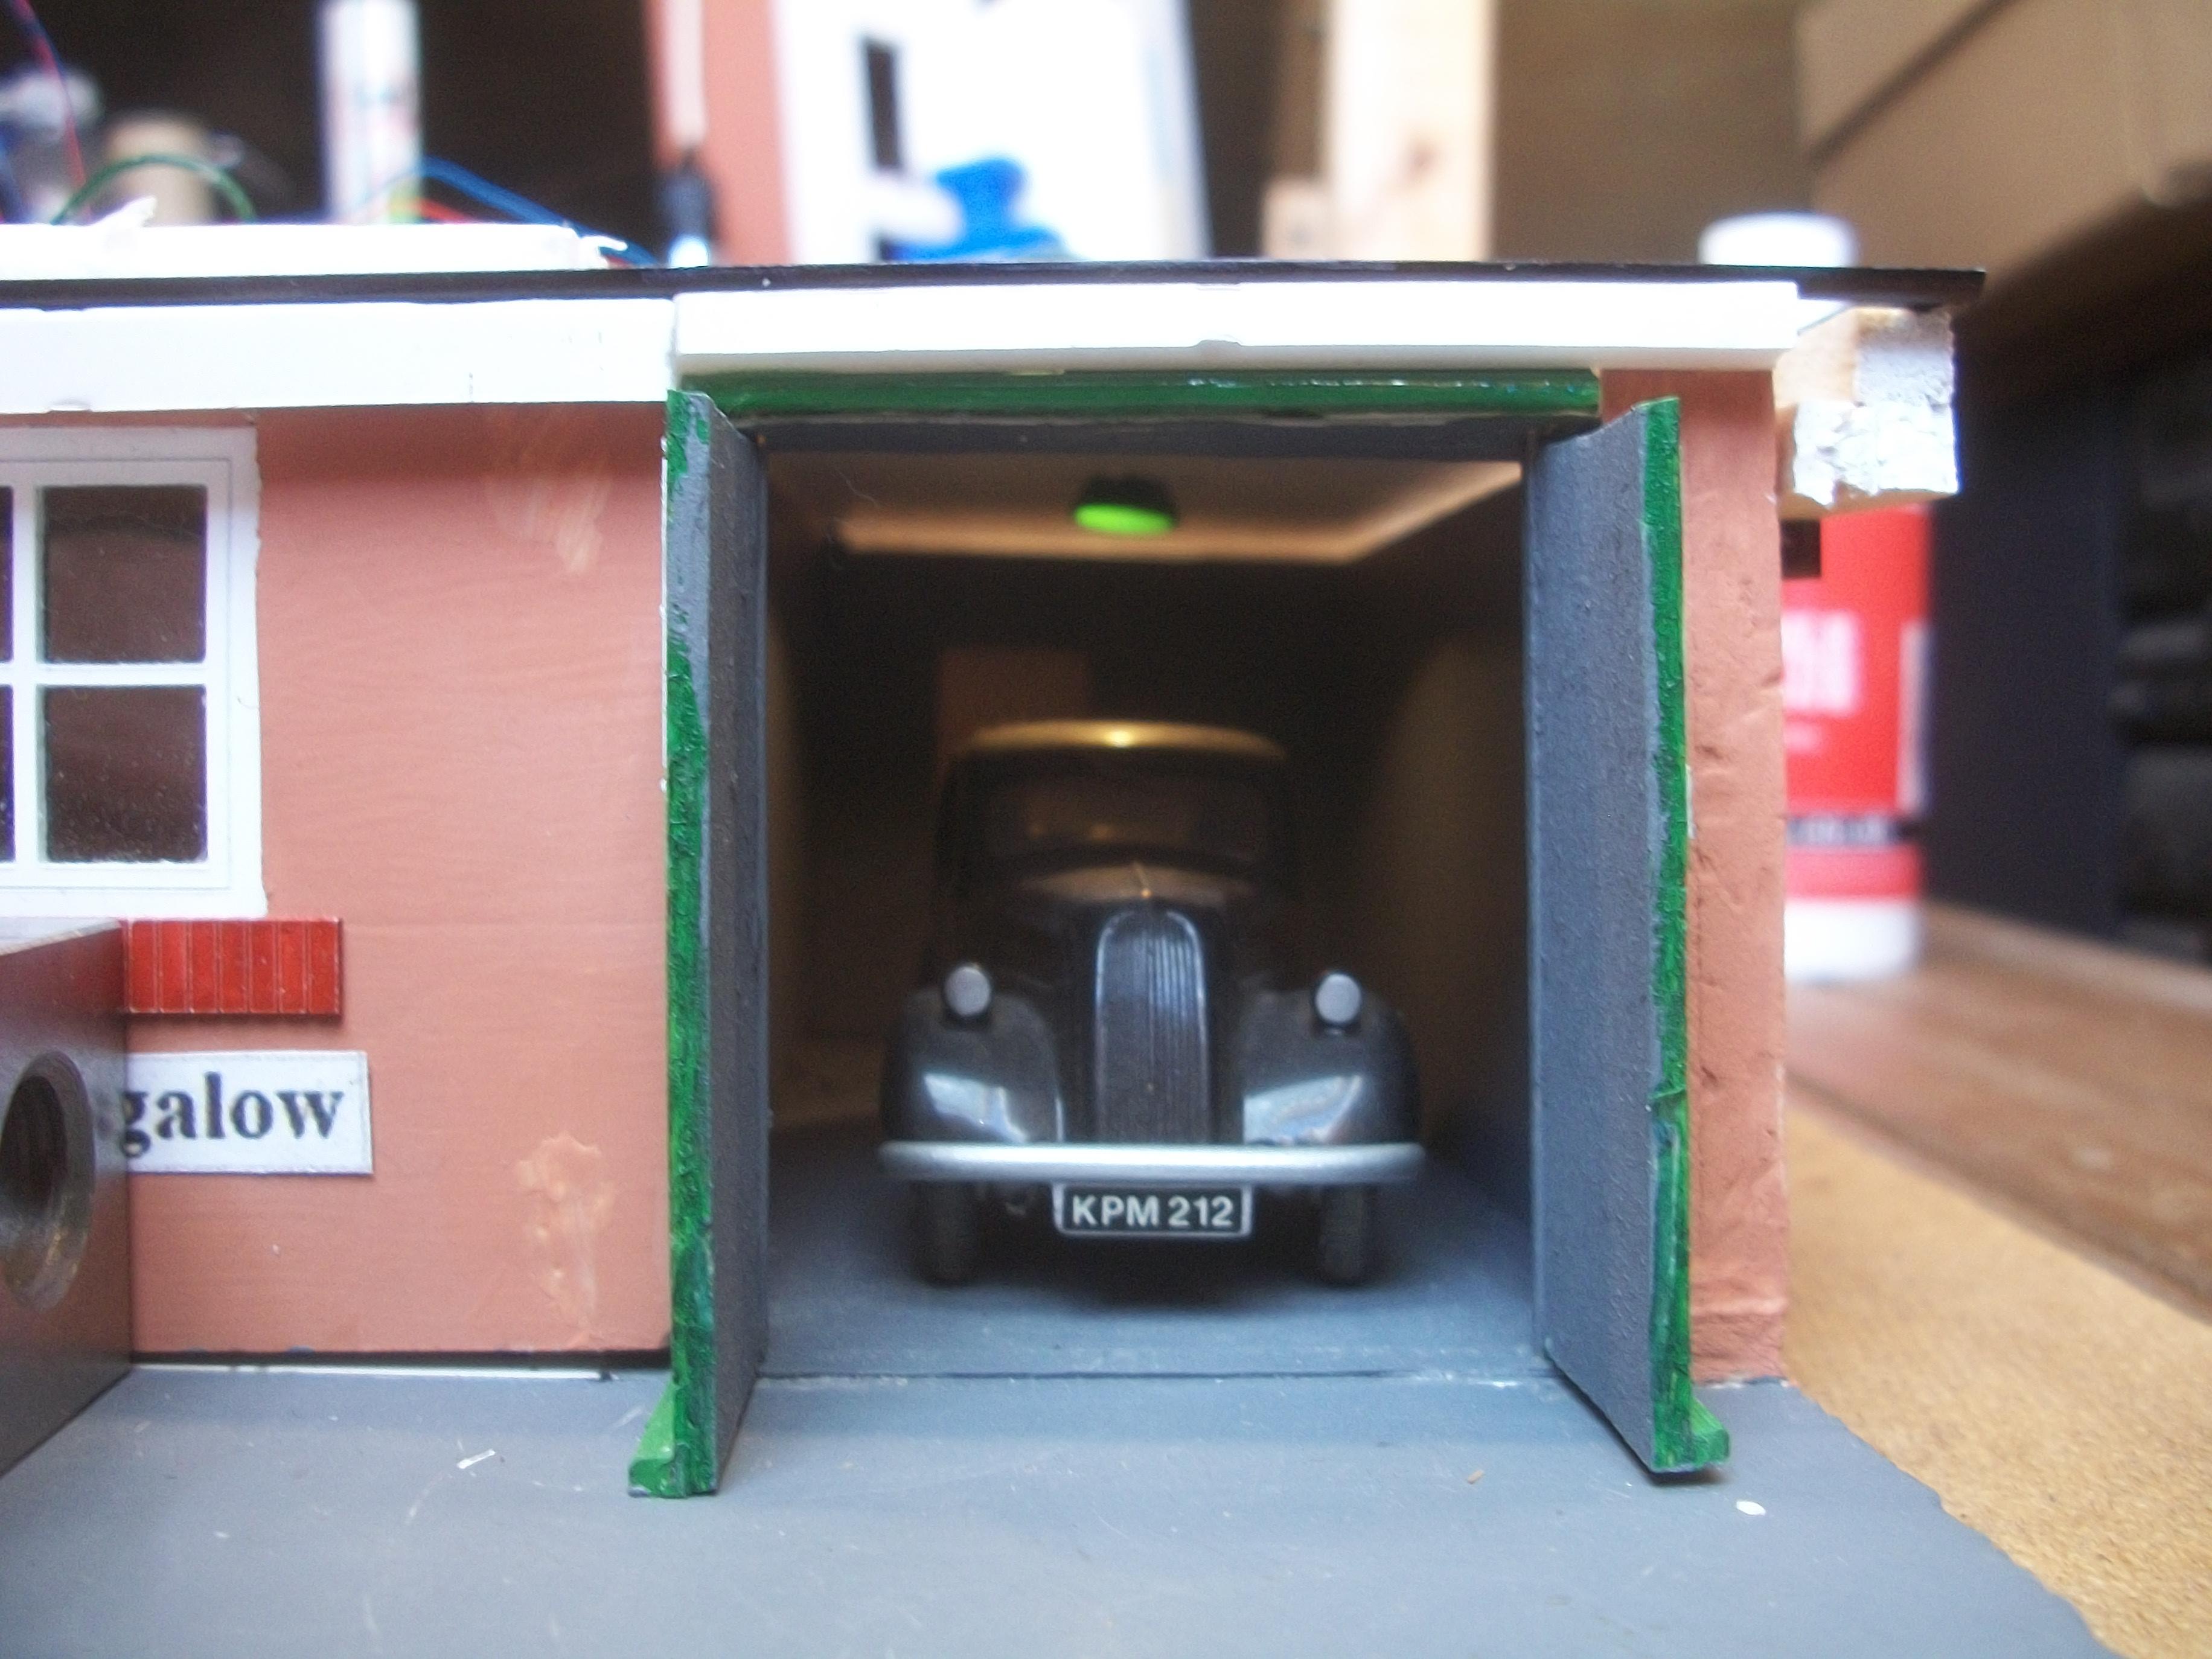
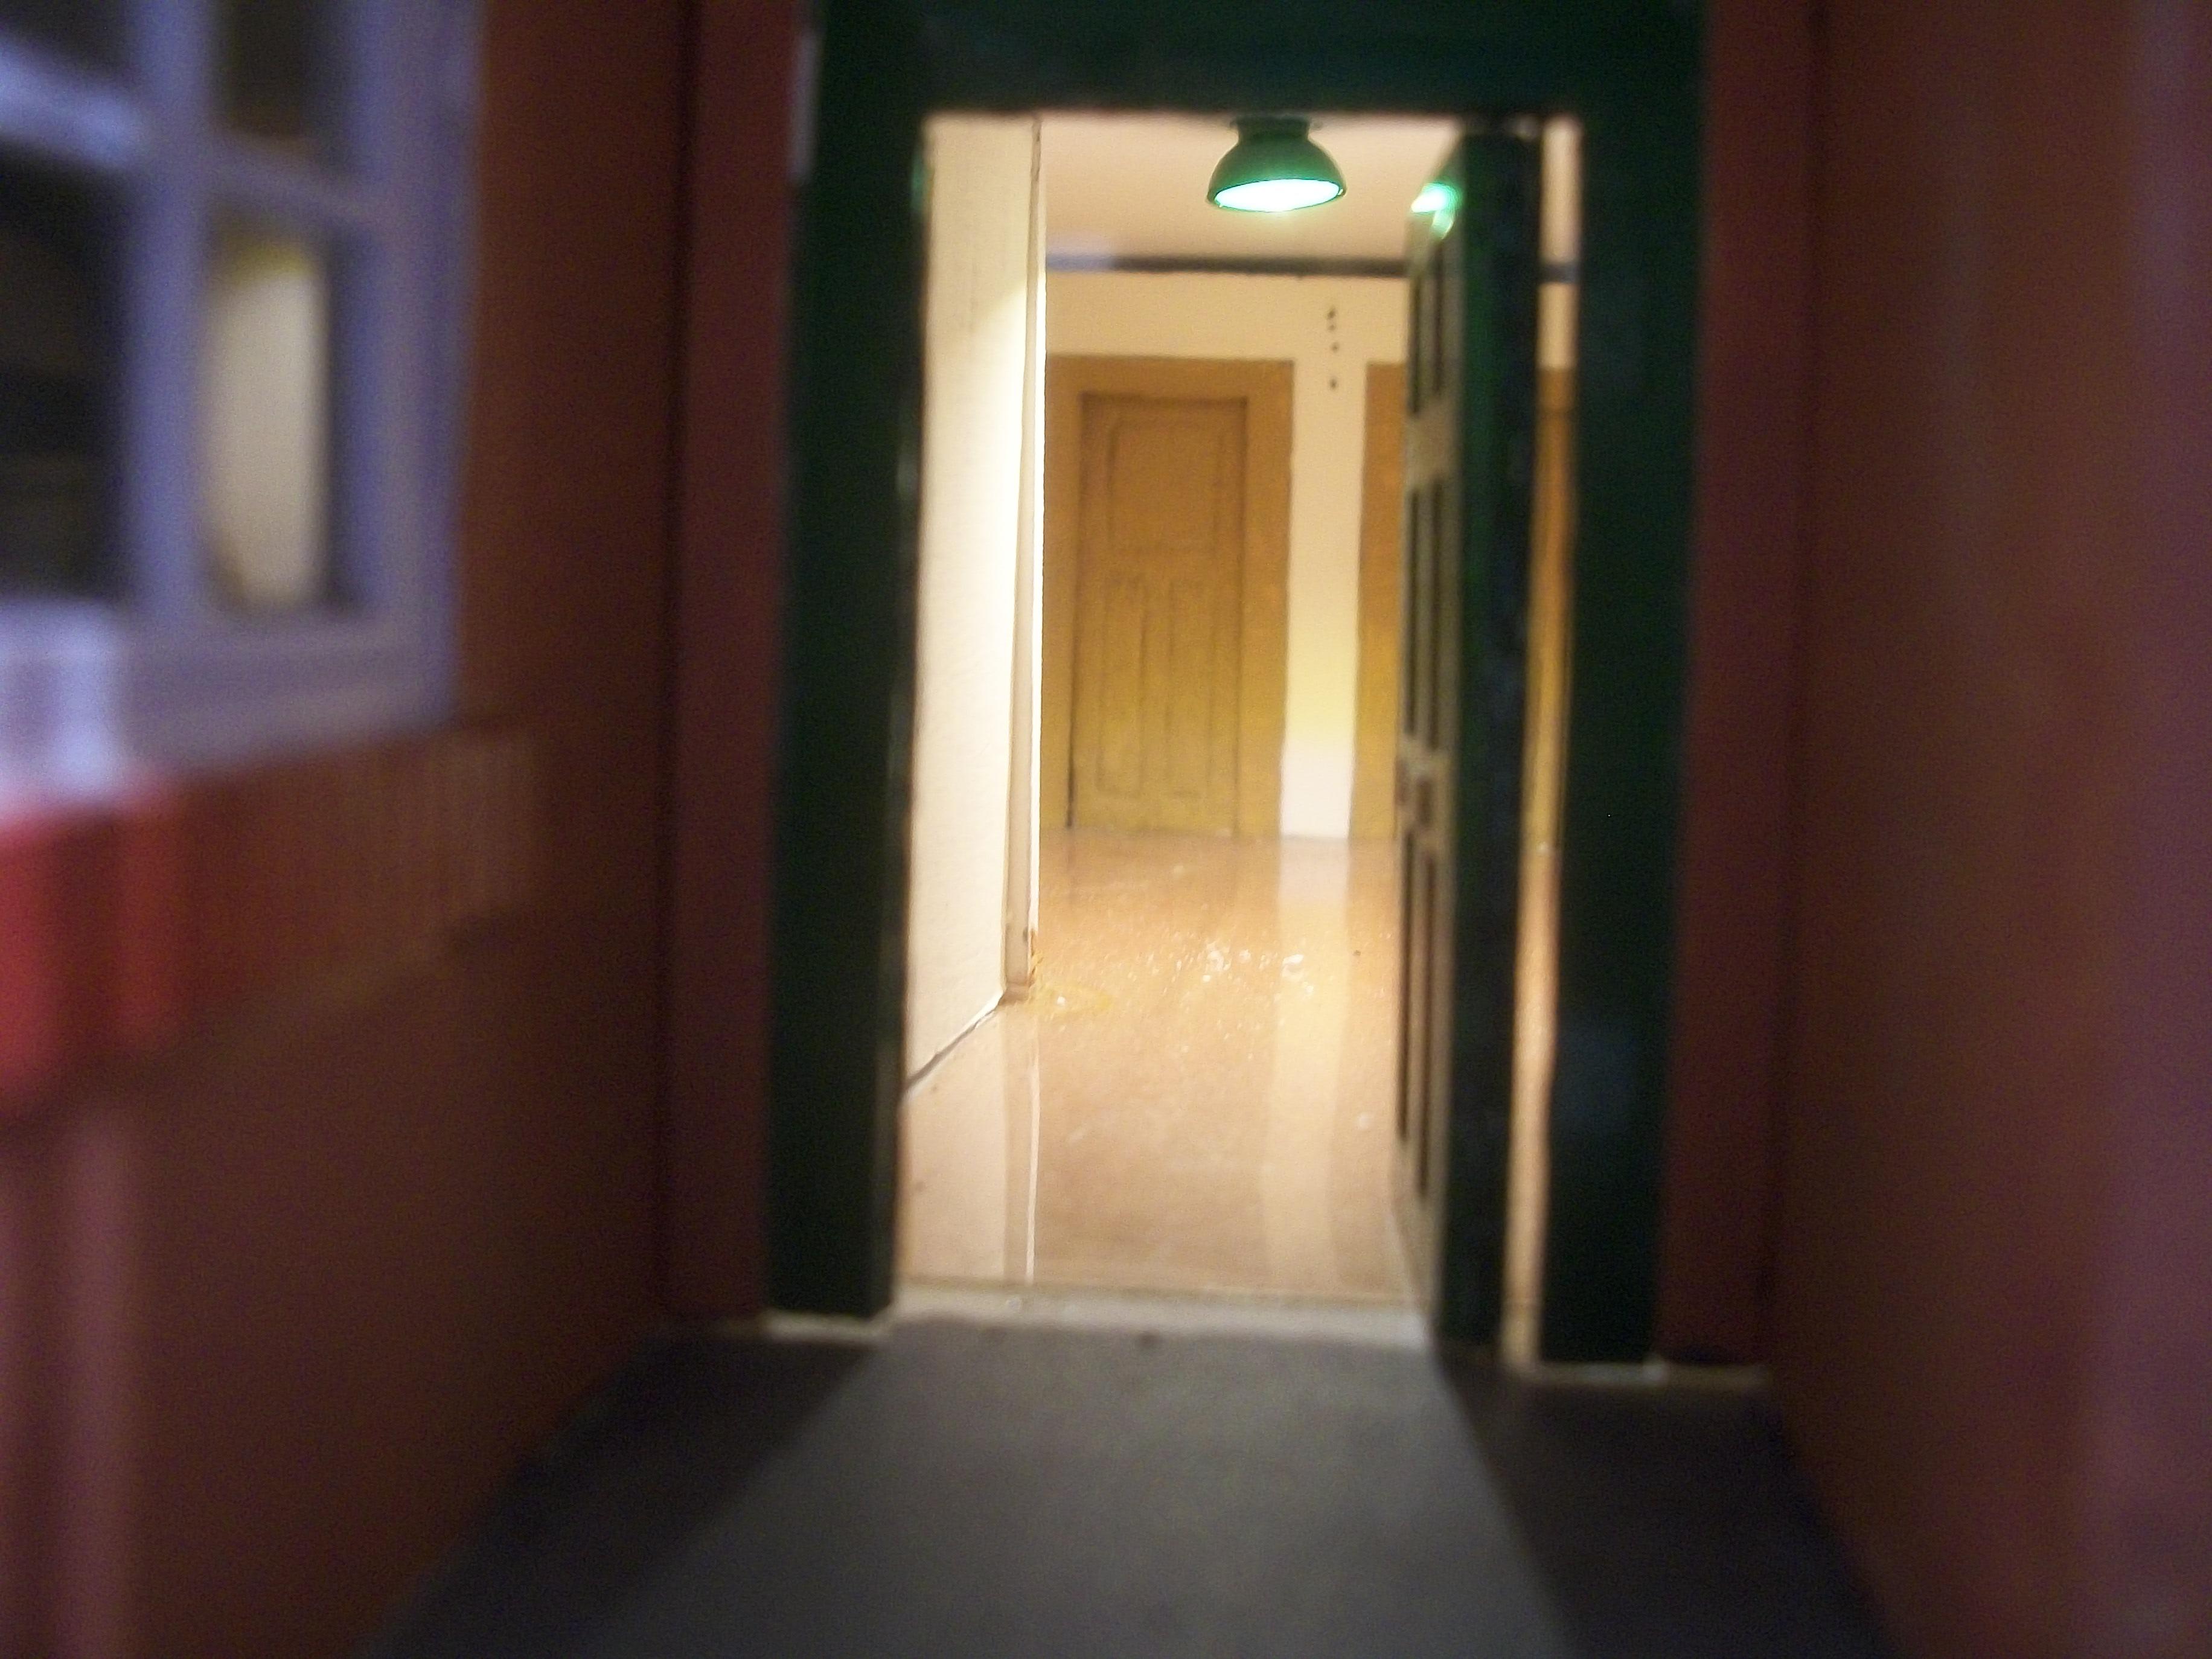
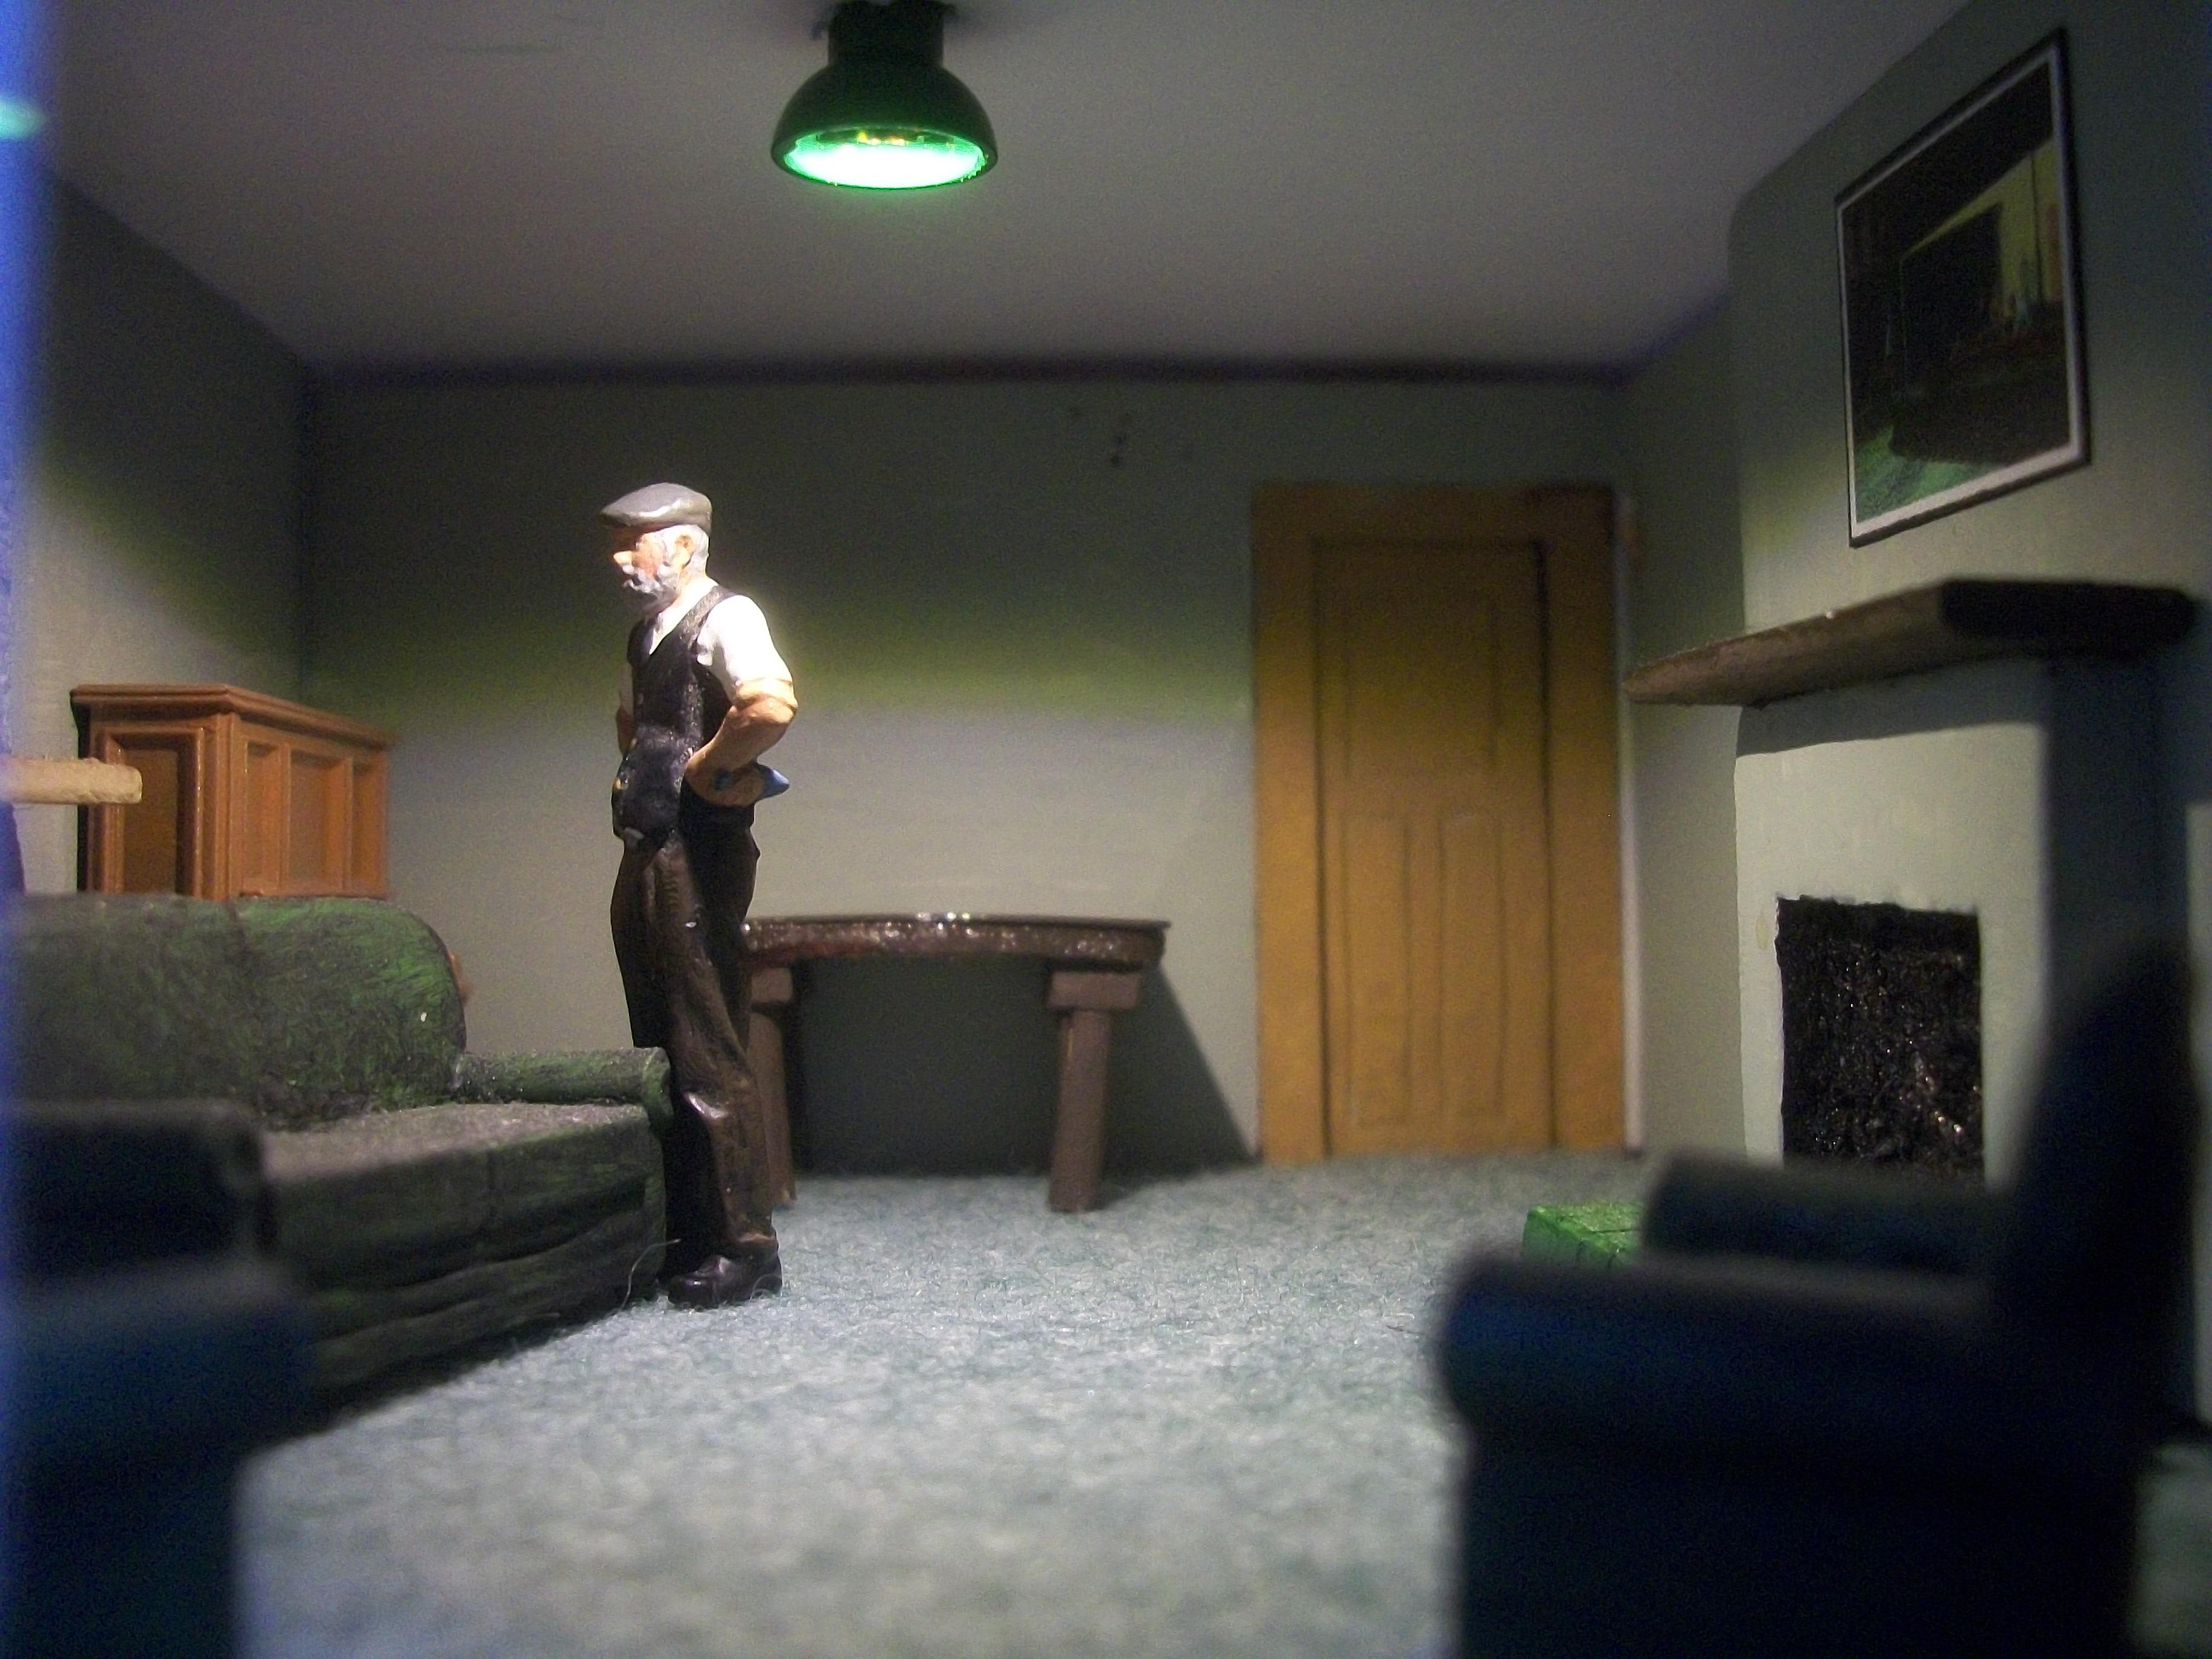
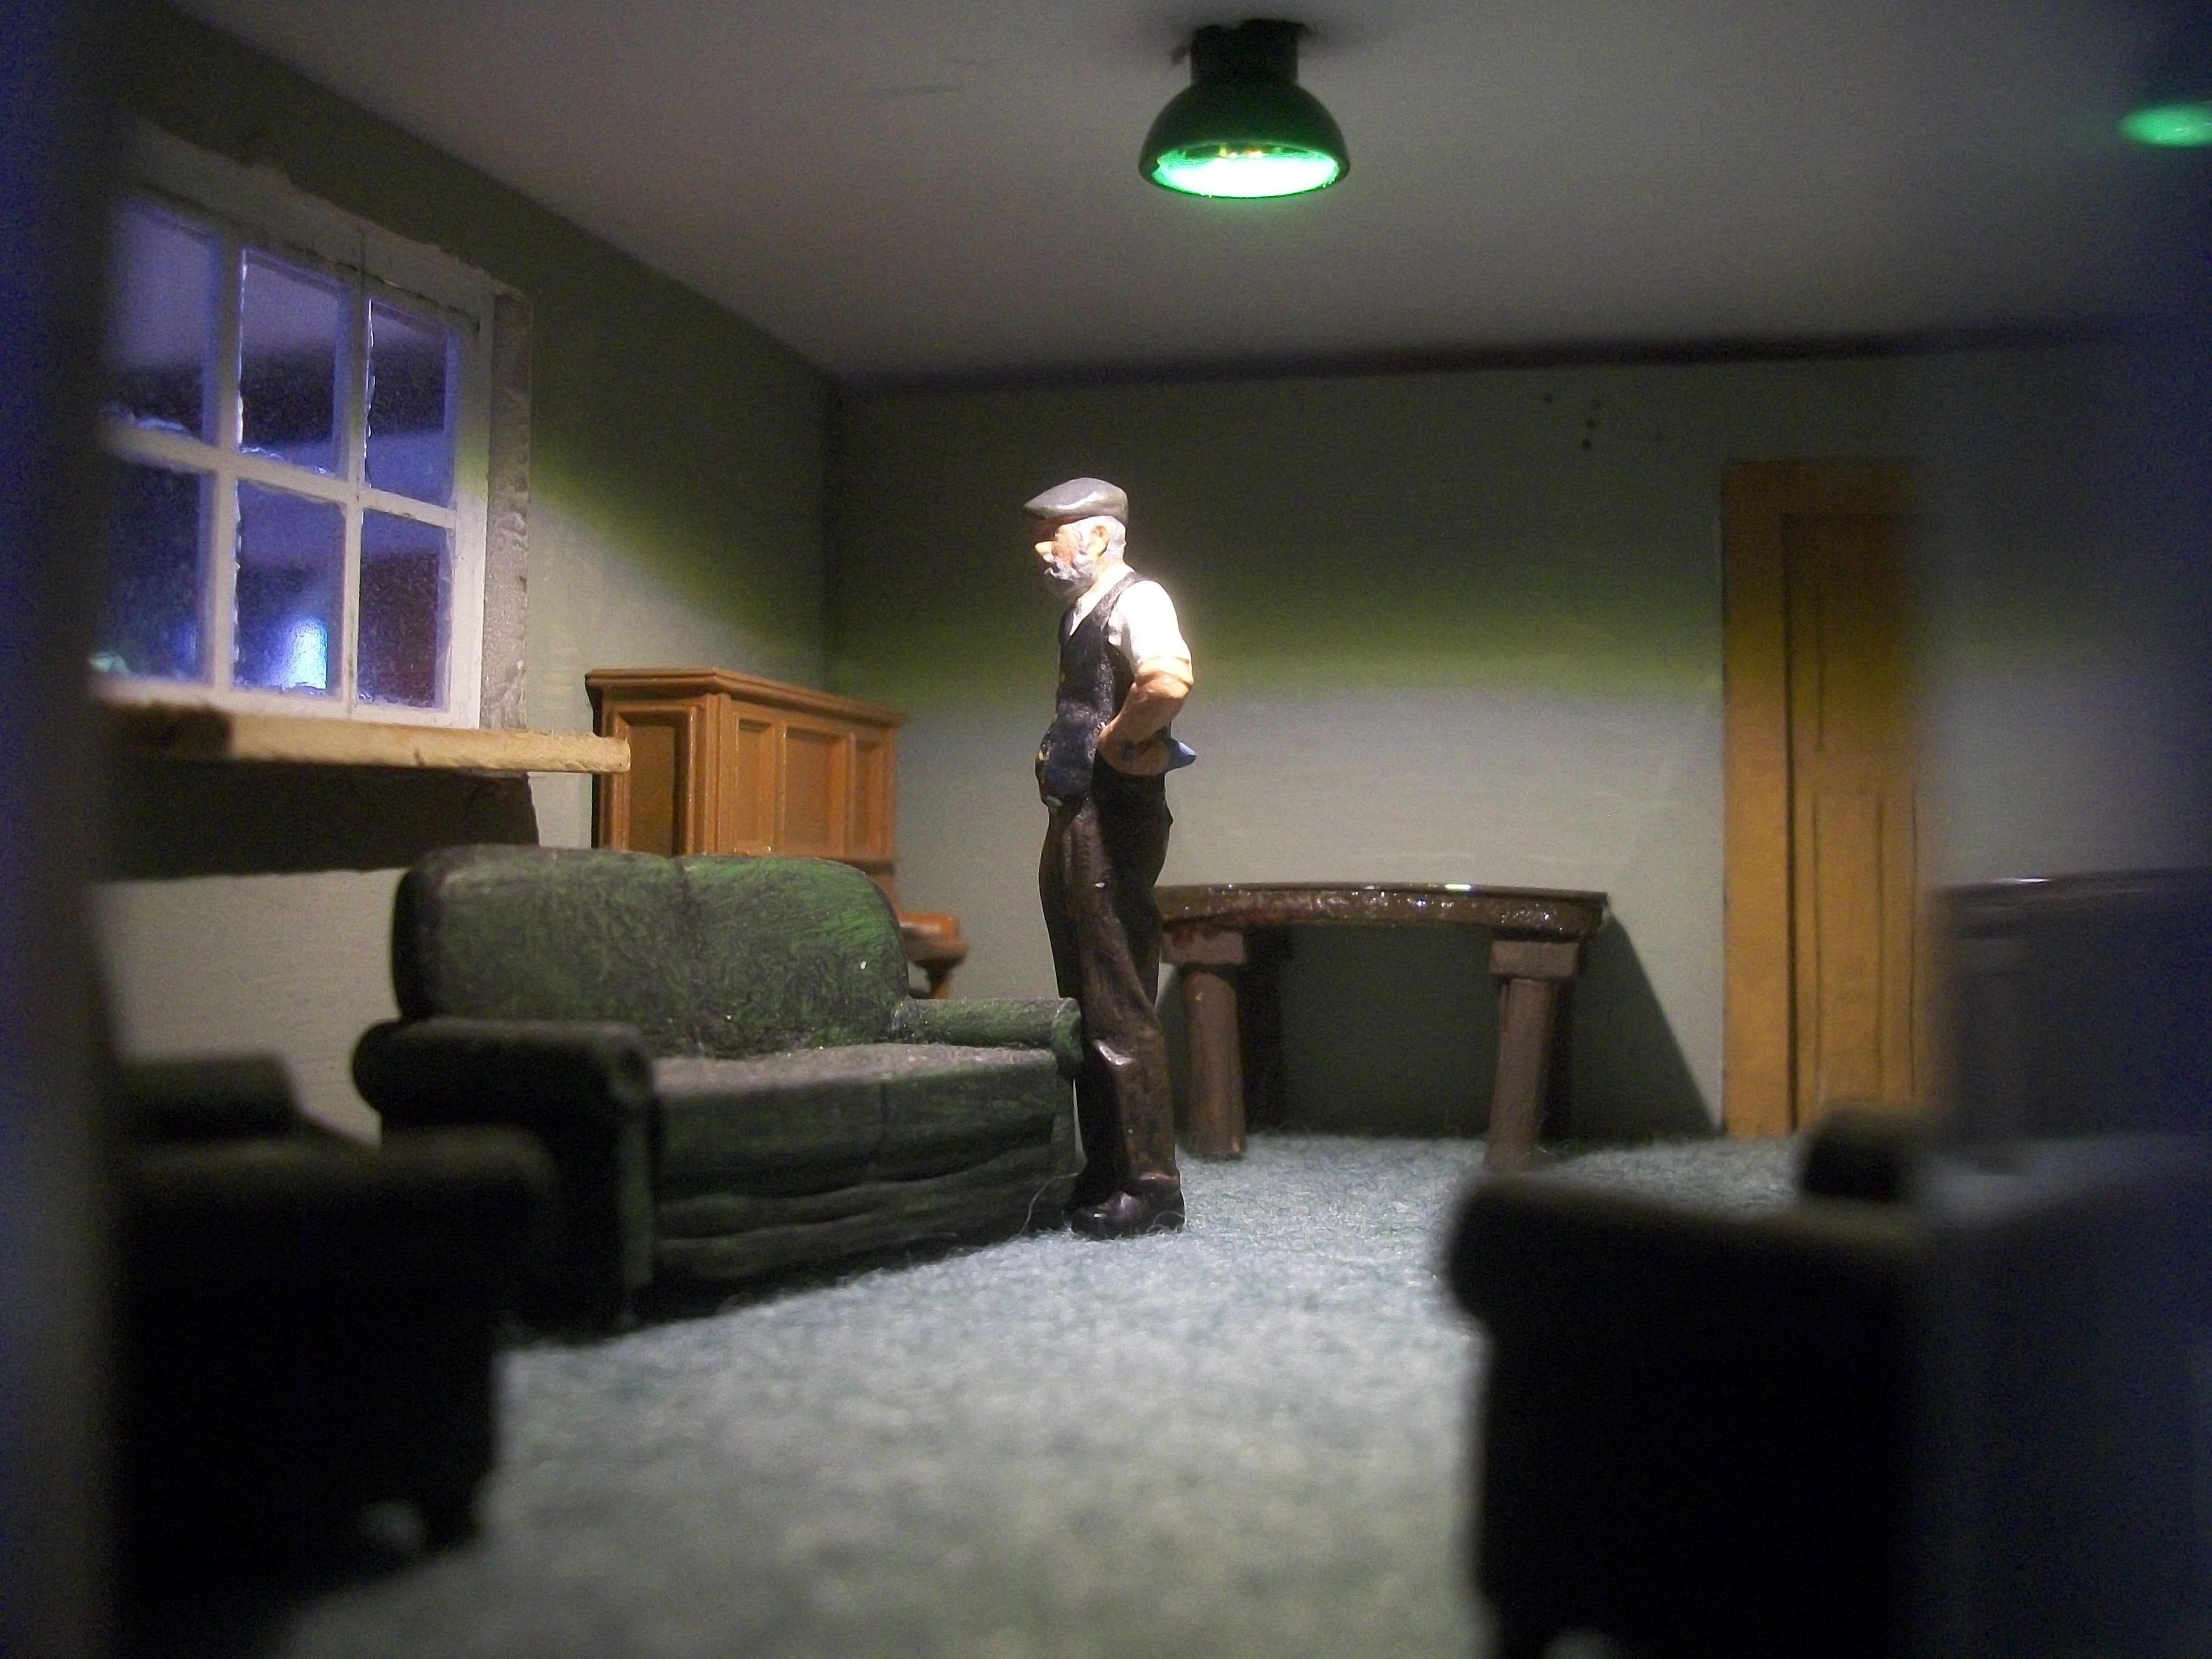
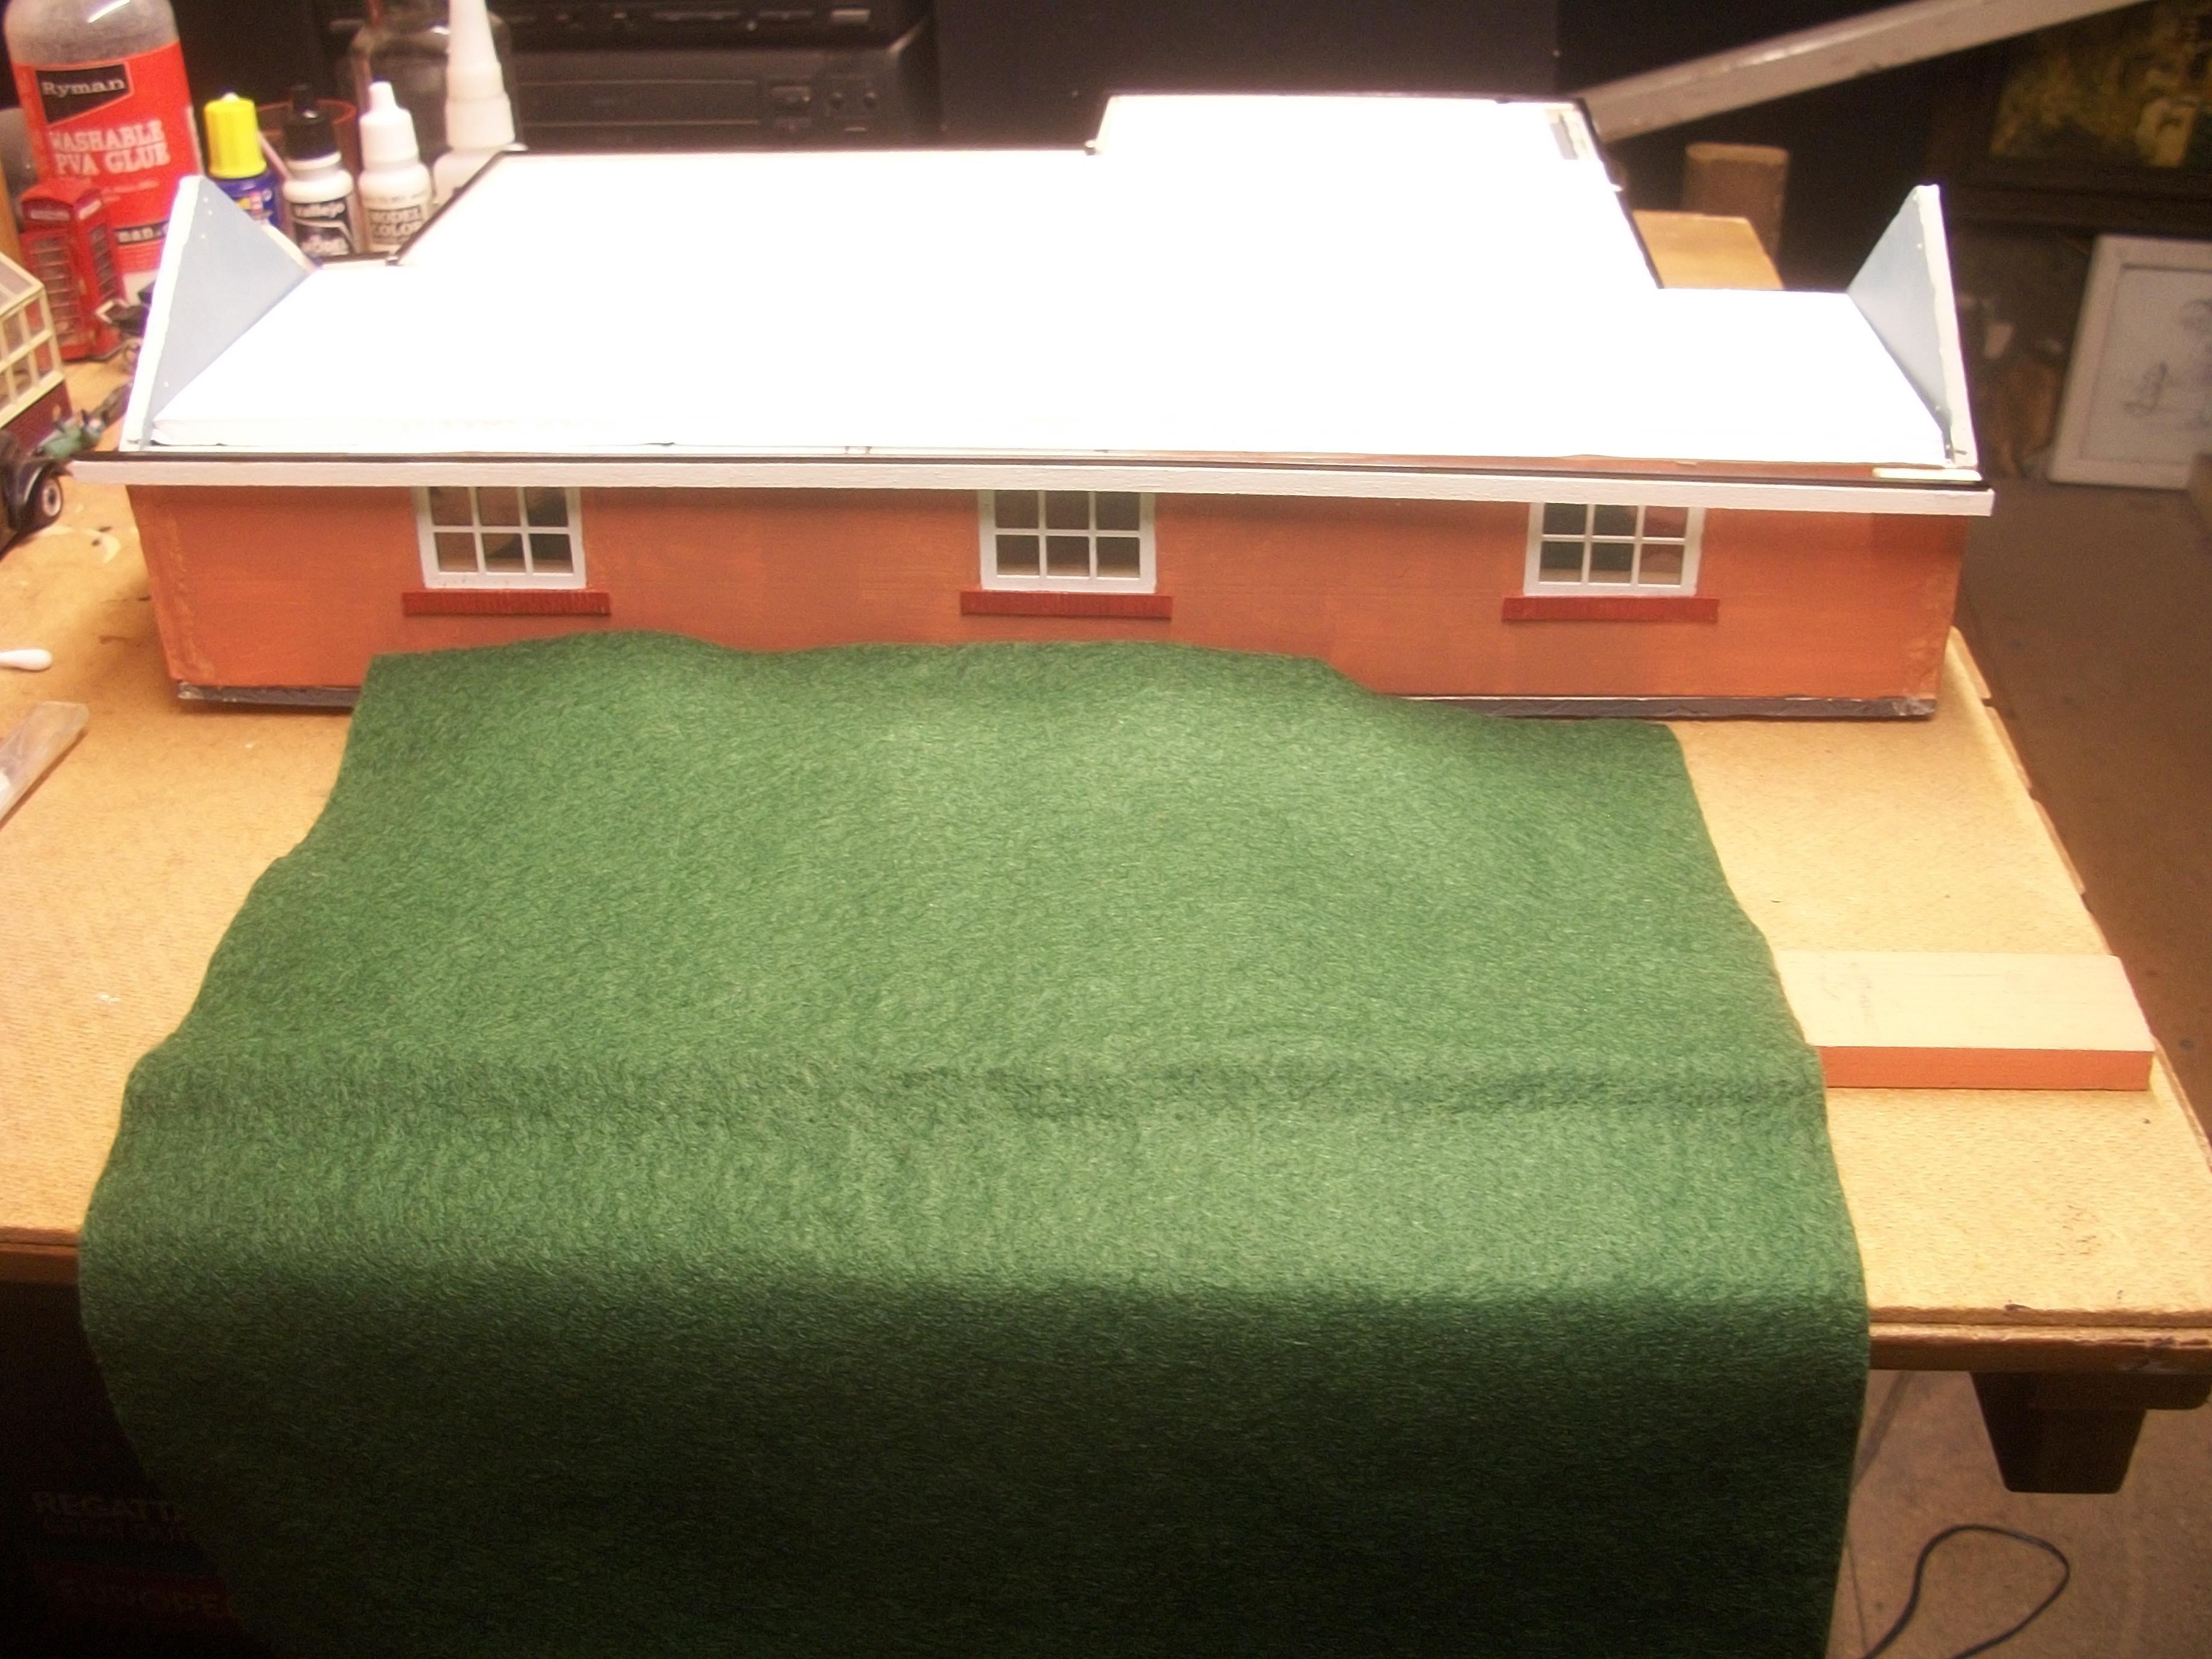
After I had glued the remaining three chairs in position around the kitchen table, the ceiling panel was placed on top of the lower rooms assembly, and I tested all of the lighting . . . All eight lamps are working, even after lots of movement over the past few days. I placed a sheet of green felt material at the side of the bungalow, and also at the front of the bungalow, to give me some idea how grassy areas would appear in photos . . . The greenhouse seems to be in the right place at the rear corner and the dustbin (trash can) is close by. Harold's daughter is pushing the pram in some of these photos, and the Ford Popular motor car is parked in front of the garage . . . David
-
Yes David, the daily progress has been most satisfying. This stage of the build has presented me with some challenges, and I would say that the roof structure along with the ceiling panel resulted in lengthy periods of steady adjustment . . . Basically, hacking away at the foam board until things fitted together. Generally, the wiring for these lights is doing the job, even though it is not pretty . . . Harold is keeping an eye on things throughout the build, and you will see him checking around different areas of the bungalow. David W.
-

'Forest Find' - Third and final upgrade...hopefully!!!!
Anglia105E replied to tiking's topic in Dioramas
I used to own and drive a Land Rover Series III, but it was not a wreck Charles . . . I just liked the way that you had missing lenses on one side, but not the other. David -
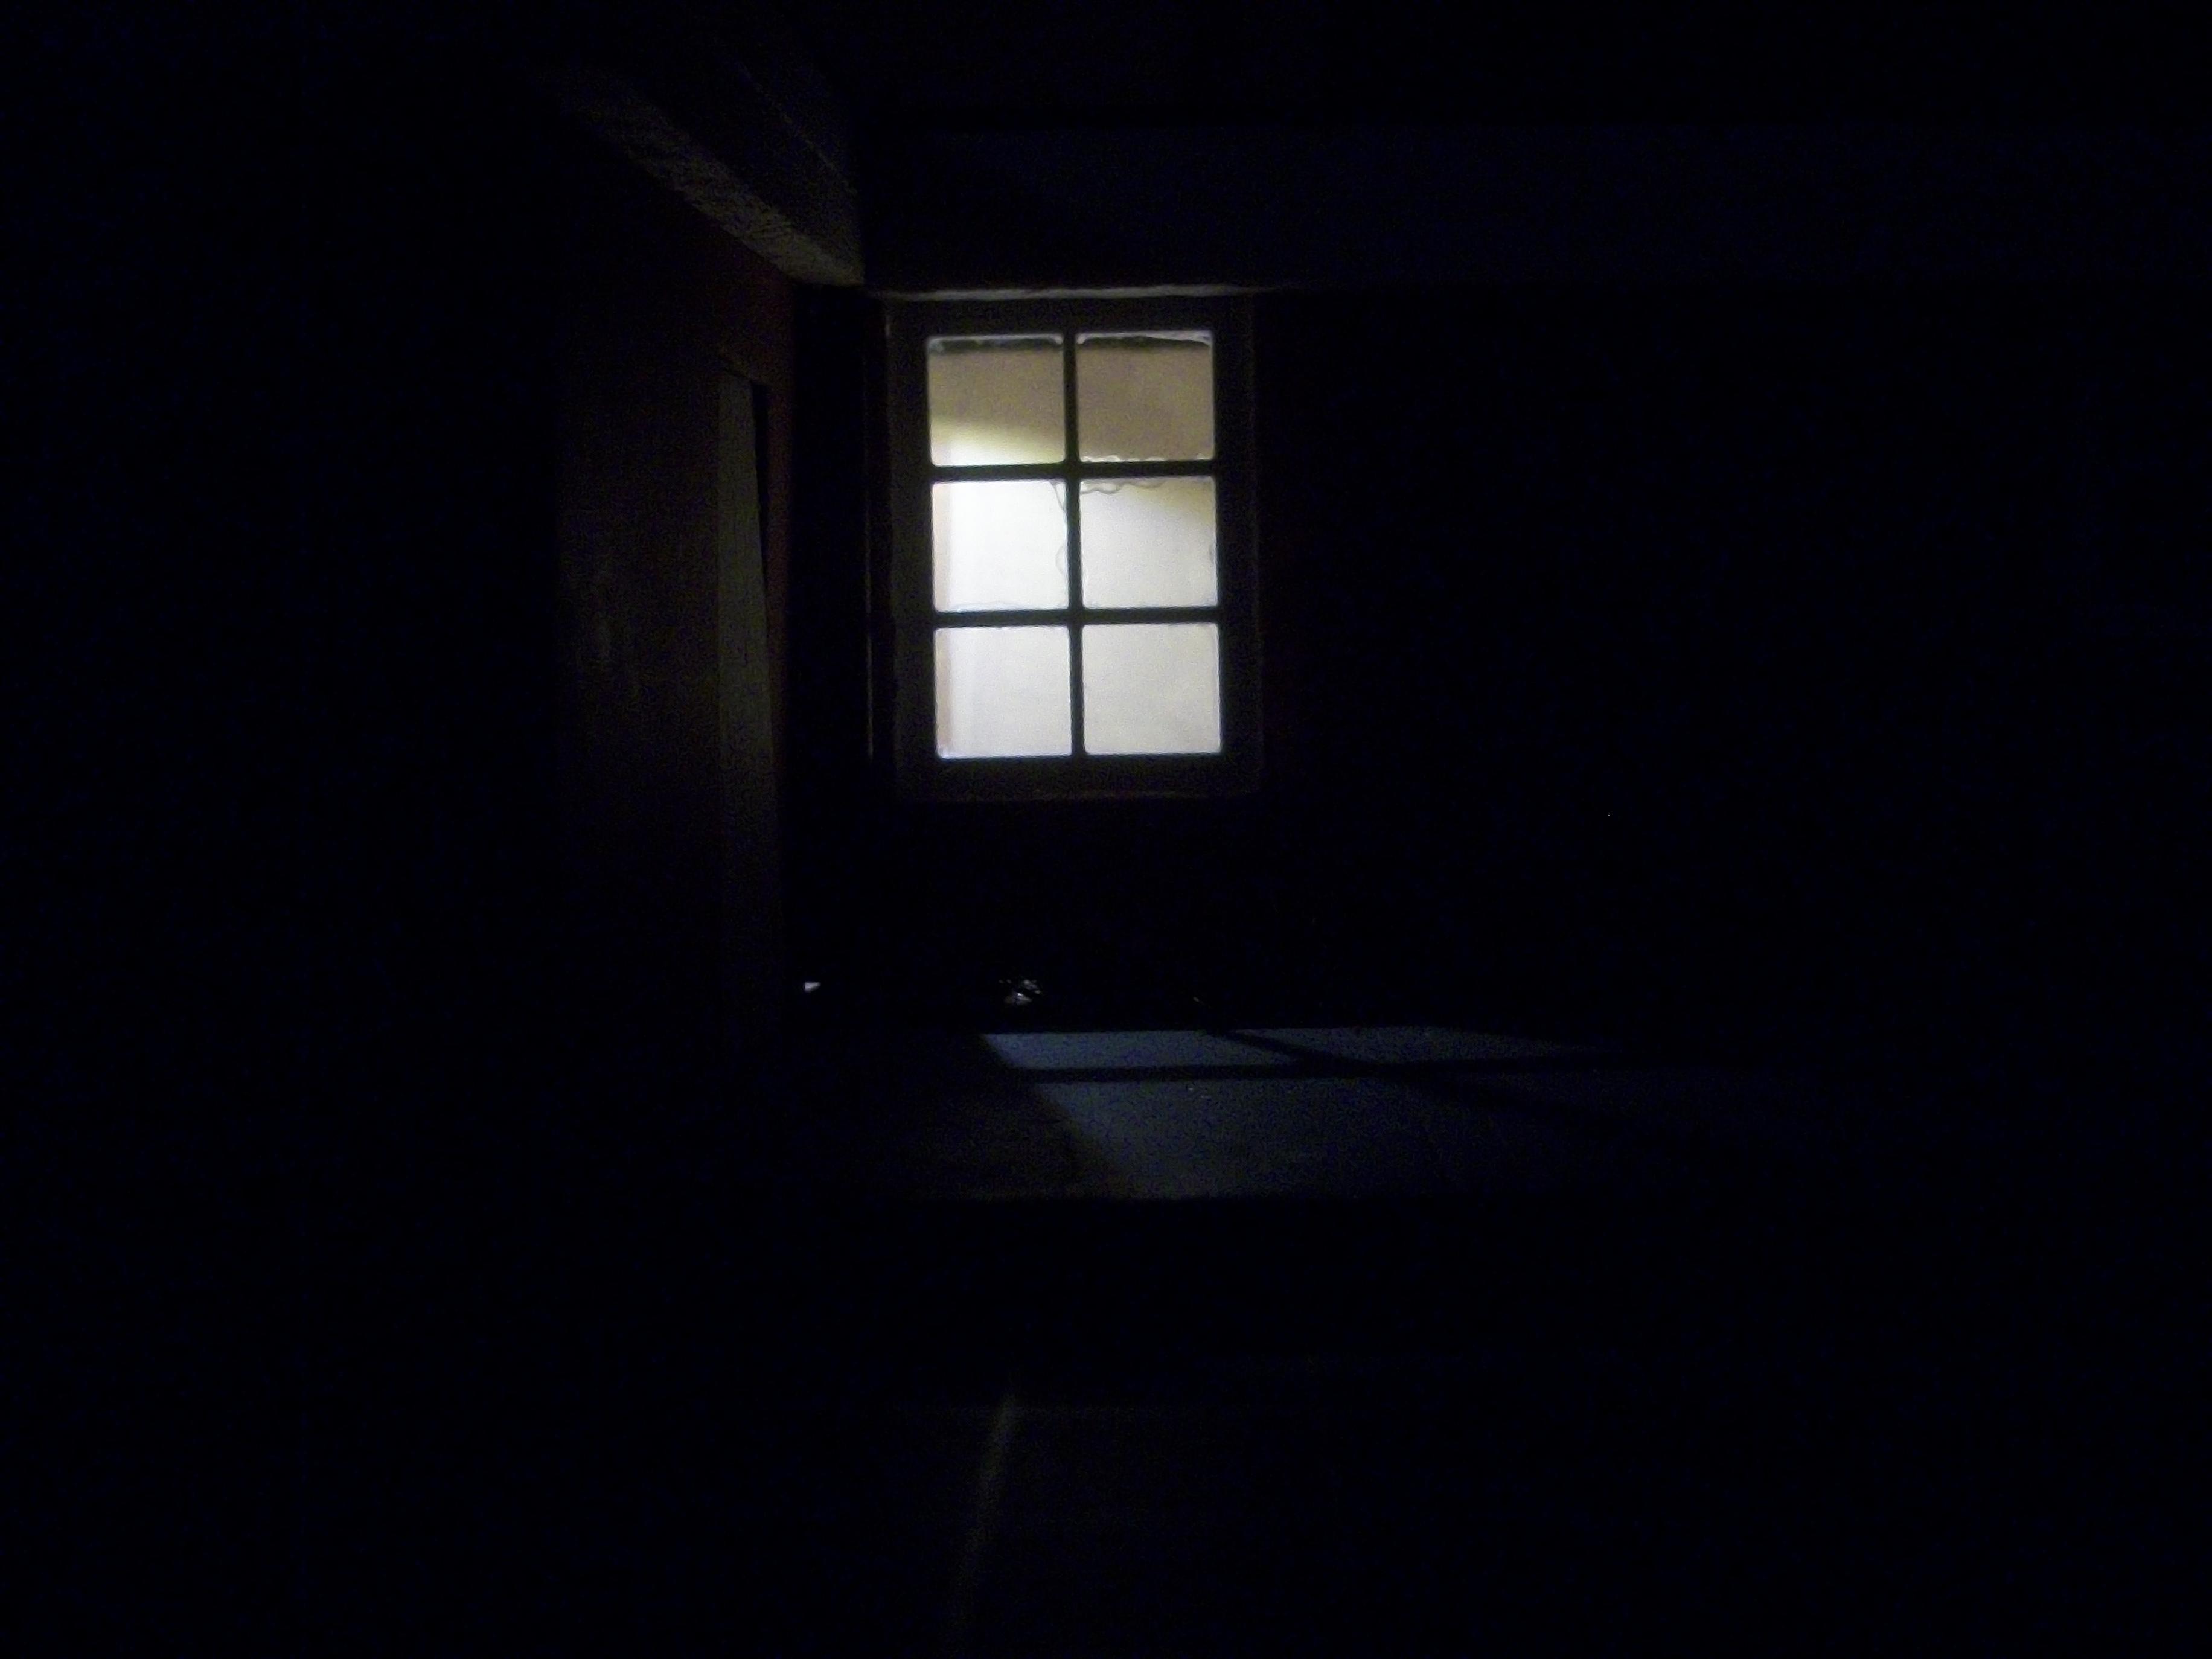
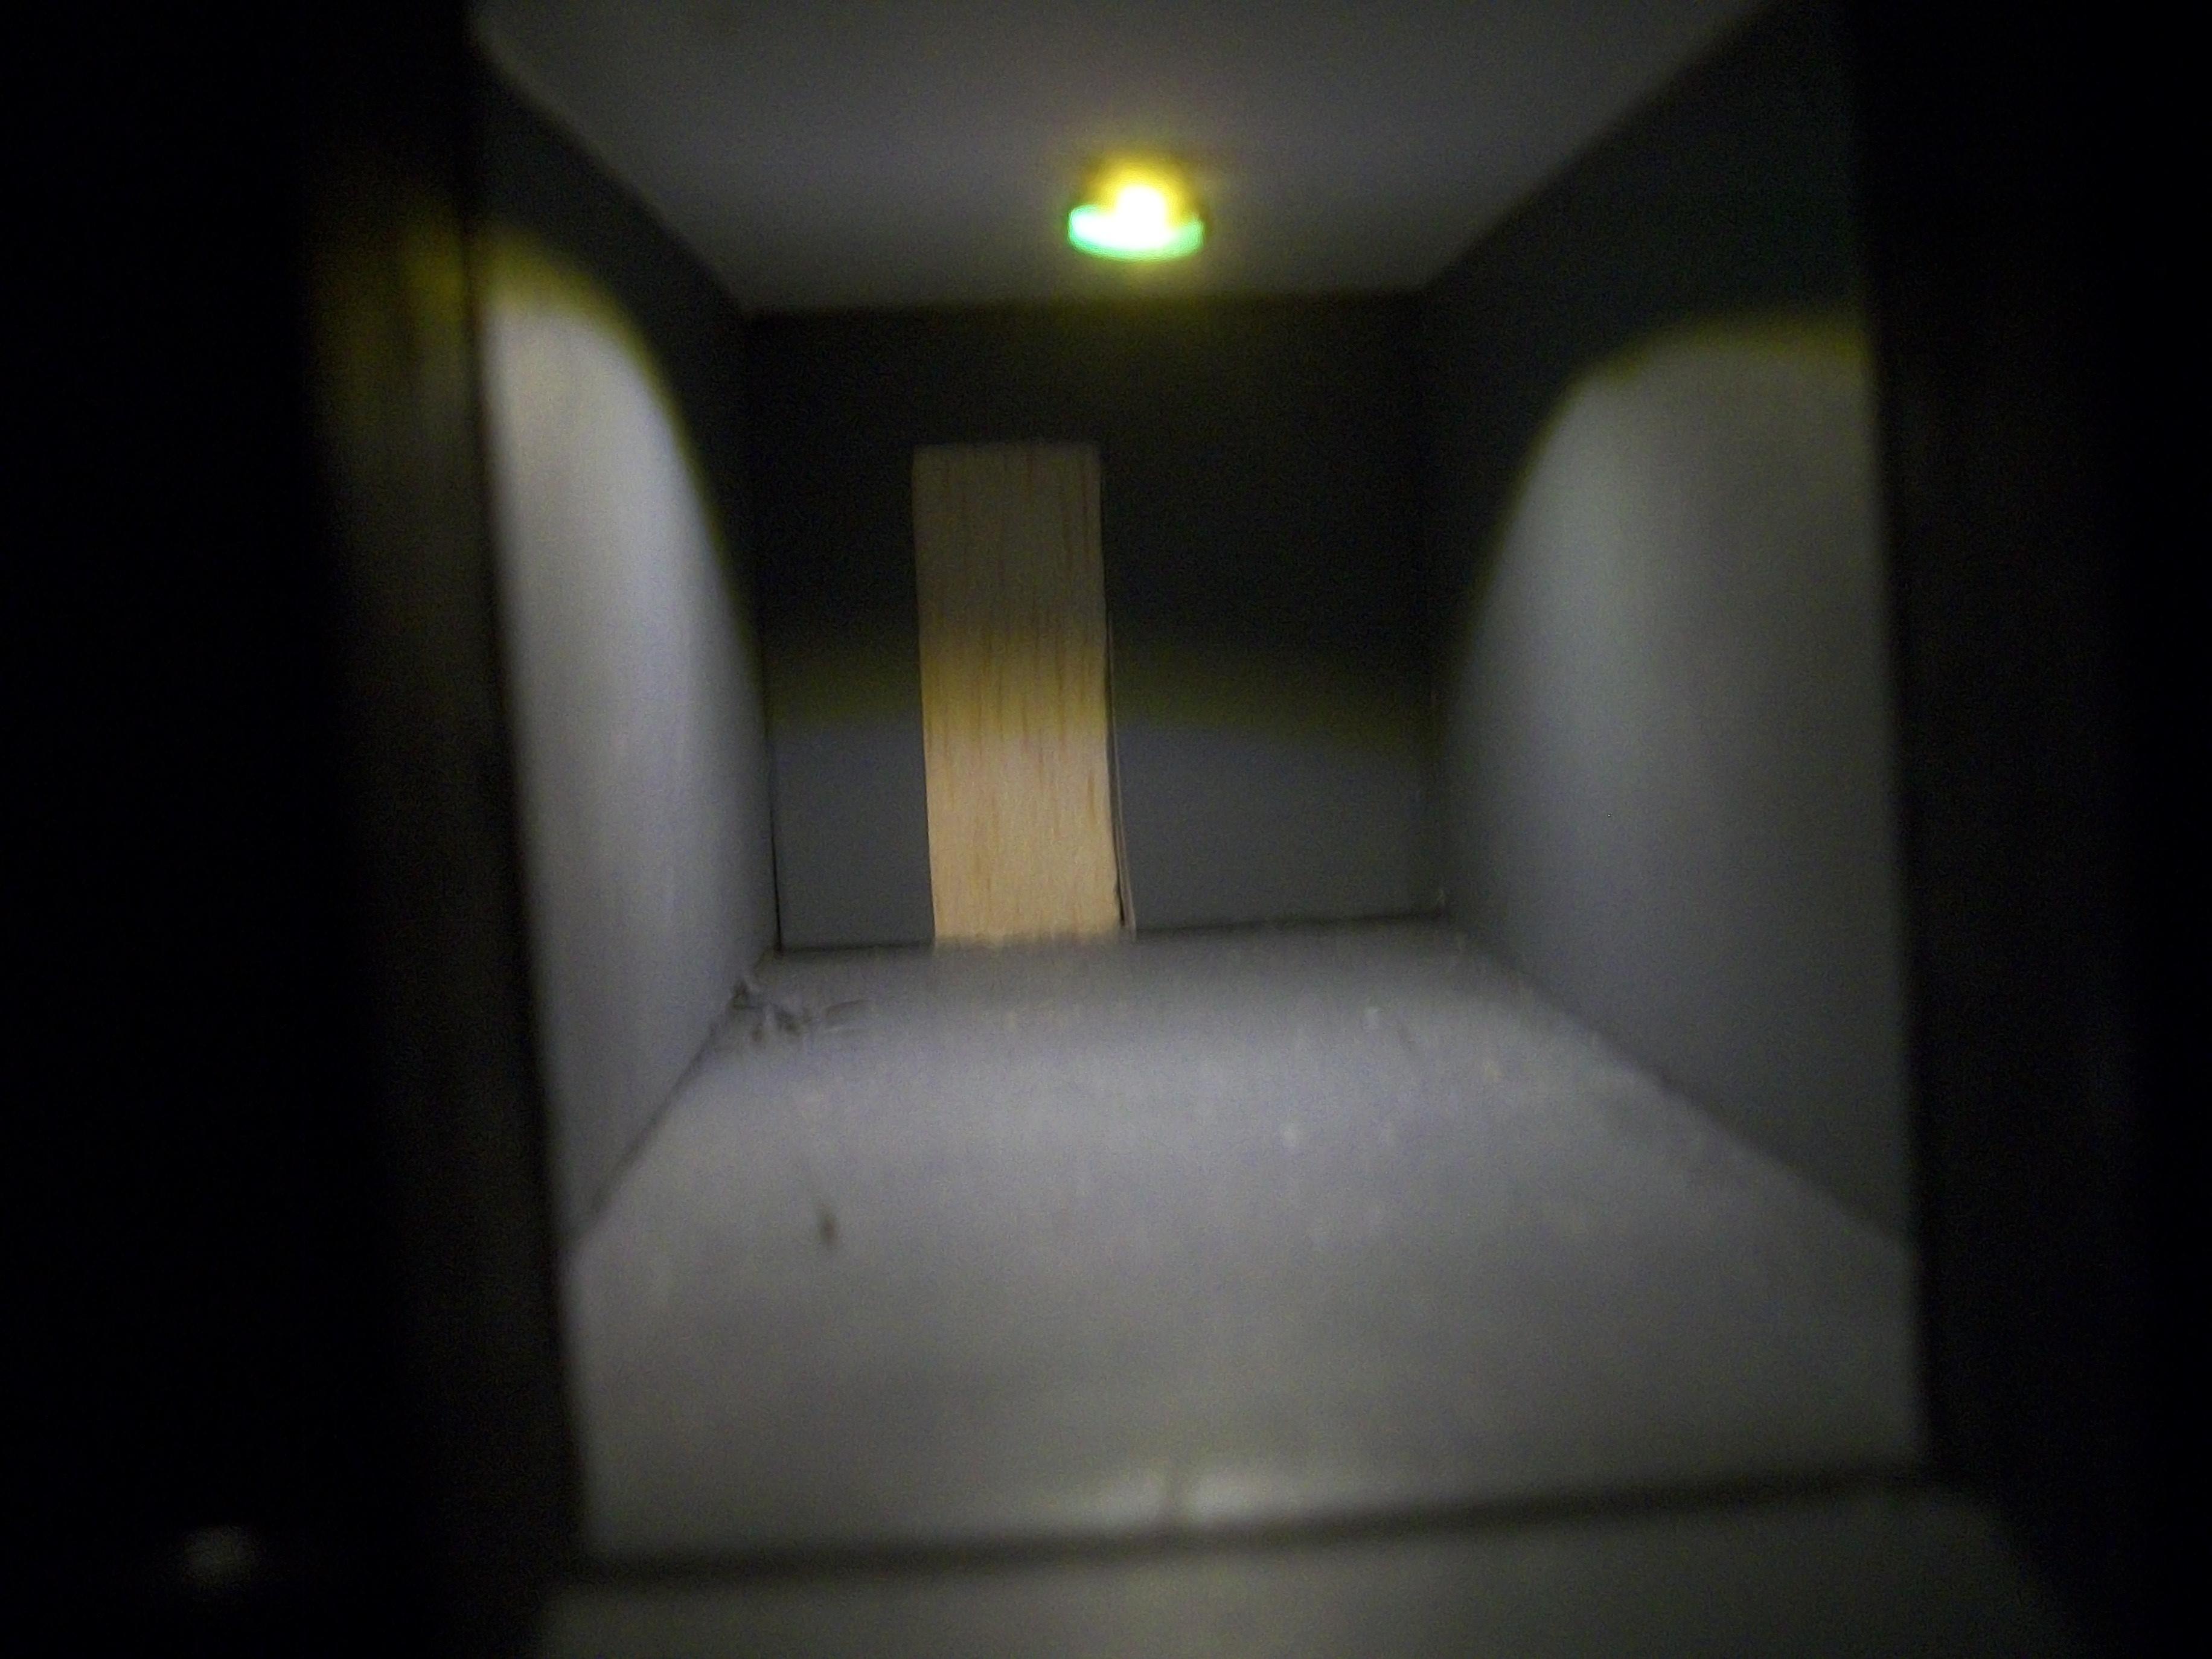
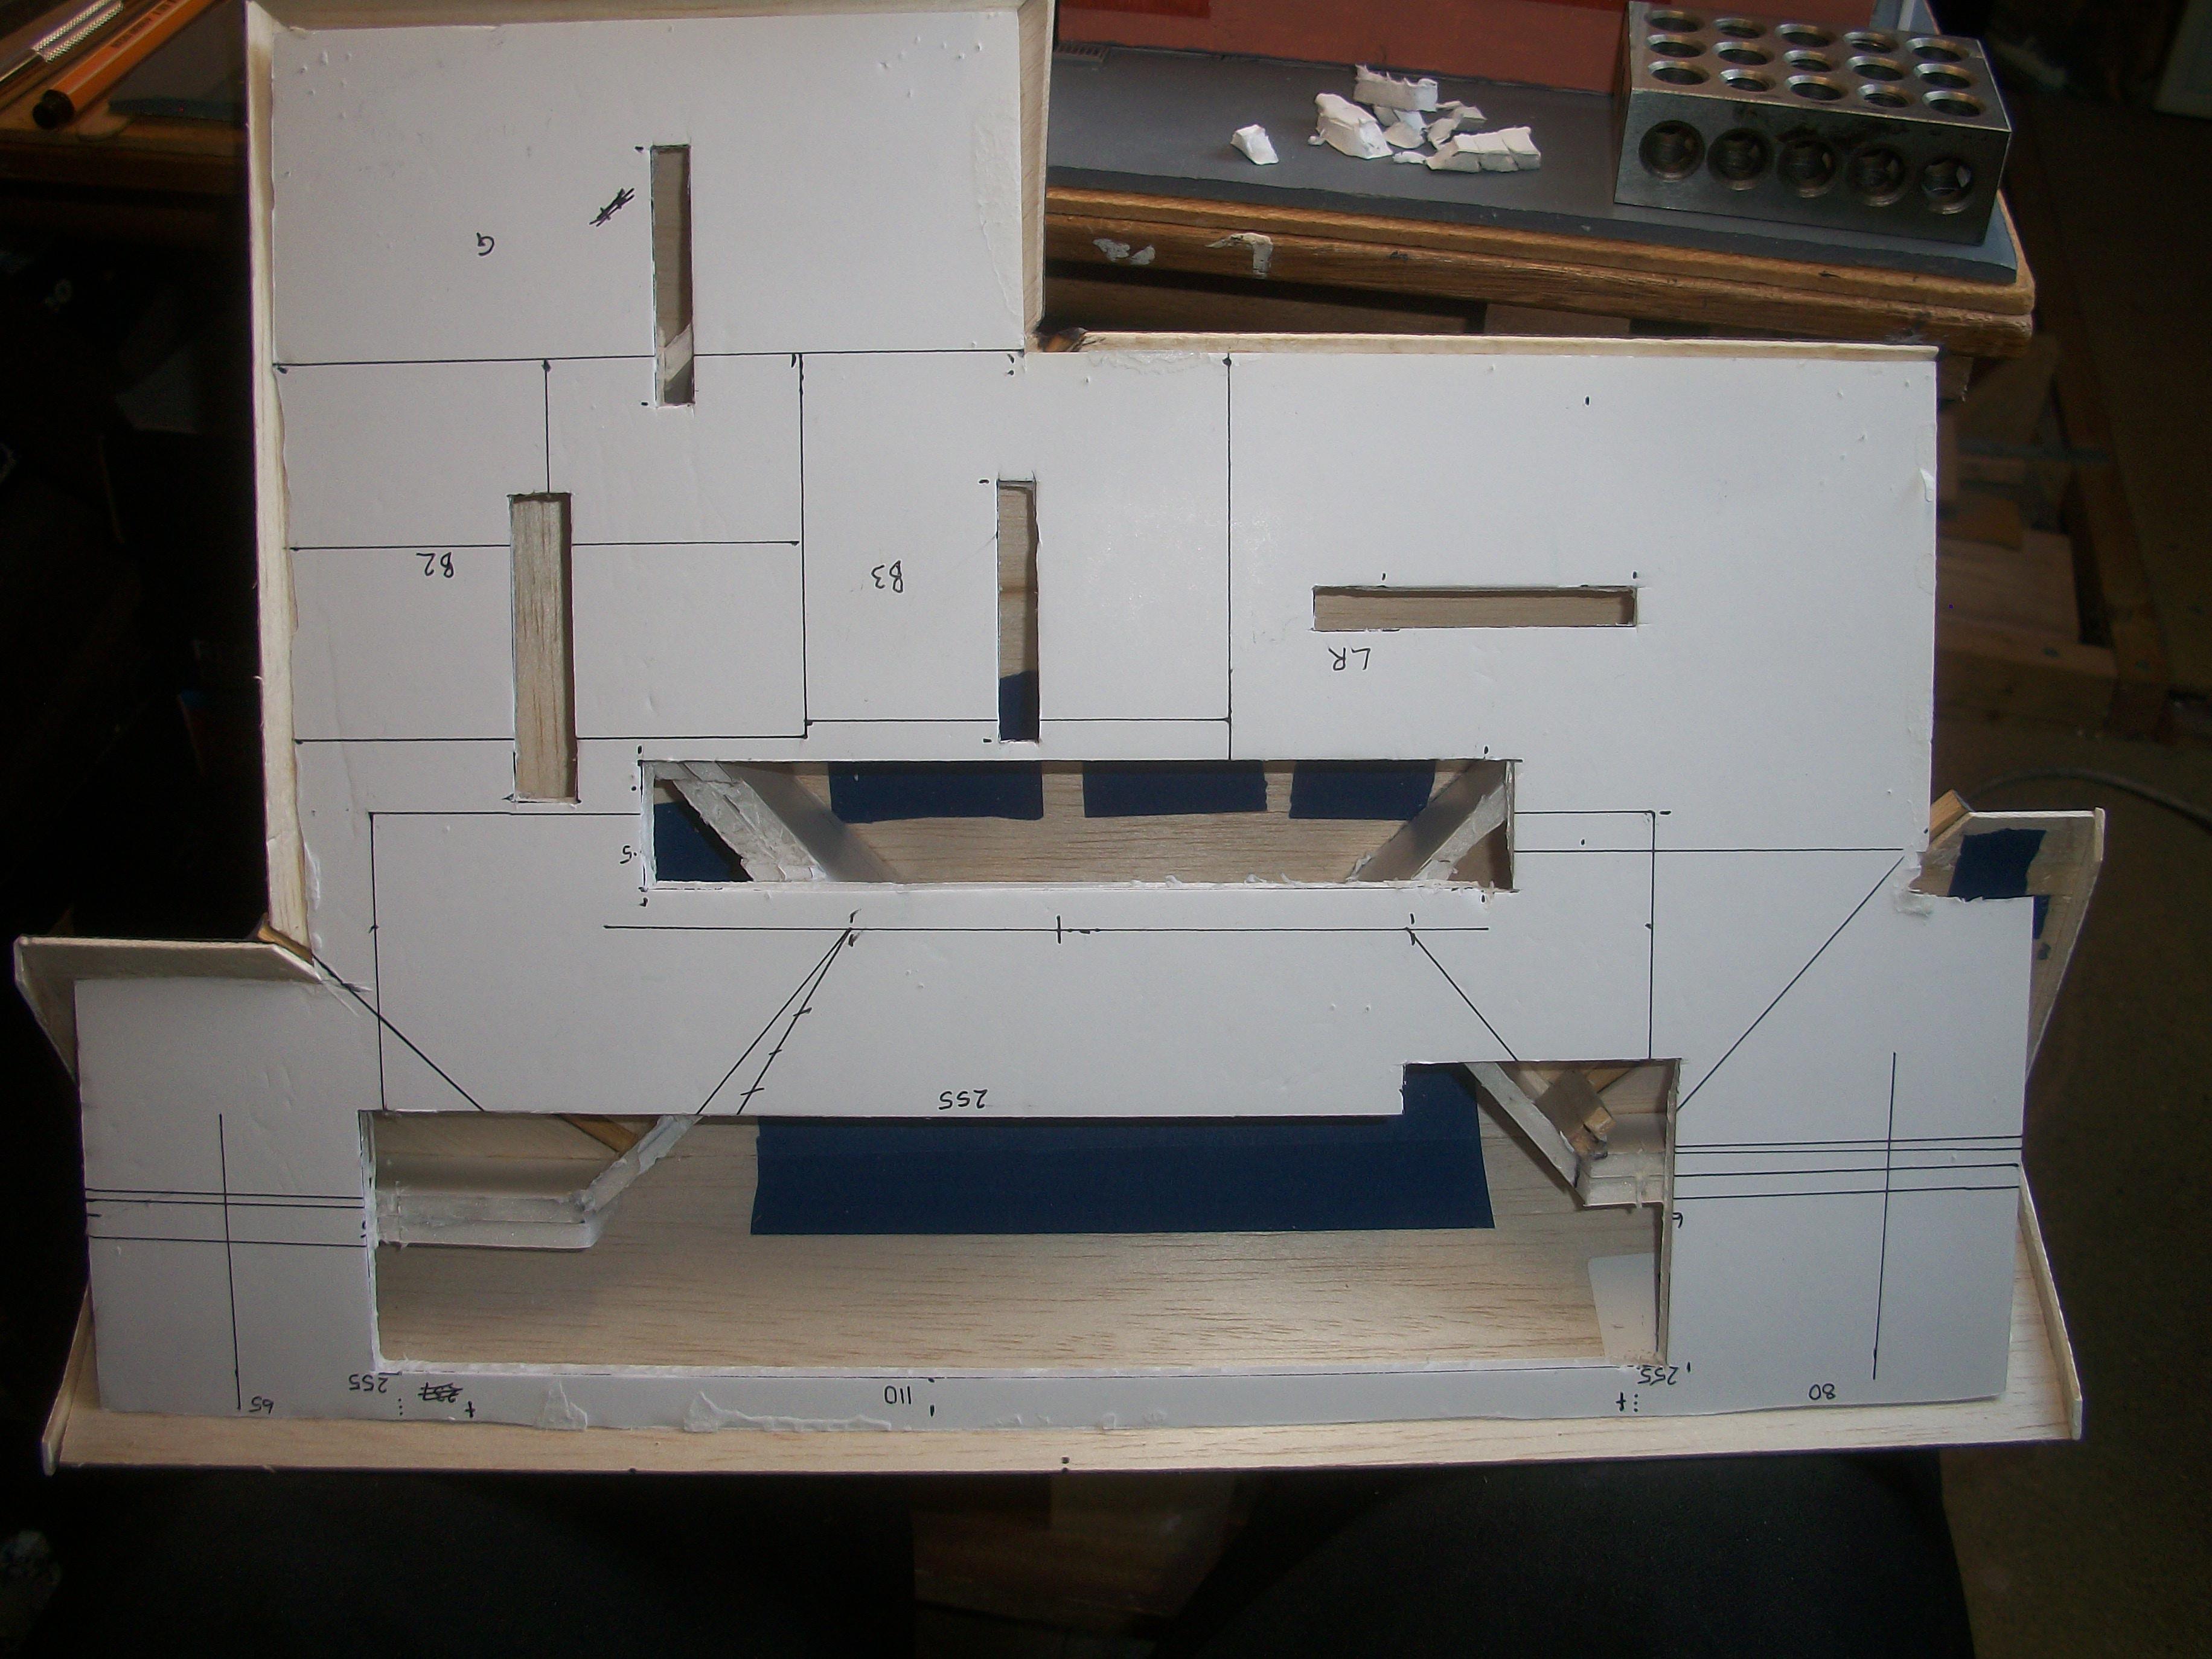
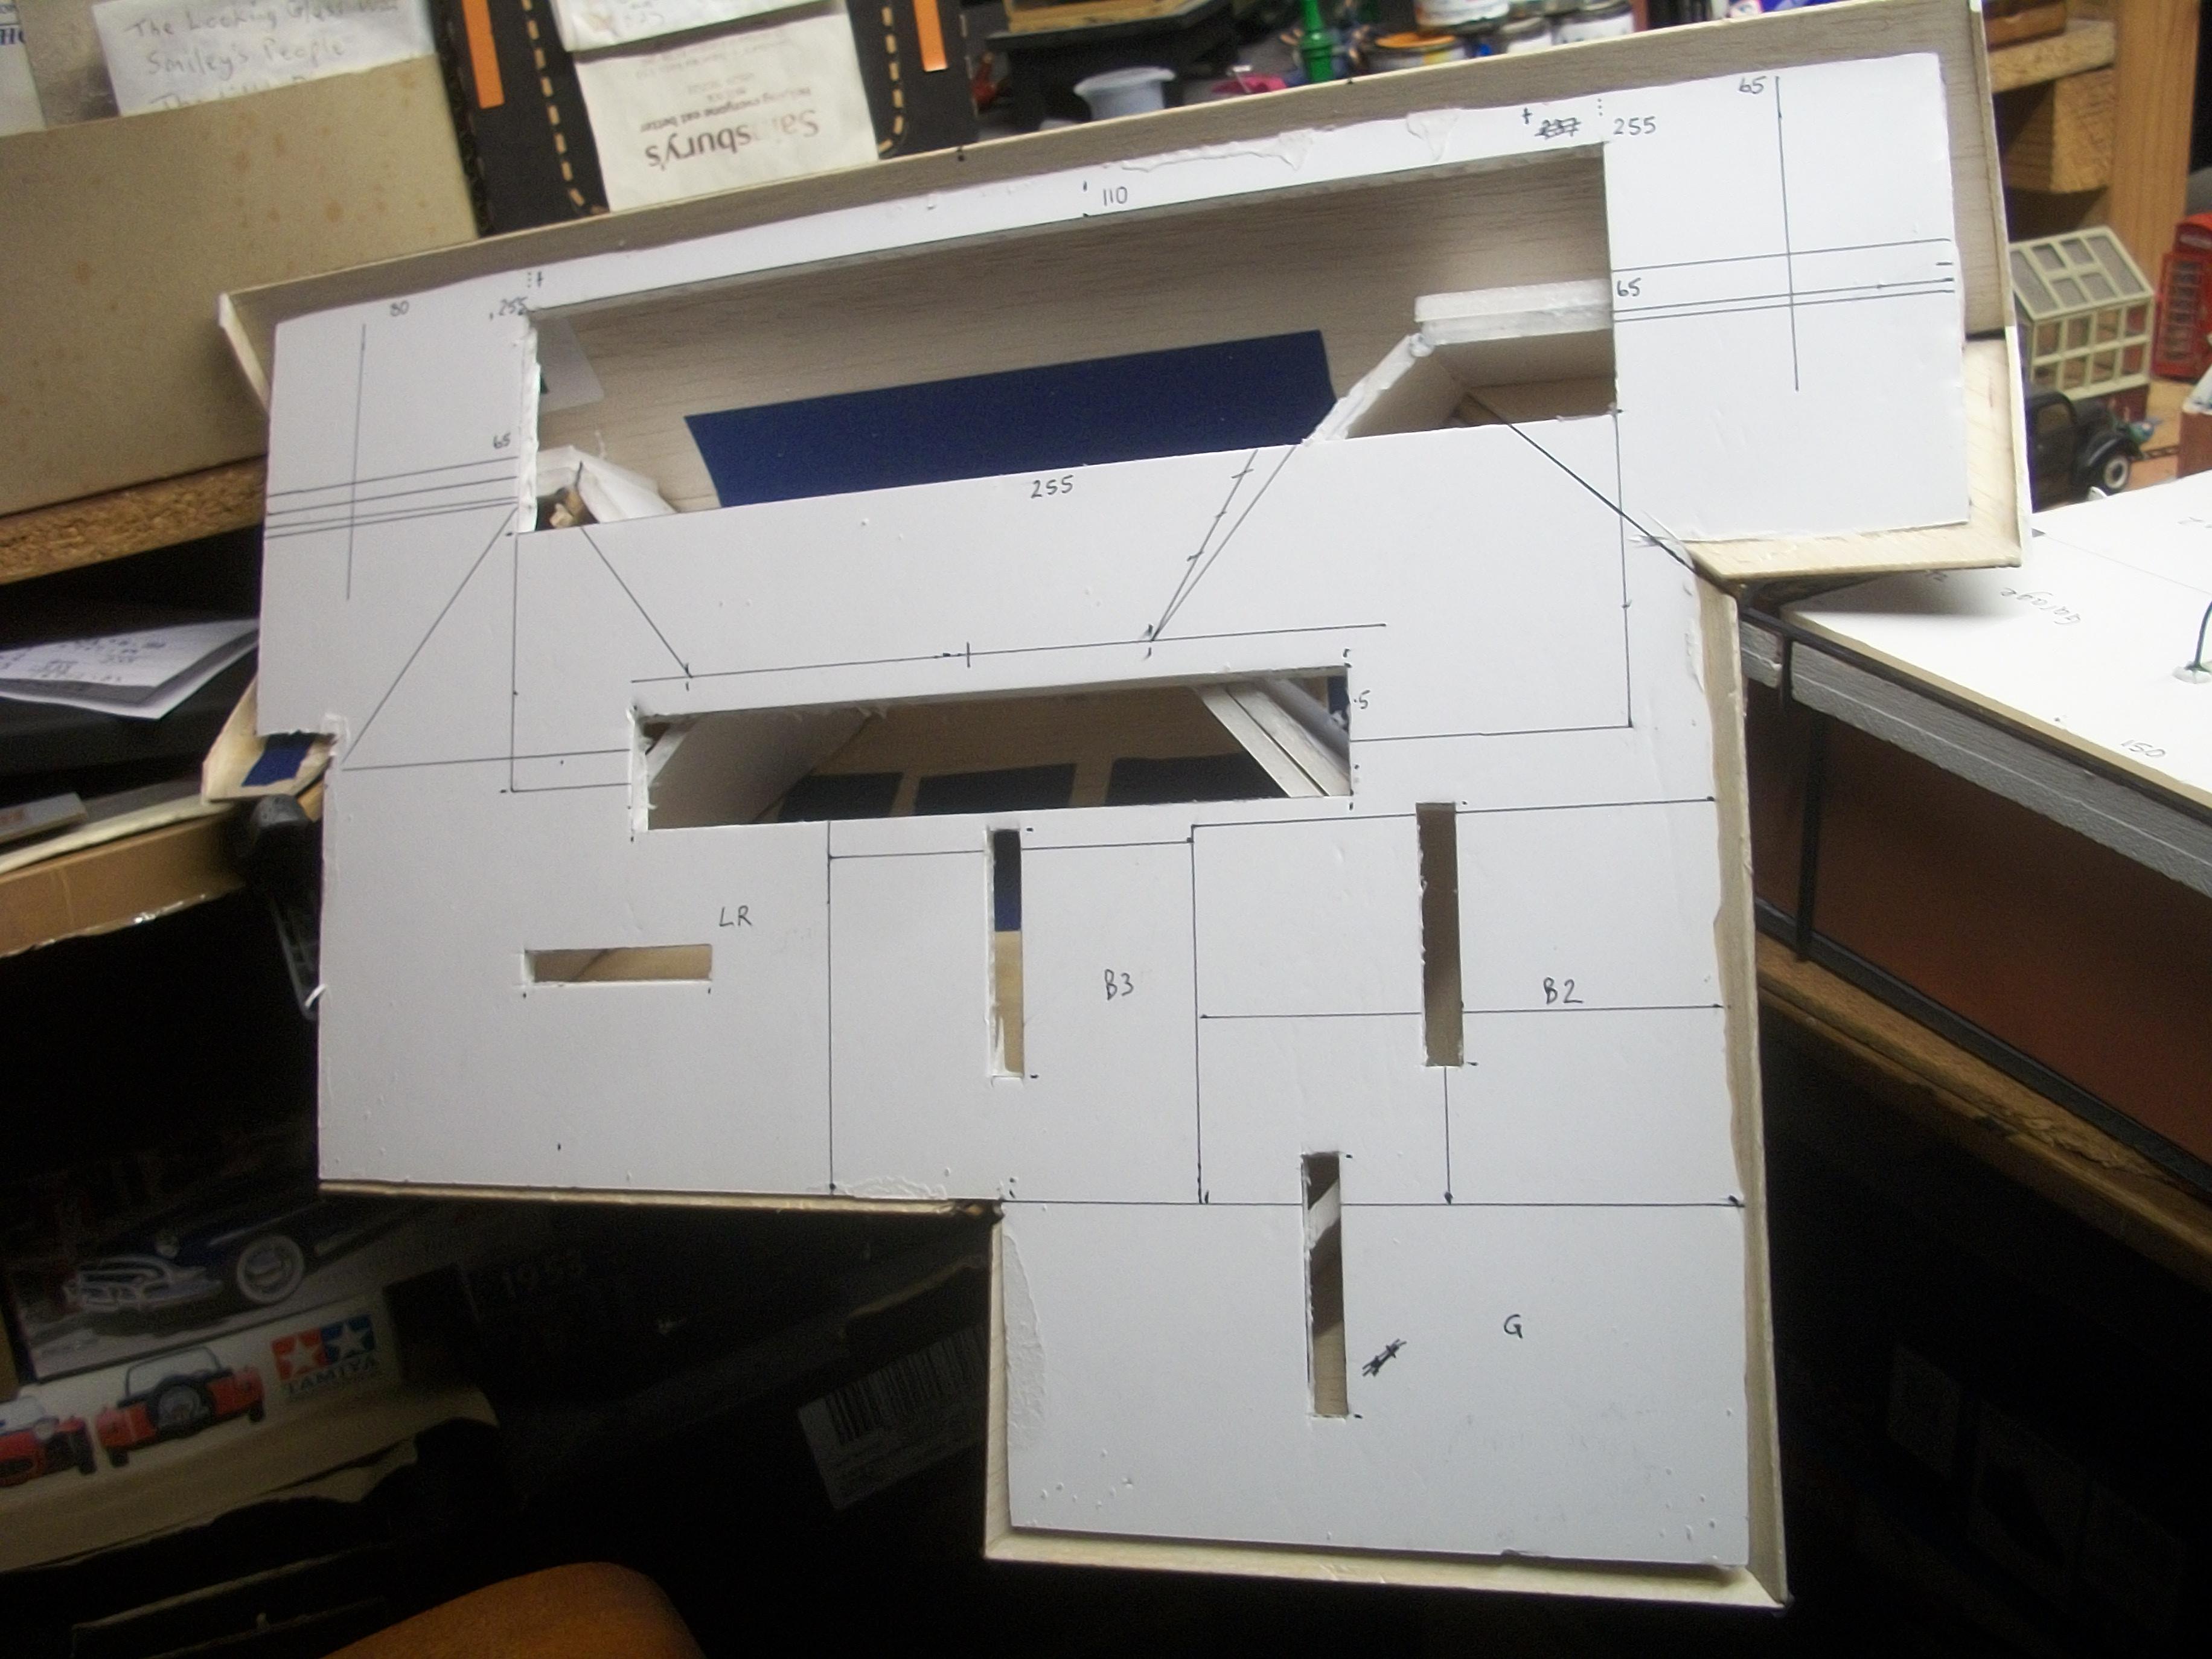
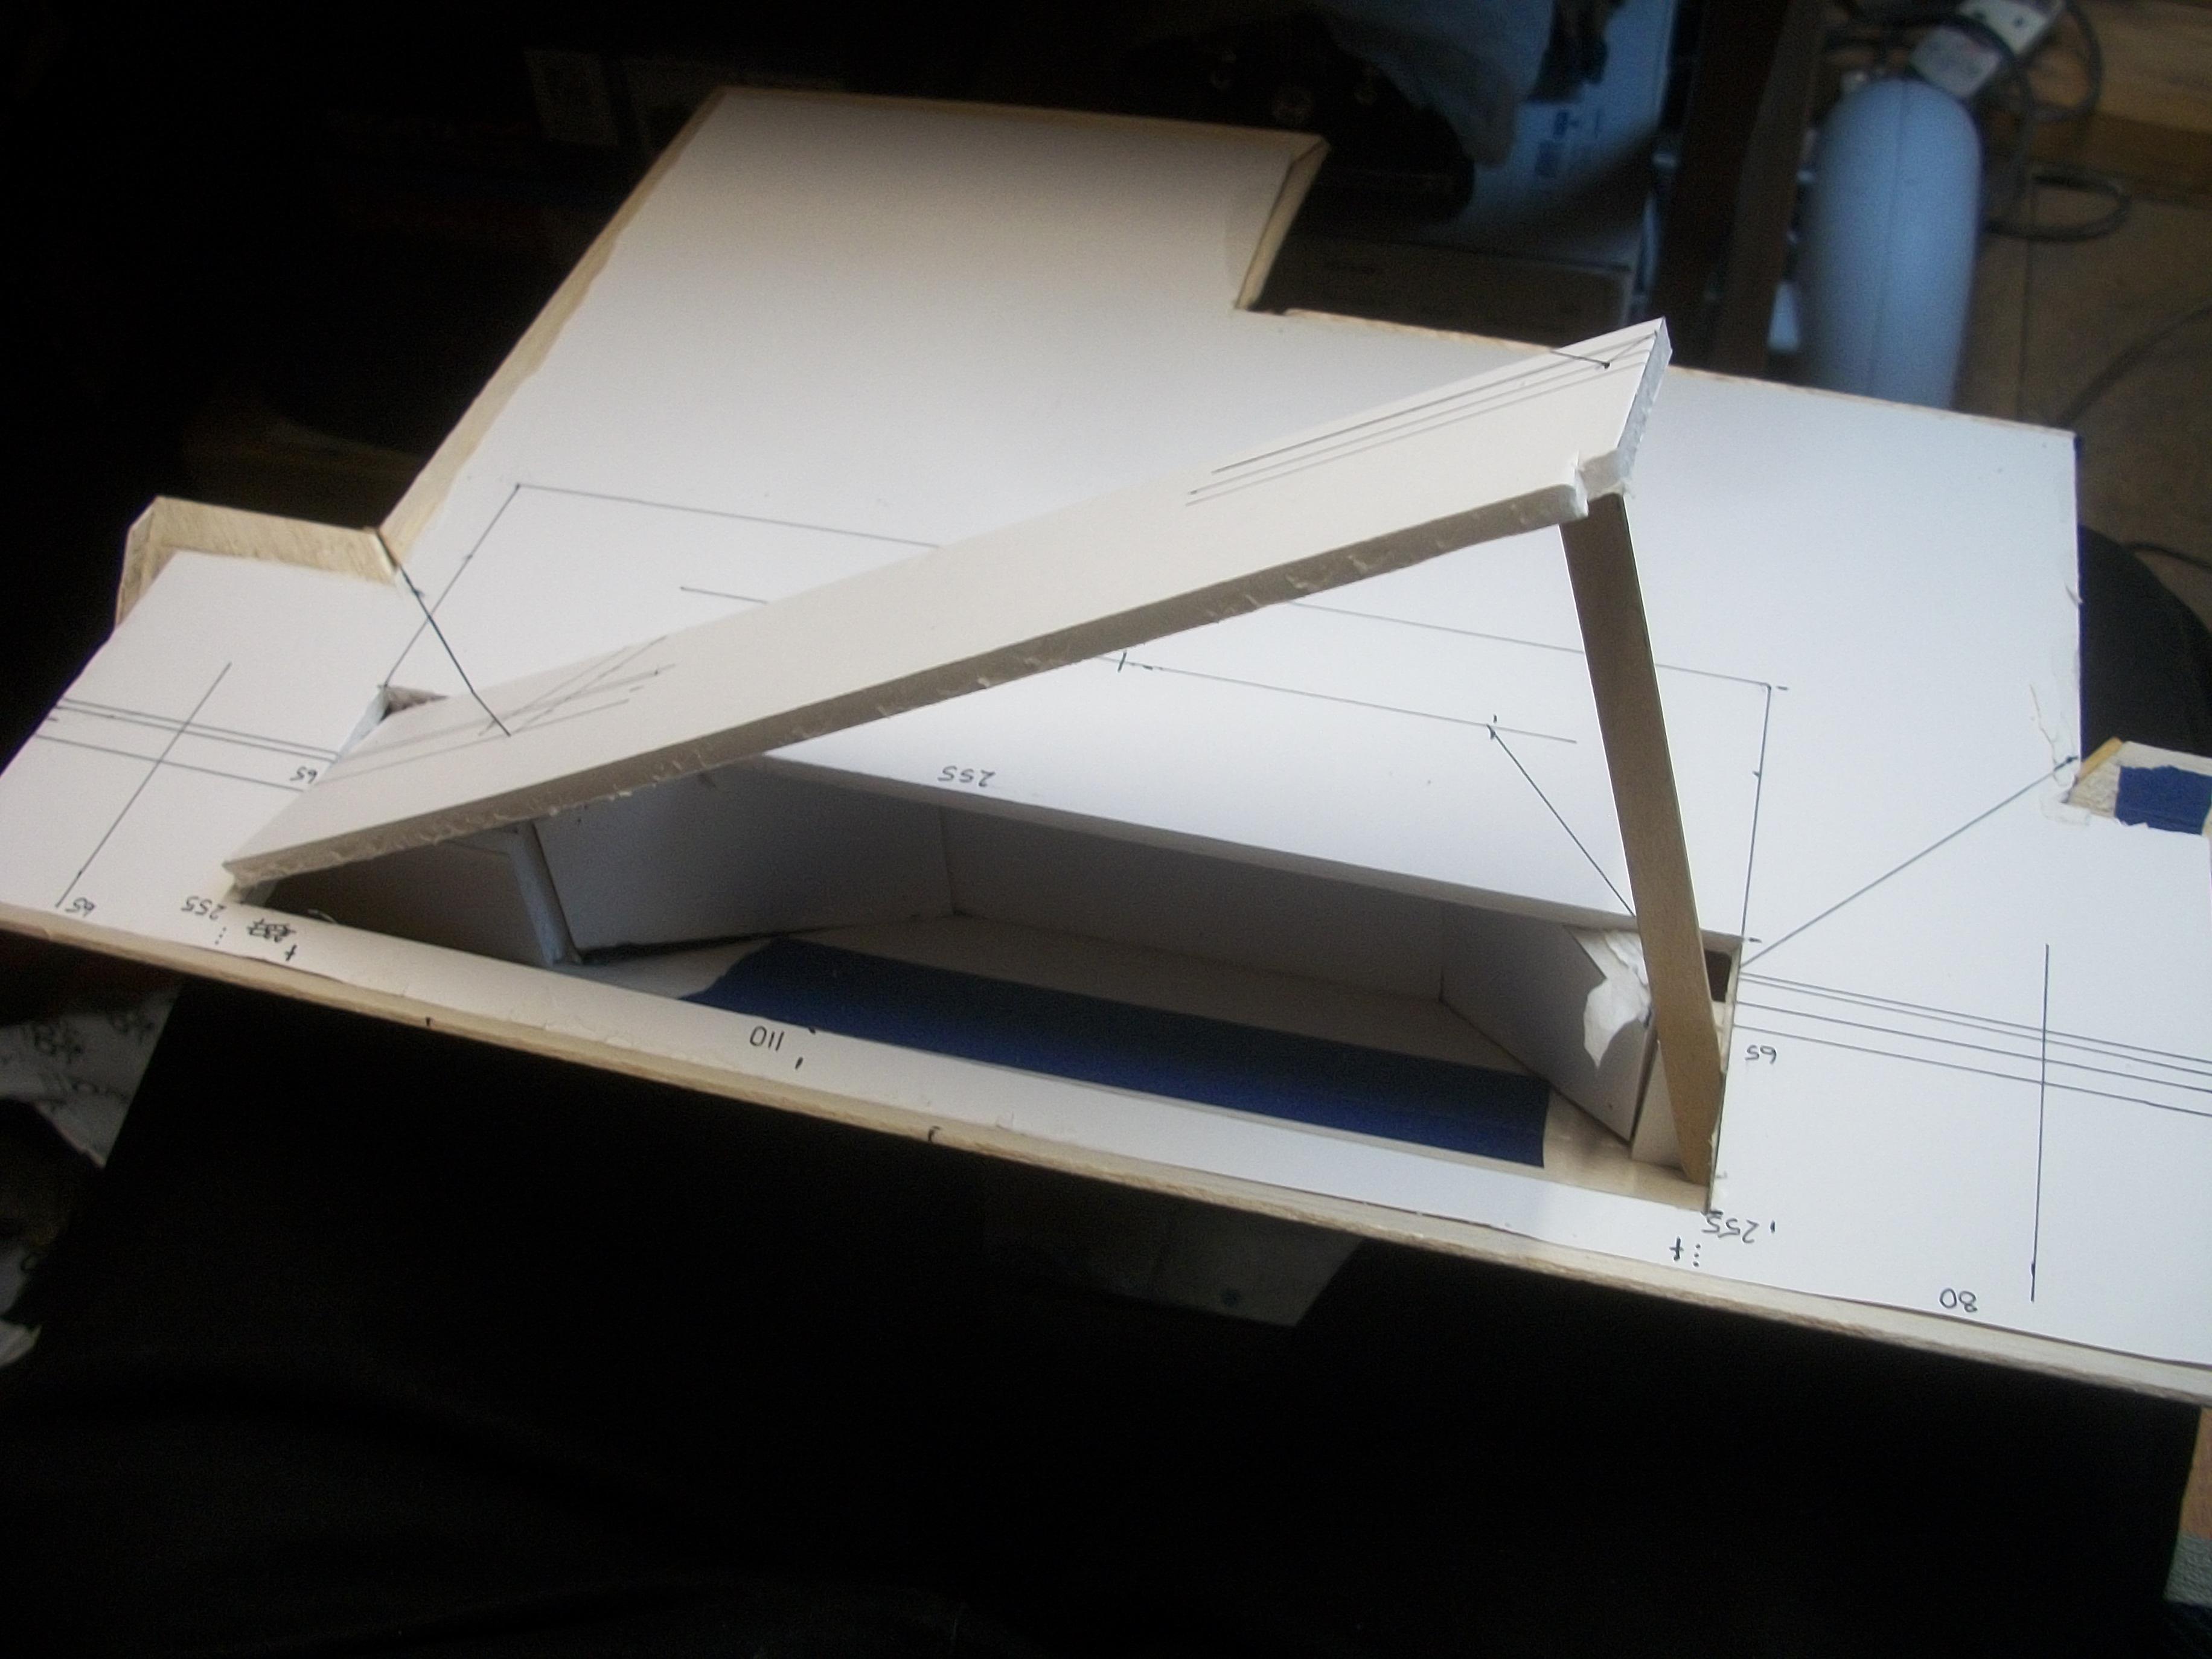
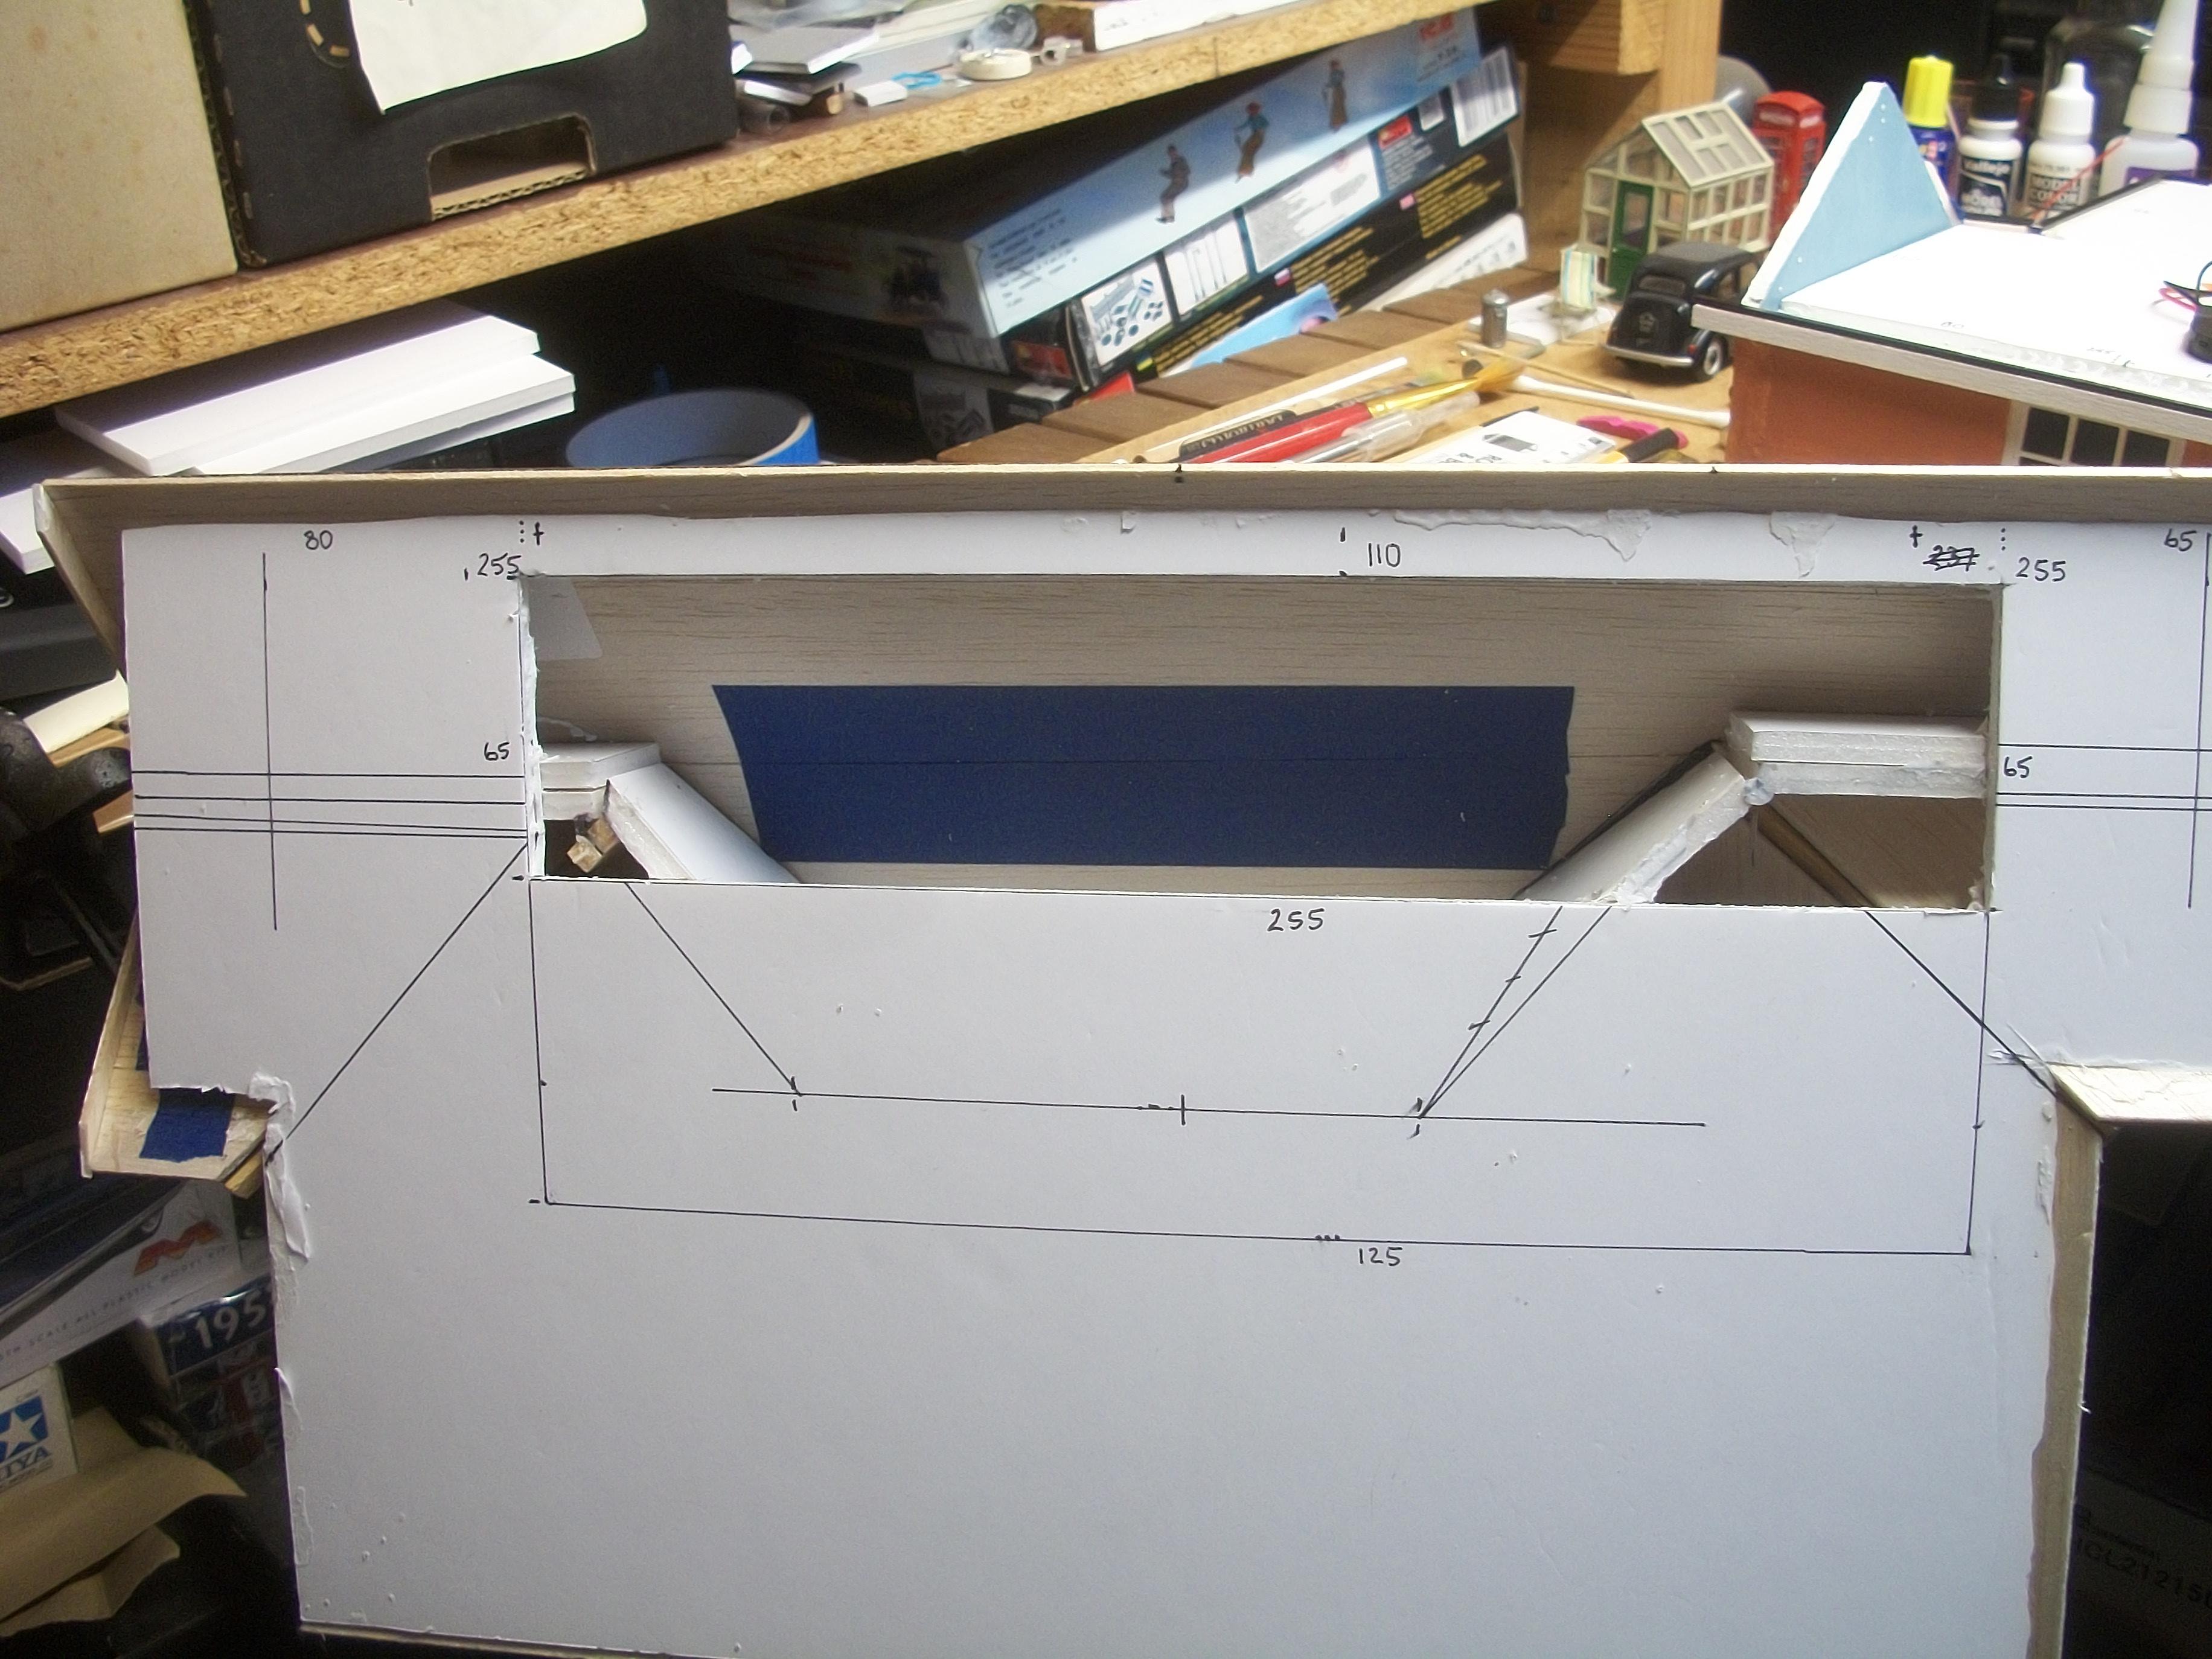
One whole day was spent enlarging some of the cutouts in the roof structure baseboard . . . Each one of these was somehow obstructing the objects on the ceiling panel, including the battery holders / switches, terminal blocks and the lamp tubes. Eventually I arrived at a close enough fit between the two panels to be acceptable . . . Then the roof and ceiling were removed as one unit, leaving me with access to the ground floor rooms assembly . . . Several further parts have been PVA glued to their correct position in their respective rooms, such as beds, one table, one of the four chairs, and the piano . . . I did try out some photography using the revolving mirrored turntable, with external lights turned off. The internal lighting within the bungalow seems to work quite well . . . David
-
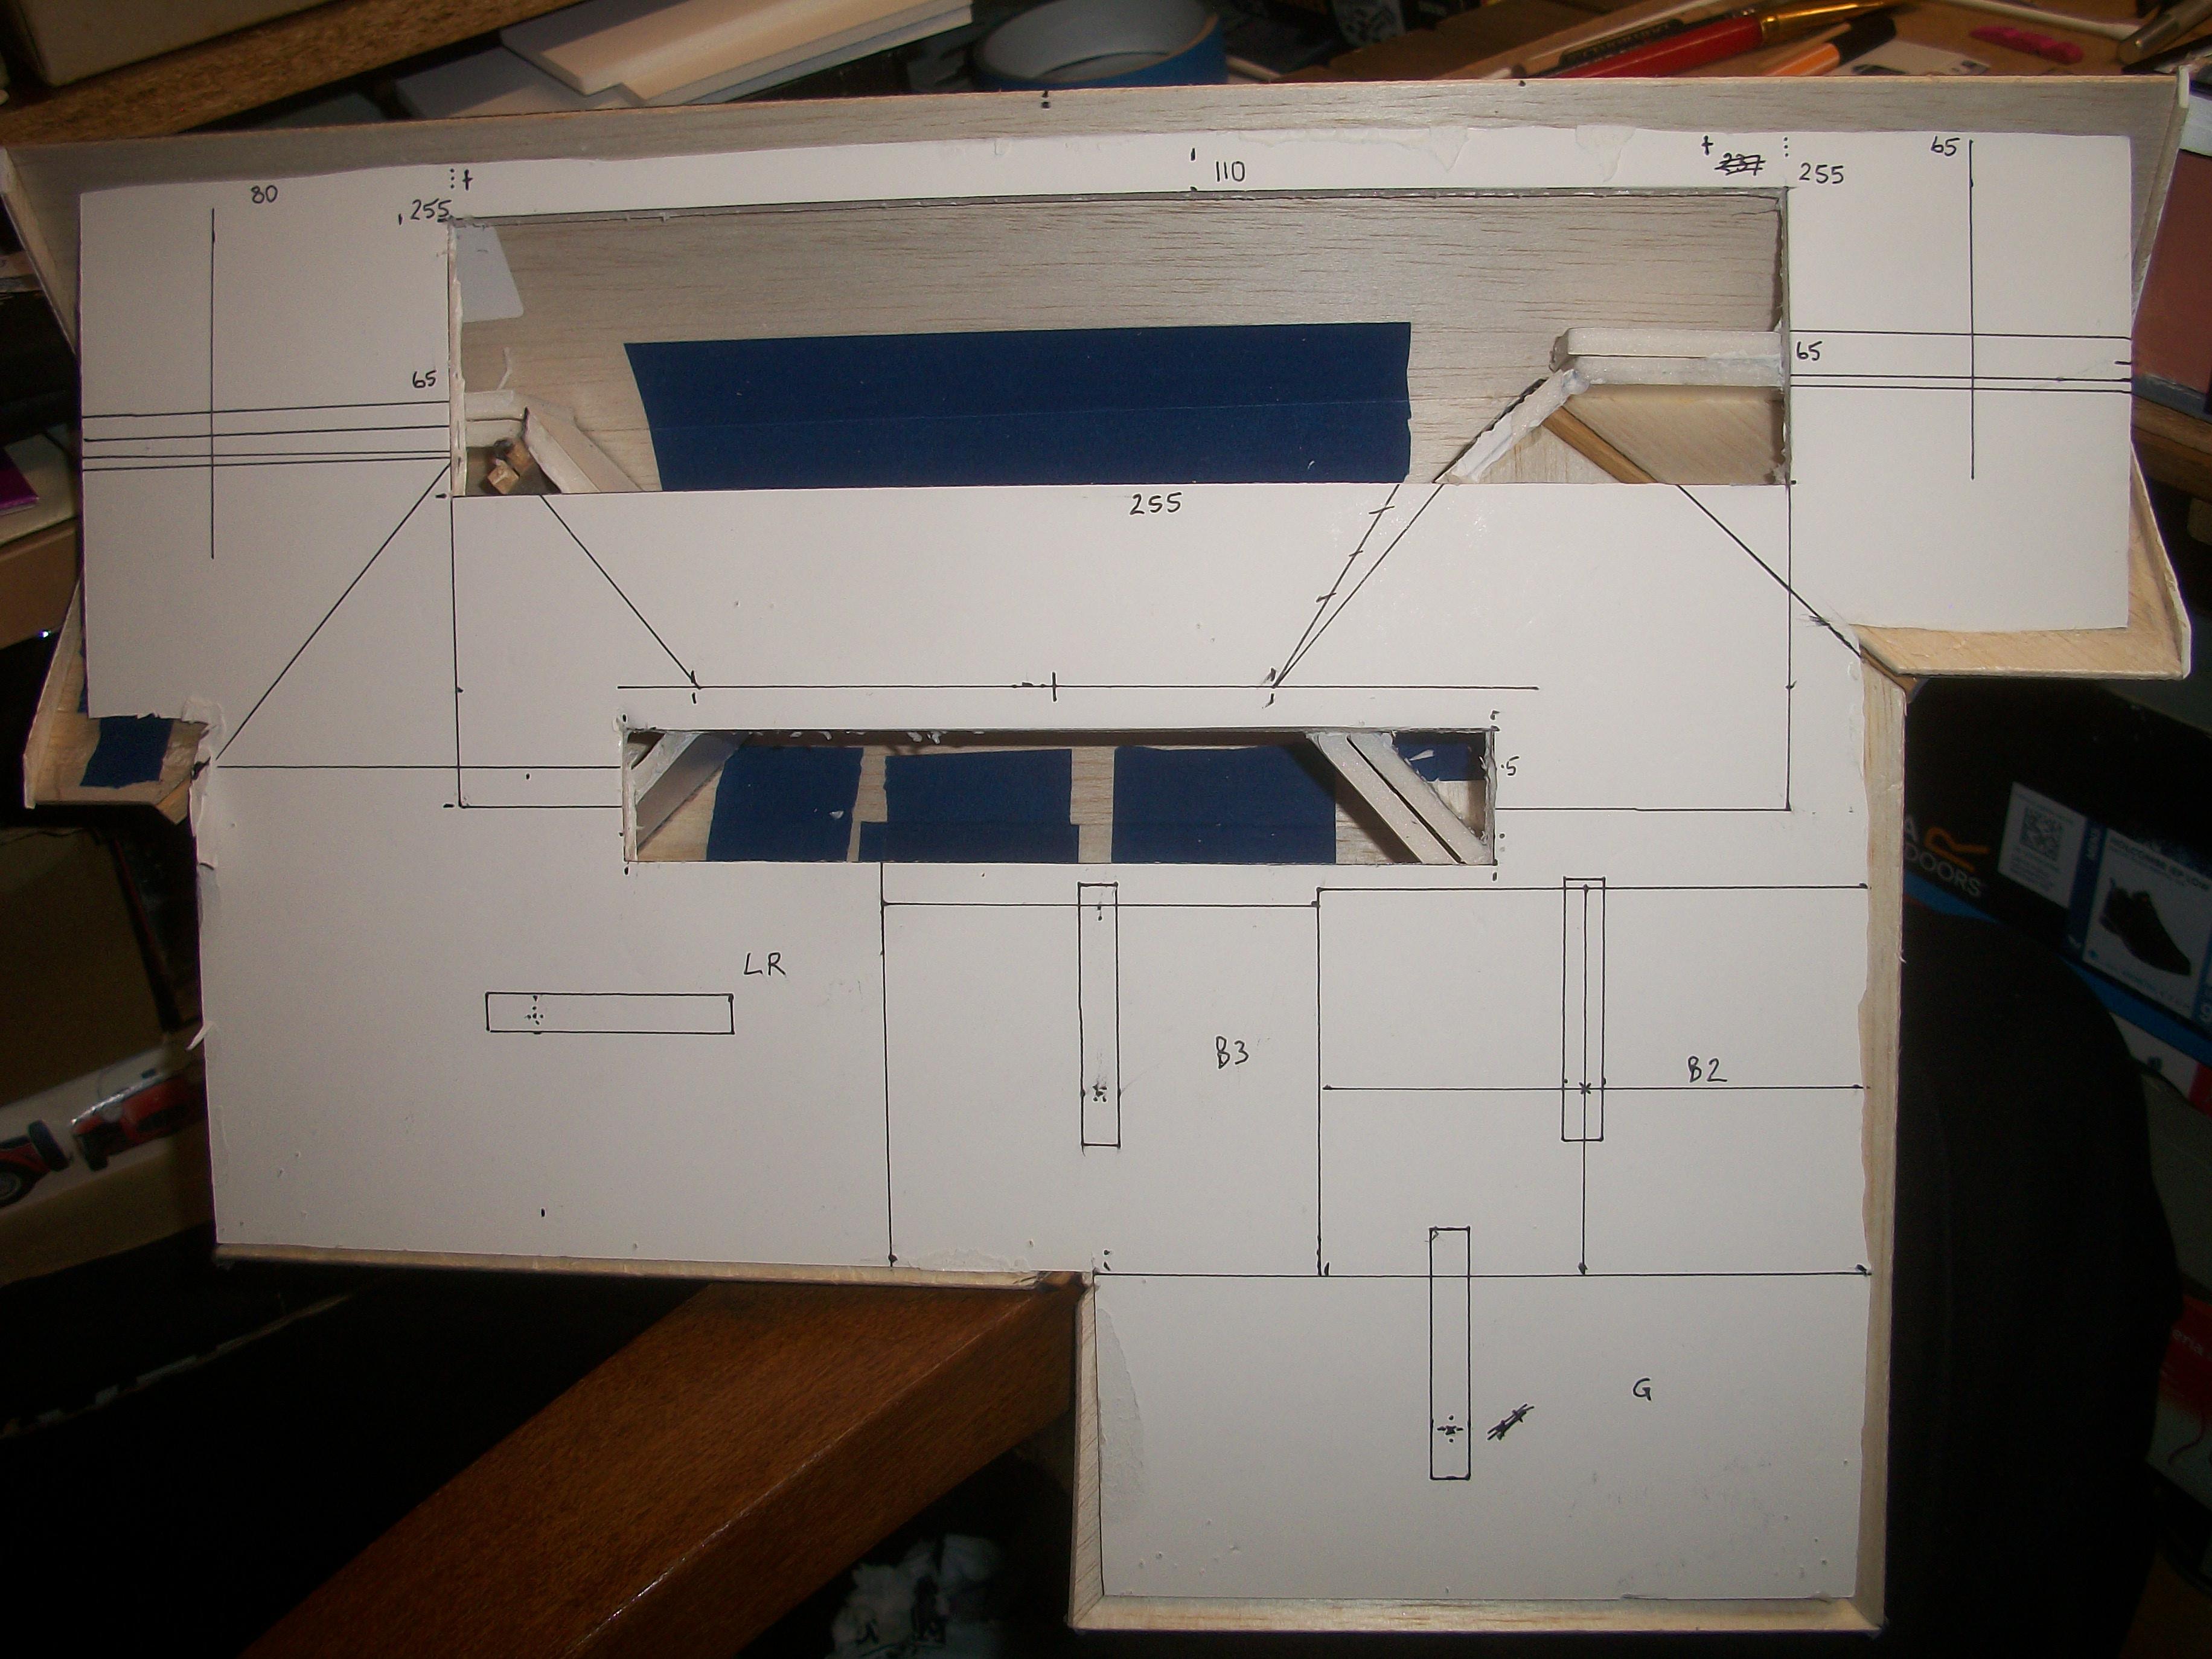
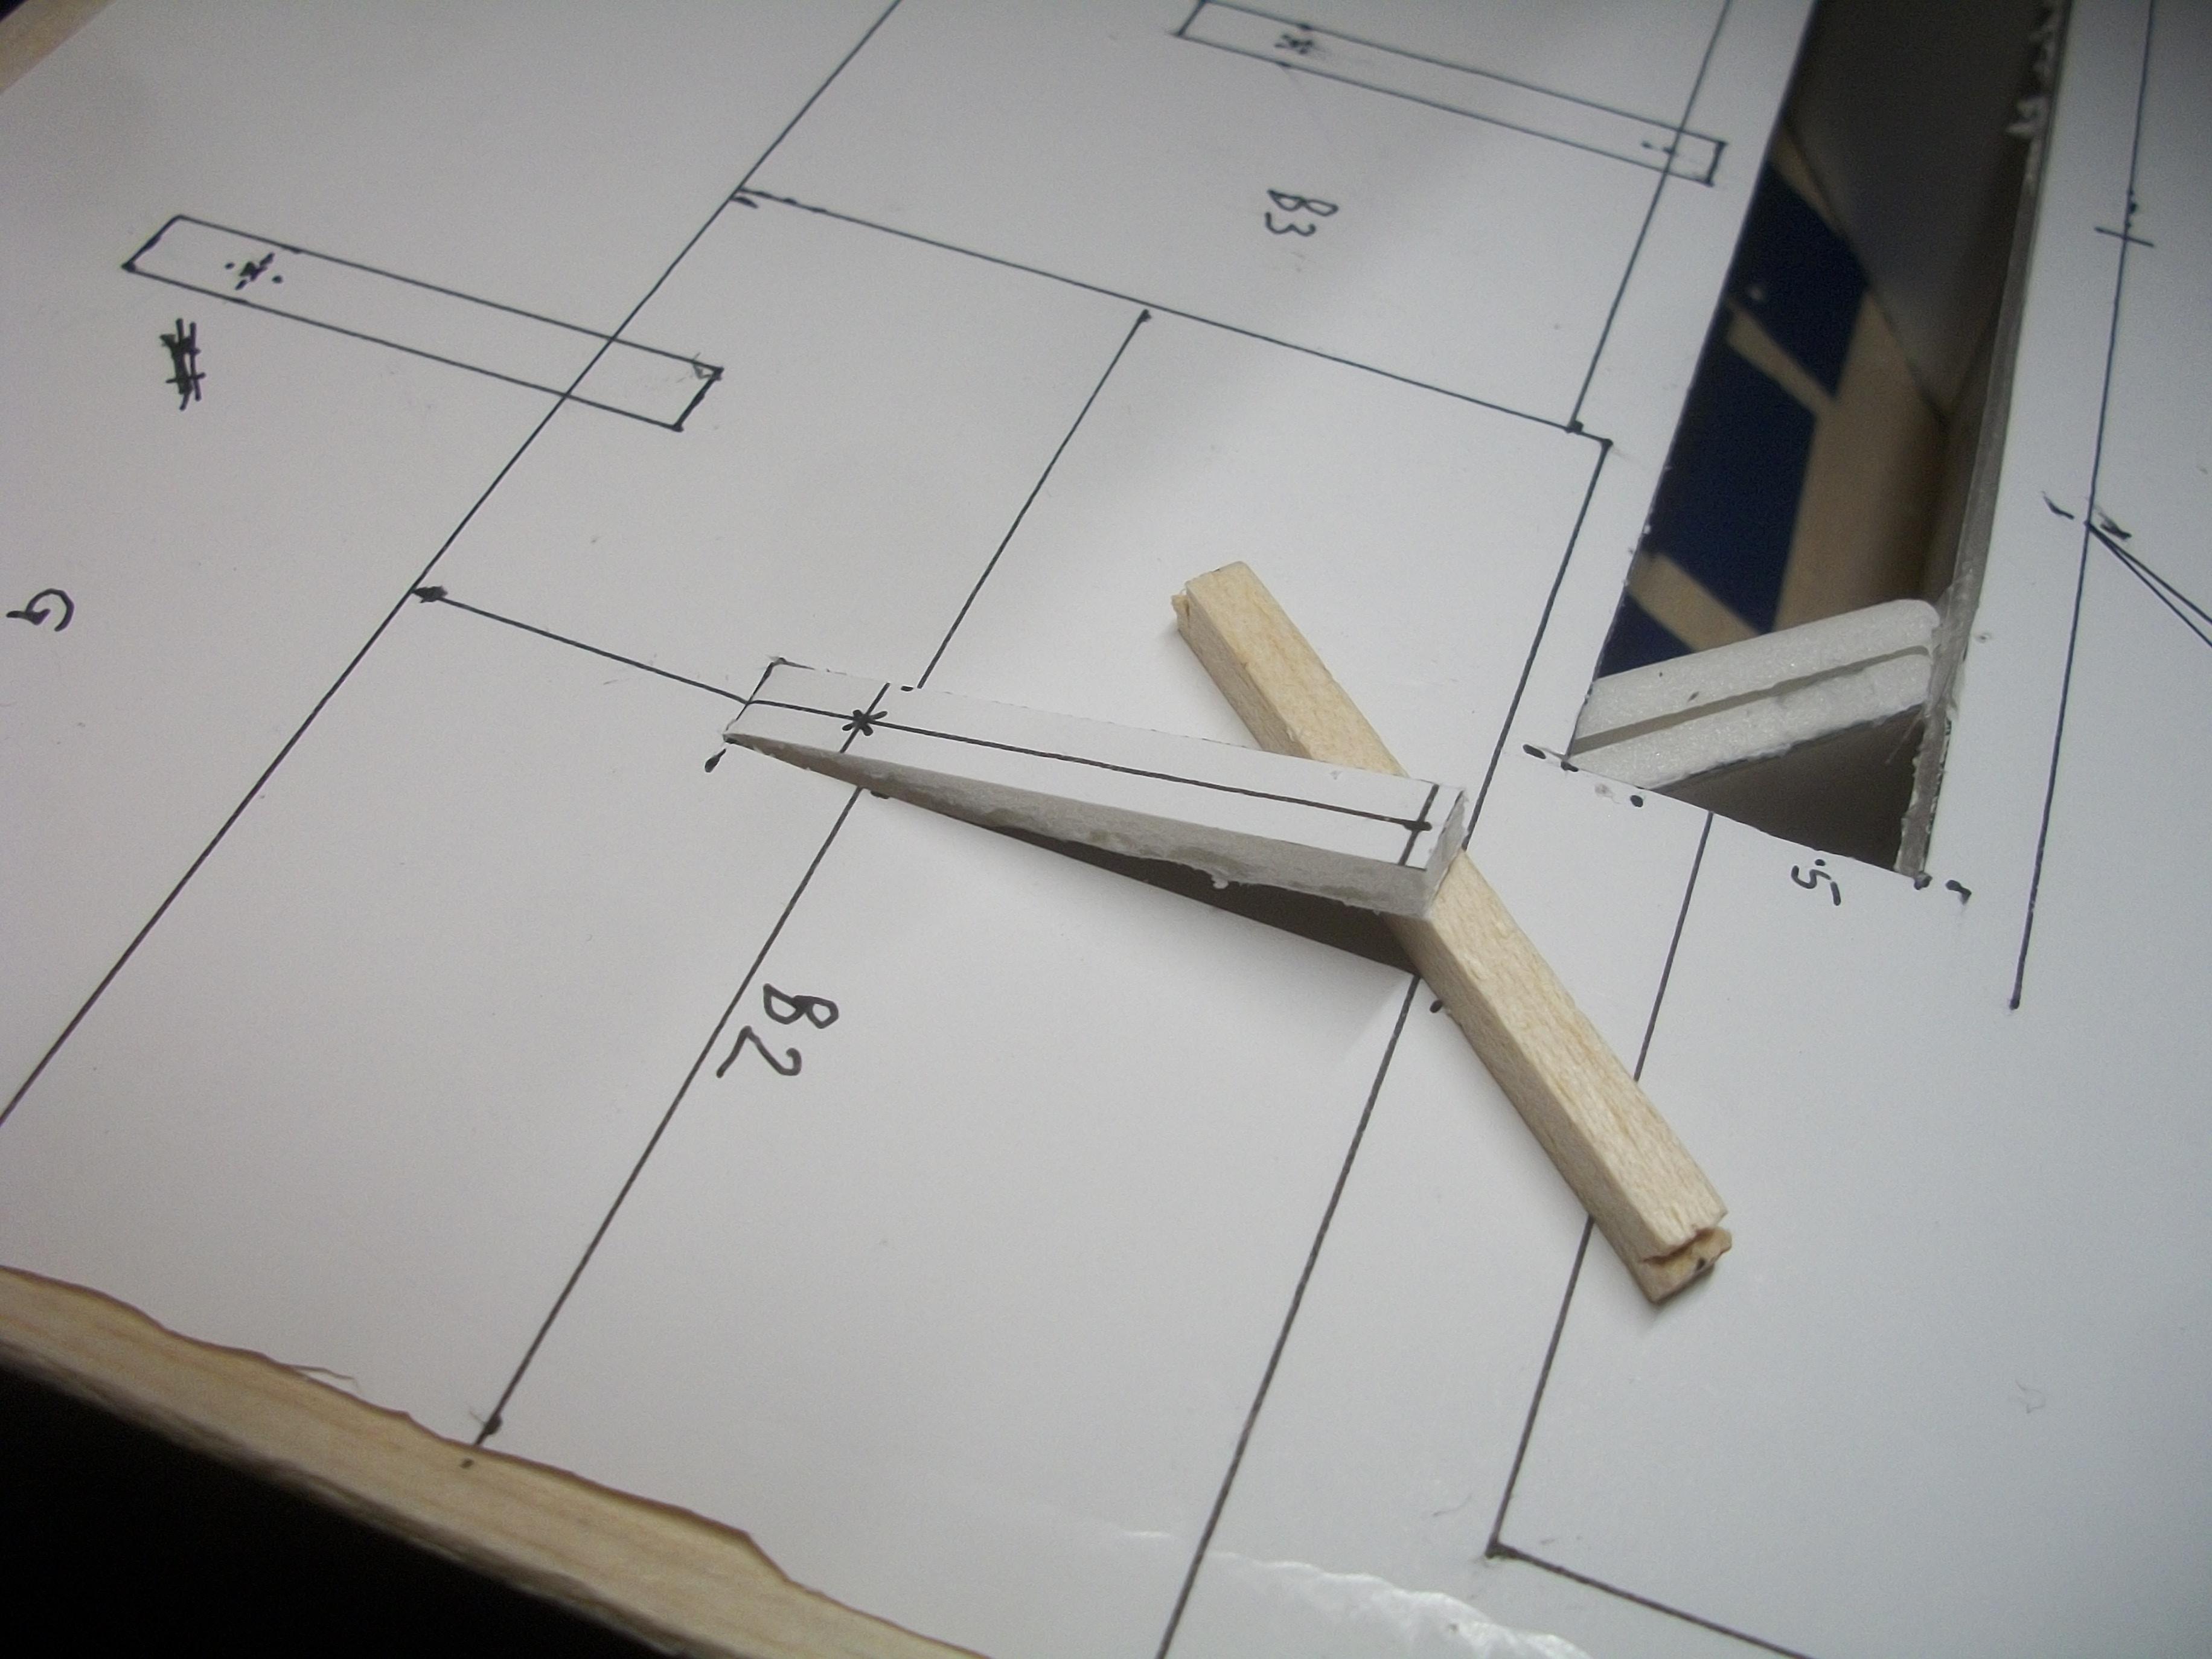
Feeling much more confident about these cutouts, I set about the remaining five cutout panels this evening . . . Having removed the largest panel yesterday, the second largest was removed today. This only left the four slot shaped smaller panels to be removed . . . The whole process was straightforward, and I am happy with the result. Tomorrow, I shall fix the terminal blocks in place using double sided tape, and also check that all eight rooms have working lights, as the wires have been subject to a great deal of movement during the cutting out process . . . Of course, the most important thing to check at this stage will be the fitting of the roof structure onto the ceiling panel. These cut out sections need to fit over the row of battery holders / switches, and also over the terminal blocks, as well as over the four lamp tubes and screws . . . David
-
Do you make notes/memory aids as you build?
Anglia105E replied to Mattblack's topic in Model Building Questions and Answers
I always make highly detailed notes when I am working on a build, some of which are on scraps of paper such as the backs of envelopes for example, and also I keep a daily journal, much like a diary really, which simply maintains a record of what I have achieved during that particular day . . . In addition to my hand written notes, I take photos at every single stage of the build, and many of these photos then get posted with my MCM Forum W.I.P. topic that is running at the time . . . Sometimes I do have to refer back to an MCM topic several years later, when a member asks me a question that I don't have an answer to immediately. I like to paint a patch of colour on the inside of chocolate bar cards, and I write the name and number of the colour against each patch of paint colour, for example: Humbrol 21 Gloss Black Enamel or Tamiya TS - 29 Semi Gloss Black Acrylic . . . All of this might sound like massive OCD, but it does help me enormously to think in an organised and methodical fashion. Also, during the period when I was building up to 10 or more Rolls-Royce Silver Cloud motor cars, these notes, photos and references were absolutely invaluable for repeat builds . . . David -
Cheers, and thank you Paul . . . That actually turned out better than I had expected ! David
-
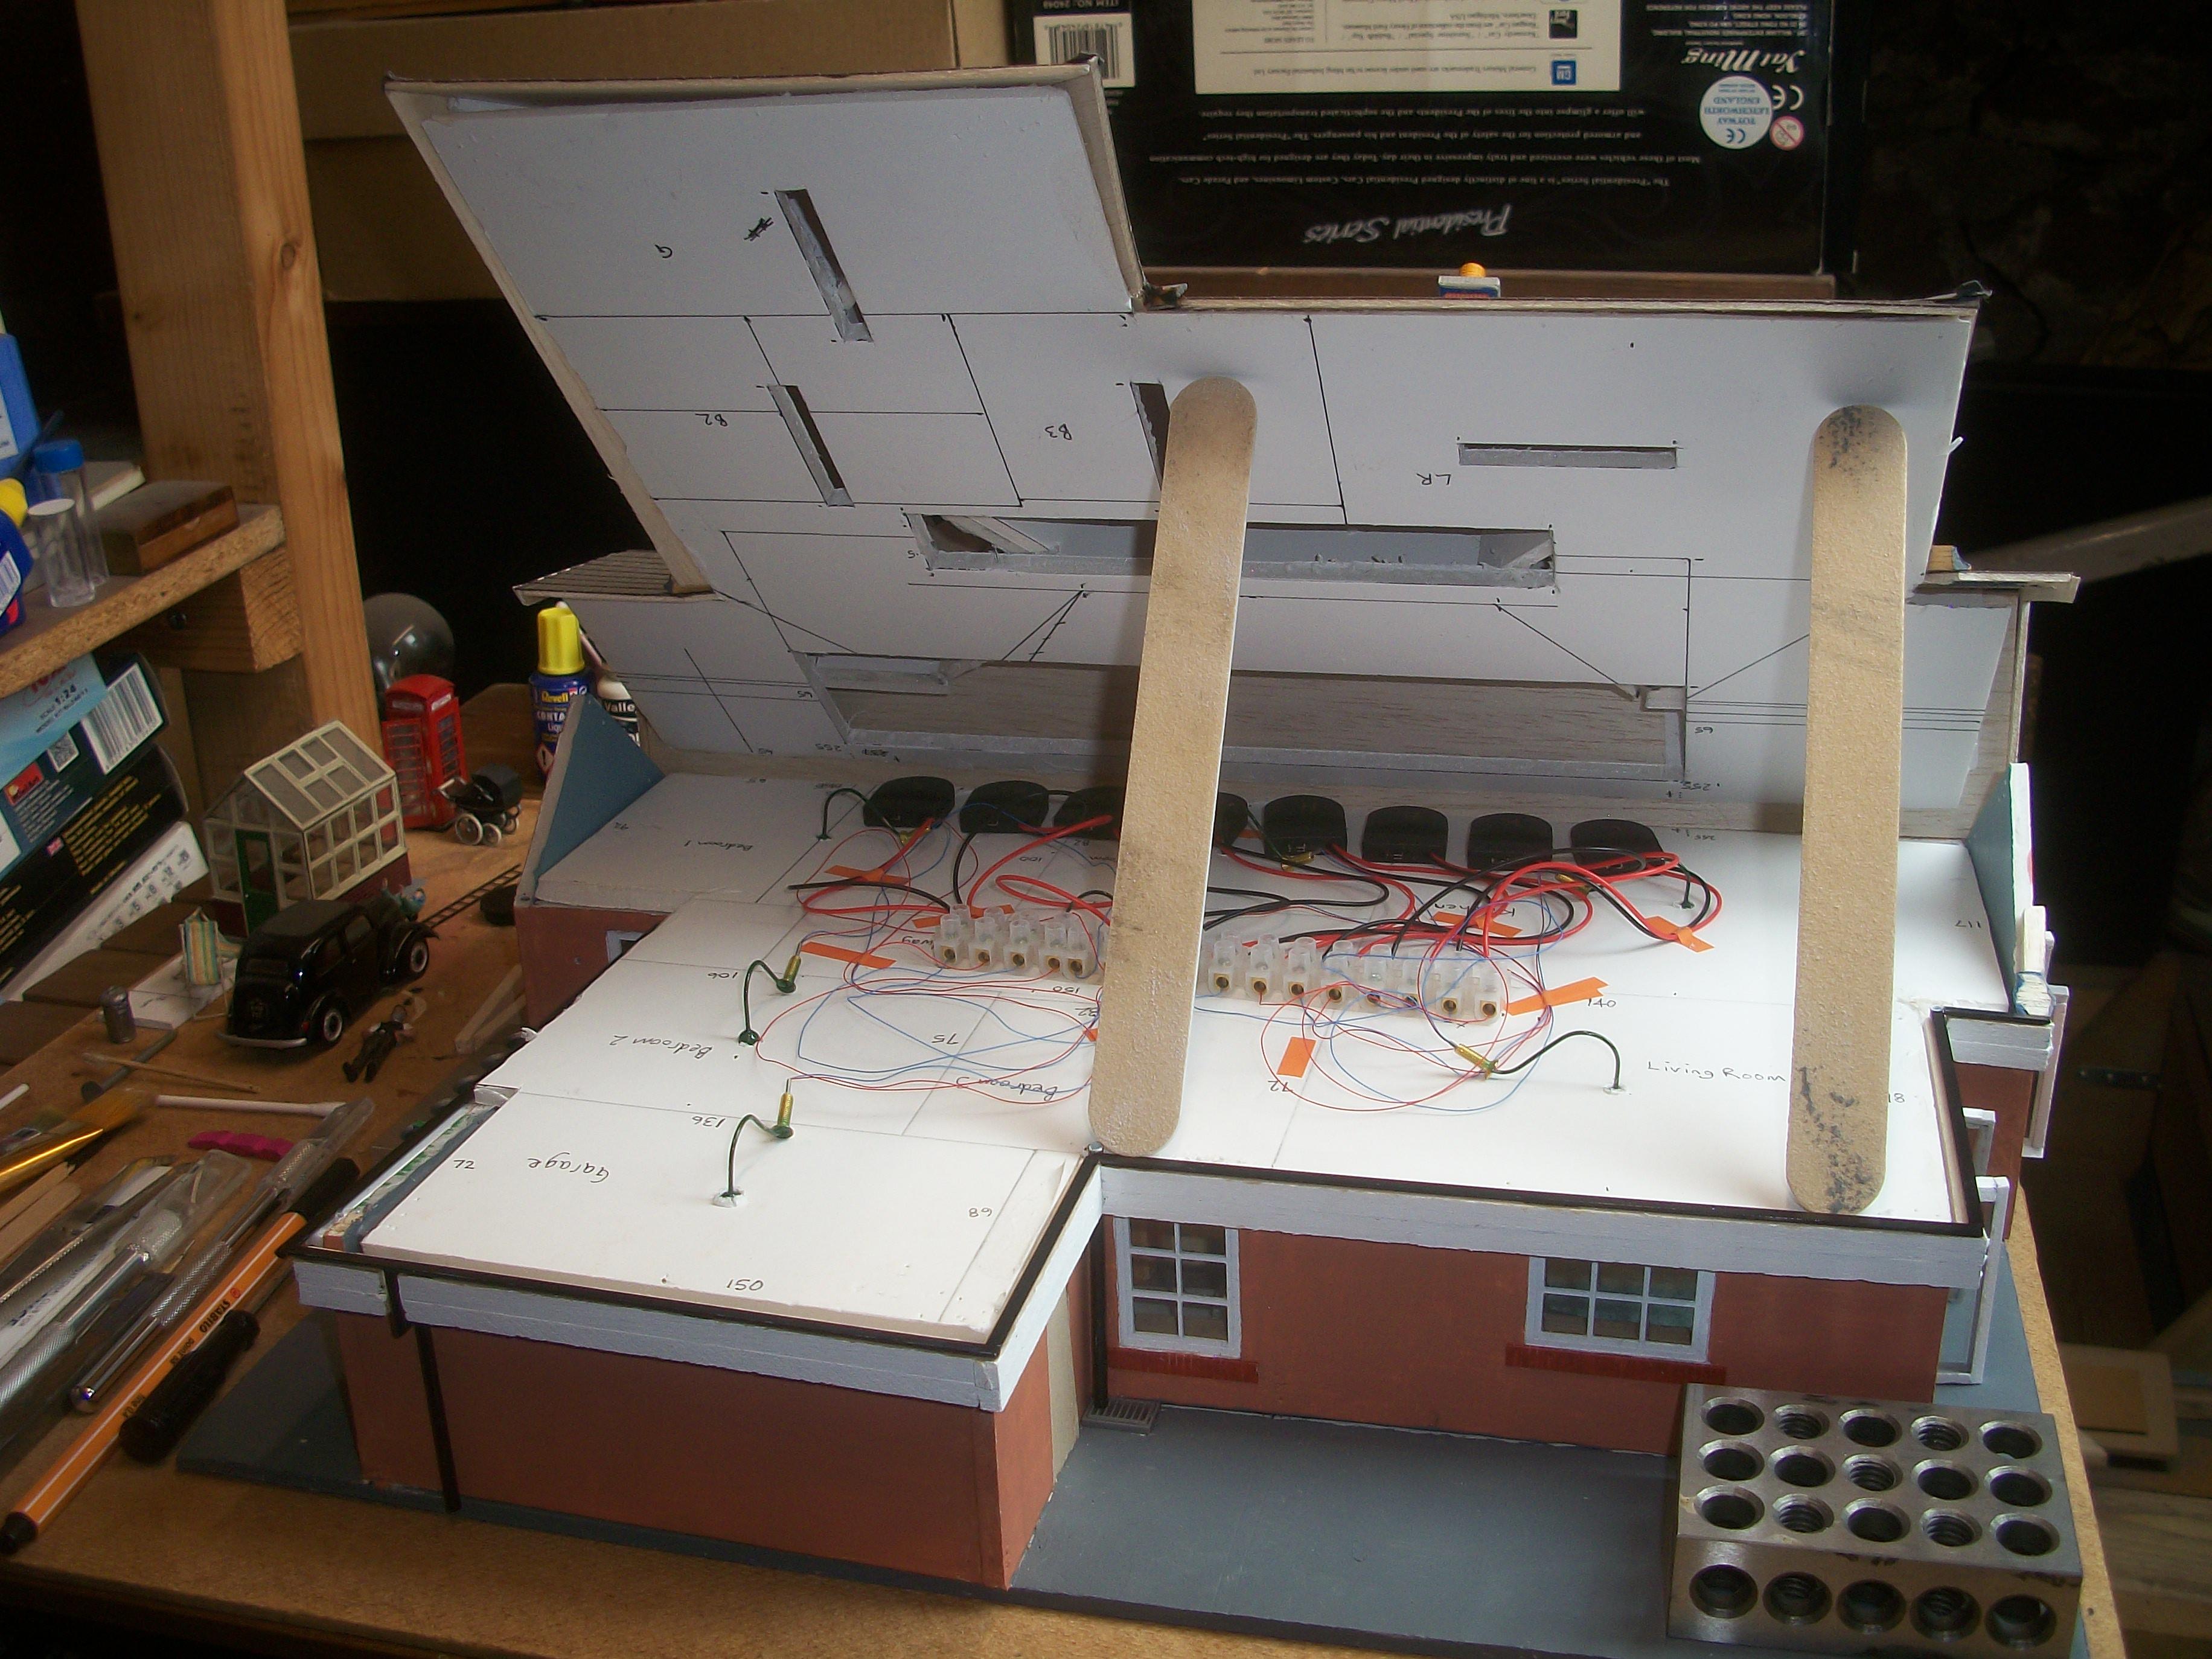
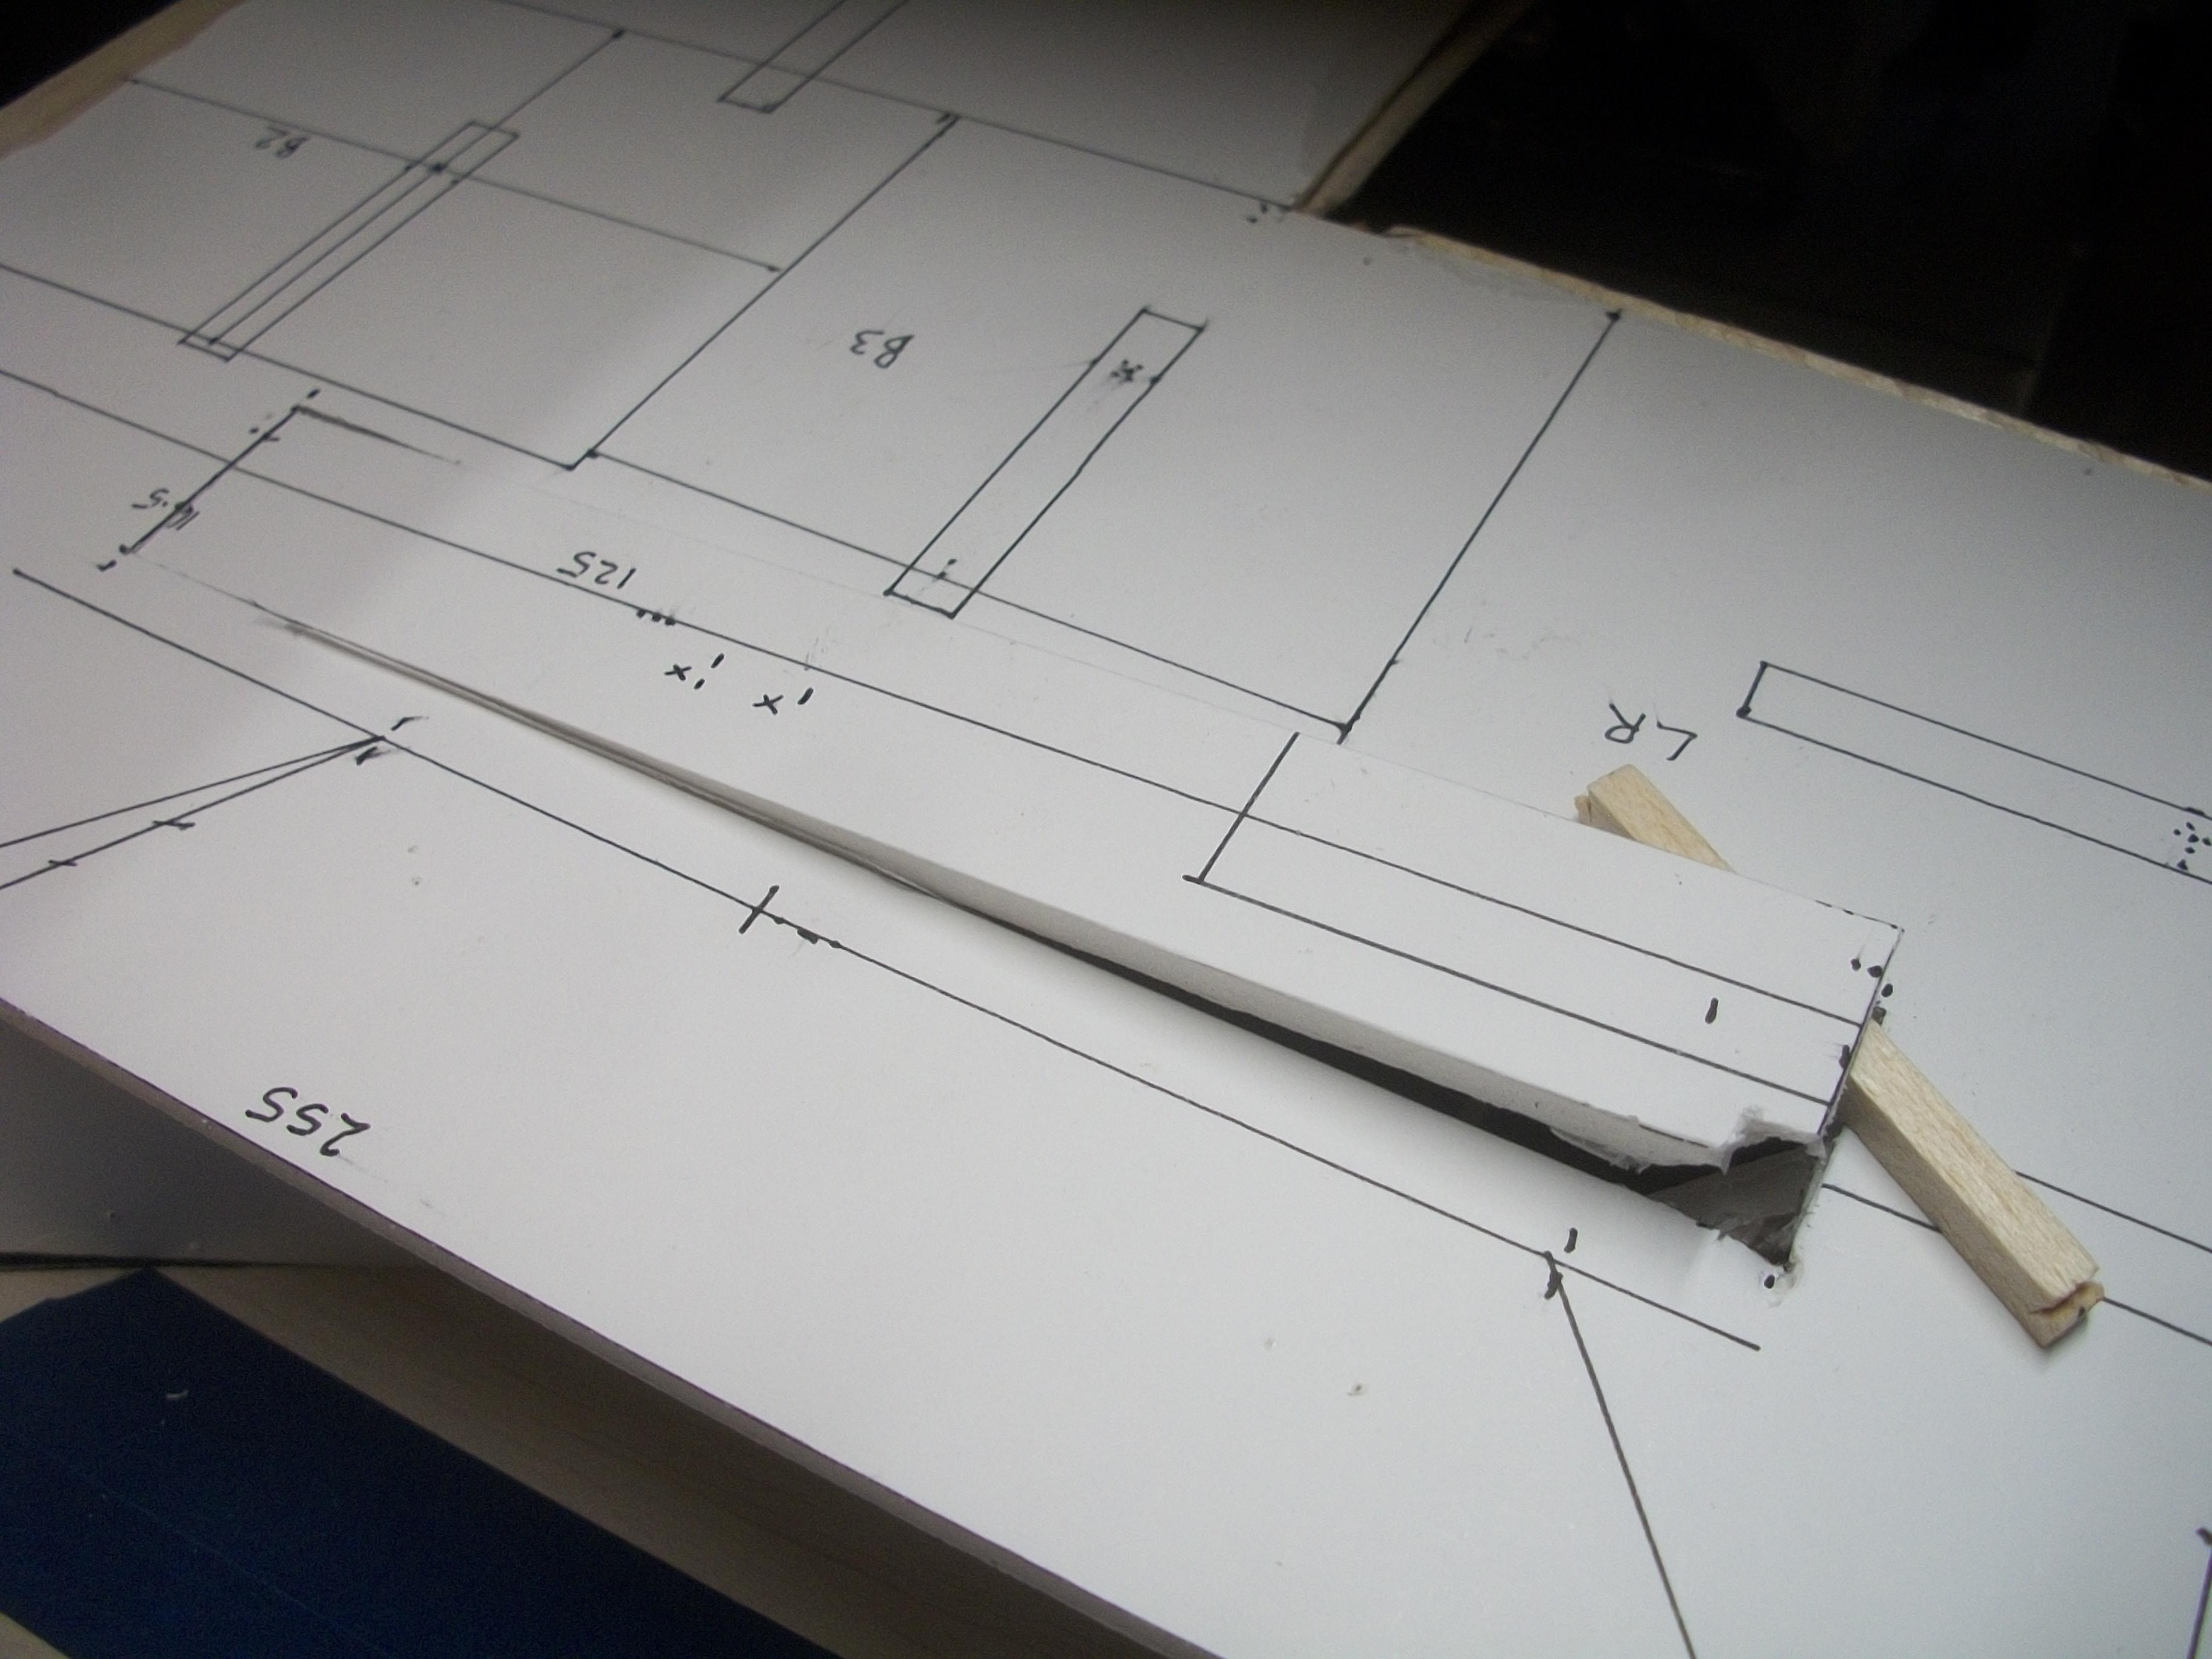
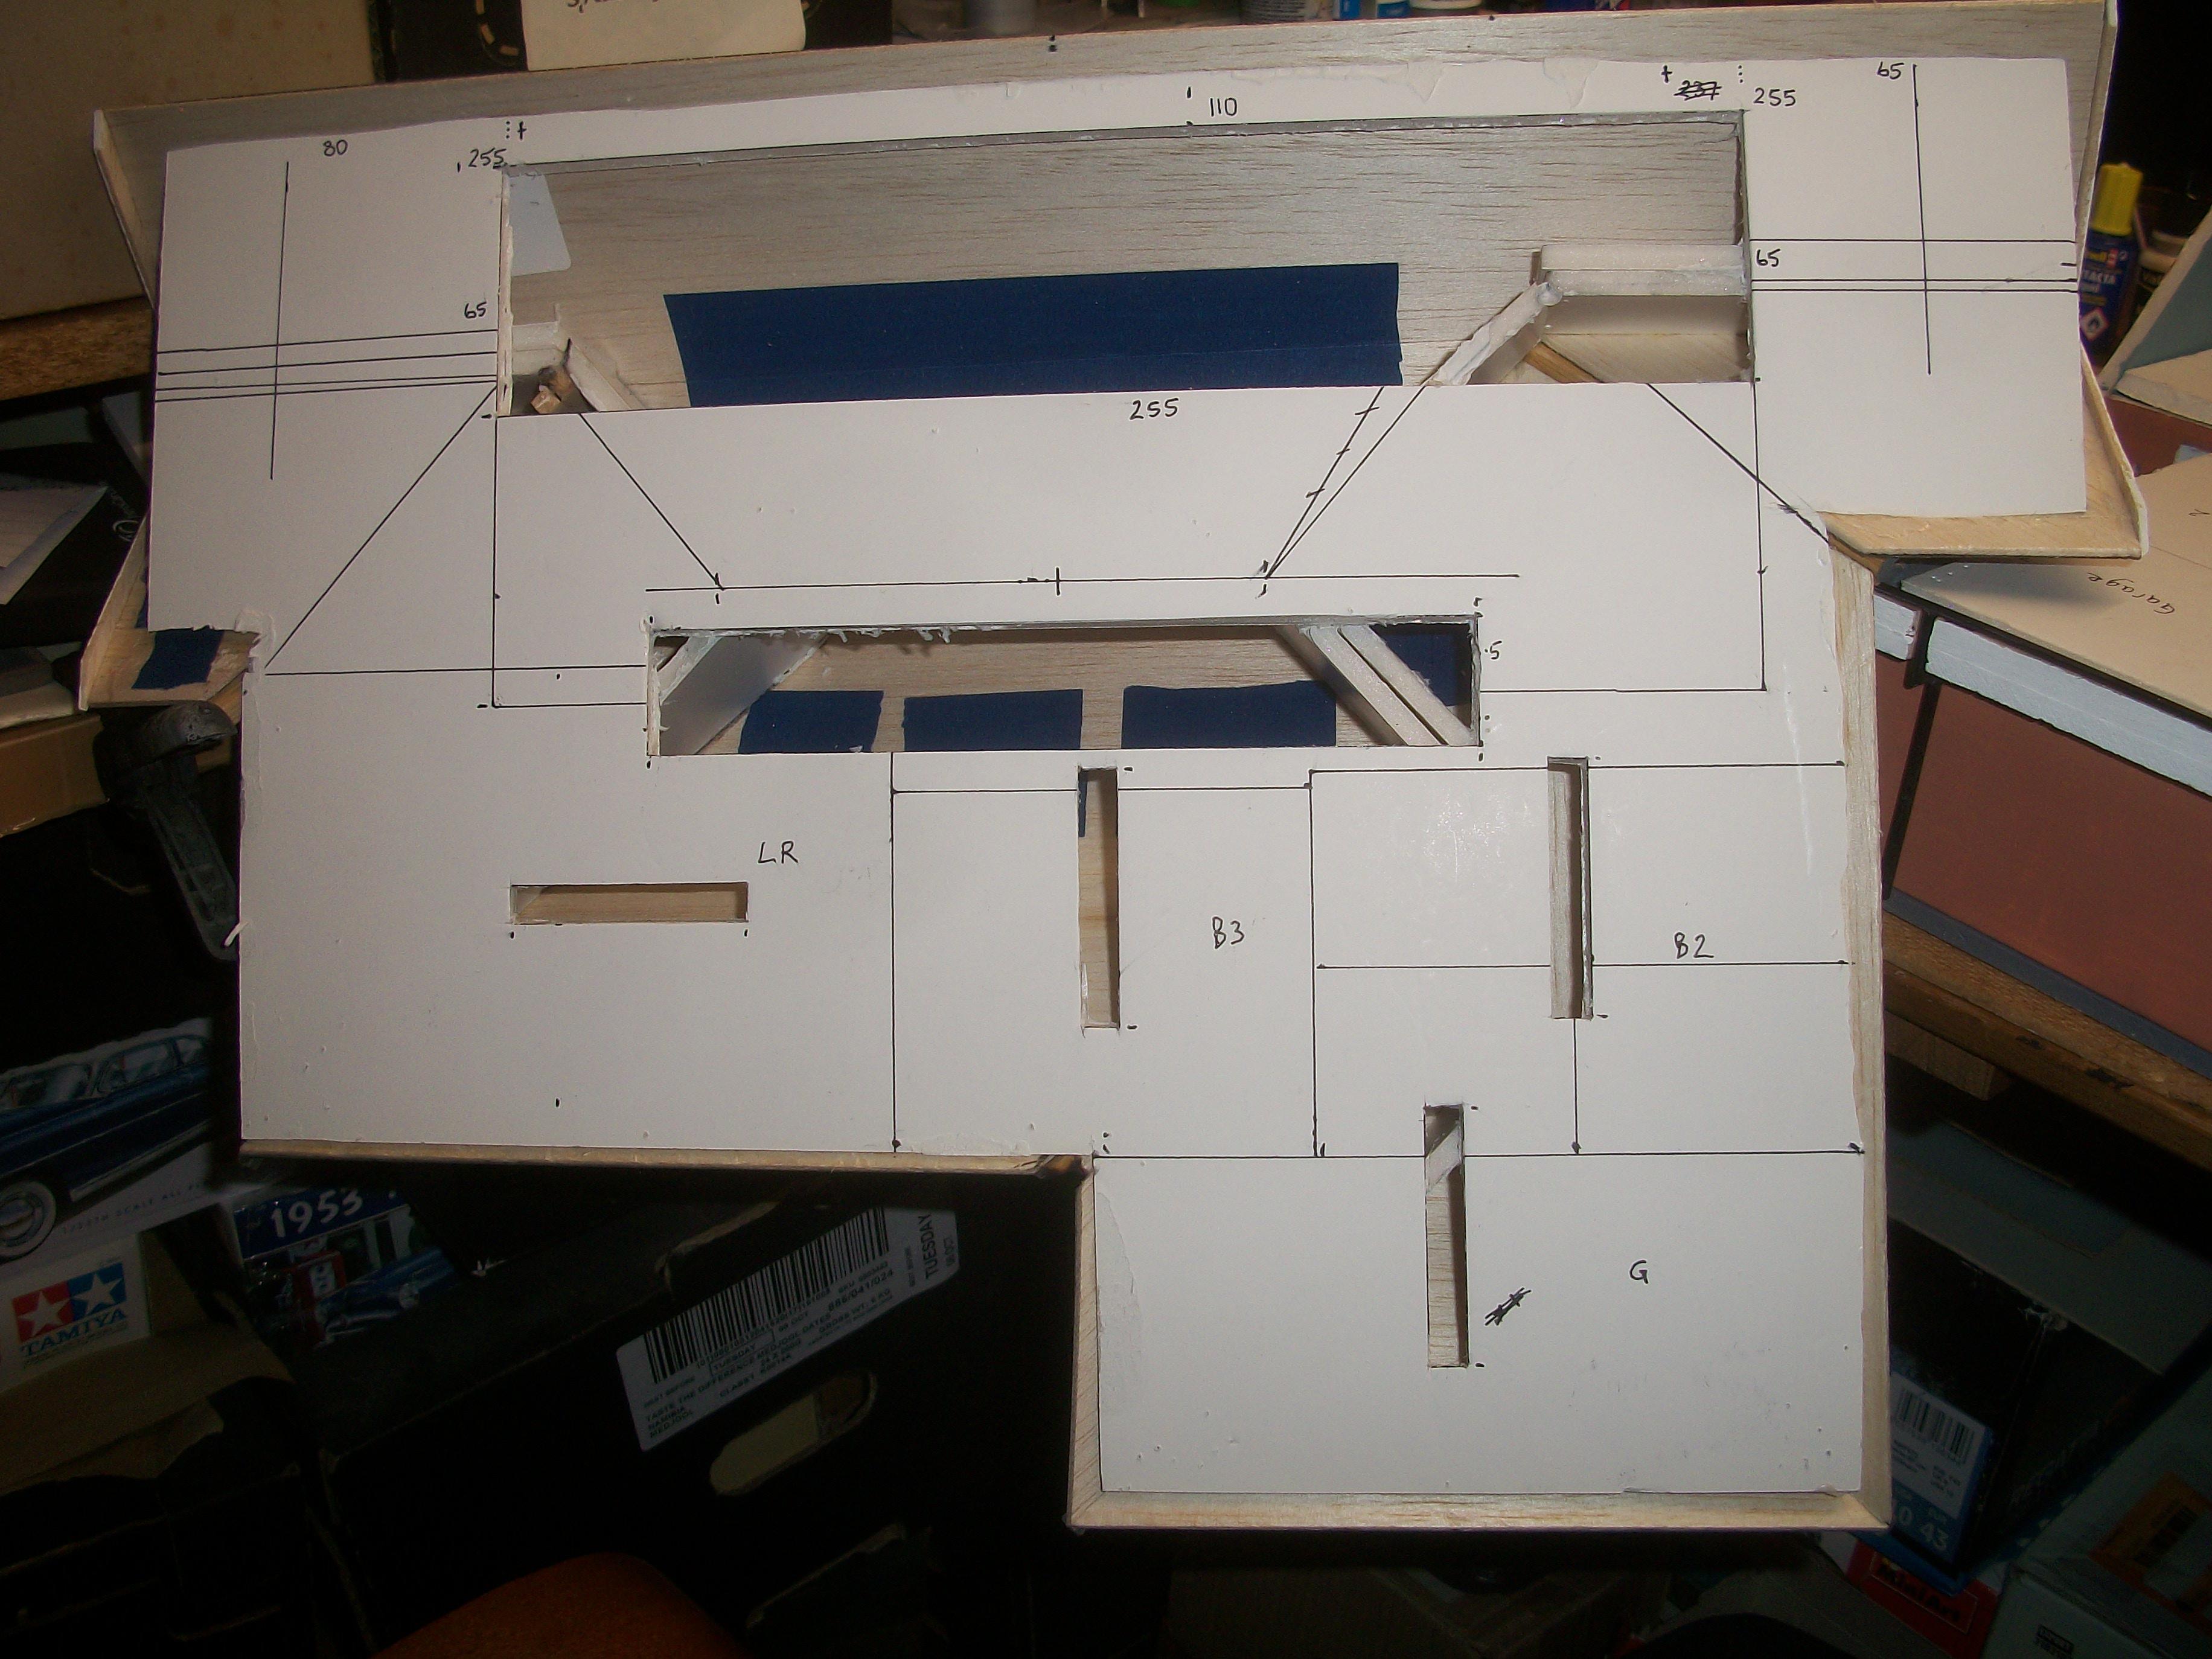
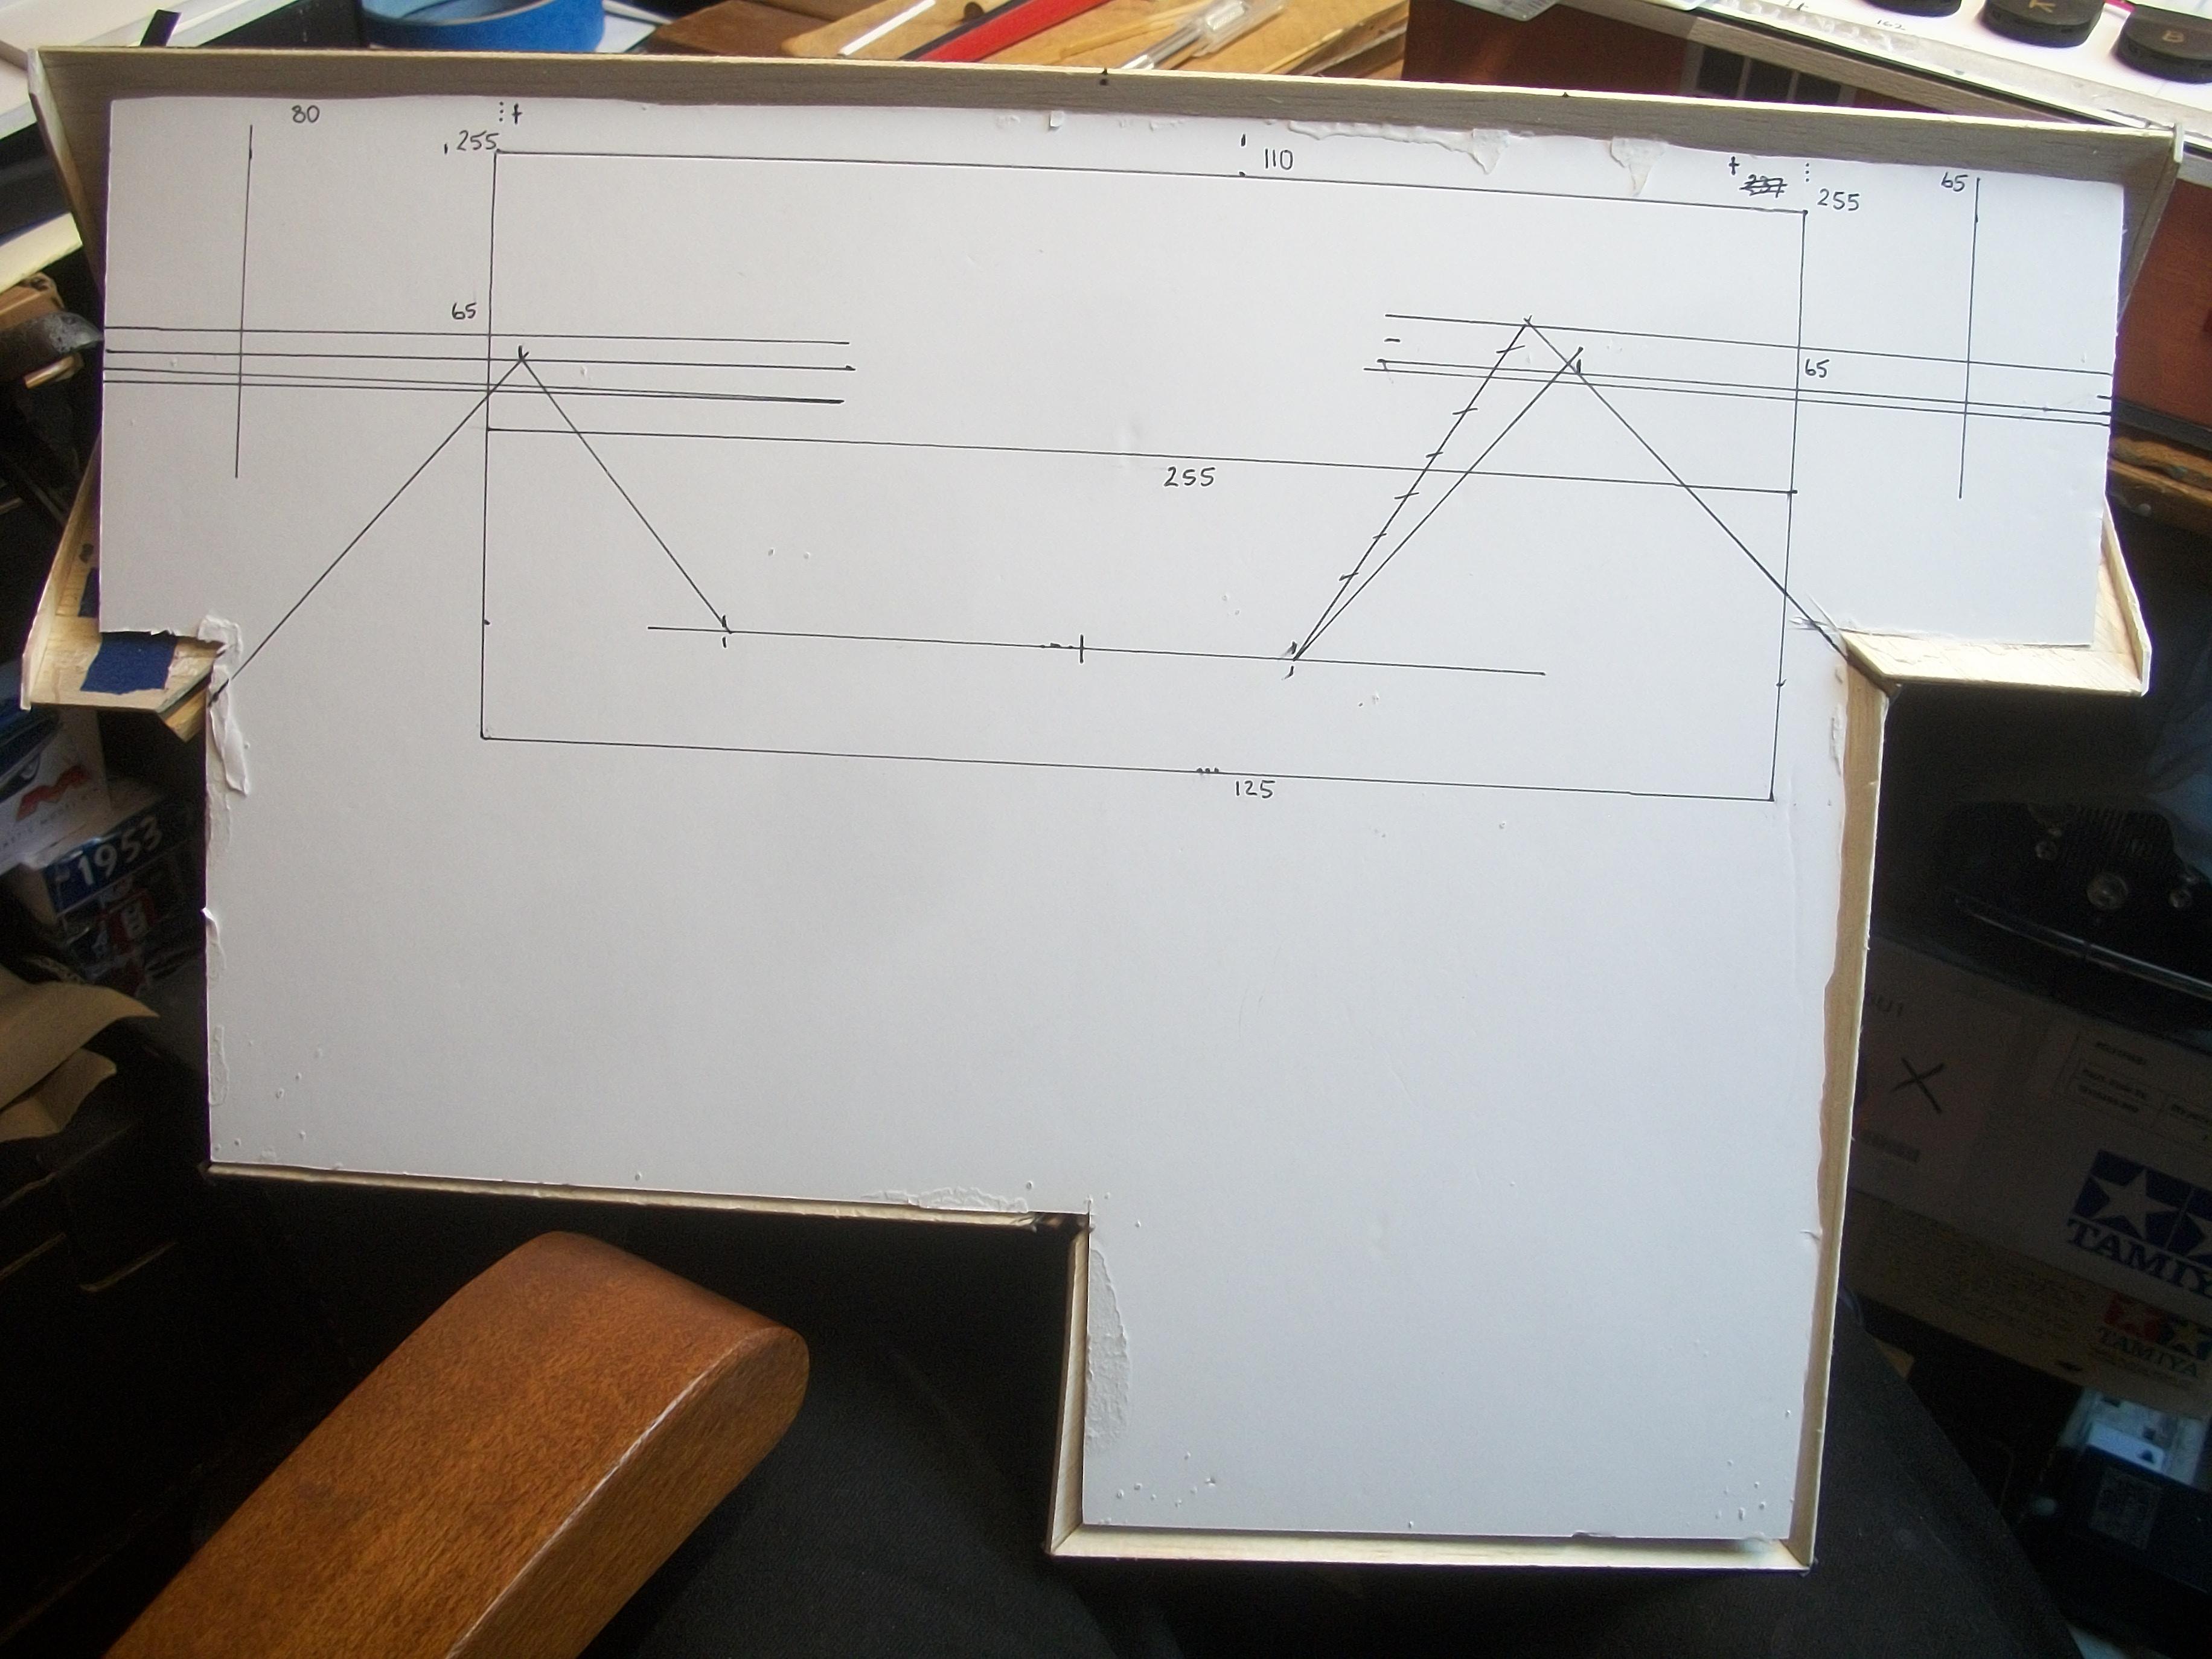
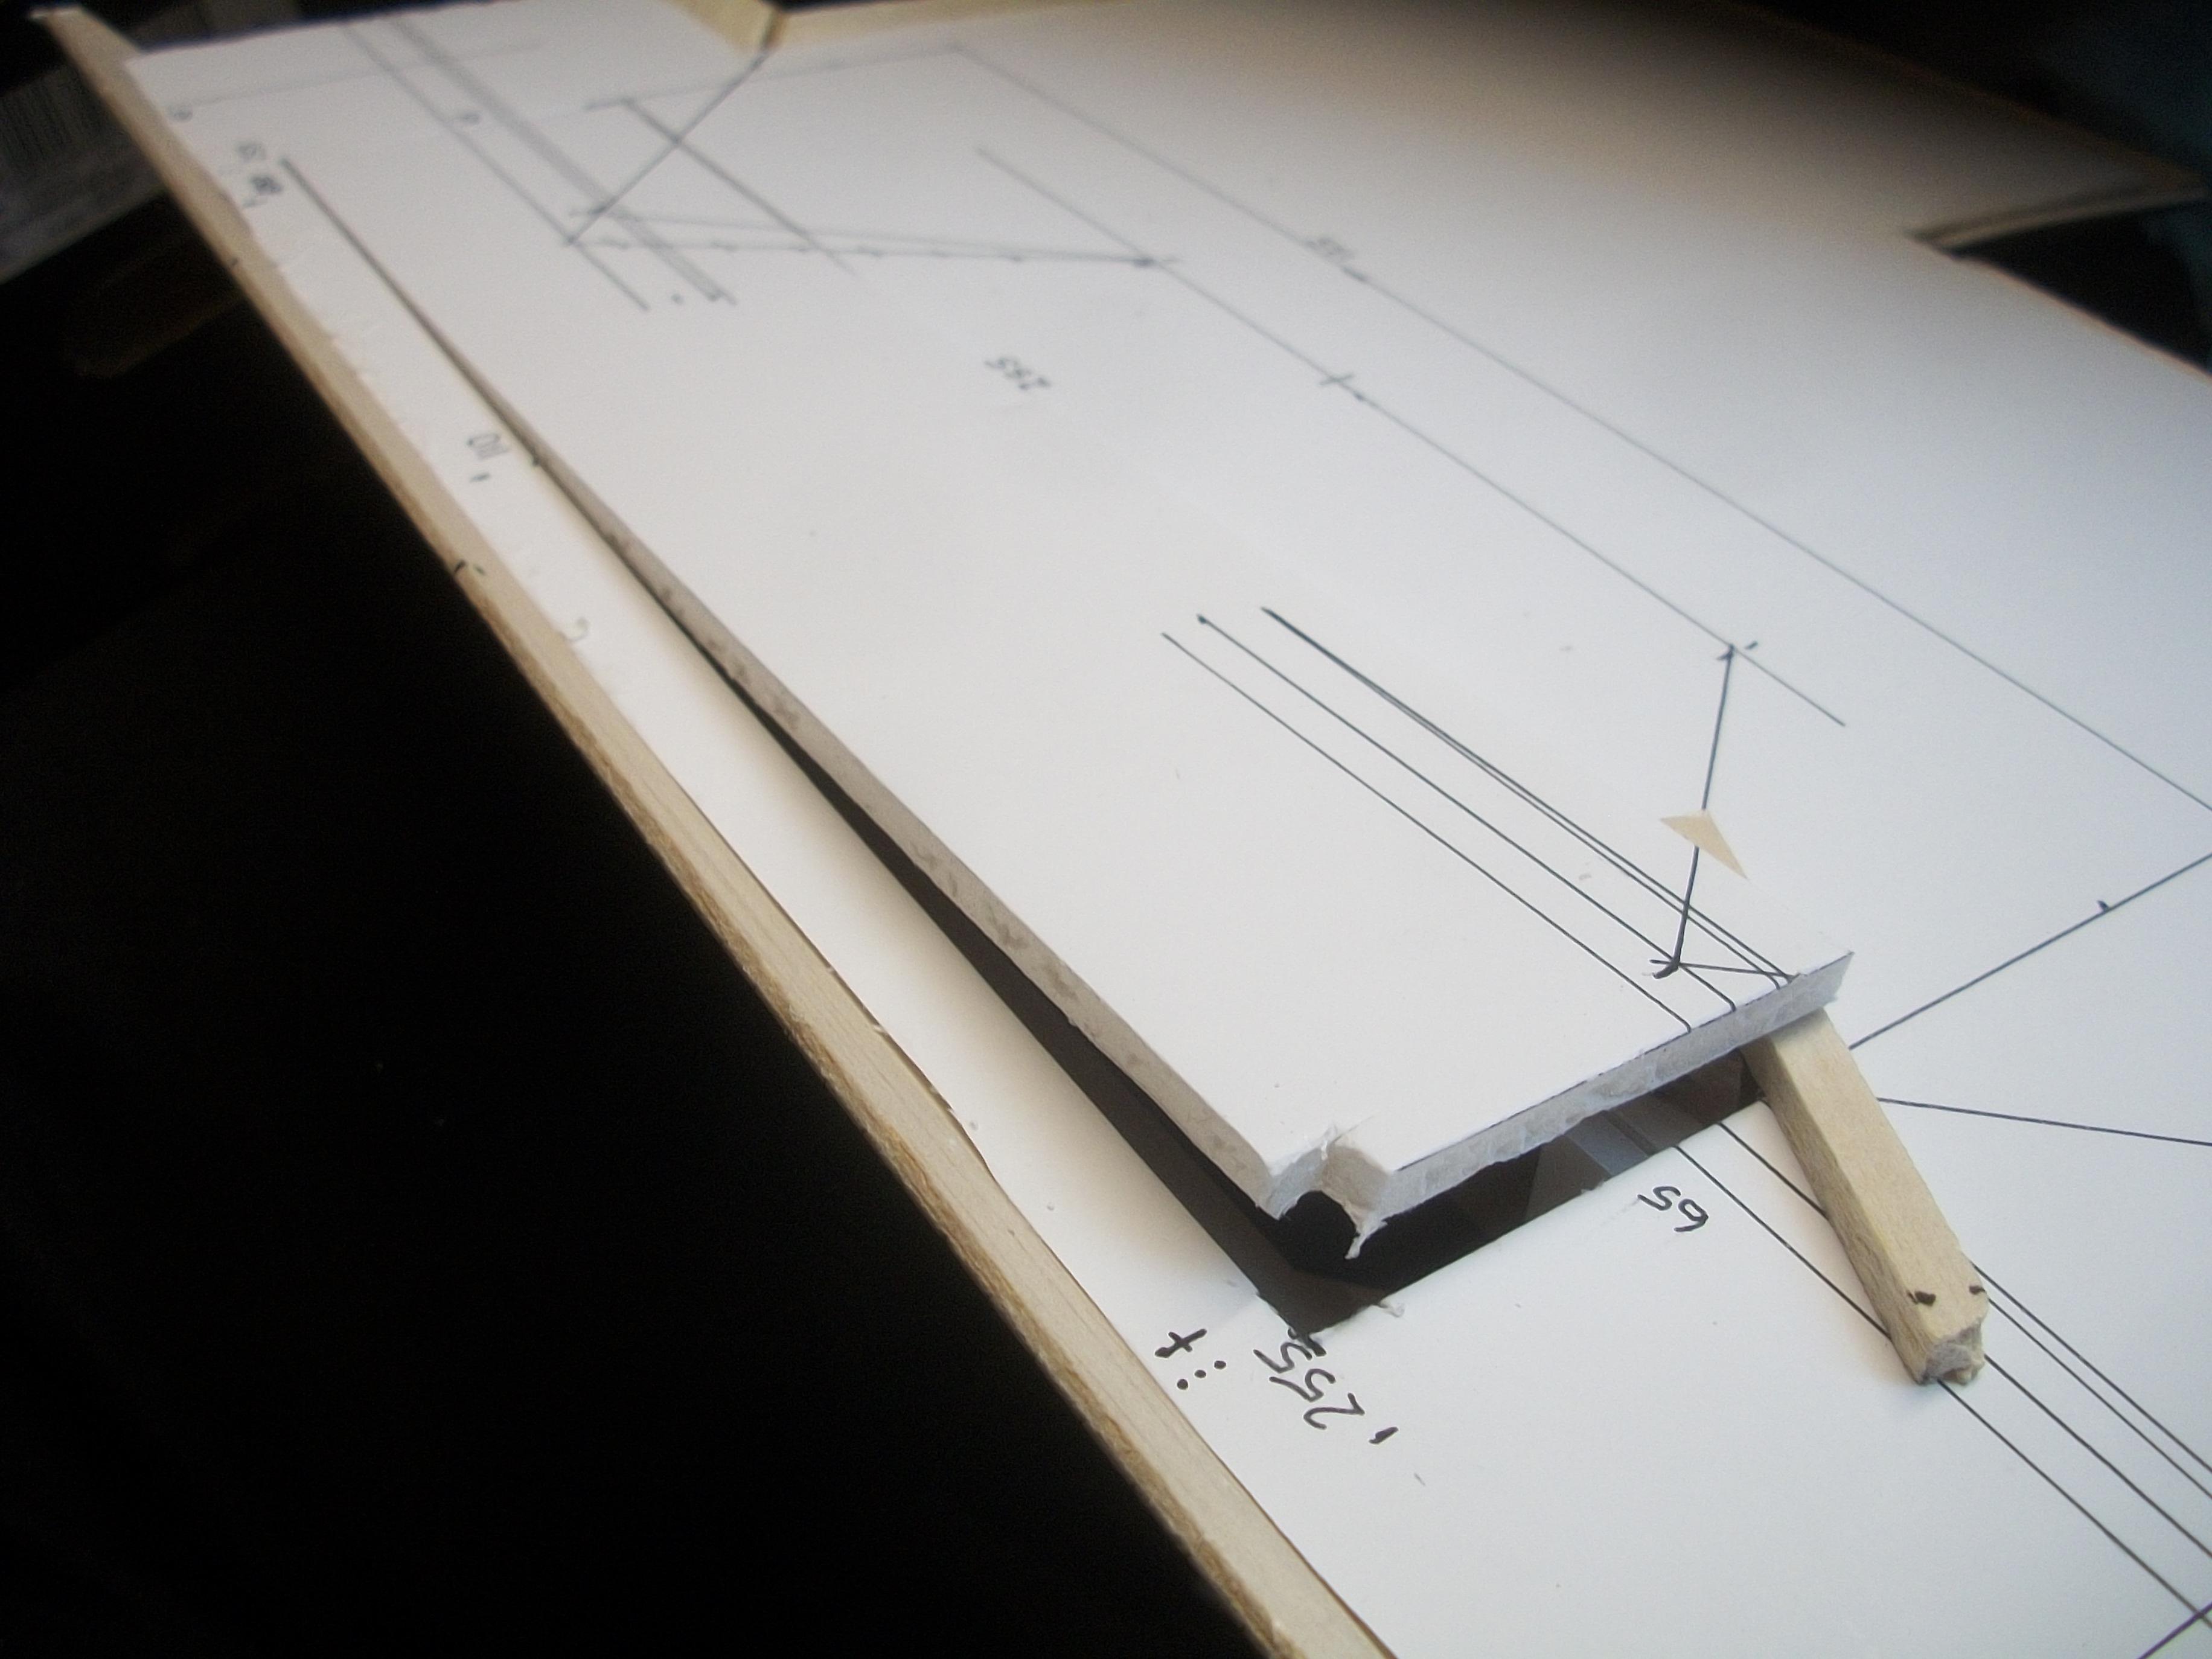
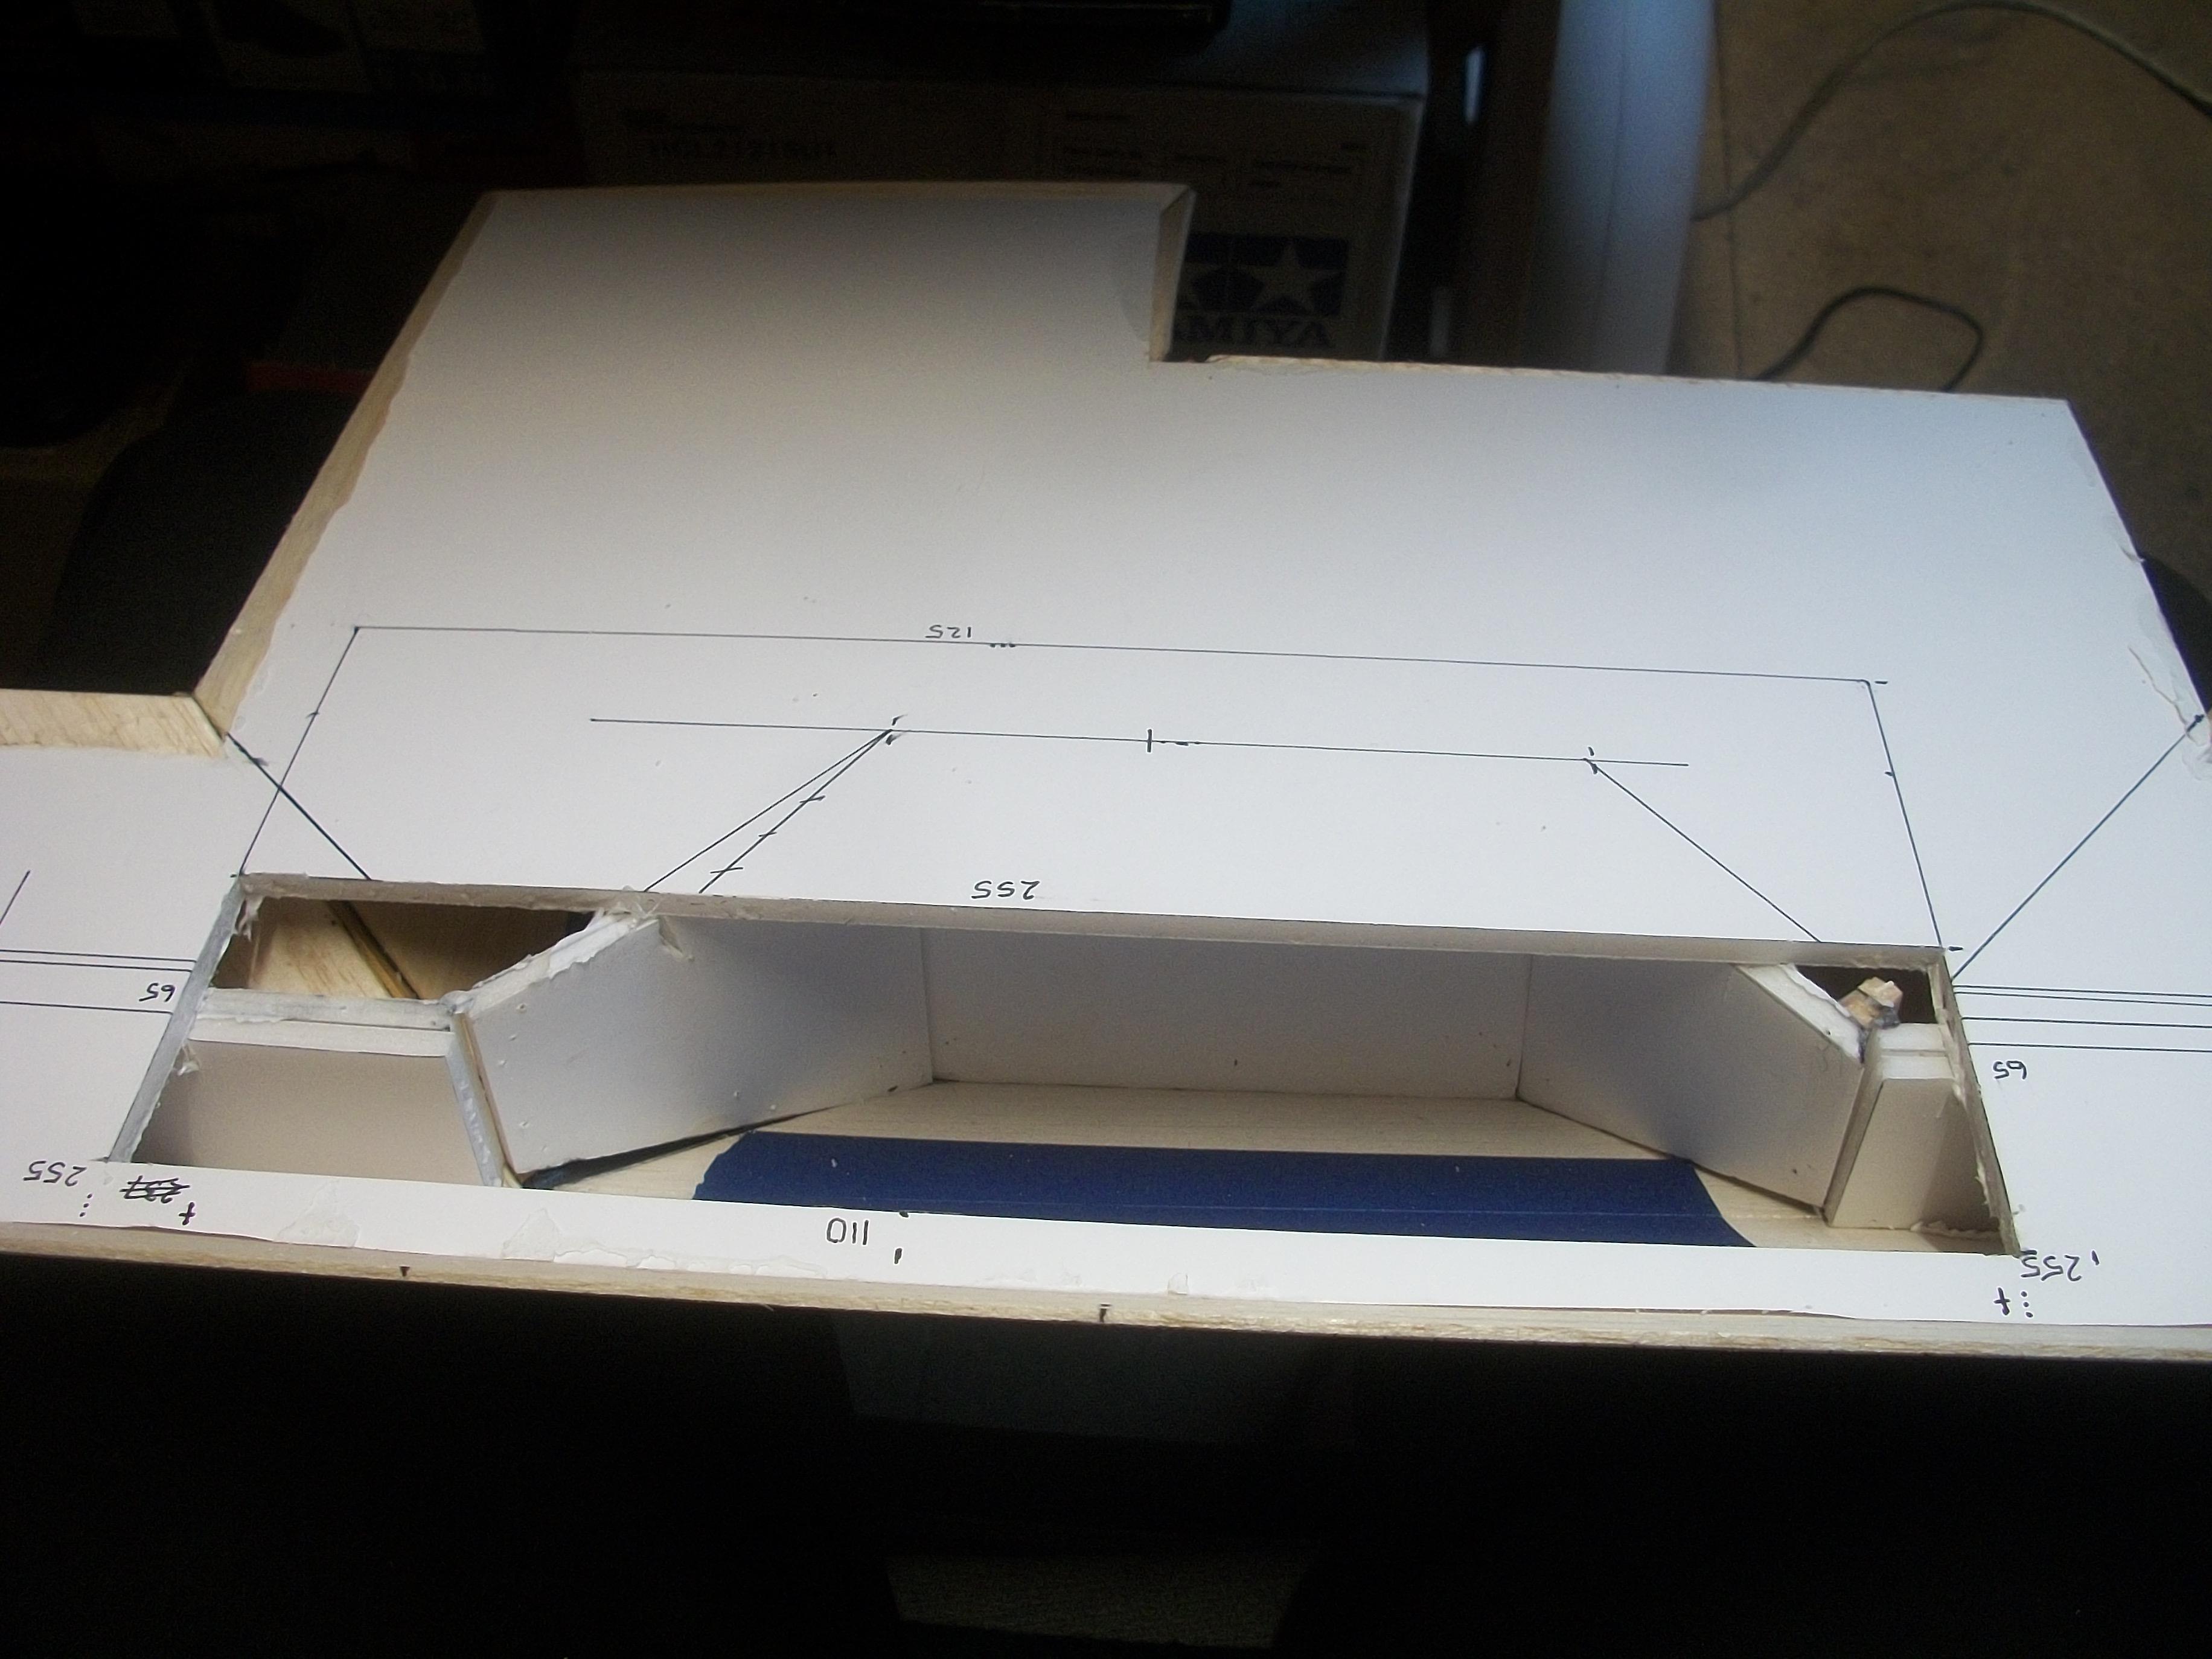
All eight rooms have working lights, and the second of the two terminal blocks has been cut down to save space, as it needs only four ports of twelve. Then came the moment to tackle the roof structure baseboard panel . . . I was rather nervous about cutting into the panel, primarily because I could not be absolutely sure where the roof trusses were located, and I didn't want to compromise the overall strength of the roof structure . . . Following some careful calculating of the measurements and angles, I picked up the knife and decided to go for it . . . As it turned out, this removal of the rectangular panel was entirely successful. I had been expecting the operation to be more difficult, but the end result is precisely what I wanted . . . The eight battery holders and switches, as well as the two terminal blocks are placed in their respective locations, and I need to cut out a second panel, plus four cut out slots to allow for the bends in the lamp tubes. David
-
Yes, that was my original idea, but I am now going down the route of keeping the switches and wiring integral to the roof structure itself. More photos to follow shortly Paul . . . David
-
Availability would not be a problem Paul, but I can see a problem with those switches, in terms of how they would suit my build . . . The body of the switch needs to be inserted into the base, which in my case is only 5 mm foam board. That would place more than half the body of the switch inside the room below. Most of the switch would be visible as you look up at the ceiling from inside the room of the model bungalow . . . I agree that these switches would be good for a car, truck or industrial equipment application, but not really for scale model use. Thanks for the suggestion anyway Paul, and I reckon these coin cell battery holders will be fine, once they are mounted on the ceiling panel top. Only the lamps are visible from inside the rooms, while the switches and terminal blocks are hidden from view, on the topside of the ceiling panel. David
-
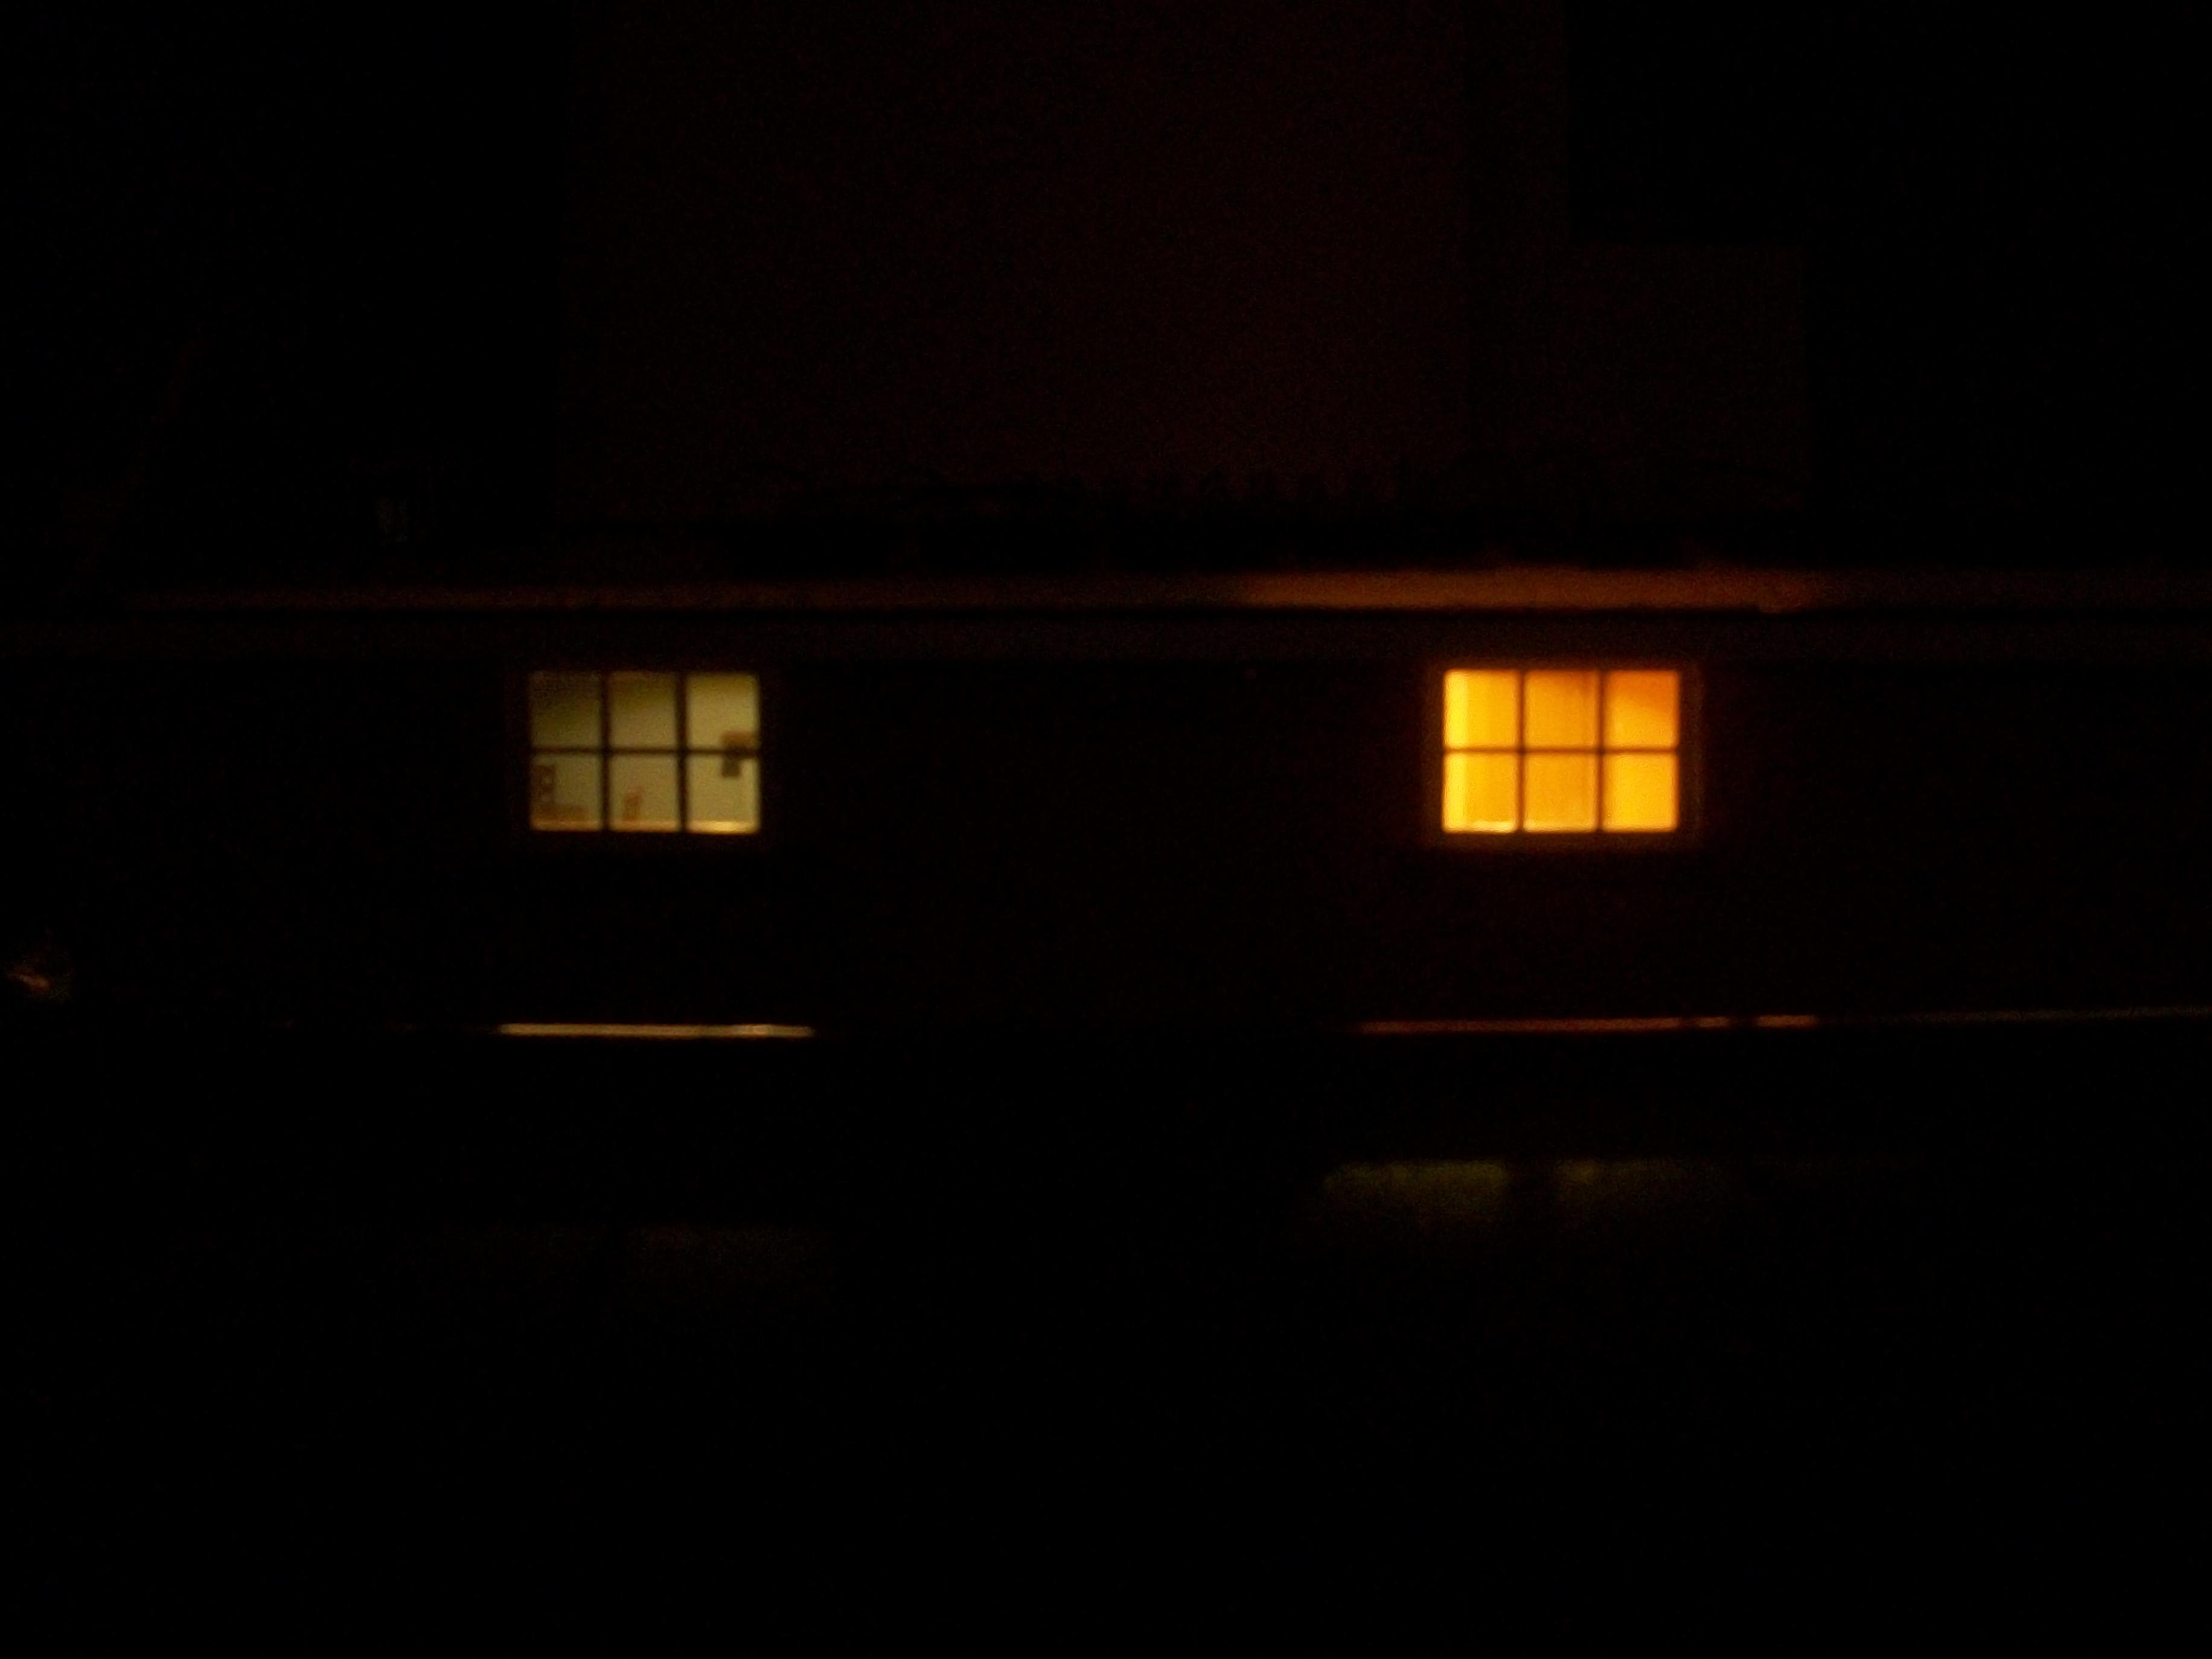
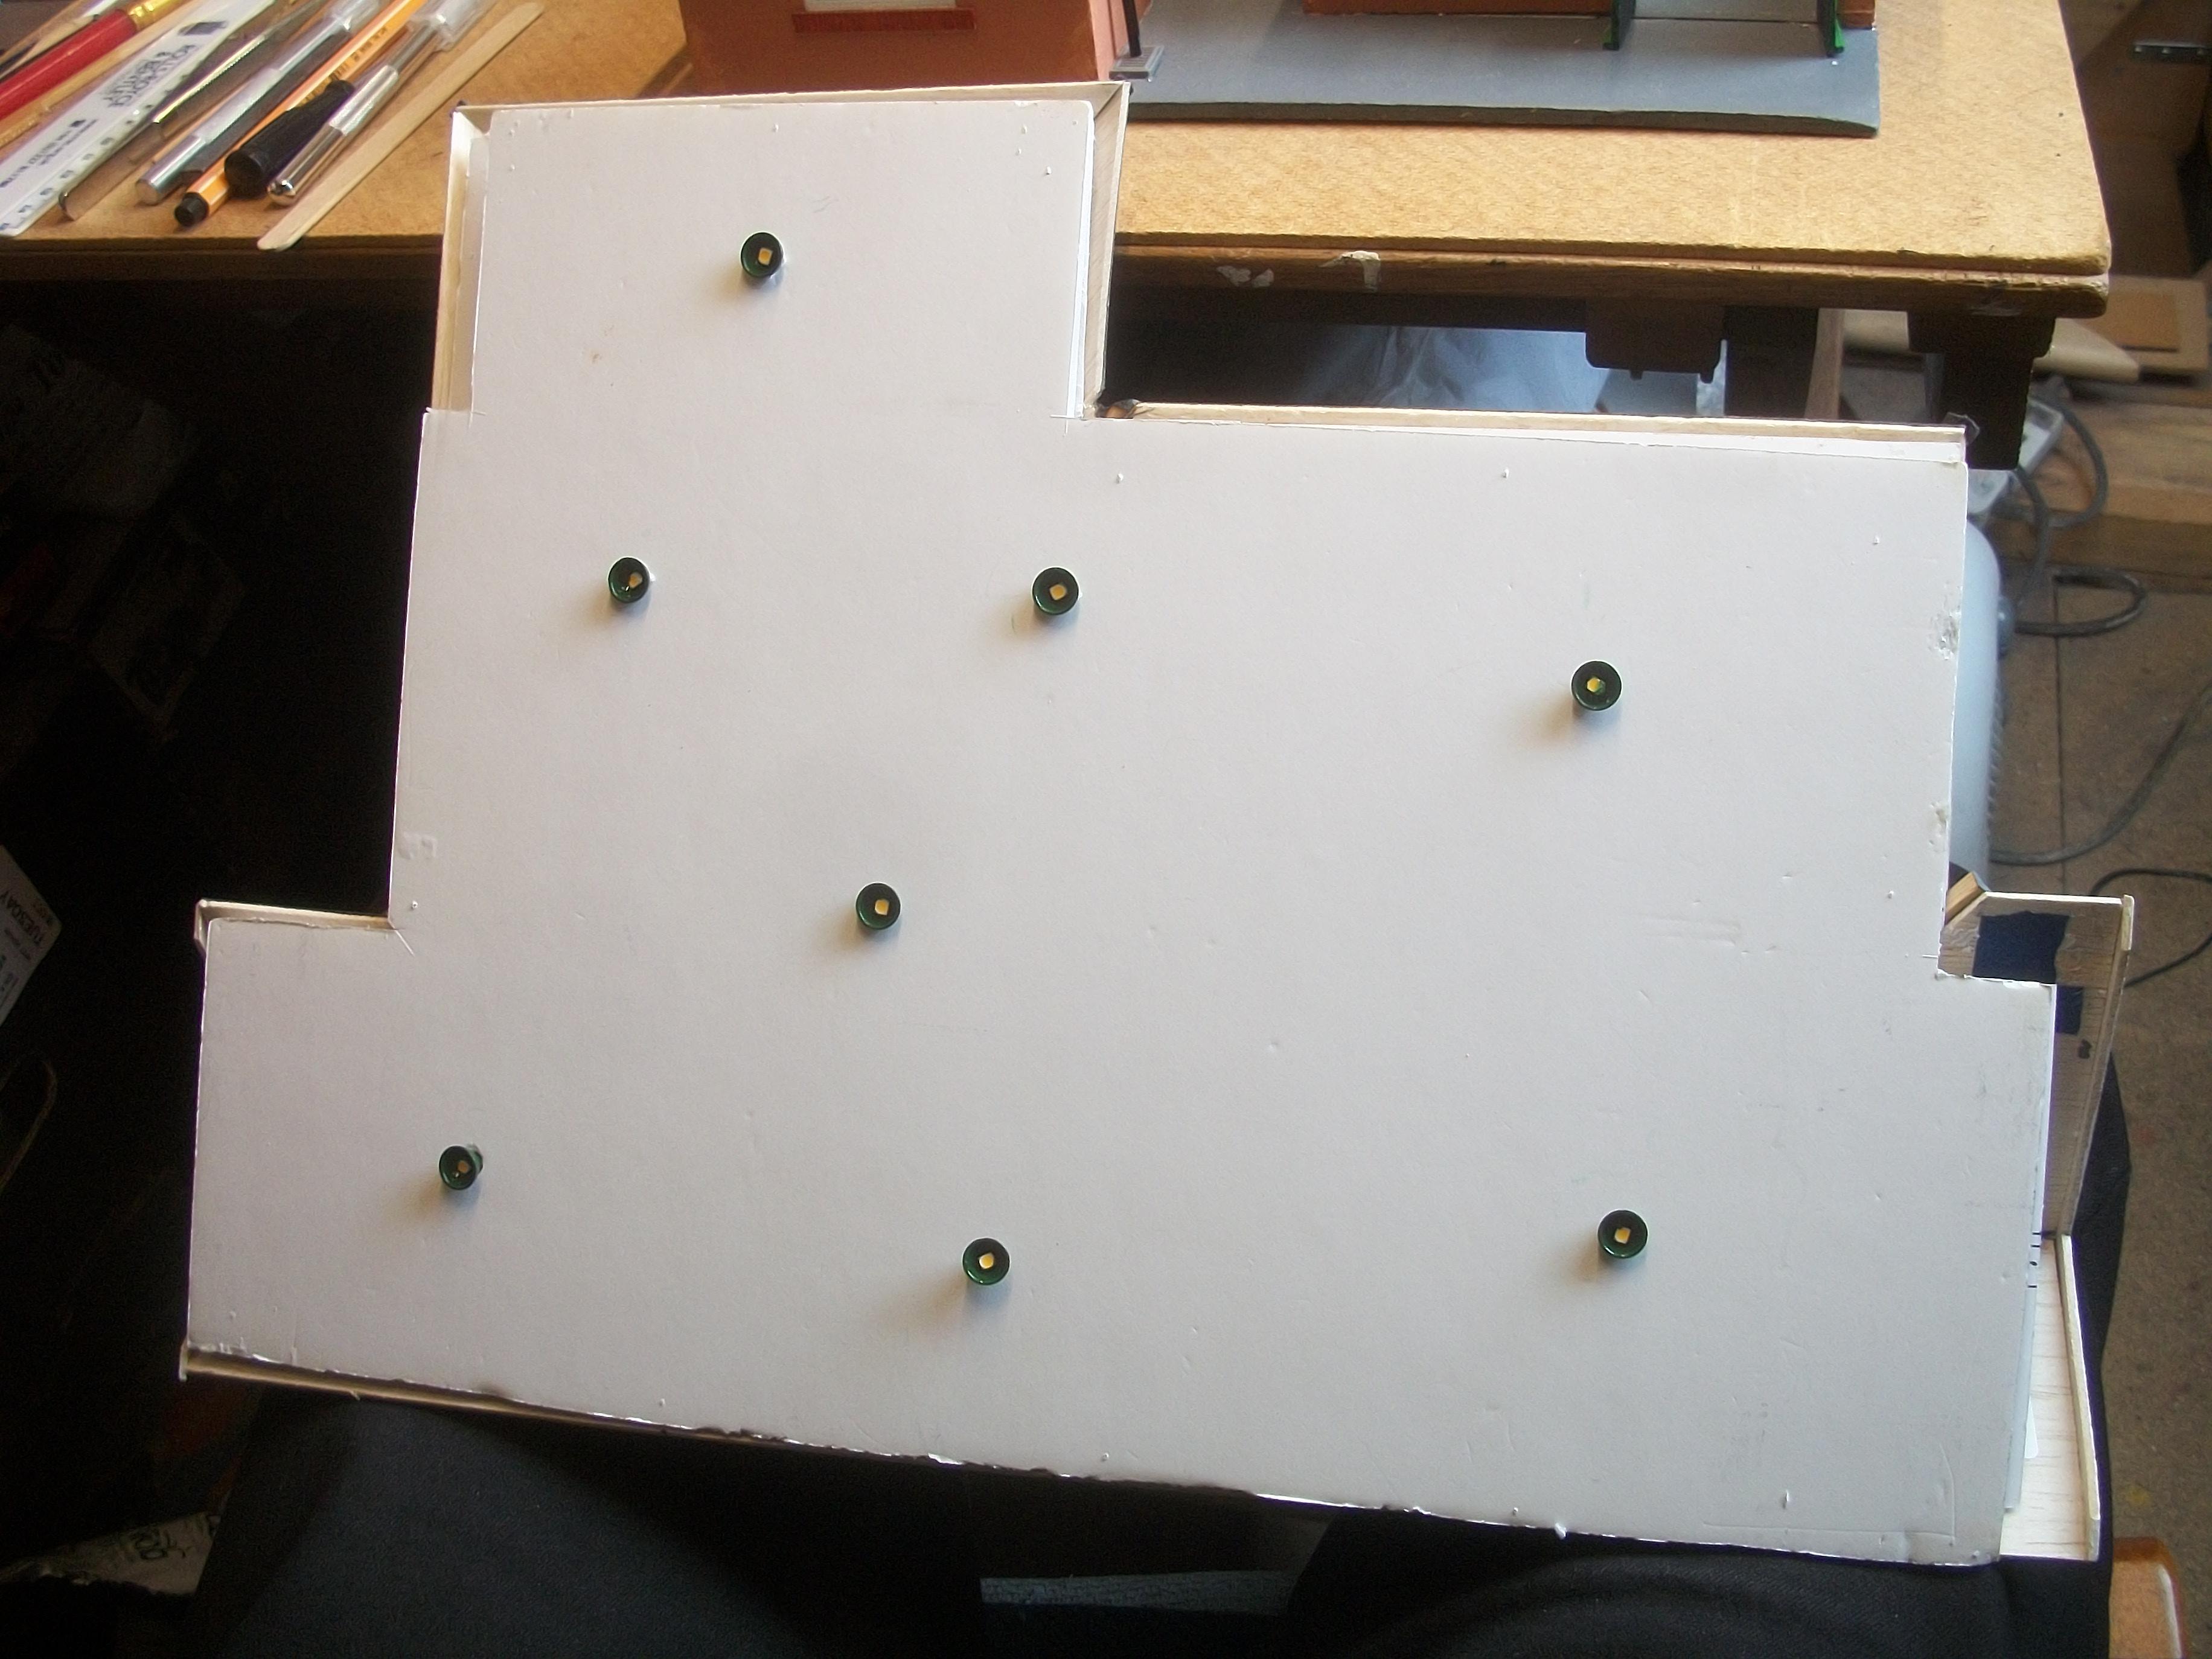
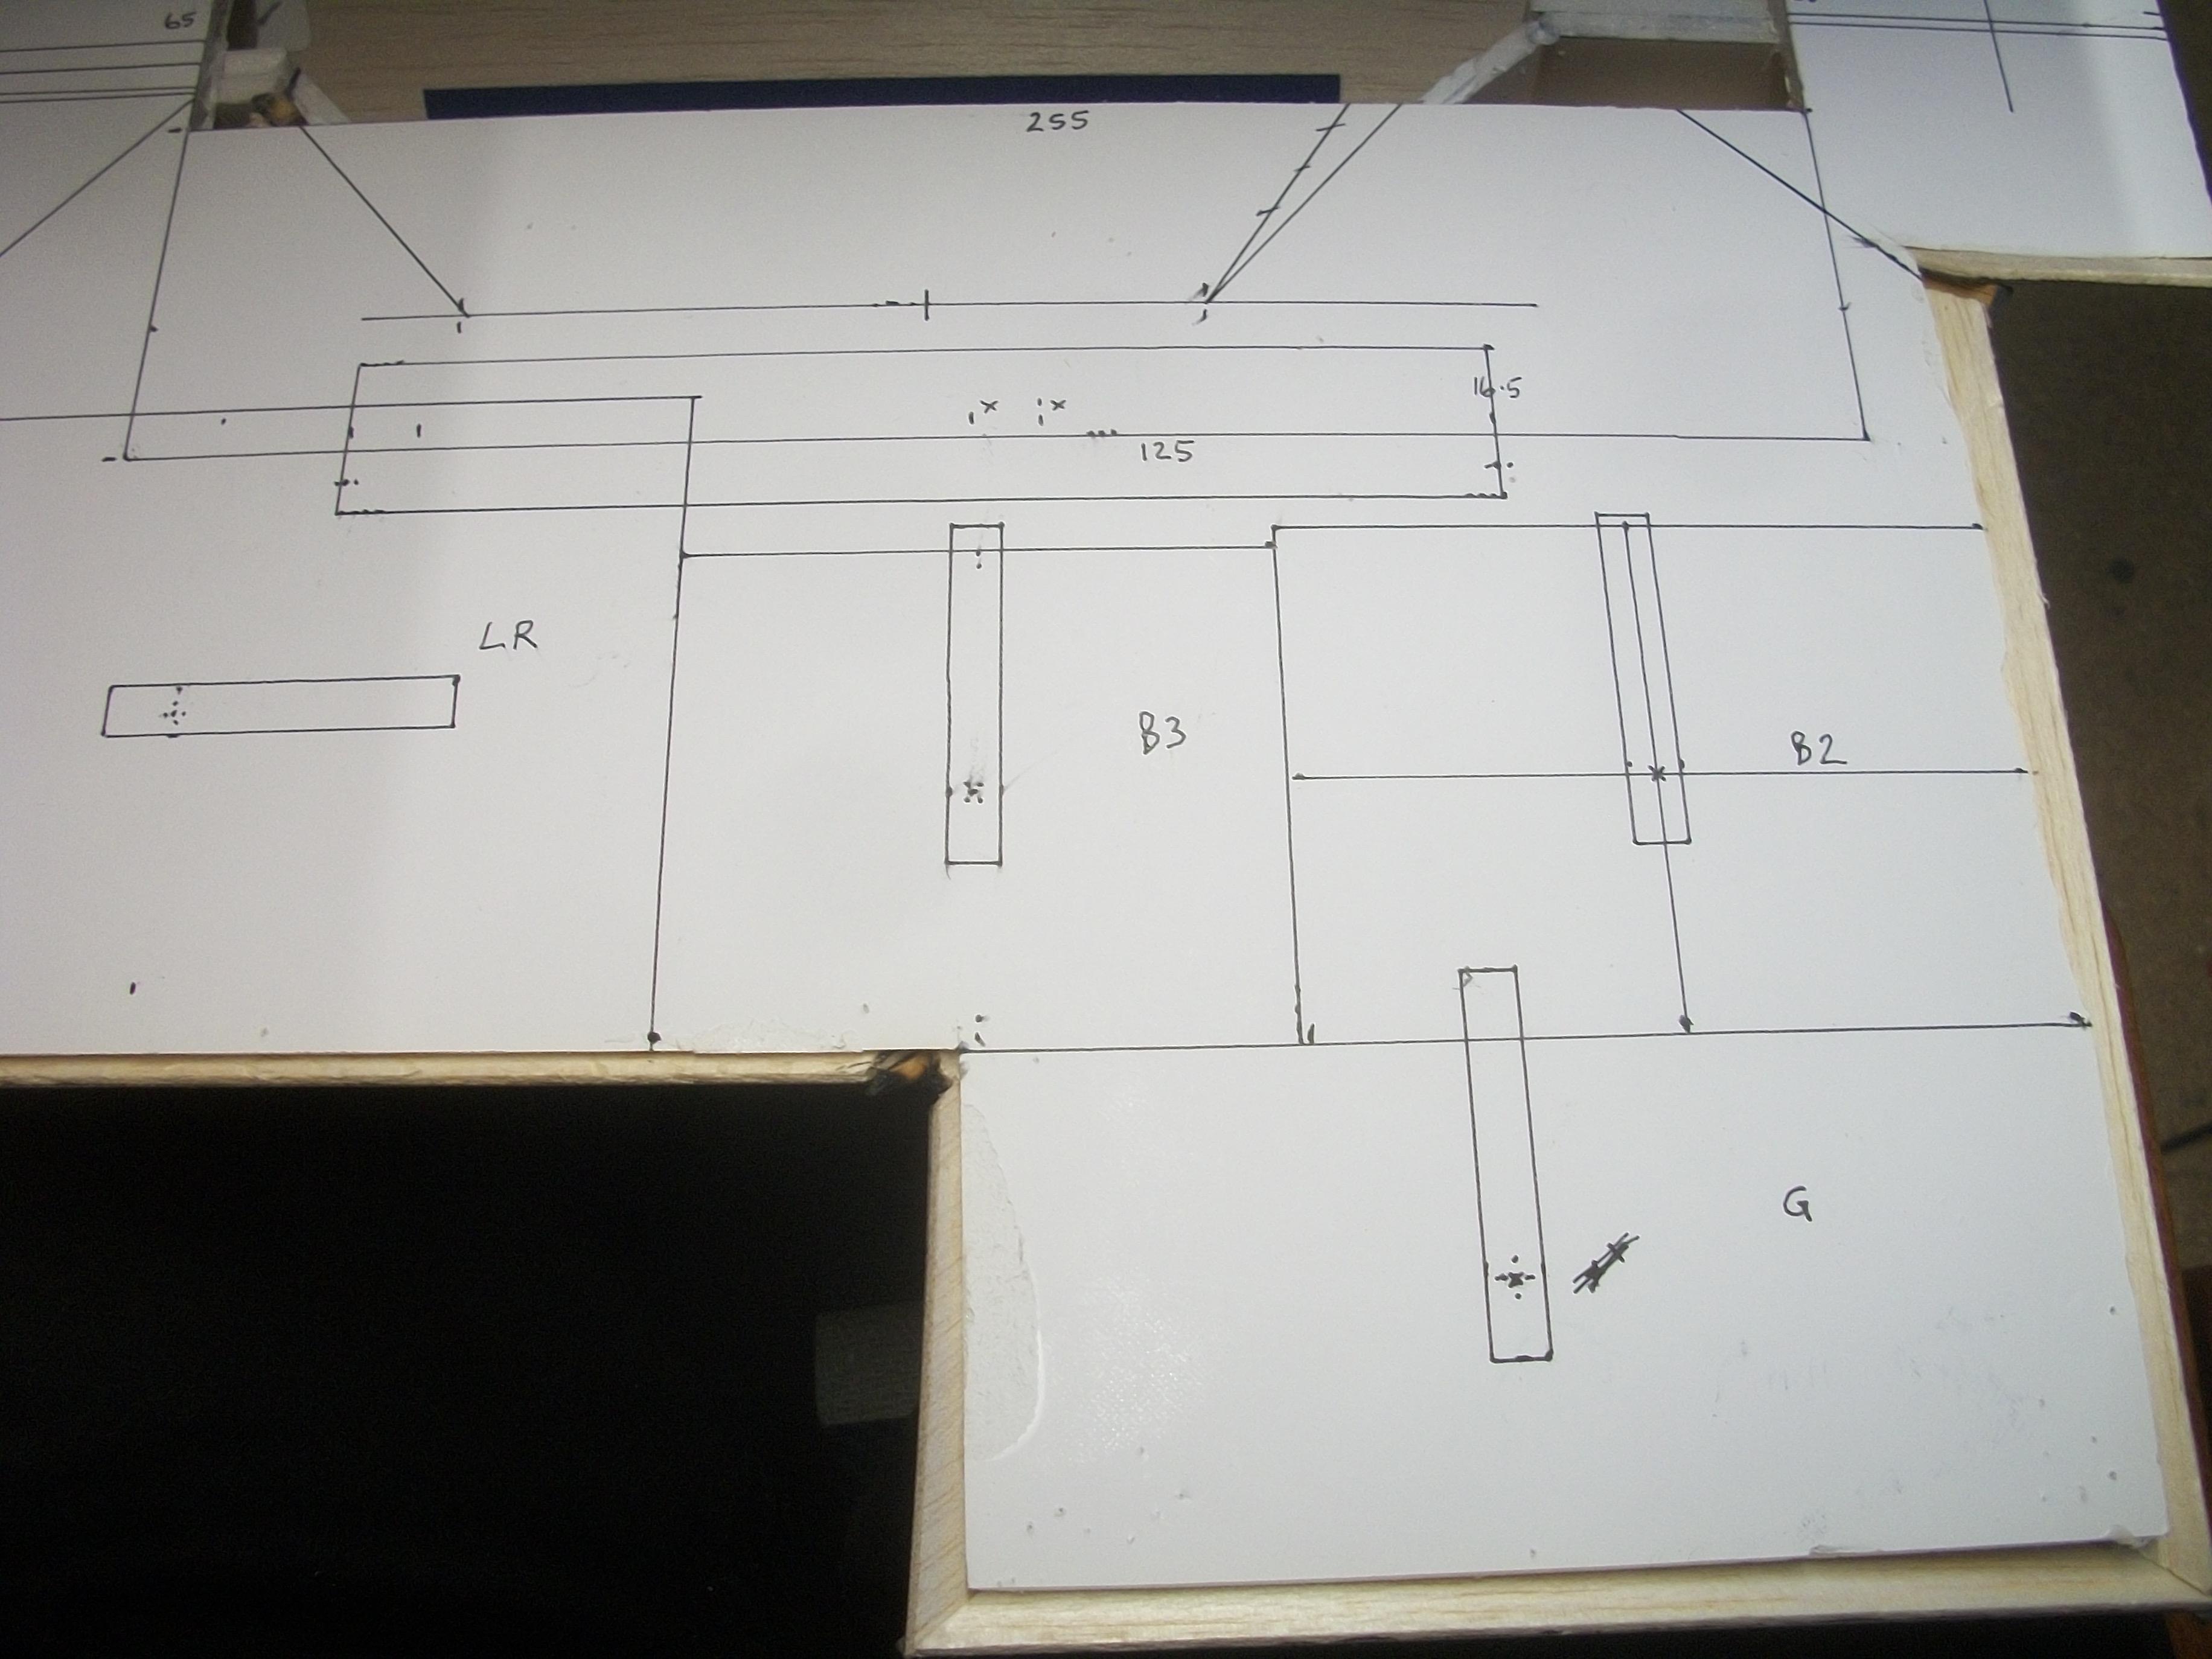
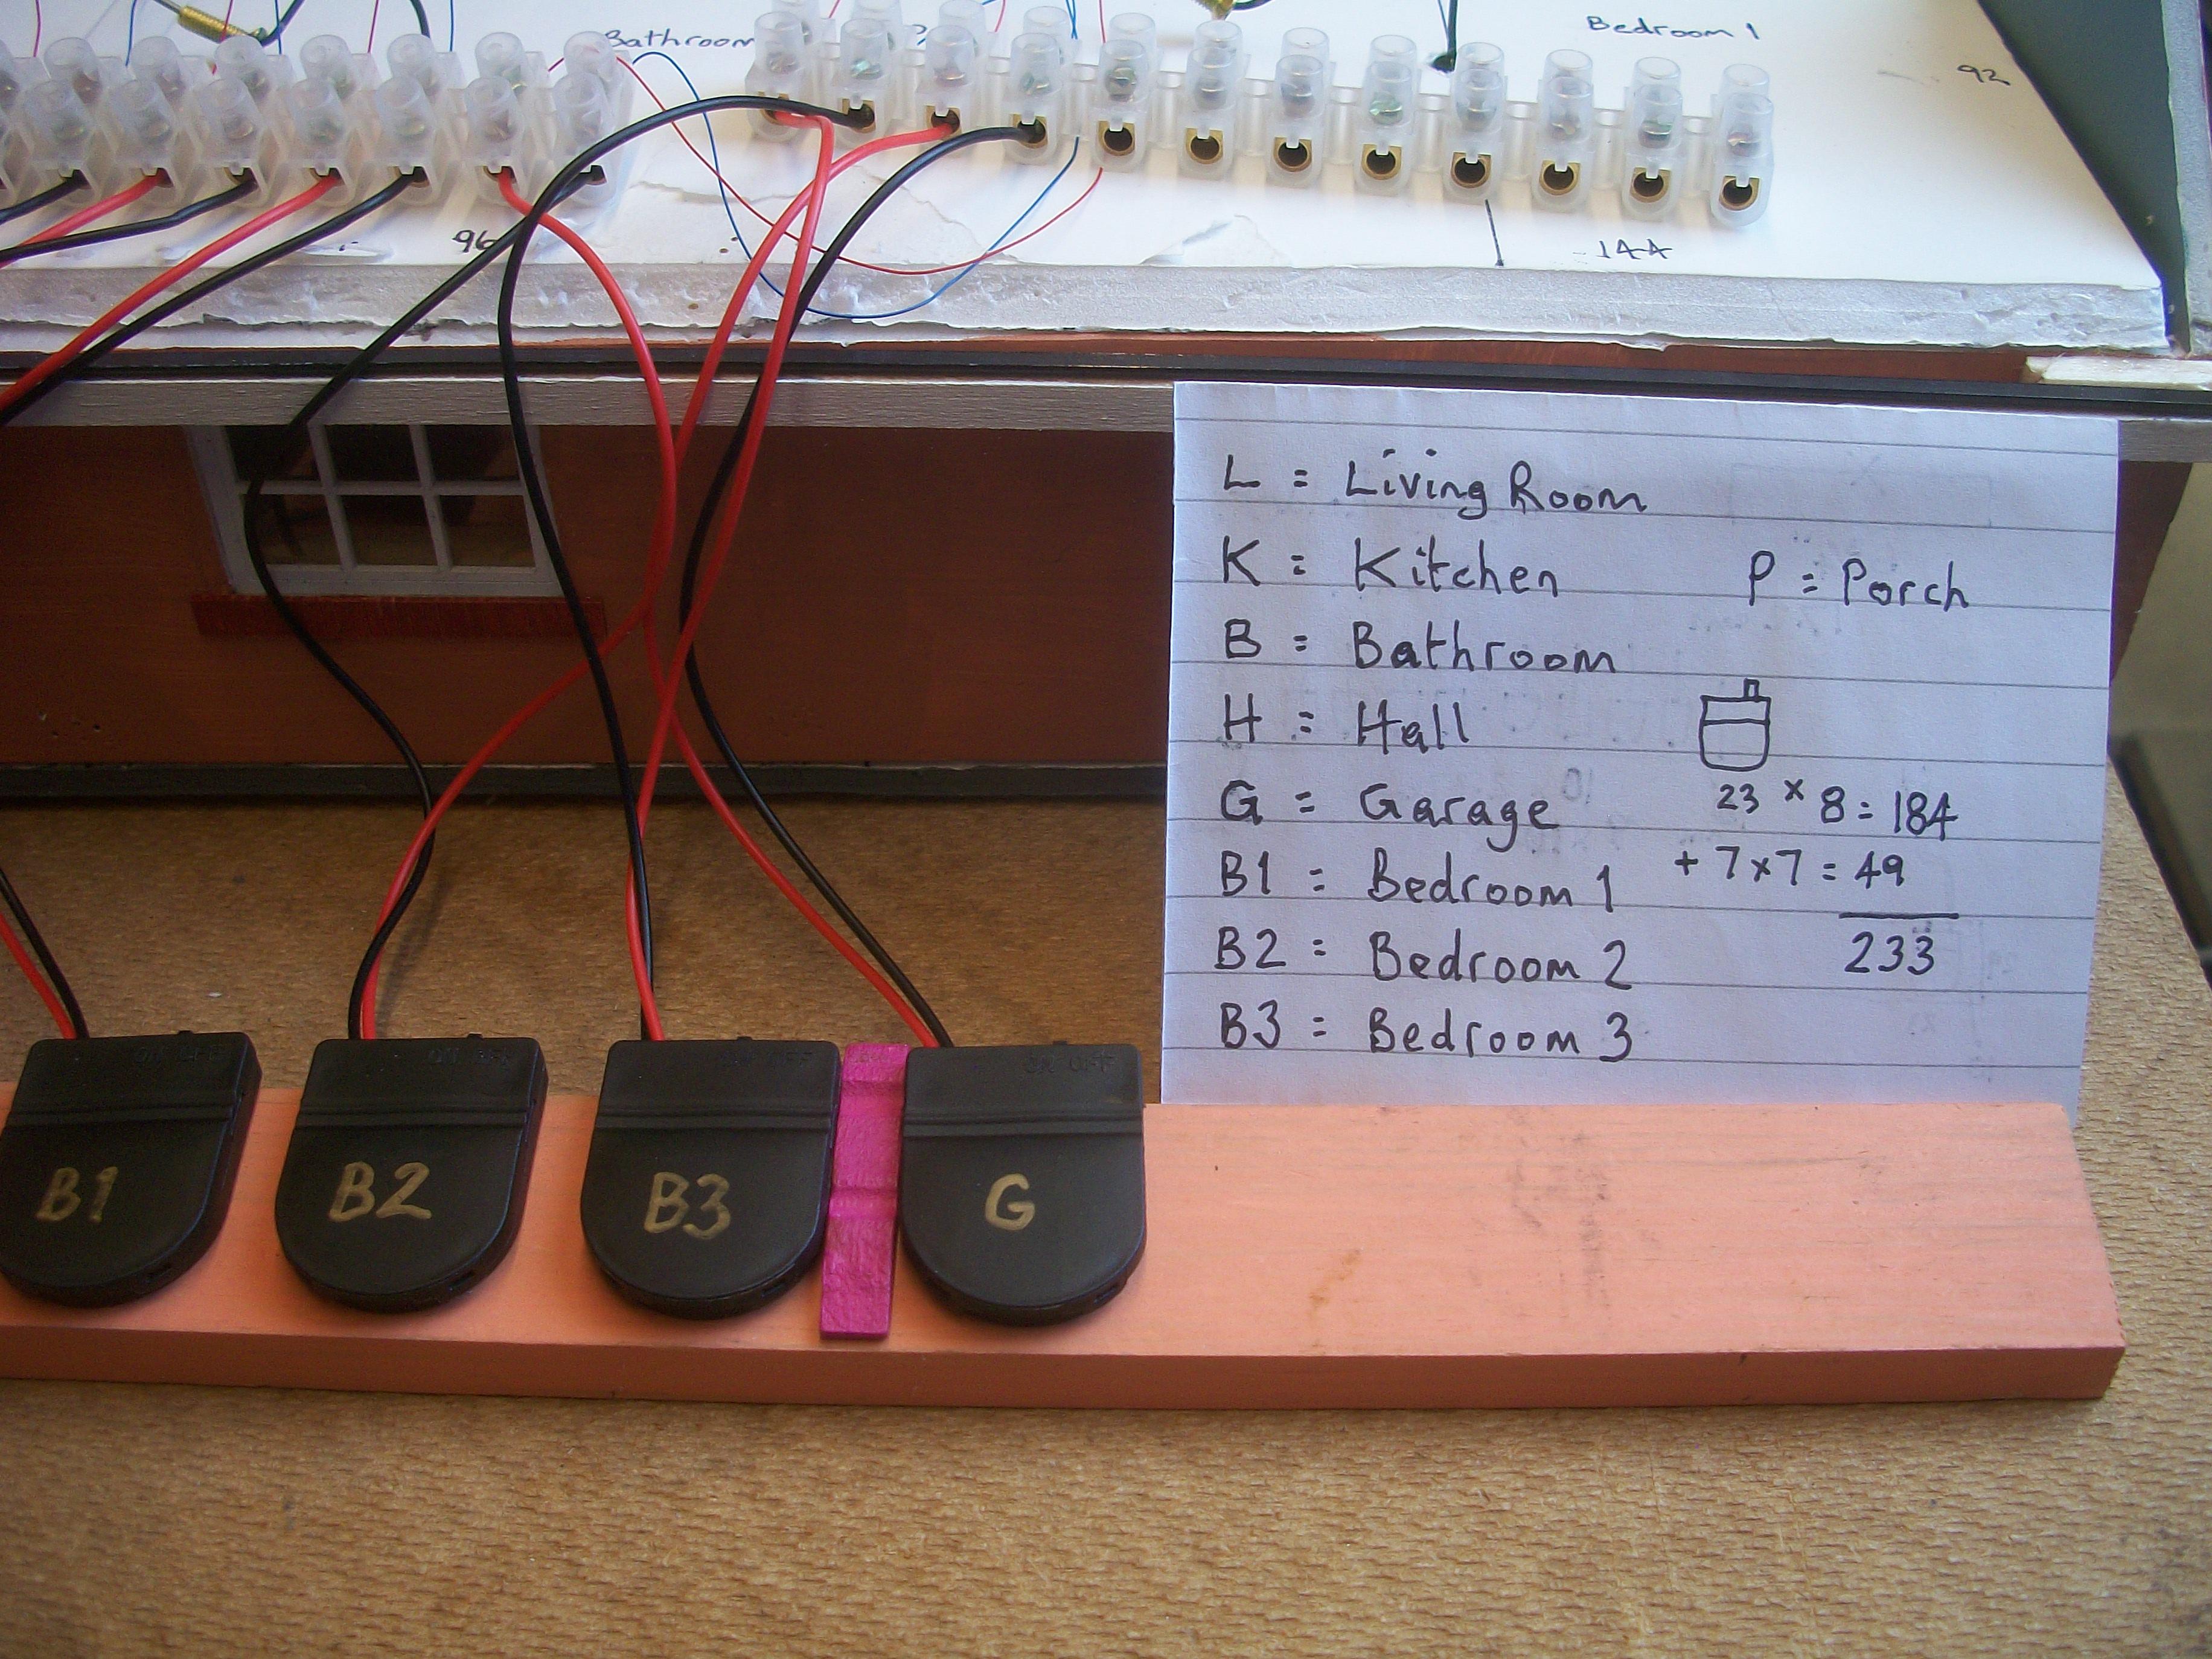
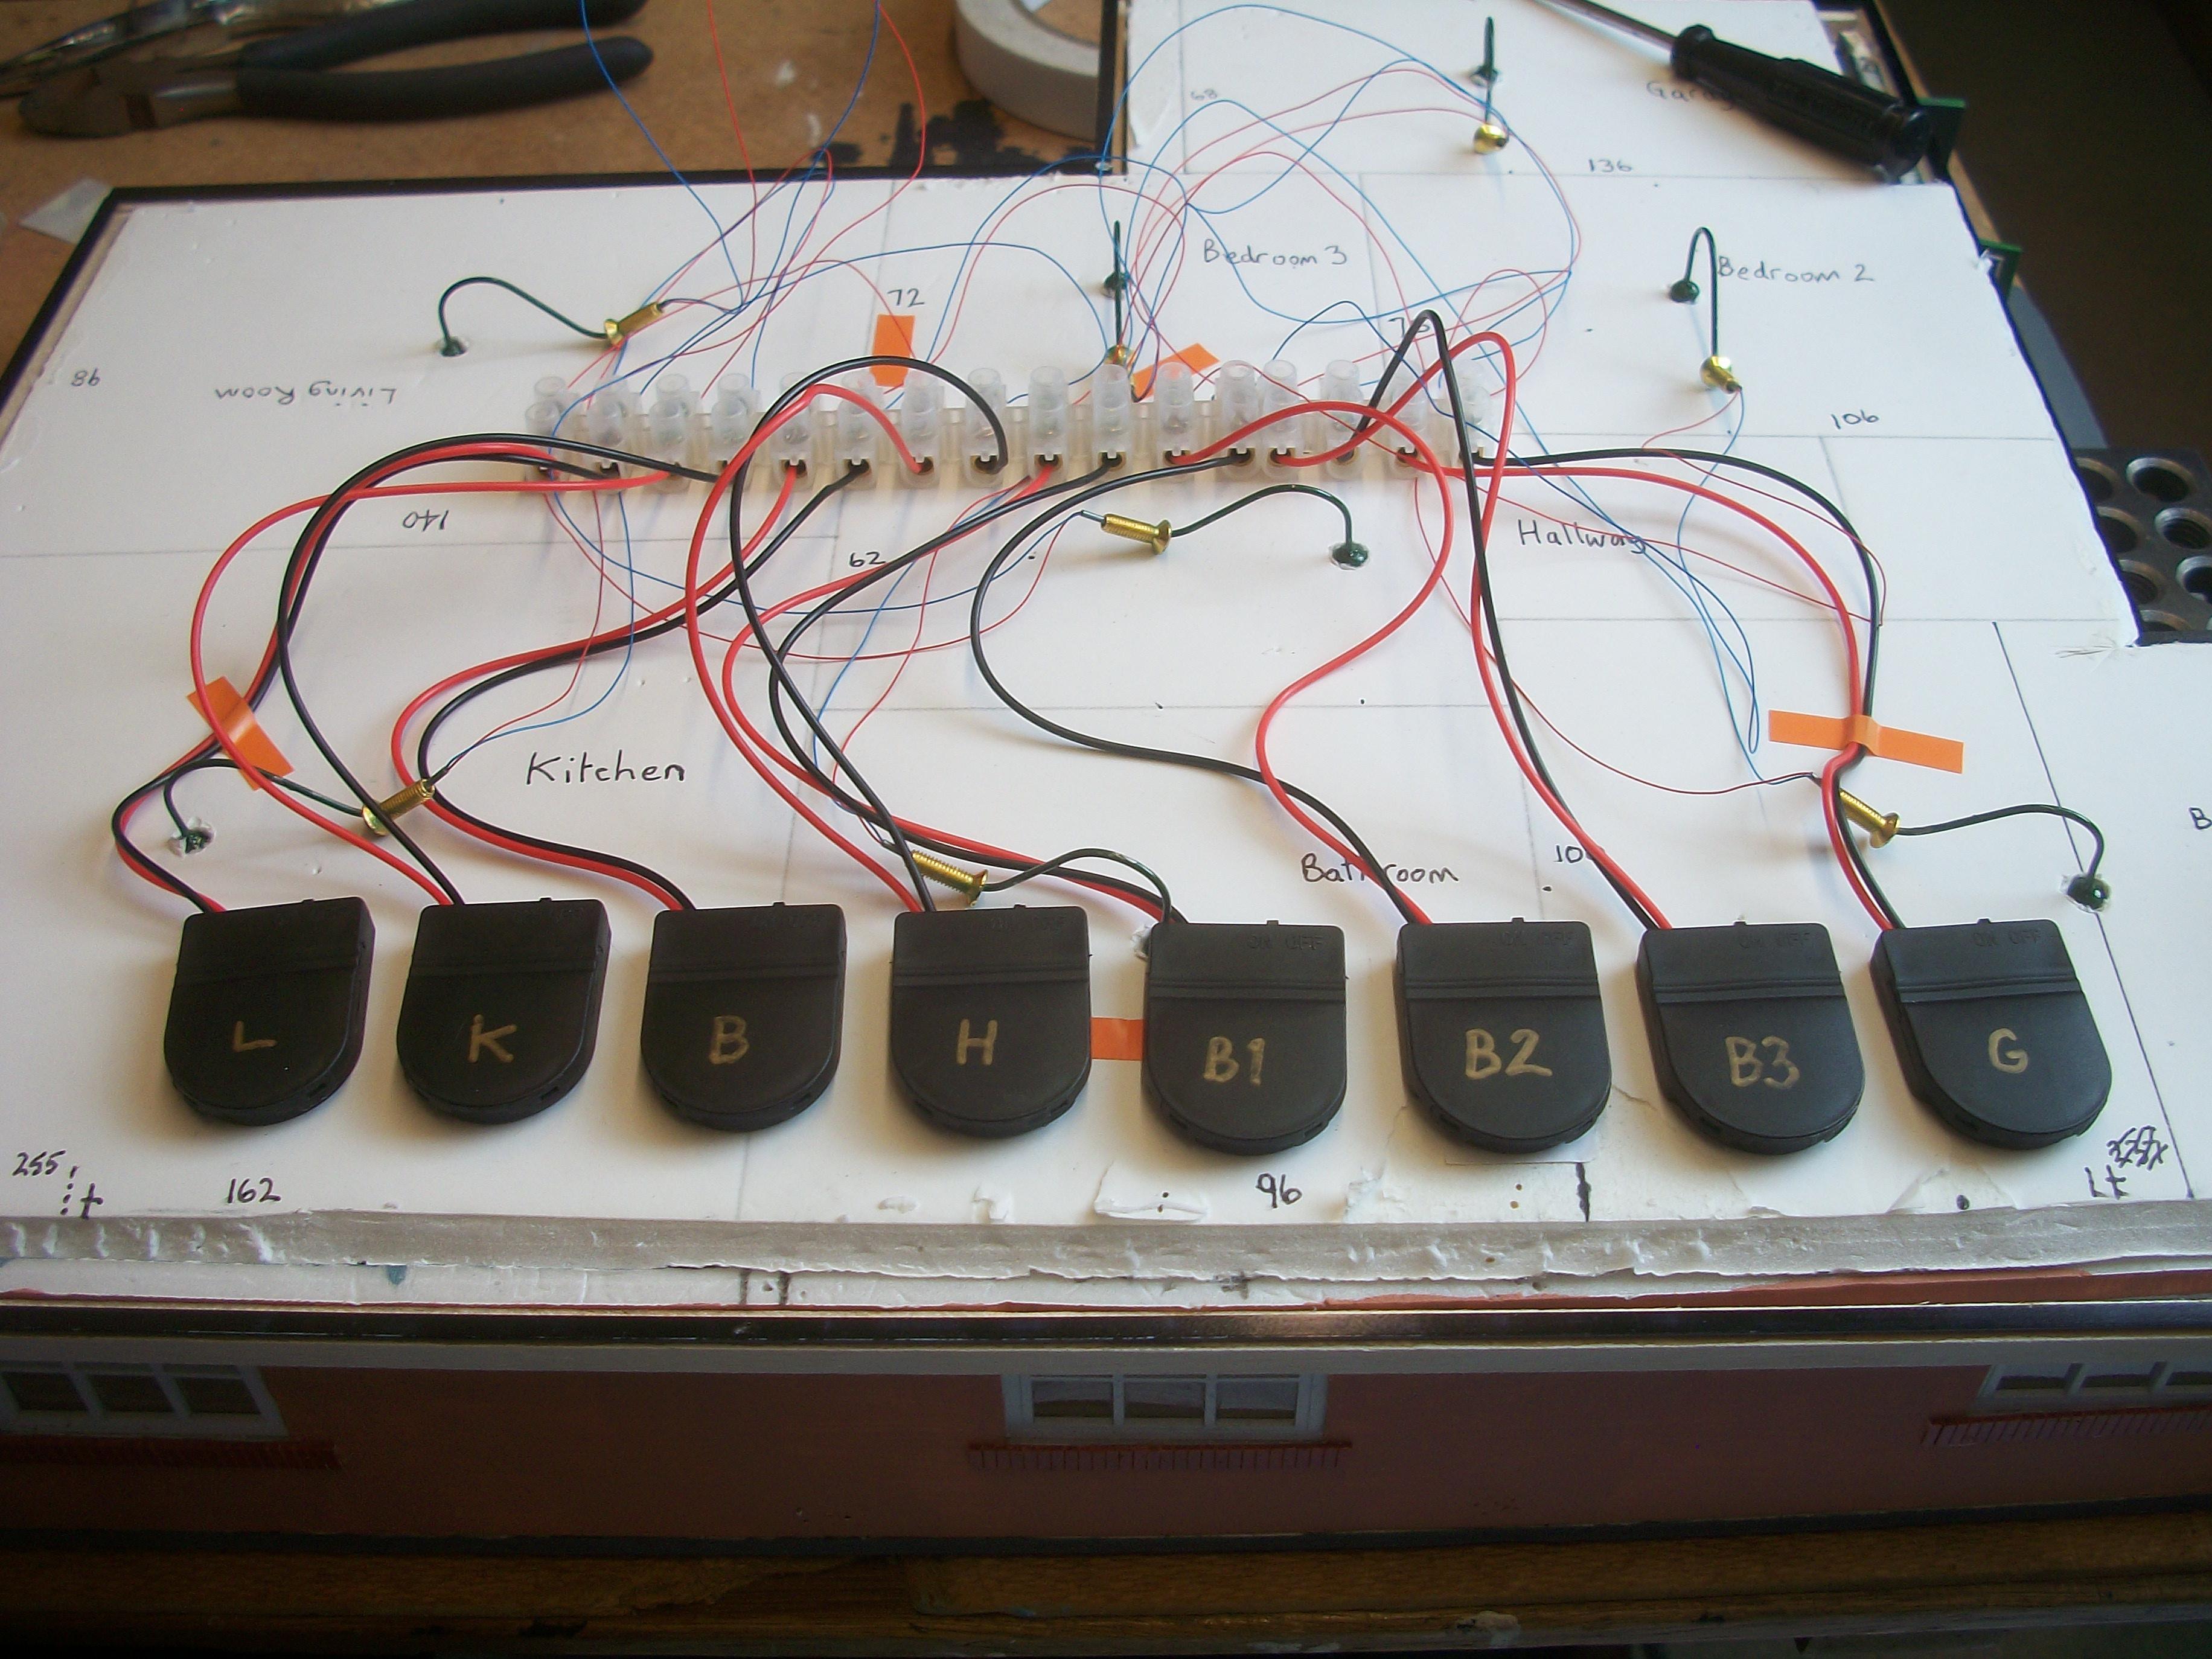
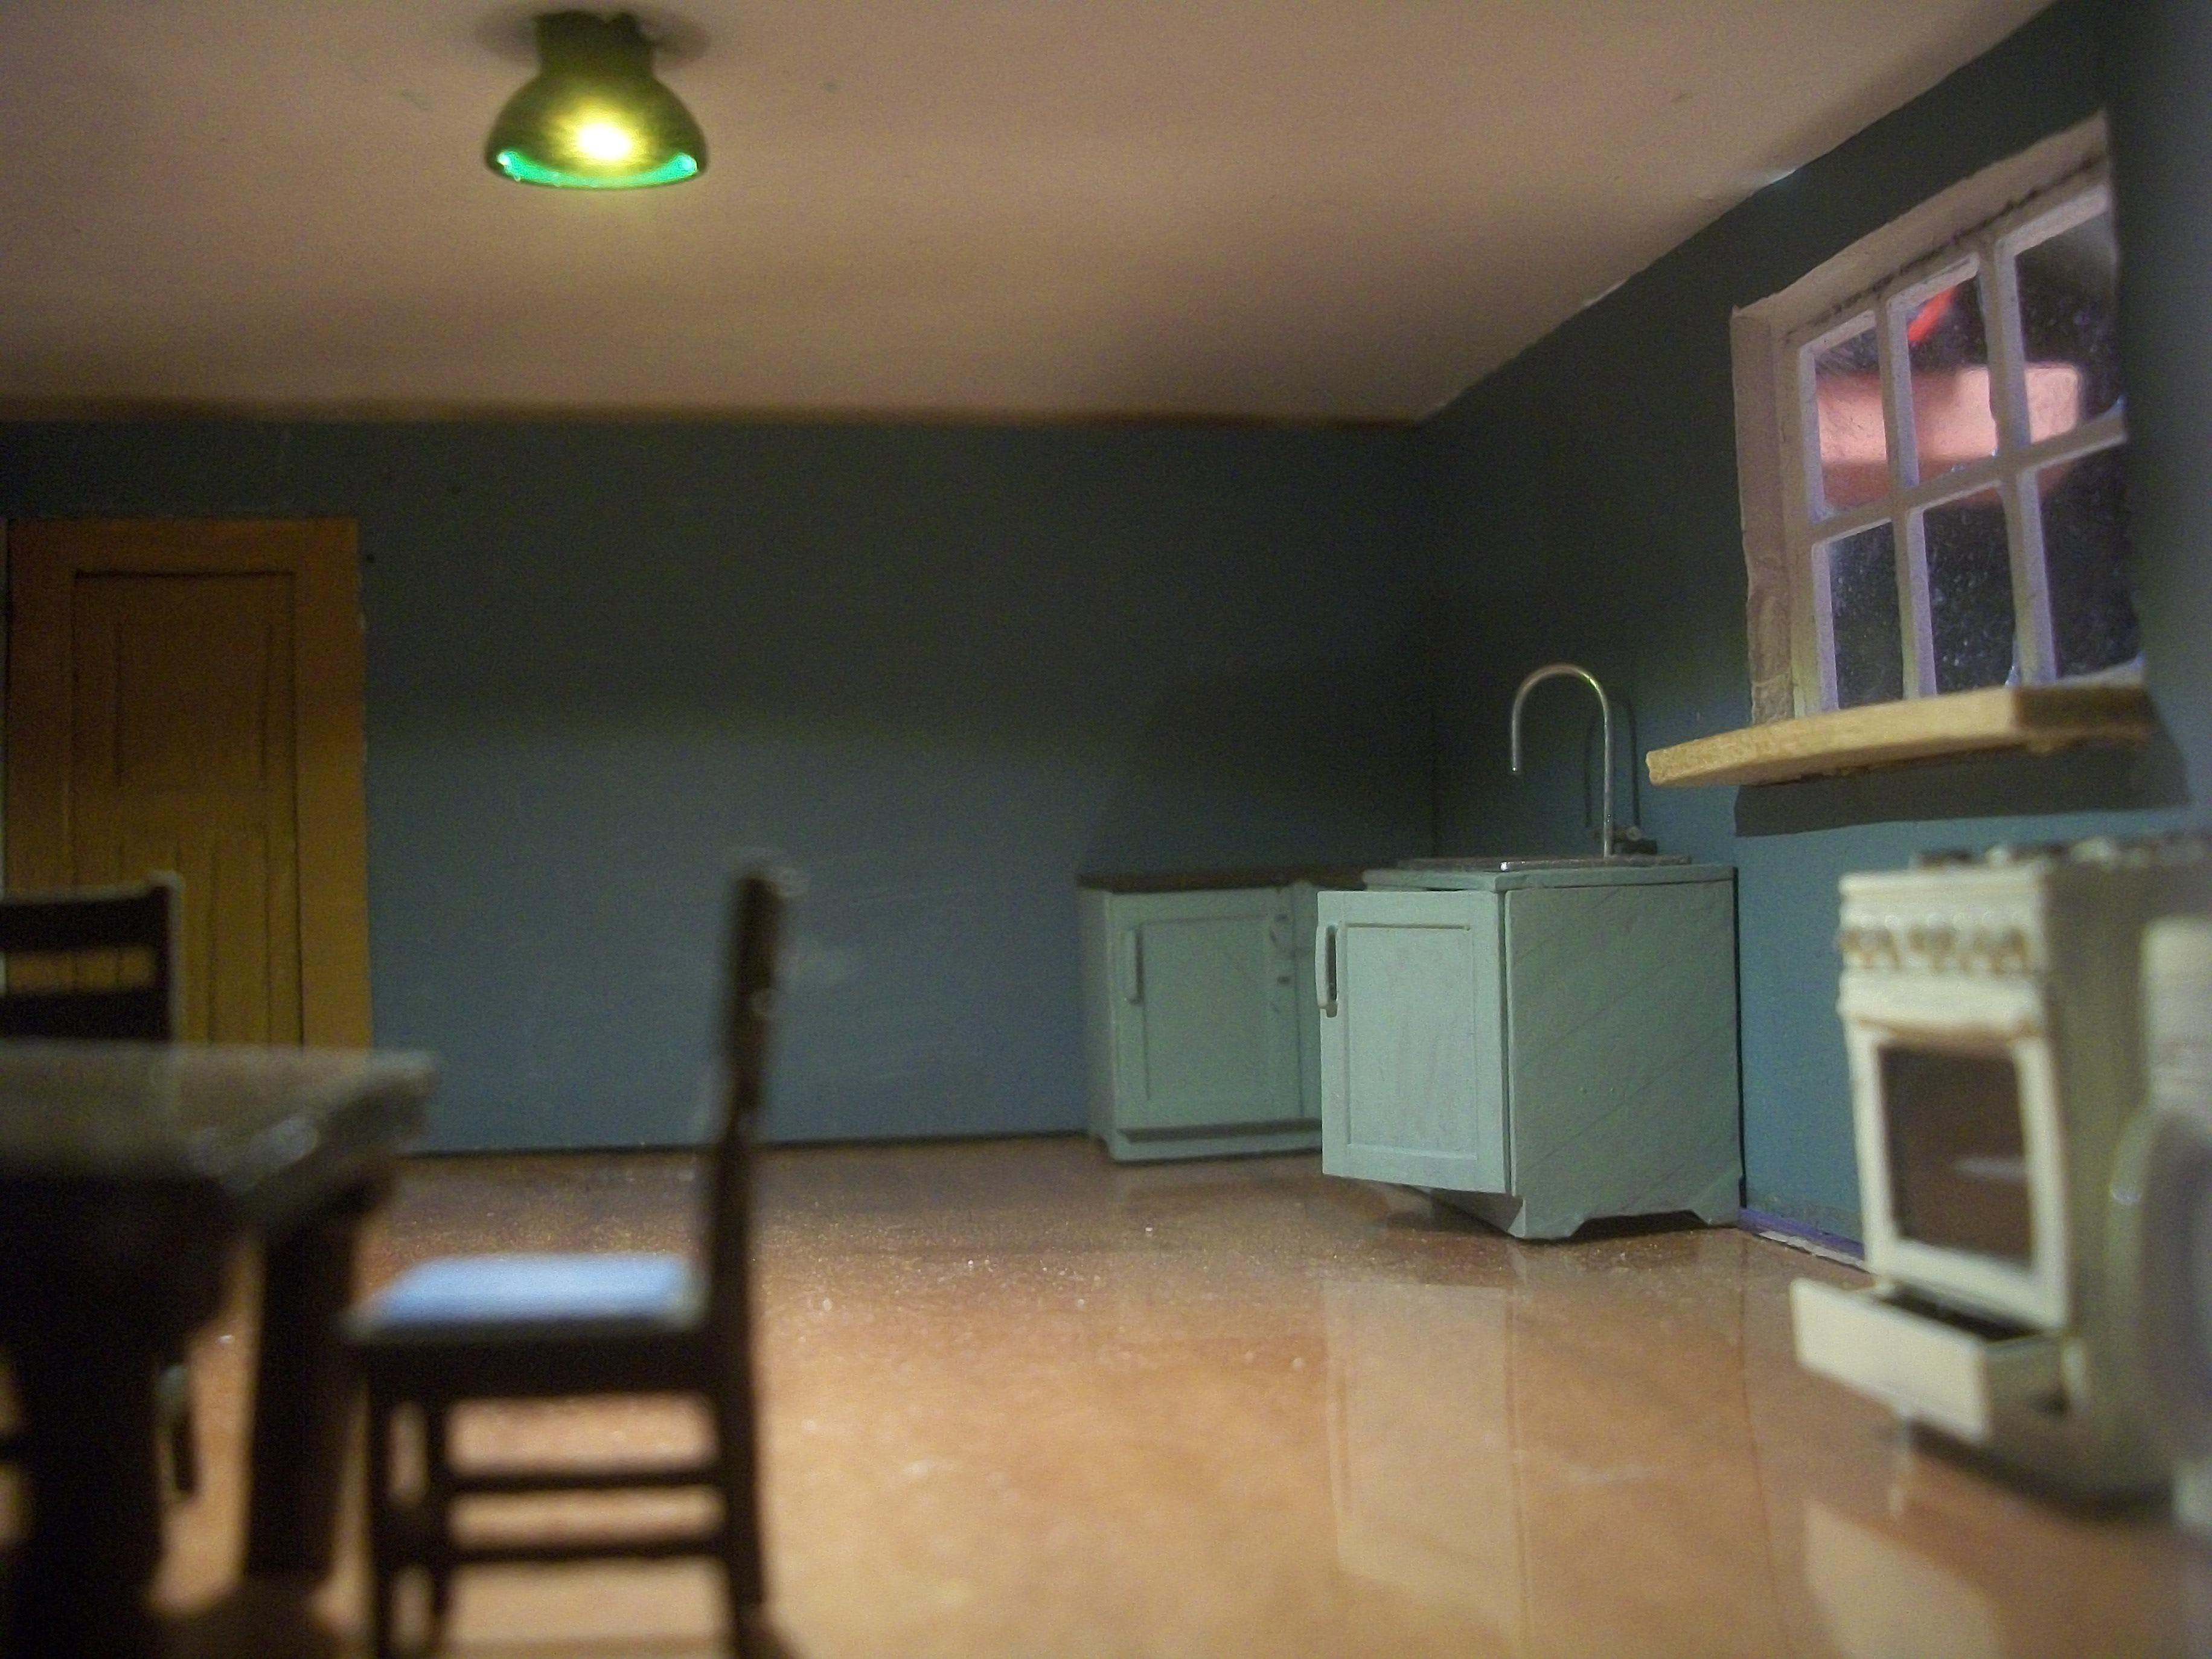
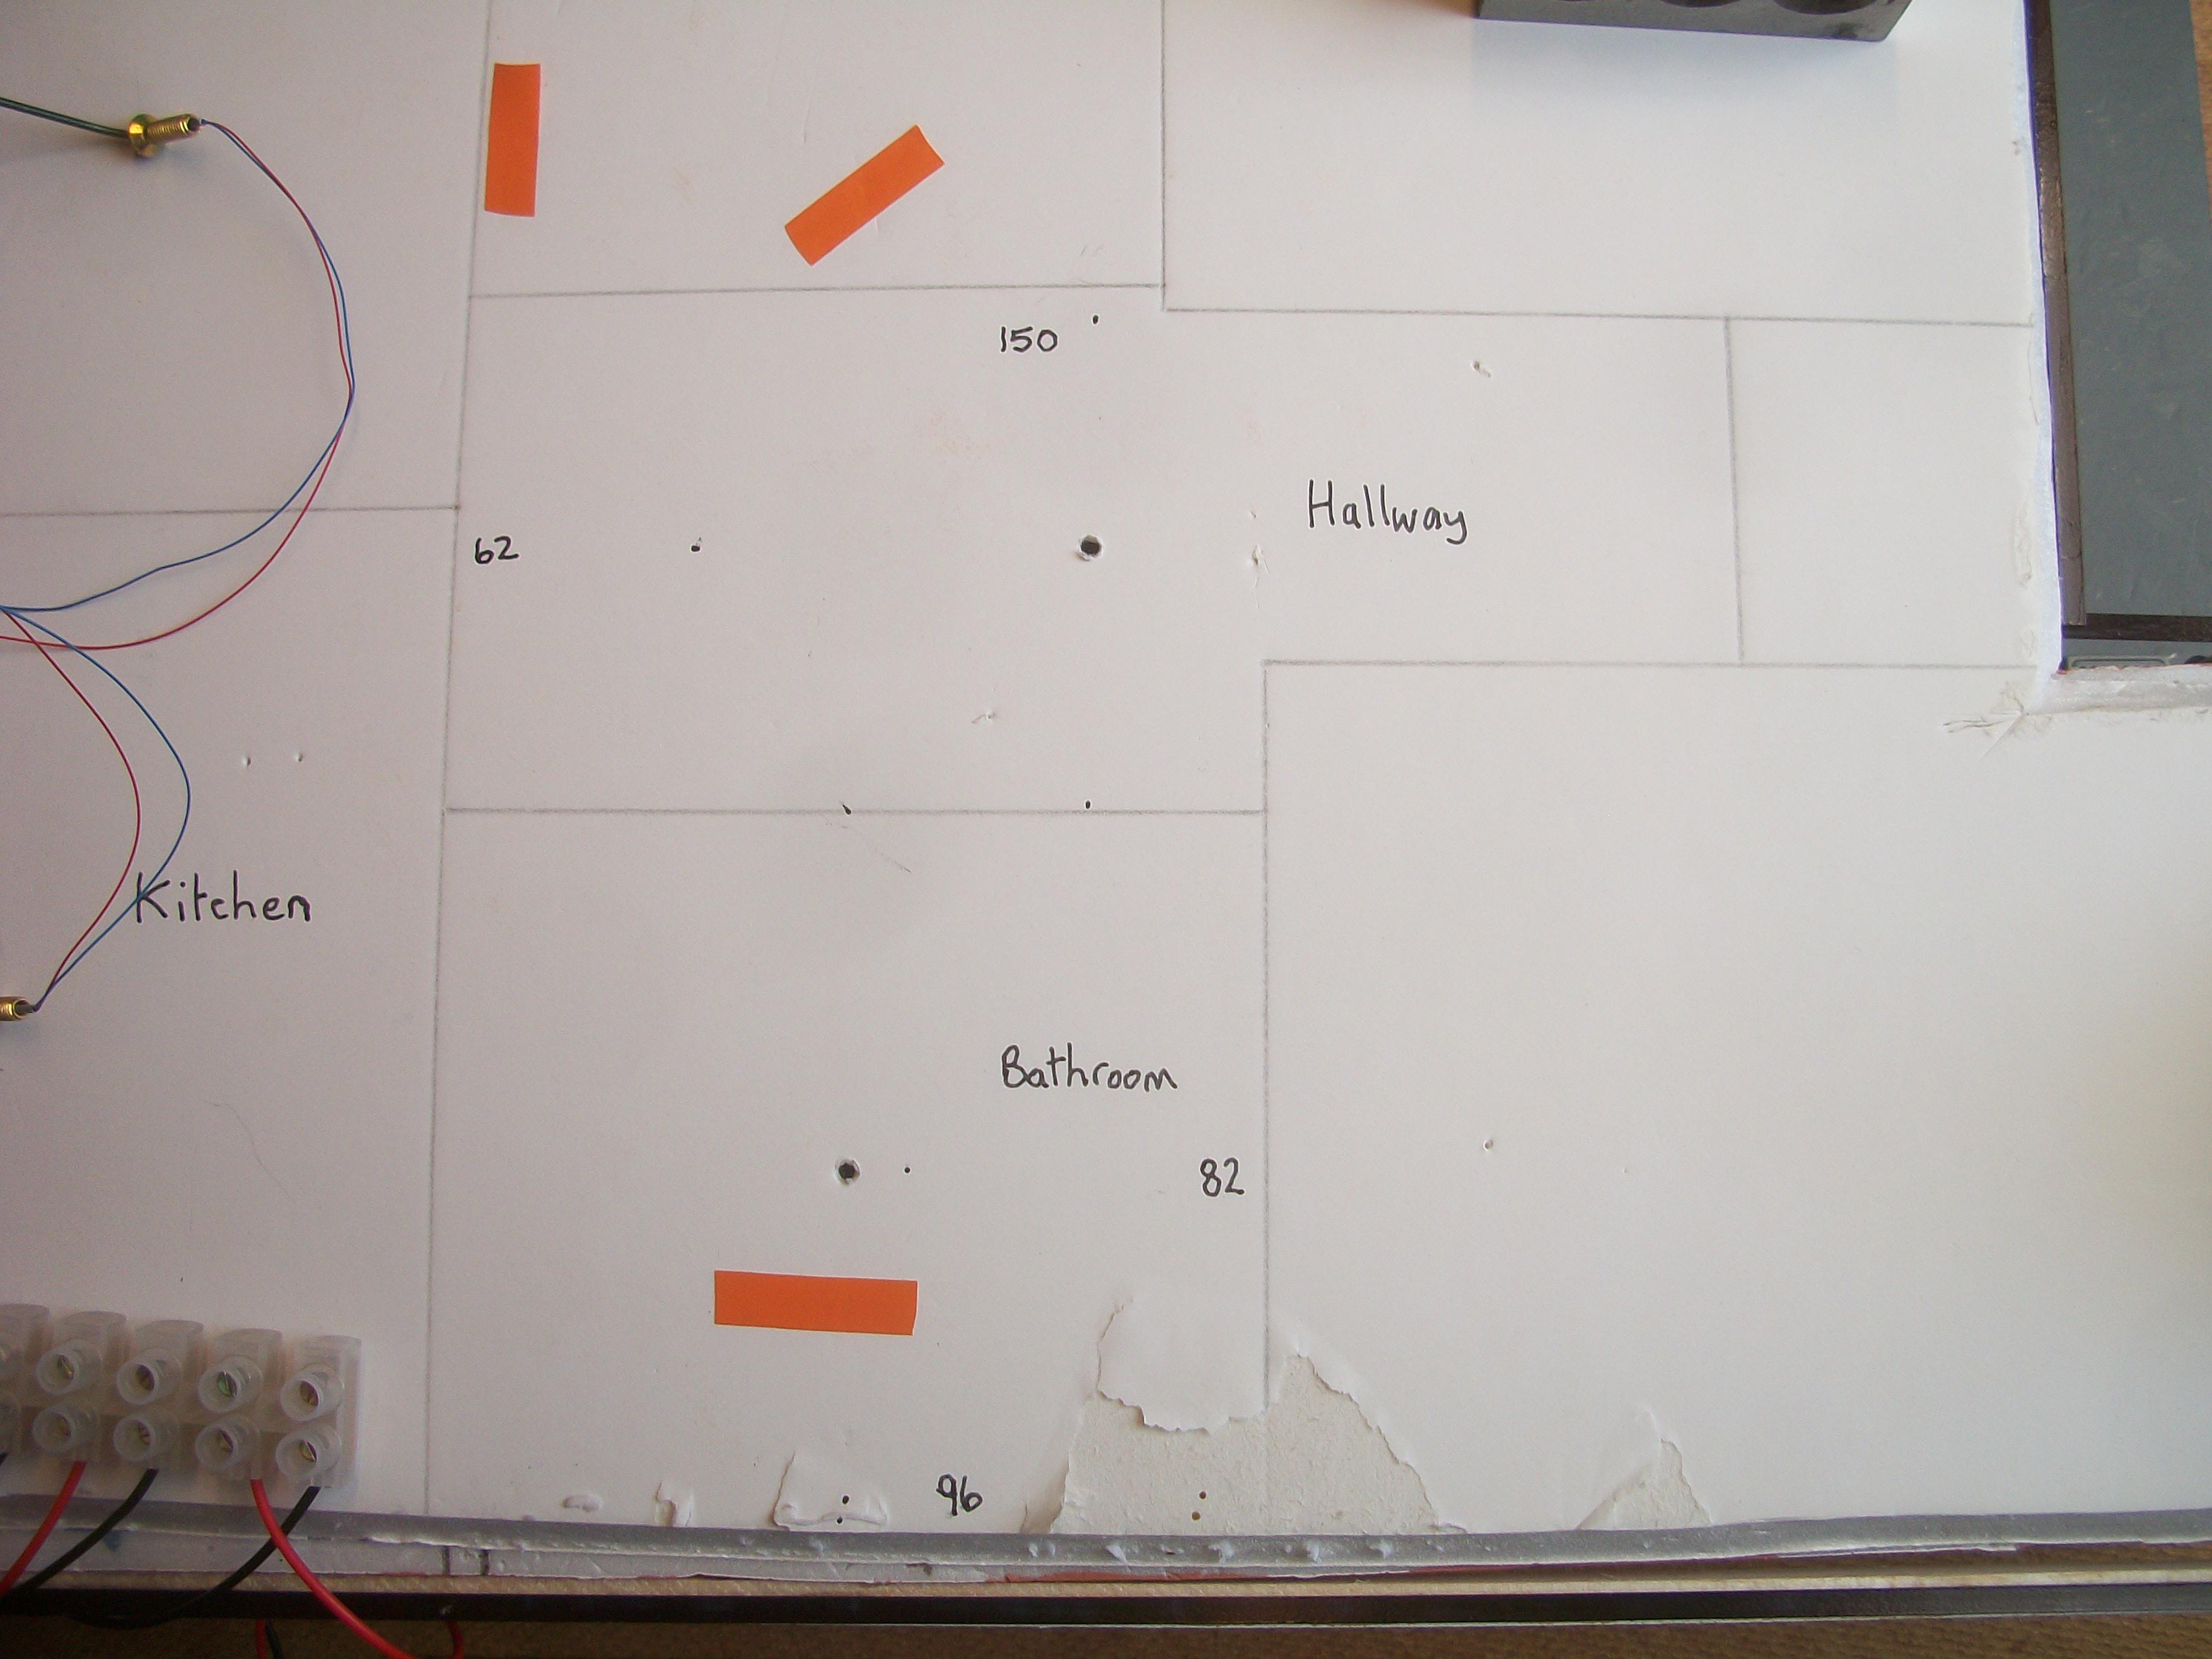
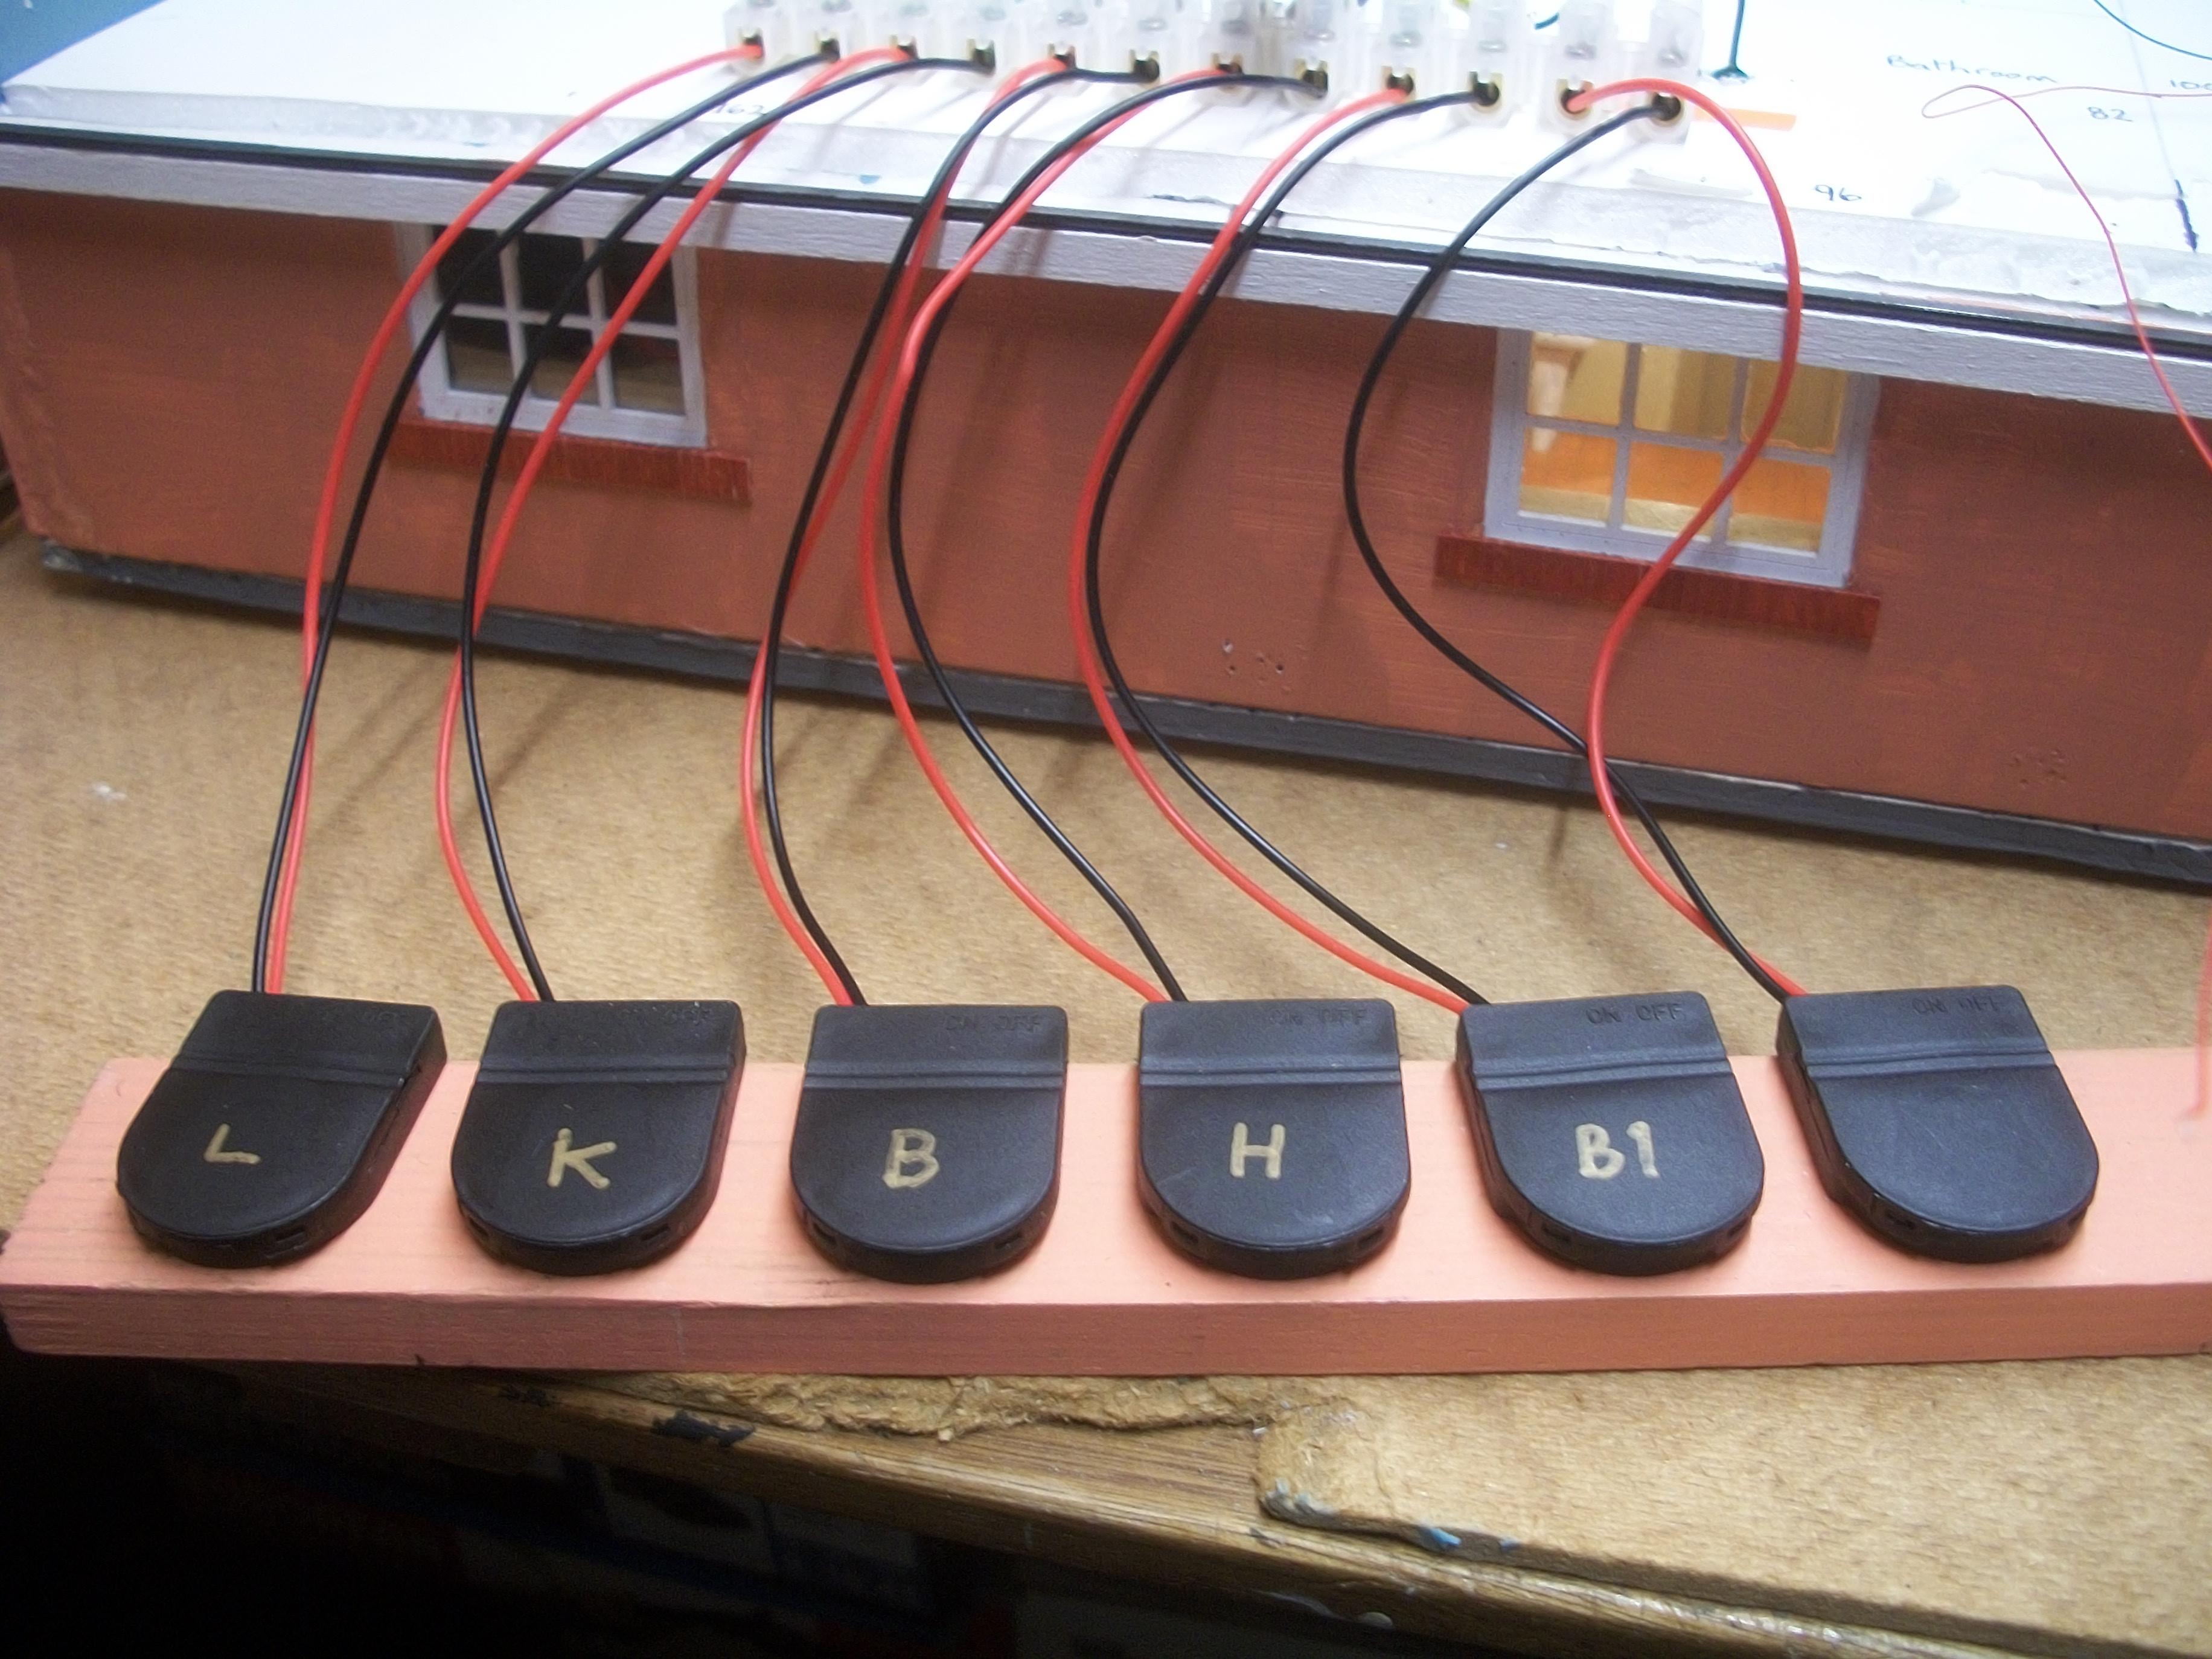
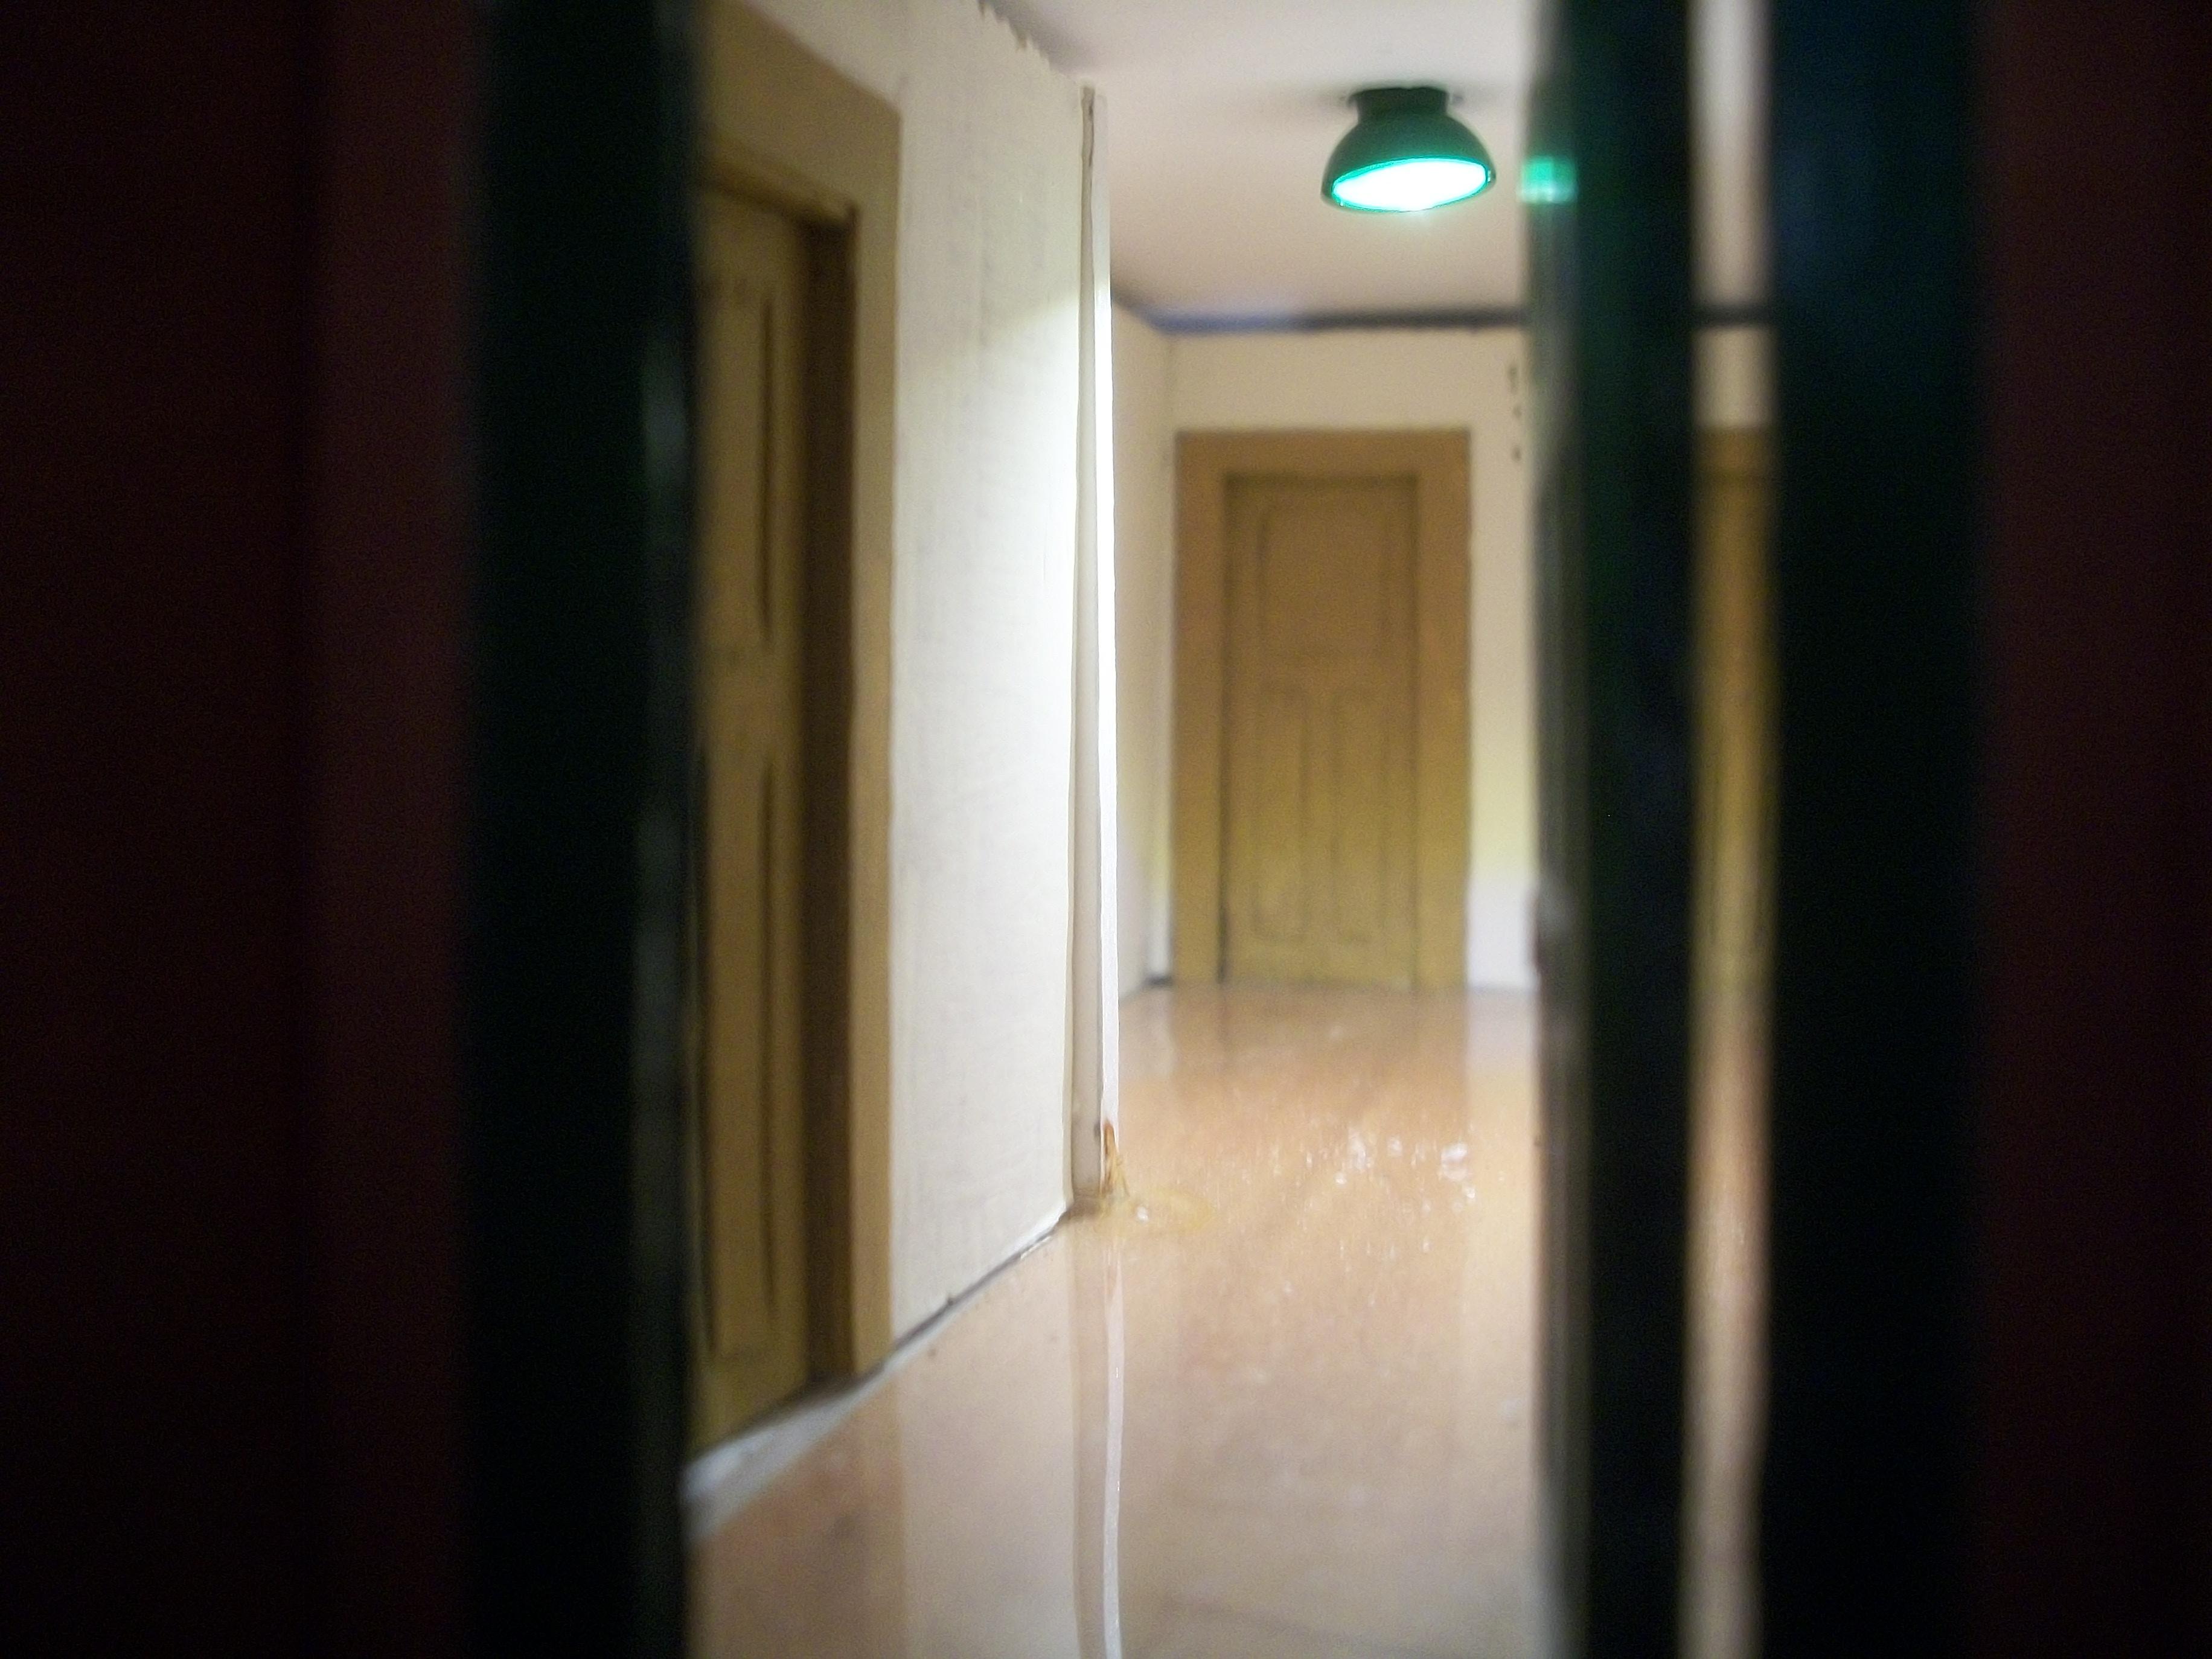
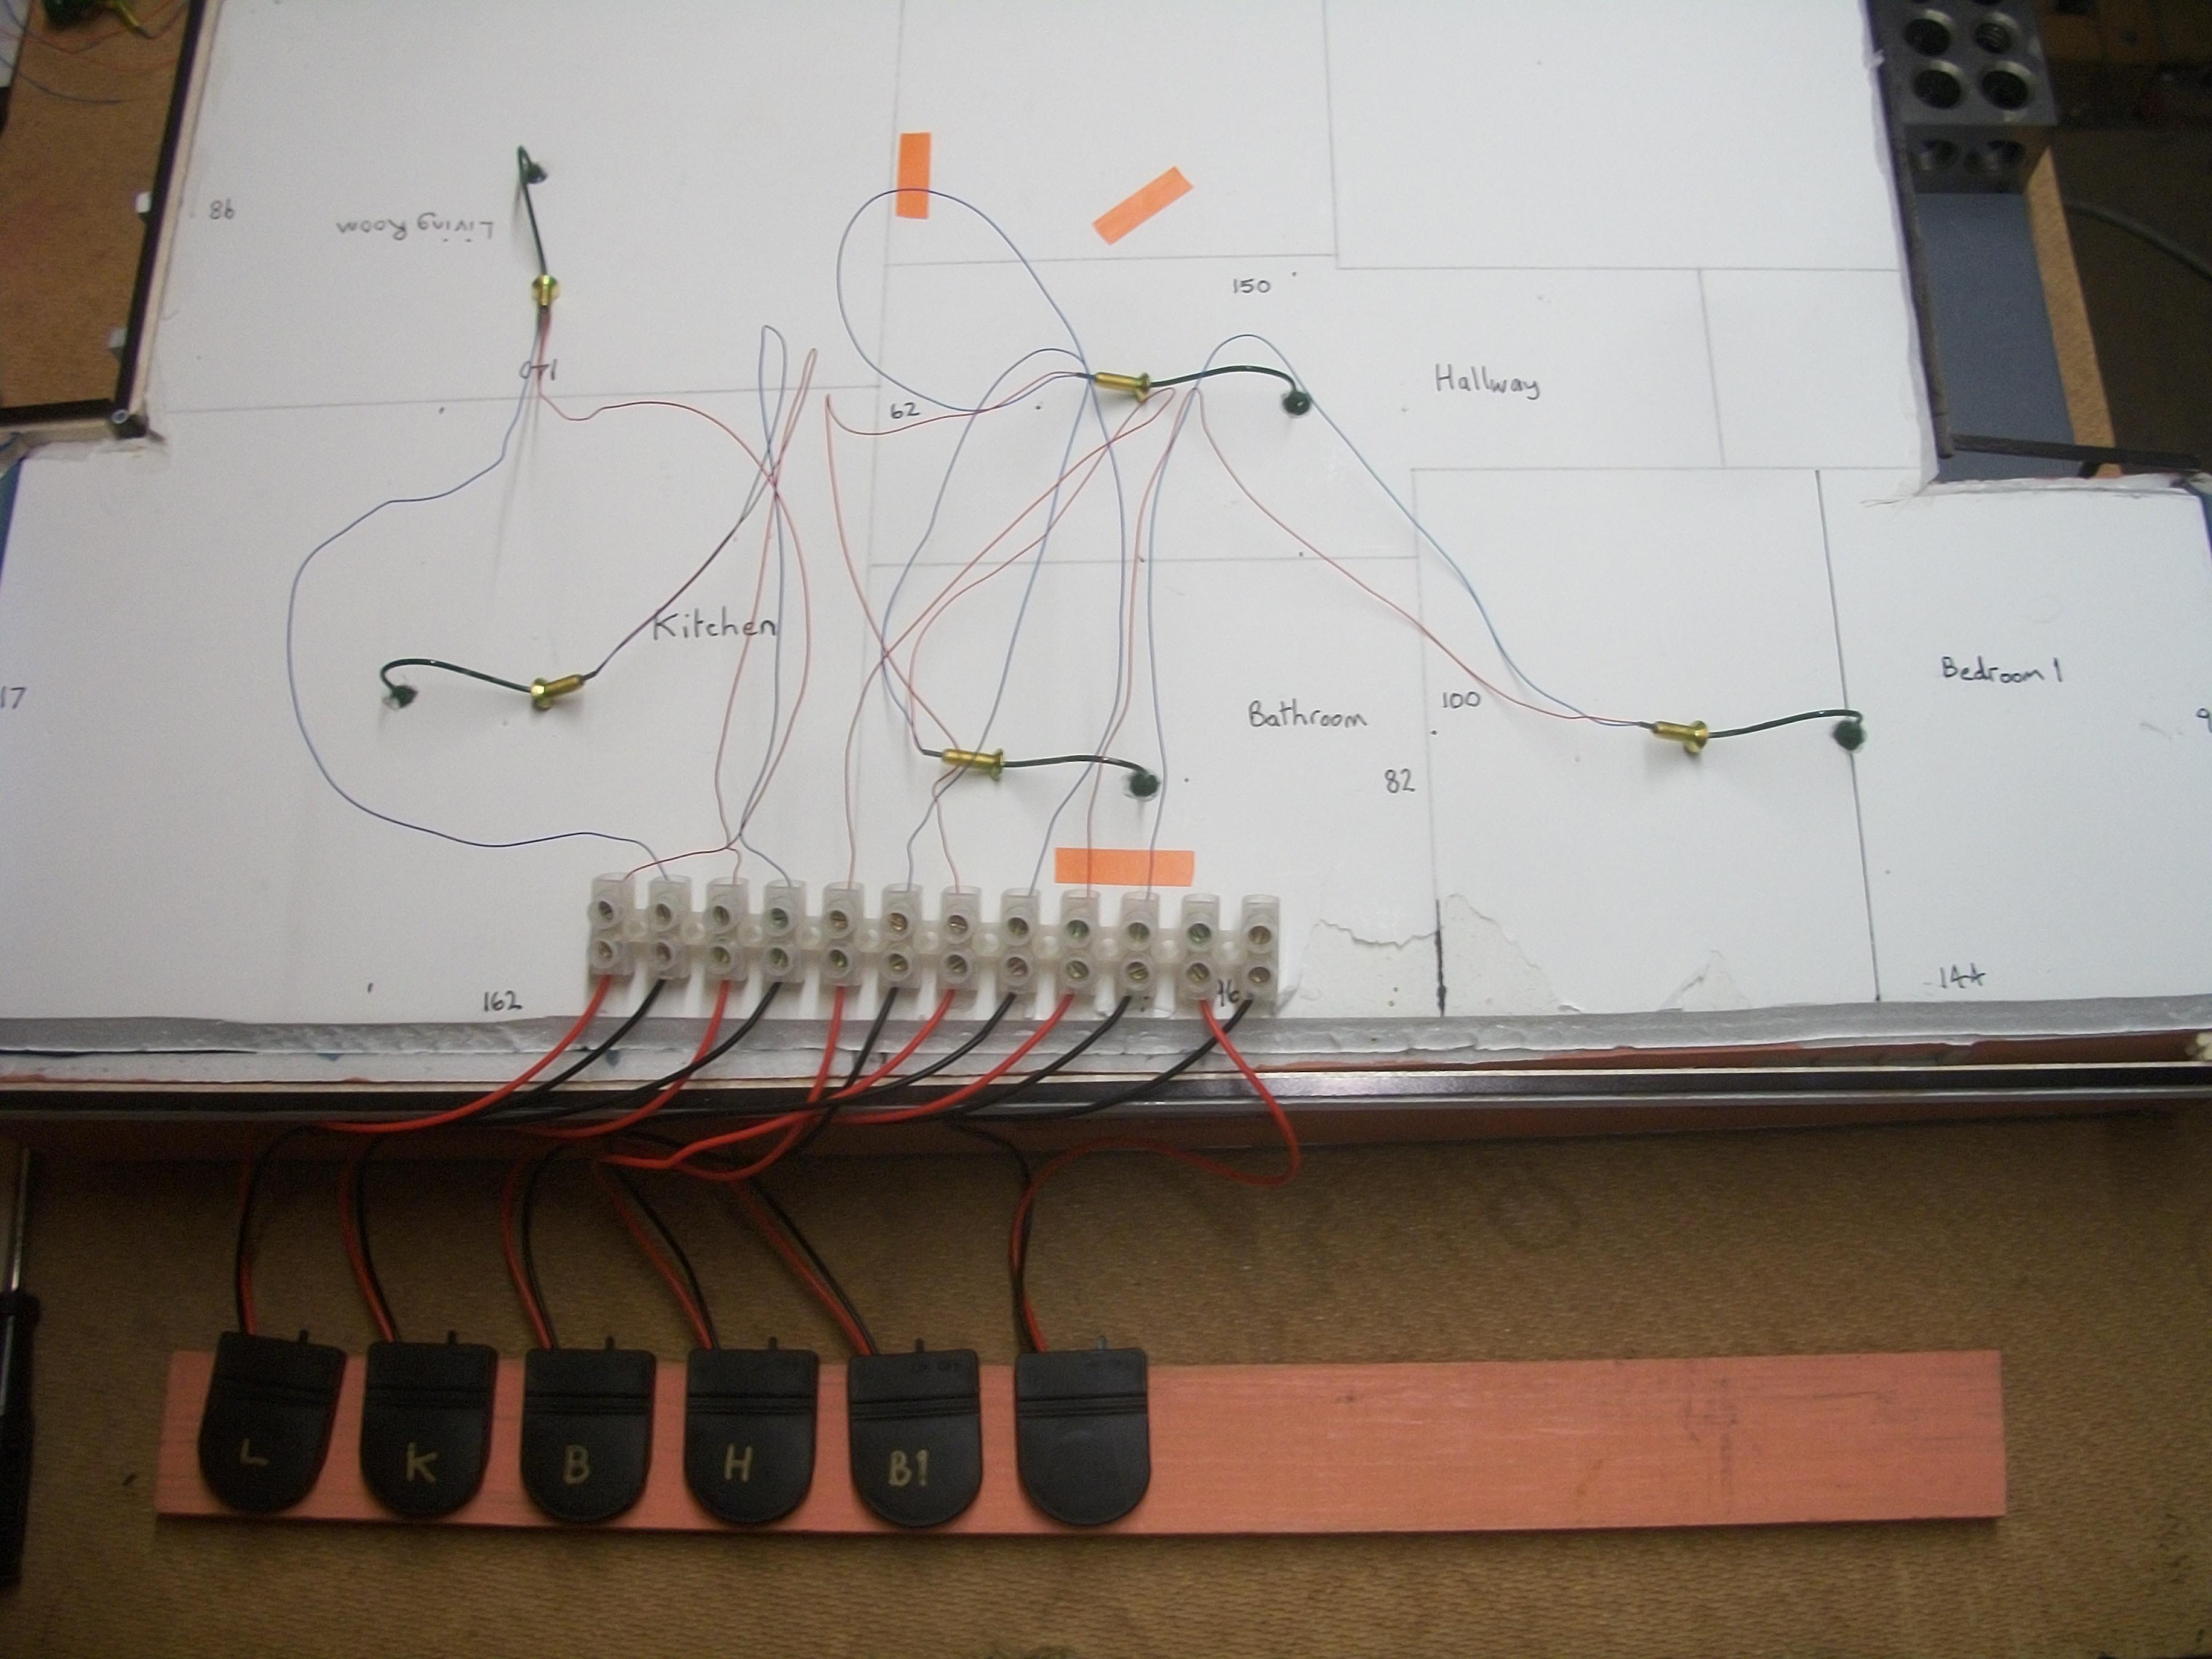
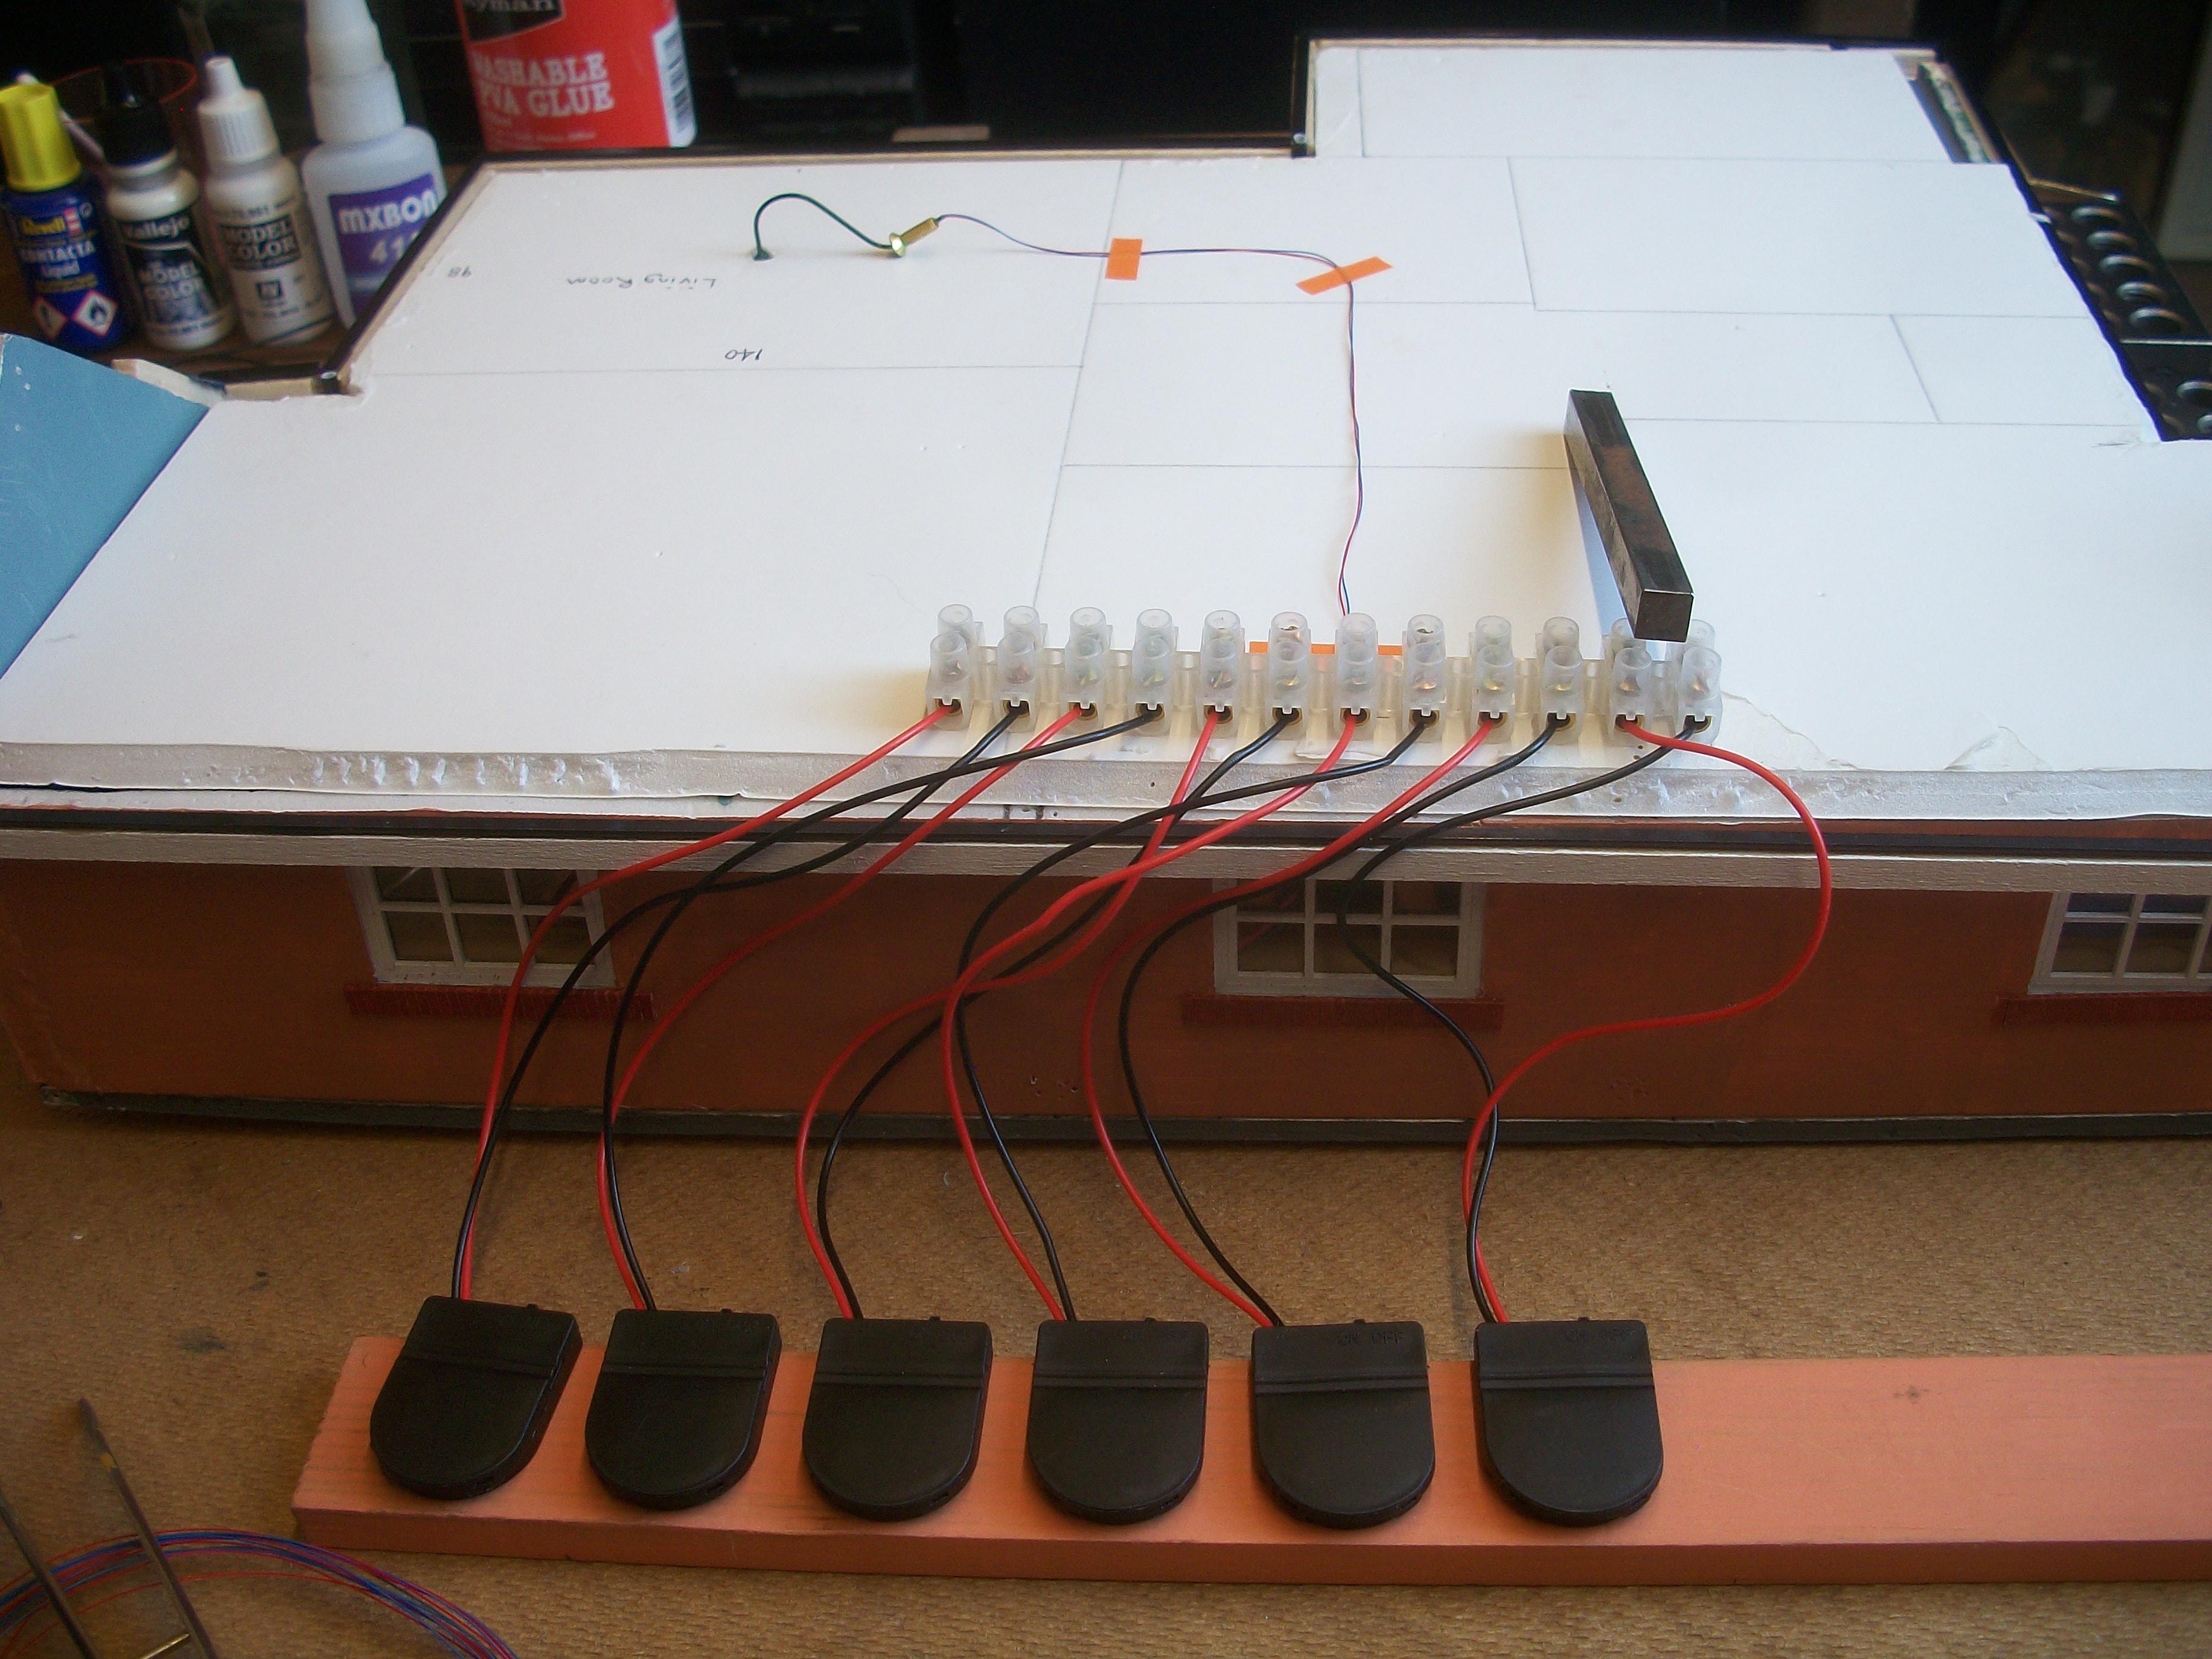
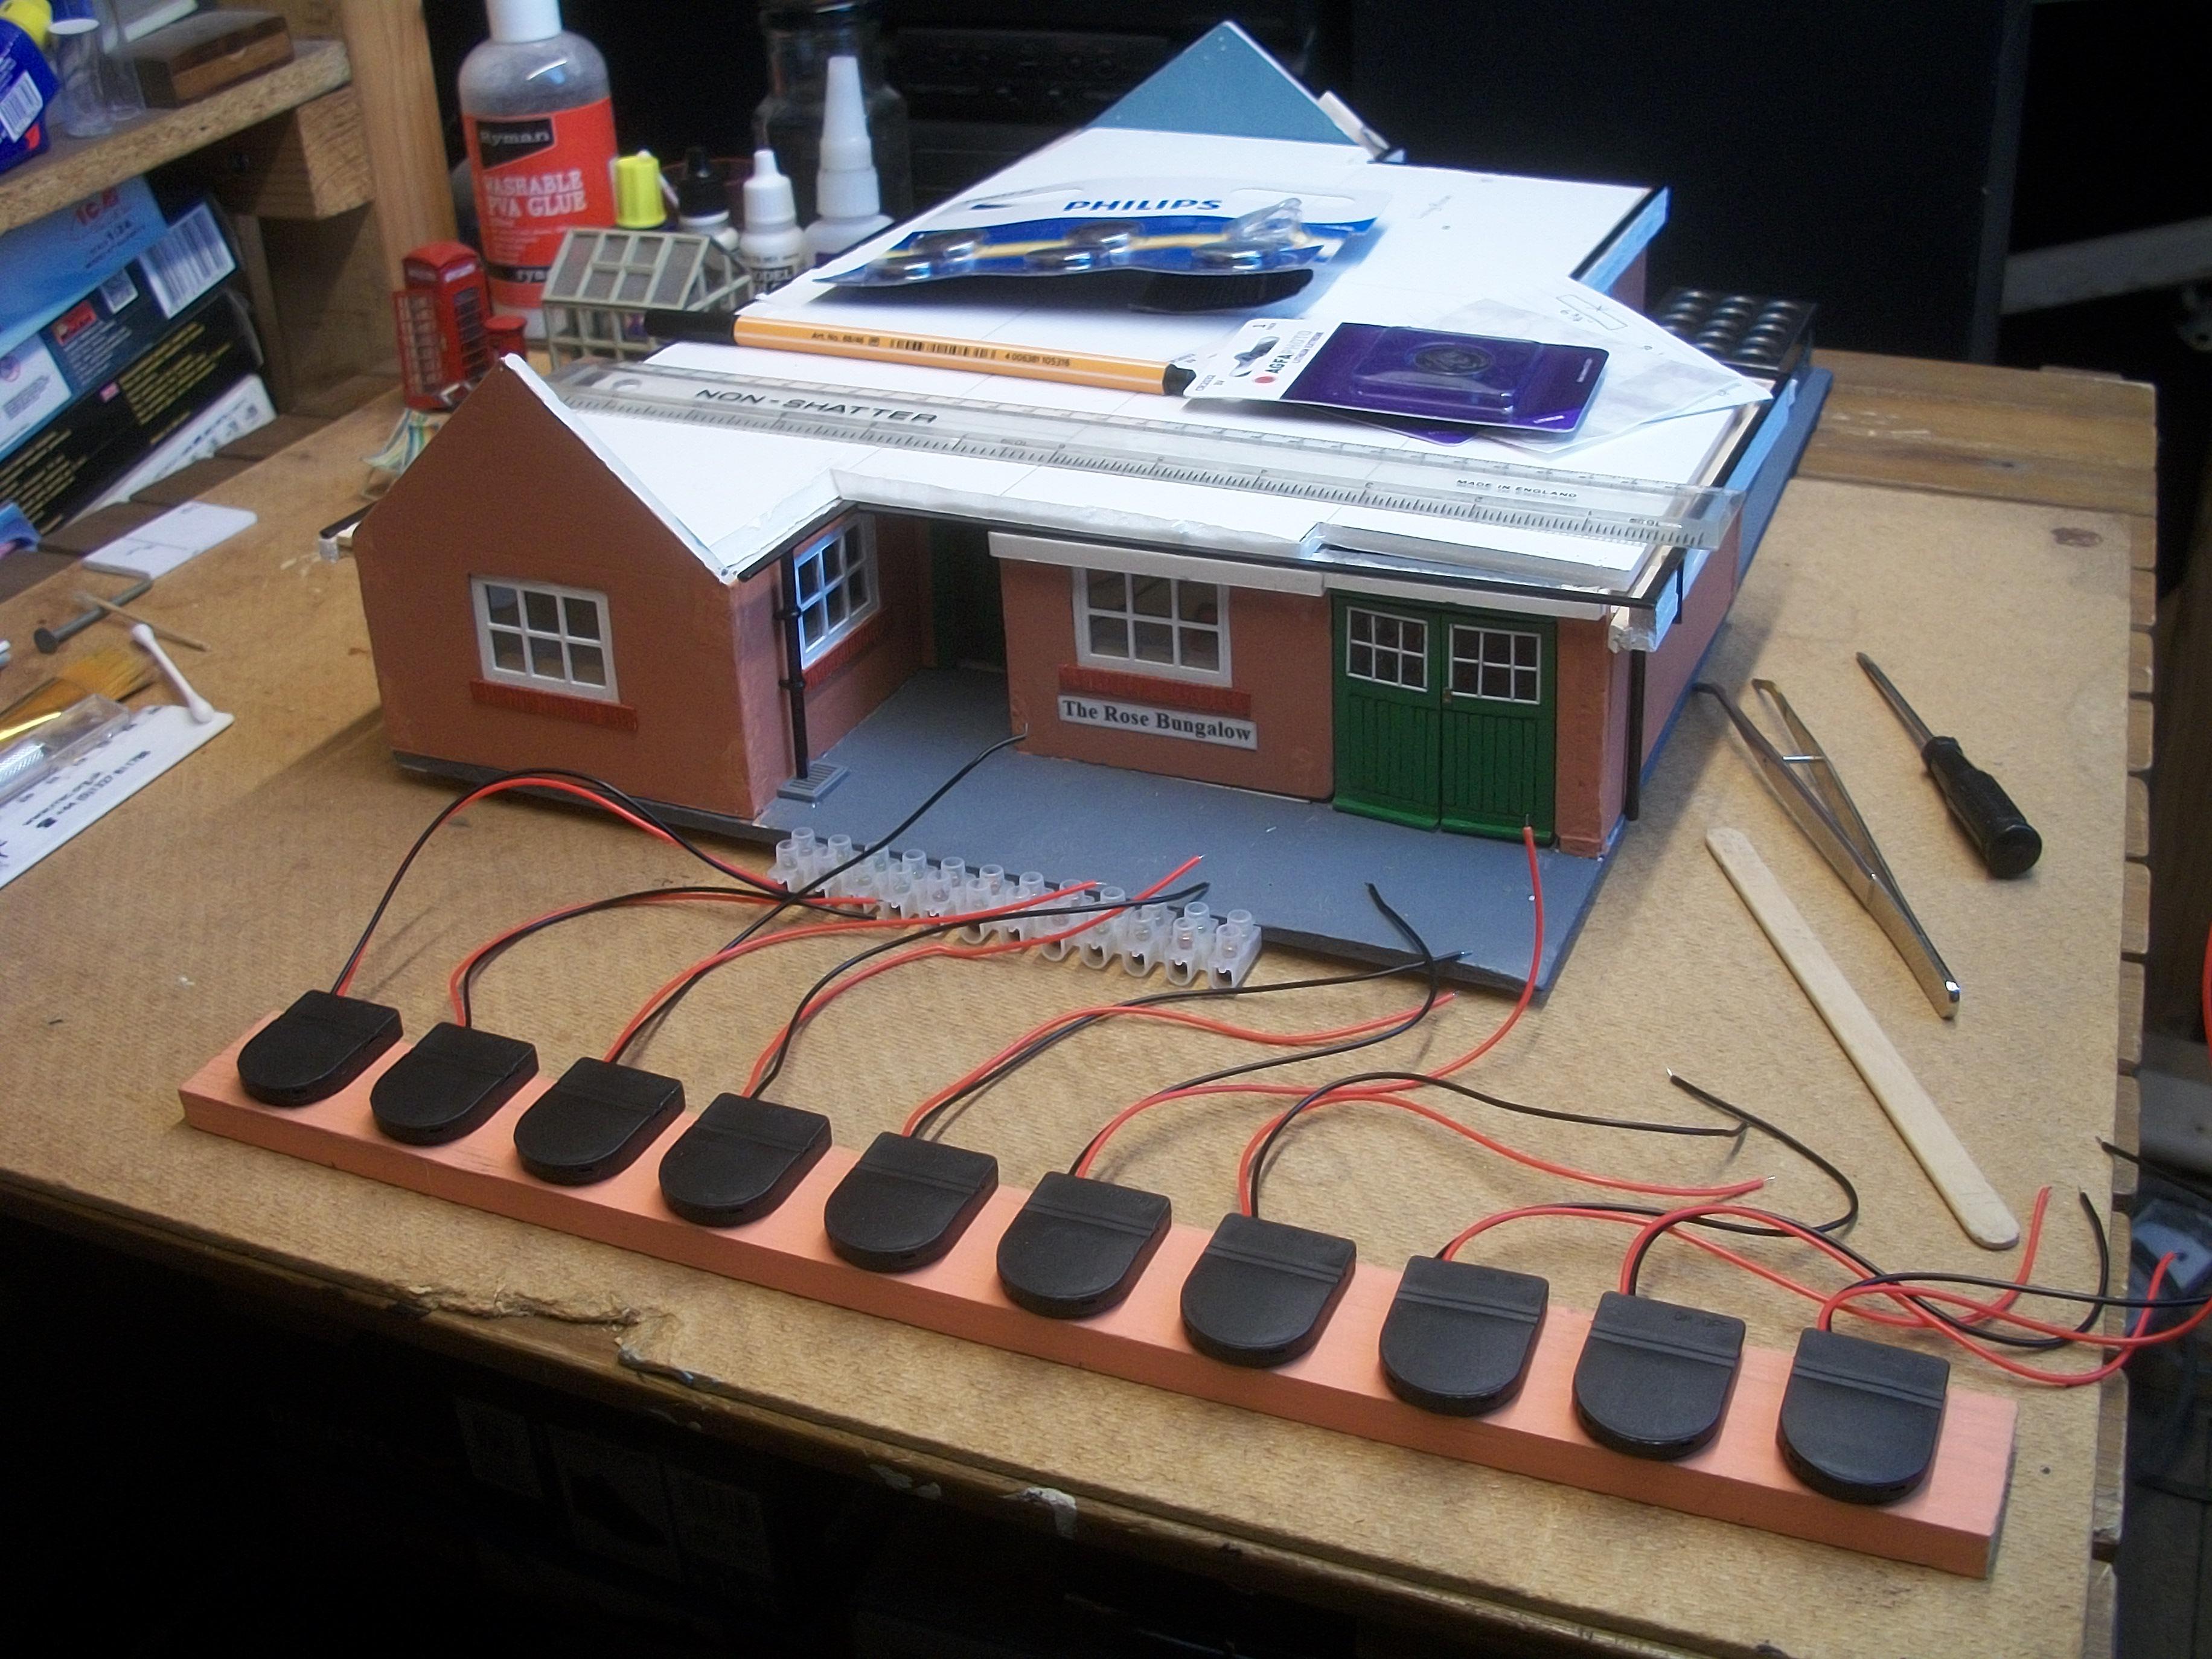
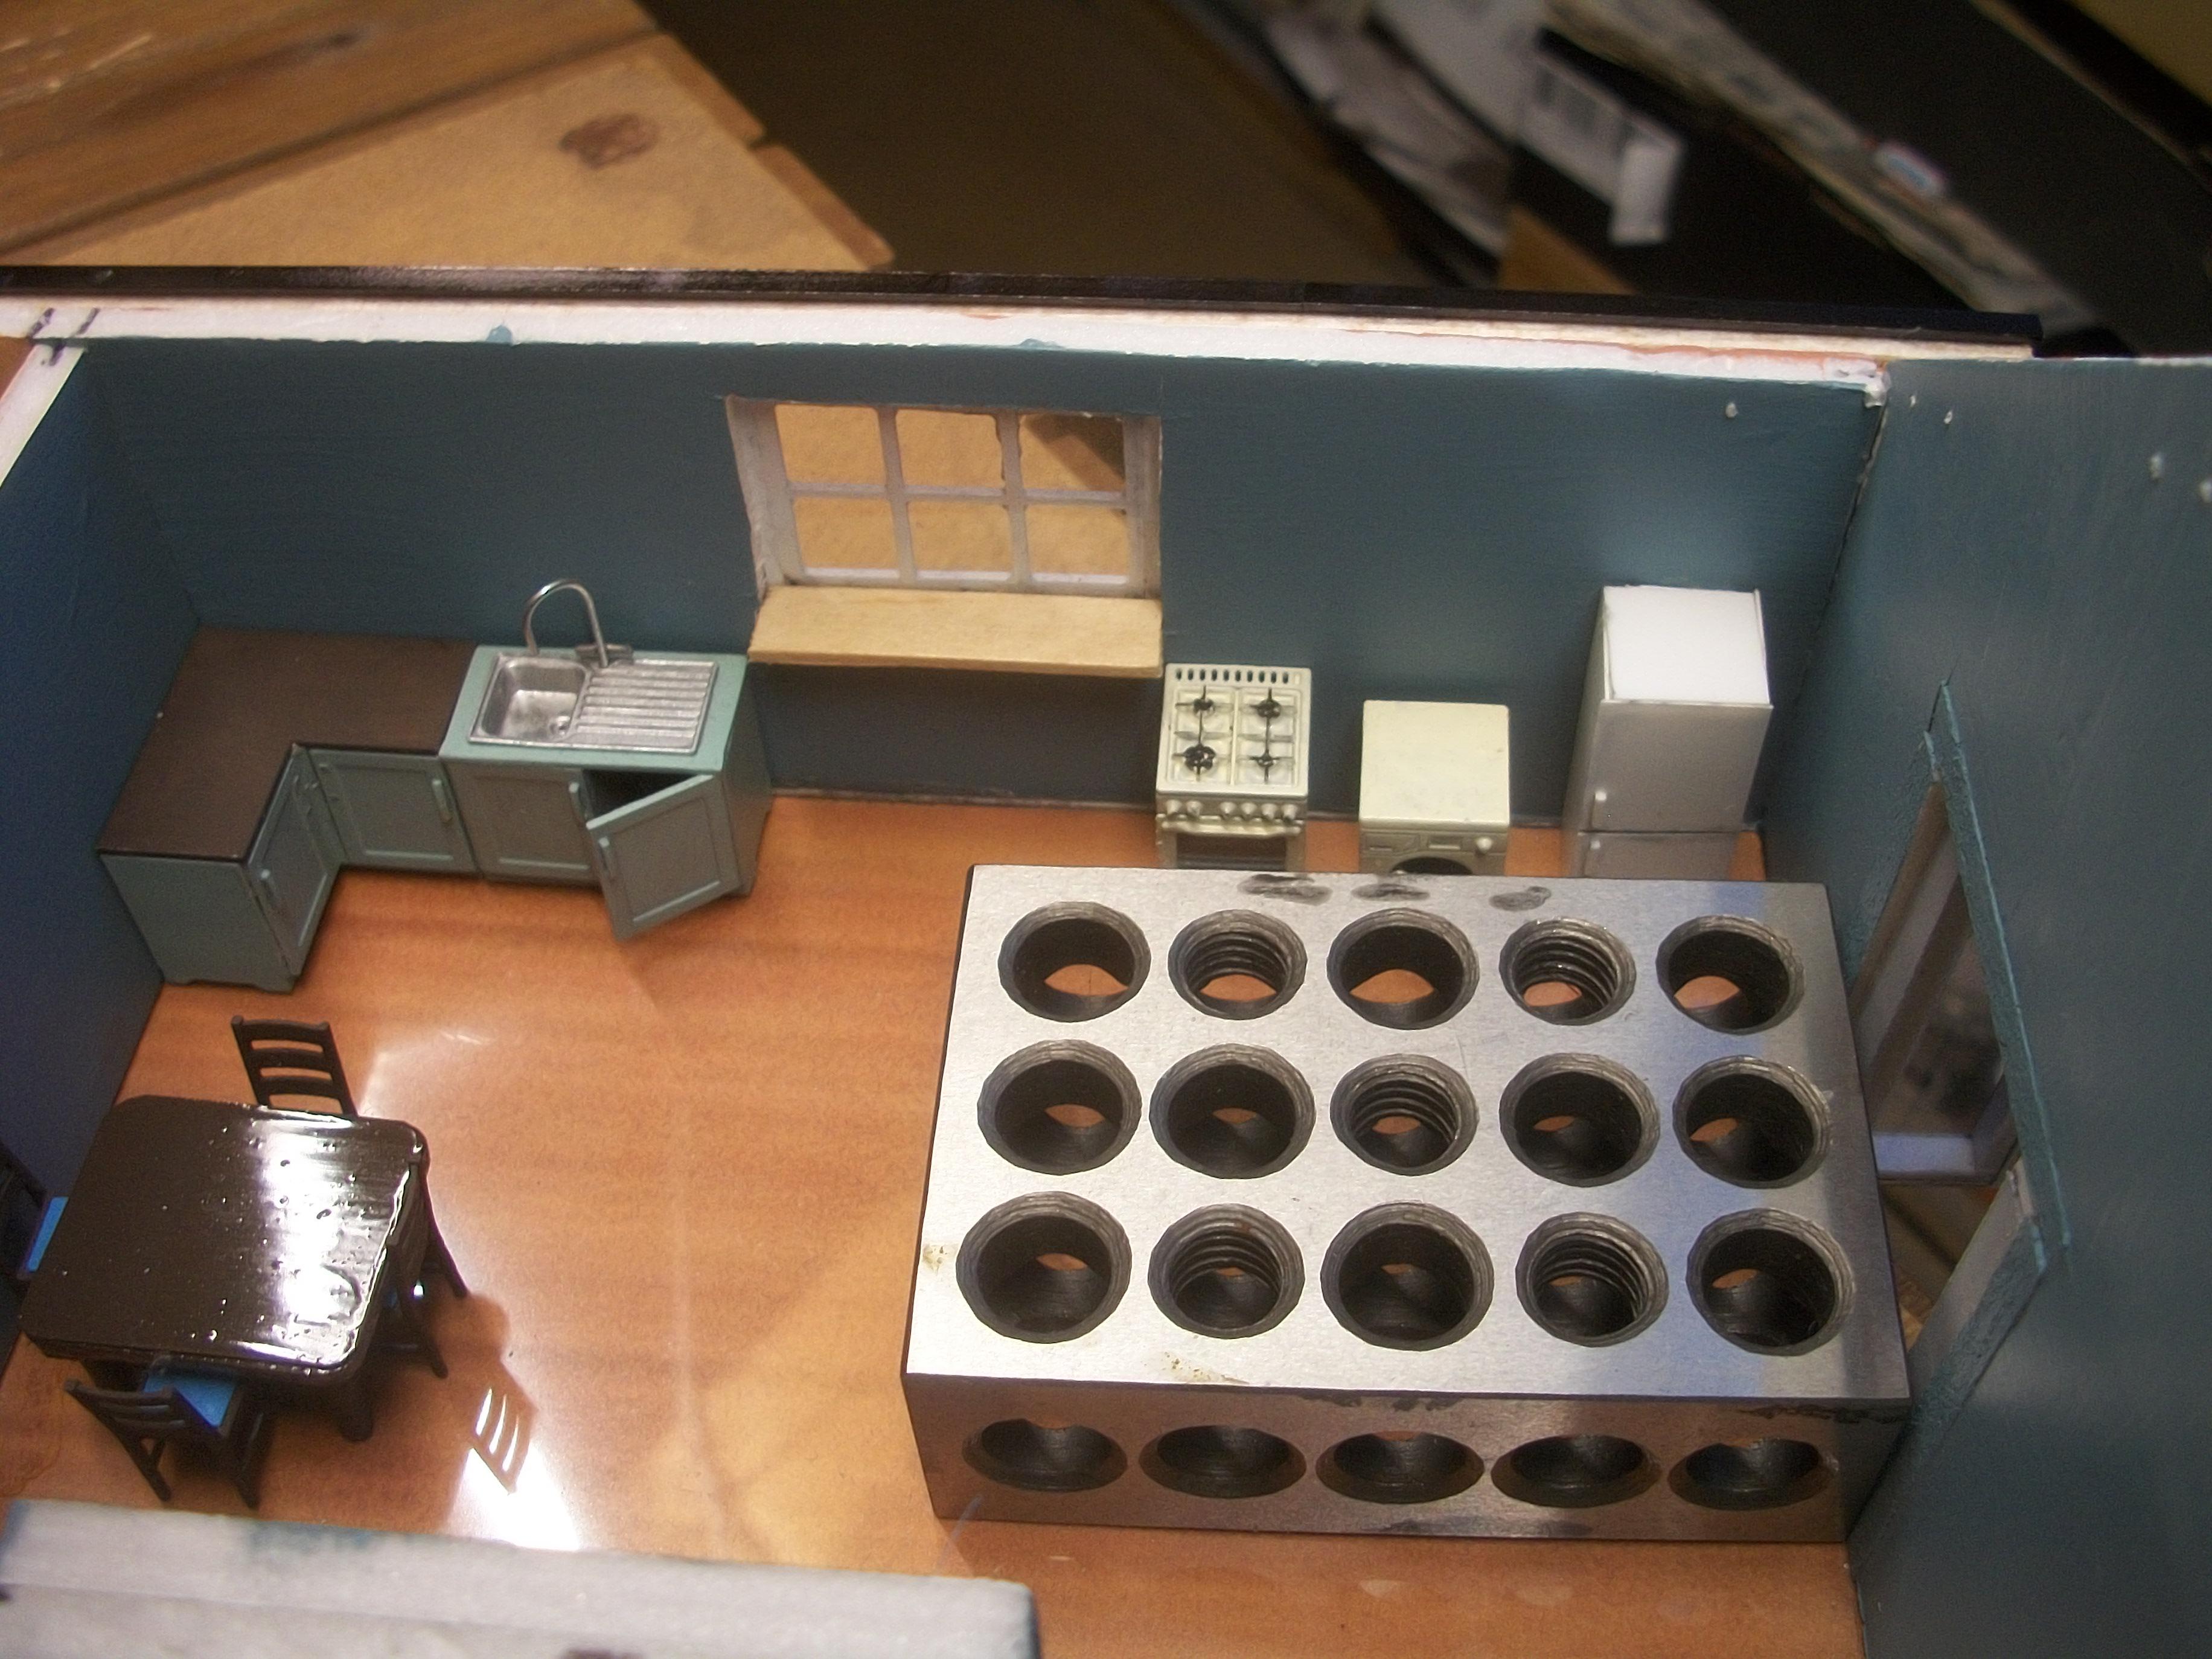
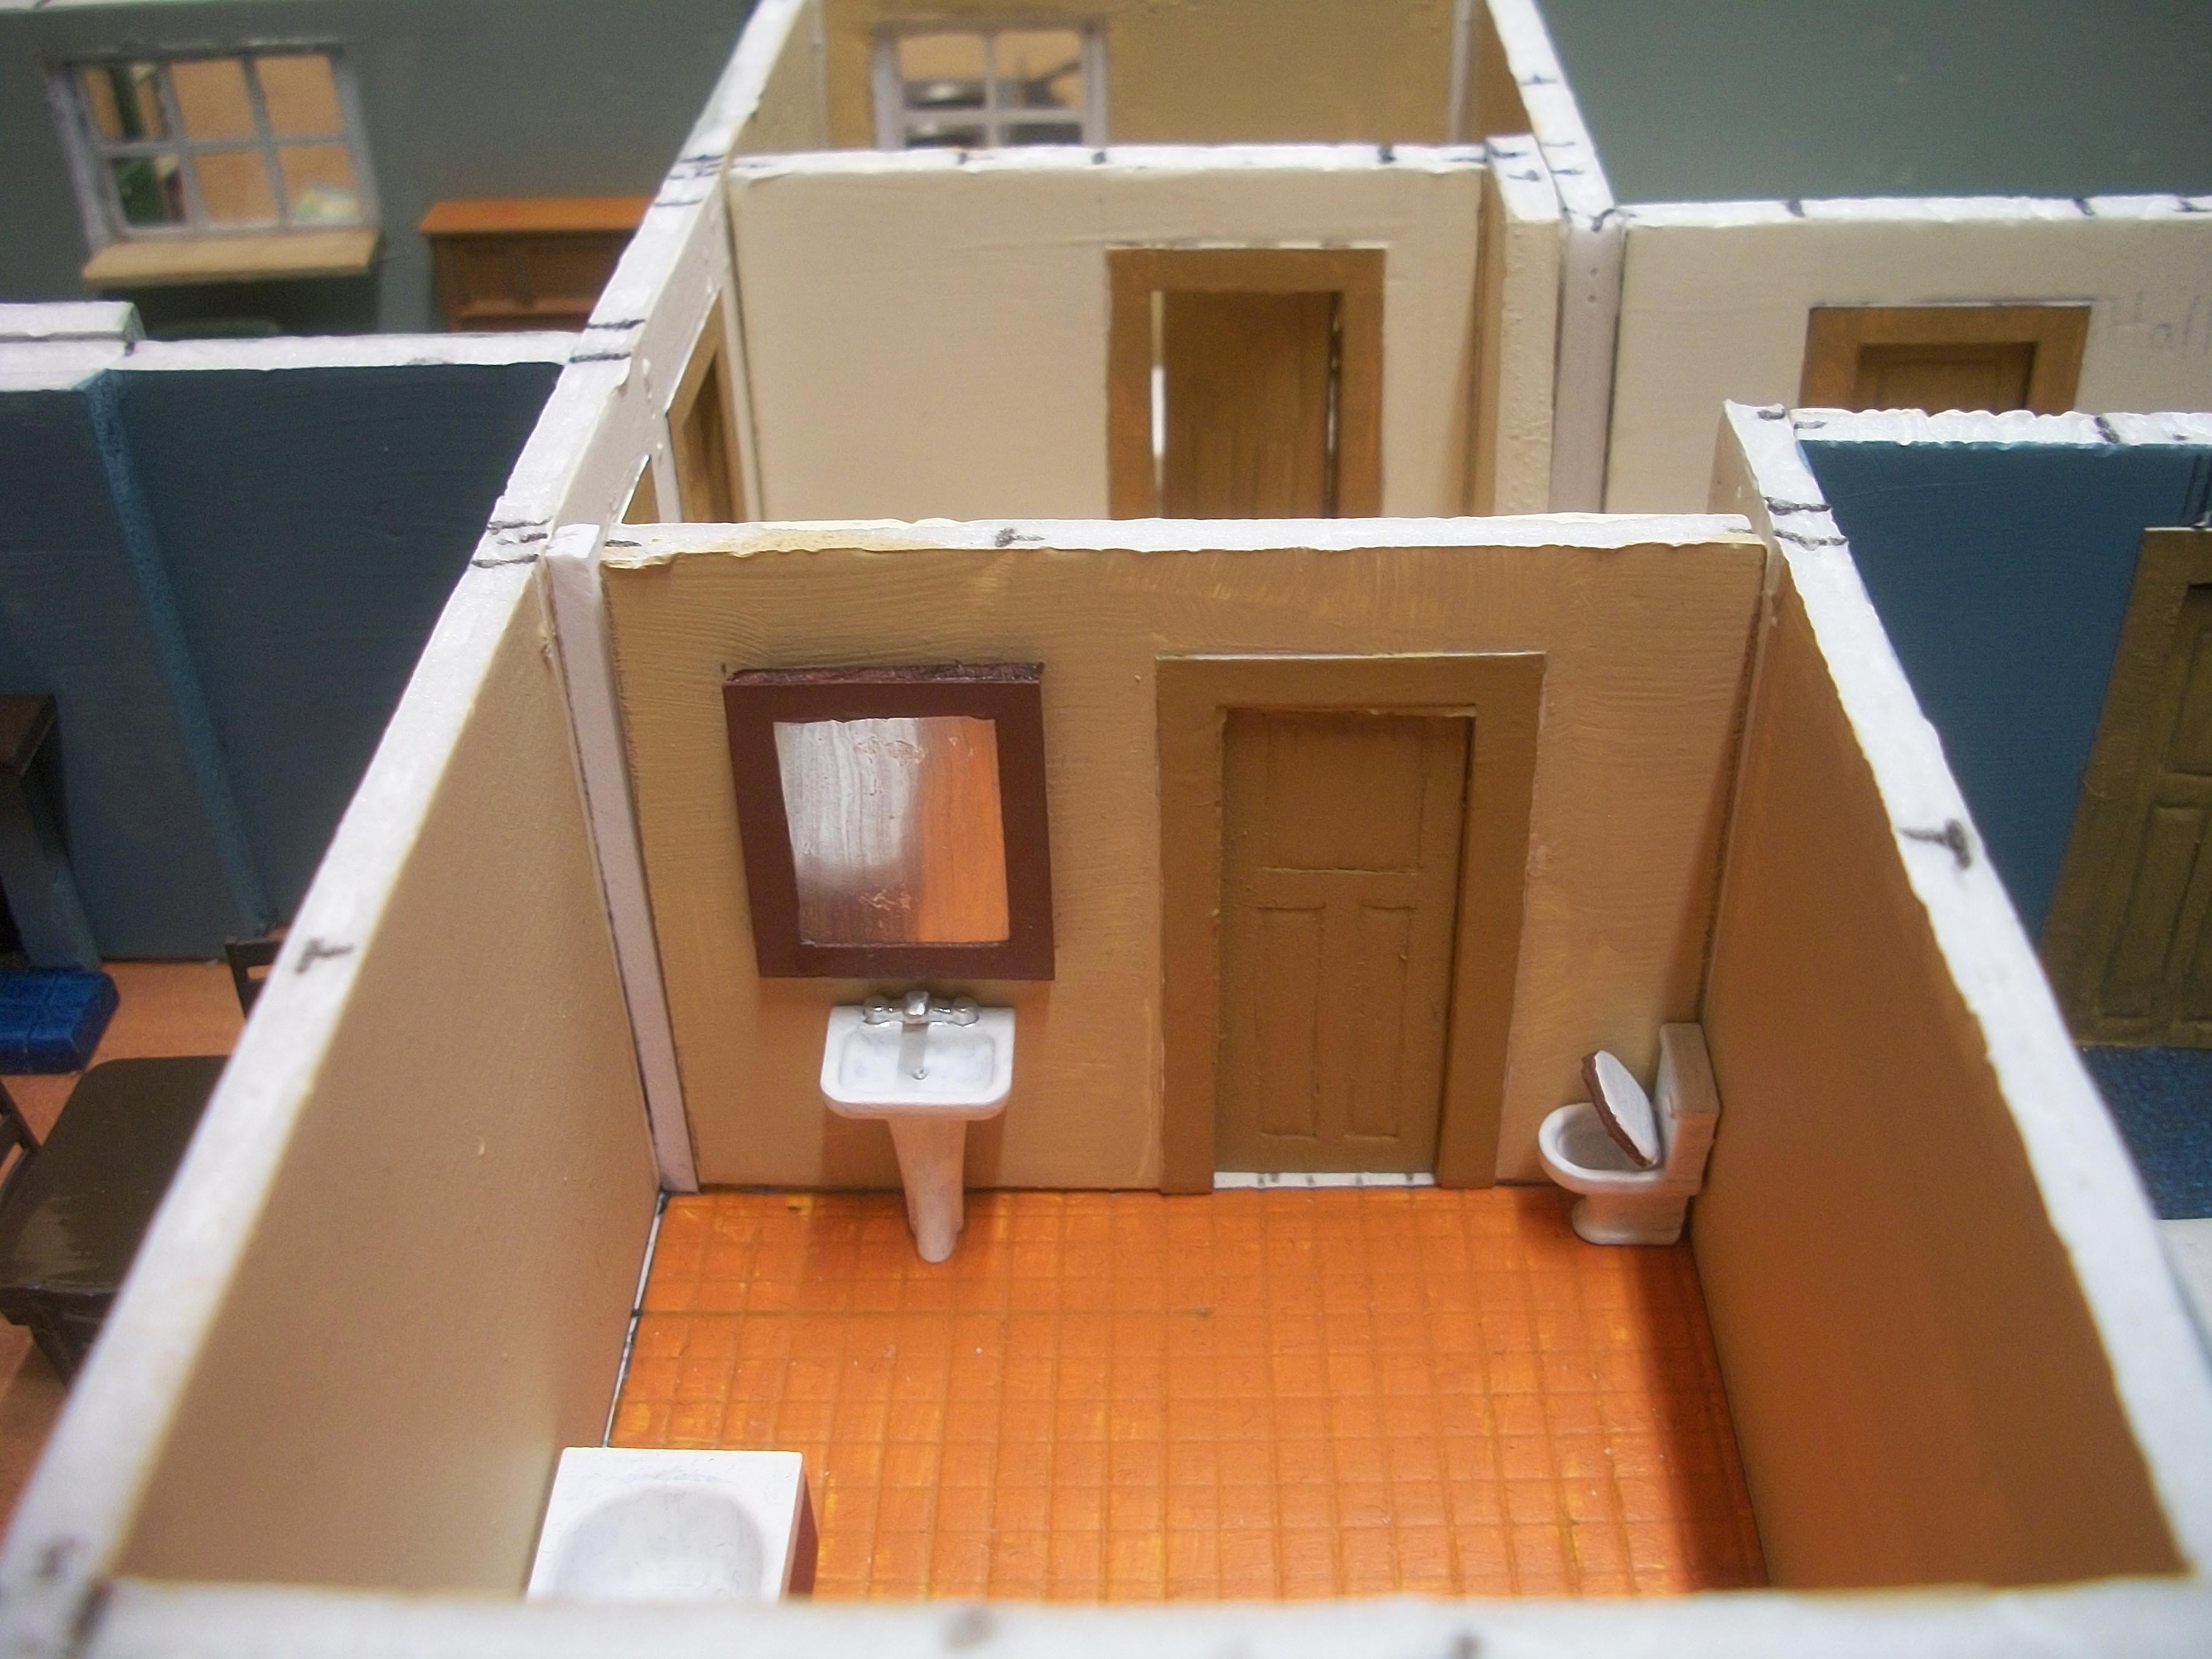
Using the same method as with the living room, the kitchen ceiling lamp was fitted in the same way . . . Tonight there were three further lamps fitted, these being the bathroom, the hallway and bedroom one. All five lamps were wired up to the first of two terminal blocks, and then tested for switching on and off . . . There are three more rooms to light up, these being bedroom two, bedroom three and the garage . . . I think I shall most likely not have the strip of wood for the battery holders, but instead mount the battery holders / switches directly onto the top surface of the ceiling panel, and also mount the two terminal blocks onto the ceiling panel. This will require a cutout aperture in the baseboard of the roof structure above, to allow the roof to sit correctly over the switches and blocks . . . I used a gold Sharpie to give each switch a letter, indicating L for Living Room, K for Kitchen, B for Bathroom, H for Hallway, B1 for Bedroom 1, B2 for Bedroom 2, B3 for Bedroom 3 and G for Garage . . . David
-
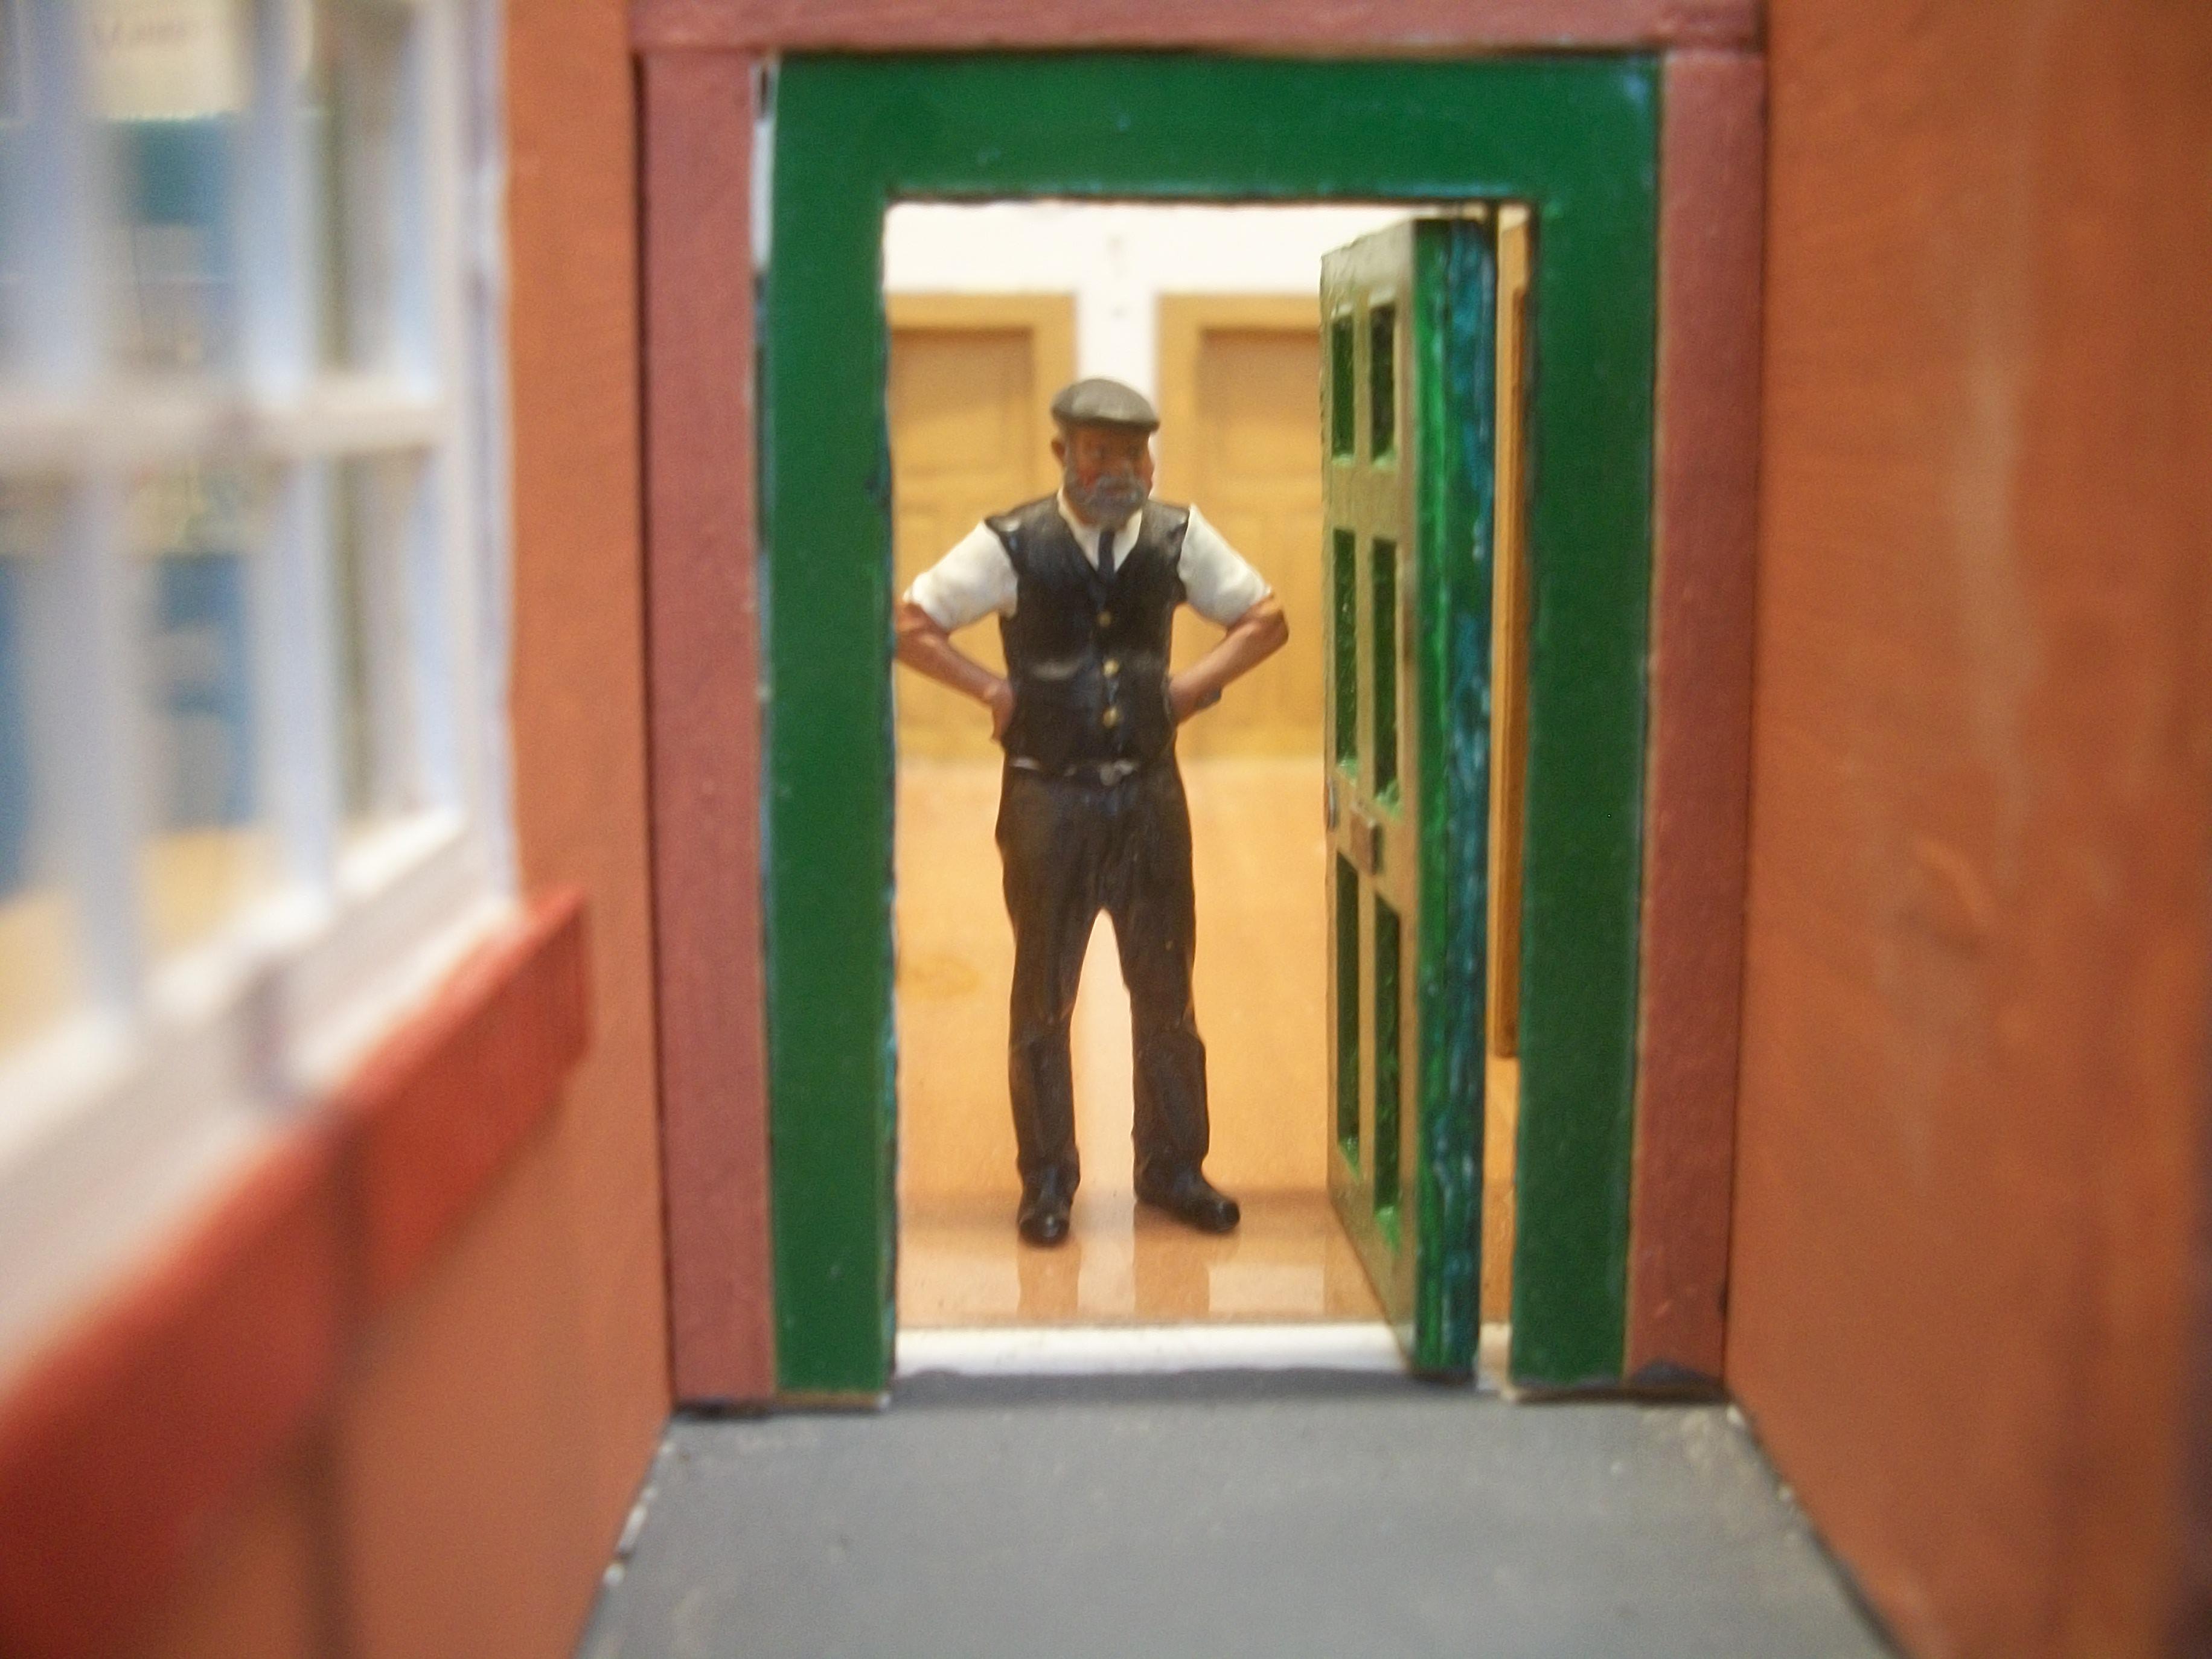
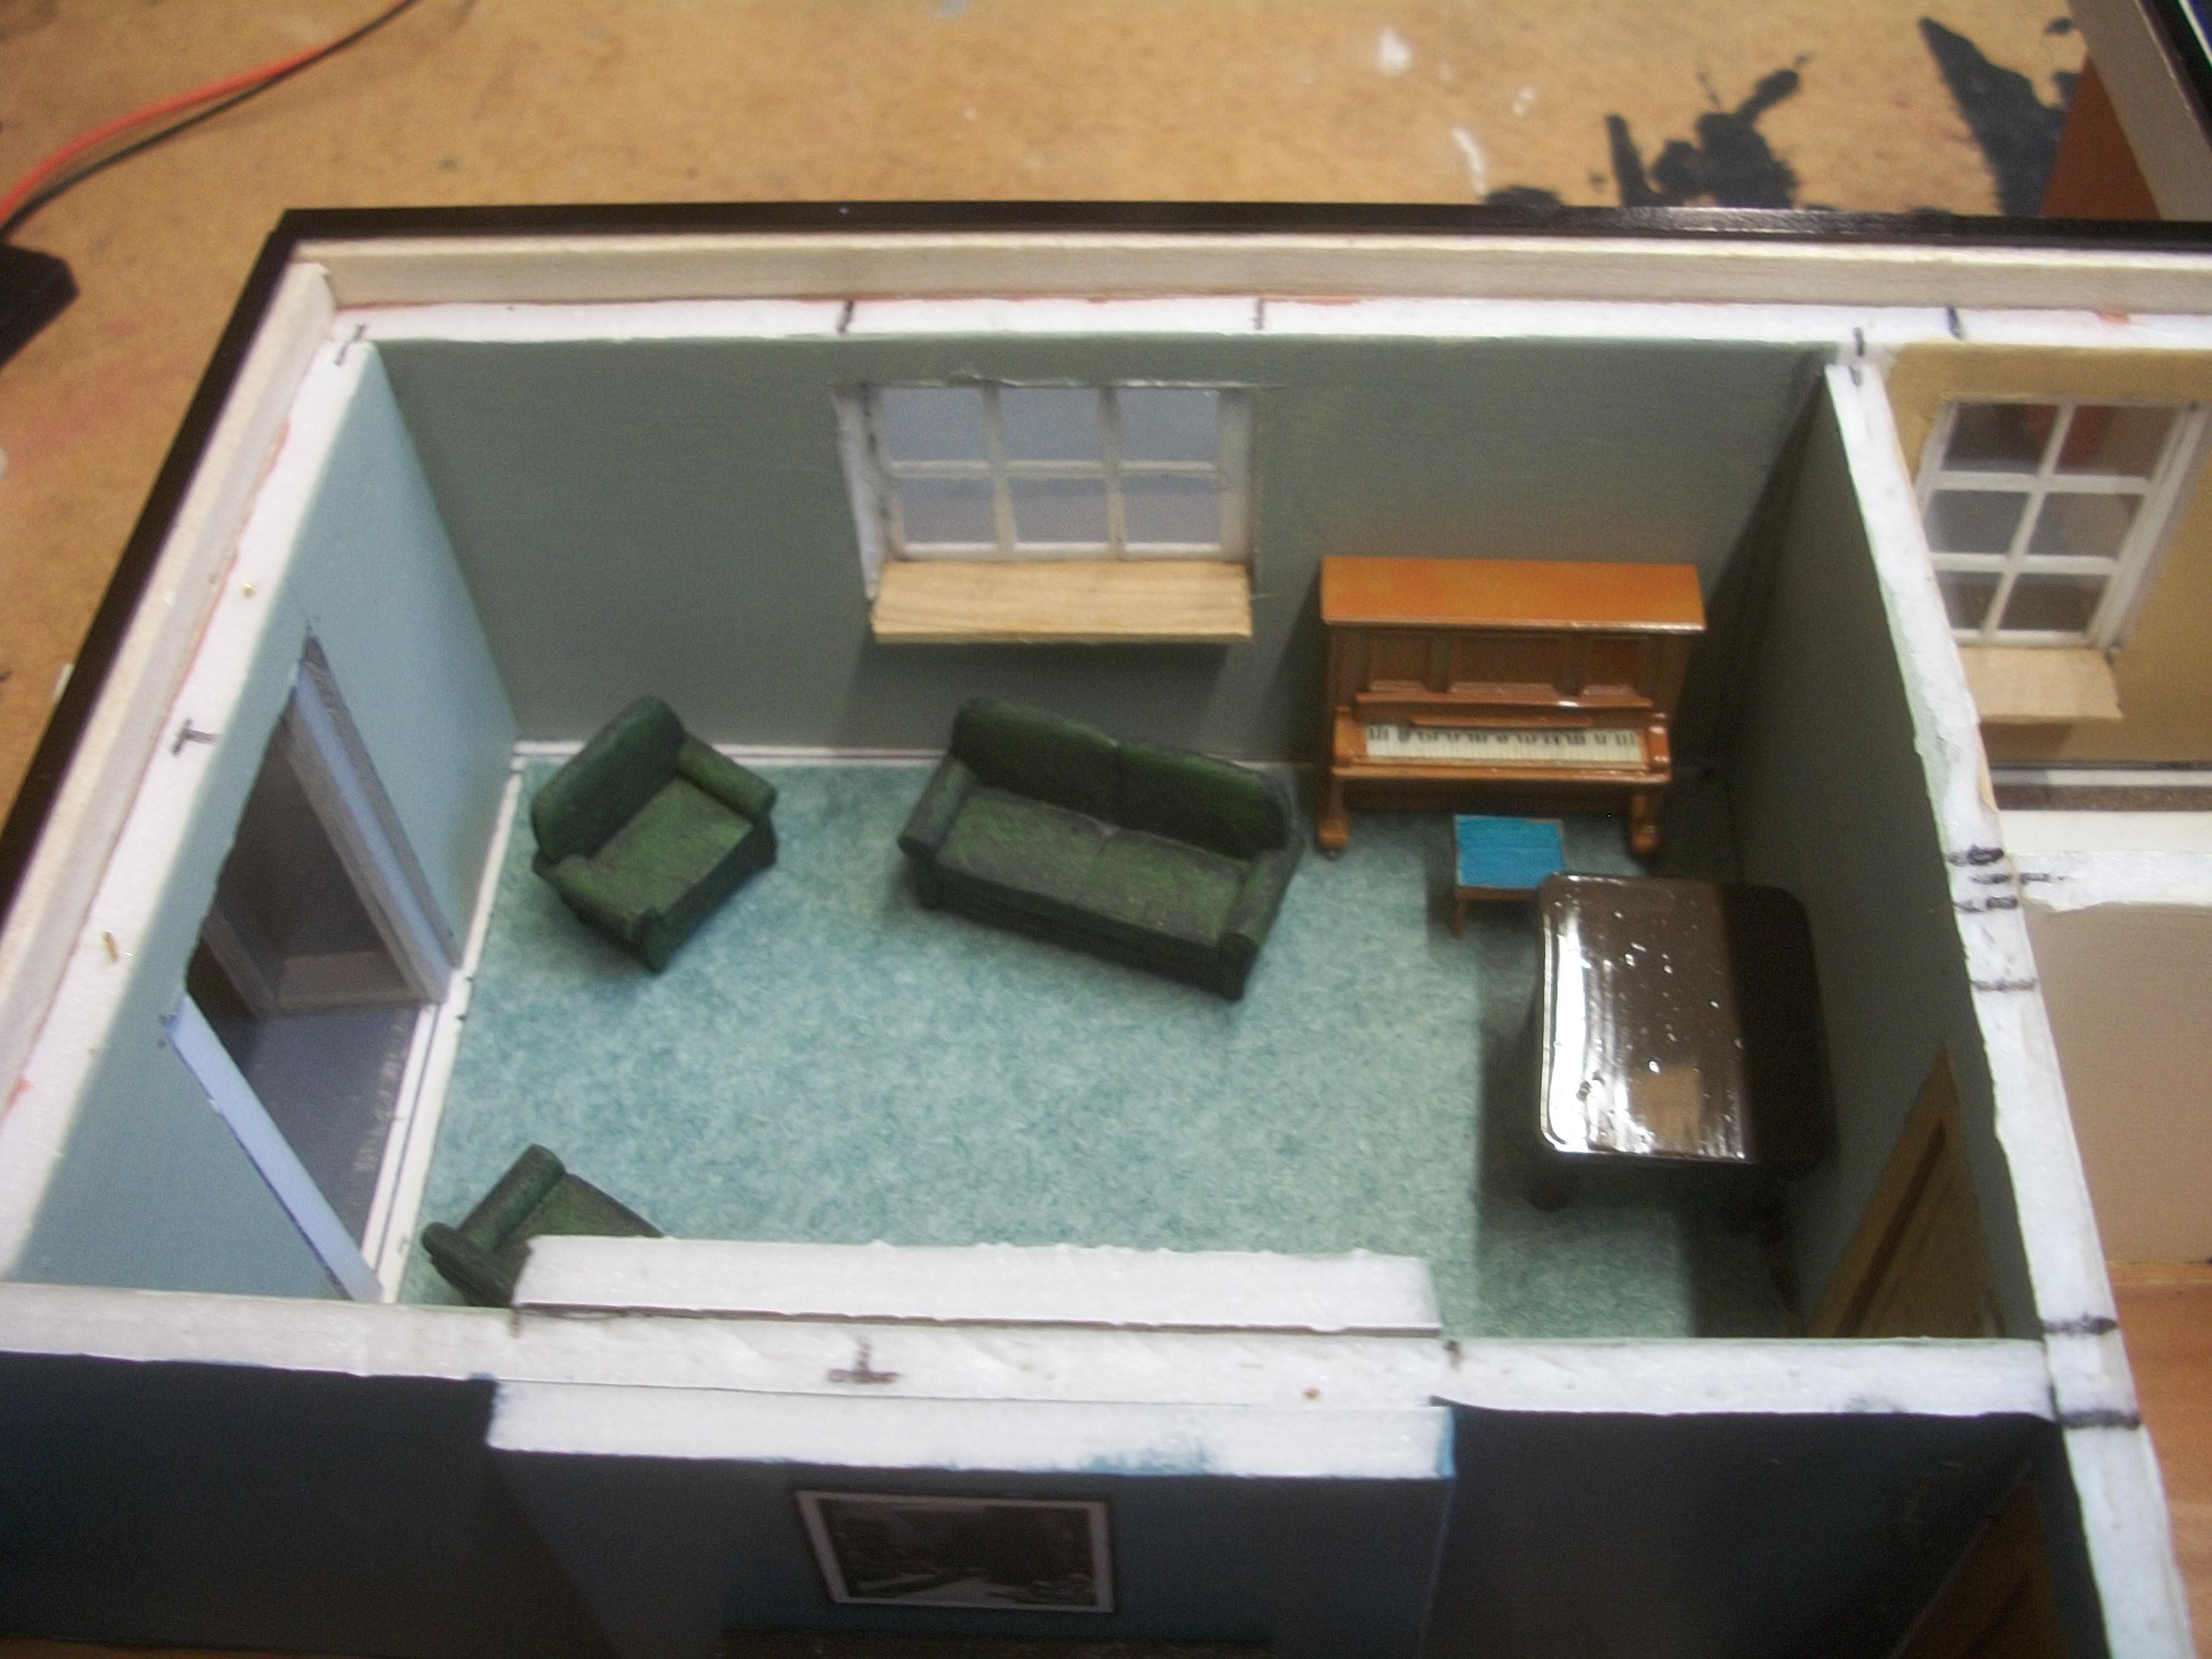
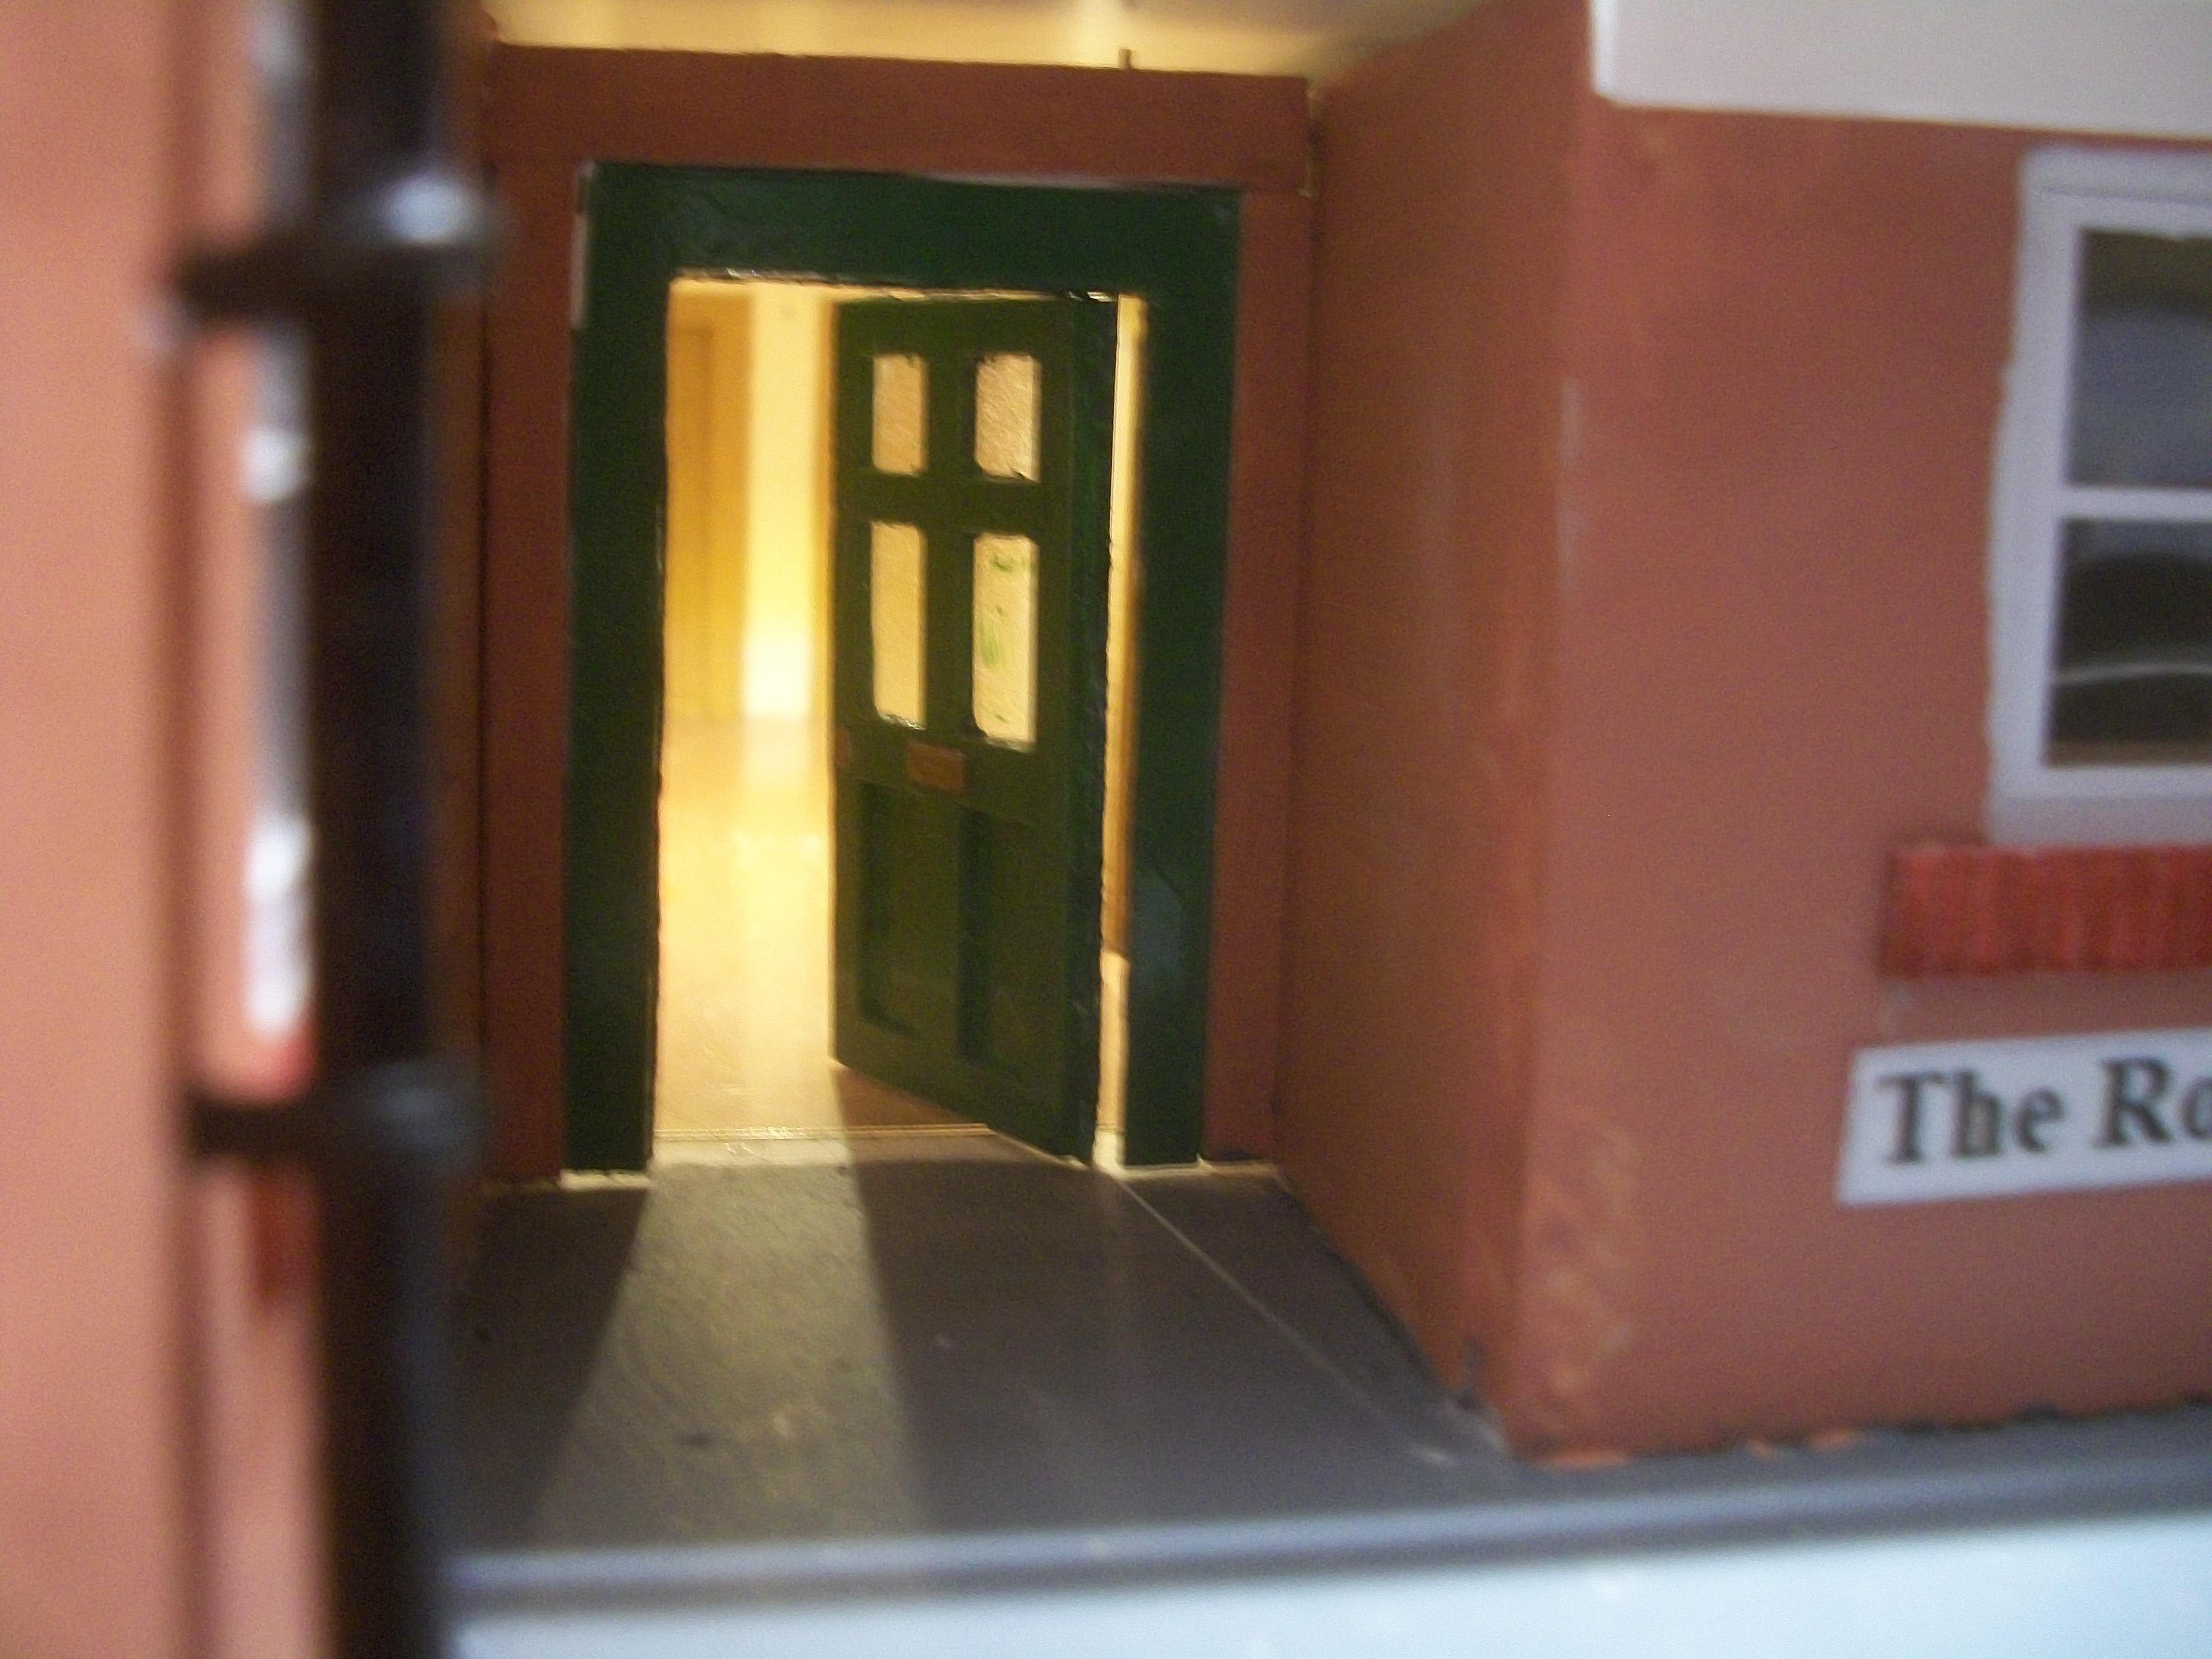
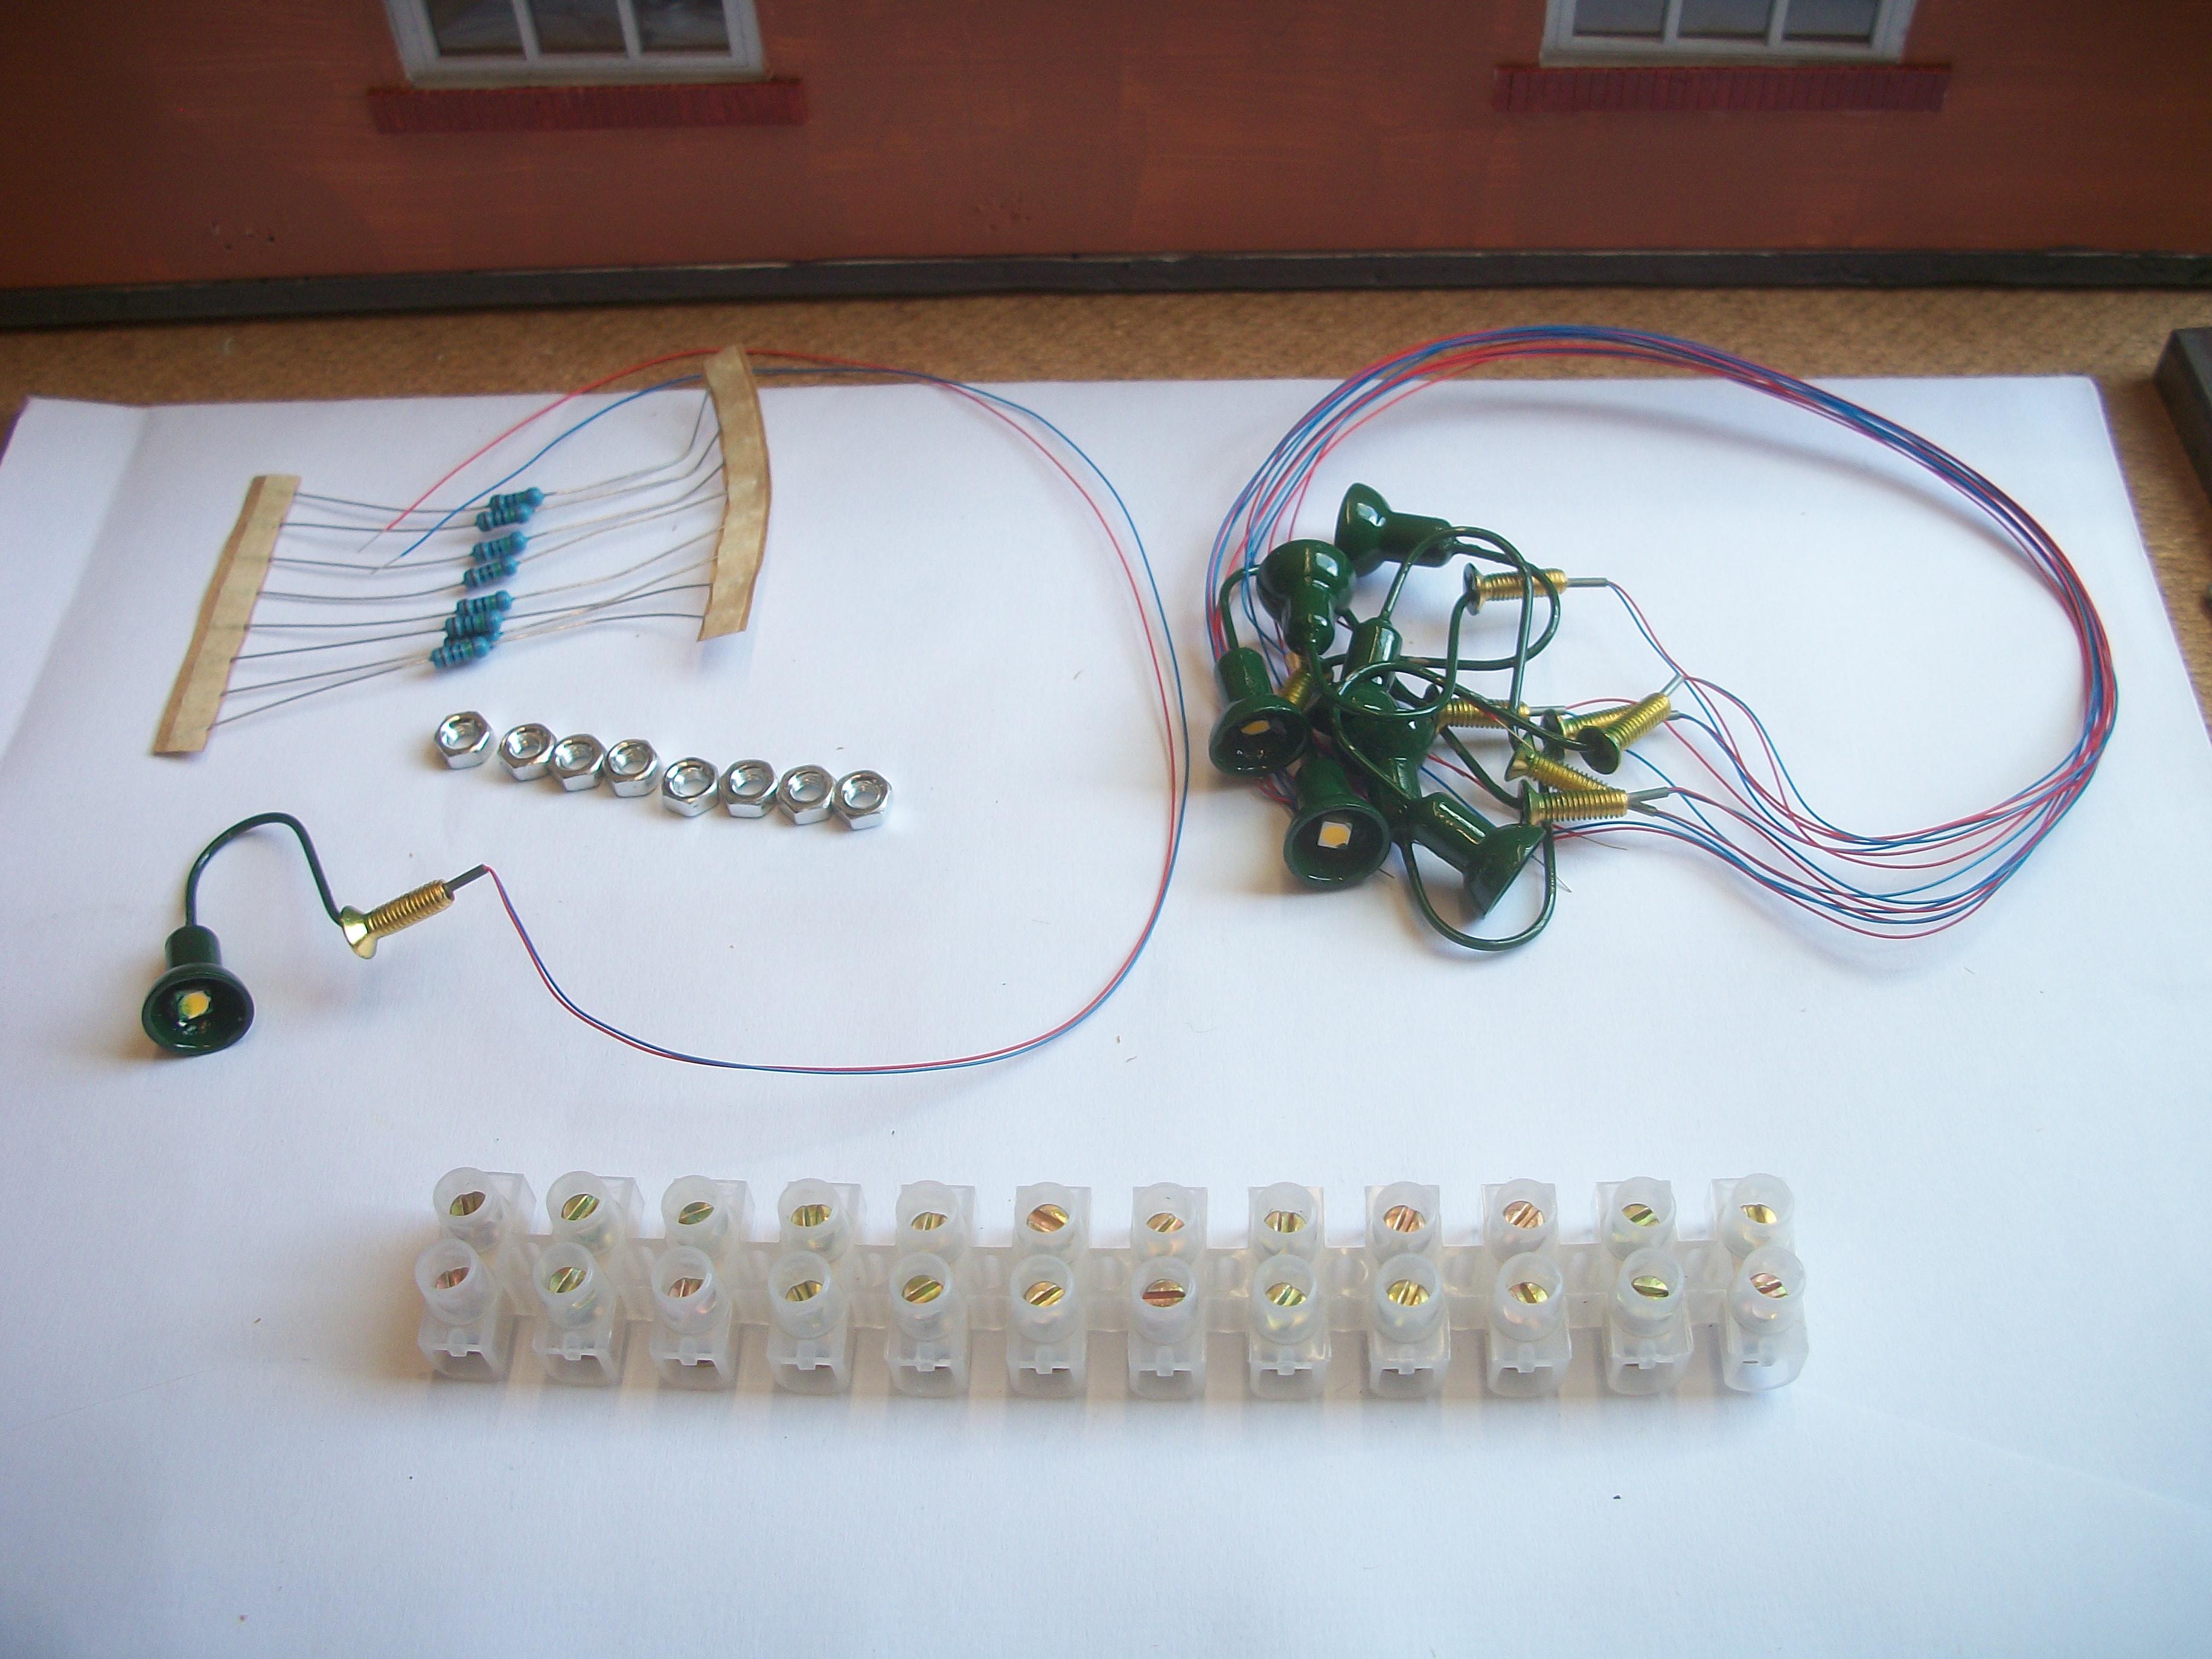
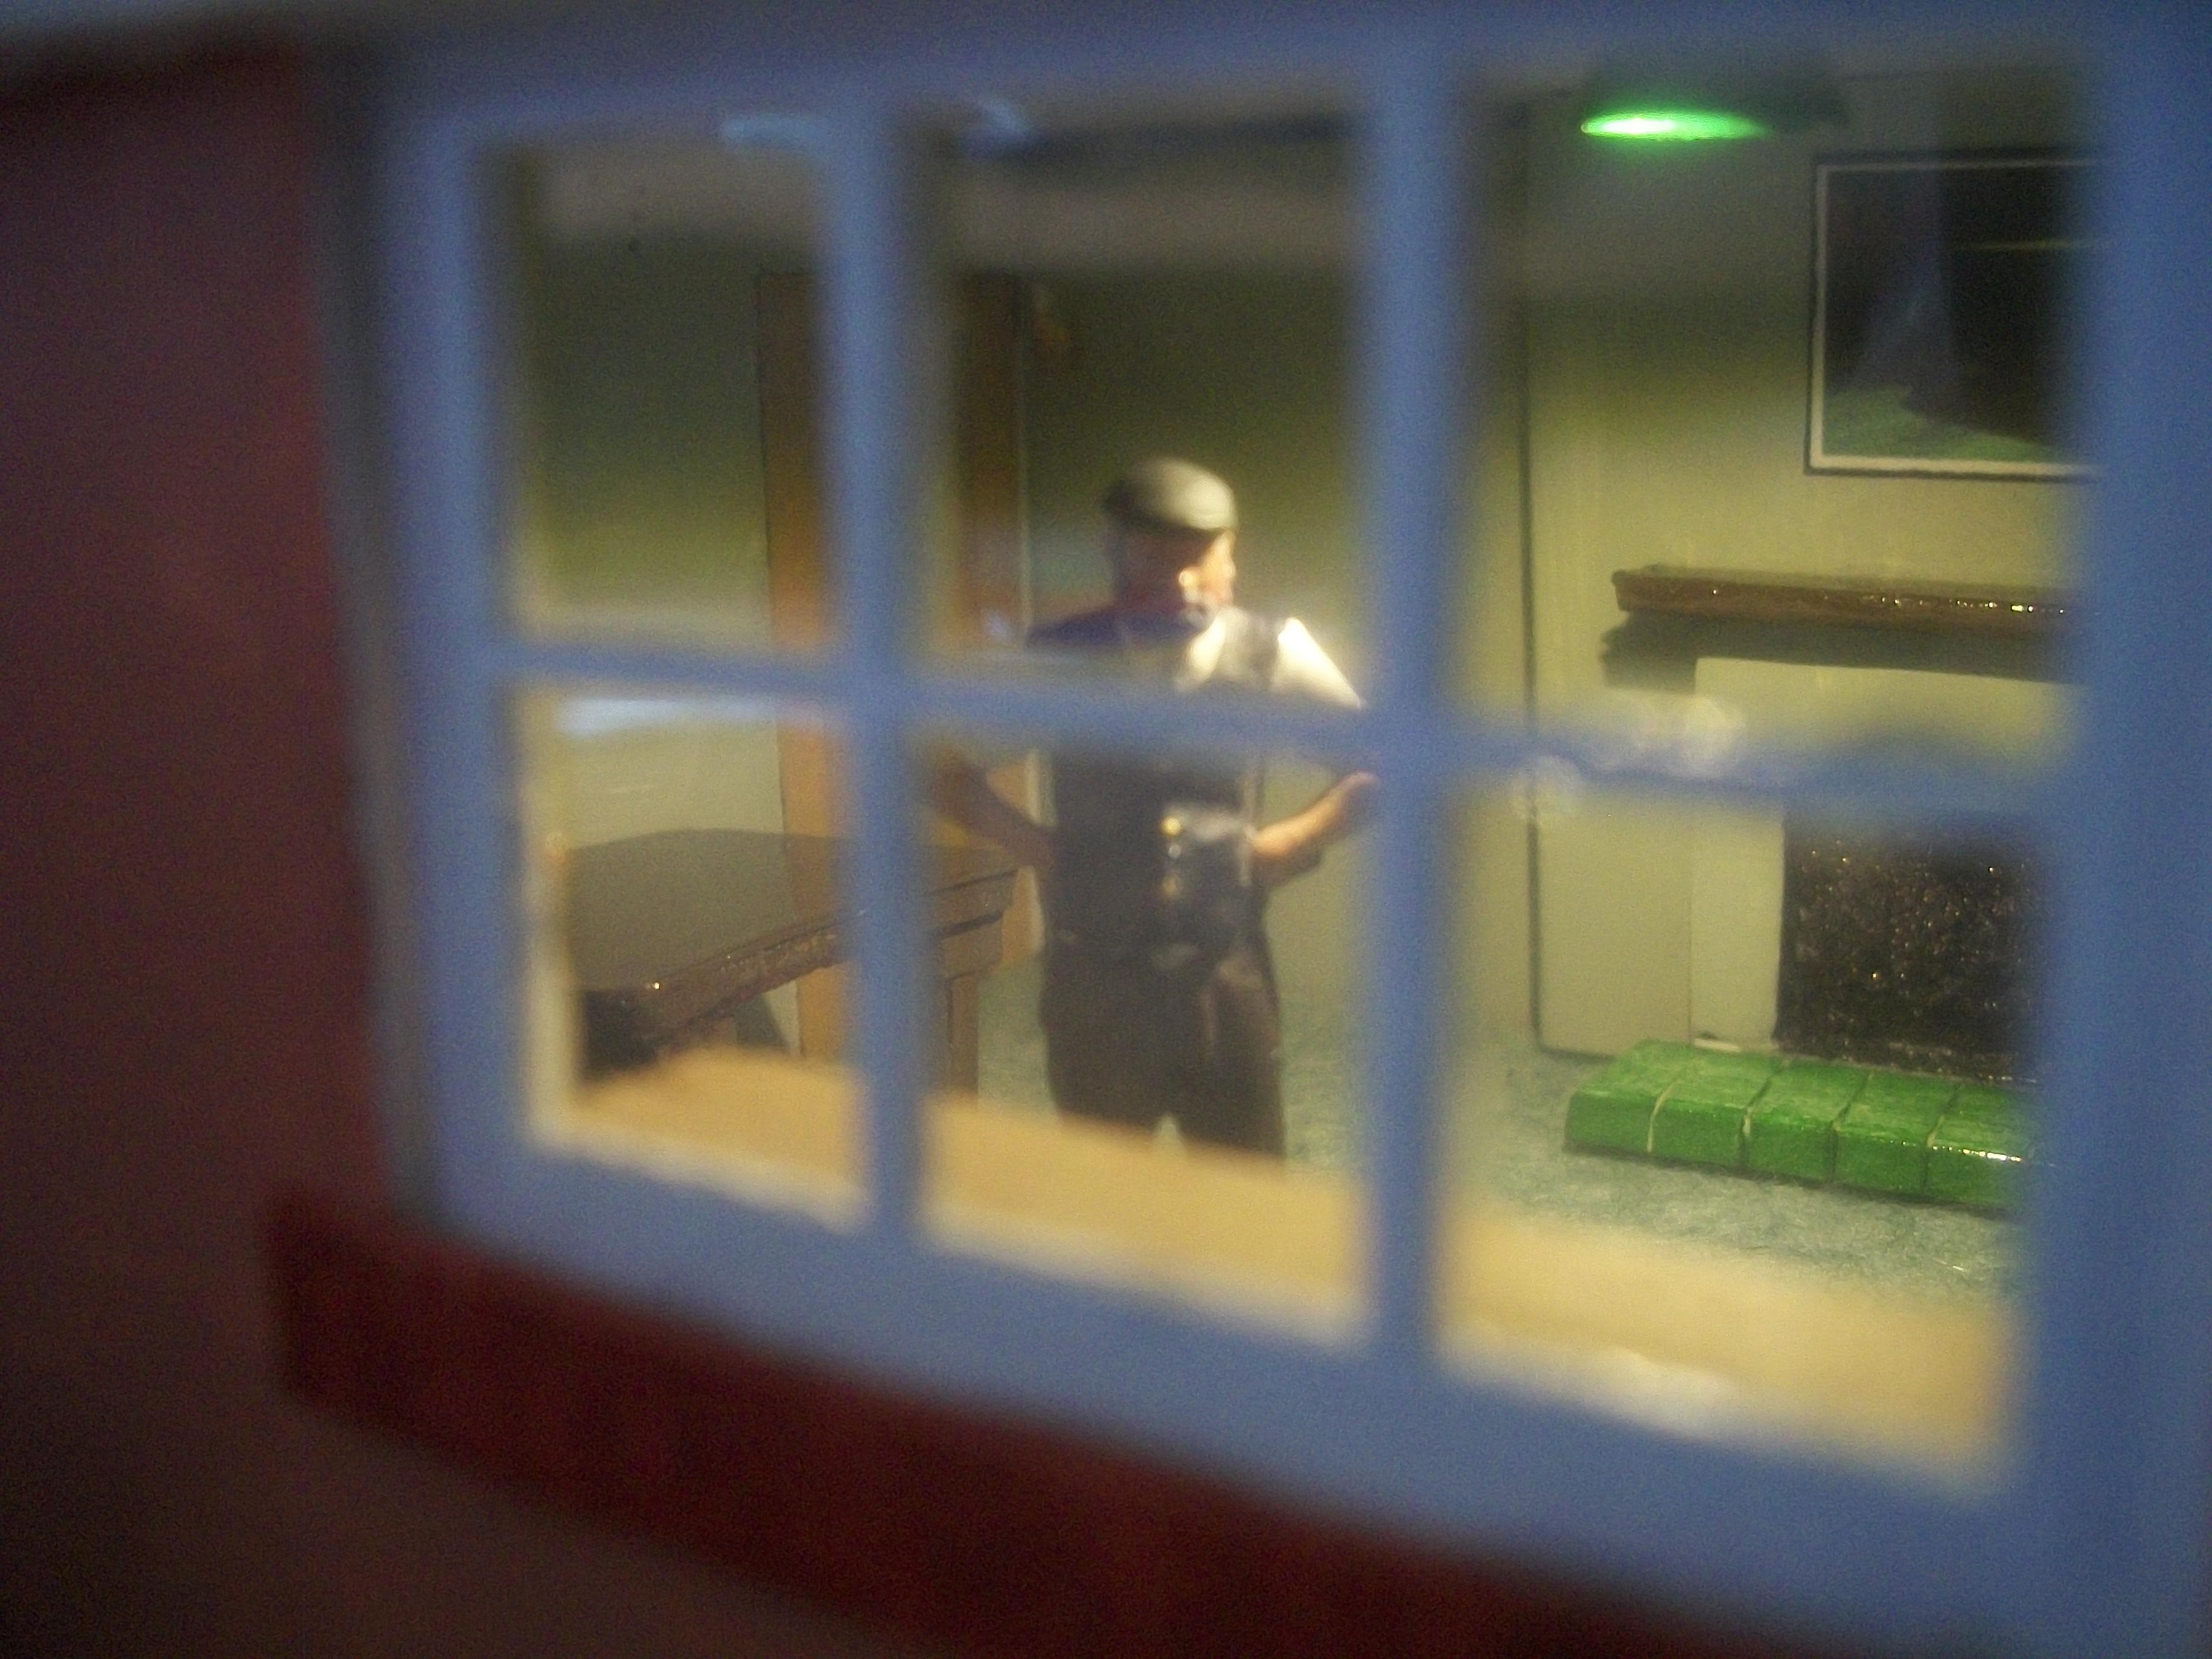
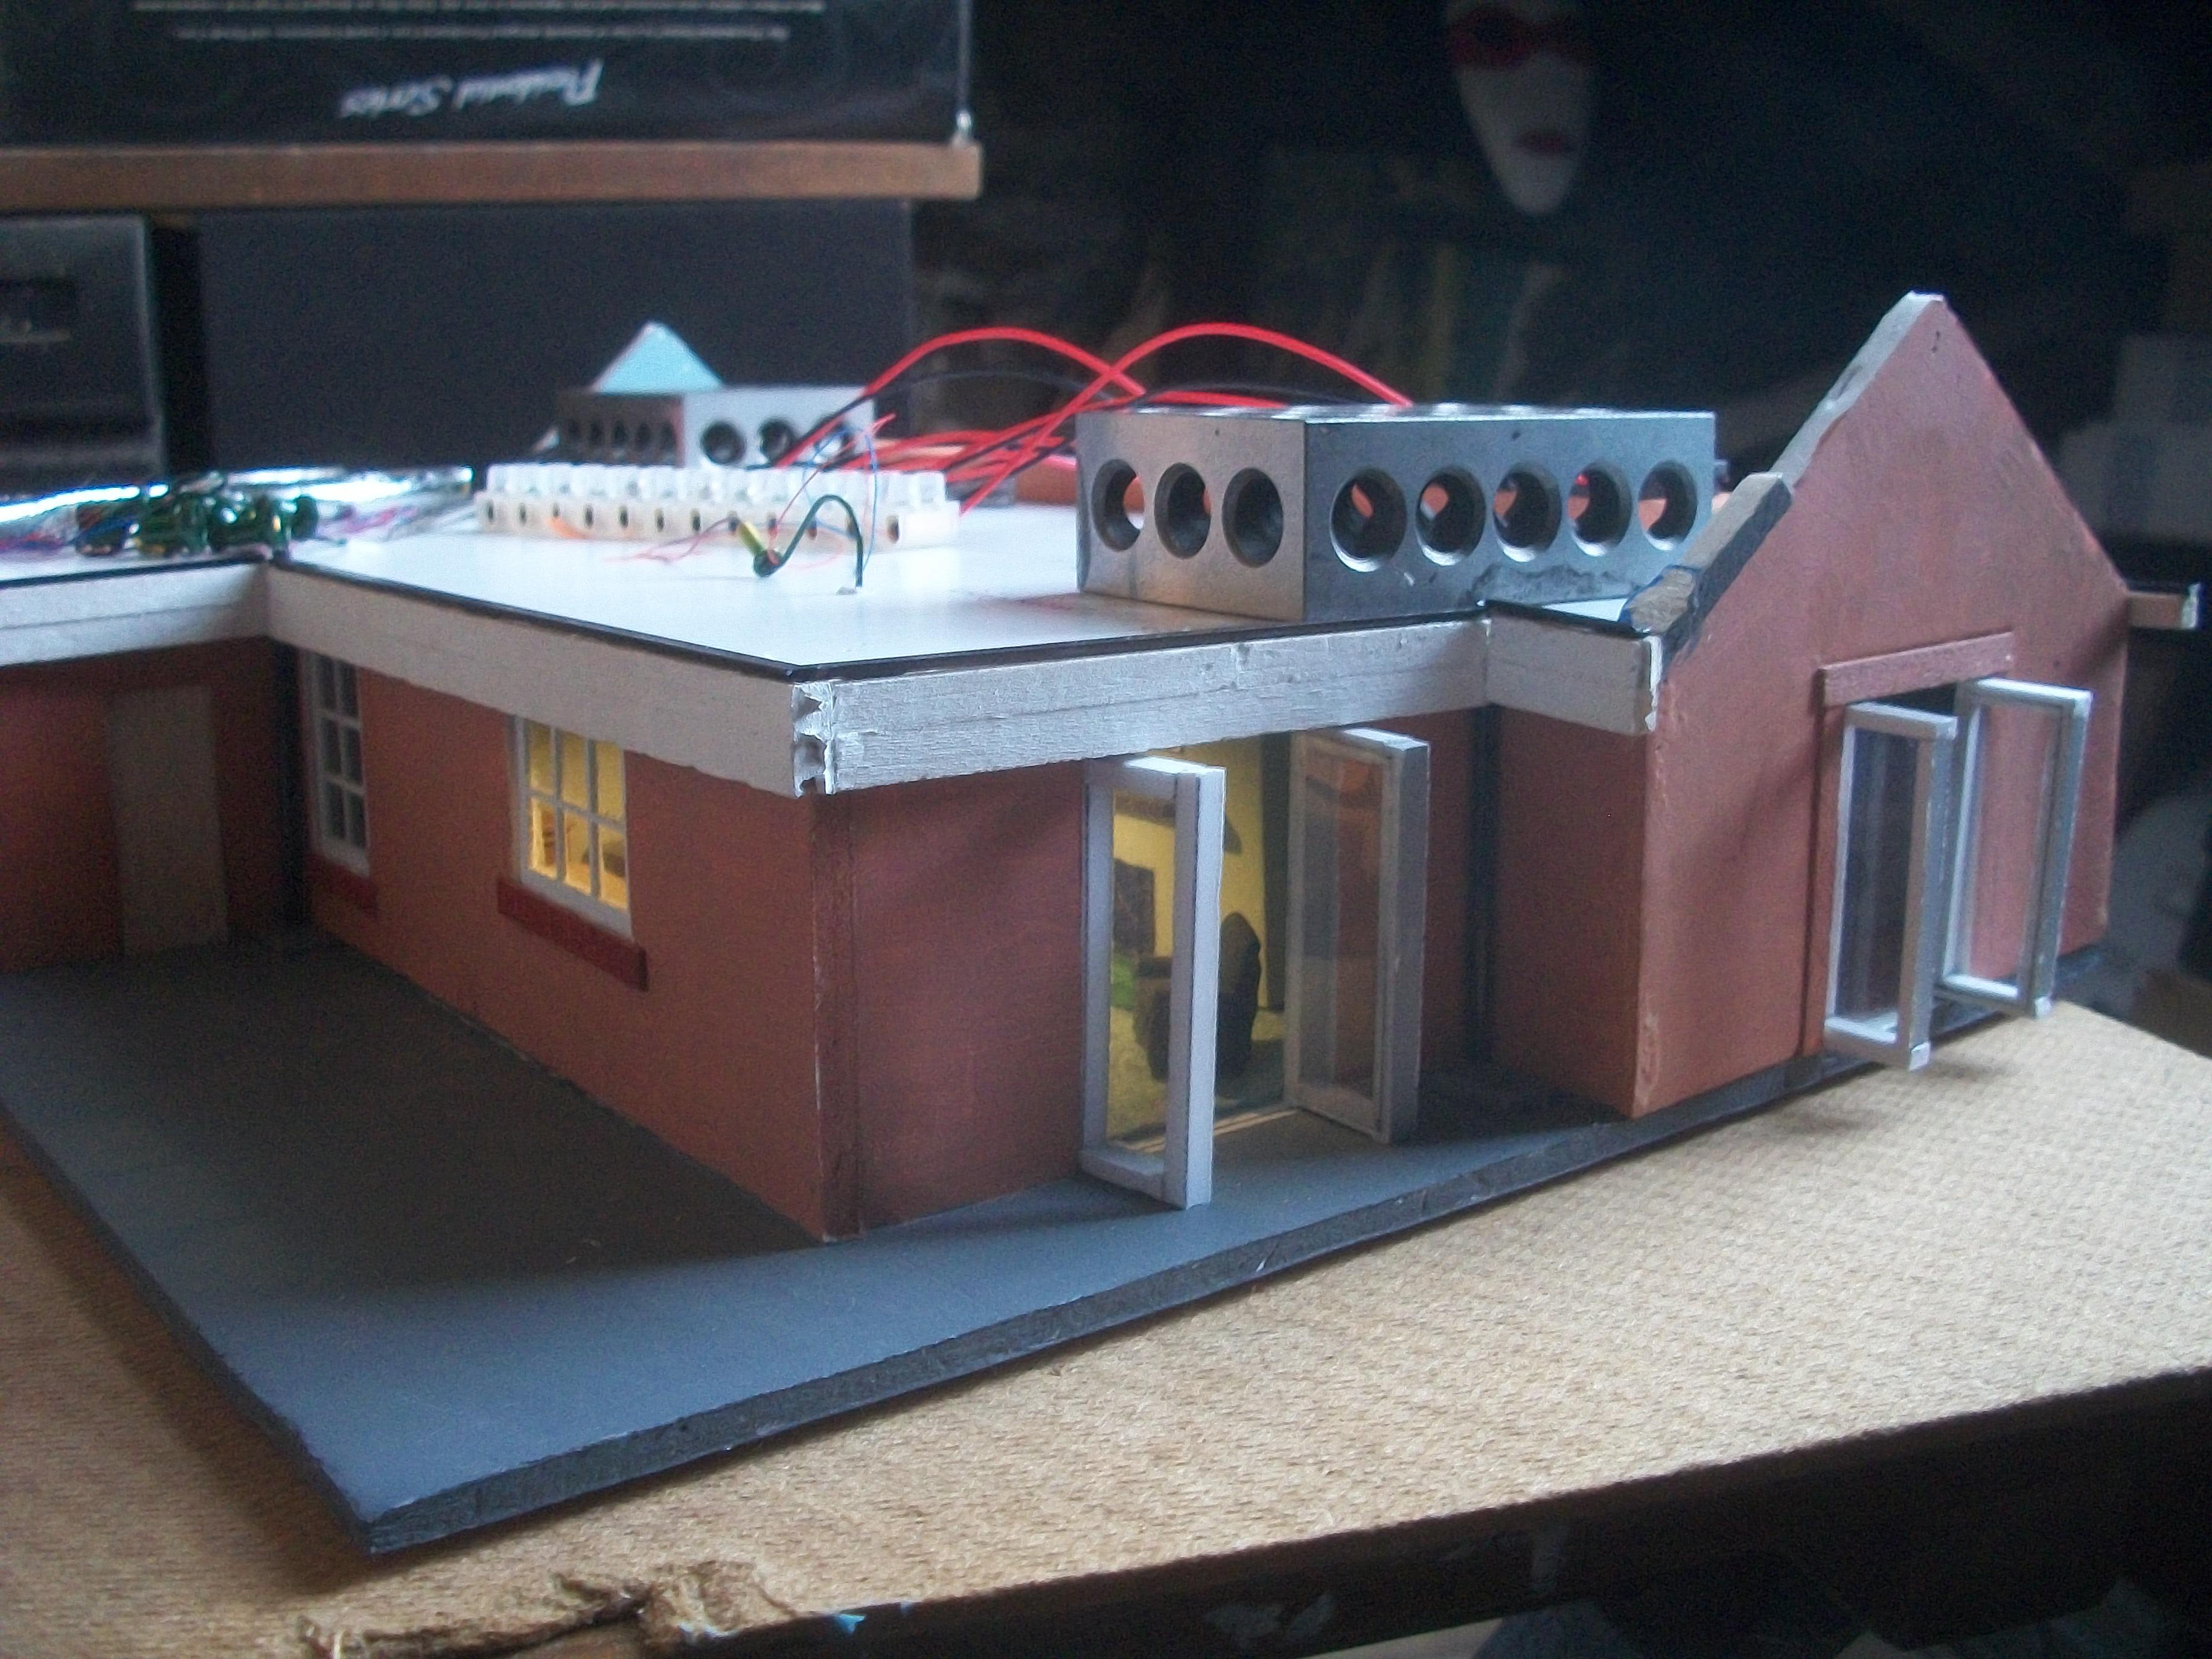
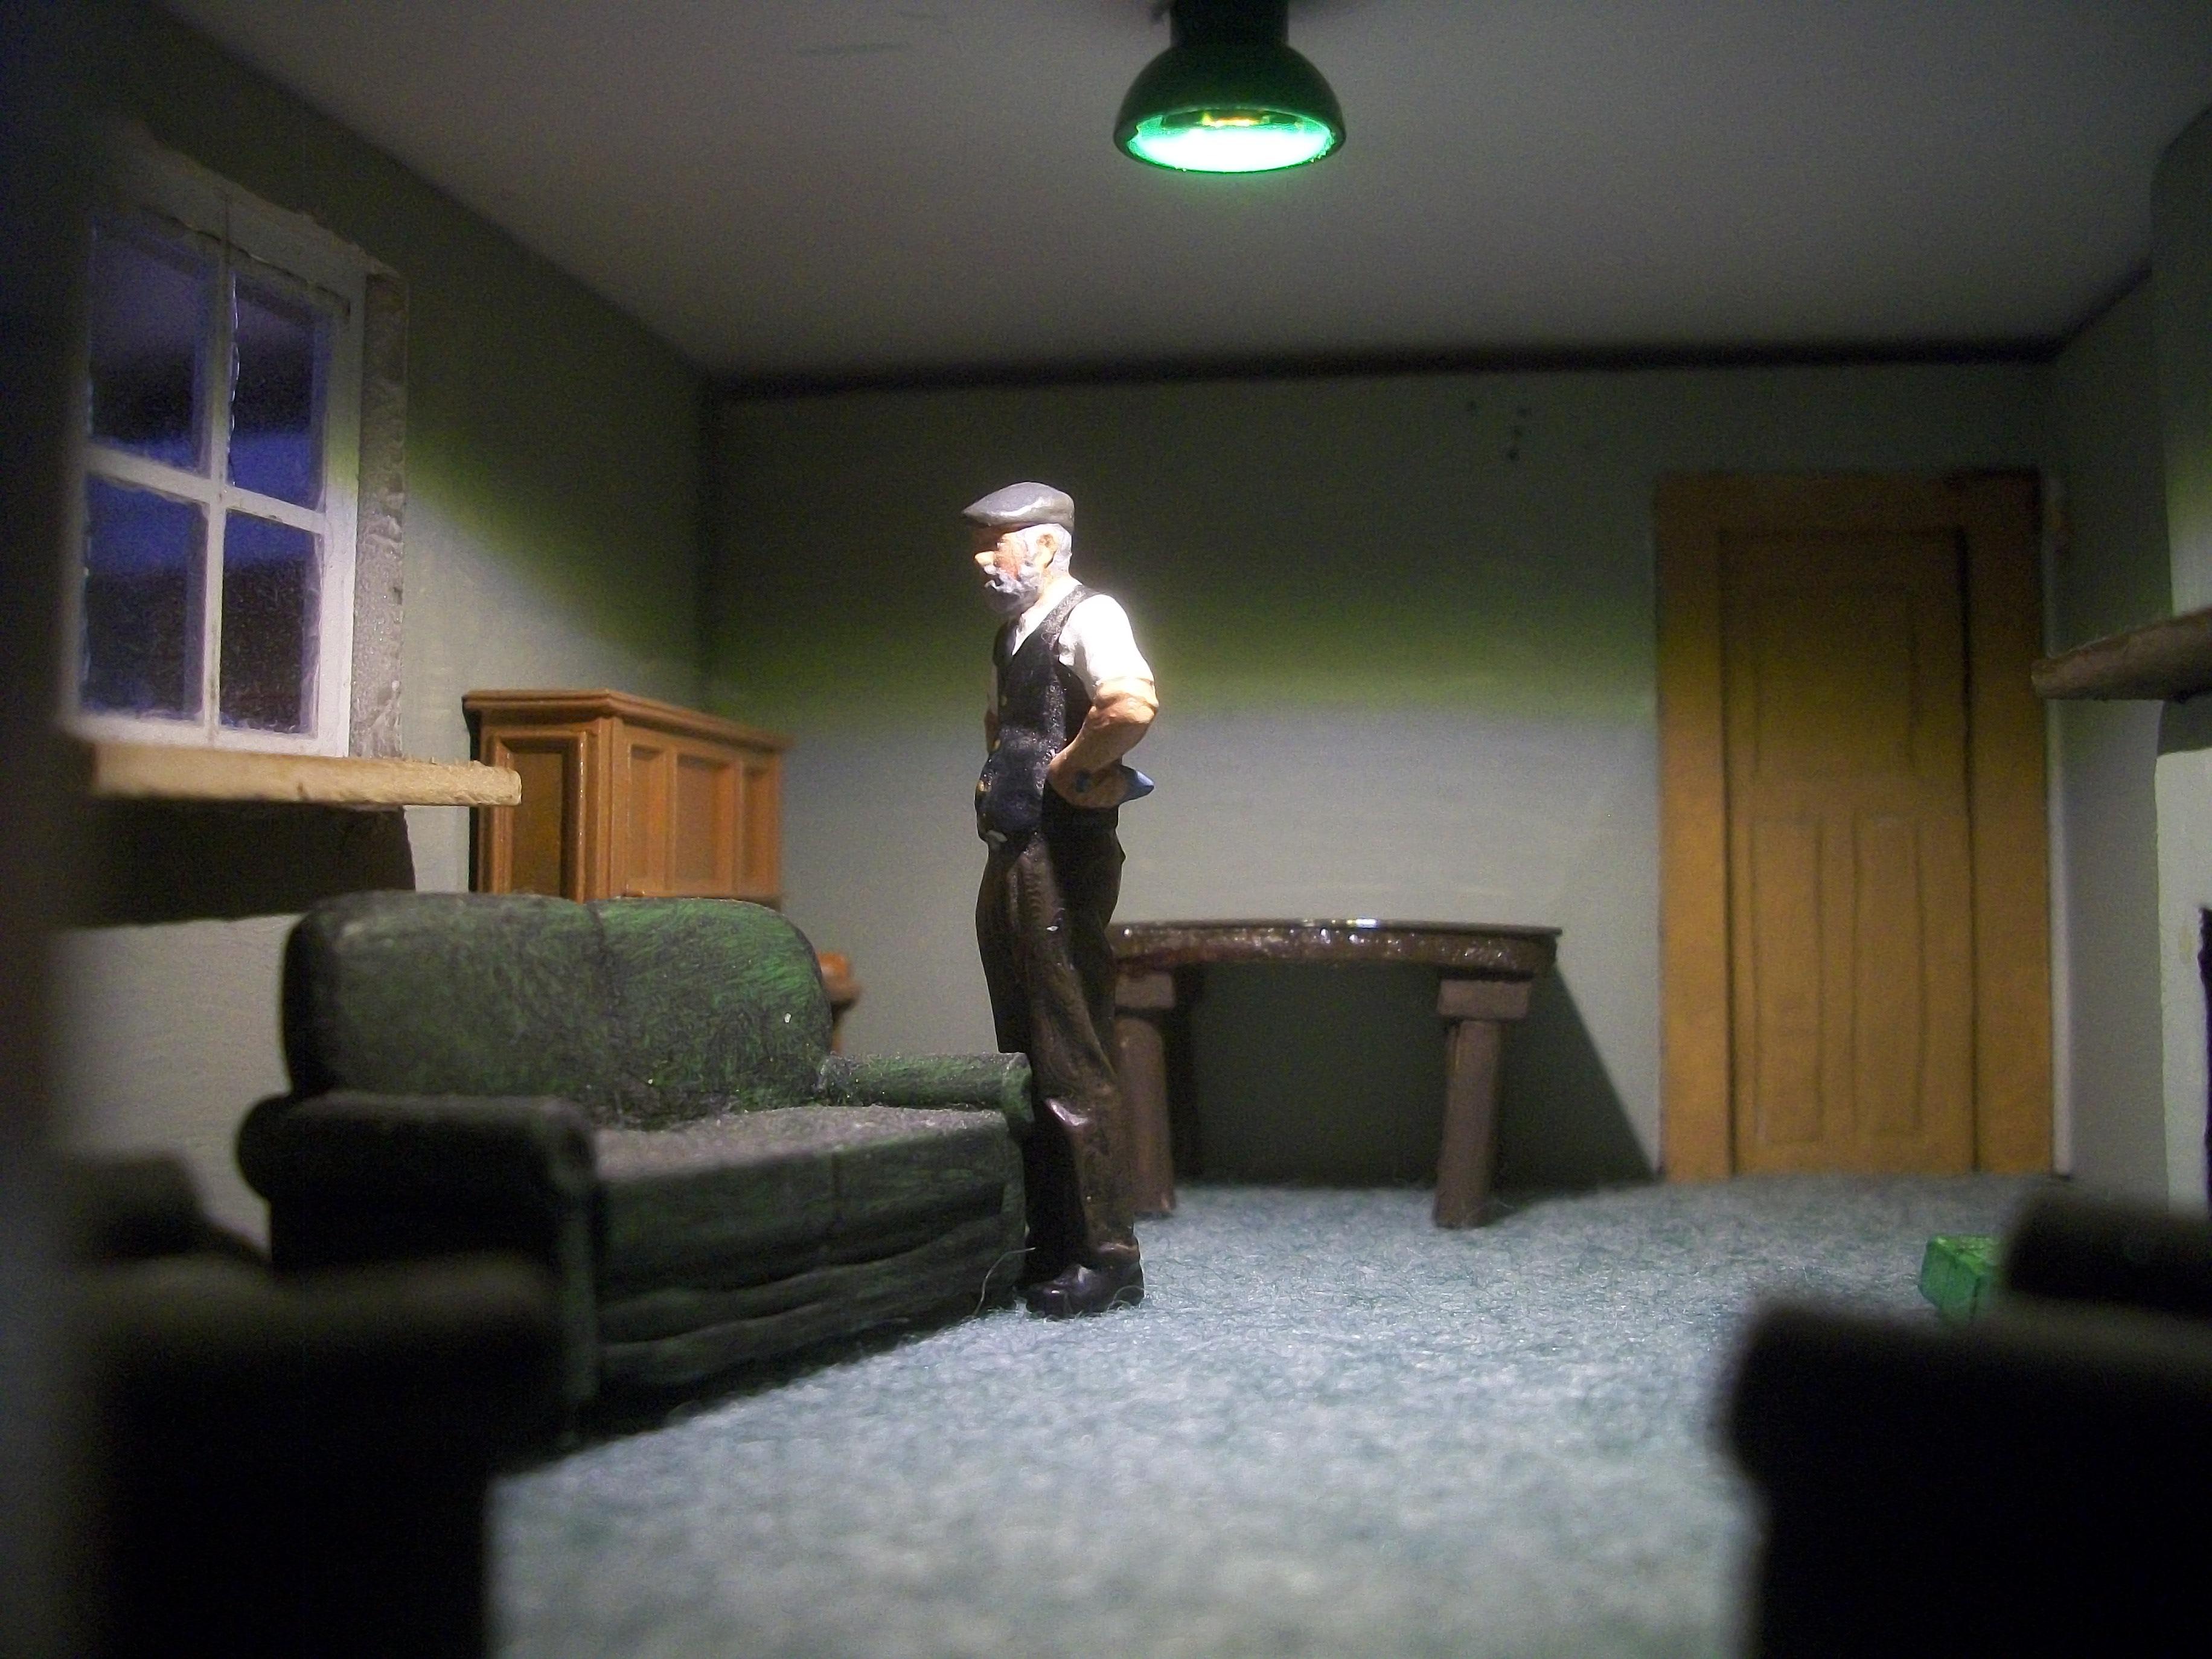
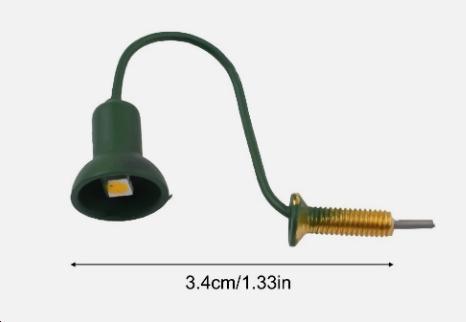
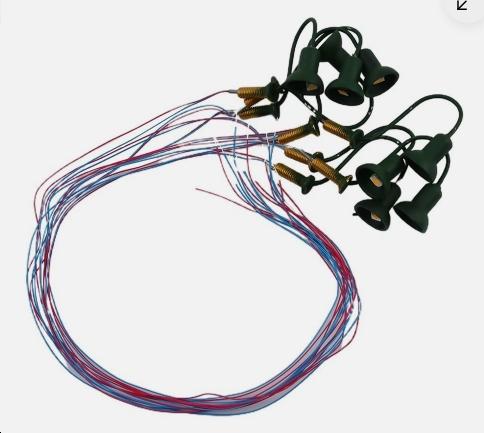
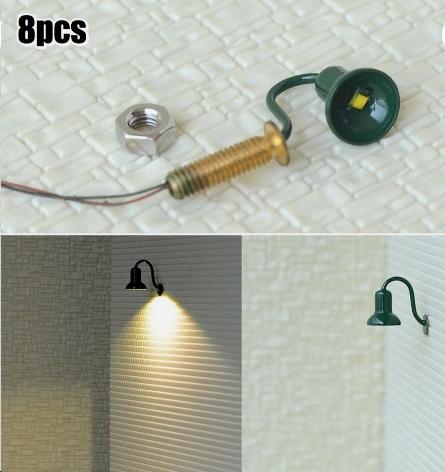
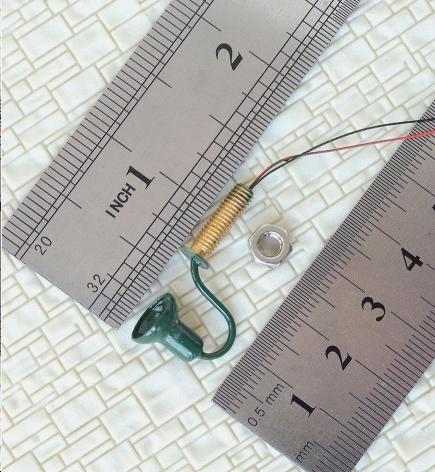
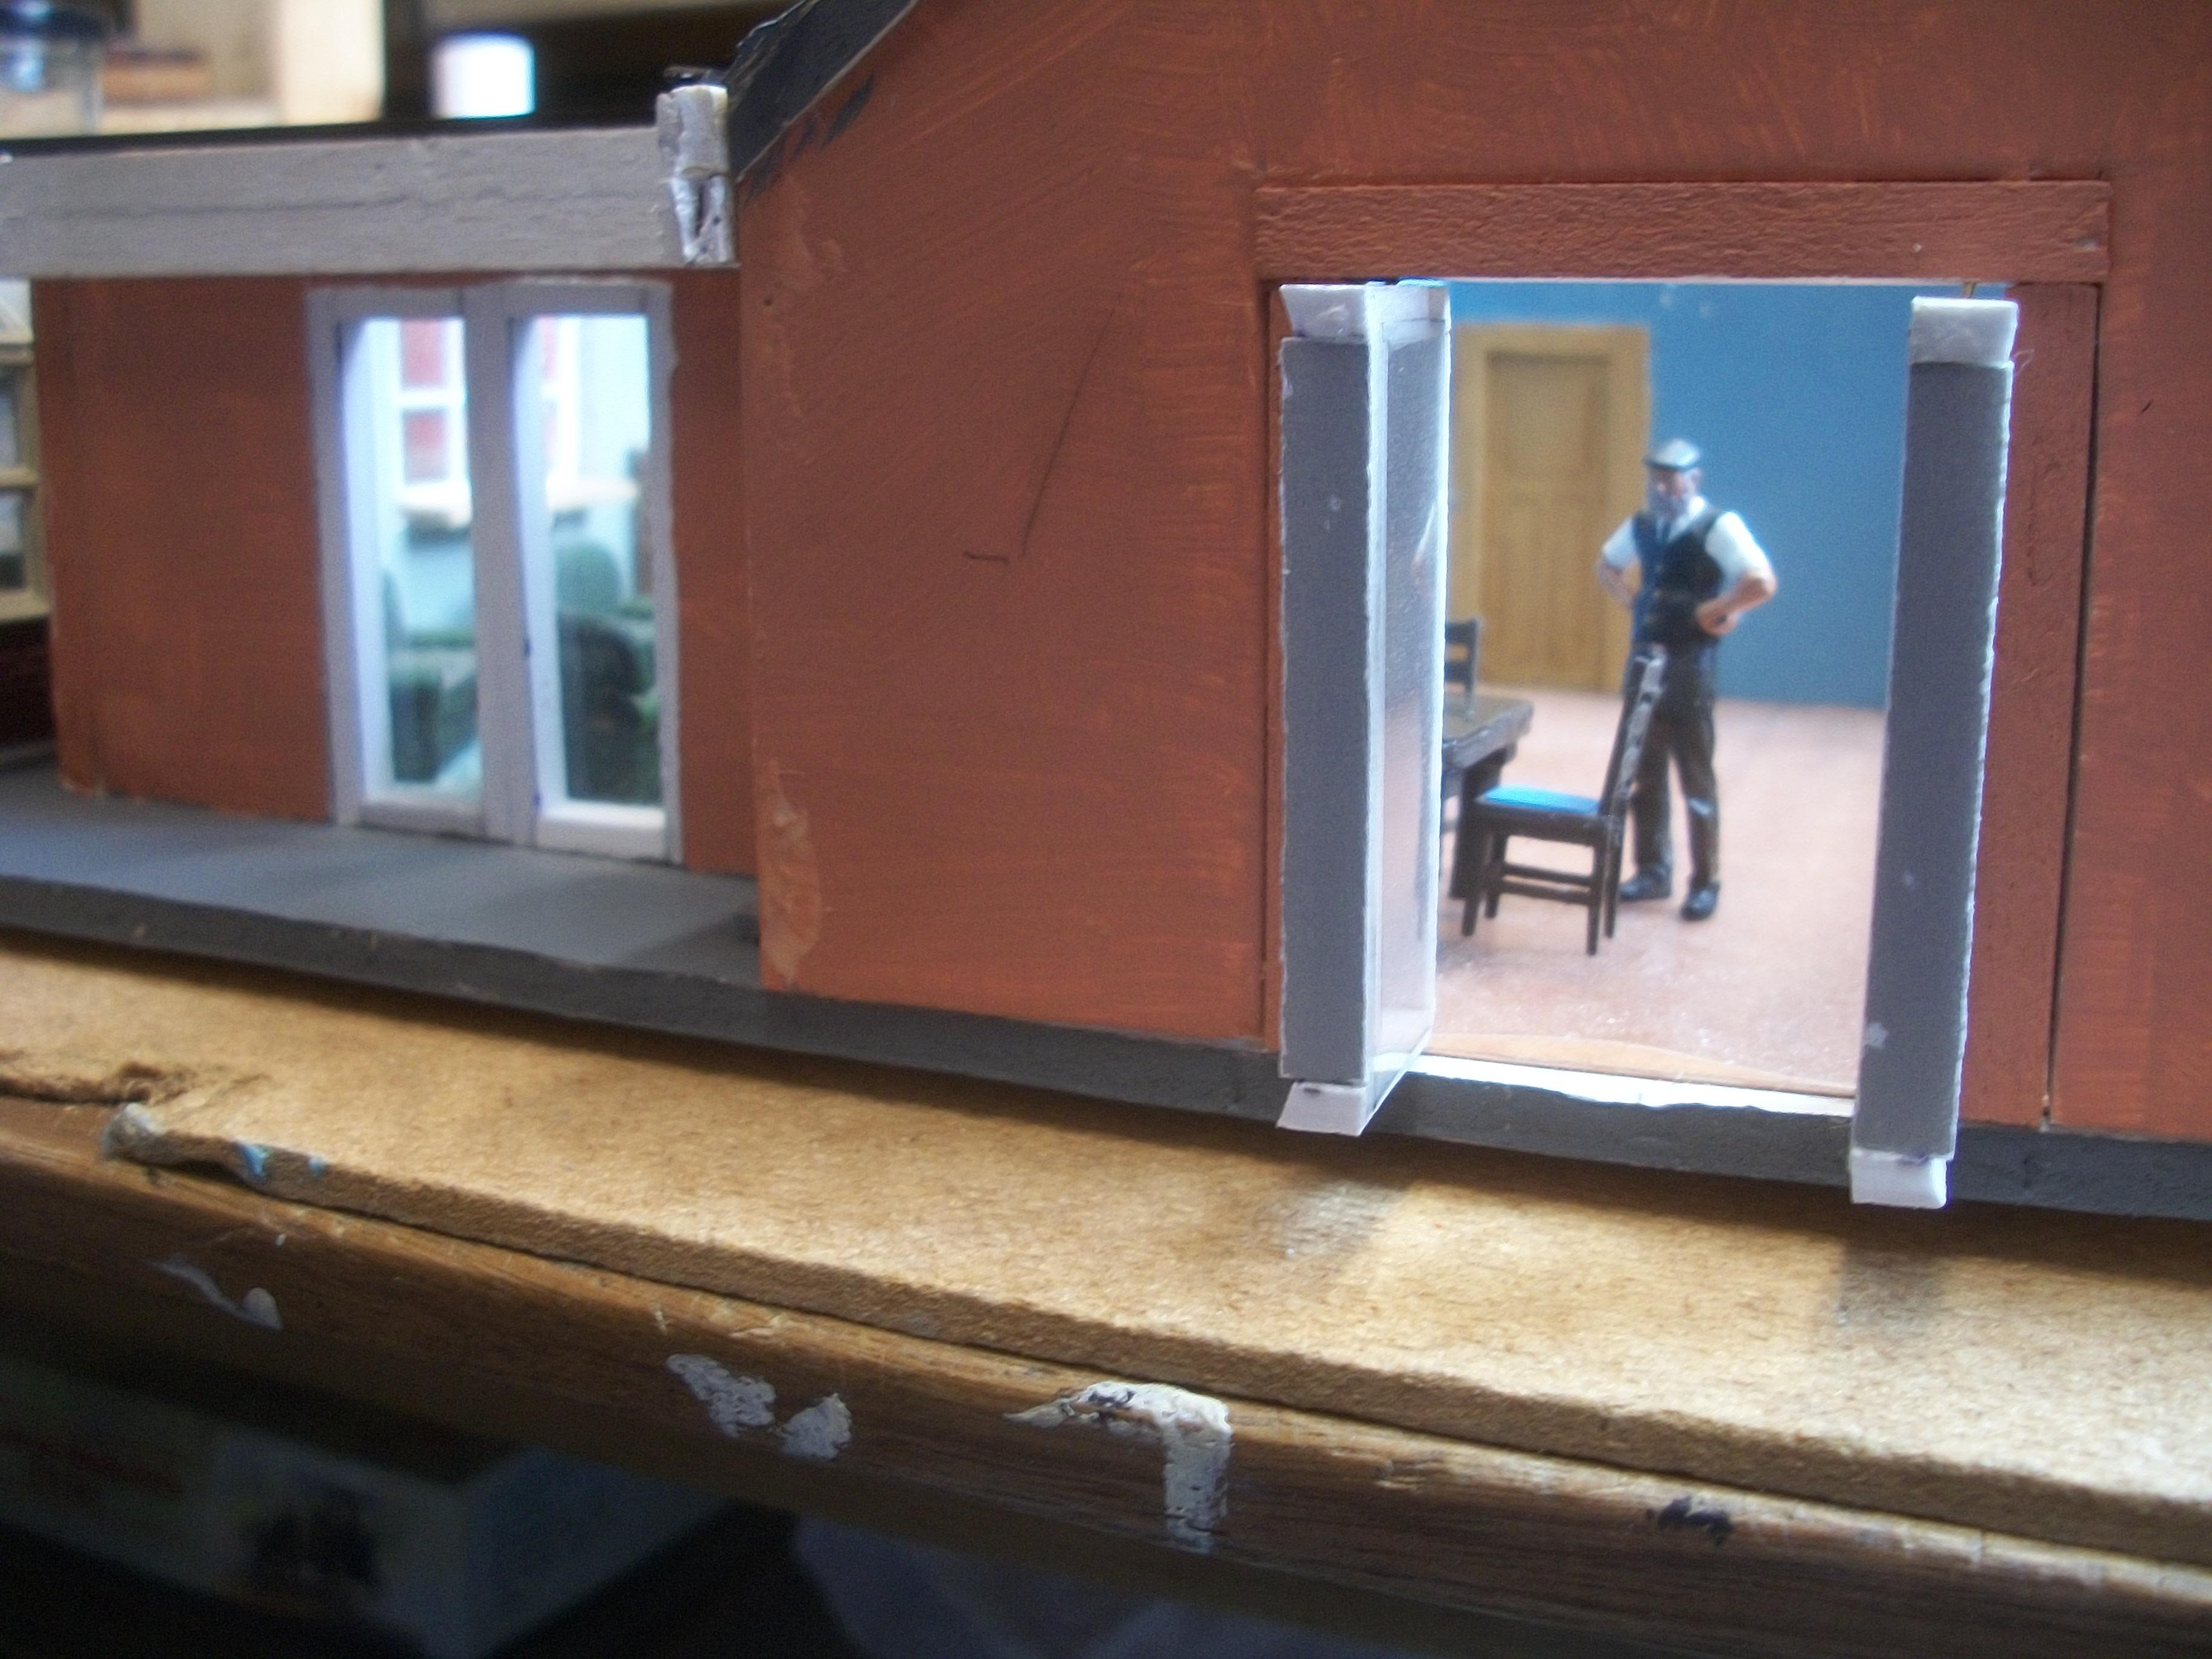
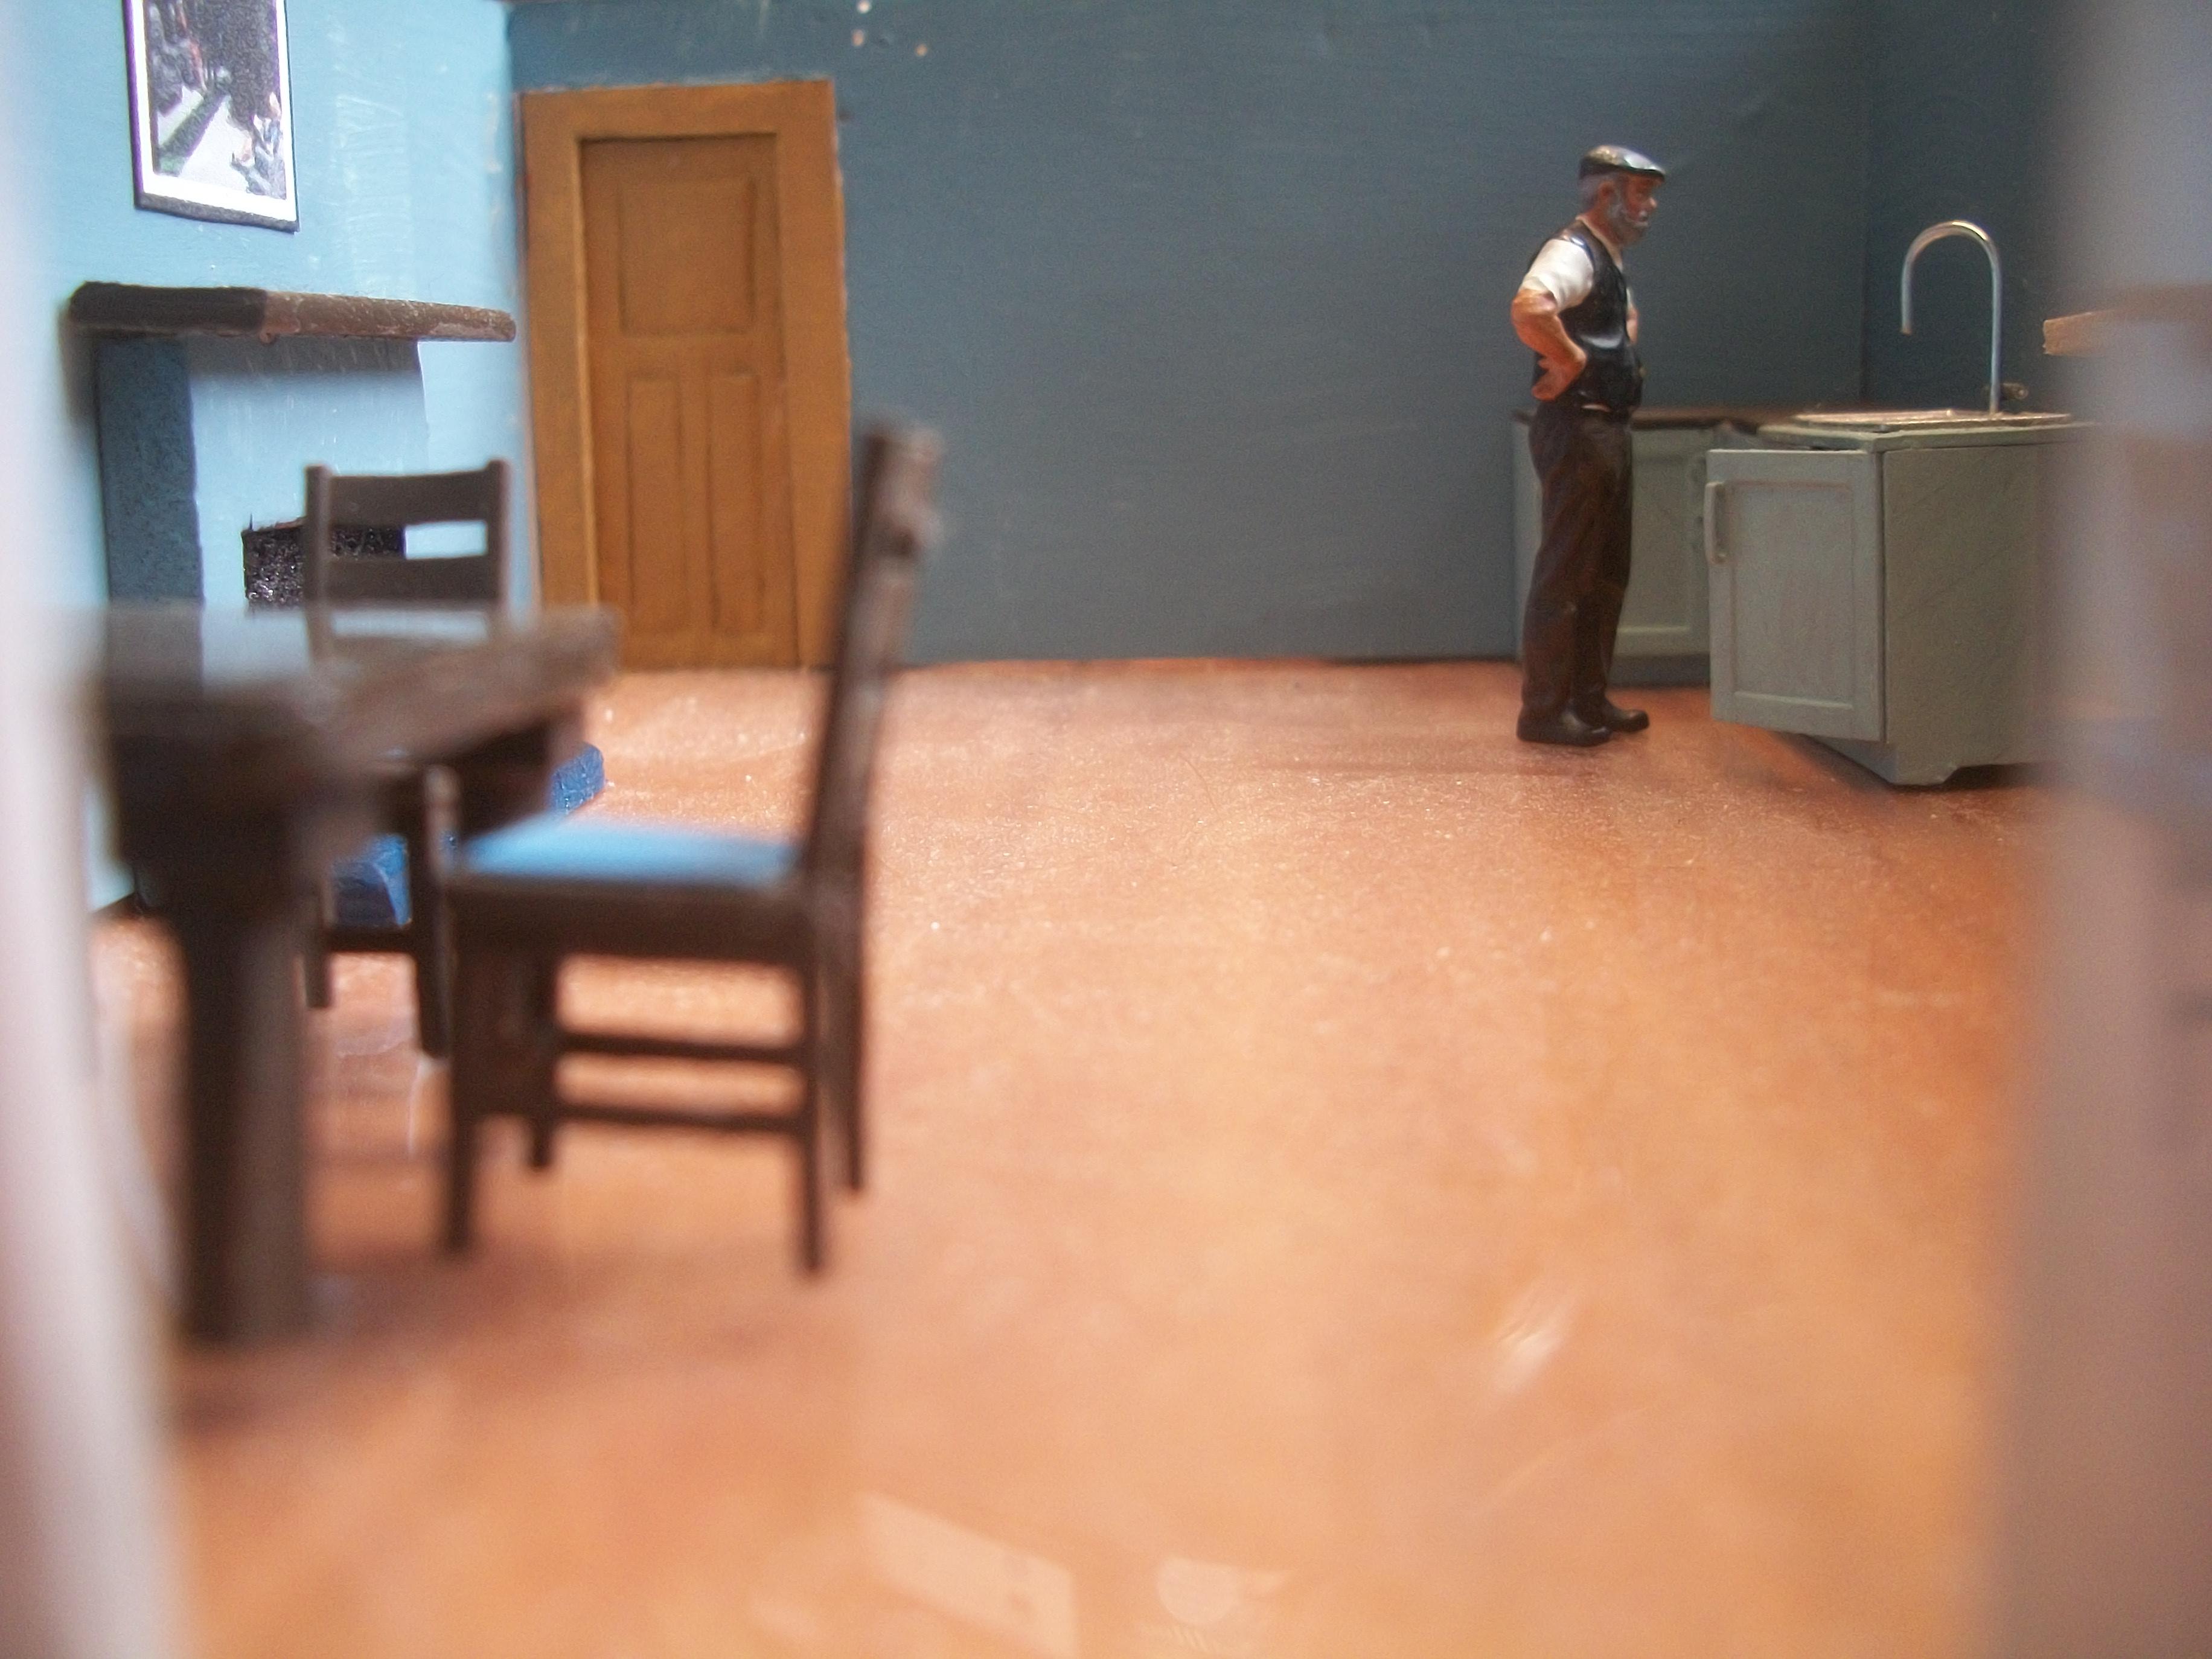
The eight lamps, resistors and wiring arrived today . . . These resistors are only required if using 12V DC model railway voltage, and reducing to 3V, but I am using 3V coin cell batteries as my power supply anyway. The lamps are quite nice, but they have a couple of bends in the tubing, and also a screw that is fixed to the tubing with something strong. Setting up the living room lamp to get things started this morning, I found that by having a good sized hole in the ceiling panel the wiring and the screw head could pass through from underneath, and then by bending the tubing carefully the lamp pushed into the hole . . . Once wired up to the terminal block, this first of eight lamps lit up nicely. The Ebay photos were a bit misleading, and the wires are not that long, which means the terminal blocks will most likely have to be mounted inside the roof of the bungalow . . . I am toying with the idea of cutting the 12 port terminal block into 6 separate blocks of two ports, so one for each pair of wires that feed each lamp. Not sure if this will happen just yet . . . I could then do the same with the second terminal block, to provide two blocks of two ports, feeding eight lamps. The photos taken later today have turned out pretty good, particularly the ones taken through the French doors. The furniture looks real and Harold appears to be part of the room . . . It will be necessary to cut out sections of the roof structure baseboard to accommodate the bends in the tubing of the lamps, and possibly the terminal blocks as well. Although the wiring is a bit tricky, I should be able to figure out the best way of doing this . . . David
-
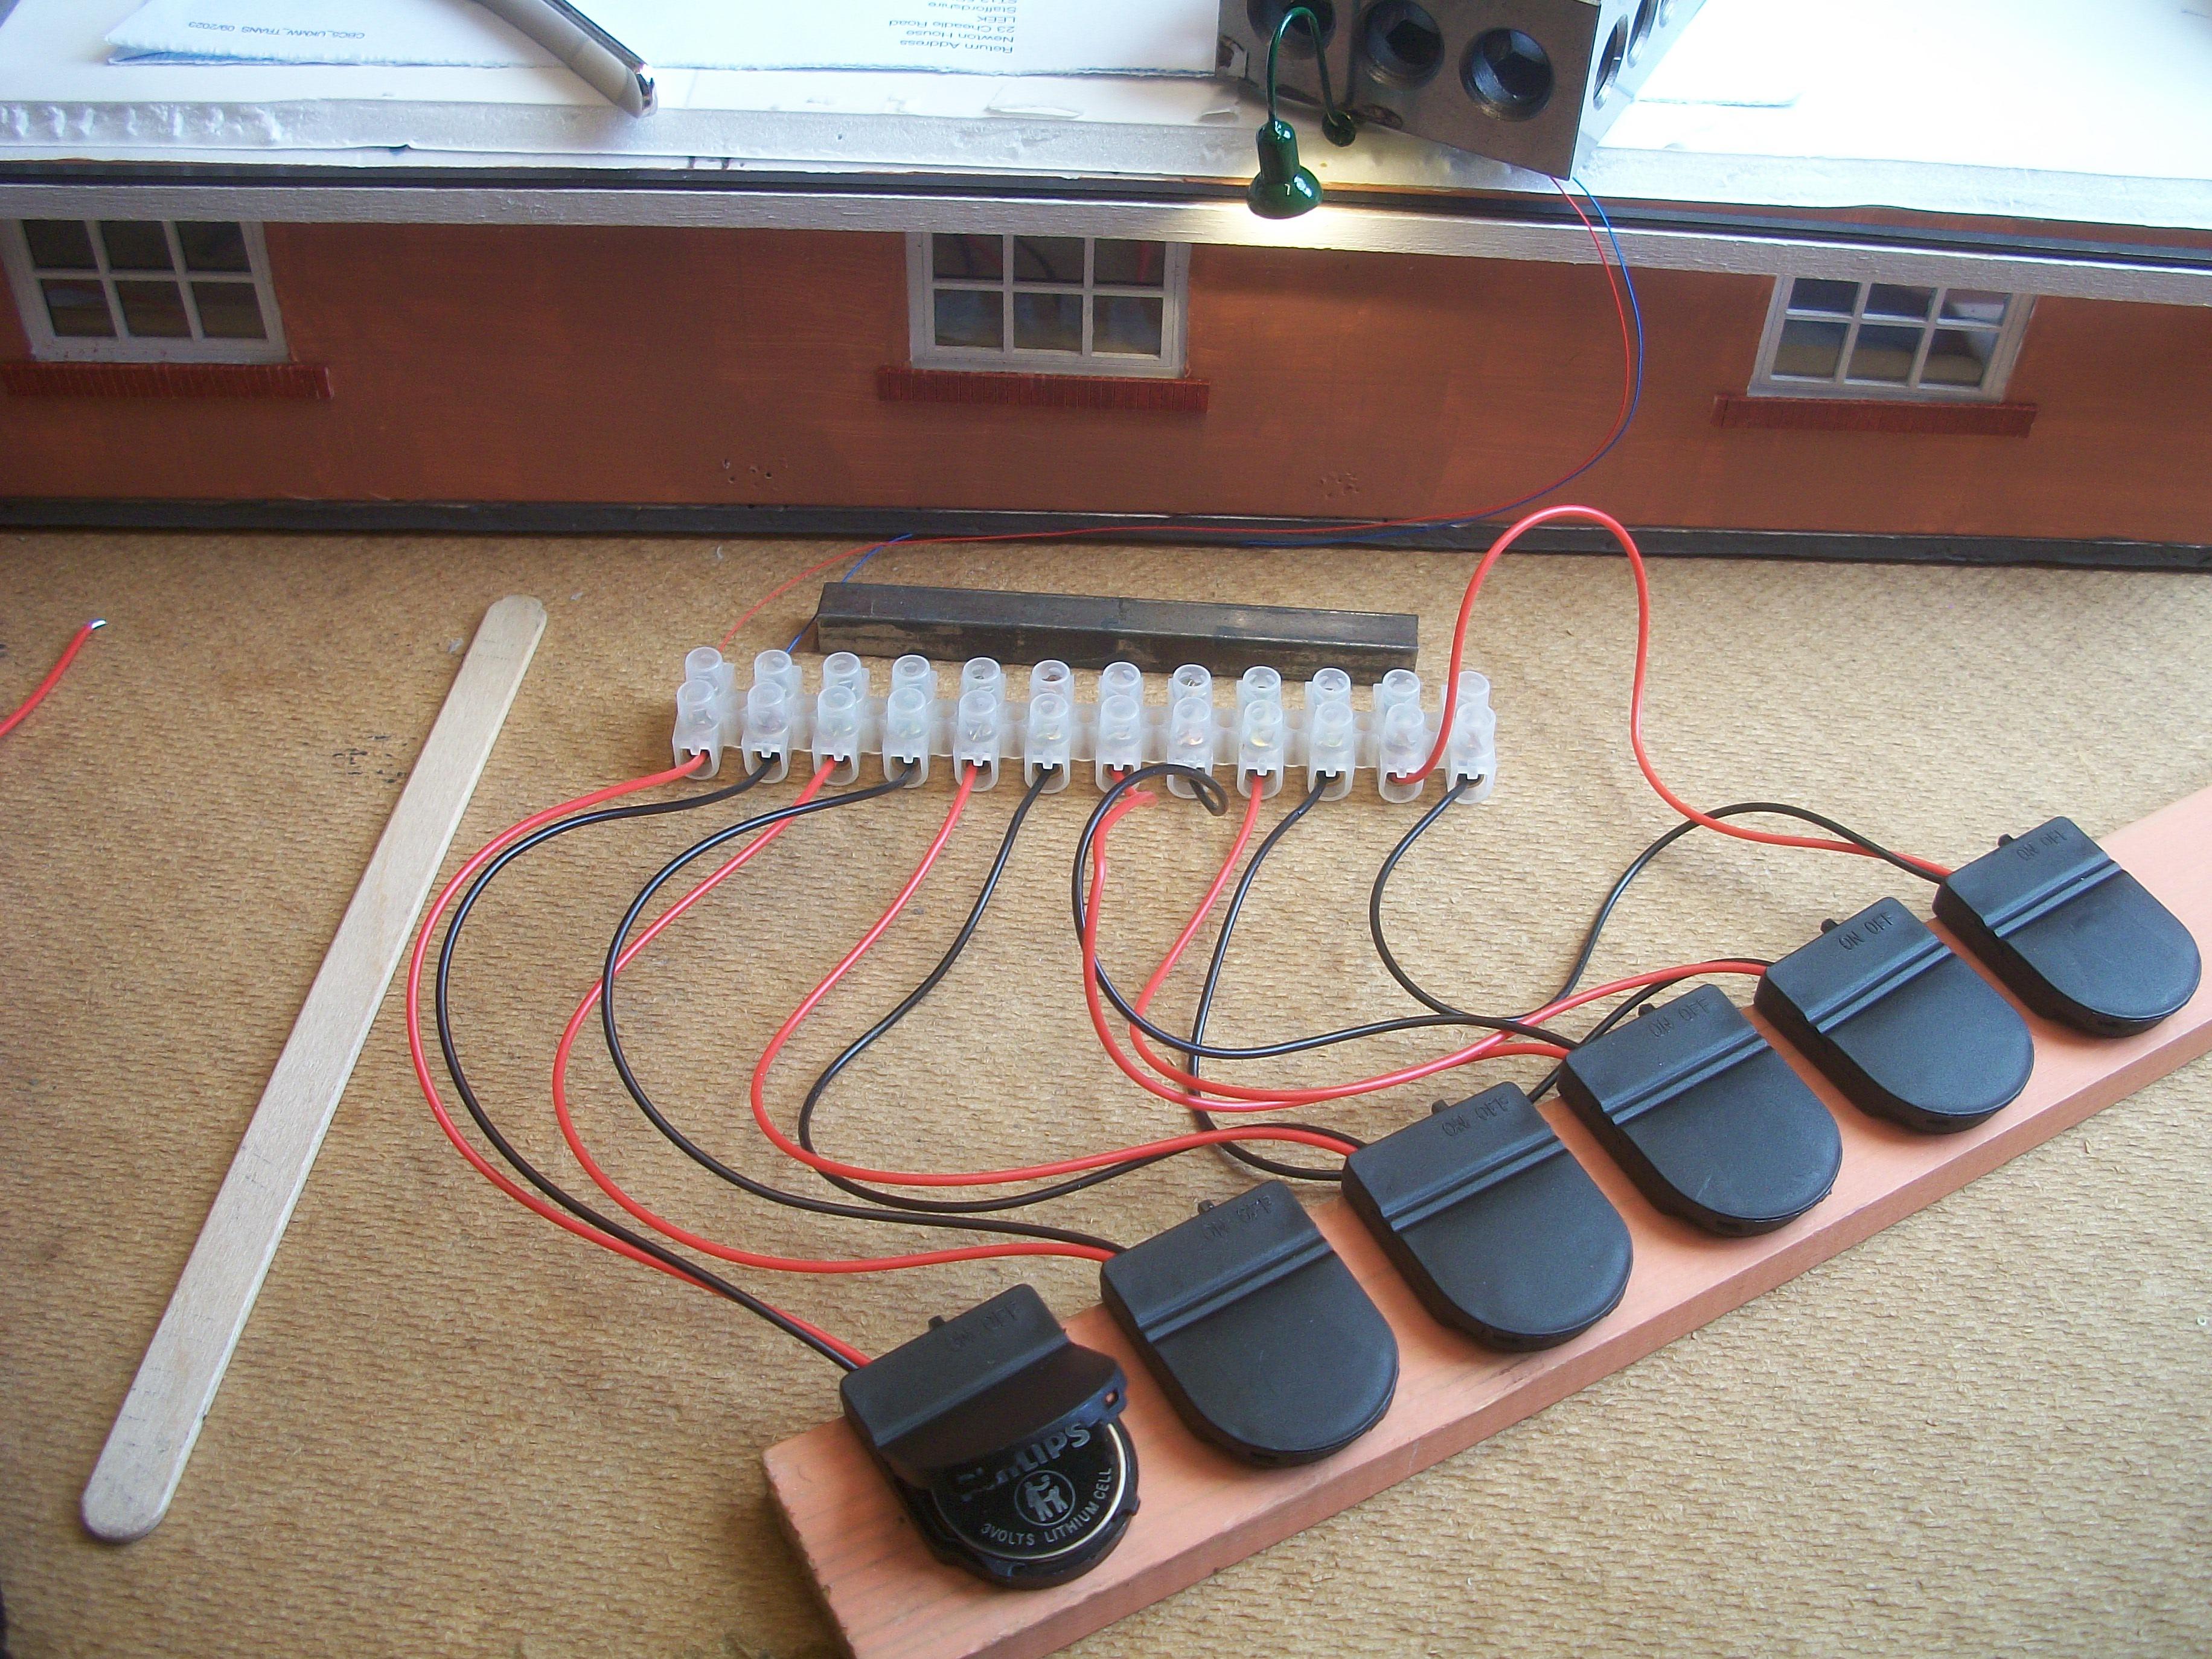
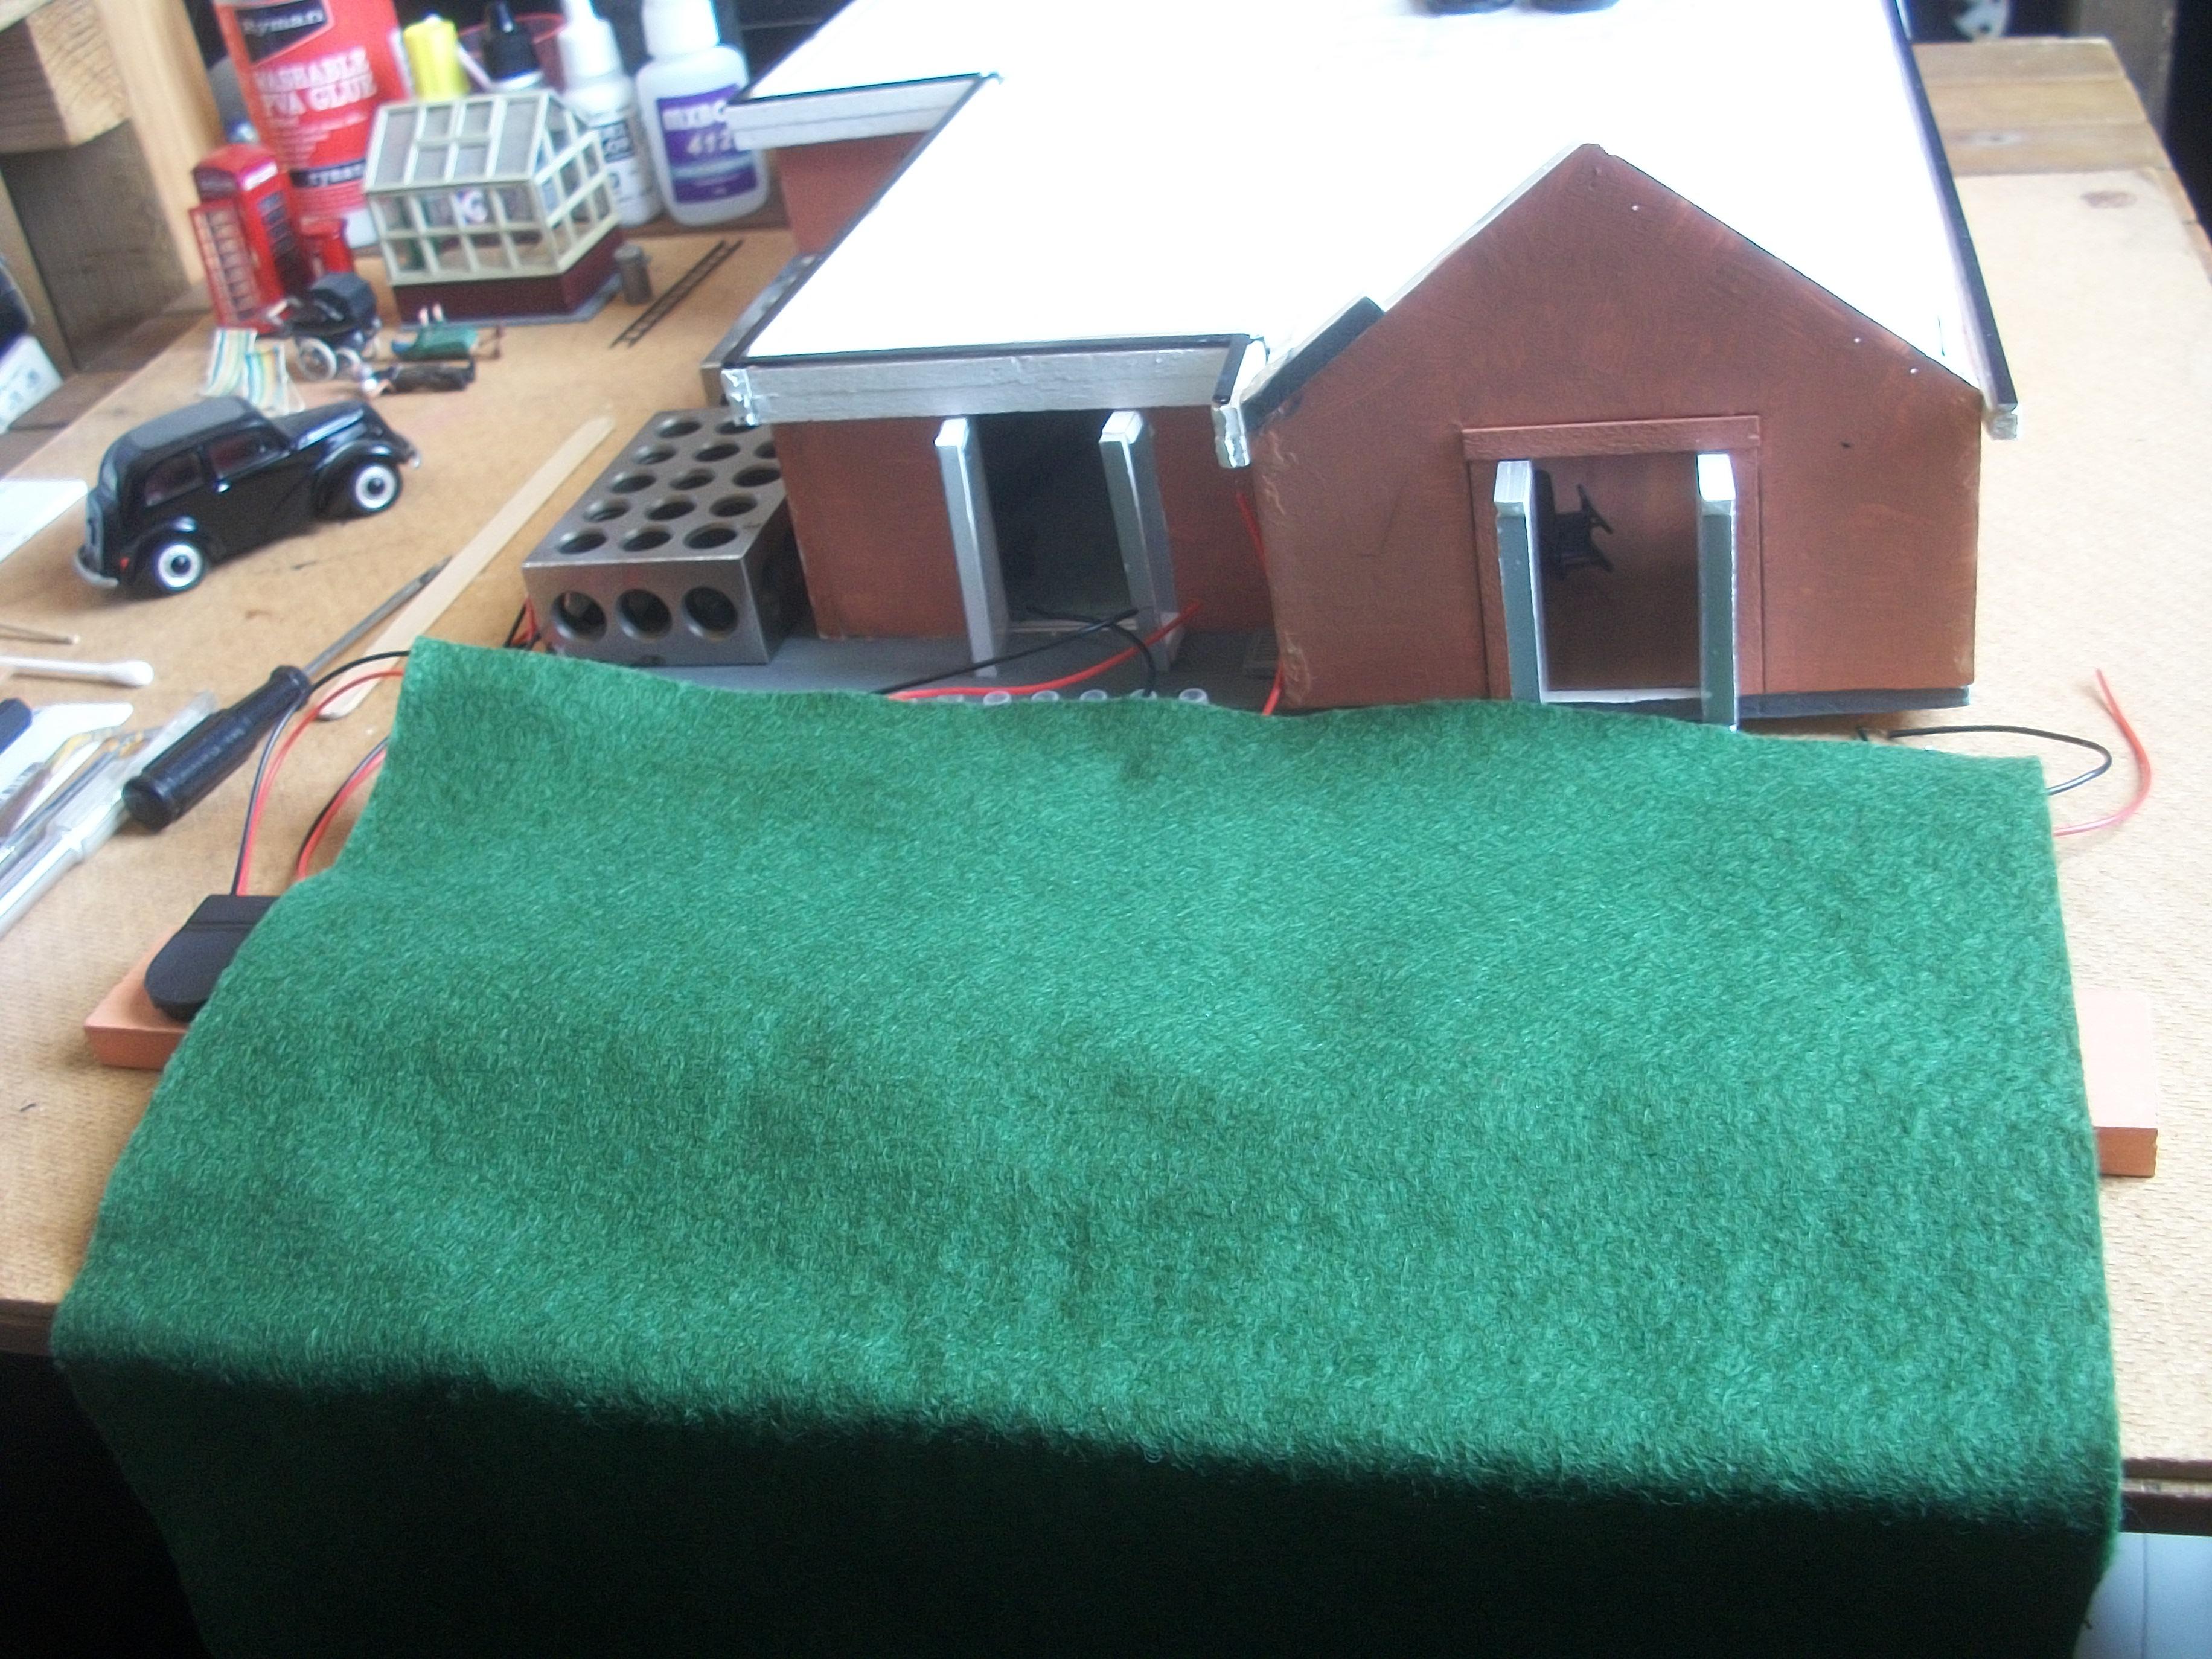
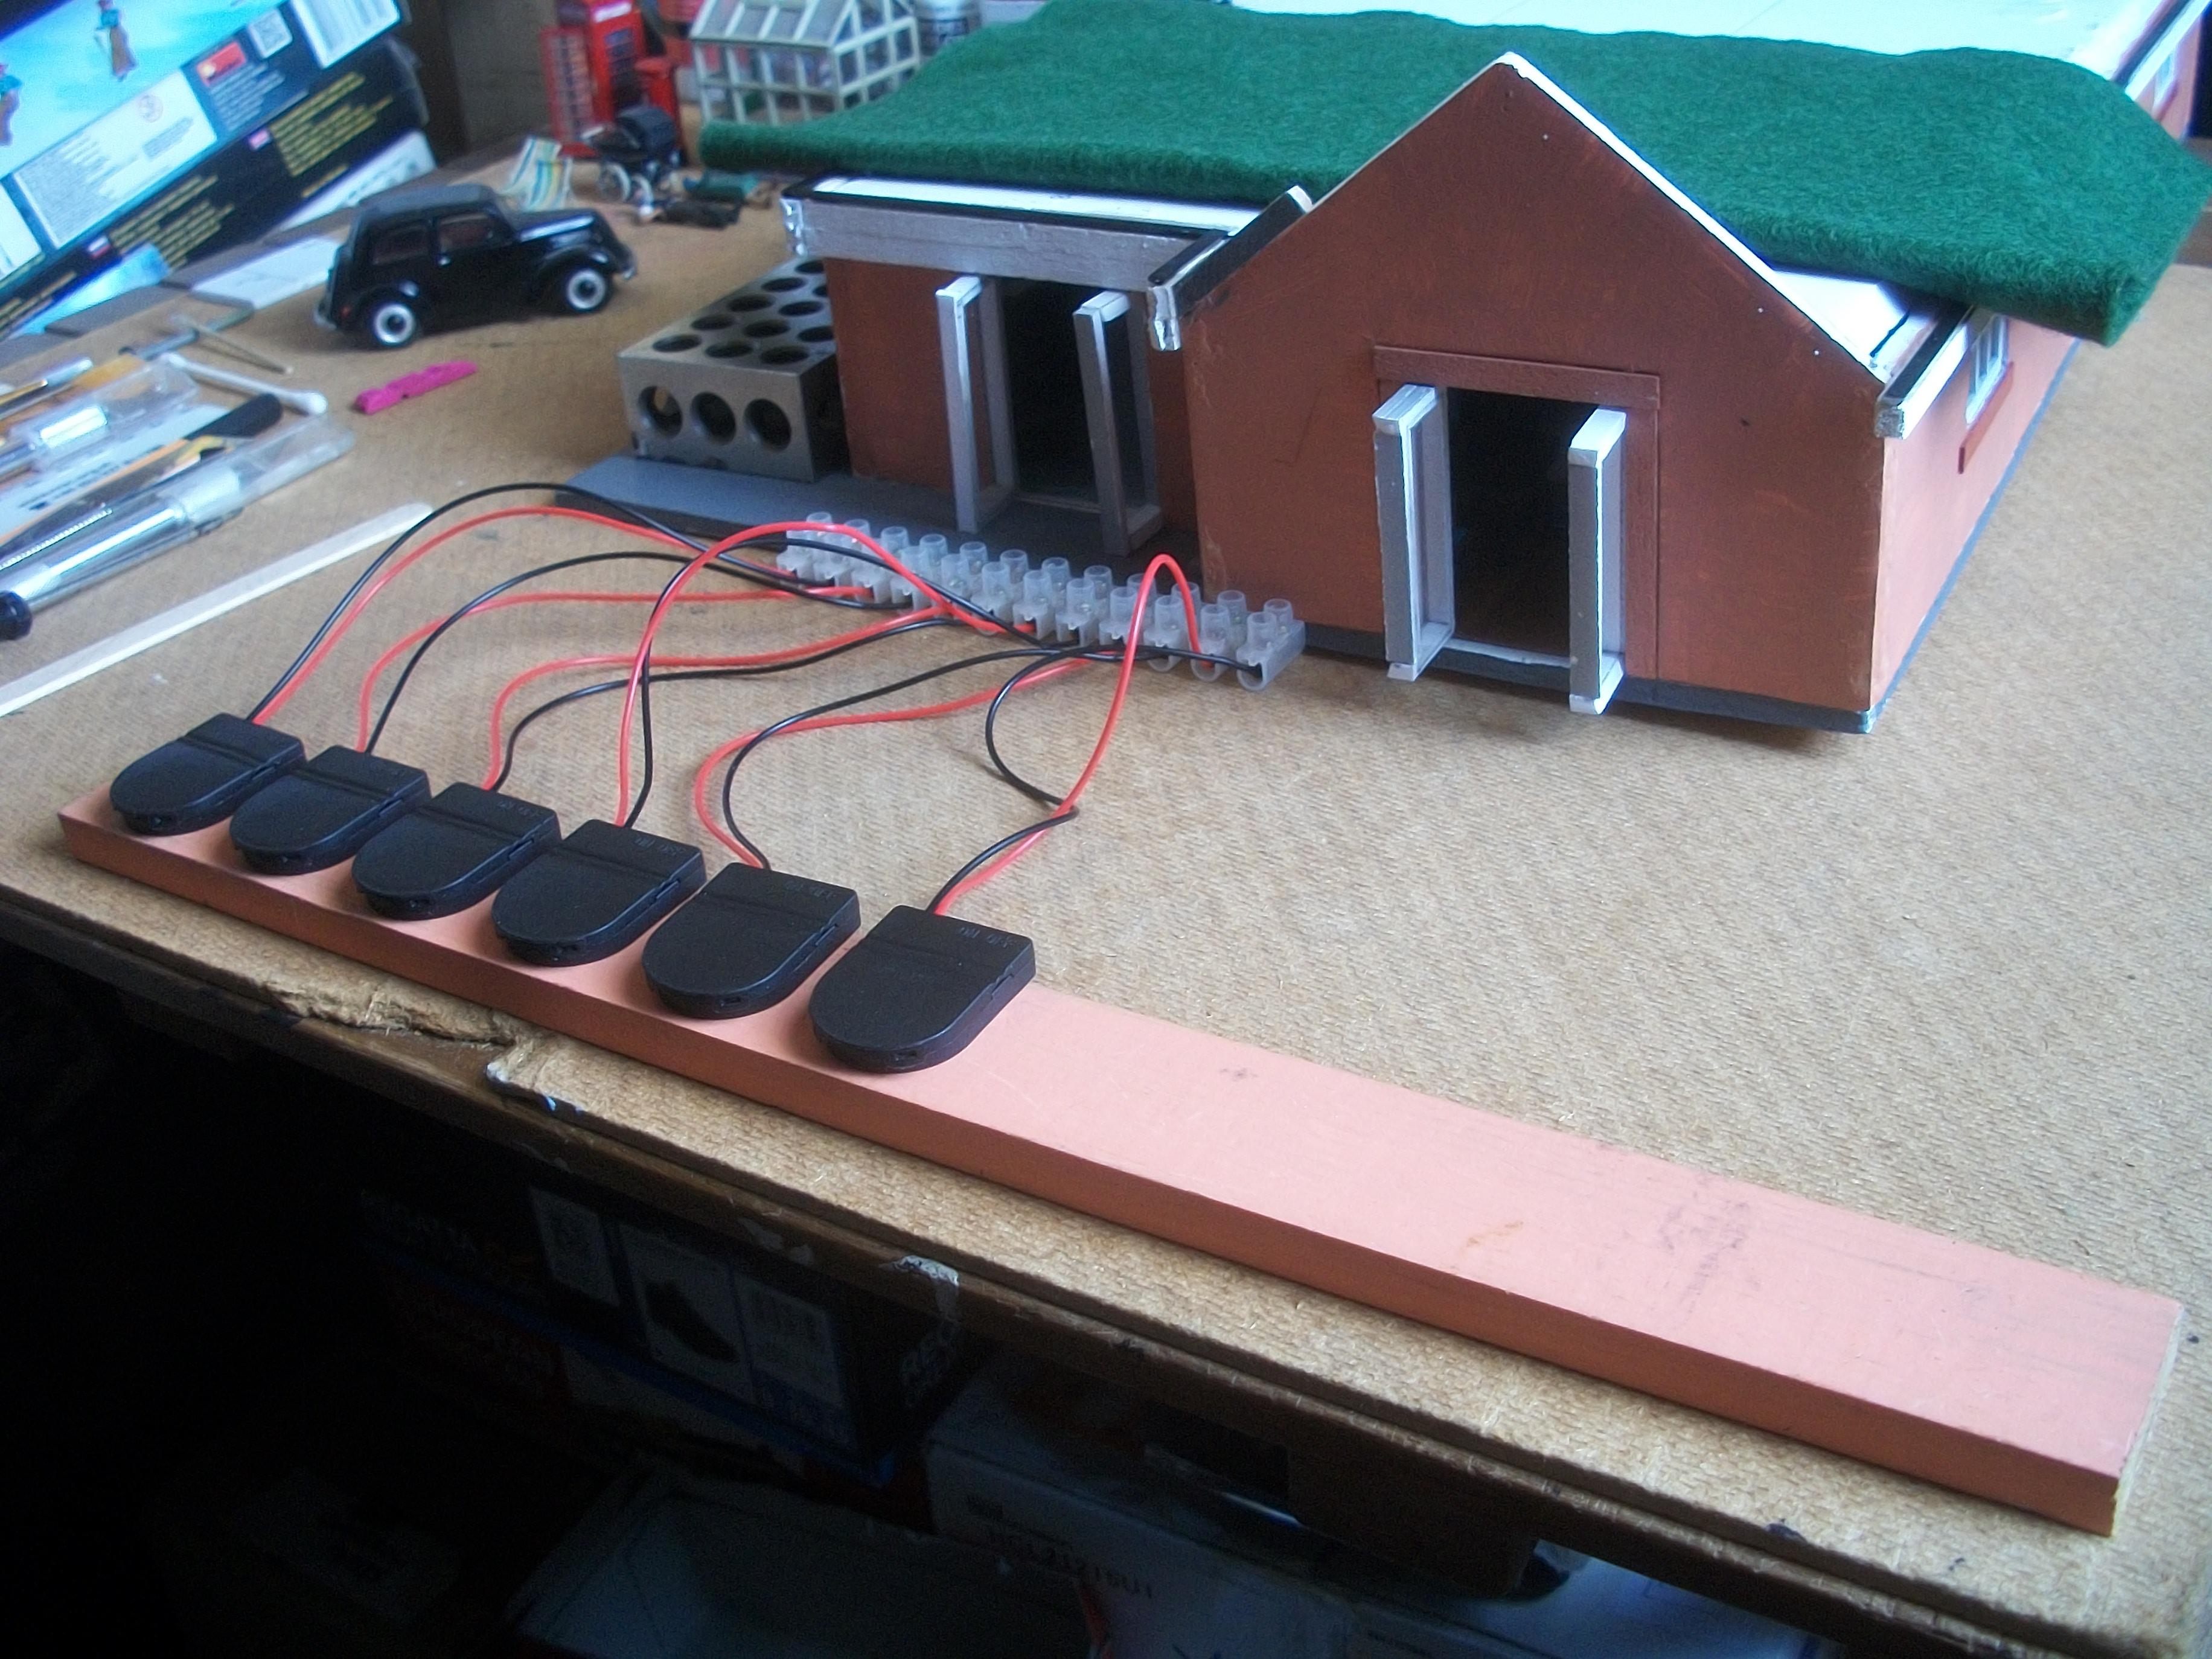
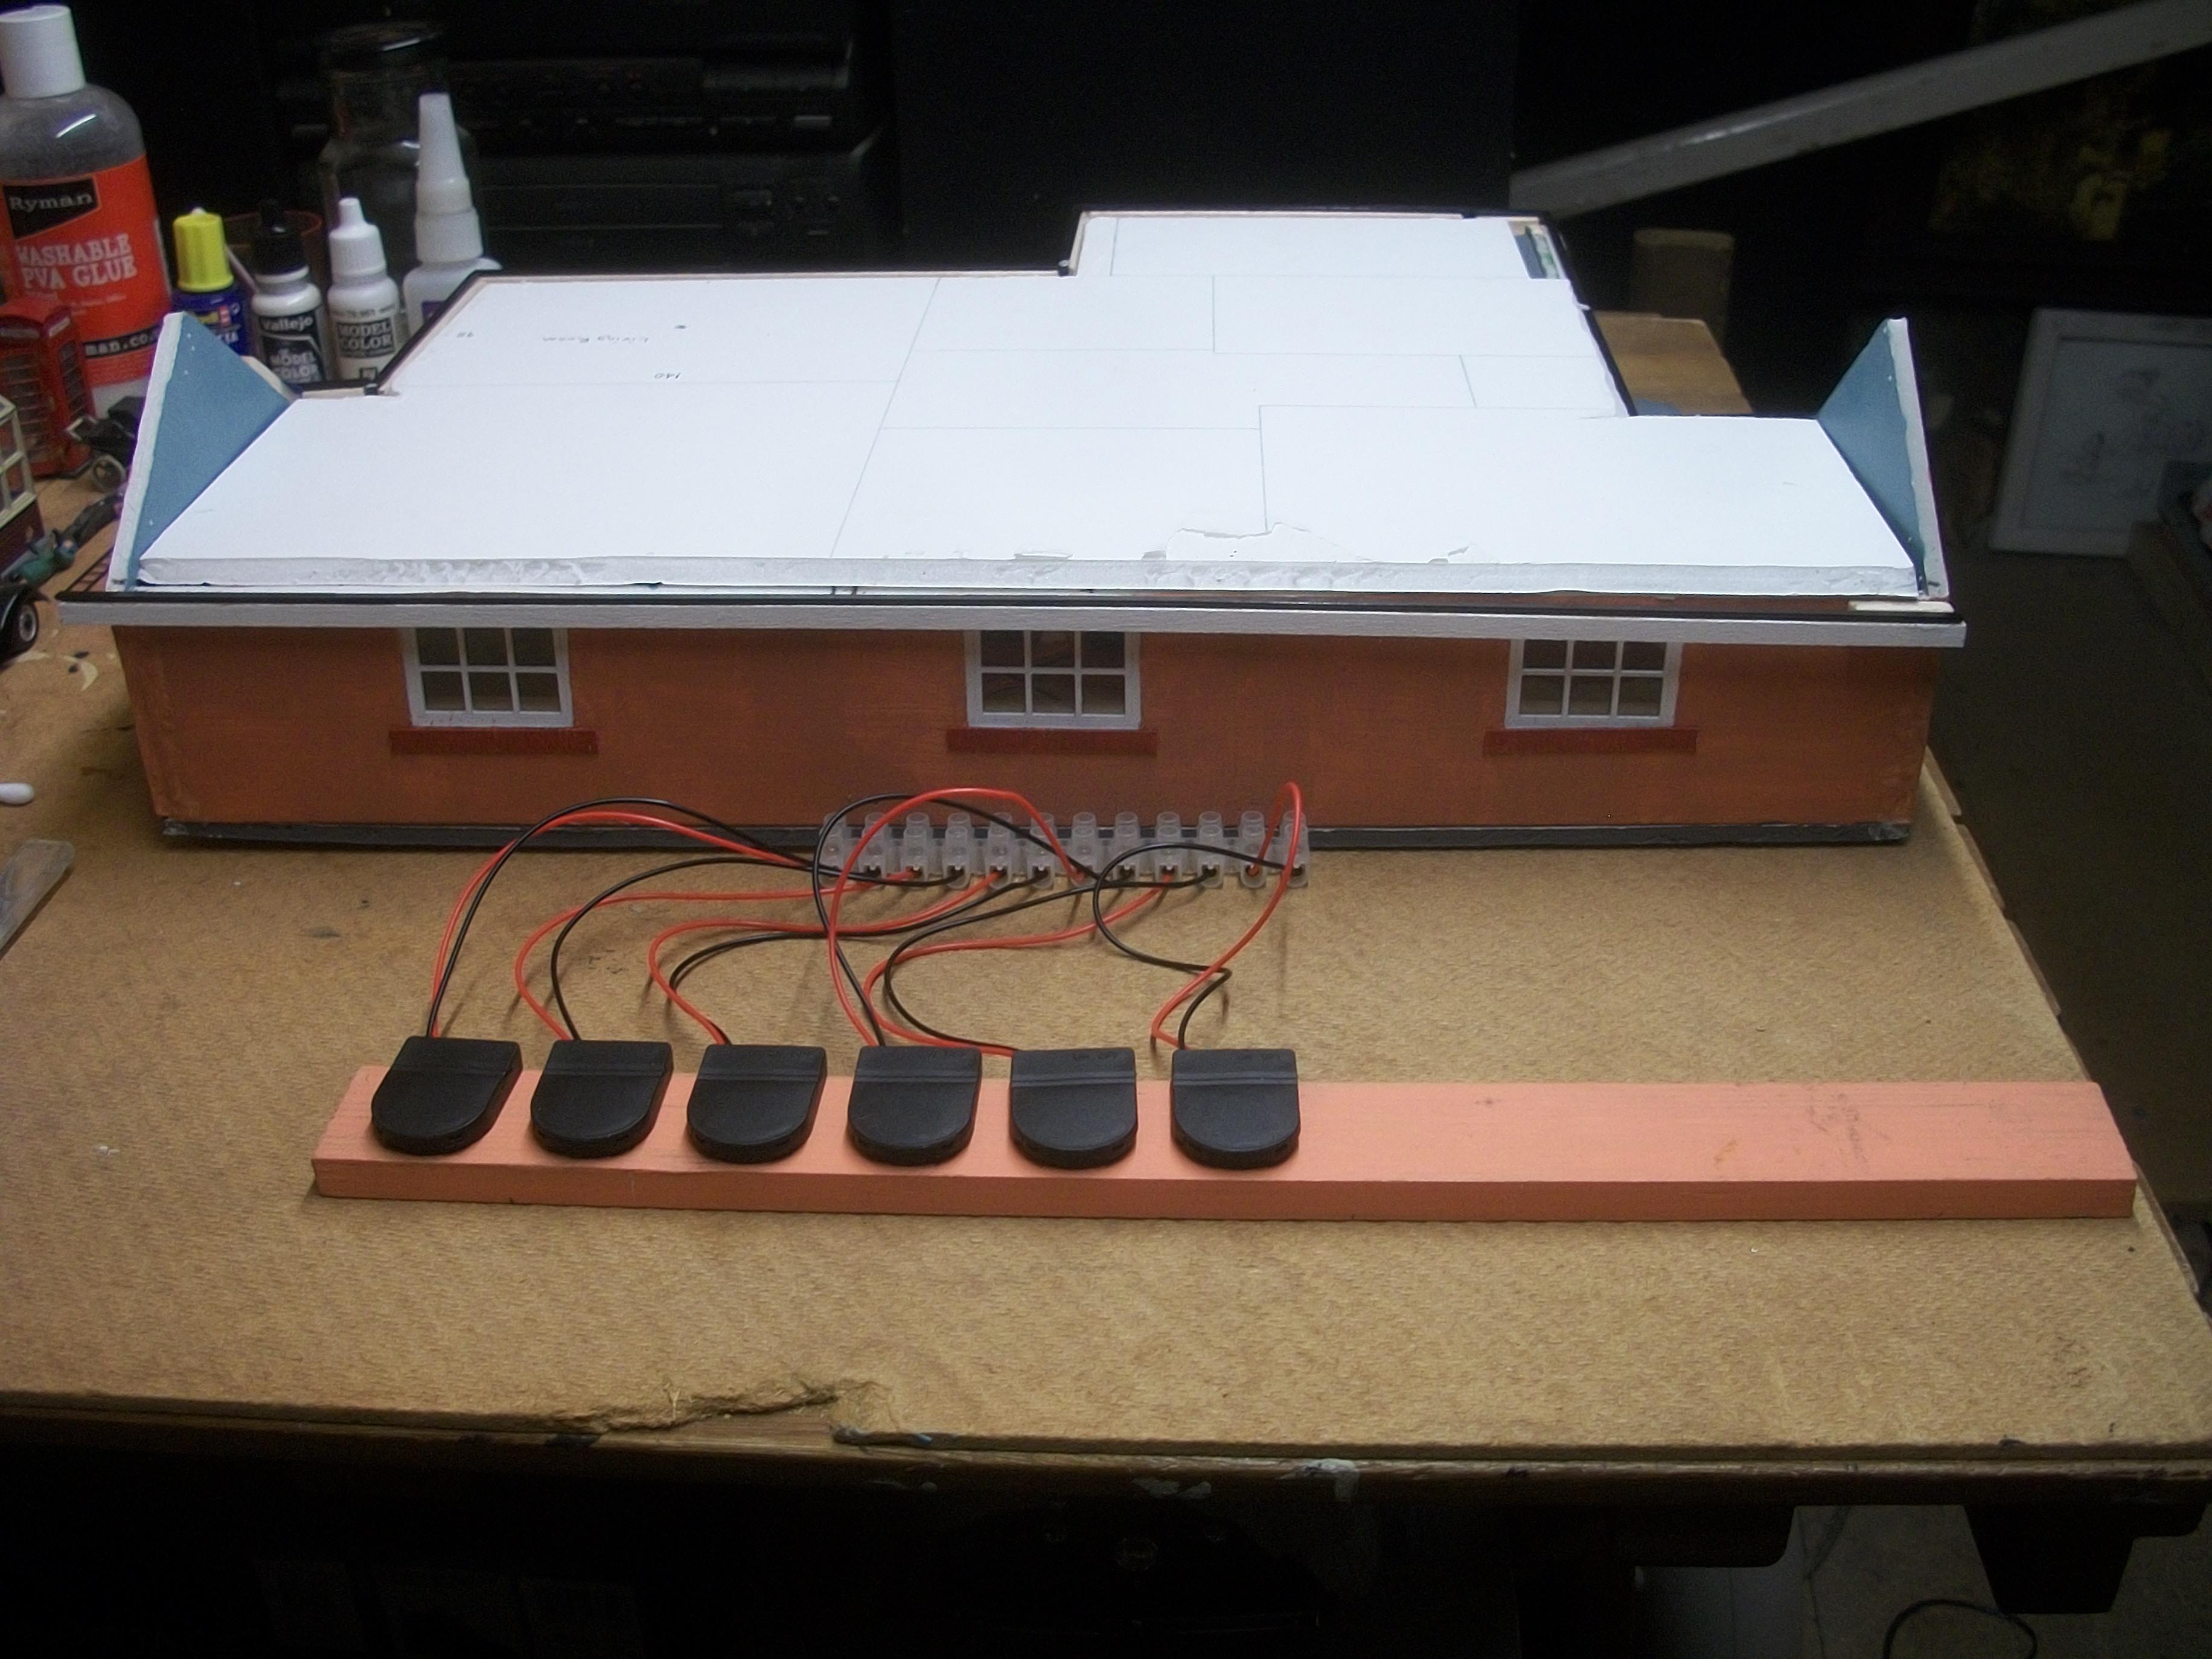
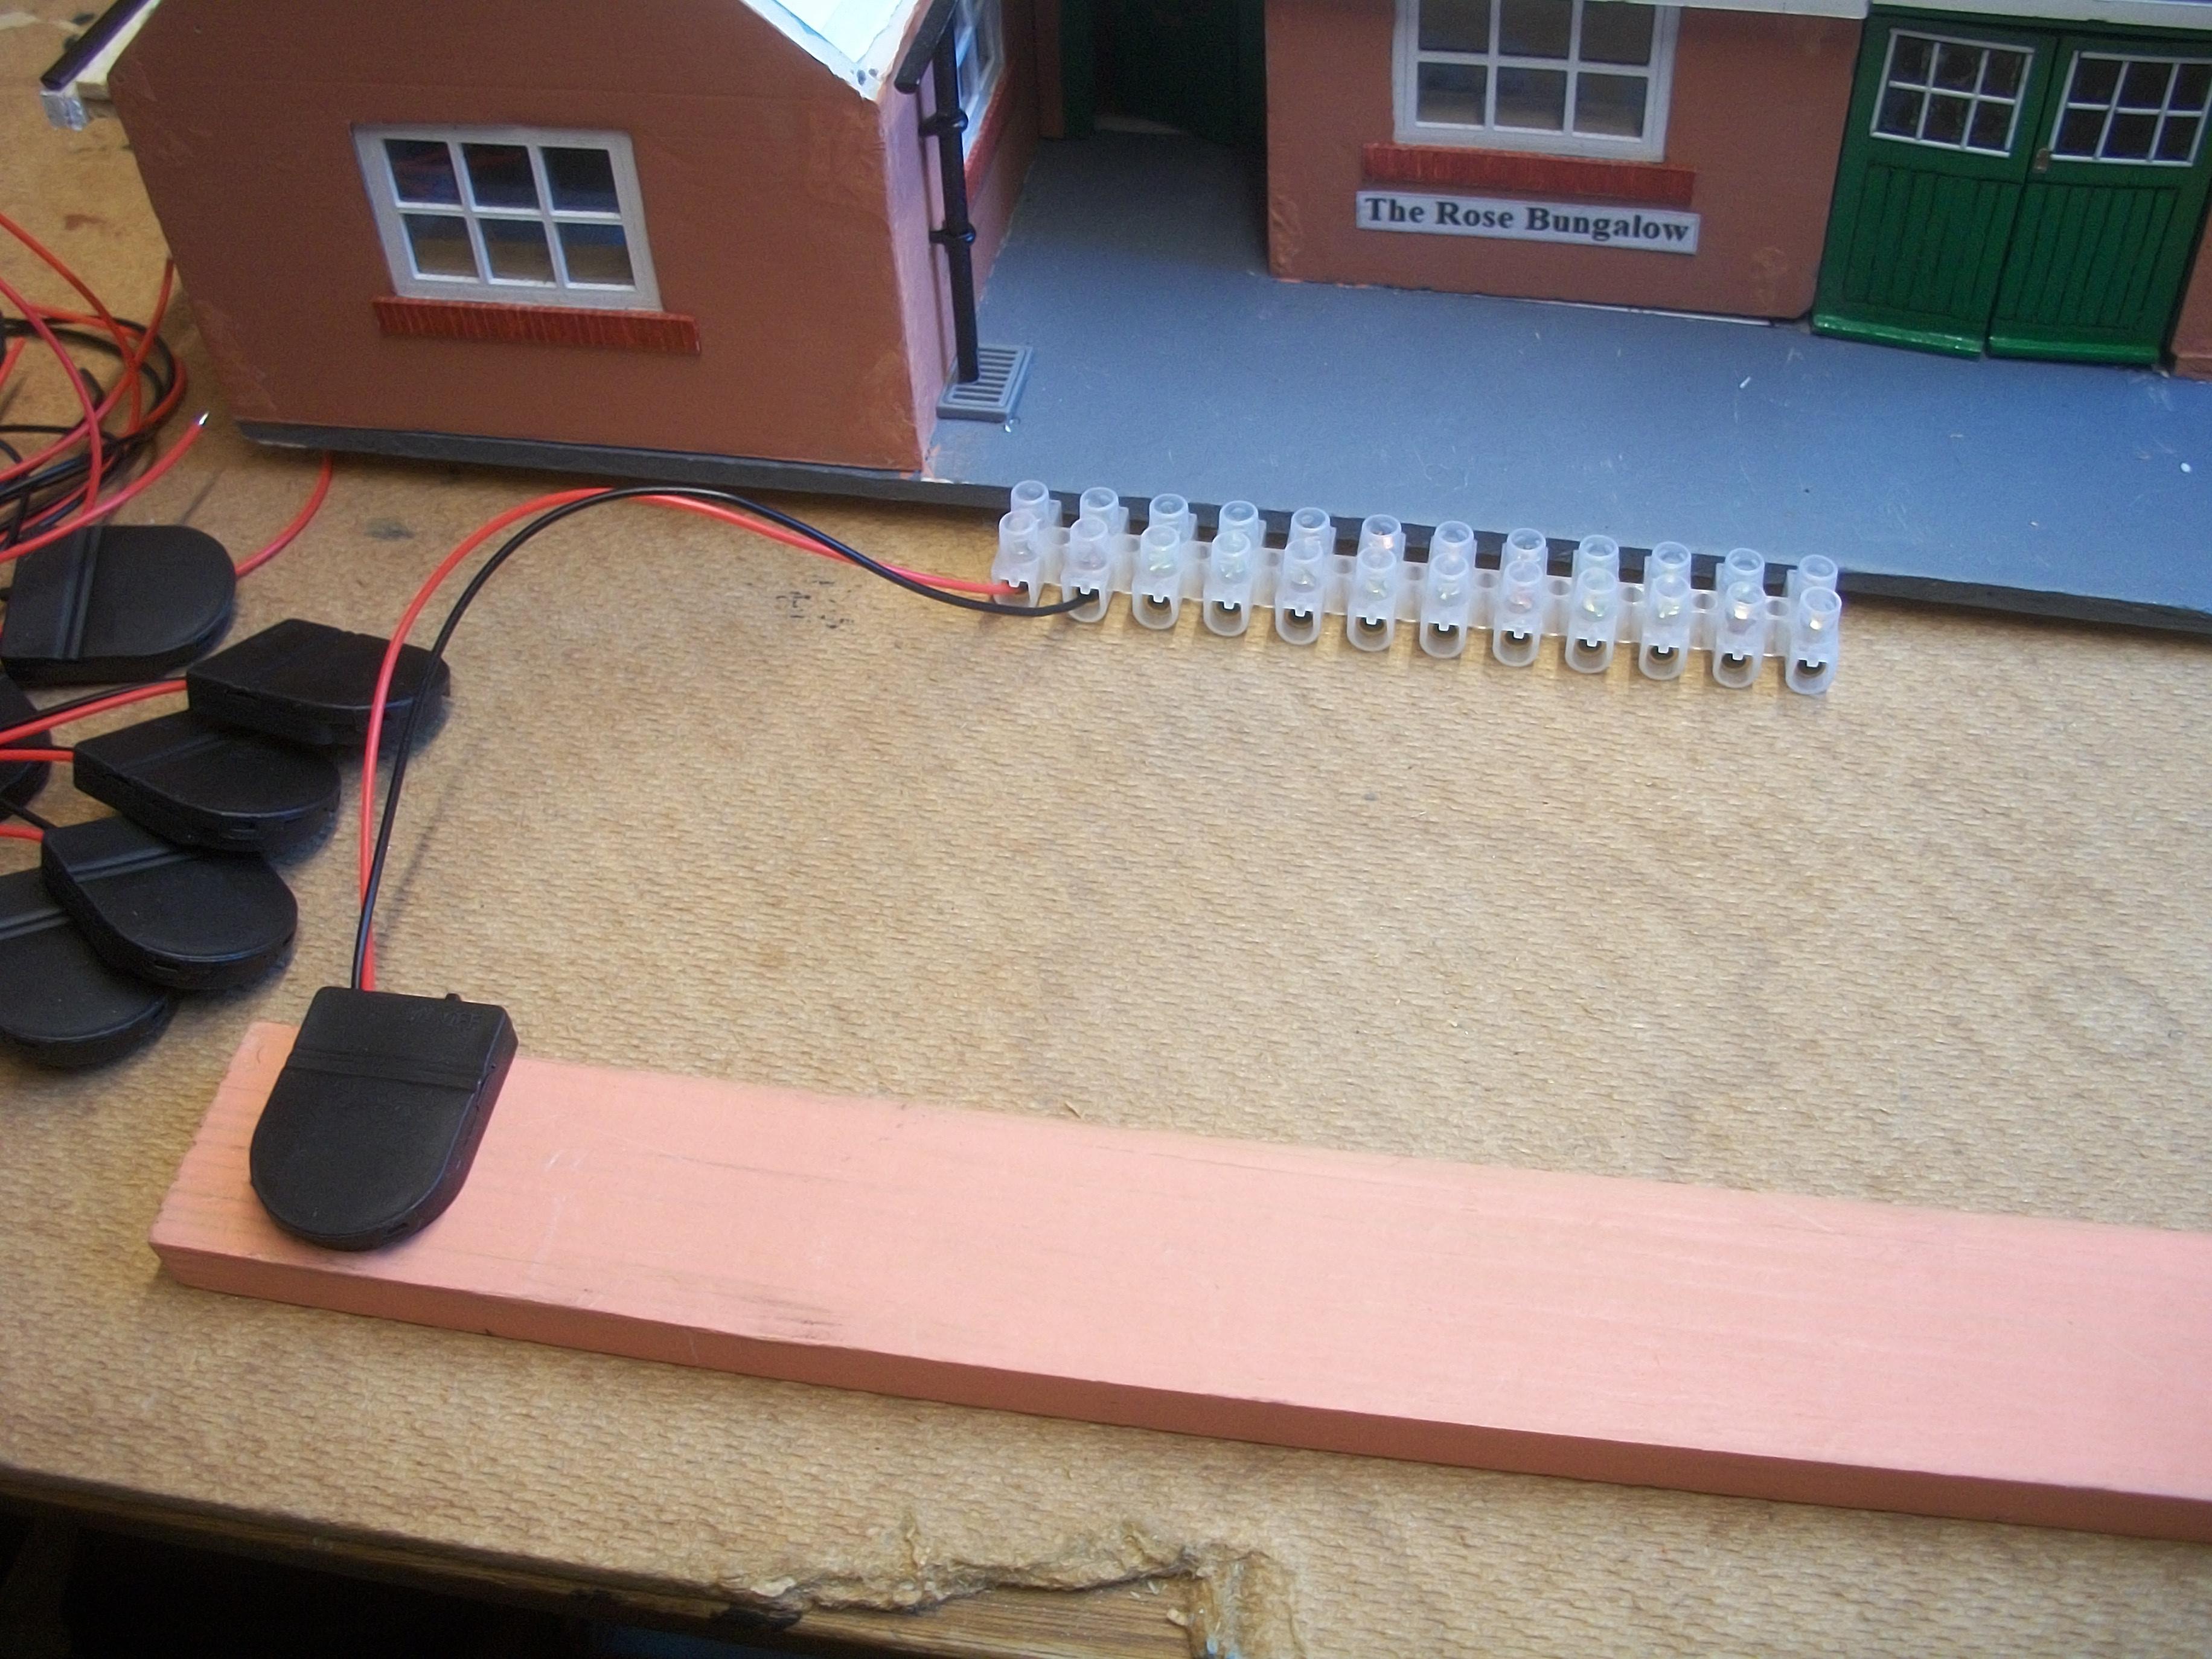
Today I managed to wire up six of the eight battery holders, with all twelve ports on the terminal block screwed tightly . . . Also, having thought about the wiring coming out of the back of the bungalow where the two sets of French doors are, I think it would be better to have the sixteen wires making their exit on the long side of the bungalow, where there are three windows . . . As well as providing more space for the wooden switch panel and the two terminal blocks, I came up with the idea to cover the switch panel and the blocks with a sheet of green felting material. This green felt can simulate a grassy area, as well as hiding the wiring components from view . . . David
-
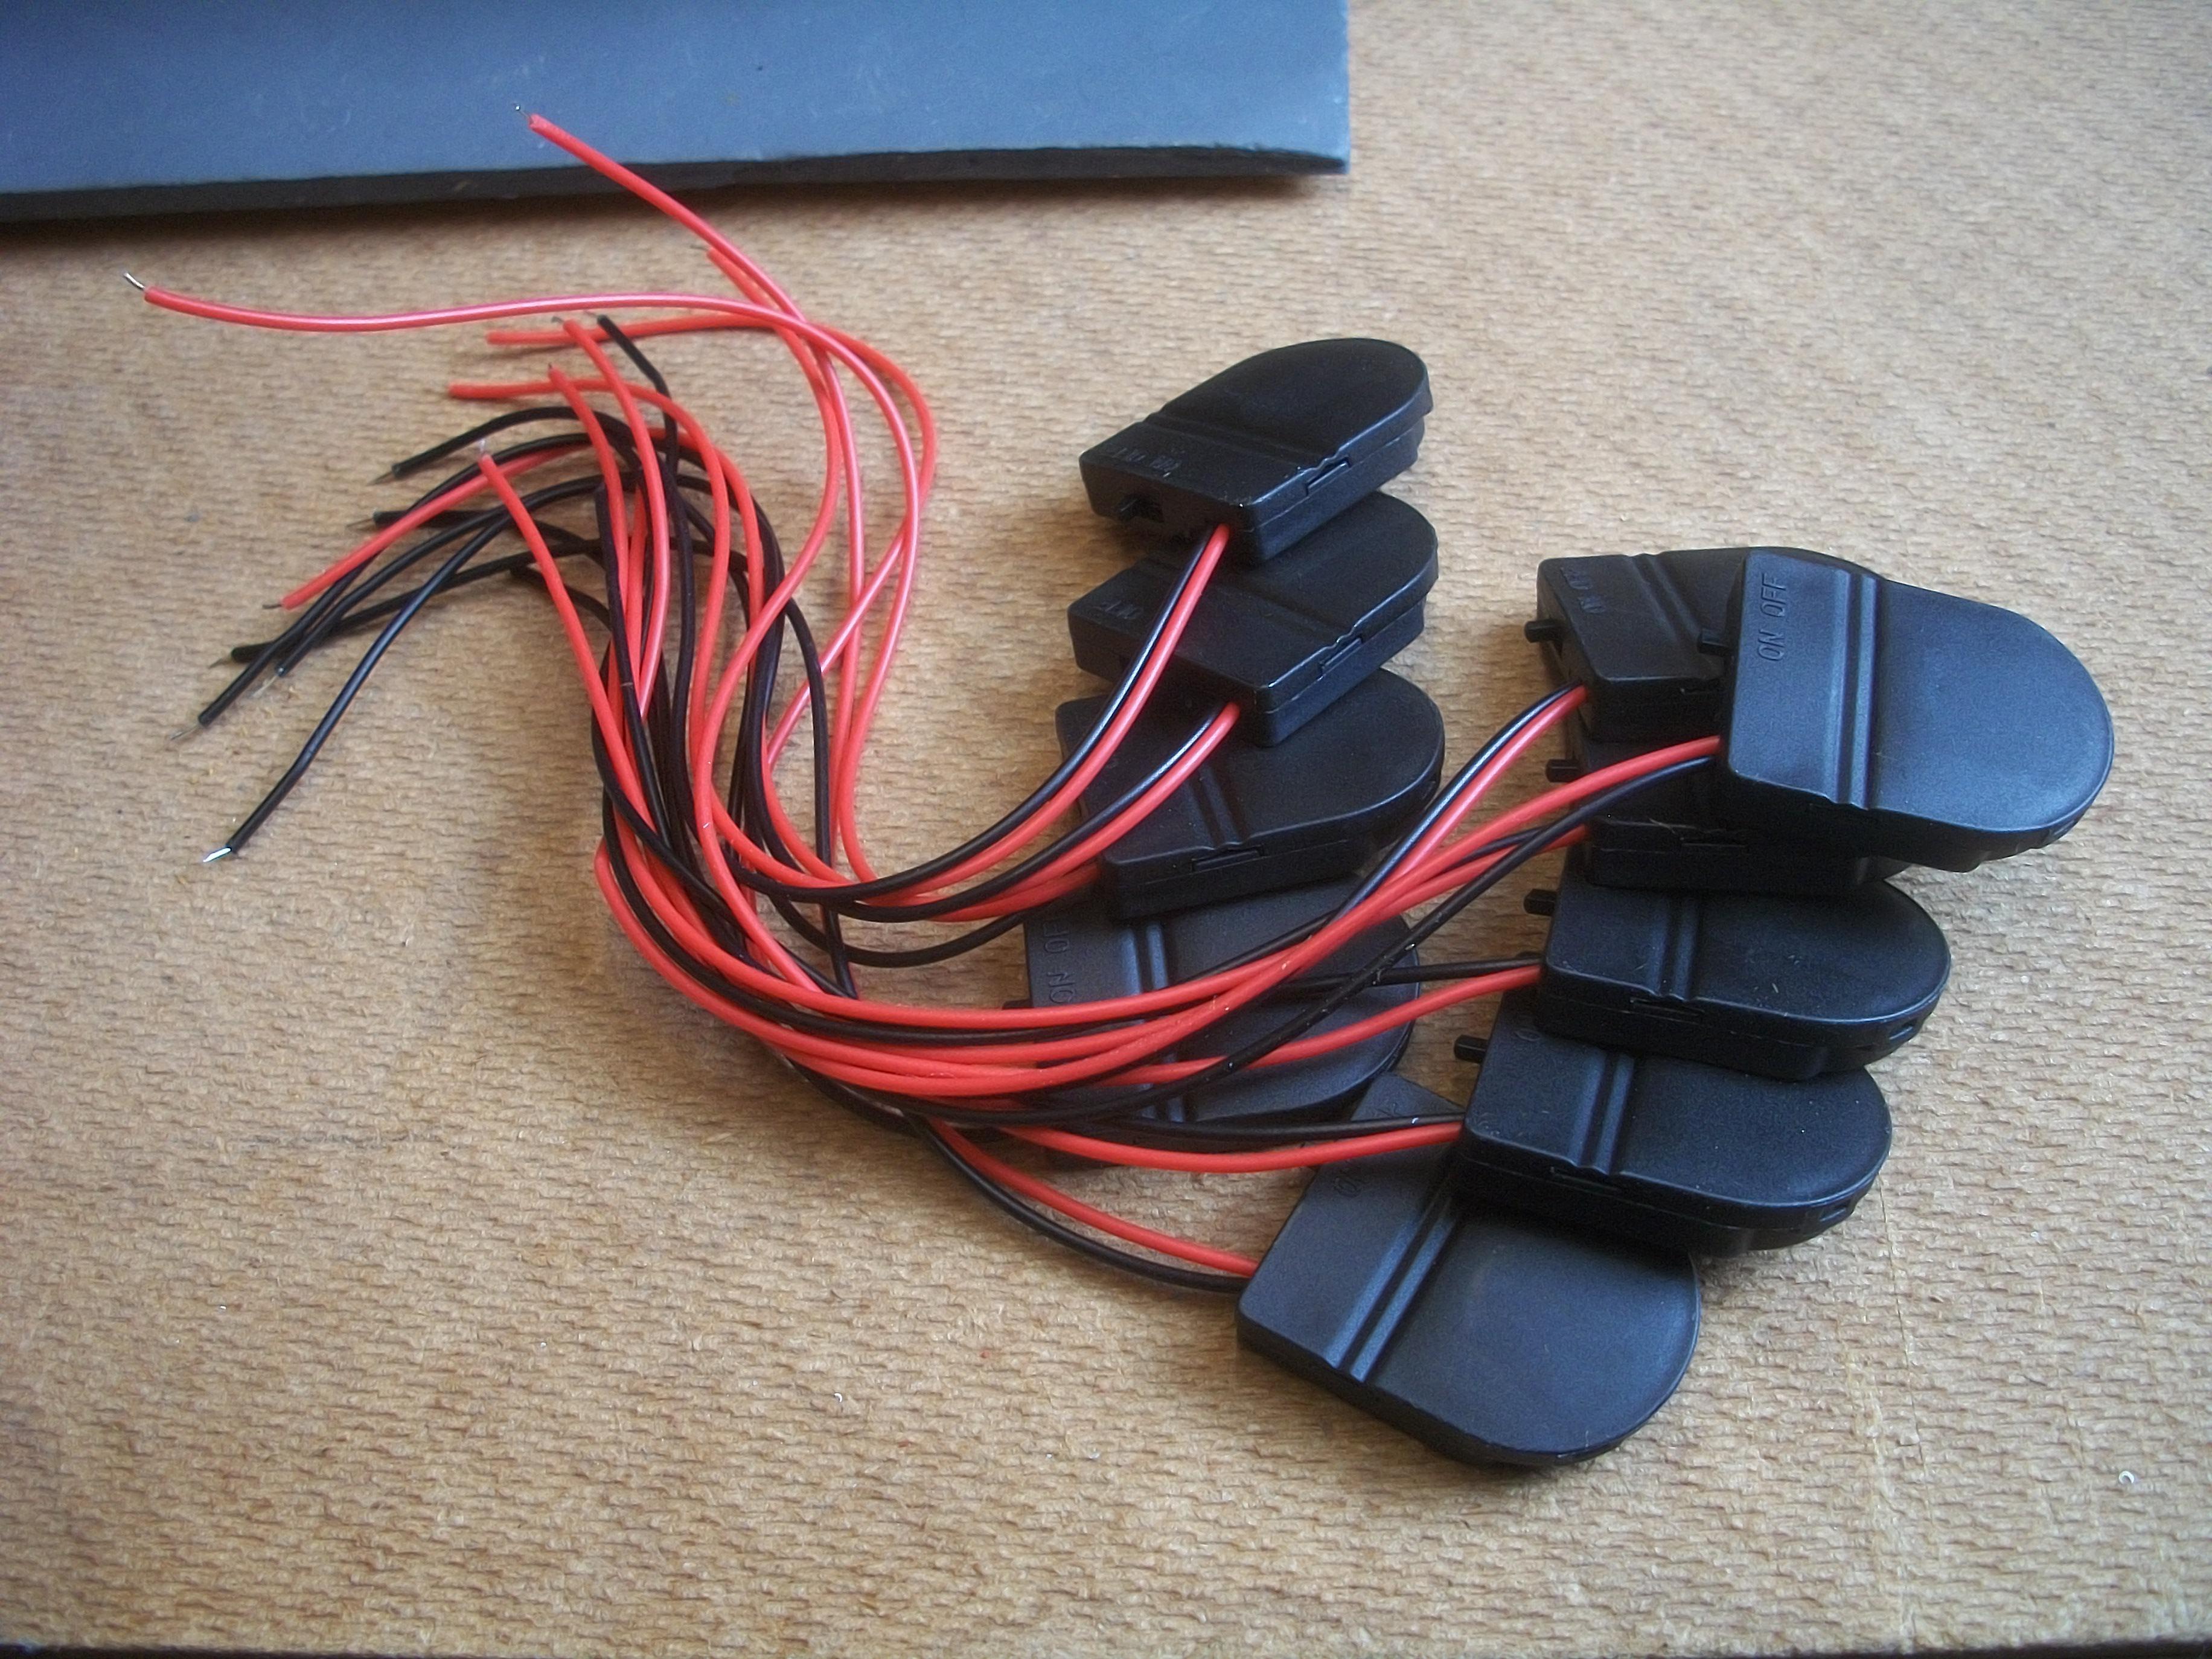
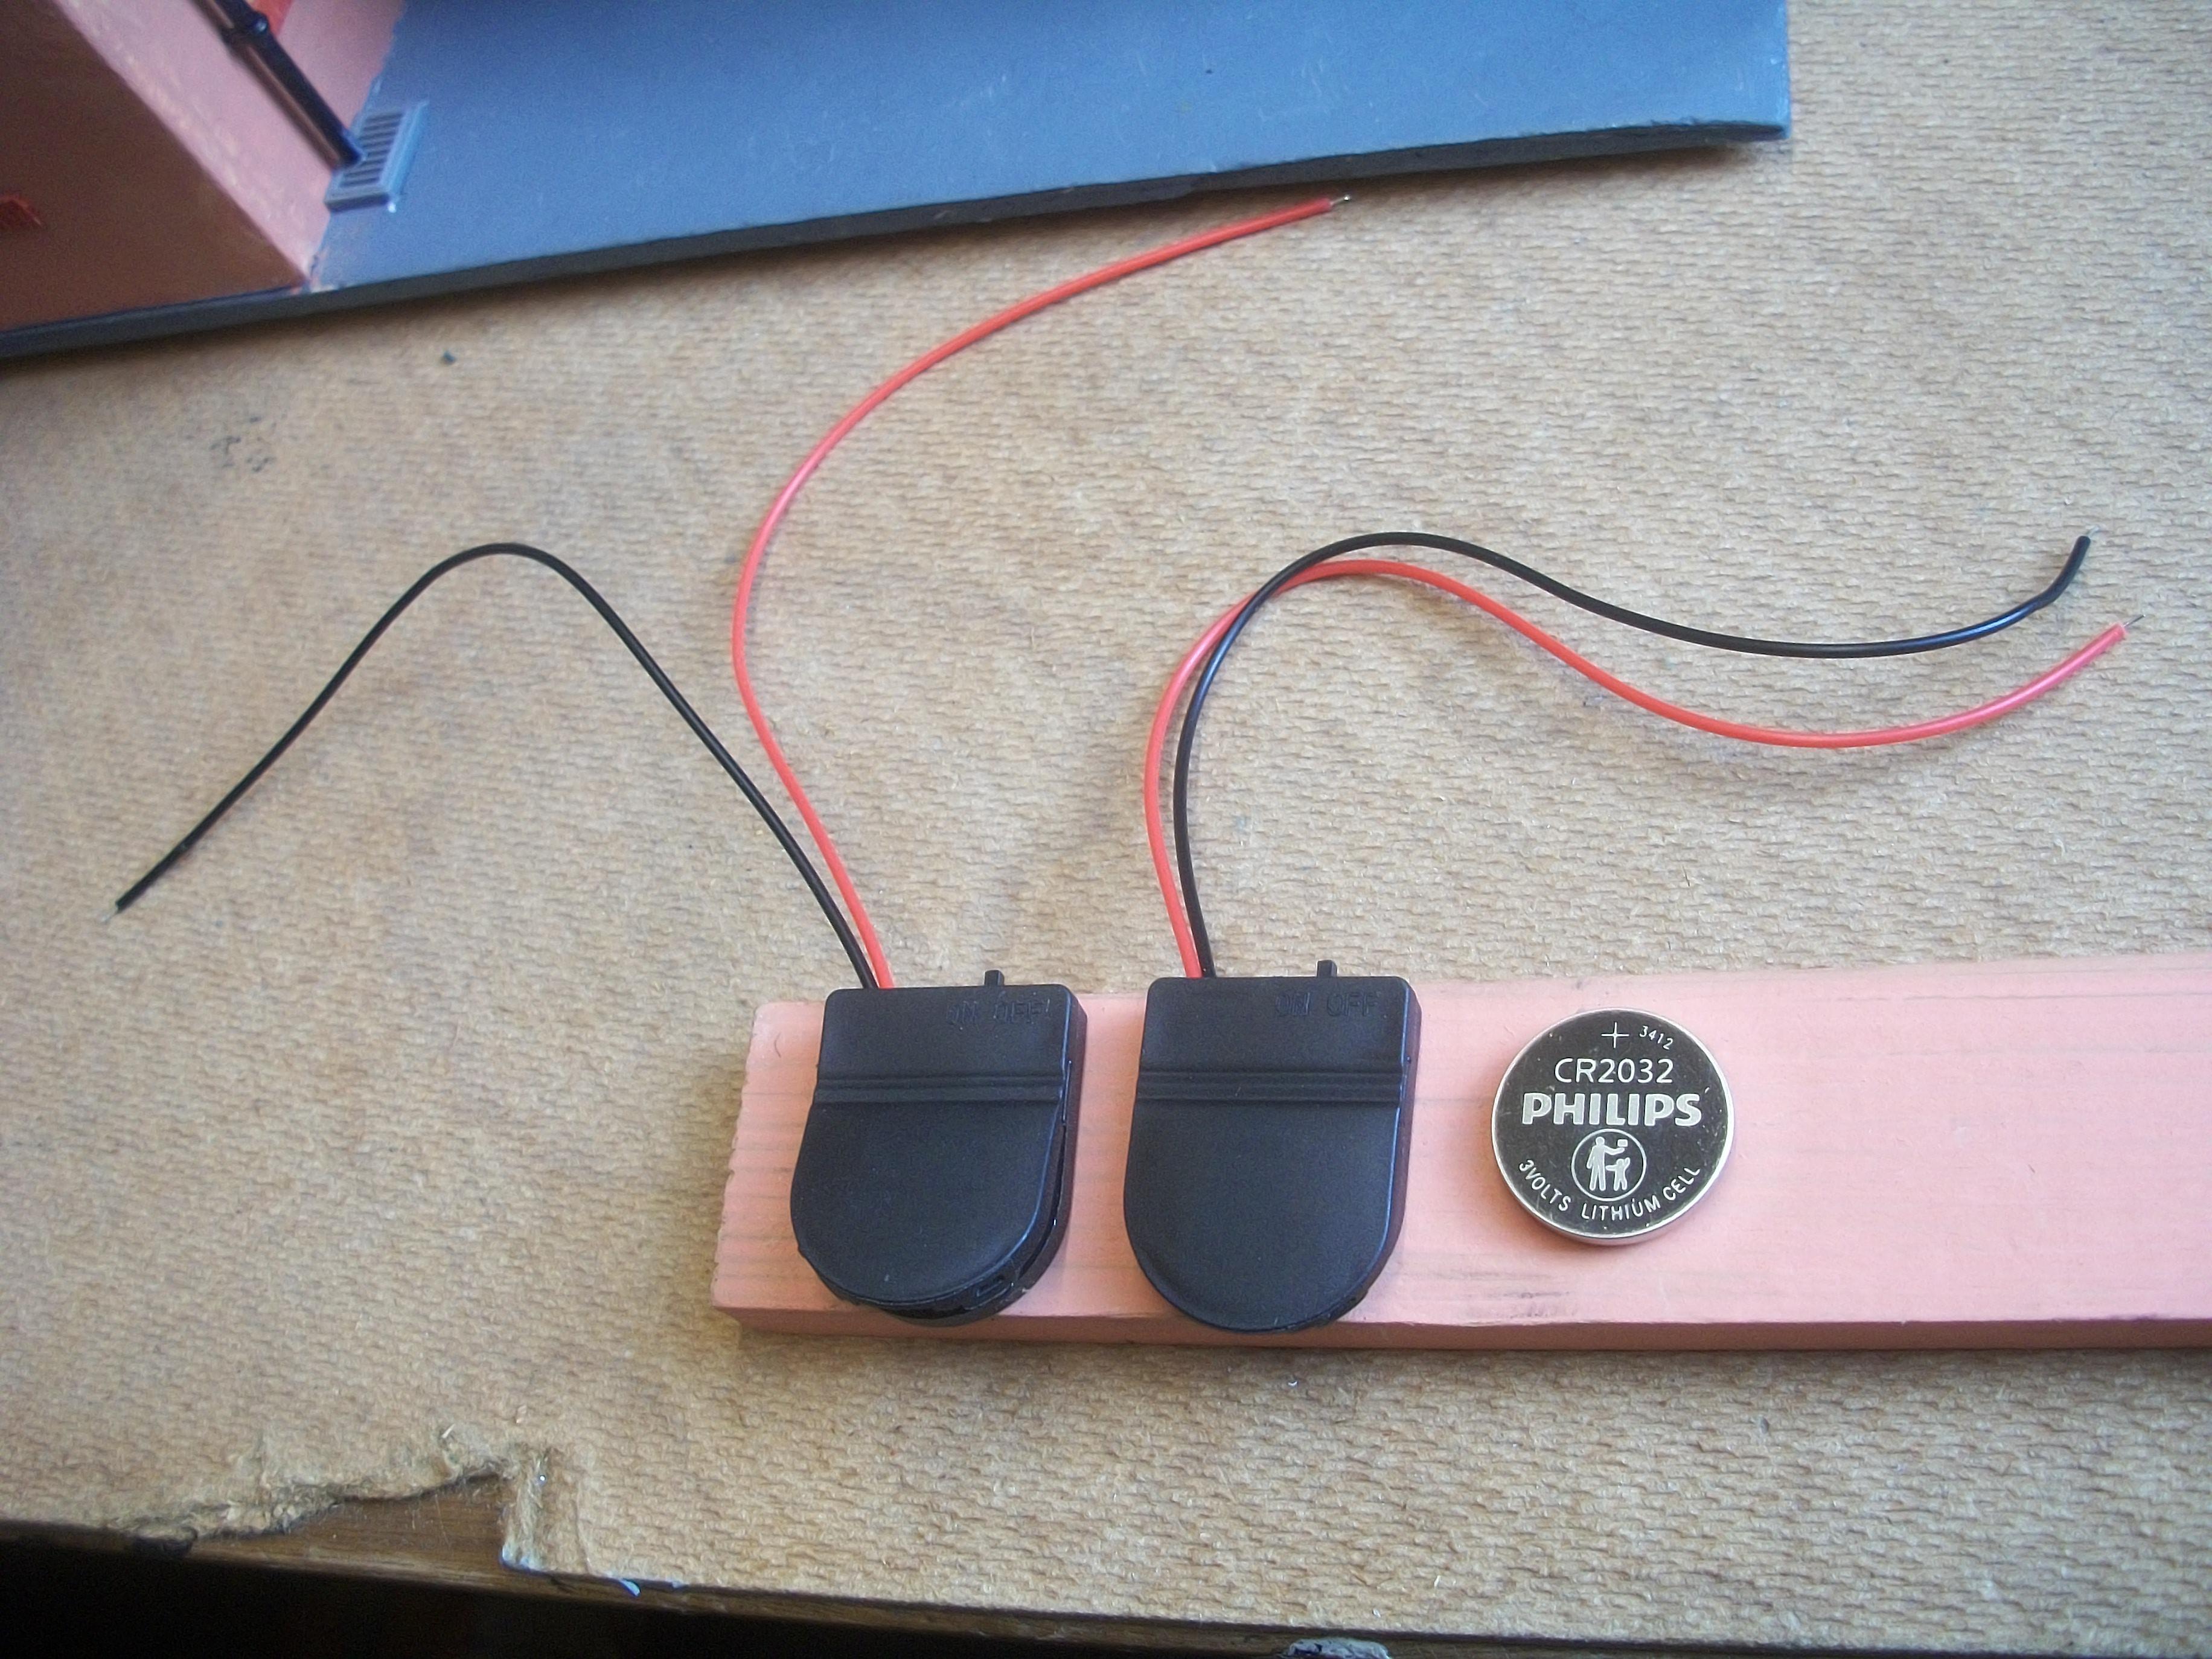
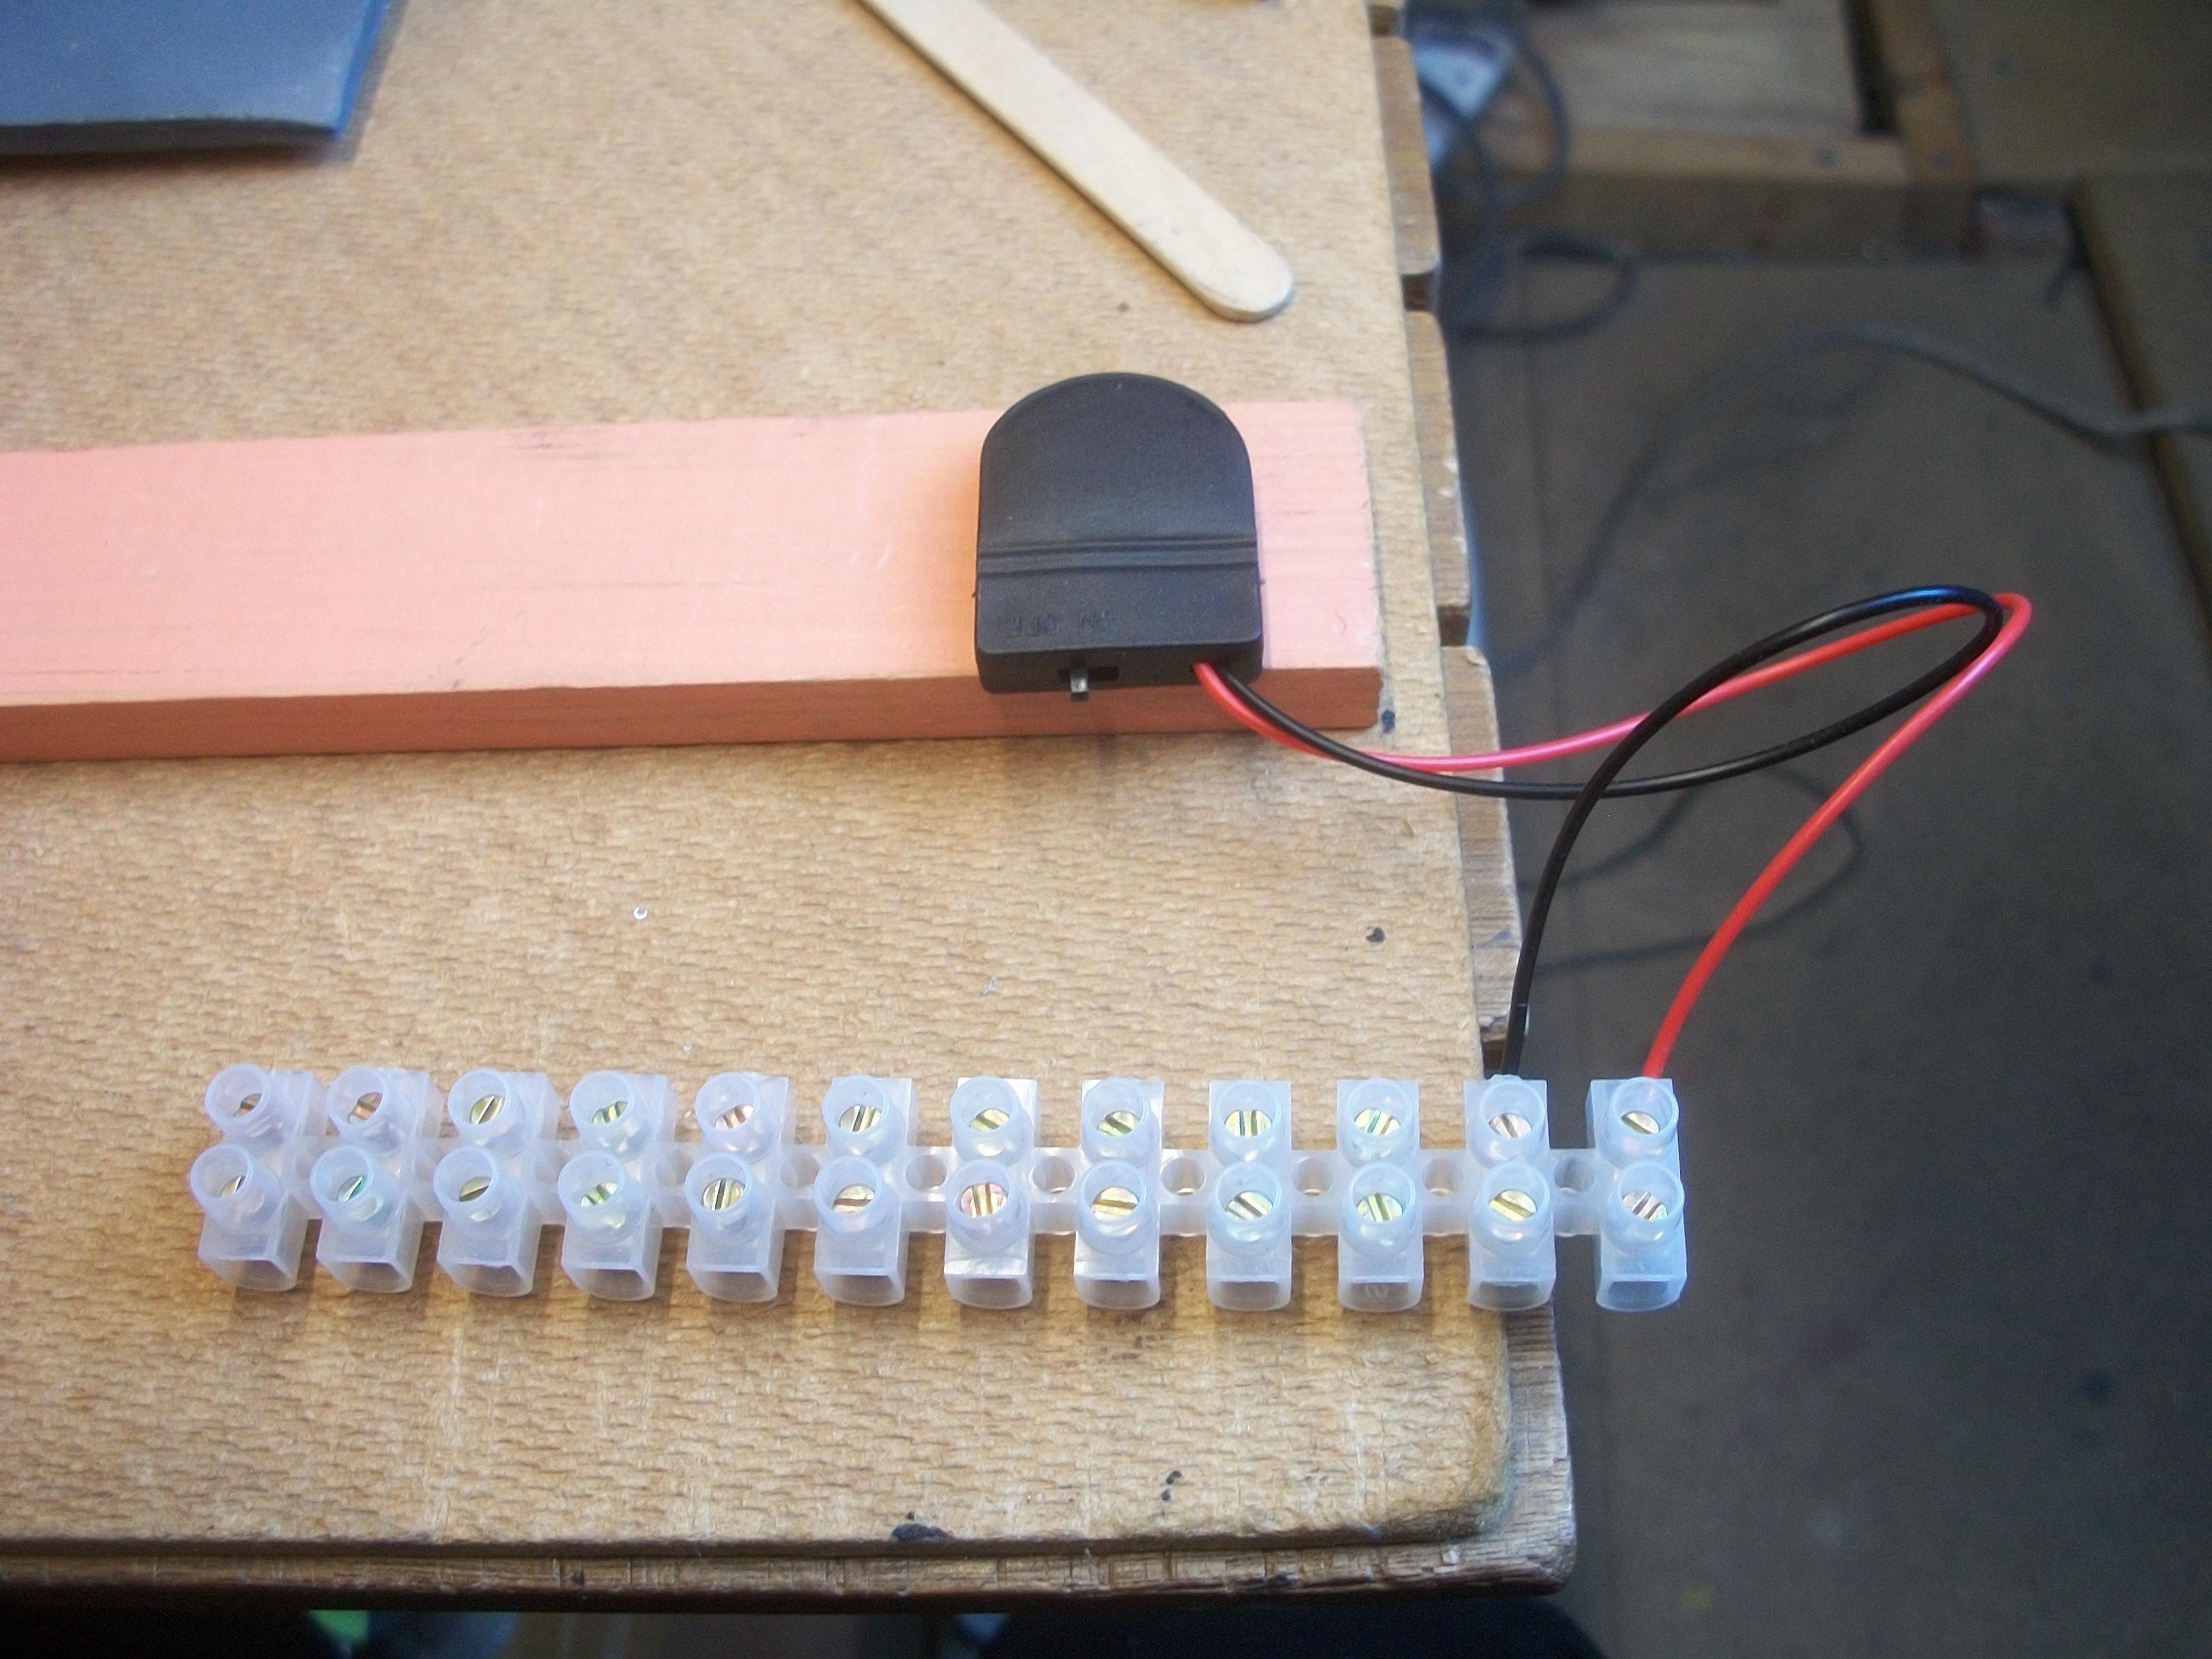
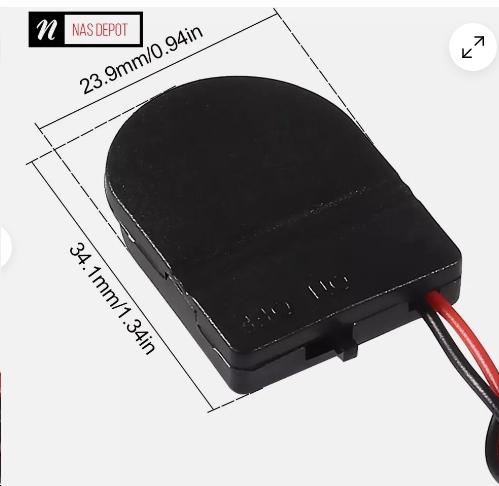
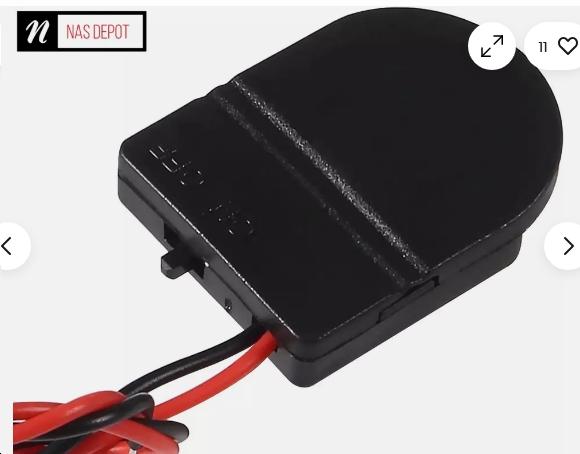
Well, surprisingly the first of the two Ebay deliveries arrived today ( Monday ) . . . The pack of ten battery holders with switches are as expected, and I found a suitable piece of wood strip to mount the battery holders onto. Also, I purchased a nylon terminal block locally that has 12 ports to it. Later, I was wiring up one of the battery holders and I realised that each of the eight holders would need two ports on the terminal block, so I shall need 16 ports. A second terminal block can easily be purchased . . . I already have 8 coin cell batteries, plus the 10 battery holders, and shortly the two terminal blocks, so now I am awaiting the arrival of the 8 LED lamps . . . I am fairly confident that this arrangement of the room lights should work . . . we shall see ! David
-
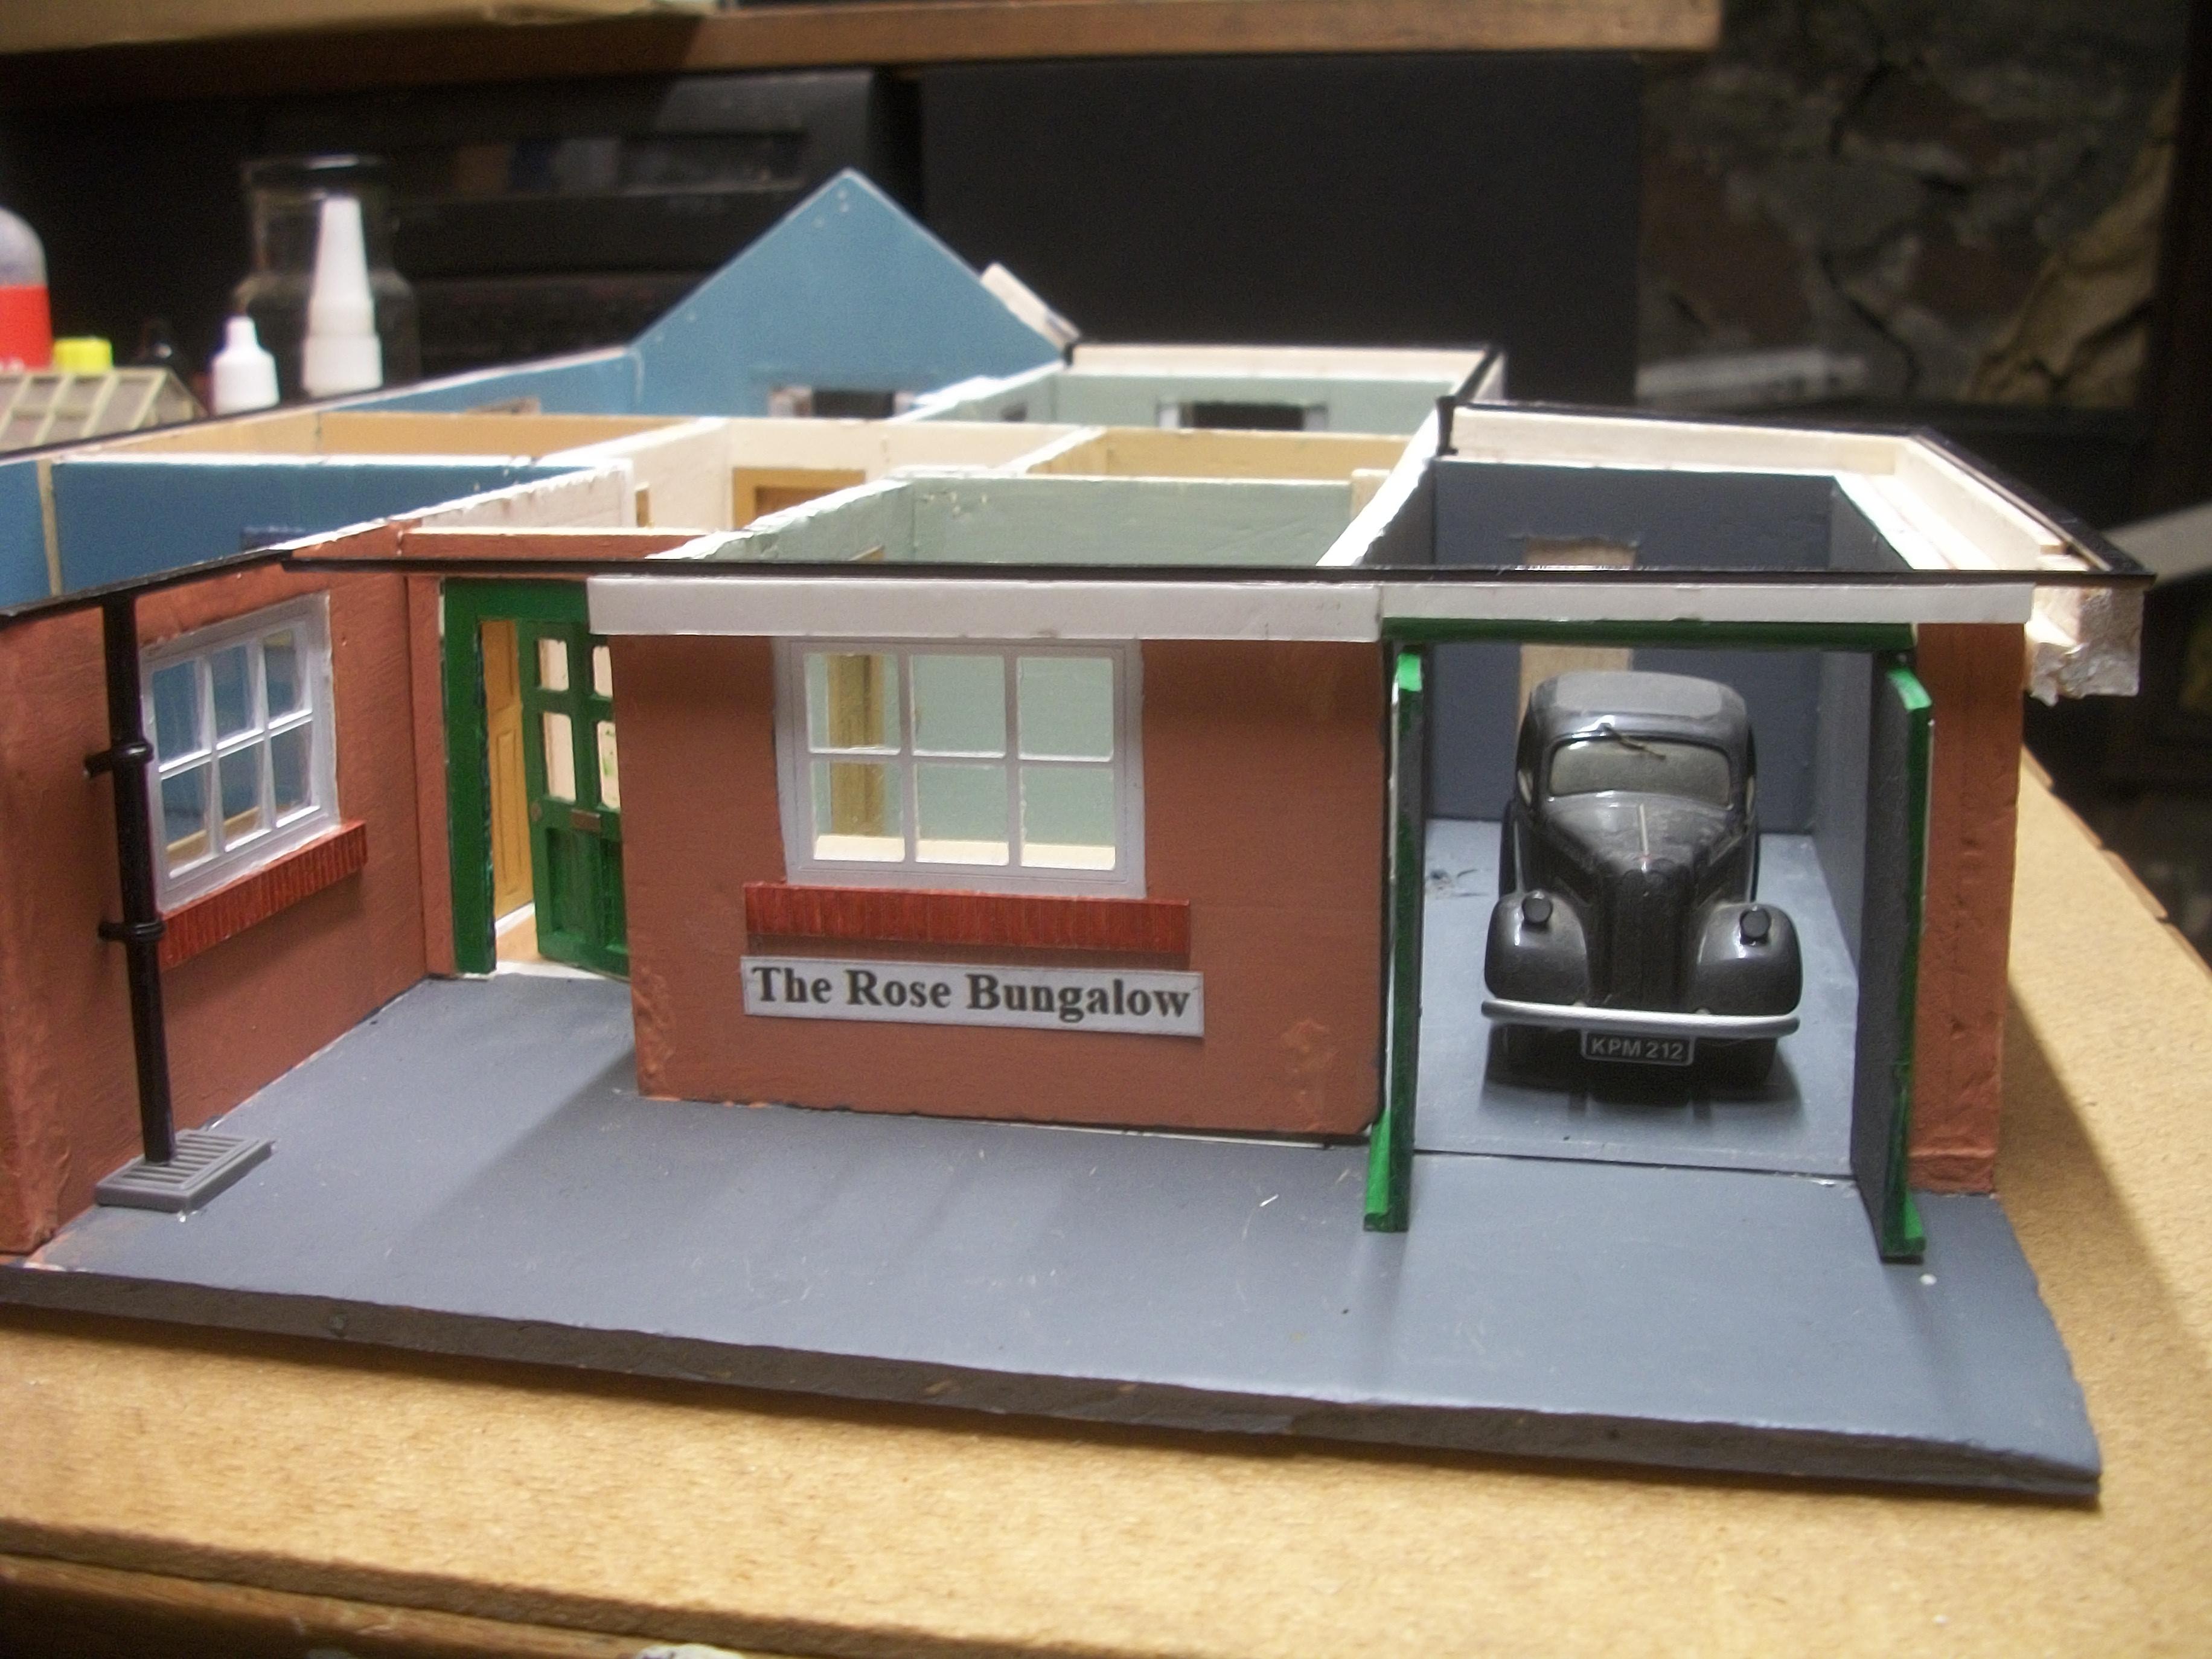
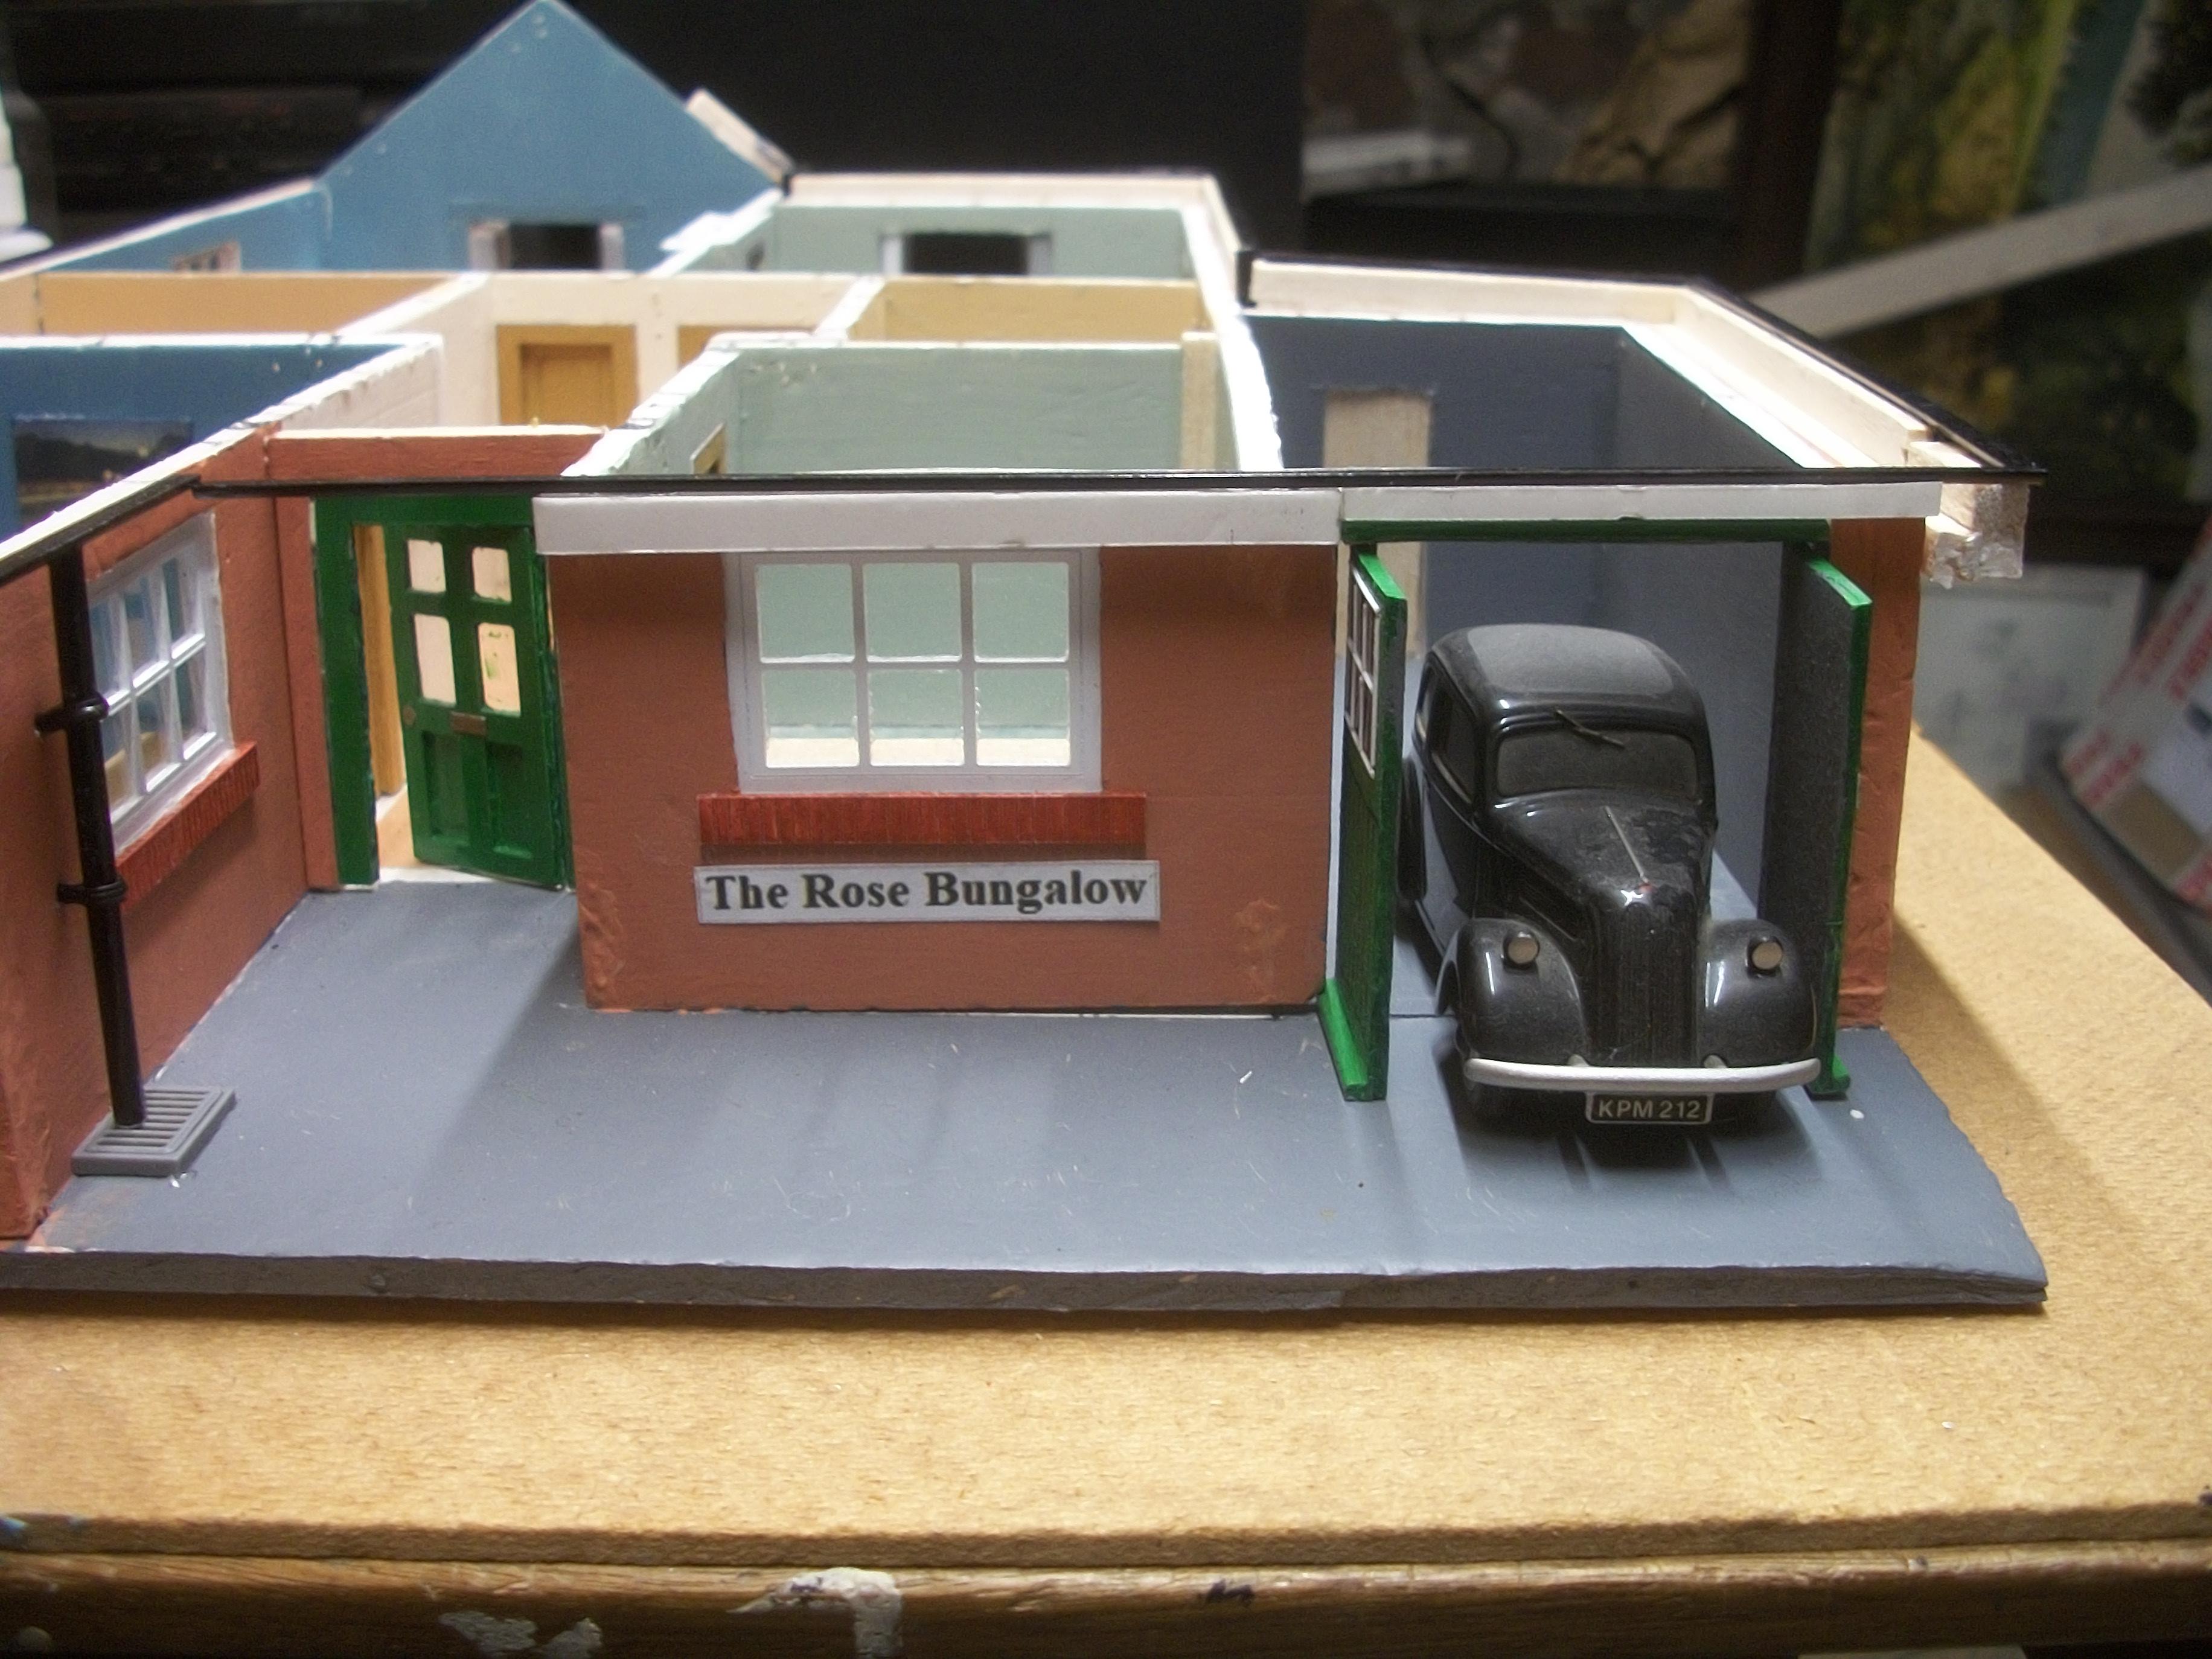
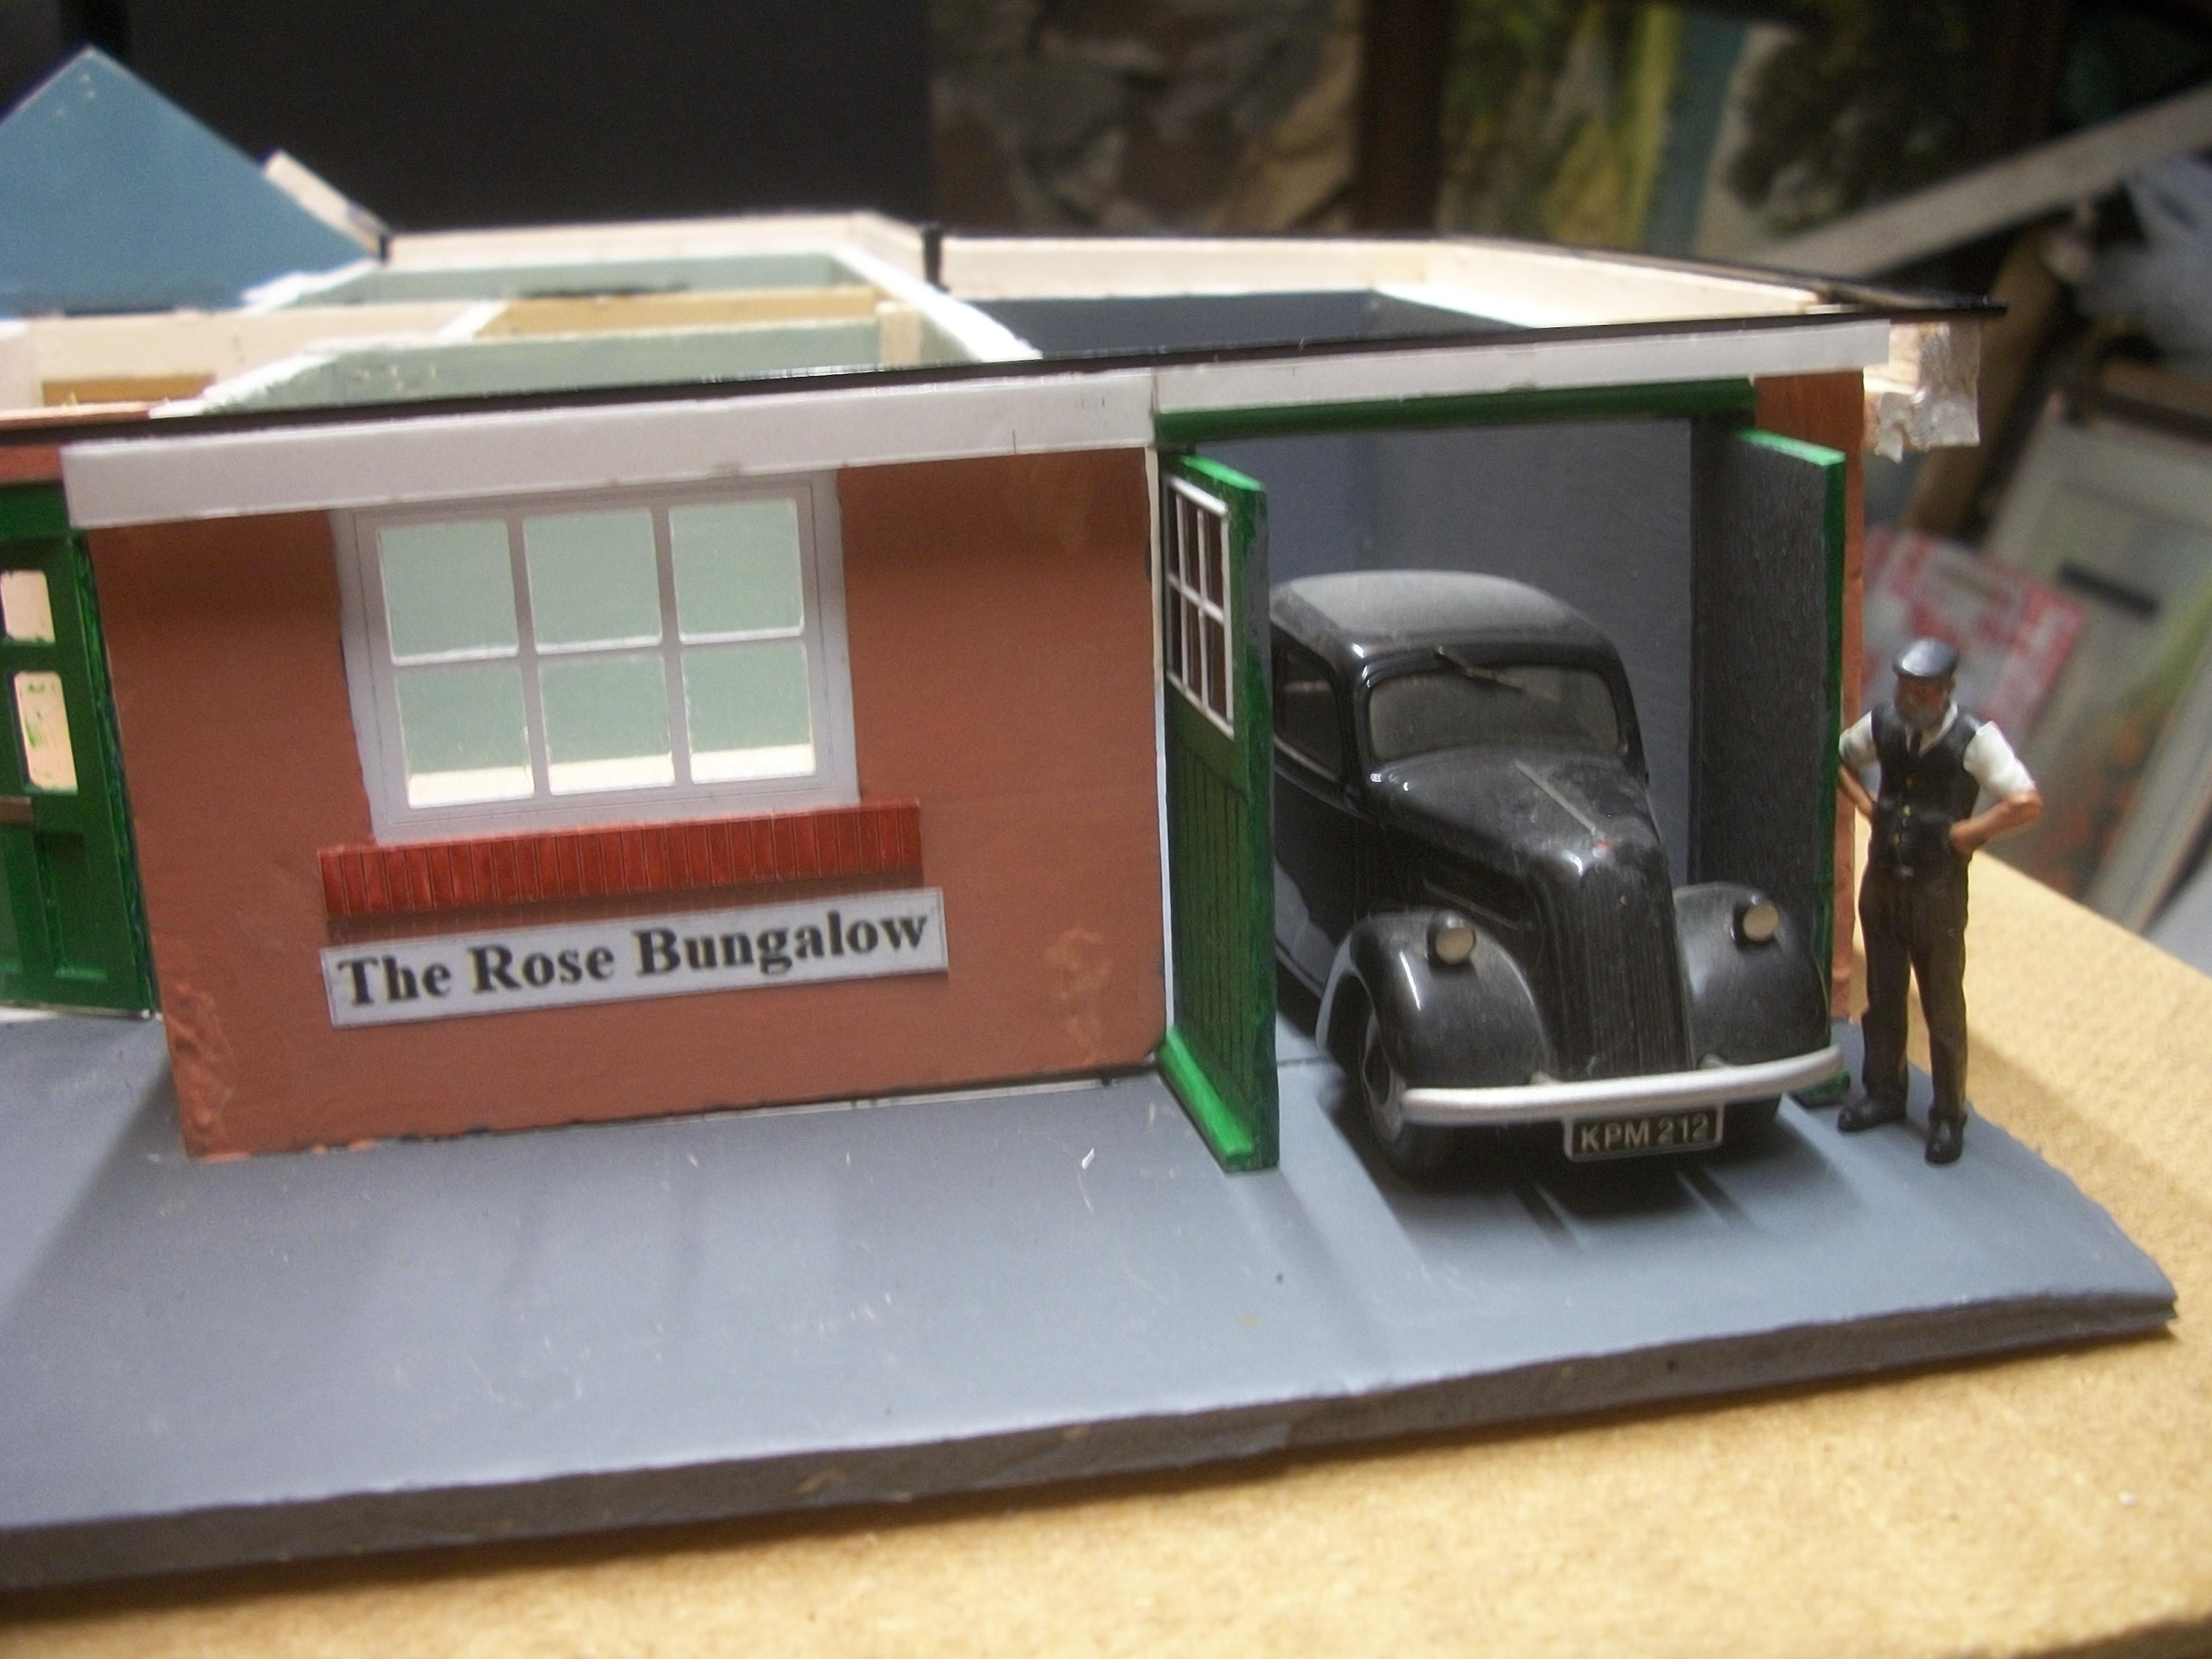
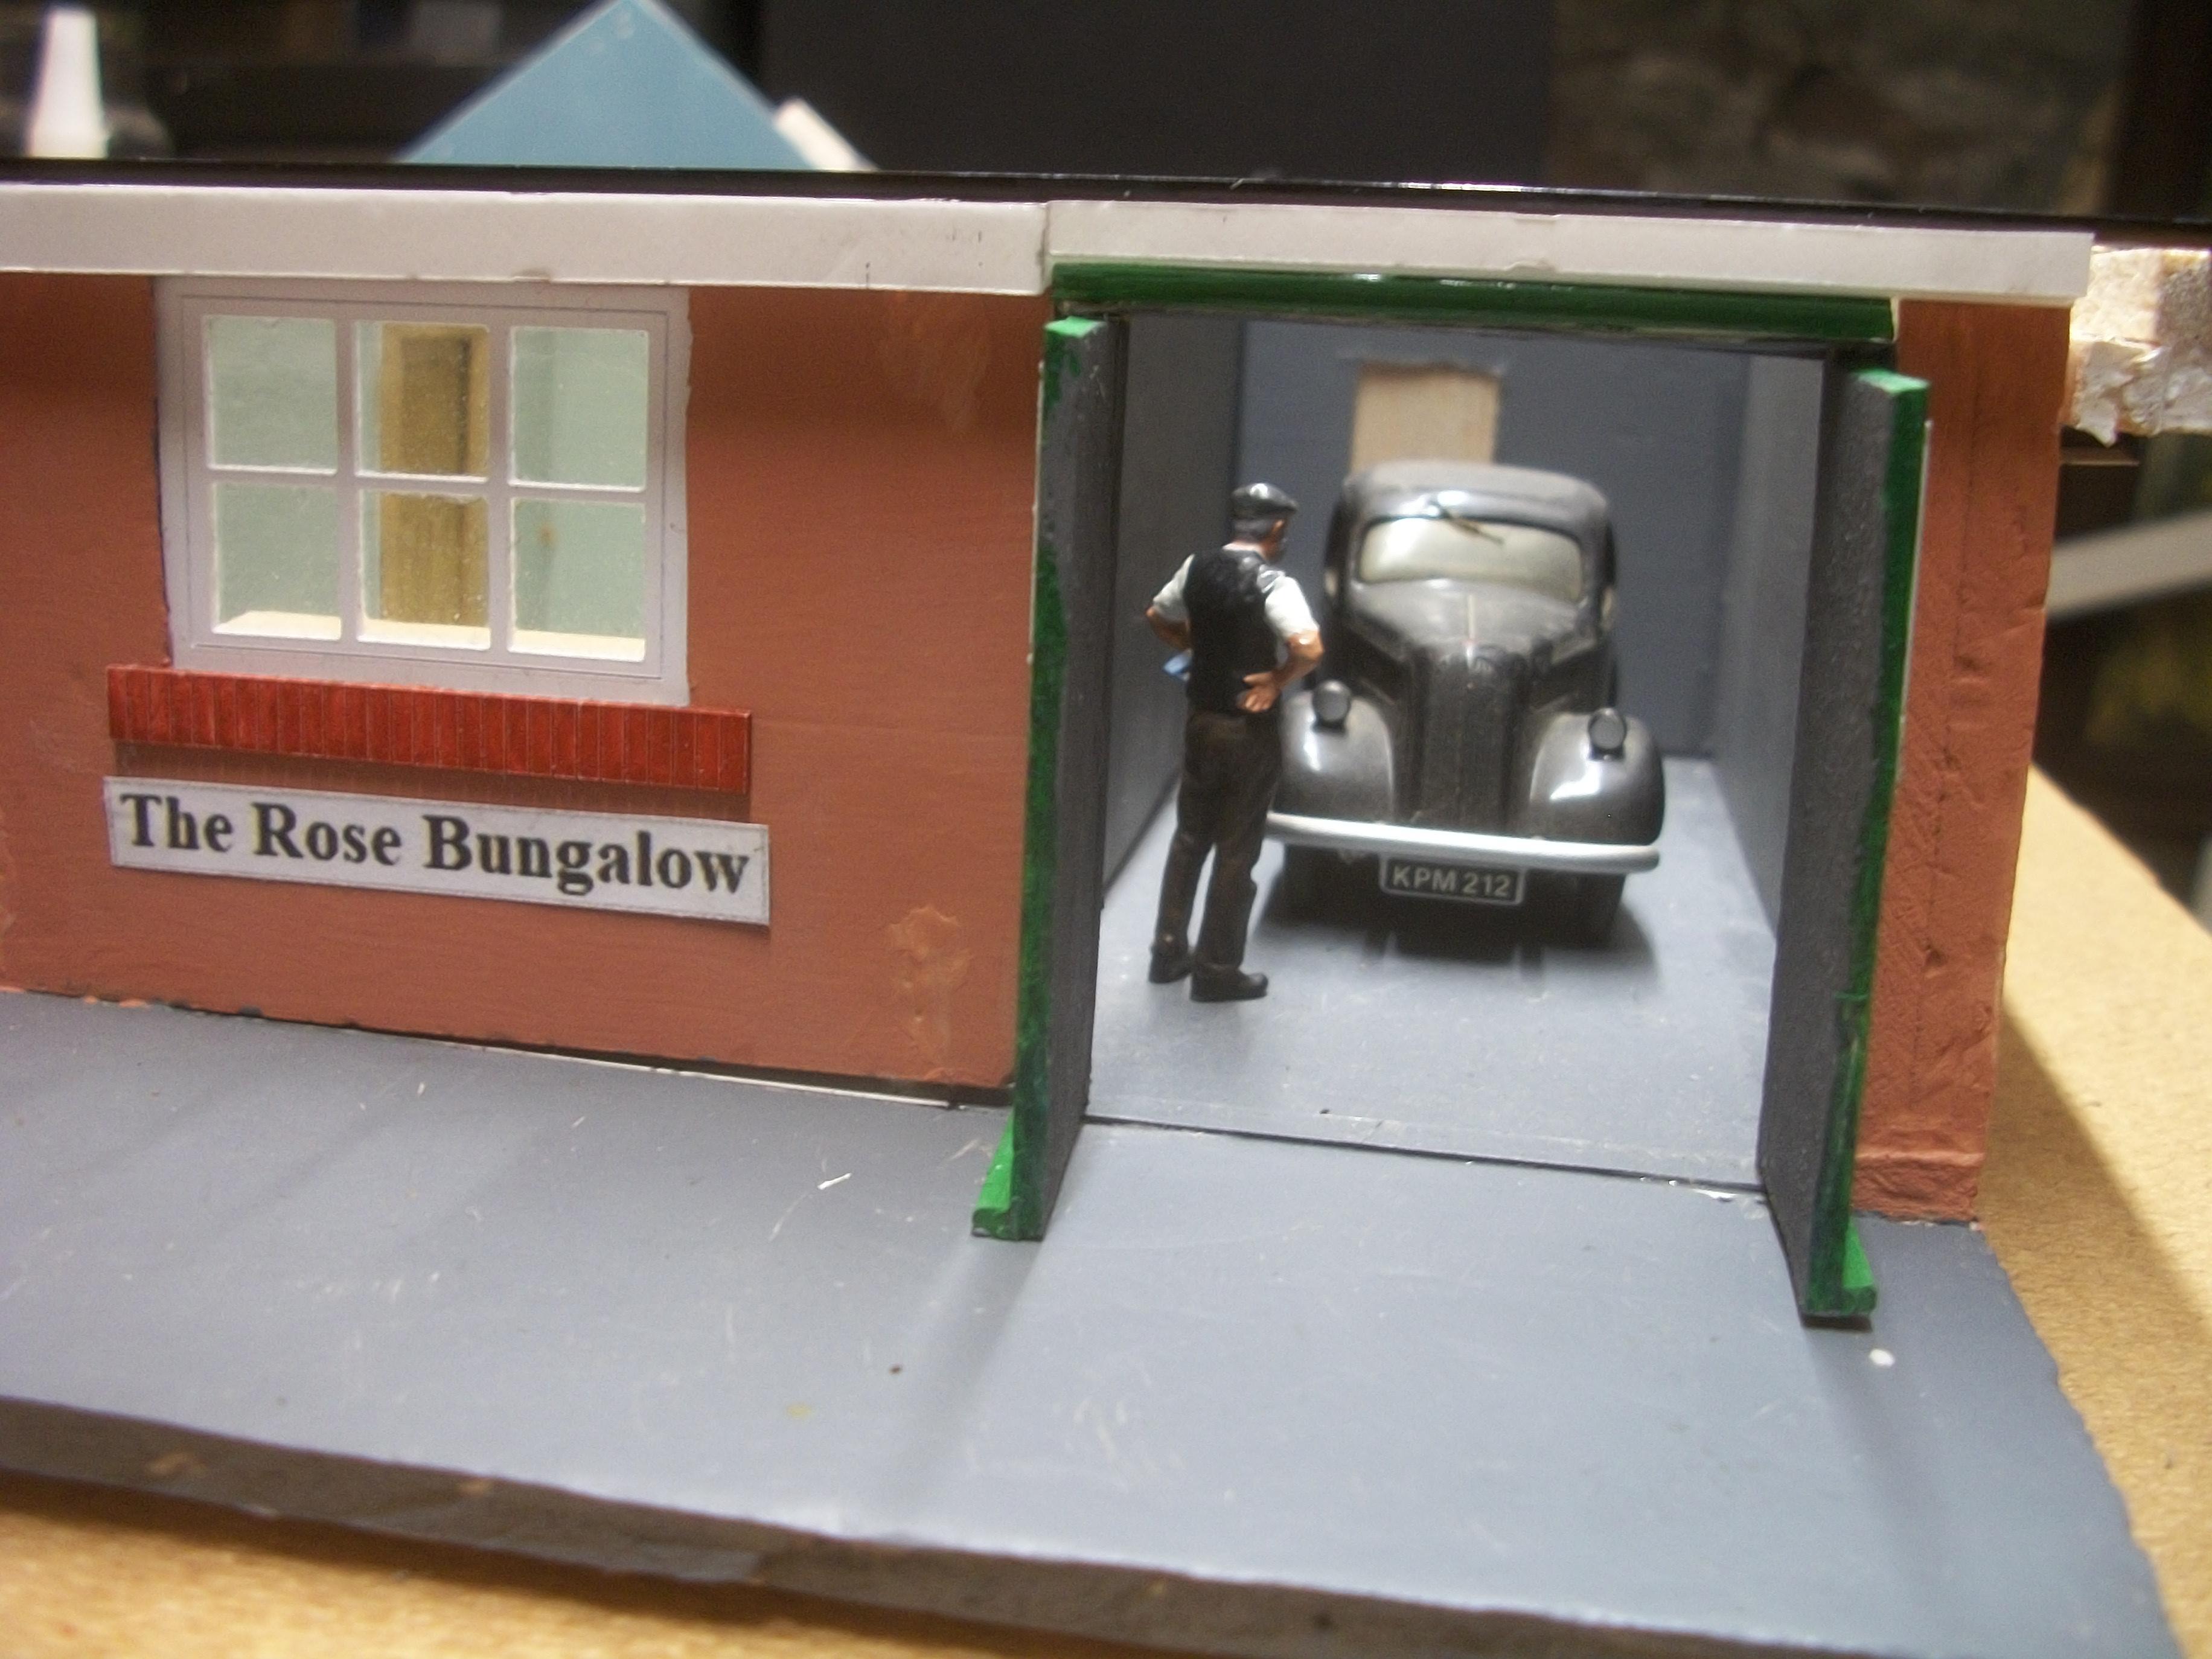
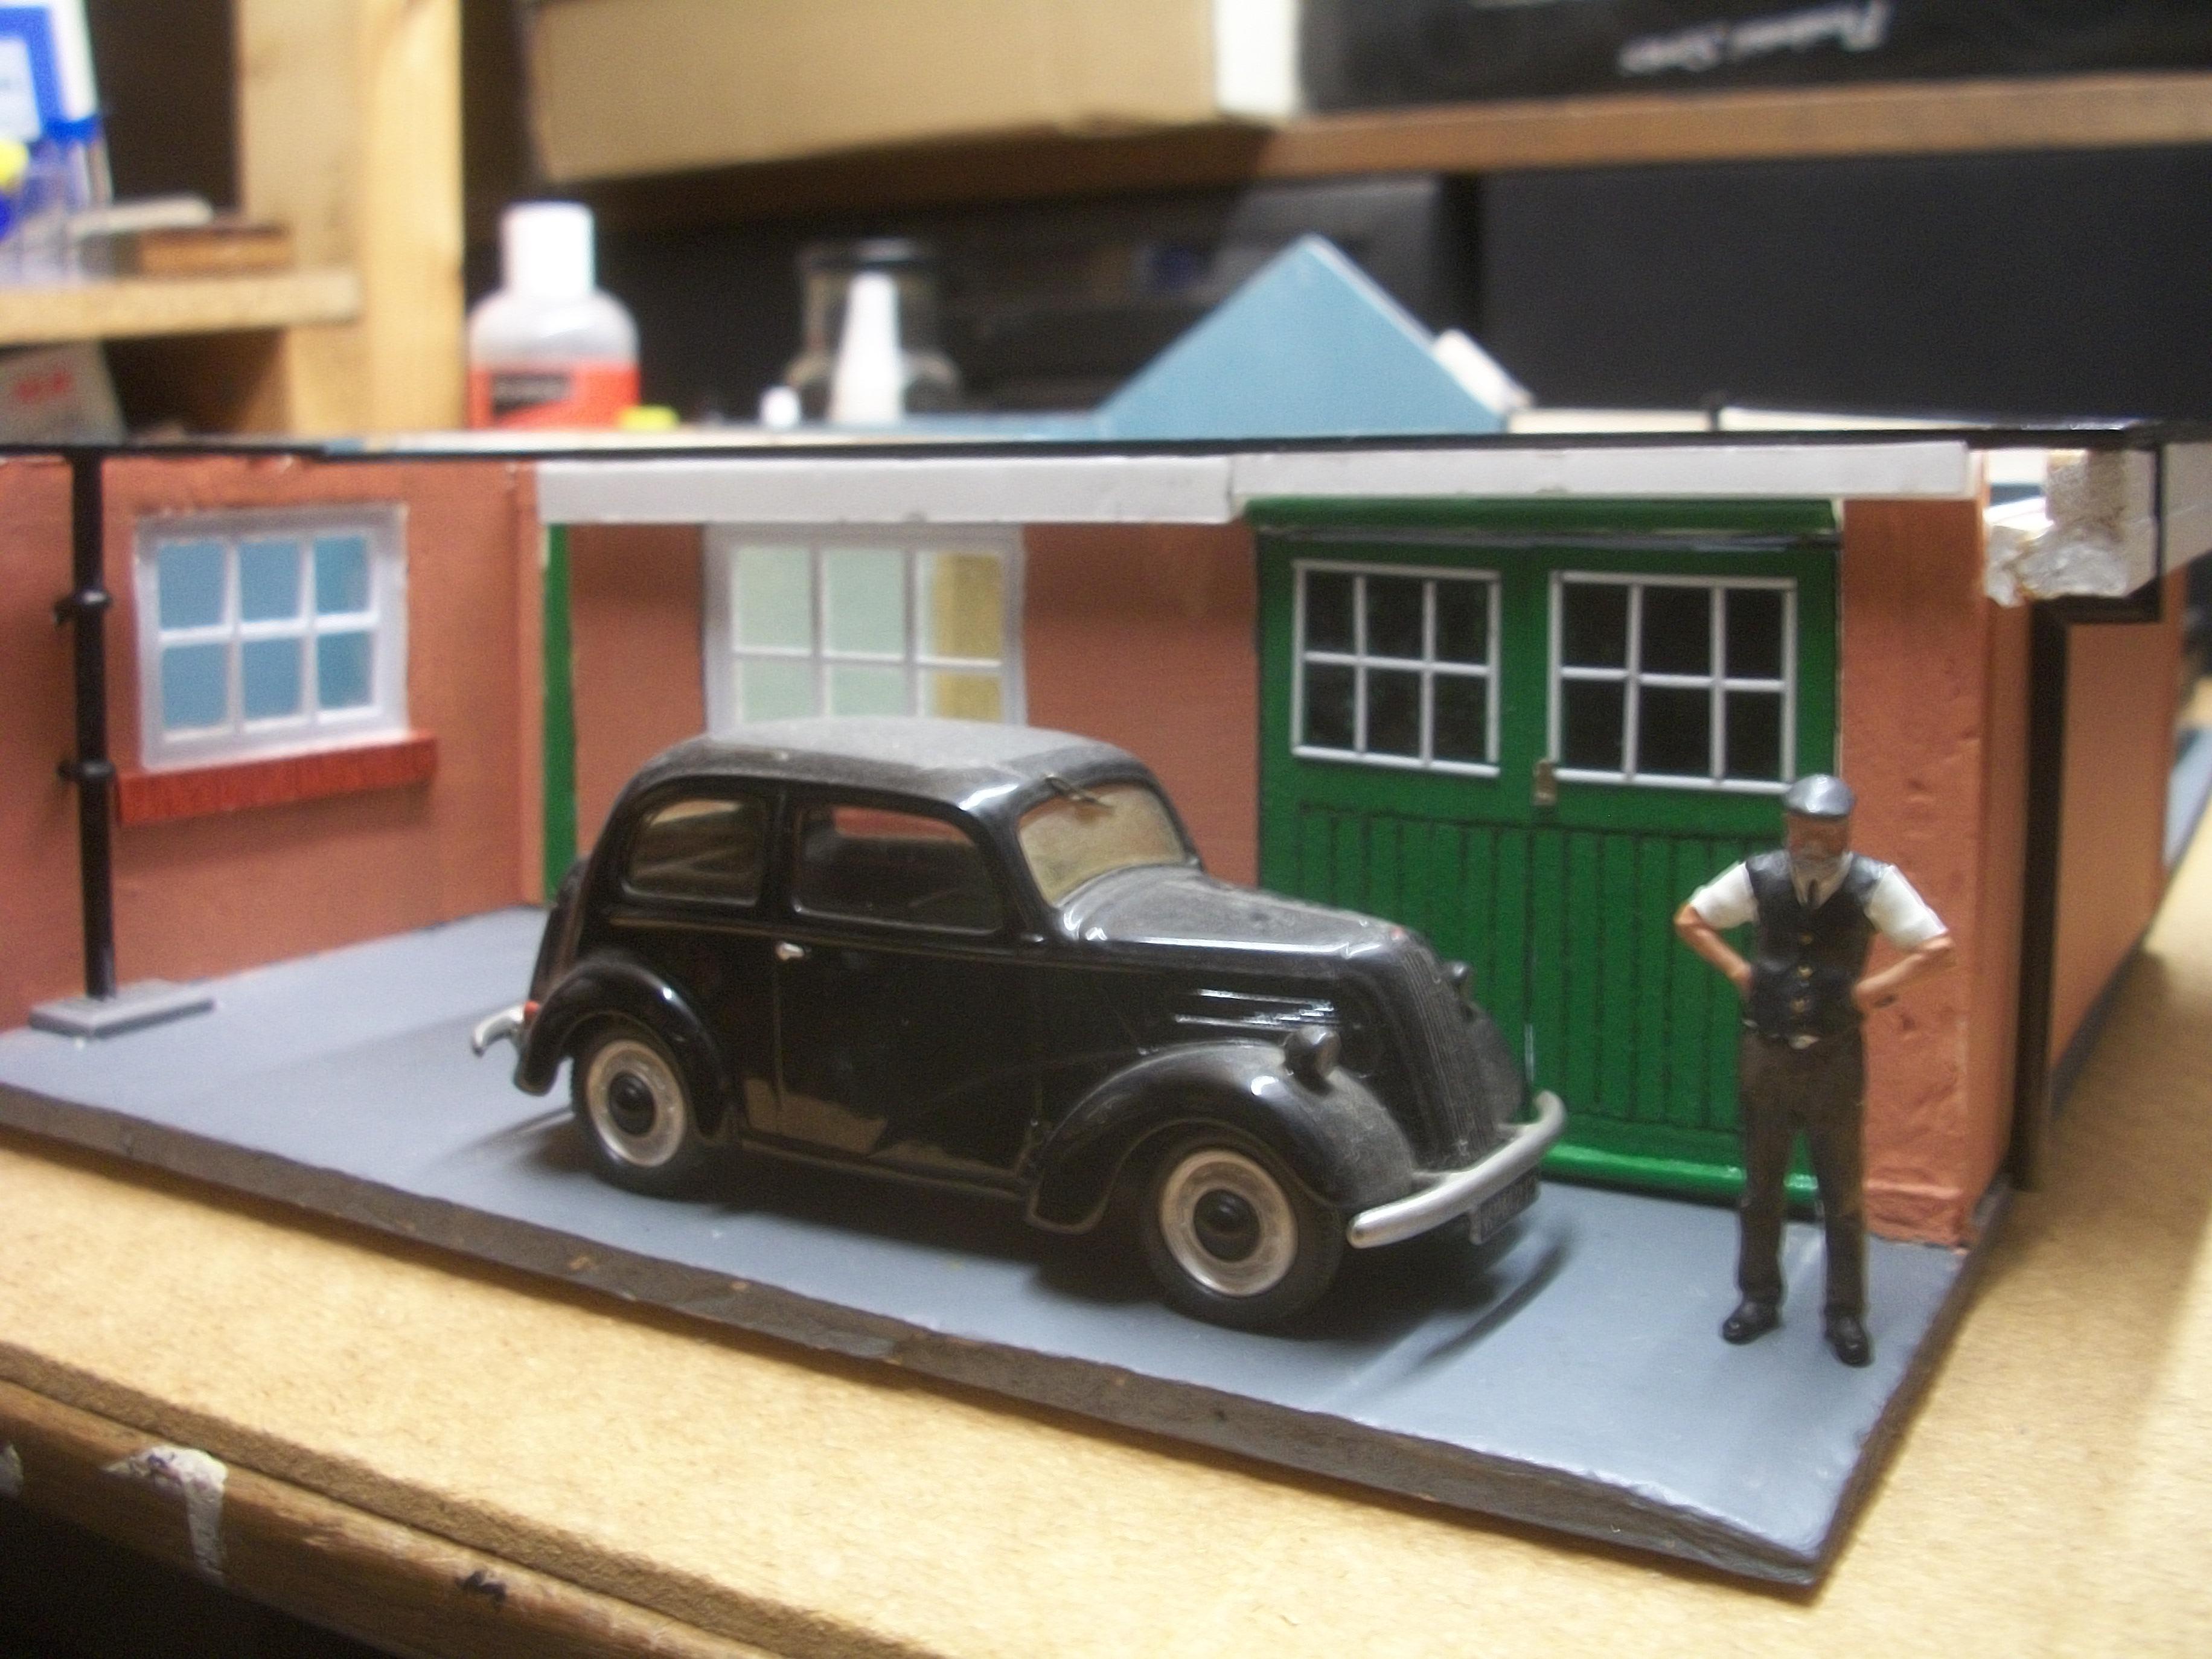
It has been decided that Harold's car for the bungalow garage is going to be this 1958 Ford Popular in black. This is because the 1955 Rolls-Royce Silver Cloud is simply too large for the garage, and the car would not fit properly through the doors. Harold does have several classic cars in his collection, and the other cars are secure storage, some distance away from his bungalow . . . David
-
As far as I know, until they arrive, these LED lights are not adjustable . . . The CR2032 coin cell batteries last a long time, especially when these room lights will only be switched on for a short time, such as when taking photos of the interior detail. The Ebay seller was listed as being located in London, but the product is actually being shipped from Schenzhen in China . . . David W.
-
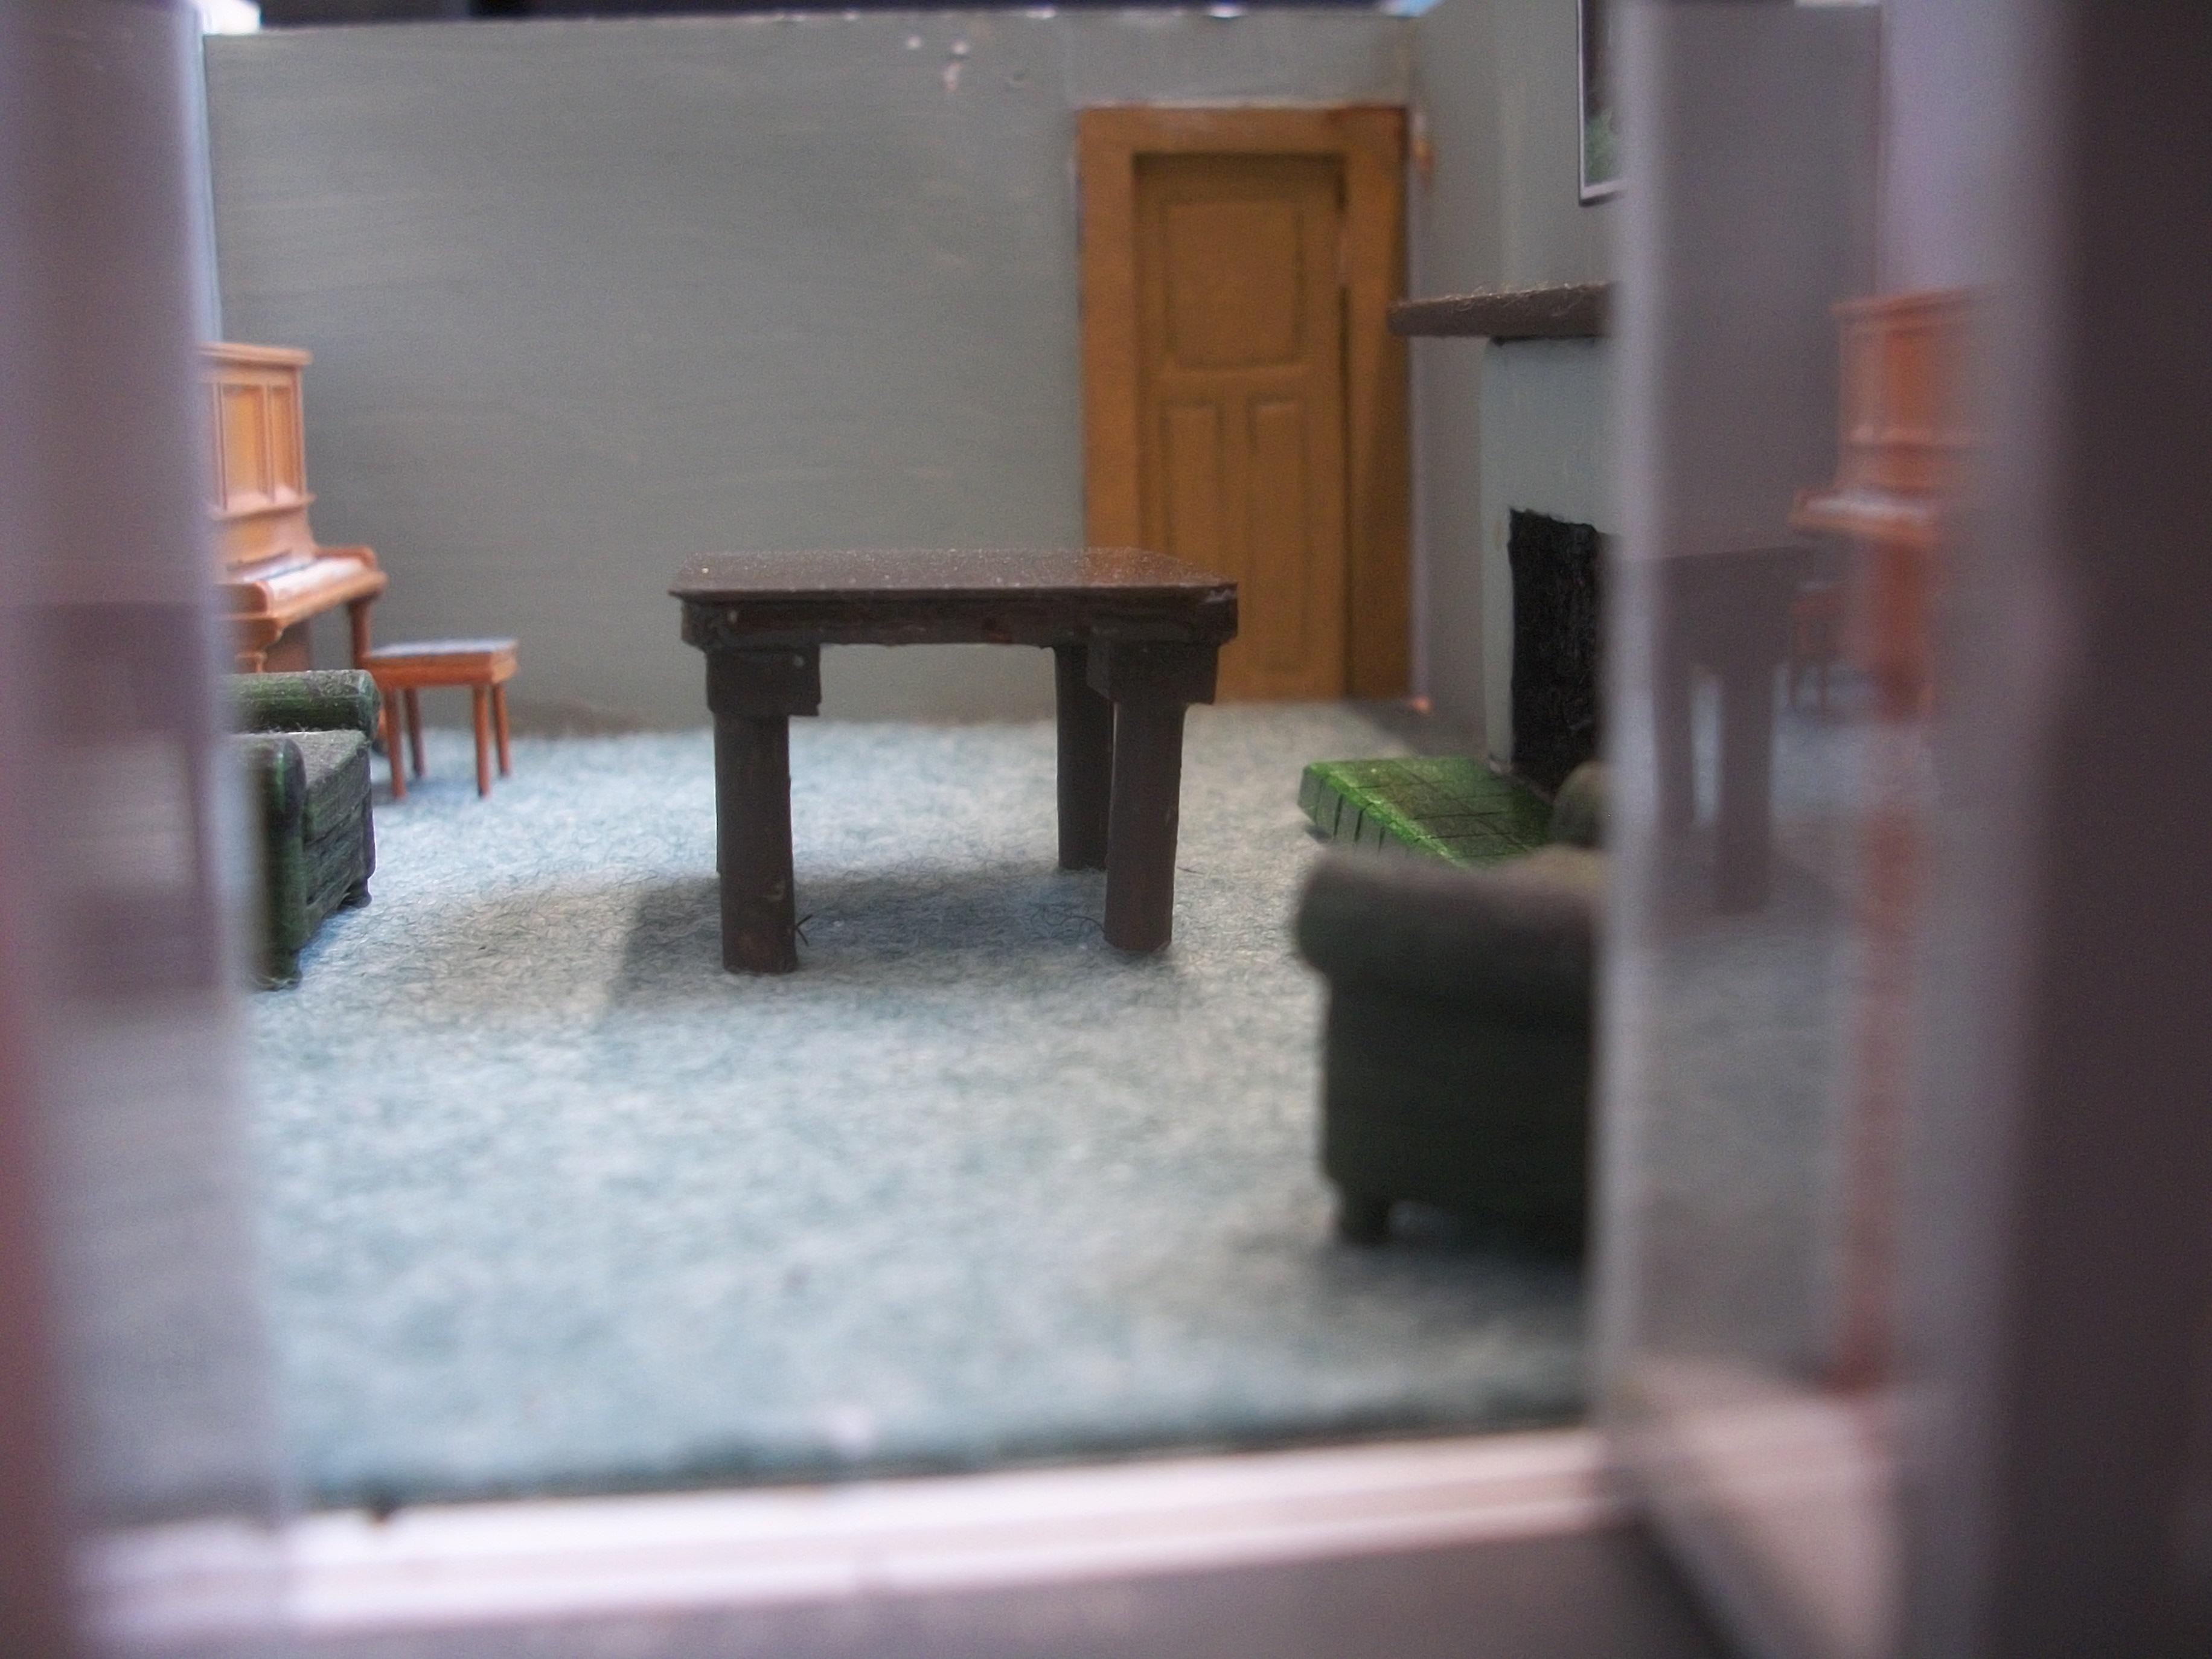
I have gone ahead and placed two orders on Ebay, which should be delivered during the back end of next week . . . The first order is comprised of 8 lamps that are intended for model railway use. These lamps are 3 volt and include resistors for 12V use, with a generous length of wiring. The second order is comprised of 10 battery holders with switches, that will each hold a CR2032 coin cell battery of 3V . . . These battery holders also have a generous amount of wiring included. This arrangement of lighting should allow me to have each of the eight rooms lit individually, so switched on or off for each room. The lamps can be mounted on the underside of the foam board ceiling panel, while the wiring will be concealed on the top side of the ceiling panel, and the battery holders / switches can be located outside the bungalow provided the length of wiring allows this . . . For ease of use, I can label each switch to indicate which room it corresponds to. The first of the following photos shows the living room with one of my existing lighting kits set up. I think the ones that are on order should be more effective. David
-
'Forest Find' - Third and final upgrade...hopefully!!!!
Anglia105E replied to tiking's topic in Dioramas
The old rusty Land Rover is consumed by the undergrowth . . . I like the detail under the bonnet inside the engine compartment, and something such as the two lamp lenses being intact on the driver's side front wing, but having the two lamp lenses missing on the passenger side front wing is the kind of detail that really stands out for me personally, Charles . . . David -
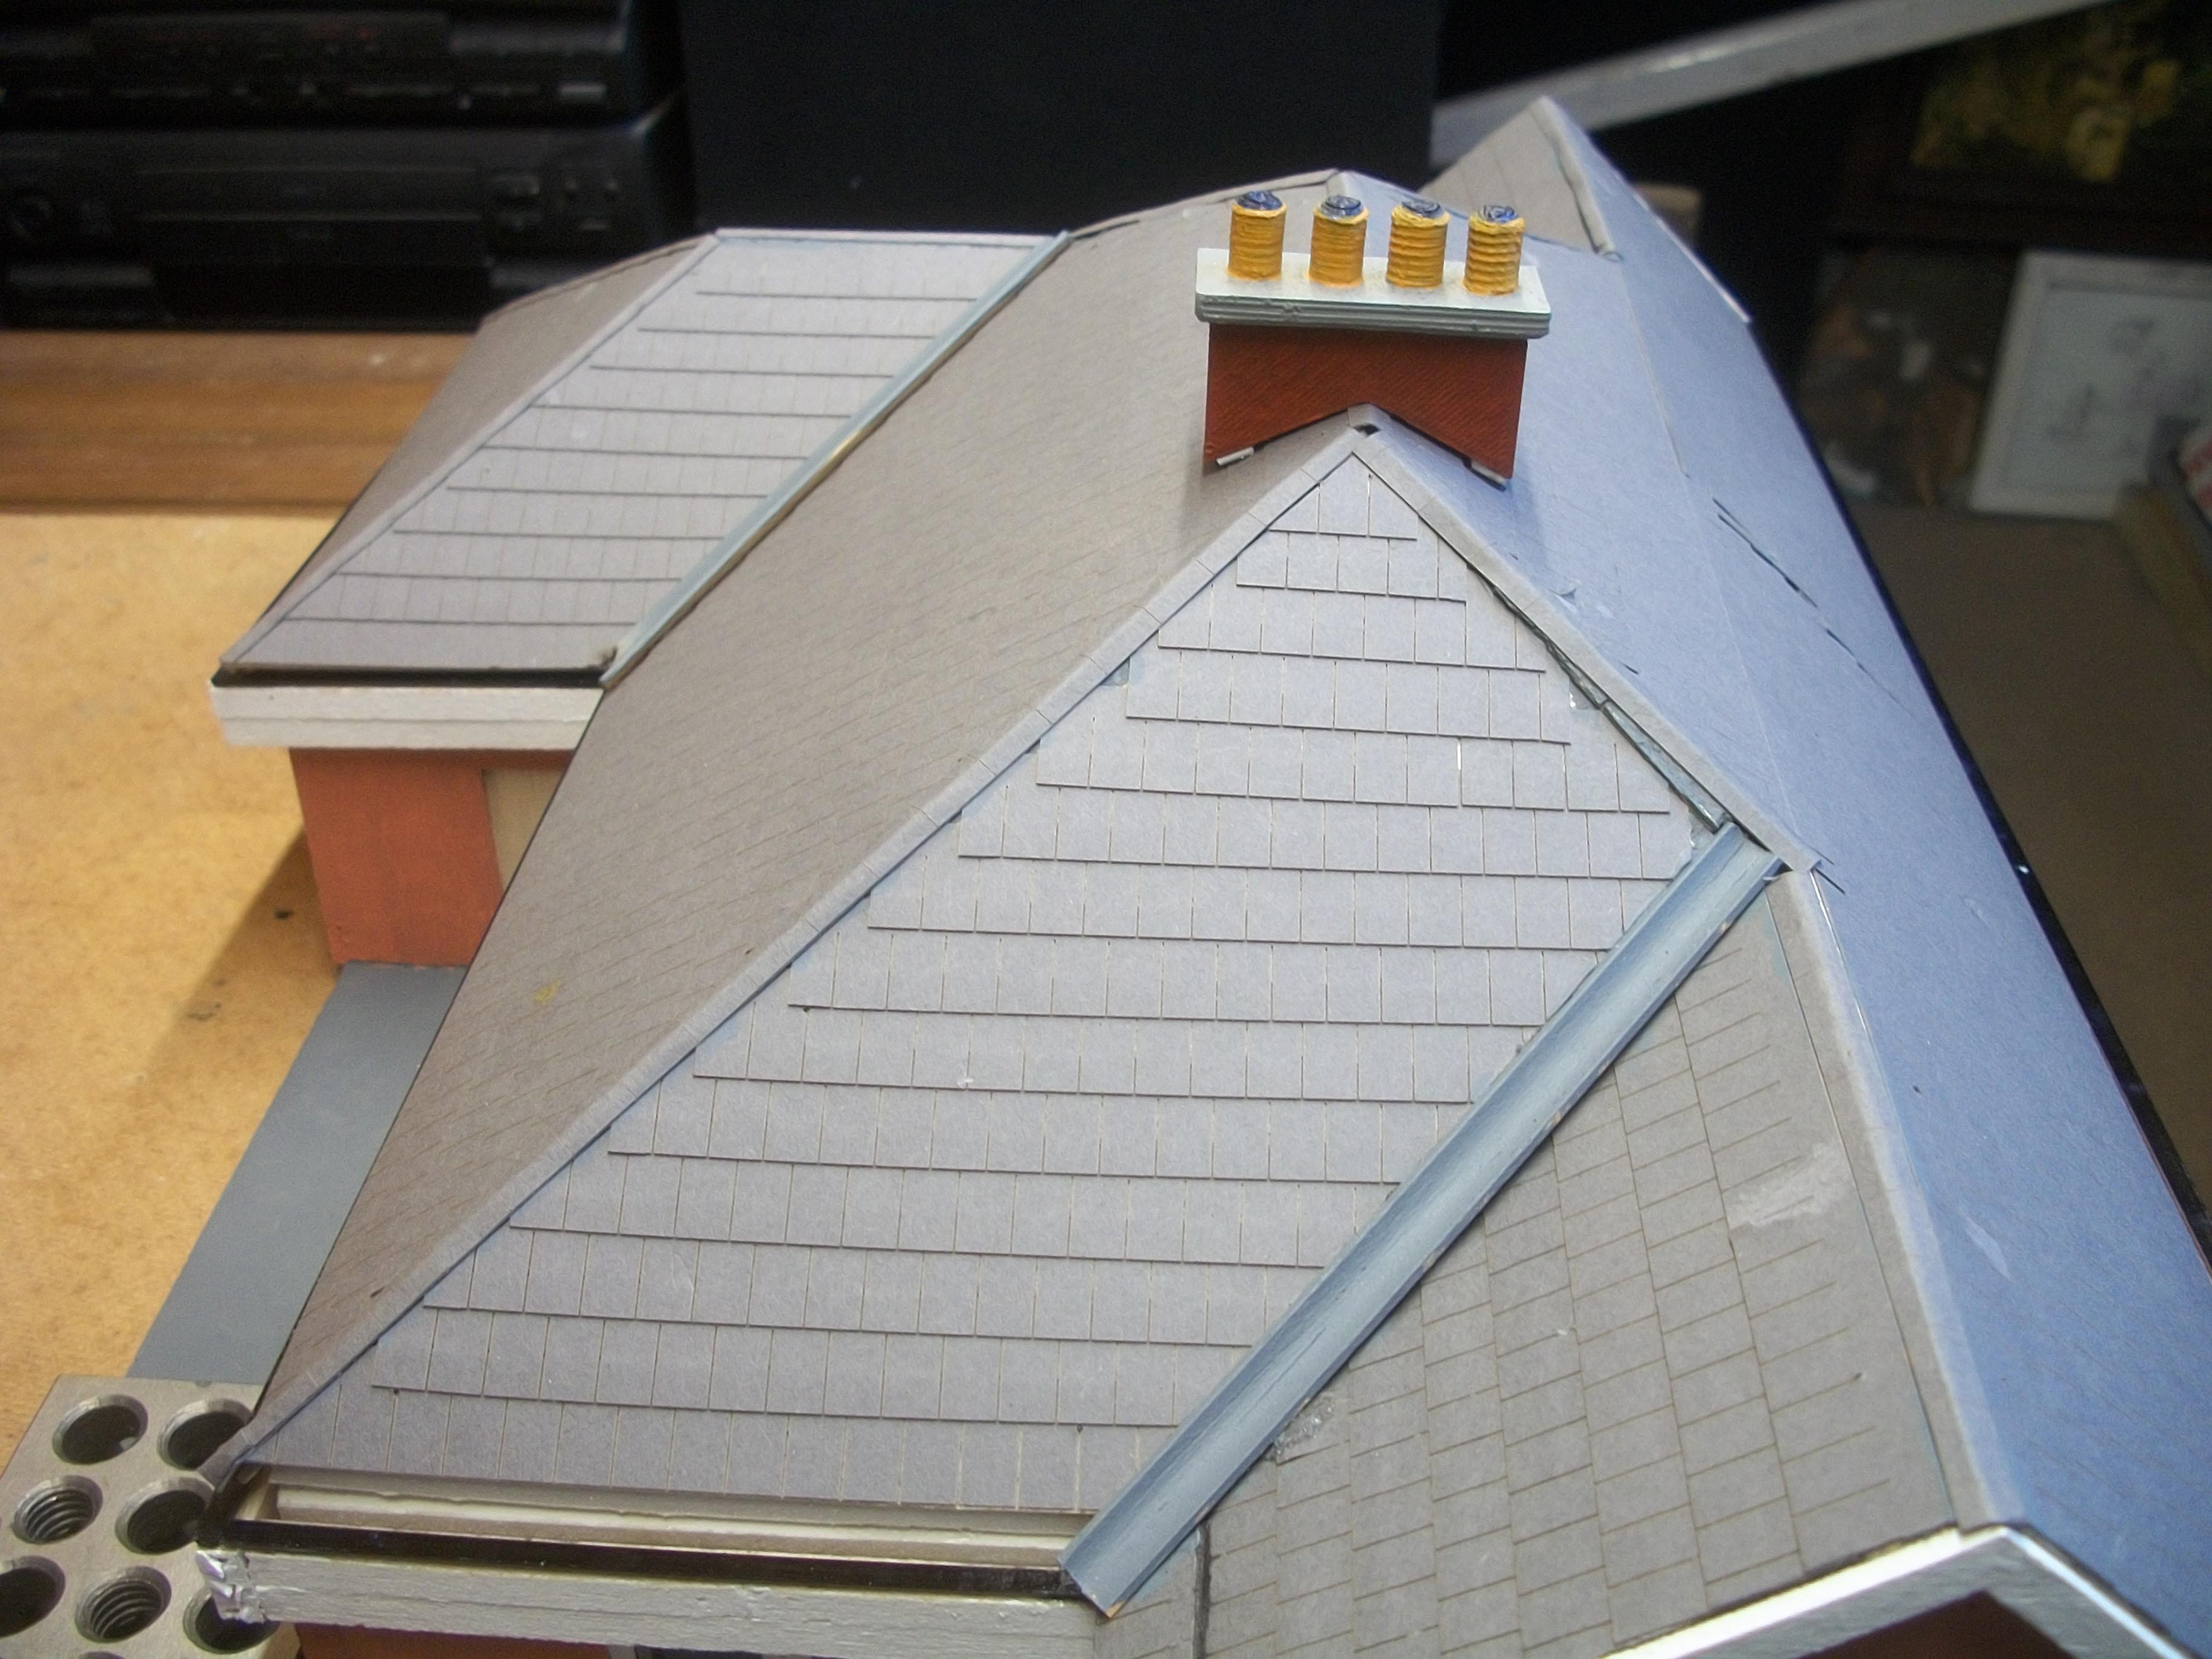
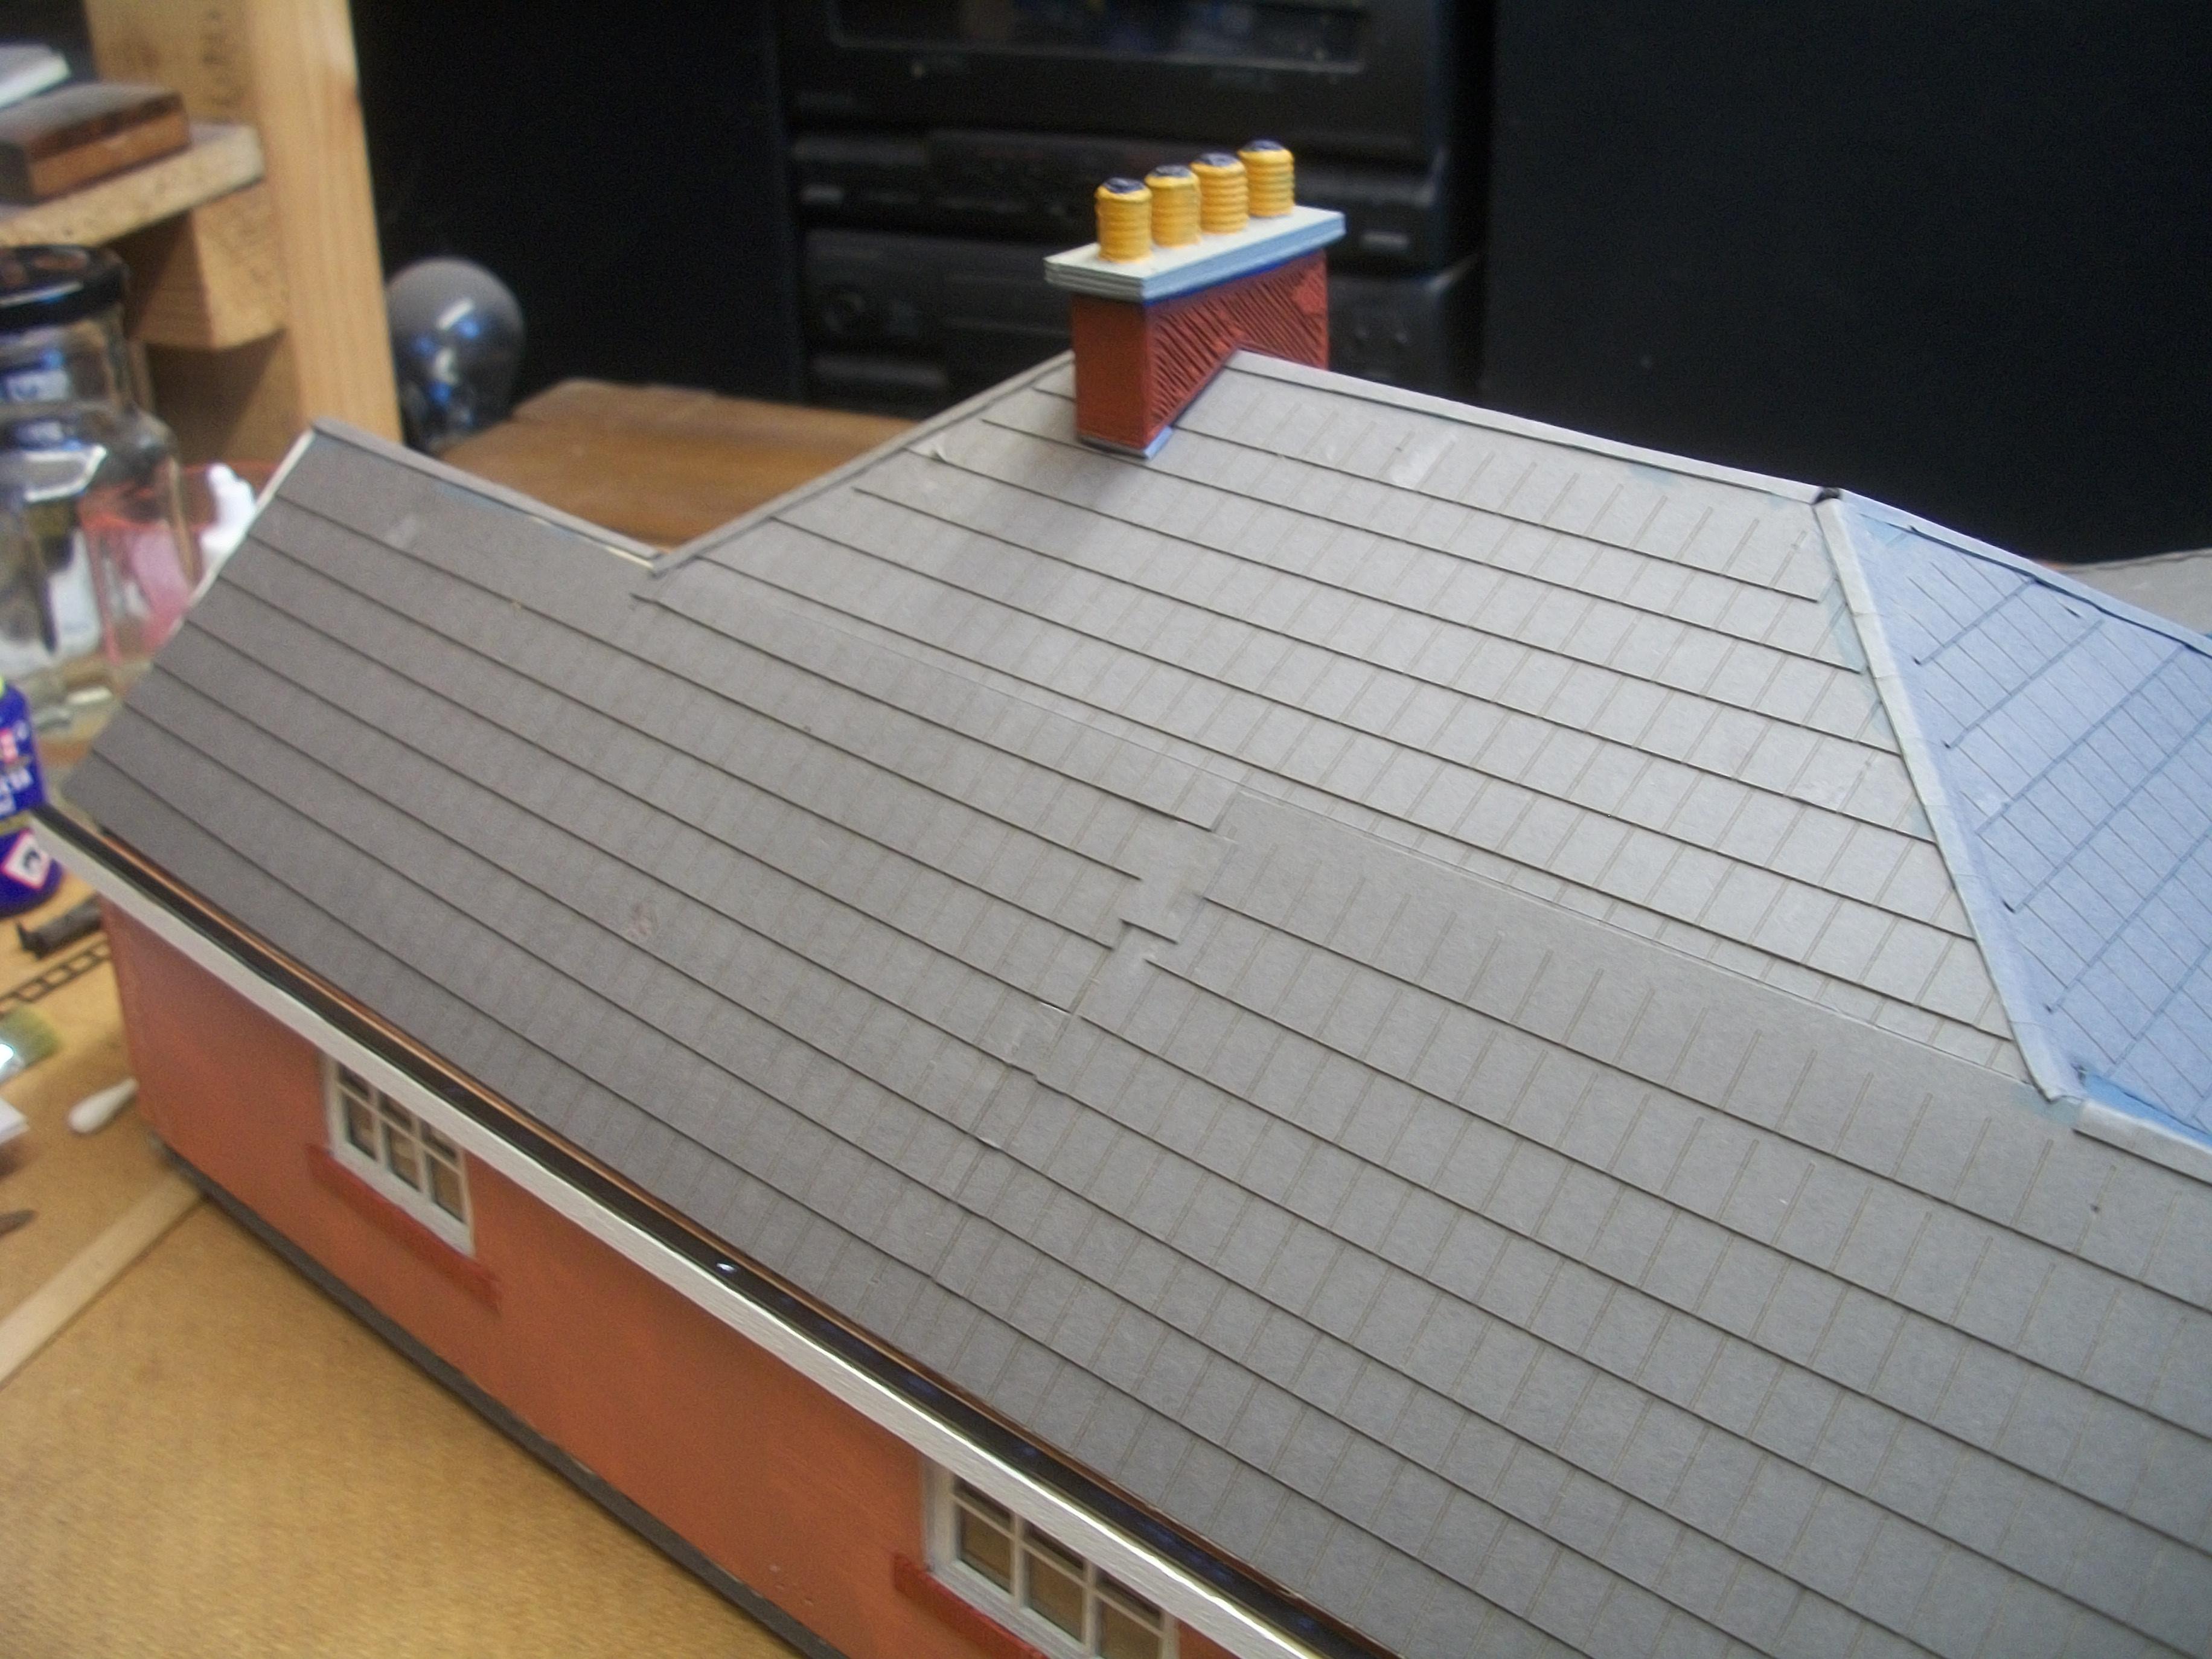
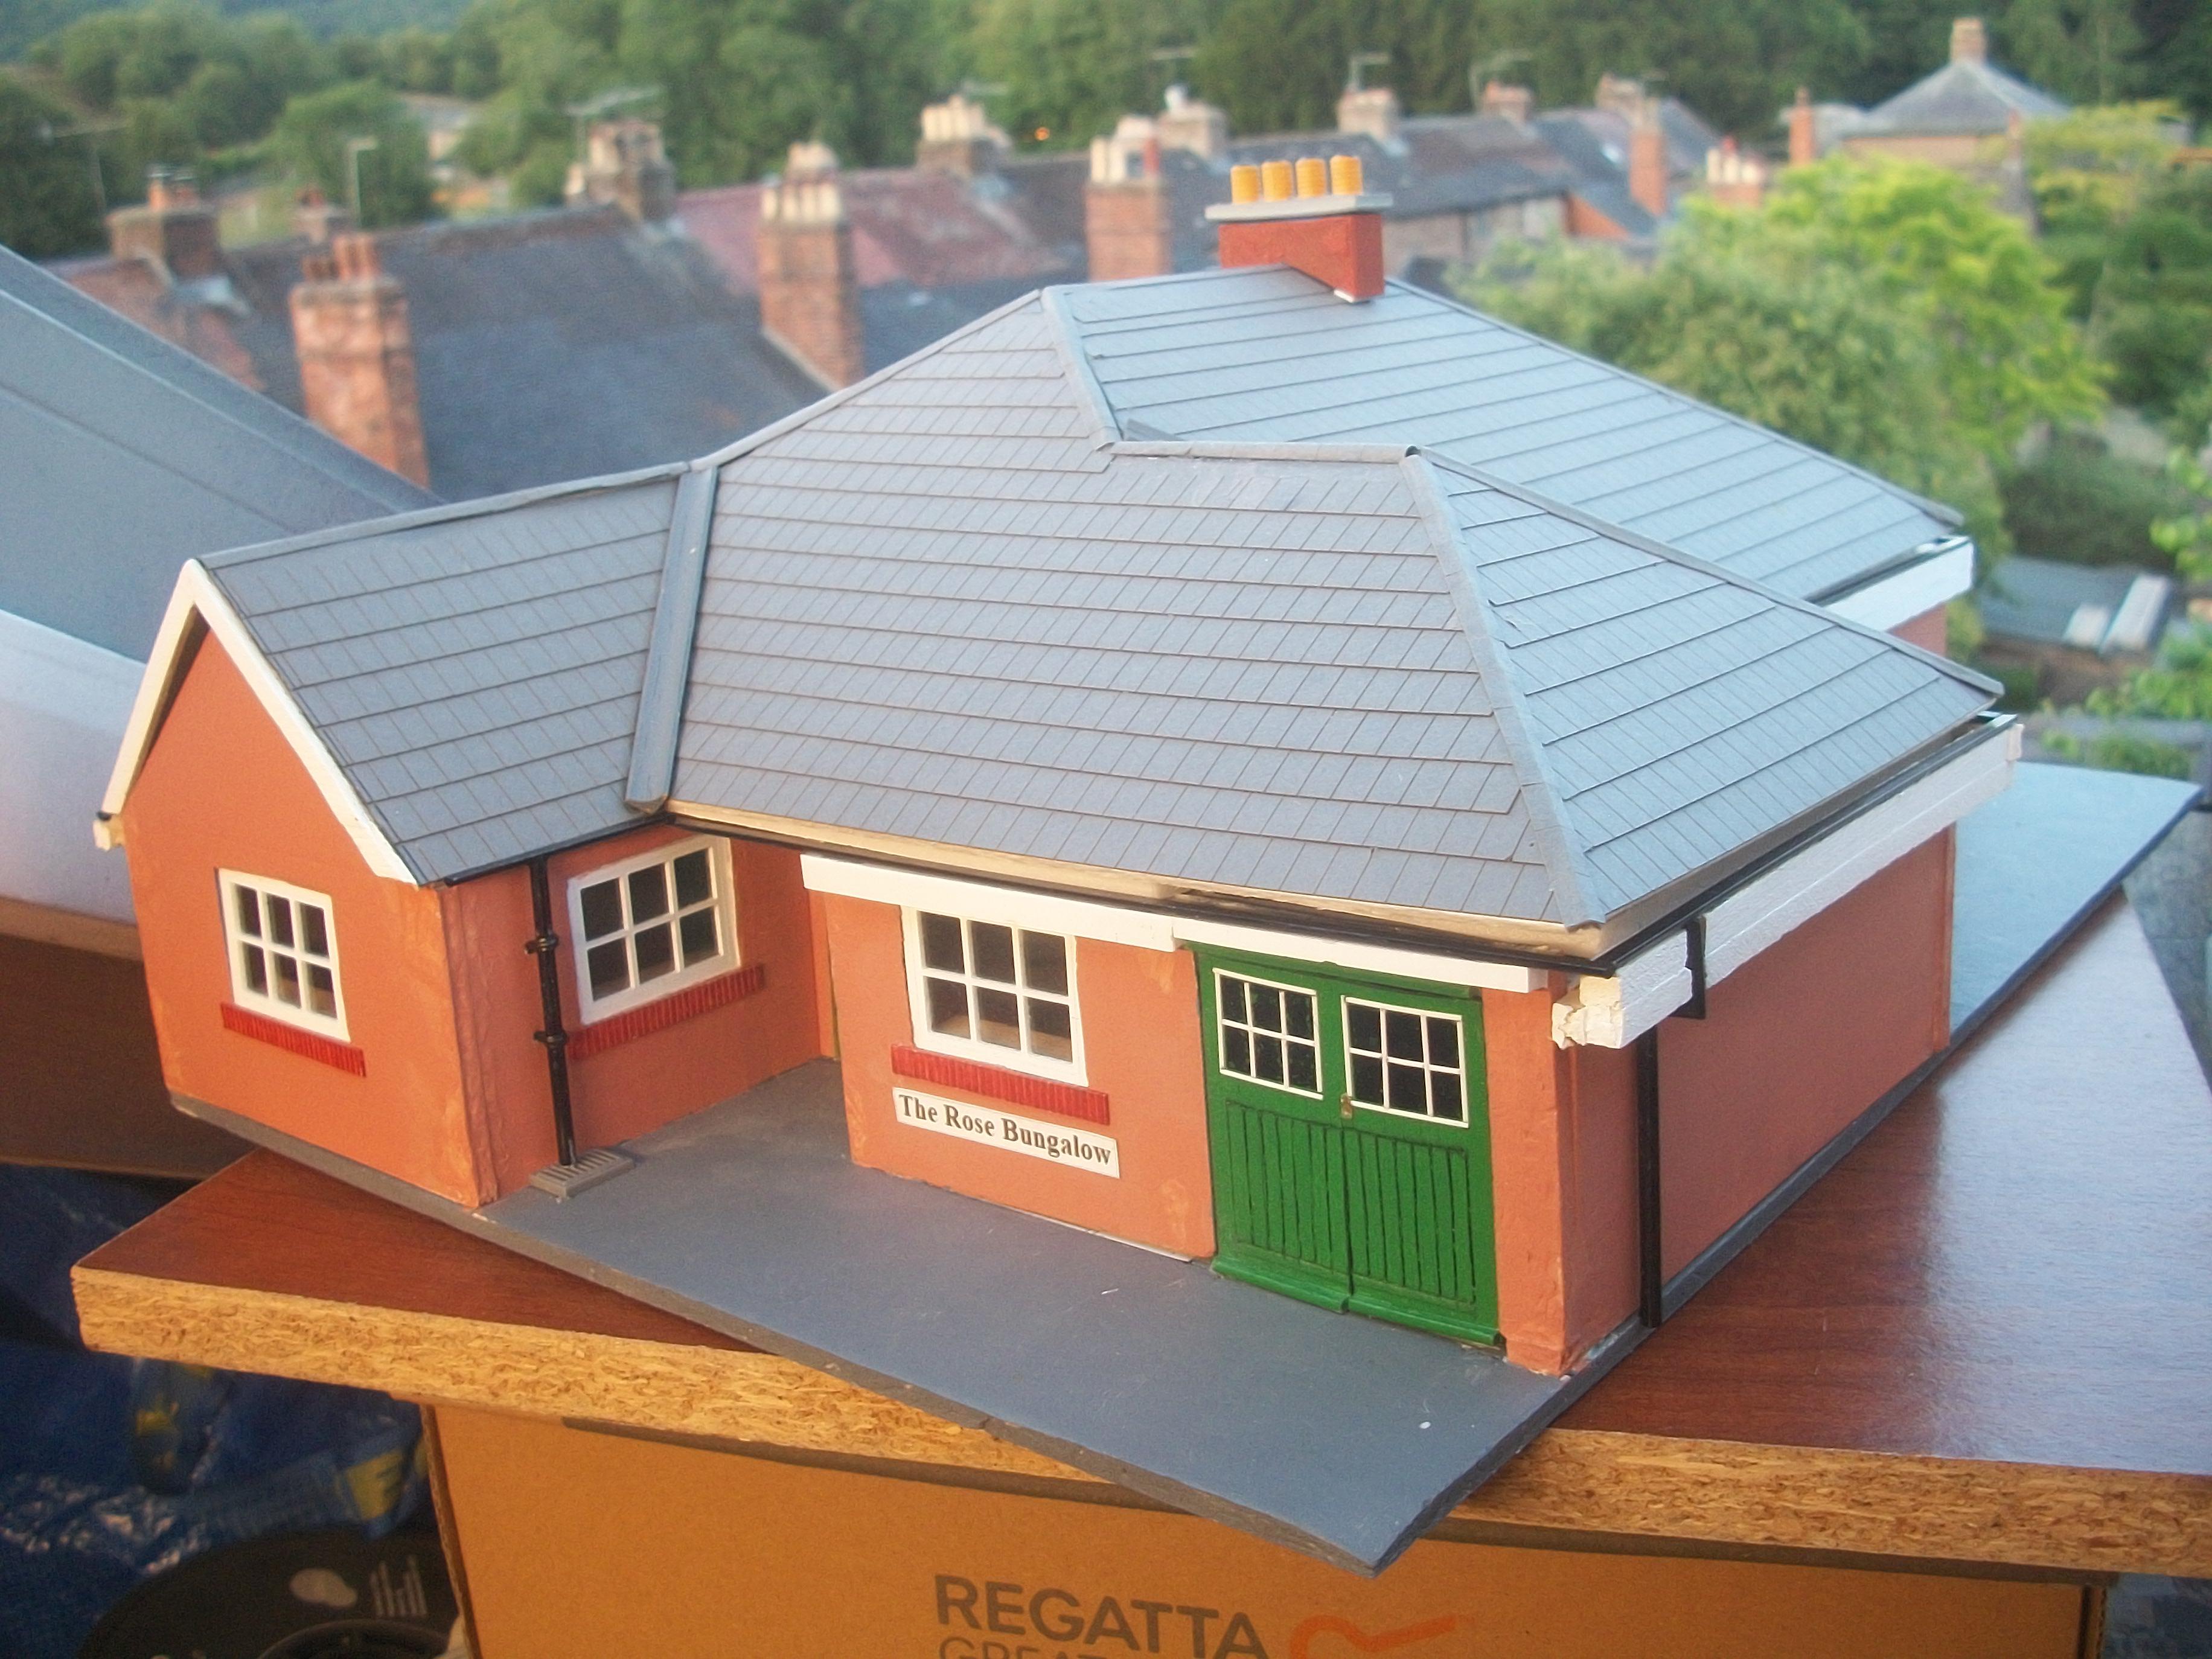
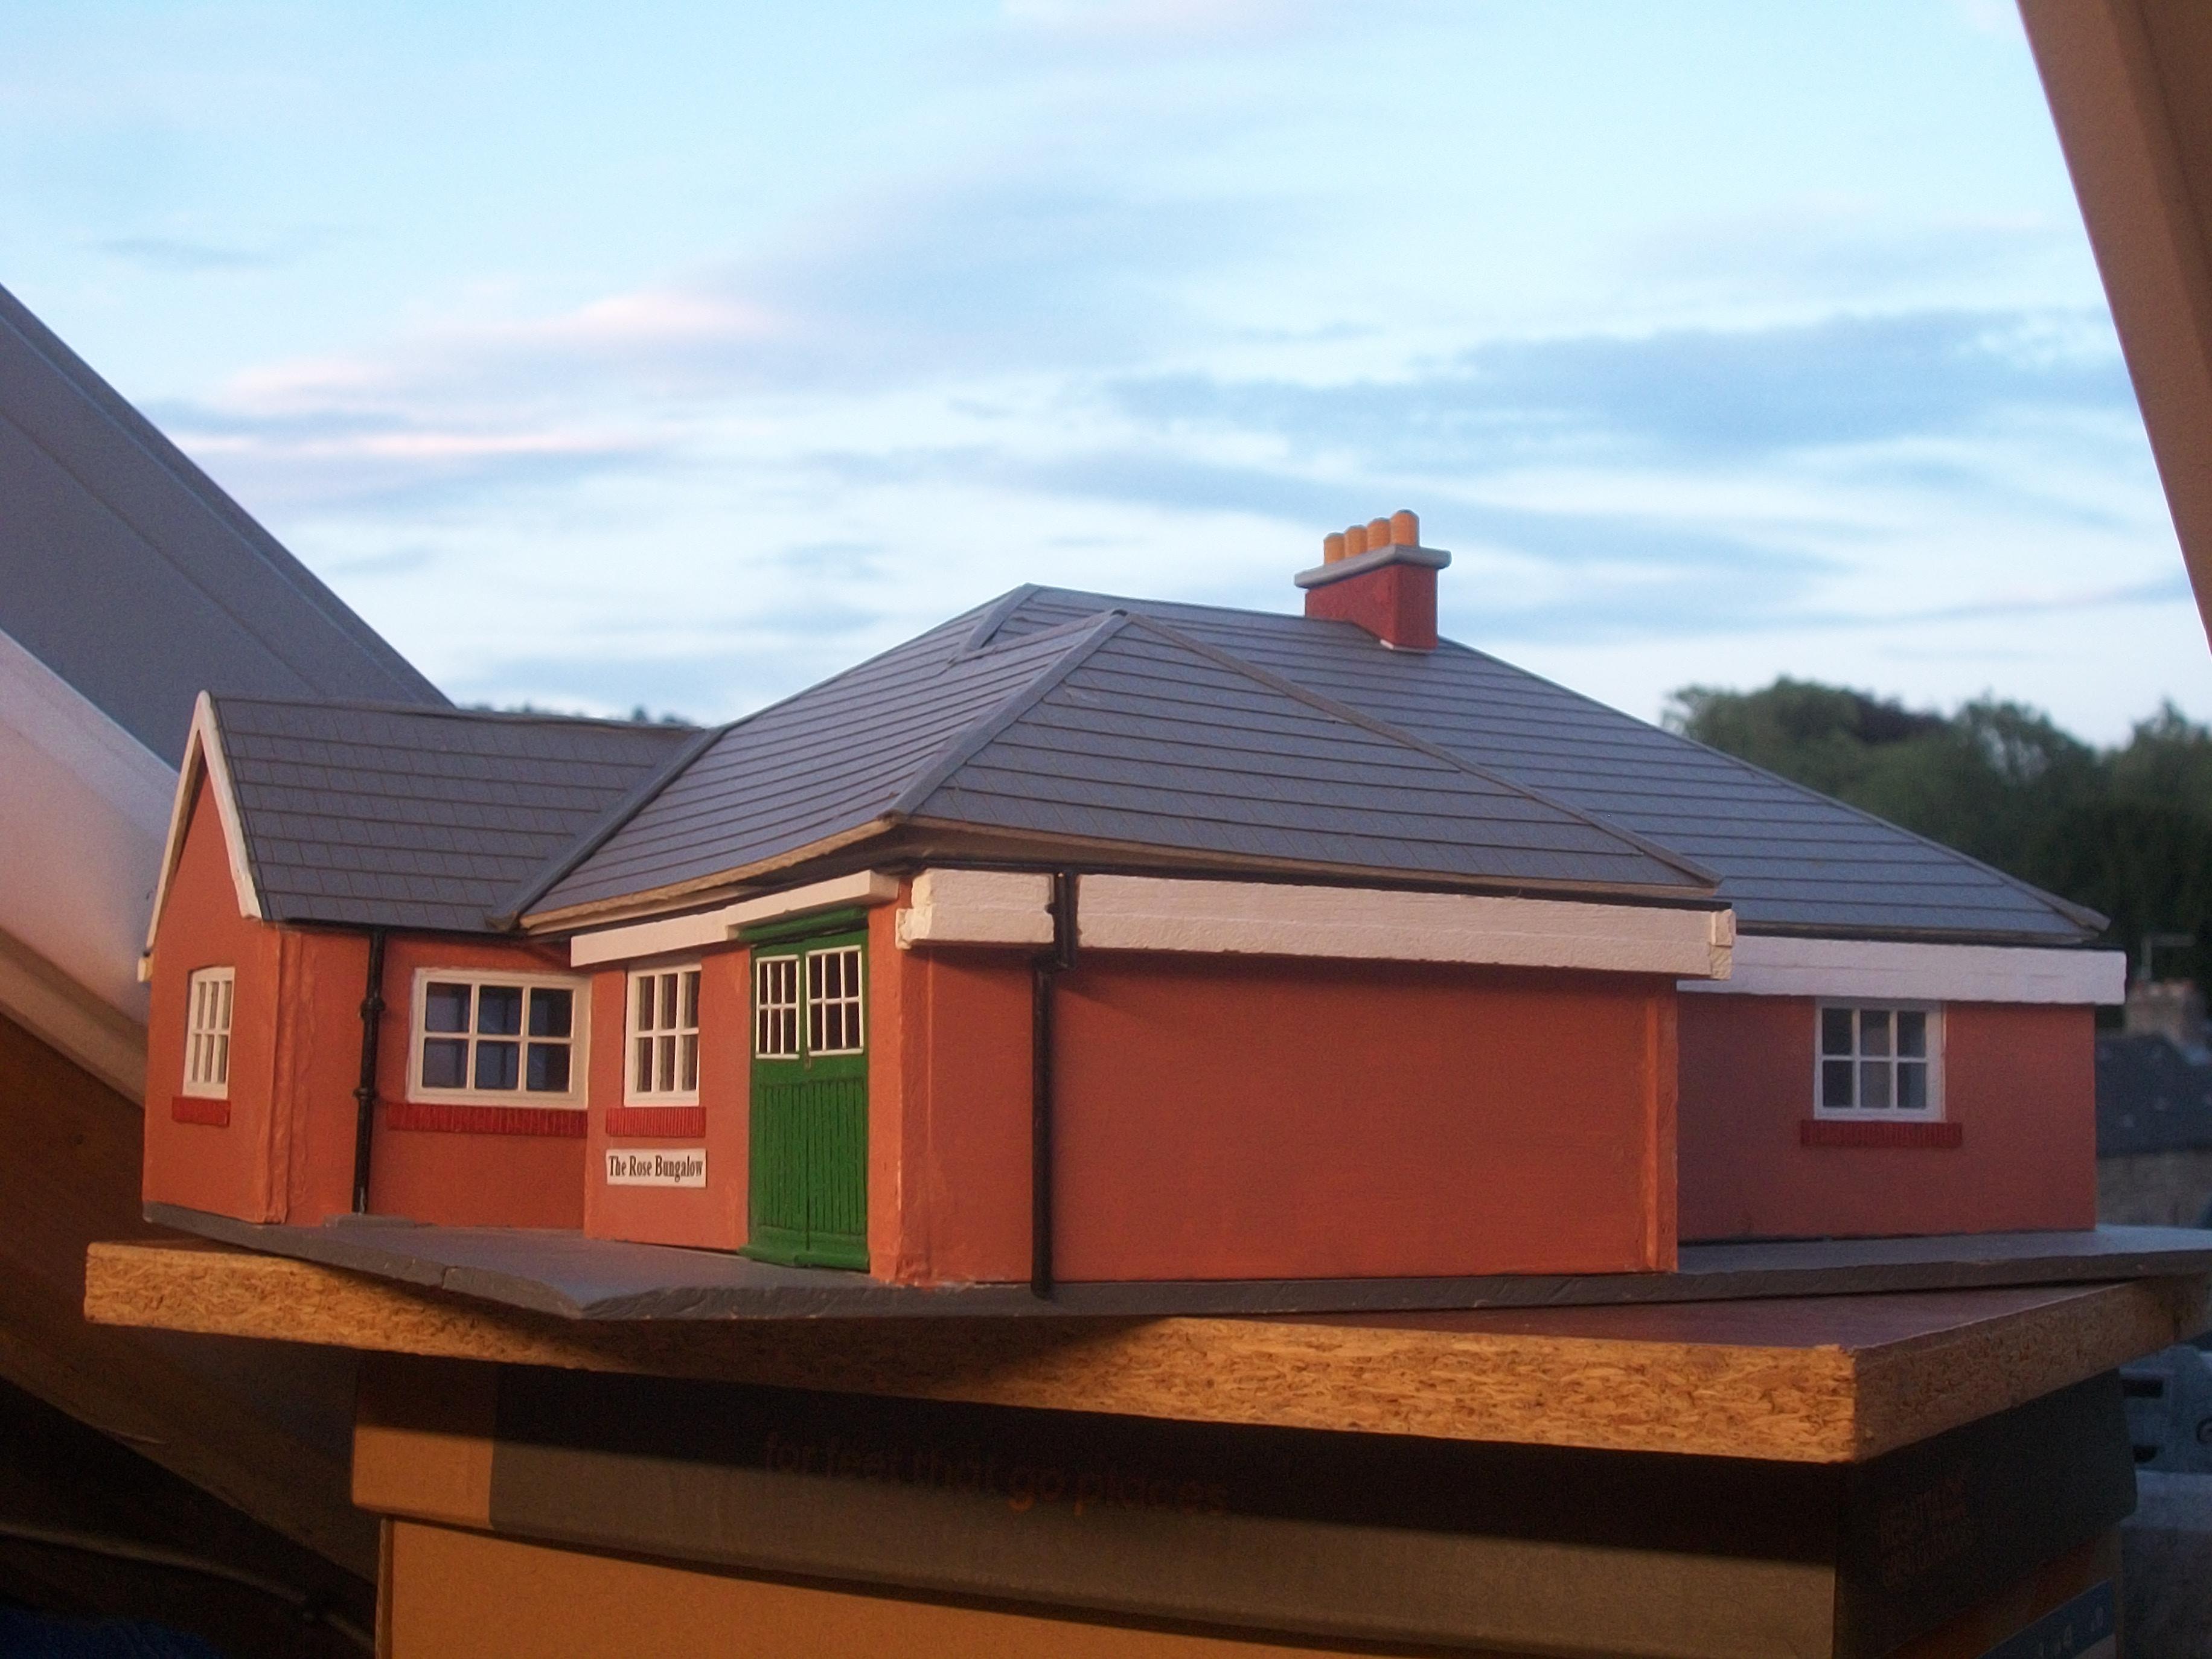
Thanks David G., and those low angle photos were taken just inside the Velux window that looks out over neighbouring properties from my loft . . . They show the chimney stacks of other cottages, as a sort of comparison with my 3D printed chimney stack. I shall have a good look at model railway type lighting kits on Ebay, and also Woodland Scenics as suggested by Steve . . . Good luck with your Golden Hind build ! David W.
-
Thank you for the link Steve, and I agree with you that lighting units from the model railway suppliers might be the best way to go . . . The few lighting units that I do have, are left over from previous projects and they are not entirely suitable for this 1:43 scale / O-gauge bungalow model. David
-
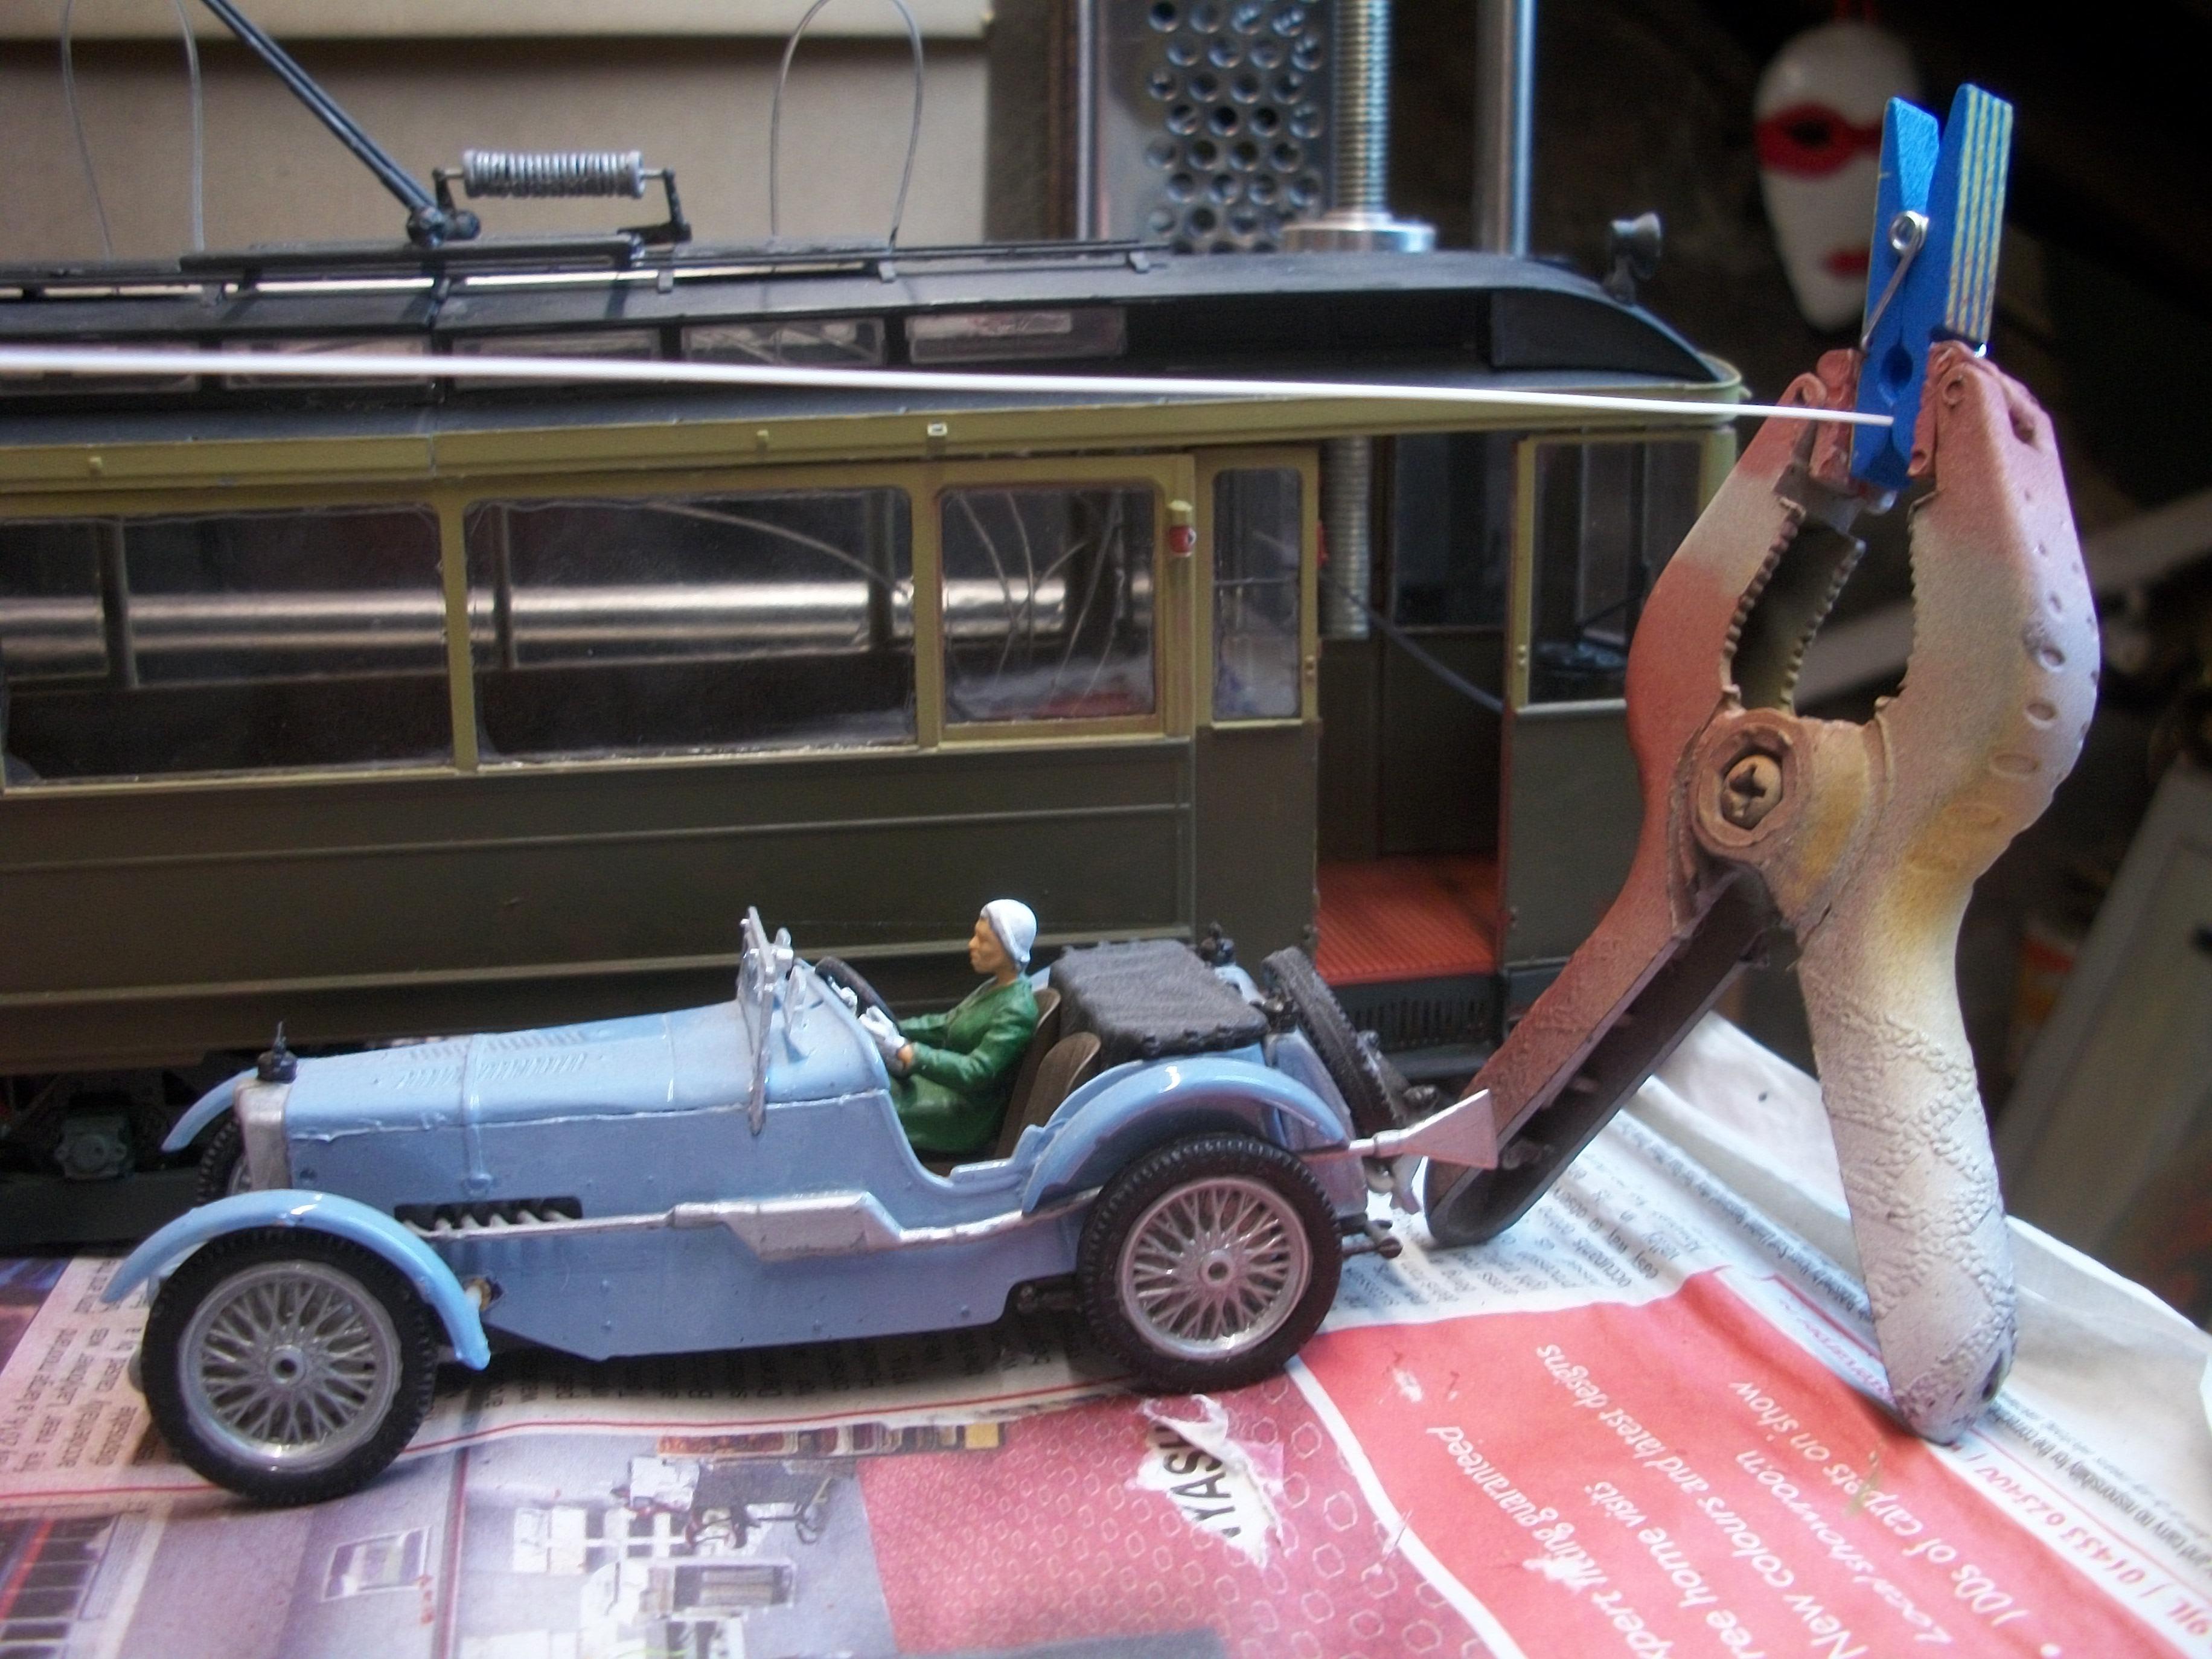
Excellent choice of paint colours there David, and the mockup was worth setting up to evaluate your current progress. As regards the rigging lines, the only aspect of model building that I have tried that comes close would be the tram lines for my 1:35 scale European Tram Car. For those overhead tram lines I did use the thinnest styrene rod that I could get, from either Plastruct or Evergreen, but I seem to remember experimenting with cotton thread and also steel wire . . . The cotton thread would most likely work best for your rigging lines, but you have a lengthy tedious task in store ! See photo below . . . David W.
-
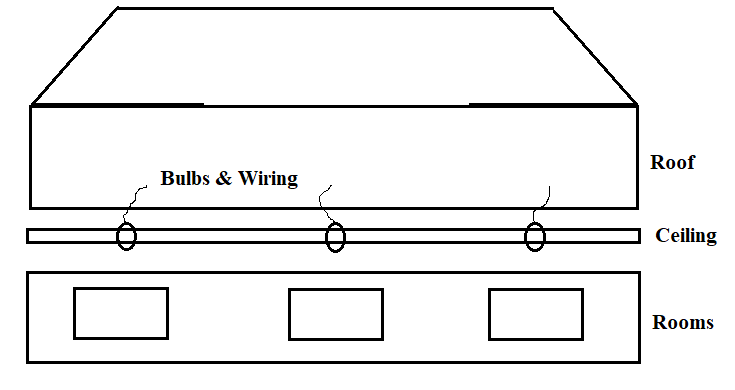
Thanks Paul . . . Six months on this build so far, and as the project goes into month seven we arrive at quite an advanced stage . . . When the ceiling panel and the roof structure are lifted clear of the lower rooms assembly, the interior detail is visible, but of course once the roof and ceiling are lowered into position those rooms are in darkness . . . This is why I would like to rig up some lighting for each room. At the moment it is the routing of the wires, the bulbs and the batteries that needs to be given some thought . . . Mains electric lighting would be an option, but keeping the main supply cable out of view for photography later is the tricky part. Bulbs can be inserted through holes in the ceiling panel, which is of foam board construction, and immediately above the ceiling panel is the baseboard panel of the roof structure. The roof structure is a closed space, unless I decide to open up an access panel of some kind . . . Here is a simple sketch . . . David
-
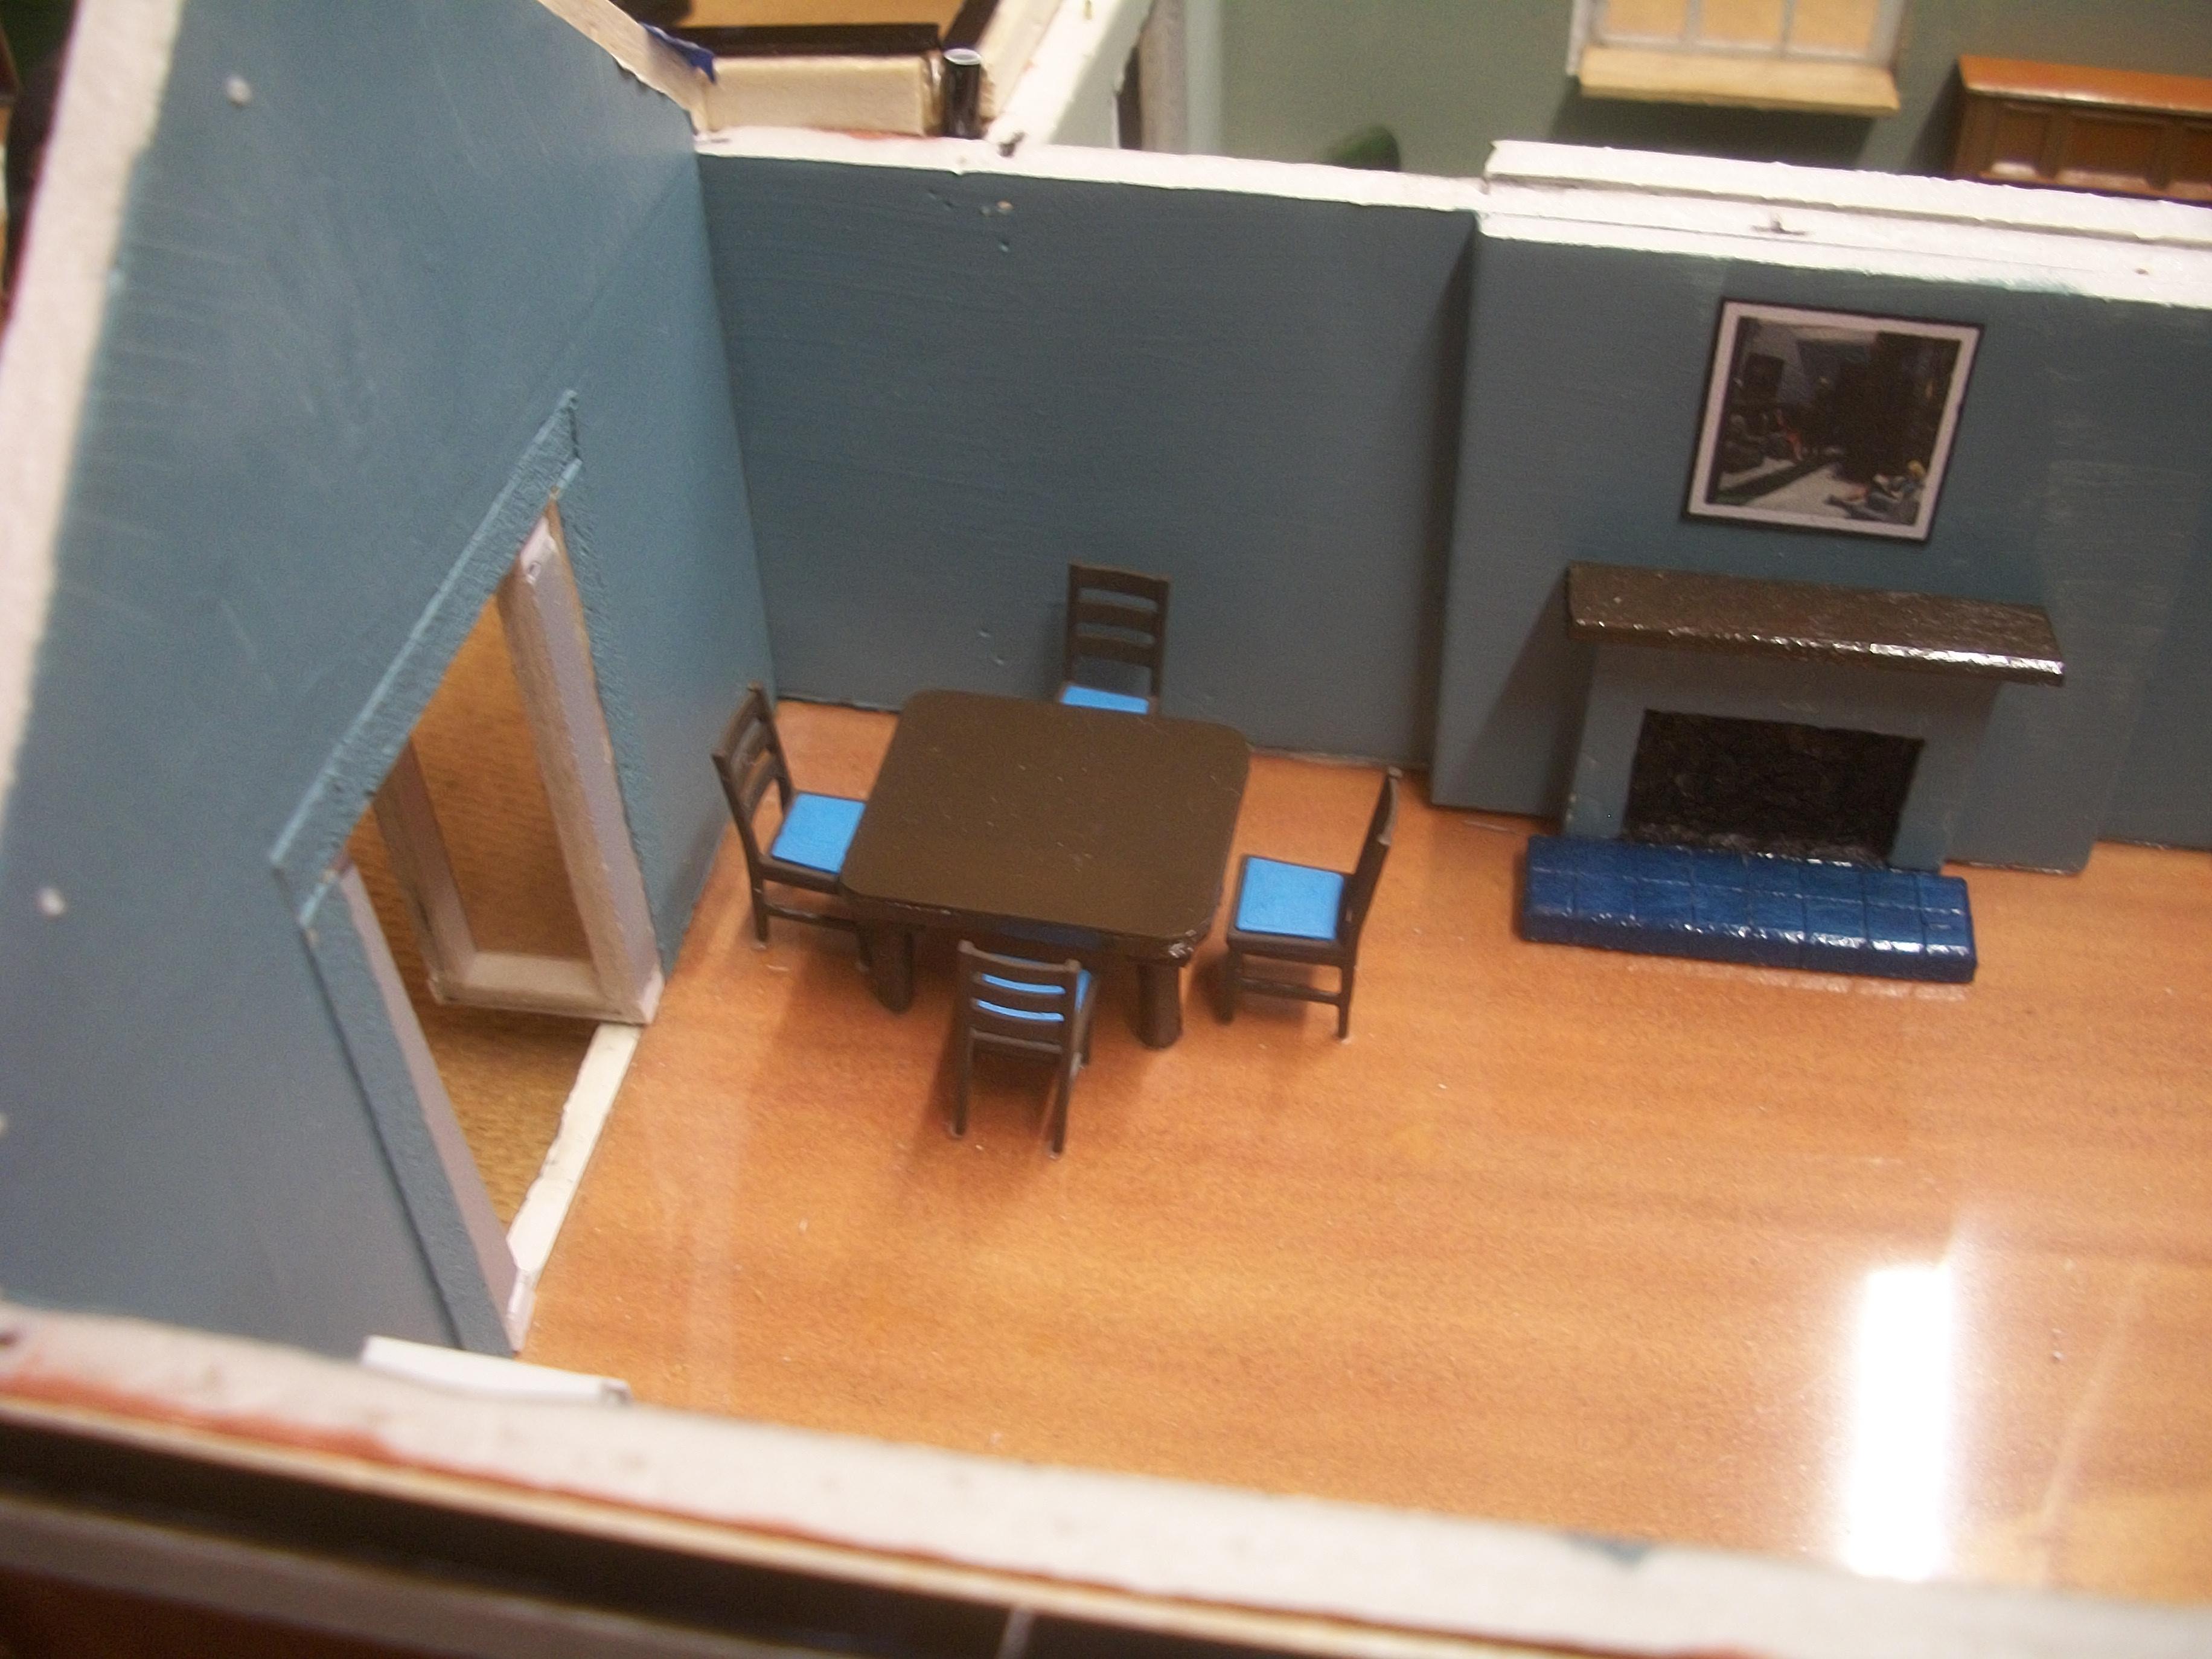
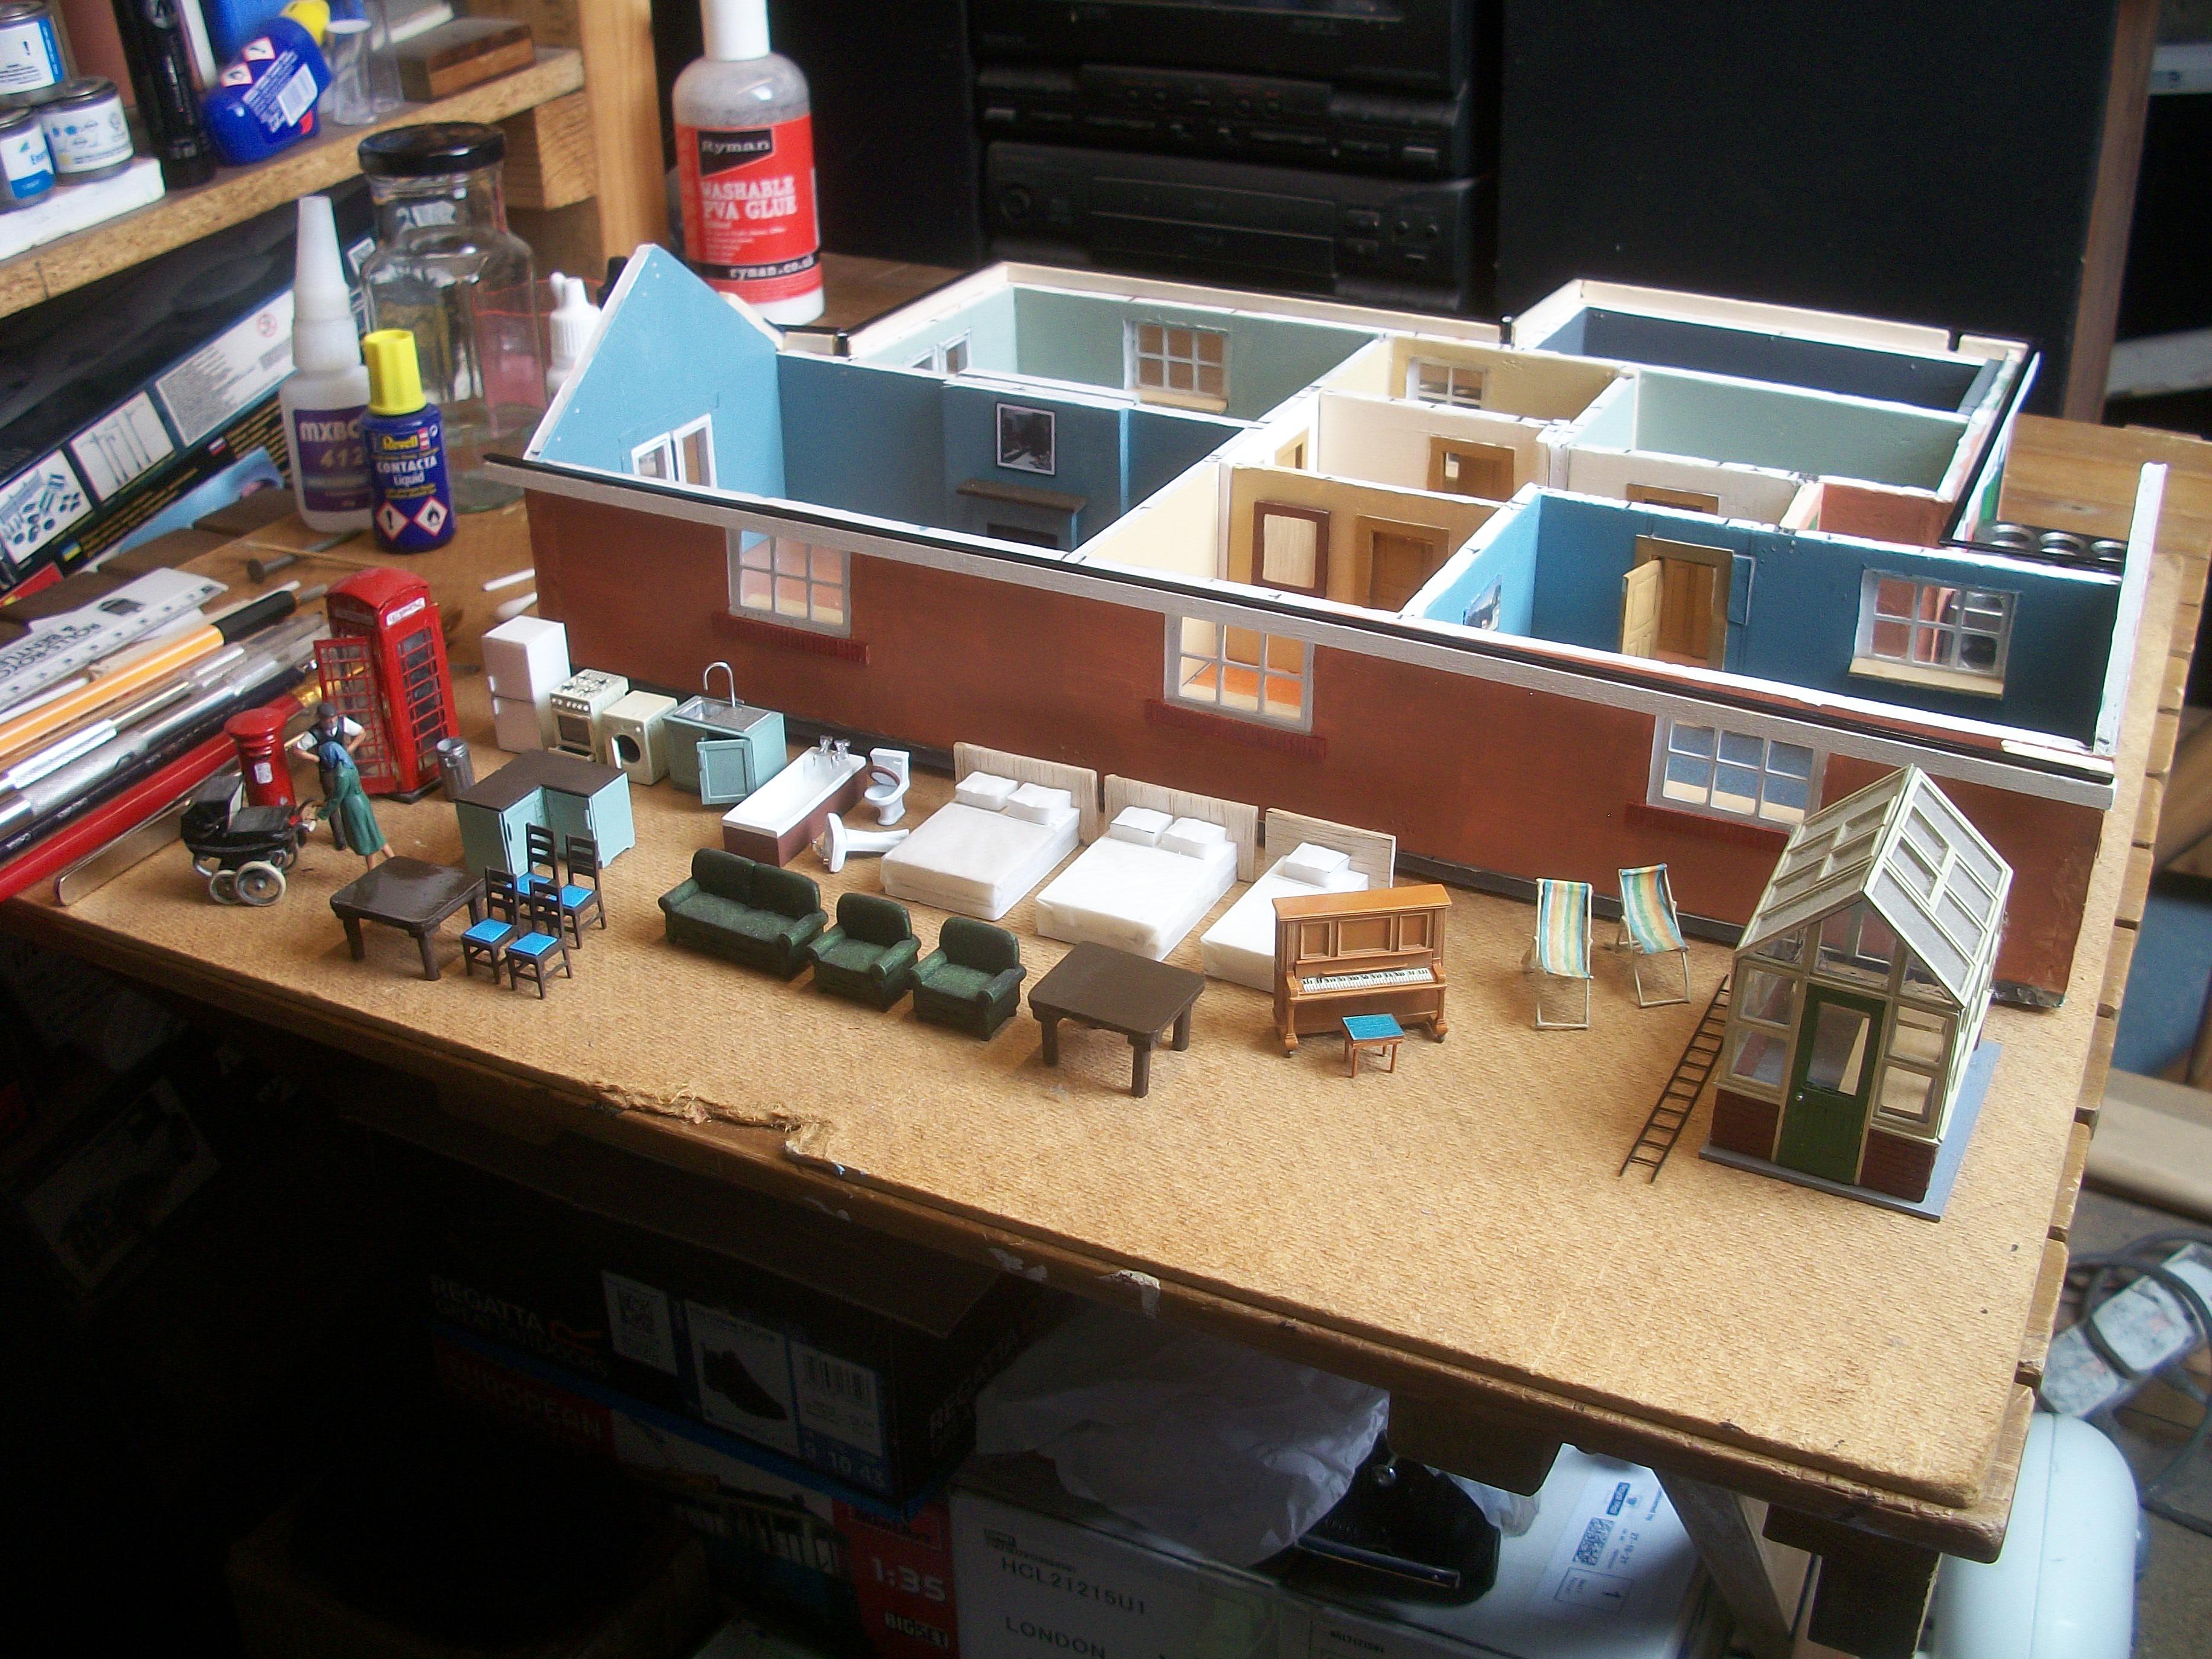
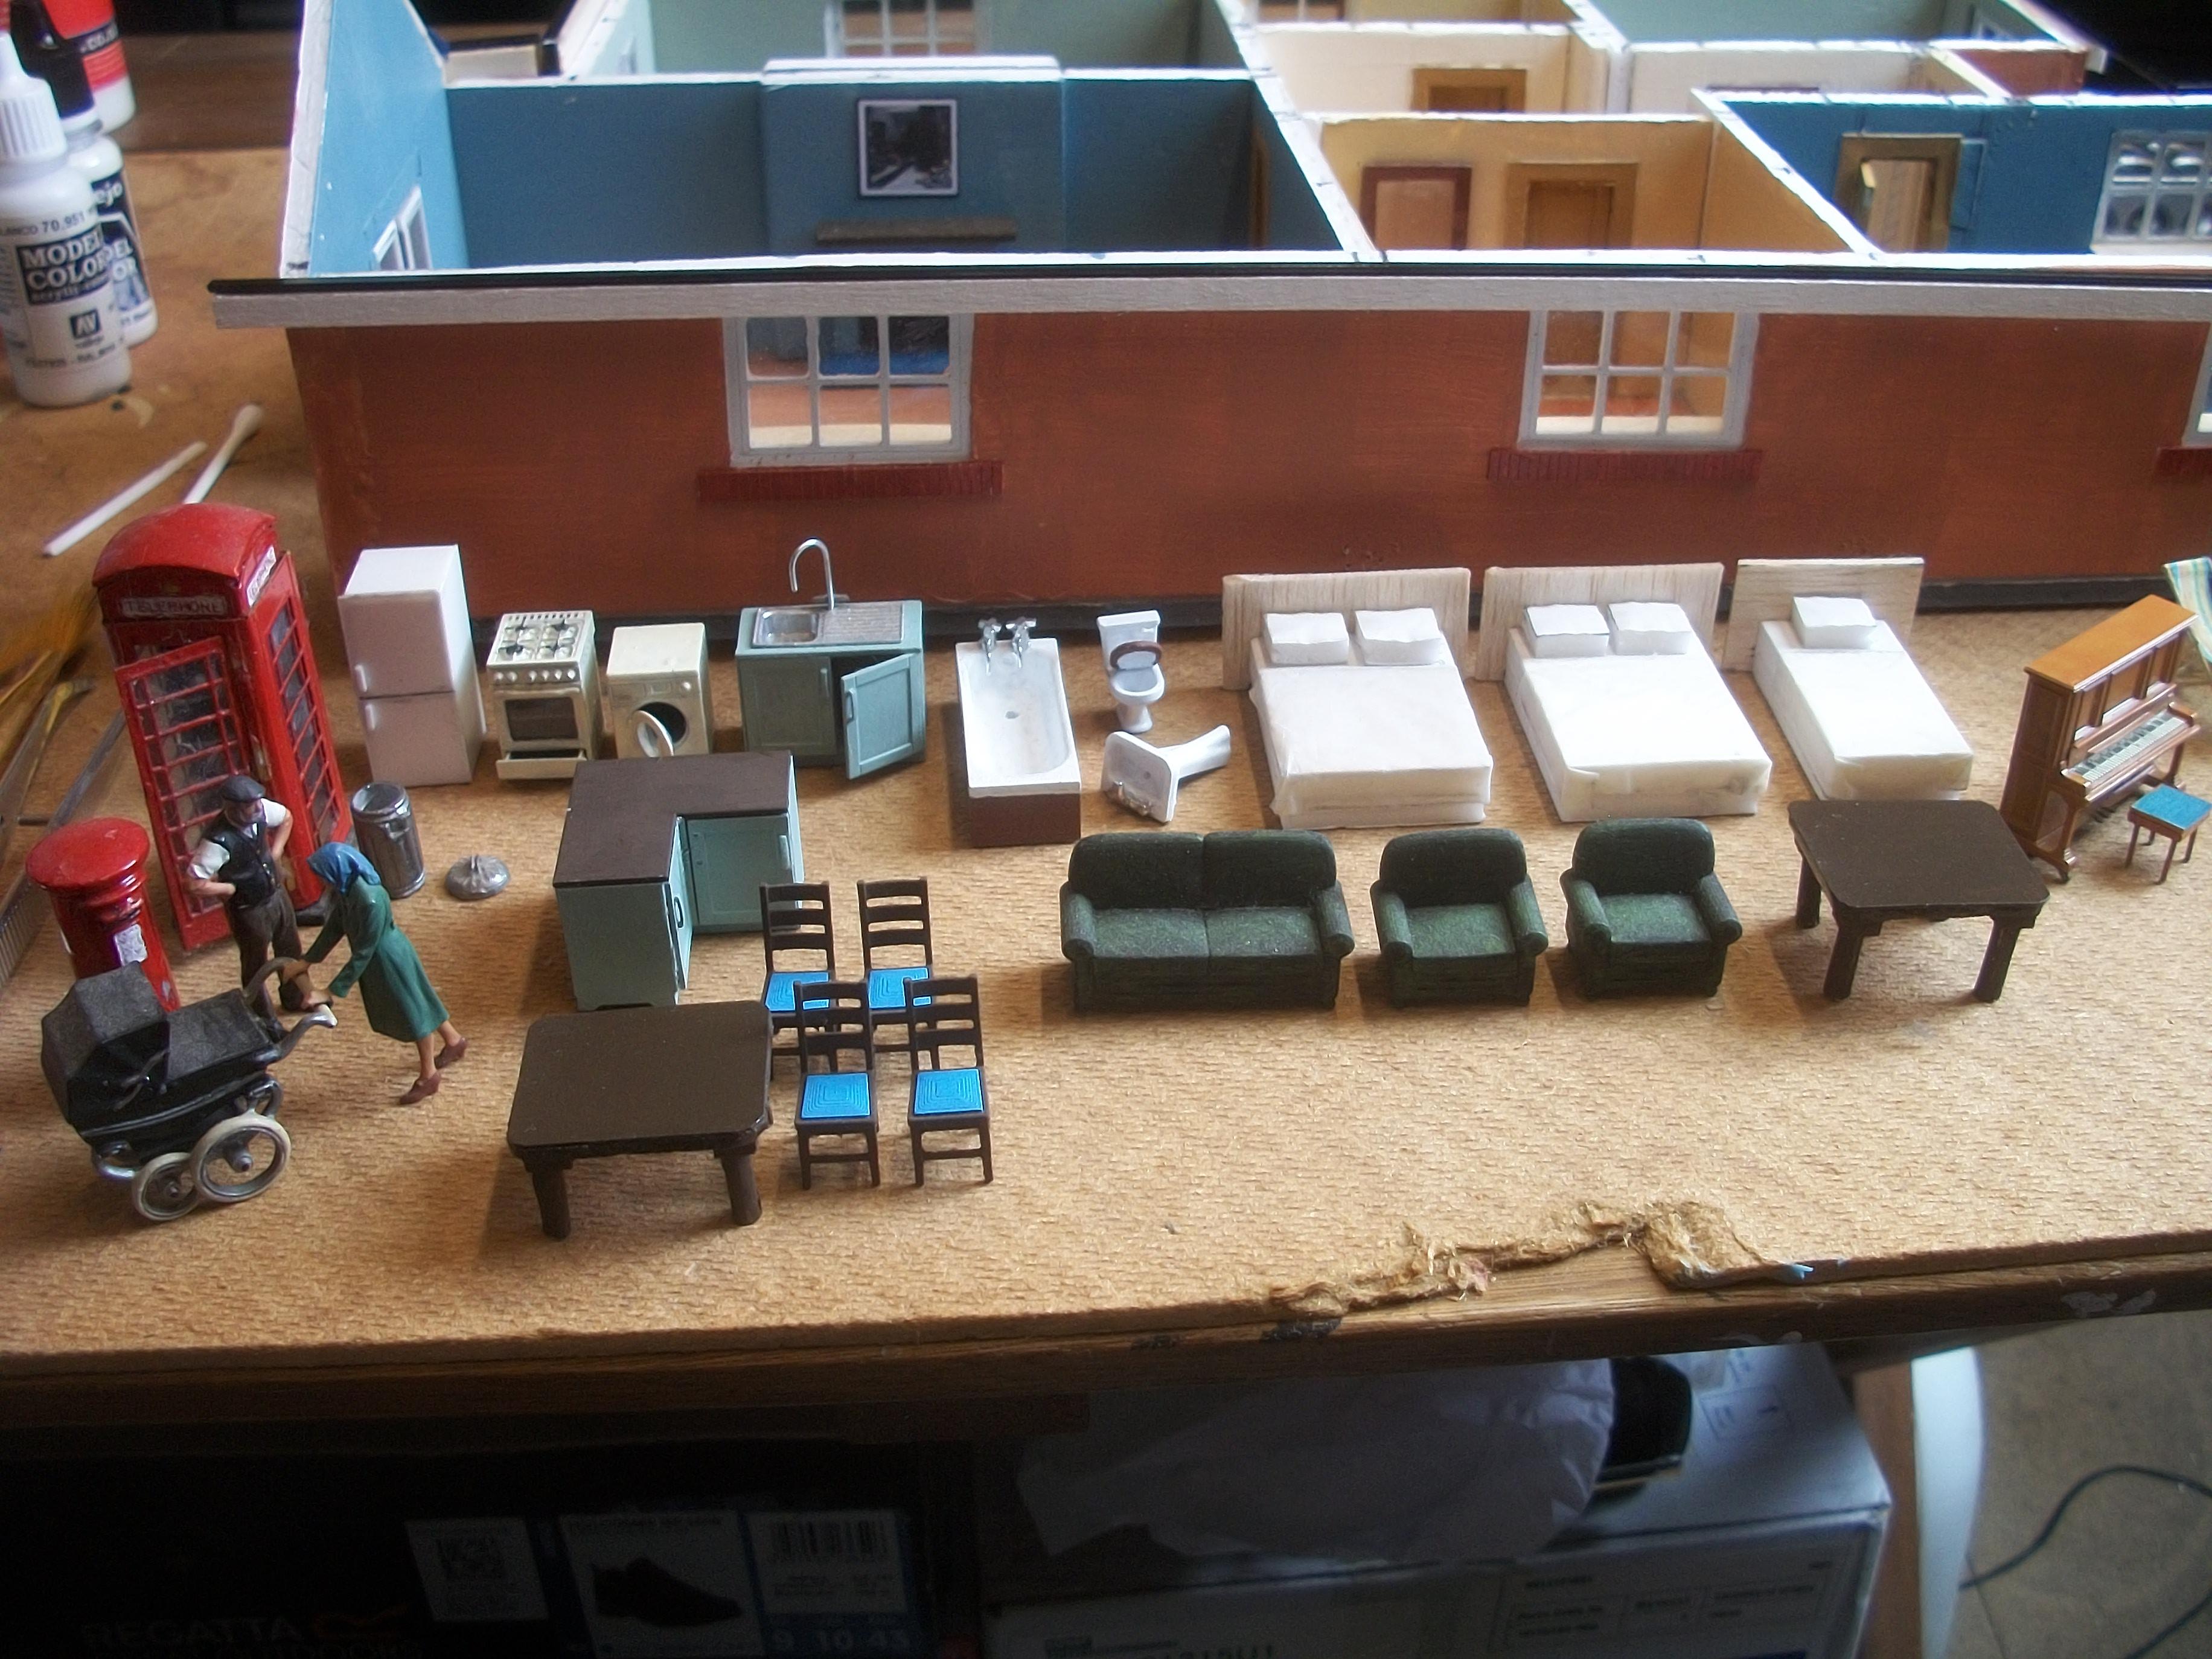
During today the furniture and fittings for the bungalow model were moved from the downstairs workbench, and upstairs to the workbench in the loft . . . These parts have all been assembled or scratch built and painted, ready to be placed in their respective rooms. Some parts are intended for outside locations, such as the greenhouse, deck chairs, post box (mail box), telephone box, dustbin (refuse bin) and ladder . . . The furniture and fittings have been loosely arranged inside each room, and so far I have super glued the fridge freezer to the floor and wall in the corner of the kitchen, as well as the wash basin in the bathroom . . . Having added some styrene support pads to the base of the chimney stack, this is now firmly glued in place on top of the roof, and it looks pretty good . . . David