Rocking Rodney Rat
-
Posts
1,995 -
Joined
-
Last visited
Content Type
Profiles
Forums
Events
Gallery
Everything posted by Rocking Rodney Rat
-
...and you have the skills to do it... -RRR
-
Very well done, indeed... -RRR
-
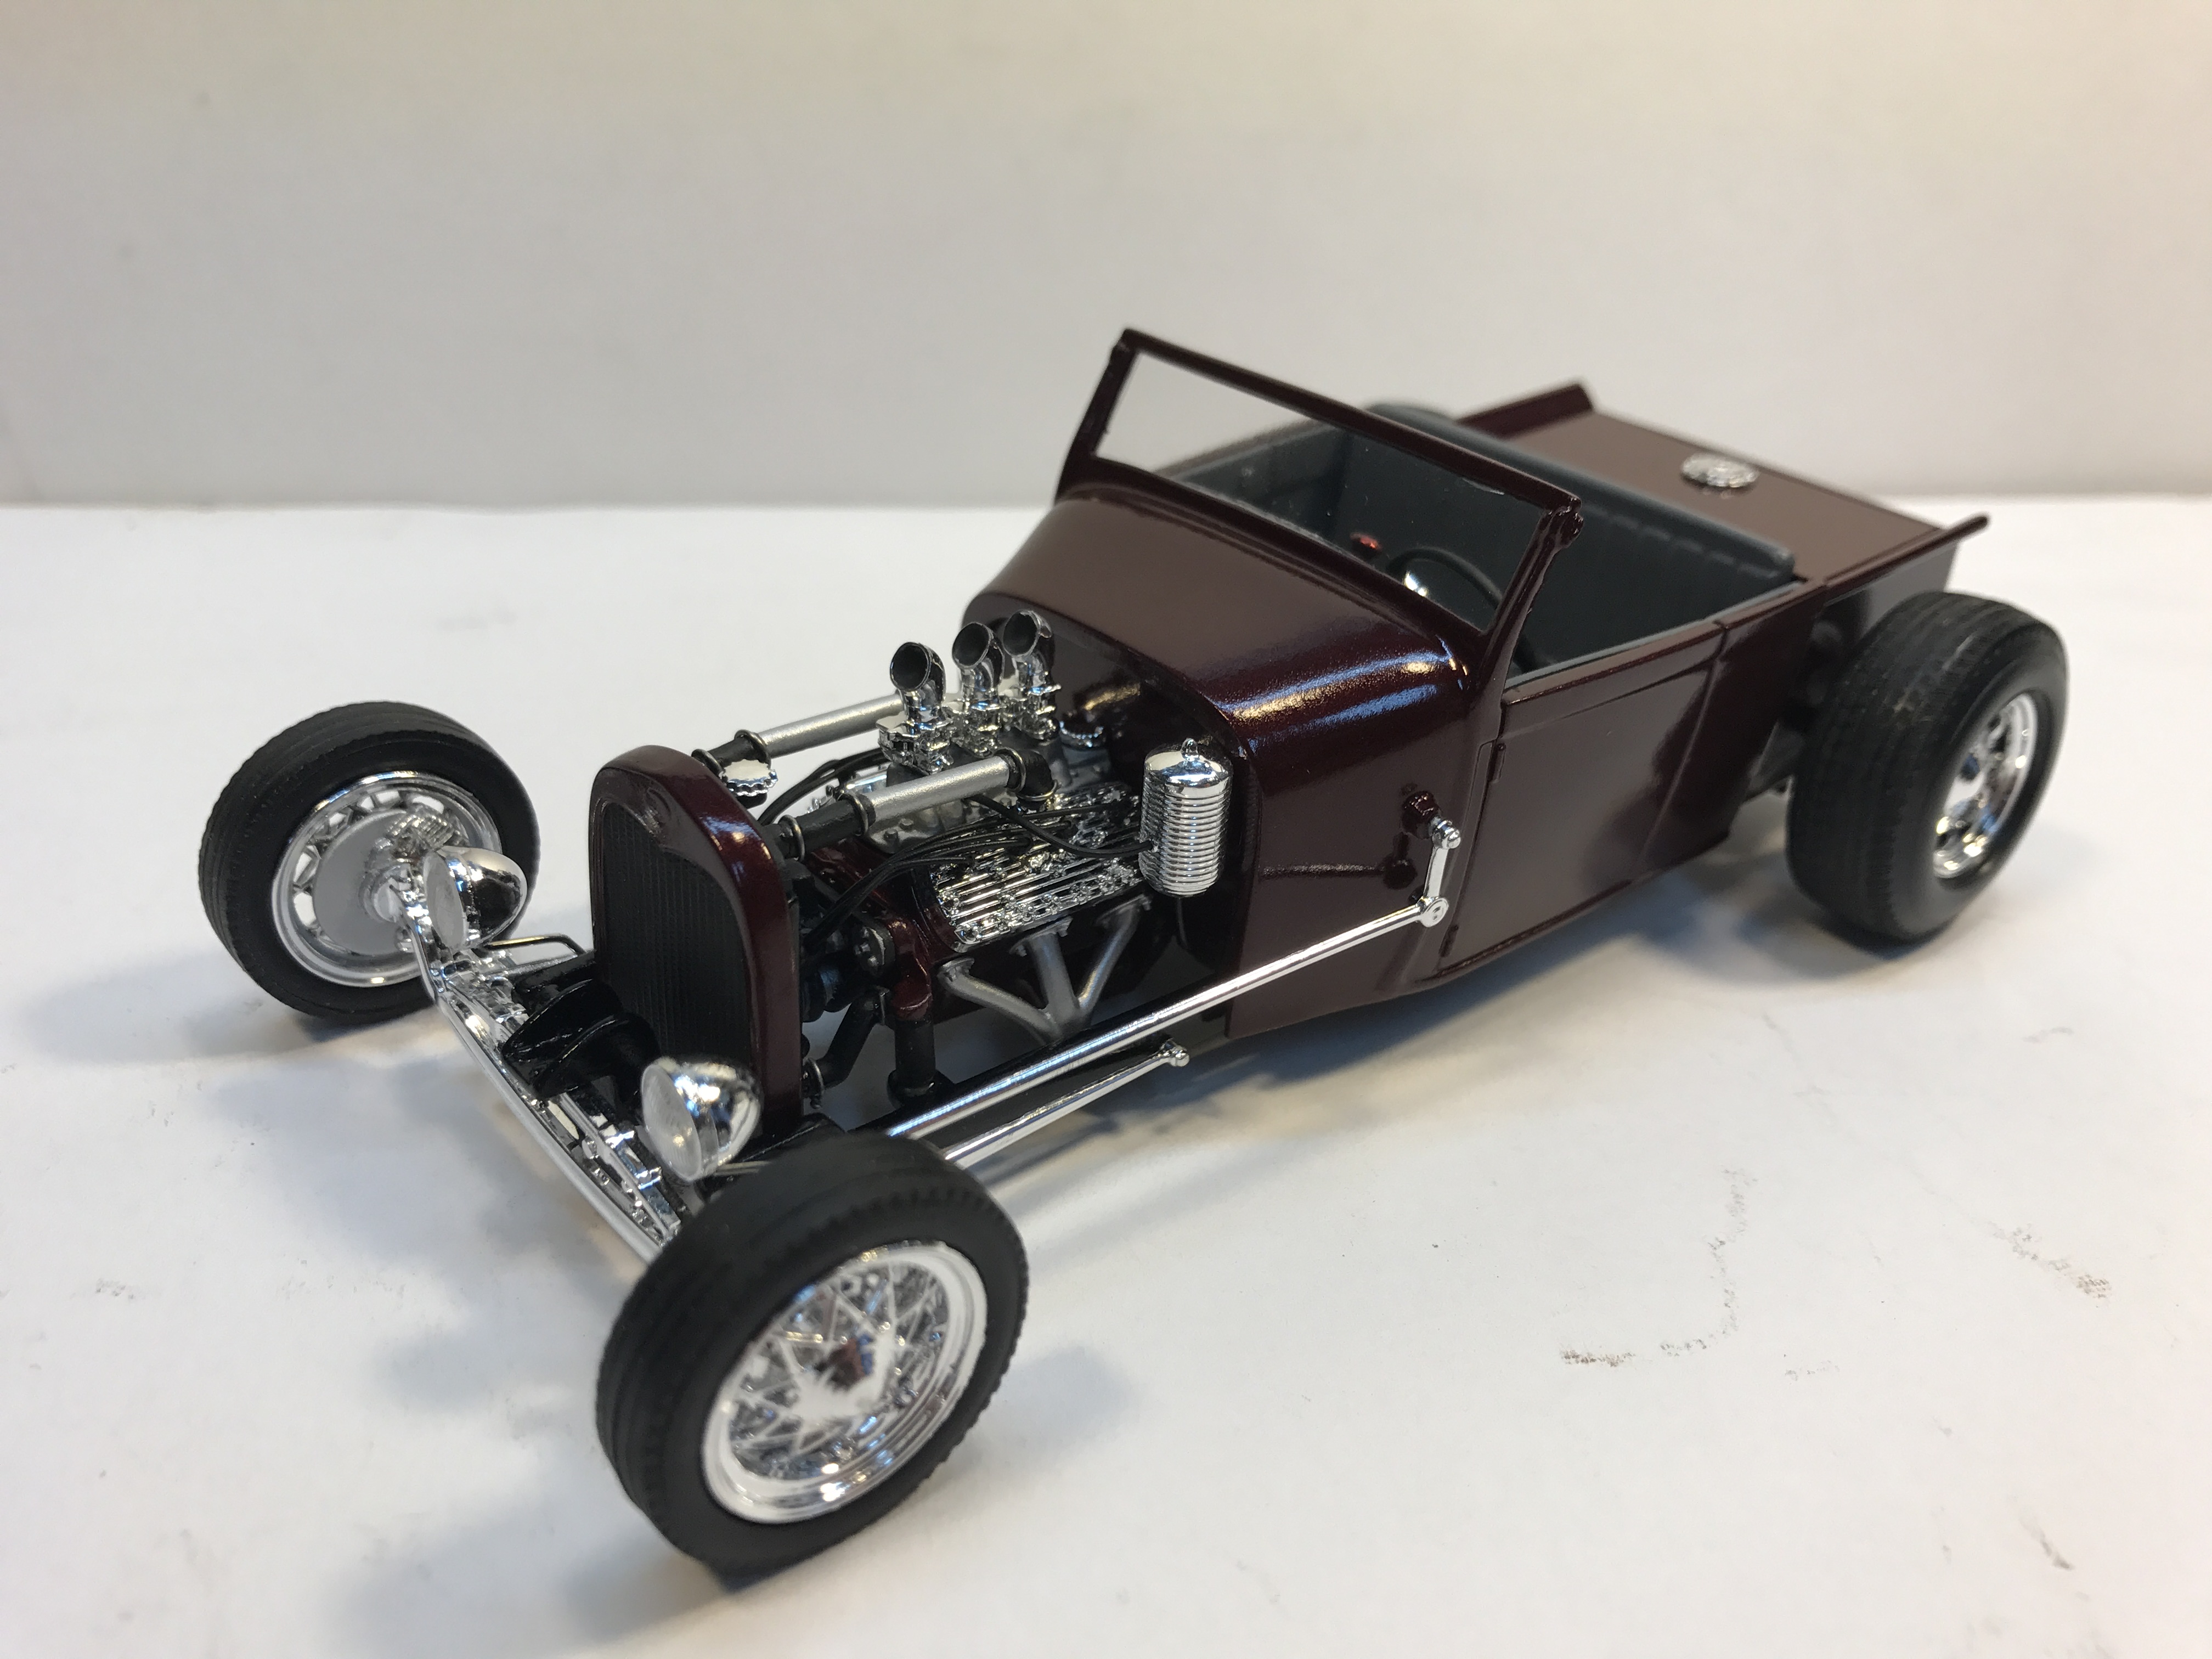
Thanks guys, I knew someone would ask about the paint. The frame is Tamiya black, the body paint is Duplicolor, no label on the can as to what color it is though, sorry... some shade of maroon/burgundy. It really pops in the sunlight, unfortunately, it's cloudy and rainy today.... -RRR
-

'29 Are Pee You -updated 11/25/17 -in primer
Rocking Rodney Rat replied to Rocking Rodney Rat's topic in WIP: Model Cars
Finished it: -

-
'29 Are Pee You -updated 11/25/17 -in primer
Rocking Rodney Rat replied to Rocking Rodney Rat's topic in WIP: Model Cars
Good to hear from you and thanks for the kind words, Tim. Next pix will be over on the Under Glass section as this puppy is all but done...stay tuned.... -RRR -
'29 Are Pee You -updated 11/25/17 -in primer
Rocking Rodney Rat replied to Rocking Rodney Rat's topic in WIP: Model Cars
Thanks, Greg. I'm looking forward to seeing what you come up with. Thumb through some of the albums on our fotki page here: http://public.fotki.com/jferren/ that have some step-by-step pix of how we do what we do. -RRR -
'29 Are Pee You -updated 11/25/17 -in primer
Rocking Rodney Rat replied to Rocking Rodney Rat's topic in WIP: Model Cars
The final assembly is fighting me a bit, taking it slow. The lower radiator hoses on a flathead are always the hardest parts to attach... -RRR -
'29 Are Pee You -updated 11/25/17 -in primer
Rocking Rodney Rat replied to Rocking Rodney Rat's topic in WIP: Model Cars
yeah, what KK said! -RRR -
'32 Channeled Nailhead Roadster UPDATED 11/7/18
Rocking Rodney Rat replied to Dennis Lacy's topic in WIP: Model Cars
I think it needs some KOLOR!!! -RRR -
All this talk about fruit is making me hungry.... -RRR
-
'32 Channeled Nailhead Roadster UPDATED 11/7/18
Rocking Rodney Rat replied to Dennis Lacy's topic in WIP: Model Cars
Looking real sweet there, ADL!! -RRR -
'29 Are Pee You -updated 11/25/17 -in primer
Rocking Rodney Rat replied to Rocking Rodney Rat's topic in WIP: Model Cars
-
"Yellow Jacket" Ford Competition Roadster
Rocking Rodney Rat replied to TooOld's topic in Model Cars
Super clean build of a funky old kit....well done!! -RRR -
As everyone has said, this is off the rails!!! Thanks for sharing, this put a huge smile on my face... your execution is flawless. Very clean build.... -RRR
-
'29 Are Pee You -updated 11/25/17 -in primer
Rocking Rodney Rat replied to Rocking Rodney Rat's topic in WIP: Model Cars
Thanks, guys!! It's off to the paint booth now...stay tuned... -RRR -
'29 Are Pee You -updated 11/25/17 -in primer
Rocking Rodney Rat replied to Rocking Rodney Rat's topic in WIP: Model Cars
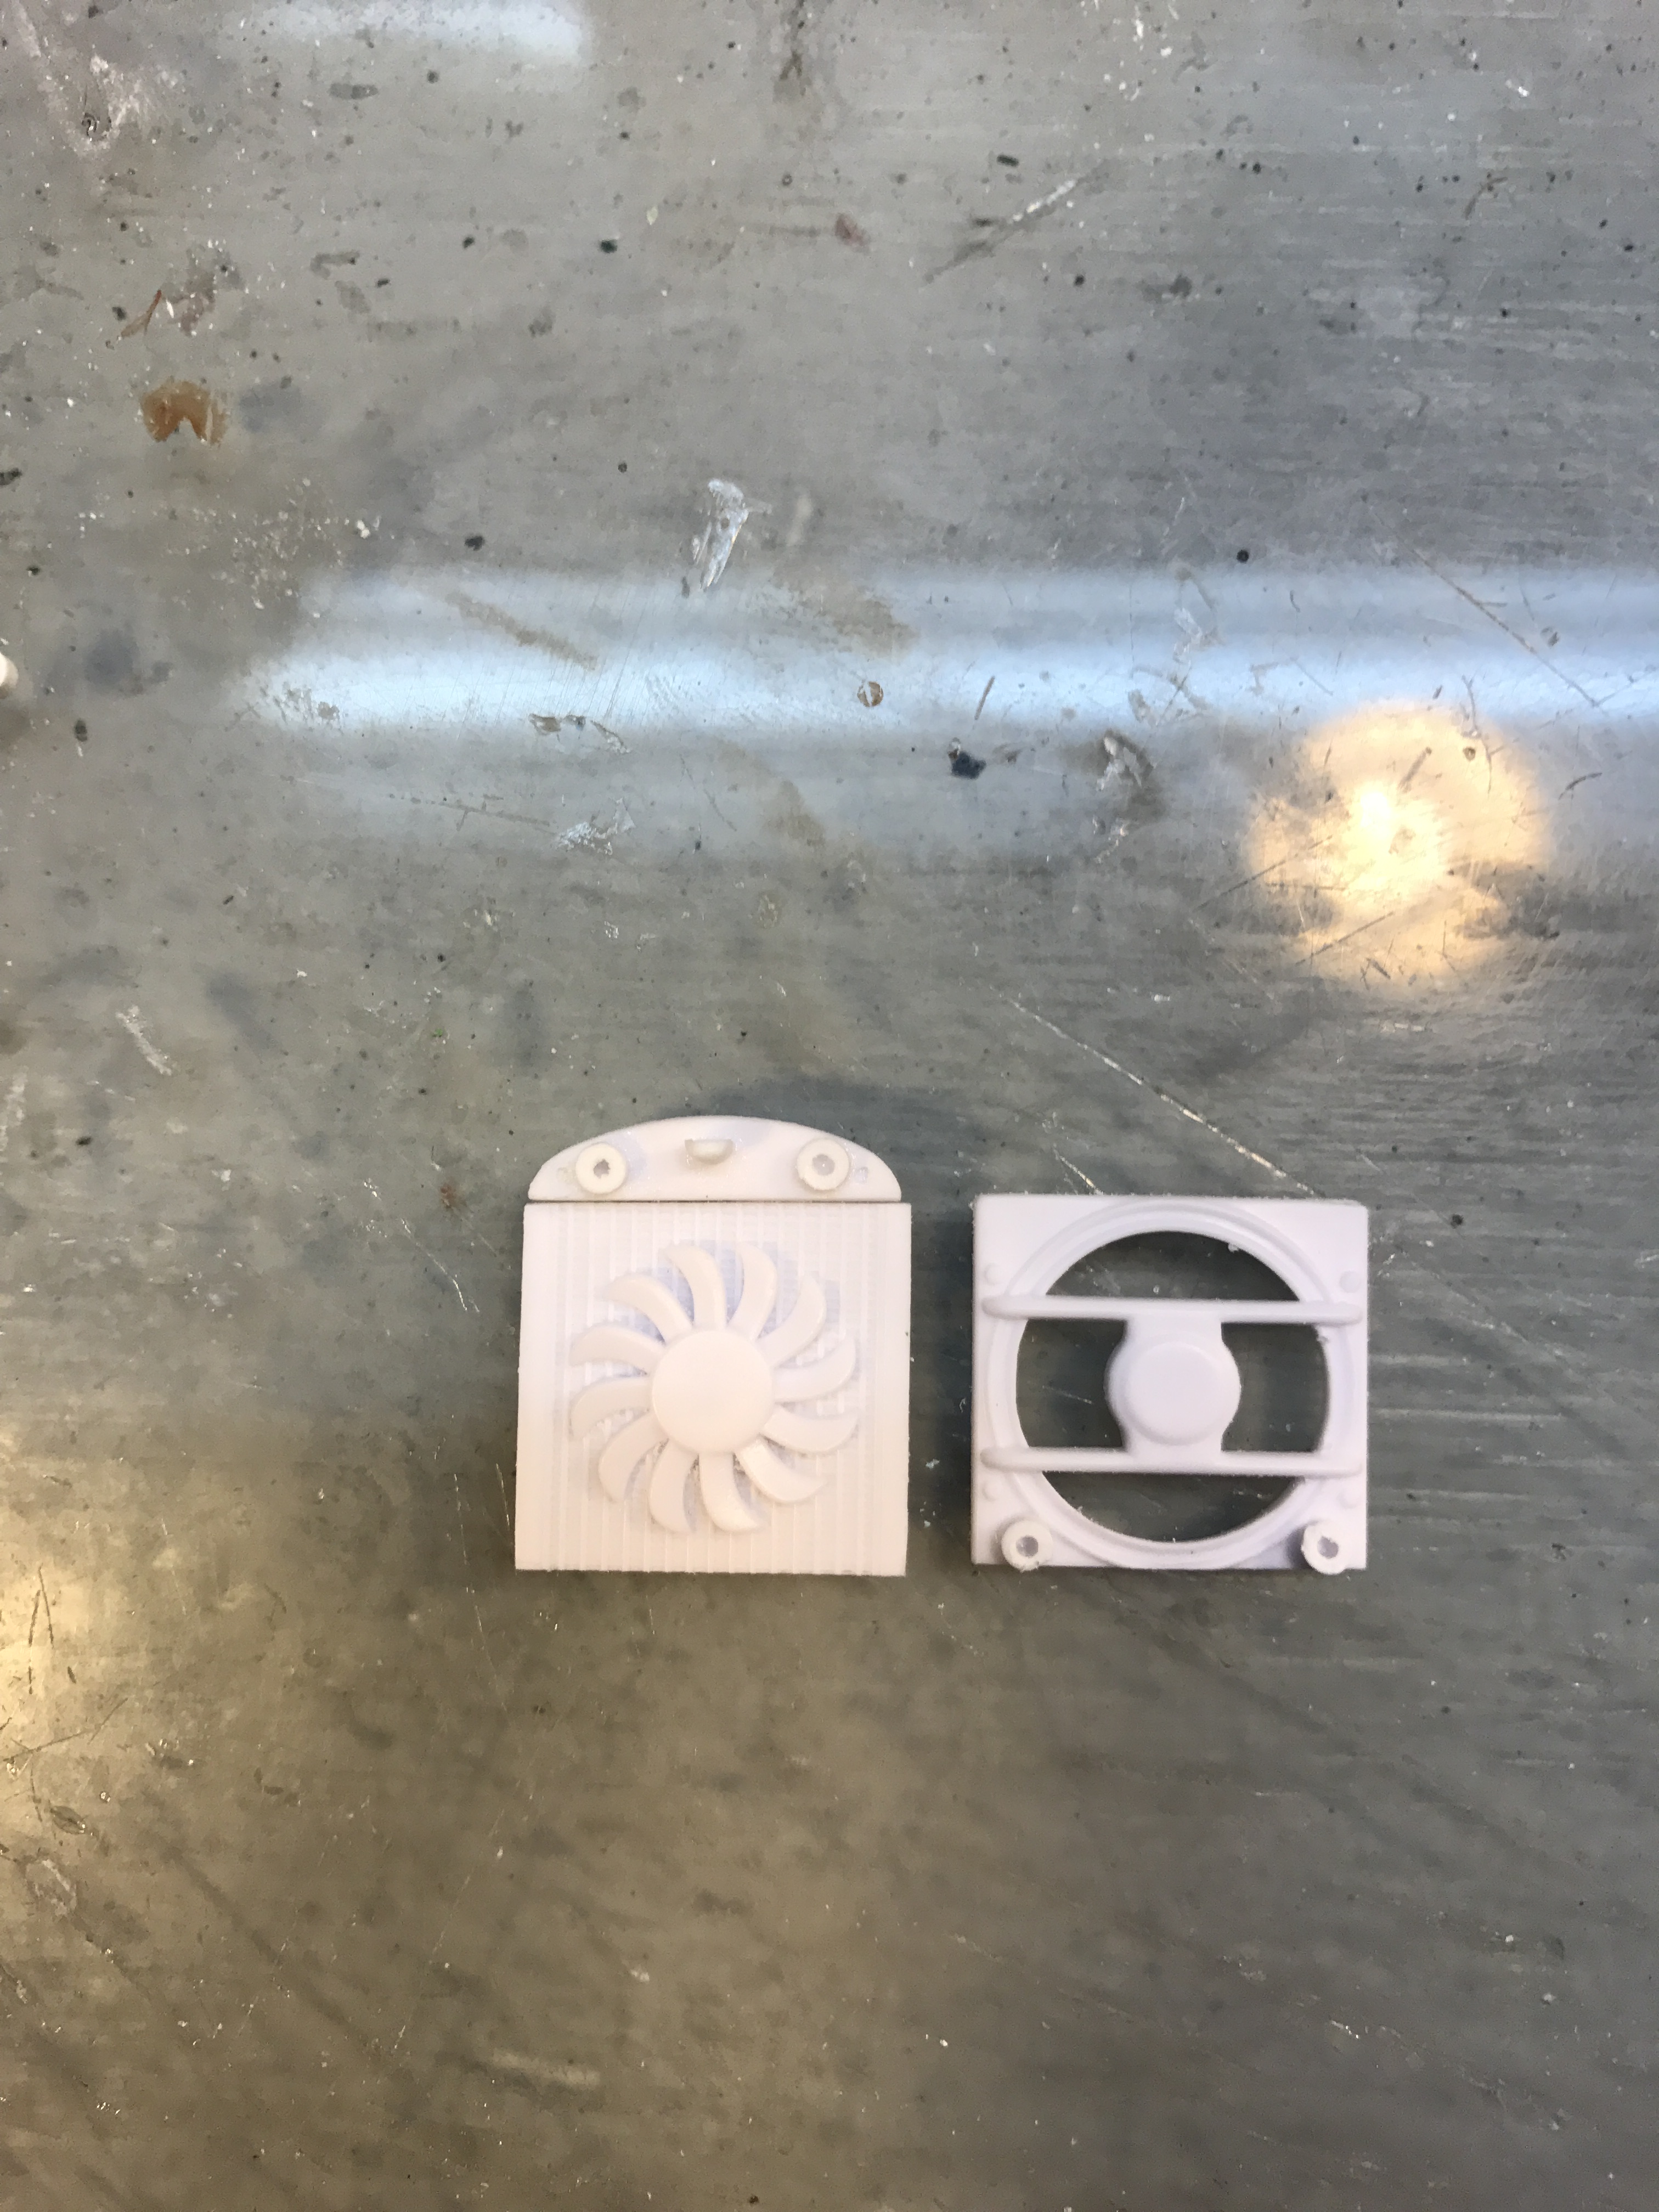
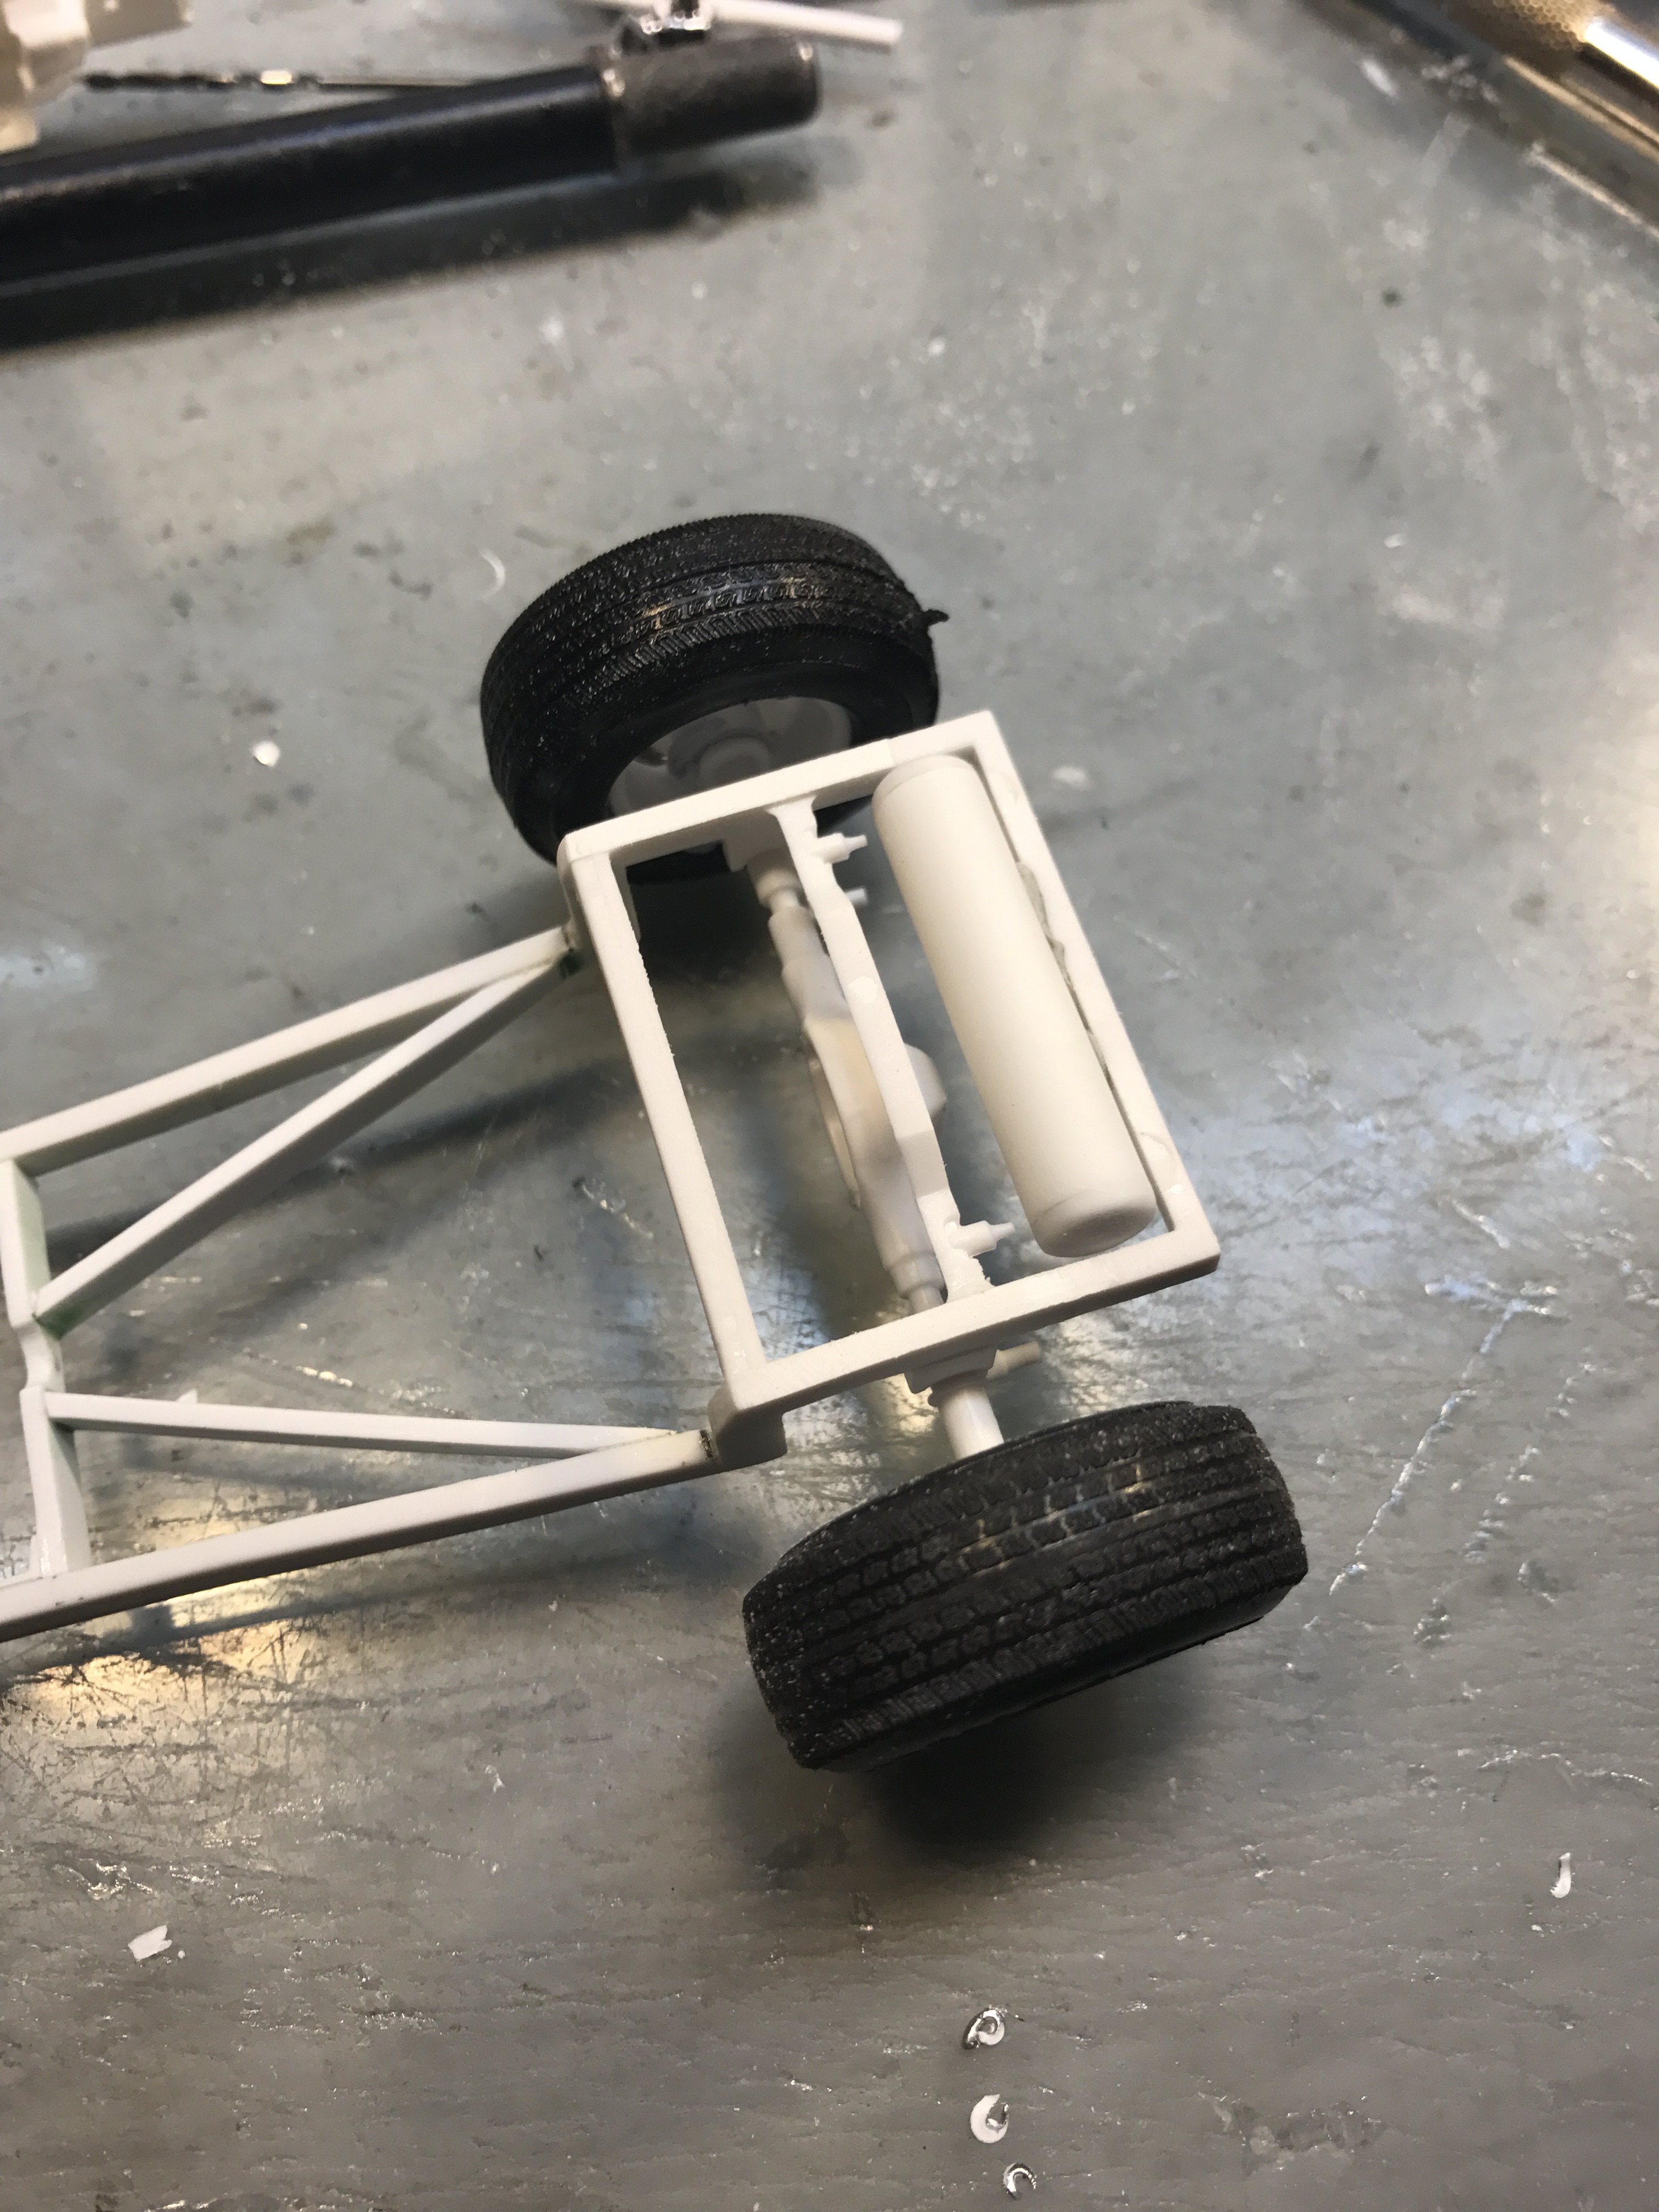
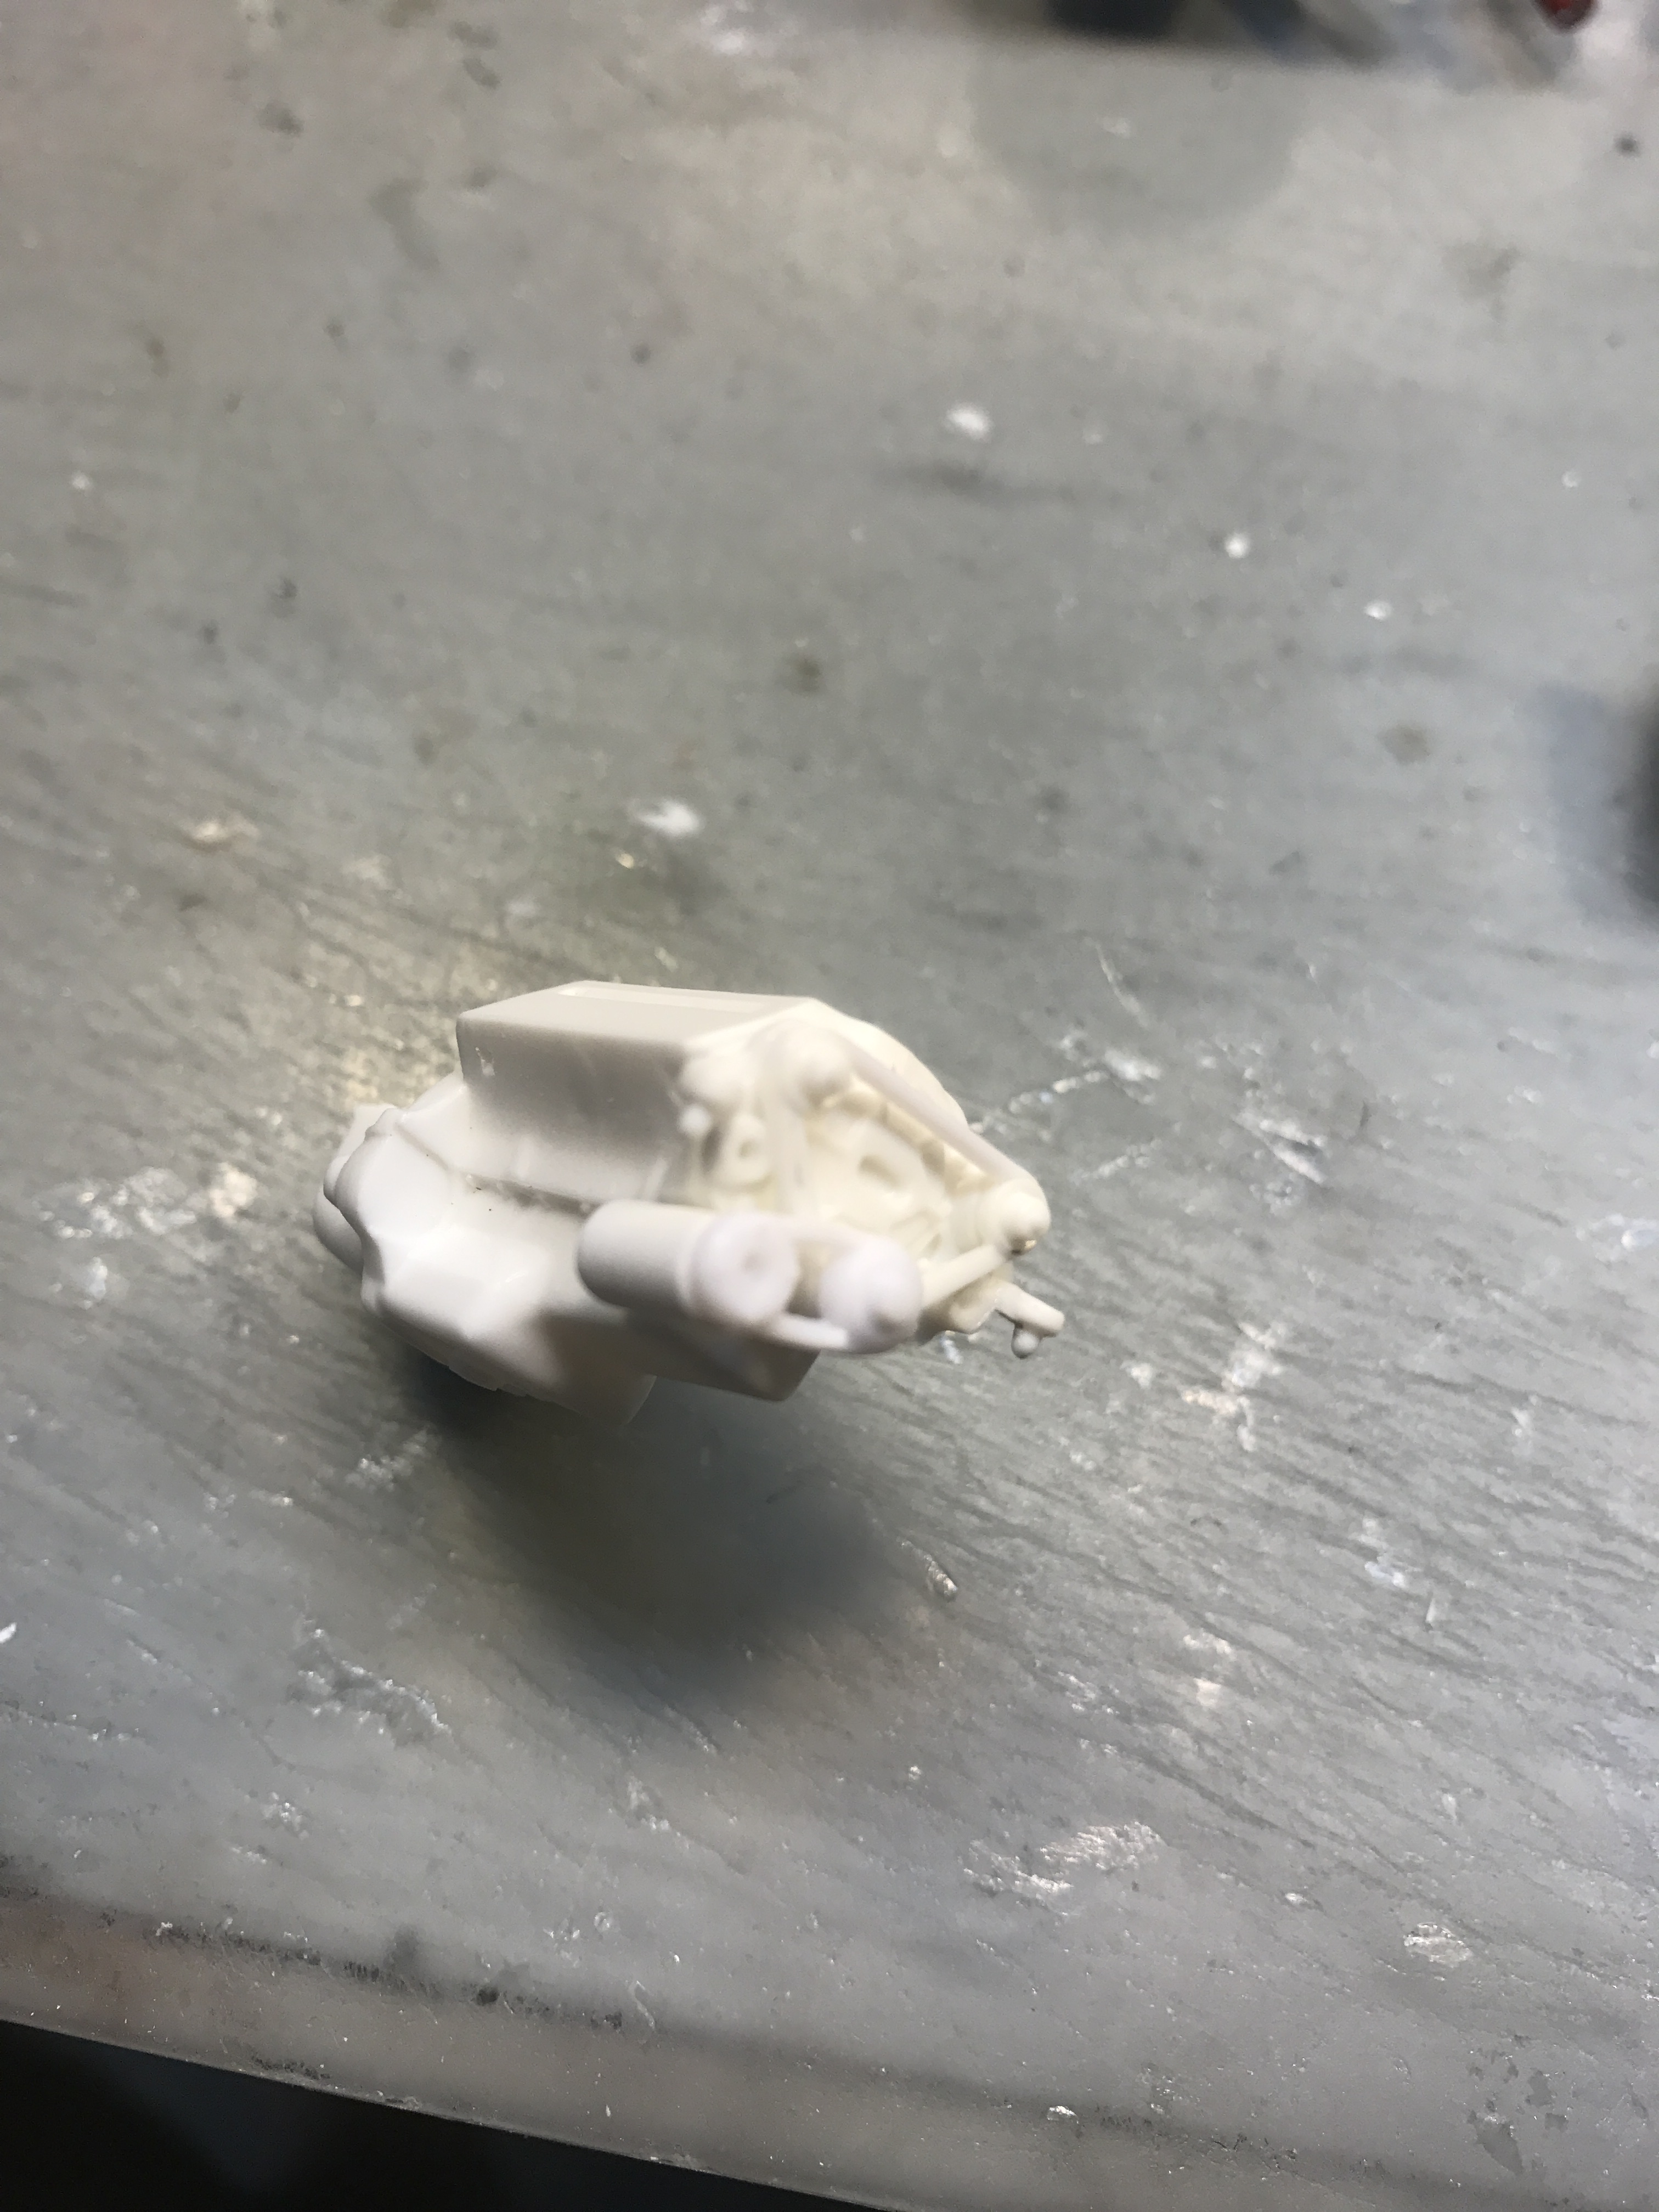
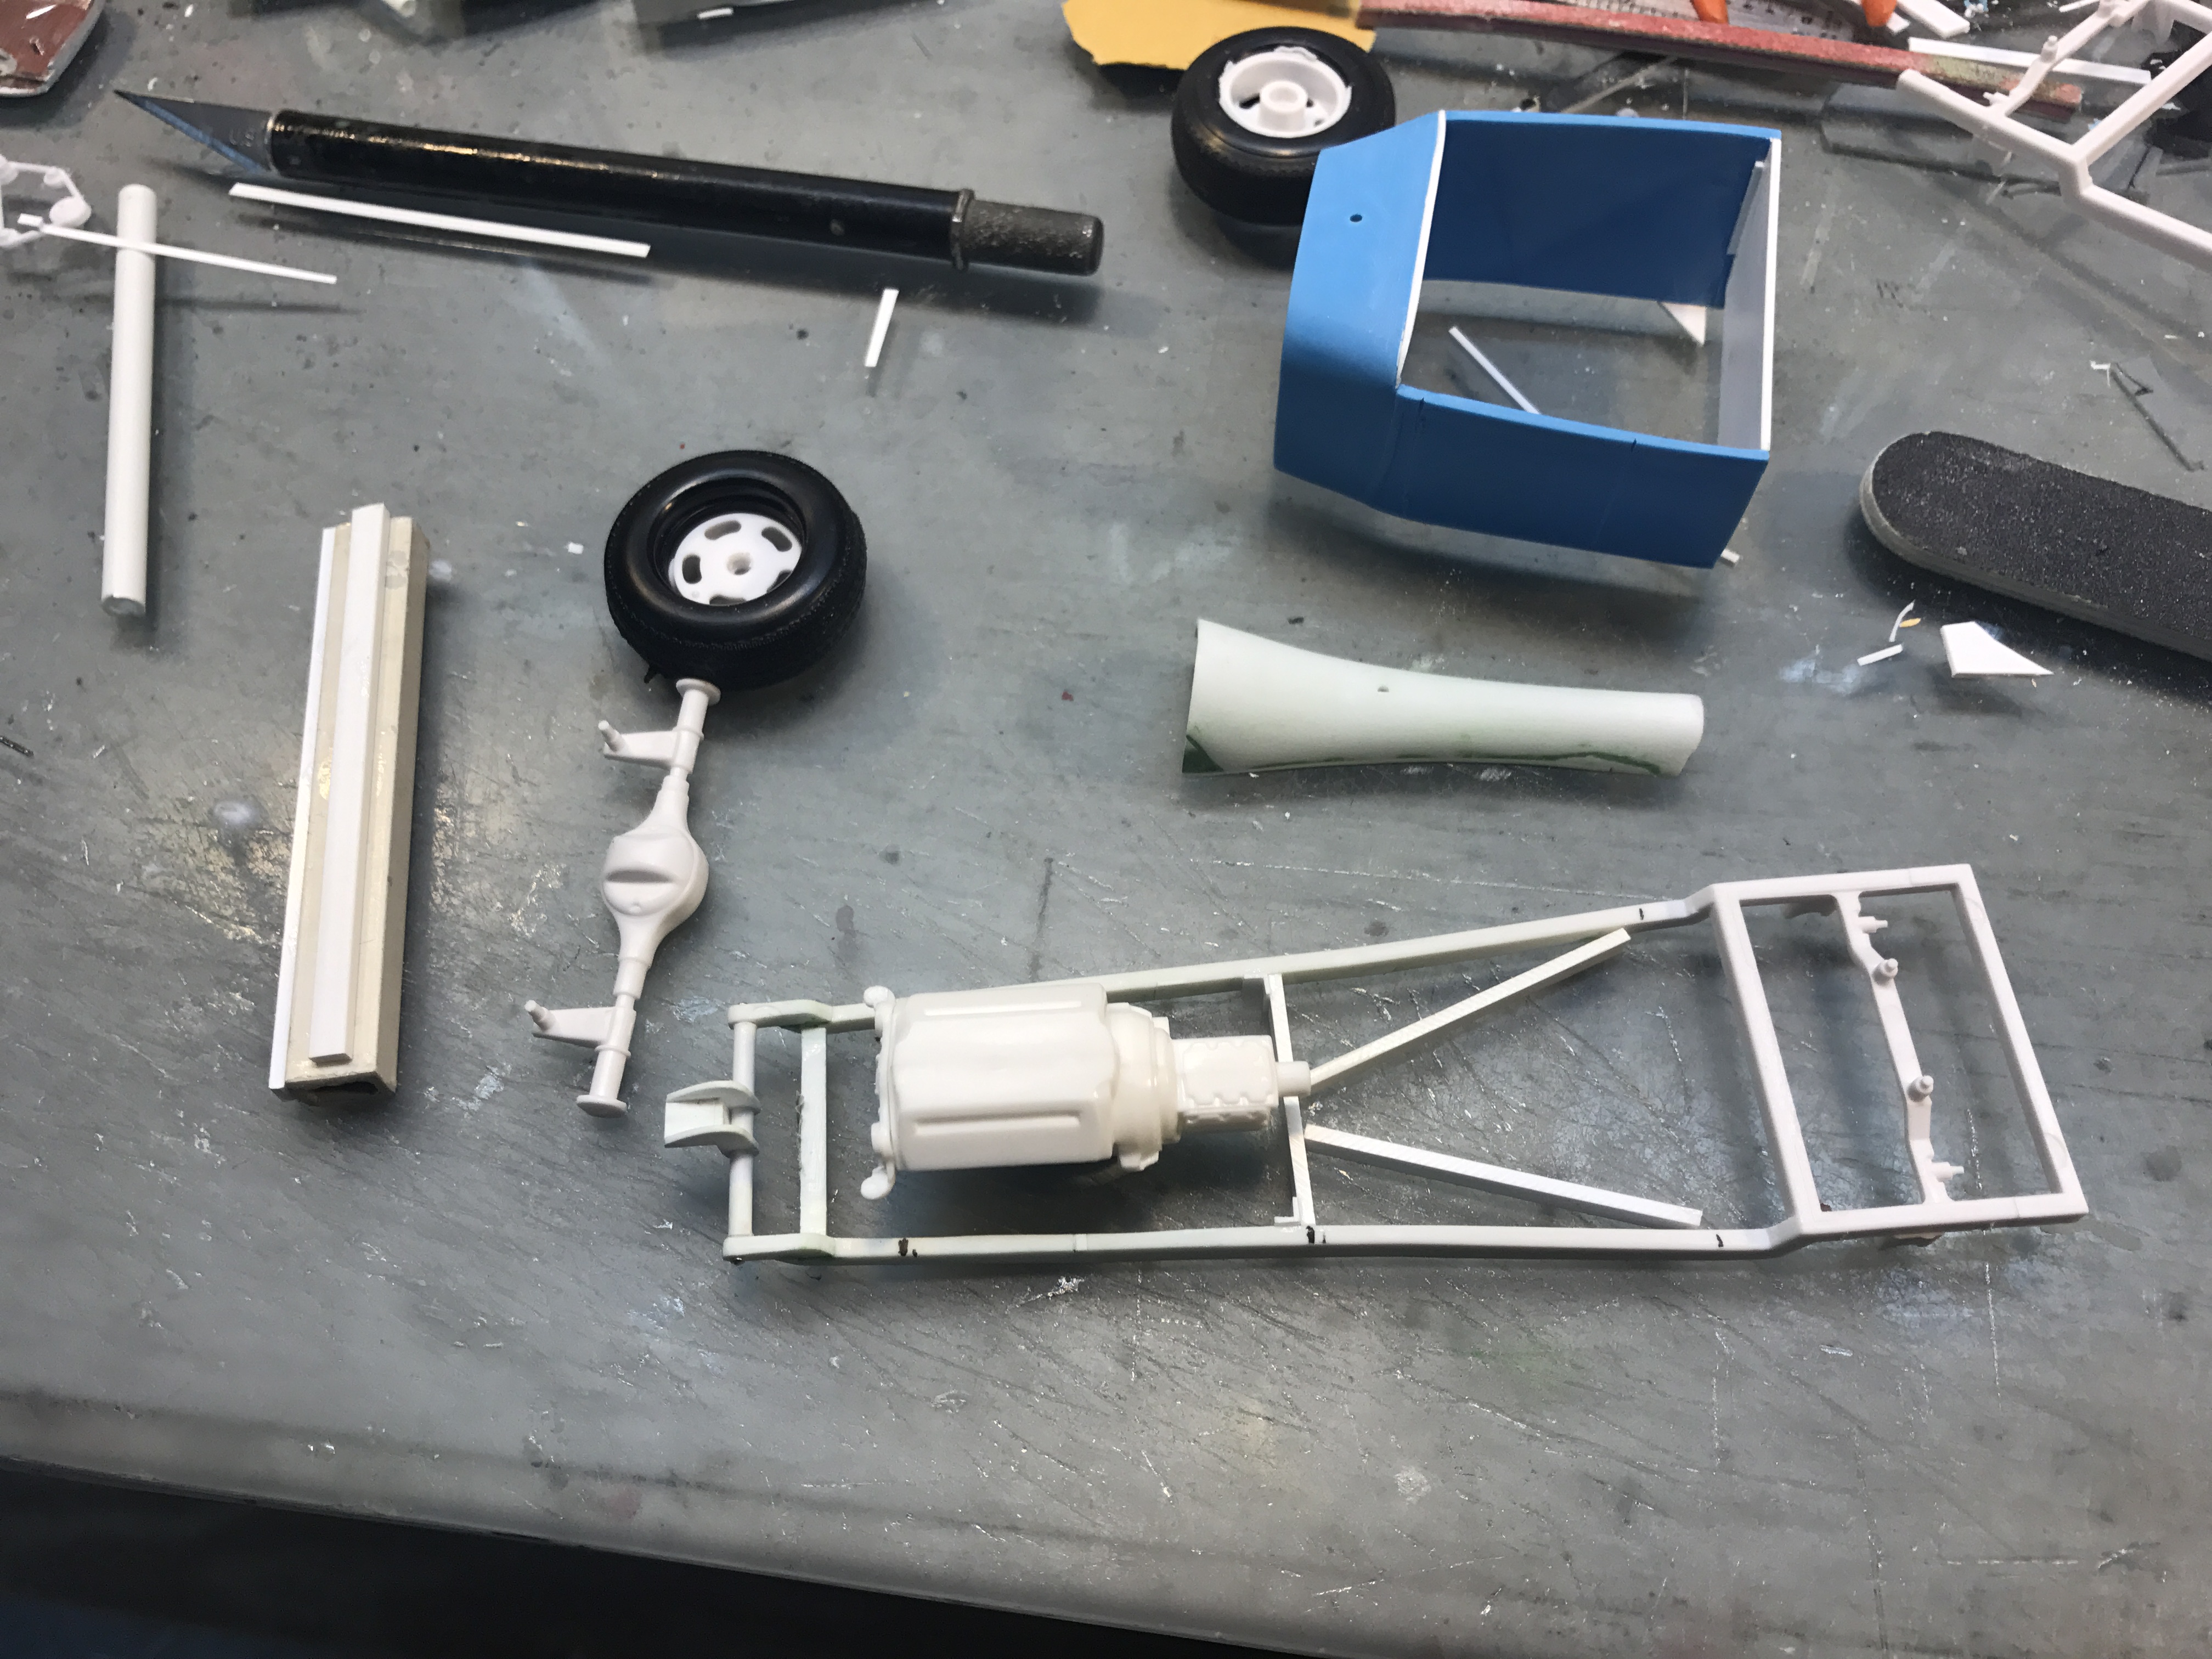
Another update, campers. I'm now doing all the "fiddly bits" as our friend Bryce from Oz would say.... Radiator: from the Revell 'Rat Roaster' 1932 roadster. I cut it down to fit the Model A shell and added top and bottom water hose inlets/outlets for the flat motor. Driveshaft.... Gas tank, made from a length of Evergreen tube styrene with Ford dog dish hubcaps glued on each and and sanded down... Belt and pulley assembly. Sorry this pic is a bit unclear...the problem with using a side mounted generator (necessary with three two barrel carbs as center mounted generator will interfere with the front carb) with a small car and a raised engine is that the generator on the side interferes with the passenger side upper radiator hose. I snipped that section off and made the pulley/belt assembly a triangle. I then added an additional belt/pulley assembly to mount the generator low on the side of the engine... Interior door/side panels. Made from Evergreen sheets, simple but effective... Exhaust.... I'm in the home stretch.... Next up is to chop and attach the windshield/dash to the body. I saved this for last so as not to have it "in the way" and possibly get damaged while other work was going on...gobble, gobble, y'all... -RRR
-
Chopped 'n' Dropped Deuce Highboy - Updated 11-28
Rocking Rodney Rat replied to Bernard Kron's topic in WIP: Model Cars
Looking lean and mean, B..... -RRR -
'32 Channeled Nailhead Roadster UPDATED 11/7/18
Rocking Rodney Rat replied to Dennis Lacy's topic in WIP: Model Cars
It's not easy to make a channeled '32 roadster look right, but I do believe you are on the righteous path to find nirvava with this one! Have you already used the more chopped windshield out of the rat roaster? -RRR -
'29 Are Pee You -updated 11/25/17 -in primer
Rocking Rodney Rat replied to Rocking Rodney Rat's topic in WIP: Model Cars
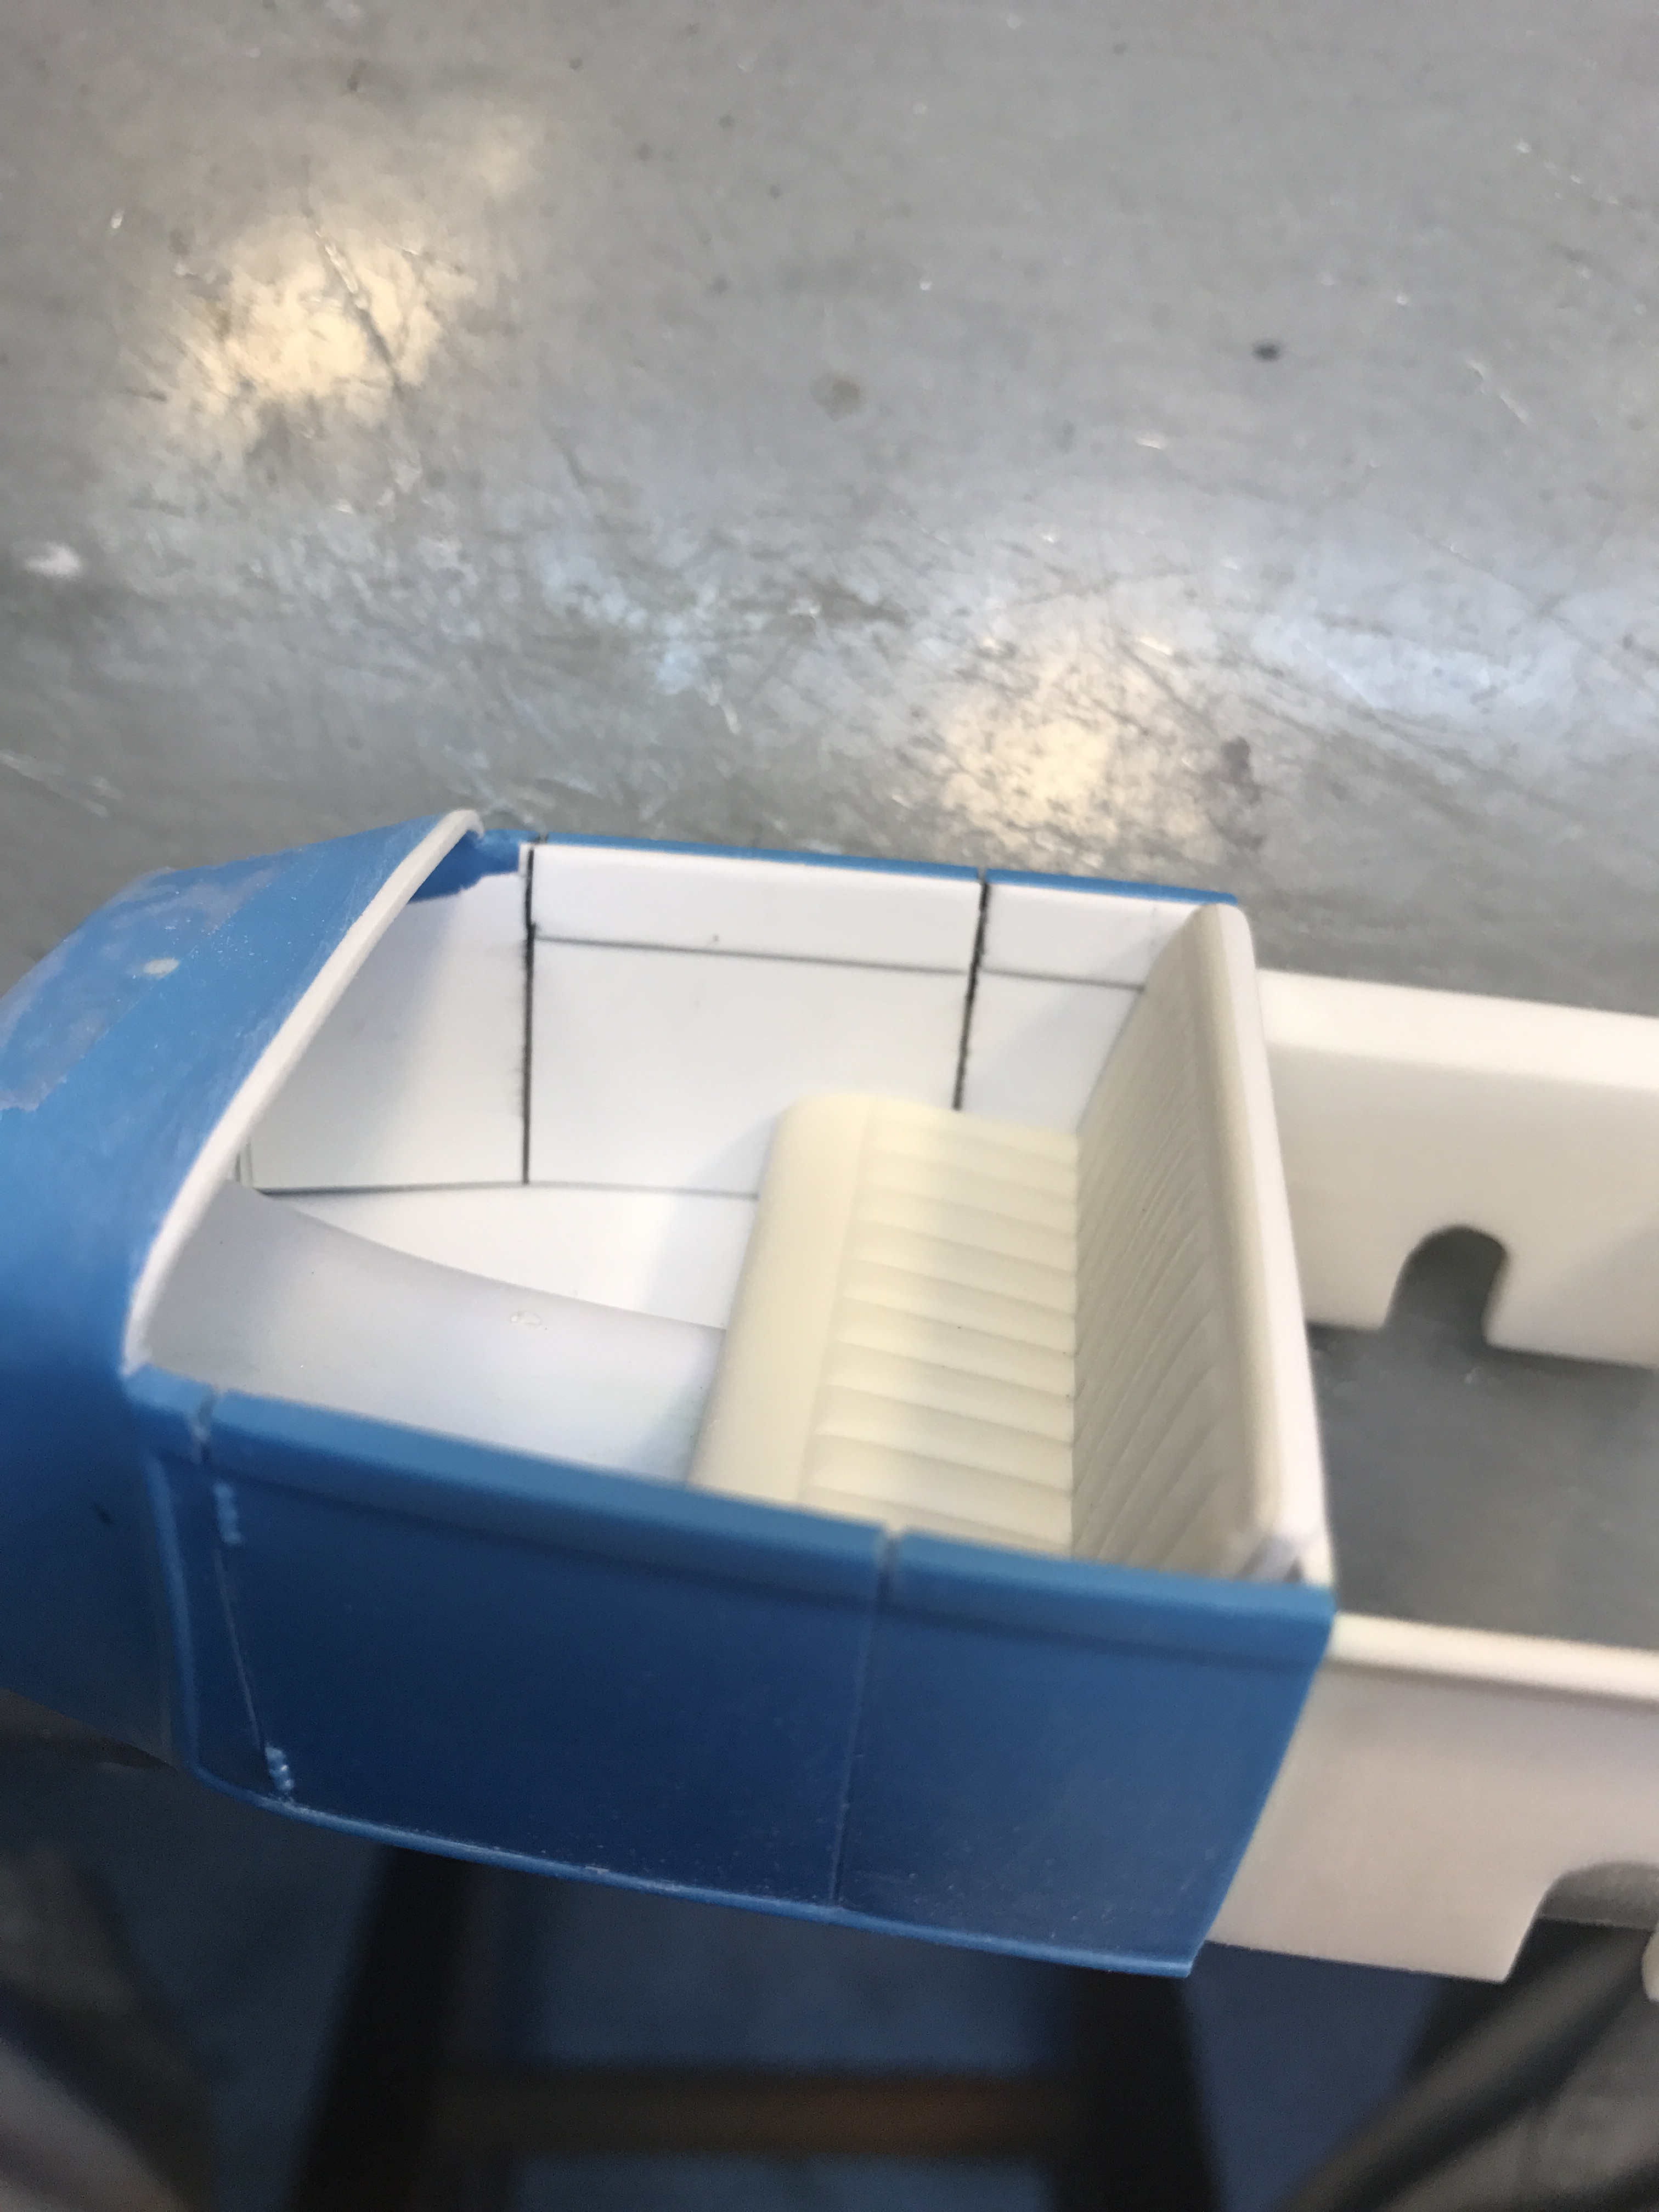
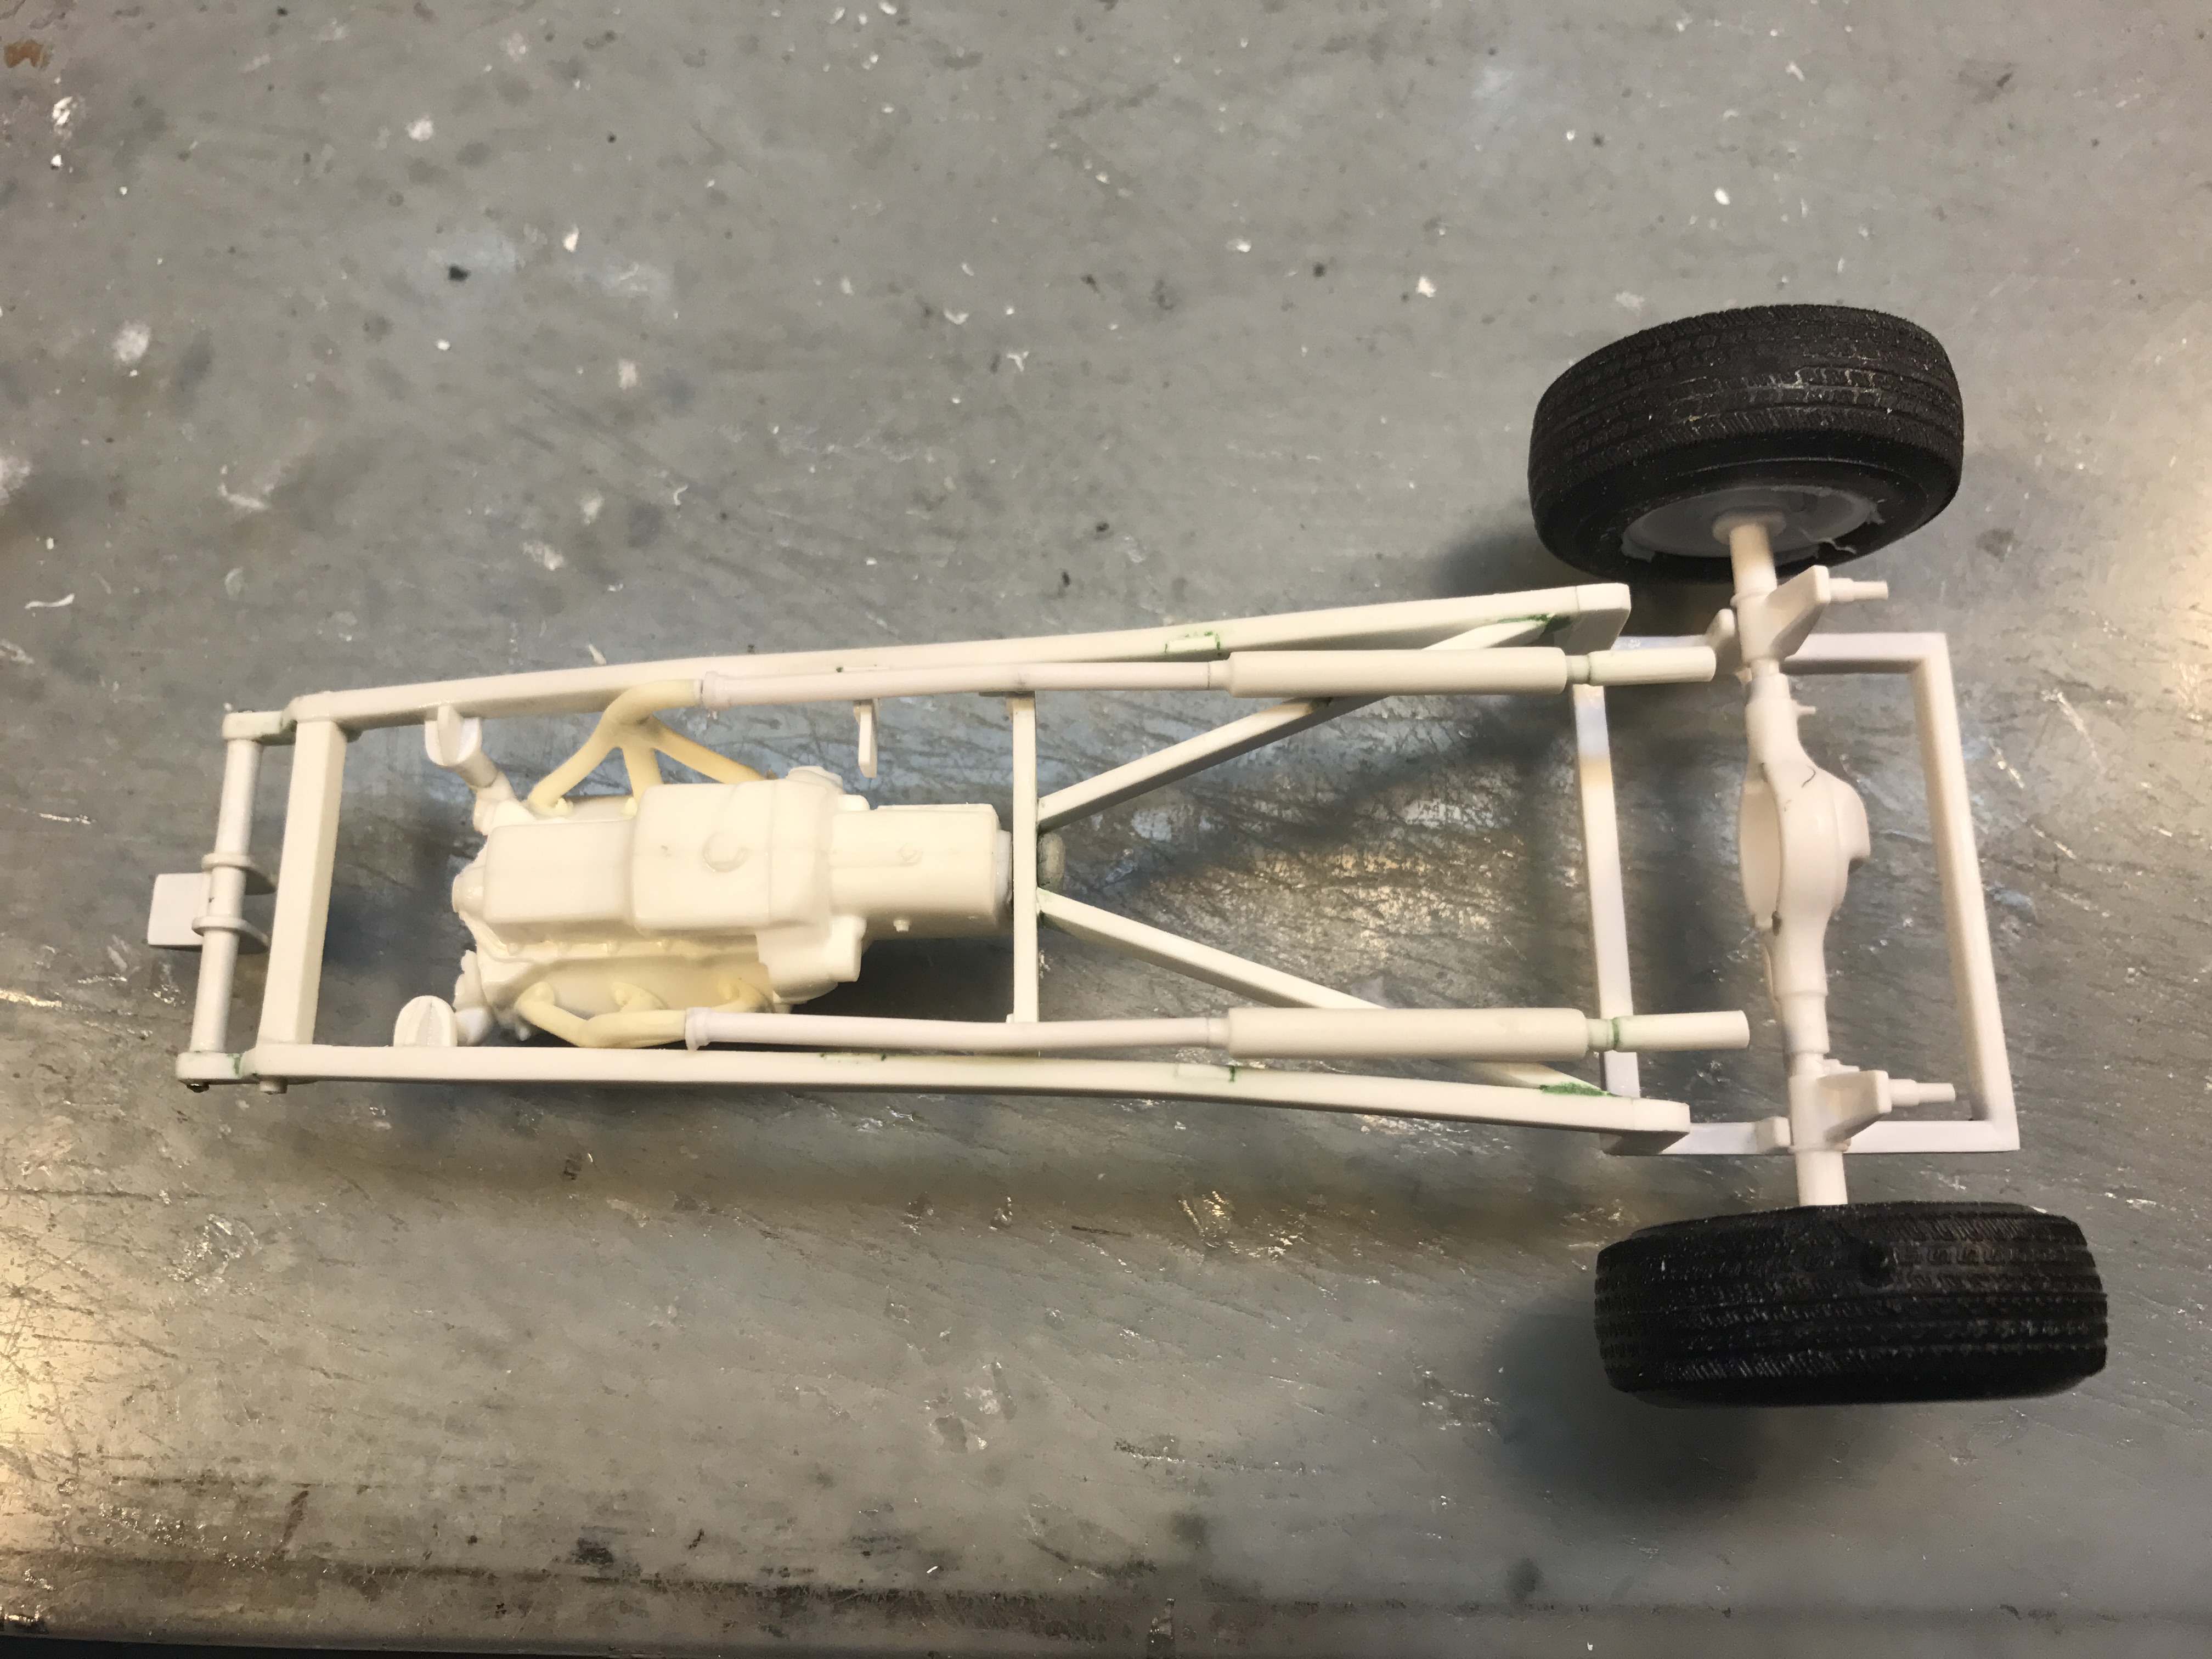
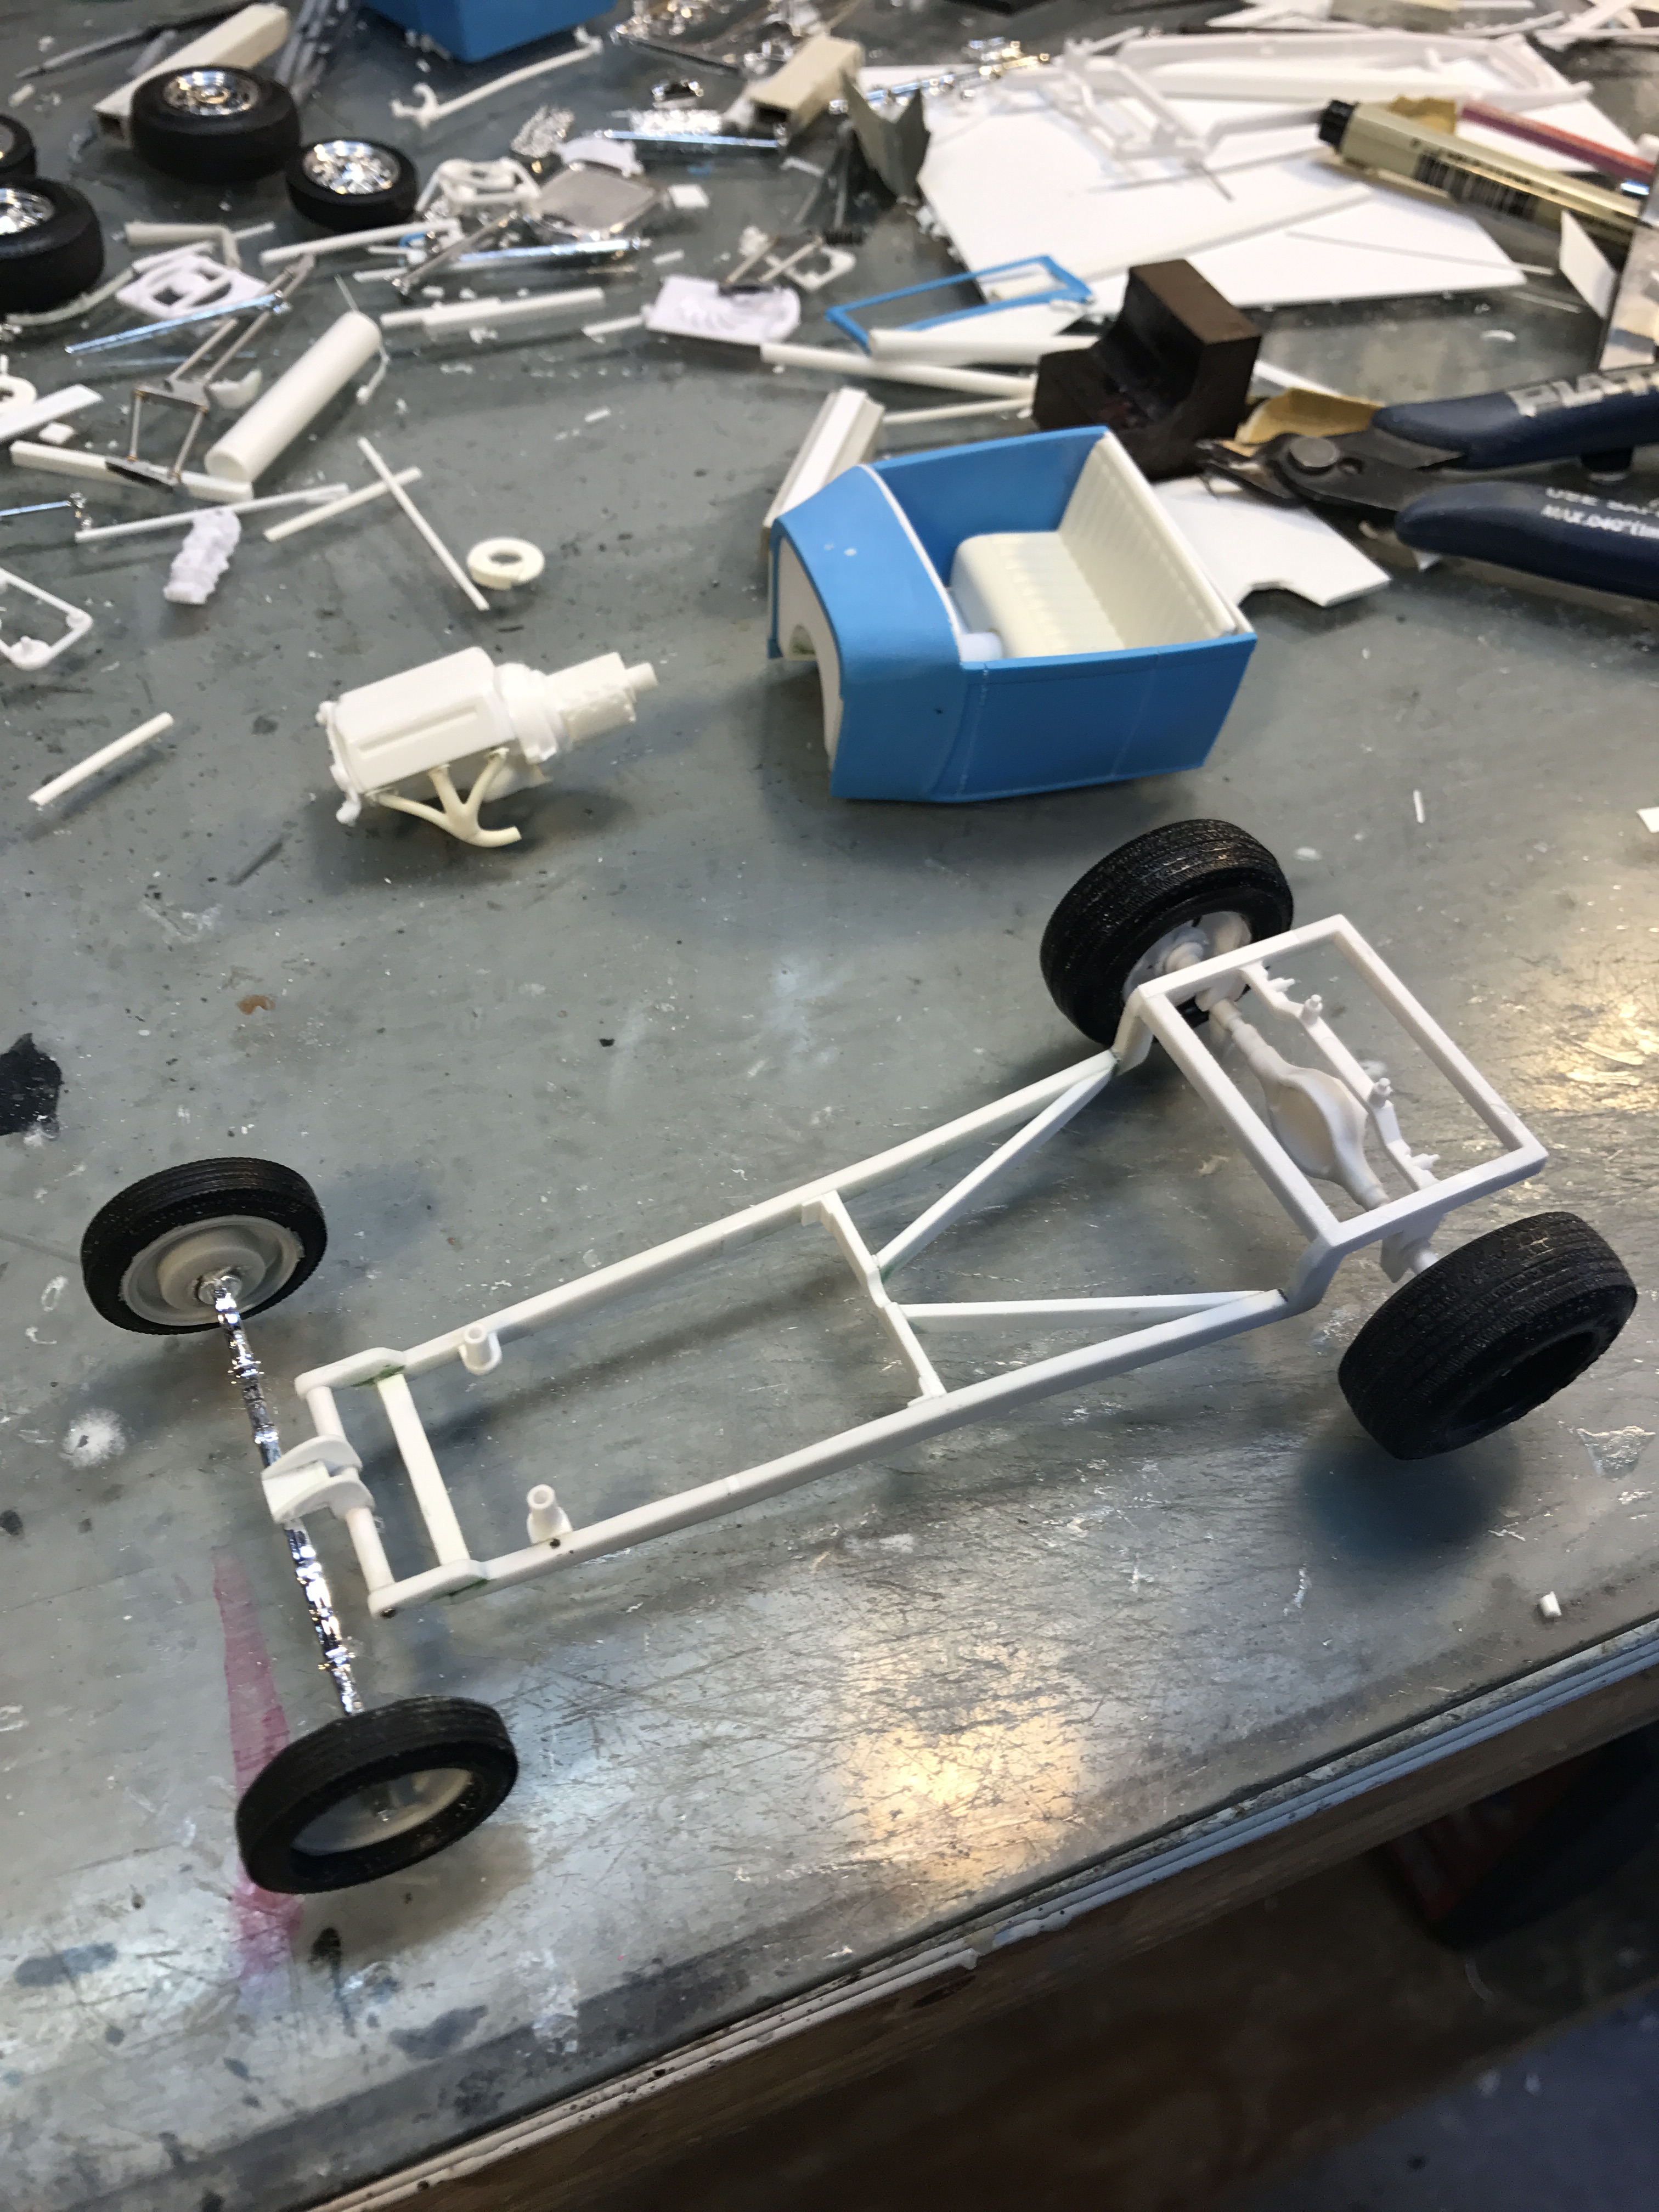
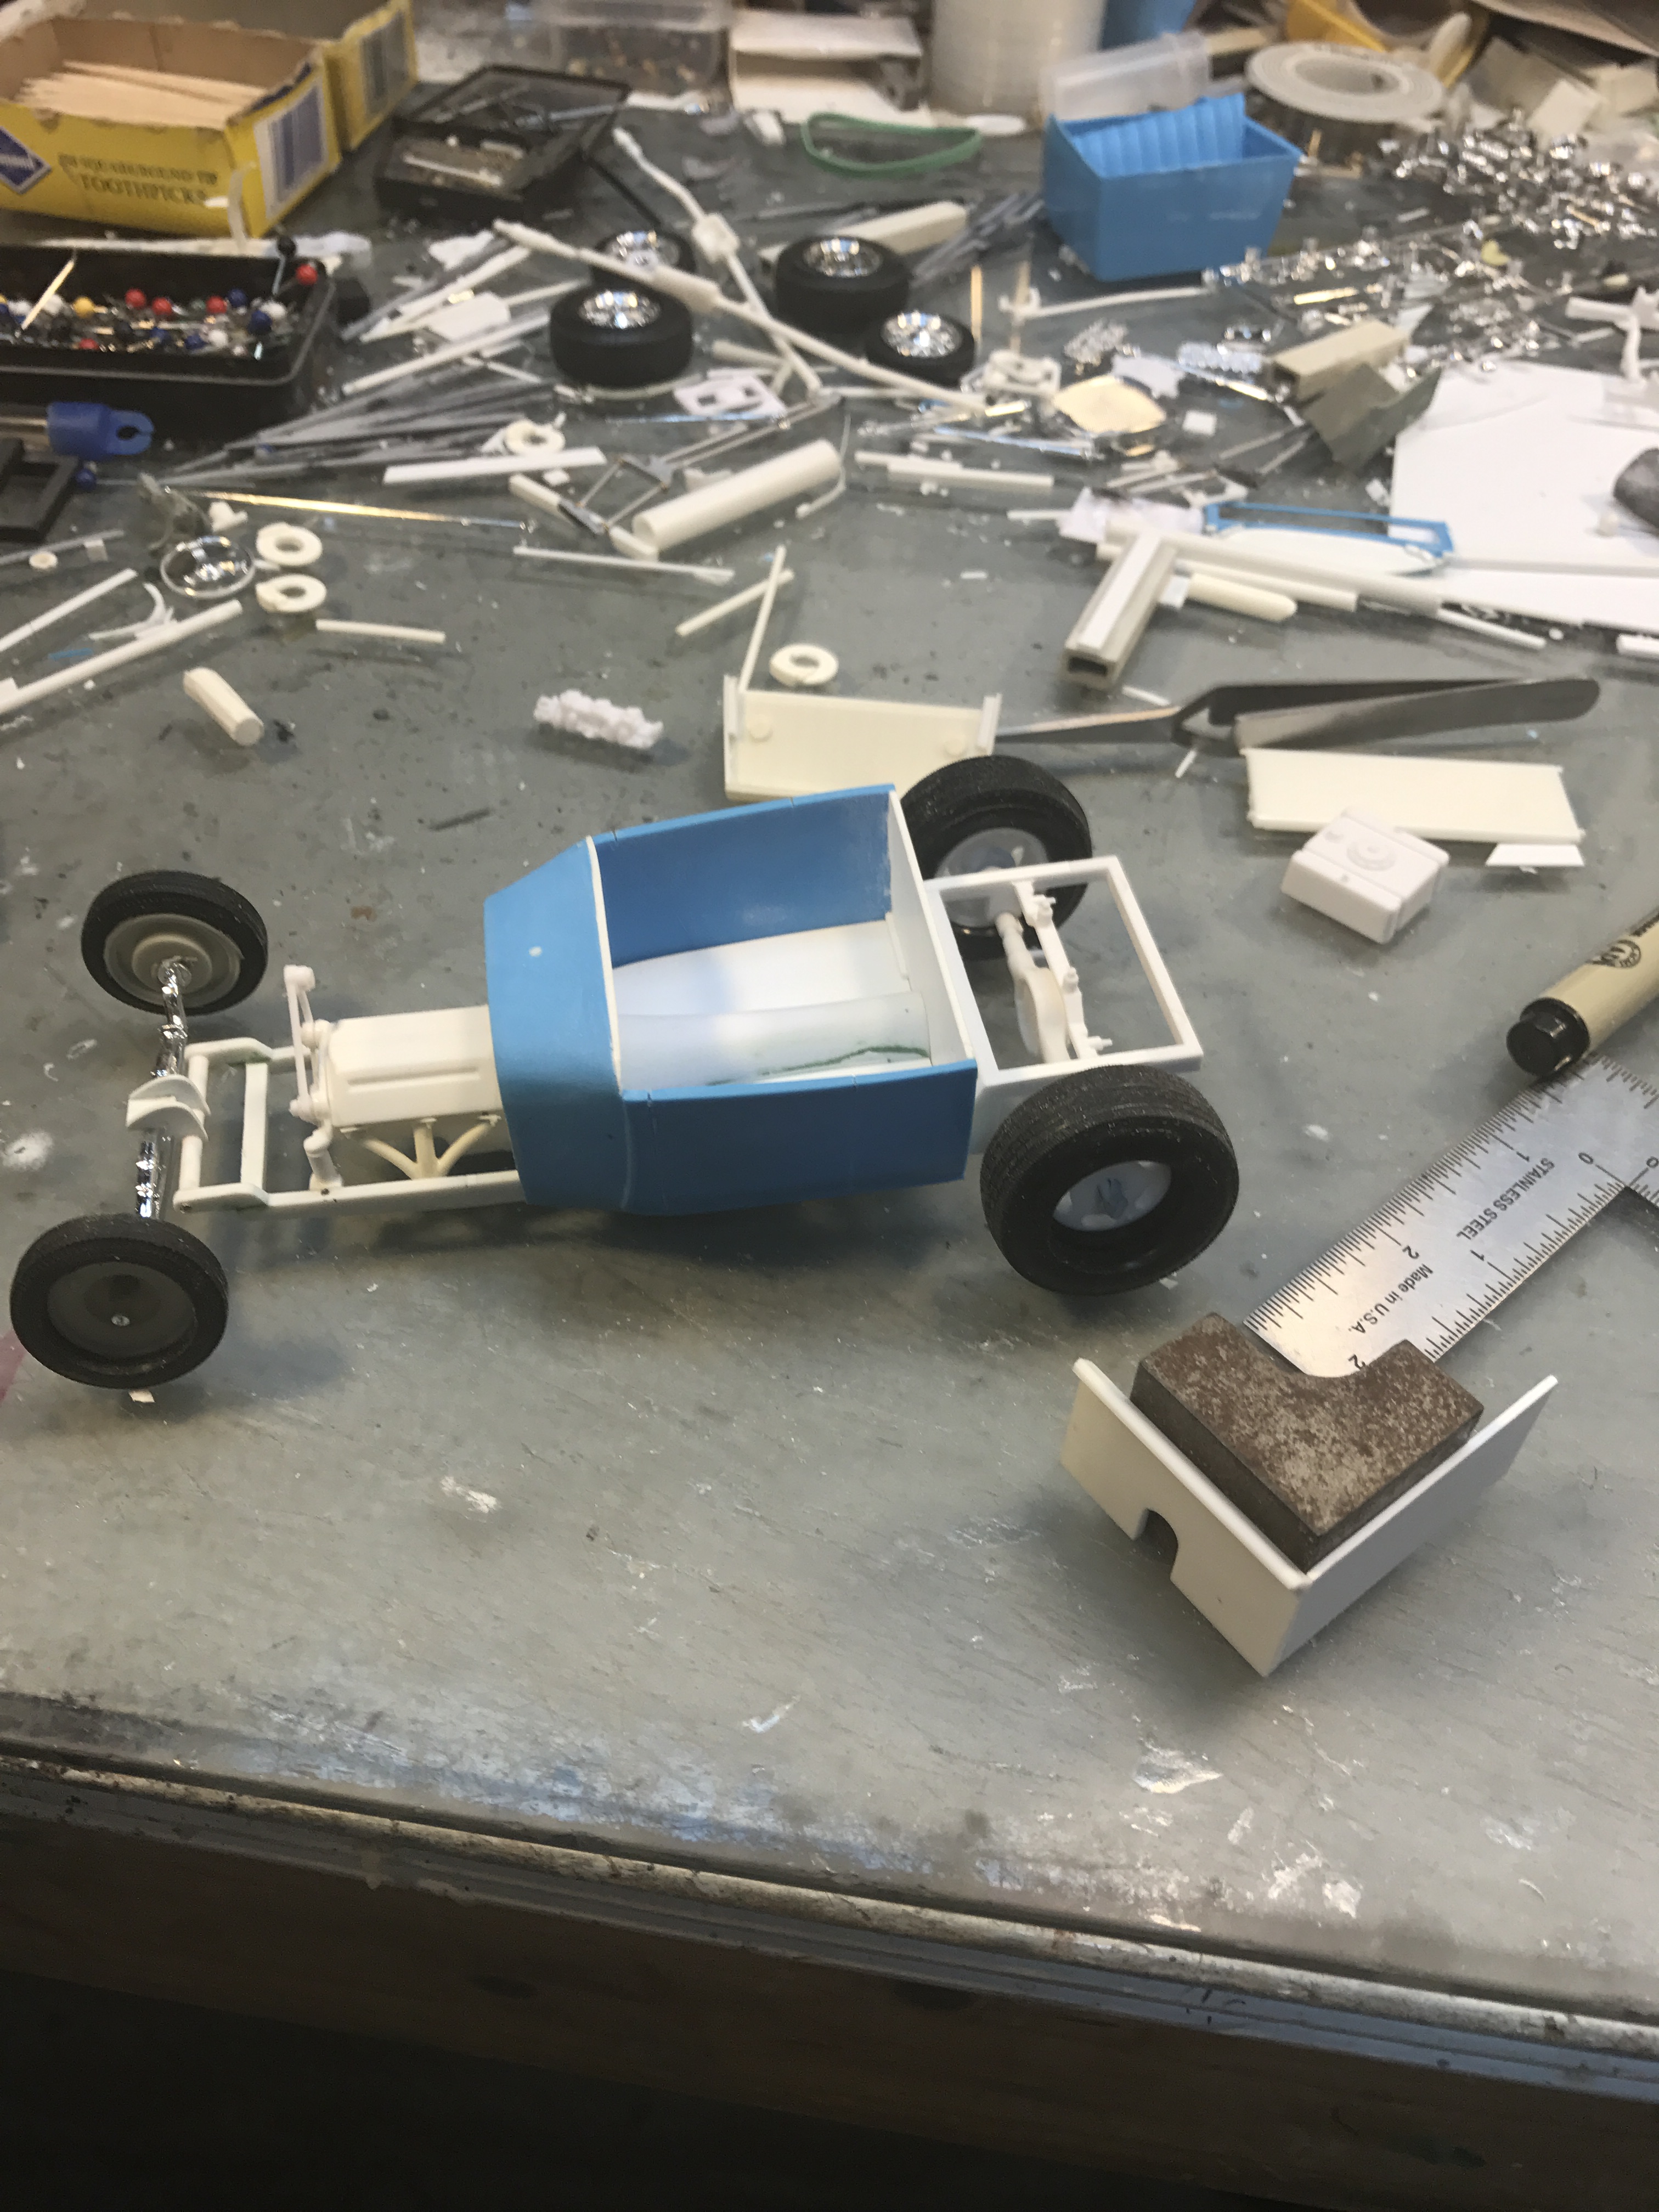
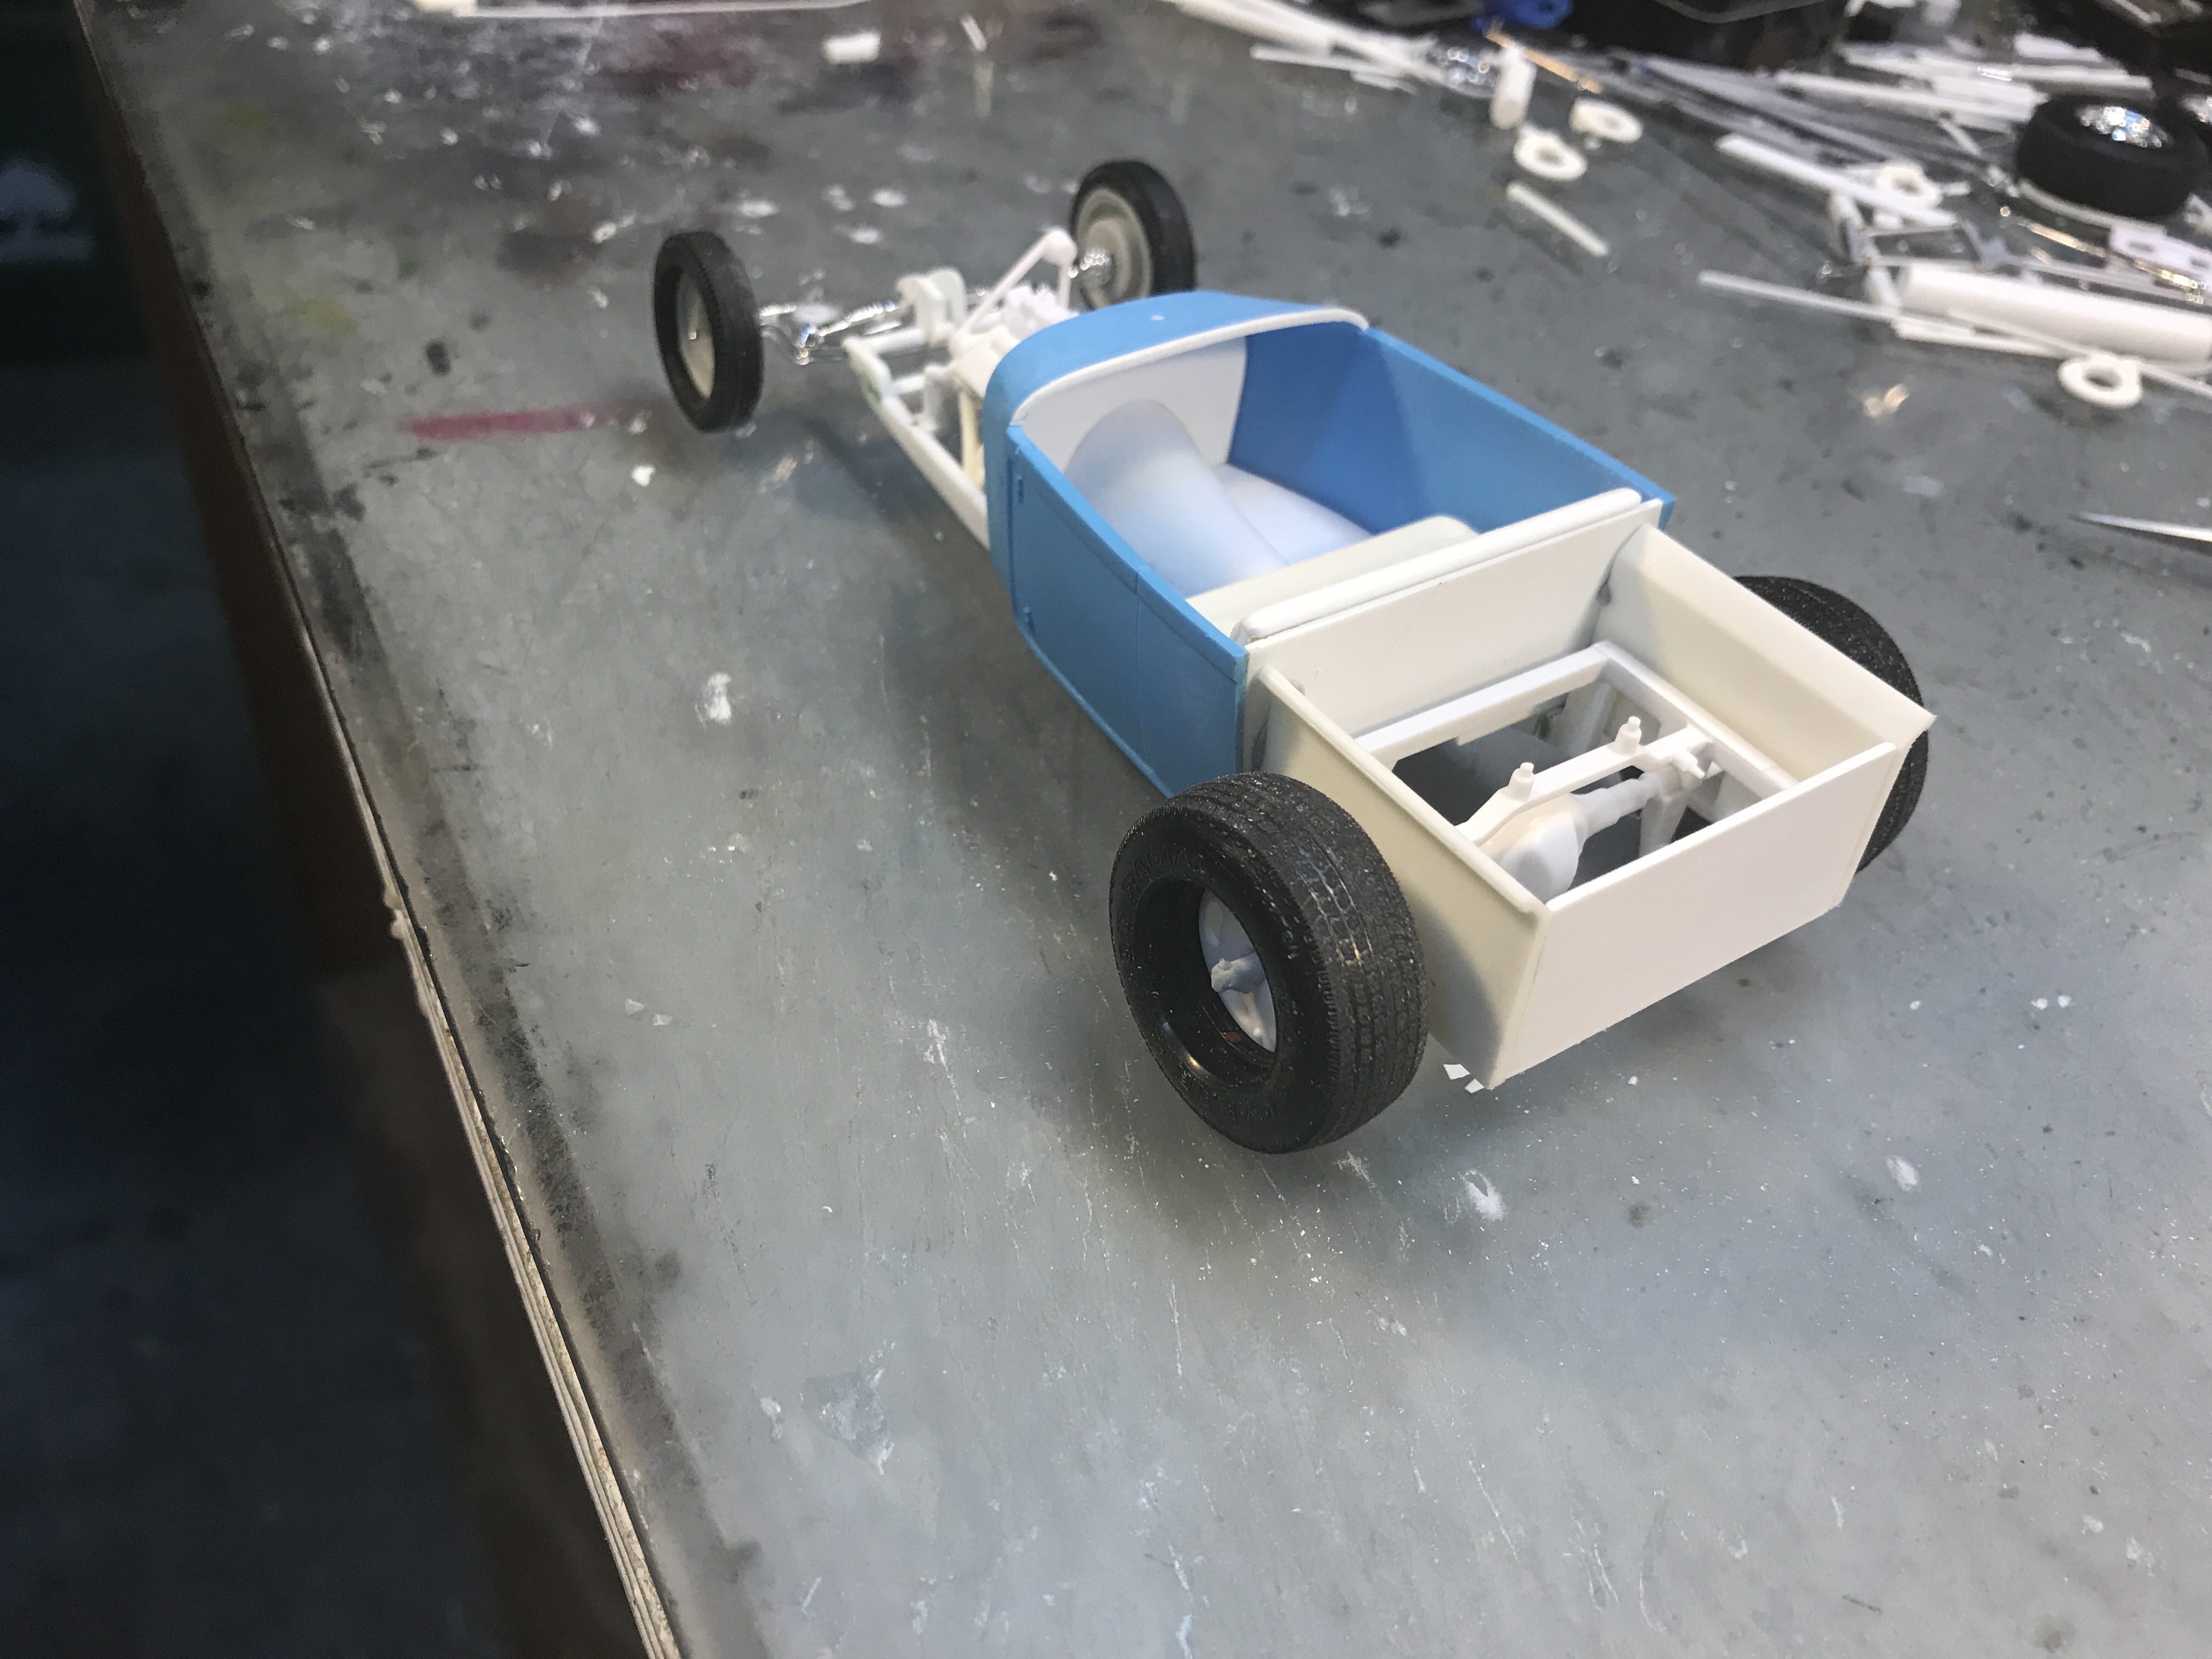
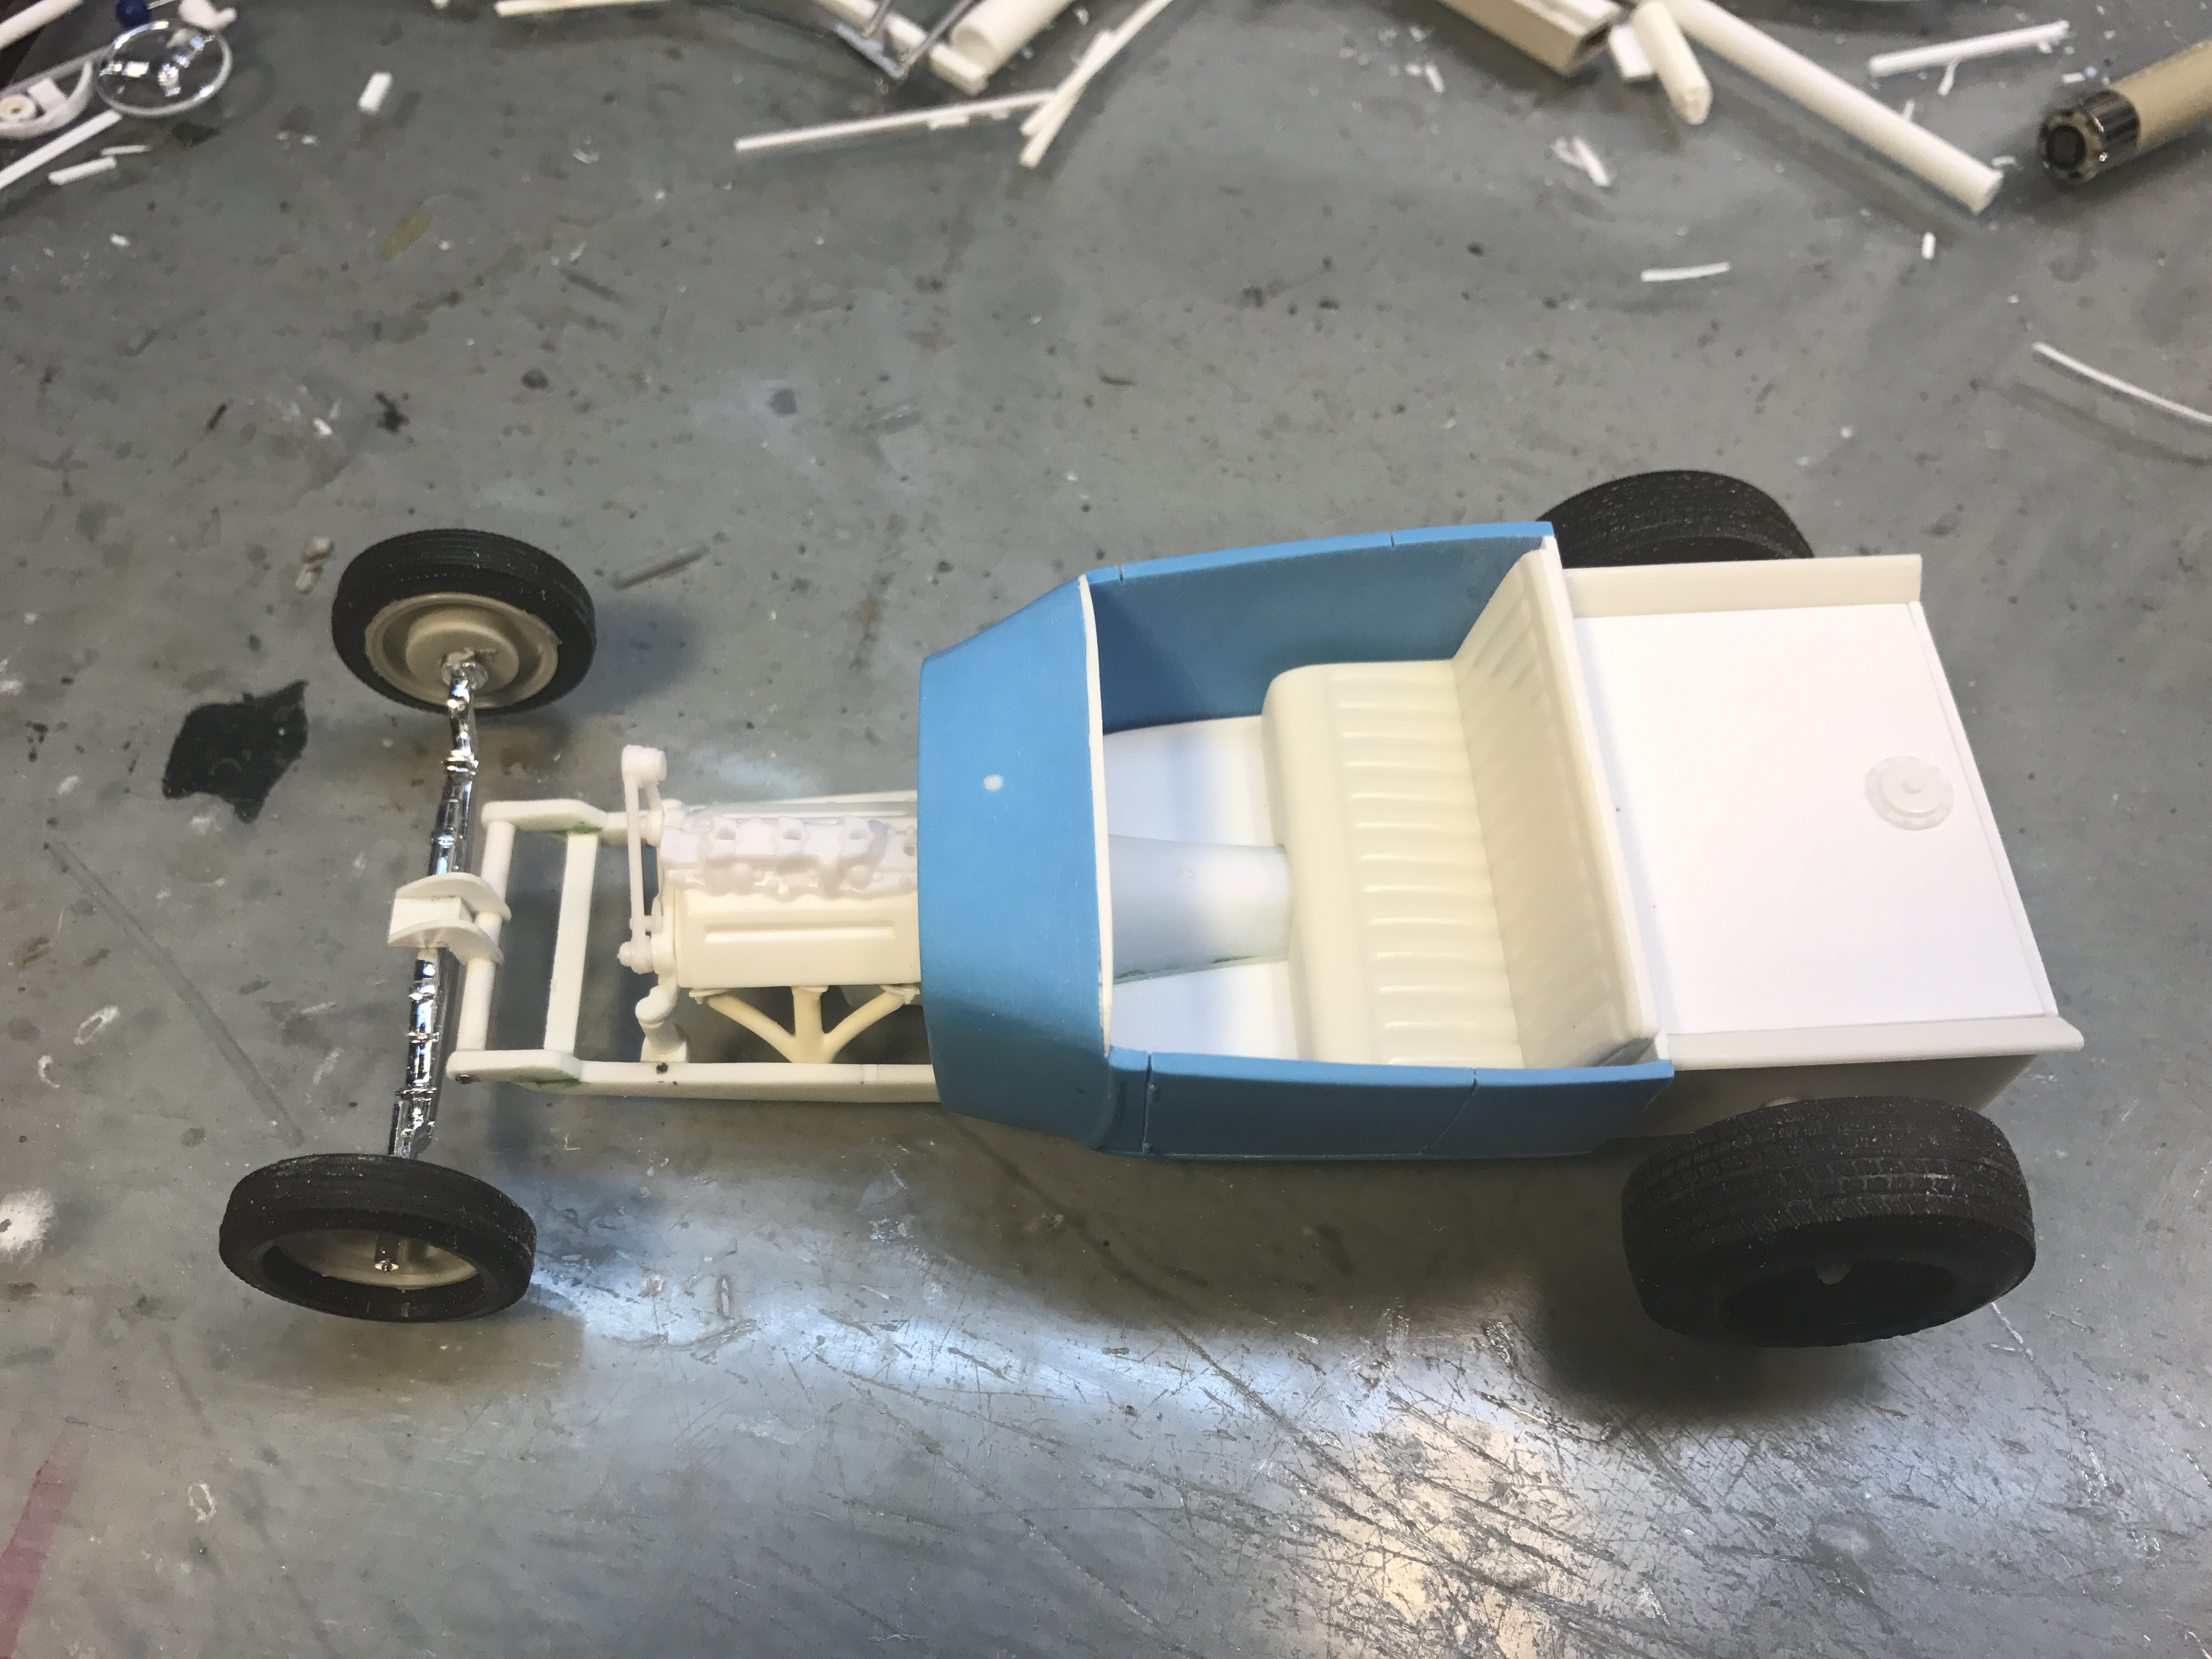
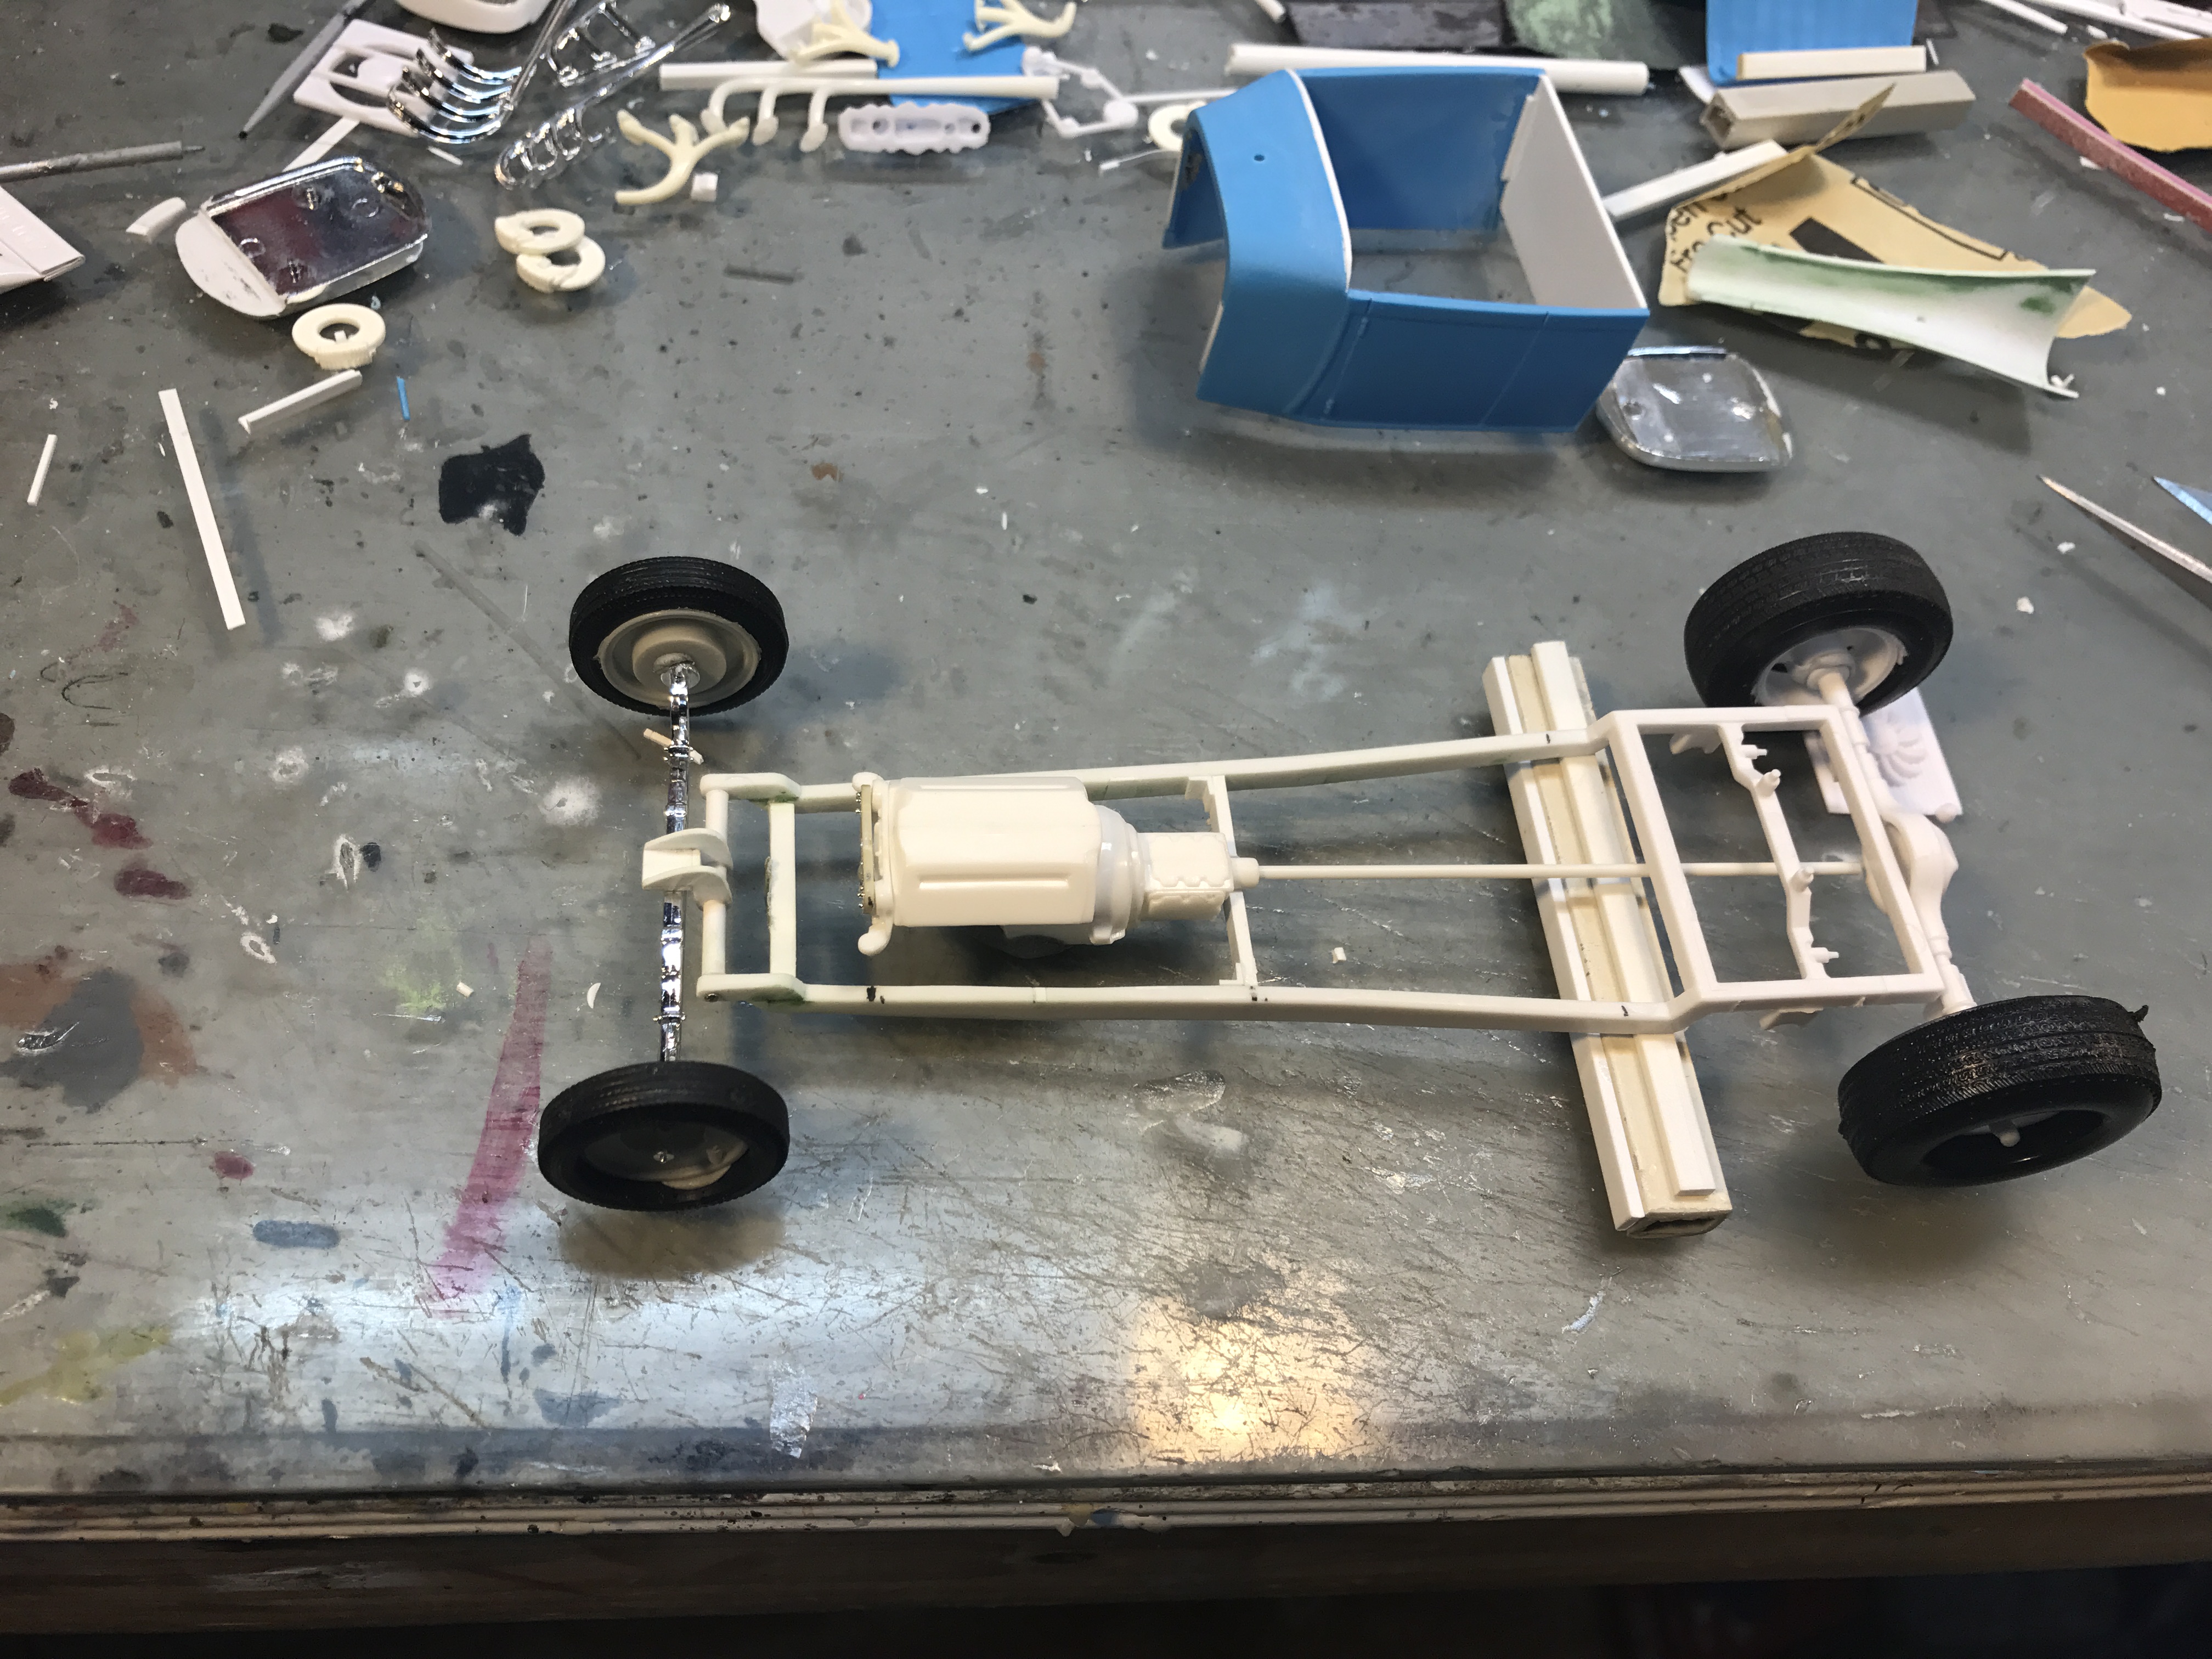
A busy weekend at the Hollywood shop of K&R Kustoms+Rods....I started by finishing up the frame. I cut the rear portion off, shortened it up a tad, set the frame at ride height, fabbed up a crude but effective jig and re-attached the frame with the new rear 'z' (then pried off the super-glued on jig)...up on all fours at last!!! Next up, the bed. I started with the bed out of the AMT '53 Ford pickup, cut the side panels to length (short), hogged out an axle poke thru, made a bed cover and hacked the gas cap off of the tank from the Revell Model A series...thanks for looking... -RRR
-
'32 Channeled Nailhead Roadster UPDATED 11/7/18
Rocking Rodney Rat replied to Dennis Lacy's topic in WIP: Model Cars
While we're off topic and busting ADL's thread, this one has a Lil Coffin interior!! -RRR
-
'29 Are Pee You -updated 11/25/17 -in primer
Rocking Rodney Rat replied to Rocking Rodney Rat's topic in WIP: Model Cars
Thanks, yeah, I think narrowing the cab in the back makes it a bit more svelte. I never liked that trapezoidal shape... -RRR -
'32 Channeled Nailhead Roadster UPDATED 11/7/18
Rocking Rodney Rat replied to Dennis Lacy's topic in WIP: Model Cars
You back on this, ADL? -RRR -
'29 Are Pee You -updated 11/25/17 -in primer
Rocking Rodney Rat replied to Rocking Rodney Rat's topic in WIP: Model Cars
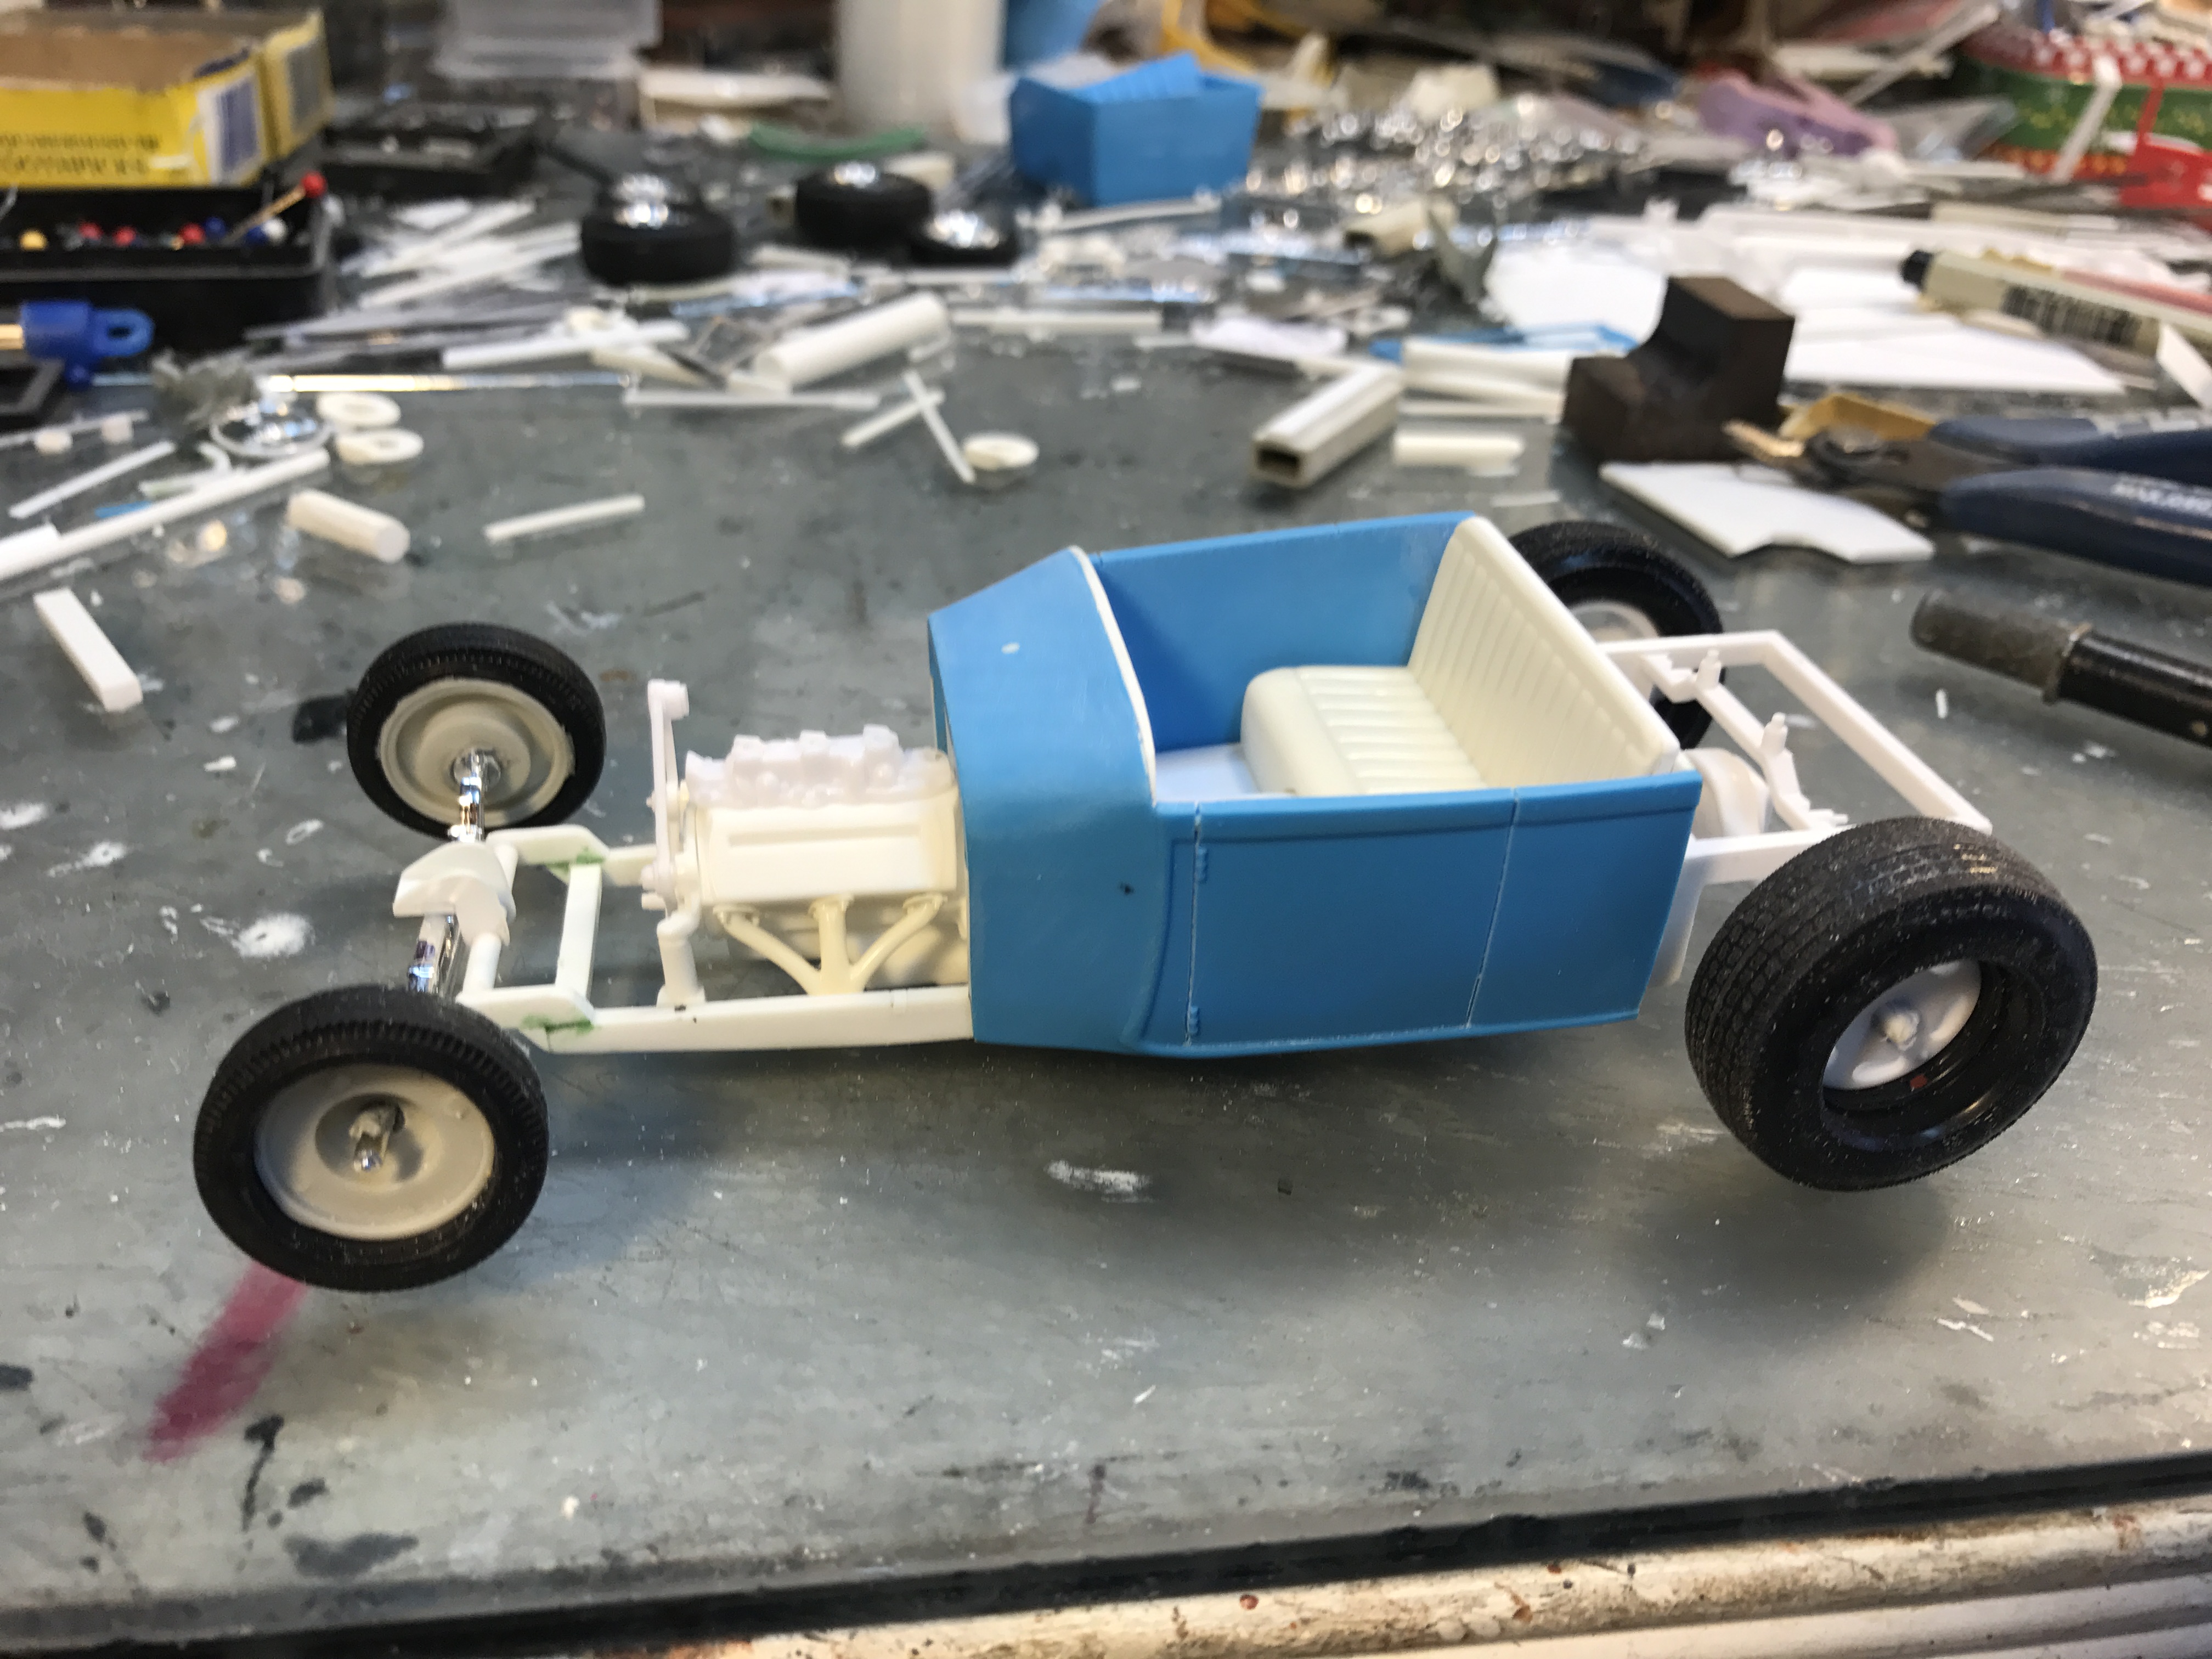
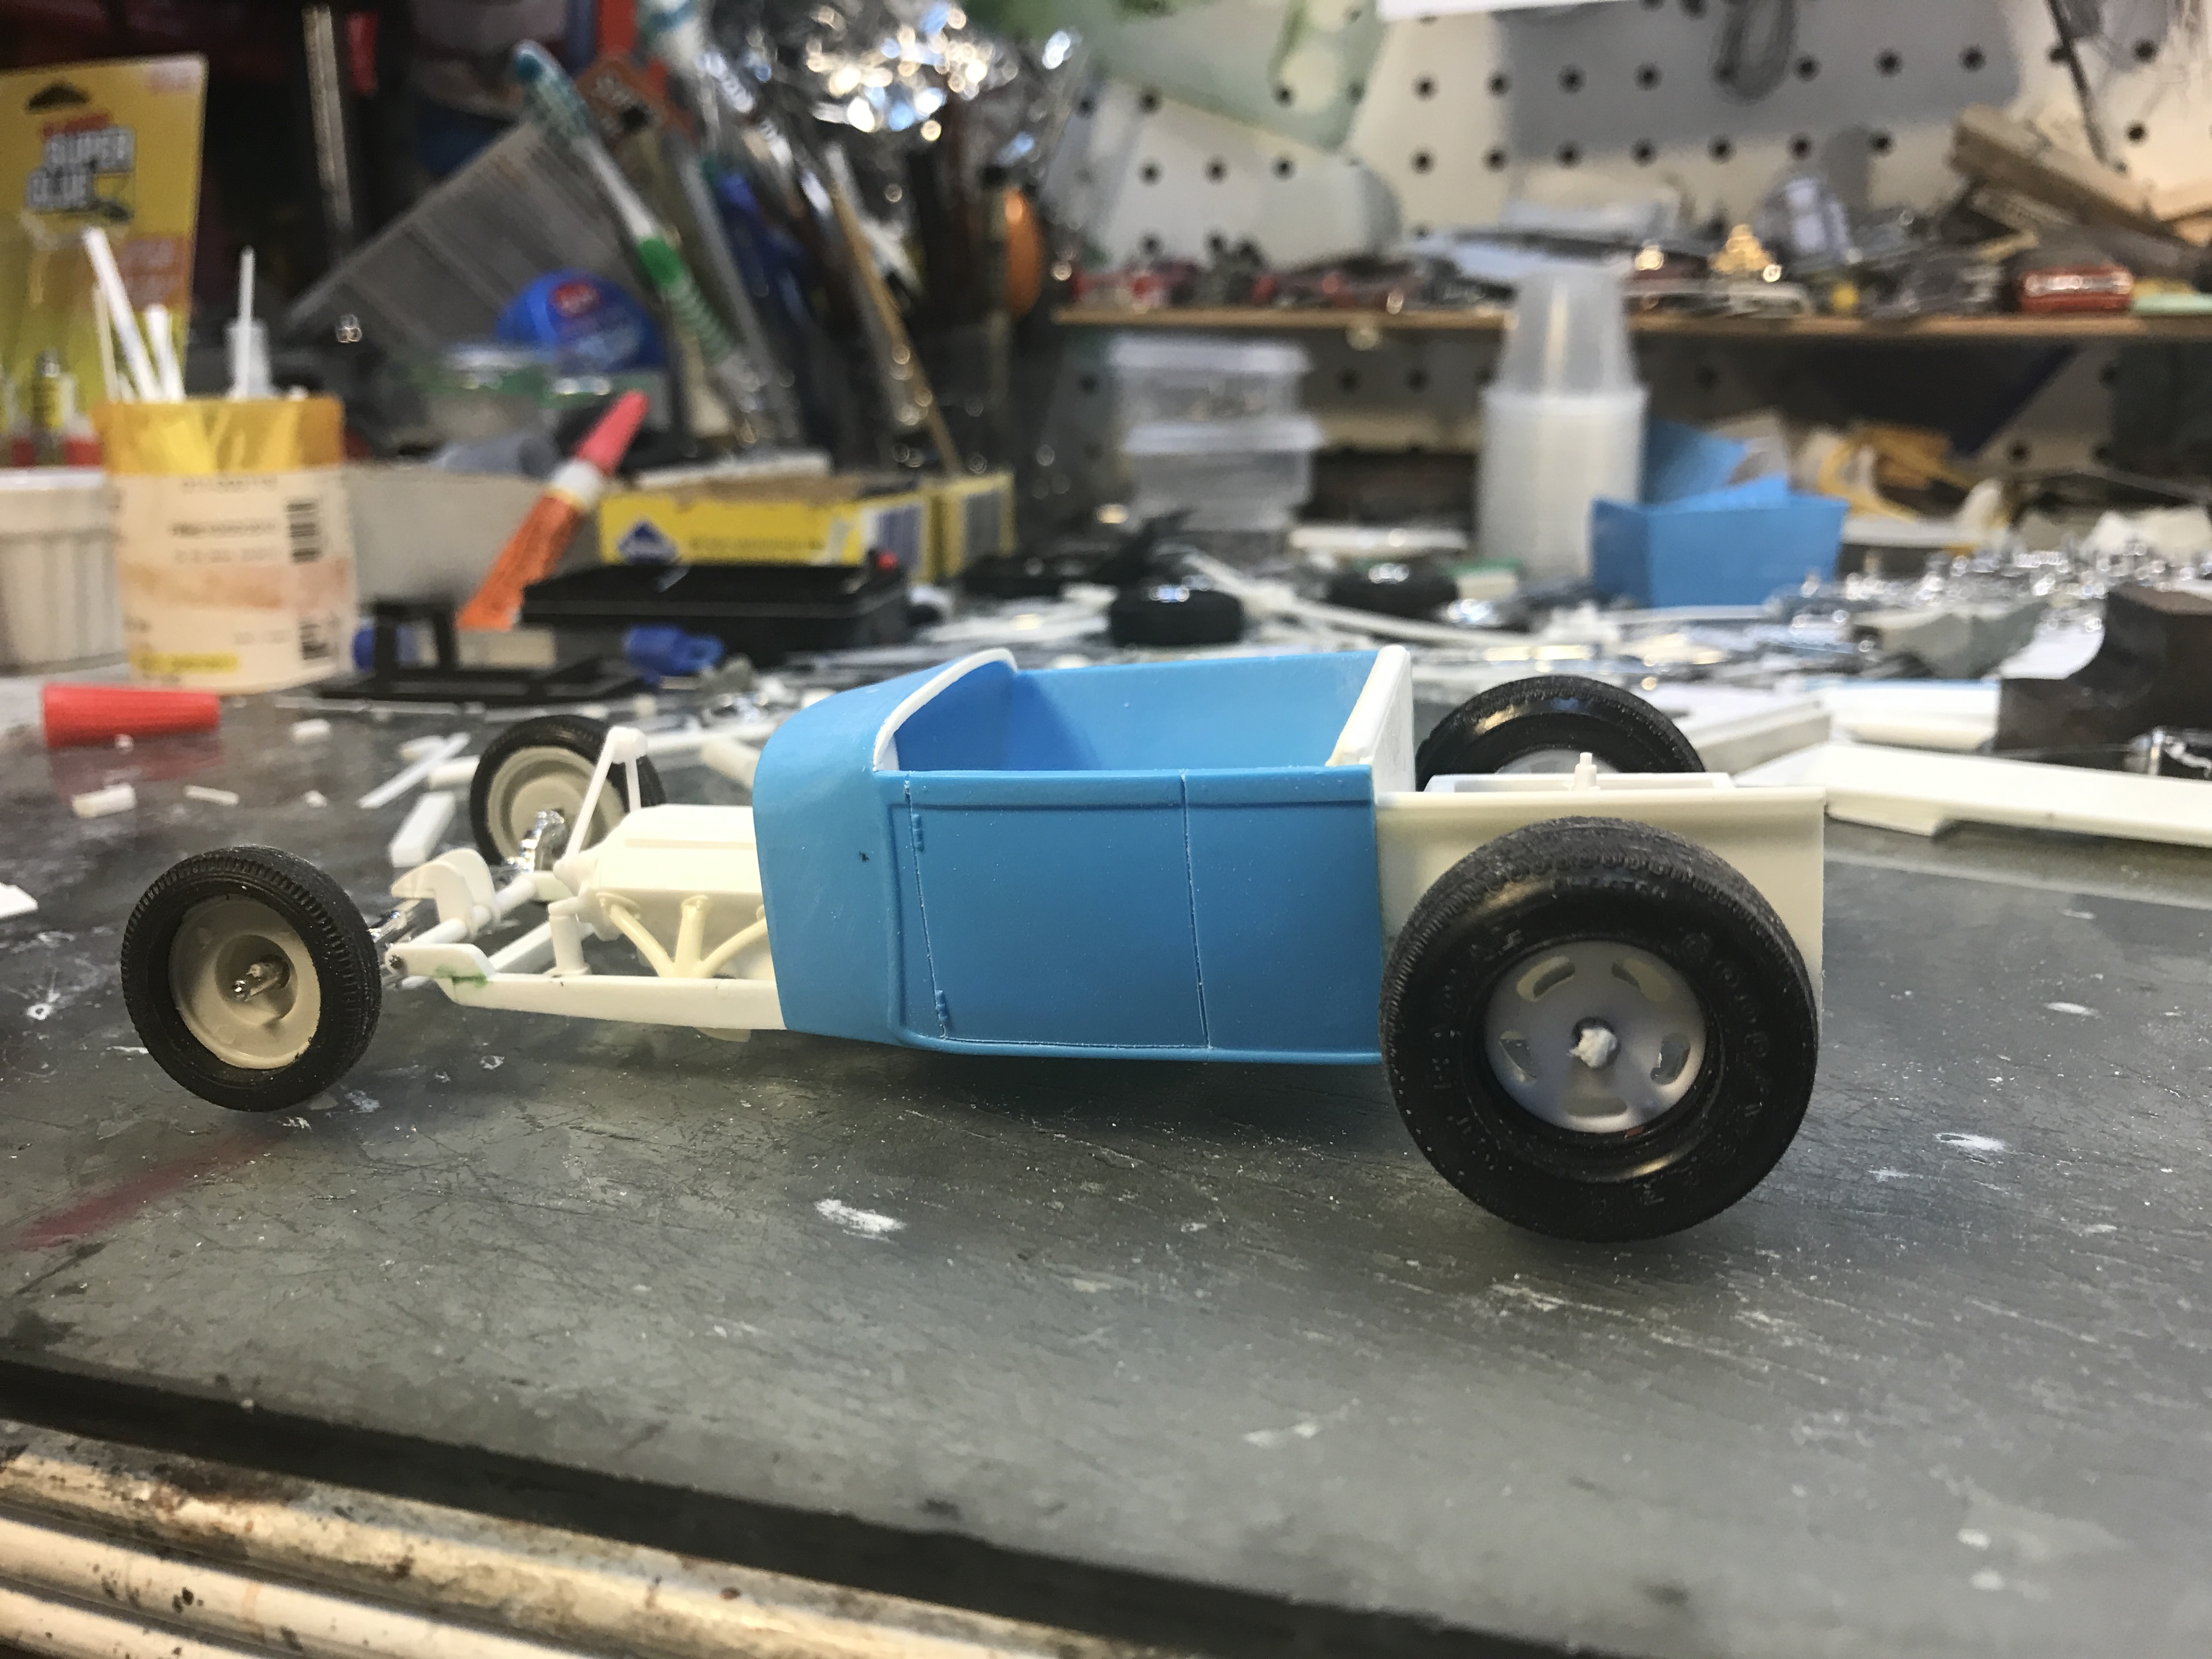
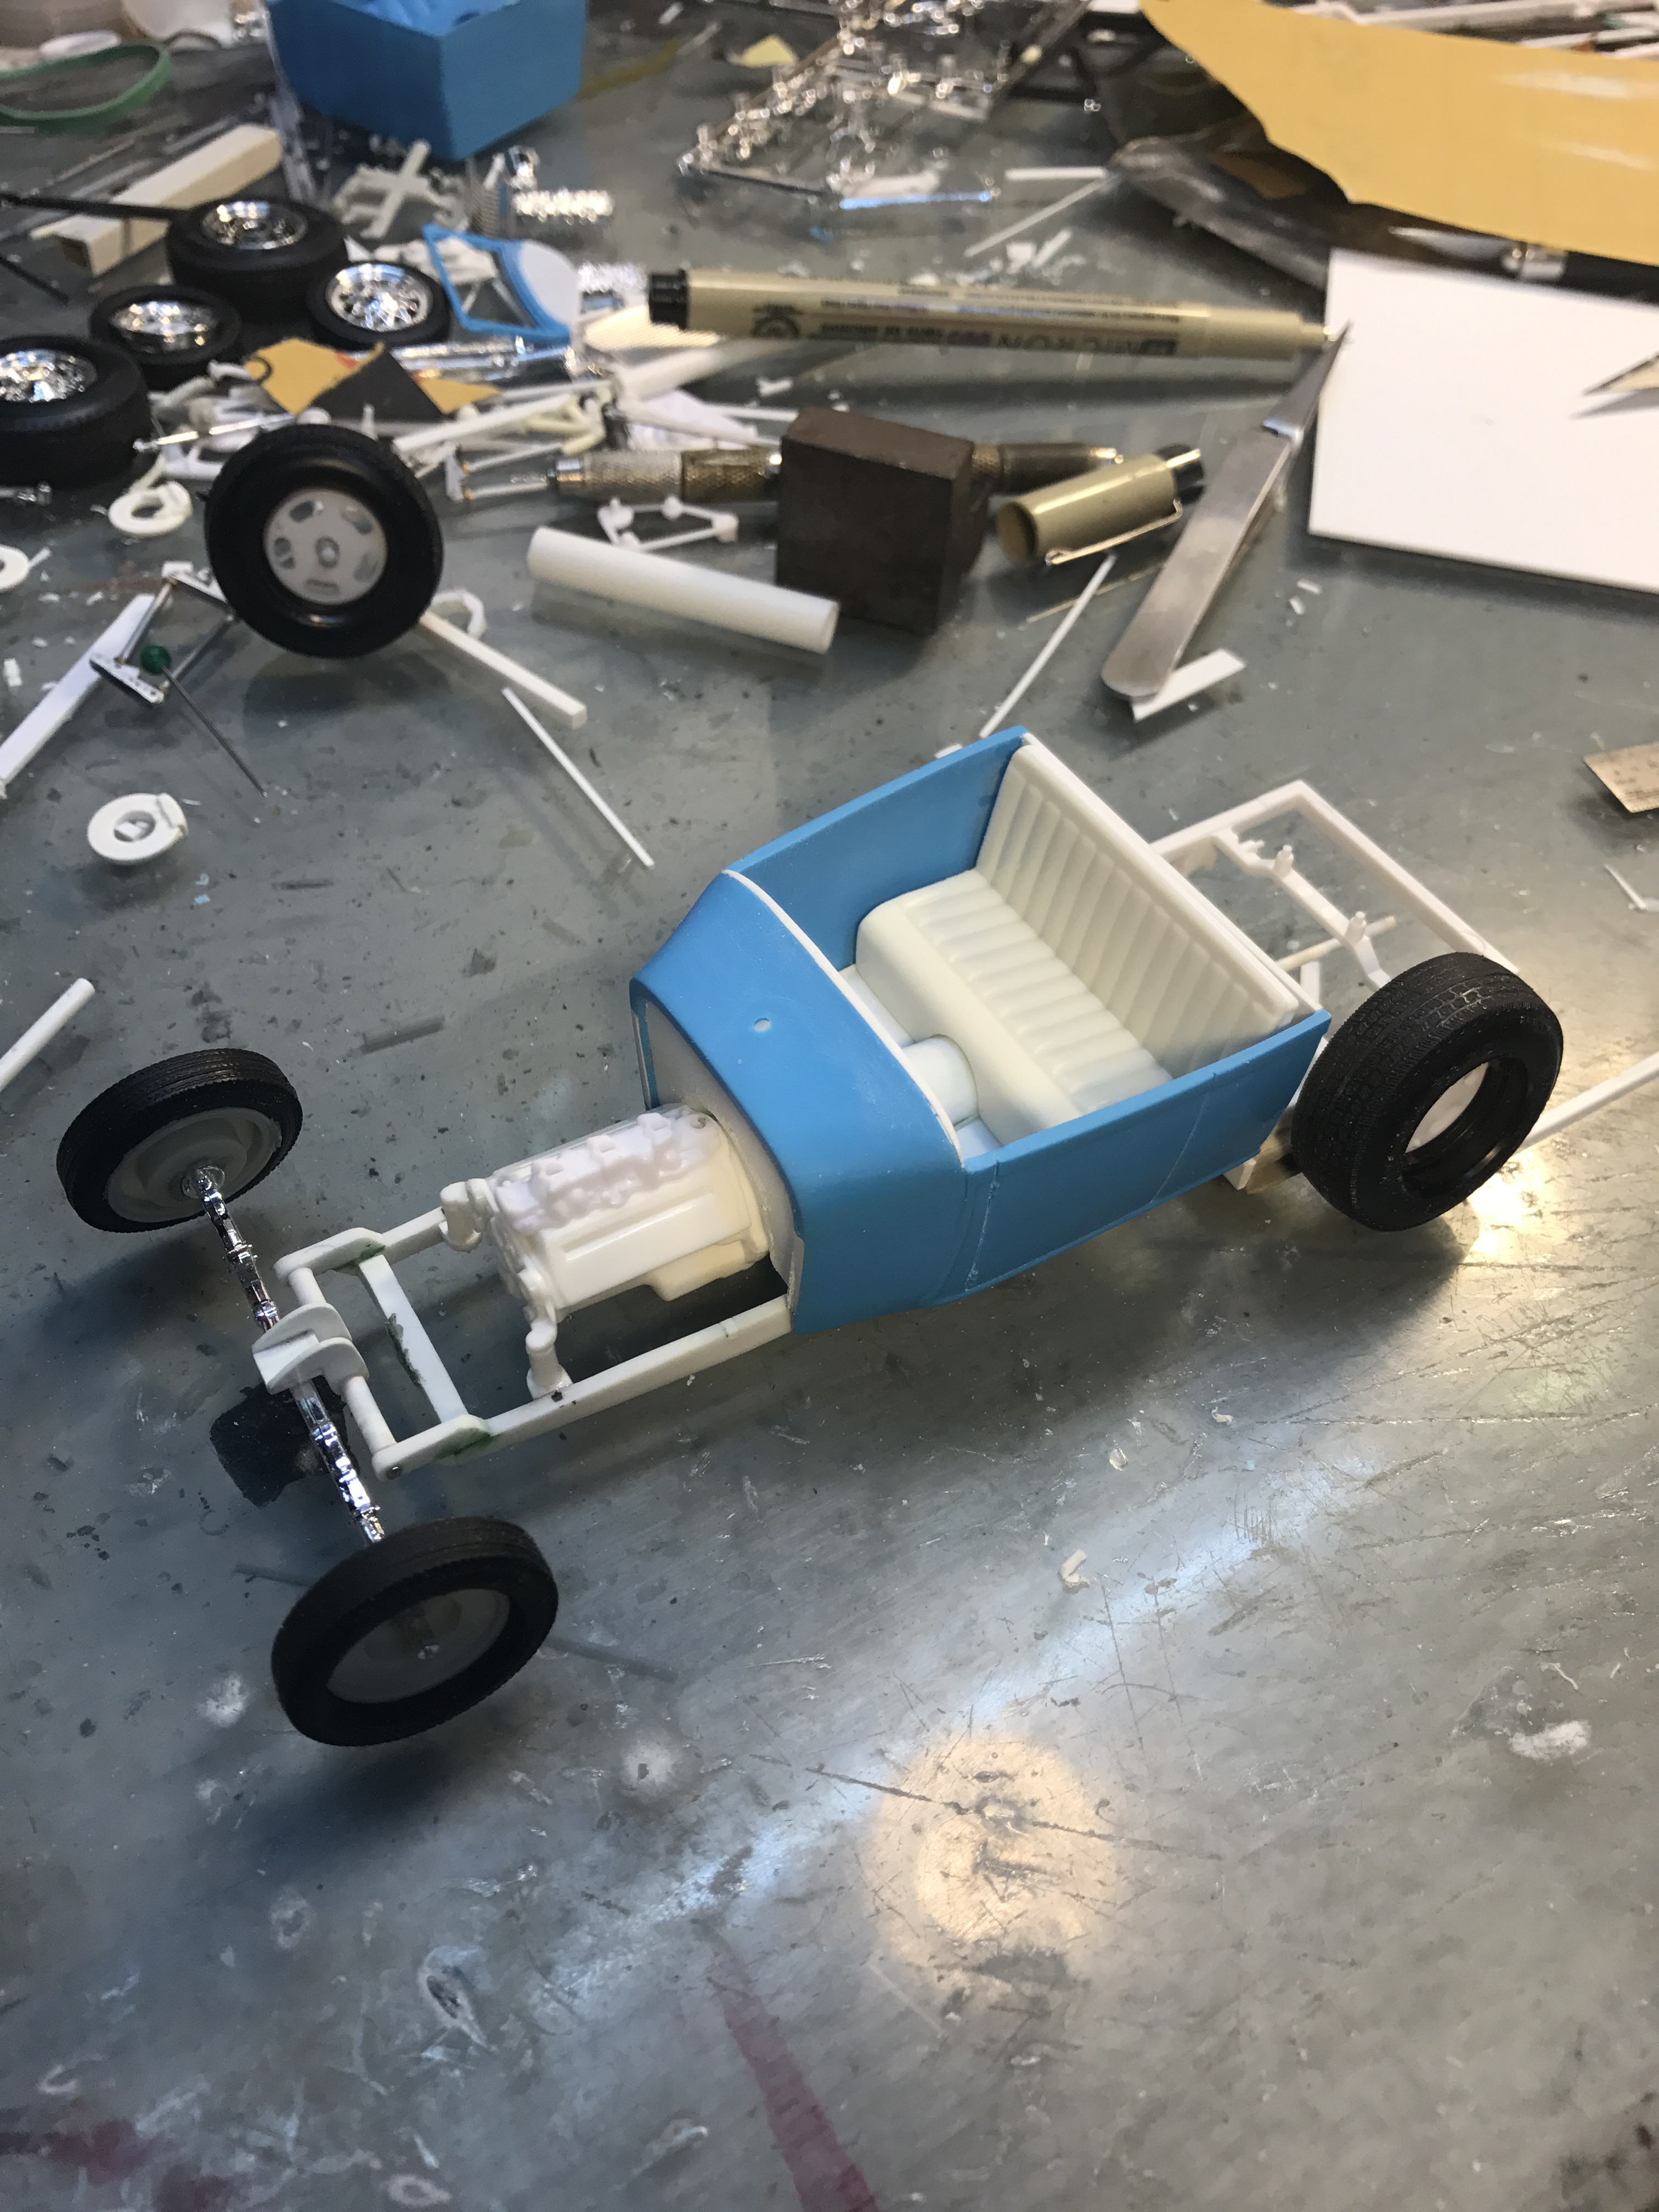
More work on the chassis, made motor mounts and put in mid section x-member. Got trans/driveshaft tunnel glued to floorboards and fire wall. The seat is from the Black Widow kit, slightly modified to fit over the back of the cab...next up, z-ing the rear of the frame... -RRR