ShakyCraftsman
-
Posts
796 -
Joined
-
Last visited
Content Type
Profiles
Forums
Events
Gallery
Everything posted by ShakyCraftsman
-
 Hey all Not really an update. I found some items from Plastsruct to make a load for this rig. A 6" (12.0' 1/24 scale) diameter dome top and tube. ABS clear dome top 6" diameter. This is a 6" diameter by 18" long ABS grey tube. This view shows the final size of the oilfield tank in scale it's going to be 12.0' diameter by 20.0' tall. A 400 bbl capacity tank. I still have to scratch build the ladder, skids, plumbing, valves and gauges. I'll be showing it hanging off the back of the Oilfield bed truck. Ron G
-
1970 Ford C 600
ShakyCraftsman replied to Biggu's topic in WIP: Model Trucks: Big Rigs and Heavy Equipment
Whoo hah! The bolt man has struck again...😆 🤣 😂 Ron G -
1970 Ford C 600
ShakyCraftsman replied to Biggu's topic in WIP: Model Trucks: Big Rigs and Heavy Equipment
Well, I'll be a monkeys uncle. Jeff is doing a truck with an Automatic transmission! Mister I would never do a truck with an Automatic! Just messing with my buddy.😁😉 Sounds cool 😎 I'll be in the front row watching. Ron G -
Hey David Your not going to get to far with the brake chambers caged. Ron G
-
Western Star Classic heavy haul
ShakyCraftsman replied to Biggu's topic in WIP: Model Trucks: Big Rigs and Heavy Equipment
Hey Ulf The purpose of a headache rack is to stop a load that comes loose from going through the cab and killing the driver (severe headache!) And I don't think there is a law prohibiting the use of one in the US. Ron G -
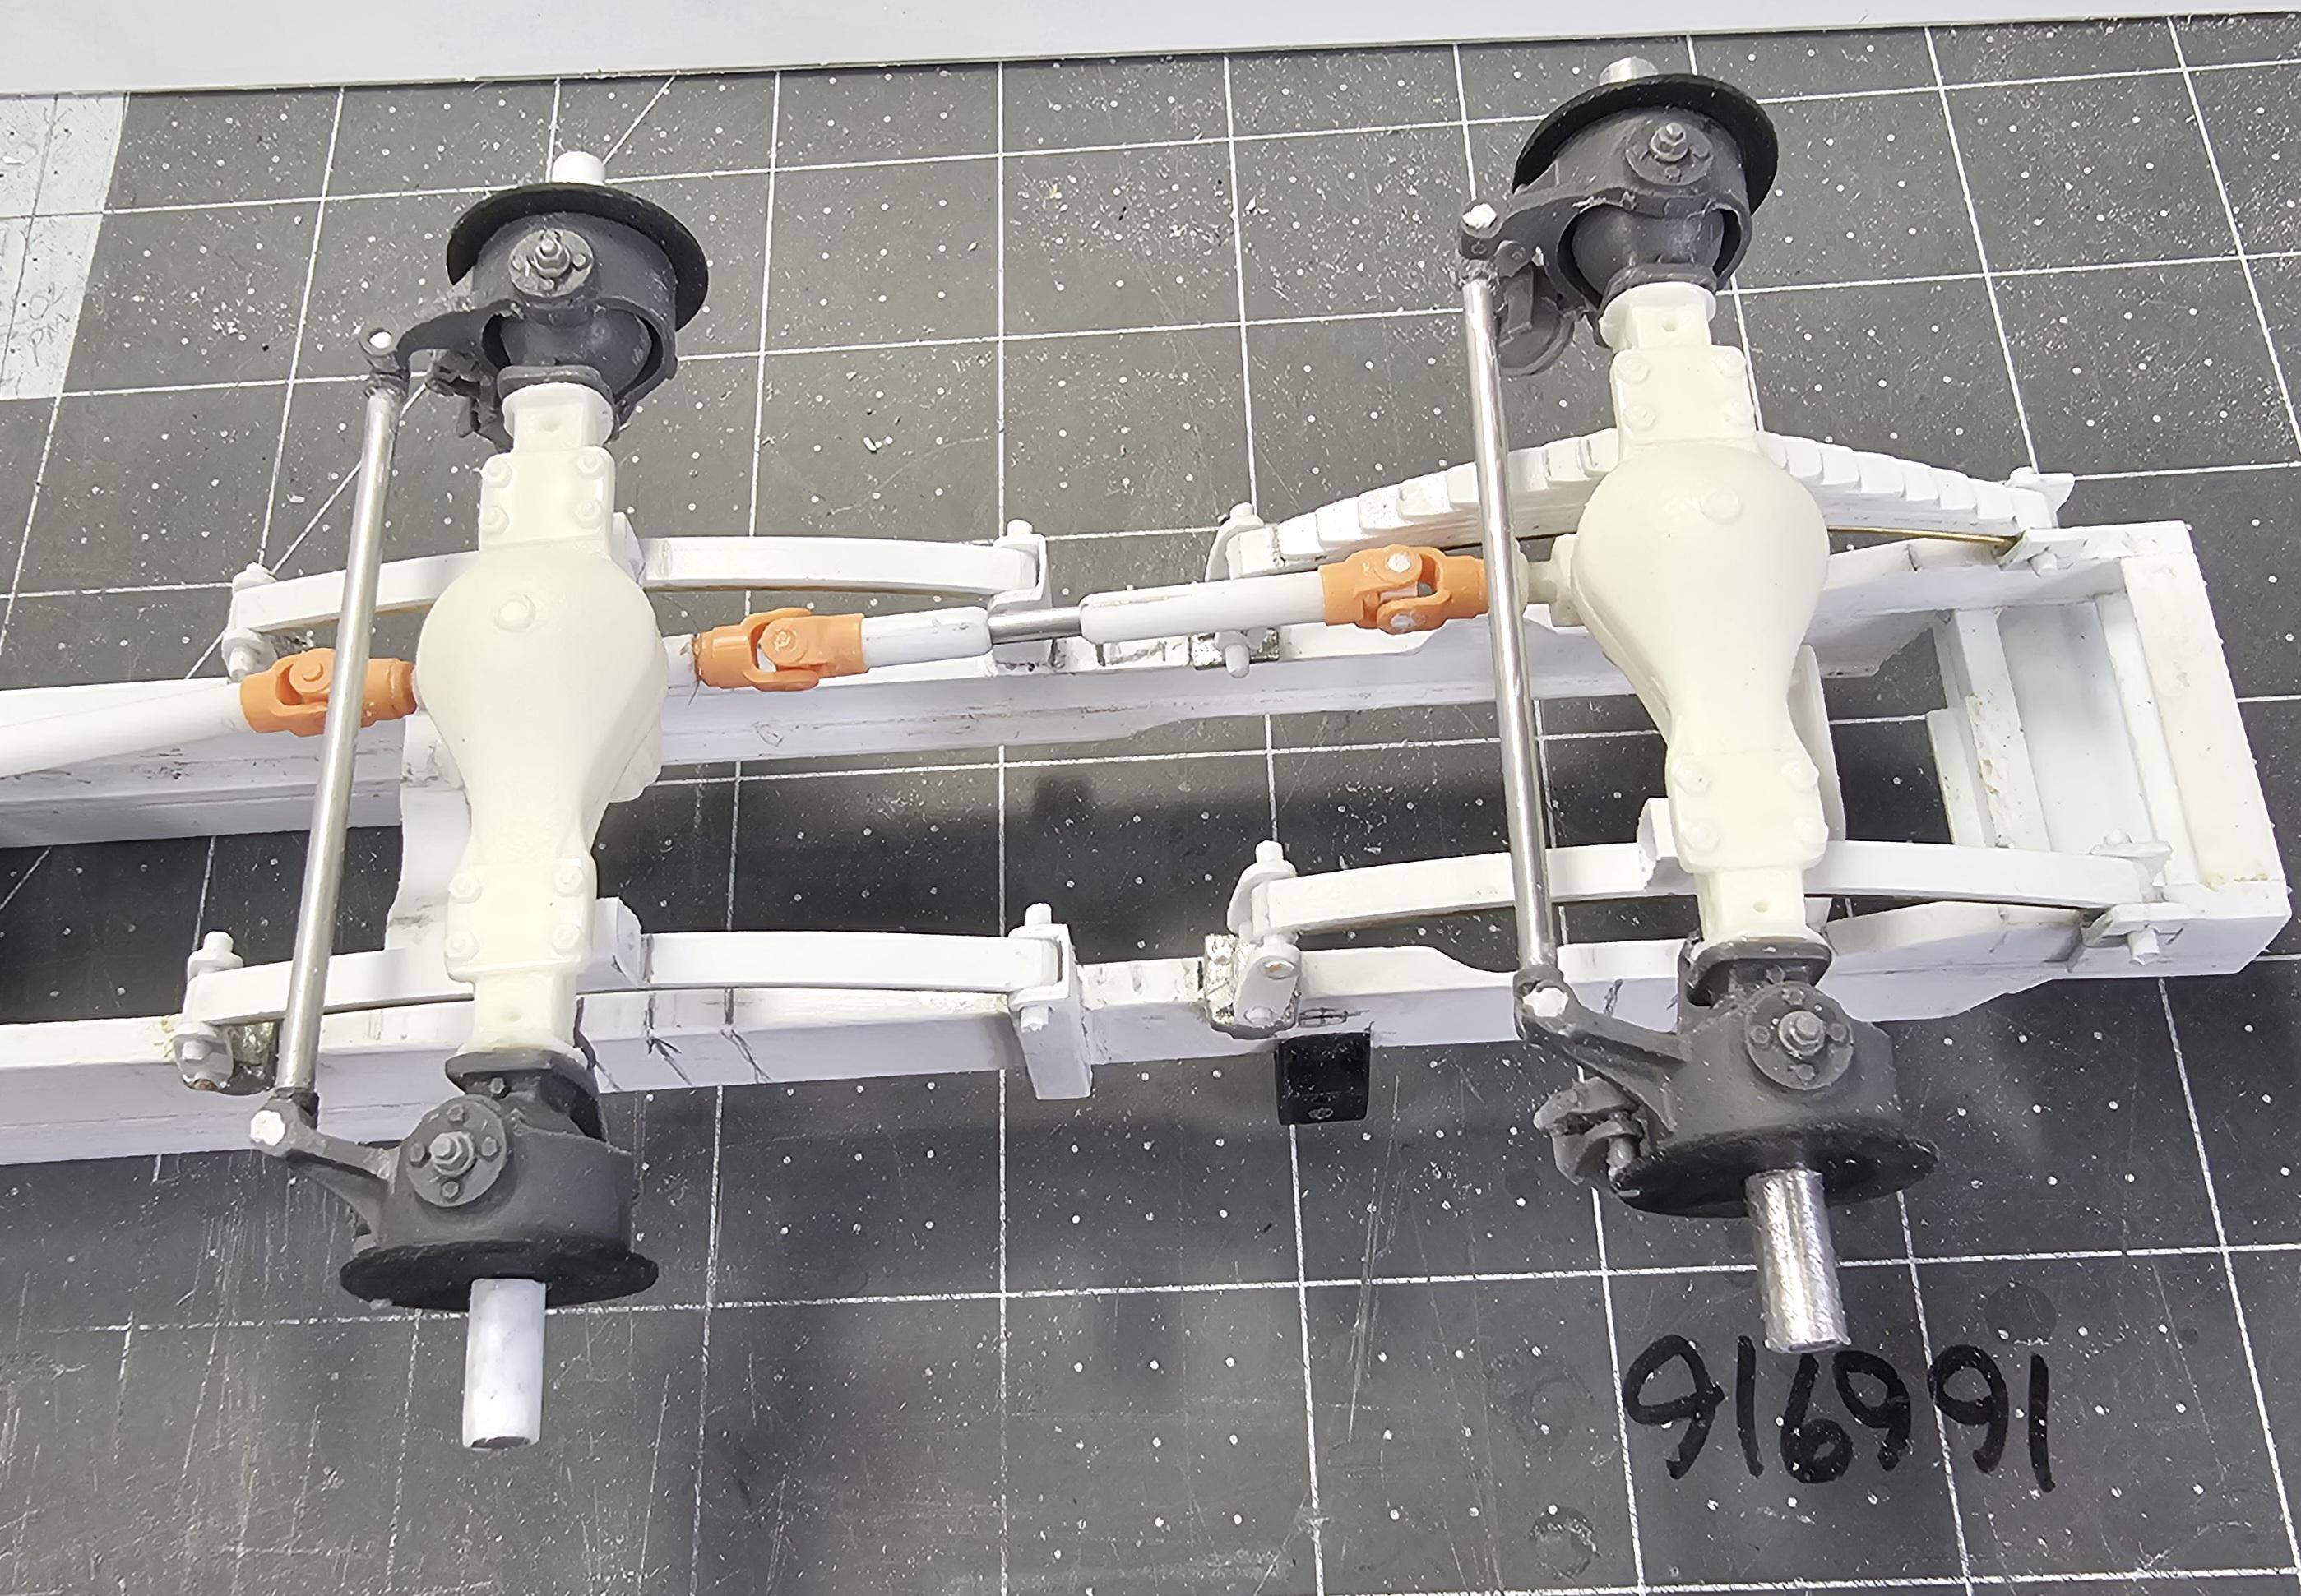
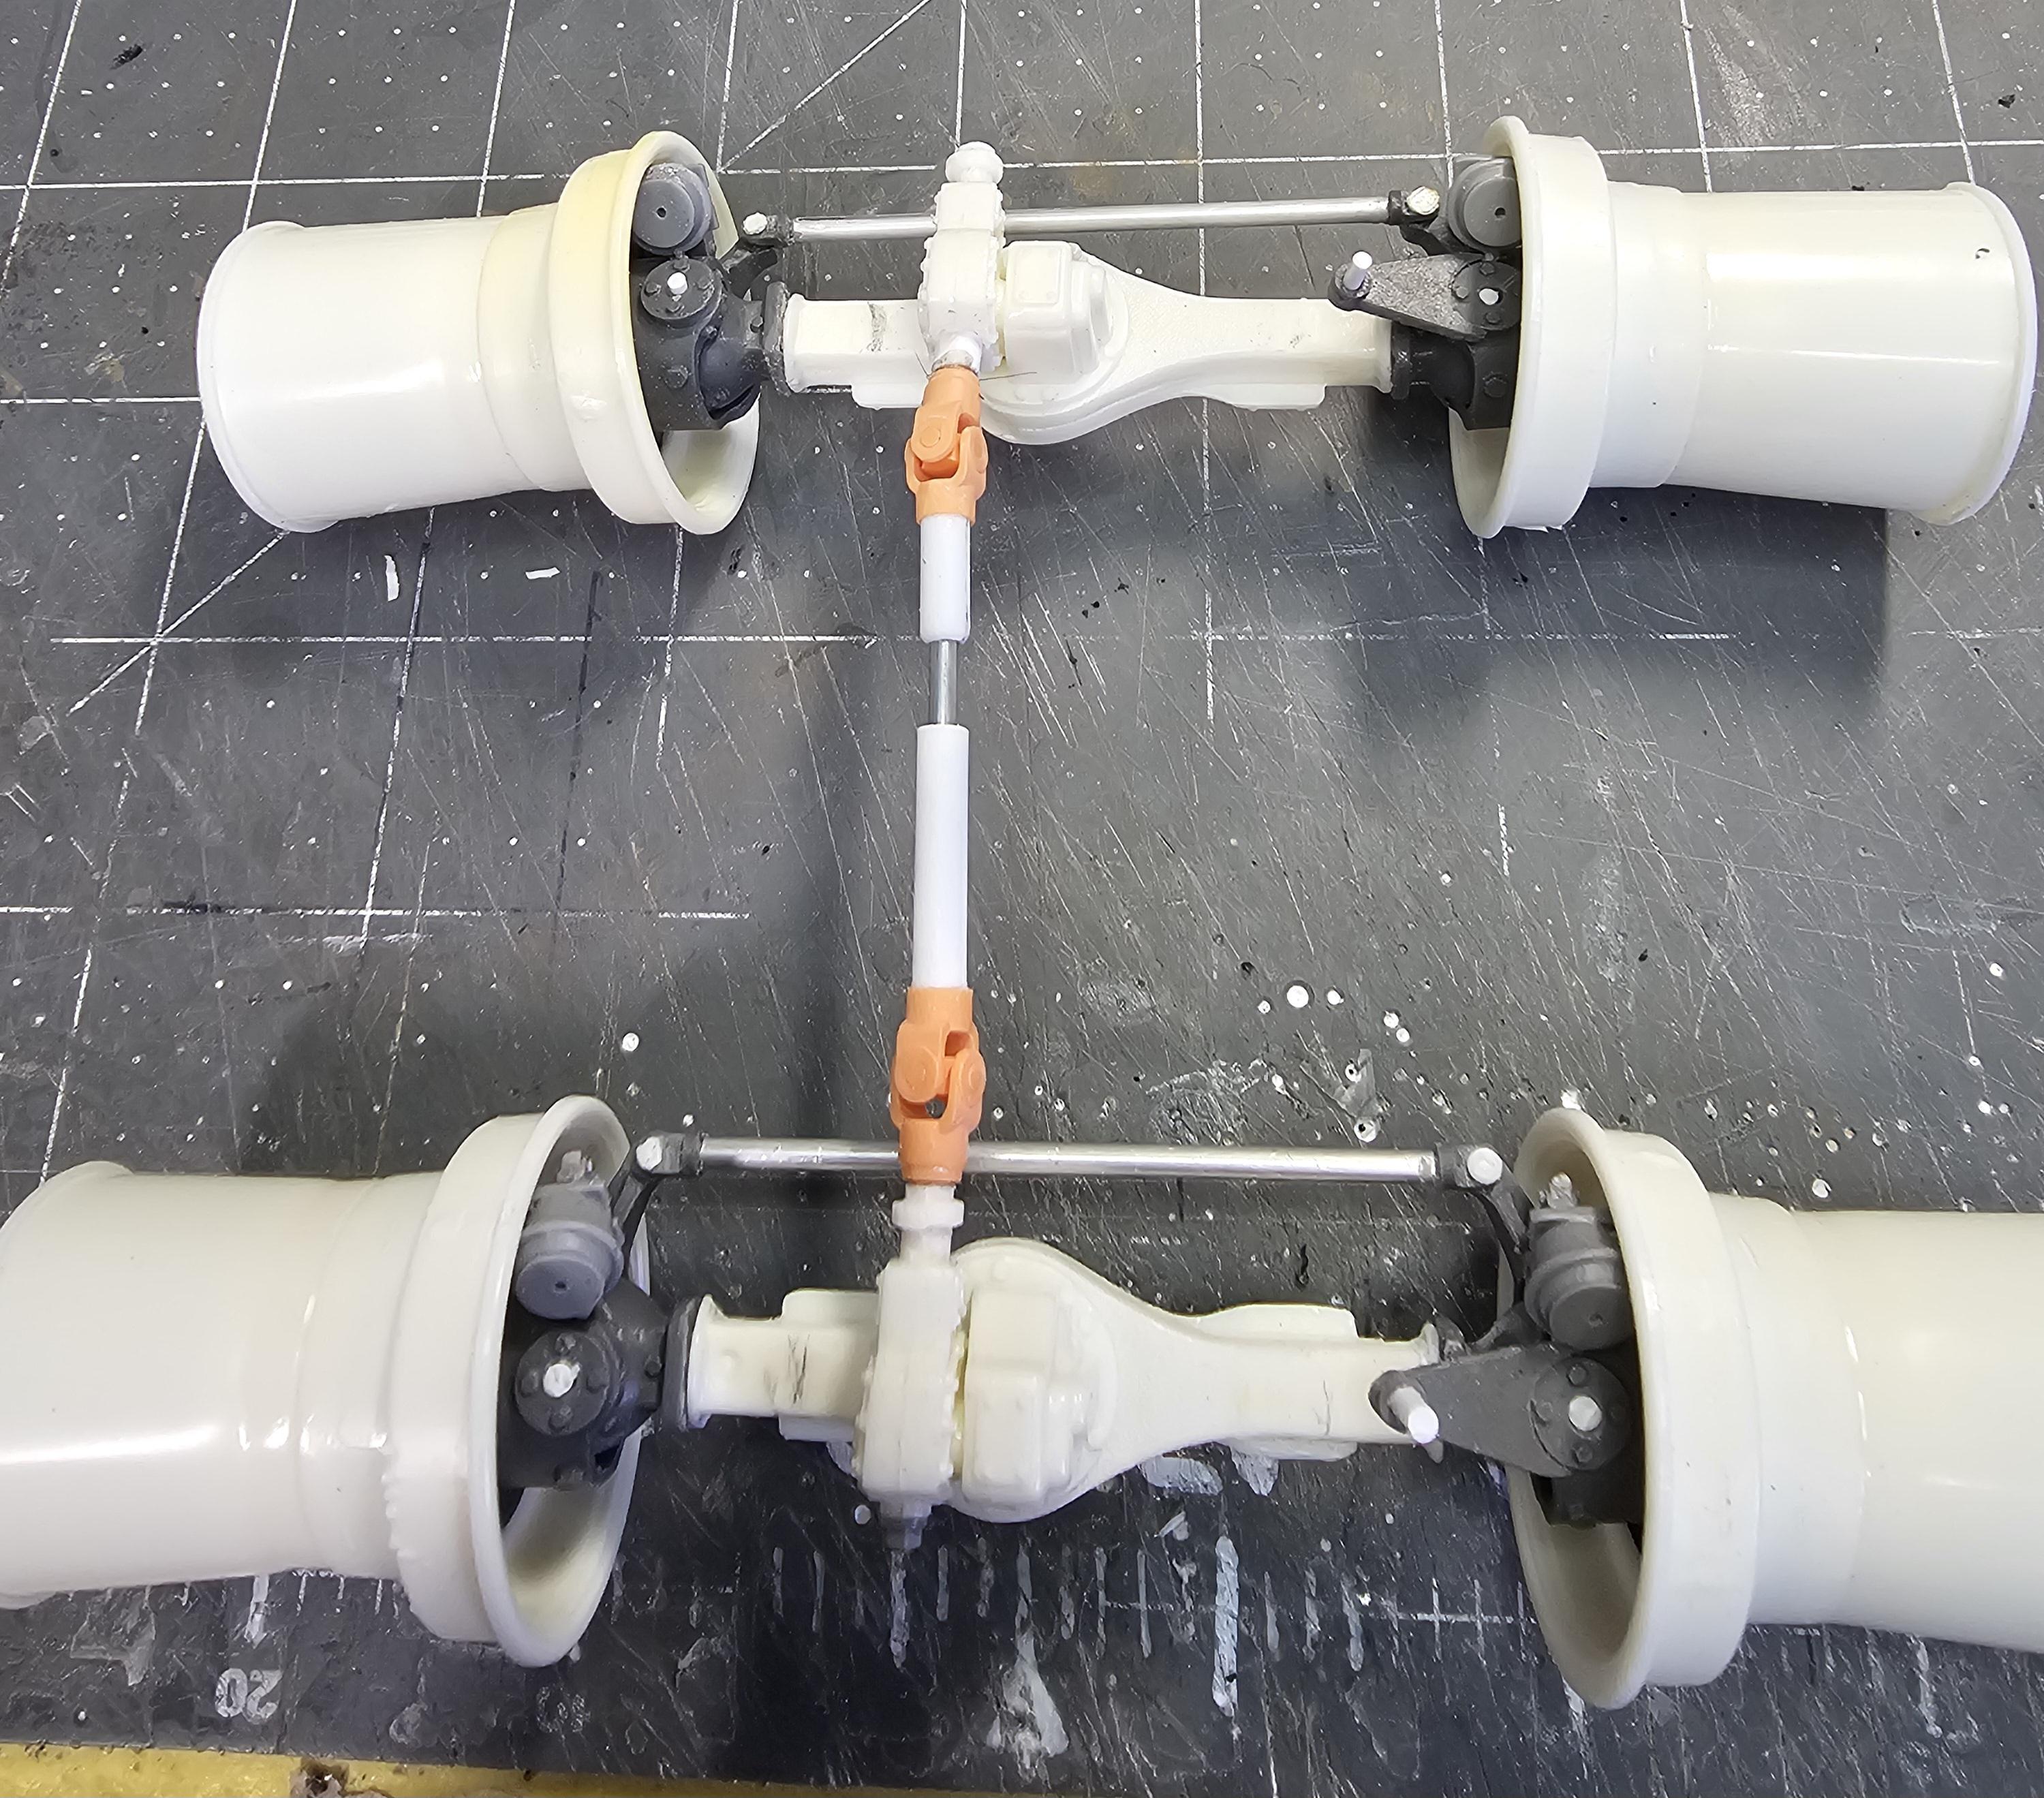
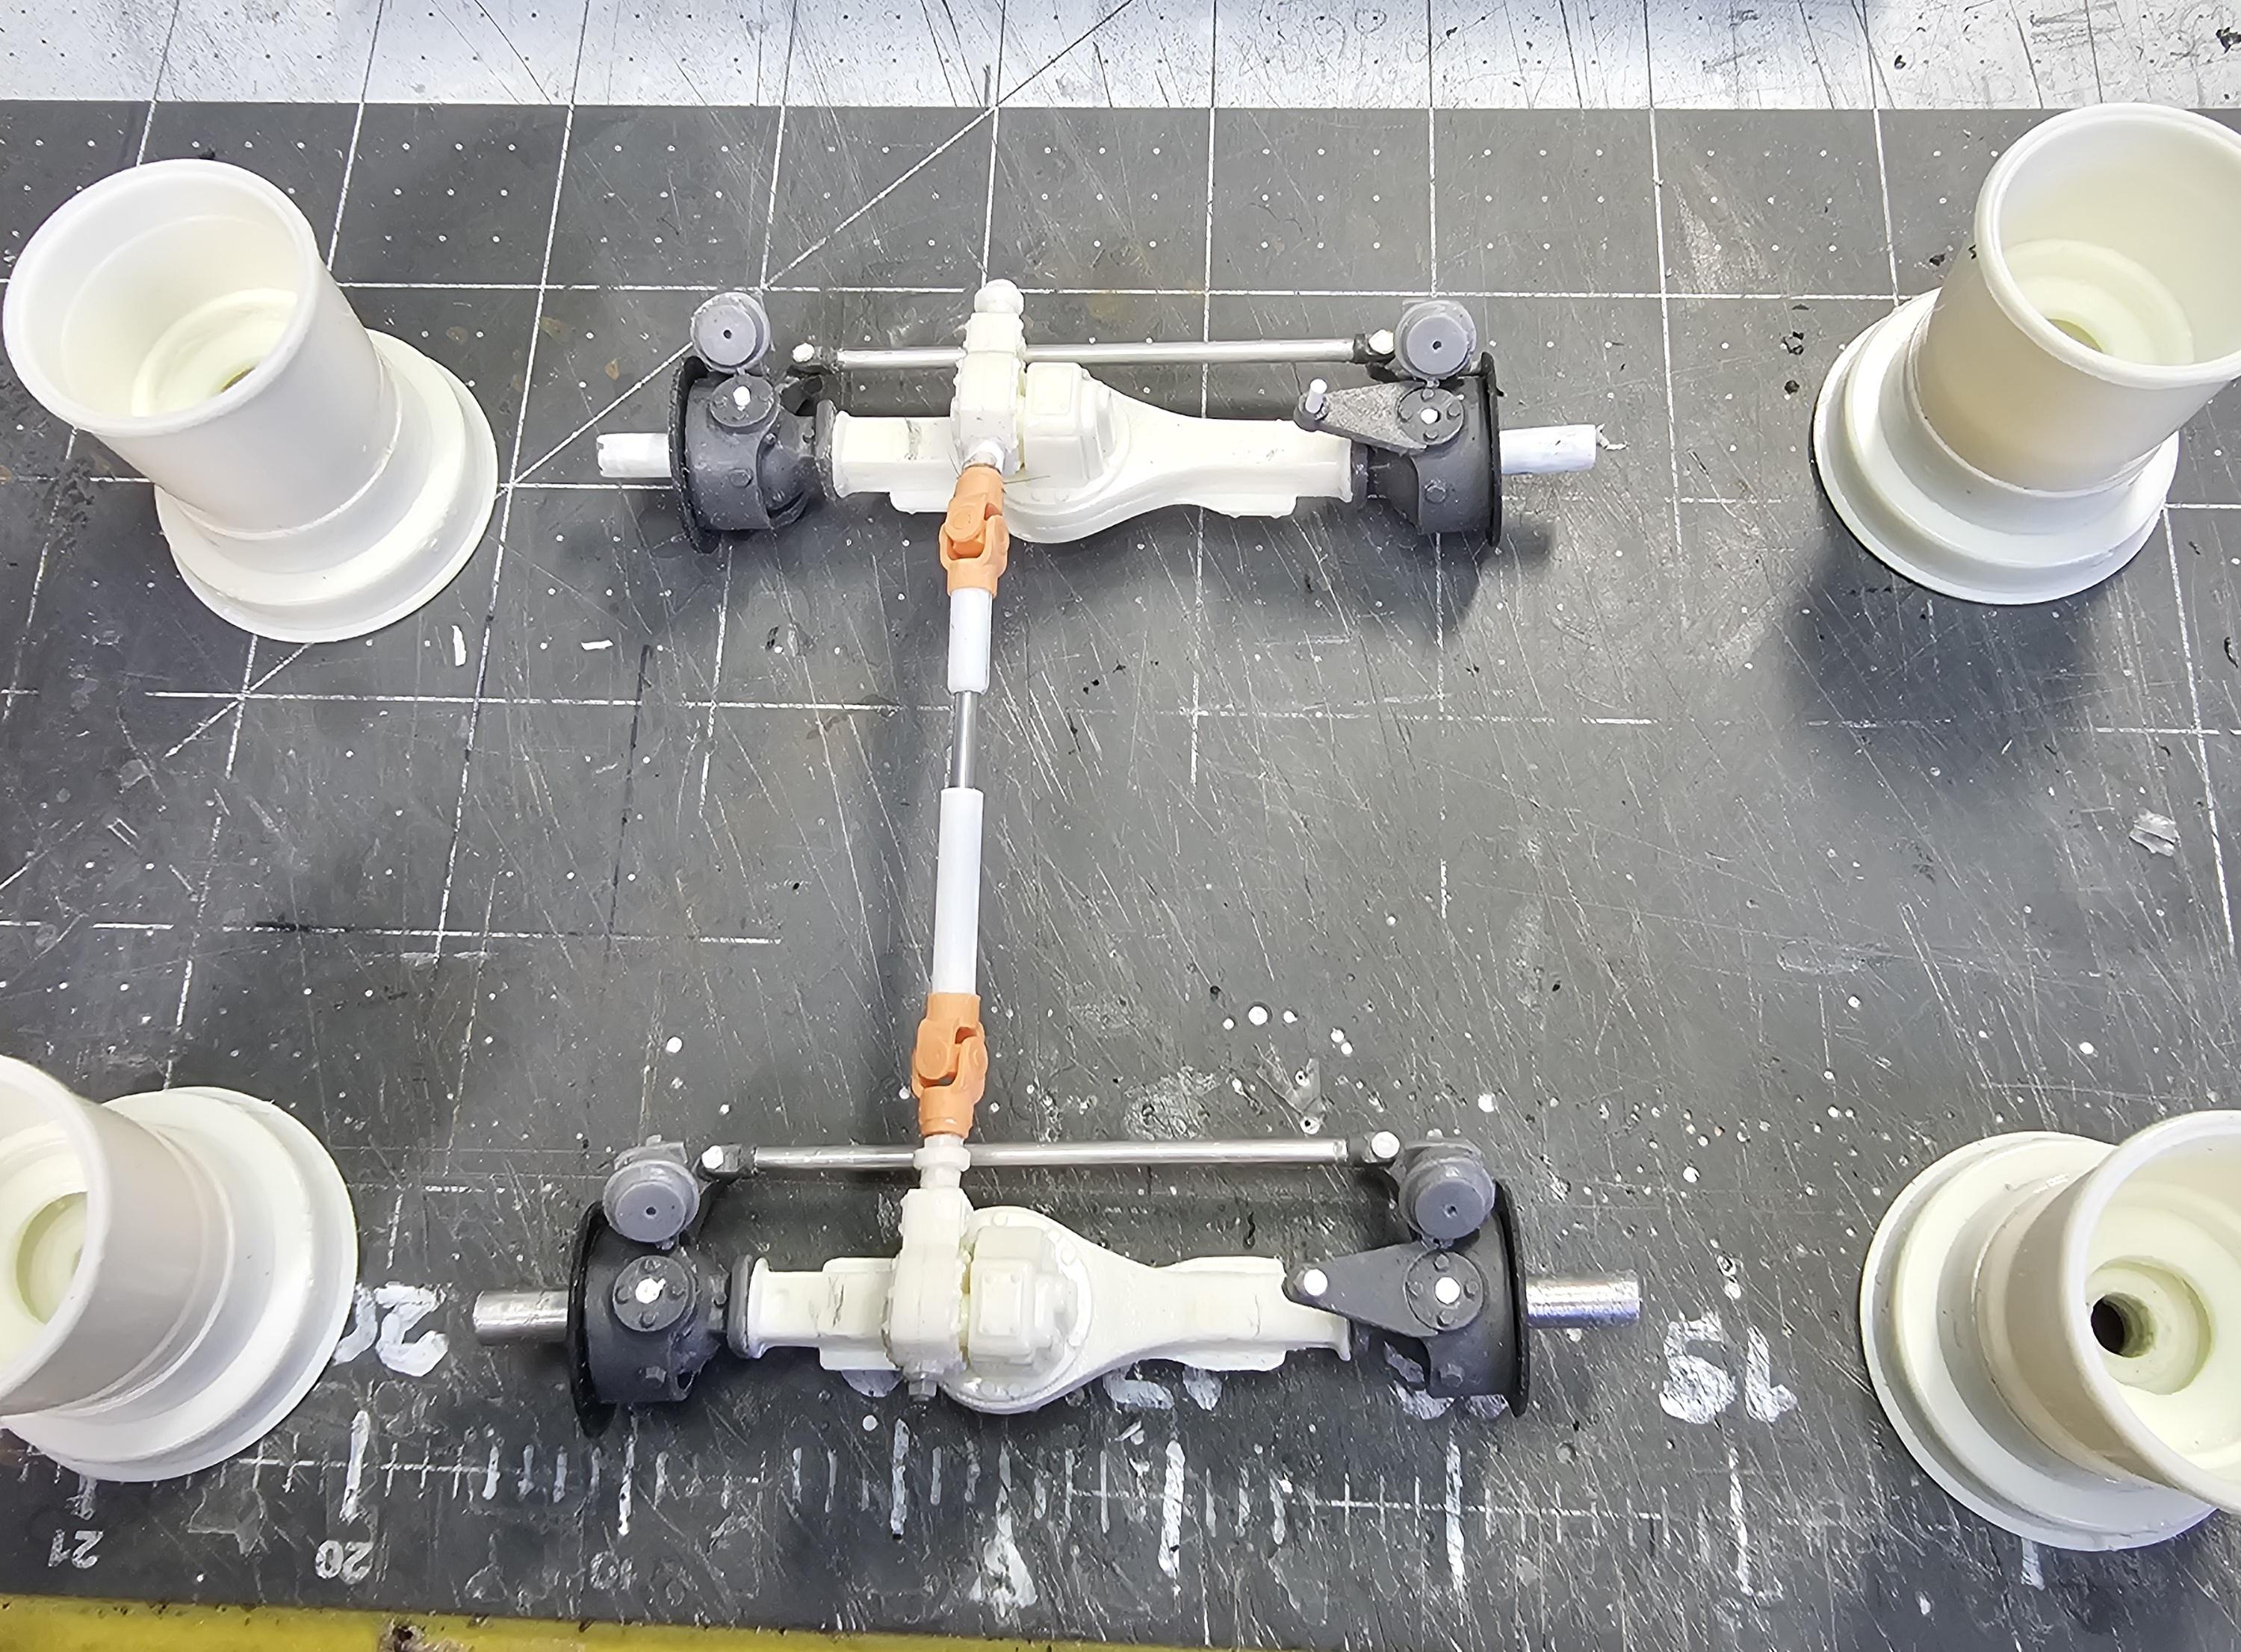
Hey all Today I worked on the rear suspension. This is a custom print from 3D Concepts. It's an elongated Hendrickson RS suspension. This view shows the suspension as I received it from 3D Concepts. This view shows the inside of the main mounting bracket and walking beam. This view shows the outside of the main mounting bracket, walking beam and the thr frame mounting bracket. The black thing is a rubber block. Another view of the suspension. This view shows the distance between axle pin centers. It's 5' 10" (it was supposed to be 6' 6", but I can work with it. This view shows the suspension mounted to the frame. As you can see I have to alter the torsion rod lengths. Side view of the rear suspension. This view shows the whole frame rear and front. Ron G
-
Westernstar 6900 oilfield bed truck
ShakyCraftsman replied to yh70's topic in WIP: Model Trucks: Big Rigs and Heavy Equipment
Send me a PM -
Sweet wrecker Scott.
-
Mostly for strength. There will be alot of weight on this. When painted they won't be noticeable. Ron G
-
Westernstar 6900 oilfield bed truck
ShakyCraftsman replied to yh70's topic in WIP: Model Trucks: Big Rigs and Heavy Equipment
Thanks Swamp Dog. Any info, pictures, drawings of the bed of a oilfield truck would be greatly appreciated. I live in Michigan, and we don't have anything like these trucks down here. I'm looking for info on the sub-frame structure under the actual bed itself. What's it made of? How many cross pieces? Etc.,etc. Ron G -
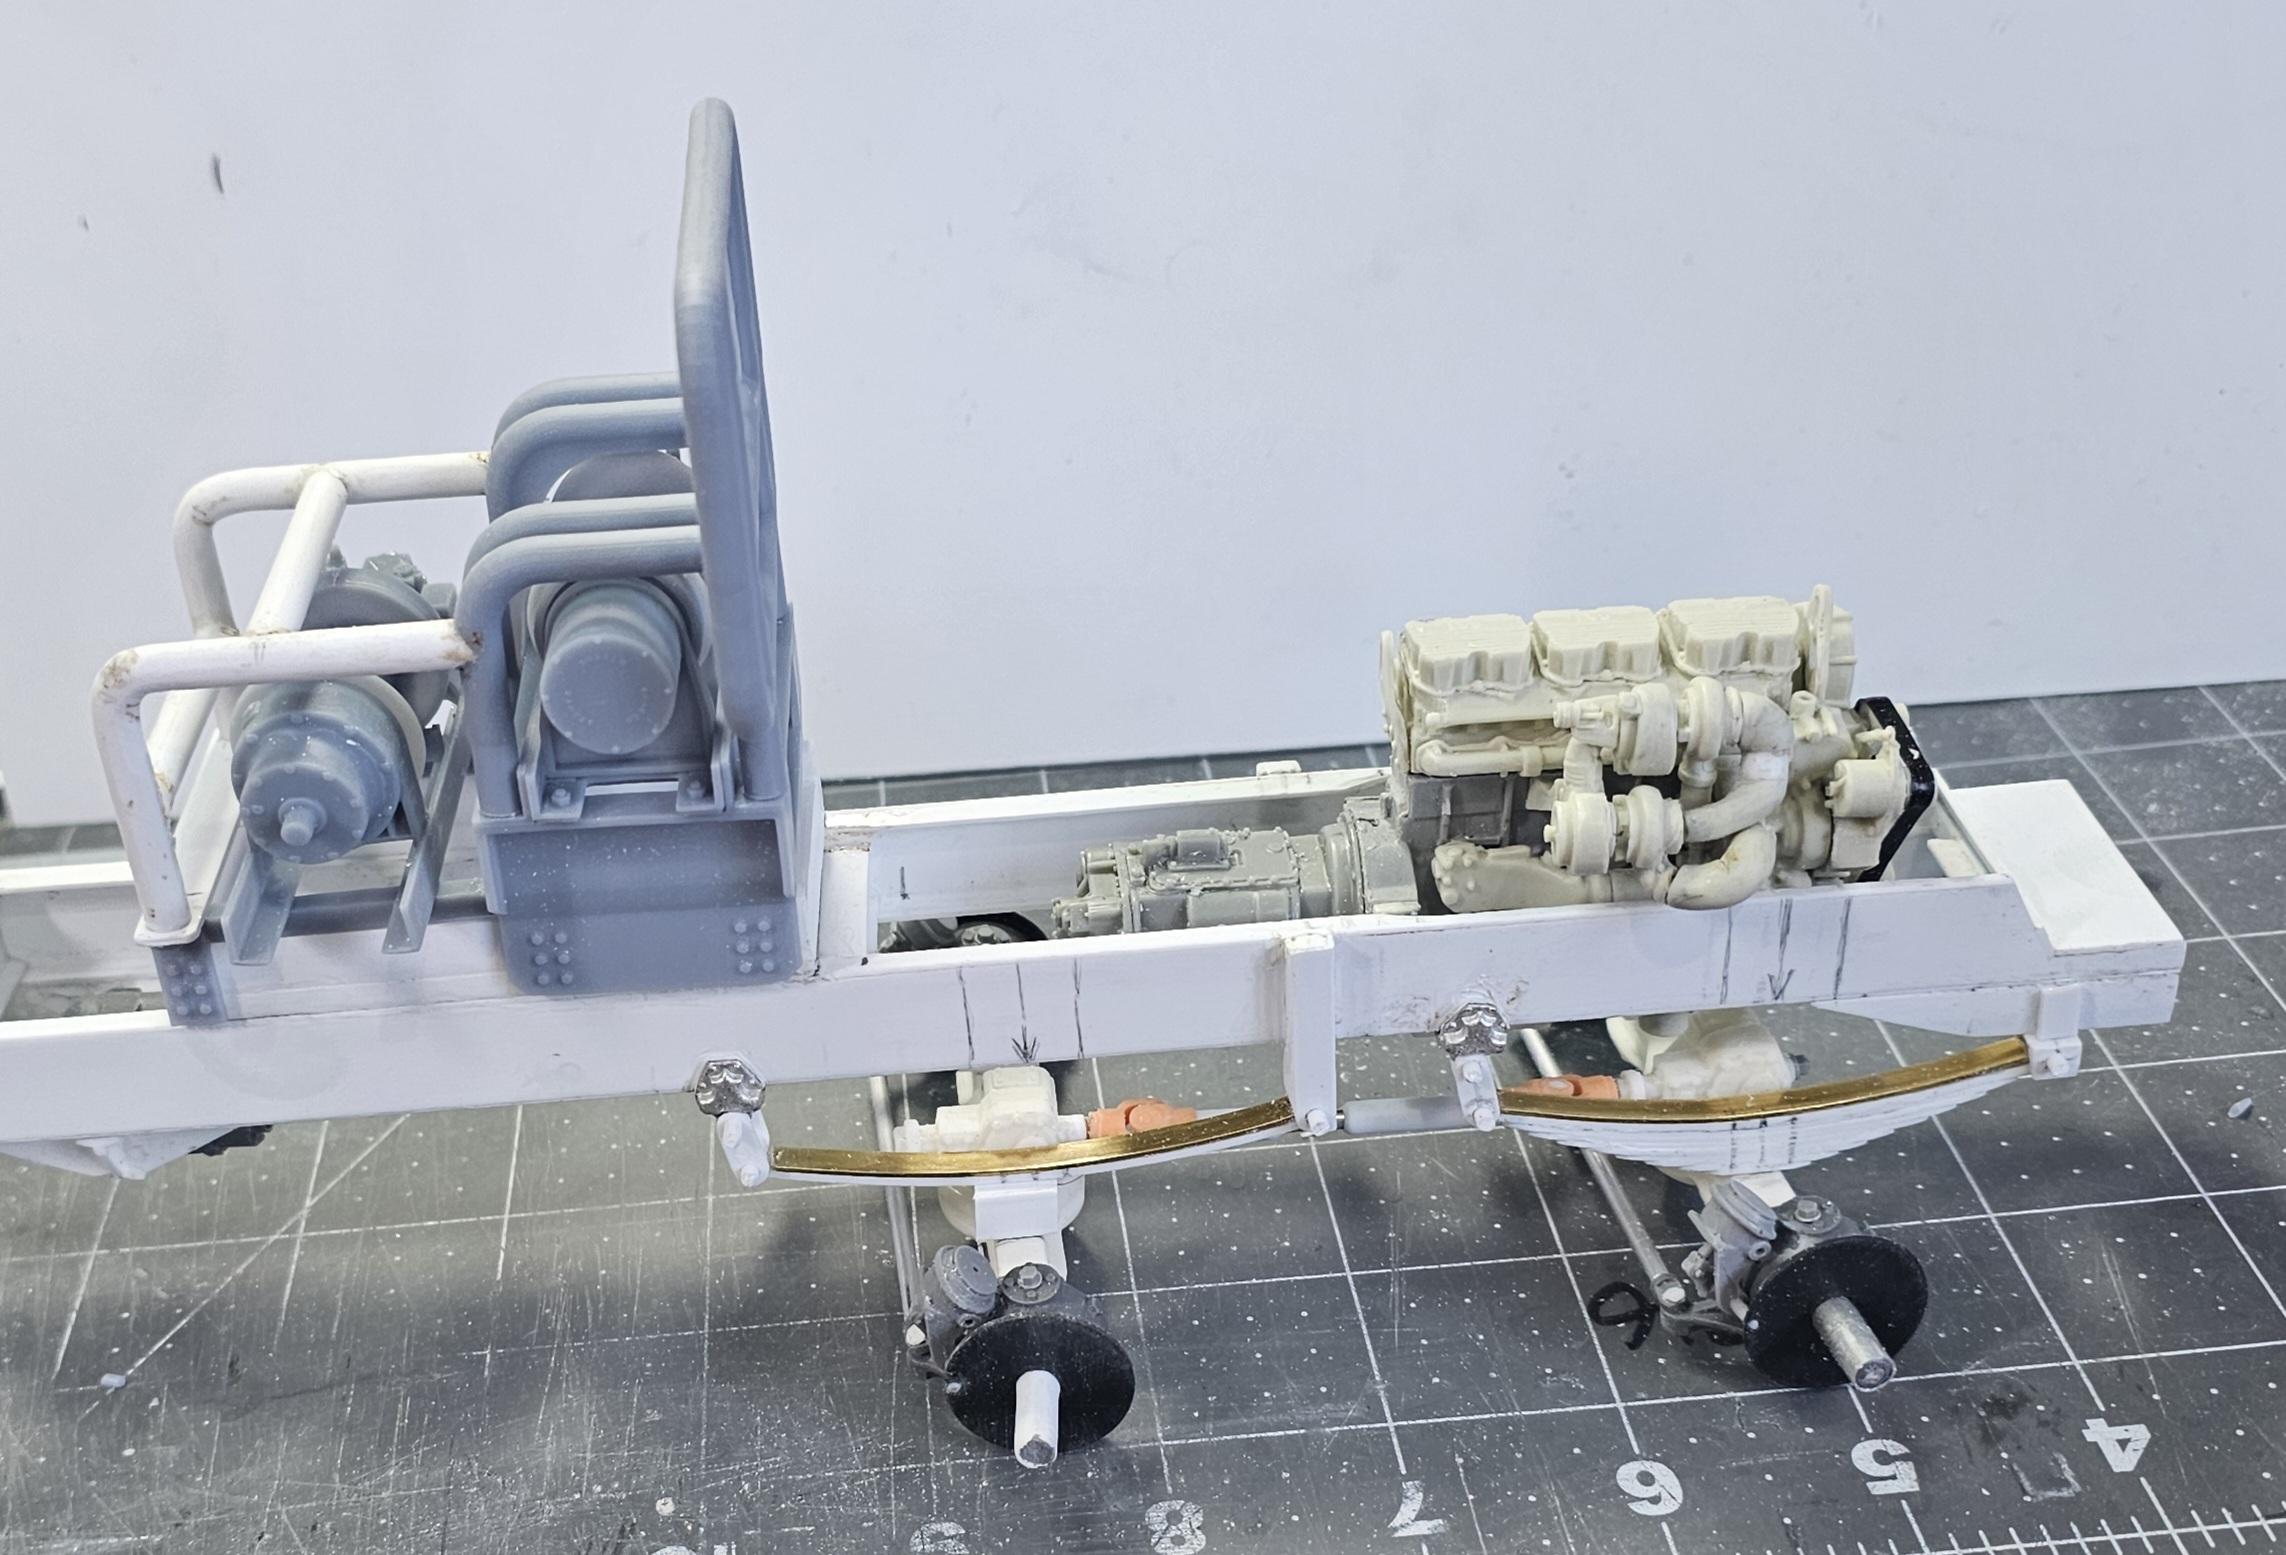
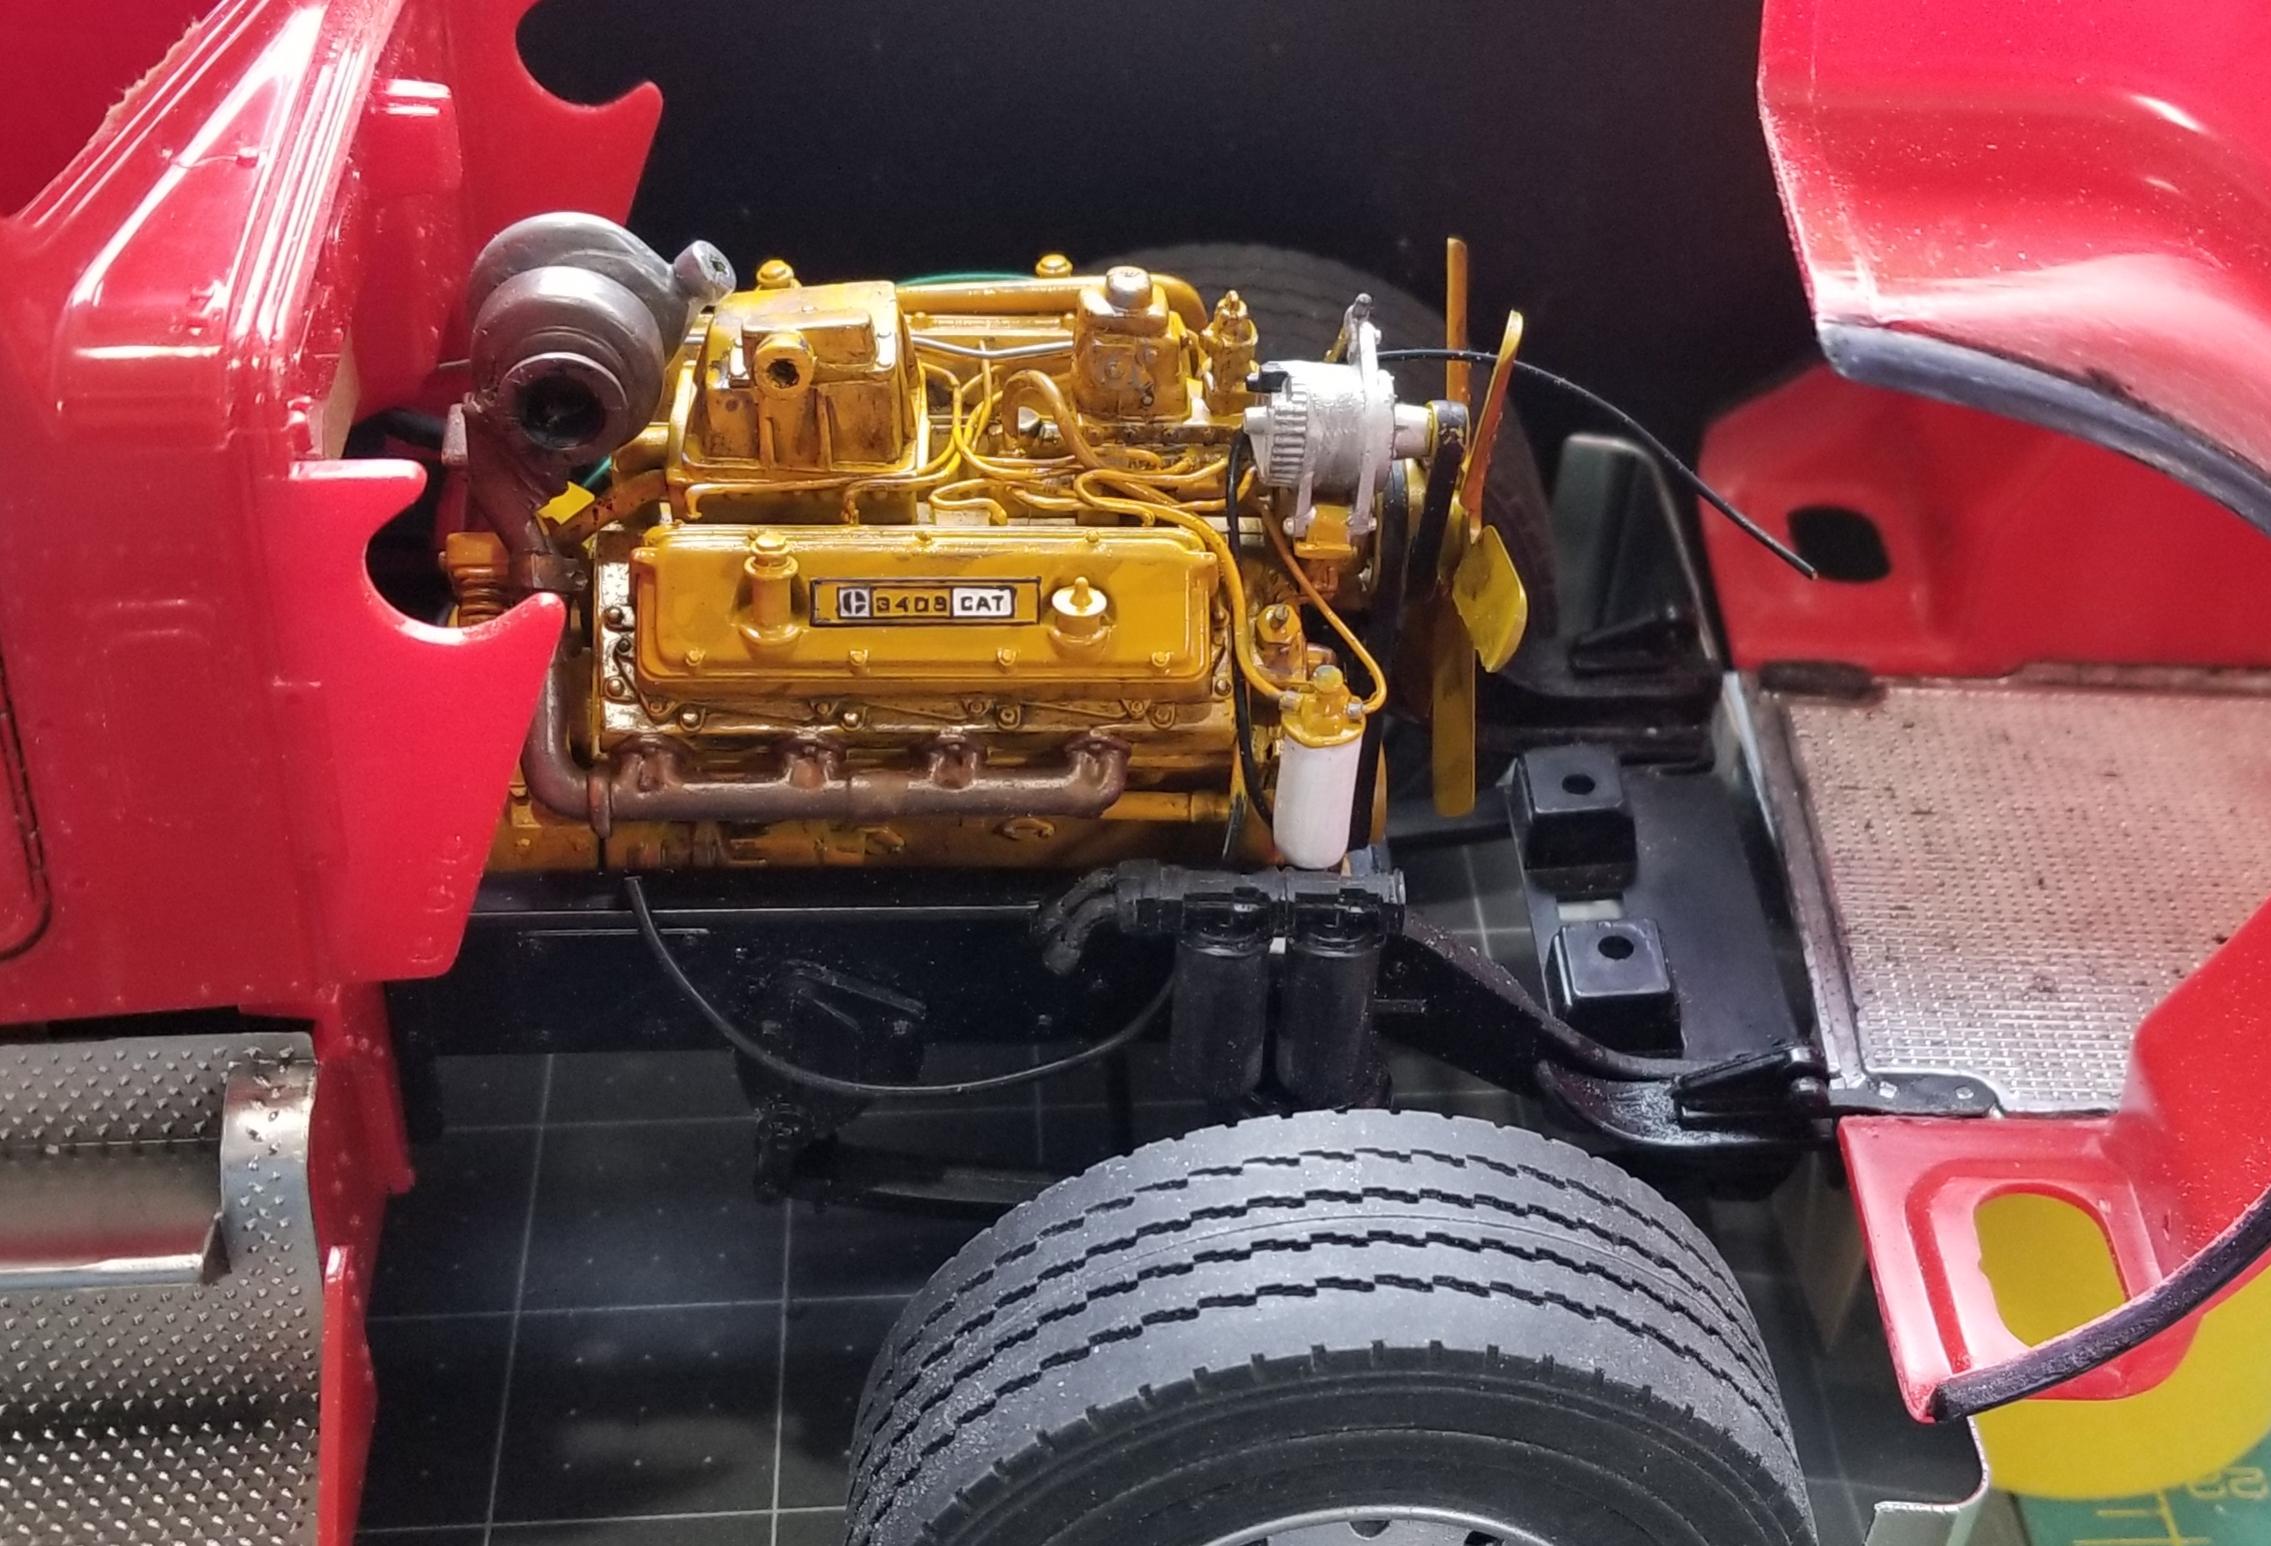
Hey all I now have the front suspension about 80% done. I still need to do some things, but it's coming along. This view shows the finished spring on top. The other three are the start of the rest. This view shows the bottom three after adding the spring eyes. Made from 3/32" plastic tubing. This is a kinda mock-up of the bottom showing the front axles and drive shafts. More of a direct view down. This view shows the front axles without the tires. This view shows the springs and their perches. Top right is what they will all look like when done. This view shows the front suspension looking down on it. This Mock-up view shows the Cat C15 6NZ and the winch/headache rack with two winches. There not the final ones. I have to figure out how to get the ones I'm going to use to fit. Ron G
-
MACK SUPERLINER HEAVY HAUL
ShakyCraftsman replied to Swamp Dog's topic in WIP: Model Trucks: Big Rigs and Heavy Equipment
Hey Dave This is going to be a great build. I really like Mack Superliners. Ron G -
Westernstar 6900 oilfield bed truck
ShakyCraftsman replied to yh70's topic in WIP: Model Trucks: Big Rigs and Heavy Equipment
Hey Swamp Dog Cool 😎 I was hoping to get some info from you to use on my build. Check out my 1/24 Big S.O.B Alberta oilfield bed truck build. I went a little more crazy then you.😁😉 Ron G -
KW Aerodyne
ShakyCraftsman replied to TopherMcGinnis's topic in WIP: Model Trucks: Big Rigs and Heavy Equipment
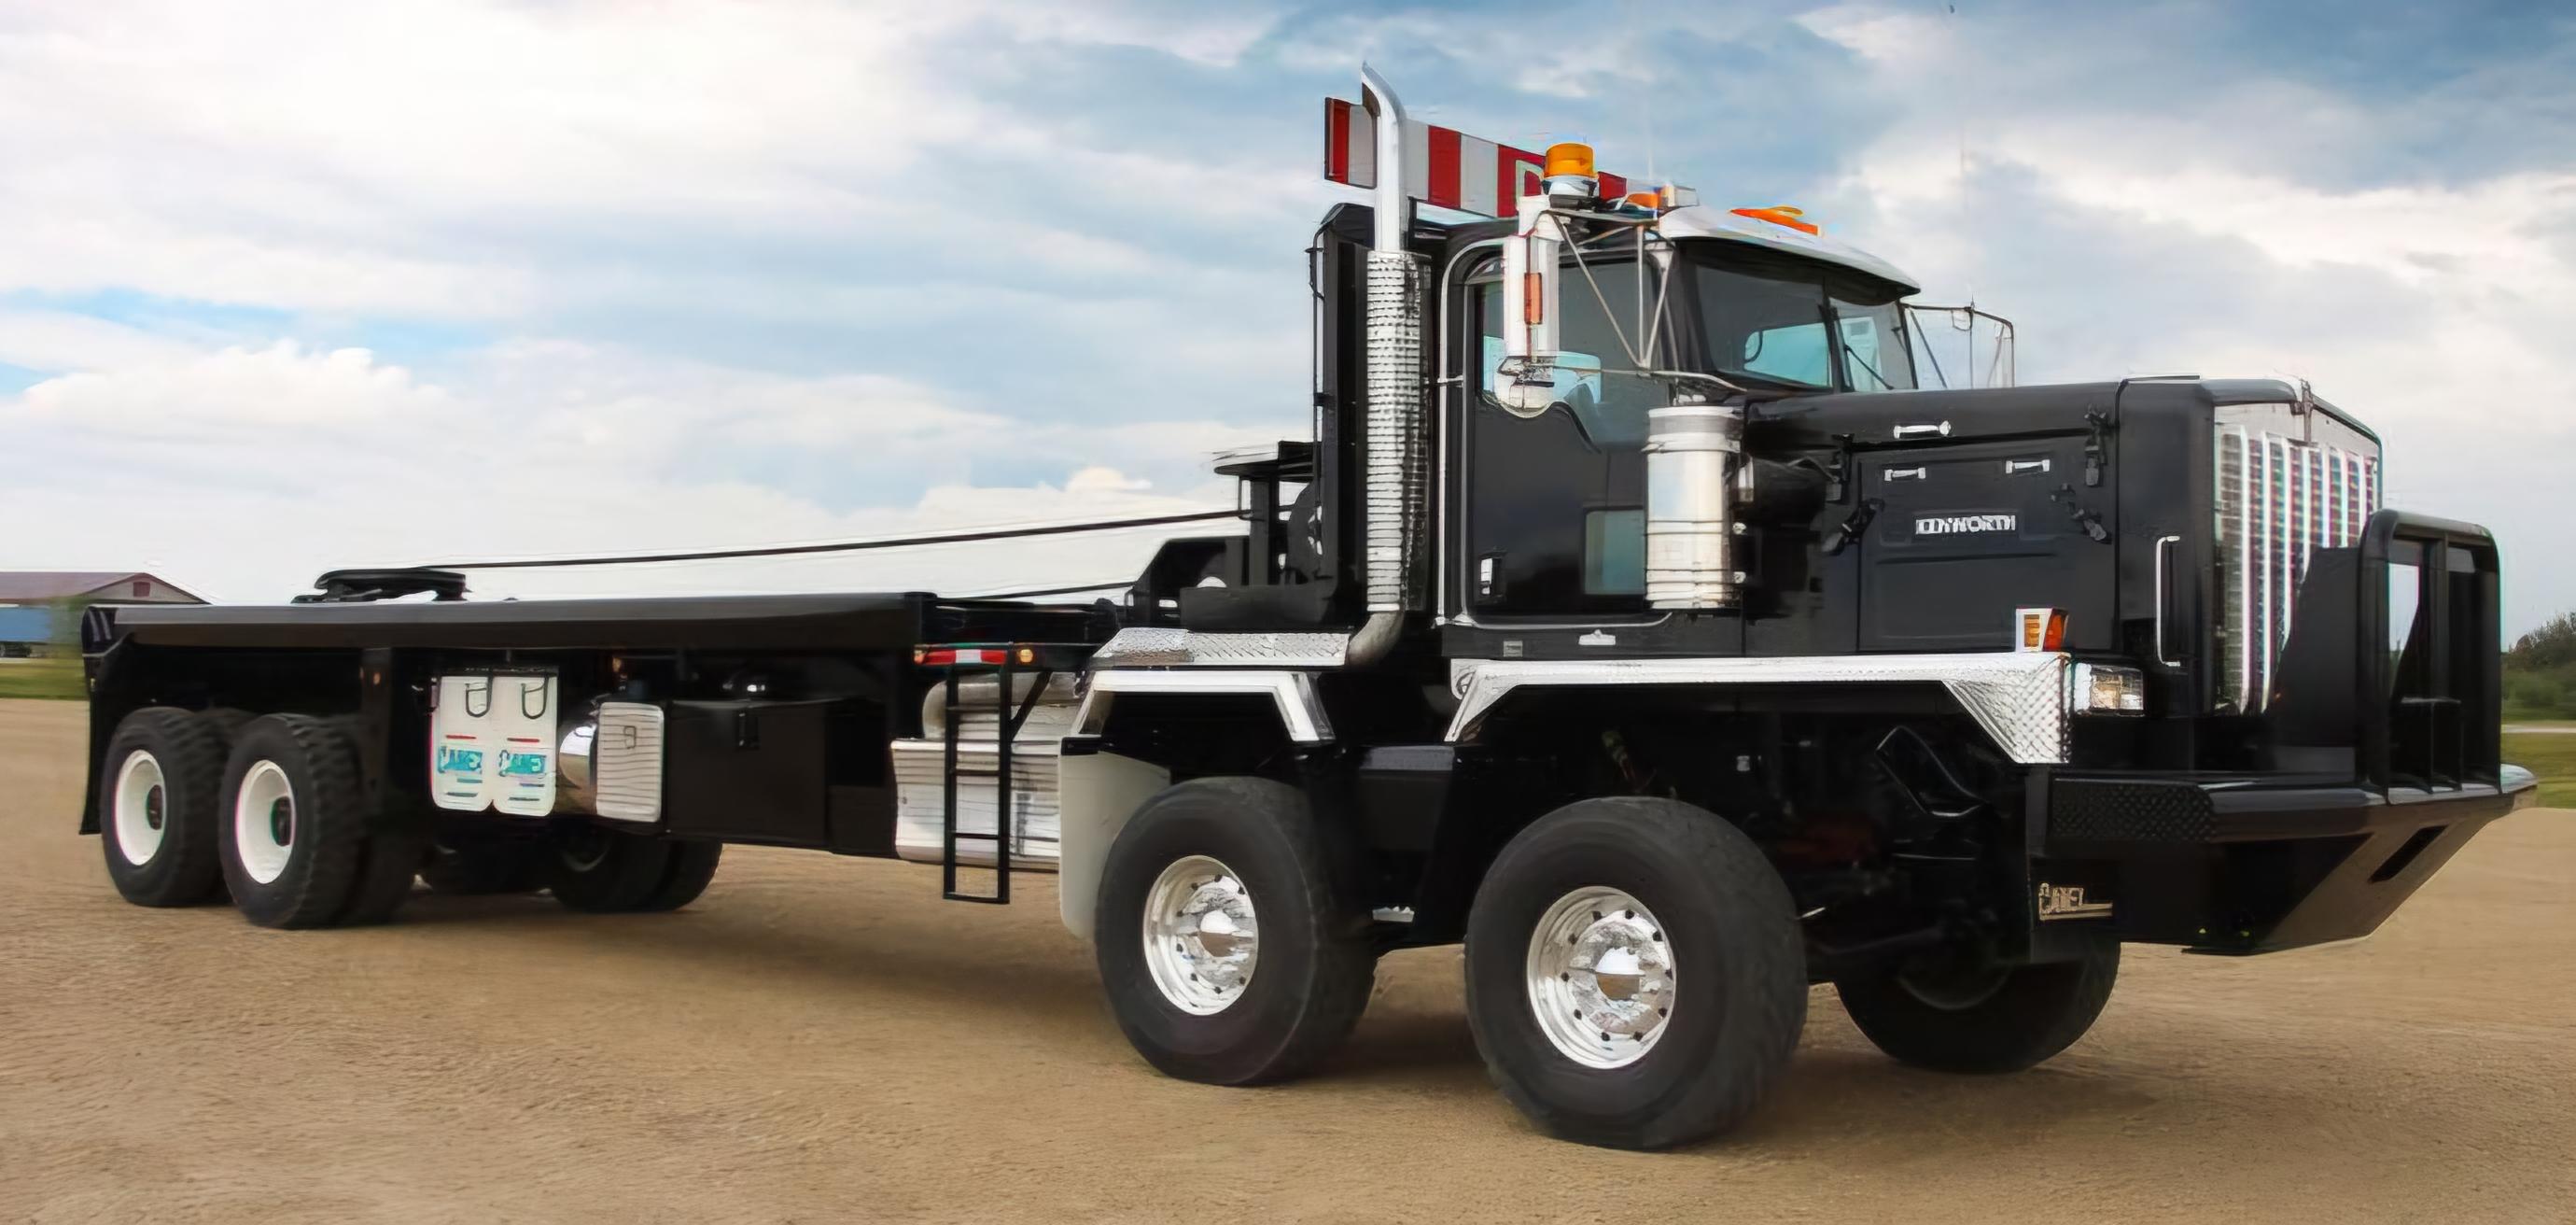
Hey Topher I have the other 1/16 scale Kenworth kit, the red one. Here is what I'm doing to mine. A few pictures for inspiration. I'm not trying to take over your post, just showing what can be done with these big kits. Ron G
-
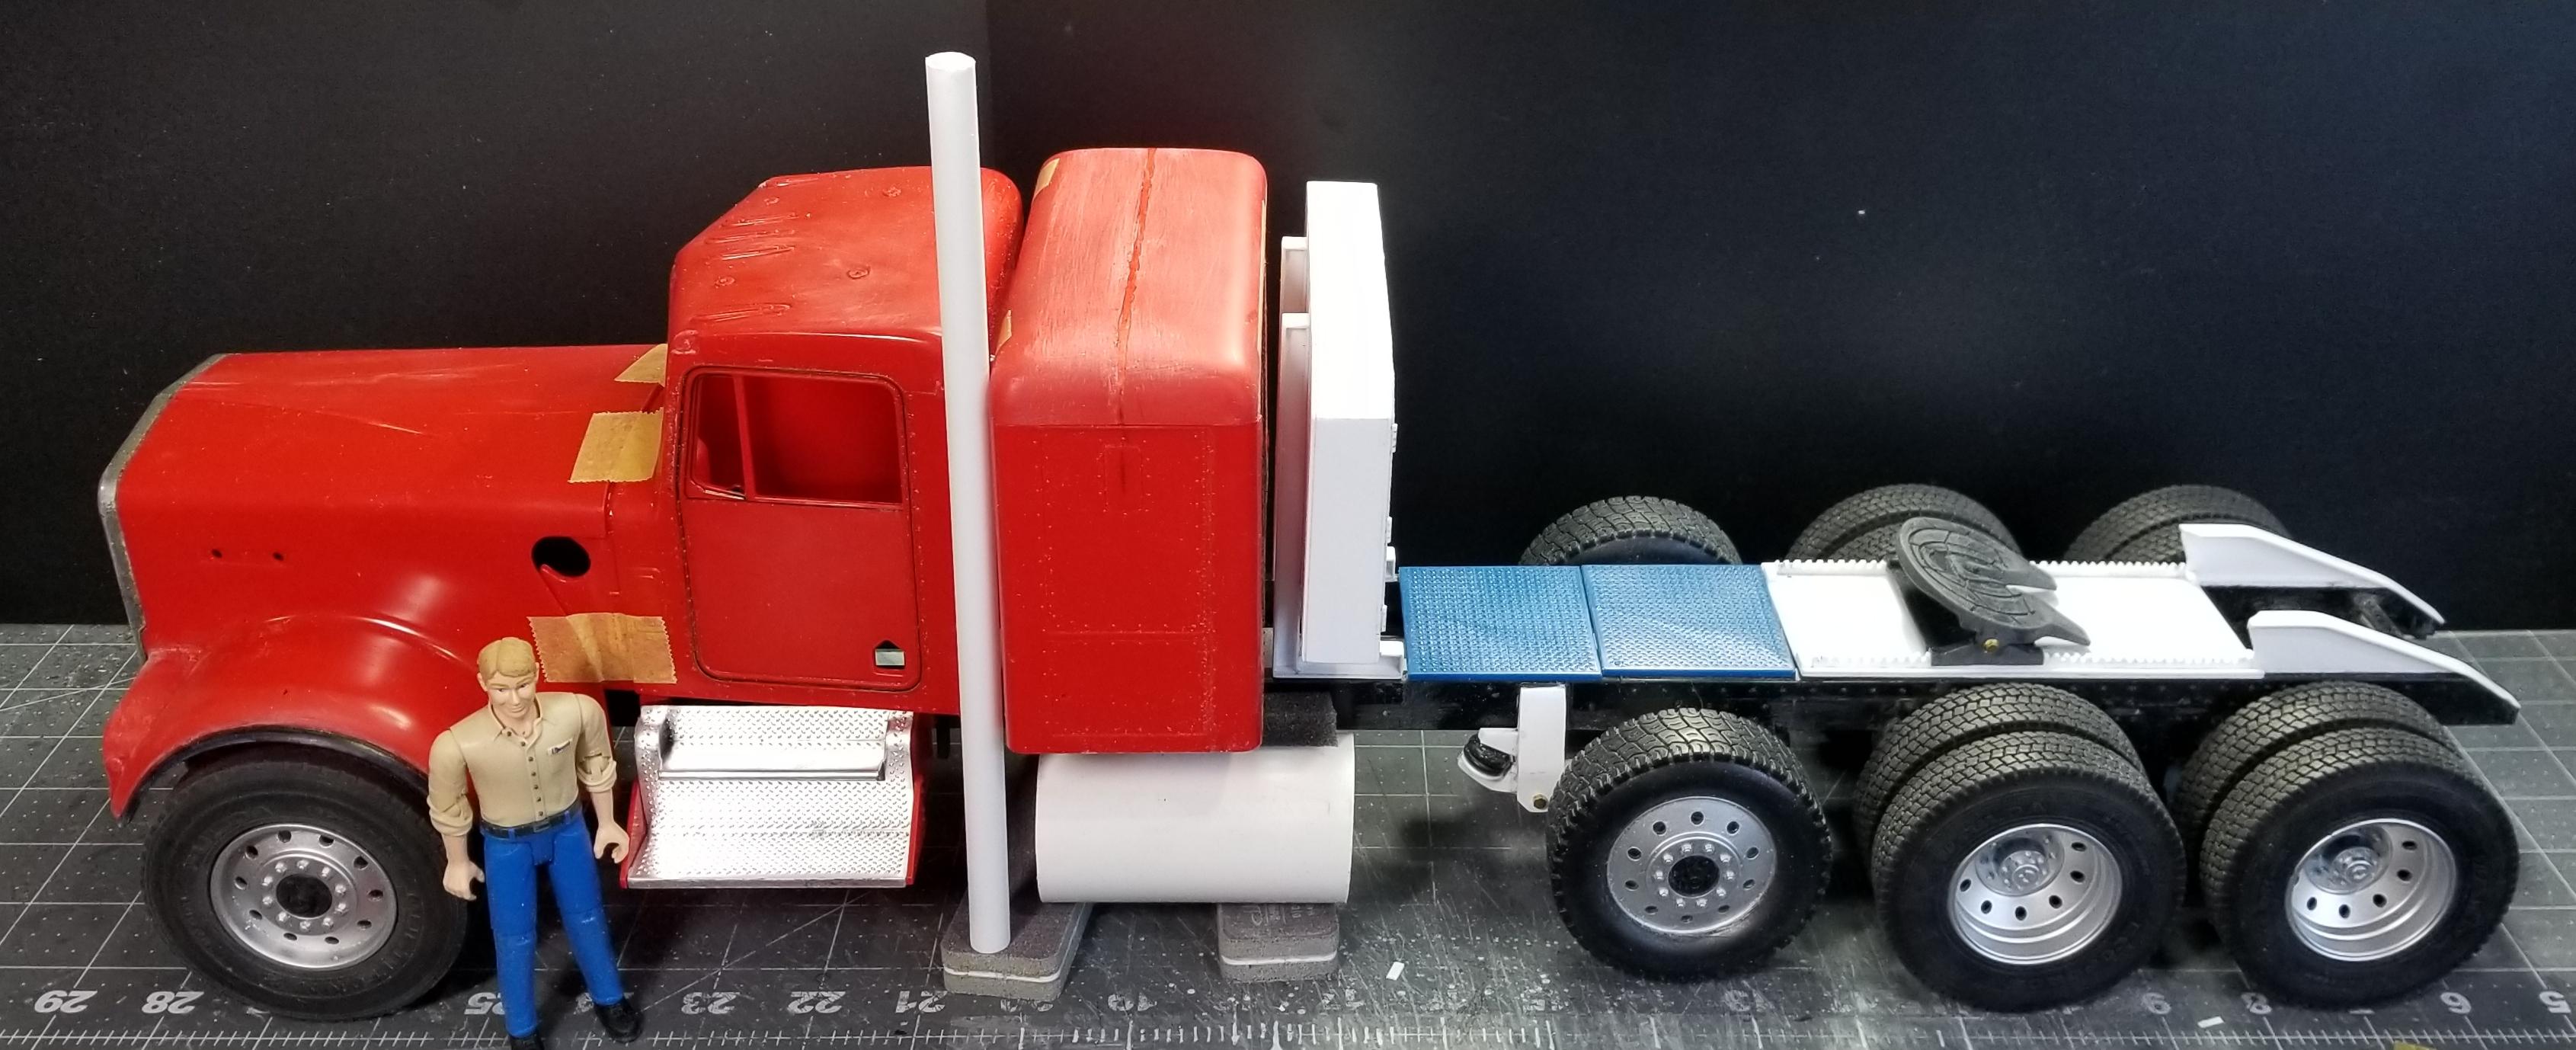
Did some work on the winch/headache rack. I added some more tubing for the second winches protection. This closeup view shows the tubing that I added. I also added a riser frame for the headache rack to the frame. This view shows it sitting on the added frame. The main winch will be on the upper part of the headache rack and the second winch will be on the lower part. This view shows it's relationship to the cab. Ron G
-
Westernstar 6900 oilfield bed truck
ShakyCraftsman replied to yh70's topic in WIP: Model Trucks: Big Rigs and Heavy Equipment
Any updates on this build. 🤔 Ron G -
Thanks everyone
-
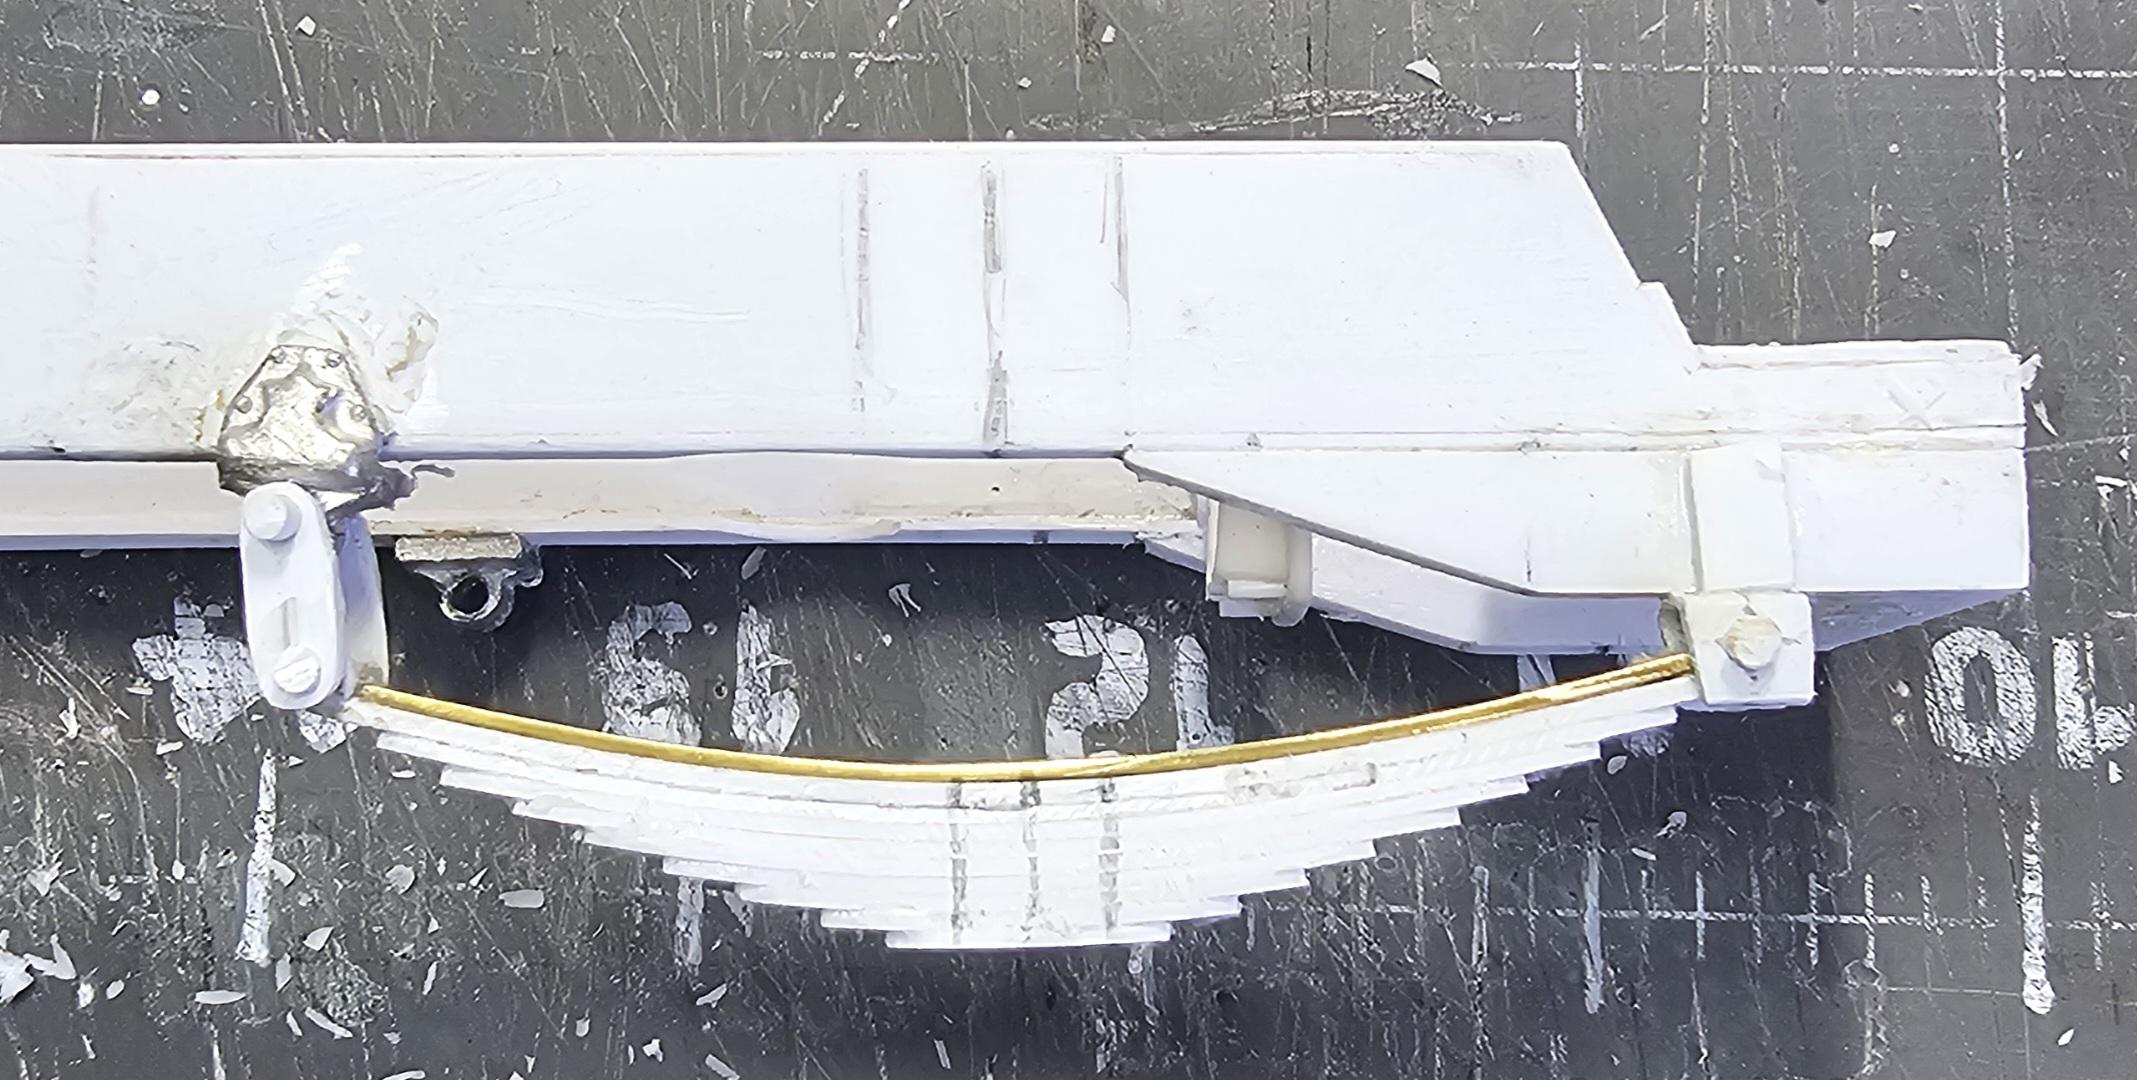
Okay, hey all Small update. I've got 4 of the planetary hubs done. I also started on making the scratch built front springs. This view shows the 4 hubs with the bolt heads added. This view shows the right side front spring. It is going to be mostly styrene strips with one brass strip for strength. This view shows the spring with all 10 leafs added, there is more to do to complete it, plus I have to make 3 more identical copies.😱 well that's as far as I got today. Ron G
-
Western Star Classic heavy haul
ShakyCraftsman replied to Biggu's topic in WIP: Model Trucks: Big Rigs and Heavy Equipment
Yeah, but you can do it, now post those pictures of the headache rack...😁😉 Ron G -
Thanks guys
-
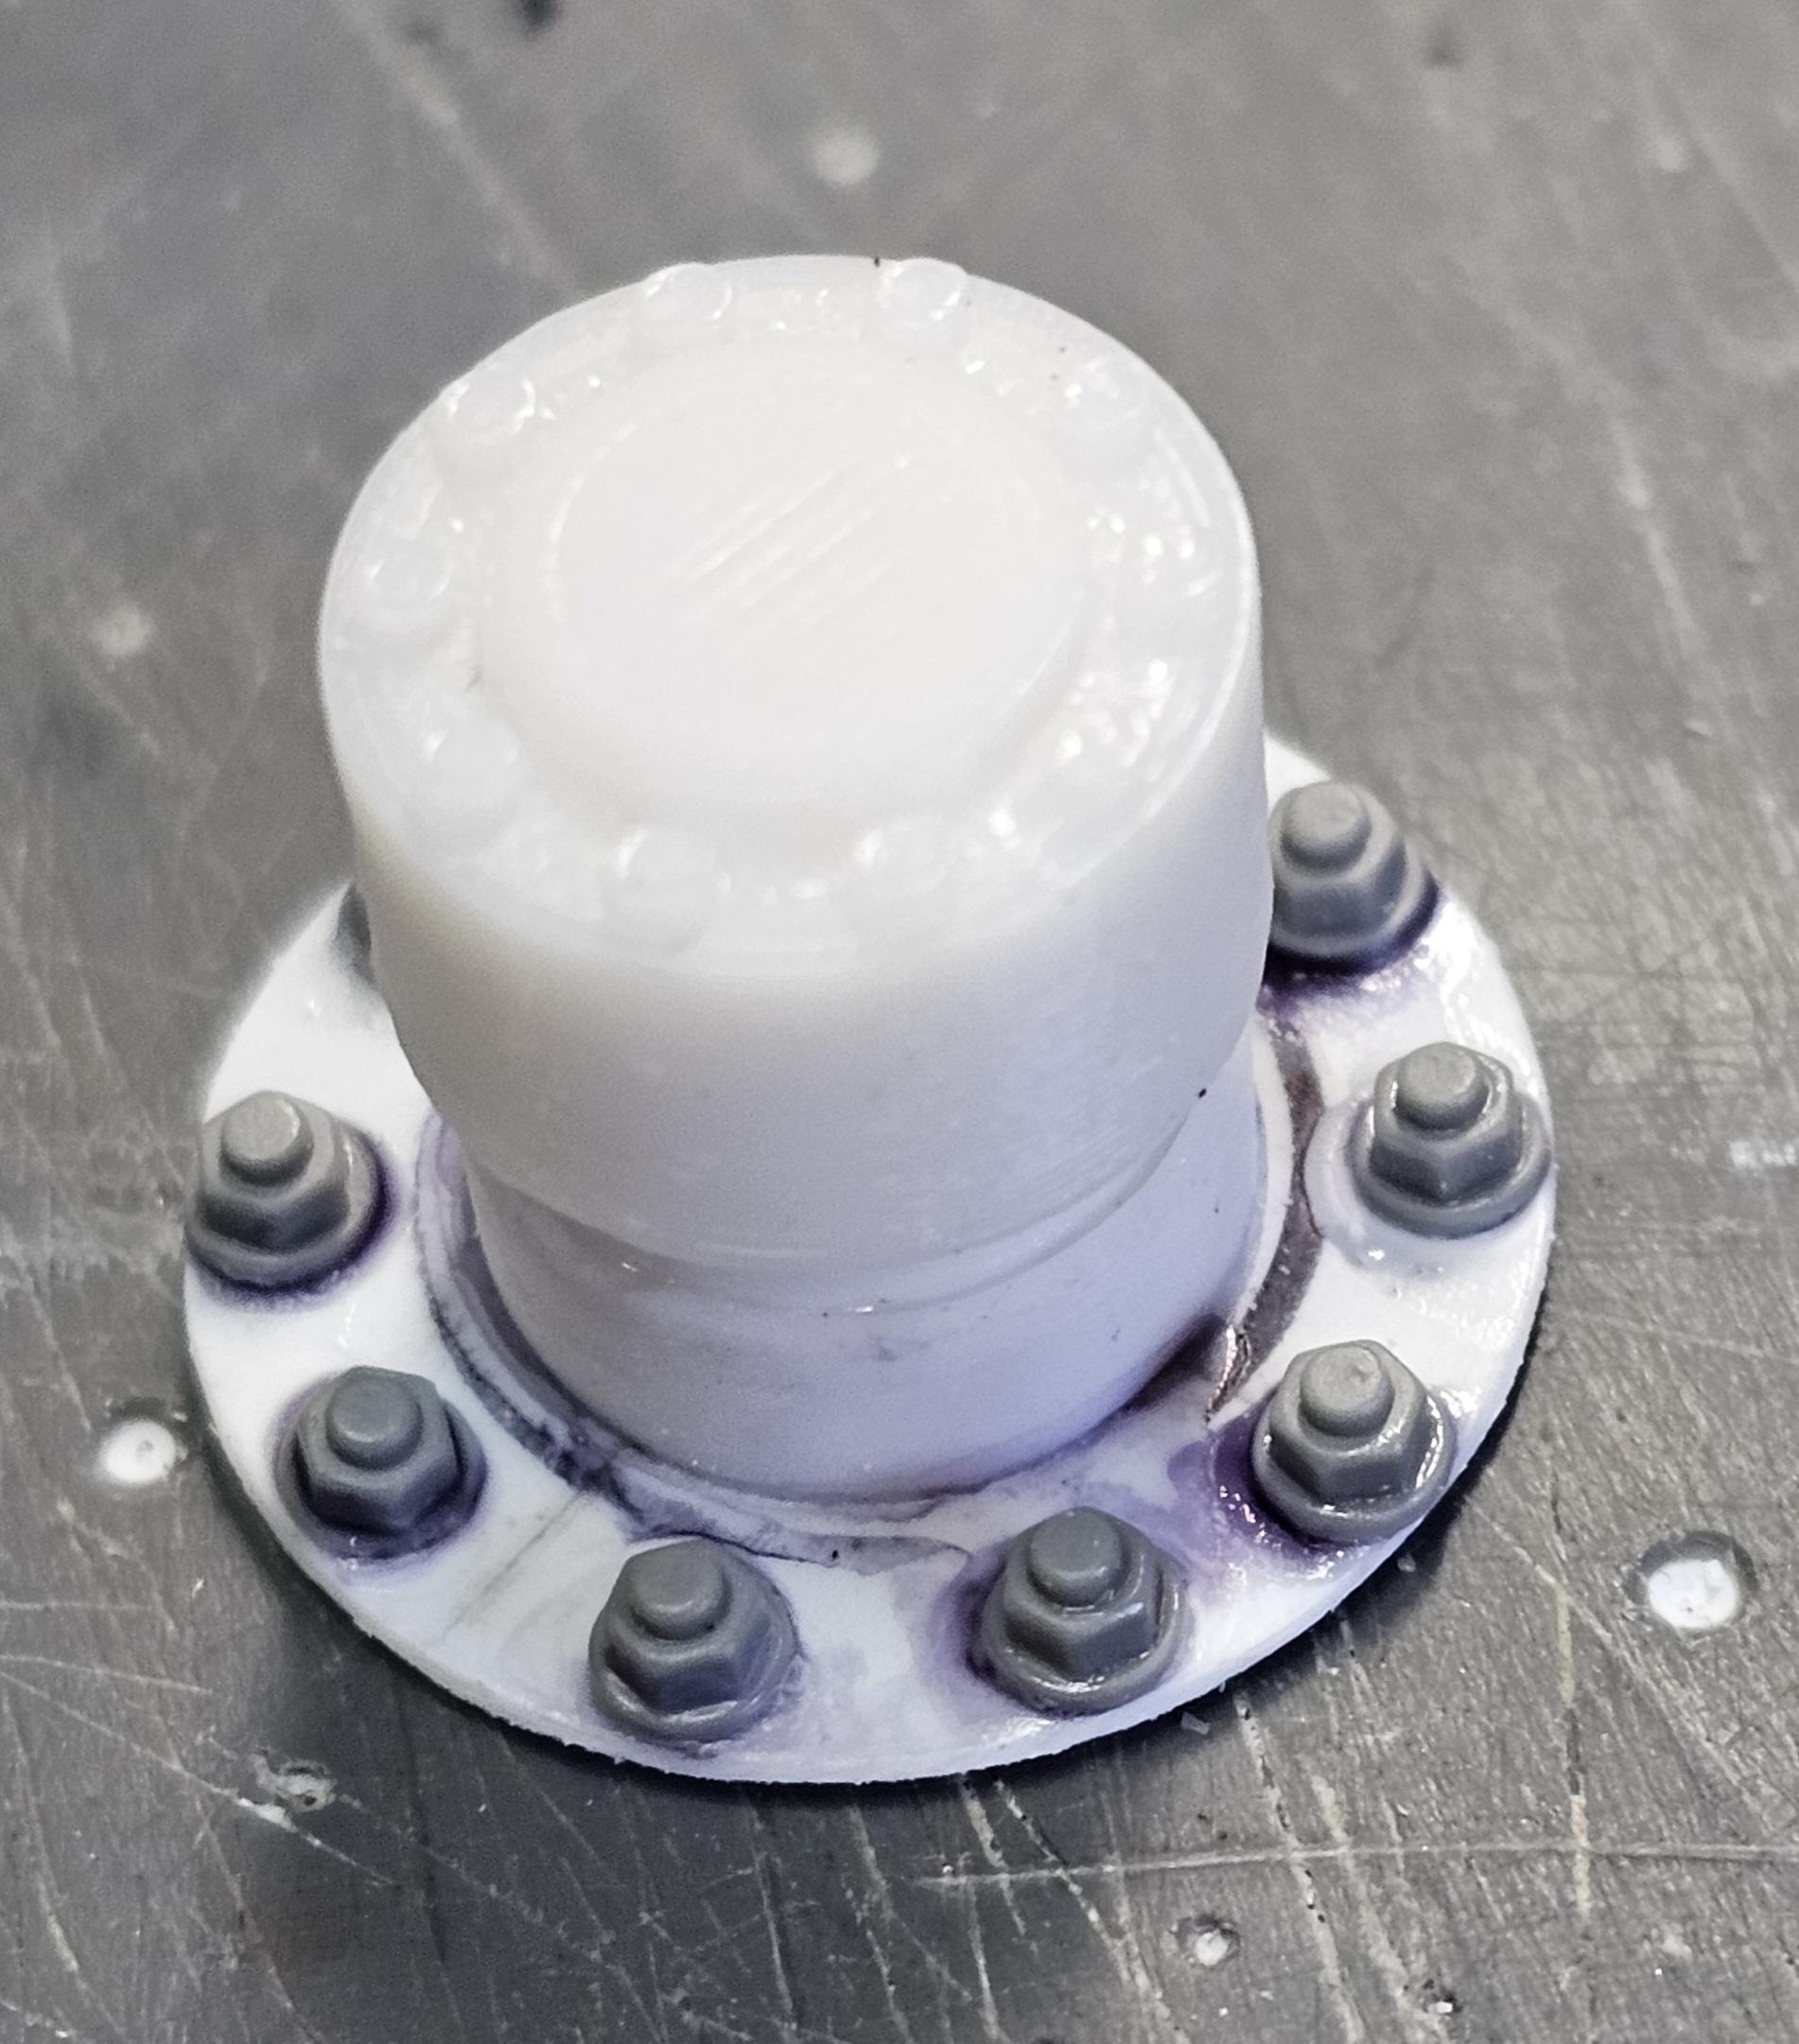
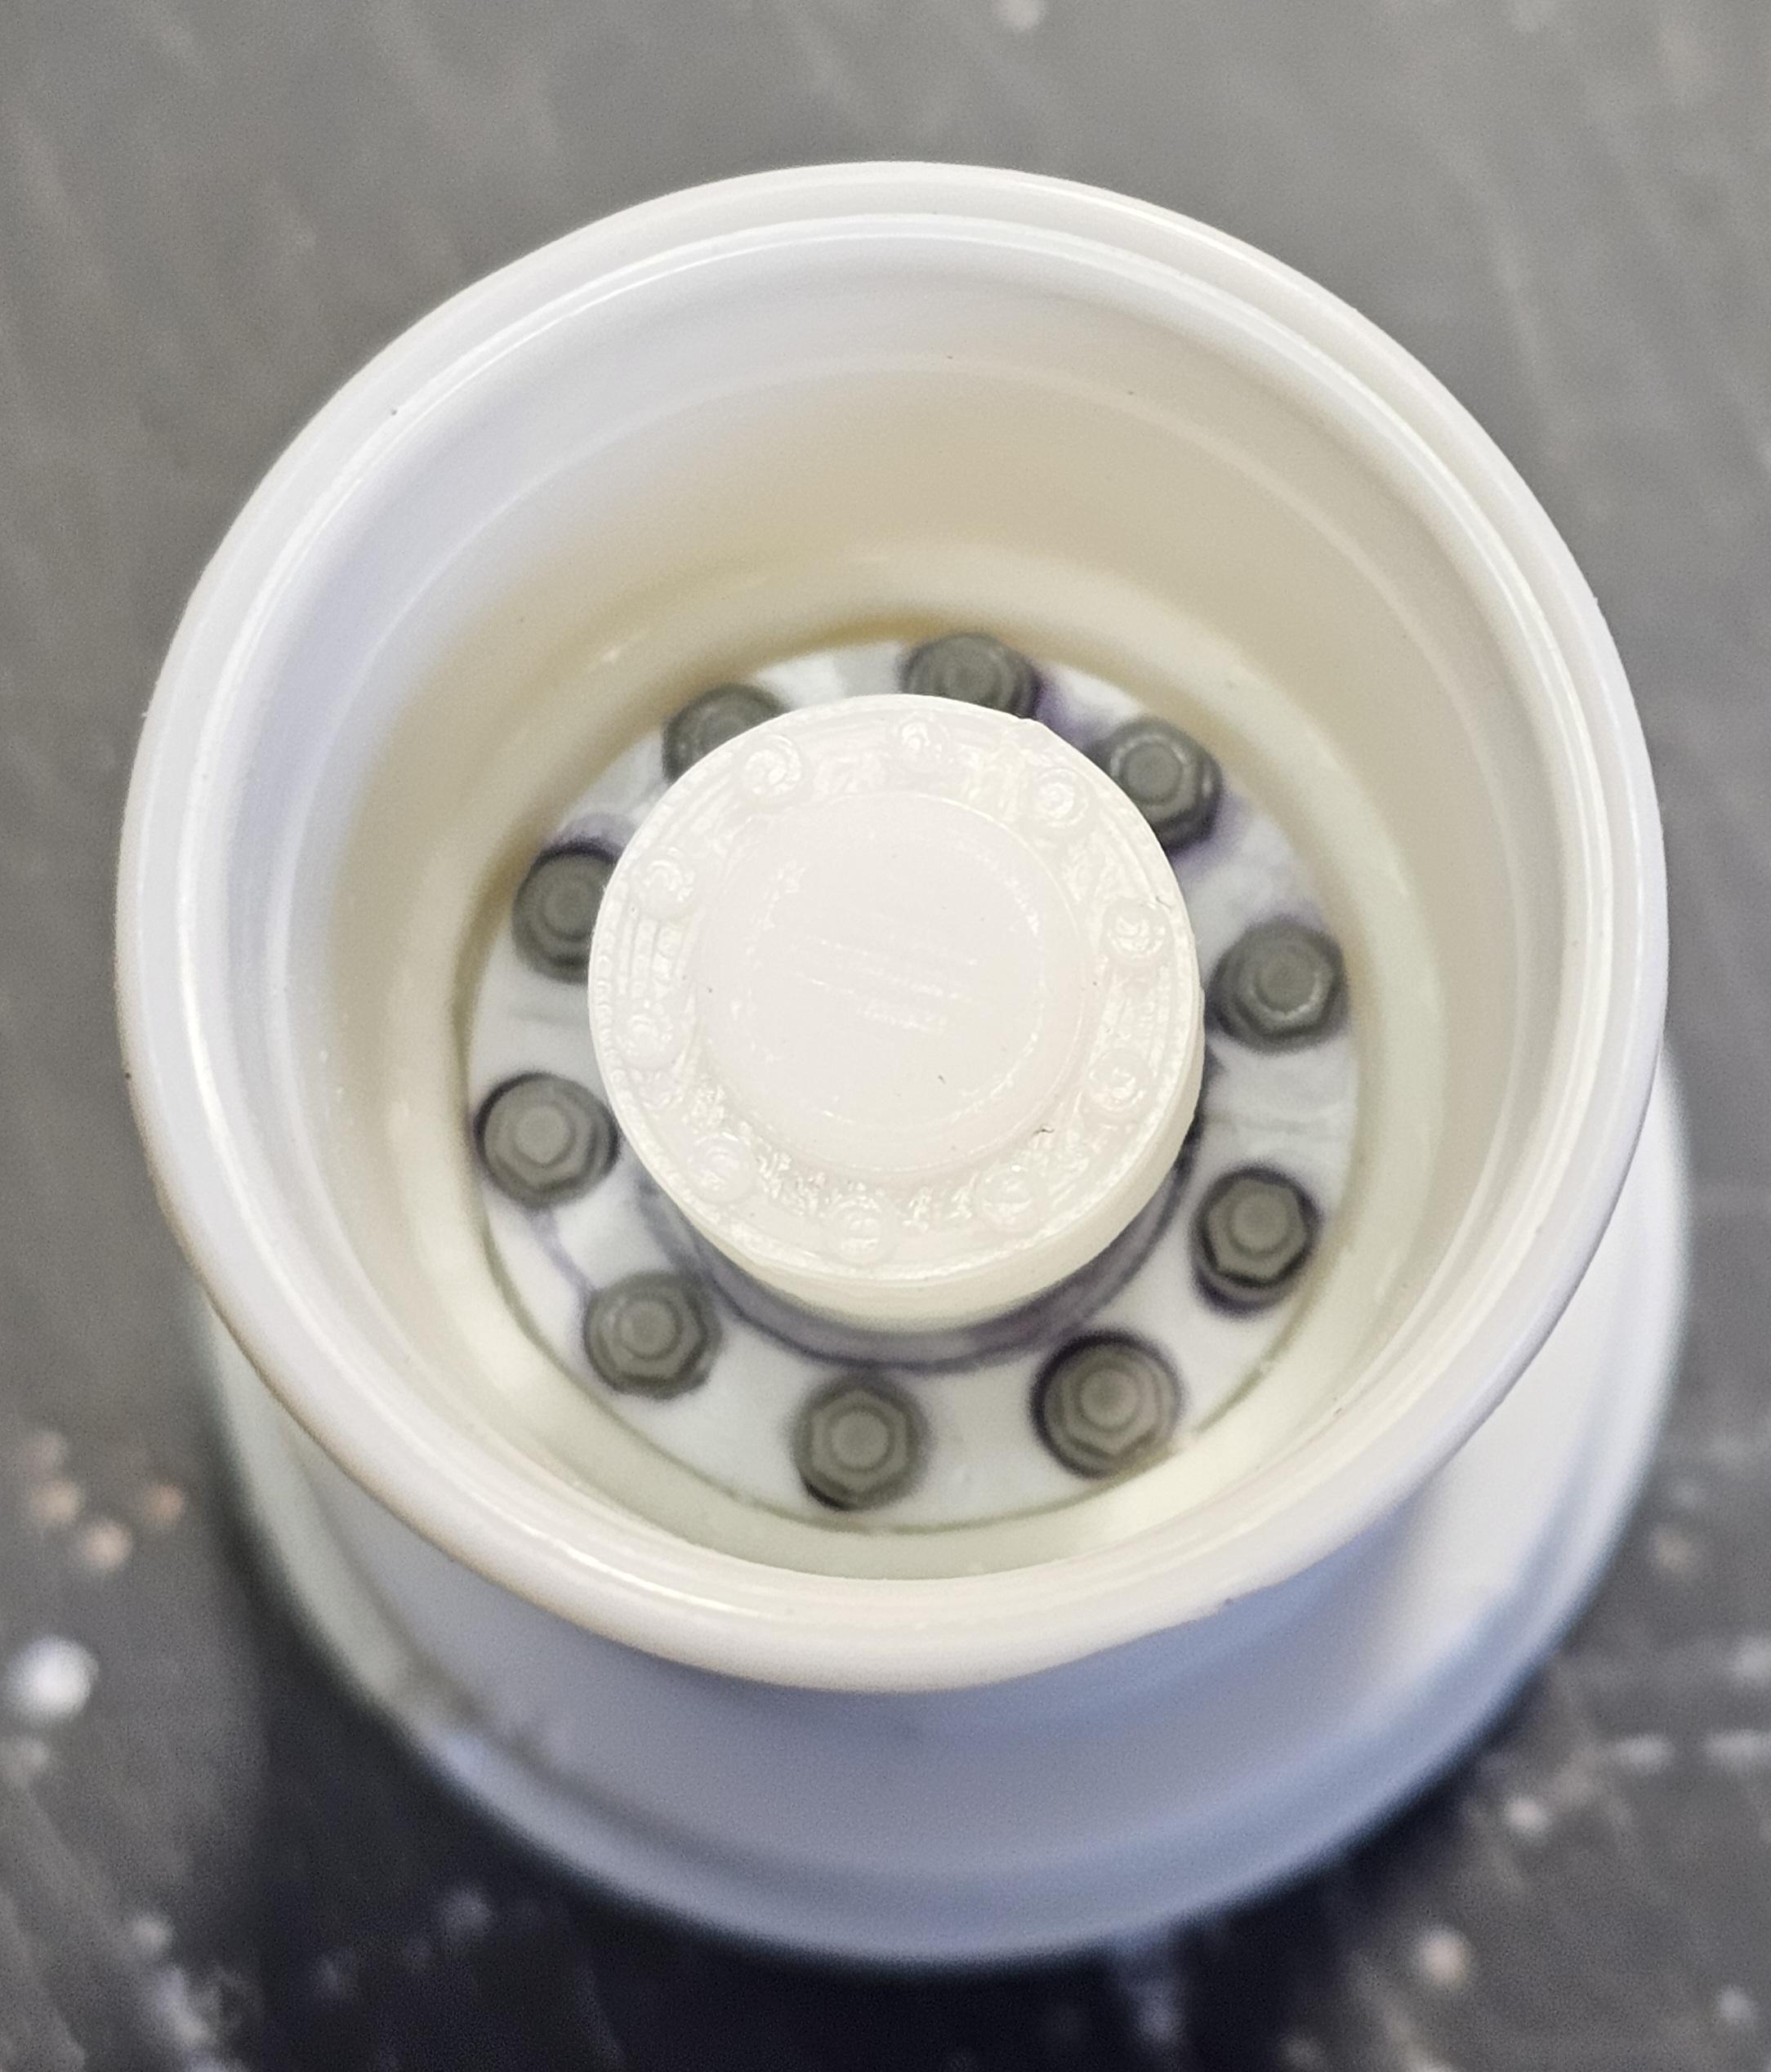
Hey all I have one of the 8 wheels planetary hubs done. It now has the bolt heads added. This view shows the 10 bolt heads per hub. Another view of the hub. This view shows the hub in the wheel. Now I just have to do 7 more, 10 bolt heads per hub.... yikes! that's 70 more bolt heads. Ron G
-
Steal away Gary. Ron G
-
Hey all Another small update. I have the brake chambers mounted on the front axles. Here are some pictures. This view shows the brakes with the wheels. This view shows them without the wheels. This view shows the brake chamber and slack adjuster. These are the ones from Paul at ST Supply. Ron G
-
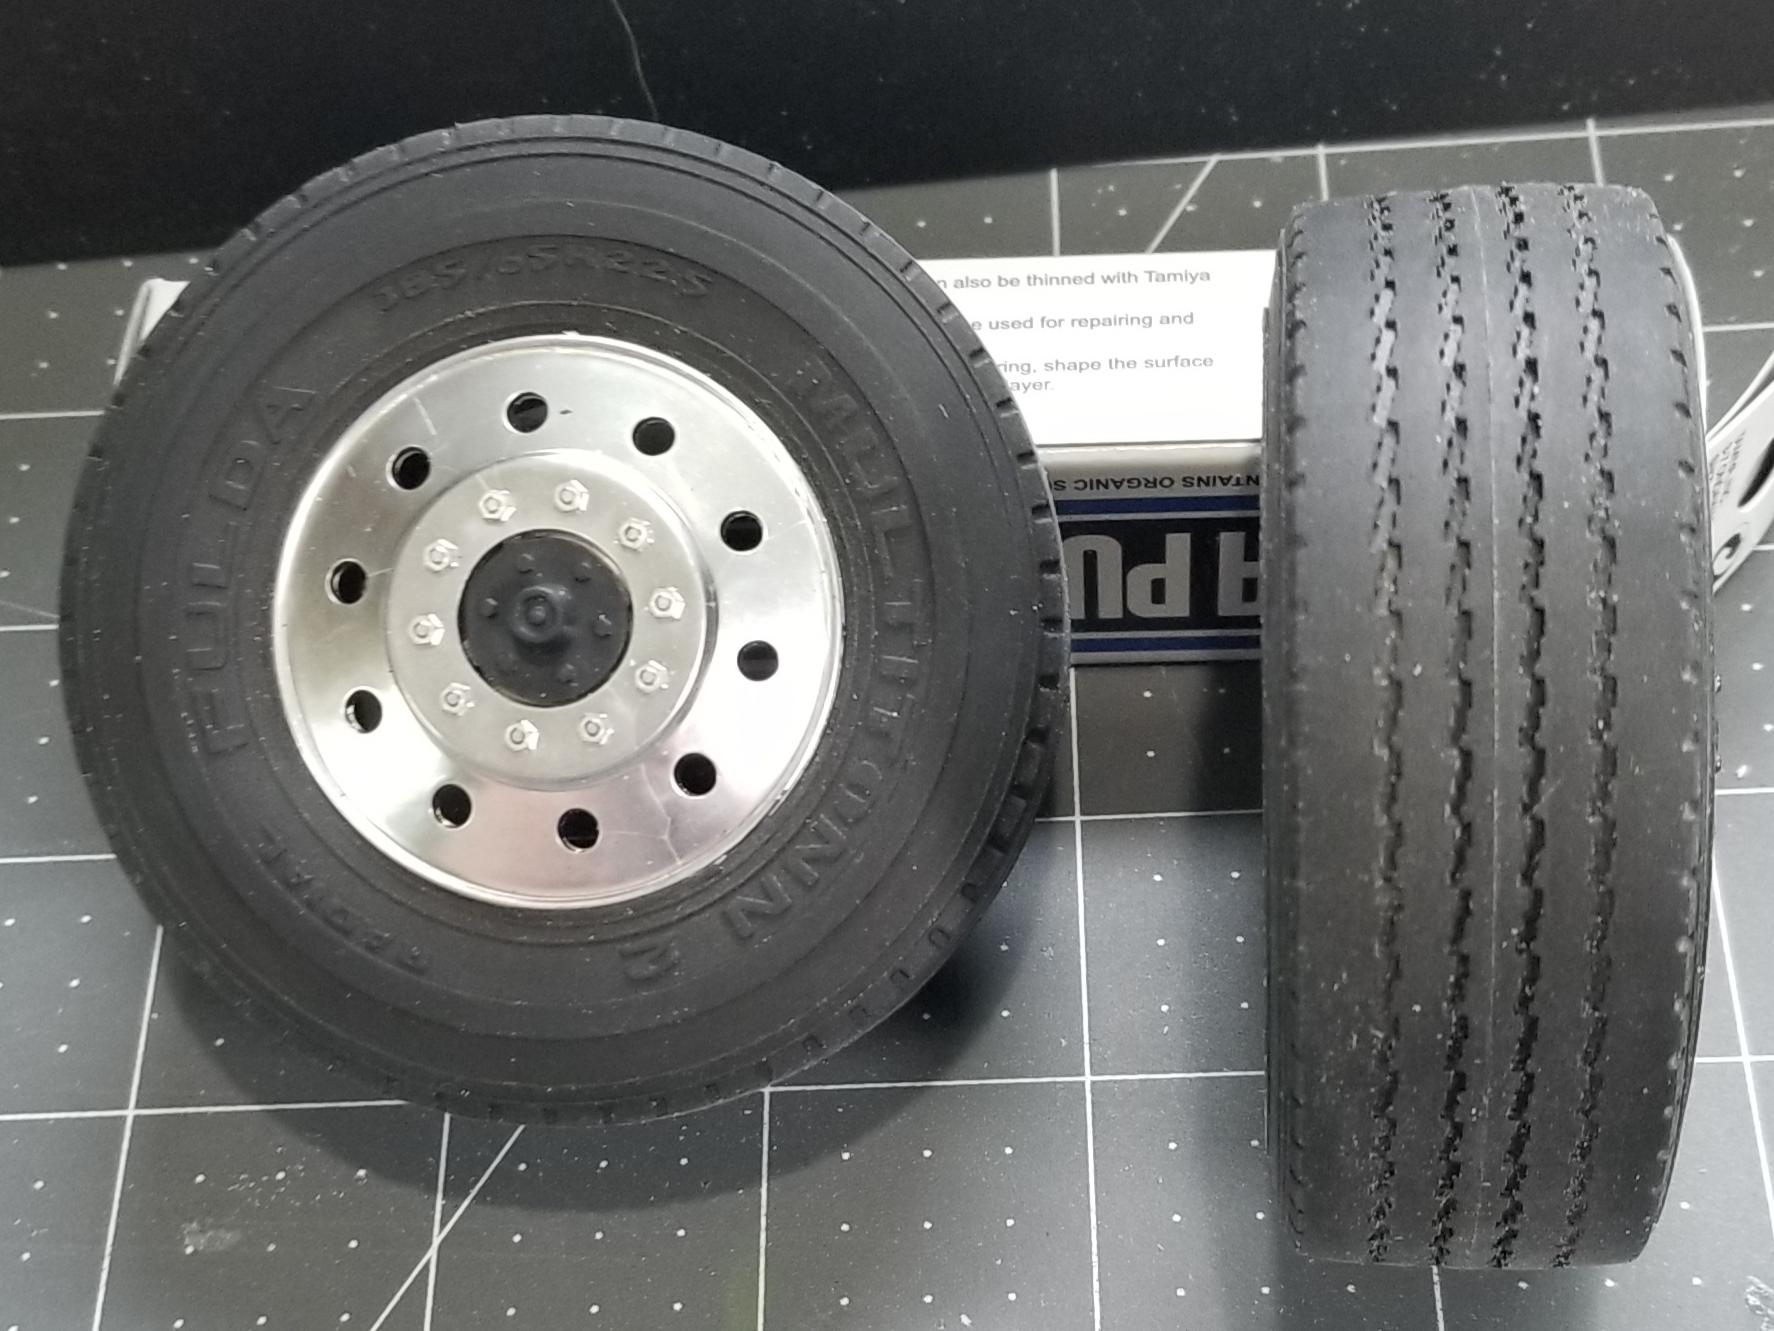
Hey all I have all of the planetary hubs done, except for the bolt heads. Here is a picture of them sitting in place in the wheels/tires. Fronts on the left. Rears on the right. Ron G