NOBLNG
-
Posts
9,565 -
Joined
-
Last visited
Content Type
Profiles
Forums
Events
Gallery
Everything posted by NOBLNG
-
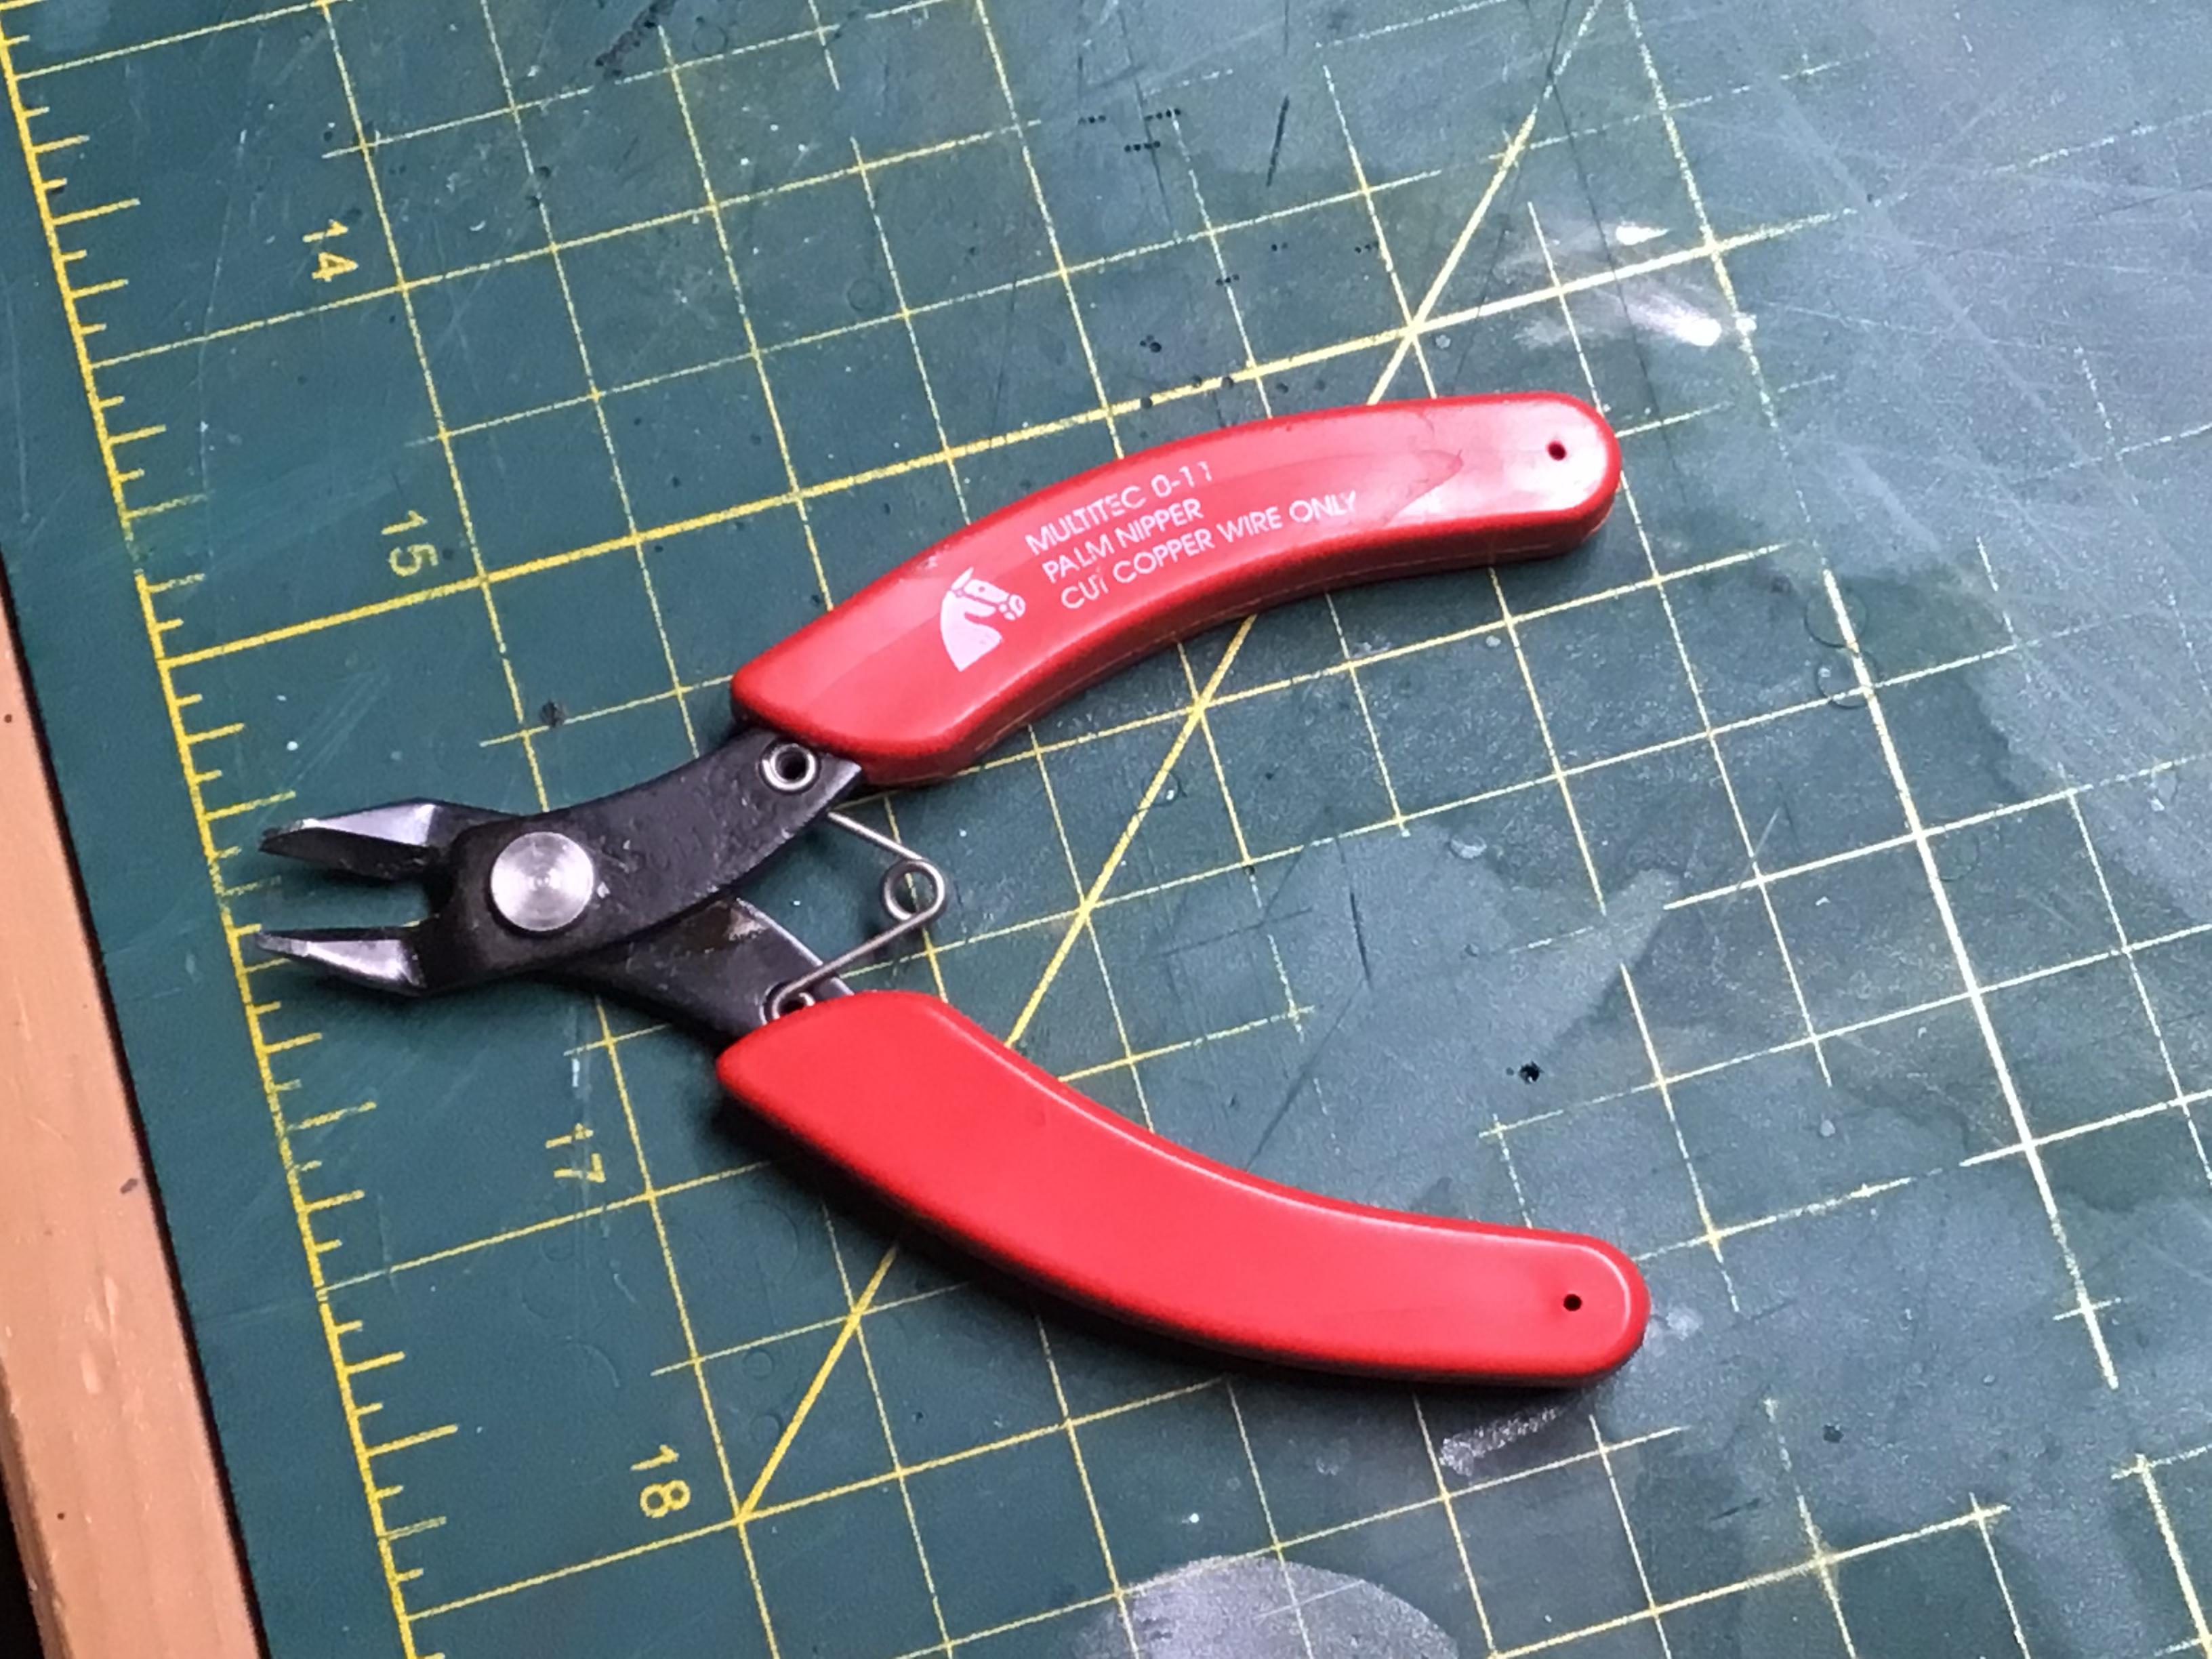
You could try, but like Snake said, they can be found pretty cheap in places. I got this pair at Princess Auto for under 10 bucks. They are sharp and will even clip masking tape cleanly.

-
Well Juergen asked why they were called freeze plugs and that IS why they are called that (or frost plugs). Whether they actually work for that purpose could well depend on the strength of the antifreeze if any, and how low the temps got. They may well be necessary in the casting process also.
-
Birds! It’s been pretty dry here lately and today it was raining pretty good. The Robins were having a heyday outside. Running around and chasing each other. There were a bunch of other smaller grey and white ones (possibly dark eyed junkos?) that were feeding in the cracks of the pavement. One of them looked like it was doing a little dance?. I guess the rain drives all the bugs and insects up to the surface for easy pickings.
-
Thanks Mark, good info! The AMT P/S Chevelle that I have has no lettering on the sidewalls.
-

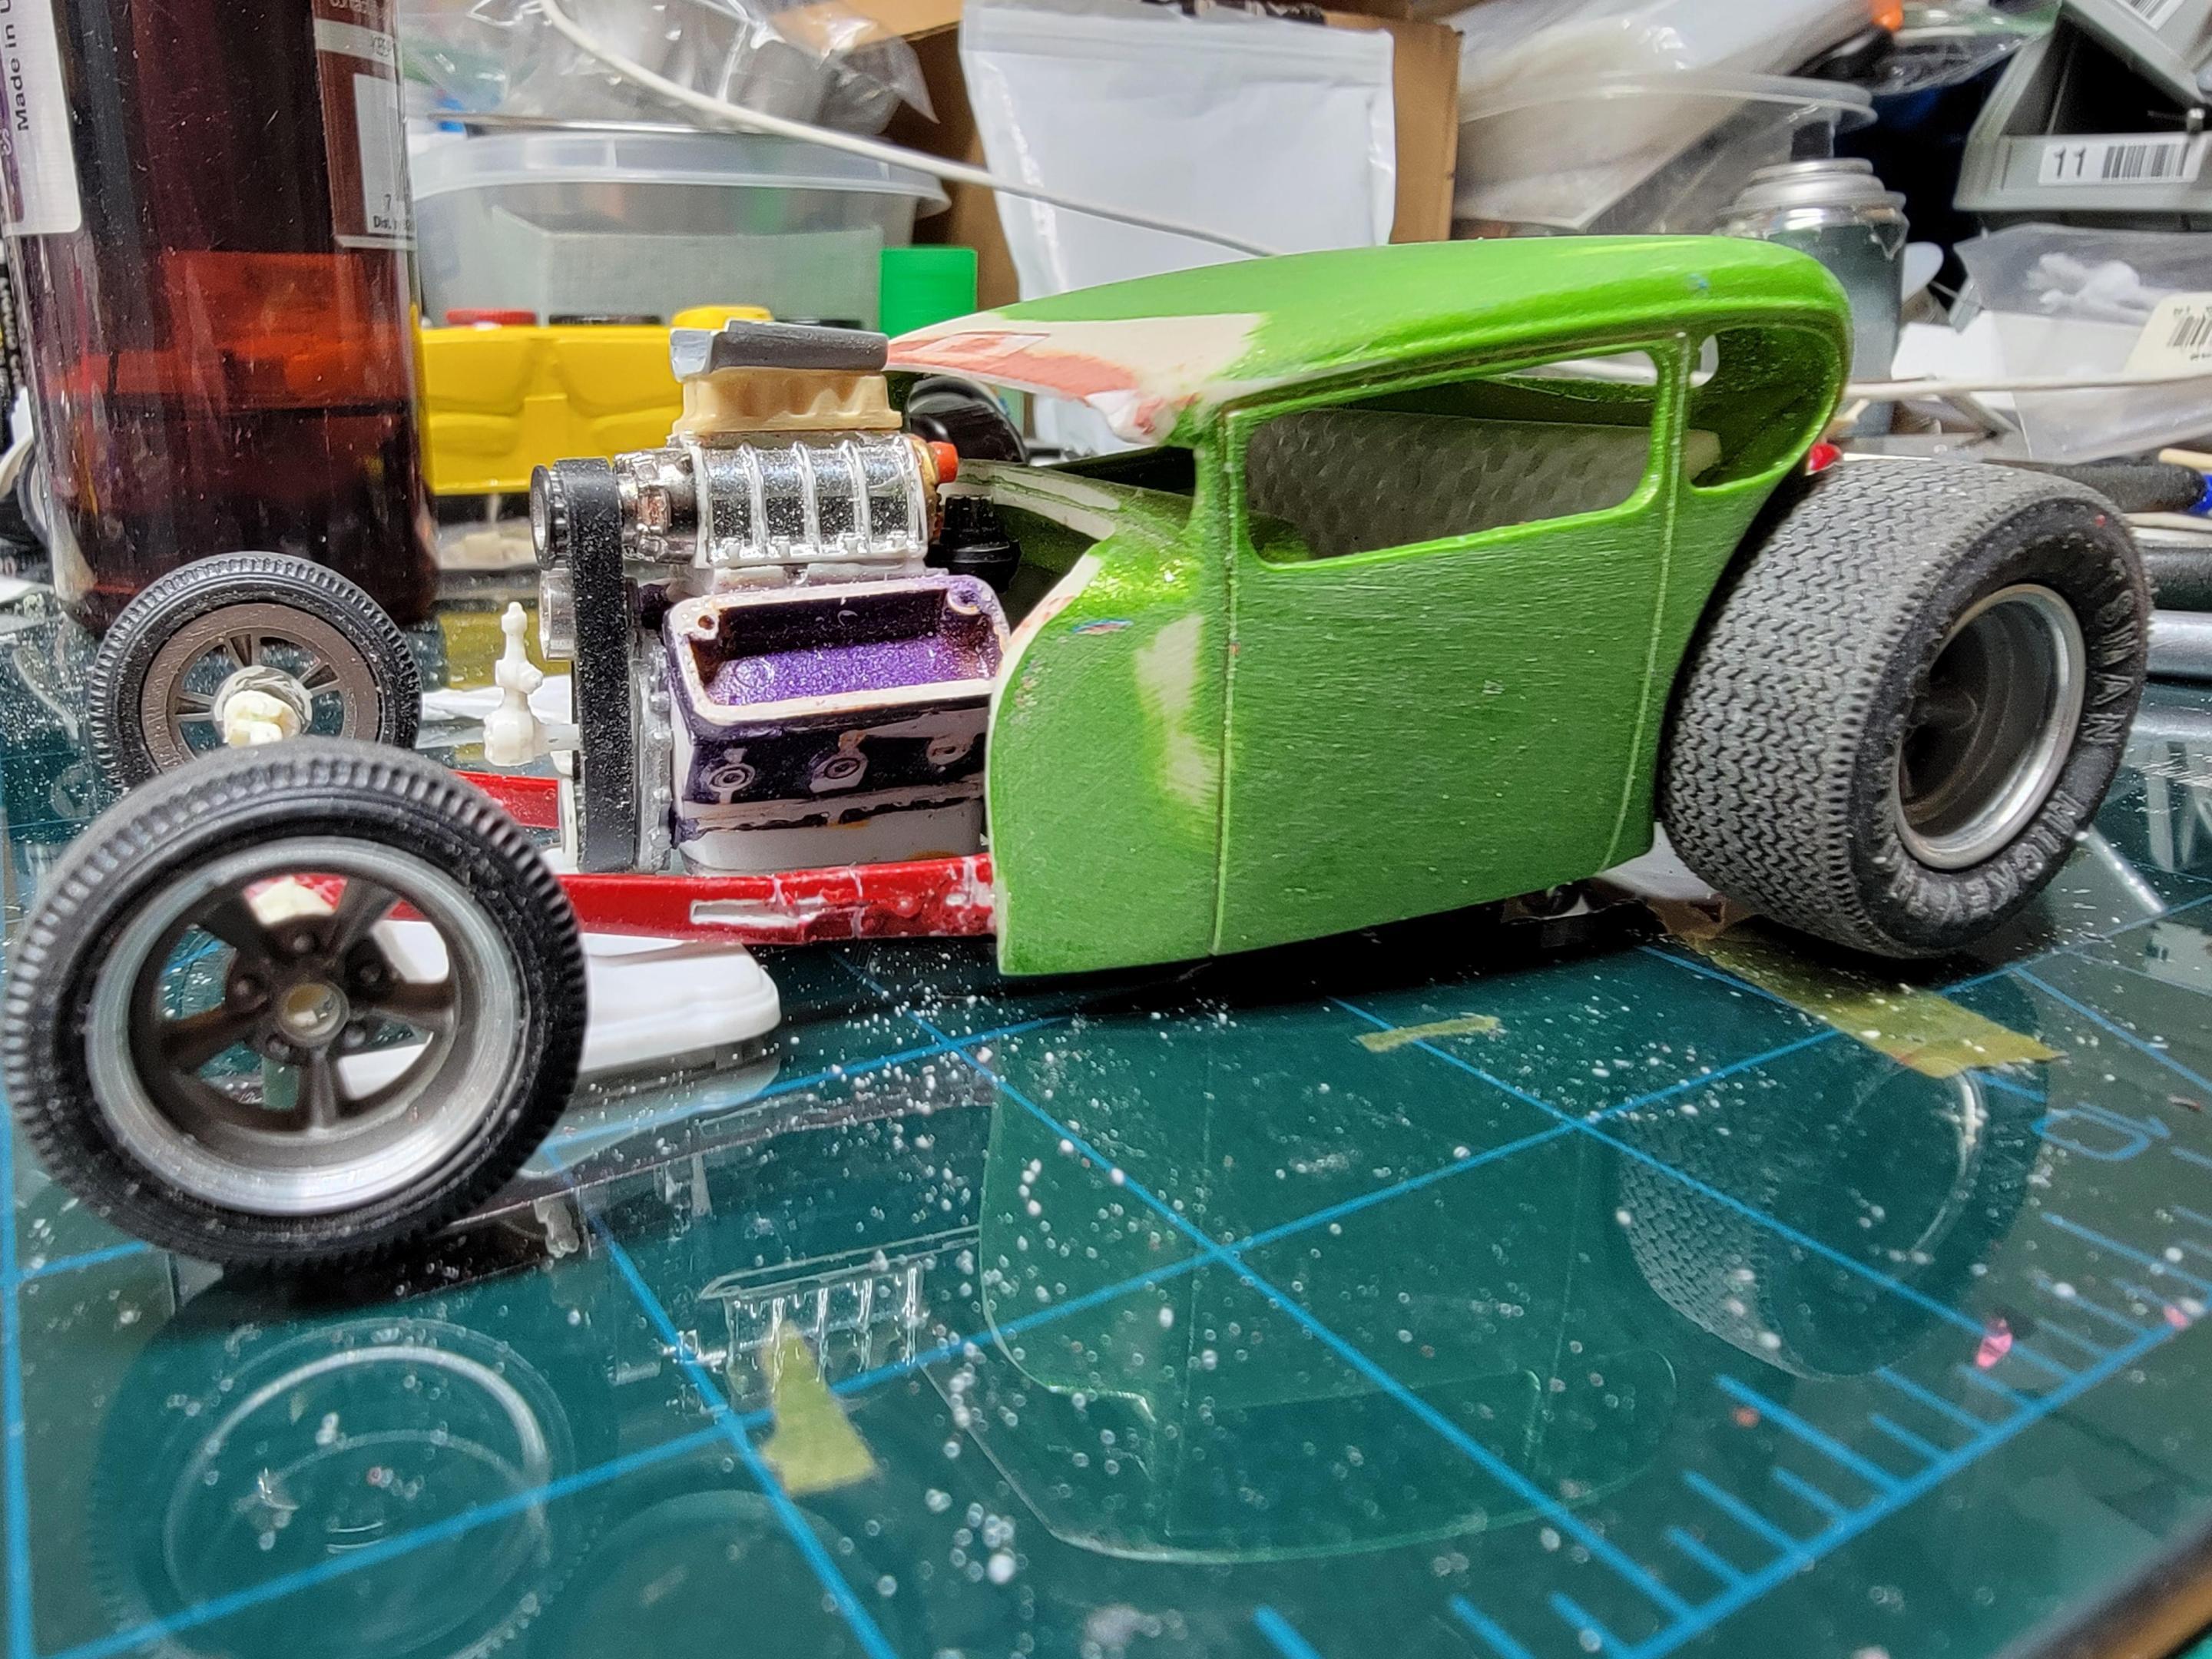
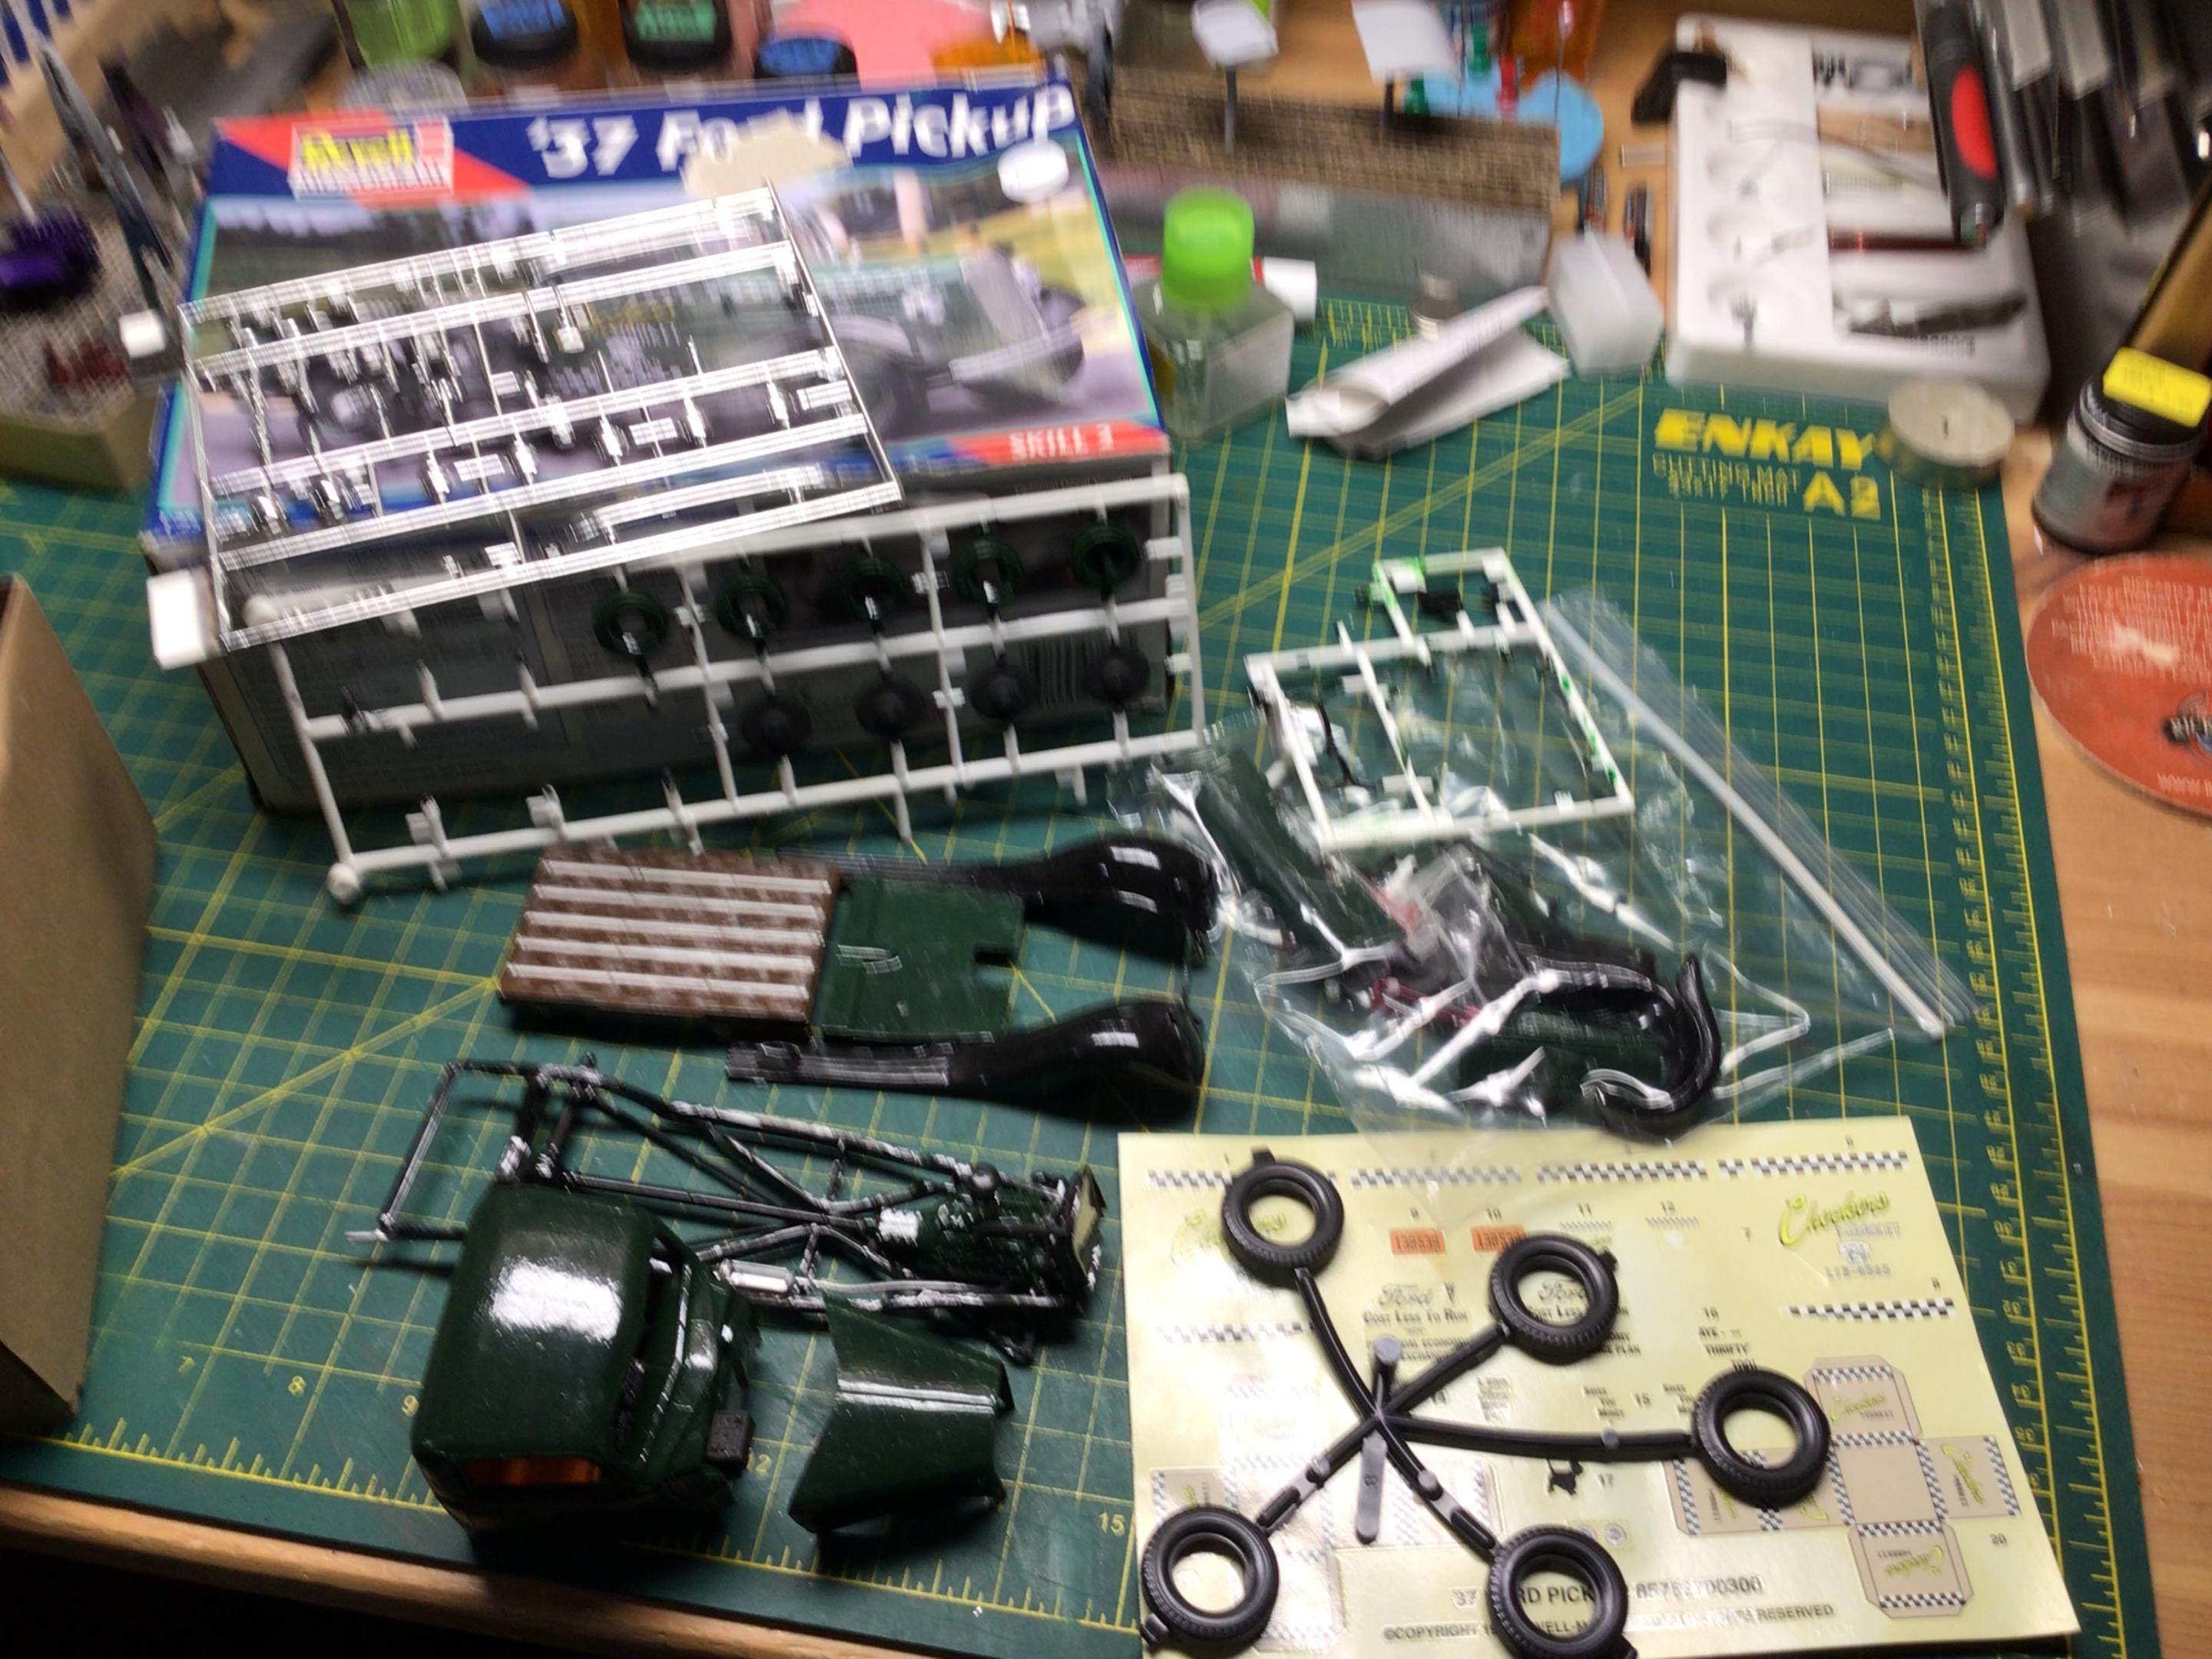
Revell ‘37 Ford Pickup
NOBLNG replied to NOBLNG's topic in WIP: Model Trucks: Pickups, Vans, SUVs, Light Commercial
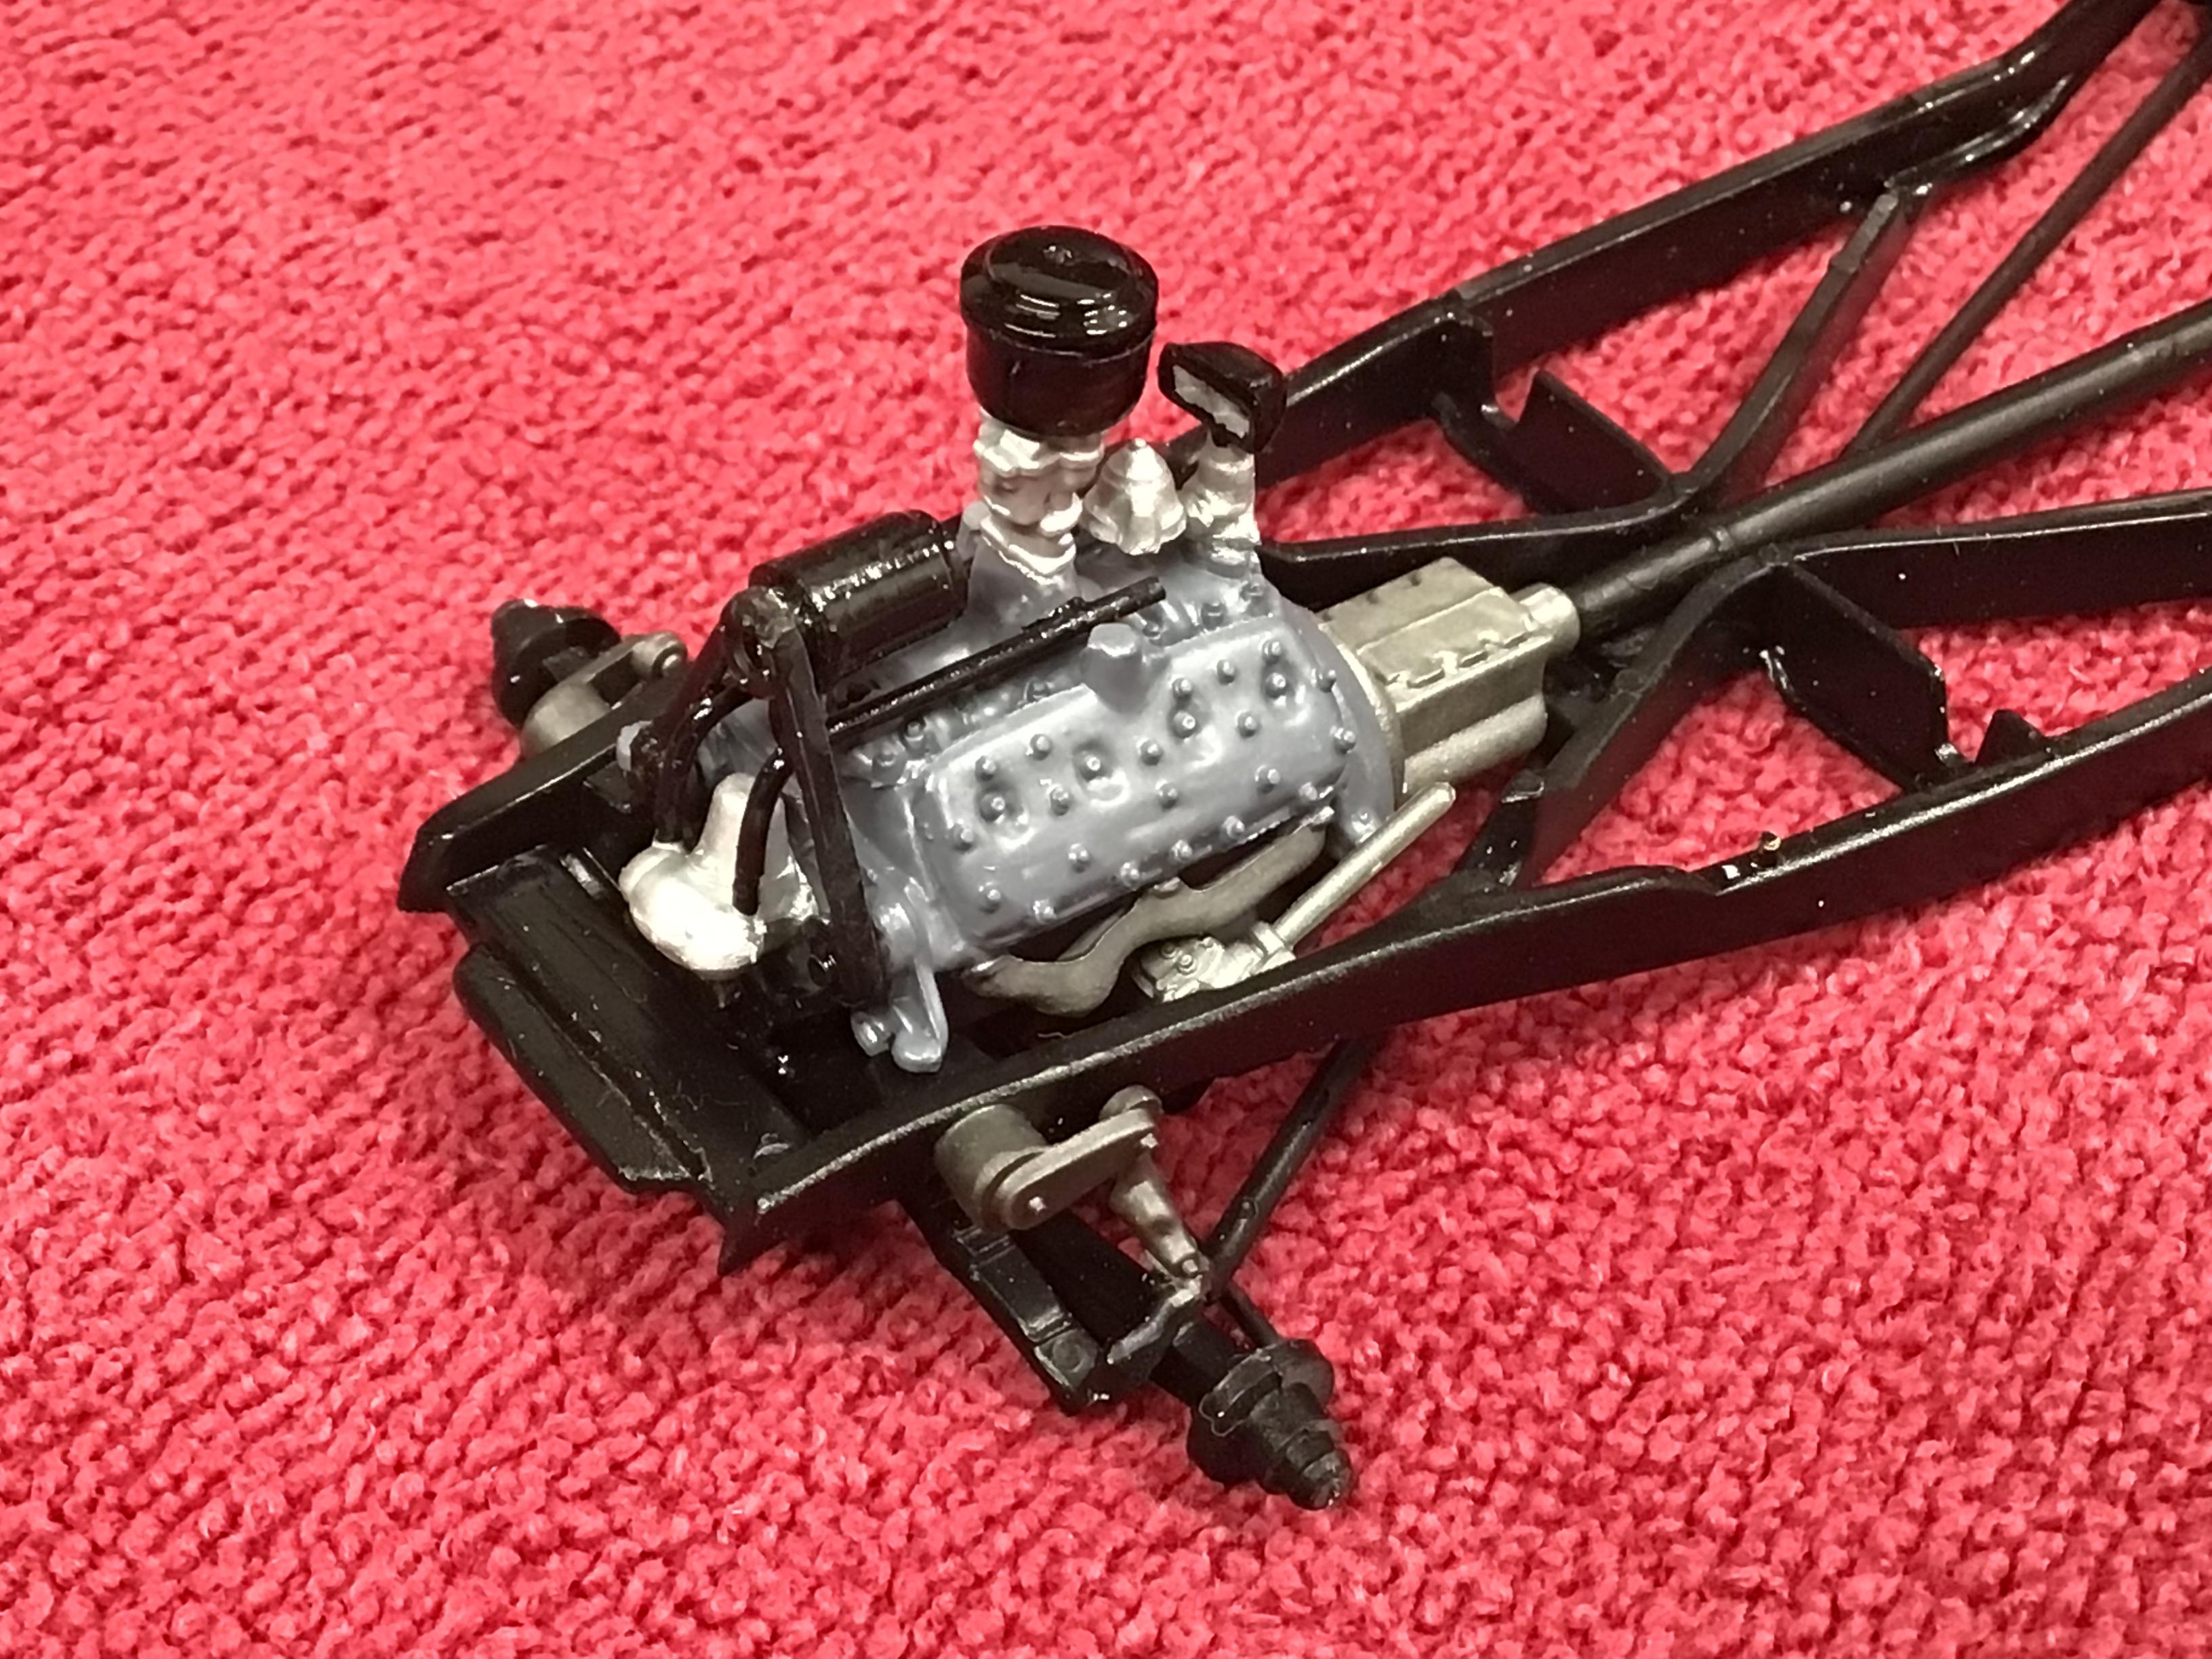
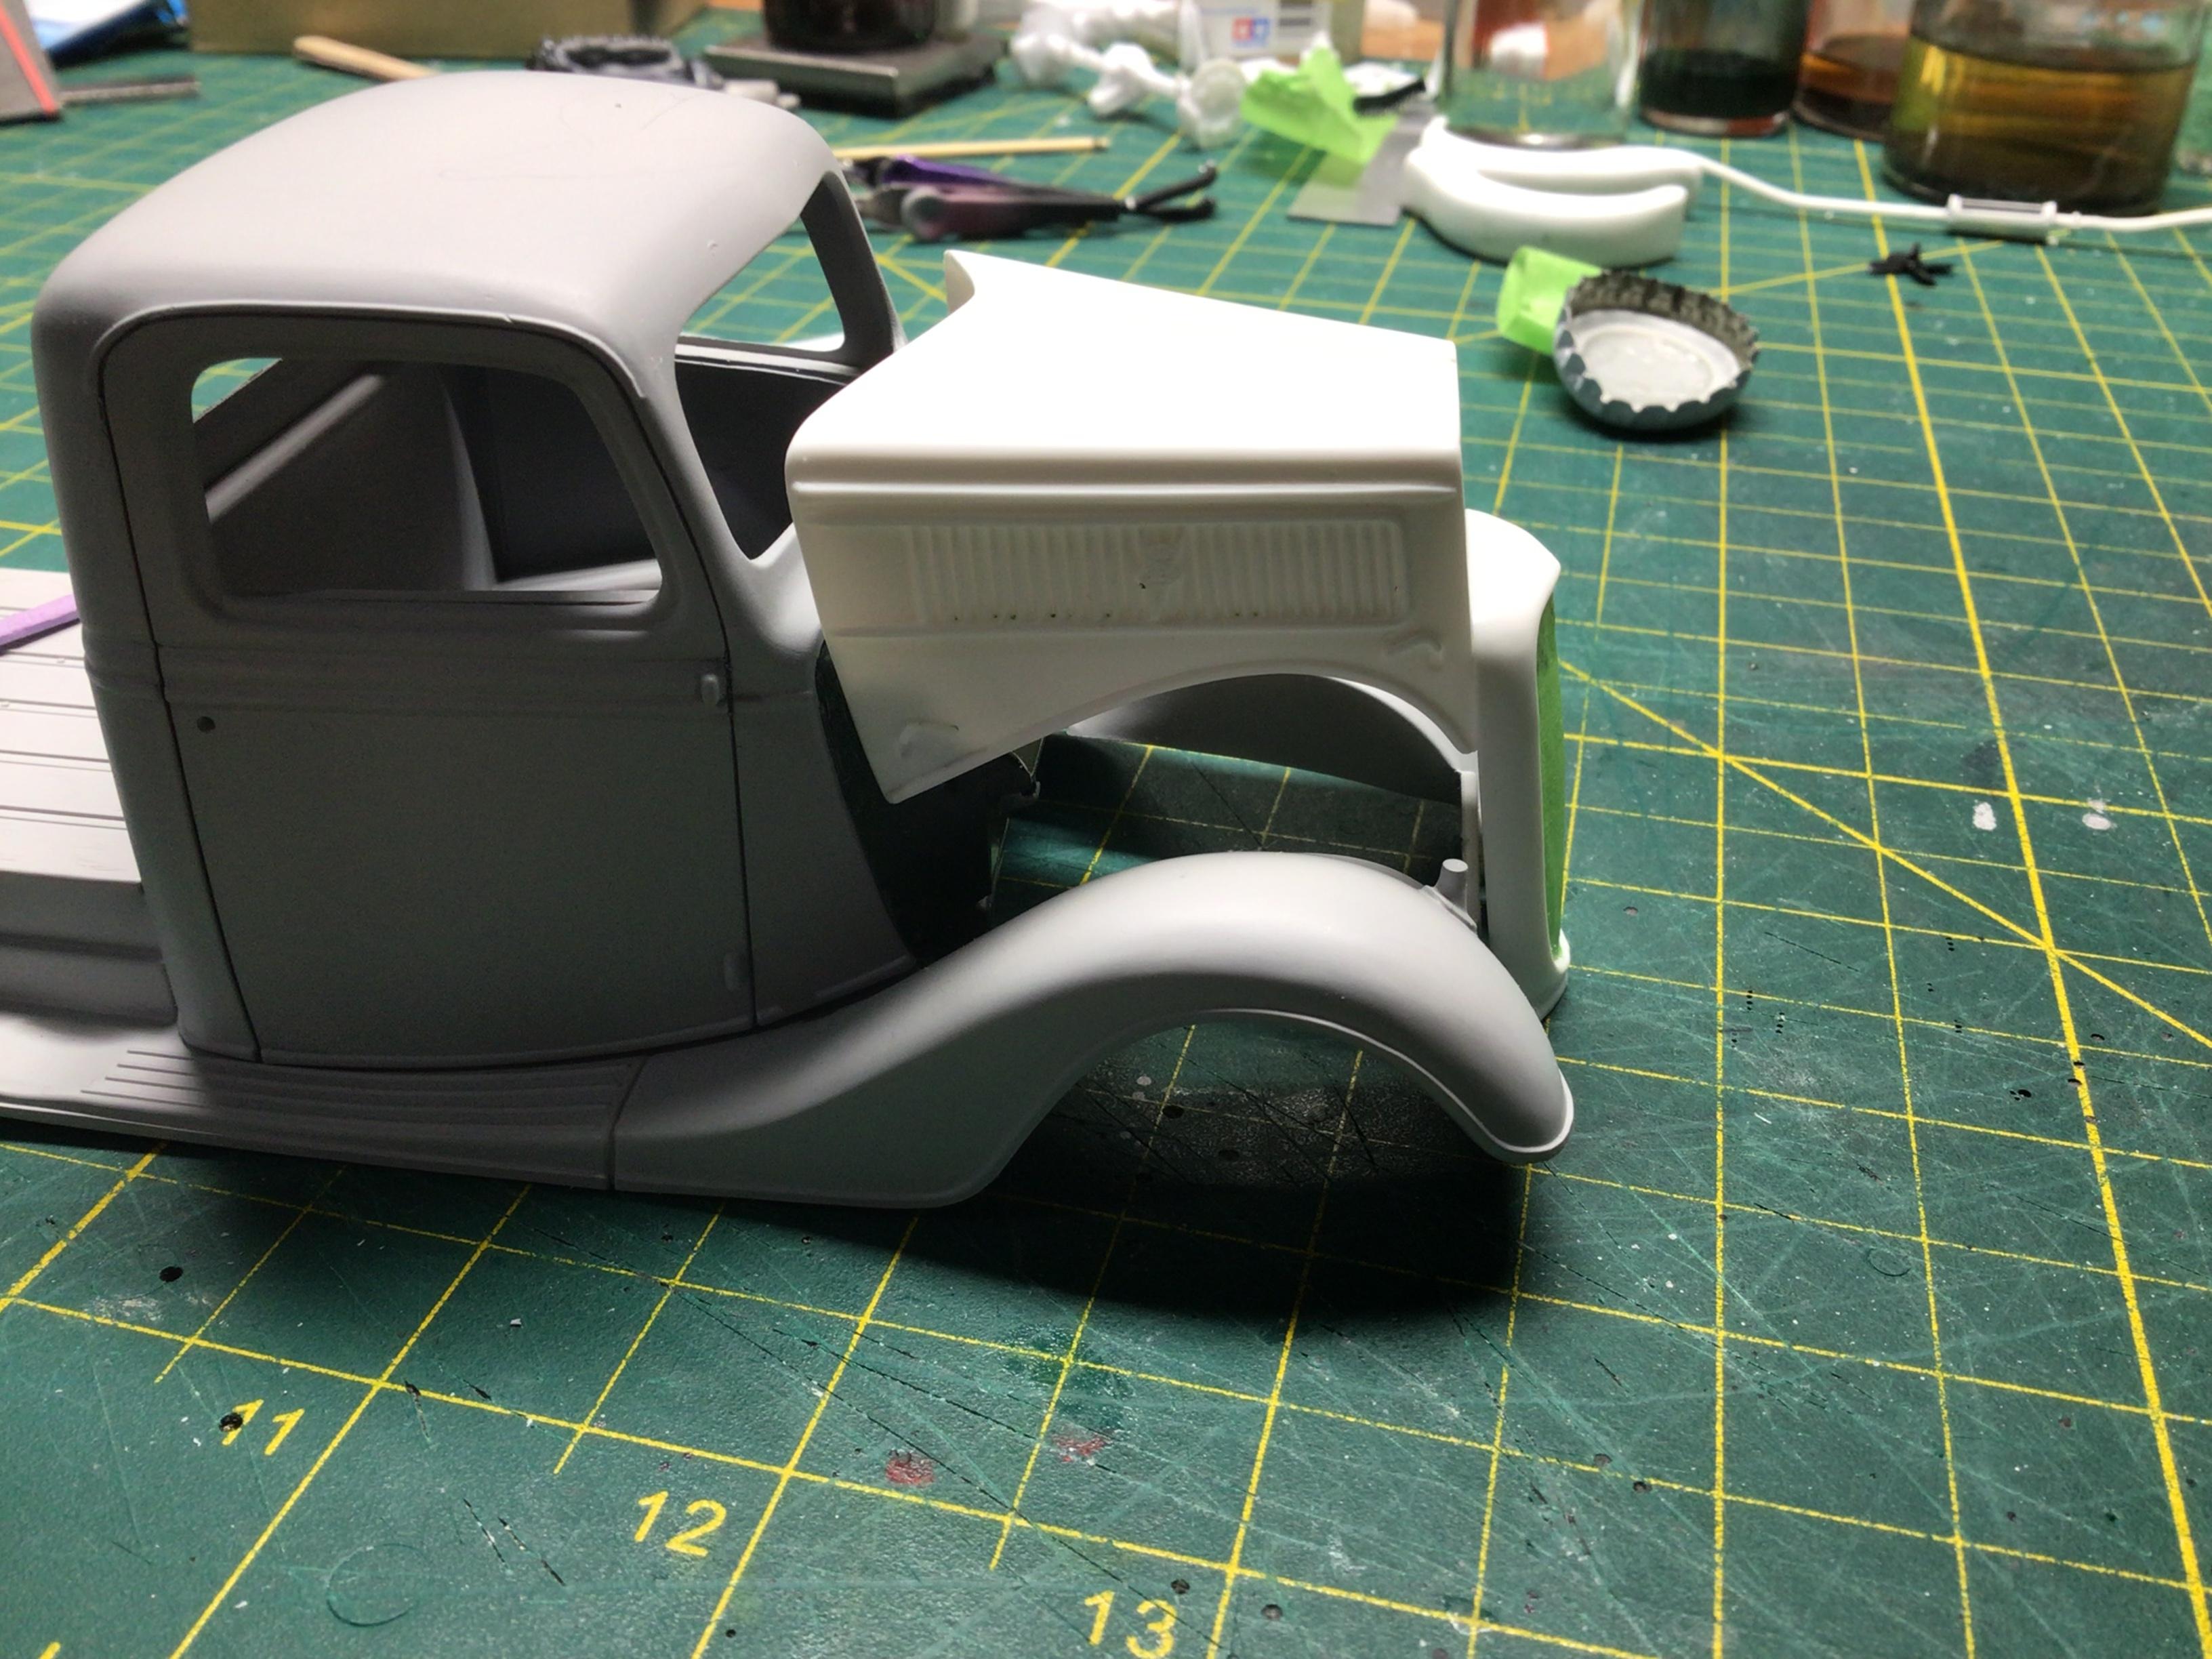
I got the chassis and drivetrain painted and mostly assembled. I added a door lock which is apparently only on the curbside, since it wasn’t safe to stand there in traffic while locking the drivers door. You know how crazy they were about safety back in ‘37!? I also made a raised cowl vent for it…only took me three tries to get it looking half decent. I’m not sure what that lump under the battery tray is…I’m guessing a solenoid?
-
Revell ‘37 Ford Pickup
NOBLNG replied to NOBLNG's topic in WIP: Model Trucks: Pickups, Vans, SUVs, Light Commercial
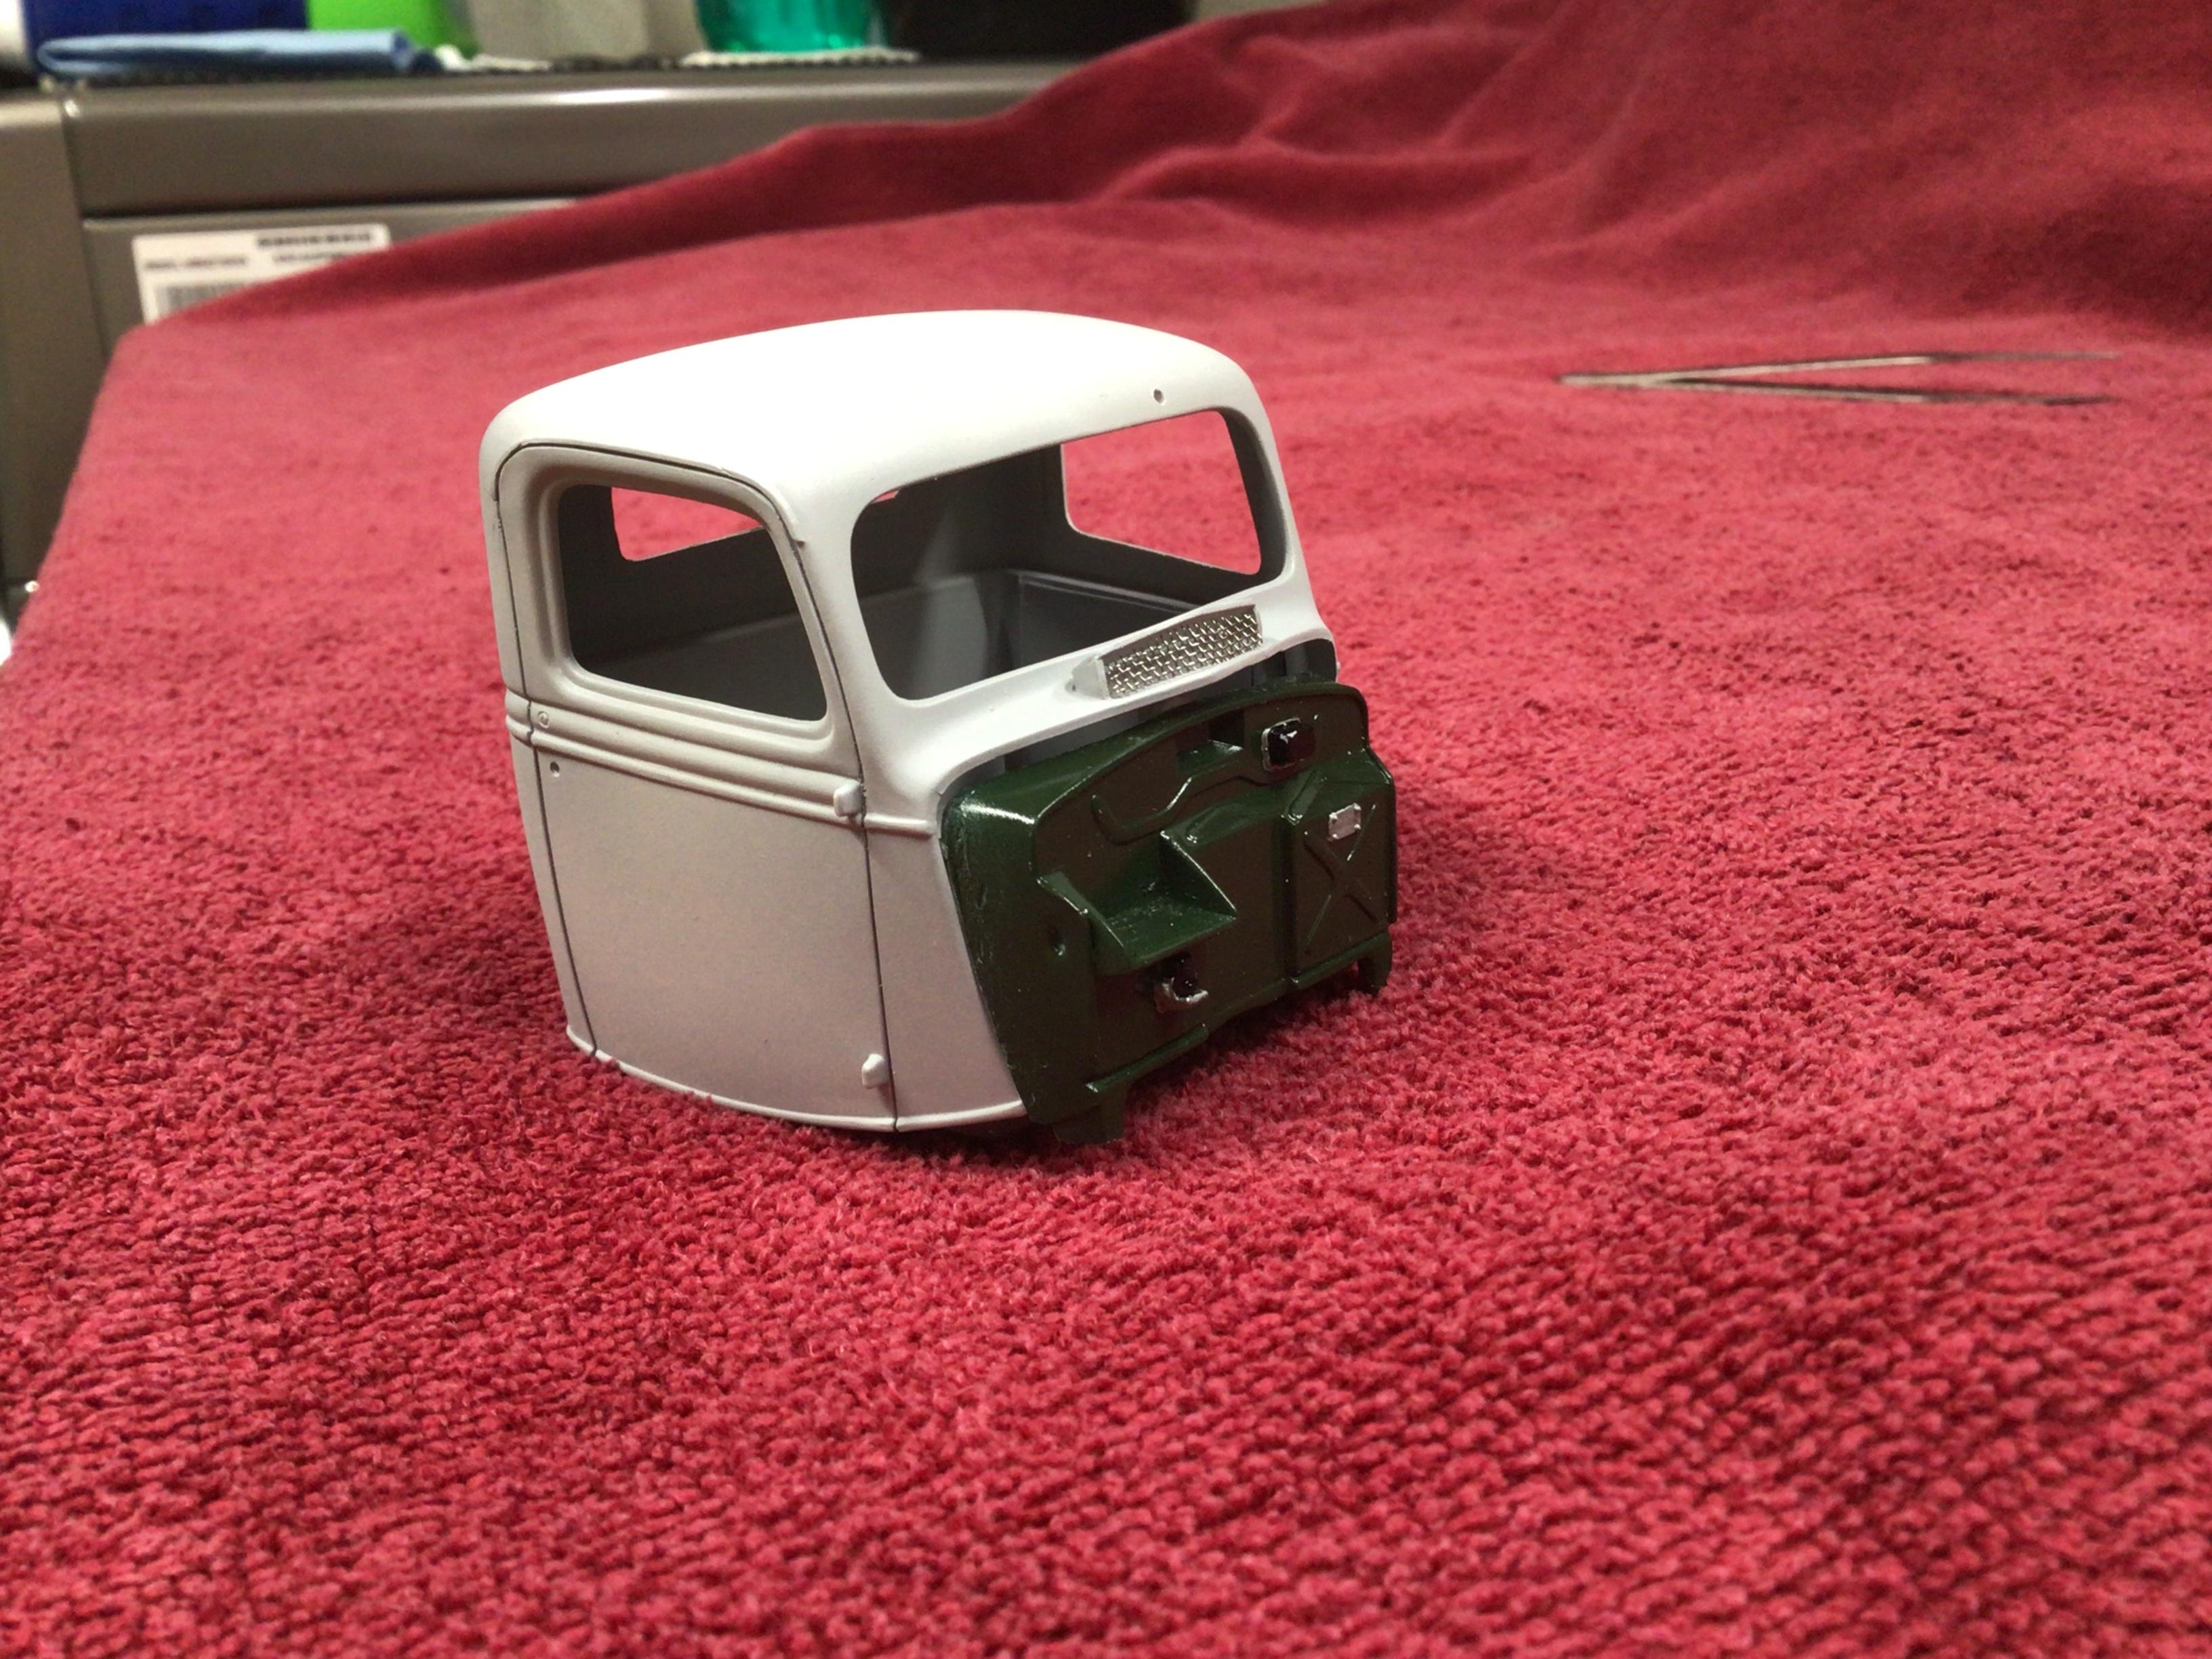
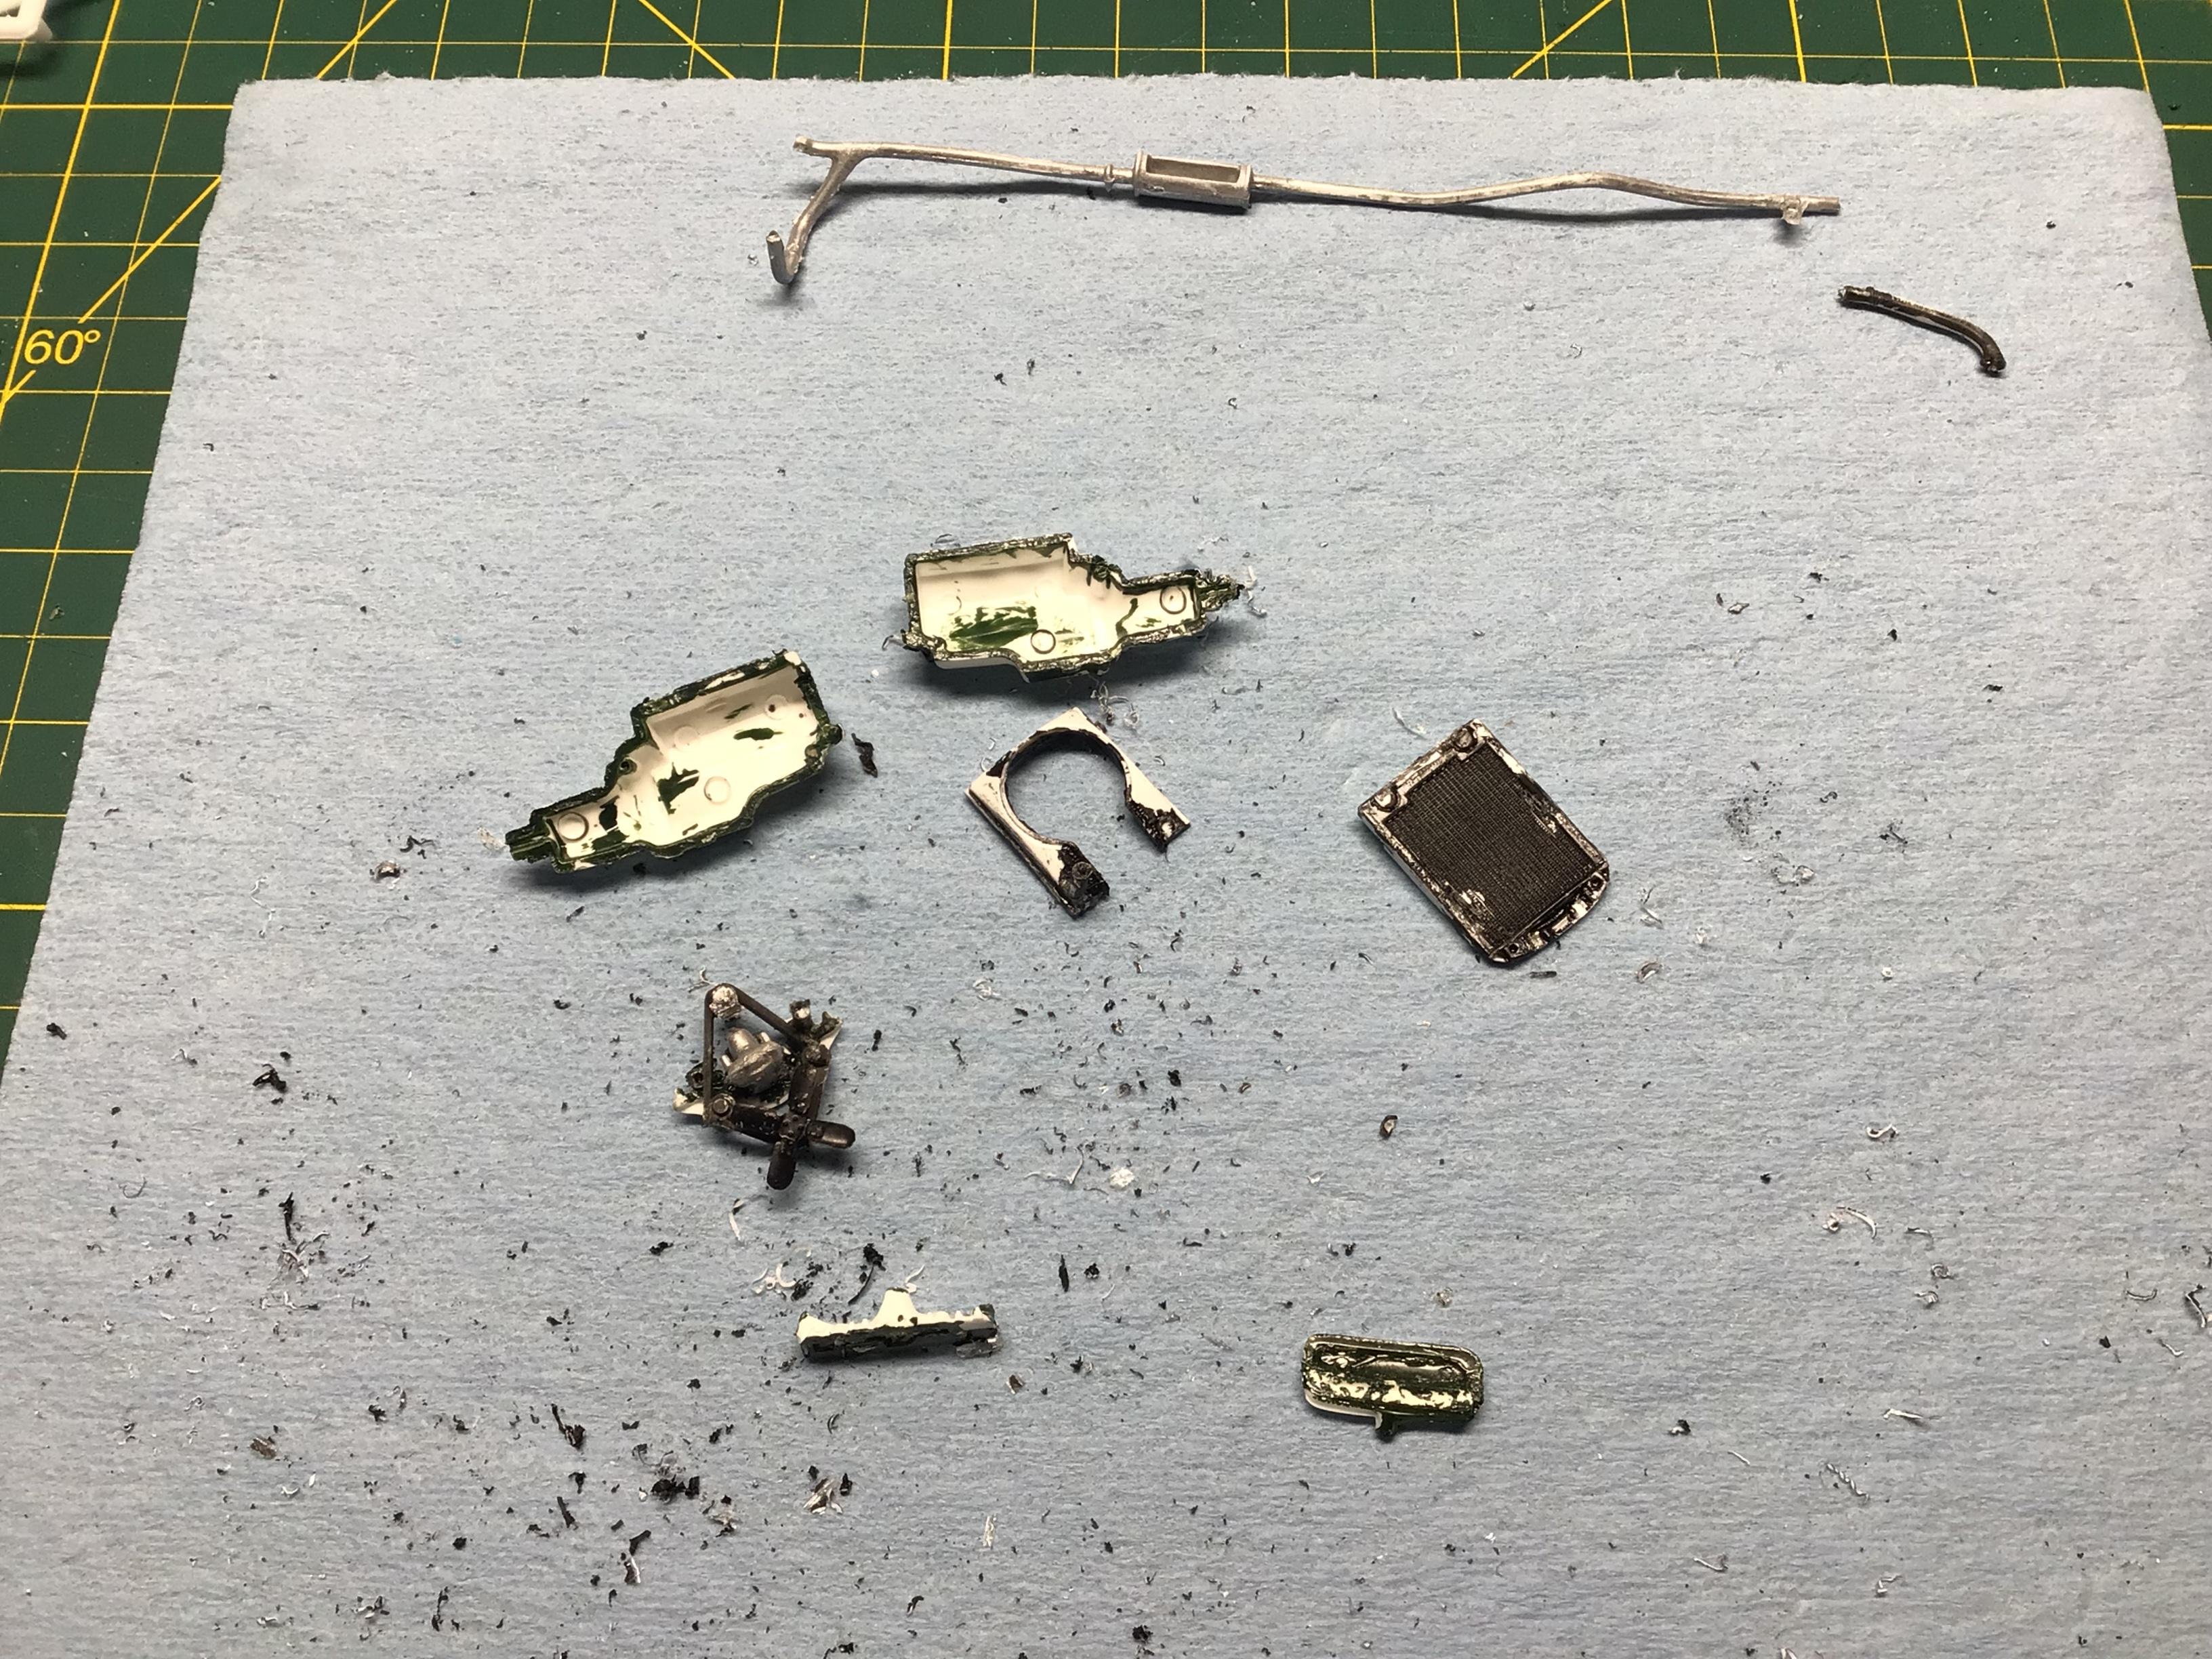
Thanks, that is what I did to set the radiator shell in place, with a shim to get some clearance. I have been toying with the idea of hinging the hood…but fear I may mess it up beyond repair. I’ve also thought of glueing the hood sides solid and making just the top portion removable? There really isn’t a lot to see under there anyways. -
A fellow forum user is putting this together from his parts boxes and I was wondering if someone could tell me what kit the body and the wheels and tires are from? Thanks, Greg.
-
That is looking great!? What kit is that and what kit are the tires from?
-
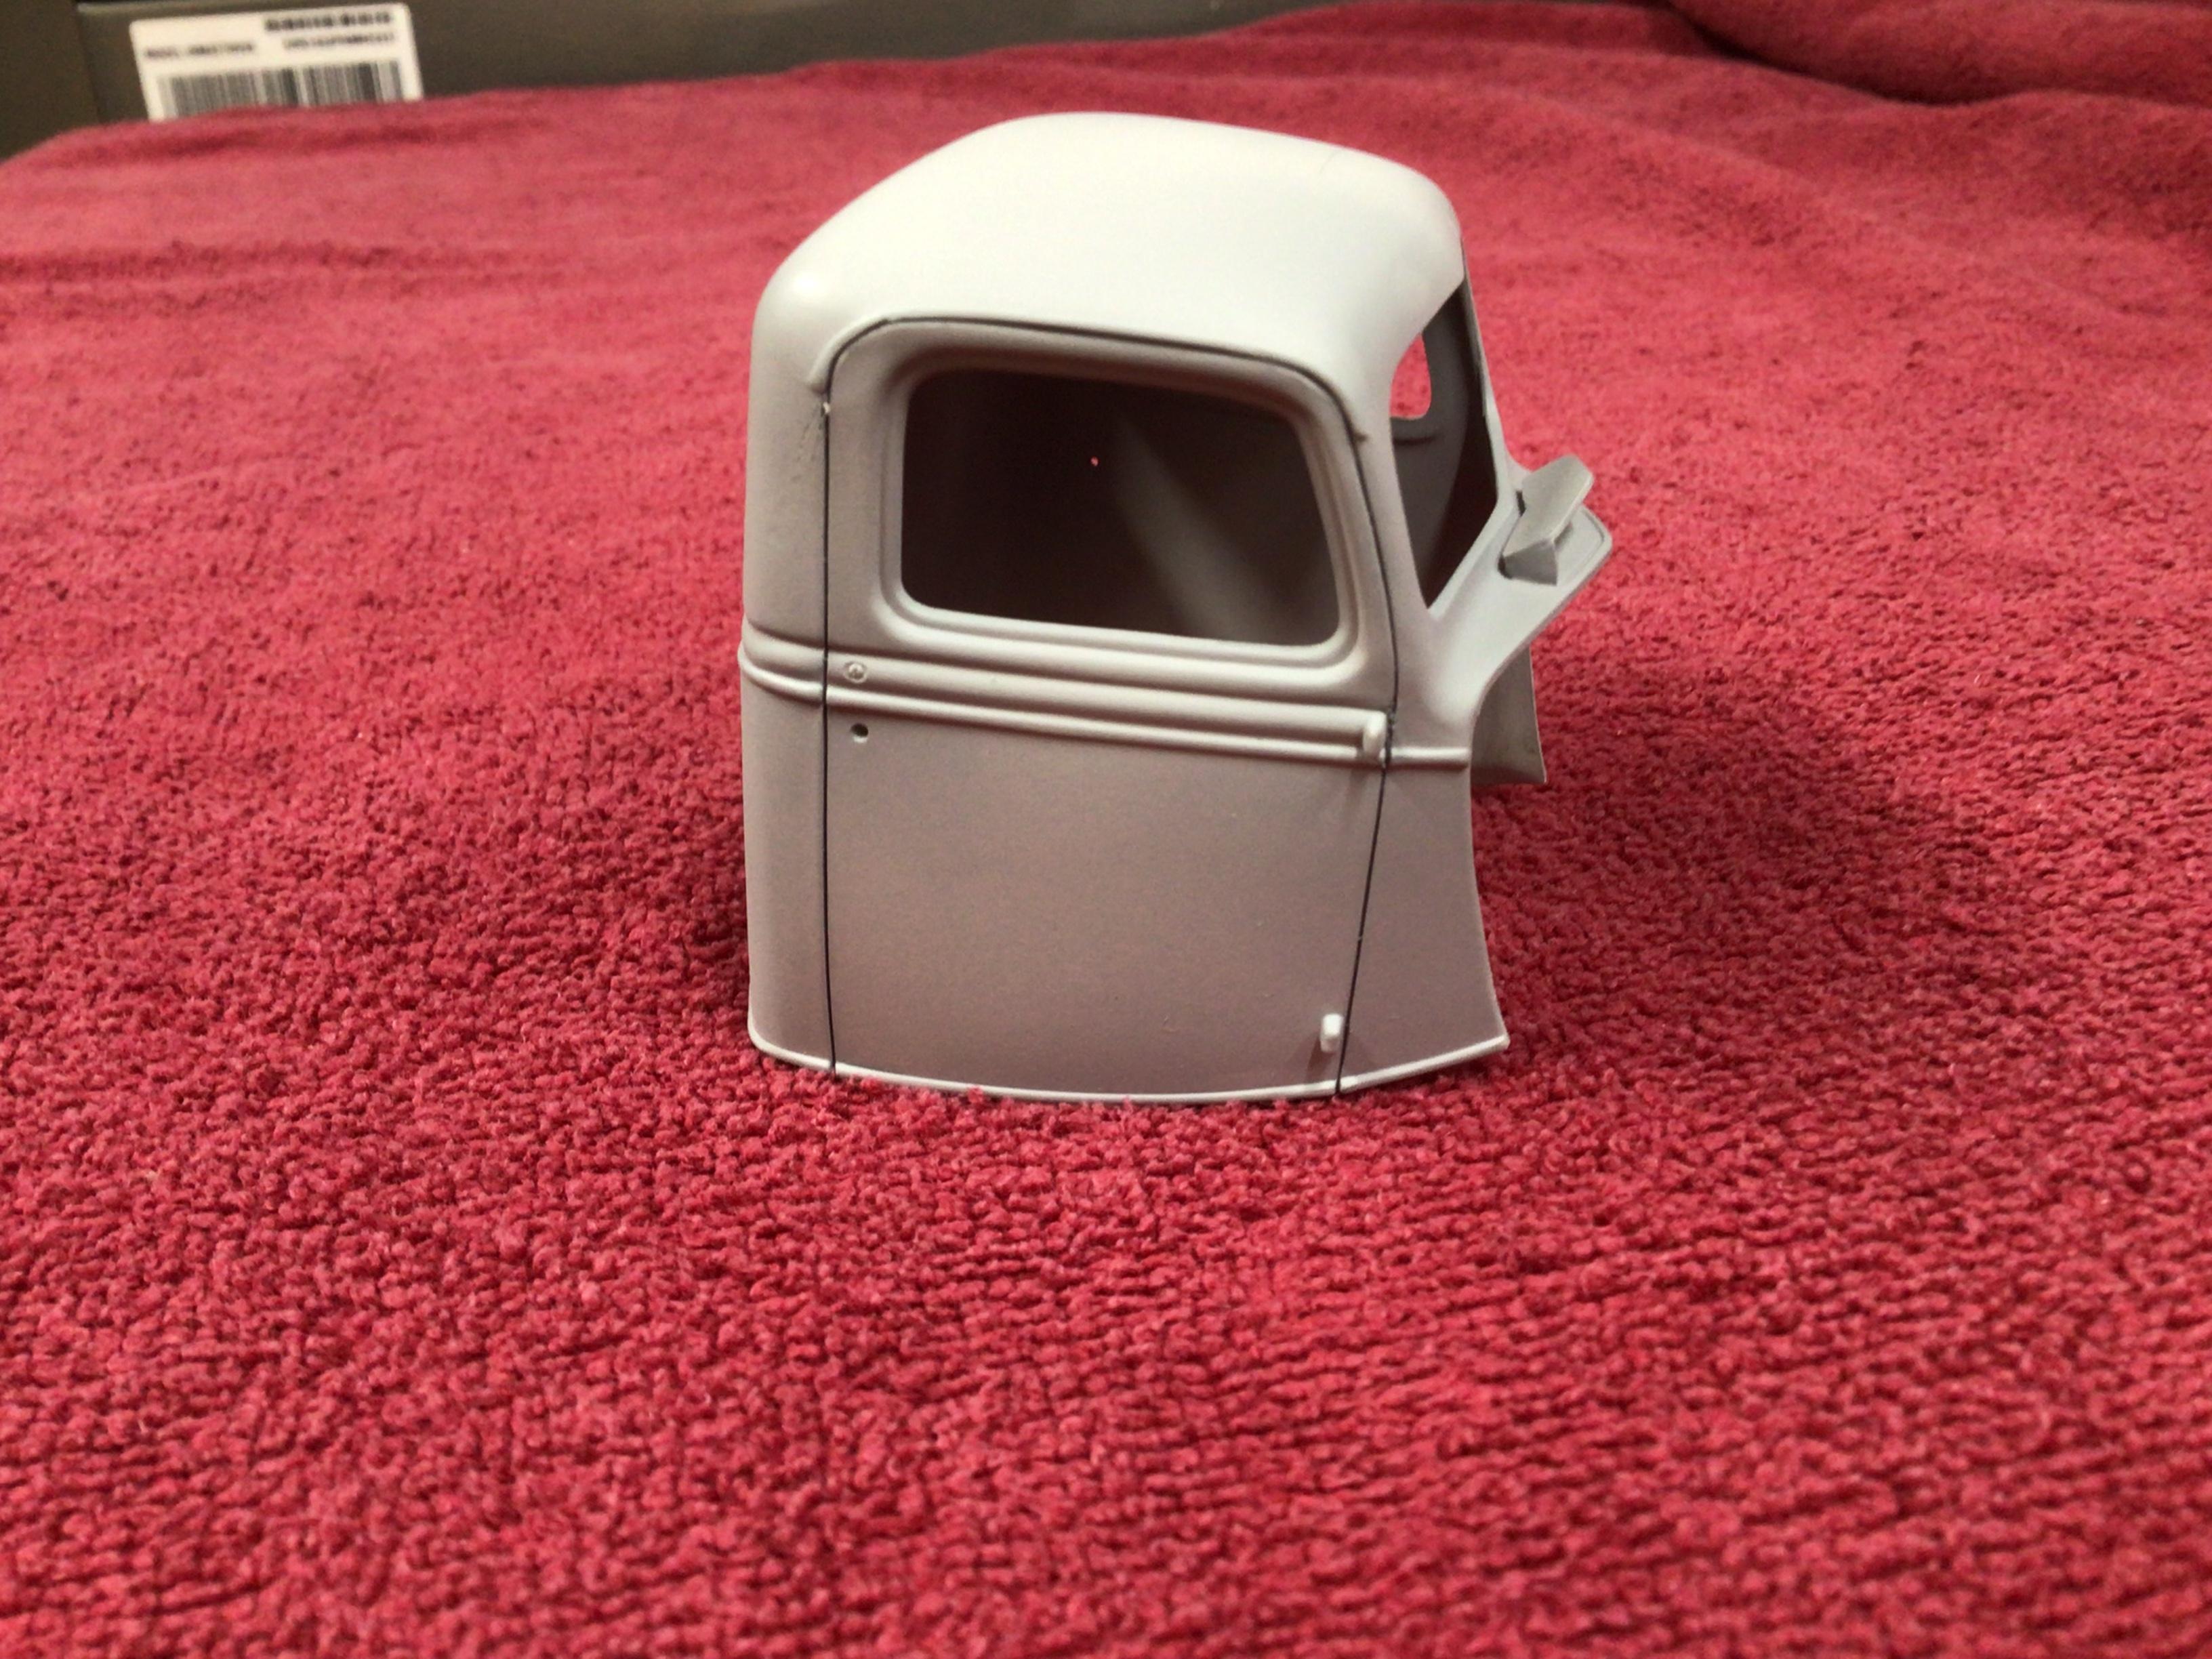
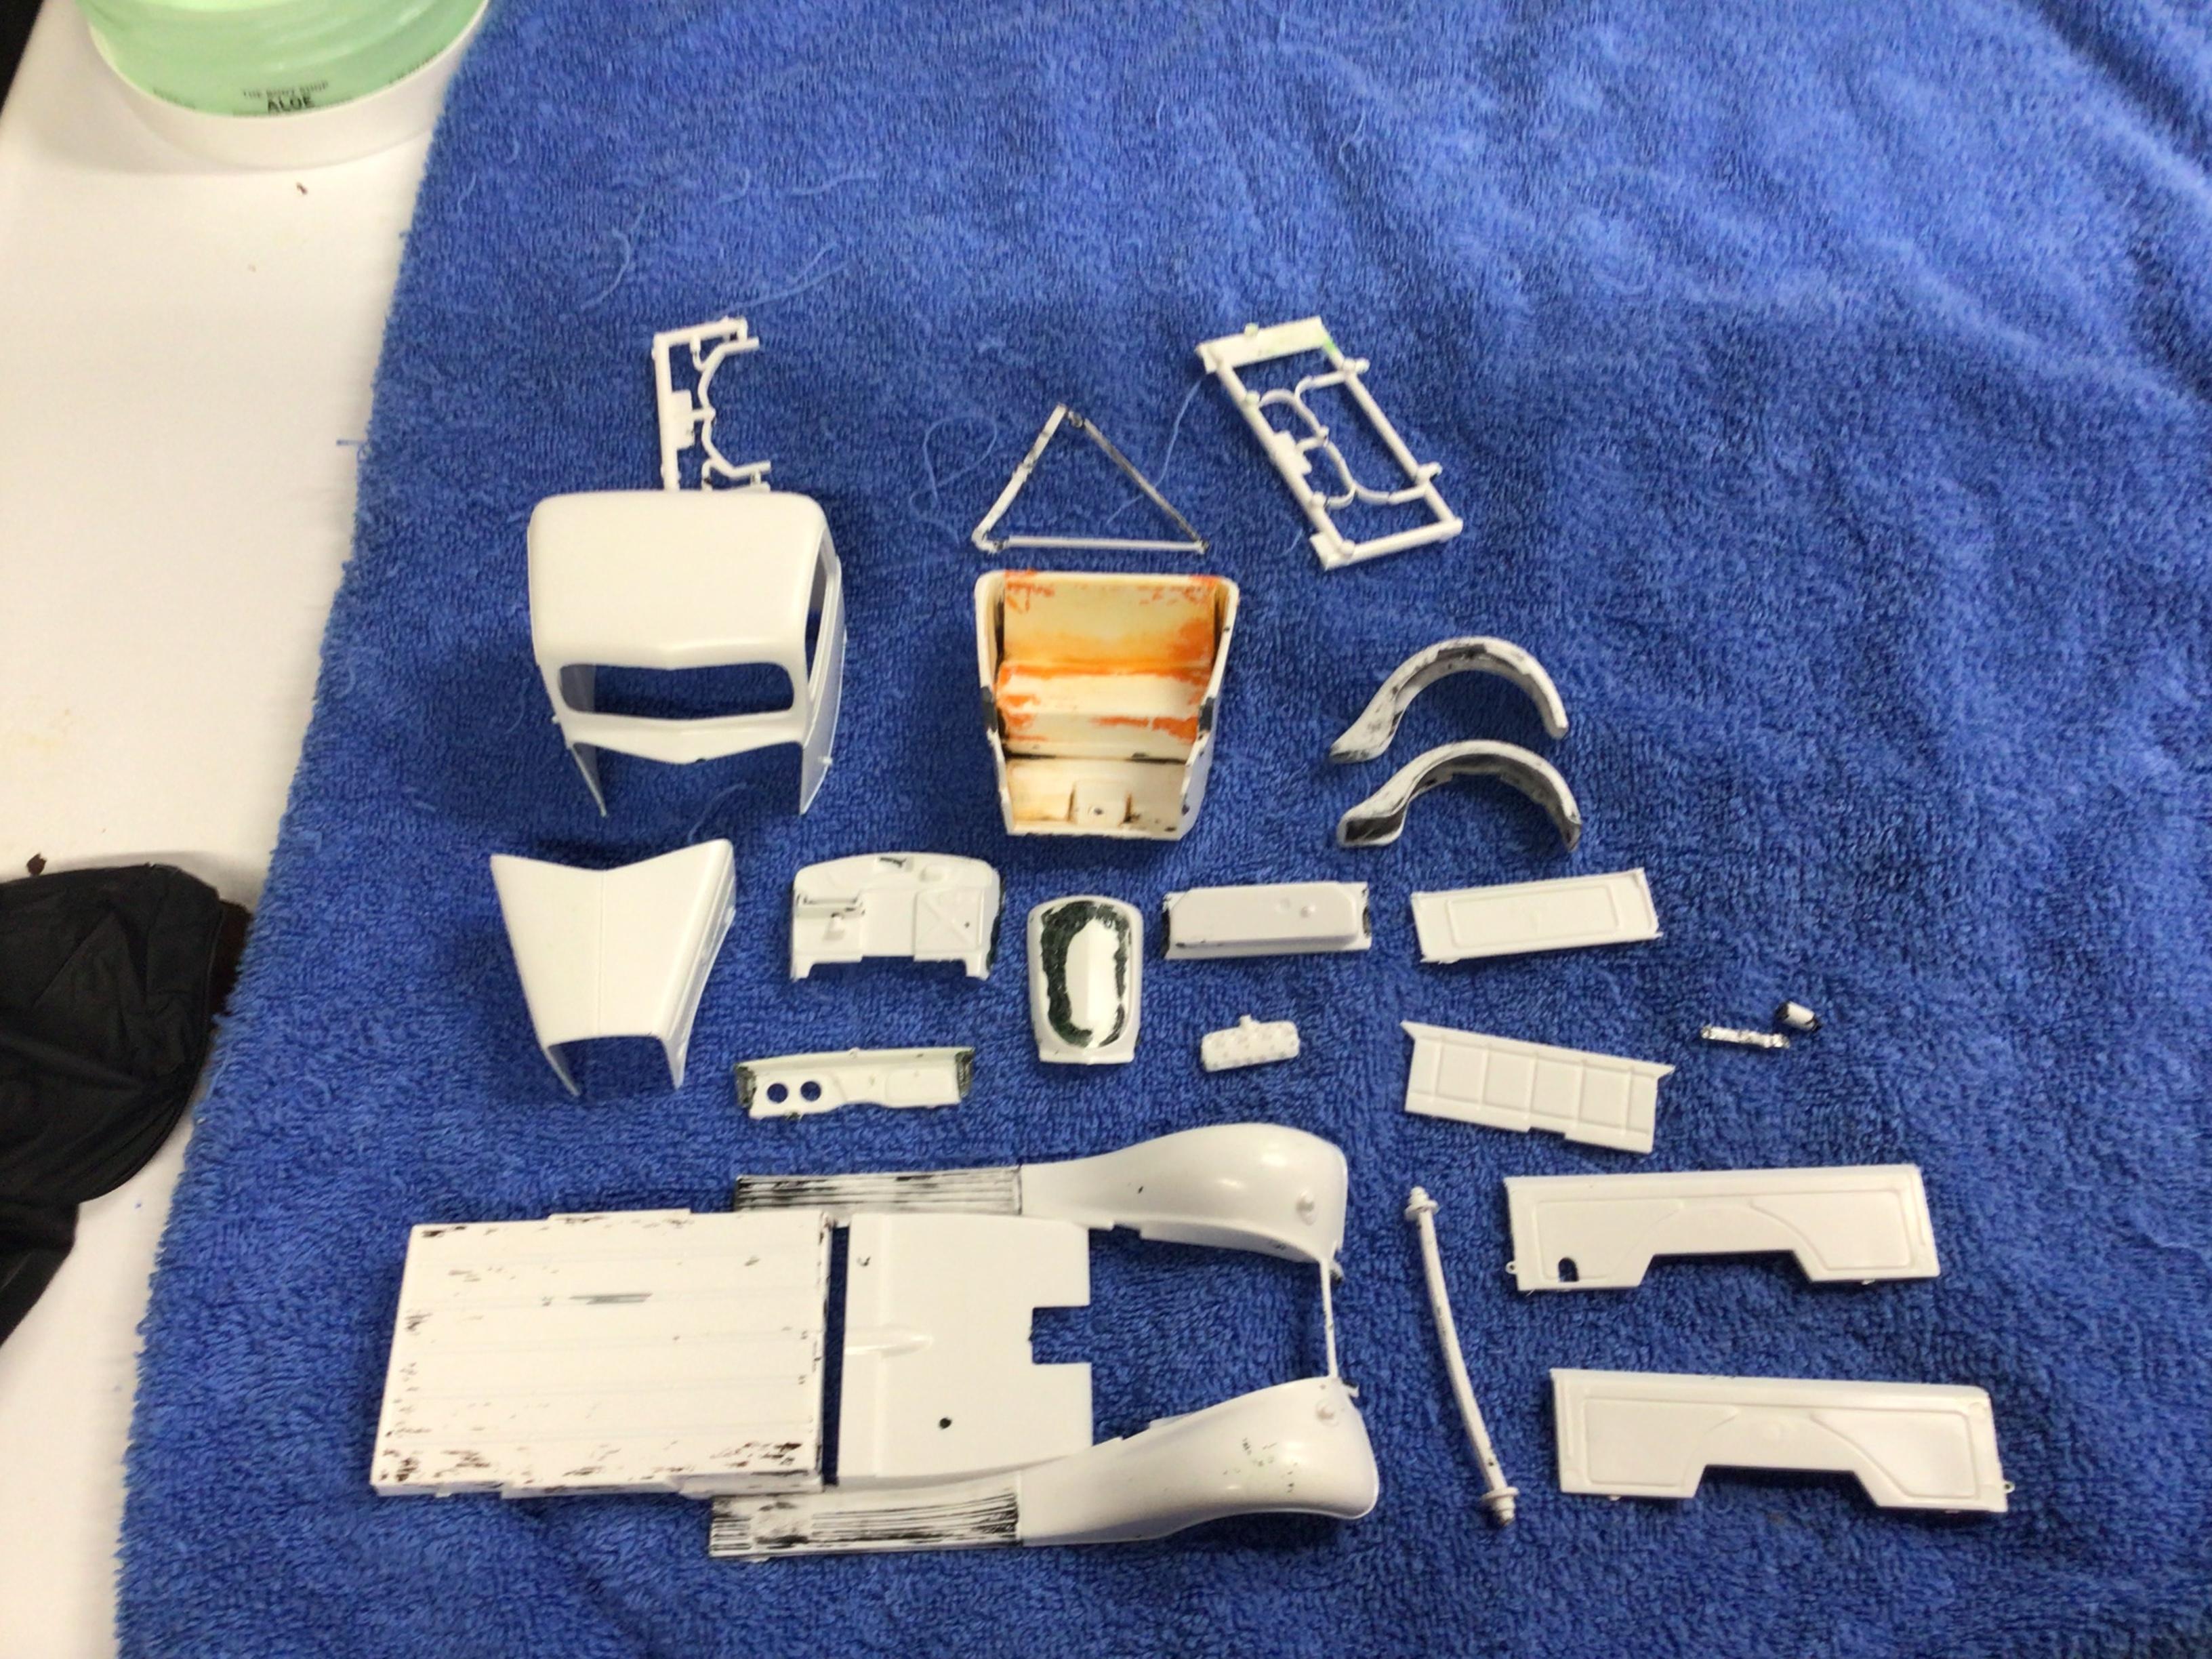
I picked this up at a flea market recently. It was partially assembled and everything was brush painted…and I mean everything!? It came apart easily because even the mating surfaces of the heads and engine block halves were painted before being glued together. I am building it stock with just a bit of detailing. One issue with this kit is that the hood does not go on and off easily. The rad is sloped back and the cab is a lot narrower at the bottom than at the cowl.?
-
Thanks for the suggestions Guys. I have been going to town on it with the coarse polishing compound and I think I’m getting there. I mounted a piece of foam gasket on an old electric toothbrush, and it seems to be working fairly well.
-
Got it! Thanks. That way just doesn’t credit the person quoted like the quote button does.
-
Ever accidentally poke a hole in the foil? Doesn’t the toothpick soak up the CA? Turns out the Q-tip cleans out the well nicely and doesn’t even leave any cotton strands behind, so I made a smaller re-useable one.
-
Looks pretty good to me.
-
Quite often, but I use a butane lighter and the dried CA burns off in two seconds. I did previously make a couple from needles and they did work, but not as good as these. And those I had to dip into the bottle of CA….a disaster waiting to happen I thought!? Edit: I likely don’t need 150 holes. I can probably soak up the un-used CA with a Q-tip and clean up the well with the drill bit. It’s been close to an hour since my original post and the CA is still liquid and useable….unlike the bottlecaps.
- 18 replies
-
- 1
-

-
- thin superglue
- ca
- (and 1 more)
-
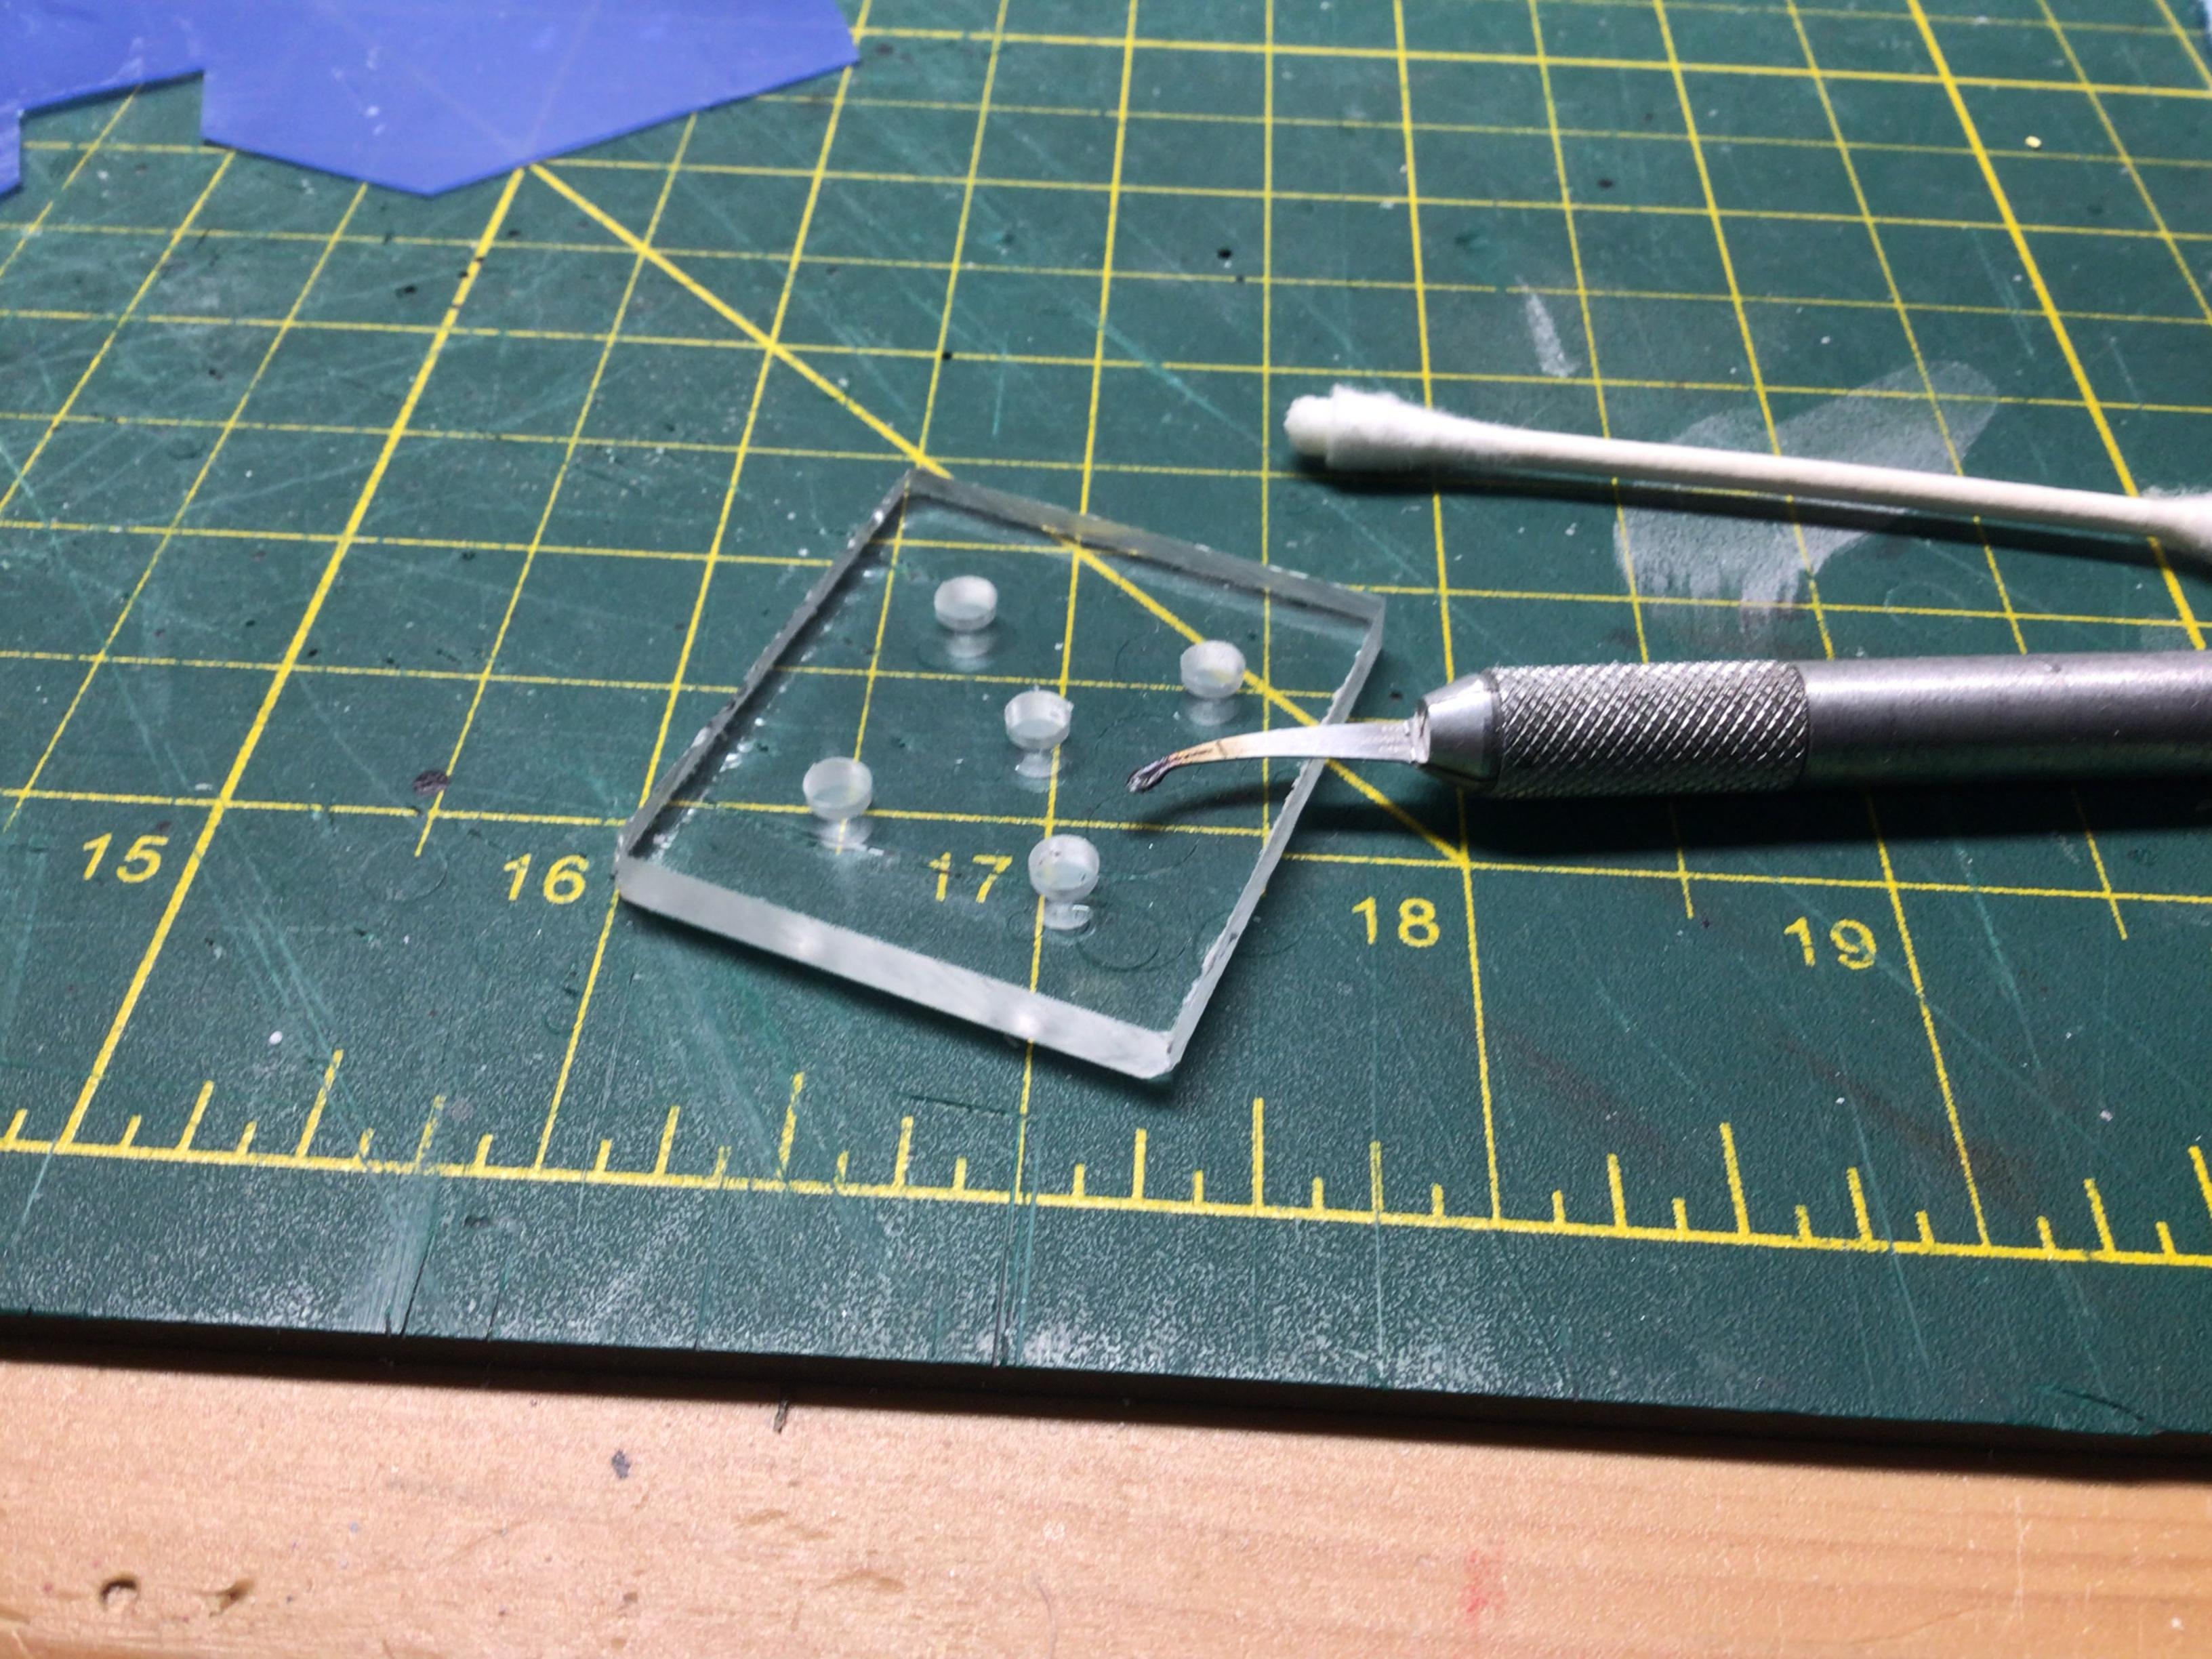
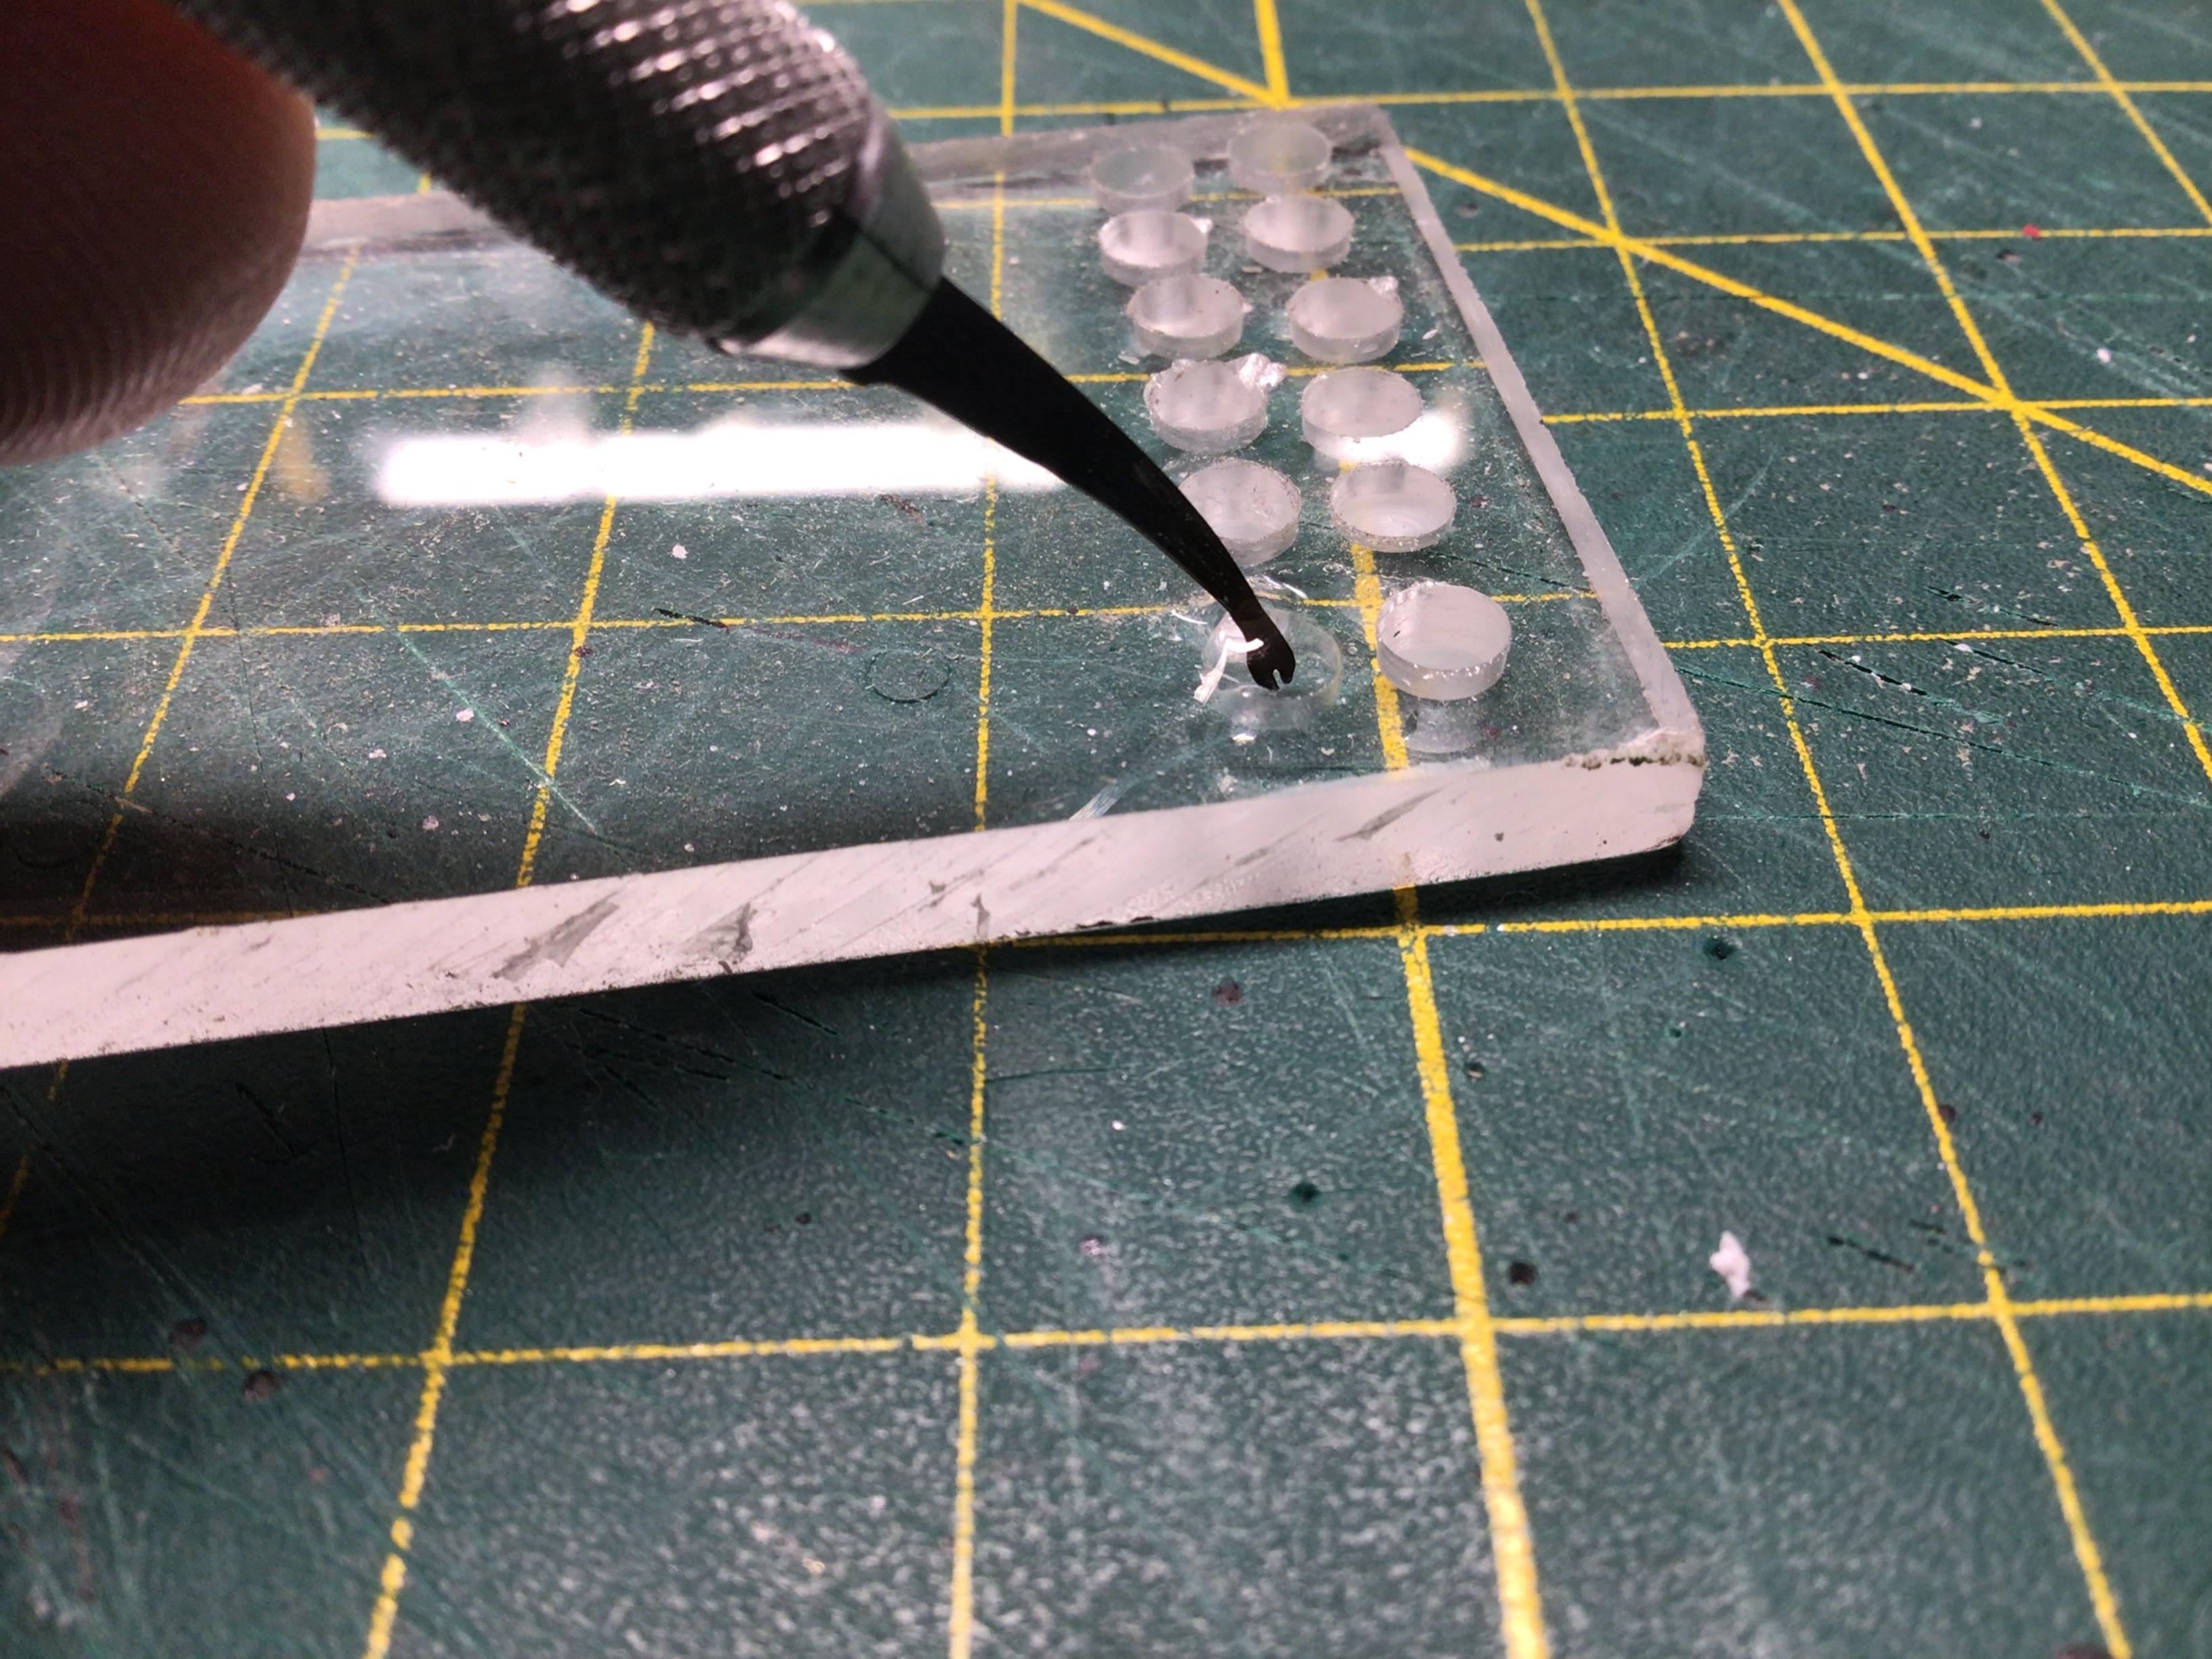
I recently bought the glue loopers for super thin CA. They work great, but you have to put a drop or two of CA in something to dip the looper in. I am running out of bottlecaps.? It wants to wick around the cap and doesn’t really want to form a deep enough puddle to dip into. So I have some 3/16” thick plexiglass that I drilled some 5/32” holes about halfway through on my drill press. Each hole holds a drop of glue and maintains a nice deep puddle for dipping. I should be able to put close to 150 glue wells in this 1-1/2”x6” piece.
- 18 replies
-
- 4
-
-
- thin superglue
- ca
- (and 1 more)
-
Fantastic work you’re doing there. I have enough trouble getting ONE build on the go.?
-
Looking good so far. I like that colour too!?
-
Is there any way to retroactively quote someone’s post? If I inadvertently hit the post reply button before attaching the quote….can it be inserted somehow, or is another post required? Alternatively, can I delete my post immediately and re-do the whole thing?
-
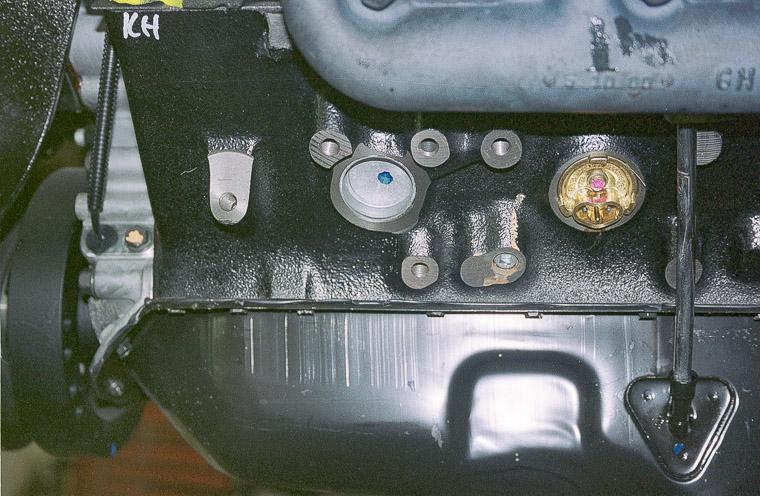
See above post. Also, the block heater is usually installed in place of one of the freeze plugs.
-
If you do not have a strong enough anti-freeze mixture in your coolant system, or just use water, it can freeze in cold weather. The inadequate coolant would expand and could crack your engine block casting. The freeze plugs are a press fit and are designed to be forced out by the expanding coolant in order to protect the block.
-
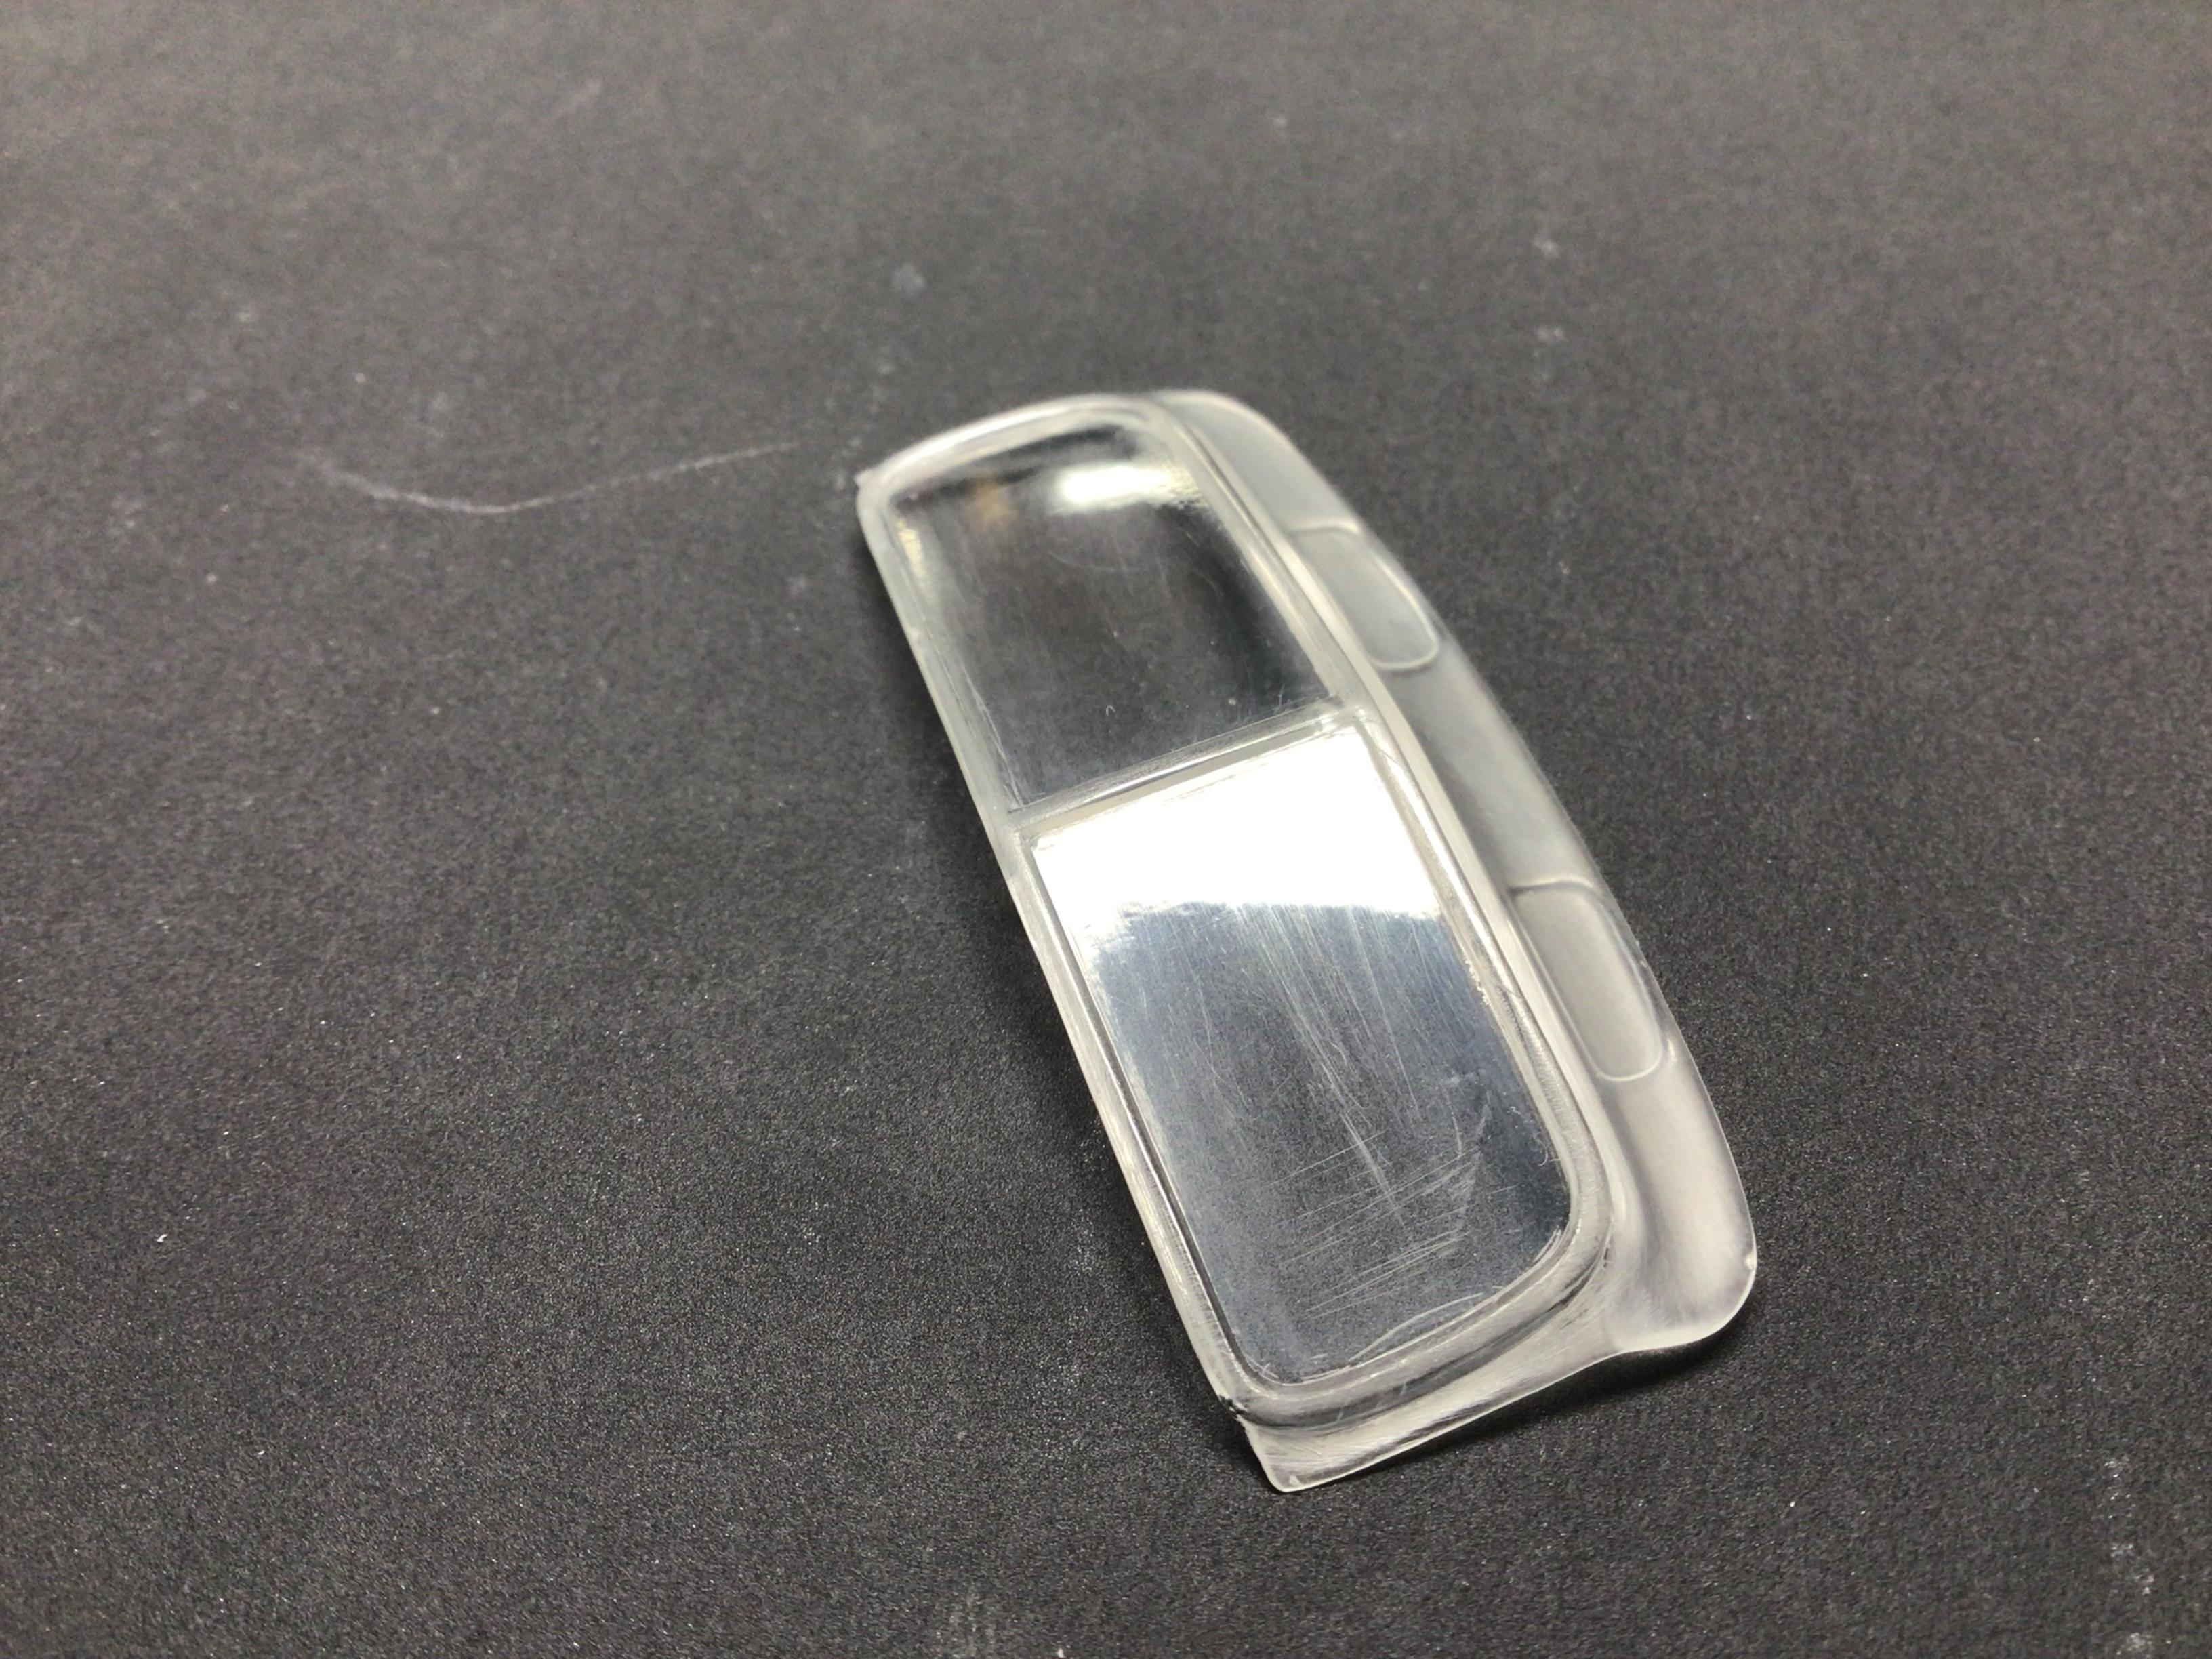
Ok, I sanded the raised rim which I am re-painting anyways and scraped the inside corners as much as possible. My local HS only had Tamiya compound, so I am trying to polish out the scratches. Some are fairly deep.? What would be the coarsest grit paper that could be used prior the polishing compound?
-
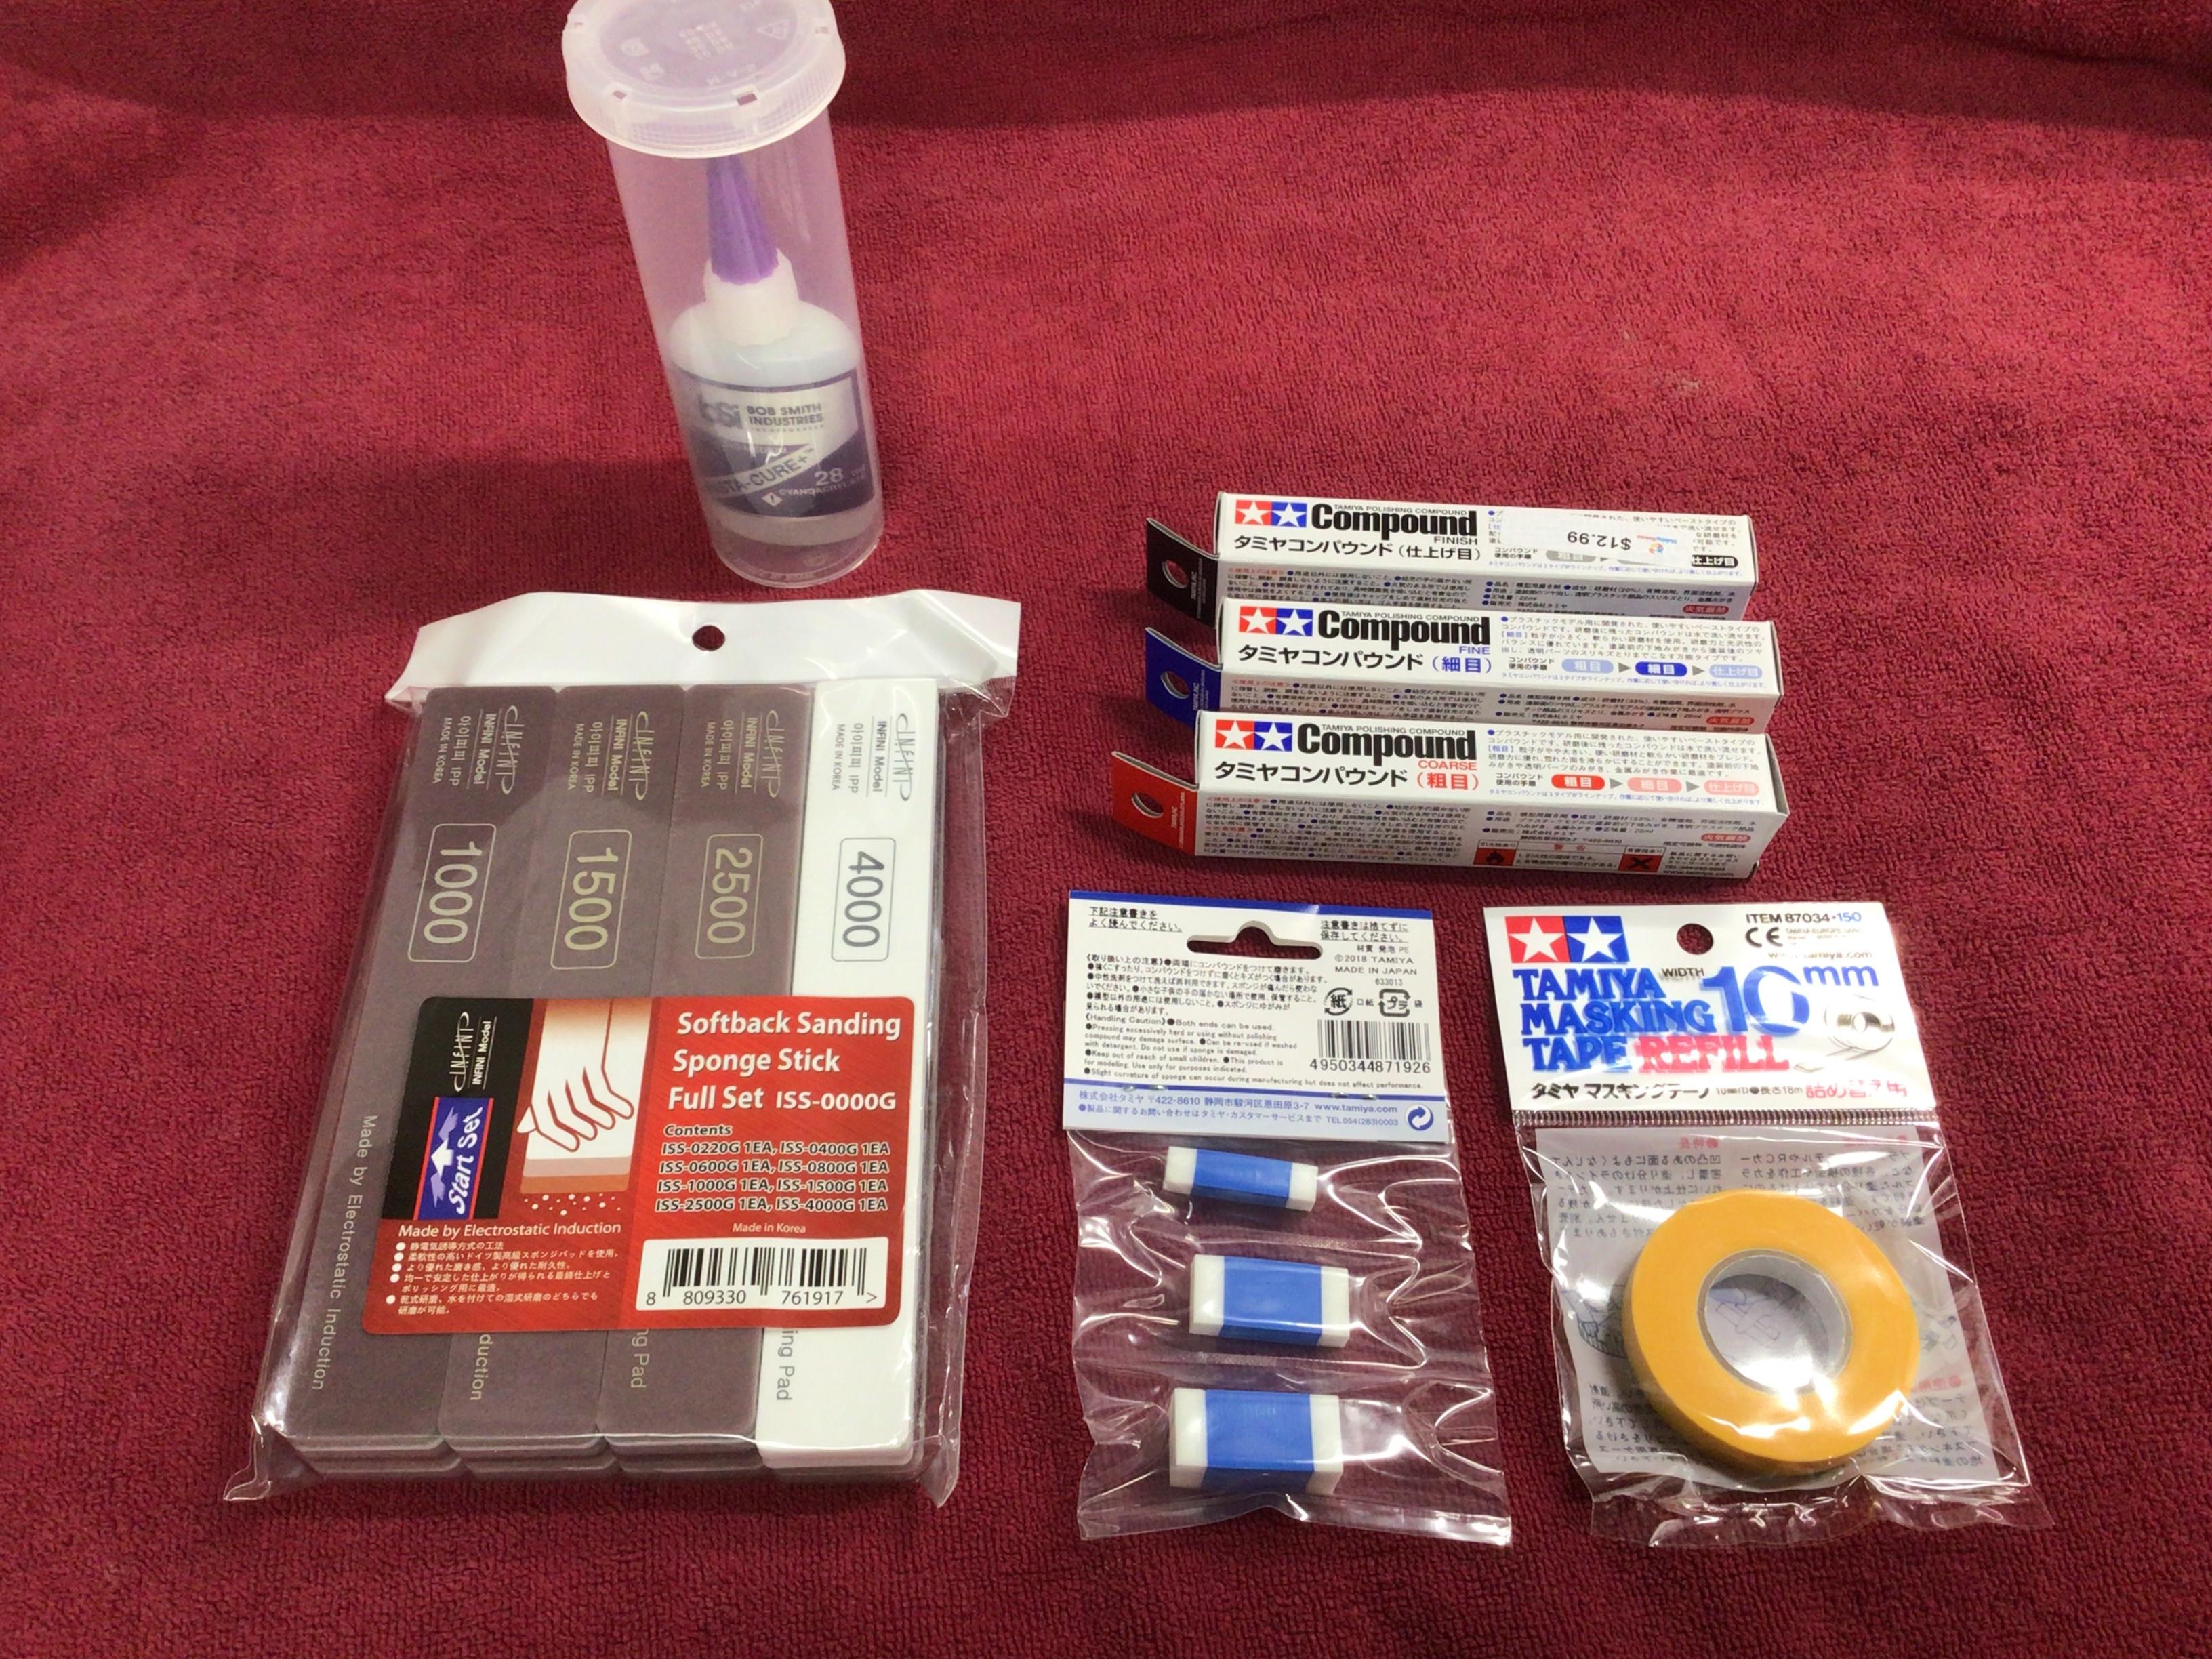
The local HS didn’t have the Novus polish, so I bought some Tamiya compounds instead. I hope they work OK? I have never polished anything before, so this will be a first for me. I also picked up some flexible sanding sticks. I’ve been making my own so far but was curious to see how long these last.
-
And that won’t harm the clear plastic? I know it can make regular styrene brittle, and clear is already more brittle…?
-
How can I make these tires look better
NOBLNG replied to chris chabre's topic in Tips, Tricks, and Tutorials
Some folks sand a small flat spot on the bottom so that it looks like they the weight of a vehicle on them also. -
The silver paint that was used on this glue bomb does not dissolve in Super Clean. What would be the next best stripper to use that won’t damage the clear plastic. I will be picking up some Novus polish later today to get rid of the small scuff marks. Thanks.