bill-e-boy
Members-
Posts
913 -
Joined
-
Last visited
Content Type
Profiles
Forums
Events
Gallery
Everything posted by bill-e-boy
-
Don - as for most of the above the original primer was wrong for a hot paint like SMS - which is real nice paint. Also a word on SMS pearls - always a good idea to lay a metallic layer down before the pearl - makes it pop a we bit more. Silver is the most common (and the SMS silver is nice too), champagne gold or gold for something a wee bit more brash.
-
1932 ford pickup truck
bill-e-boy replied to Bullybeef's topic in WIP: Model Trucks: Pickups, Vans, SUVs, Light Commercial
Looking good. I have a radical 34 part built in a box and have been thinking of resurrecting the build - this thread is pushing me I thought squirrels went into hibernation at this time of the year😬 -
" THE " ugly duckling of the early sixties. 1962 Dodge Dart
bill-e-boy replied to gtx6970's topic in WIP: Drag Racing Models
Looking real good. The black wall slicks give it a more menacing look IMO. I think the white walls just made it look "pretty". Too pretty for, quote. -
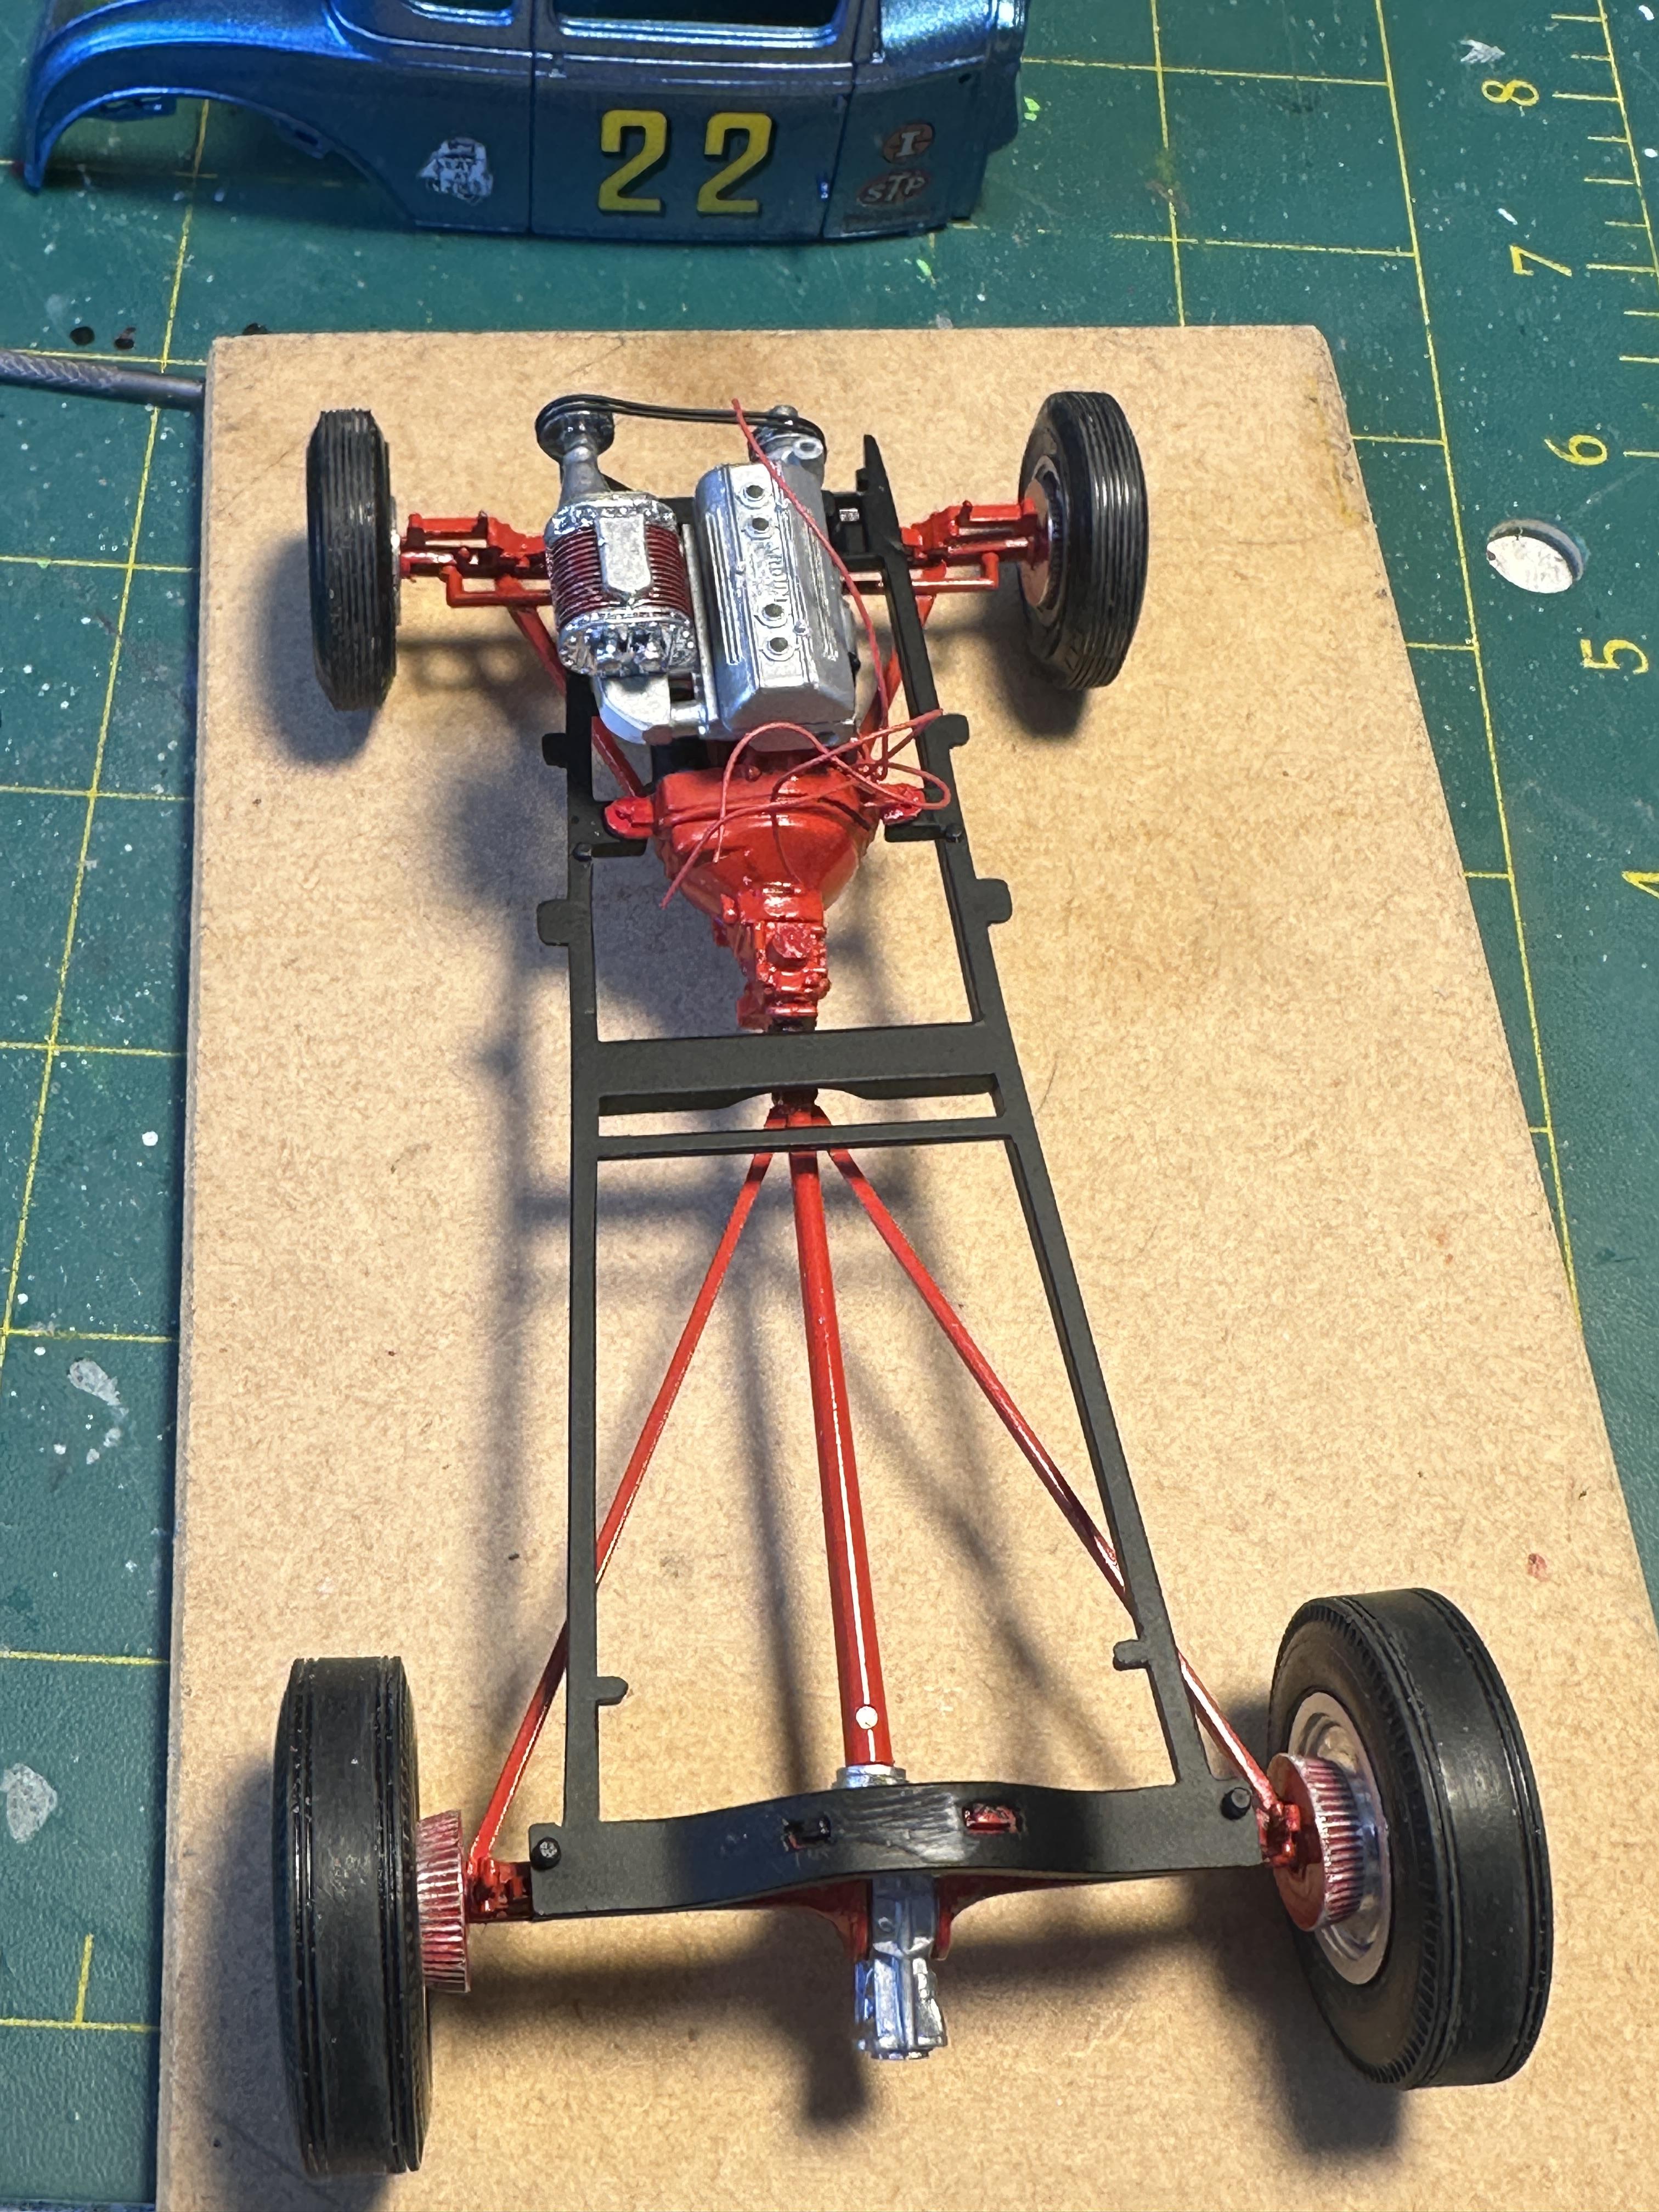
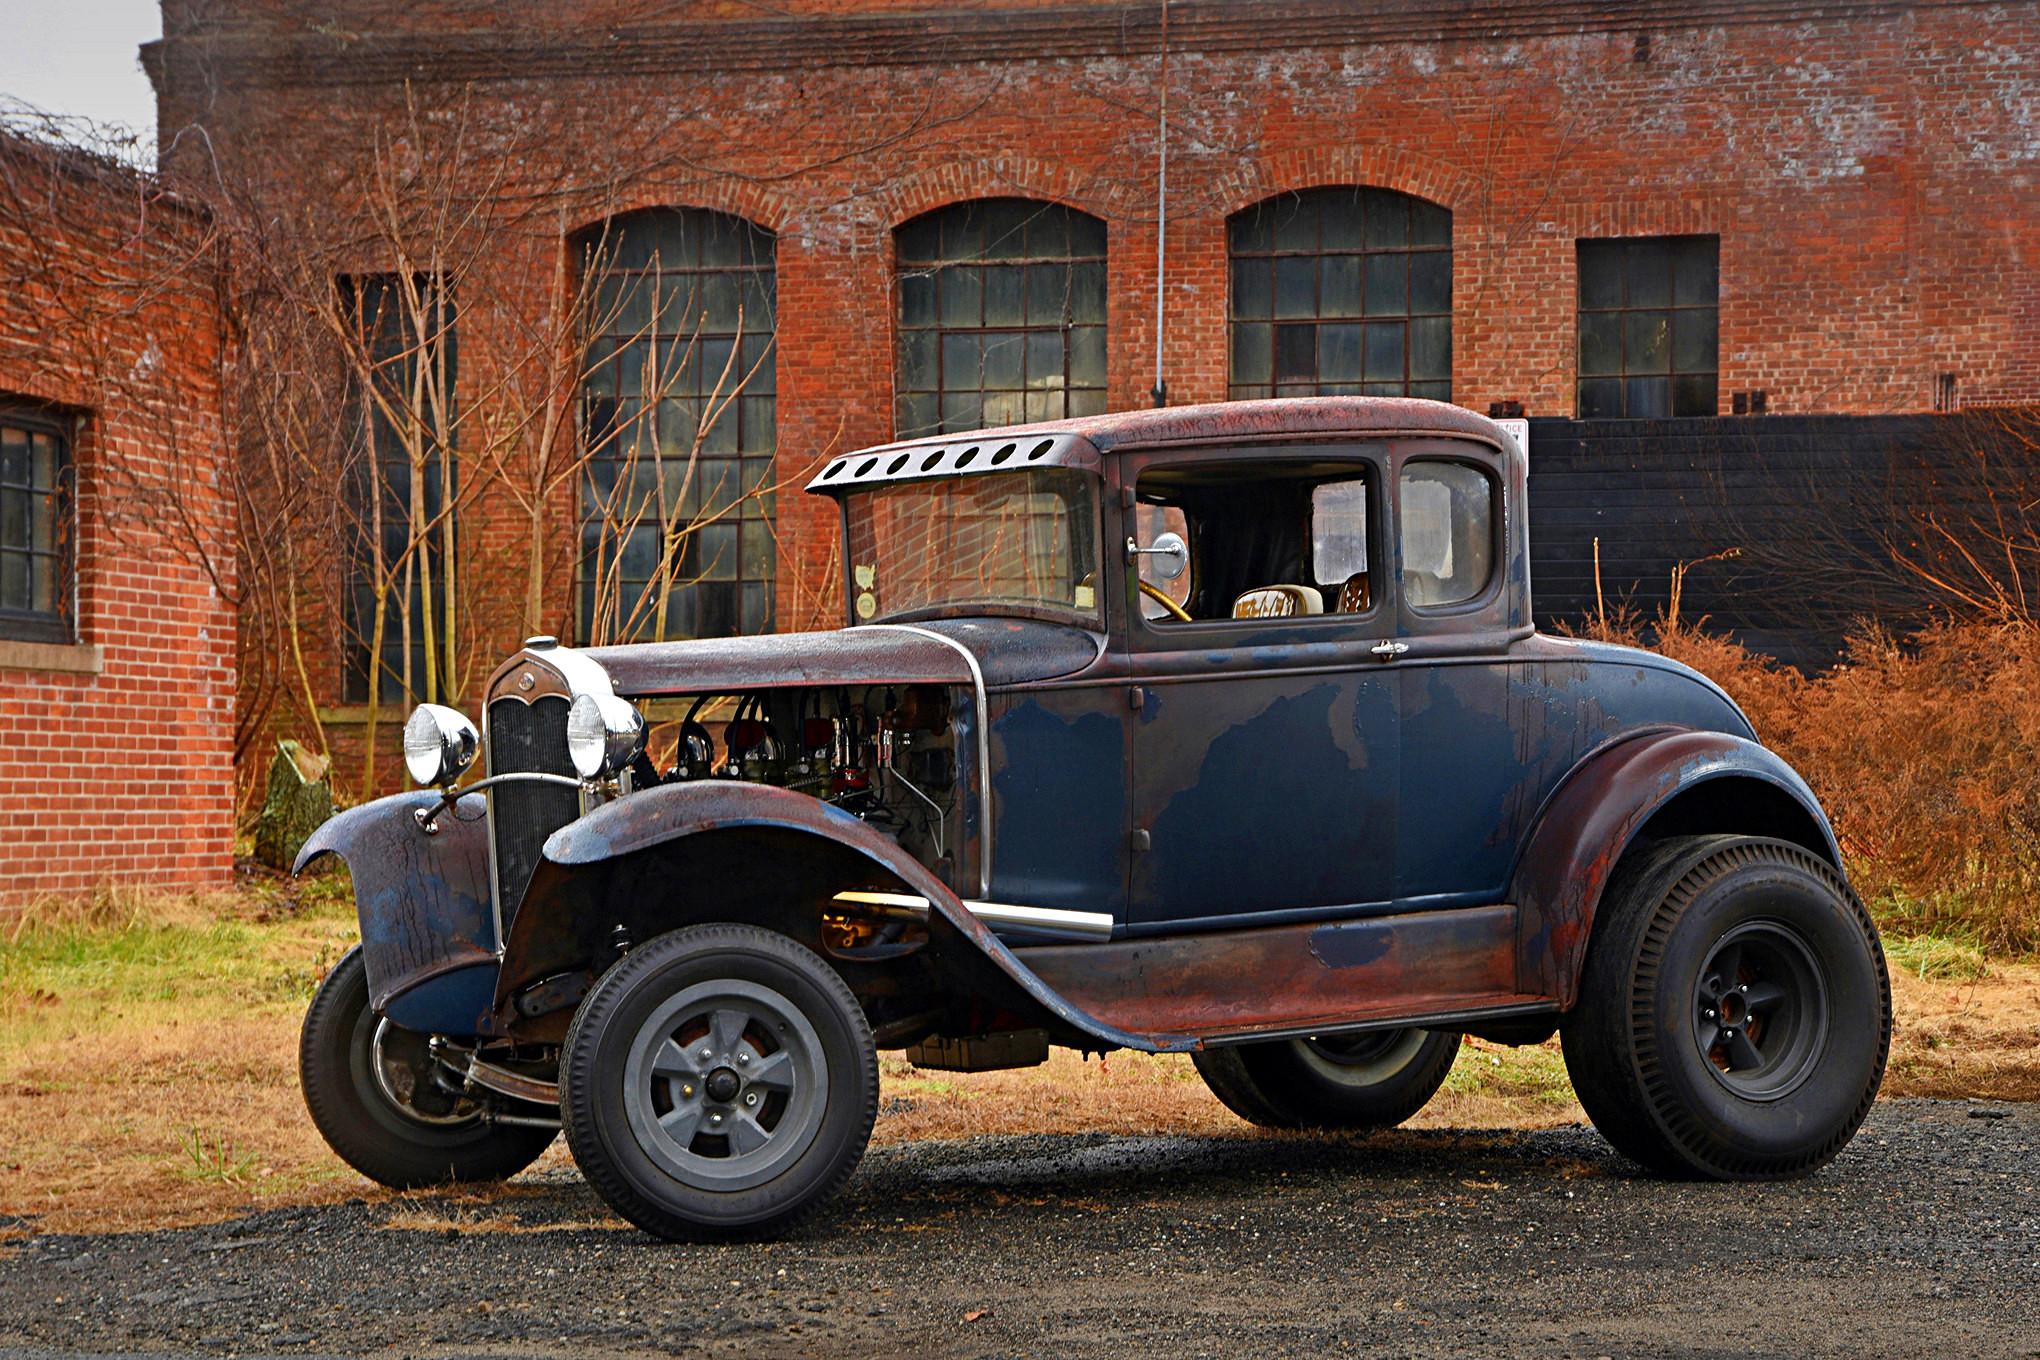
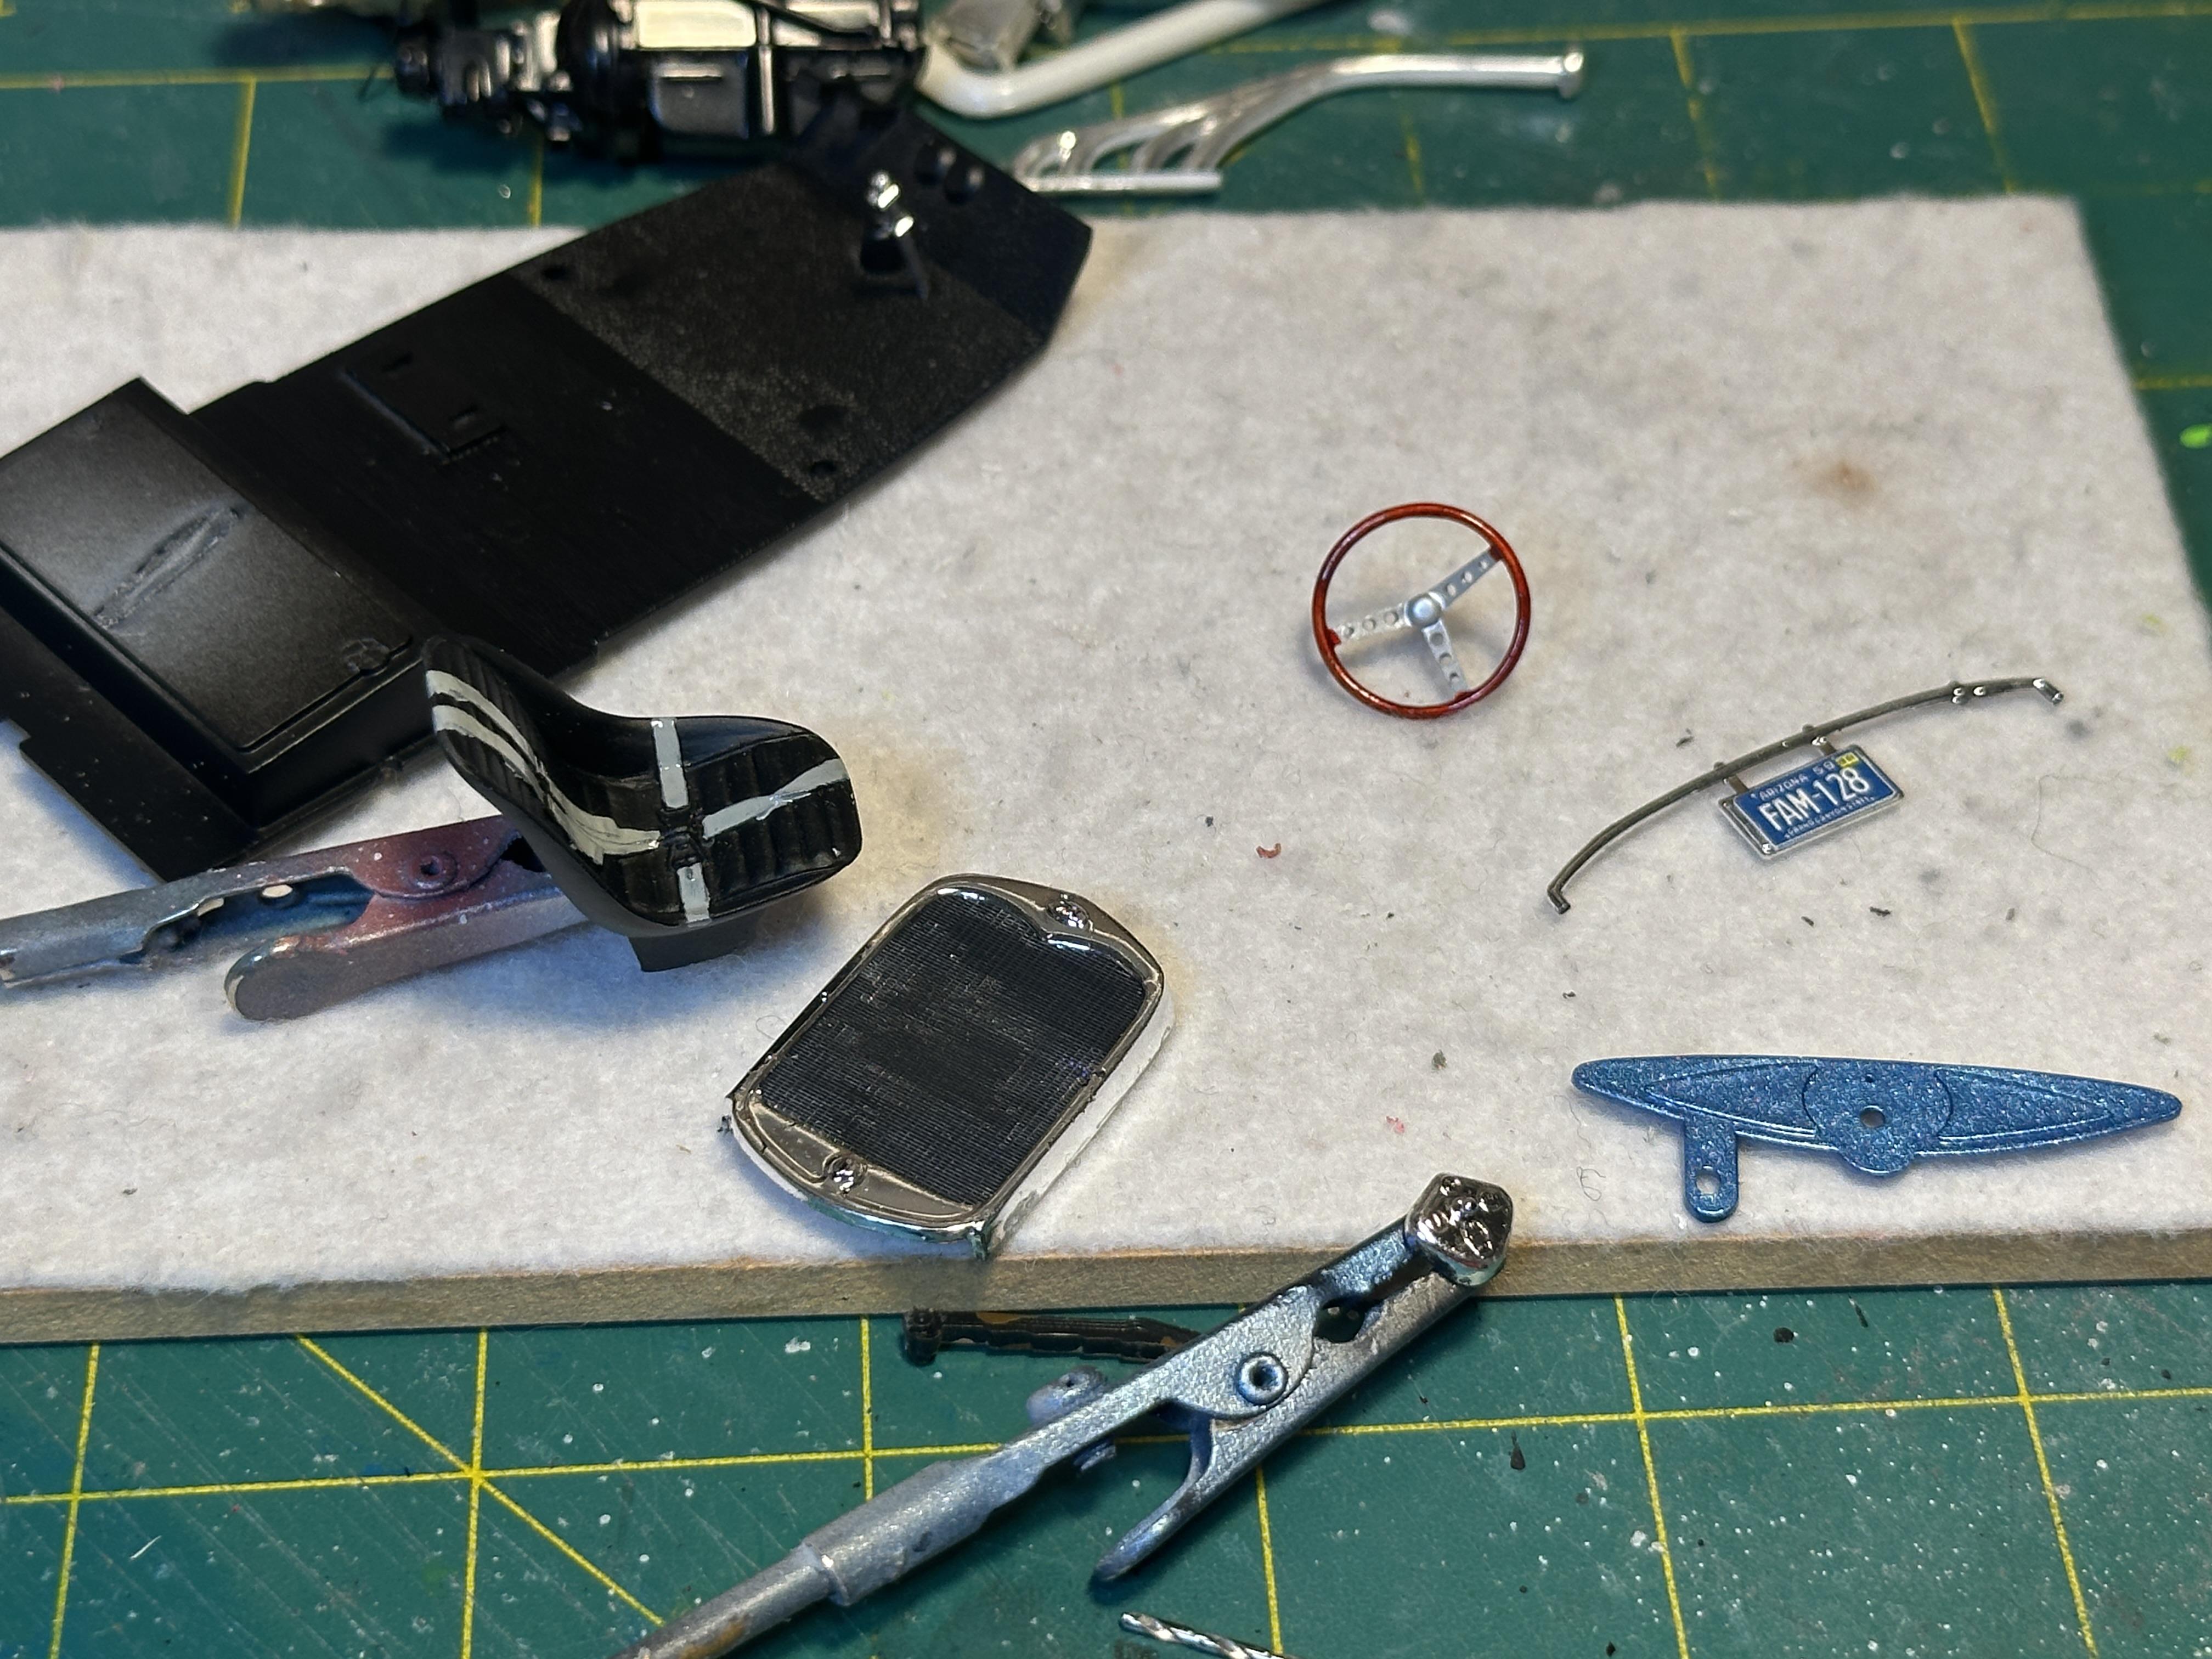
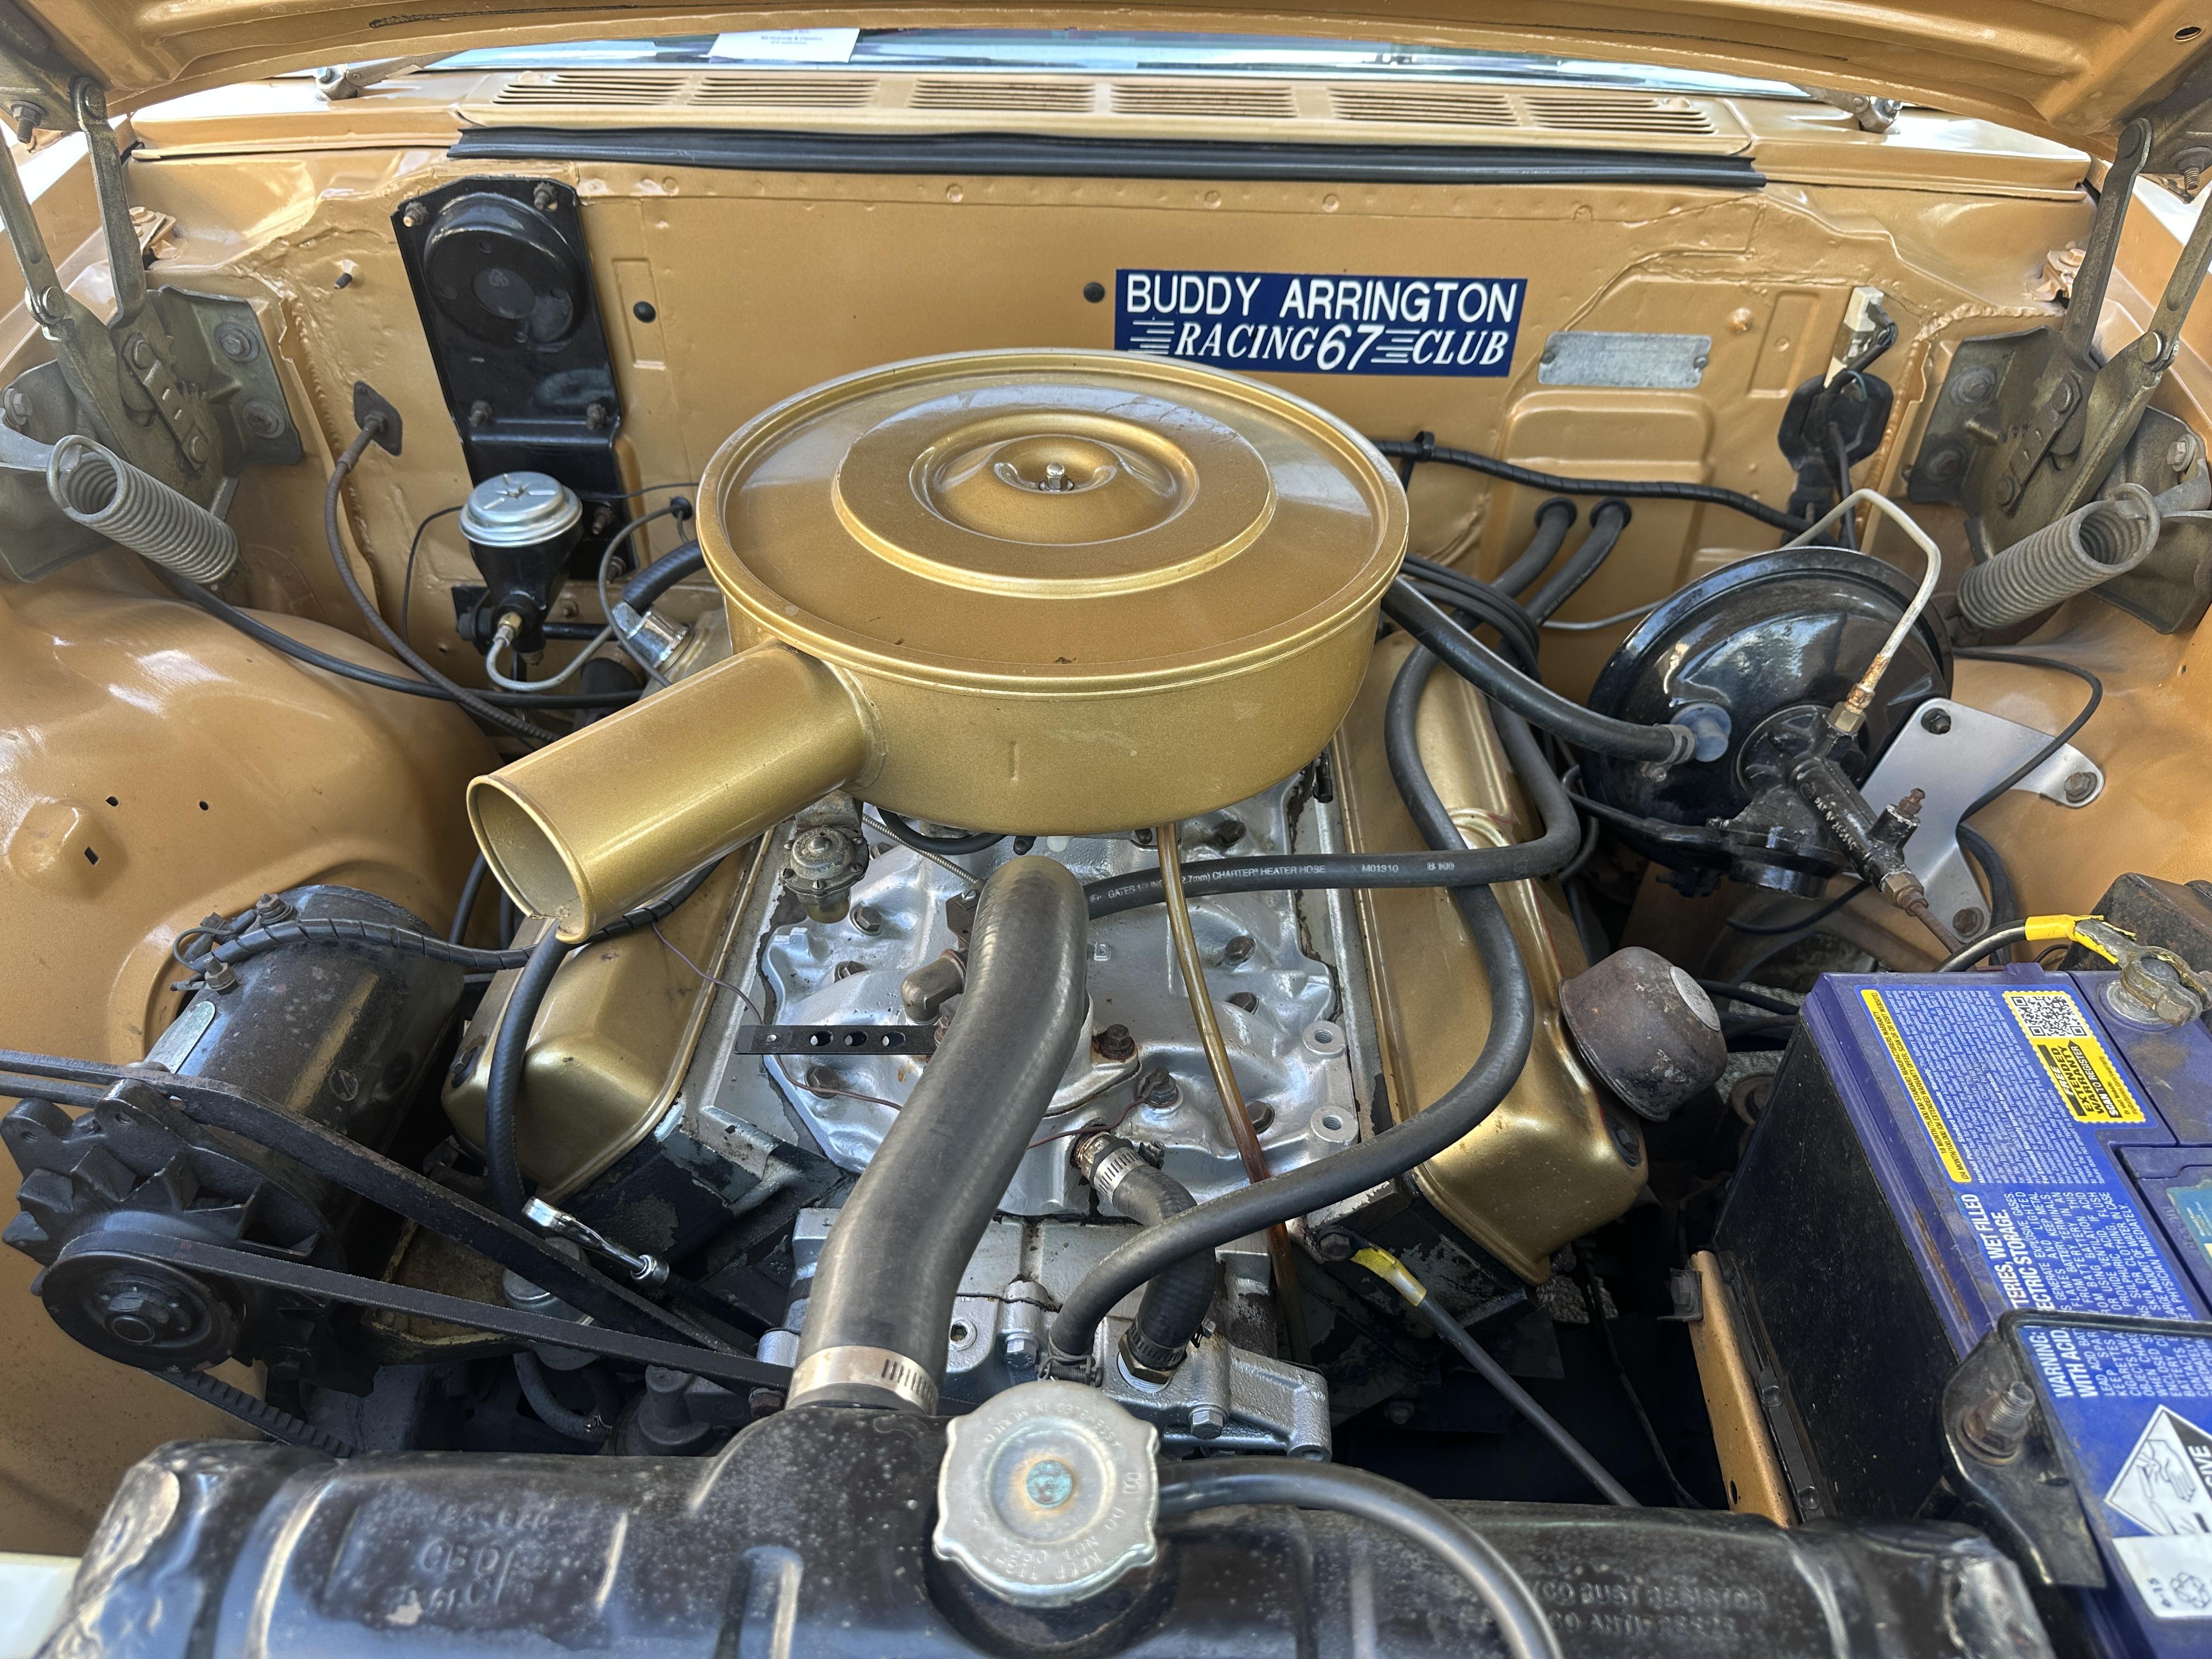
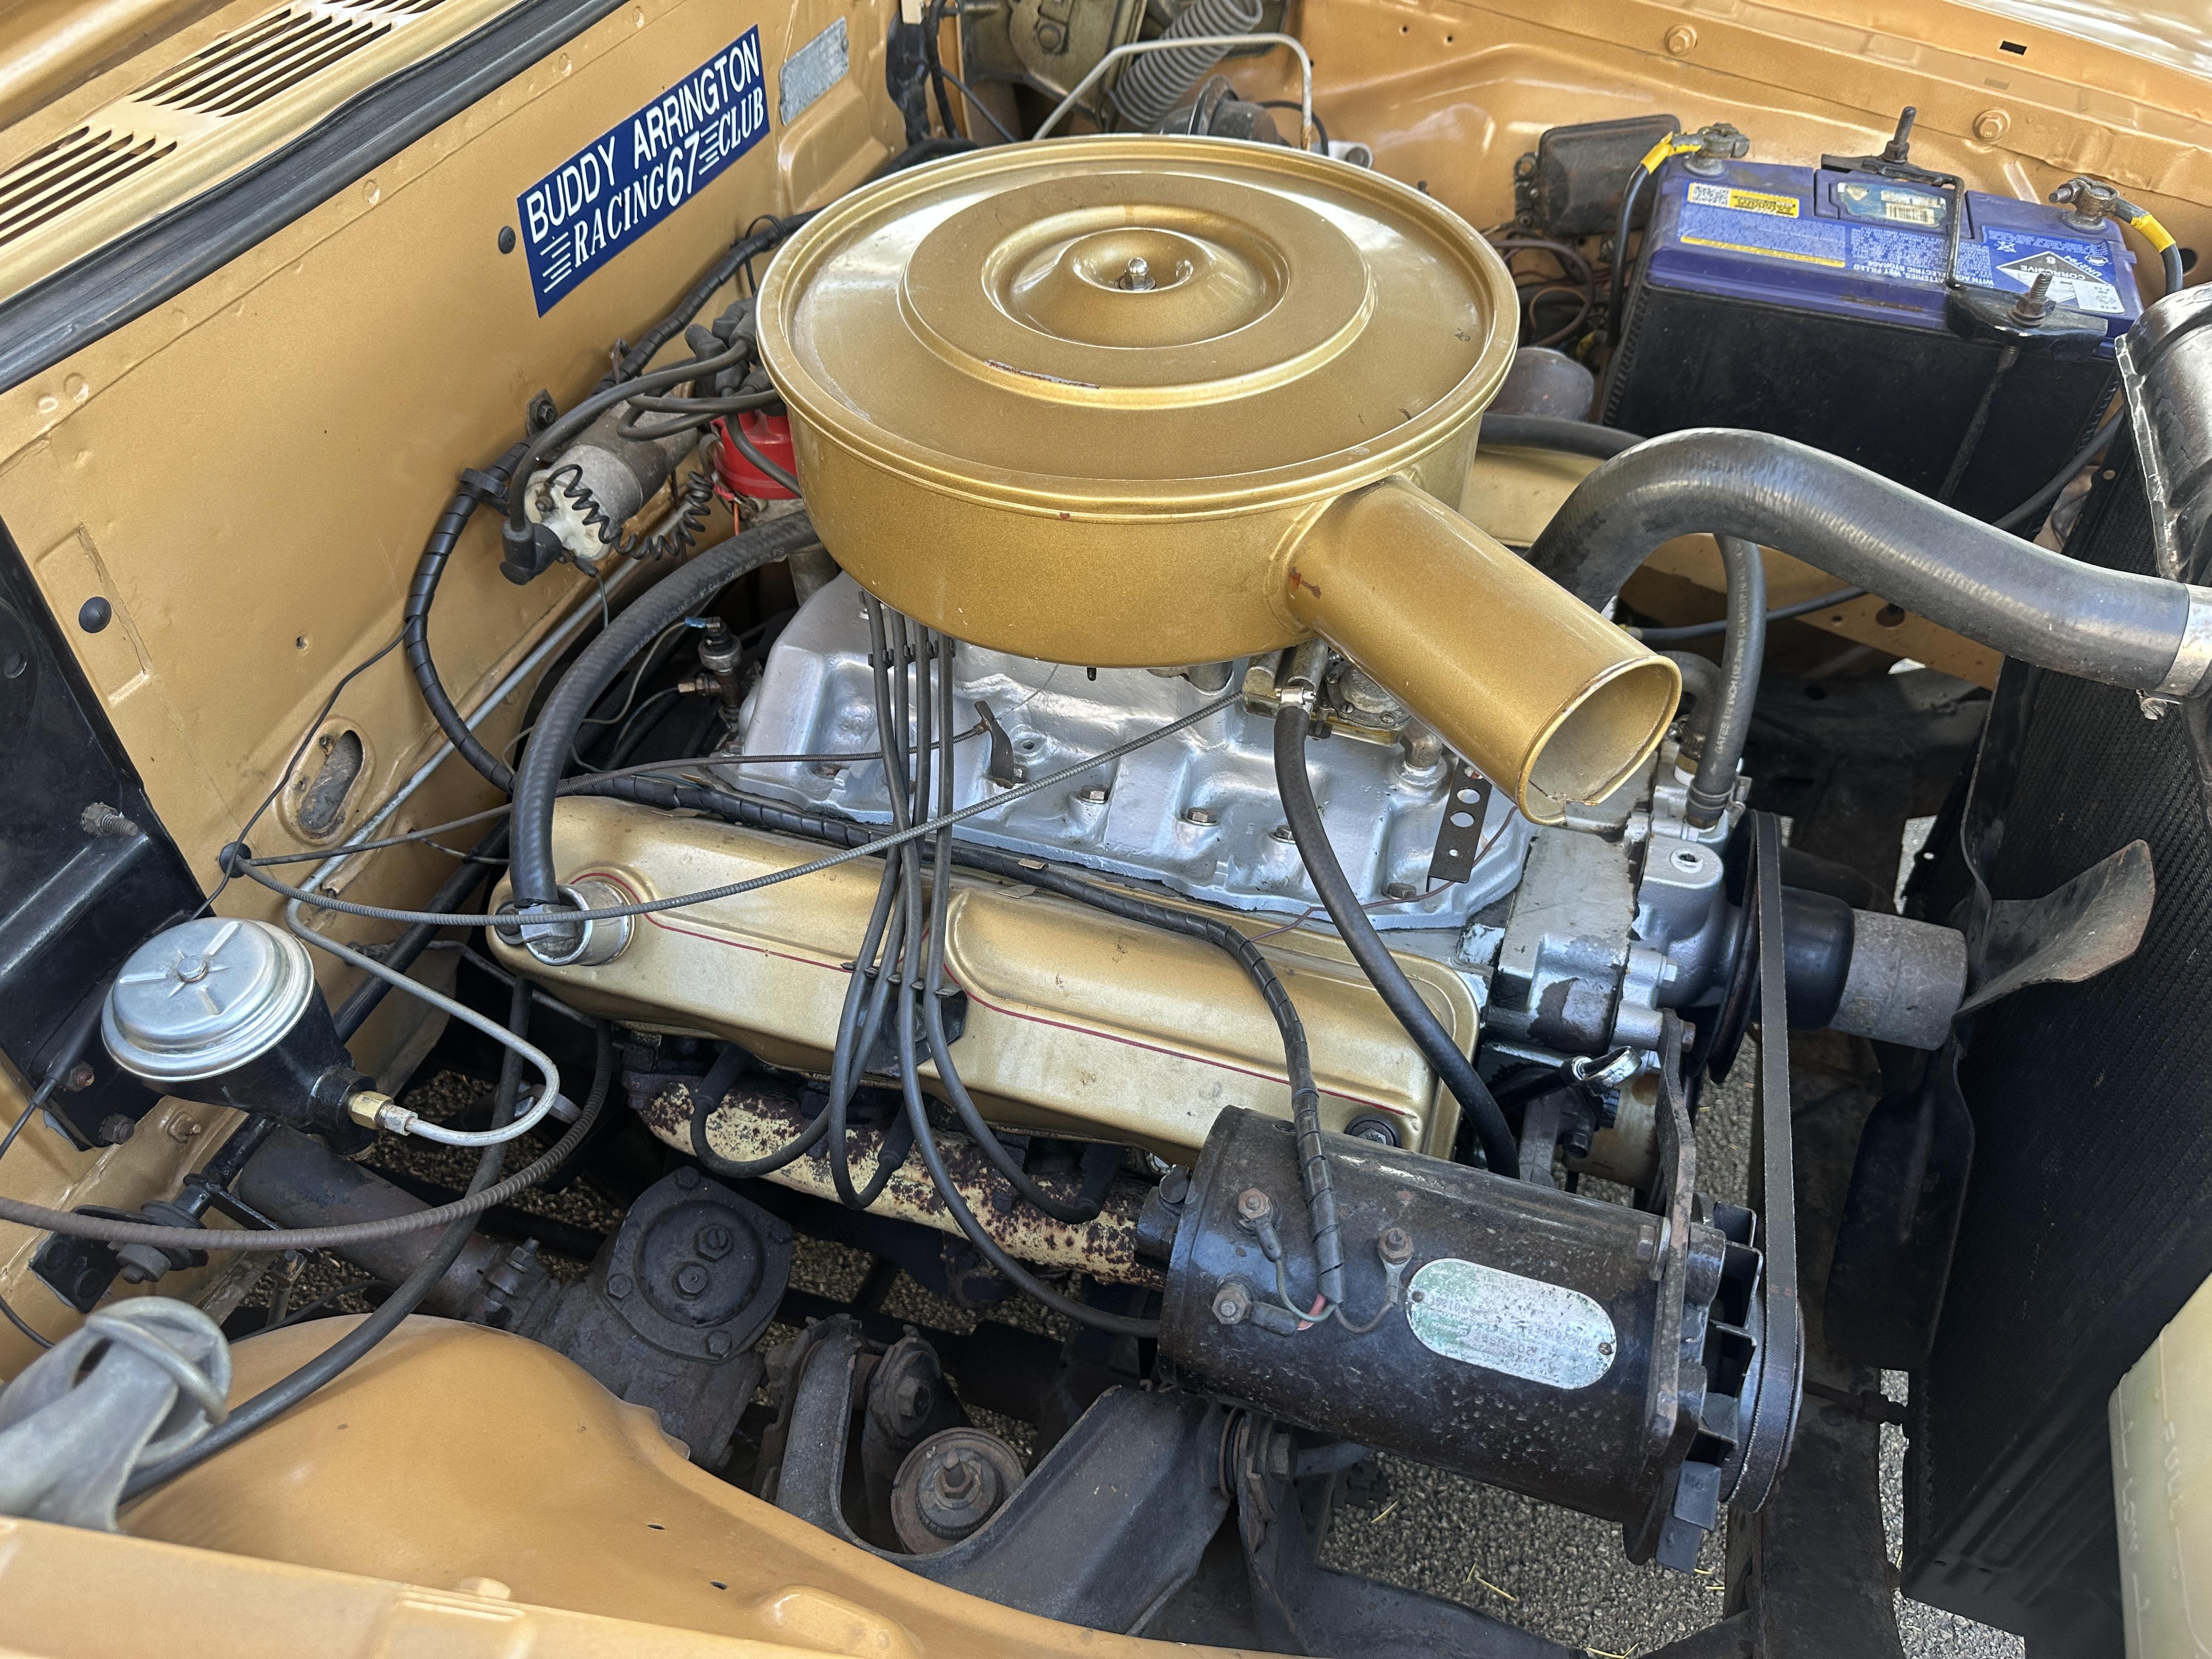
As part of research into getting the look right I came across this pix on the interweb after I had started this and it confirmed I was on the right track. Although this is most probably a resurrected survivor car with new running gear my model is about showing it off when all was pristine and new. I have yet to try a patina car - something to do in the future - maybe Getting on with assembly Another view of the chassis with the body Carbs ready to be fitted. Painted gold with sg black base plates. The electrical wire ferules have been polished with metal polish.Height is a bit extreme but wasn't everything back in the day. And collection of a bunch of small things ready to go together. I have removed the headlights and horn from the headlight bar - who needs these on a race car anyway. The seats have had the belts picked out with sg grey and now need the belt hardware detailed with Molotow. The radiator core has been blacked out and the instrument cluster detailed all ready to go. The steering wheel had the holes opened out and painted ally with wood detail on the rim dry brushed with browns and then over coated with clear red. Some small detail paint SNAFU's need a fix up before final assembly Thanks for looking
-
A rather extreme build going down there Dan
-
2015 on Mustangs have been available in NZ new with RHD. They are now a world car. There are a few newer LHD "specialist" Mustangs come into the country as they need to be model variants not sold new here. Not so for GM who pulled out of the RHD market world wide - we lost some cool makes of car because of that decision. There are some rules for importing LHD vehicles into NZ - if under 30 years old must be special interest and is limited to about 250 per year. Over 30yrs no issues but there are some border flags for such things as rust which needs to be sorted before certification and being driven on the roads
-
I have a lowly few 26T pickup that just needs finishing - been building since the early 2000's - got to the stage where some parts needed to be chromed and this was before Alclad became available A lowboy 34 PU that got too hard - been on the go for at least 10 years A Monogram 32 roadster with a R&D Unique chassis that really does need to be finished - but original build style now out of date so a rethink needed. This was stalled because at the time again because Alclad etc was not available Then there is the AMT 49 Merc I chopped way back in the 80's and one or two other minor builds that got put back in teh box for one reason or another There are others but I do try to keep the number of kits on the bench to two or three as I find it too hard to pick up the pieces and move foward
-
-
Its also good to see this thread still chugging along
-
Looking good Dennis. The light blue tint is just the right shade. Any darker would have been too much IMO And paint finish is nice and clean too
-
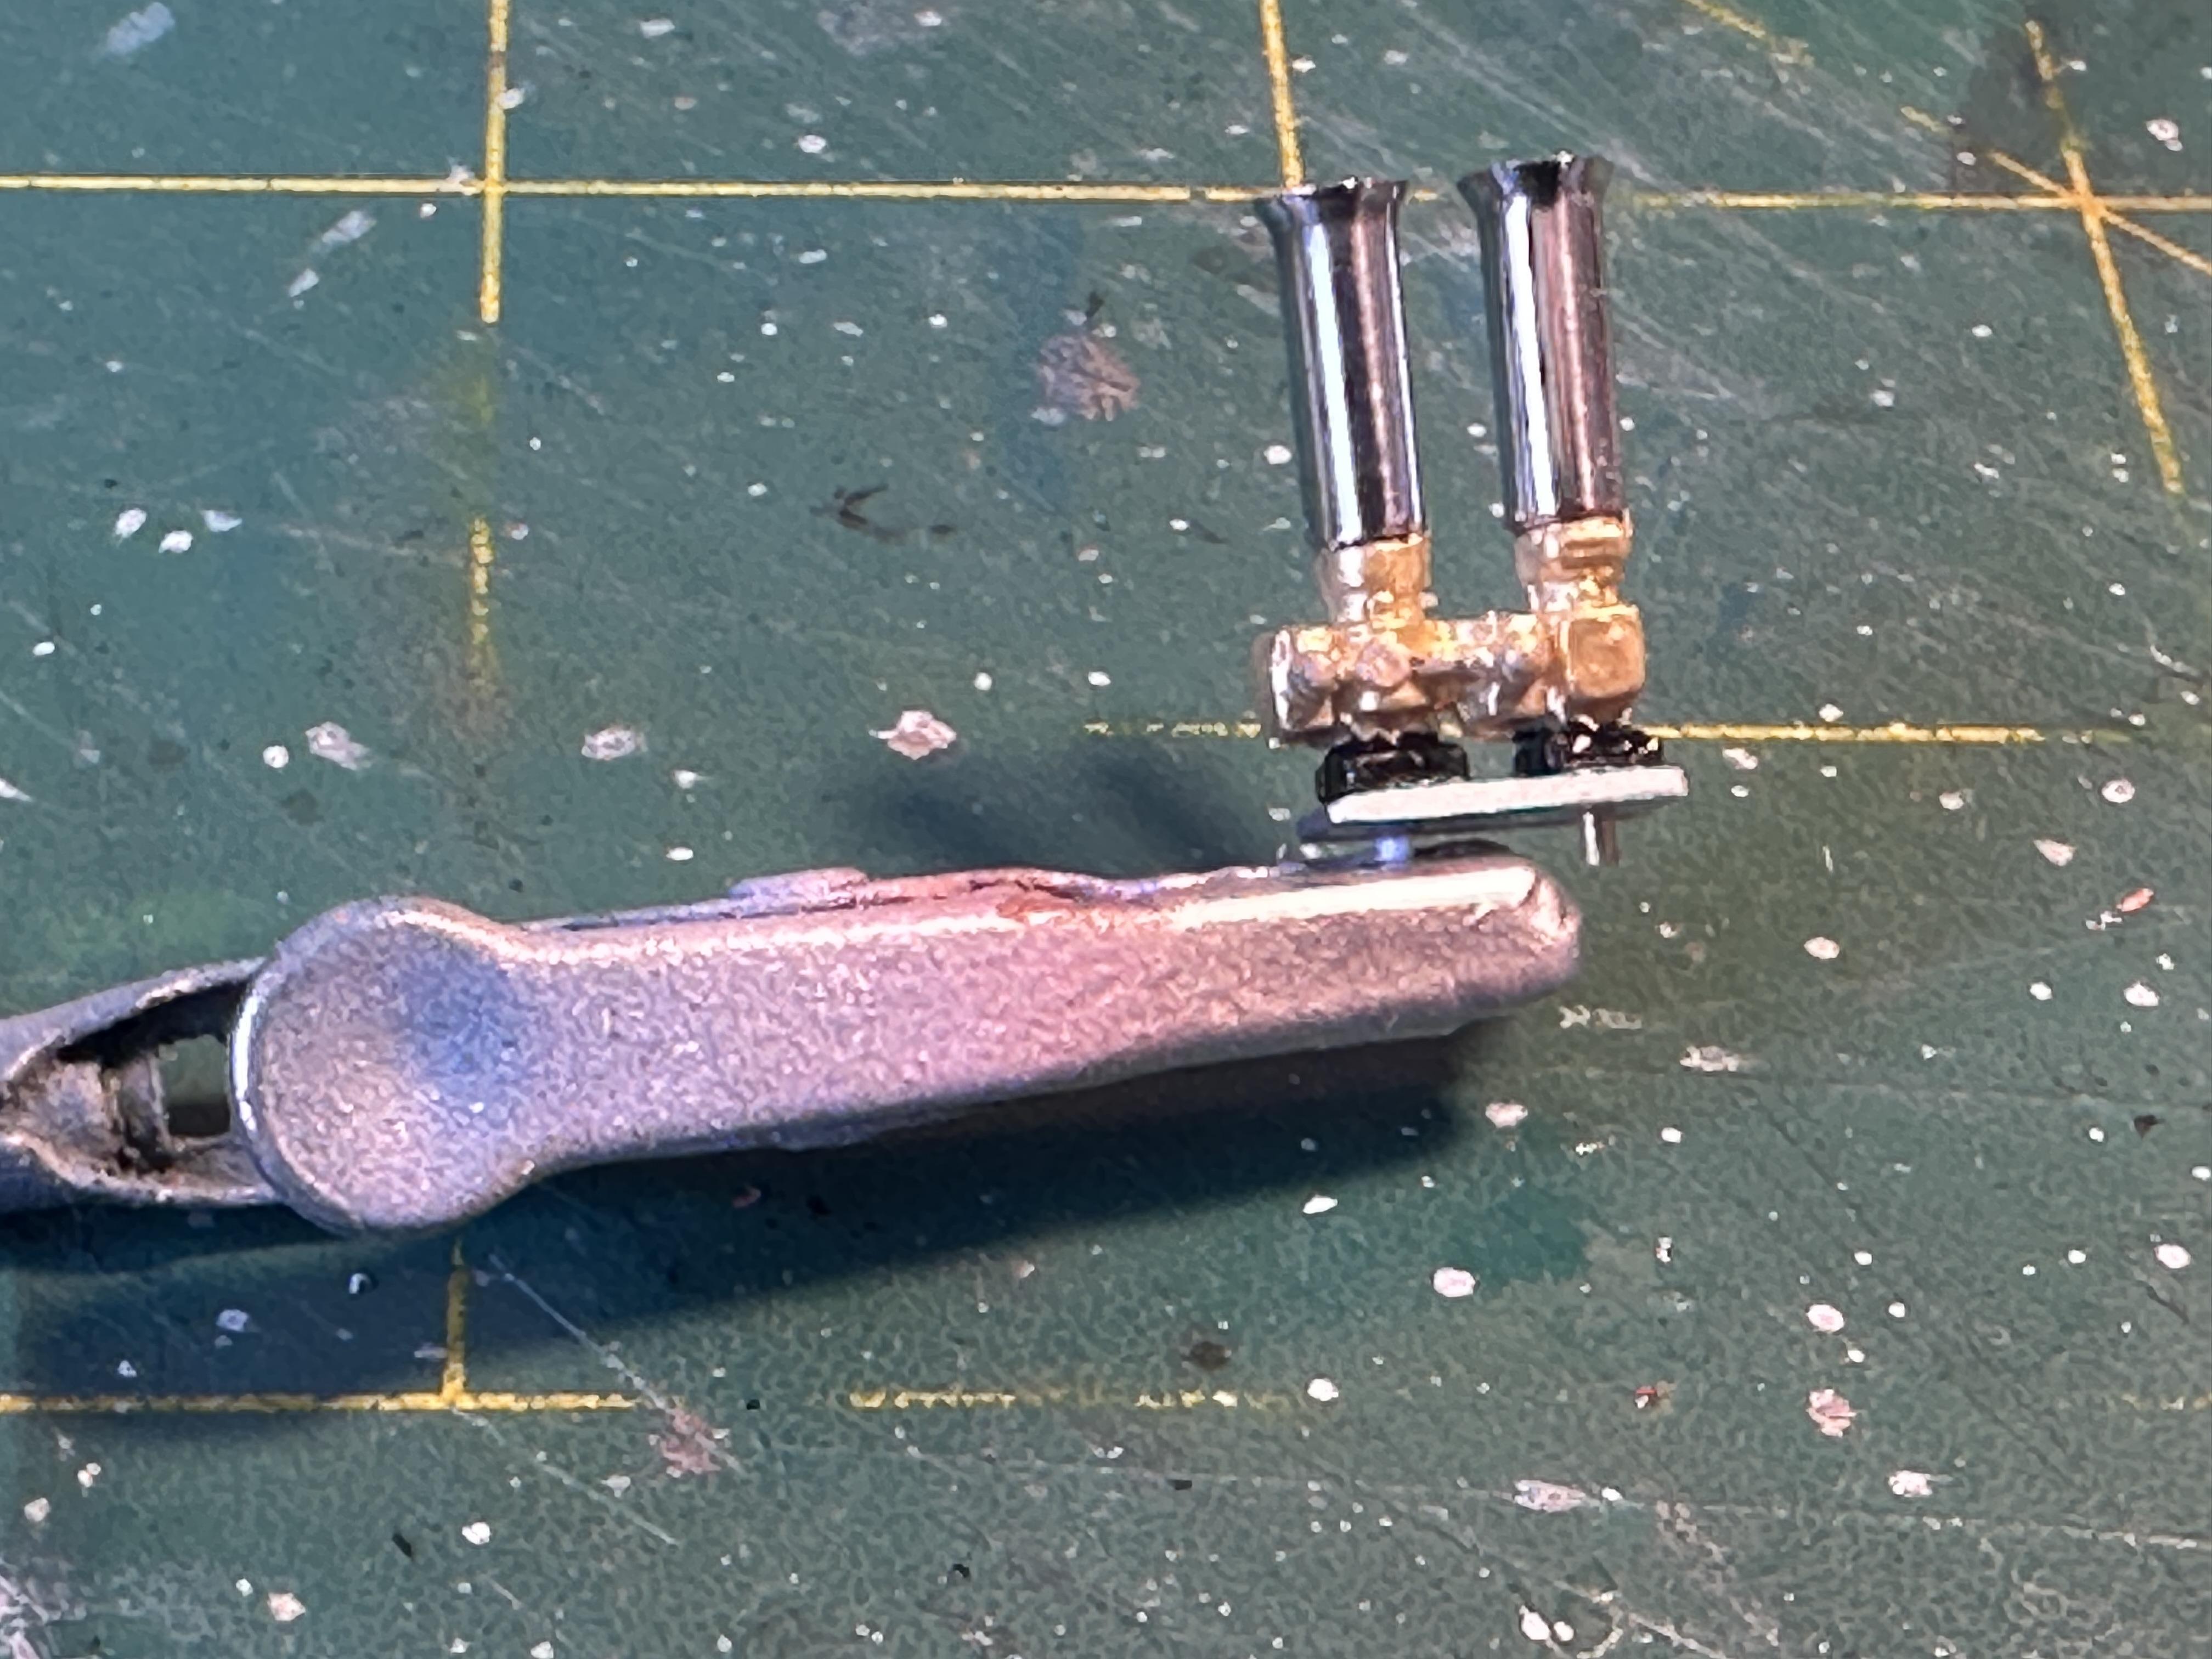
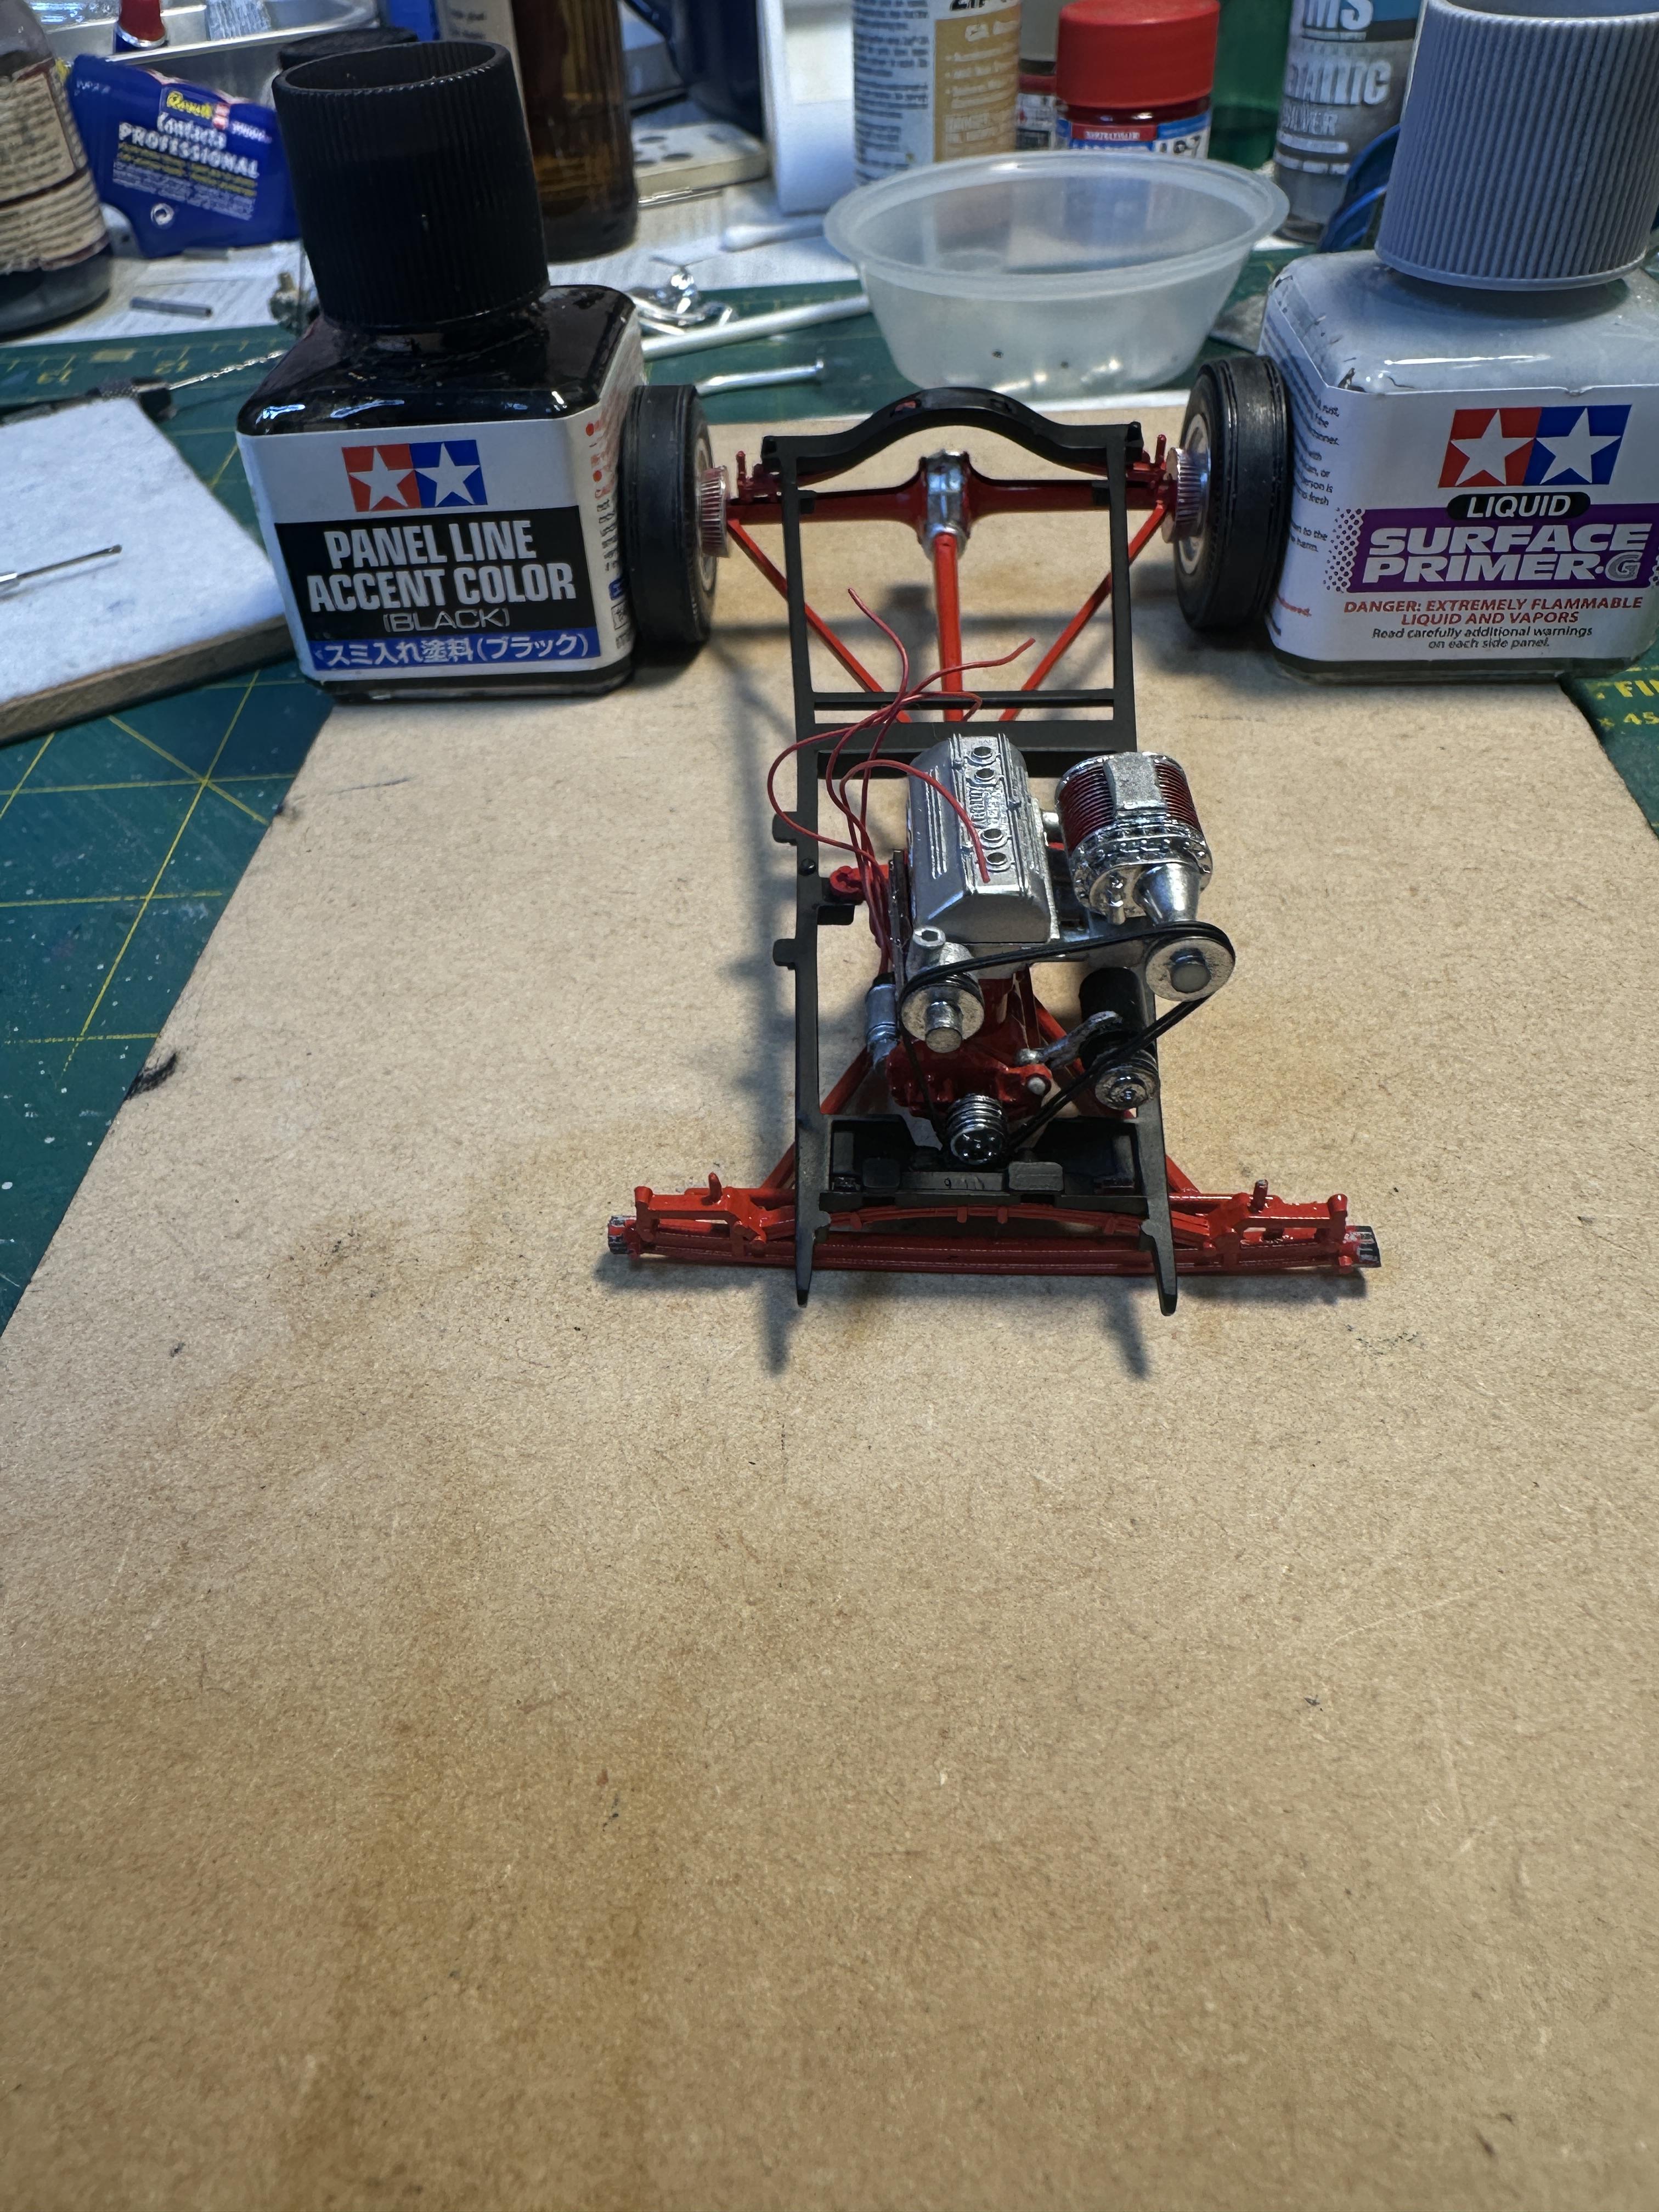
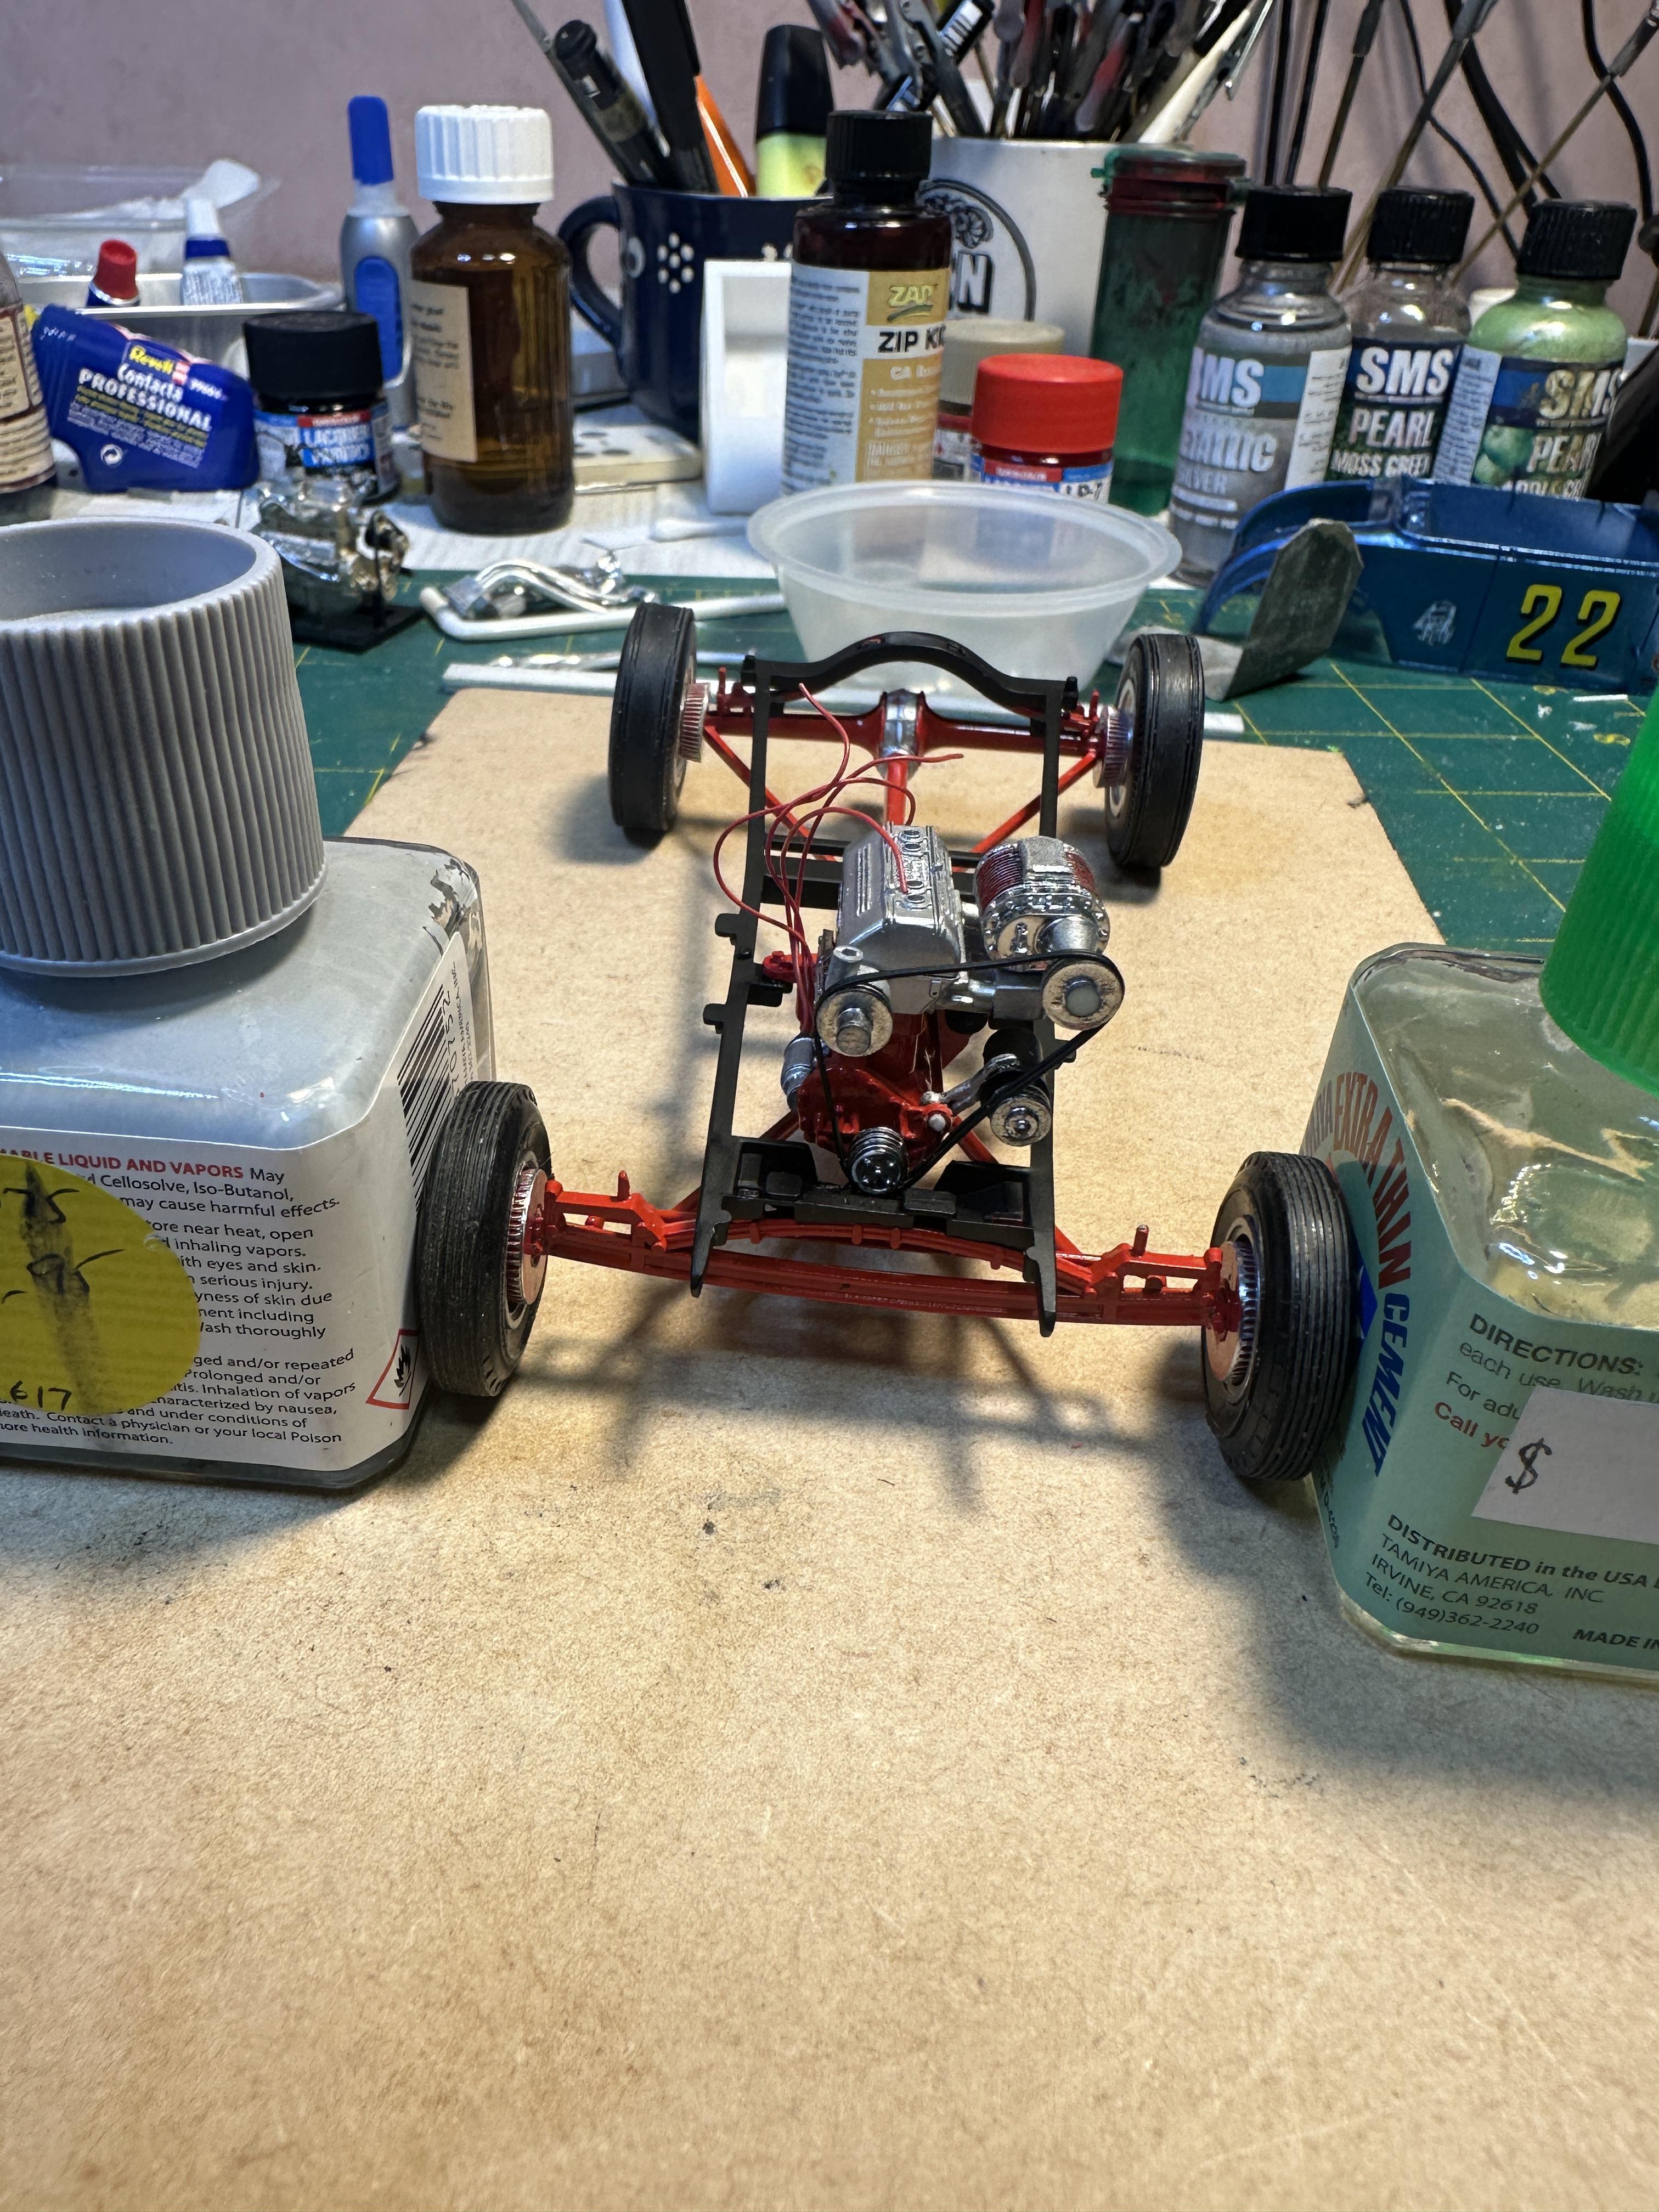
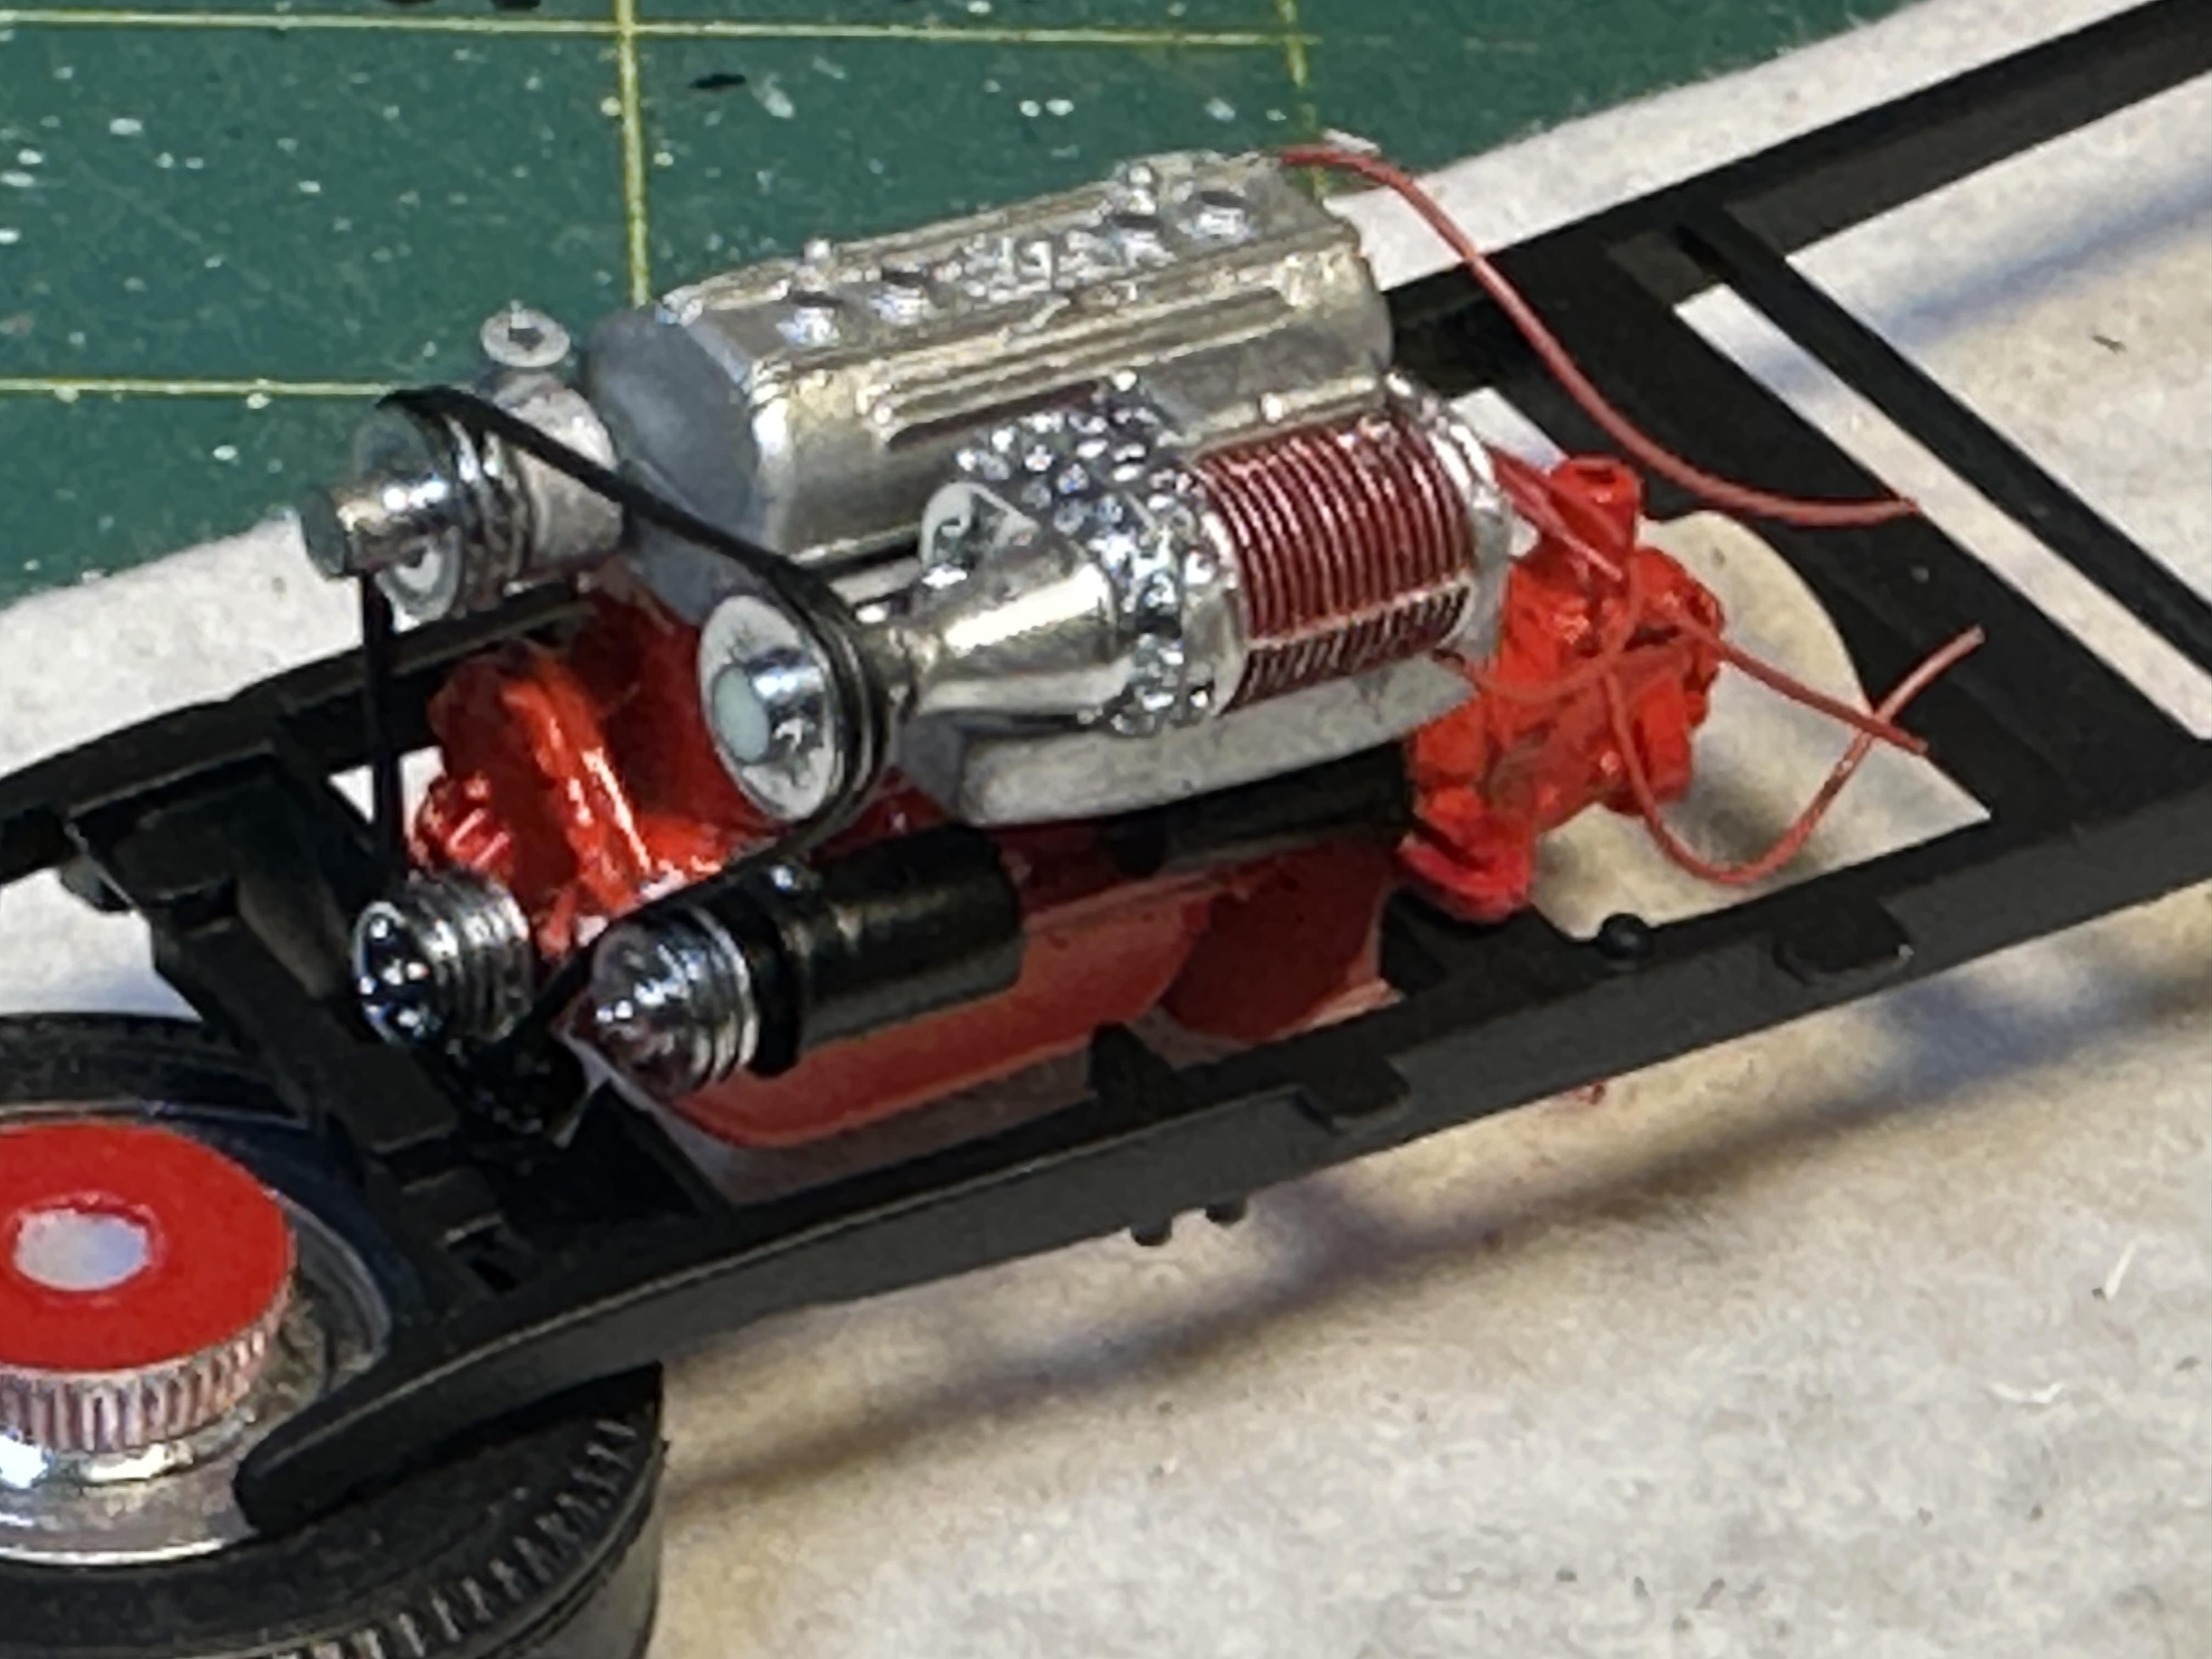
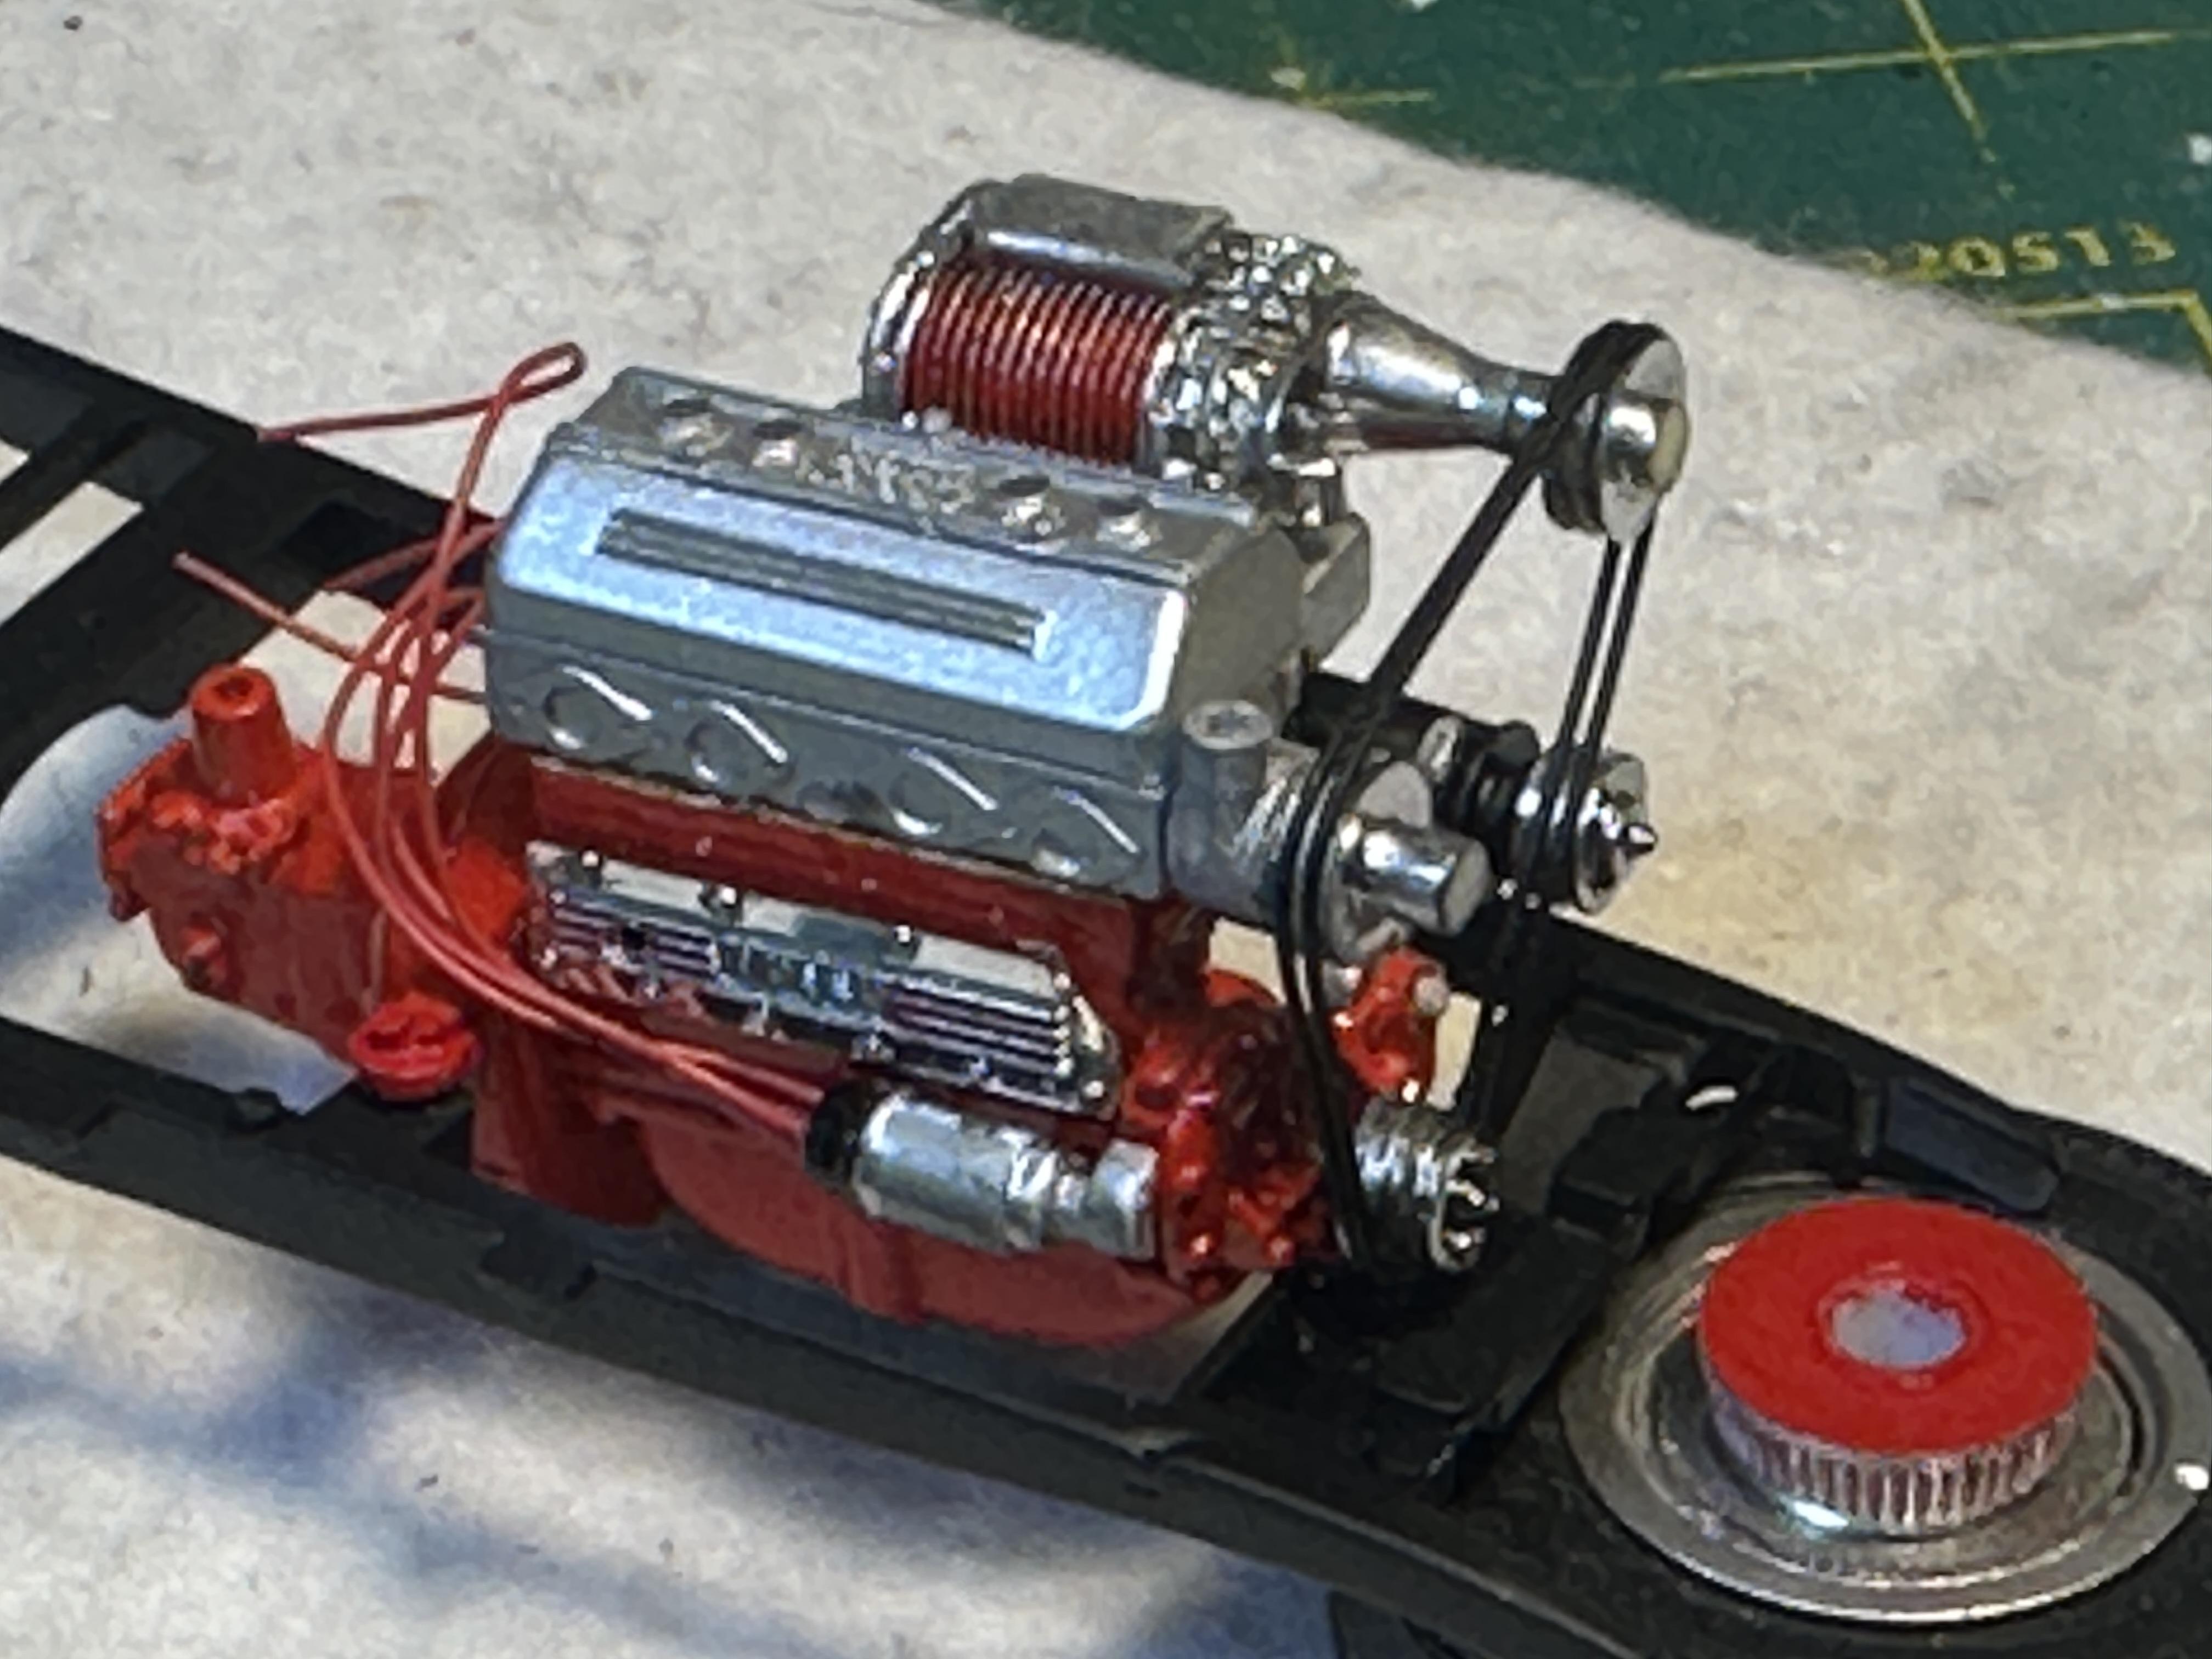
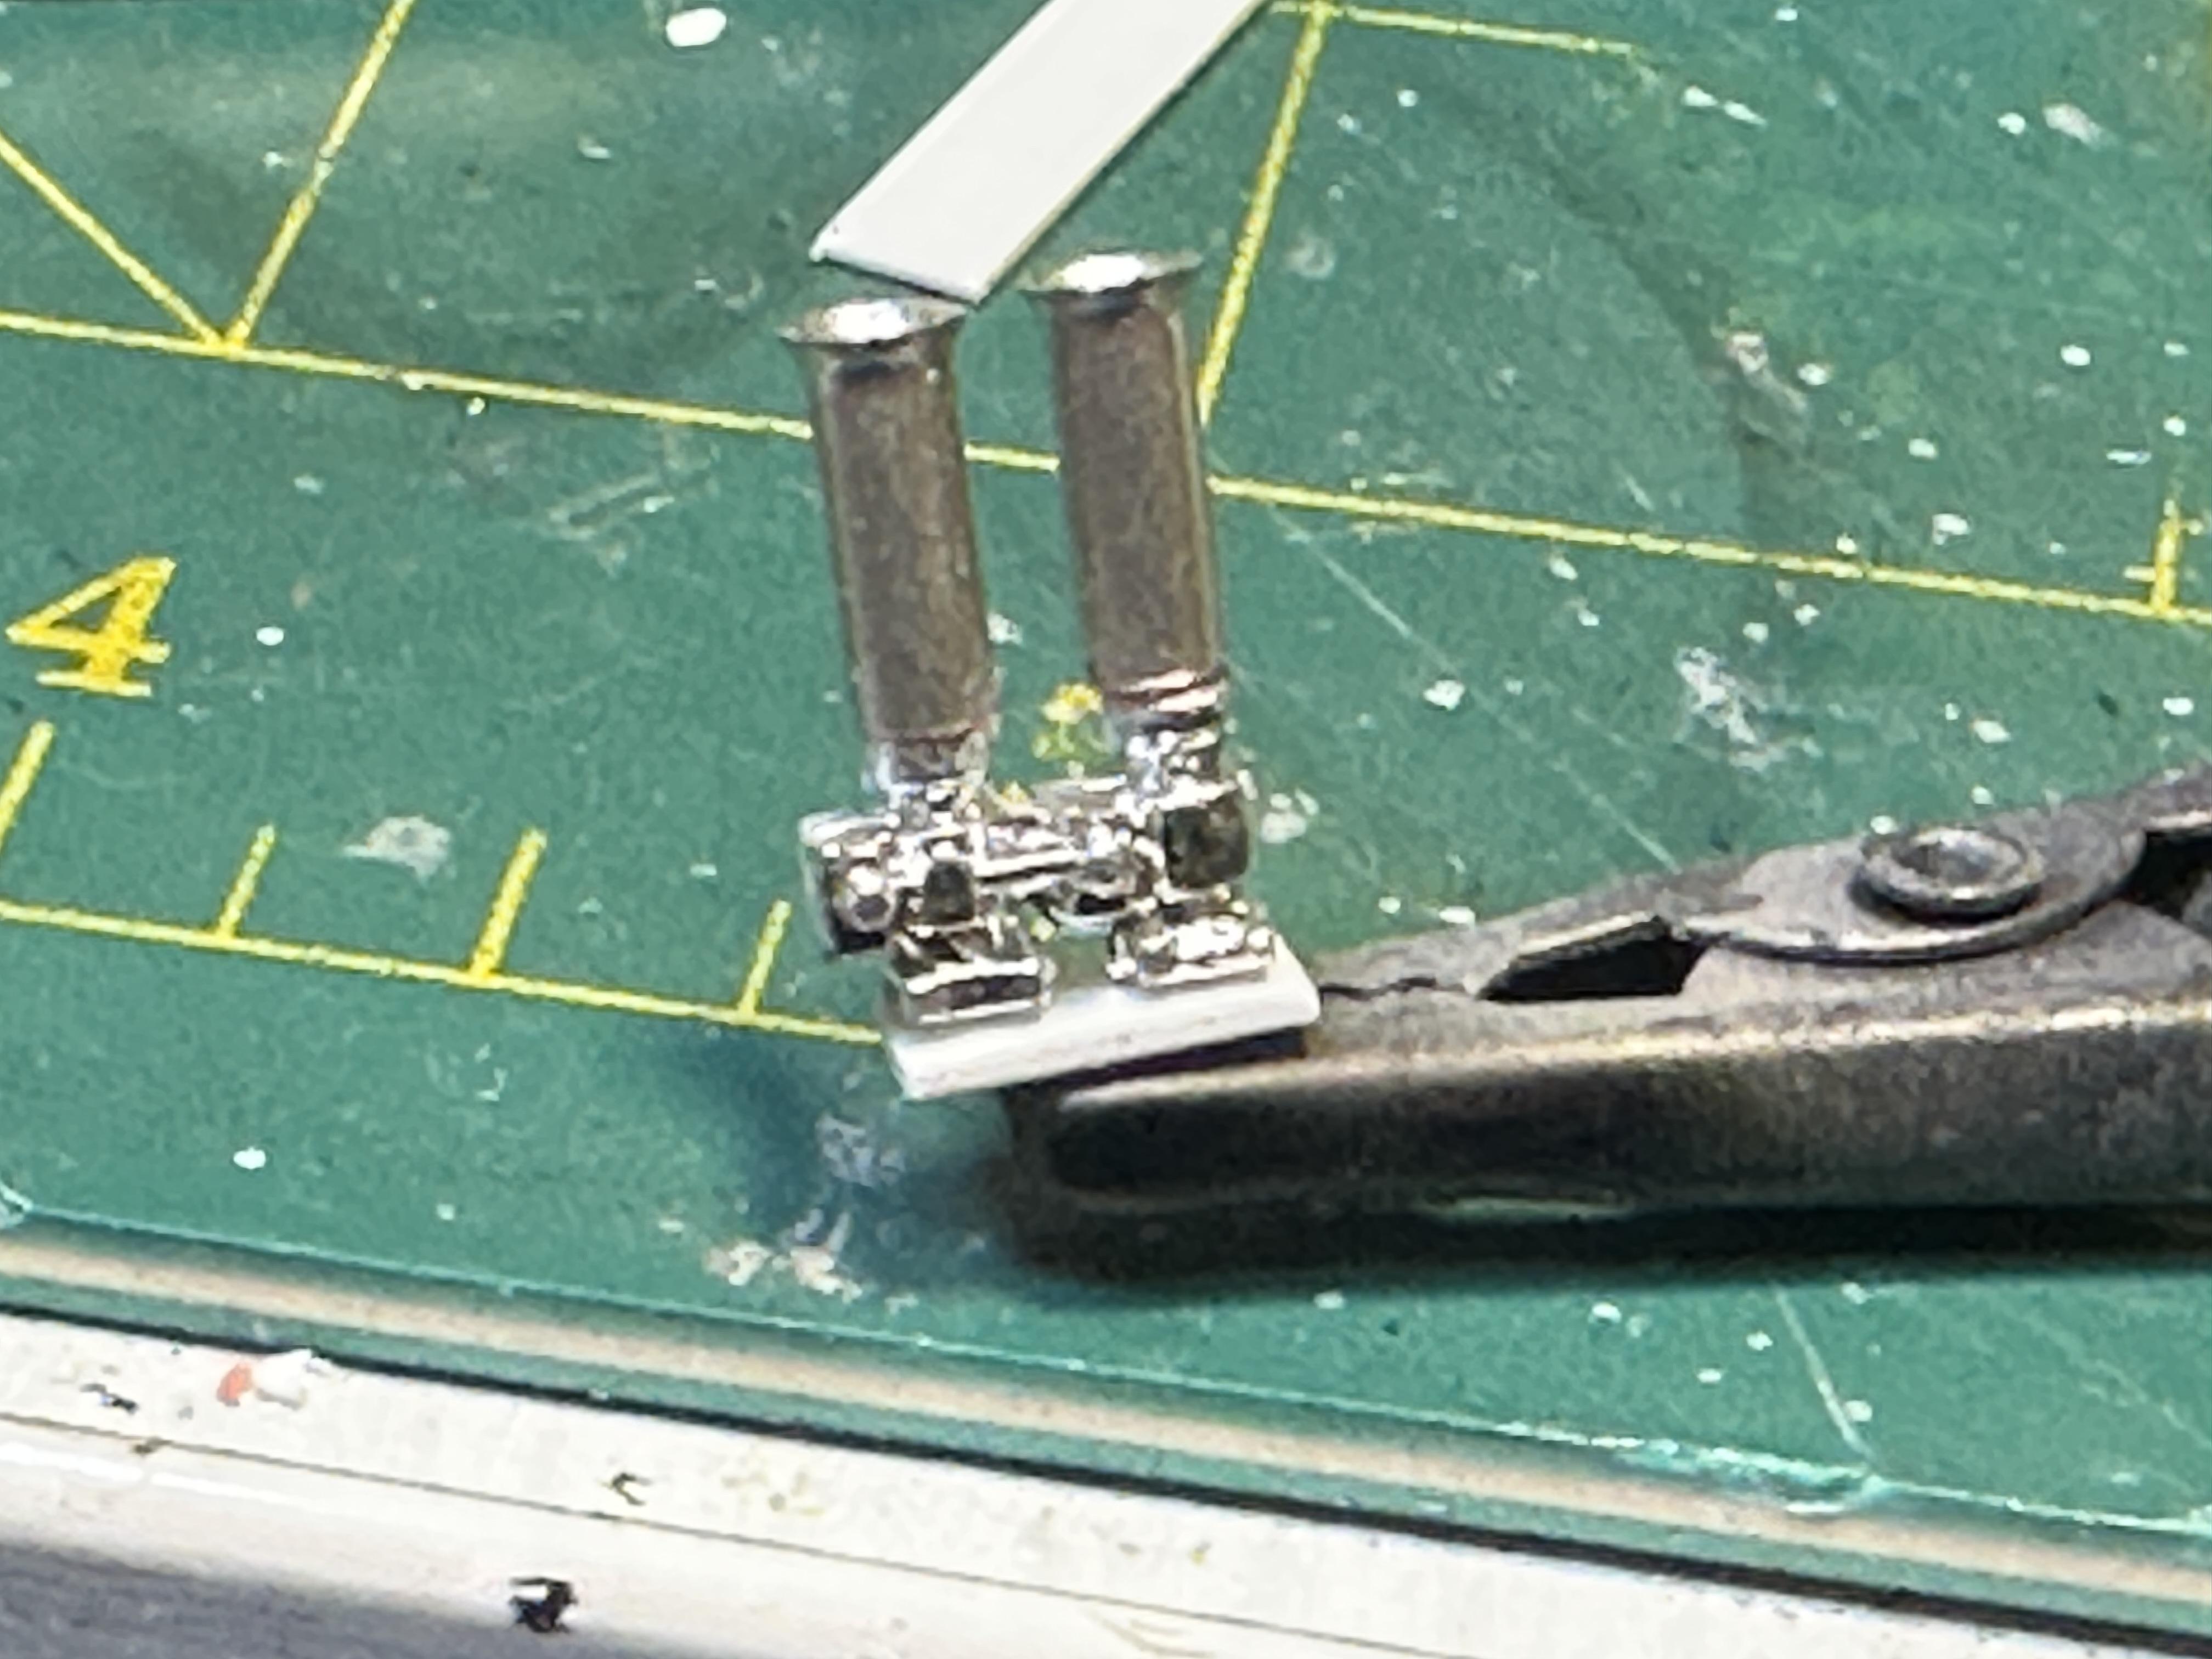
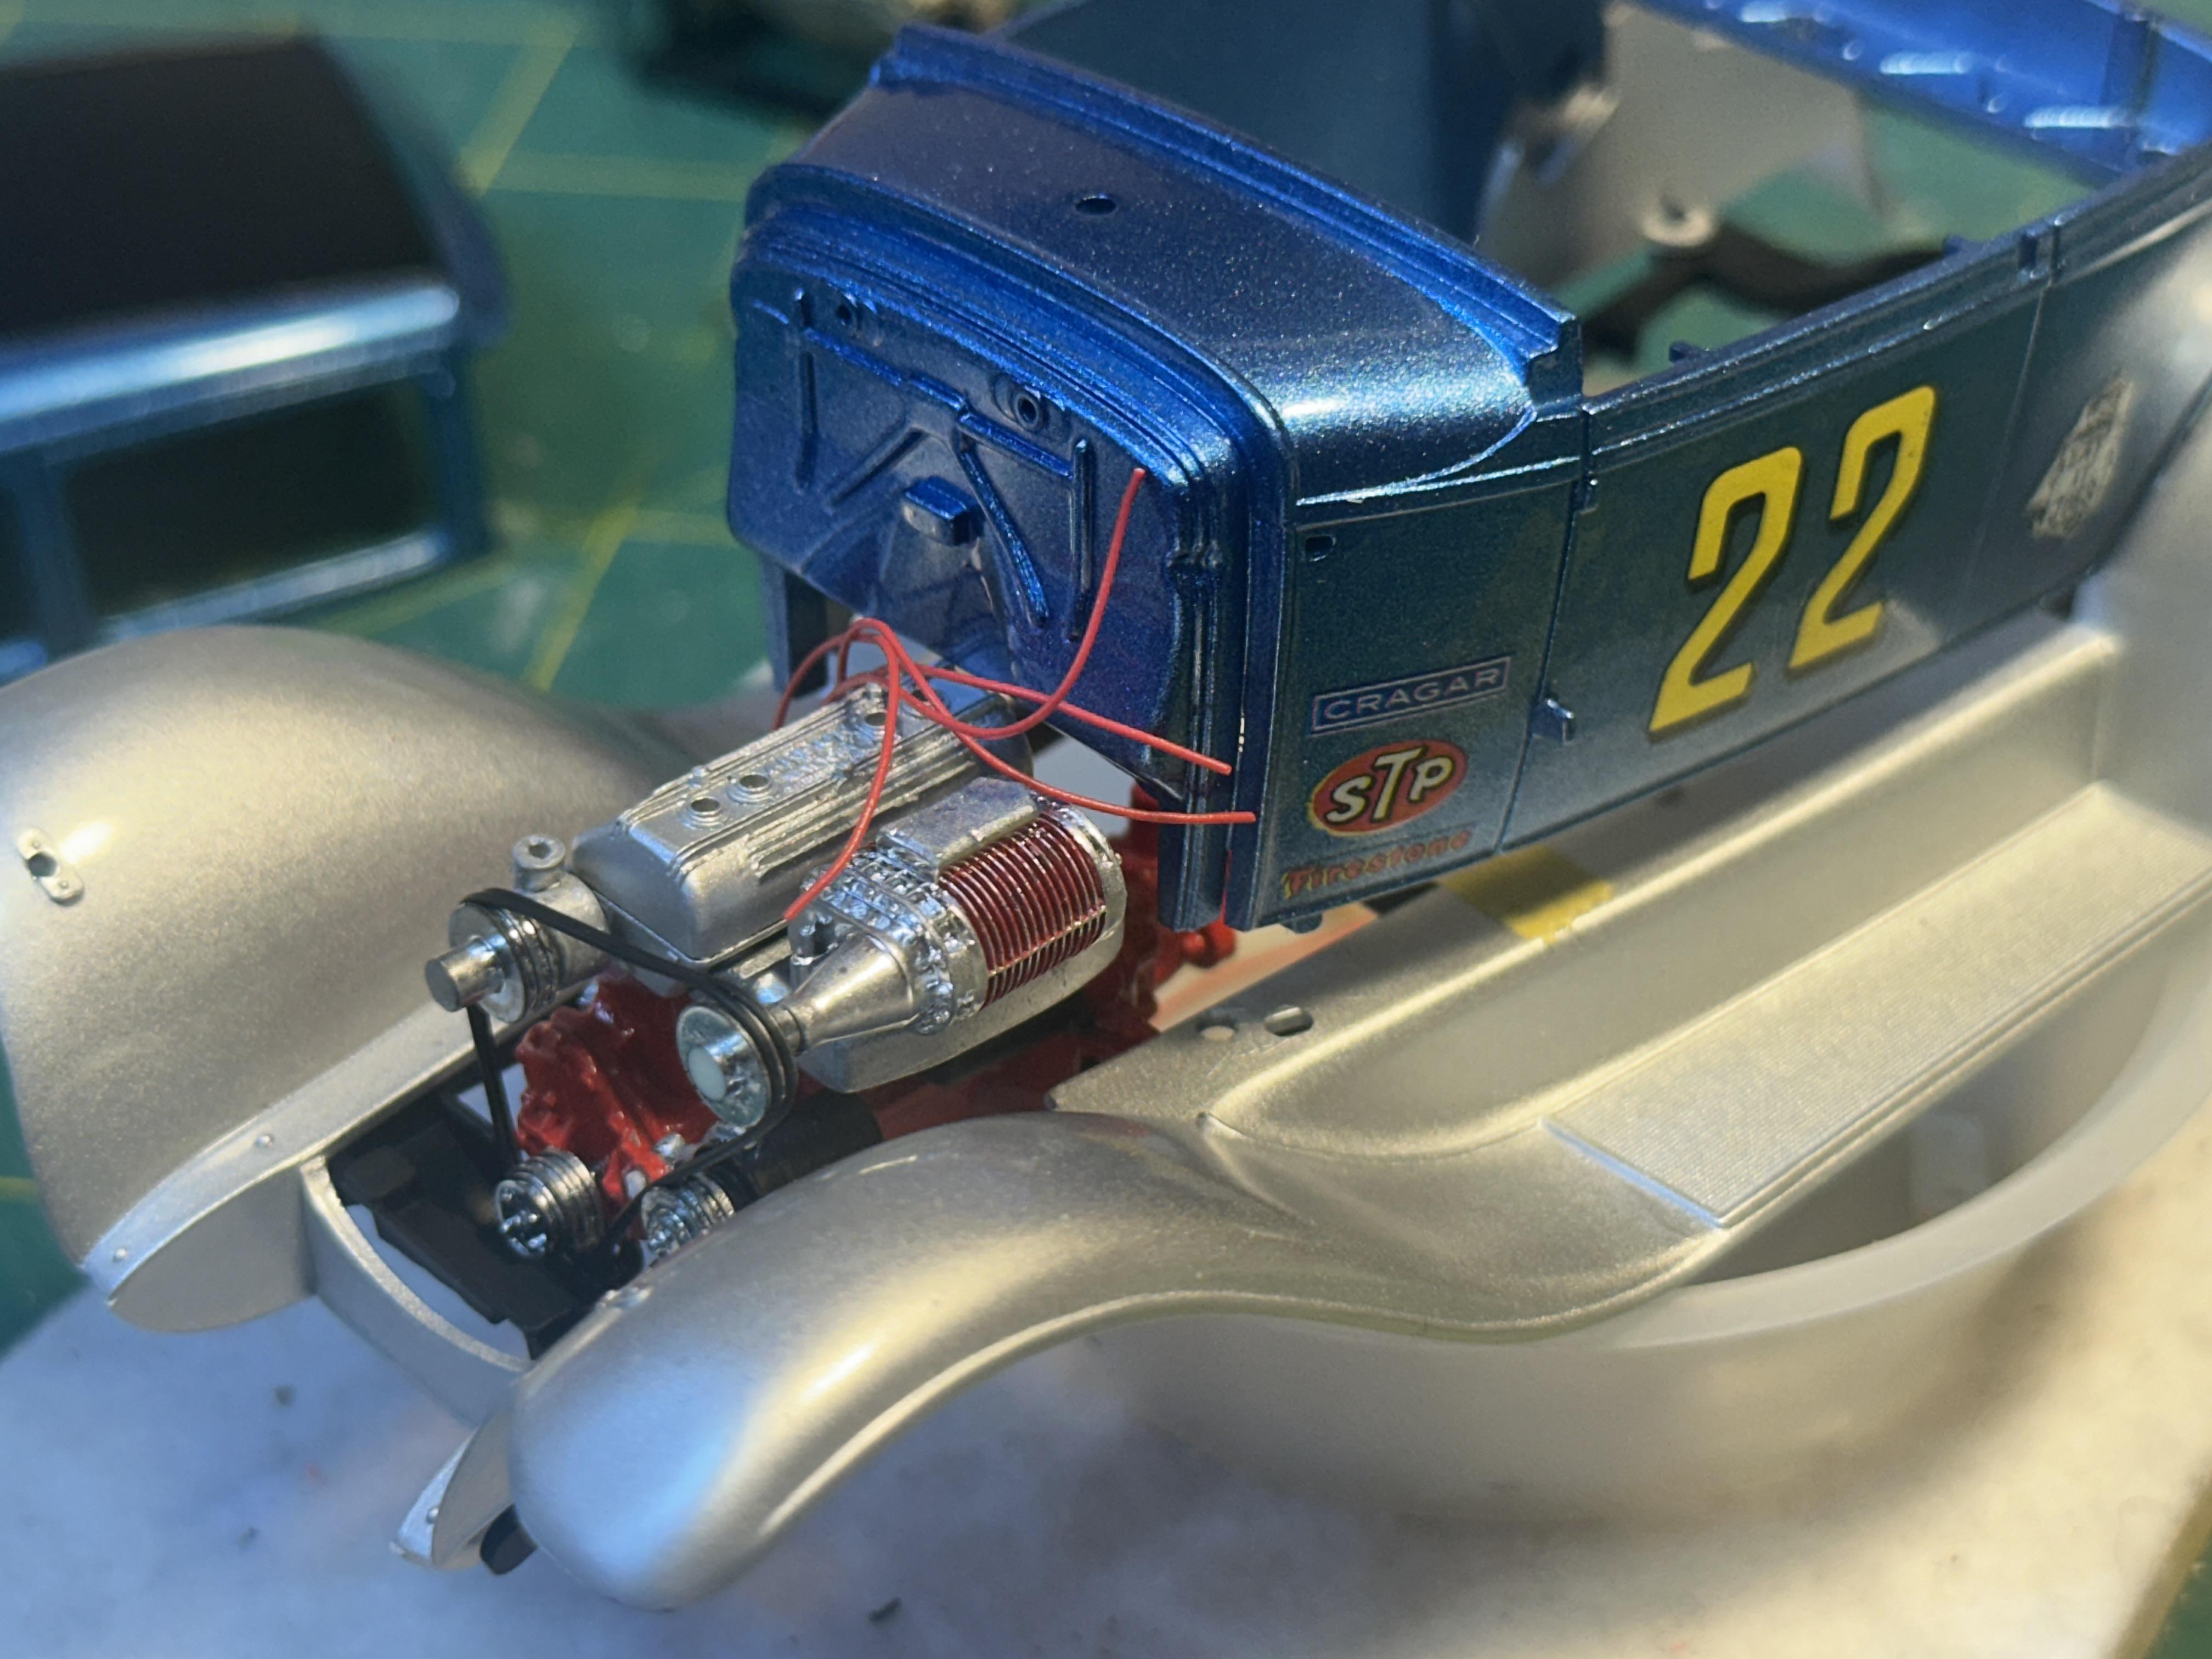
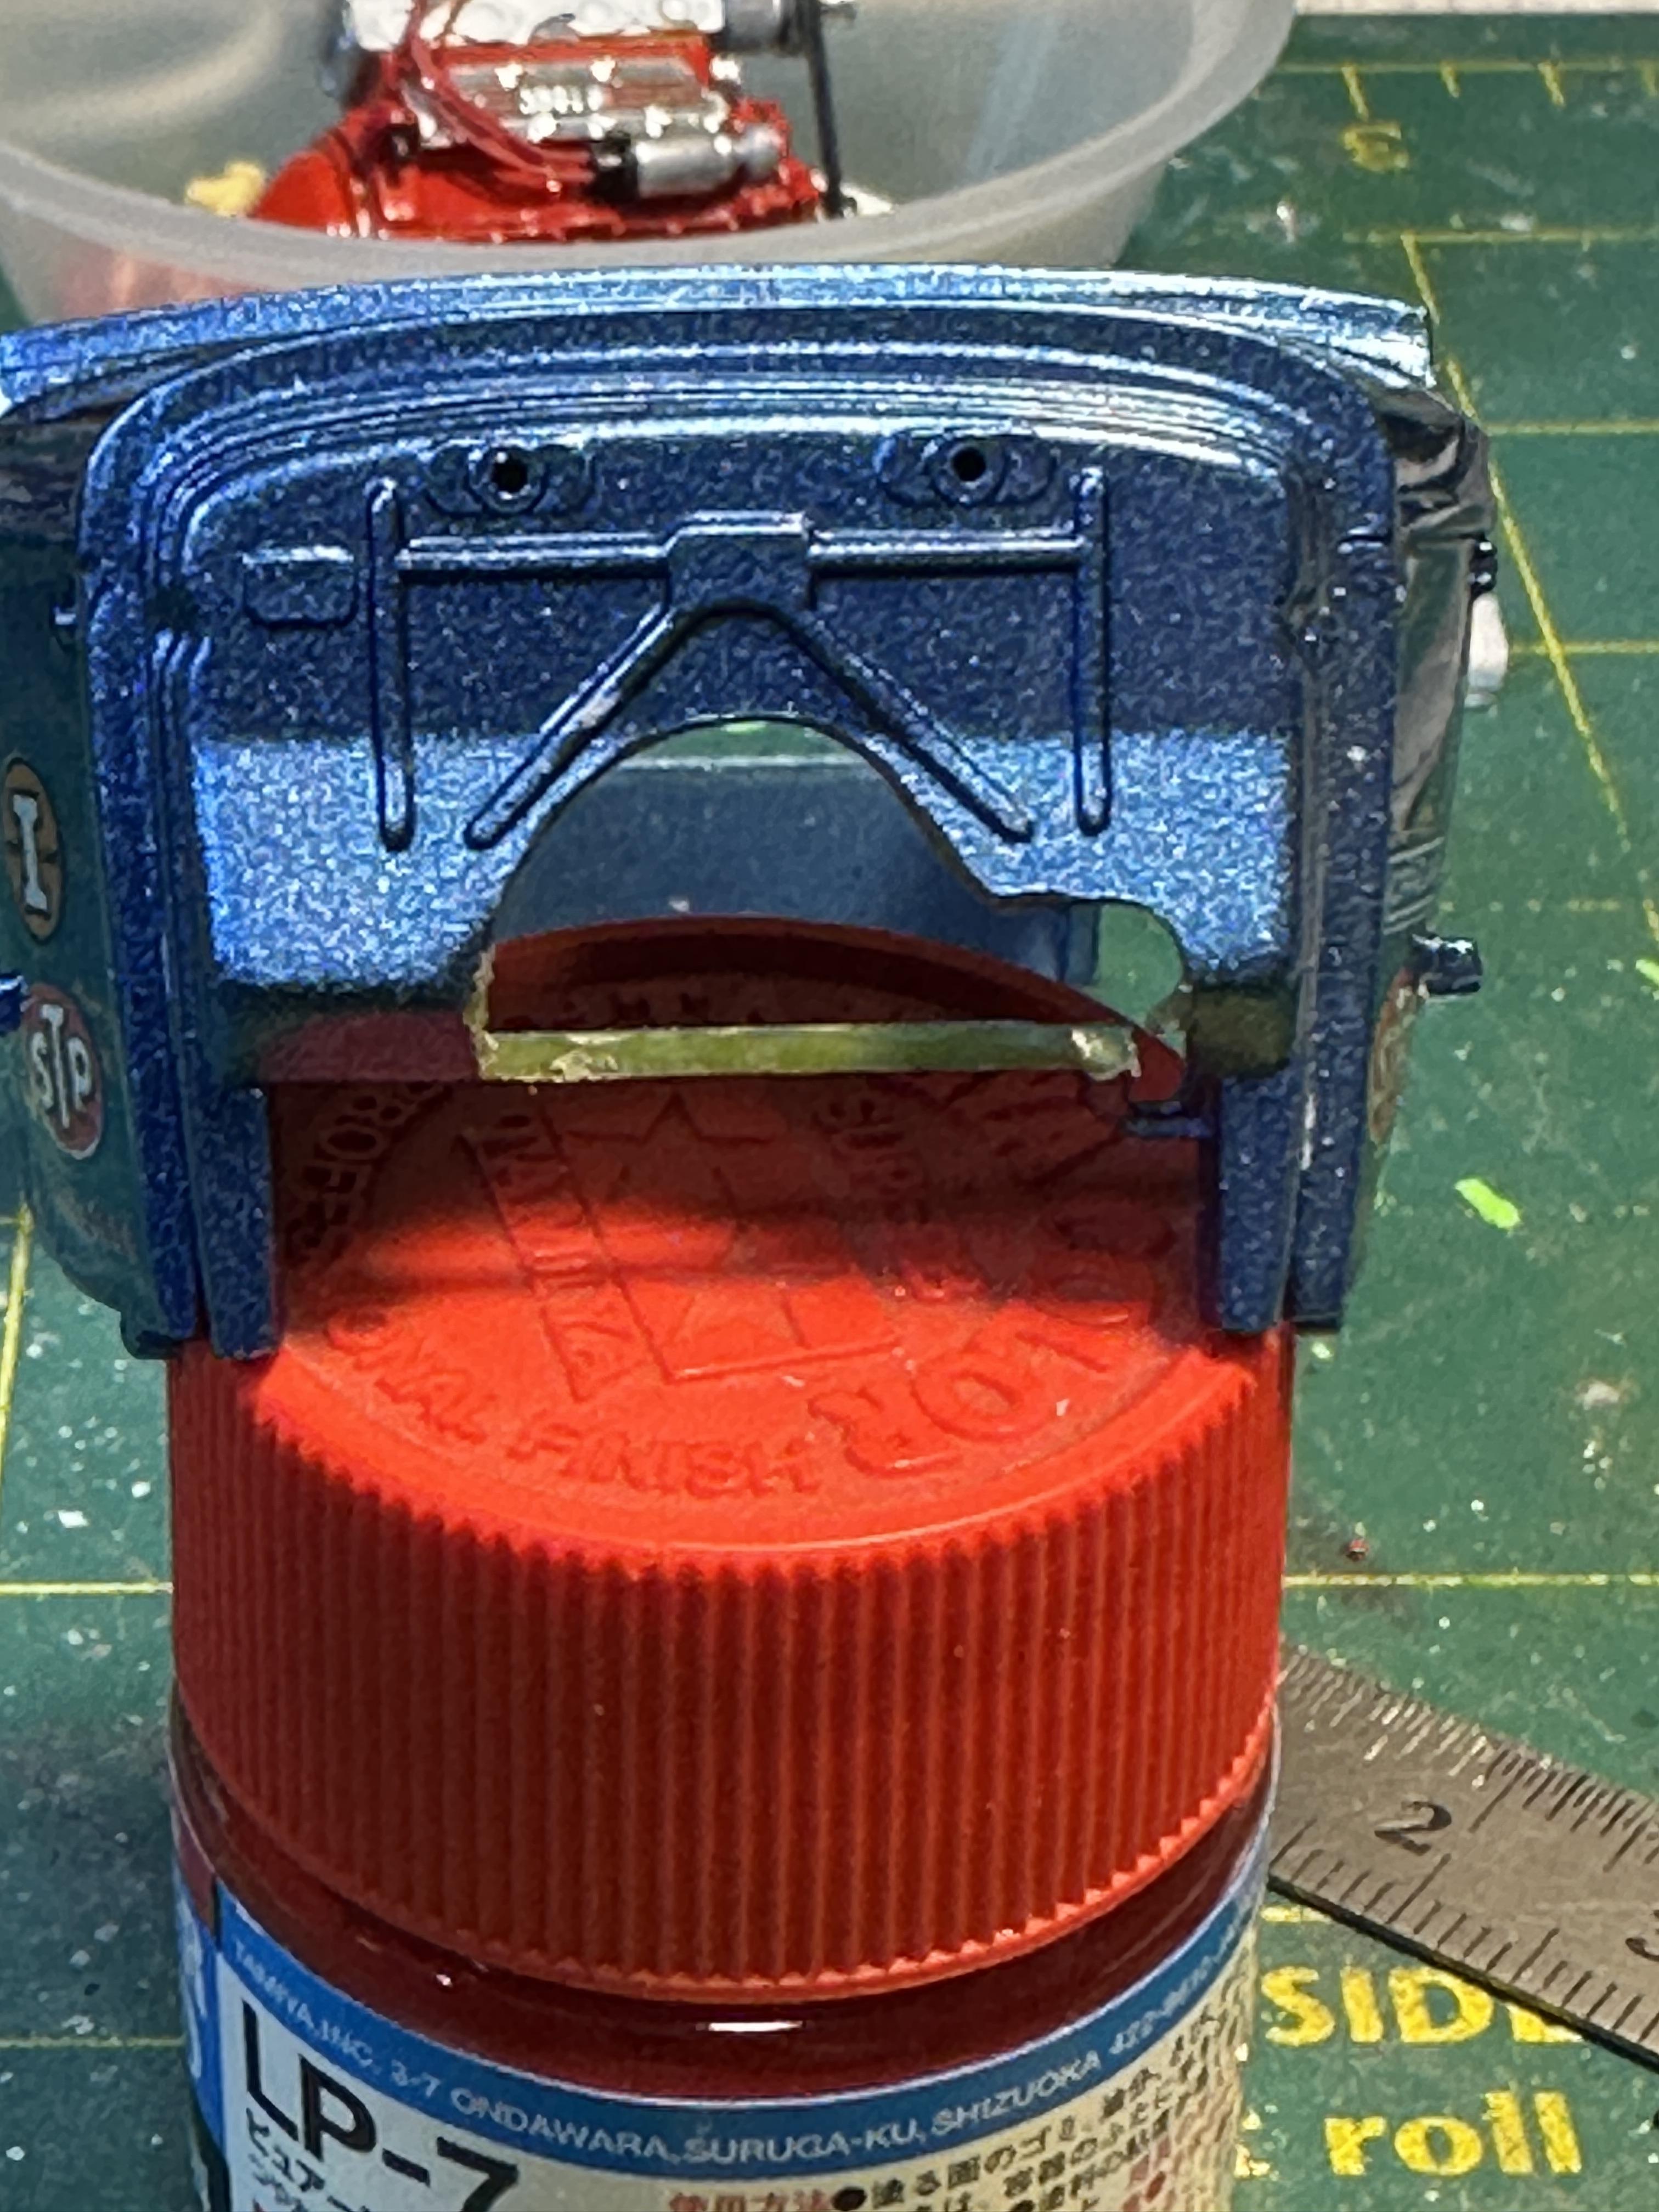
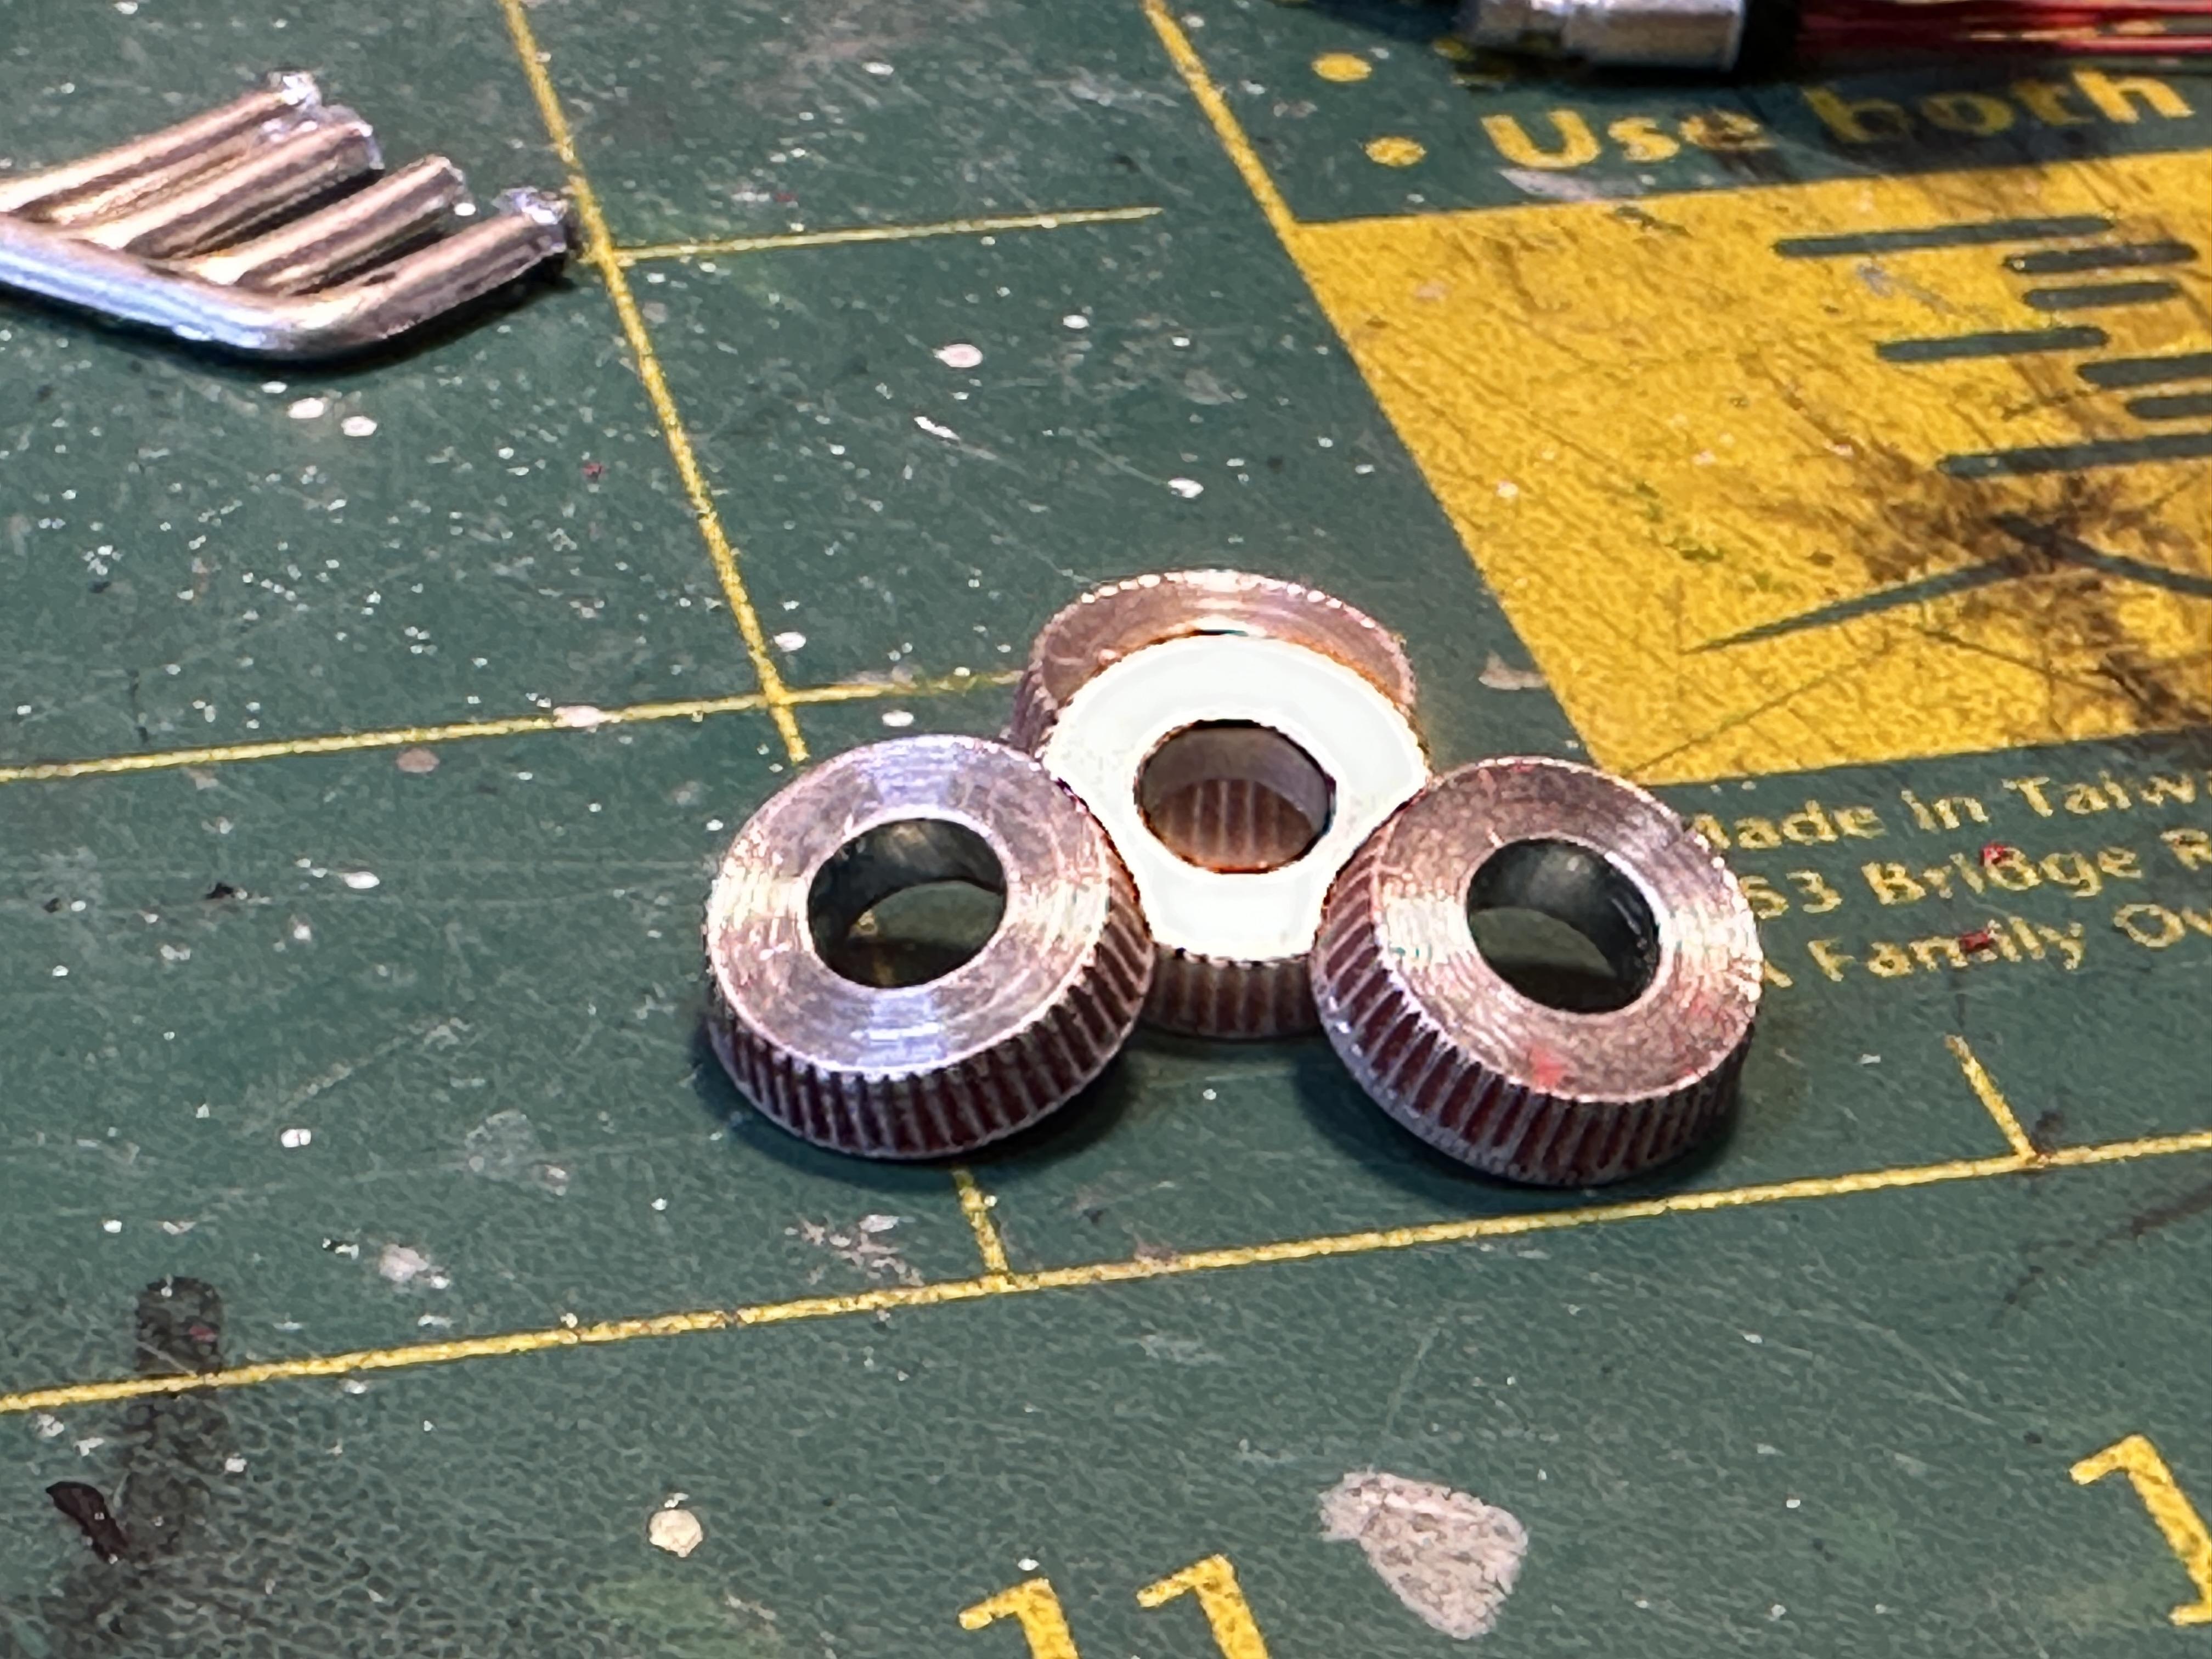
Meanwhile - I have been slowly beavering away at this model - the deadline is closing in fast, so it is time to start getting it all together. I have fitted new rear motor mounts to take up the difference between the Monogram chassis and the Revell motor. And made a new one for the front too. And fitted the pulleys and made some fan belts from some 0.5mm black wire - like plug wire but slightly larger. . Cleaned up some carbs and have adapted some electrical wire ferrules for the carb stacks I have painted the carbs gold with the bases sg black - waiting for that to dry. Also polished up the stacks so nearly ready to put the motor to bed Tonight's effort was to check fit the body and frame with motor. I expected a tight fit but not this tight - I will need to ring the butcher Well the butcher has been and gone and this is what is he left. I will spray some primer around the hole to represent a newly butchered body to fit the new race motor. This motor is huge - well compared to a stock banger it is I have masked and painted the running boards with some Tamiya rubber black - again waiting for paint to dry Thanks for looking
-
Kool - thanks for the info. A worthwhile "sidebar"
-
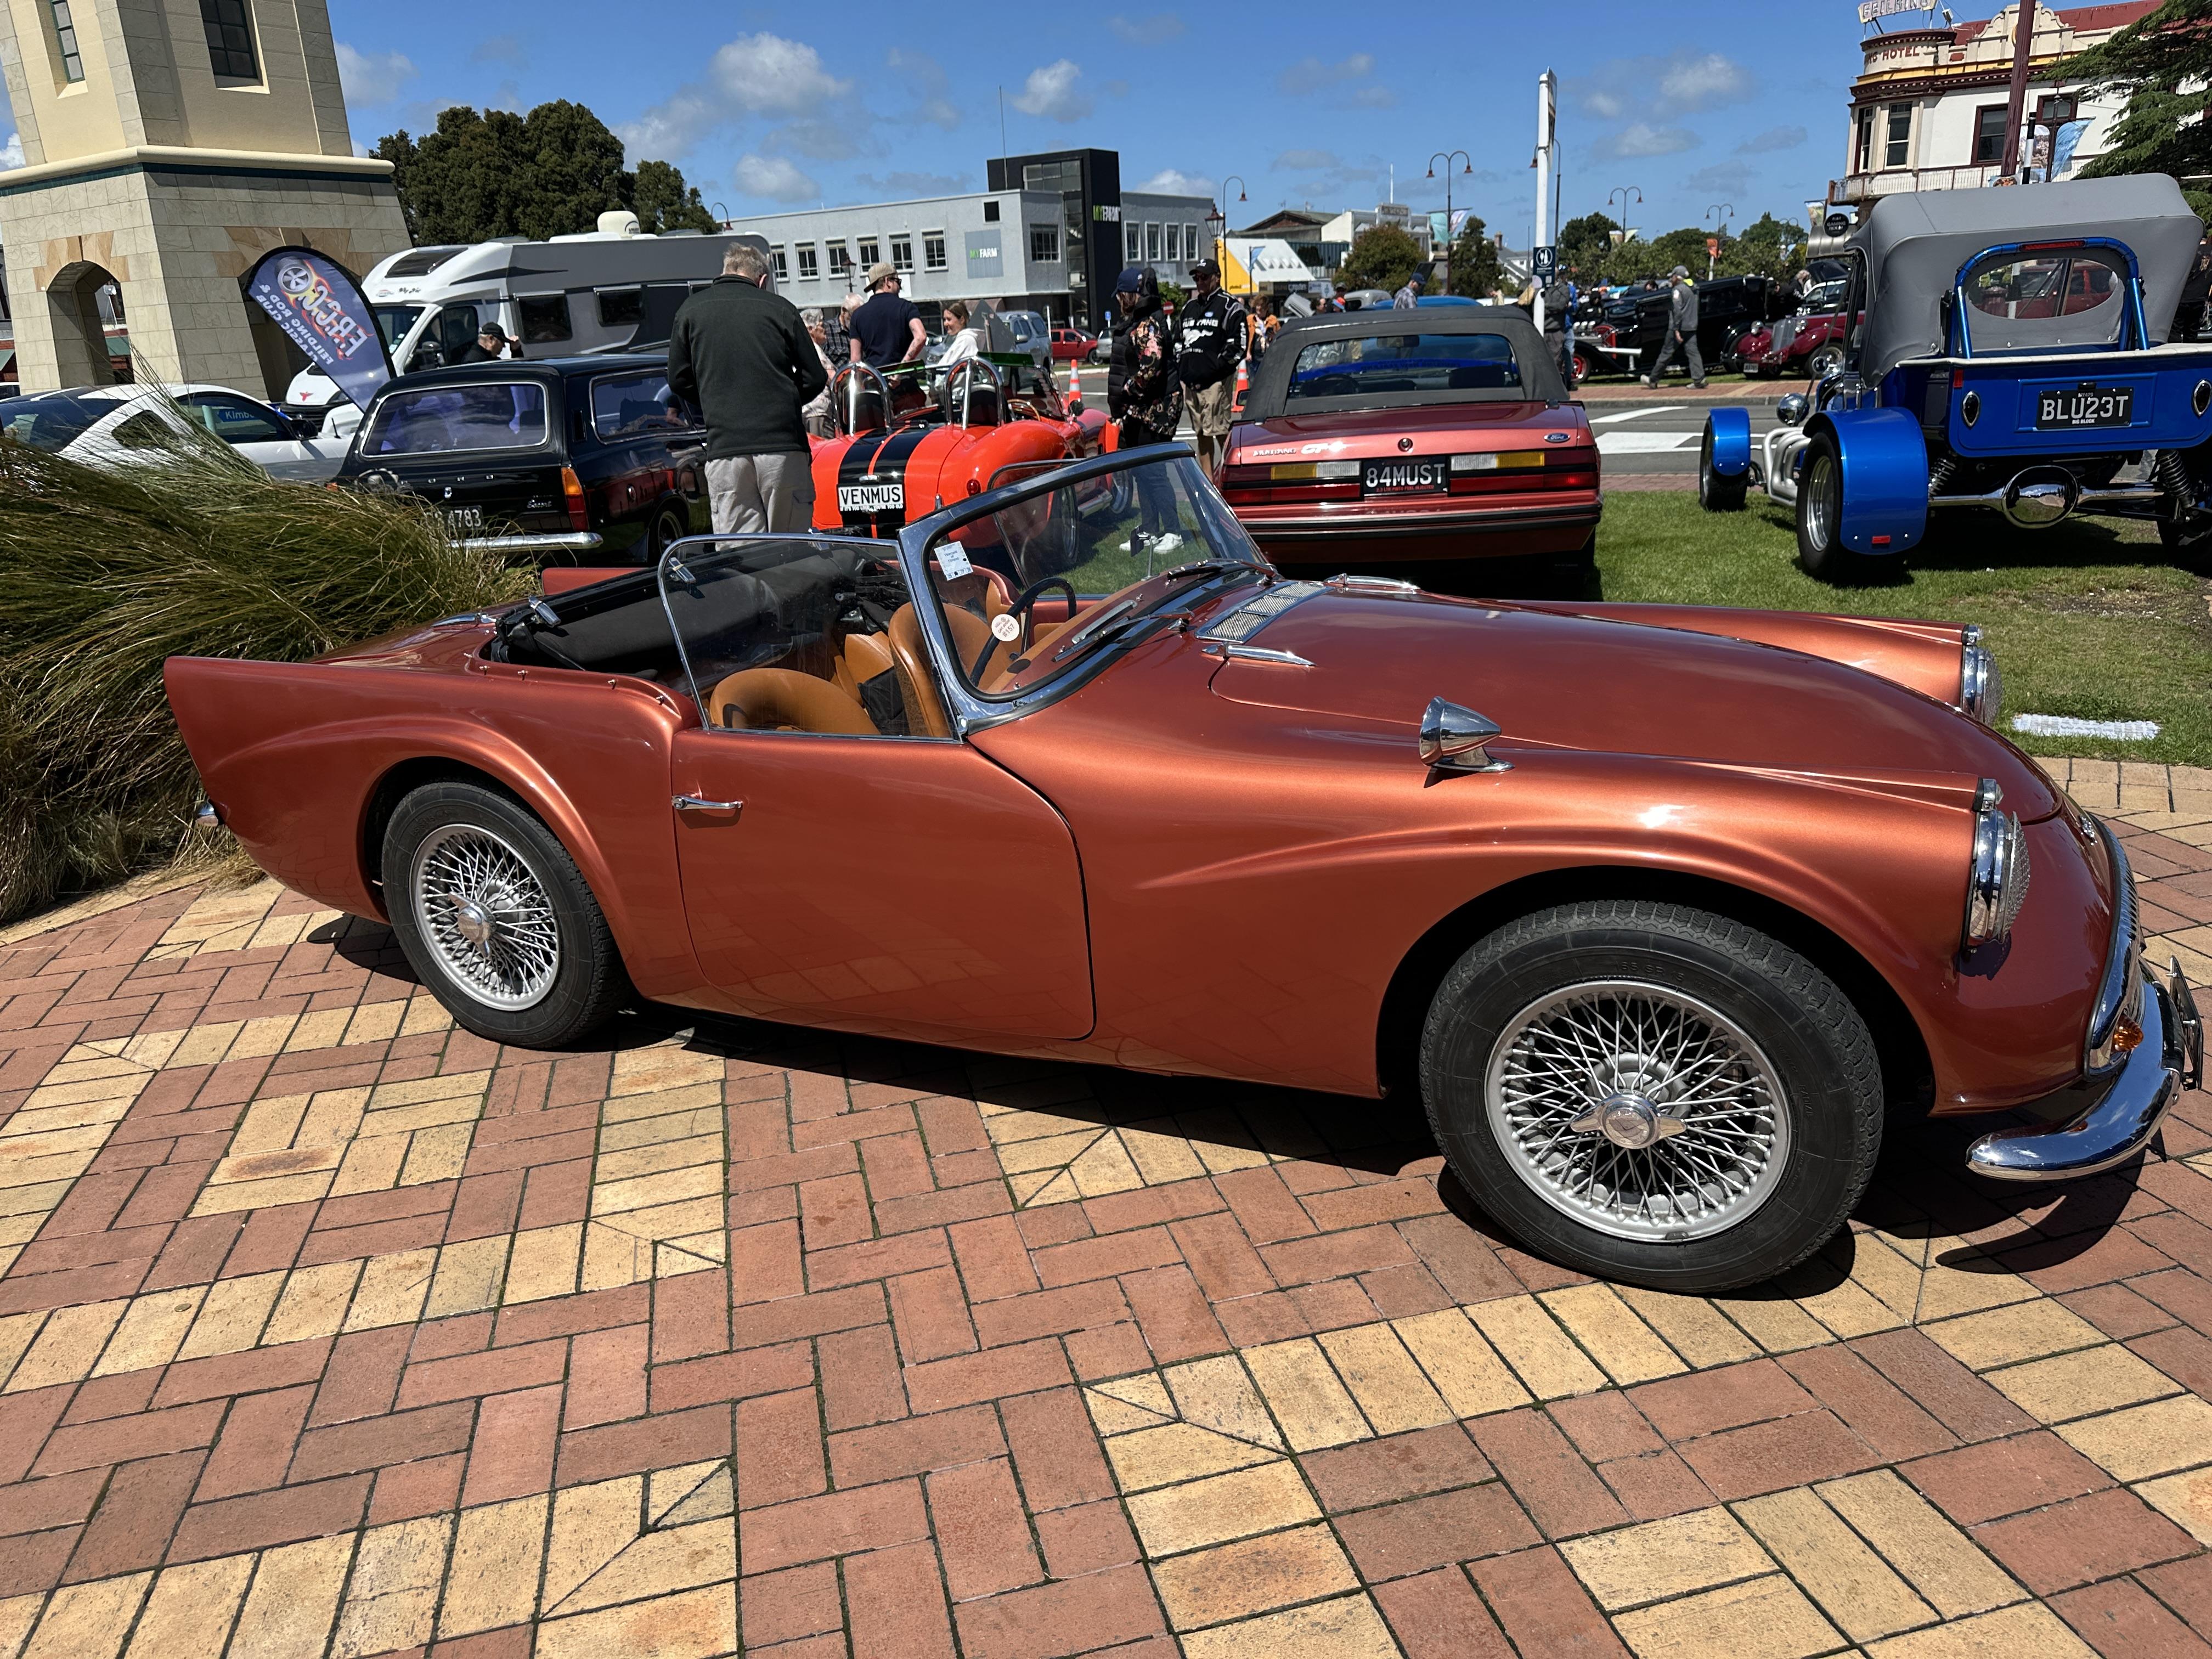
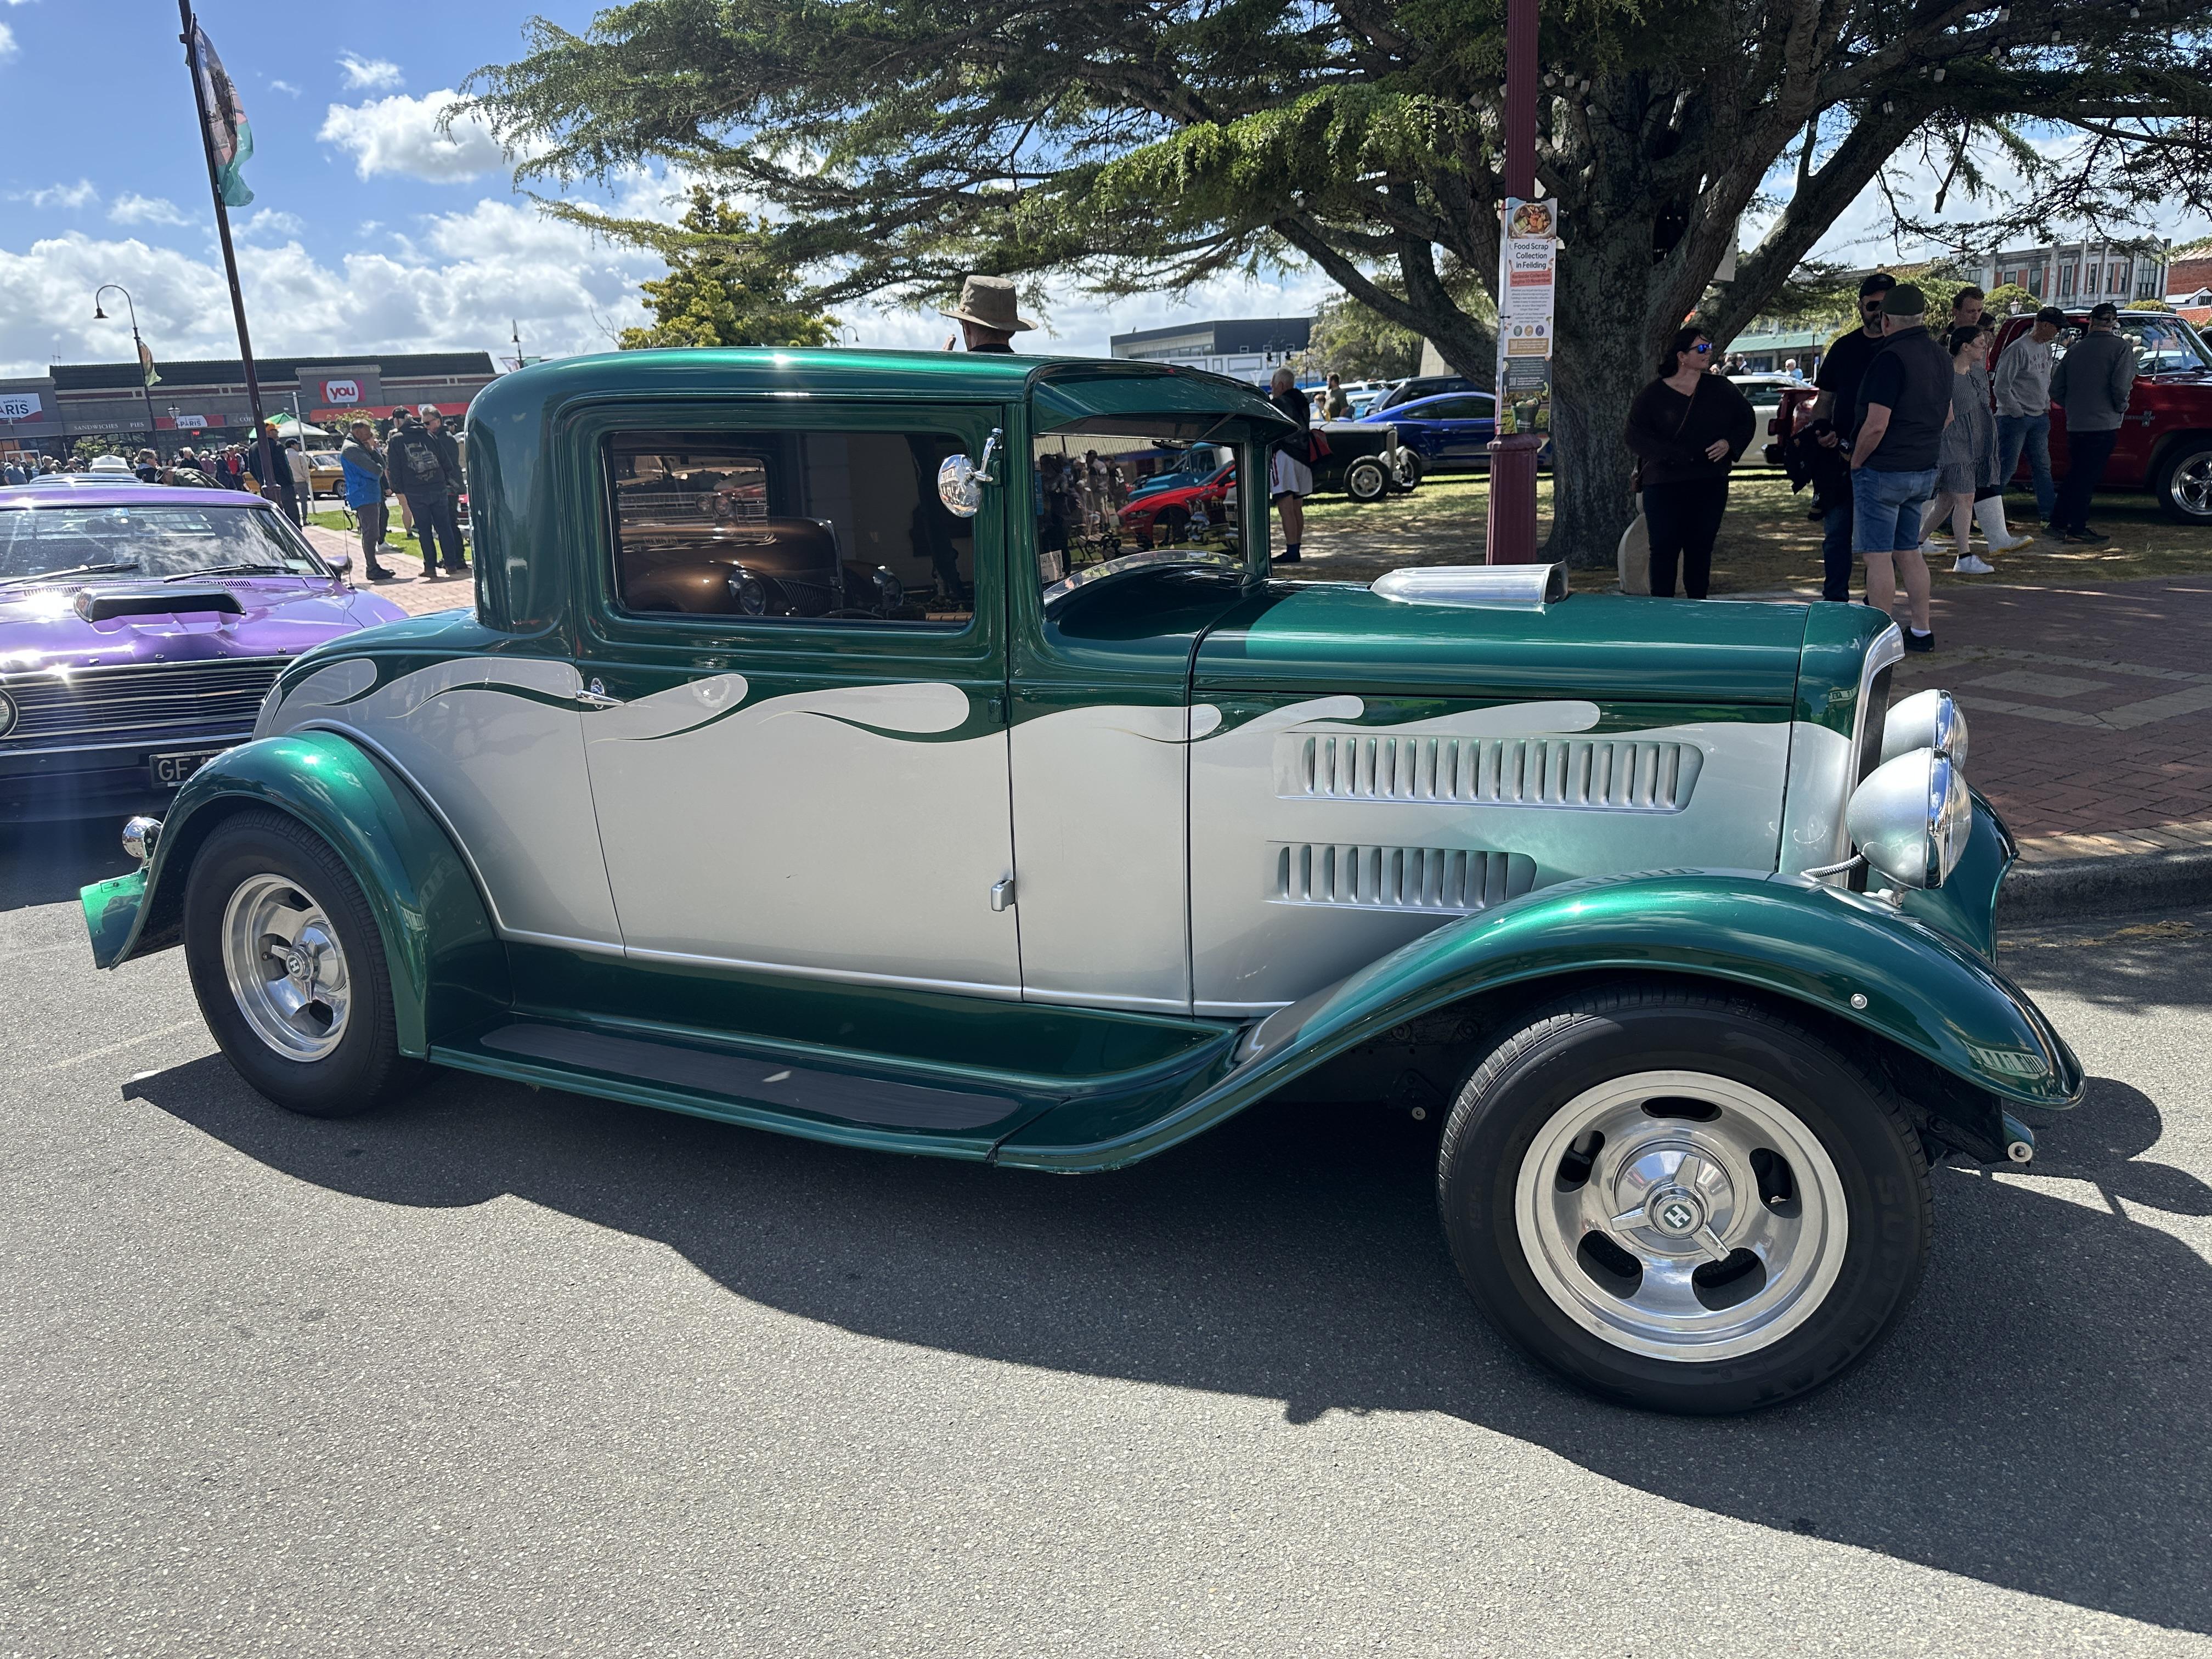
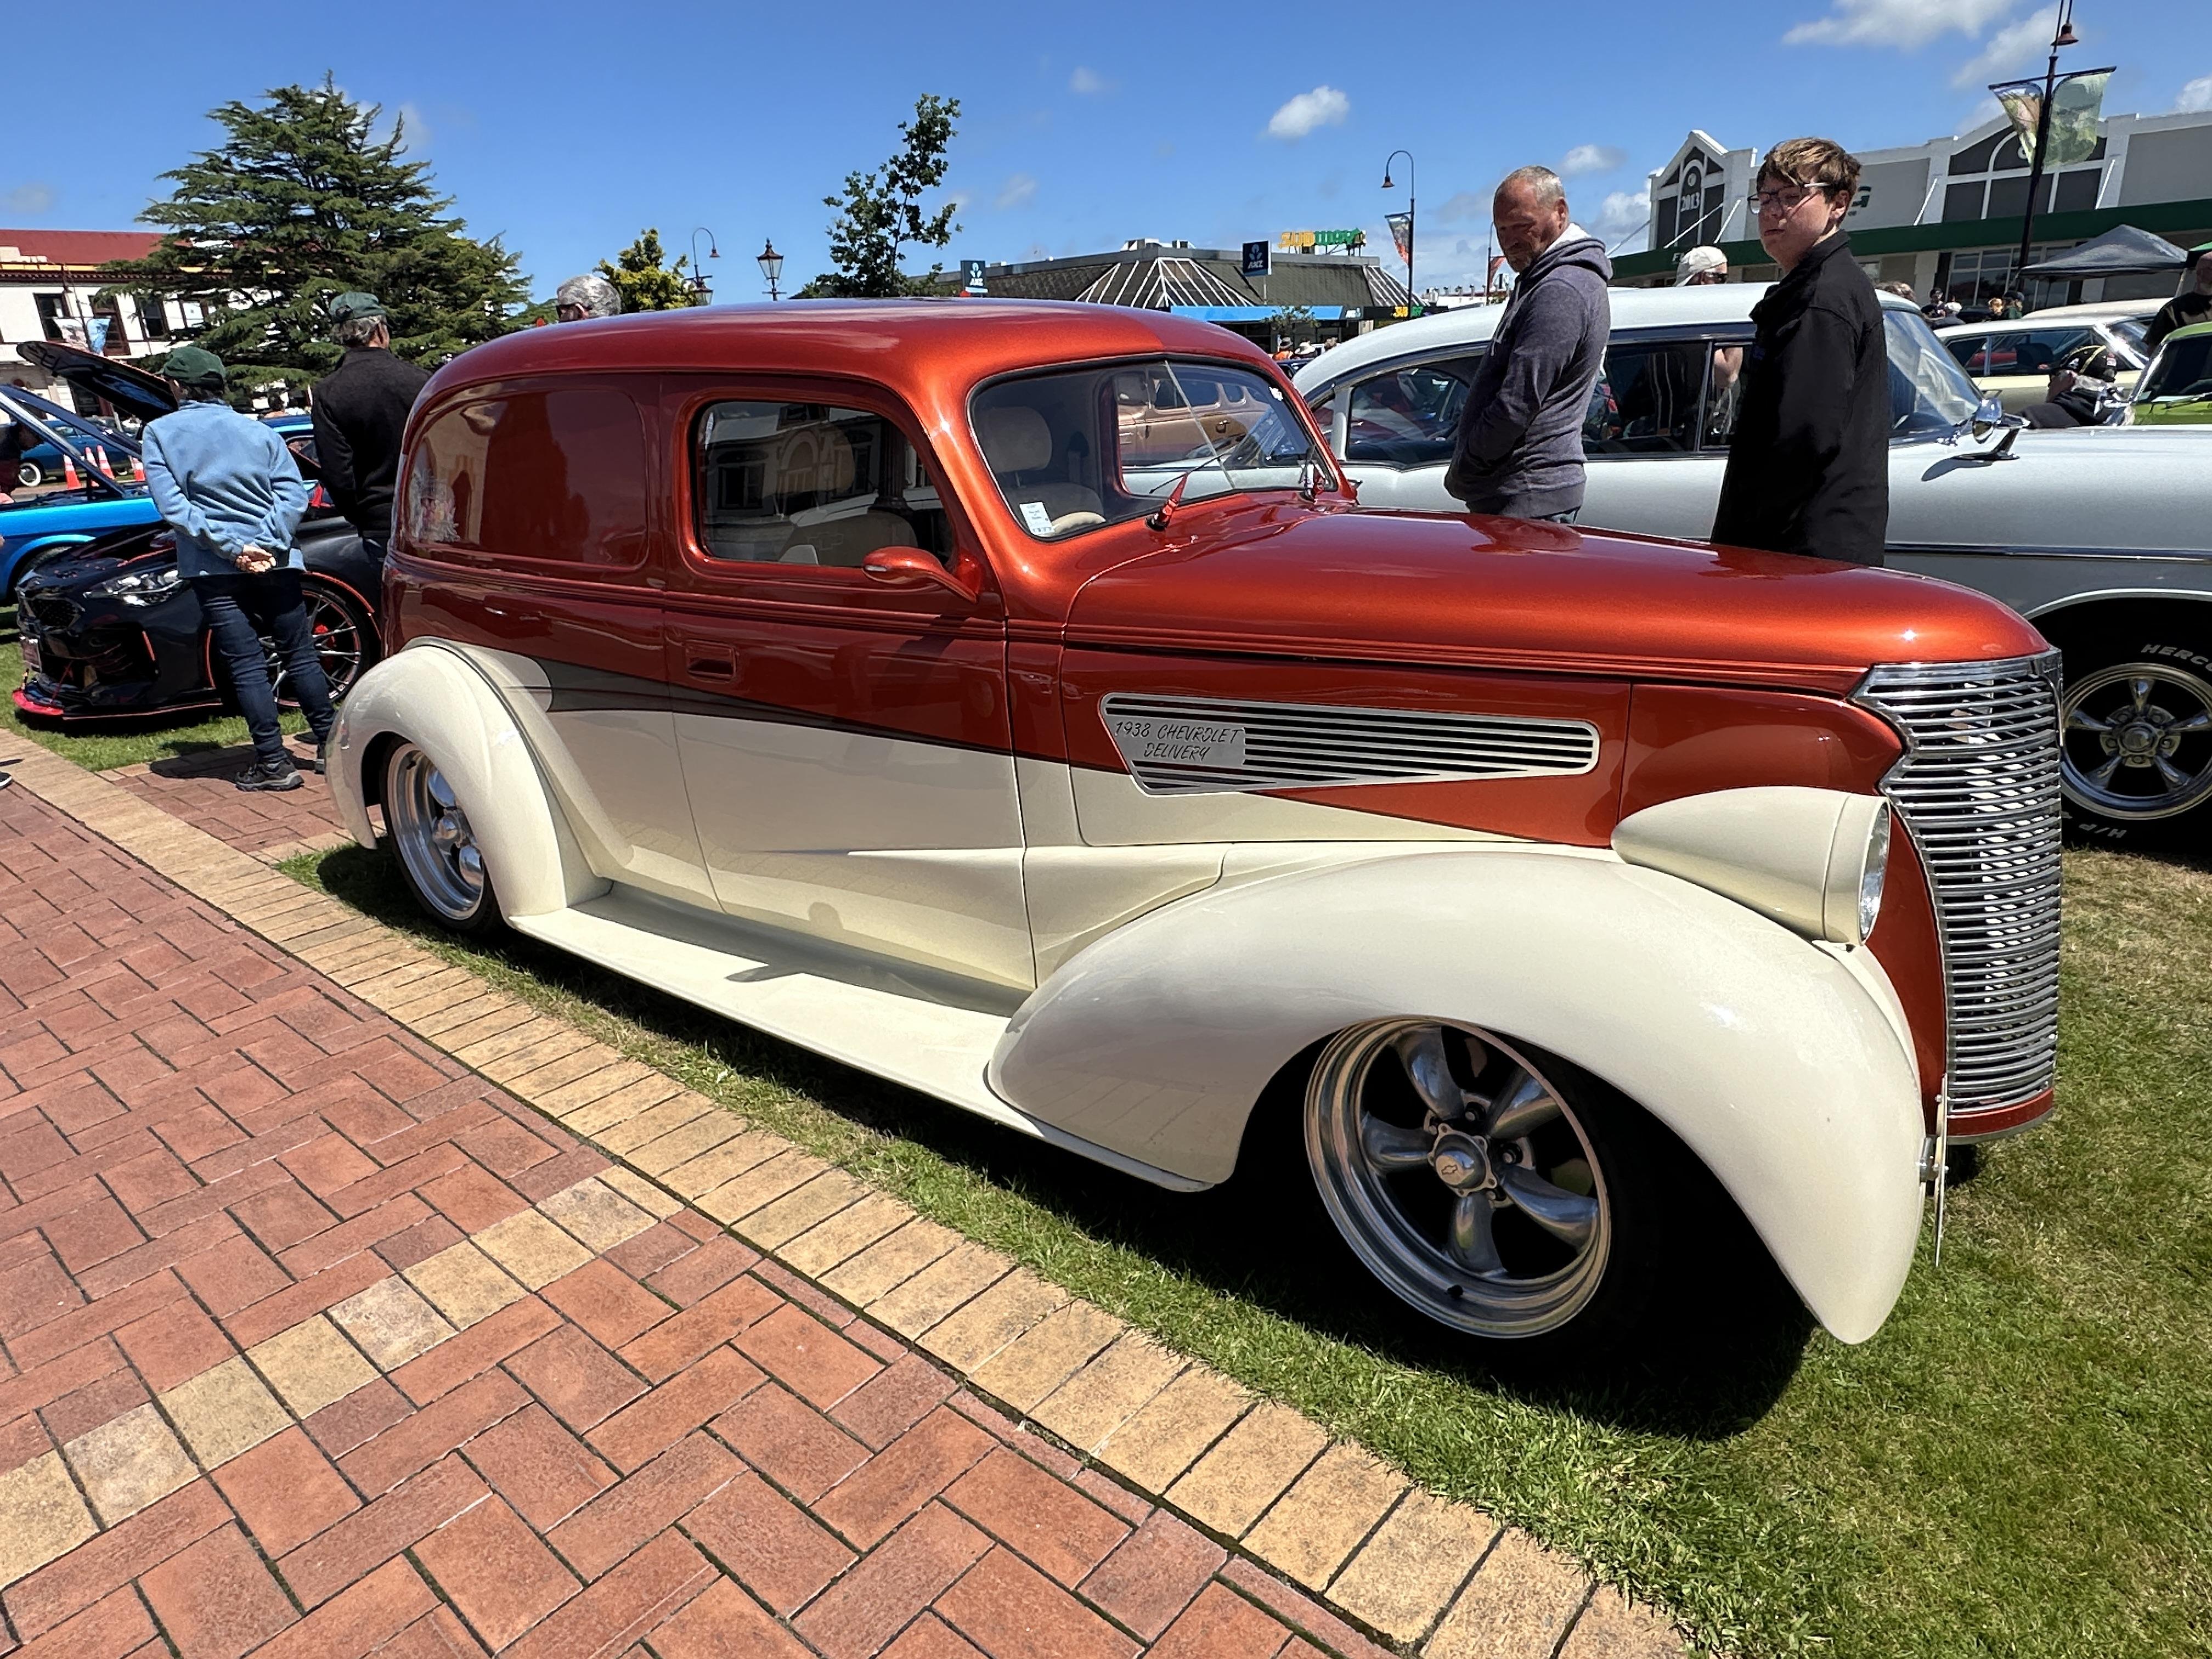
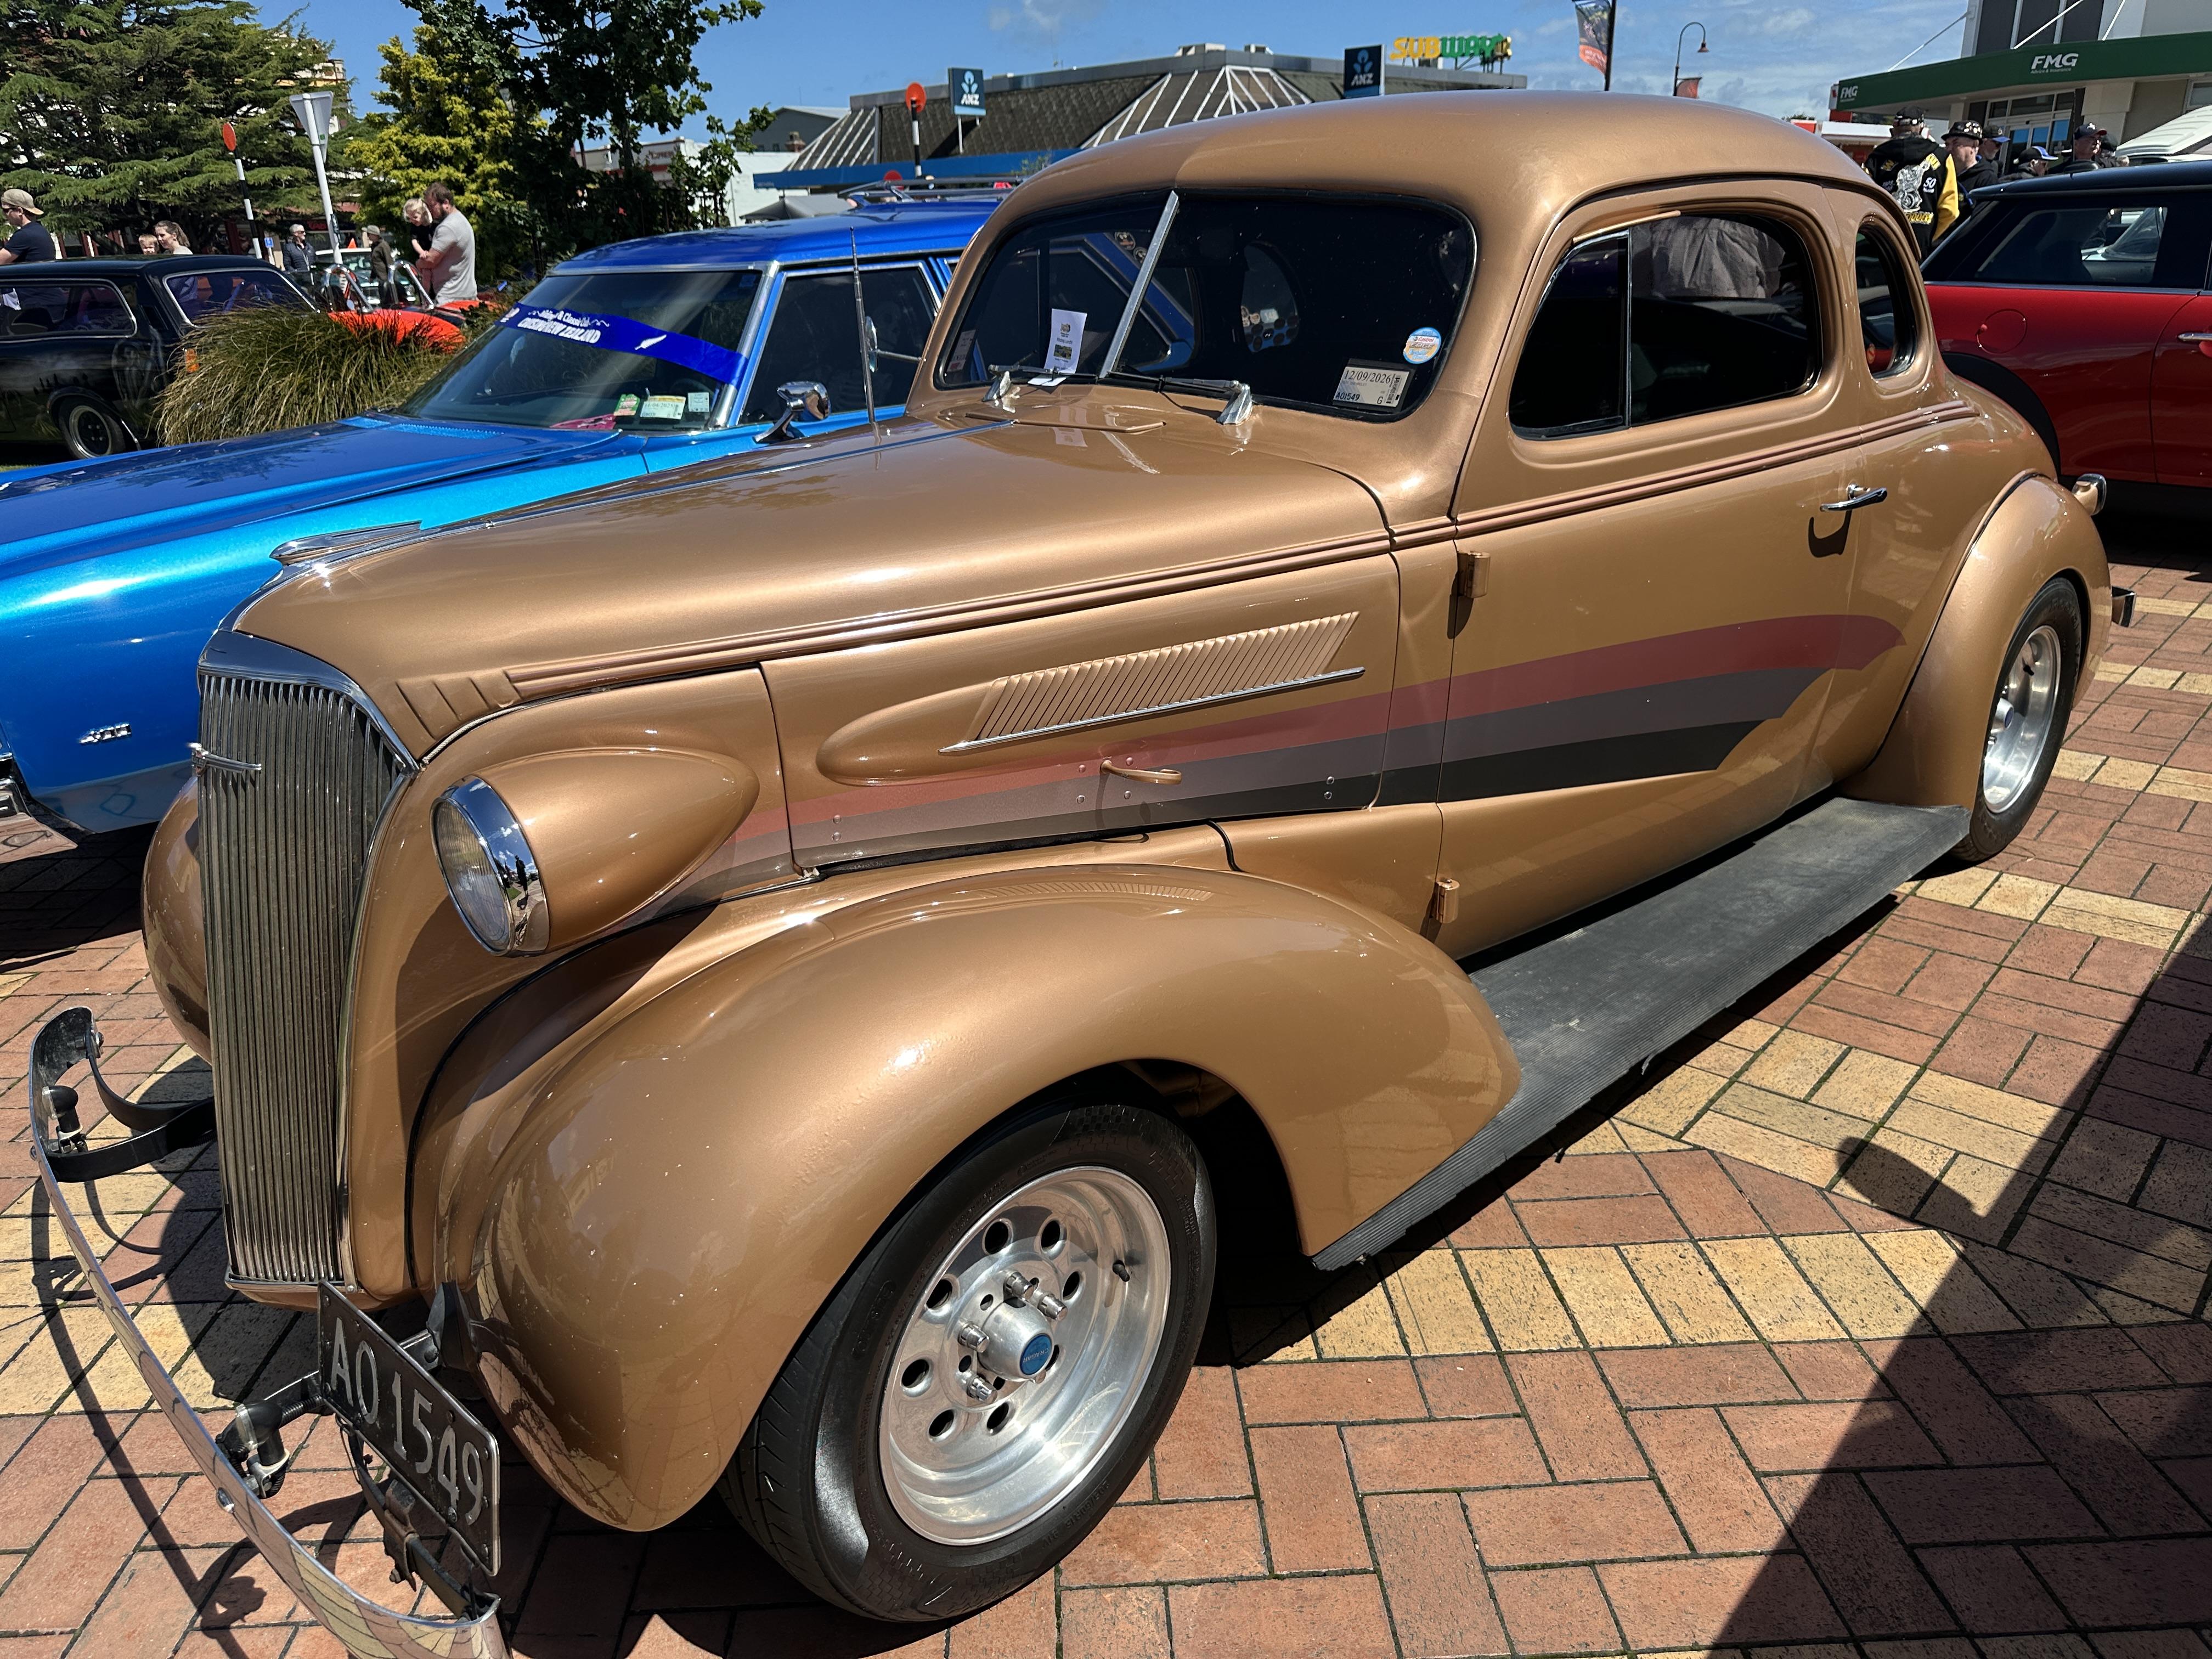
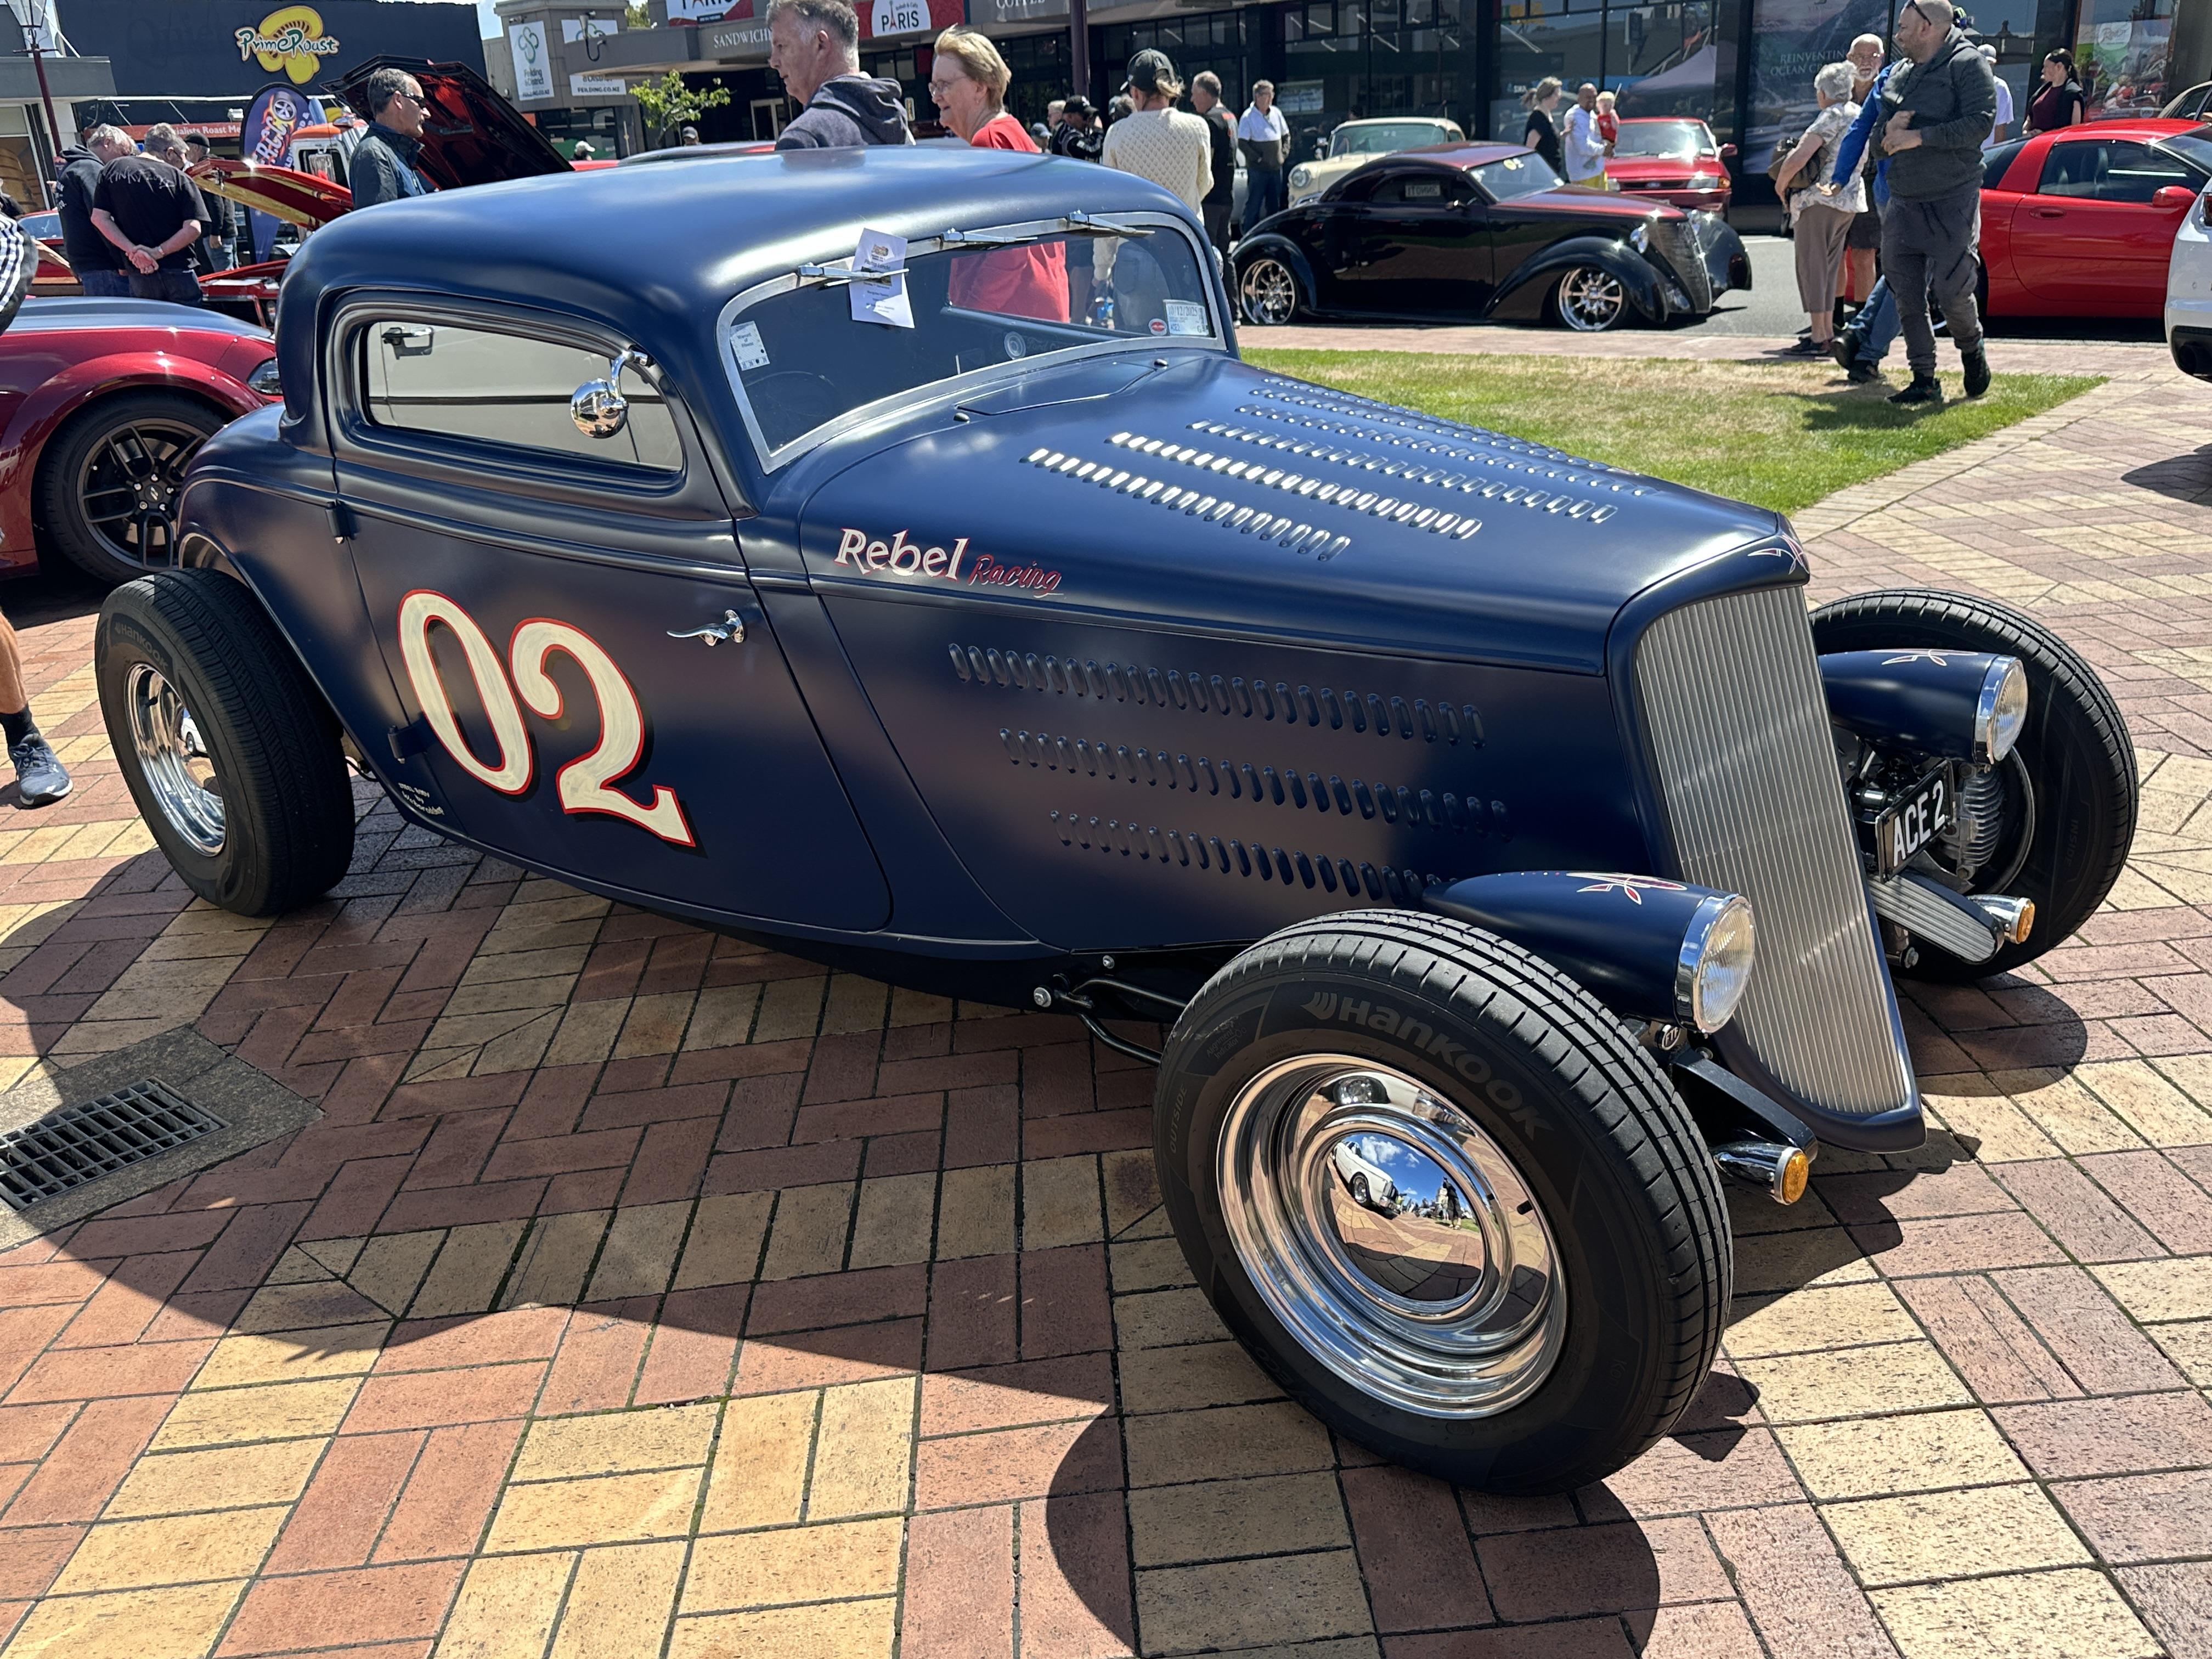
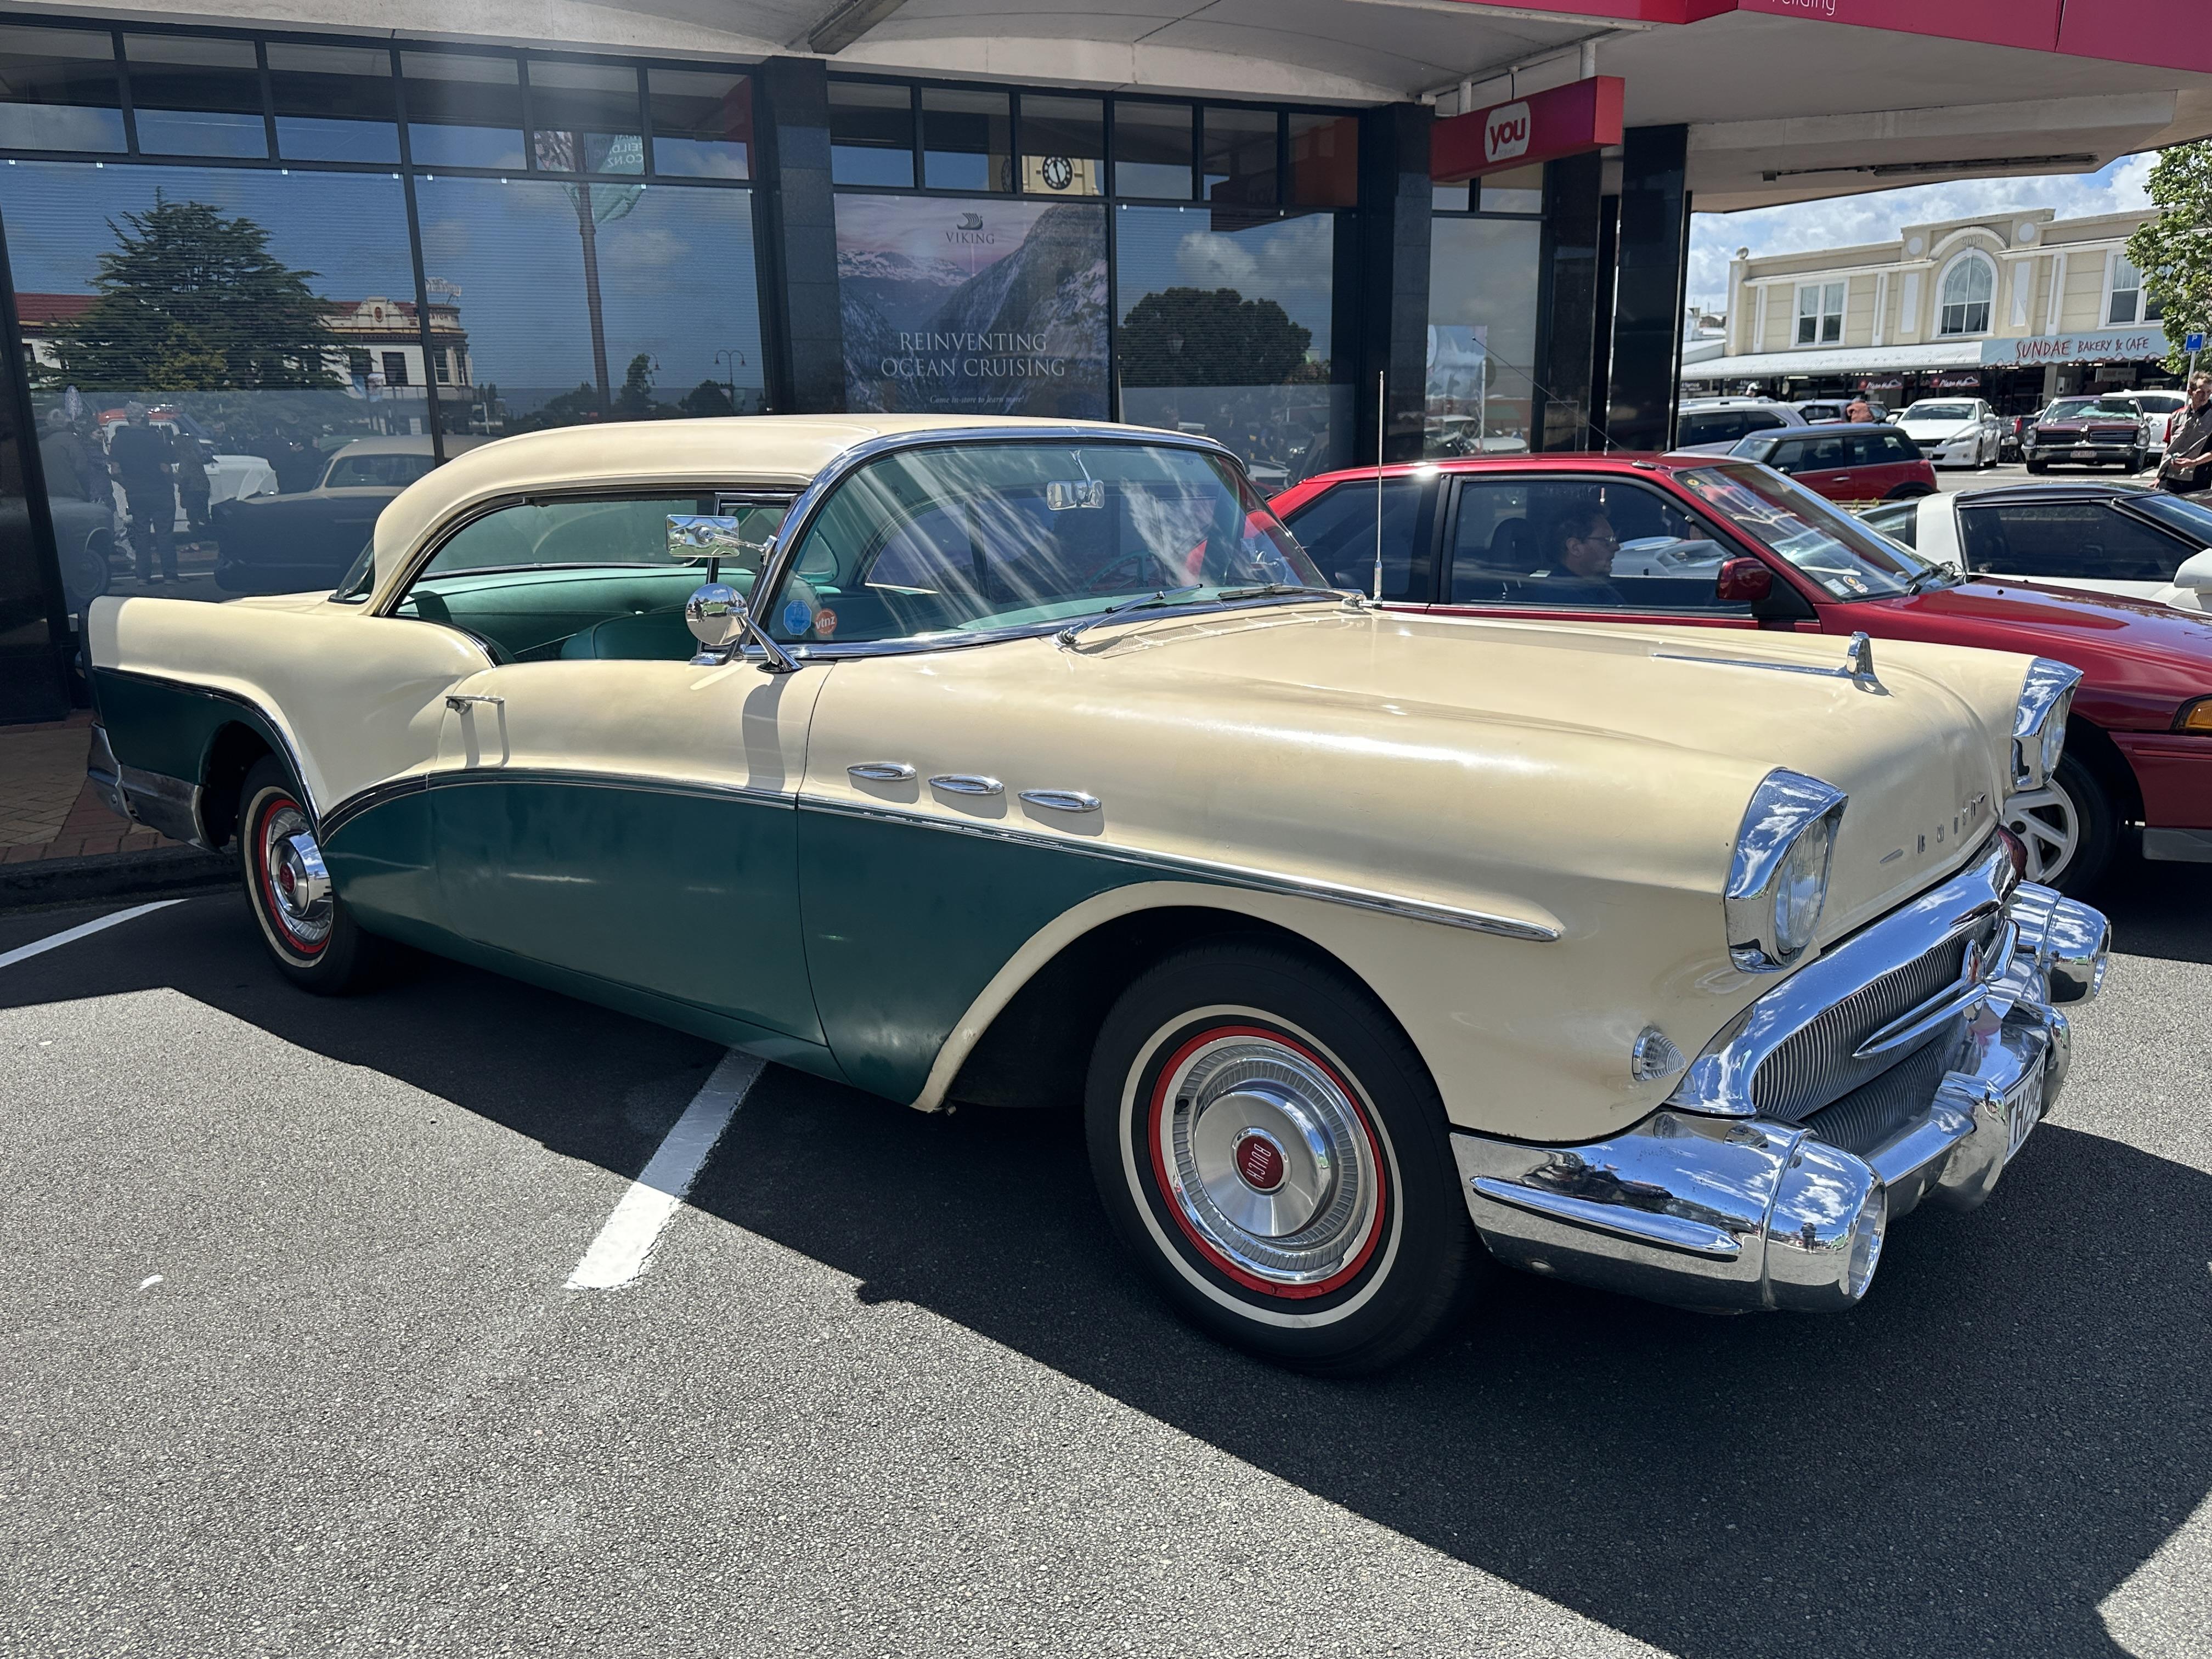
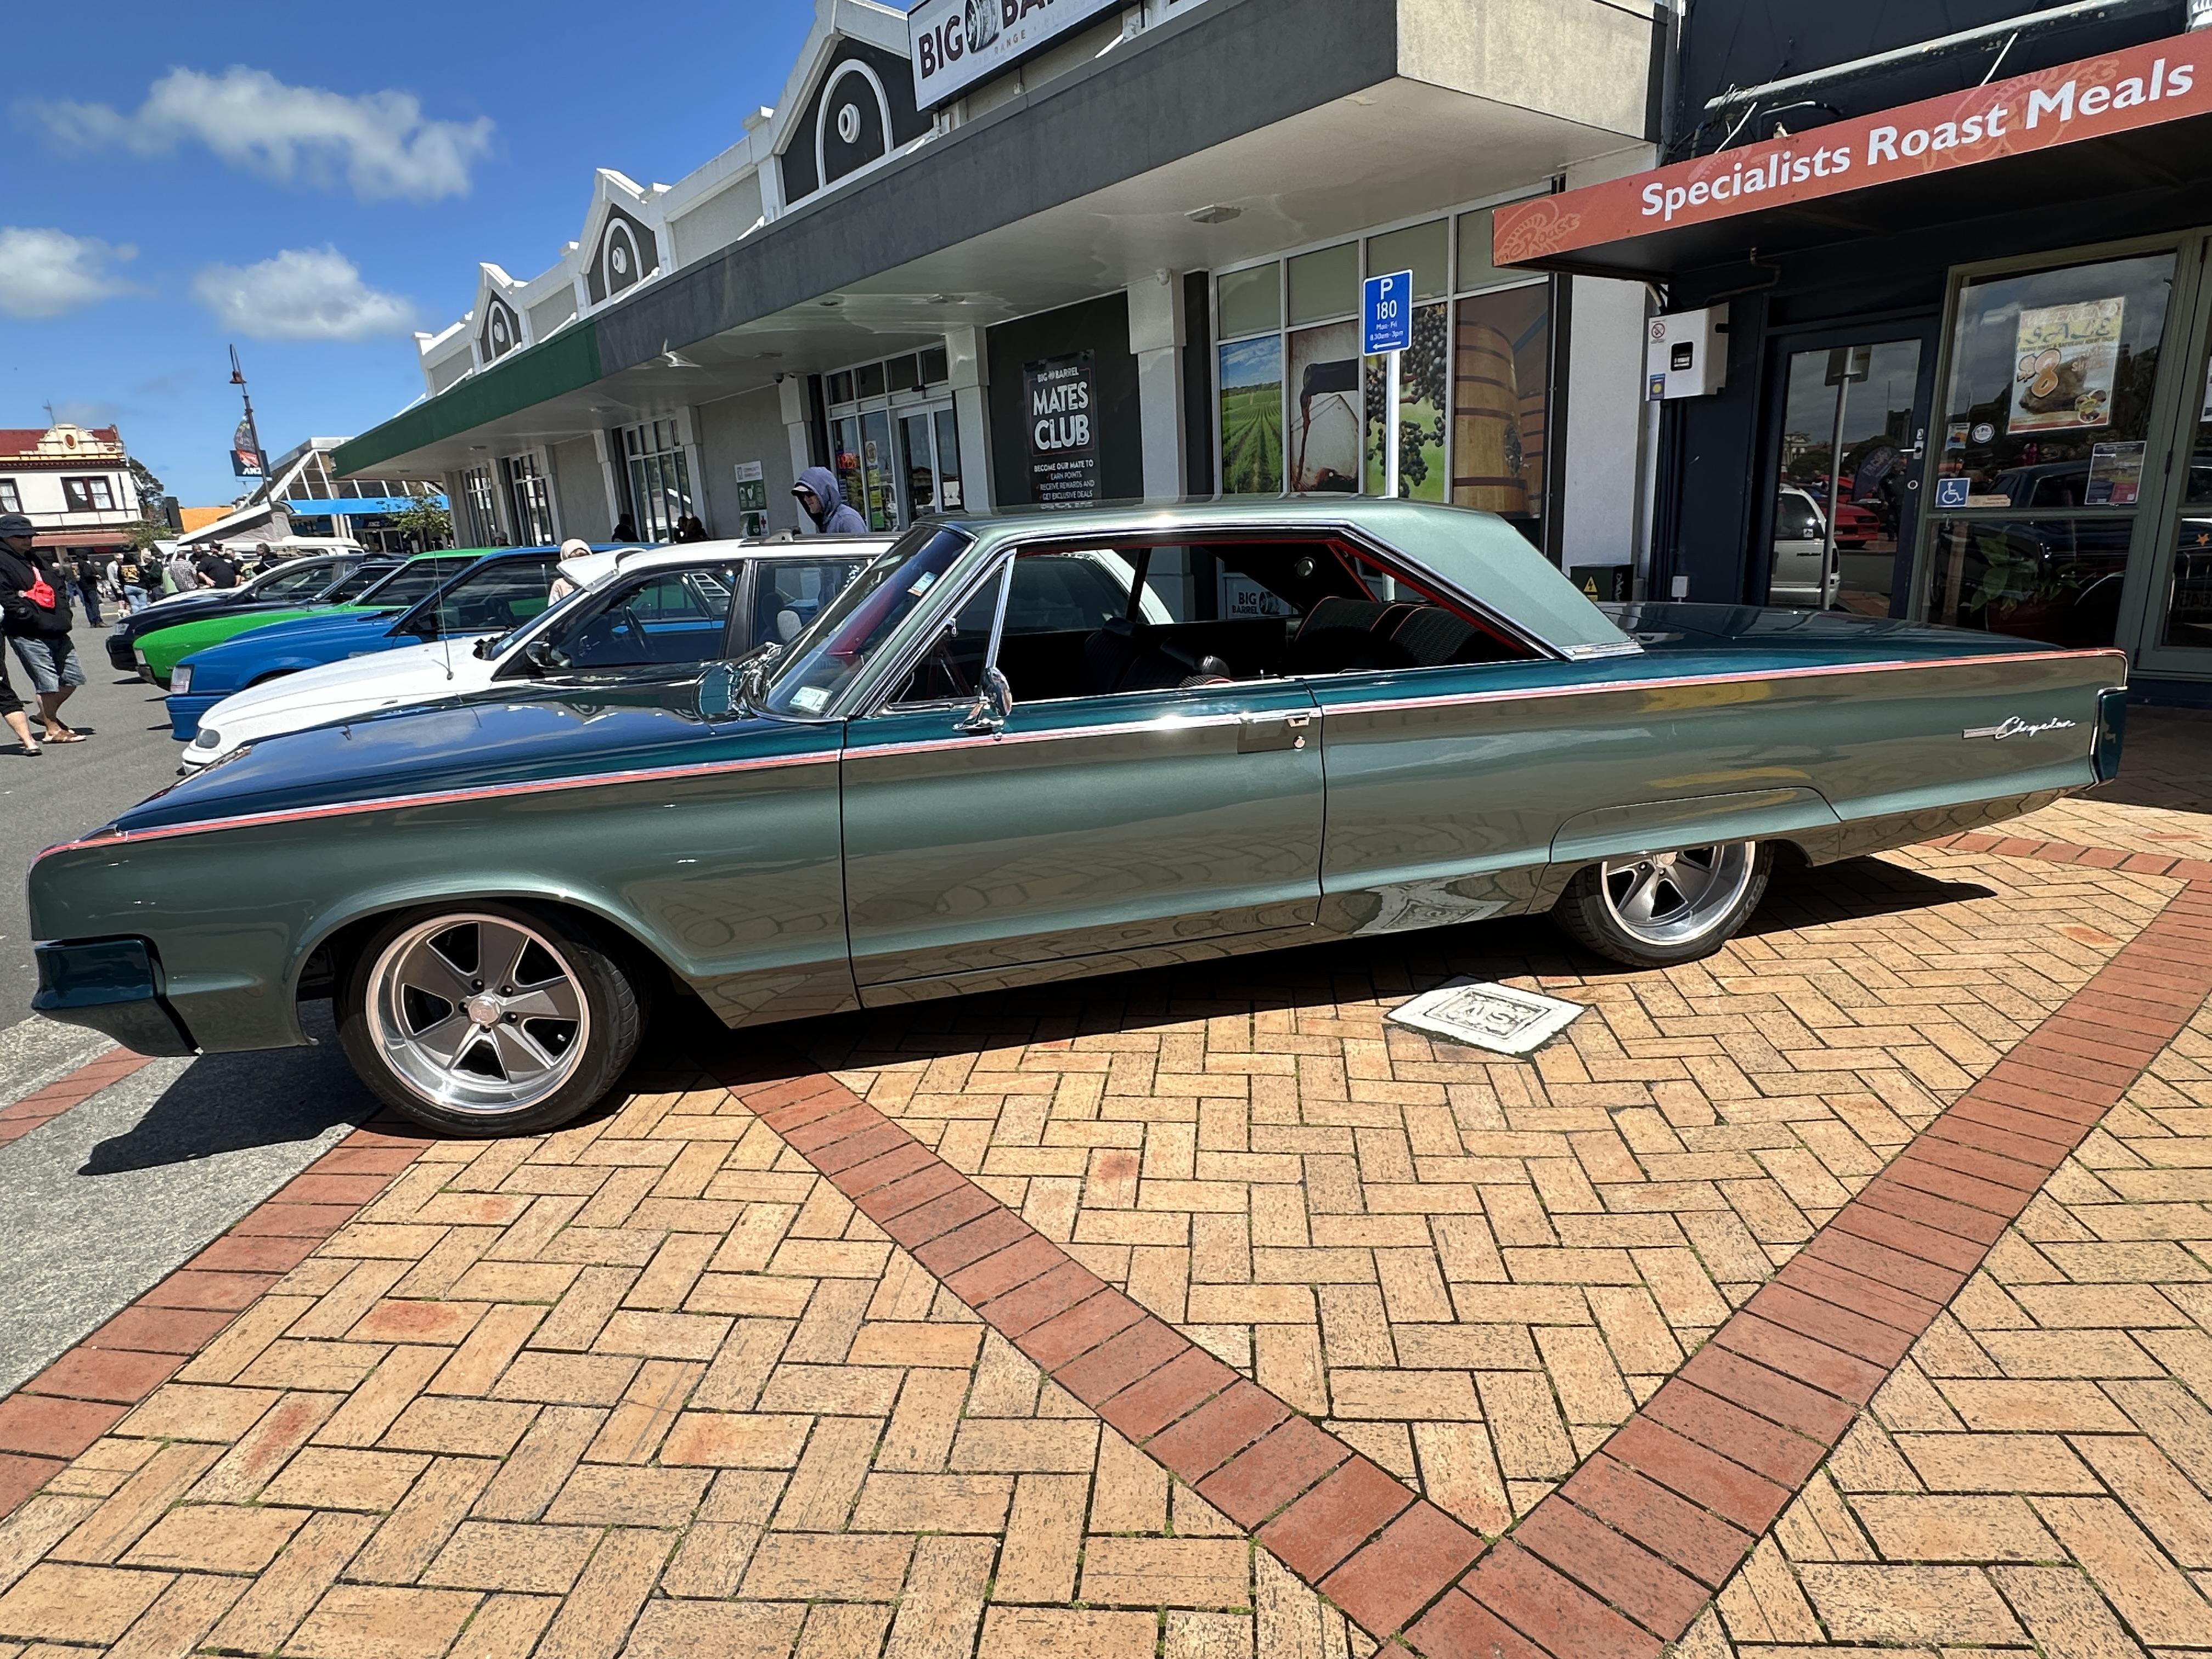
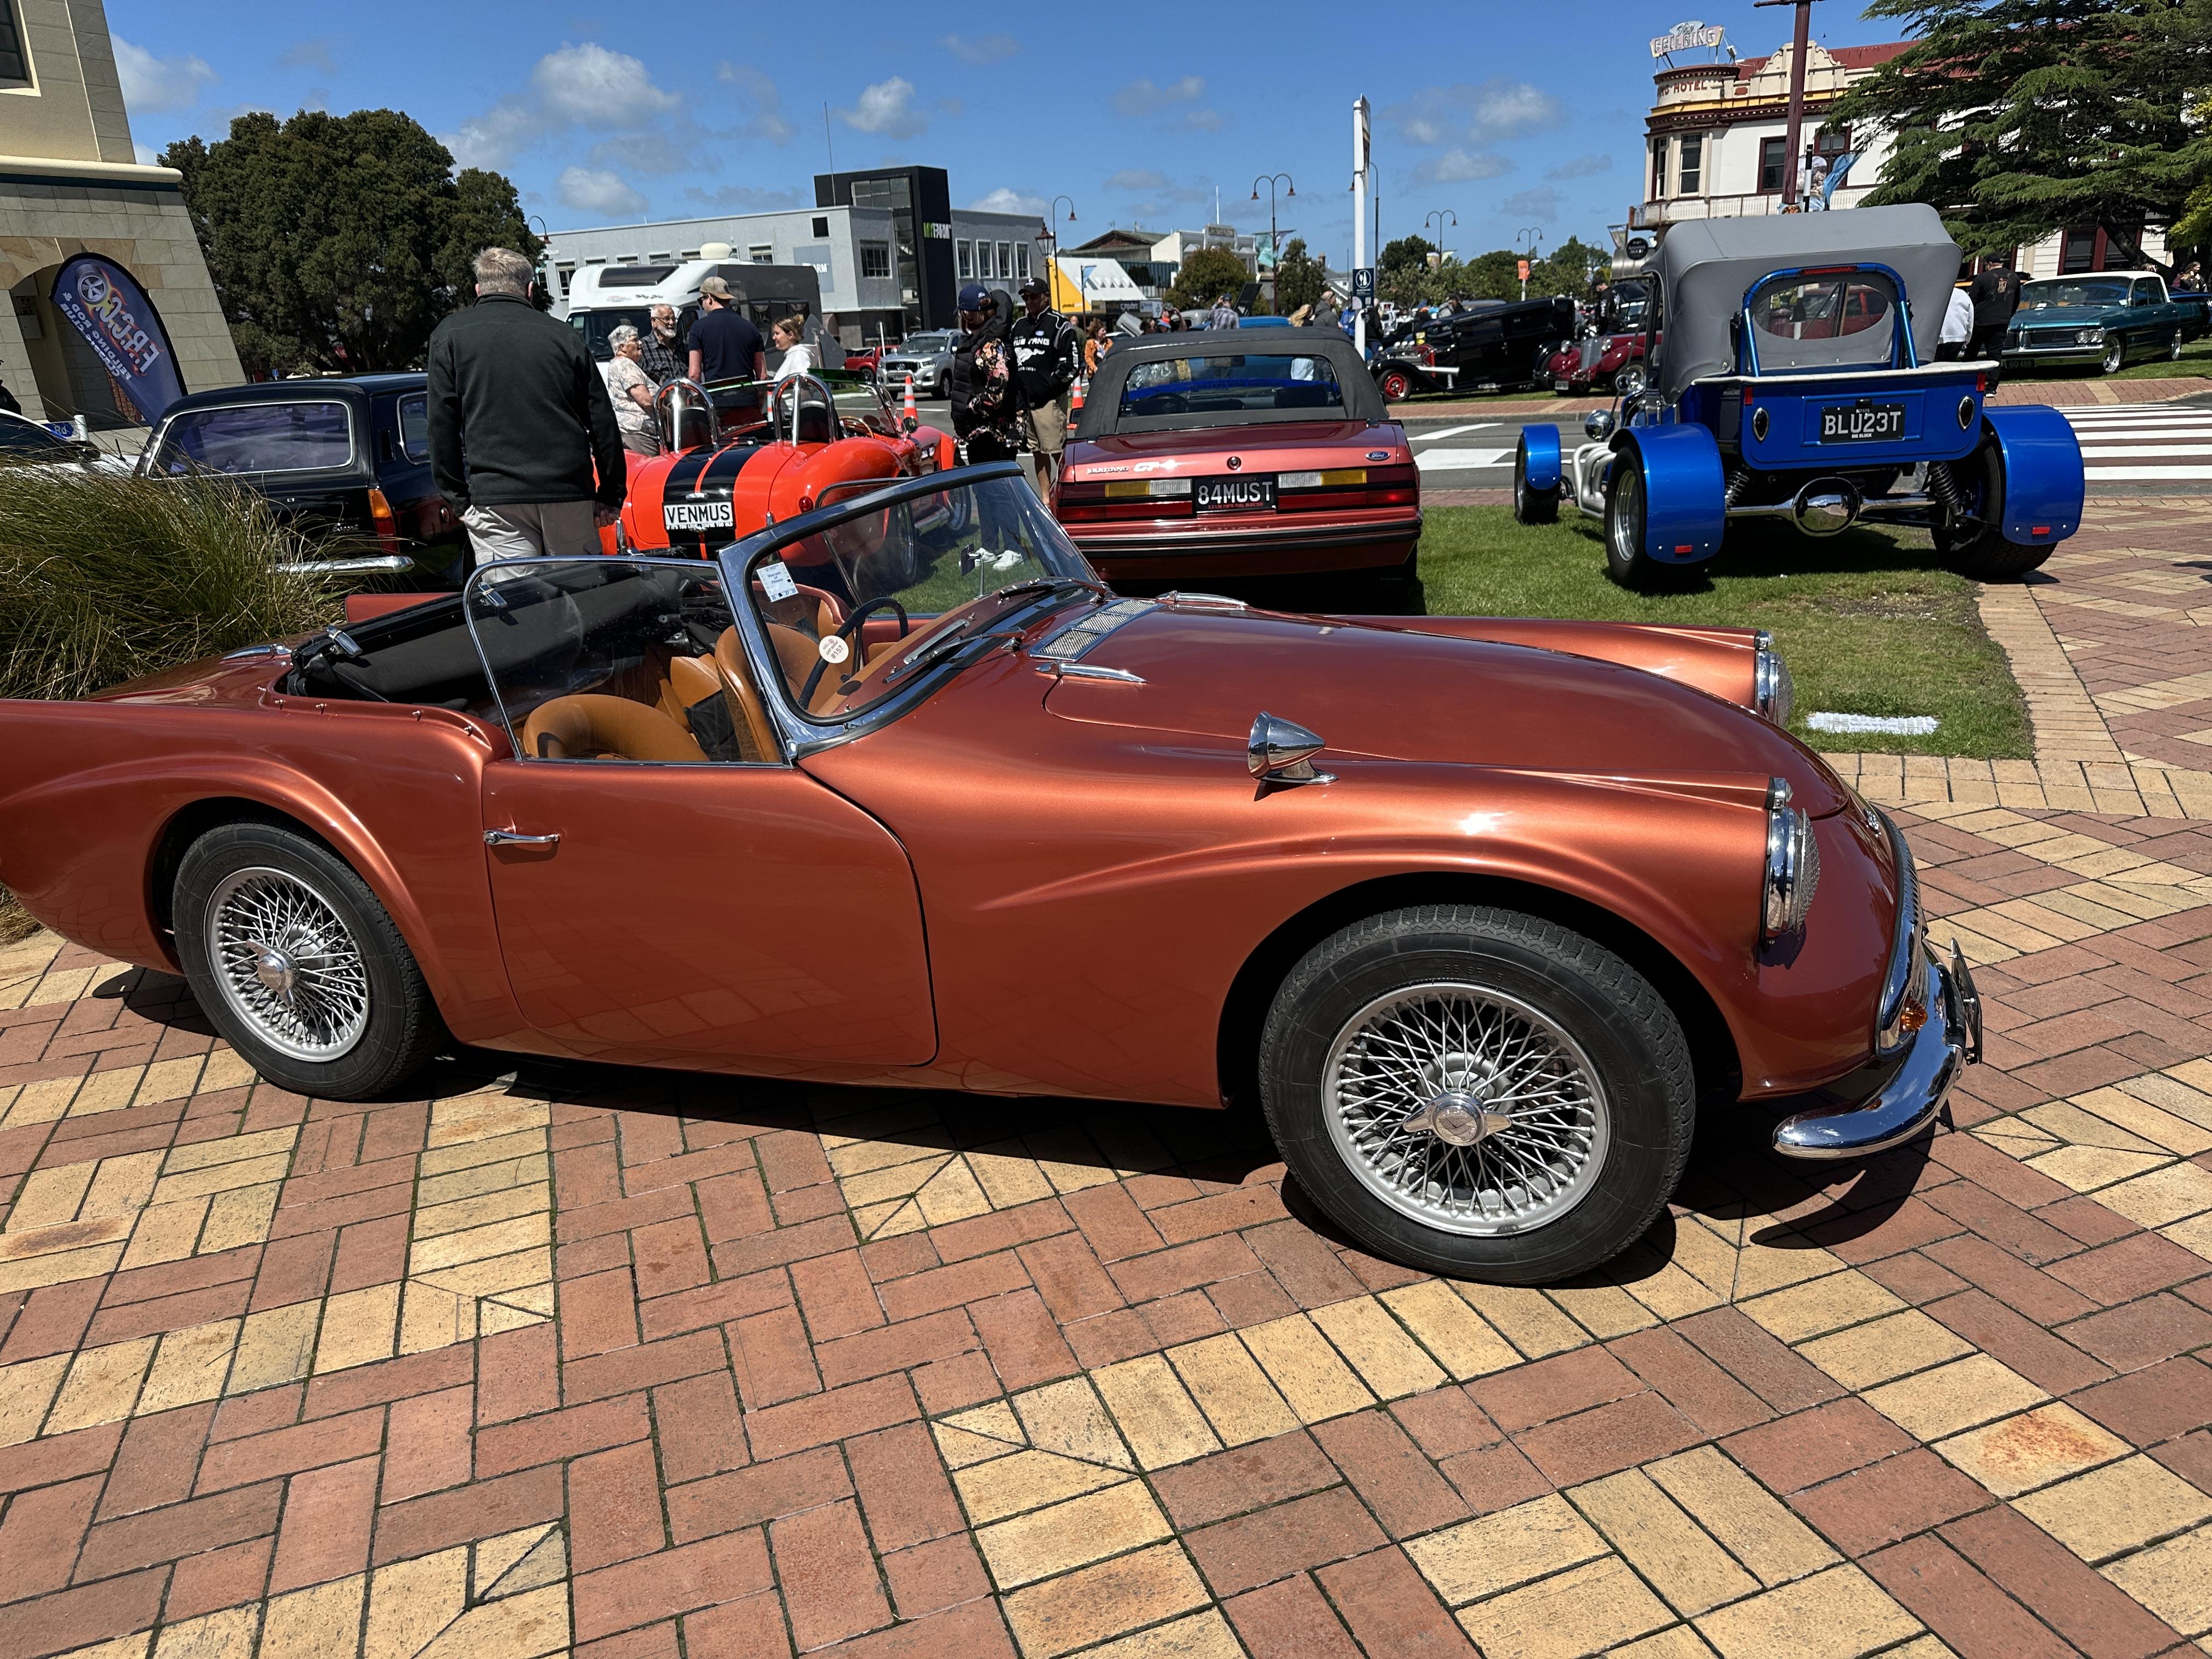
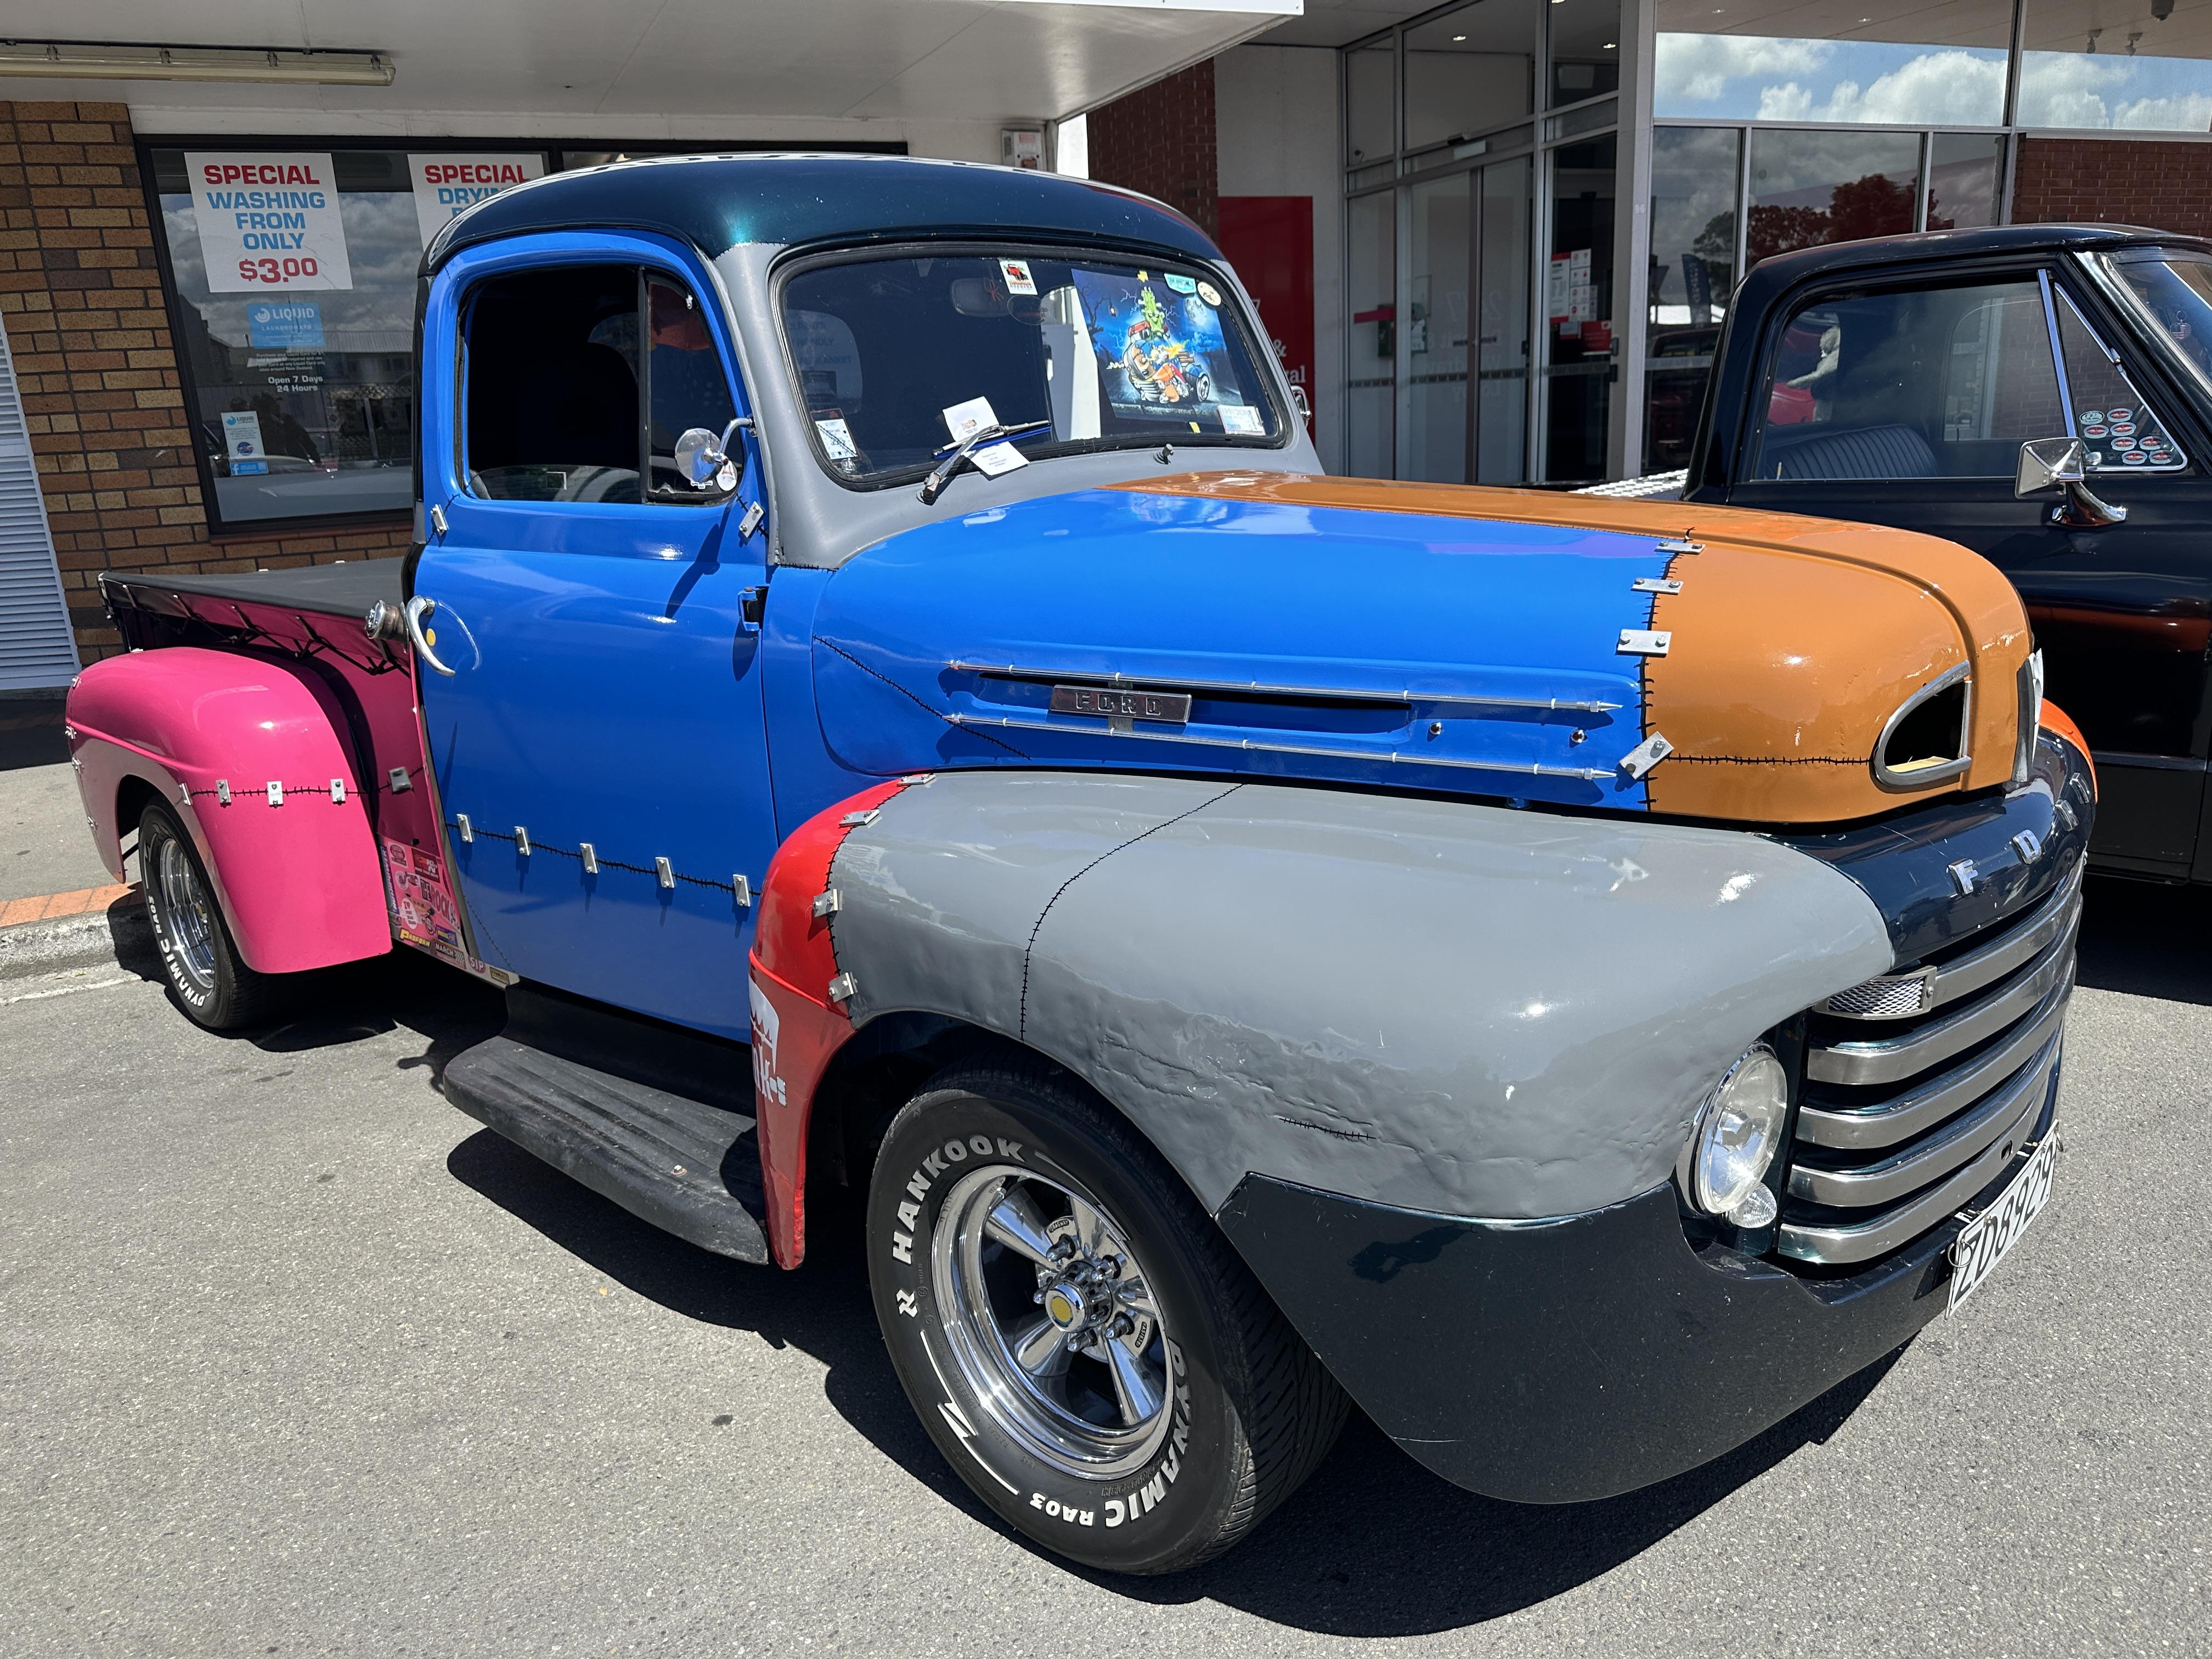
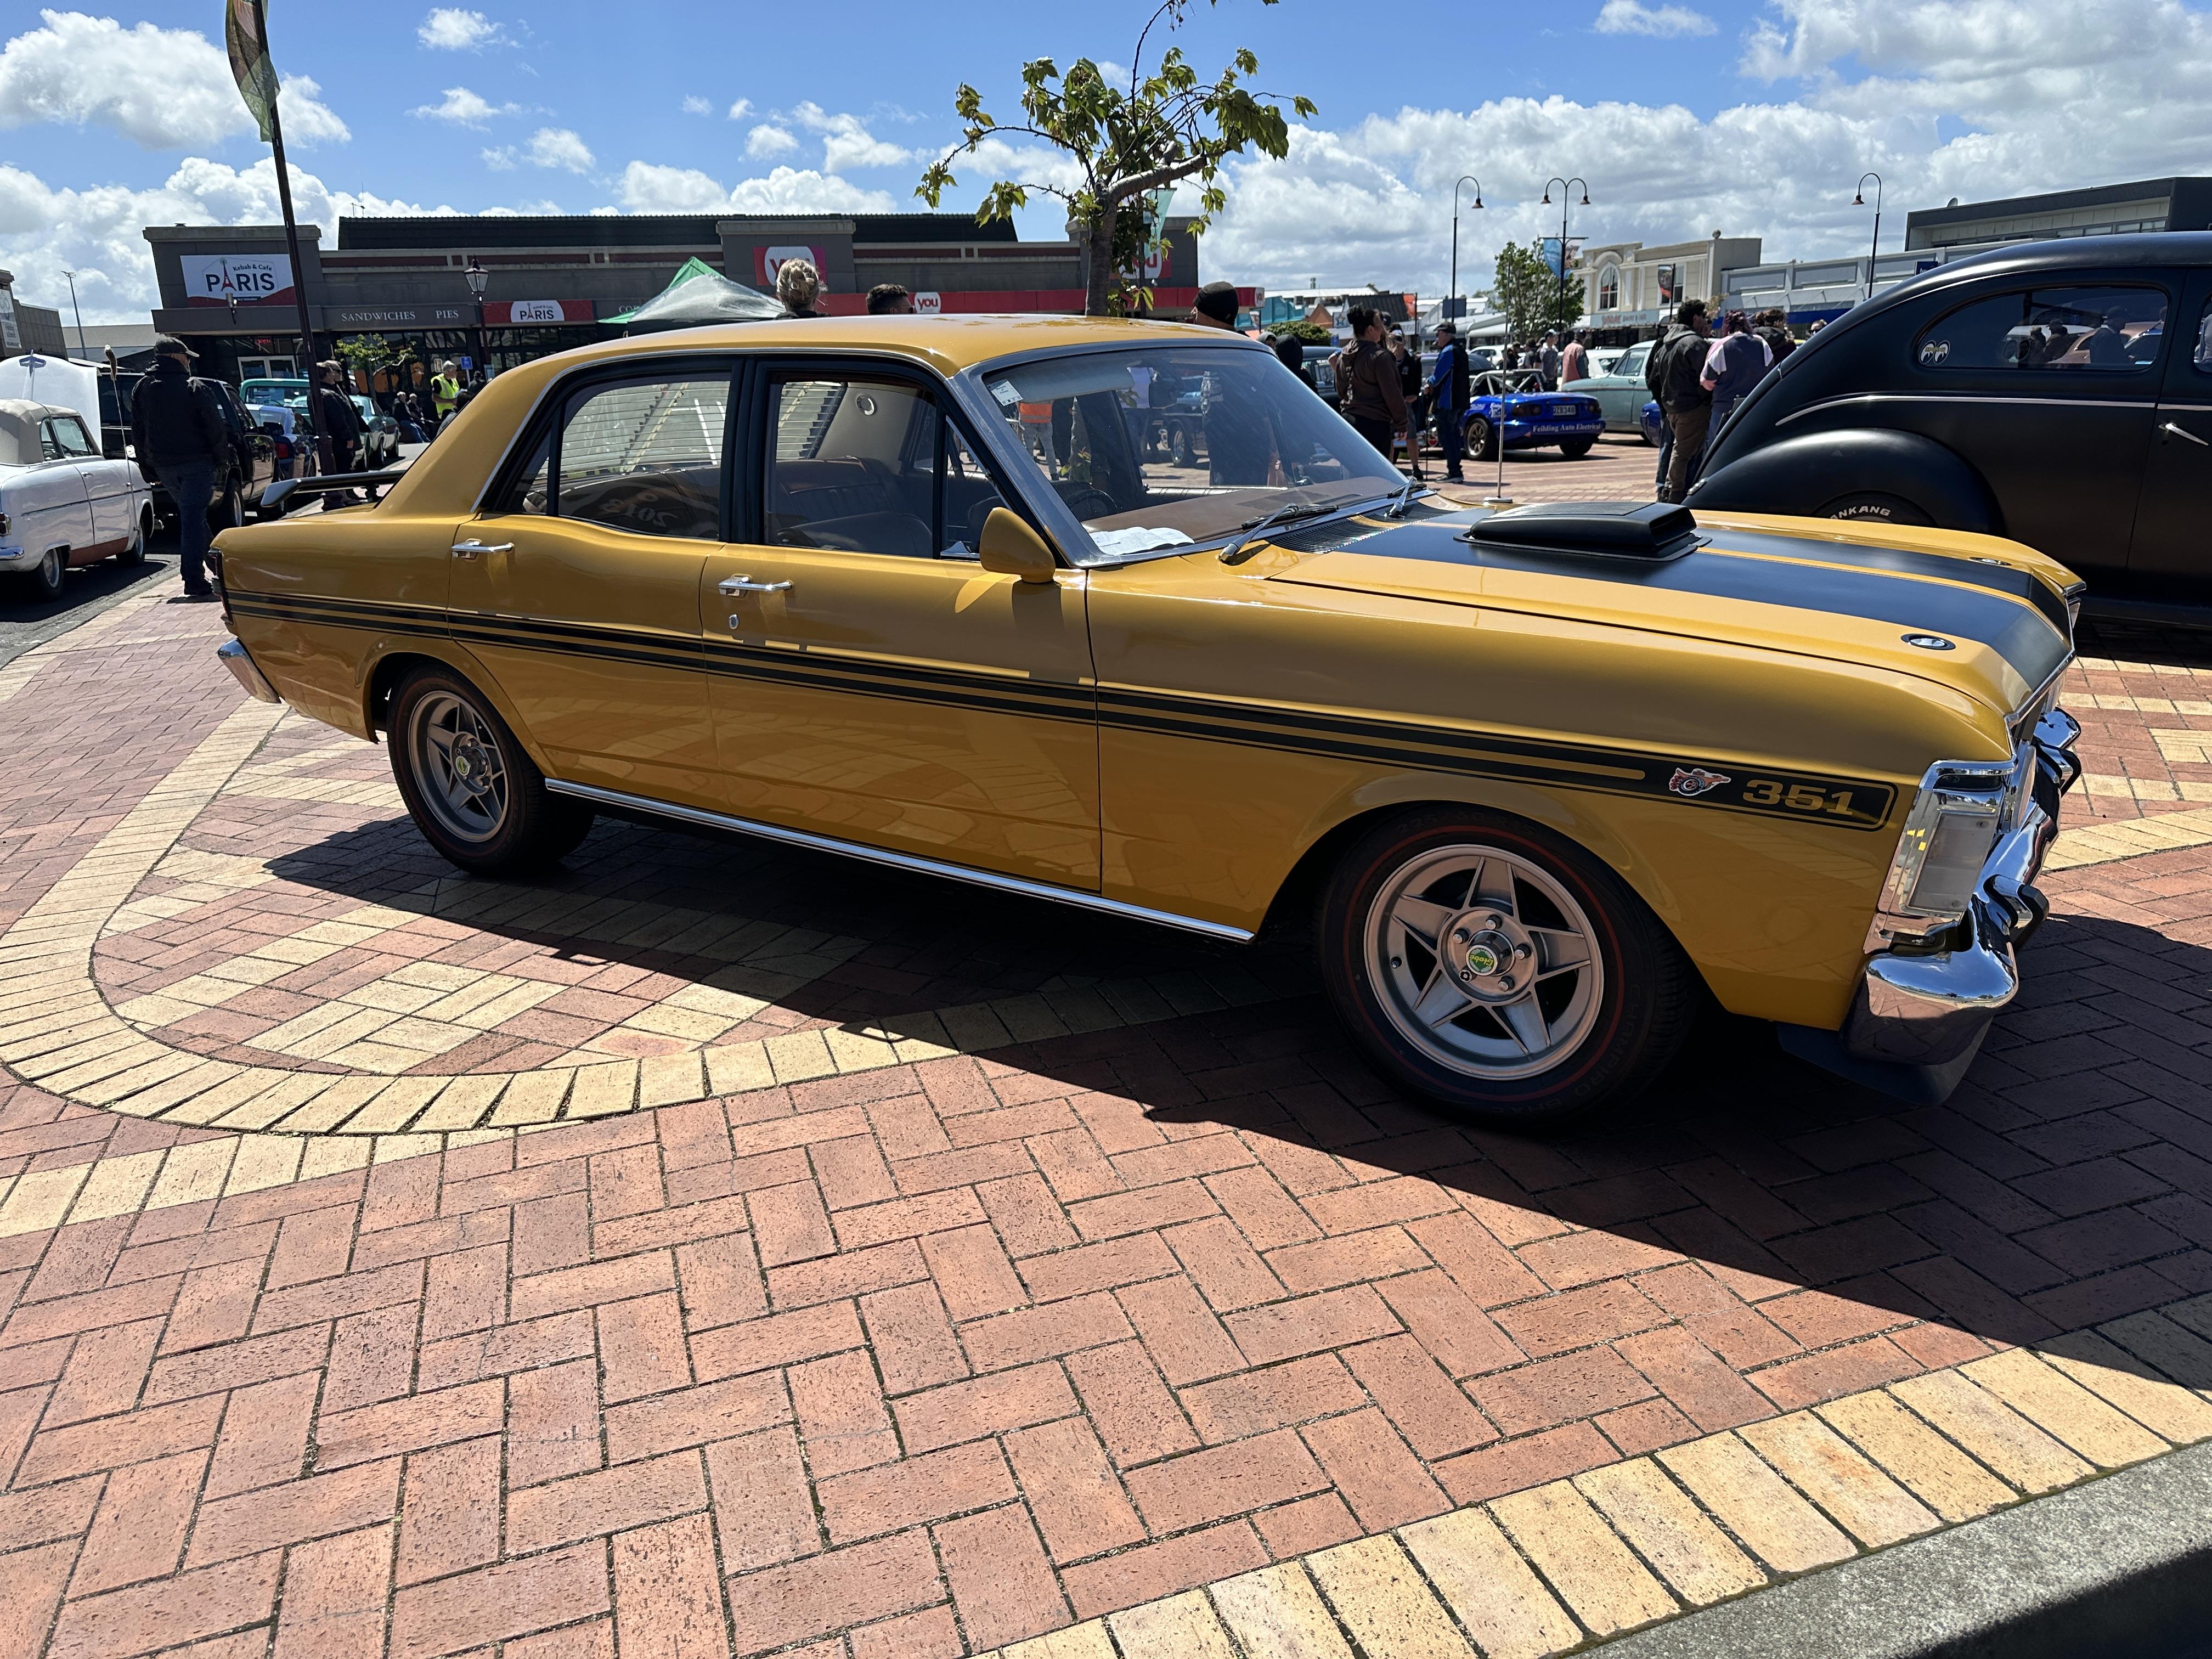
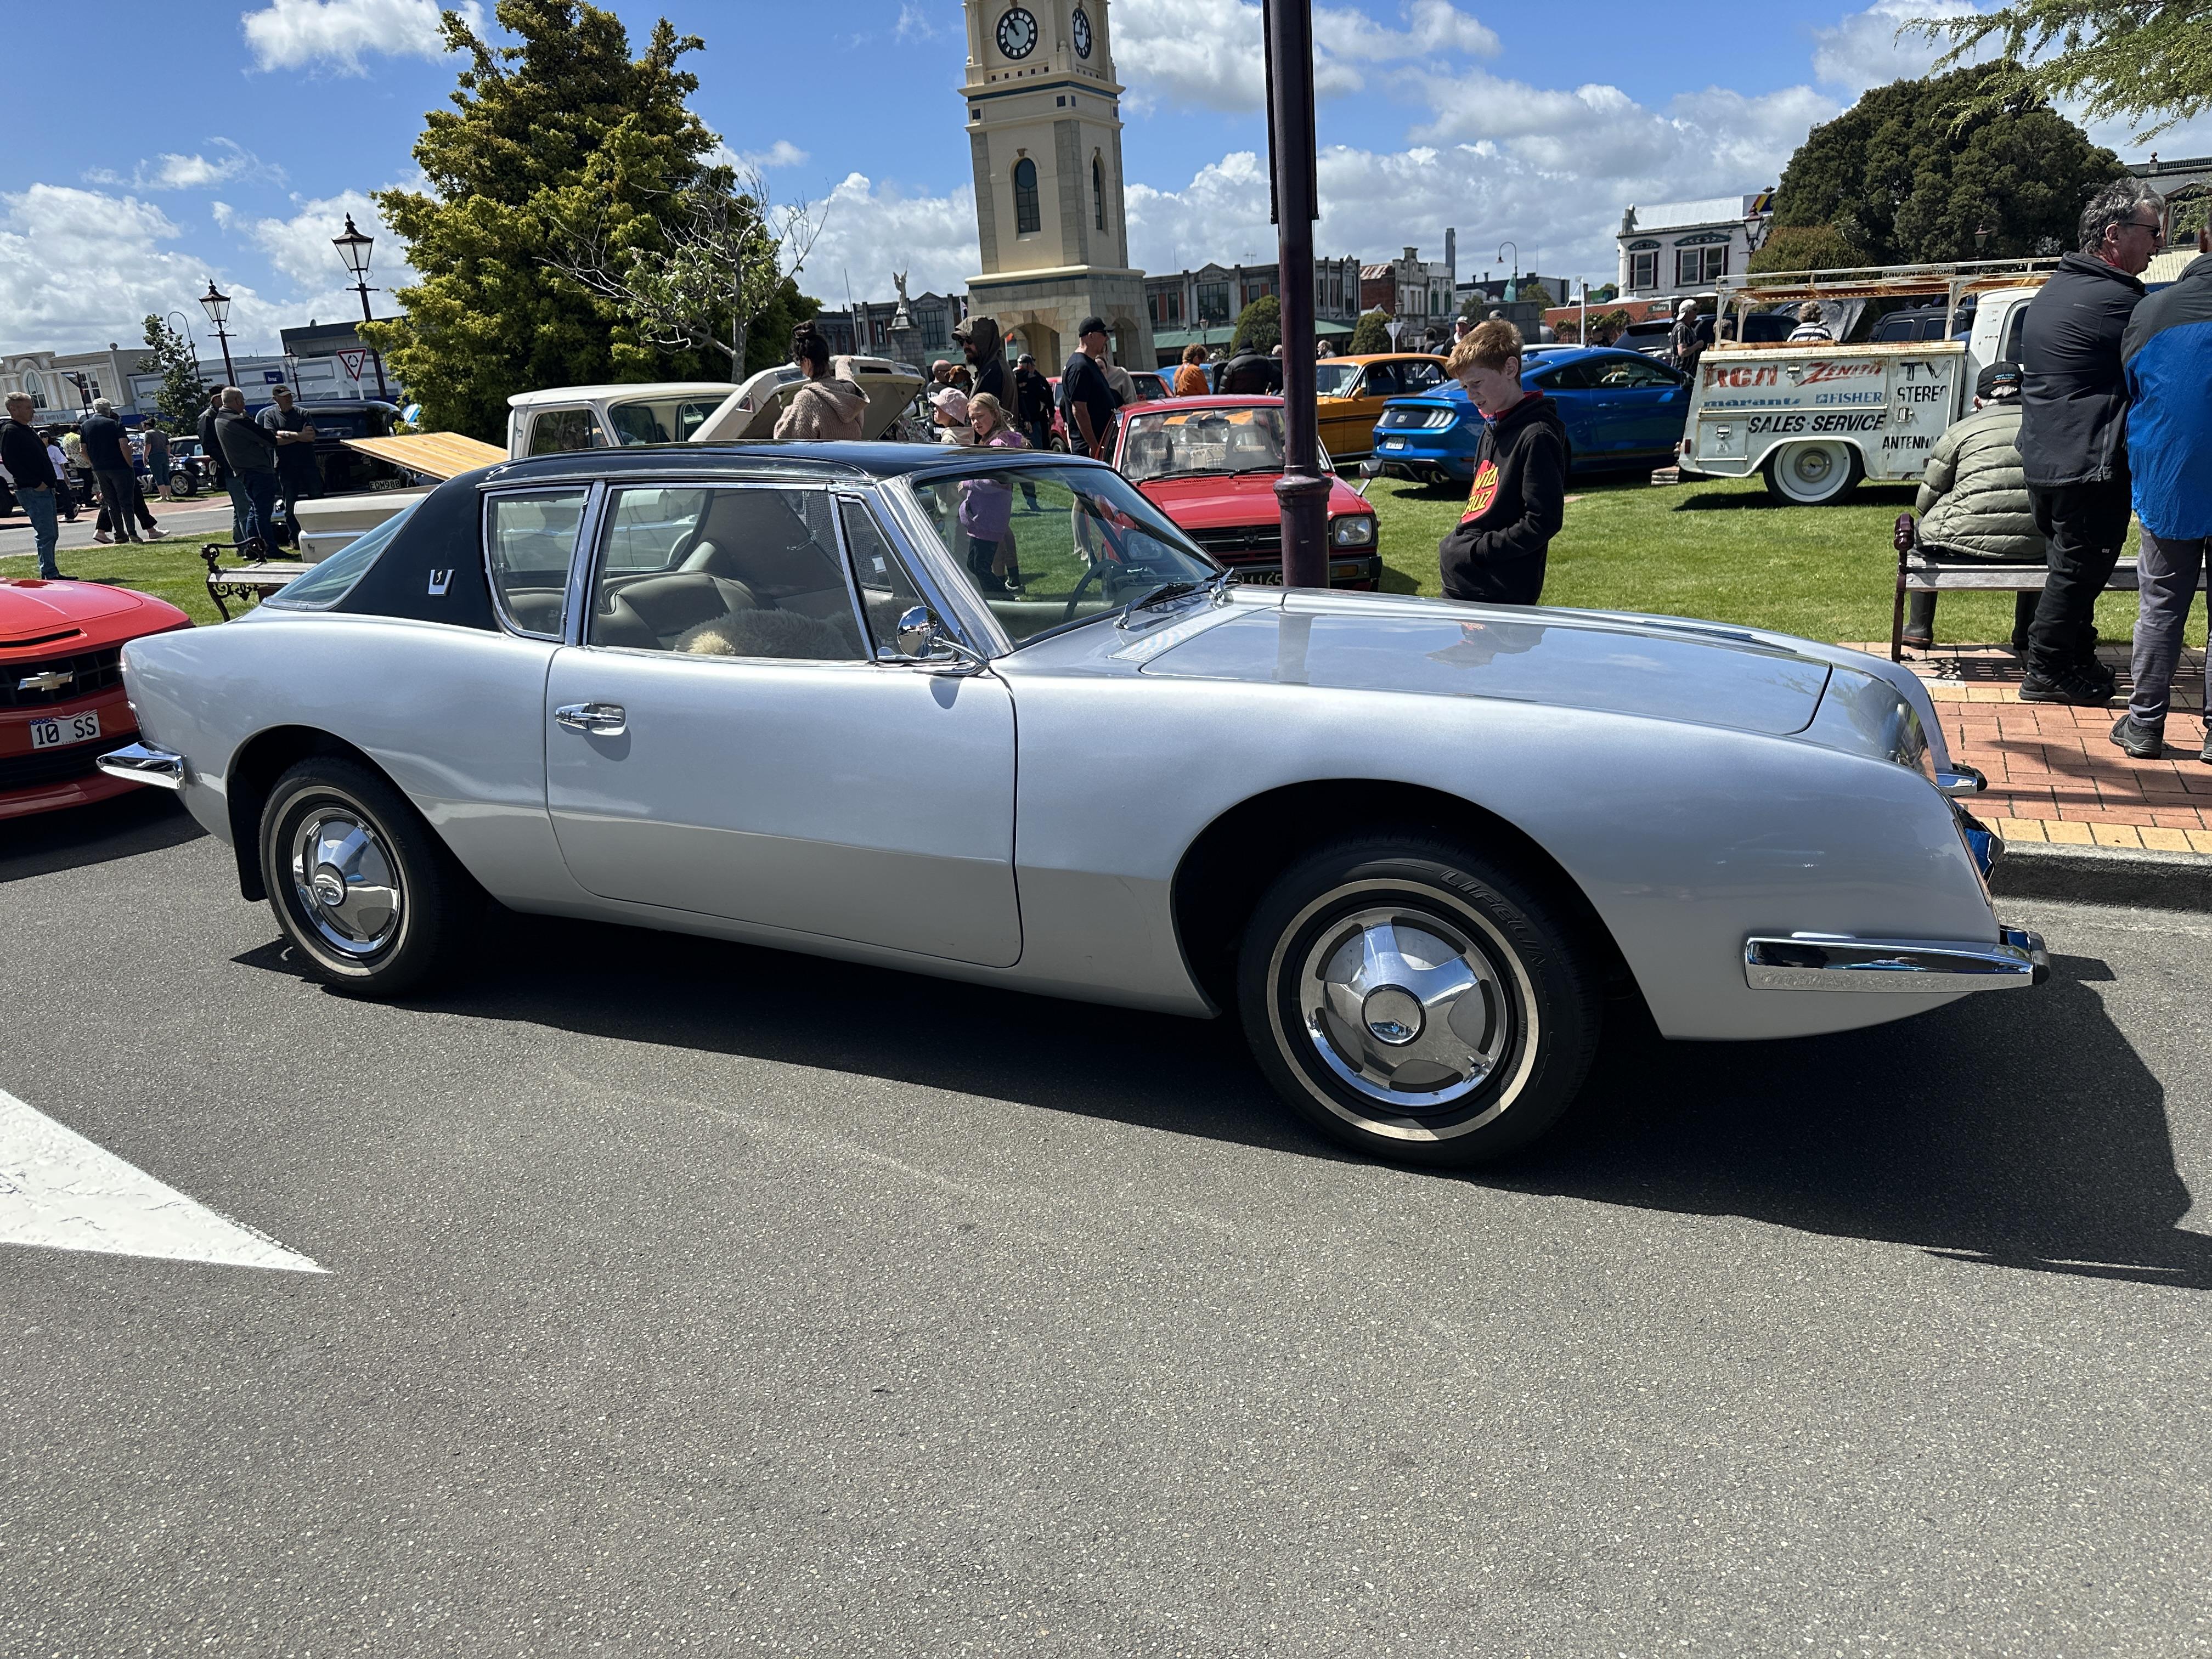
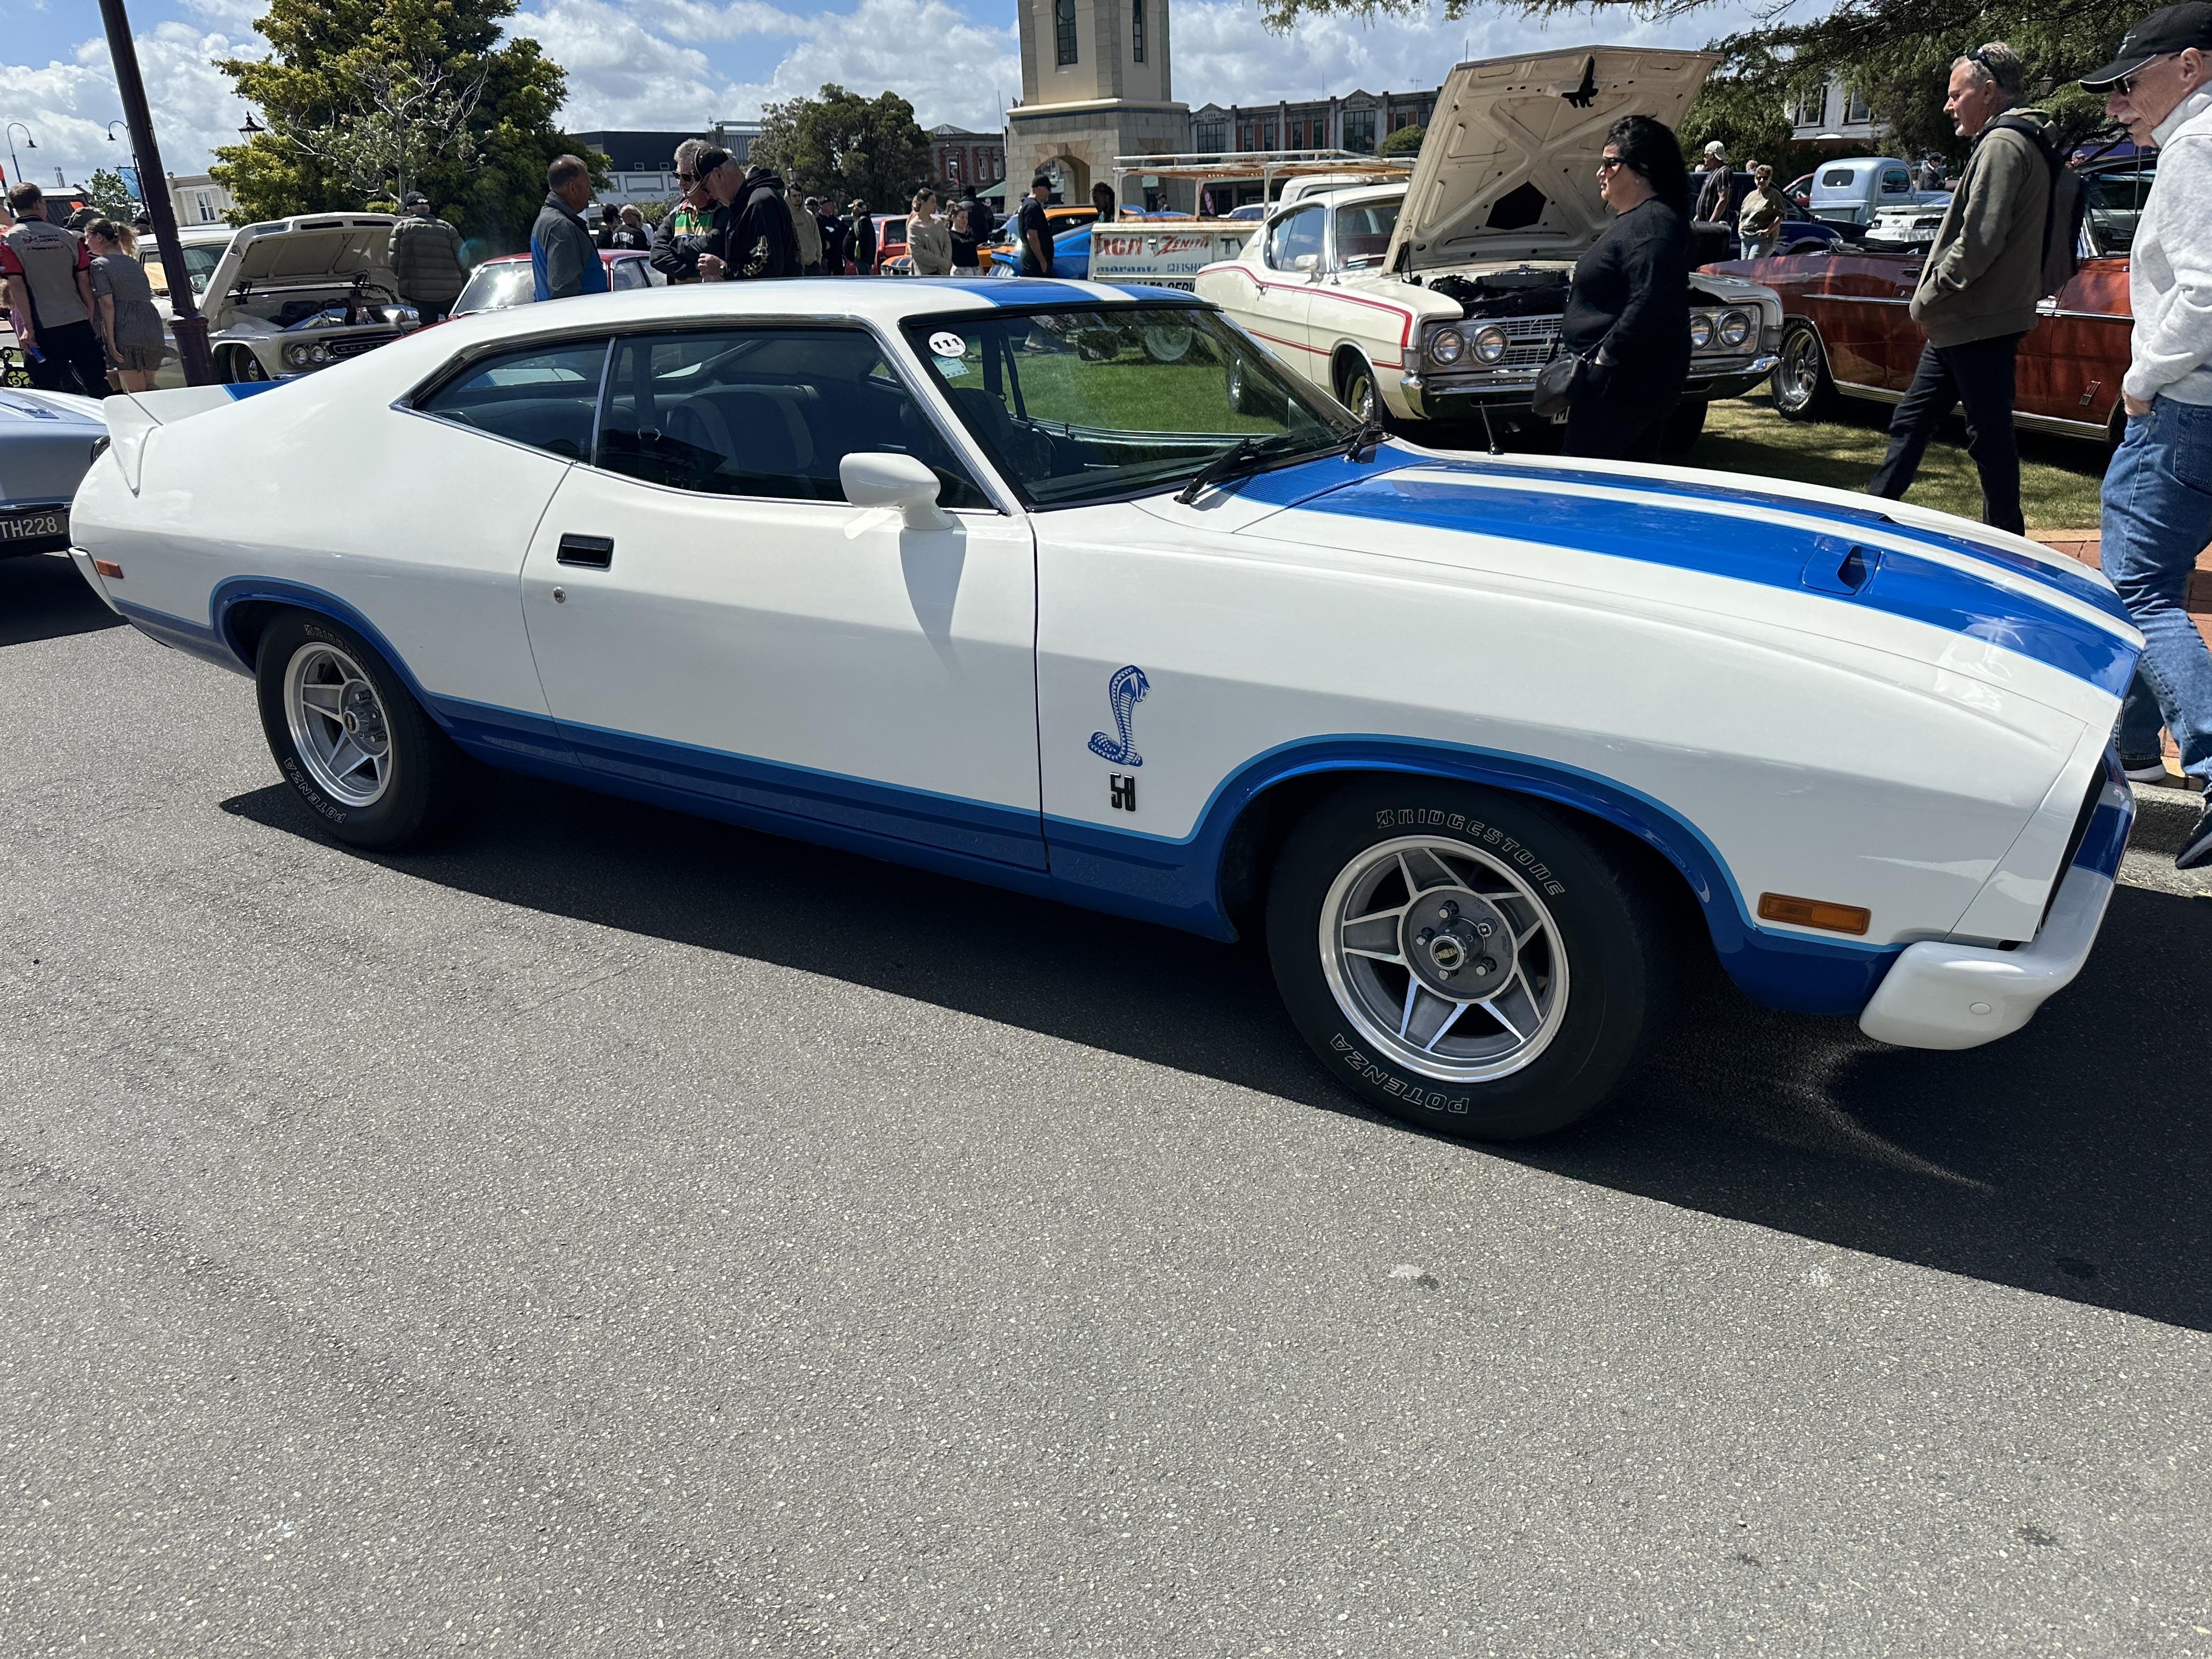
More from Fielding NZ show yesterday A tidy 38 Chev Sedan Delivery and a potent 38 Coupe with a 500+ hp injected 427 SBC A cool 34 coupe that was hand made with the only original 34 part being the cowl. There are some very talented people around A nice survivor 56 Buick A land yacht Chrysler A Daimler Sport - rare. The speedo is a real deal Smith's 140mph unit Unusual paint treatment on a Bonus PU Oz Falcon GT - not sure if the real deal or a clone
-
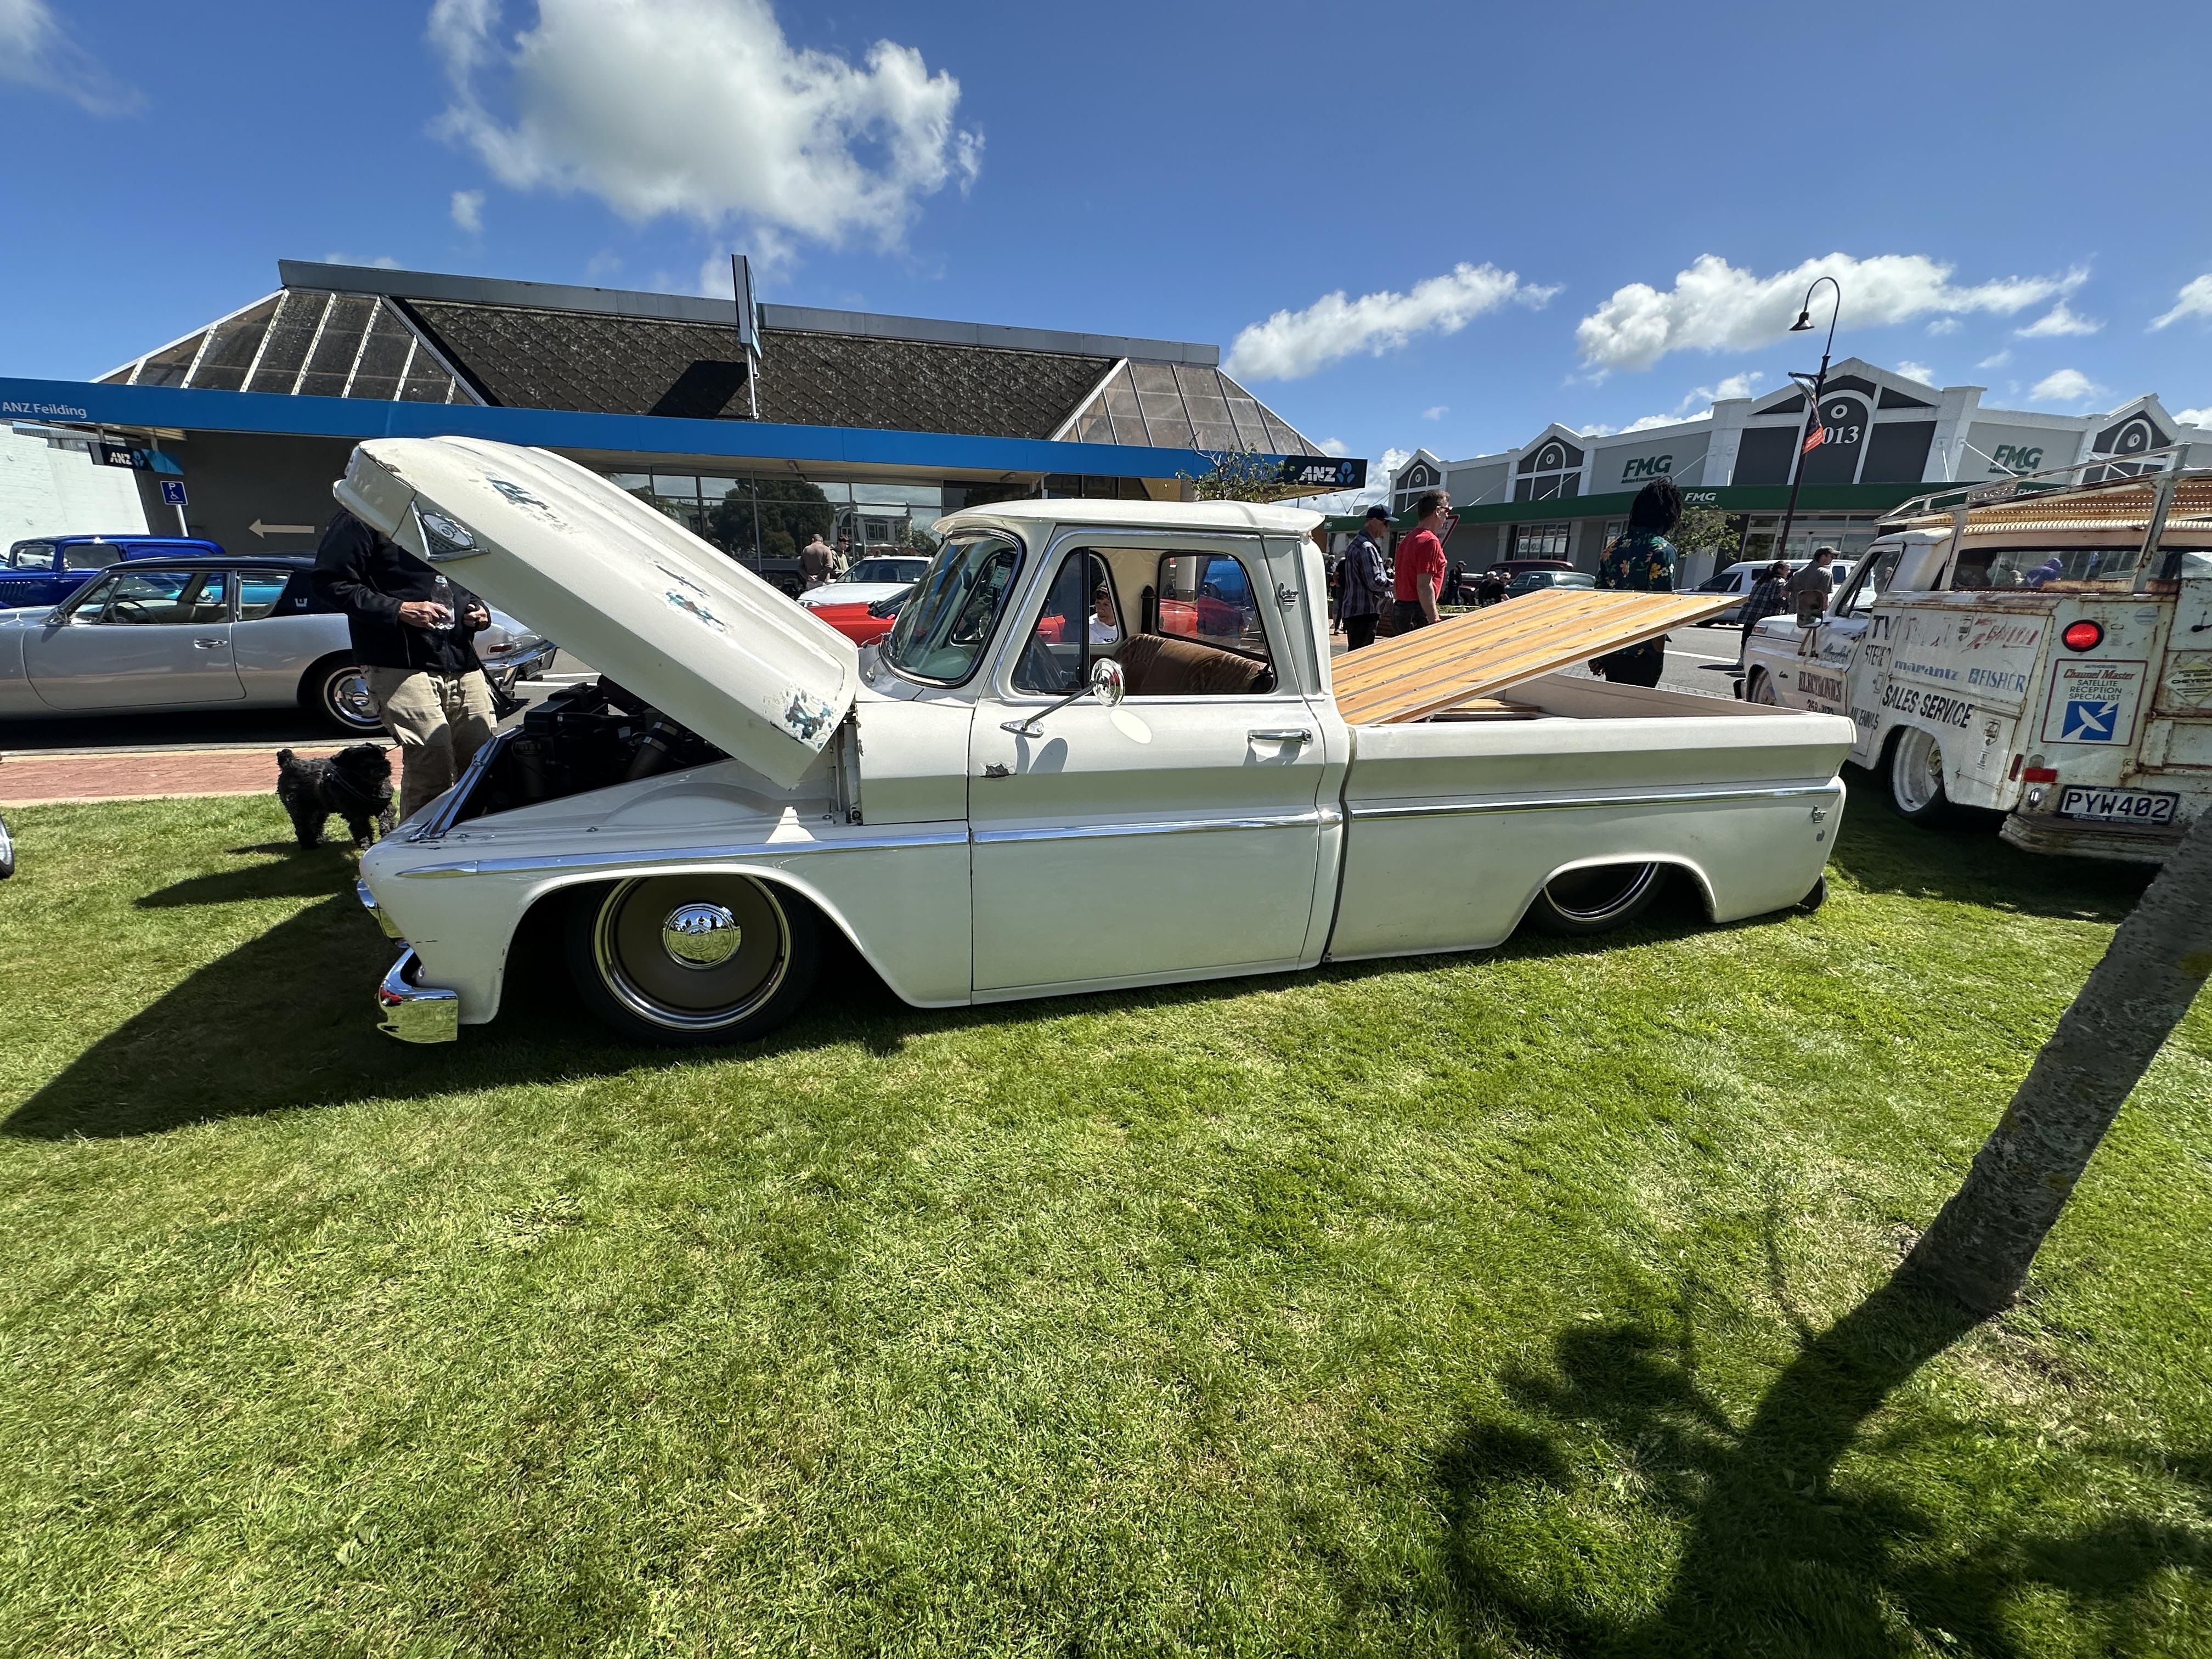
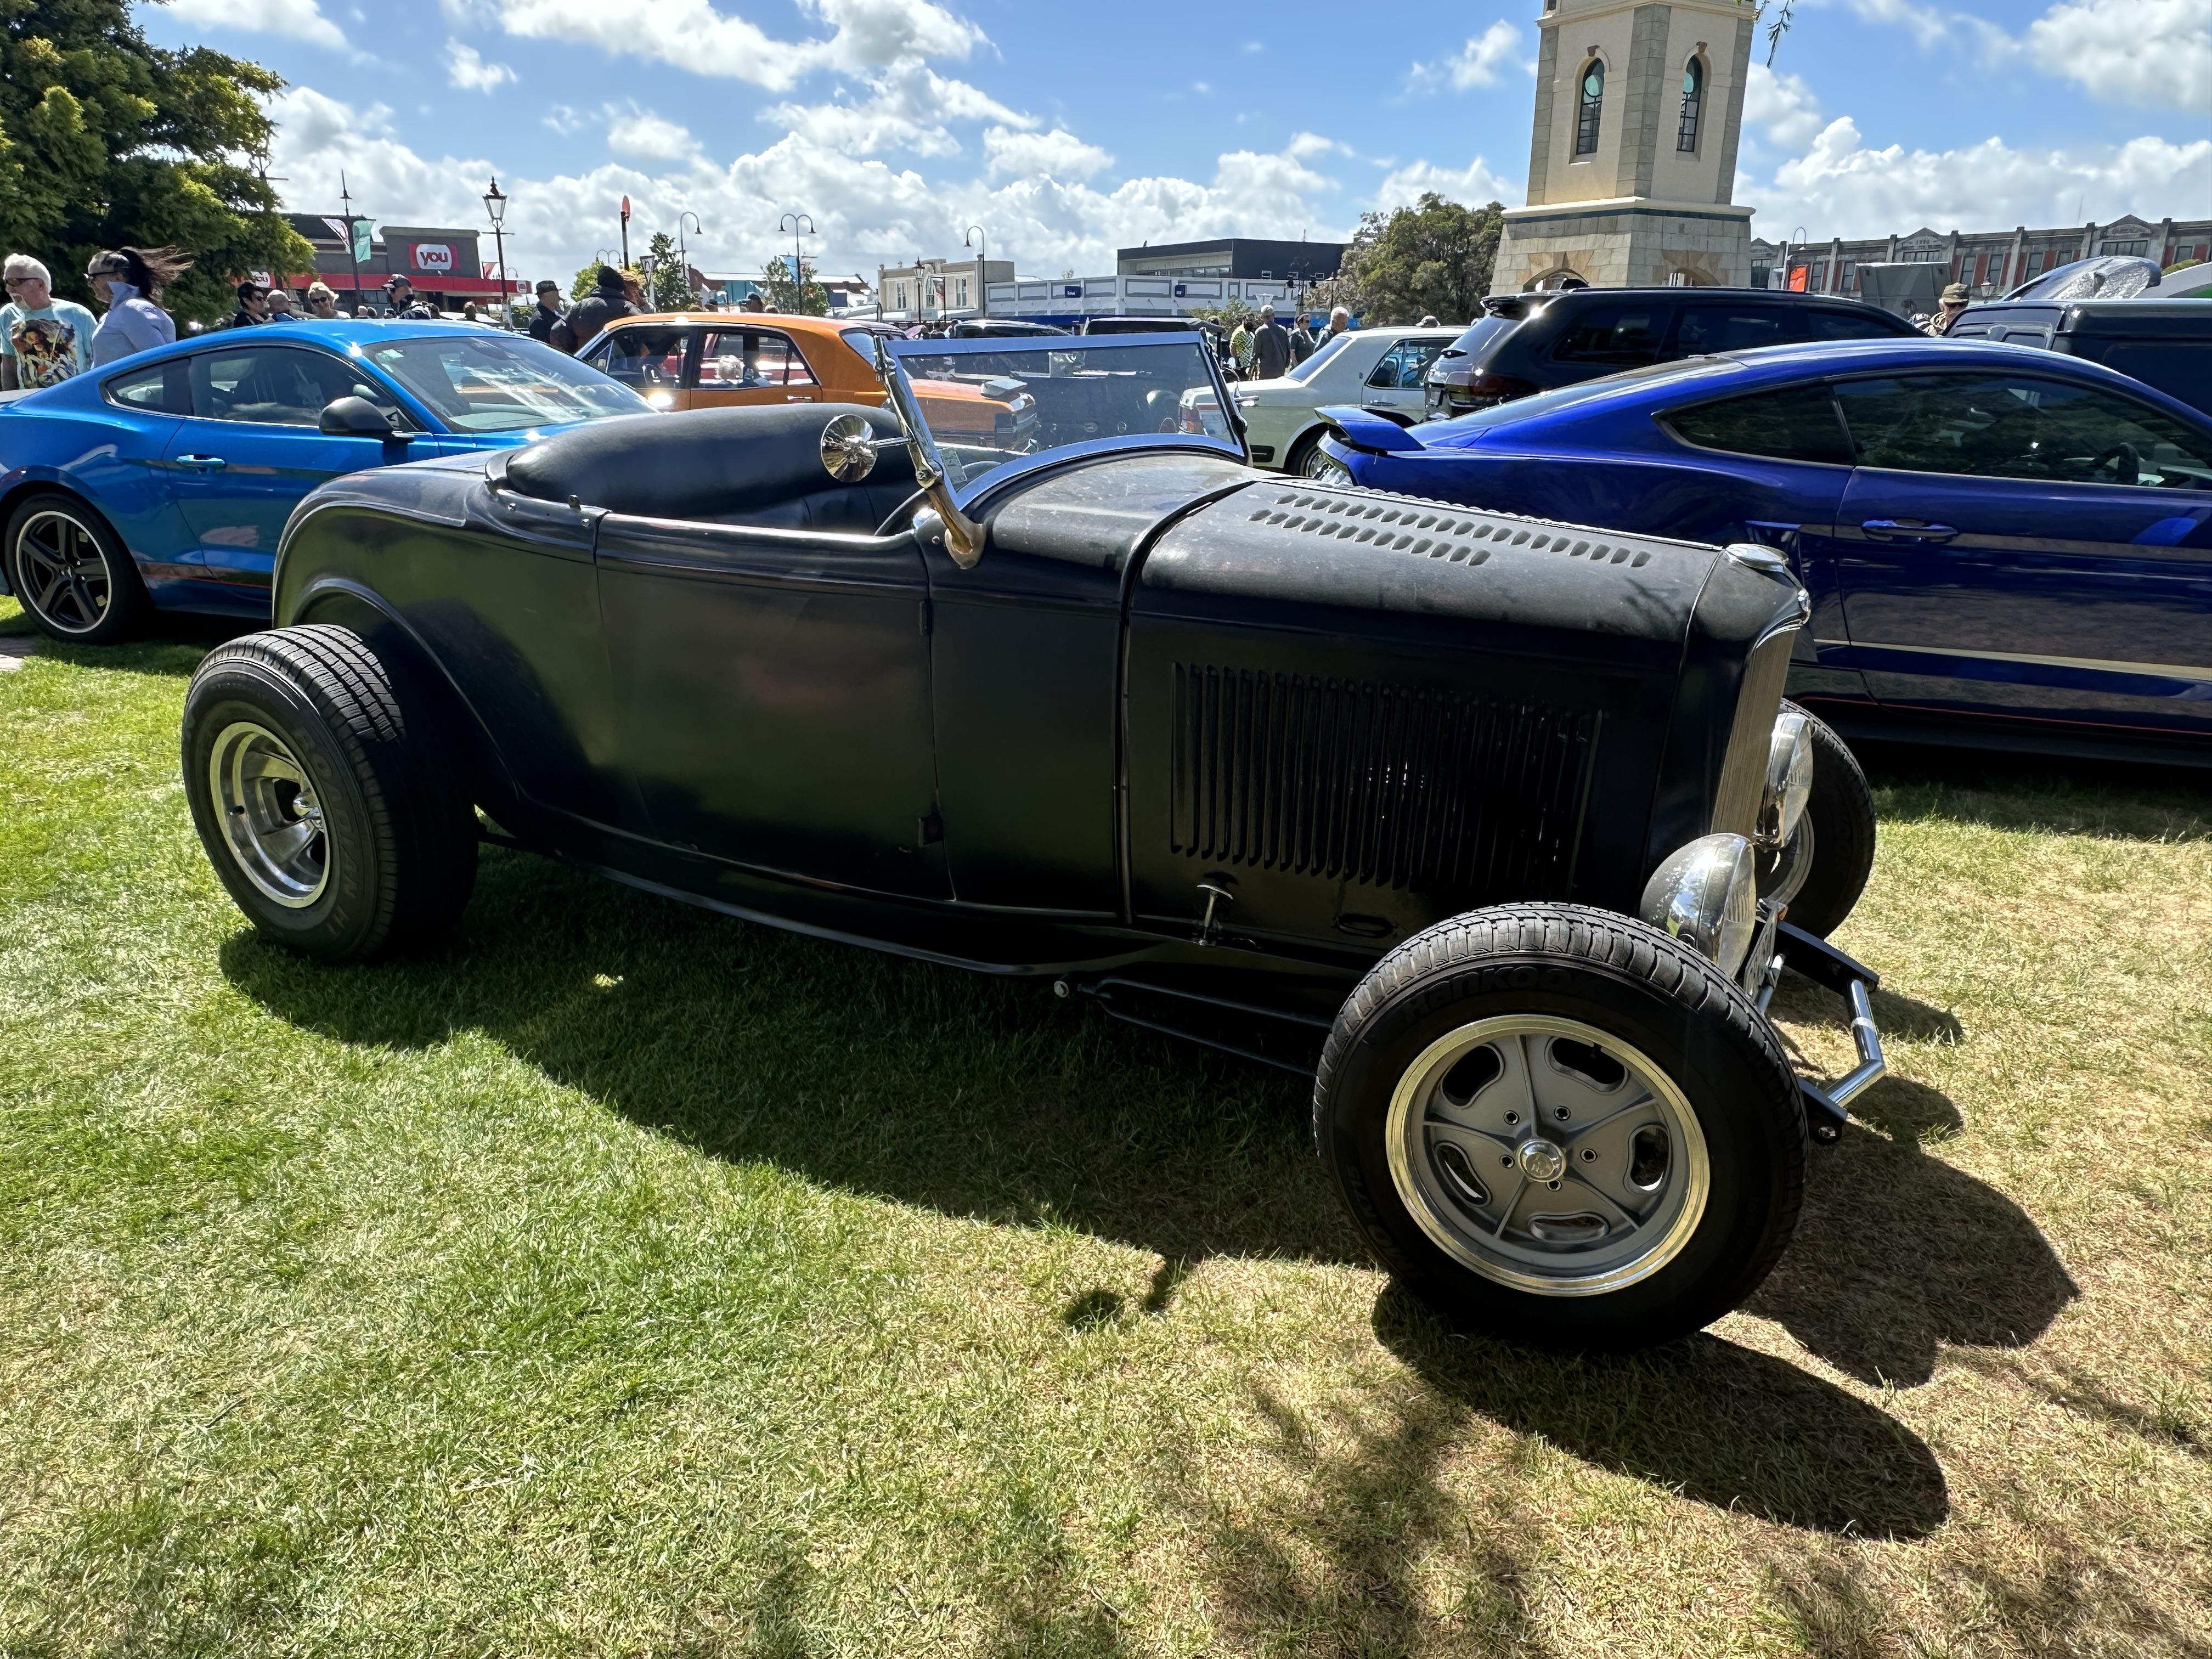
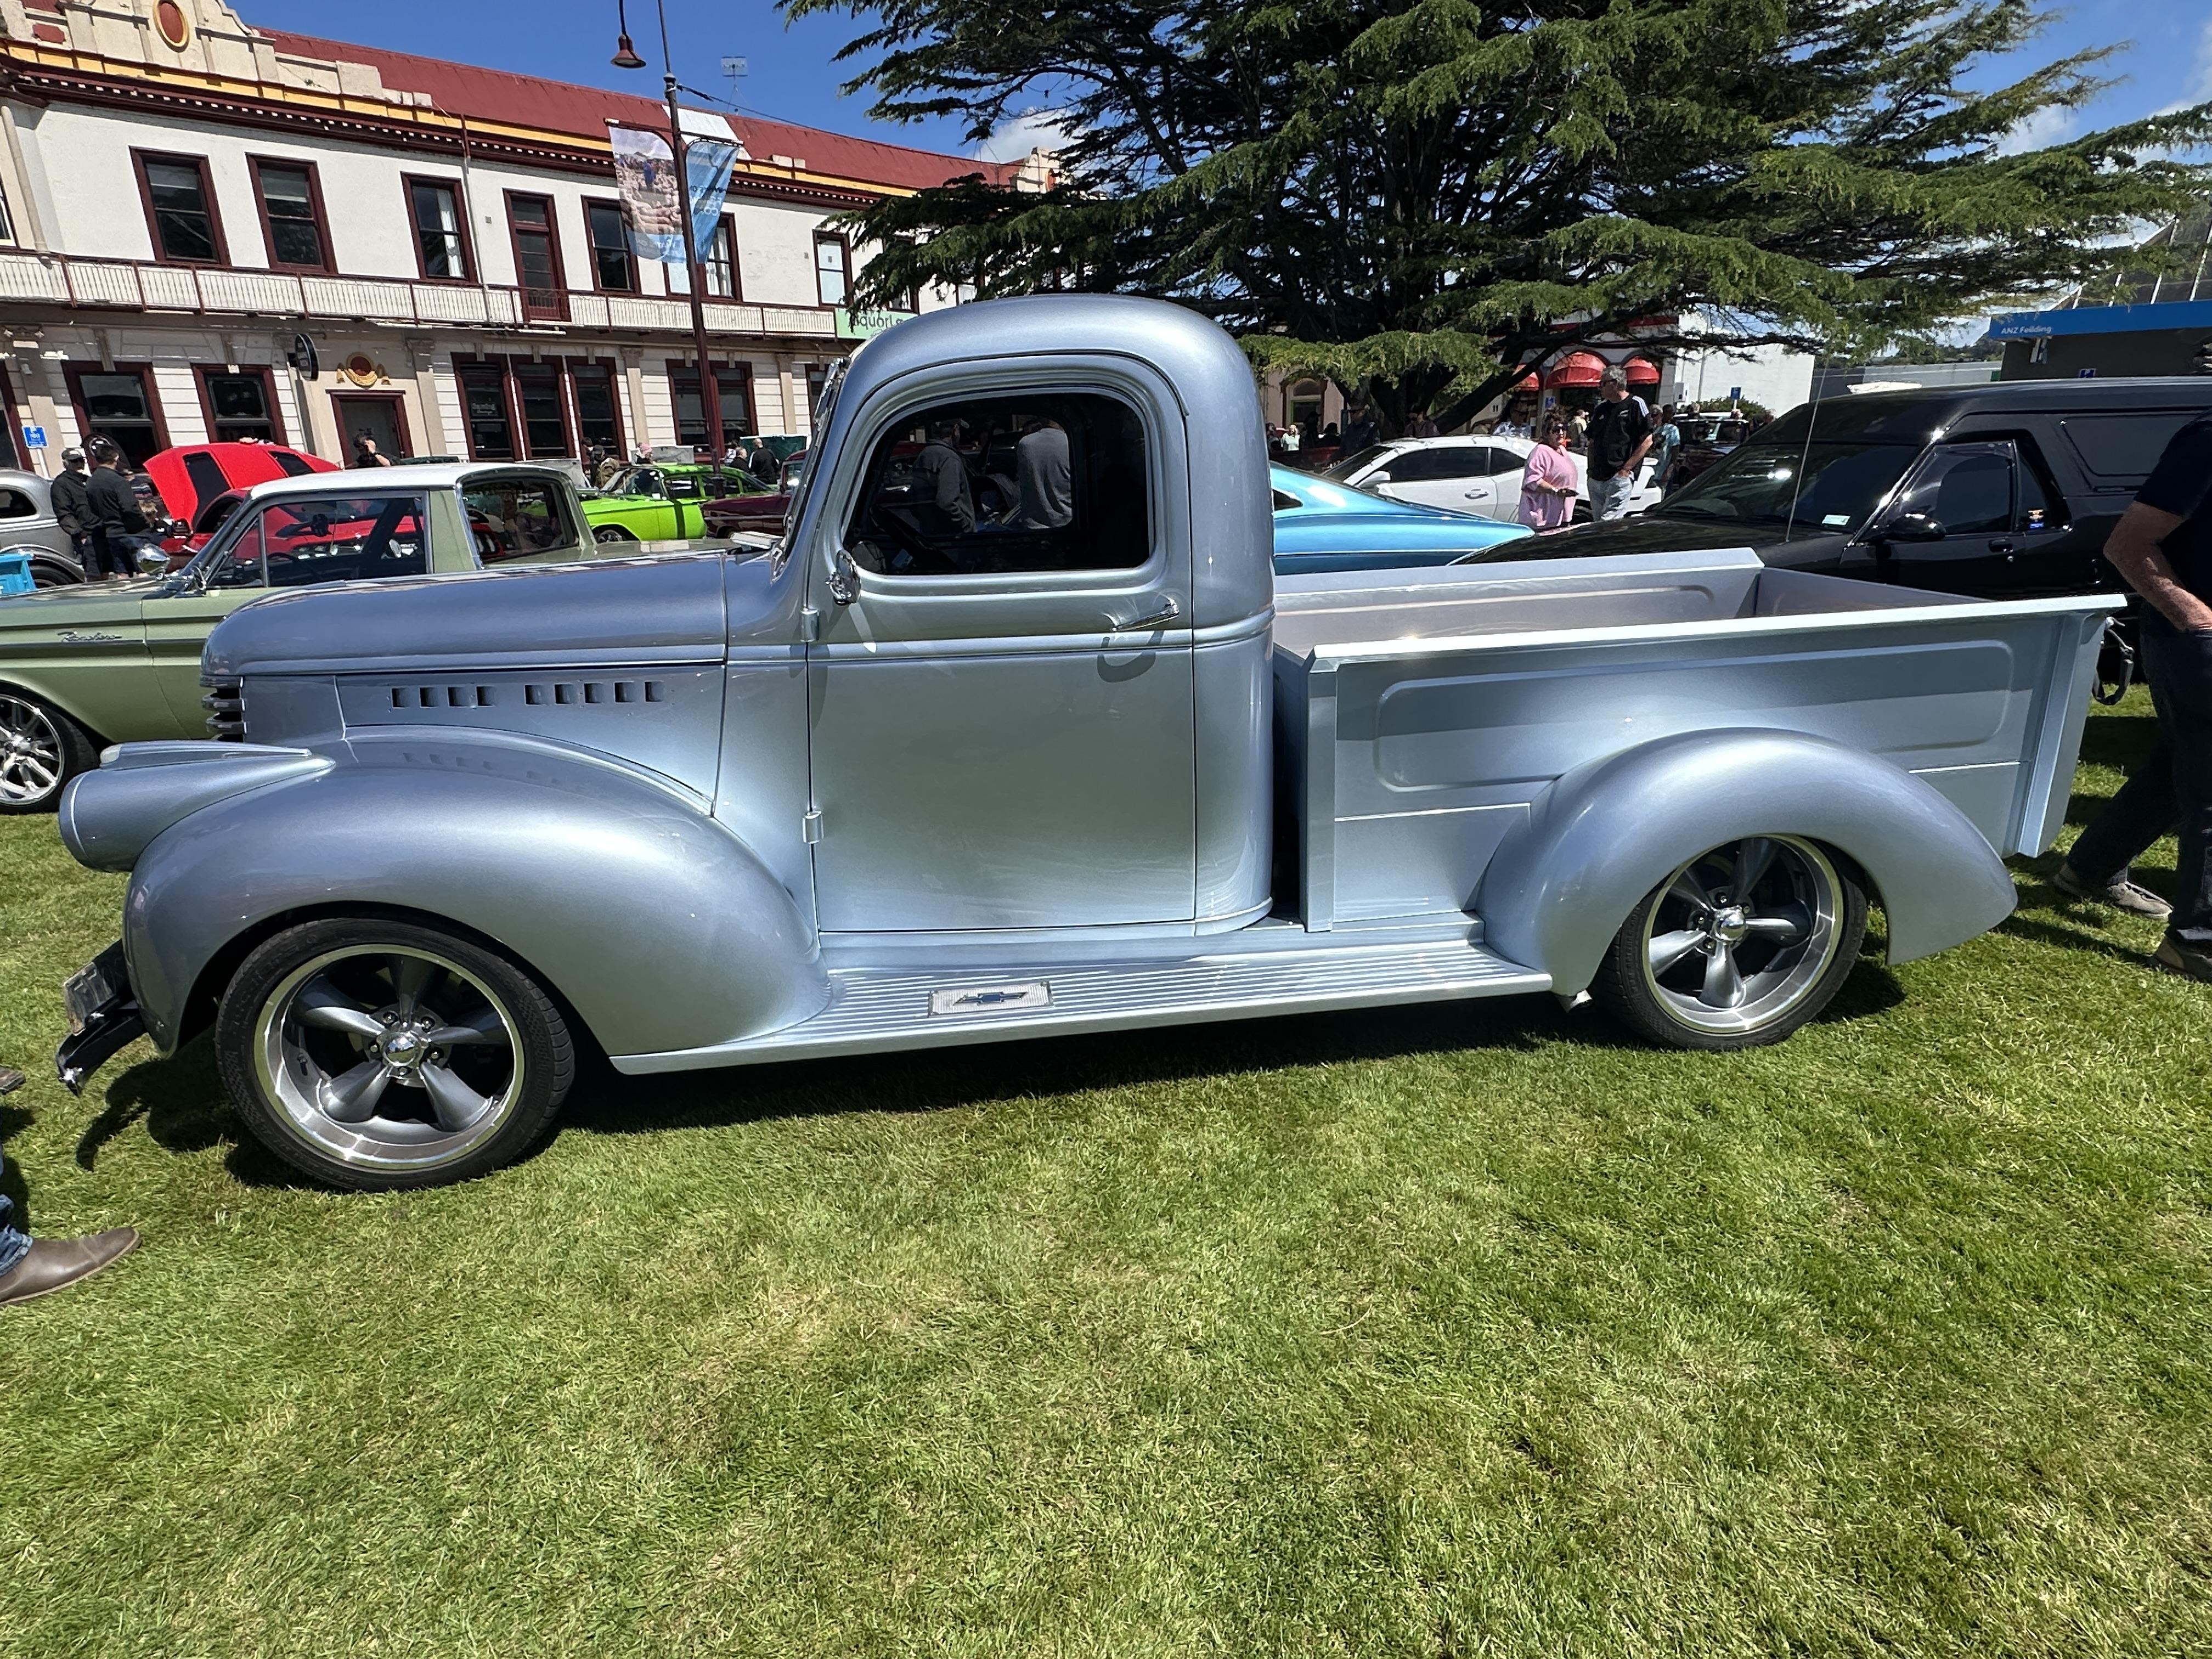
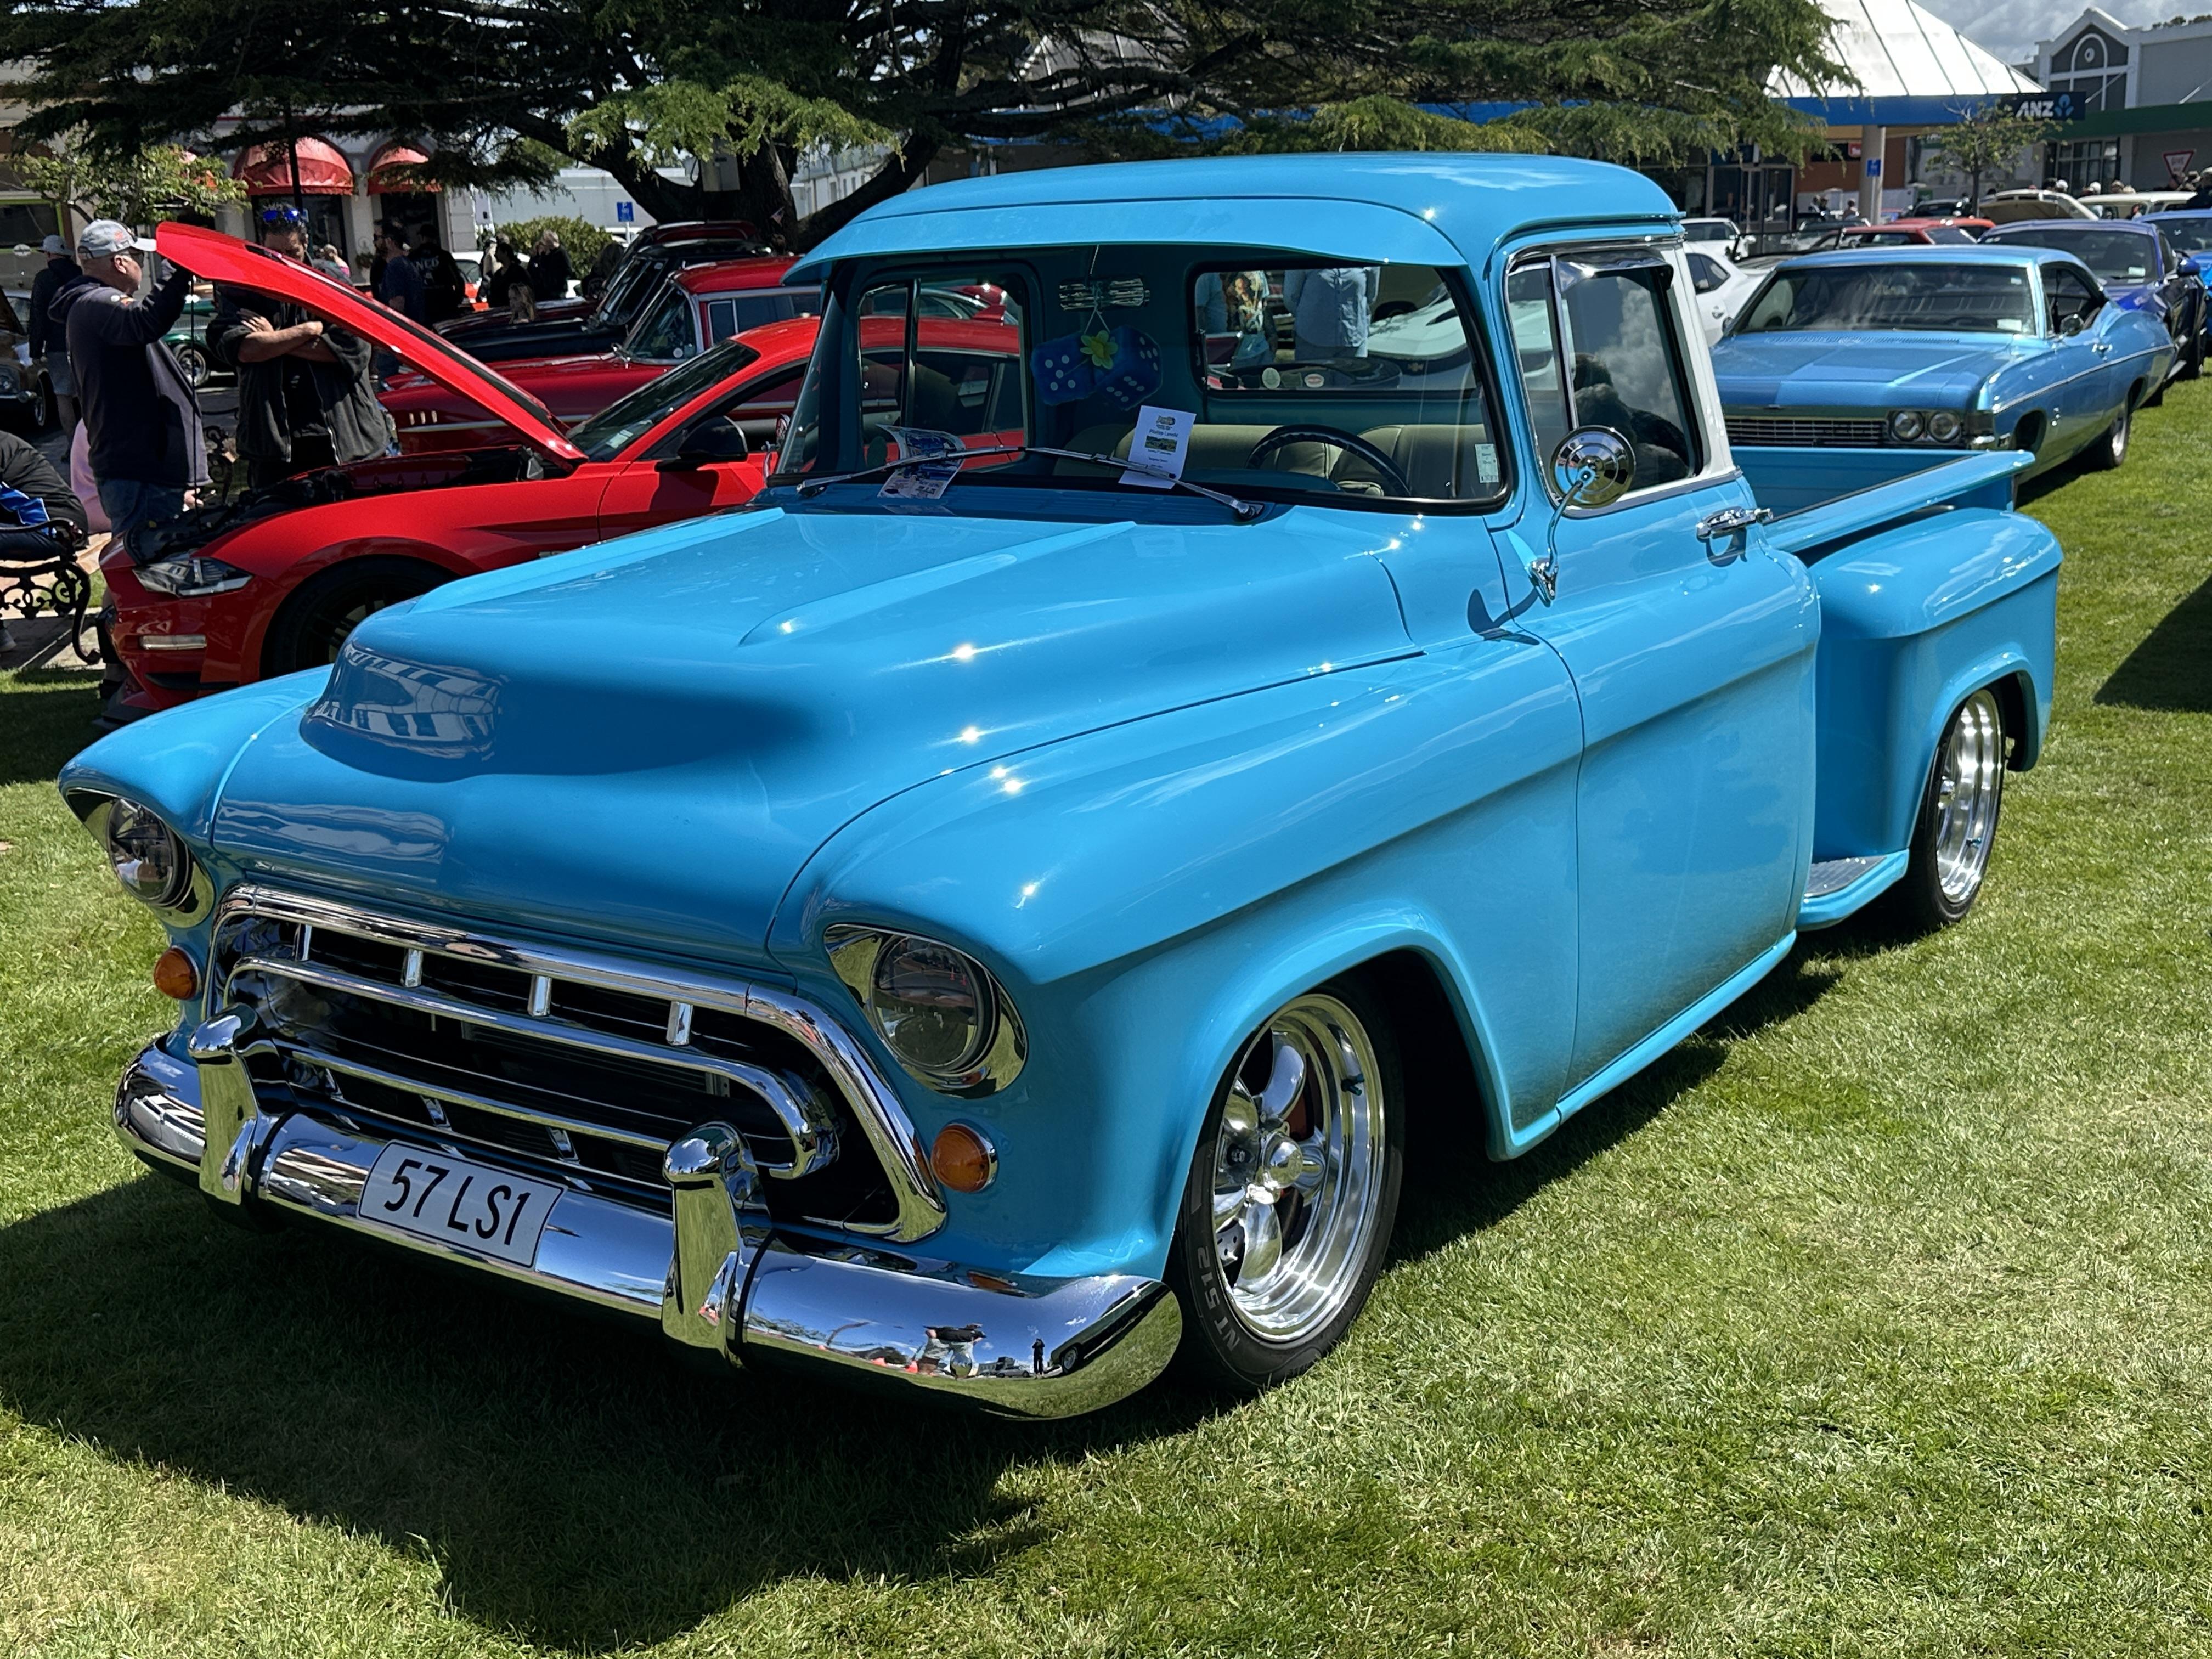
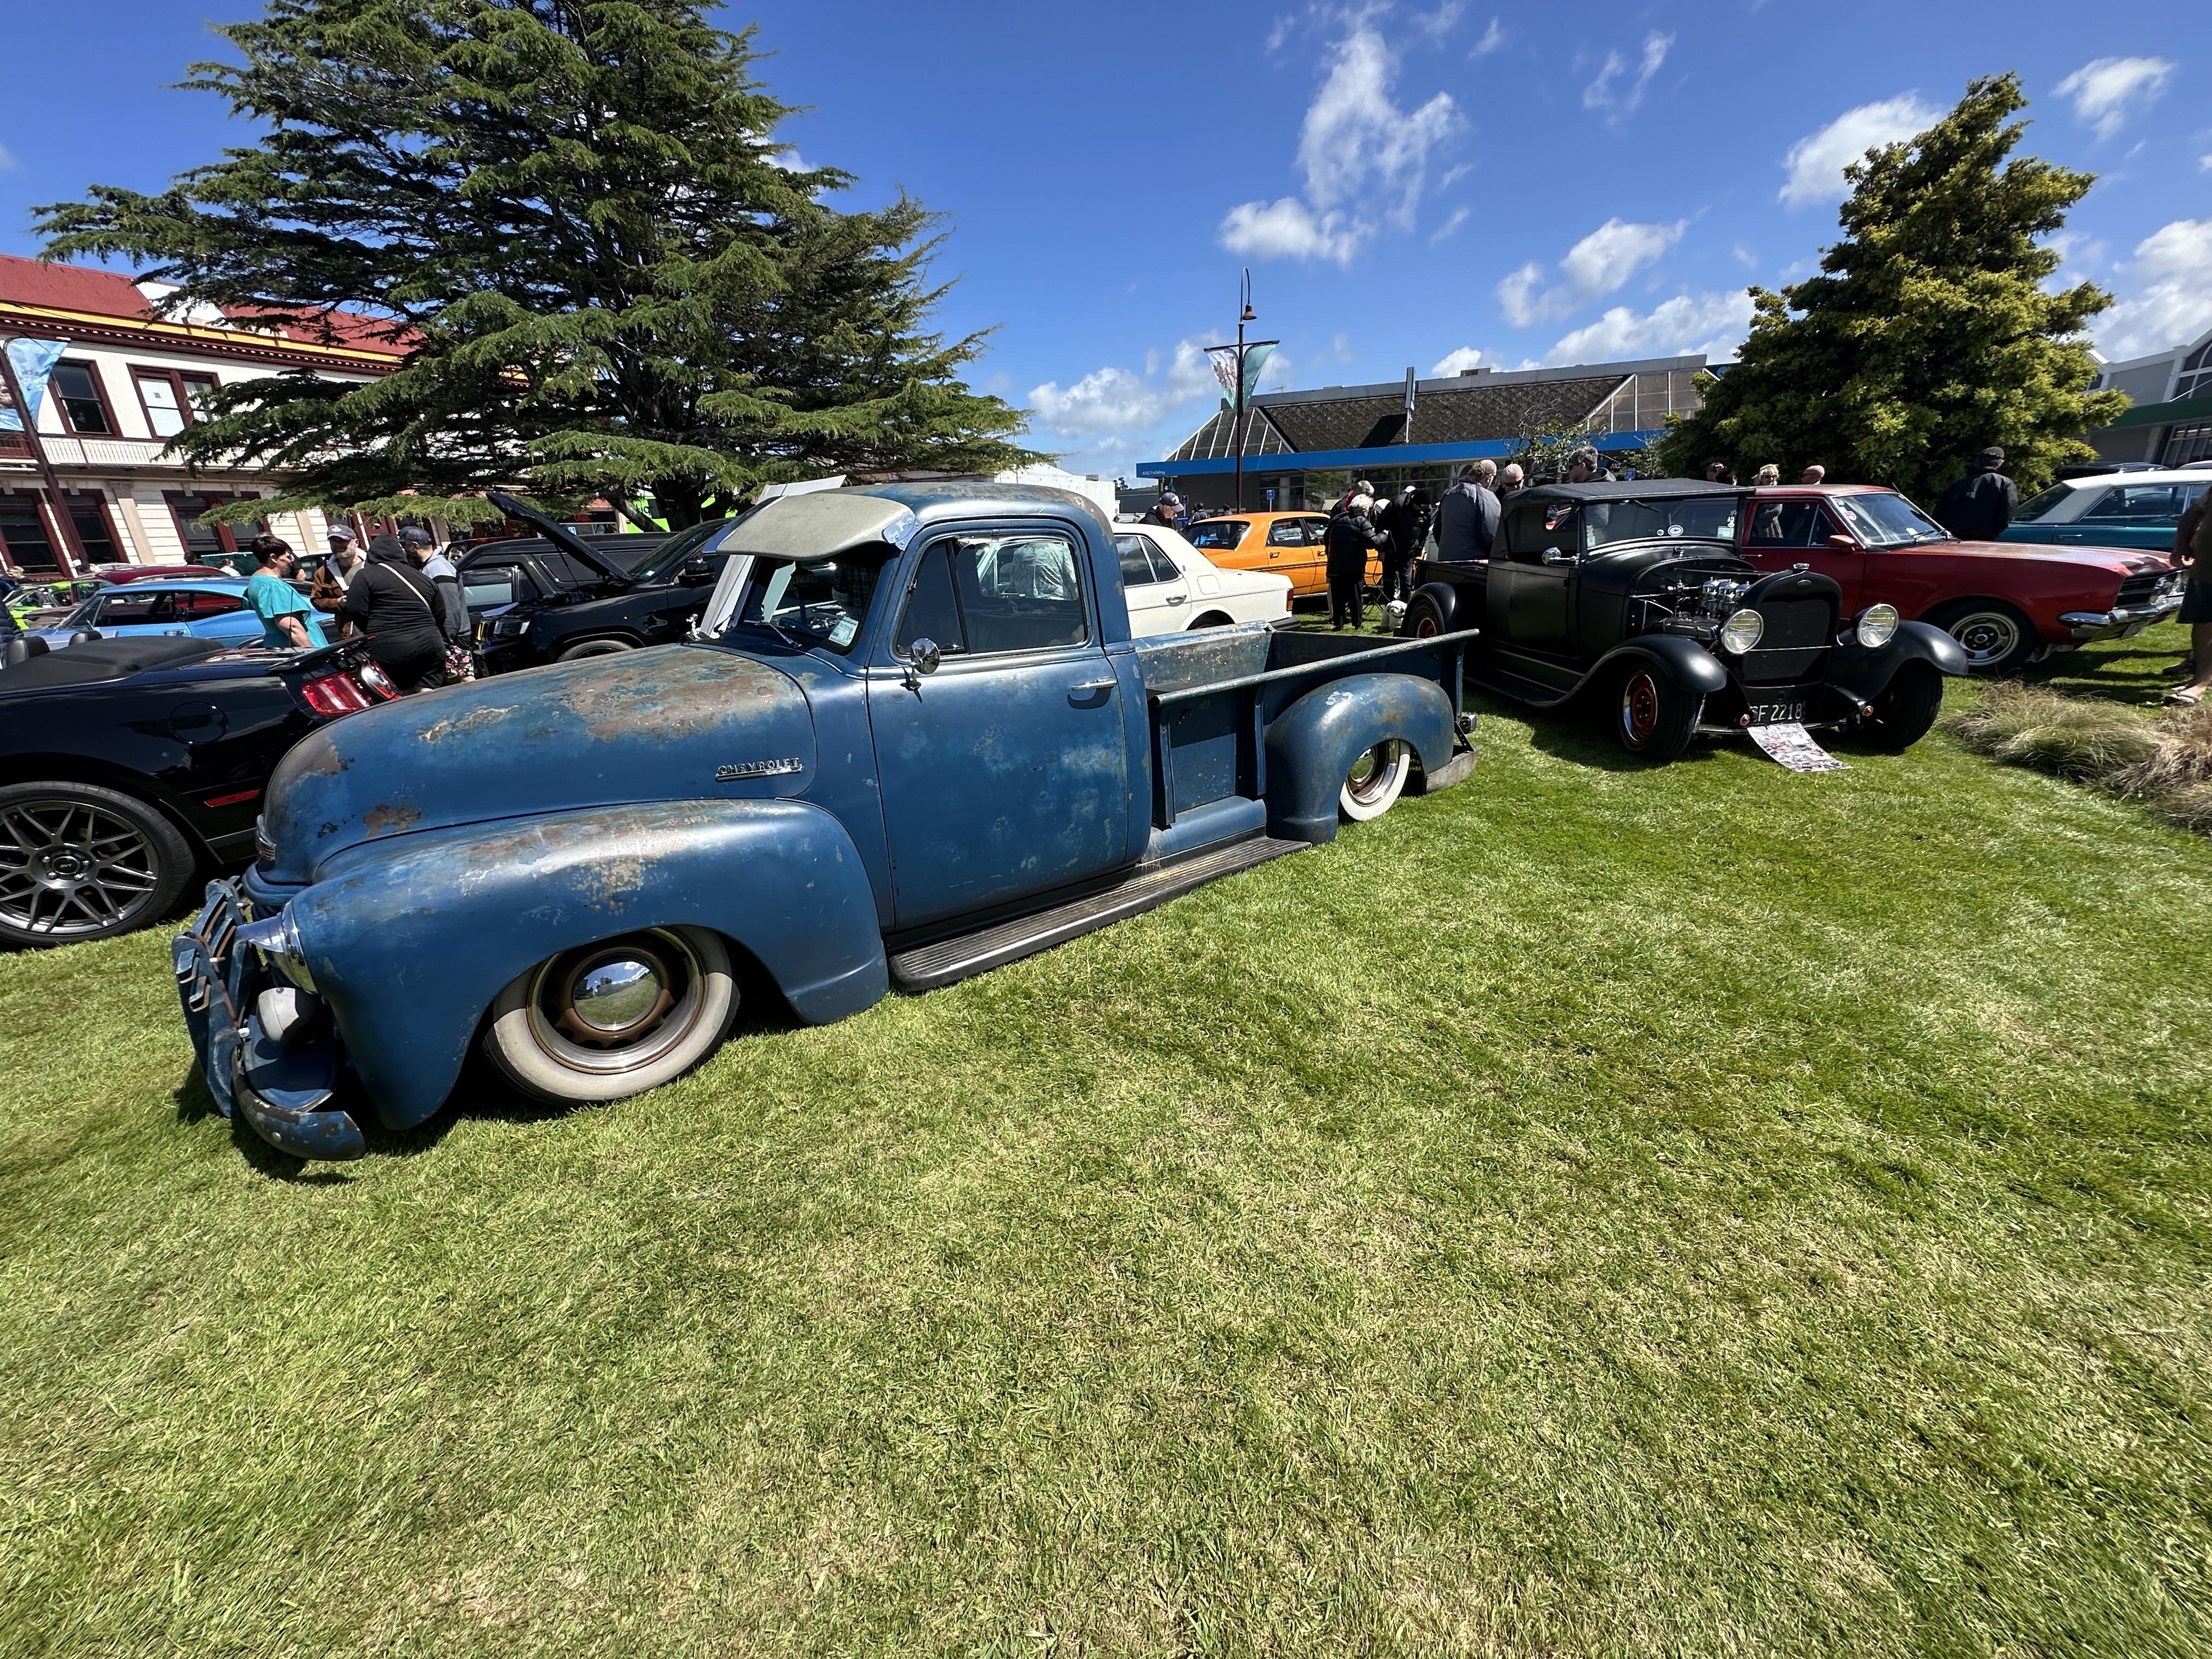
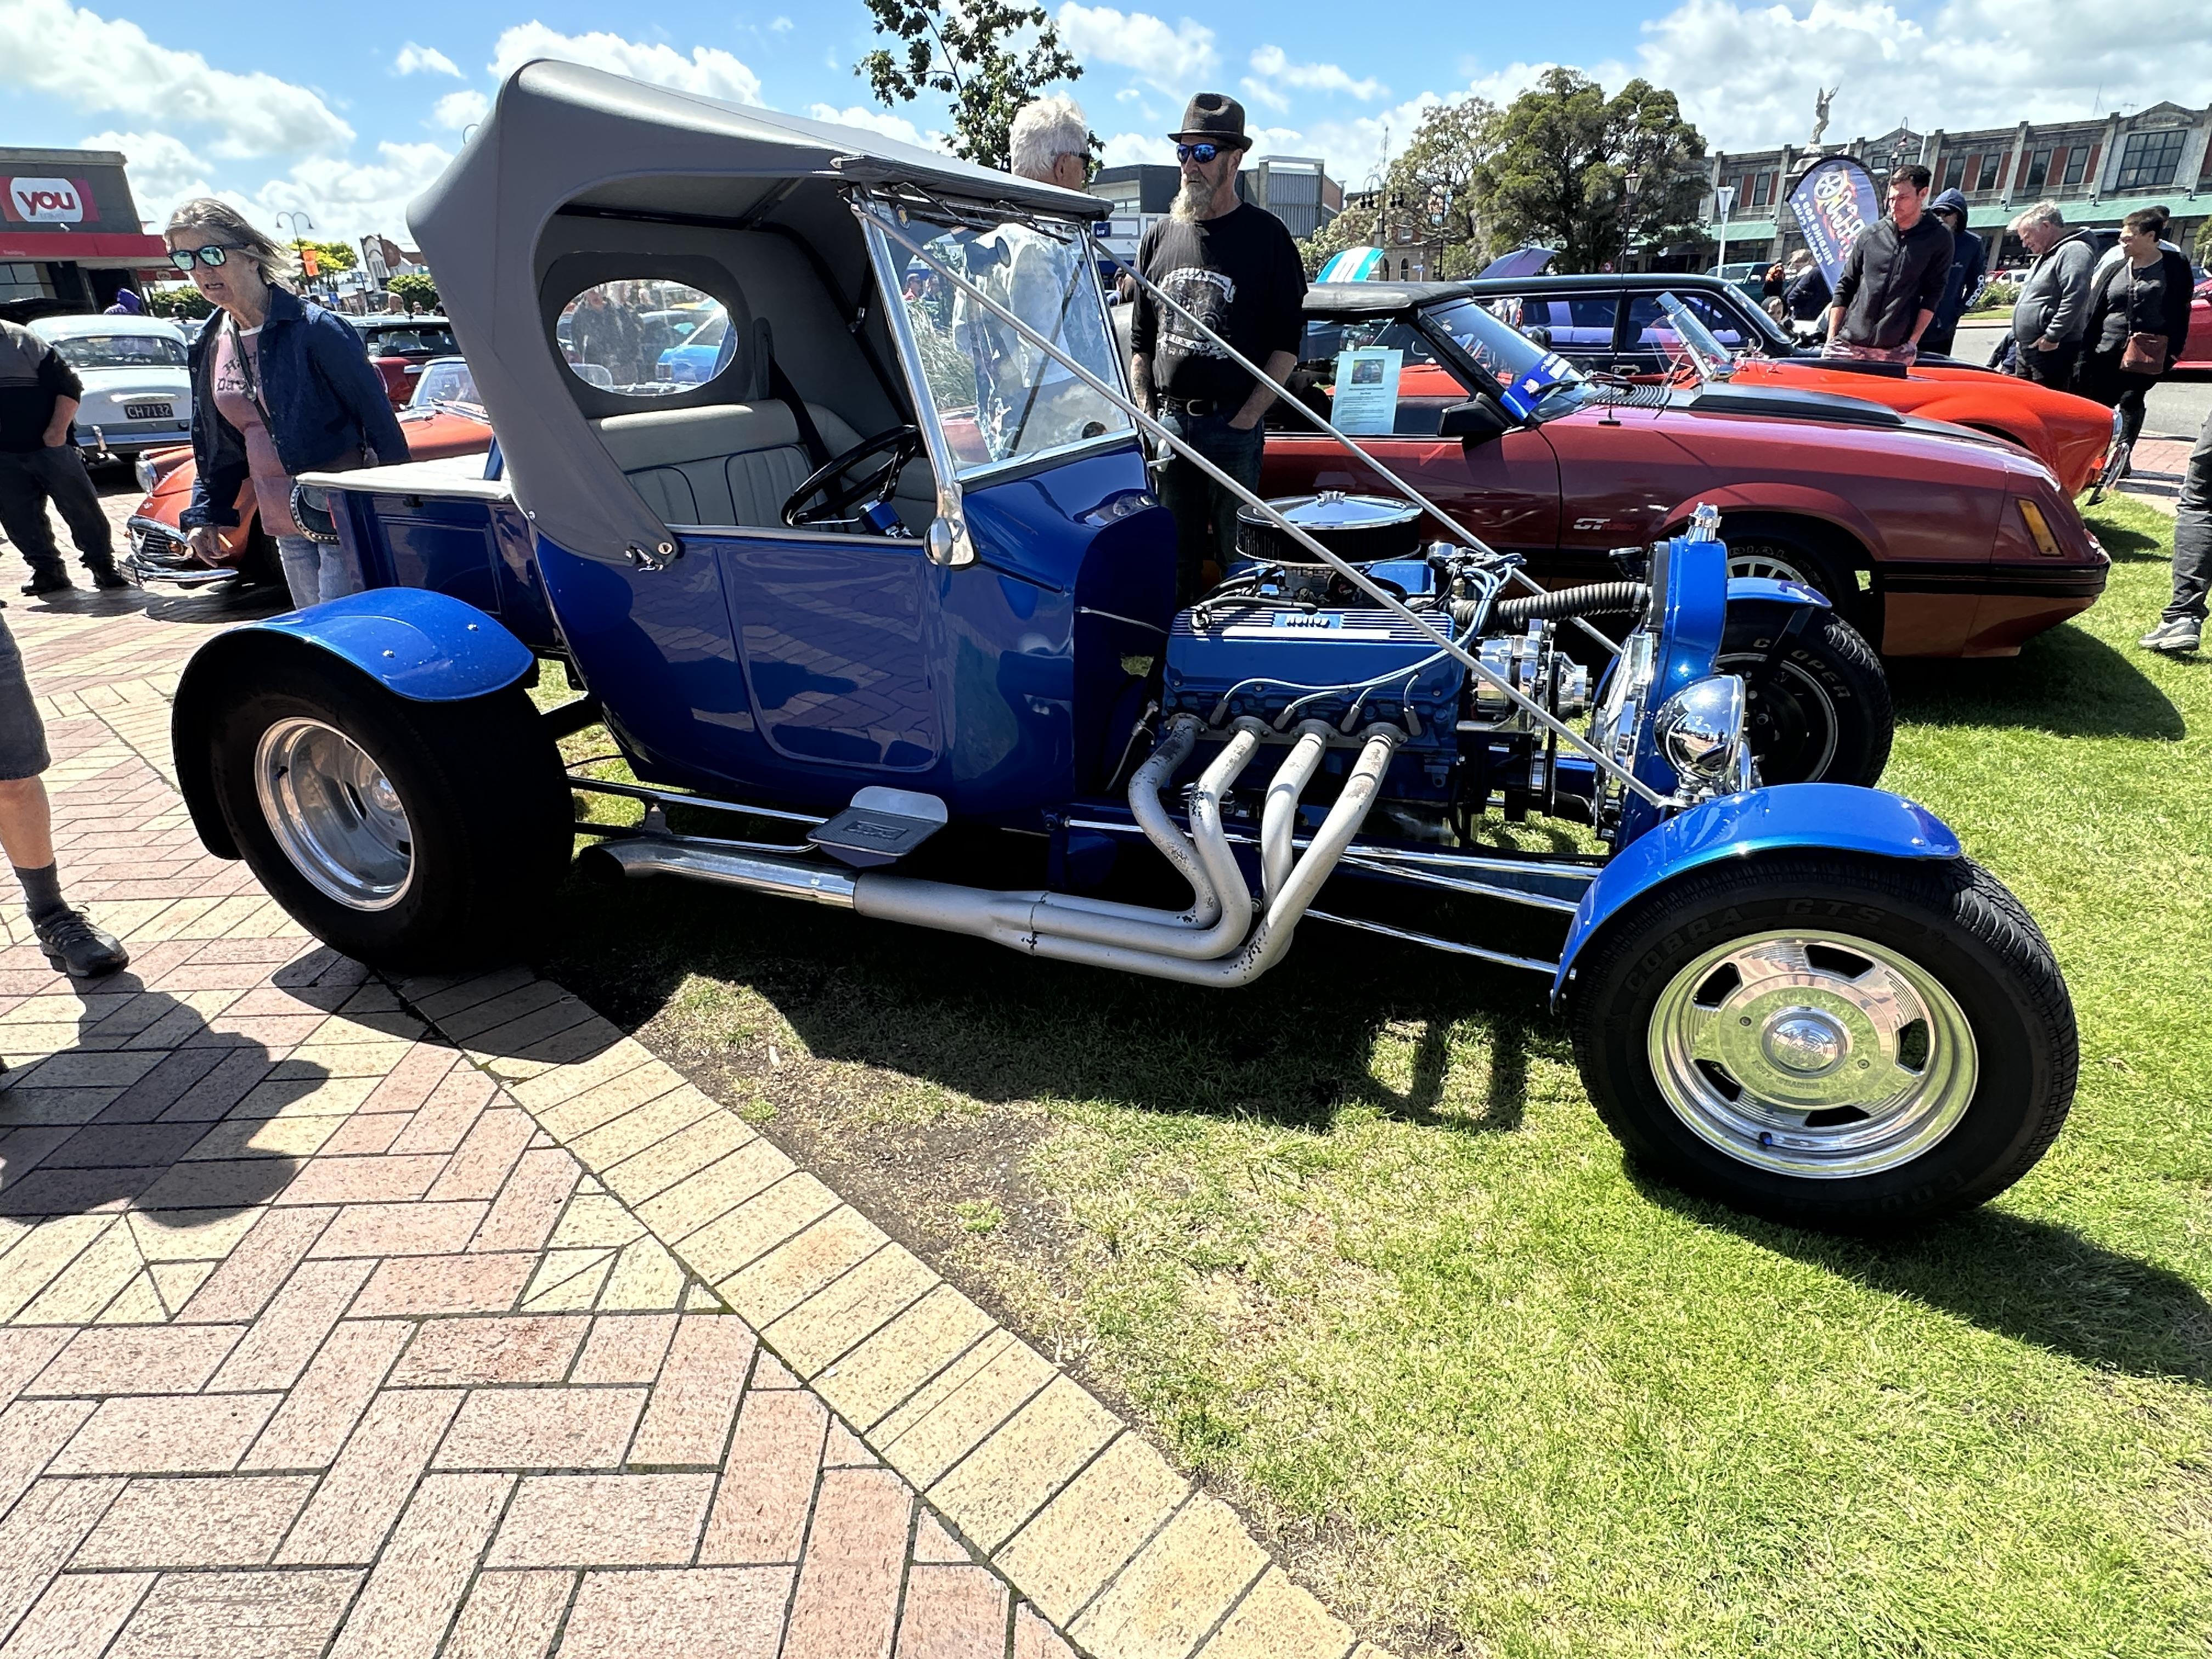
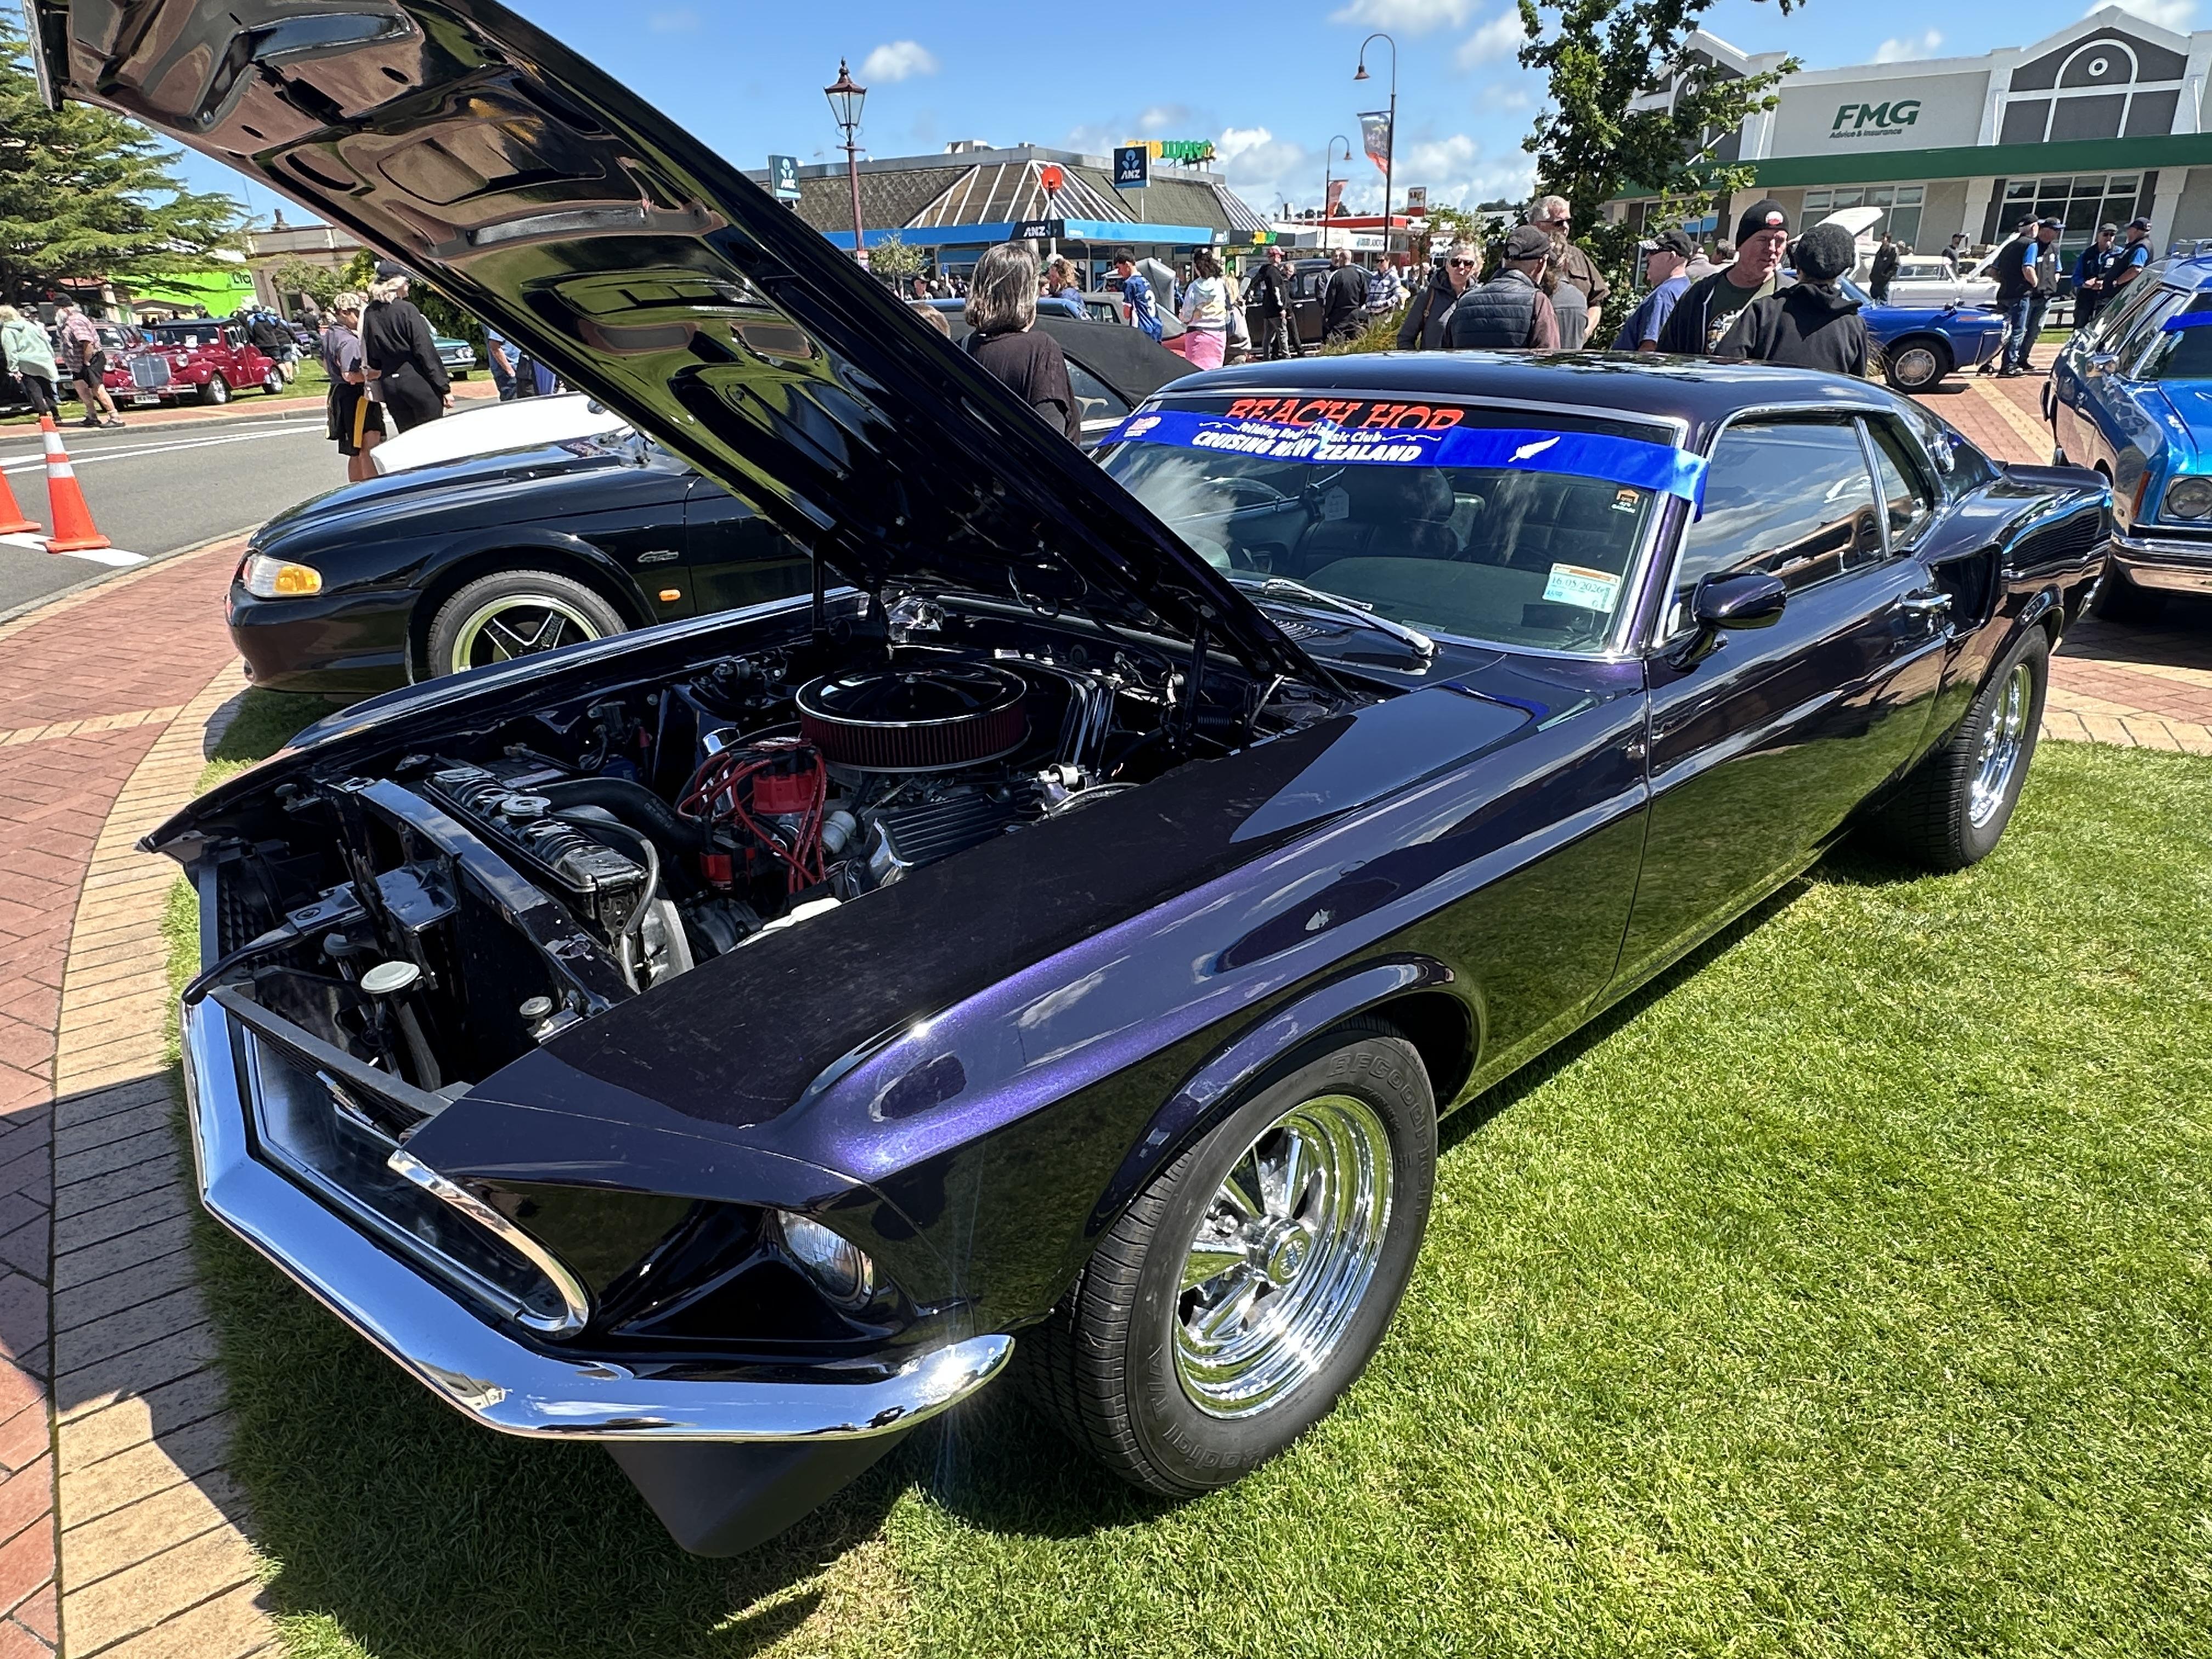
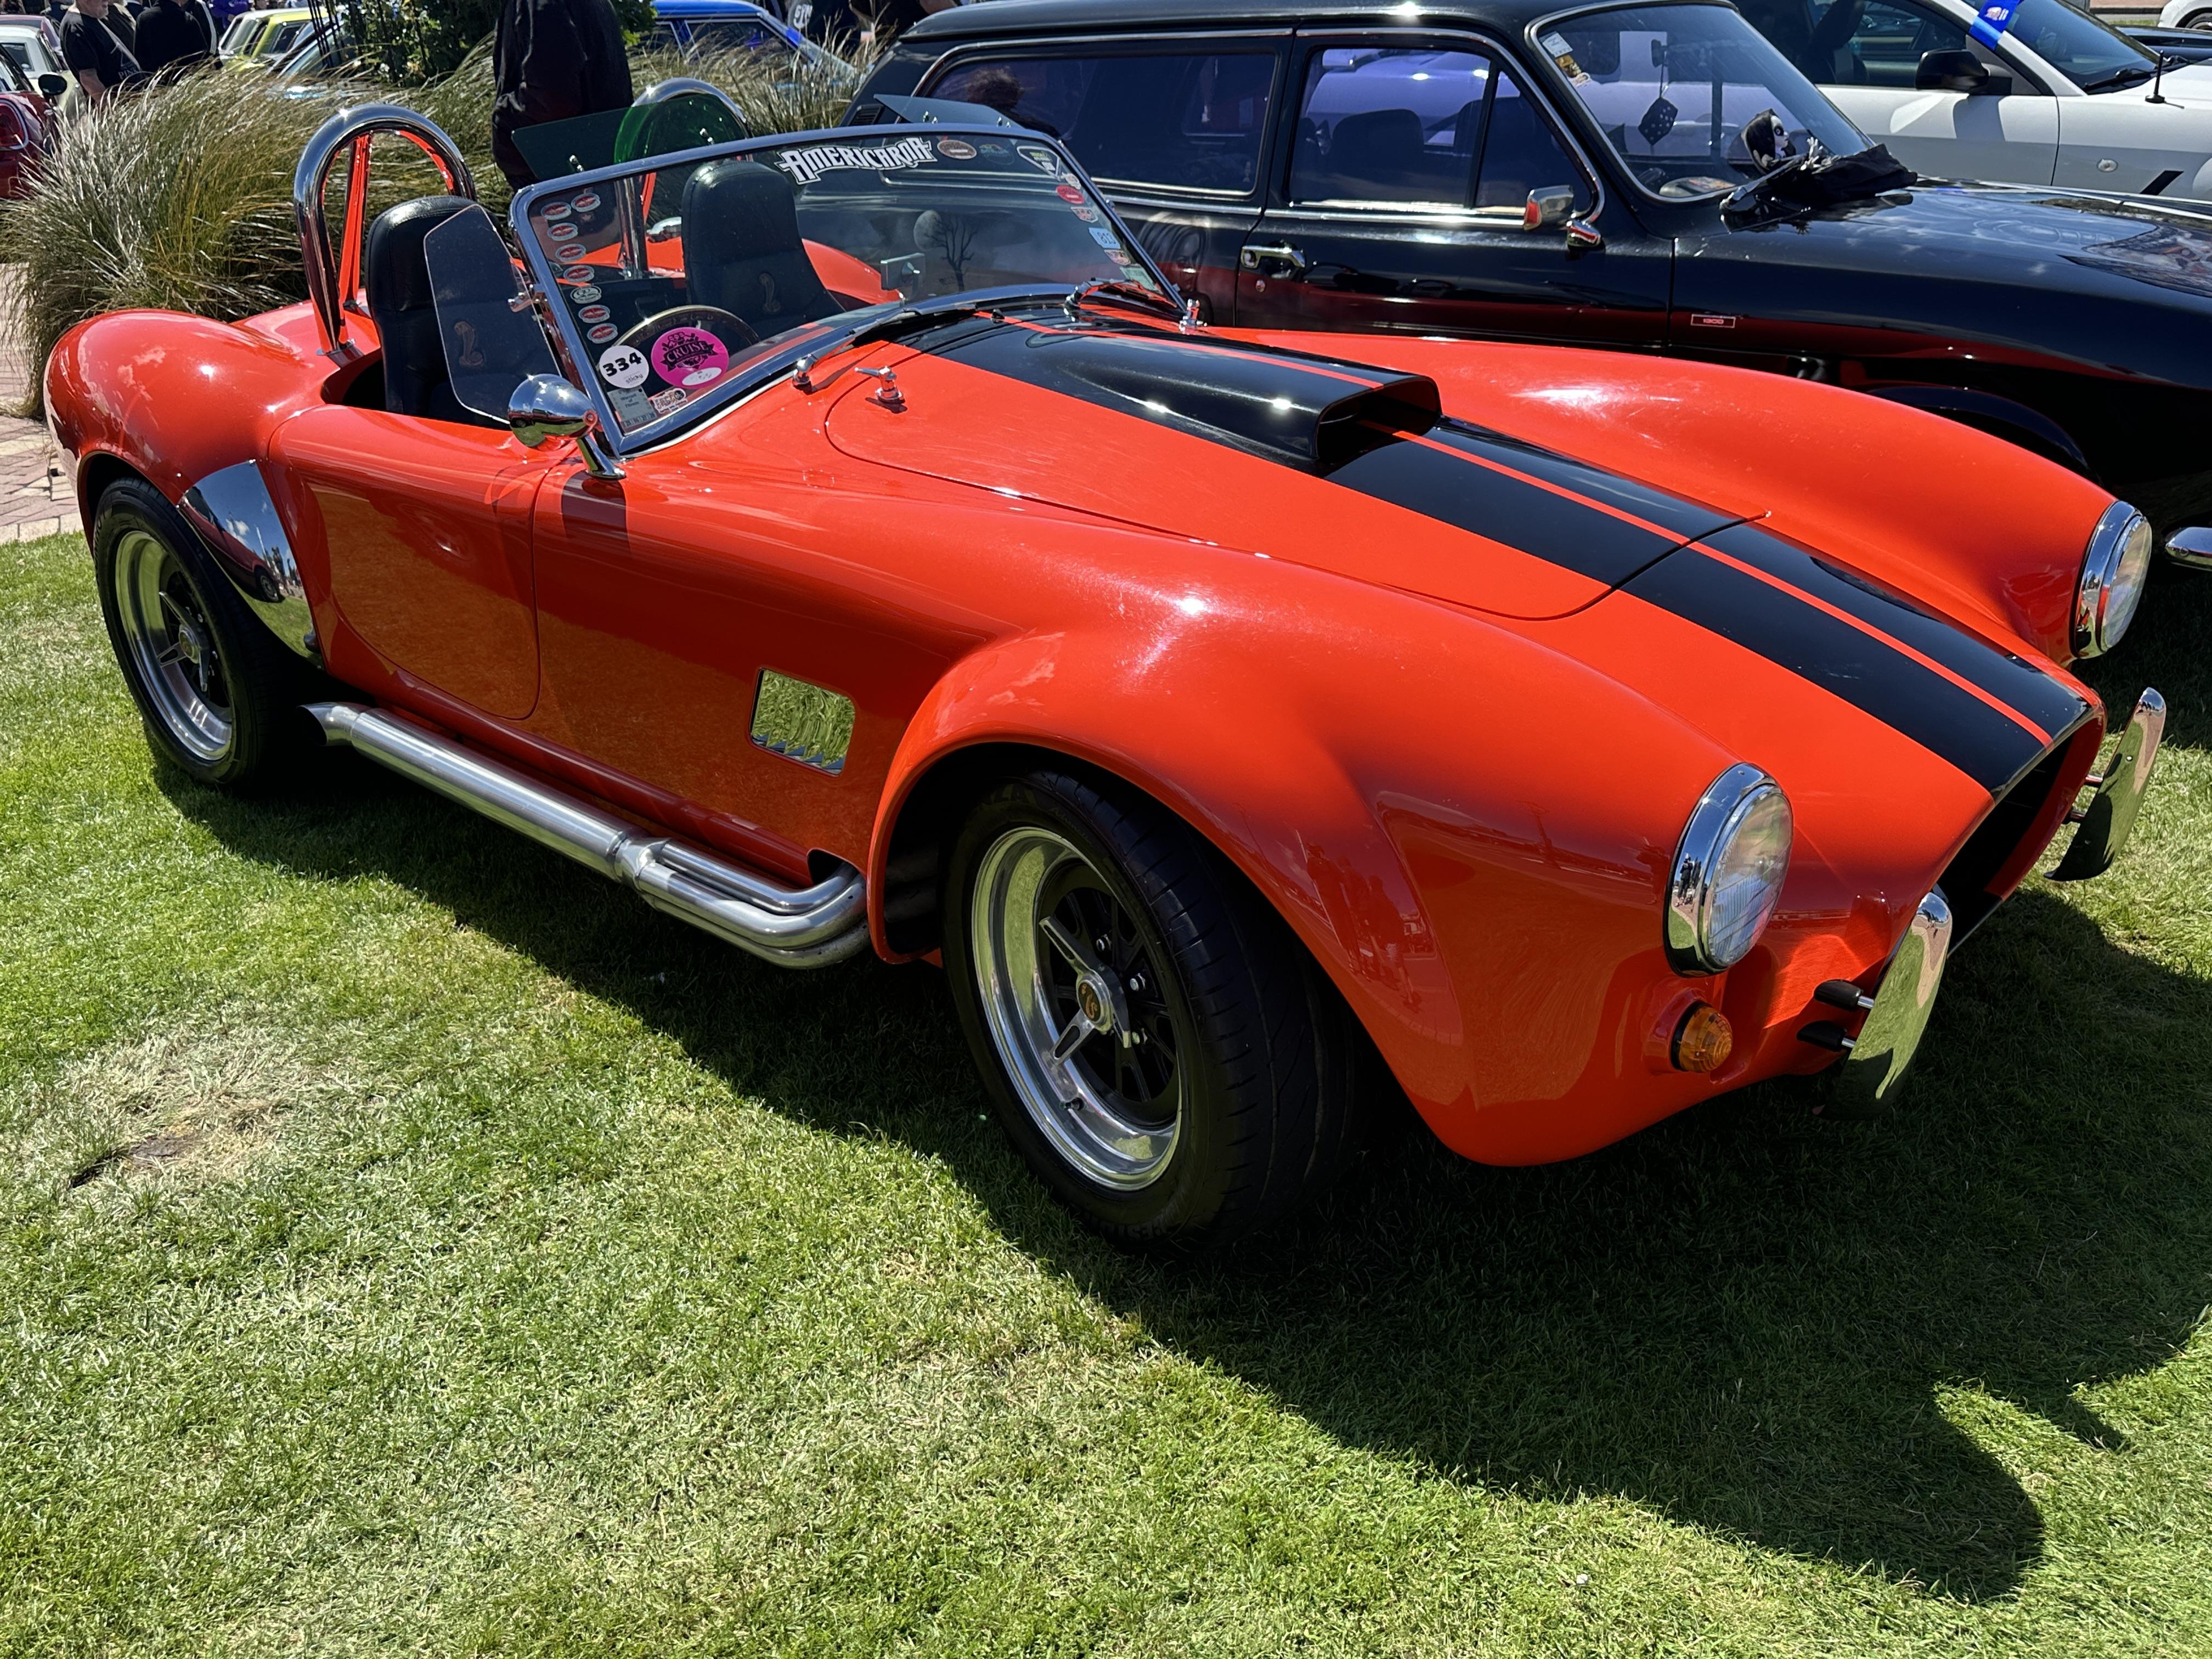
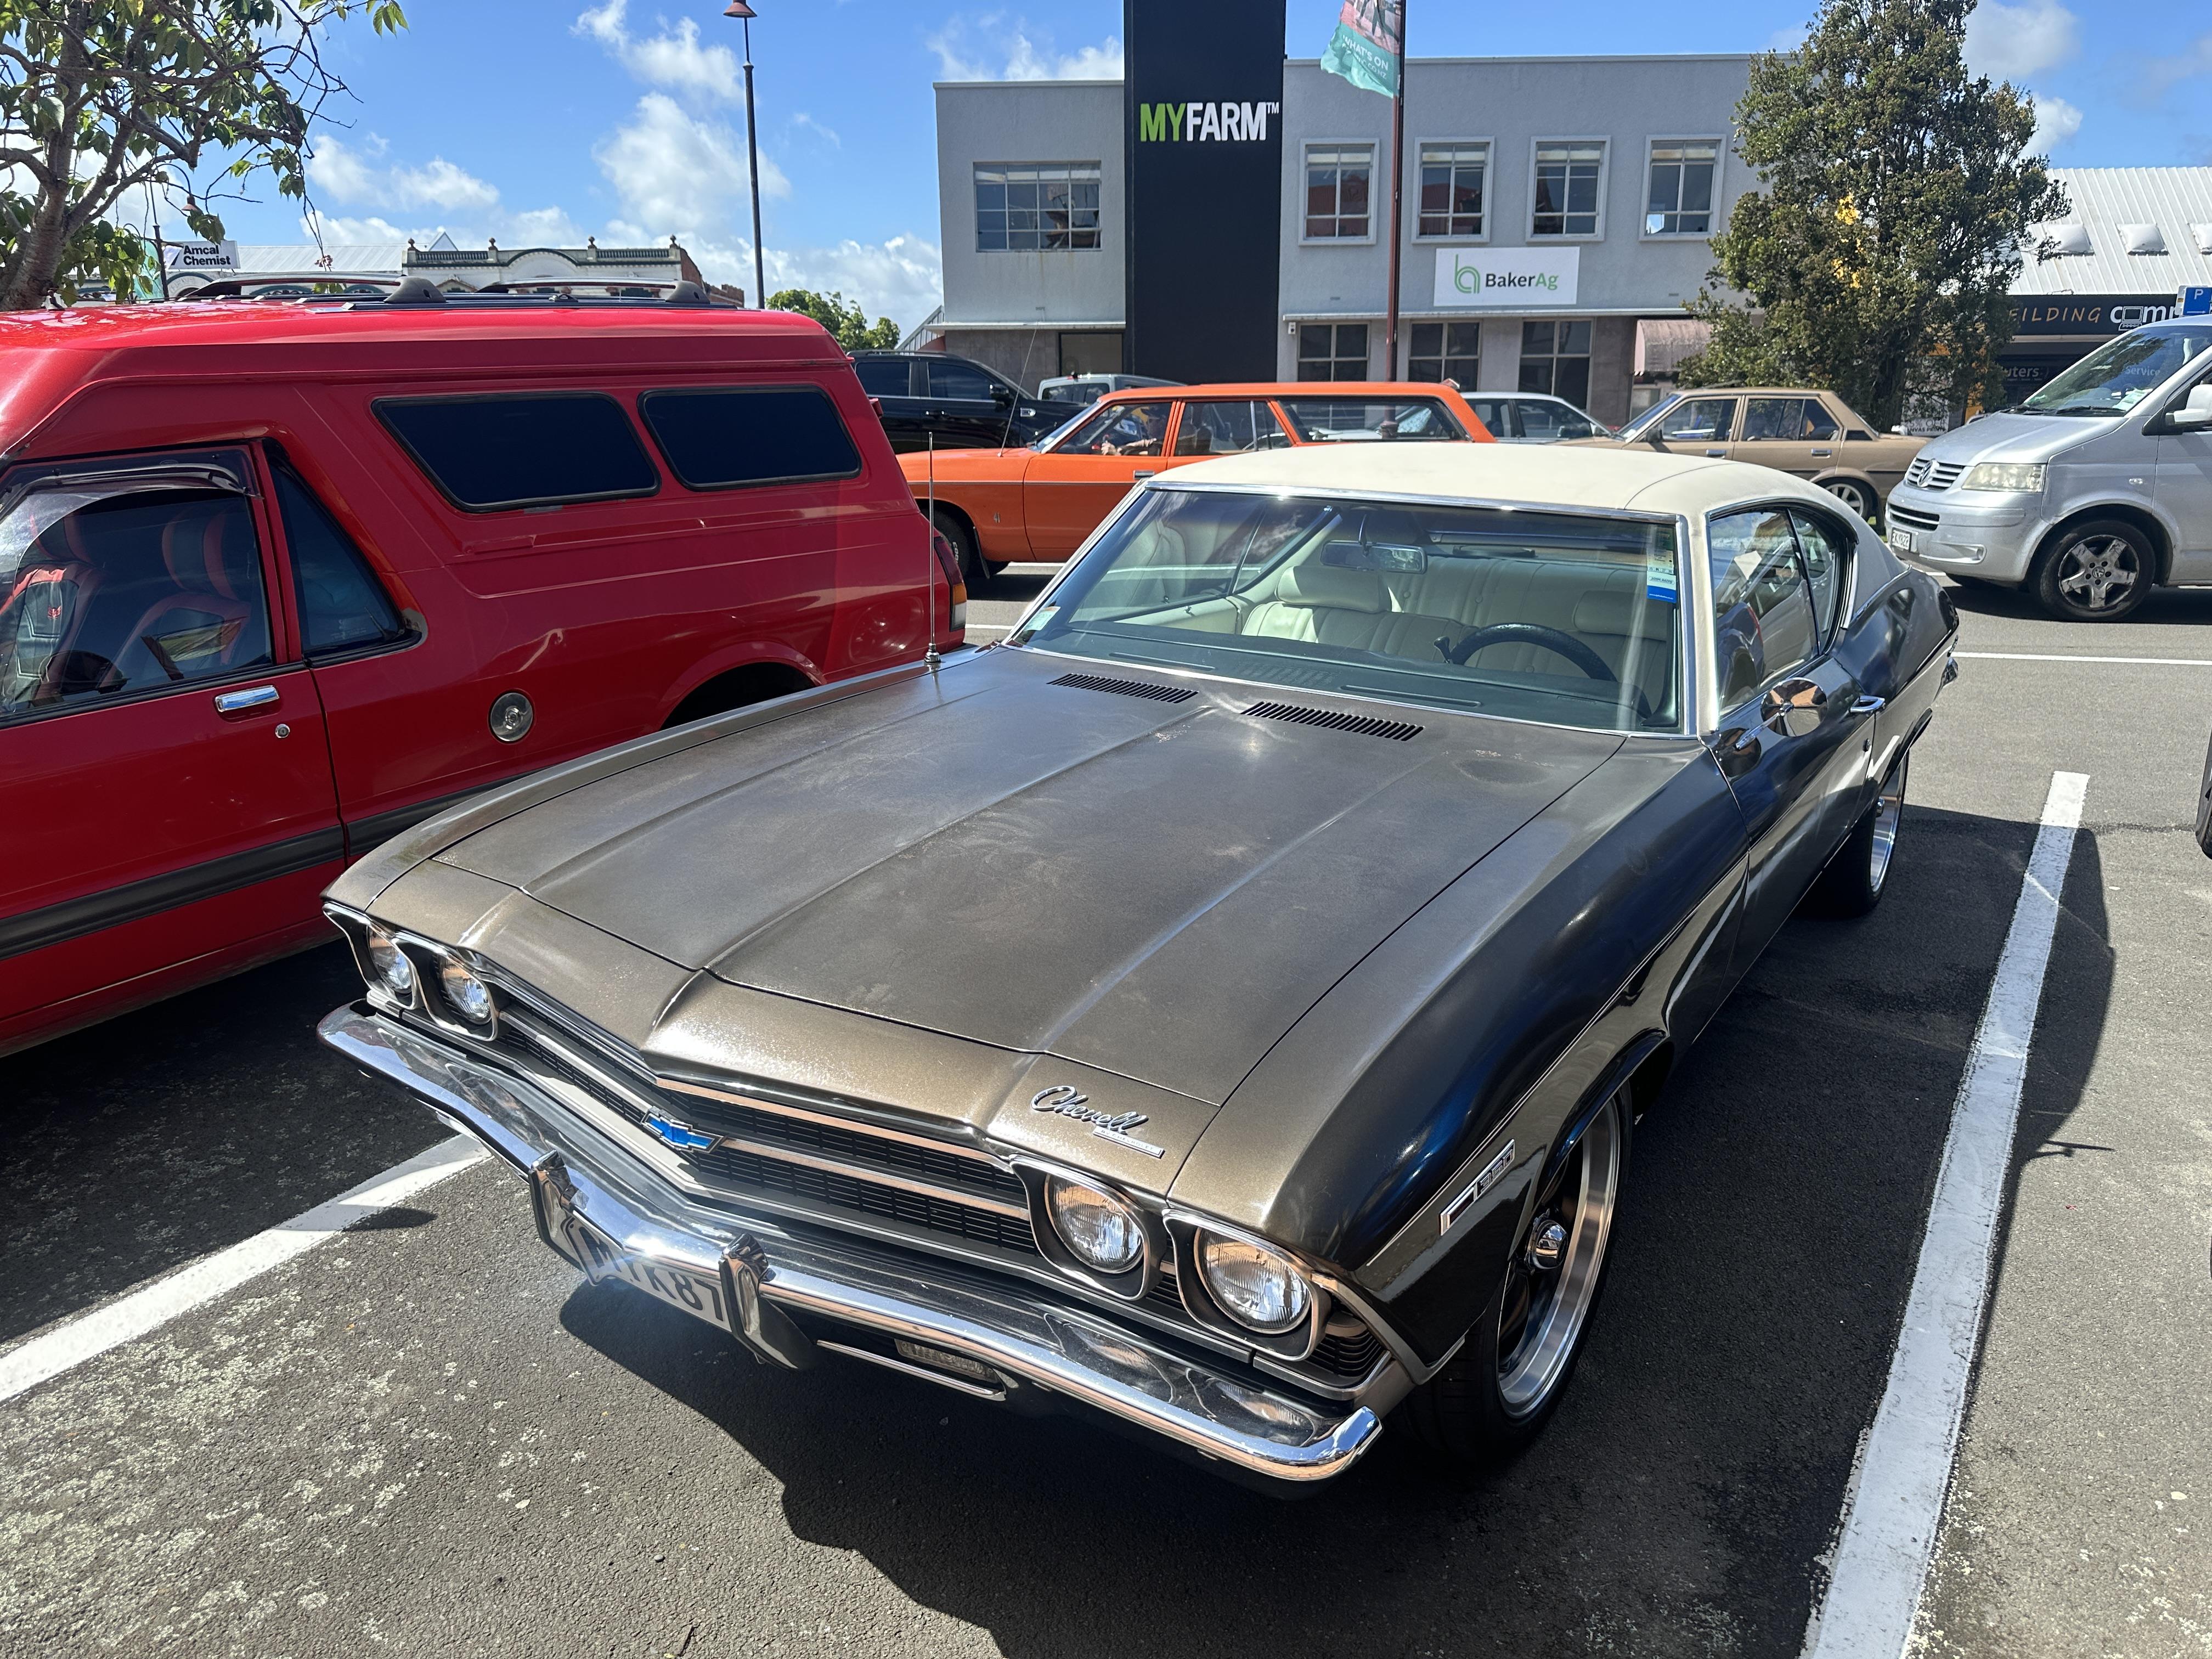
More from Feilding Avanti - rare anywhere in the world C10 bagged out with a Cummins oil burner A survivor plastic 32 roadster first on the road in 89 with a refresh underneath. A nice day to go cruizing in a roadster but the day started out wet A very tidy Chebby PU C10's and Chev PU's were everywhere - from patina to this nice 57 with LS And a bagged out PU with a cool satin black 28-29 Model A RPU behind A nice Jail Bar PU with sbf Now this is unusual - A Whippet The handwritten signage says it all And where would a car show be with out a T Bucket. This one has powered by a SBF rather than usual SBC and a belly button car - a tidy one at that and a Cobra clone More to come
-
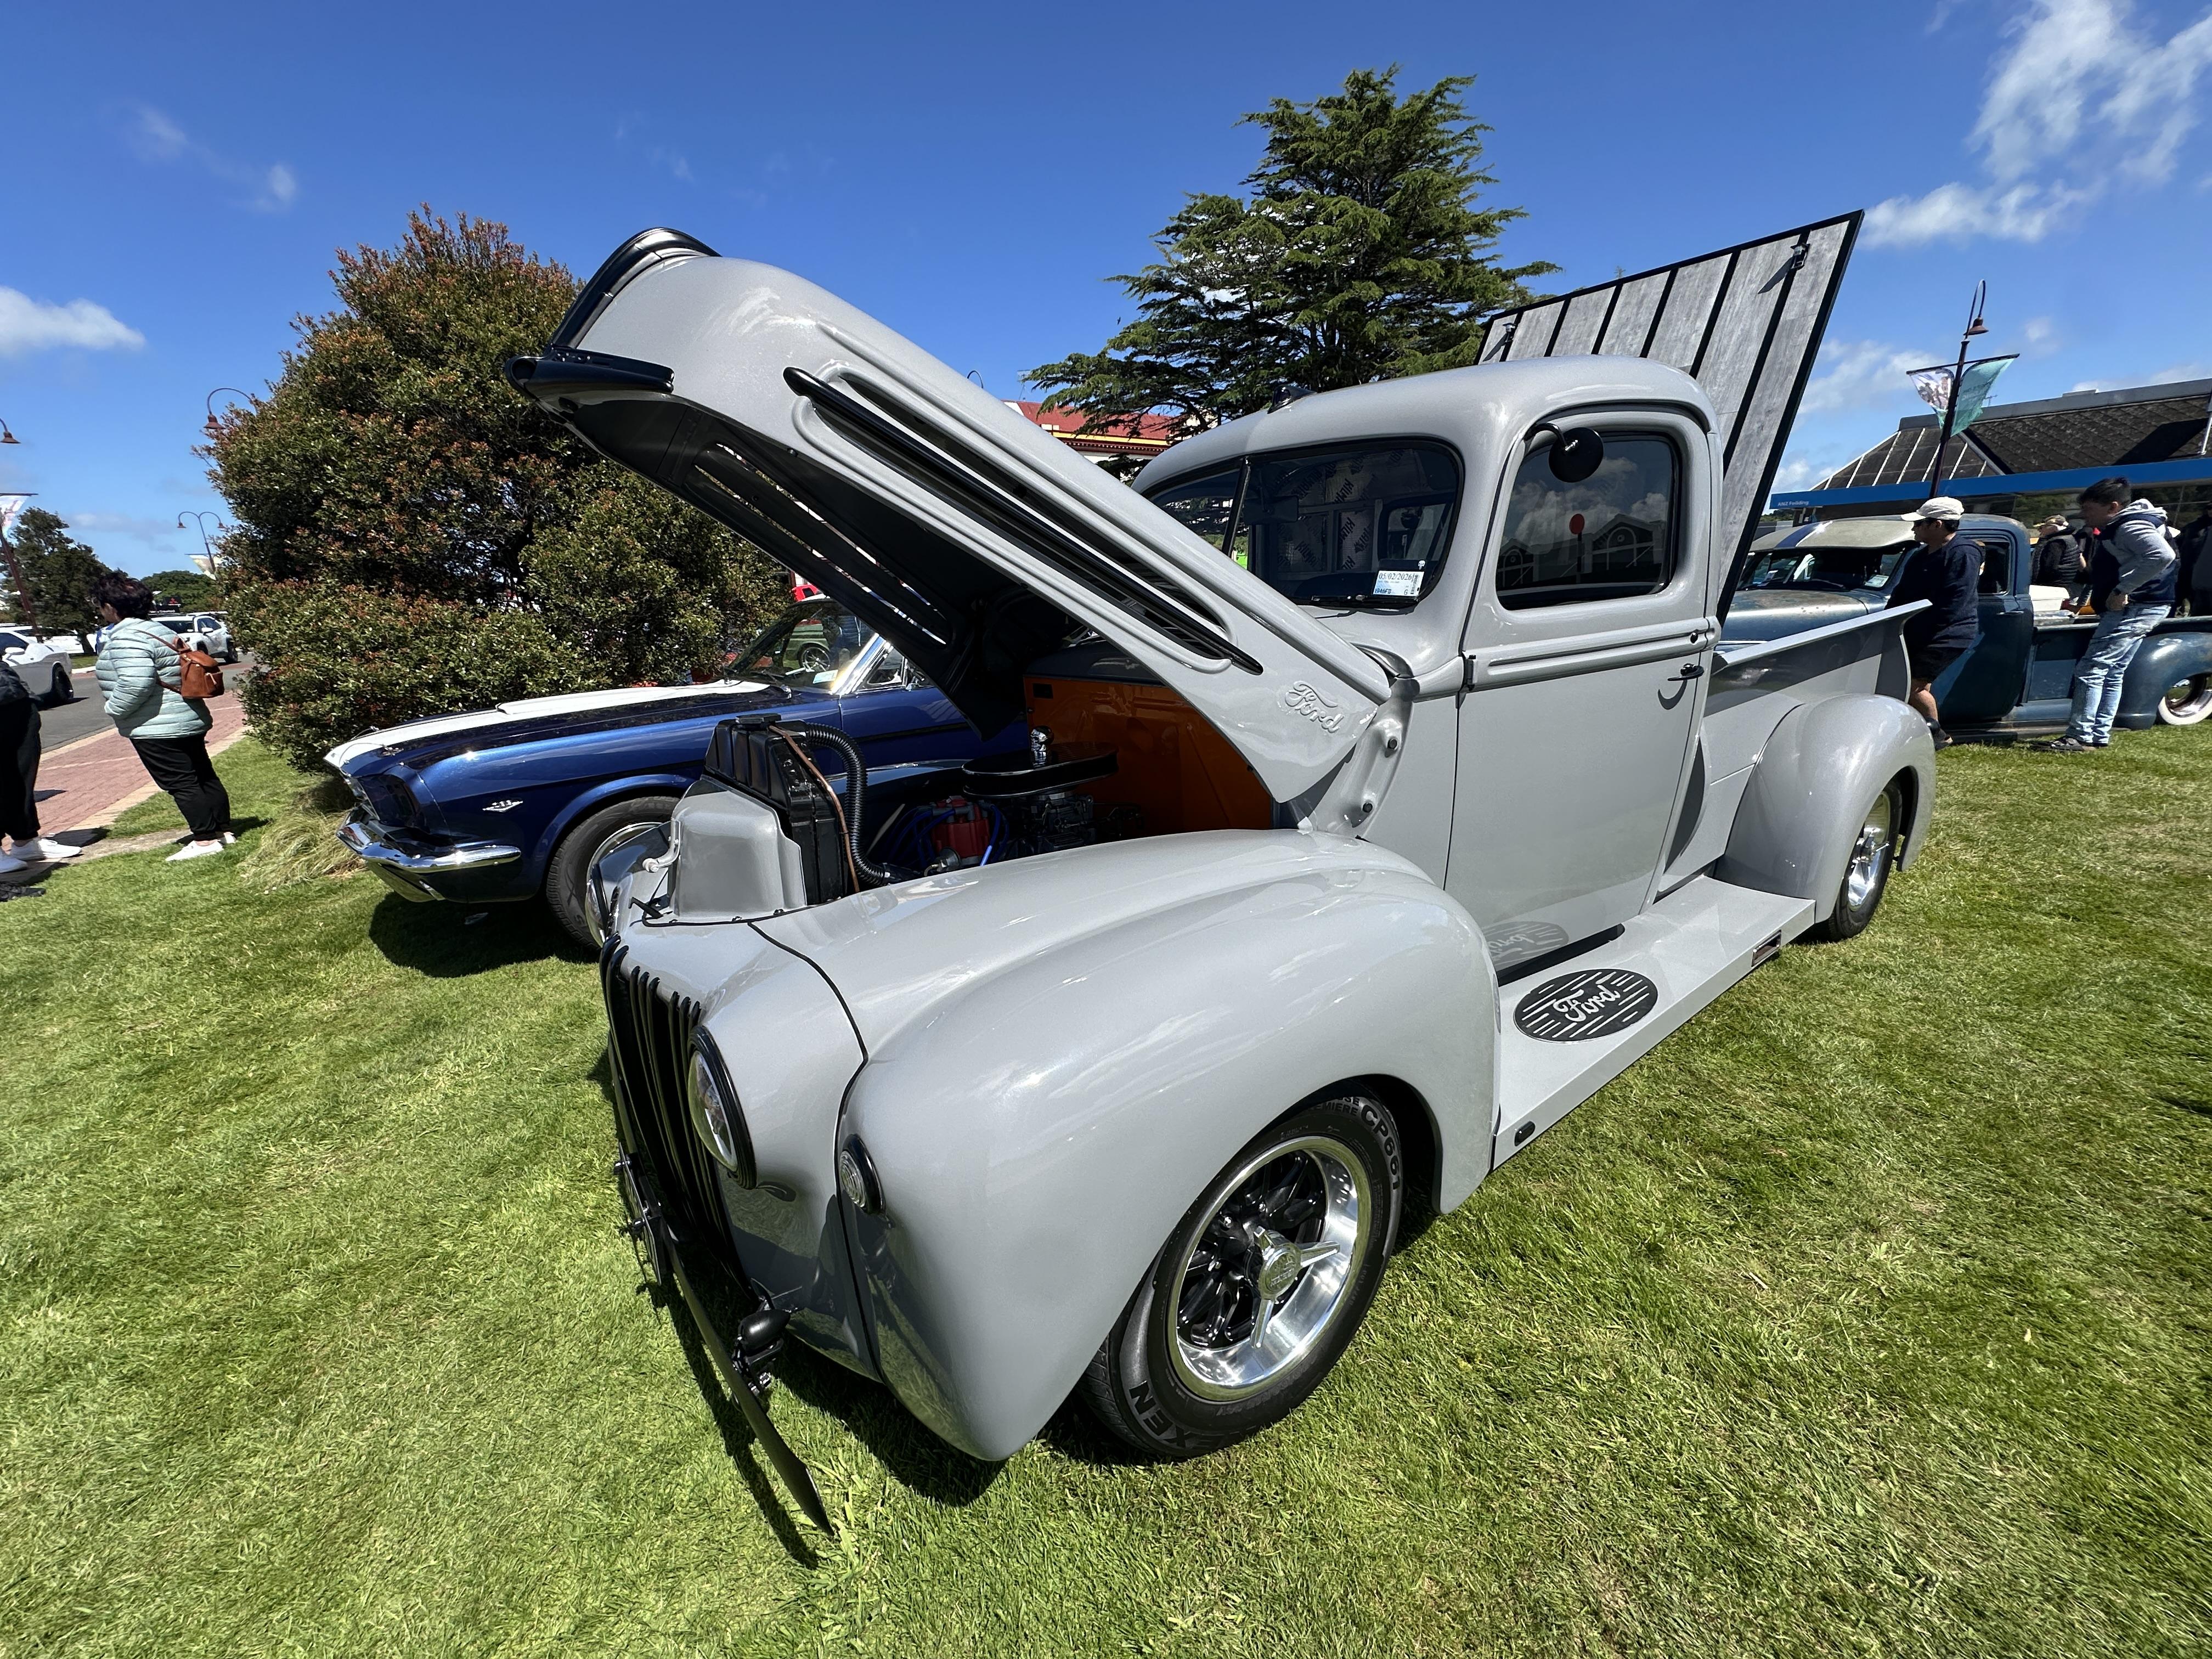
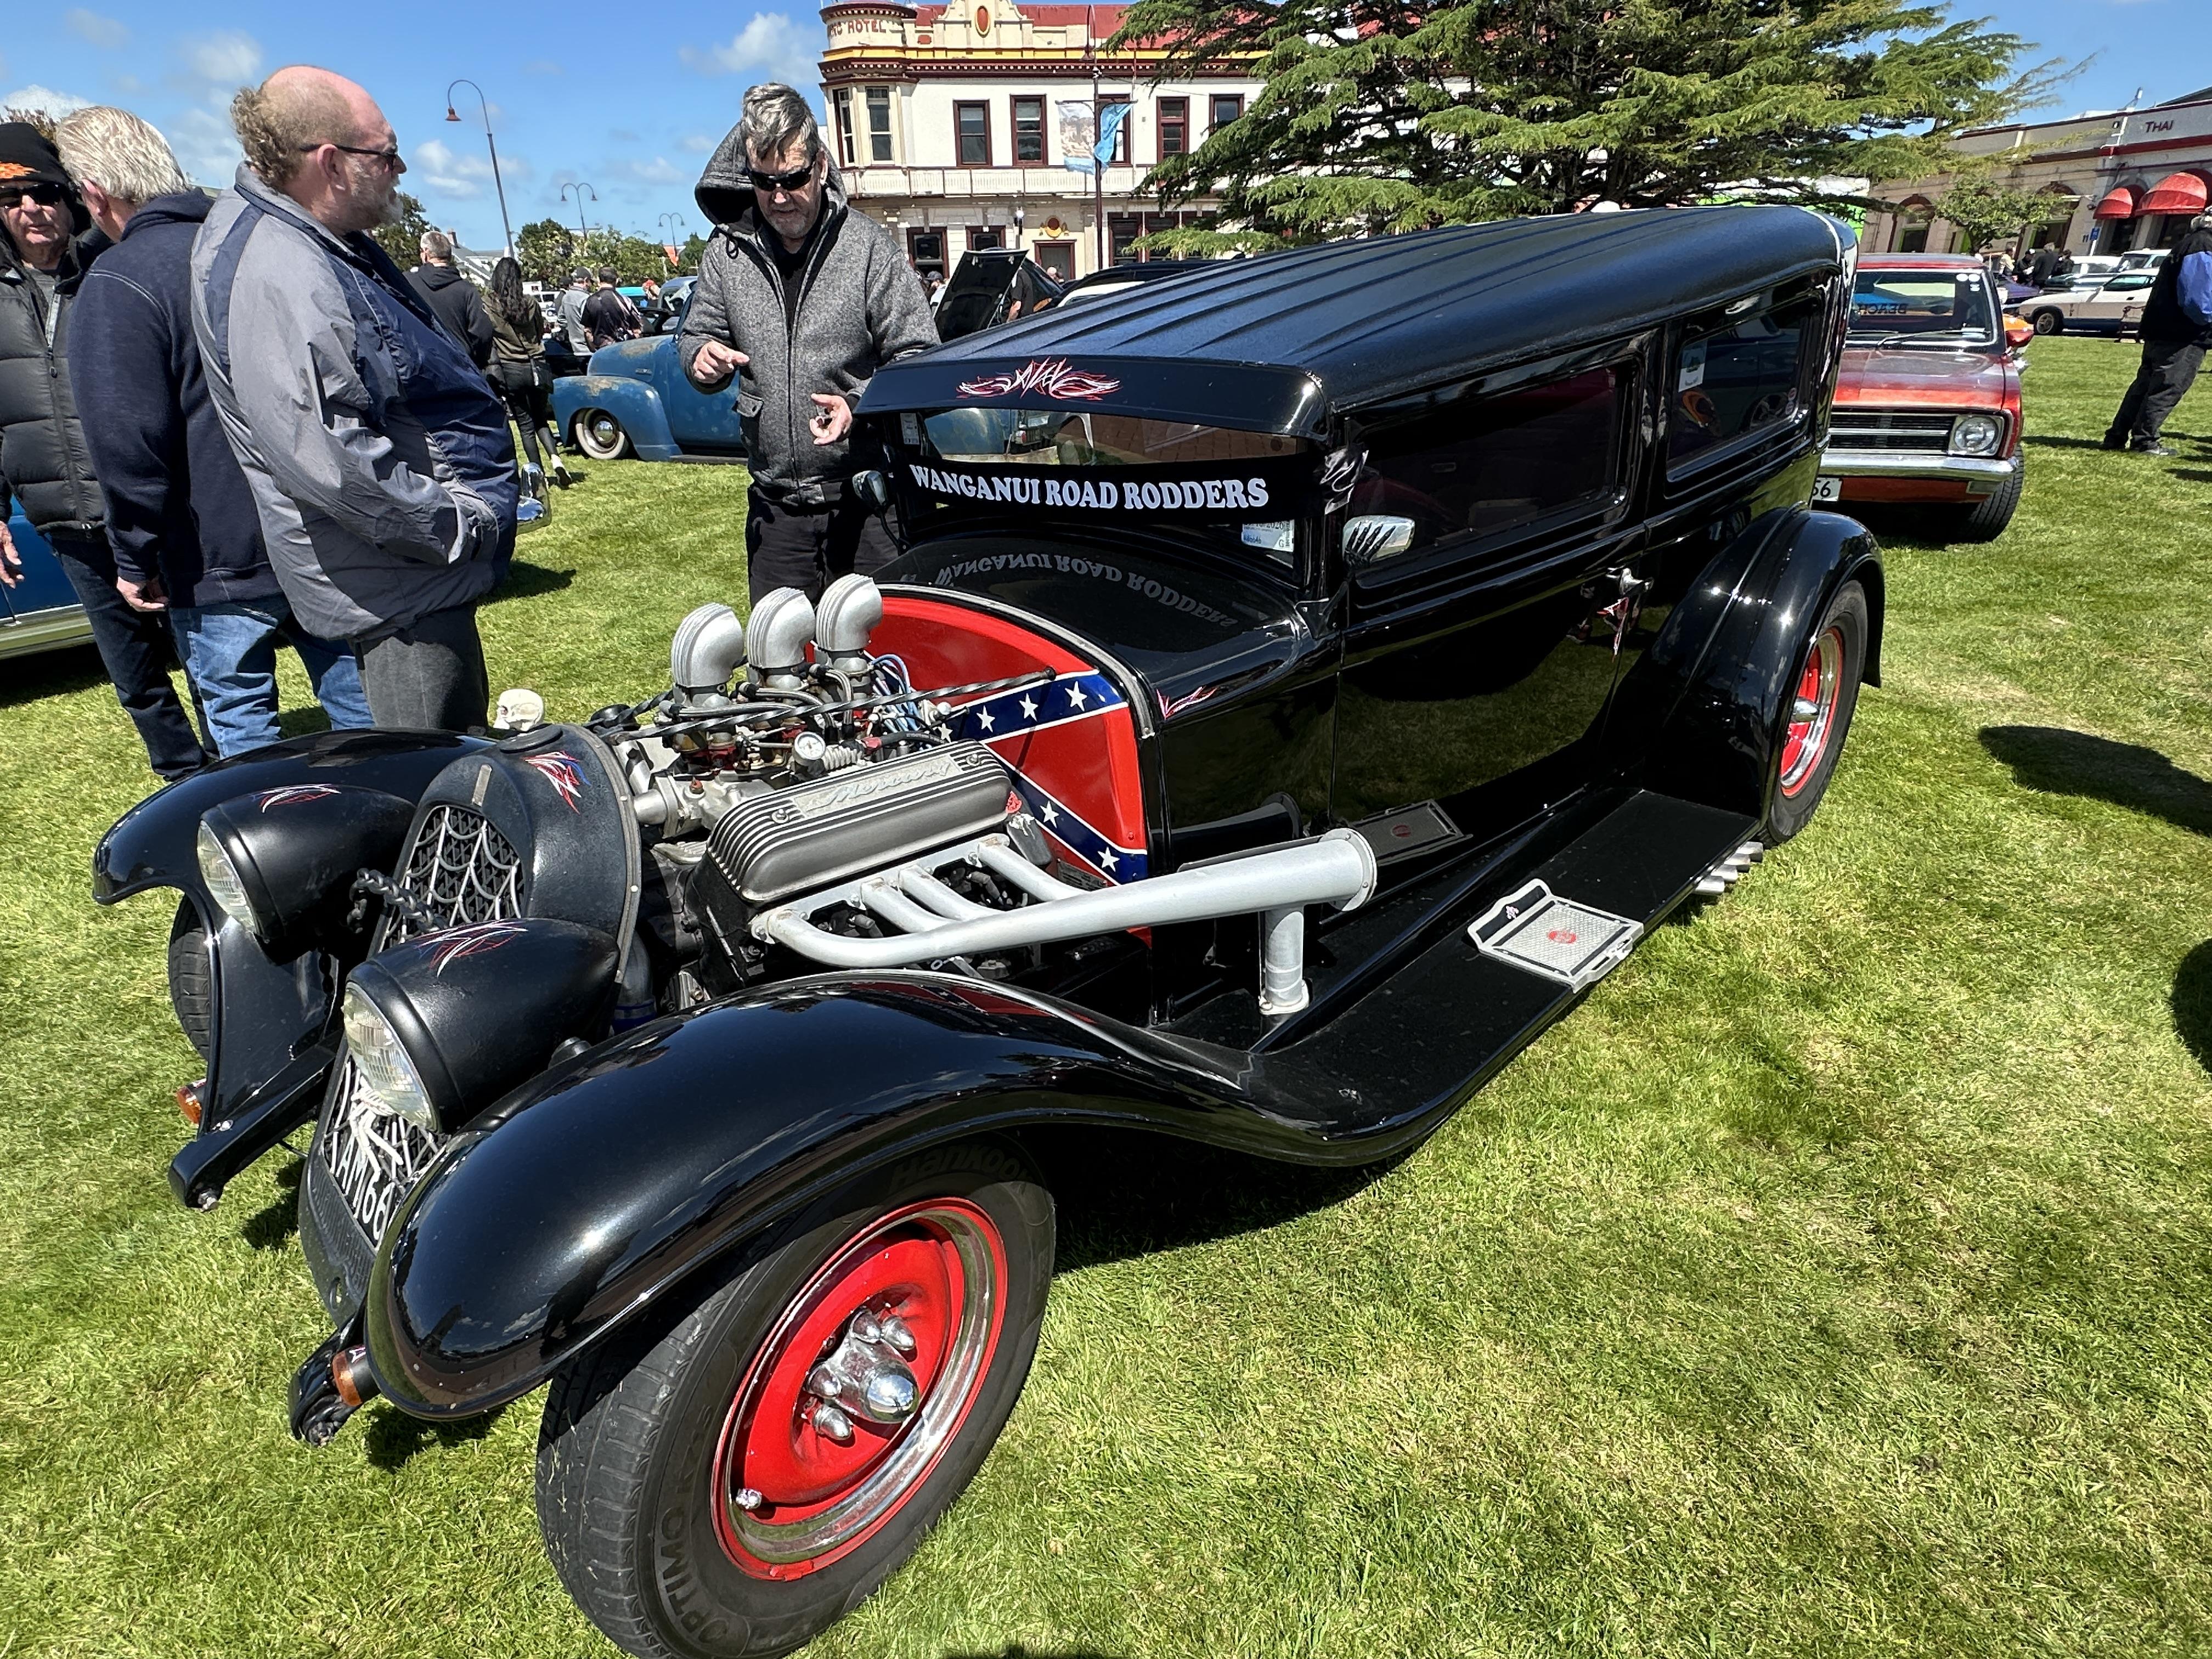
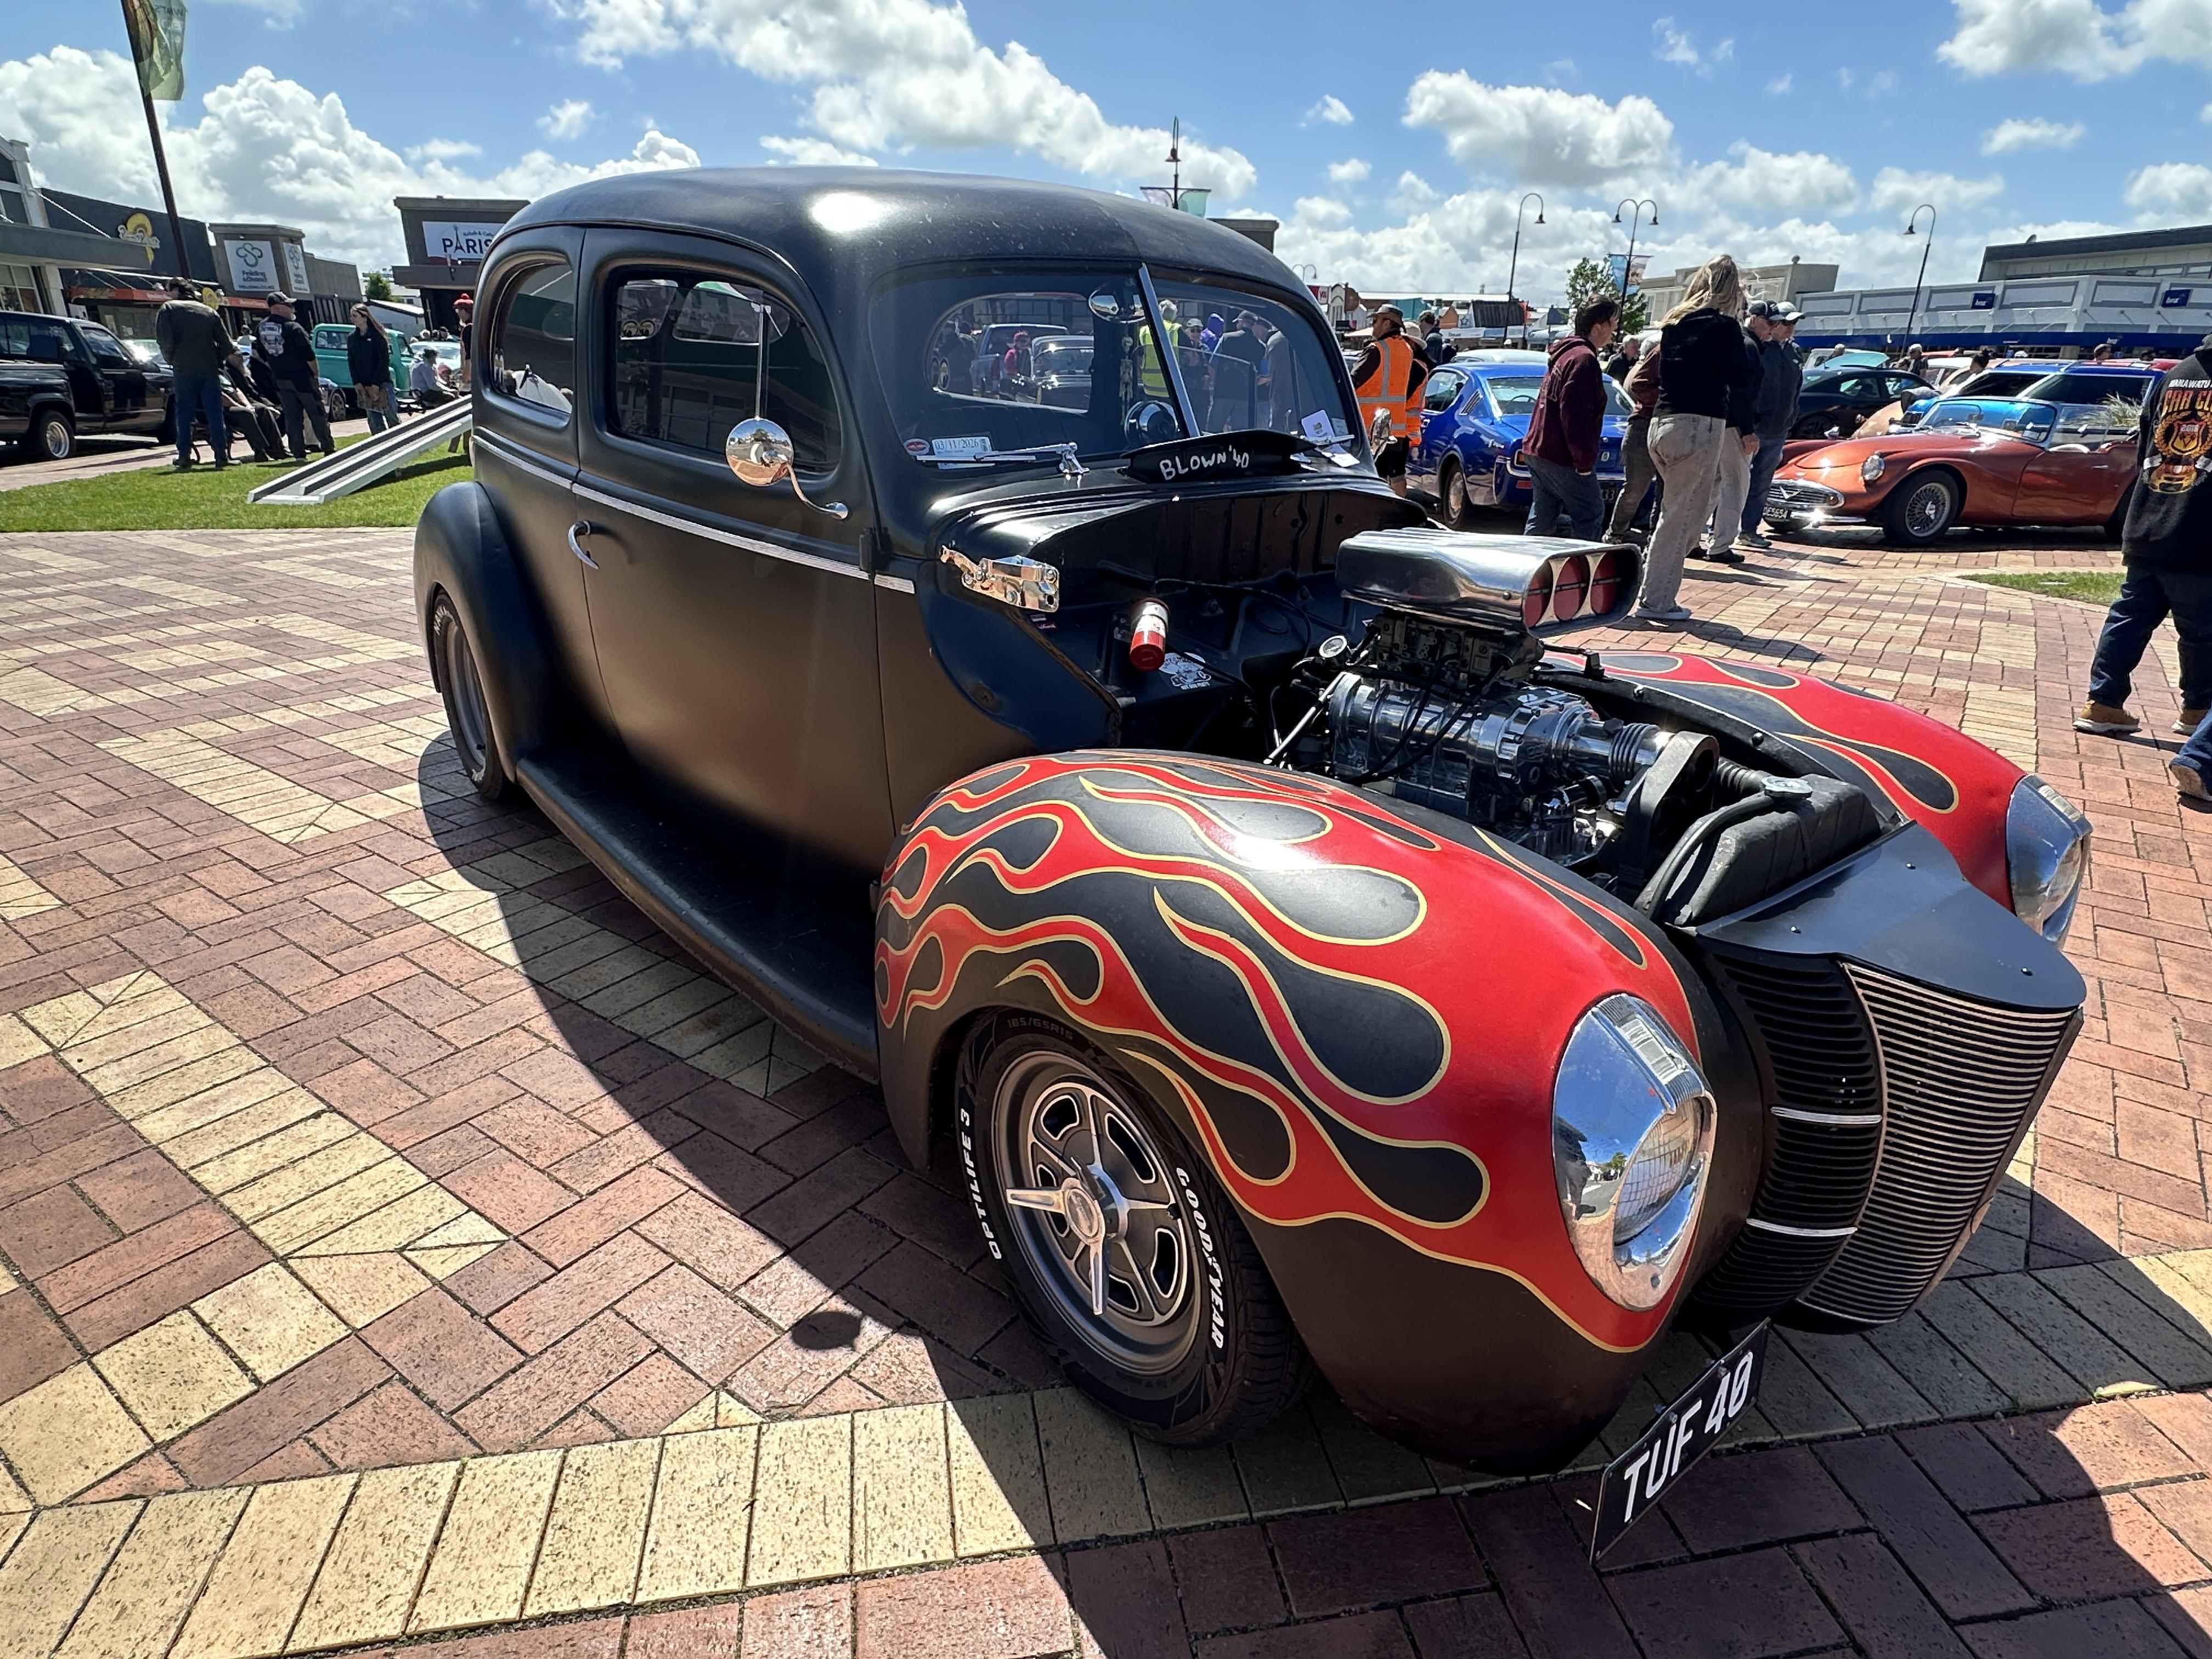
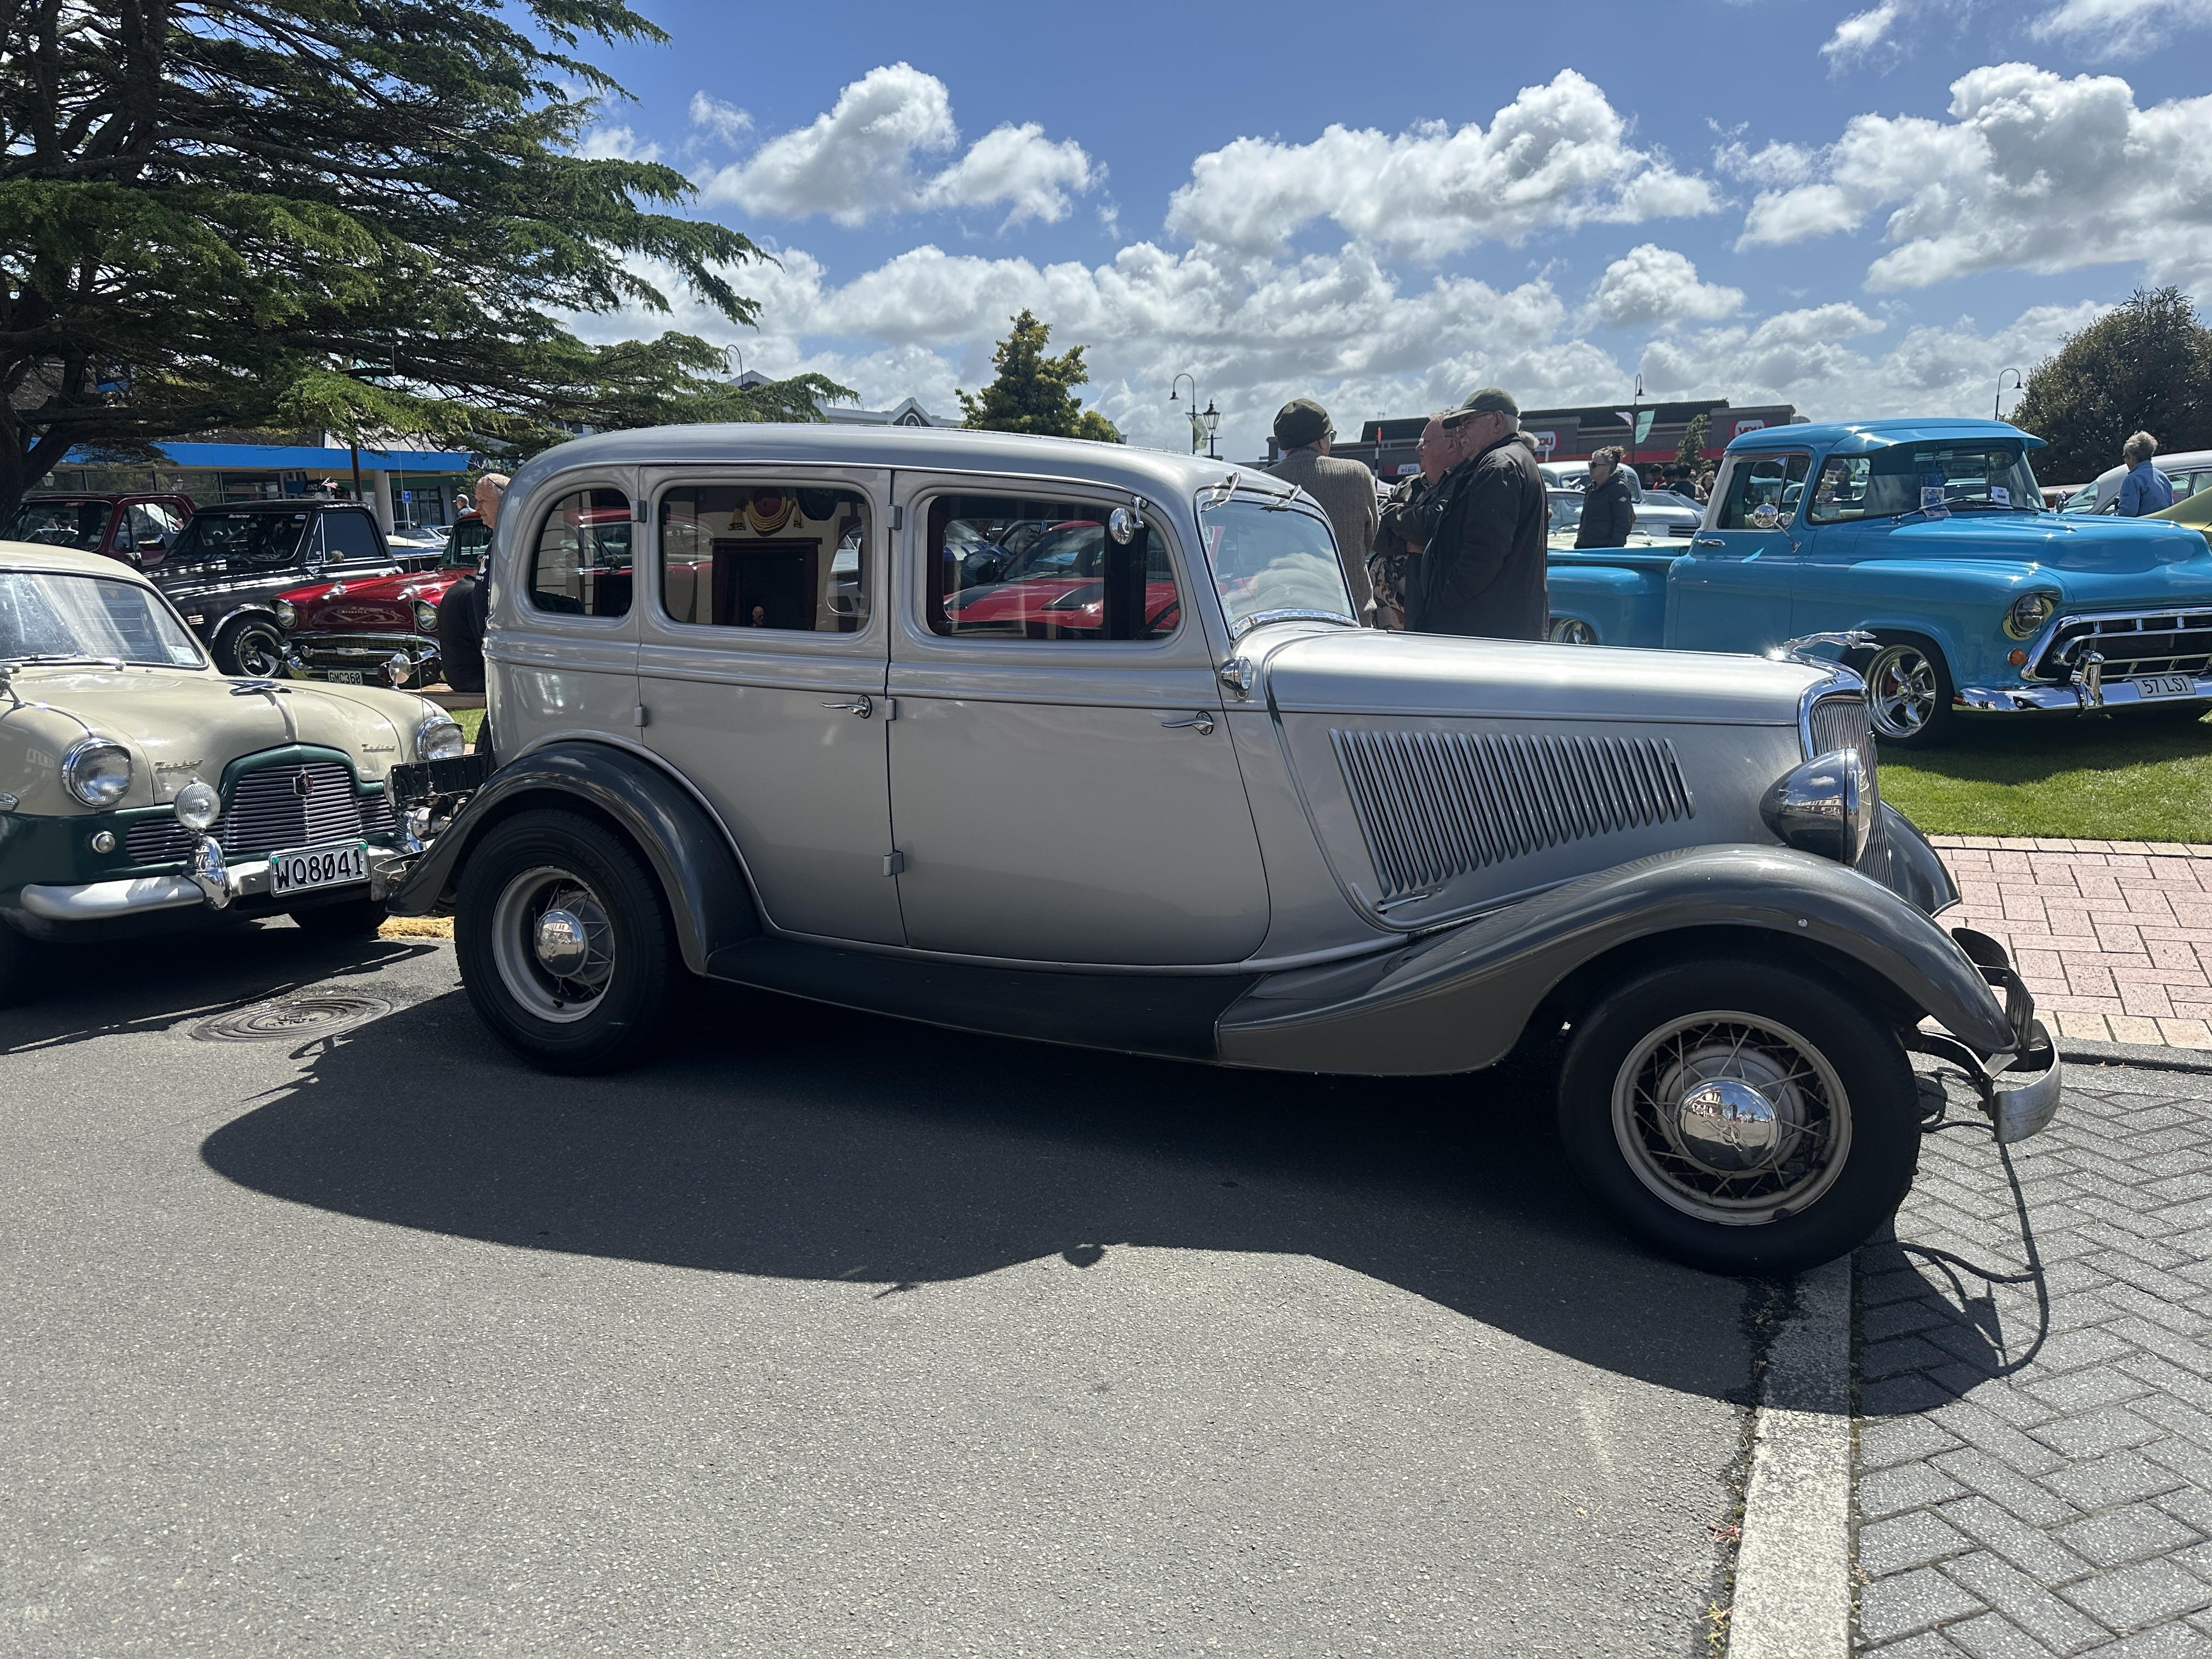
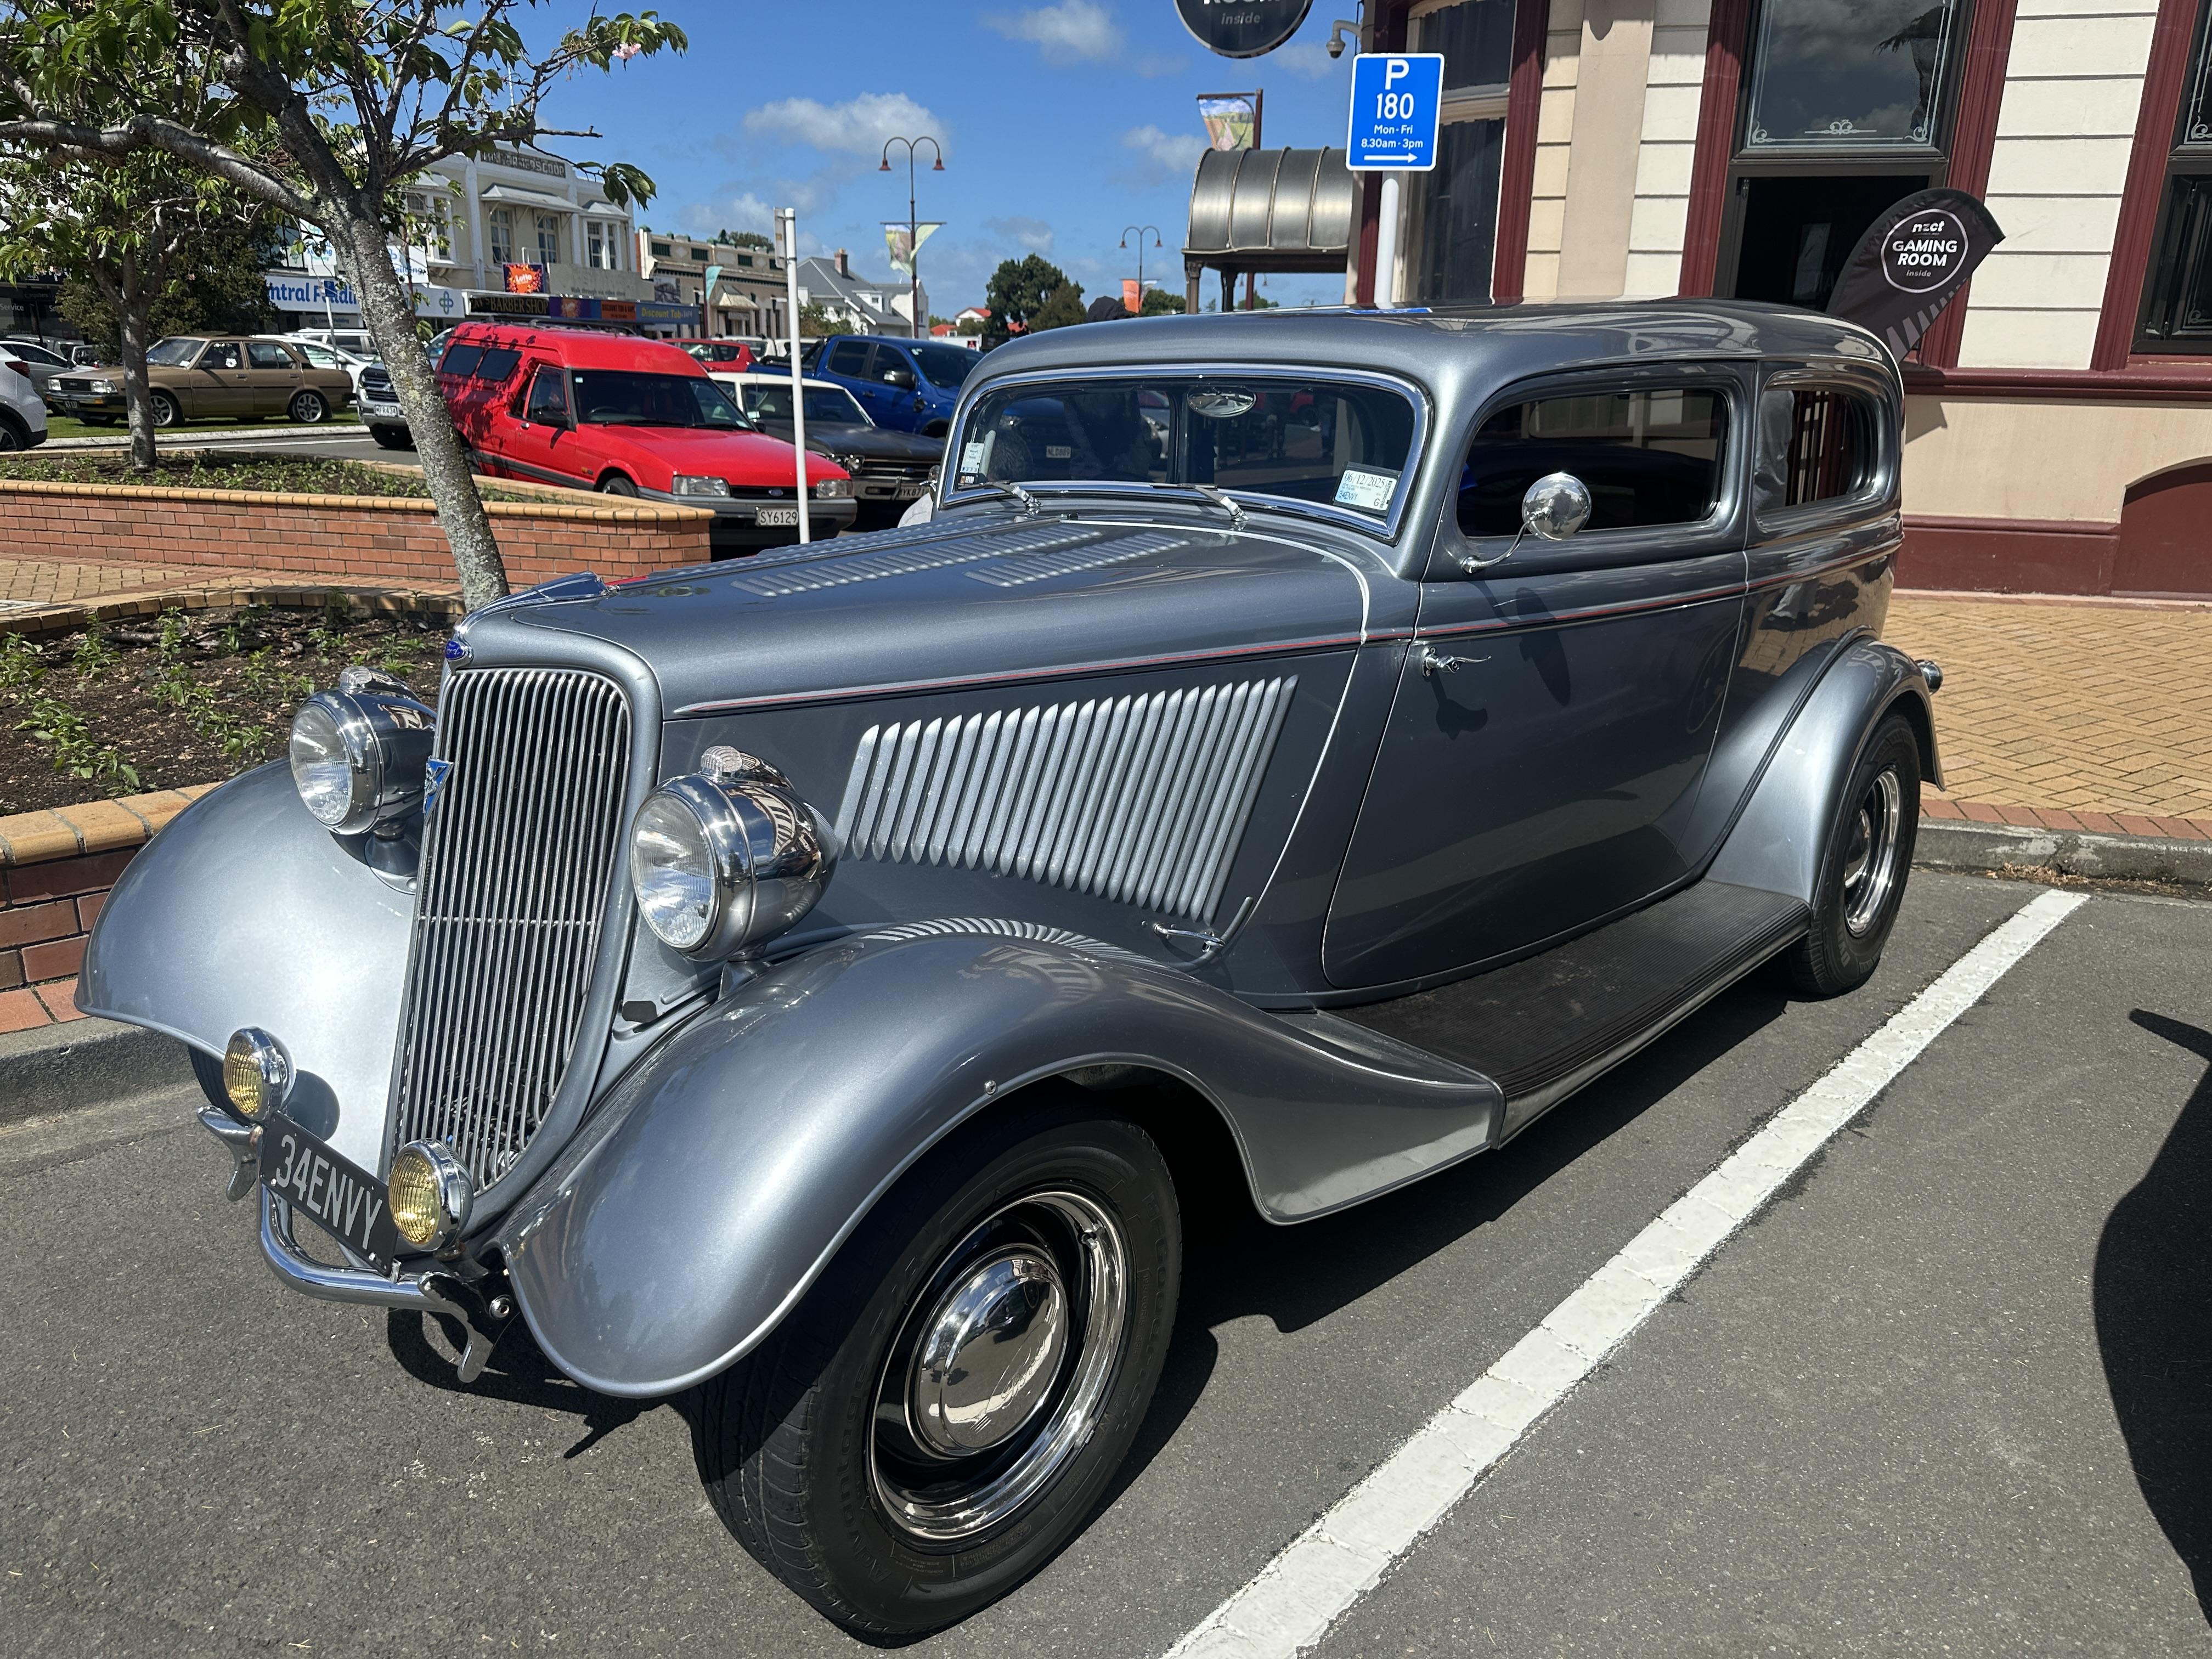
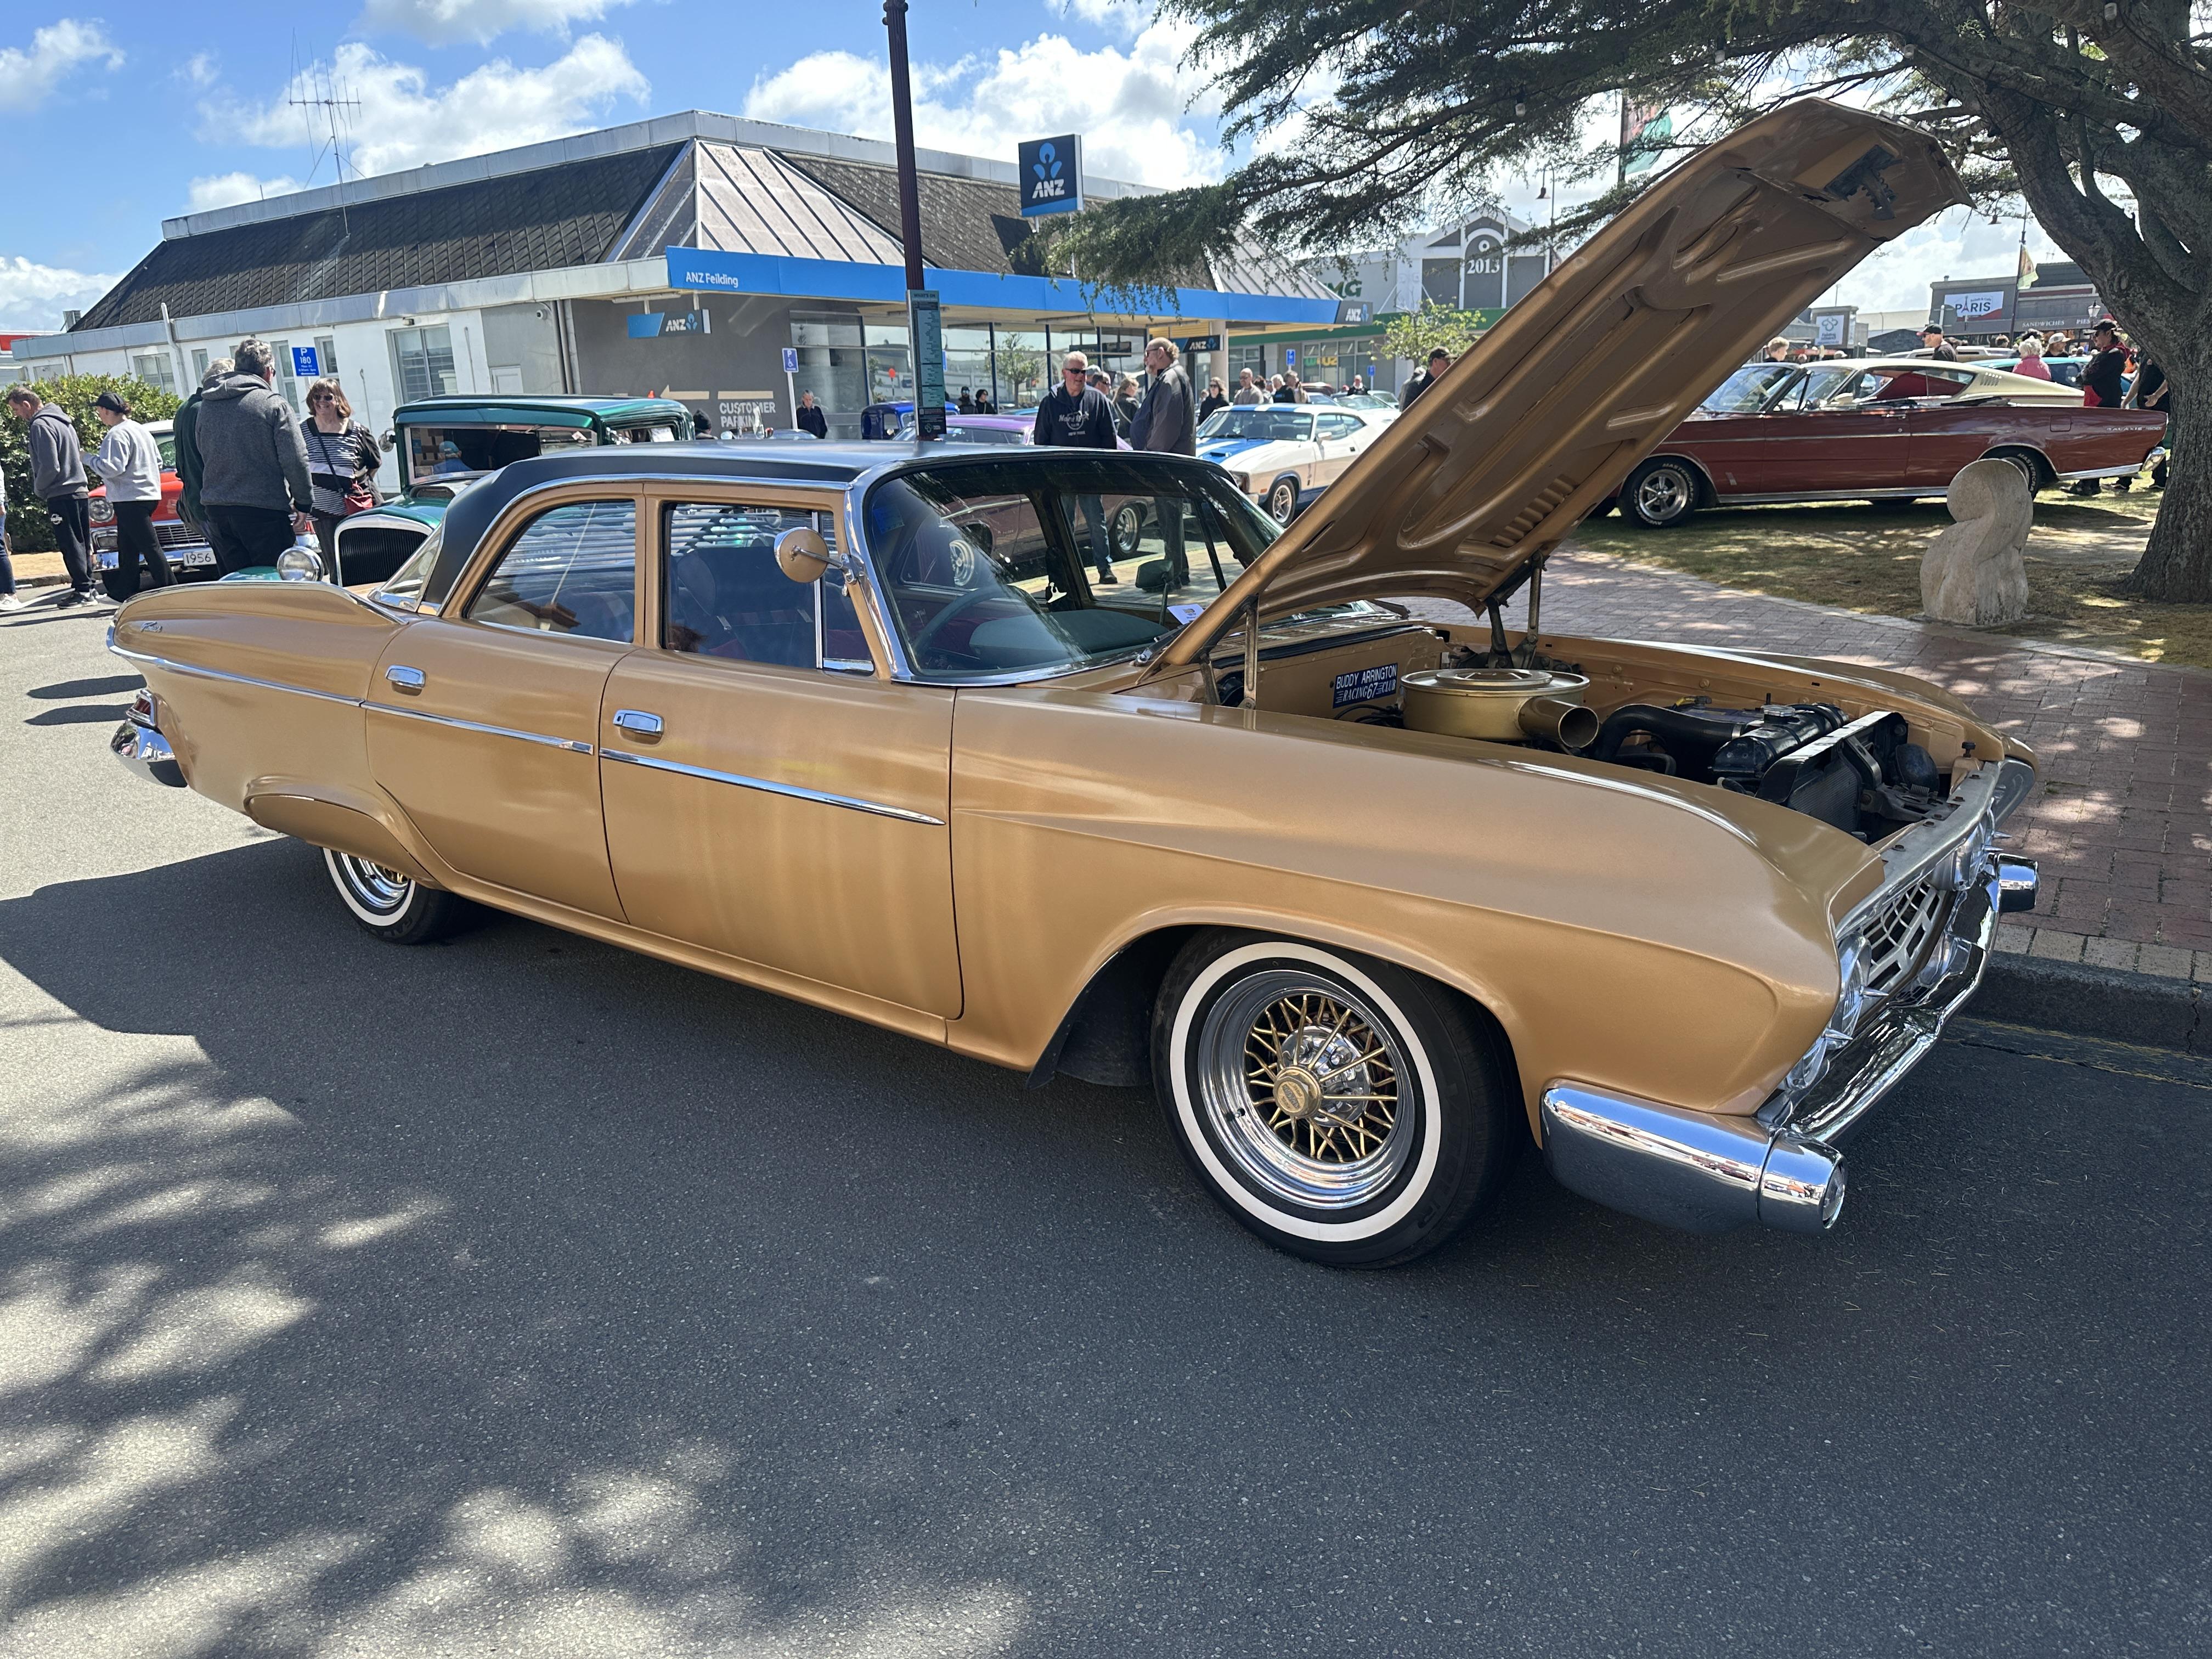
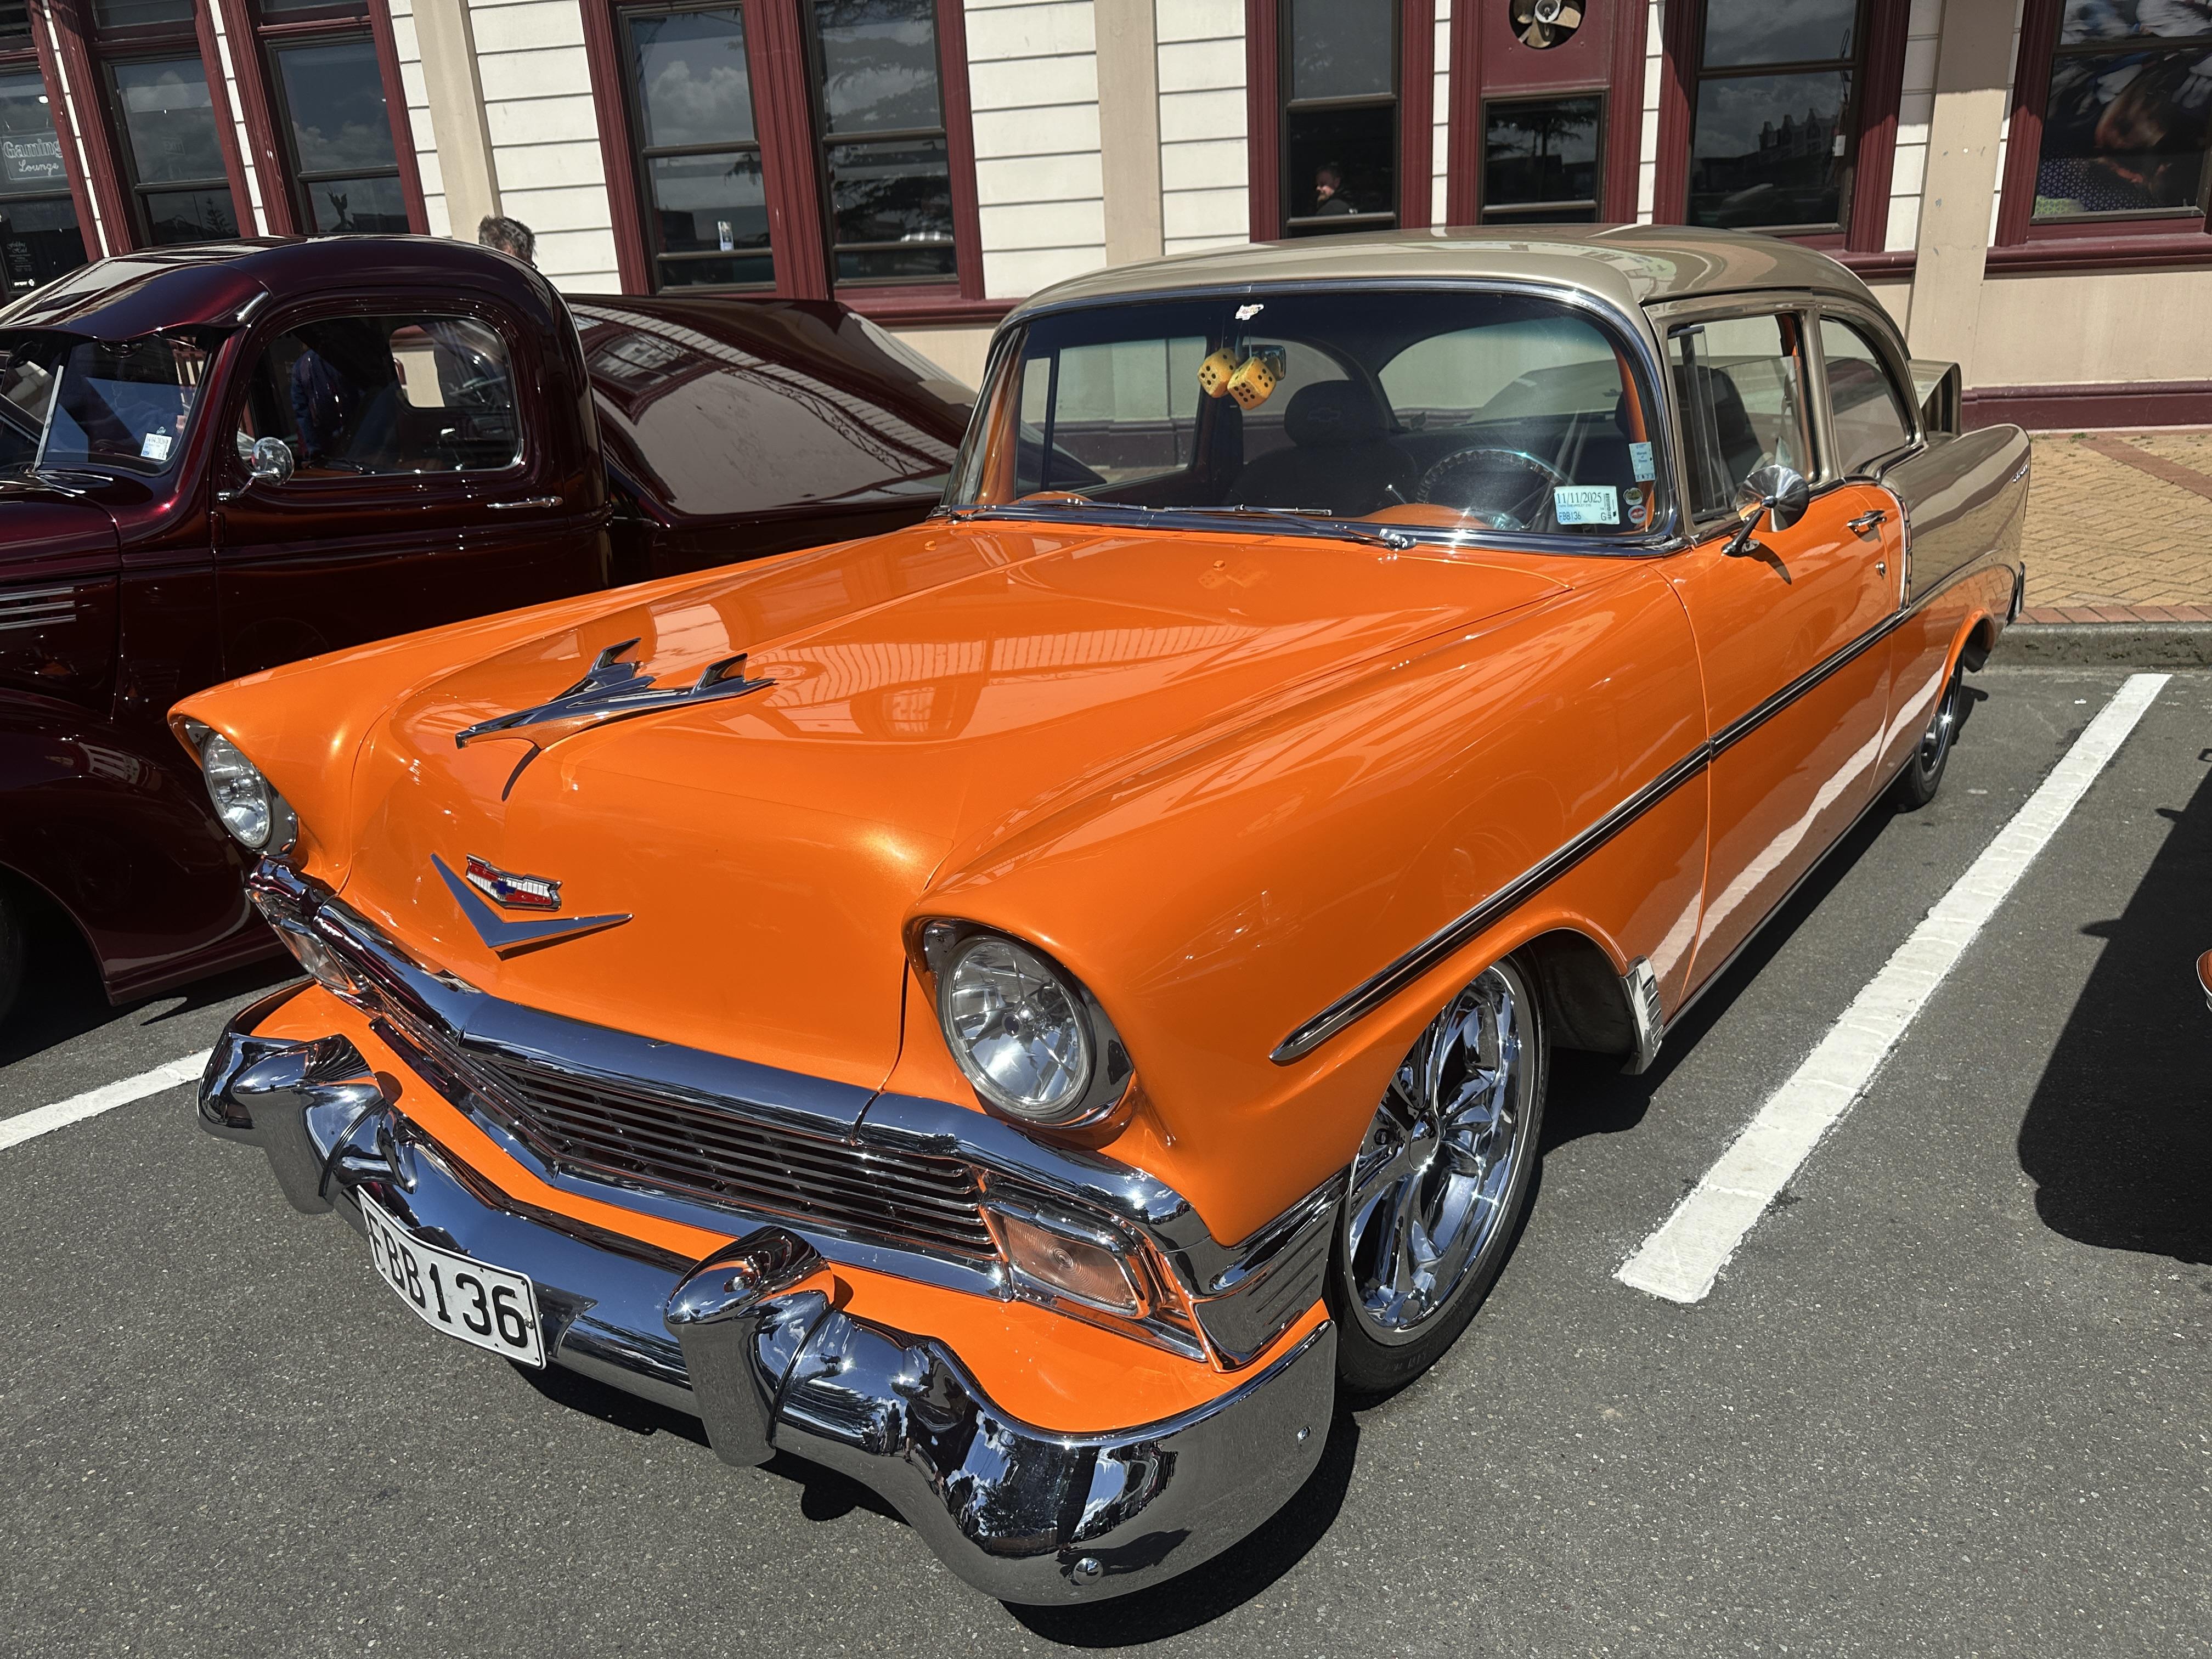
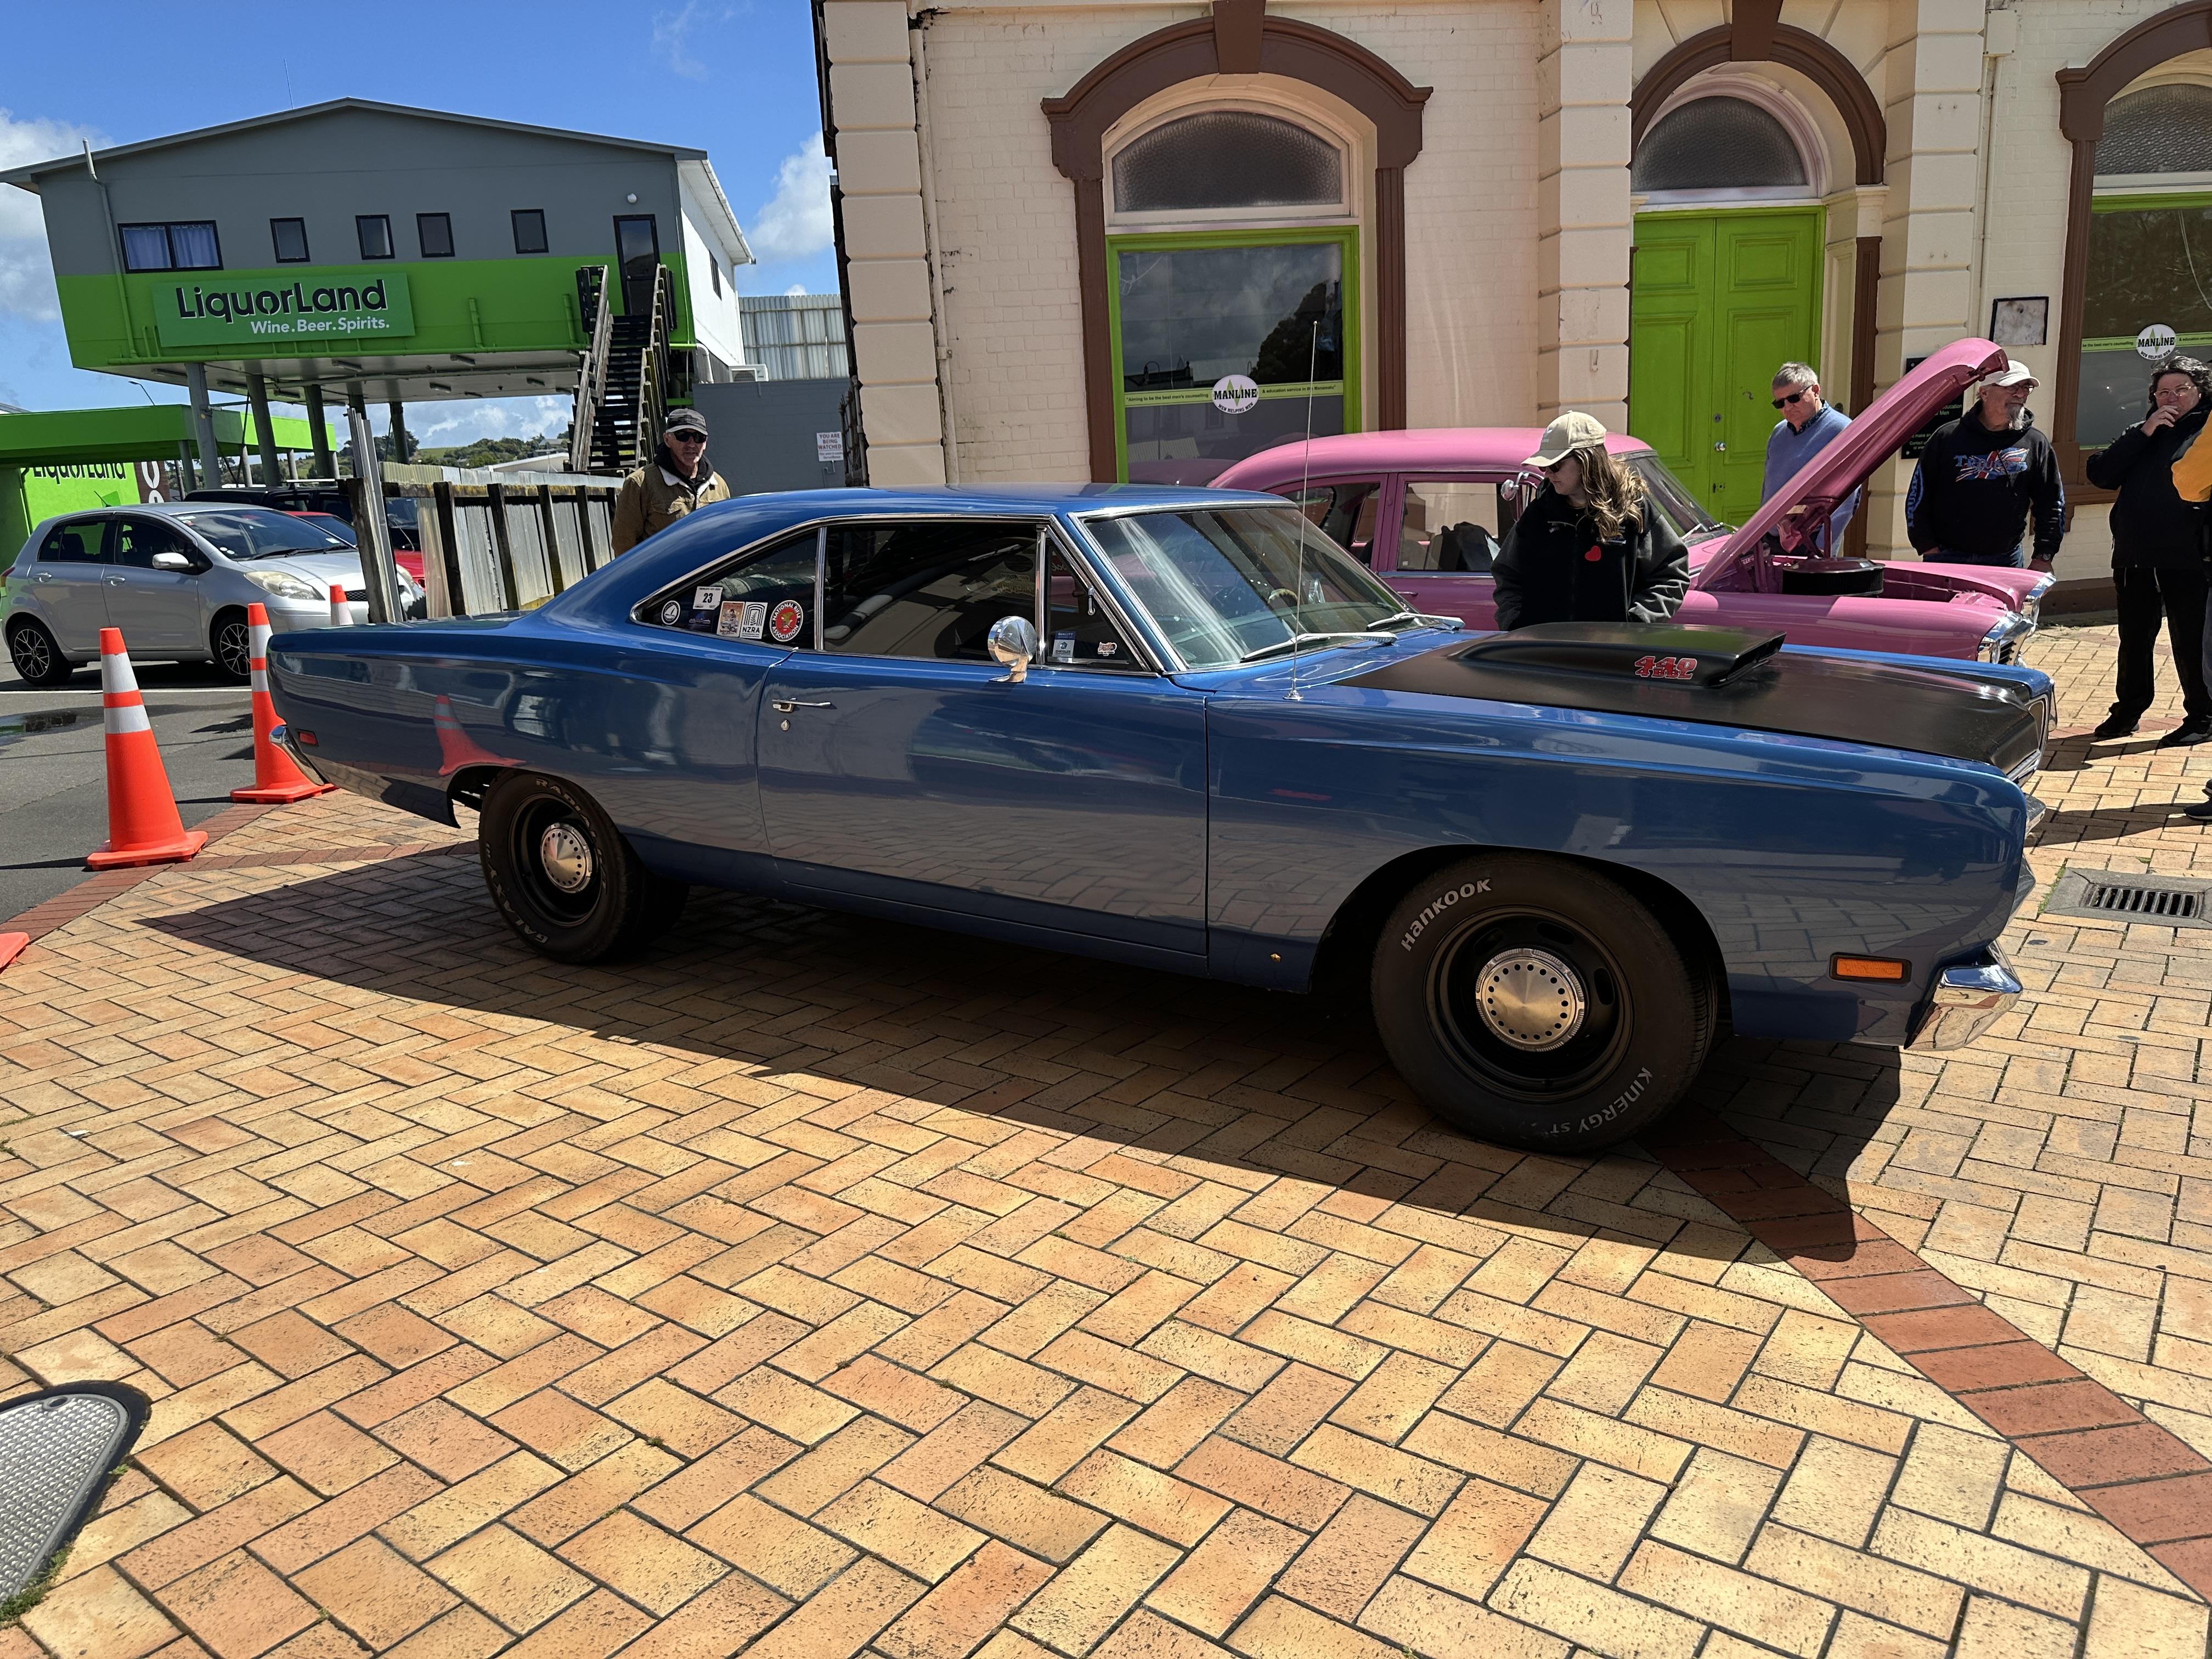
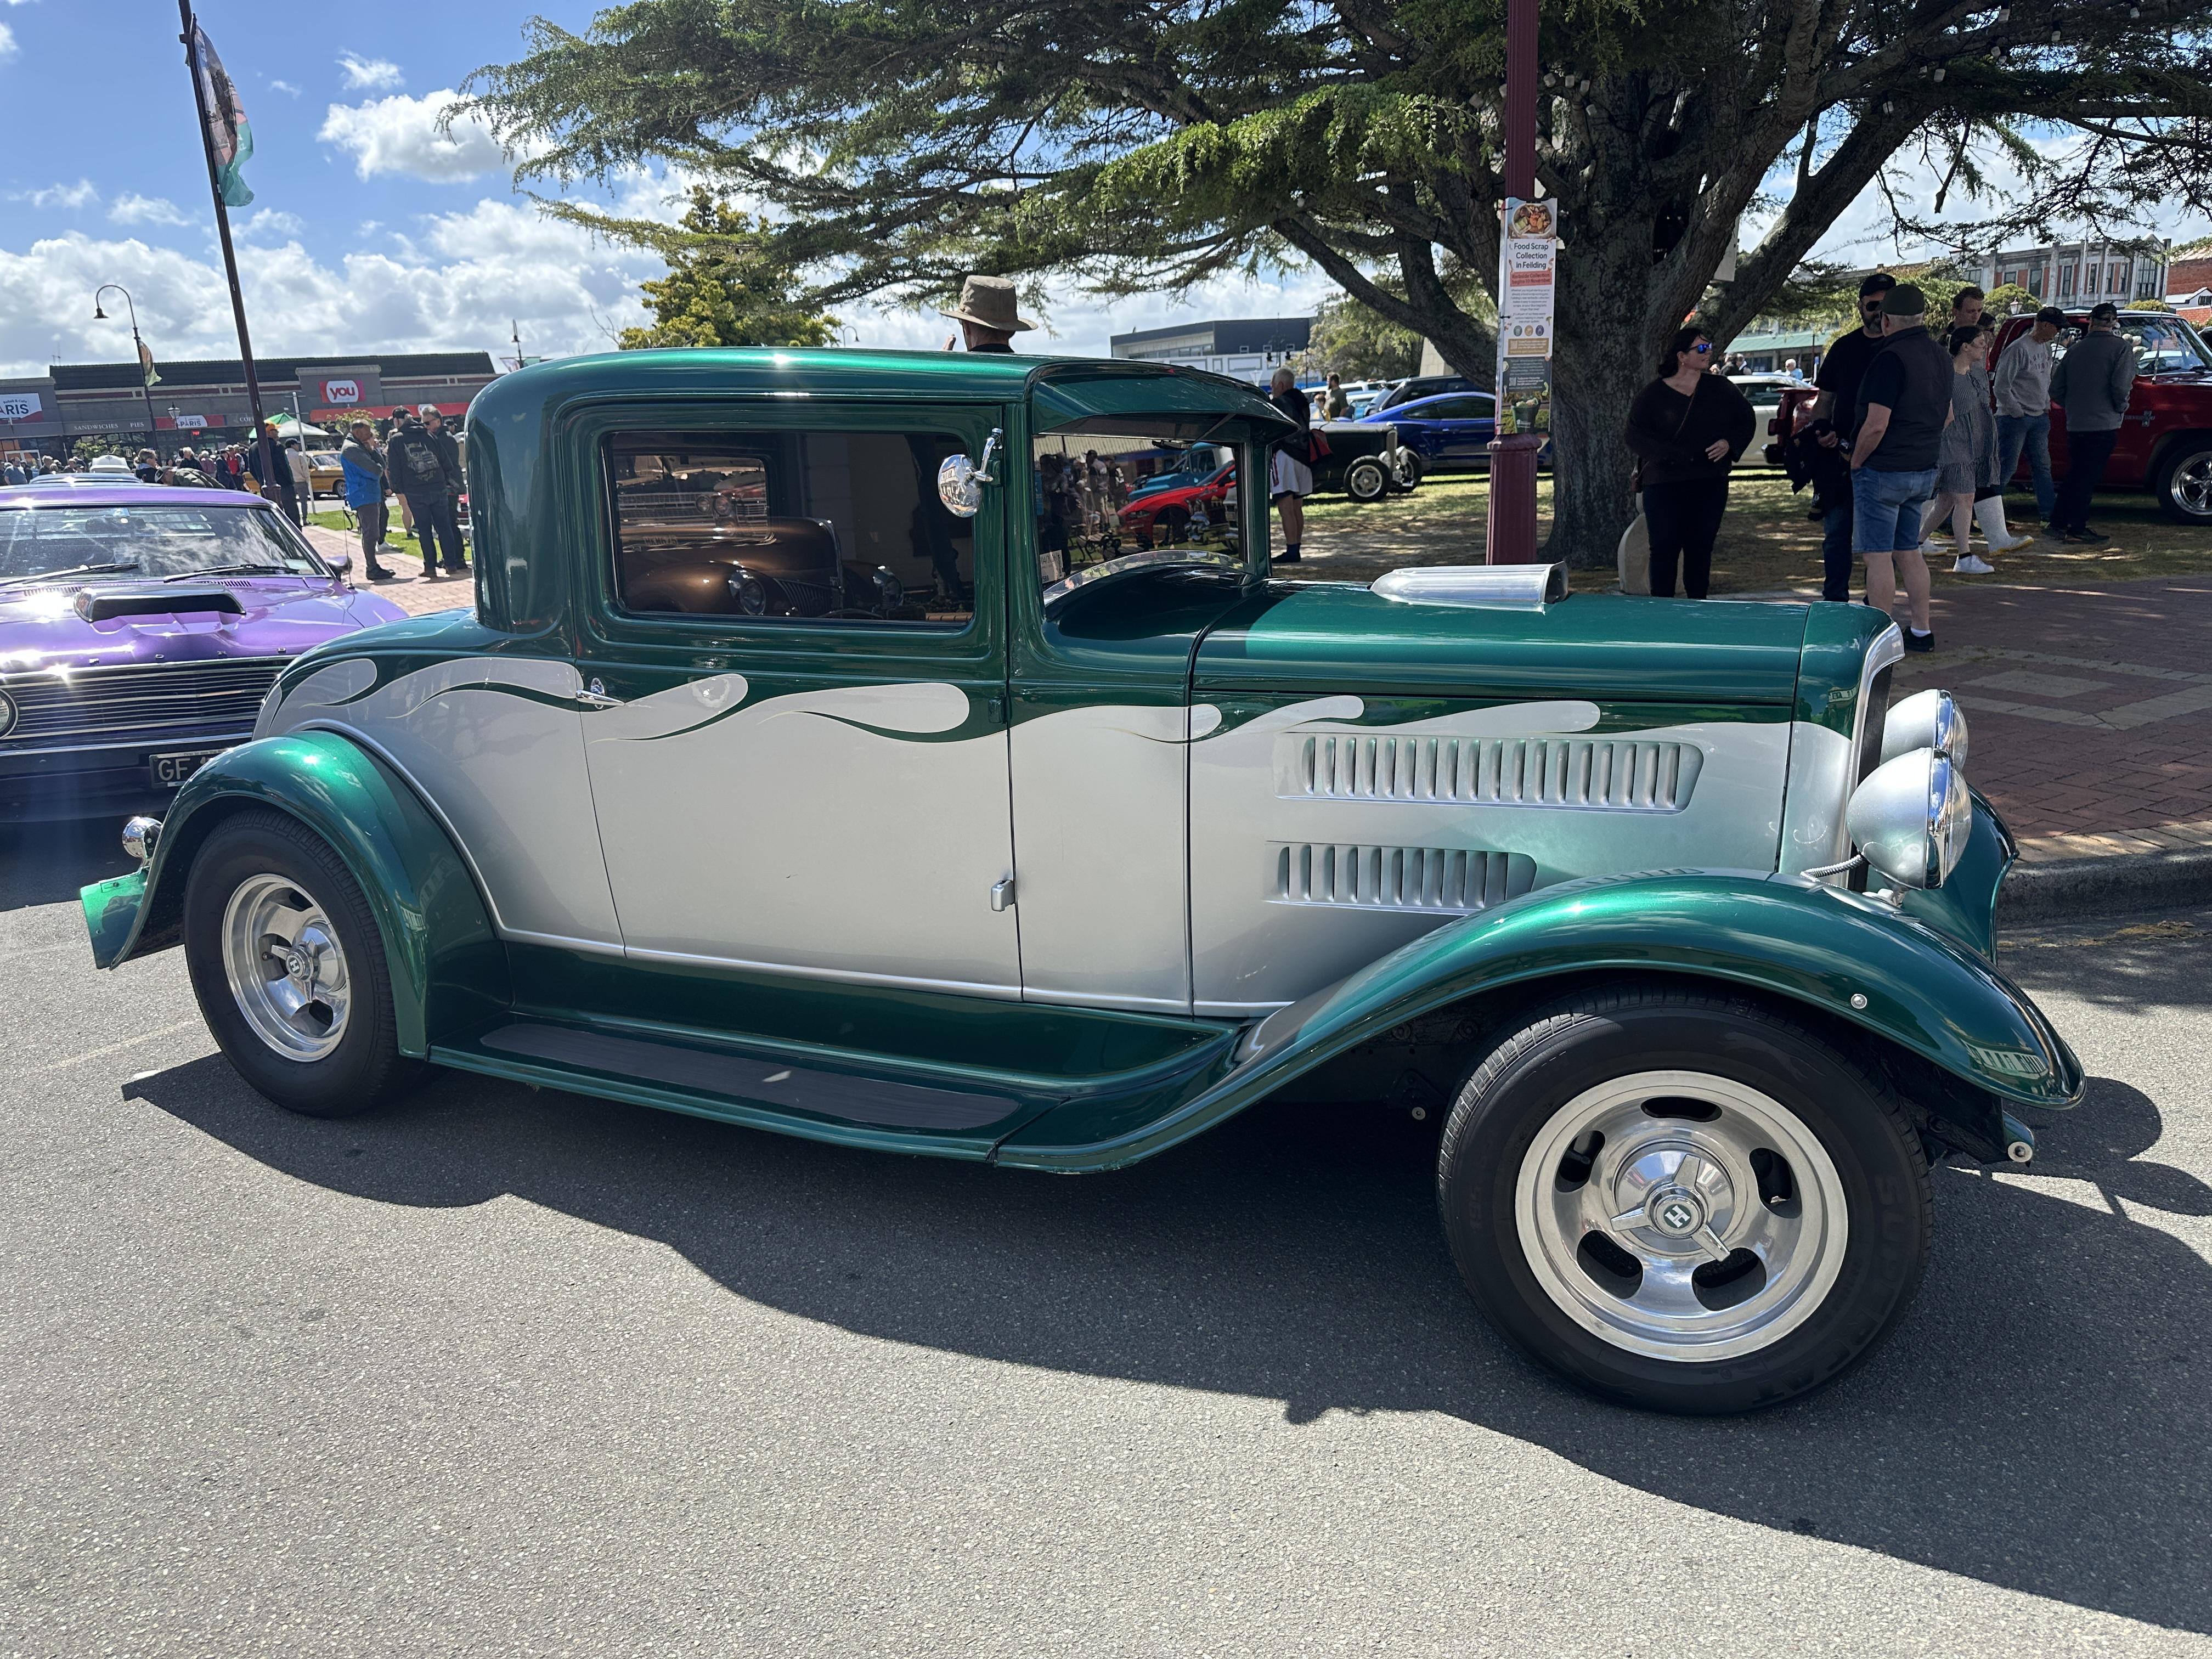
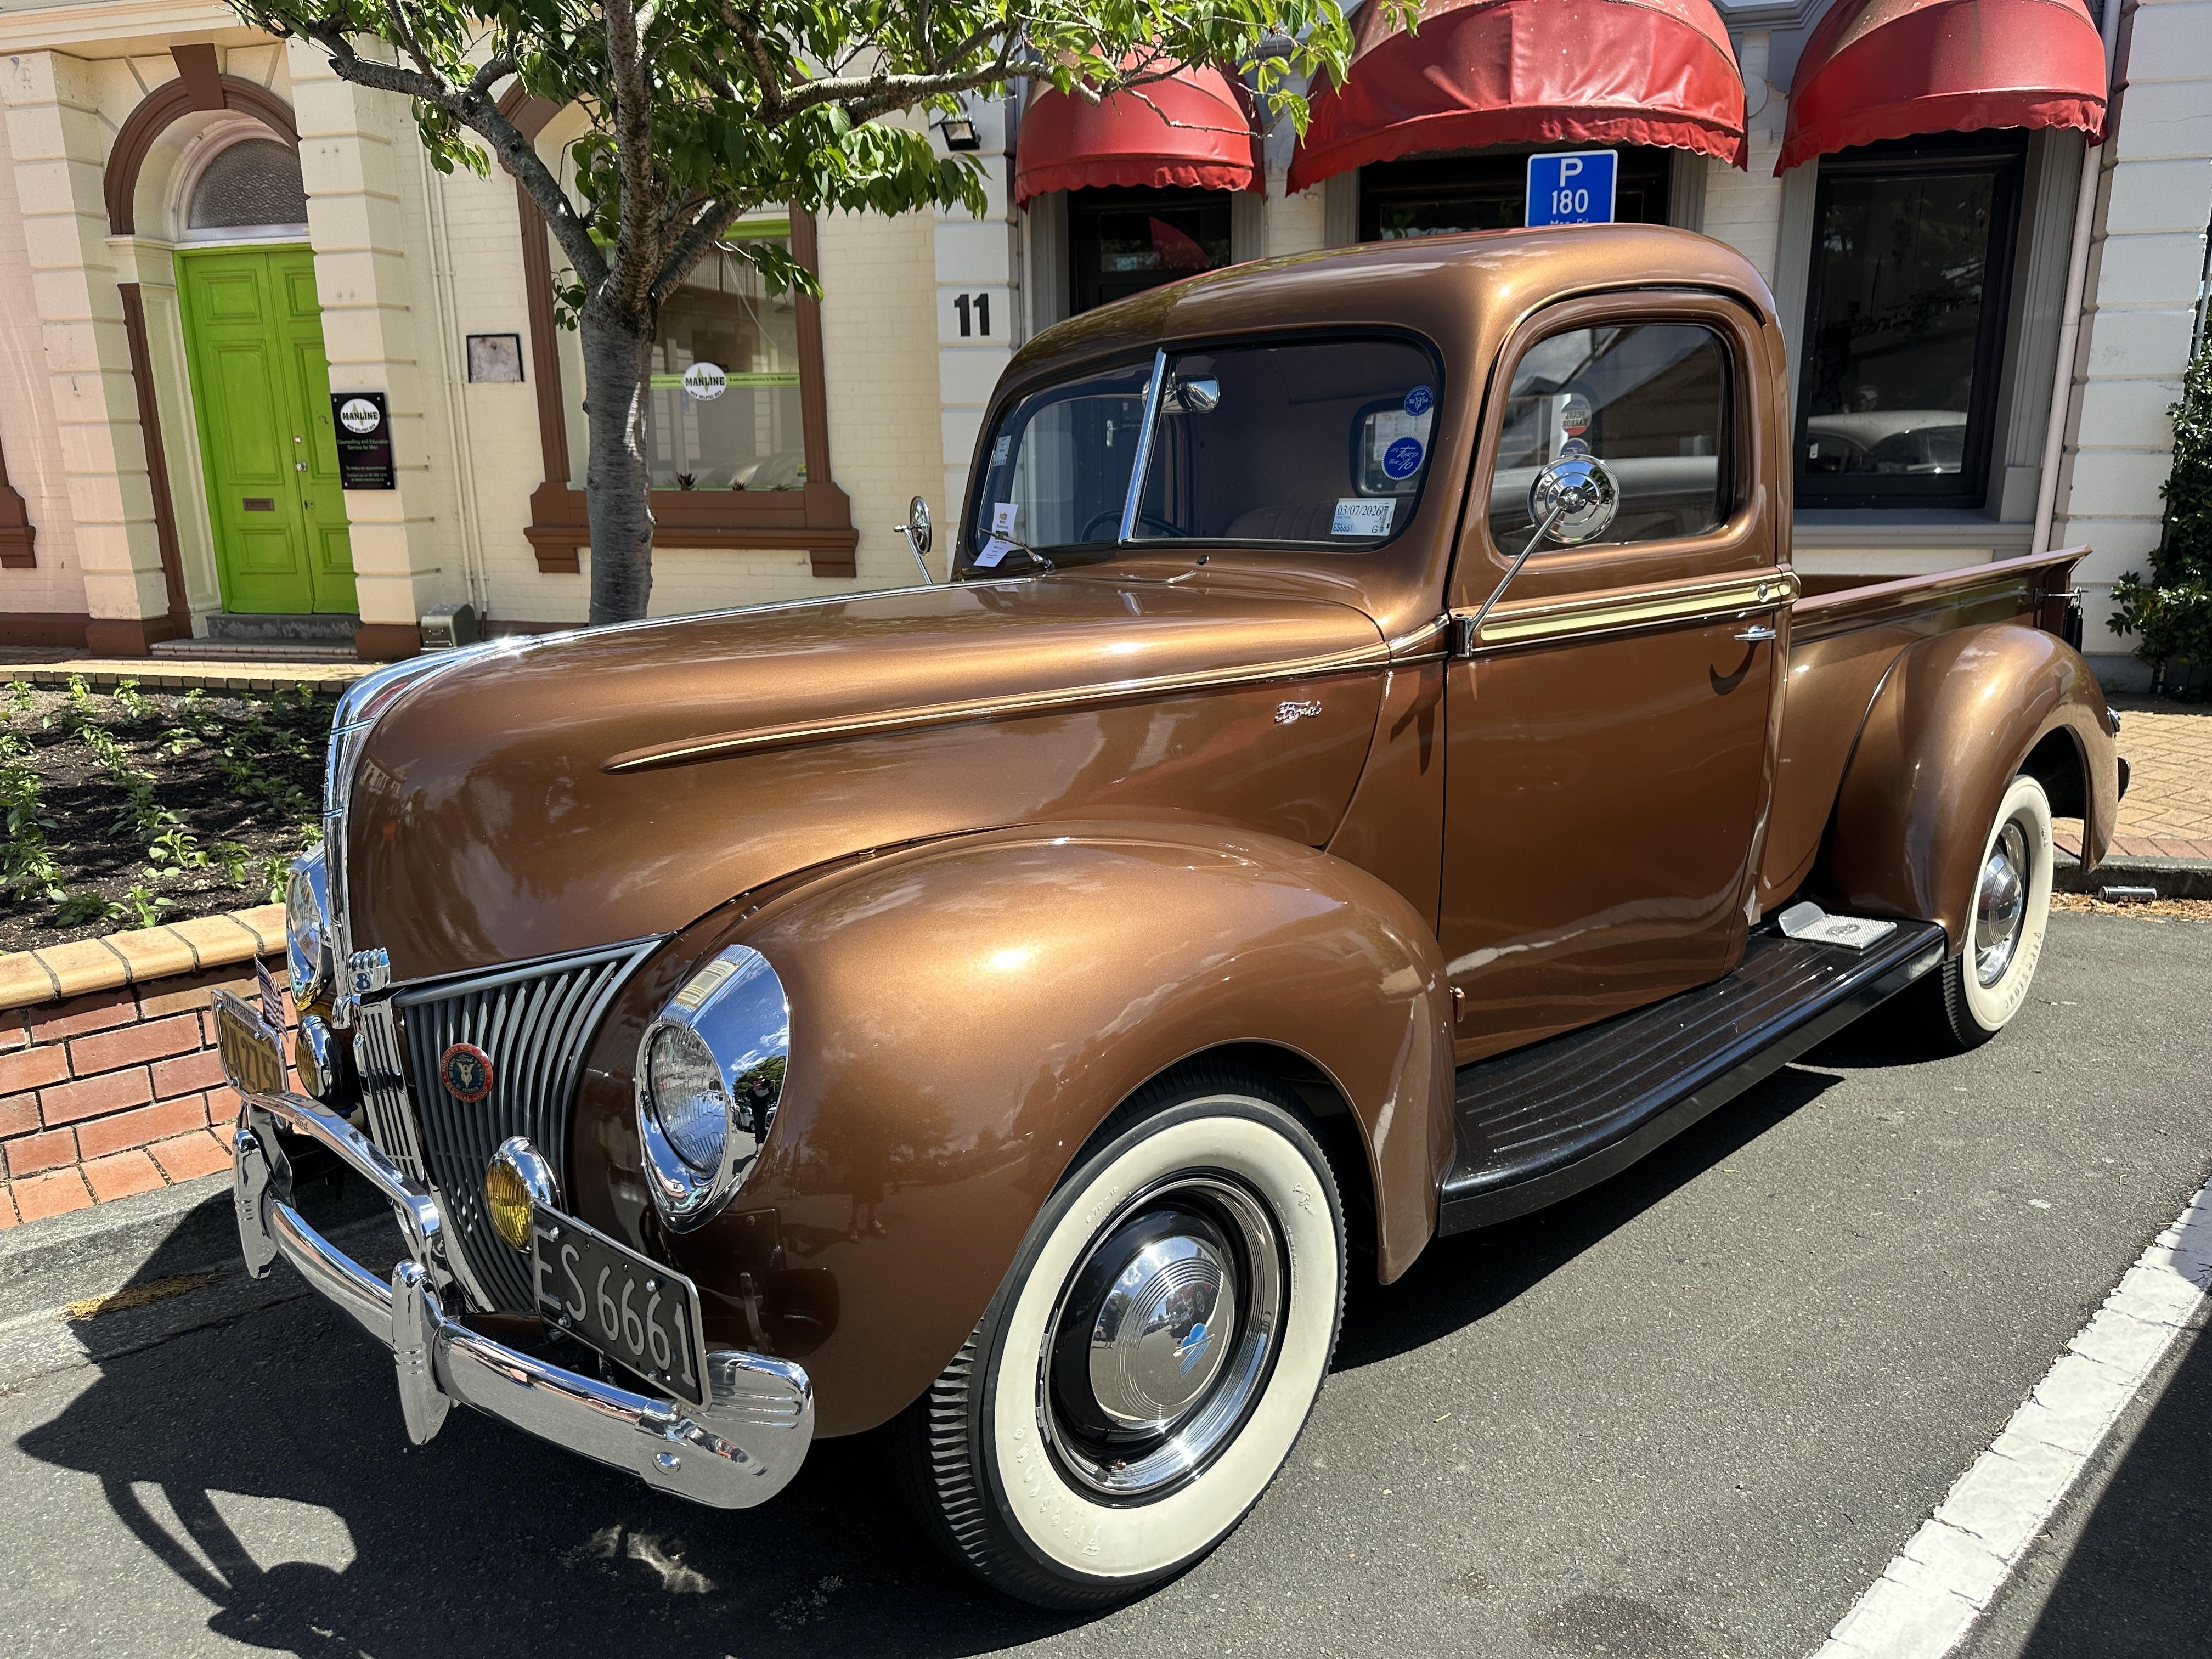
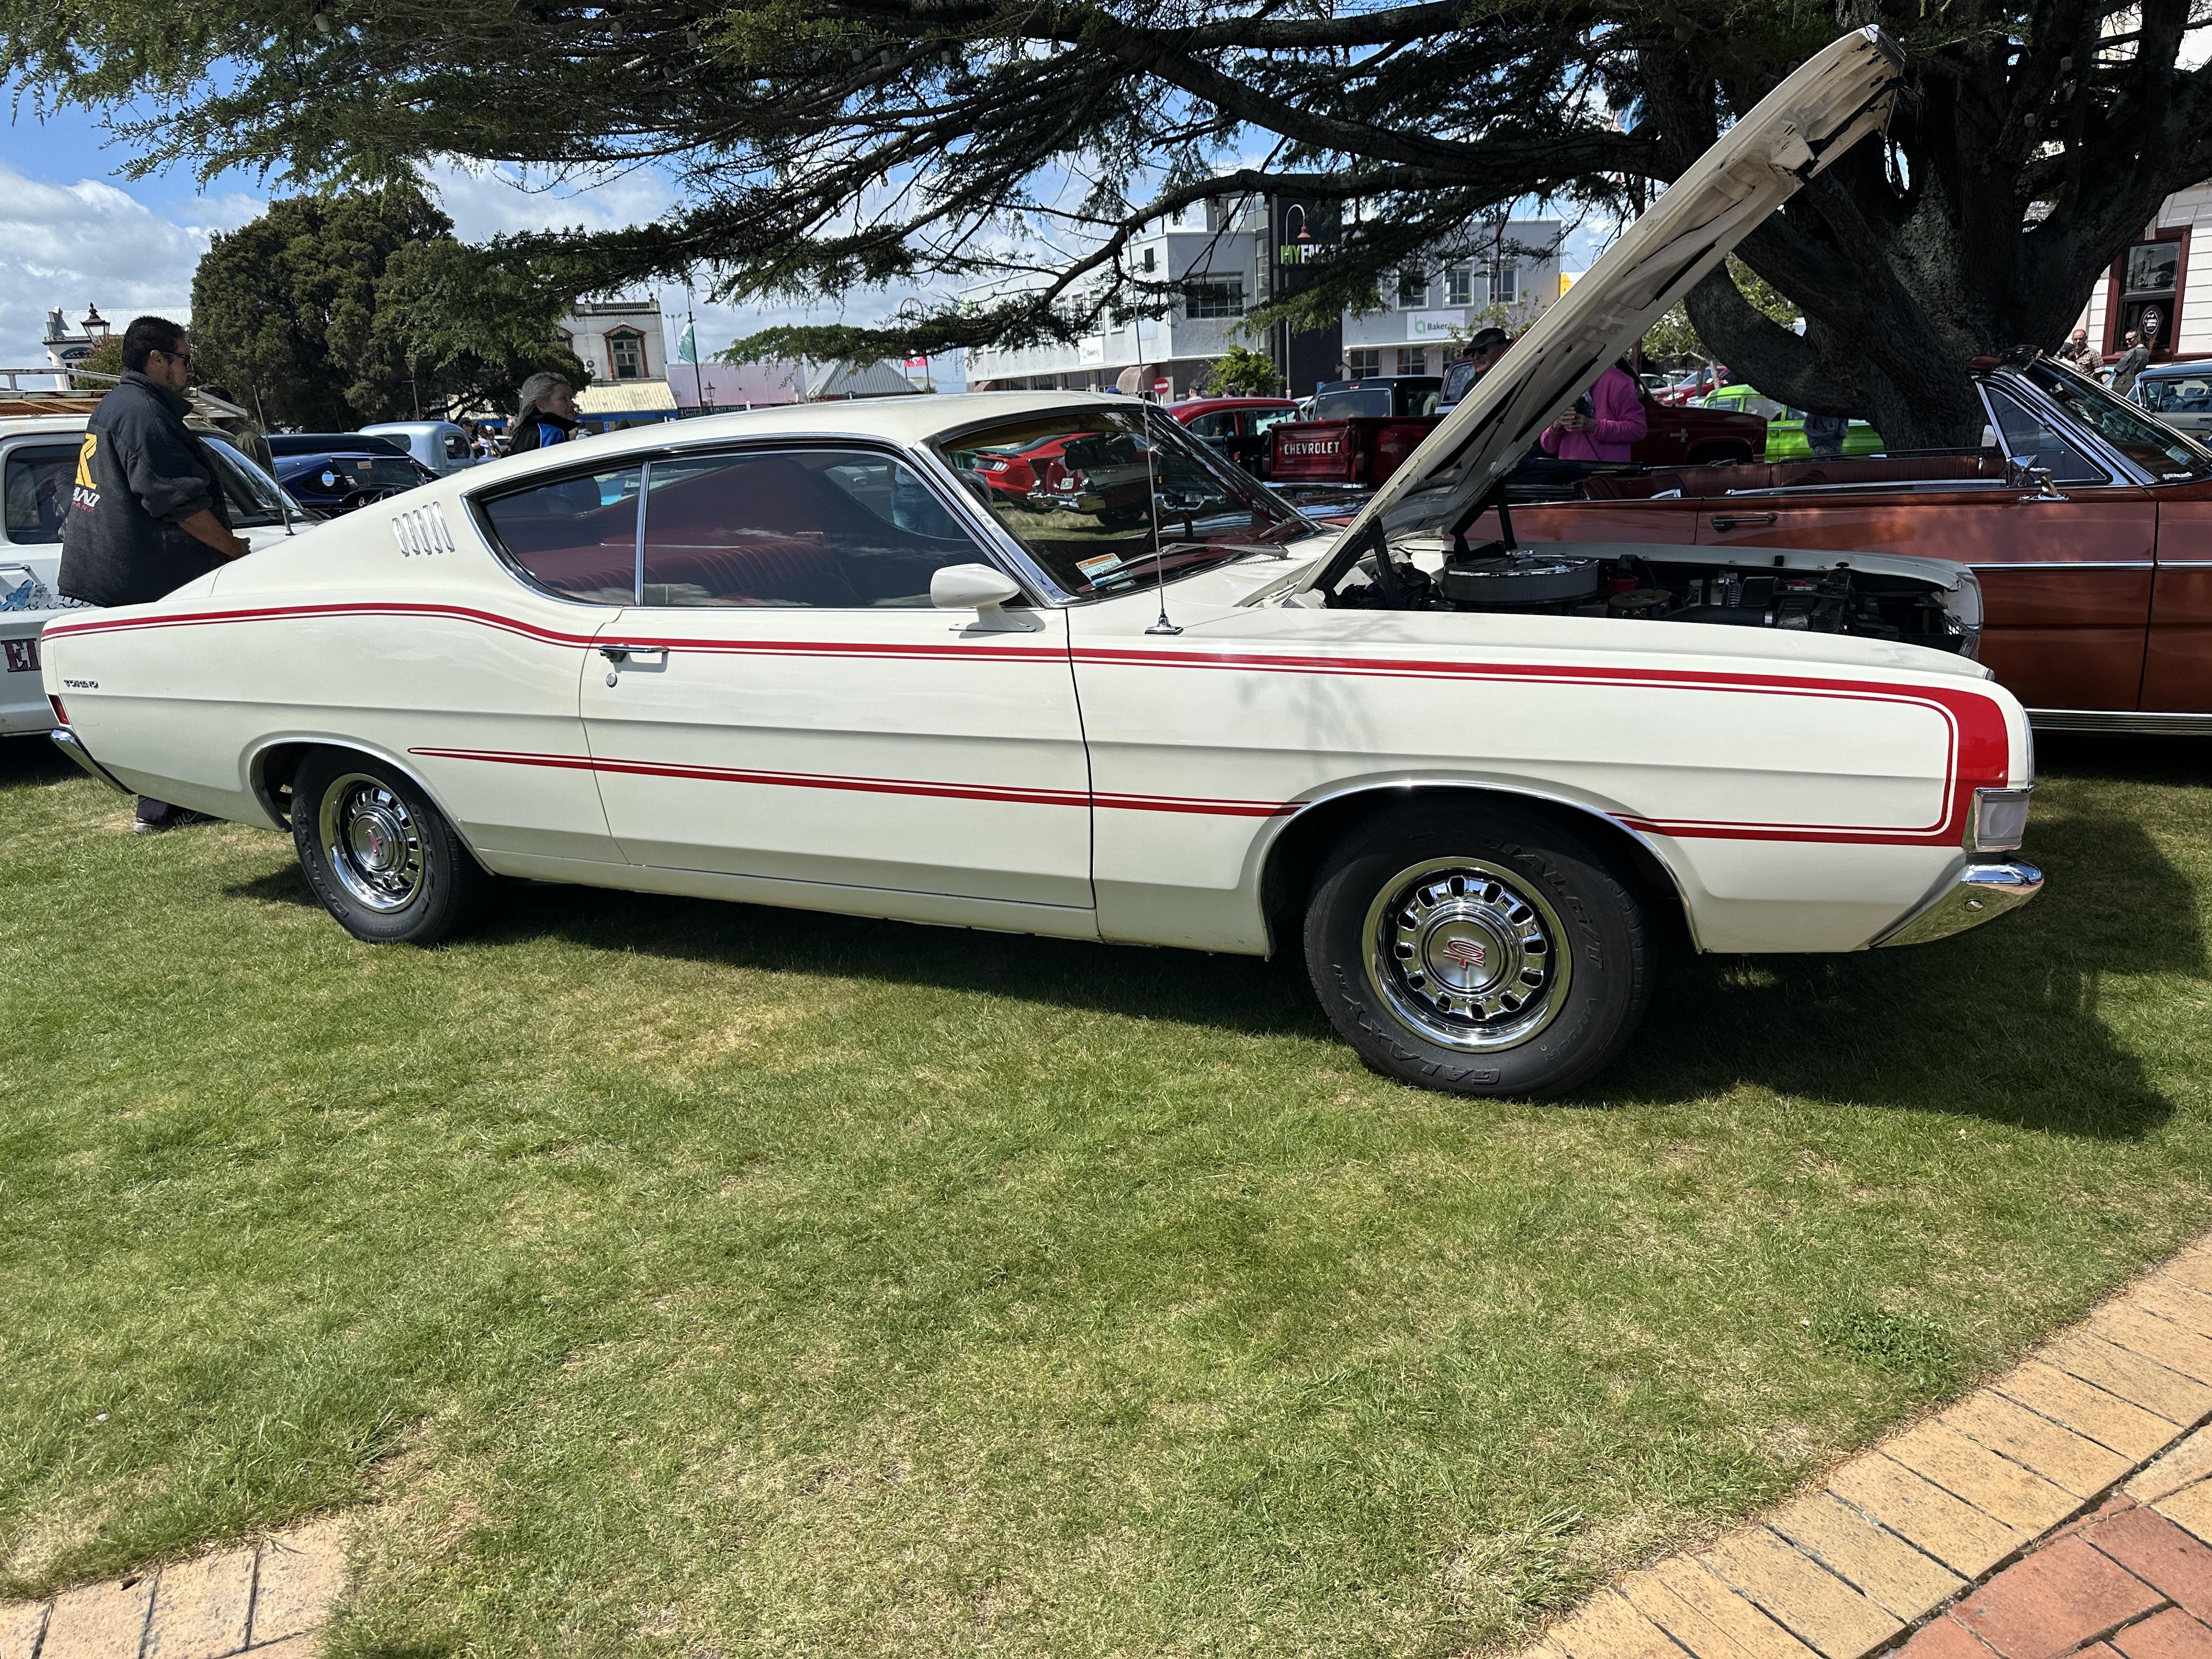
Pix from yesterdays Spring Car show in Felding (New Zealand). Pix are mostly of American cars but there were a few Pom Bombs there too but they interest me much. Nice Chebby with part of an Oz Ford Panel van behind This 34 has been on the road since the late 70's early 80's and is still looking good A very tidy 34 Tidy early 60's Mopar - these were put together in OZ with parts sourced from Canada with some local content. Has 318 poly motor Tidy tri-five Arghh - beep, beep Roadrunner - with 440. Pink car is an Oz Holden from late 50's I think it is a 32 Hudson - or one of that breed A friend's nice 40 pick-em-up Oz Falcon Coupe based Cobra One of two Torino's at the show. The equally as nice
-
An excellent tutorial Jon. I have a mate who builds sports car bodies from scratch using this build up method and he builds some stunning stuff that way. It is old skool through and through but it works
-
Kool looking Vicky. A great effort for a period style gasser
-
Nice looking car. You gotta love the old AMT 32's with wedge section bodies as they can turn into some nice-looking models. Kool colour too
-
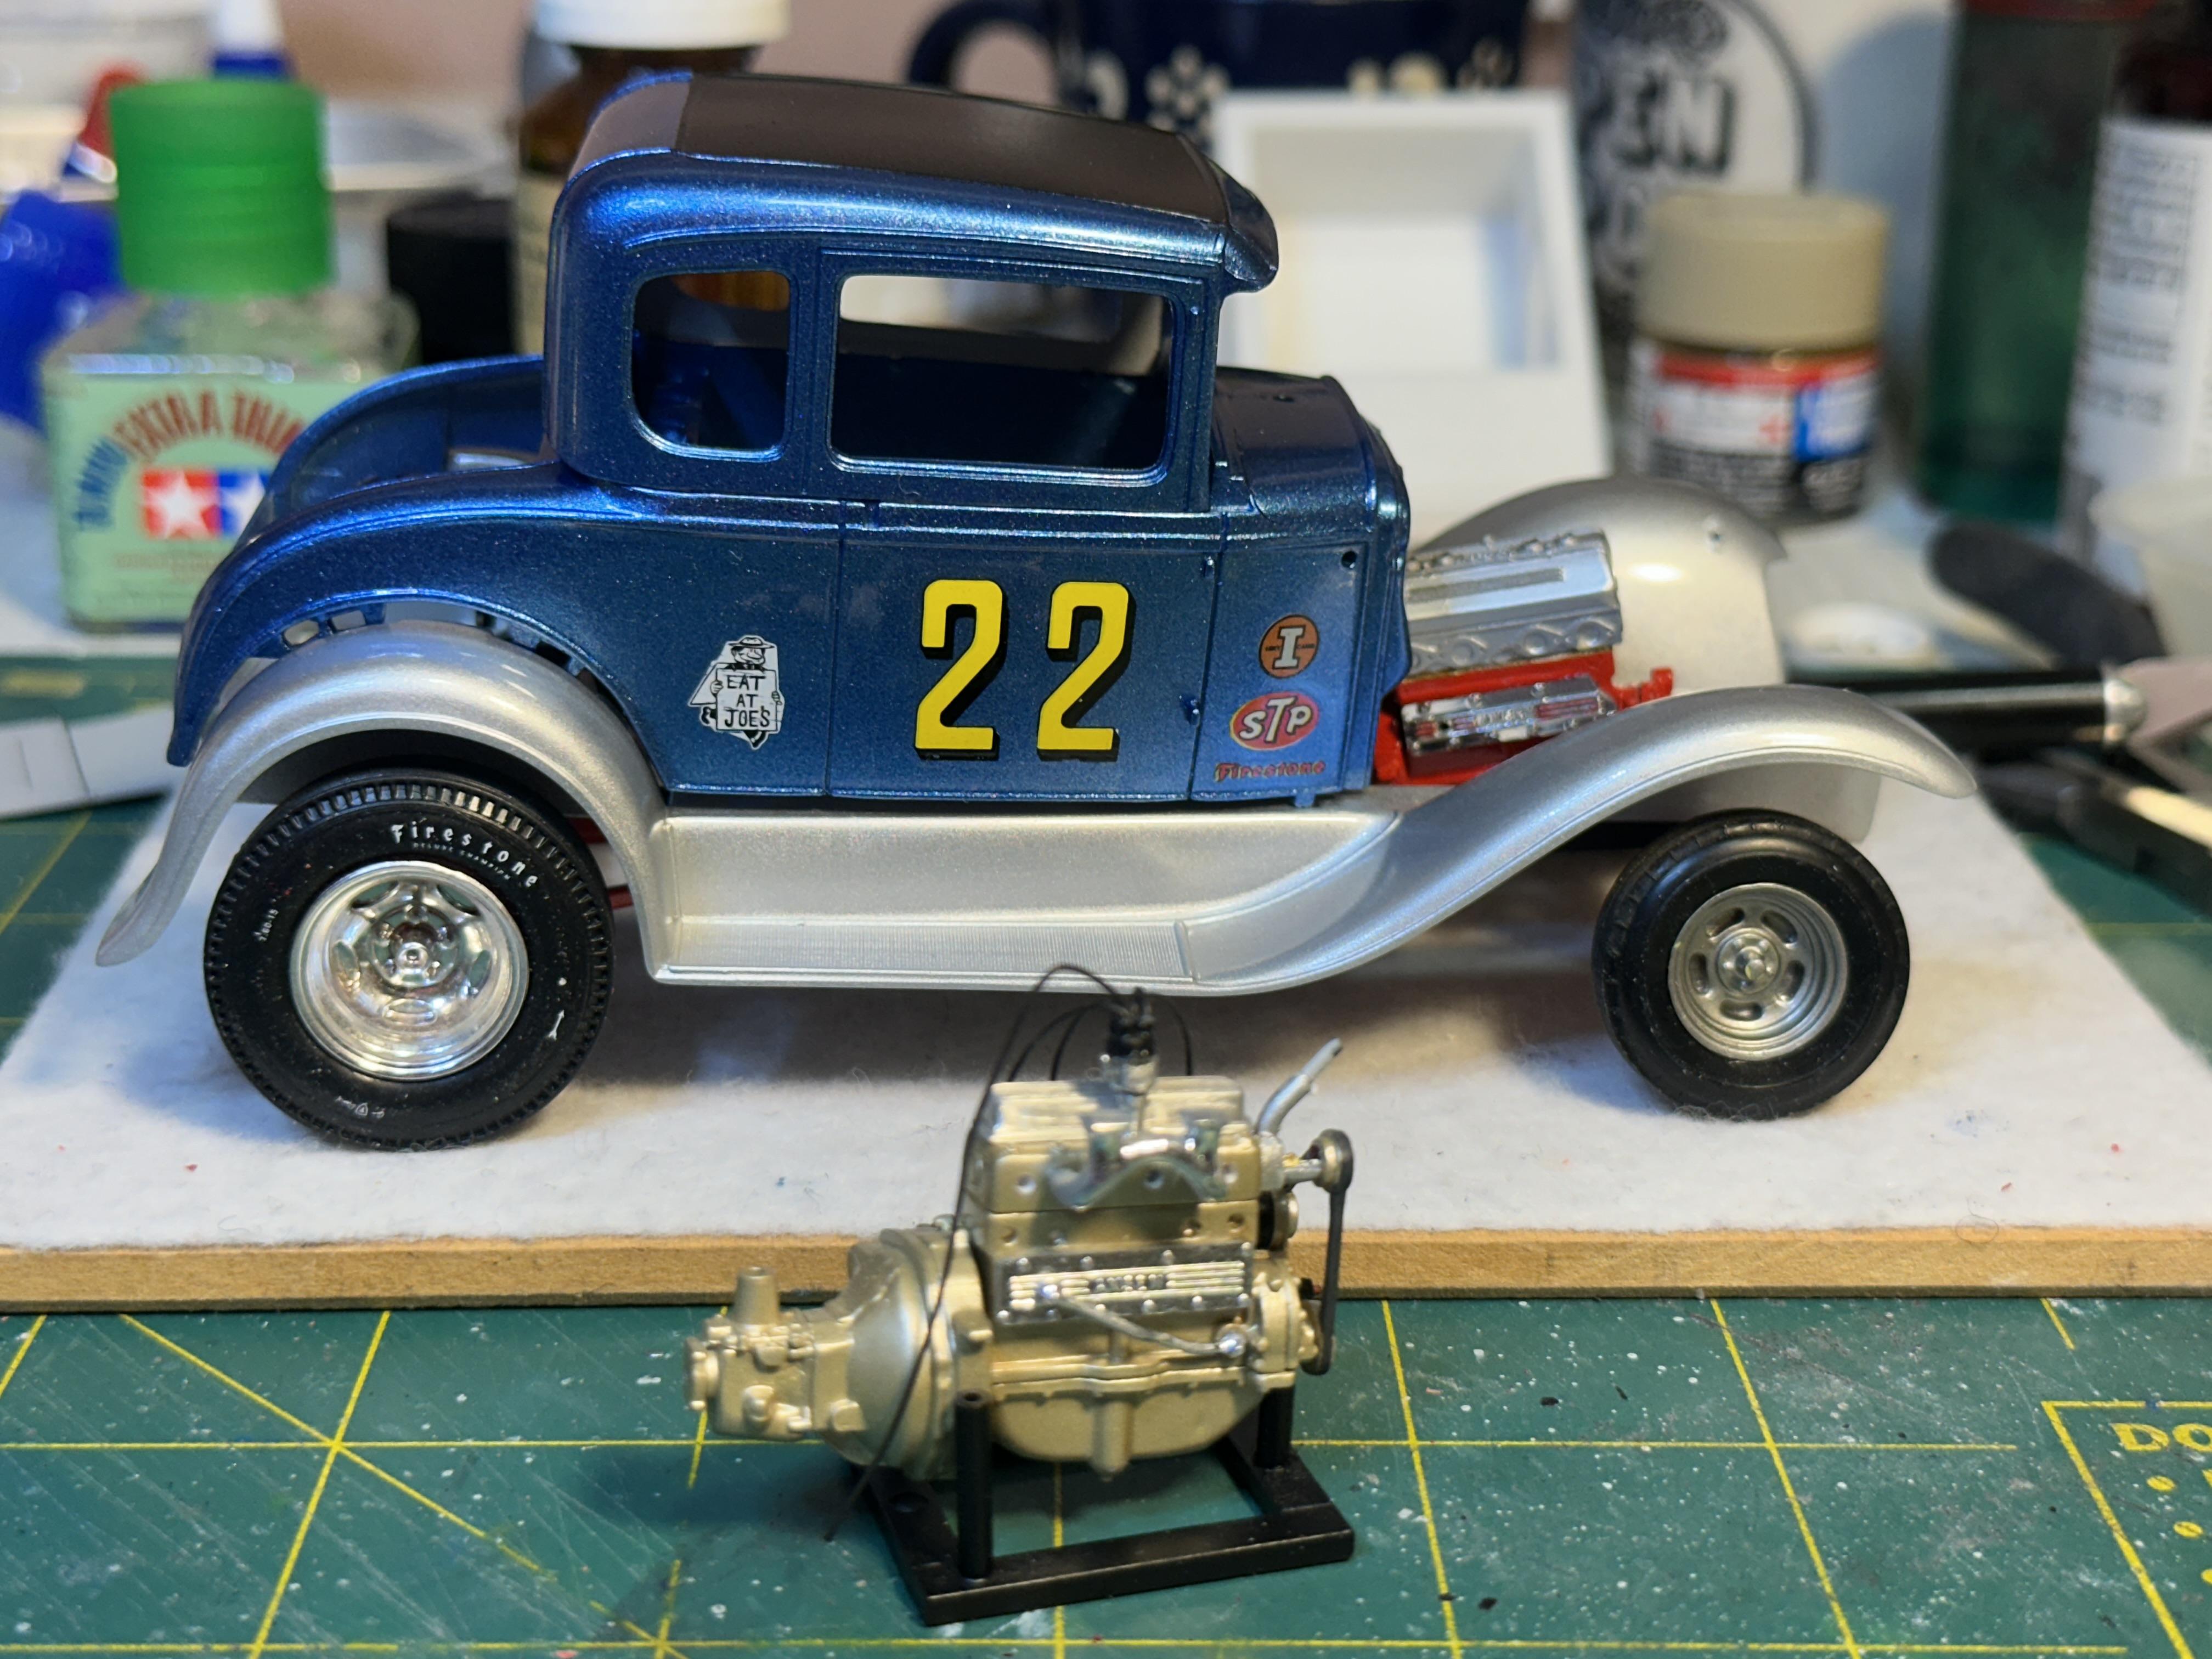
Paint detailed the brake drum fins with some watered-down red flowed into the grooves then cleaned up when dry to make the drums stand out a bit. I also remade a wider set for the rears as I was not happy with the original skinnies I had made up. I also tinted the rear and quarter windows with some Tamiya clear red - no pix yet Time for a mock up to see how the stance is going. There is a very slight rake going on here so I may look at lowering the back a little to get a flatter look and to get the wheels filling the fenders a bit better. I am happy with the front end though. I am trying to get my head around the uncut top as most of my recent builds have had haircuts The spare motor is in the front although I don't think I will need it😁 Any way it will be down on power compared the beasty banger in the car so can sit on the trailer for now
-
Nice model build. Ticks all the boxes for me as a Mopar Man Nice 1:1 too Testors had a similar colour in the Boyd range - Chezoom Teal


