bill-e-boy
-
Posts
926 -
Joined
-
Last visited
Content Type
Profiles
Forums
Events
Gallery
Everything posted by bill-e-boy
-
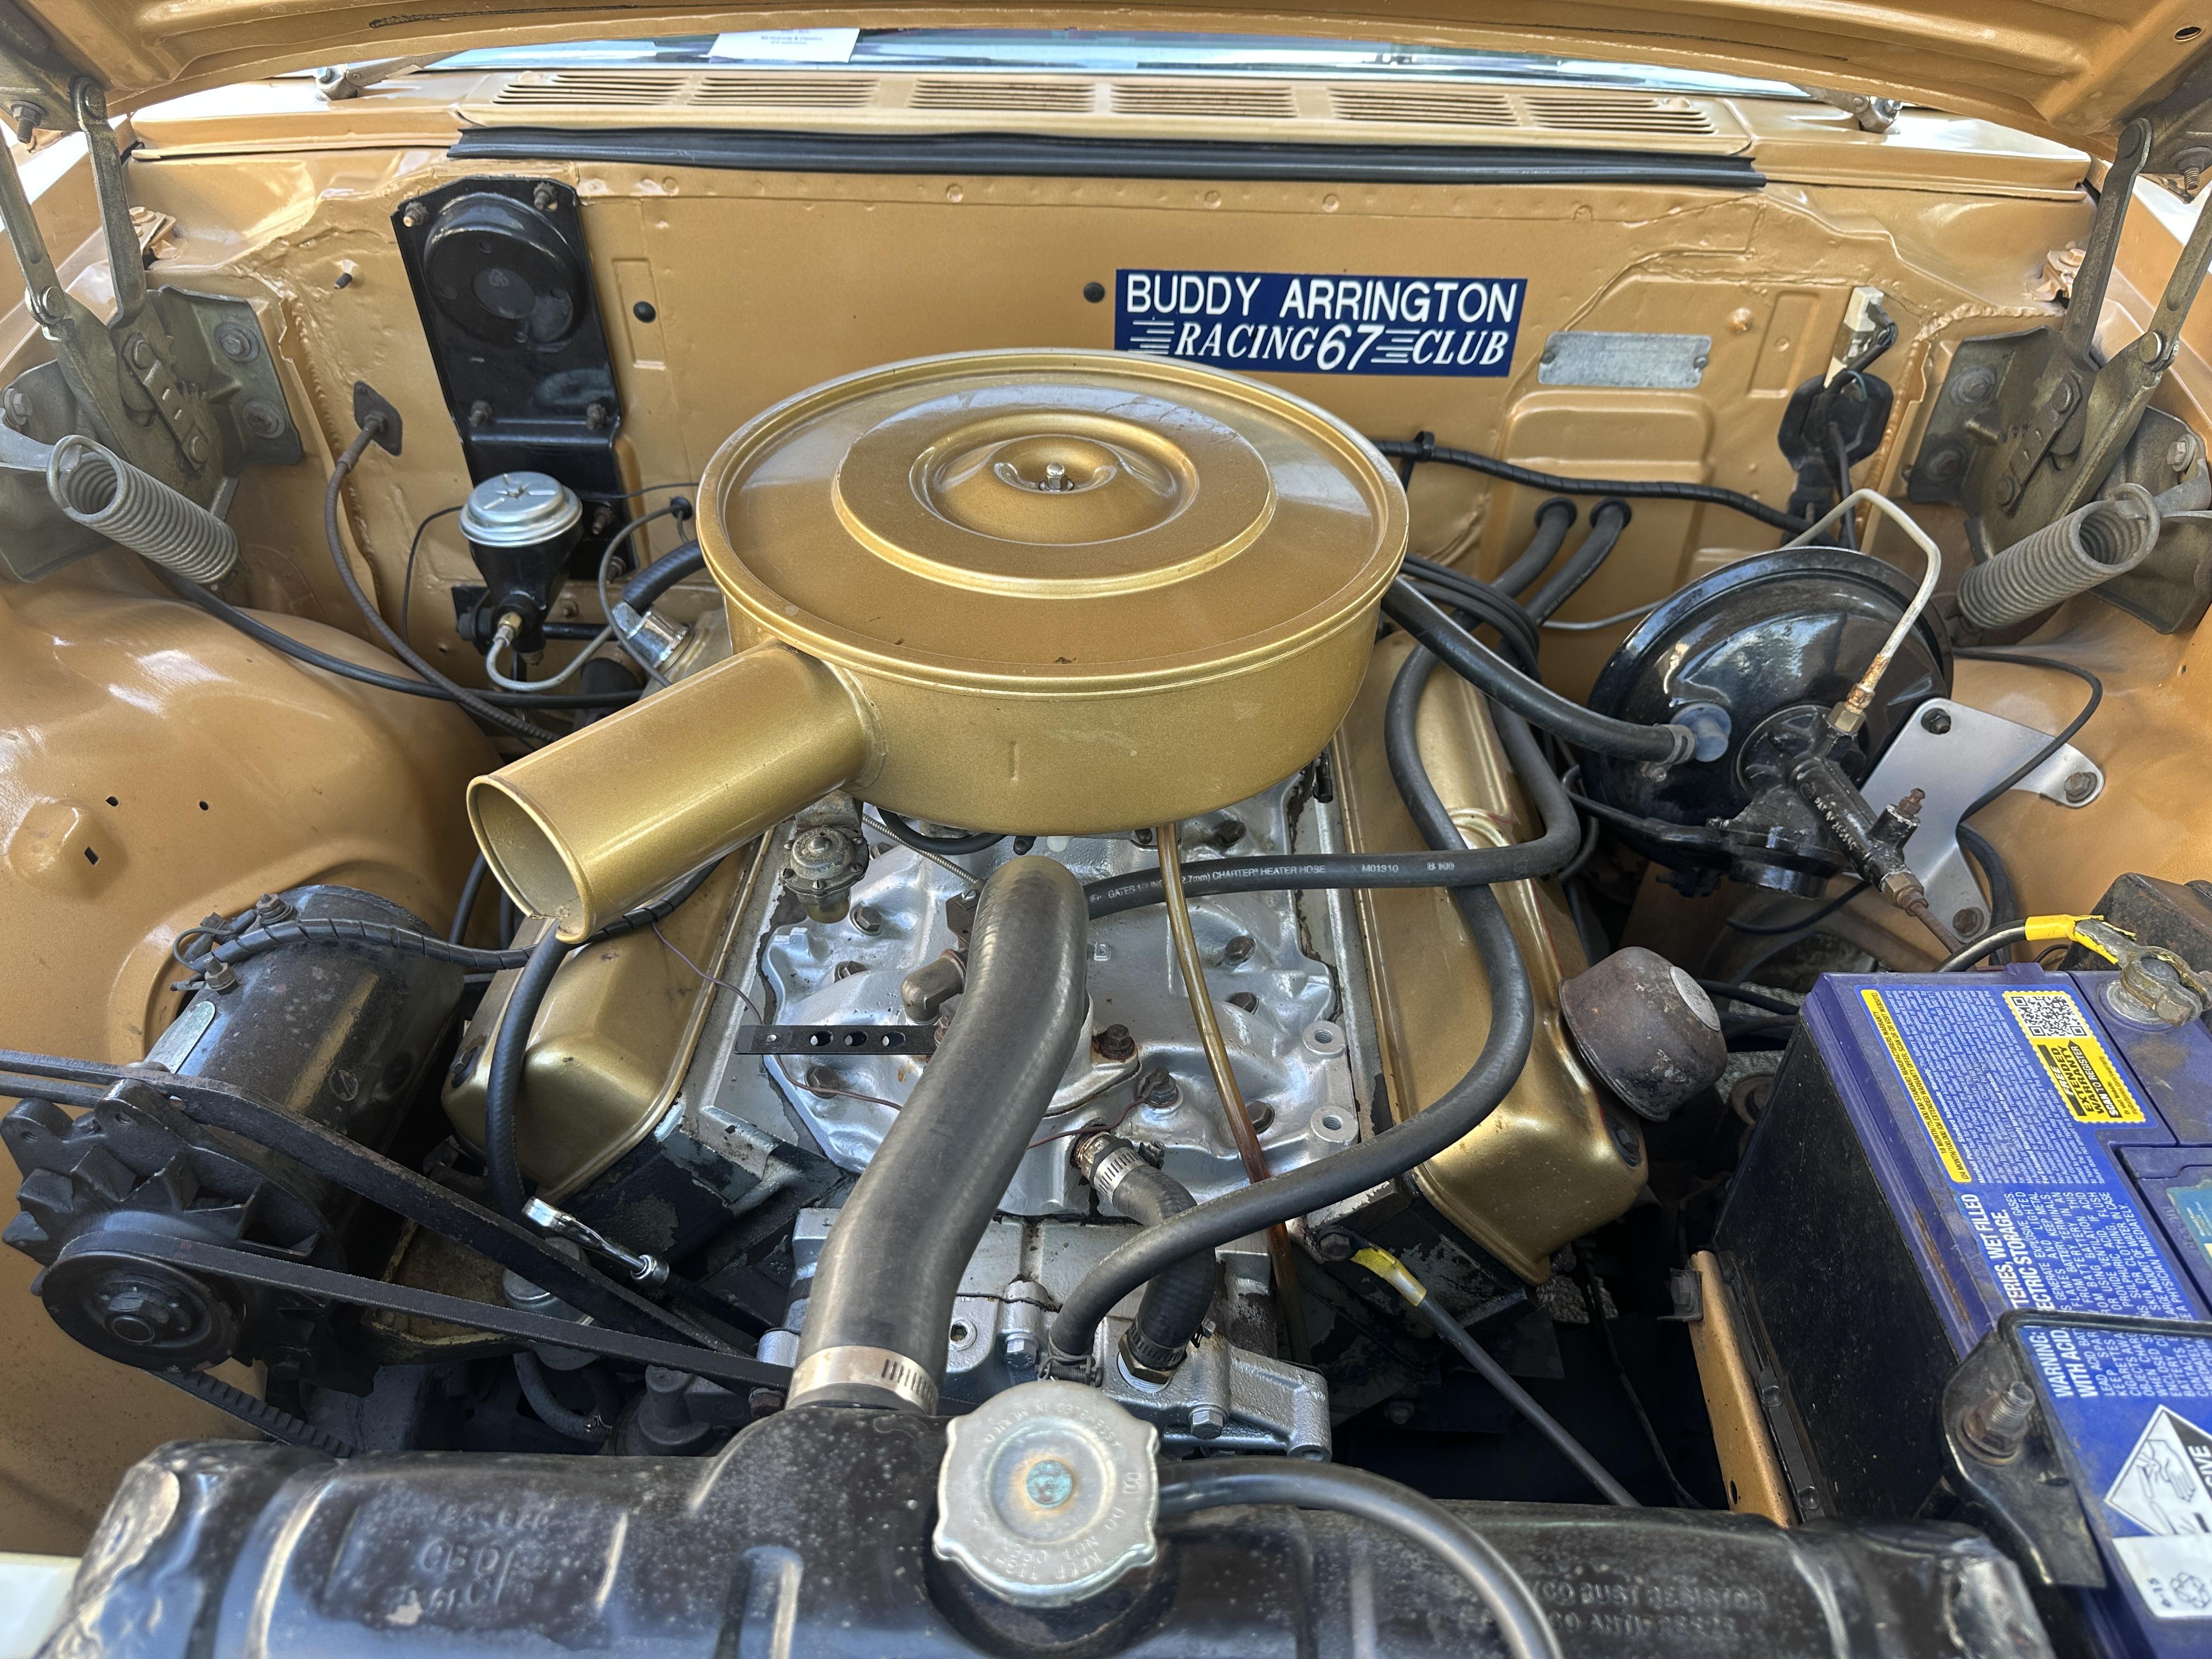
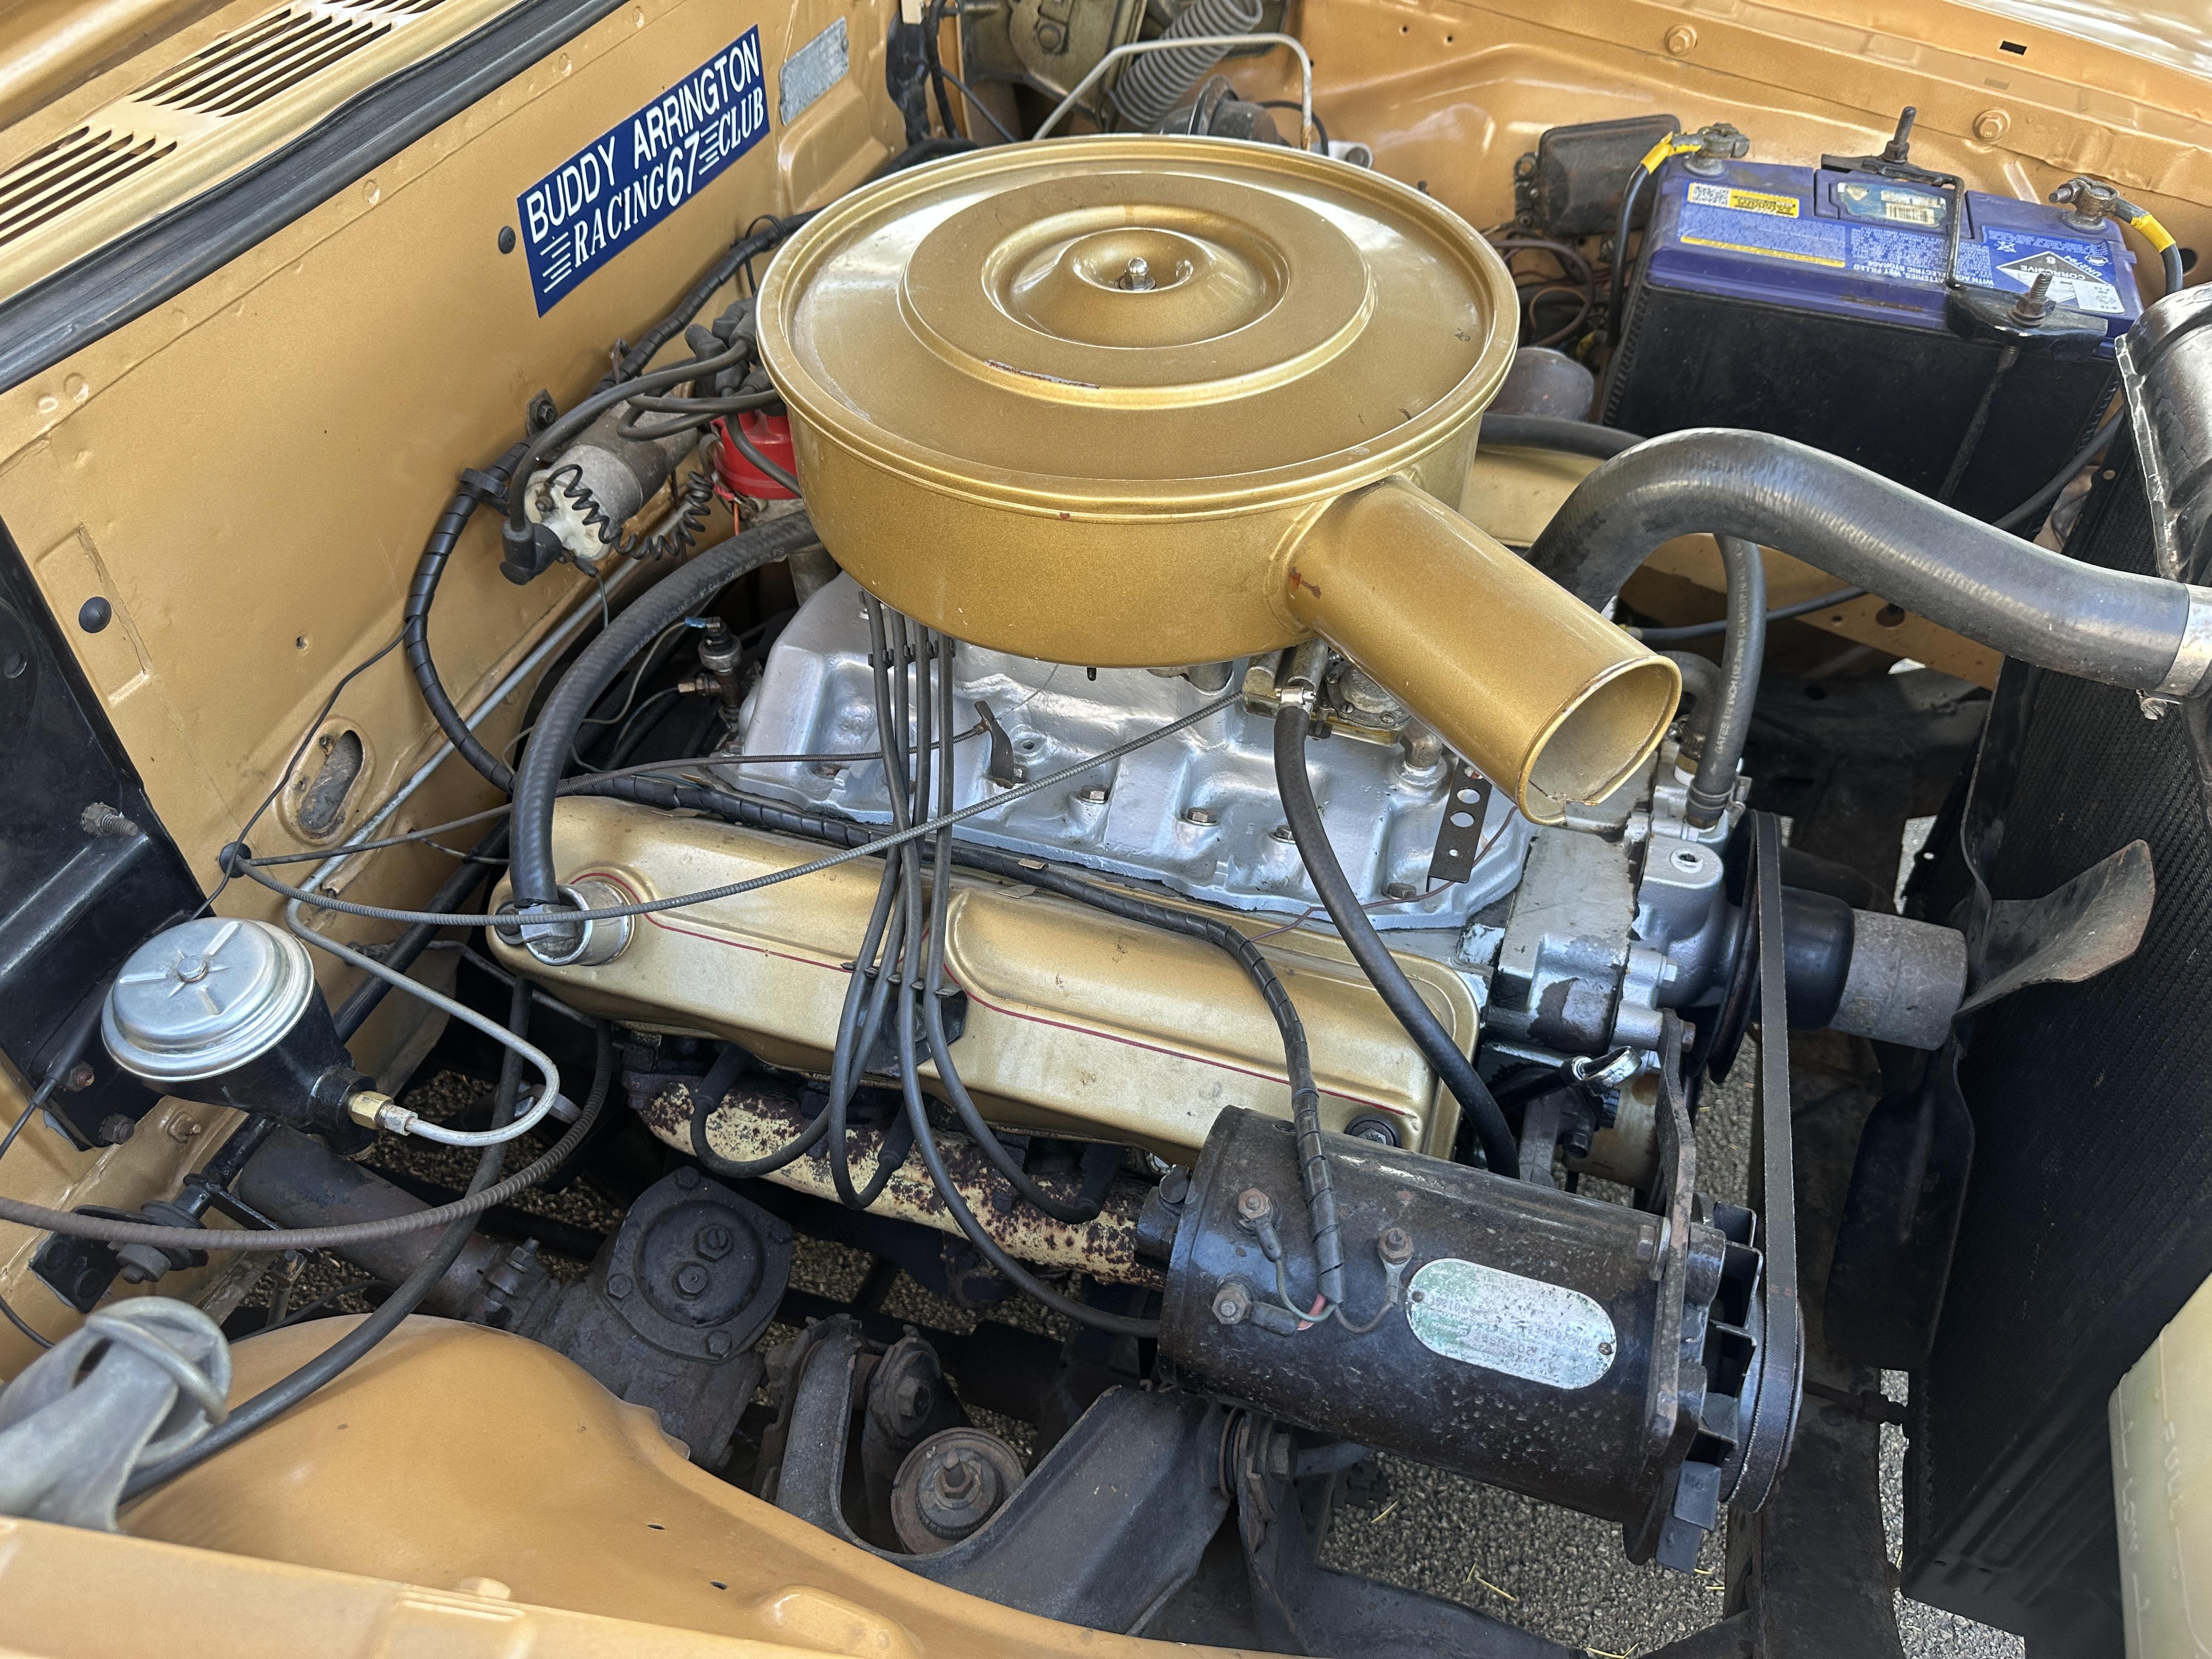
Yup it was a bit of a sleeper and very well presented for a mordor A couple of pix of under the hood

-
It sure is - was not sure of the year so took a guess at 56 - gm cars are not my strong point In general for a street sow there were some very nice cars there - most impressed
-
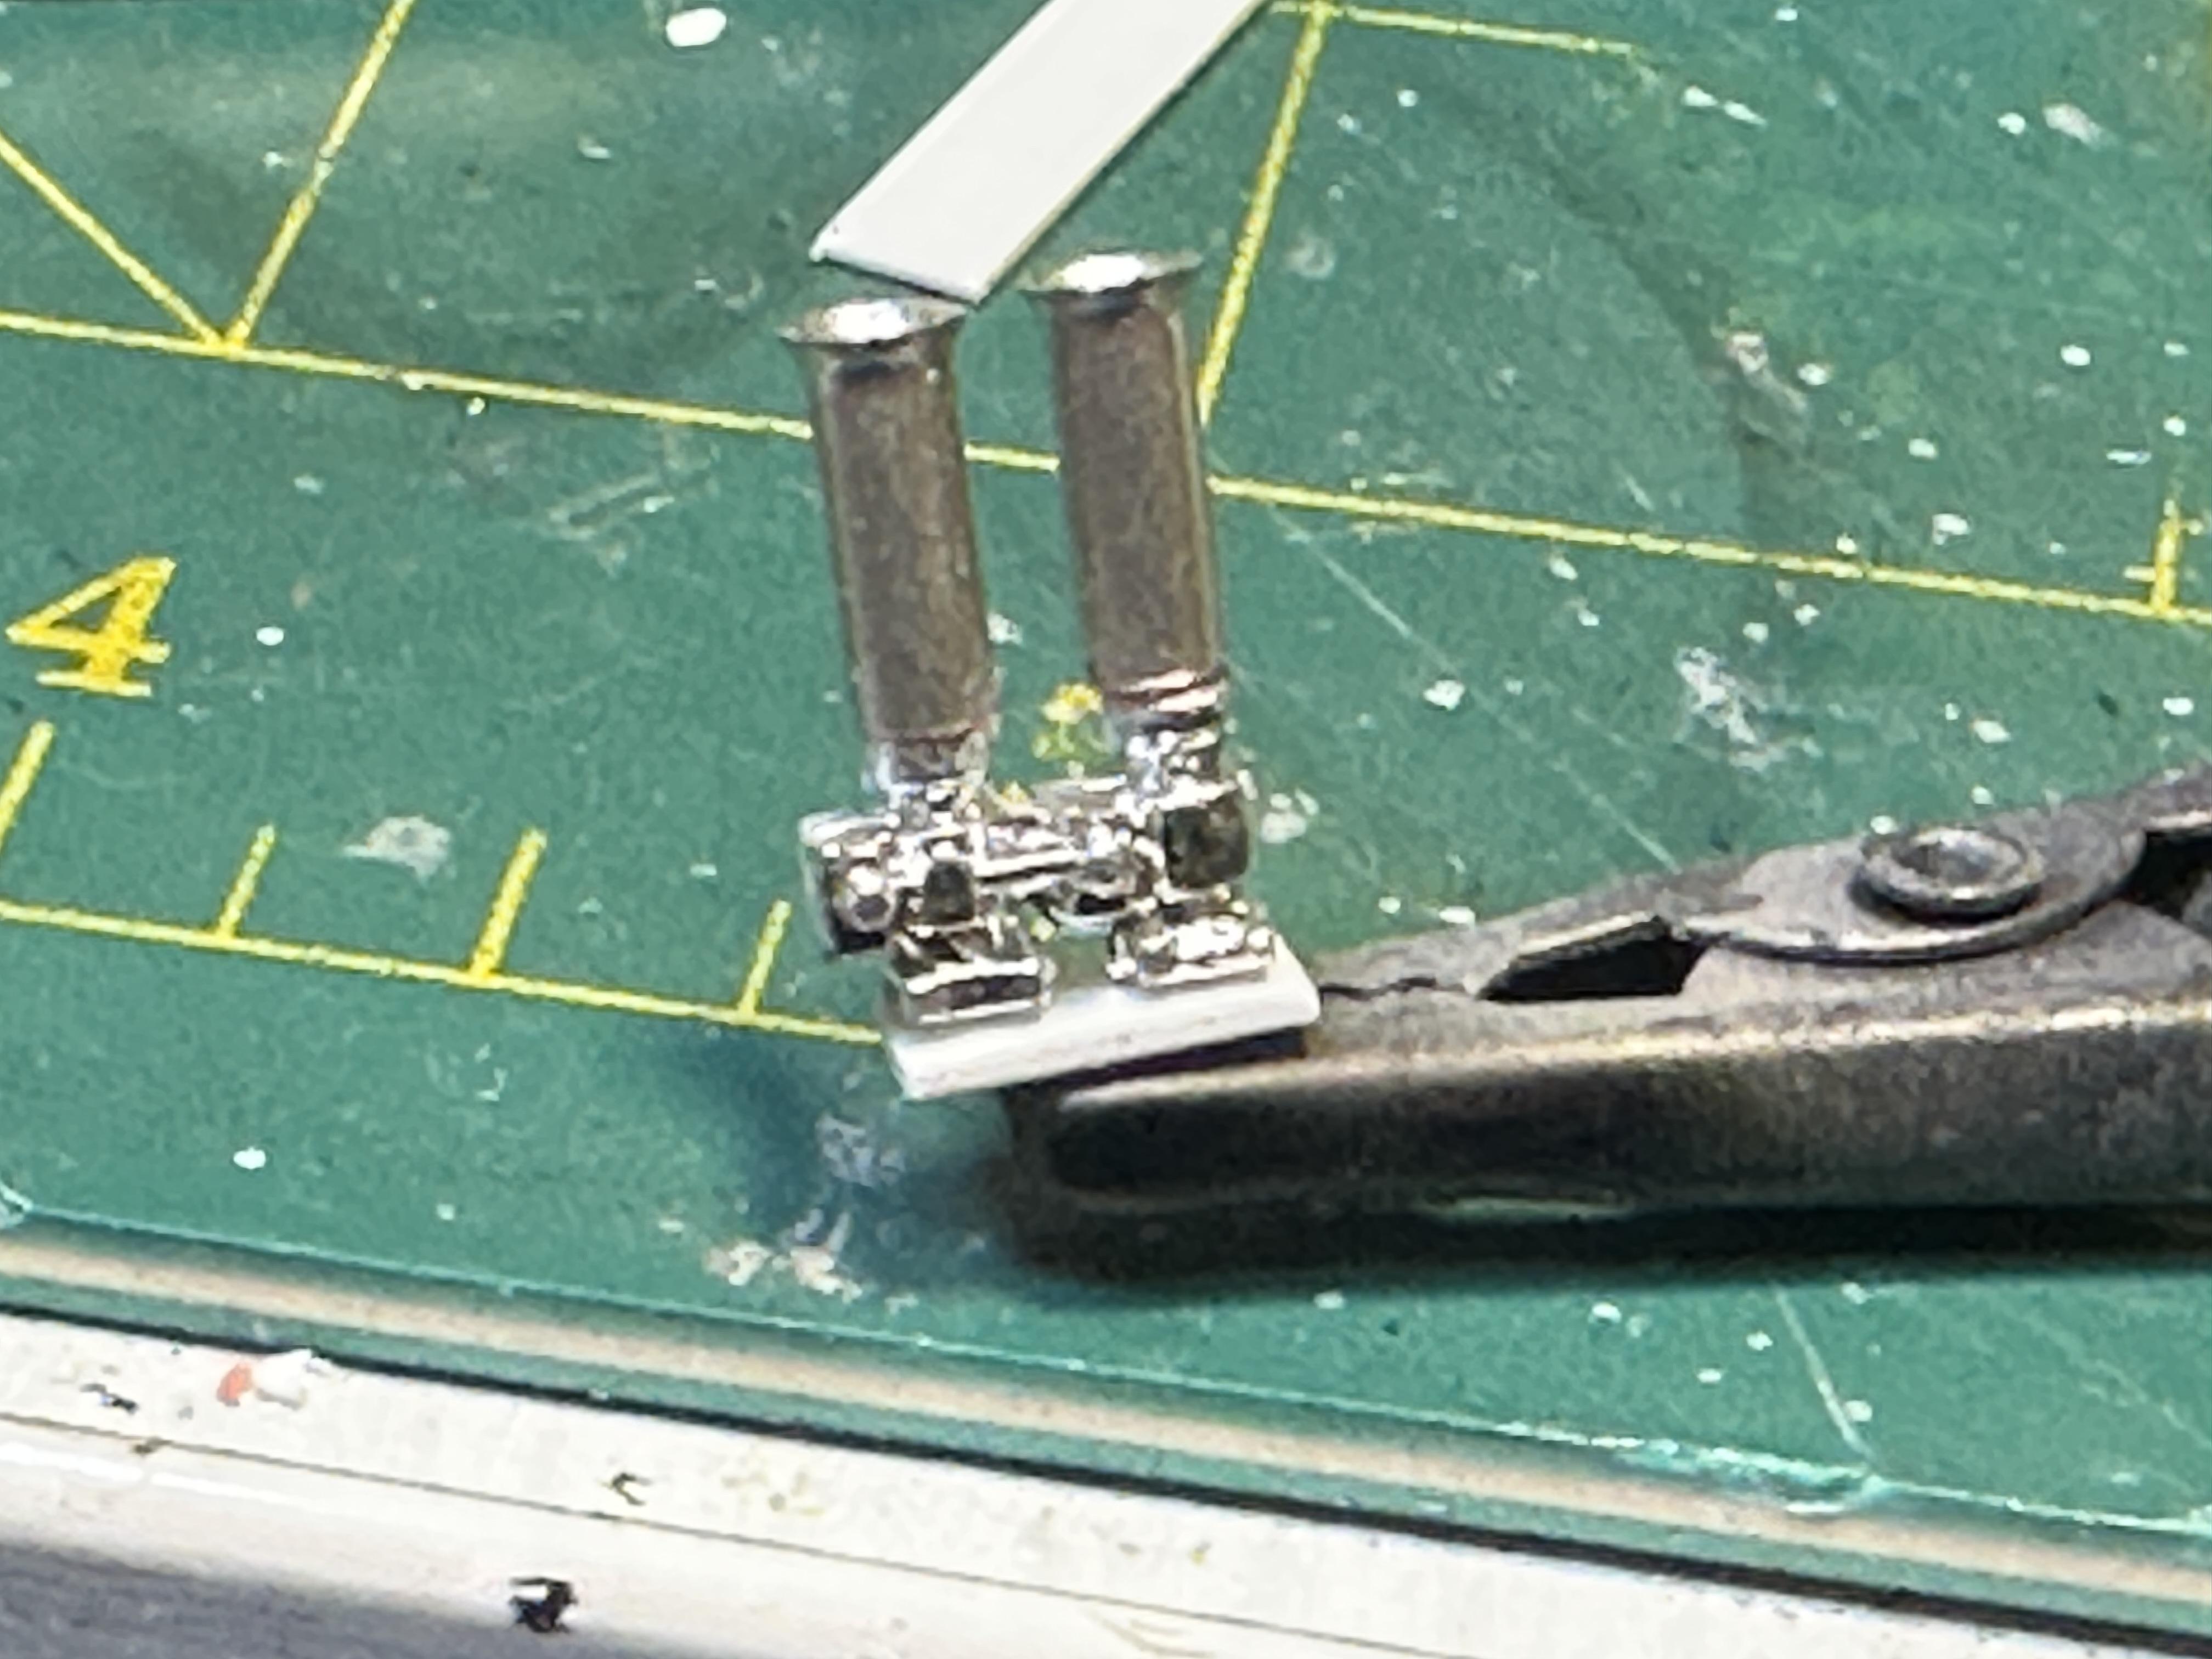
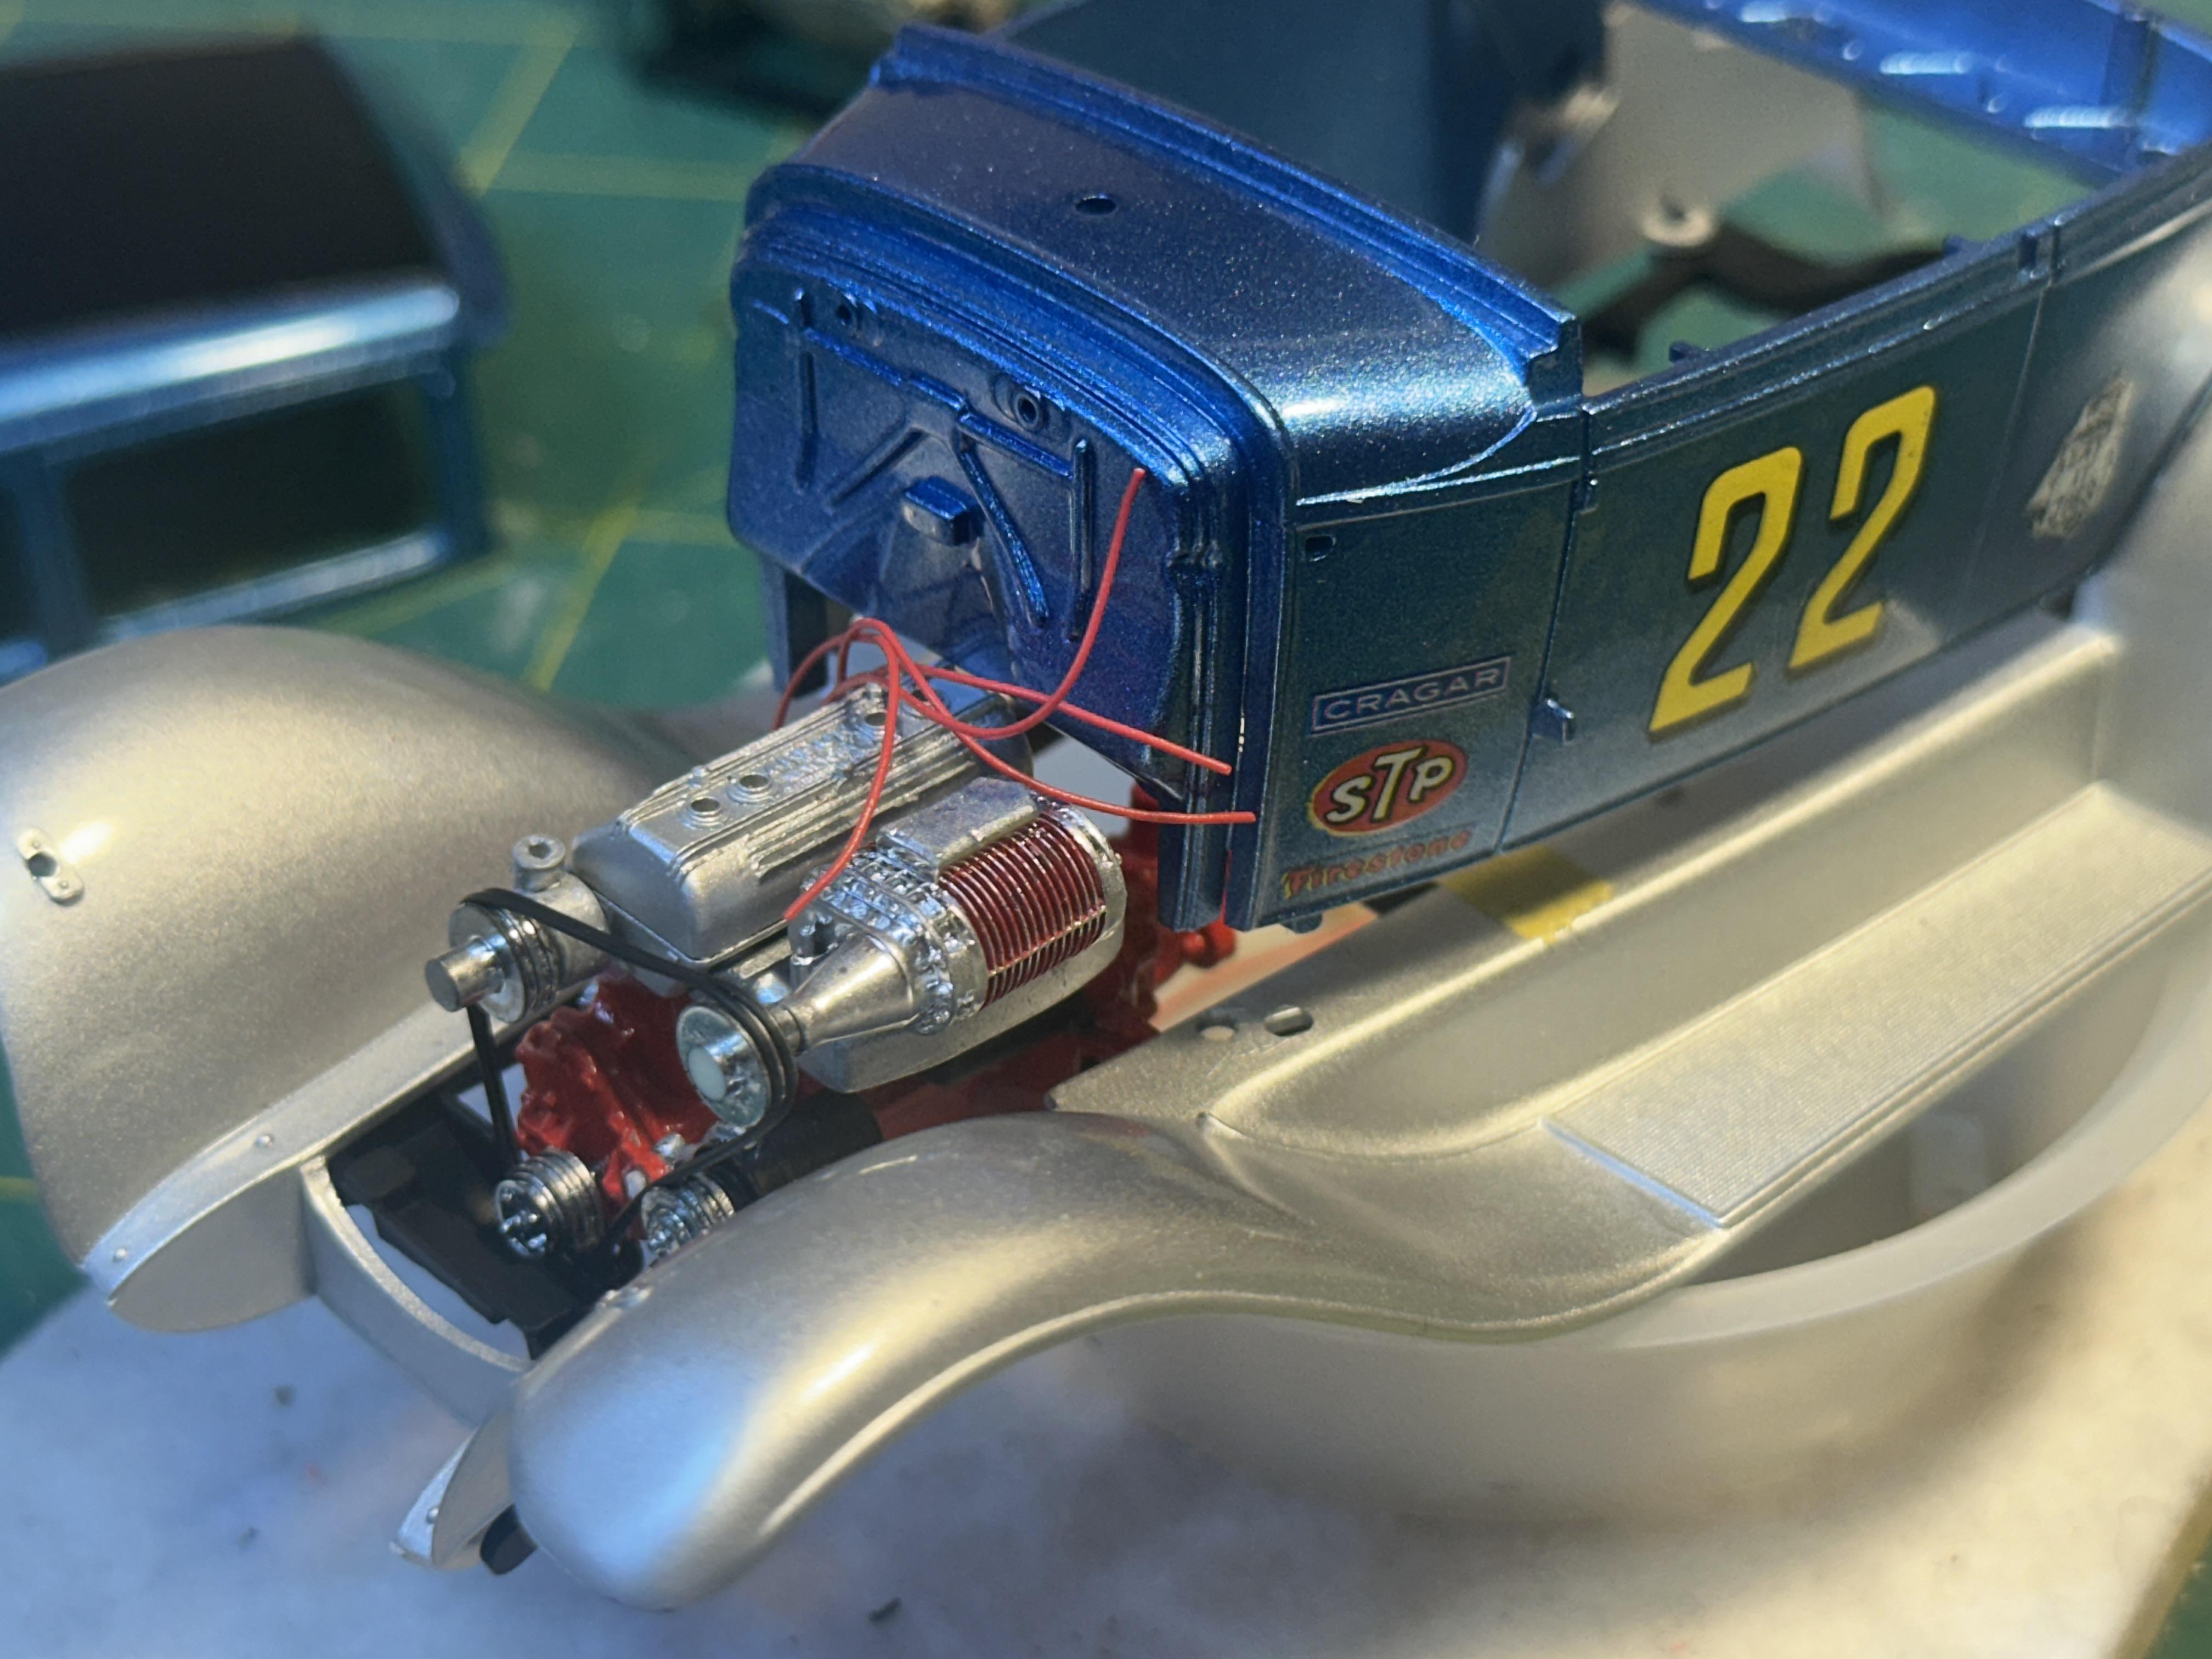
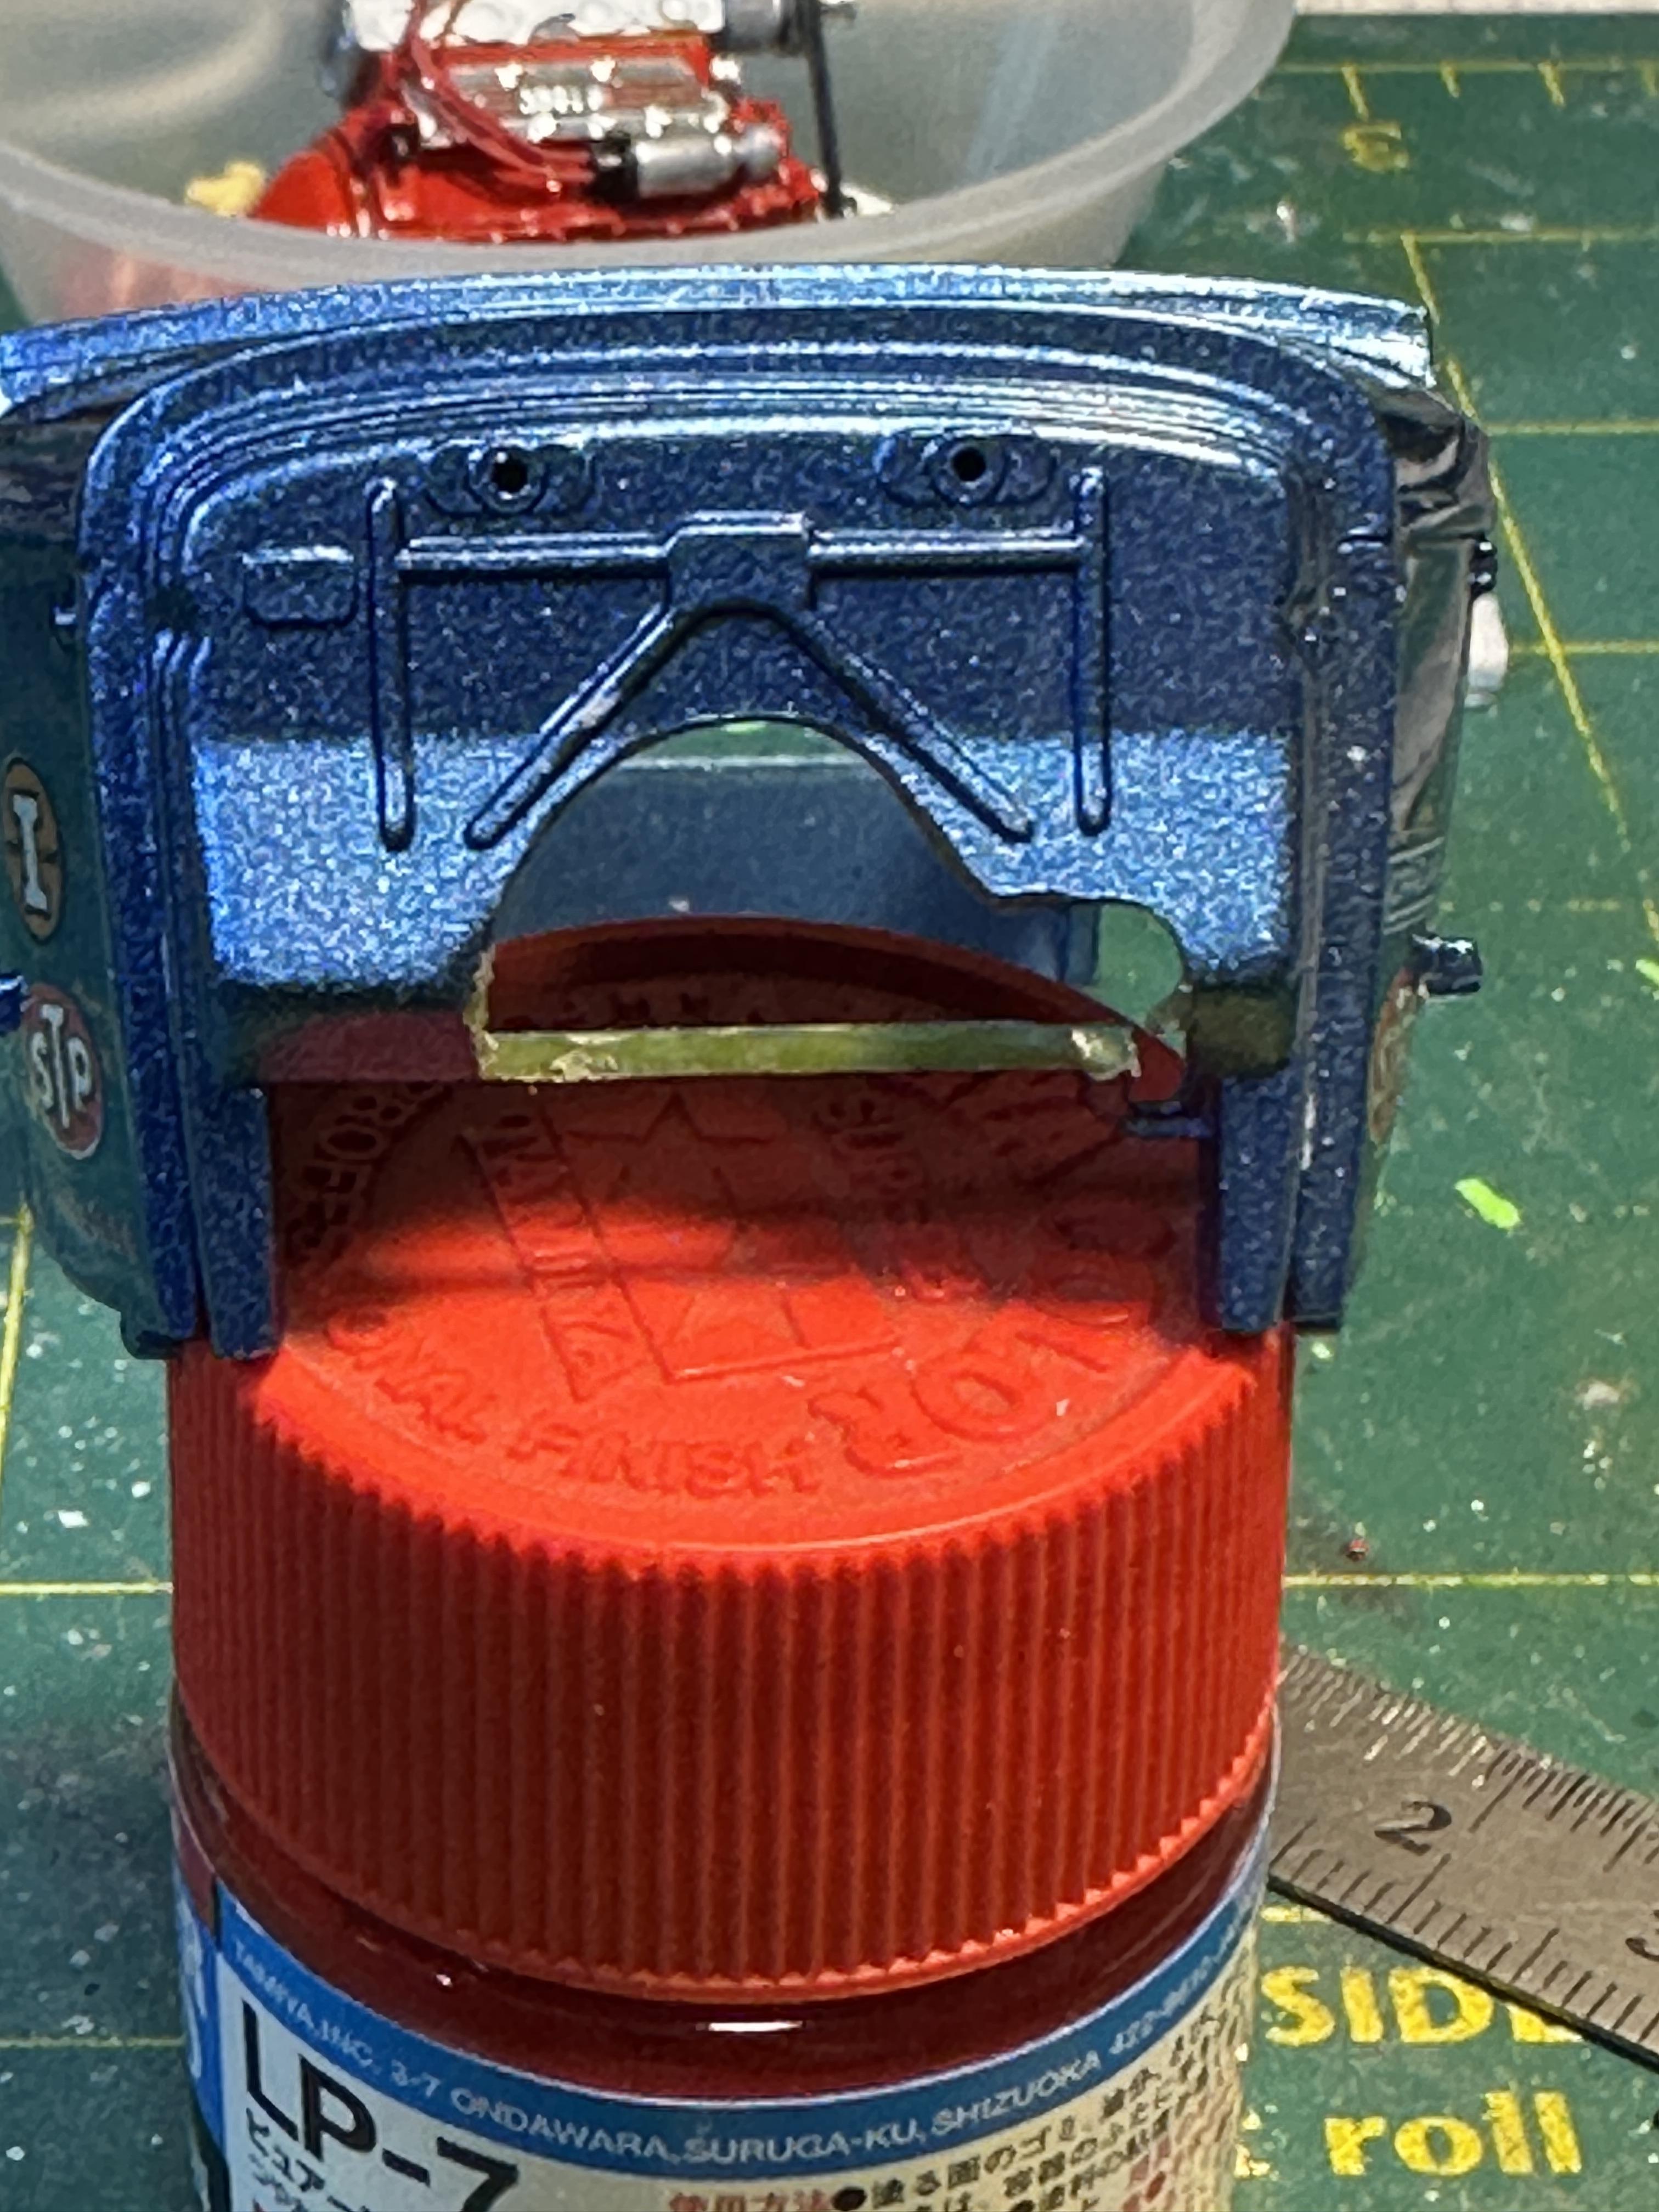
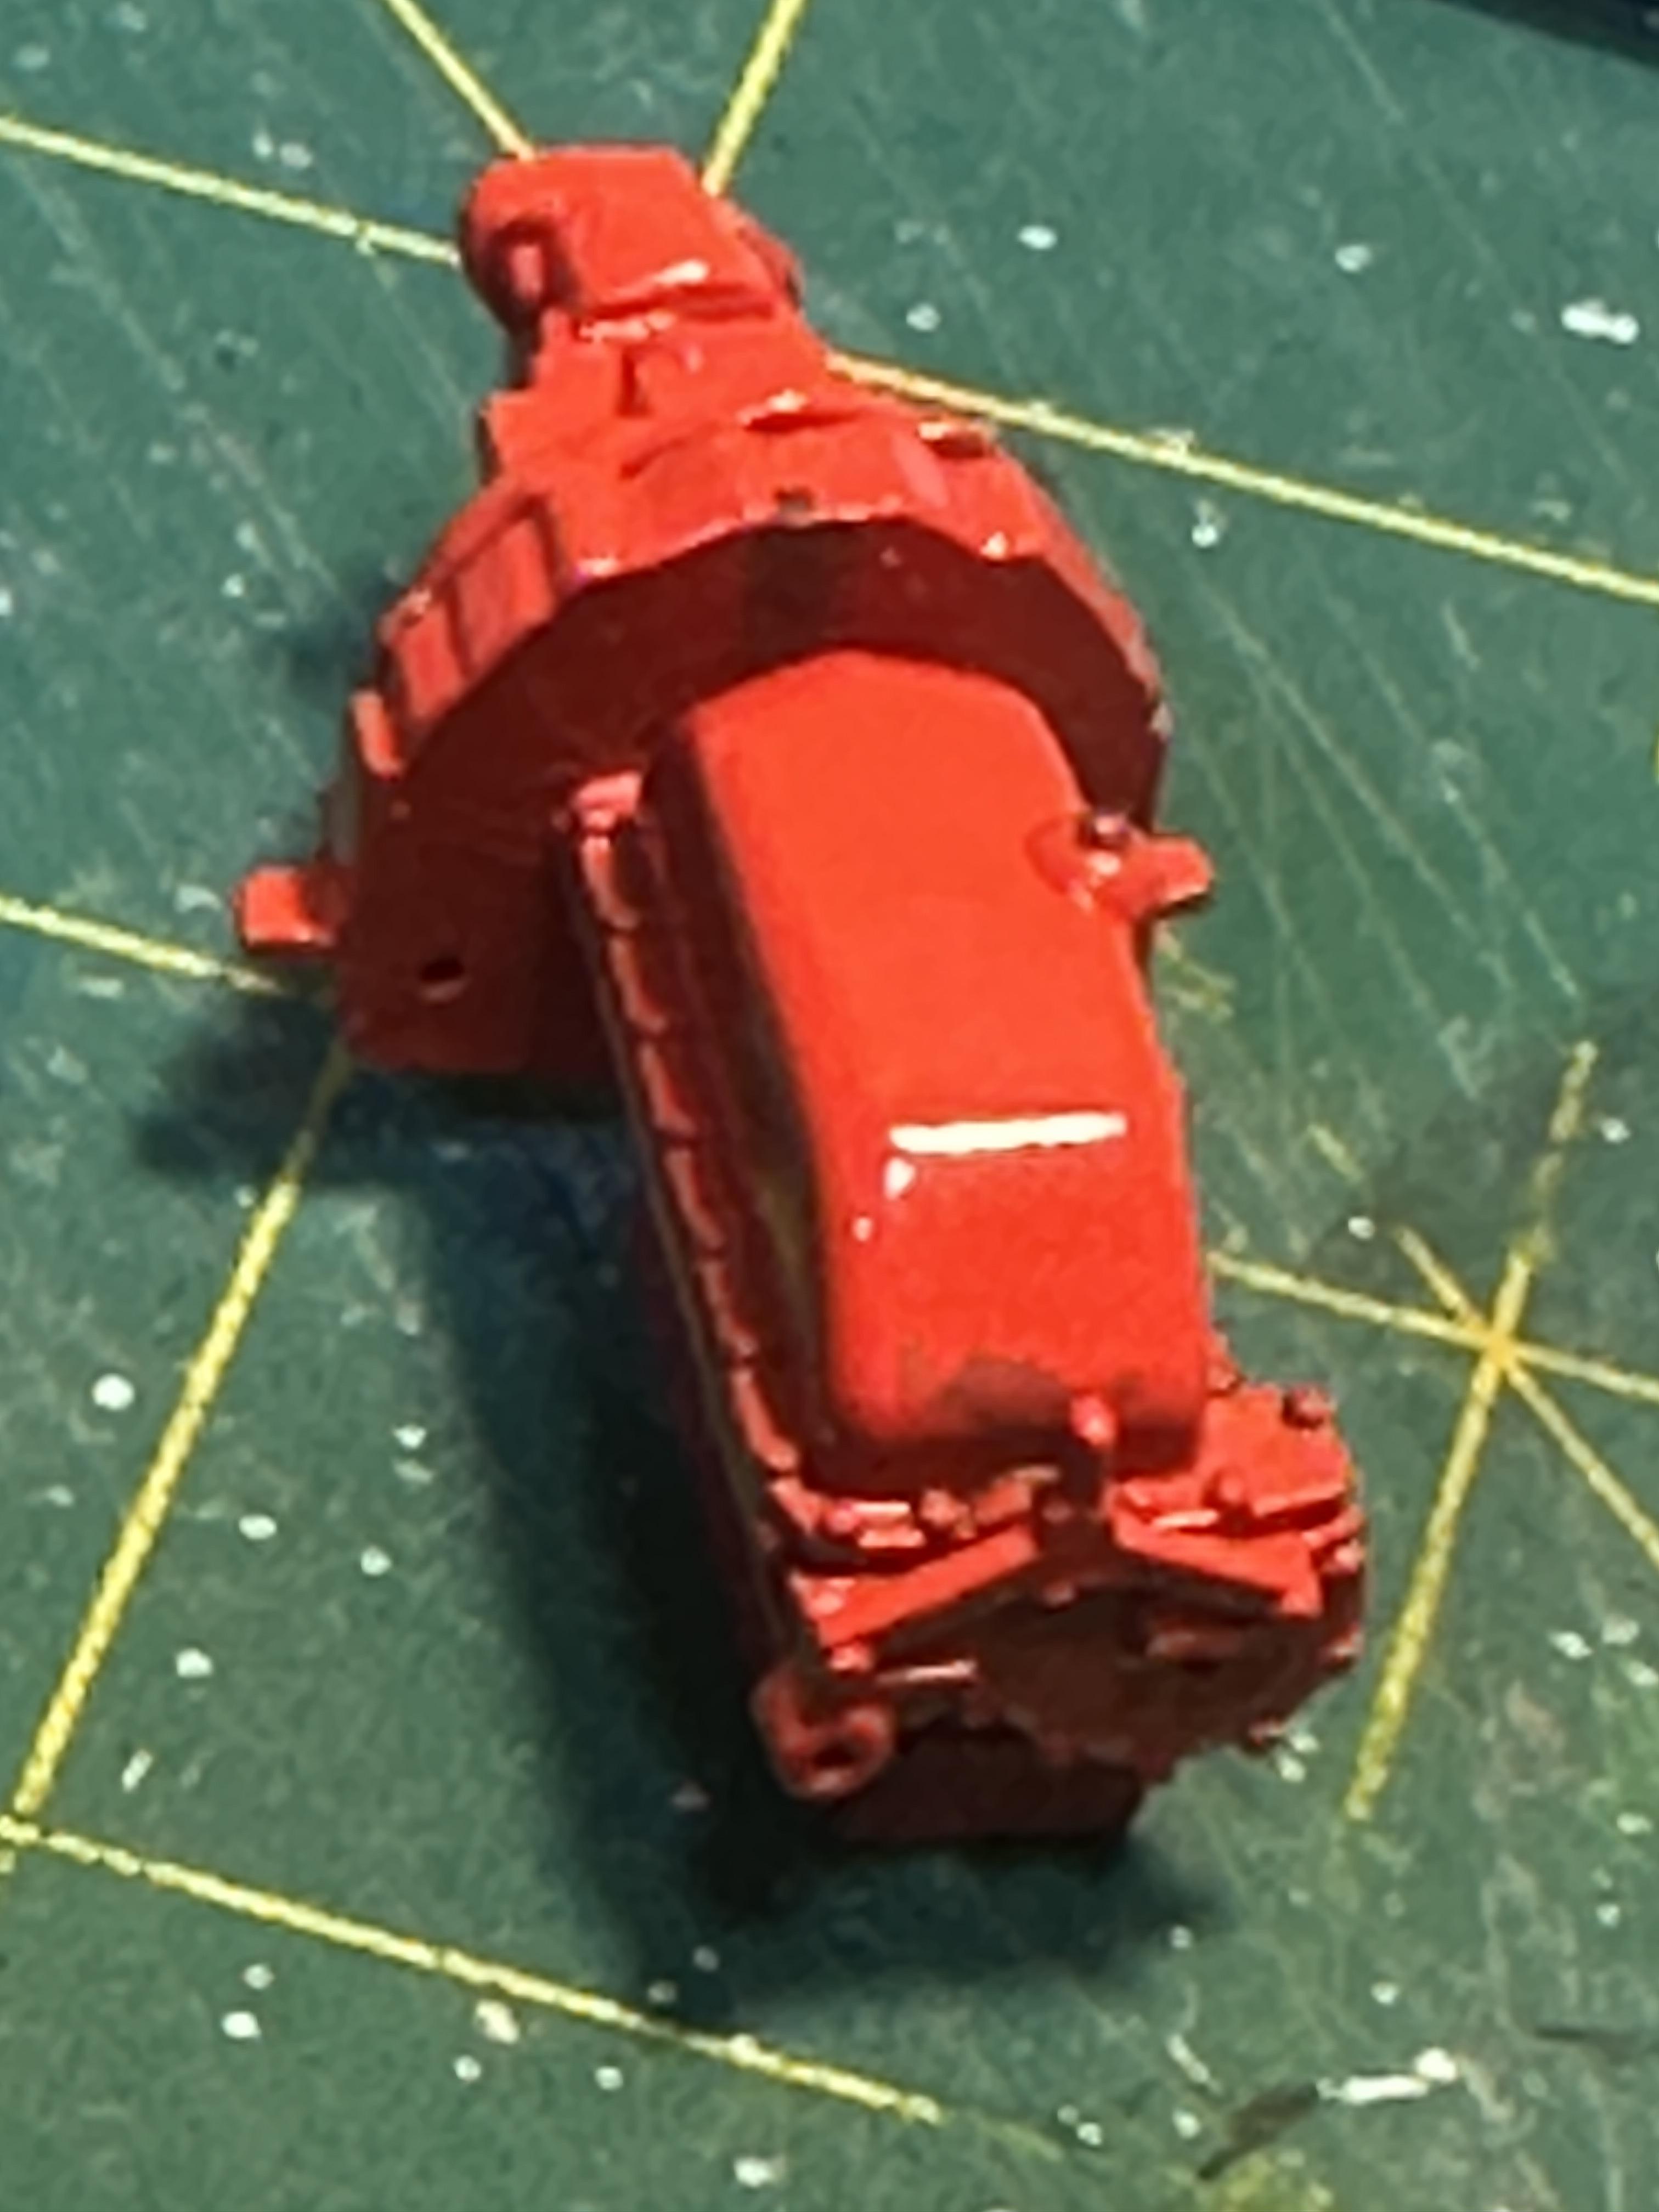
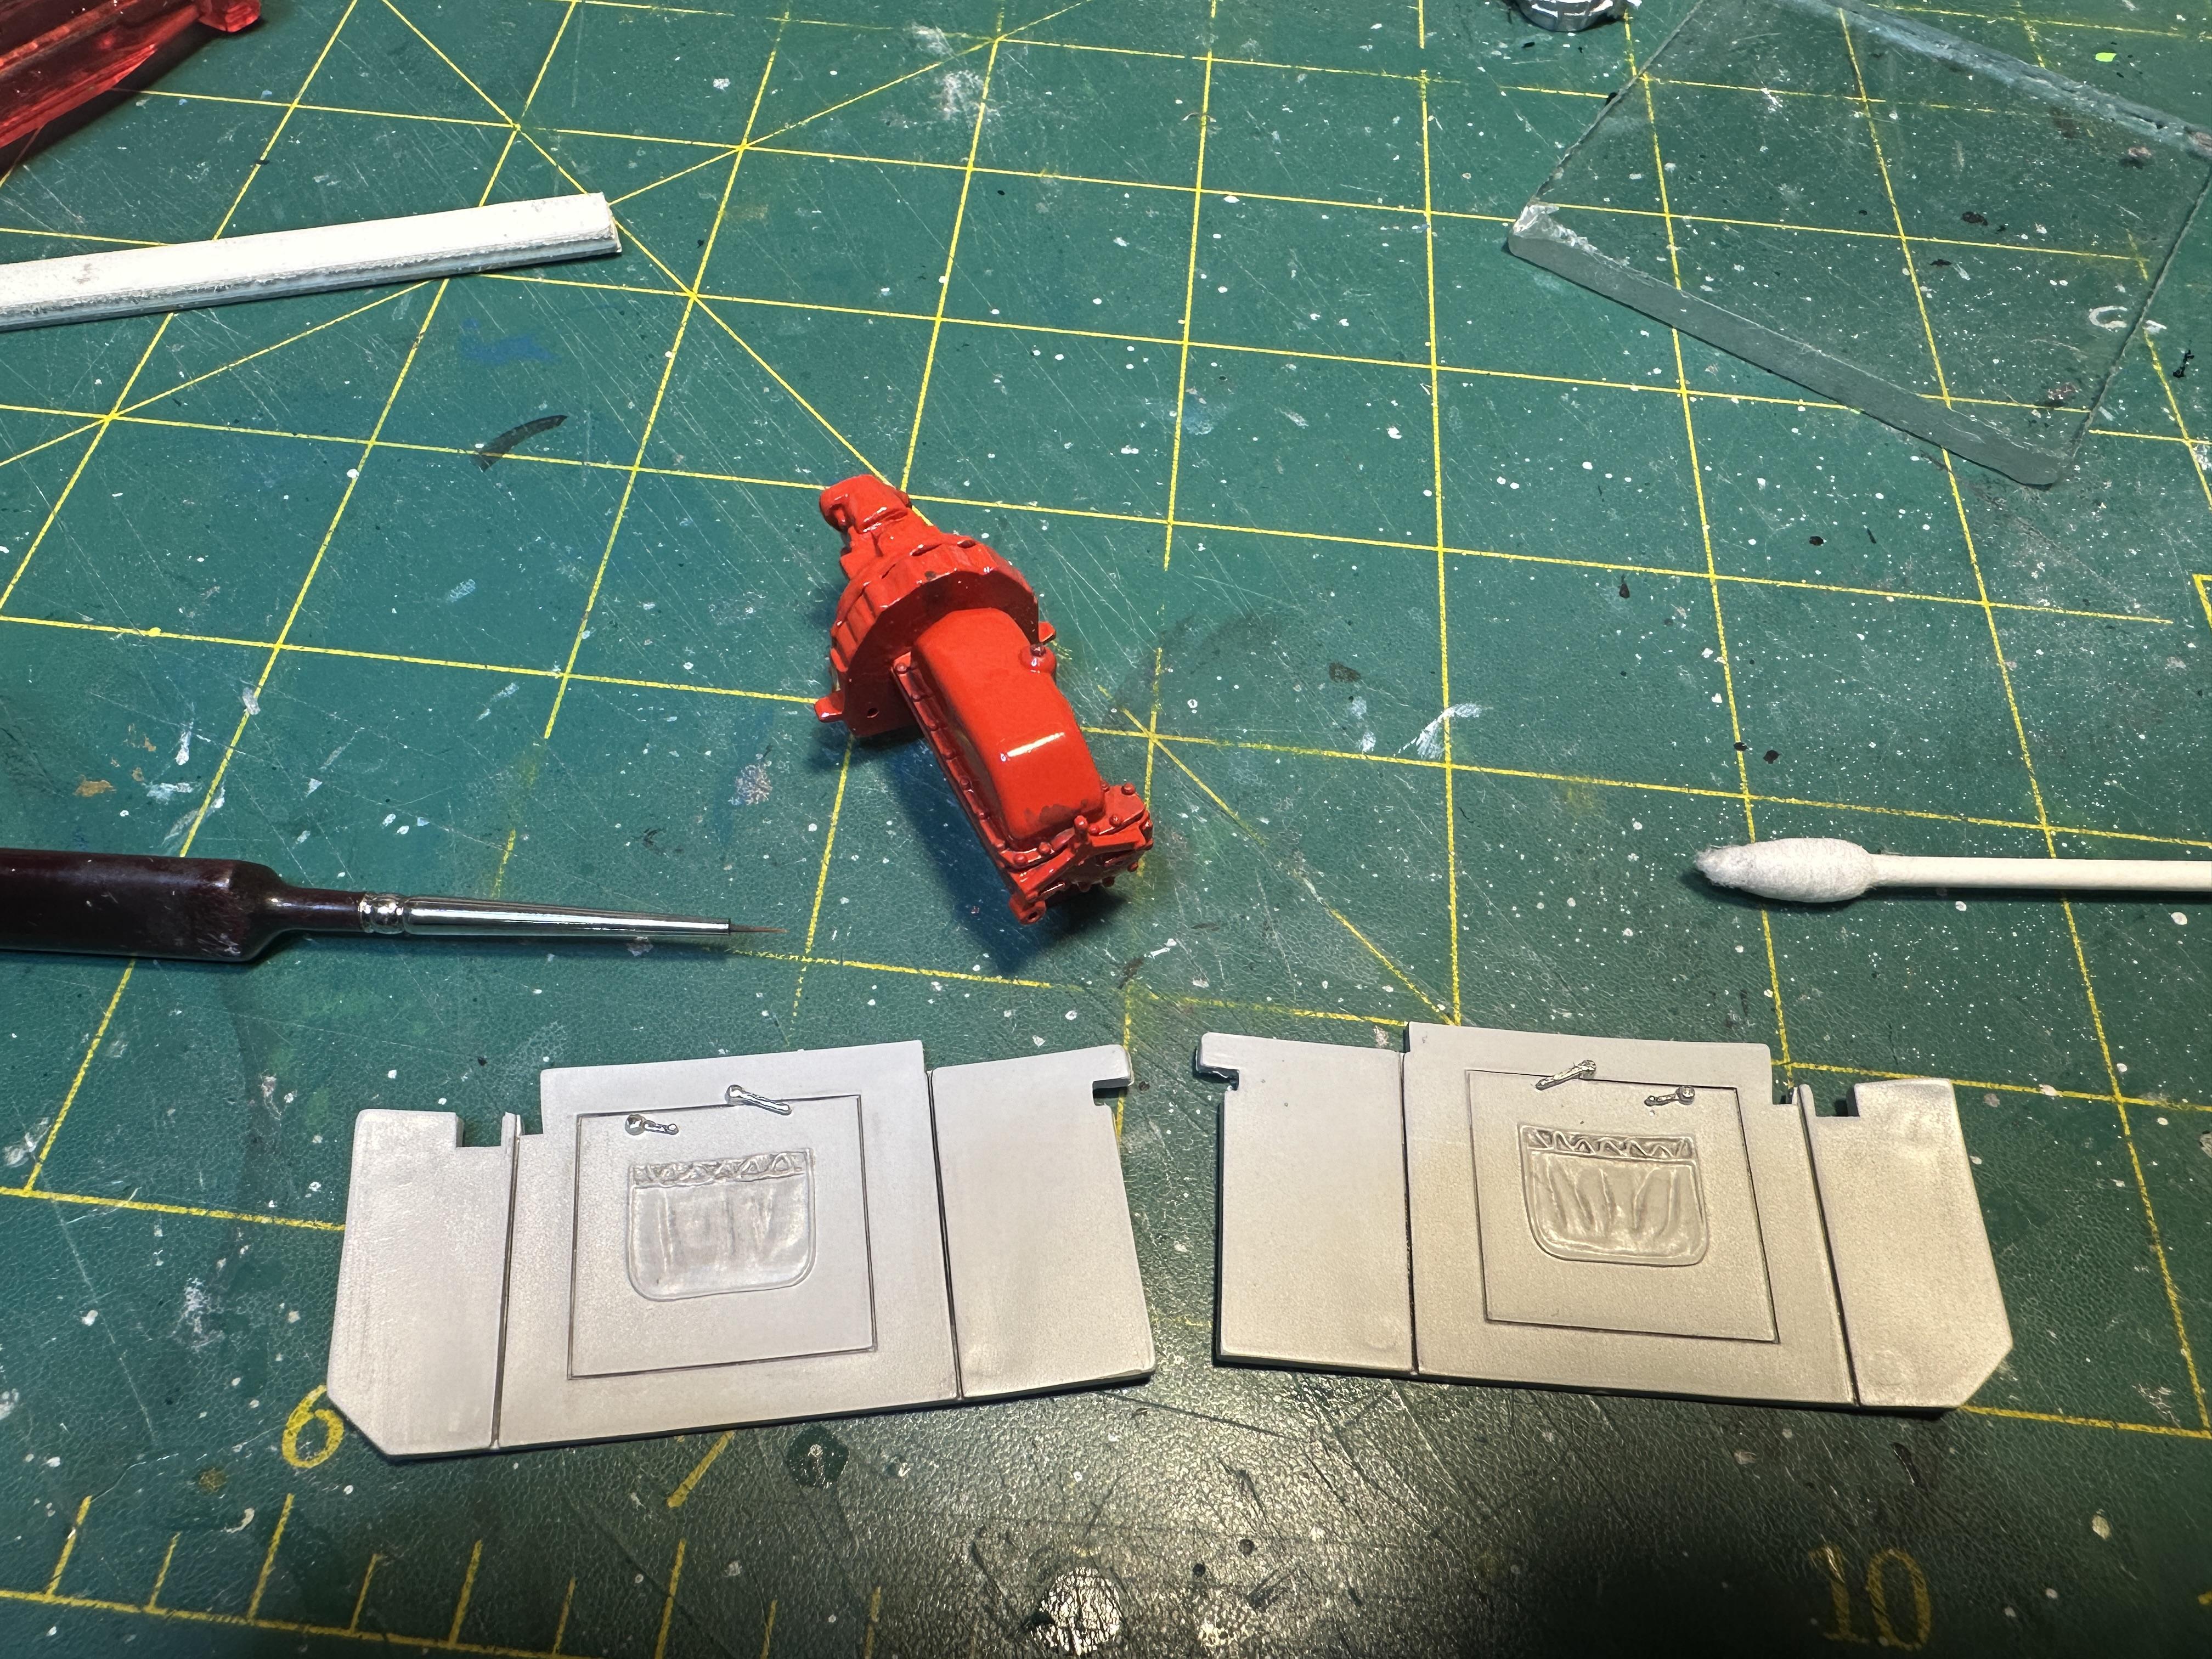
Meanwhile - I have been slowly beavering away at this model - the deadline is closing in fast, so it is time to start getting it all together. I have fitted new rear motor mounts to take up the difference between the Monogram chassis and the Revell motor. And made a new one for the front too. And fitted the pulleys and made some fan belts from some 0.5mm black wire - like plug wire but slightly larger. . Cleaned up some carbs and have adapted some electrical wire ferrules for the carb stacks I have painted the carbs gold with the bases sg black - waiting for that to dry. Also polished up the stacks so nearly ready to put the motor to bed Tonight's effort was to check fit the body and frame with motor. I expected a tight fit but not this tight - I will need to ring the butcher Well the butcher has been and gone and this is what is he left. I will spray some primer around the hole to represent a newly butchered body to fit the new race motor. This motor is huge - well compared to a stock banger it is I have masked and painted the running boards with some Tamiya rubber black - again waiting for paint to dry Thanks for looking
-
Kool - thanks for the info. A worthwhile "sidebar"
-
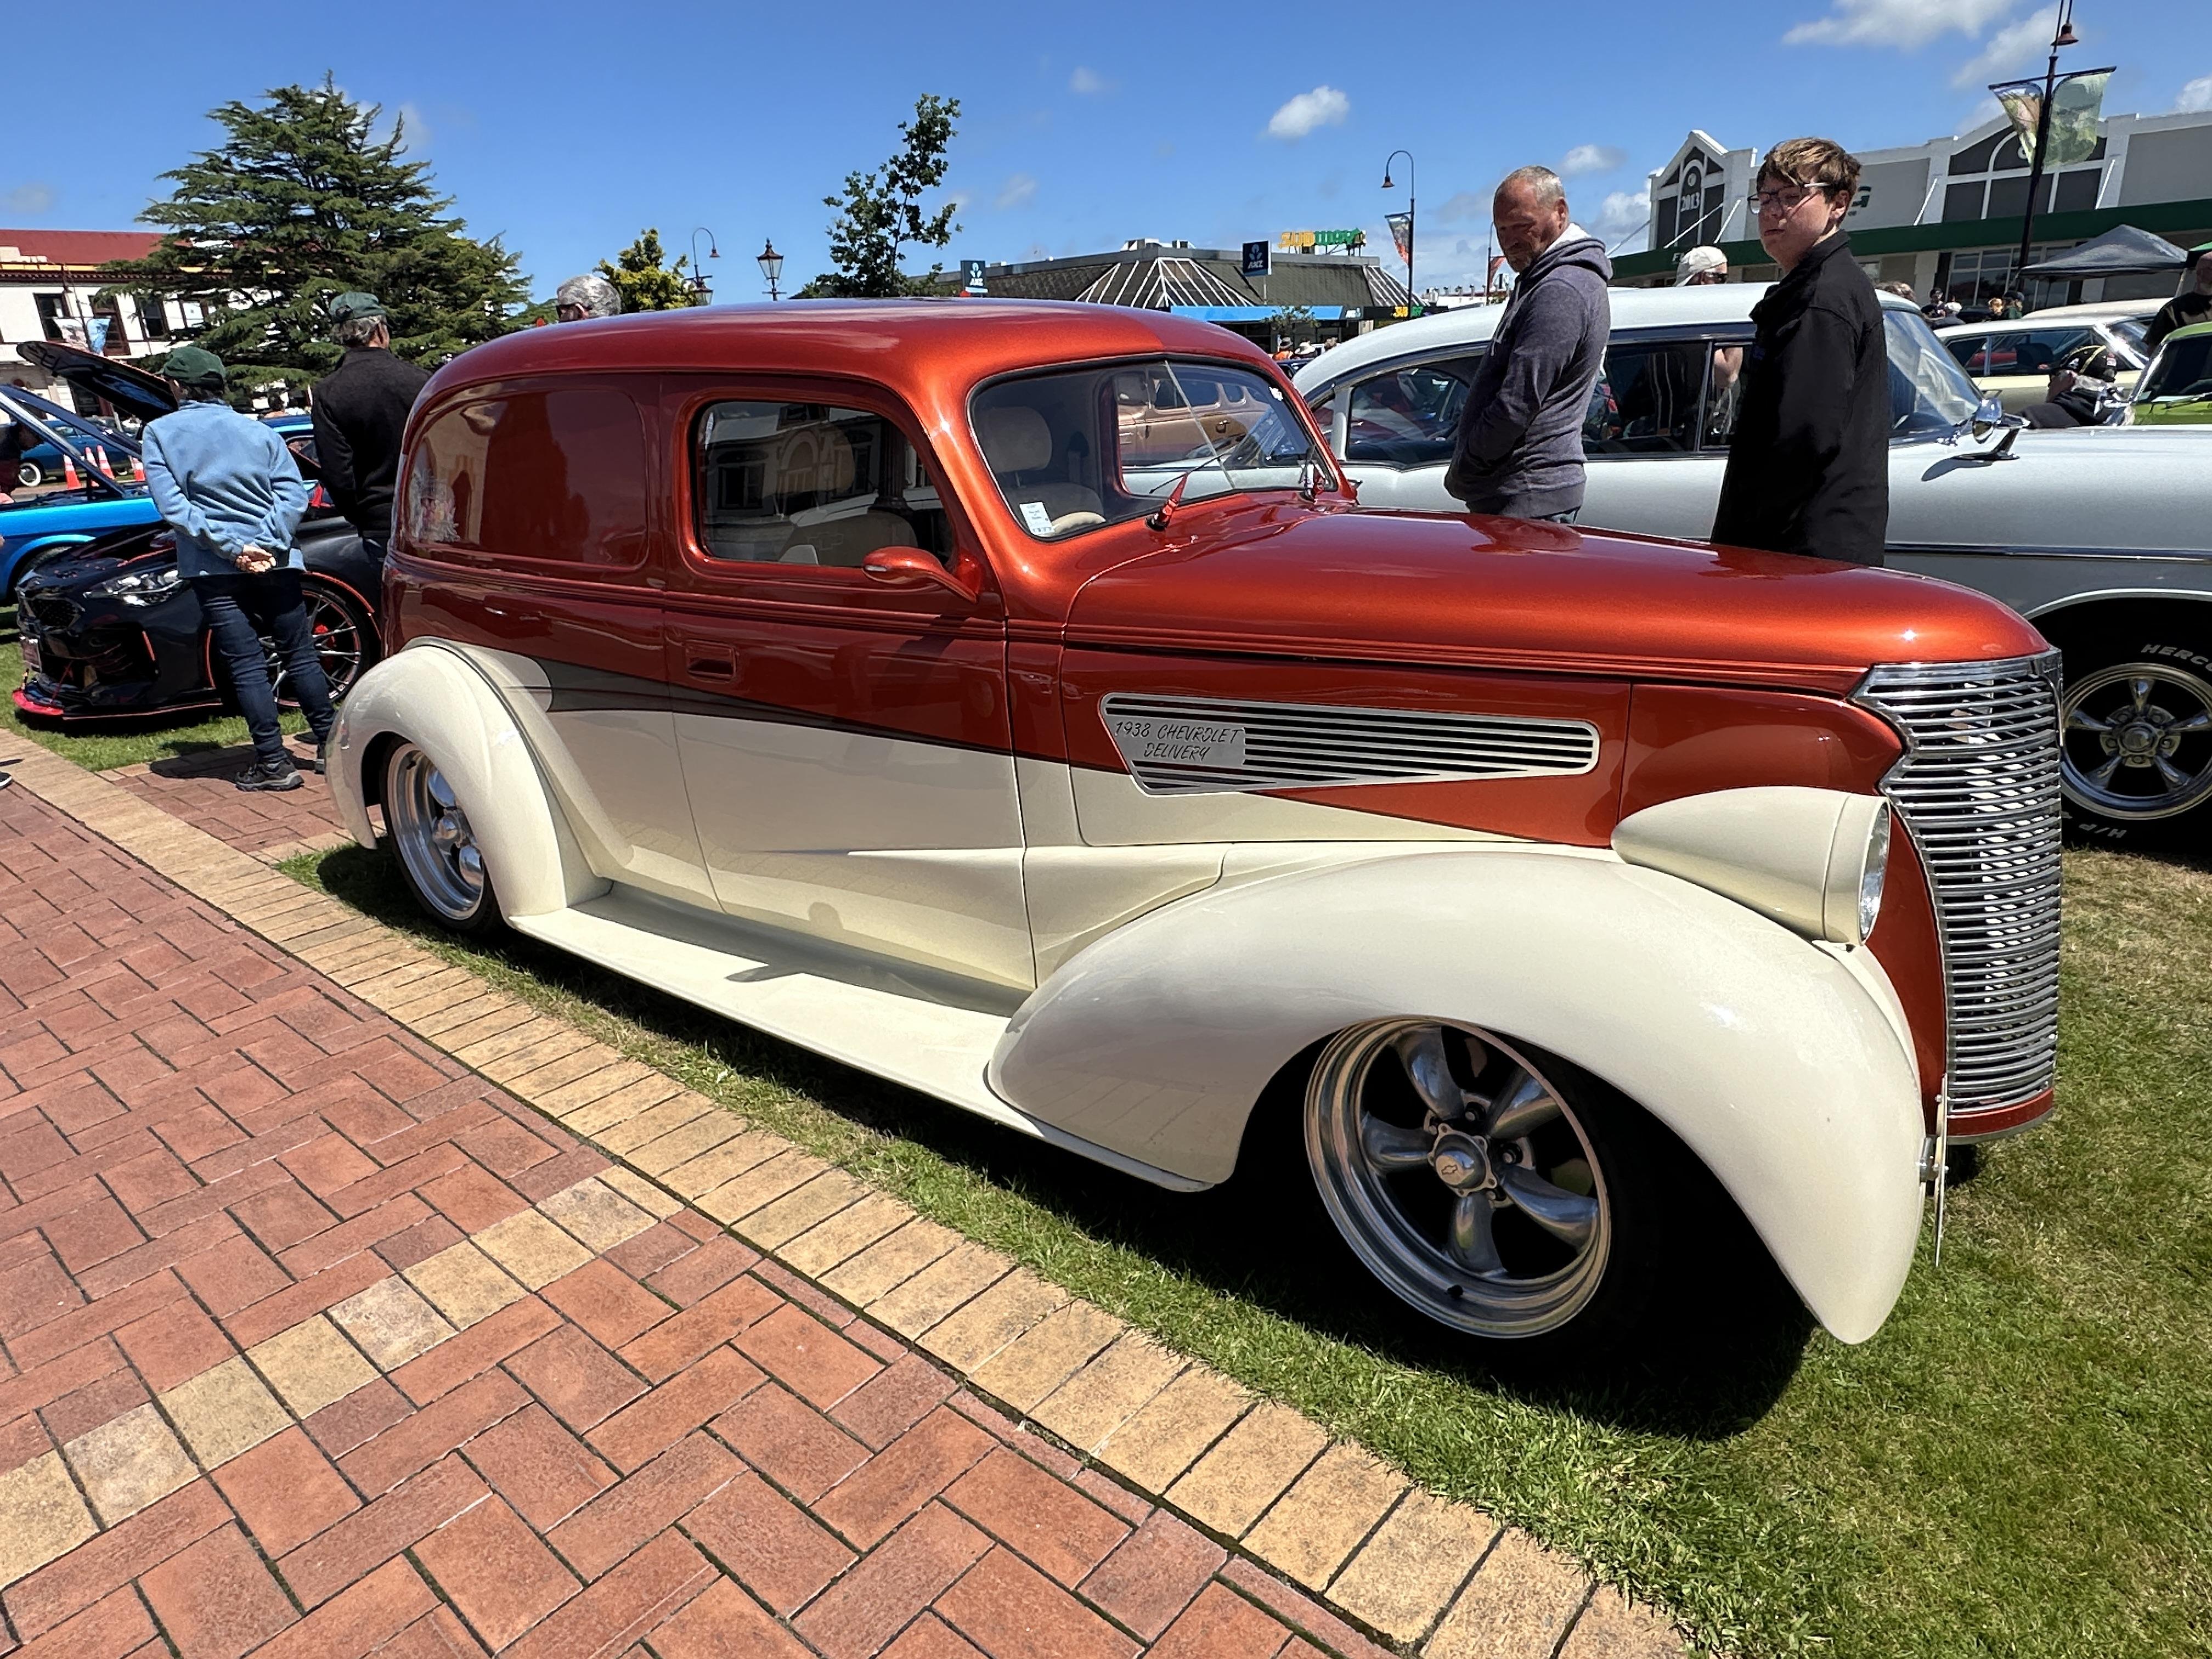
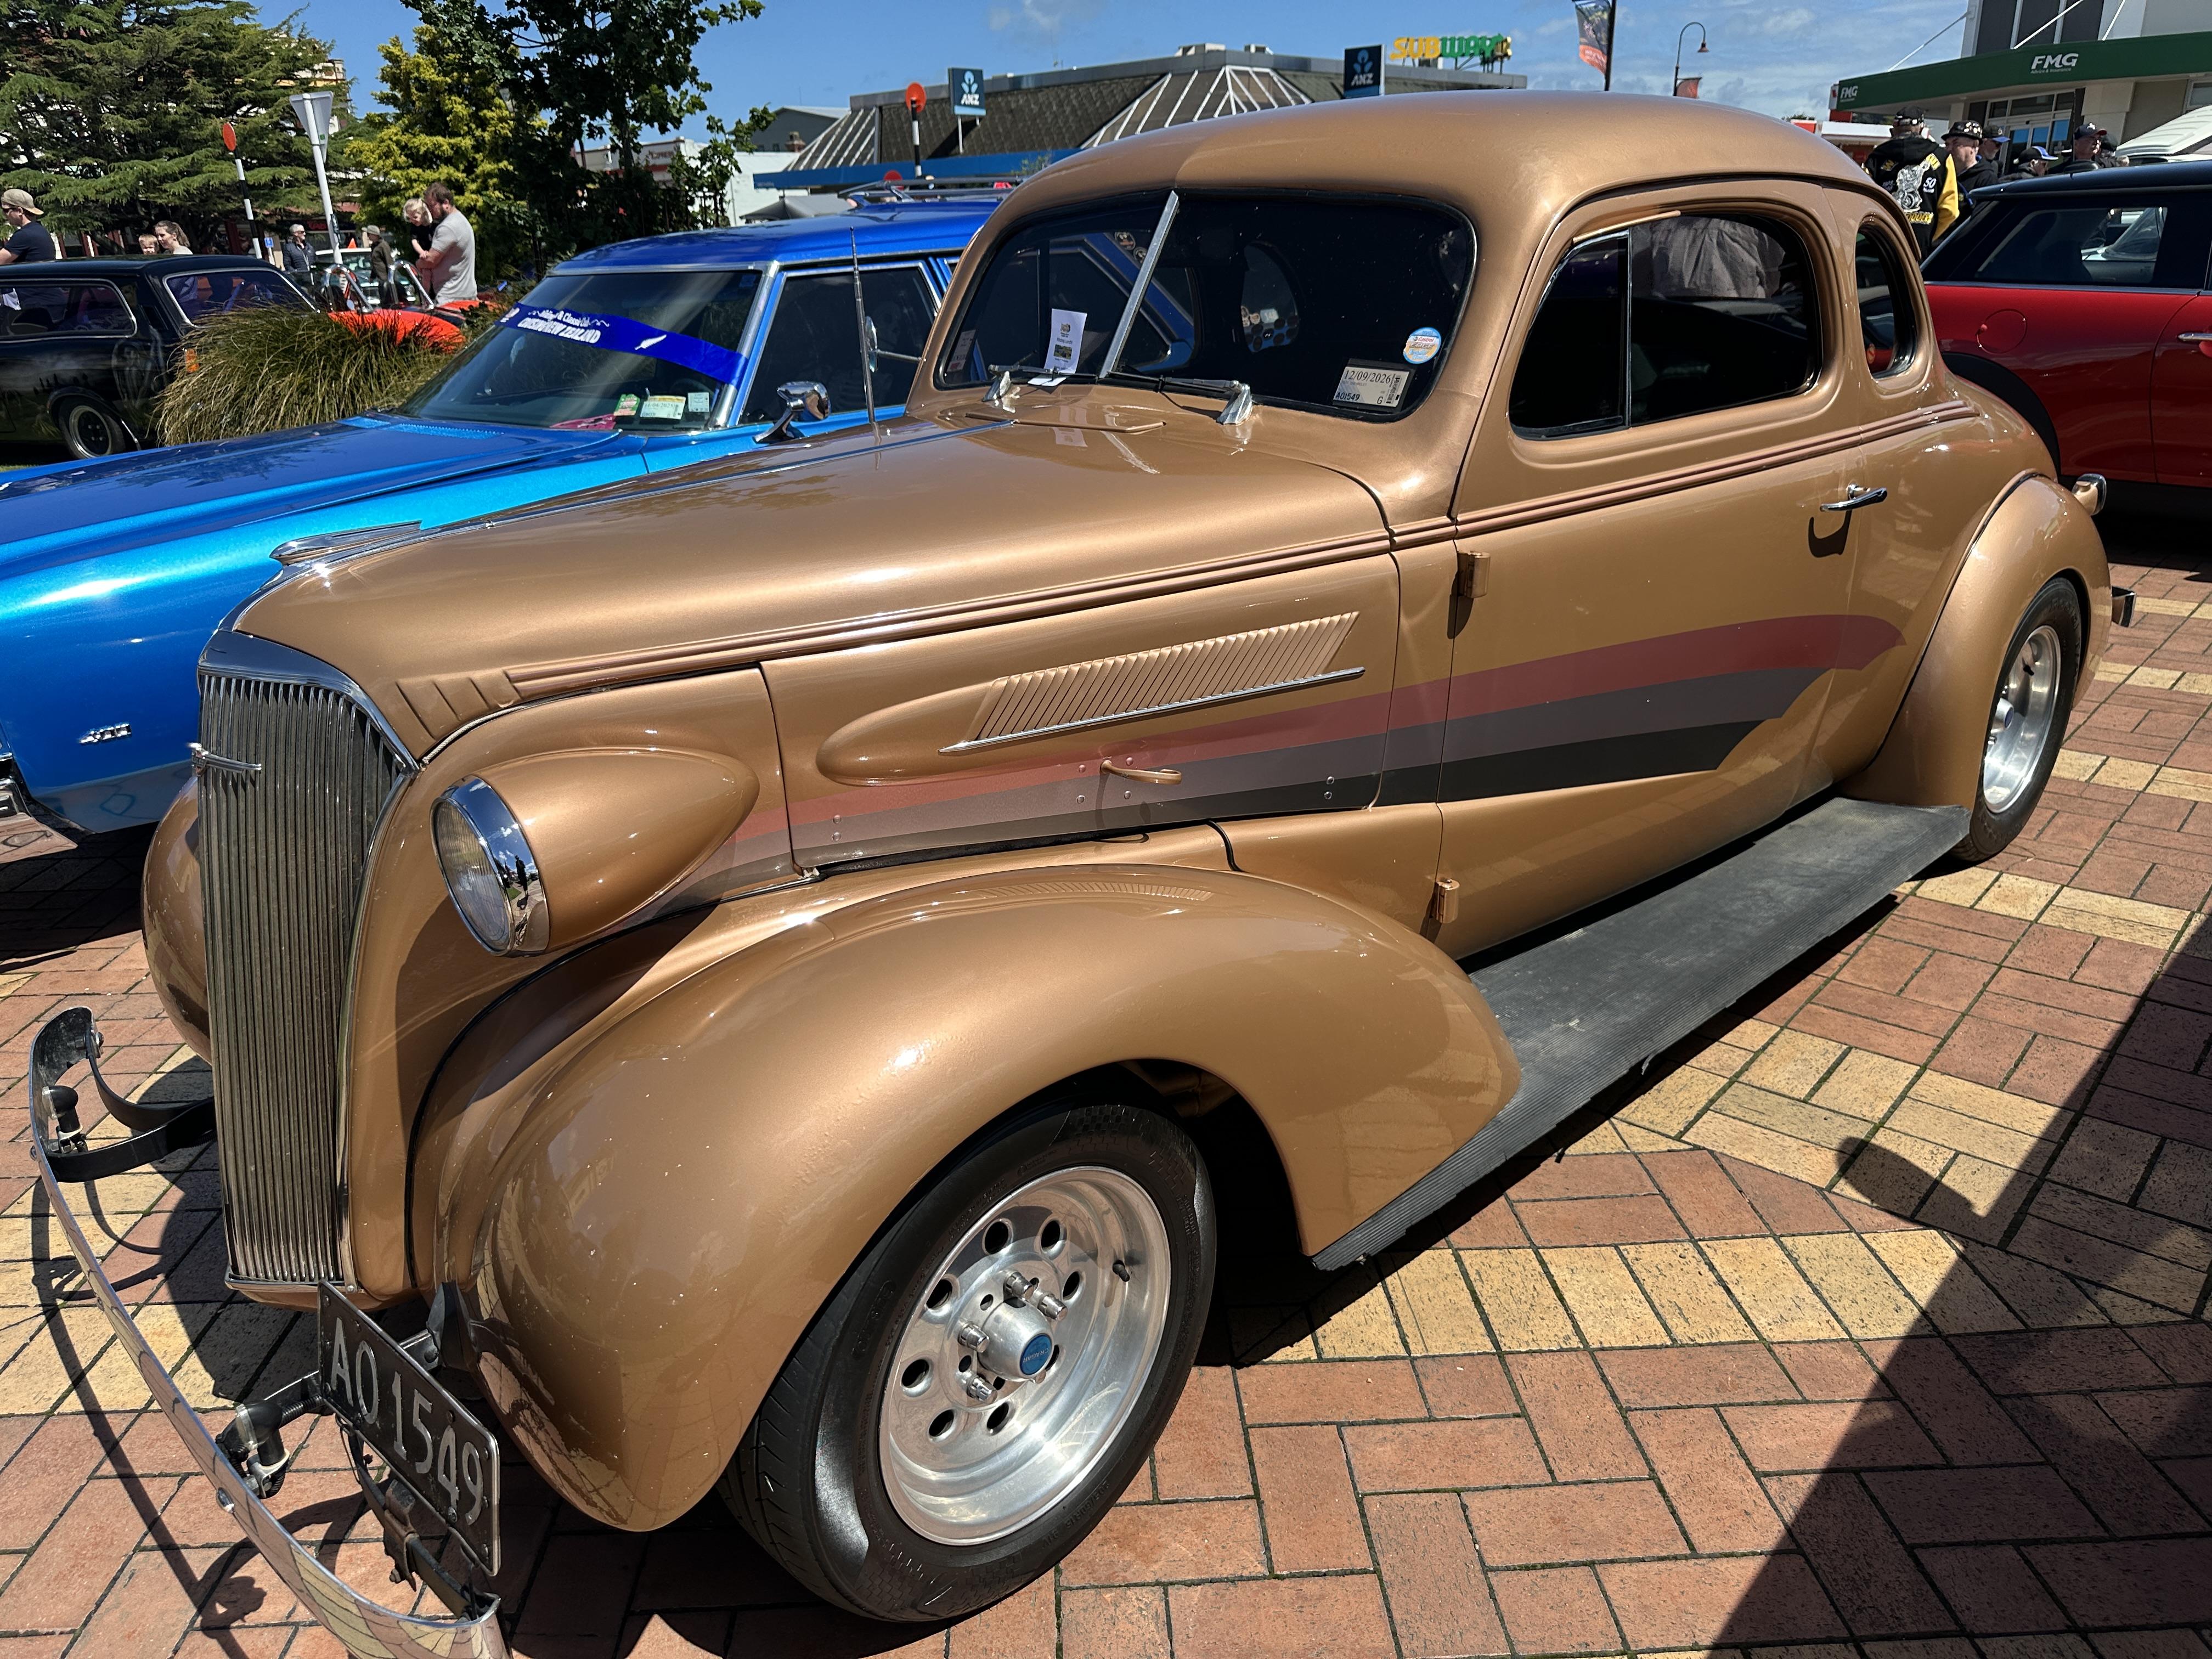
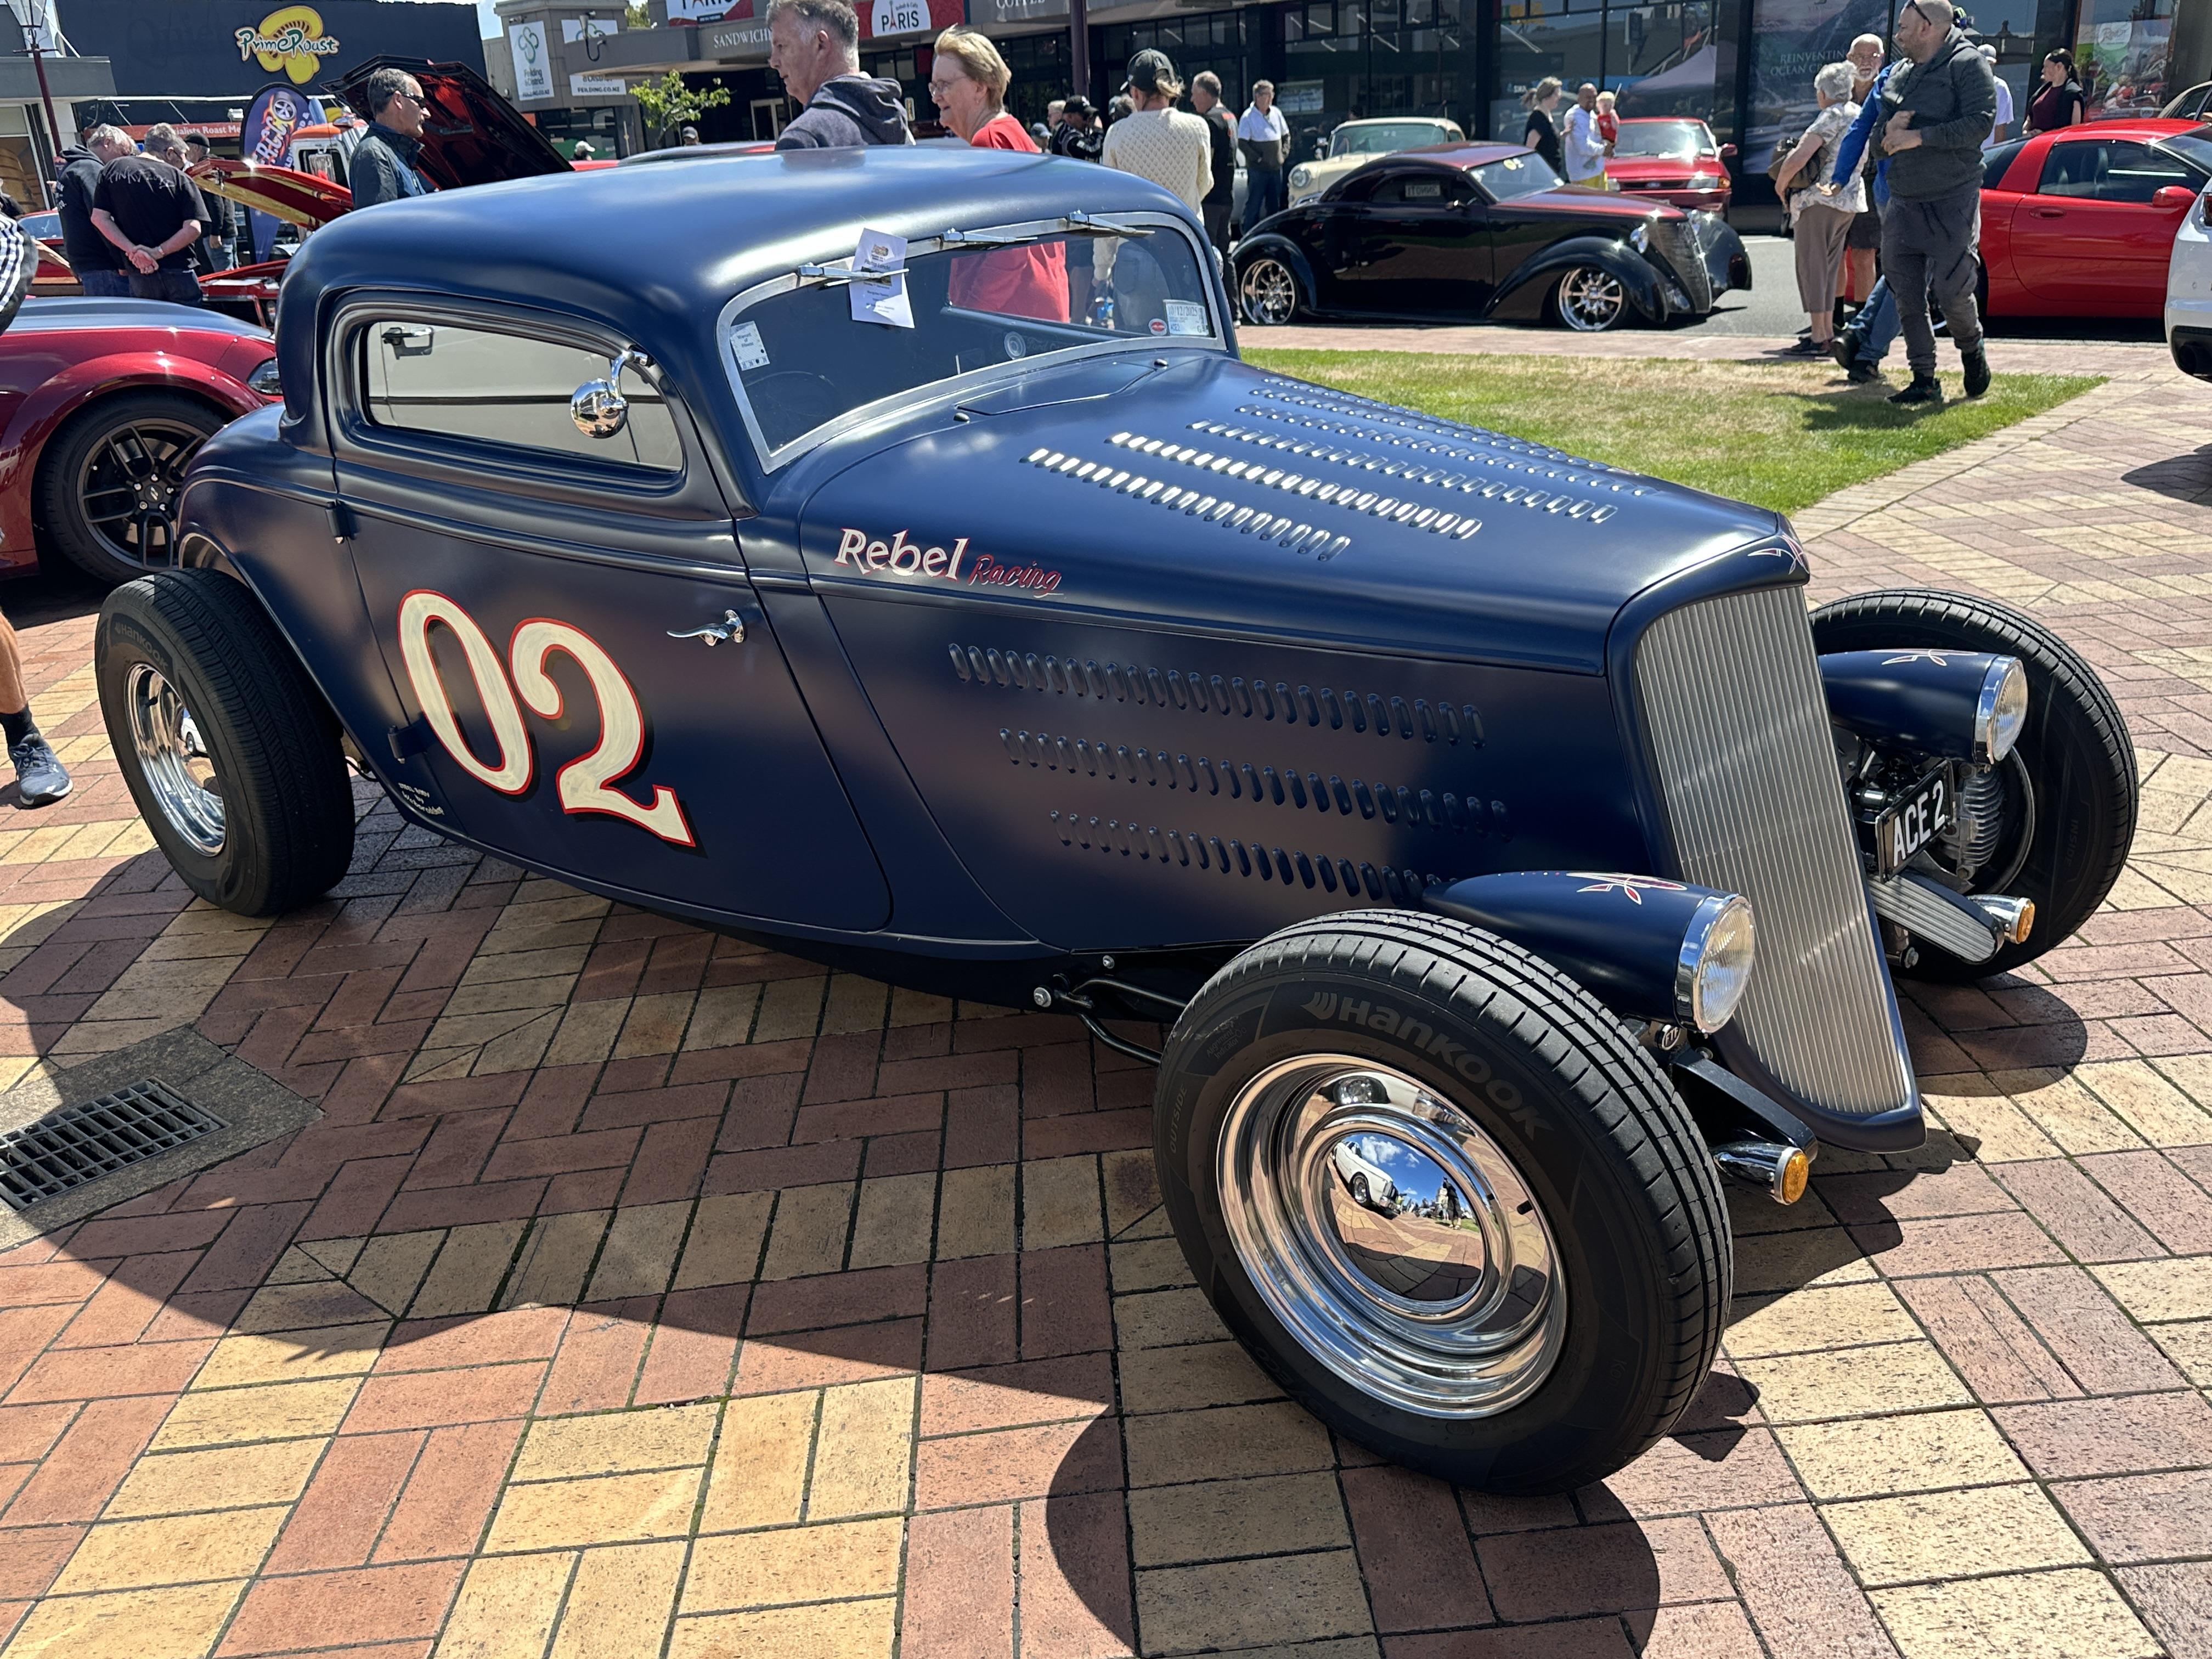
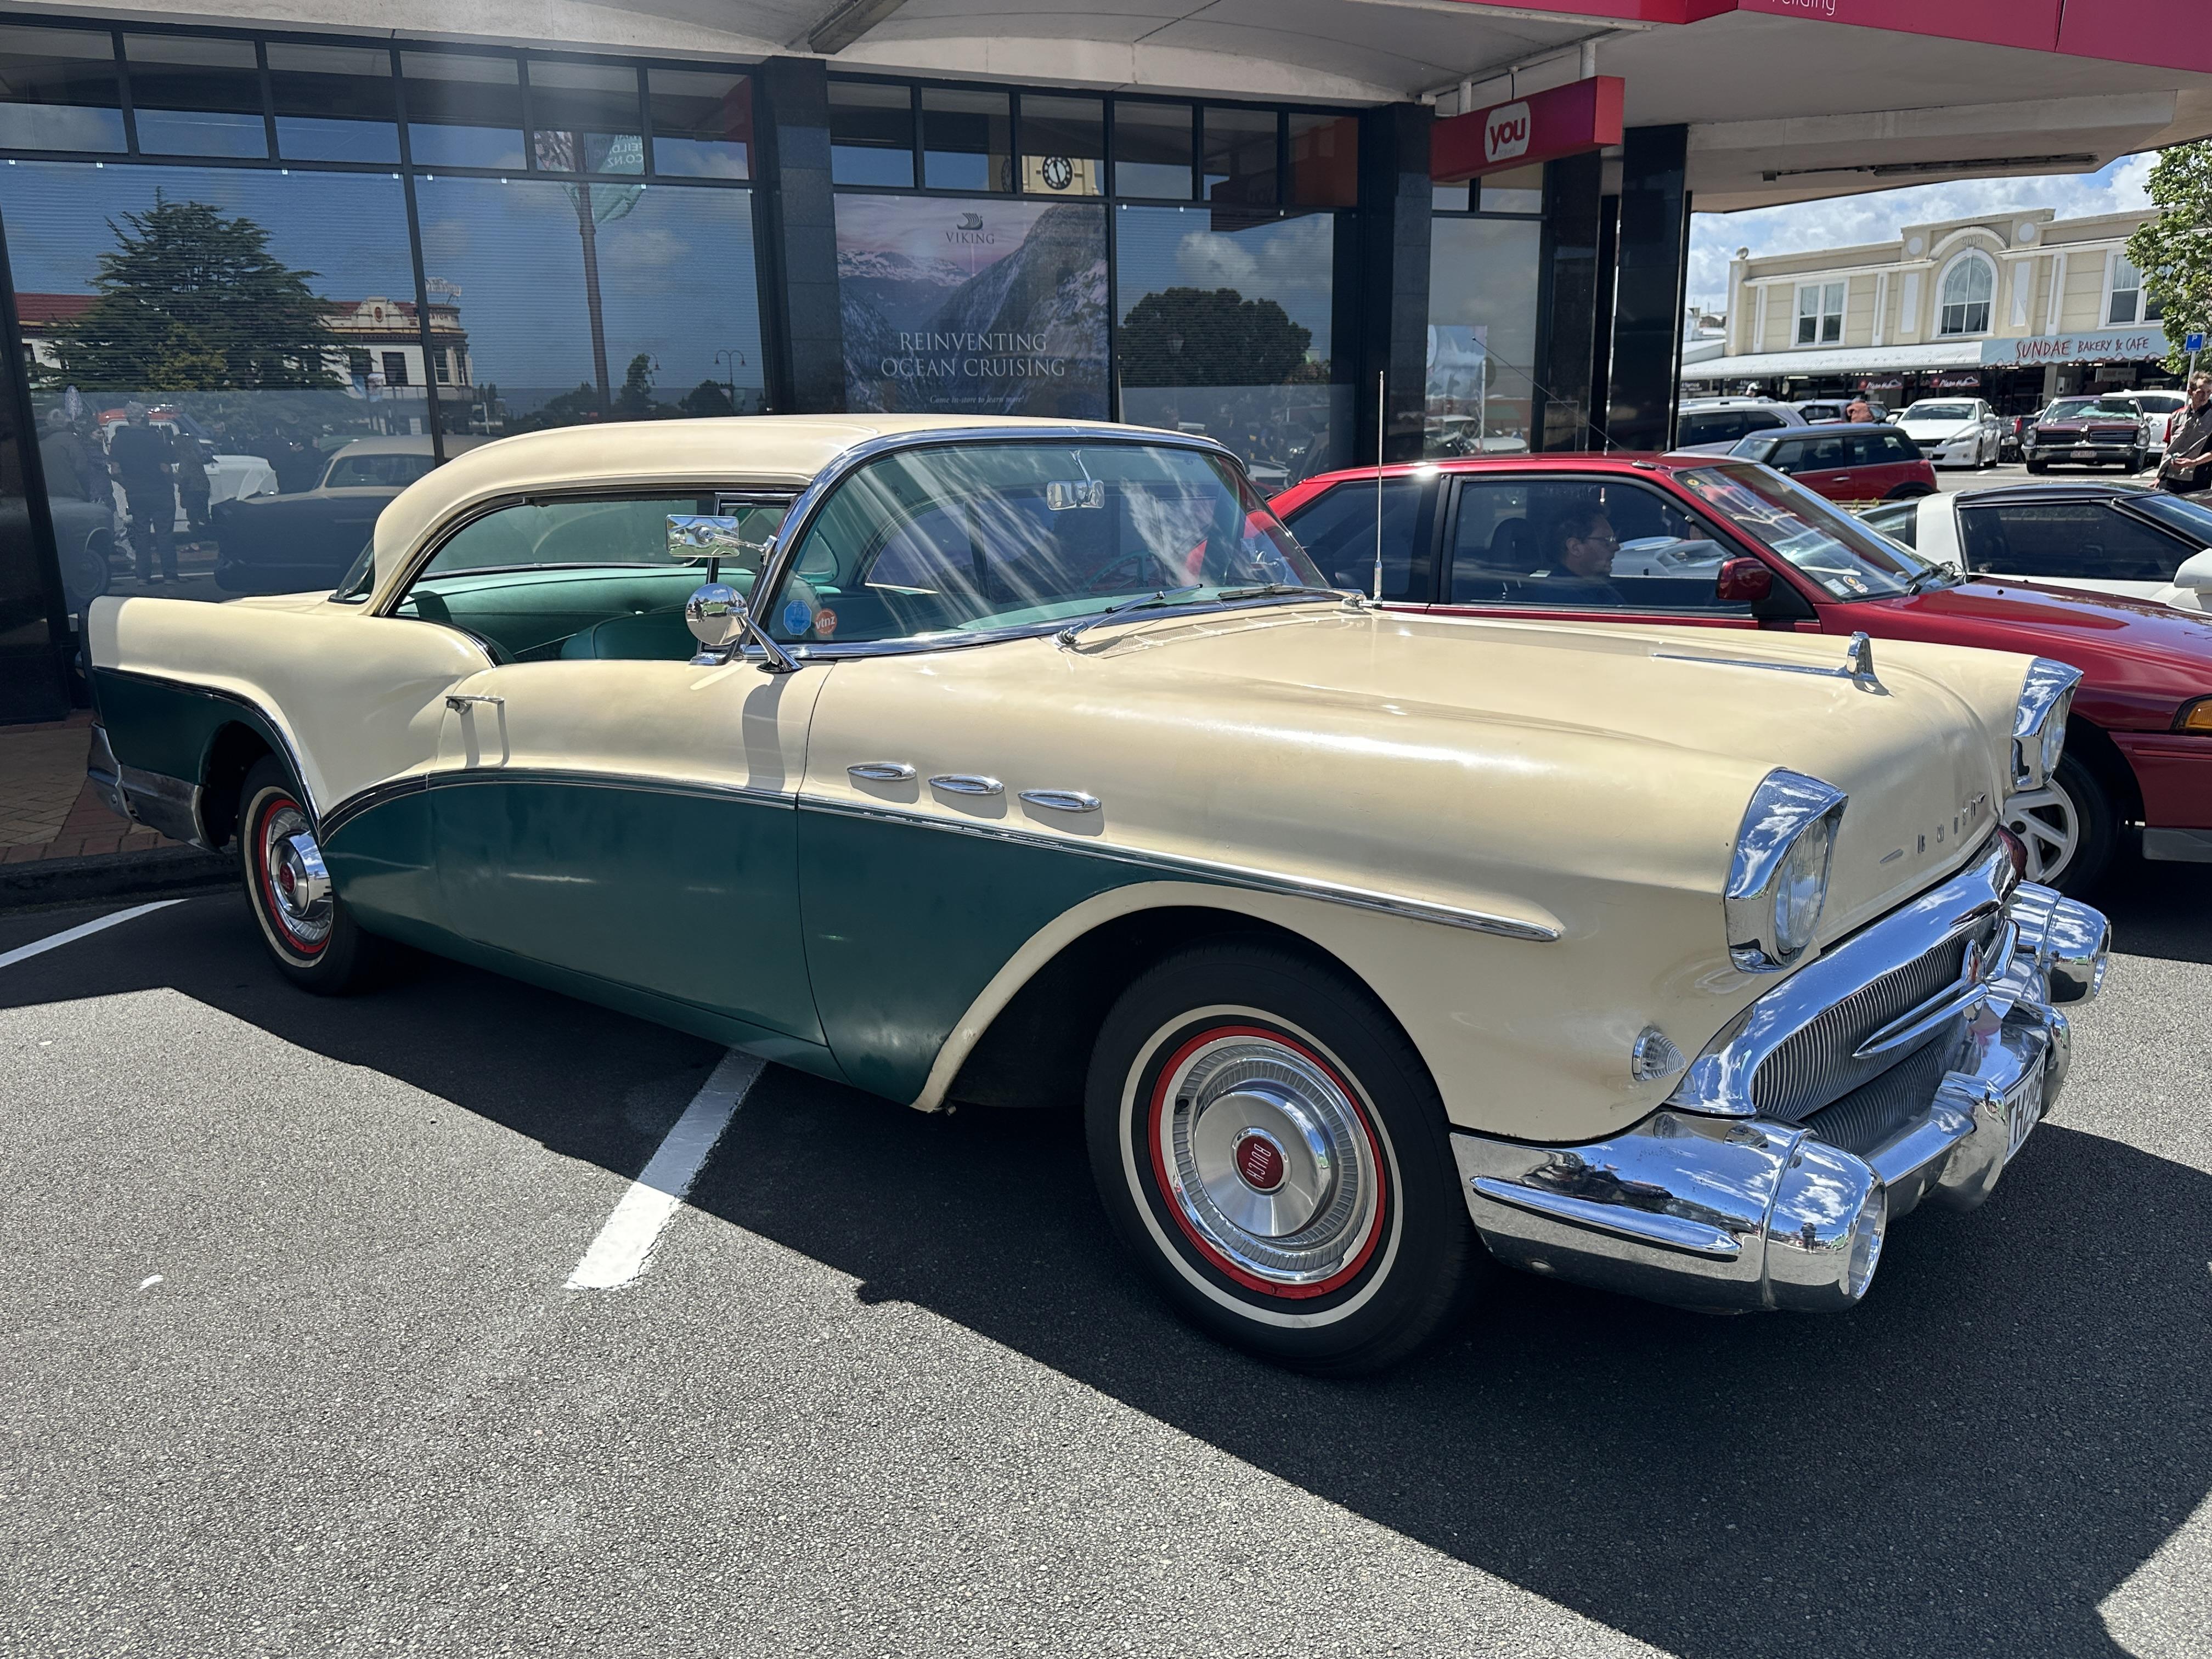
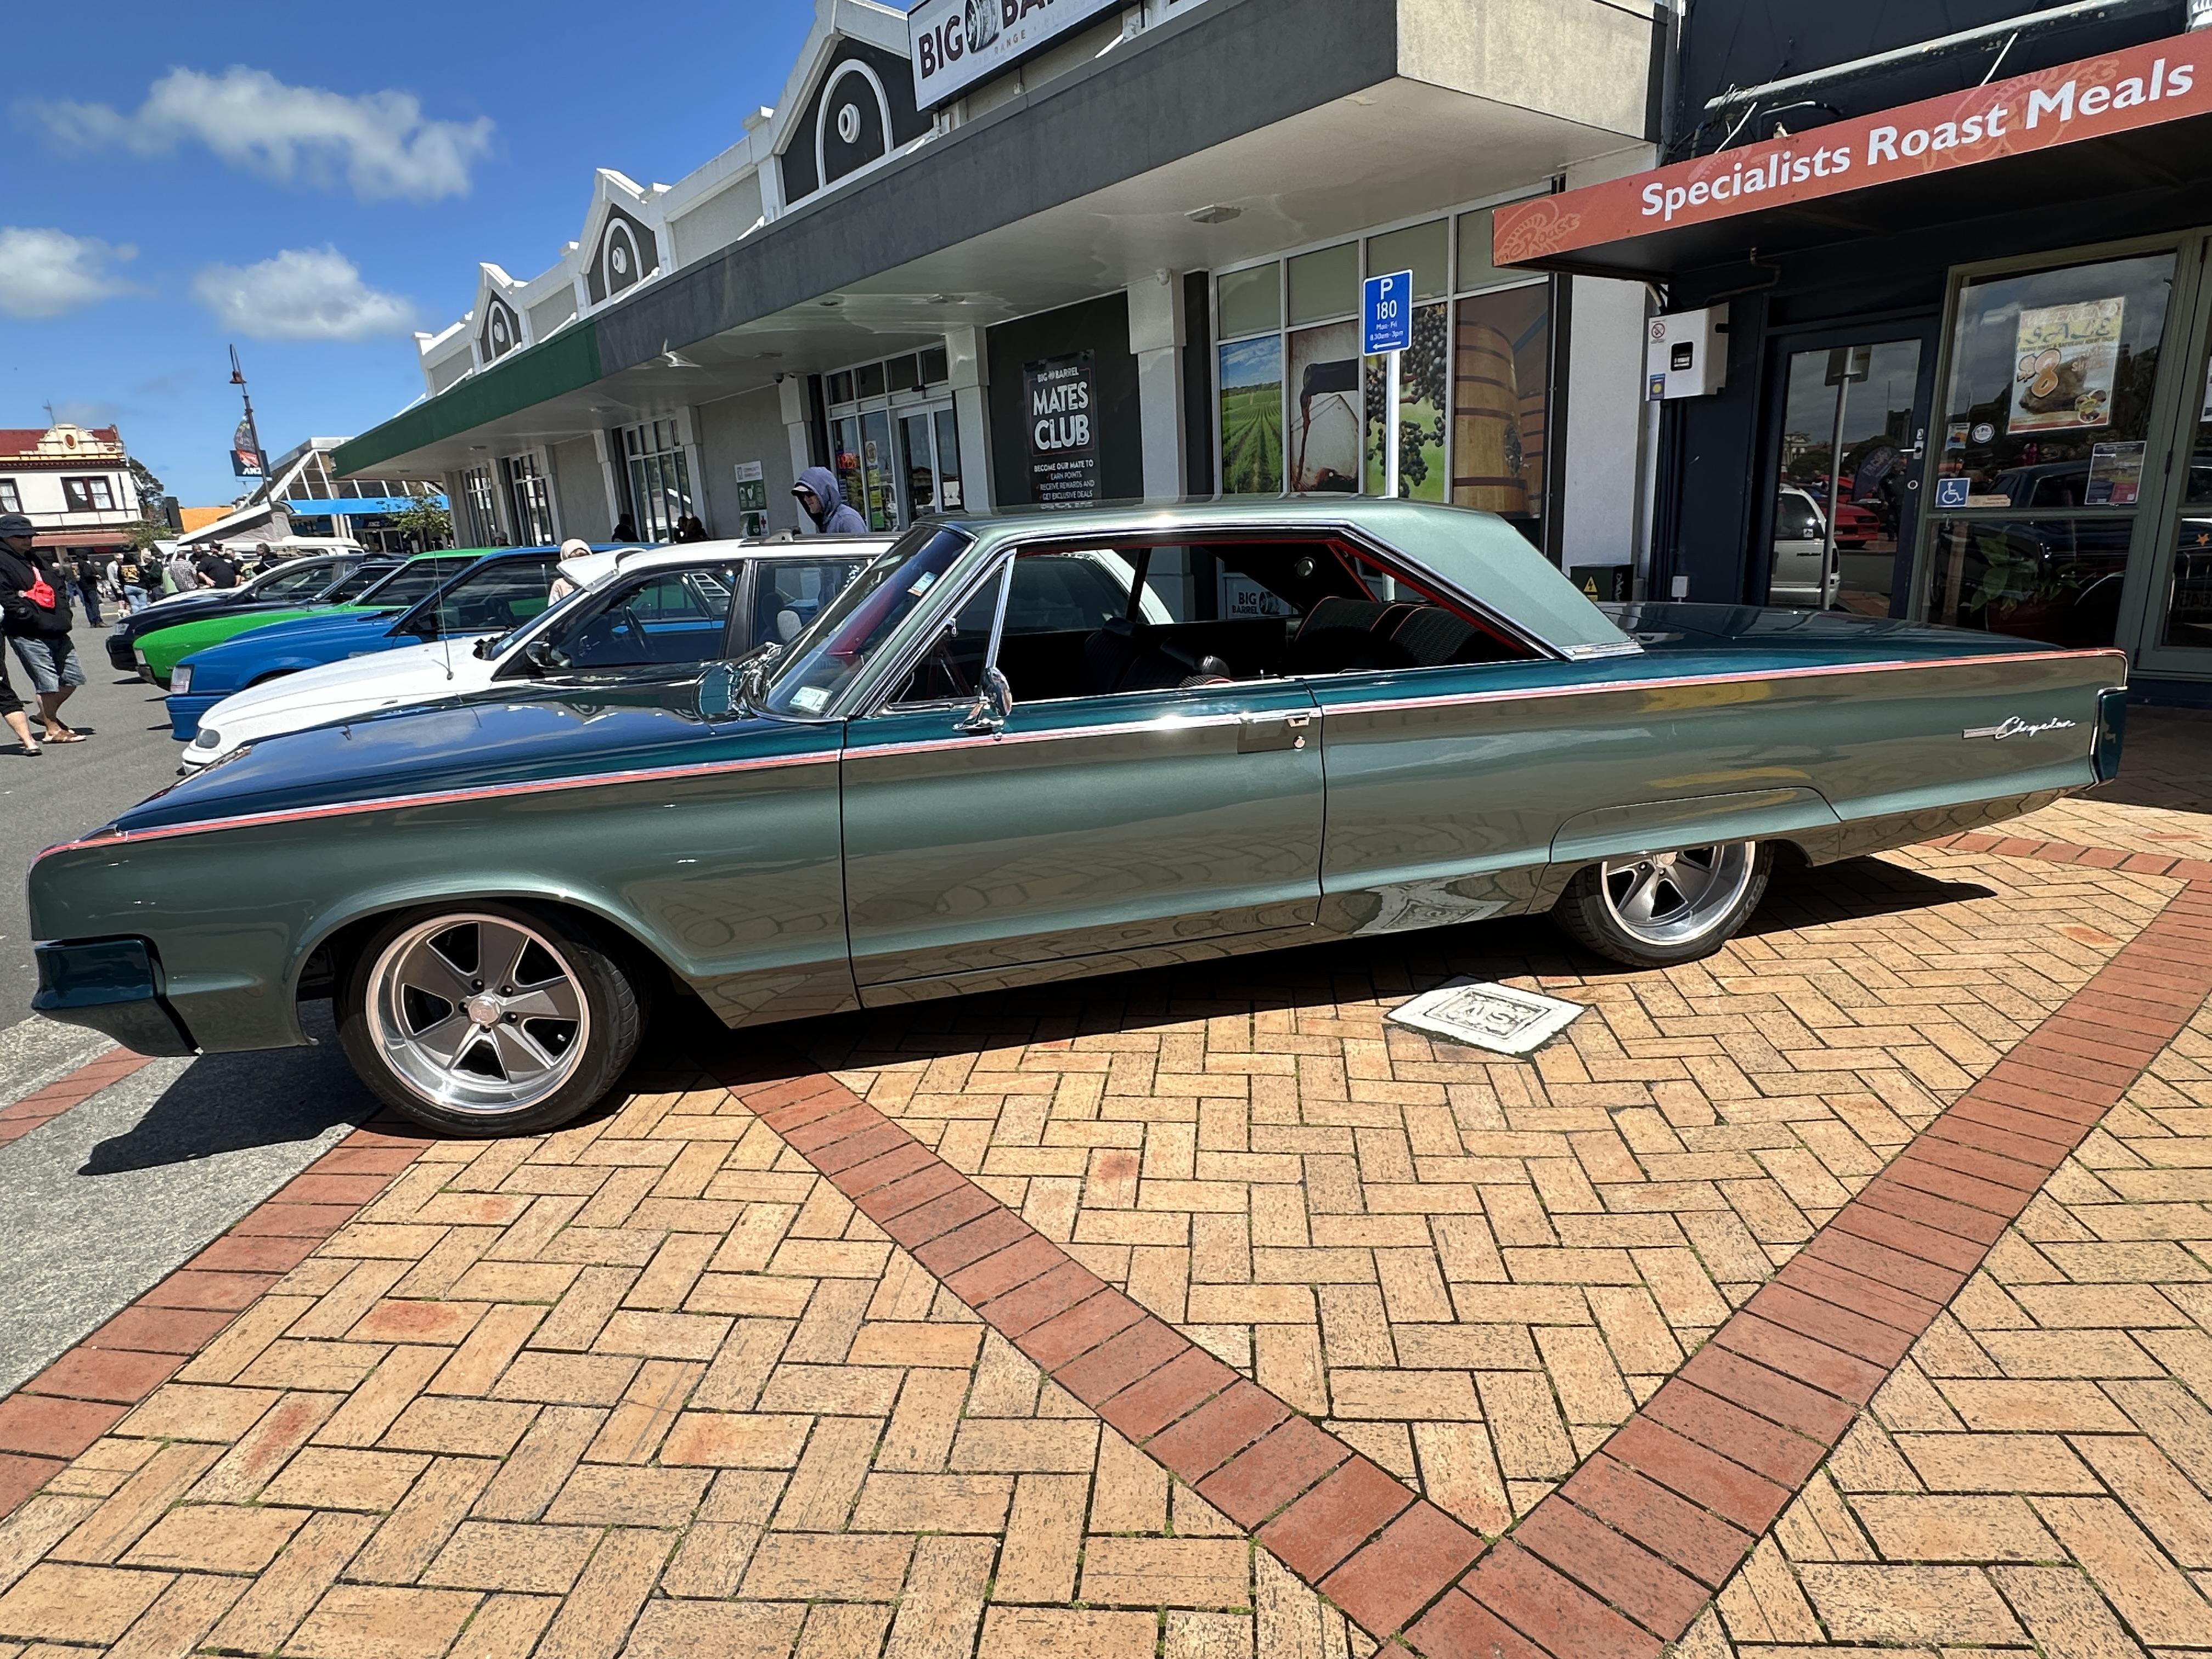
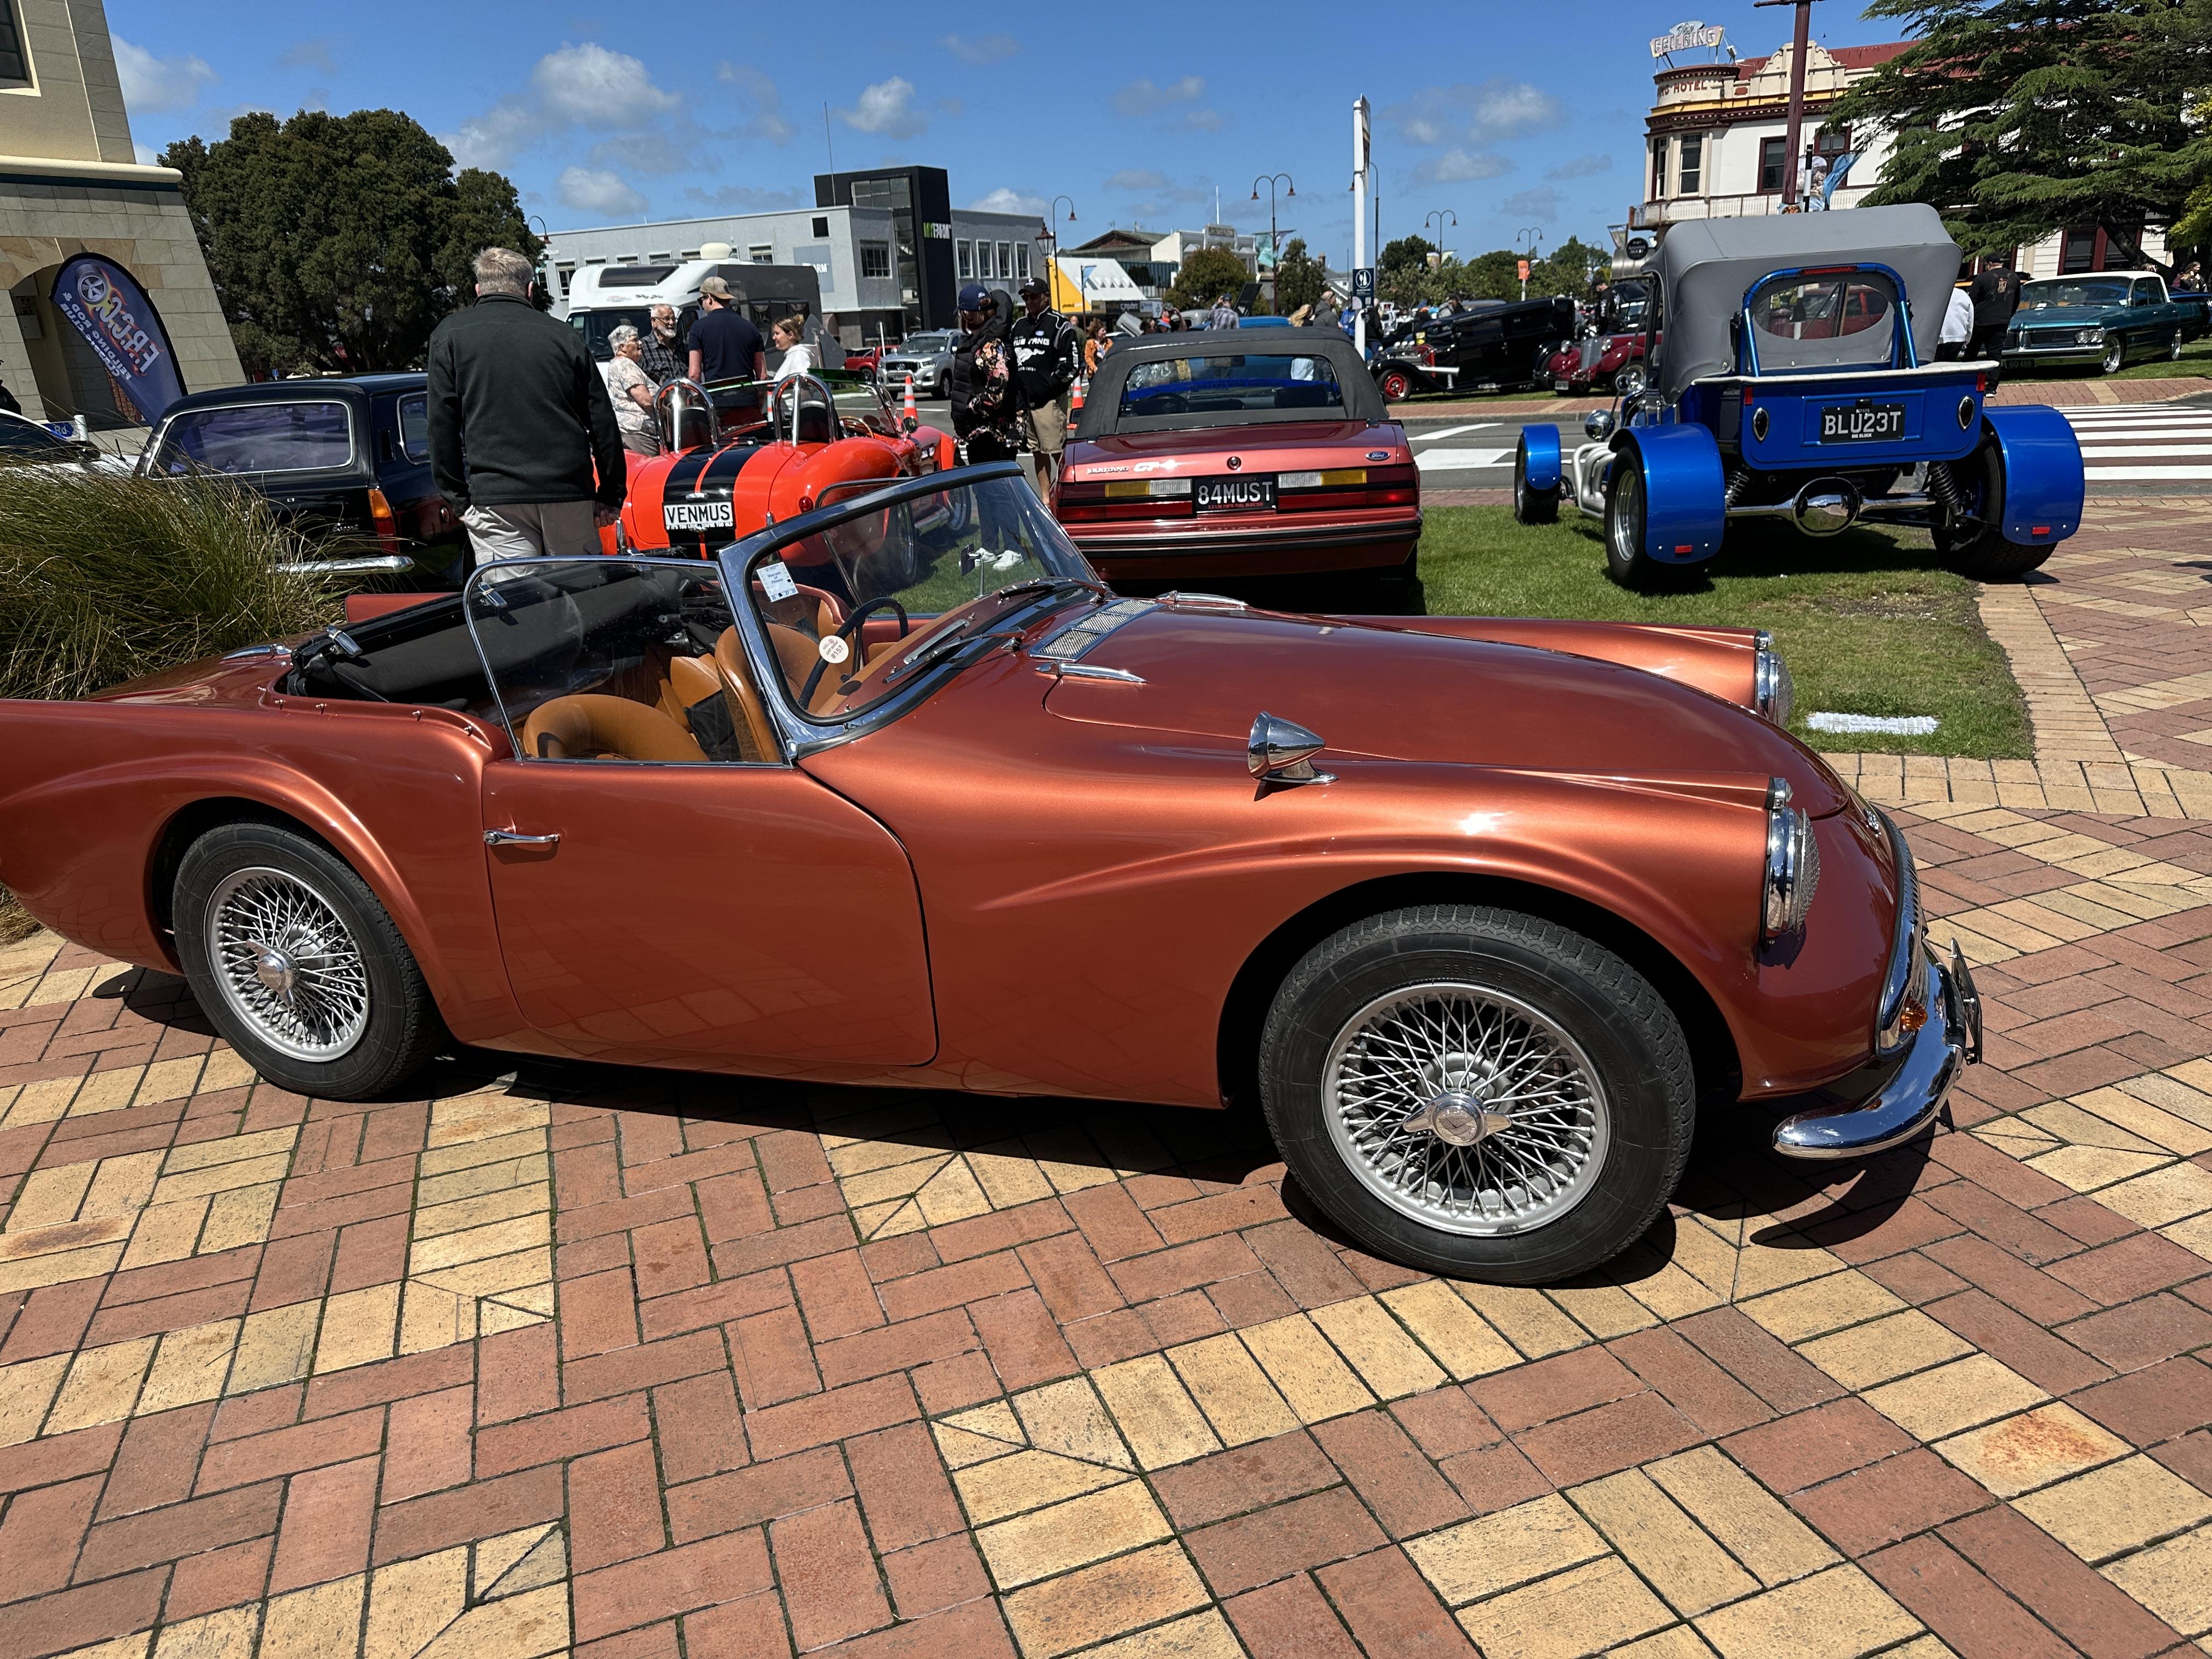
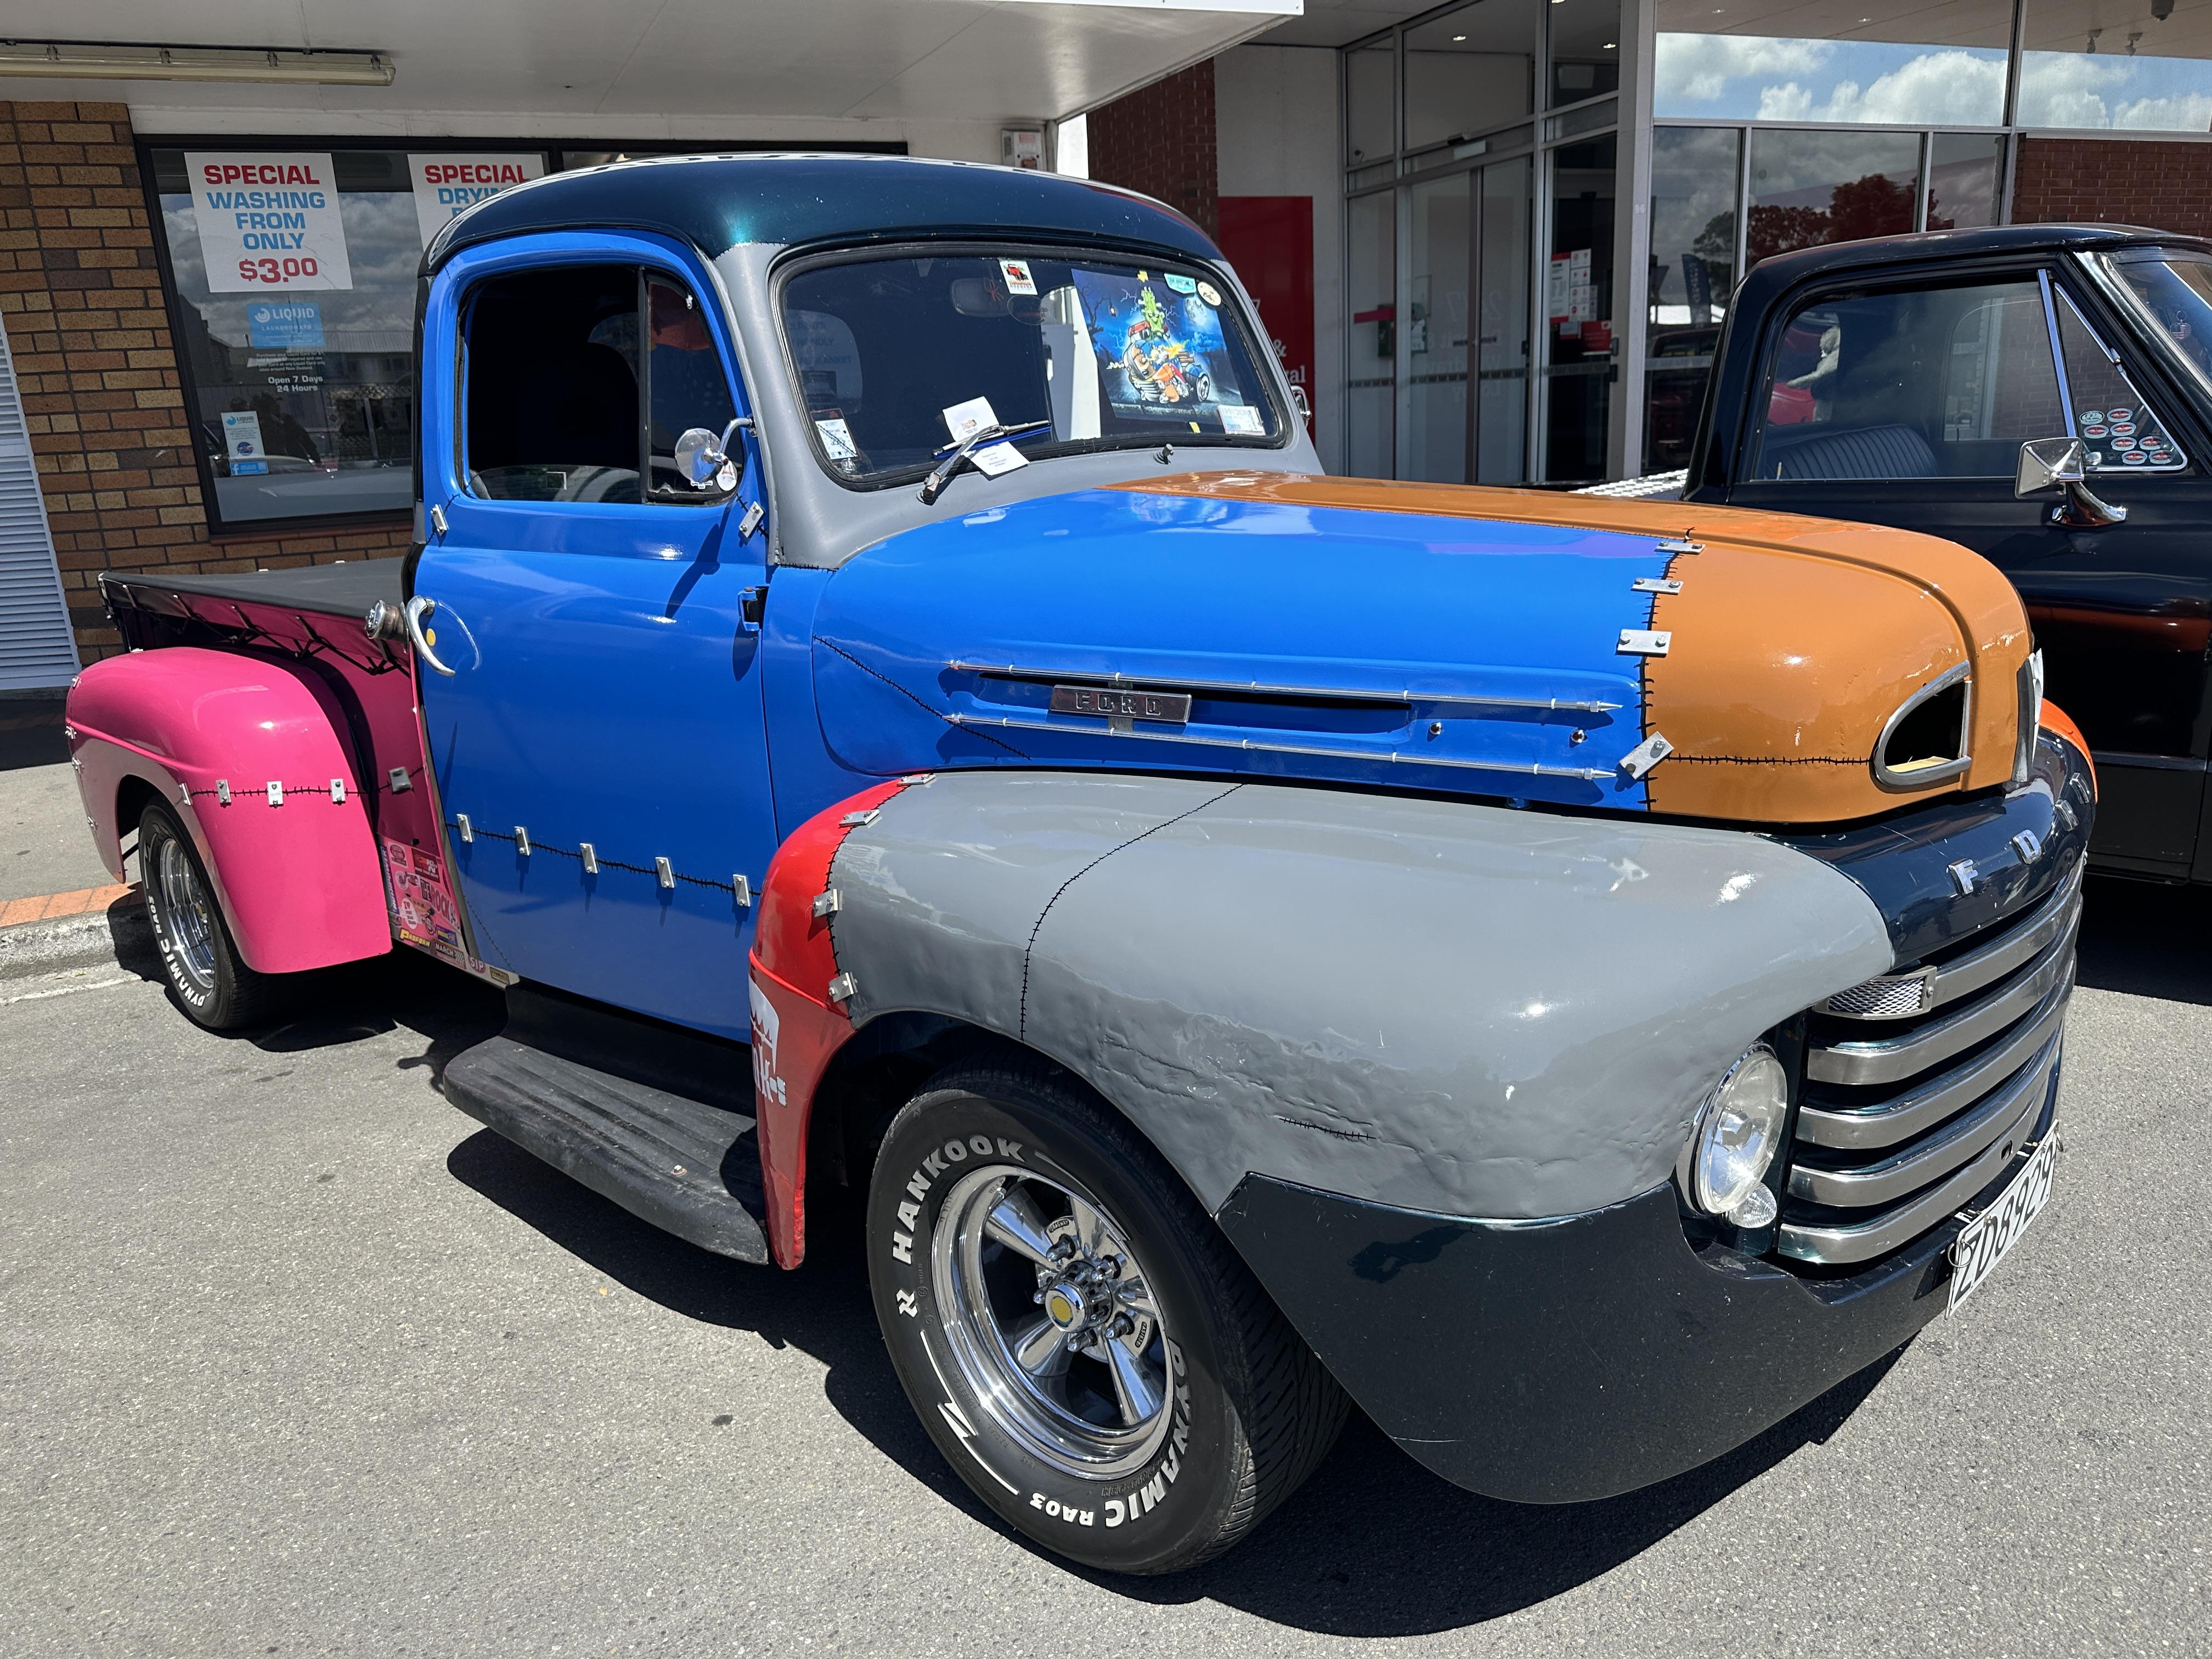
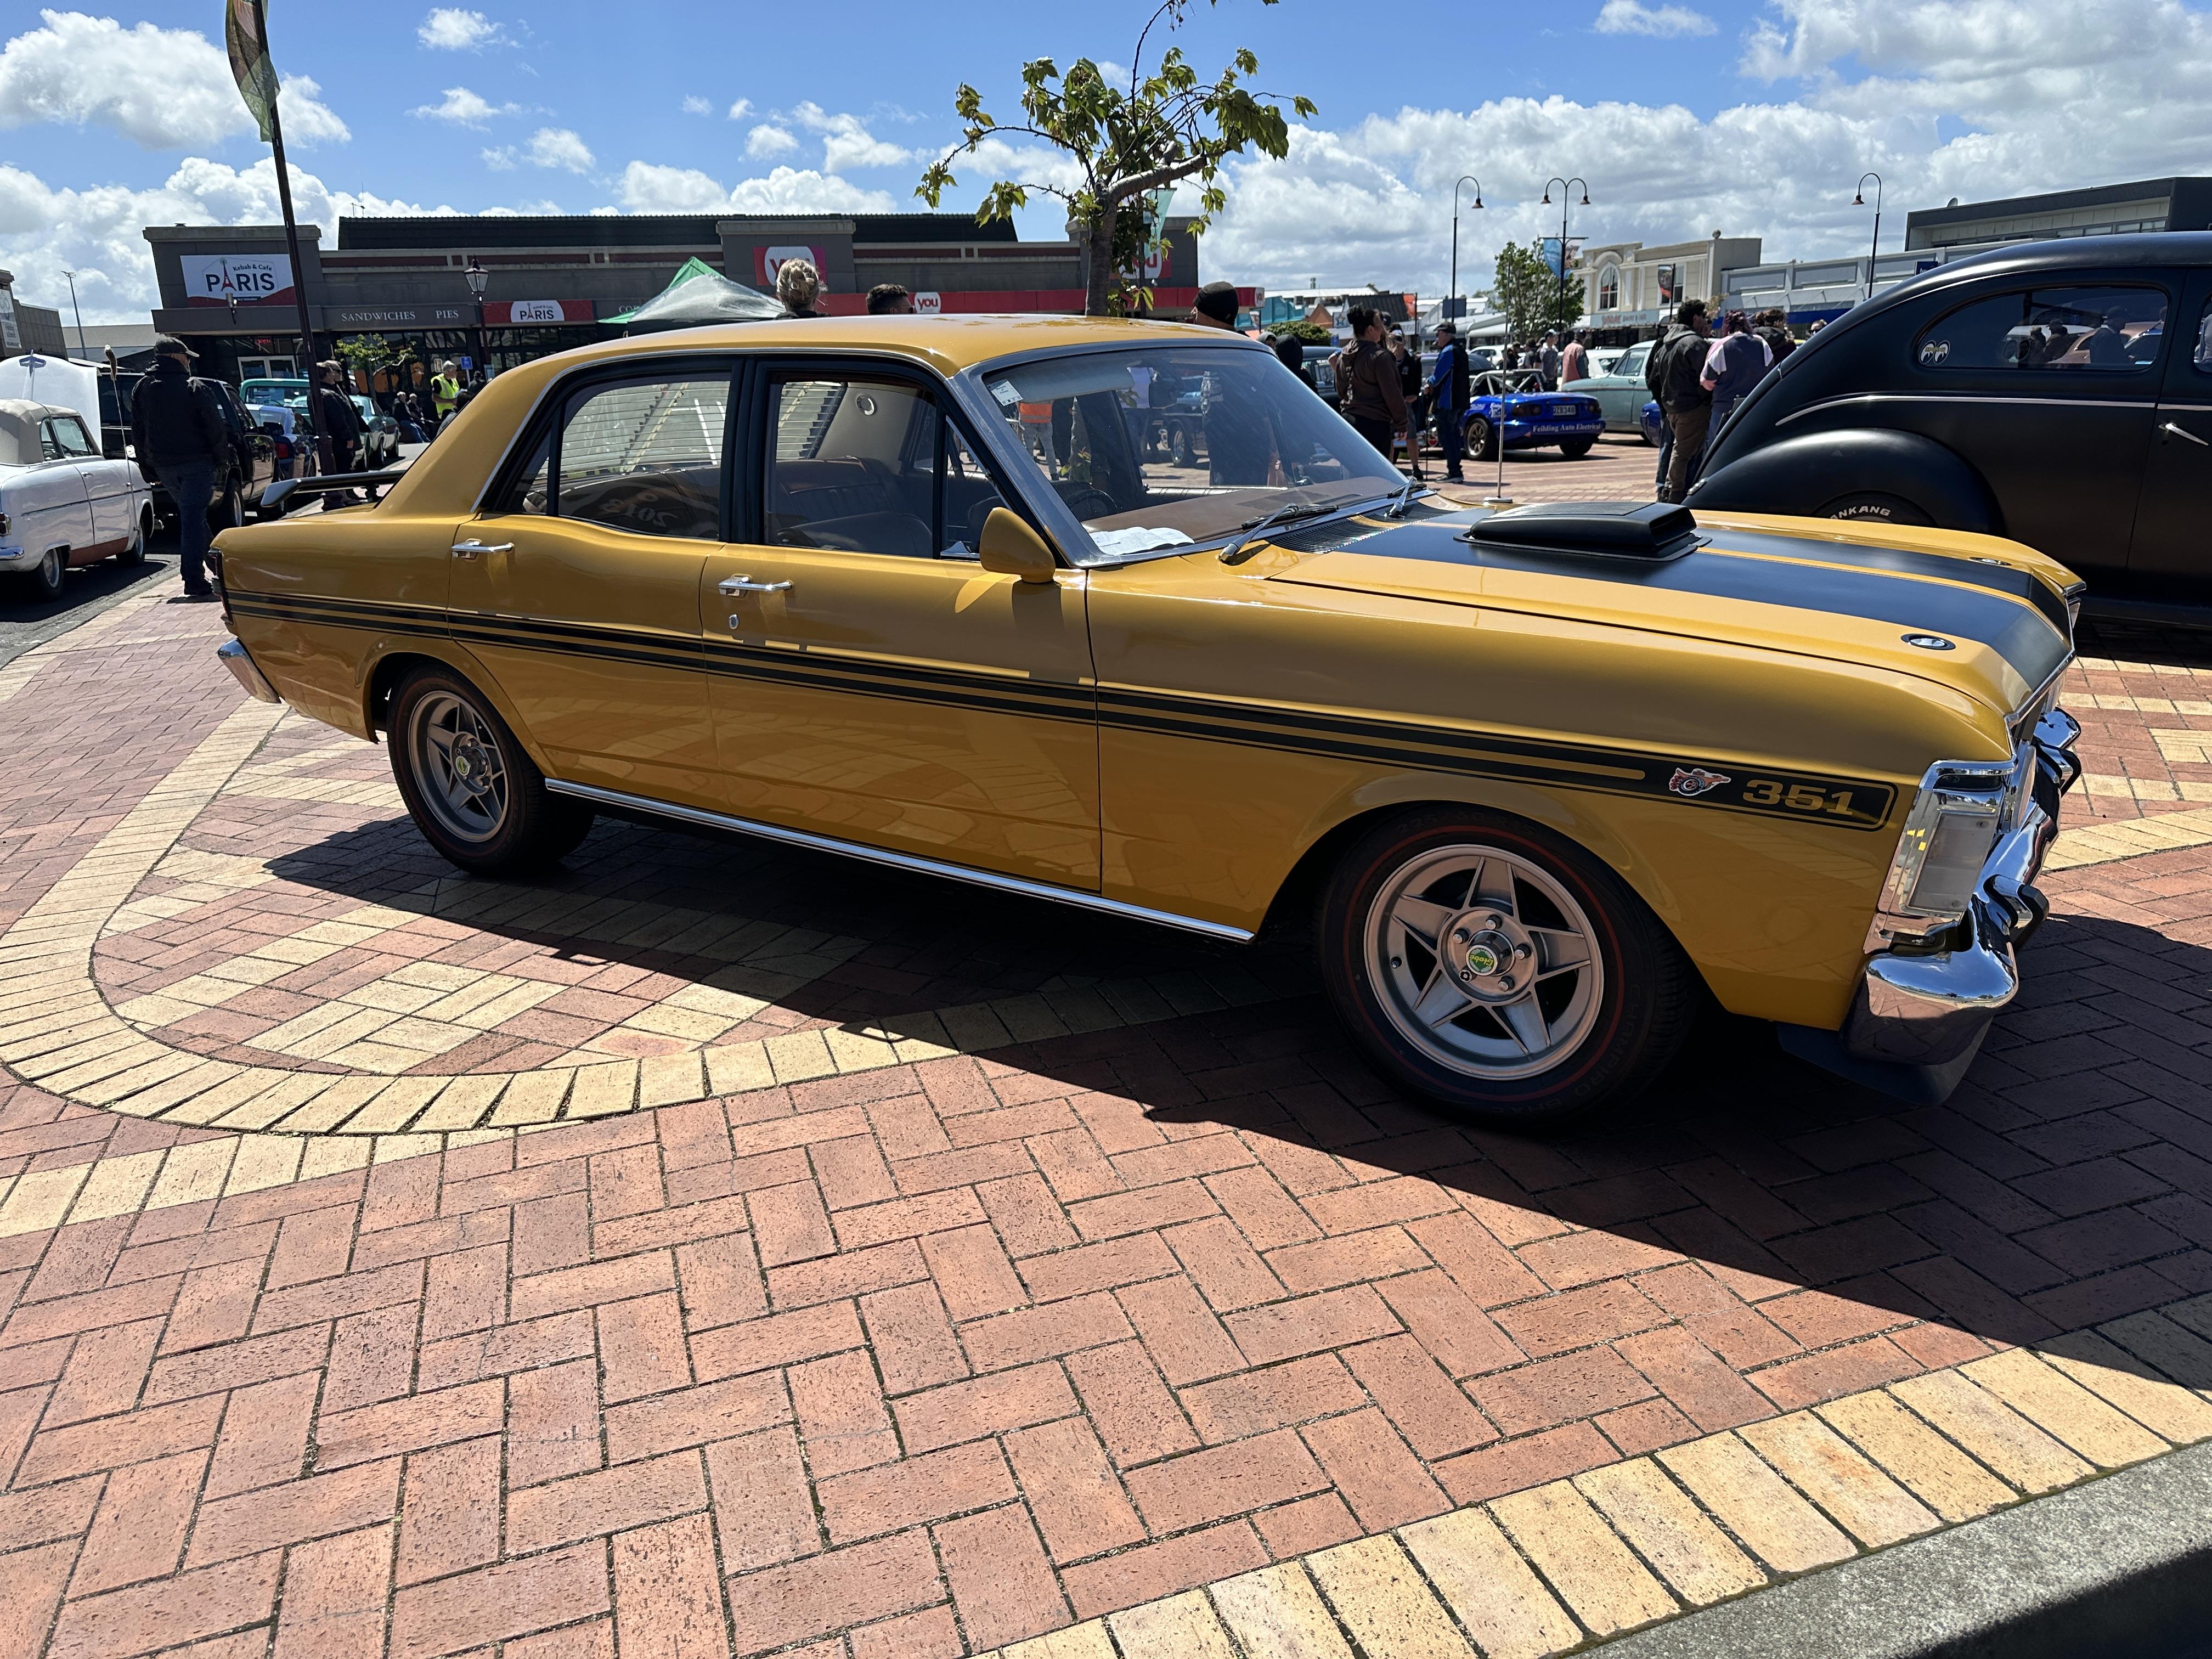
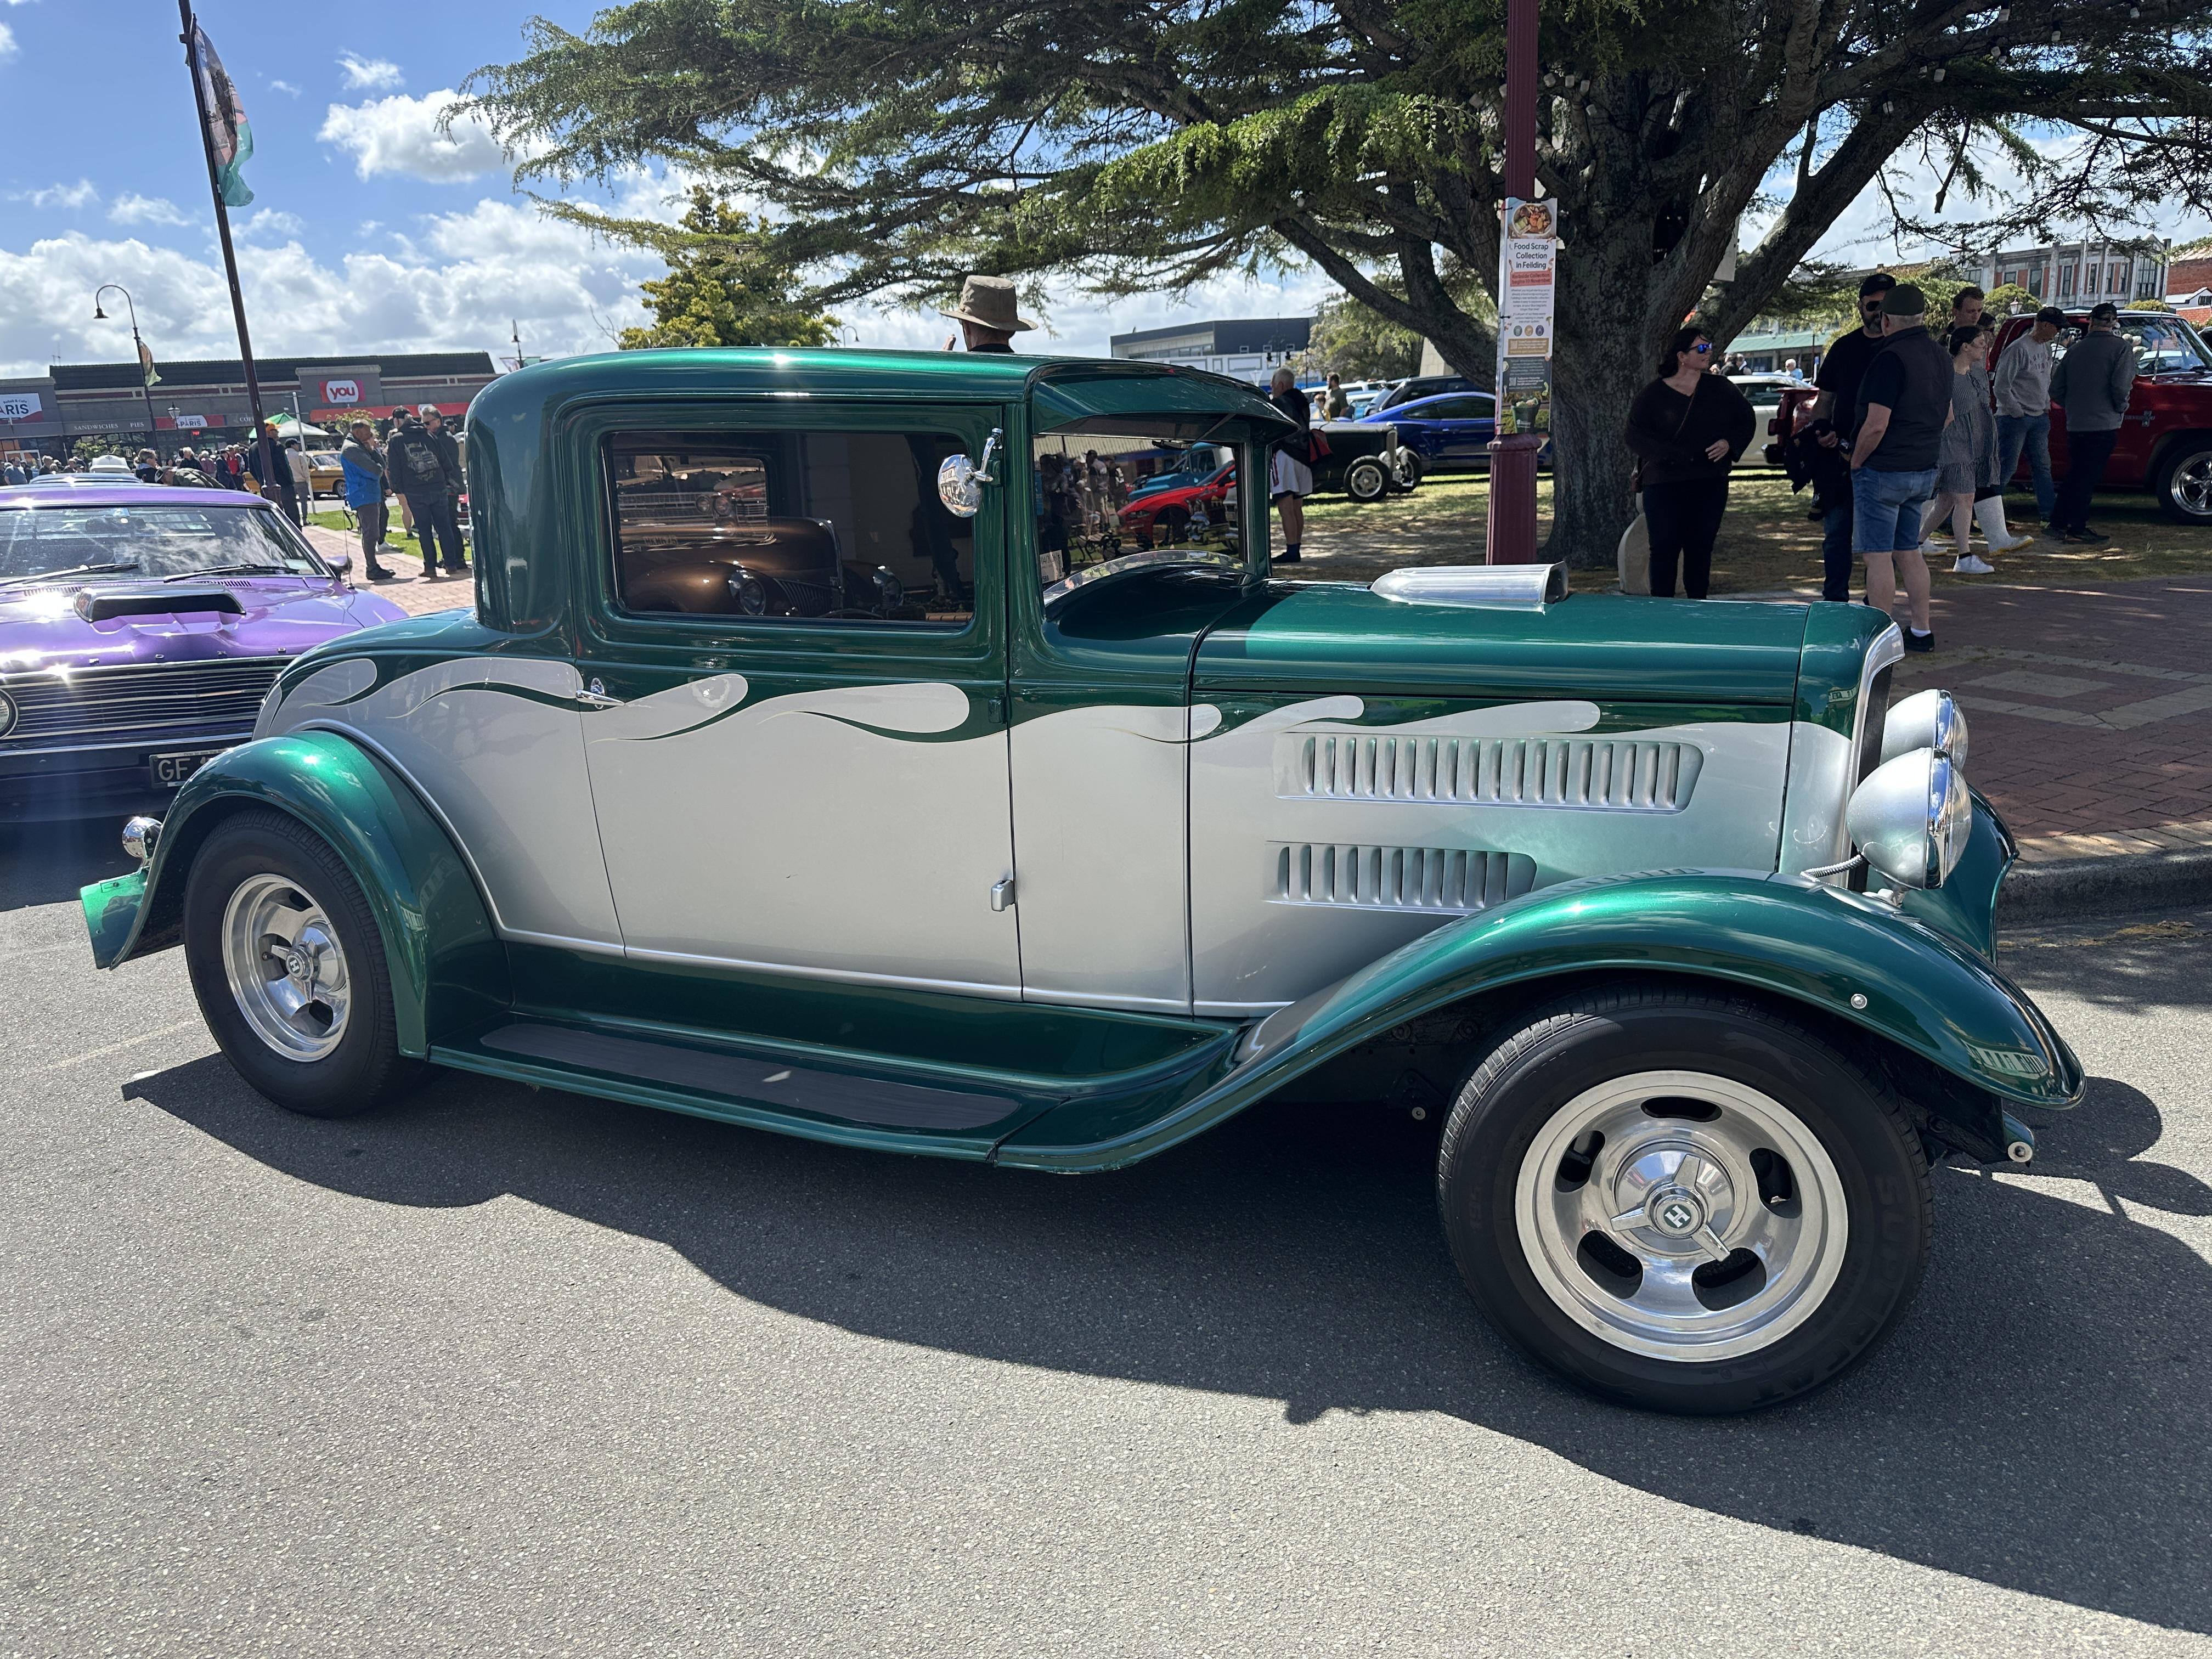
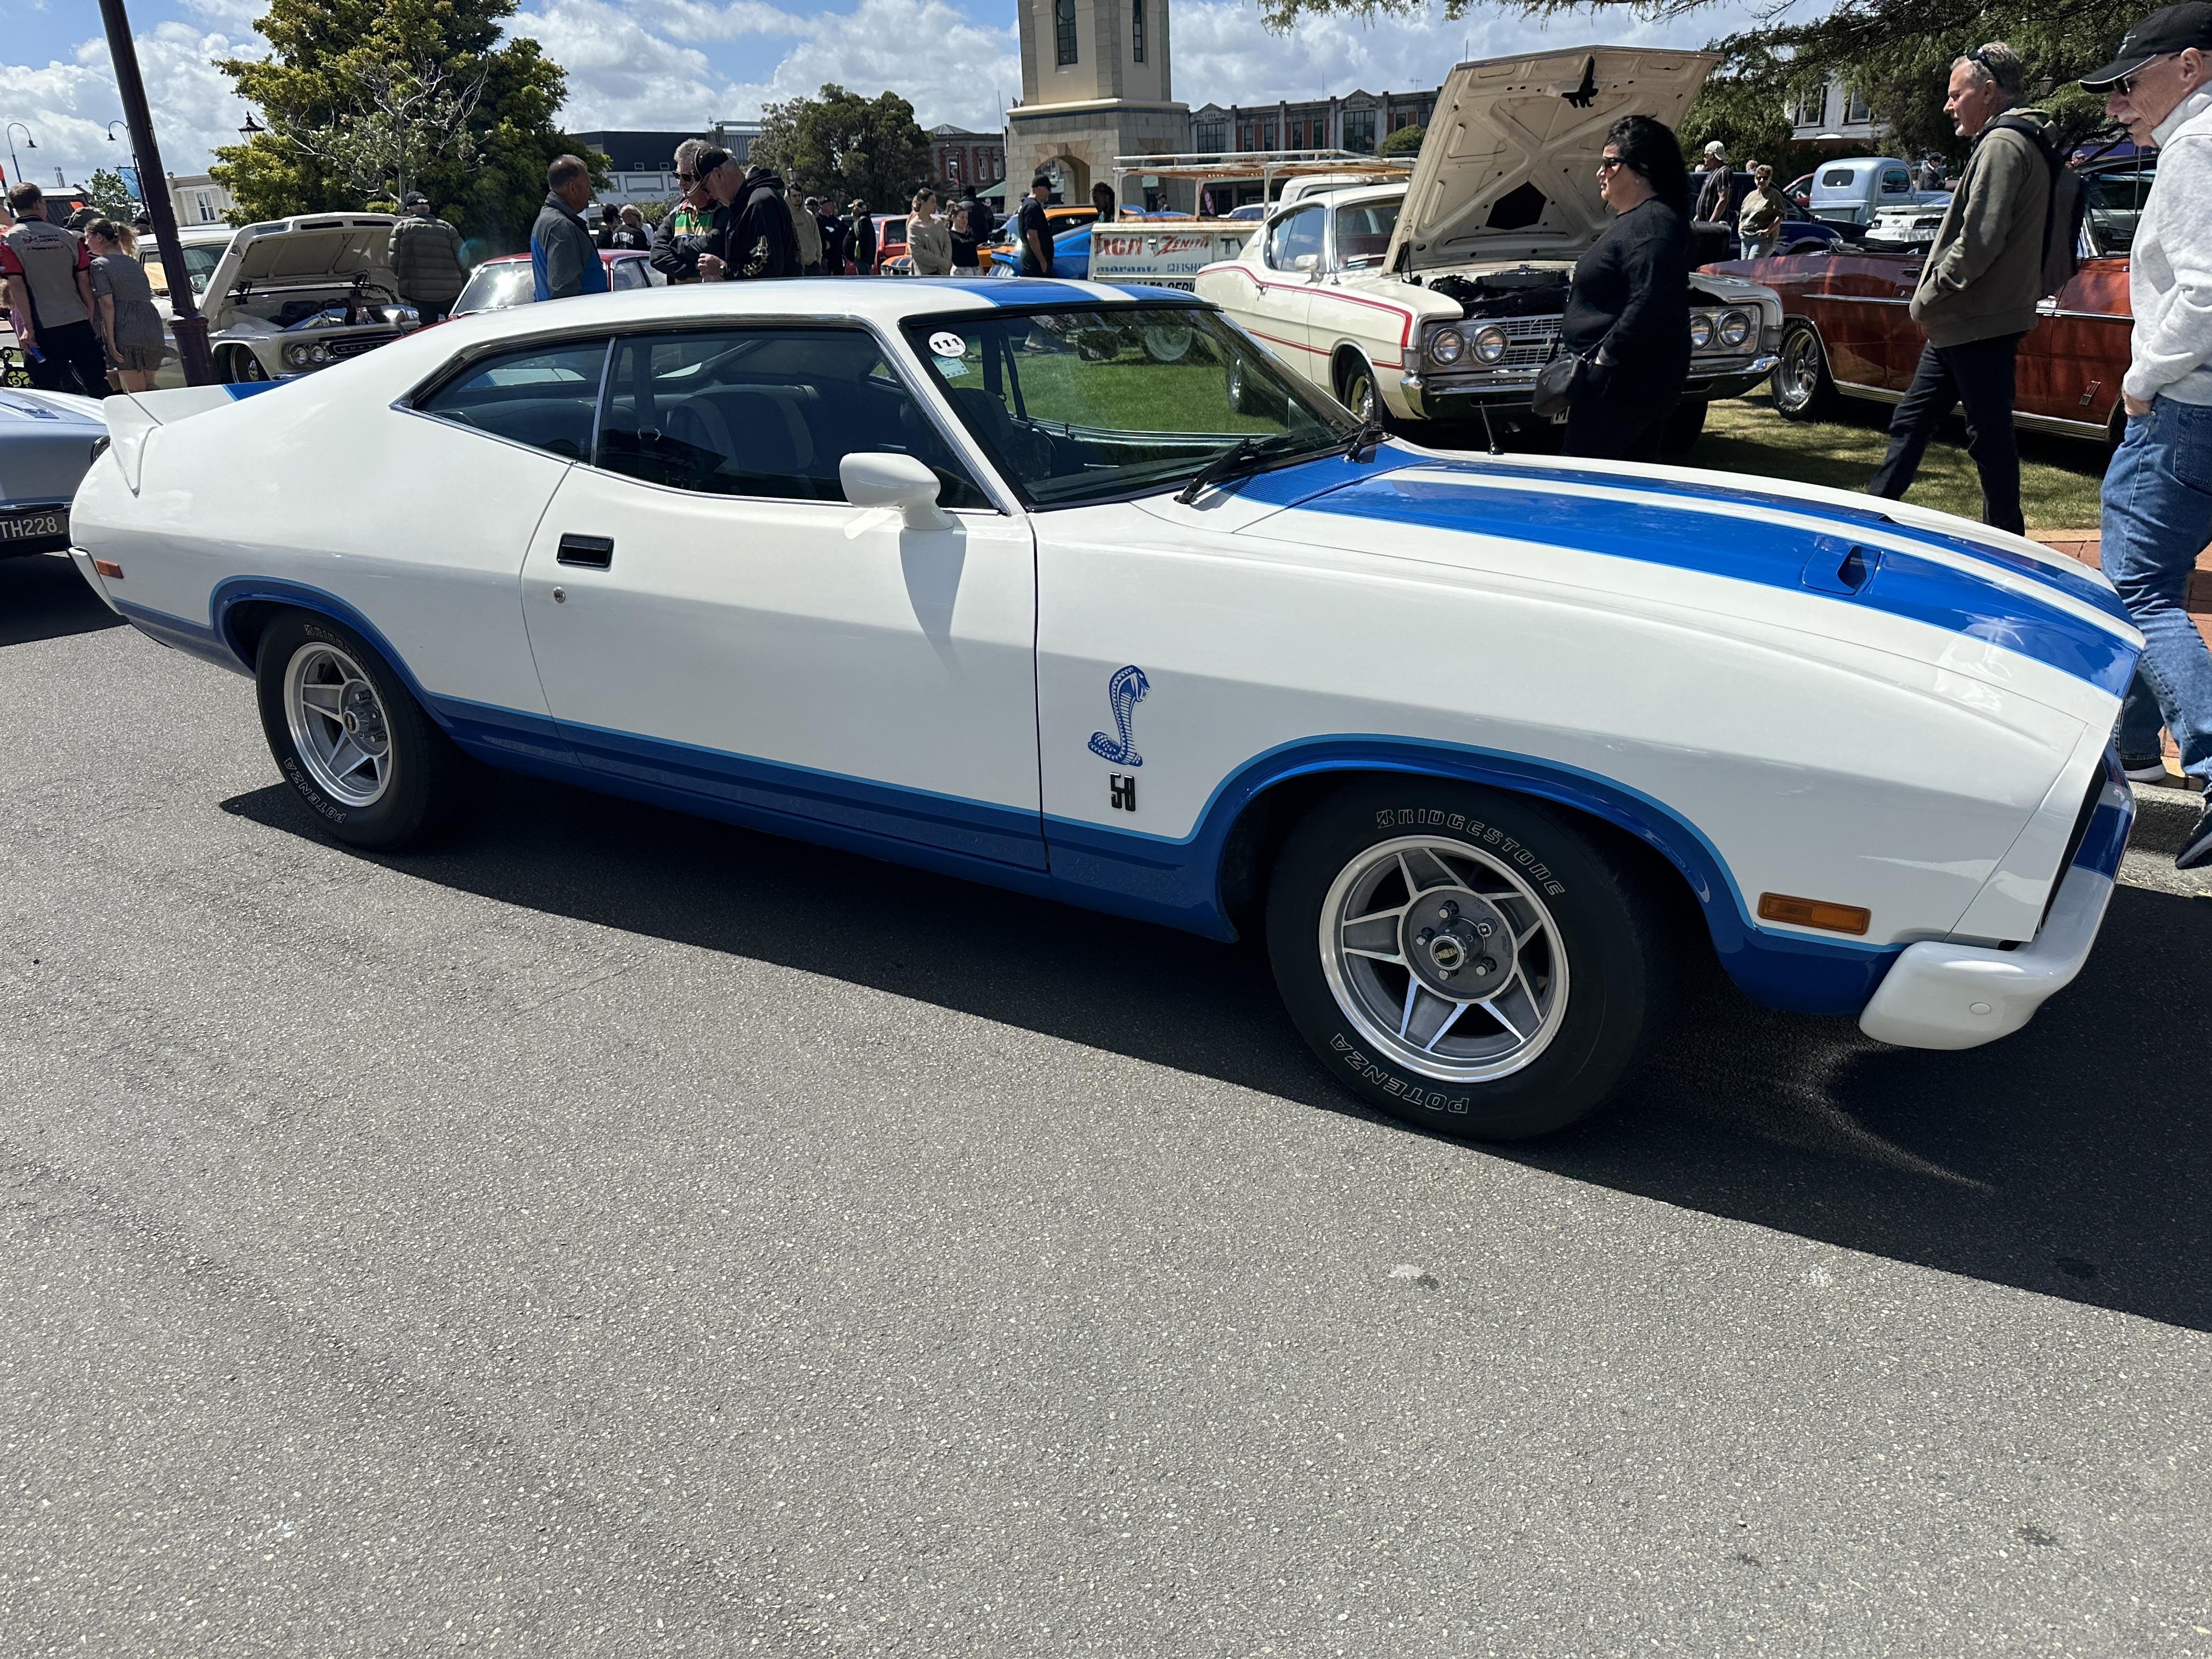
More from Fielding NZ show yesterday A tidy 38 Chev Sedan Delivery and a potent 38 Coupe with a 500+ hp injected 427 SBC A cool 34 coupe that was hand made with the only original 34 part being the cowl. There are some very talented people around A nice survivor 56 Buick A land yacht Chrysler A Daimler Sport - rare. The speedo is a real deal Smith's 140mph unit Unusual paint treatment on a Bonus PU Oz Falcon GT - not sure if the real deal or a clone
-
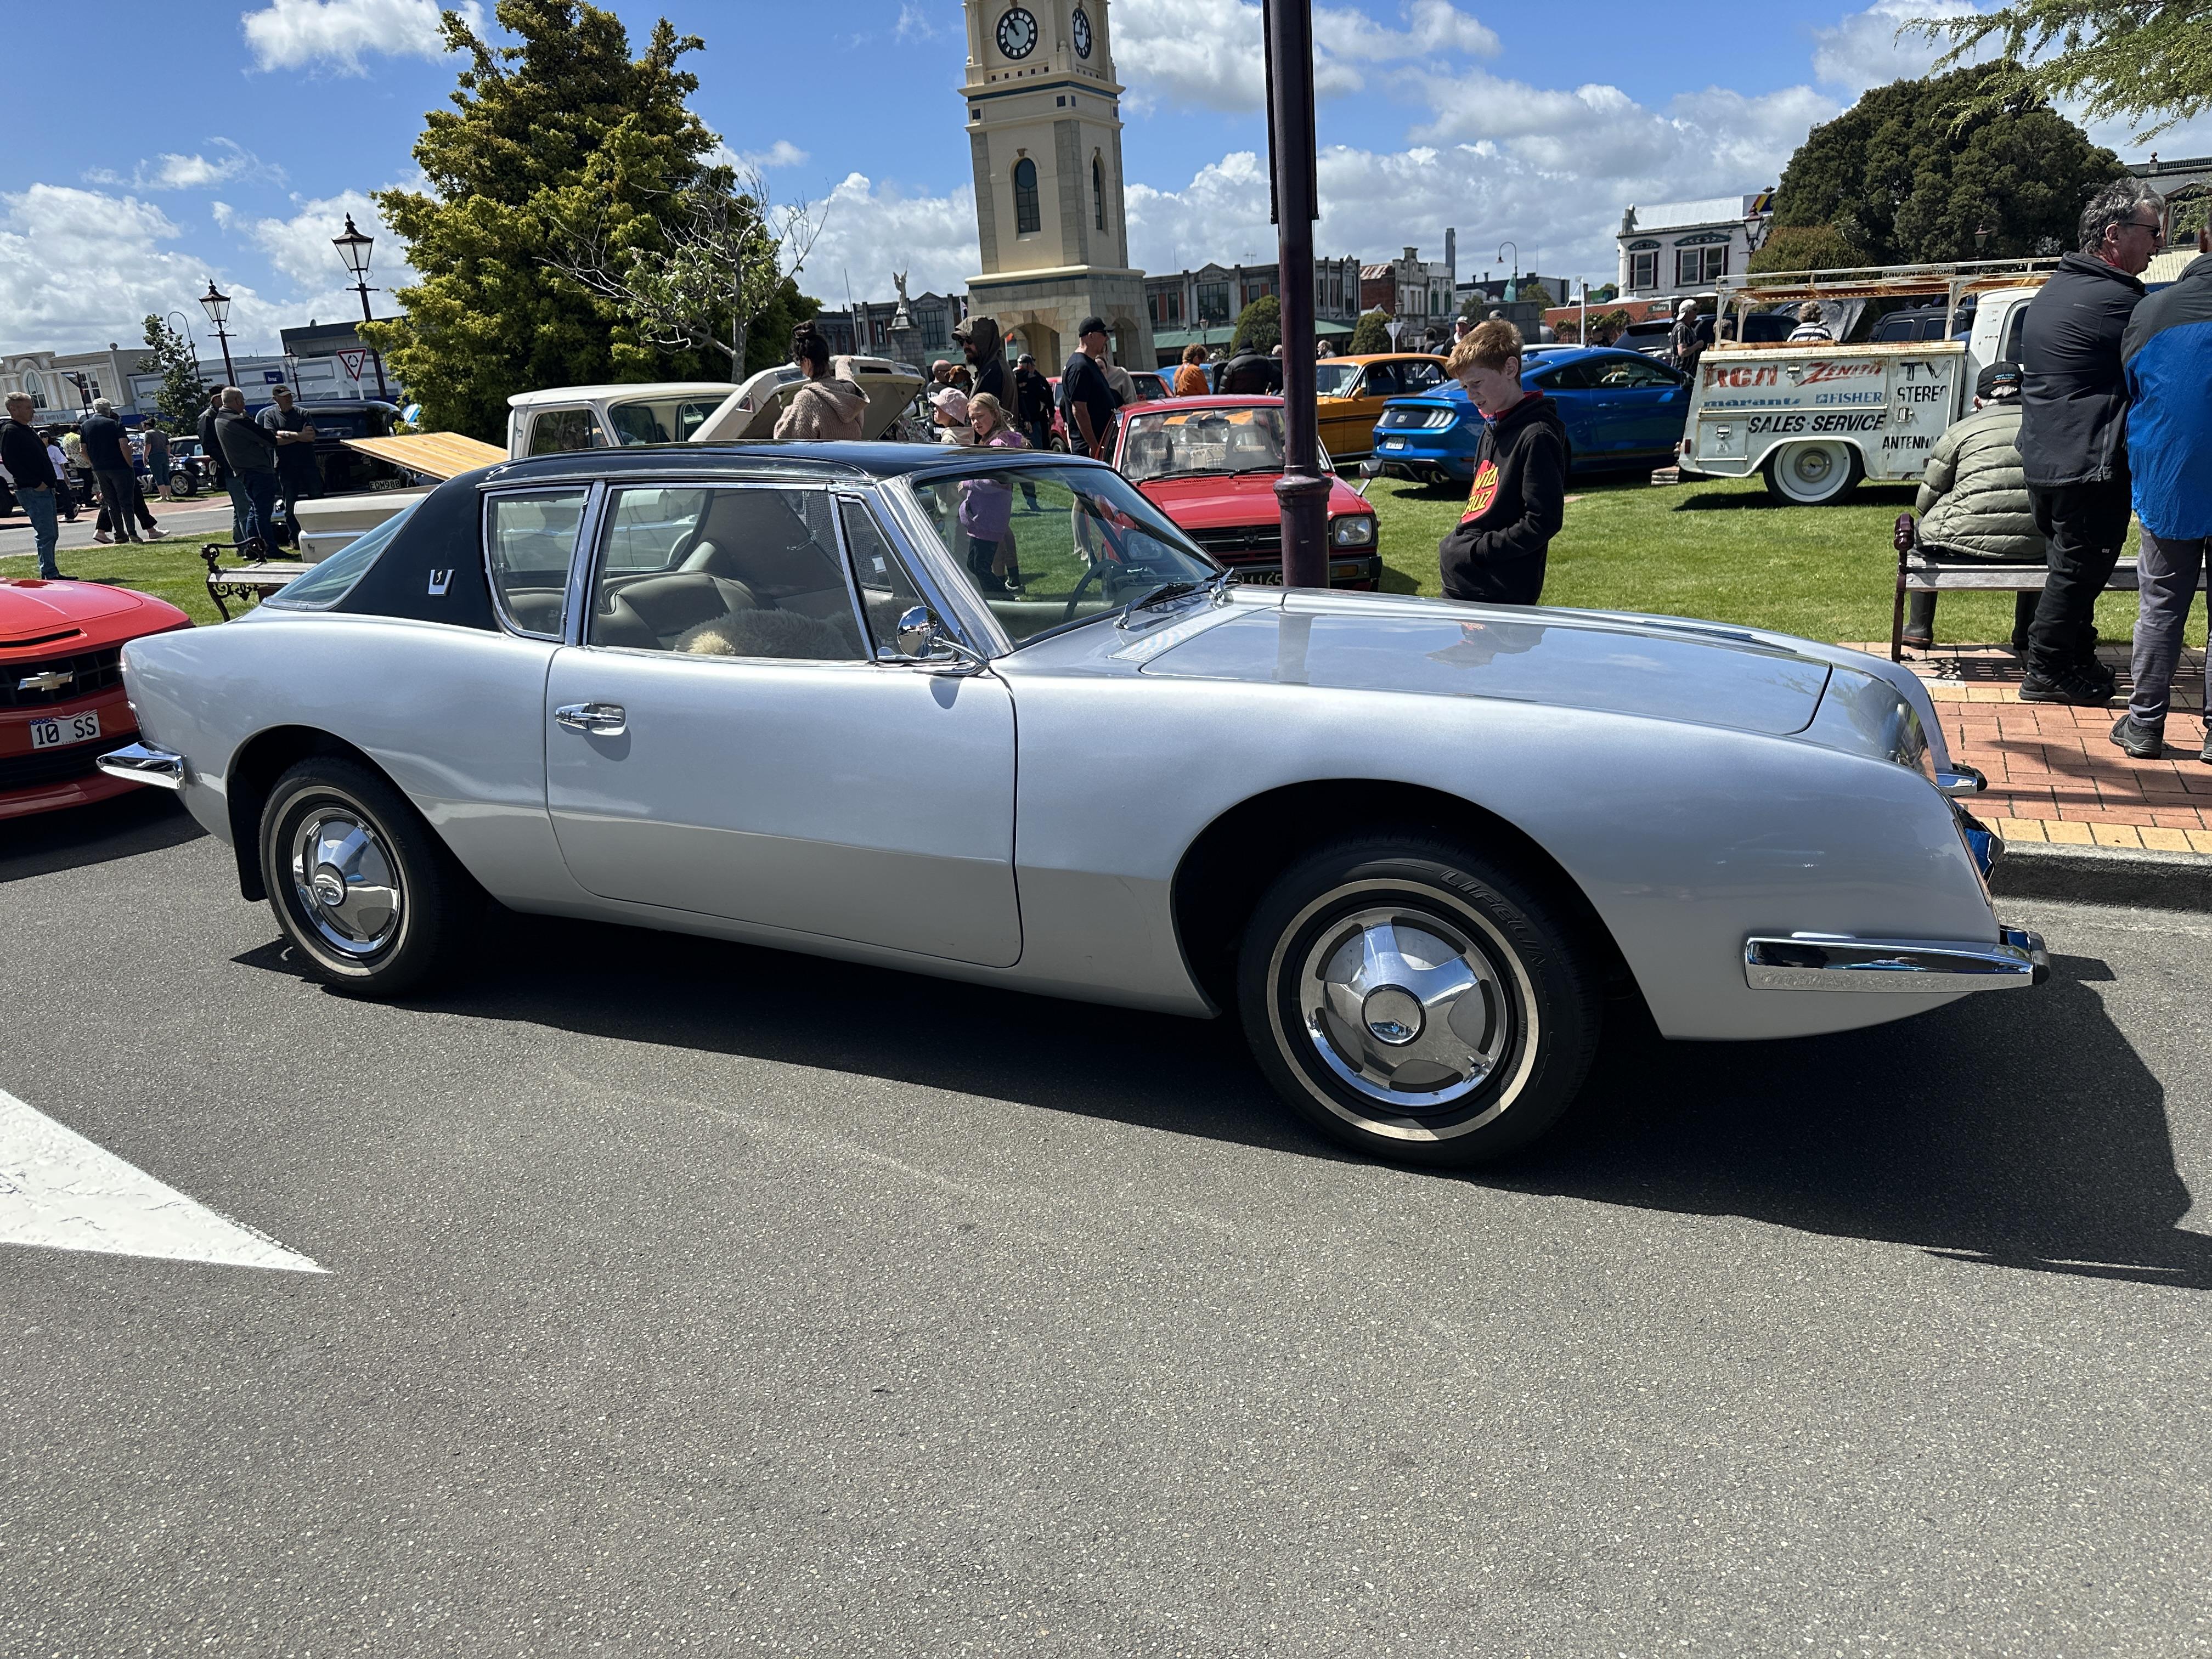
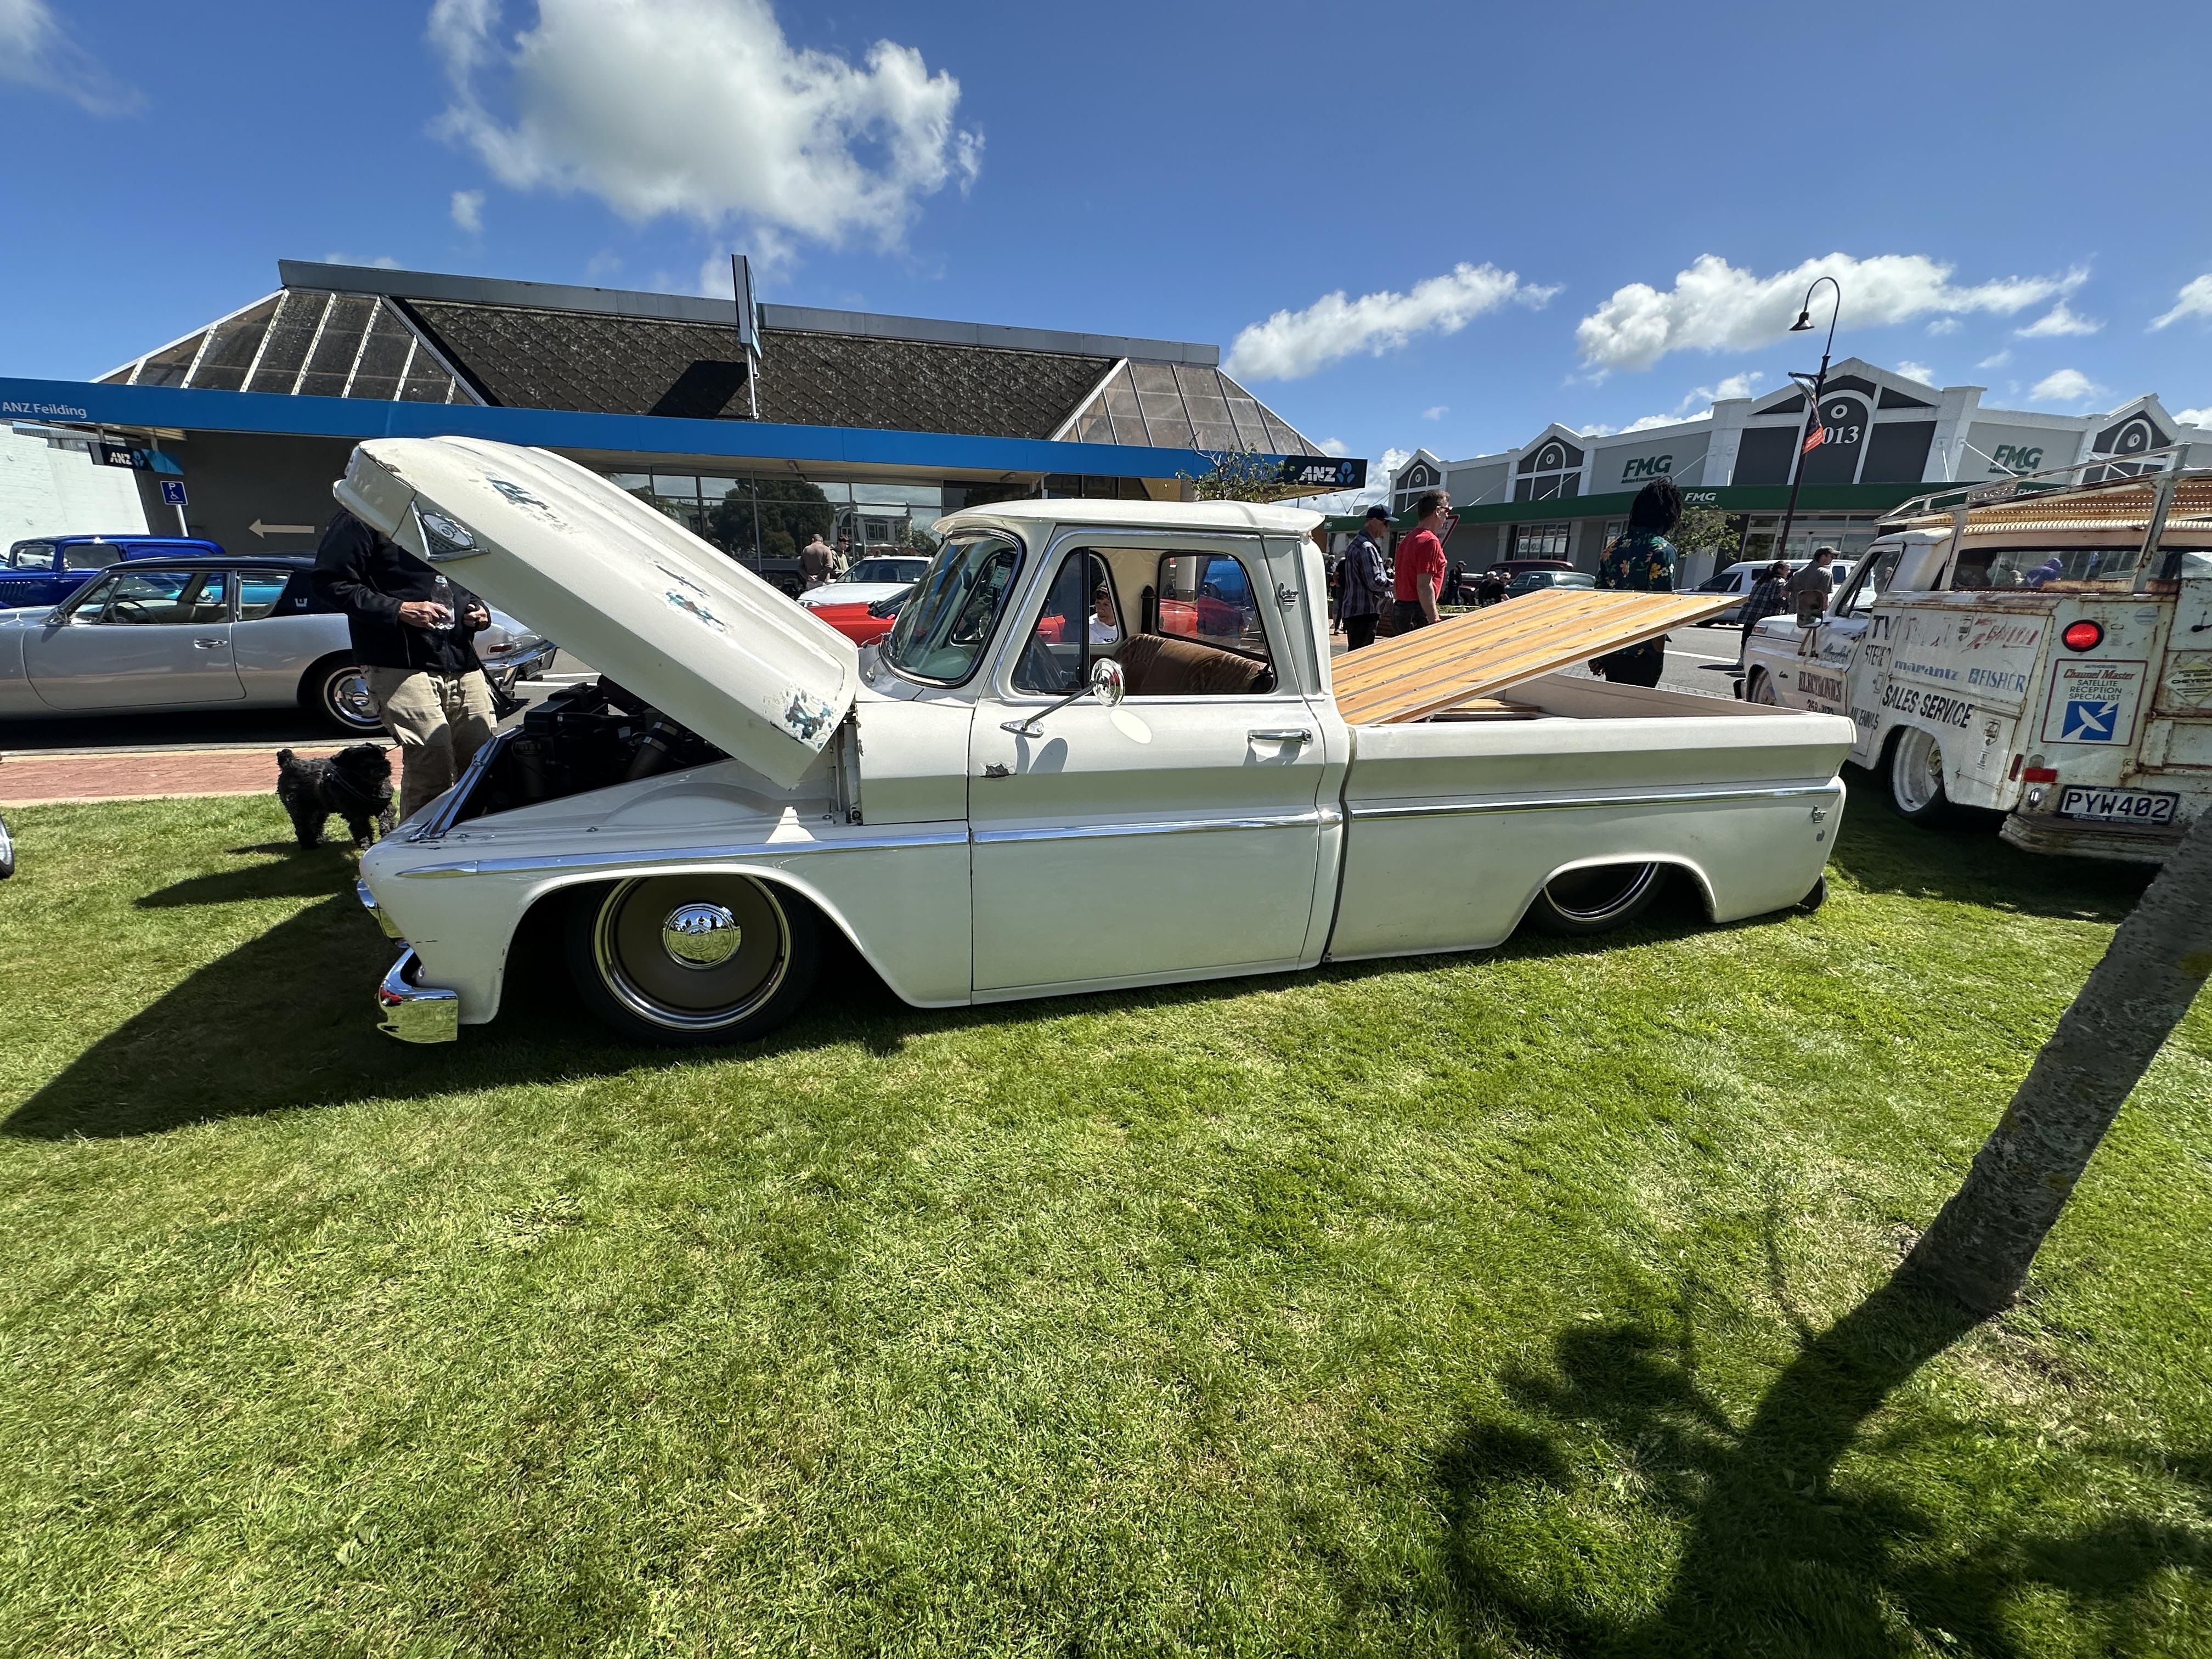
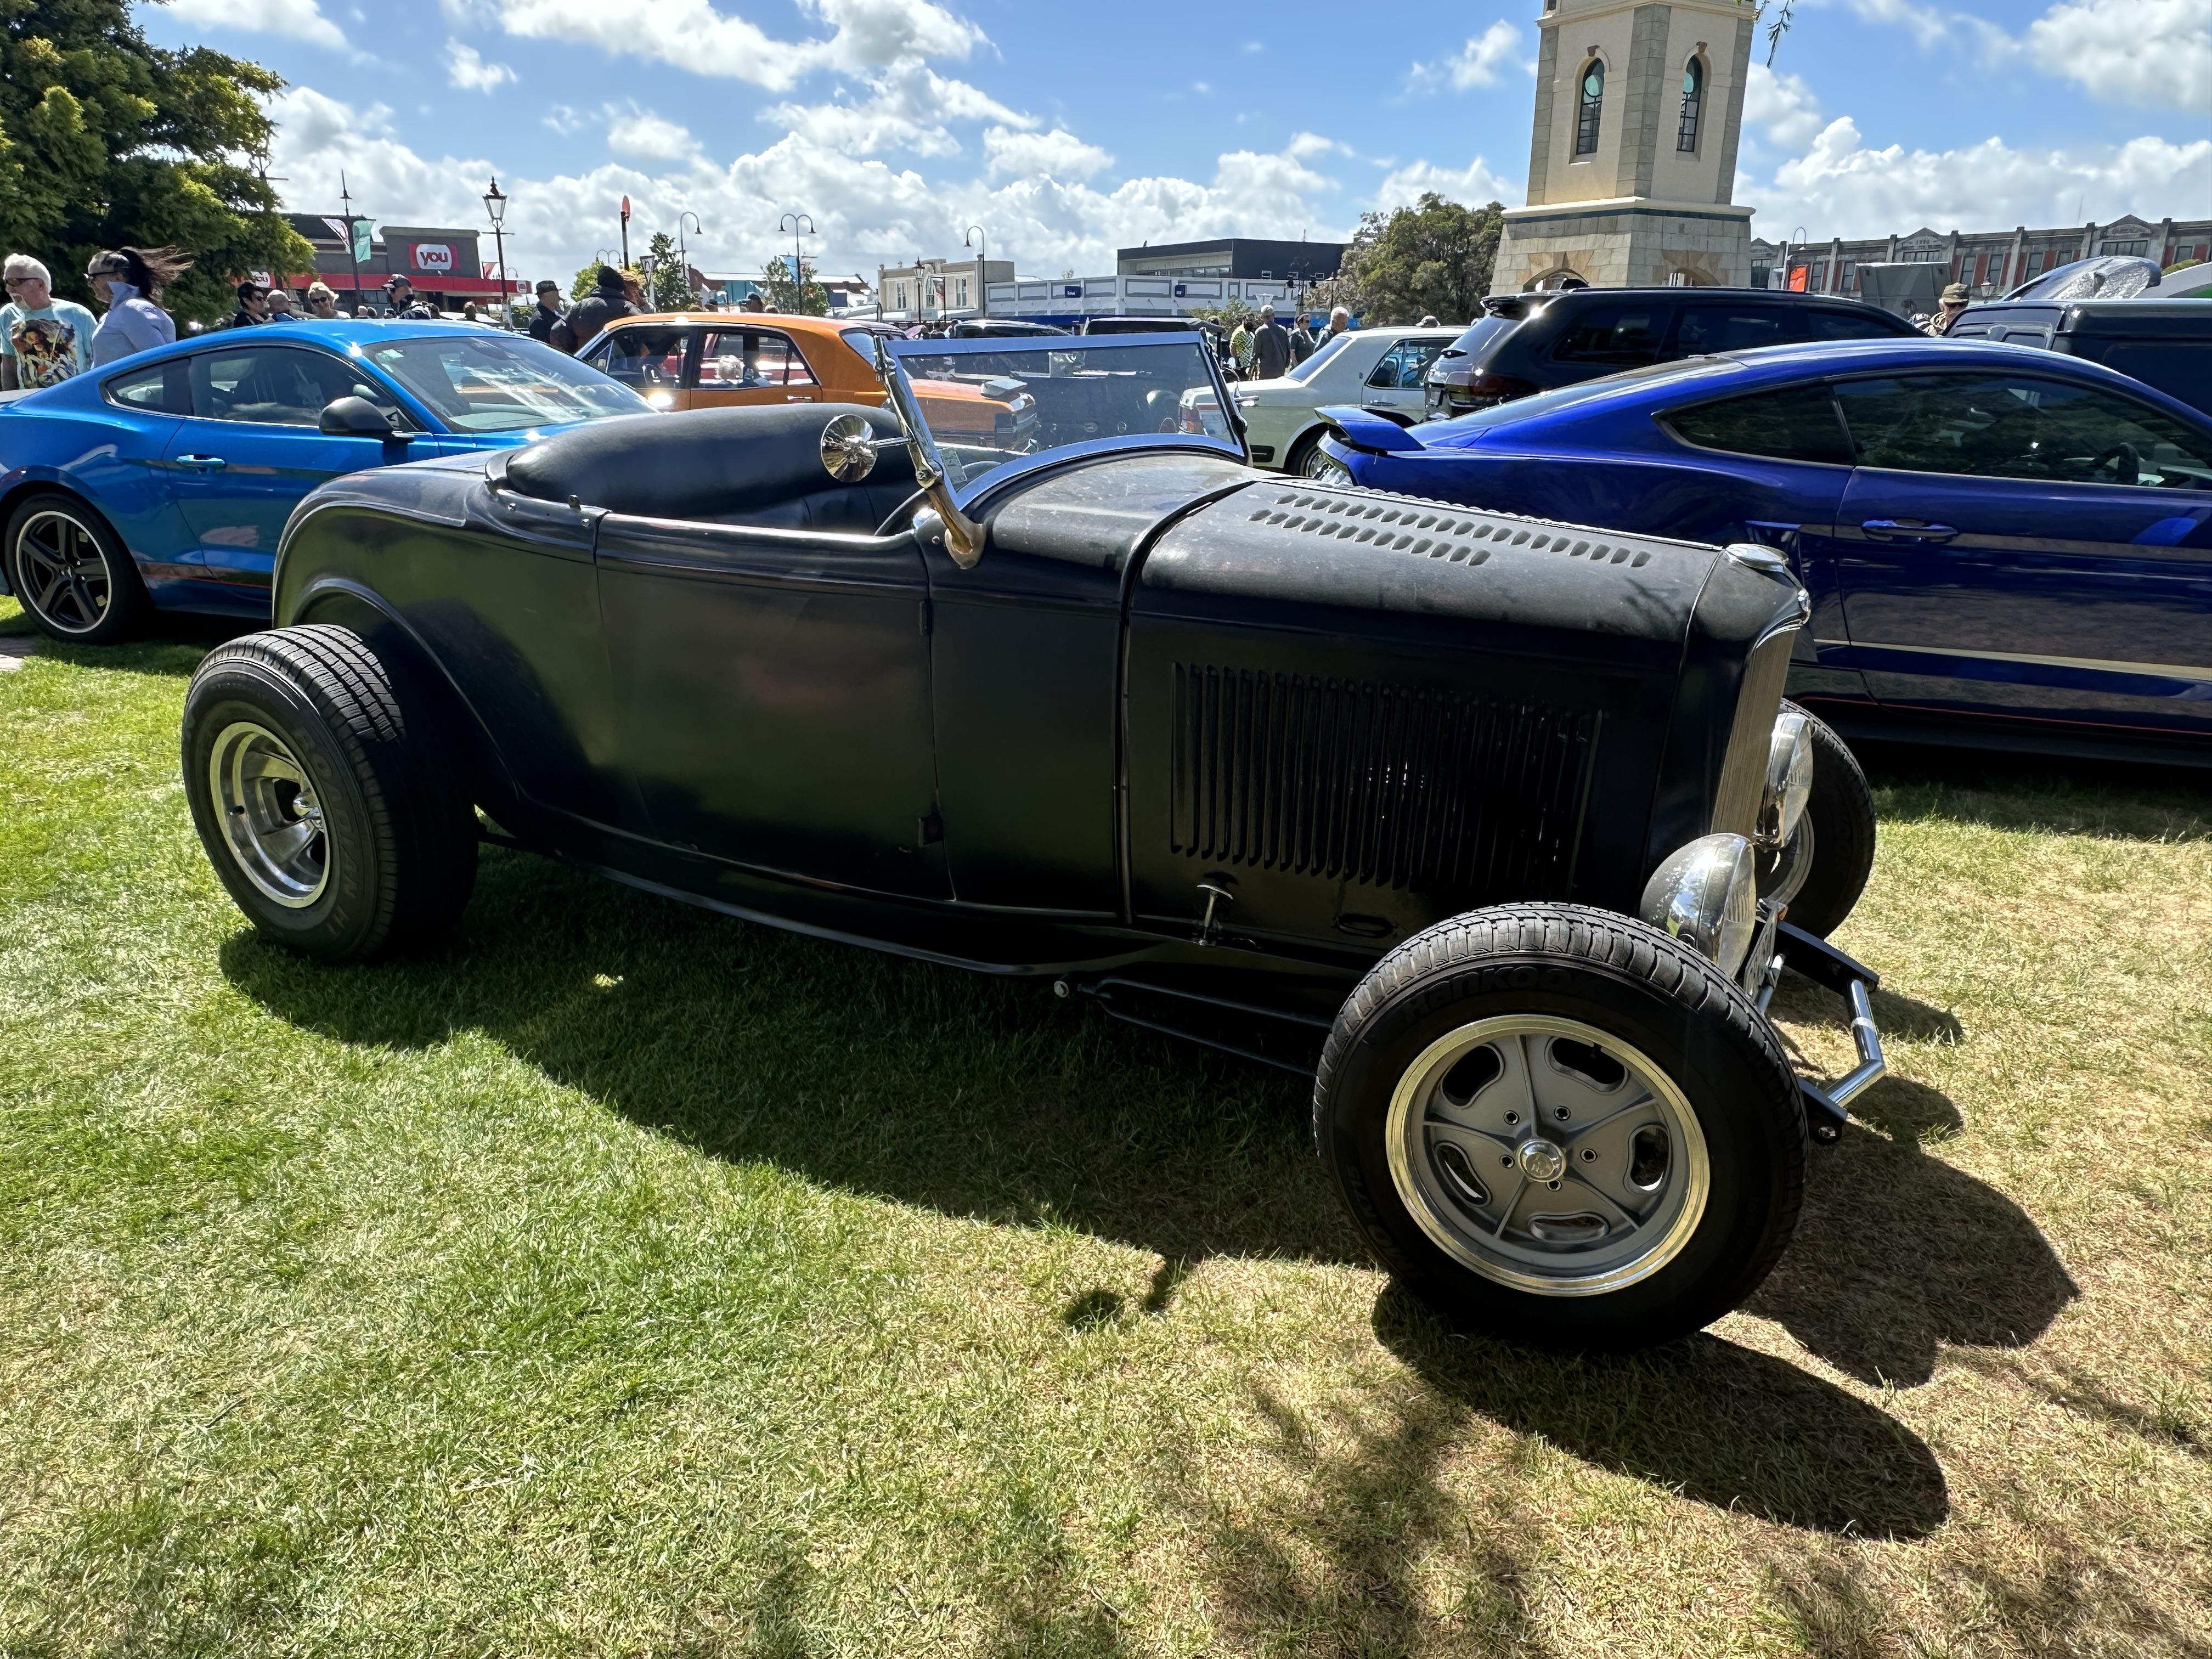
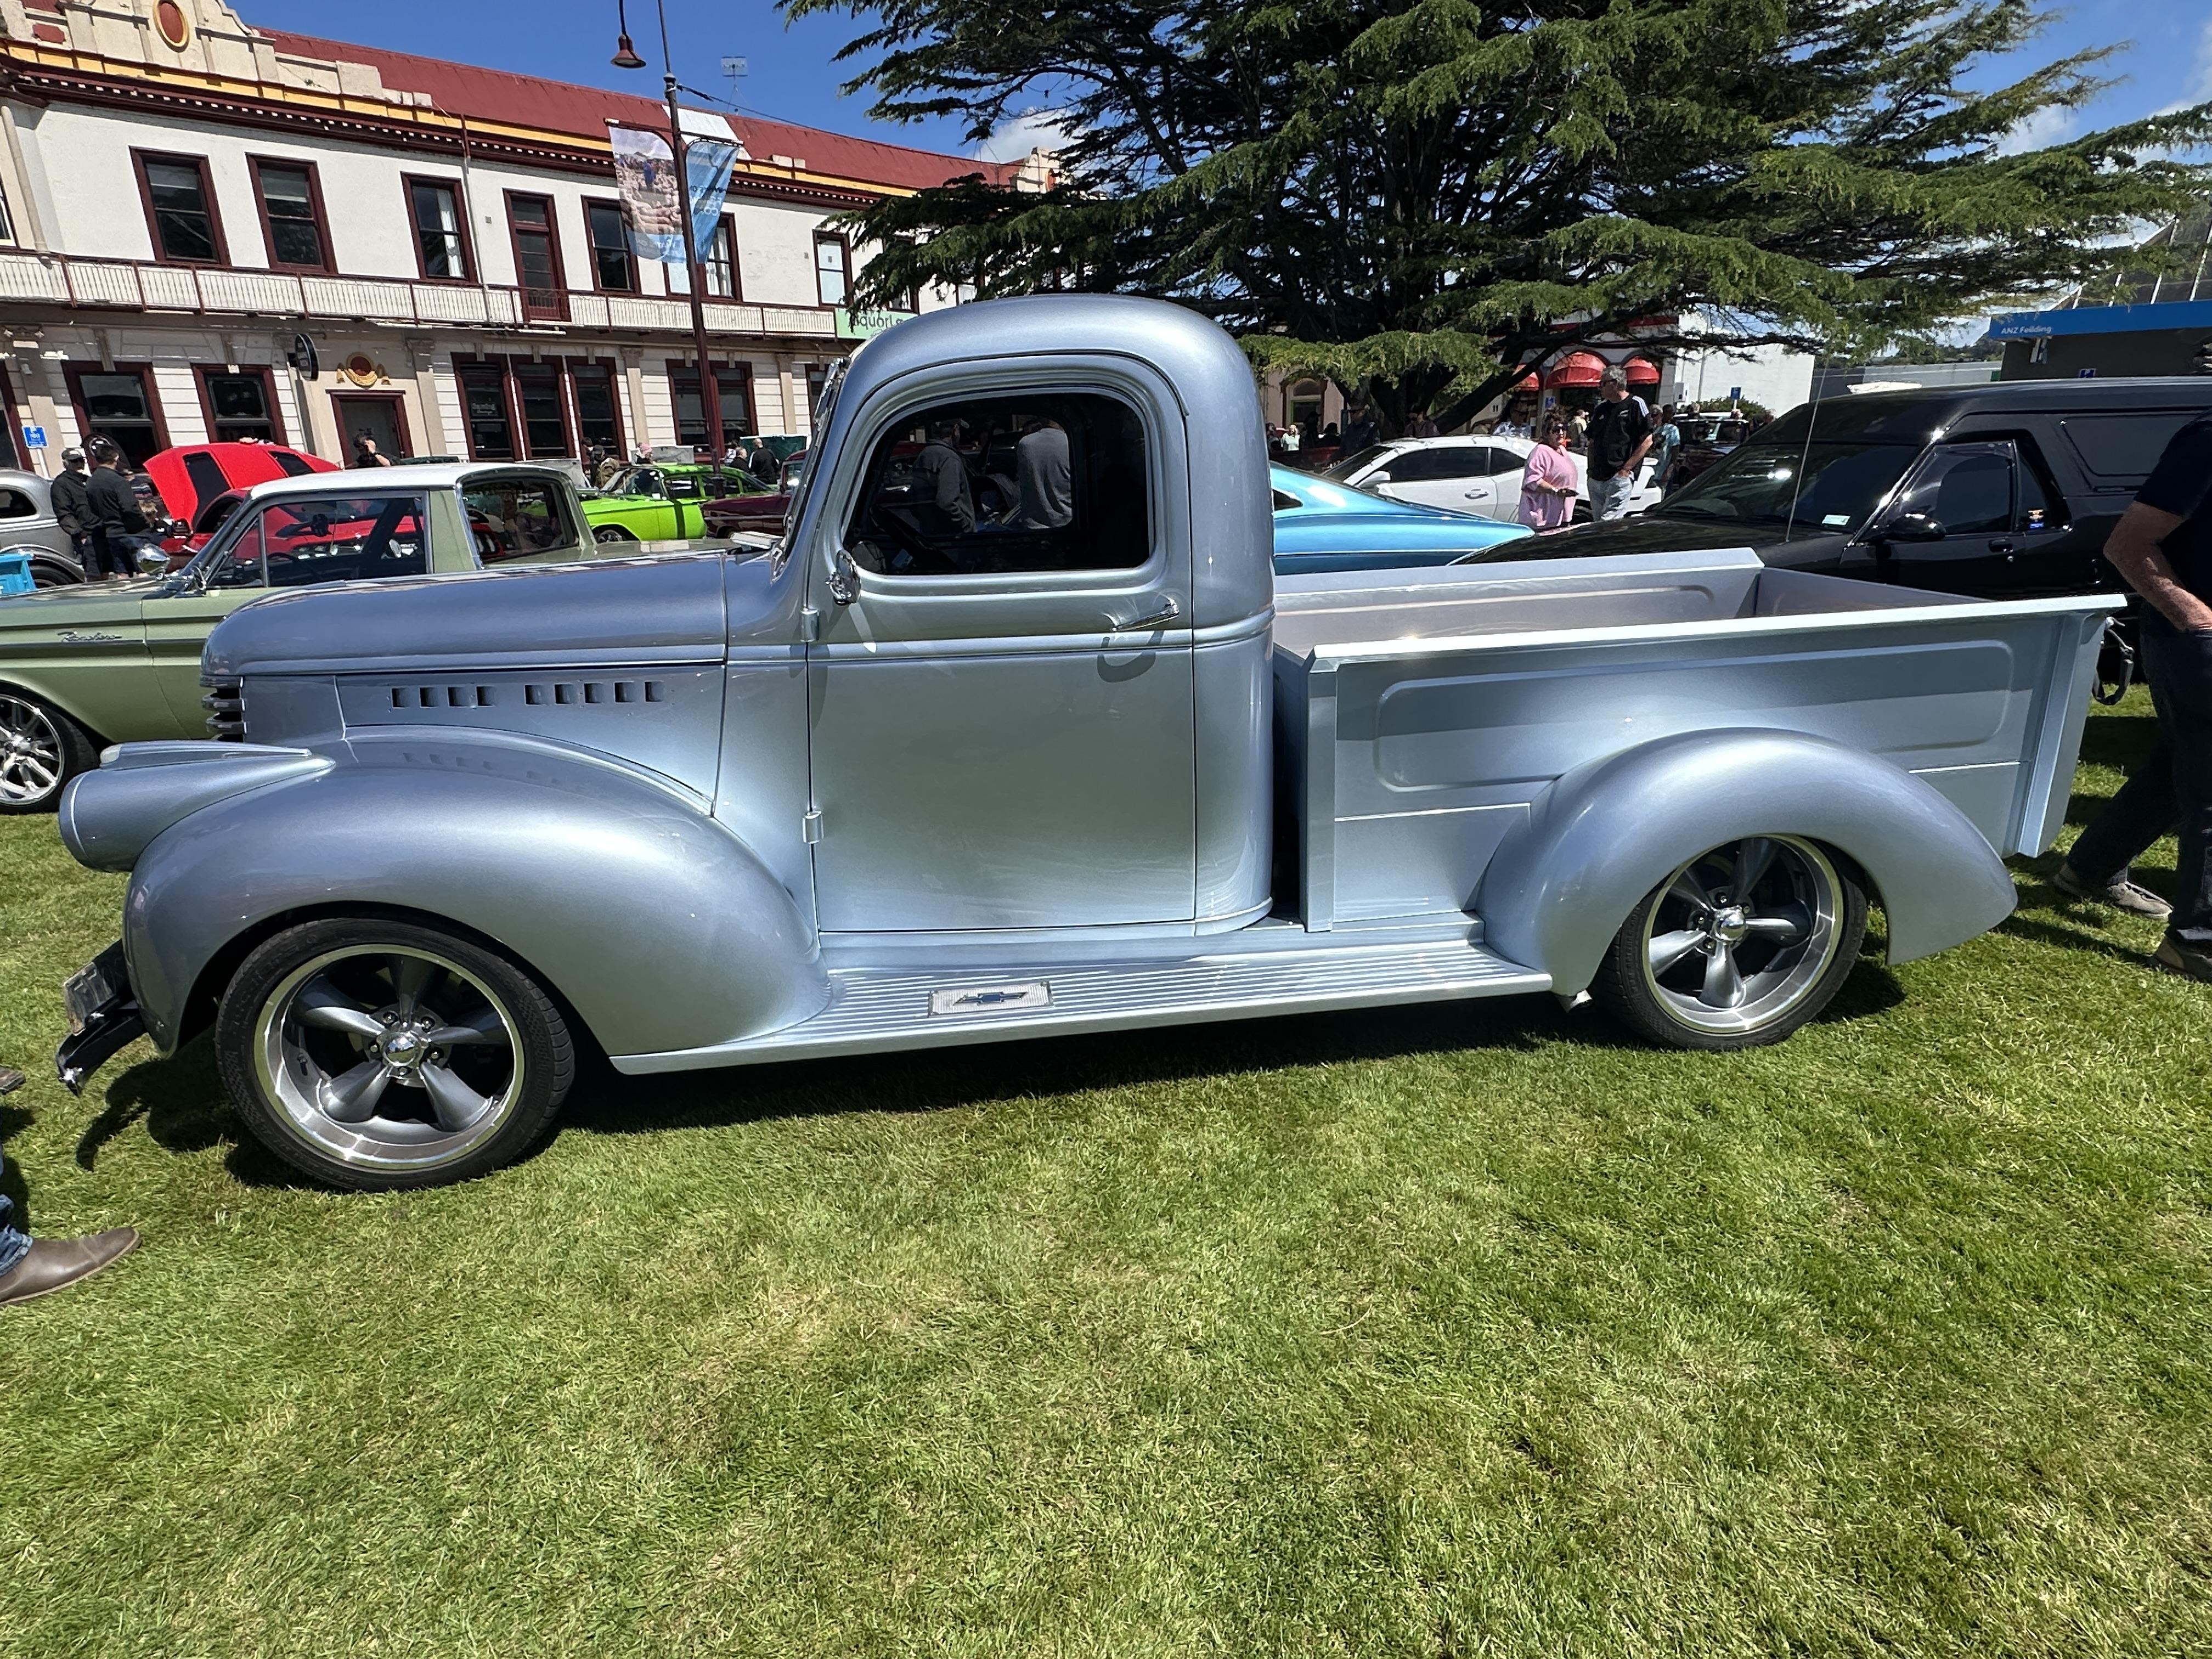
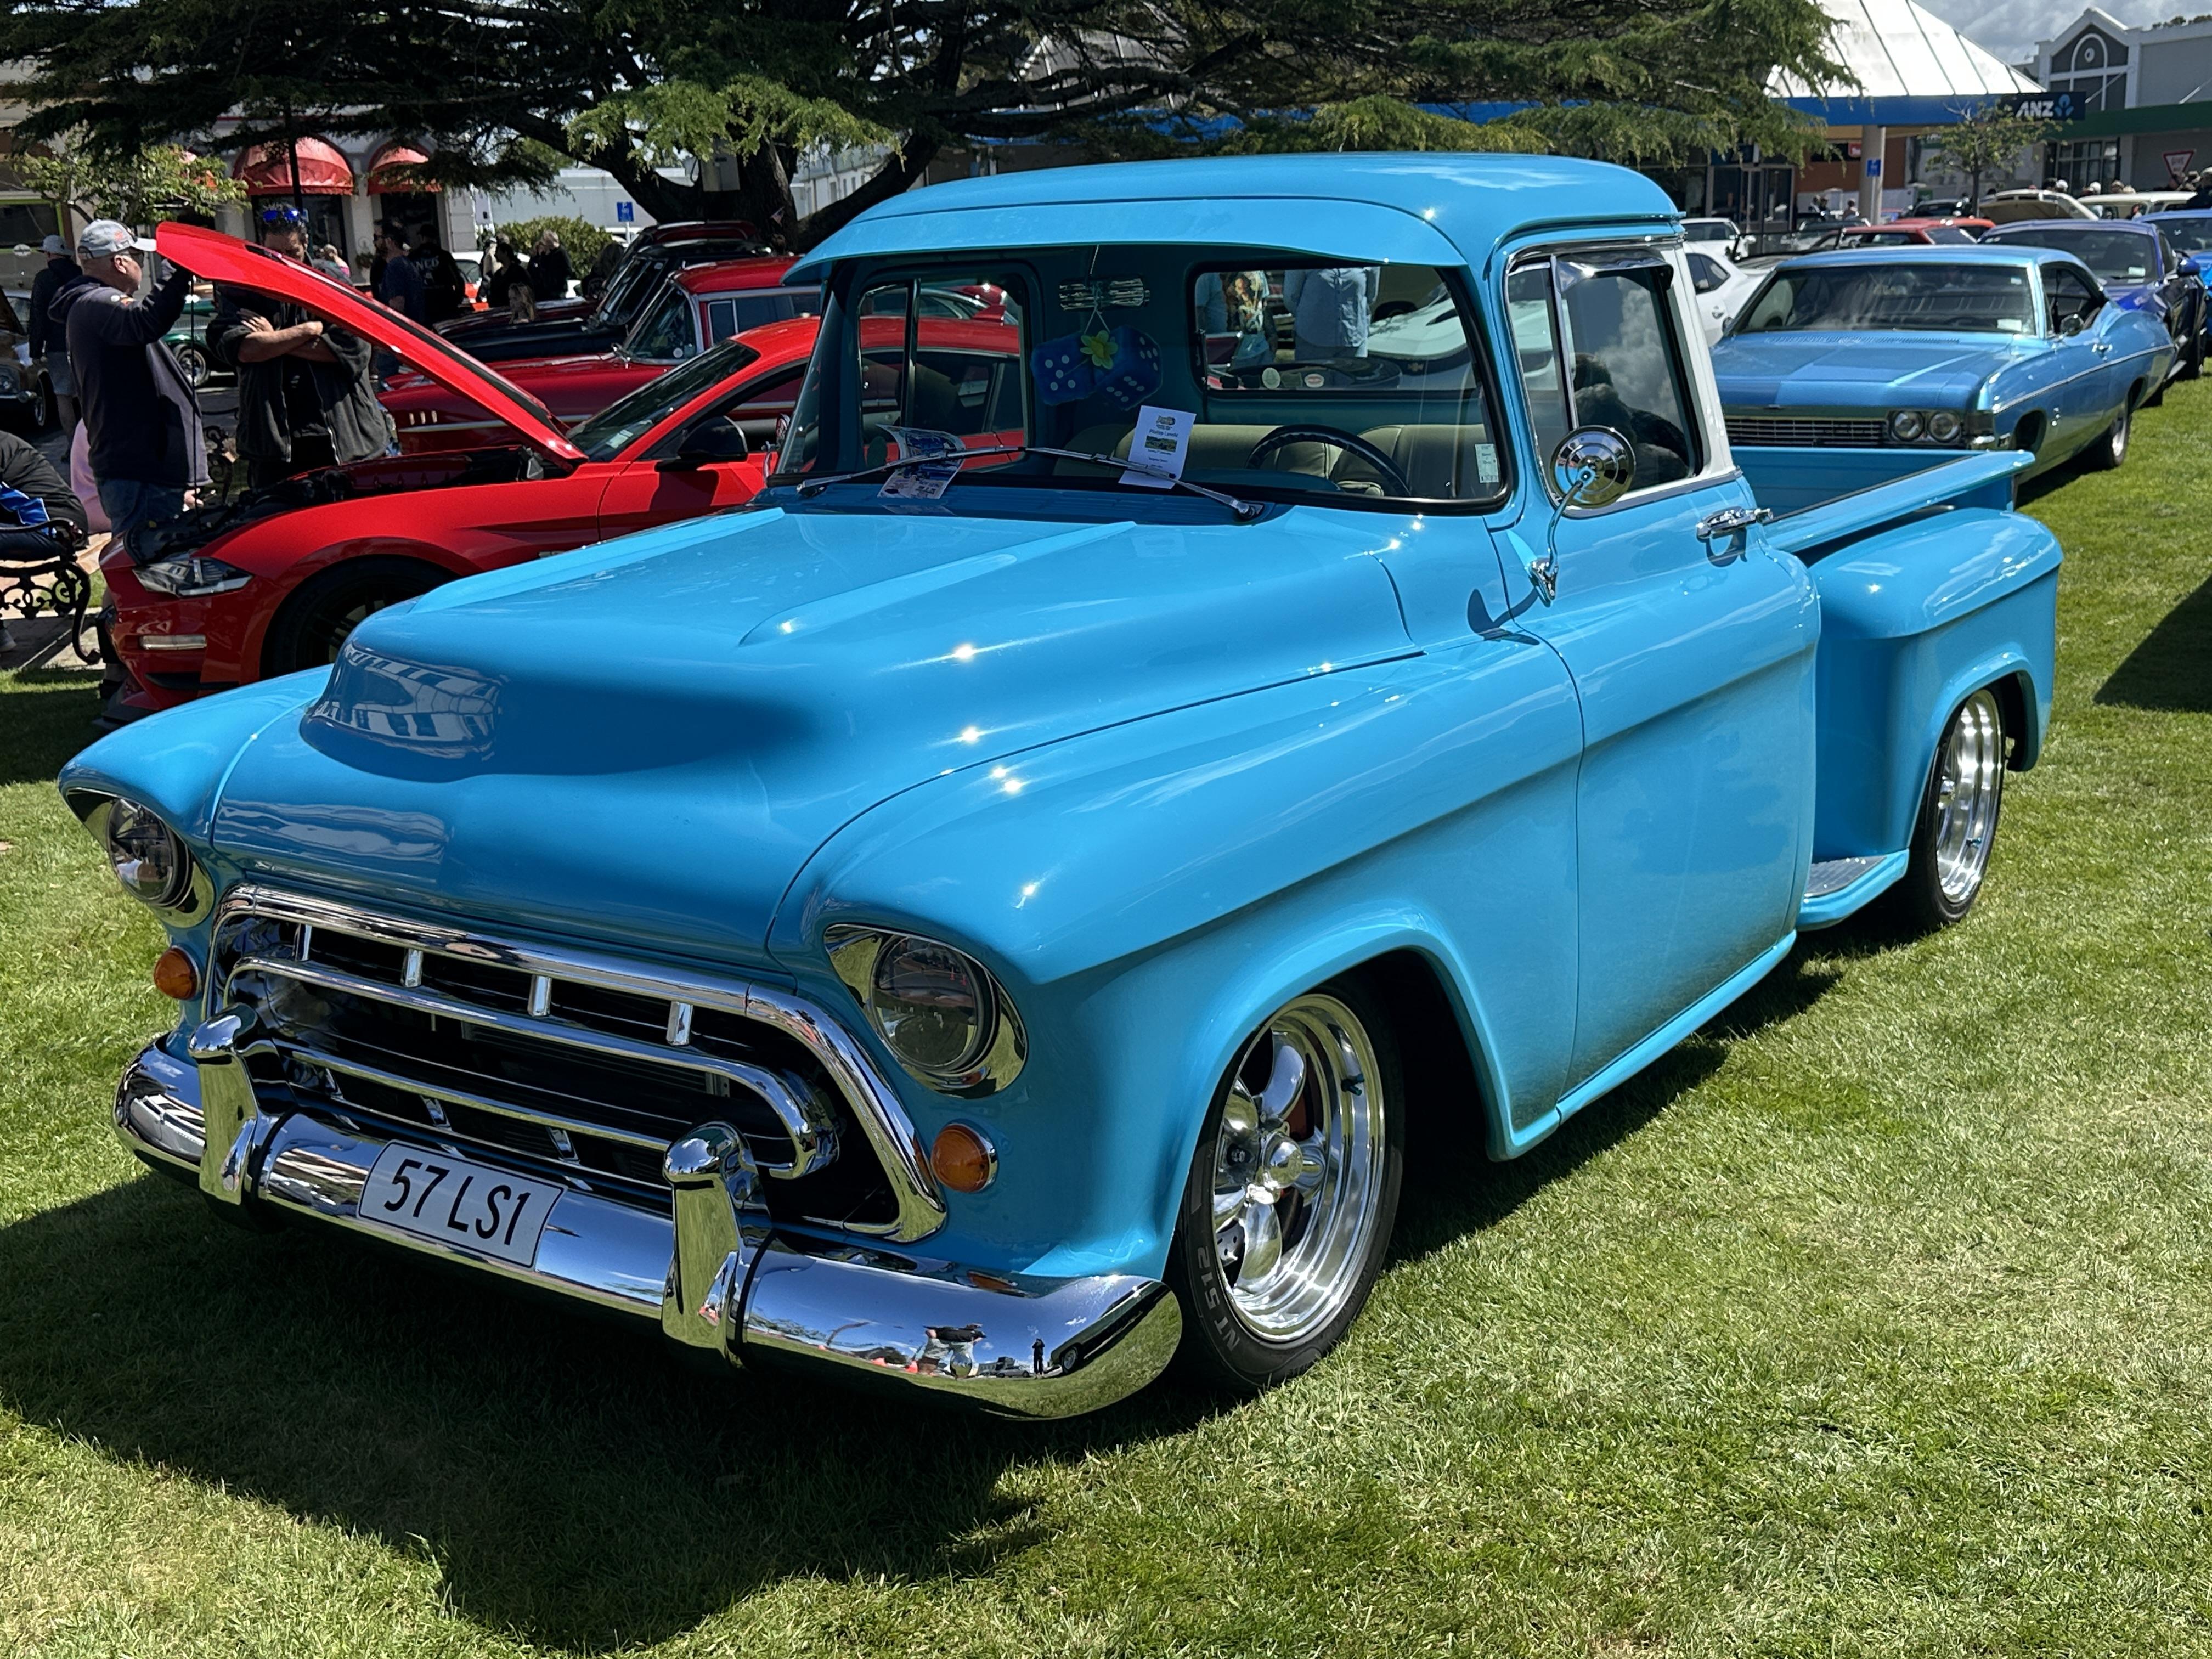
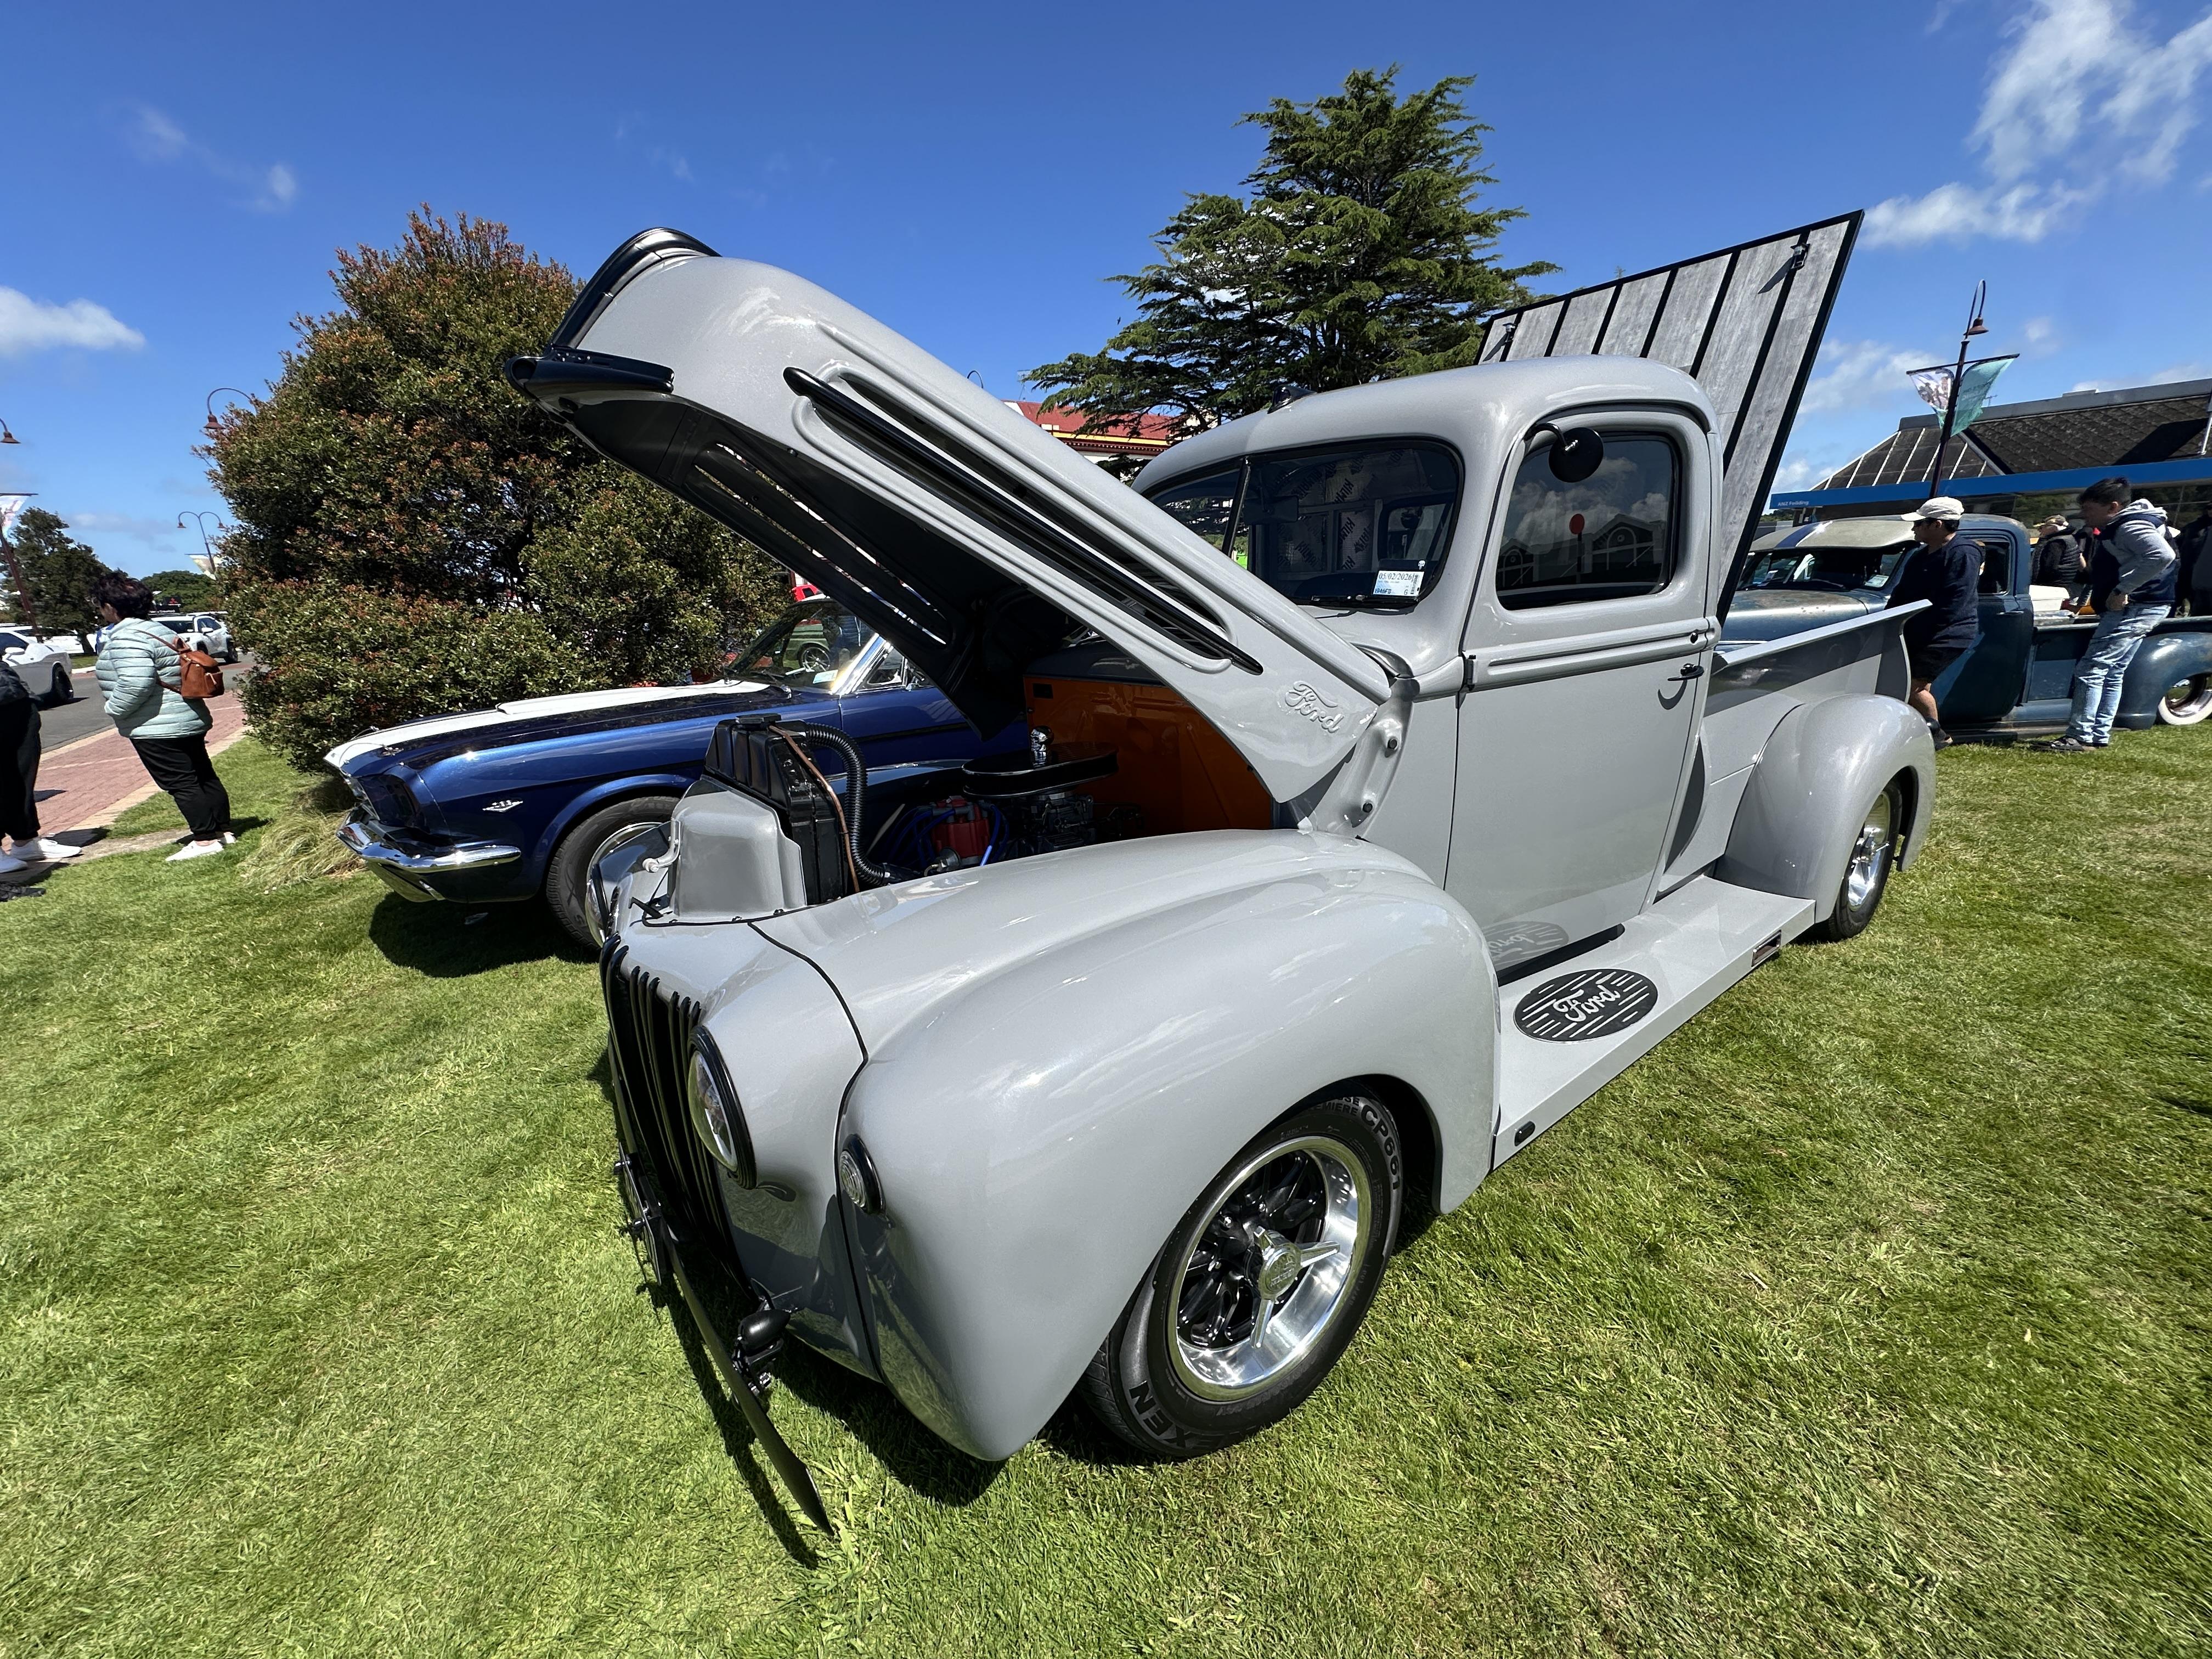
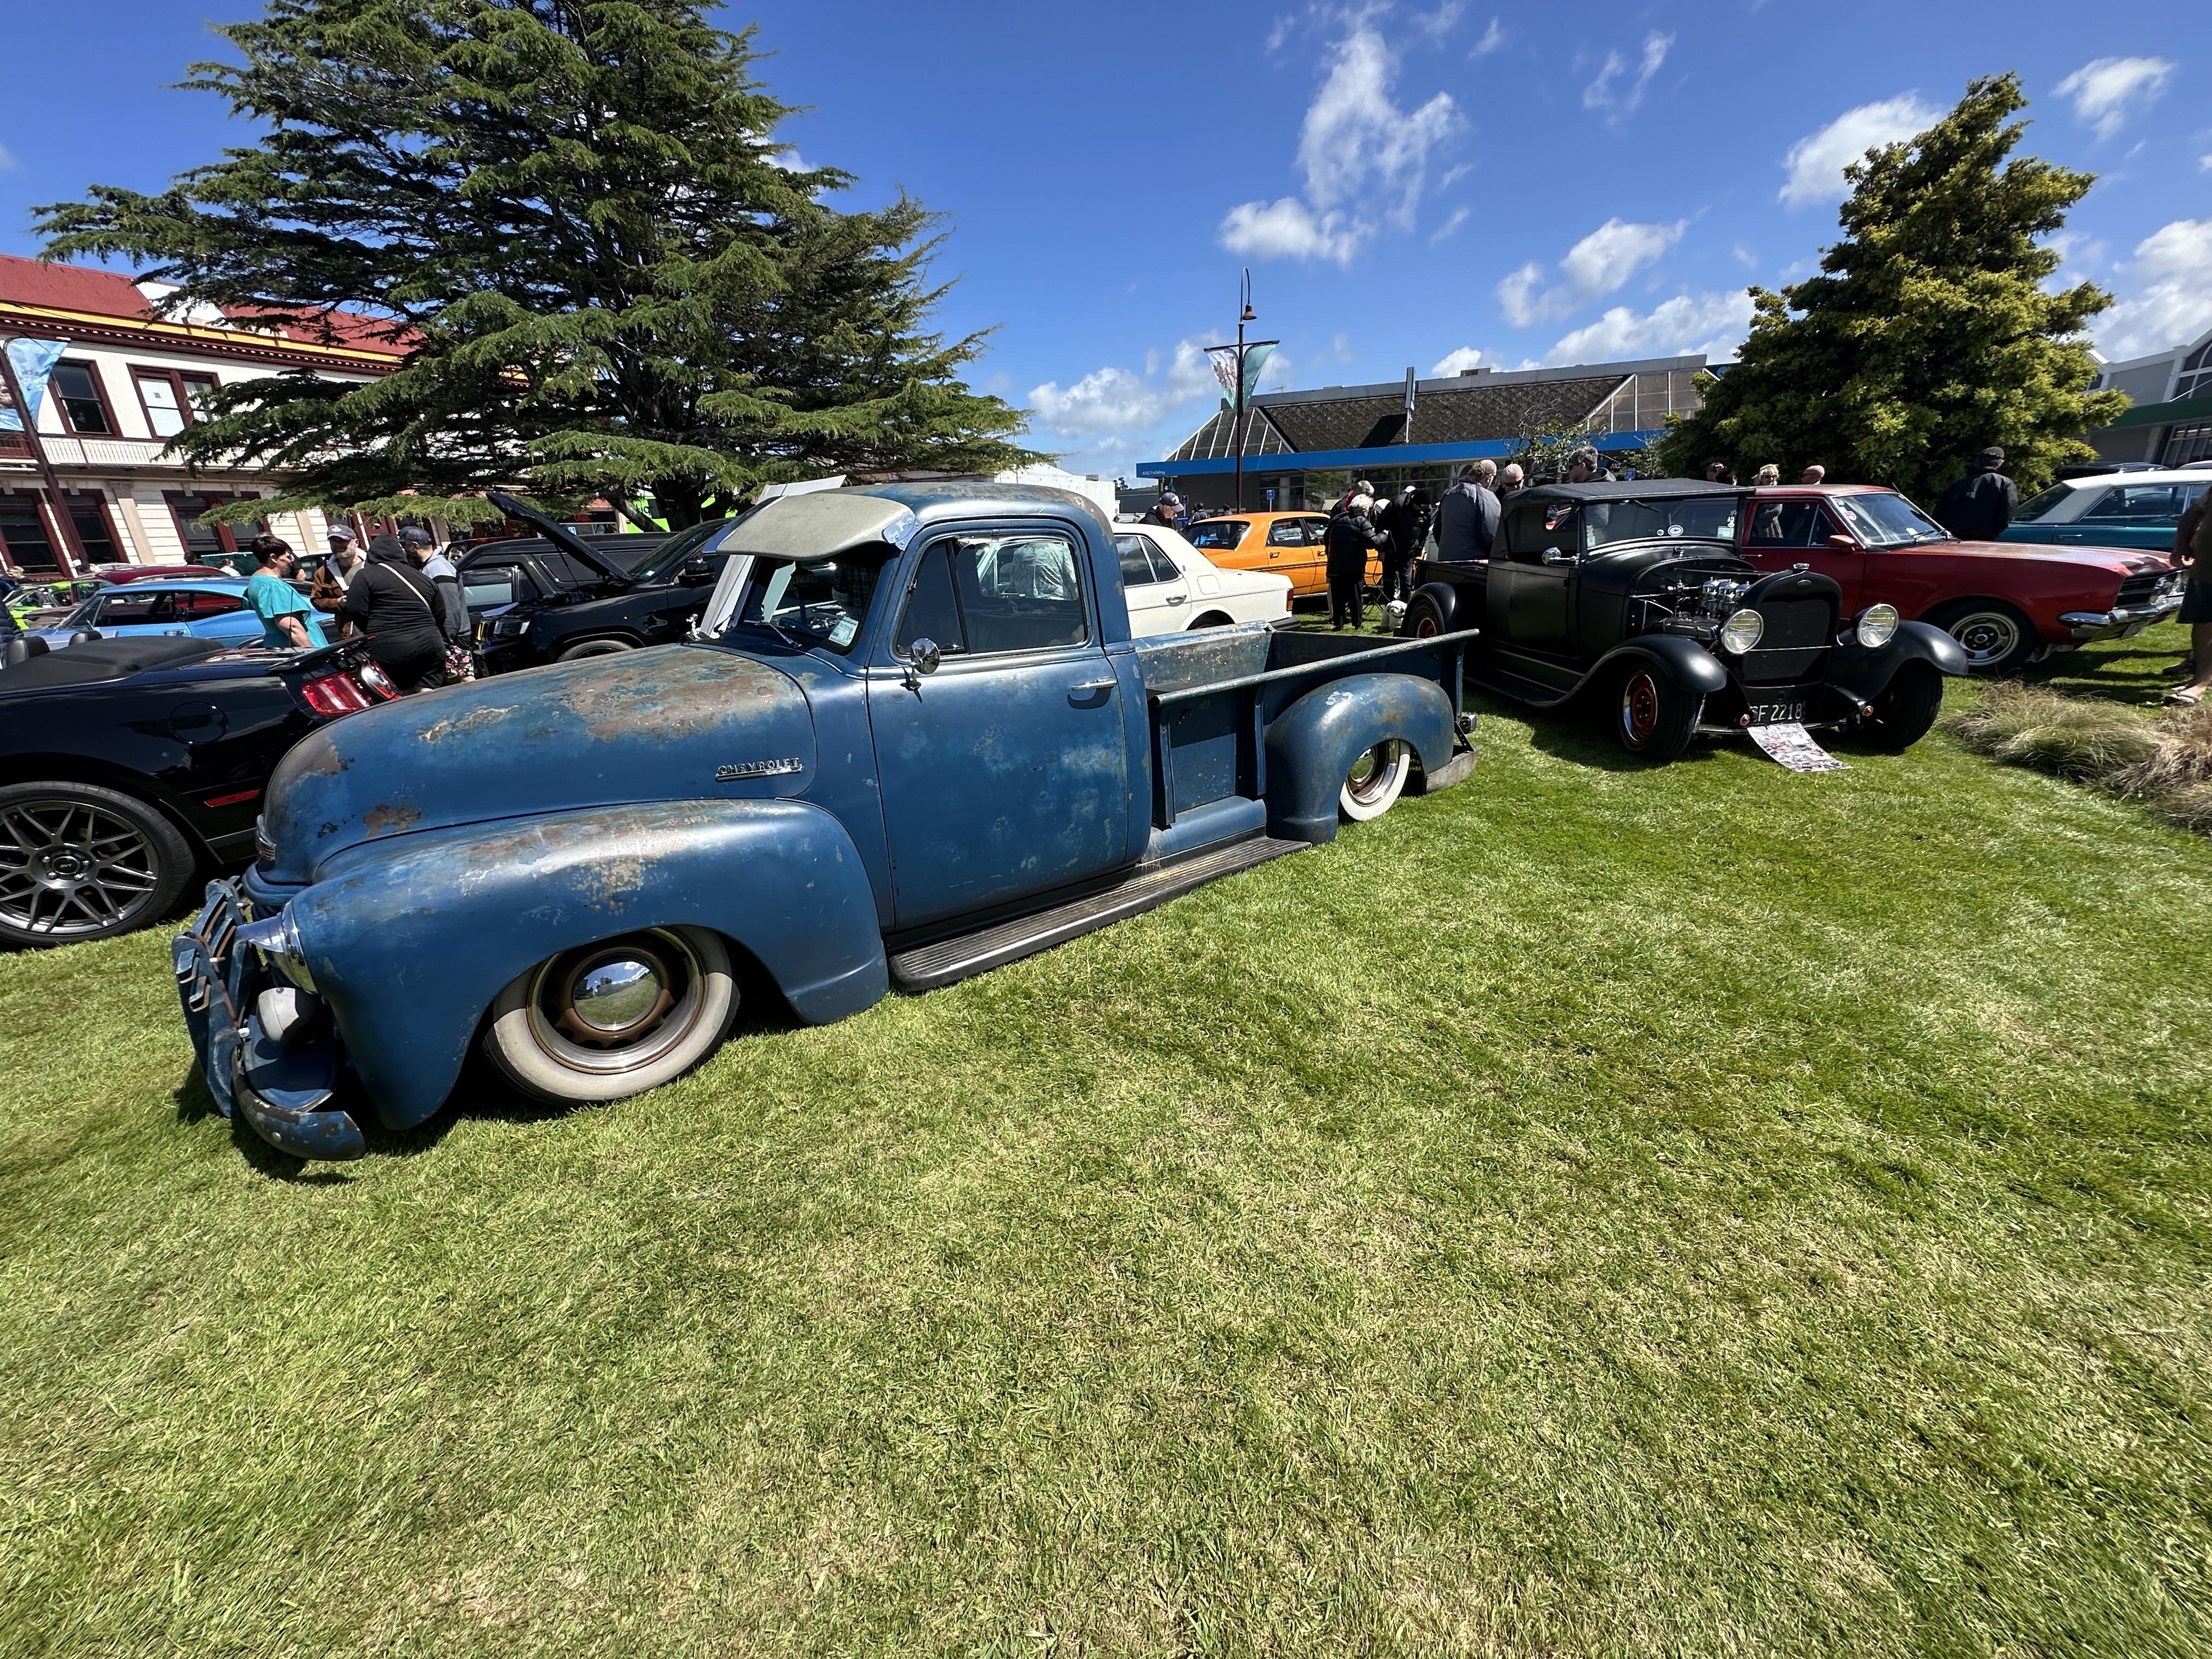
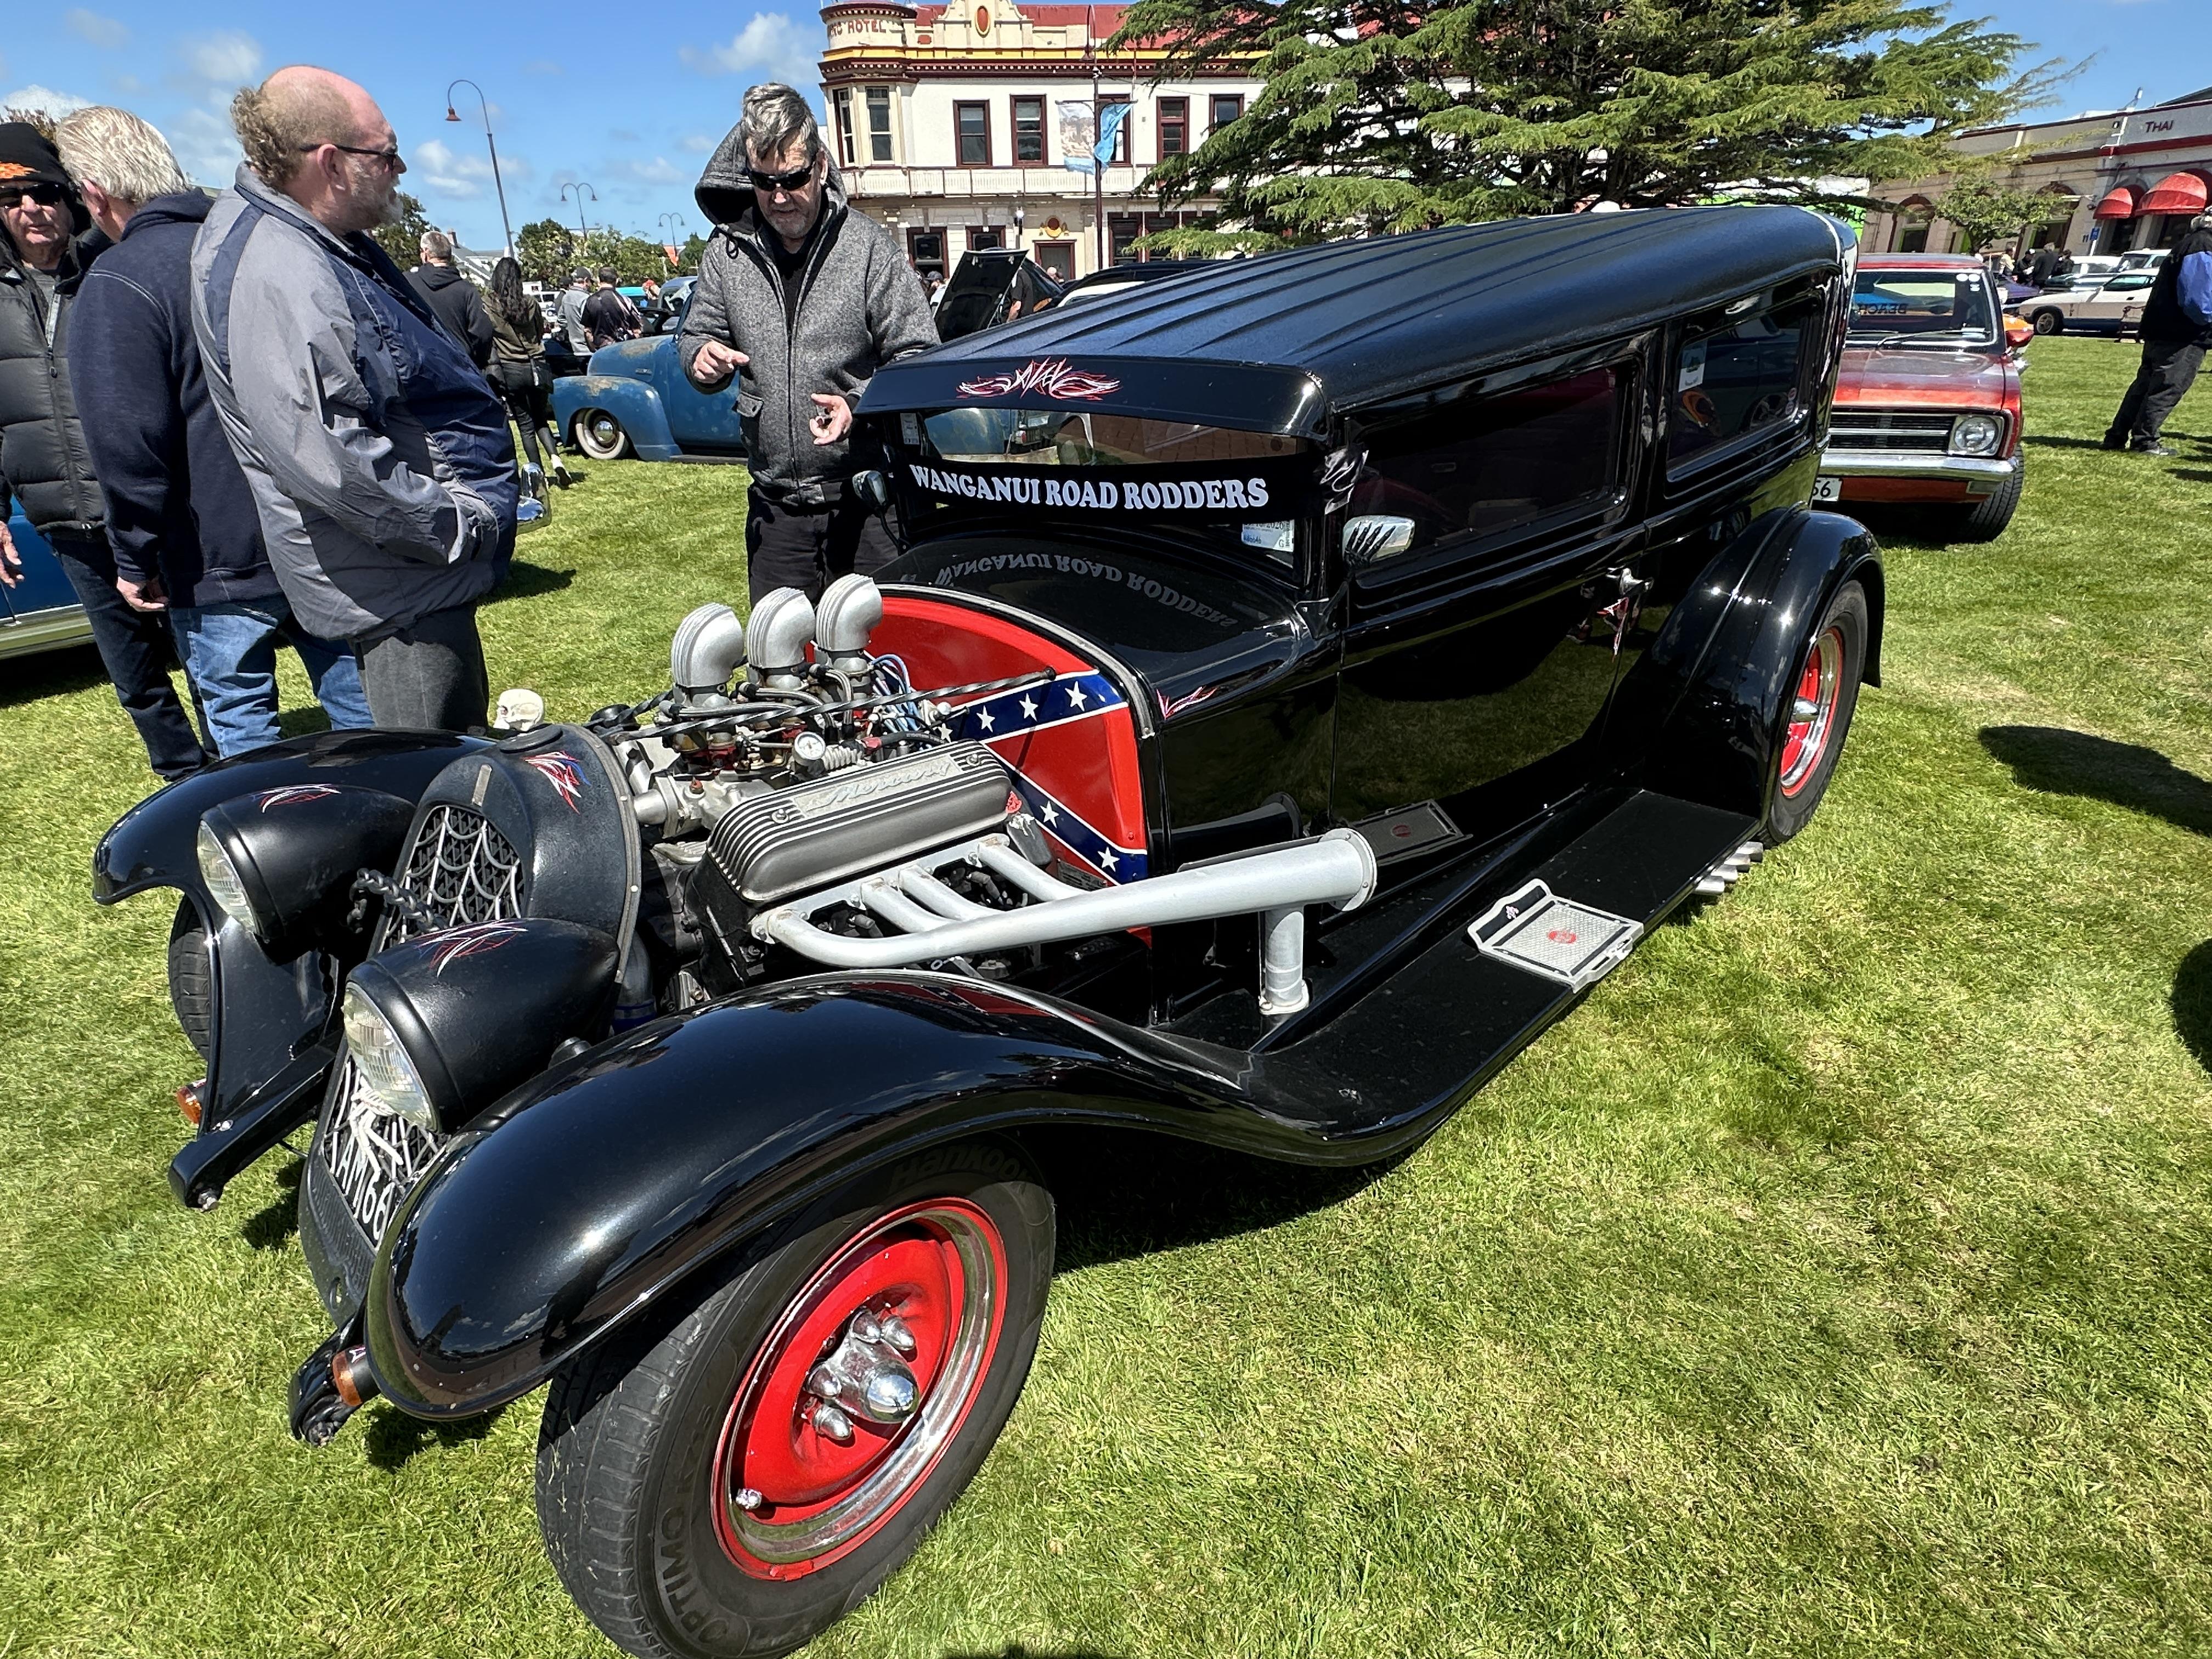
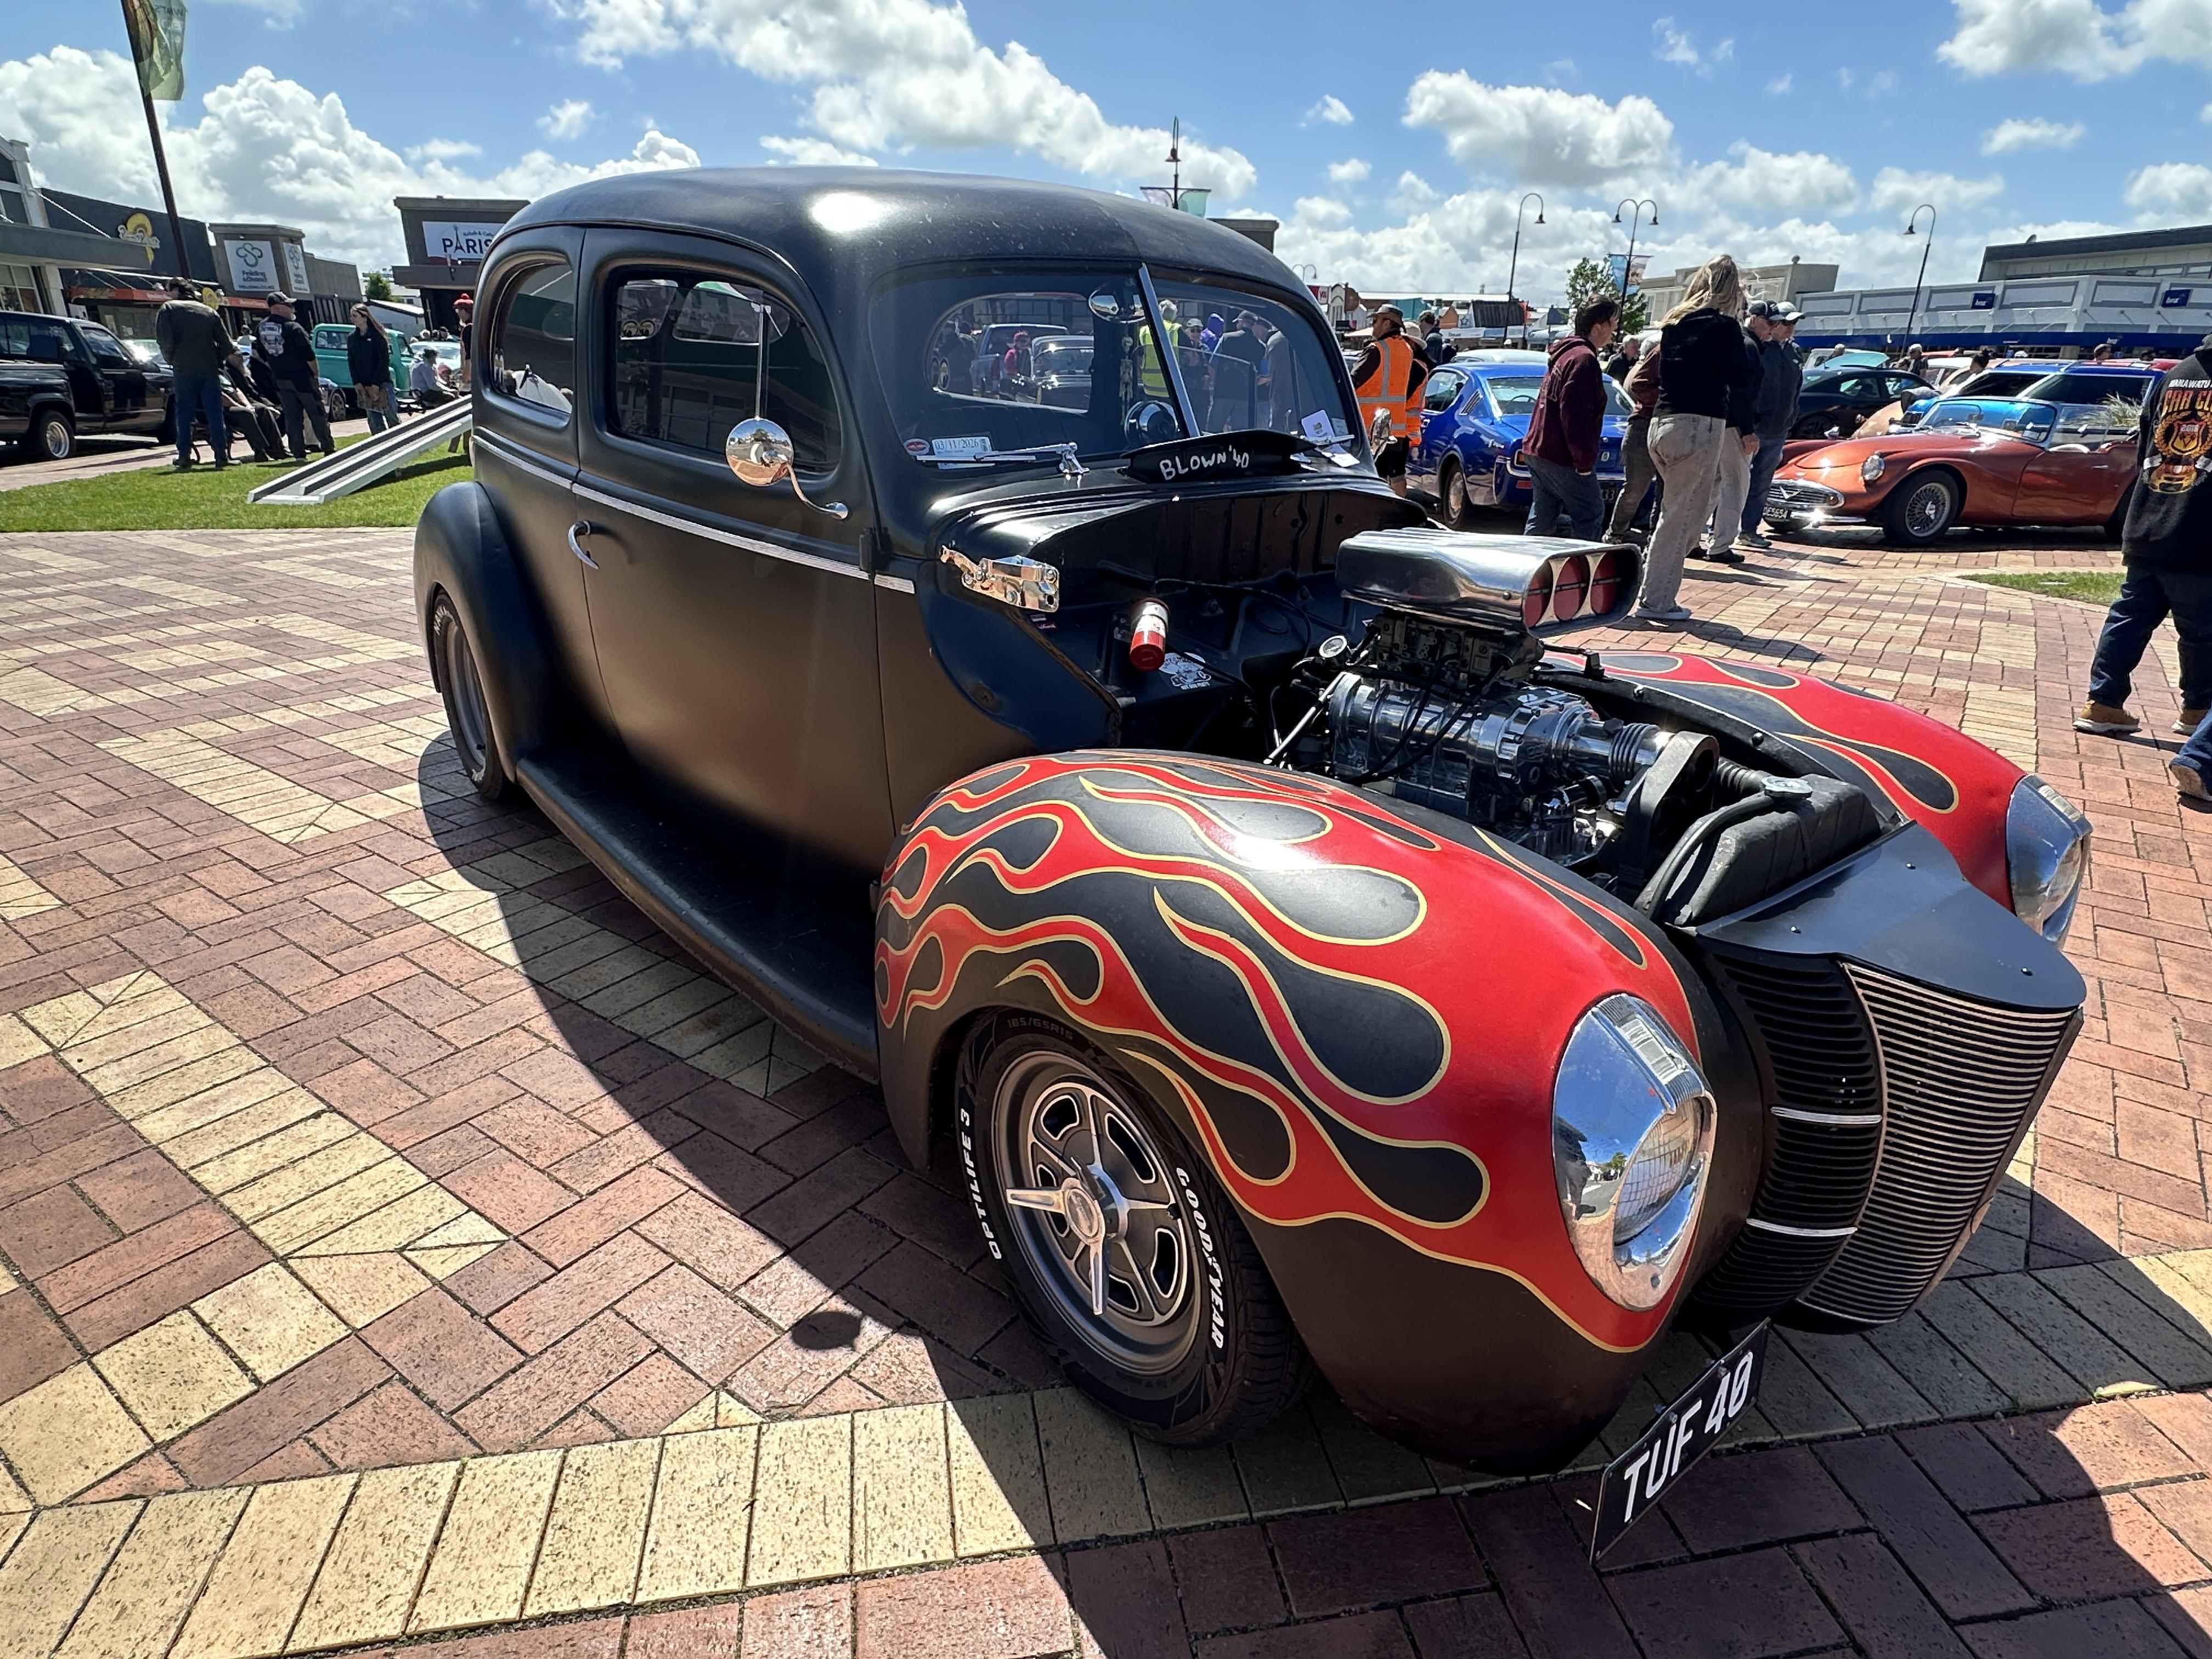
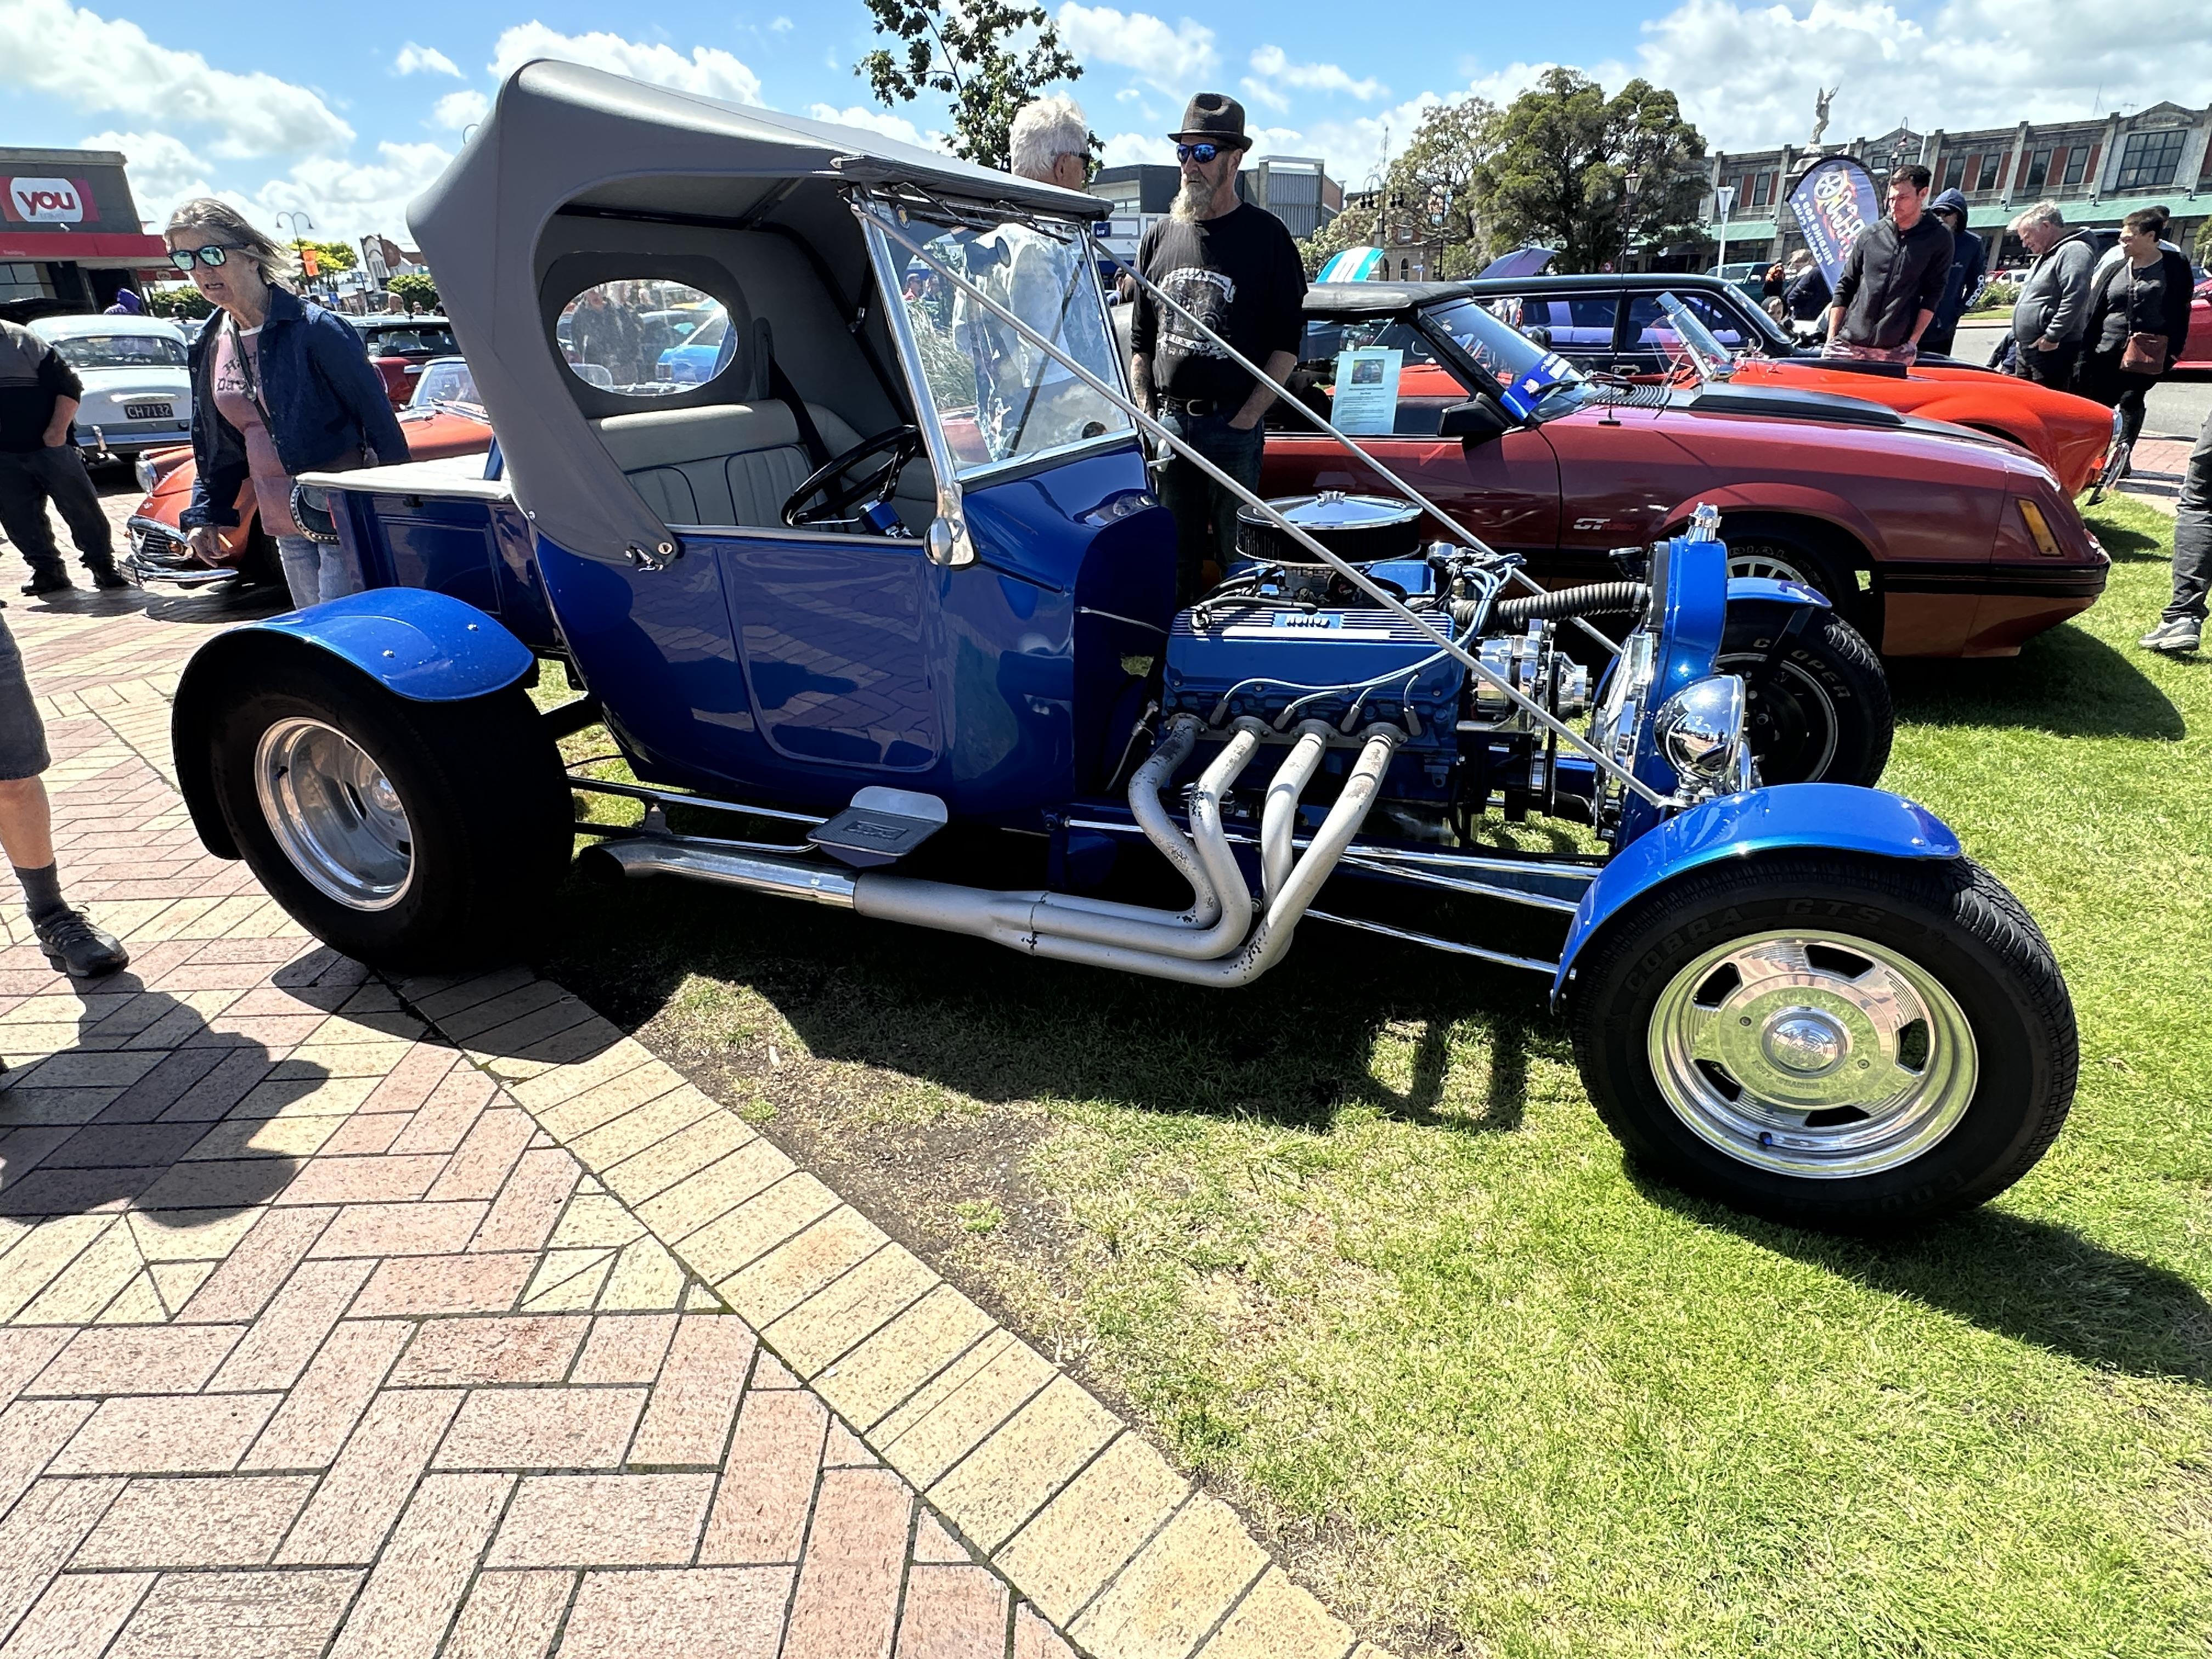
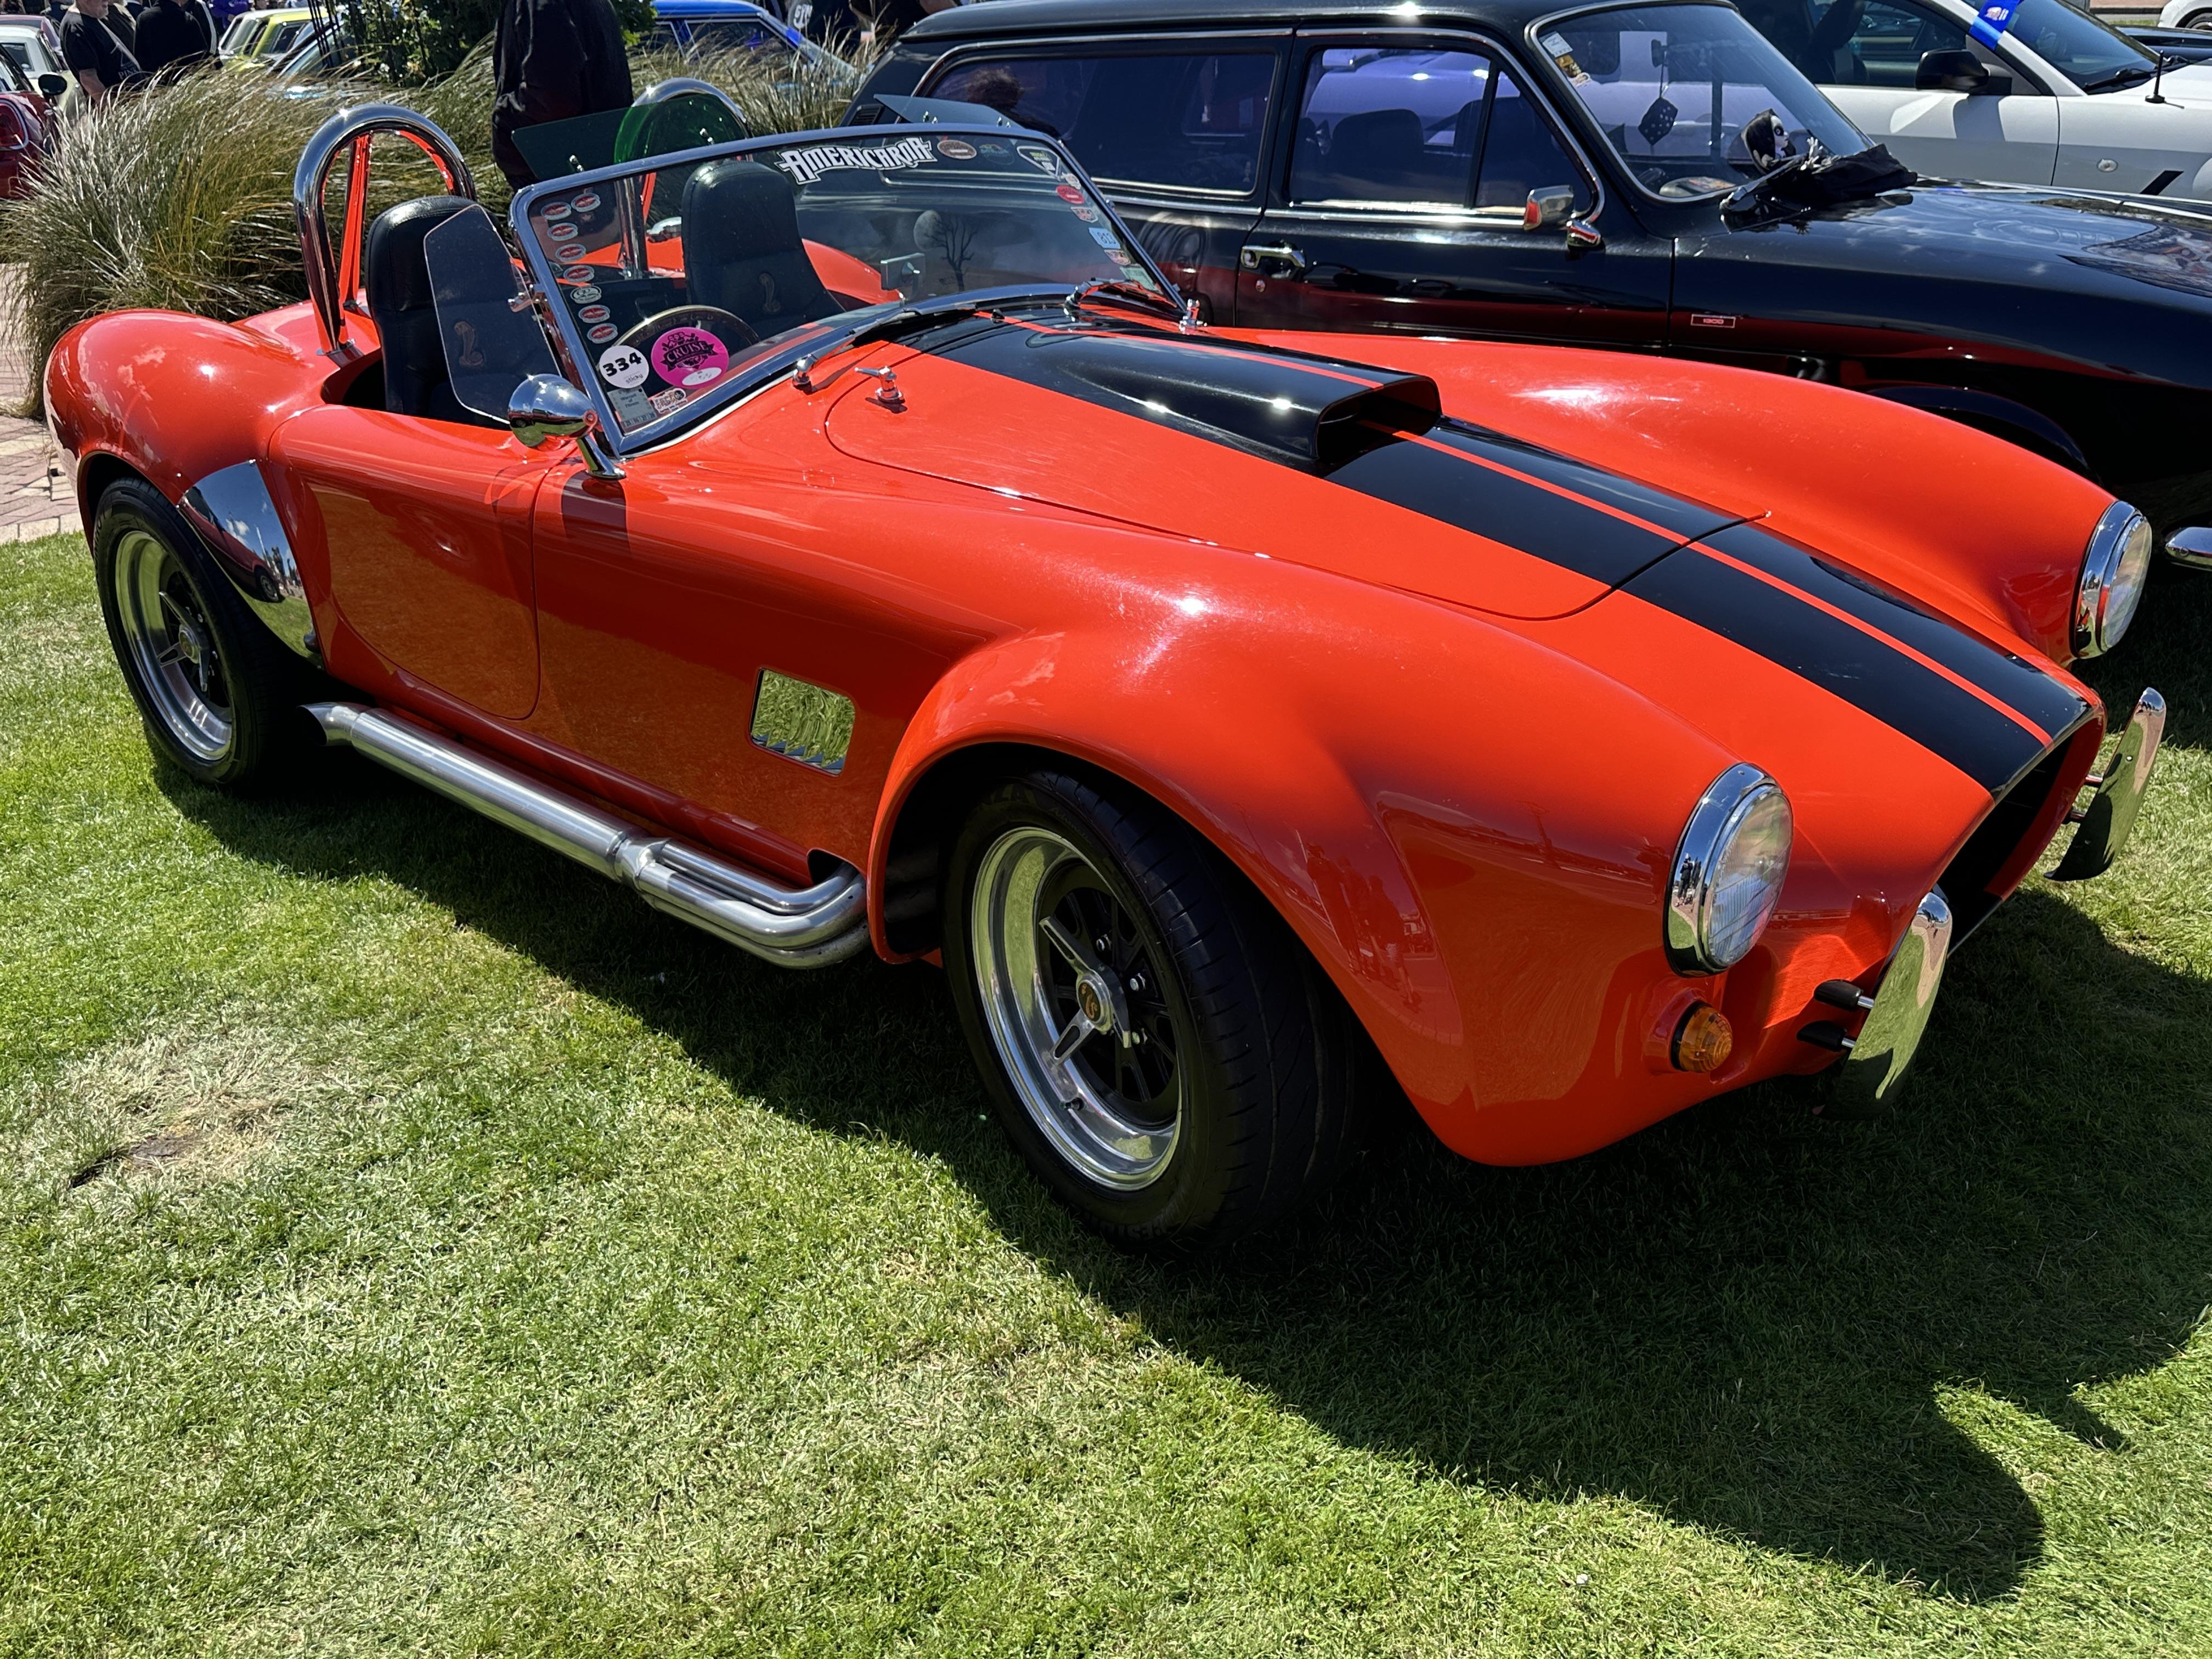
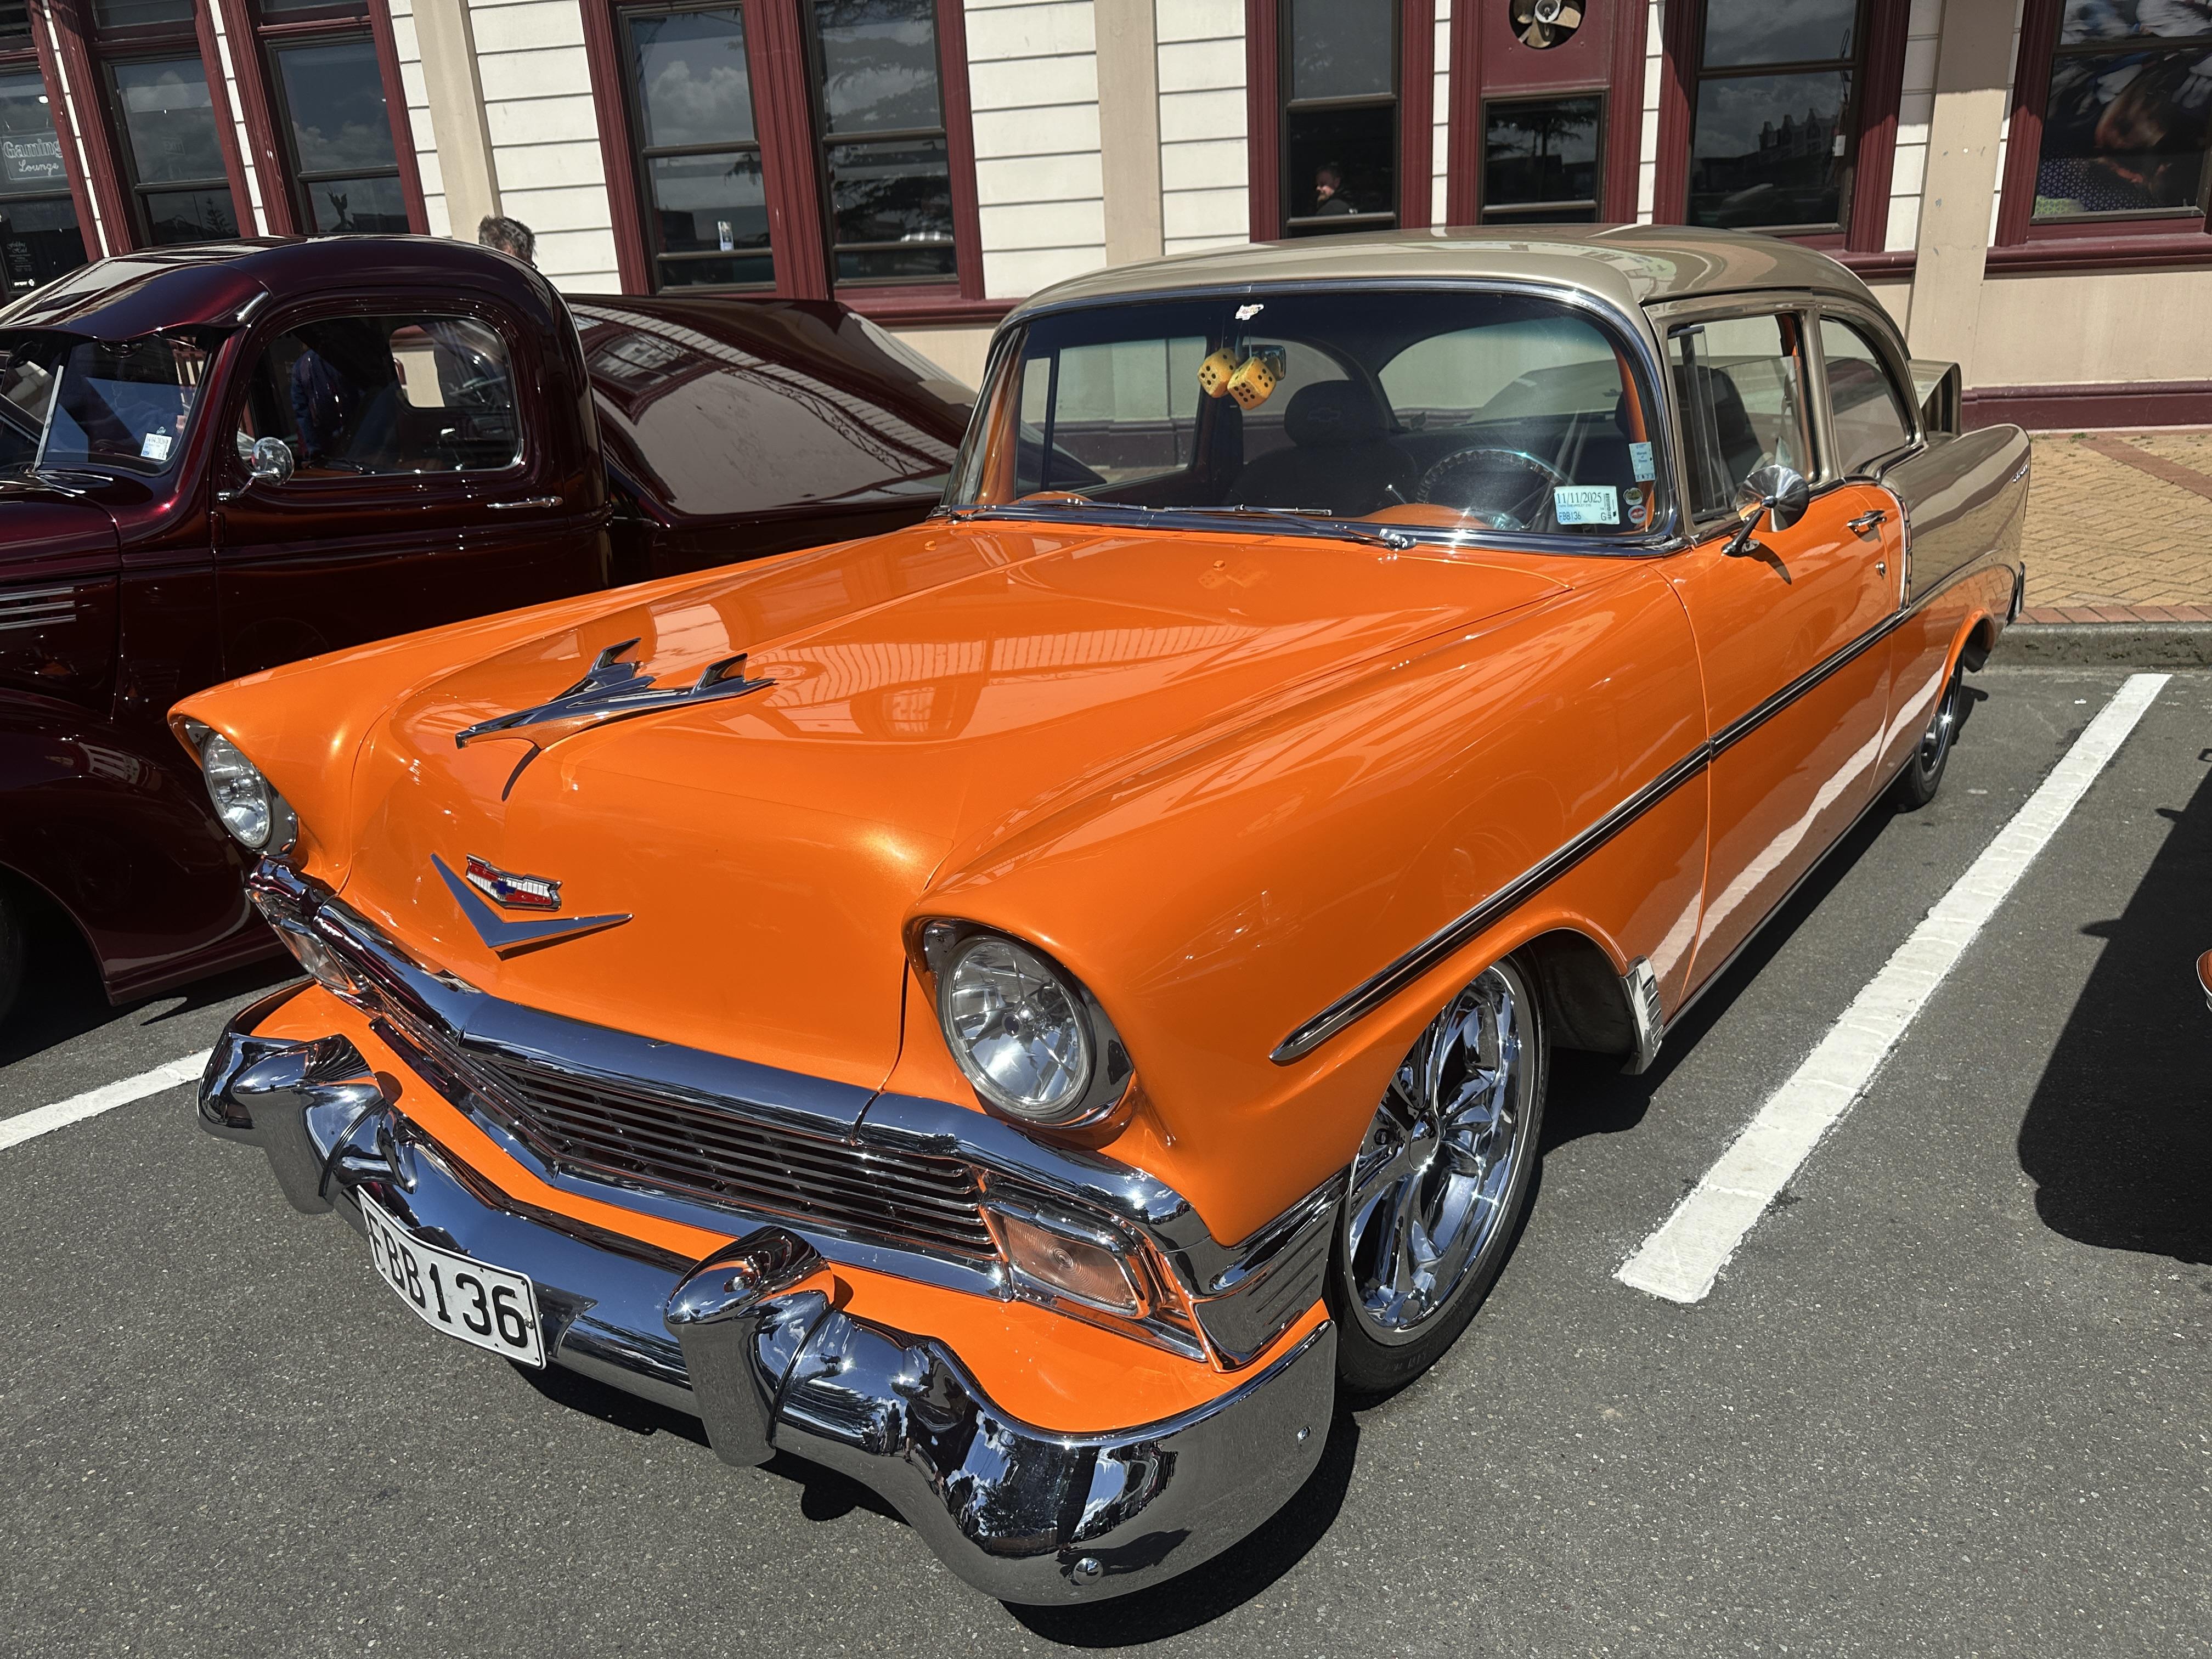
More from Feilding Avanti - rare anywhere in the world C10 bagged out with a Cummins oil burner A survivor plastic 32 roadster first on the road in 89 with a refresh underneath. A nice day to go cruizing in a roadster but the day started out wet A very tidy Chebby PU C10's and Chev PU's were everywhere - from patina to this nice 57 with LS And a bagged out PU with a cool satin black 28-29 Model A RPU behind A nice Jail Bar PU with sbf Now this is unusual - A Whippet The handwritten signage says it all And where would a car show be with out a T Bucket. This one has powered by a SBF rather than usual SBC and a belly button car - a tidy one at that and a Cobra clone More to come
-
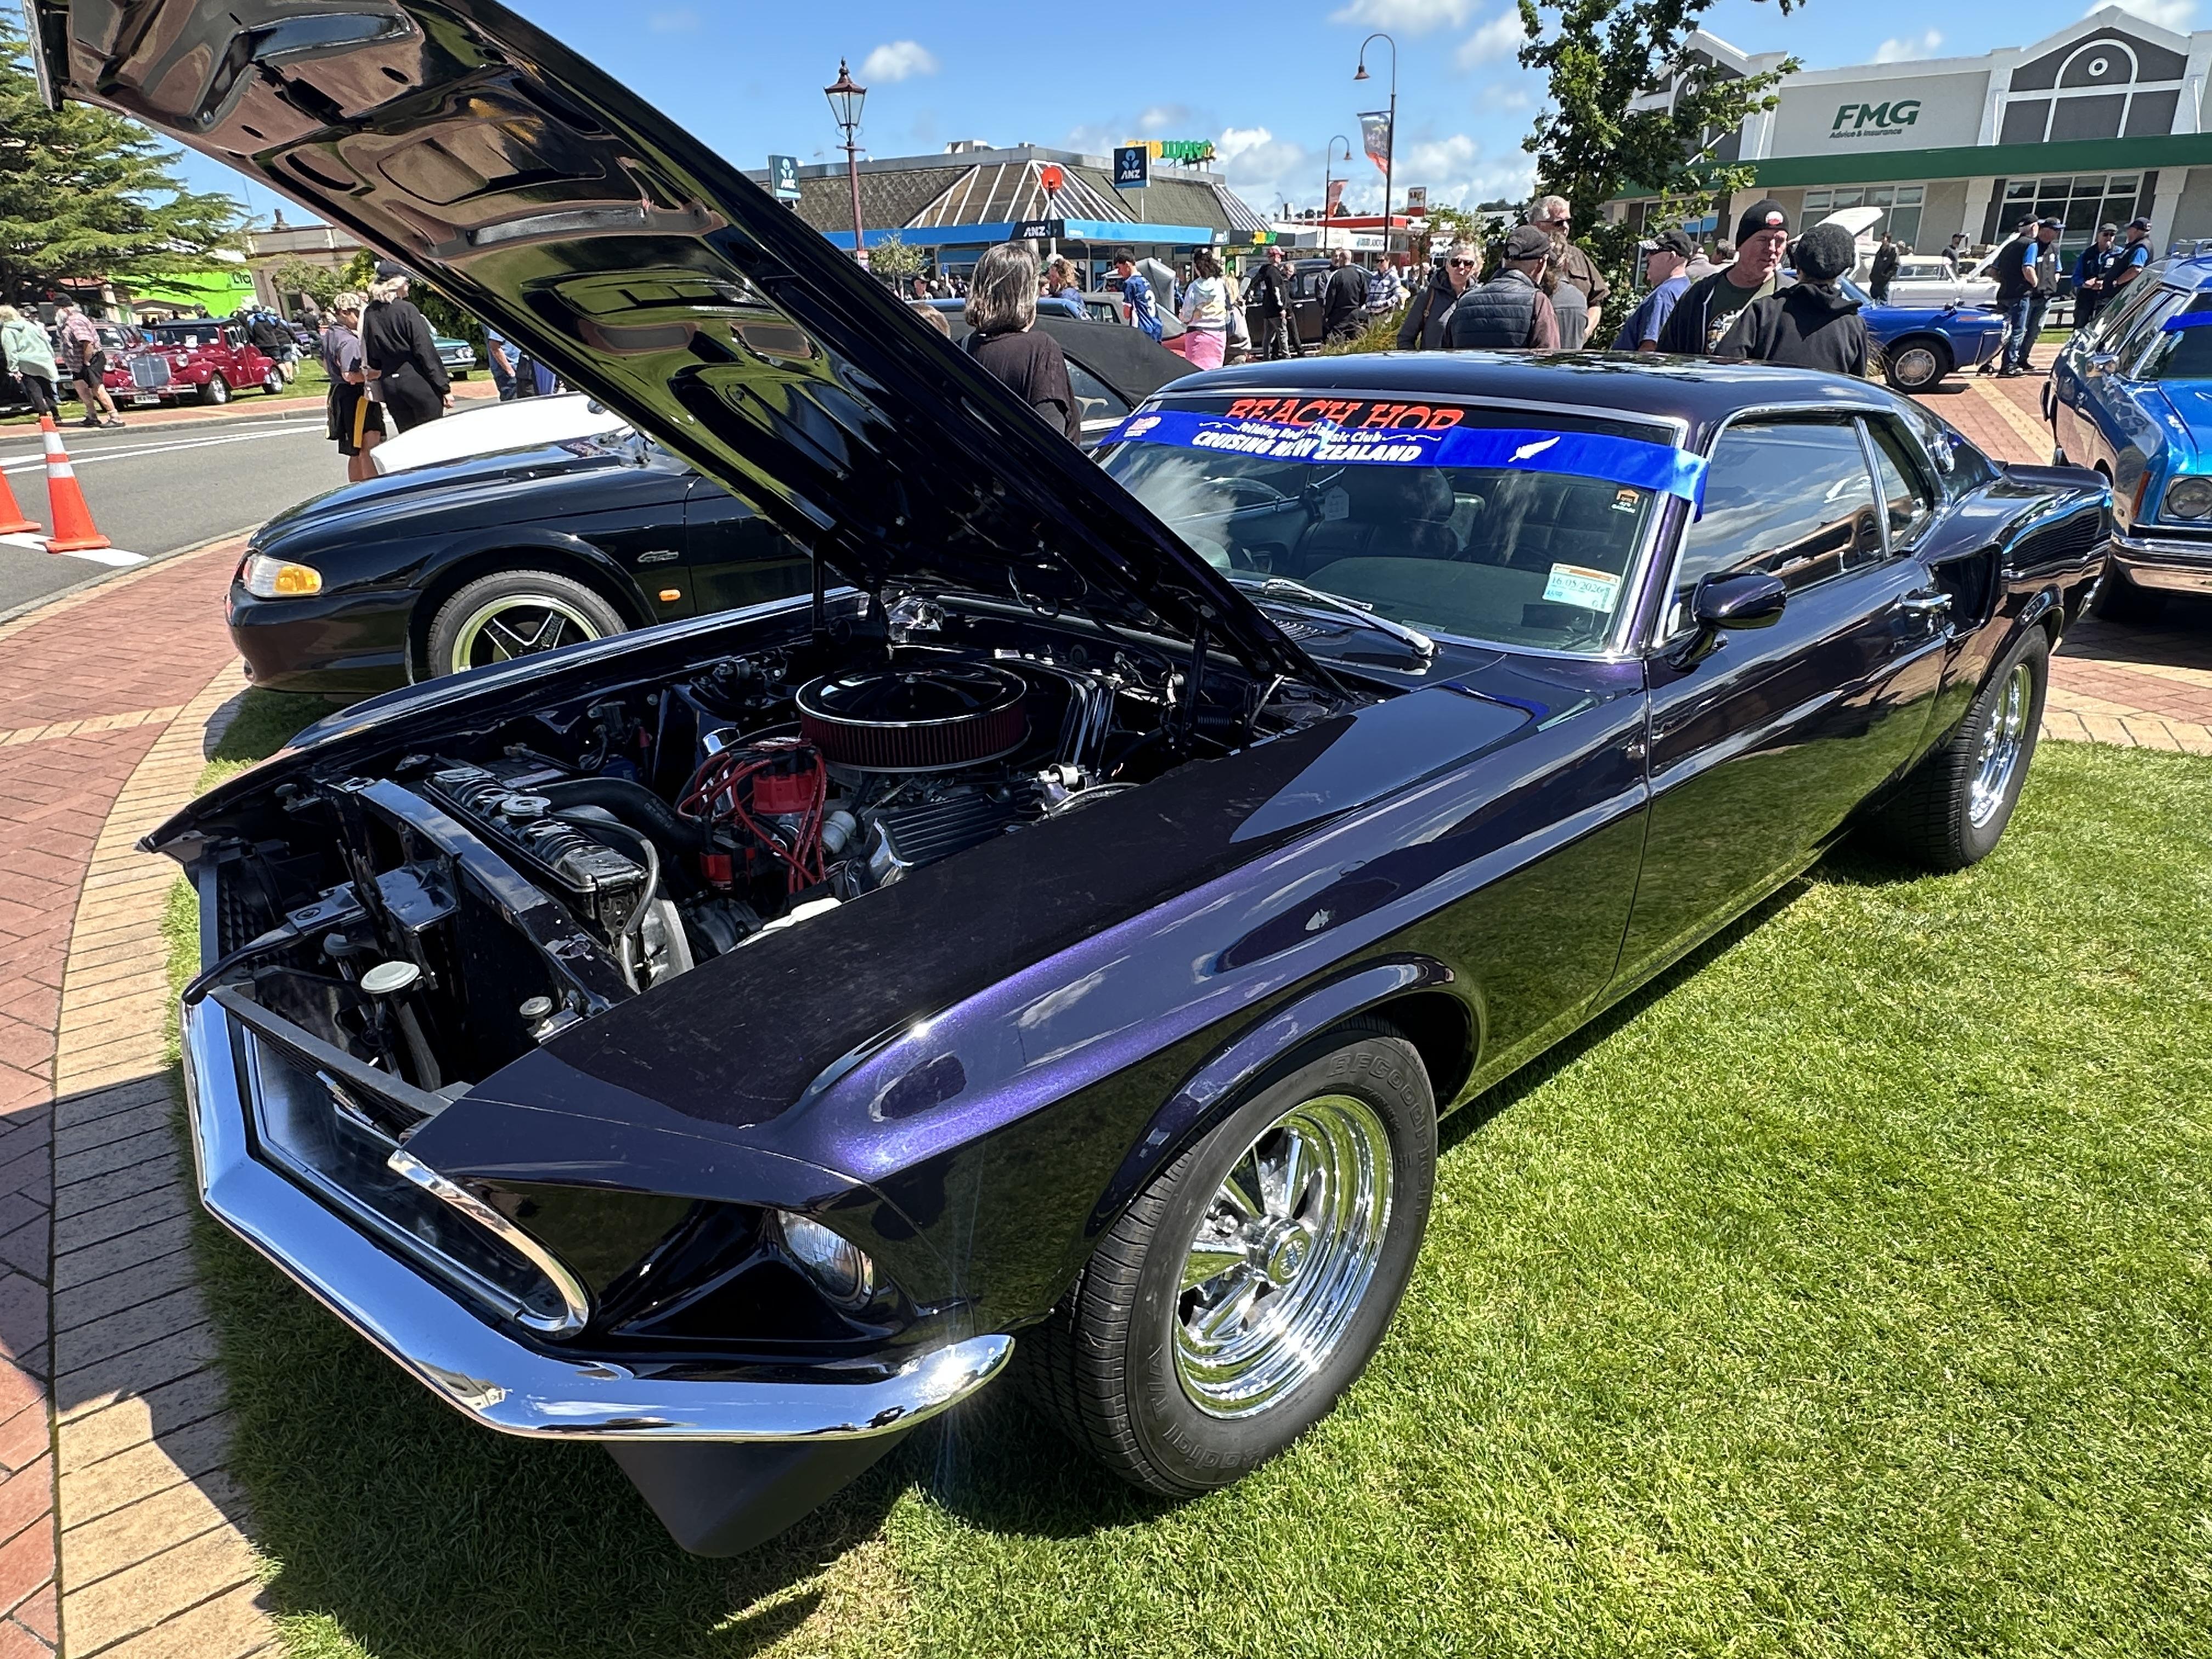
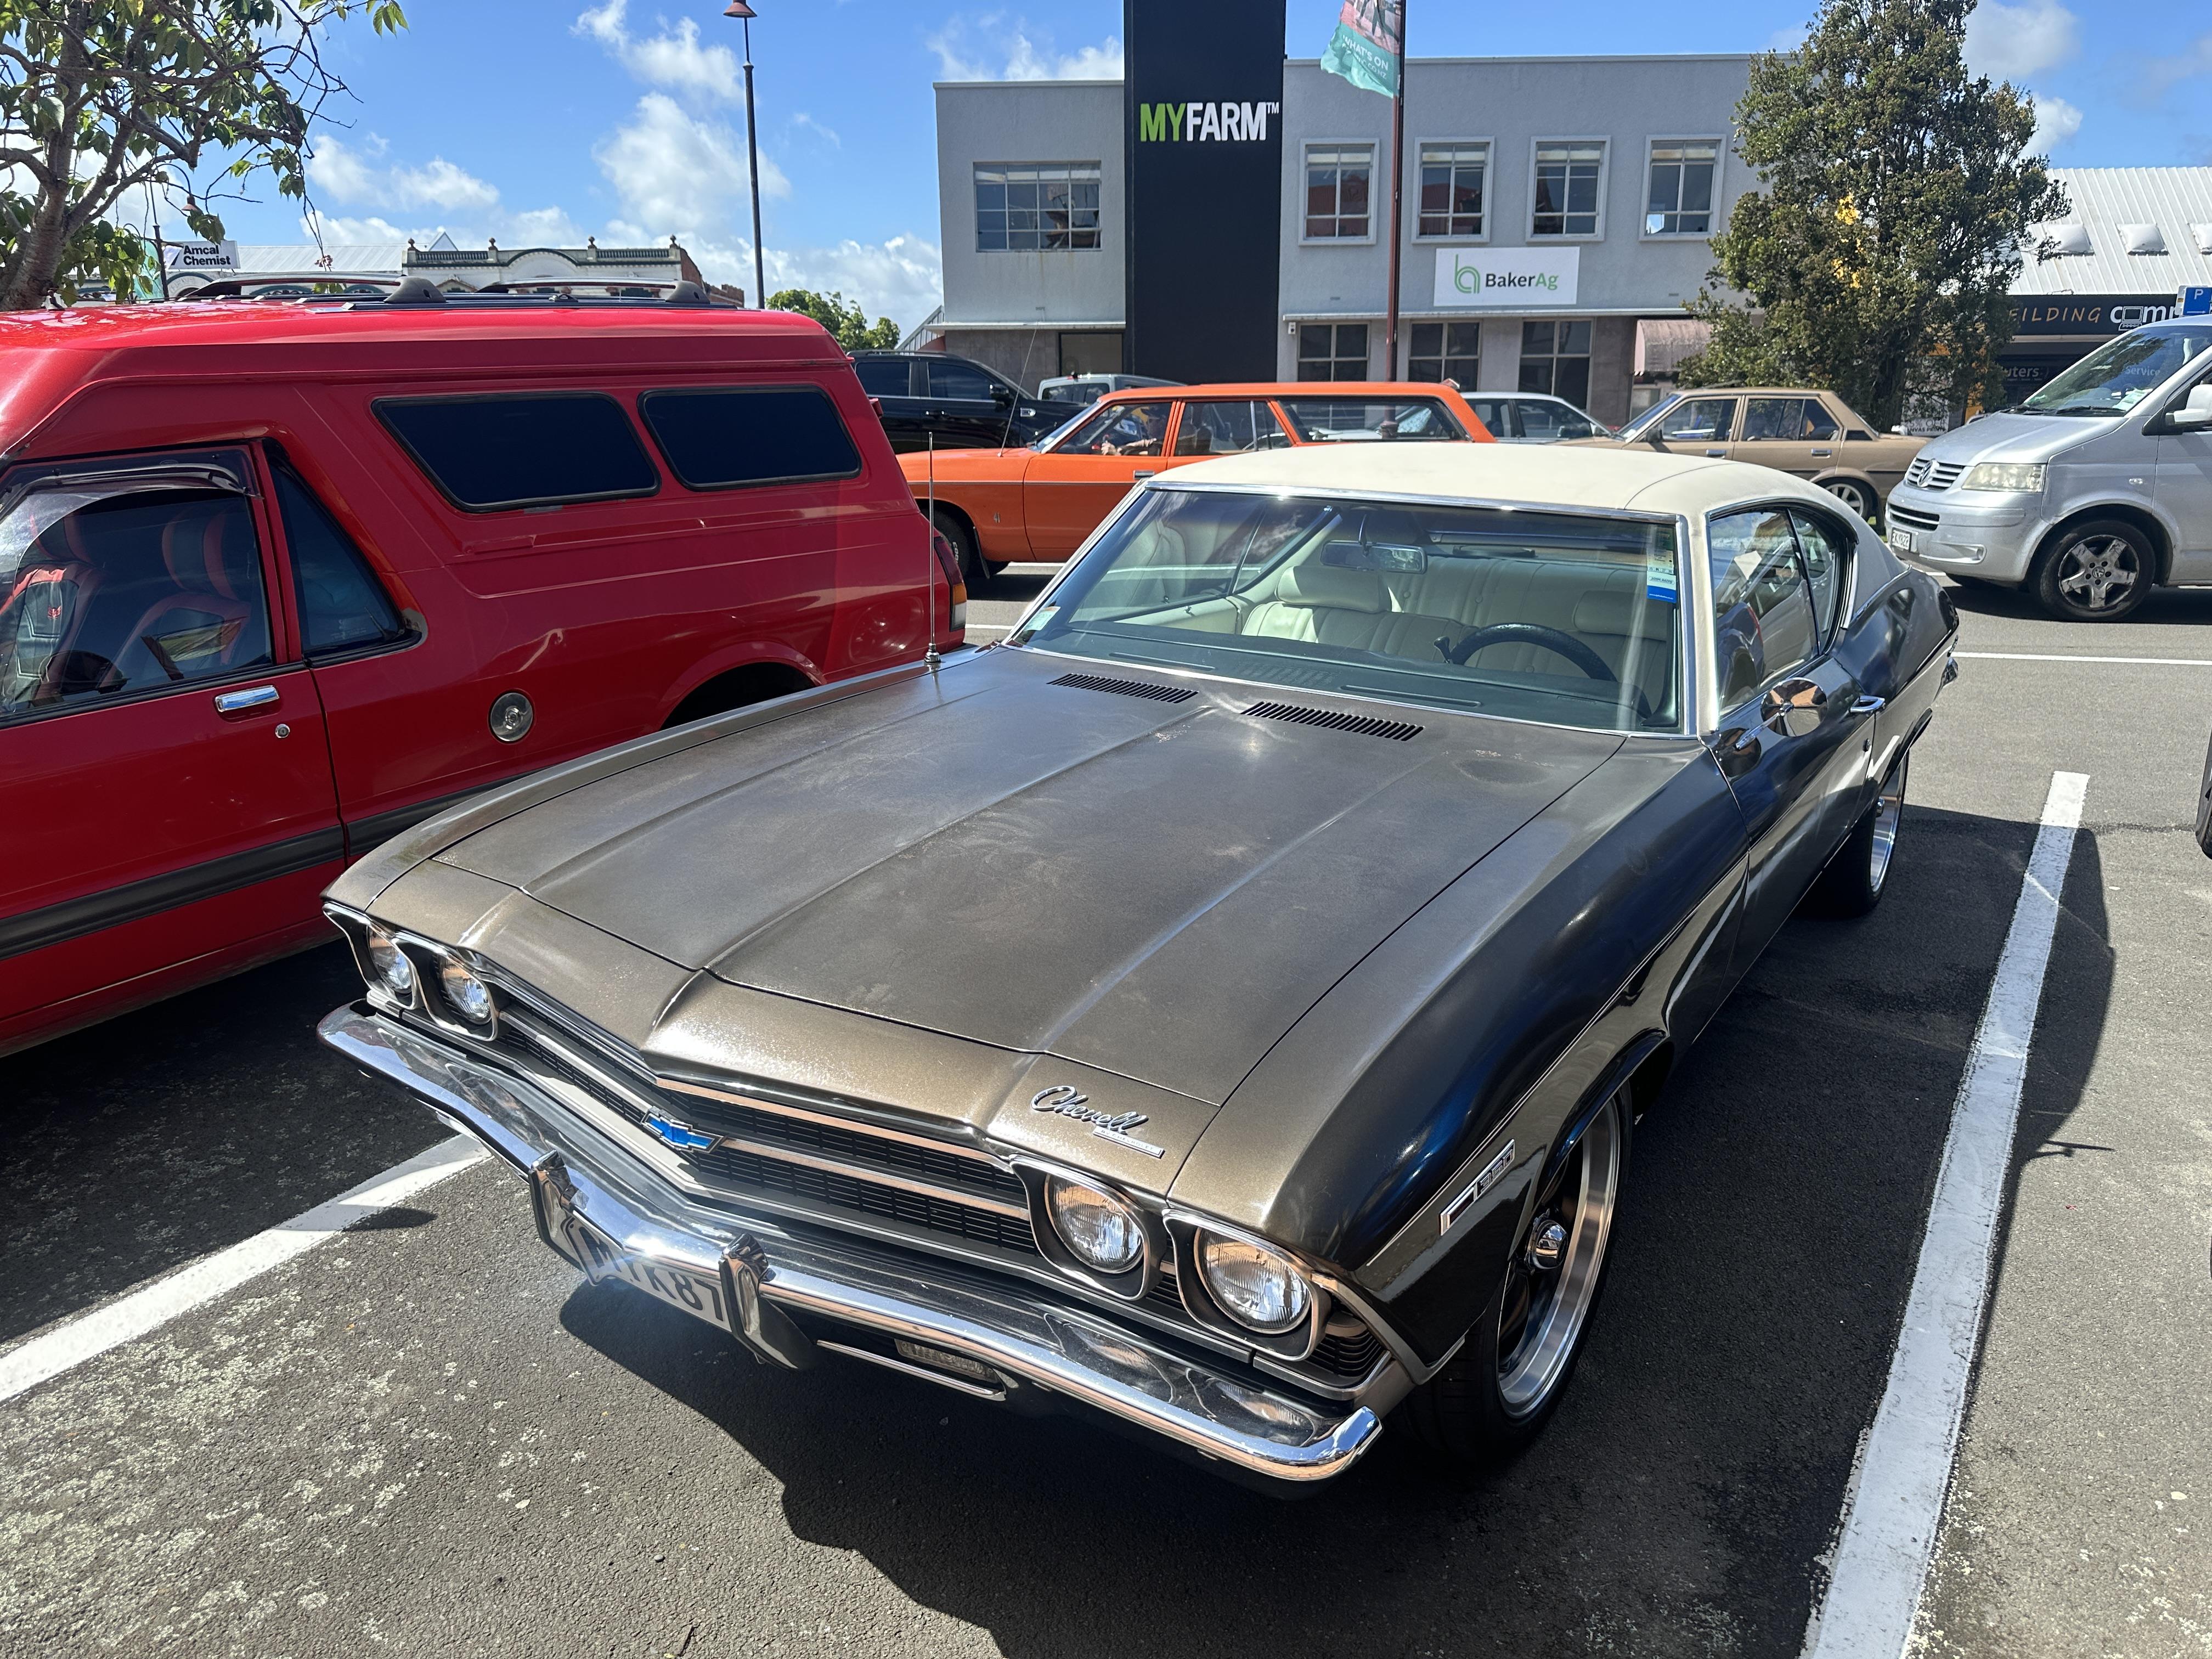
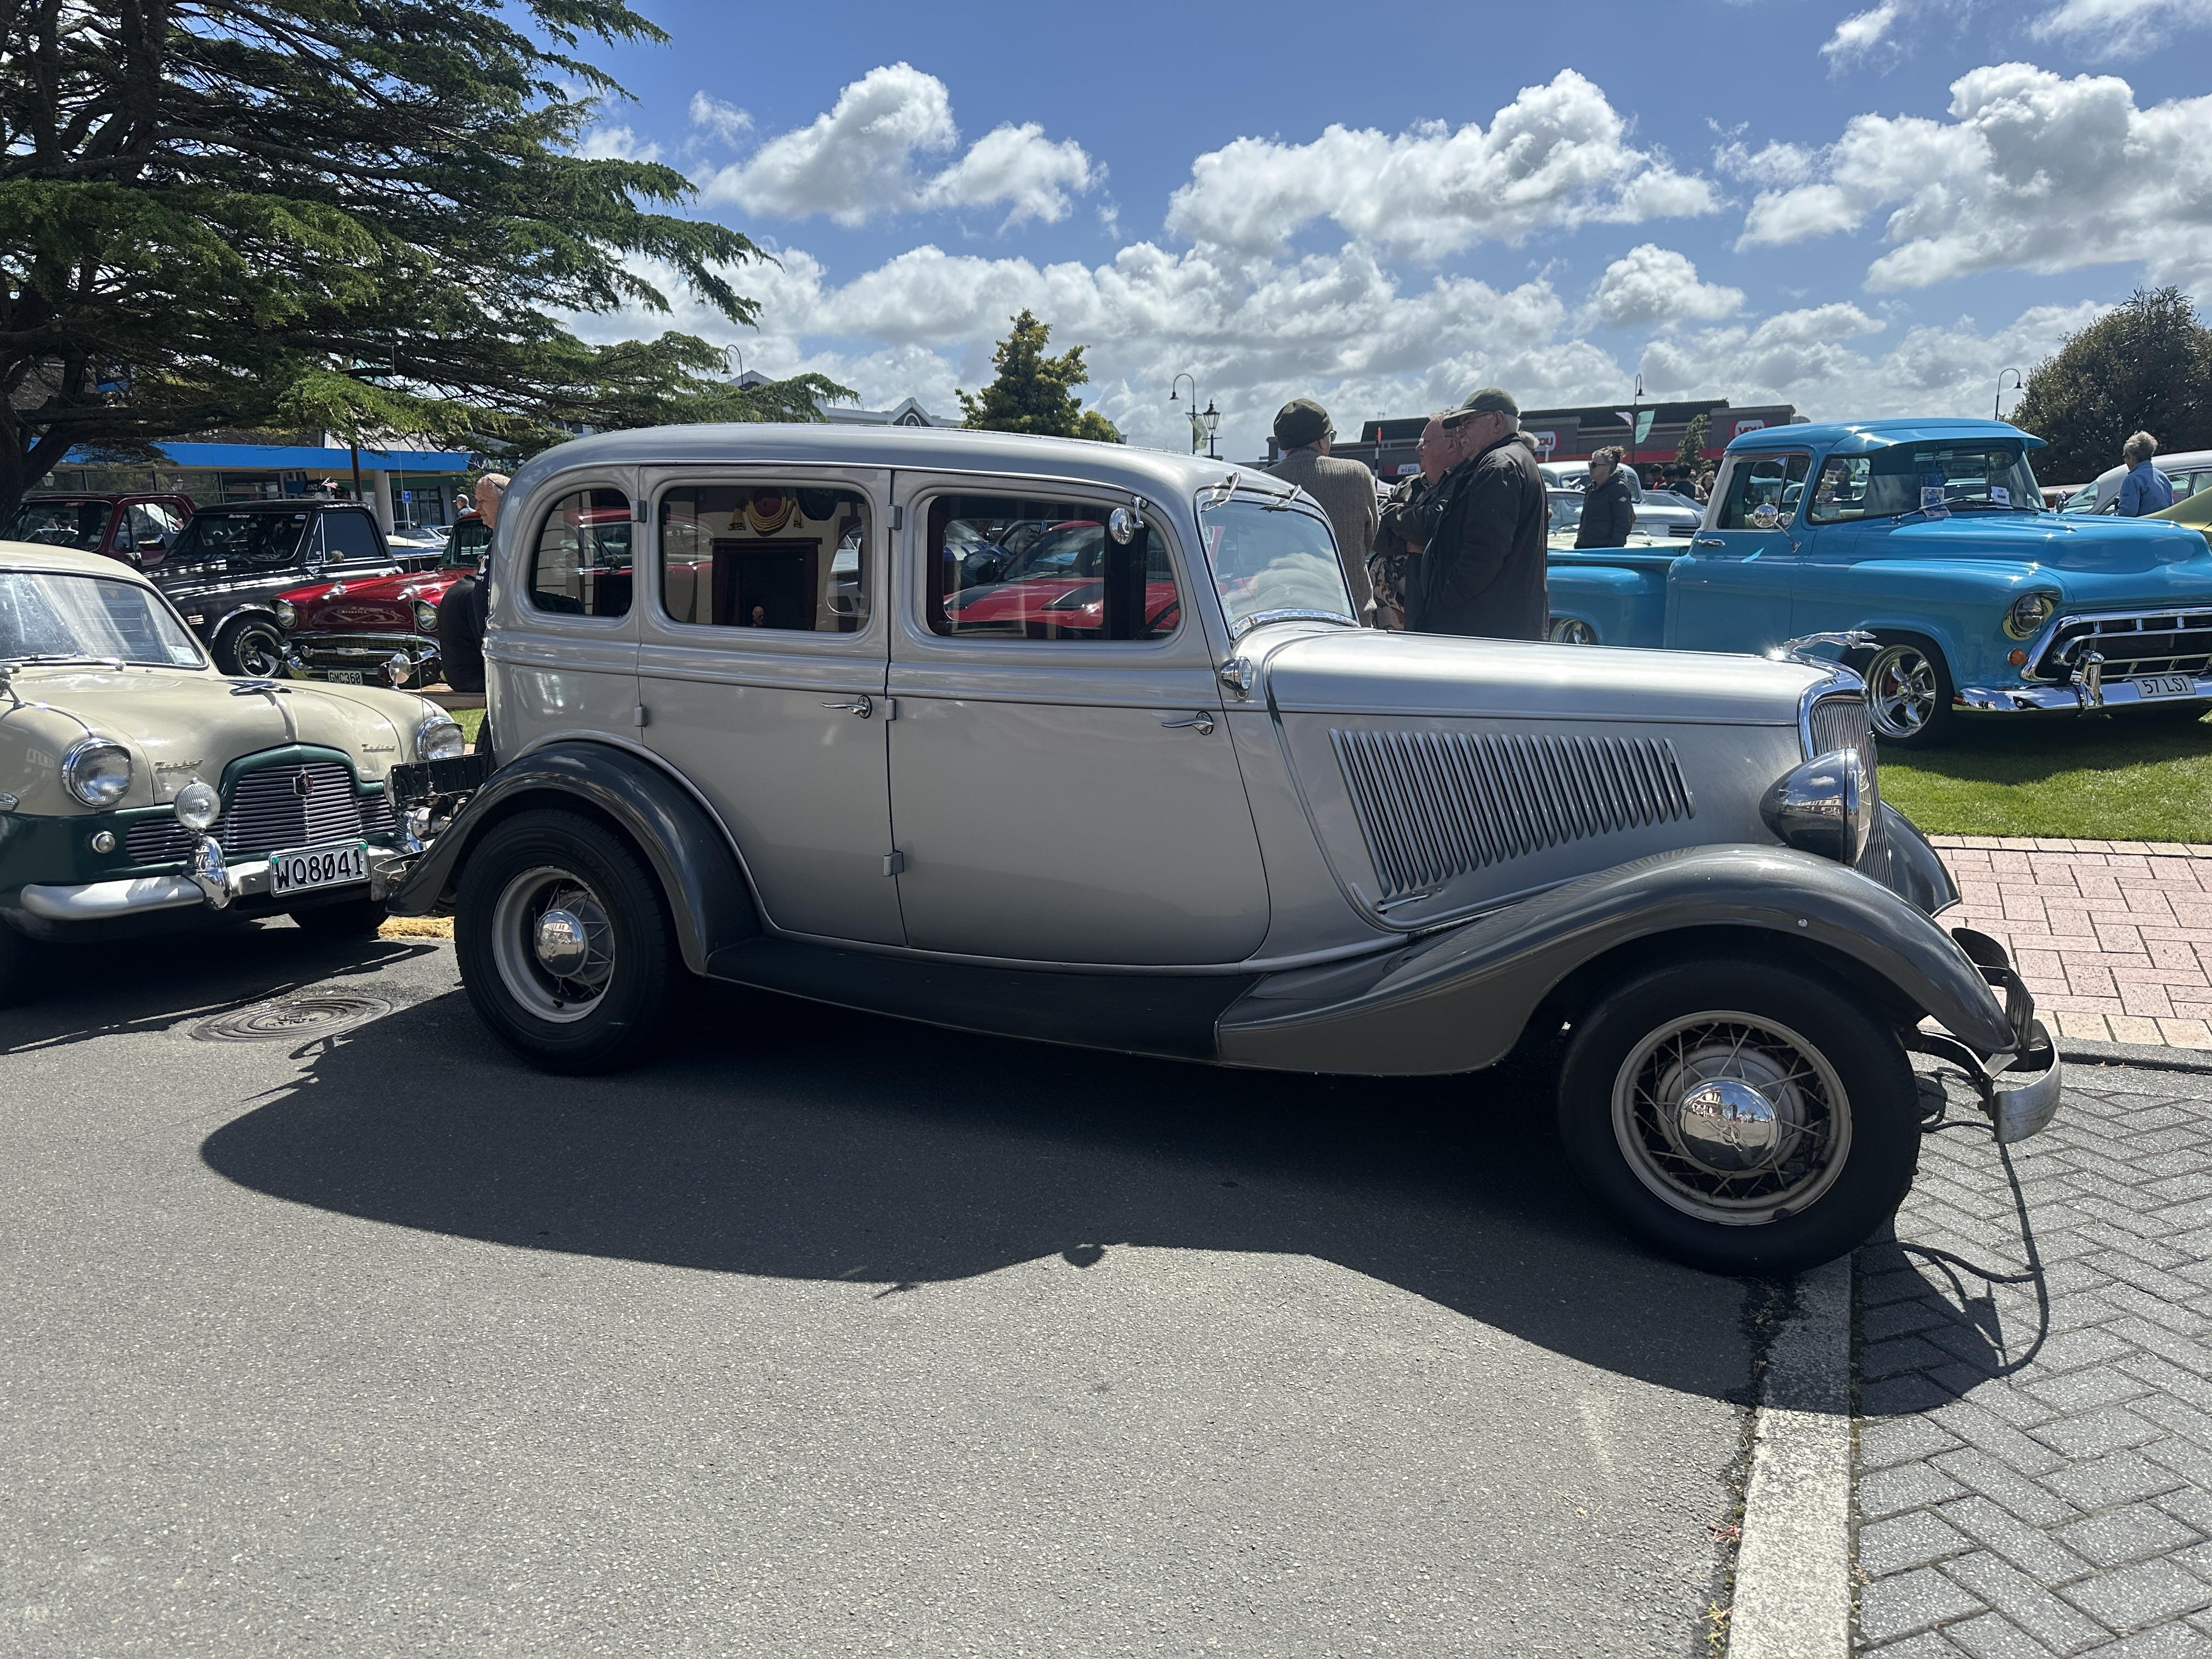
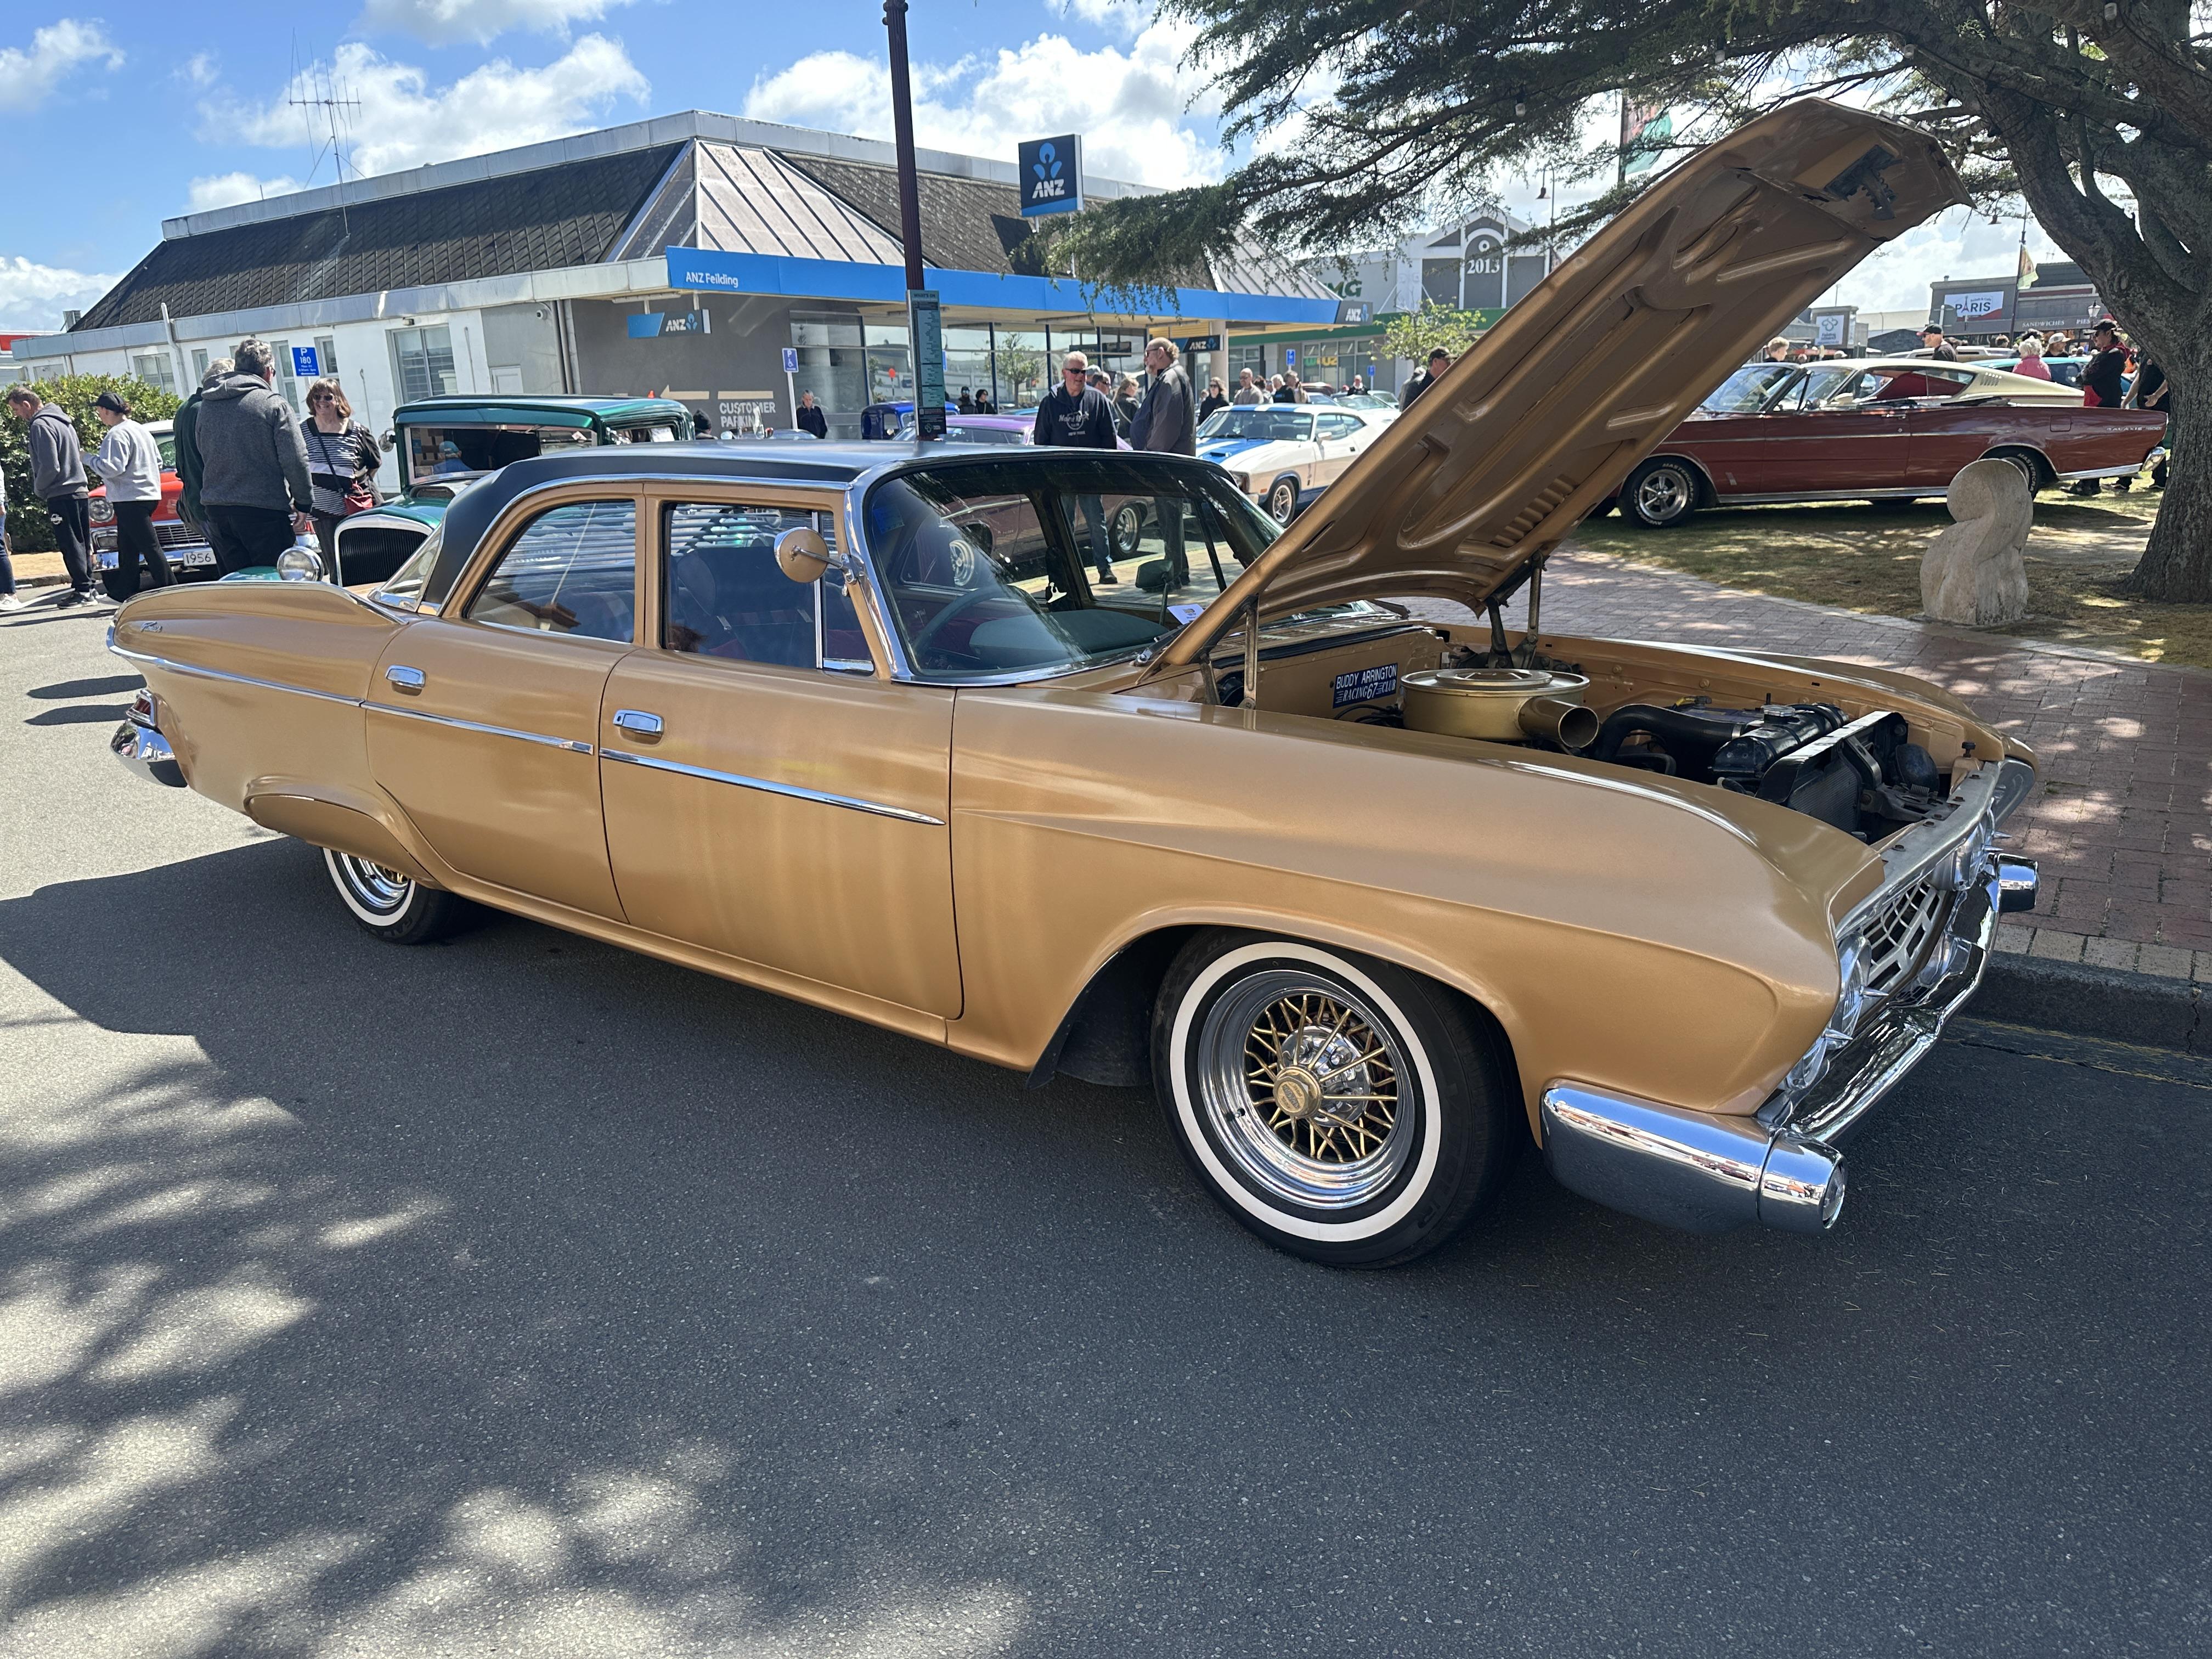
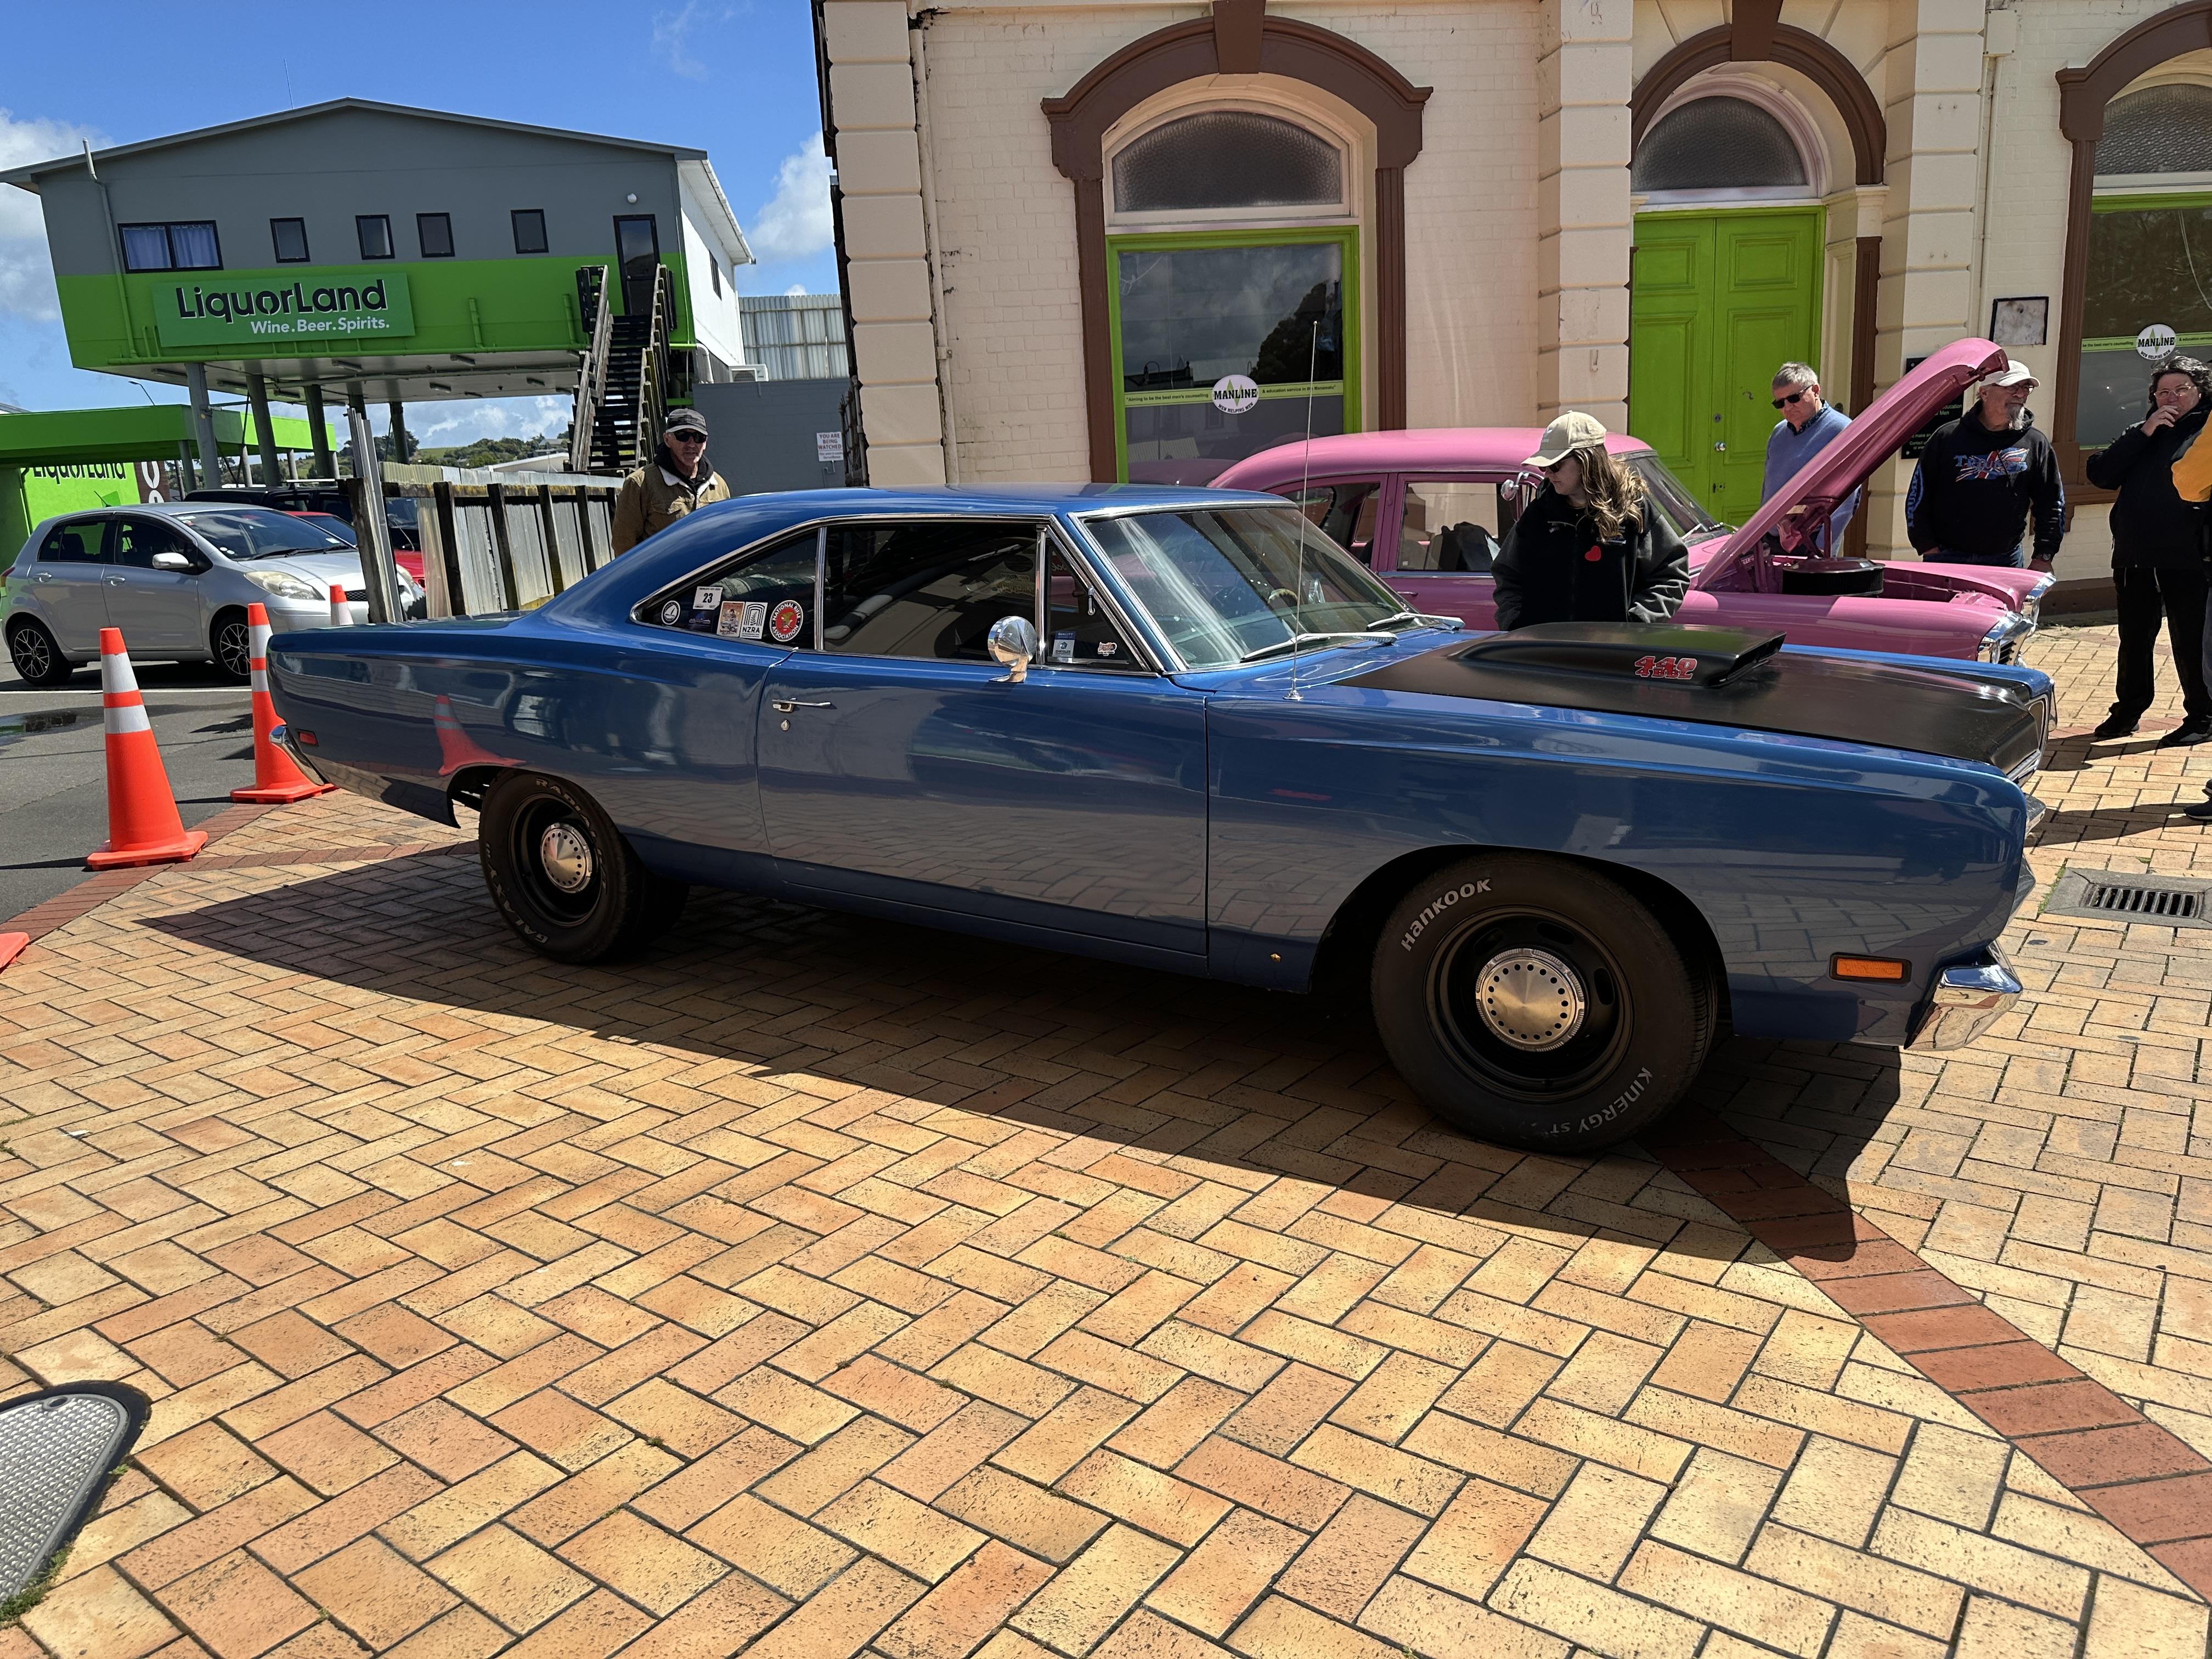
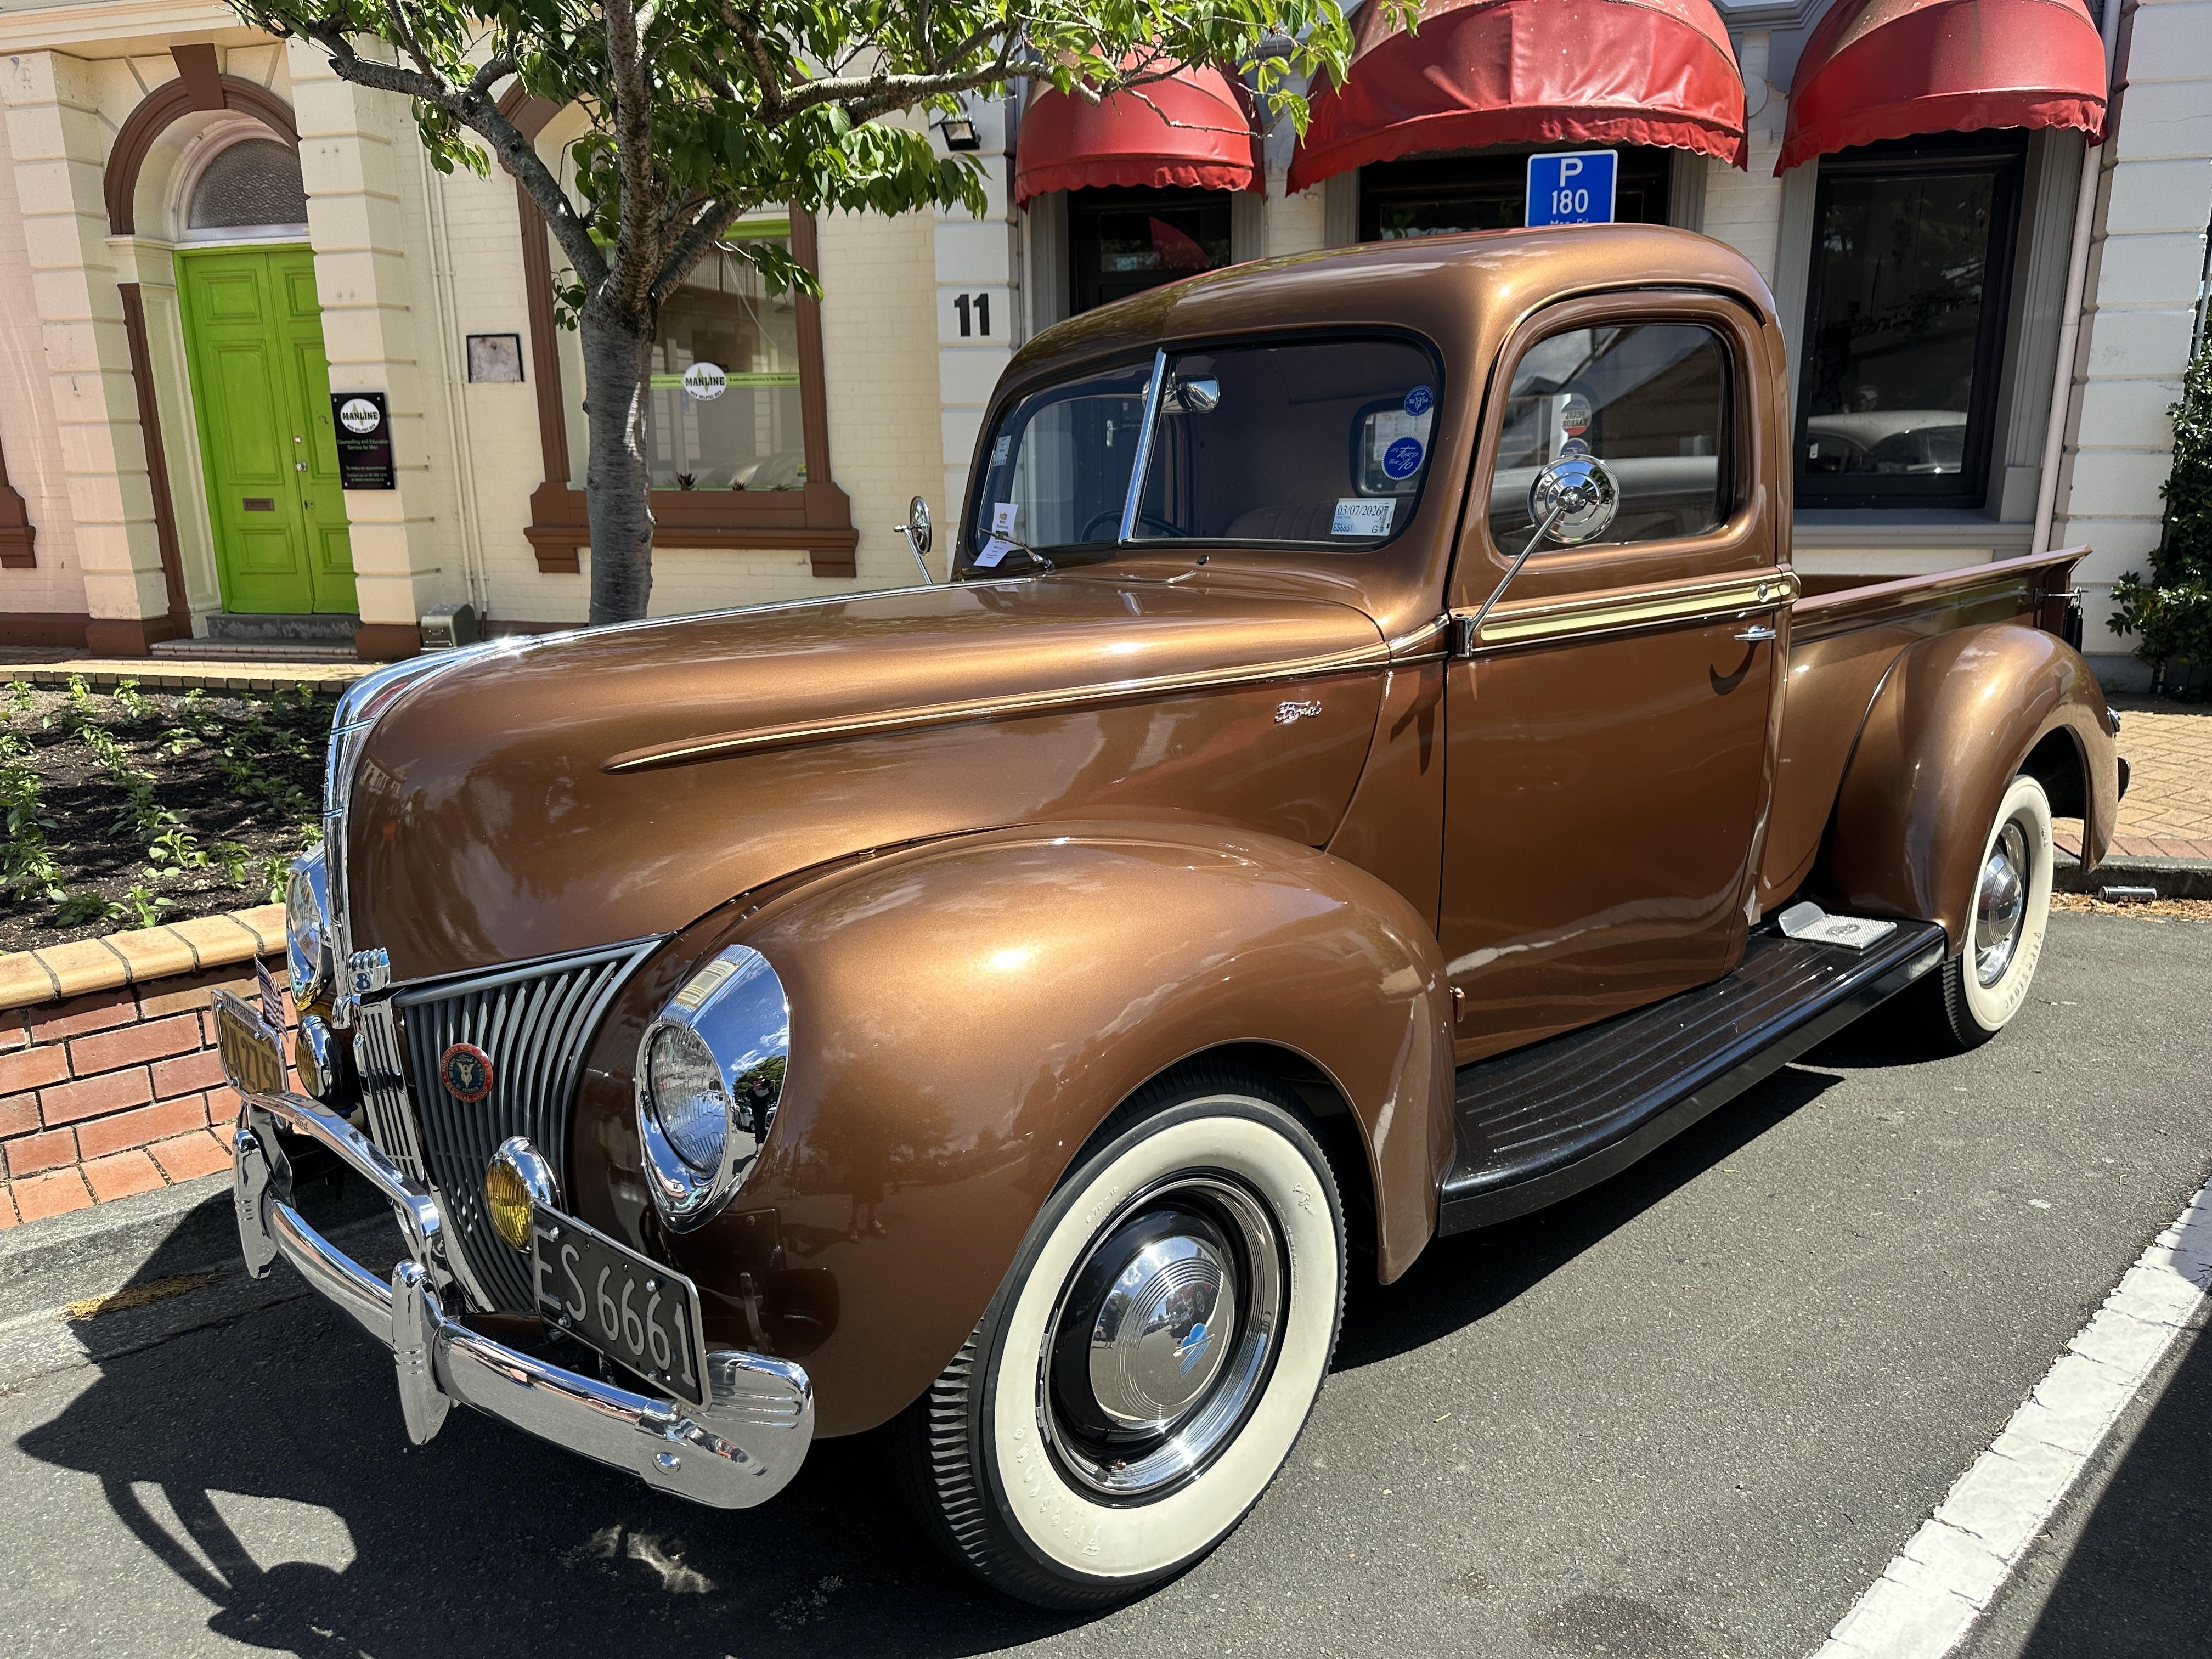
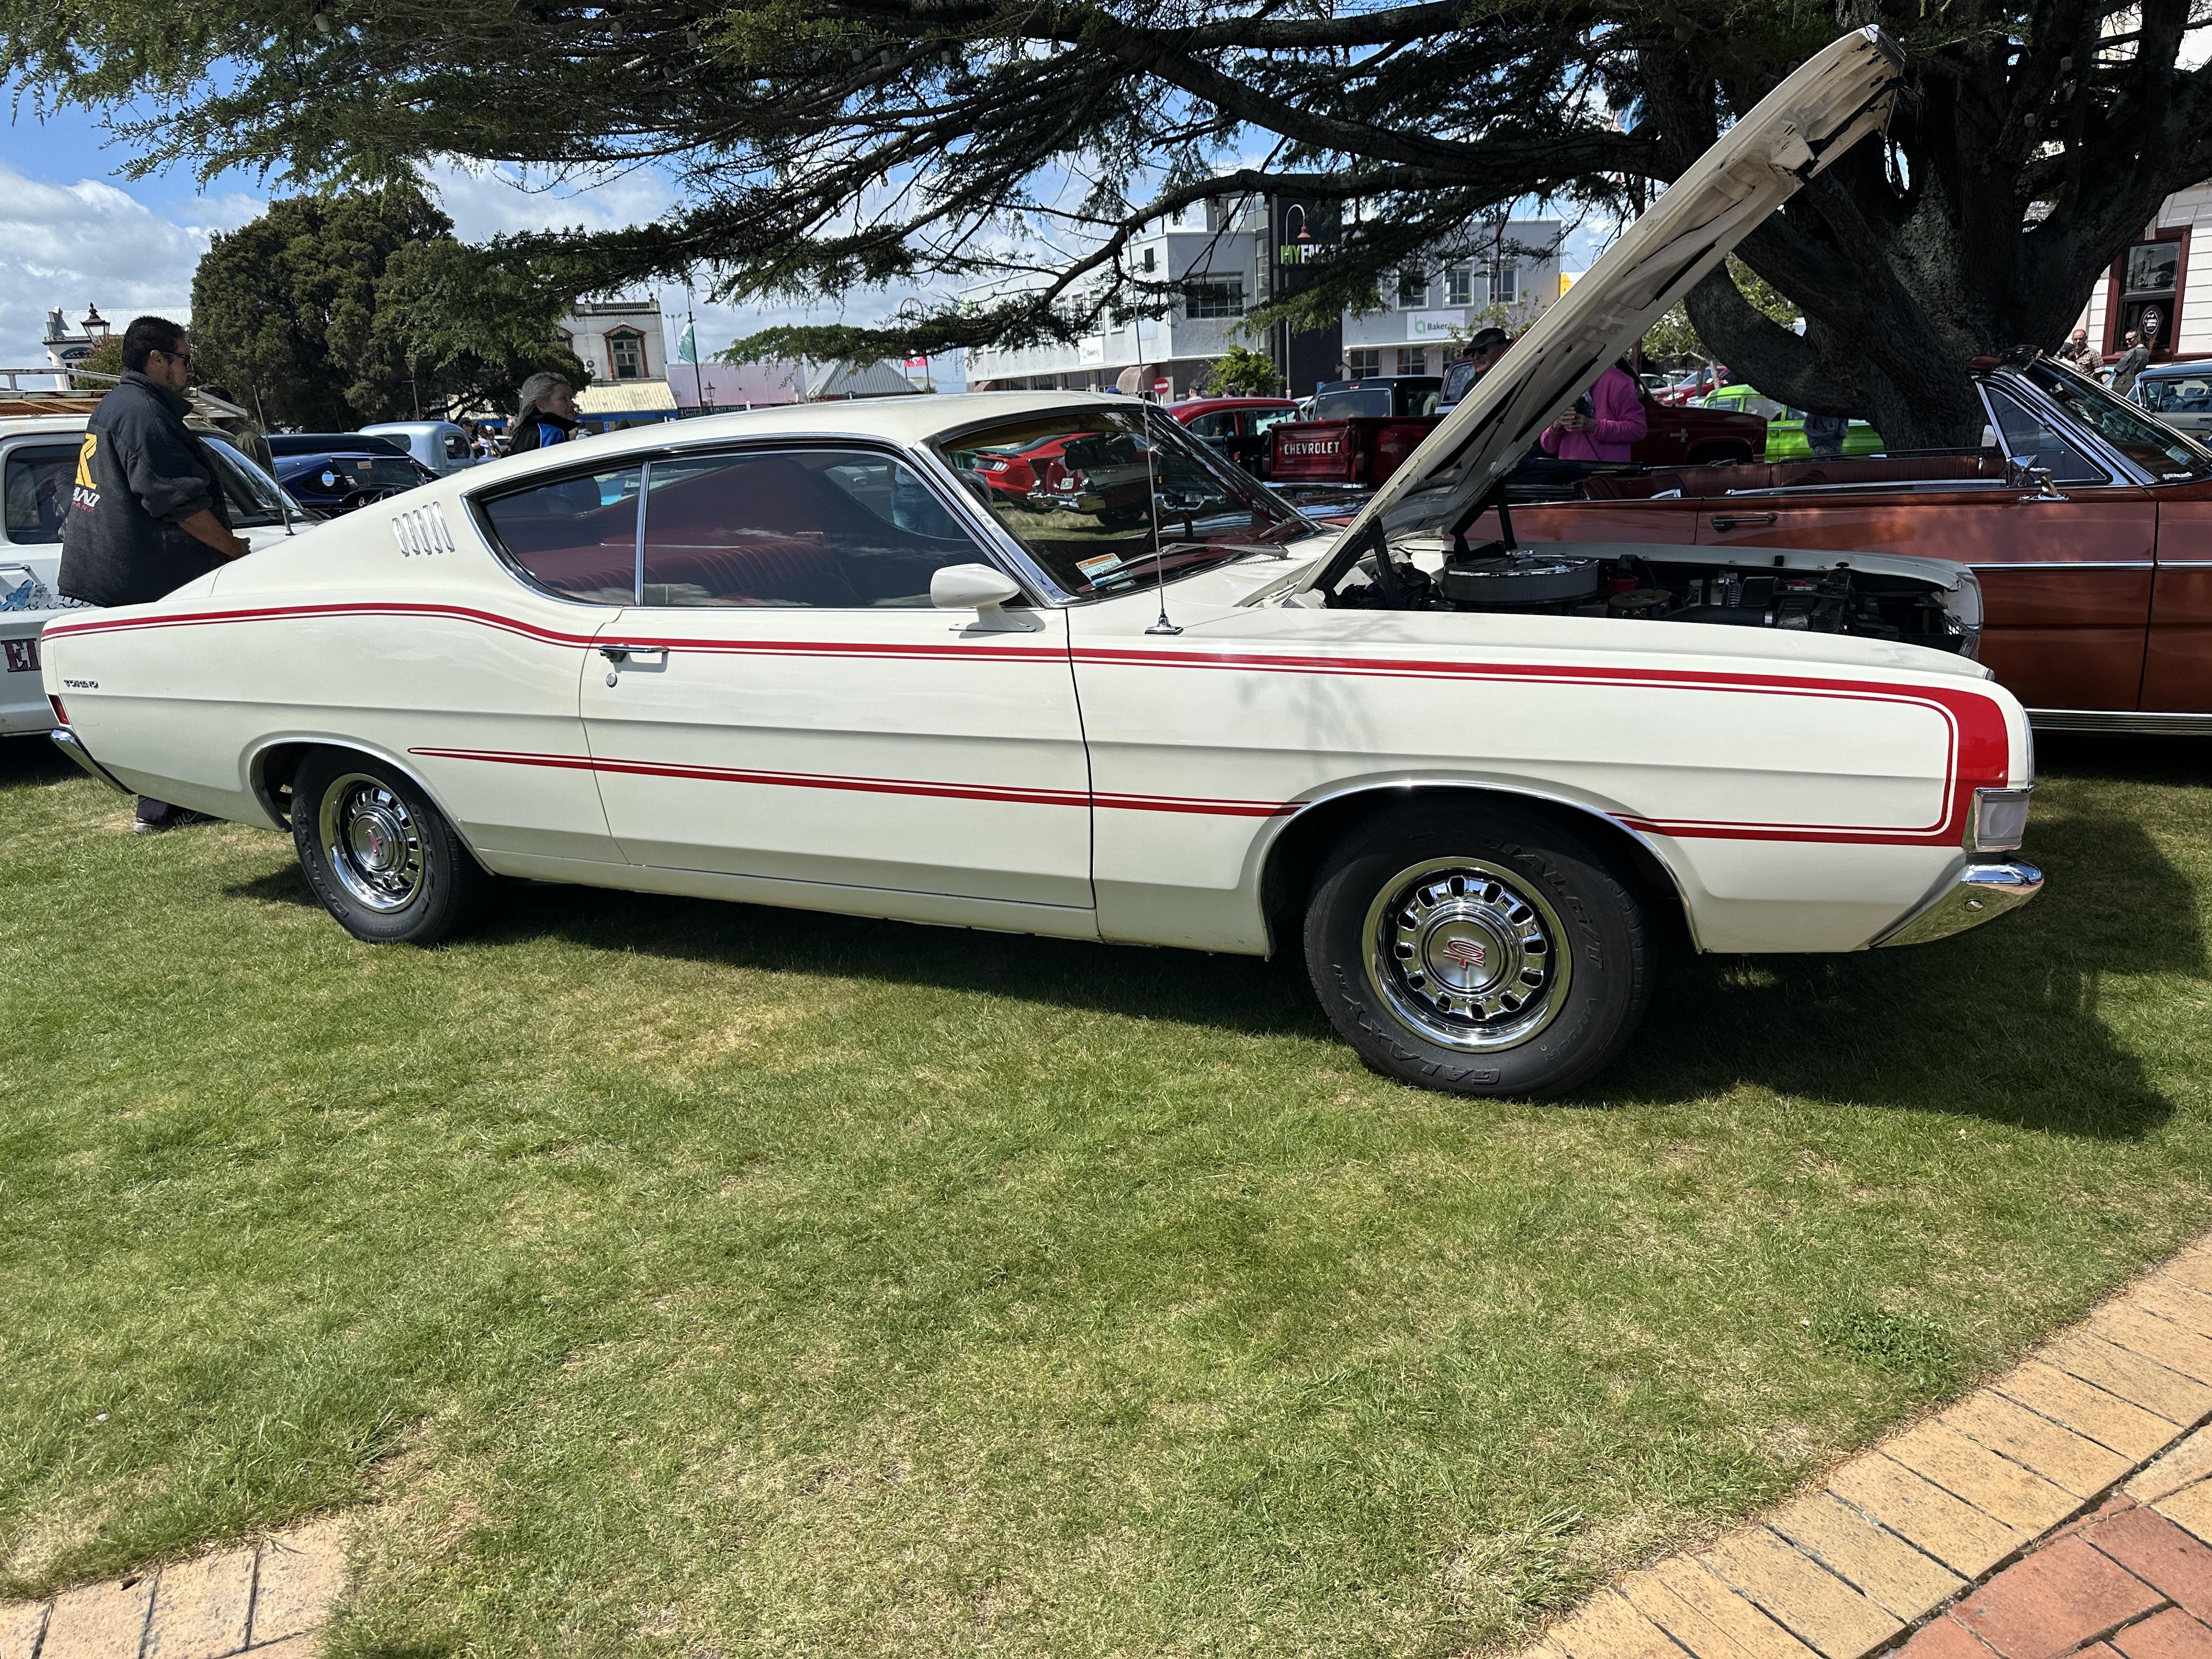
Pix from yesterdays Spring Car show in Felding (New Zealand). Pix are mostly of American cars but there were a few Pom Bombs there too but they interest me much. Nice Chebby with part of an Oz Ford Panel van behind This 34 has been on the road since the late 70's early 80's and is still looking good A very tidy 34 Tidy early 60's Mopar - these were put together in OZ with parts sourced from Canada with some local content. Has 318 poly motor Tidy tri-five Arghh - beep, beep Roadrunner - with 440. Pink car is an Oz Holden from late 50's I think it is a 32 Hudson - or one of that breed A friend's nice 40 pick-em-up Oz Falcon Coupe based Cobra One of two Torino's at the show. The equally as nice
-
An excellent tutorial Jon. I have a mate who builds sports car bodies from scratch using this build up method and he builds some stunning stuff that way. It is old skool through and through but it works
-
Kool looking Vicky. A great effort for a period style gasser
-
Nice looking car. You gotta love the old AMT 32's with wedge section bodies as they can turn into some nice-looking models. Kool colour too
-
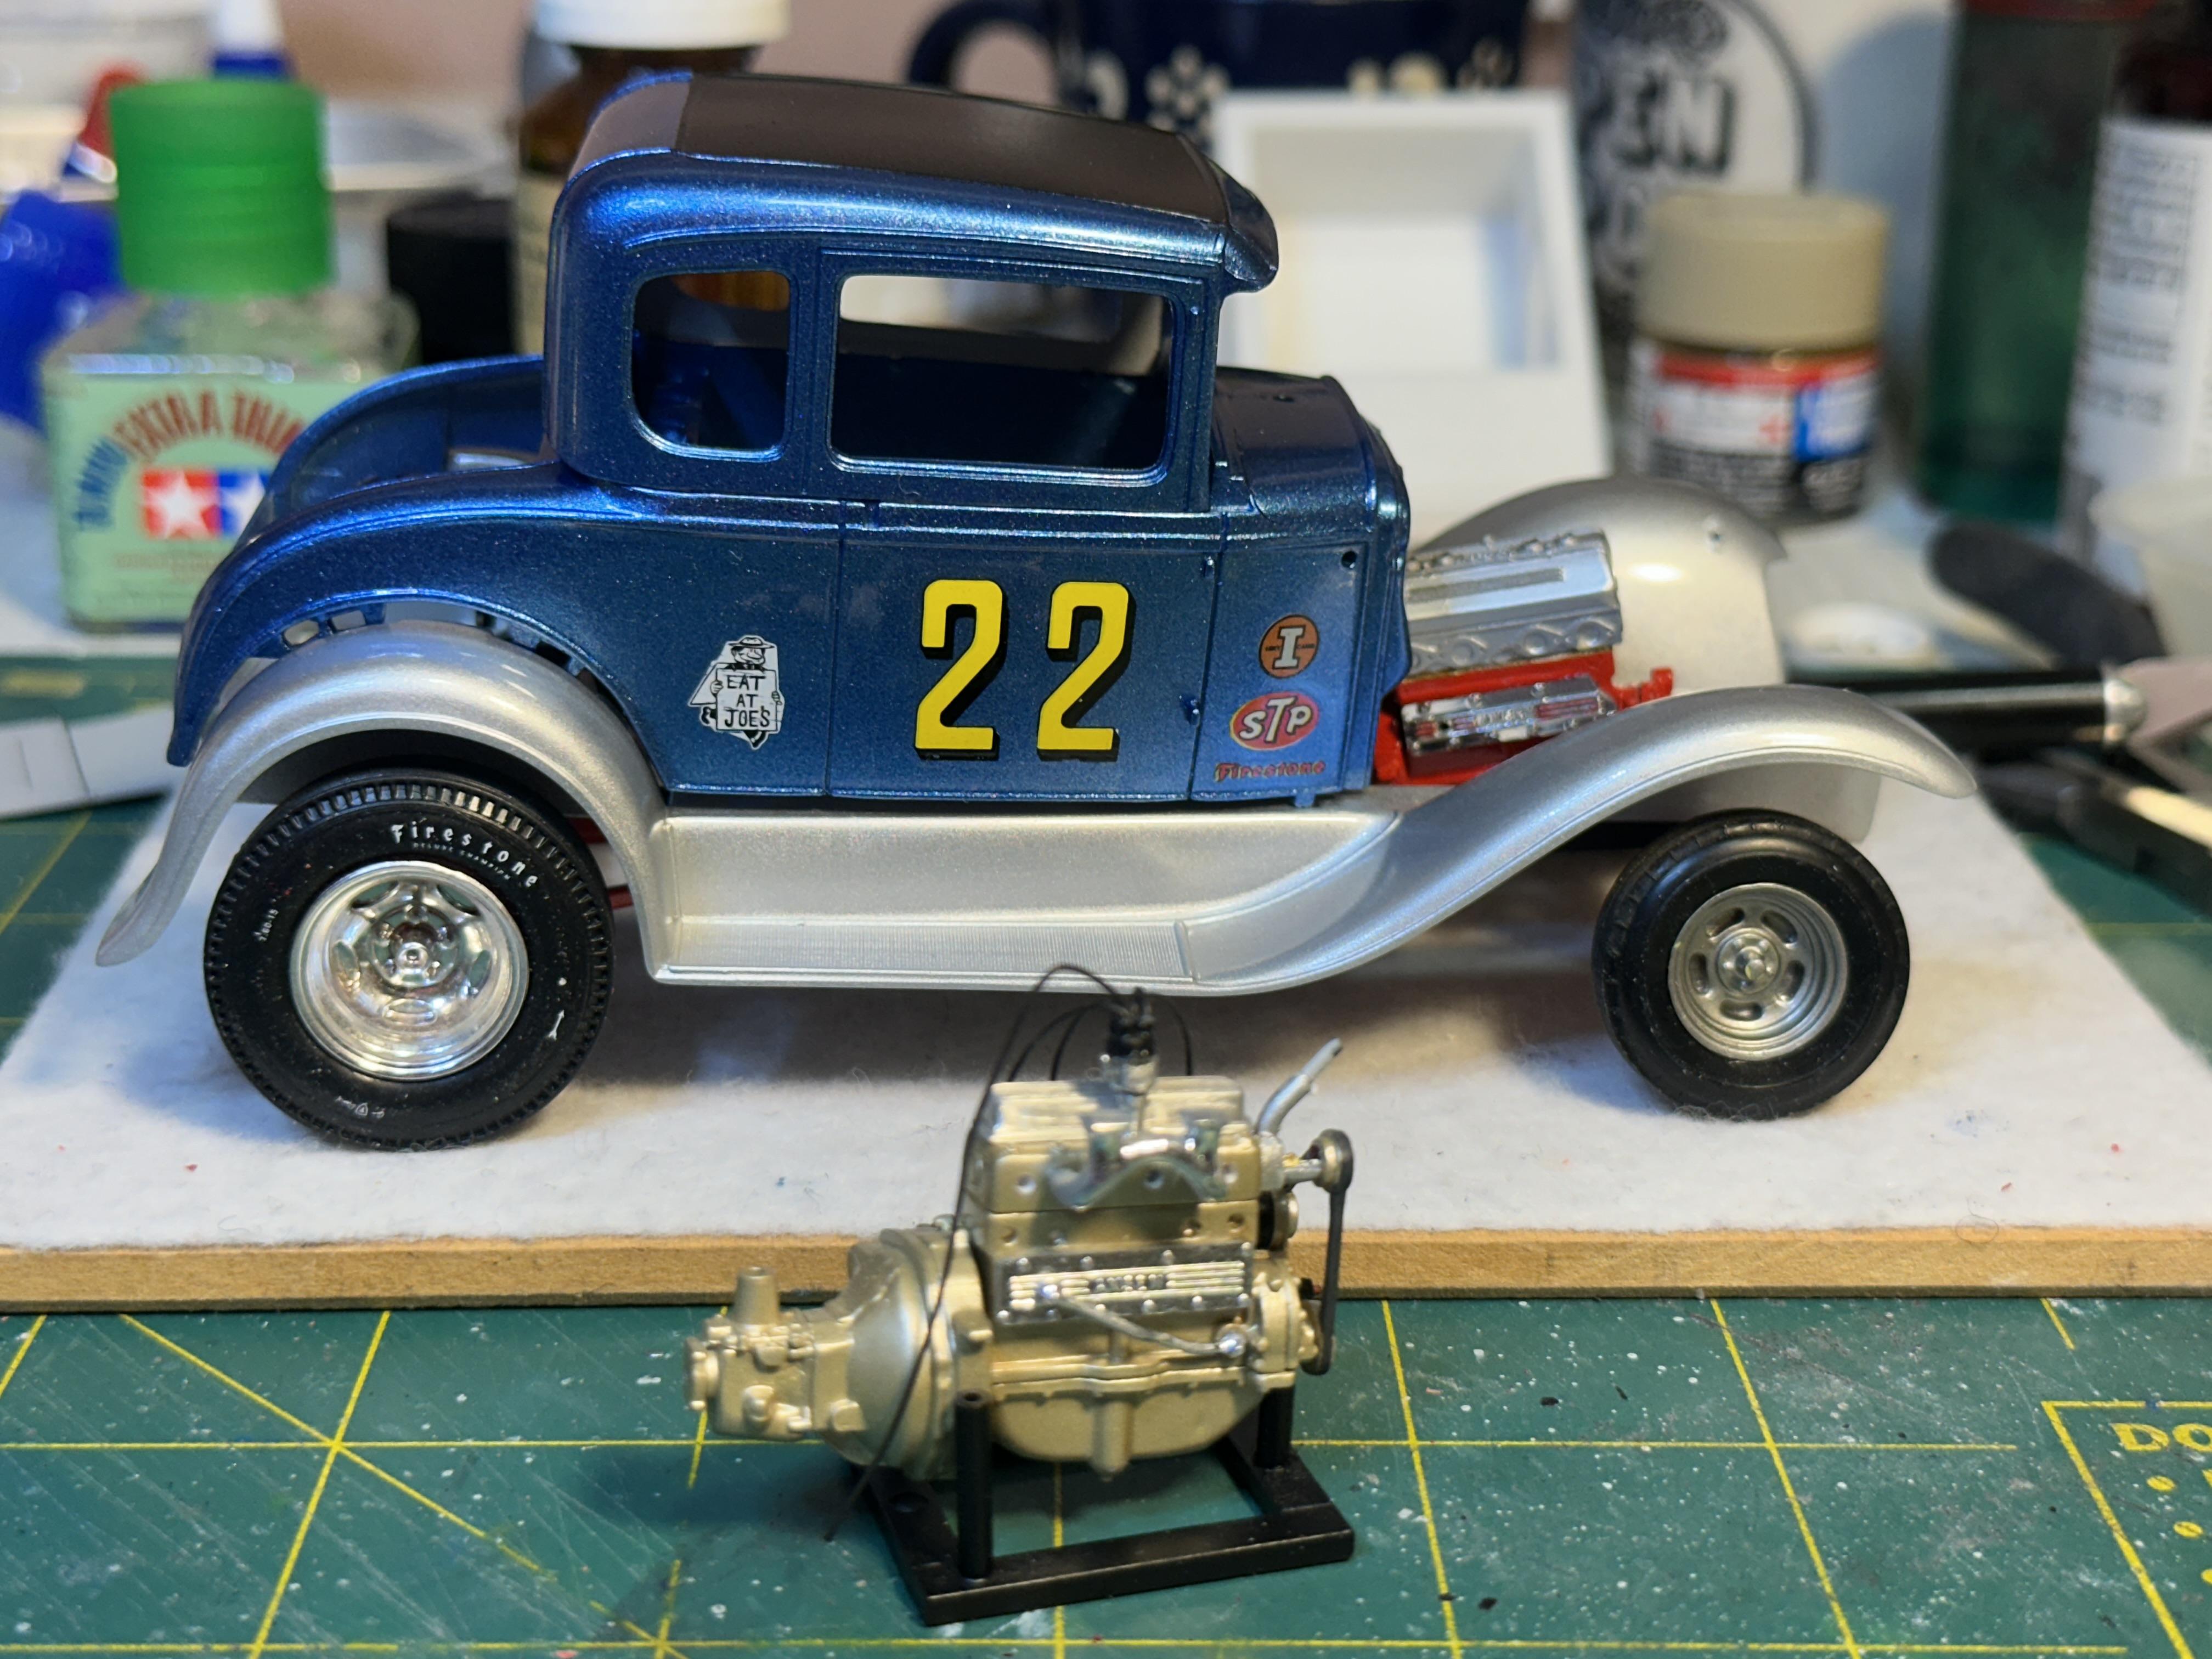
Paint detailed the brake drum fins with some watered-down red flowed into the grooves then cleaned up when dry to make the drums stand out a bit. I also remade a wider set for the rears as I was not happy with the original skinnies I had made up. I also tinted the rear and quarter windows with some Tamiya clear red - no pix yet Time for a mock up to see how the stance is going. There is a very slight rake going on here so I may look at lowering the back a little to get a flatter look and to get the wheels filling the fenders a bit better. I am happy with the front end though. I am trying to get my head around the uncut top as most of my recent builds have had haircuts The spare motor is in the front although I don't think I will need it😁 Any way it will be down on power compared the beasty banger in the car so can sit on the trailer for now
-
Another cool build there Claude. And WOW! says it all
-
Nice model build. Ticks all the boxes for me as a Mopar Man Nice 1:1 too Testors had a similar colour in the Boyd range - Chezoom Teal
-
Nice build. Good luck
-
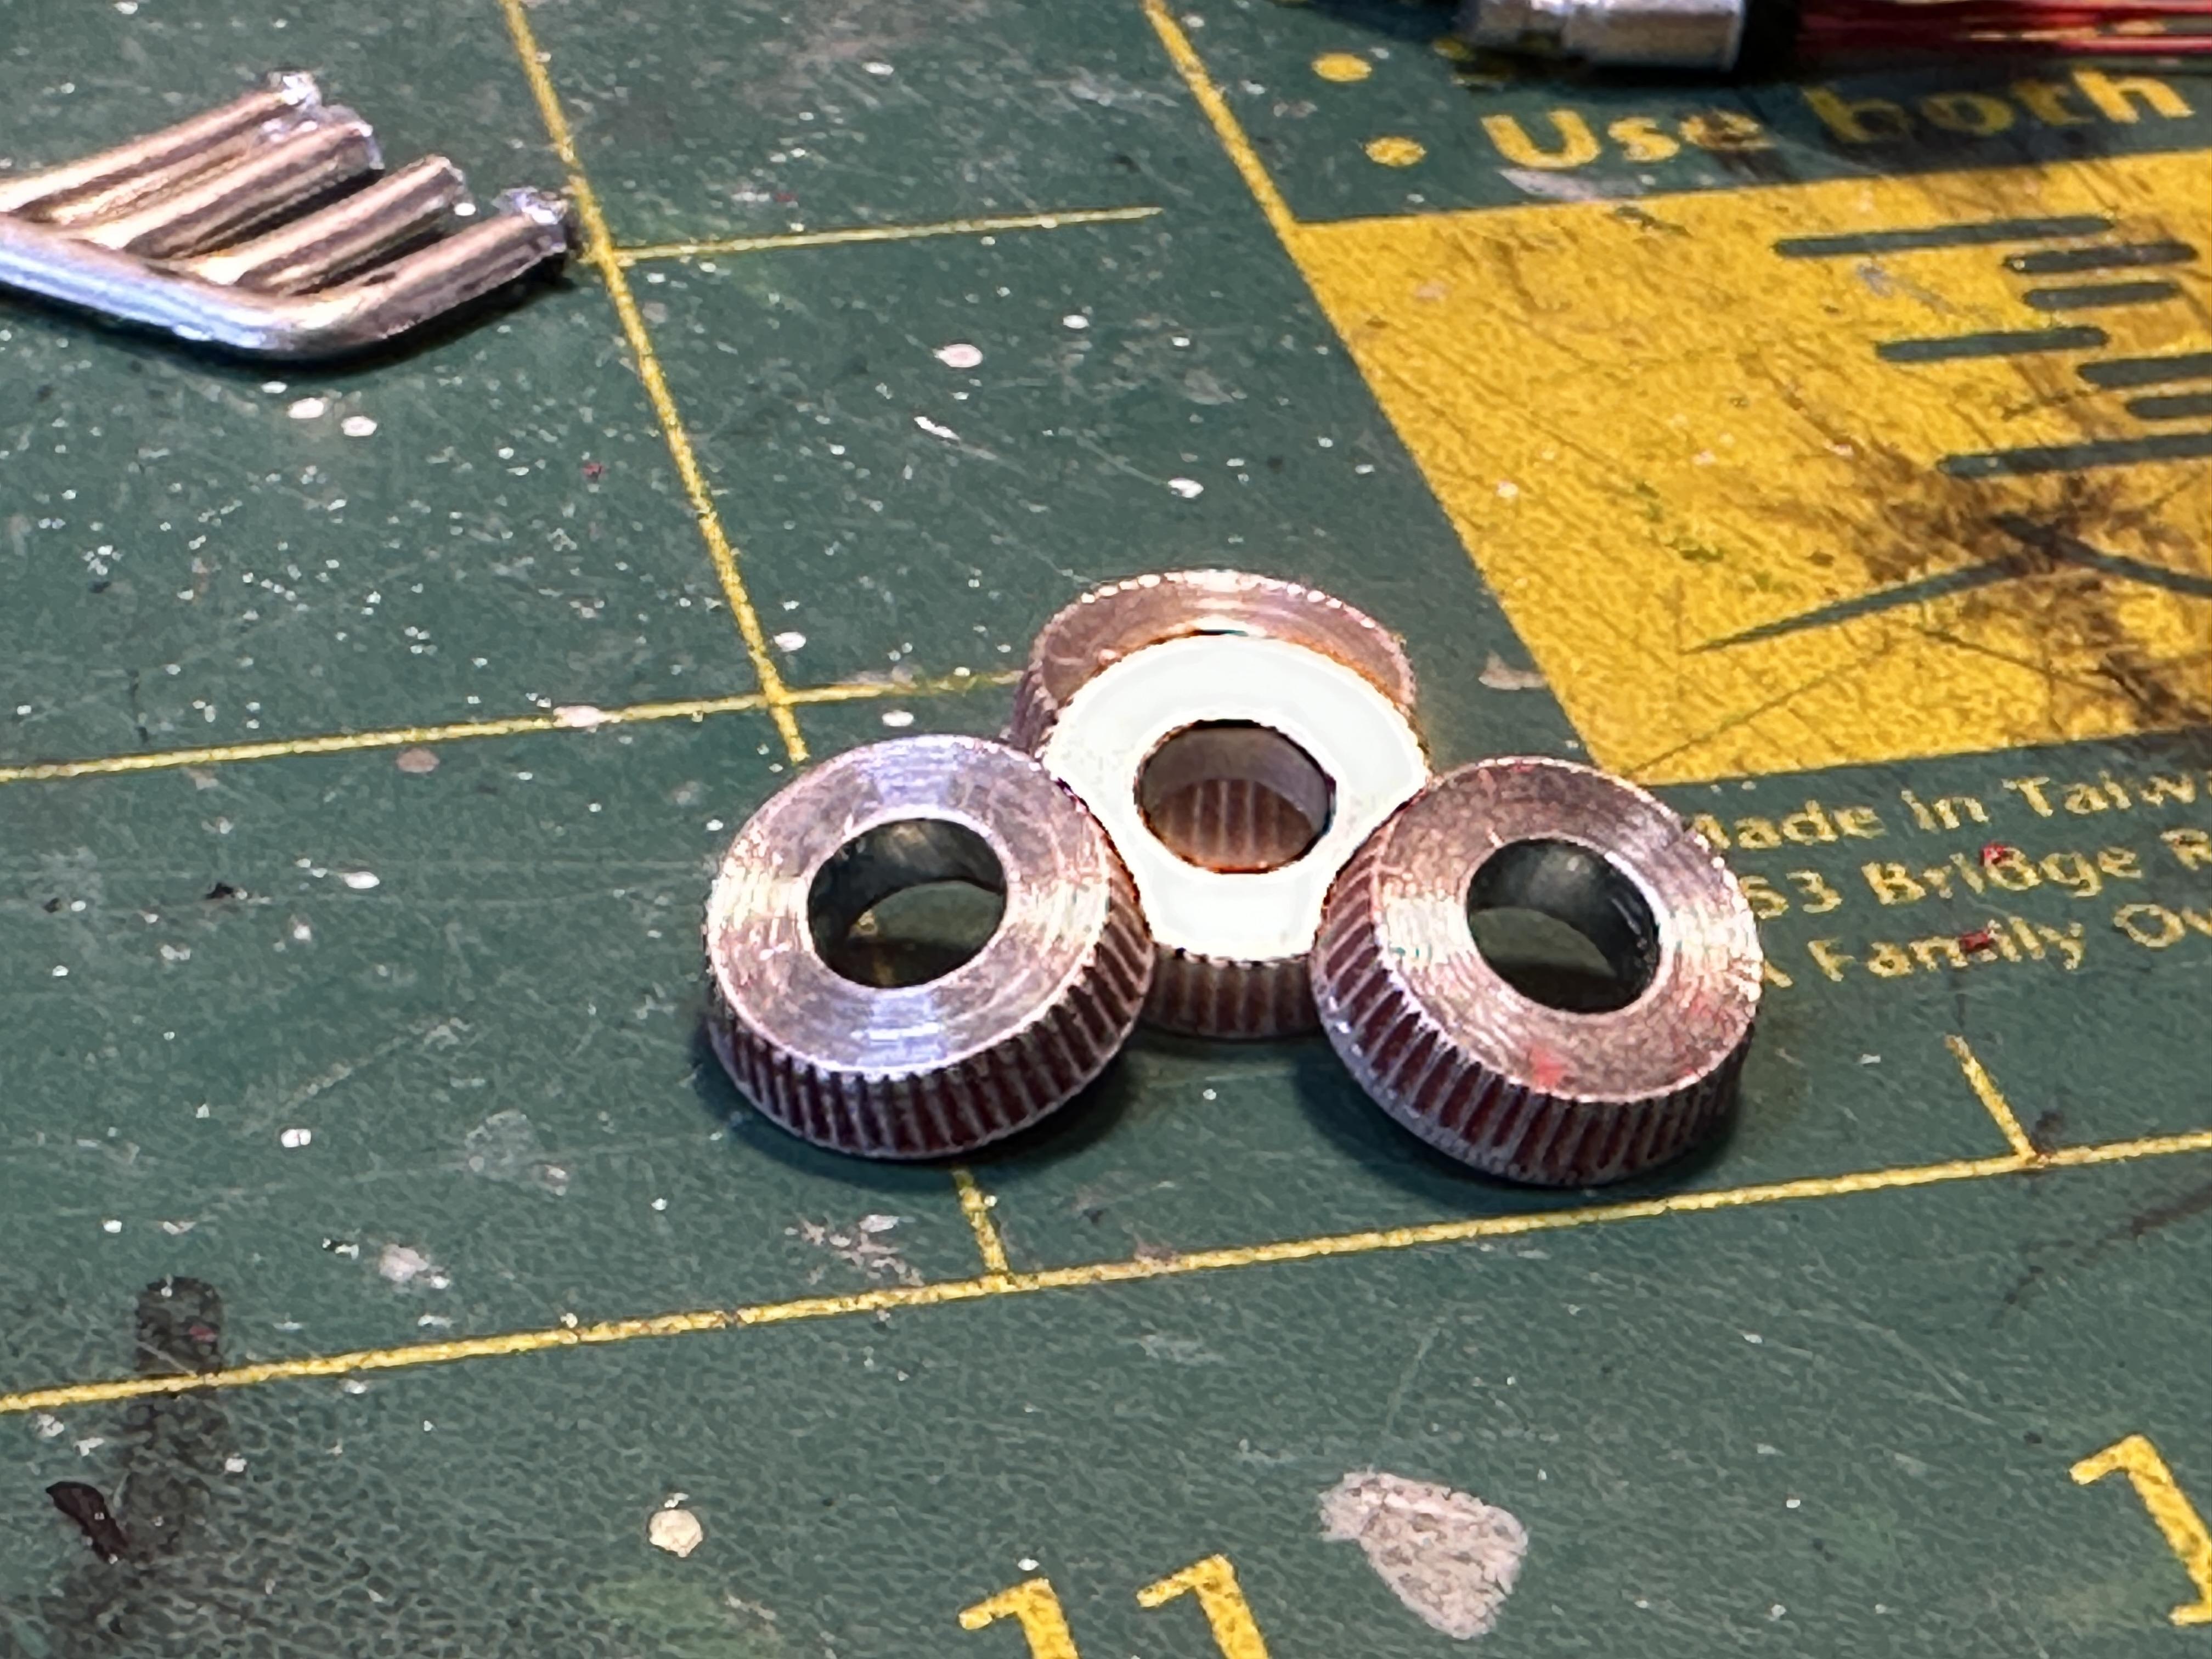
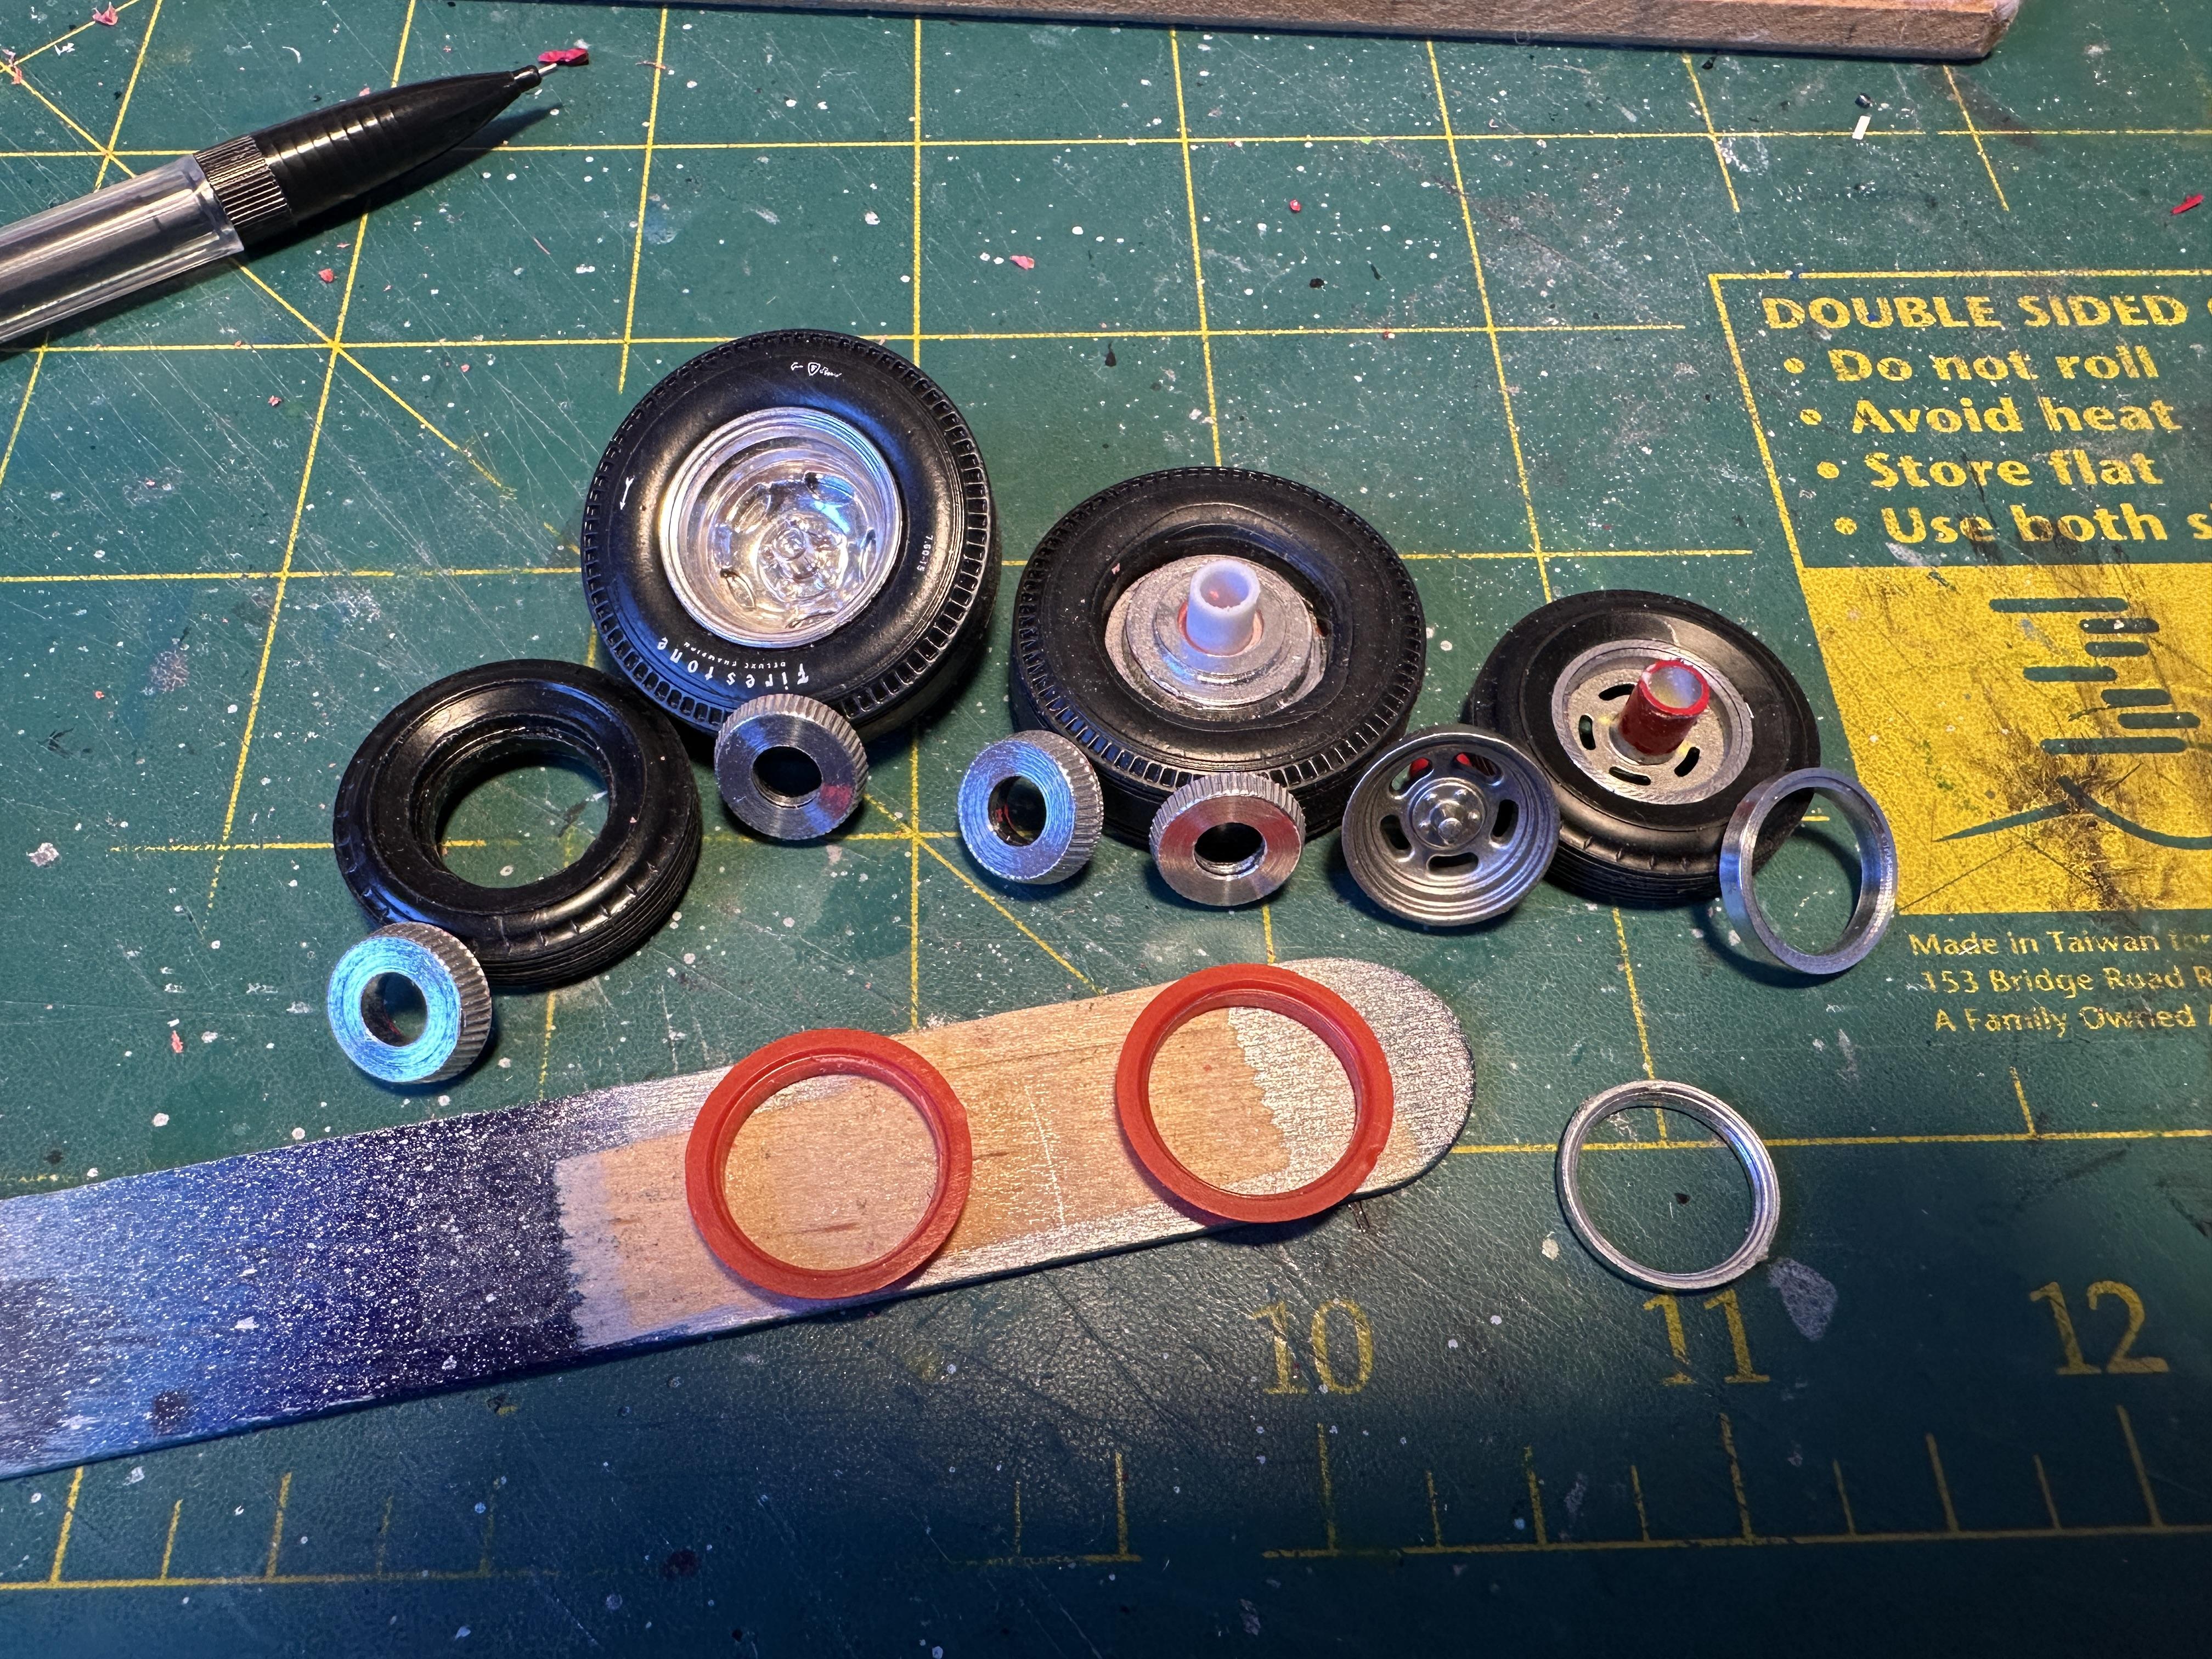
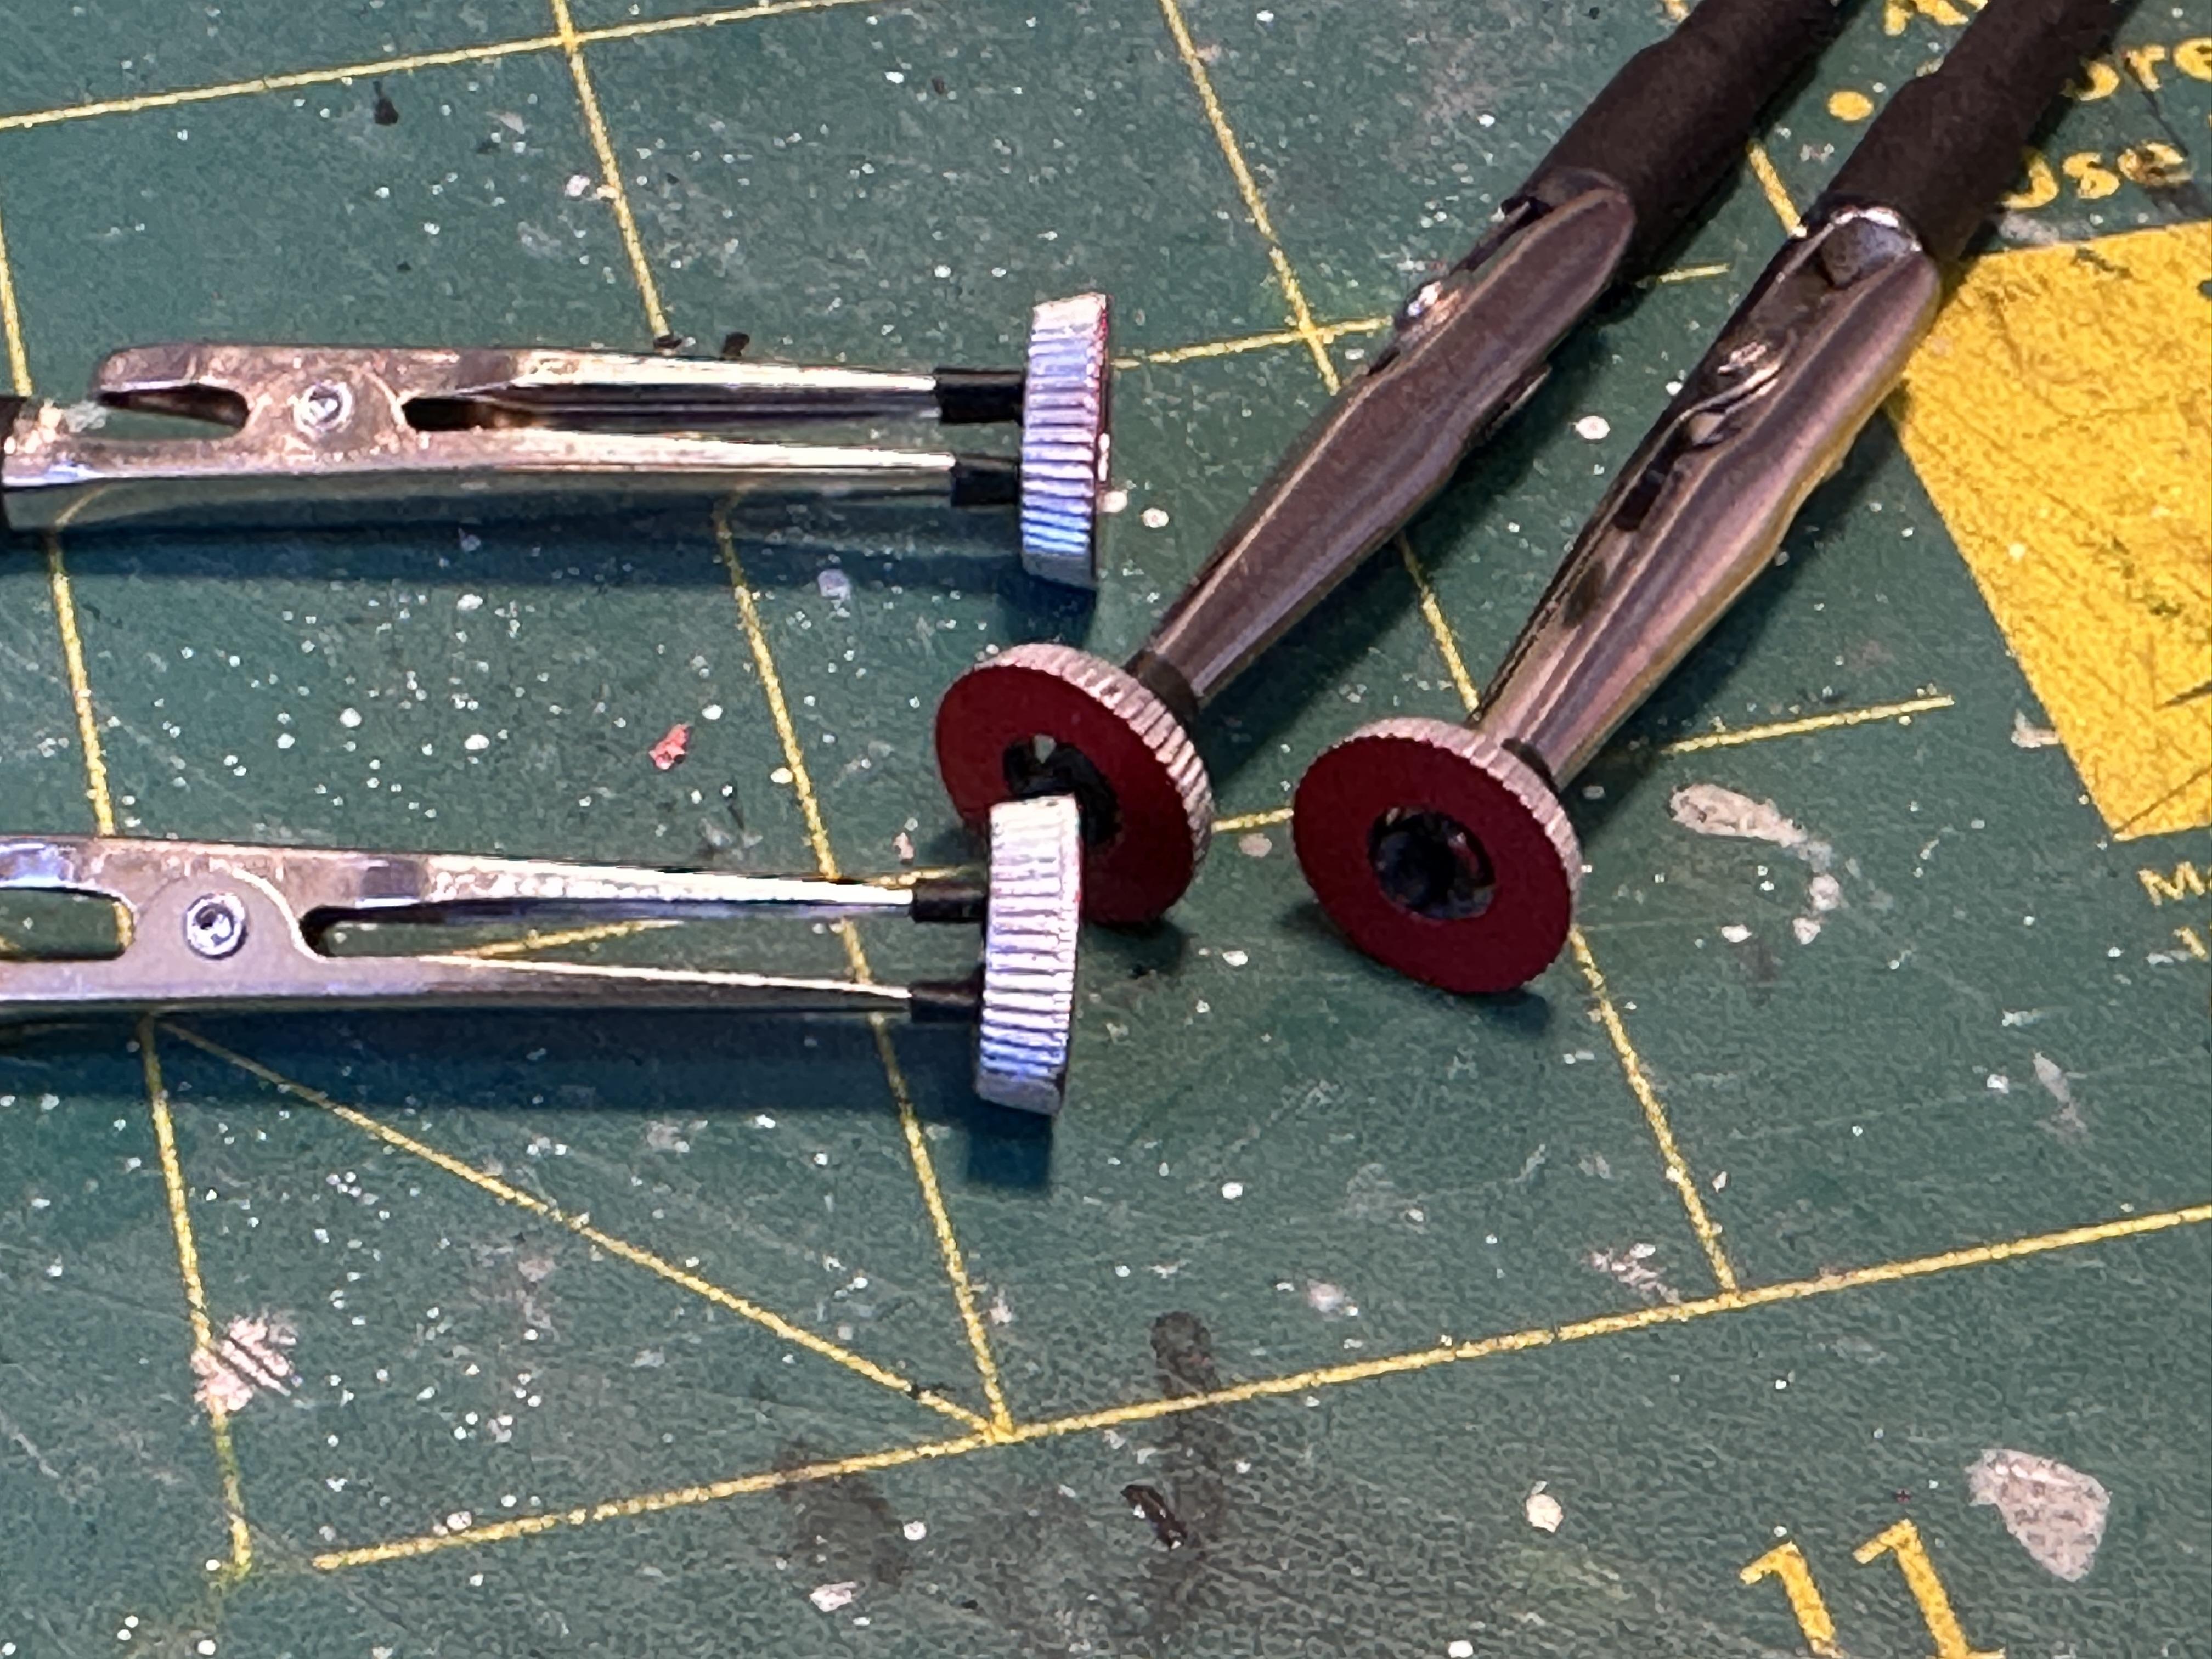
Thanks Rusty On with decals. Got some of the sponsor decals on - some were just too old and fell apart when transferring from the backing paper. Oh well that' what we get whenmessing around with old shite. Just enough to get by IMO. There is one I put on the boot lid but no pix yet Mean time moving on with the wheels. I stripped the chrome from the fronts and painted magnesium. The rears I will leave in chrome - typical old timey mismatched wheels. I machined some rear wheel spacers - altered kit parts for the rear and ally for the fronts. Some more paint then onto assembly. Shown in the above are some finned brakes - I machined on my "big" lathe from ally and straight knurned them. Skinny for the rear and wider for the fronts. The backing plates are painted the red accent colour I am using Thanks for looking
-
Yeah that too
-
A nice method to cut a 33/34 5W top. No need to add a stretch piece between the A-B and B-C pillars which is always hard to get right with a 5W. And it looks more stock than stretching and you can keep the top insert if you want - a lot of the early comp coupes kept them
-
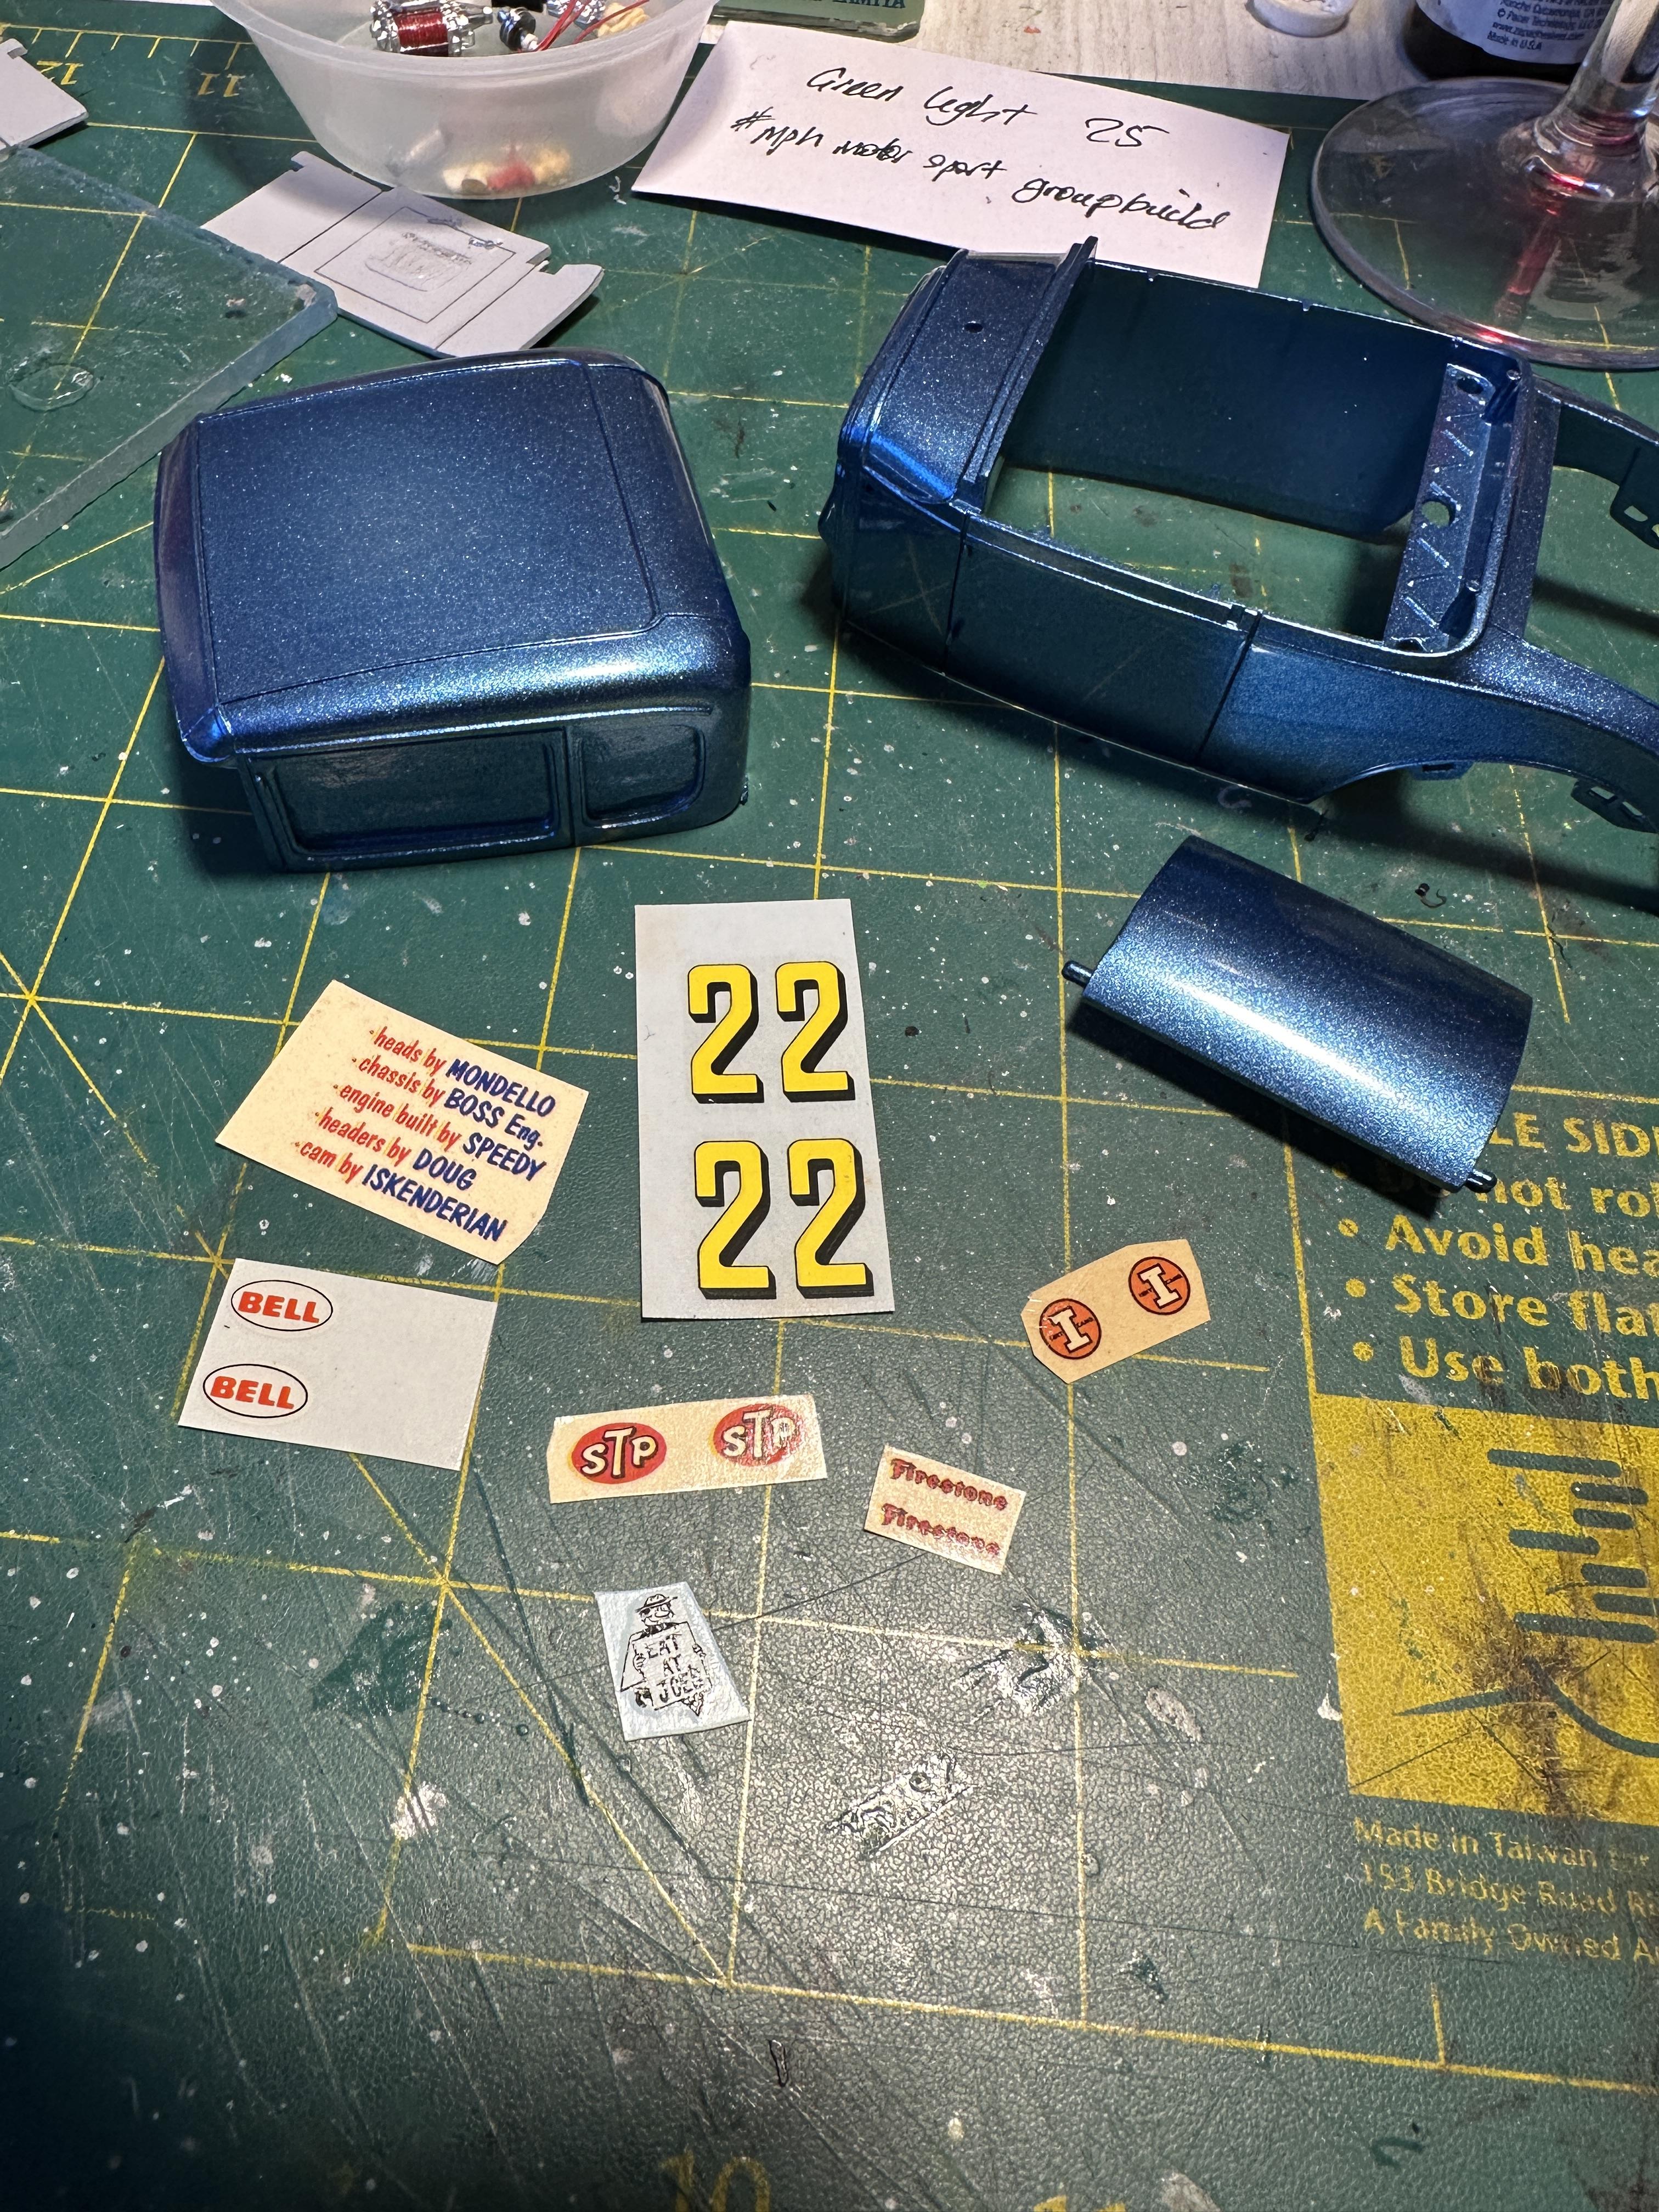
I have sanded to 3200g and squirted another coat of clear ready for decals. Decals gathered together. I raided my decal stash - hard to find as I don't have or build many competition cars. The sources are varied 22 numbers and Bell decals from Johan 69 RR Sponsor decals from vintage AMT Double drag team and 37 Chev. Eat at Joes from Revell 29 Roadster - only modern decals used And getting them on. One of the 22 numbers on the drivers side broke apart and needed some tlc to get it all back together. Used a lot of decal setting solution to help. The carrier film on the old decals id continuous and needs close trimming. Also quite heavy too but that may because they were made here in New Zealand way back when (69-70)
-
Like the blower engine - just a question - how do you mount the dizzy with all the other cool hardware Like the way the whole model is coming together with all the little custom touches
-
This is a kool build - a real old timey flavour that I am liking I have used solder for headers and have found it a lot easier to work with than trying to shape round plastic to fit. I have three or four sizes that I use 1.6mm, 1.7mm and 2mm with some small bits of other sizes if I go digging. I got the 2mm and 1.7mm online specifically for model building - the 1.6mm and a smaller size is what I use at my 1:1 work bench
-
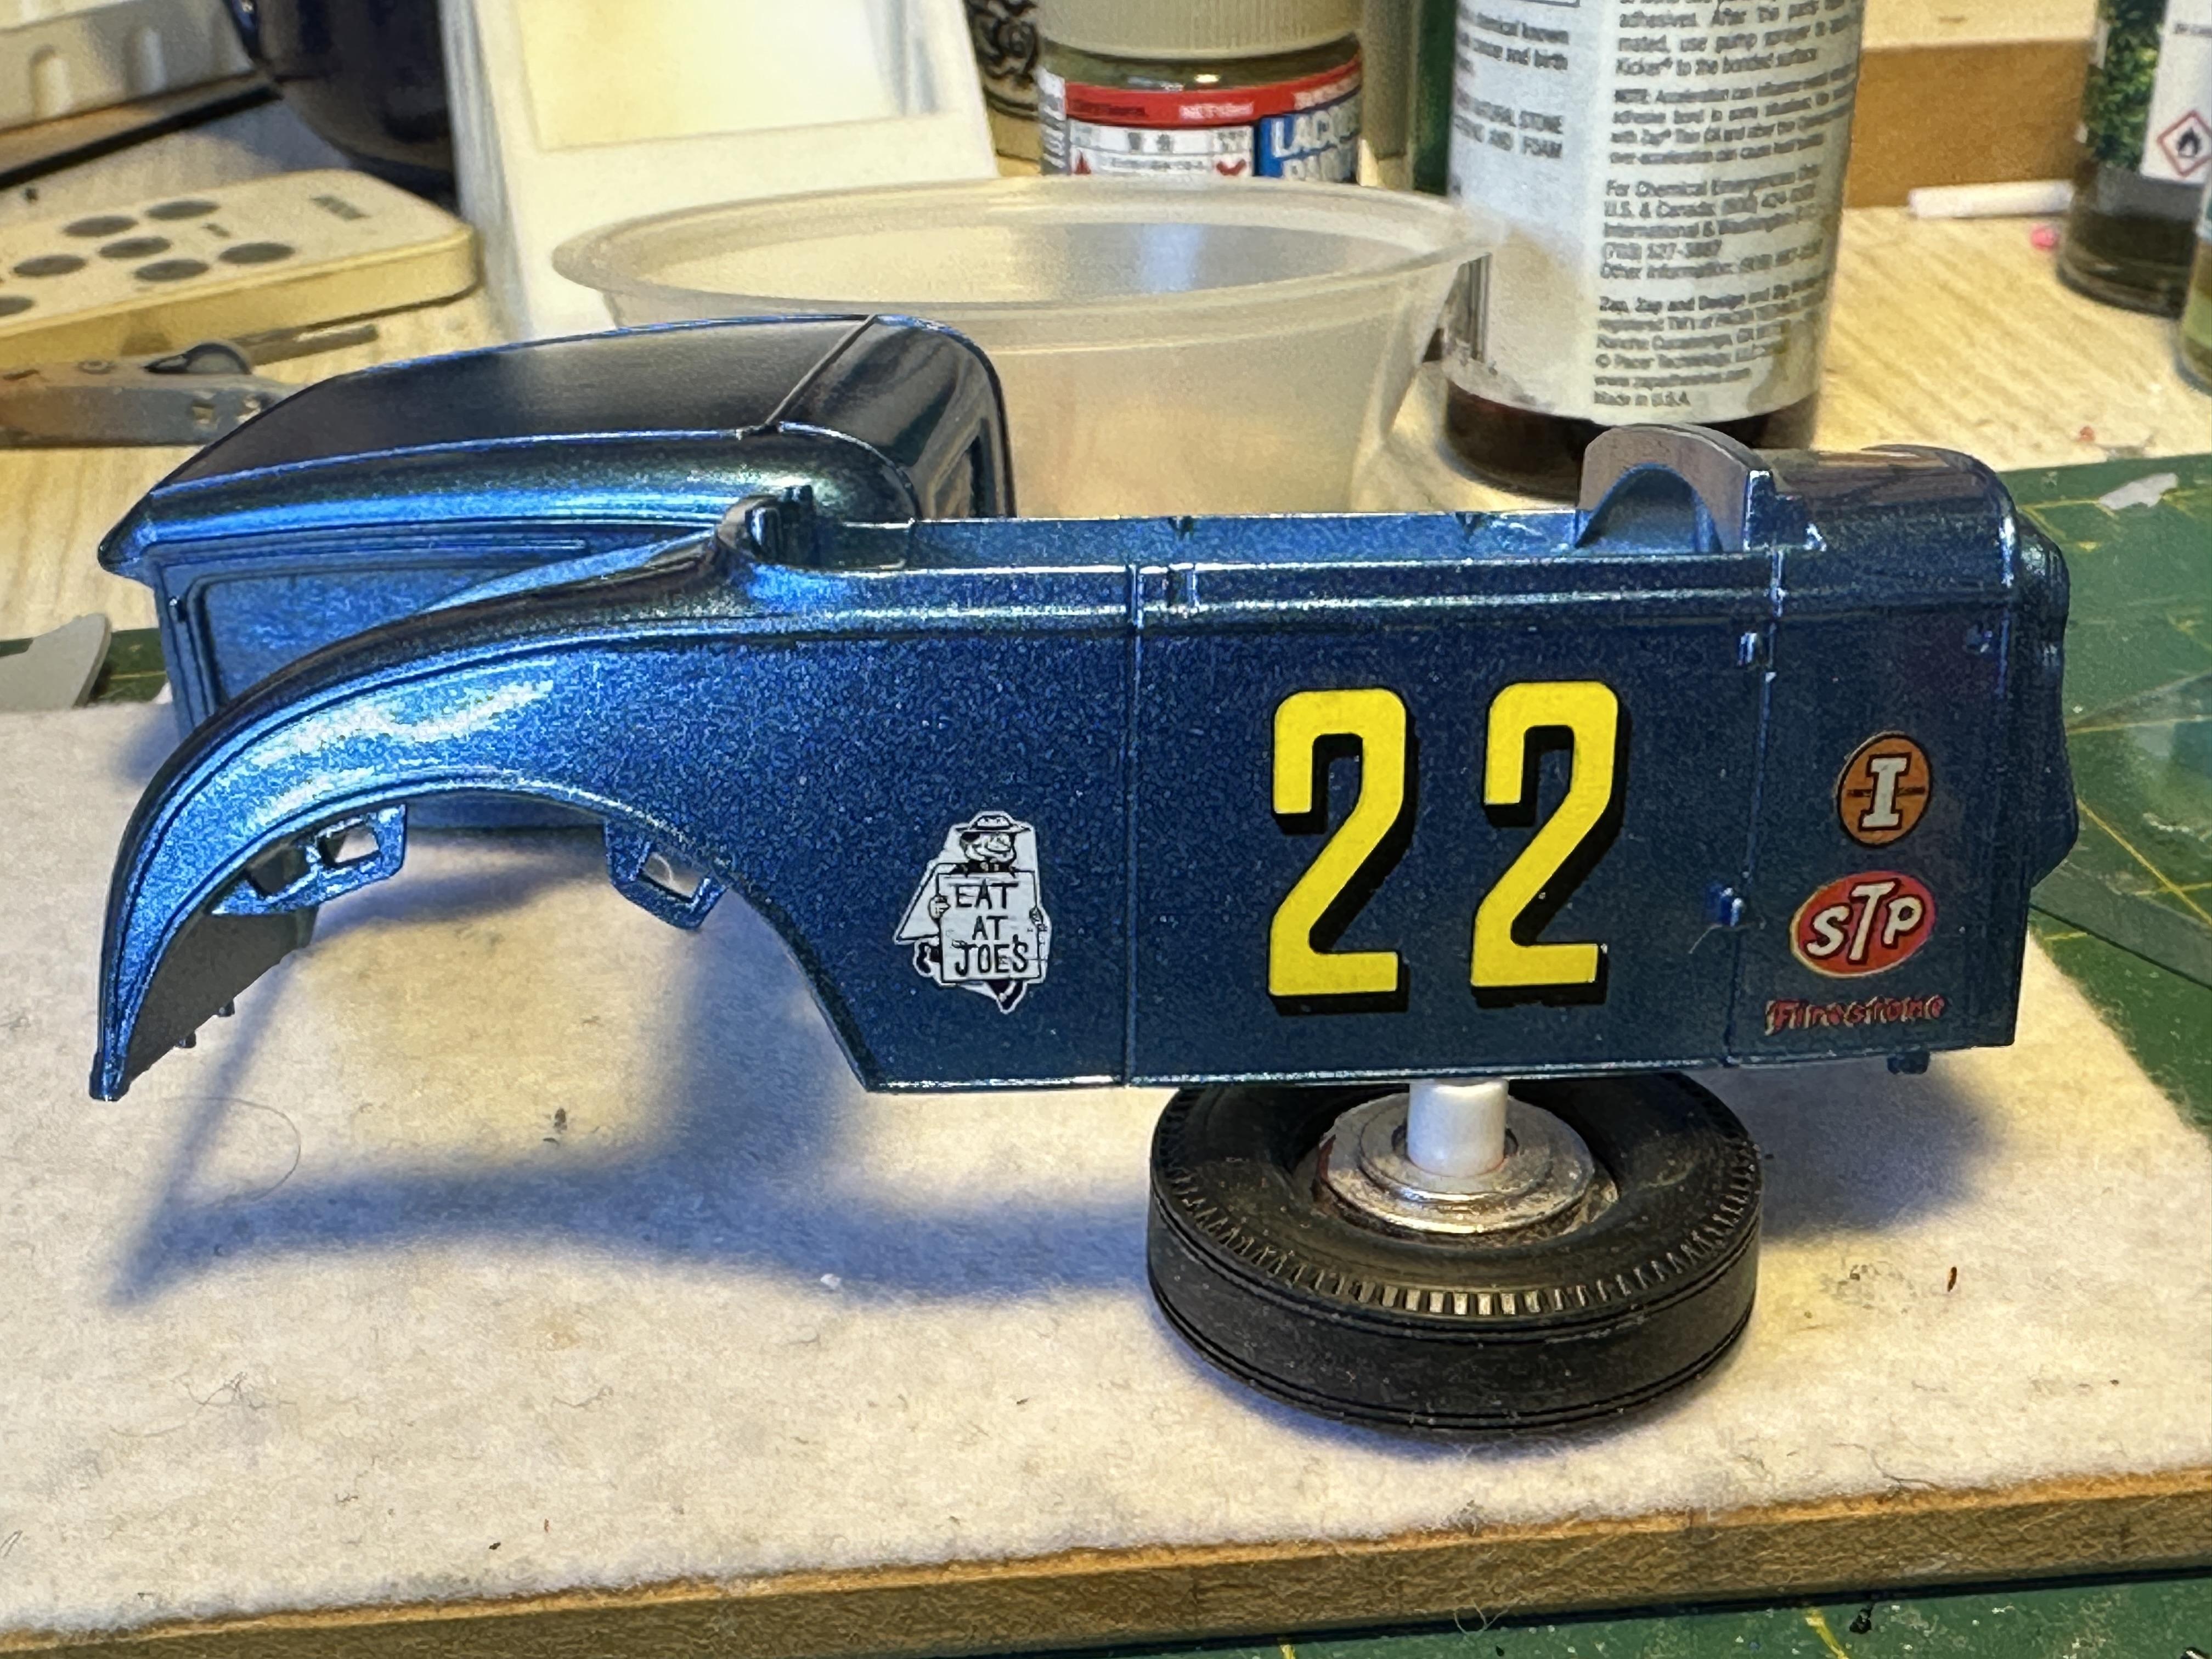
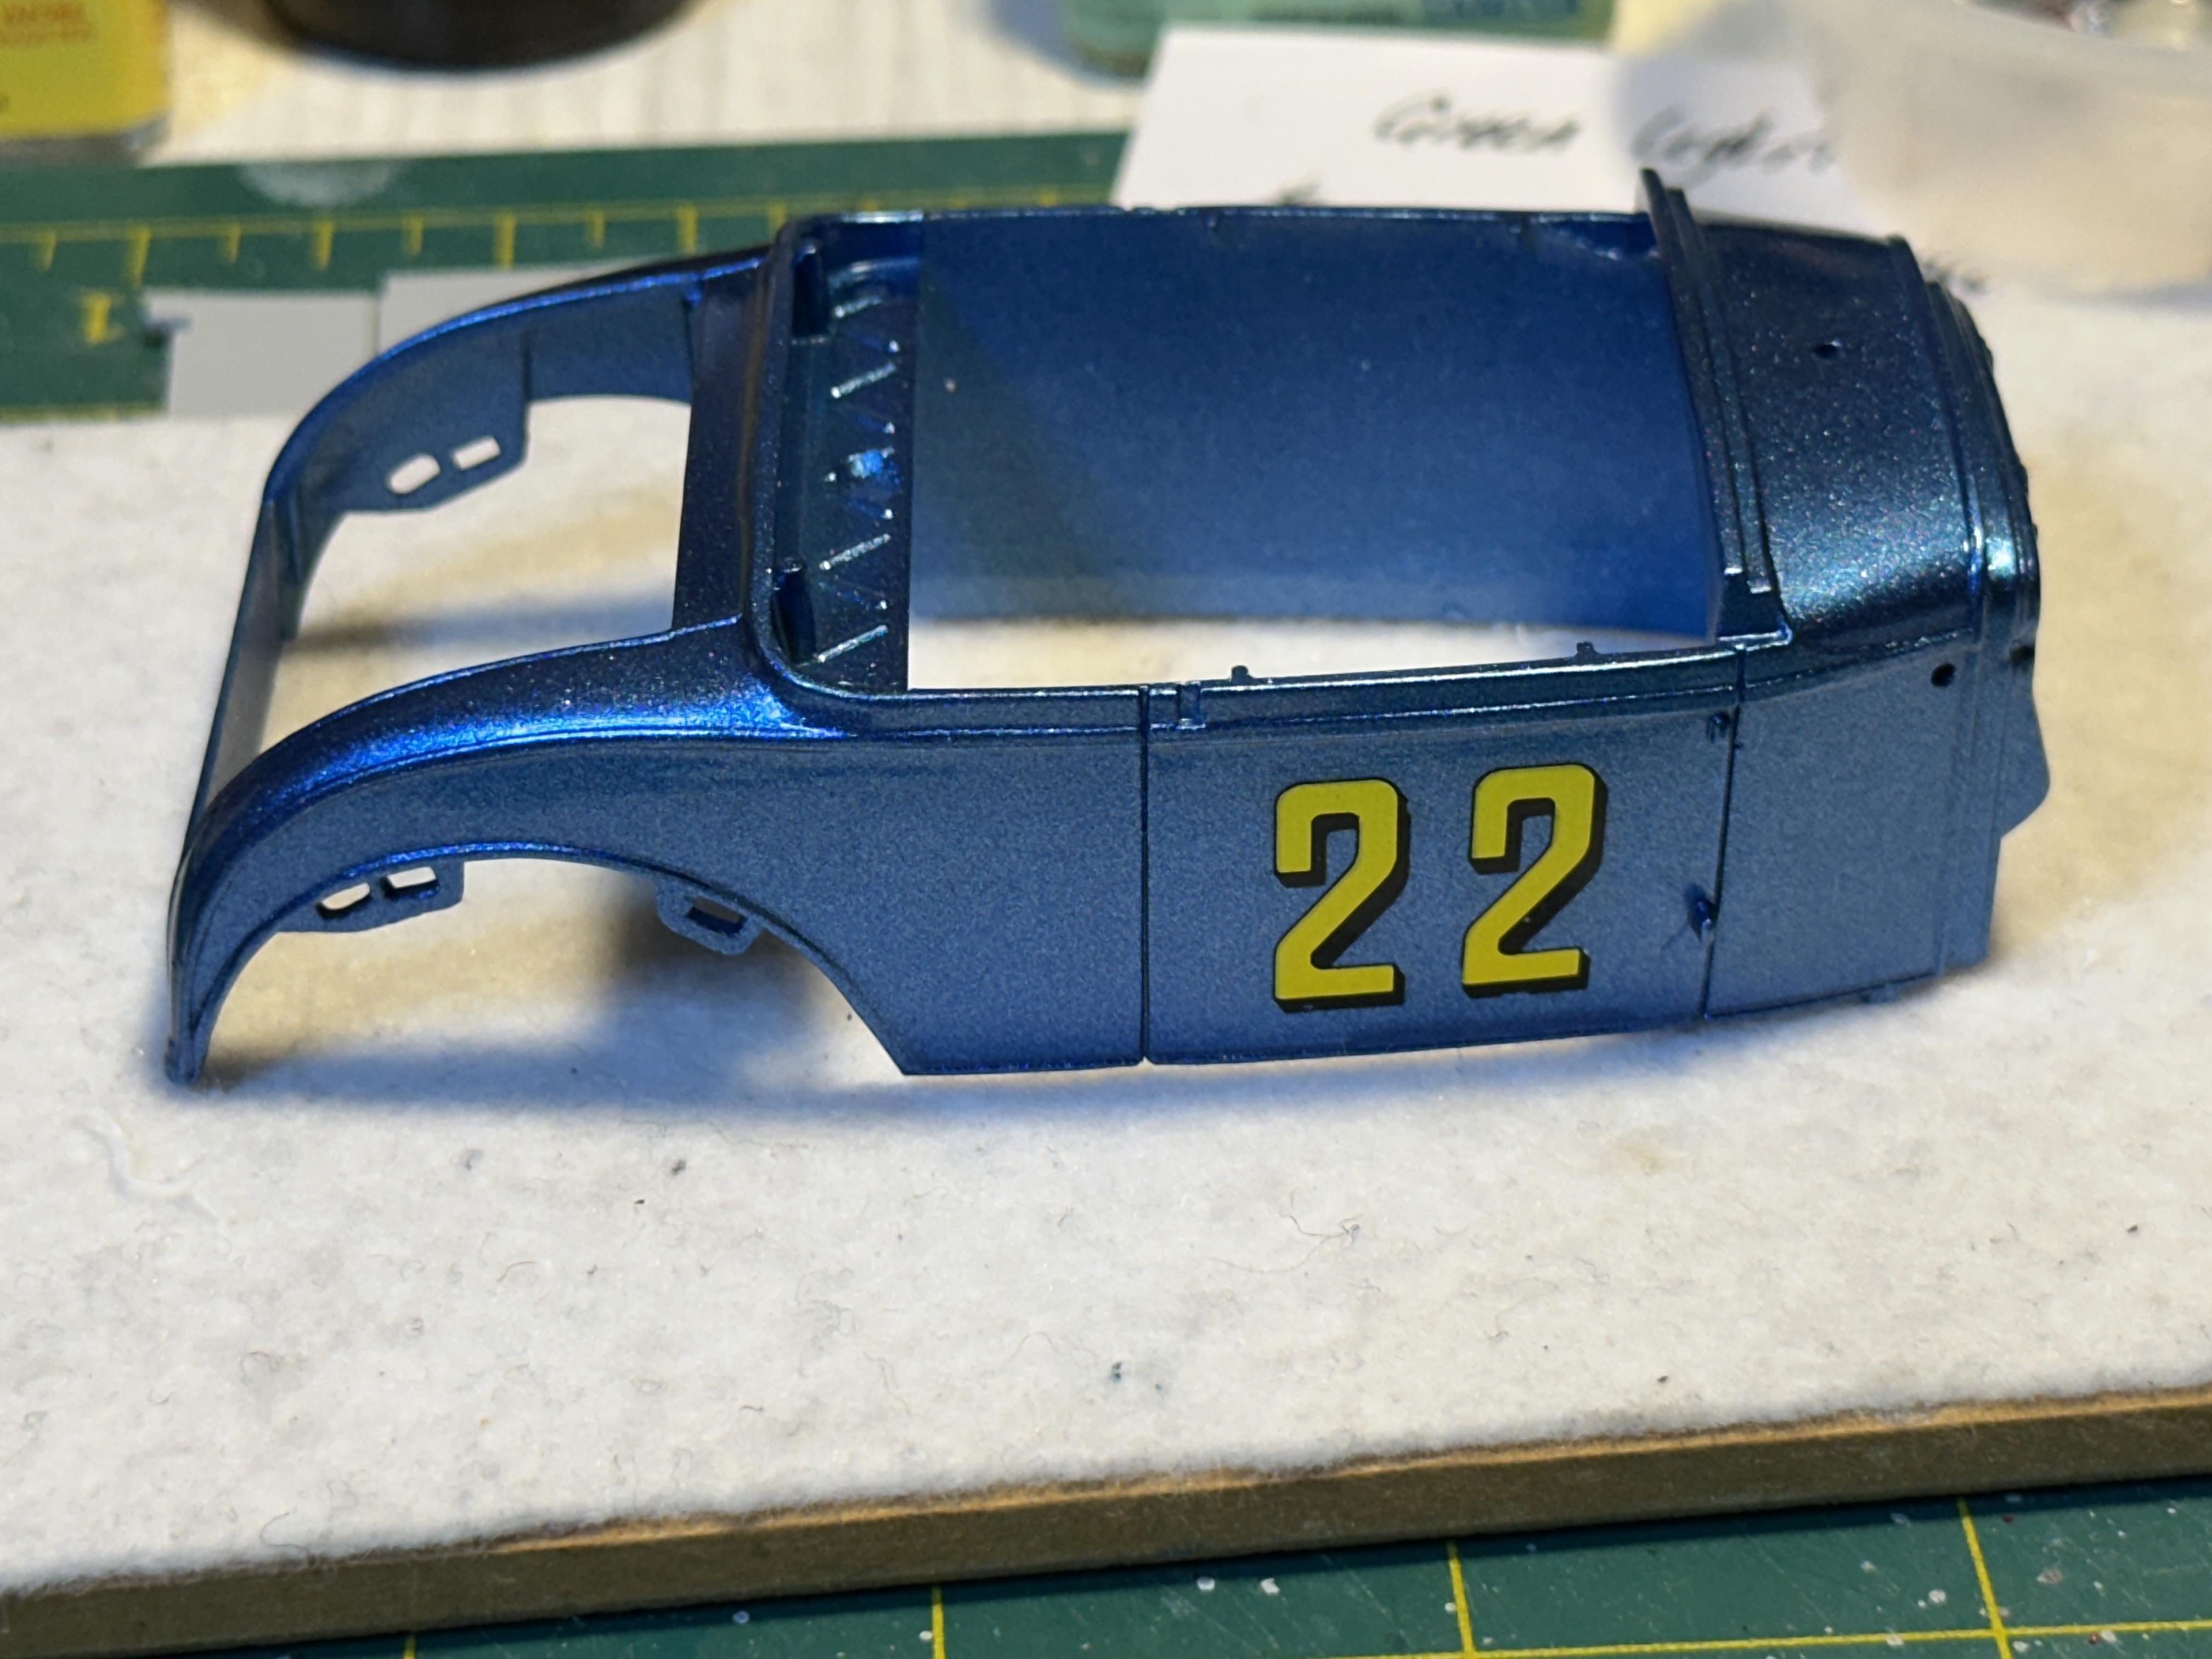
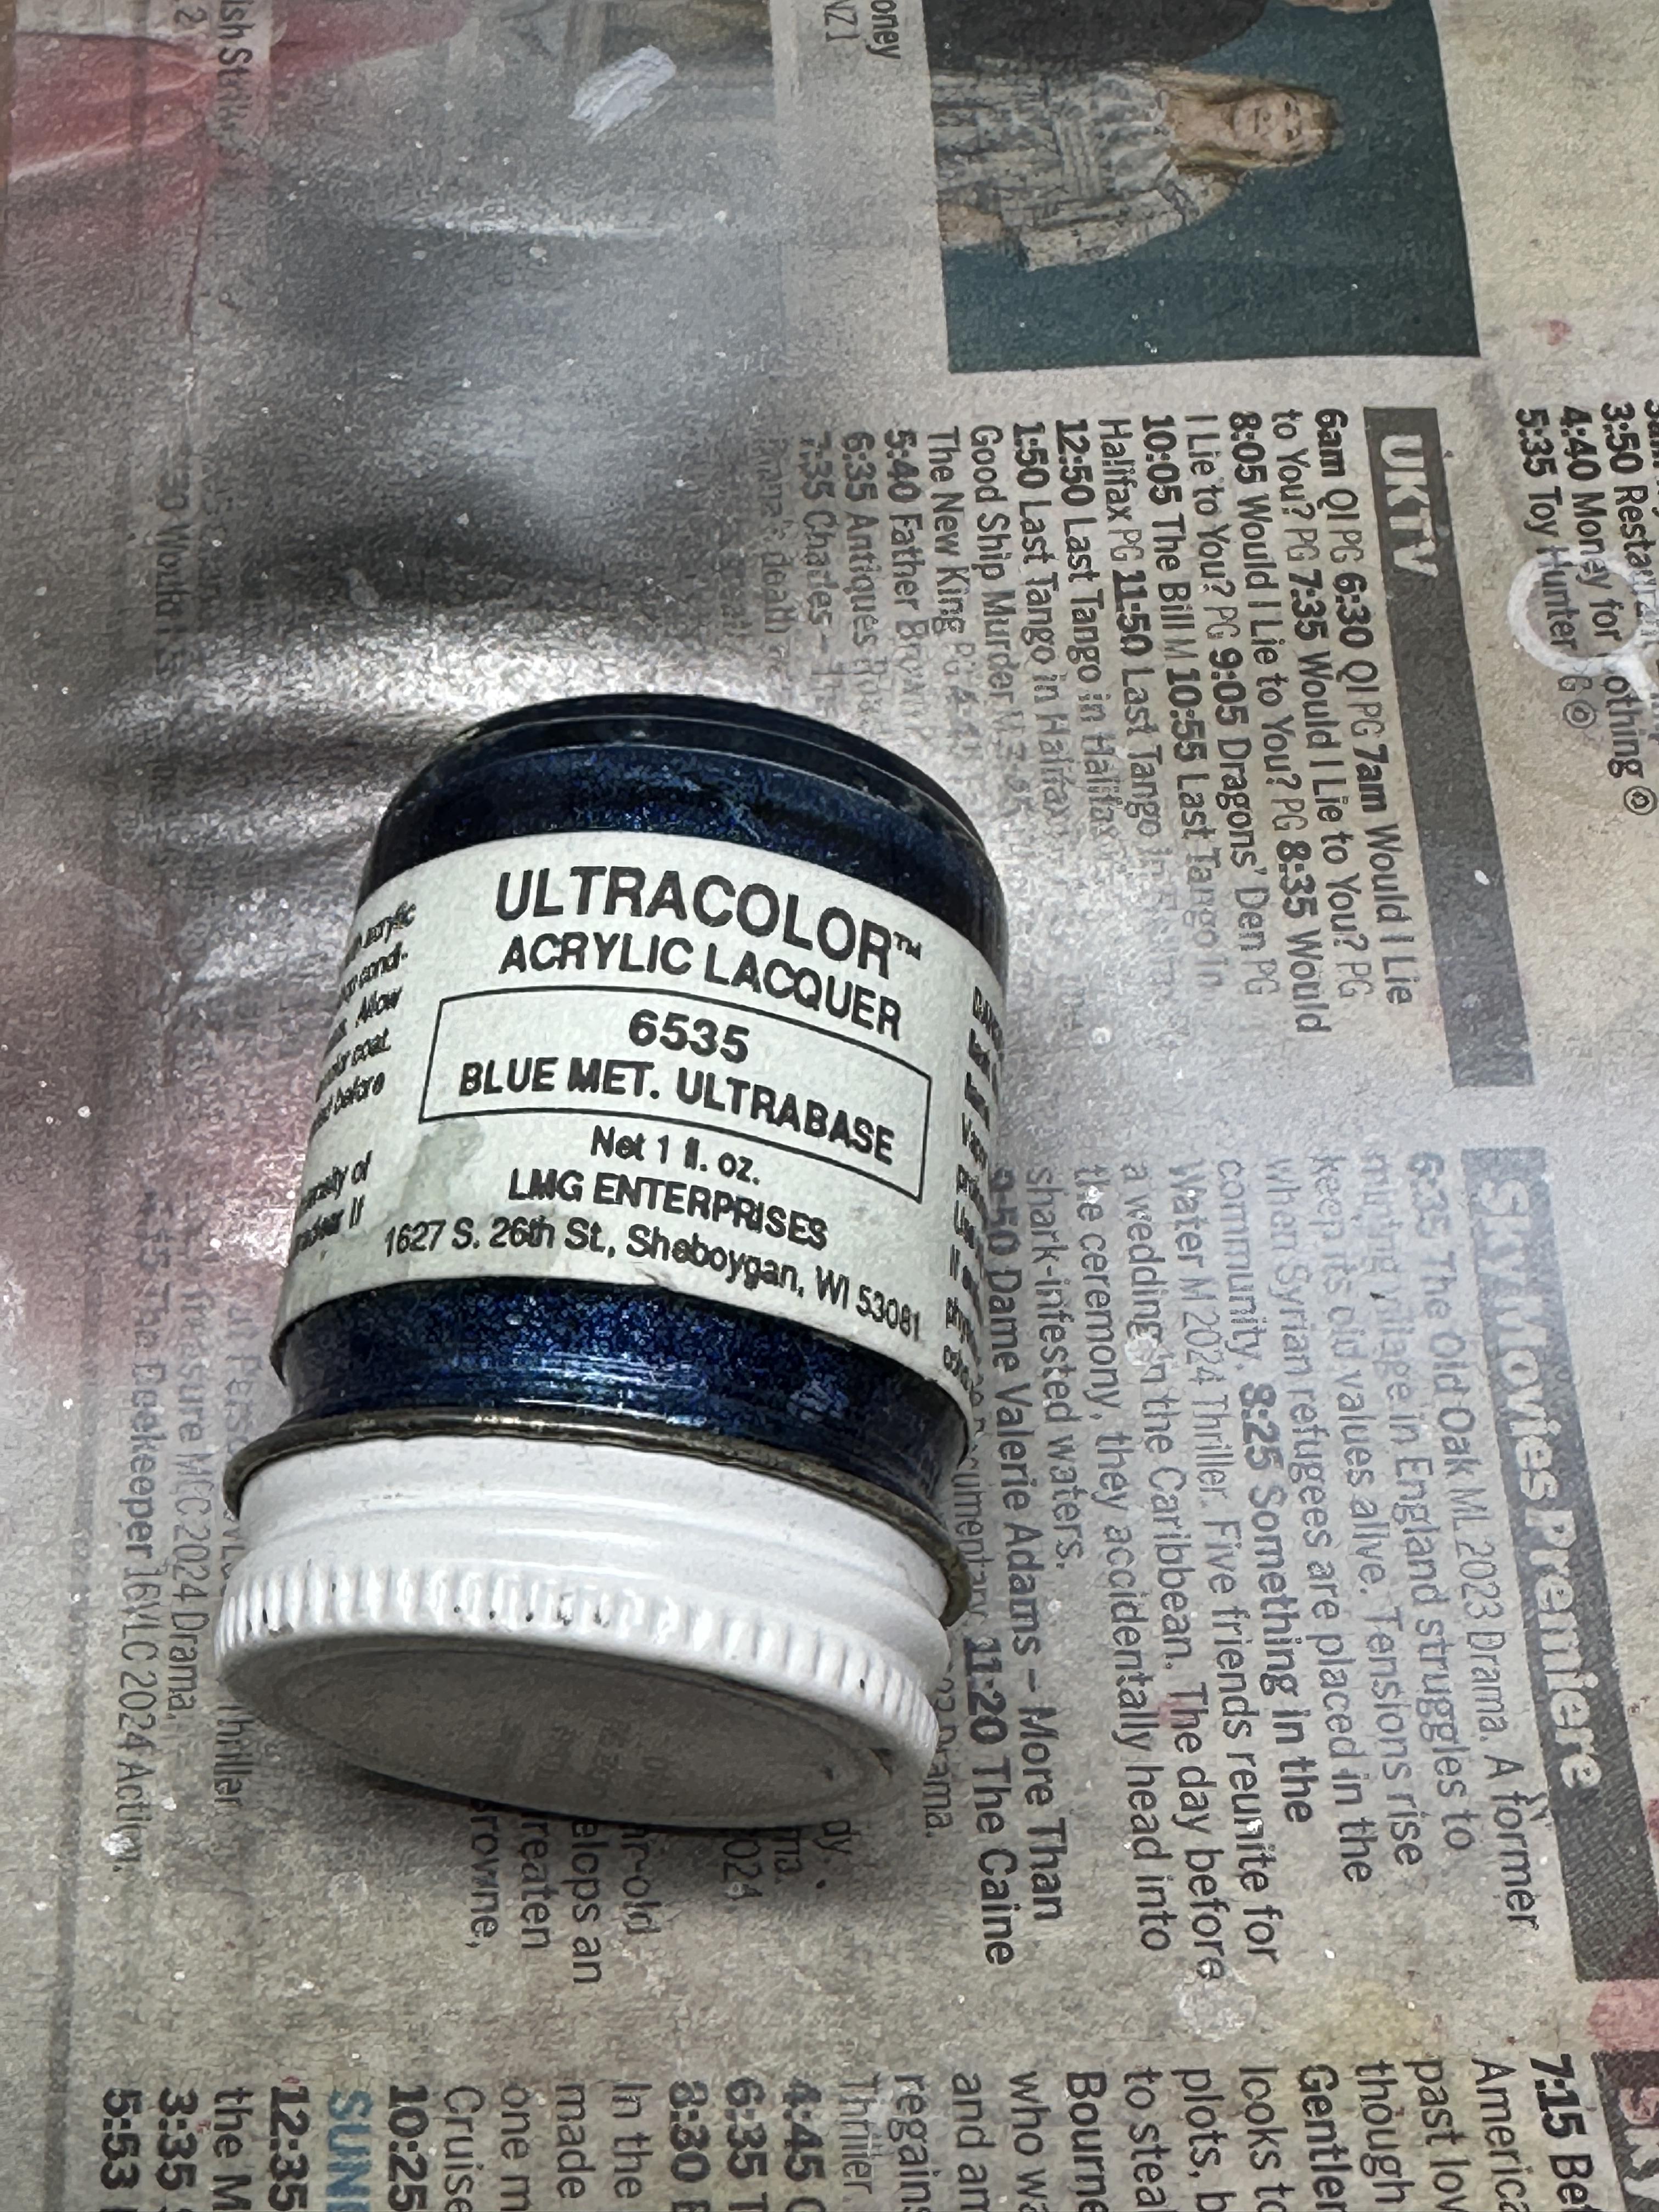
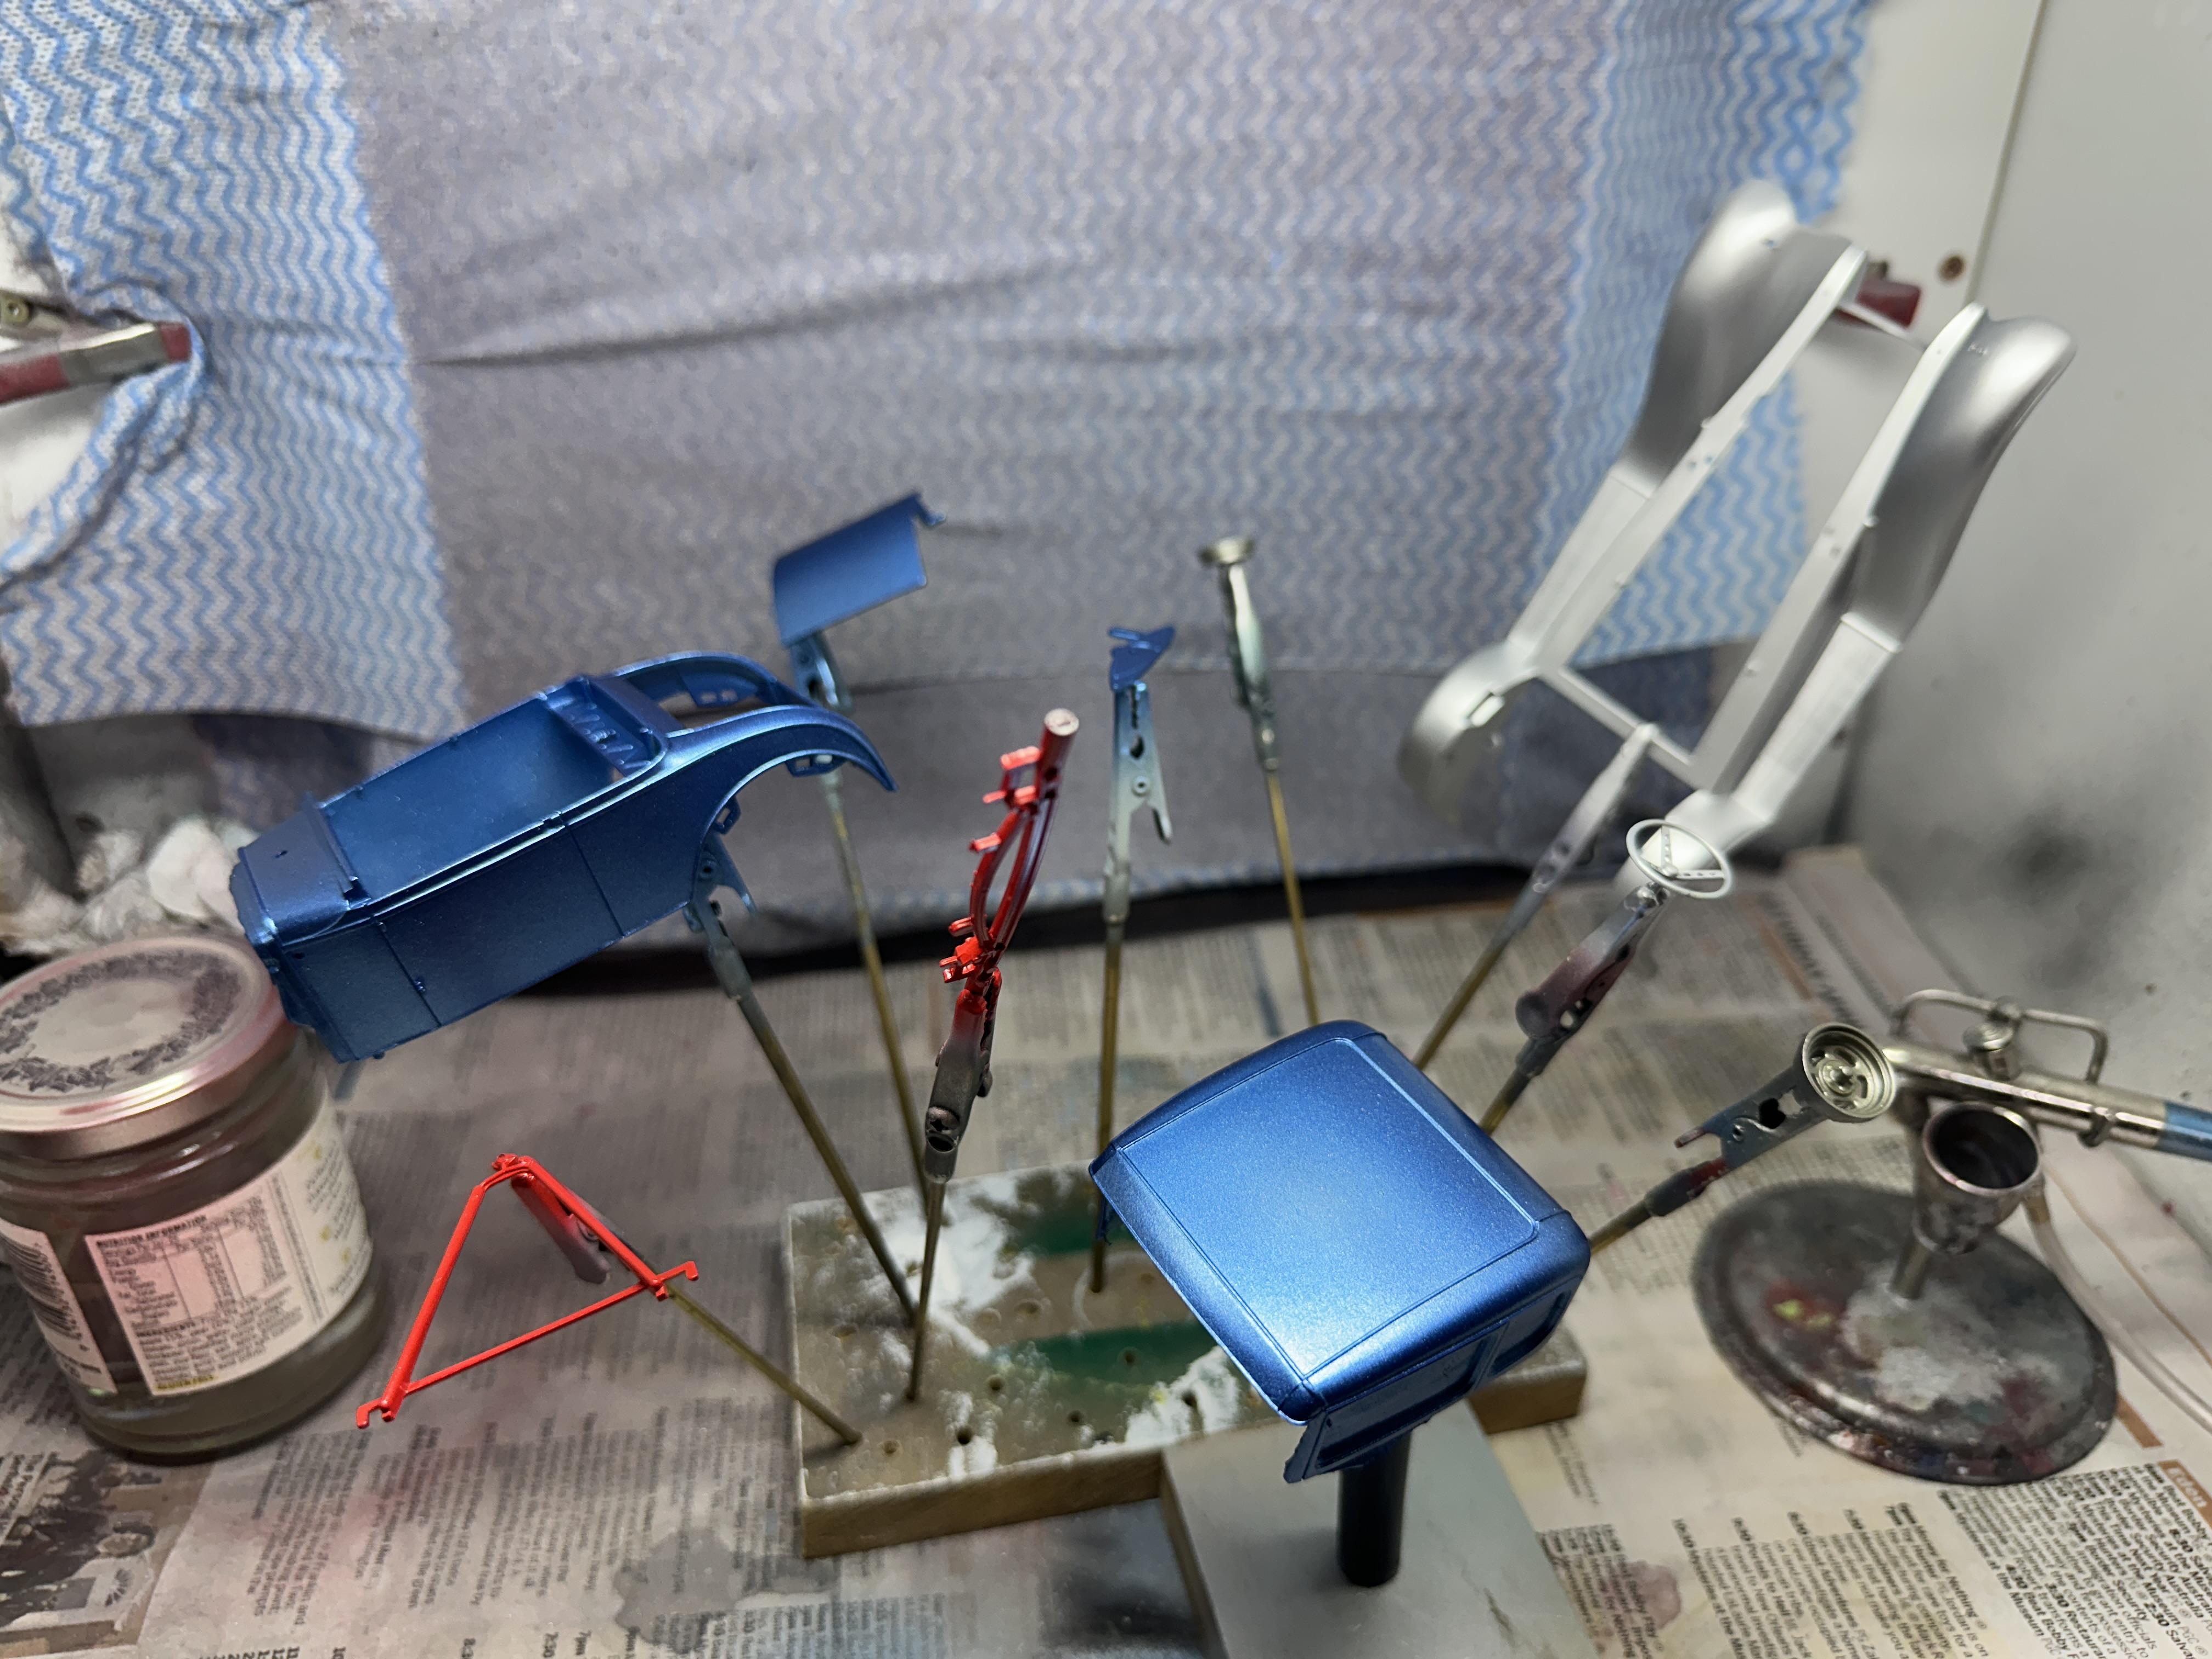
Been away again - it was a long weekend last weekend here in NZ so modelling has taken a back seat But - I have got the body prep done and some colour on before heading off. And clear this week Paint is ancient from LMG given to me ages ago so thought I would give it a go. I was very thick and so spent a bit of time reviving it and thinning enough to airbrush I am using the blue as main body colour and SMS Super Silver on the guards. A typical 50/60's colour combo. I just did not want the hassle of black guards. I used the silver as a base coat under the blue for two reasons - a sealer coat for the green body and primer and as a base coat for the blue. And the result. The clear will get a sand back and another coat before I hit it with decals Thanks for looking
-
It seems on the few replies that the stance on skirts is divided about half for and the other half not. When I built my 48 coupe I spent time prepping and painting the skirts, but as I am 50/50 on skirts and I ended up not using them. I like the stance you have Bil and the method you have used to achieve the look
-
Lookin good. This kit does build up nice - I have done one - box stock I see you are using a "modern" motor and slush-o-matic - are you going to change the prop shaft to open - and that leads to split wish bones and .....
-
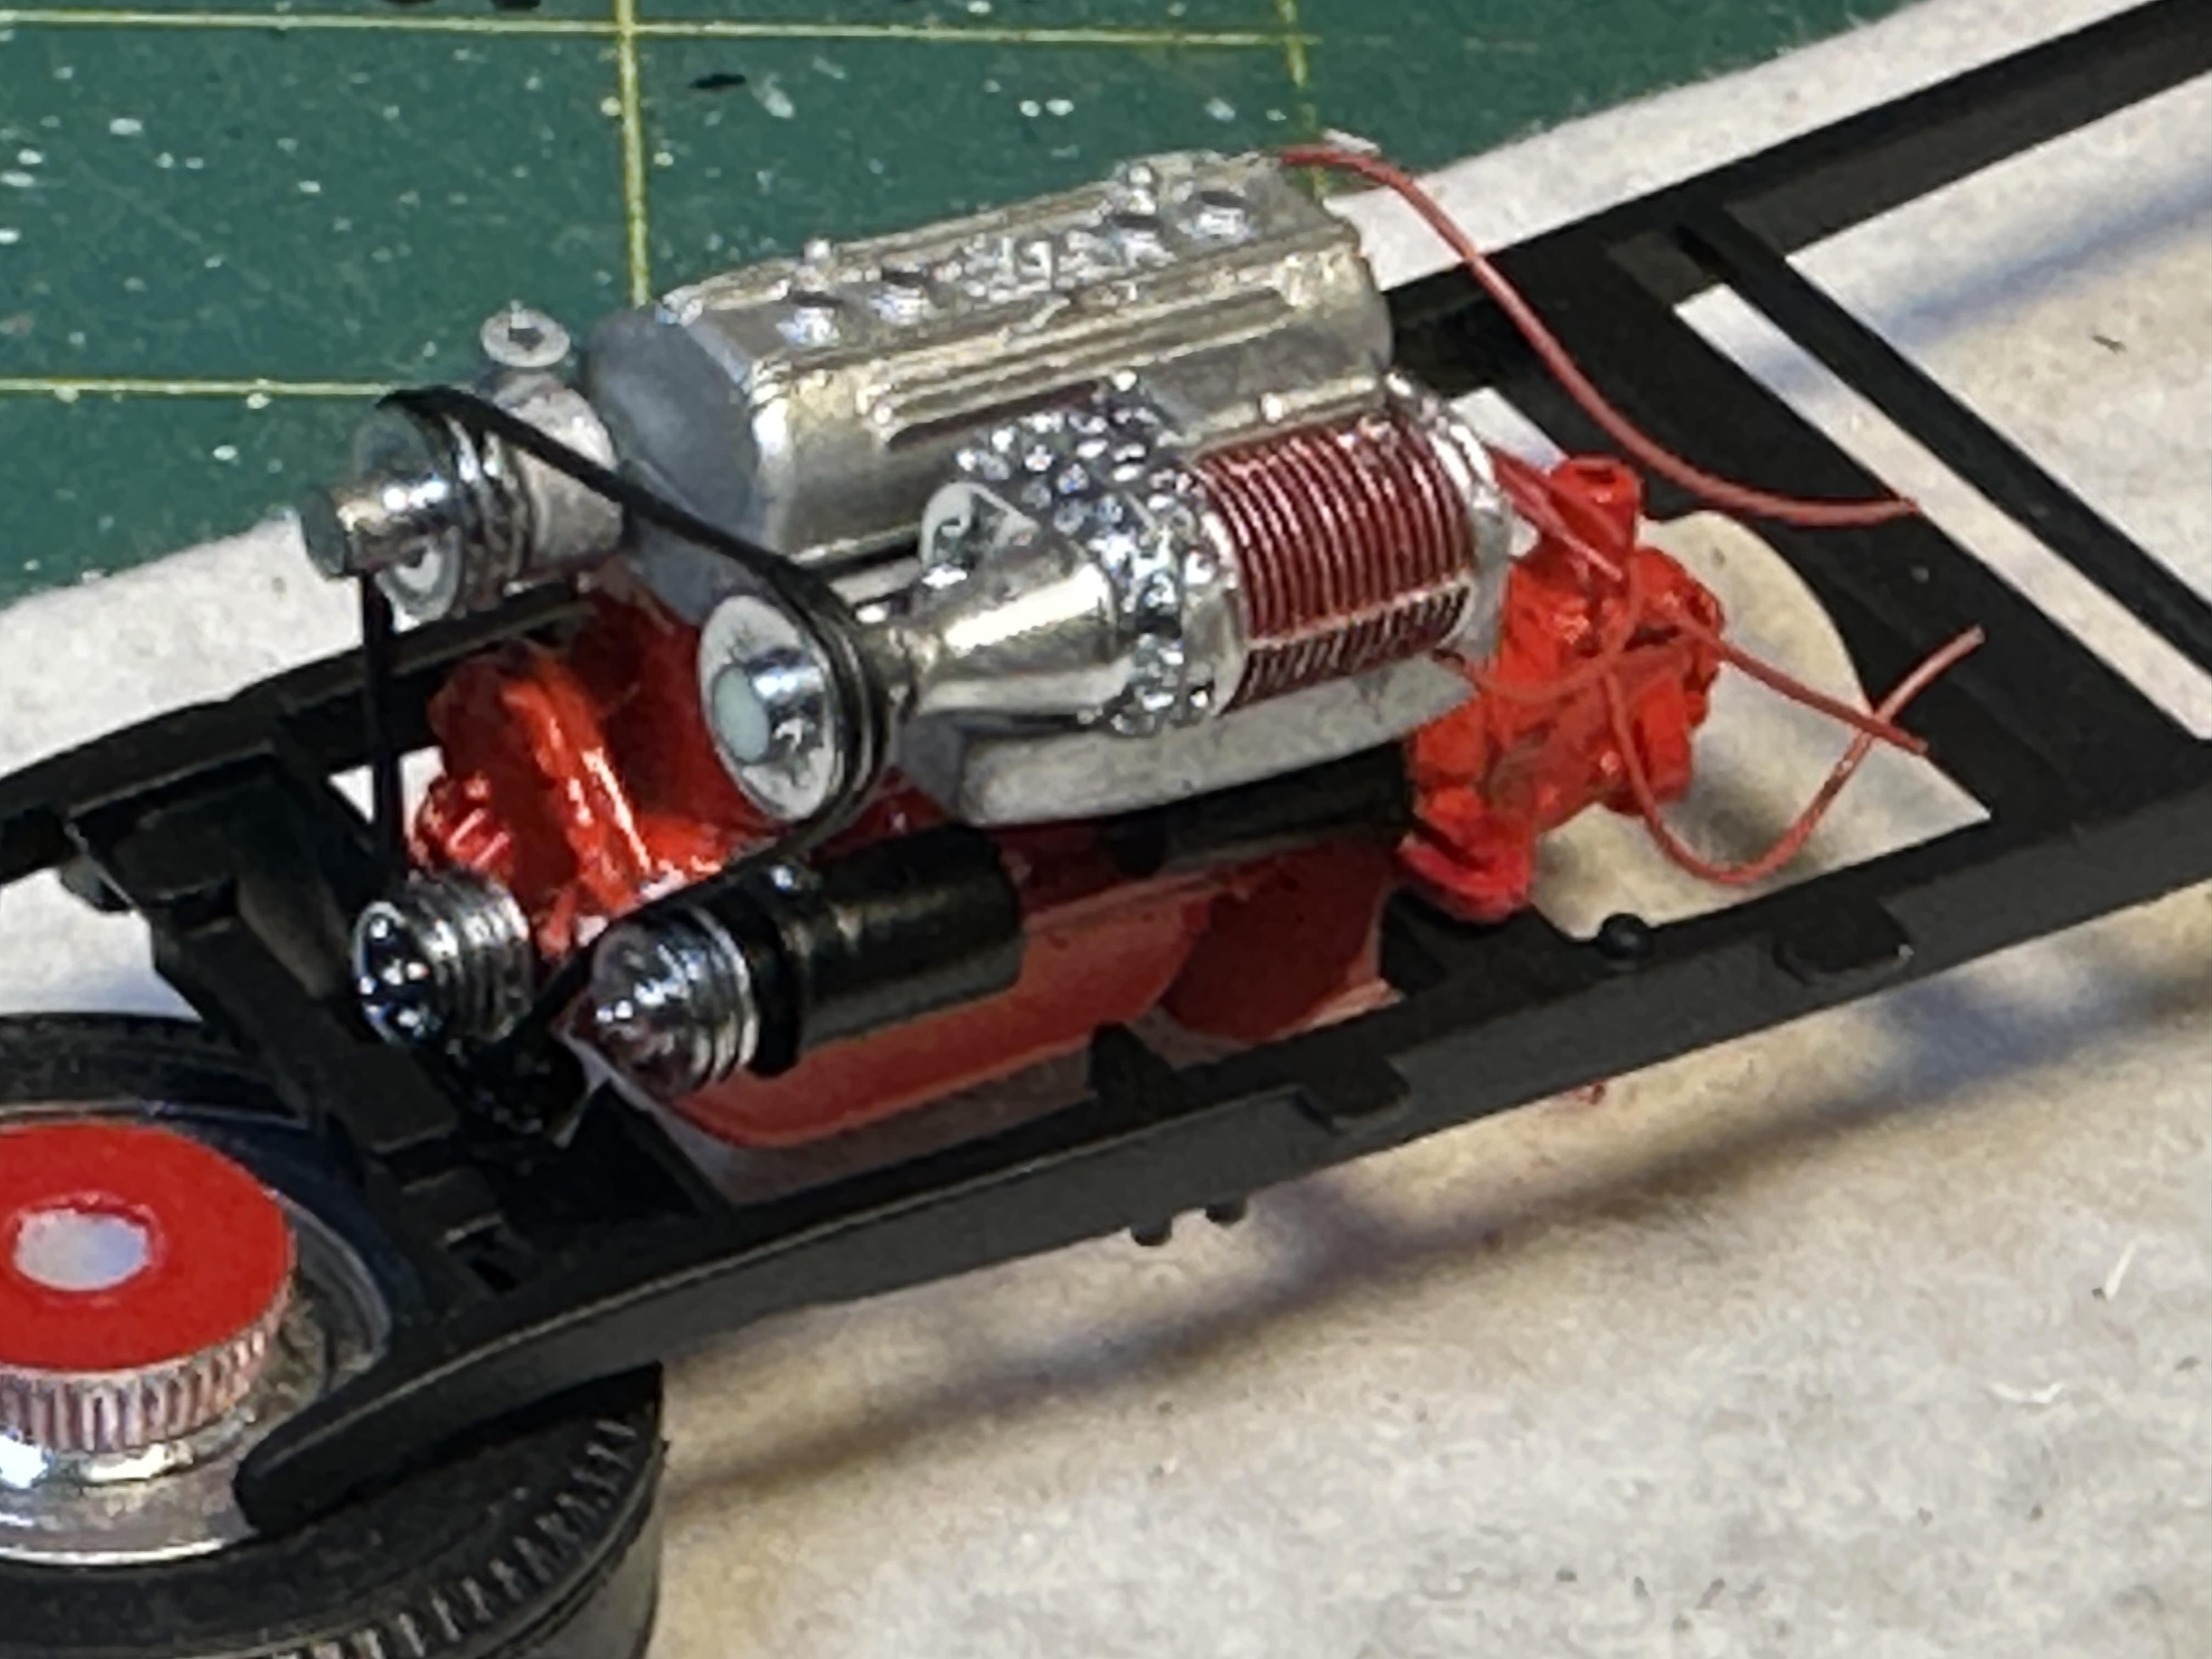
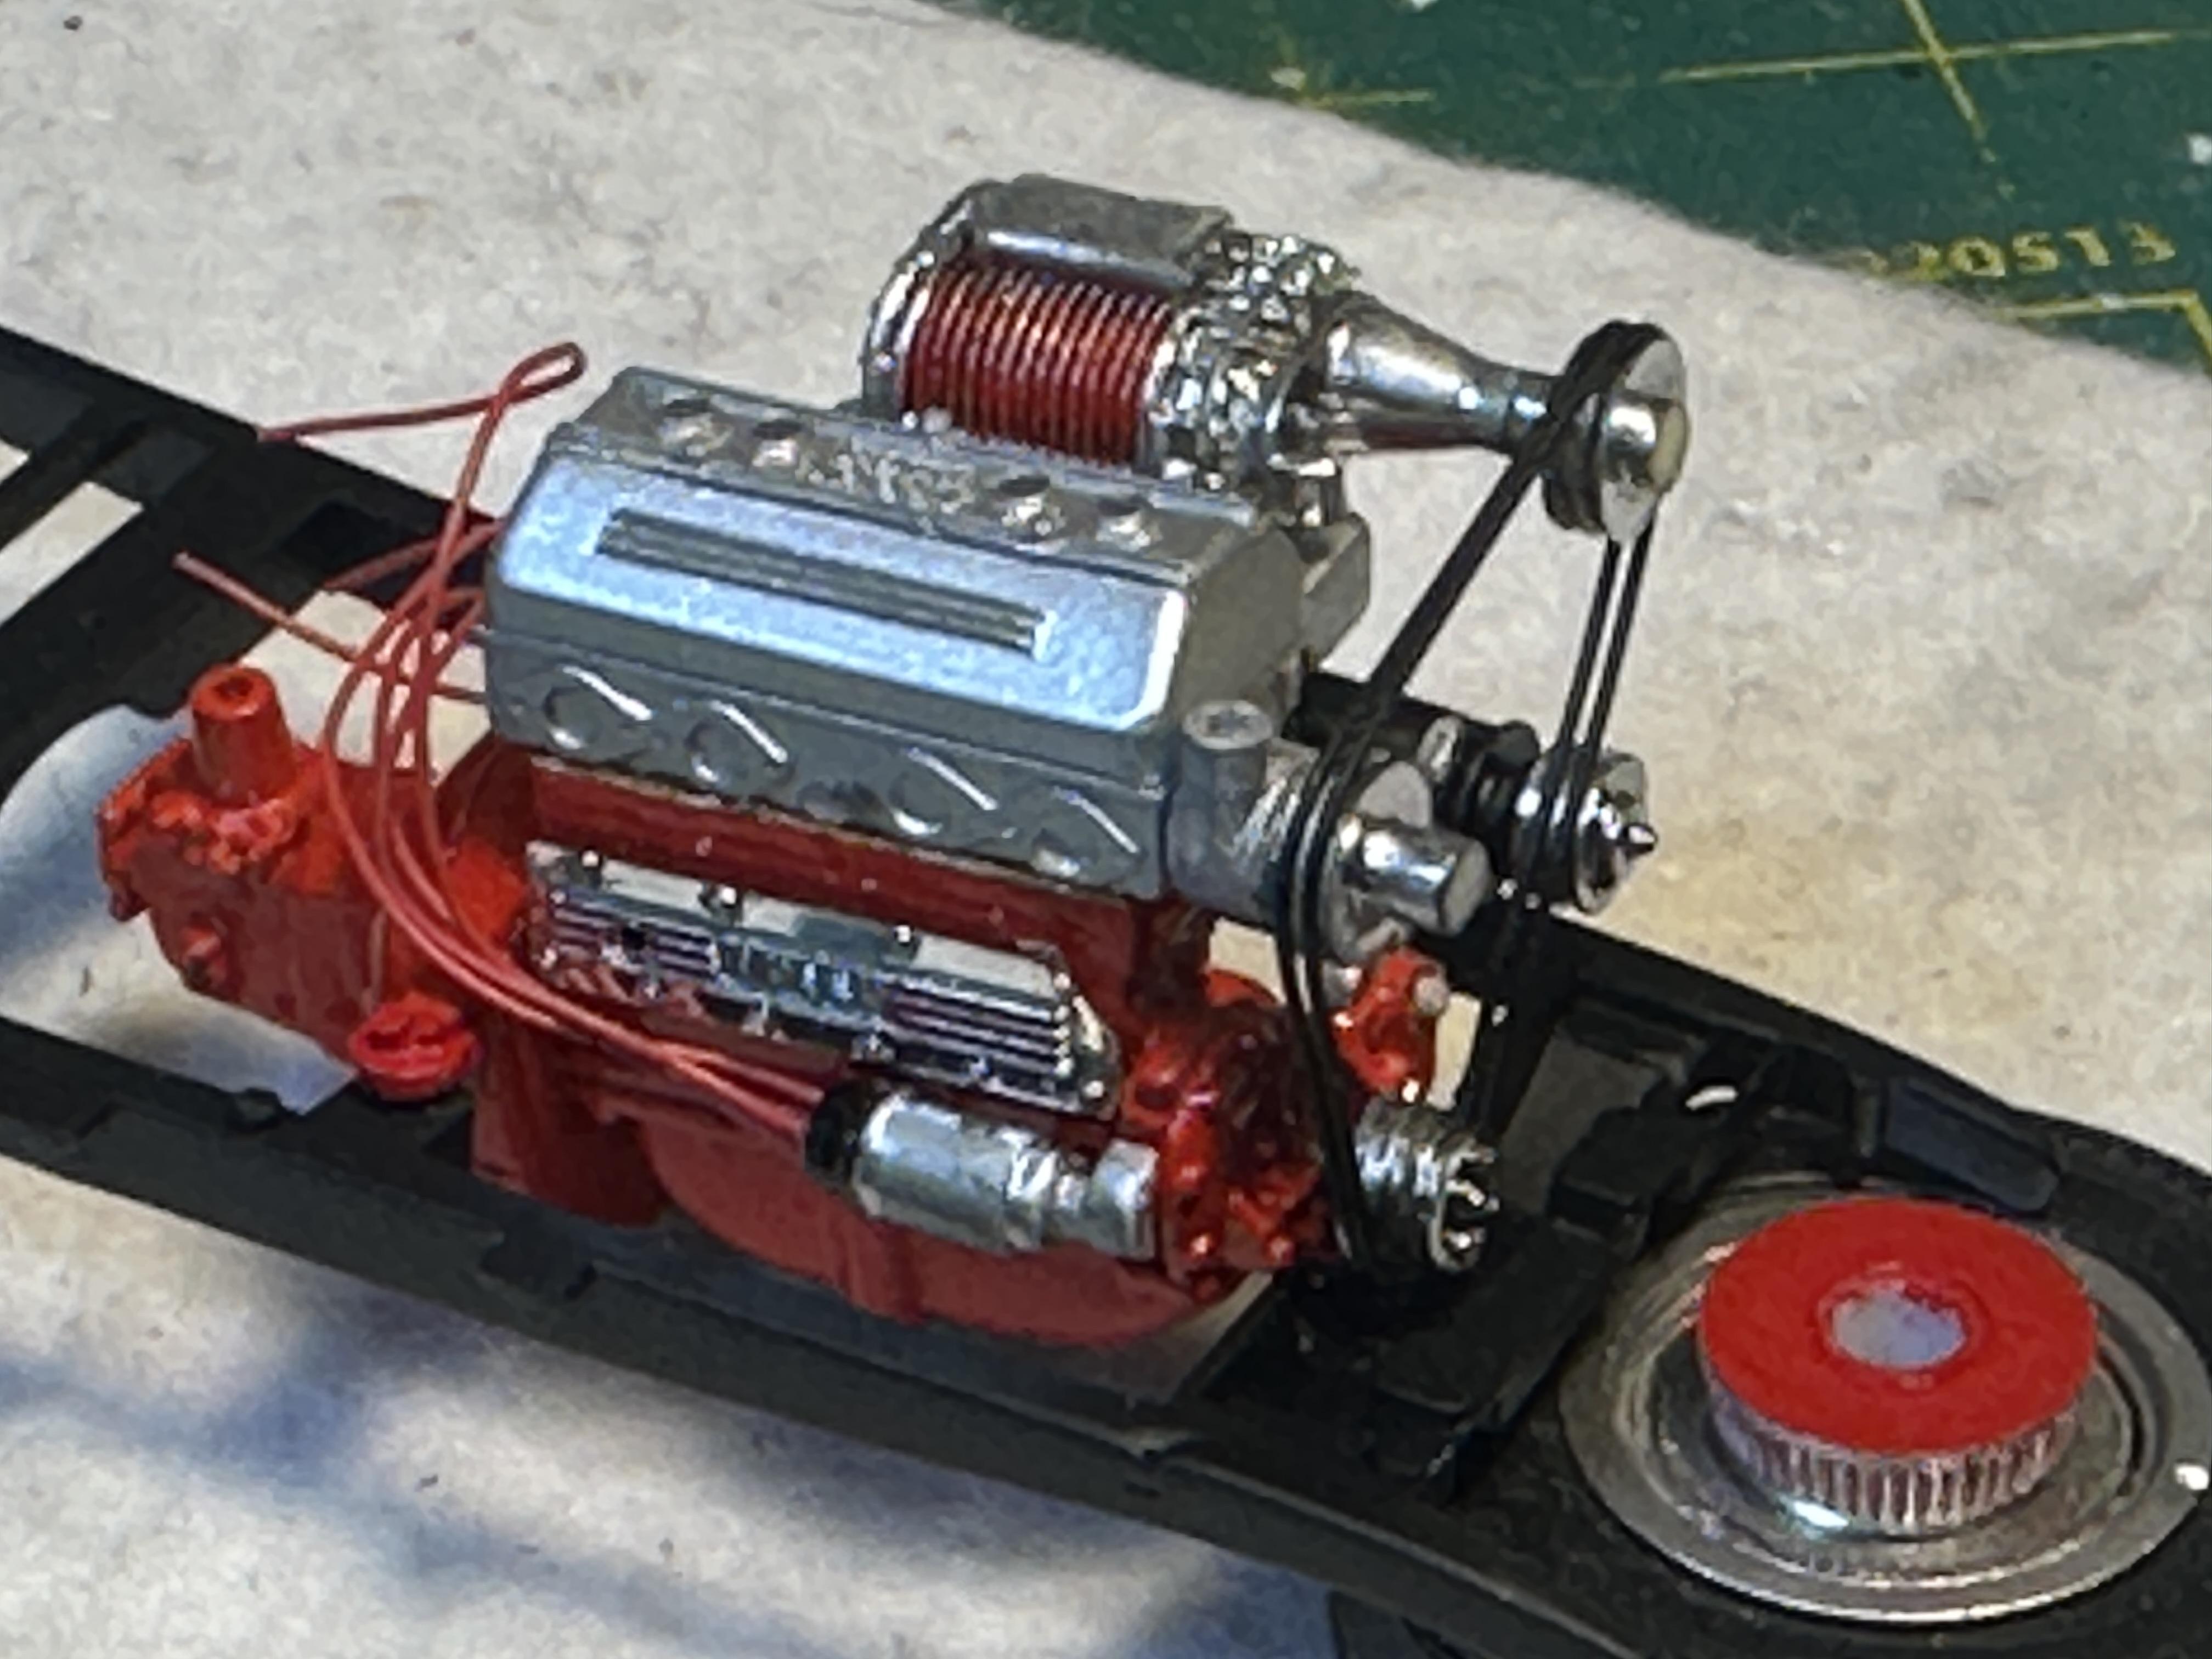
Hi Sid I am not sure of where the blower came from - it was with a whole bunch of resin cast flathead stuff that was bequeathed to me. It most probably did originate from RMoM as I know they have one in their catalogue. The same source provided the Ardun head. Ardun and SCoT seem to go together hand in hand and the blower is very detailed Bill
-
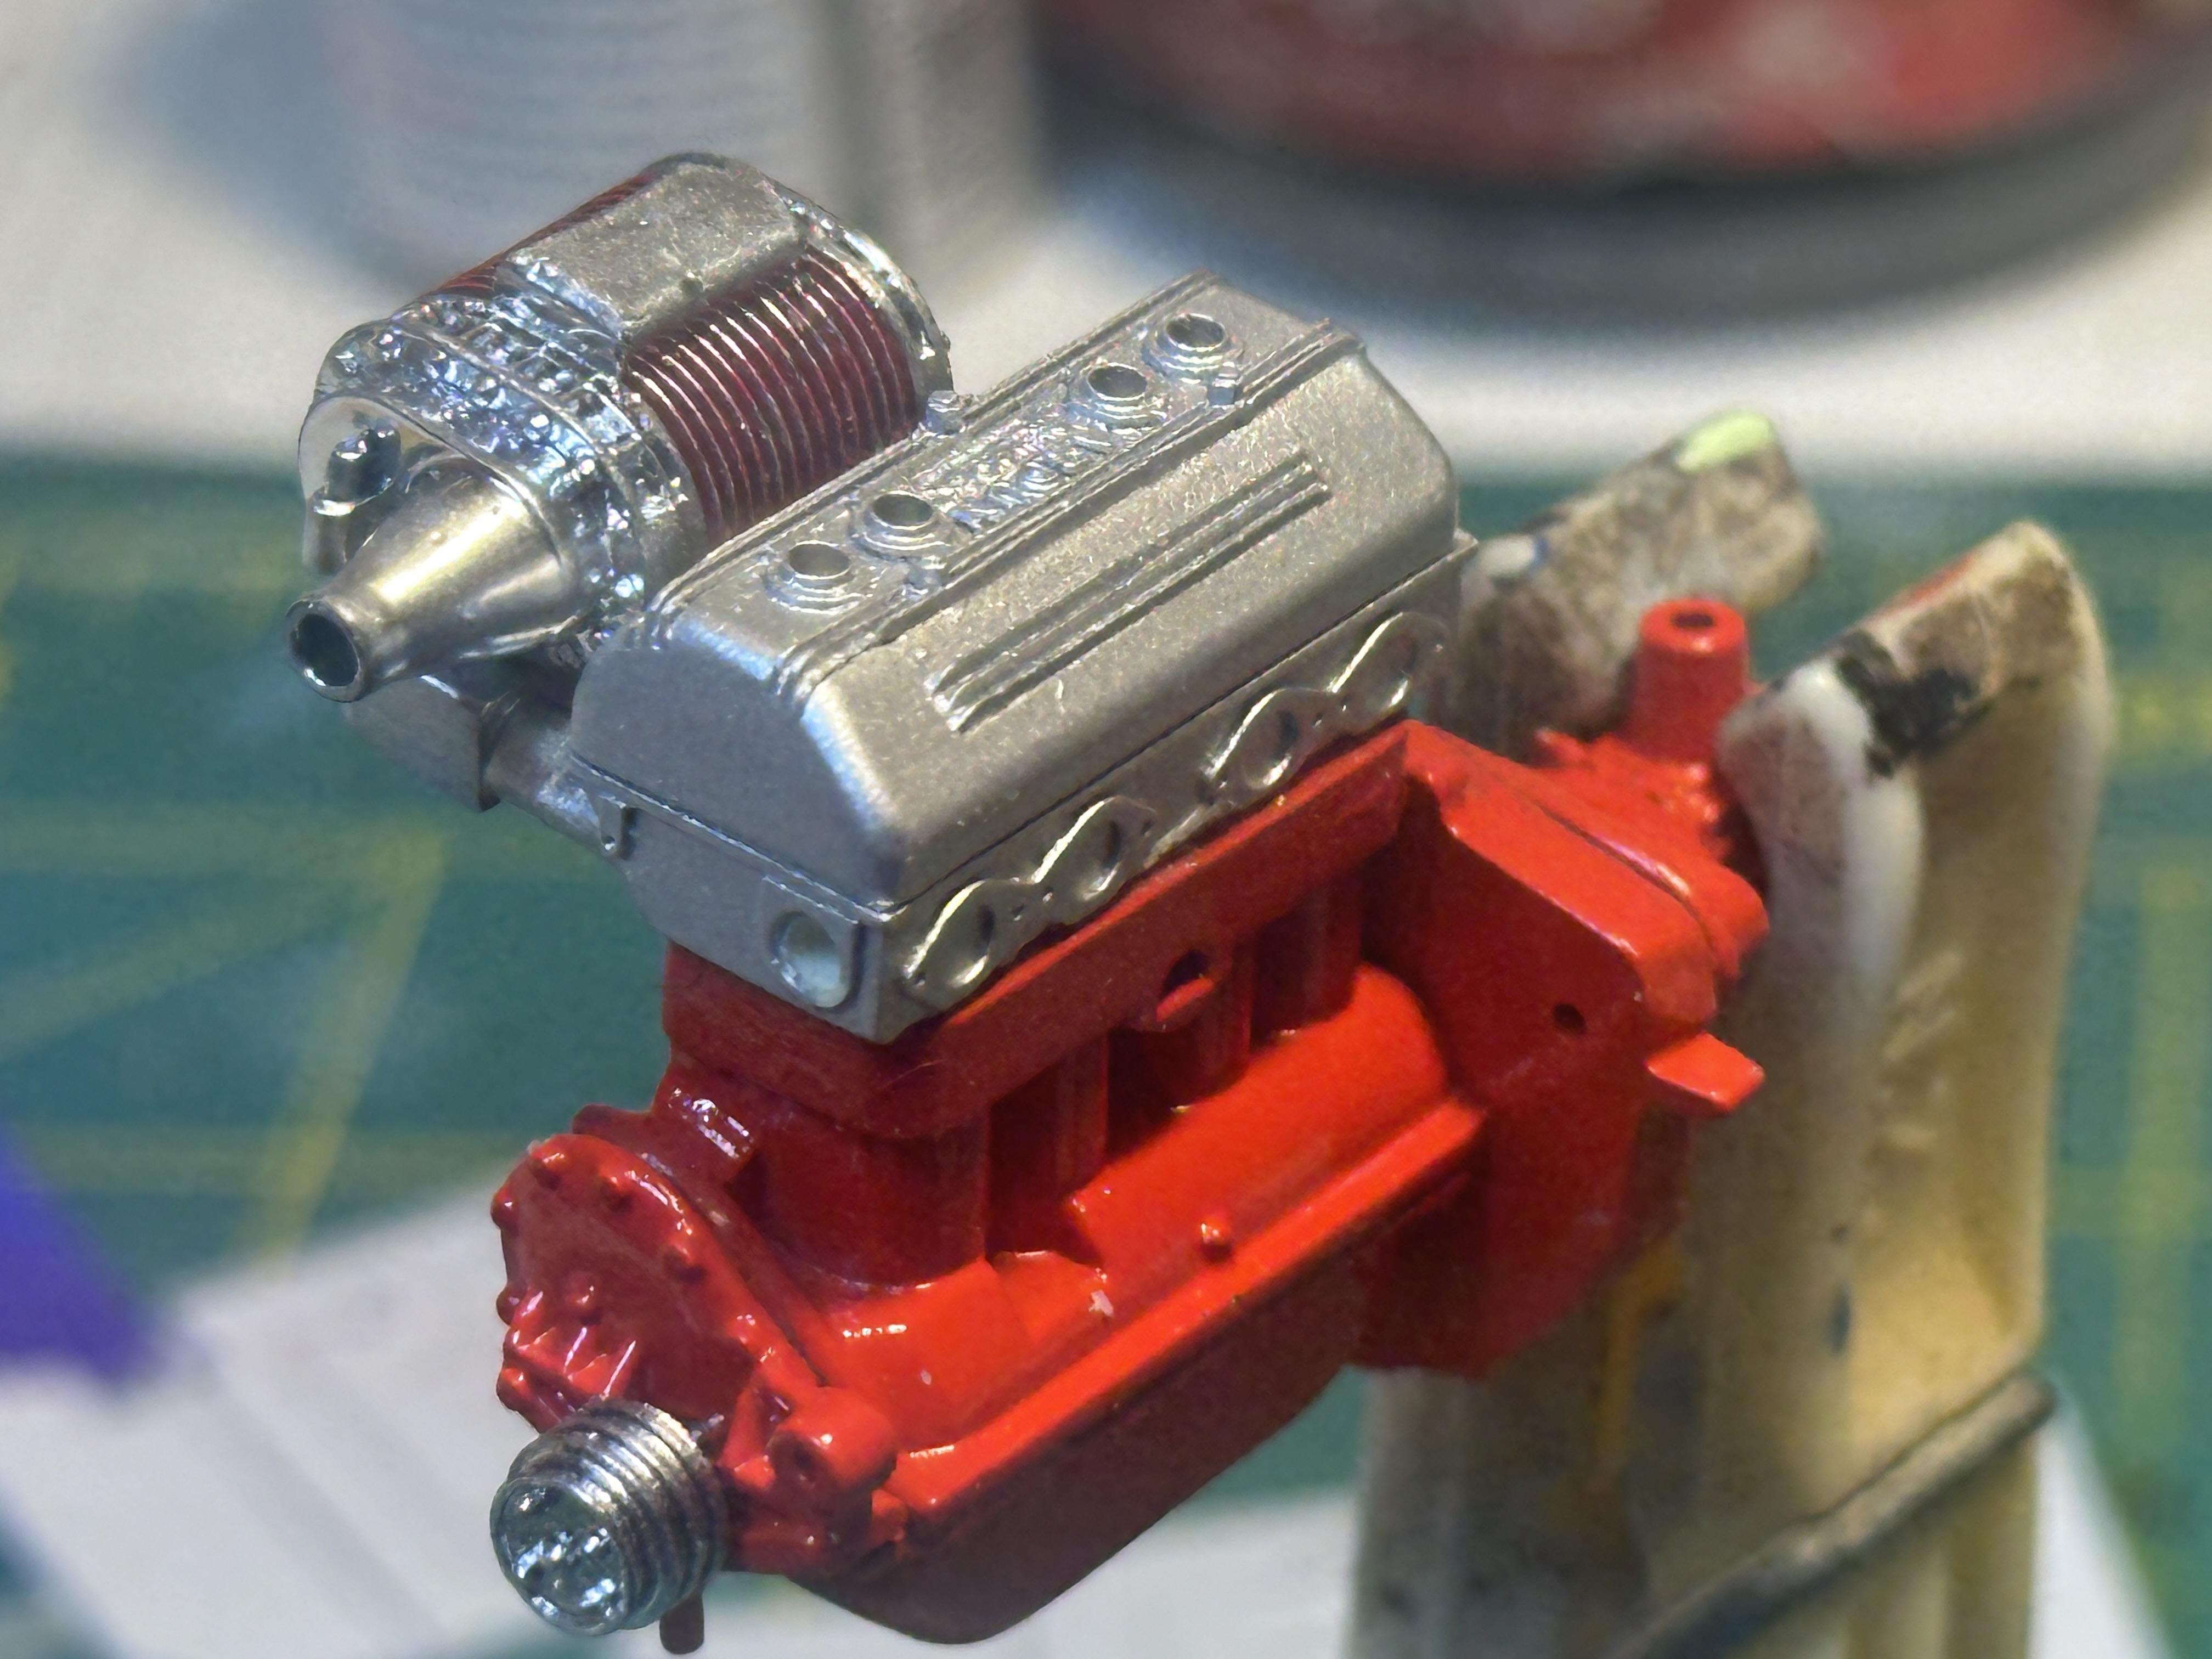
Thanks guys I have been a bit quiet here over the last couple of weeks - been busy with two weekends away with model related events. Most of my bench time in between has been spent prepping for paint but got a chance to start assembling the motor last night. First a small amount of dark grey wash on the motor and gearbox to get the effect of slight oil leaks. I used heavily thinned Tamiya dark grey. I will put a dab of clear at the ends so the oil leaks will look a bit fresher. While I had the was out I ran some in the door gaps of the interior that I have left in grey primer to look like stock grey velour Also added washed around the door pockets I have started motor assembly - starting to look the real deal The body and guards are at the body shop getting some wrinkles ironed out. Then off to the paint shop. Thanks for looking.