bill-e-boy
-
Posts
894 -
Joined
-
Last visited
Content Type
Profiles
Forums
Events
Gallery
Everything posted by bill-e-boy
-
Mini Lathe suggestions
bill-e-boy replied to 58 Impala's topic in Model Building Questions and Answers
I have a Emco Unimat 3 that I got second hand a while ago. It was used but came as a kit with the drill/mill attachment and a whole heap of additional stuff that made the deal worthwhile. I di spend some time cleaning it up and fitting new headstock bearings and setting up a new workstation for it. I am real happy with it and in reality I think it is a step up from the Proxon and may even nudge ahead of the Sherline but unfortunately the Emco brand is no longer so you can only get second hand. A lot of the DNA from Unimat 3 can be found in the likes of the small Sieg lathes (and copies) which are another avenue to look at -
Thanks Jim. I have done it the other way a lot of times and it is painful masking up around the gas tank so this time I reversed the order. Much more better
-
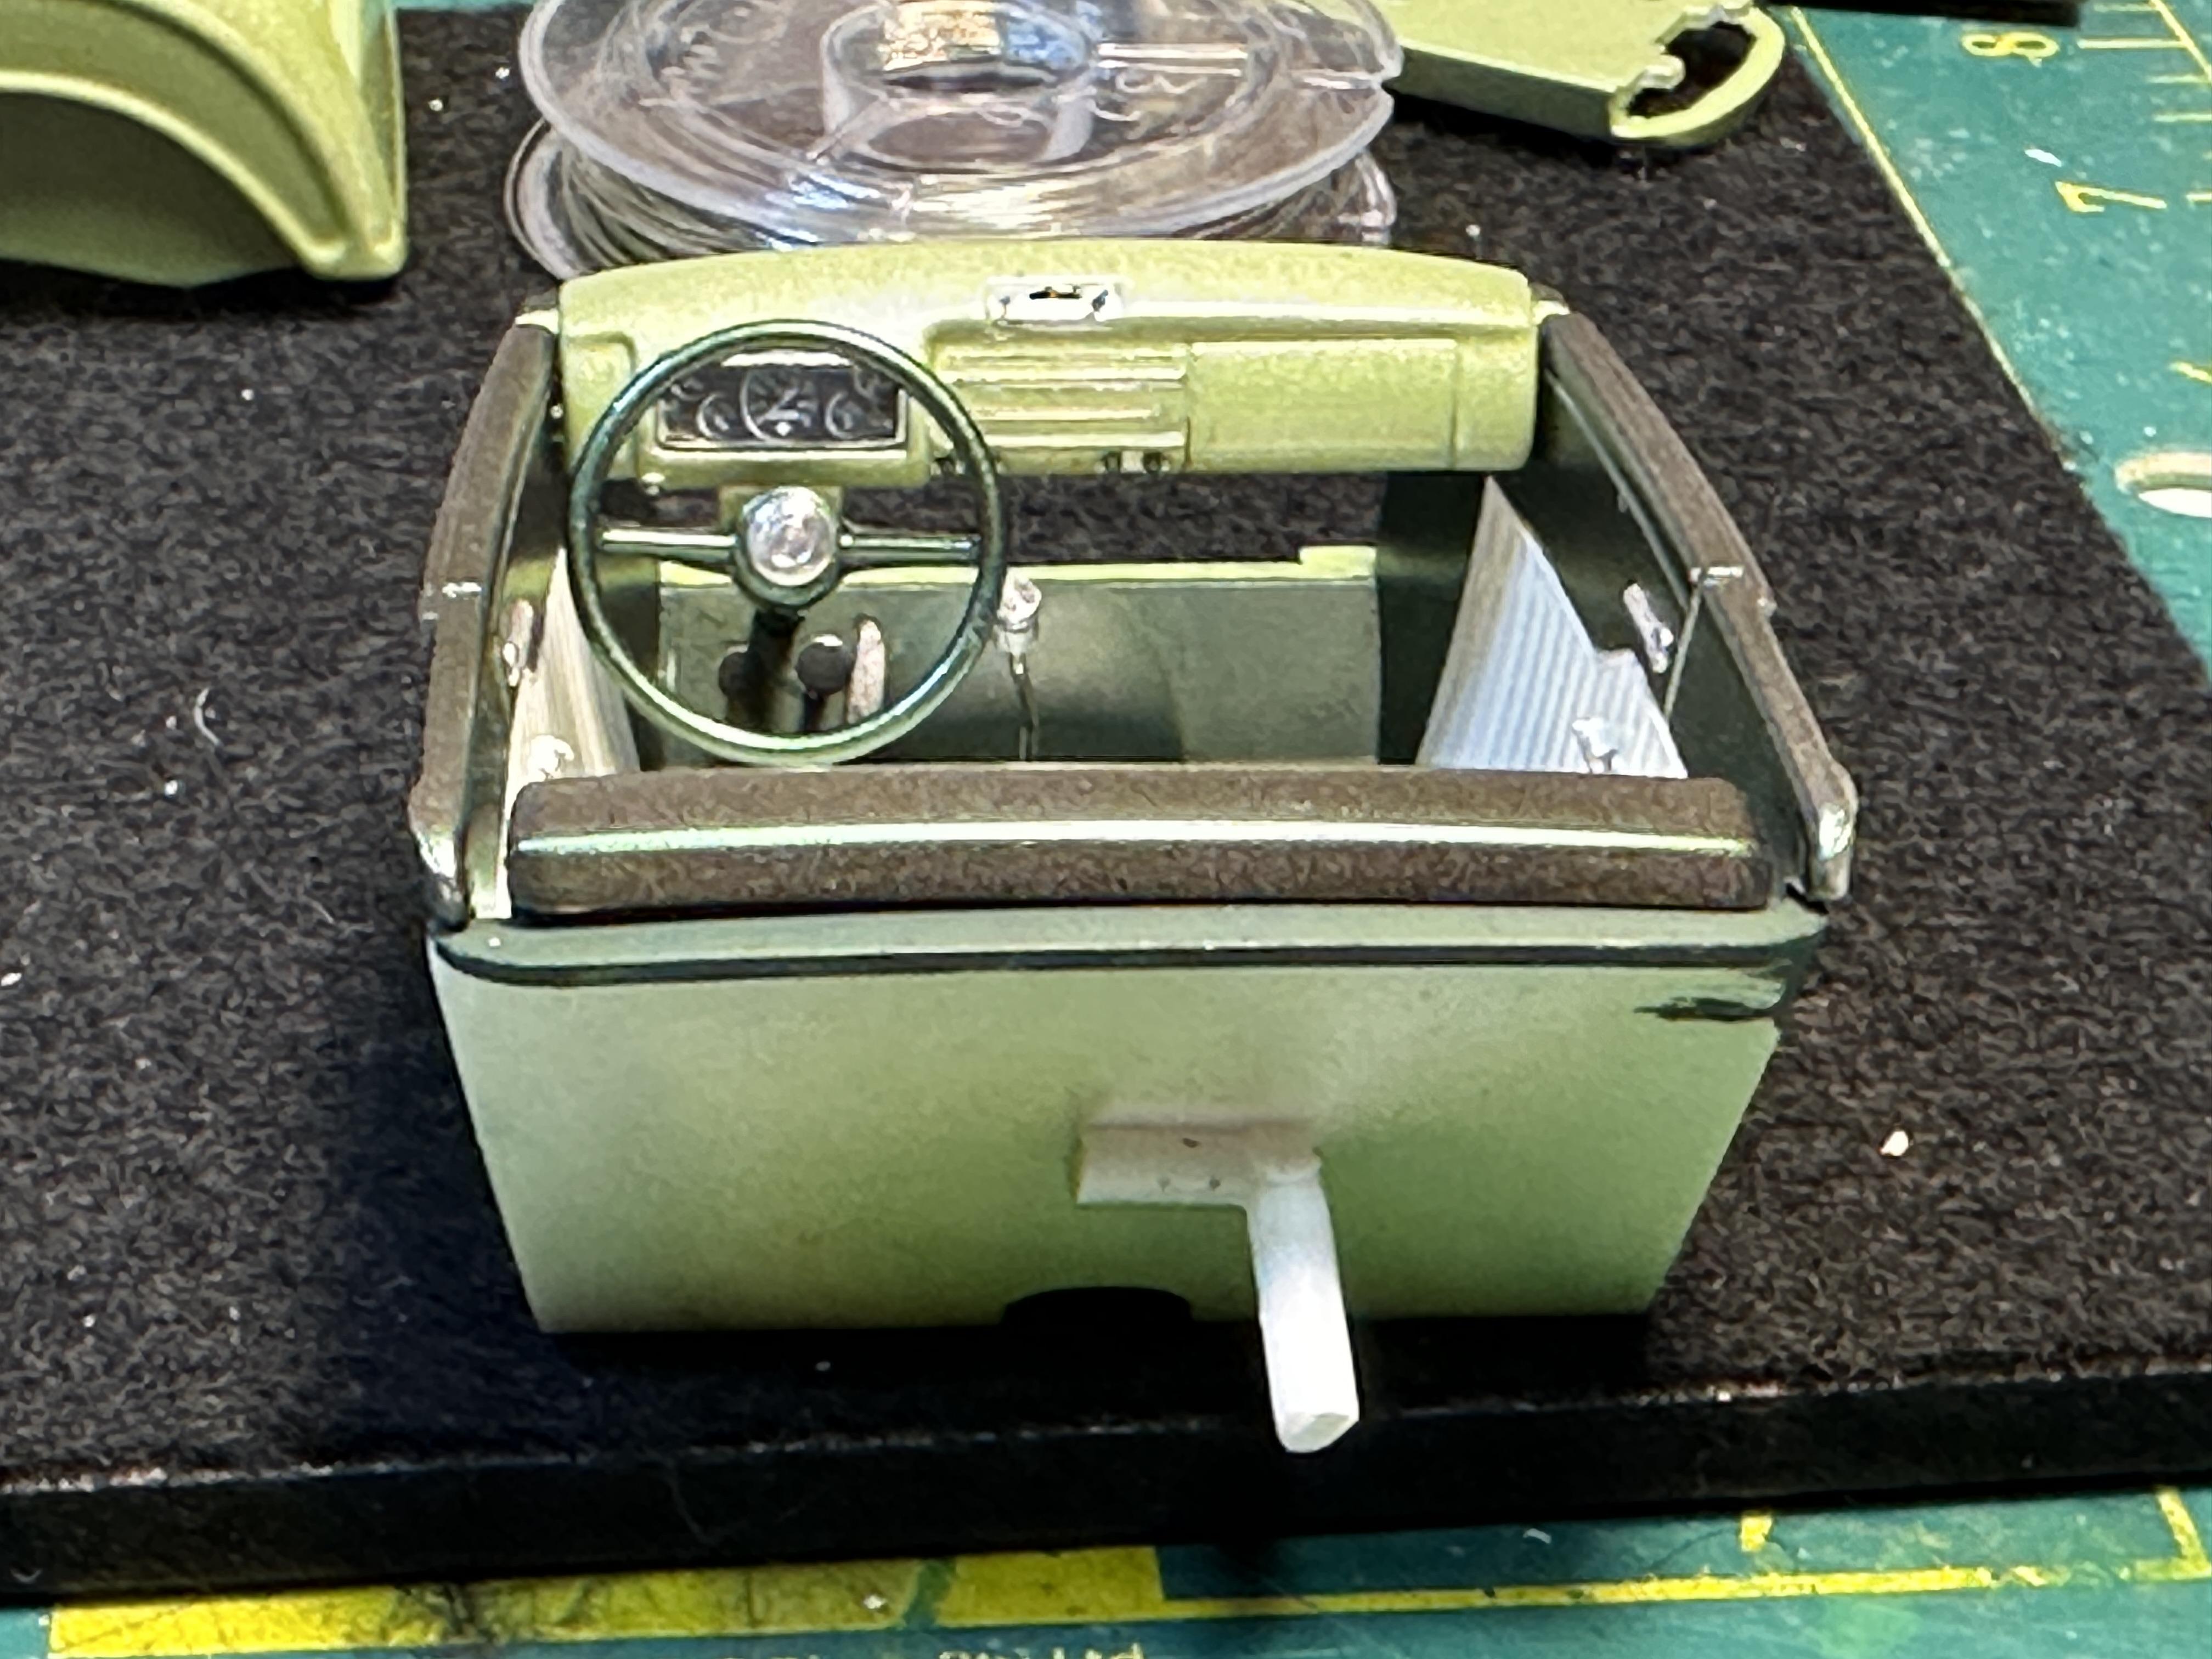
Worked on the interior to get it ready to fit up. The combination of colours has worked out. The green body colour for the dash, dark green which is carried over from the motor and running gear and the off white as a contrast. Not seen here is the back side of the fire wall which is pleated and finished in off white. The carpets a flat dark green. The hood liner is off white too. I went to fit the interior into the body and it does not fit. OOPs. Lets read the instructions - looks like the rear inner fenders for the high boy version are fitted AFTER the interior is fitted. Oh dear. Well in for a penny. in for a pound and hoping I would not stuff up the top chop, I wedged it in there by spreading the body apart more than I thought it would go and in it popped. Yahoo!! Now that it is in there you can hardly see it coz of the chop. I need the body ready to fit the chassis for the next step of sorting the motor placement. Thanks for looking

-
People may not respond but I see you have had a numbers of views. Not everyone knows about the like button or are surfers who have not joined up to the forum. I know I was one of the surfers for a while before I joined. Post em and we will LOOK.
-
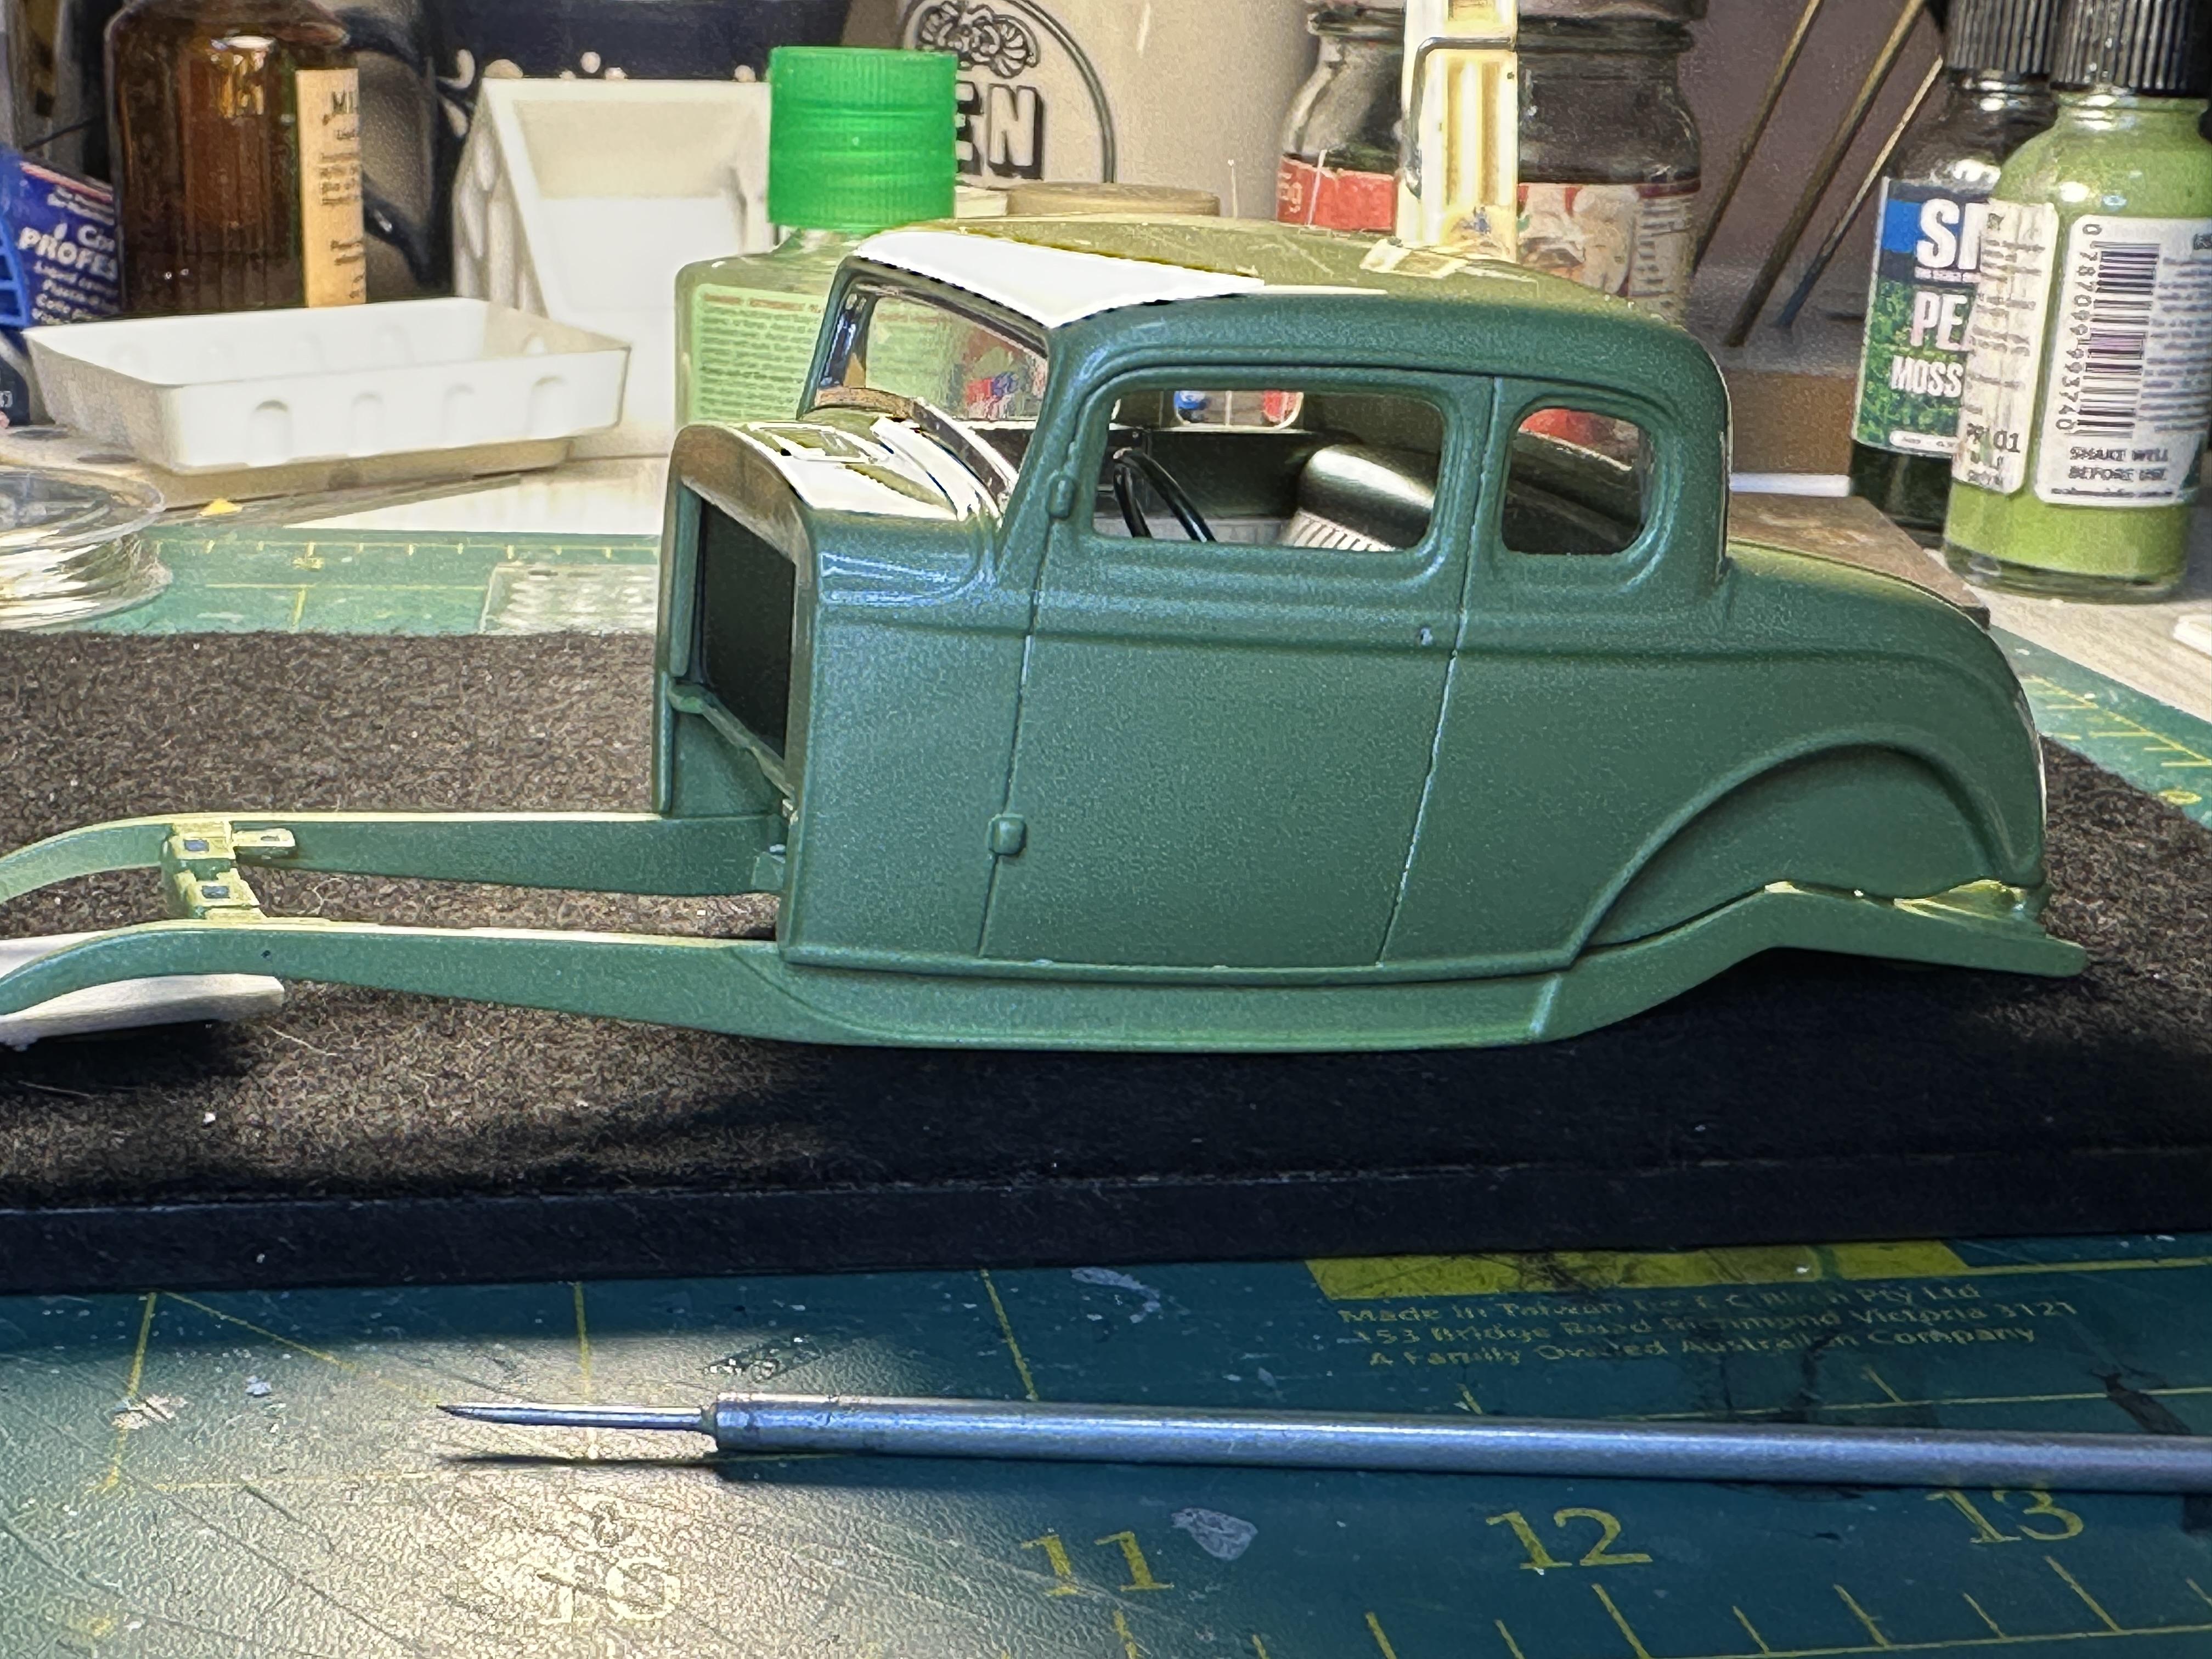
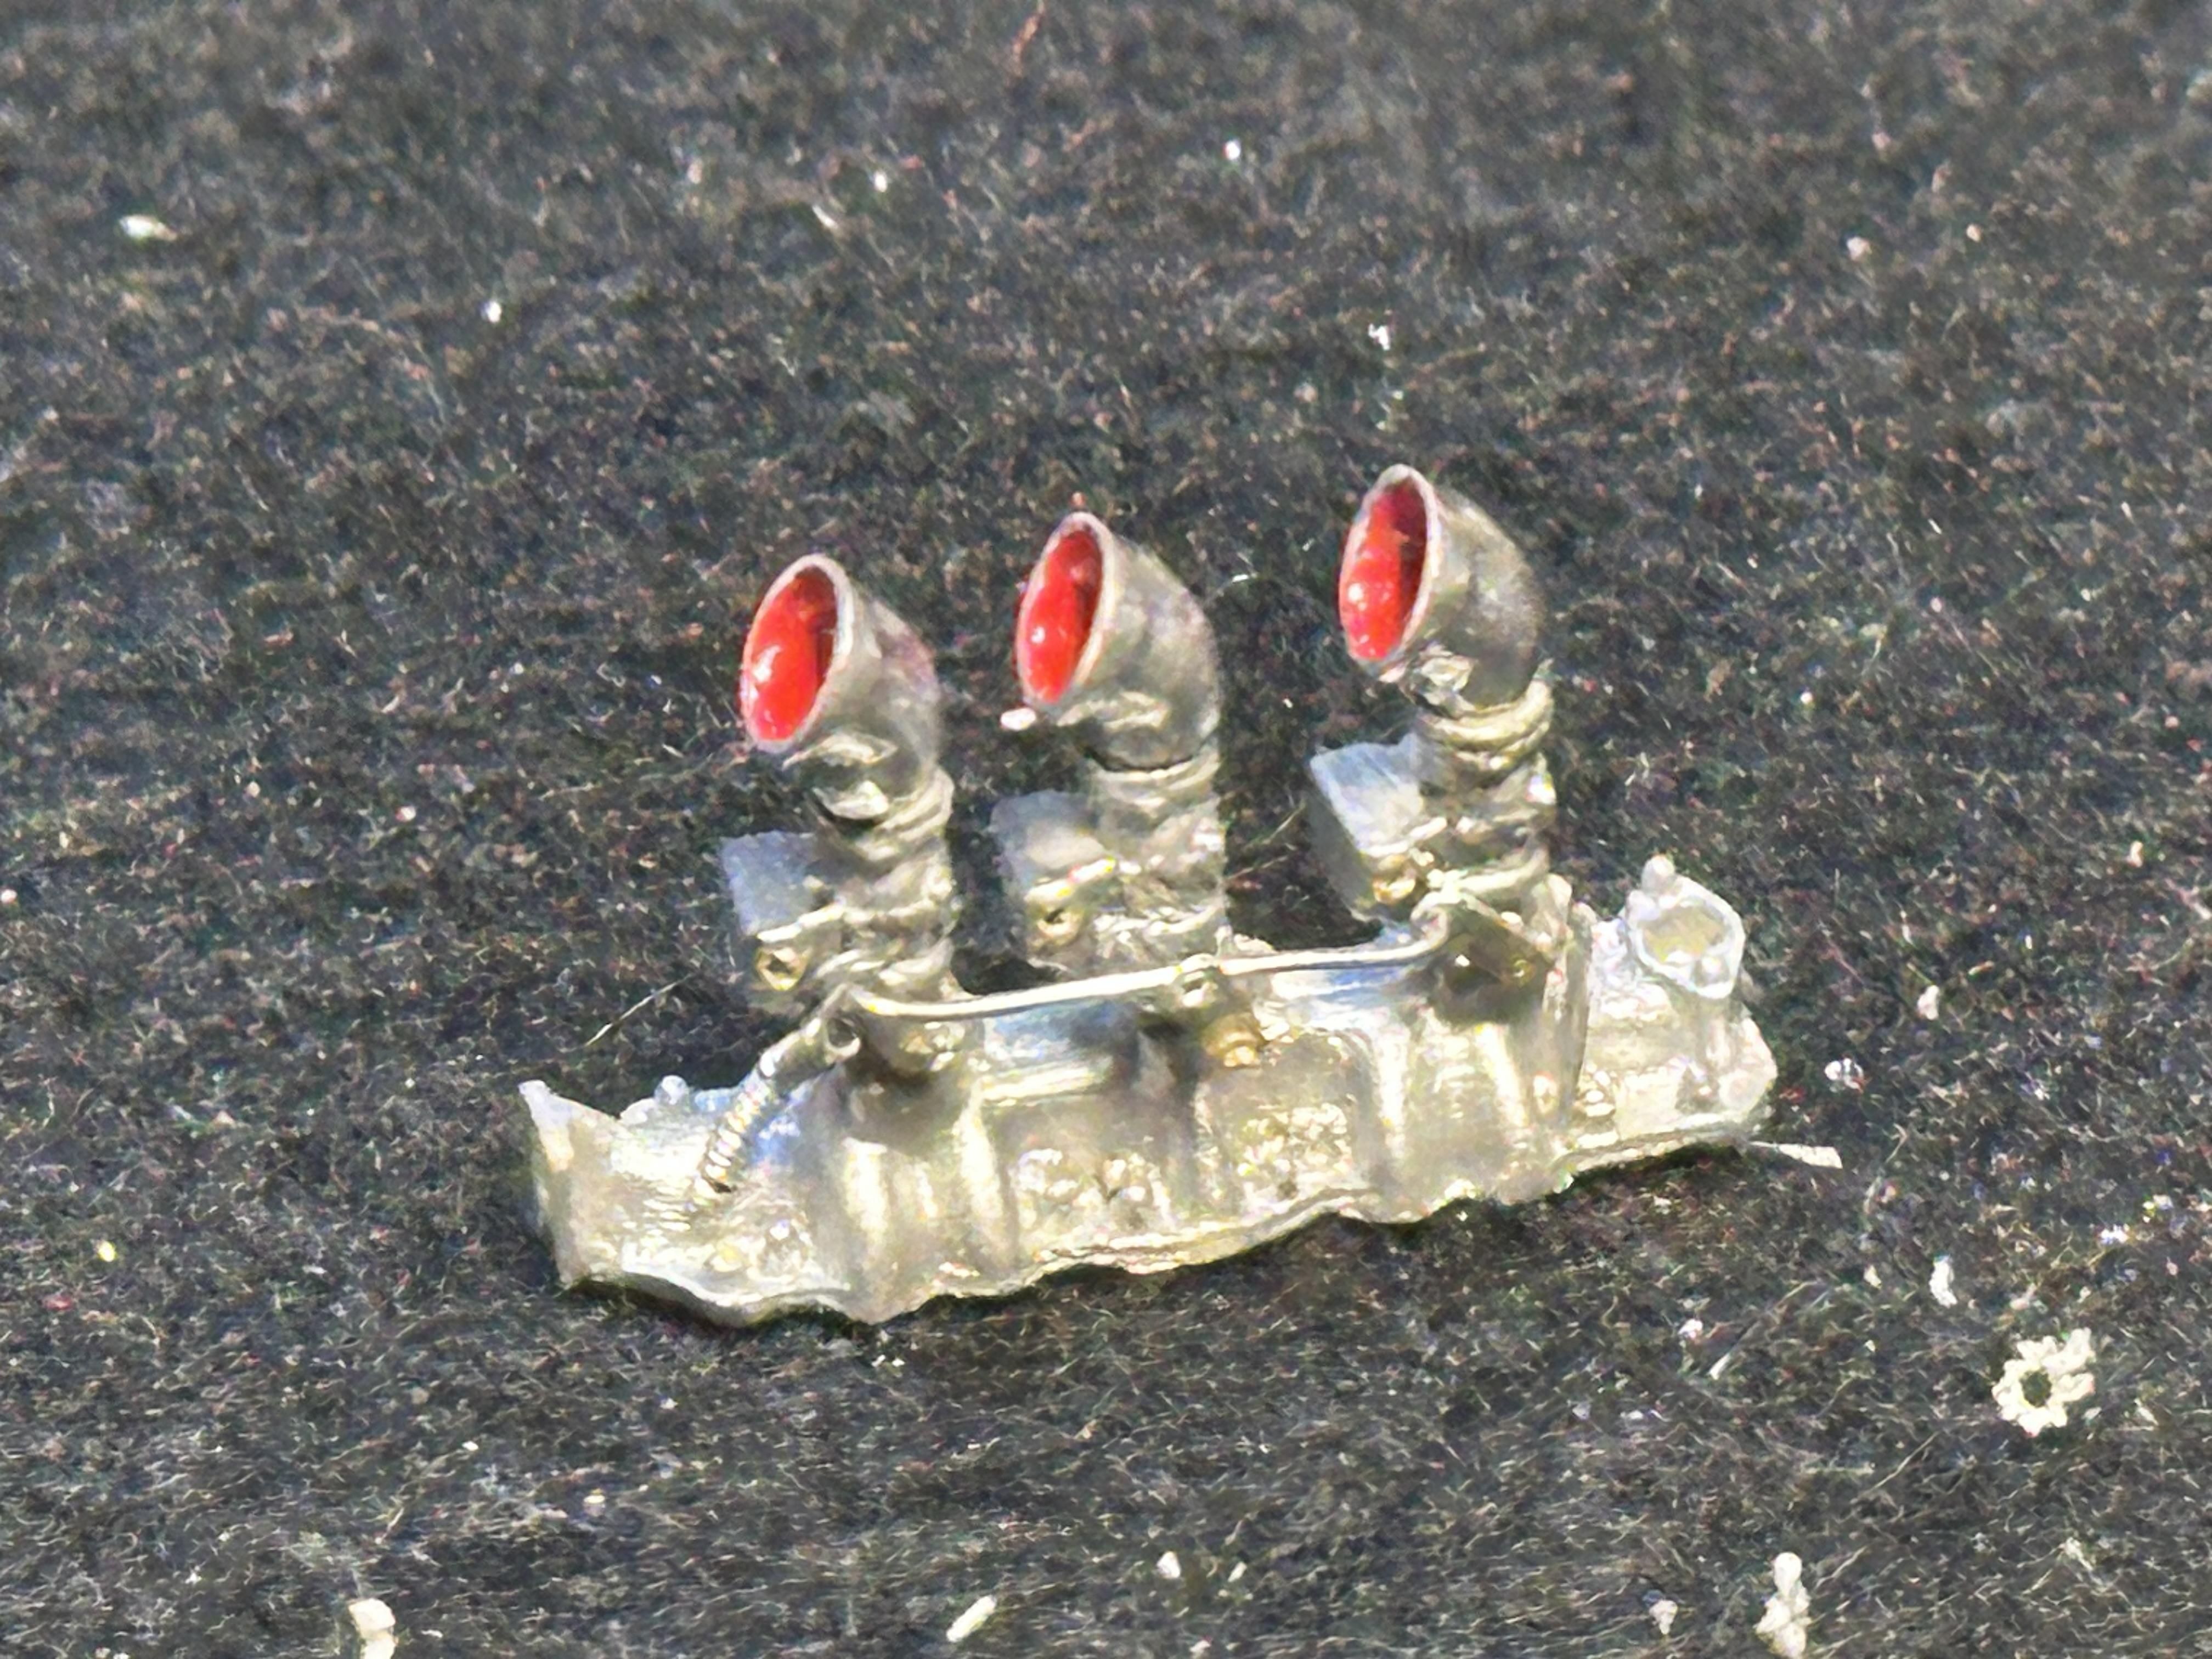
I have the induction set up ready to be installed onto the motor. I have installed .4mm nylon fishing line for the fuel lines to the carbs. I have also made up a small fuel manifold and have "chromed" it. A shot of the motor assembled and waiting for the exhaust manifolds to be fitted. While I am at it I took the opportunity to test fit the motor into the chassis. All is not well. The motor is too far forward and there is not enough space for the radiator and fan. I will need to remake the motor mounts to get the motor back a bit. And that leads to fit issues elsewhere. The joys of monkeying around with non-stock kit parts - and this is what keeps the hobby interesting The body is on its nose waiting for the glue to dry after fitting the windscreen Thanks for looking
-
Thanks for the conffirmation David
-
I think I got my answer here
-
This installment shows the dash panel painted with SMS ally and clear coated. Did a body colour seal coat on my masking and looks OK. Other side of pix is underside shot of the chassis with the gas tank shot with the same ally paint. Now for a detail session with the dash panel and the door cards A conundrum I have is with the body - the chrome detail around the windows and wheel arches is very fine and I am frightened that the separation line for the foiling will be lost. Has anyone scribed along these lines and to what success.
-
Nice cleanly built model
-
Cool build Russell
-
I have had issues with clear eating into the colour below and messing up the paint. Also had ghosting, the worst being on chopped tops where you can still see the stretch line on the roof. I believe that silver or gold metallic paint can help here like blocking bleeding of dyes from coloured plastic. I have had some success with resting of a week or so between colour and clear coating. A modeling friend went as far as only applying a coat of paint to his model each weekend when he was at home. Took ages to paint but the effort was worth it as it is one of the best paint jobs I have seen.
-
Yup done that too - but thought I would give the base colour a try to see how it goes.
-
Thanks Jim. Yup the masking wasn't too bad - just tedious. It is not one of the jobs I love to do. I found from somewhere here a trick to lay down a coat of the unlaying colour to seal the masking and to decrease the likelyhood of bleed through. We shall see how this goes as I have masked off the dash panel and layed down some silver which is a greater contrast colour to the red
-
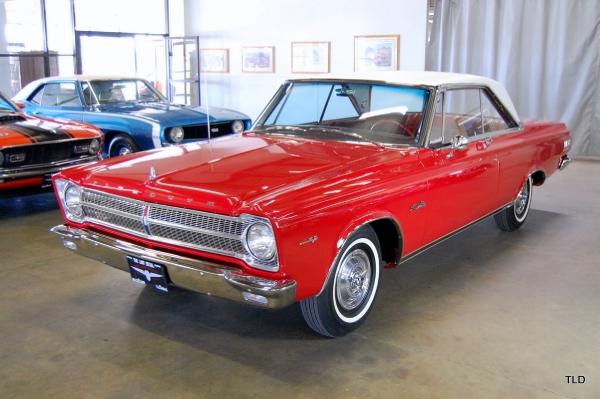
And I finally got some pix down loaded for the vehicle for the inspiration and reference. My colour-way will differ a bit from this but it is such a nice tidy car to use for reference. It looks like a very accurate restoration of an unmolested car.
-
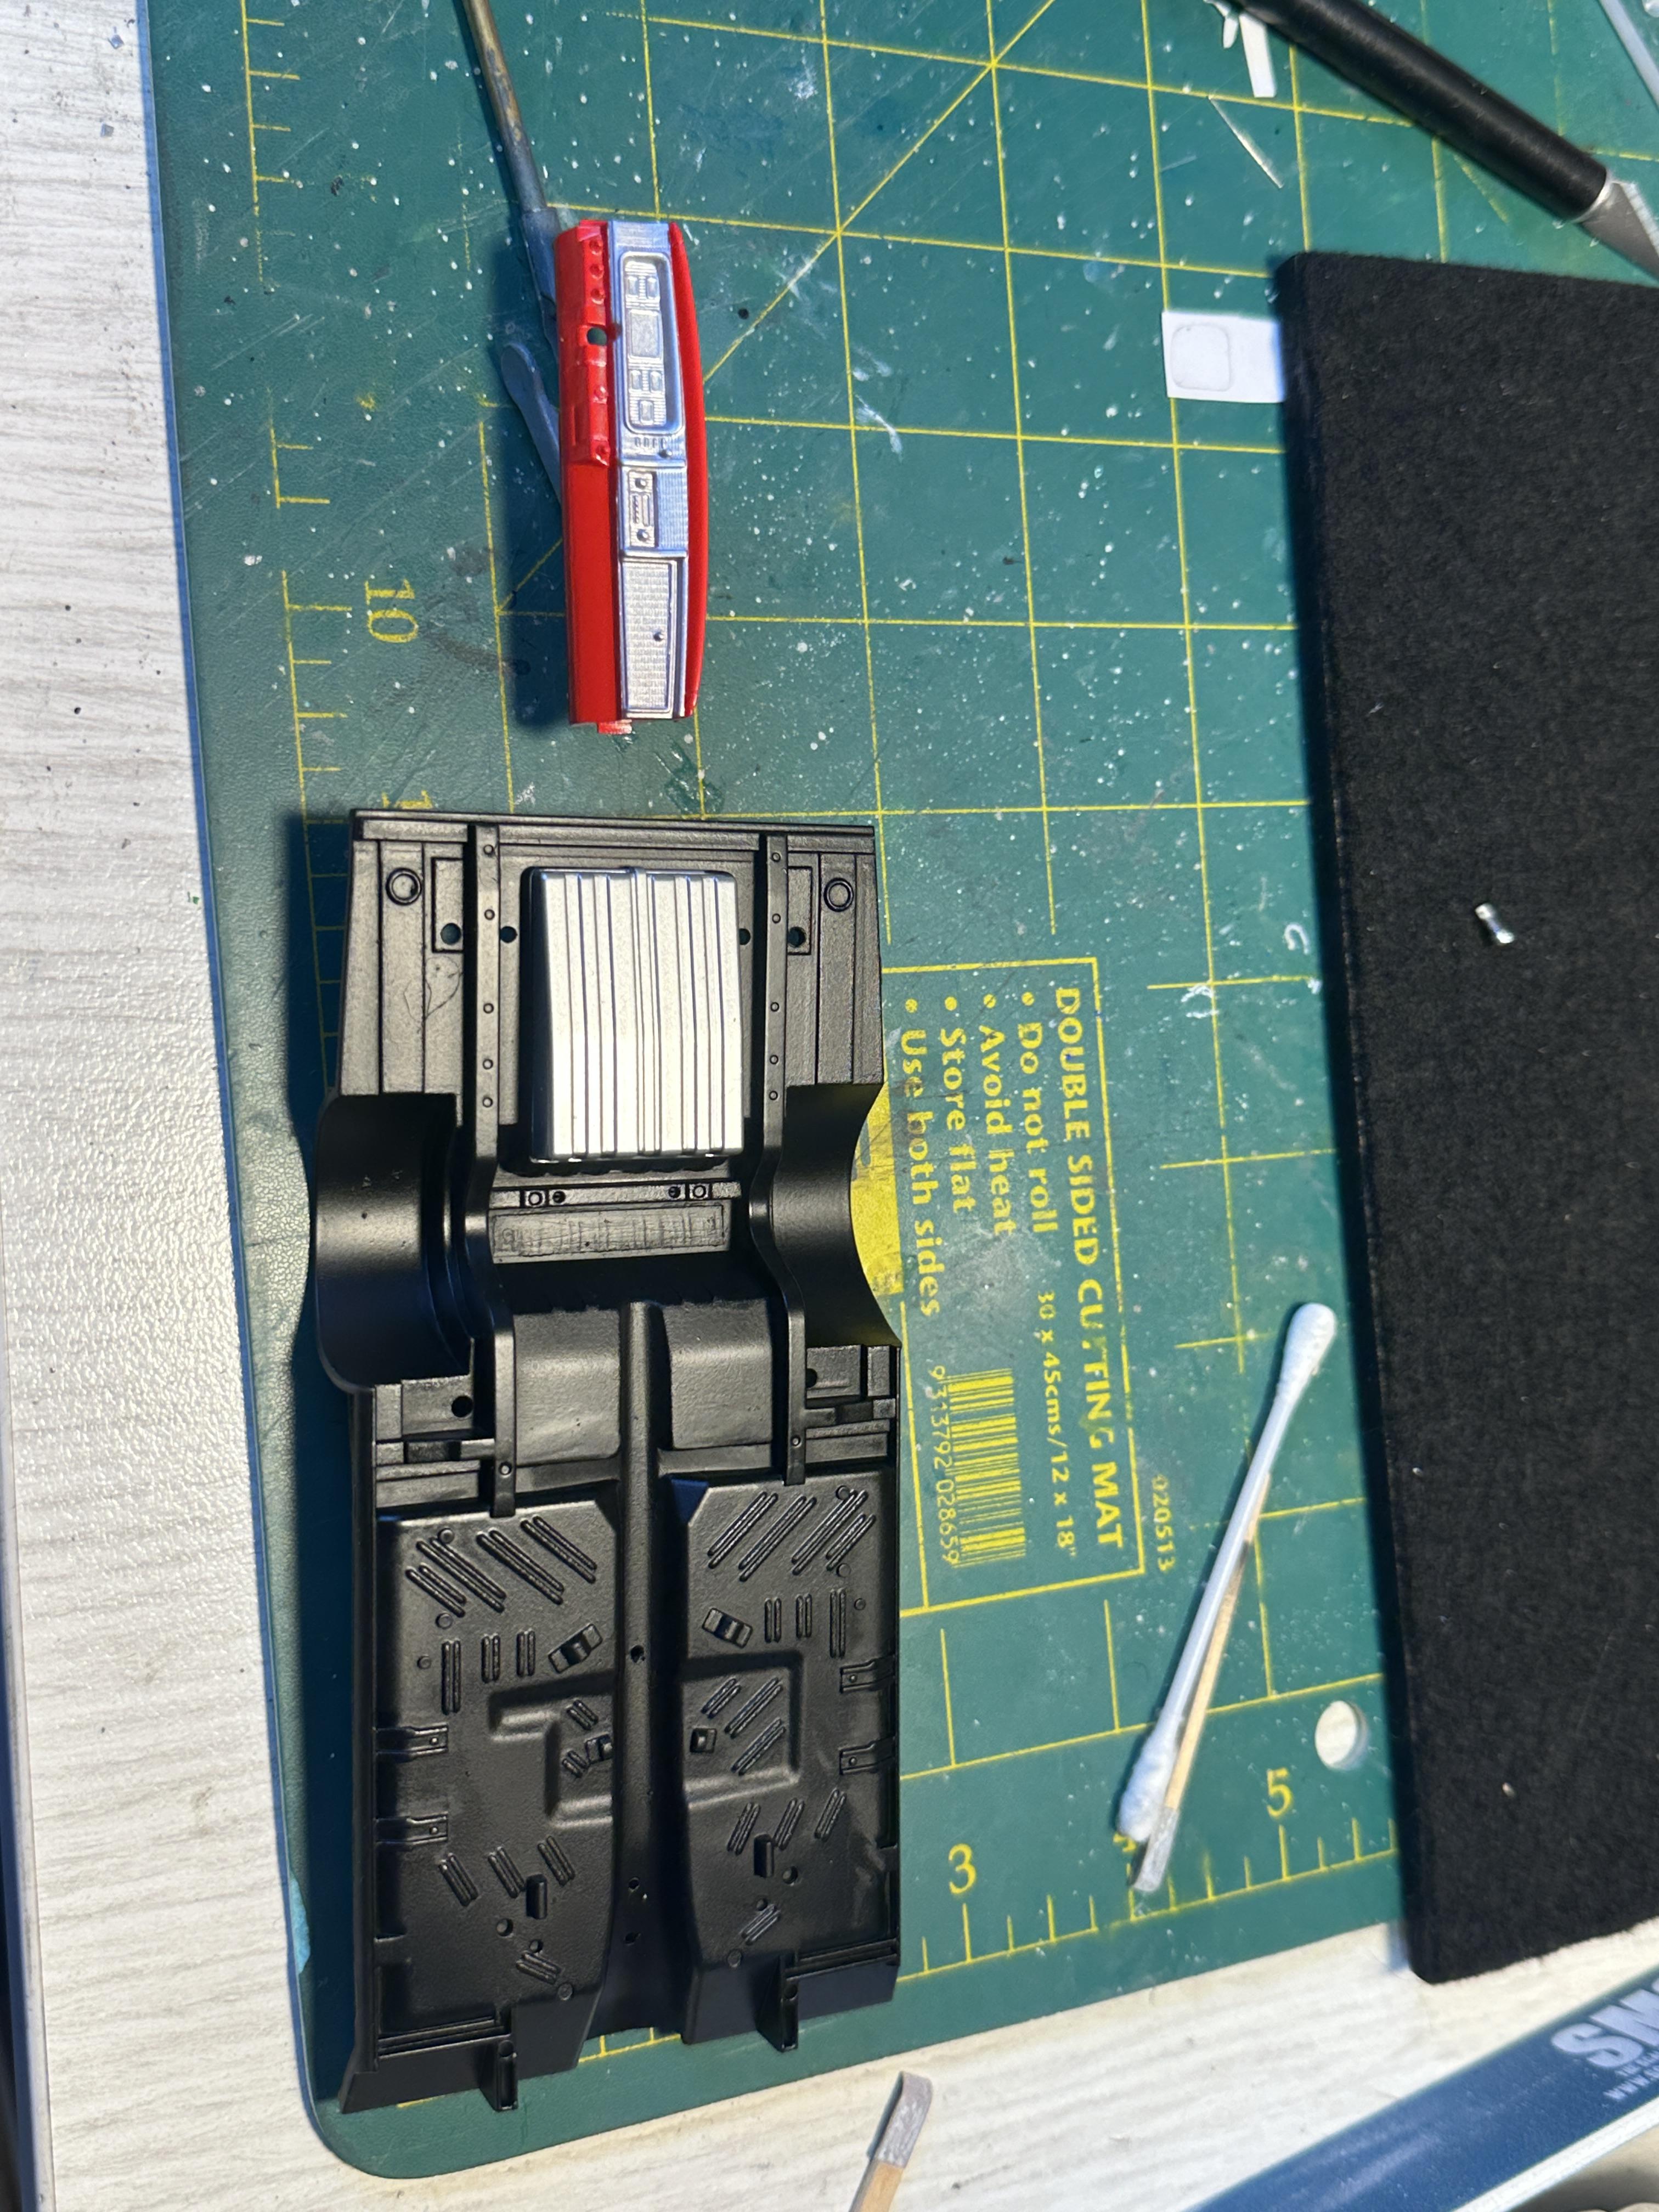
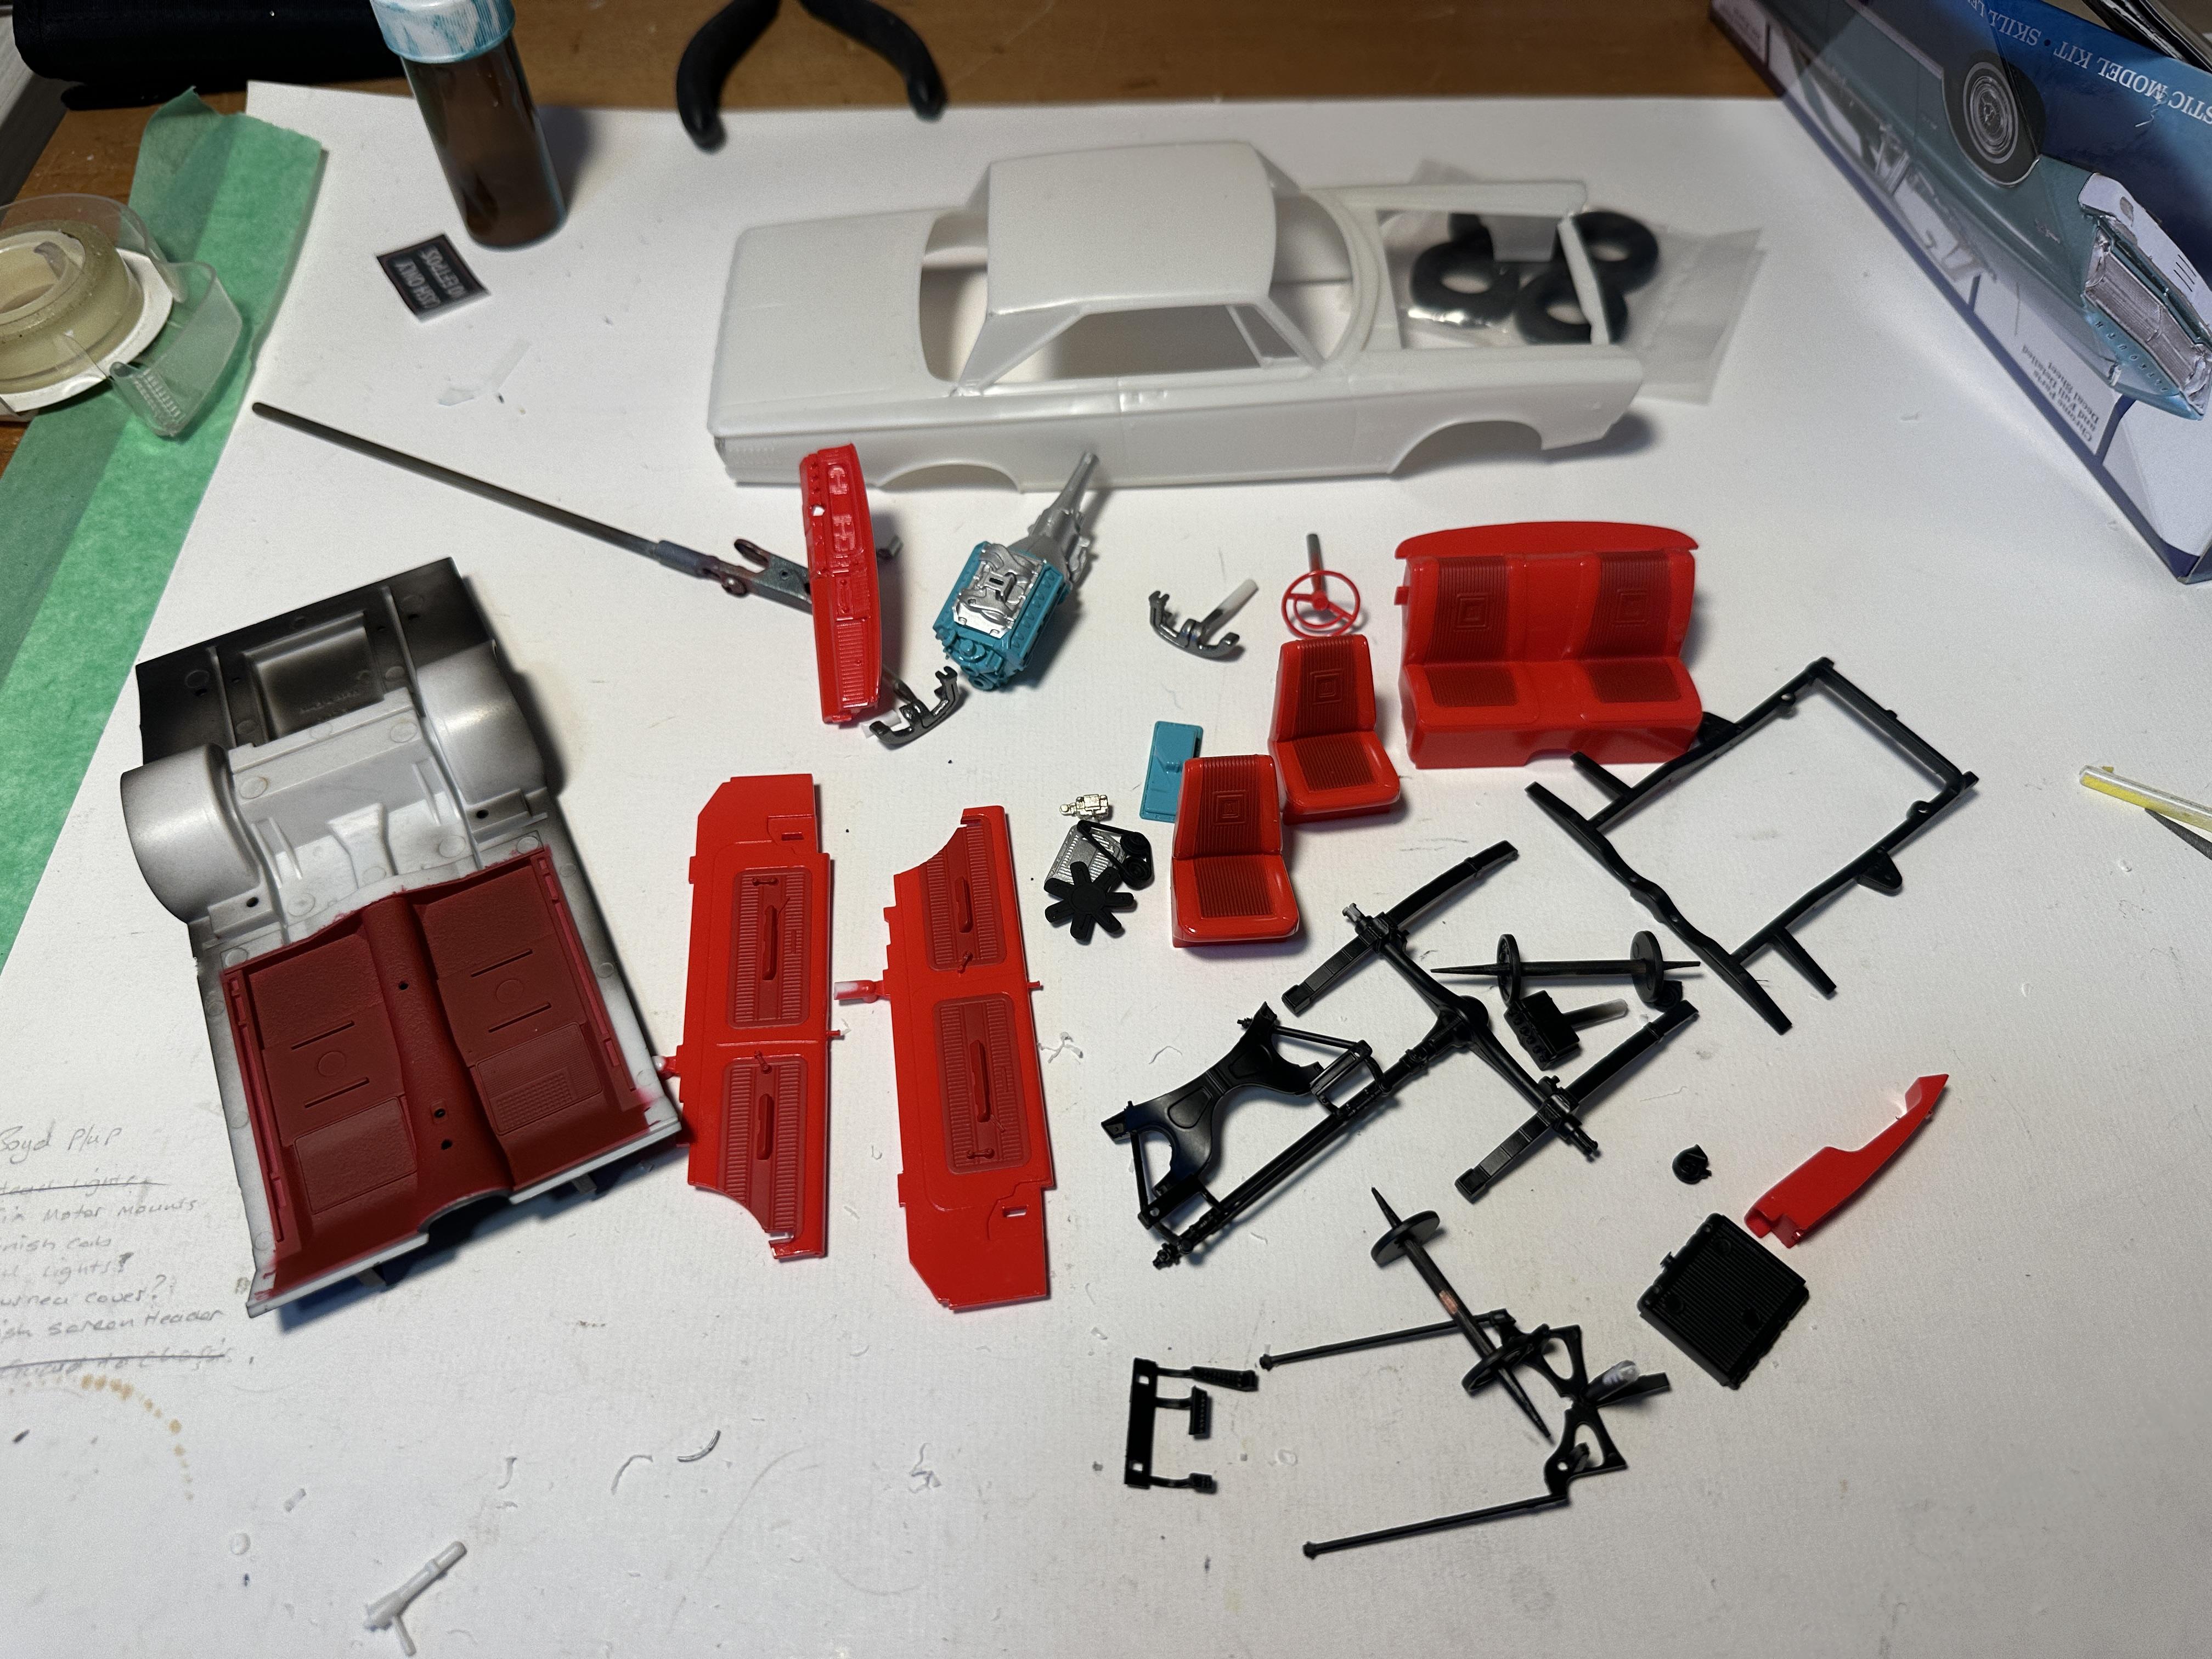
Lots of stuff back from the paint shop. The SG black chassis and parts. The gas tank was painted ally first then masked prior to painting the rest SG black. The interior is gloss red mixed a little stiff and airbrushed from a distance to the effect of vinyl. The dash front had a heavy last shot to get some gloss up. The seat and door card inserts is flat red with some SG black added to darken it a little. The floor has had a few more heavy coats and looks a little darker which is what I am after as the carpets my reference car looks a tad darker than the inserts Reference car
-
It has - on 39's it is mounted behind the axle - just hidden in that pix at the start. Certainly see it during the video.
-
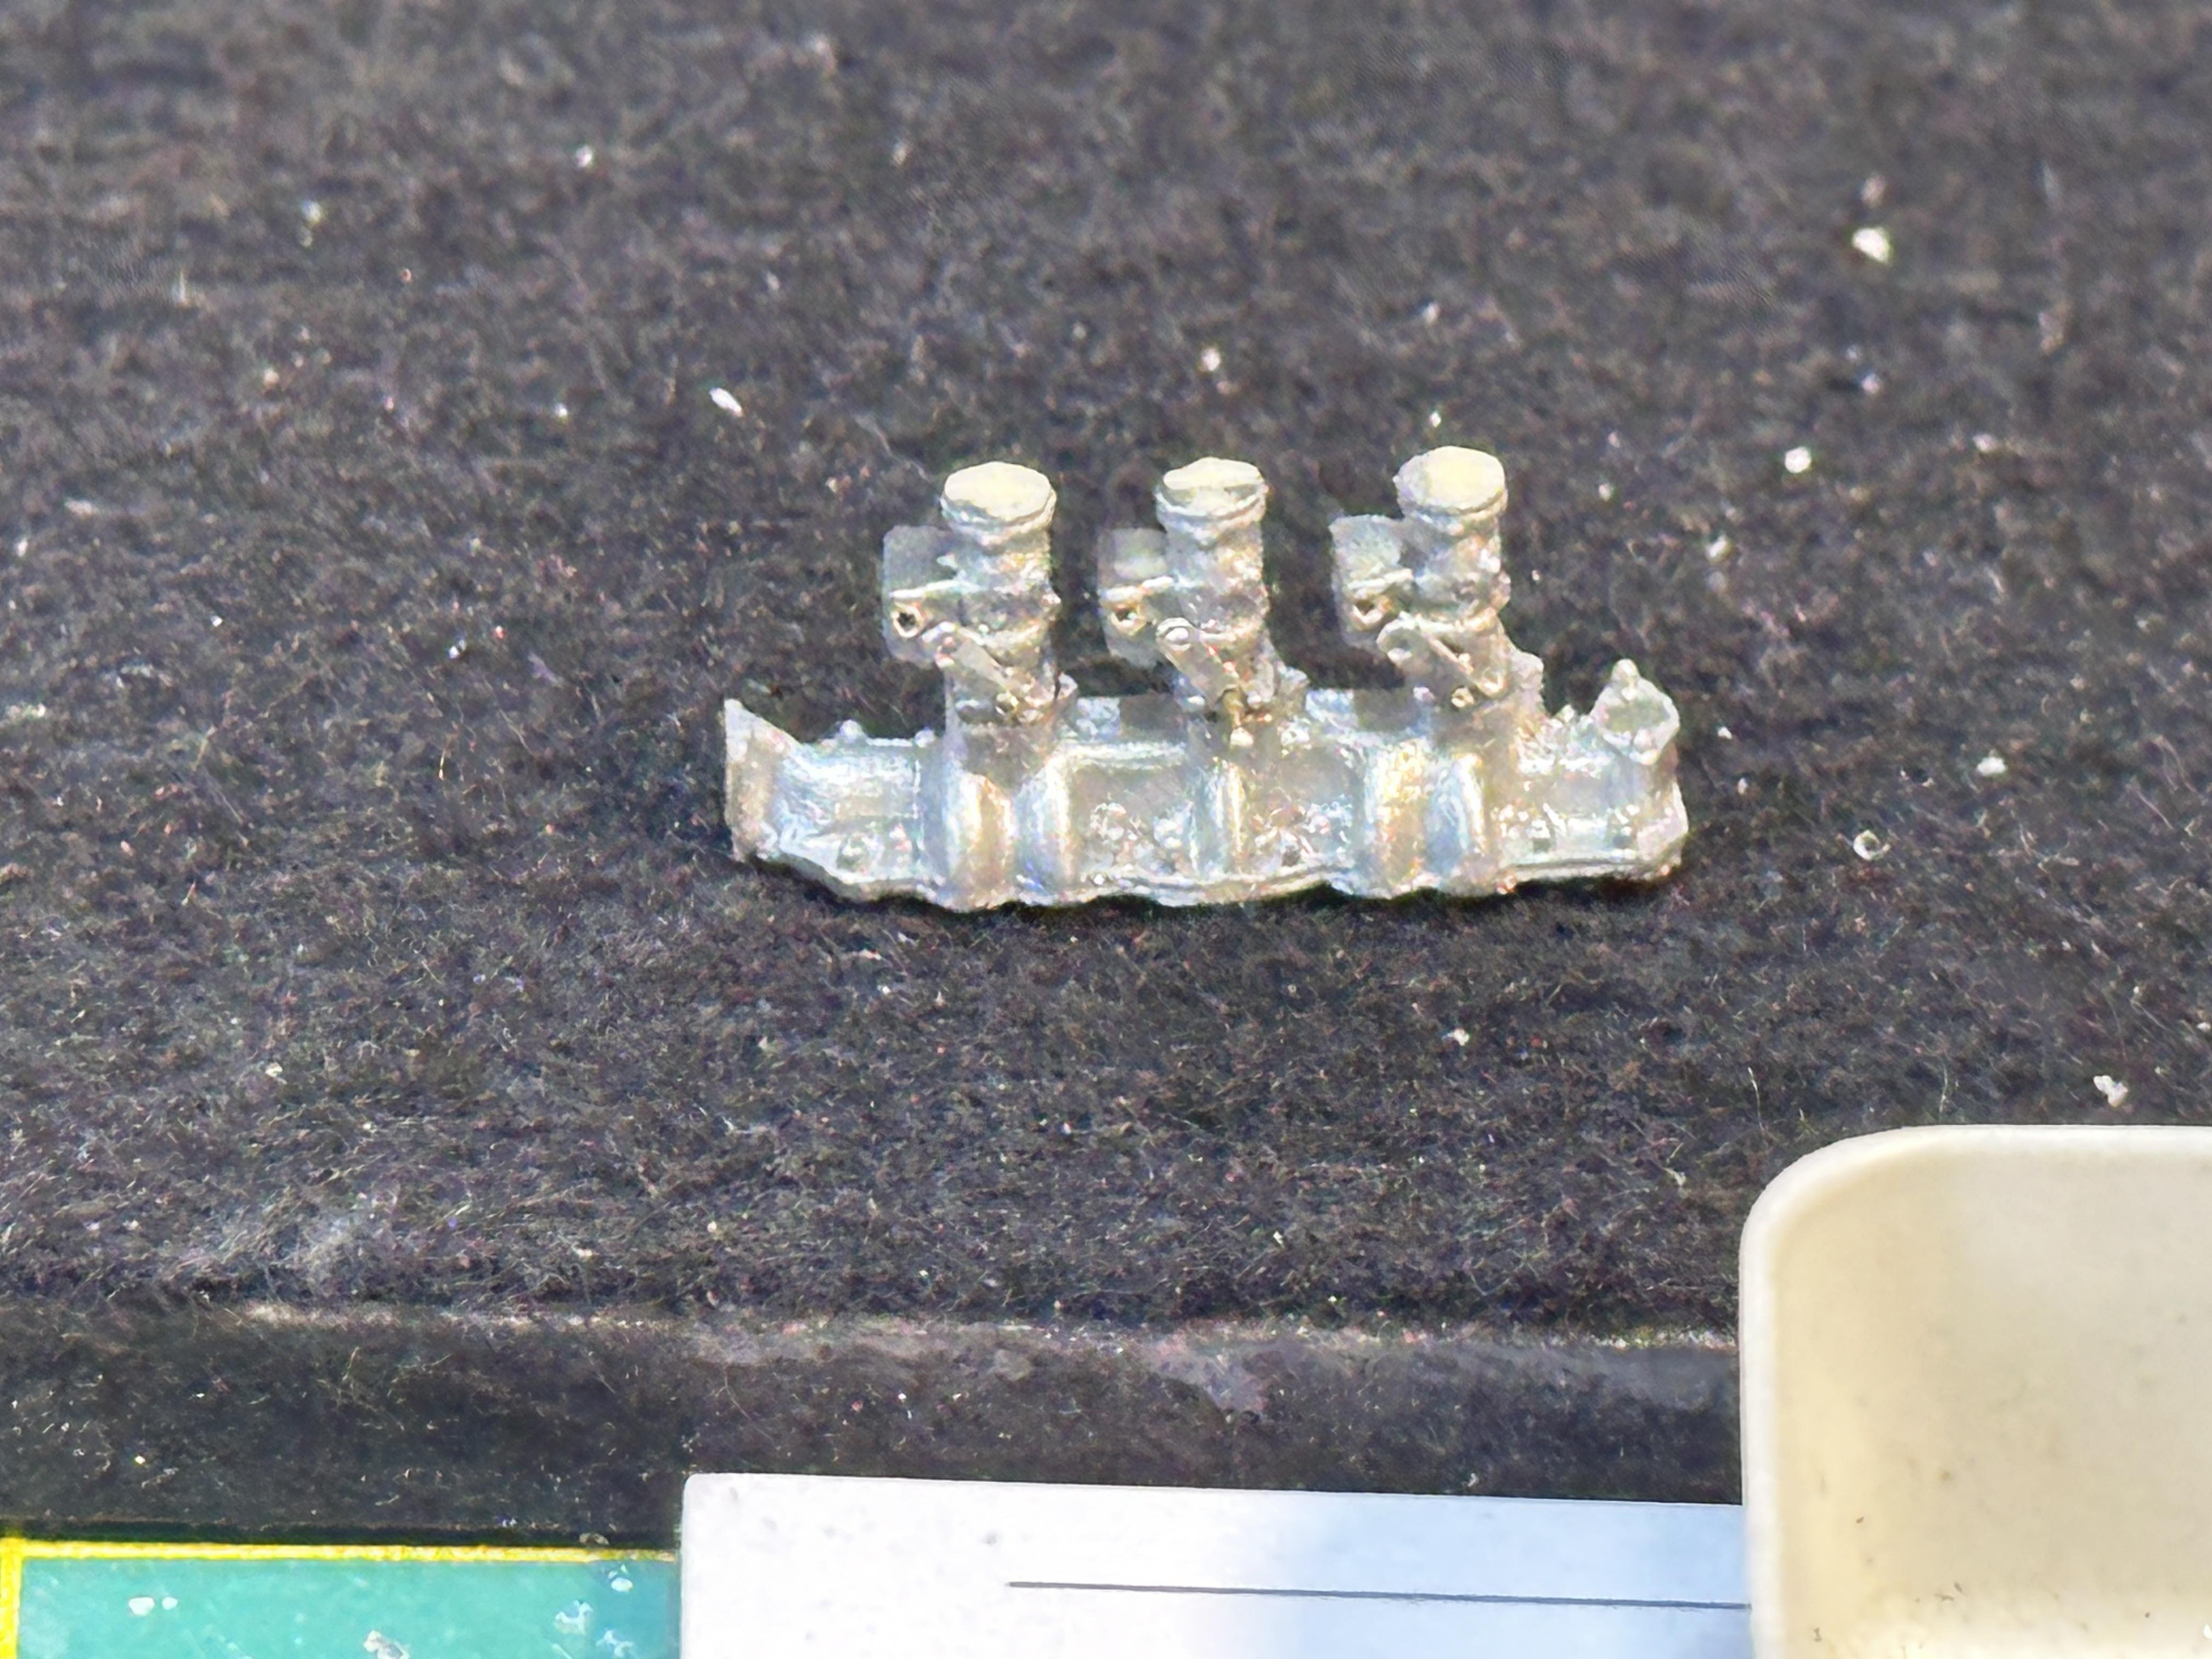
Got the carb linkages and frog mouths onto the carbs. I have drilled for fuel lines but will wait till final assembly to install those. The throttle return spring is a strand of copper wire from a small cable wound around a 0.5mm piece of piano wire and then stretched a little.
-
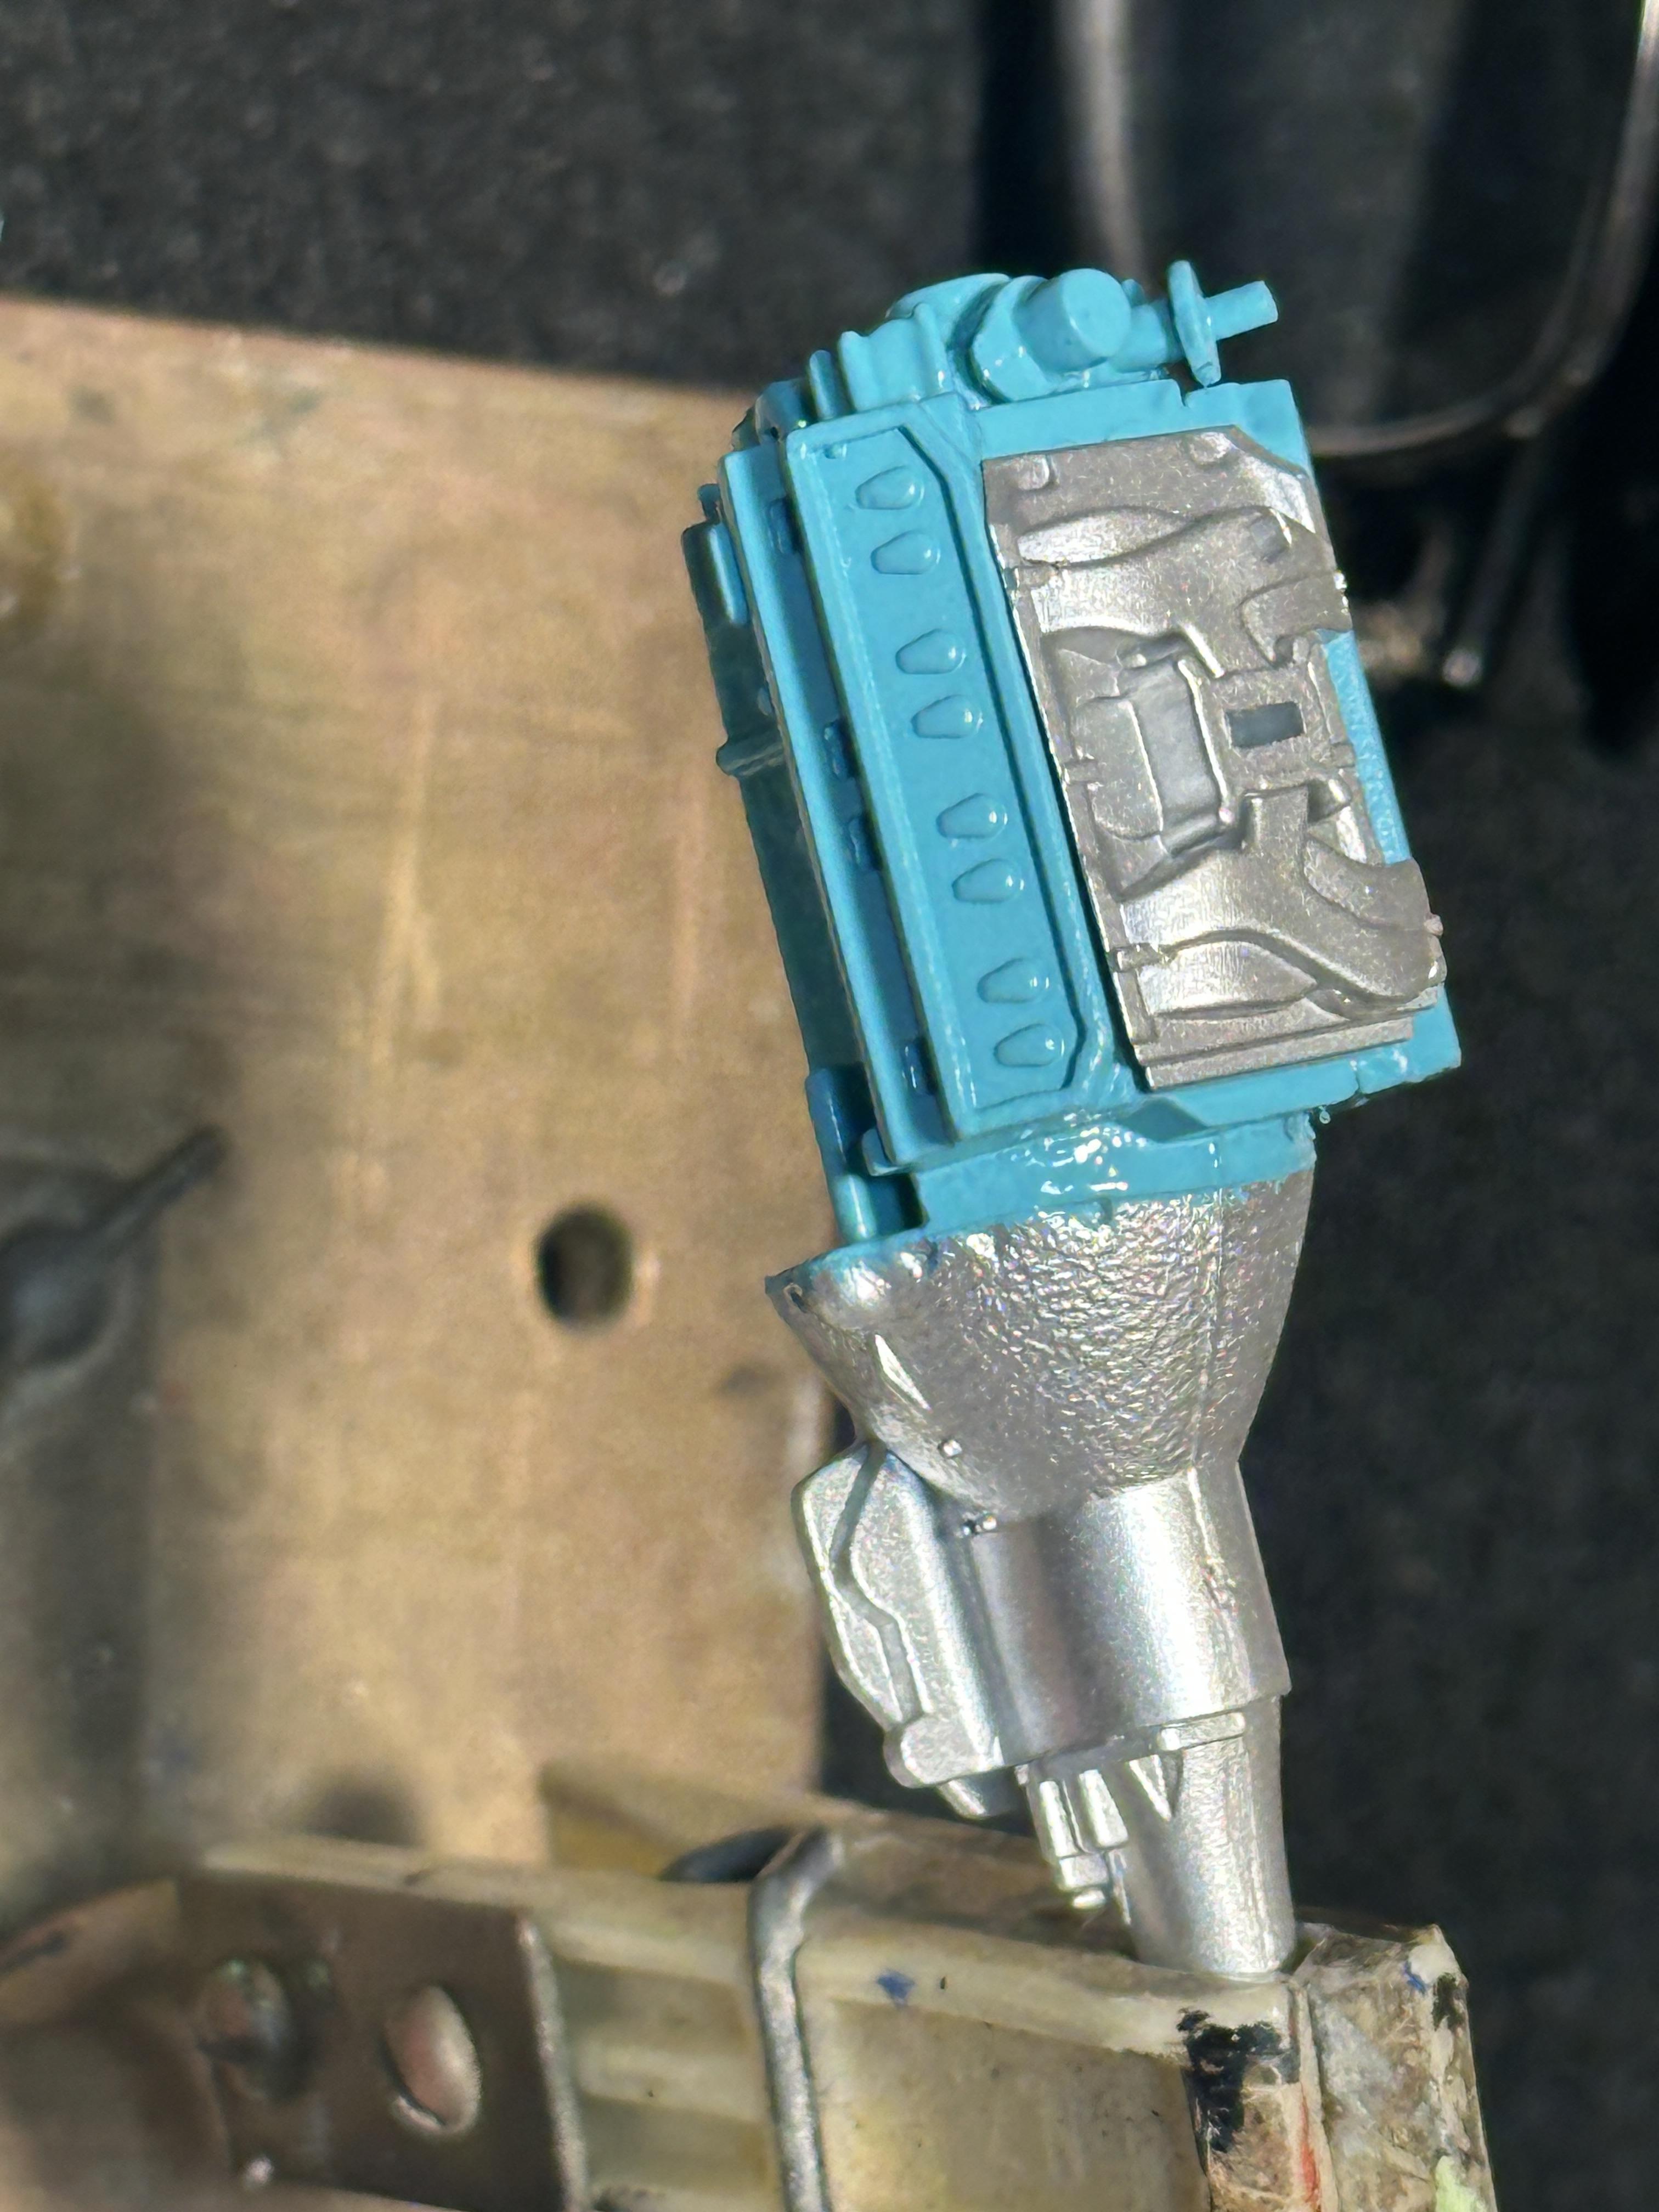
Got a start on the motor. Mixed up some Tamiya acrylic paint for Mopar Turquoise. Started with sky blue and added some green and white to come up with the colour. SMS aluminum for the inlet. The chassis components are in the booth
-
Thats what we have to do when we mess about with kits. It's got to look right
-
I think the same Greg - hence my wish to build one. And I am a Mopar man to boot.
-
Cool build there DW I will be doing mine as a resto done my way. Part original and part day2. An OOB build up with a fair amount of paint detail Main body in Tamiya racing white with a metallic red roof. Red interior and a stock weezy 383 with a 2 barrel carb - may change that yet as there are some 4bbl carbs in the box
-
Next up on the bench as I progress with my 32 Coupe build
-
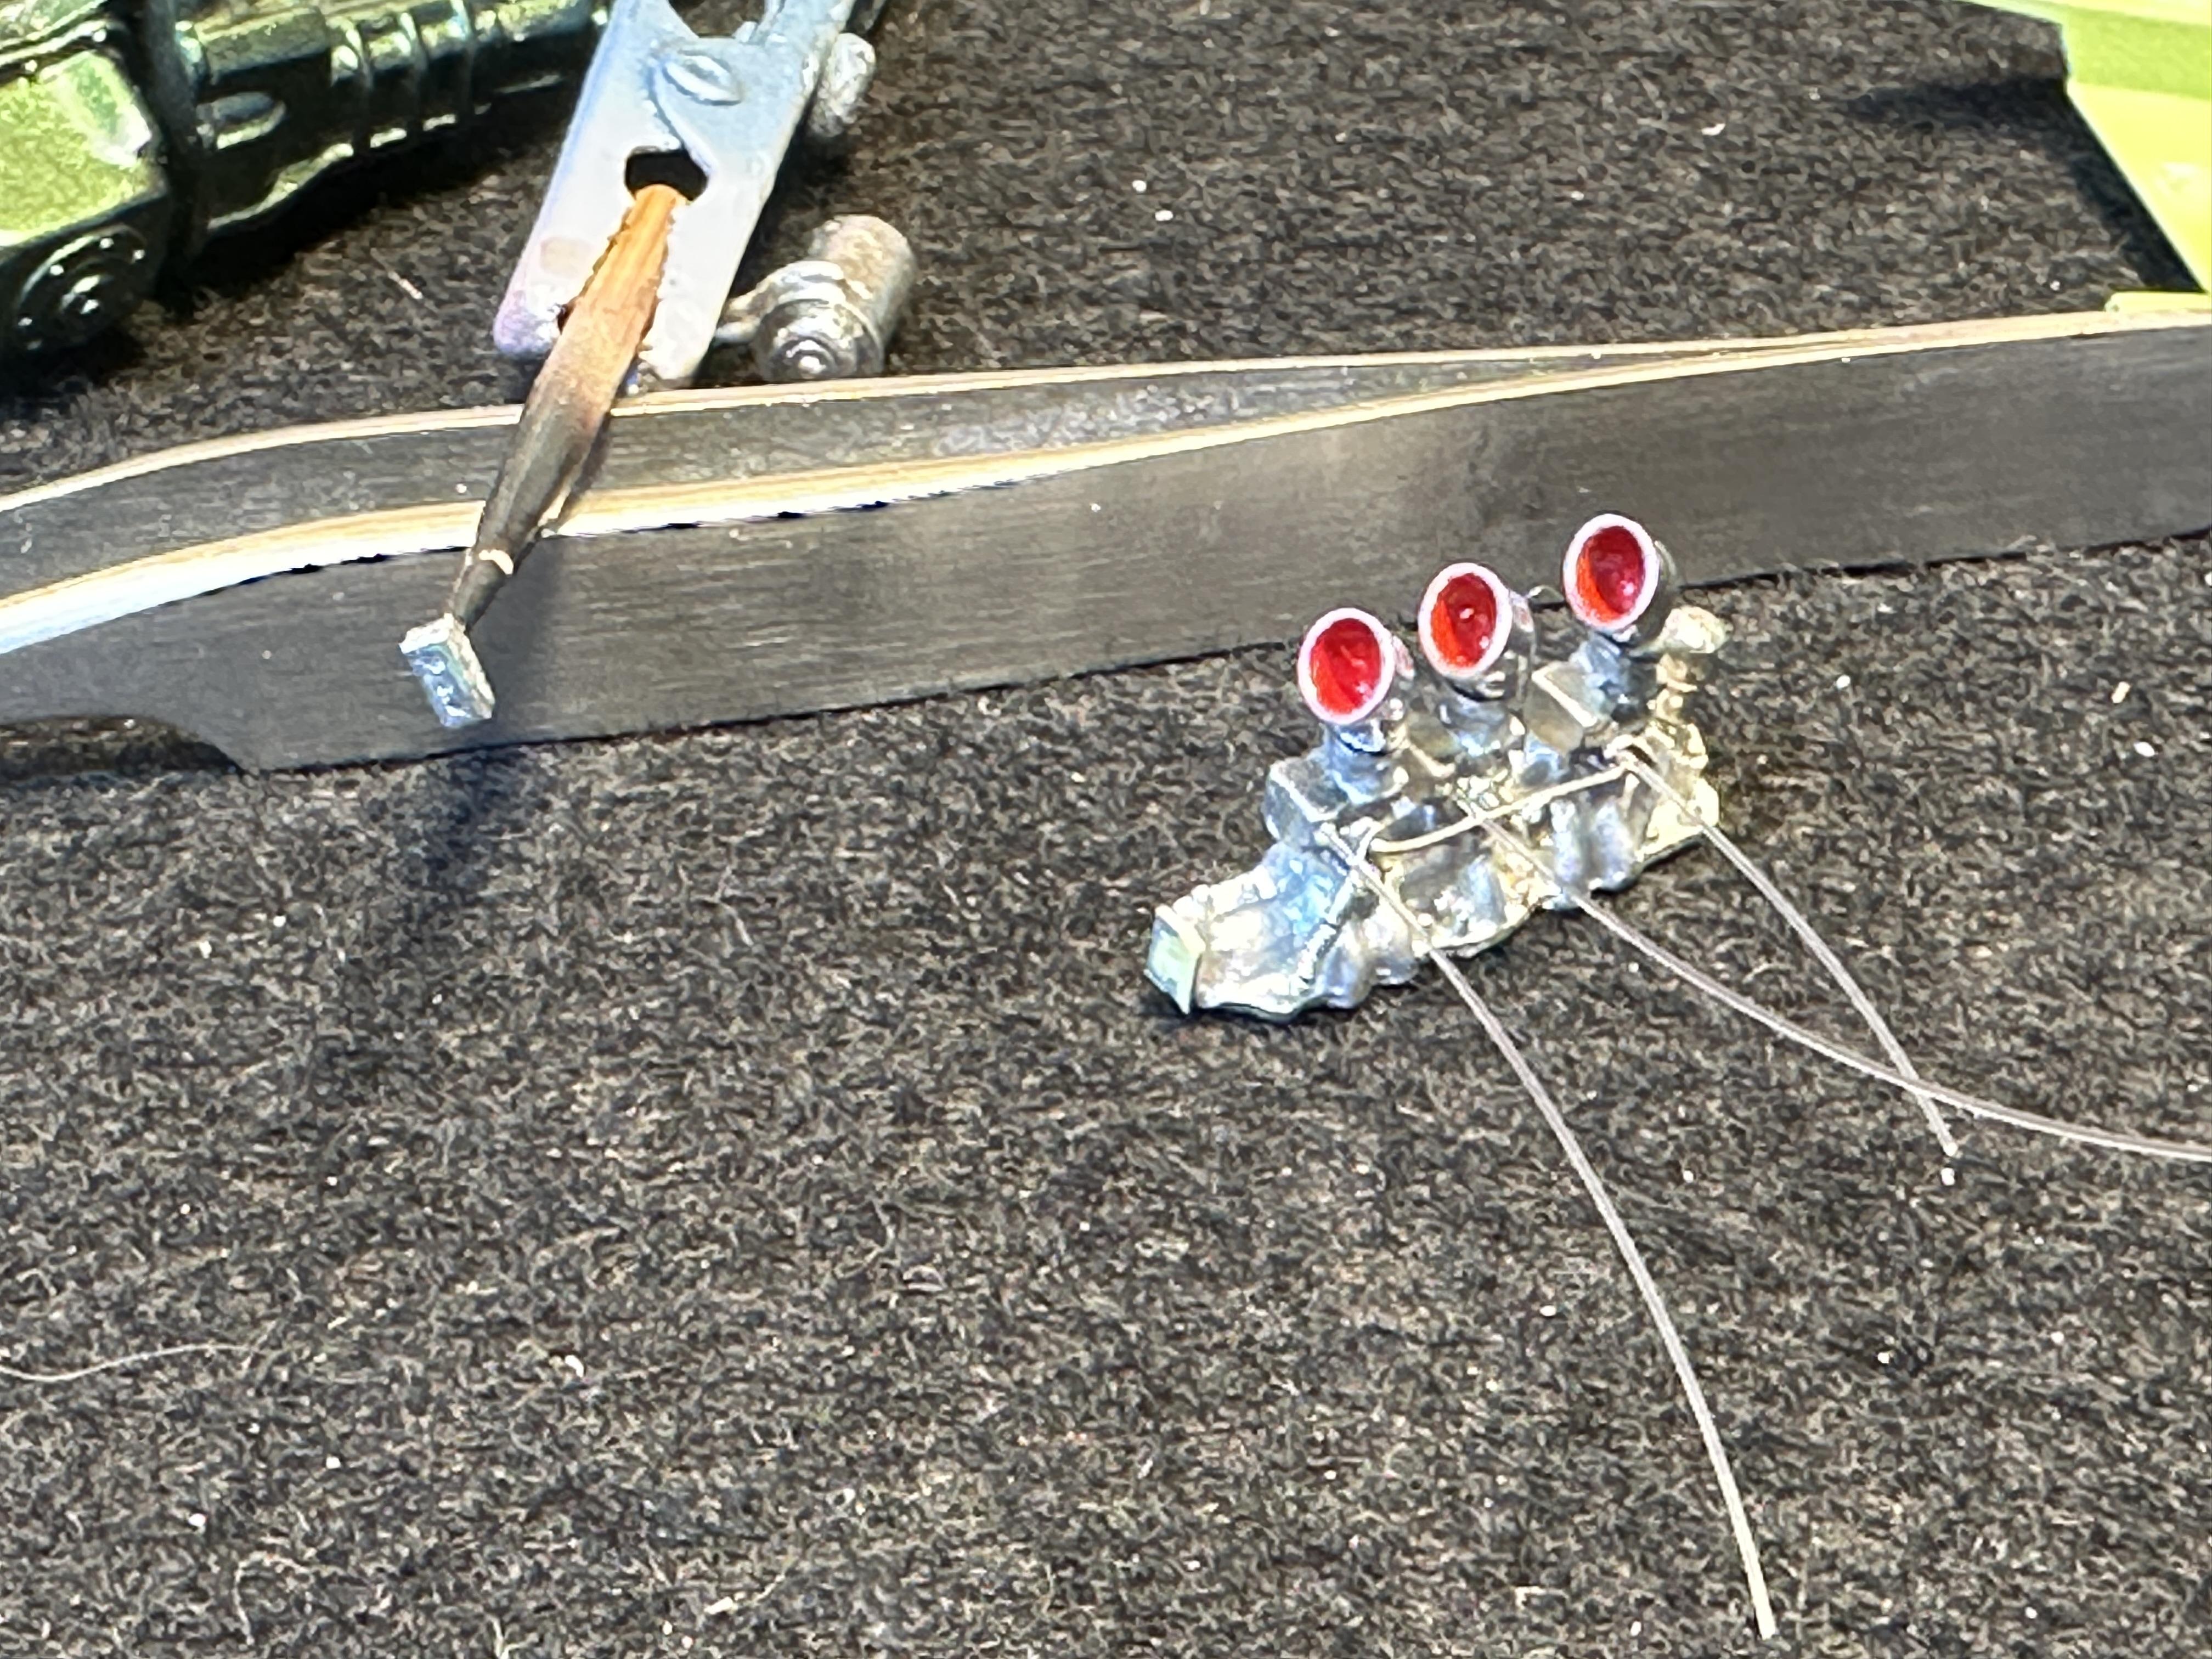
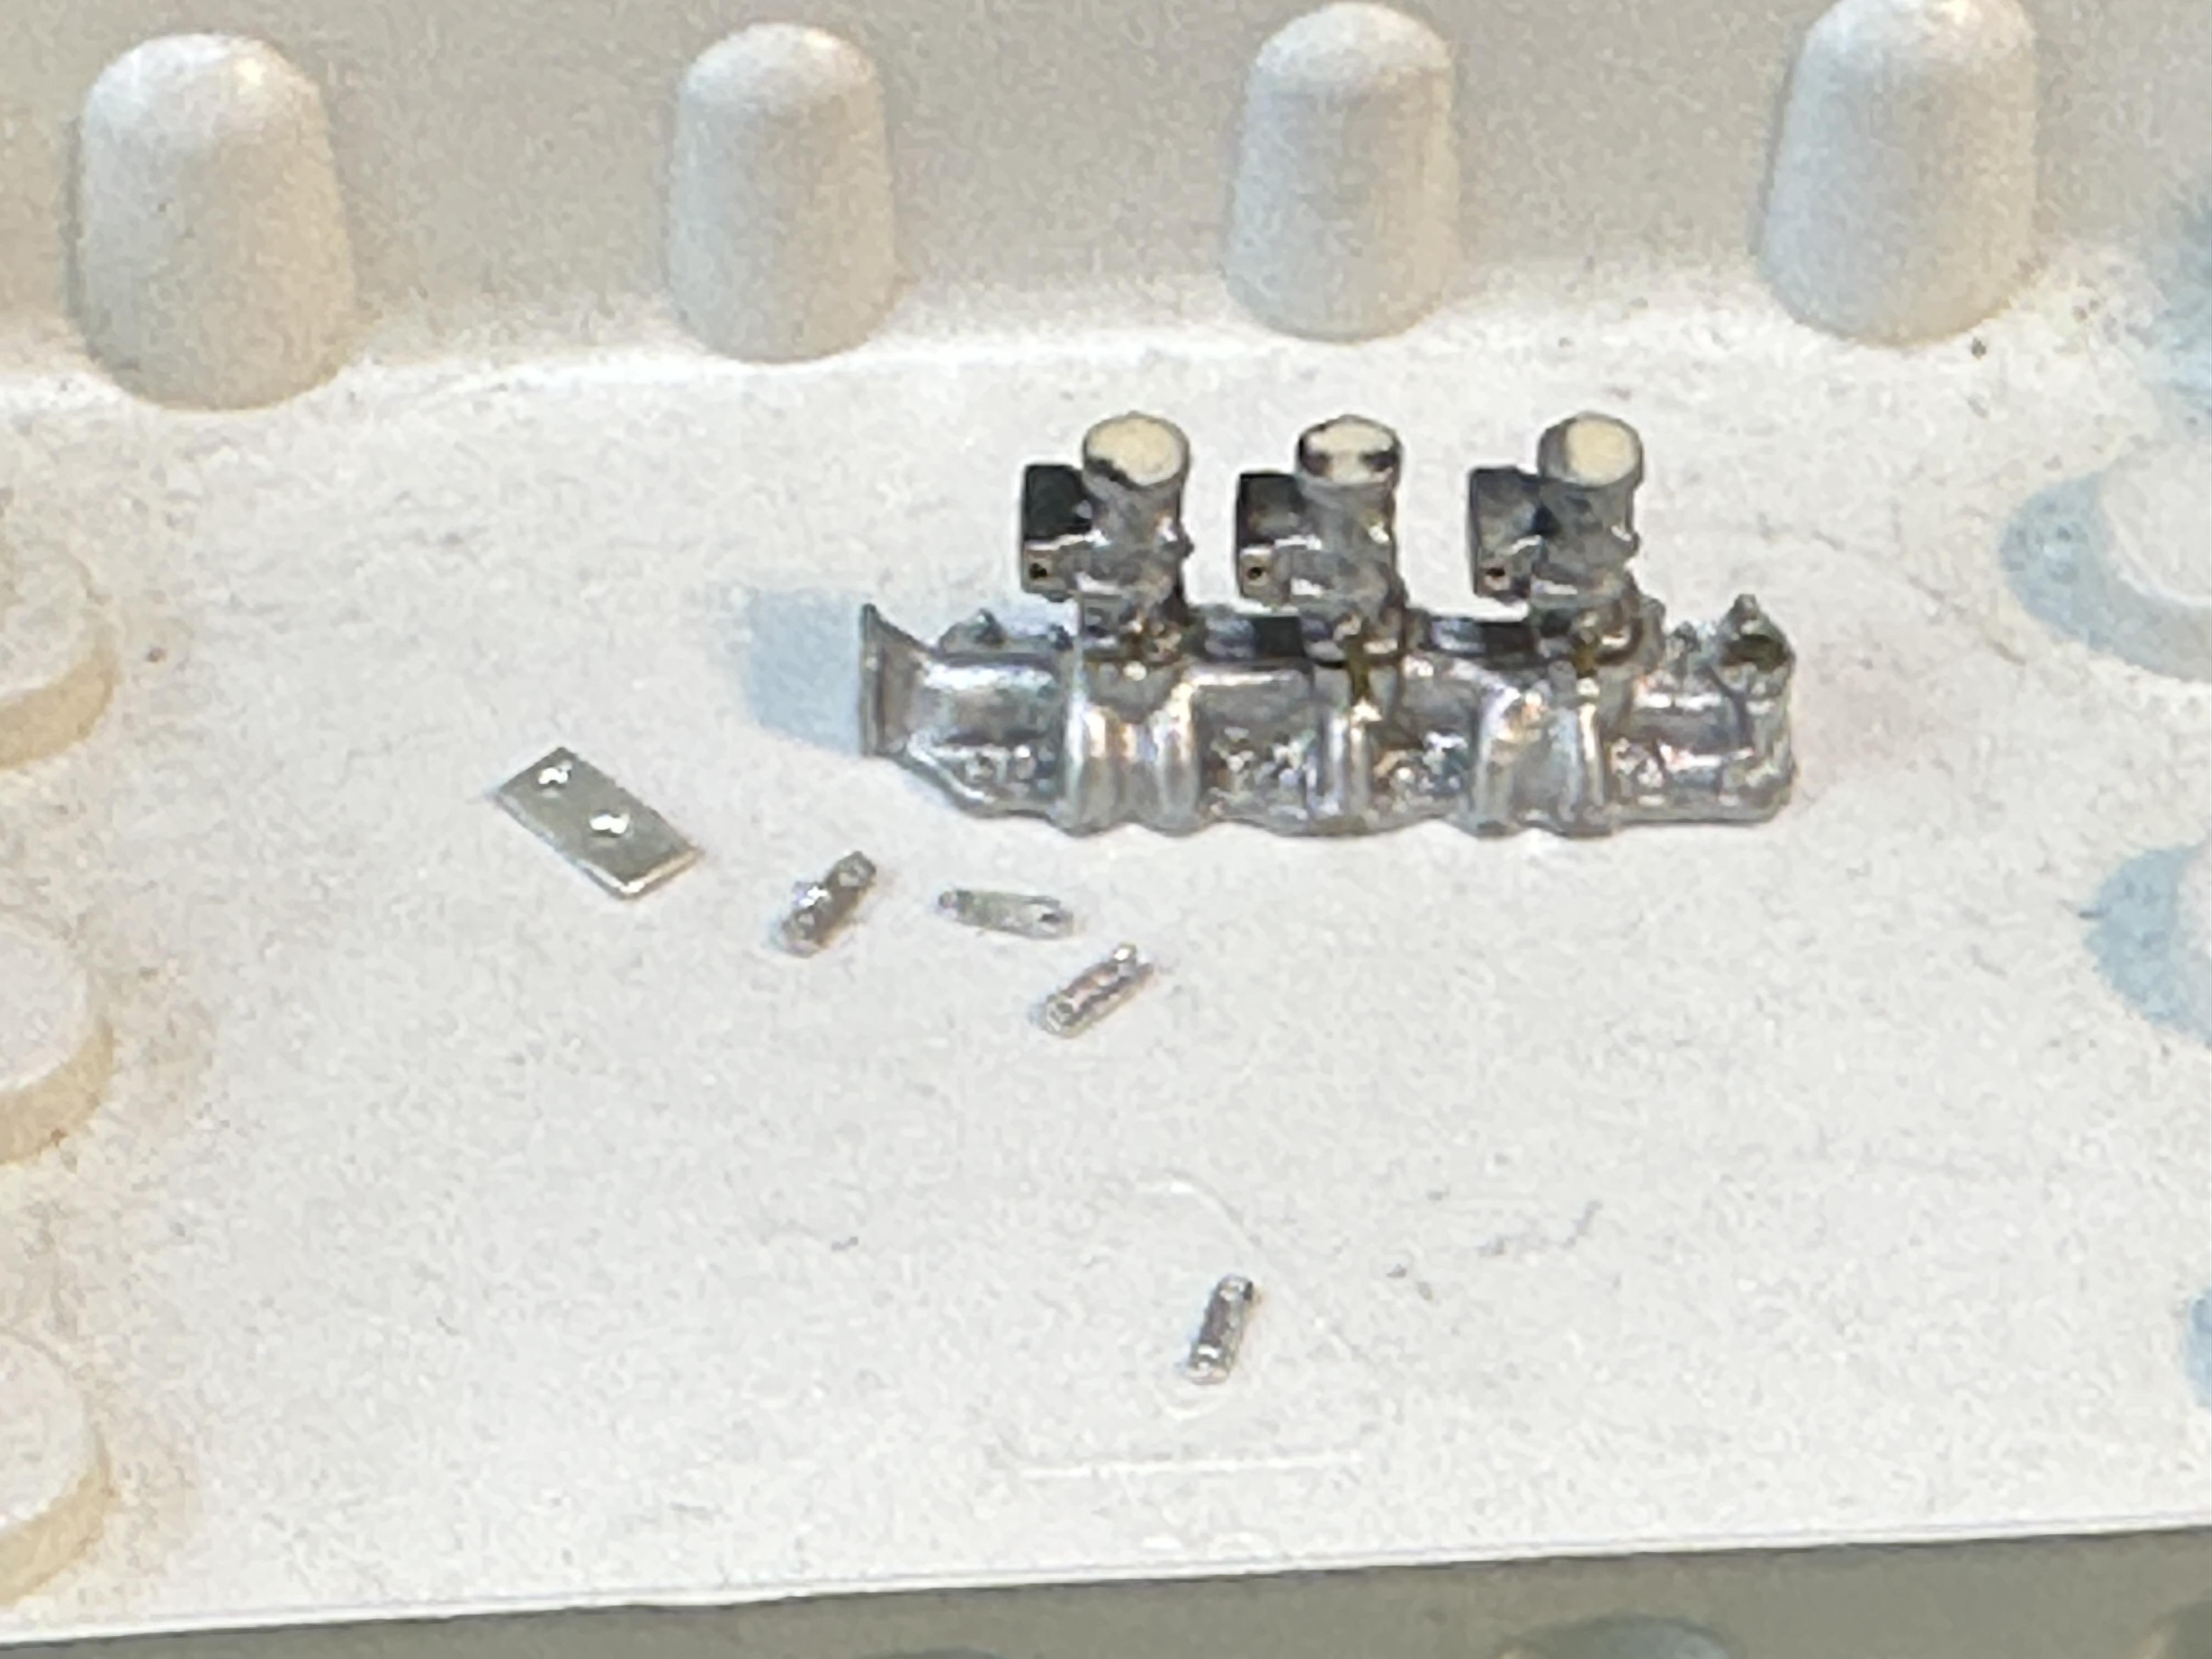
Thanks Chris and Bob Been working on the induction system I have drilled the carbs for throttle shafts - 0.5mm brass wire. Also drilled out the fuel bowls for fuel lines And made some linkages from 0.25mm ally printing plate that I have had for years I cleaned up the linkages and fitted three of them to the carbs although it is a bit hard to see in the pix coz everything is the same colour Thanks for looking
-
1926 RANCHERO: What if Henry greenlighted the Ranchero in 1926?
bill-e-boy replied to Claude Thibodeau's topic in Model Cars
Claude, you have nailed it again - another fantastic build. -
Yup. just gets worse - time to walk away