bill-e-boy
-
Posts
859 -
Joined
-
Last visited
Content Type
Profiles
Forums
Events
Gallery
Everything posted by bill-e-boy
-
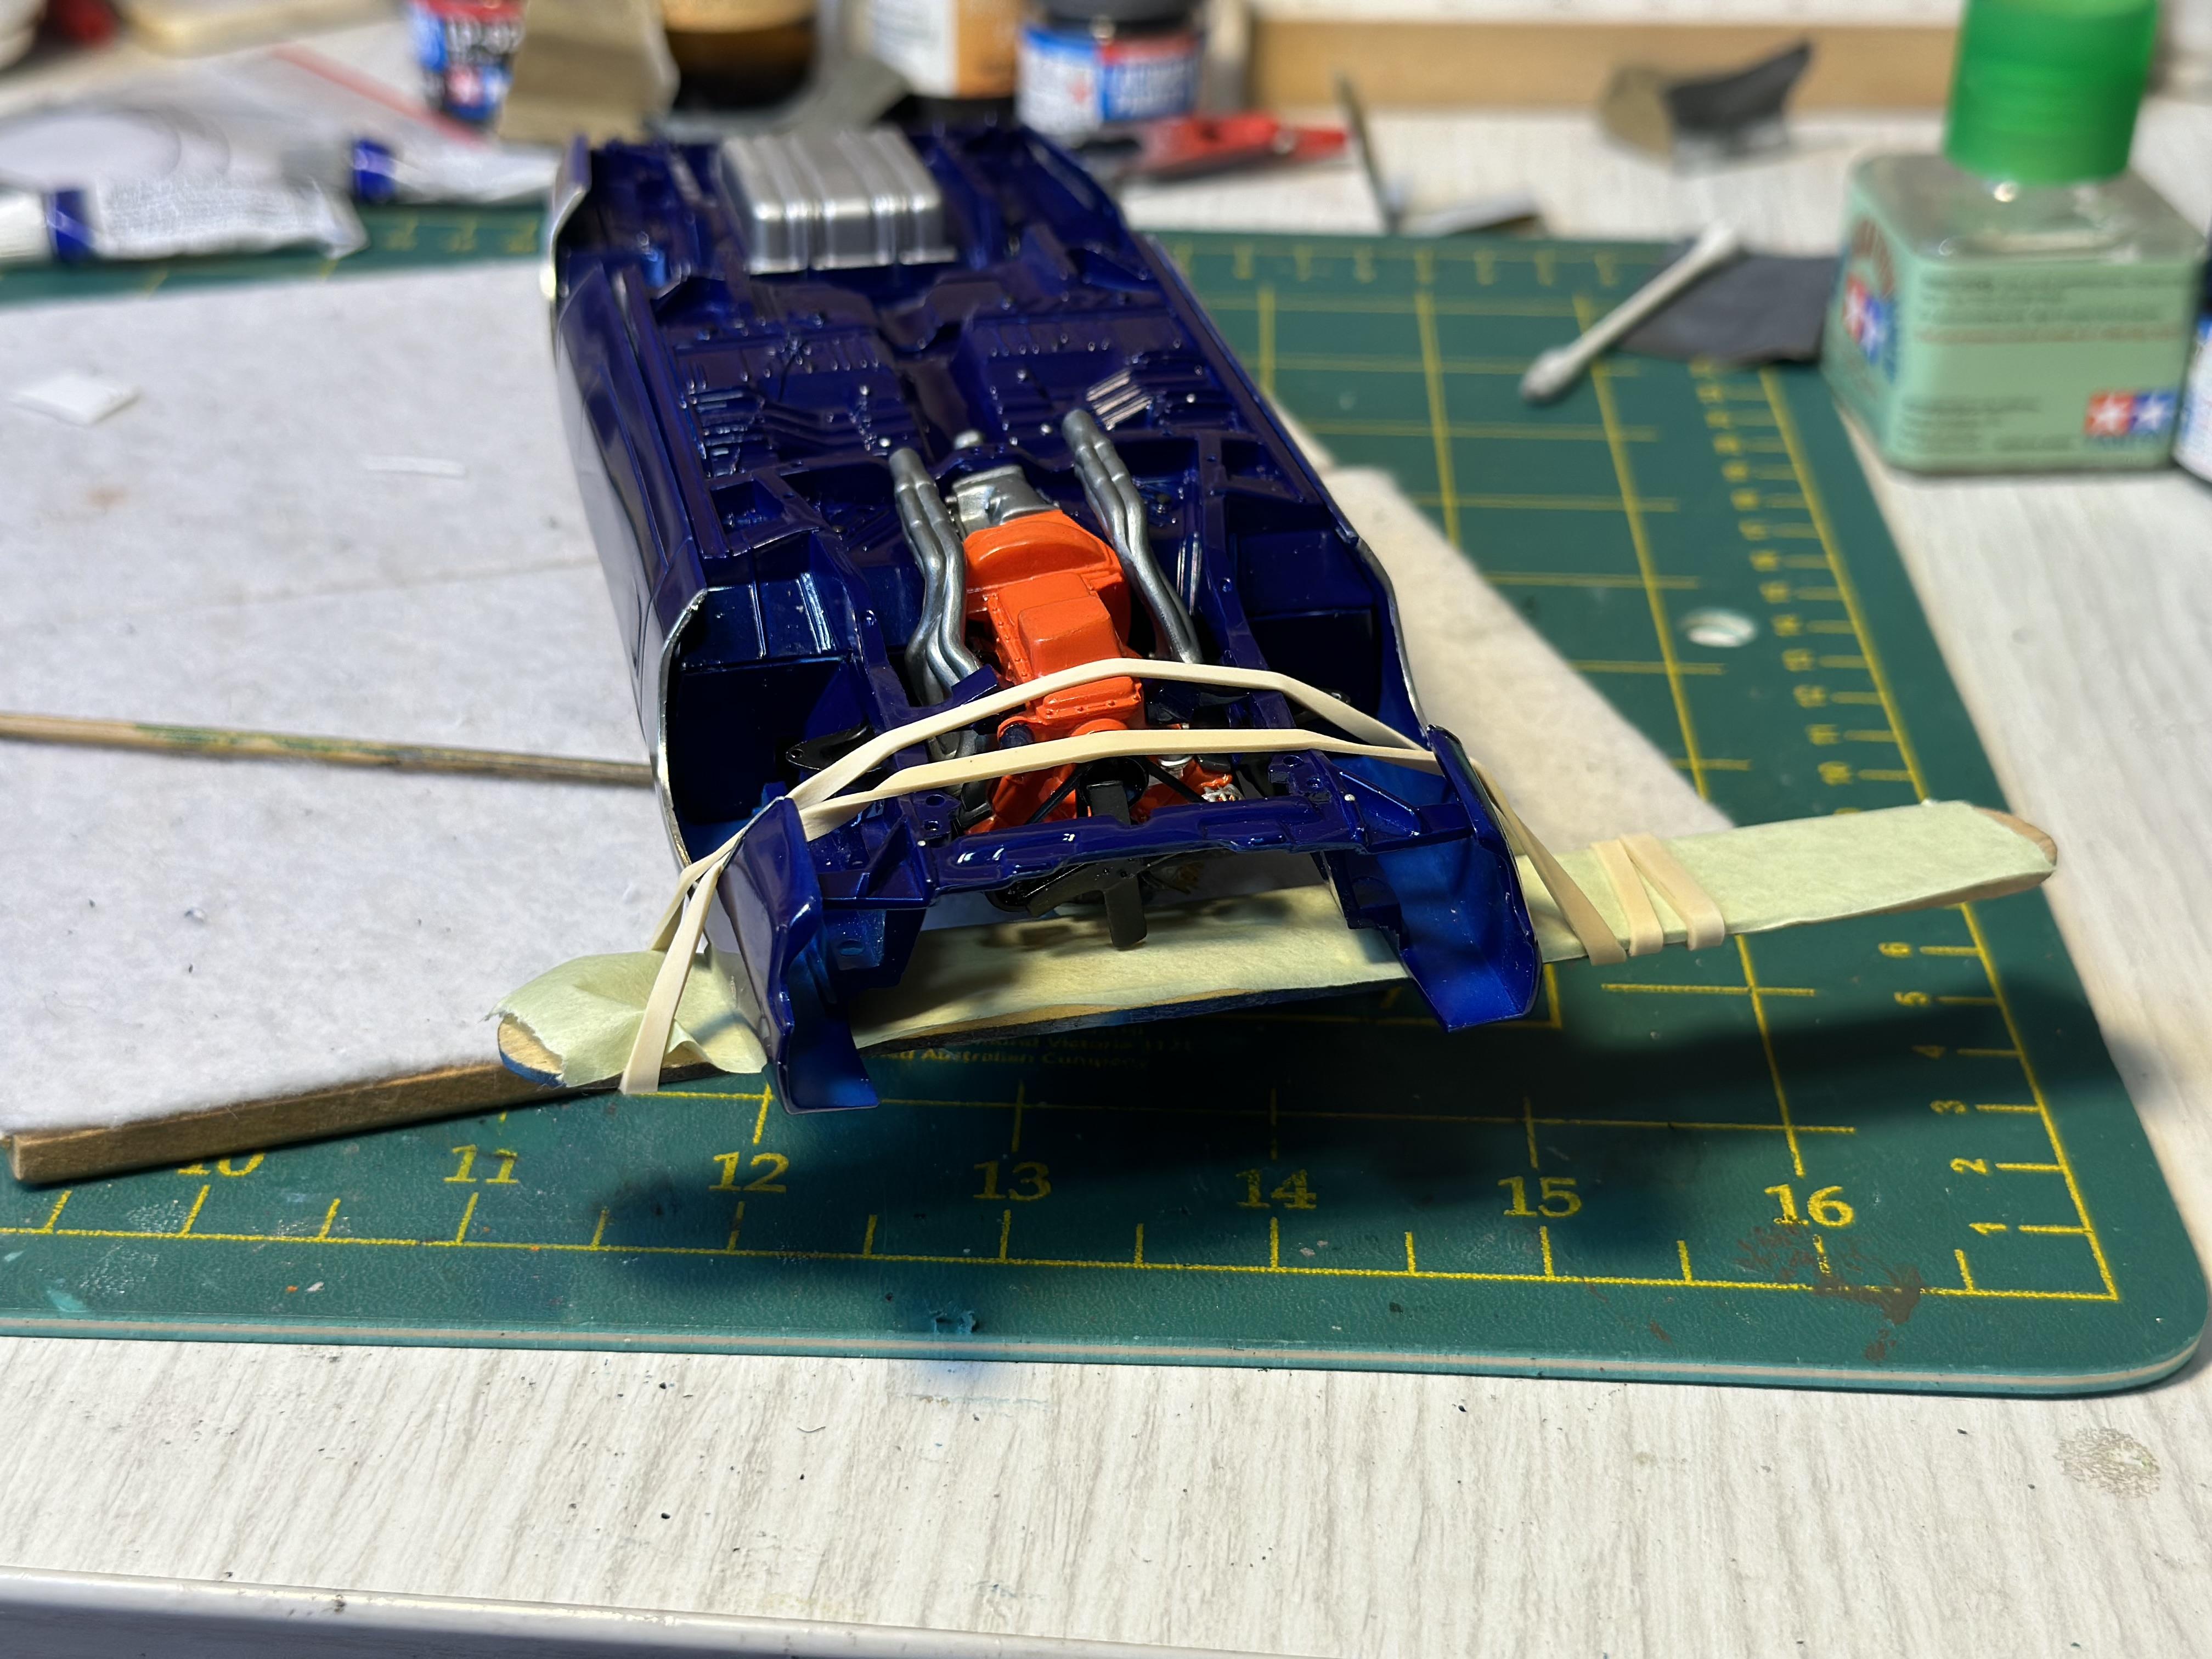
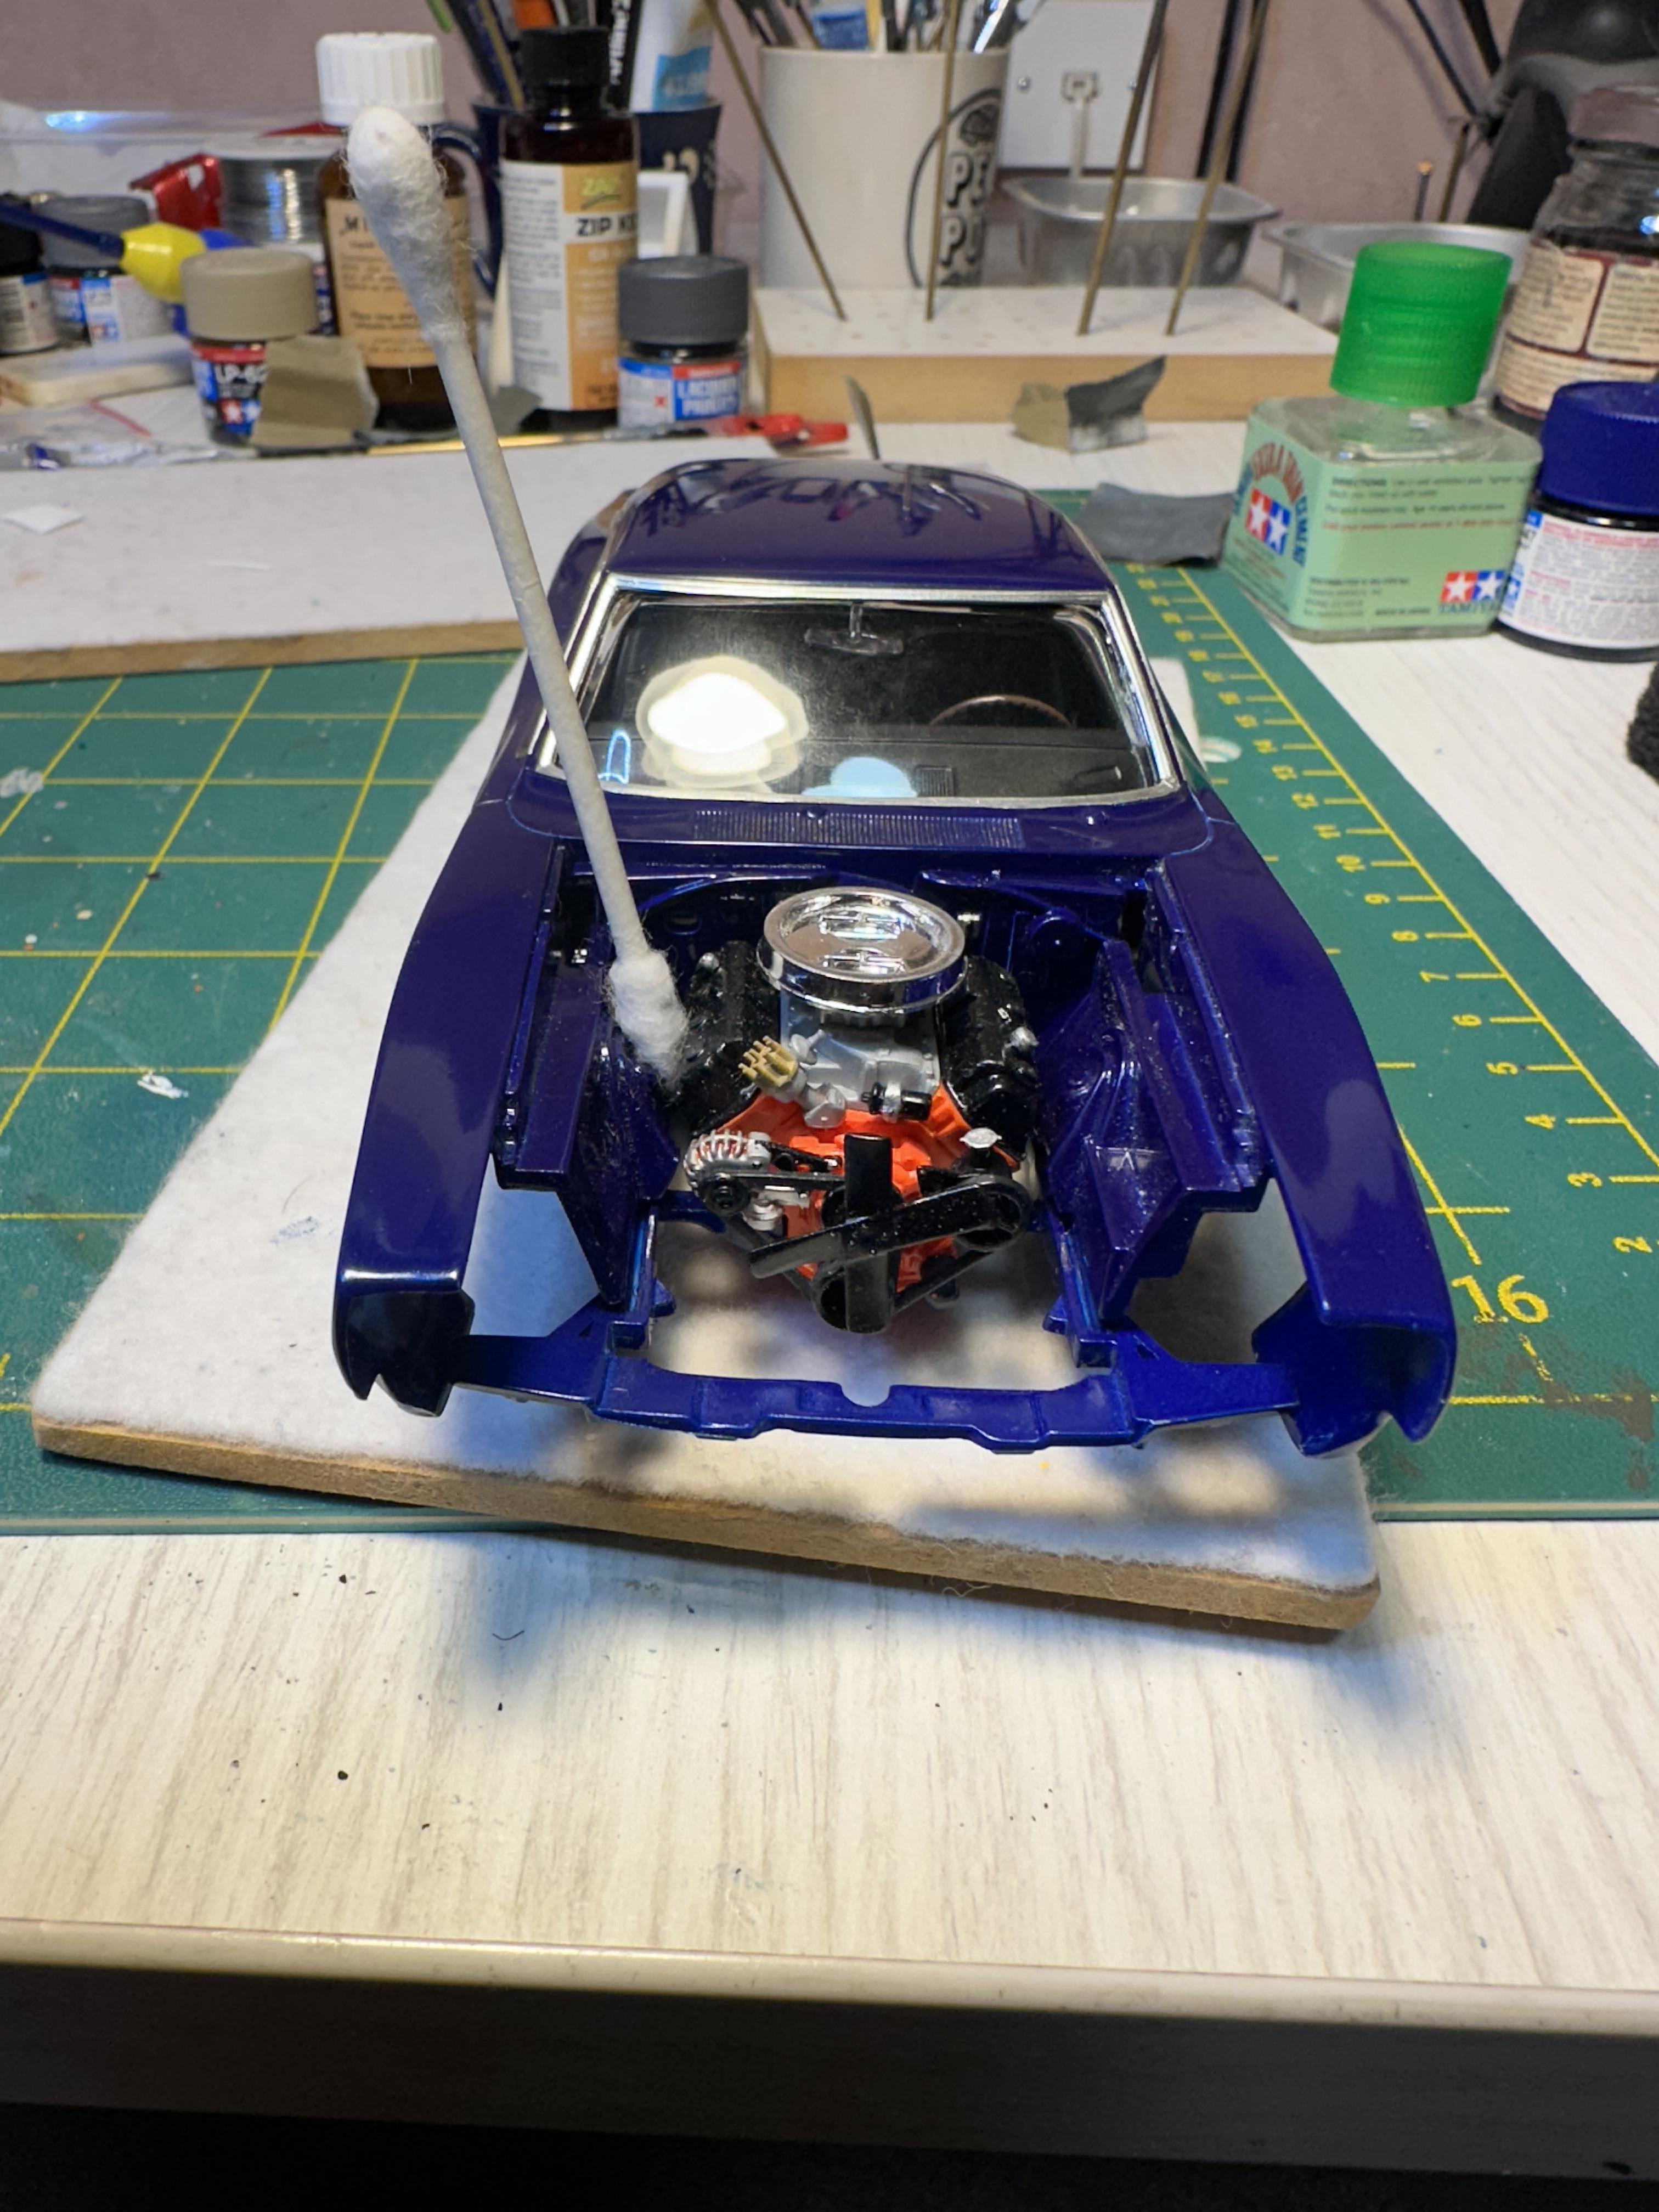
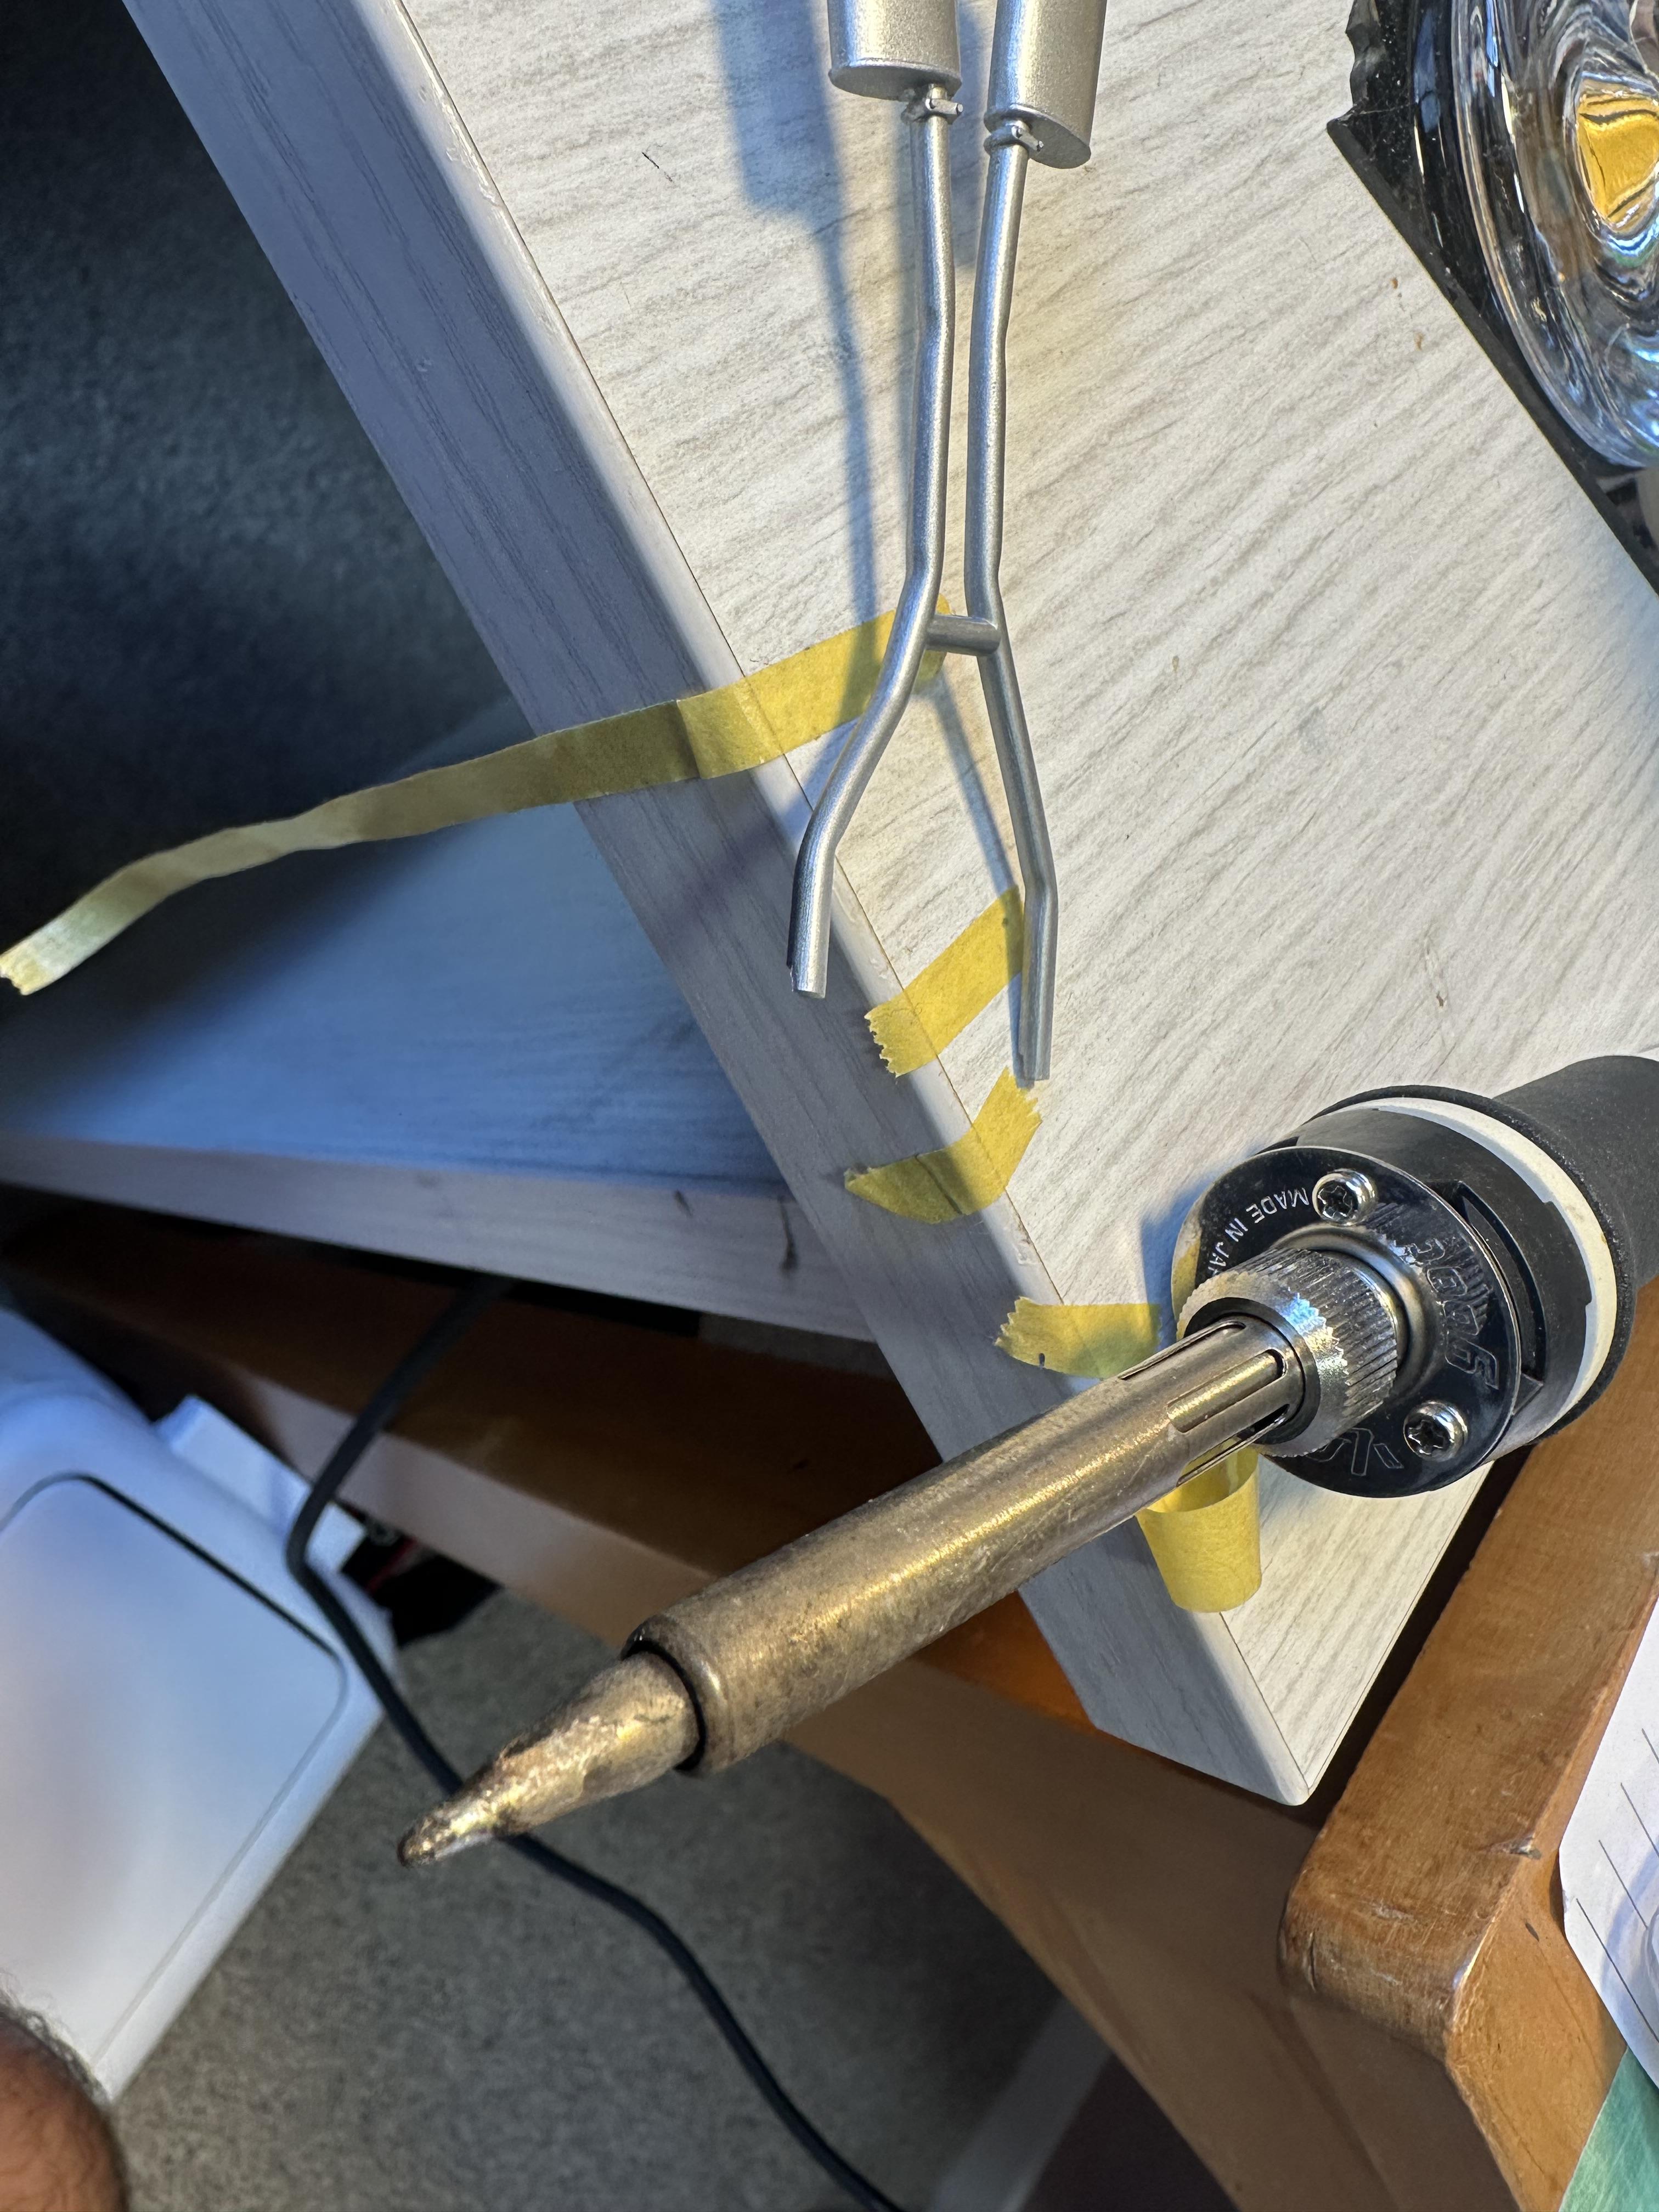
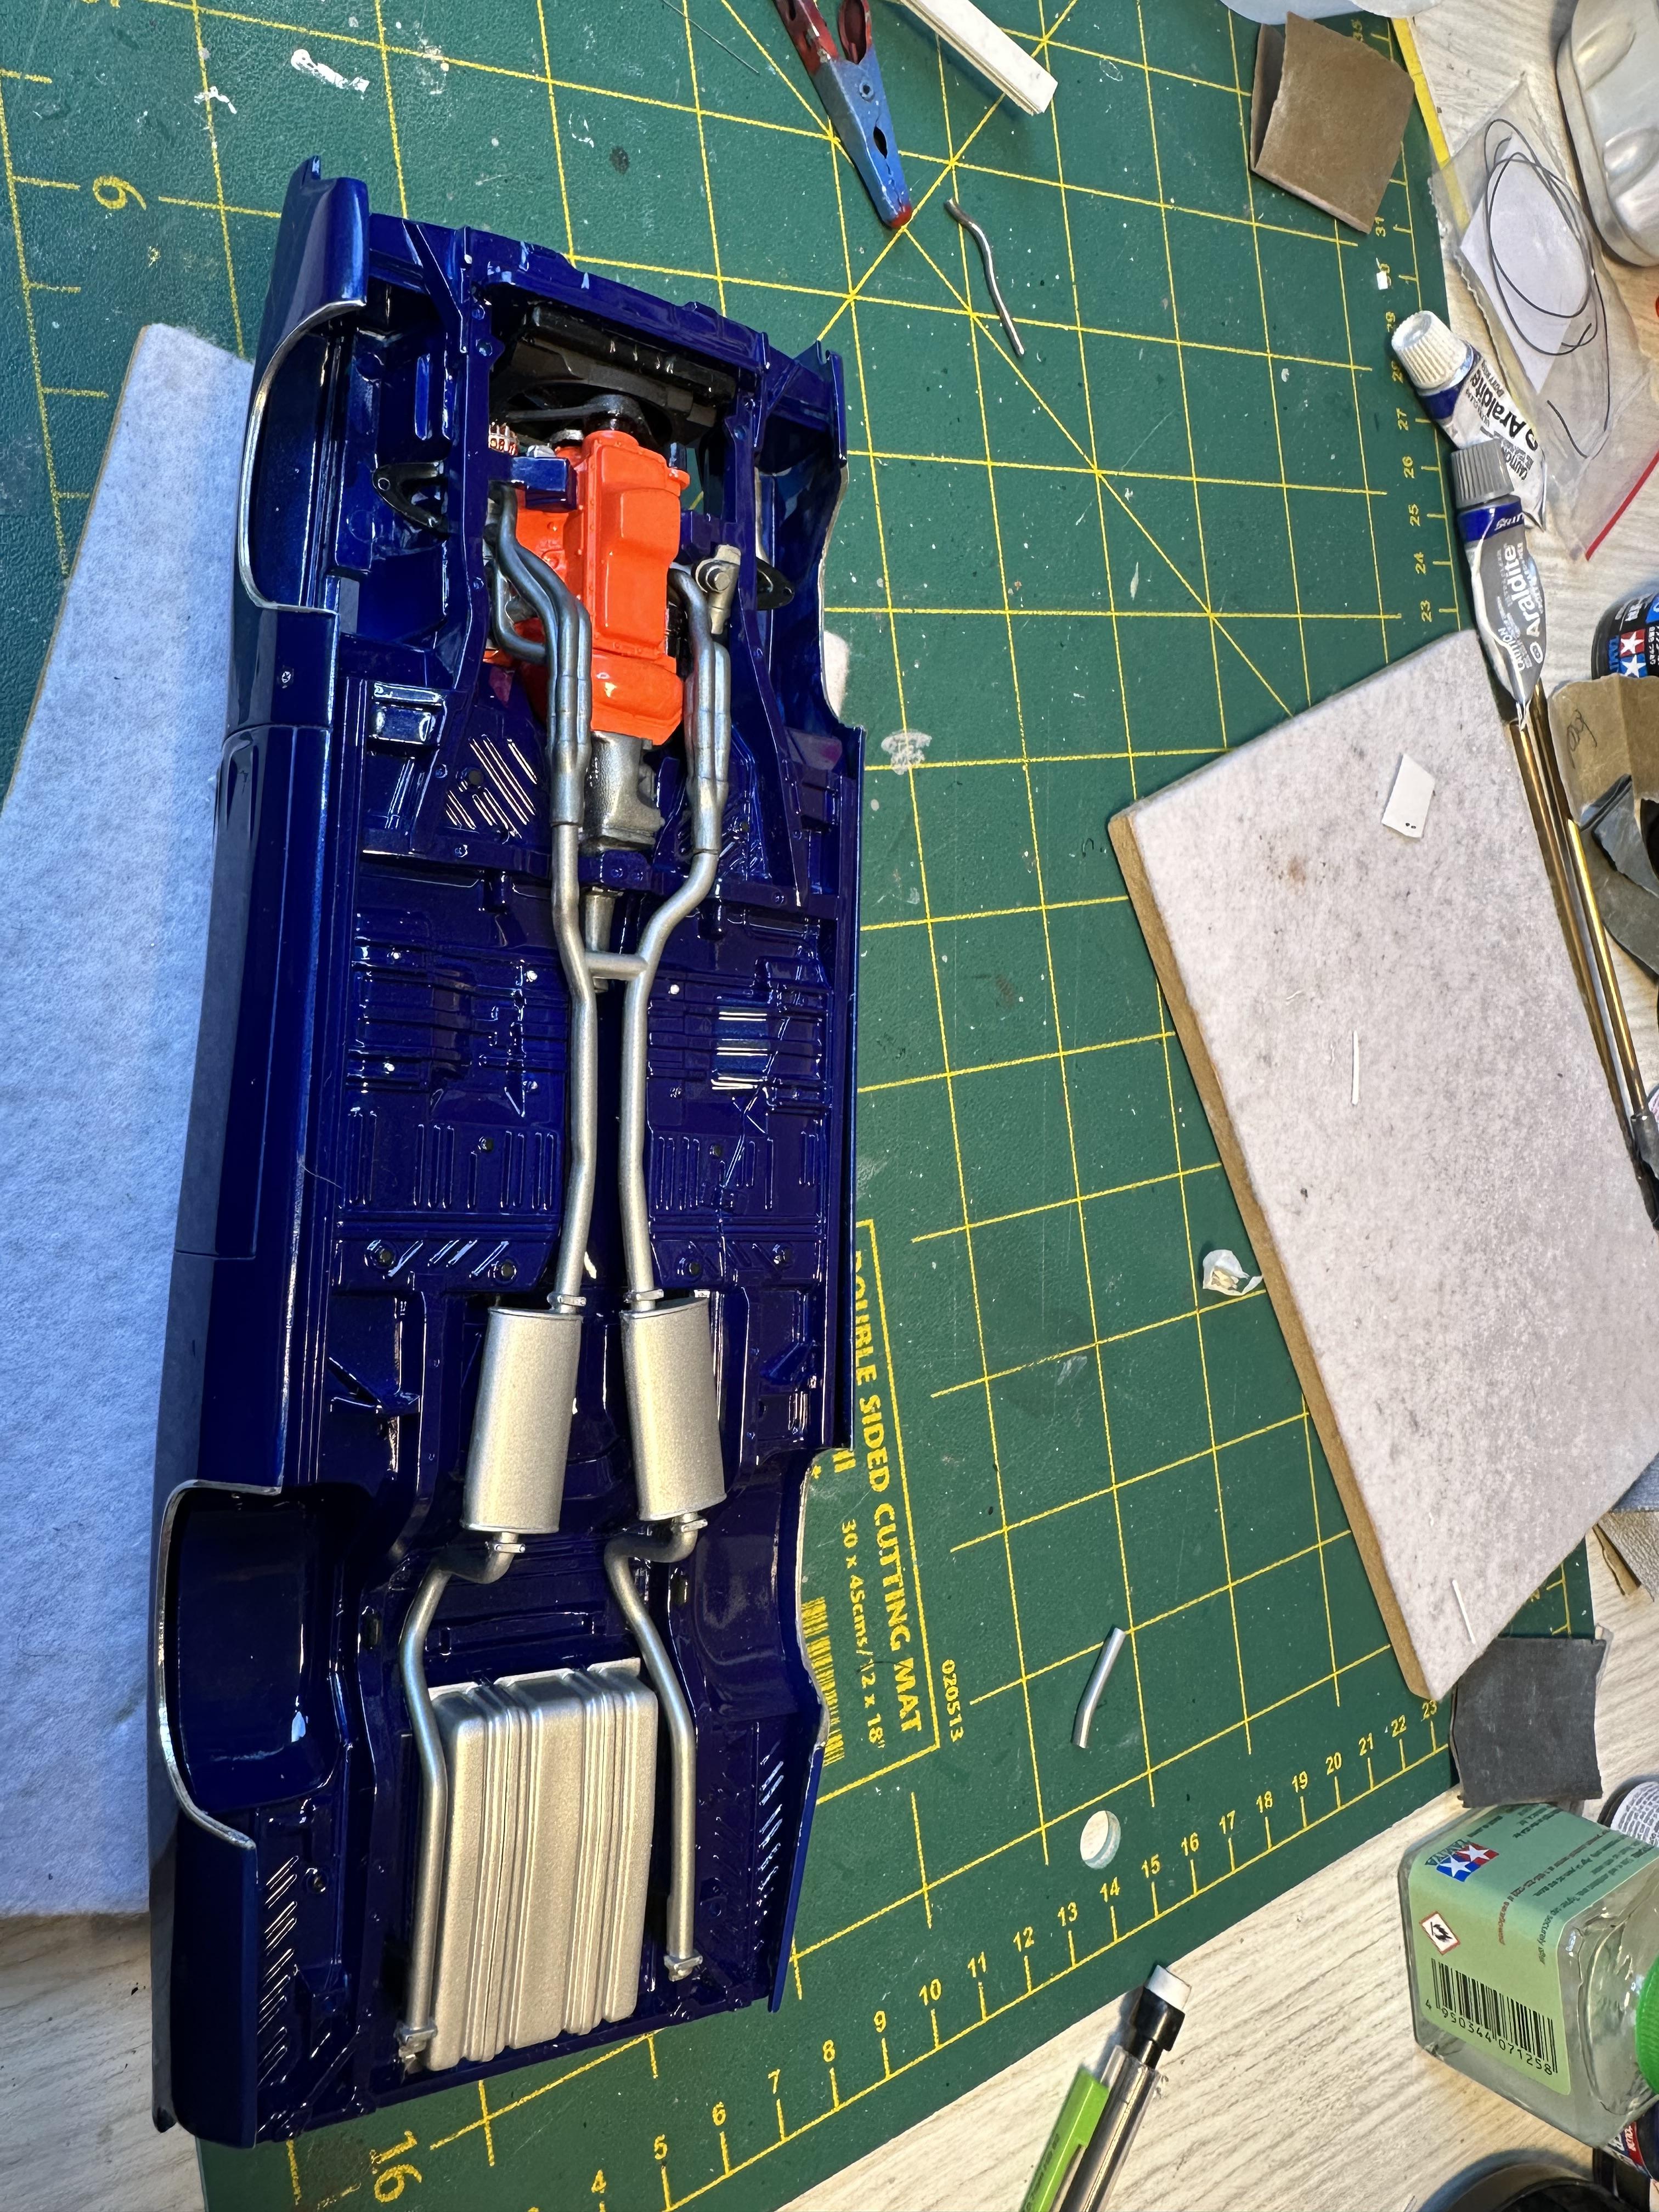
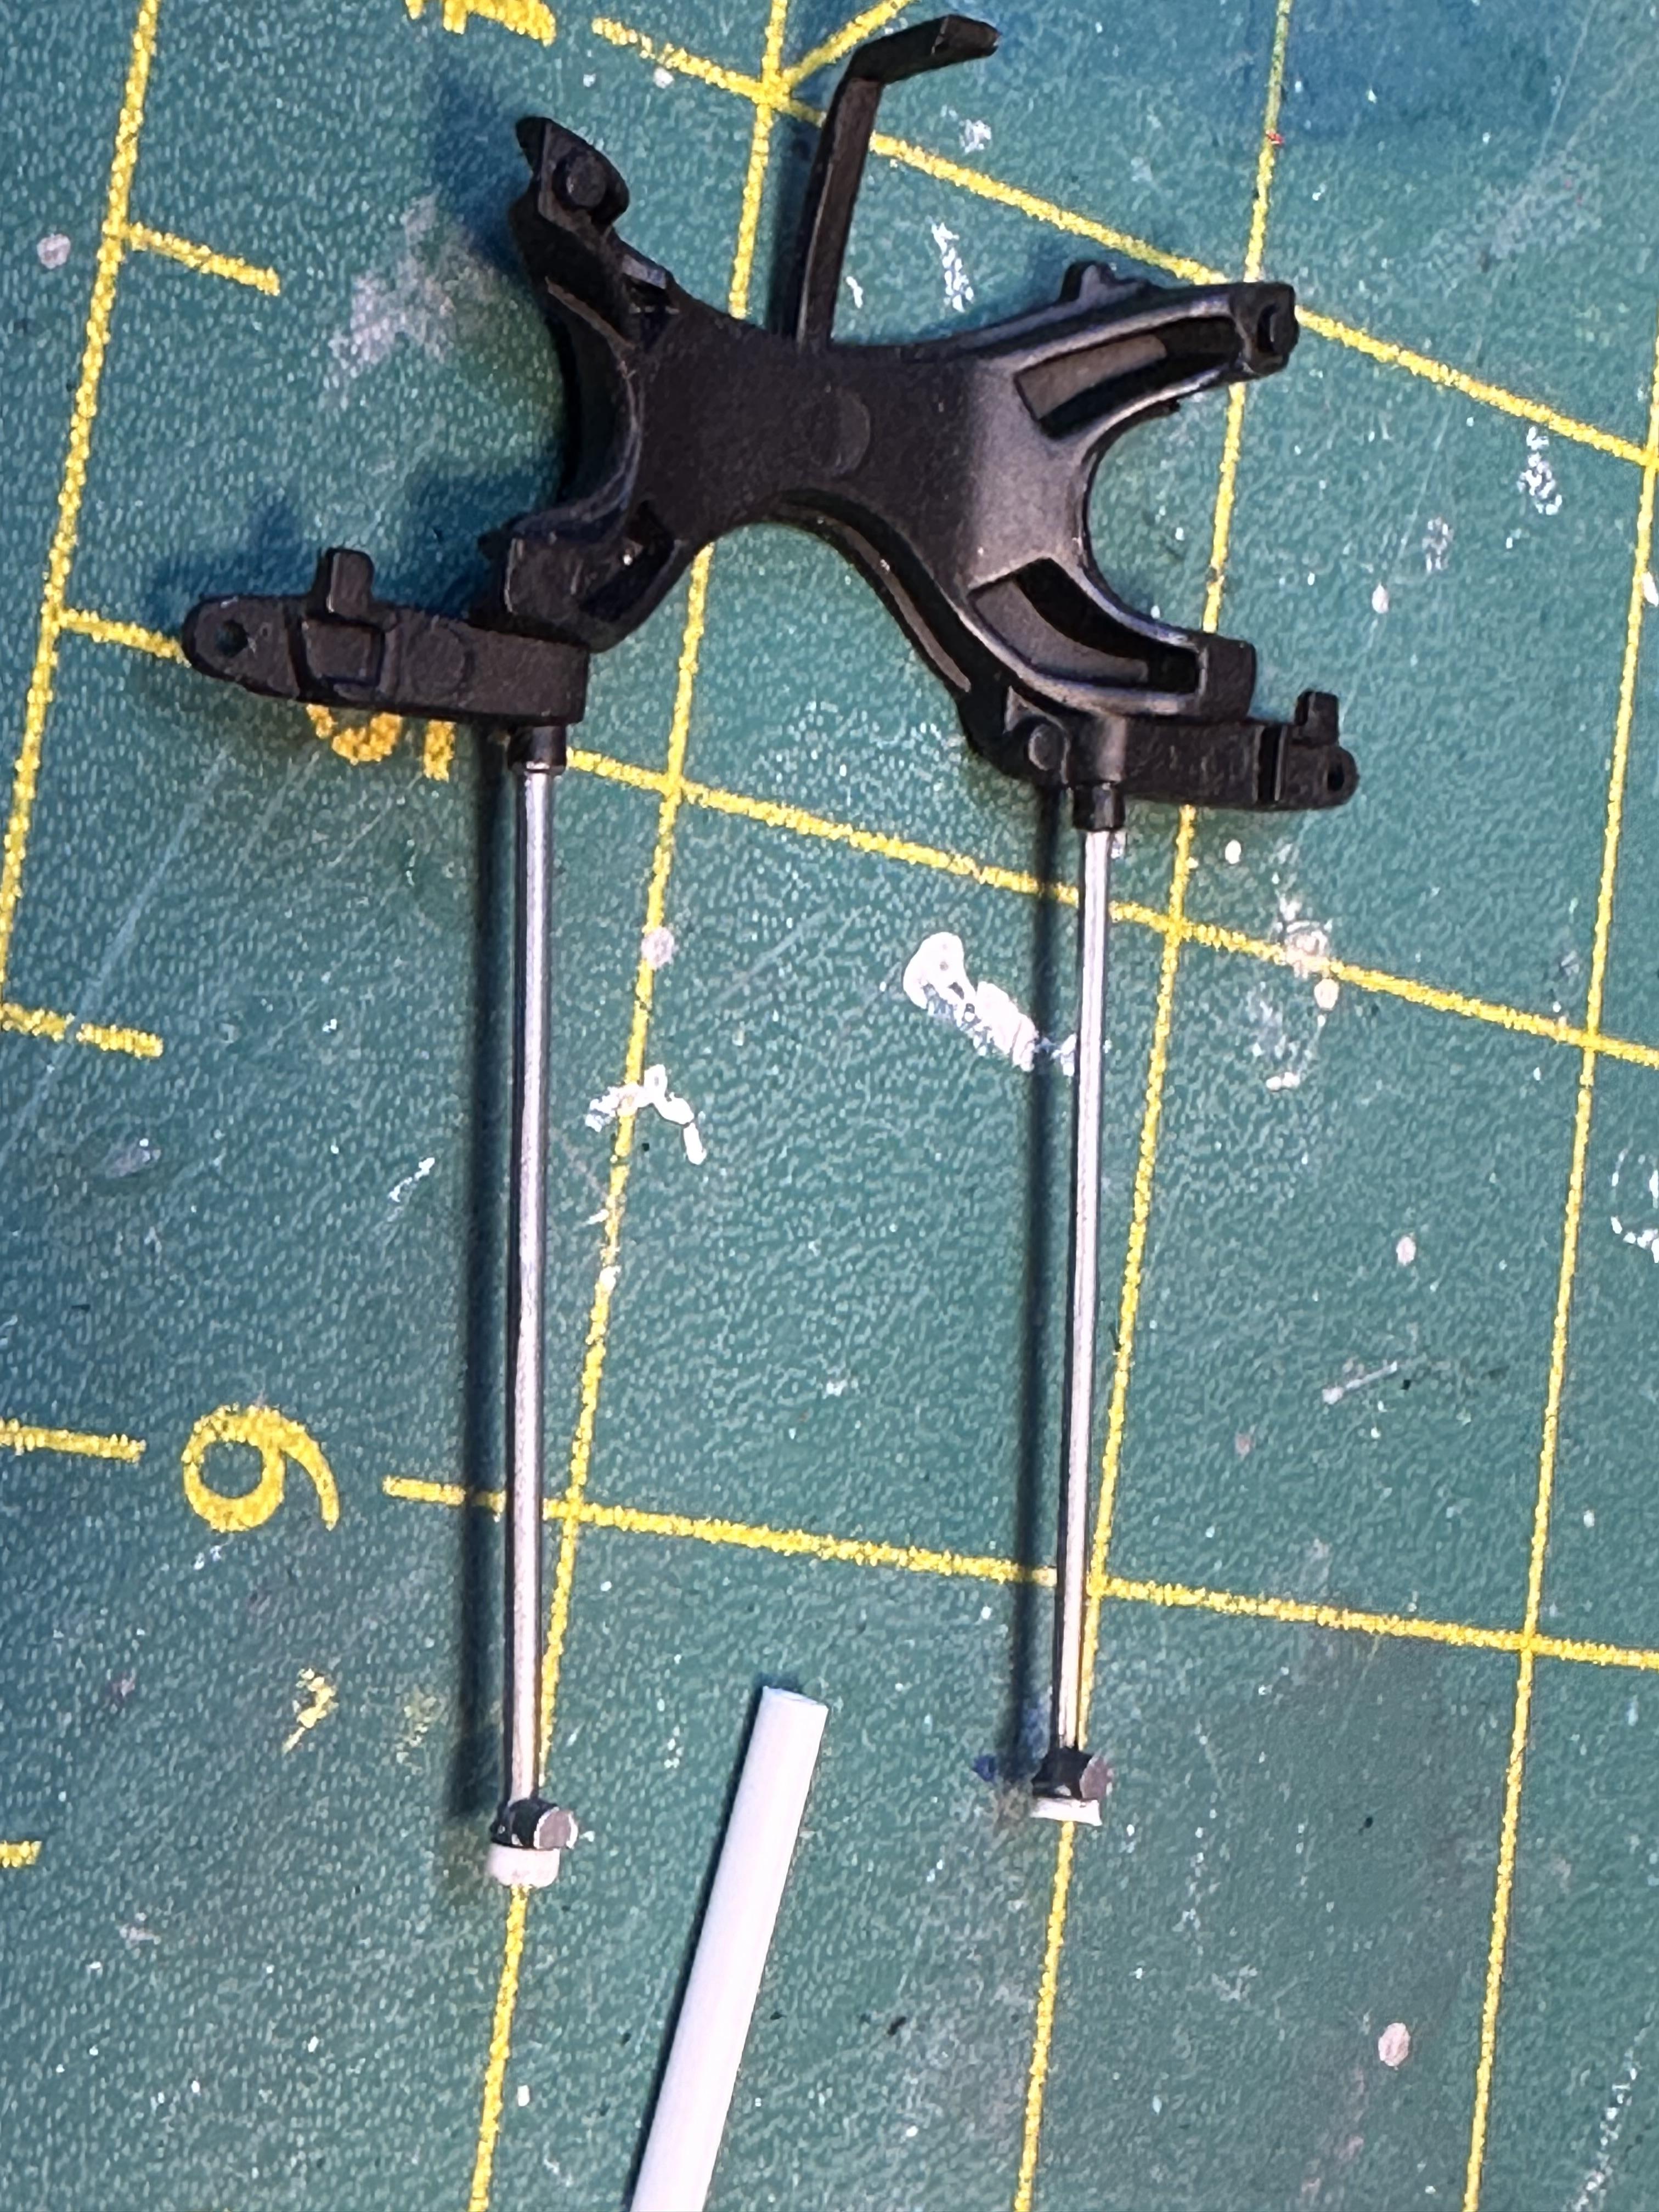
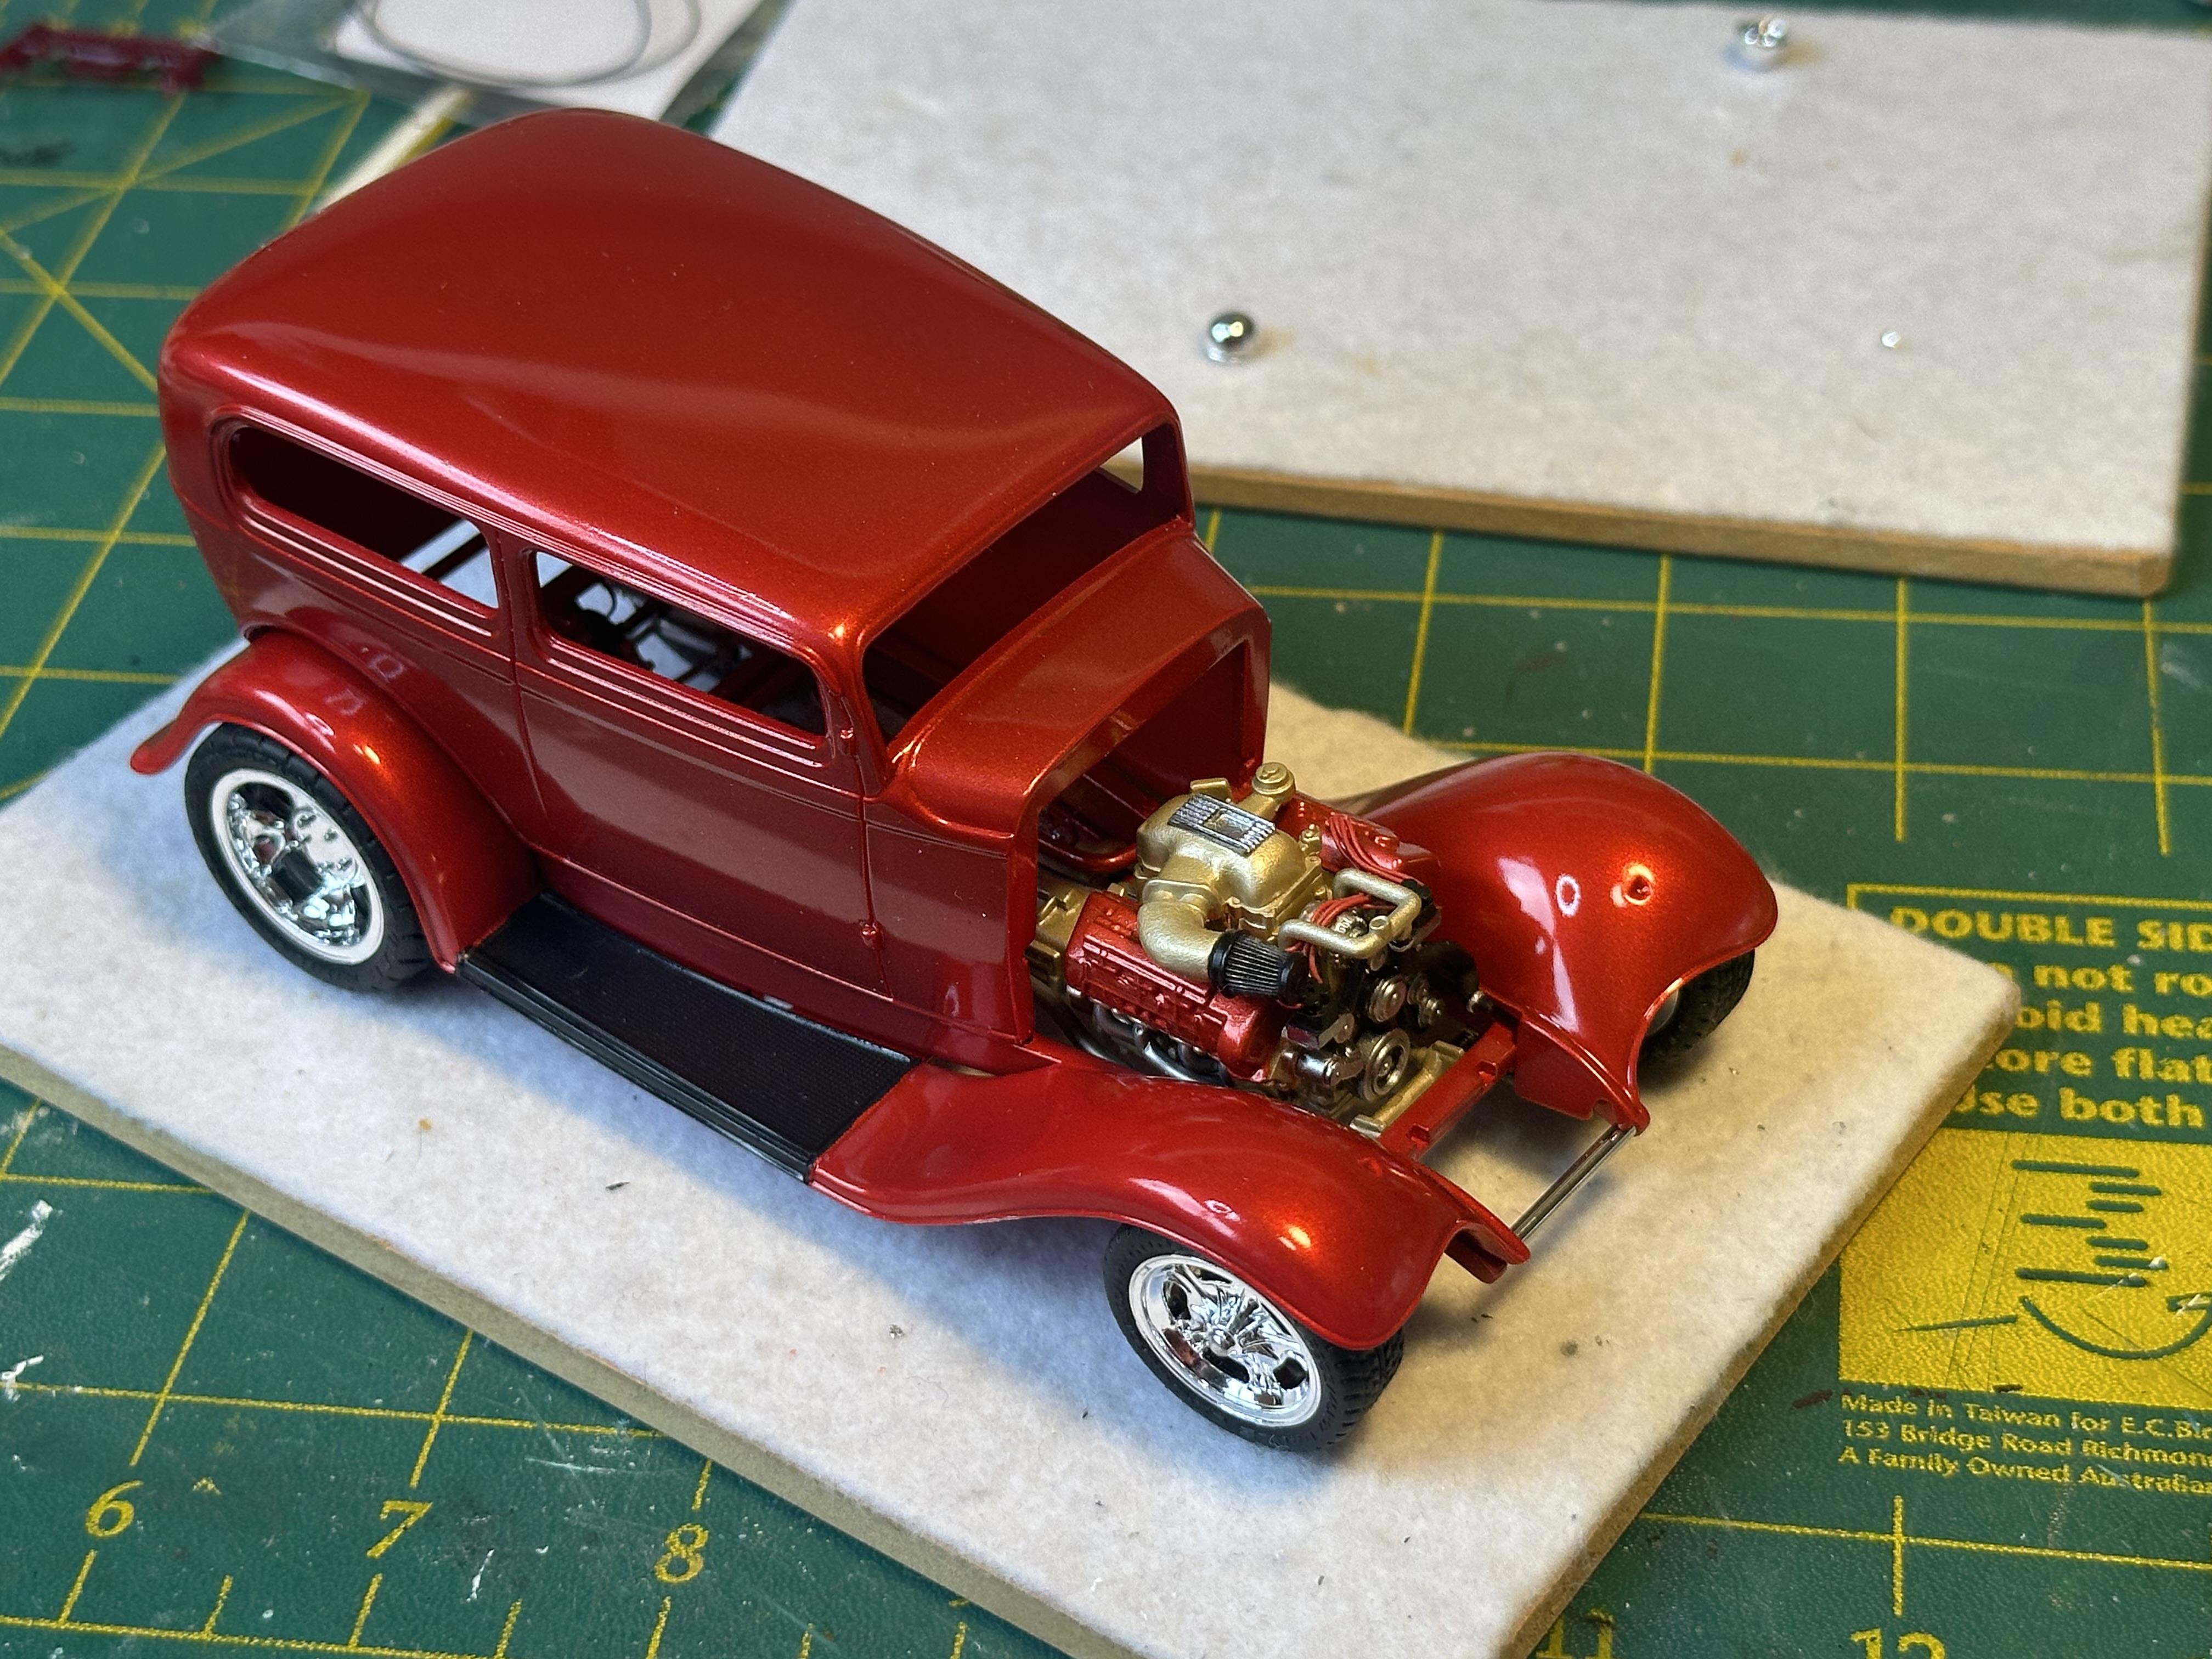
Update - some works on final assembly I glued the chassis sub frame to the inner guards with epoxy and need to bring the two together. A wide popsicle stick, some protective masking tape and a rubber band did the trick The motor popped out on one side so a cotton bud provided the helping hand while the epoxy dried The exhaust pipes do not match up to the Hemi headers and the pipes had been painted. The build is box stock so I could not make new primary pipes form rod or solder to keep within the "Box Stock Rules". I used a soldering iron to provide a localised heat source so I could bend to shape. I then trimmed the pipes, pinned them and glued them in place. When installing the "K" member I found the torsion bars are too short - a spacer from some suitable sized tree did the trick. Sanded to fit and then a dab of semi gloss black and it was installed along with the rest of the front end components. The next step is to do some paint detail and touch ups on the front end and then move on to the rear end

-
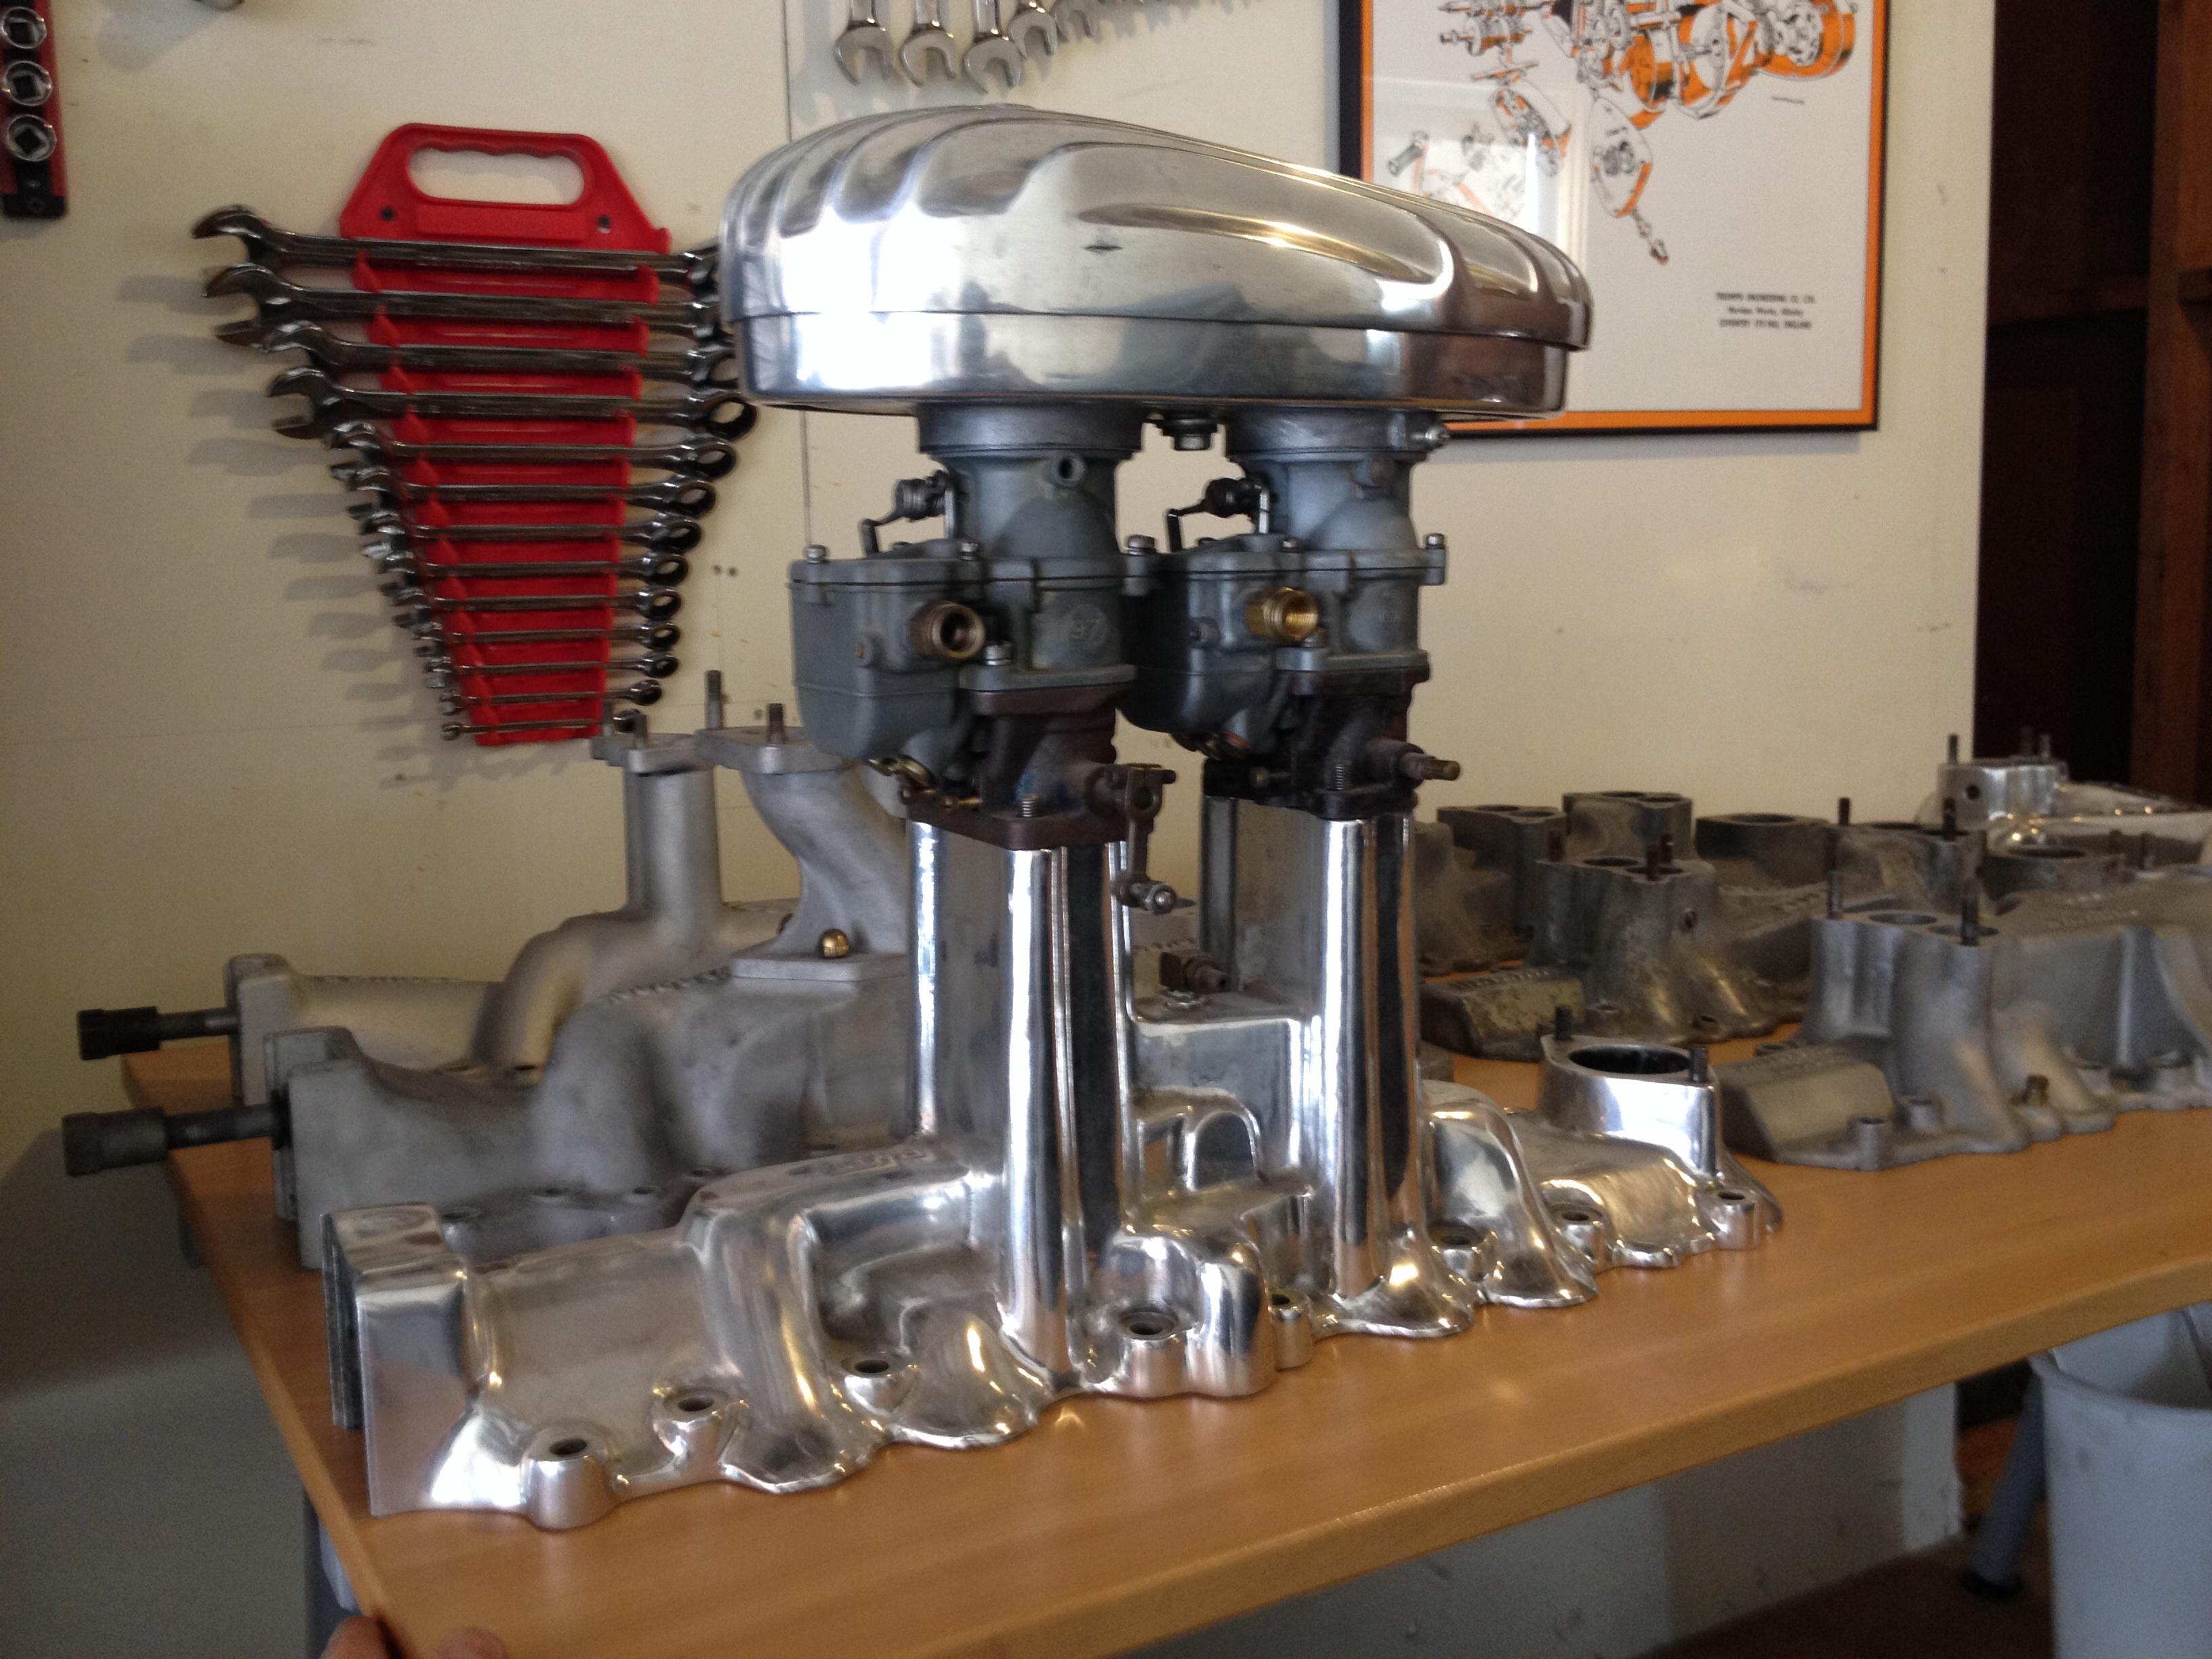
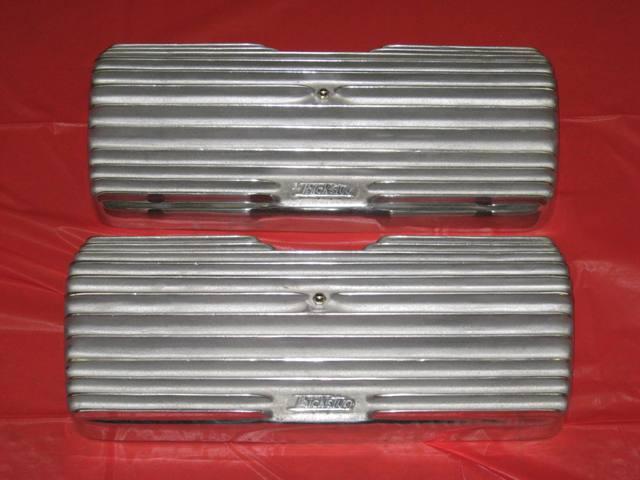
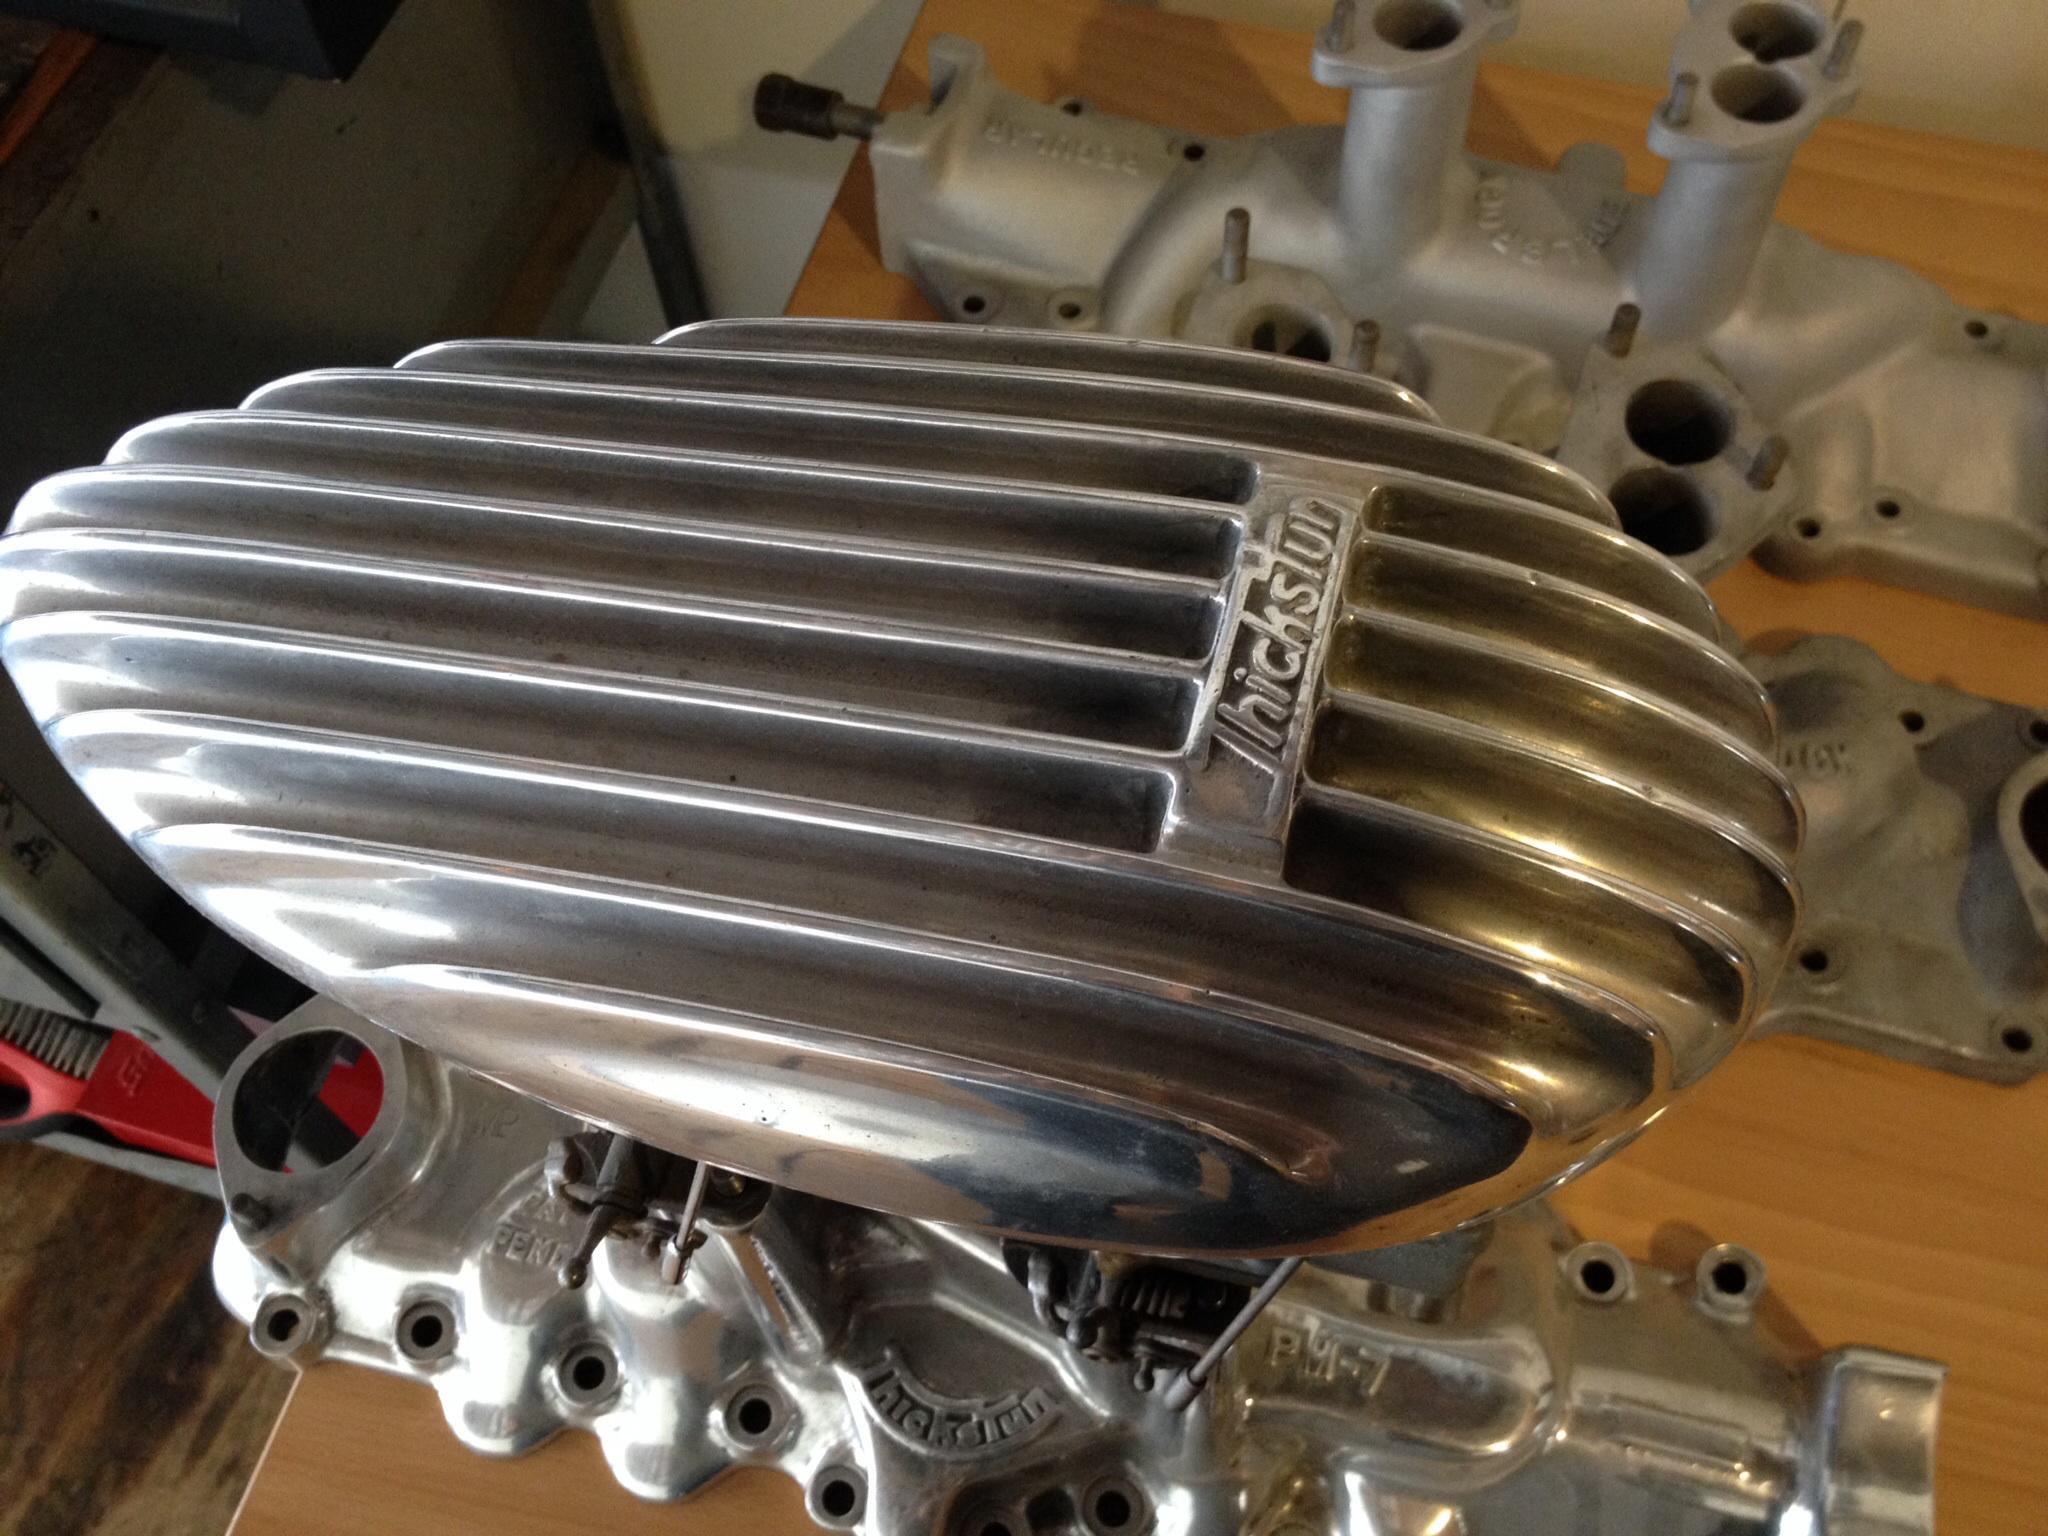
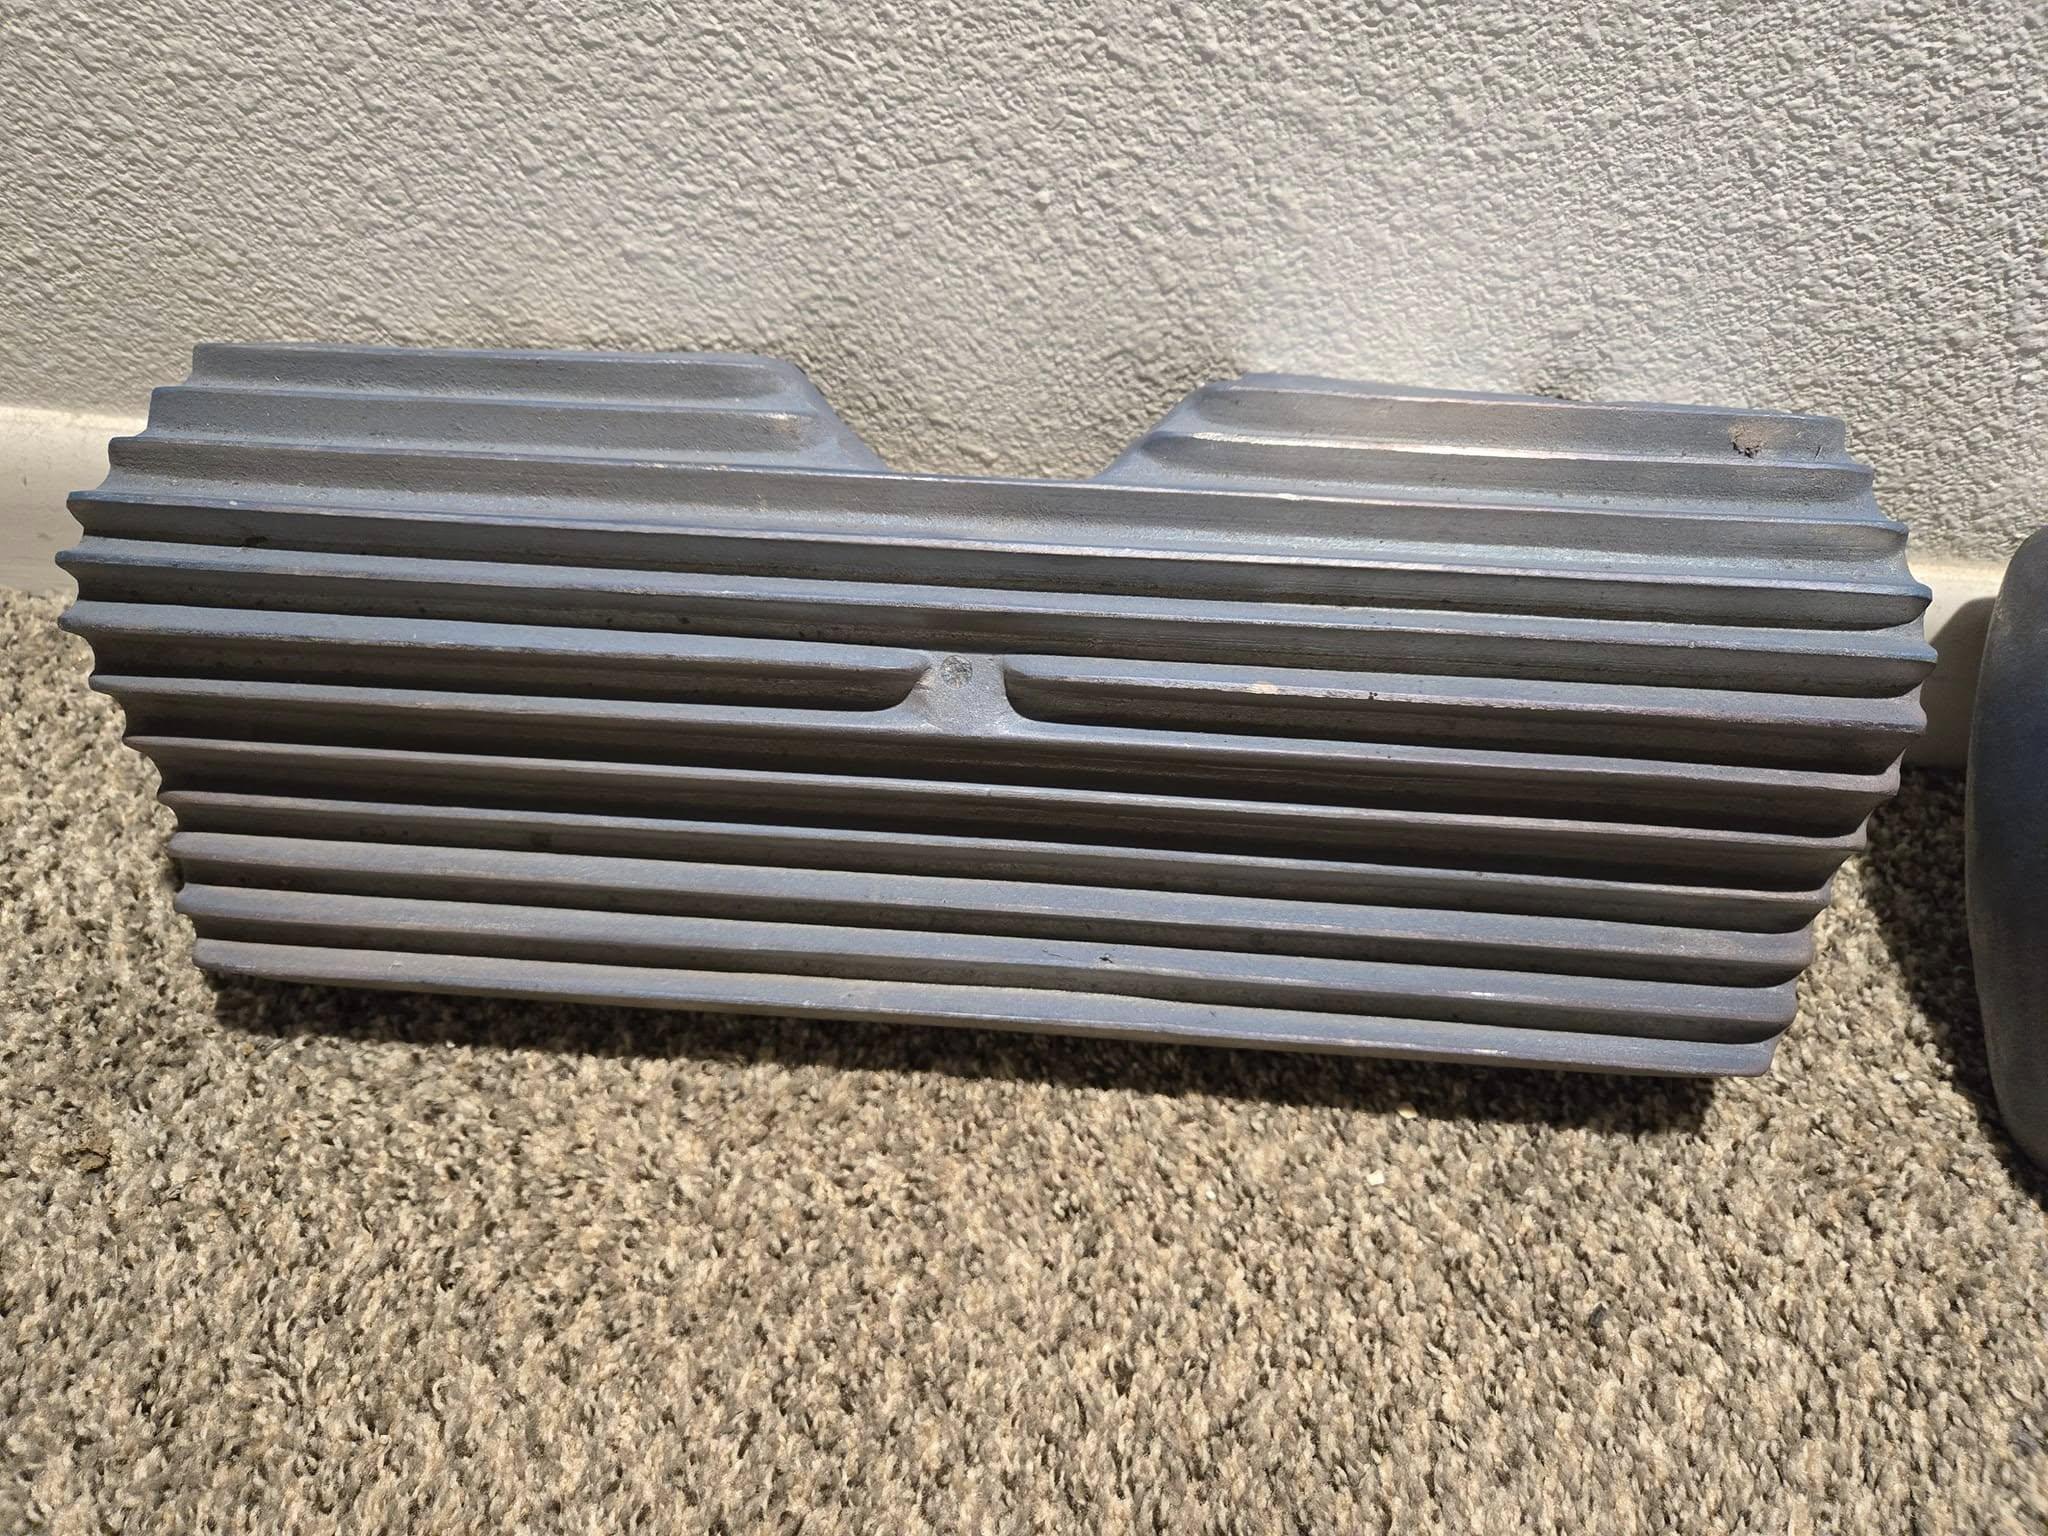
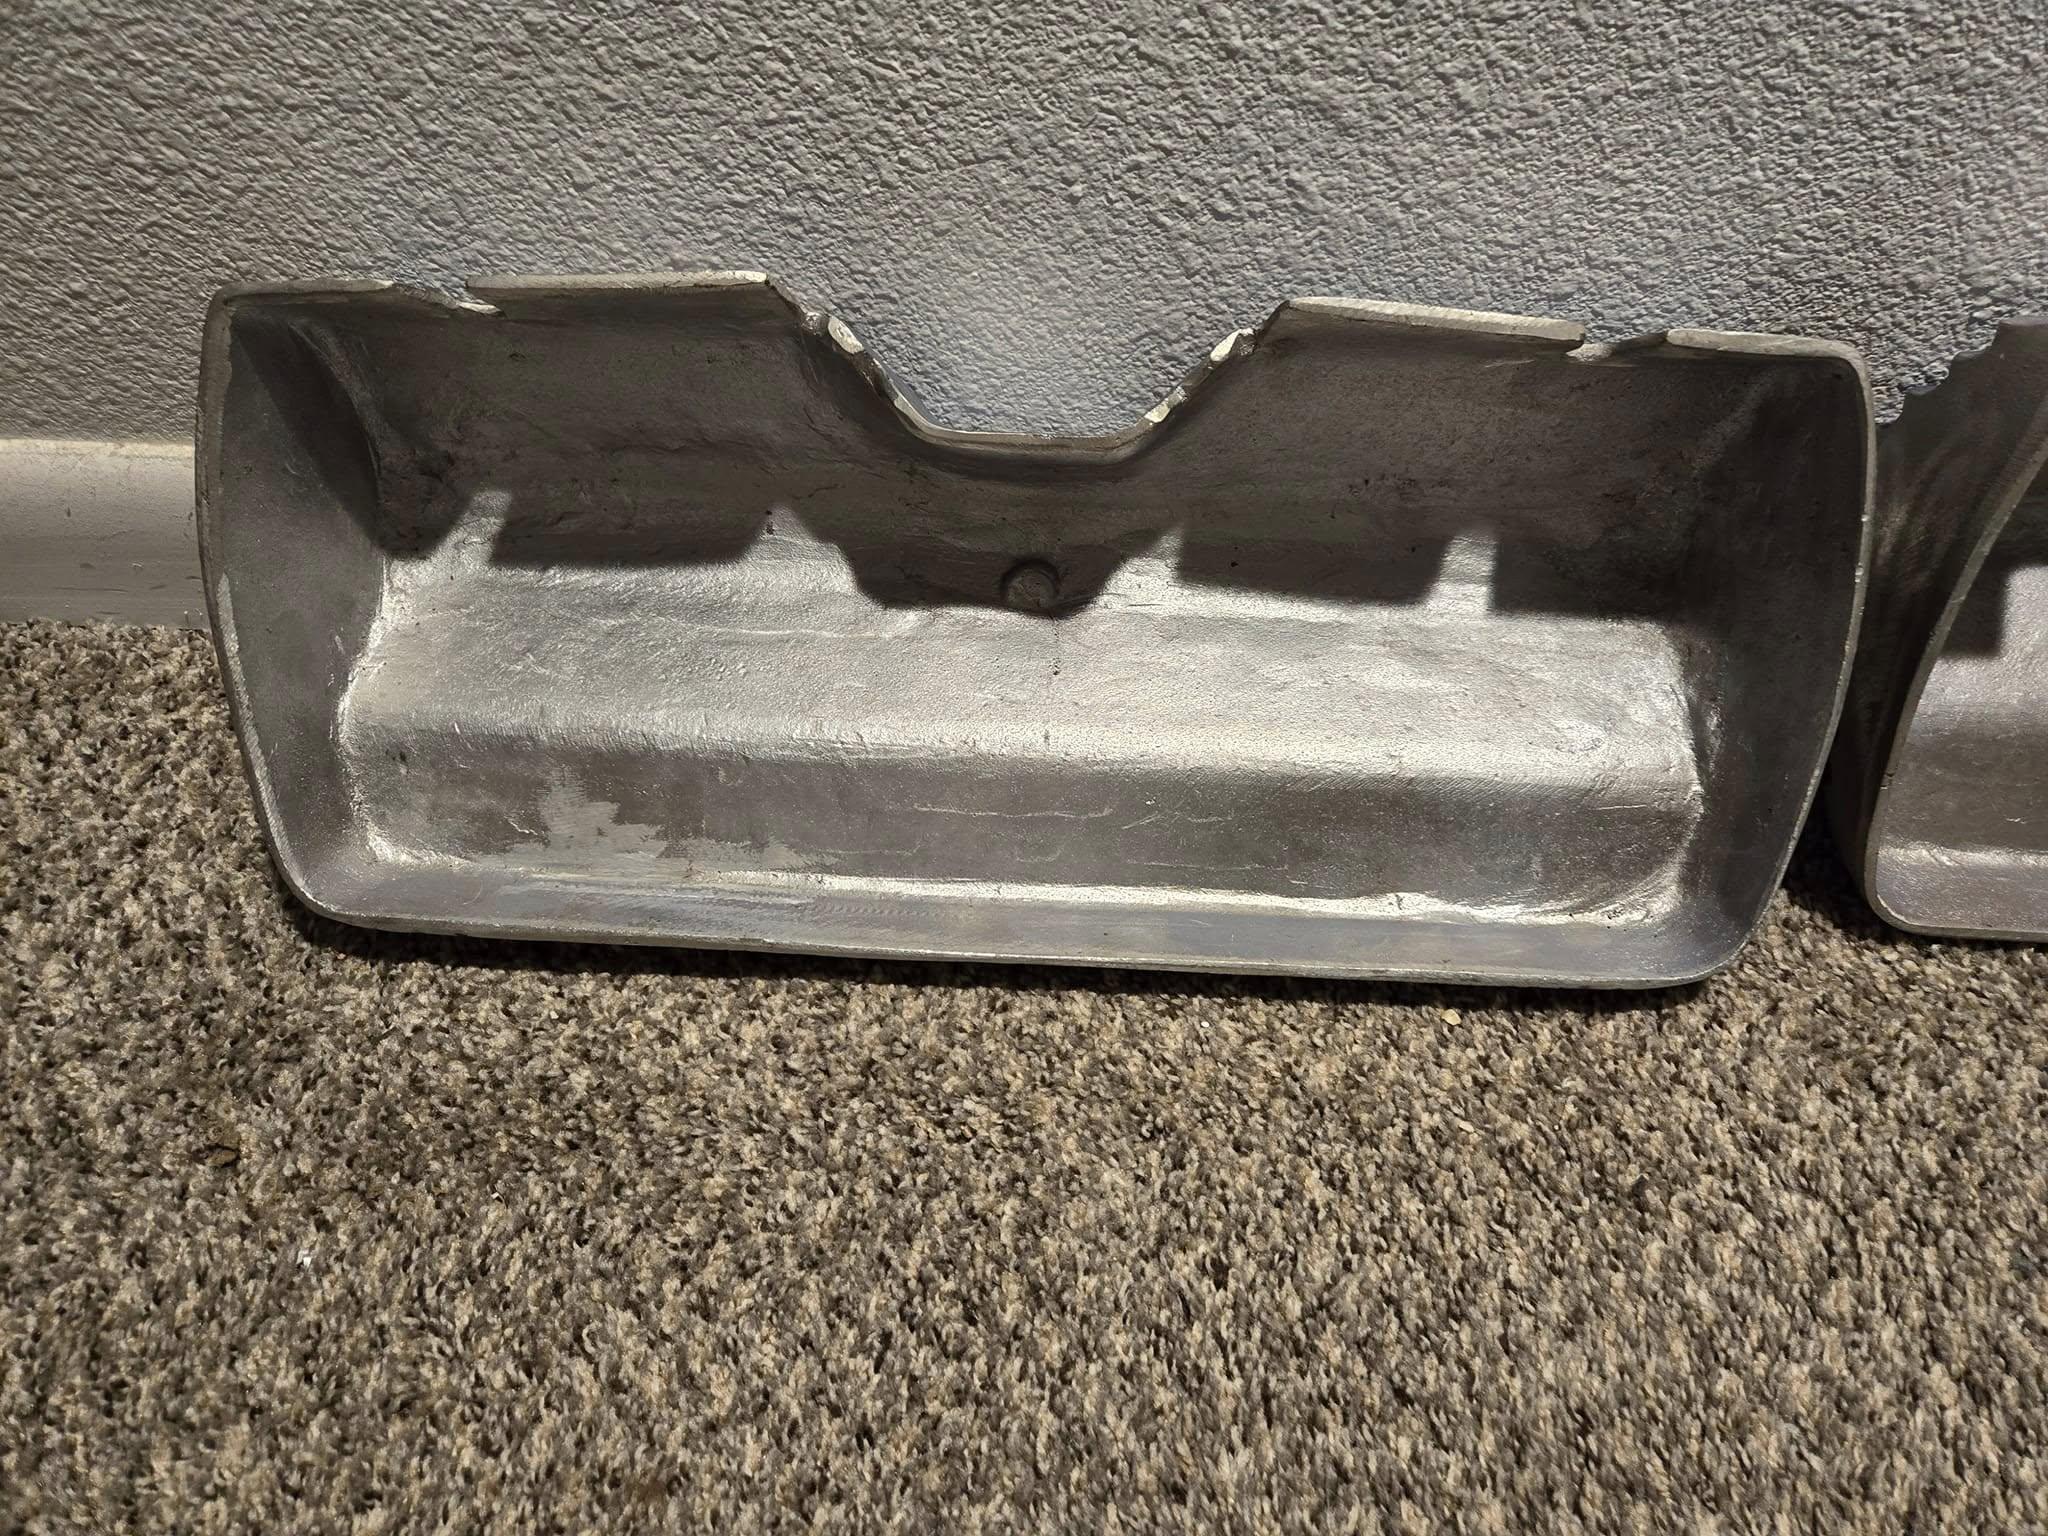
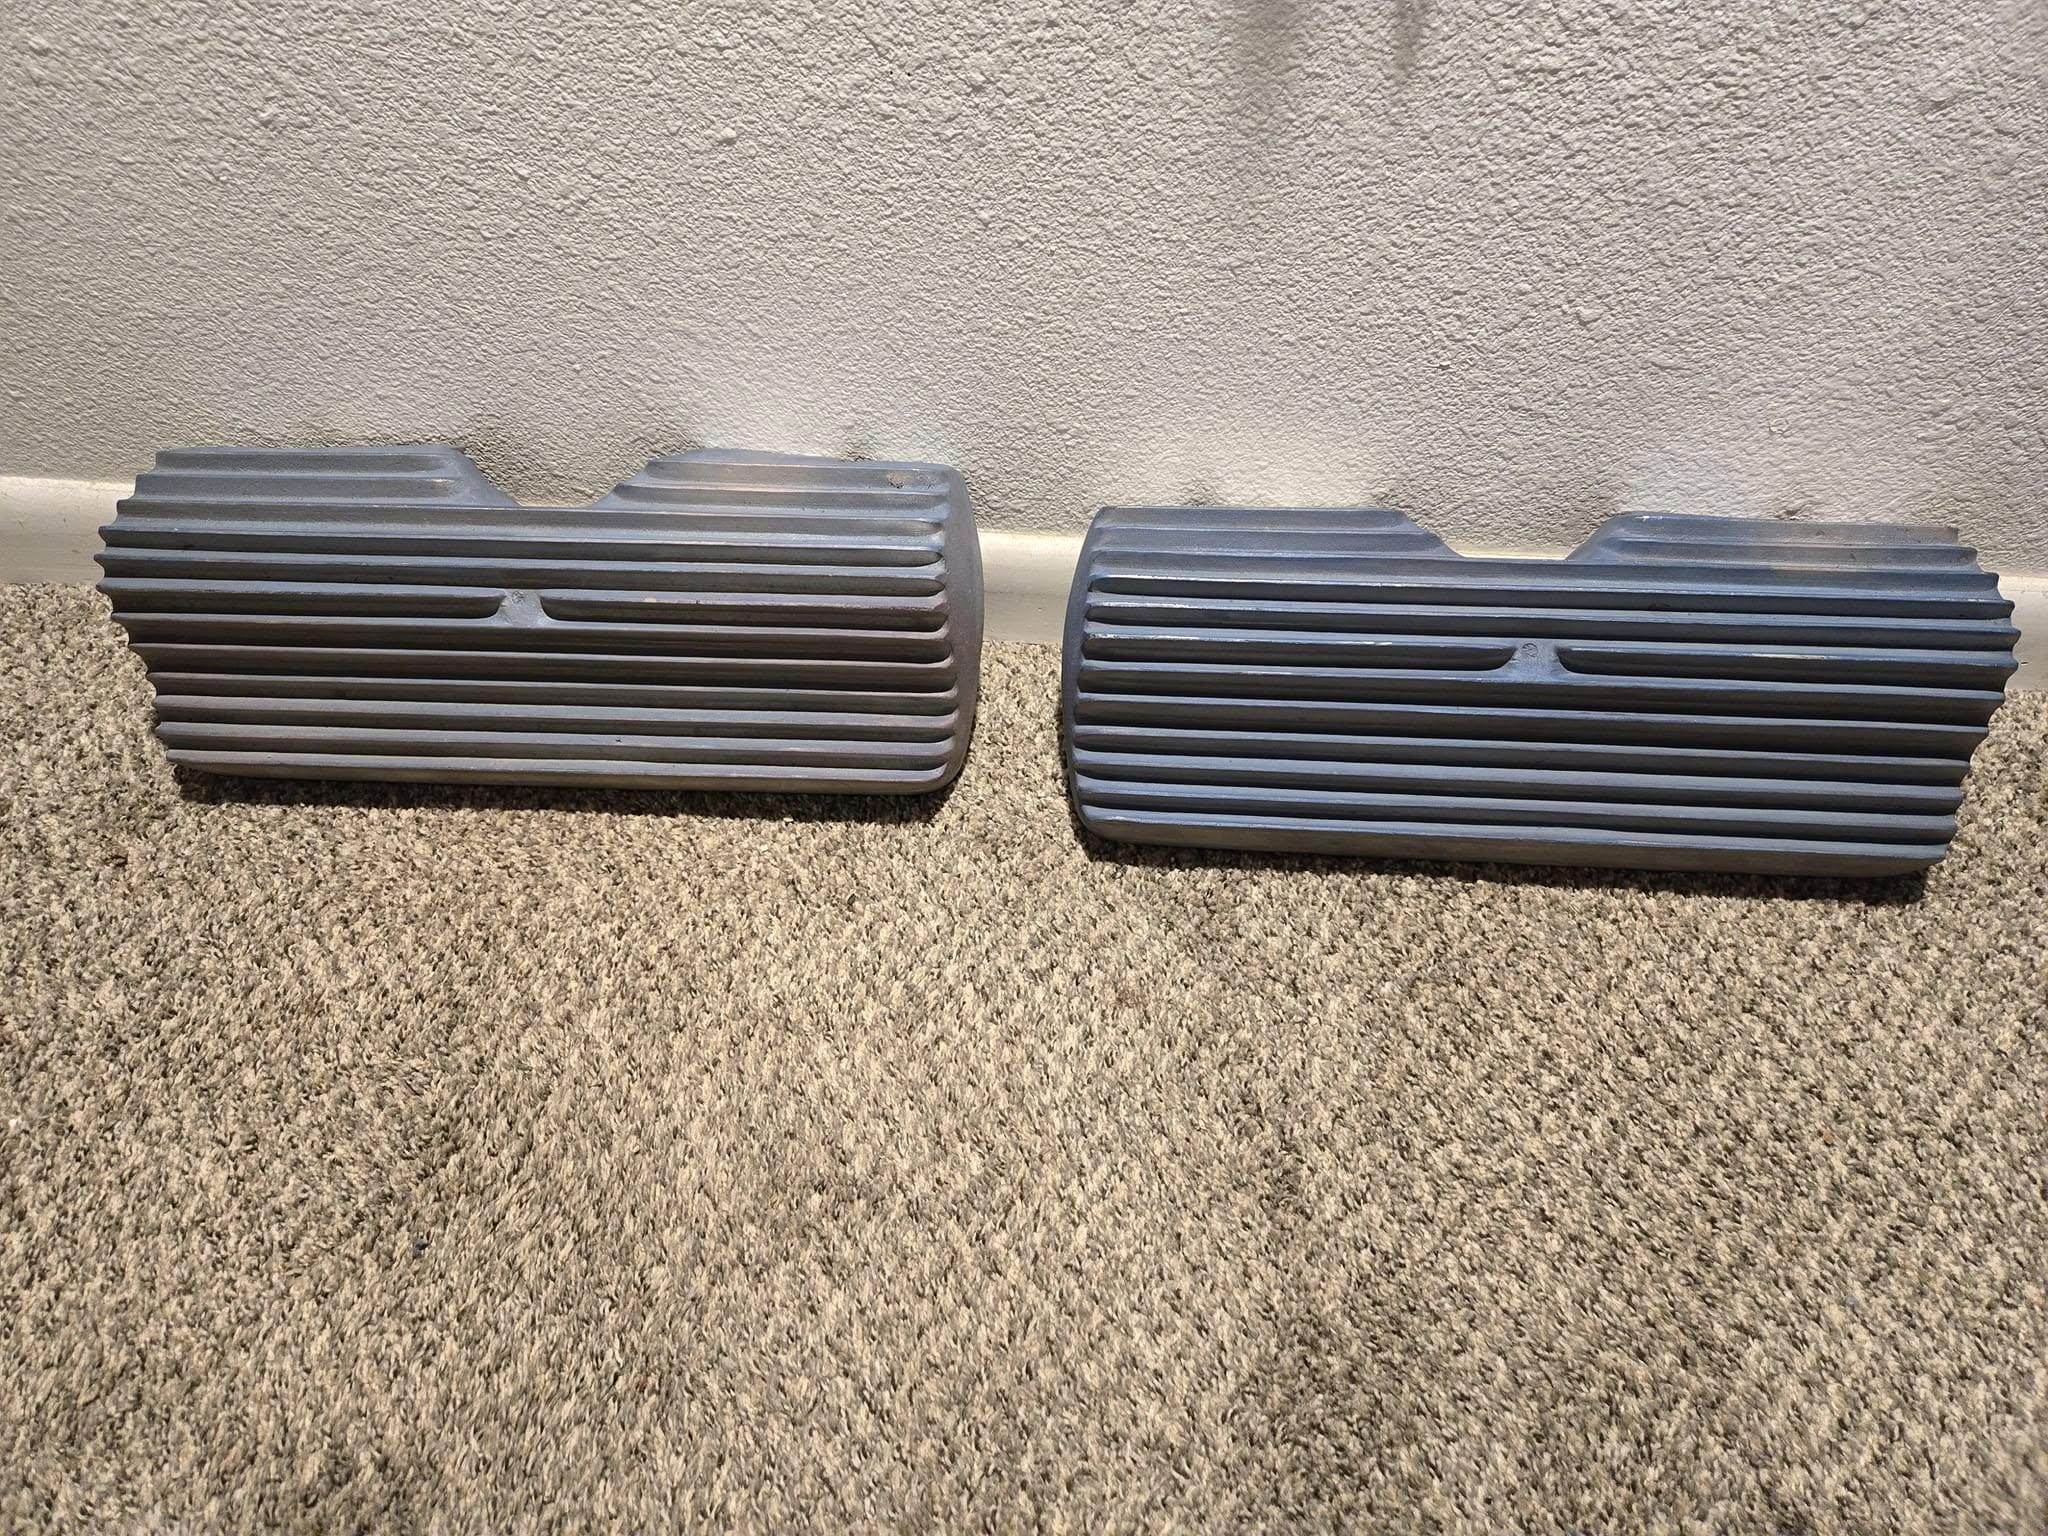
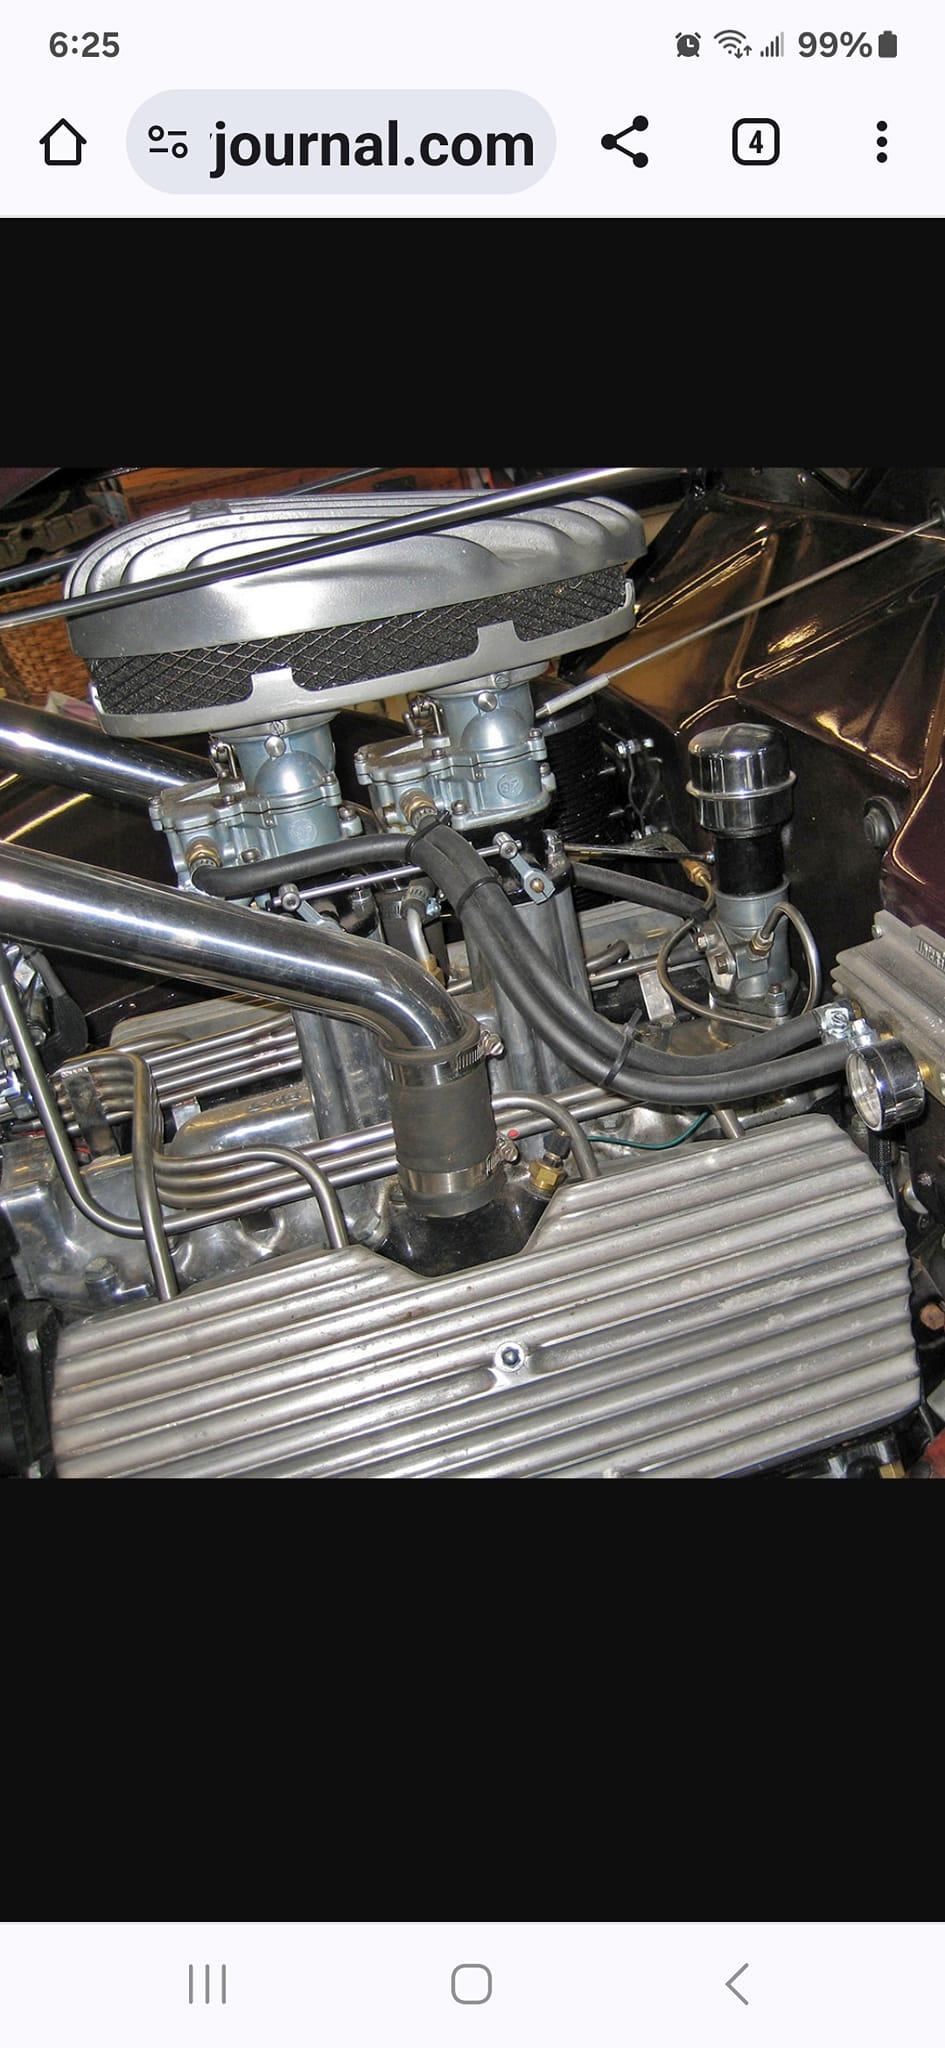
Did some looking around for Thickstun products for a 32 5W build and found these on the interweb
-
Looking good Bob. Liking the colour and that monsta motor
-
Thanks guys. it's been sitting for far too long. Did you ever get the paint issue with the hood resolved? - yup removed paint with Iso-prop and repainted it. I was a bit cautious when I repainted the under hood insulation and only masked around the area and not the whole hood and brush painted the matt black, which brushes OK. Now all hunky-dory
-
A good start to your project. It is not easy to open the doors on a 40 Coupe and then fight the battle to keep it all together. And you chopped the top to boot.
-
Love a little flat motor porn🤪
-
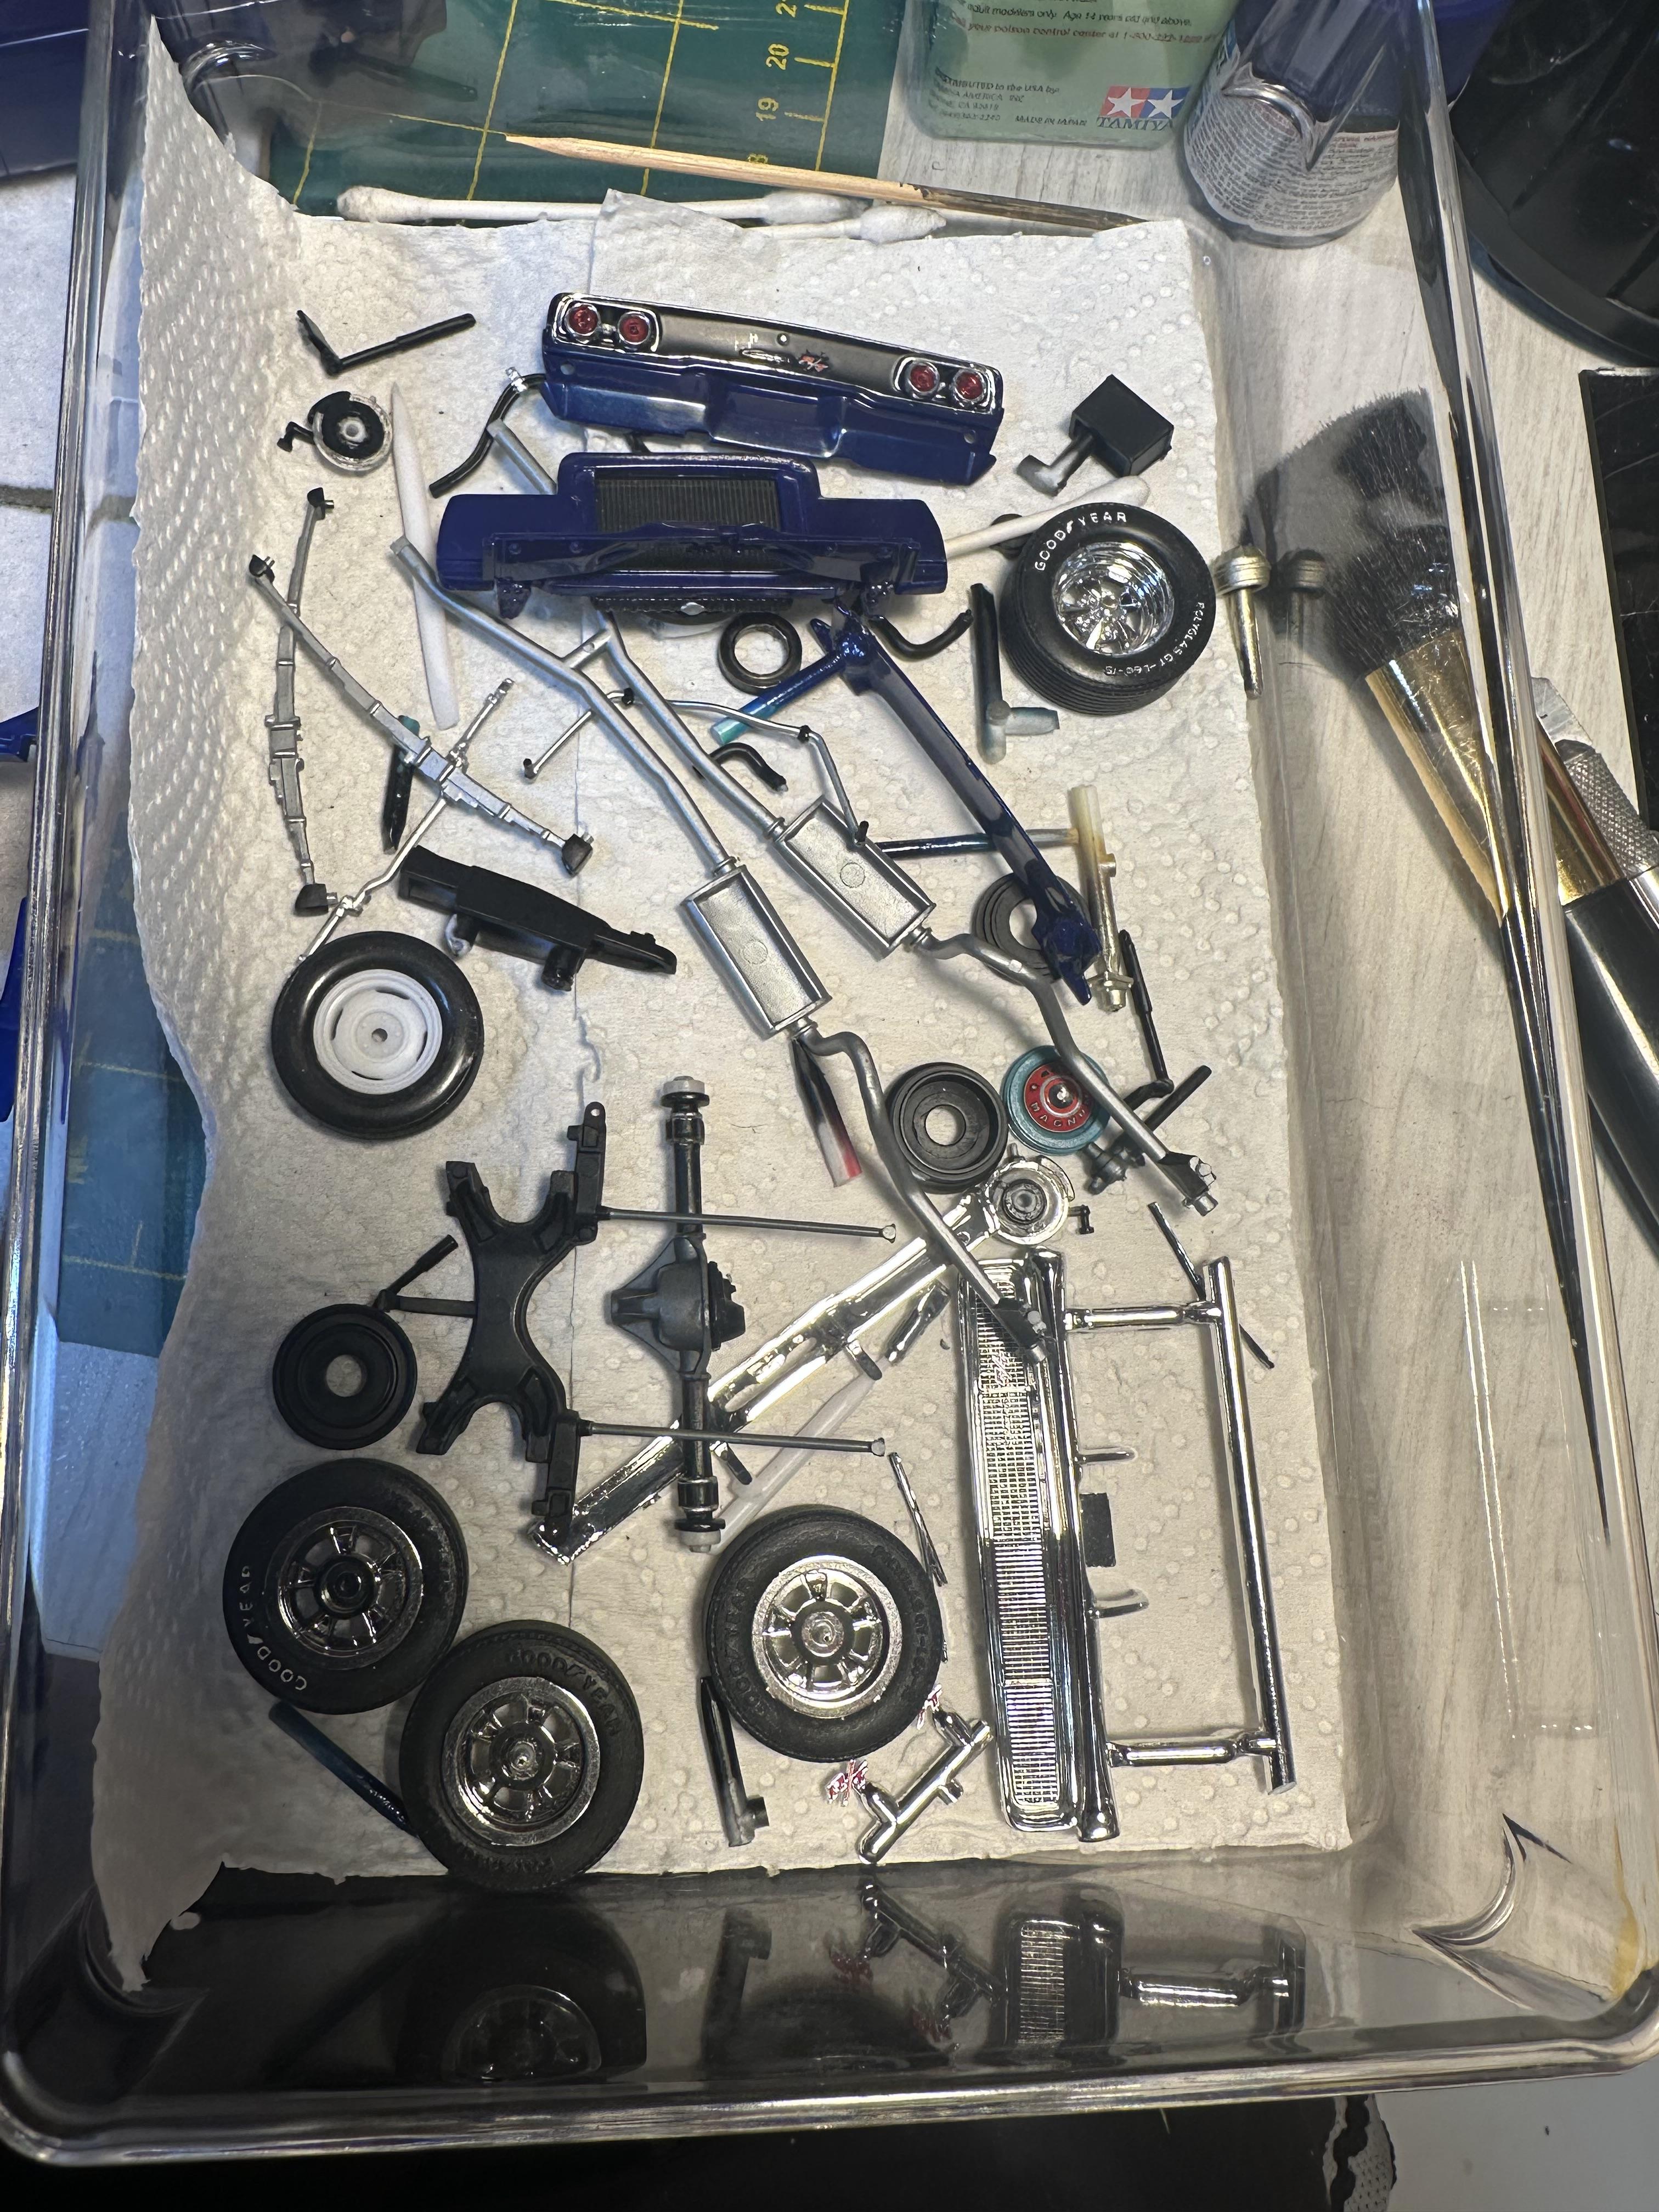
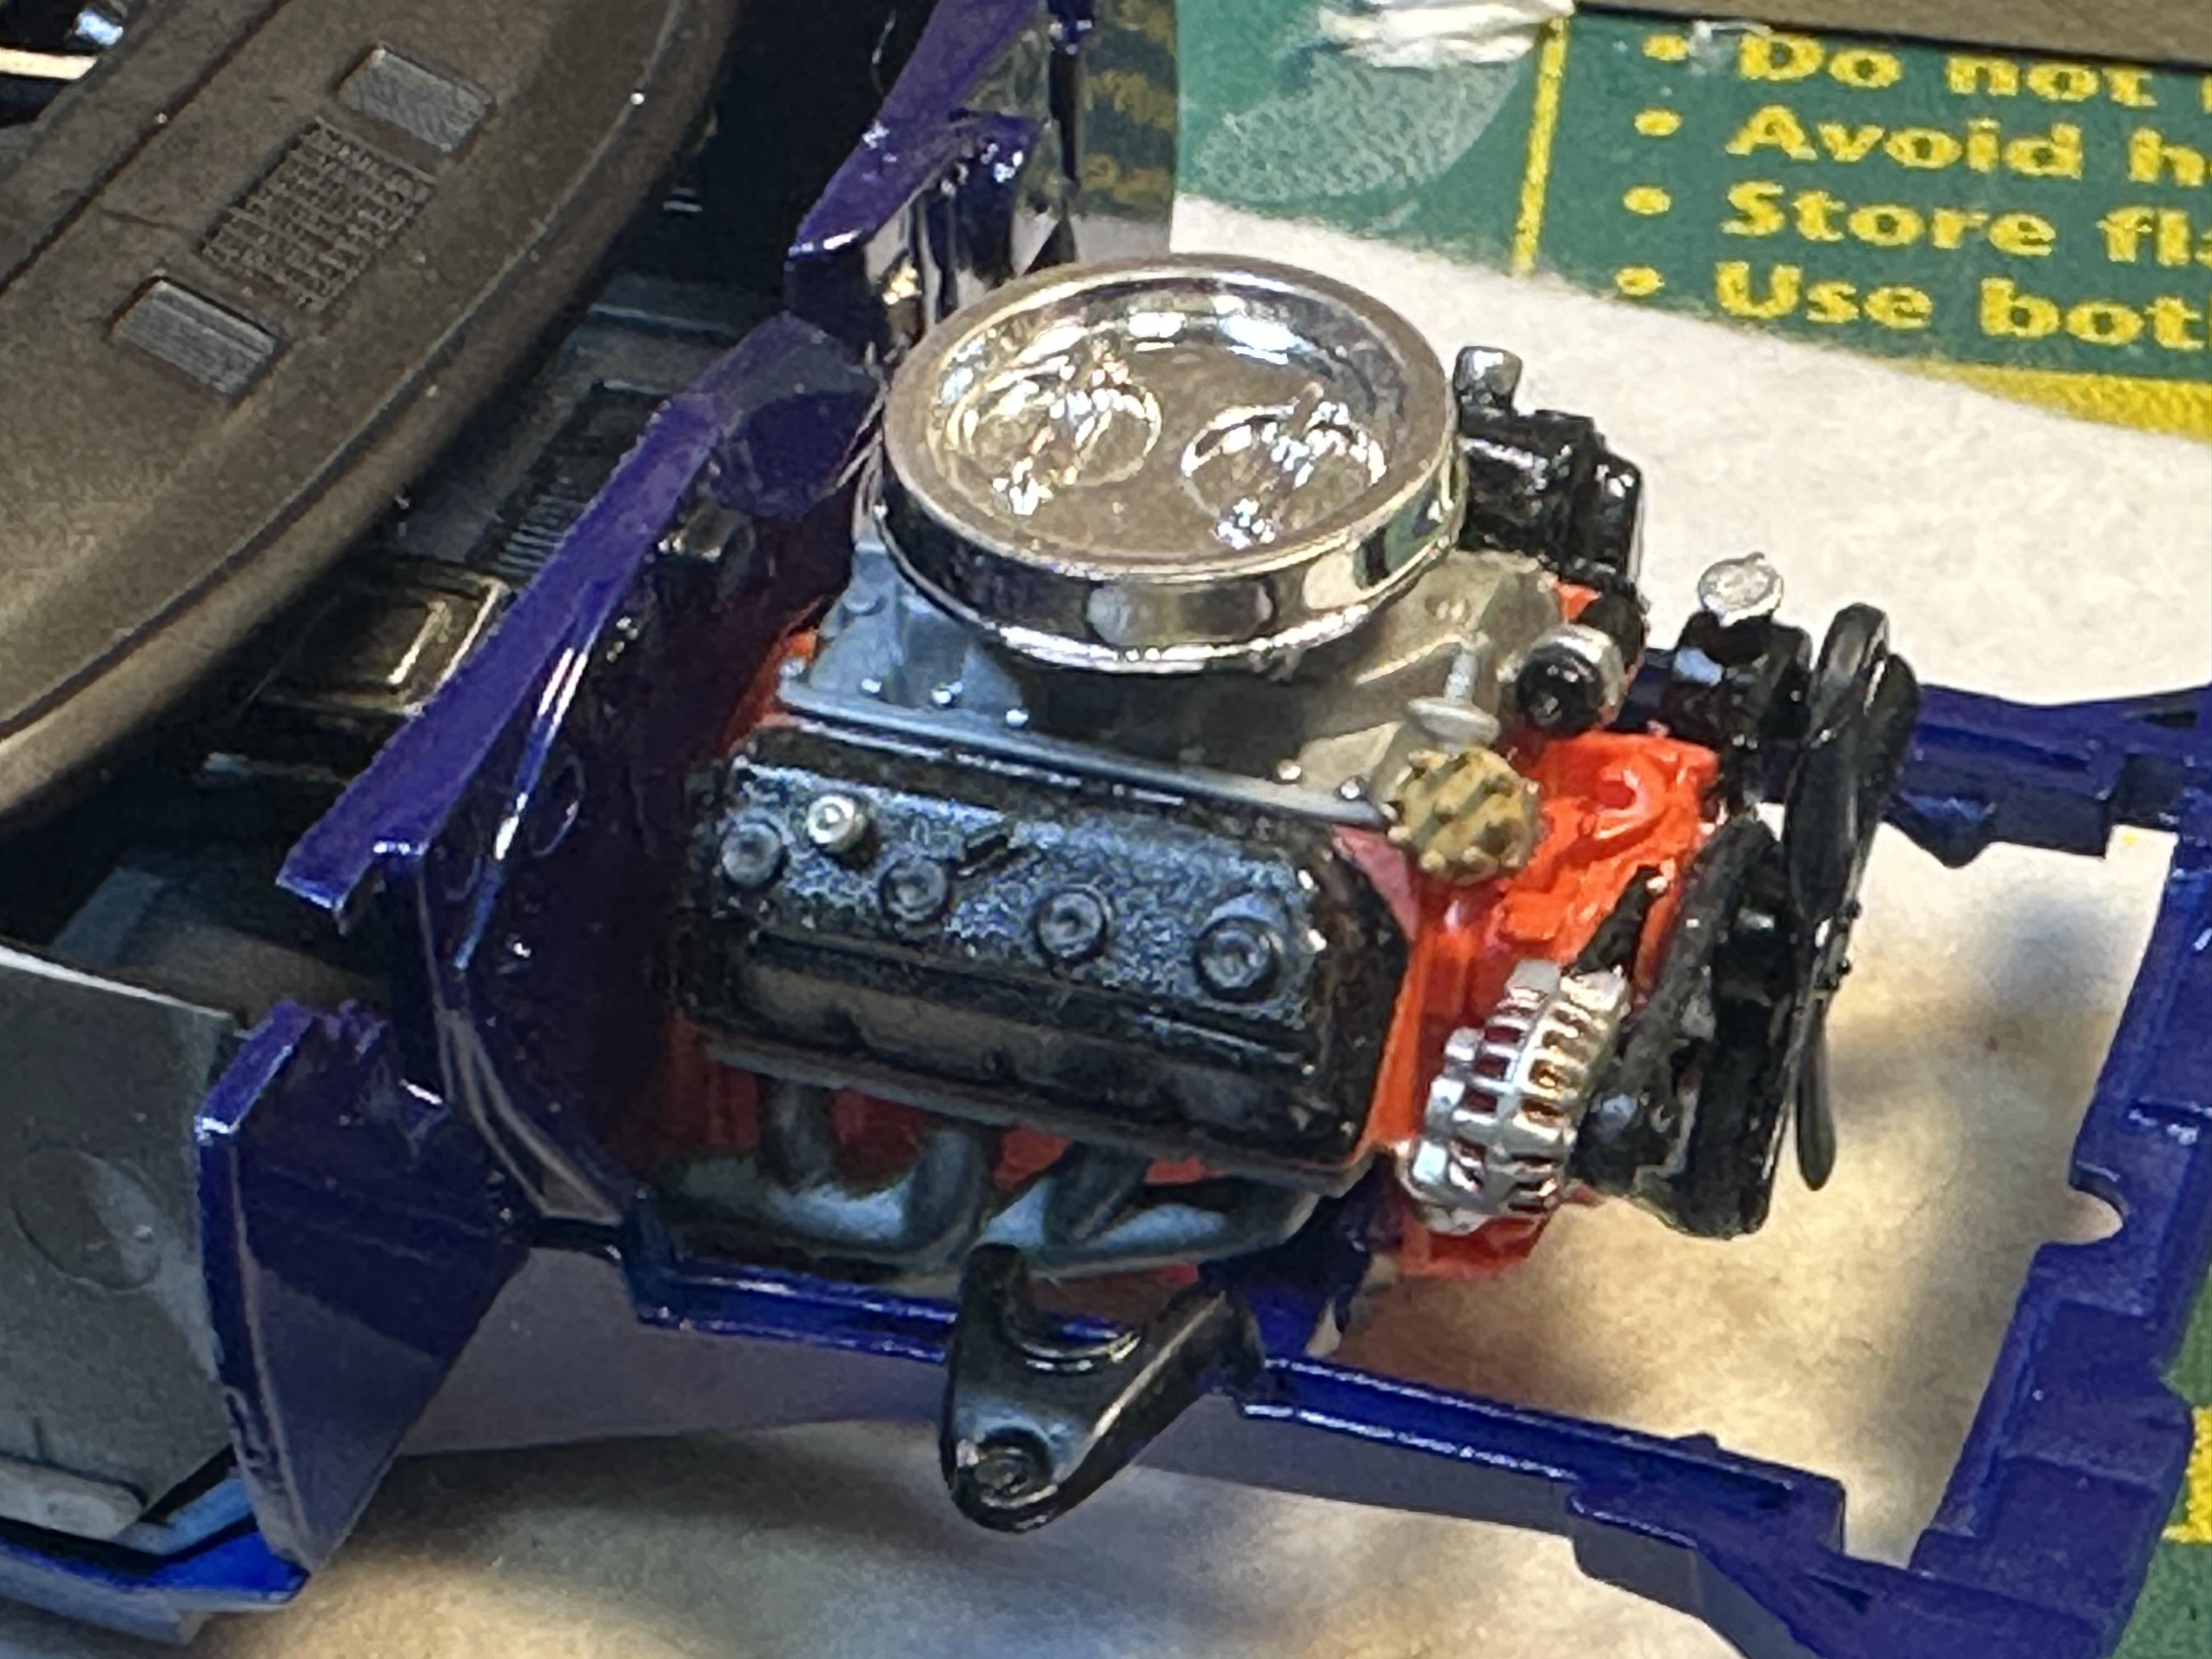
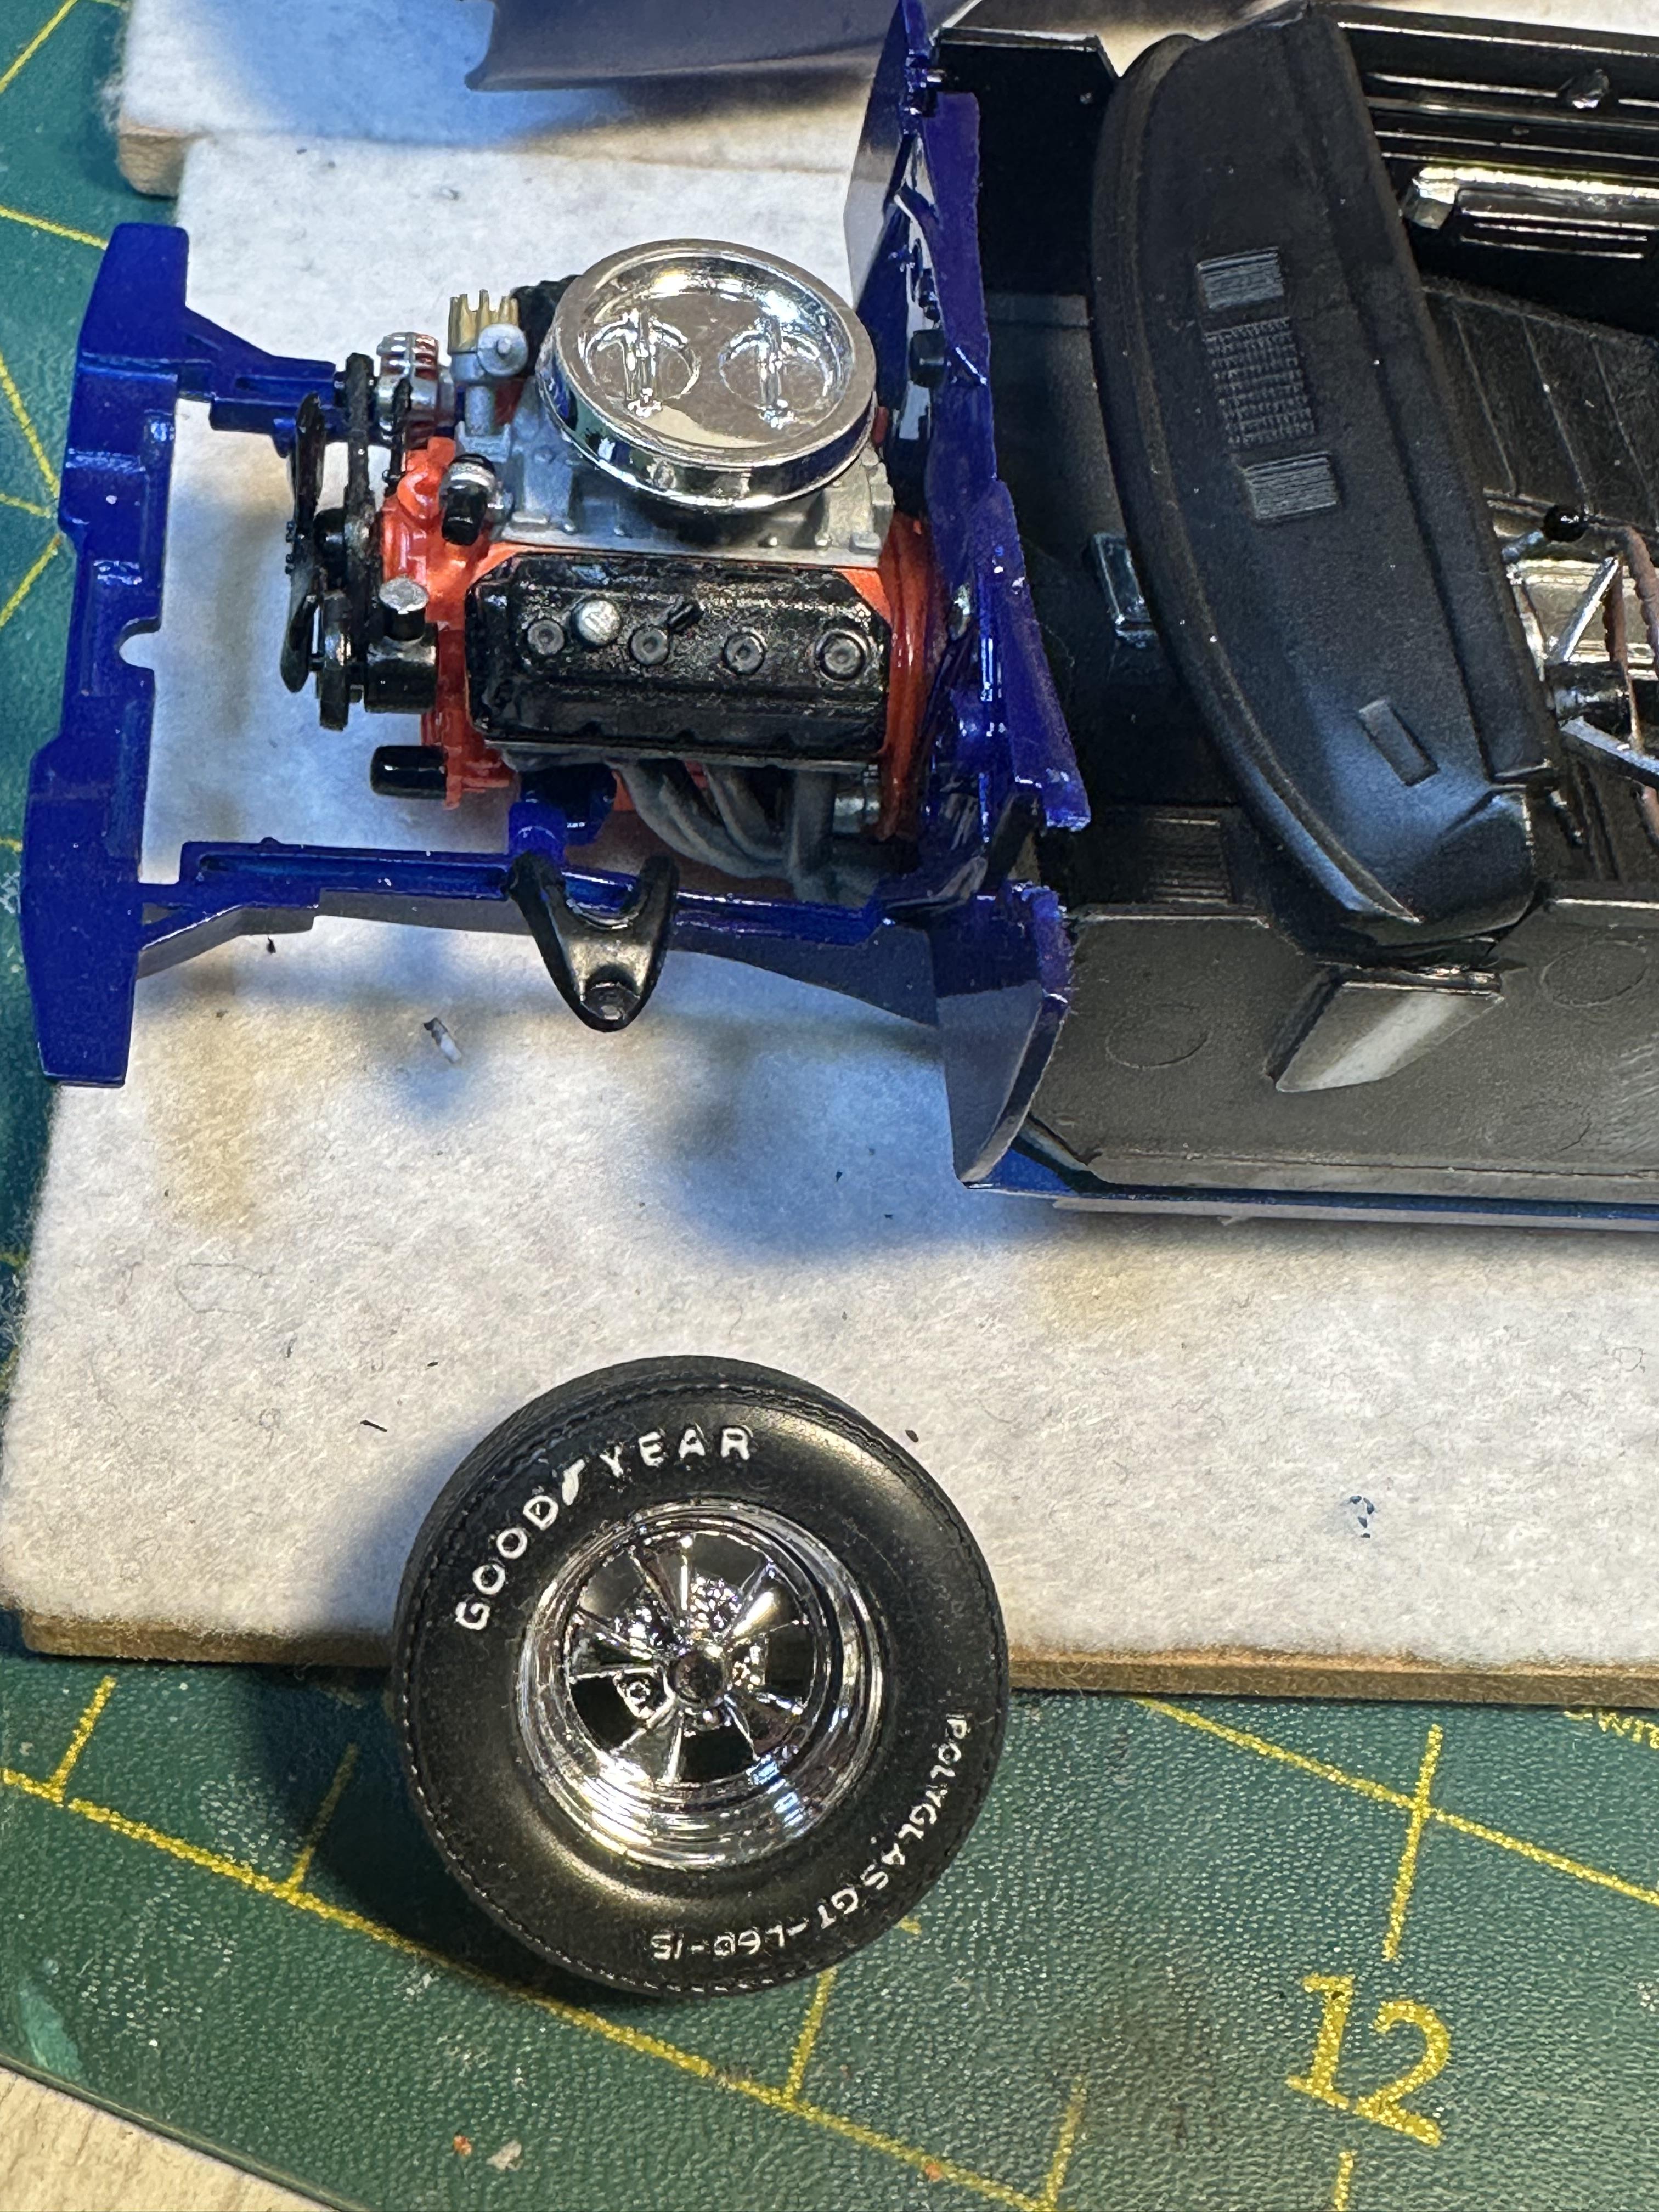
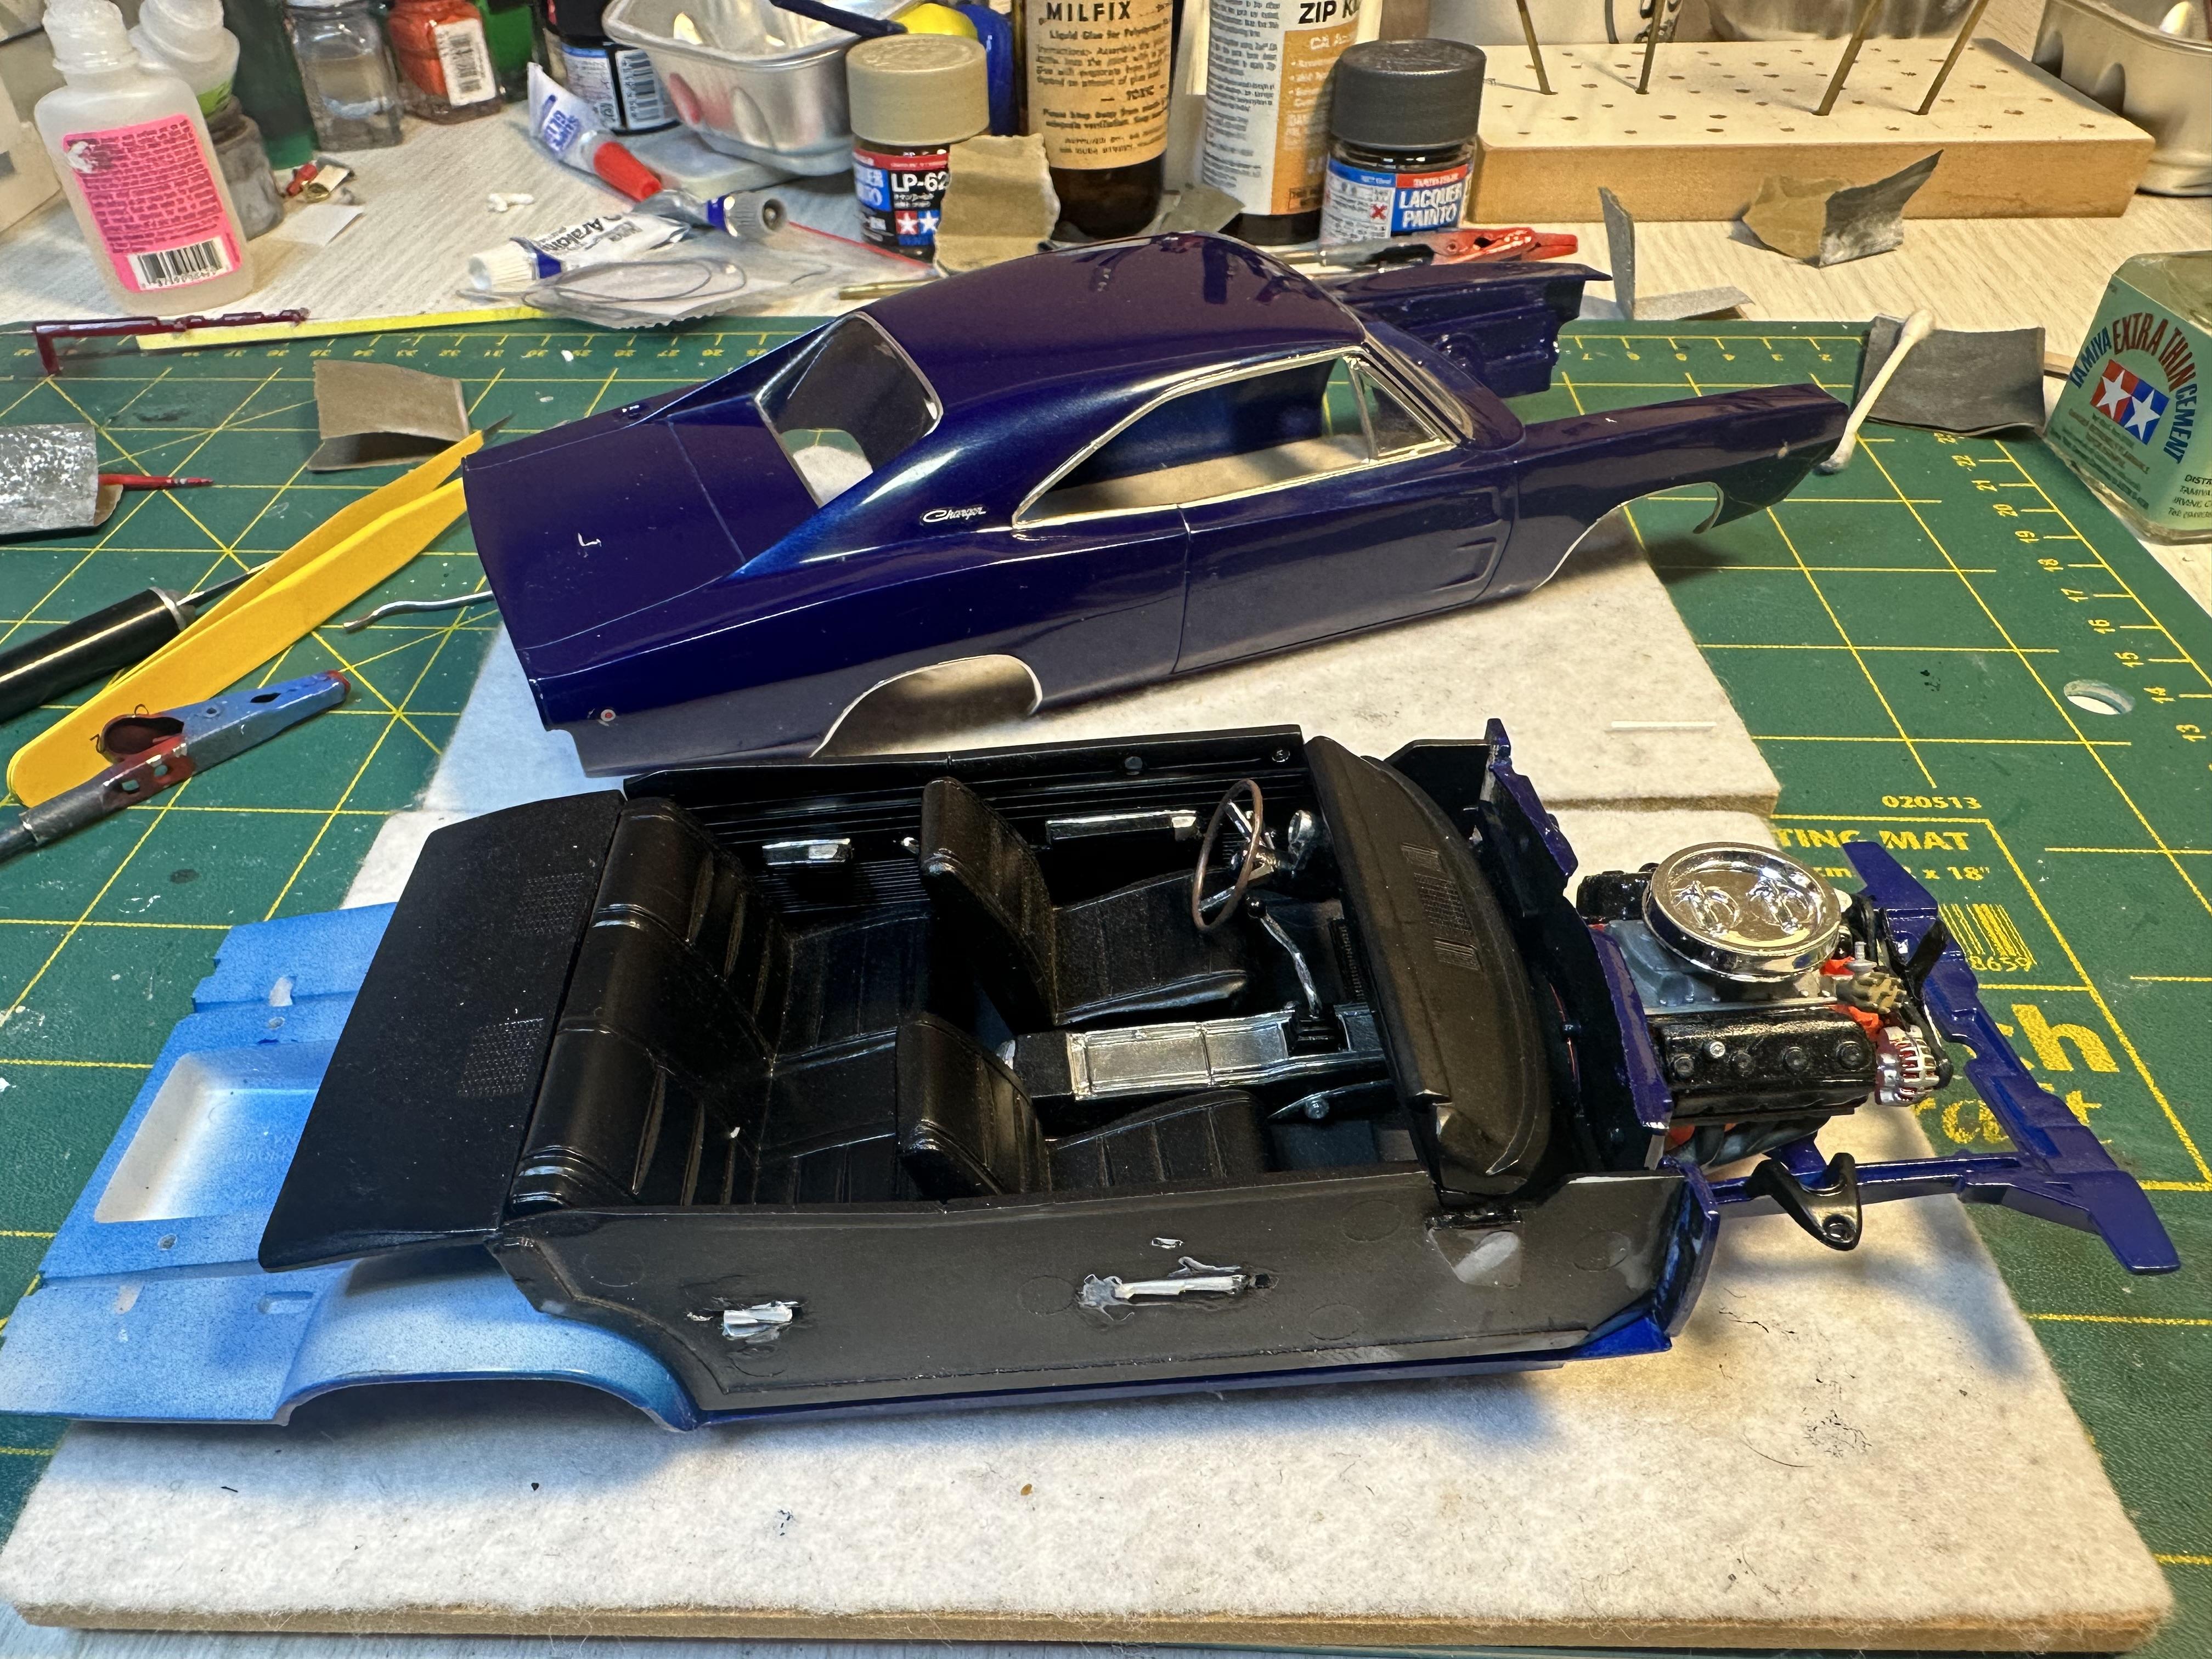
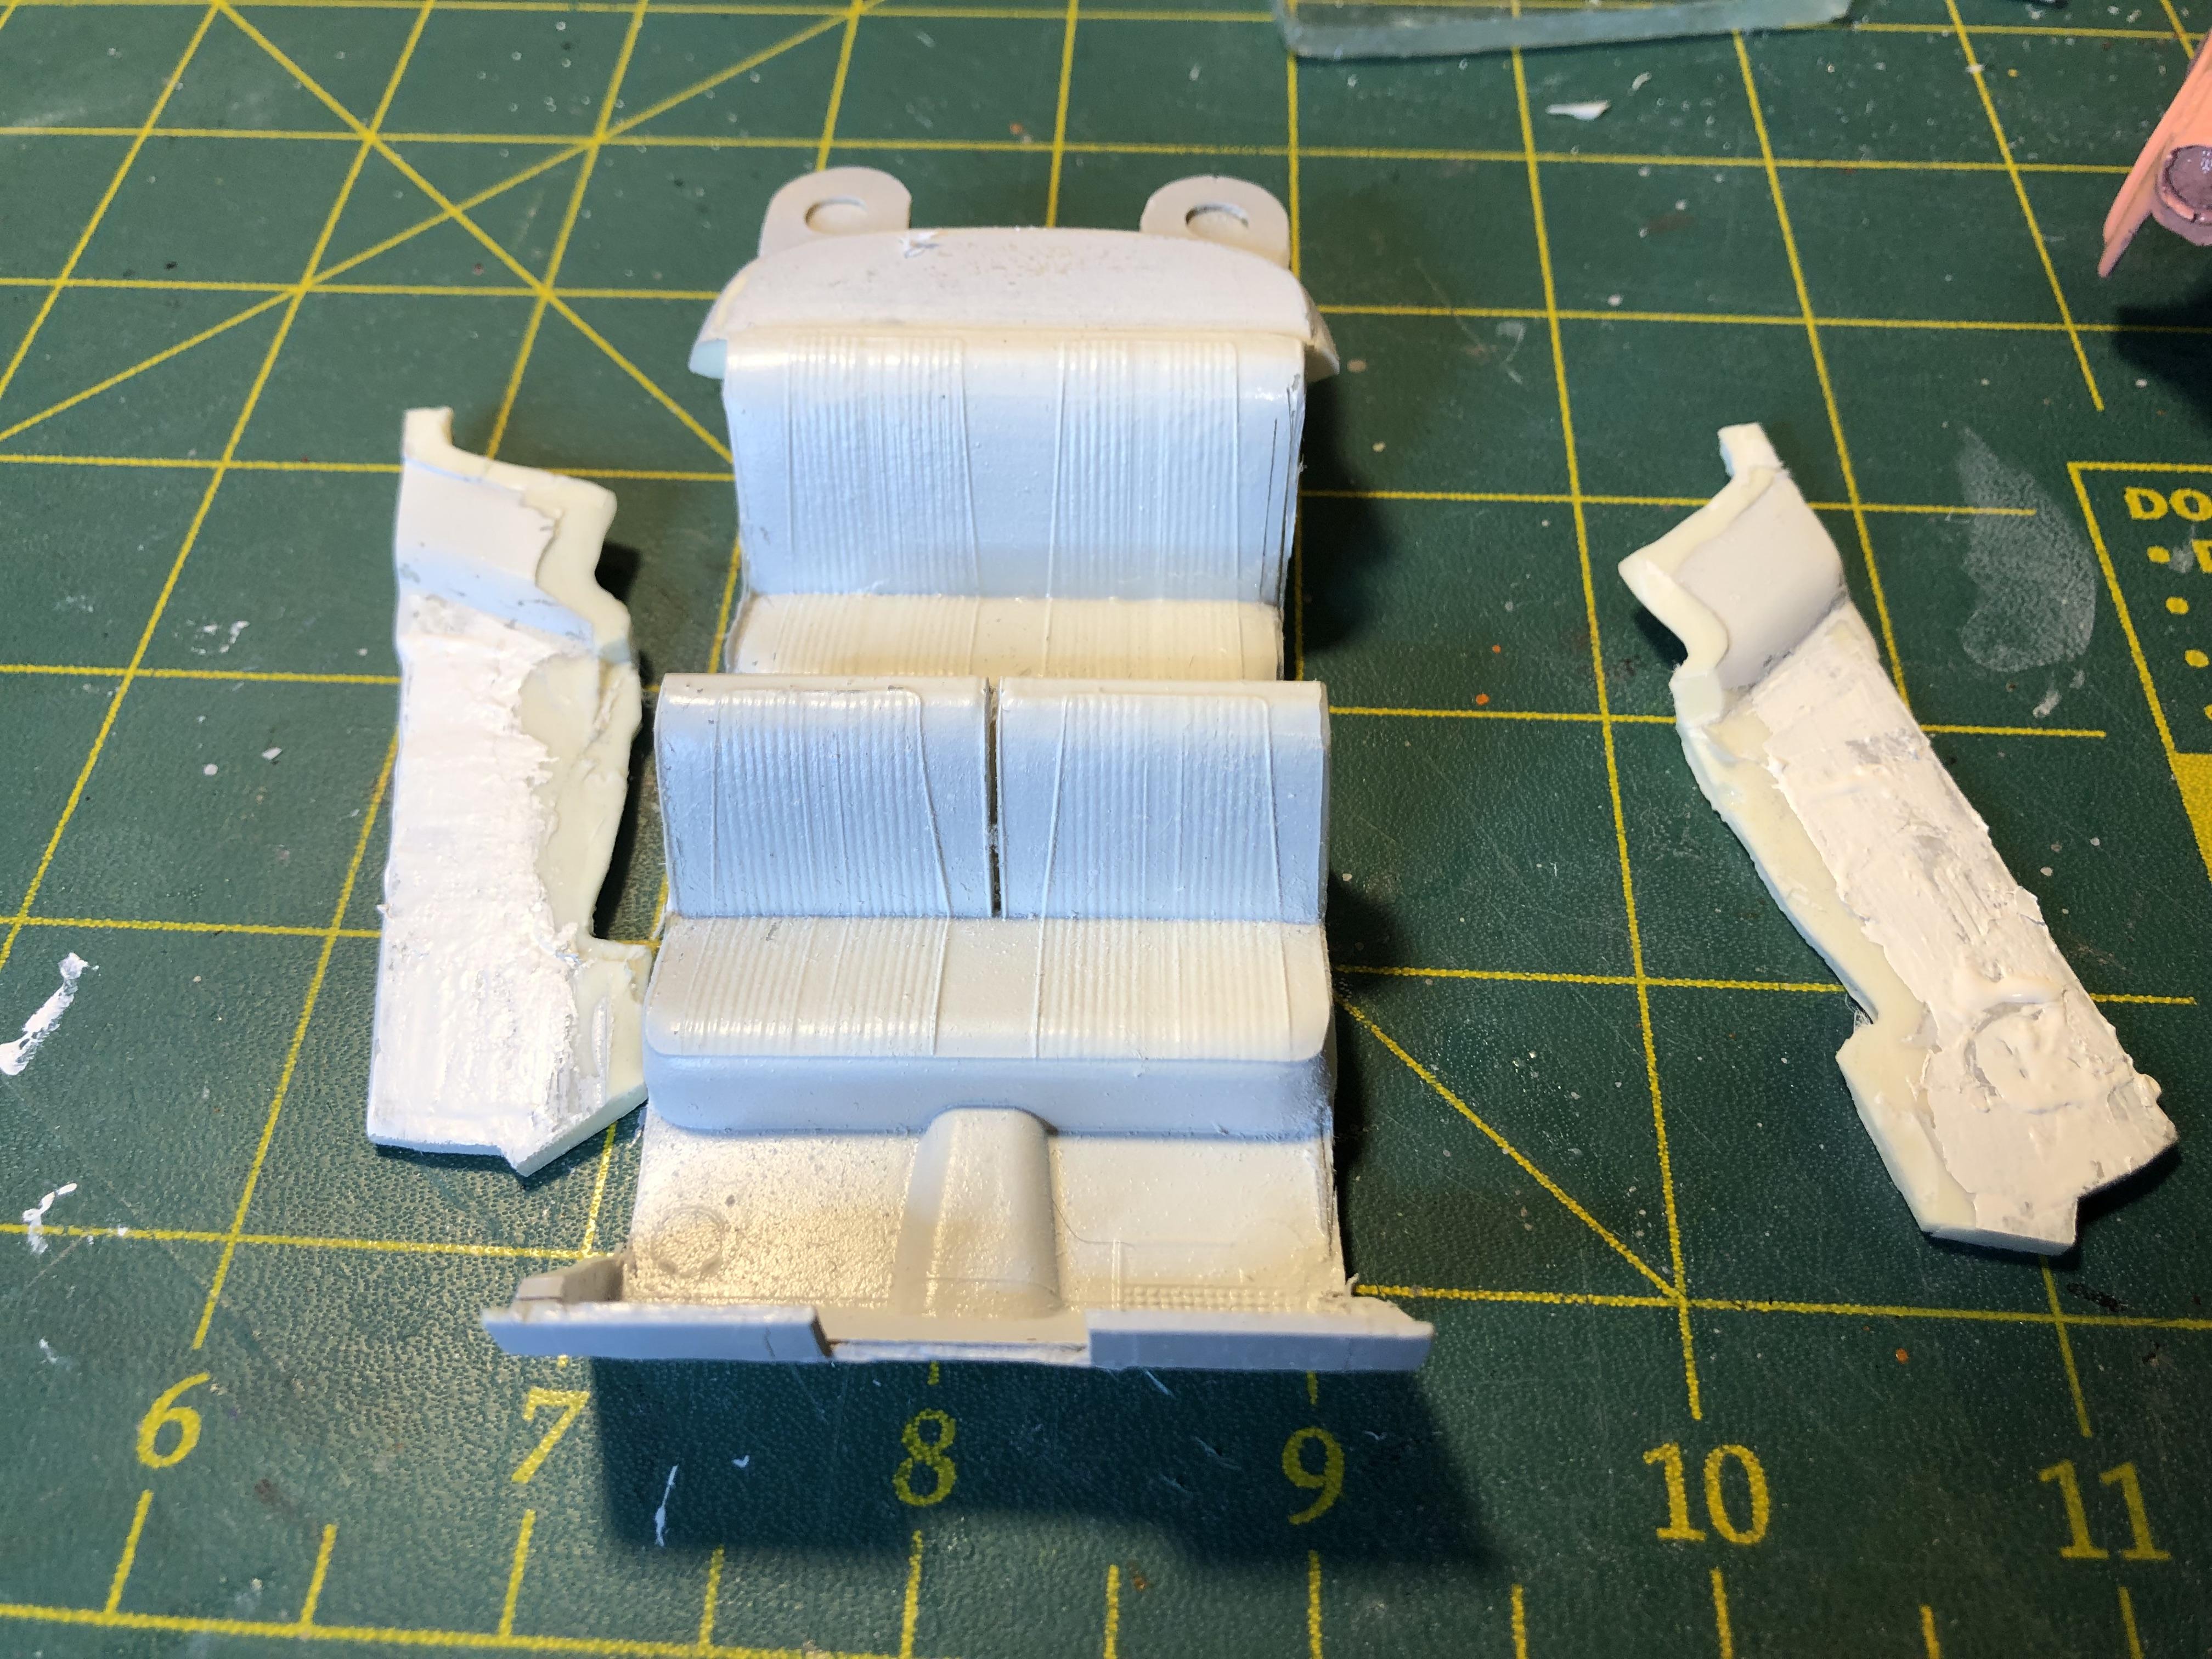
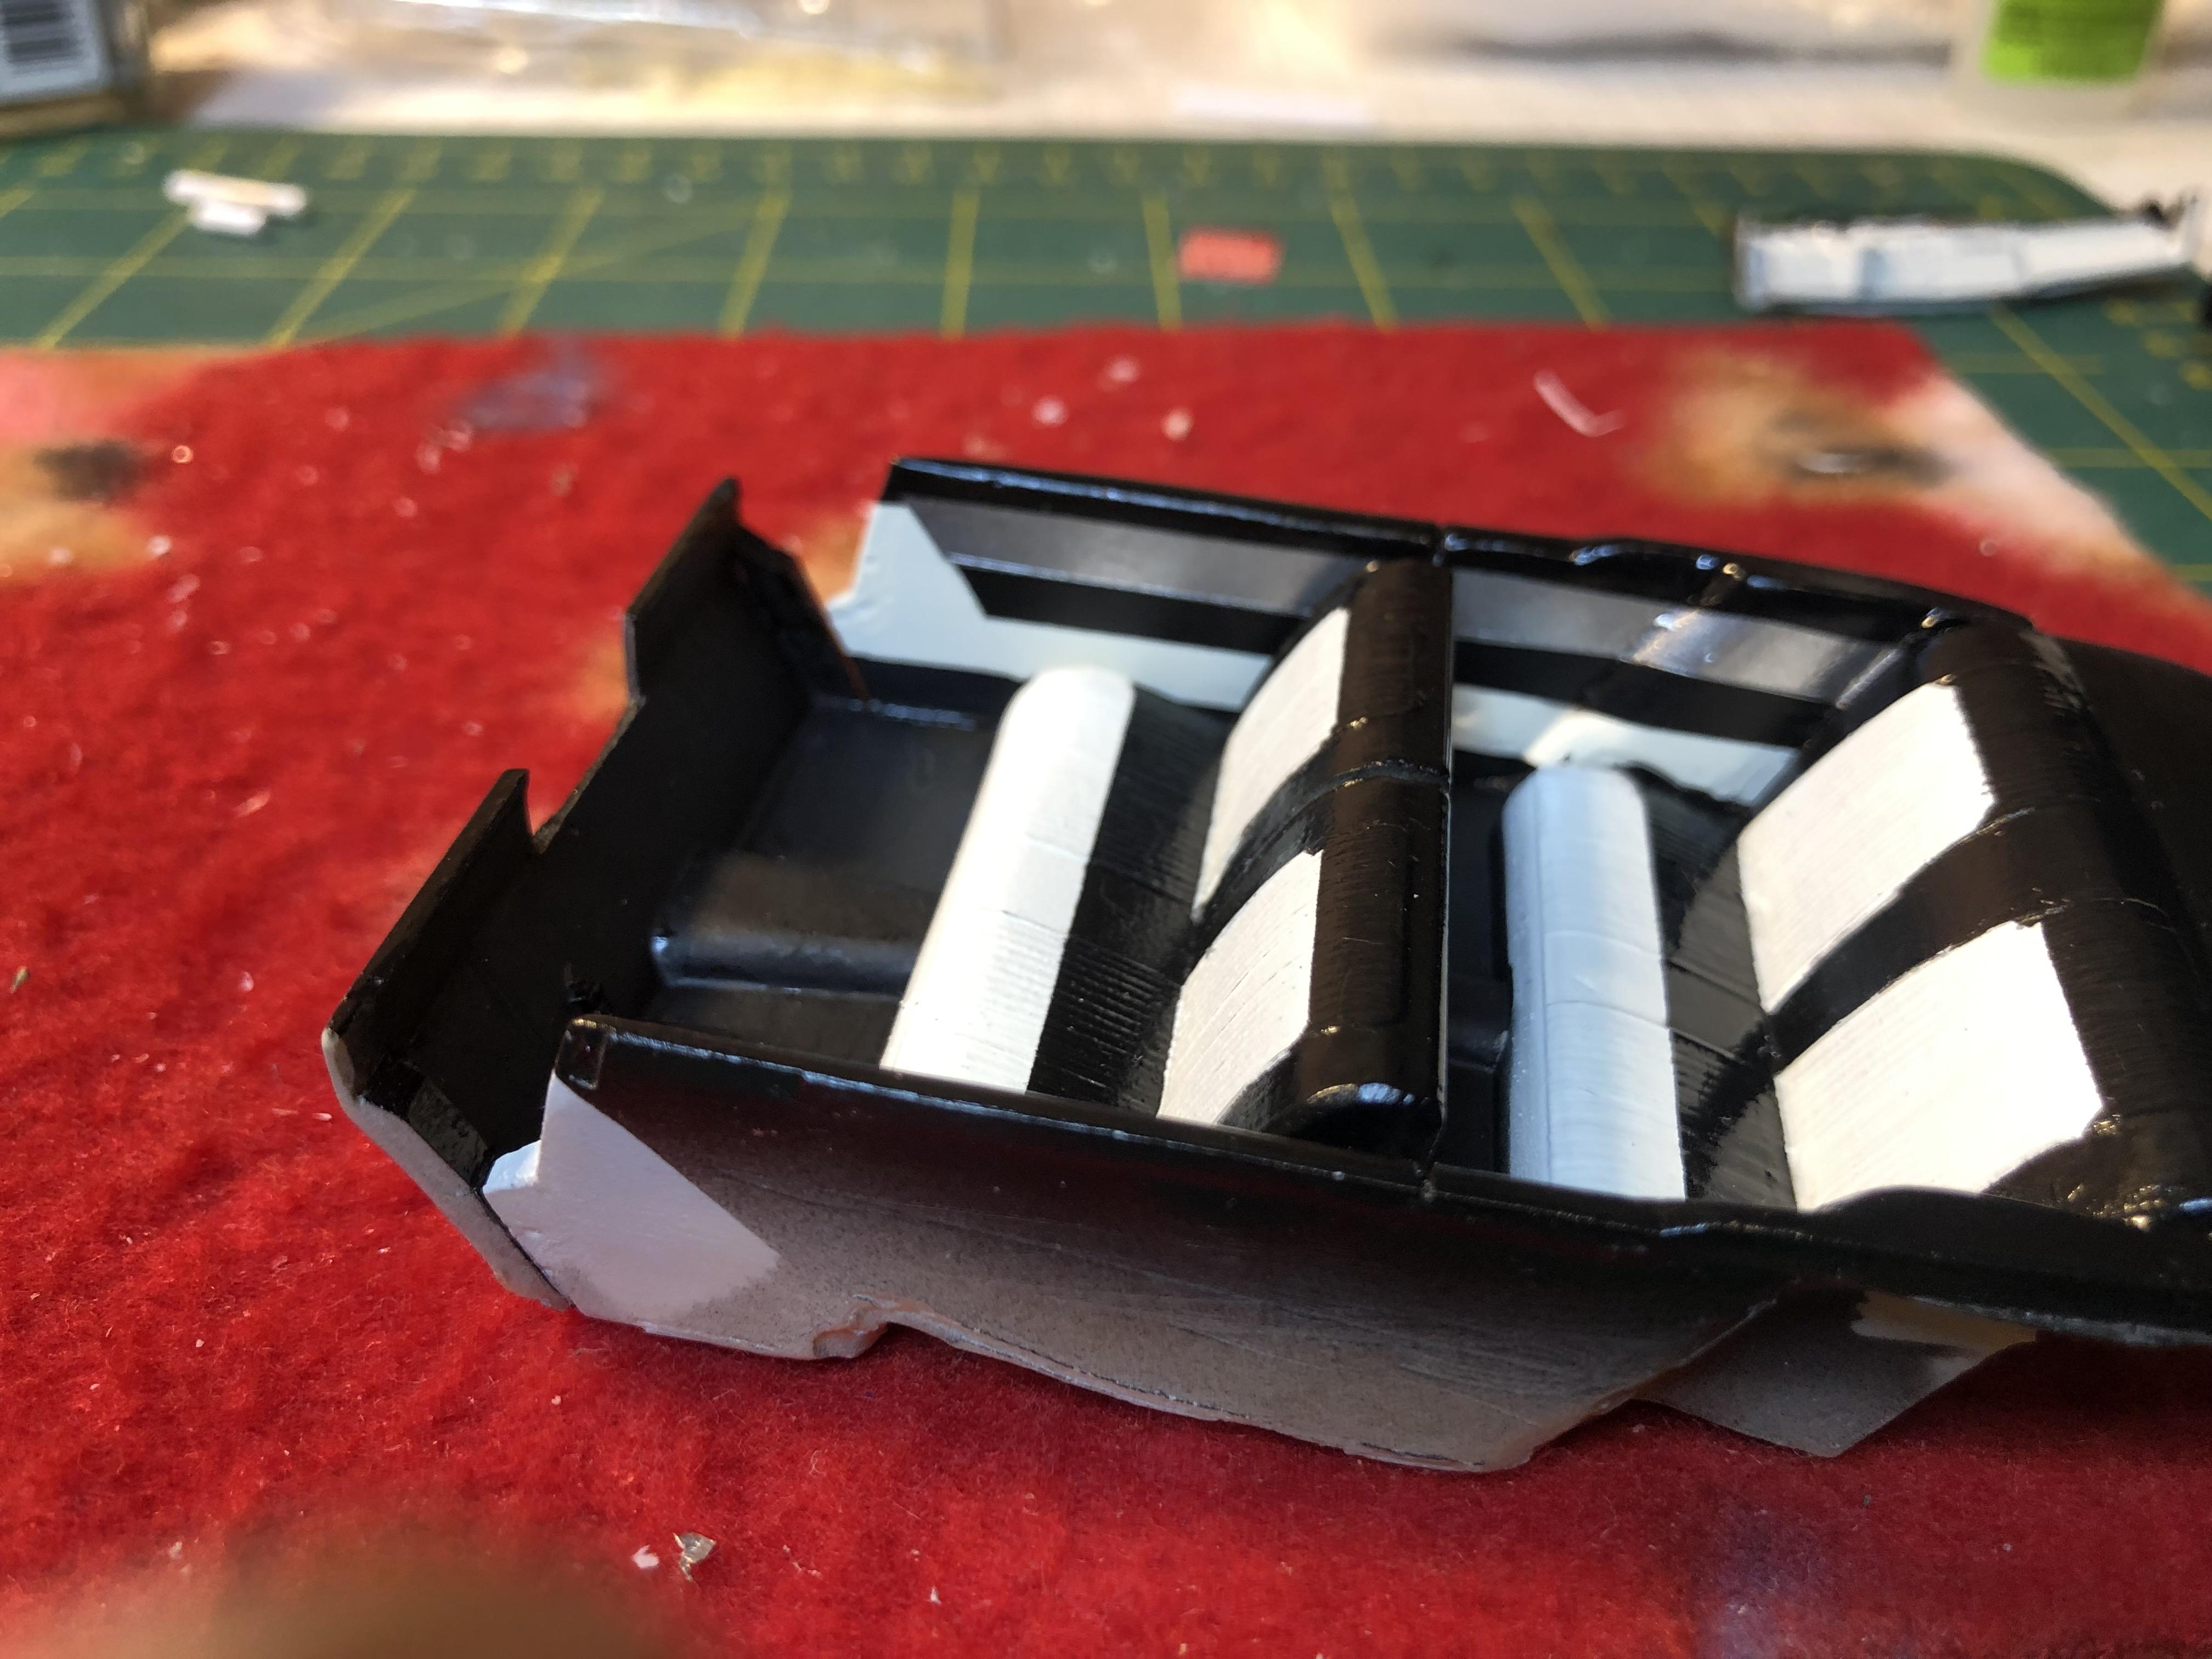
A while since I posted on this build - last post July last year - my how time flies. The Charger was put on the back burner whilst I was side tracked by a couple of other projects, an overseas holiday and life in general. Well it is time to get back to the Charger I had completed the foiling just after the last post and have recently polished out the body. I have been slowly getting all of the little details done prior to final assembly I fitted up the chassis to the body and as not happy with the fit around the front area so puled apart and finessed the firewall and dash areas so it should now fit up better. Time to wait for glue to set up A tray full of detailed goodies. The build theme is a box stock replica stock. Man there is a lot of time spent paint detailing all the little parts and on research to get the right colours and textures. Who said box stock is an easy build A couple of shots of the motor in the chassis with a completed wheel ready to go and a shot of the interior and motor mounted up ready to go into the body which is in the background Thanks for looking
-
Kool collection of Dueces - good luck with the show
-
For the small amounts of paint required I use a concave shaped freeze (frost) plug. Just wipe it off when done - or got it wrong and you need to start over
-
I appreciate the comments Steve as I know you build mostly replica stock kits. The carb colours you have shown are spot on. I too have built the occasional replica stock models and it is a challenge to get all of the different colours correct. Lots of time doing research and taking photos of real cars when the opportunity arises. One of my current builds is Revell 68 Charger being built with a theme of as a recent restoration. Lots of time spent mixing colours to get the correct sheen and/or shade for the smaller components
-
Steve - your attention to detail is phenomenal. I recently bought for my full size car an Edlybrok carb and it is all bright ally (the Holy I had was giving me lots of grief). Then I bought a BluePrint crate motor for it and it has a big rrs Holy that is all shiny ally in colour - I wonder if I have to ditch it for an Edlybrok when I get it into the car. I appreciate to effort to get original carb colours right but us (kit) Rodders like things on the blingy side of the colour spectrum
-
Airbrushing Testors enamels???
bill-e-boy replied to doorslammer68's topic in Model Building Questions and Answers
Testors jar paint fine. I have used them for years but now mostly use lacquers. In the video above he is using a big tip #2 and he can get away with 1:1 thinning. I use a Badger 200 with a finer tip and I need to thin the paint 1:1.5-2 paint to thinner ratio so that it will spray through the airbrush. I have used lacquer thinners, lighter fluid (clear spirit) and Testors - but that's a bit thin on the ground these days (pun intended) . I have also used a product called two-way thinners which can be used a a slower drying thinner for lacquers and enamel - PPG 4ltr code 0146/4L which you may not be able to get everywhere. By type: Lacquer thinners - speed up dry time and can produce a harder surface Lighter fluid - again speeds up dry time and paint flows well Testors - my go to for Testors enamels but down to last 1/2 can Turps (mineral sprits, mineral turpentine) - I avoid and used to use for clean up (I now use lacqer thinners for this) Two-way - like lacquer thinners but dry time is a little slower I have not tried any of the Tamiya or Mr products with Testors so cannot comment on them General - enamels take a long time to cure - weeks - so allow plenty of time if you want to colour sand and polish. A tip here - do the first colour sand grit and then leave the model to allow the paint to gas out some more then move onto finer grits until the last then leave for another day or two before applying polish. That is why I use lacquers these days as you do not have to wait so long between steps -
I did it on this 56 Dodge resin kit. Interior was a bit dire and so hard to mask for the three different colours on the sides esecially so cut the sides out by a combination of cutting with a razor saw and scribing And the results - not as in depth a Steve's but certainly a (naughty word removed) load better than before
-
A good start on an iconic car You could mordorise the tudor with your skills
-
Thanks Mathias
-
Thanks haps Paul. I am happy with paint at the moment so fingers crossed it works out OK when I polish it out. Choosing colours and colour combos is an agonizing process when building a model and can make or break a model. In the process of all the little things to get it across the line
-
Dont forget when you make up a Mopar starter solenoid you will need to make left handed - Mopars are on the other side of the car🤪
-
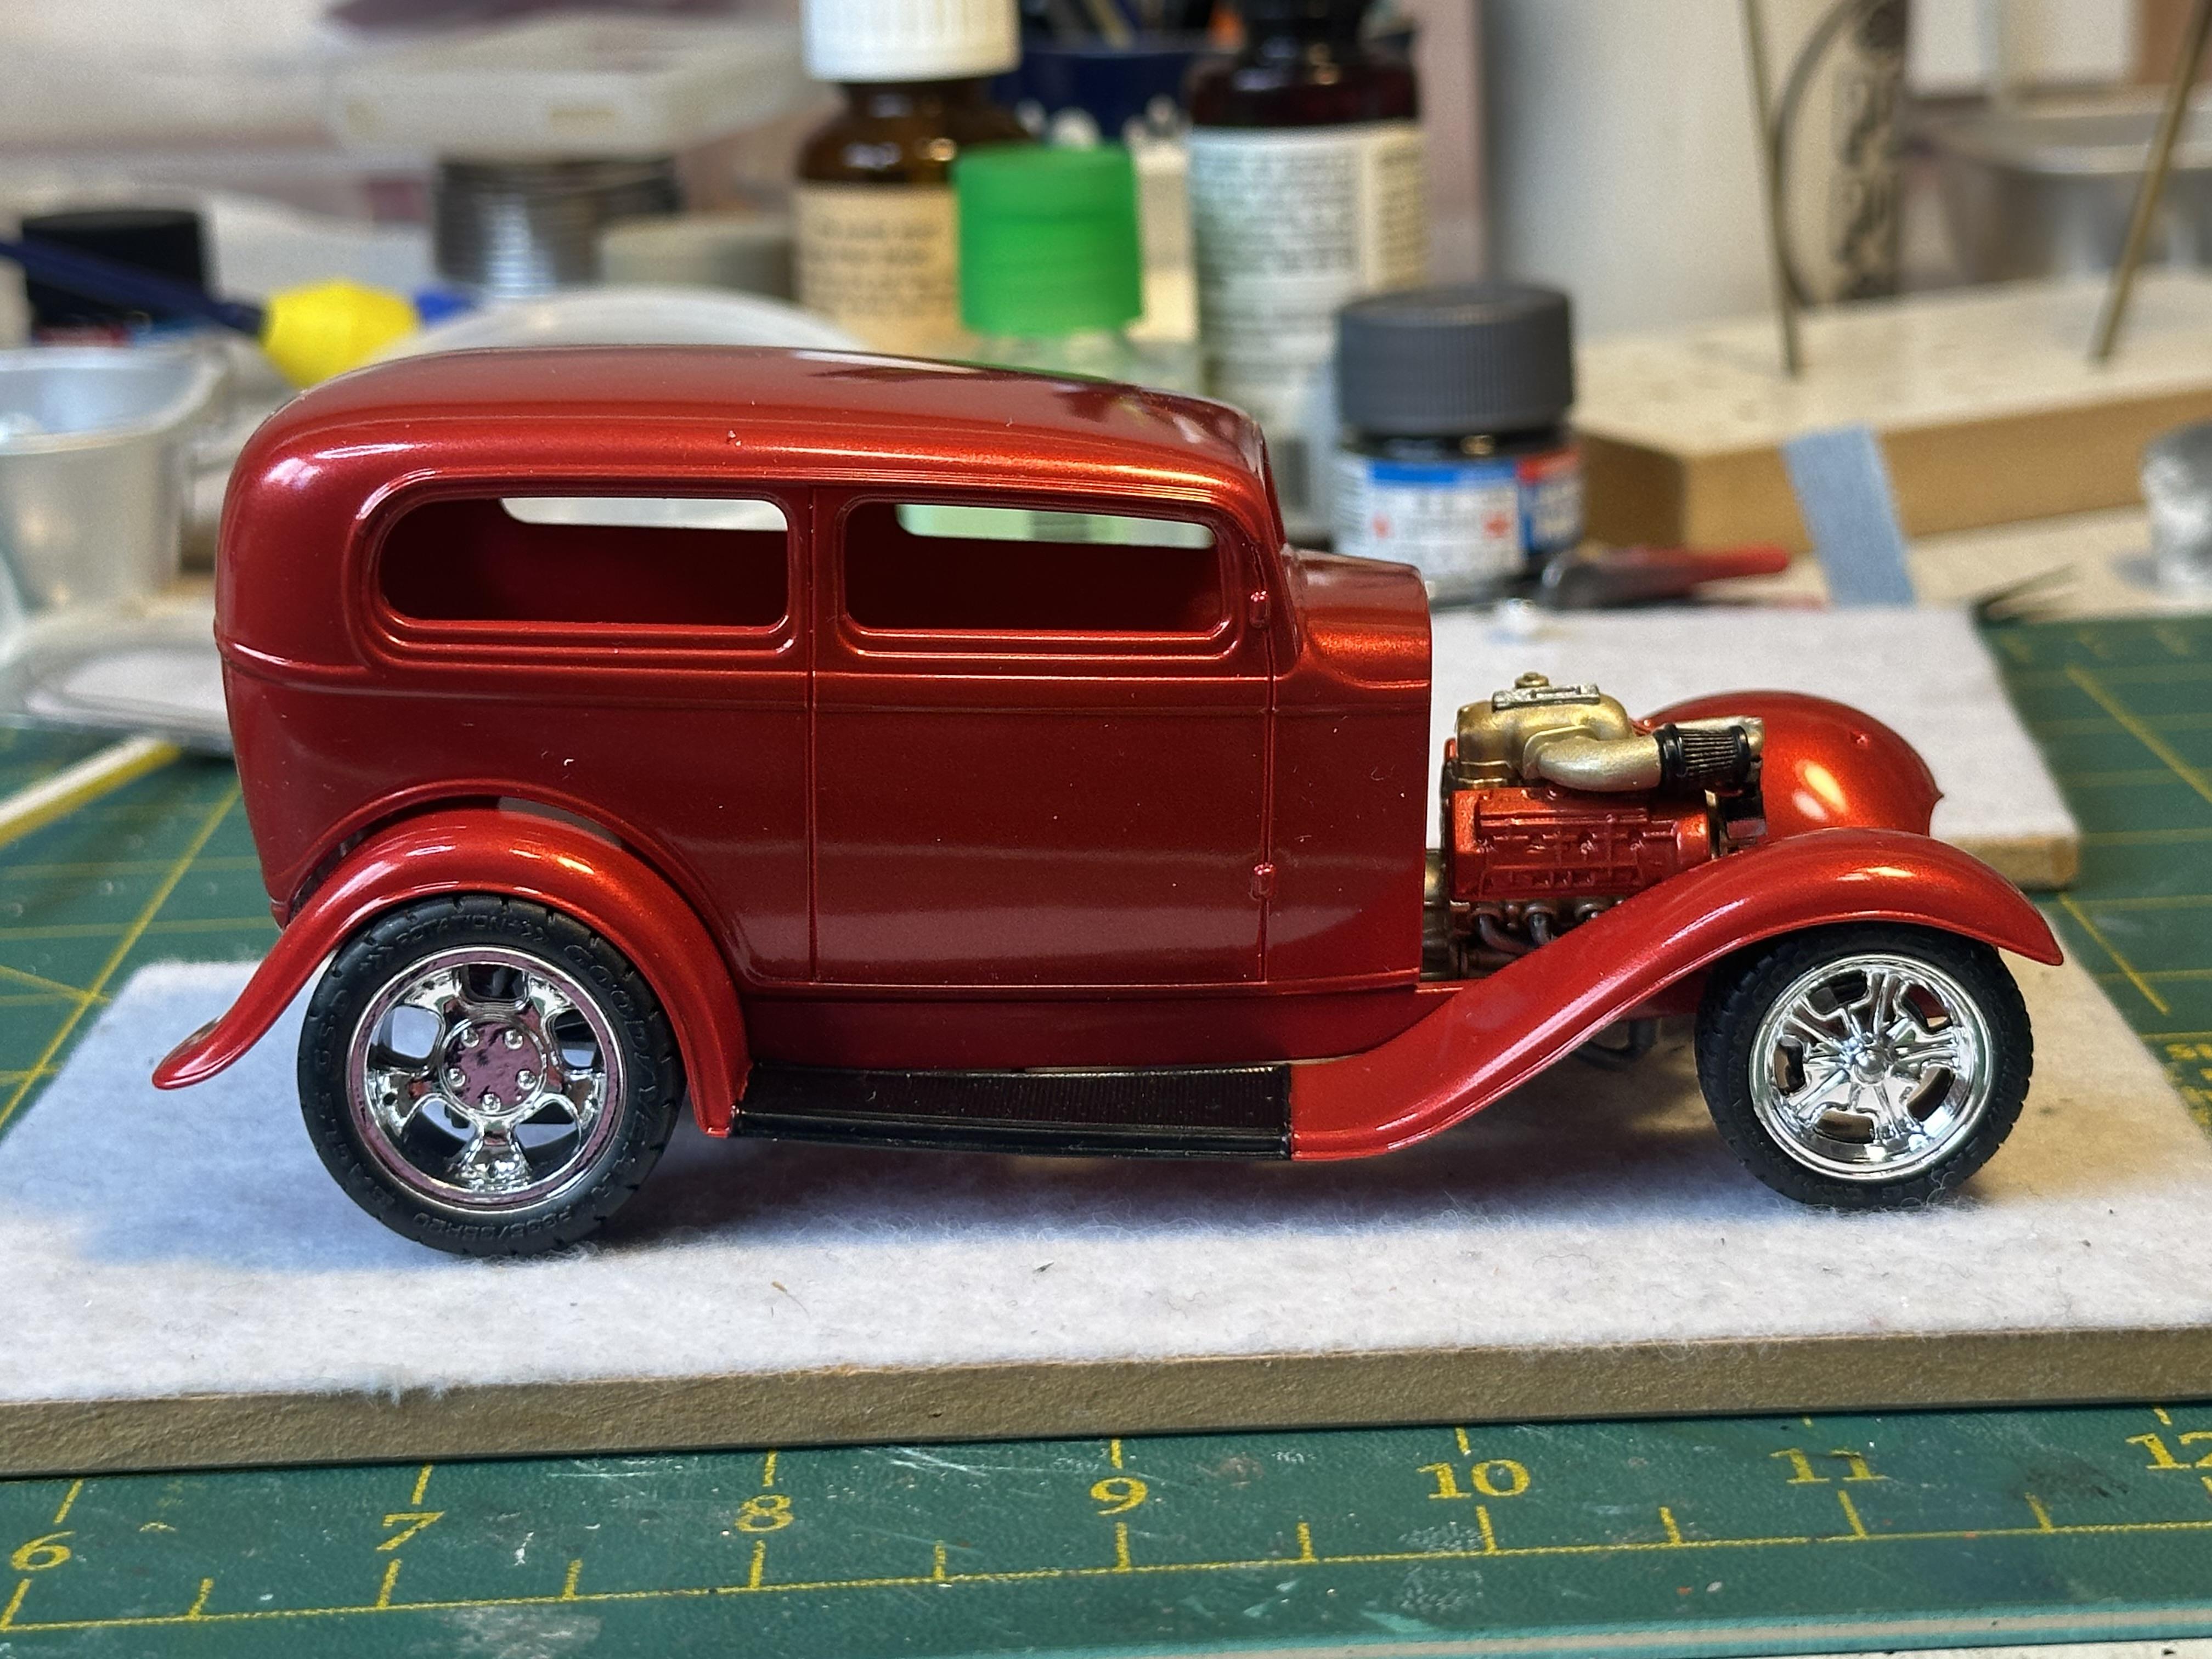
A quick mock up to take the local MPH group (Miniature Petrol Heads) meeting. When fitting the drivers side guards I had an awful lot of trouble to get them to fit - found the cause - the lower radiator hose clashes with the front guard. I will now have to alter this to fit. I am annal and made a list of things left to do - comes from being a Project Manager in a past life The next big effort is to colour sand and polish out the body. Pix are as it came from the paint shop Thanks for looking
- 706 replies
-
- 12
-

-

-
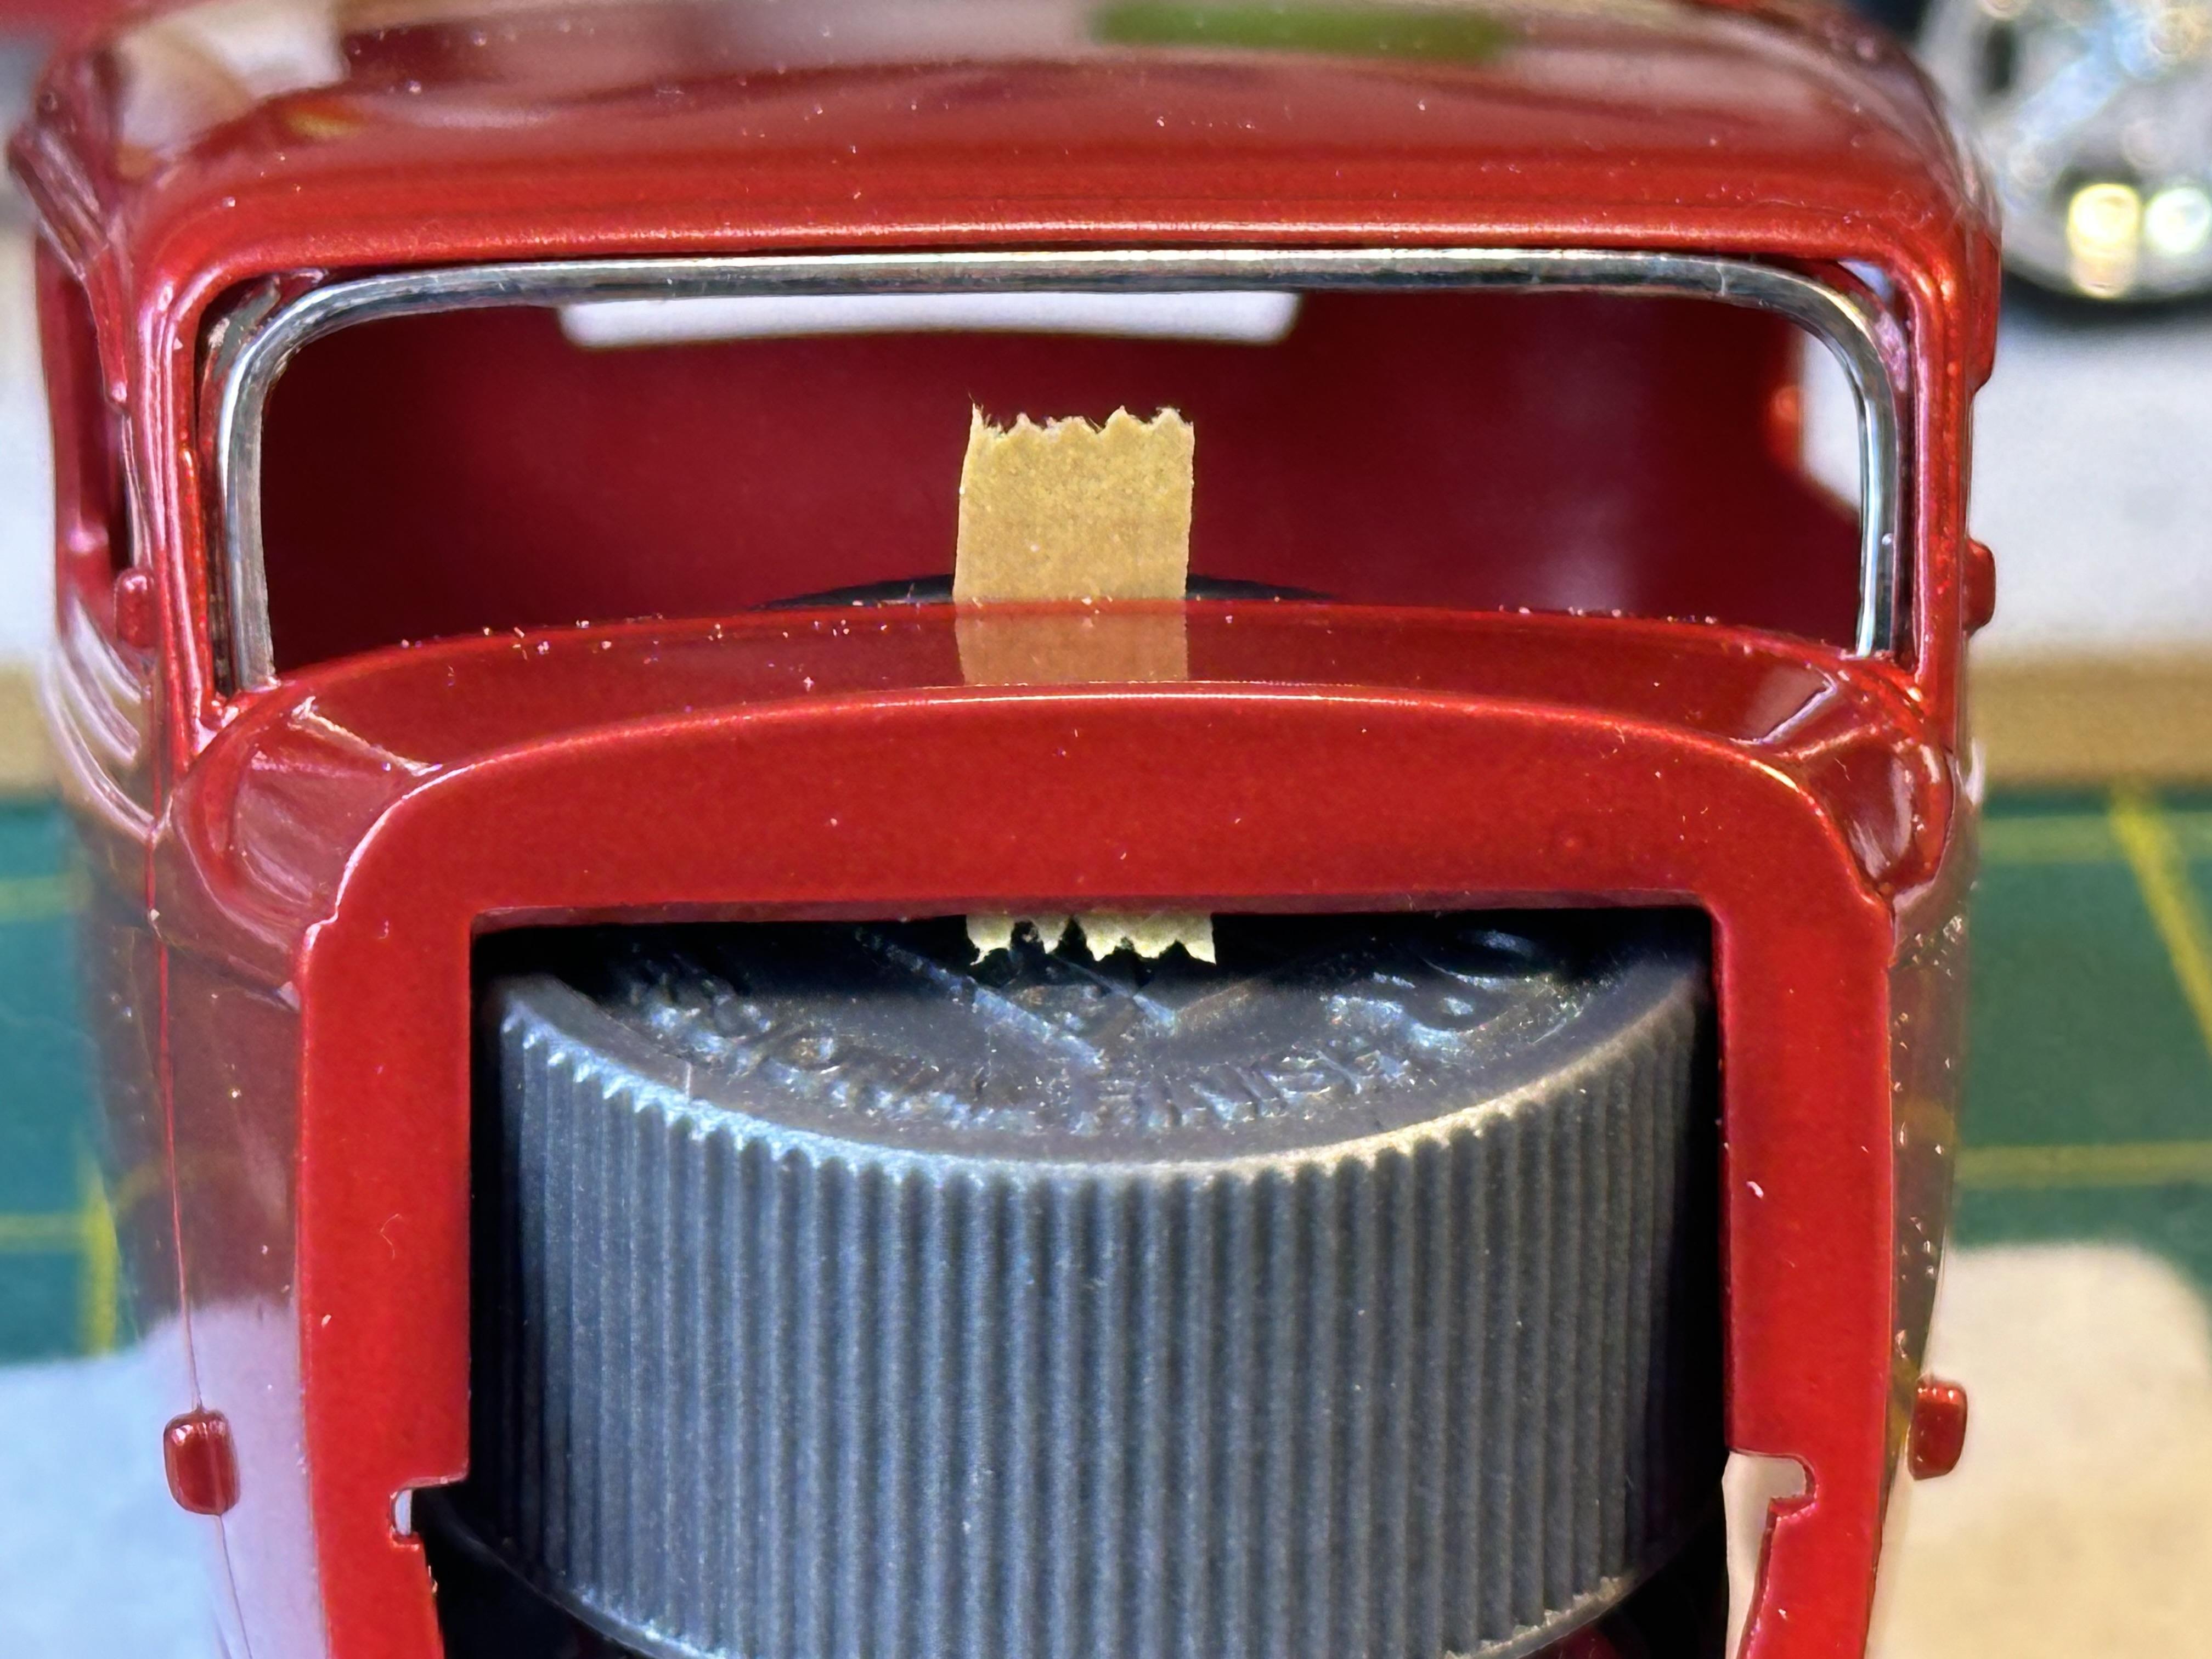
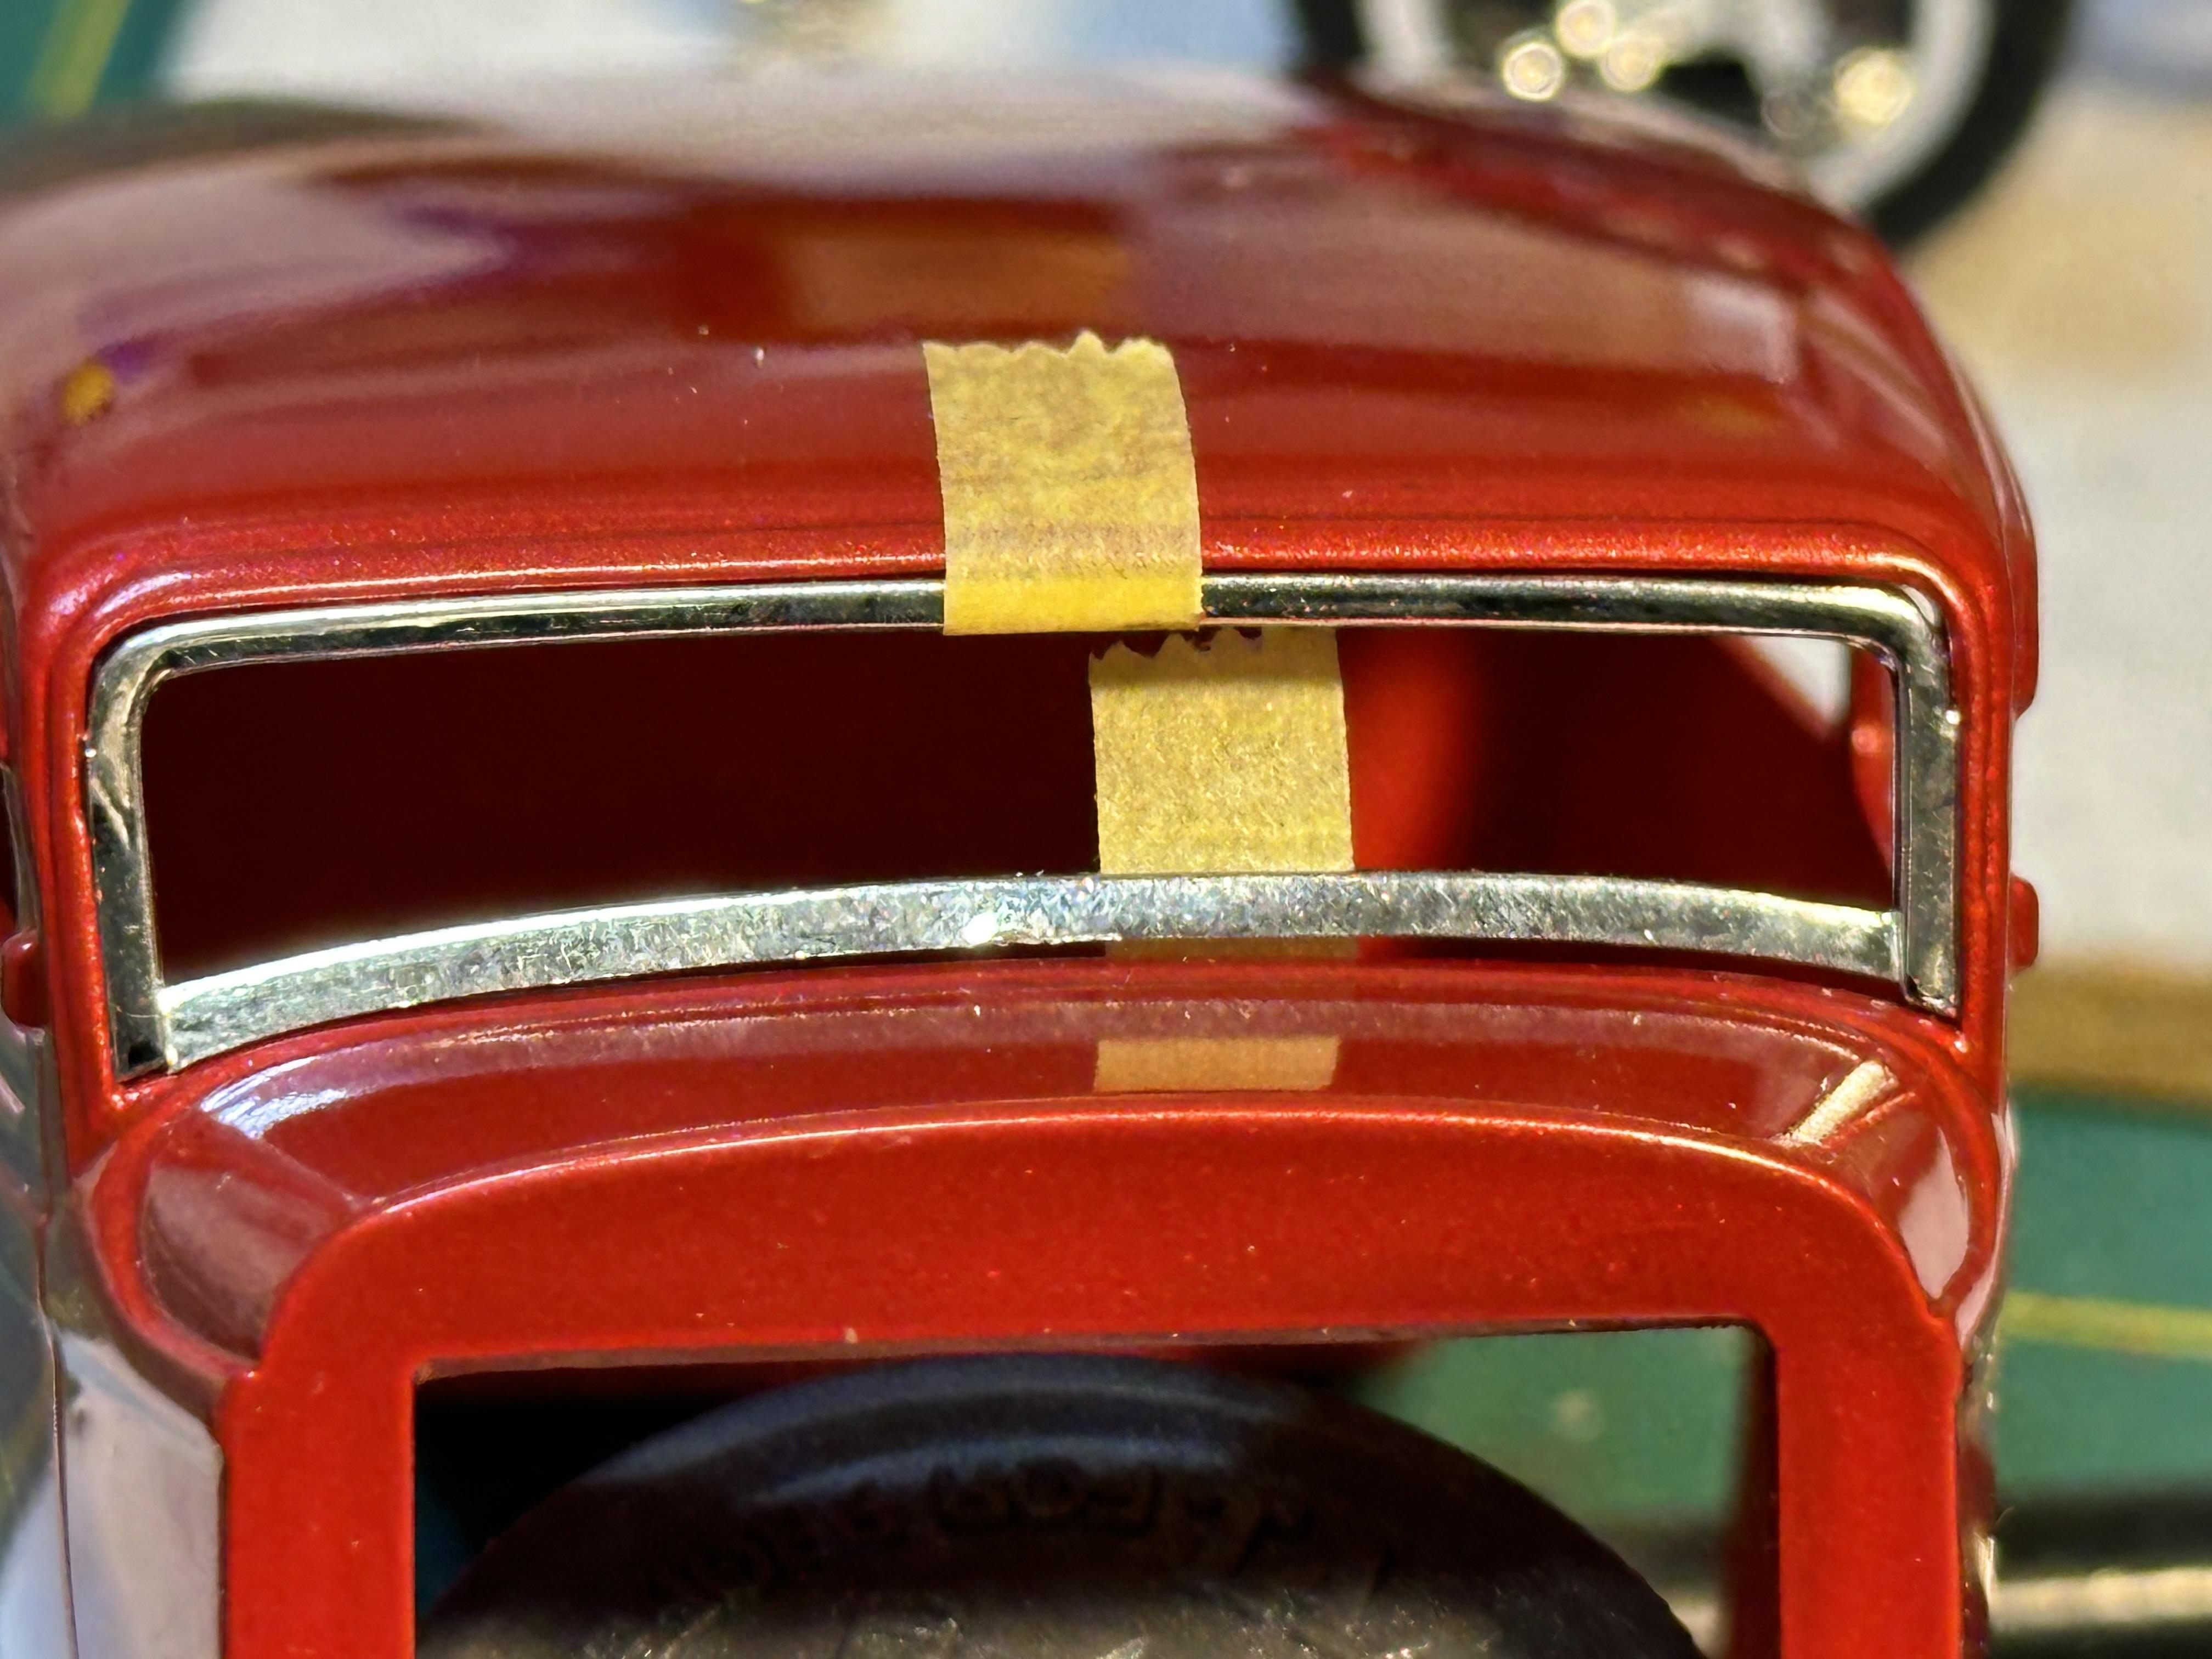
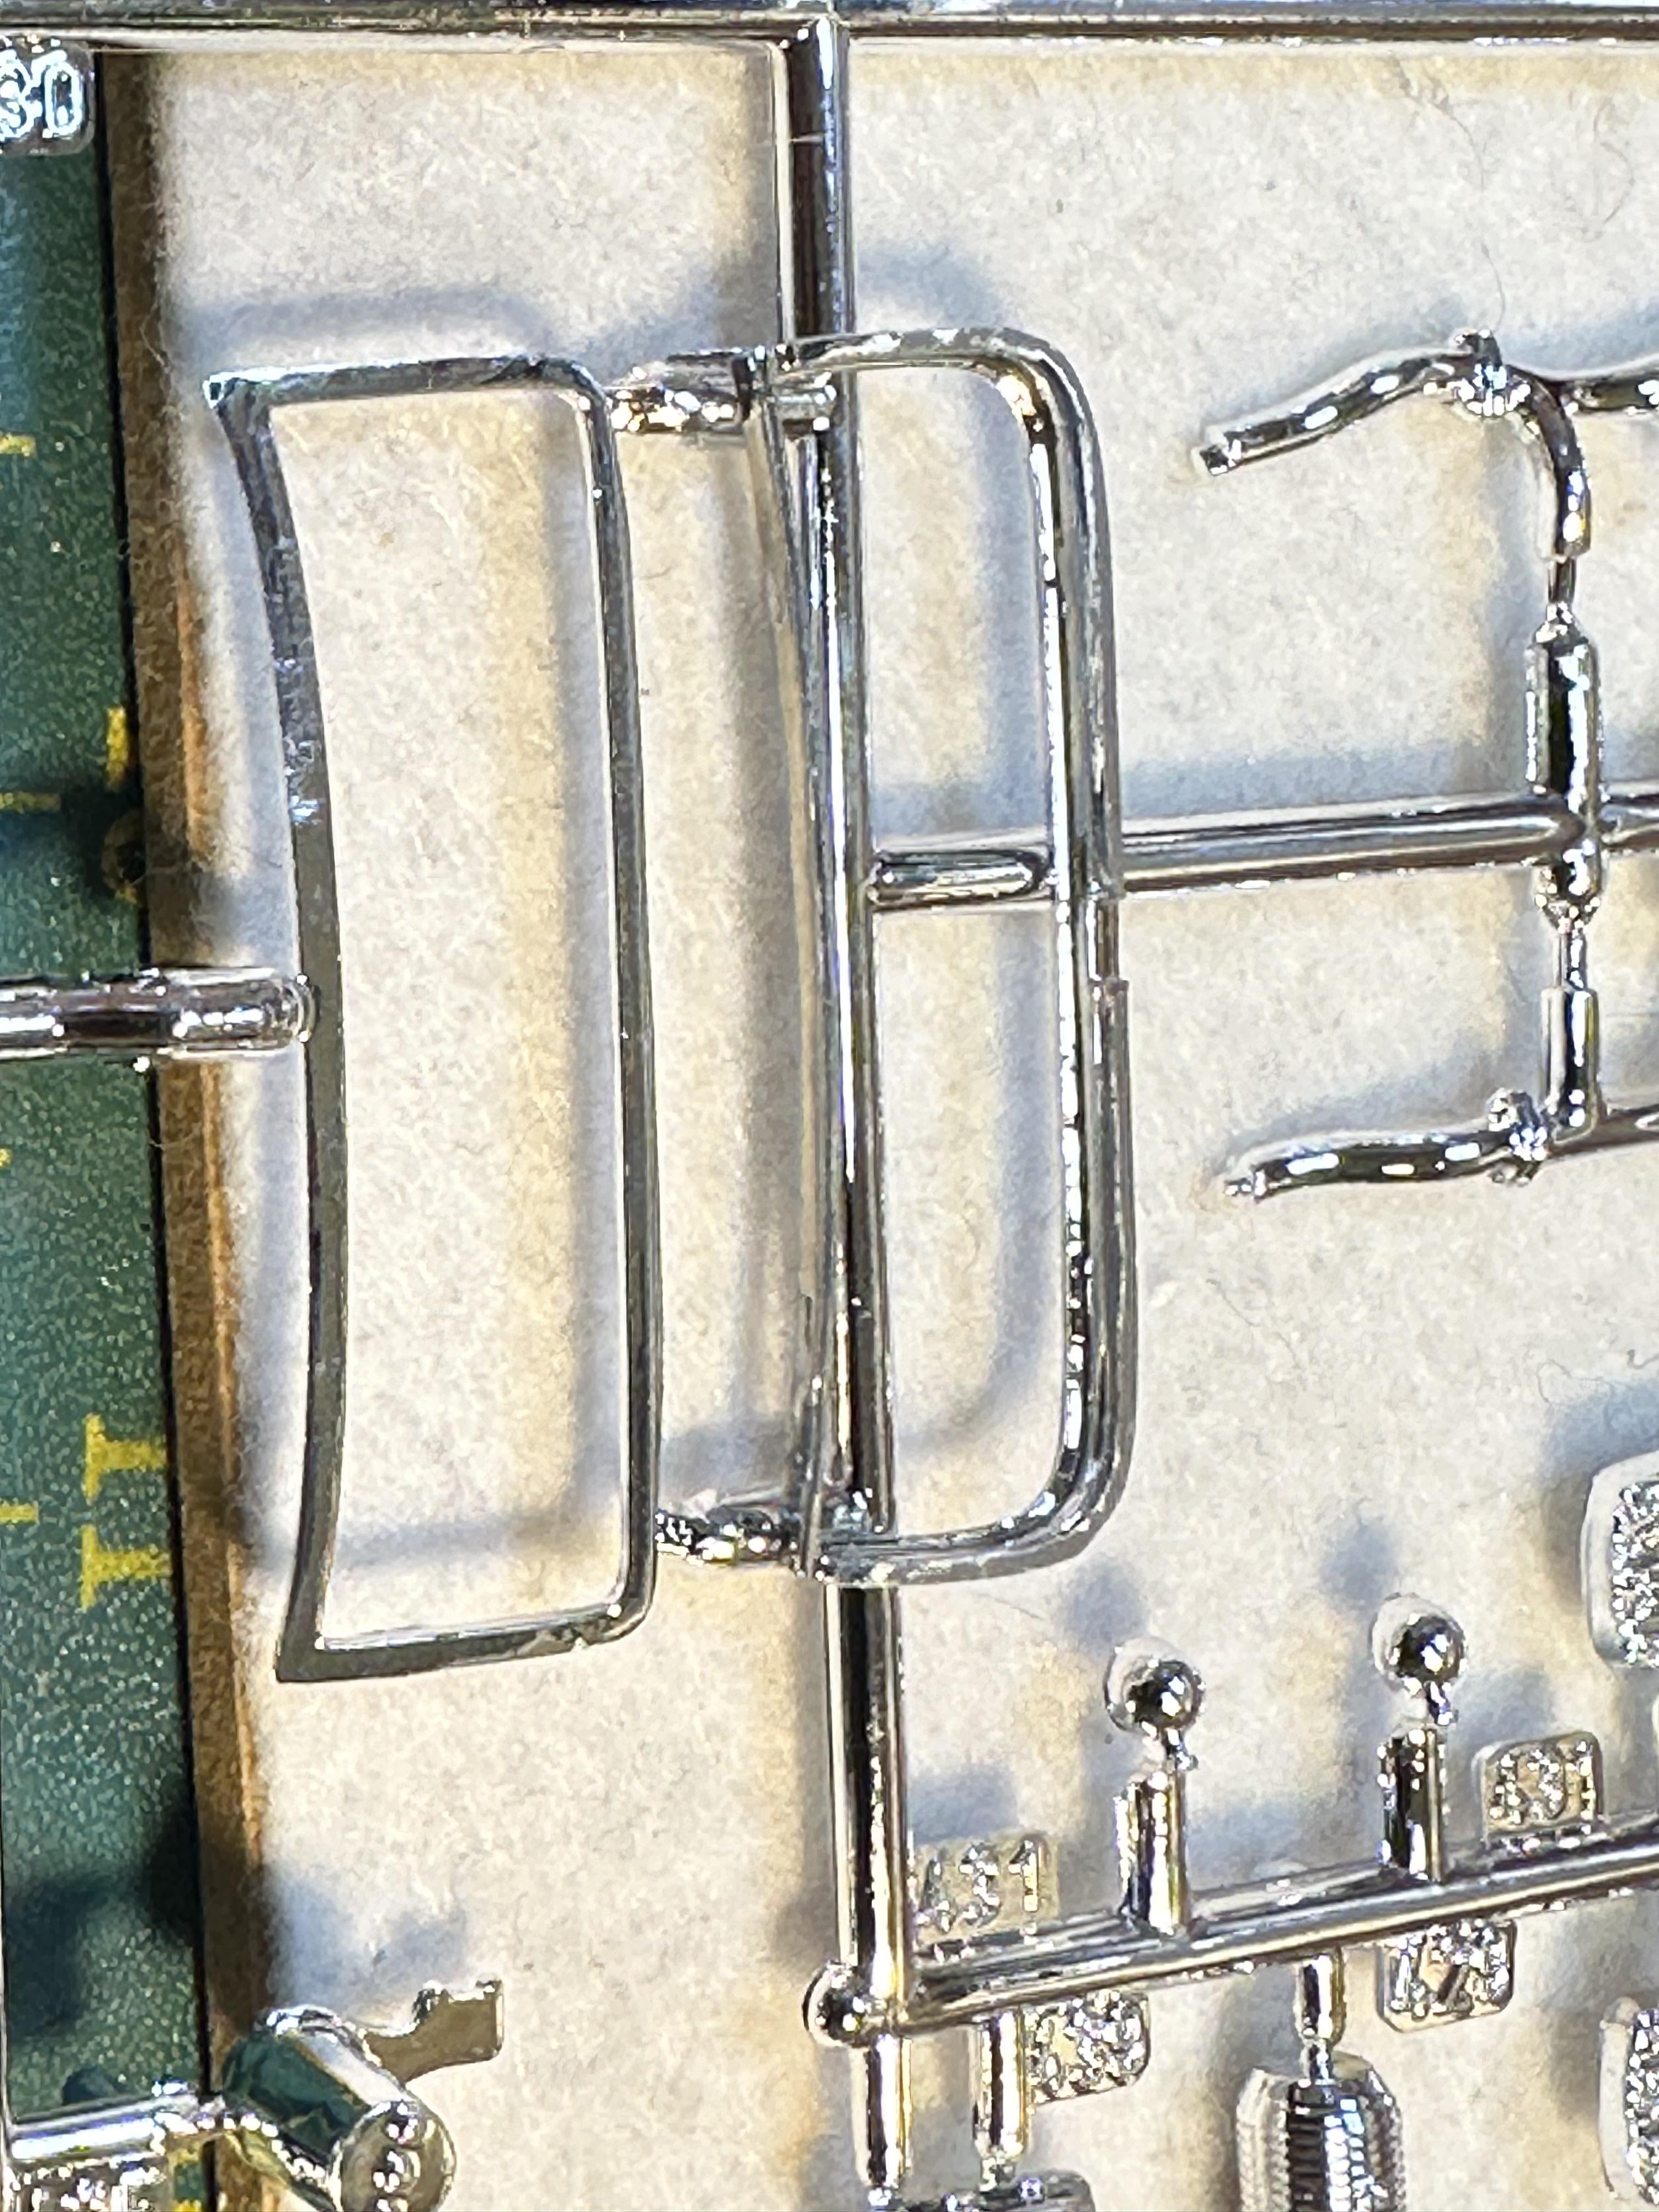
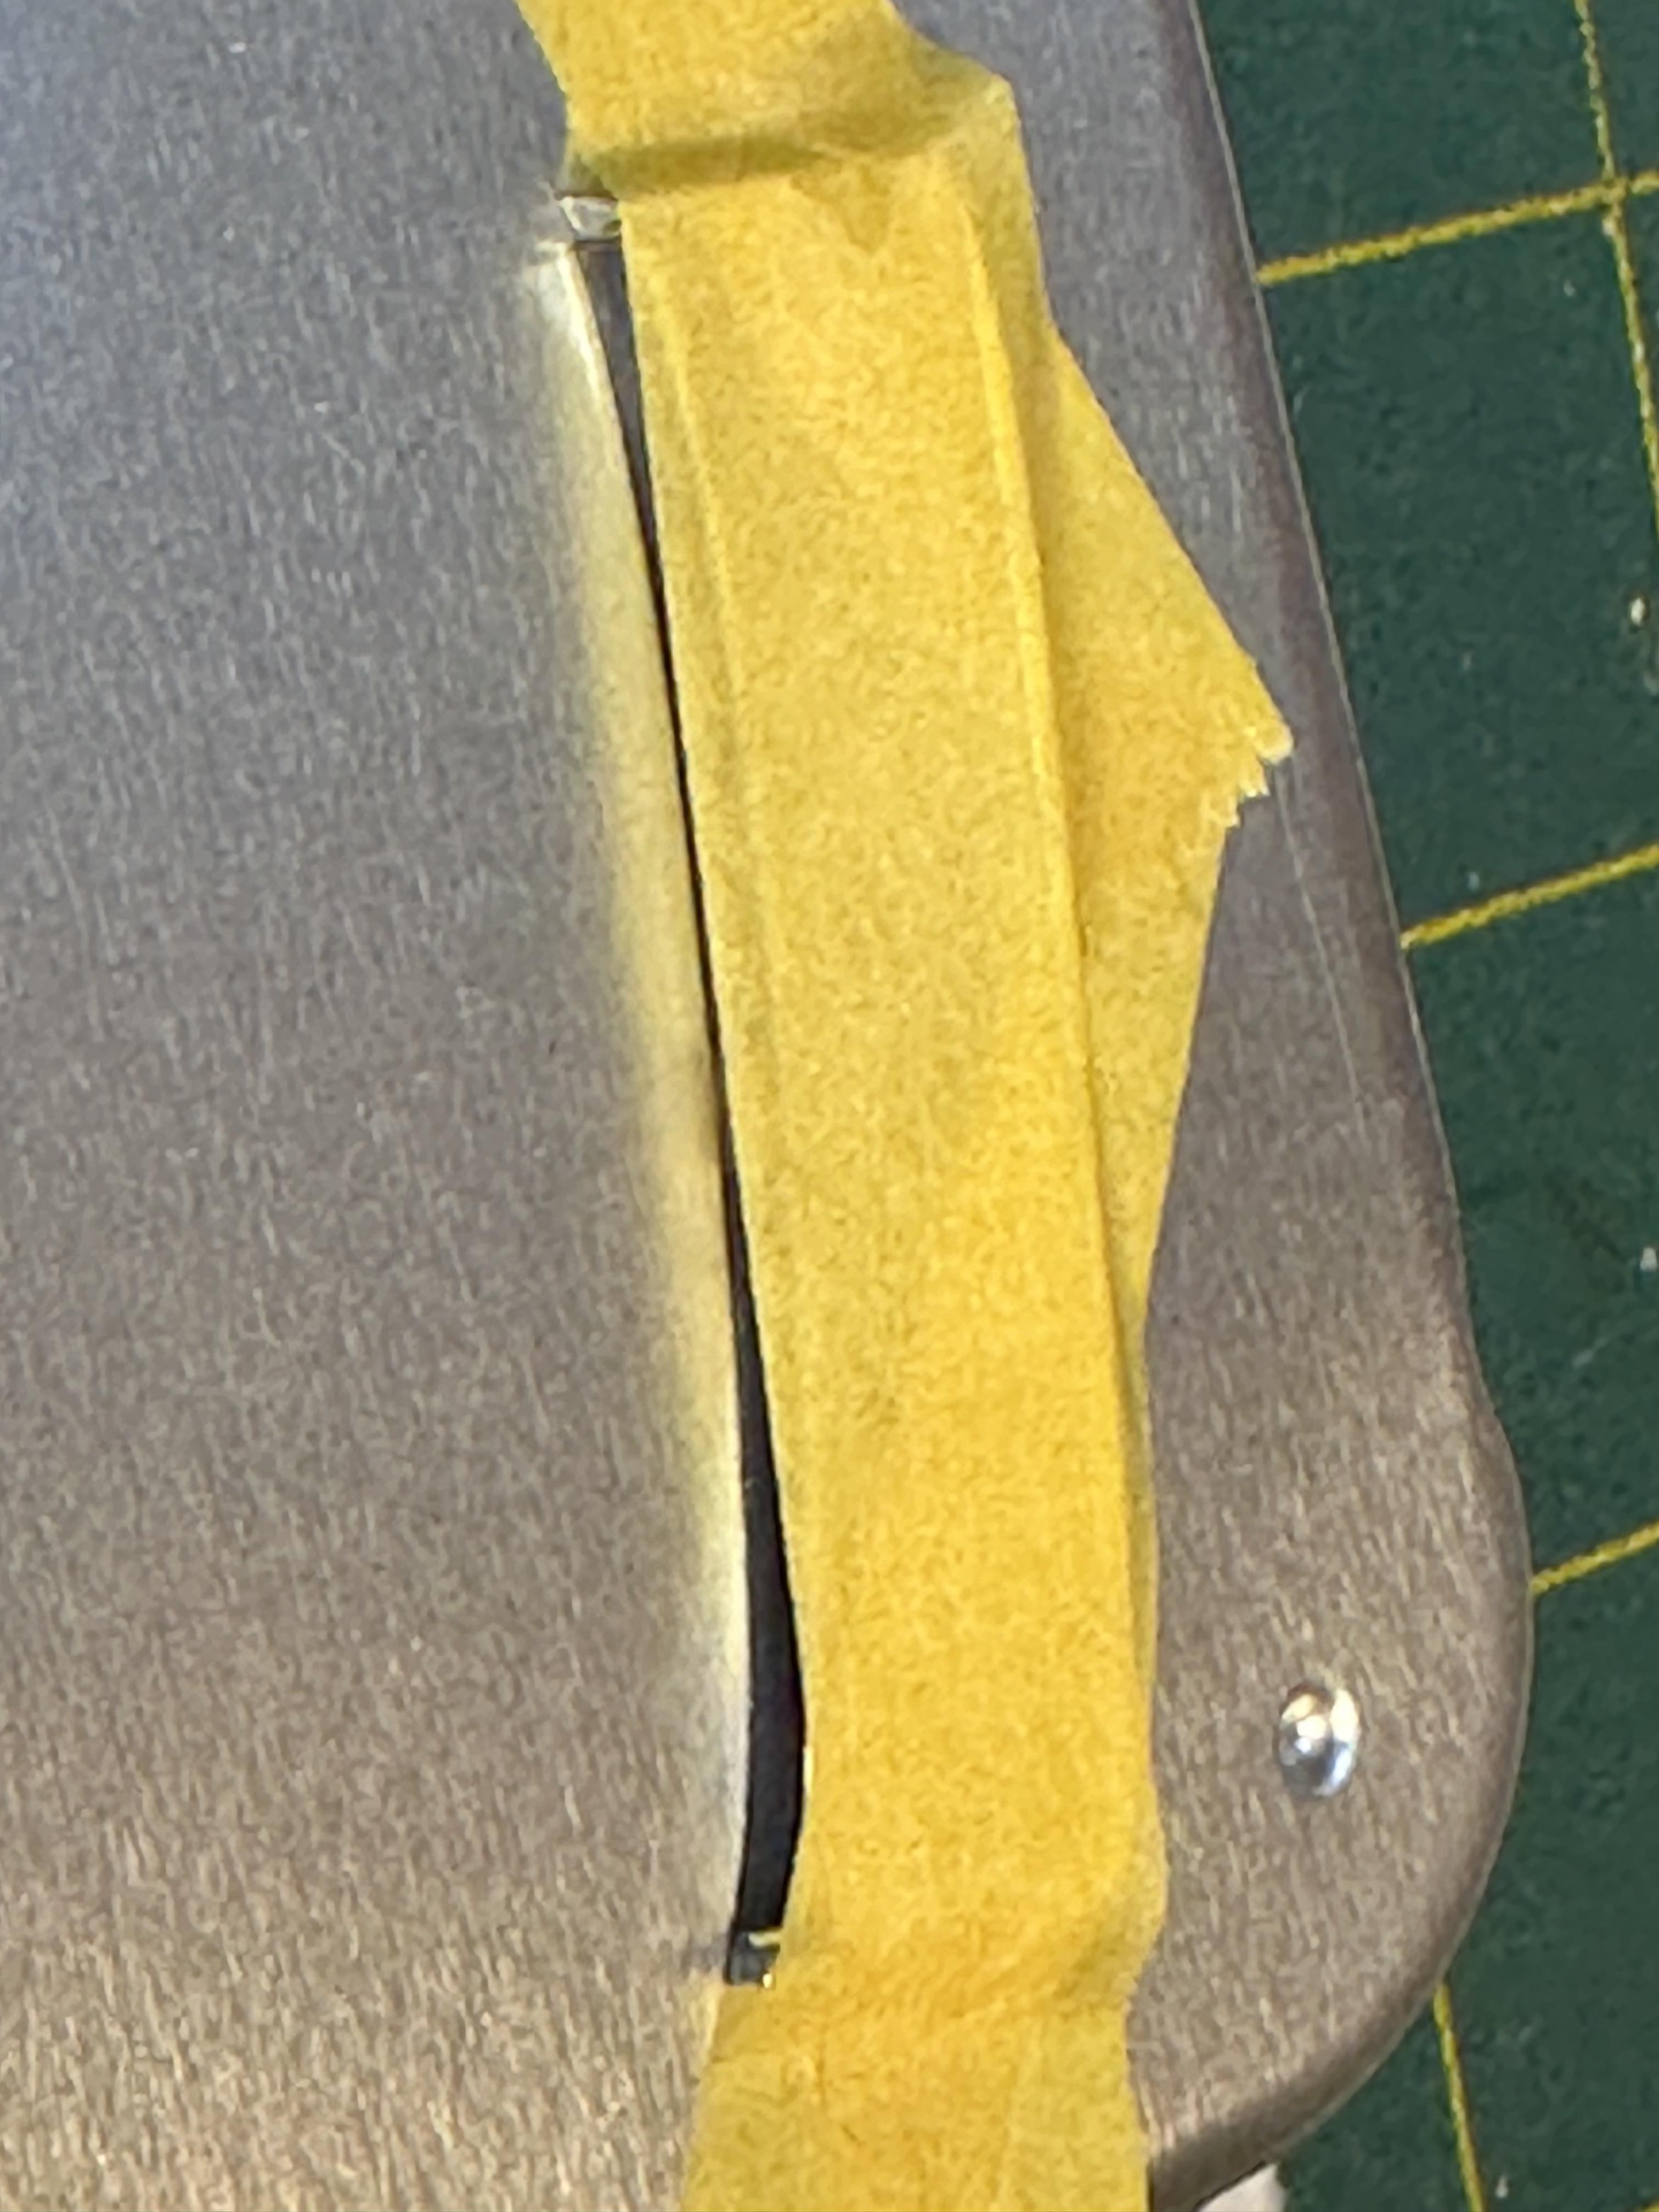
Paint sorted and has been in hot box for a while so dug body out to fit up the windscreen surround. Test fitted - what gives here? Does not even look close to fitting. Checked fit on a 5W body I have in the modelling room and nope doesn't fit that either. Then I looked at the chrome tree I cut it from - it is the same as the 3W tree without the Hemi parts. Looked again and found the correct surround on another tree and compared - the less rounded one is for the sedan...... DOH!! I cut the bottom rail out with vertical cuts along the sides and cut back the sides to suit the gap Mocked up and now looks much betterer And glued up - somewhere under the tape is a chopped windscreen surround Thanks for looking
-
If you have Time
-
Luckily we don't have those varmints down this end of the planet (NZ)
-
I particularly like the 5W in the first post with the zee'd frame. I am about to start a 5W project and you are giving me brain worms You have a few deuces to get done - no sleep for a while
-
Looking good. I know no better so was the Petty car a real race car or fictional?
-
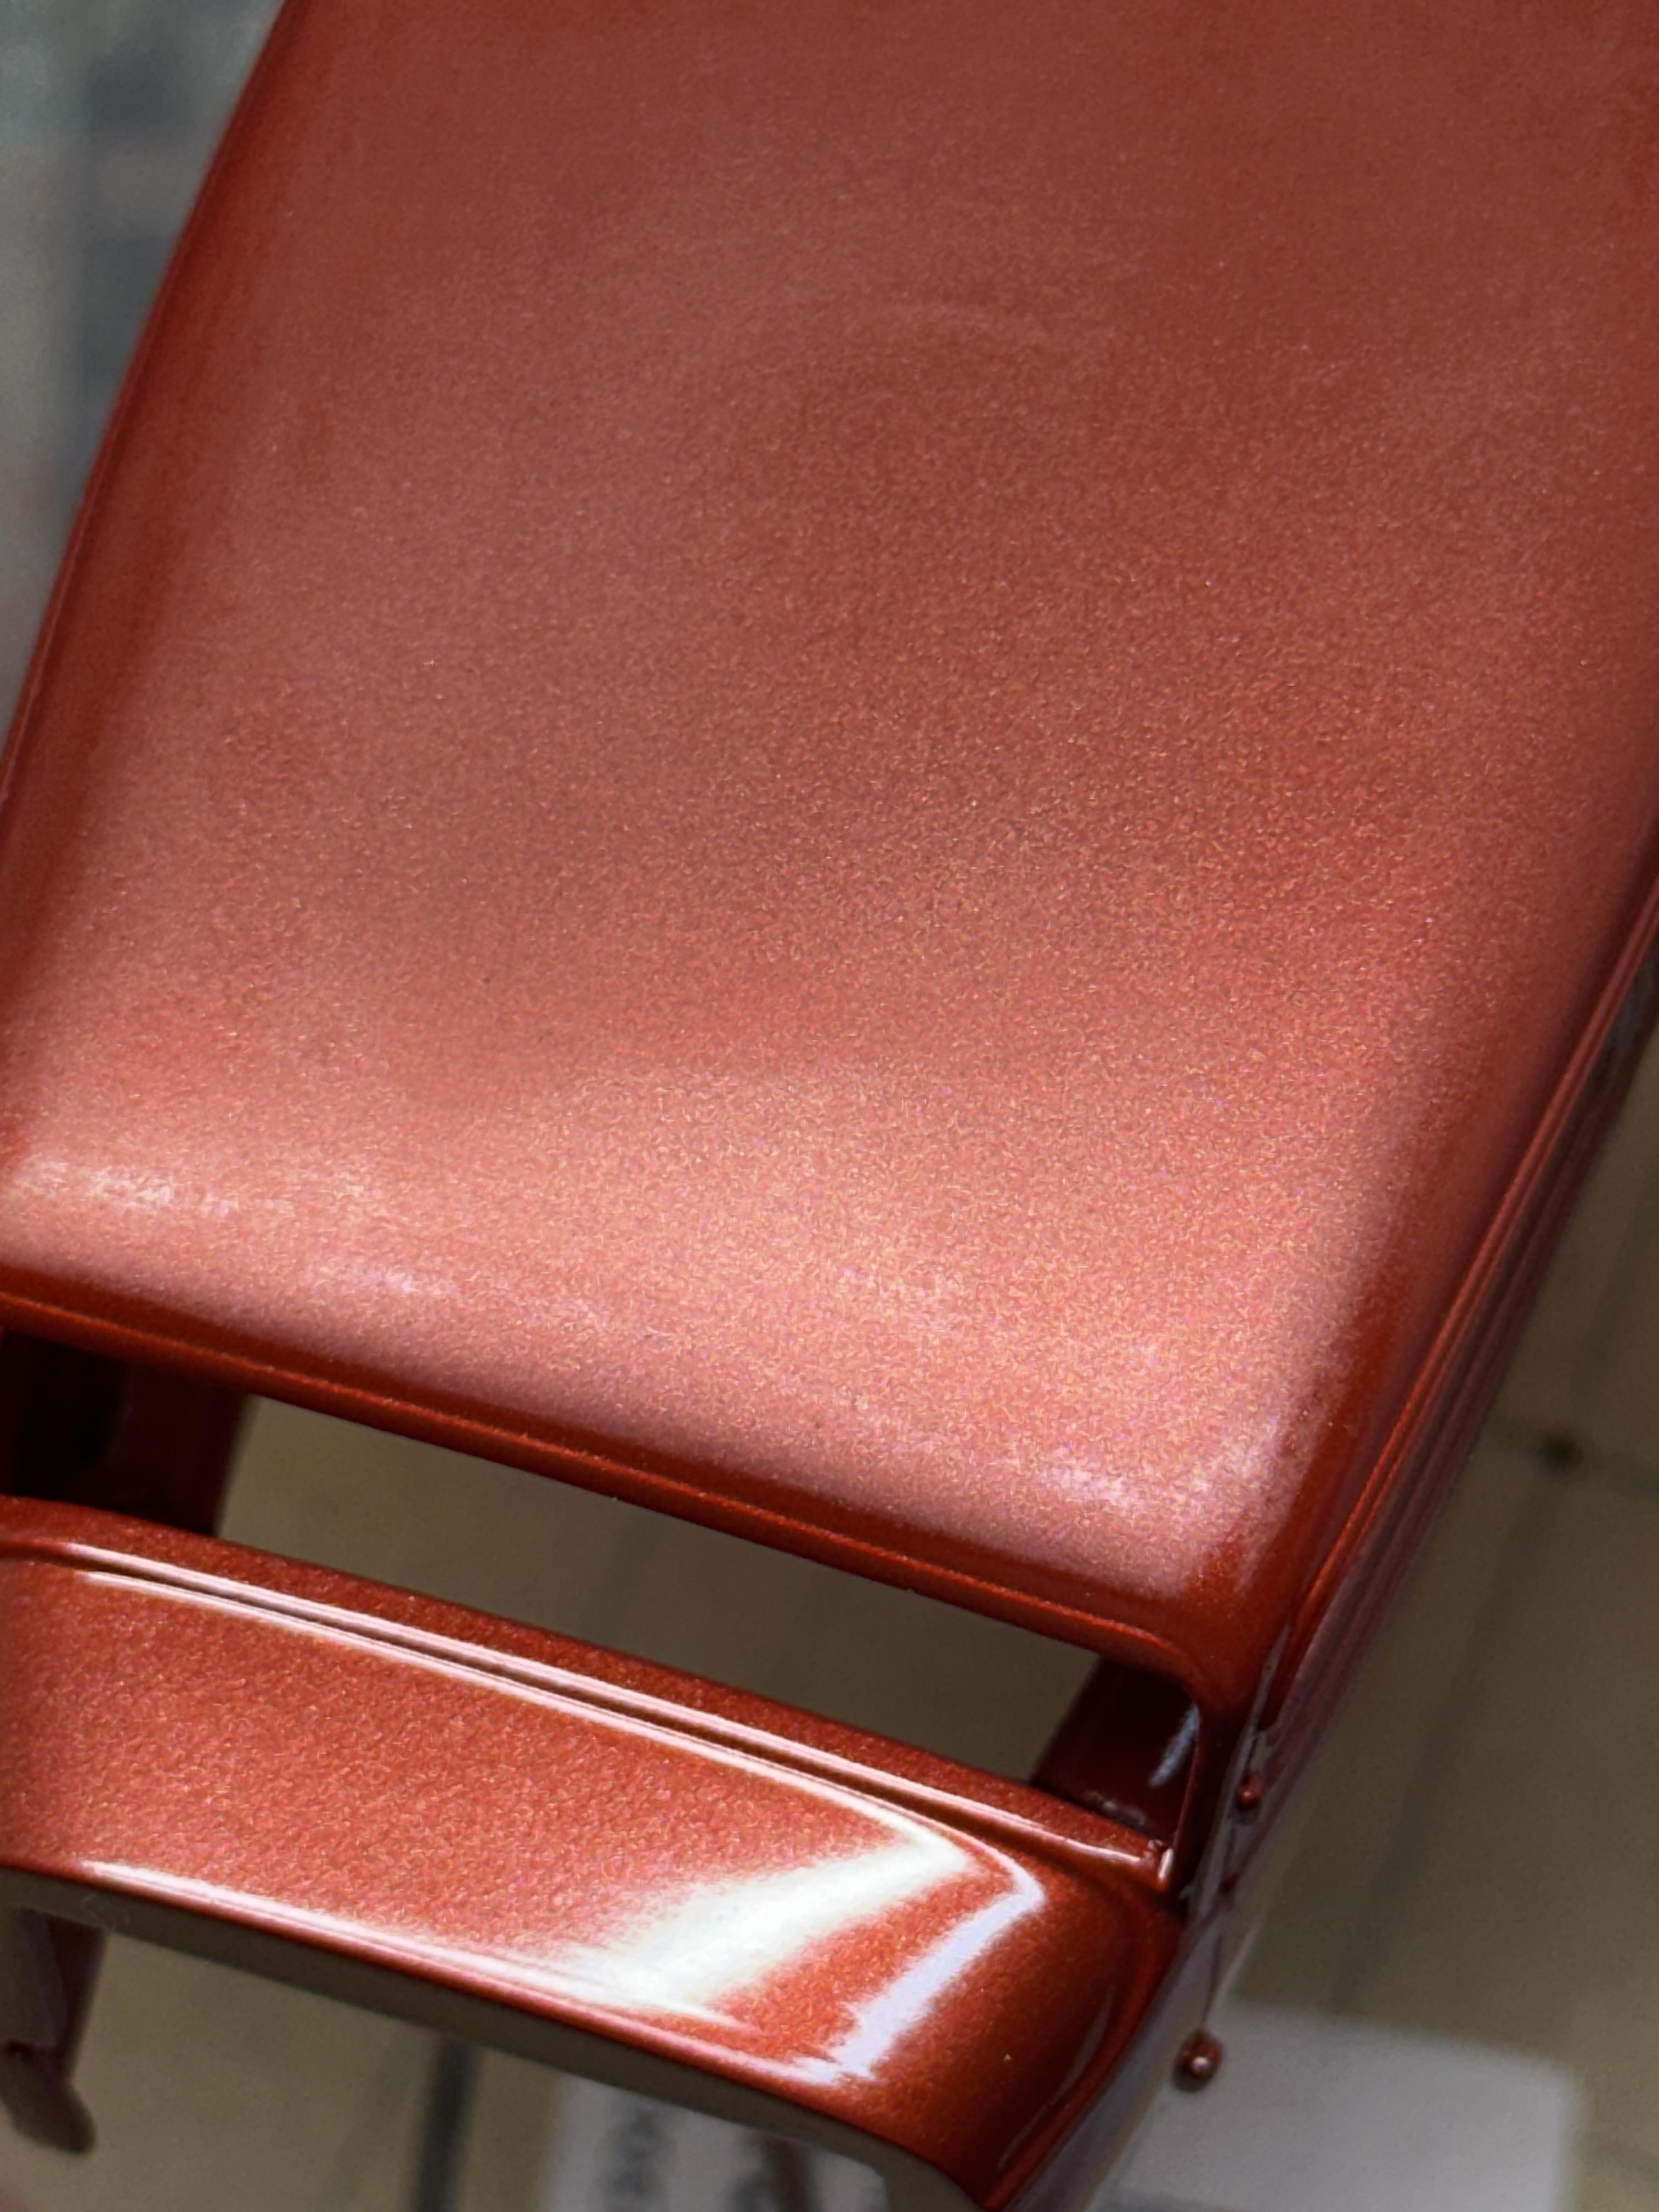
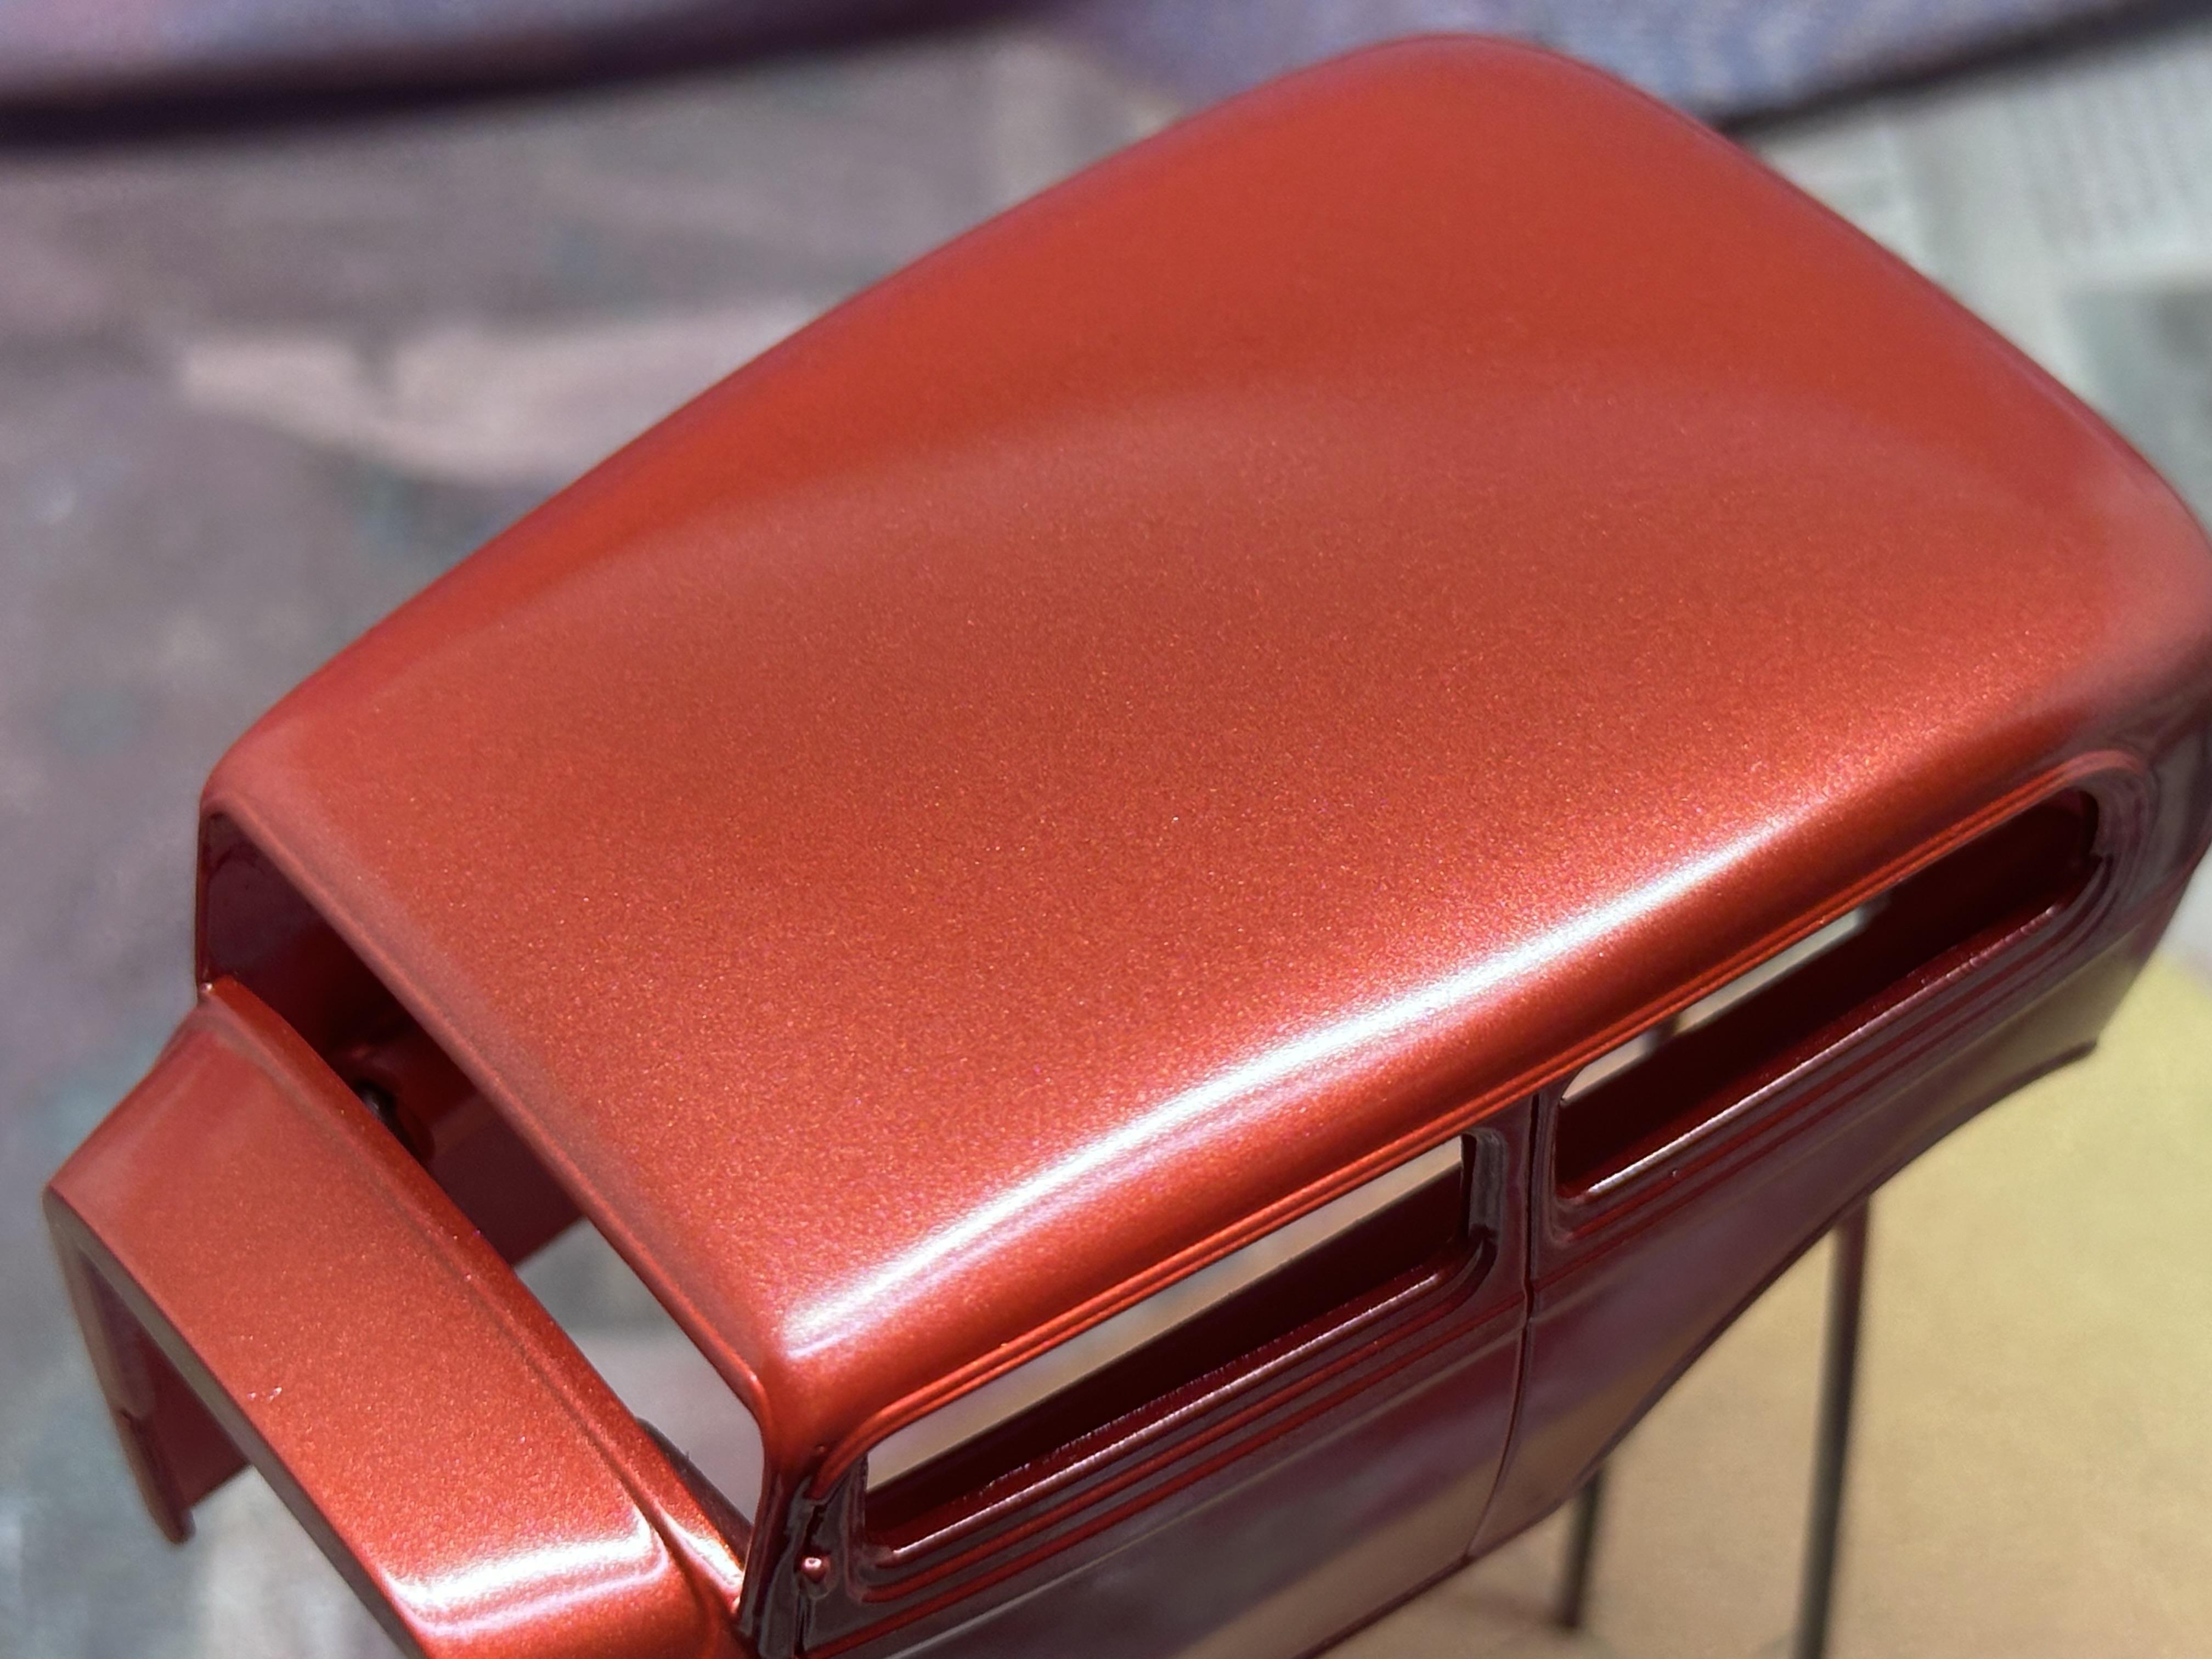
The 32 is in the paint shop (still). Had an oops with the clear coat running and causing a dark patch on the roof. Sanded back and shot a coat of colour on the roof and now in the process of clear coating again. Below is a shot of the oops but is very hard to see but in real life it was very visible and being on the top even more so. you can see a dark smudge in the closeup pix. The top has been sanded in the pix. Onward we go, thanks for looking
-
Who doesn't love a mock-up? Let's see yours!
bill-e-boy replied to Belairconvertable's topic in WIP: Model Cars
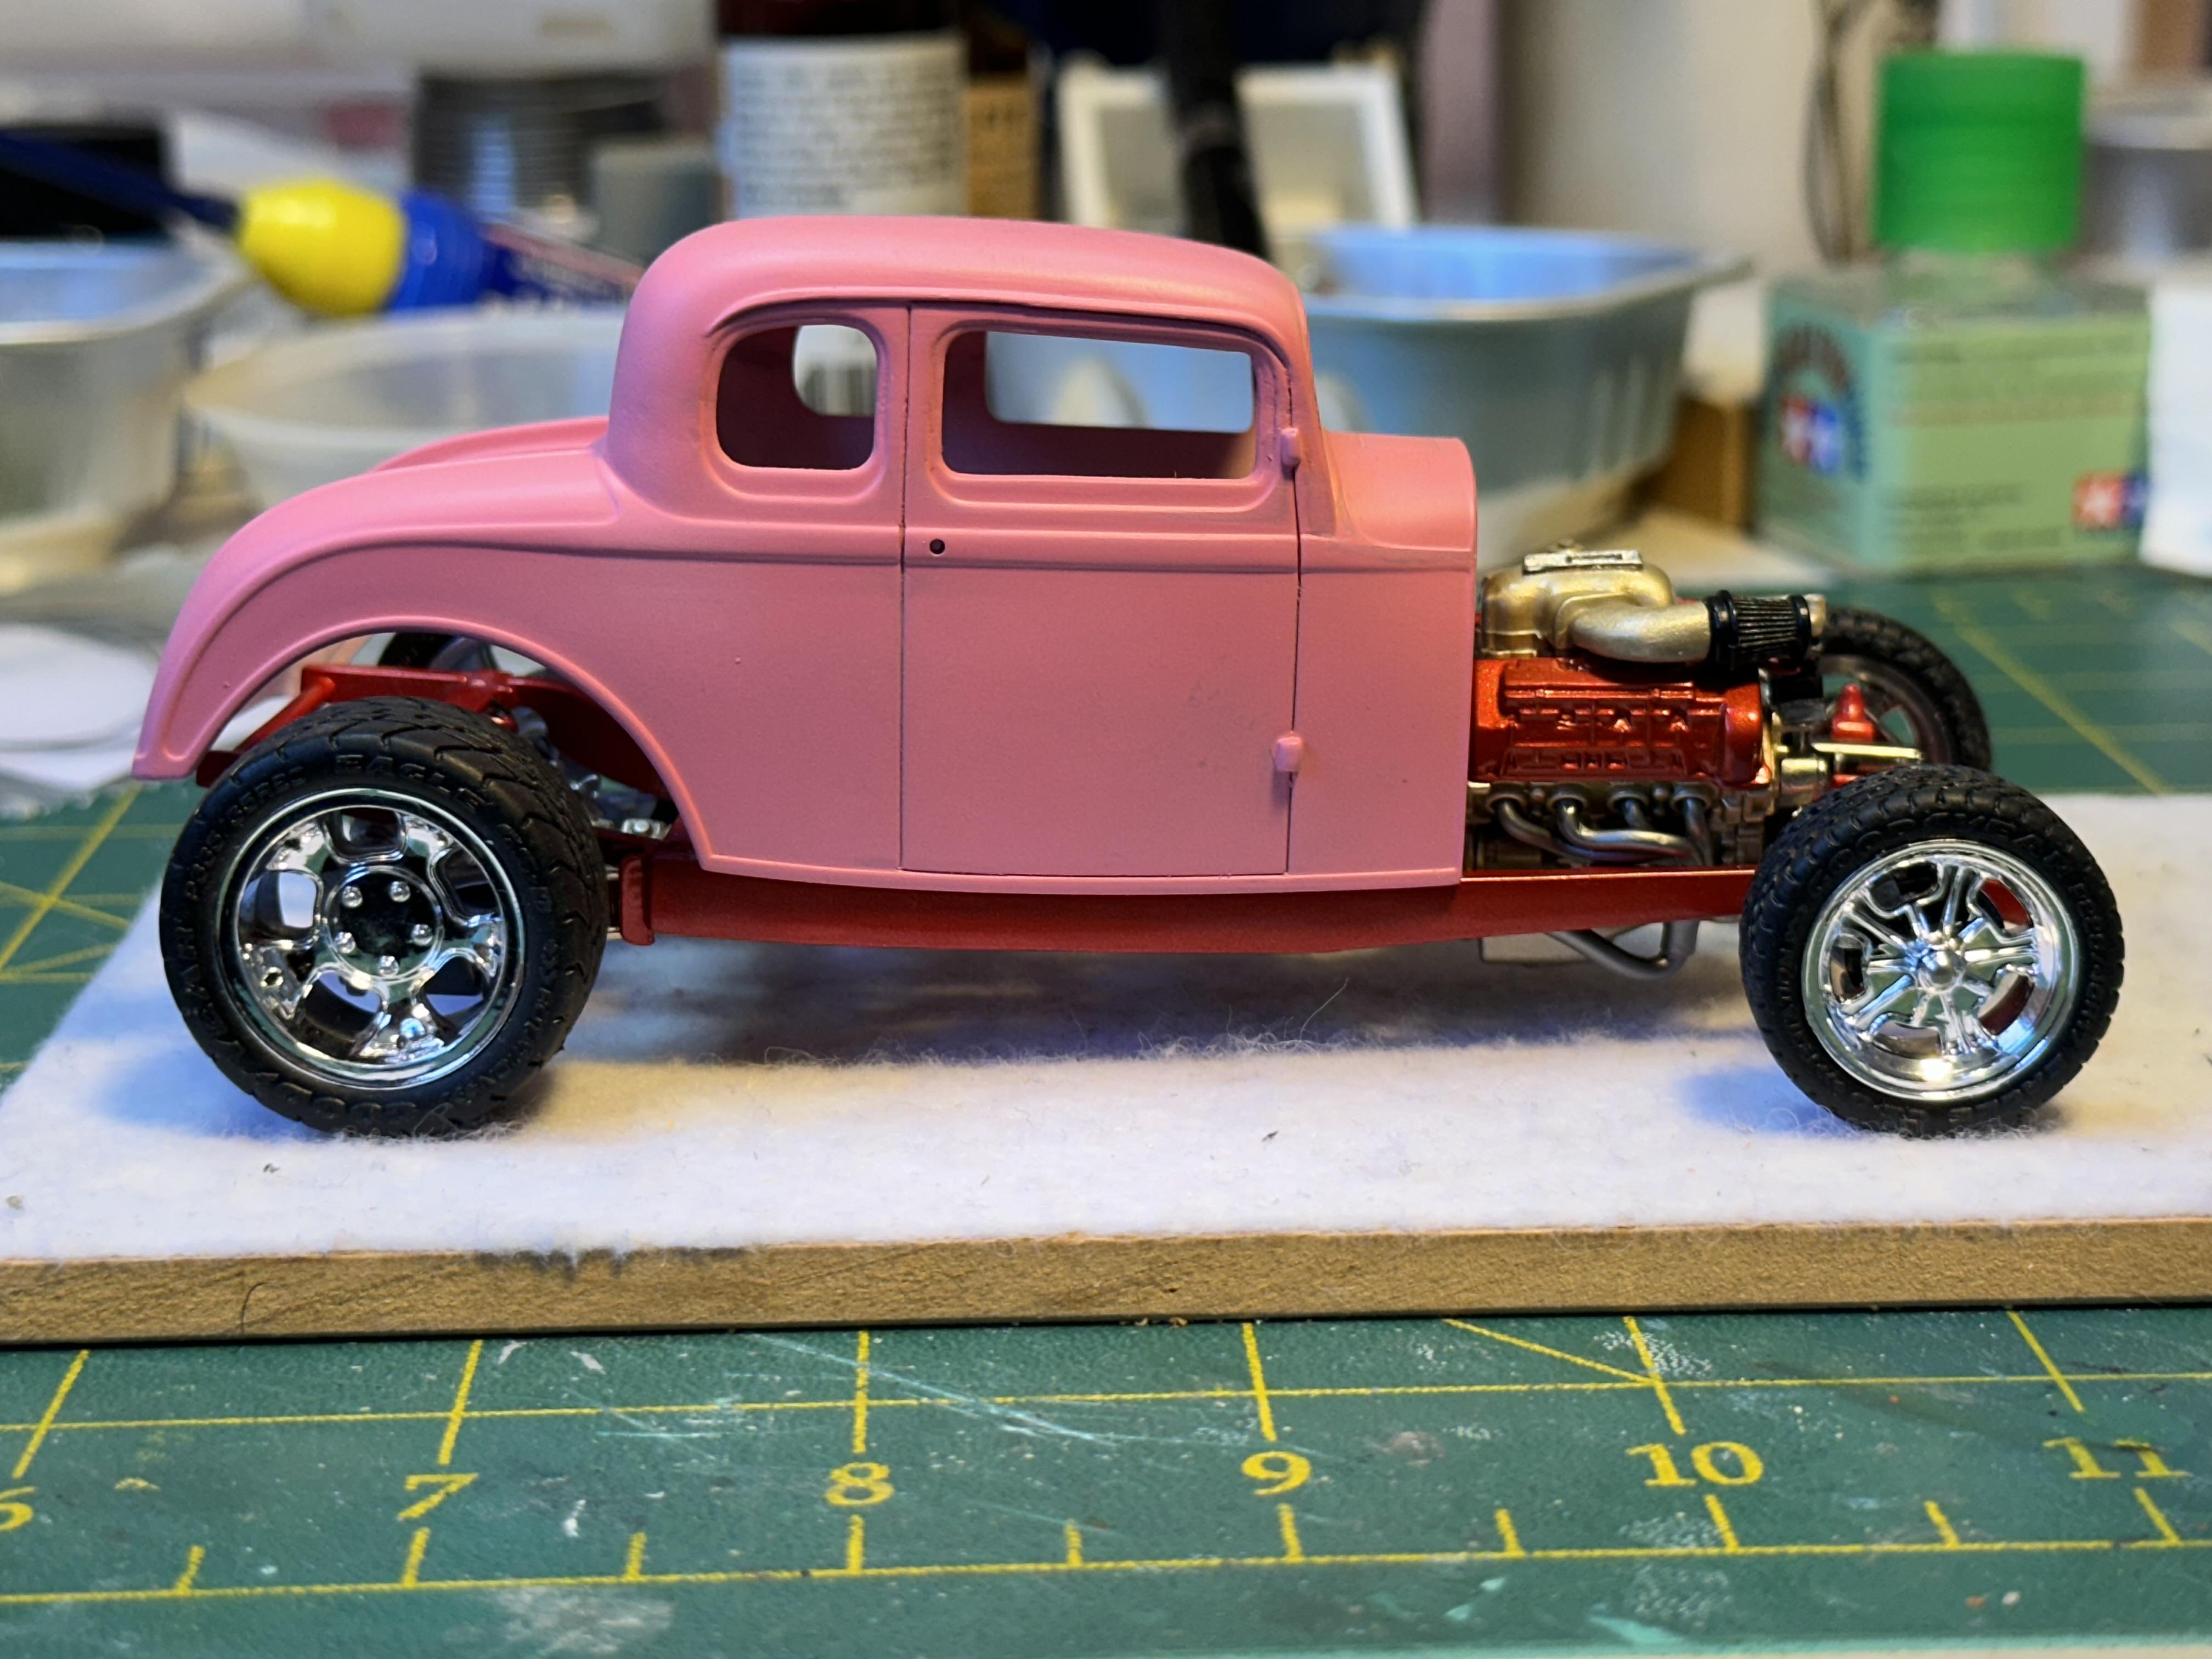
My 32 Sedan chassis under a 32 5W coupe I chopped for a friend that has found its way back to me after he passed away last year. The chop was done about 12 years ago.