bill-e-boy
-
Posts
853 -
Joined
-
Last visited
Content Type
Profiles
Forums
Events
Gallery
Everything posted by bill-e-boy
-
*Tubbed Out 66 Nova Chassis*
bill-e-boy replied to Zippi's topic in Model Building Questions and Answers
Stick it under a 49 Chebby pick up - hehe -
Looking good There is just something about a roadster with big meats hangin' out the back I built this over 30 years ago

-
427-powered ‘34 truck
bill-e-boy replied to OldNYJim's topic in WIP: Model Trucks: Pickups, Vans, SUVs, Light Commercial
Hi Jim I am liking the build - you are doing a great job I have a similar project that was shelved to participate in another build thread I cant help wondering as the pick up is so low a bit could come out of the top of the cab and some length out of the bed Like this
-
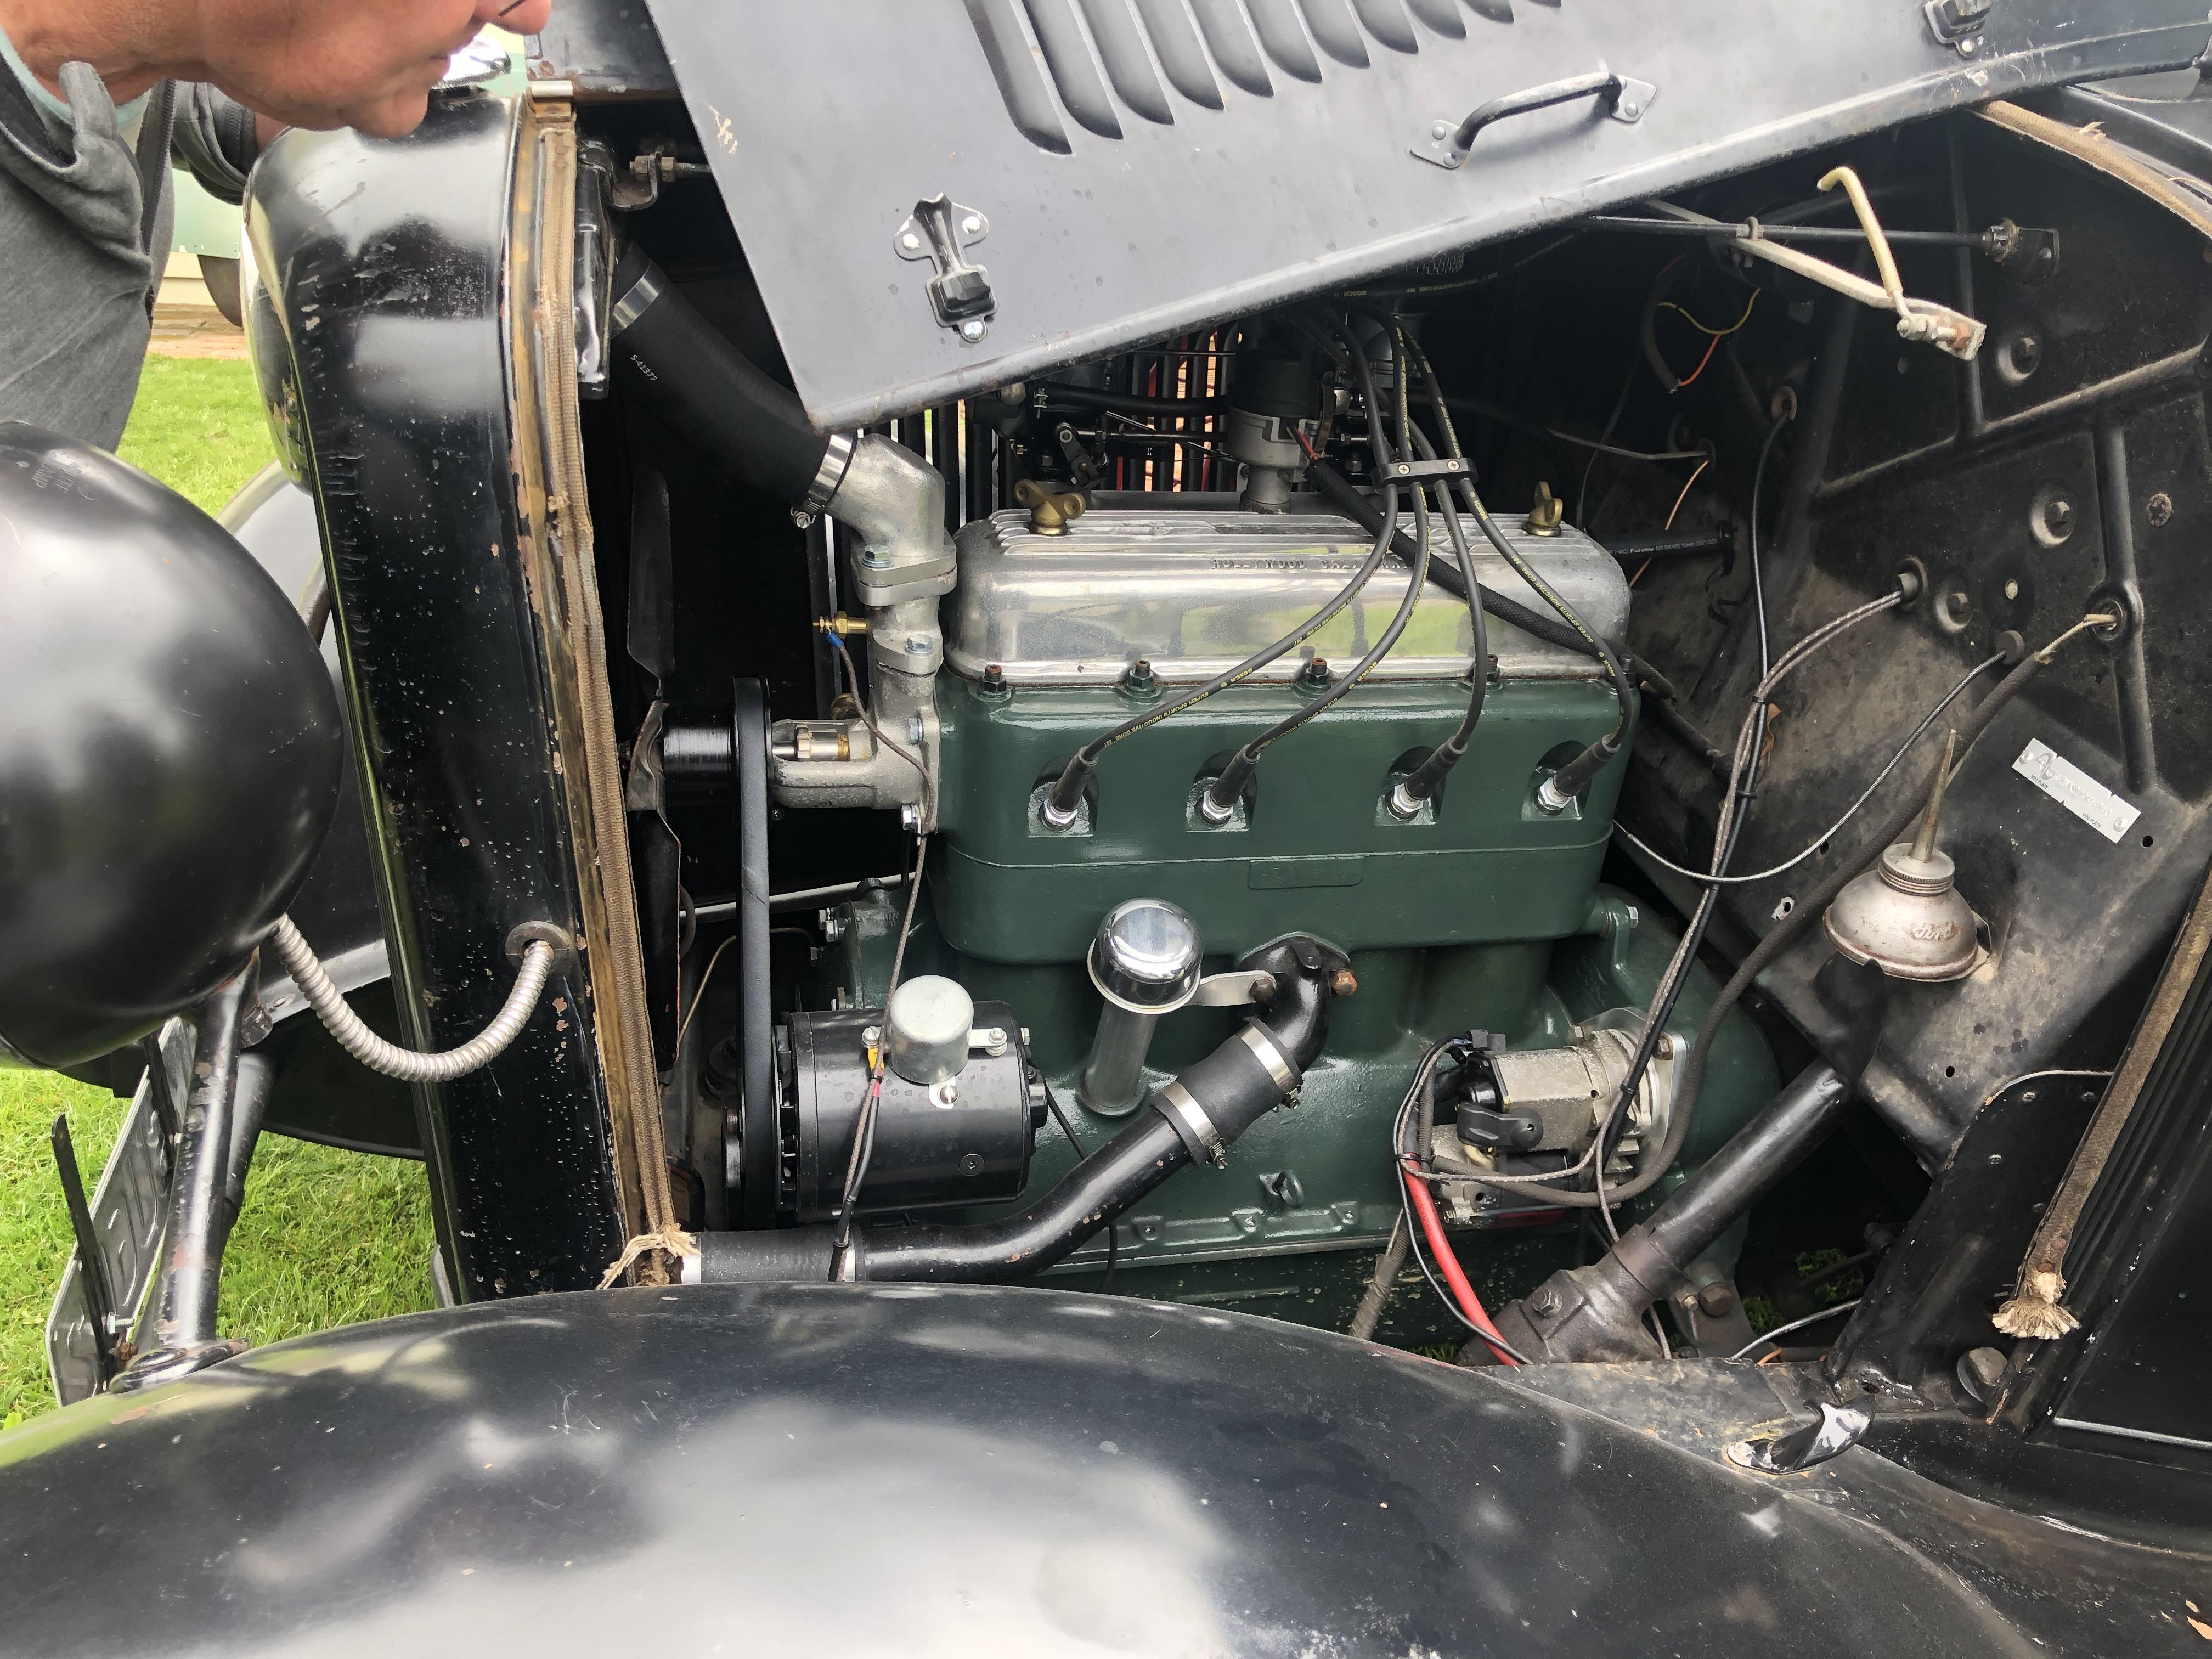
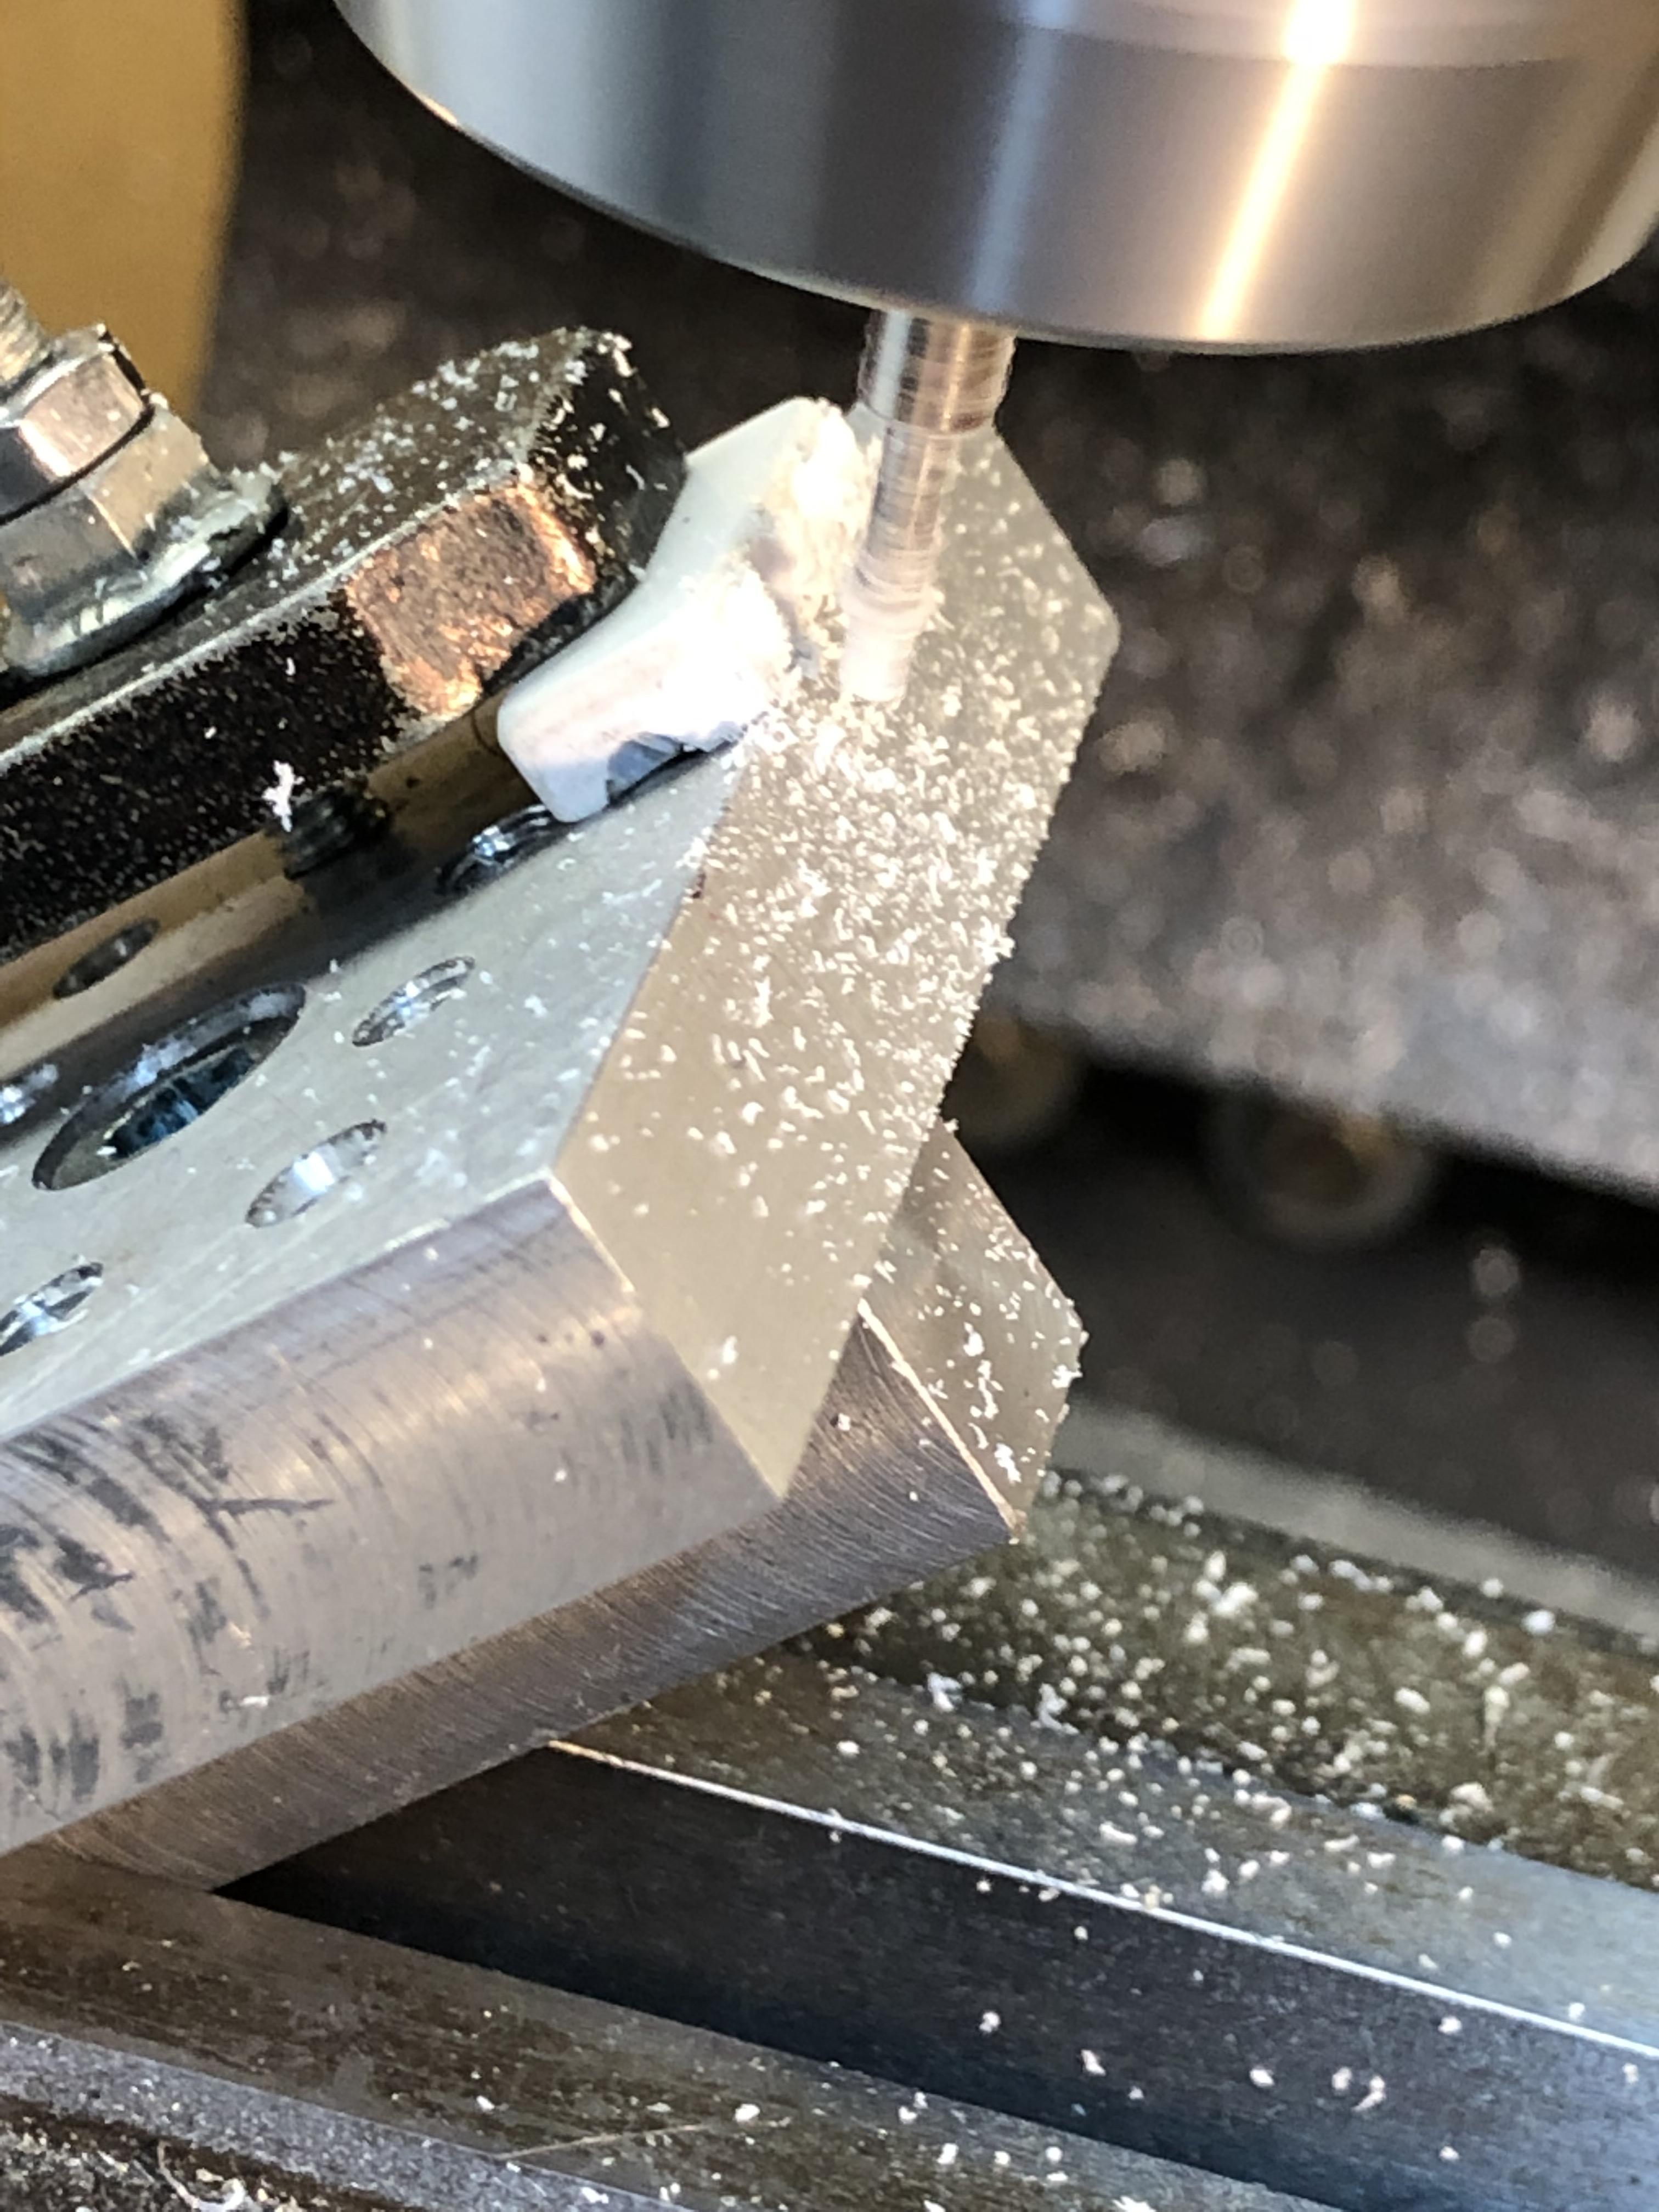
Kit - I hope round two of your paint job works out better than the first I have been spending time getting things cleaned up ready for paint I block sanded the inner of the tail gate only to find it is blank on the outside - but at least it is smooth on the inside. Been working on the firewall recess and floor board area, cleaning up the pick up bed. There are lots of shrink holes all over the kit so takes time to sand and fill these areas. Next will be the doors When rummaging around in the bottom of the model boxes I found some bits and just could not help myself We recently went on a mid-week cruise and ended up at a Rodder's place and he had a 32 PU with a banger with OHV conversion - which caused a light bulb moment - PU bed candy So I started with the basis A block, gear box and other bits. The Cragar head is basically just a lump and that was easy to build up by layering plastic sheet to get the ight height. The original water pump bolts up as does the inlet manifold Head needed a little machining to create the spark plug recesses - onto the mill to do that. had to make up a 2mm cutter to do that first The head bolts are on a landed area so drilled out and glued some round stock - just need tidying up The crowning glory is an ally rocker cover I machined up - it was a mission as it is the first rocker cover I have machine so I now have a system that should work in the future So a little side trip to break up the tension with being heavily involved in a one kit build Thanks for looking
-
Drag City Castings...
bill-e-boy replied to chris chabre's topic in Car Aftermarket / Resin / 3D Printed
Is there a catalogue available for Drag City -
*Painting in Cold Weather*
bill-e-boy replied to Zippi's topic in Model Building Questions and Answers
Yup I hear you. Mines a 56 Dodge, its a driver, tidy but not a show car. Sometimes I just have to suck it and back it out in the cold and wet to get work done in the garage. -
There is also an excellent tutorial on Wingnut Wings site under hints and tips
-
*Painting in Cold Weather*
bill-e-boy replied to Zippi's topic in Model Building Questions and Answers
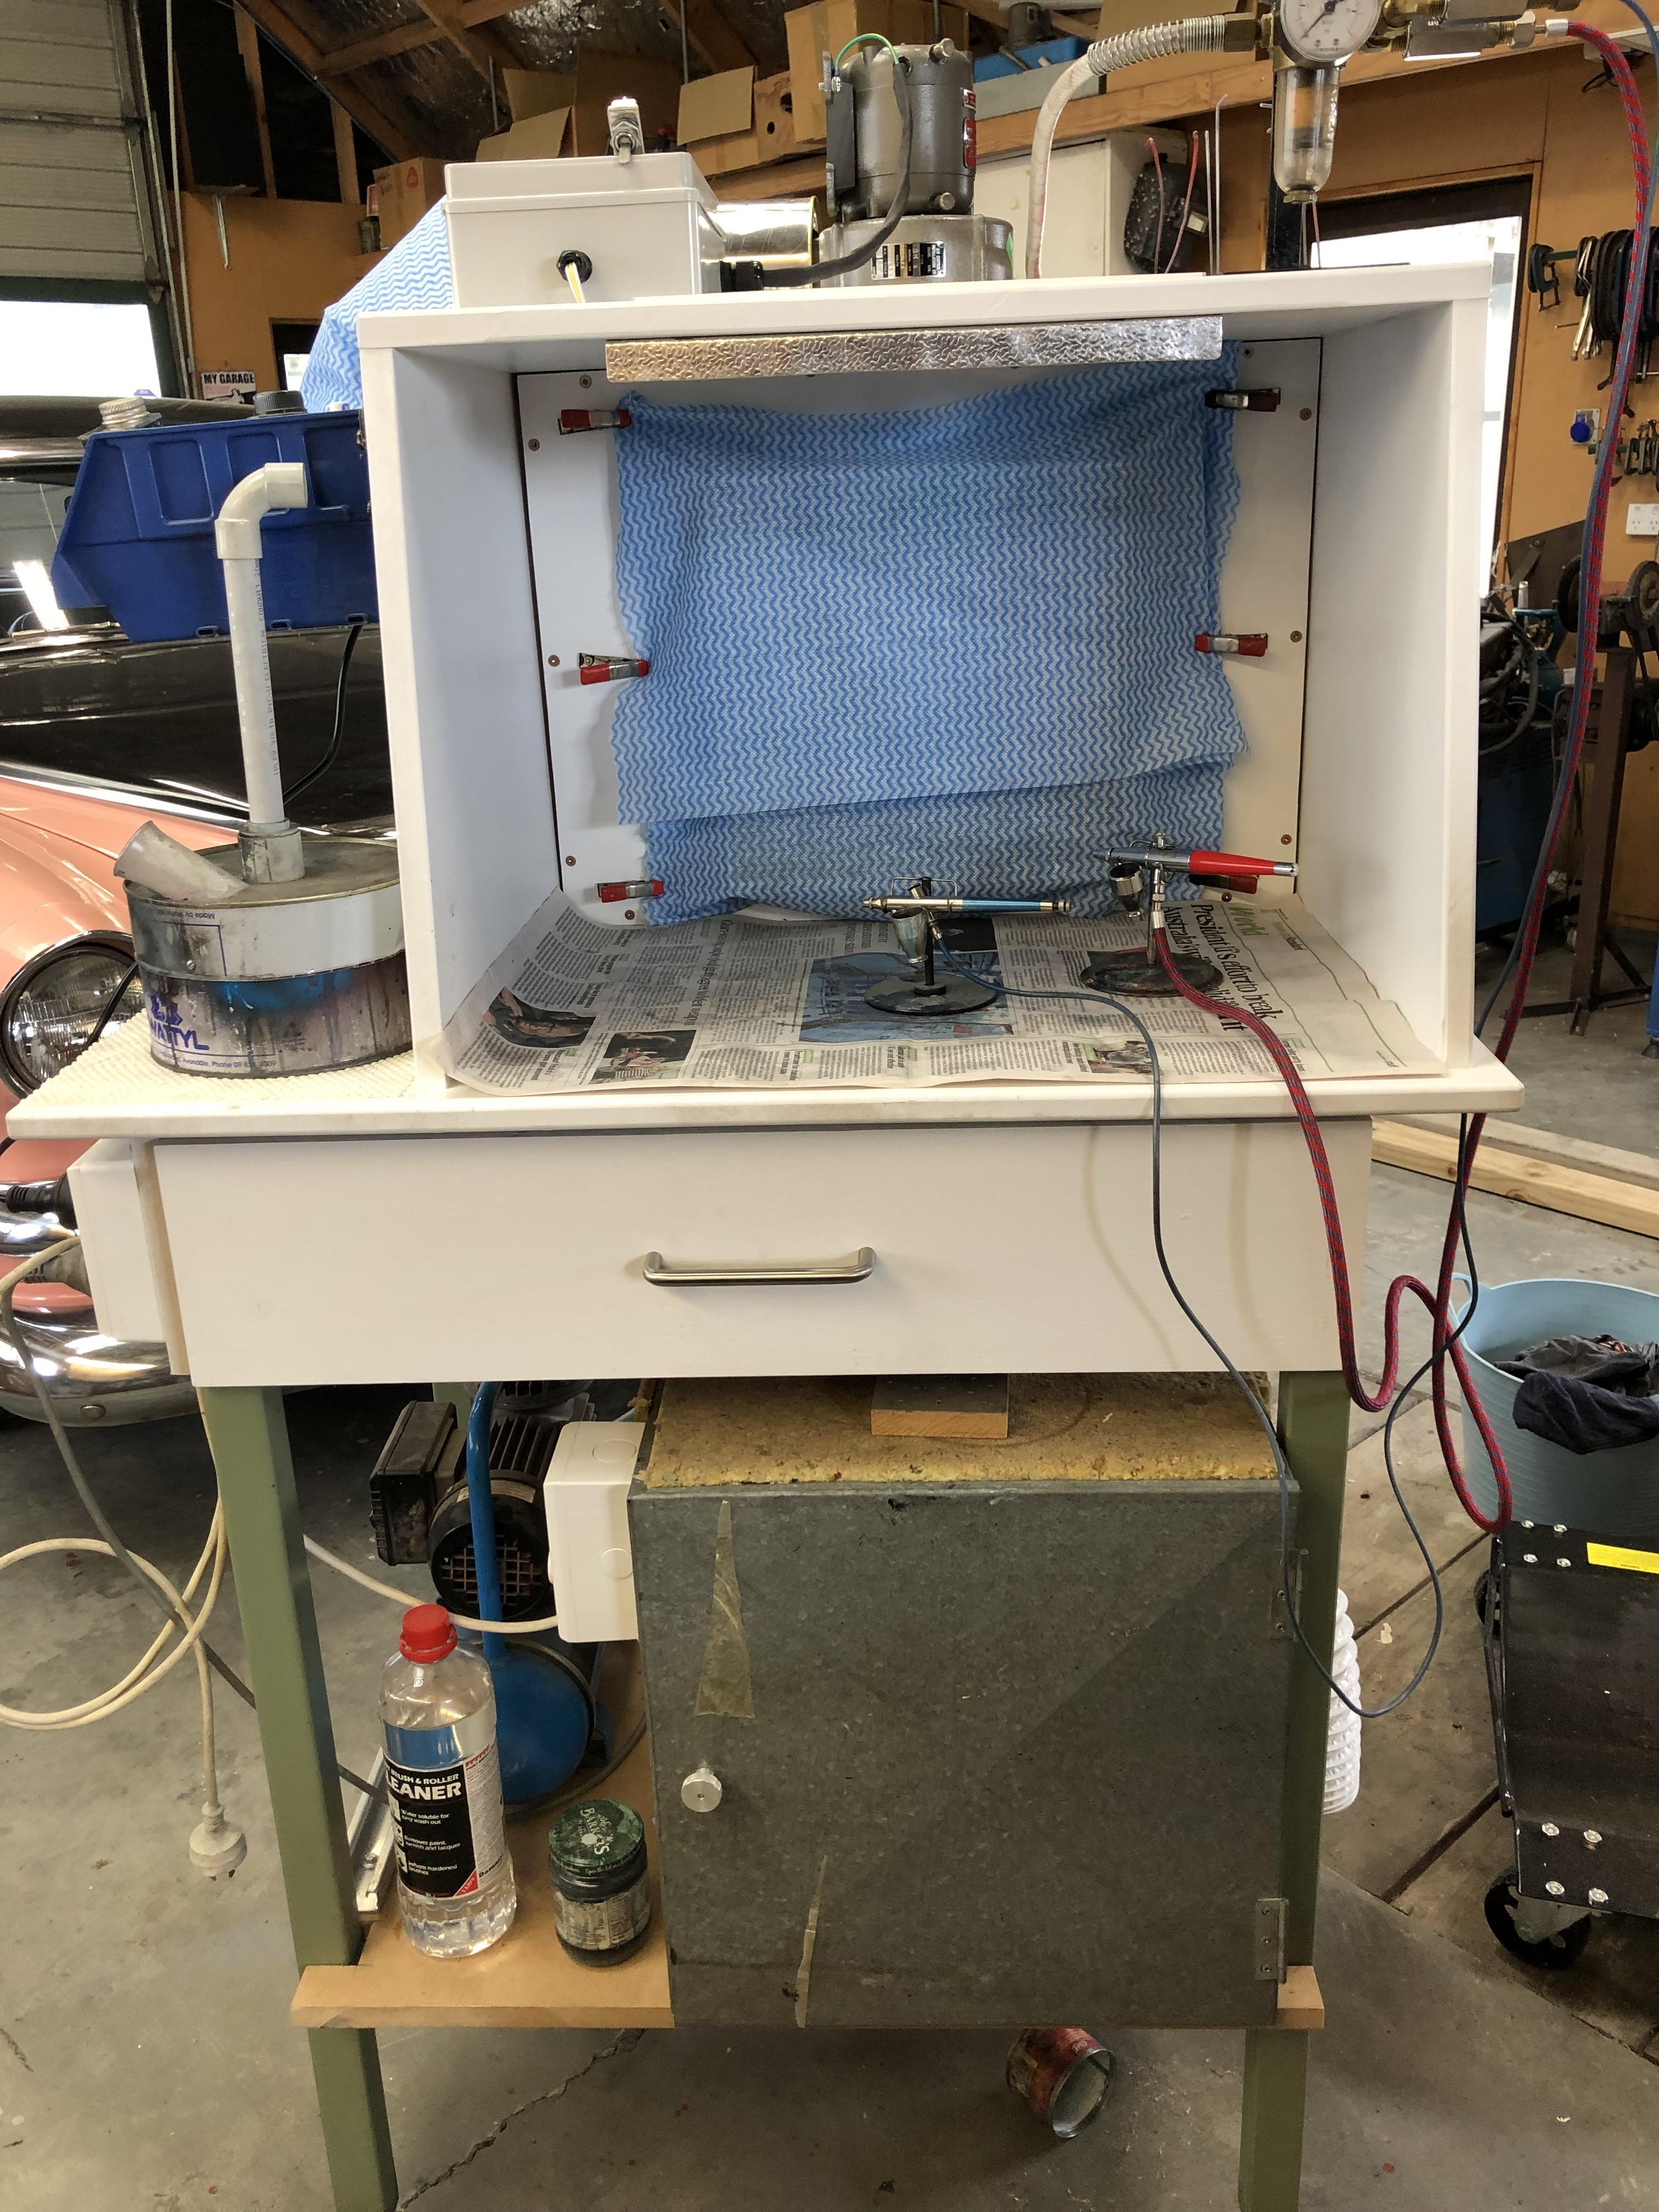
Zippi I paint in the garage and have used a light box for years. I paint any time of the year and warm the model and paint in the hot box before painting. It does not get as cold here - 6-8deg C - but I do not have any issues. In fact the light box was a game changer as it does more than warm the paint. It cures the paint quicker than leaving it in ambient air temps. The most important is it decreases the chances of BLAH_BLAH_BLAH_BLAH getting into the paint finish I recently got around to building a spray booth and incorporated the hot box which is under the booth. I put it on wheels so that I can move it about the workshop and stash it when not needed. The filter is a unit I changed from a air exchange unit in the house. I use throw away wrags that come on a roll as a sacrificial pre filter. The main body of the spray booth is particle board (we call customwood down here) and was titivated with a coat of white paint. I also recessed an LED light into the roof for lighting. I also made up a drawer so that I can stash my airbrushes, cleaning gear, empty bottles and BLAH_BLAH_BLAH_BLAH associated with painting. The other good thing about a booth is you do not get all the fumes in your face and lungs The booth has worked fine but I find I still take up space on the bench with paint prep etc I am sure with your abilities you could coble one together - I just procrastinated as I have had the parts for ages Cheers Bill-e-boy
-
Chassis Swap for MPC ‘69 Grand Prix.
bill-e-boy replied to StevenGuthmiller's topic in Model Building Questions and Answers
Steve Your real car looks almost as good as one of your models, lol Looking forward to a build up of it and will follow along like I have with your other builds Always inspiring -
Nice build to what started life as a basic kit Would be a hairy ride in real life with a huffed elephant and skinny cross plies on wires - !!!!
-
What a nice clean build with fabulous paint job. You deserve the accolades
-
Building a model from SPARE PARTS ONLY!
bill-e-boy replied to steveracer's topic in Model Building Questions and Answers
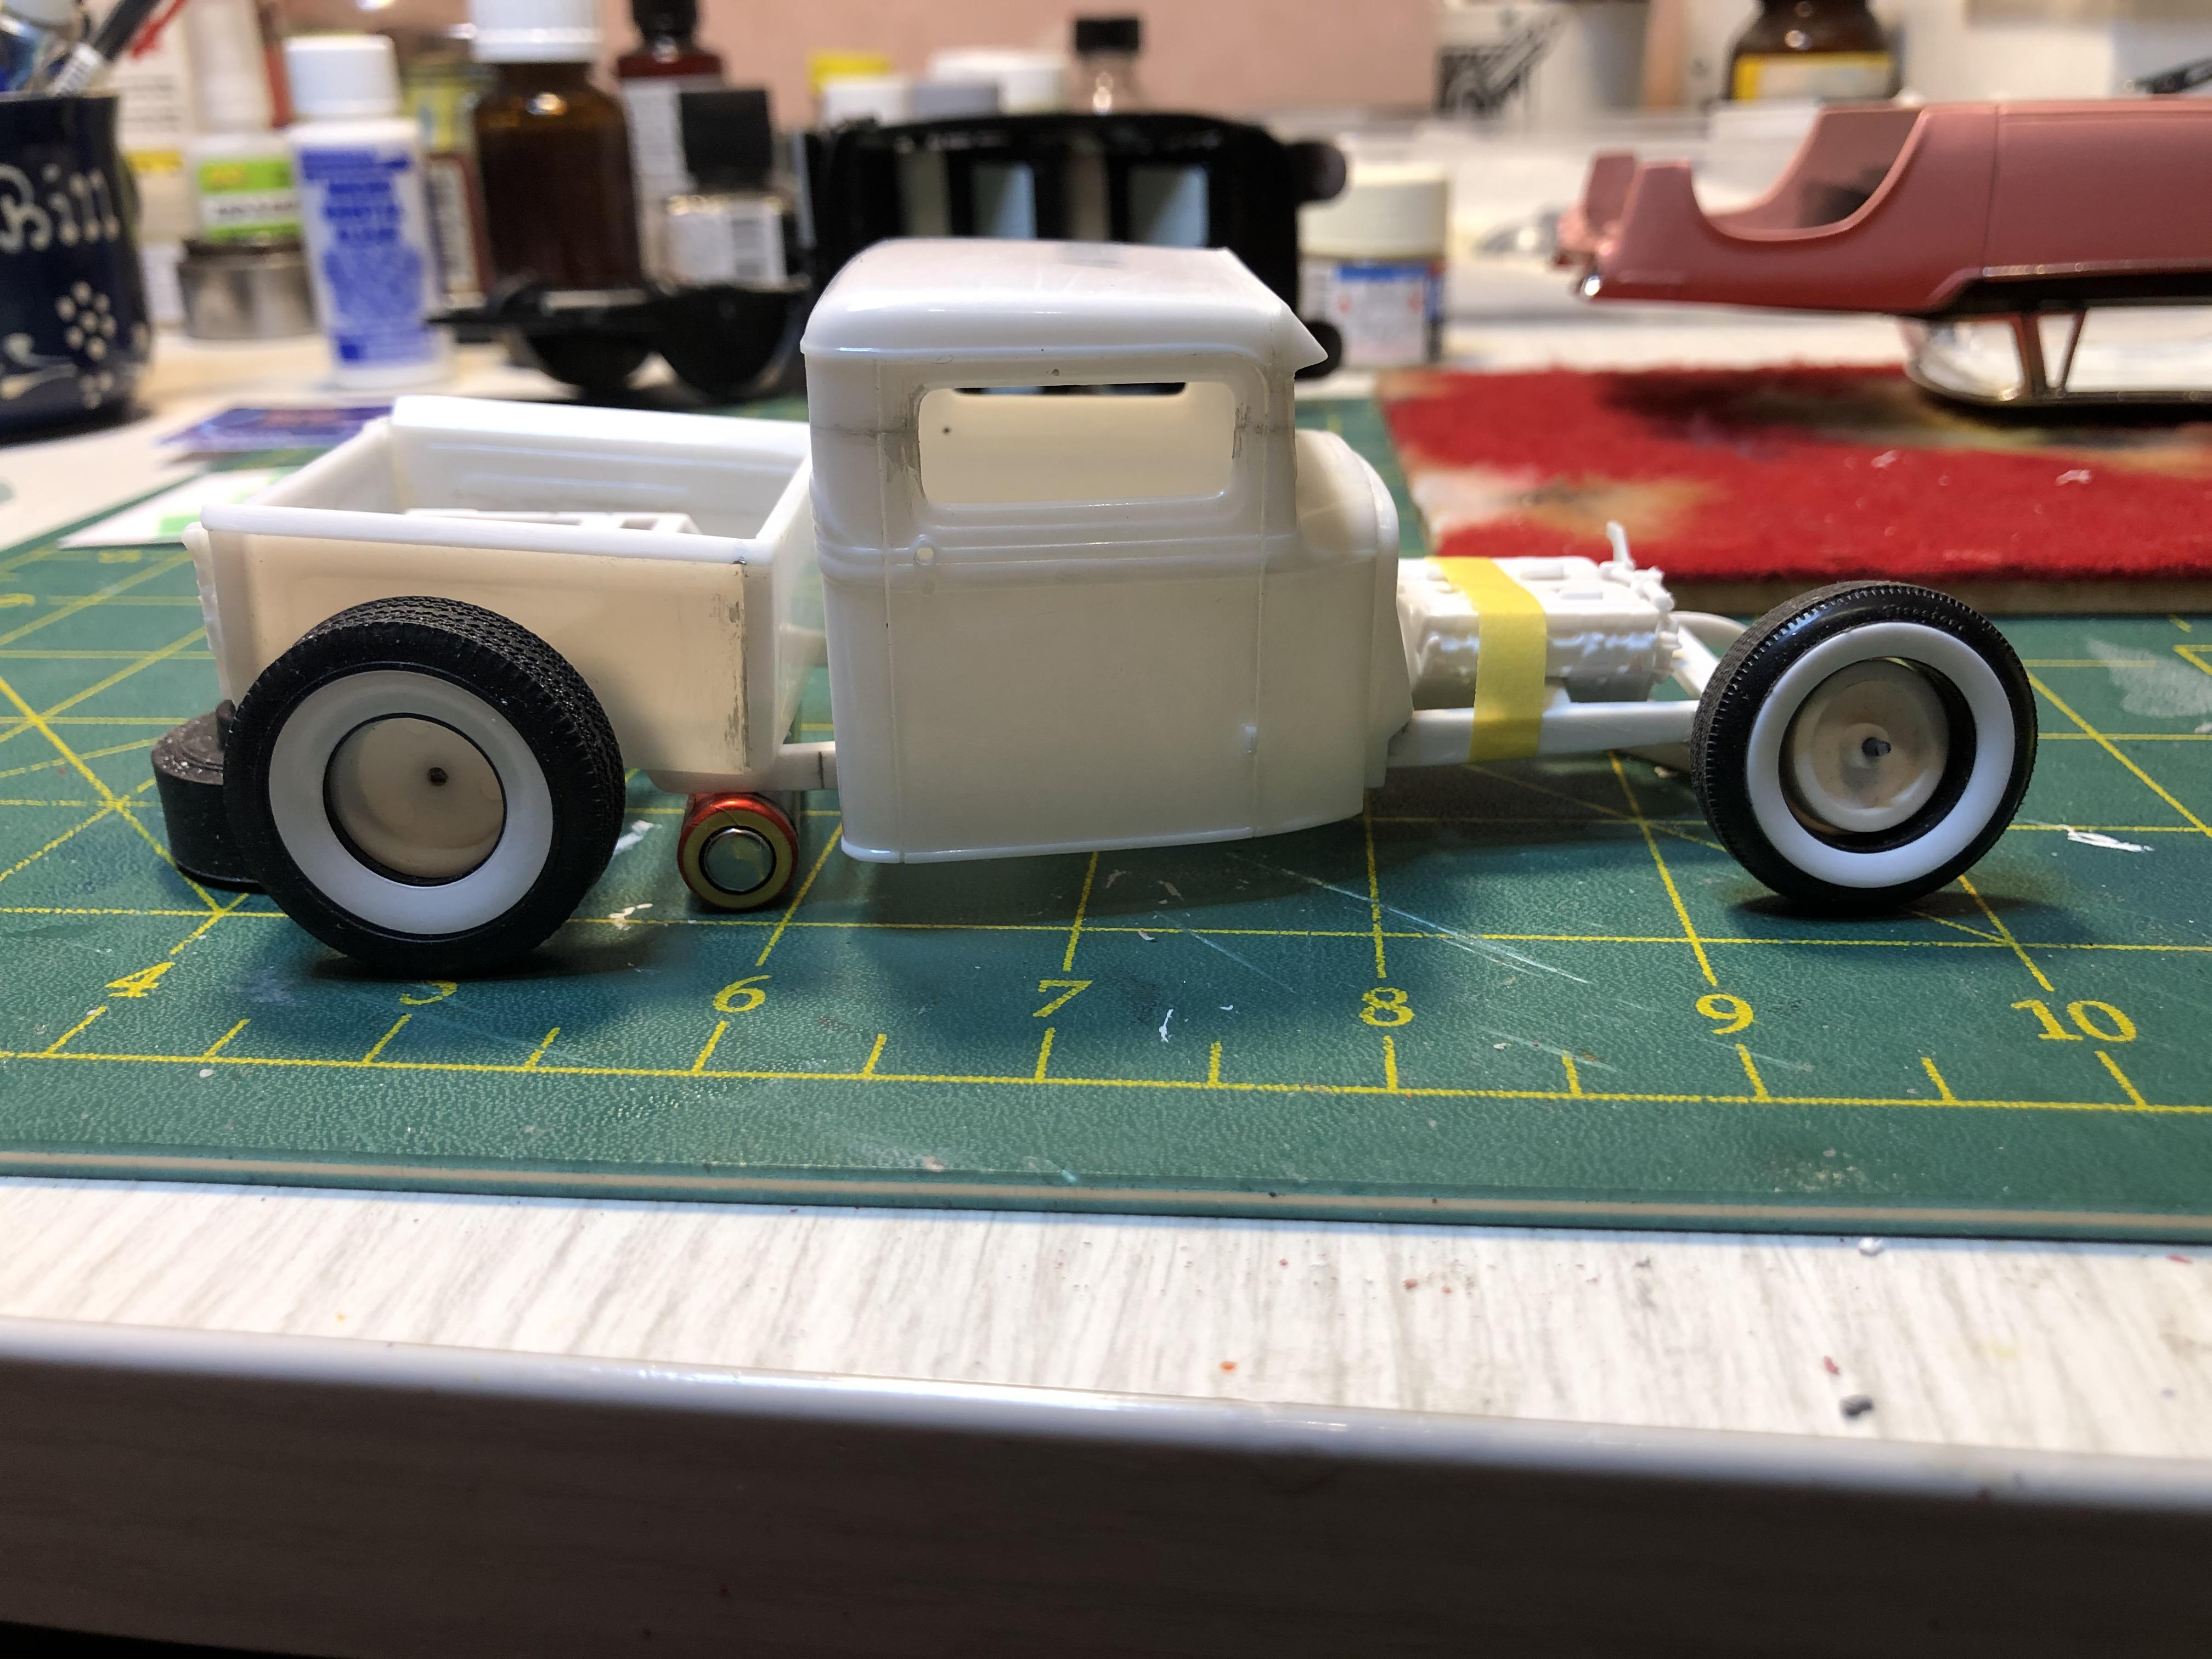
Did this a few years ago. Mostly spare parts from the AMT 29A Roadster and T Bucket kits. The rest from the parts boxes Paint is Tamiya white undercoat tinted with a splash of green
-
I second what Steve has to say. Take it easy on yourself and don't be to pedantic about ratios. About 2/1 lacquer thinner/paint has worked for me for years. And I say about as some paints require a little more or less Easiest way is to dump the whole bottle into a larger mixing jar and put the thinners into the original paint jar, give it a shake and dump it into the paint twice. I try to always start with a fresh jar of paint to begin with. Then paint away to your hearts content
-
Looking good What is the colour on the exhaust manifolds - it looks like it has a blue tinge to it like zinc coated screws have
-
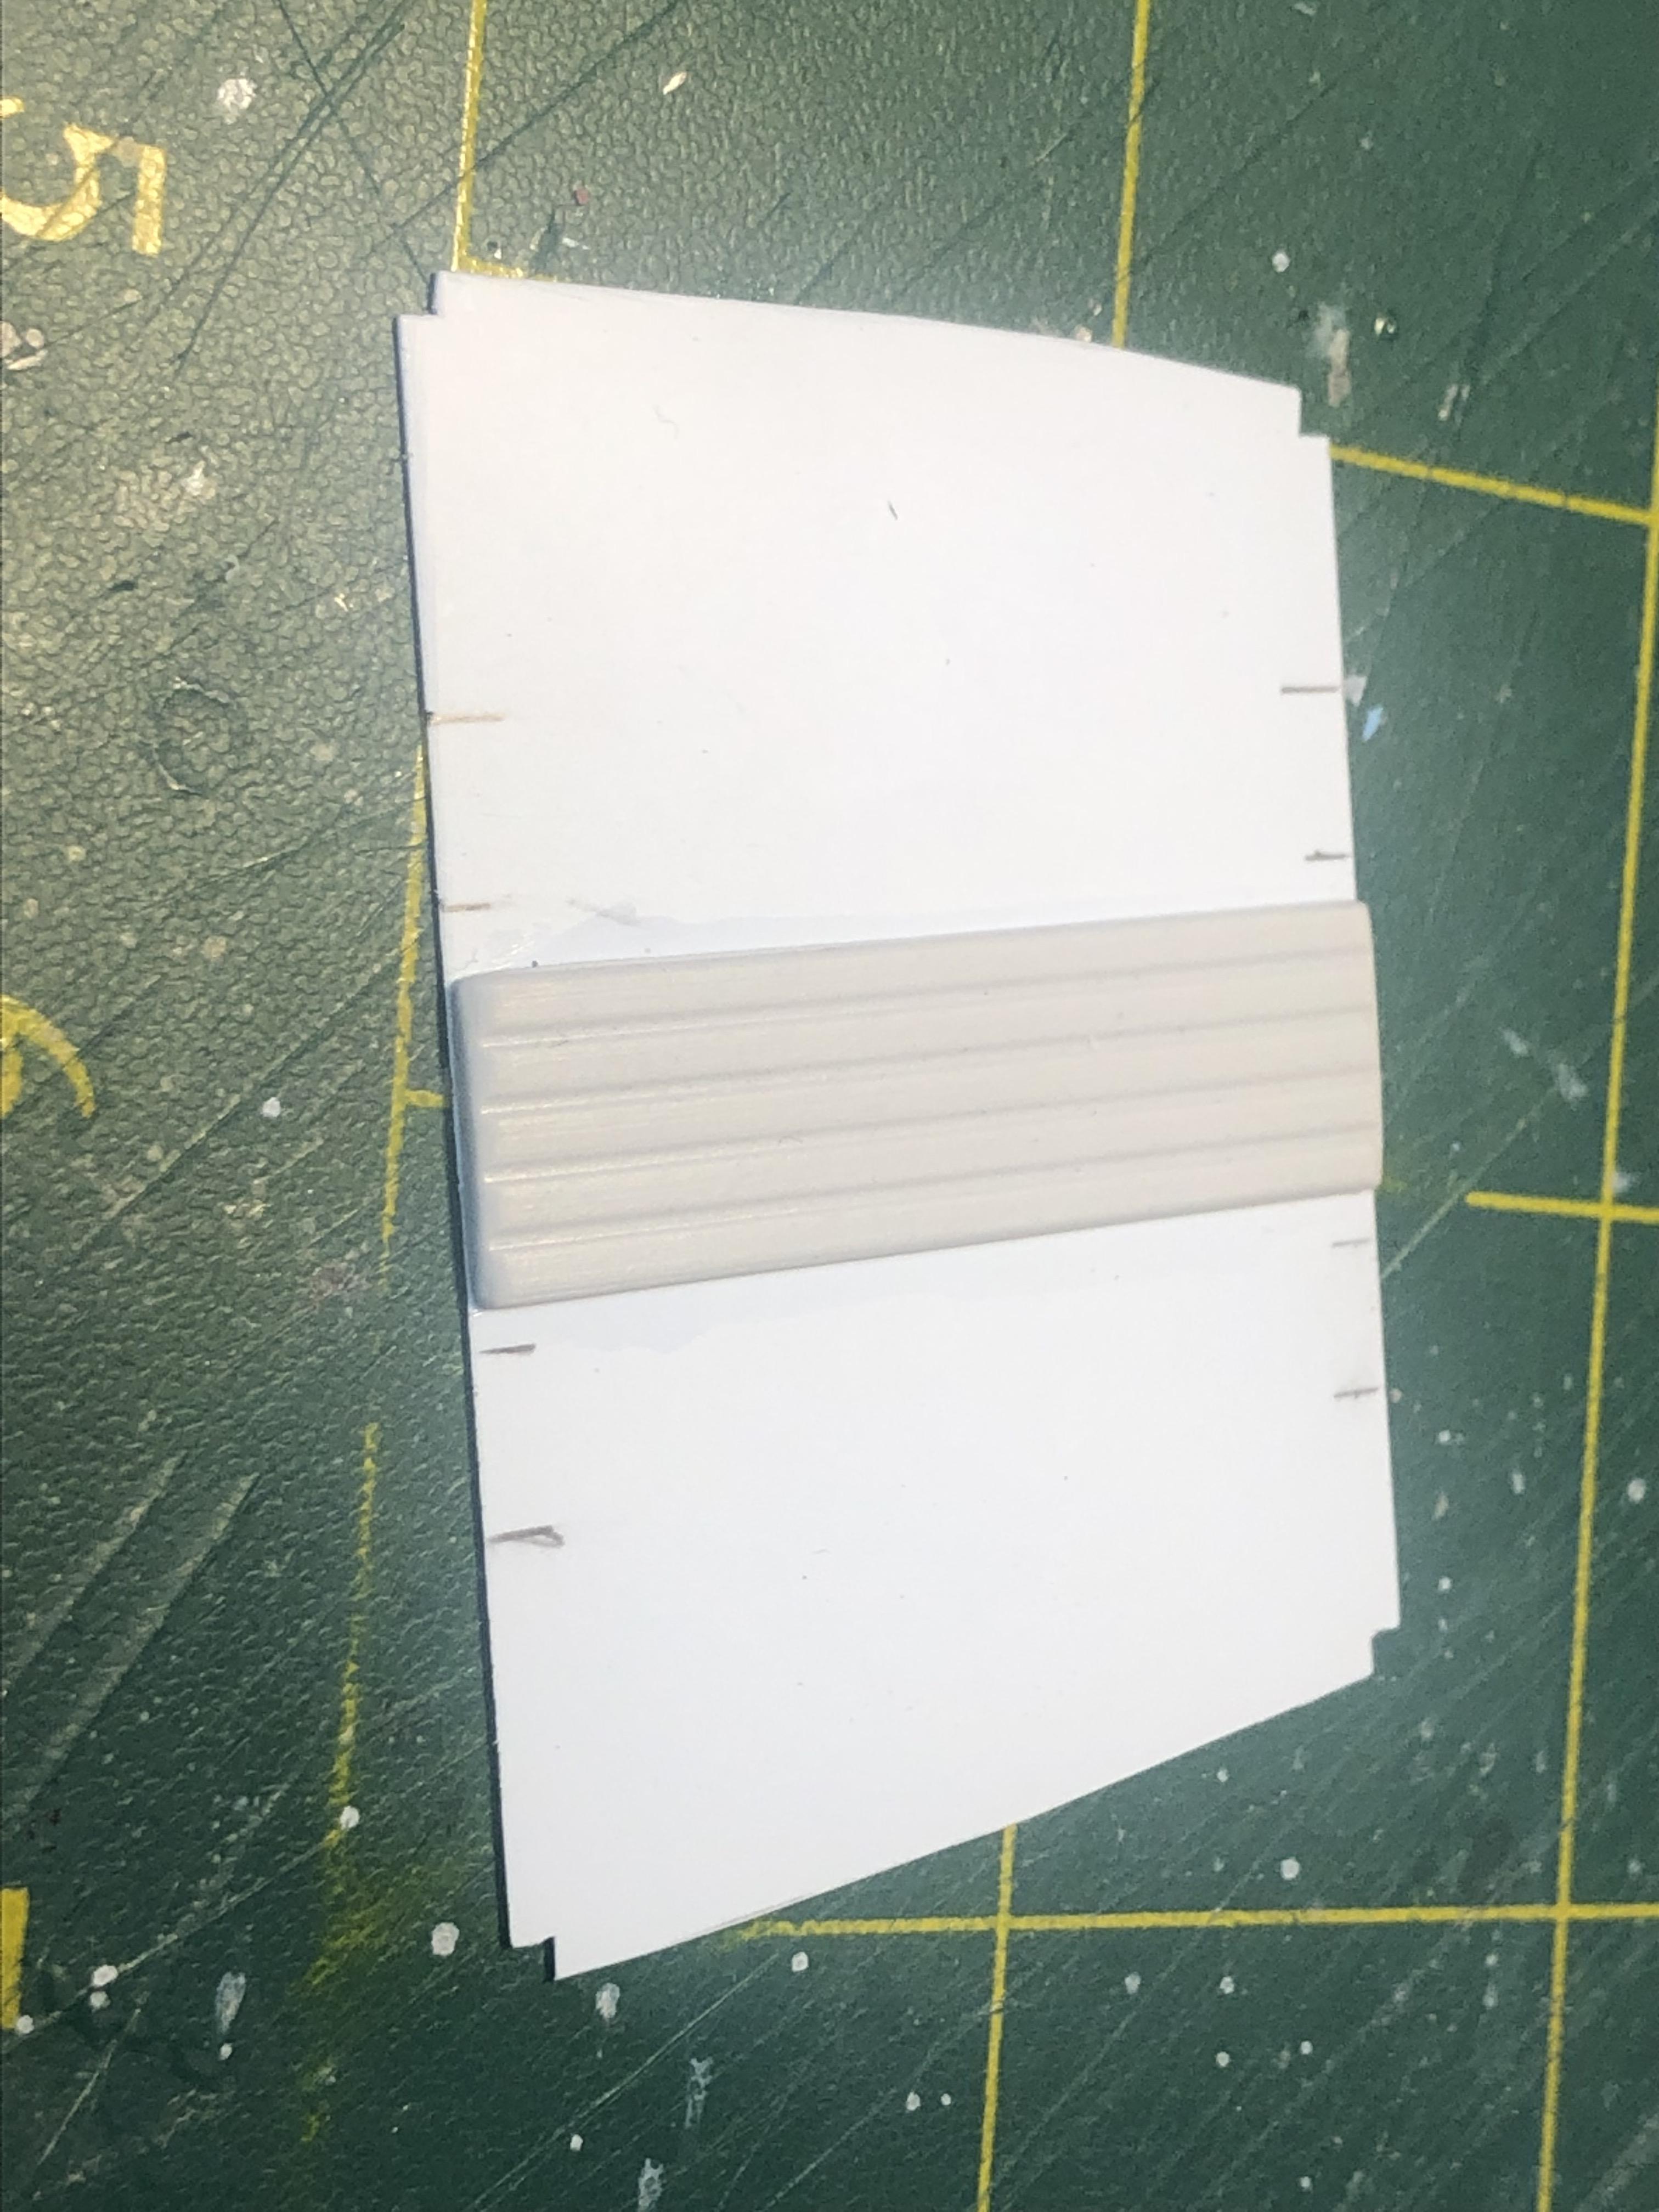
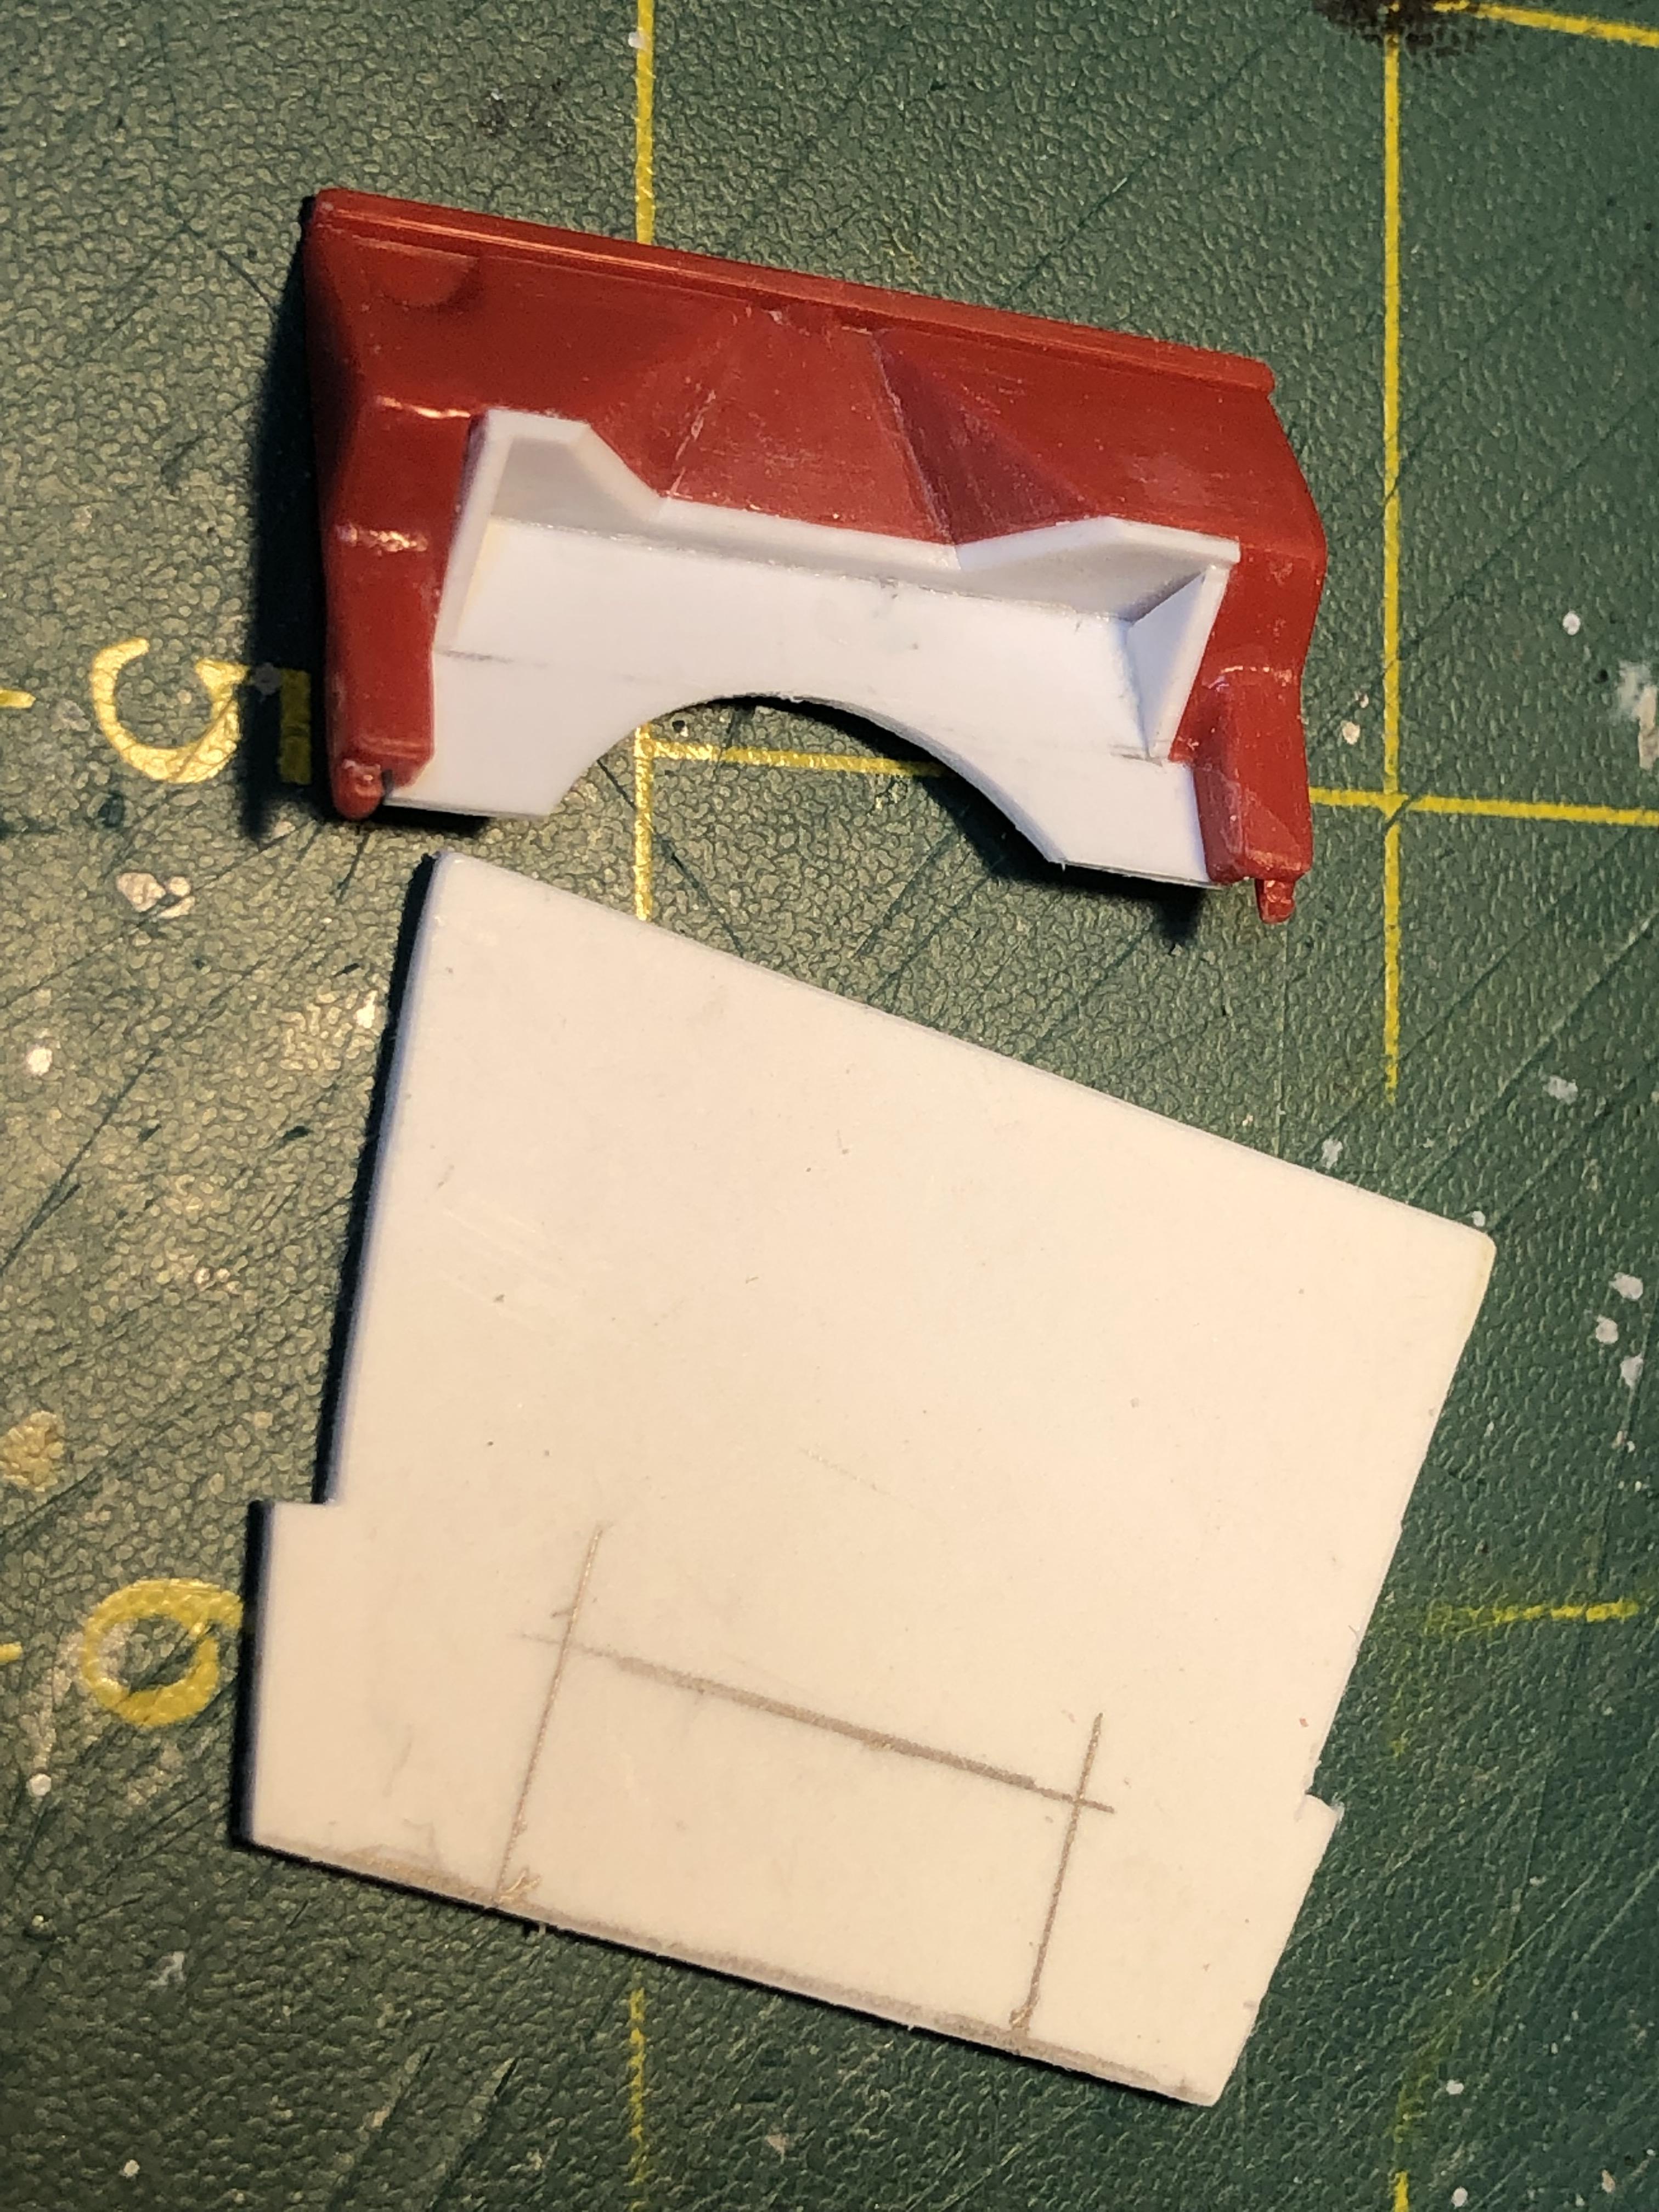
After worrying about bleed through on the paint over the red model I needn't have worried. The red dye did not bleed through with either methods I have added a tuck and roll strip to the hood liner. I have some grooved plastic strip that was prefect for the job. I will add some to the pick up bed cove when I get that far I have been toiling away at getting the body all cleaned up ready for paint. I chose to delete the gas tank filler as I will be using the Lil John saddle tanks. There were quite a few sink marks around the cowl so took a bit of time to get it looking OK I also cut the seat riser form the Lil John kit and left enough behind the rear of the seat as this will cover a notch where the extended chassis rails clashed with the cab. Checked the fit of the seats - looking good Also have been working on the firewall recess and toe board. Need to make a small transmission tunnel for clearance so this point I have ground away the floor board and firewall ready for this There is still a mountain of small things to do but getting there Thanks for looking
-
Alan - with extended cab and longer hood (bonnet) it looks as though it has had a mild chop - looking good I too am dreading the doors and making a hood fit as with mine I lengthened the wheel base a tad which you do when you lower a car in the front if you can. I see you have extended your wheel base too with some added at the front. It stop the car looking like it is tripping over IMO Up date soon - I have been doing a lot of small but time consuming jobs
-
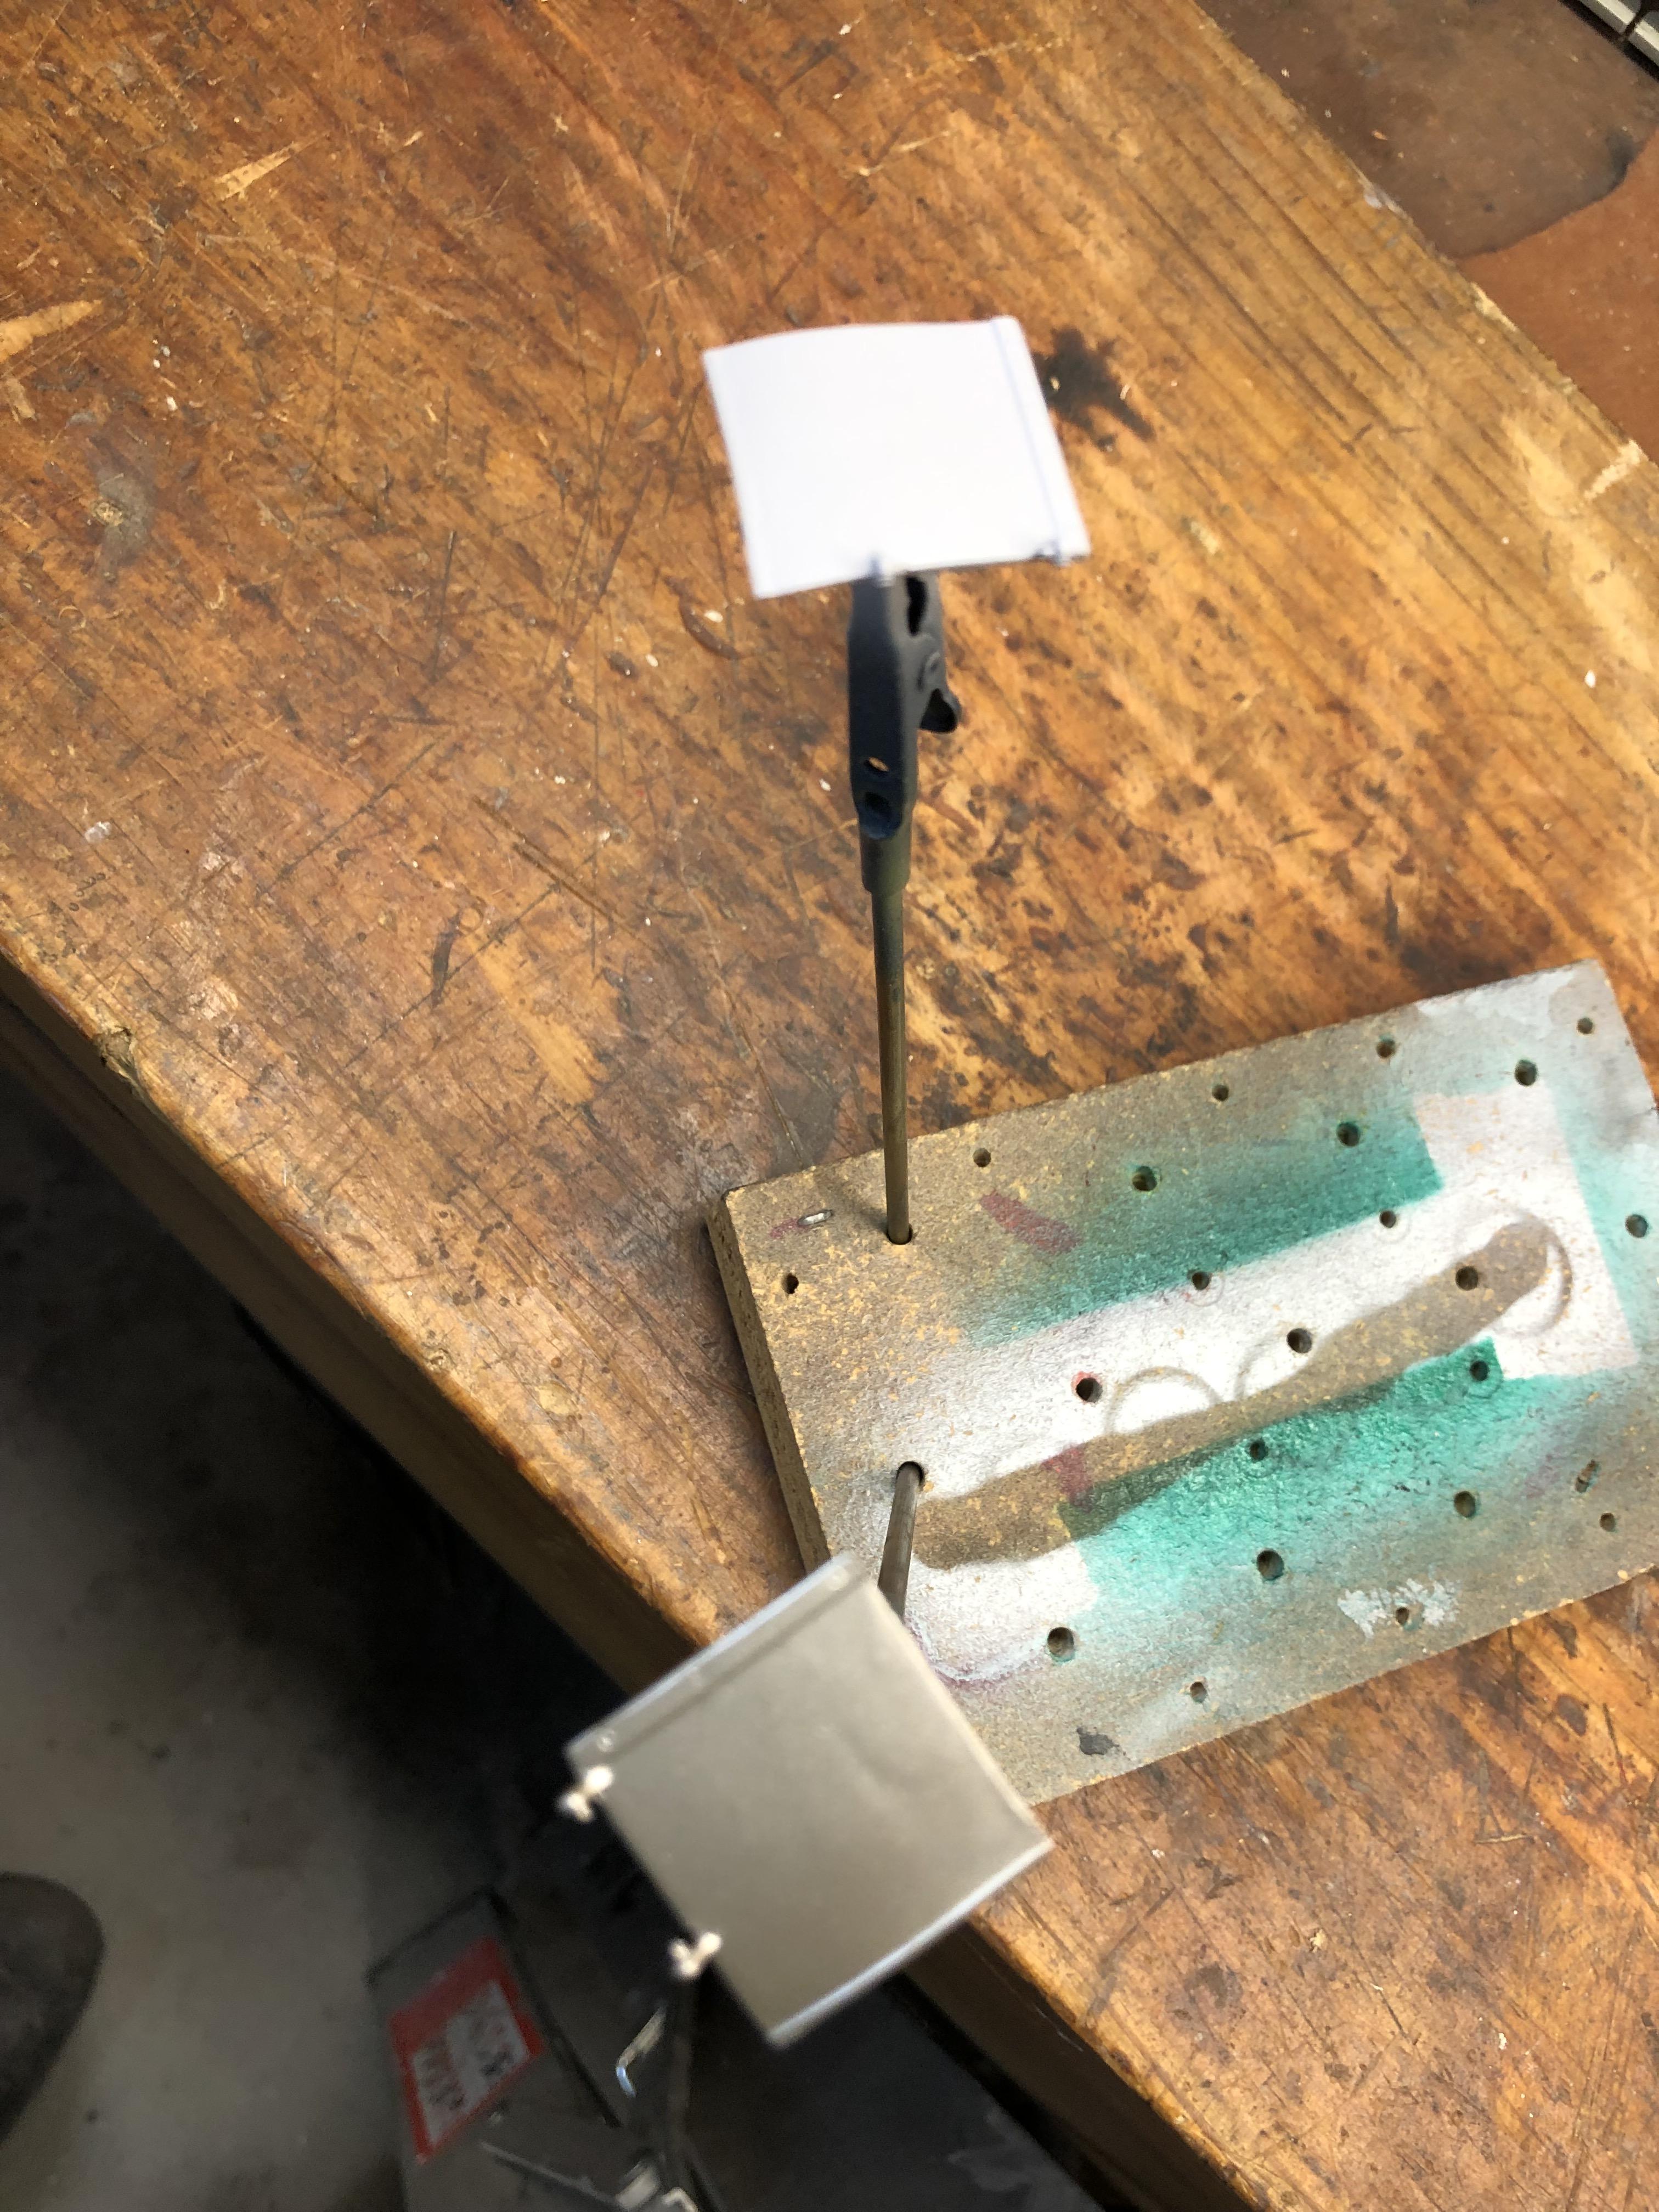
Been away from the modelling desk for a few days. Had the grandsnots over for 10 days and they do not leave much time to be at my desk. My what a lot has been going on I am worried about the red base model colour and the intention is to use light blue I sprayed the RPU doors last night with Tamiya white surfacer and one of the doors Tamiya Platinum Silver out of the small jars. Thinned it with lacquer thinners as usual The choice for this paint is because a while ago I painted a Revell 56 Nomad with it as one of the colours. I messed it up and brake fluid would not touch it so must be bullet proof. I will spray the silver door again with the surfacer then with the Testors blue I used on the chassis and engine Keeping my fingers crossed
-
Nice pix The lead photo - 1956 Dodge Custom Royal Lancer - I have one of those but not in that color. Not a common car
-
@tim boydThis looks good - will need to keep a look out for it when and if it gets down here in New Zealand. The Ford pickup is on the shelves so here's hoping @alan barton Looks like Oz and NZ have been embargoed by USPS along with a few other countries due to BLAH_BLAH_BLAH_BLAH shipping conditions. So our wait may even be longer I have heard of guys importing car parts from the US with the ship not even docking in NZ and off loading in Oz with added shipping costs to get it here These are certainly changed times
-
I’m back, and with Delusions of grandeur.
bill-e-boy replied to Bullybeef's topic in WIP: Model Cars
Hi Bill Good to see you back at the bench and good luck with the project - I'll be watching with interest I did not know Revell did a "Switchers" model - wasn't that MPC lol Cheers Bill-e-boy -
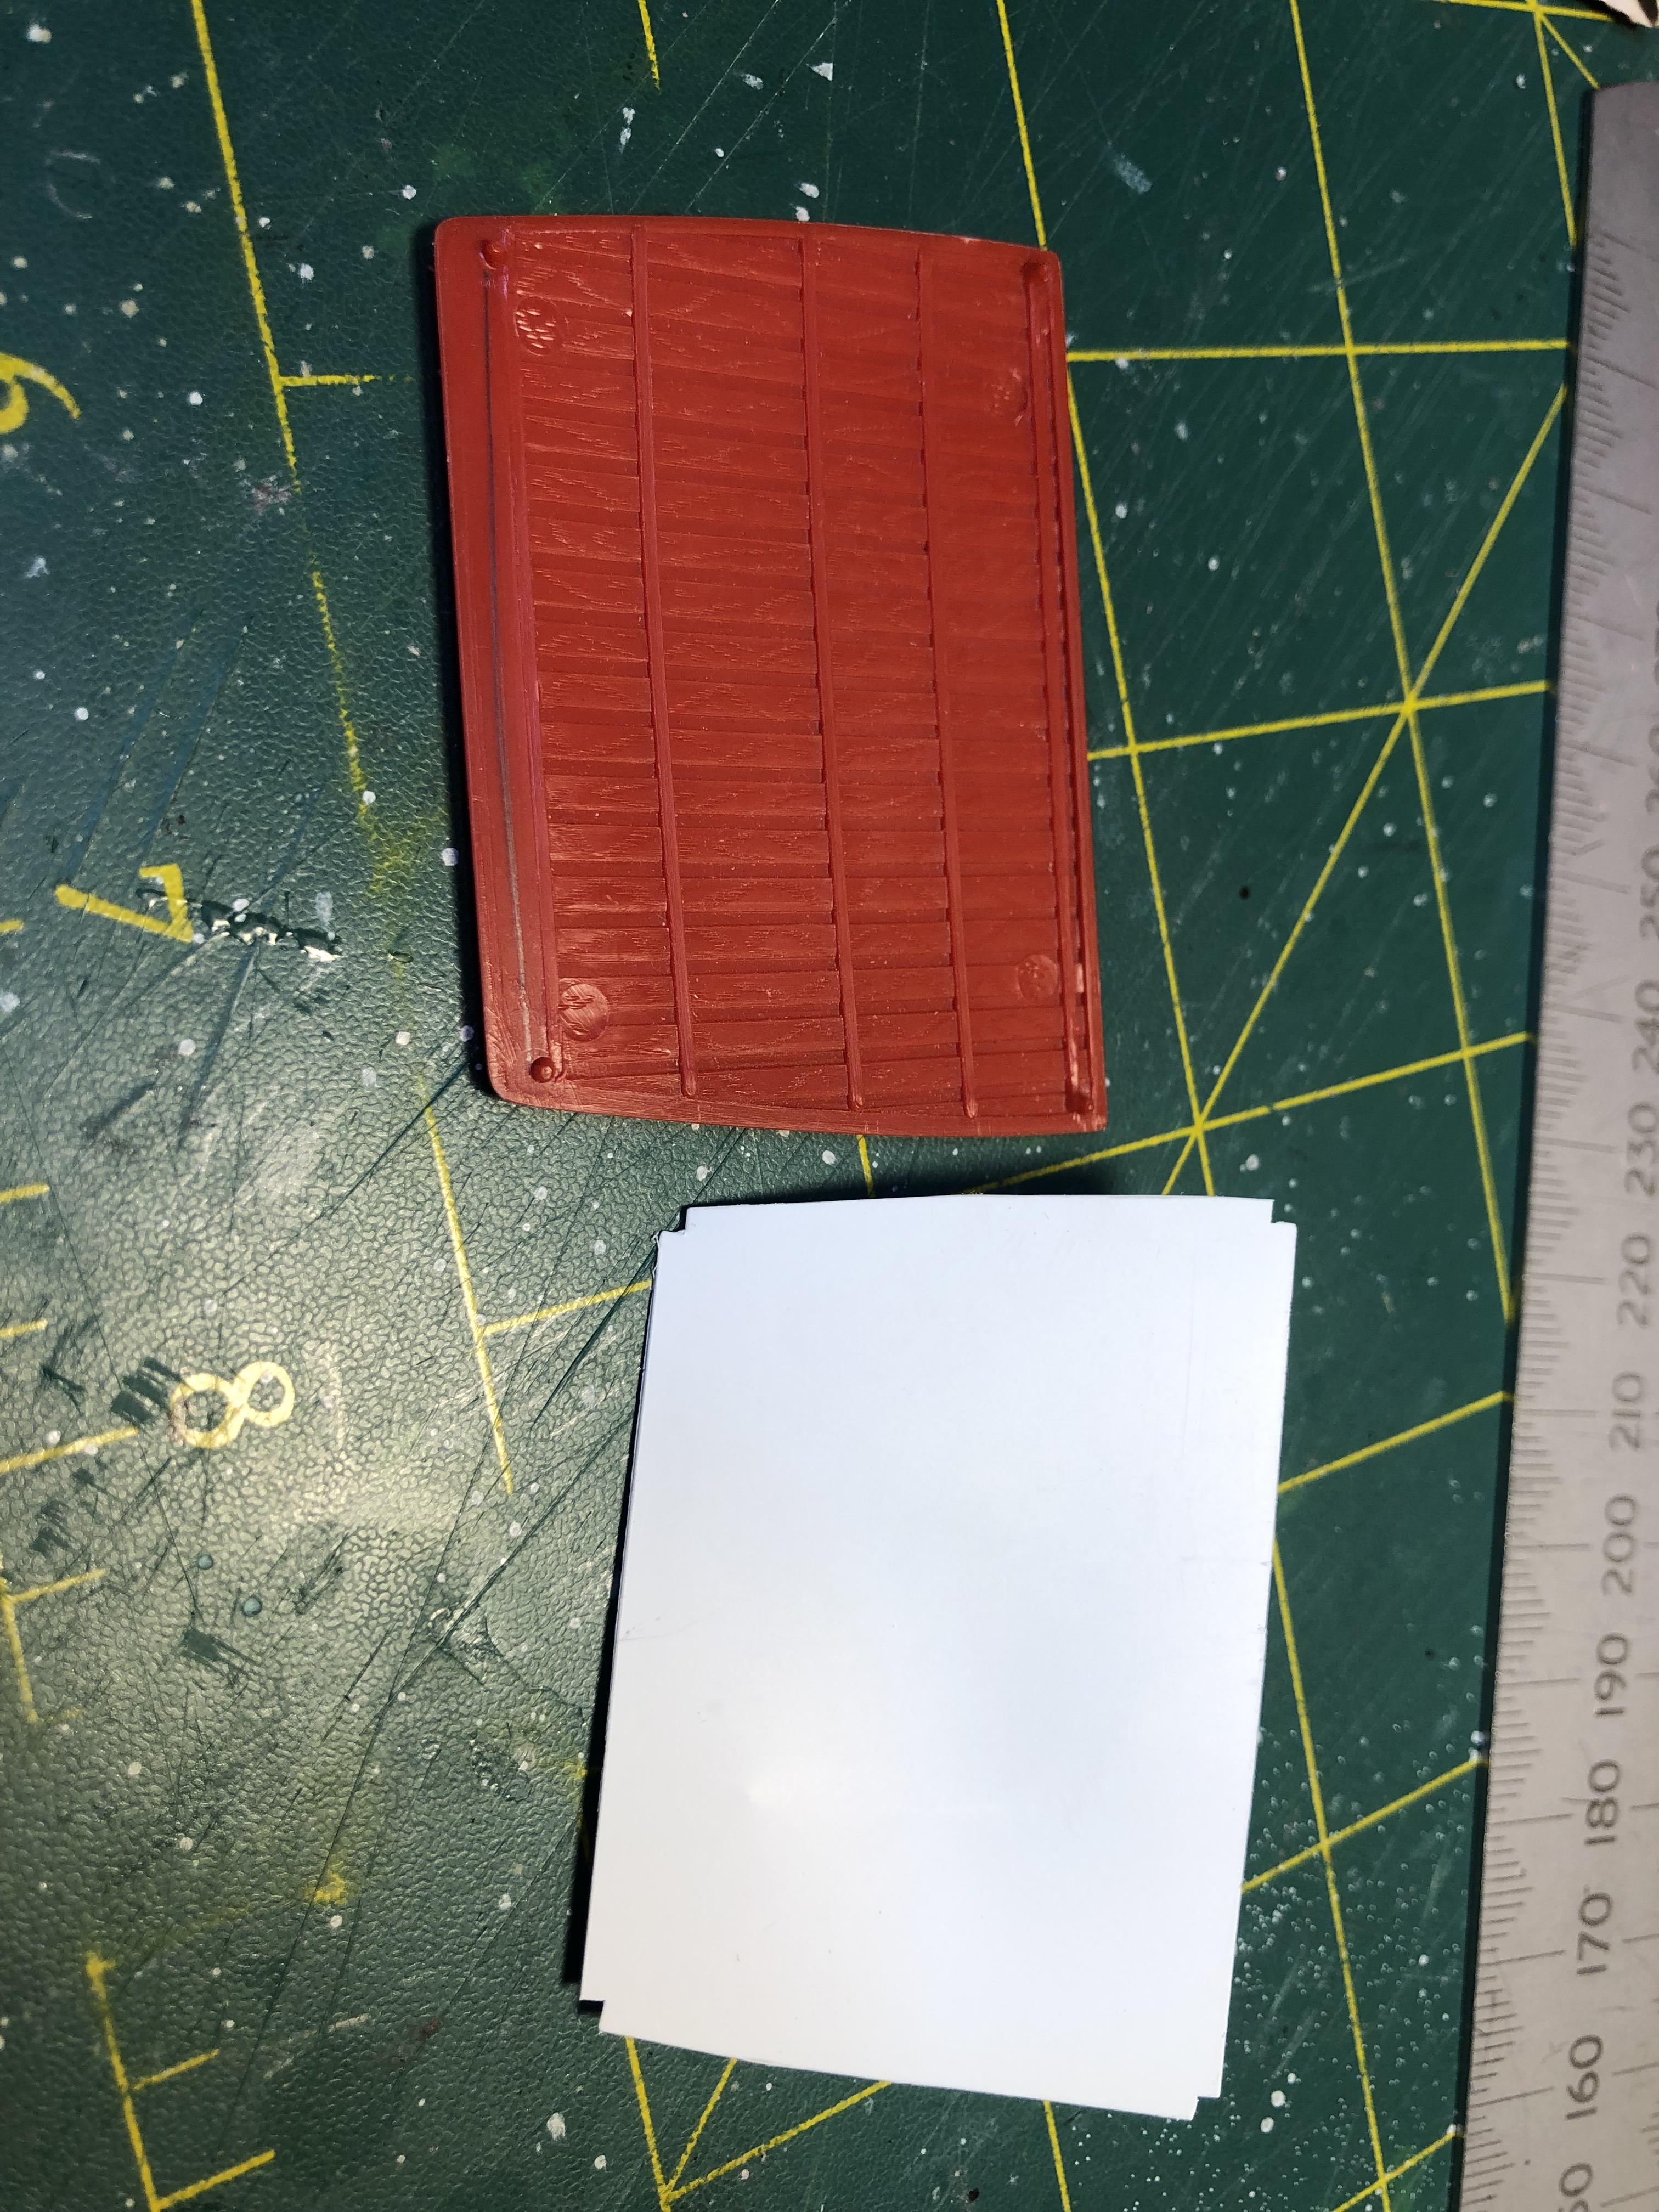
I am taking note of your hinge diet @Kit Karson and I will certainly copy your work to get the hinges looking better I have been working away ever so slowly on my build - life has a way of getting in the way of modelling time I did not feel that the bare board underside of the roof was in keeping with the theme so I cut out a hood lining from some .010" sheet stock In the process I get rid of a couple of nasty ejection pin marks Next up is prep work on the body. This issue of the kit has some much flash it is unbelievable. It also has these little nubs in hard to reach spaces - it looks like there may have been some corrosion in the mould. At least rust does not hit plastic as our stashes would be a pile of brown stuff from all the years of hiding them away. I don't remember the older orange version having this much flash or marks. I will have to check a newer version I have to see if it is any better. It took me the better half on an evenings work to get around the outside of the fender unit. I still have the inside yet to do I can't wait to get some paint on this with my newly acquired Paasche Model H airbrush. I score from the local auction site. This is the third or fourth used airbrush I have picked up and all have been in a sorry state mostly with paint build up in critical areas like the mixing cone and internal ways. As all users of airbrushes know the old adage of "Cleanliness is next to Godliness" applies Enough rant - onwards with the build
-
Bob the A-bone is coming along nicely. Sad about the windshield frame though Some kits do fight us and it seems to be those that we want to do a quick build with Battle on and hopefully there will a fix for the windshield
-
@Kit Karson Kudos to the local model shop... is it still around? - Sadly no. That shop closed up years ago but we do still have one that opened up at about the time it closed. We have been fortunate to have a model shop in our provincial city where I live and I hope it manages to continue trading in these troubled times.
-
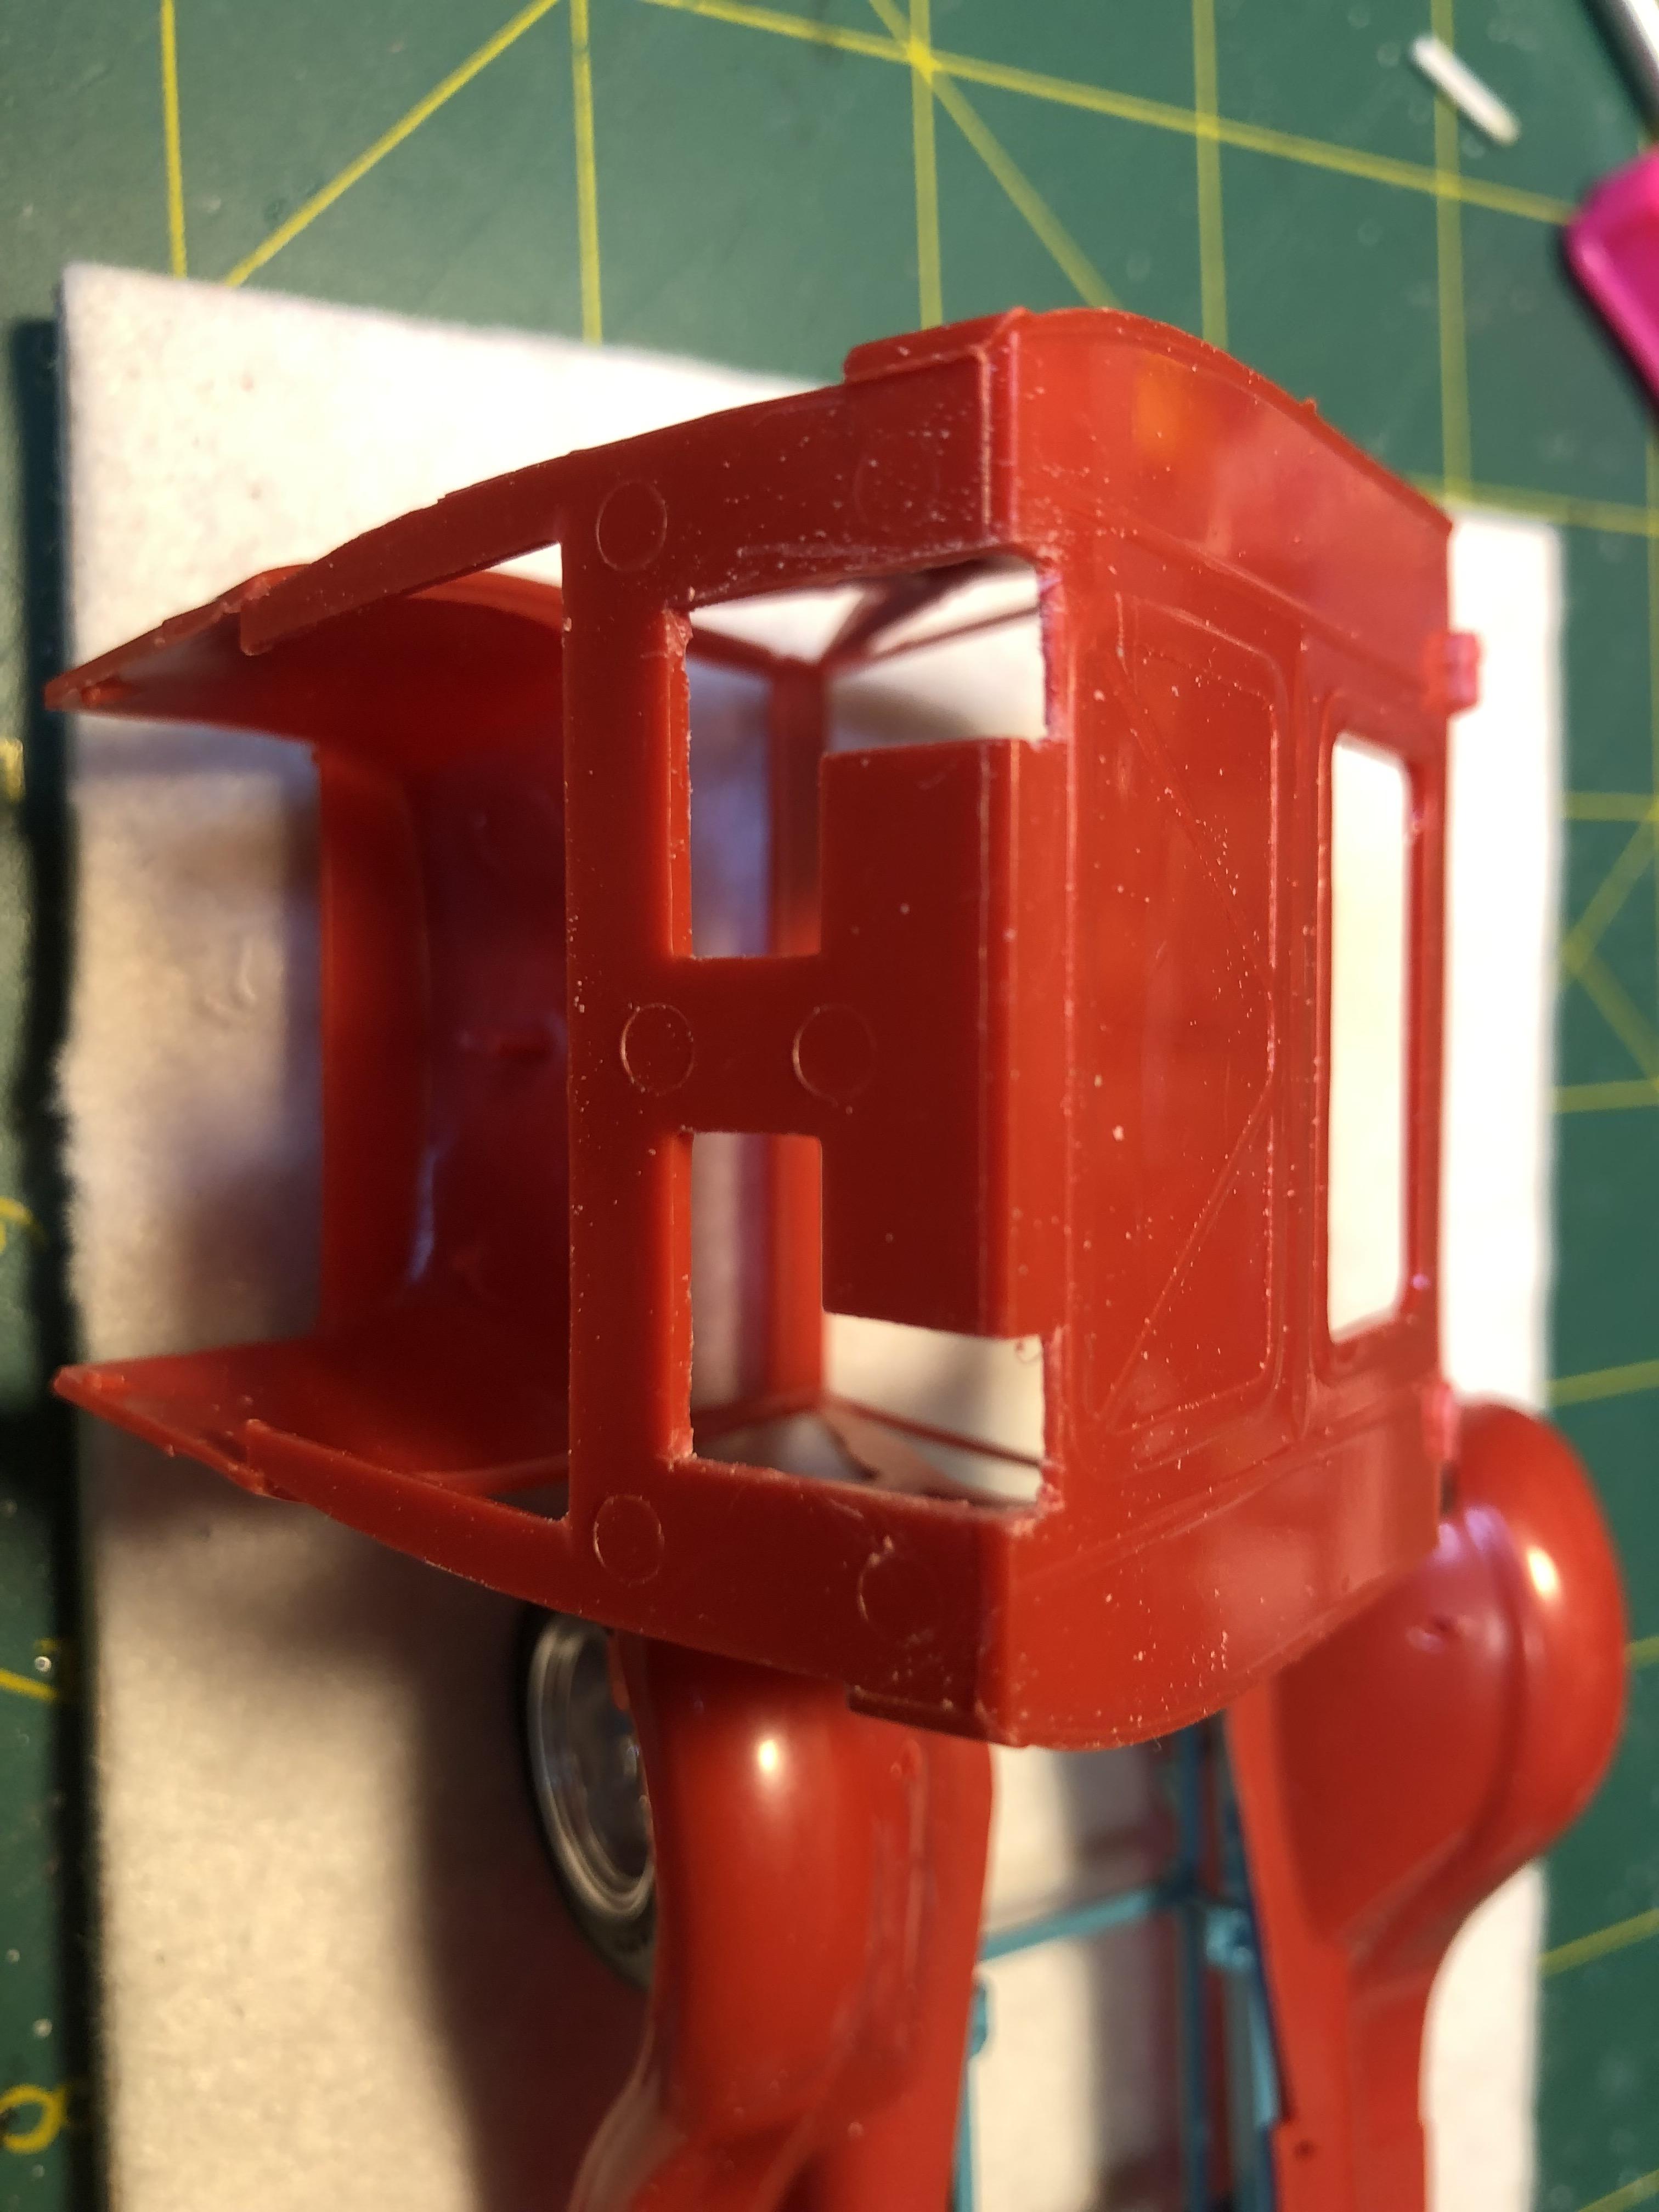
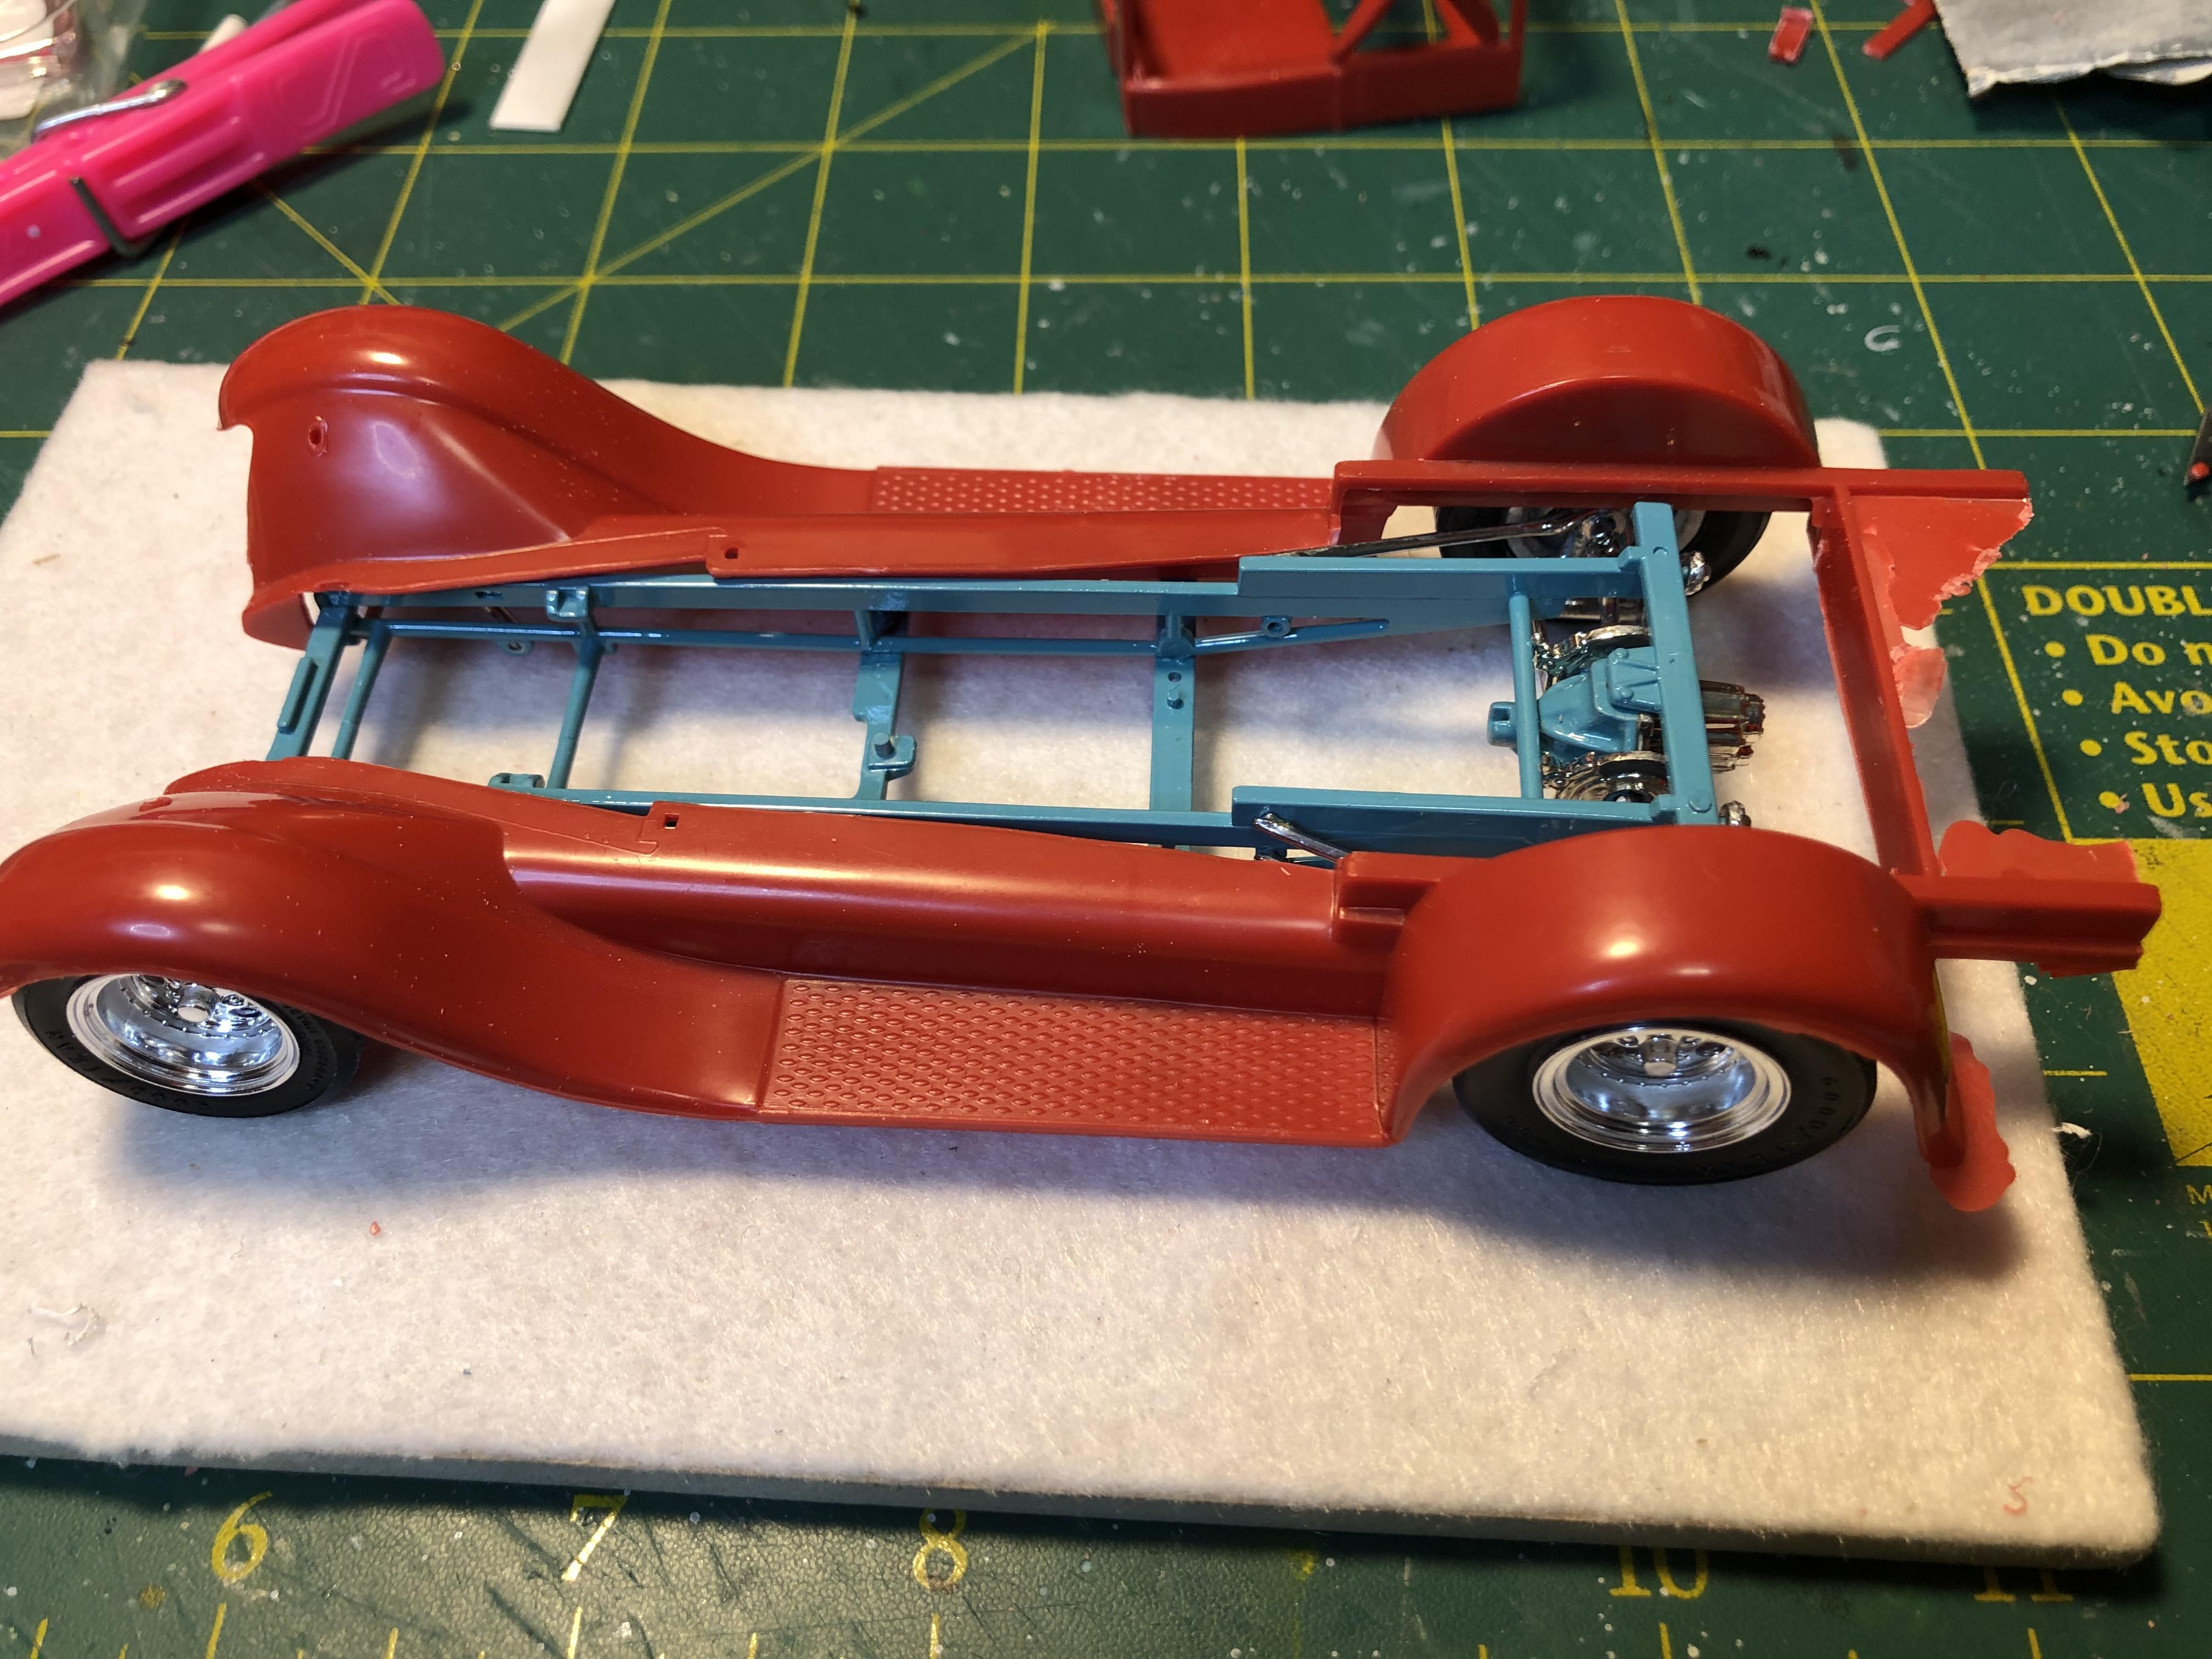
@Kit Karson-KK ps did you buy your kit in country? Hi Kit - I bought kit down here in NZ from local model shop years ago - at least I am certain that's where it was sourced from The kit was opened over 20 years ago to donate the frame and other parts for the sister build of the Royce Fisher Tribute T pickup posted in this forum The left over T and A parts are mainly what I am using here. The original idea was to make a modern style pickup but I just needed the nudge to get it done So here we are............
-
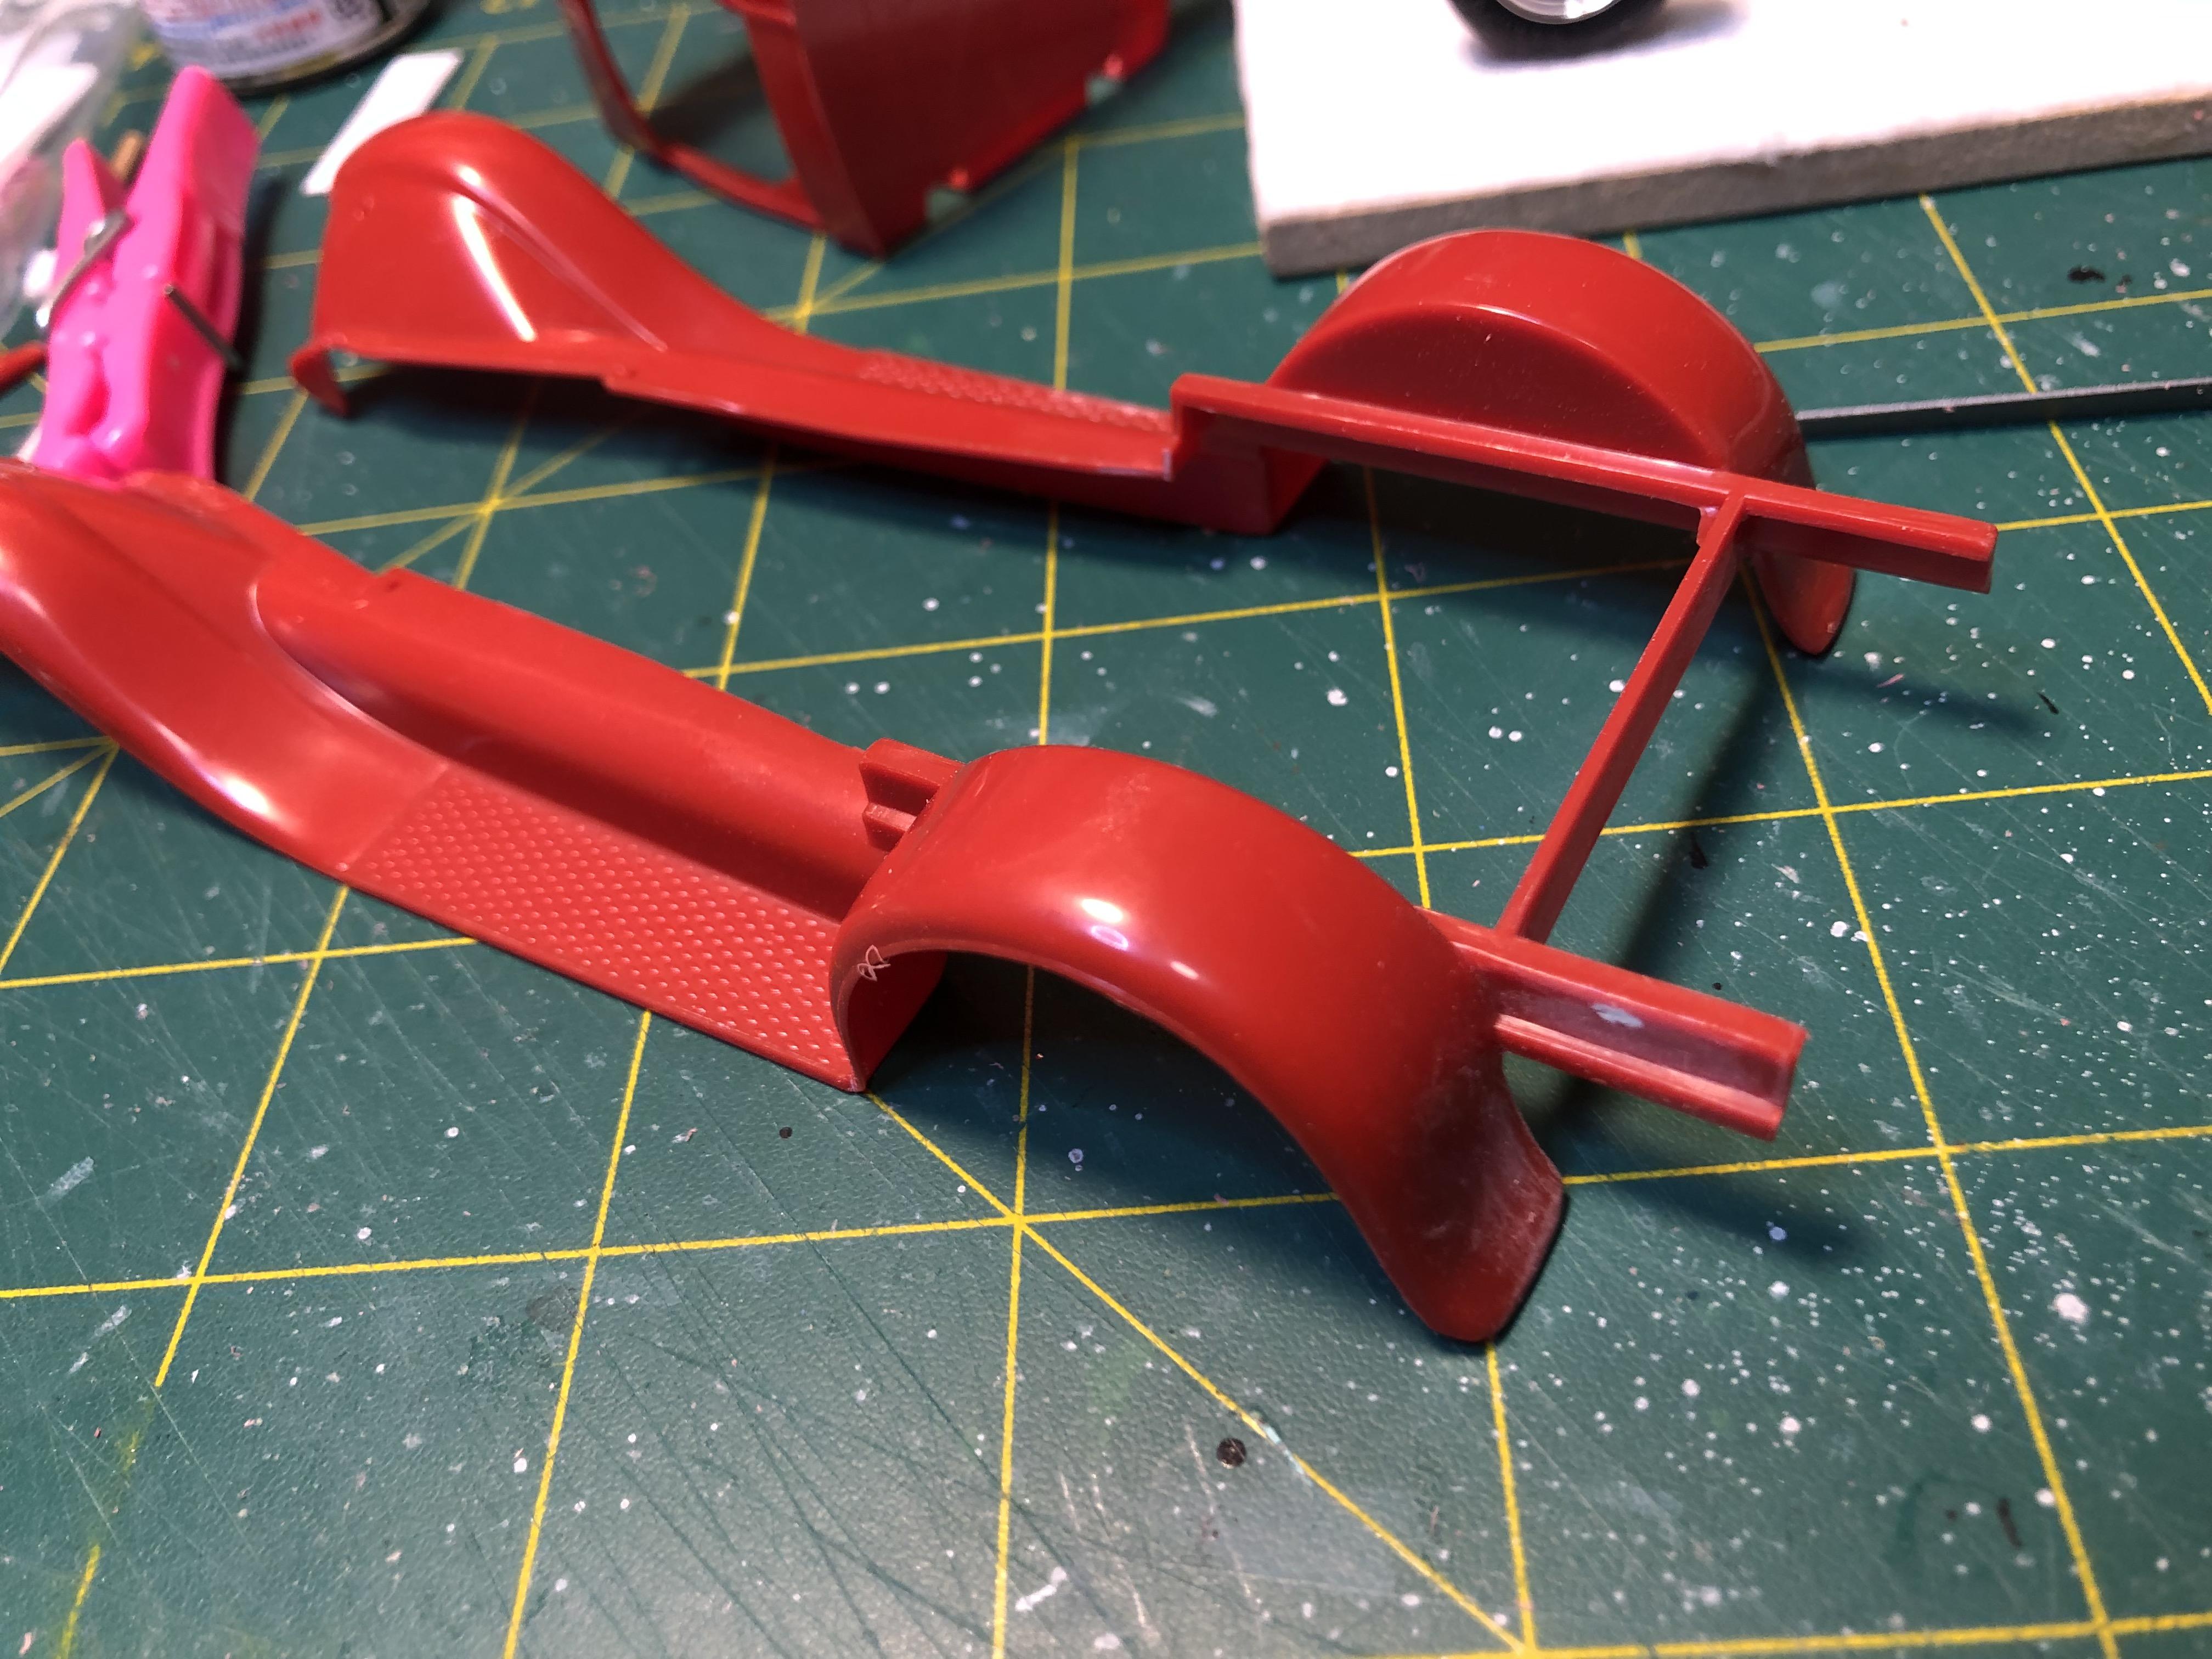
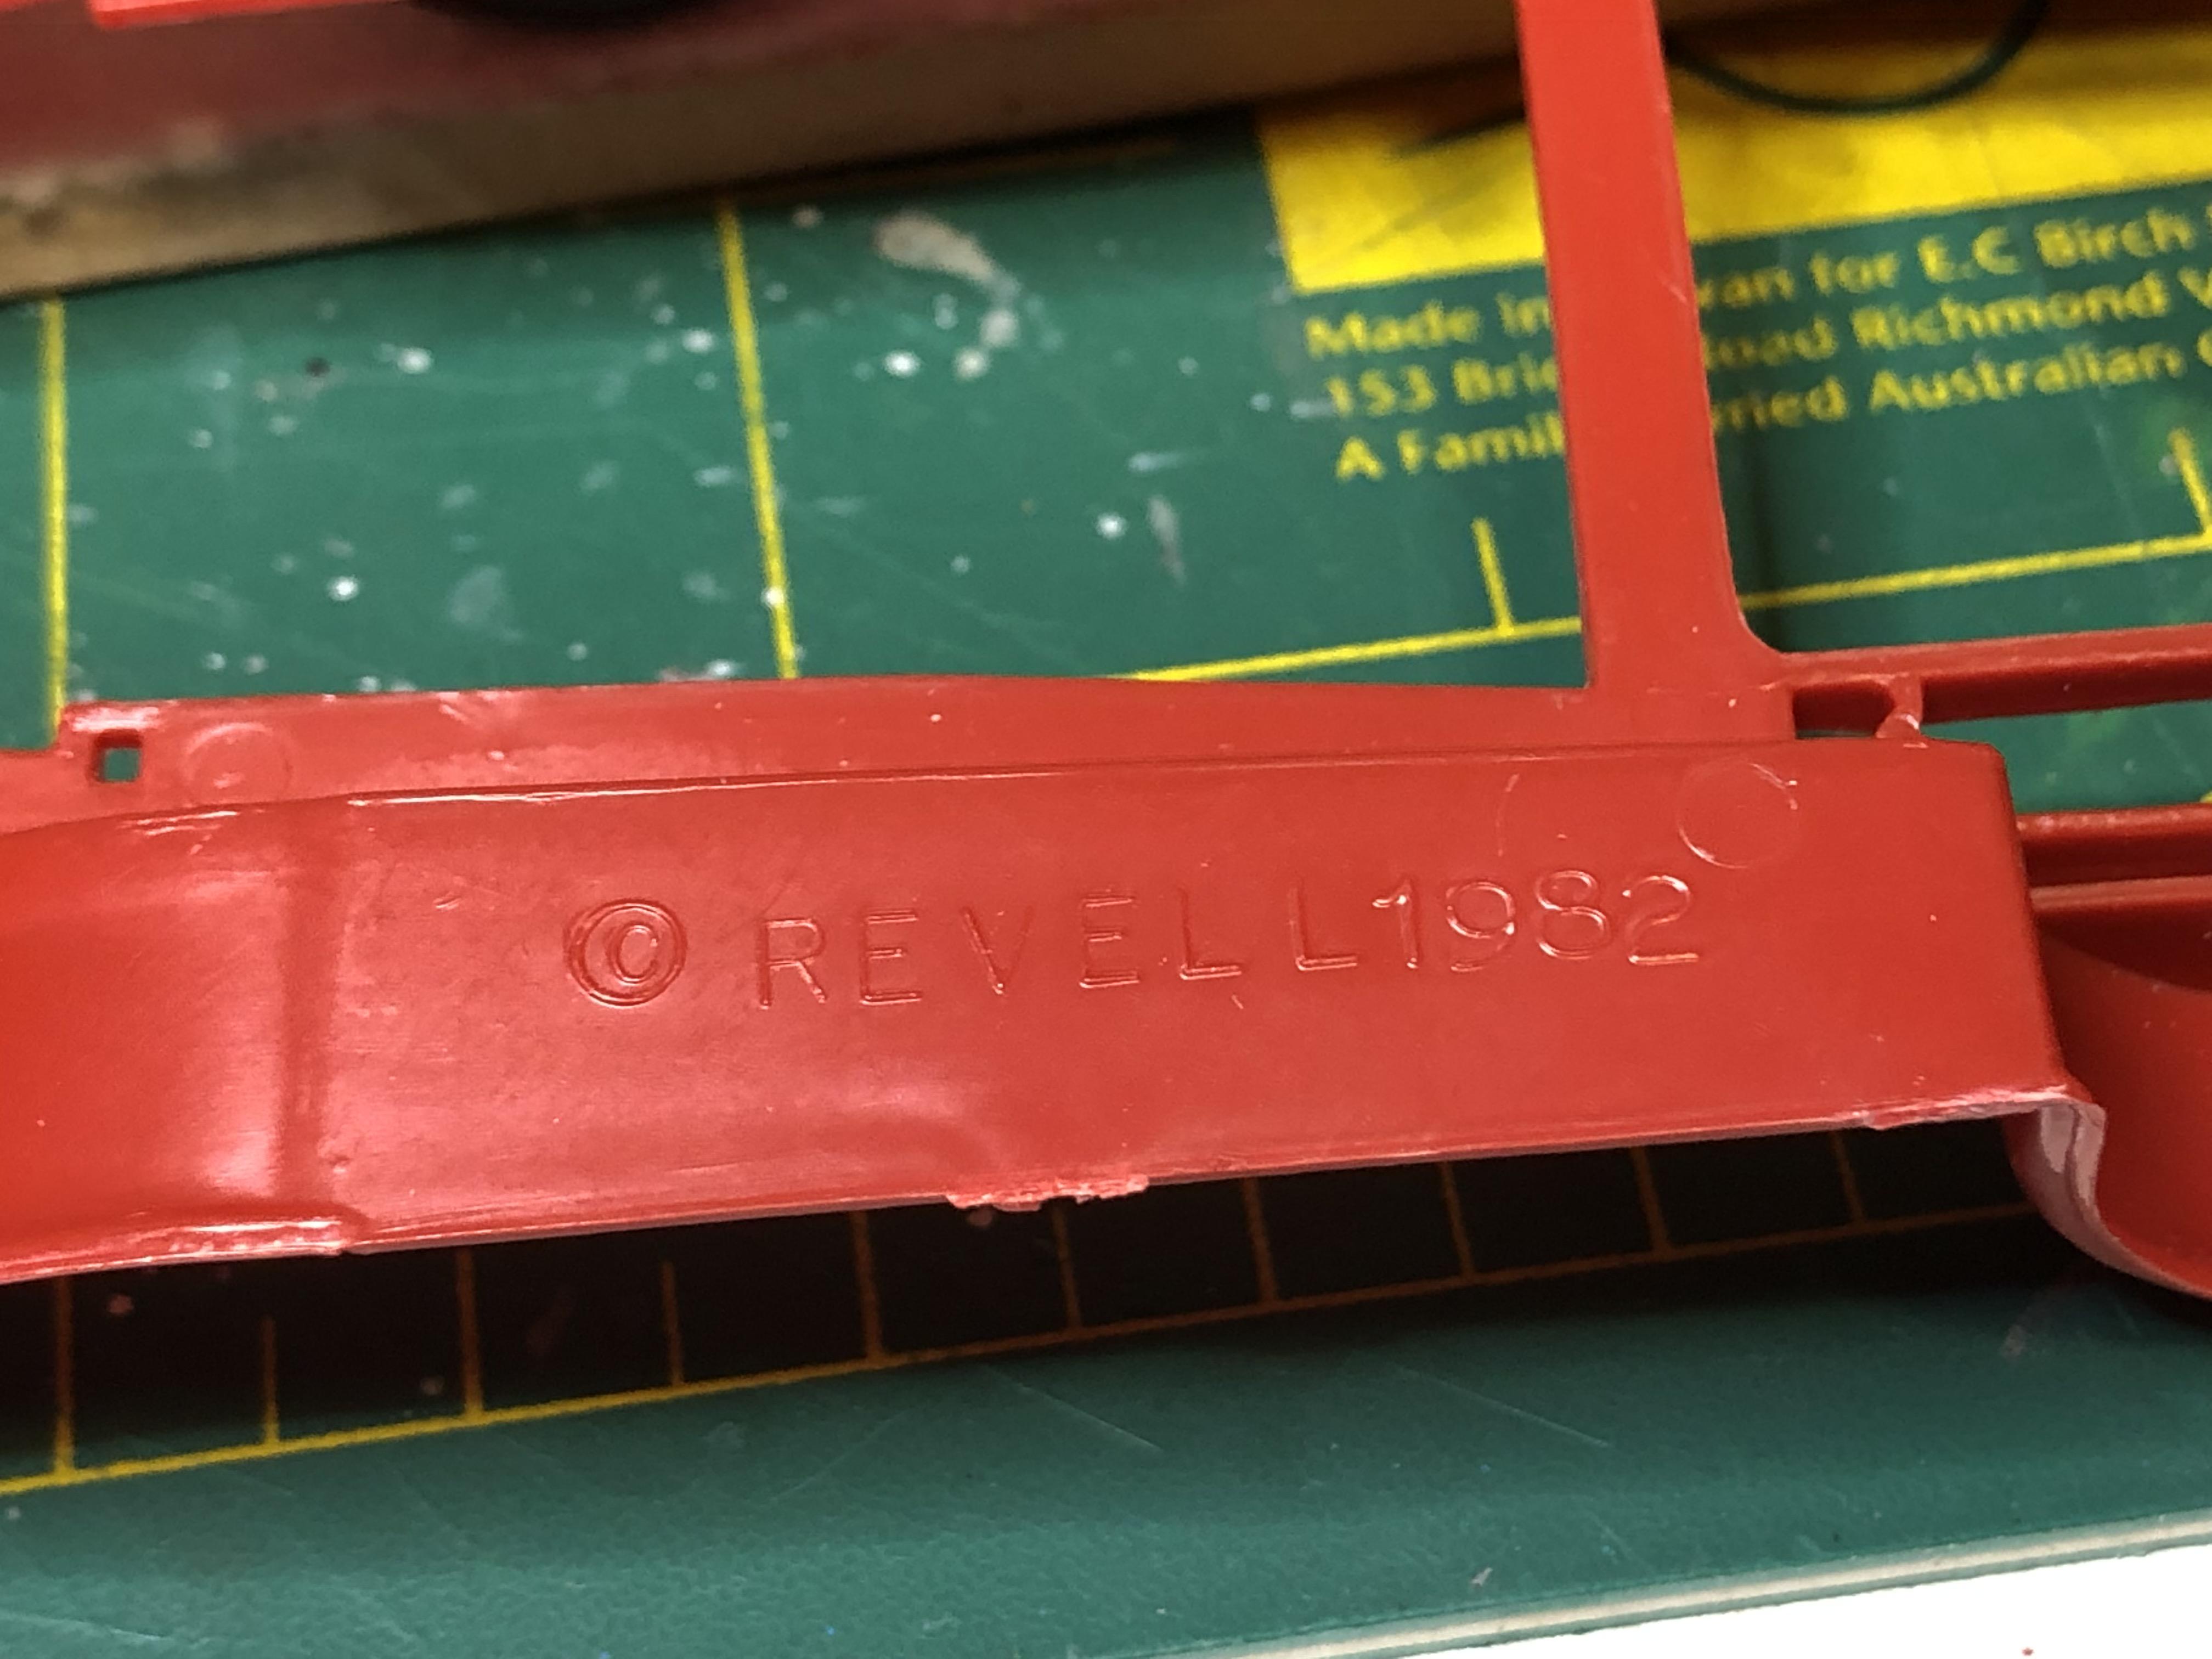
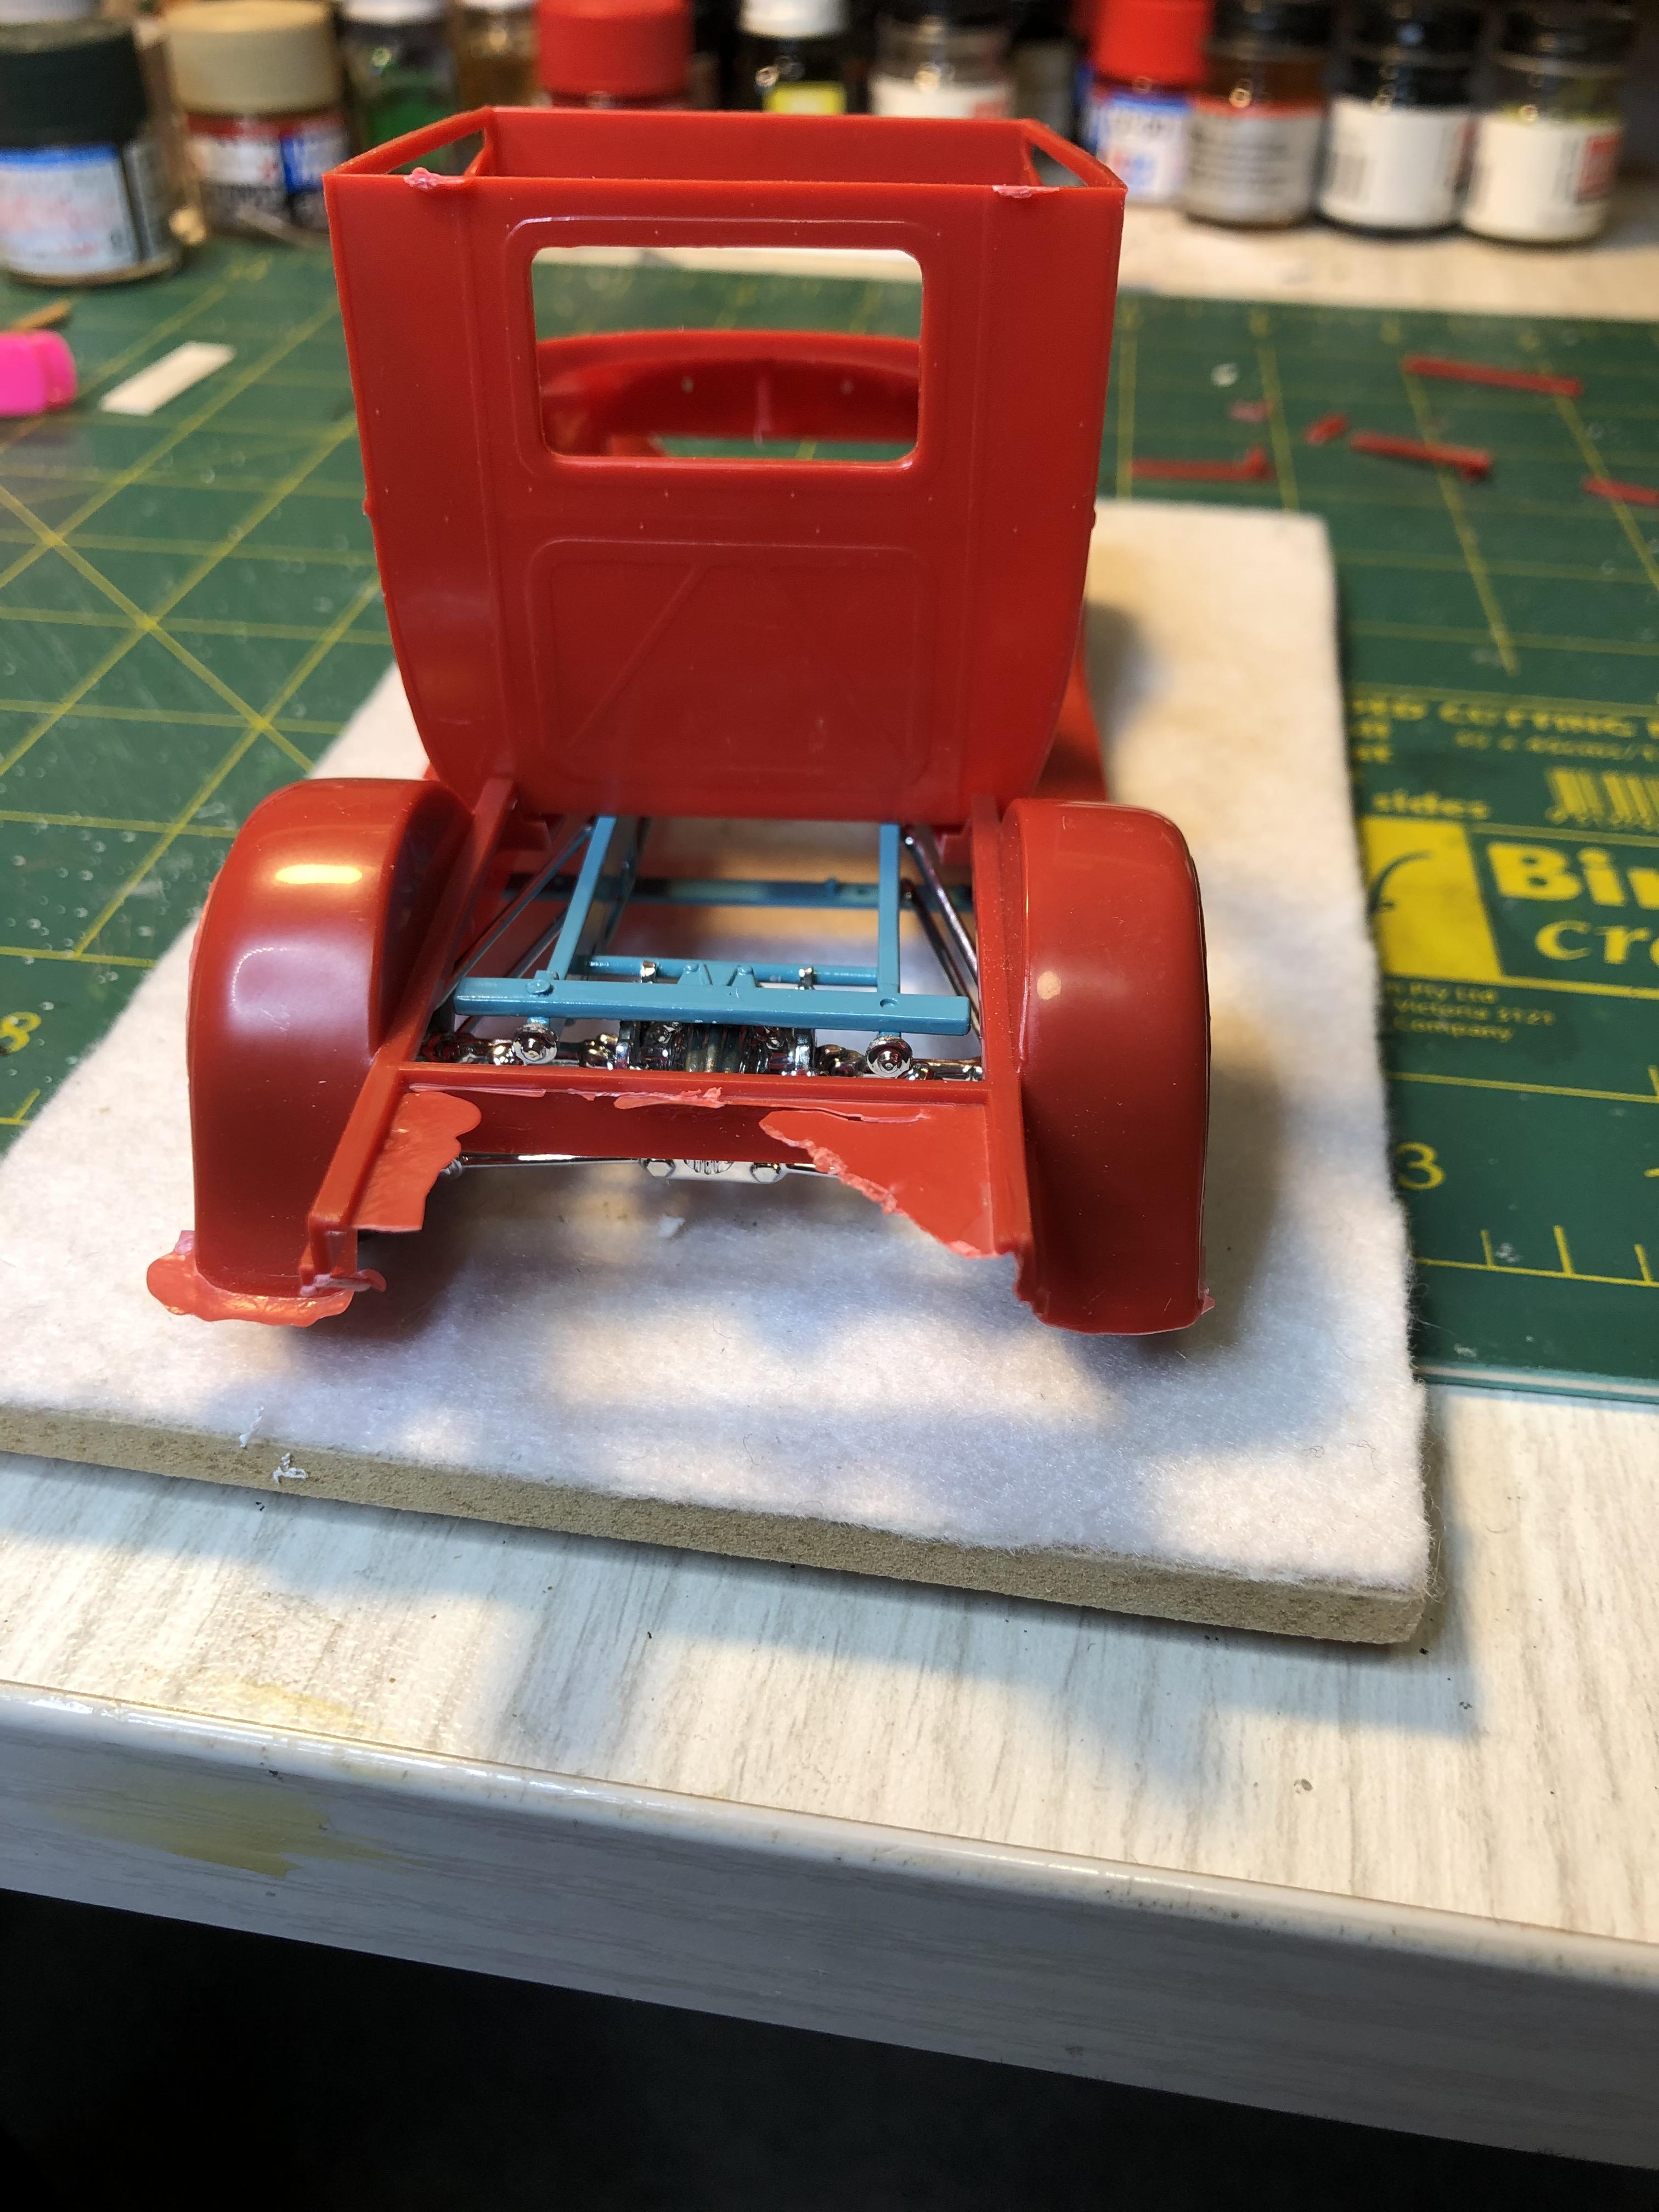
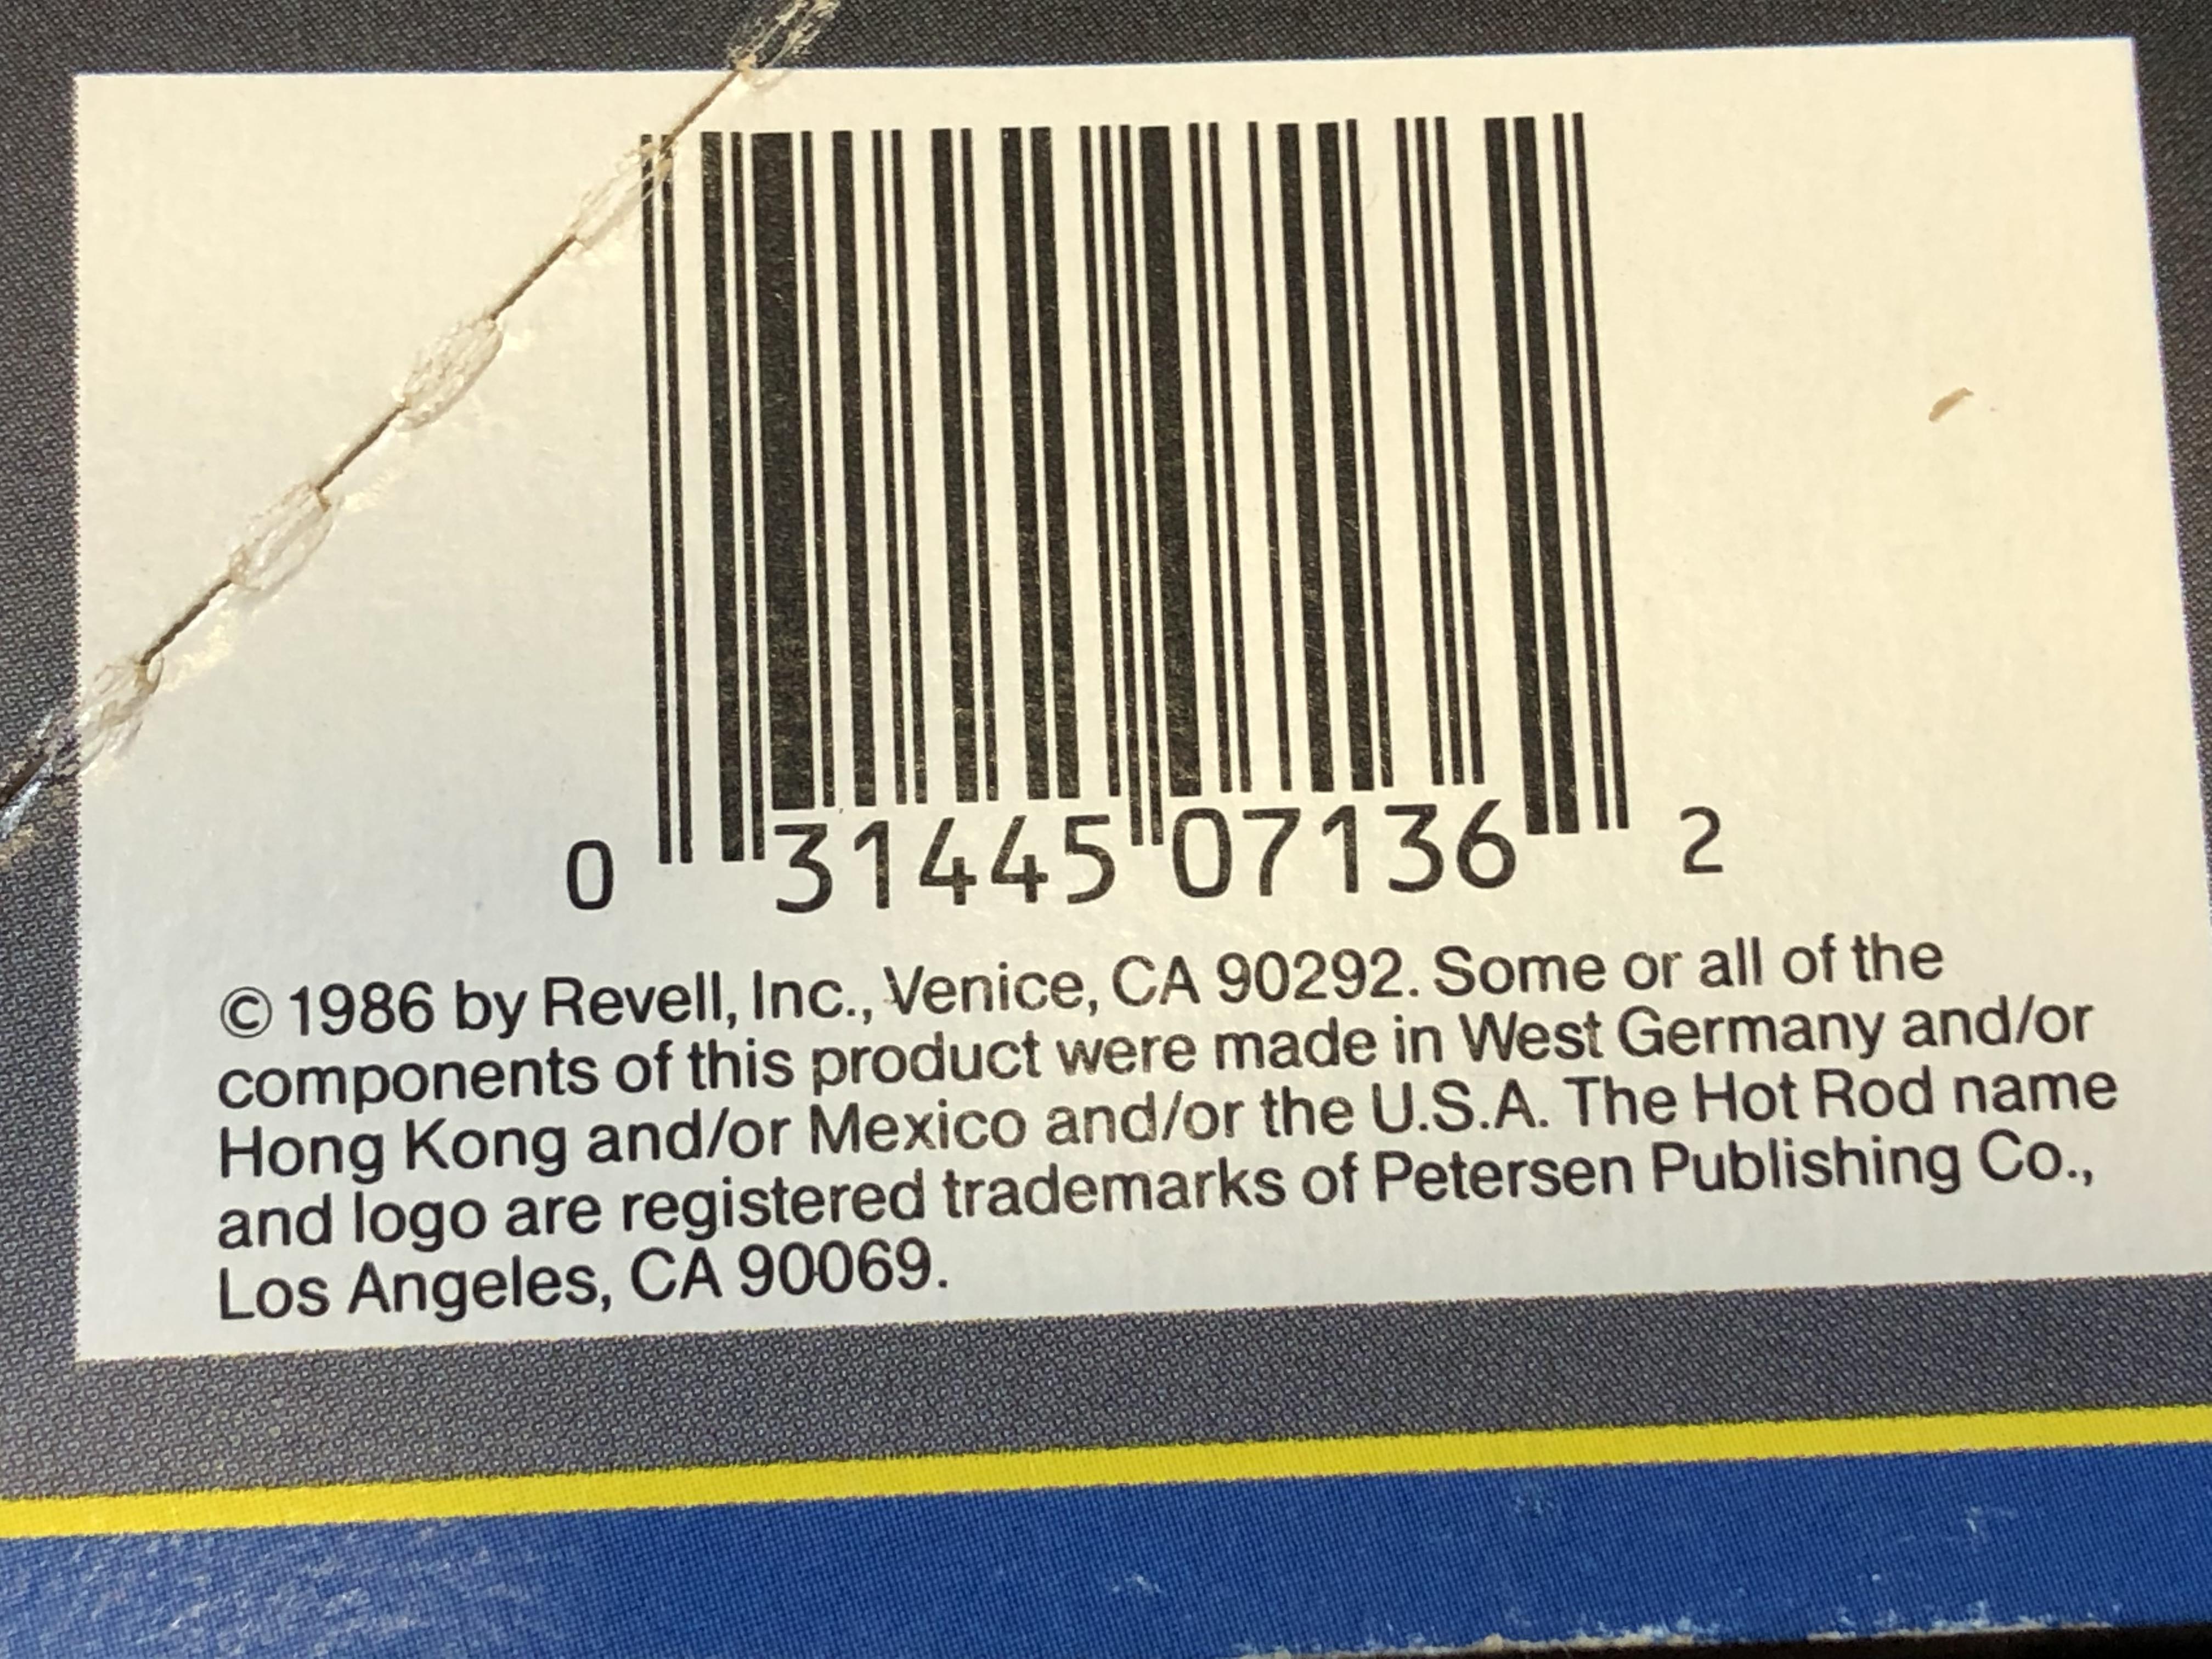
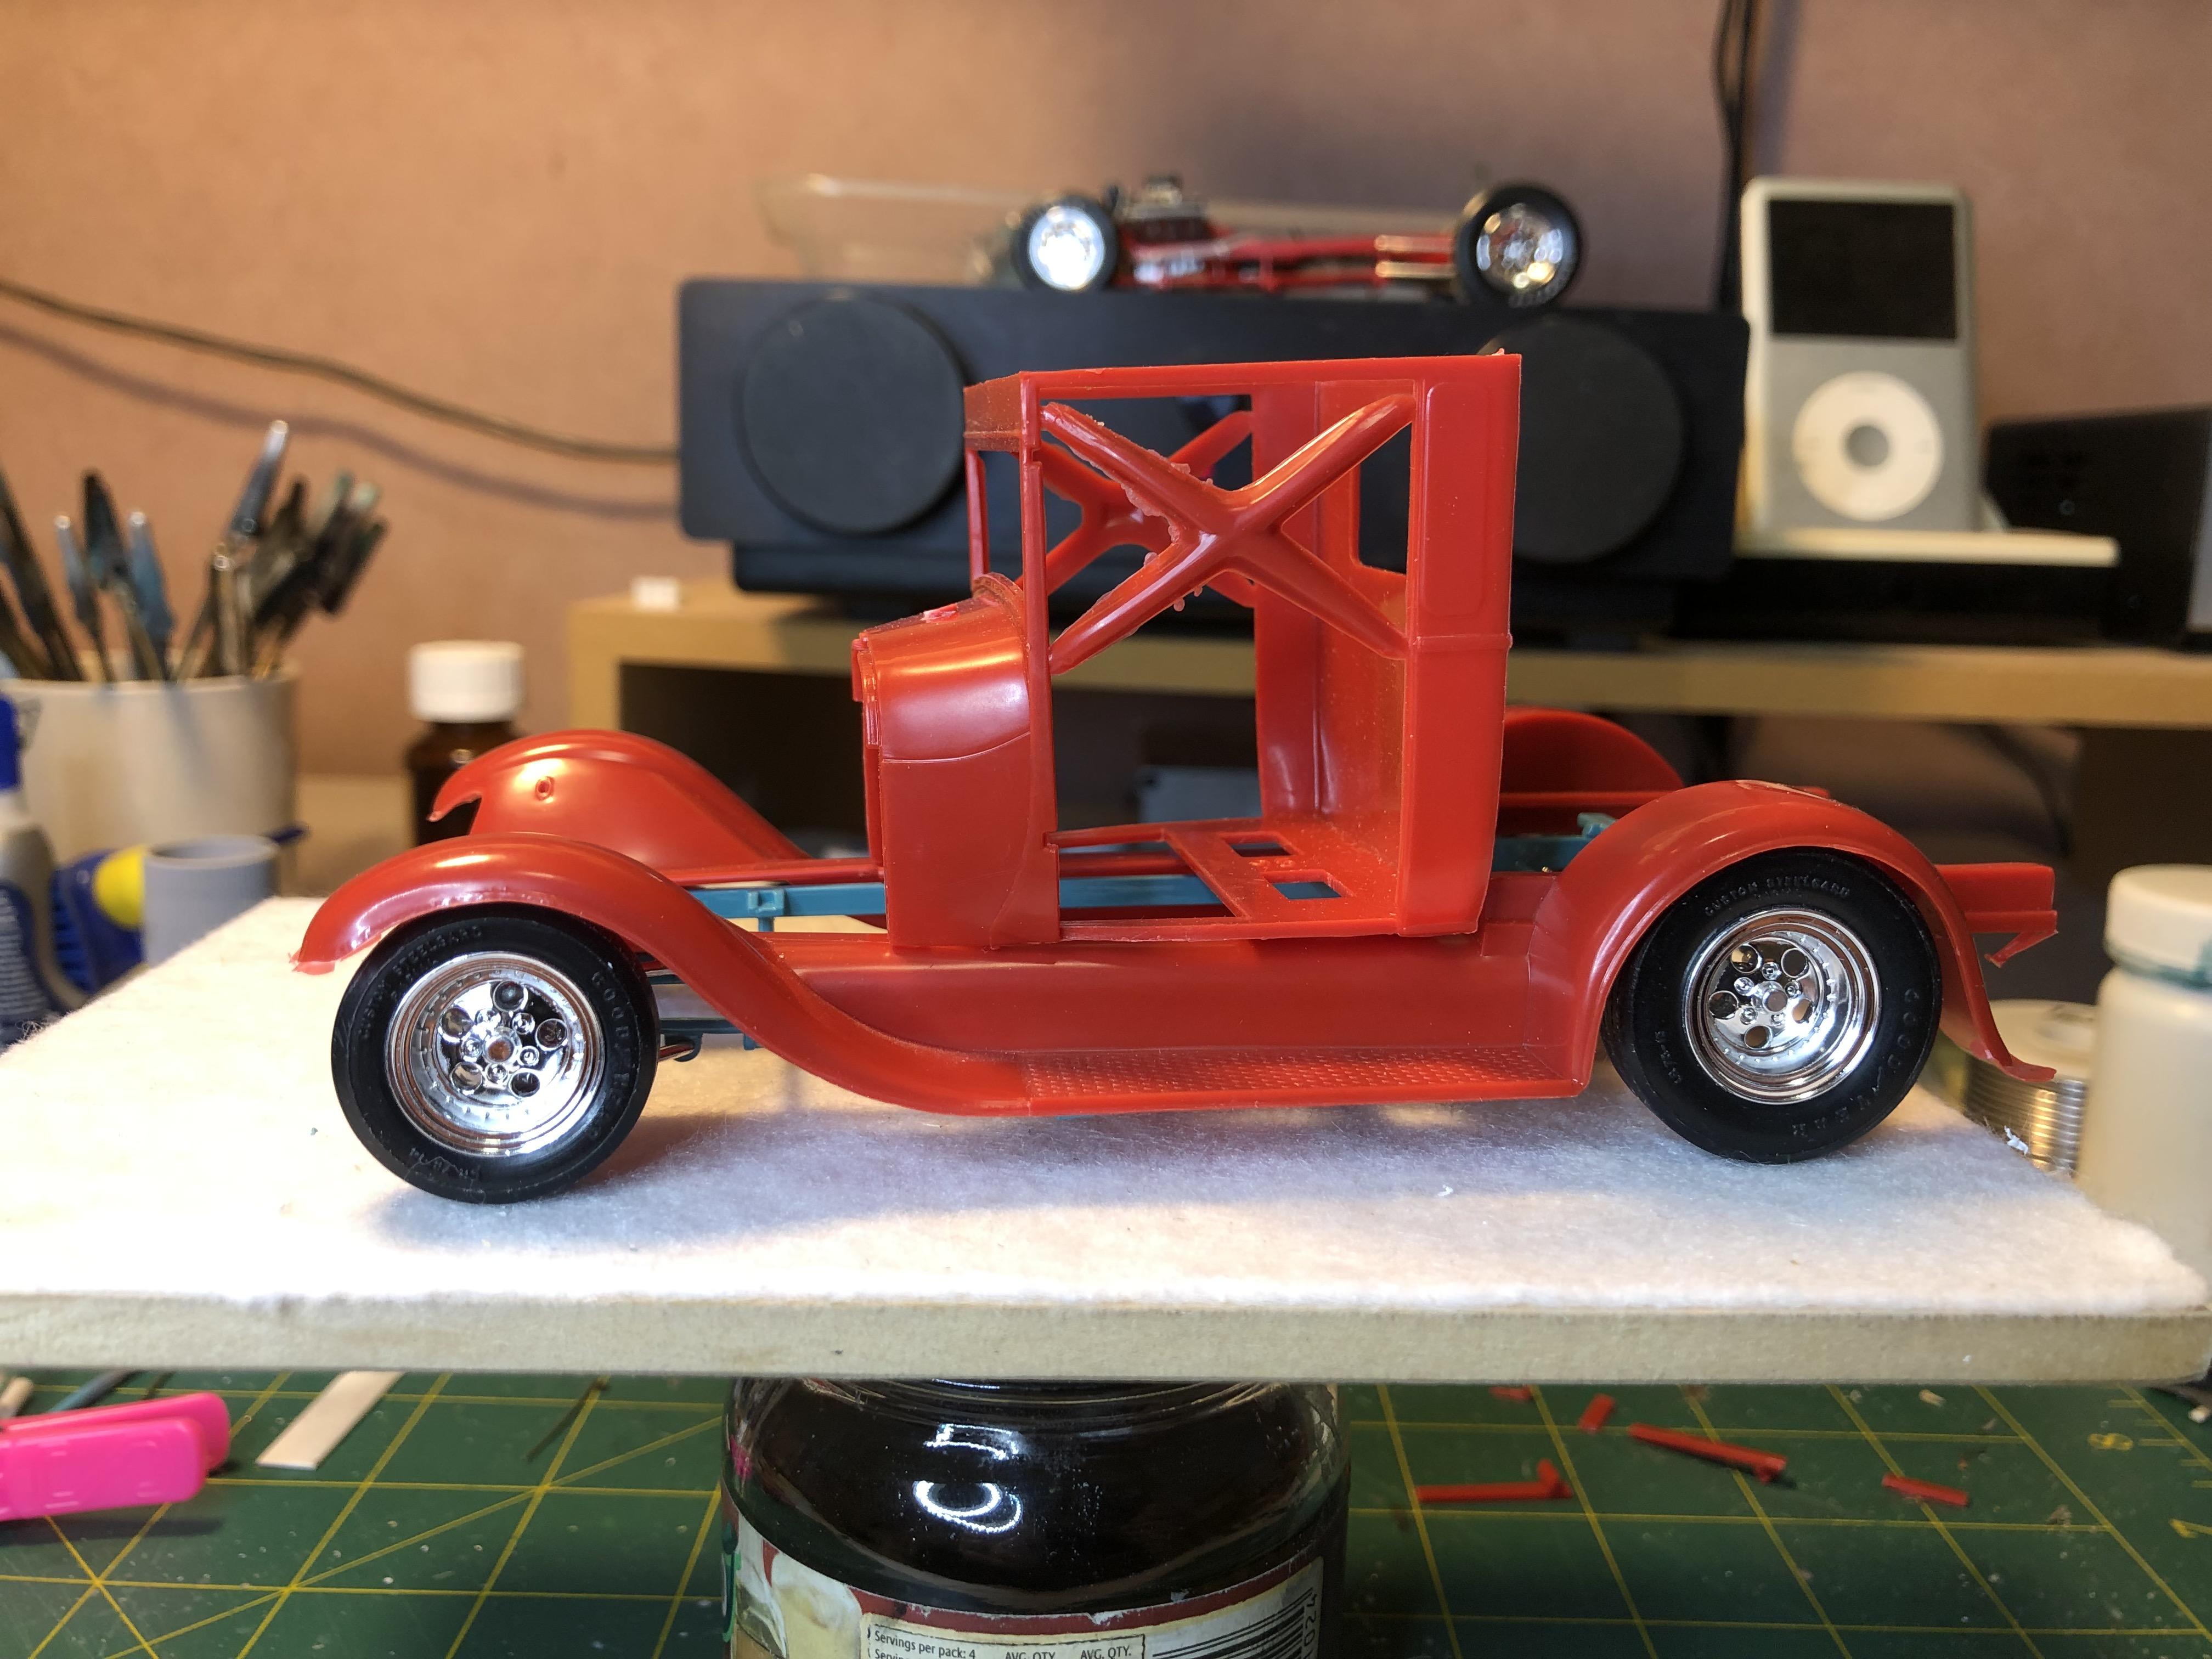
Where did mine come from. Only has date stamp on the bottom of one of the running boards. But on the box lid But wherever the kit was moulded they left behind a lot of flash Started working on stance. I had to cut a section out of the back of the cab for the raised frame rails and rear suspension link rods Also had to file a little from the front guard valance to get the front down. Sits at about 6 scale inches at the front of the running board which is low for an A-Bone Cab cuts Check out my flashy butt I had to cut away al of the bed supports from the guards to get them to sit over the frame and for the running board supports to meet up Lastly stance which is improved heaps Thanks for looking