Jump to content
Model Cars Magazine Forum

bill-e-boy

Members
  • Posts

    731
  • Joined

  • Last visited

Everything posted by bill-e-boy

  1. Bob the A-bone is coming along nicely. Sad about the windshield frame though Some kits do fight us and it seems to be those that we want to do a quick build with Battle on and hopefully there will a fix for the windshield
  2. @Kit Karson Kudos to the local model shop... is it still around? - Sadly no. That shop closed up years ago but we do still have one that opened up at about the time it closed. We have been fortunate to have a model shop in our provincial city where I live and I hope it manages to continue trading in these troubled times.
  3. @Kit Karson-KK ps did you buy your kit in country? Hi Kit - I bought kit down here in NZ from local model shop years ago - at least I am certain that's where it was sourced from The kit was opened over 20 years ago to donate the frame and other parts for the sister build of the Royce Fisher Tribute T pickup posted in this forum The left over T and A parts are mainly what I am using here. The original idea was to make a modern style pickup but I just needed the nudge to get it done So here we are............
  4. Where did mine come from. Only has date stamp on the bottom of one of the running boards. But on the box lid But wherever the kit was moulded they left behind a lot of flash Started working on stance. I had to cut a section out of the back of the cab for the raised frame rails and rear suspension link rods Also had to file a little from the front guard valance to get the front down. Sits at about 6 scale inches at the front of the running board which is low for an A-Bone Cab cuts Check out my flashy butt I had to cut away al of the bed supports from the guards to get them to sit over the frame and for the running board supports to meet up Lastly stance which is improved heaps Thanks for looking
  5. Kit - fabulous use for the extras and your work is top notch Alan - good progress too. Have not seen the Meng nuts and bolts but will search for them as they look like what we need when we deal to kits like we do I have been a little side tracked with getting my spray booth up and working and building a new office - I work from home and was using a port-a-com office but I sold that Anyway progress thus far: Filing the air cleaner to shape. I used a piece of round bar to act as a guide when shaping the ends A couple shots of the motor with air cleaner fitted with a scratch built filter element and a view of the finned oil pan The chassis is up on wheels for mock ups. I have not yet fully decided on the wheels so they have not been glued yet Which leads to a quick mock up Not happy with the too high stance of the rear so will work on that. I have started on the fire wall recess and some of the interior parts as well
  6. That is an excellent video. It reinforces a tutorial we had at the local model club I attend held by a figure painter. The interesting thing is they use huge brushes for fine detail work. The important thing to to load up the brush and shape it before application. Using smaller brushes such as 2-10/0 the same applies Often paint like Tamiya acrylics are too thick and need some thinning to work well. Water is a slower thinning medium than X20 thinners and helps. I too find that you only get one chance with Tamiya acrylic paints as any further coats tend to clump up paint application and his can be frustrating For really small detail a tooth pick is OK but I prefer a sharpened bamboo skewer - it seems to work better. Easy to clean - just wipe it off The other thing than can be done is mixing paint colours to get the exact colour you want. The tooth pick comes in handy where you put a couple of drops of colour to be mixed with one or two drops of colour B etc. I use old business cards and dish style frost plugs for bigger amounts. The frost plugs just need to be wiped off when finished with. Also keep your hands steady as mentioned in the video by grounding them on you work surface. Sometimes small items need to be held in some way so that it can be moved for working on it. Alligator clips with long handles are good for this The main thing is to practice and practice and then practice some more
  7. I am a Mopar guy and any chance to have a hehe time at the expense of Ford or Chebby guys is too much of a chance to waste. It turns the table somewhat - by putting a Ford into a Chebby. I like it LOL, more LOL and ROTFLOL
  8. I have a few over the years - a couple of Celica - a 1990 and a 1994 - both are curbside with good chassis detail A 1996+ Supra - this is full detail and a goody The above a depictions of cars that I have owned or in the case of he Supra still do The Lotus 7 is a gem but watch the rubber tires they perish with age Have built a couple of planes too which are good too I have a Jaguar Mk II yet to be built and these are full detail and are very good - one pops up here from time to time In general Tamiya is most probably one of the best if not the best model maker out there. They ditched the motorized toy thing a long time ago
  9. Great pic's - lots of inspiration Is there a trend for fenders and phat fendered ones too
  10. Spent a bit of time this morning tidying up and setting up the spray booth Front overview shot shows booth the the top, hot box at bottom right and compressor bottom left, Drawer has airbrush parts, paint bottles and general stuff The air regulator at the top is set up for two airbrushes Shot from the left shows storage bins and compressor below The hot box has a light on a dimmer and a circulation fan for paint curing - acts the same as a dehydrator I built this years ago but had to tip it on its side to work here. Just having something roomy to let the paint dry without dust getting at it is a godsend The storage are to the left has bins and space for the cyclone separator - used for purging the air brush when cleaning. It is half full of kitty liter which soaks up the liquid And finally - the spray booth in all its glory. There is a filter behind the sacrificial cloths which are held in place by six spring clips The LED strip light gives out heaps of light helped by the white walls. It has a reflector fitted so that the light does not shine into my eyes when working The booth was made up from custom wood boards then painted. The fan I have had for a while and was a NOS fan I picked up from a swap meet. The adaptor for the exhaust hose was made from a home brew kit can that was the perfect diameter for the job I am an electrician so that helped when I wired it all up The paint booth and two airbrushes are all set to go
  11. Cool work What would look real cool would be swages on the rear wheel tubs mimicking the bed swage lines - just a thought as it looks like you have the skills to do it
  12. Looking good That Testors Boyd clear is like rocking horse droppings these days - this is the perfect subject for it
  13. Bob that came out nice I have found that if you colour sand most enamels and acrylics that after the first sand let the model gas out for another day and it hardens further It is normal to see colour residue on your polishing cloth if you have not added a clear coat. You just don't see the clear on the polishing cloth
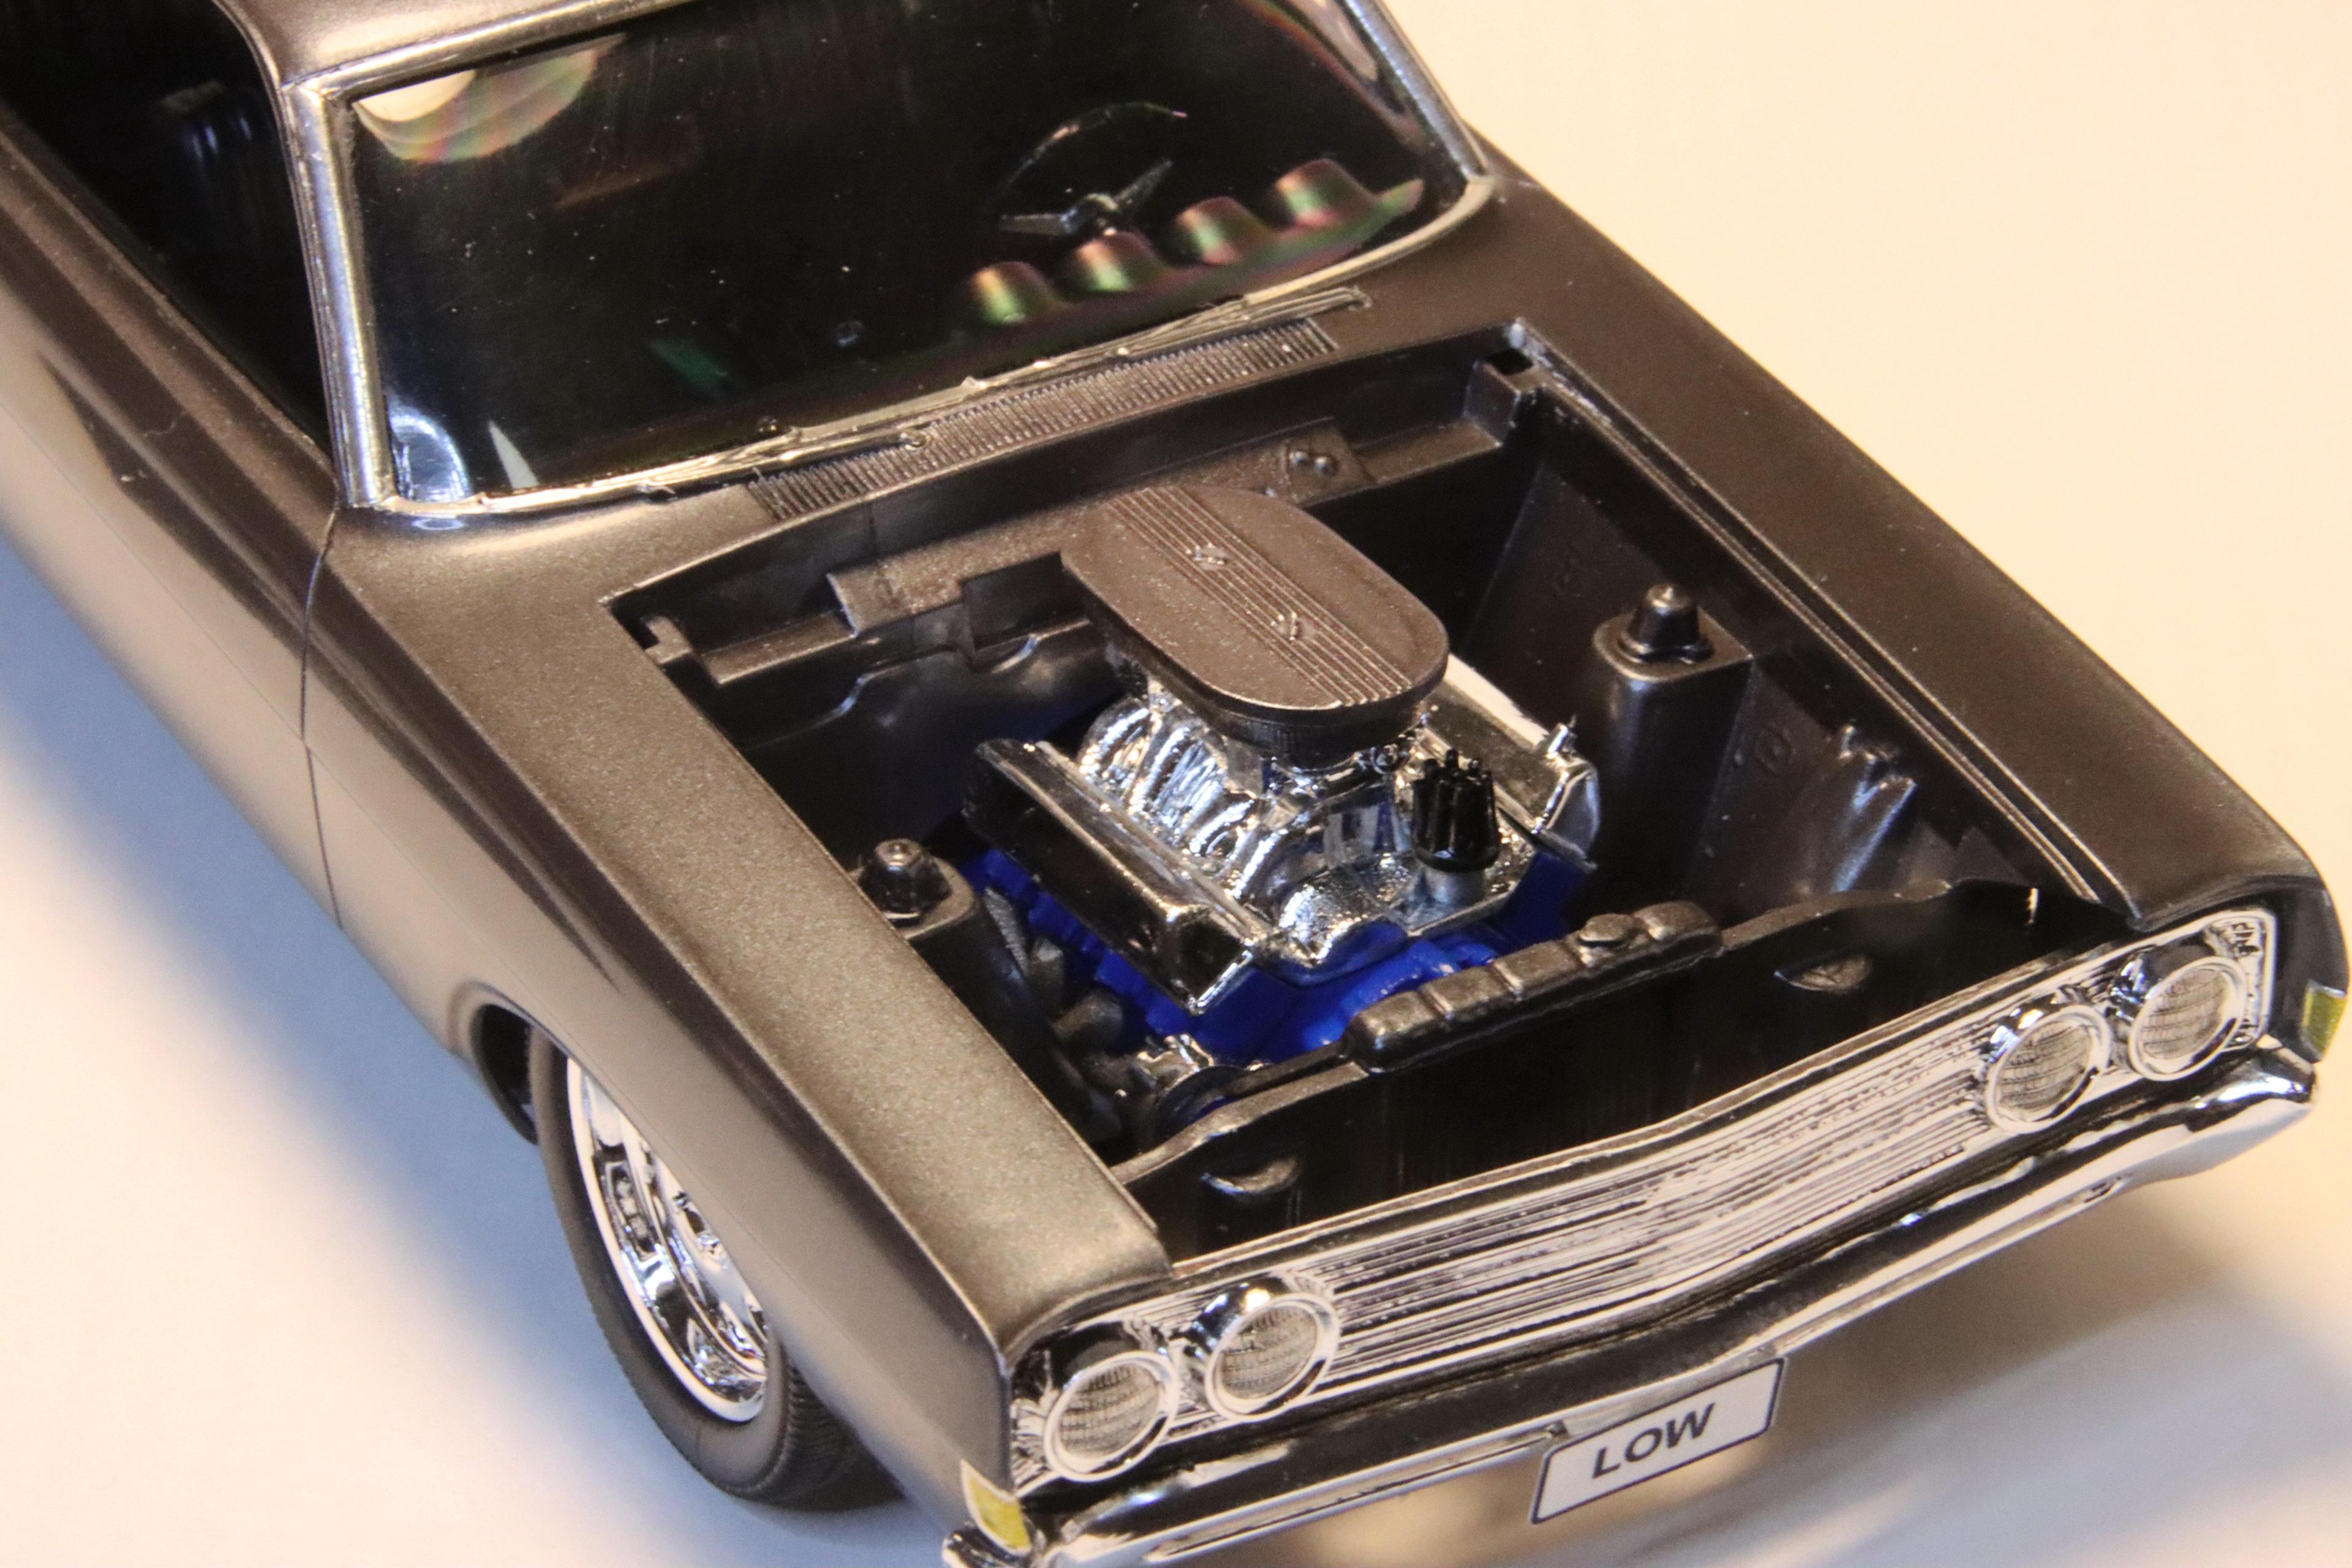
  14. Moving along nicely Kit I have been slowly beavering away The chassis components and engine are painted so have started paint detailing and engine wiring I now have a unicorn in the house A bit of stretched sprue filling the gas filler hole And have started cutting up the fire wall for recessing I feel the air cleaner in the Lil John kit is a bit small so I machined up some plastic like I did for the oil pan. Did that then had a Eureka moment and grabbed some ally flat and machined that up. Nothing beats the real deal Now I need to shape up the air cleaner and make up an air filter element More to come NNZ has just gone into total lock down - we now have community Covid cases in Auckland - we haven't been in a total NZ wide lock down for over 12 months Hope it does not last too long
  15. My condolences as well Dave Back to the subject at hand - I recently used some square bottle Testors paint. Testors was the go to paint before it became hard to find down this end of the world - we lost ready access to it about 10 years. I have quite a stash of both the small square jars and the bigger round bottles. My method is to thin with either the Testors thinner in the metal can or generic lacquer thinners at a ratio of 1 paint to 1 1/2-2 of thinners. I spray at 25psi and first coat is a mist coat progressing to heavier coats. Coats are about an hour apart Object being sprayed goes into the hot box along with the paint jar. My hot box is a cube box about 400mm cube with a 40W lamp on a dimmer. I have been using this box since the mid 80's. Object is hot soaked with lower heat overnight and colour sanded with 1500 grit before final coat or two then straight into clear coat. With the thinner paint there is little orange peel to knock back when final colour sanding and polishing after a weeks cure time. This works for me and I have been using this method with Testors paints for a while now - it was interesting to read of methods of other people a while ago in another source and in this thread. Of note with thinners - Lacquer thinners - This is hot and the paint touch dries to the touch quicker but takes almost as long to cure as when used with Testors thinner Testors thinners - A cooler thinner and does work with leveling out as I don't seem to remember having to work as hard colour sanding as I do when using lacquer based paints White Spirits/Lighter Fluid - Not sure what it is called in US but can also be used as a thinner for Testors. White spirits is a little hotter than Testors thinners. I used to use it with Humbrol paints - which we can still get - before Testors became available to us down here in NZ Mineral Turpentine - Cure time is too slow so I don't go there. Too much drying time for greeblies to find their way into my pristine paint job
  16. If it is the AMT Merc it came with a big block Mopar engine as an option to the flathead motor. So thinking along these lines an FE should fit OK and the Boss 427 which are as big in real life as an FE should OK too The old story - dump a chebbie into a Ford or anything else but a Mopar - but a Mopar can go into anything. A good rule to remember lol
  17. Need to get me some e7 sealer Have read about it but have just procrastinated about it I prefer Molotow to other chrome paint systems I have tried so far
  18. 1- Do you just spray the Molotow straight? I assume any form of thinning is bad. Yup - straight through the air brush with no thinners 2- What should you use to clean your airbrush after using Molotow? I use roller and brush cleaner which may not be available in the US - lacquer thinners works OK too 3- What do you use to clean the airbrush after using the sealer you showed? I haven't used clear coat yet so cannot answer. But take heed of above advise - let it dry for at least a week before handling 4- What is the best way to purchase Molotow for airbrush use? Is there something better than the refill bottles like shown in the pic below? Get the 30ml refill bottle and it pour straight into you paint cup Spray at lower pressures too - 15-20psi The 56 Nomad front bumper shown below was sprayed with Molotow after I tucked it into the body And yup it has a 409 in it, lol
  19. If it has a hole taper some sprue and wedge it in there If it has a tab that wont be seen or an unseen area such as a seat glue on a piece of sprue Then you can hold with an alligator clip on a stick - this keeps you hands out of the way of the paint stream Or you can hold part on a tab by the clip sick I use a piece of waste wood with many holes drilled in it to hold the alligator clip sticks while paint dries As in pix In my case the sticks for the clips is bronze welding wire that I had at the time but a wooden skewer works just as well and is cheaper
  20. Hi Alan This is looking bitchin already - cant wait for the next installment Cheers Bill
  21. This is my take on a spray booth Base is made from 38x38x3mm square tube - I copied the base I made for my mini lathe The body is 18mm MDF that has been painted white It has a 100mm deep drawer to hold all the BLAH_BLAH_BLAH_BLAH that goes with an air brush The fan is from ??????? - it is old and has never been used - just had to source a capacitor for it The light is left over from a job - I am an electrician The filter is the same as what is used in the house ventilation system - so the thought is to repurpose the filter after it is has been changed in the house. The blue stuff is a sacrificial pre-filter - cheap crappy towel that comes on a roll Work to do yet is to sort out the exhaust tube and mount up my hot box. The hot box needs to be modified with a side opening door rather than a top hinged as at present
  22. Kit - like what you are doing with the trailer Tim - thanks for kind words have been busy with another project but managed to get some colour onto the chassis and motor and bits and pieces. Clear coat as well. Here they are sweating it out in my hot box !! The other project is this The spray booth is almost done so I can go back to some modeling. It has been one of those bucket list things to get done - I have been collecting bits for a while so the only thing left to do is to incorporate the hot box below the spray booth part
  23. Also when you say 2000 grit you mean just regular ole wet & dry? Yup - I nearly always start with that then move on up to the finer grit sizes In the bad old days we started with 2000 grit then sanded to 2000 grit on other piece of 2000 grit to get a finer cut then onto polish compound then carnuba wax Pretty much the same as now but we have access to nice stuff like micro-mesh
  24. Yes you can Wait for about a week then hit it with 2000 grit sandpaper wet with a little wash up detergent then put it aside for a day or more to let it continue to gas out Then use your grits up to what you would normally use then let it gas out some more before hitting it with polish I have found that it is not quite as glossy after colour sanding as some other paints do but it does come out OK The problem is the Tamiya acrylic paints do not dry hard for ages so you need to let it gas out between steps. It does gas out faster after the first step This how I have done it in the past and have found from experience that you cannot rush the job Pix below is of 29 Roadster with solid blue using the above method - no clear used either
  25. Tim - I remember always looking forward to reading the column in Street Rodder - Bill was a good story teller On with my build - I was not happy with the Revell take on the finned oil pan on the motor. I can se how this came about due to the shape of the motor as it was moulded in two halves with the oil pan incorporated with the motor. Answer was to machine up a block of plastic to represent the fins and to glue that ono the motor and shape it up. Un fortunately the Cobra script got sanded off in the shaping process. Pix are of milling the fins and the motor with fins added Milling the fins The chassis is now in primer and waiting for some small additional filling waiting to dry before final sand The next on the list was a colour - not happy with a clone pink - times have moved on from the 80/90's Looked at the new lacquer options from Tamiya and nothing turned my crank other than a dark blue metallic so I got some but still not overly happy. I dug out my stash of old Testers enamels and found a few bottles of Boyds Pacific Blue - that ticks a few boxes - Boyd Coddington the famous billet rod builder, colour choice period perfect and the enamel medium suits the time period So next step finishing prep work on the chassis and getting some colour laid down thanks for looking
×
×
  • Create New...