bill-e-boy
-
Posts
853 -
Joined
-
Last visited
Content Type
Profiles
Forums
Events
Gallery
Everything posted by bill-e-boy
-
Revell 29 ford roadster end of 21 build “finished”
bill-e-boy replied to Bullybeef's topic in WIP: Model Cars
Looking good Bill - an easy swap that builds into an old timey rod I did an AV8 conversion when the kit was first released - the one with the nailhead motor -
I was attempting to drill the column turn and shift levers but it all went pear shaped. Back to square one unfortunately I need to invest in some PCB drill bits to do this as suggested by Daniel above - the search is on
-
64 Dodge D100 Pickup Pro Street
bill-e-boy replied to AmericanMuscleFan's topic in WIP: Drag Racing Models
Hi Francis I have just come to this through another post. Such amazing work happening here I have a Unimat 3 lathe/Mill that is similar in size to the Sherline. Your work is an inspiration to me to further my machining experience beyond the little parts I have done to date. I doo find that I machine a lot of small parts to replace chunky model parts in the kits I build - mostly hot rod And Happy New Year to you and all your followers - New Years Day is nearly over here in NZ Cheers Bill -
Noel Those hoops look amazing The are on my to do list but it will happen I googled the Unimat 4 and it looks like a re-motored Unimat 3 with a different paint job. If as good as the "3" an amazing machine I have re-motored mine with the smallest 3 phase motor I could find and an inverter - instant control of speed from zero to 8000rpm - max hertz set at 80hz No changing belts/pulleys - I now use the original motor on the milling attachment
-
Question: best way to mask interiors for painting?
bill-e-boy replied to customline's topic in Tips, Tricks, and Tutorials
To make it easier with the tub interiors I have cut the side walls off to detail these I did this with a 56 Dodge custom Royal Lance resin kit I did a little while ago And Tamiya tape is the go to for this. Foil can pick up paint when you remove the foil - not a great moment when that happens Steve G is the master and and seeing his interiors gives me hope
-
*56 Ford Truck Pro Street*
bill-e-boy replied to Zippi's topic in WIP: Model Trucks: Pickups, Vans, SUVs, Light Commercial
Looking good Bob - the shine is not too much - a bit like unpolished gloss. Just need a refrigerator company logo to finish it off. lol -
A great job Alan - on my wish list to do some day I like you burnt Ozzy grass for your phot shoots. Also makes a difference seeing right hook hot rod too as most kit builders down this end of the world , me included, leave them LHD
-
Nice looking chop job. Metallic paint can be a bitch at times though That would be a hairy ride with an elephant and cross plies out back lol
-
I apologise if I used any unclear words or phrases but I include the following: "In the following I make no excuse for using tech talk when describing machining operations " But yup I suppose we Kiwi's do use words or phrases different to people from other countries and backgrounds Just you guys in the northern hemisphere are living in a world upside down to us LOL
-
Thanks for the kind word guys The reason for machining in ally was I am building a billet hot rod Steve - your work is outstanding - I too have made columns from plastic when I need to paint them, but yours are way ahead of what I have done Having a lathe has added more dimension to my model building - its the small things that when machined make a difference to the process of building models
-
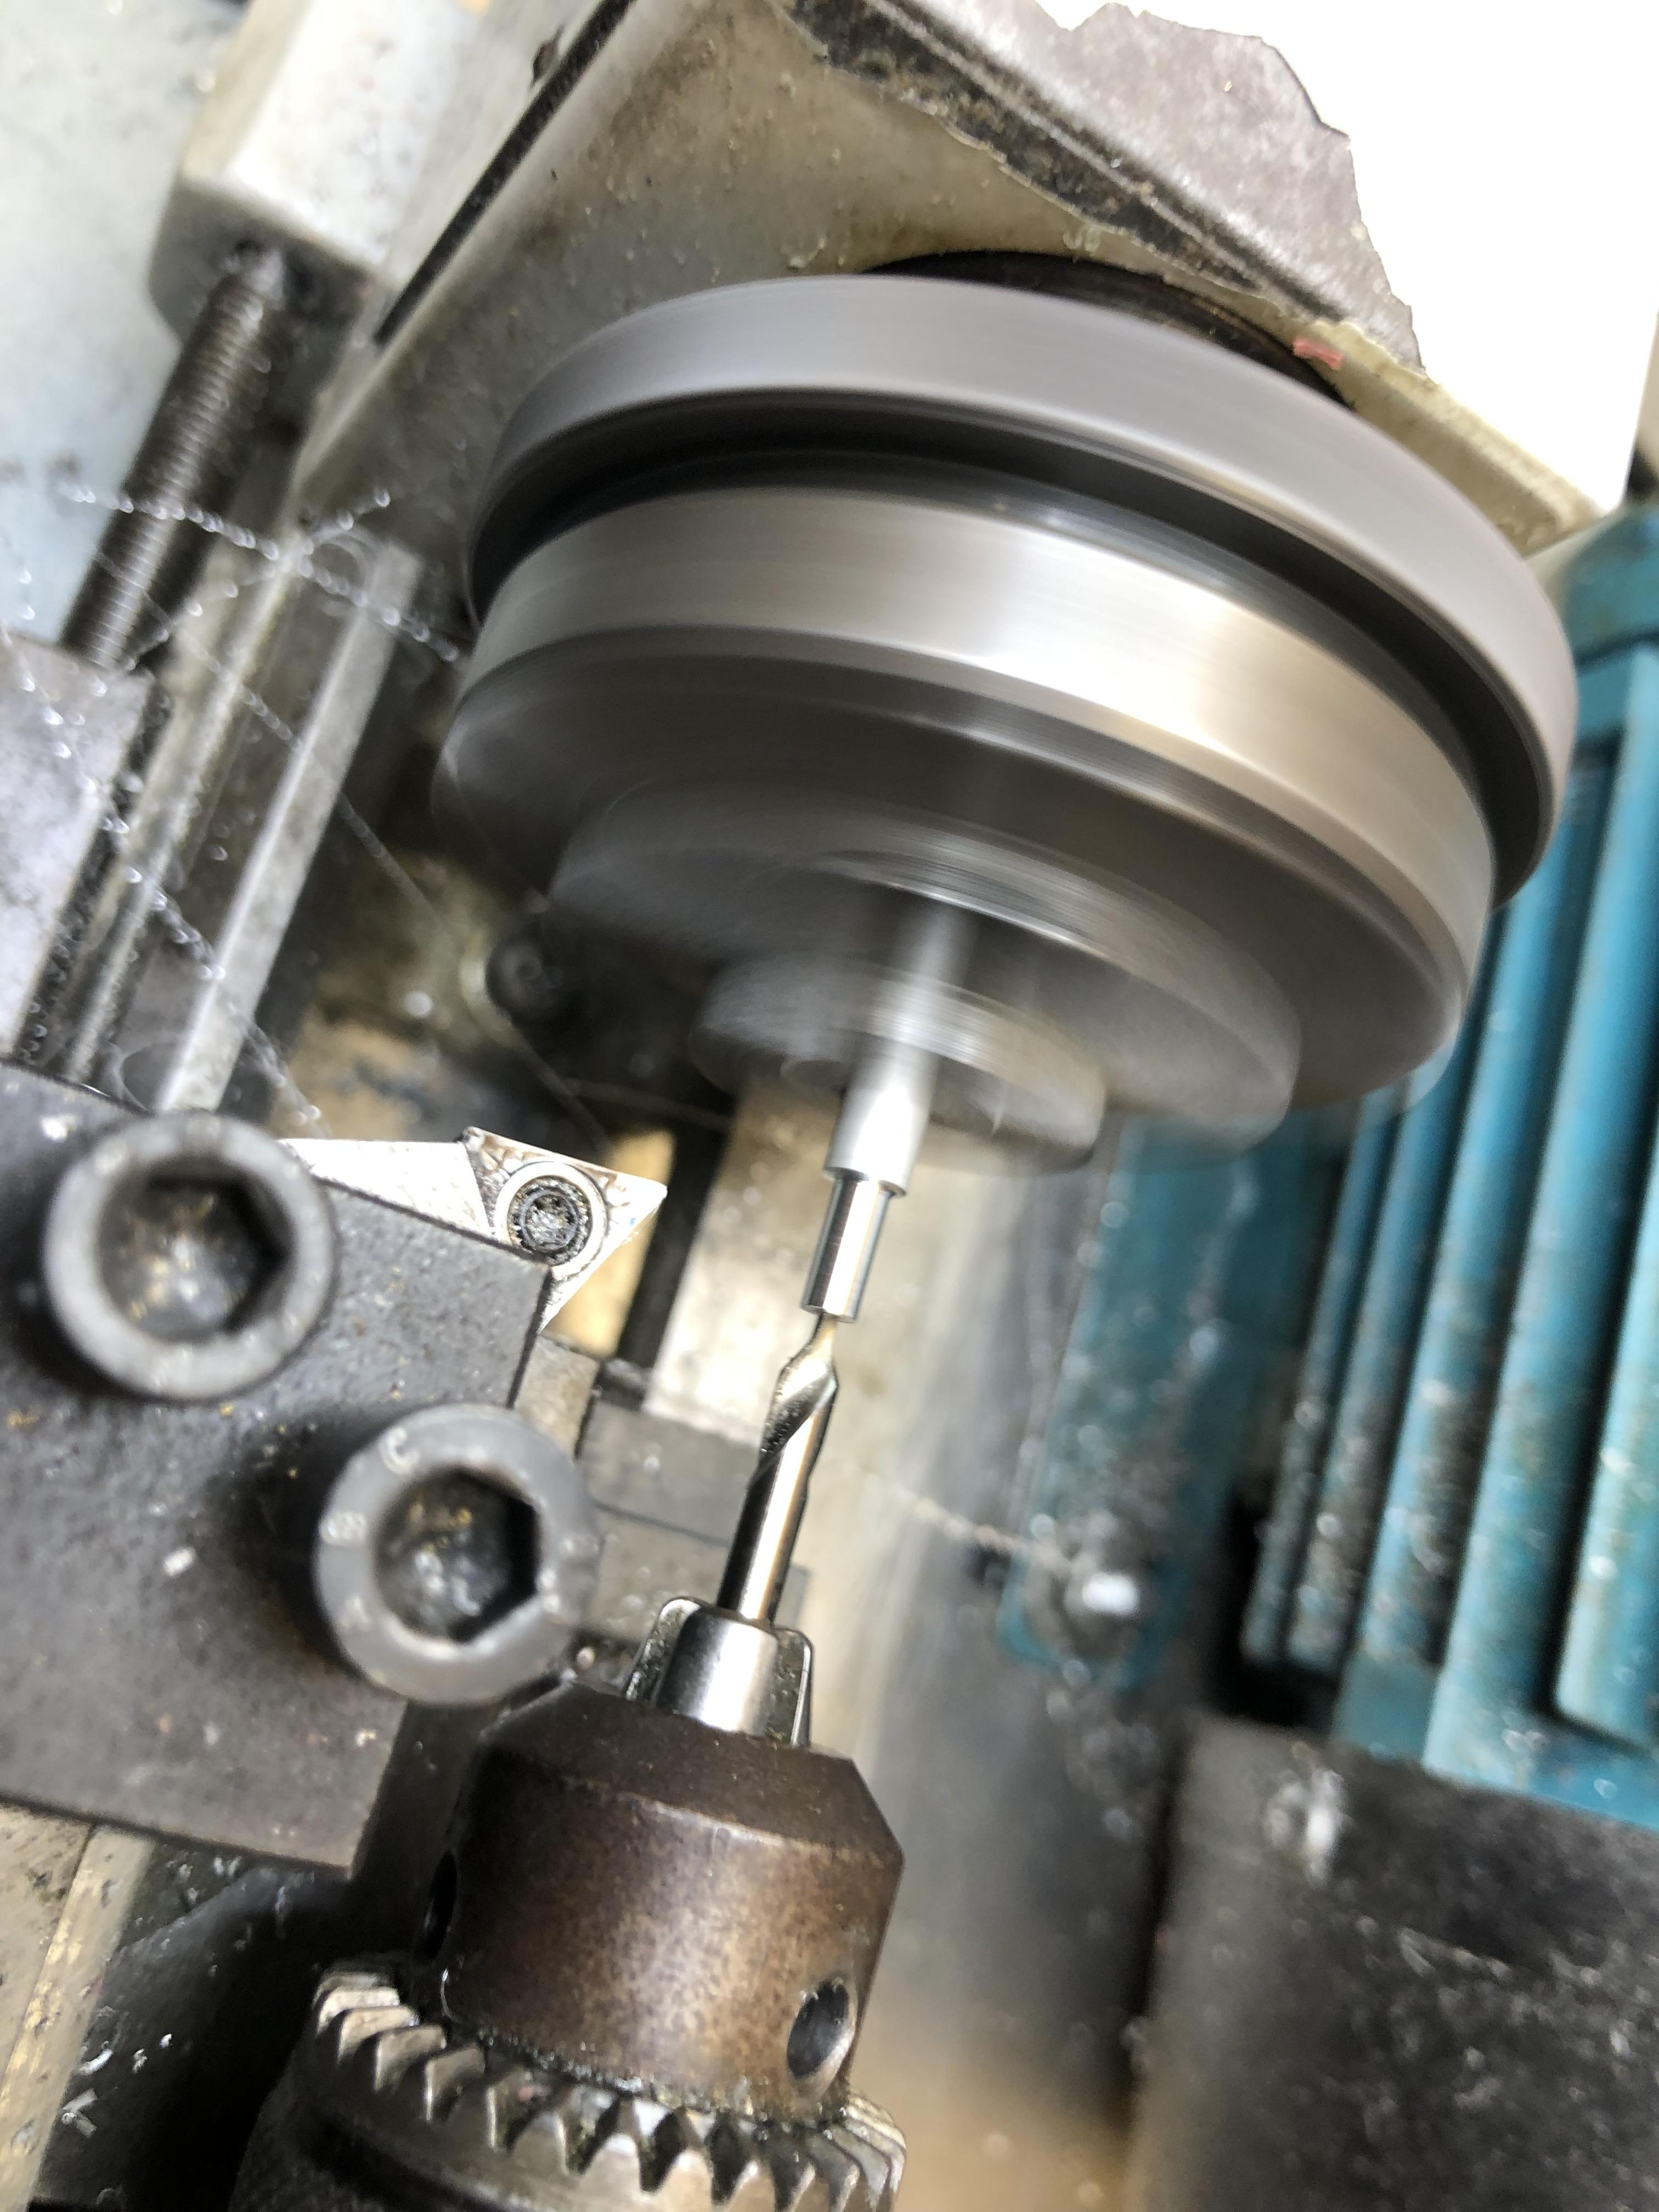
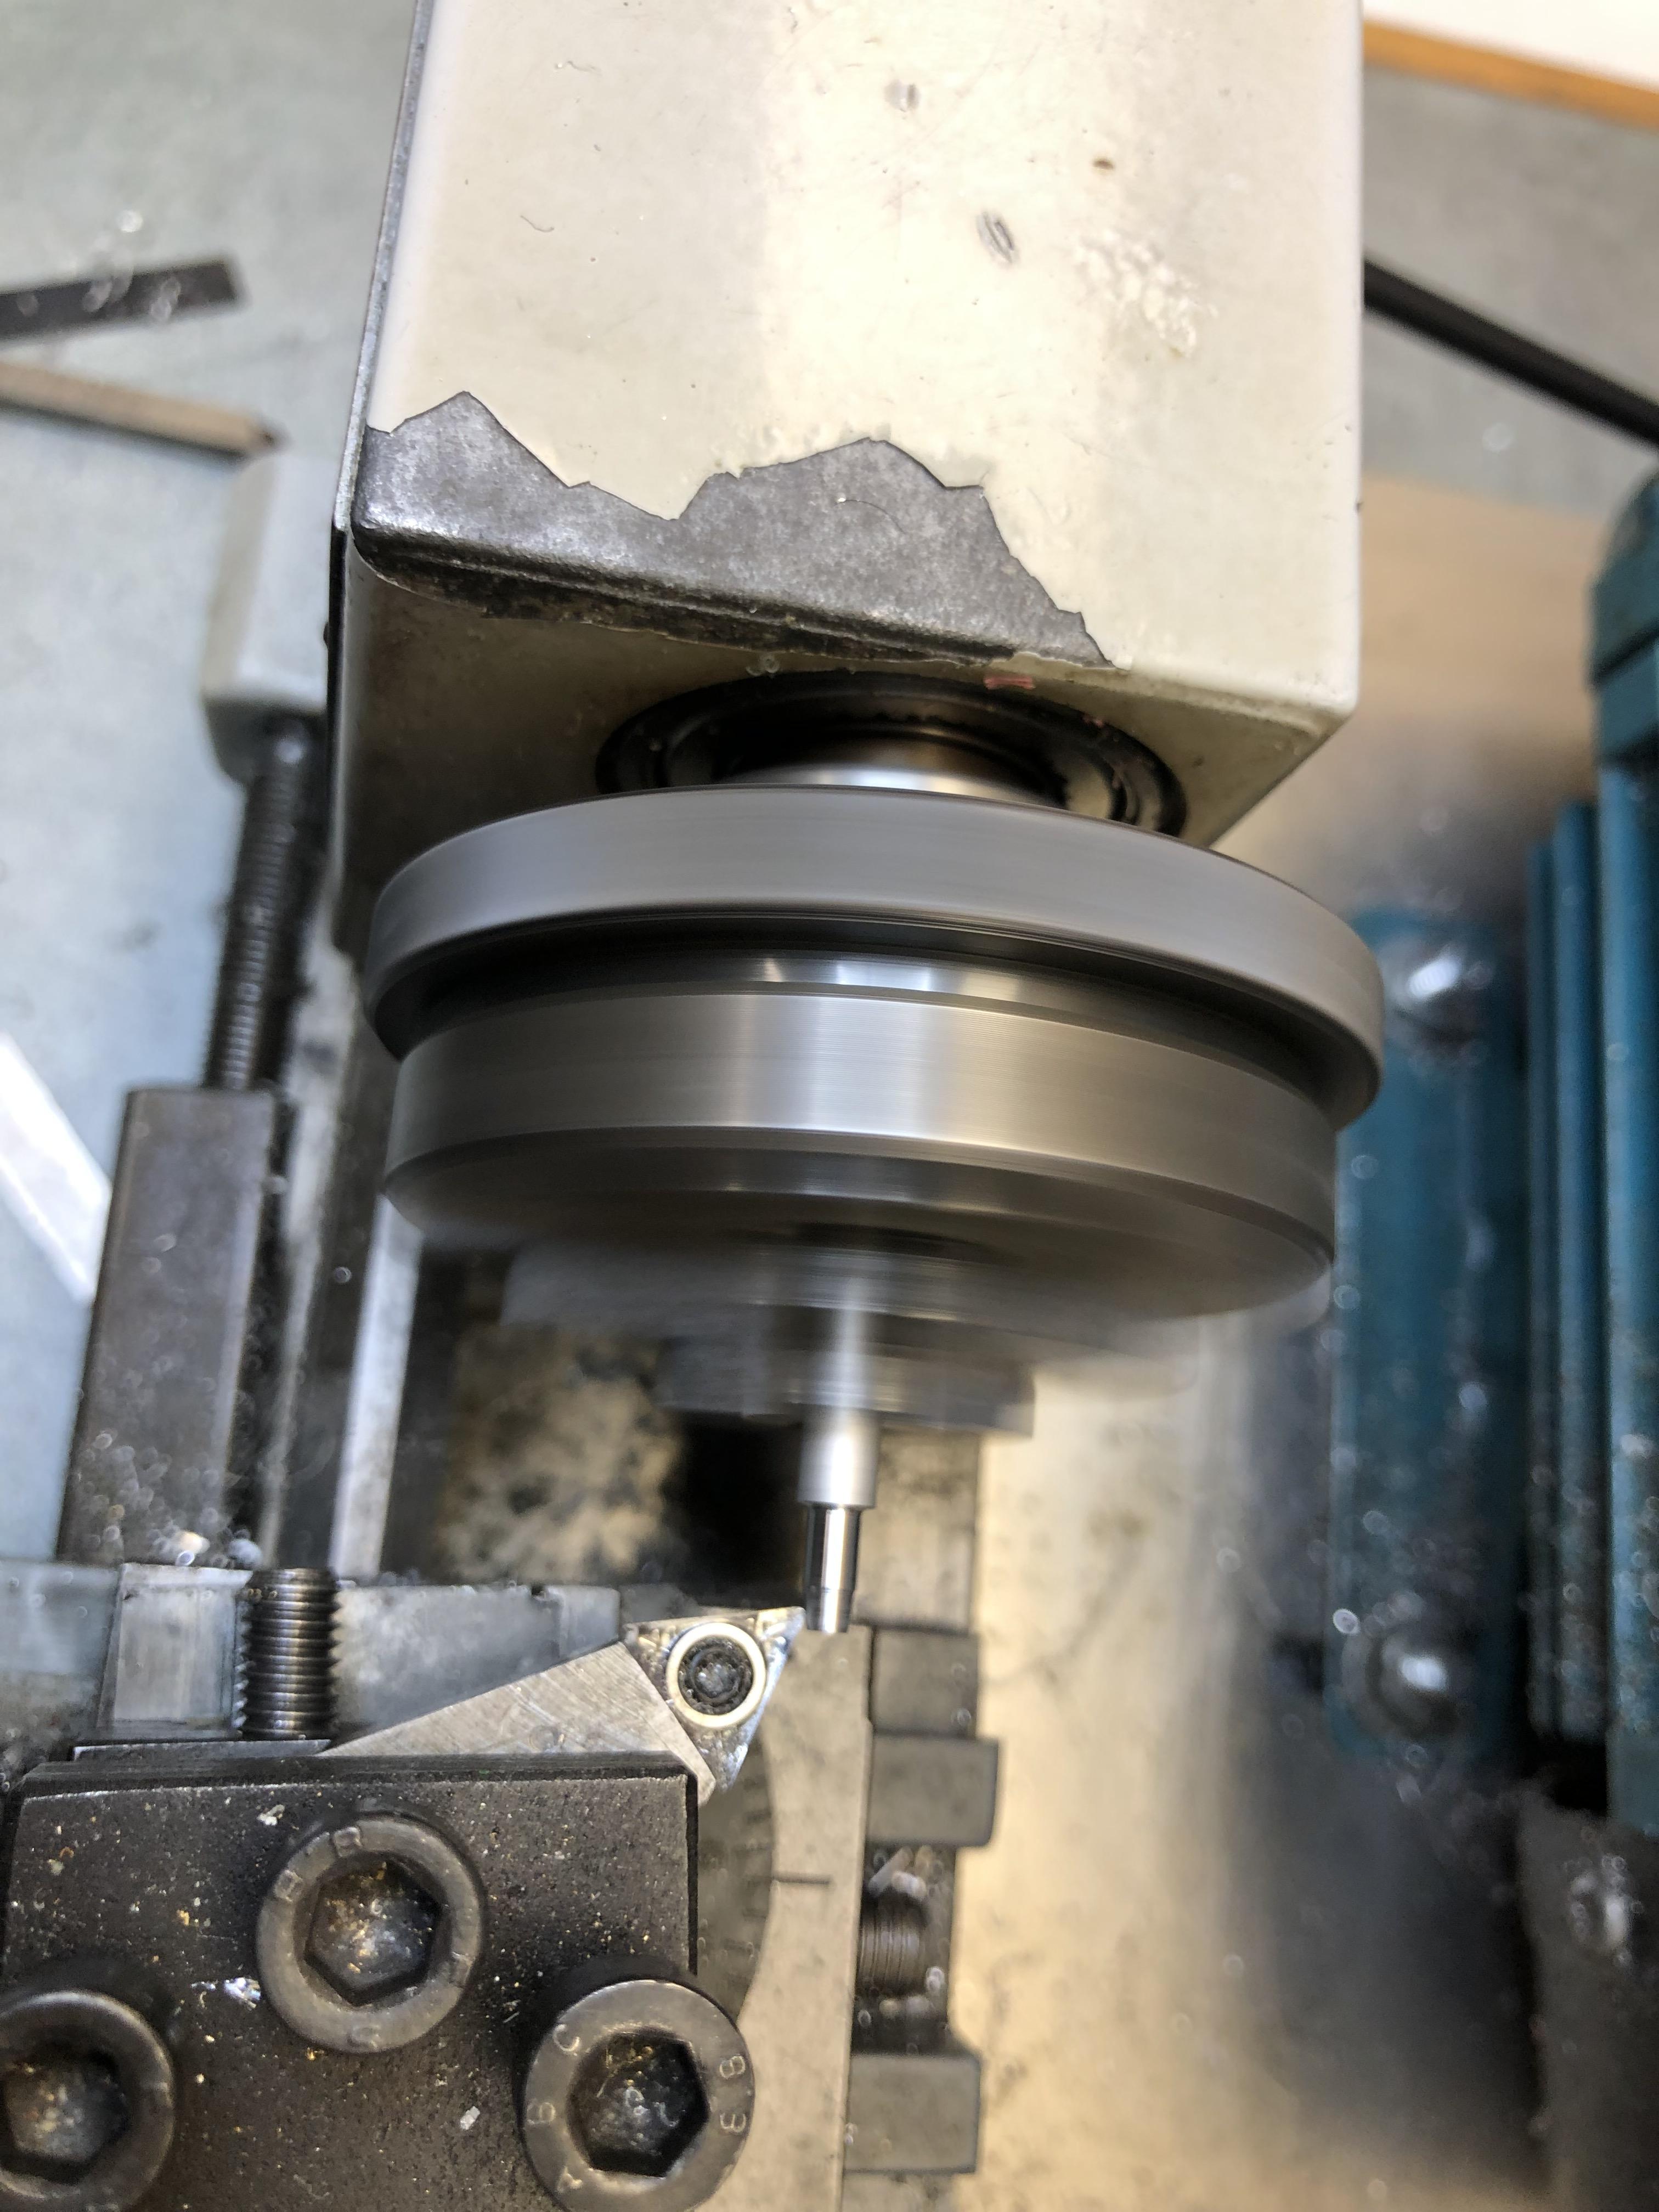
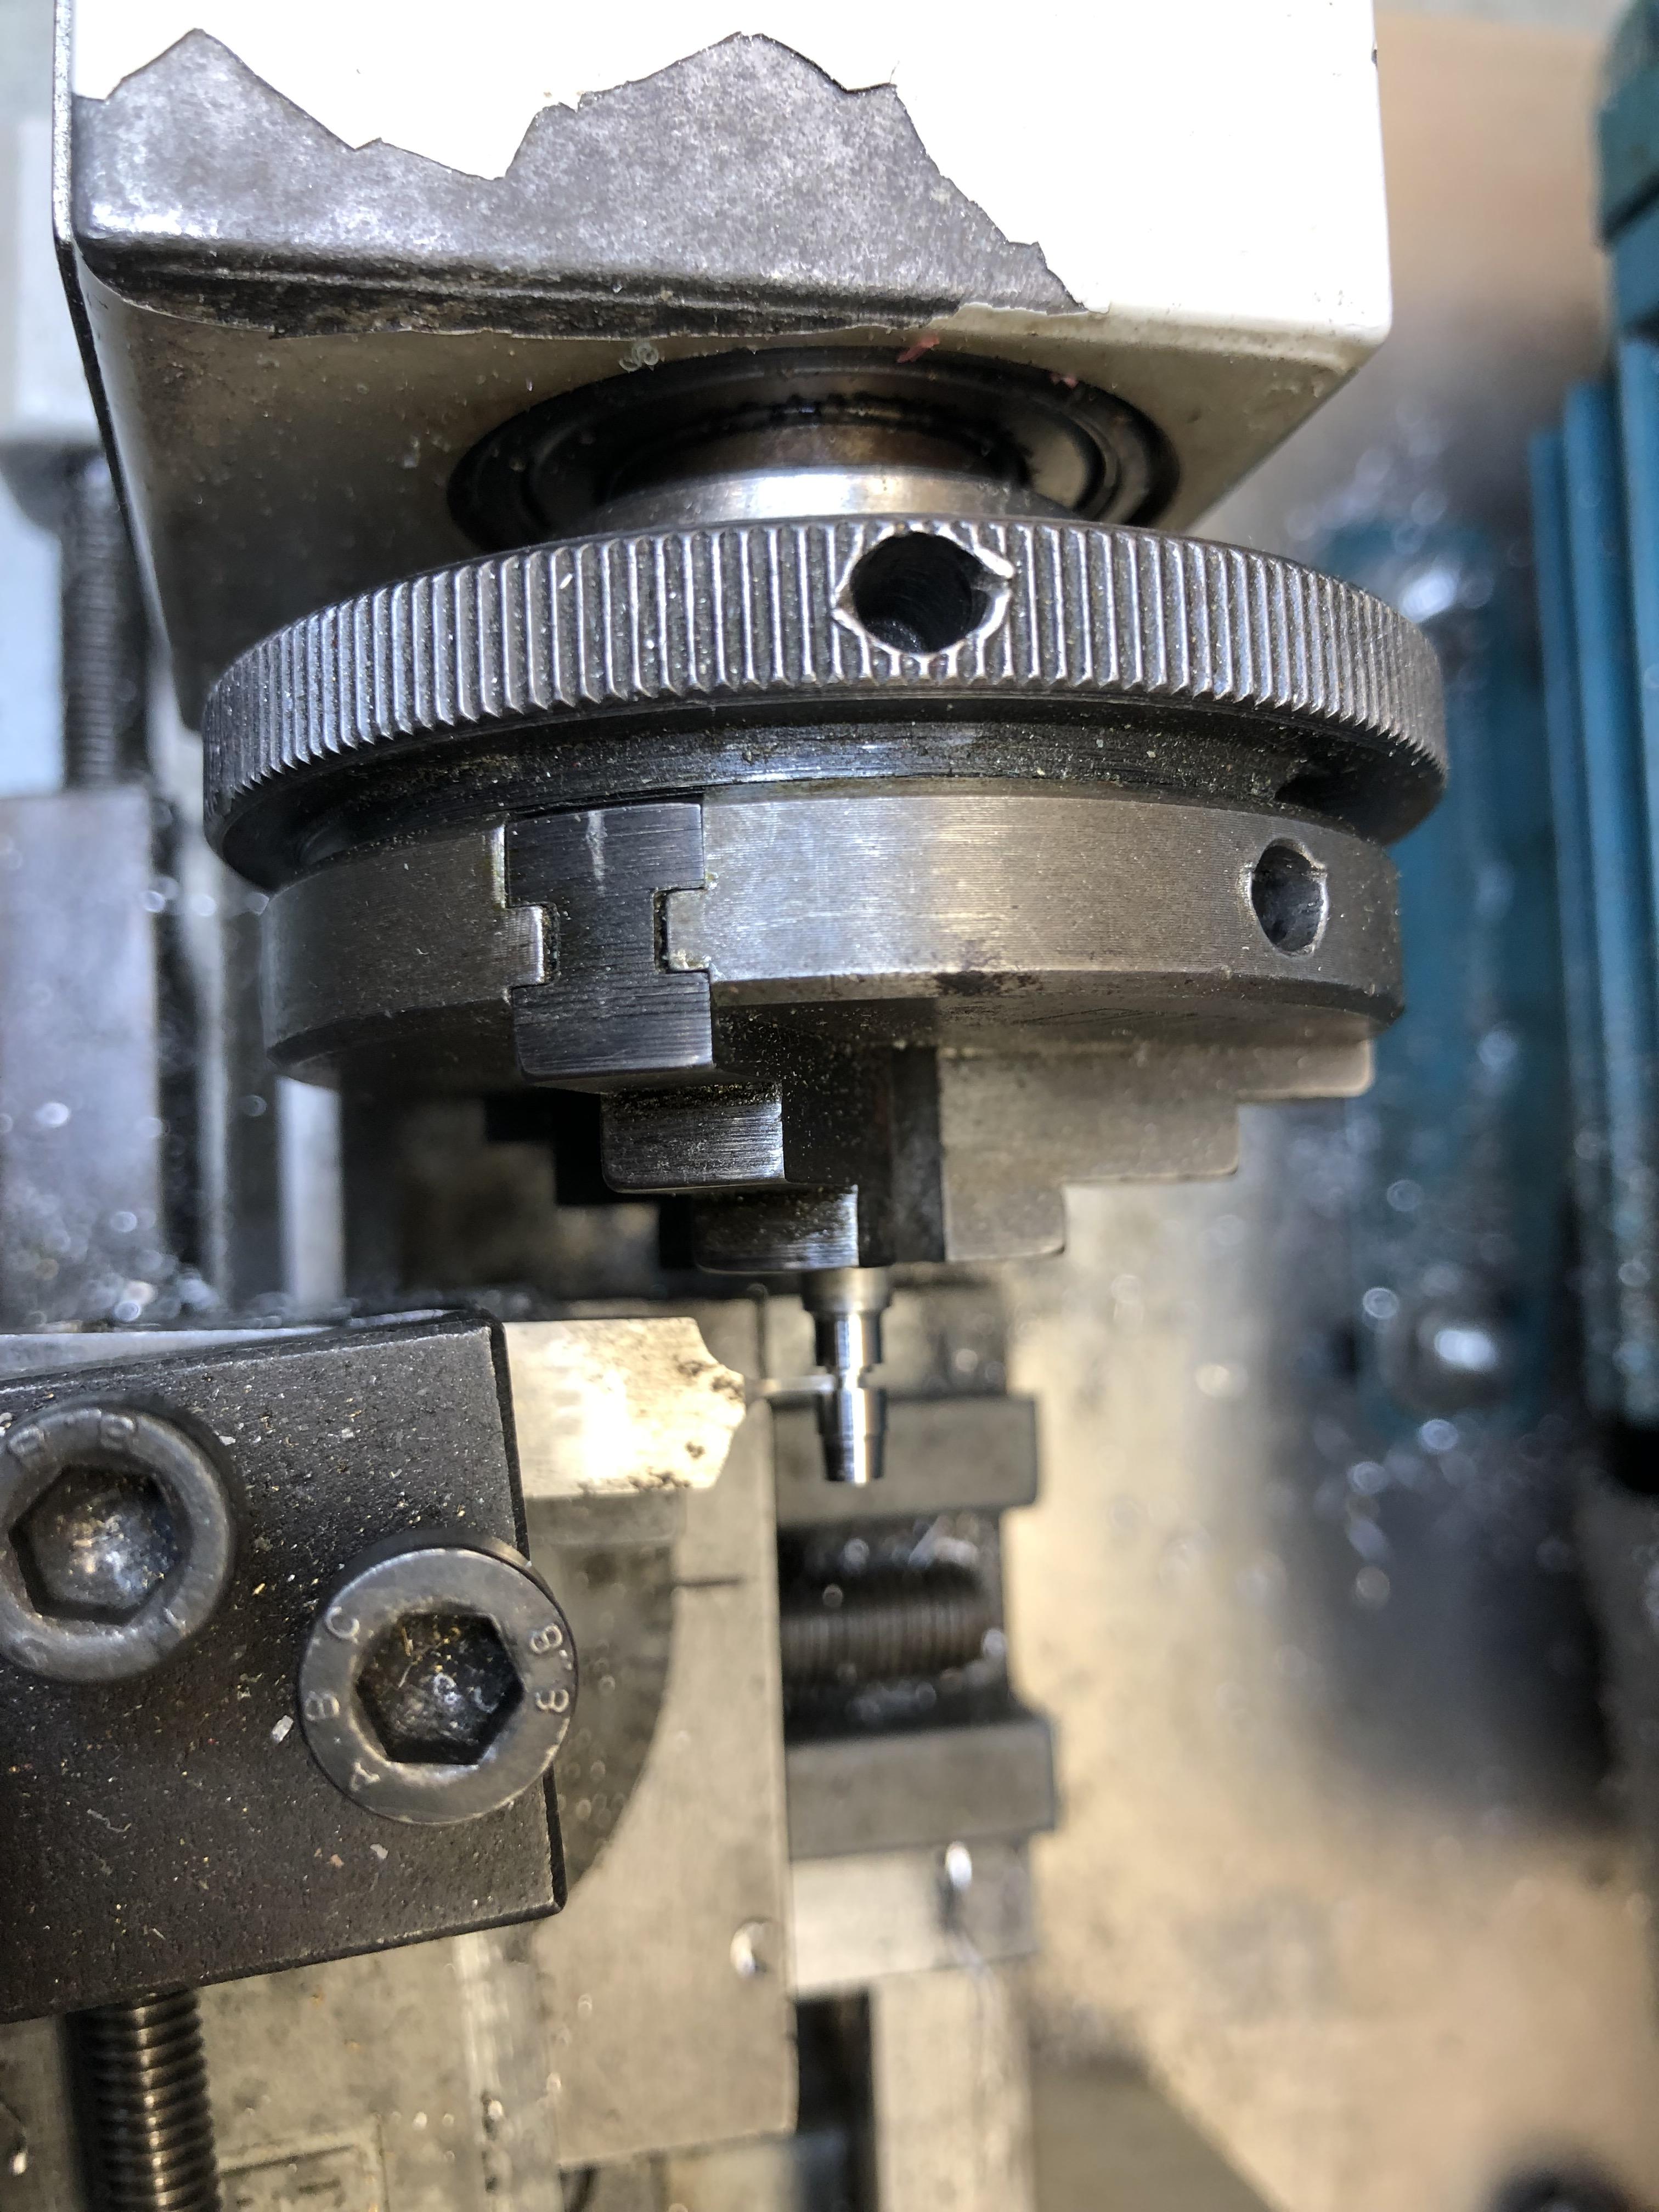
In another post I was going to use an aftermarket ally steering column but the hub length was too long. The after market column is a nice unit which is made as one whole piece. This lead me to thinking about machining one up. I have a Unimat 3 lathe so this should be an easy project to acomplish. I remember reading in one of the Gerald Wingrove books where he explained how he broke down major assemblies into smaller pieces then assembled everything to make the whole item. My thinking was therefore to machine the hub and for the shaft use regular ally tube - in this case 2.4mm (don't remember the inch size but as I work mainly in mm it does not really matter) as I was applying GW methodology to my project. In the following I make no excuse for using tech talk when describing machining operations So first order chuck some 5mm ally bar in the lathe and machine to major size and face off - I made two - one at 3mm and the other at 3.5mm Next I spotted the end with a centre drill for drilling out to fit the tube Then drilled 2mm deep with first a 2mm deep drill followed with a 2.4mm drill bit - I have recently splurged on drill index 1-5.9mm in 0.1mm rises Next up was turning the taper - the compound slide was set over to 5deg and a short taper machined to leave a step at the junction with the boss A simple operation. Next was clean up and polish with Autosol for Aluminium Next was parting off leaving a tit for the steering wheel to fit up to the column Then fitting the tube up to the hub(s) - to be glued together with superglue back at the bench And fitted to the steering wheel This was an easy project that took about 45 minutes from start to finish and I ended up with a spare column for another project. I often make duplicates as you get set up with all the tooling etc and more importantly the mindset. I recently needed a coil so I made up four - unfortunately I did not document it
-
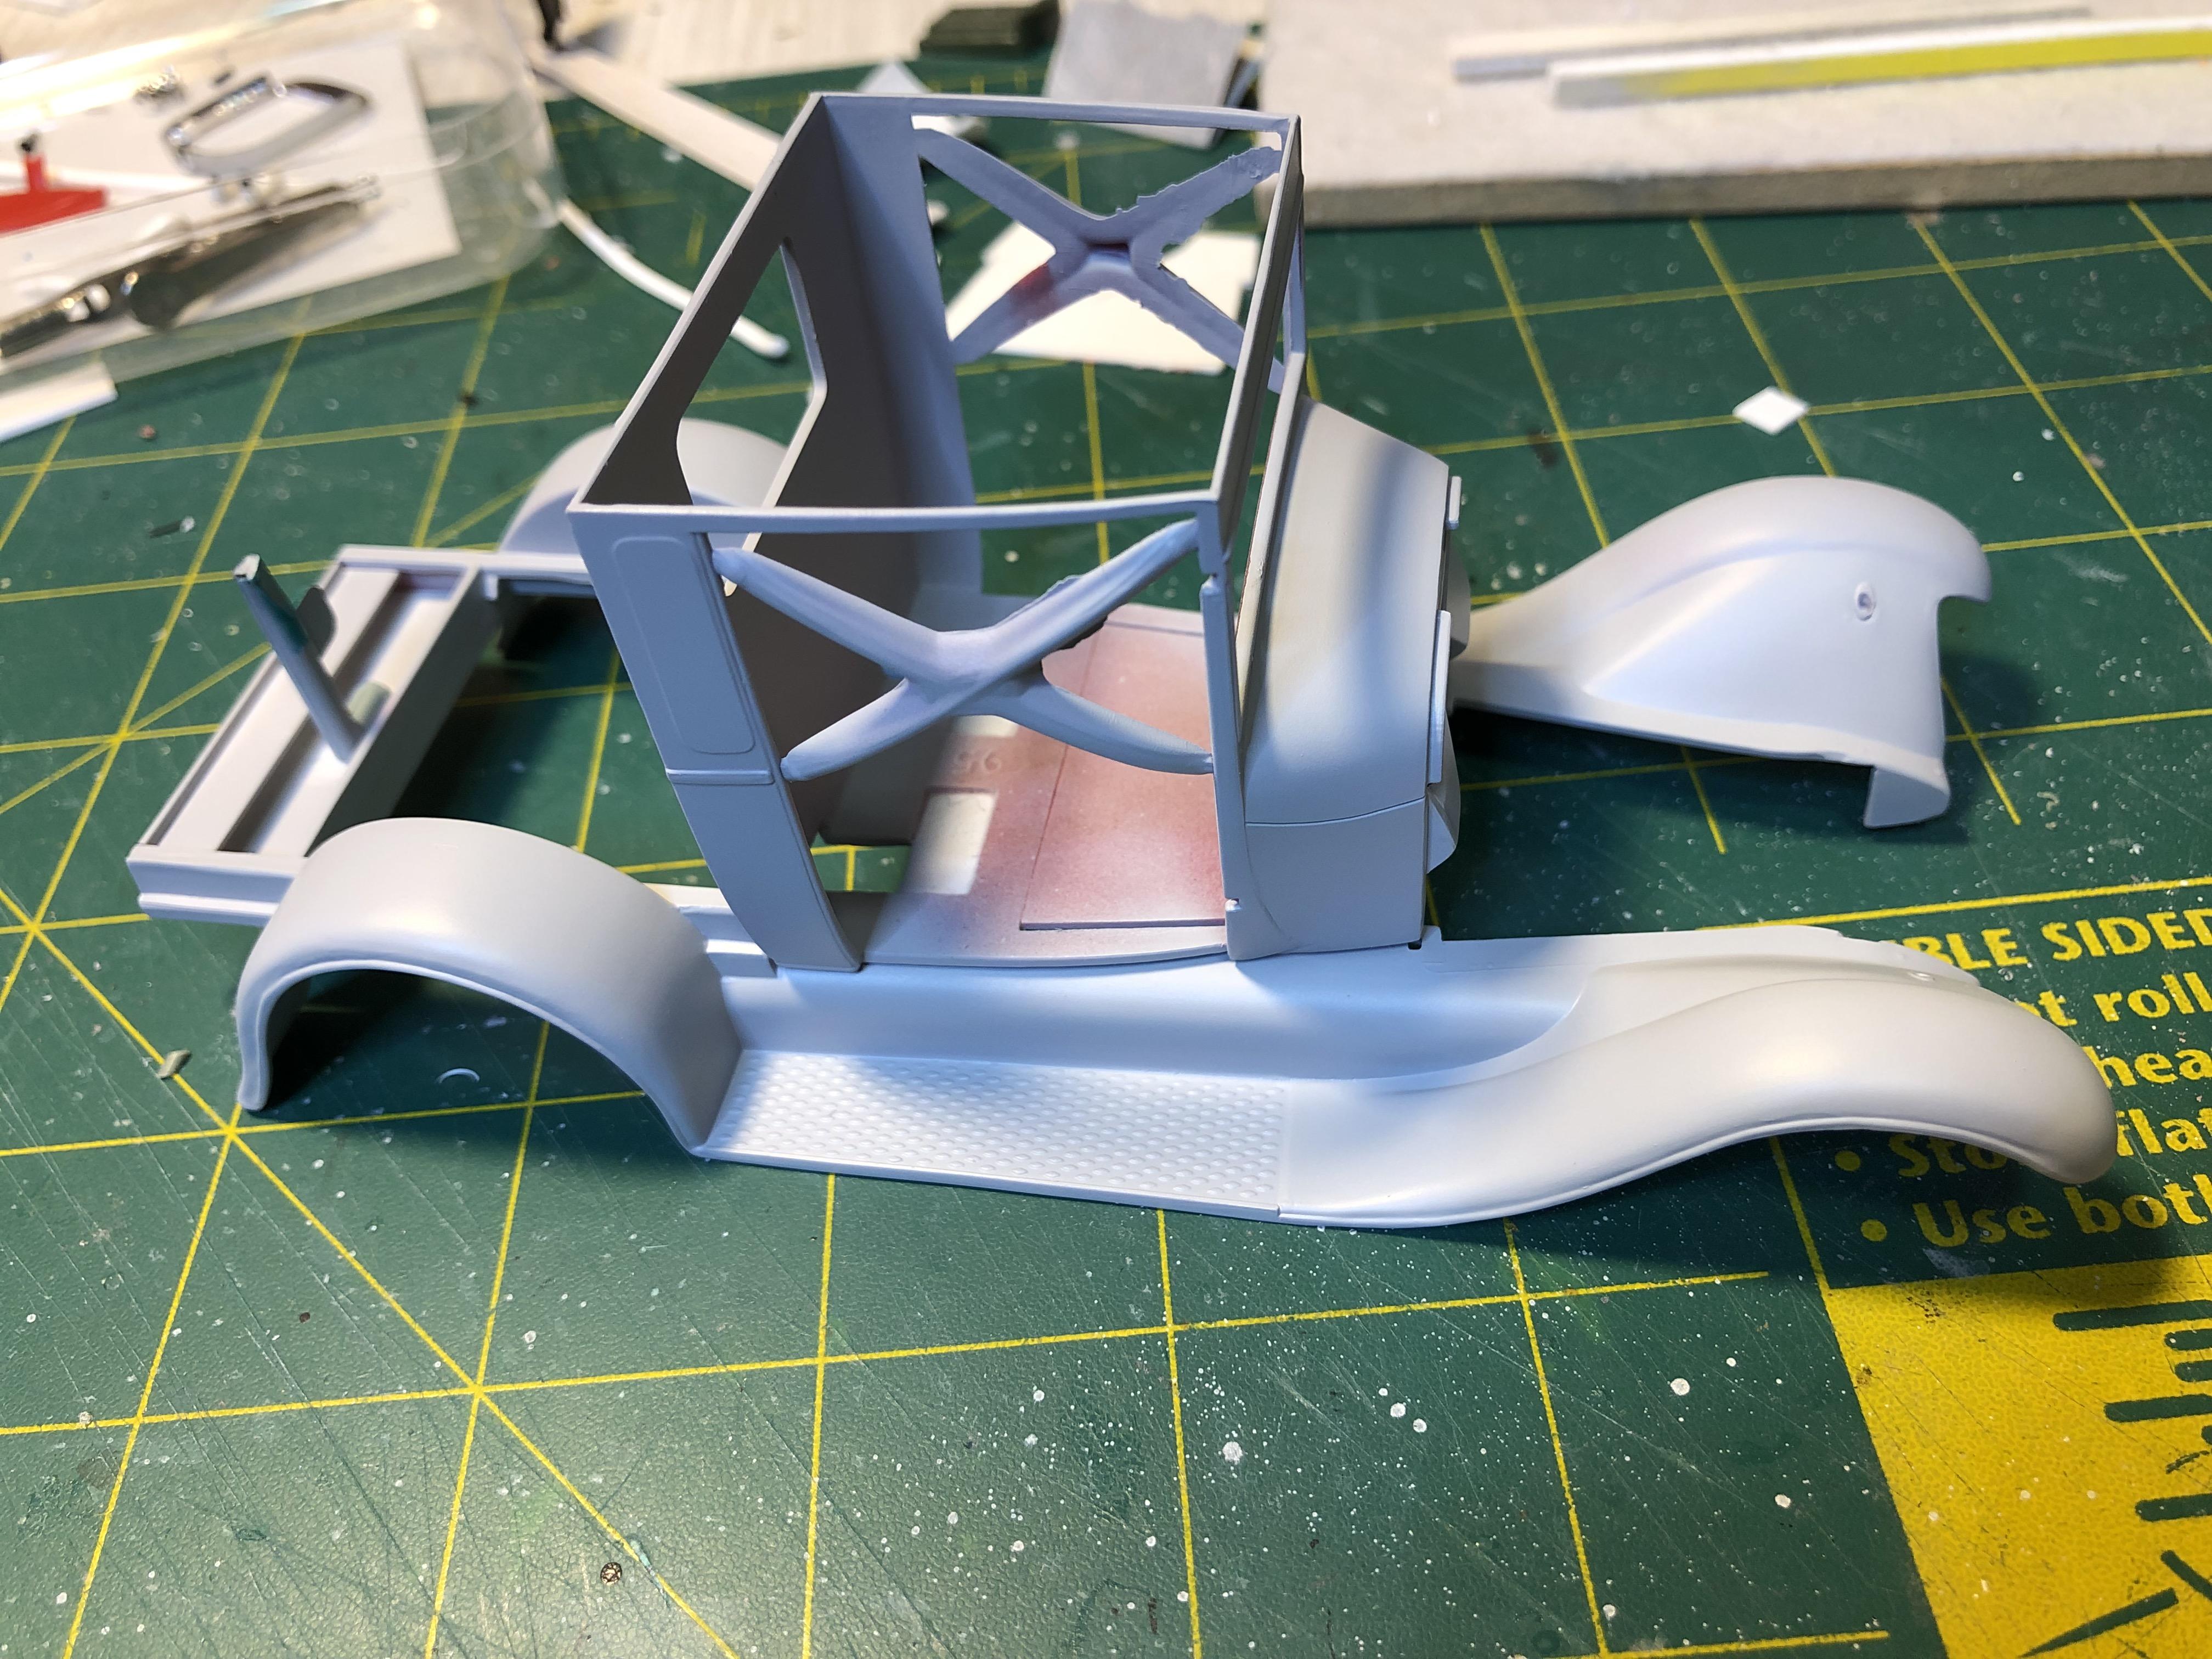
Meanwhile I have been busy with paint prep on the body components. A primer guide coat to check for SNAFU's which were cleaned before second primer coat Always a good milestone getting primer on. It took a lot of effort to get rid of flash, sunken areas on flat panels and ejector pin marks and blending the changes in The to do list is getting shorter: - Fit doors - this part I fear but I will re-read Kit's methodology for the doors - Sort out hood and radiator placement - not sure how this is going to work out yet - complete chassis construction - Detail chassis - Add some more detail to motor - Paint it See a short list - LOL Thanks for looking
-
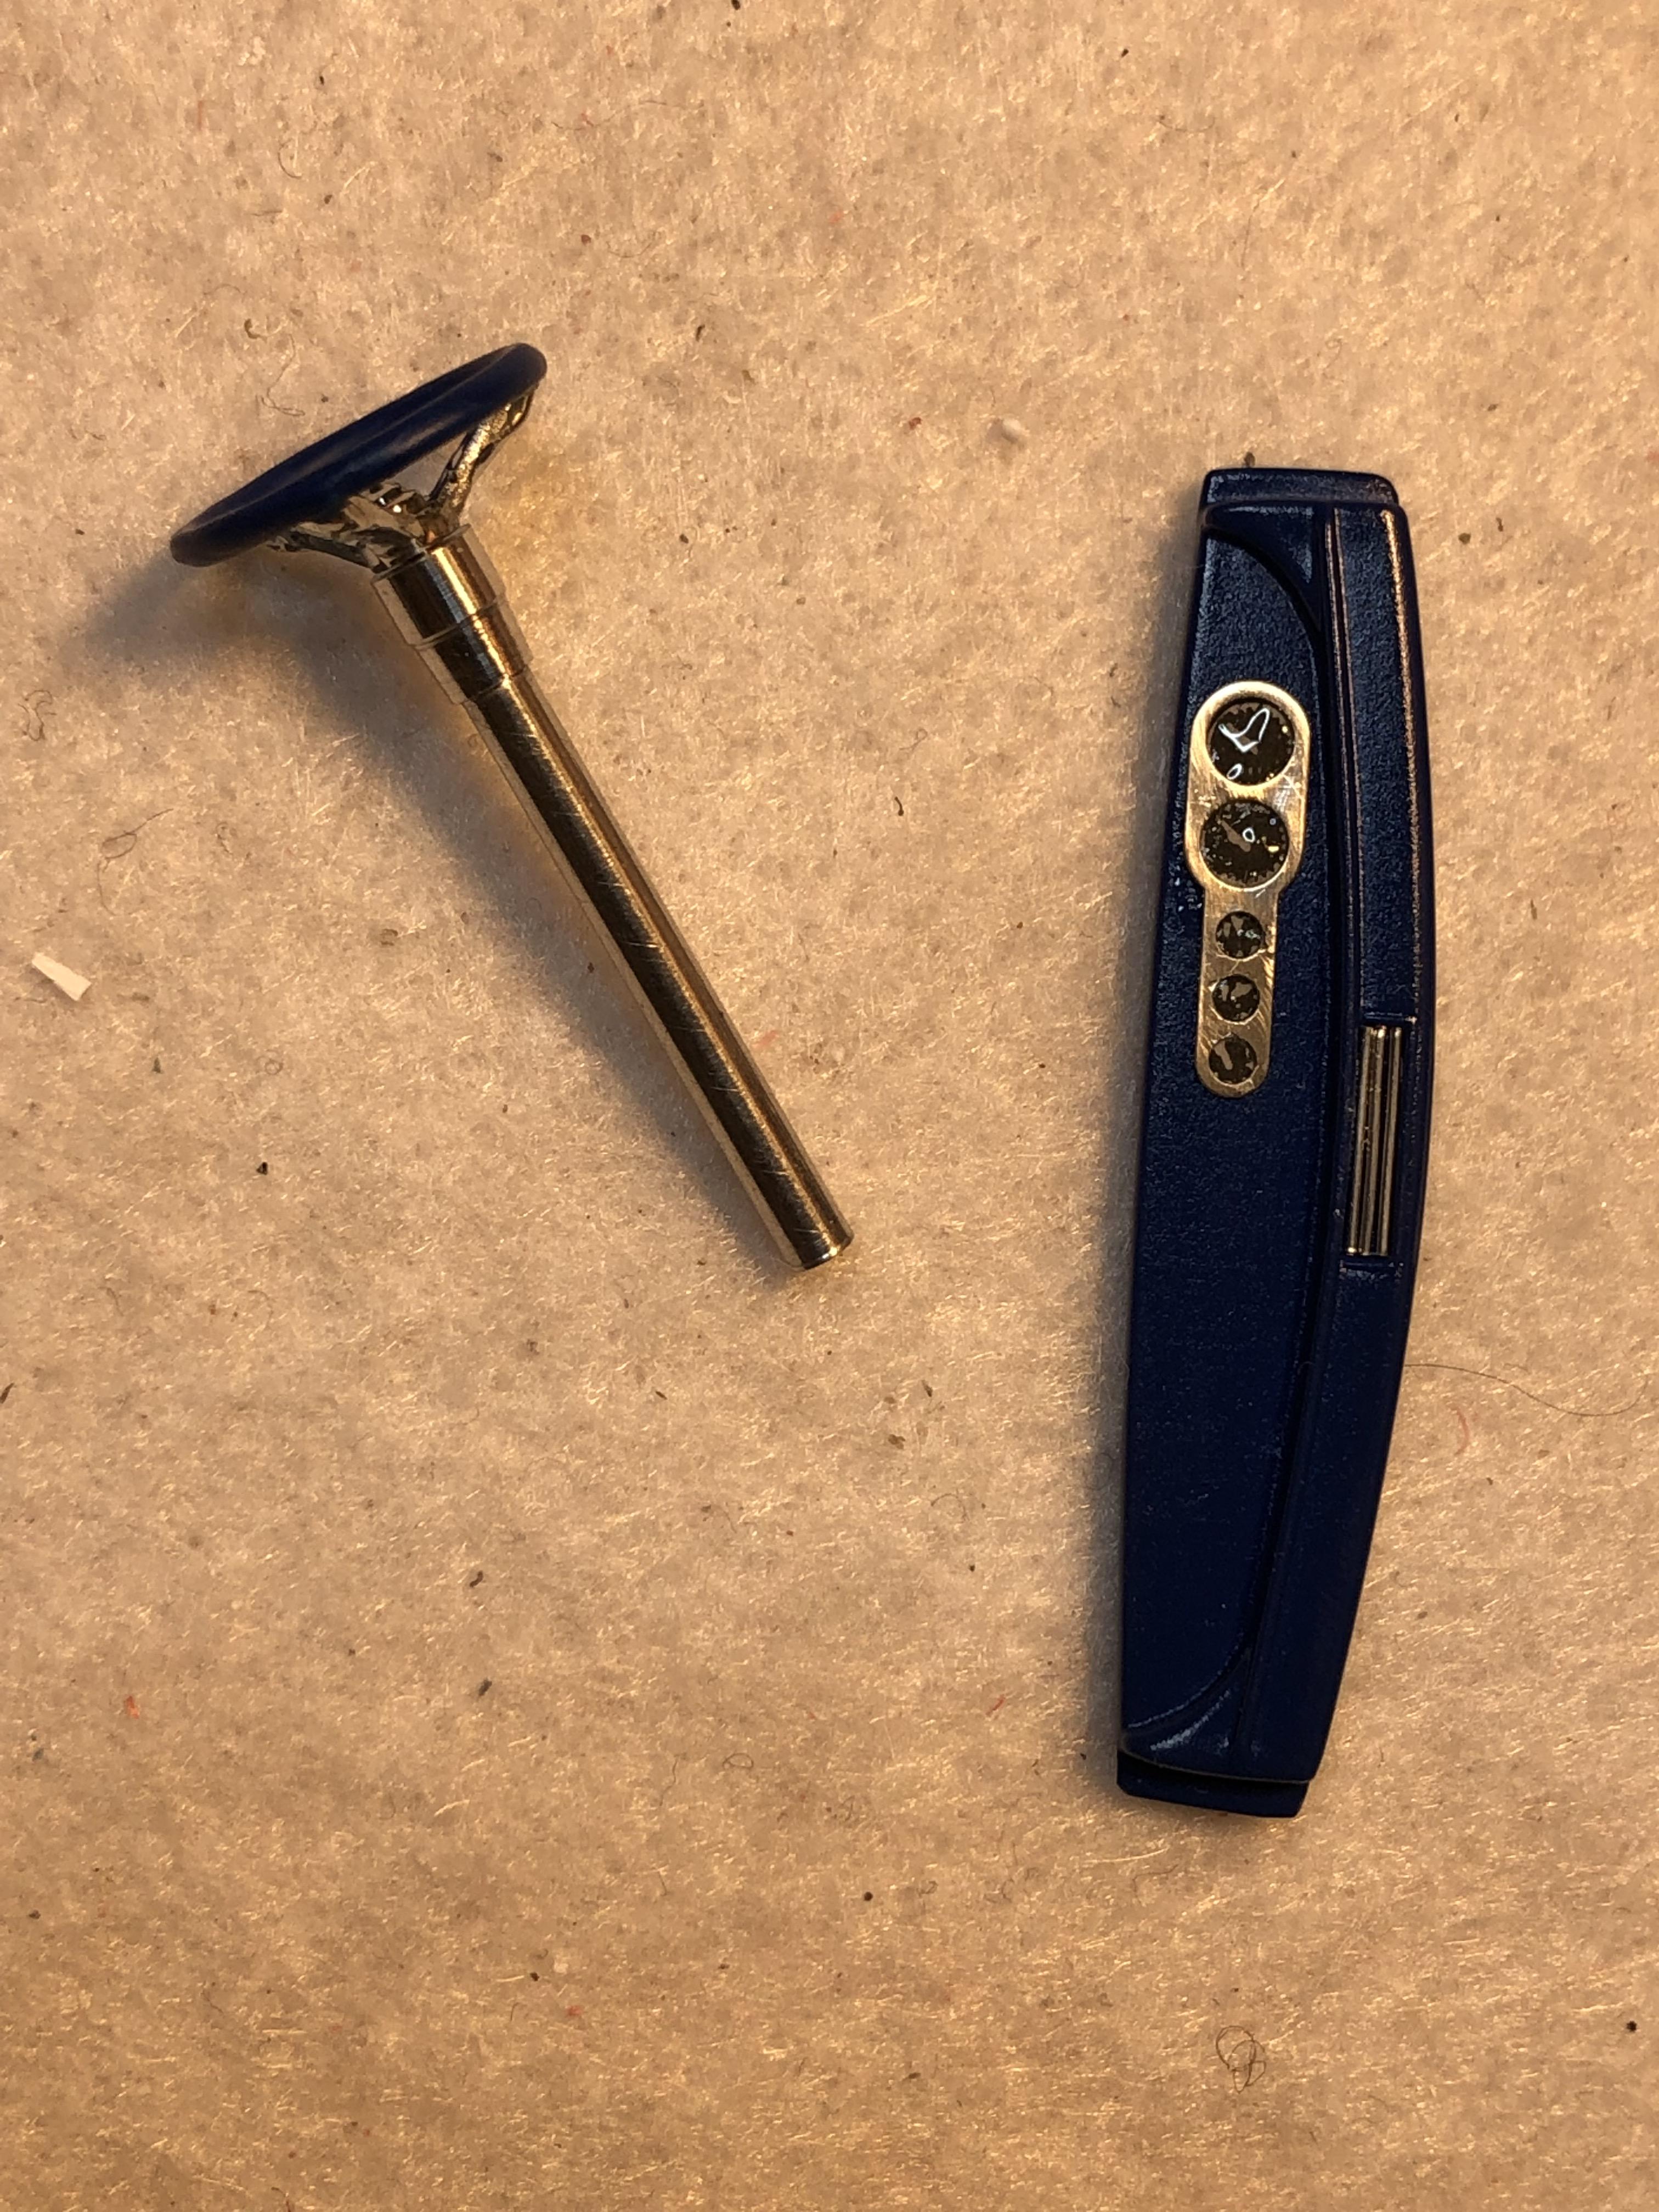
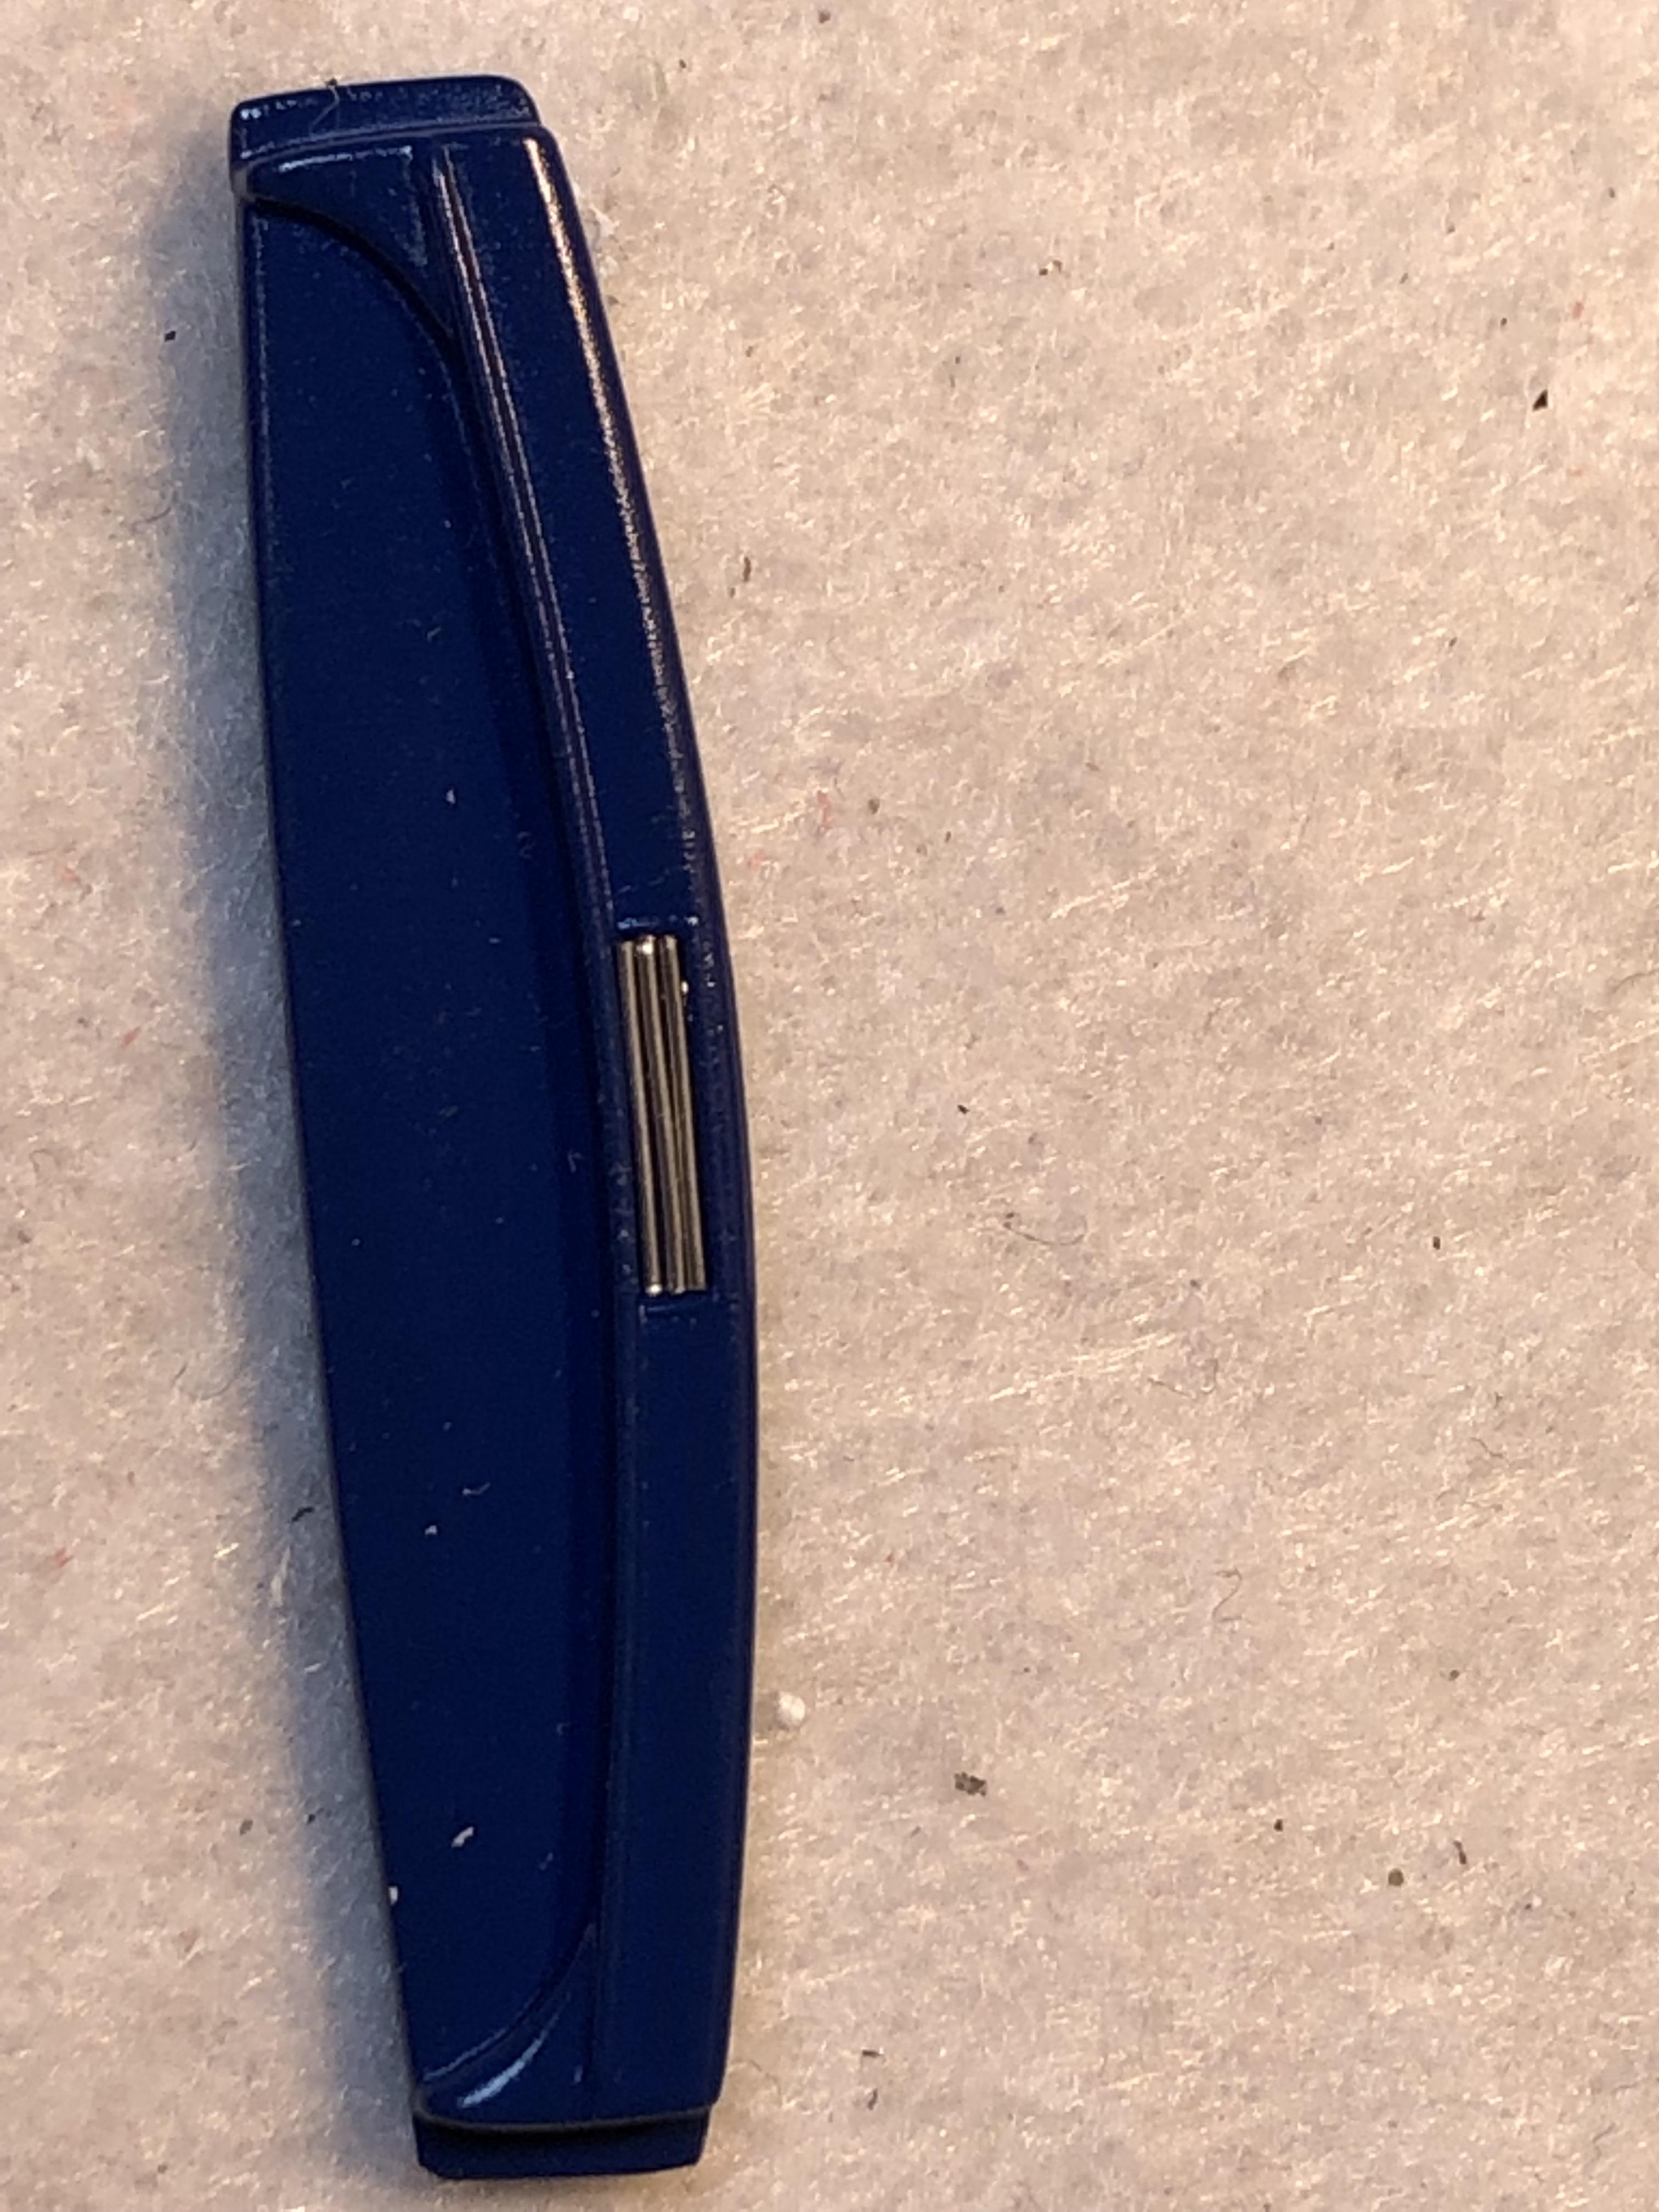
Hi All In the last post I filled the hole in the Lil John dash. I was not happy with the shallow engraving on the dash so I smoothed it out for some photo etch I have had for yonks. I painted the dash dark blue flat with semi-gloss clear to match the rest of the interior The slot at the top of the dash looked a bit blah so I cut some silver plated craft wire long enough to fit into the slot - 3 pieces worked OK This is a huge improvement - looks better with less magnification Next up was the steering column. I have an after market one as shown but the hub is too long for this application. The billet dash is a S&S item that I cut the supplied gauge faces and glued to the back. This was glued to the dash with some Tamiya clear which was also used for the gauge glasses For a more suitable column I machined a hub to fit some 2.4mm dia ally tube and fitted to the Lil John steering wheel. I actually machined 2 hubs 1x 3mm dia and the other 3.5mm. I will use the 3mm with a column drop that is waiting for paint
-
Thats how it is done
-
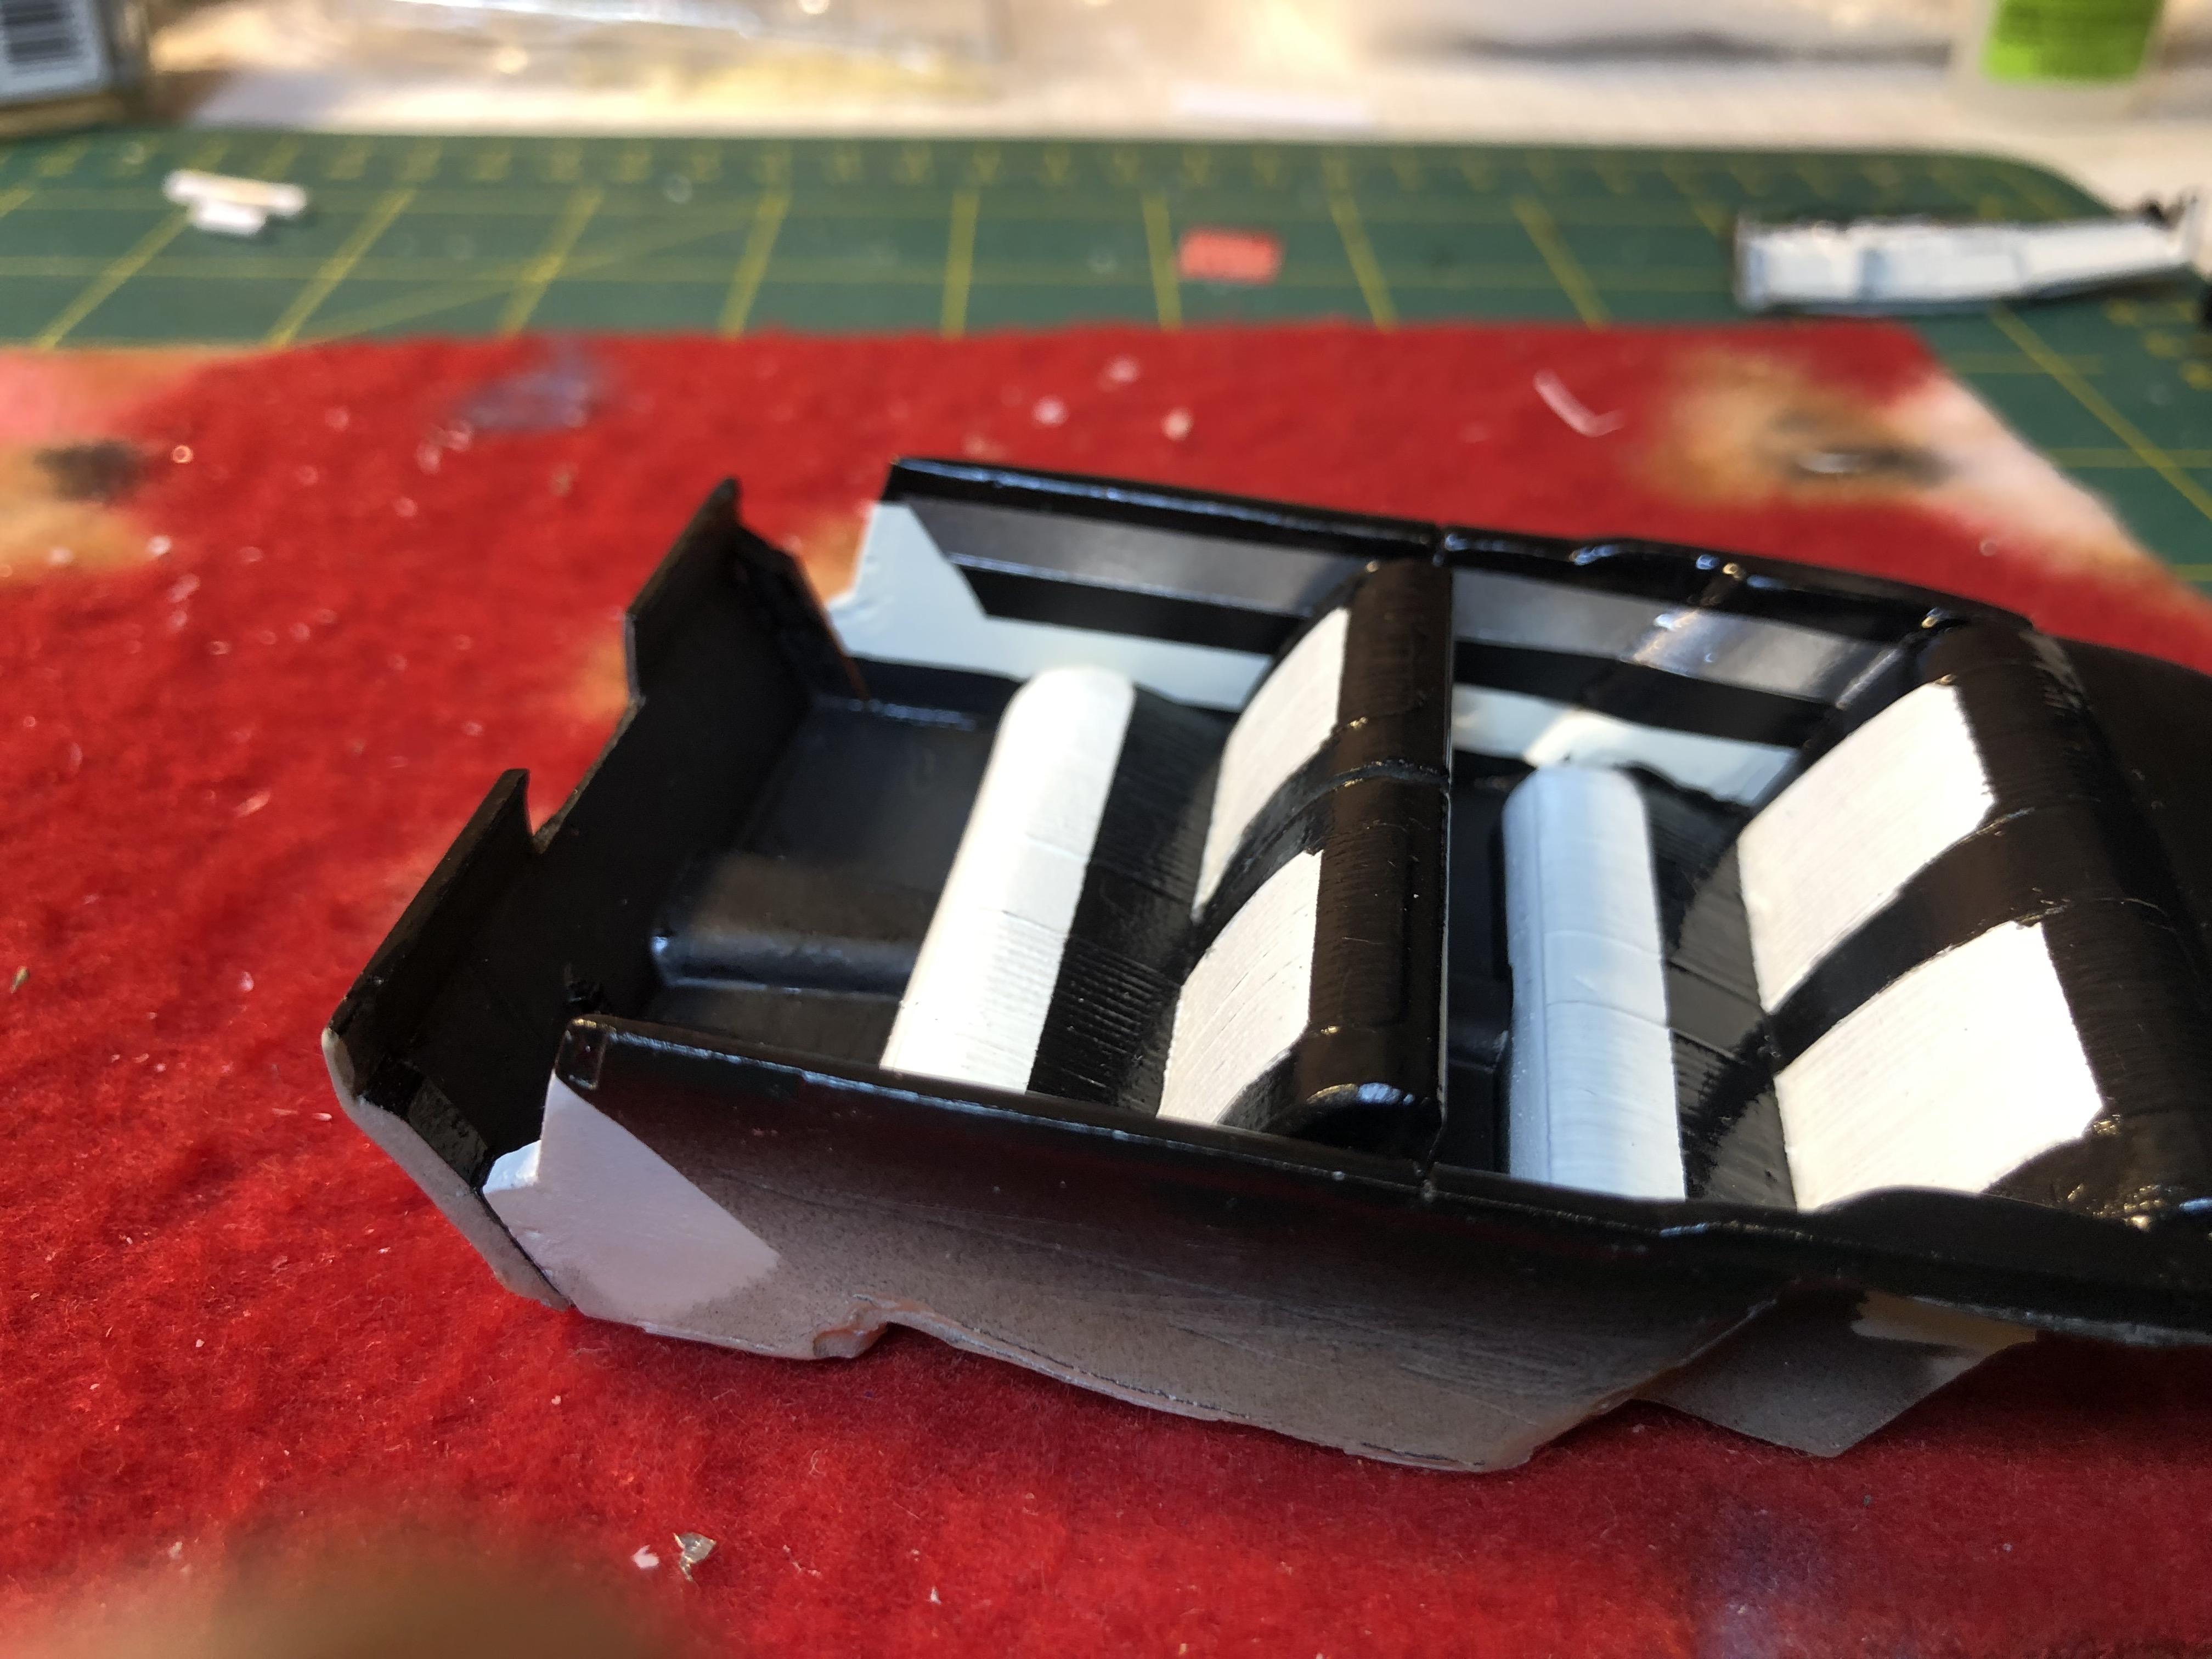
I made a stand for the bed candy I was not happy with the bare look to the rear end. I tried the rolled pan that is in the kit but it is a bit blah. I had removed the moulded in tail lights but could see that it was not going to gel with the overall theme. Also it looks like it does not fit very well either and it would be a glue on part later So I have used a simpler approach and filled in the gap between the bed rails. I also filled in the under part too Waiting for the glue to set up I moved on the the cab interior I am using the Lil'John dash so need to fill the steering hole I will replace the blah dash detail with some photo etch More to come Thanks for looking
-
Kit - I hope you can get your hands on the SD40 - looks like a cool project with a lot of history I have been spending time on the bed candy - nearly done Got some colour on the interior parts Tamiya flat blue with semigloss on the seats, door cards and headlining - i need to break up the monotony of Pacific Blue that everything else is/will be painted The floor parts and cab roof left in flat - it has a bit more gloss than what I would expect from a flat paint More work to be done on cab alignment, door fitting and hood so will post when I have done a bit more Thanks for looking
-
Thanks guys - good vid of kit - see what you get before buying
-
++ for the Tamiya filler primer in white and grey. I thin the bottle stuff quite heavily - at least 150% with lacquer thinners as it is quite thick and I use a small tip in my air brush The rattle can is good too but I rarely use rattle cans
-
Re the AMT 69 Torino Cobra Jet fast back -does this kit have a fully detailed chassis or a simple promo style chassis with moulded in rear end etc If it does not have a full detail chassis what is a suitable donor kit
-
That's a big YES from me too All of the above replies cover the mix ratios but I do thin mine a bit more as I use a fine tip on my airbrush The Tamiya rattle cans are good too
-
Hi Jim Using my new computer and hit the submit button too soon ..... When machining small diameter parts the speed need to be very high to get a good finish. Also if you can support with a steady at the non chuck end with a lathe centre in the tailstock end Cheers Bill-e-boy
-
Hi Jim The success to making long thin parts like a steering column is to make it from some shorter parts. Like make up the parallel main column and drill a hole at each end for the locator at the bottom and one for the top od the column. Then turn the column top which is shorter and will not flex so much. When machining smal diameter
-
Nice Job Zippi I like the way the big meats fill the deep wheel wells that on these kits
-
Foose 56 International?
bill-e-boy replied to mchook's topic in WIP: Model Trucks: Pickups, Vans, SUVs, Light Commercial
Good work Mark I like the bumper choice - even a piece of rusty rectangular plastic stock suitably weathered would have fit the theme of the build as well Keep up the good work -
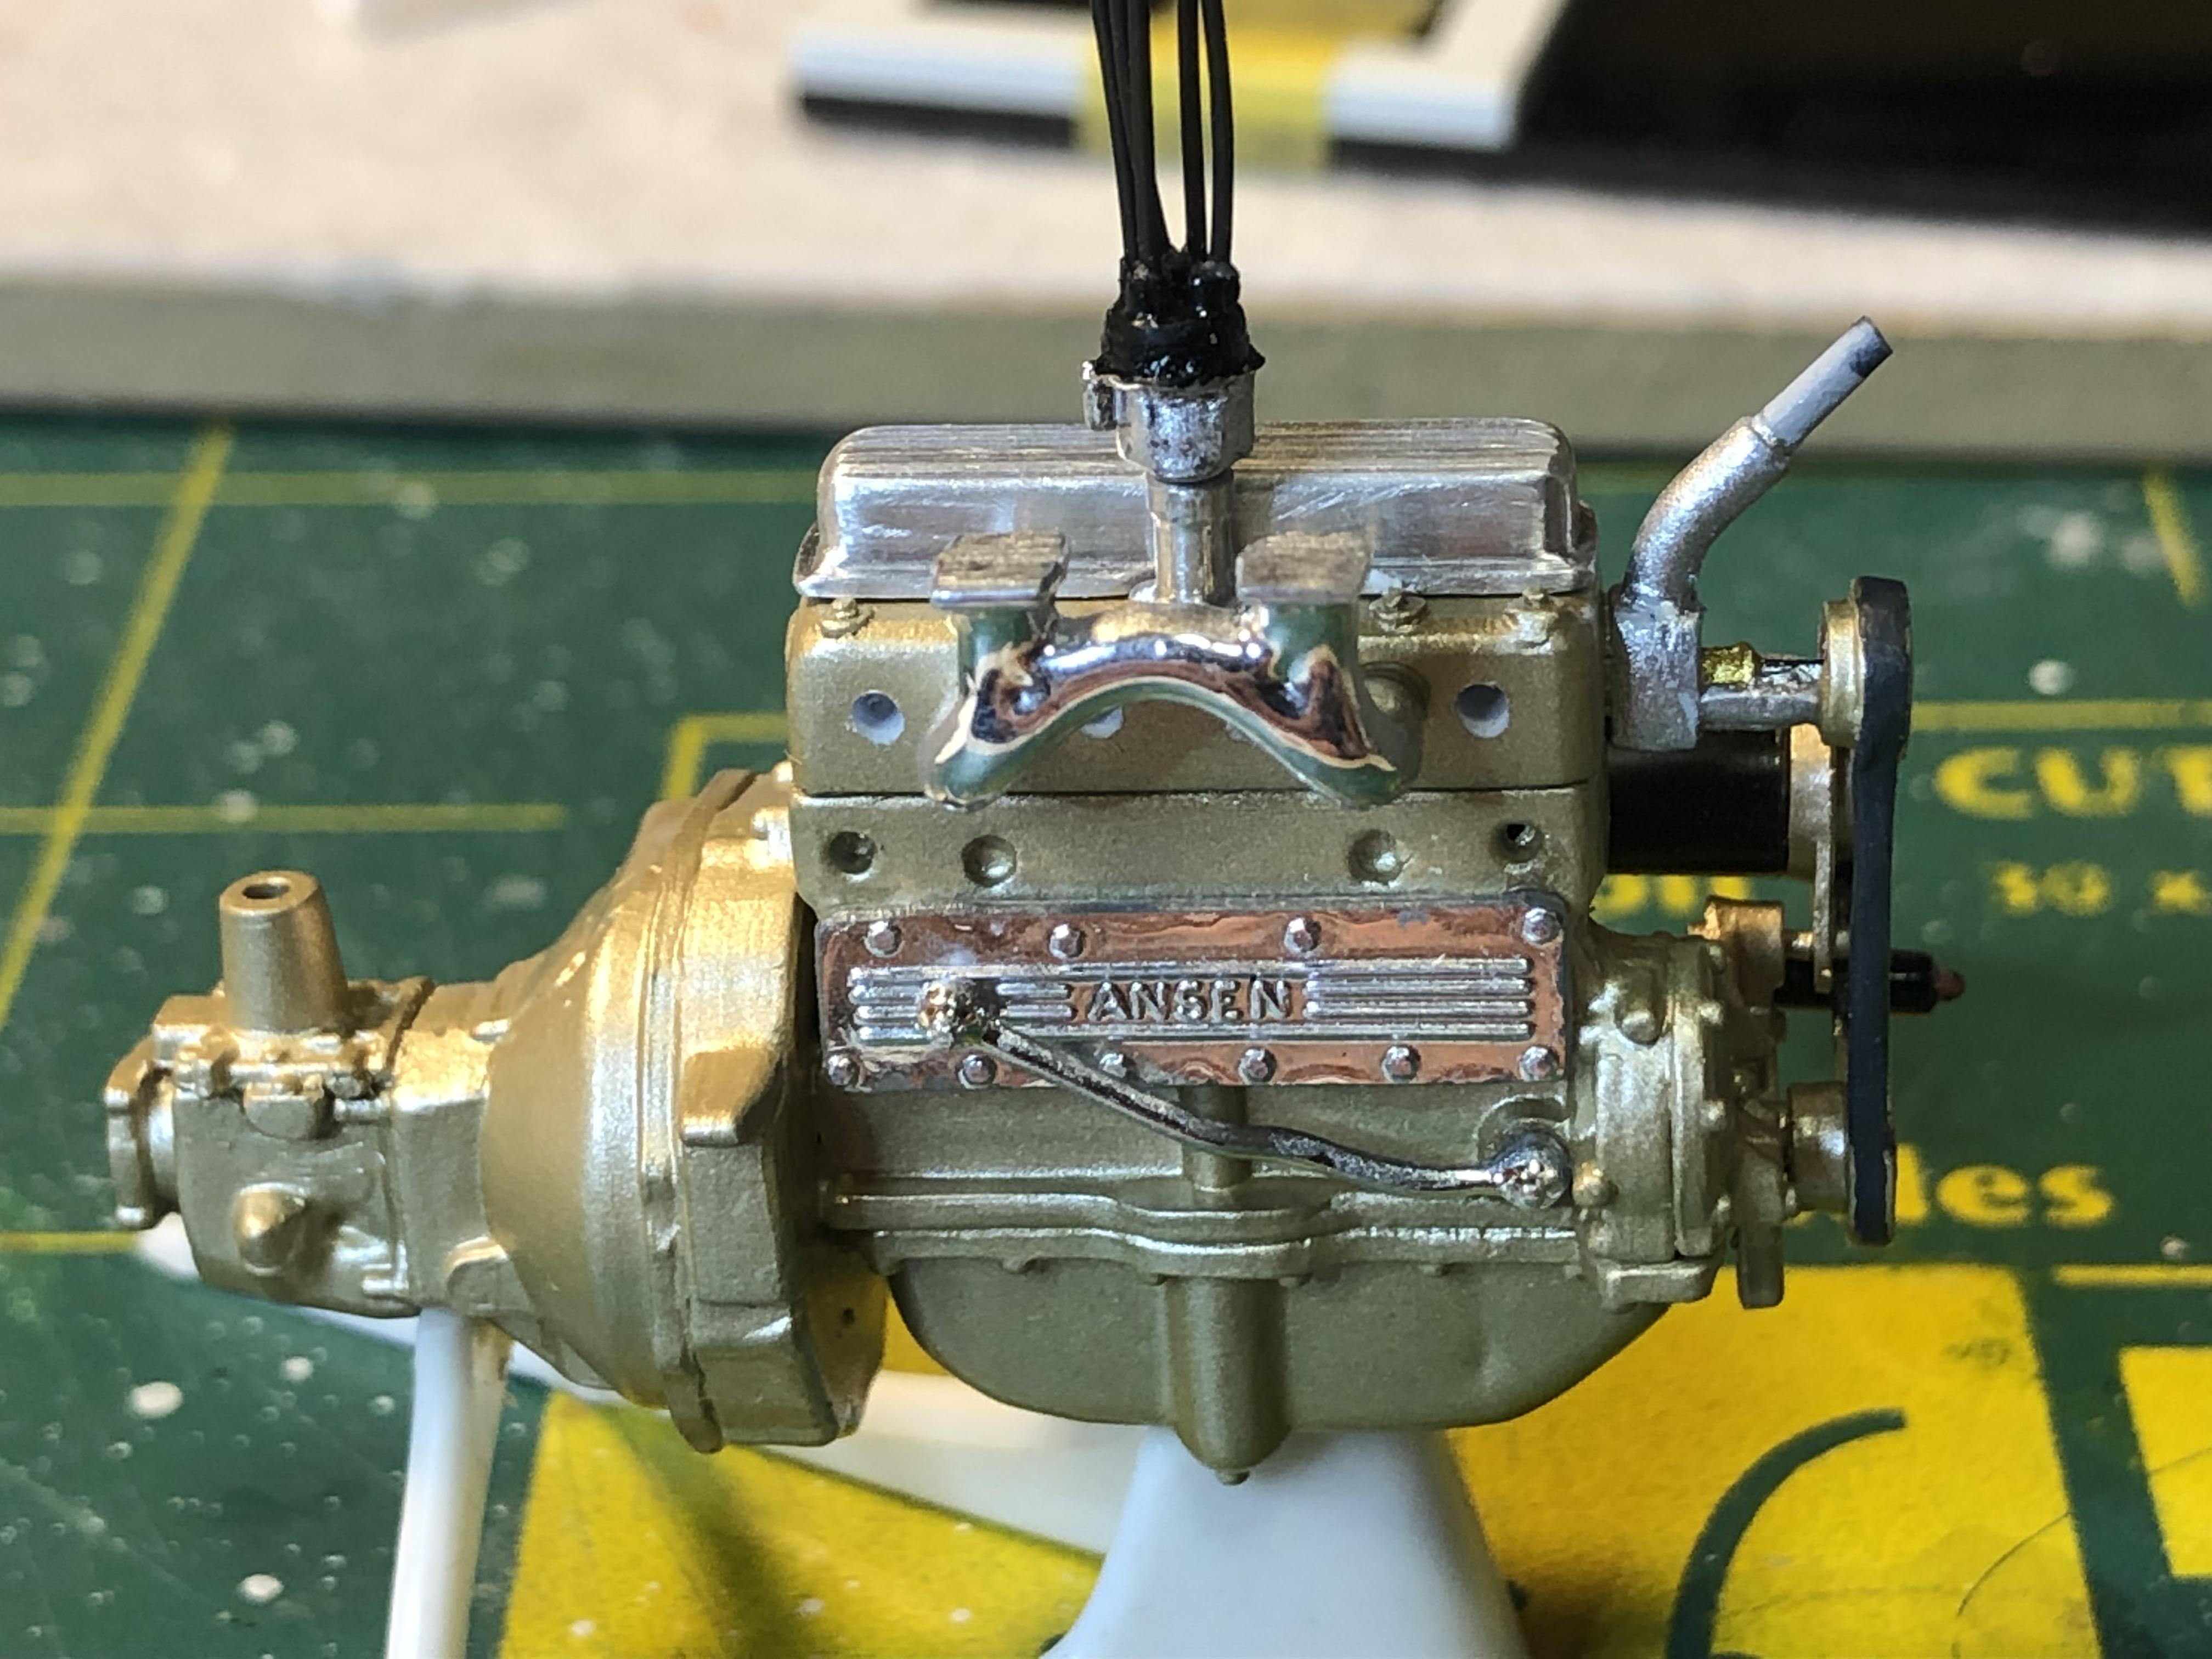
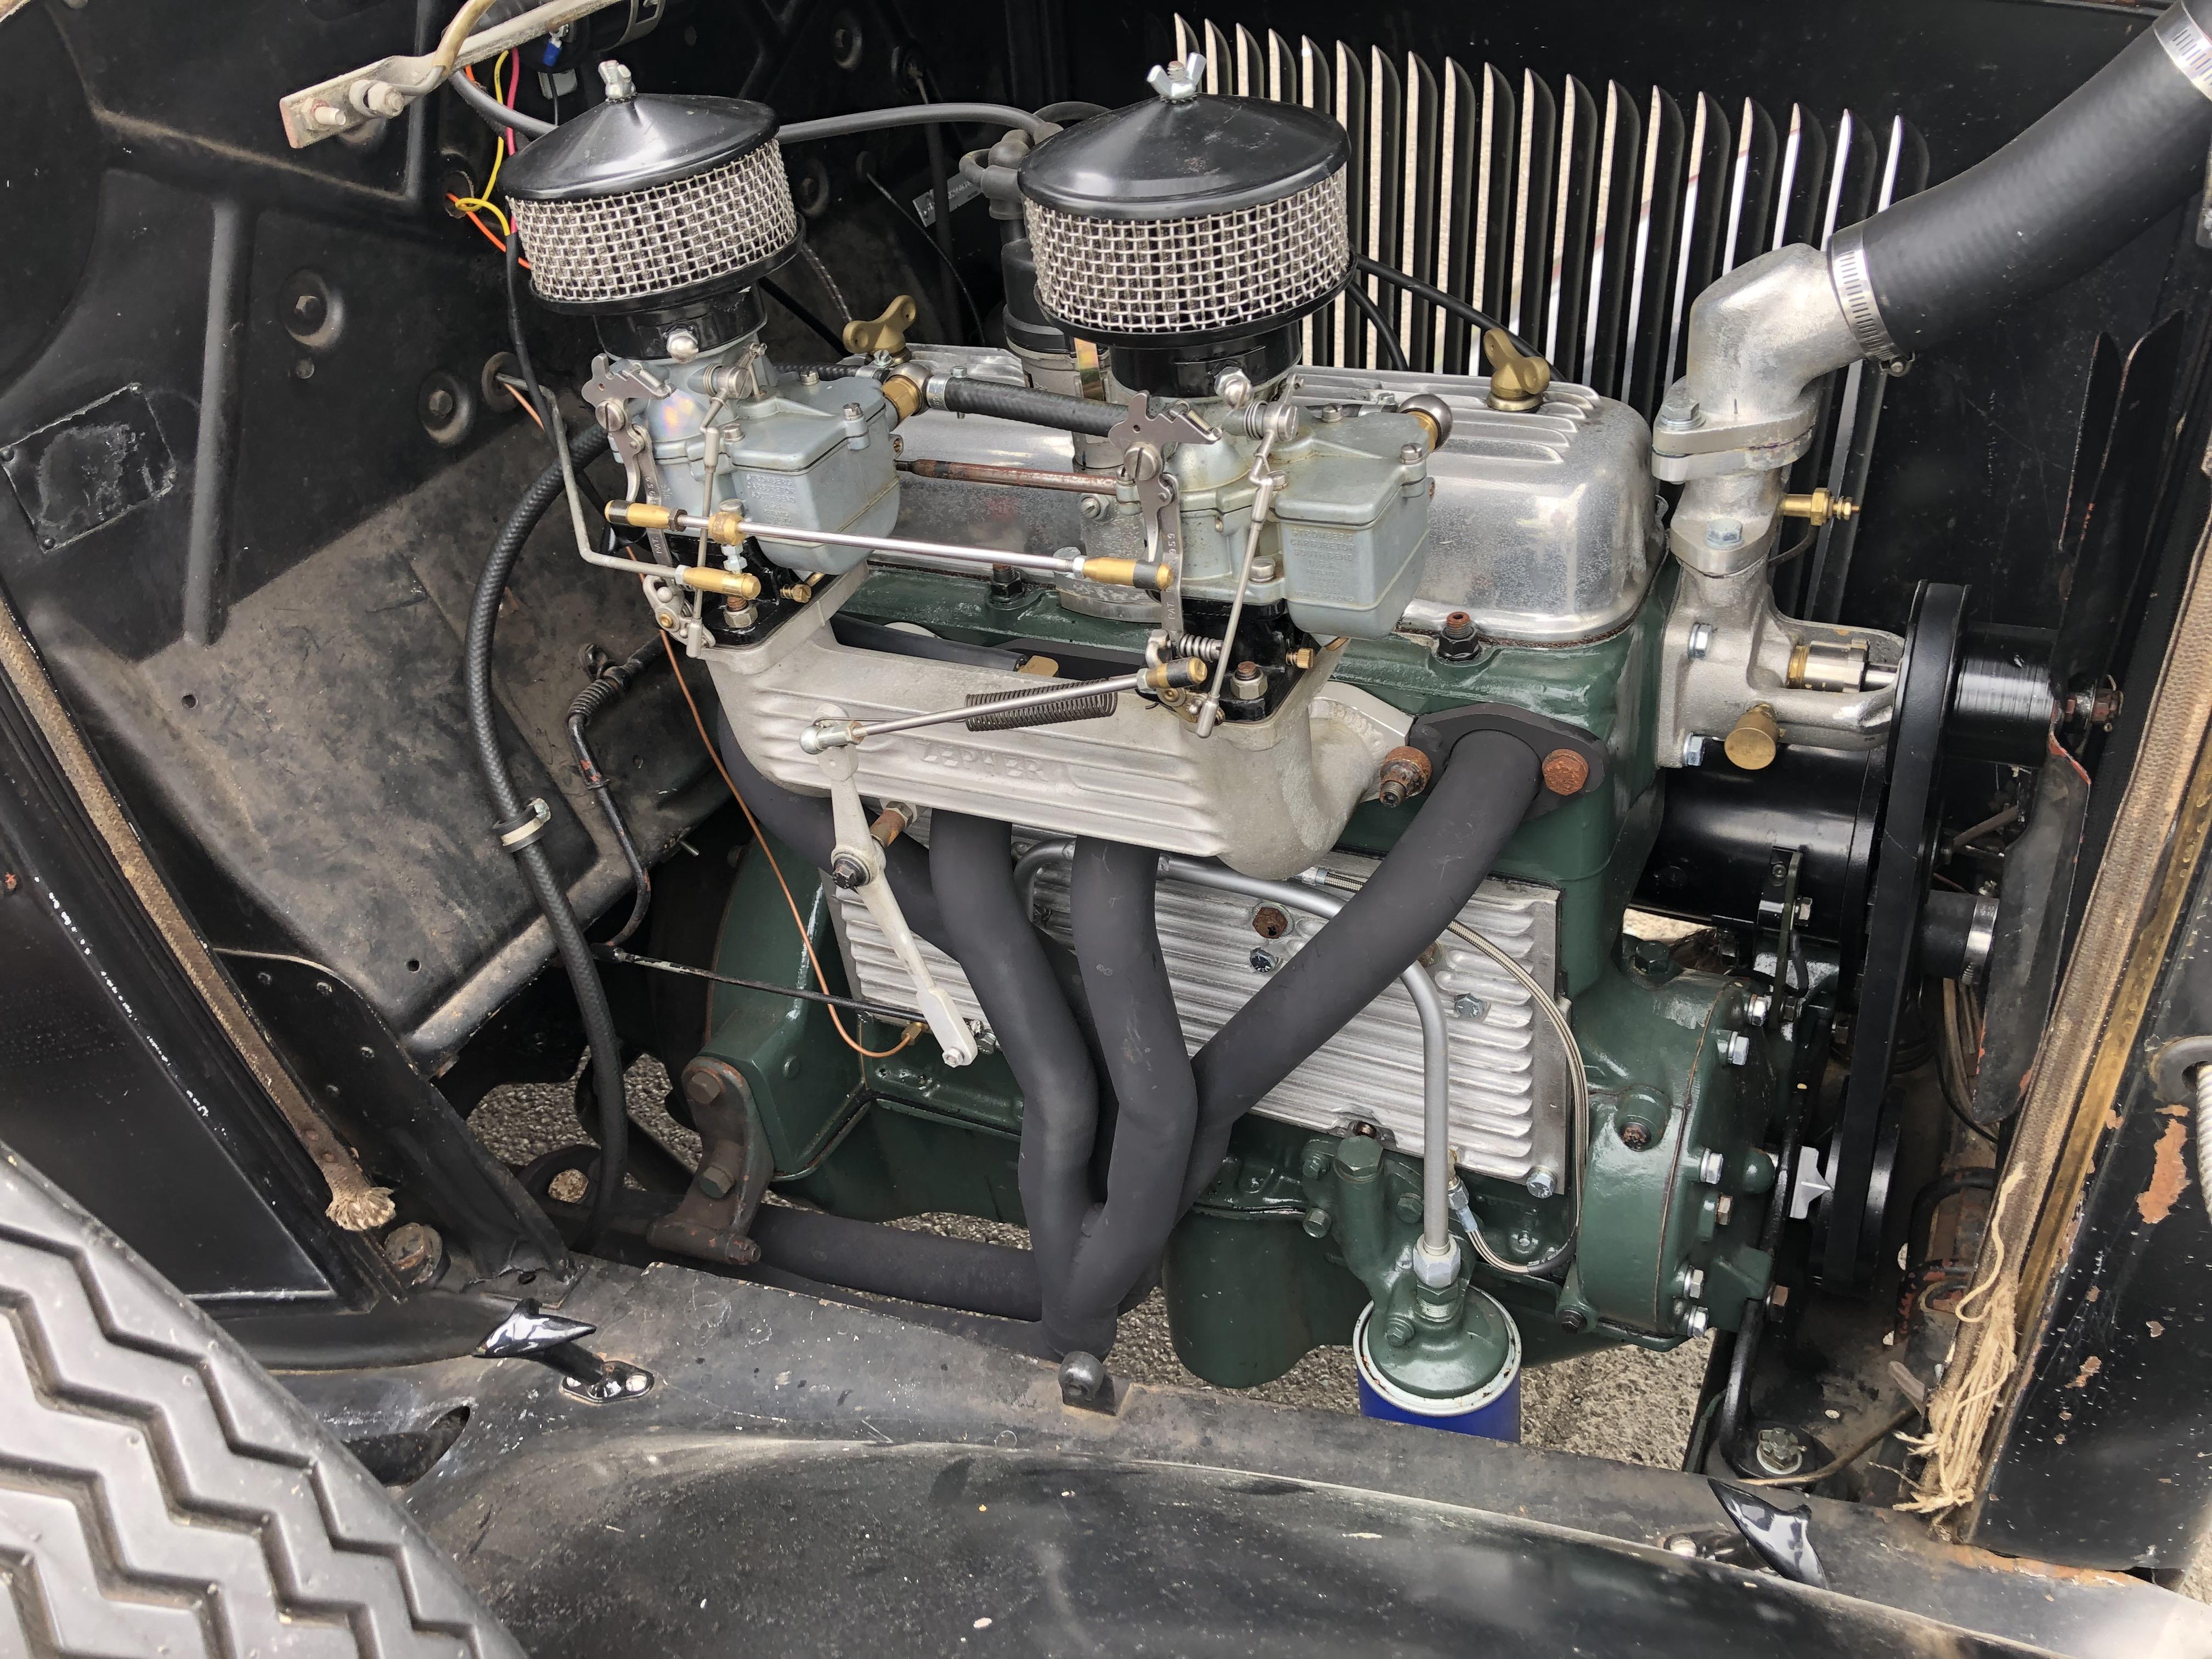
I was able to catch up with the owner of the Banger powered 32 Pickup and was able to get some more pix of the other side of the motor I have squirted some colour onto my banger - Tamiya Titanium Gold - and have partly assembled the motor The gold has picked up the green from the work mat A comparison - Banger vs Billet In the background I have been steadily working on parts getting ready for paint and some are in first coat of primer to check that prep work is looking OK. There is an amazing amount of sink marks that need attention on the body parts which I suppose is not surprising giving the age of the kit and the knowledge base that was available back when the kit was designed - injection moulding was fairly new technology in the early 60's Thanks for looking