THORDOOR220
-
Posts
179 -
Joined
-
Last visited
Content Type
Profiles
Forums
Events
Gallery
Everything posted by THORDOOR220
-
I'm really impressed with those window frames. They remind me a lot of the '69 nova I have in my garage. Very similar shape, and yours look factory. Are they just small pieces of styrene?
-
I dig it. I'm surprised your Black Widow kit came with the wrong body, which one did you get? I have the Revell 2 in 1, it has the right one. Anyways, nice weathering. I, too, like to overdo it on that is that how you want the car to sit? It isn't a stance I see often. We have a '57 at the shop I work at right now where they played with the stance, so I'm getting used to seeing the nose down and tail up. Good looking model so far, looking forward to see how the rest of it turns out.
-
Hope you have an easy recovery! And nice! I need to get a camera like that, my phone doesn't work too well for it I second the toothpick. If you have to, you may even use the back side of a #11 blade. Careful with that though. Also, talking to a body guy I know, I've learned that you don't always need things like Scratch Out. Thick enough clear coat will smooth out the orange peel as well as any (very small) scratches. I've just confirmed that with my Impala model, put my last covering of clear on it (cleared it before, wet sanded (where your scratch out would be perfect), and just put 3 more heavy coats of clear to really shine it up as well as smooth it out). I don't have pictures of it up yet, but it's nearly flawless (except where I screwed it up). By combining your new rubbing compound with a couple layers of clear, you could probably get that thing perfect. Although of course, it is your model, and therefore your choice on what you want to try. Anyways, I'll quit rambling. Hope to see more progress soon, and good luck with your recovery.
-
Alright, and then a light coat of flat clear on the rest of the windows to give a similar effect I'd assume. As for the underside, that's kind of what I was going for. I didn't know about the rear windows' rusting, thanks for that. I'm not sure that I'll be doing a whole lot of rust on the body itself, but if I do, I will be sure to include that.
-
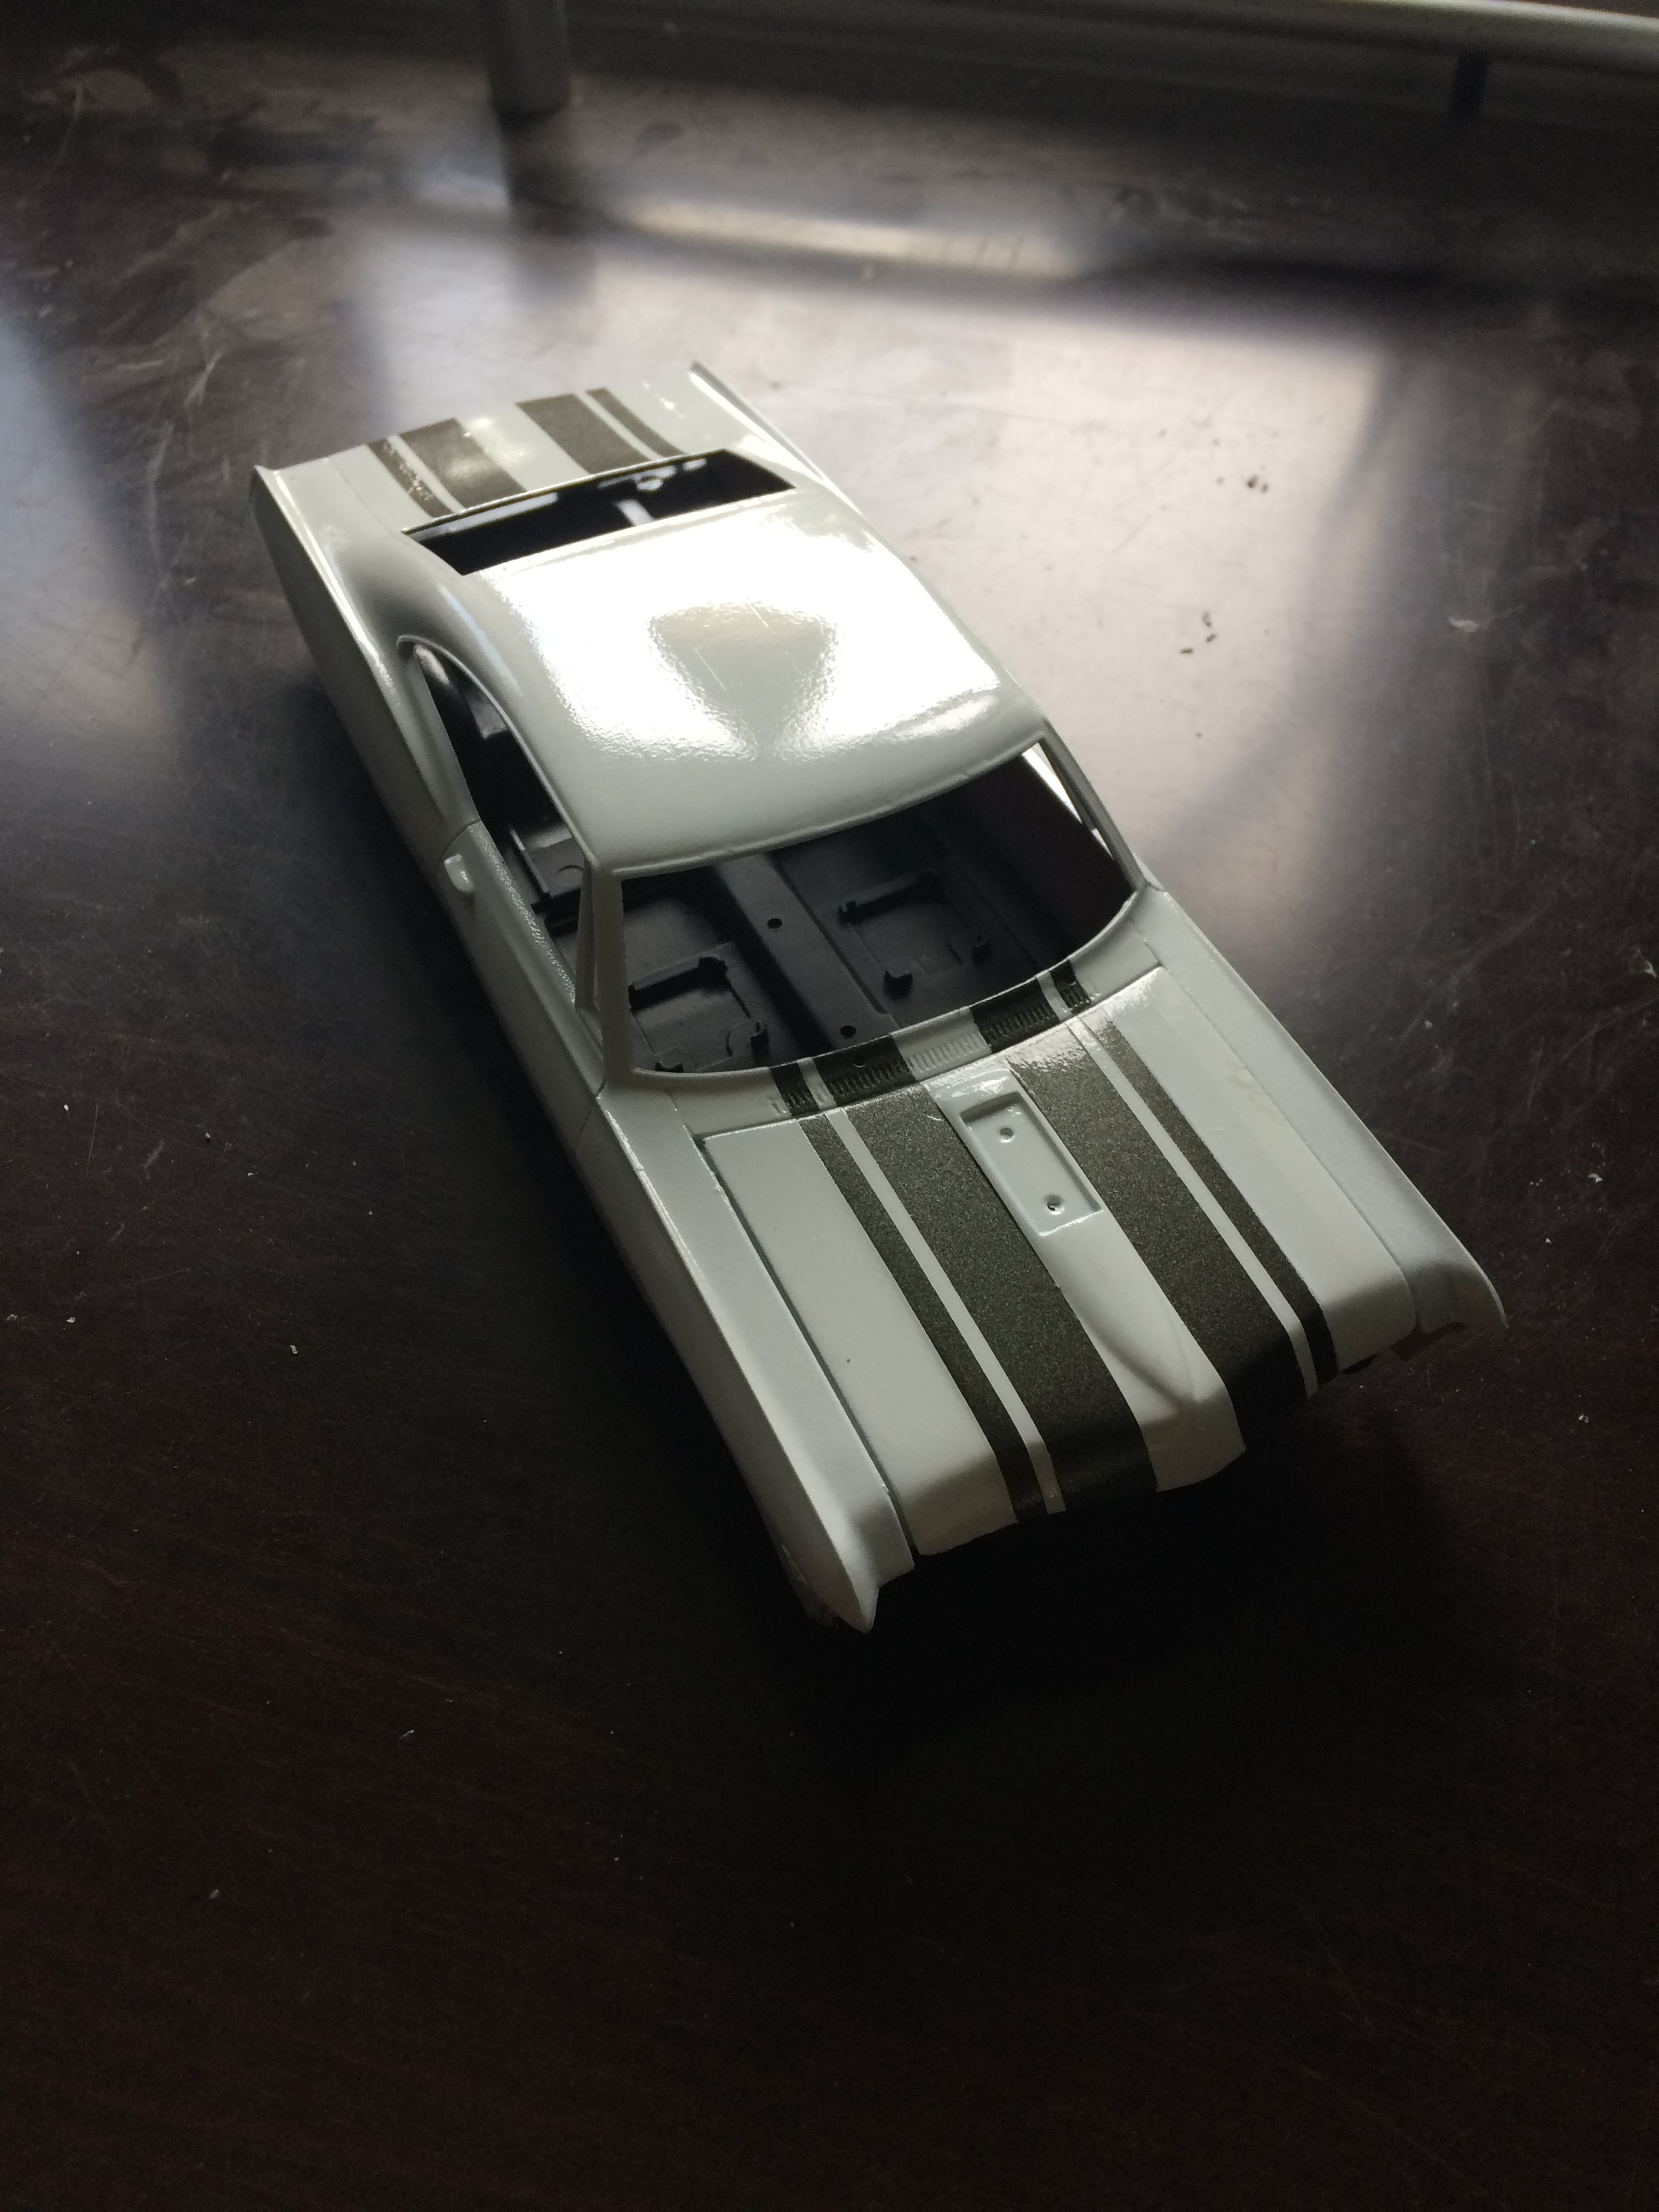
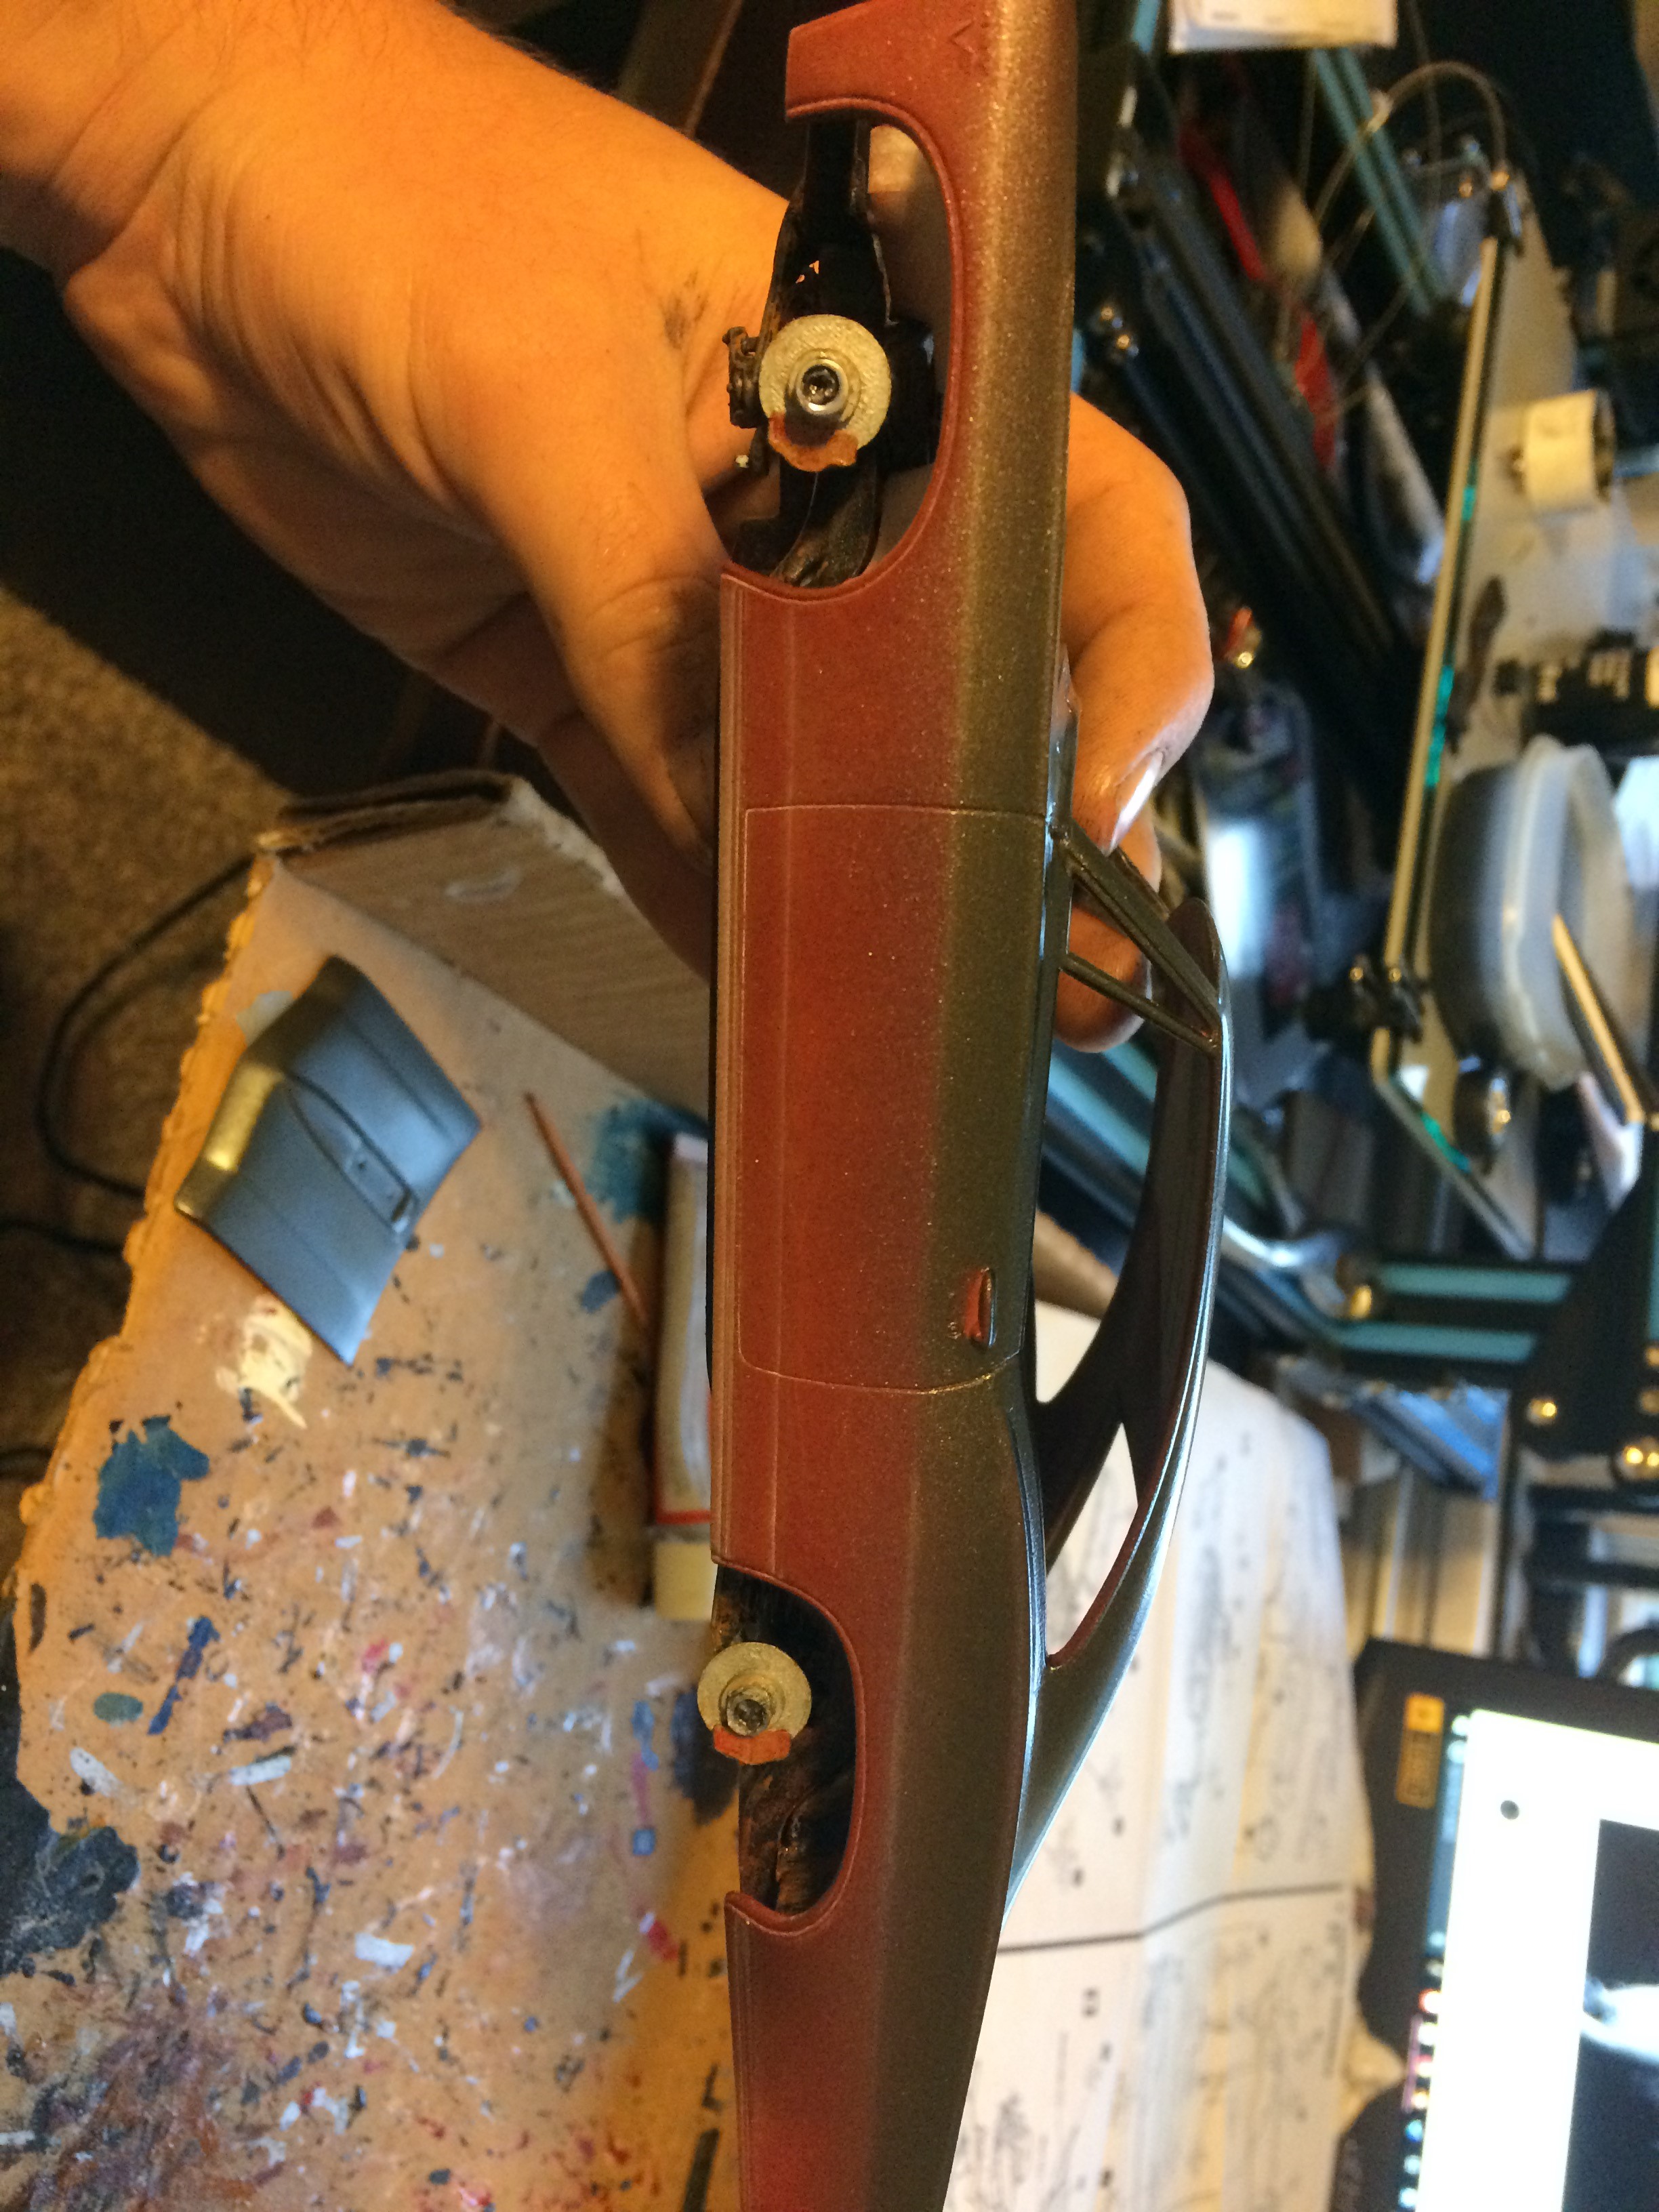
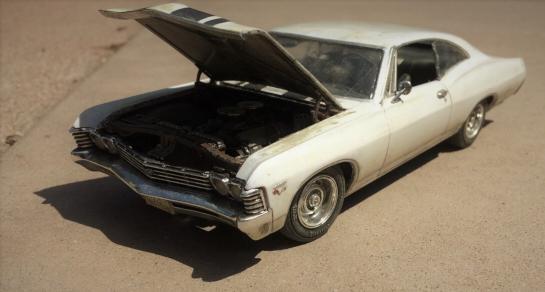
Here's the new paint. I have yet to wet sand it, that'll be tomorrow followed by another layer of clear and then buffing to get it all smooth. I was happy to find that the stripes appear darker with the white around them, and the brown is gone. I'm happy with how it looks, almost sad that I'll have to dirty it up. Speaking of dirtying things up, I'm going to want to dirty the glass up a bit. How have you guys done that? I imagine using a compass to mark out masking tape for where the wipers would be effective, but the actual weathering part I'm unsure of what to do with it.

-
Dale Earnhardt's 1990 Lumina
THORDOOR220 replied to Jay's topic in WIP: Stock Cars (NASCAR, Super Stock, Late Model, etc.)
That's awesome. I might have to try to build one, see if I can come close to yours. Probably won't quite get there, that's pretty good, but worth a shot -
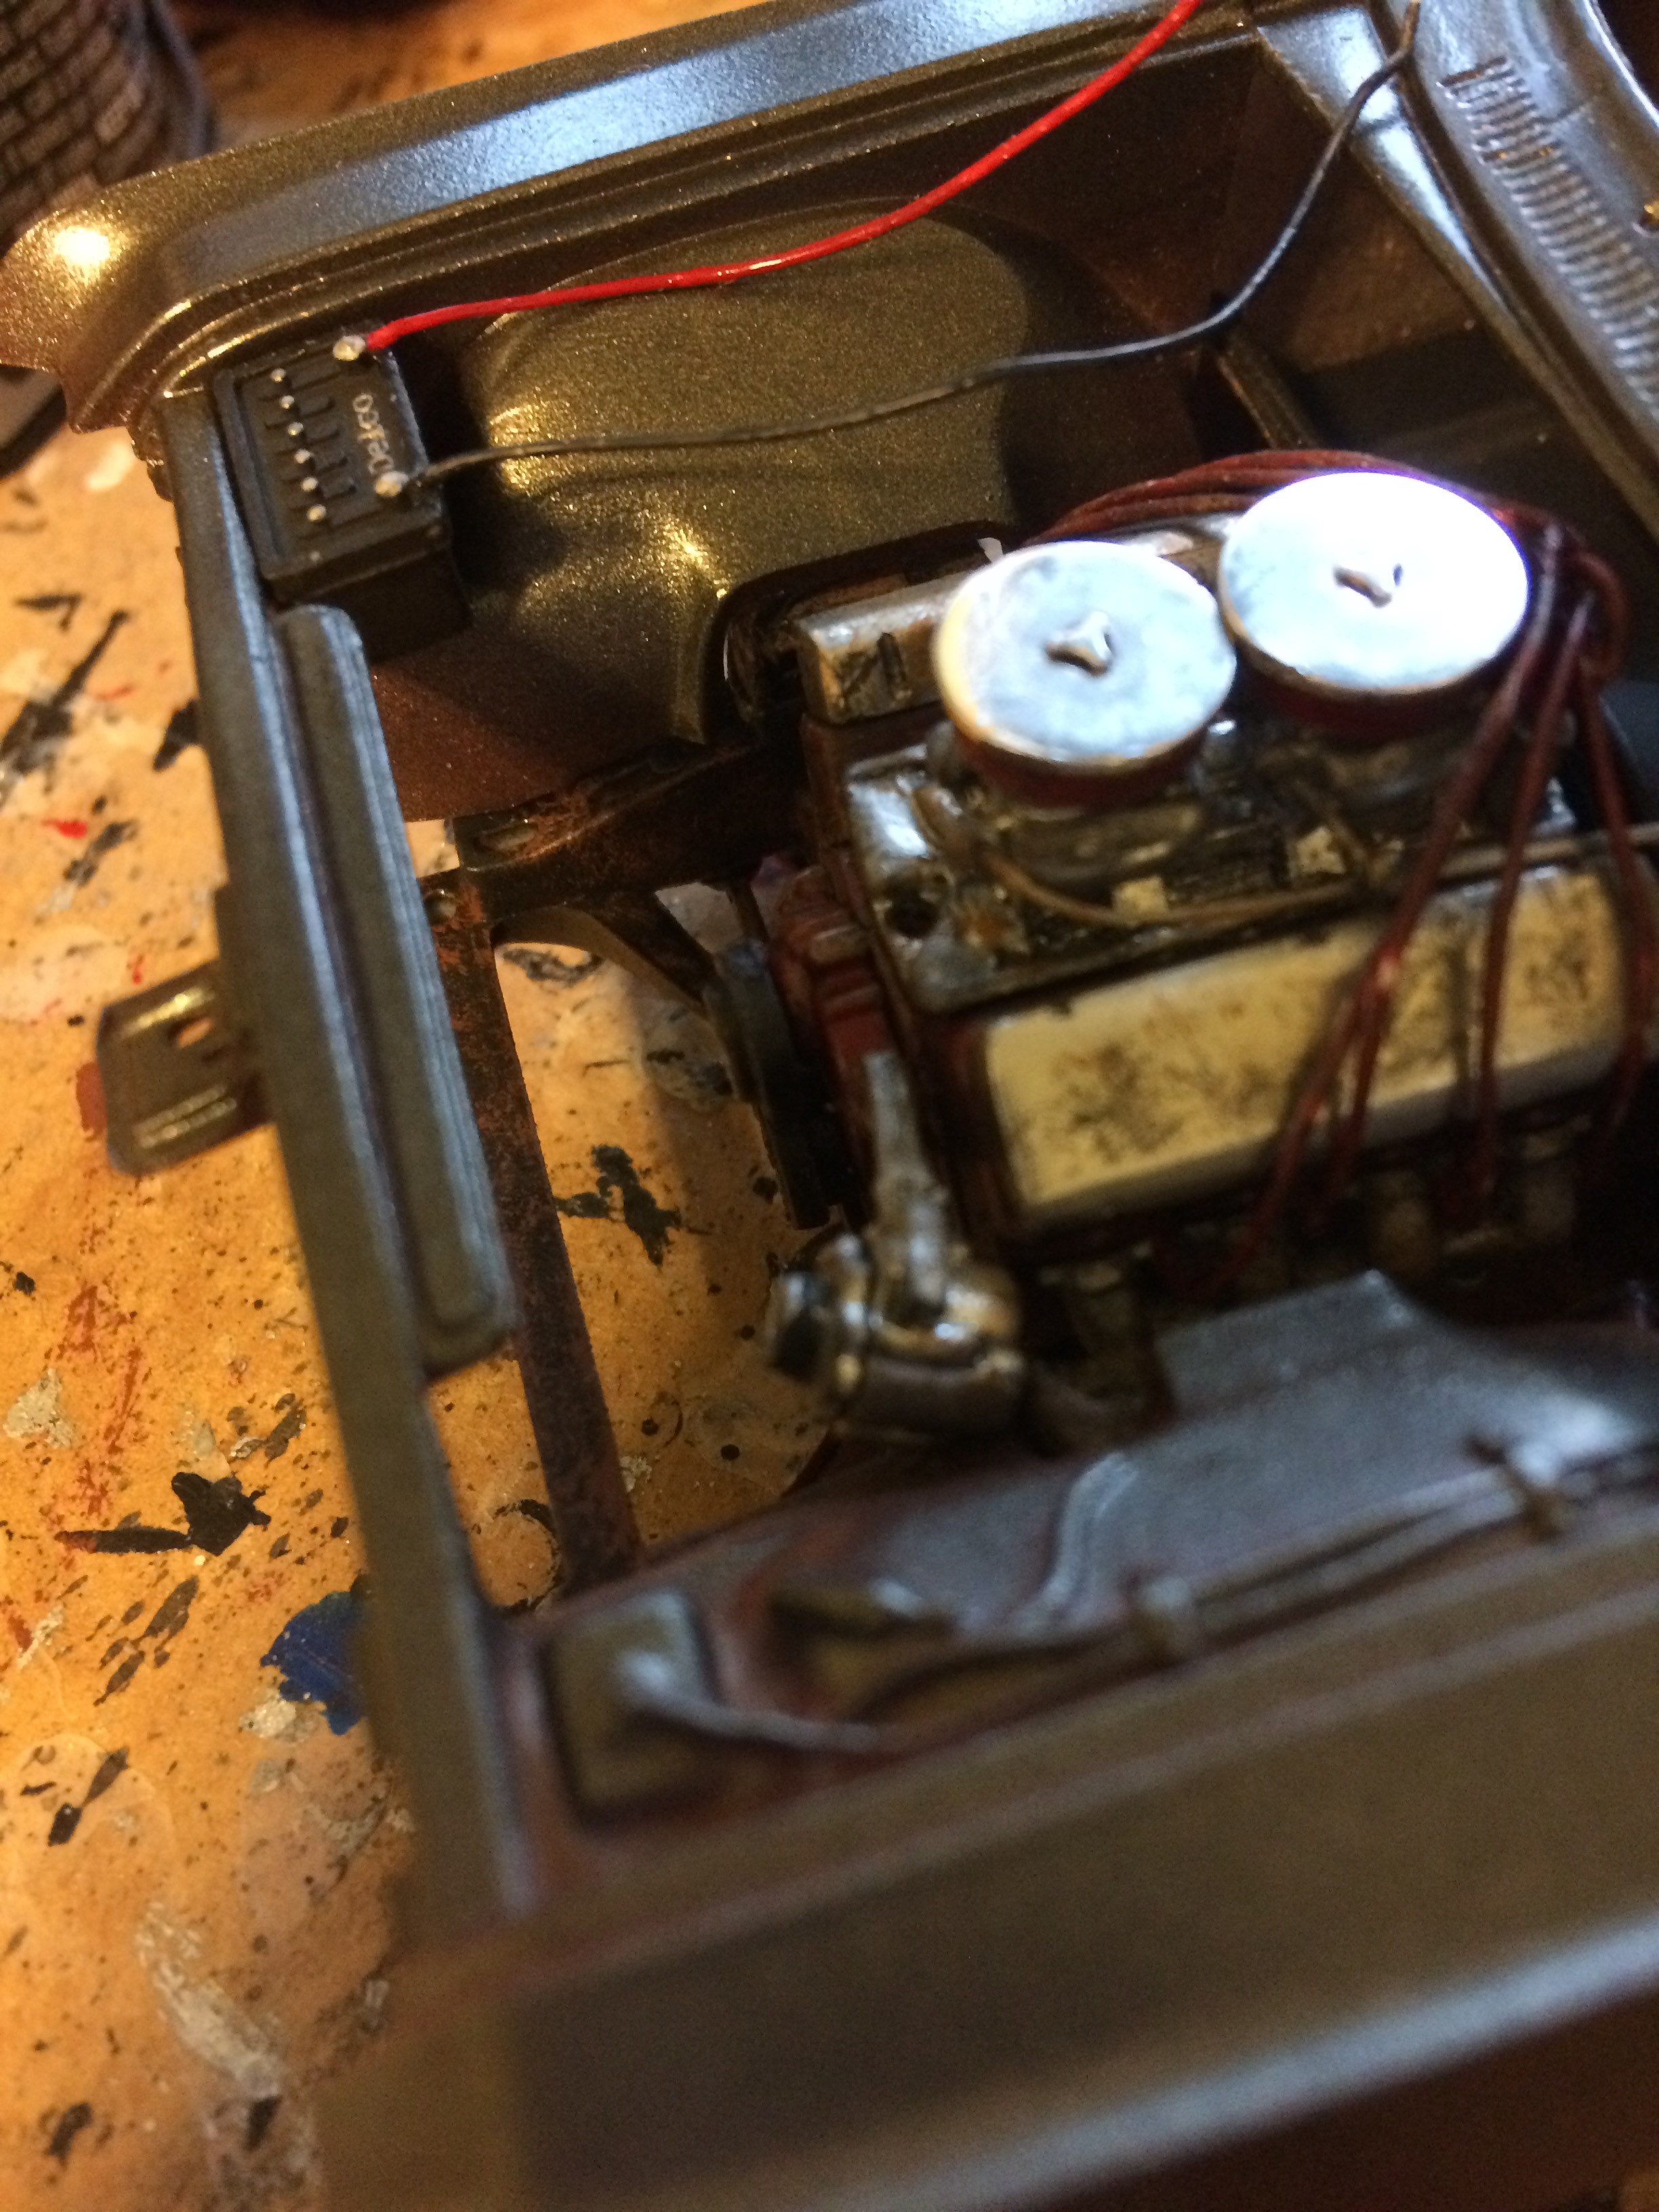
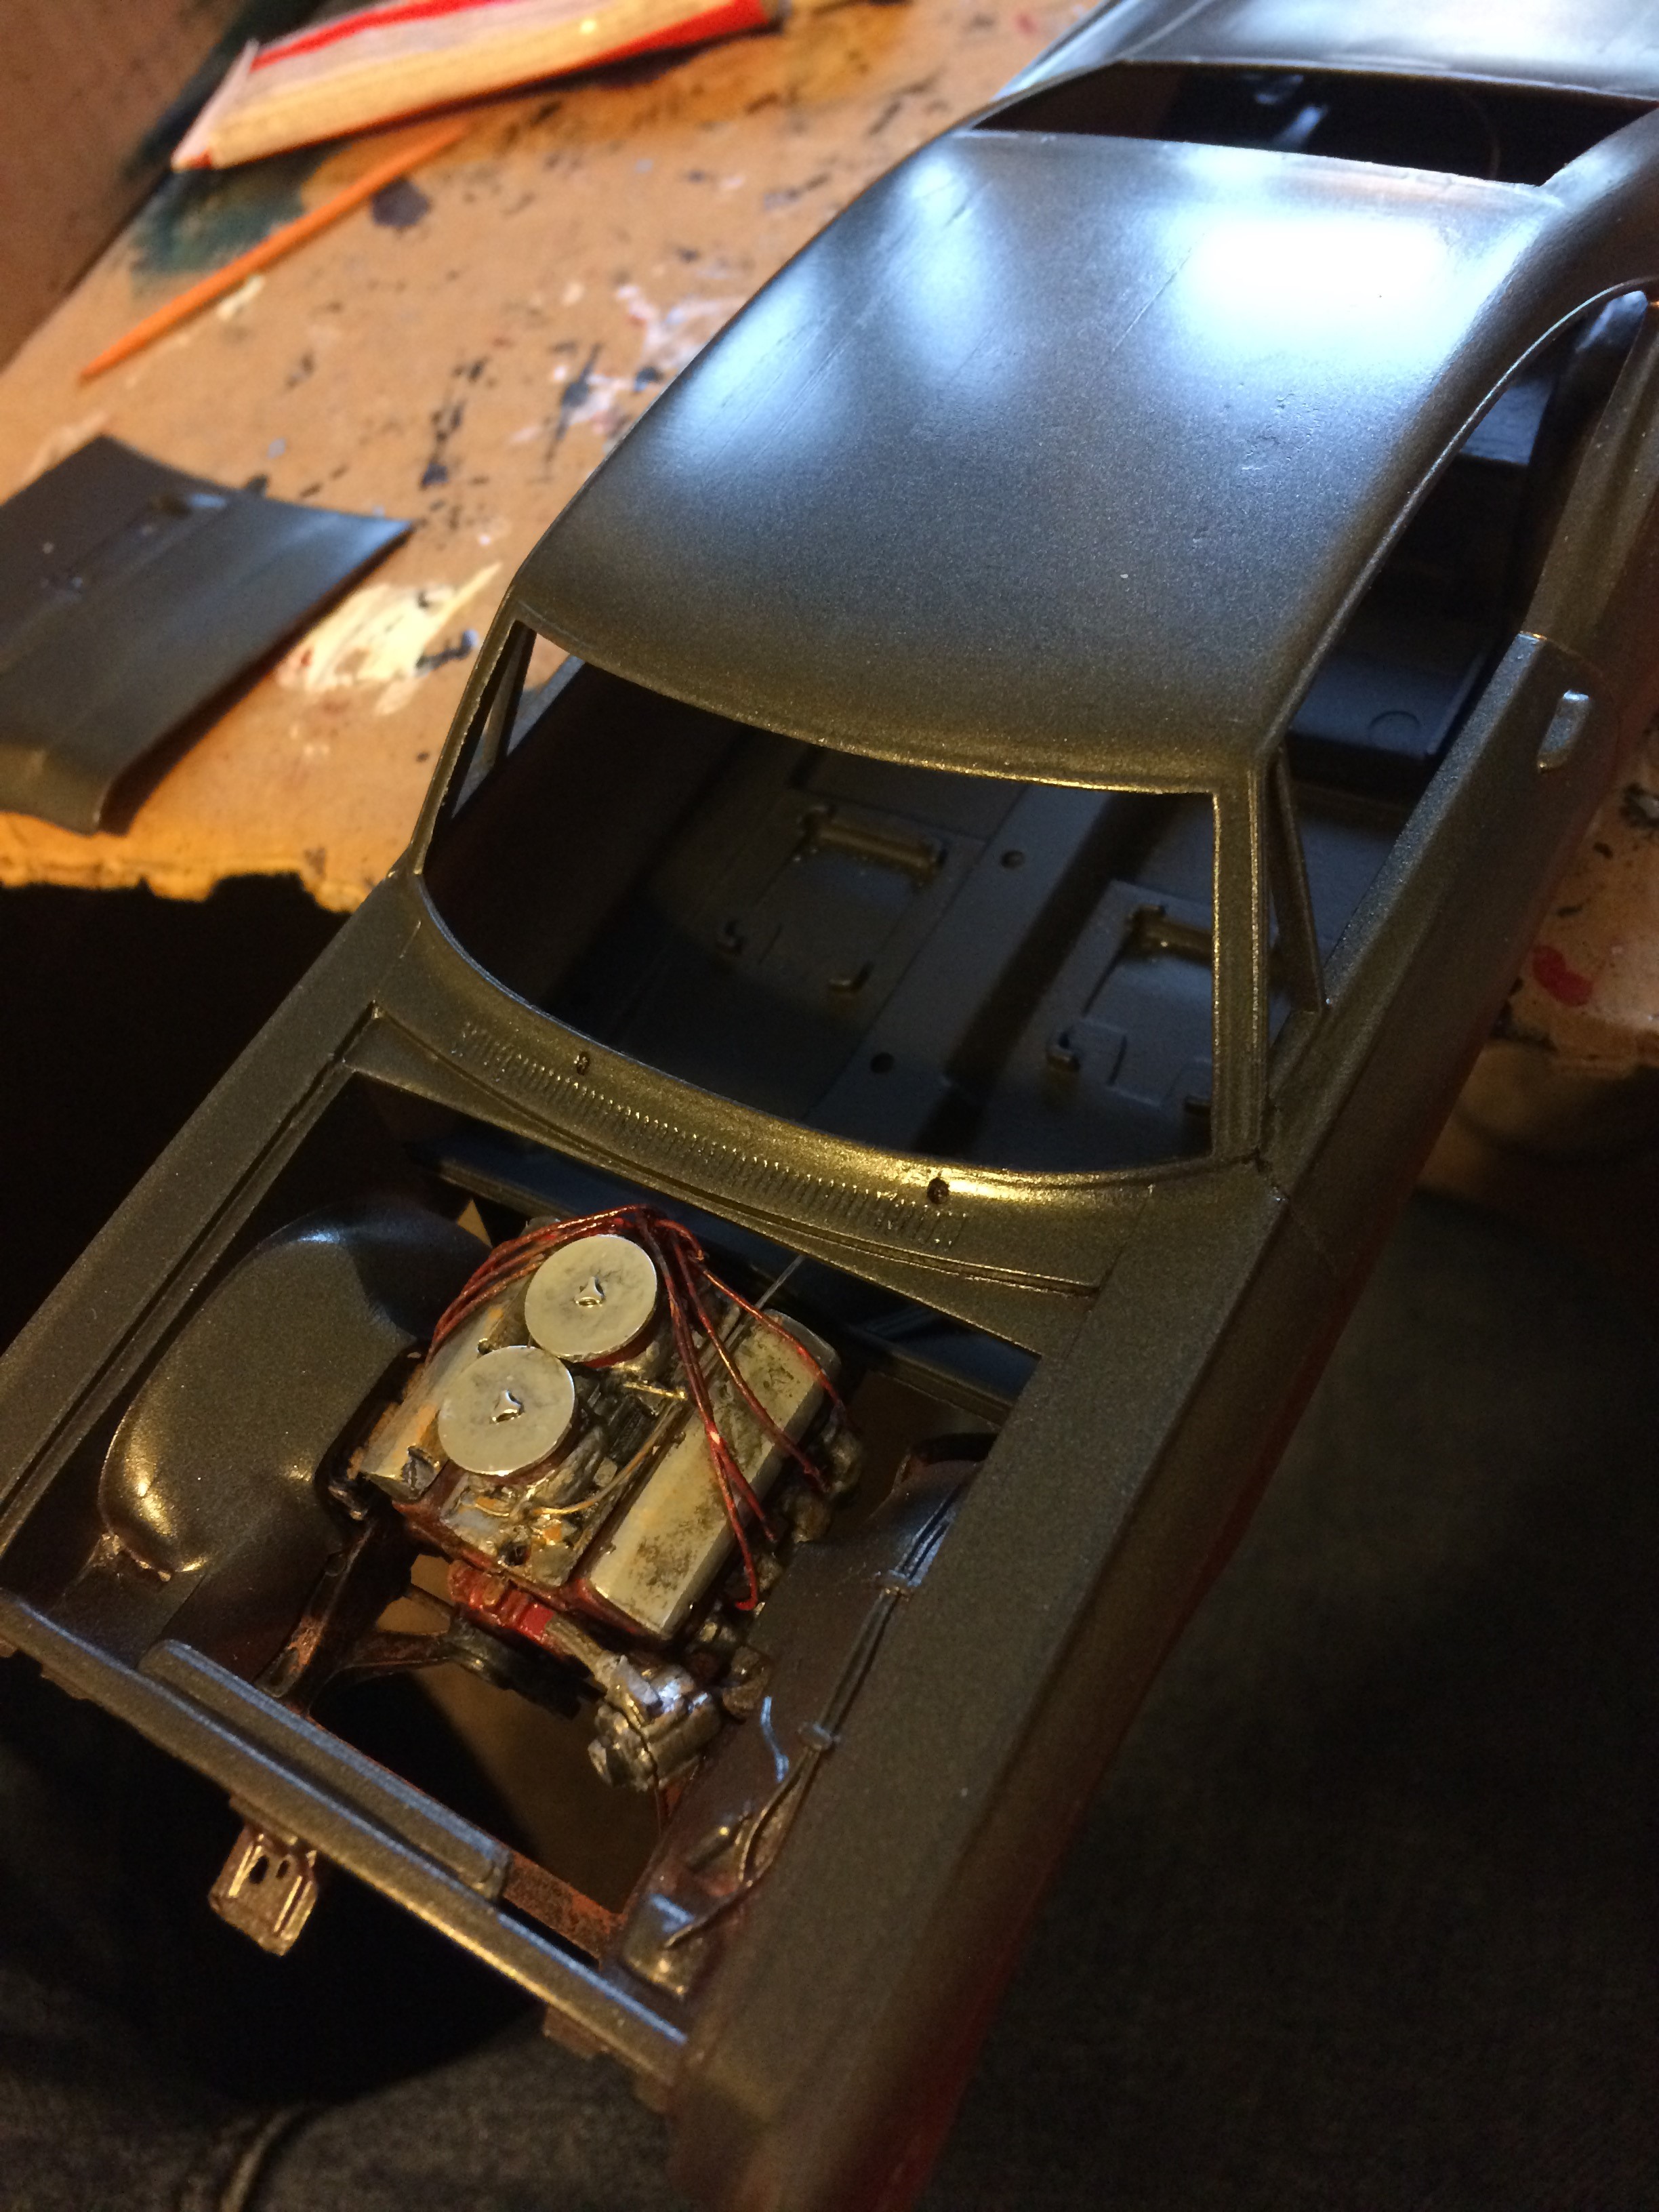
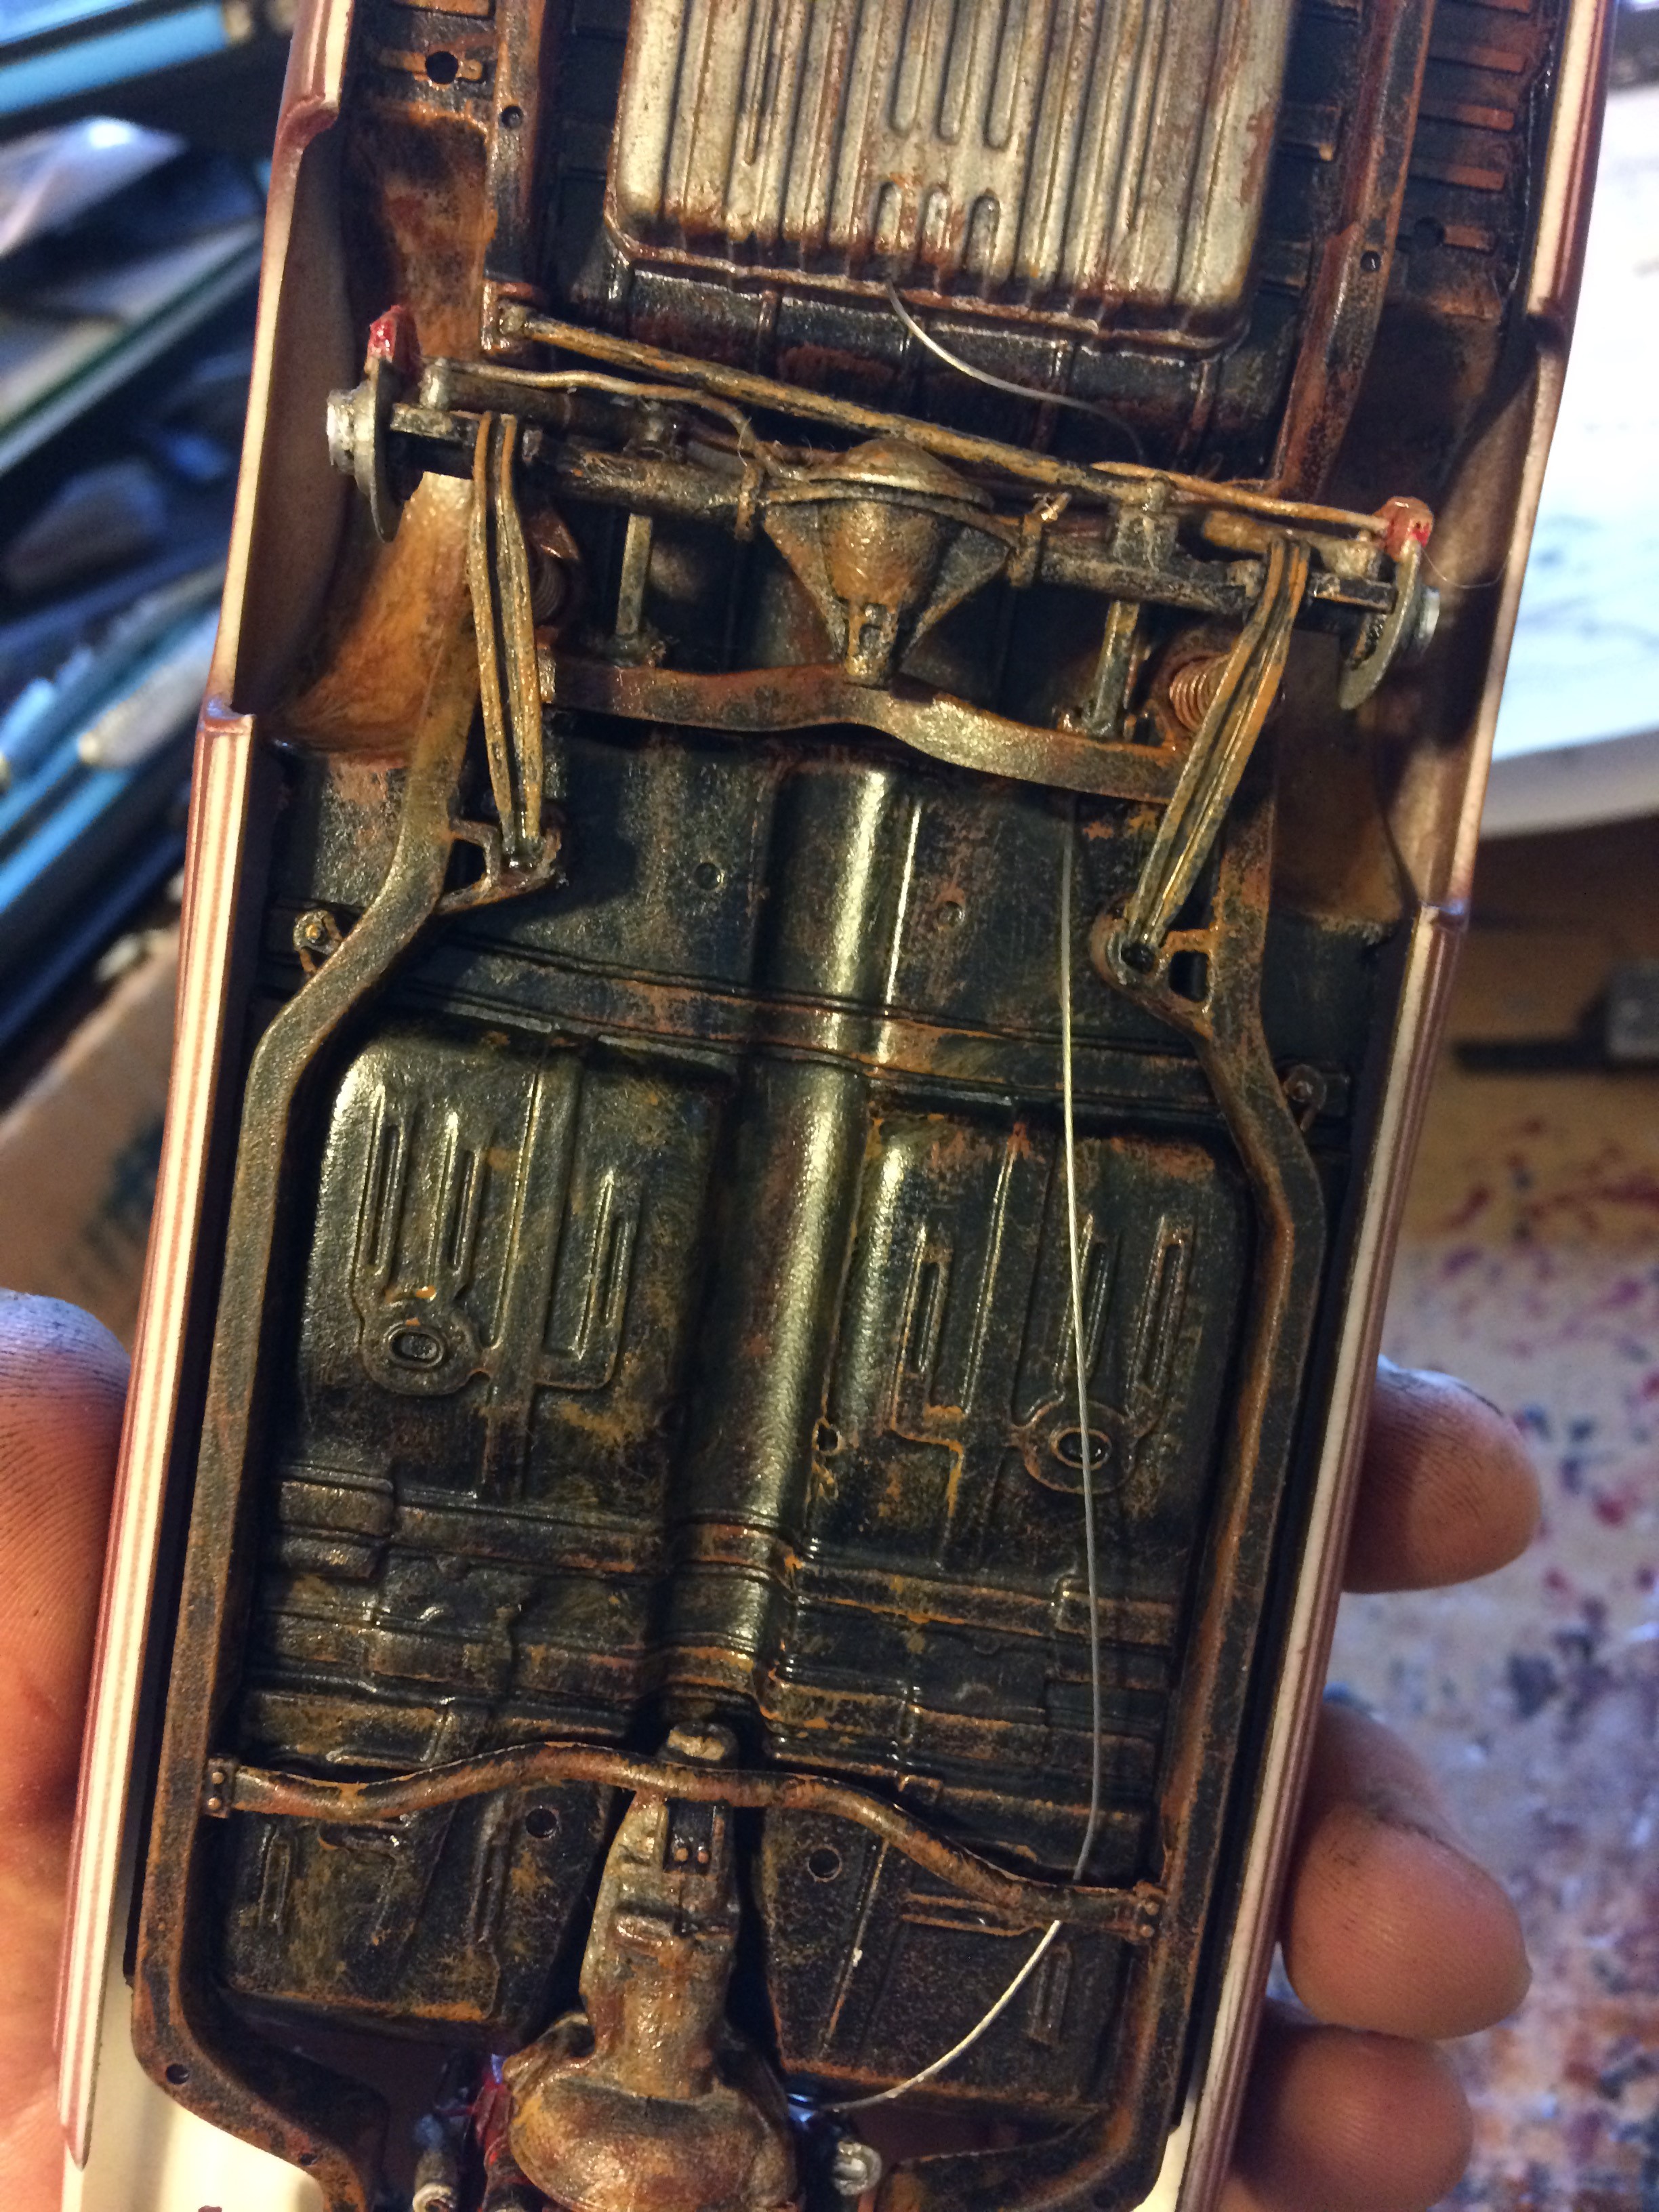
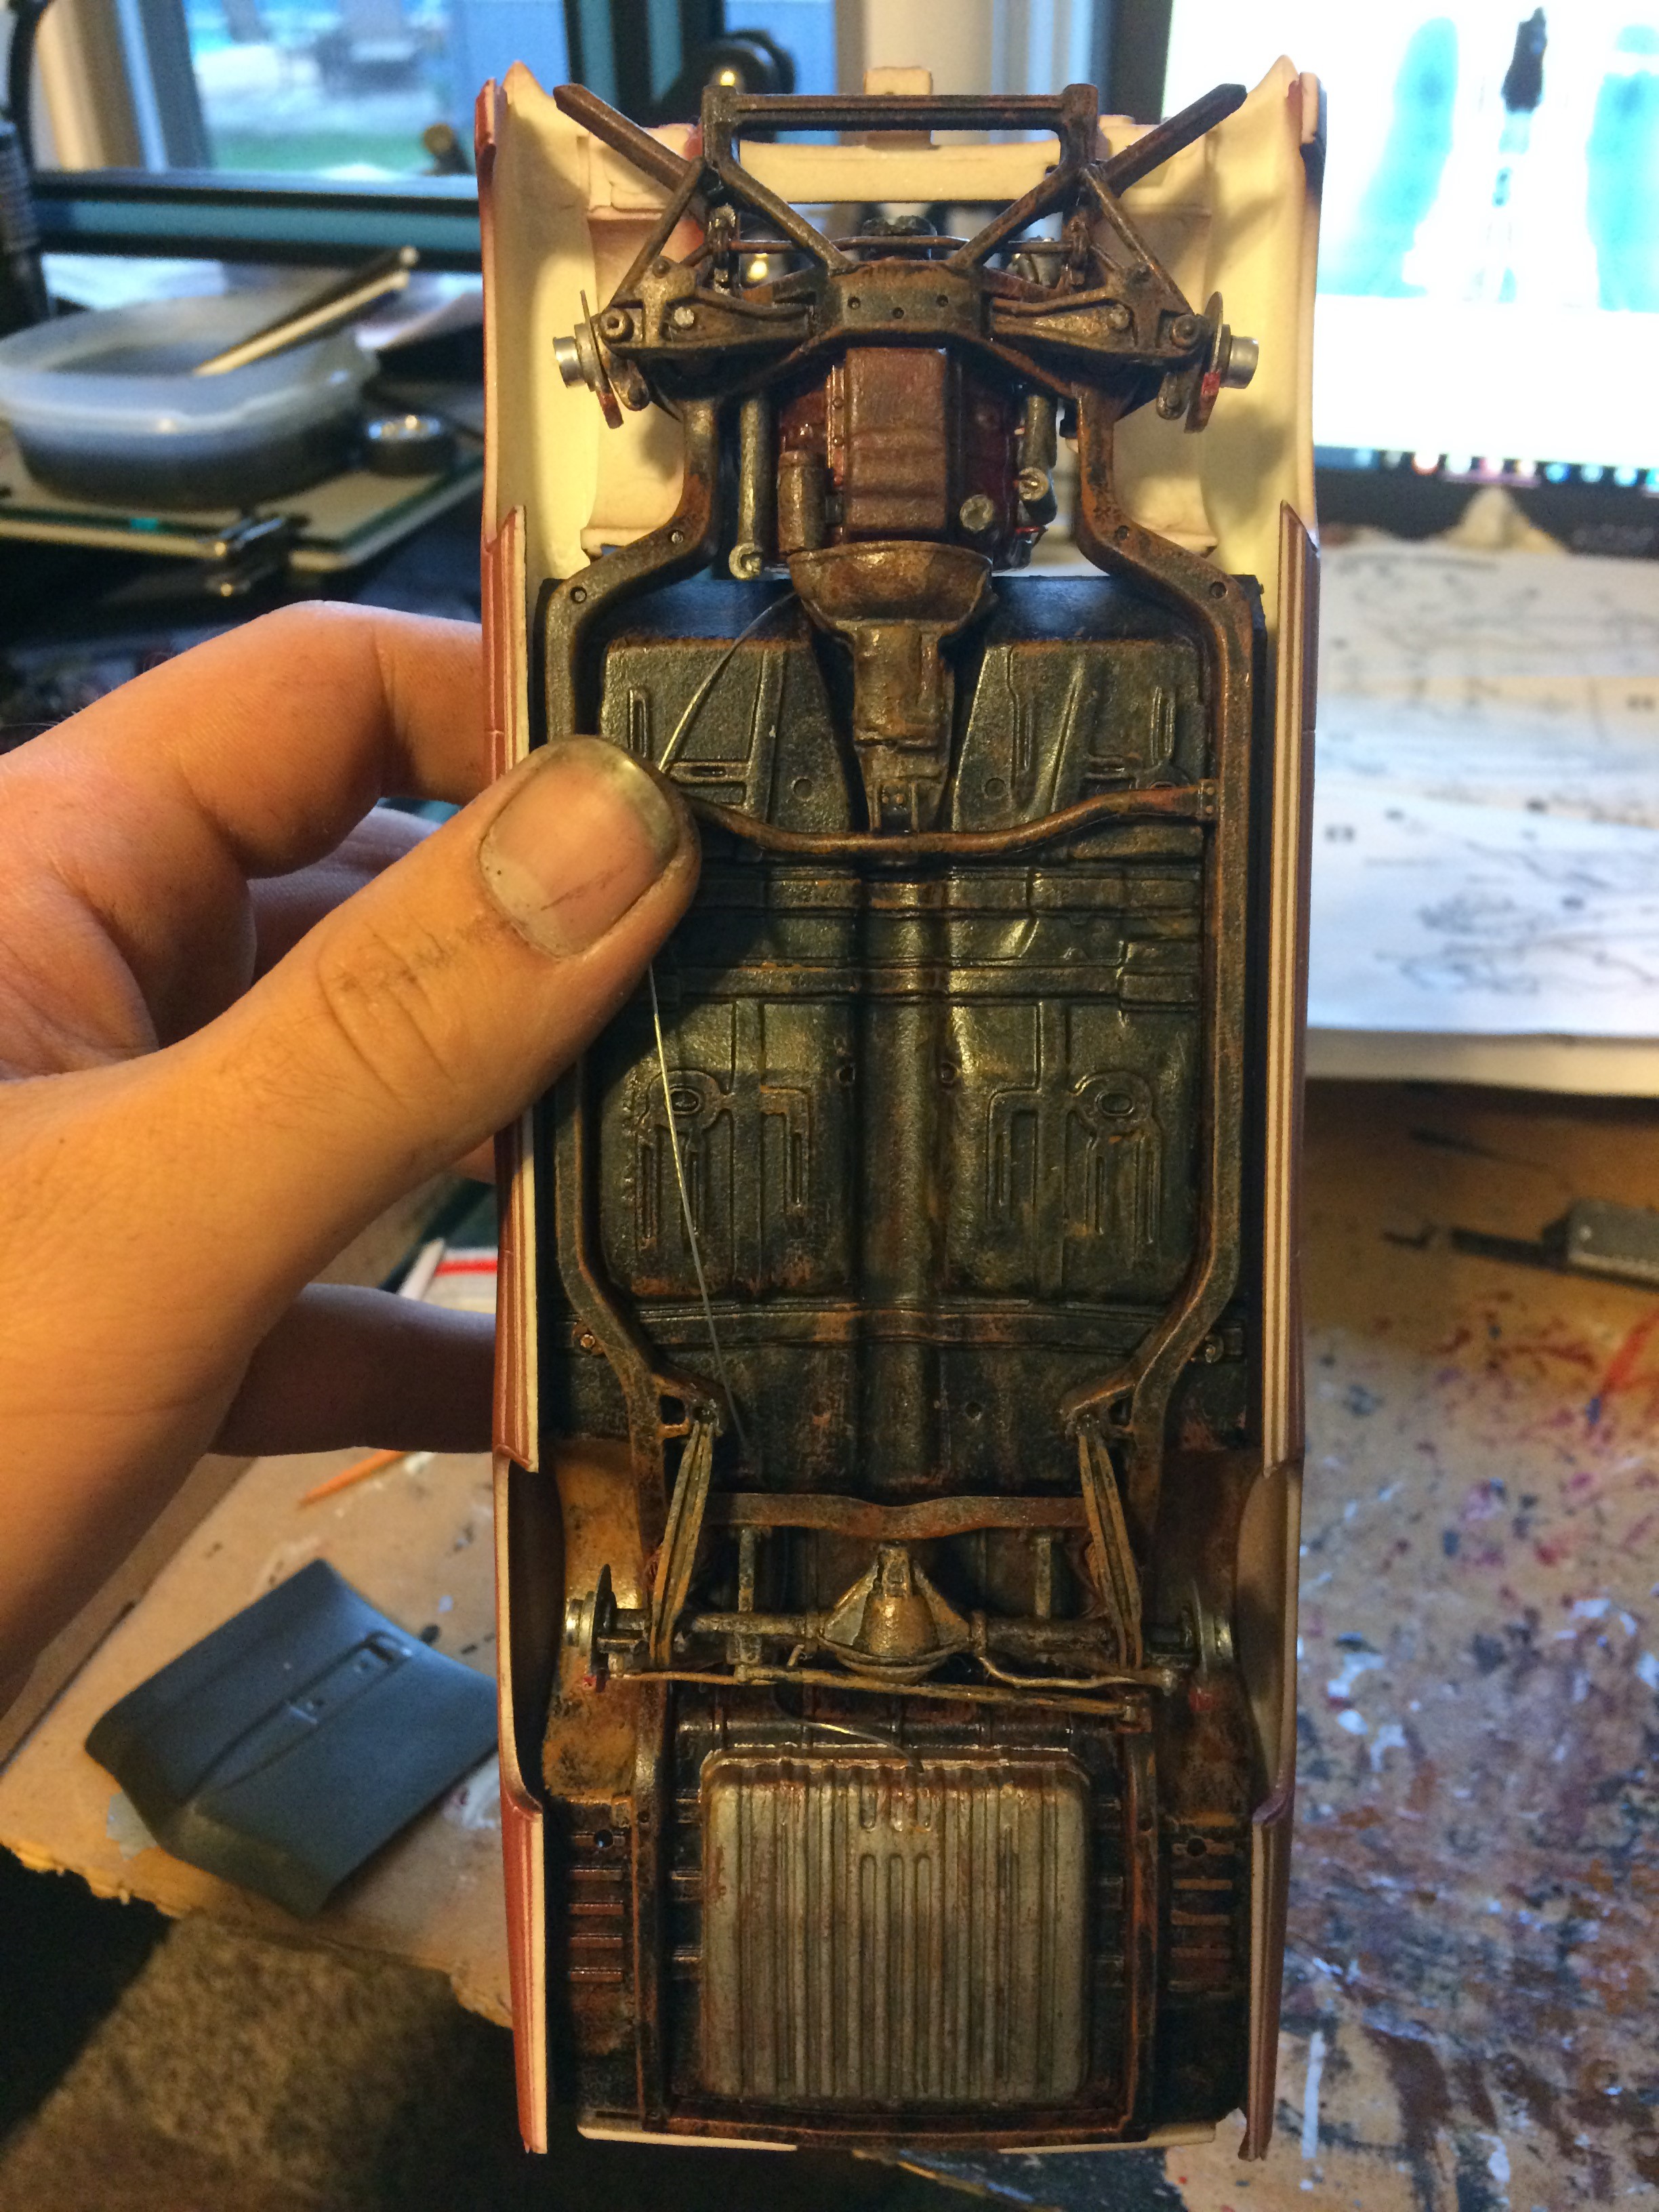
Thanks, it's definitely a learning experience so I'm glad I can do alright as I learn. So here's some pictures. You can see the new stripe color, which looks a little more brown in person. Mind the red primer. Not ideally what I want, but we'll see what it looks like with the white. I'll be masking the stripes yet tonight, just figured I'd do pictures beforehand. The firewall is detailed, though dark. Very dark. There's a small hole in it for the throttle cable to go through. You can see the cable in one of the pictures, it's not really how dual carburetors work but it works for this project at least. I got all the suspension on, except the steering. I want poseable steering, which it currently how it is. The catch is the steering linkage falls off when you flip the model right-side-up. I'm working on how to fix that, I have a couple ideas. Worst case scenario, I find a pose I like at the end of the build and glue it in place. Unfortunately, that isn't my only problem. The alternator doesn't quite clear the upper control arm. I'm going to need to make a new bracket for it and raise it up, and then do the belt and fan. I've also got the fuel line mocked up, though it's not held in place. It'll run along the frame, just not yet. And the battery is detailed, still need to attach the wires to the starter and frame. The last thing to point out is the weathering on the underside, which I might have gone *slightly* overkill with it I'm thinking that since the paint isn't going to be super nice after the mishap mentioned yesterday, I'll have it something that isn't real well taken care of. I wanted it to be driven, not a show car, so this I think is just a step further. So I suppose the next step (besides fixing the steering and alternator) is interior. I'll put in my valve stems first, and perhaps attach a picture to this post when I do. I just remembered them, and they shouldn't take long. As stated before, suggestions are welcome, as are any comments. Added a picture of the valve stems. So tiny!
-
Being a foxbody fanatic, I'm a tad embarrassed to say I haven't seen these before. Guess I need to pay attention to a little more than just drag racing! I do love these foxbodies, I'll be watching to see how yours turns out.
-
Had an unfortunate mishap that ruined the clear coat on the model, and in the process of trying to fix it, I burned through the paint. I tried to strip the paint with Purple Power, which mostly worked, but there are a few spots that refuse to come off. The stripes won't at all, not even peel up. So I'm currently trying to get the body straight with a bit of sanding, which is mostly working. I'll be repainting the model over the next week, with a bit of a change. I'm out of the diamond dust Testor's paint I used for the stripes, and I figure contrast won't hurt, so I'm using Ford's Dark Shadow Grey for the new stripes. This is actually going to be a bit helpful, as it's going to be identical to how I was thinking about my 69 nova project (real car, not scale). Other than that, I haven't gotten very far this week. I got the belt, alternator, and fan attached to the engine, have yet to blackwash those portions but will tonight. Interior is painted flat black, still have a lot of detailing to do there. Also intend on attaching suspension parts either today or tomorrow to the frame, so I can have the car mocked up on wheels at least, since wheels have a little work yet. I'll probably post update pictures with whatever is done tomorrow evening.
-
Wow. Haven't been following since the beginning, but that's one heck of a build. I've wanted to build a 3 window for a while, and here's a little inspiration to do it. I've really got to stop looking through the forums, seeing builds like this is just increasing my to-do list entirely too much....
-
Both look decent to me. If there isn't at least a little improvisation, what's the fun in it? Although I have to say, I do like working in 1/25 scale better, so that makes it a little less likely I'll buy the USCP one. And it seems a little pricey to me, but I'm cheap. If anything, I'll probably model and 3D print my own. Might put it up on shapeways, if I ever get to it.
-
Very nice. I like the little stand for it, too.
-
I would. It isn't always possible, but if you can spray at an angle 45 degrees or less, it should be good enough. I usually spray a body on each side (front, back, and sides) and try to get the top of the model while doing those, kind of like halves. Obviously you won't always get the roof spraying from the front, but you usually can from the sides without tilting your airbrush/spray can too awful much. It should be enough to keep the paint even. For spray paint, I've also heard of people heating the can in warm water for a bit, and then the typical shaking afterwards. They claim it helps spray more evenly, though I haven't tried it myself so I can't confirm it.
-
3d printed wire wheels
THORDOOR220 replied to Bilingham's topic in Car Aftermarket / Resin / 3D Printed
I second this. I used Blender for all of my modeling, because it's what a friend of mine recommended and I'm now used to it. I've tried Fusion 360, and it's a very more professional feel. I will be learning to use it eventually. It's far more precise (or seems to be anyways) and, from what I've heard, is extremely easy to use. I've seen people make some outstanding things with this. -
3d printed wire wheels
THORDOOR220 replied to Bilingham's topic in Car Aftermarket / Resin / 3D Printed
Very nice! I like to print my own items if I can, but I have yet to get a print quite like that. I wonder how they do it. Does that have any finishing or straight off the printer, or do you know? I can't even tell if there's layer lines.... -
Color looks very good. I have heard the leather trick as well, though I have yet to test it. I will be using it with my current impala model. I haven't used toothpaste, haven't heard of that one before. I have some really good rubbing compound I usually use, left over from when I painted my foxbody a few years back (actual car, not model). I'll be finding more soon, since I have a nova to paint soon. Let me know how toothpaste works, if you try it. Might be cheaper than my expensive real-car stuff
-
Corvette with T-Bird taillights, huh? That should be an interesting touch. Looking forward to see how it turns out. Nice color choice by the way.
-
I thought the same for a while. For final assembly, I trimmed them a bit. I'm kind of going for a messy look with it, so I'm not using any plug wire looms or anything. It's also had a lot of black wash. This is where it's at after tonight, I'm going to finish it tomorrow.
-
That's one heck of a build, almost hard to believe it's the same car. Wonderful job
-
Beautiful. Looks like you could get in and drive it, if you weren't scared to scratch the paint that is great work
-
That's so cool! Love the leaves and toolbox! One day I hope to be able to do cars like that, with the torn up interior and rust. I've got a car in mind for it, and this is more inspiration to do it when I'm done with my current build. Thanks for sharing!
-
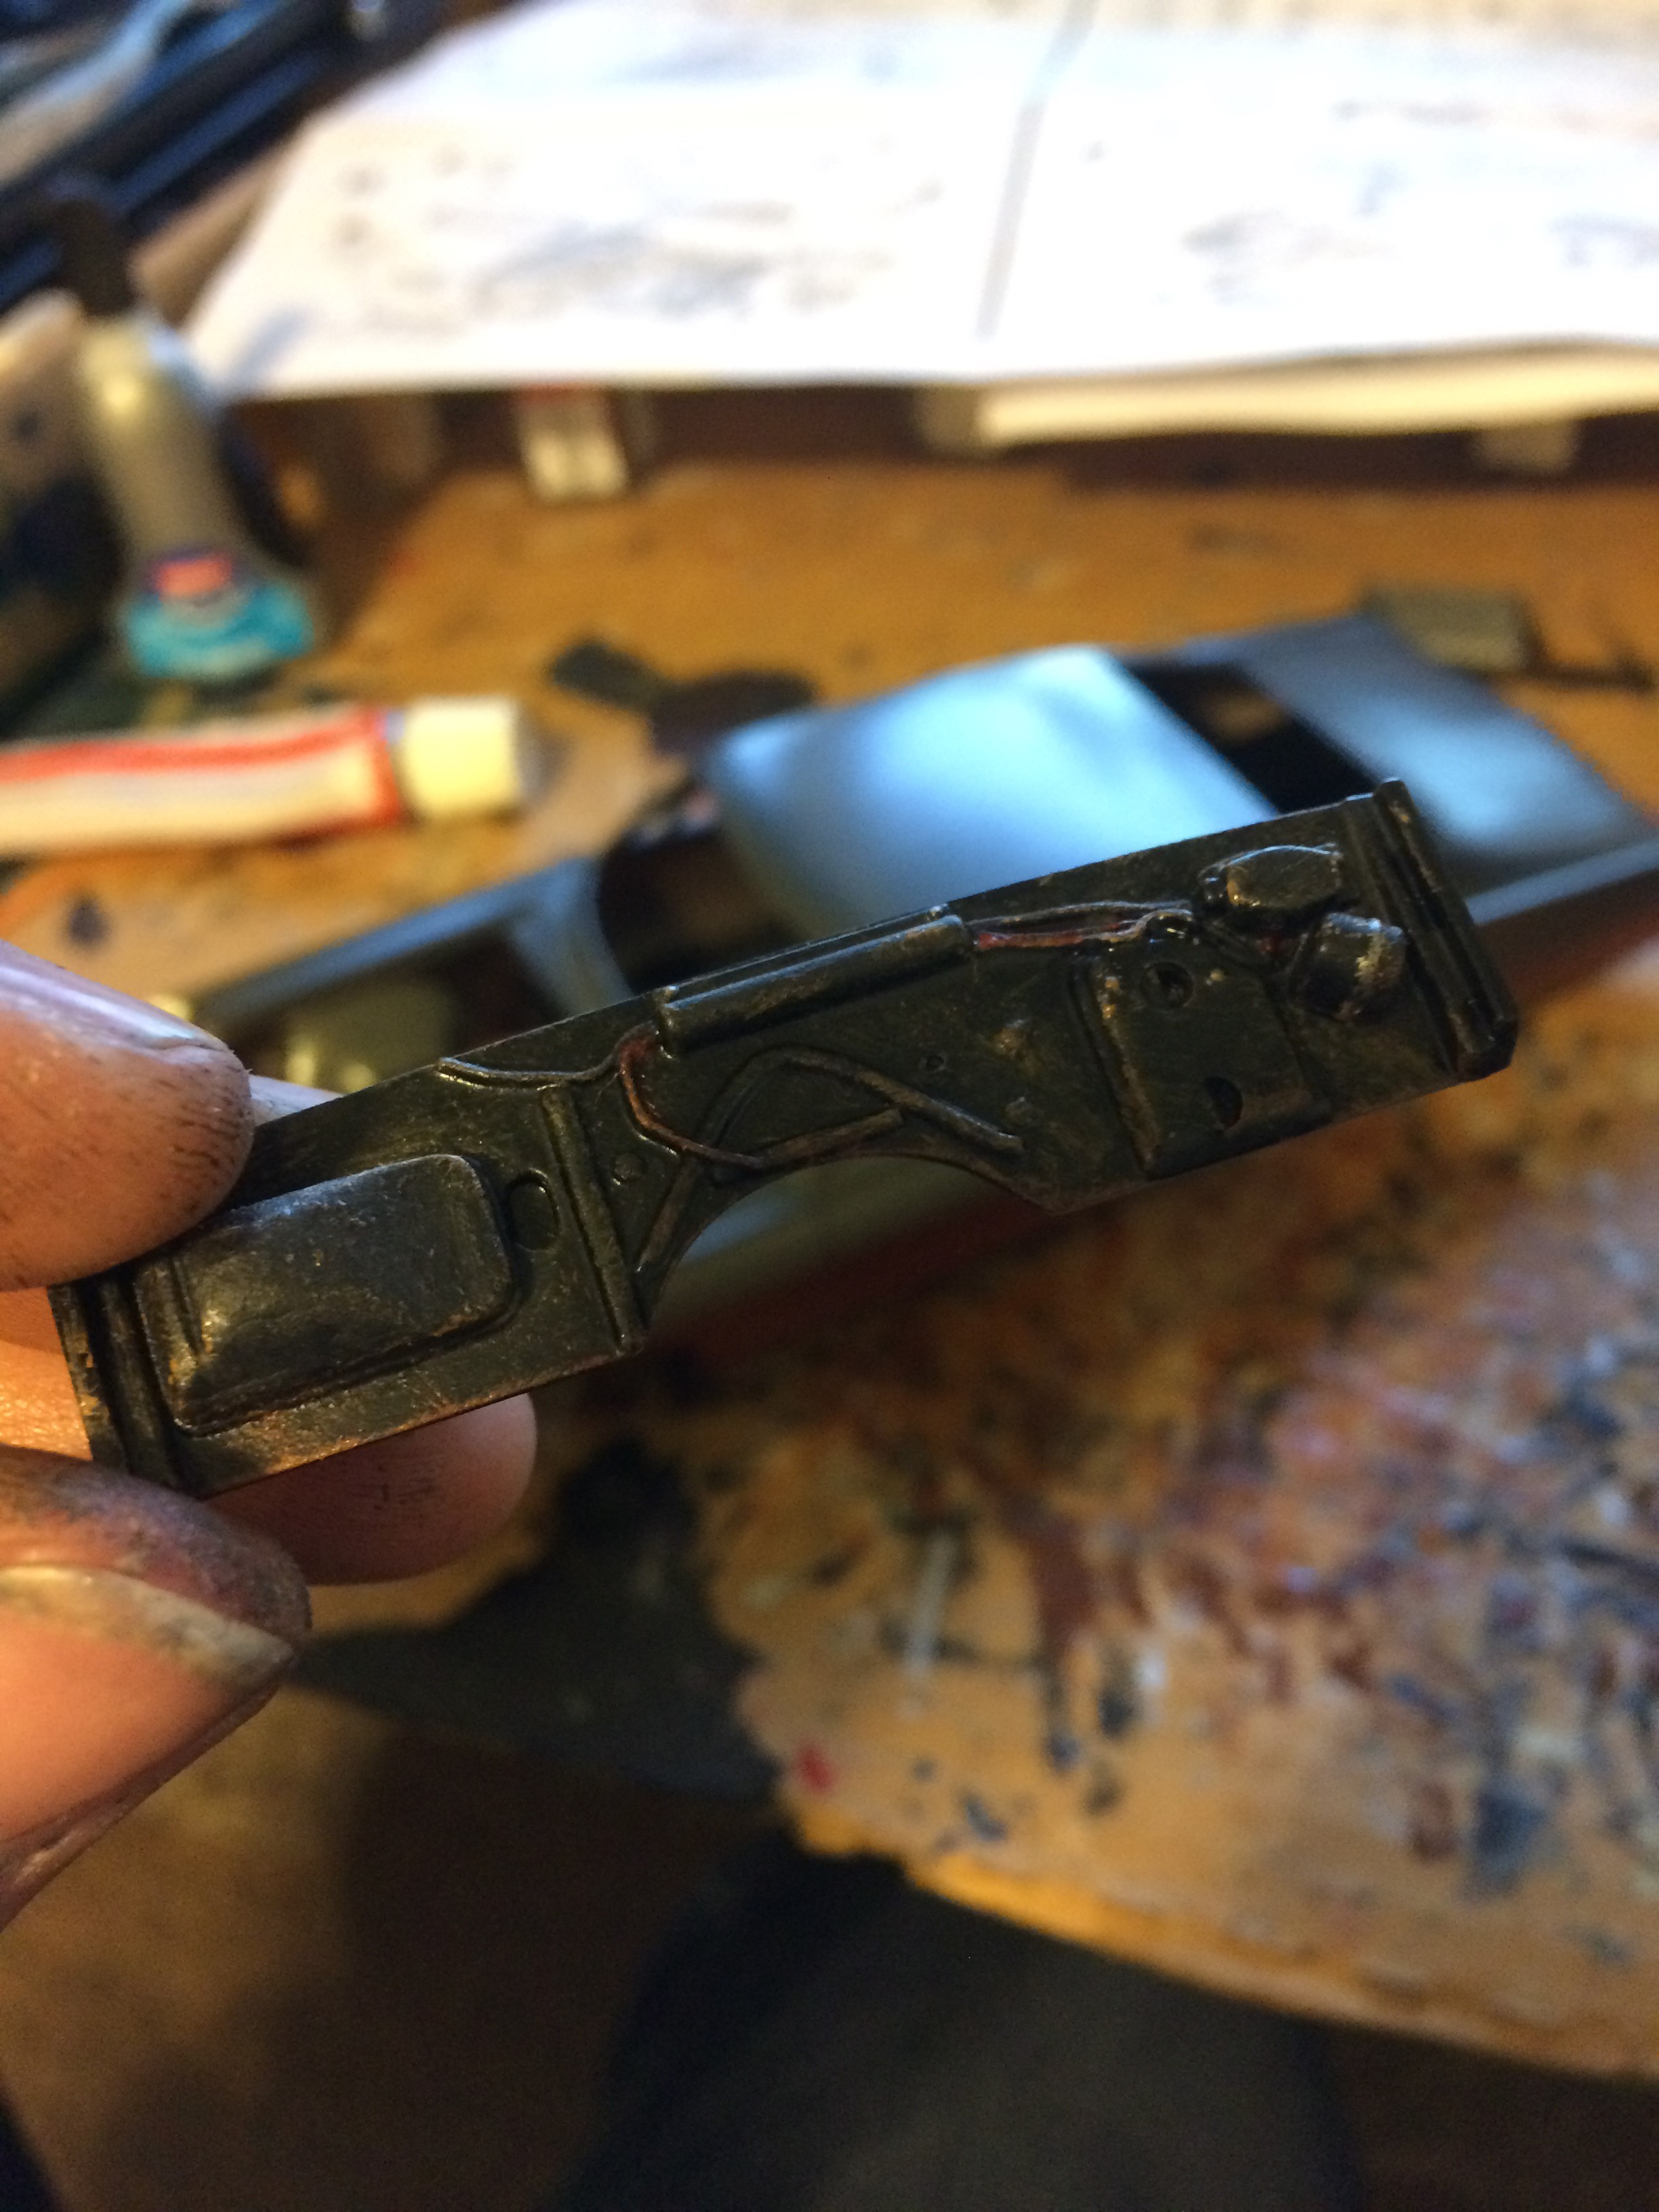
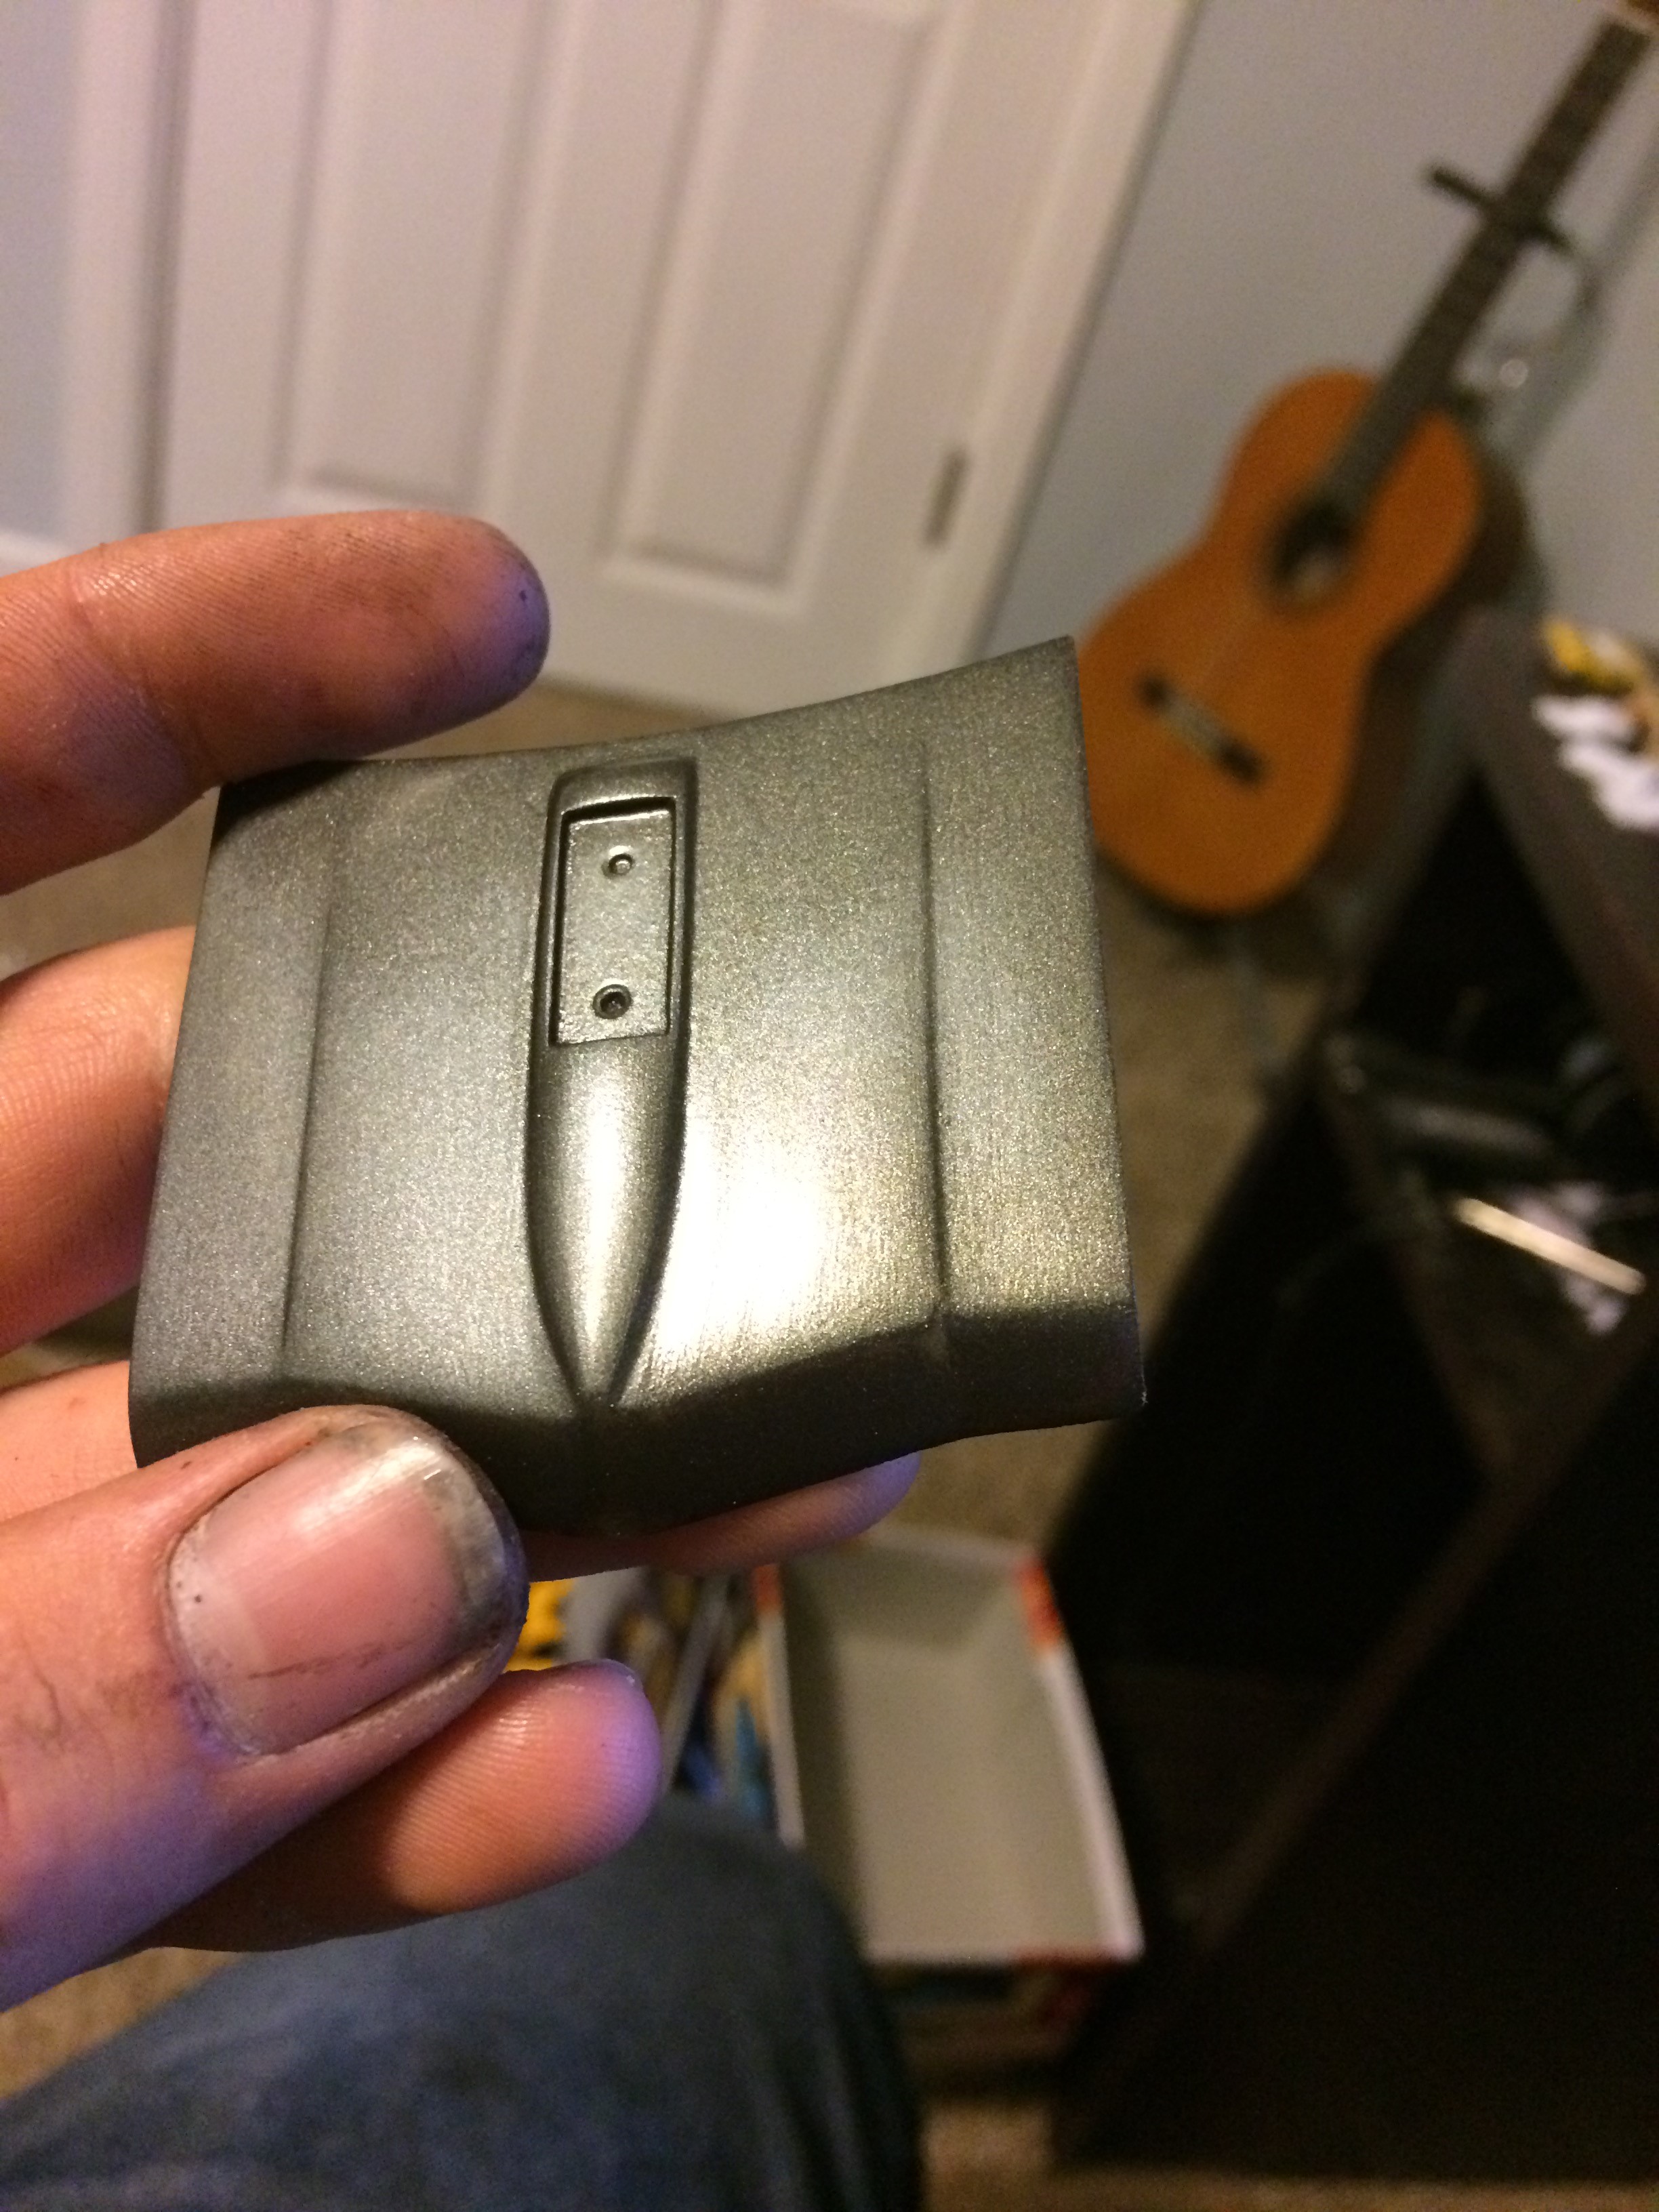
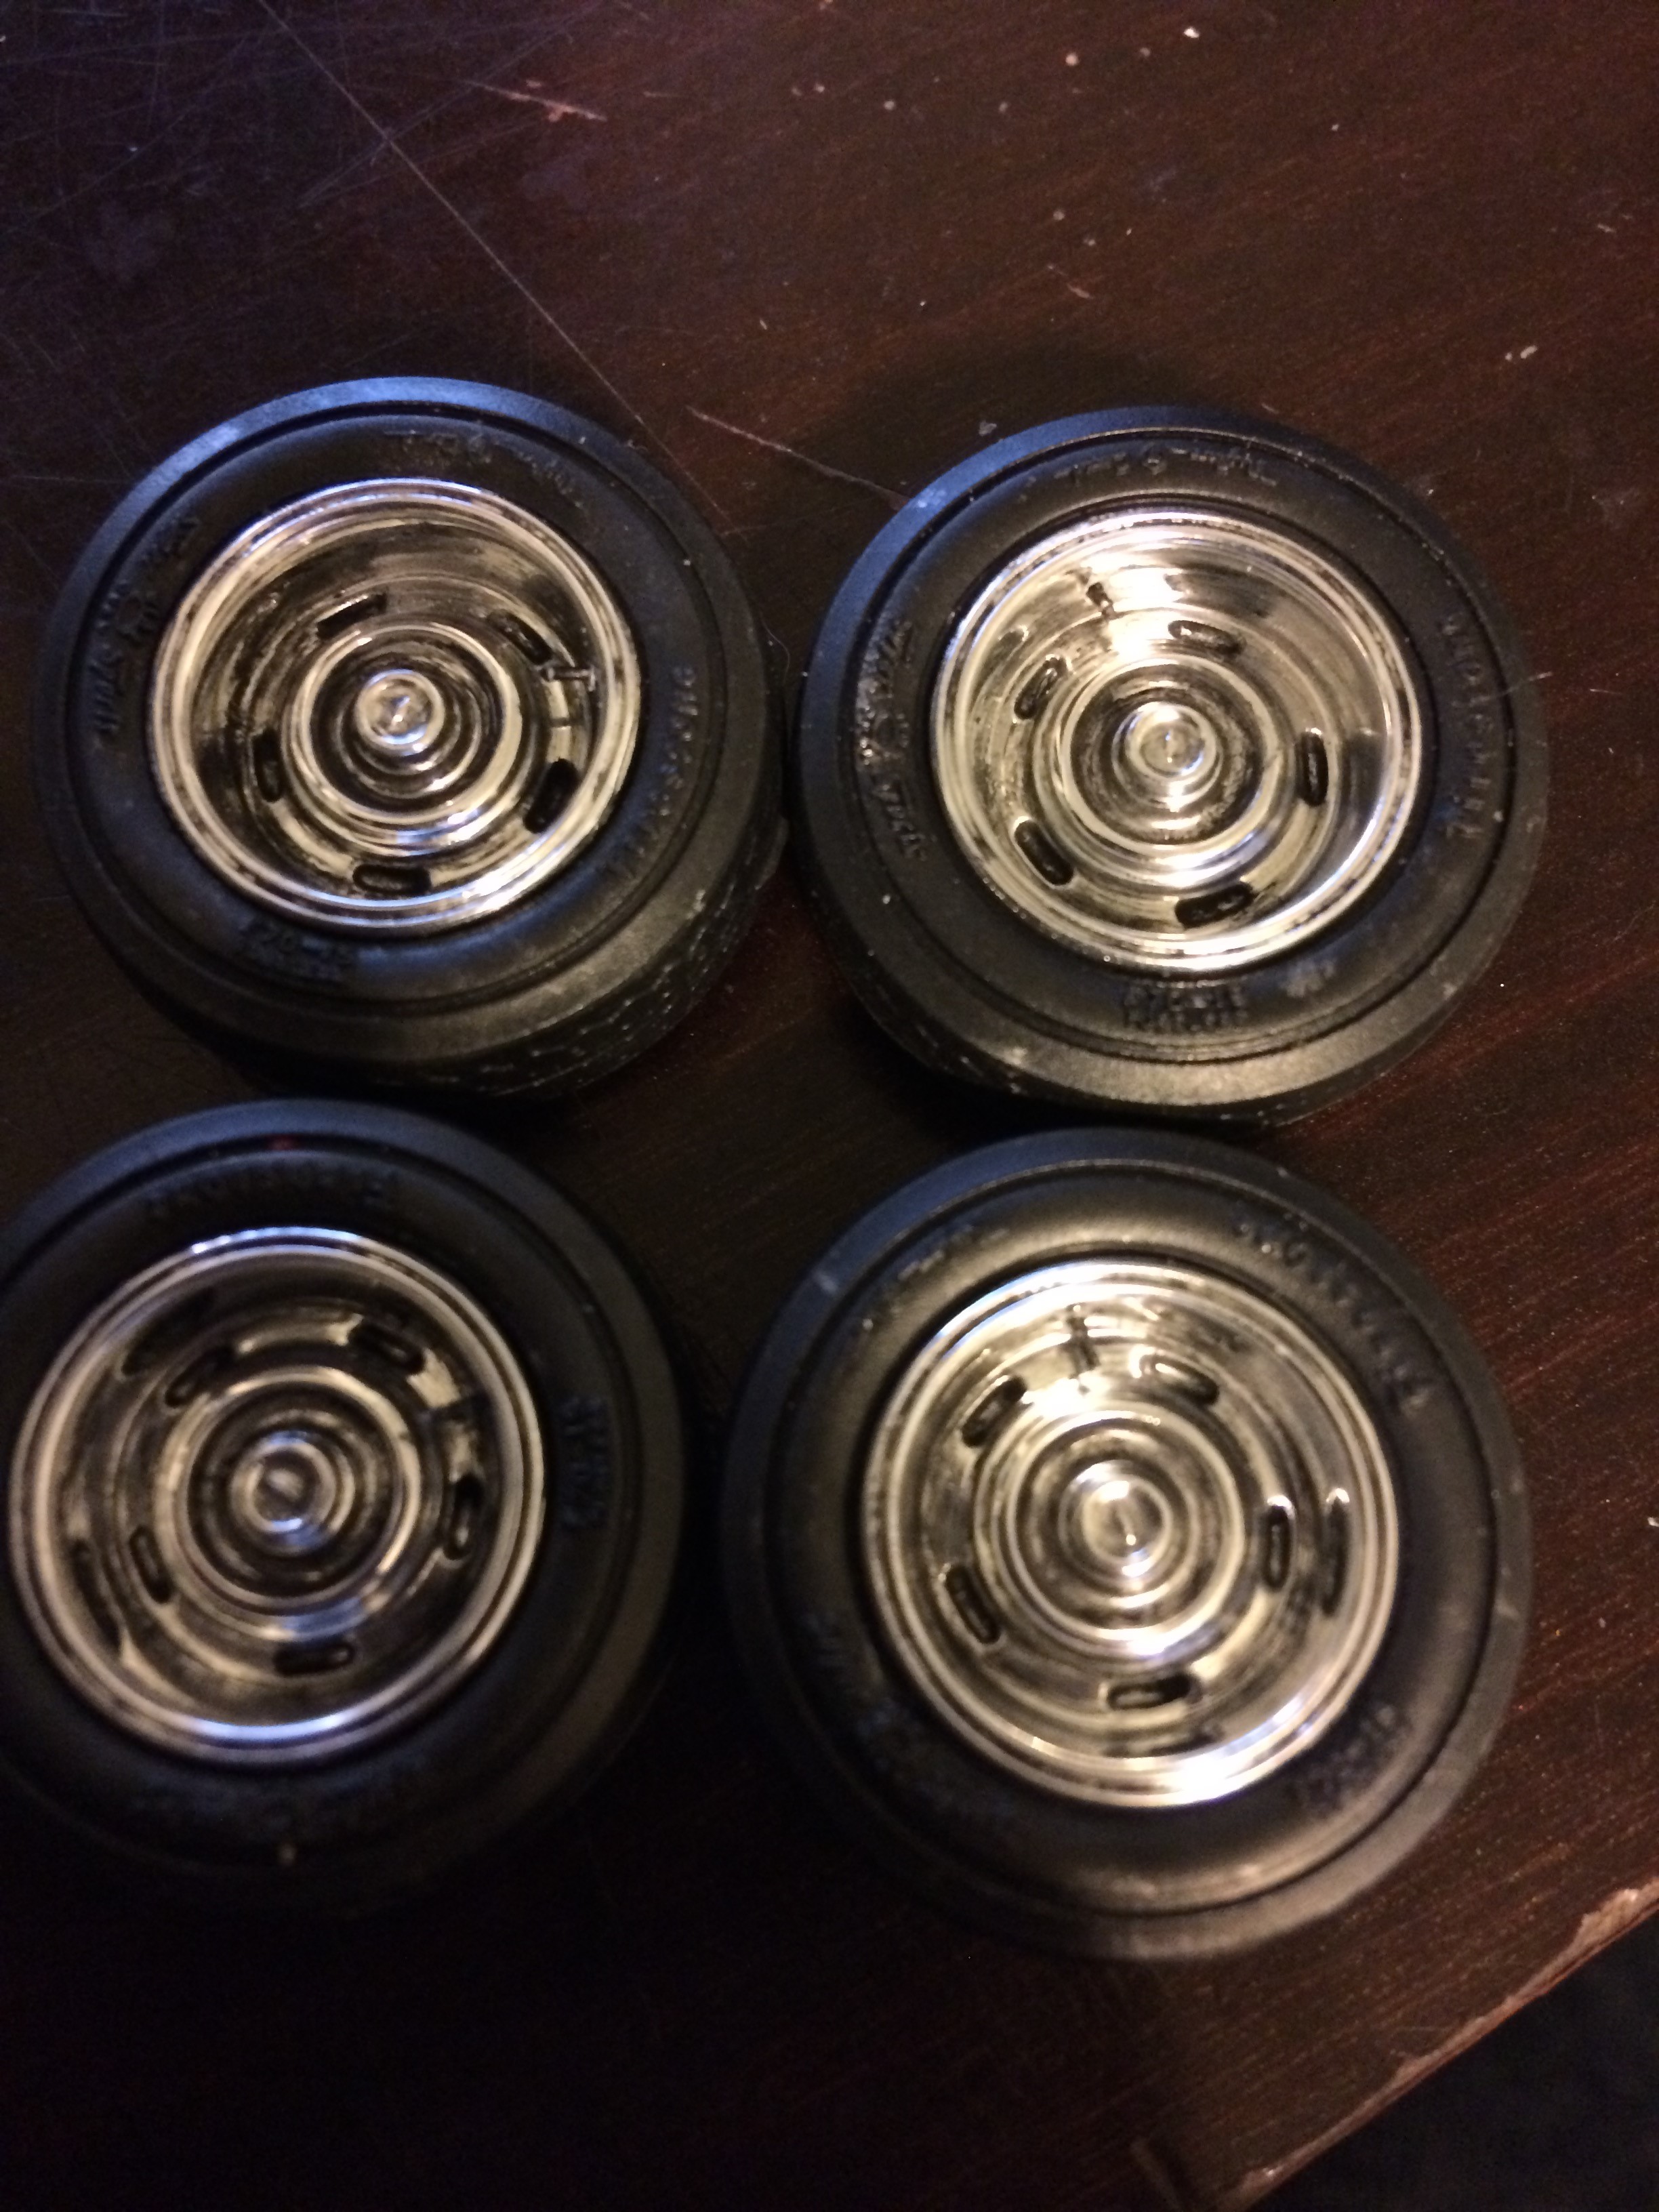
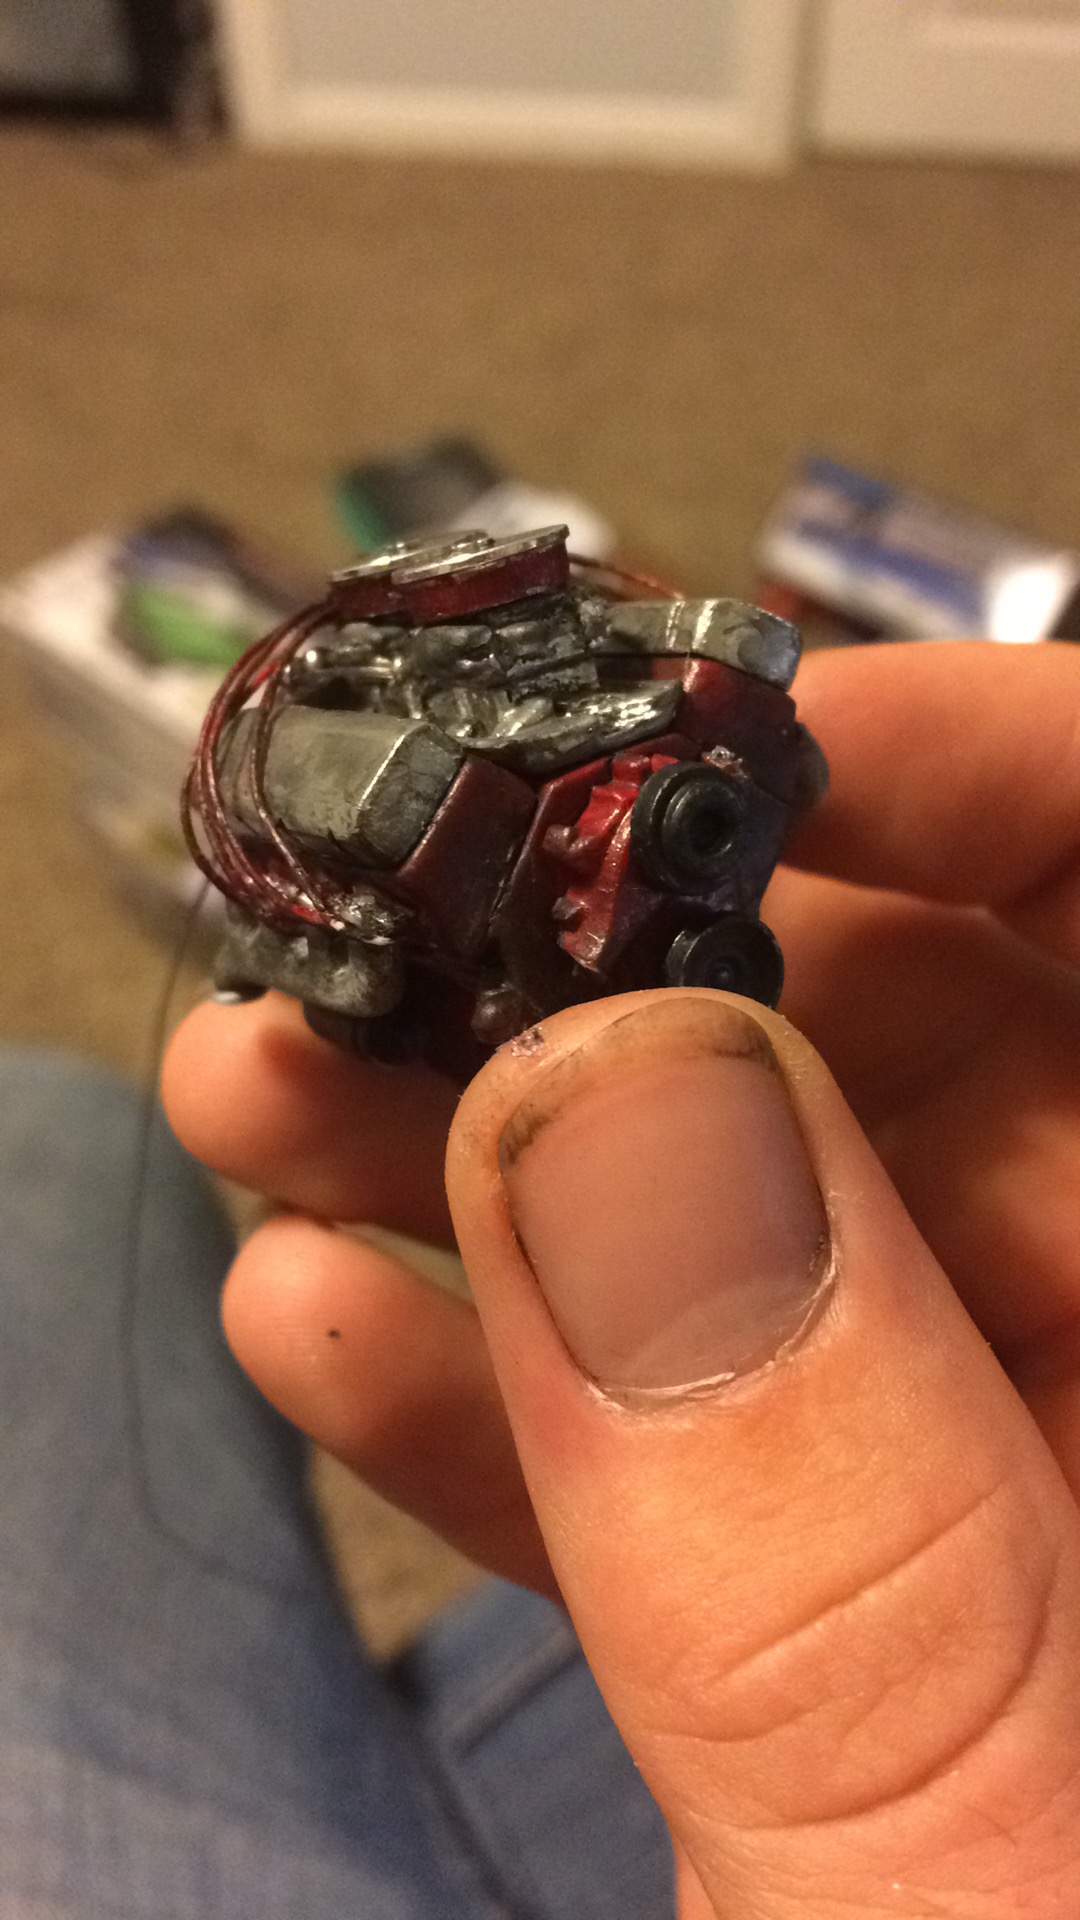
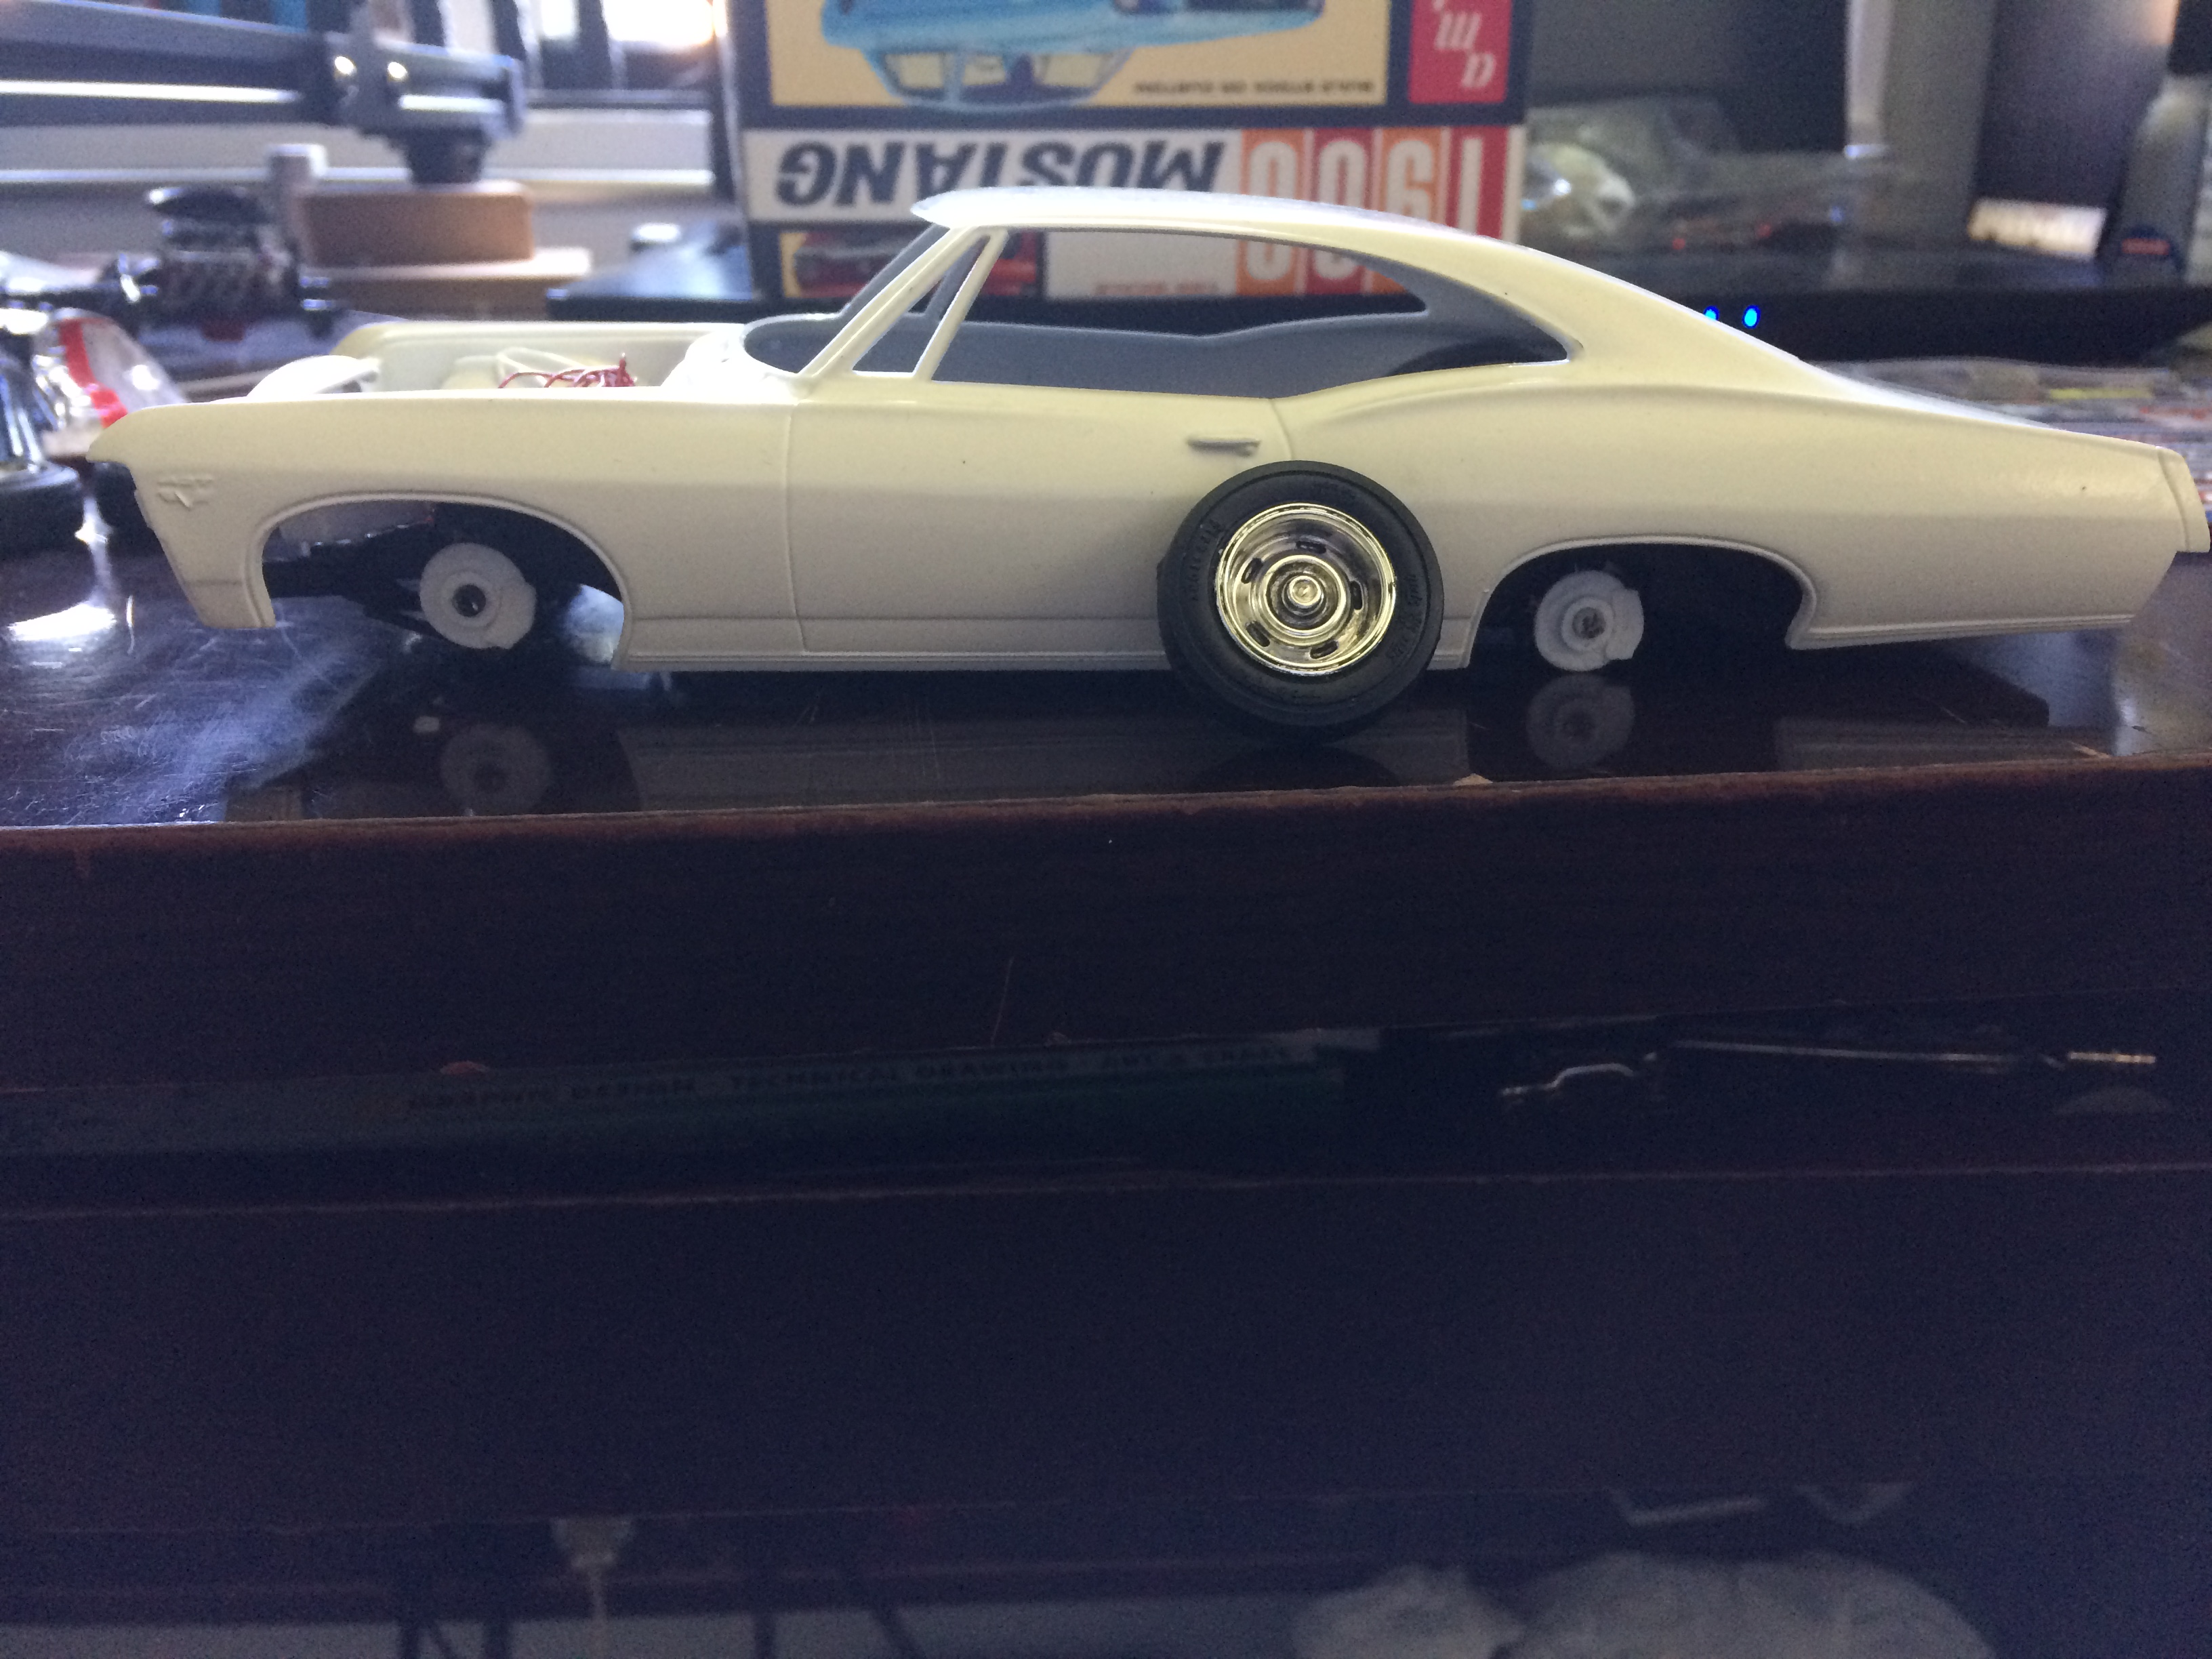
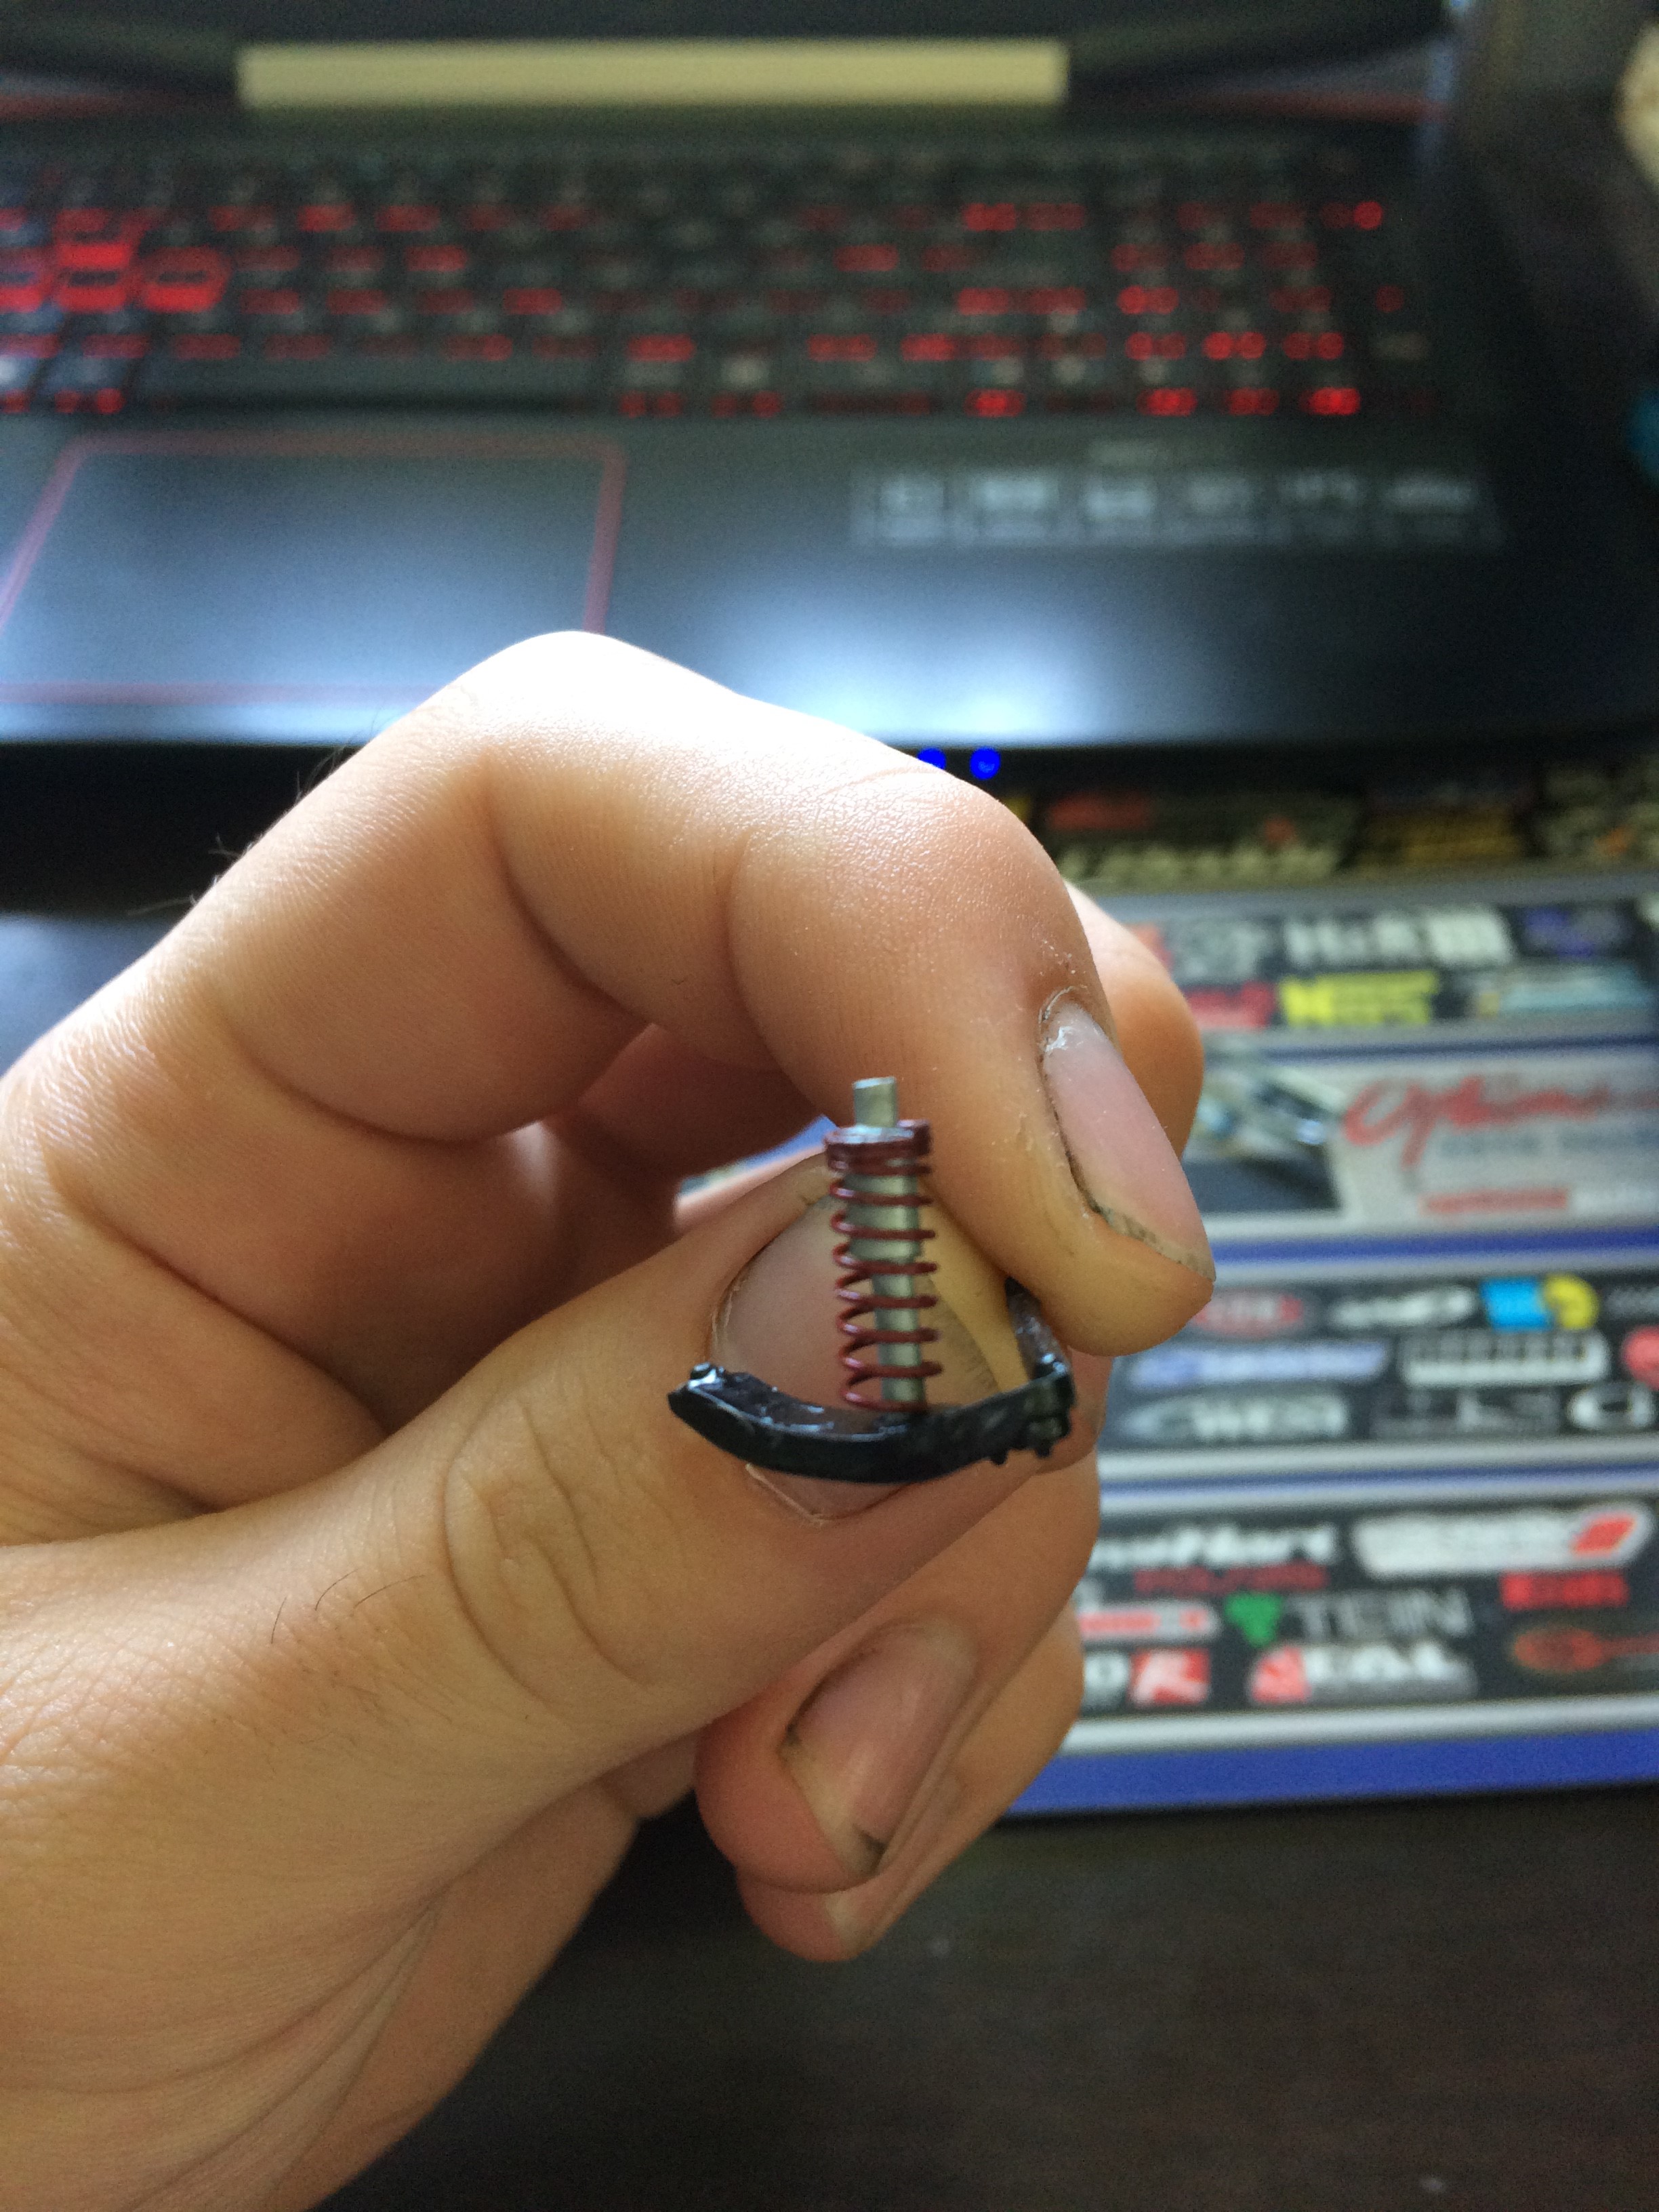
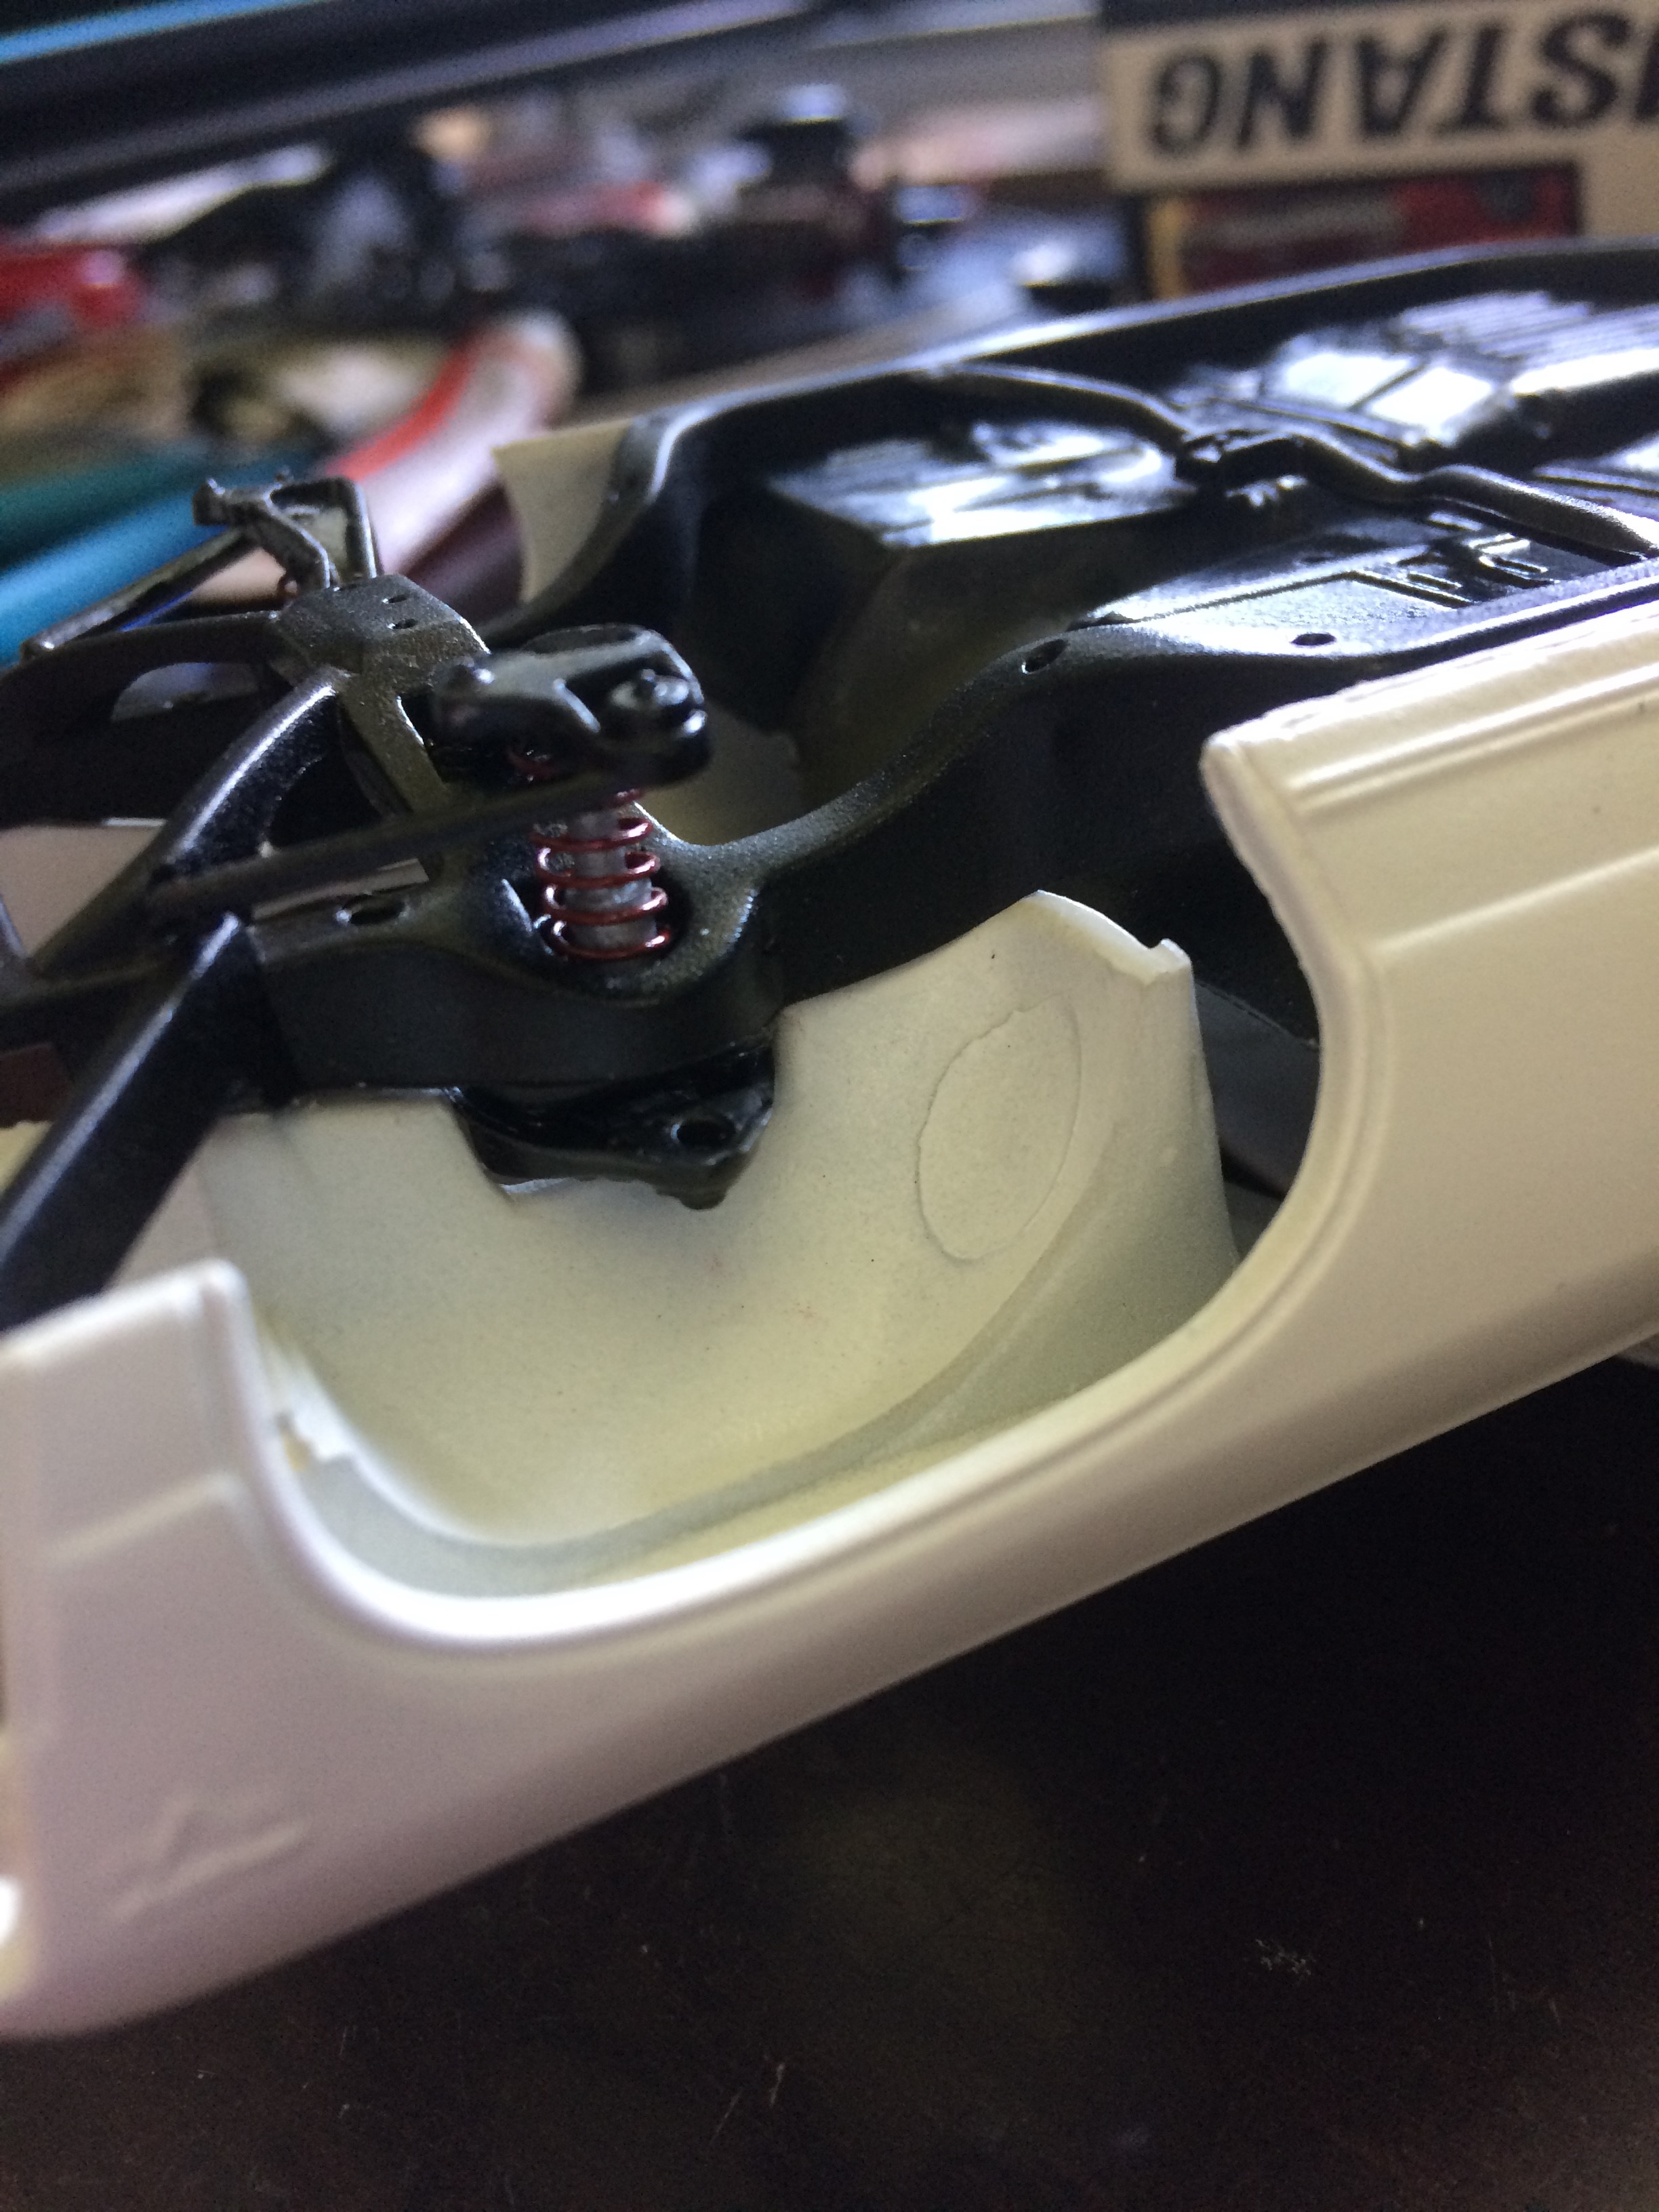
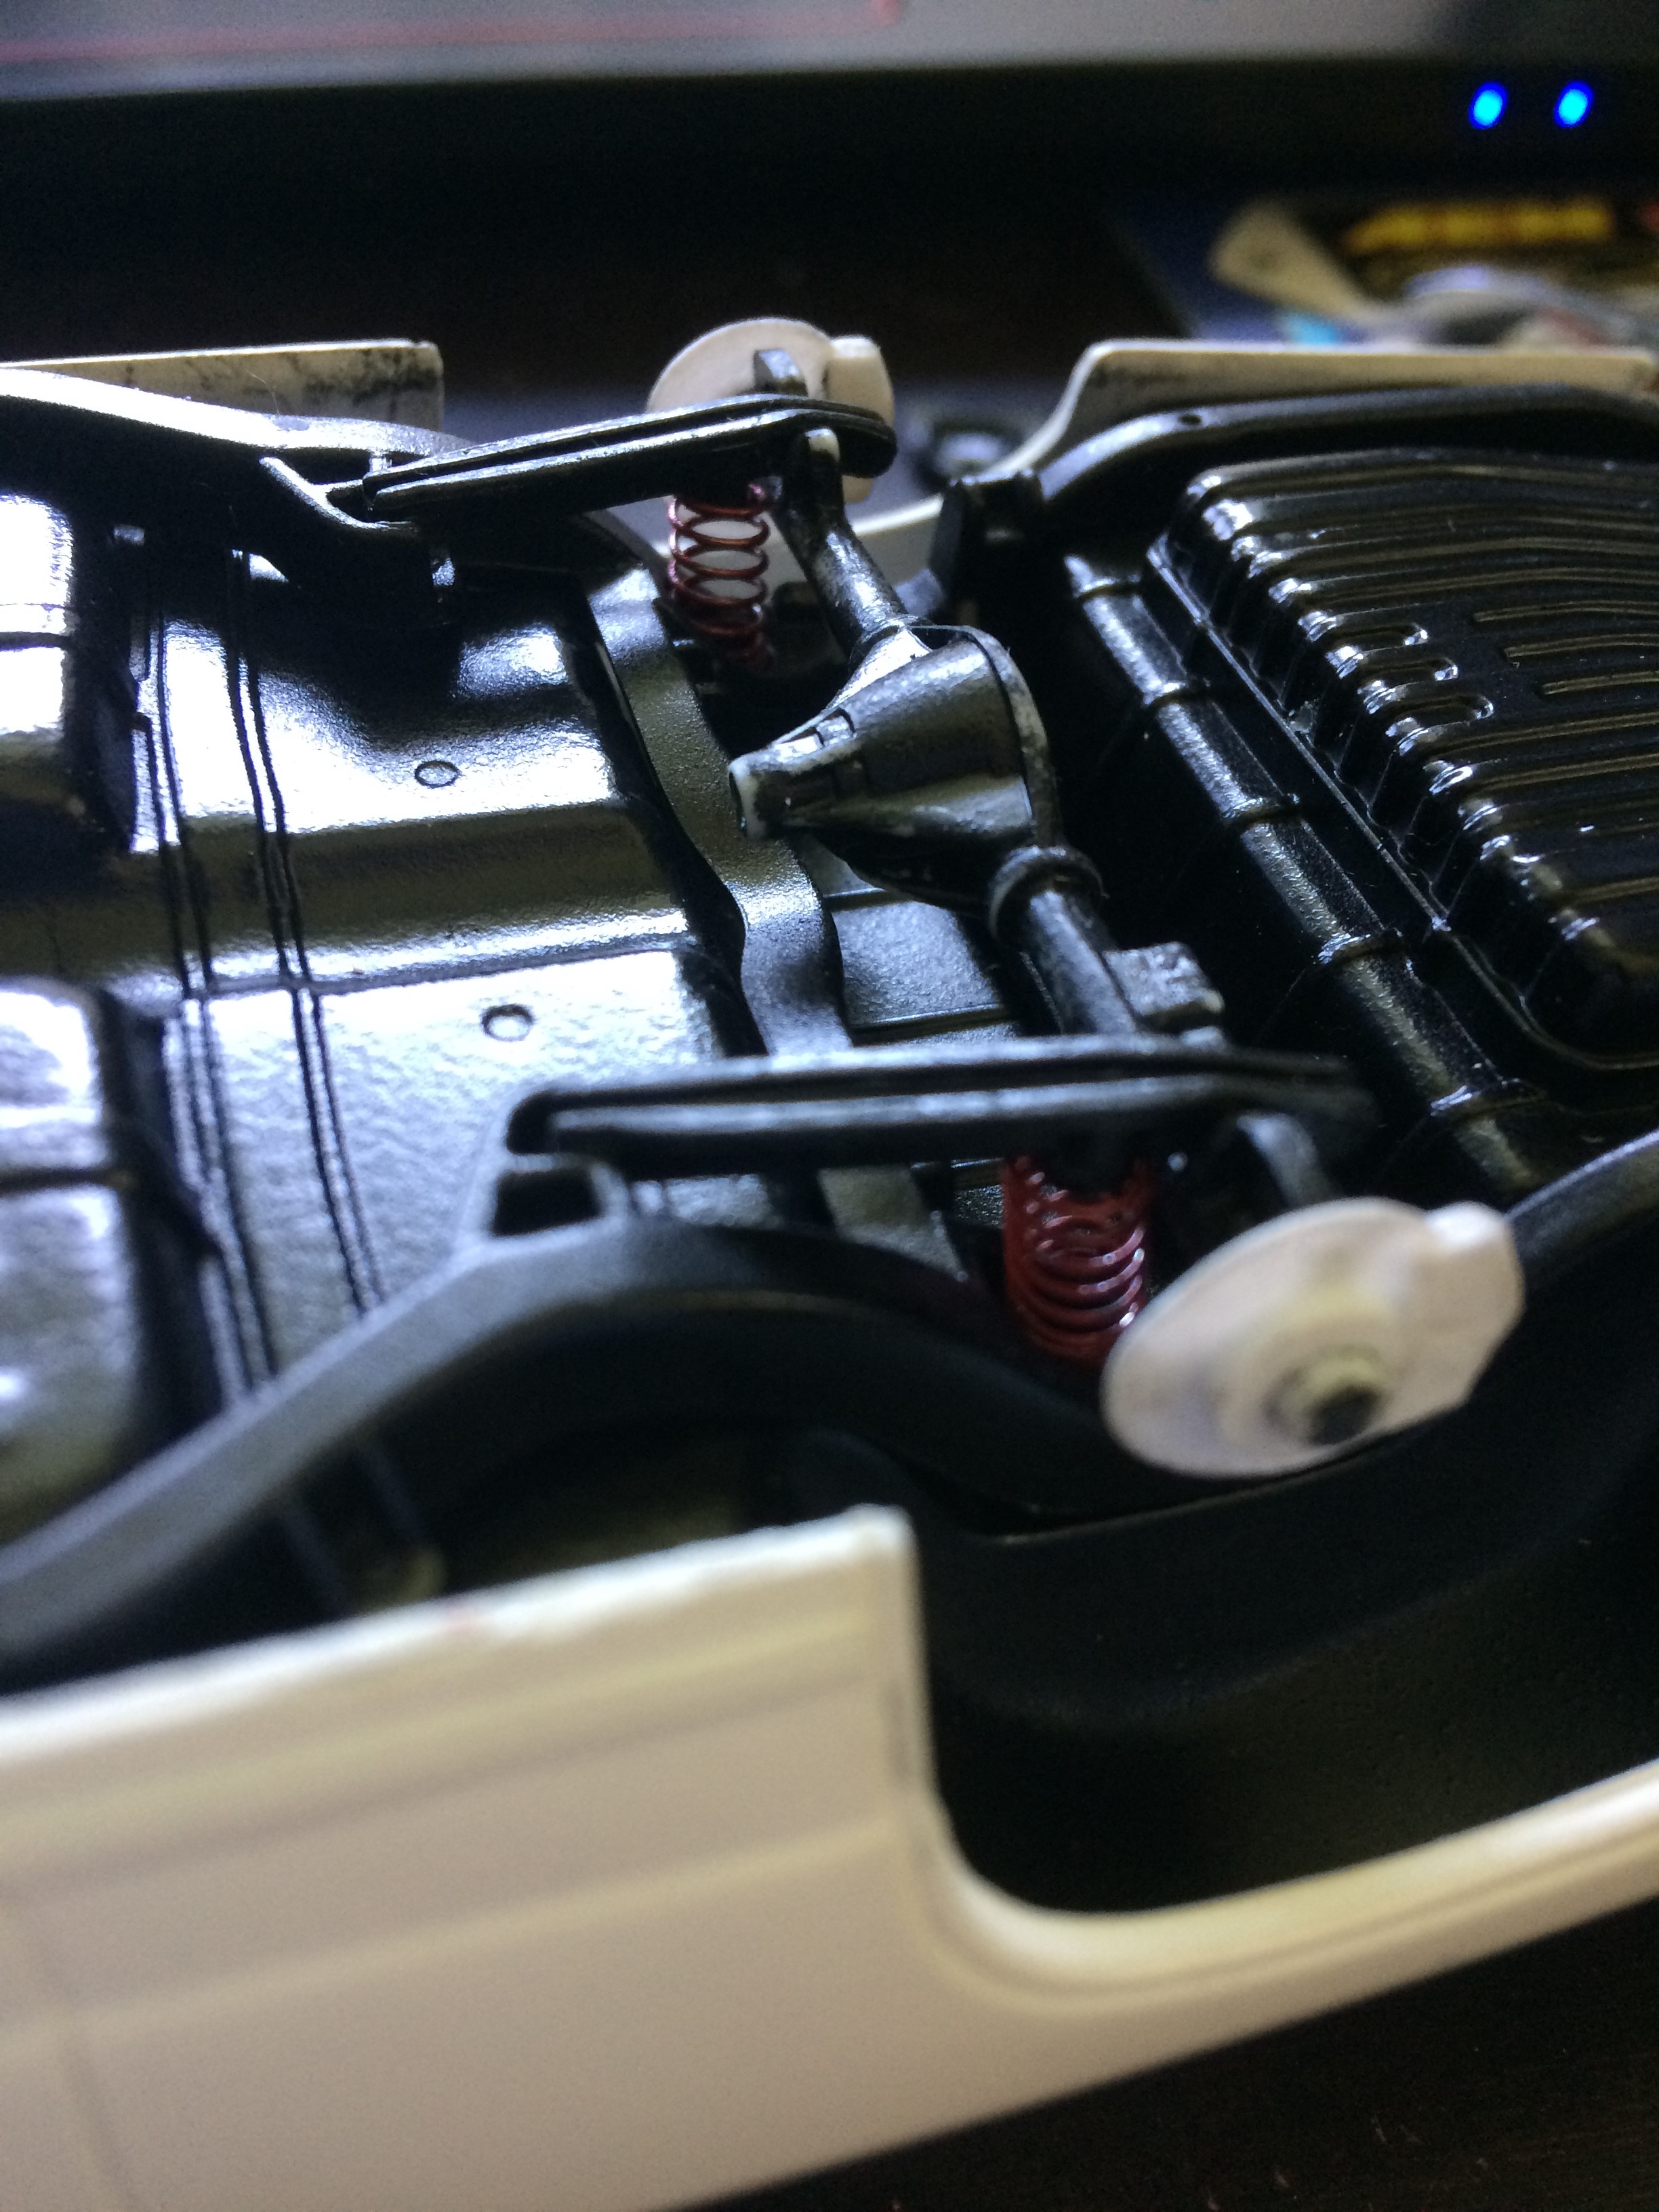
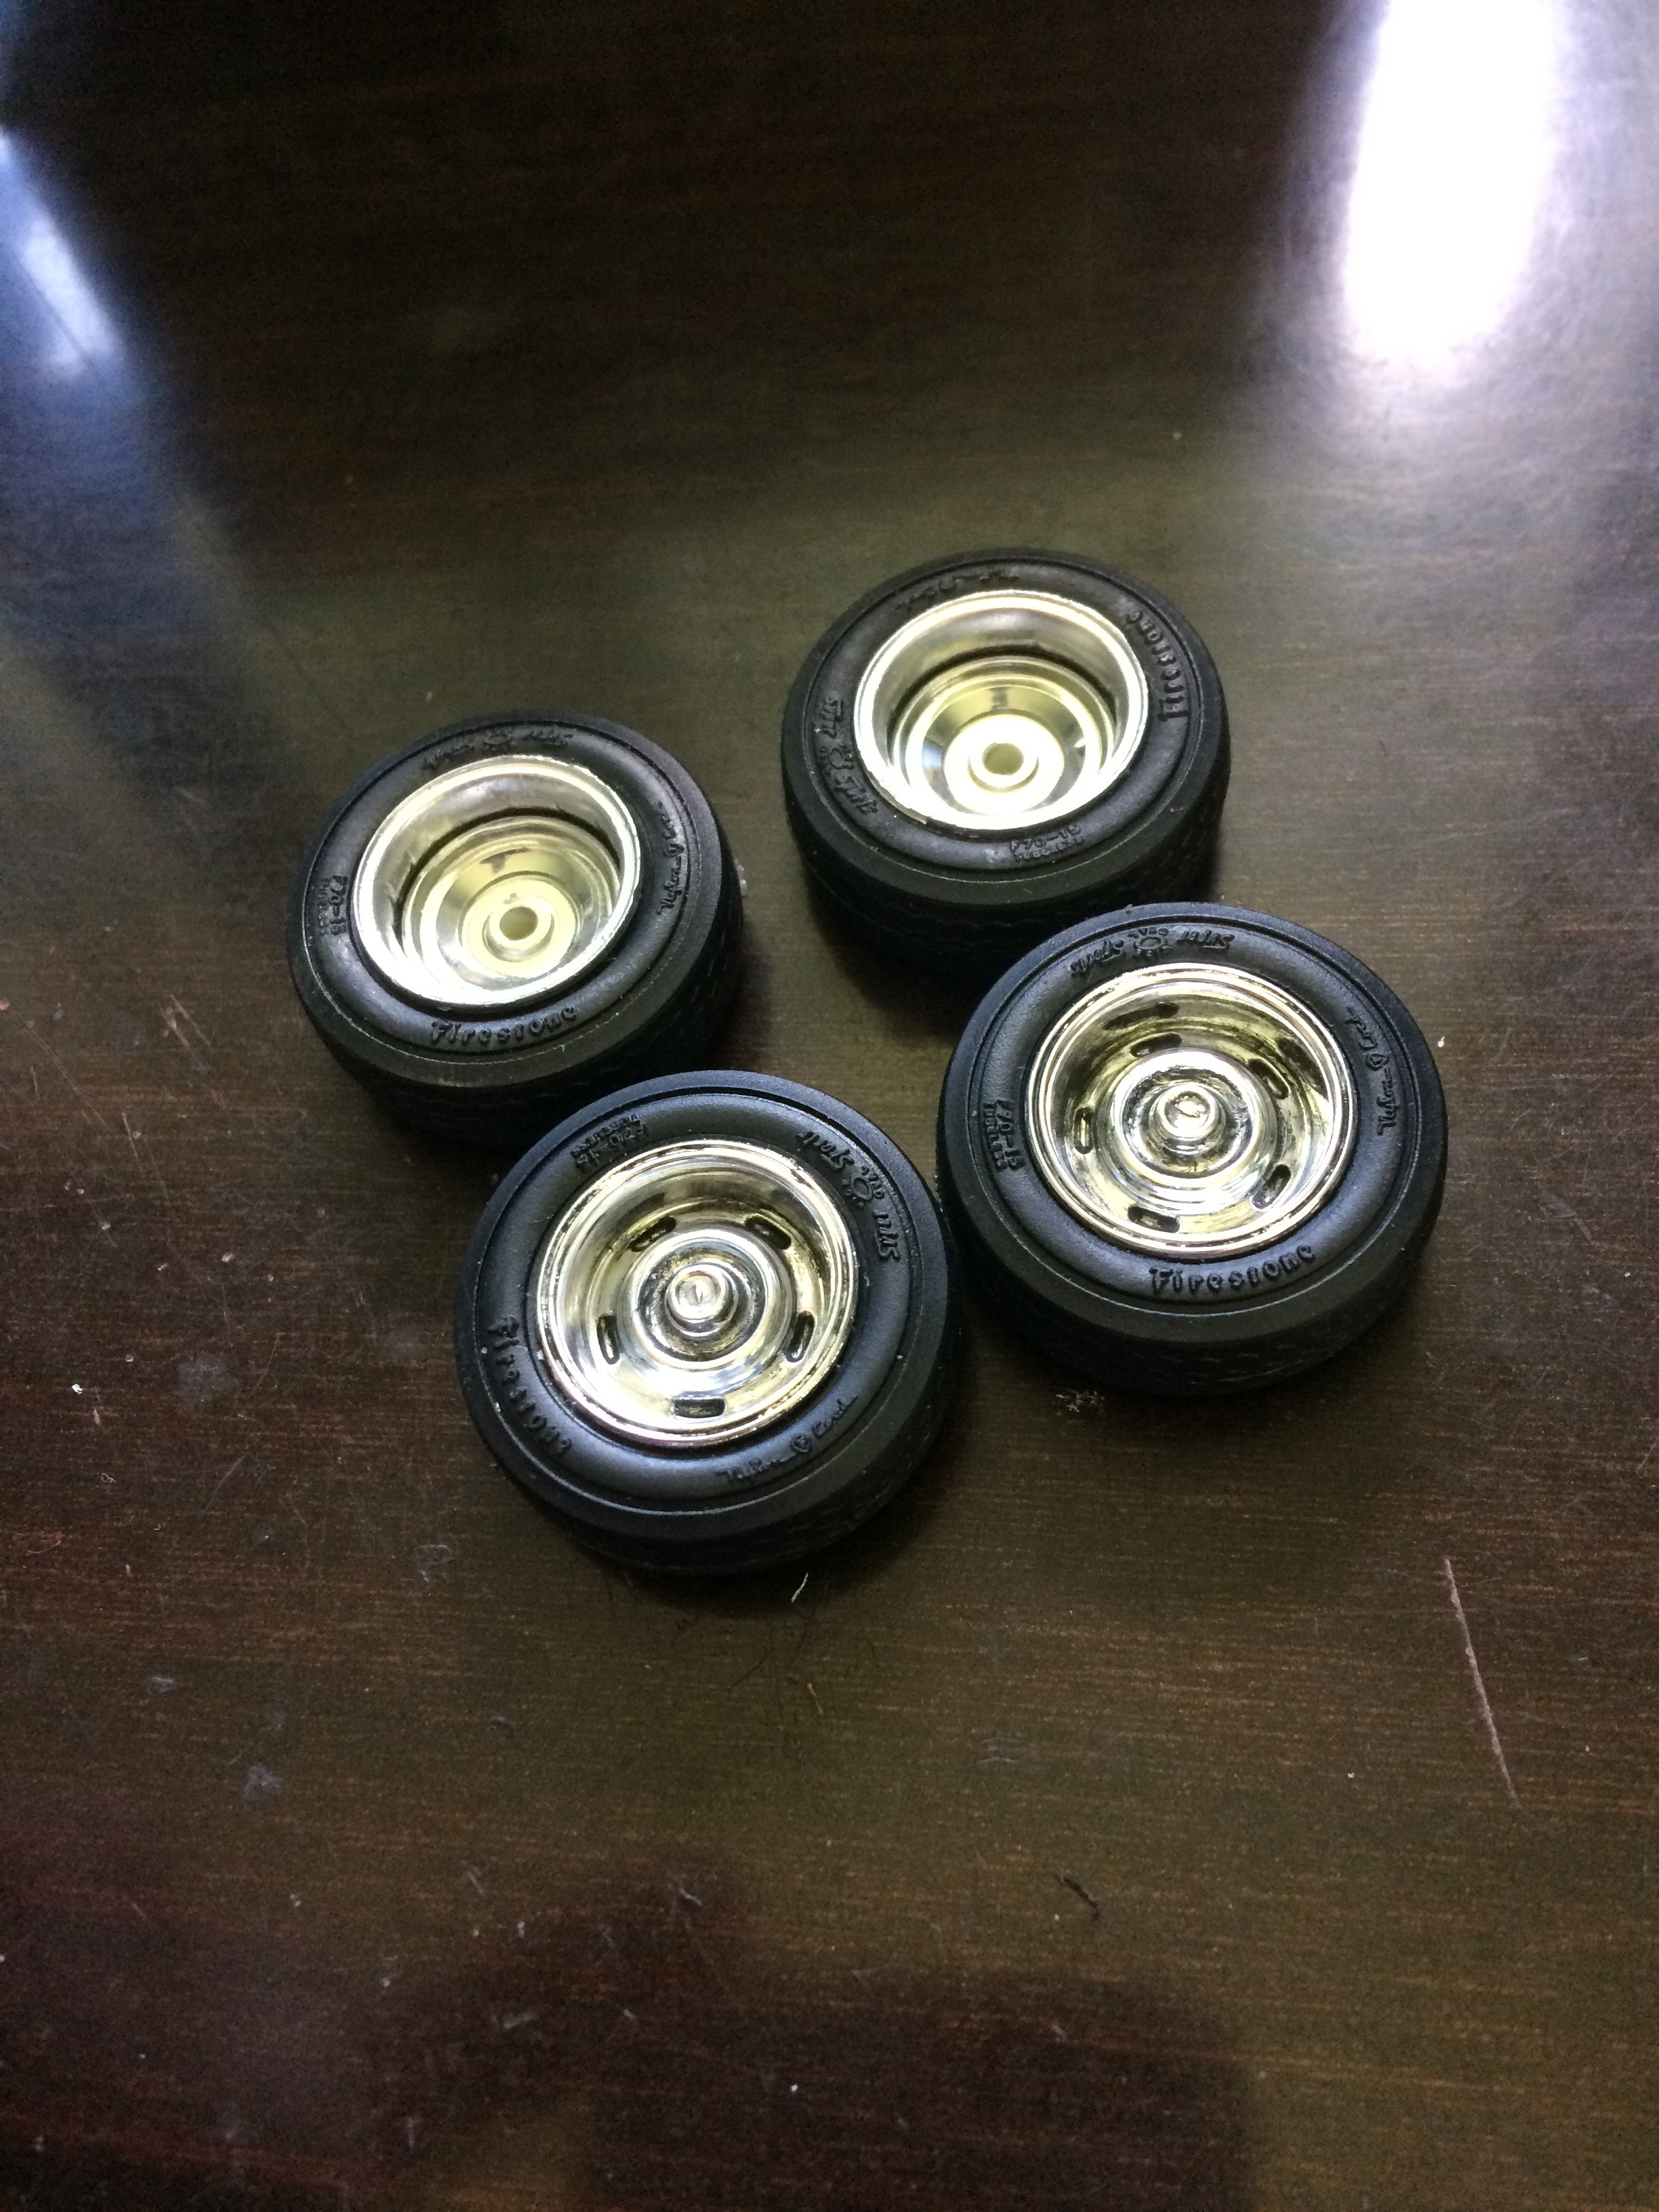
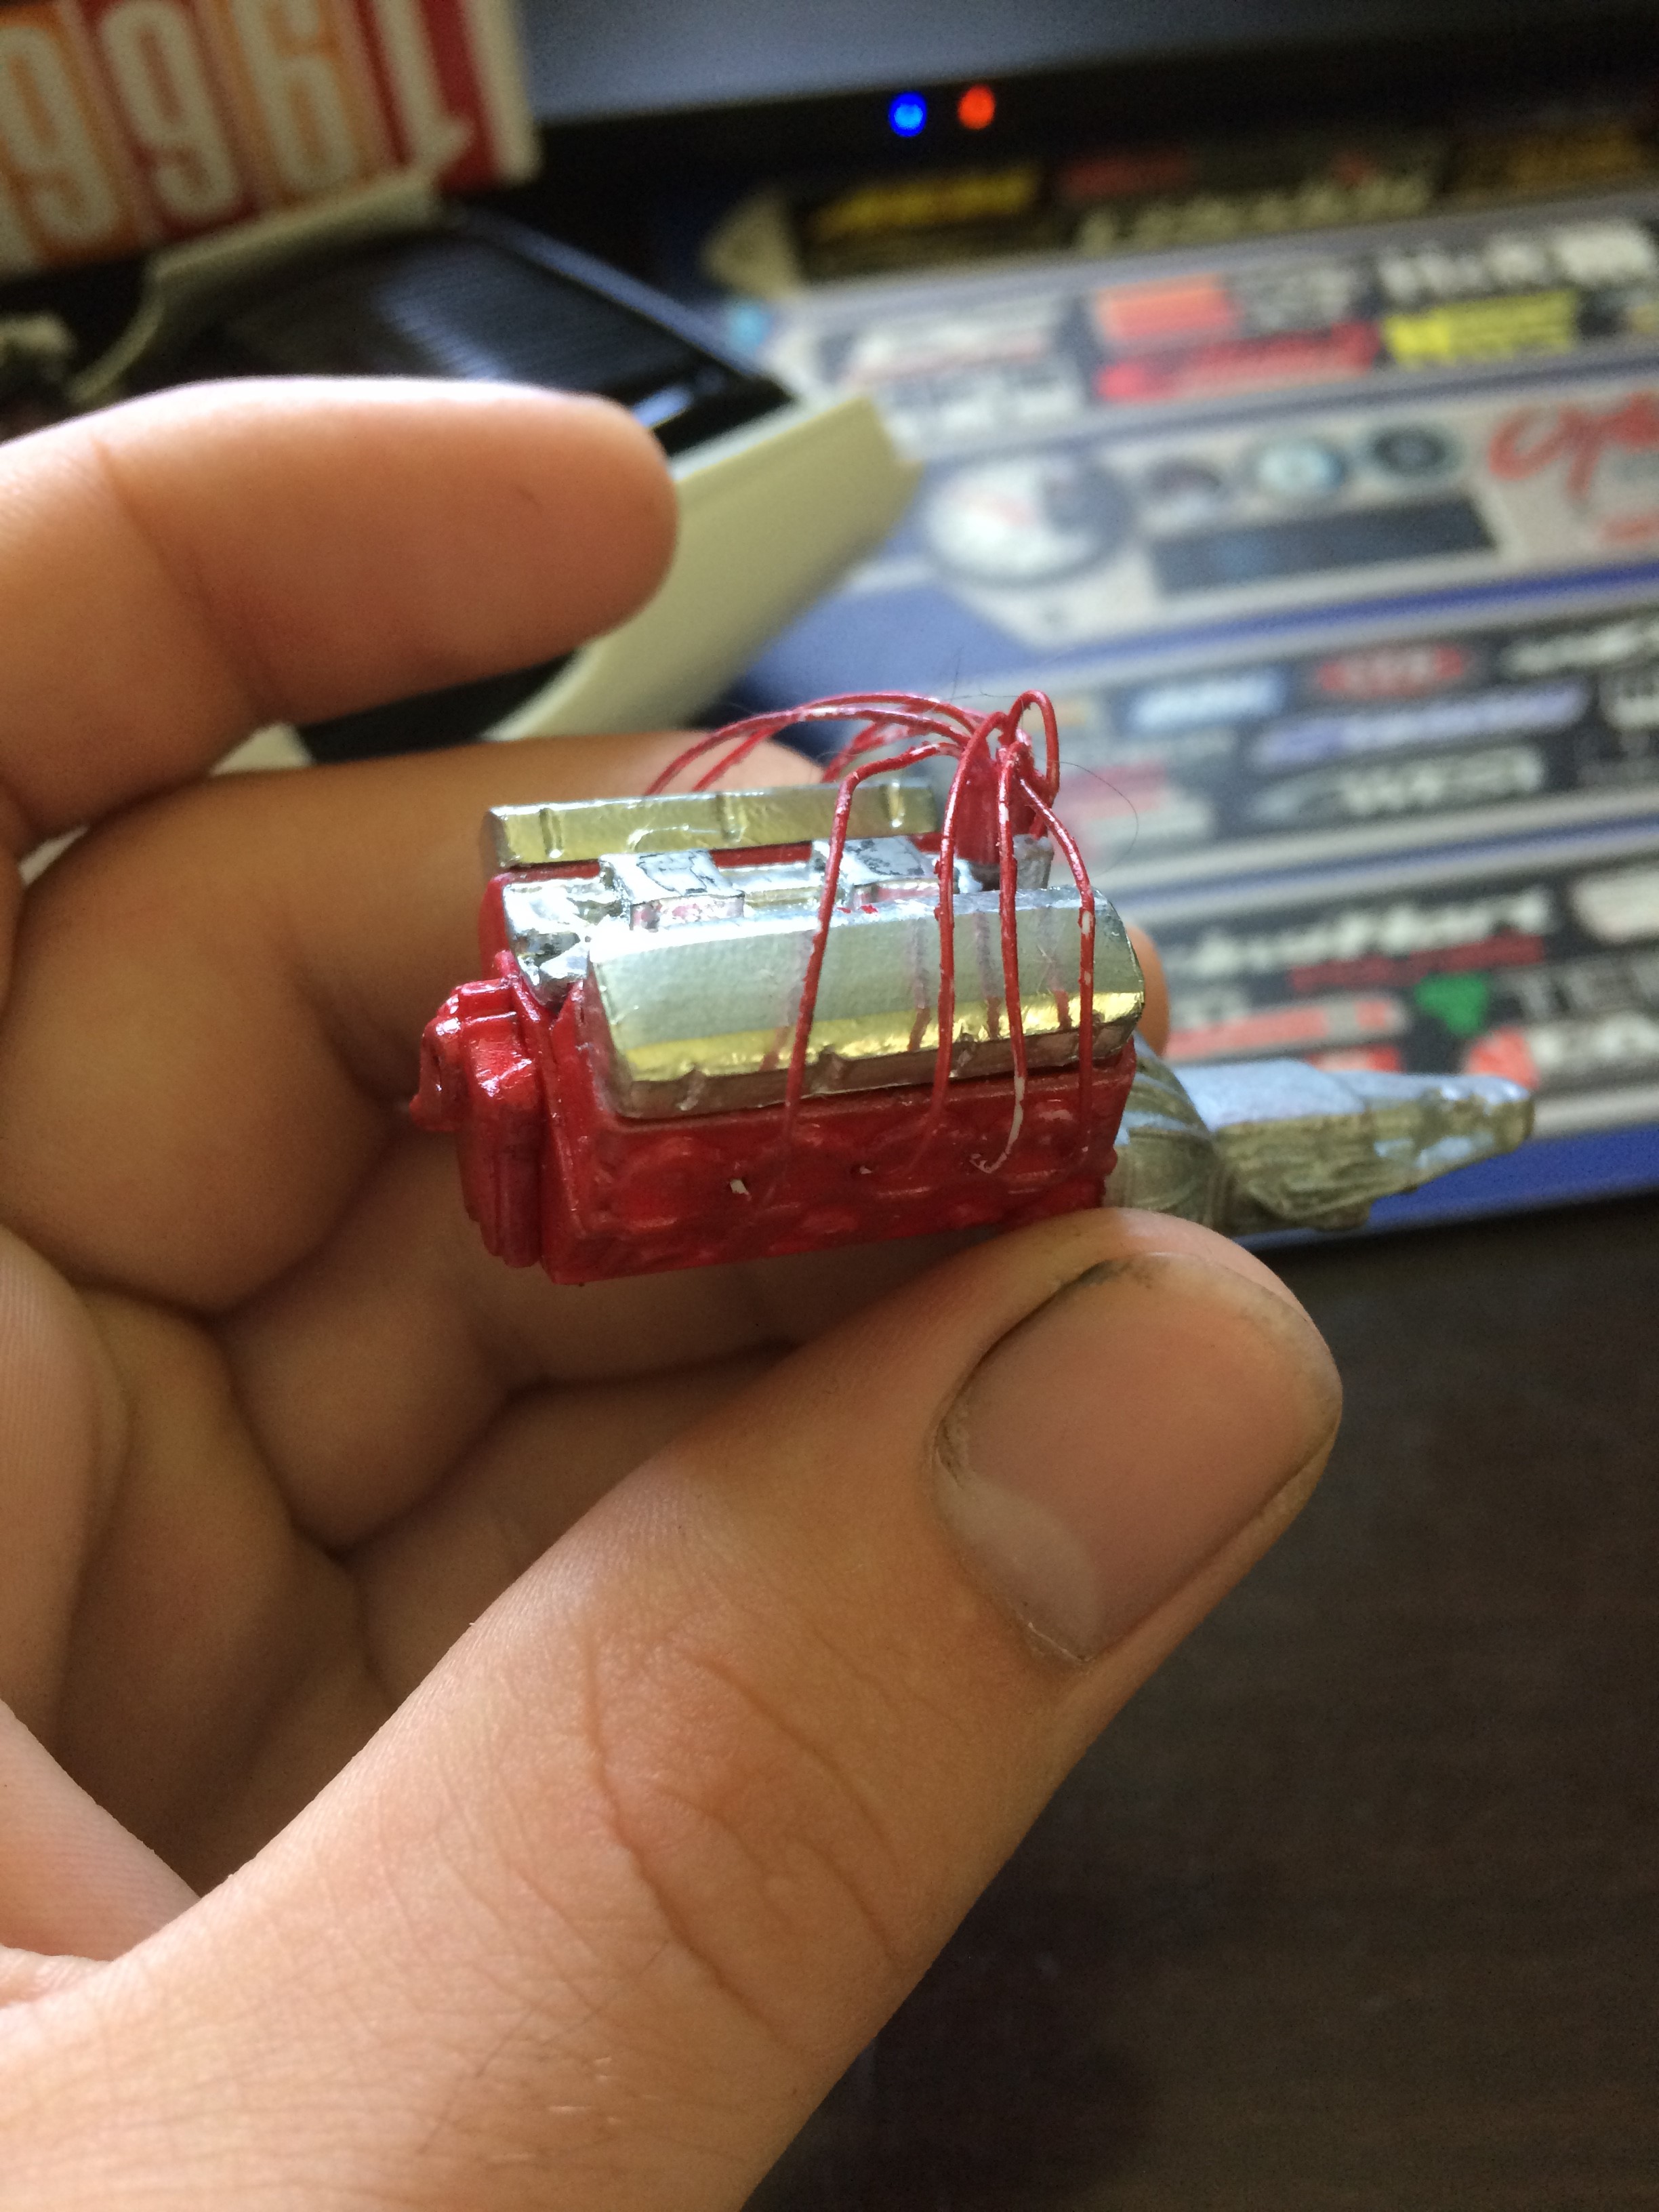
I've had a fair amount of time to work on it this week. I've made new springs and front shocks, I always wanted to do this and finally have, I really rather enjoyed that. It won't be seen much, but I know it's there. The suspension won't be fully functioning on this one but it's close. I also made some simple disk brakes for all four corners, and cut the wheel backs to allow it. I have some small pieces of sprue I drilled out to use as spacers, if you will, for the wheels. That way they aren't too far in and hitting on suspension components. Those, along with the cut wheel backs, are chrome painted. I was going to do bare metal foil on them, but decided I'd be weathering in there enough that it didn't matter that much. There's one picture I'll include where you can See the car sitting with the suspension and brakes on, and a wheel as reference, so you can kind of imagine how it'll sit. I also started making brake lines for the back, then realized I set them up to be on the bottom of the differential. Whoops! Gotta reshape those. The last image is of where the engine currently sits. The valve covers have bare metal foil, but the intake is just chrome paint. I've got the plug wire holes drilled out and wires in place (with the proper firing order for a 427 chevy, I almost forgot that part!). I made a small ignition coil and mounted that to the intake manifold, and have a wire running there, too. The wire I have is white, so I painted it red. I apparently didn't give them enough time to dry, so I need to touch up, but that shouldn't be a problem. I have yet to black wash any of these components to bring out detail, but it's on my list. Also have holes for fuel lines and throttle cables drilled out in the carburetors, though I don't have a picture. I have silver beading wire to use for fuel lines and throttle cable, it should hopefully look alright. Still have to figure something out for an air filter. I'm not super fond of having an individual one per carburetor, but I might have to go with it. I'm considering trying to add A/C as well, scratch built. I'm working on a 67 Cutlass with factory A/C at work, so I might use that as a basis for how to do mine, and I intend to use it's exhaust setup, too. We shall see. Anyways, back to work.
-
Looks like a nasty little car. I'll be looking forward to watching this build, I eventually want to build a replica of my turbo foxbody as well, this could be good inspiration for it.
-
I'm not sure how rare it is, but I built it. I even still have many of the parts left! I used a lot of parts from other models with it. My original intention was to build a replica of my dad's galaxie, it was a boxtop with a turbo 5.0. Still have the boxtop body, but never built it as planned due to a few other things holding me back. I felt bad about it sitting in a box so I just threw it together. Also just want to point out that this was before I knew much about modeling, hence the messy trim and such
-
Wow! His prints look much cleaner than mine often do, I guess I need to step up my game. He sure does seem to go all in for a "little detail" model. Definitely some good inspiration.