Justin Porter
-
Posts
1,283 -
Joined
-
Last visited
Content Type
Profiles
Forums
Events
Gallery
Everything posted by Justin Porter
-
Porsche 911 GT1
Justin Porter replied to Bruce Scully's topic in Other Racing: Road Racing, Salt Flat Racers
Very cool to see this livery AND to see the famously frustrating Revell 911GT1 Evo turned into a nice model. -
MiniRetro Scale Models, best known for their full kit of an Austin A35, have stepped up to deliver this all-new transkit. The transkit corrects the Gunze Sangyo's incorrect frame and includes a complete front chassis, full engine bay, and complete engine. He's taking pre-orders now at $50 AUS + postage and if you love Little British Cars it's genuinely going to be a must have.
-
That's precisely my point. If the market actually existed for classic American car kits of that quality in that price range, logically they would exist. However, the builders of American classic cars seem content to take what they're given with a smile so long as they can buy it on sale.
-
And if there is indeed an as yet unseen market for builders of American classic cars who are willing to pay $30+ for a kit with an ostensibly accurate body and interior, and then an additional $30+ for a full engine plus engine bay and chassis improvements, then why isn't there a market then for $40-$50 American classic car kits on the same detail and engineering level as Ebbro's Citroen DS or Tamiya's Mercedes 300SL? Occam's Razor is a heck of a thing...
-
No talk about the Round2 1971 Dodge Demon ?
Justin Porter replied to gtx6970's topic in Car Kit News & Reviews
Thank you. That's exactly the sort of thing I was referencing. I also recall reading that there was a huge amount of unexpected difficulty in creating the full bumper Camaro from the Mueller era 70 1/2 split bumper tooling. -
No talk about the Round2 1971 Dodge Demon ?
Justin Porter replied to gtx6970's topic in Car Kit News & Reviews
Have to agree with the others. It's cost prohibitive given that it appears that many of the Ertl generation kits weren't designed with modular use in mind. Unlike Revell which has this sort of "plug and play" design which gives us multiple kits from a single bank of tooling. AMT under Ertl appears to have tooled whole kits as singular entities. It's a shame because those Ertl kits really do represent a high water mark for American classics in model kit form but unfortunately it seems they will remain an aberration in the AMT line. -
Thanks To AMT For The New Technology Old Kits
Justin Porter replied to oldcarfan's topic in Car Kit News & Reviews
Regardless of the ownership of the Johan IP that is the design of their kit, you would still have to contract with Stellantis for licensing permission to produce material in the likeness of one of their designs, in this case the AMC Javelin. Properly modified from the original, that is to say with new surface detailing and re-engineered to accept separate wipers, door handles, and so forth, you could likely make the legal case that the resulting work - that is to say the new CAD design for the re-imagined body - is inherently transformative and therefore constitutes new intellectual property and thus does not require payment of licensure to the holders of the Johan IP for use of their original work (that is, their 1970's design for a 1/25th scale model in the likeness of an AMC Javelin AMX and the resulting physical model body) BUT you would need to enter into that project with a copyright lawyer already on retainer in the event the current holder of the Johan IP decided to get litigious. And given that Okey Spaulding is desperately trying to reinforce the idea that he is Johan and that Johan is in some way still a viable enterprise, I wouldn't be shocked at all if he jumped at the chance to wring a couple thousand out of anyone who tried this method. Ultimately, it would be far smarter and safer to just ignore the Johan kit and tool new. -
Thanks To AMT For The New Technology Old Kits
Justin Porter replied to oldcarfan's topic in Car Kit News & Reviews
Moebius has been able to make business cases for newly tooled Plymouth Belvederes and Hudson Hornets. Revell has been able to make business cases for newly tooled '71 Mustangs and Jaguar E-Types. Salvinos JR was able to make a business case for a newly tooled Whelen Tour Modified. Round 2 themselves have made the business cases for modern Ford Broncos and Dodge Chargers. That's before getting into the surfeit of tooling represented by companies outside of the US like Belkits, NuNu, DM Modelkits, ICM, Tamiya, Aoshima, Hasegawa, and Ebbro. I do understand entirely why the Craftsman Plus kits exist. They're a relatively inexpensive way for Round 2 to generate fresh product for customers who are asking specifically for reissues of classic kits. It's filling a very specific niche that Round 2 is particularly suited to filling. These kits genuinely have achieved something successful in the marketplace and I am not at all opposed to their existence OR to the customers who want them. It's the wailing for skirting potential copyright law to generate a kit based on a kit that isn't at all a piece of Round 2's history to generate a specific kit that I simply cannot understand. At the end of all that hoop jumping, in an age when globally there is so much brand new tooling on the shelves of such high quality, why go through all this trouble to revive something that wasn't that good in the first place? -
Thanks To AMT For The New Technology Old Kits
Justin Porter replied to oldcarfan's topic in Car Kit News & Reviews
The question isn't one of subject matter, and frankly you seem to ignore that the very first kit I mentioned was the upcoming Revell '71 Mustang and the last kit I mentioned was the Moebius AFX Dodge. The question is why are builders of classic American cars so willing to settle for poor kits just because "it's something" when it can be ably demonstrated that the technology and the industry exists to NOT produce kits of that nature. Heck, AMT's own excellent 2021 Dodge Charger kit is evidence that AMT THEMSELVES could tool a well detailed and accurate kit to modern levels of engraving and detail. I love the 1968 AMX. I feel it's a genuinely handsome car and I would love to build a genuinely nice model of one. I can't get into the headspace where I would be asking a current company to - instead of tooling a 100% modern kit - deliberately ape tooling that predates cable television. -
Thanks To AMT For The New Technology Old Kits
Justin Porter replied to oldcarfan's topic in Car Kit News & Reviews
I'm sorry, but as much as I appreciate what Round 2 is doing in order to bring back their own IP's, I can't fathom - in this our year of Lemmy 2023 - looking at kits as gorgeous as the Revell '71 Mustang or the ICM Benz Patent-Motorwagen or the Ebbro Citroen DS or the Tamiya McLaren Senna or the Moebius AFX Dodges and saying "I want an AMC AMX kit where the seats are molded to the floor and there's a 1/4 inch hole in the block for a plastic axle." It beggars belief. -
I do stock them as often as I can at my shop, enough so that NuNu actually sent me a countertop calendar as a thank you for being a NuNu retailer. In particular their Porsche 935's are a consistent mover for me.
-
Next bit of progress was fairly simple and straight forward. Painted and assembled the interior. I haven't quite yet picked out the steering wheel I'll be using as I'm still digging through my parts stash for just the right piece. The color is Mr Color C100 Wine Red. I left the dashboard glossy and sprayed Mr Super Clear Flat over the floor, seat, and side panels.

-
Strange as it may sound, as a retailer I think I'm actually most excited for the return of the Revell 427/SC Cobra to the standard domestic range. That's a kit with a lot of casual builder appeal and knowing this time around it will likely have little quality-of-life upgrades like gauge and emblem decals will make it a good routine seller.
-
A lot of potential big sellers for certain. The return of the MPC Demon is undoubtedly going to make a lot of builders happy.
-
‘57 Chevy Stepside
Justin Porter replied to NOBLNG's topic in WIP: Model Trucks: Pickups, Vans, SUVs, Light Commercial
This really does look like it's coming together. I'm still shaking my head at that windshield fit though. That's just an absurd gap! -
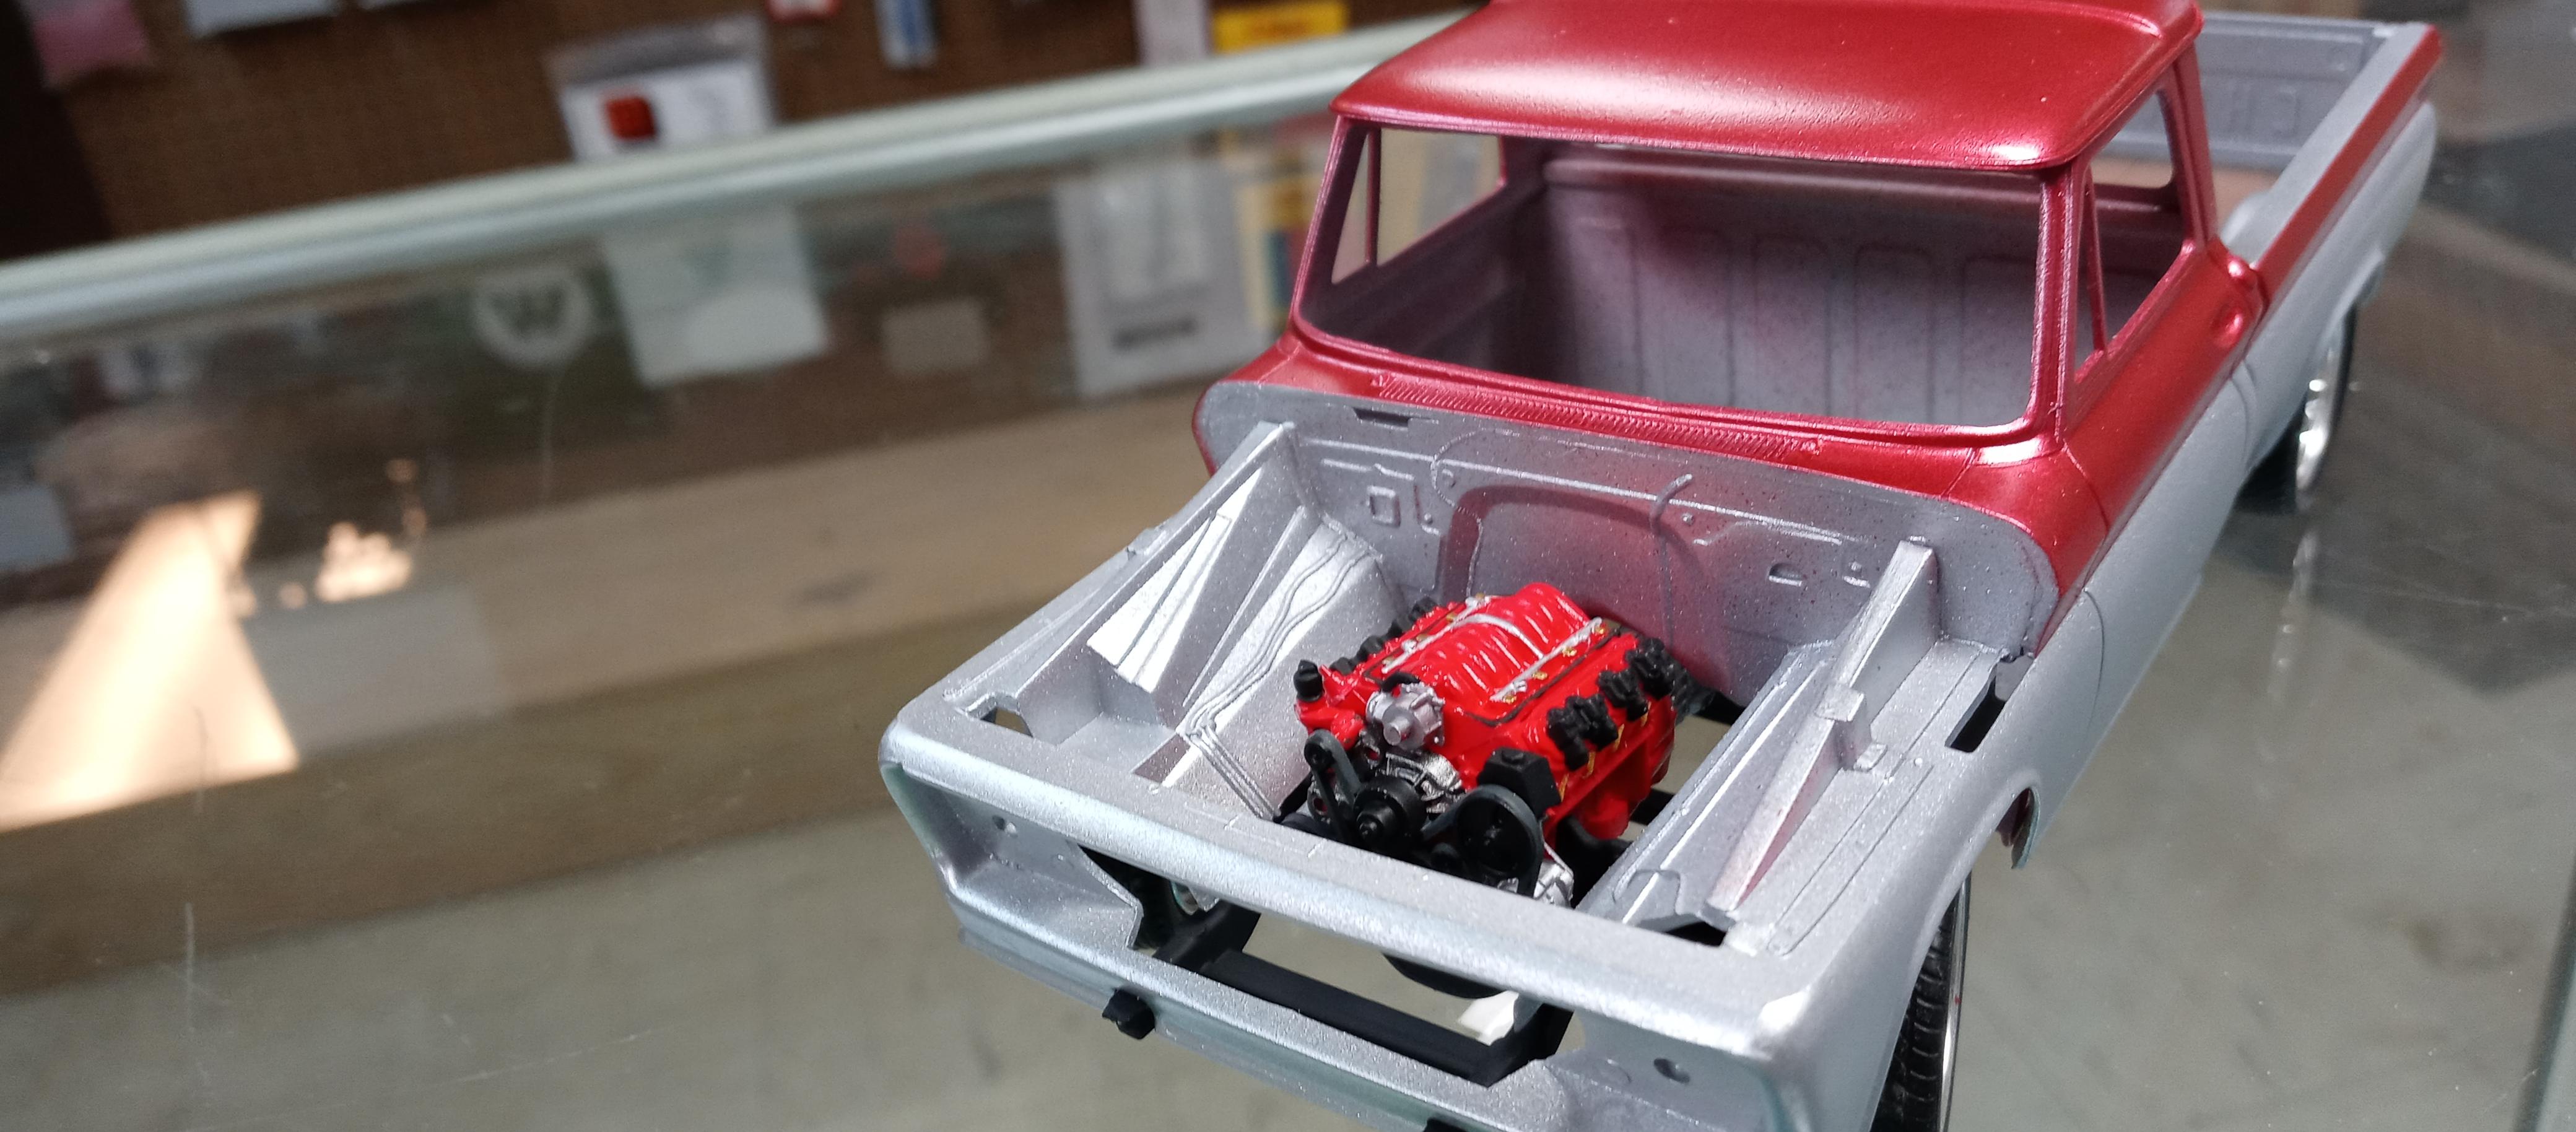
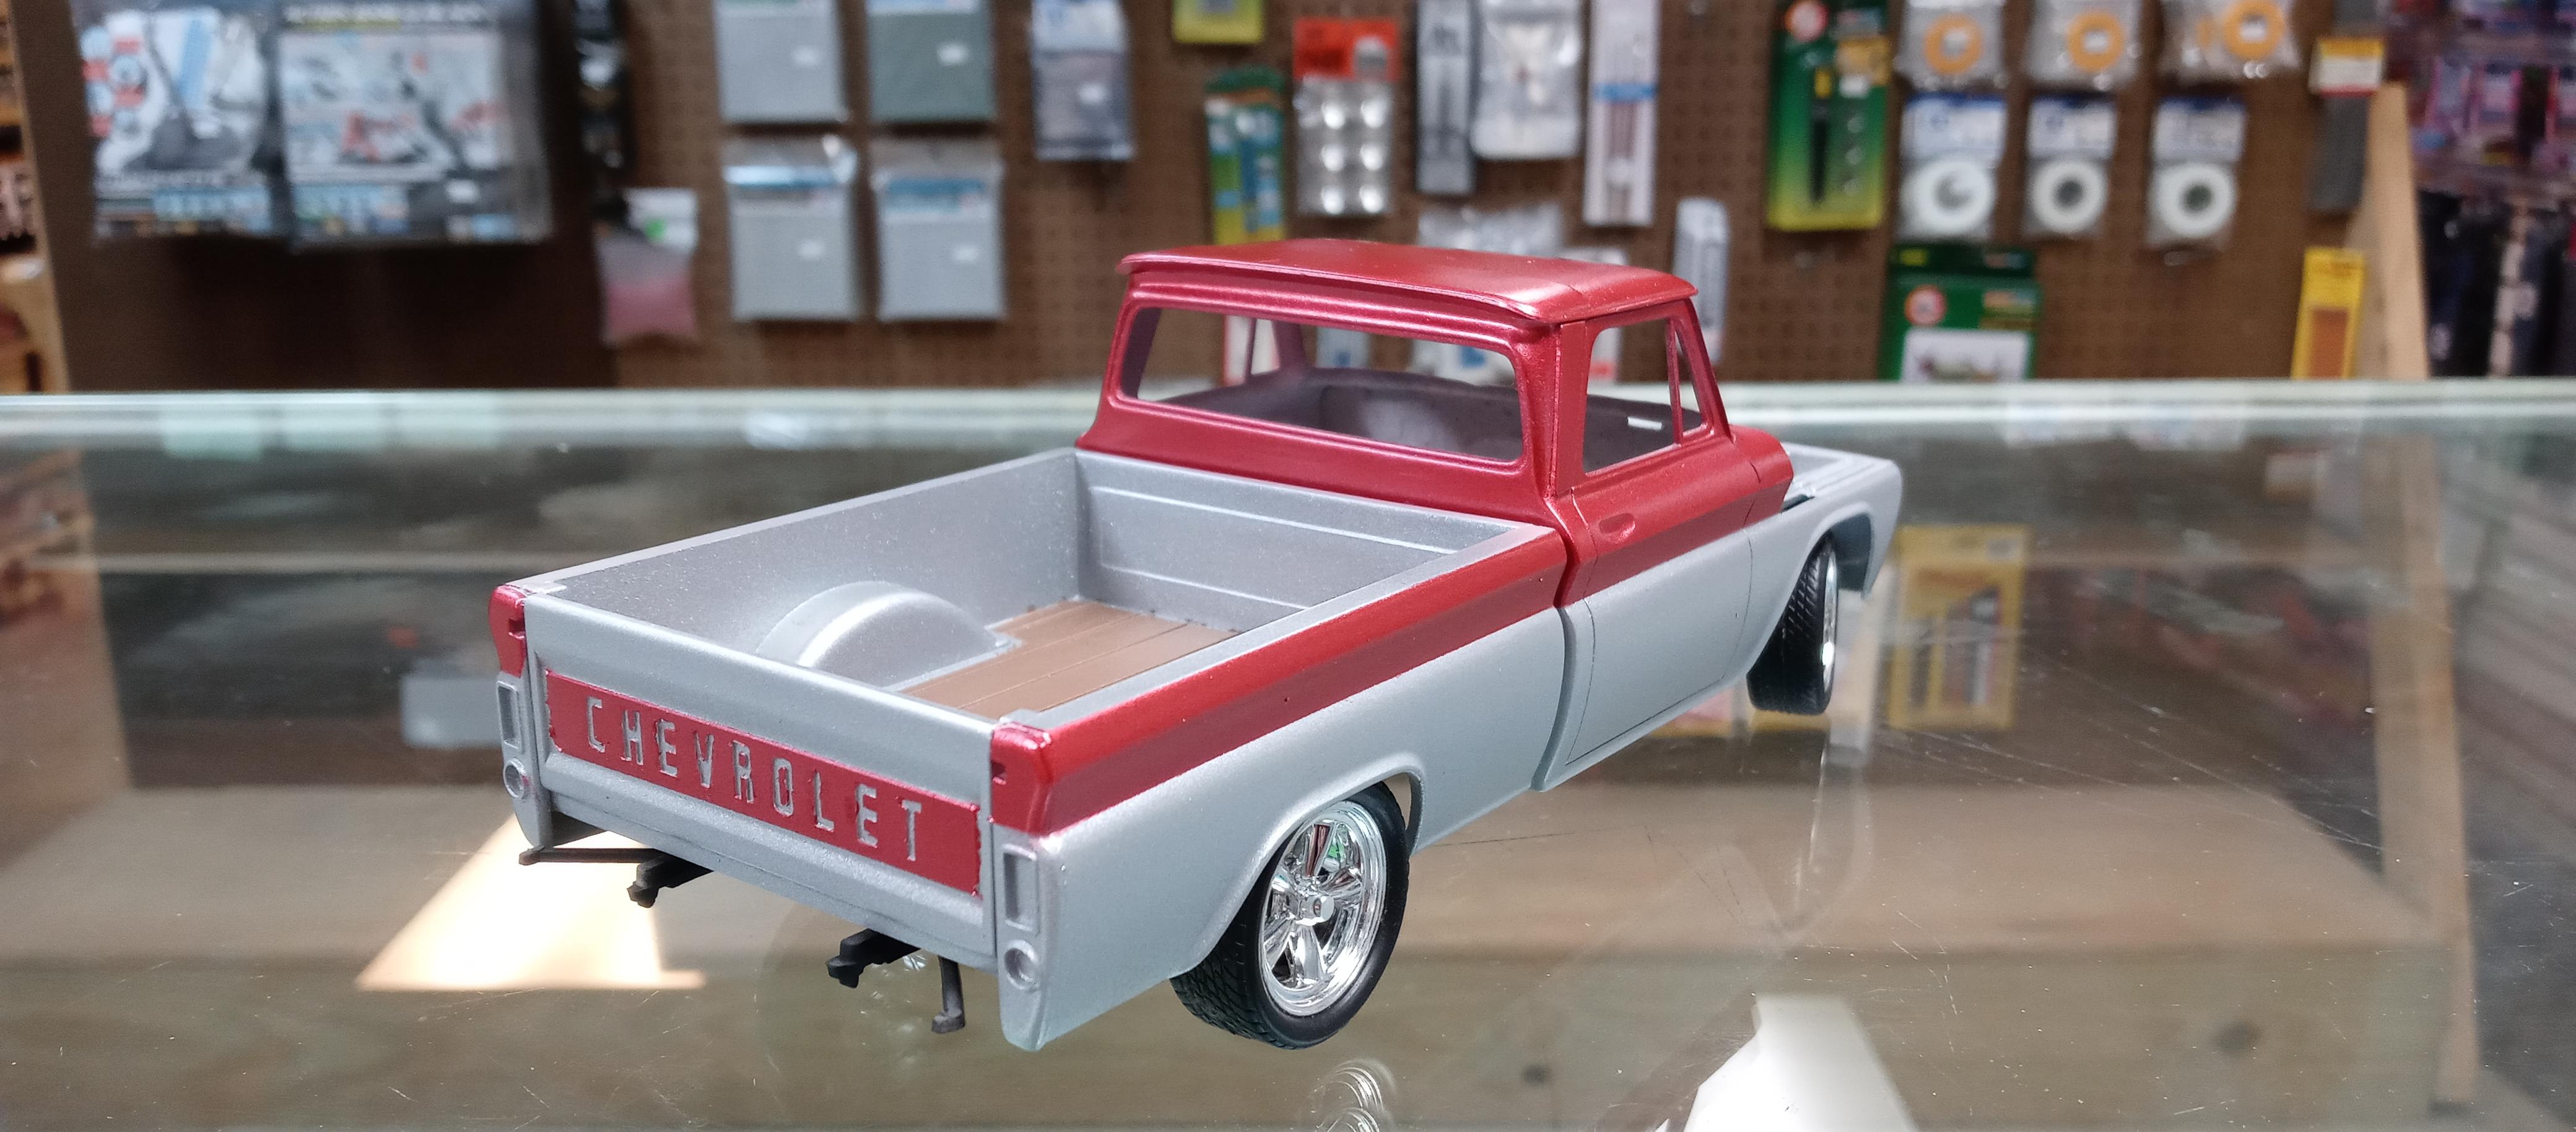
Super happy with how the paint is turning out for the Fleetside. Used Mr Metallic Color GX214 Ice Silver and GX202 Metallic Red and Mr Color C43 Wood for the bed. The LS1 also looks quite suited to its new home in the engine bay. I'm particularly pleased with how the tailgate lettering turned out. I used Abteilung 502 Liquid Mask for that.
-
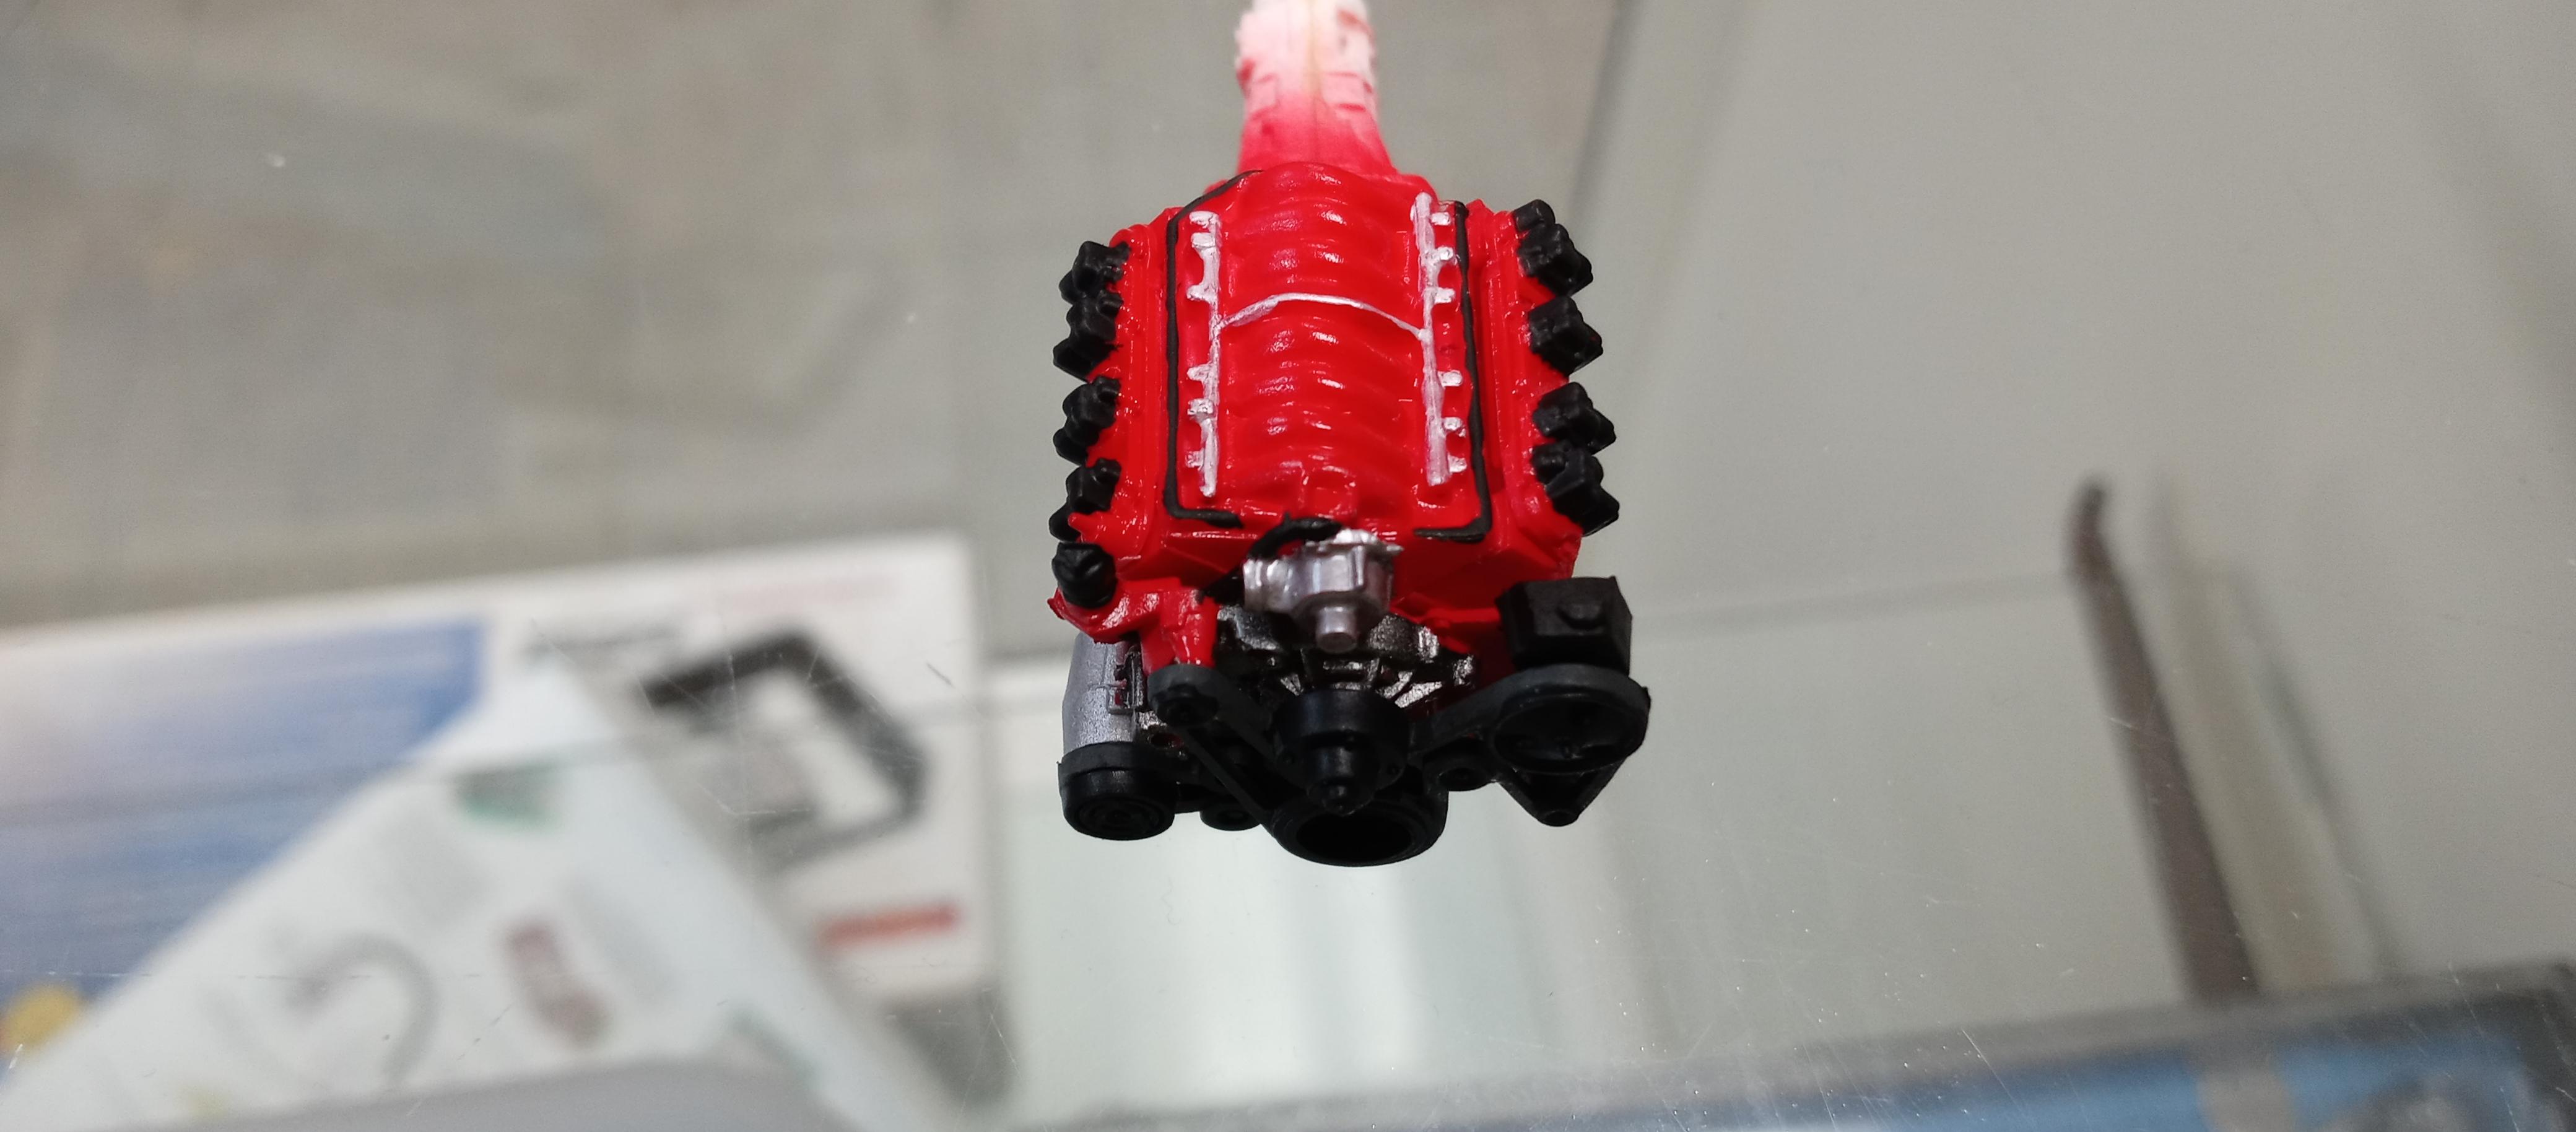
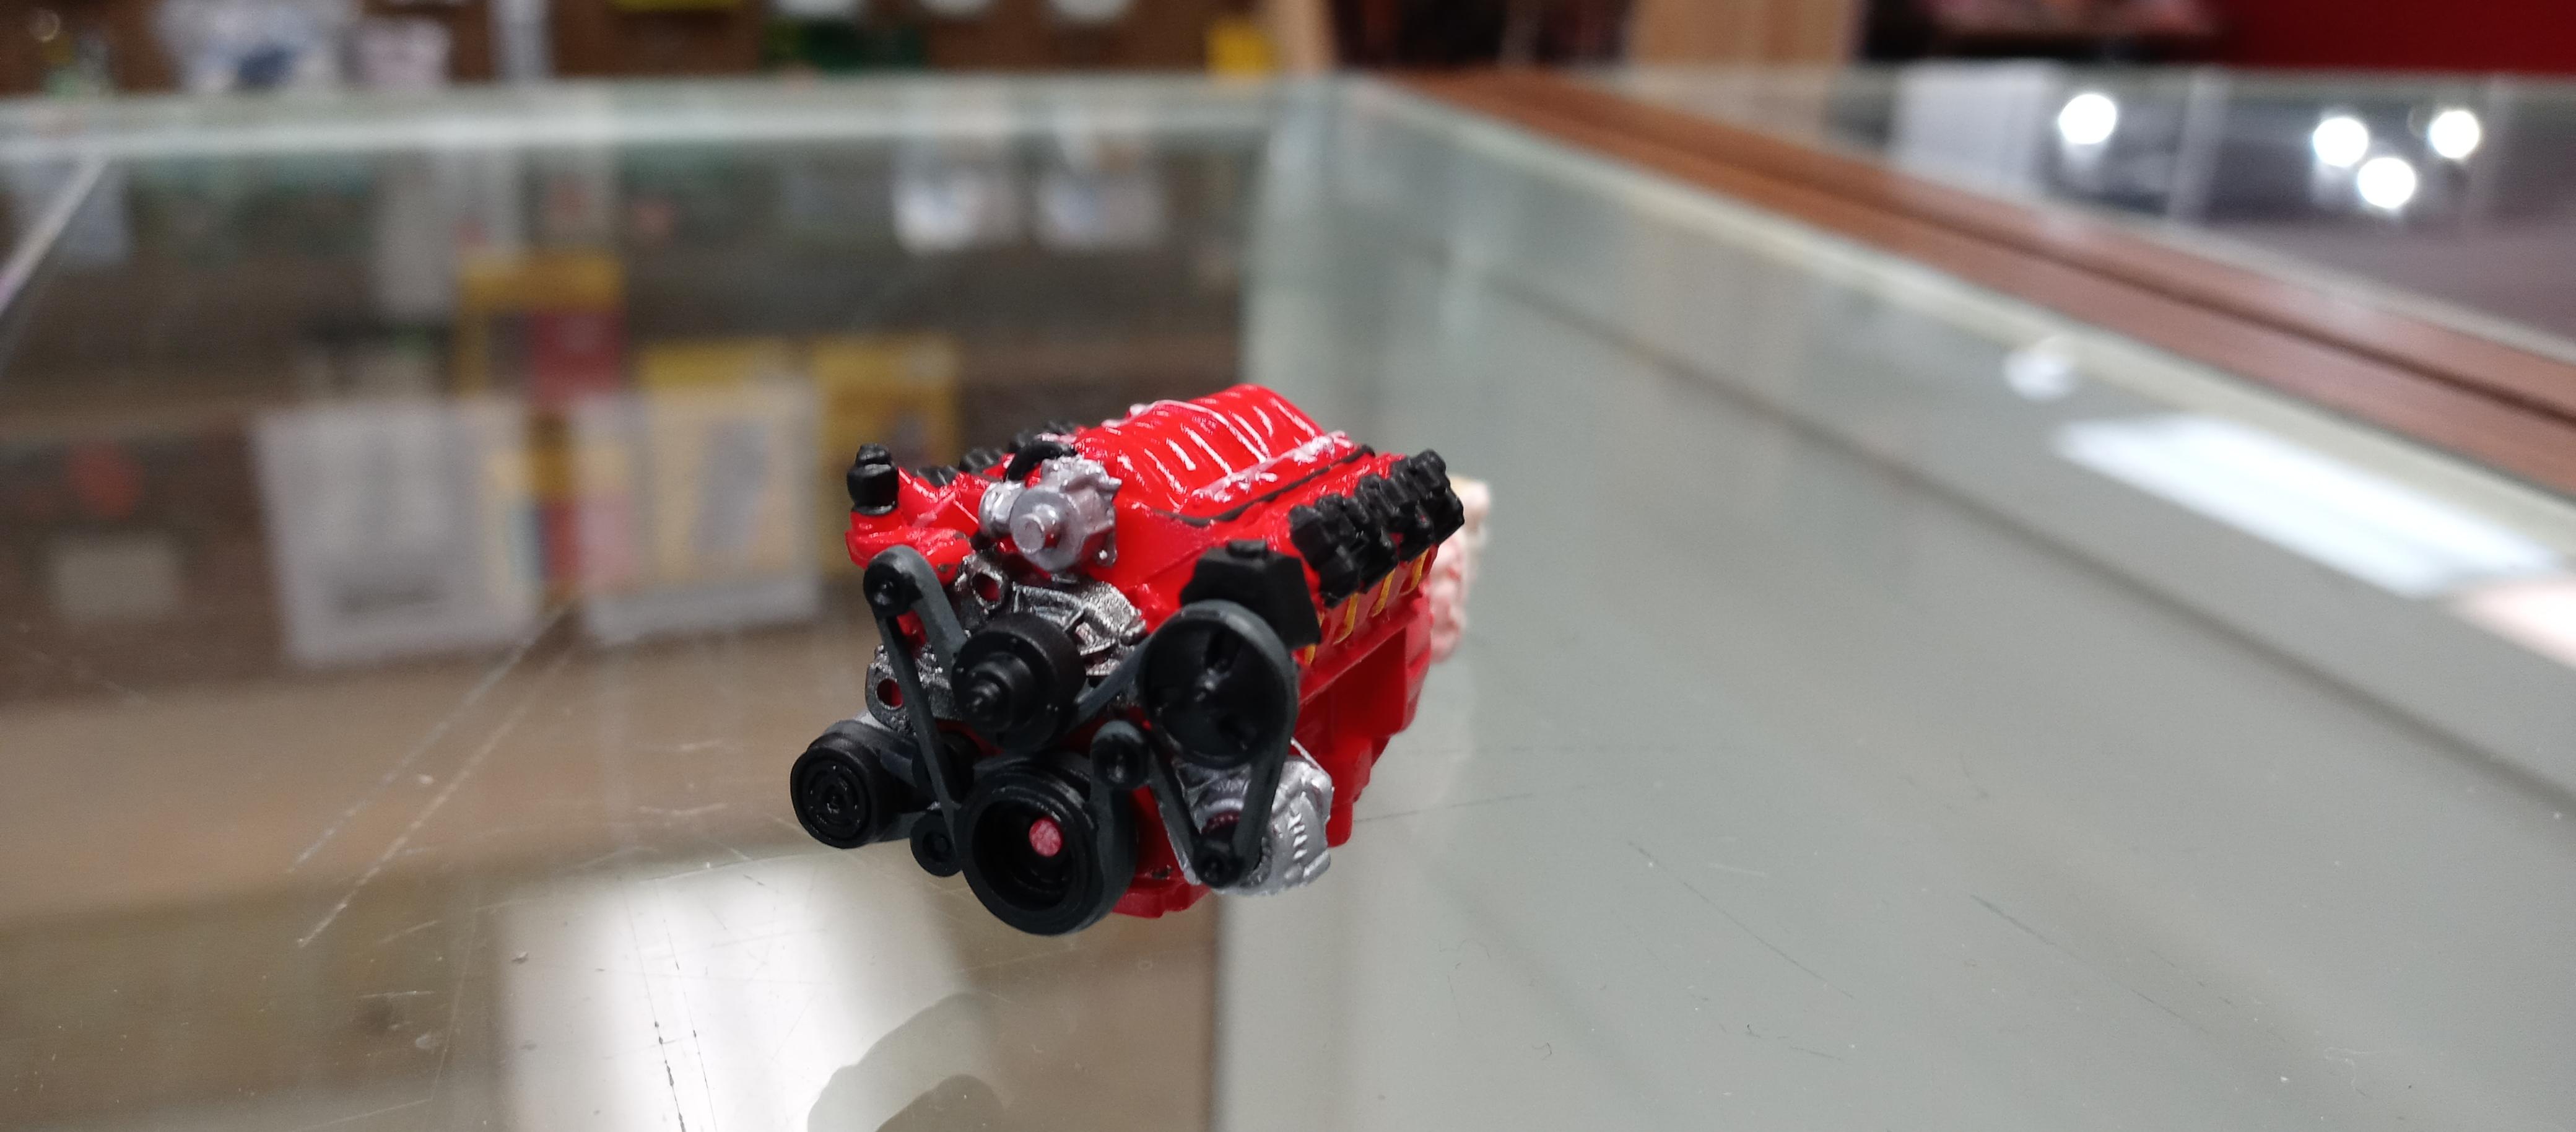
An engine has finally been chosen for the project! In keeping with my preference for building believable machines, I sourced the LS1 from a Revell 2002 Camaro SS 35th Anniversary kit and focused on some mild paint detailing. I'll likely add an AK Red Ink wash to the intake just to do a little more highlighting but I'm genuinely happy with the results especially when it came to picking out all the ancillaries and brackets molded to the front engine plate.
-
Meng is saying to expect it to ship this July!
-
The small card with the CAD images seems to indicate that the "bullet proof" rear shield and the extending spinners will be part of the new tool DB5. Hopefully it will be done with optional parts along the lines of the Aoshima Knight Rider kits rather than as ugly as sin "functioning" parts that compromise any semblance of realism.
-
The broad tires on the 49b really are something that's always stood out the most to me. As if that's the biggest sign of the changing times, more so than the strut wings or even the DFV tucked behind the roll bar. Really nice finished build from the Ebbro kit!
-
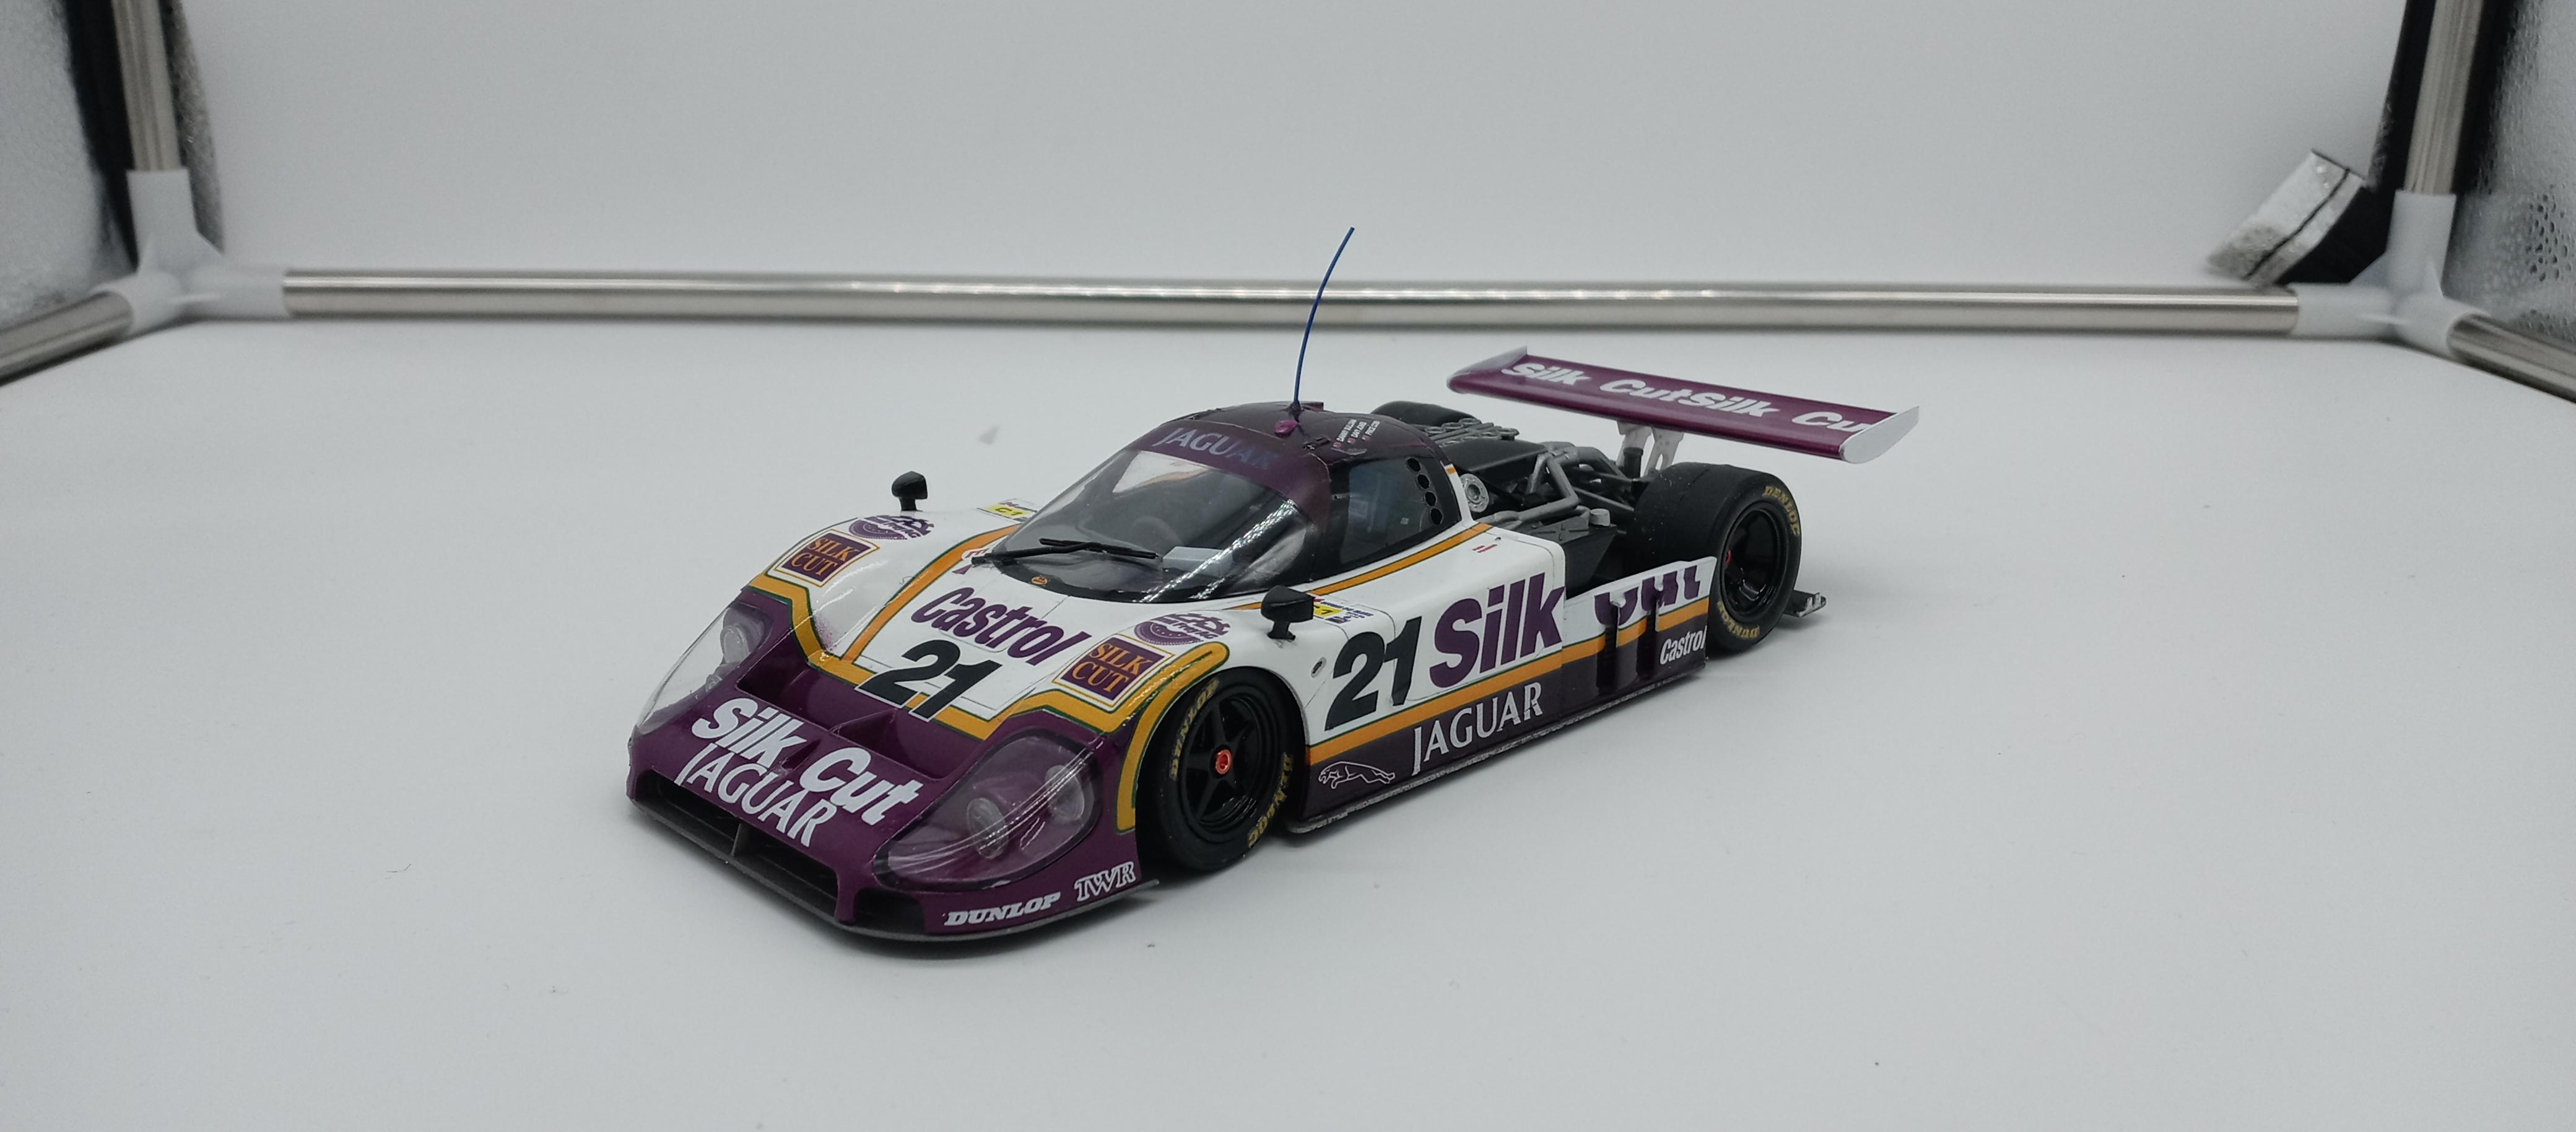
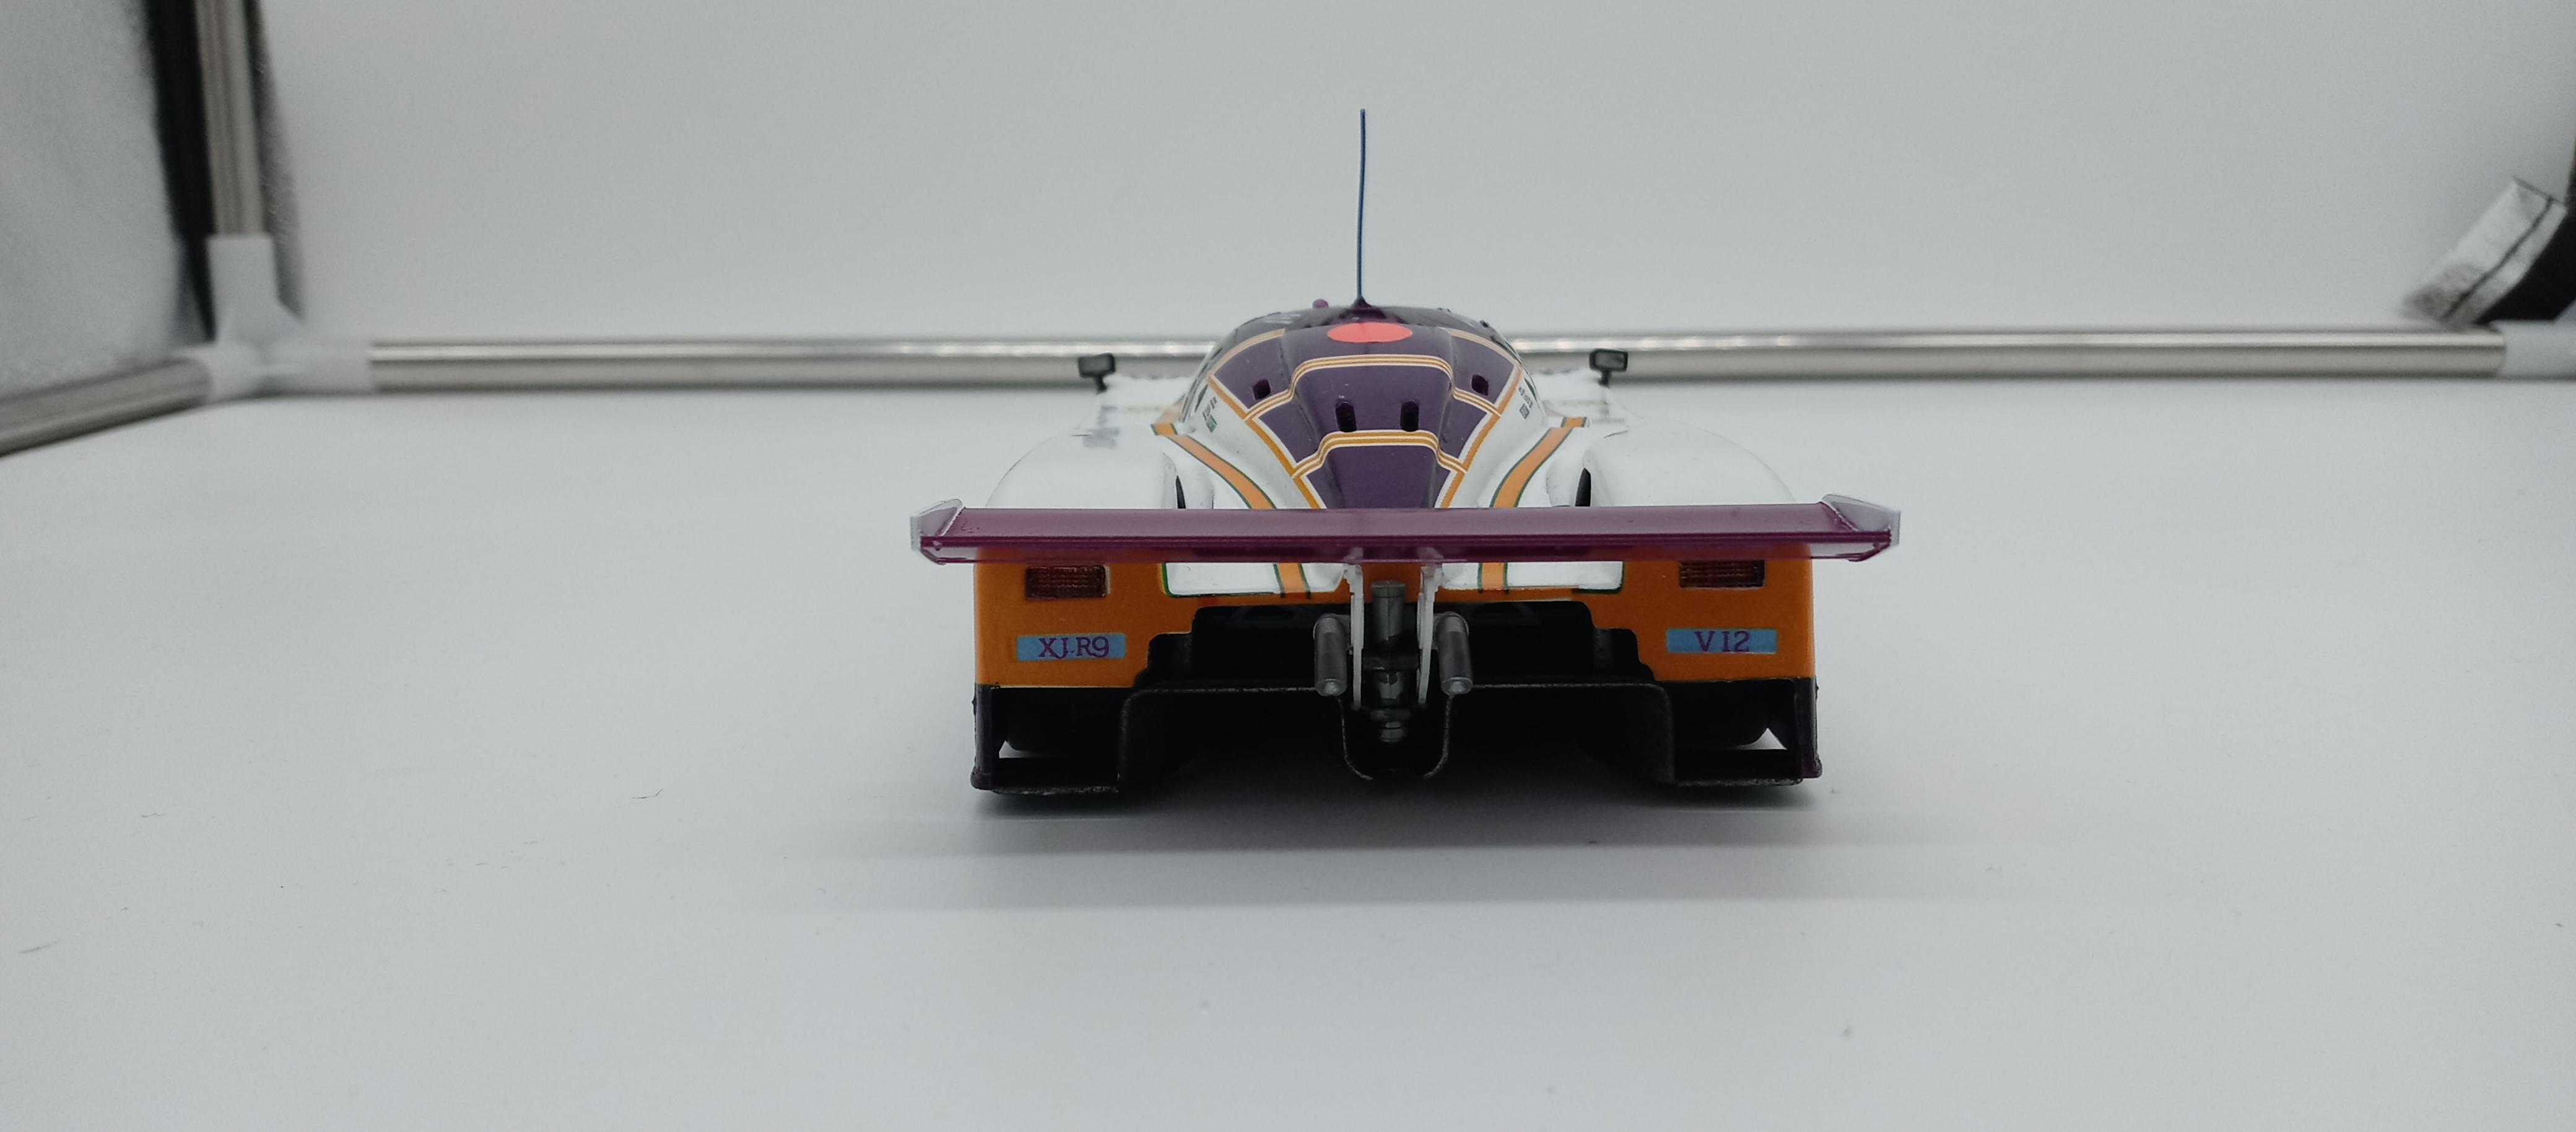
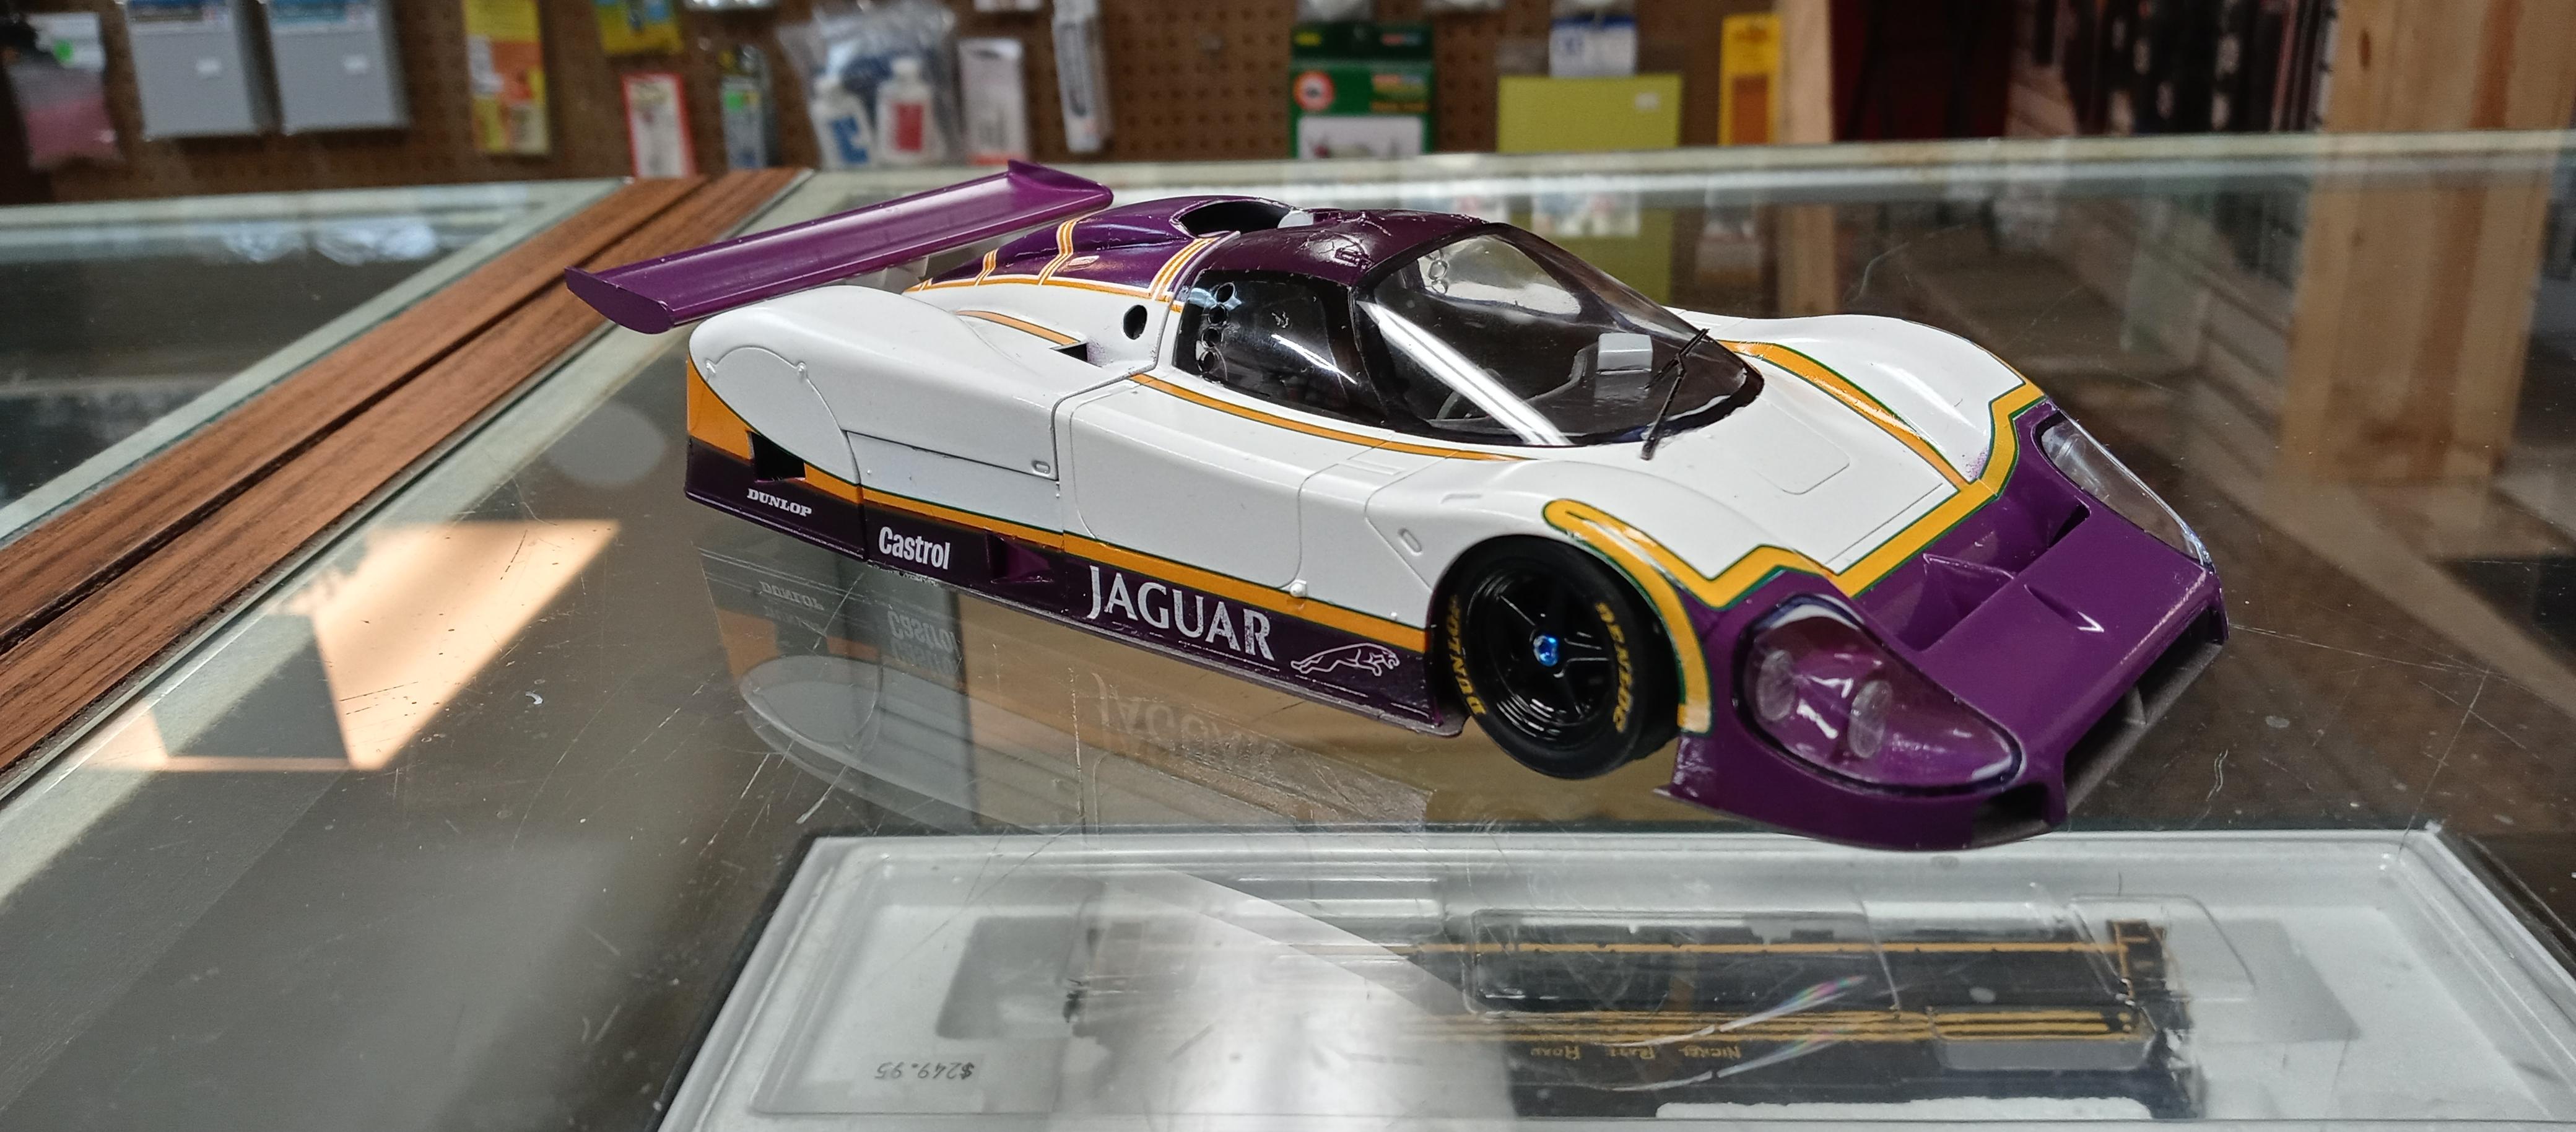
This particular build represents a little bit of a victory for me. I bought the kit 20 odd years ago from my local Hobbytown USA and tore into building it, at which point I made a major error in masking the nose that I didn't discover until after most of the original decal sheet was applied! Disgusted, it got shelved and I've carted it around partially finished ever since. In my effort to empty my basement of a certain amount of plastic ballast, I've been revisiting these old projects to prod them along to completion. In this case, a trip into the brake fluid, an order to Indycals, and some creative repainting of already assembled parts meant that this otherwise box stock build is now on my shelf. Just for a little bit of difference, I chose the Indycals sheet for the #21 car from Le Mans driven by Danny Sullivan, Price Cobb, and Davy Jones. I figured it would be a nice change of pace from the more routine #2 race winner.
-
Made a bunch of progress on my Tamiya 1/24th Jaguar XJR-9. This is one of the more complex decal exercises I've tackled and, frankly, there's spots where I've made an absolute hash of it. lol No fault at all on the Indycals decals which have been excellent as ever. The Tamiya TS13 clear coat helps mask most of a litany of sins. There's still the sponsorship logos to go and some final detail pieces but soon this will be done after sitting undone on my shelf for nearly 20 years.
-
There's a reason I typically recommend a Tamiya kit for first-time builders. They're straightforward, well-engineered, and generally the older tooled kits like this one or the first-generation Miata are quite inexpensive. Very happy to see you're having a good time building yours. I'm interested to see the gloss you get with the Mecha Color as I've used Vallejo Model Color under their Gloss Varnish before and it turned out okay but not thrilling.
-
427 Cobra S/C manifold carb setup
Justin Porter replied to Jon Haigwood's topic in Car Aftermarket / Resin / 3D Printed
https://tx3dcustoms.com/products/ford-427-fe If you want a 427 with a quad Weber setup, then Texas 3D Customs is a good bet. As to the hood scoop, I was under the impression both the Fujimi and Revell 427S/C kits HAD that scoop on their hoods. Am I not catching something in the profile? -
Very nice clean build of one of the best Little British Car kits on the market.