Rich Chernosky
-
Posts
2,123 -
Joined
-
Last visited
Content Type
Profiles
Forums
Events
Gallery
Everything posted by Rich Chernosky
-
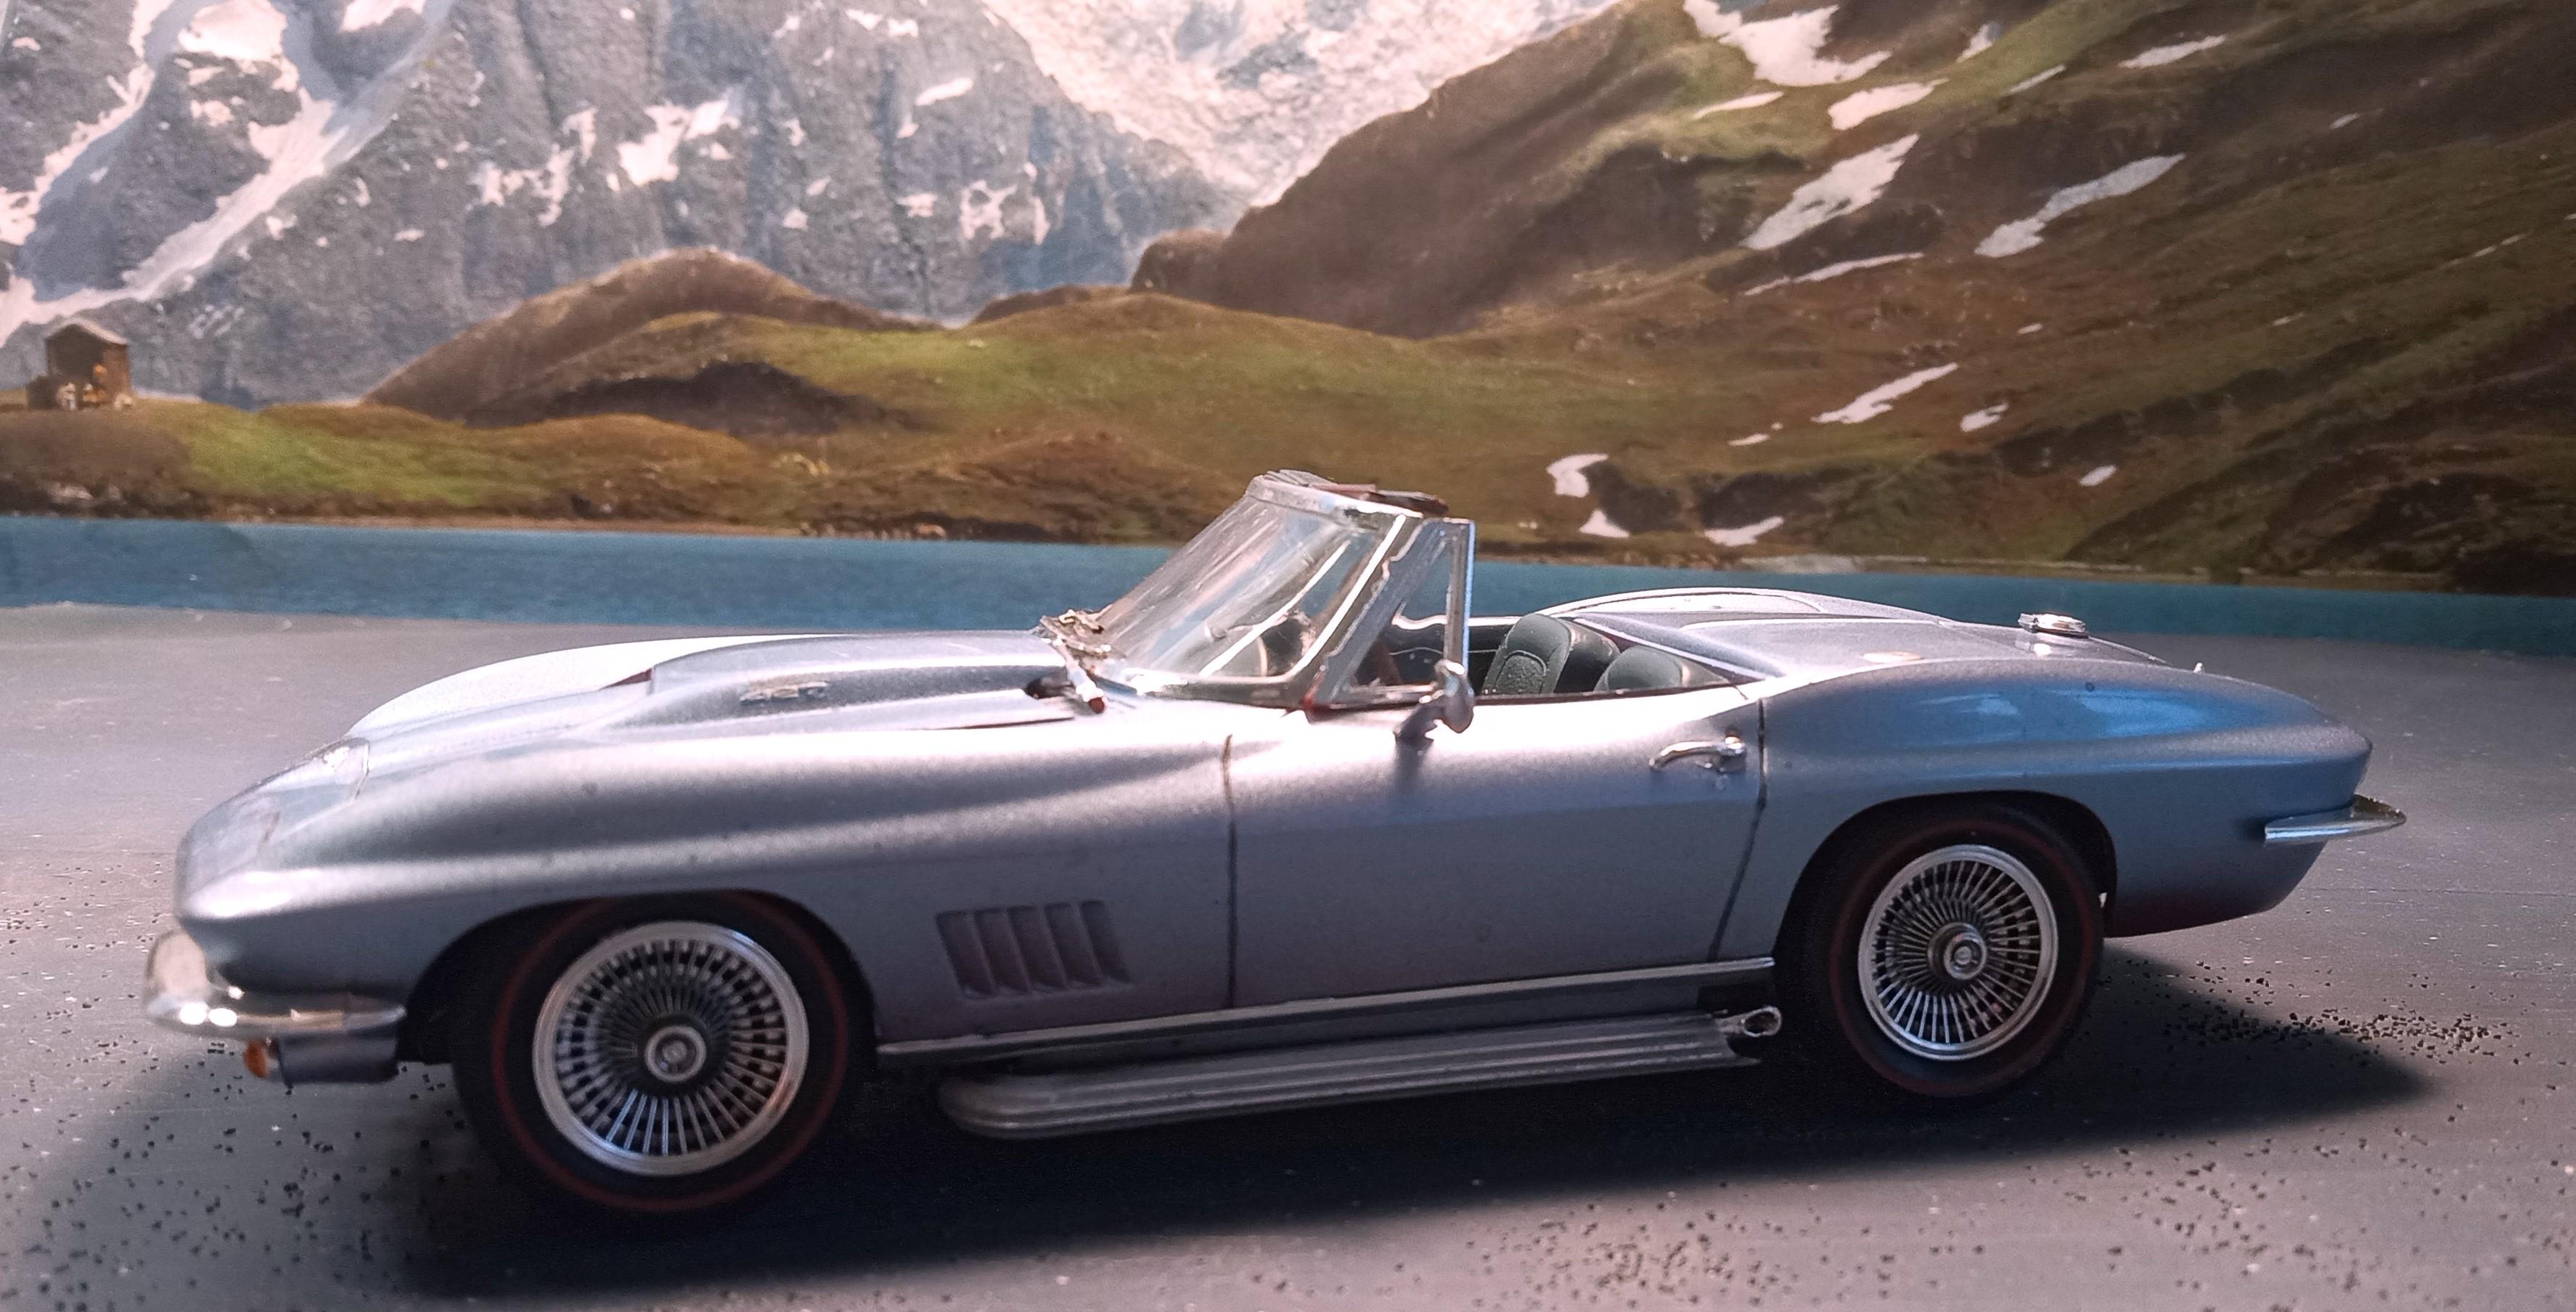
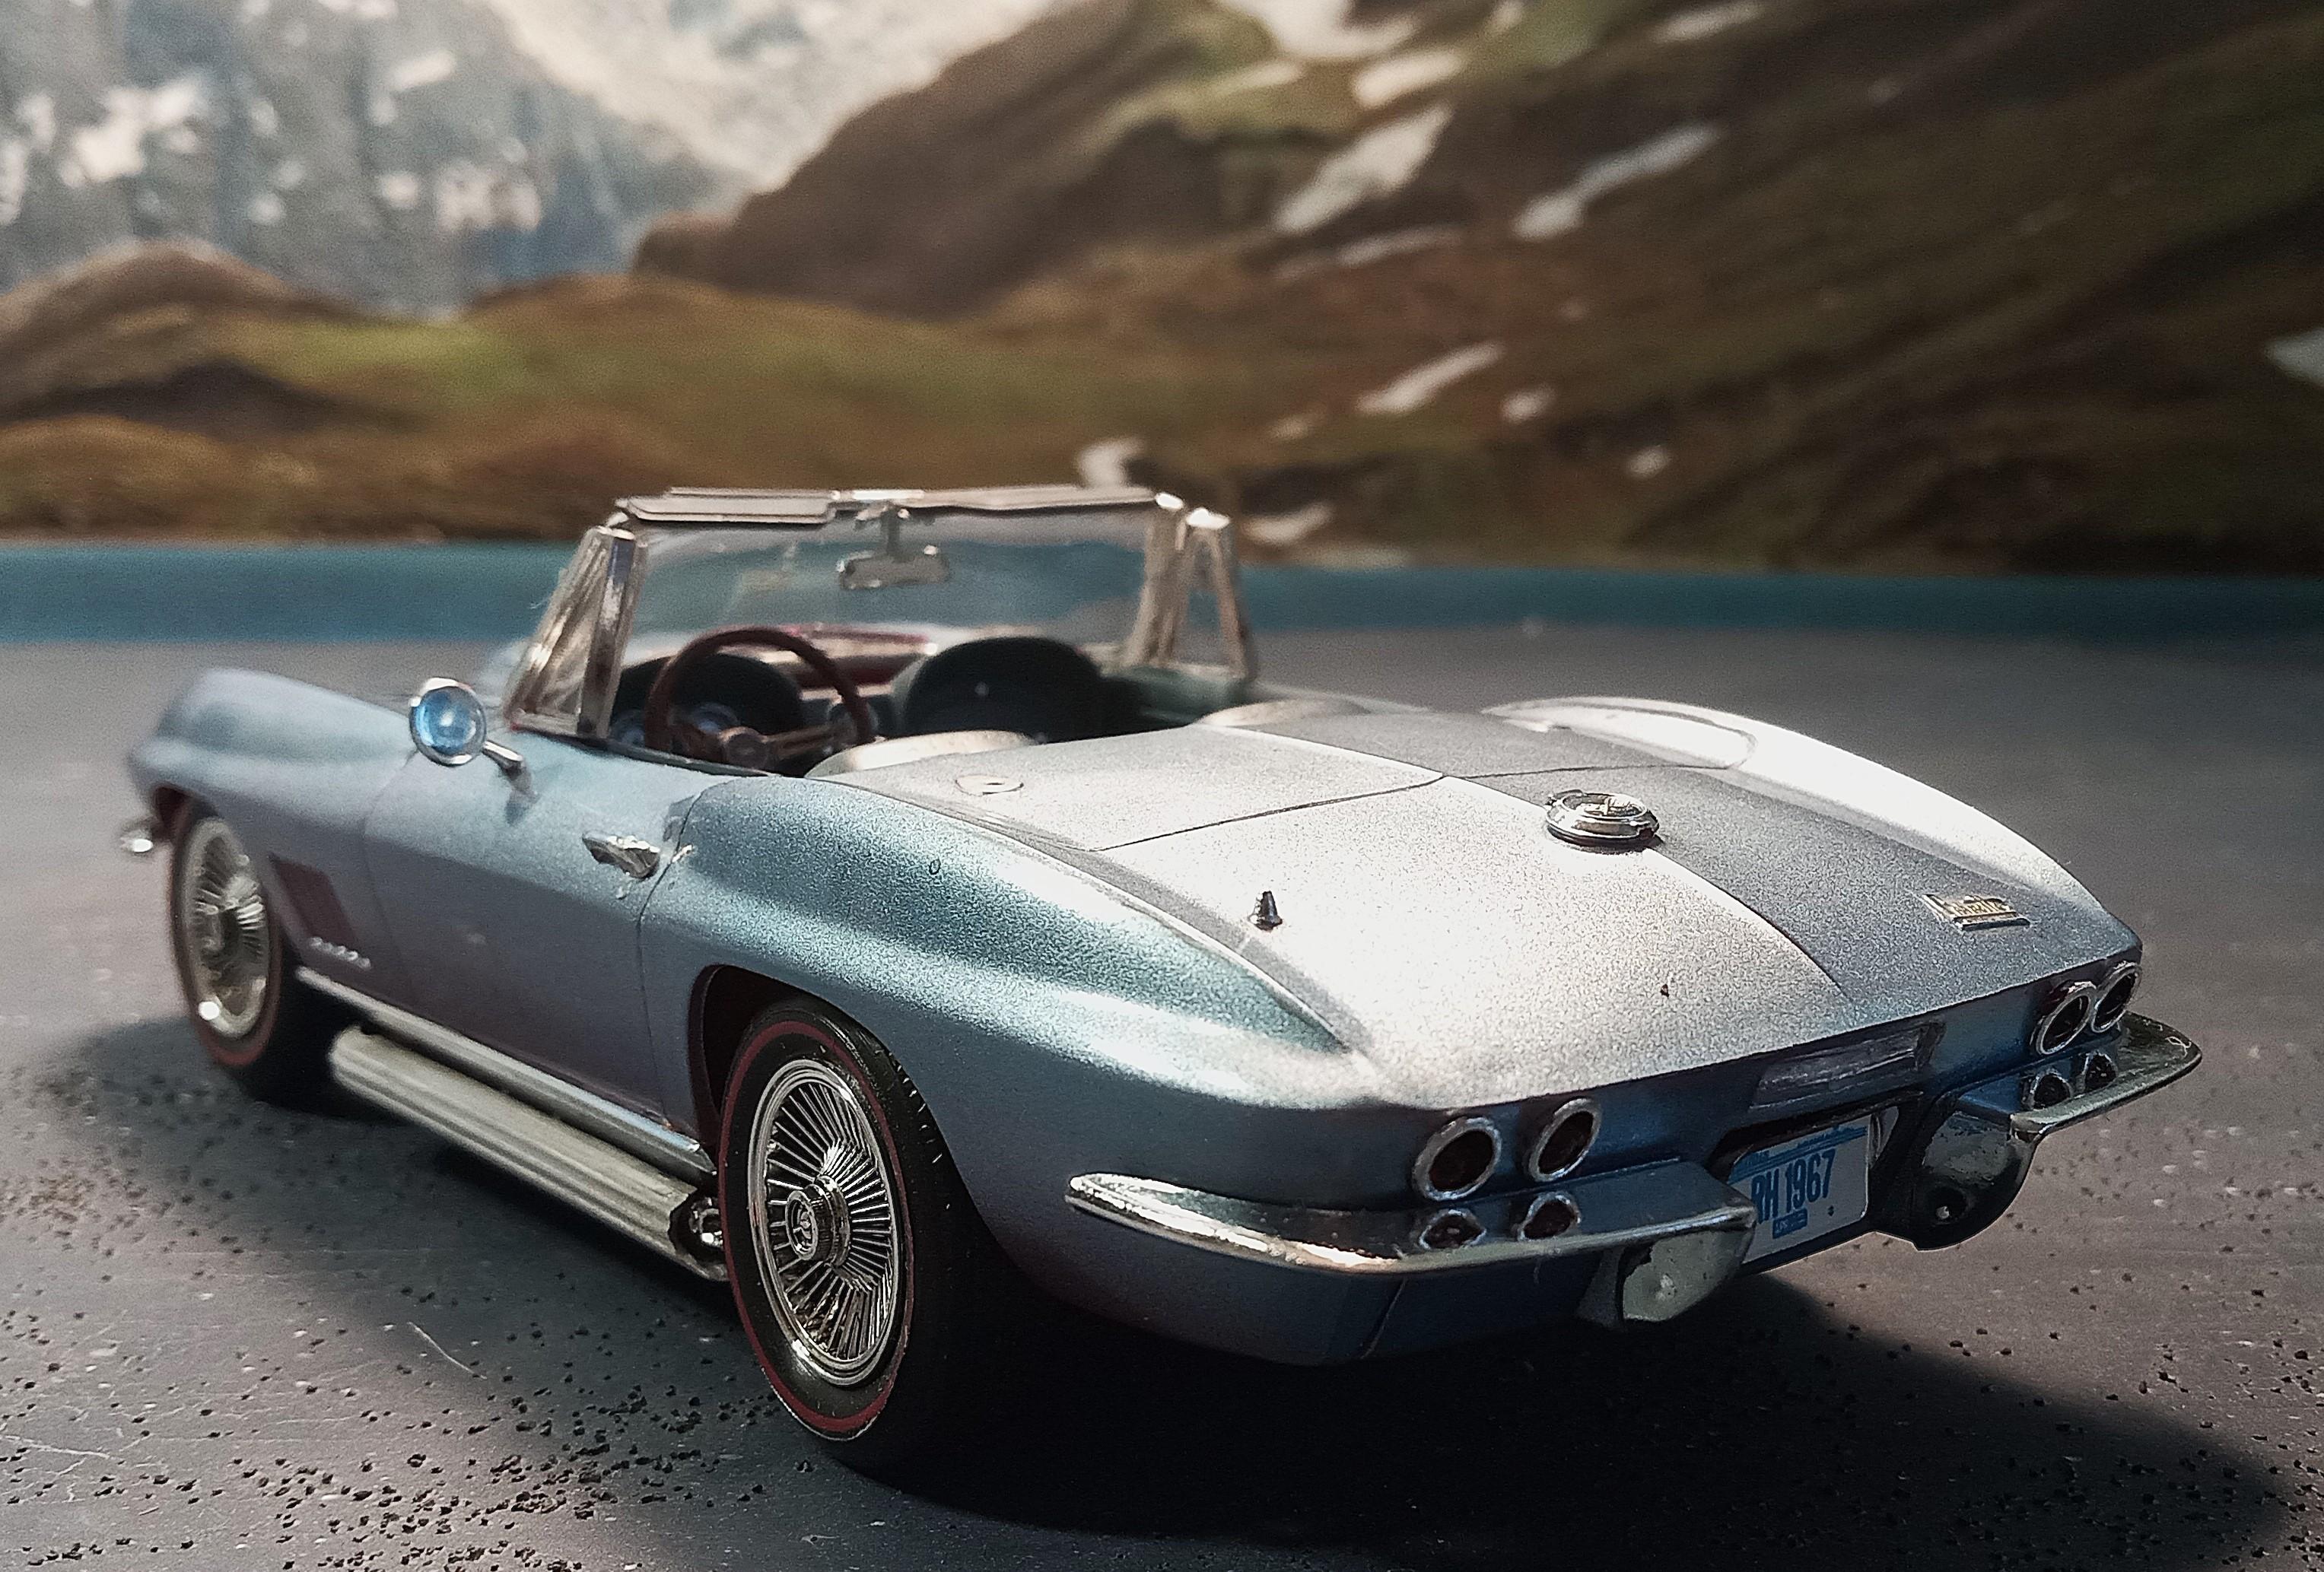
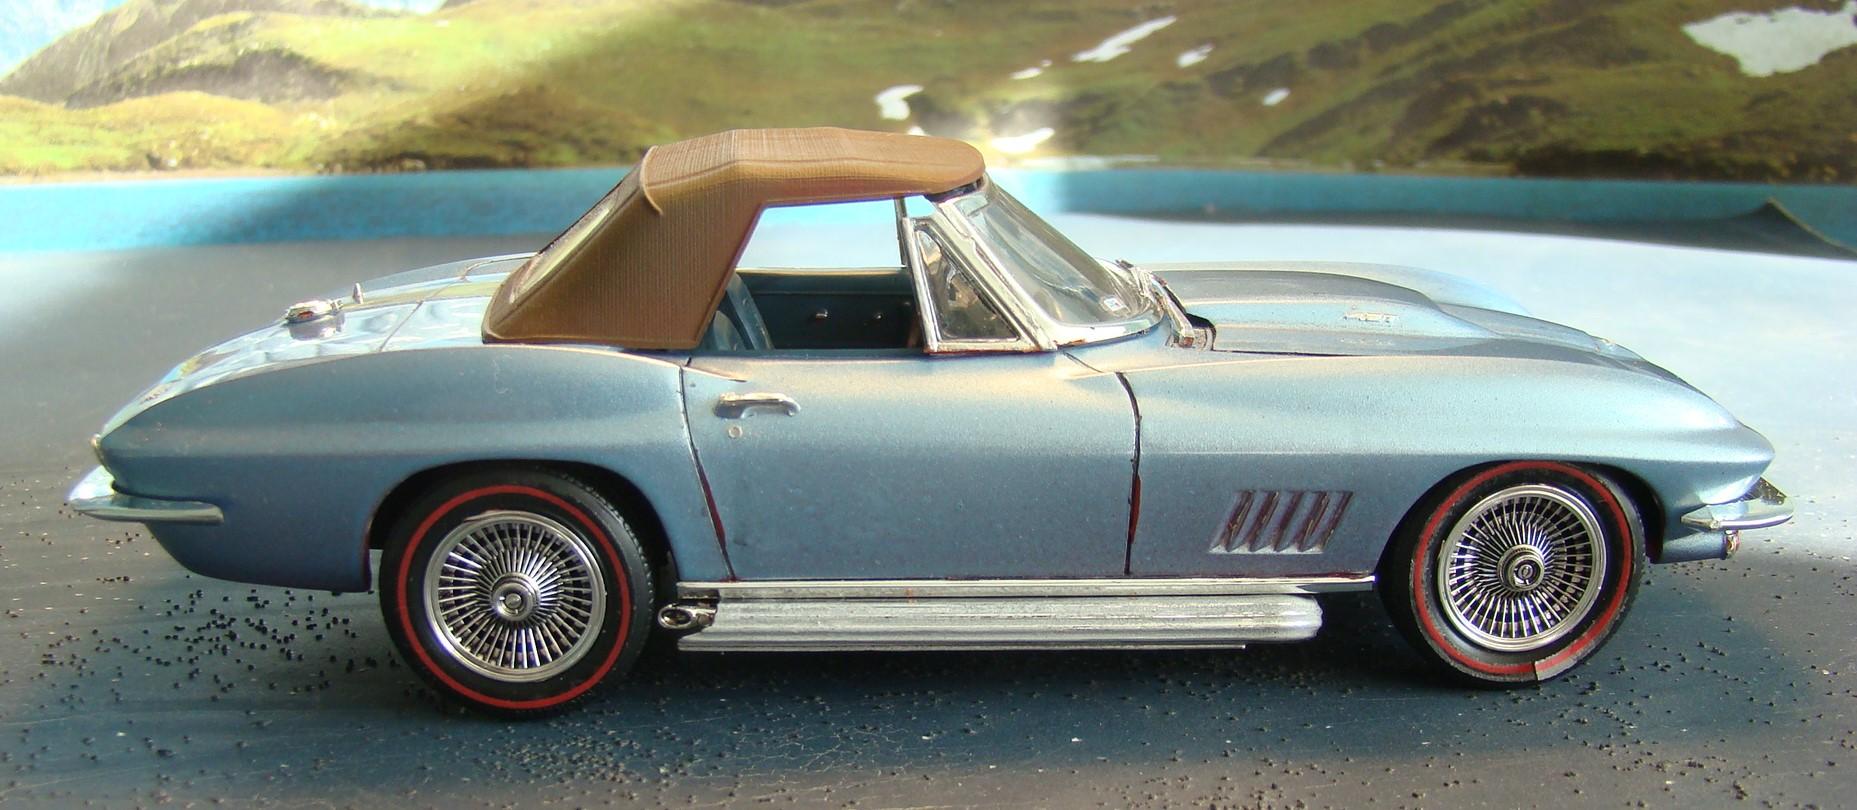
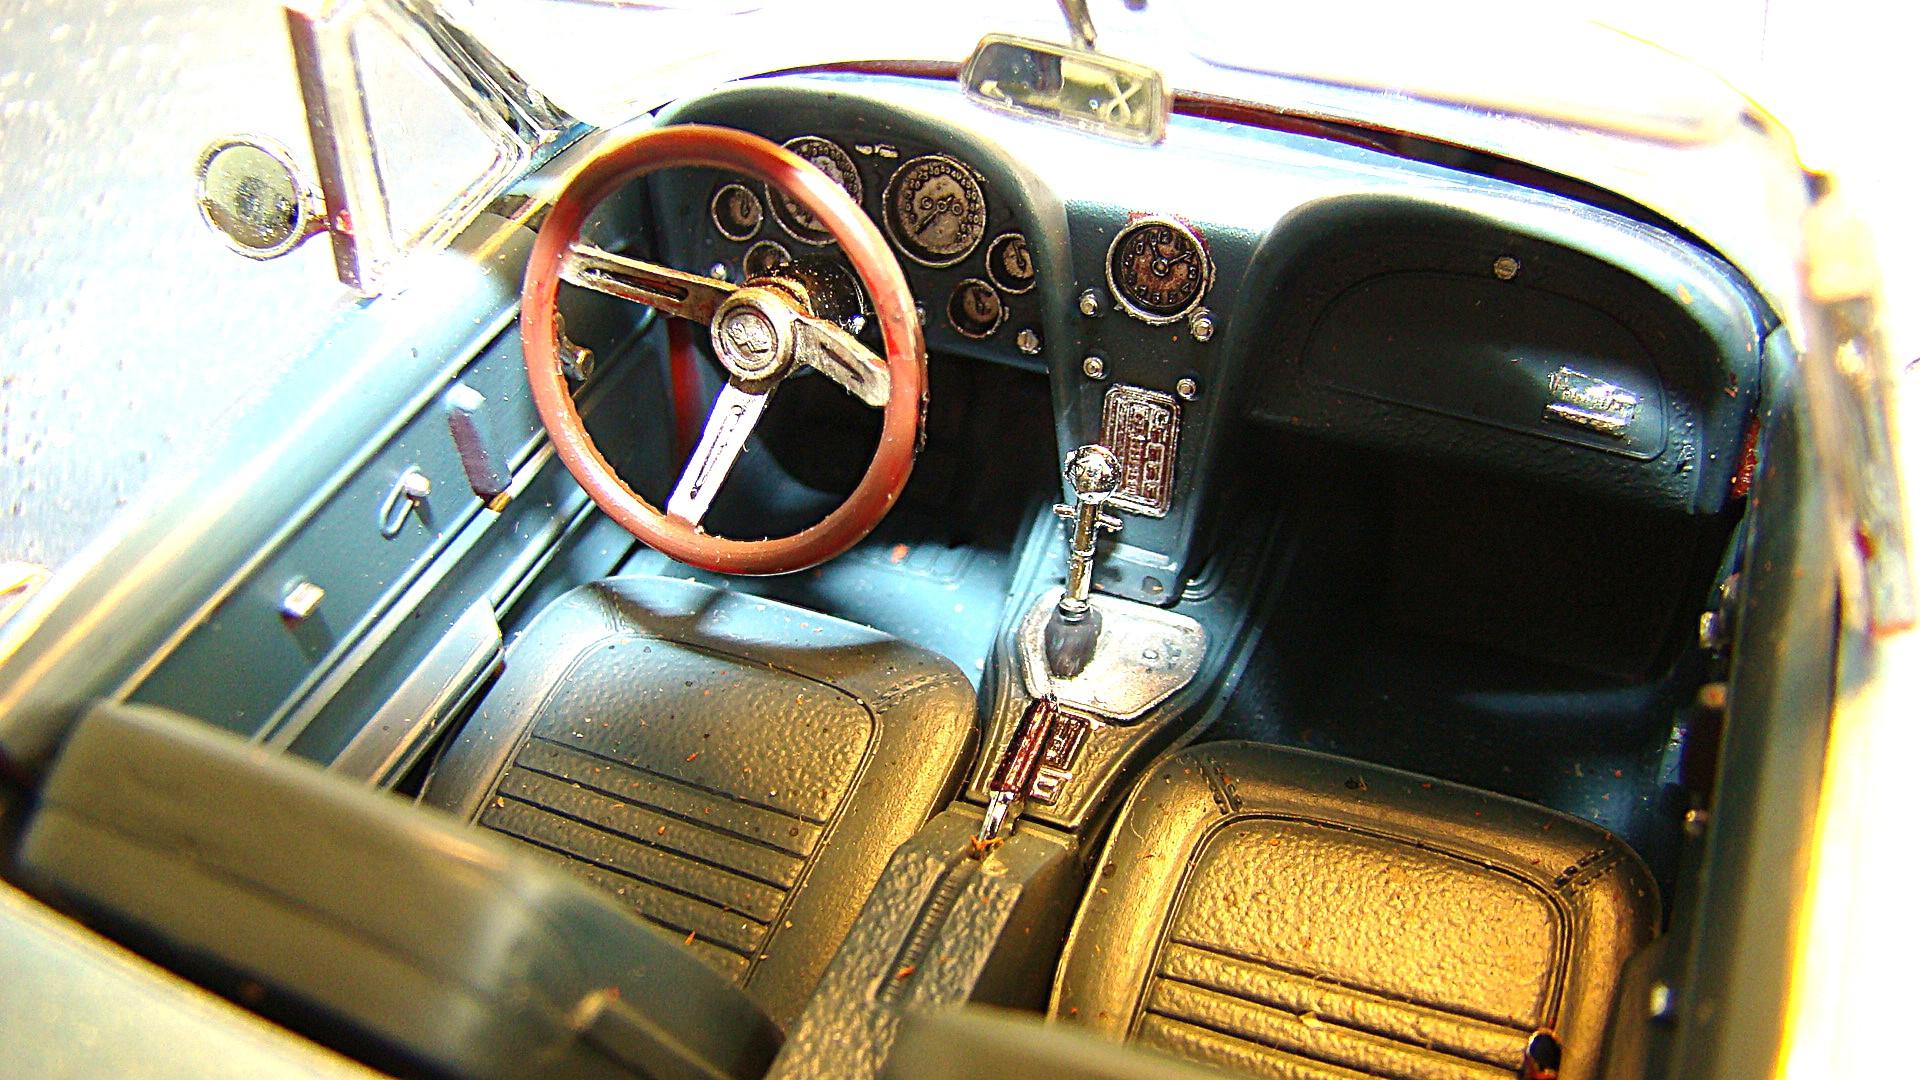
This is the second of my 13 1/24 Corvette builds. Monograms 67 427 Corvette convertible. Coklor on thisone is a Pearlescent ink called Liqui Acrylic sky blue. Clearcoated with a latex clear around 2012. Interior is a custom mix of Tamiya LP13 IJN gray and LP81 Mixing blue. Nice kit with some good detail. The usual problems with an early kit but it all turned out good in the end. More details in the picture captions. Thanks for looking. Real good interior detail and I like the way it turned out. Engraving on the dash was good enough to paint. Used a hi shine silver then Tamiya black wash to highlight the details. Engine also had some good detail and i added some ignition wires. That big tri power 427 looks like it belongs in there. The wheels steer through the stock tie rod. Along the way I was able to lower the front slightly and that was just the trick to give this a nice stance. Side pipes attached easily after some careful planning. Rear end also had some great detail . Emblems were nice and sharp and lent themselves to my bare metal foil trick. Kit came with this soft top. Personally I like it with the top down. Tire decal on the front will have to be fixed..no biggie. This was the last year for the body style Corvette. It was best known for its 427/435hp engine option. That engine was a beast in this car. Got a ride in one and can attest to that. Thanks for looking and comments welcome.

-
66 Penske Racing Corvette
Rich Chernosky replied to 65slotcar's topic in Other Racing: Road Racing, Salt Flat Racers
A real looker, great job. -
Don't think "pretty nice" really covers this build. Its more like fantastic. I owned one of these cars and have this kit done so I can well appreciate this model.
-
Vince..you did awesome job on this kit, and believe me , I know how finicky it was. My hats off to you.
-
Real nice Acura, Mark. Its a great kit. I see you have discovered Tamiya's LP line. I have the whole line and use them extensively. they are great.
-
-
Sweet Ferrari, nice job
-
-
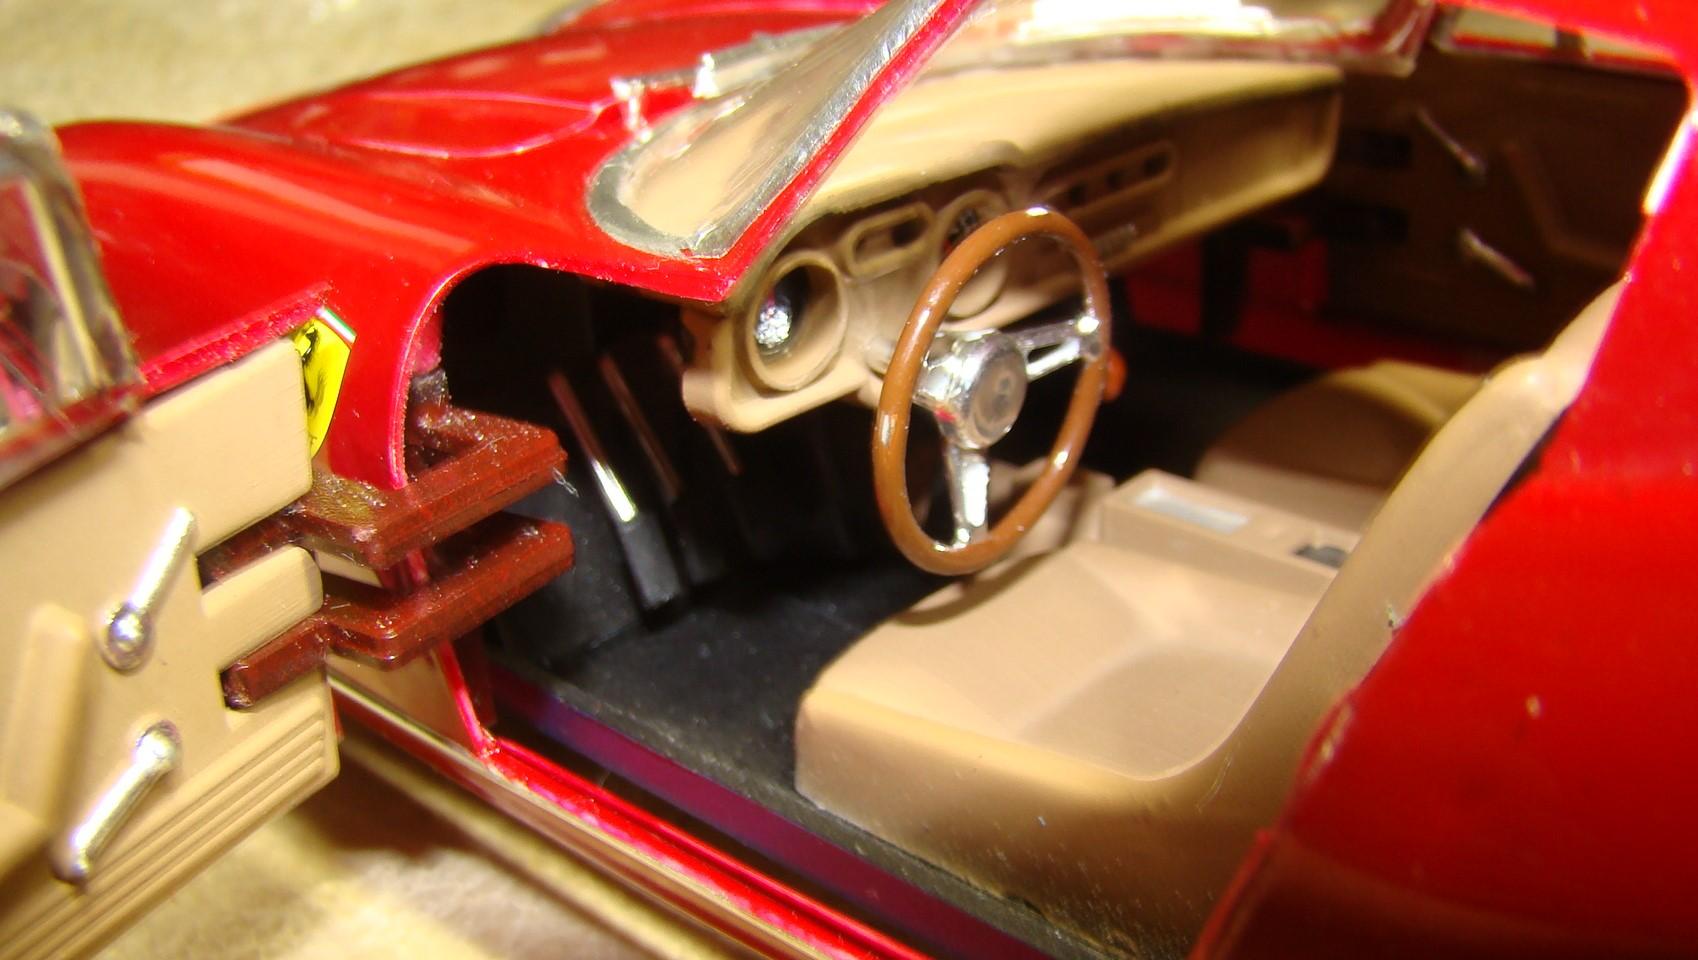
Dug this one from deep out of the stash. the body had been painted with nail polish in 2018. It was a custom mix of colors I had and was clear coated with Tamiya smoke then clear. Kit is mostly stock except for poseable front wheels and I changed out the molded in seats for something better. This kit was originally produced around 1964-65. So it is a very early AMT kit. I t has be re-issued many times but I am pretty sure the molds have never been updated. So it was like going back in time and building something from the 60's. It had the usual fit and clean-up issues from kits of this era. More comments below the pictures. Thanks for looking and comments welcome. Interior will be hard to see so I took this picture. Dash had some nice engraving but it was dated and was going to be hard to paint. So decals out of the stash were needed. Color is Tamiya LS 73 Khaki. Carving out the original horrible molded in seats was fun I replaced them with buckets from a Mustang kit. Aaahh..much better. Got some nice sun to photograph. Making the wheels poseable was fun but had its problems. All the emblems were bare metal foiled before painting then the paint rubbed off before clear. They were still real sharp and came out nice and clear. Rear veiw. Forgot to add a licence plate. No biggie...got plenty of em. Some nice detail back here. Kit had lots of options but I opted for mostly stock except for the fuel injected engine (not shown) The 63 Vette was a landmark car that almost didn't see production. It was totally new design and a huge departure from previous models. Independent suspension, lots of engine options and a totally new body. This was the year GM banned racing but that didn't stop Zora Duntov. The were a great many hidden options that were only available to select dealers and racers. This was a turning point in Corvette production. This was now a viable and true American sports car. An interesting addition to this kit was the 1/64 scale box cutout. It is posed here with a Racing Champions diecast. I have to set goals for myself otherwise I would never get anything done. This model is the first of 13 that I will be doing over the next few weeks. All of these have had the bodies sprayed at some point in time. Just finish the chassis, interiors, engines and detail the bodies. Some will be slammers others will be modified but all of them will finally be finished. Only two problems, which one do I do next and where am I going to put them when finished?. Corvette shelf is currently filled.
-
Kaci..very nice job on both. Followed your WIP. I built this kit about 15yrs ago. Took me about the better part of a month. (was still working then, retired now) 1/12 kits take some time to do (built my fair share) but you are done in less than a week. It no rush job either, really looks good. Care to share your secret??
-
Outstanding Job Thomas. Really like it. How did you eventually solve your decal dilemma?
-
Now that's a Ferrari. The detail is over the top. Would luv to have something like this in my collection.
-
Doug...thanks so much for showing us all the detail you put into this. It really is great work. Been looking at mine and YOU just might be my inspiration.
-
Dan...really like this build and the background information. And congratulations on taking that big step into the world of airbrushing. You will not regret it. The airbrush will really make a better modeler out of you as there are so many advantages and the results can be quite rewarding. BTW I am a former Porsche 944 owner so this build is special to me.
-
Best way to handle small parts
Rich Chernosky replied to Donny's topic in Tips, Tricks, and Tutorials
Get some bamboo sticks and poster tack. Wrap some poster tack around the end of the stick and use that to hold the tiny parts. The glue you use is important too. Waterbase glues like craft glue are easily removed when you get exrtra on but have enough adhesion to hold small parts. A dot of glue on each surface and let it tack up. If you mess up the glue is easily removed and you can start over. This eliminates the heartbreak of hearing that small snip as the tiny part you are trying to hold in tweezers flies off to never, never land. Keep a clutter free work area too. Really helps when you are trying to find that small part. -
Helmut....thank you for the kind words and the detail information that I was not aware of. I am quite sure that if you apply your talents to this project you will achieve great results if not better than mine. In retrospect...if there was an engine available in this scale I would have definetly cut away the battery box and replaced it. I did replace the side windows with clear acetate and probably should have vacuum formed a new windscreen since that gave me the most trouble. We have very similar tastes as I also have all those kits. That was quite a ride BTW.
-
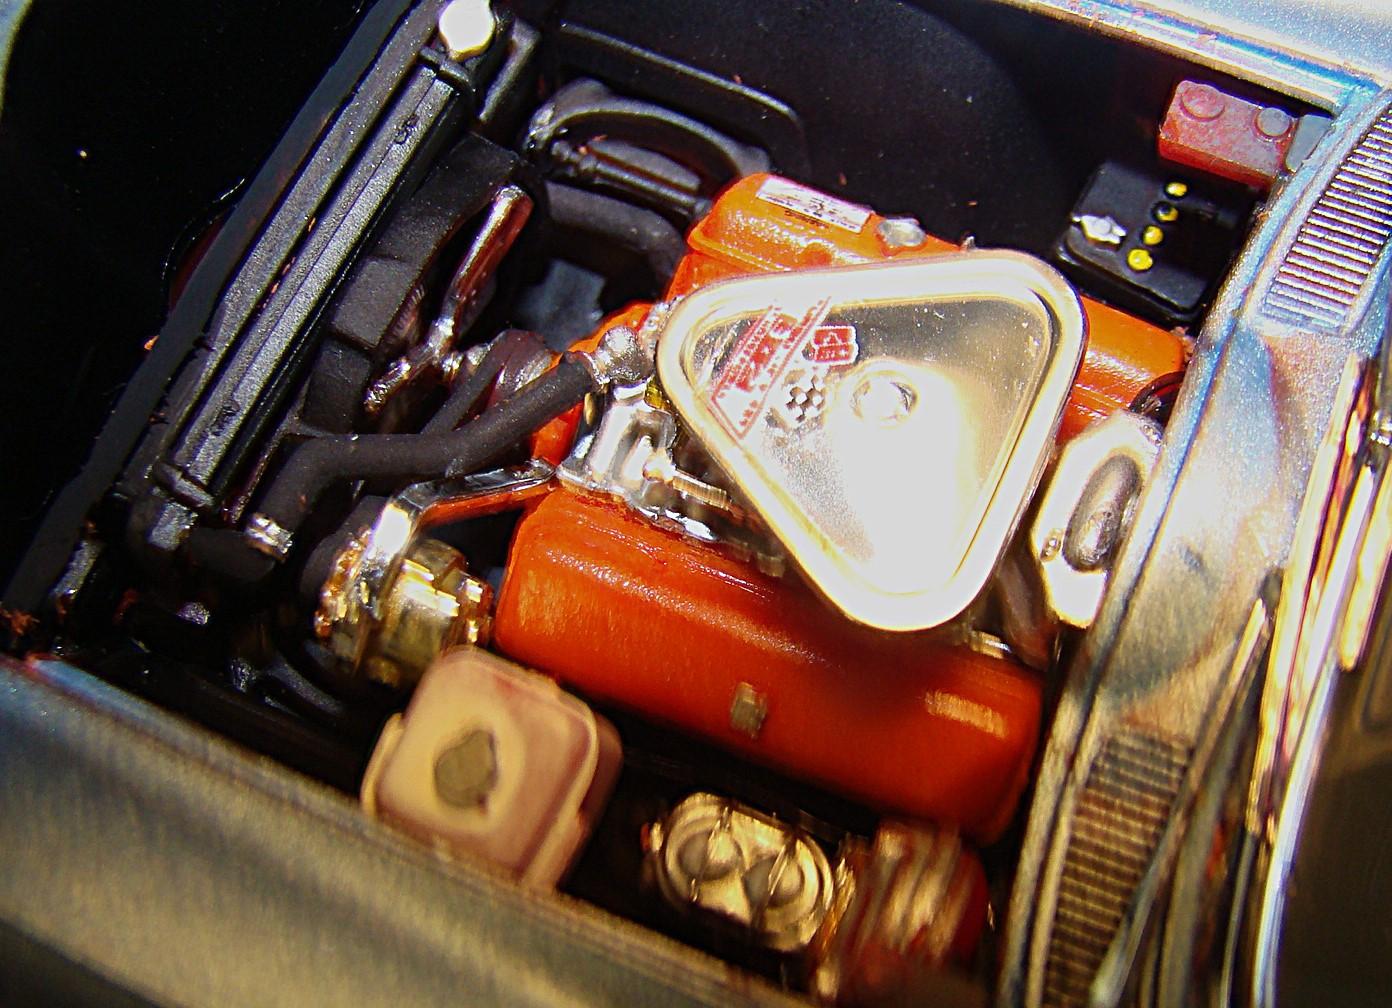
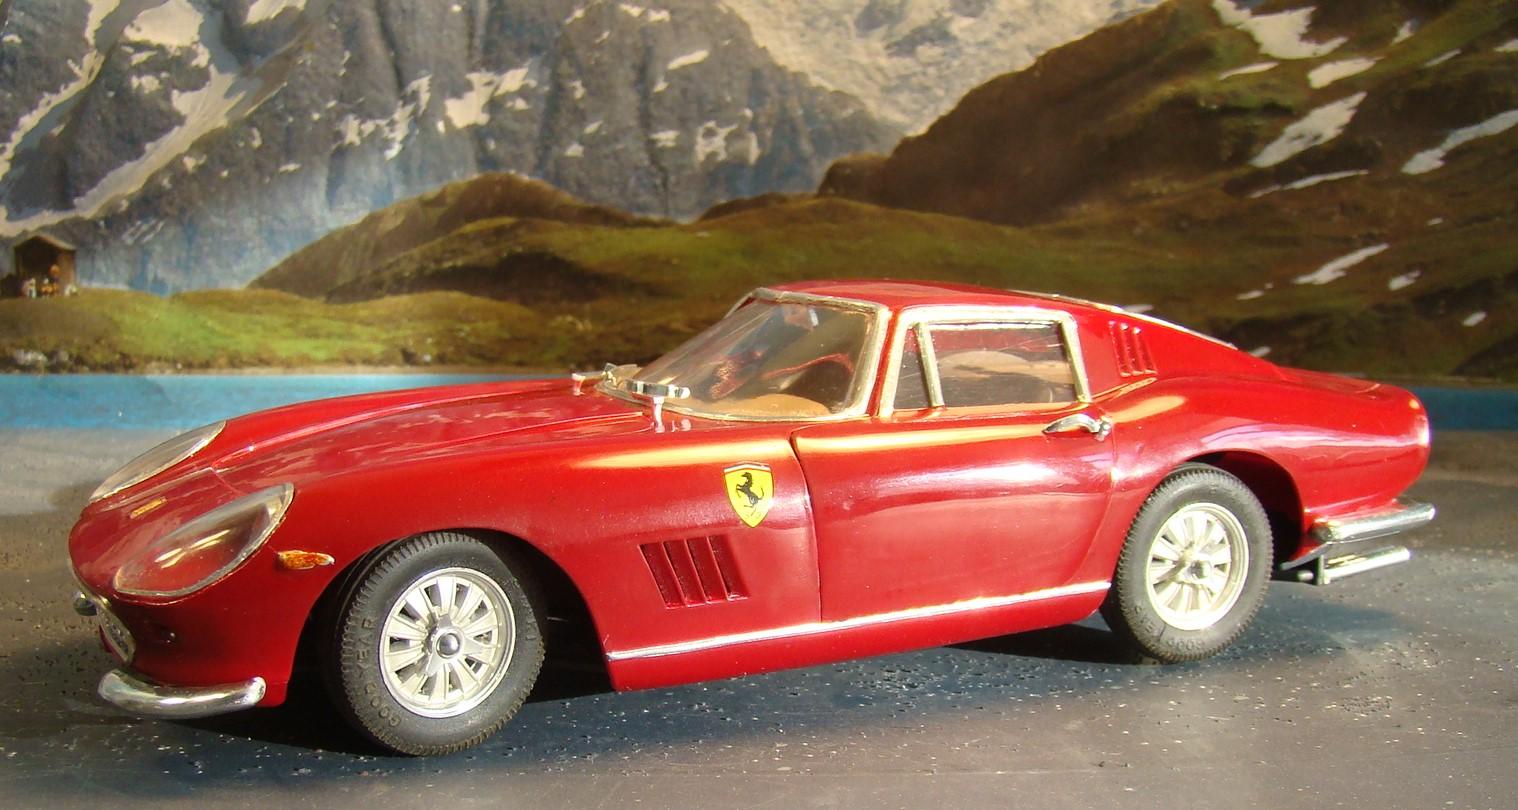
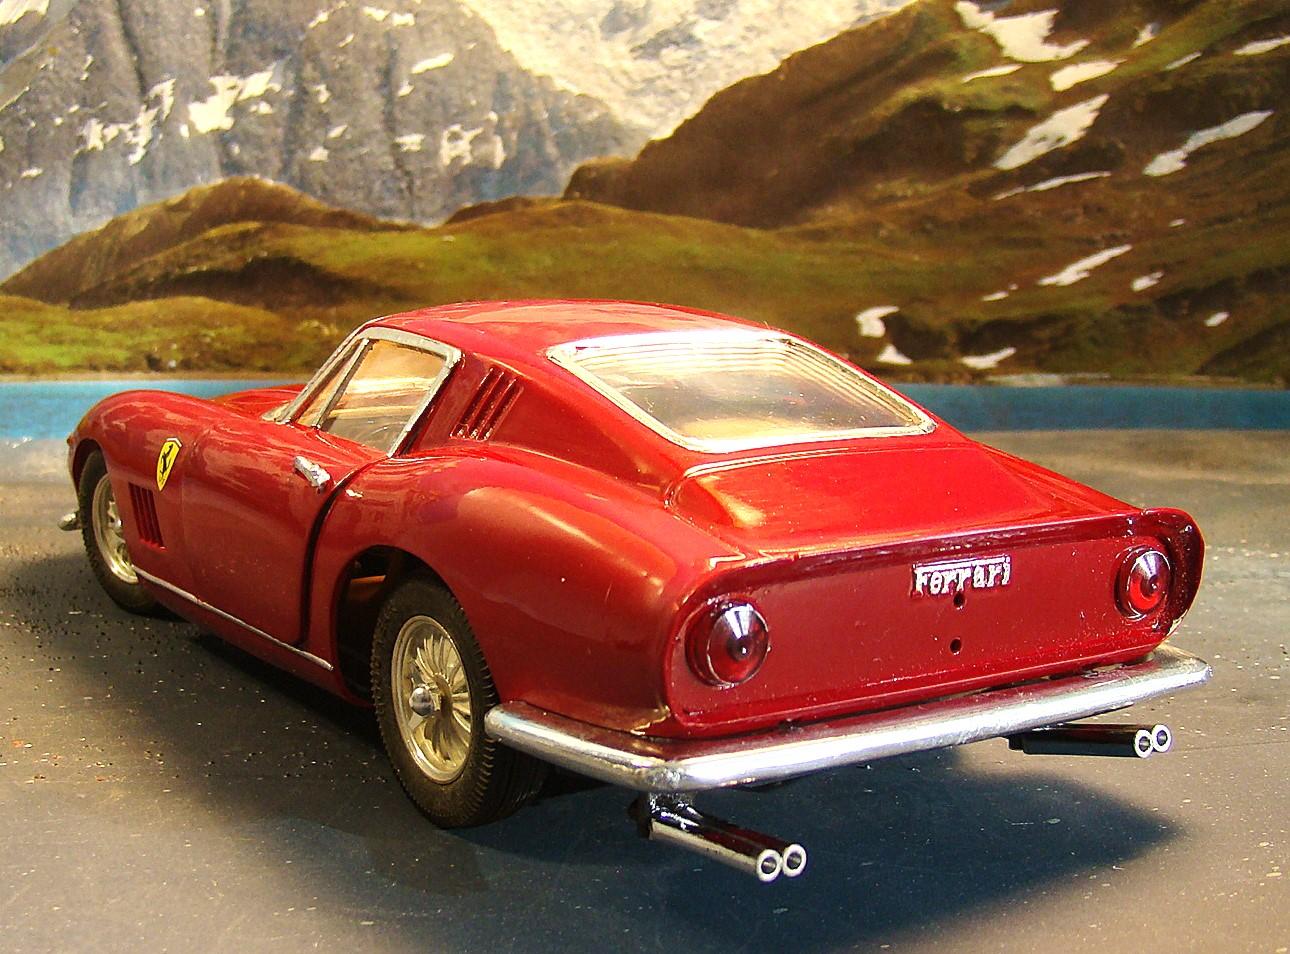
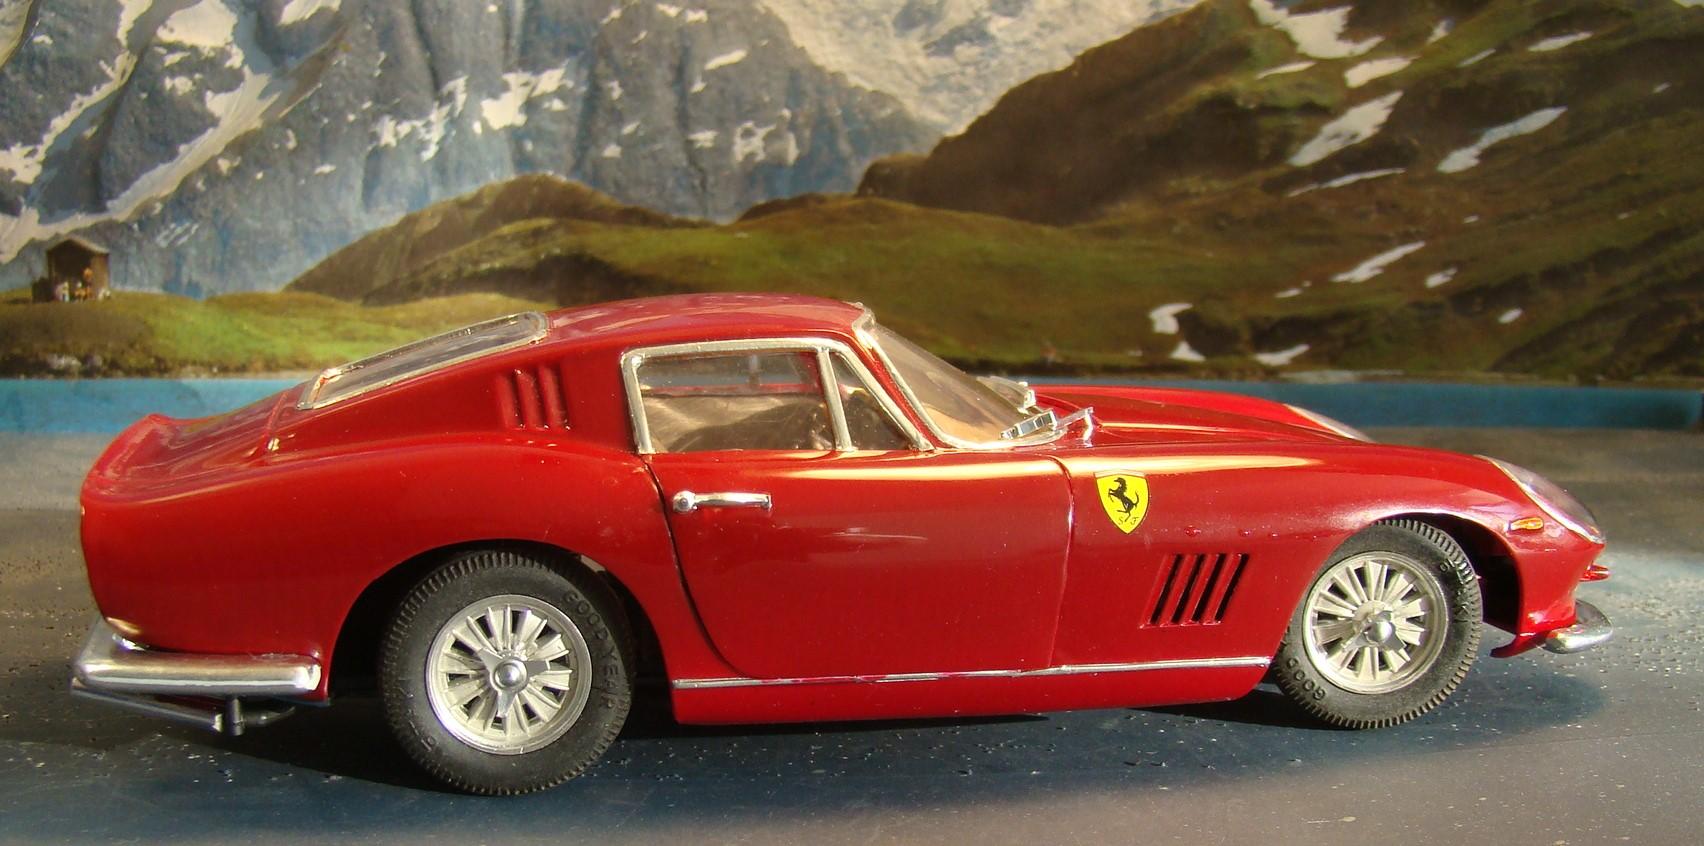
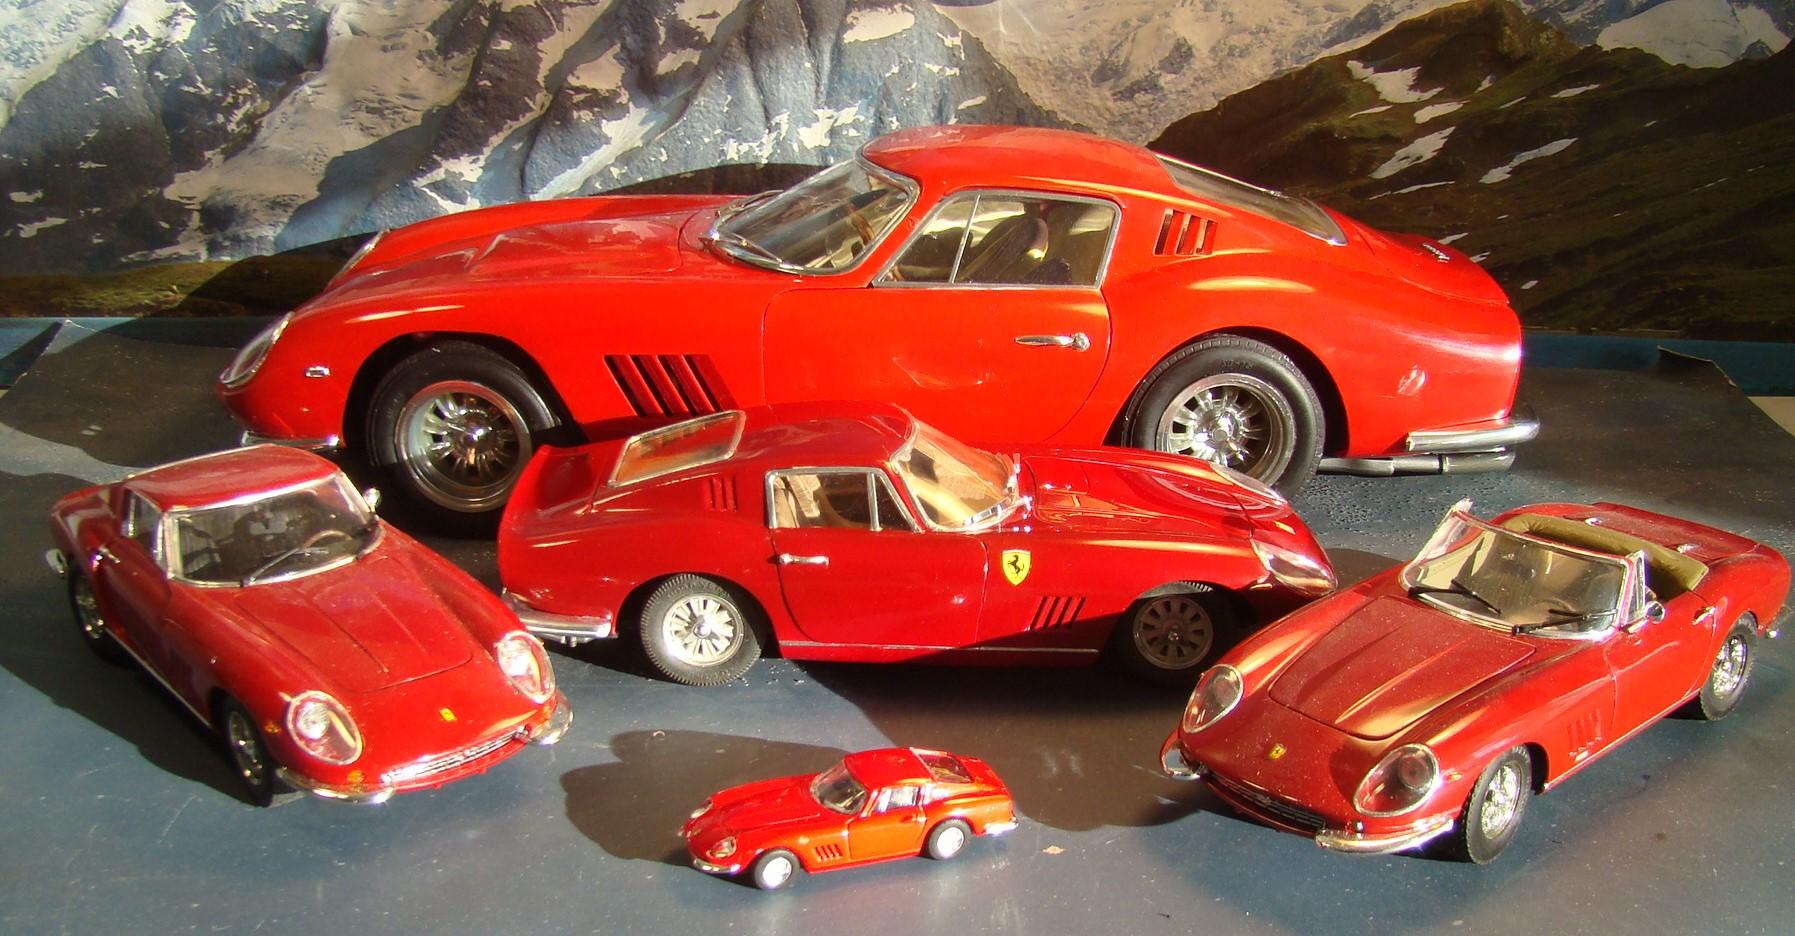
I aquired this kit as a glue bomb as it was about the only way I was going to get it.. Luckily it was do-able and not missing any of the key components. Got it in Dec of 2021 and stripped and dis-assembled it right away. It got a coat of Testors Boyds red #52909 that I decanted and airbrushed. Then a coat of Testors clear. Enamel takes the better part of a month to cure so back in the box it went. Like many of my projects it got lost in the shuffle and on occasion it would come out for a little polishing and other work. It finally hit the bench for good. Most of the work went pretty quick since this is an early Japanese kit and was motorized. So no motor or much undercarriage detail but the body was passable. The hood opens but only to put batteries in. The door open nicely and strangely enough the front suspension works. More details in the picture captions. OnceI got going on this, it turned out pretty good. Ther chassis slipped in place easily and I like the stance. Paint polished out nice. Usually does when its had 3 1/2 yrs to cure. Not much back here. The Ferrari logo was bare metal foiled first then the paint rubbed off. Then clear coated. An old trick of mine. One of the nice features of this kit were the wheels which looked pretty good. I have had the pleasure of driving one of these cars and can tell you the experience is like nothing before or since. Everytime you shifted it felt like first gear again. That v-12 engine just wanted to sing. Interior could have used a little help. All I did was paint the seats doors and dash and add some decals out of the stash. Doors opened smoothly but then look at those massive hinges. Its kinda cool having the same car in four different scales. In the back is a recently completed Renwal 1/12. Center is the subject car and on either sides are the Italeri spyder and berlinetta. 1/64 diecast is a rather expensive Kyosho
-
-
Emre...never have seen anything like this. Its very cool . And your execution on this is flawless. A great build and glad you had a good time with it.
-
I use a combination of acetone and Mr Color to thin. Most nail polishes are translucent (including the solid colors) so whatever you put them over shows through. A dark base like flat black or brown makes the color of metallics come up quicker and require less coats. Solids cover better over their own color. Nail polish is also a heavy laquer and the way it works when brushed on is the solids sink to the bottom of the finish while the clear laquer base rises to the top. Thats what gives it the hi shine. This doesn't happen when you spray. I use an airbrush with the largest tip available. It dries very quickly and kills the shine. So a clear coat is usually required. The advantage of nail polish is the unbelievable amount of different finishes available. I even have one that glows in the dark. I also, currently have a nail polish model in the under glass section now. A Nissan Mid4
-
Thanks for the plug. It worked out very well for you. good job.
-
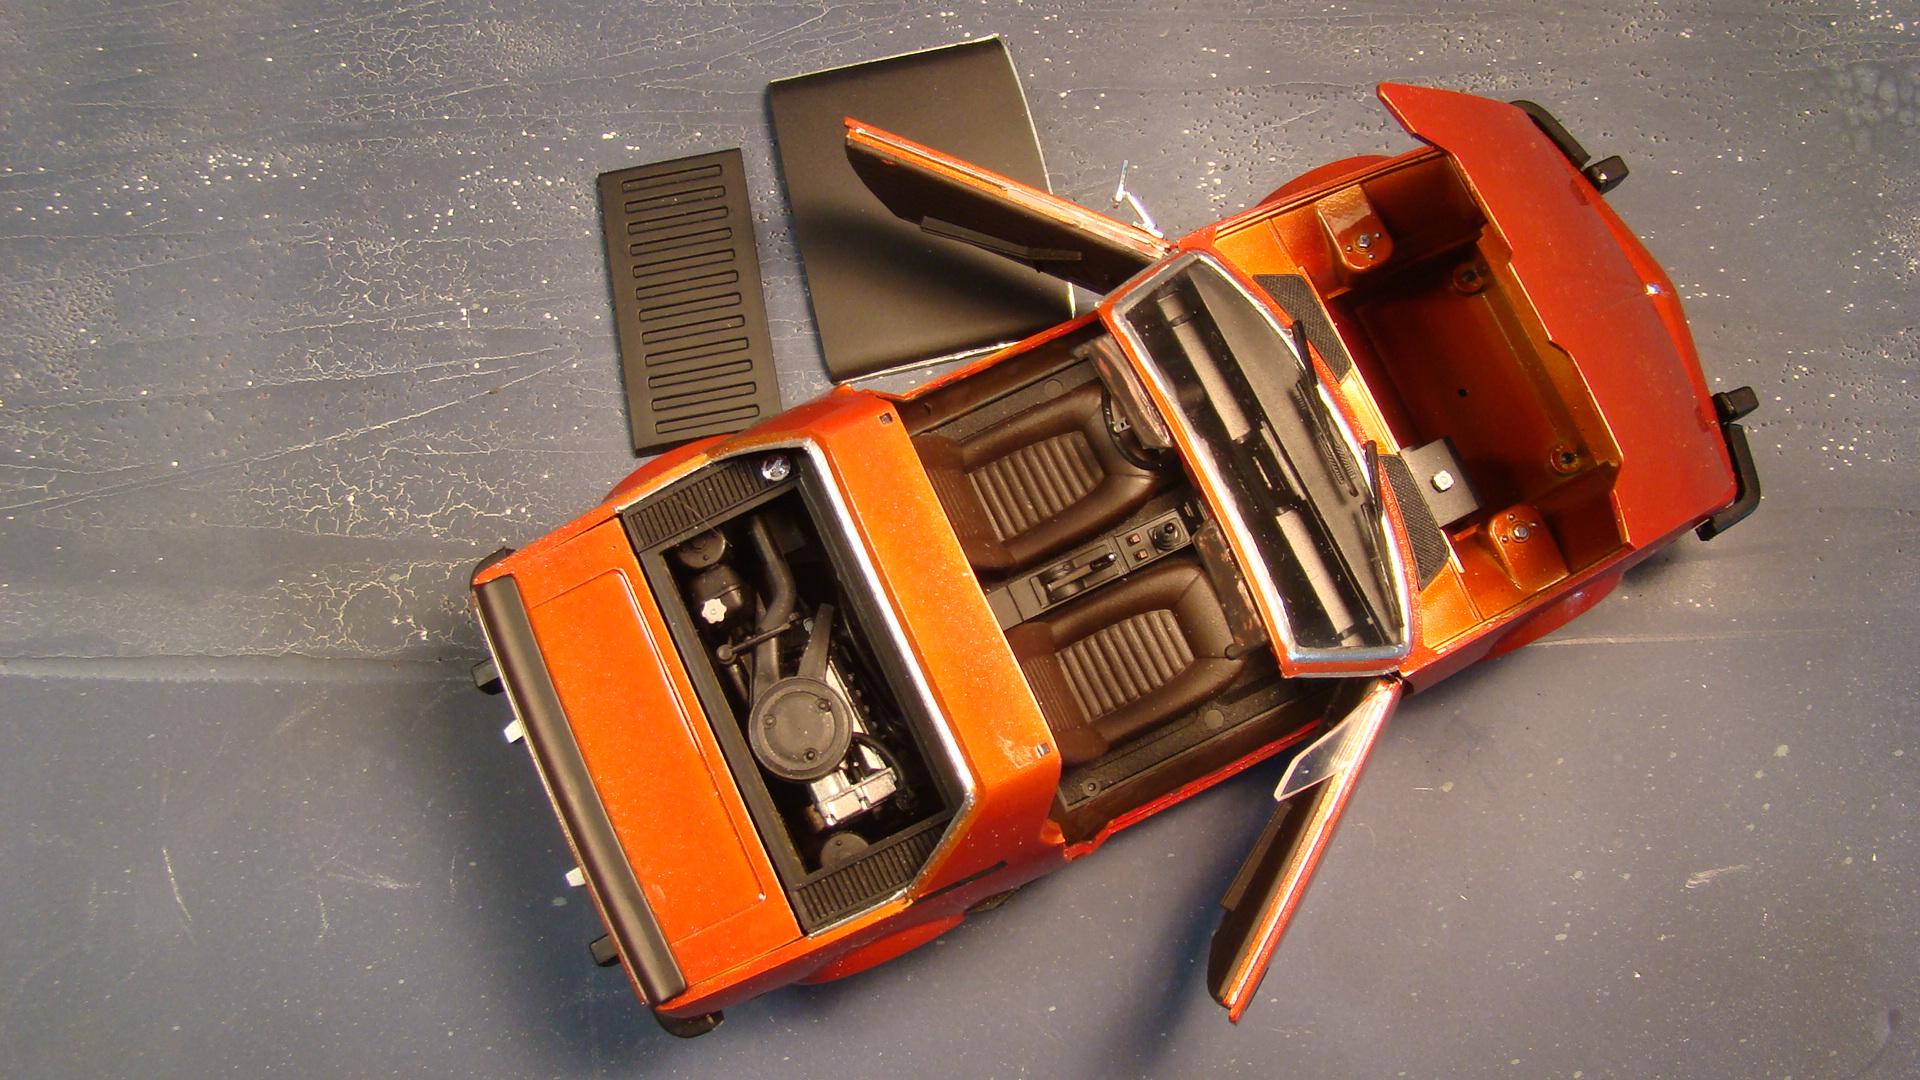
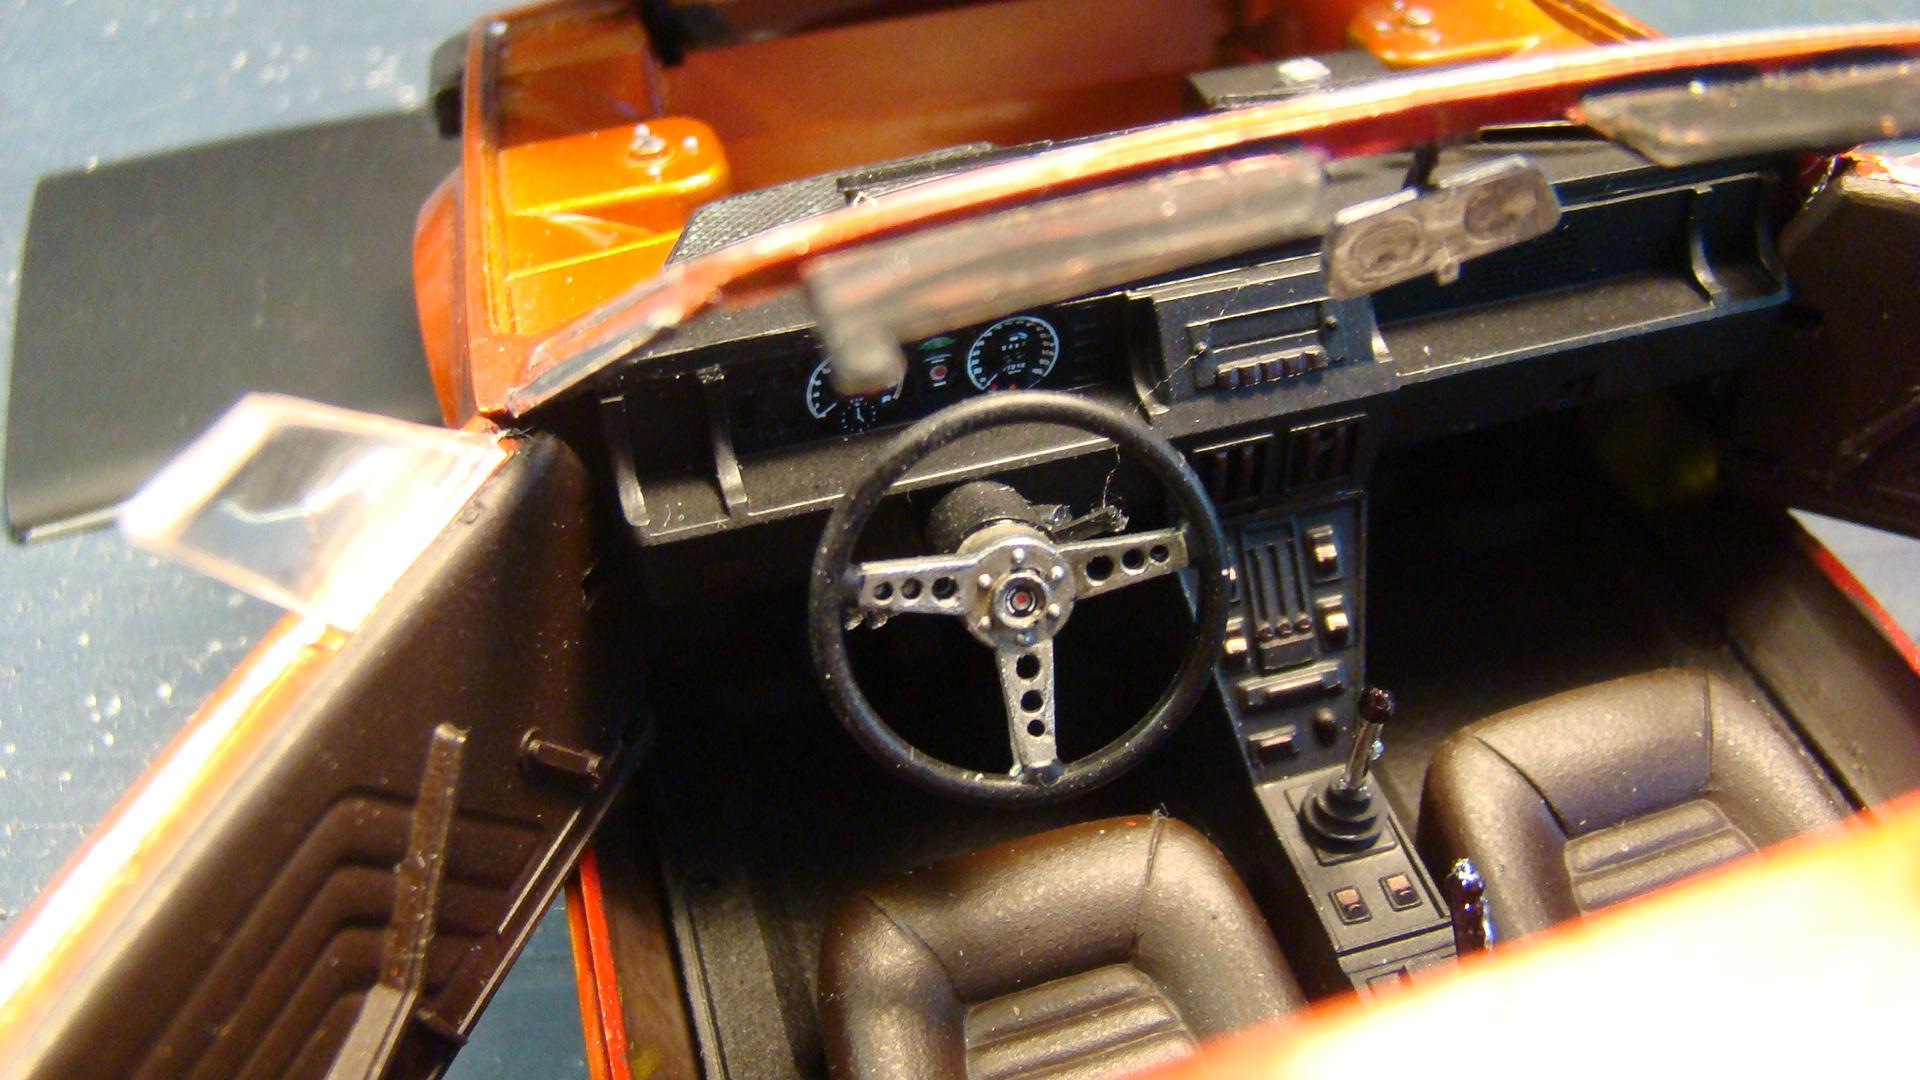
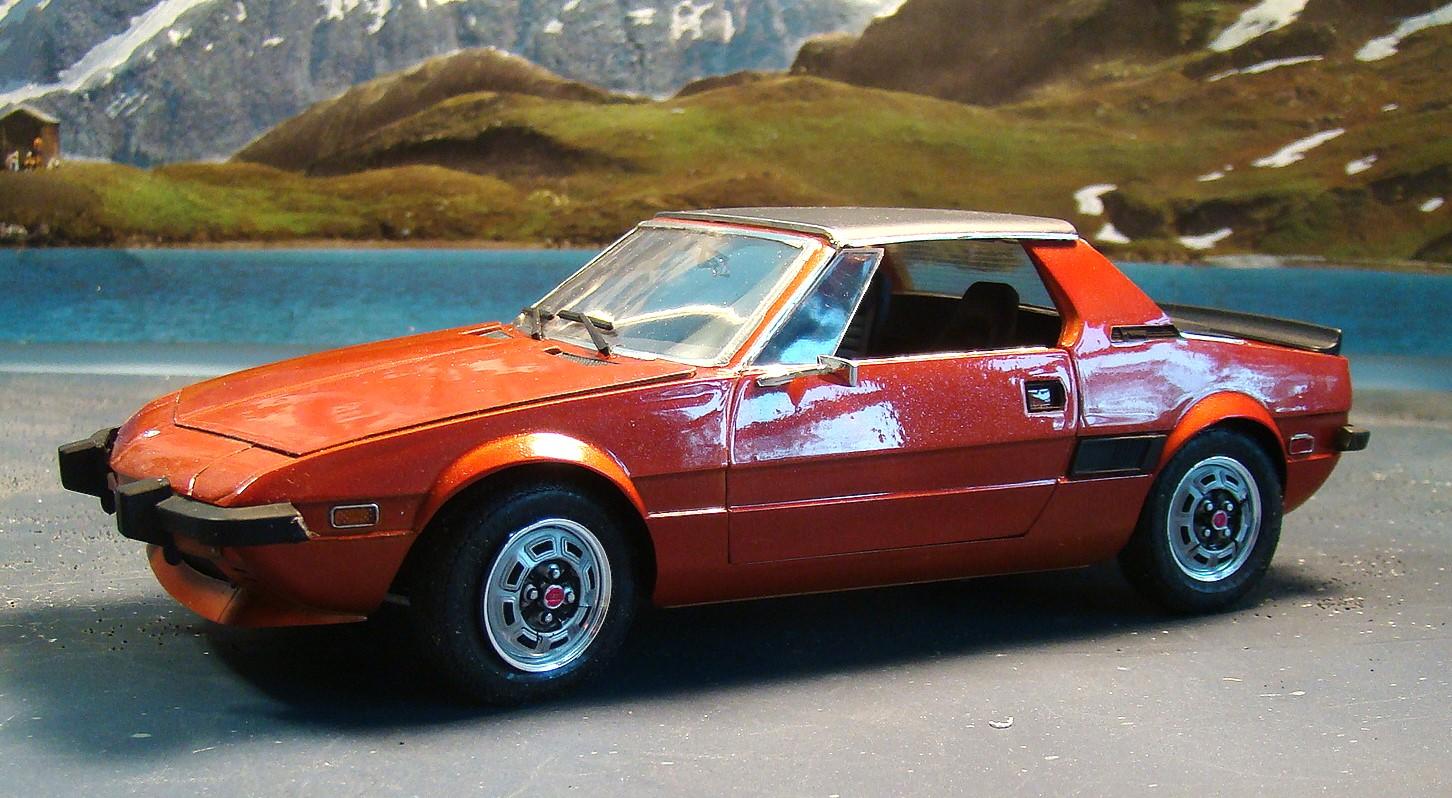
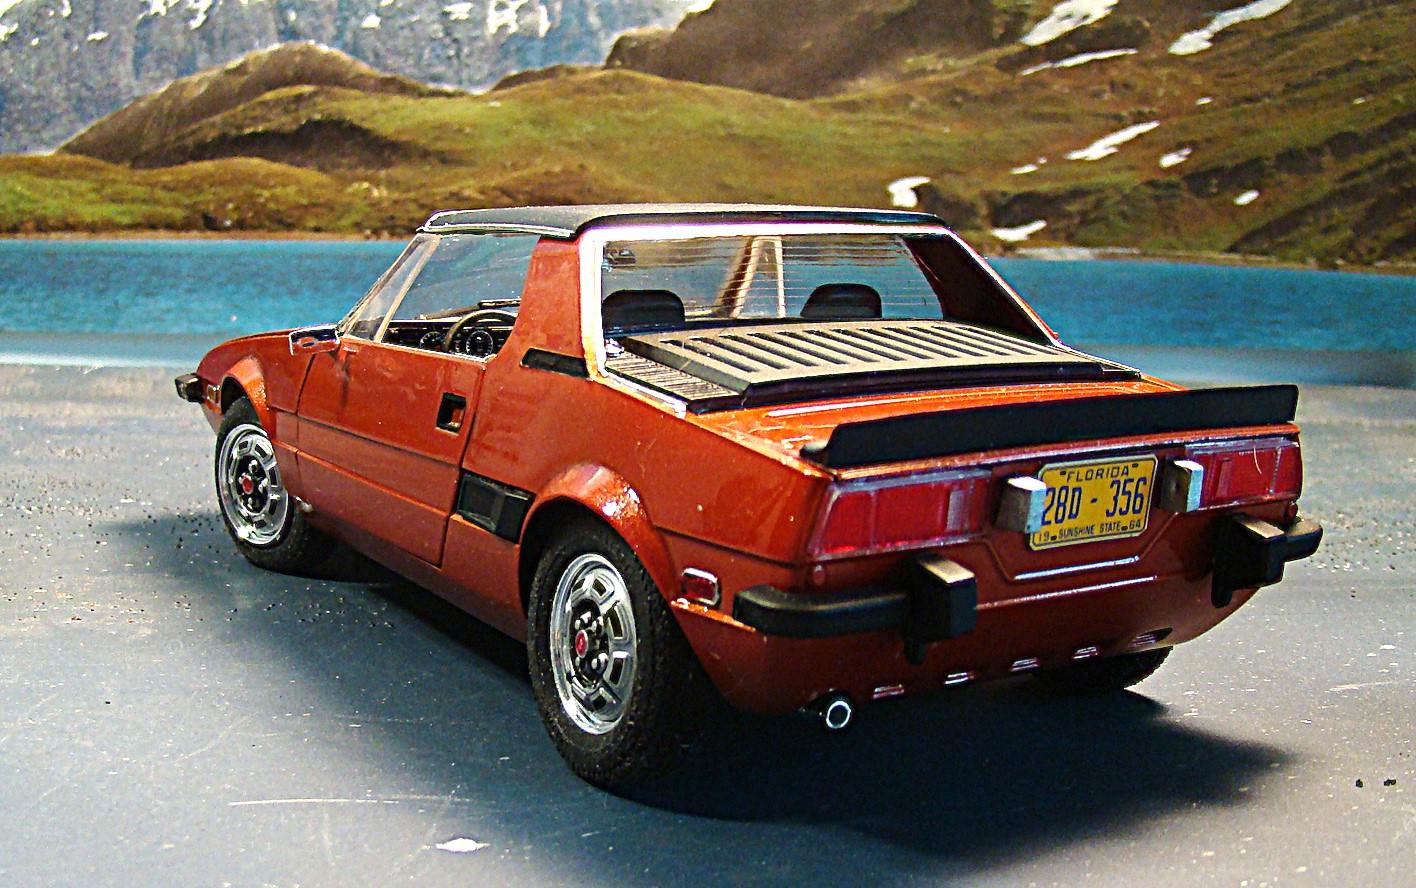
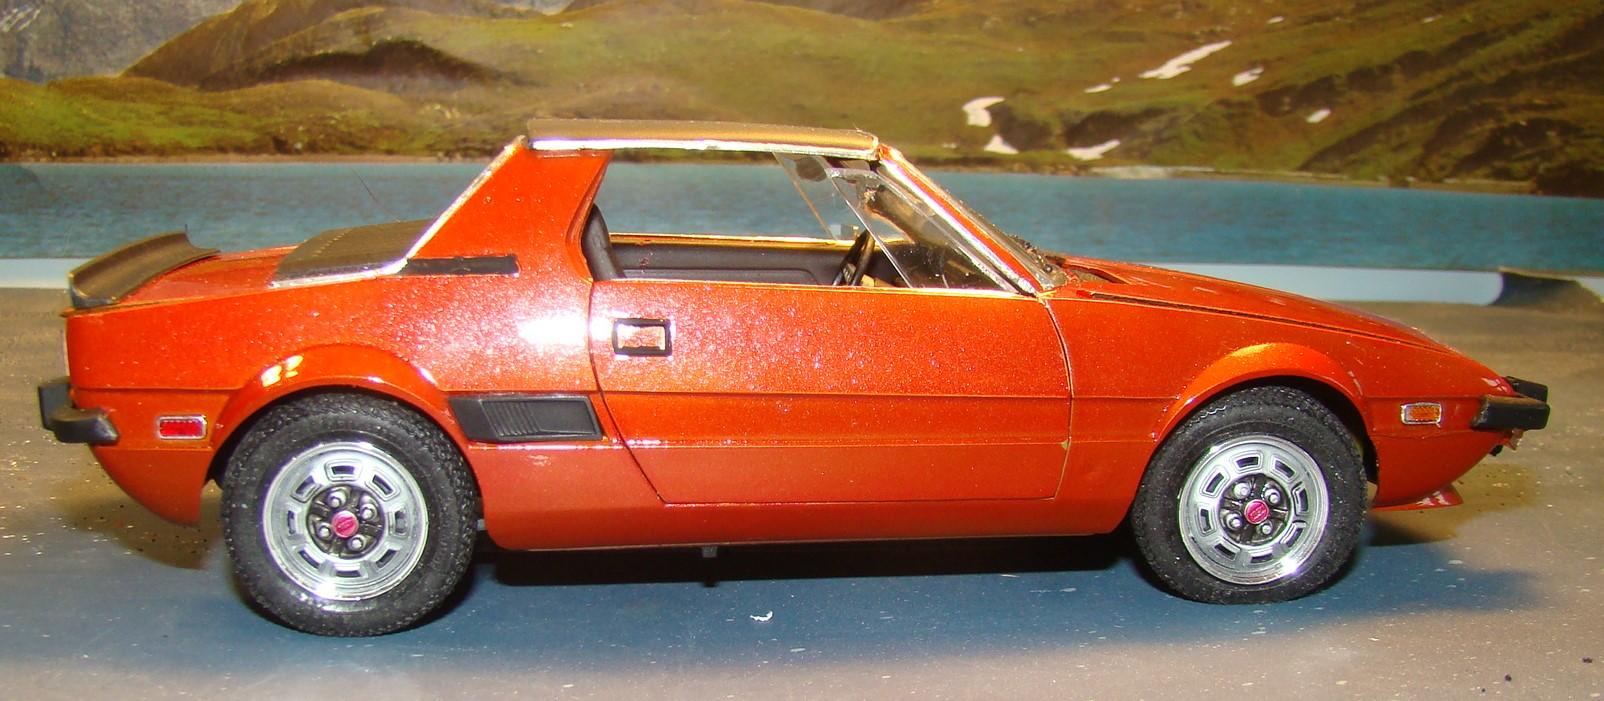
I have had this kit banging around for quite awhile. I bought it used off Ebay and there was a mismatched set of tires. 1/20 tires are not so plentiful. Although I recently found a set in another Entex kit I had. Now I didn't have an excuse. Paint on this is Mr Color #49 clear orange and Mr Color #75 Metallic red over gold. Clear coat is 2K. Kit had some nice working features but it did kinda fought me to the end. This is an early Japanese kit and the quality was questionable. still I am fairly pleased with the result. Below the pictures are more comments on this build. Interesting veiw shows off all the opening parts. Trunk opens too but wouldn't stay. There is a 1290cc four banger nestled in there mounted transverse. Its all wired and plumbed. This gave the car some nimble handling. Interior had some nice detail but the dash was sadly lacking. Found a great set of decals in the stash and it perked right up. Steering wheel is the racing version and I drilled out the spokes. That was fun. Exterior had all the details of the real car. Just need some luv to bring them out. Wheels were 4 pieces and screwed on. This was a kit feature as well as metal suspension pieces and springs. Rear veiw shows off some of the nice detail. Licence plate came out of the spares. rear suspension screwed together but took some skill to get it right. Body fit very nicely on the chassis and screwed in place in the front. I am considering pulling the tires and filling them with something. They are very very soft and hollow. I like the end result here and feel it was worth the struggle. Kit is kind of rare so I was glad to add it to the collection.
-
Phil.....that is a real sharp looking build and a great tribute. I was at an Indy race in Nazareth Penna and had pit passes. It really poured and we ducked under the tailgate of one of the race teams. In the small group was Gregg and we got to talk to him. He was still in his driving suit and wanted to race but the rain was so heavy you could barely see your hands in front of your face. Didn't have to talk to him too long to realize he was the real deal. What a cool guy. Sadly in a few months he was gone.
-
1/24 Ferrari 458 GT2
Rich Chernosky replied to Rich Chernosky's topic in Other Racing: Road Racing, Salt Flat Racers
-
Thanks Atin. I sanded all the bumps out and re-sprayed it with 2K clear. That fixed it. Now...if I can get a good photo without dust on it....?