Rich Chernosky
-
Posts
2,123 -
Joined
-
Last visited
Content Type
Profiles
Forums
Events
Gallery
Everything posted by Rich Chernosky
-
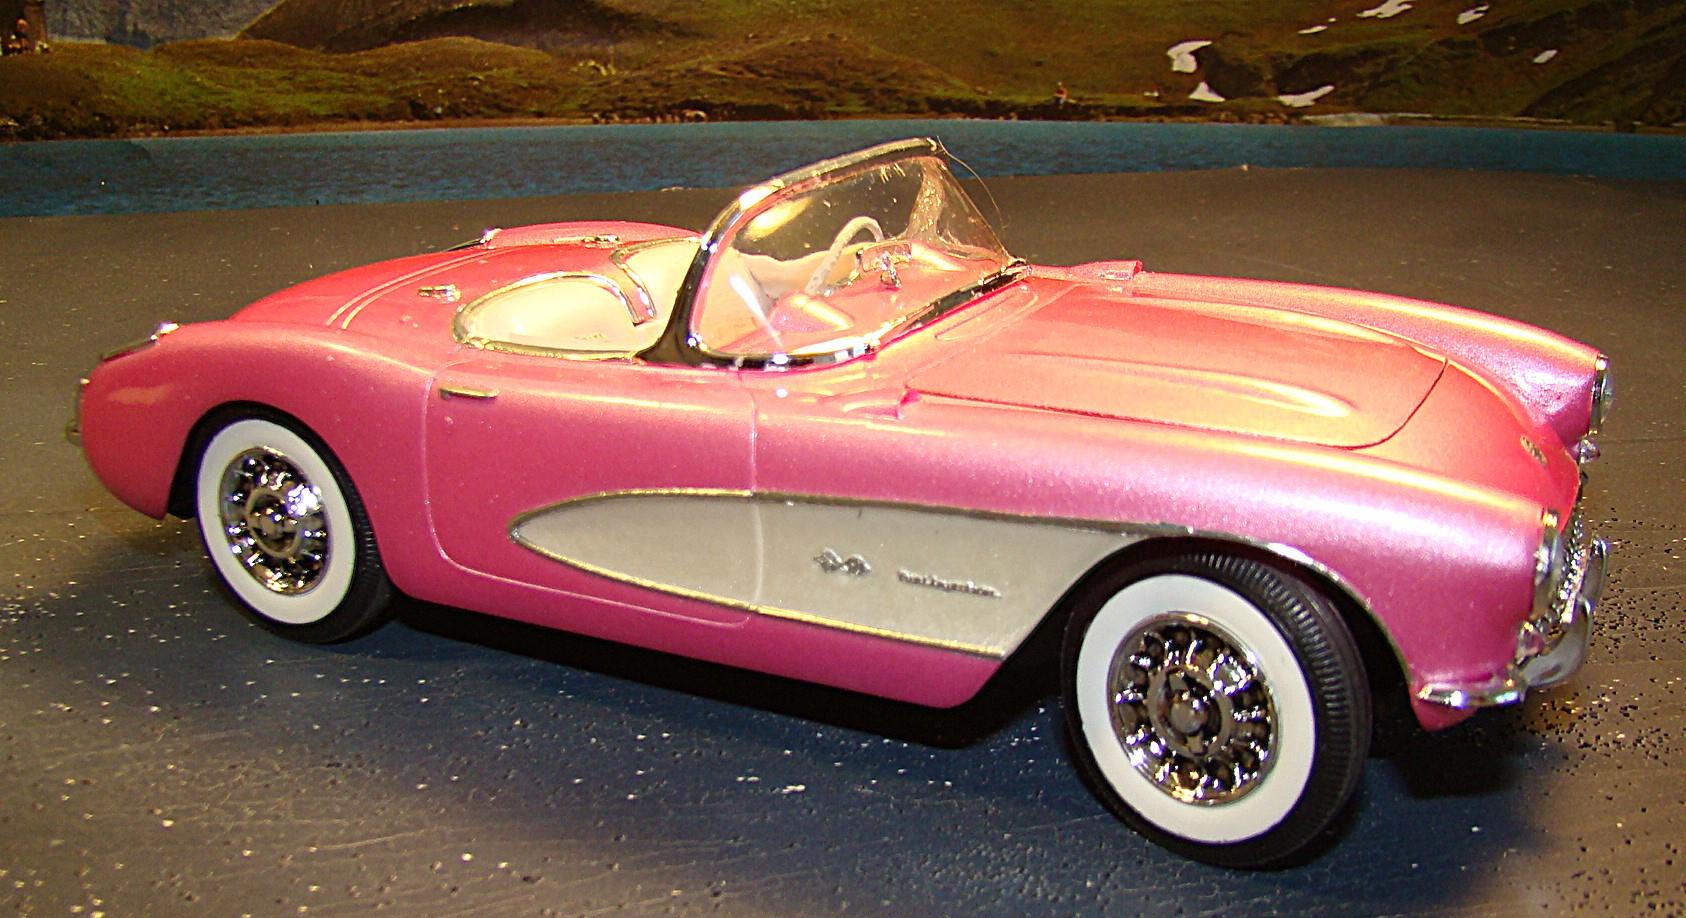
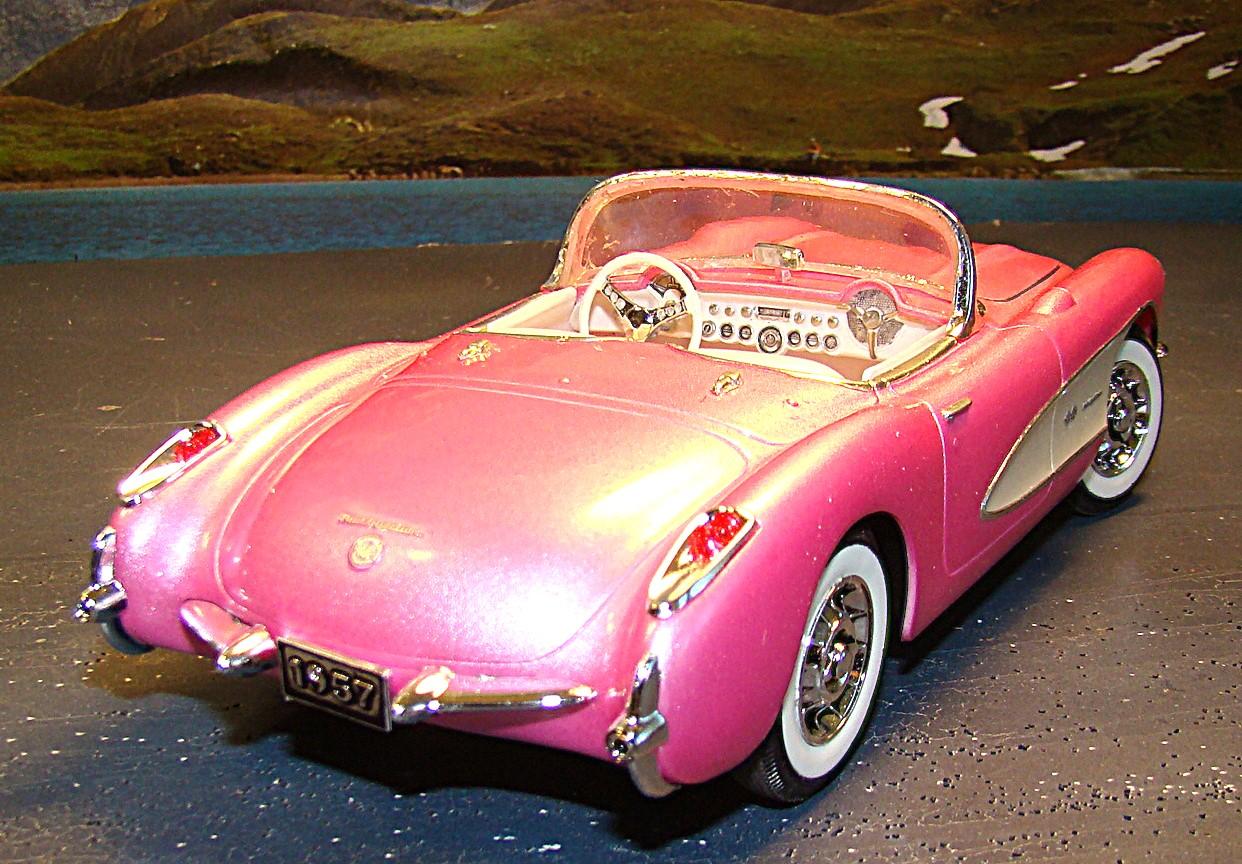
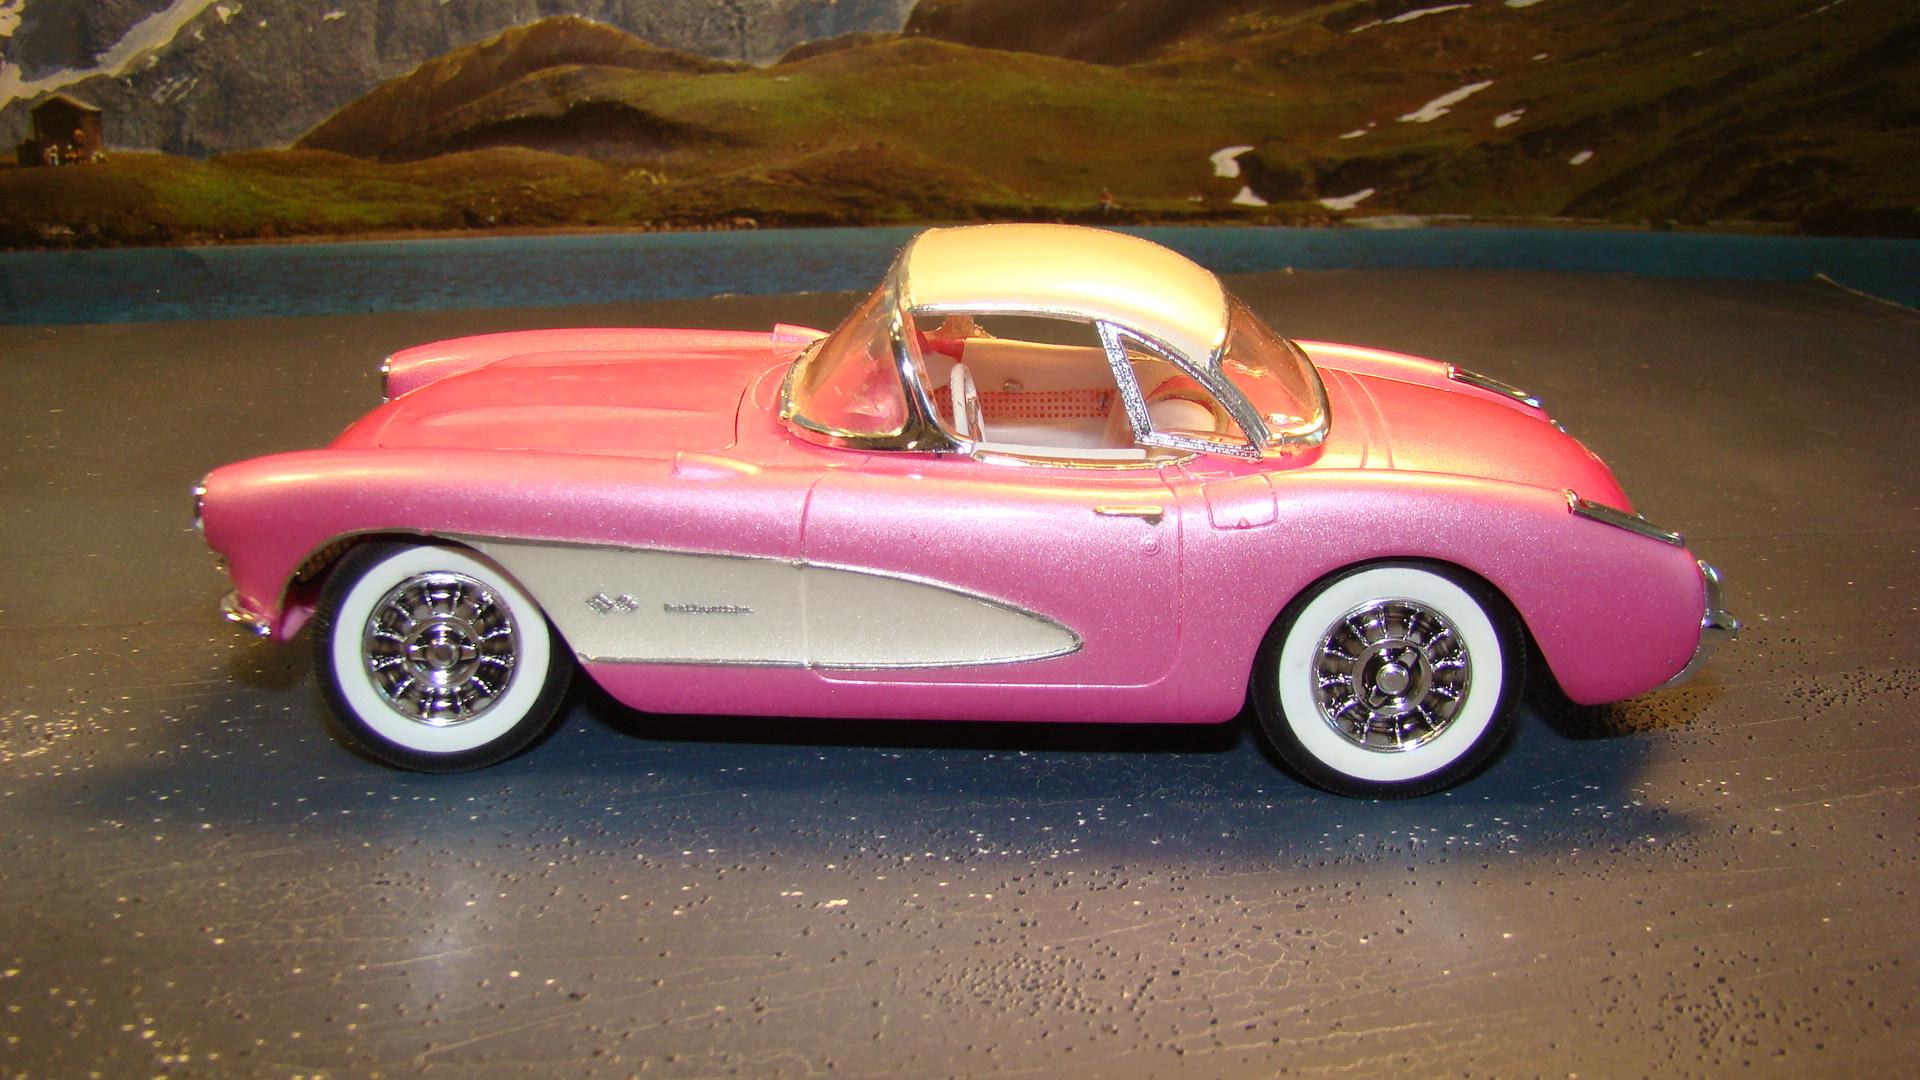
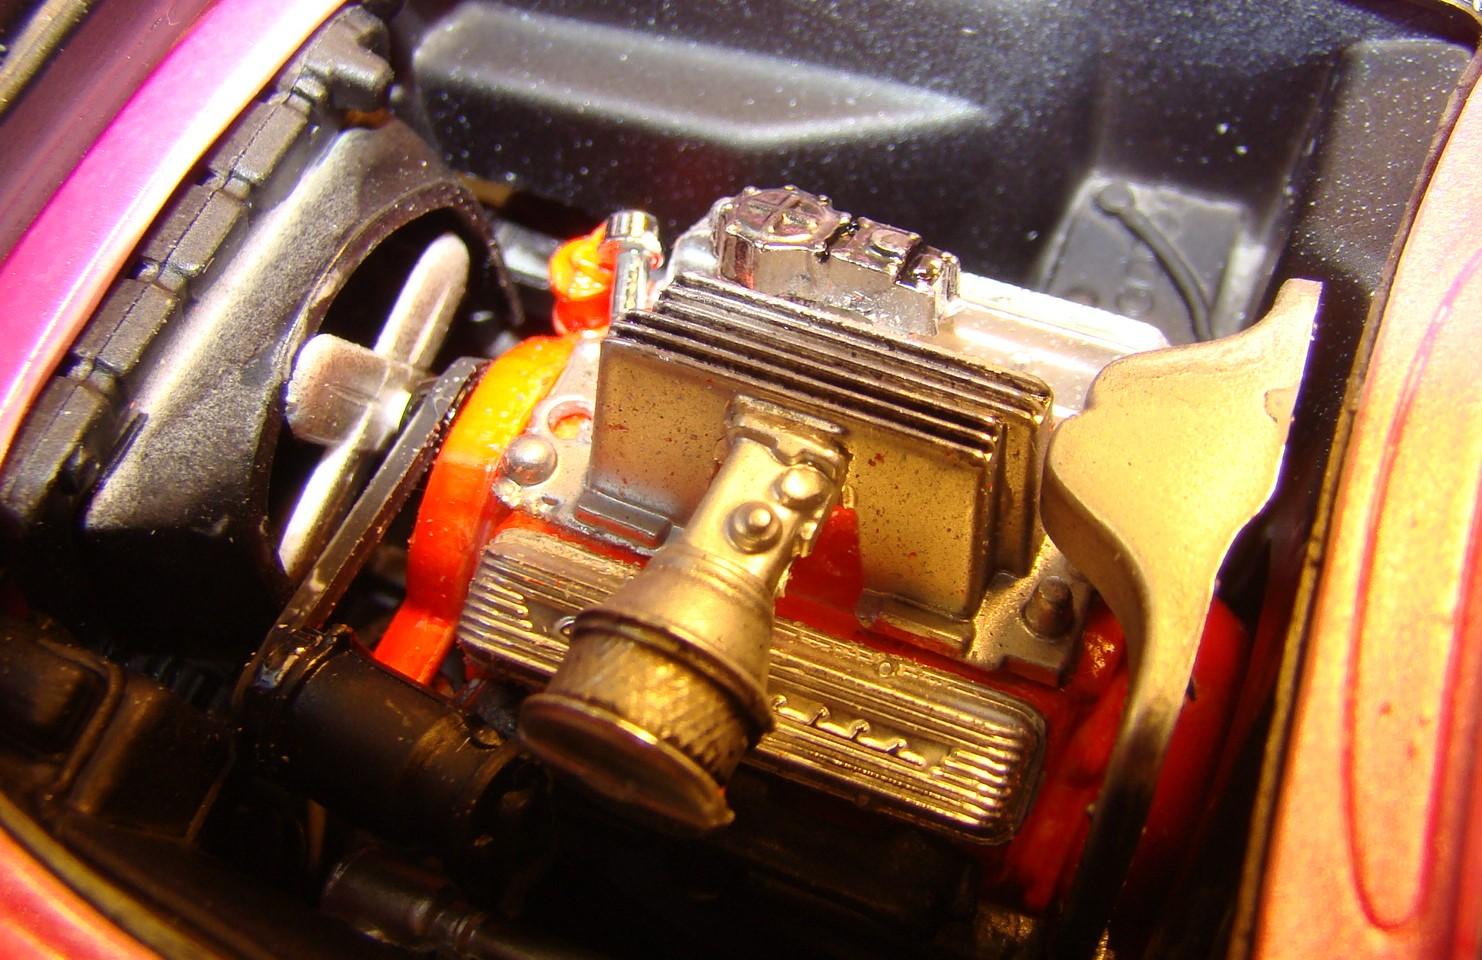
Its Pink !! The only road car in my collection that is. This was done in the early 2000's during one of my painting sprees. Corvettes were my favorite to experiment on. I wanted to see what Liqui Acrylic pearlescent ink Sundown Majenta would look like over white. I used the Liqui Acrylic Silver Pearl white as a base and masked off the side panel. Water base (latex) clear was the choice for top coat Never been a fan of pink cars so this went back in the box to cure for 20+ years. That being said, the more I worked on this kit (Monogram did a nice job here) and the closer I got to finishing it the more it grew on me. Am actually pleased with the finished build. More comments below. Feel free to leave your own comments as well. Aaaahh..the finished piece. Lots of chrome details as was typical of this year. Getting the wheels to steer was a little bit of a chore. The radiator had to be ground down quite a bit to get it into position. This was the only real problem encountered with this kit. Everything else fit very well. The hood opens but is nice and tight closed.\ Nice photo here and lots of detail. Interior was well appointed and the dash nice. White is a mixture of Tamiya LP2 and LP3. The hard top came with the kit and I like this one. Looks good in the pearl white. Could have fit a little better though. I went with the fuel injected version of the 283 v-8. Gotta luv Tamiya panel liner for bringing out detail.

-
Helmut, beat ya to it. I posted this build on the site in 2019. Here is the link: Fisher 1/24 Ferrari 512S yellow longtail 1970 - Model Cars - Model Cars Magazine Forum
-
Nice to see a different F-1 car . Nice job Thomas. The gold paint looks great.
-
Helmut...being able to draw scale plans is quite the talent. Something I never mastered. My hats off to you. I have that Fisher kit built if you would like pictures for reference.
-
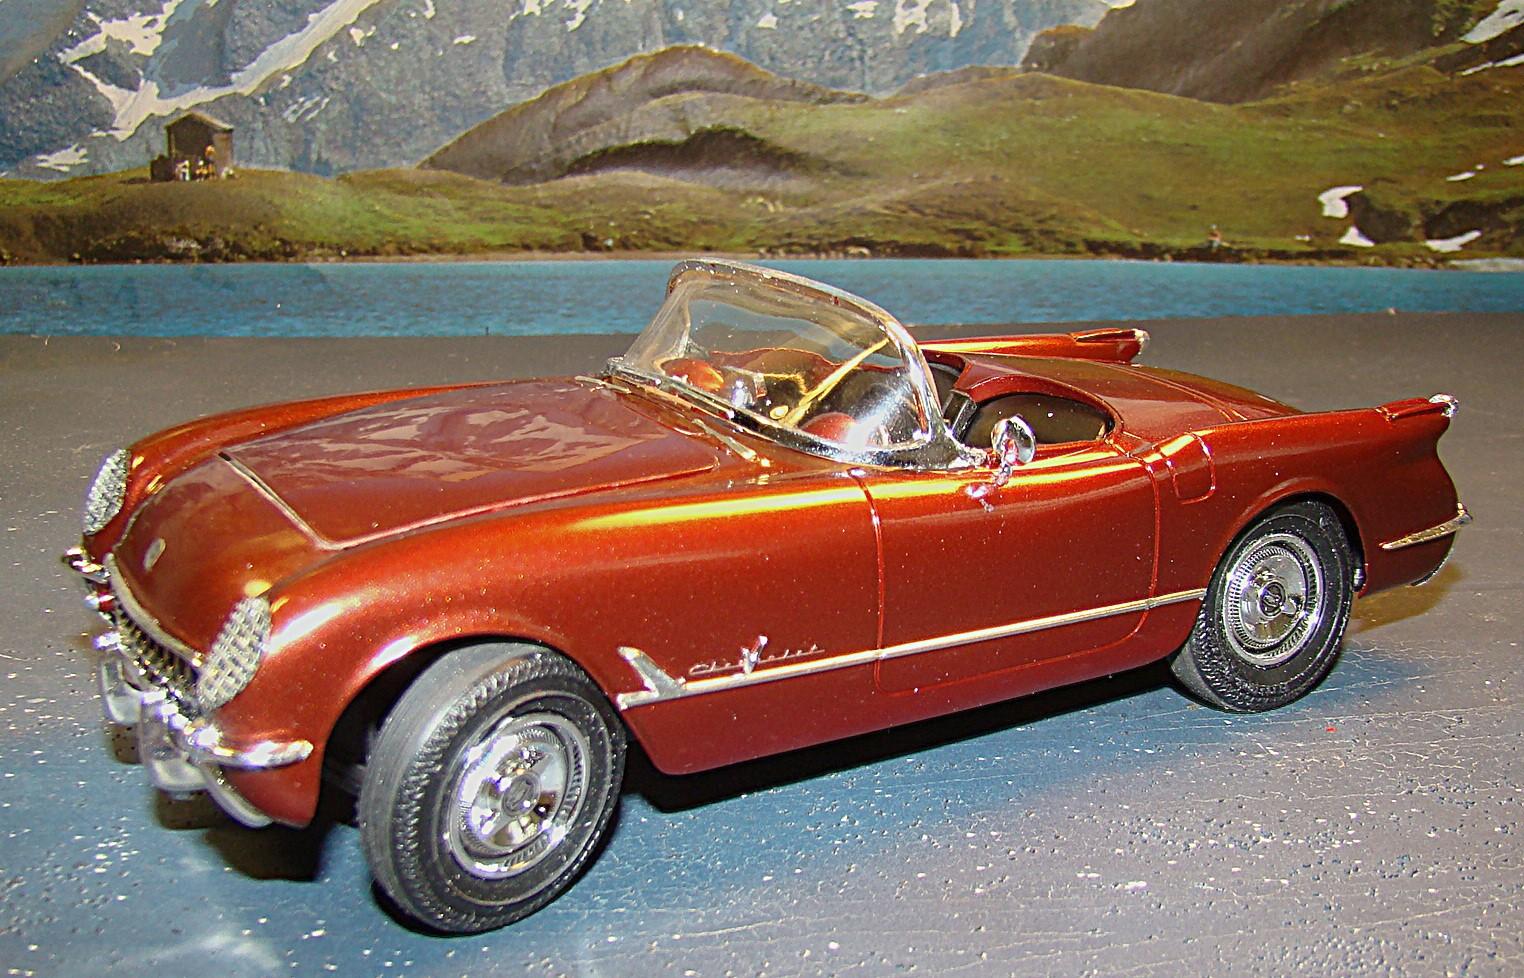
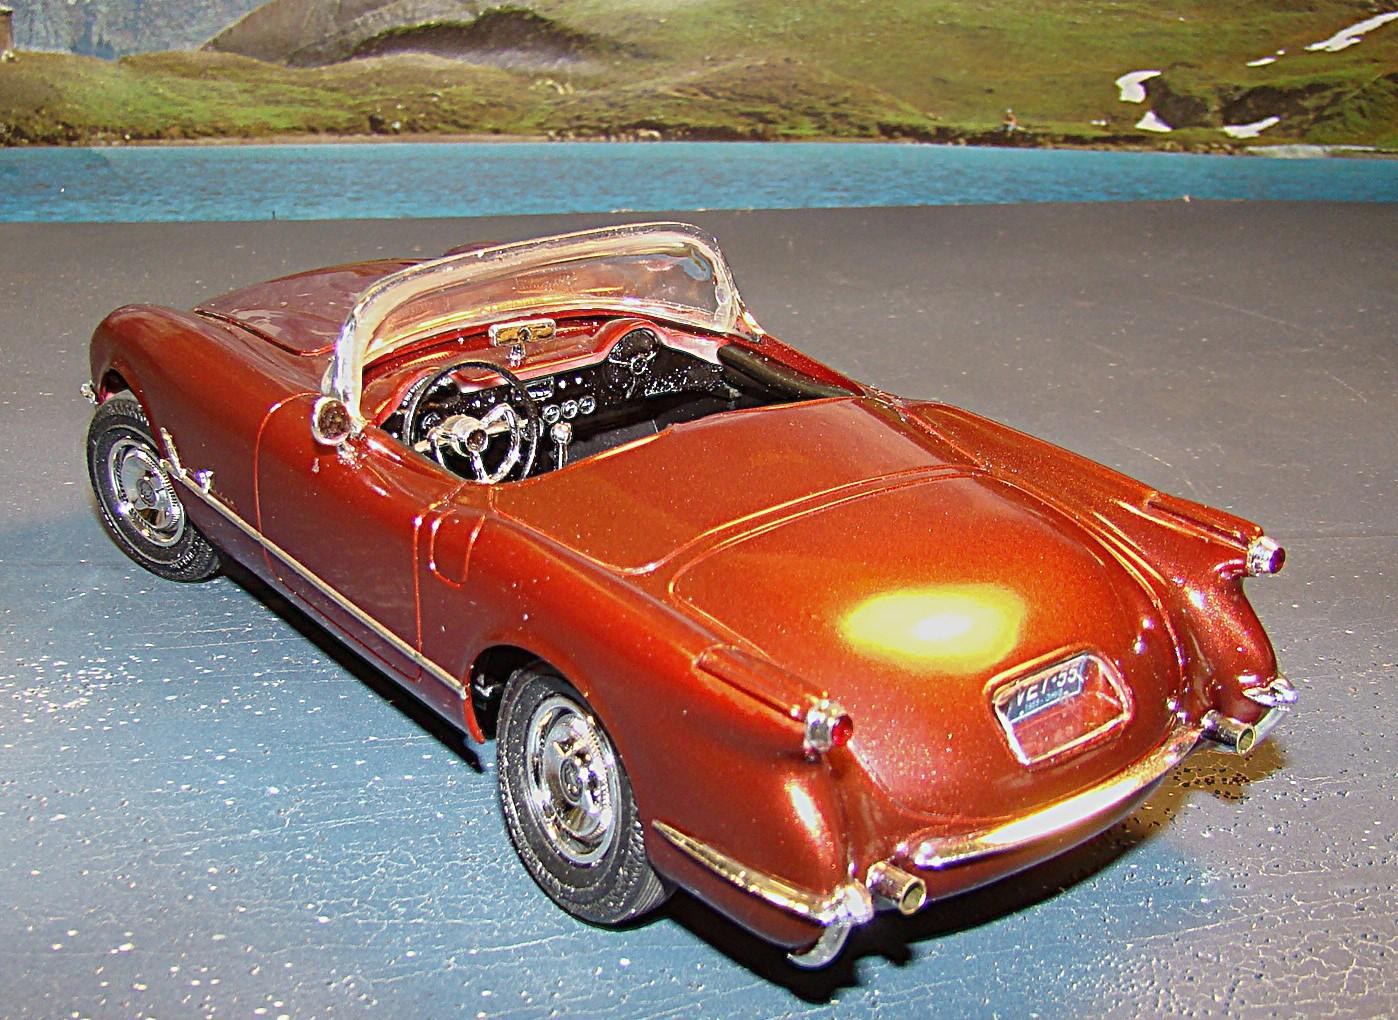
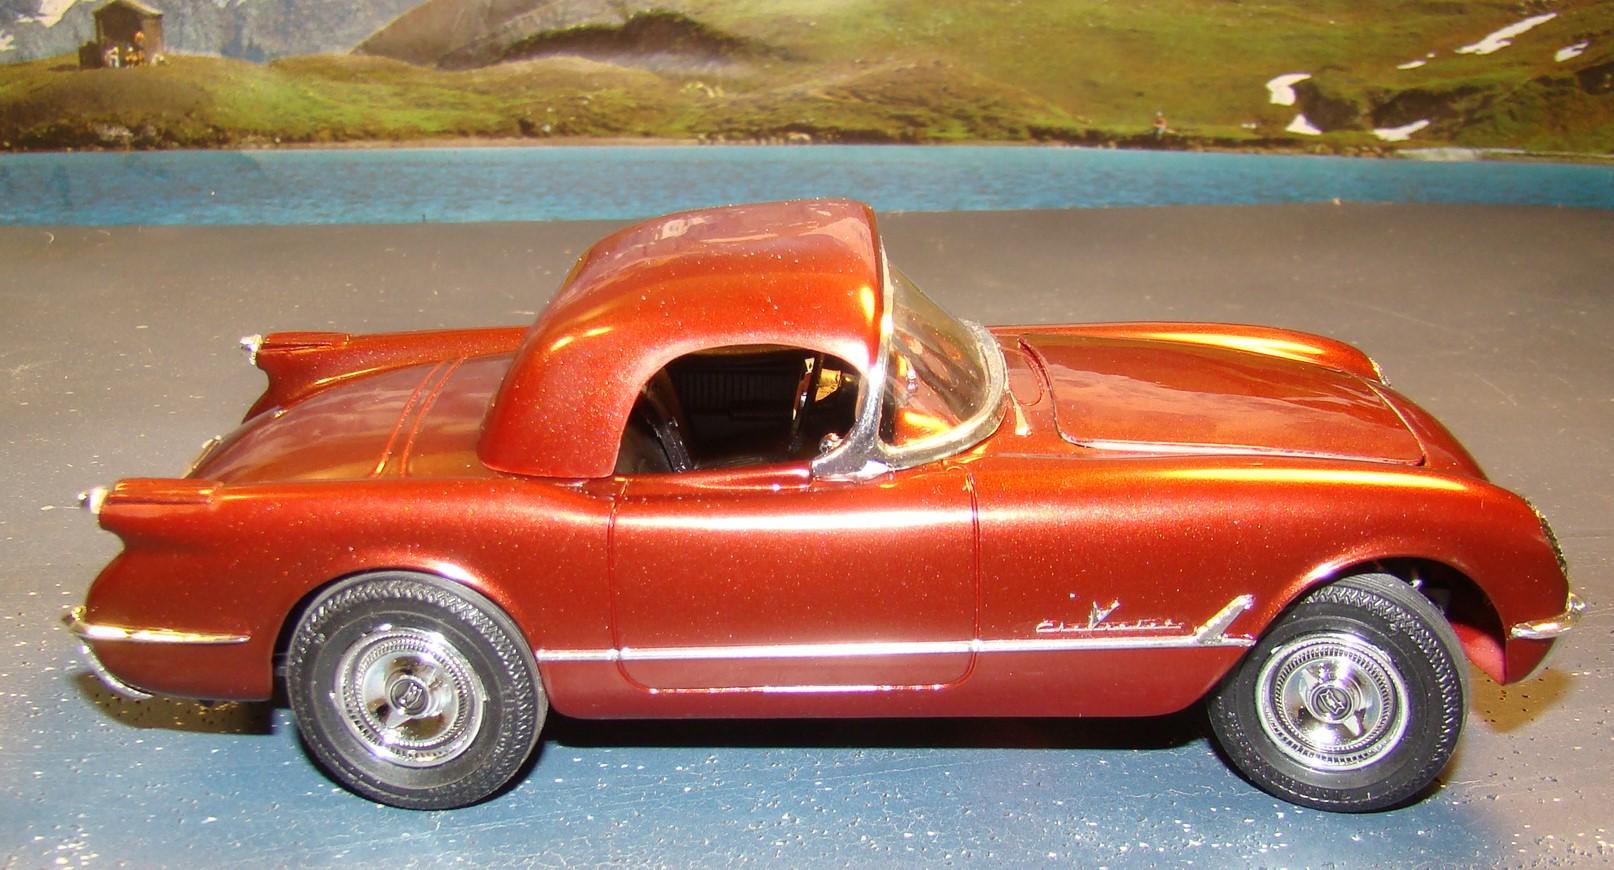
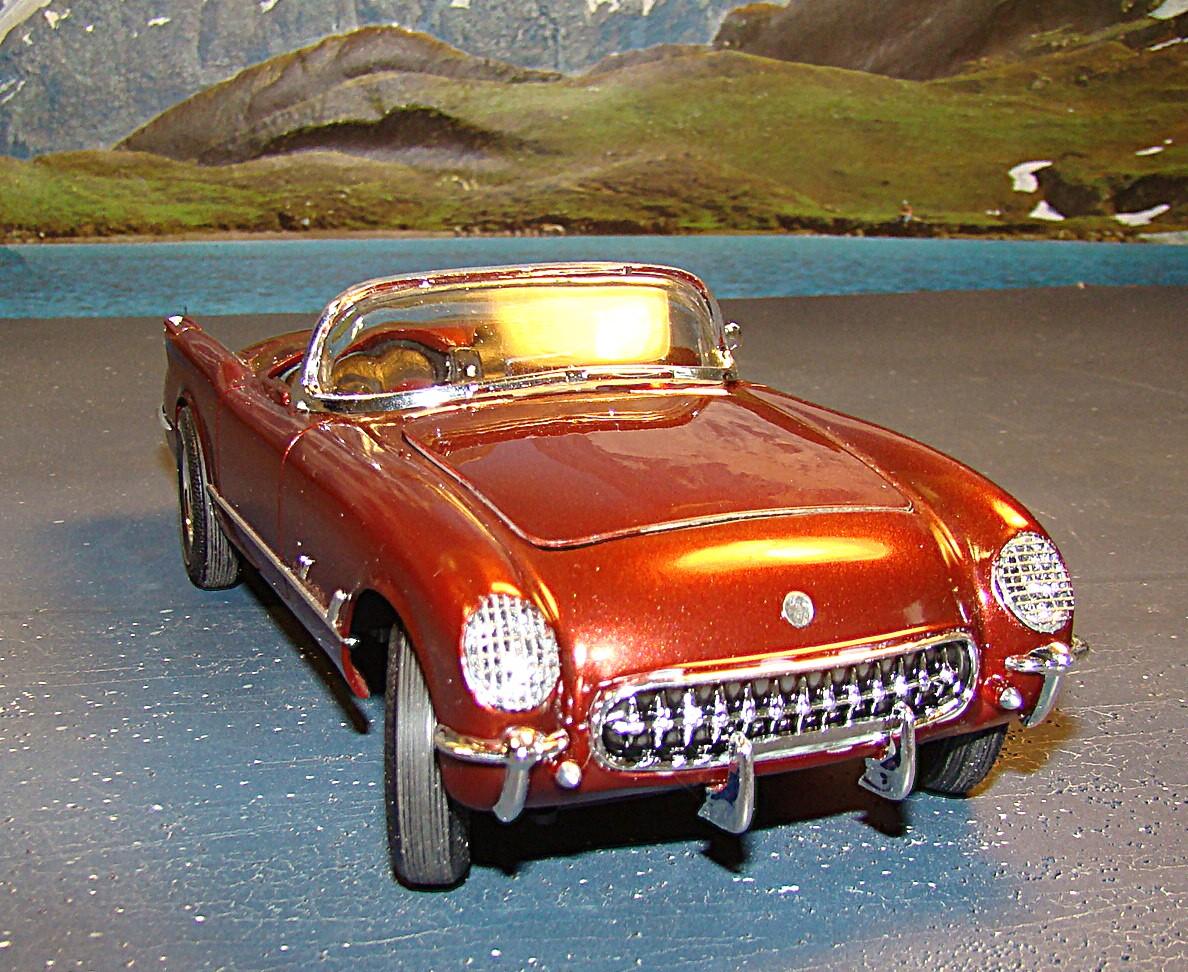
This is the 9th in my series of Corvette builds. An AMT/Ertl 1/25 Corvette that was painted in June of 2009. Color is a 50/50 mix of Testors #2908 Managanese brown metallic and Model Master Kiln Red metallic. Some Candy Strawberry was added to the clearcoat. Not a bad kit as far as detail goes but there were some fit issues especially with the body and chassis. More detail in the picture captions. Finished model. Note the steering wheels. This was easily achieved as the spindles alreqady turned and it was just a matter of hooking up the tie rod. Lots of nice body trim sets this car off. rear end also had some nice detail. I substituted some chrome tubing for the exhaust tips. Nice interior is sprayed a mix of Pactra dark chocolate brown and flat black. Kit cam with this optional hard top that didn't fit as good as it could. I really don't like it and the car will be displayed without it. Getting the body down over the front wheels required much grinding on the chassis and some on the body. It was not very well engineered in this respect. I darkened some of the chrome with Tamiya black liner. I mad scrrens for the headlights. The clear lenses with the pattern in them was not going to cut it. Thanks for looking and comments welcome.
-
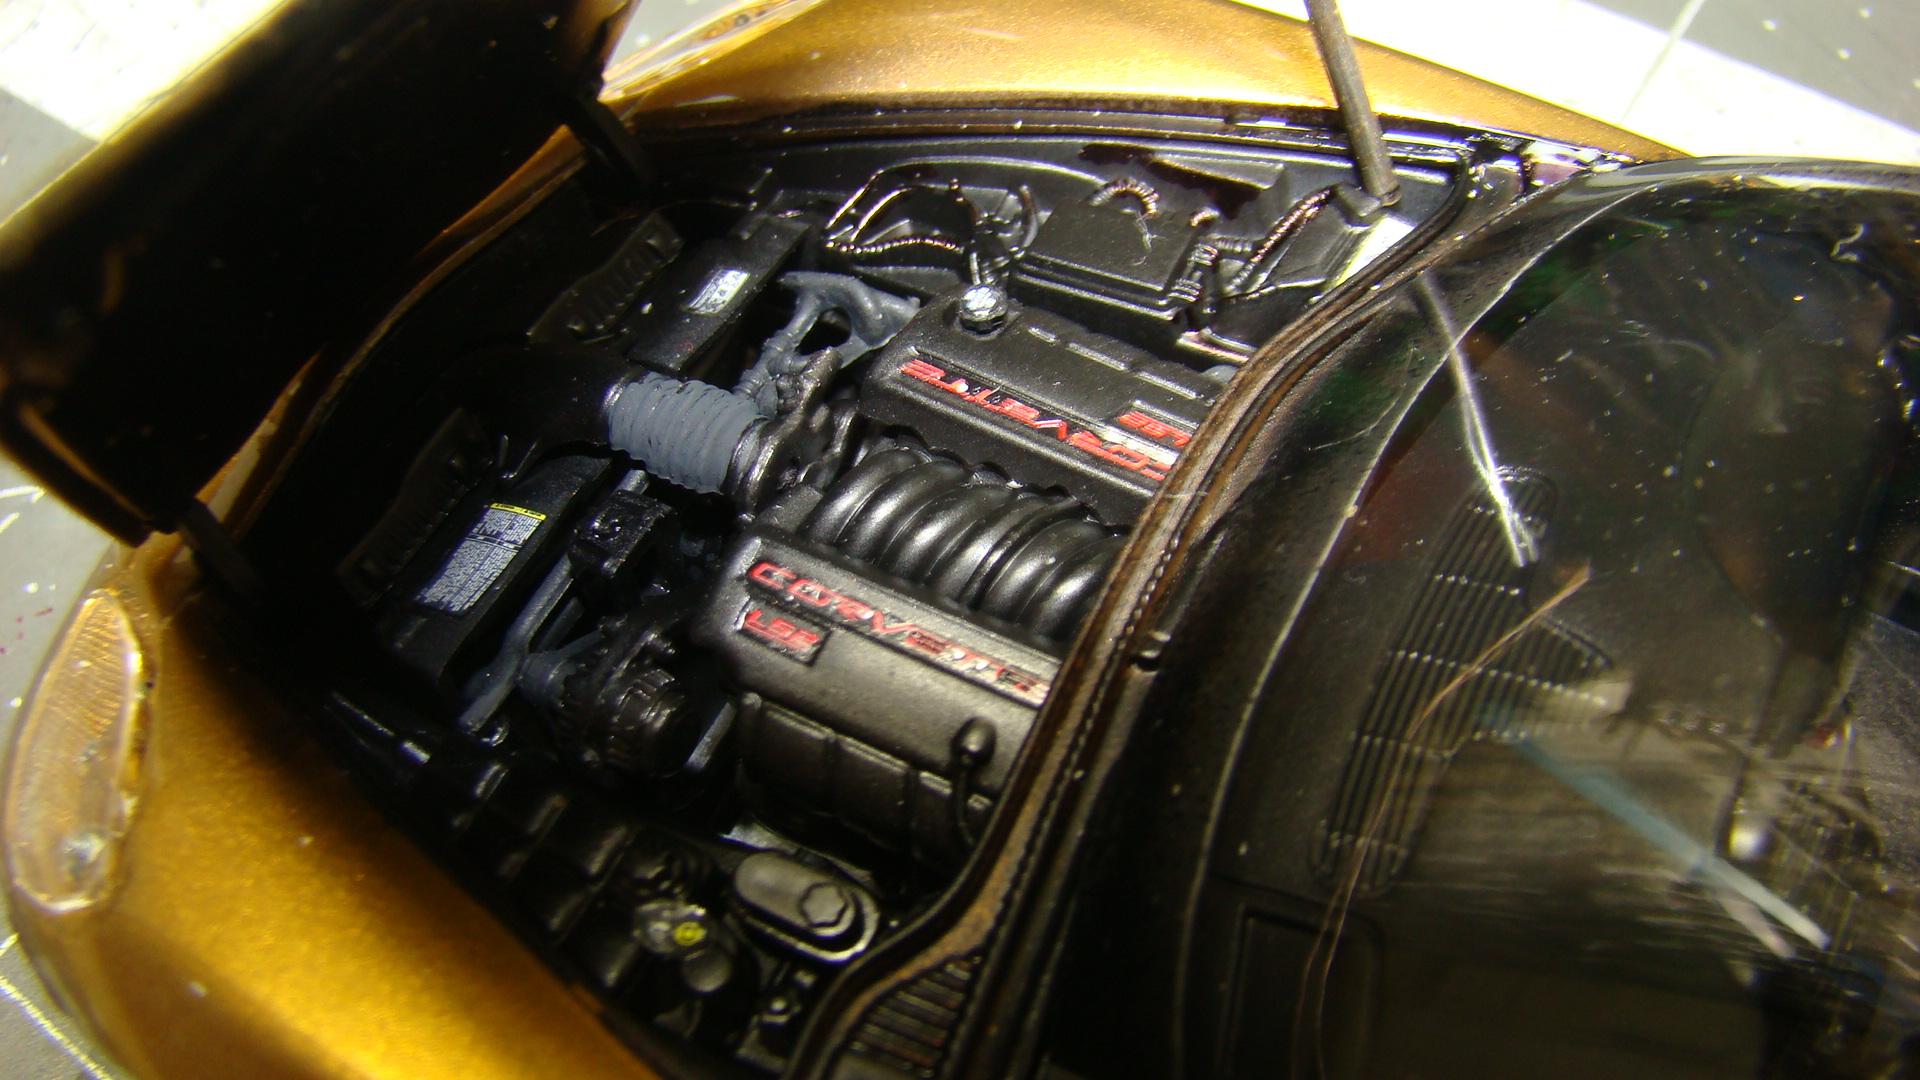
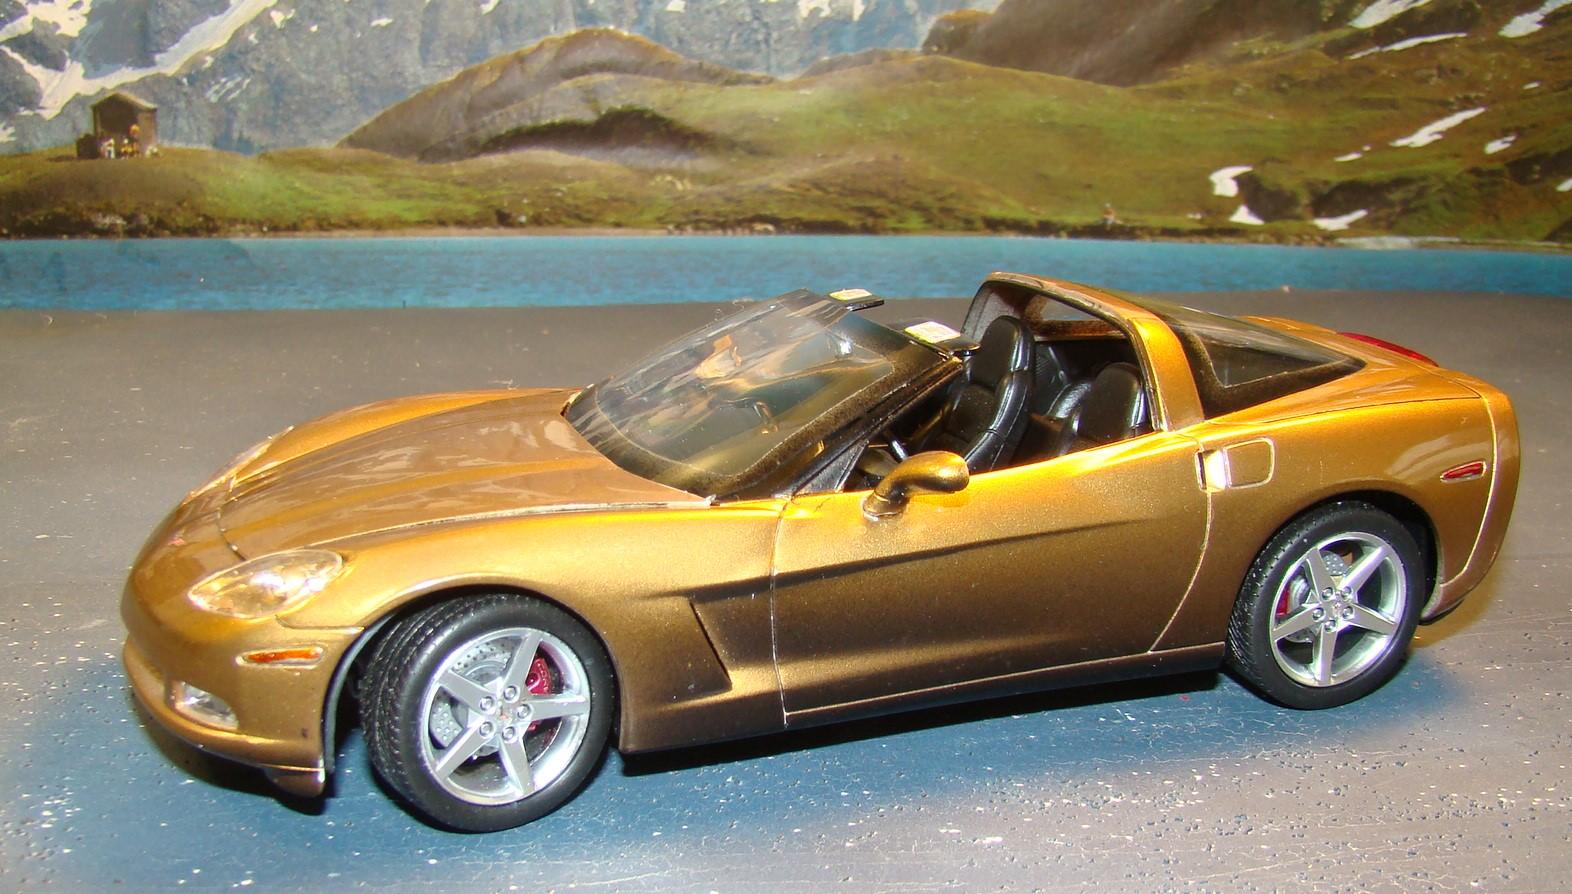
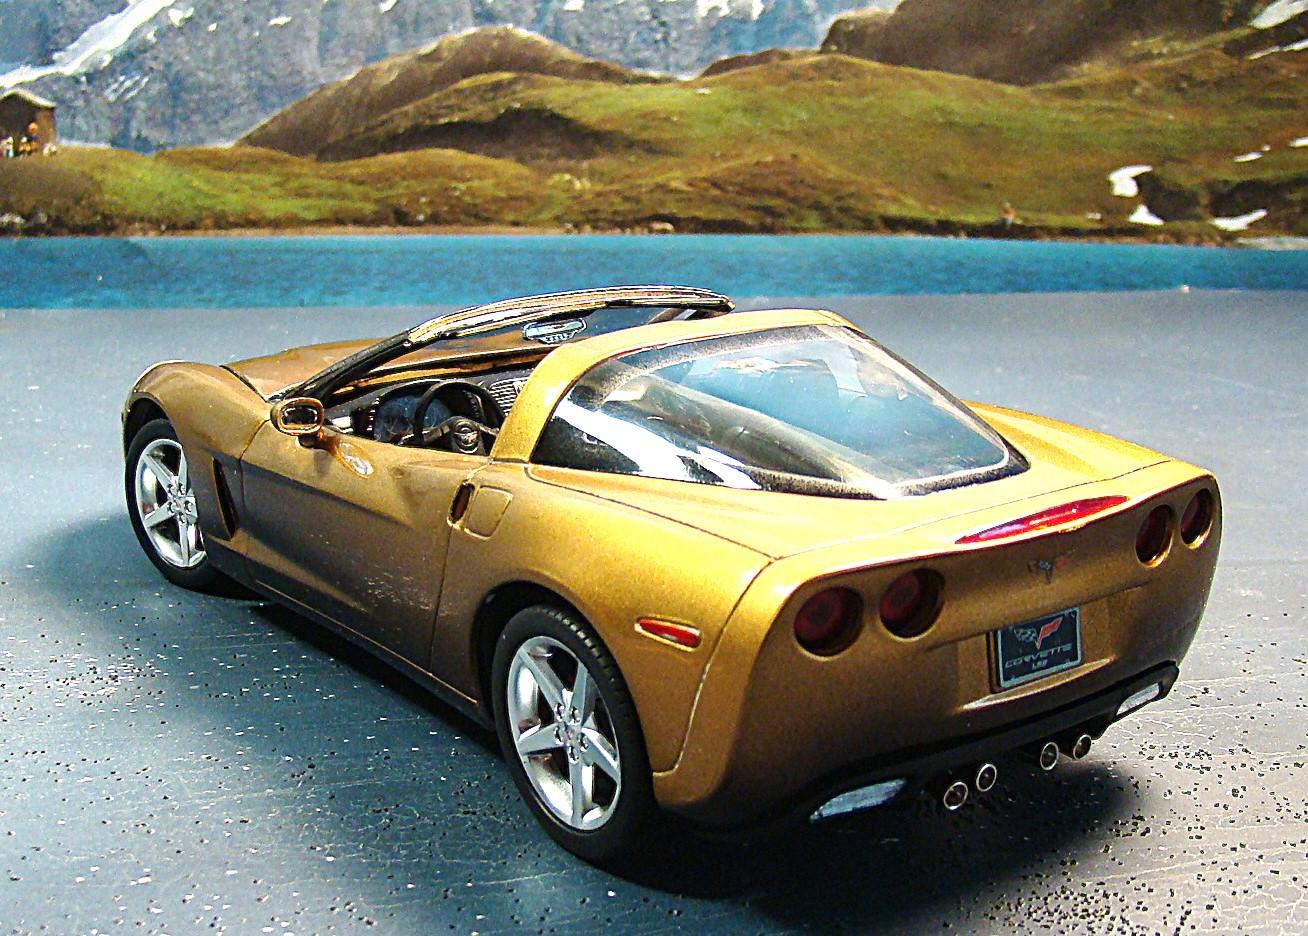
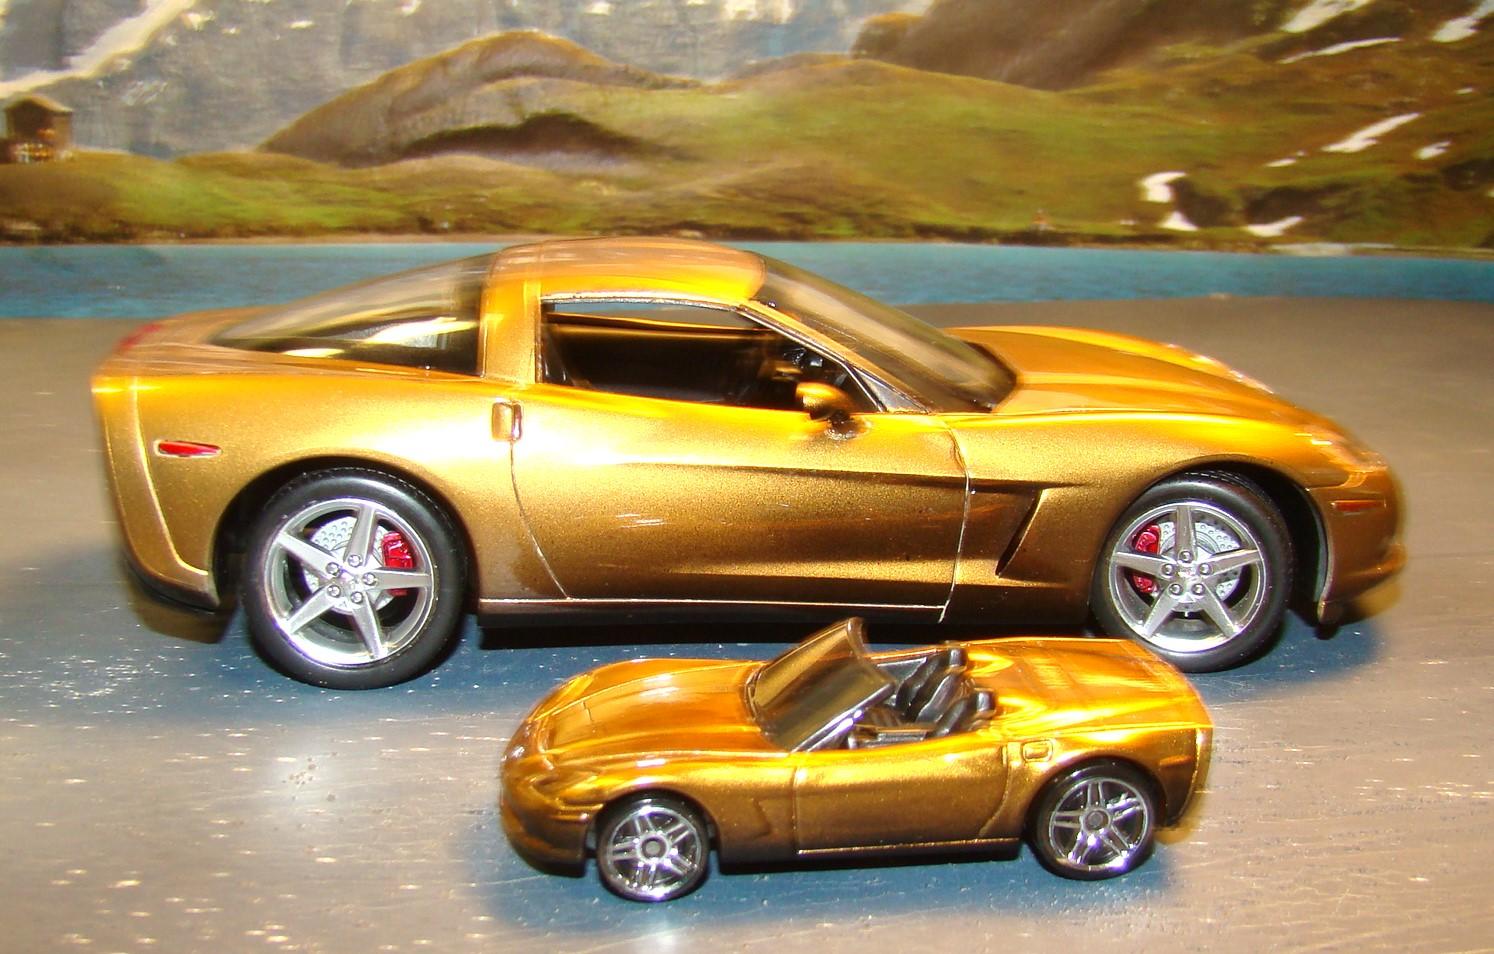
The latest in my series of Corvette builds. This is Revell's 1/25 2005 Corvette C6. Color is Pactra Odds N Ends Antique gold. Bottom of the car has been fogged with tamiya X-18 and the mpodle was clearcoated in a latex clear. This was done in July of 2005 shortly after the kit was released. Must say this went extremly well as Revell did a nice job on the kit. Making the front wheels poseable was a bit of an engineering challenge but other than that it was a joy. More detail below. Engine in this kit was very well detailed and filled the compartment nicely. Body slipped over the chassis easily and the stance was good. This photo shows off the fog work well. Gold color is interesting. Rear veiw. Good detail back here. Revell included those turned metal exhaust tips. It was a nice touch. Glass fit very well here. Kit came with the optional top and here it is installed. 1/64 diecast is a 2009 C6 that painted to match. Its a Hot Wheels.
-
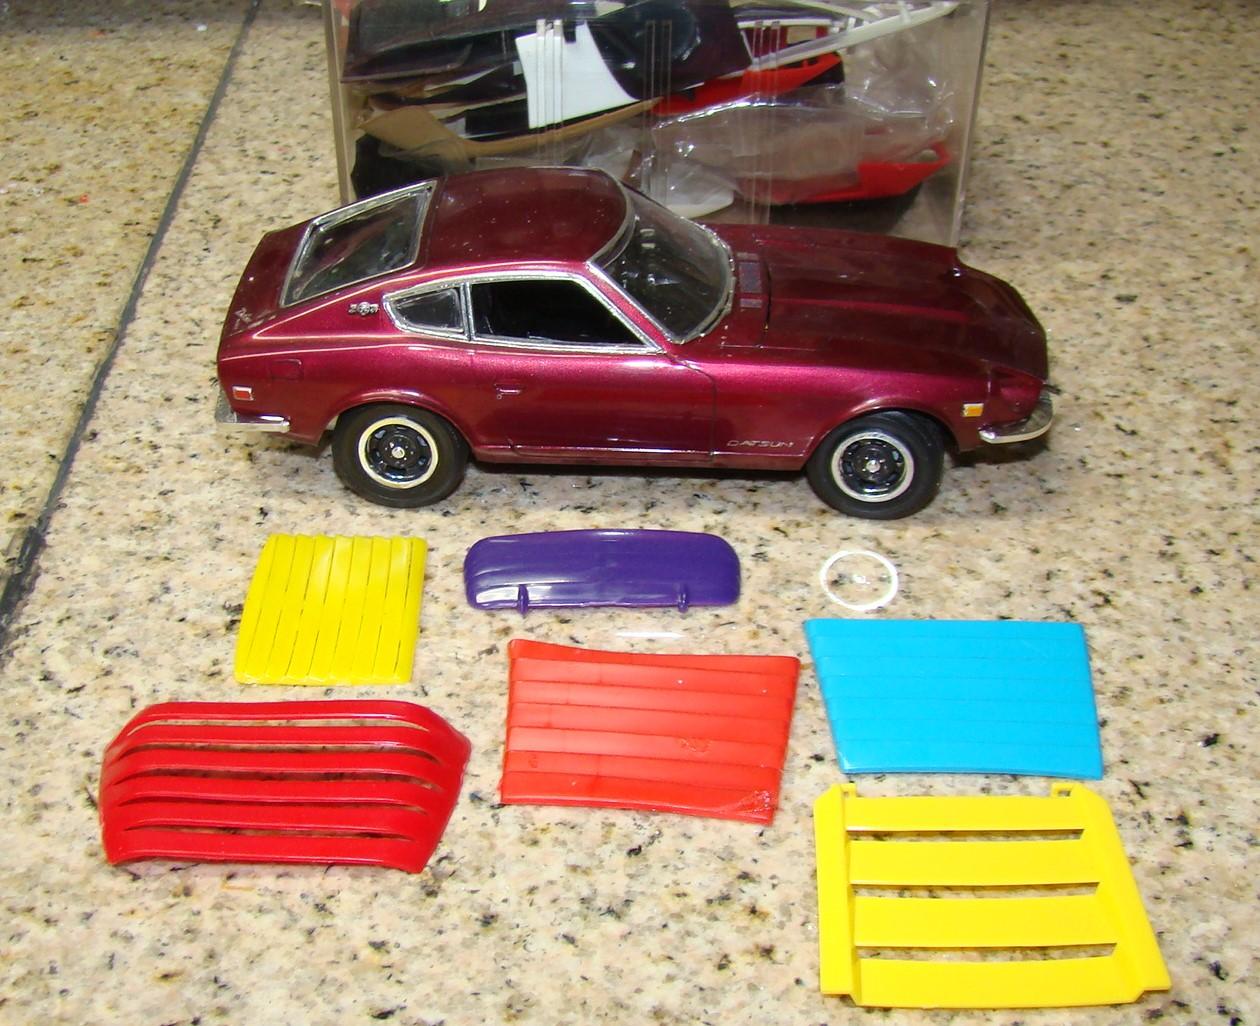
Found a few. Thought I had a 280ZX in the collection. Closest I could come to was this 1/25 Revell 240Z. Best fit is the yellow one closest to the car. There is still some overlap so if your kit is 1/24 they might work. If you want any of these PM me your address and i will get them off to you. Free of course. Rich
-
Let me check the spare parts stash...just might have some.
-
Doug, you really did this kit justice. That color looks great on this car.
-
Build it like you would own it is the way to go. Would have been my choice too, Jim. Nice job.
-
Having built this kit when new I am well aware of the challenges you faced. BUT...to bring it back from a glue bomb...that's extrordinary. You did a great job and that color fits it well. Congrats.
-
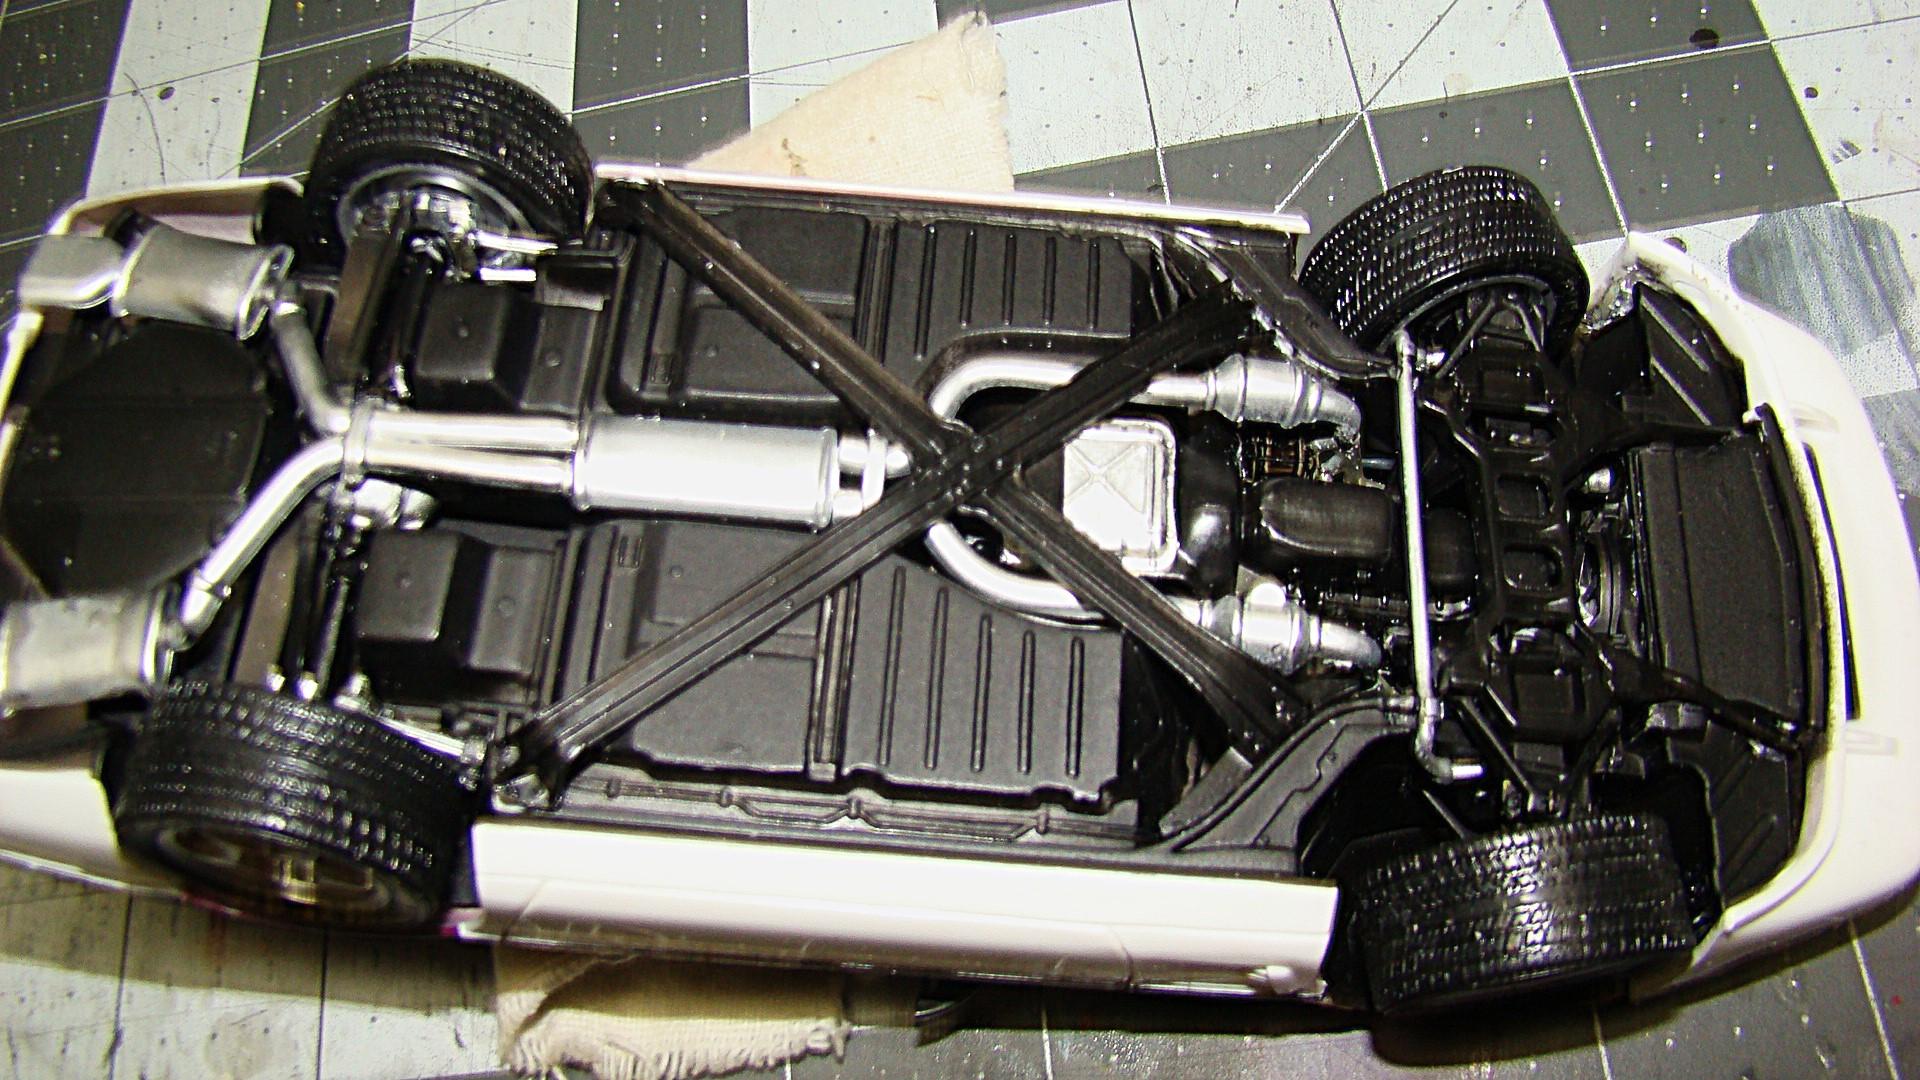
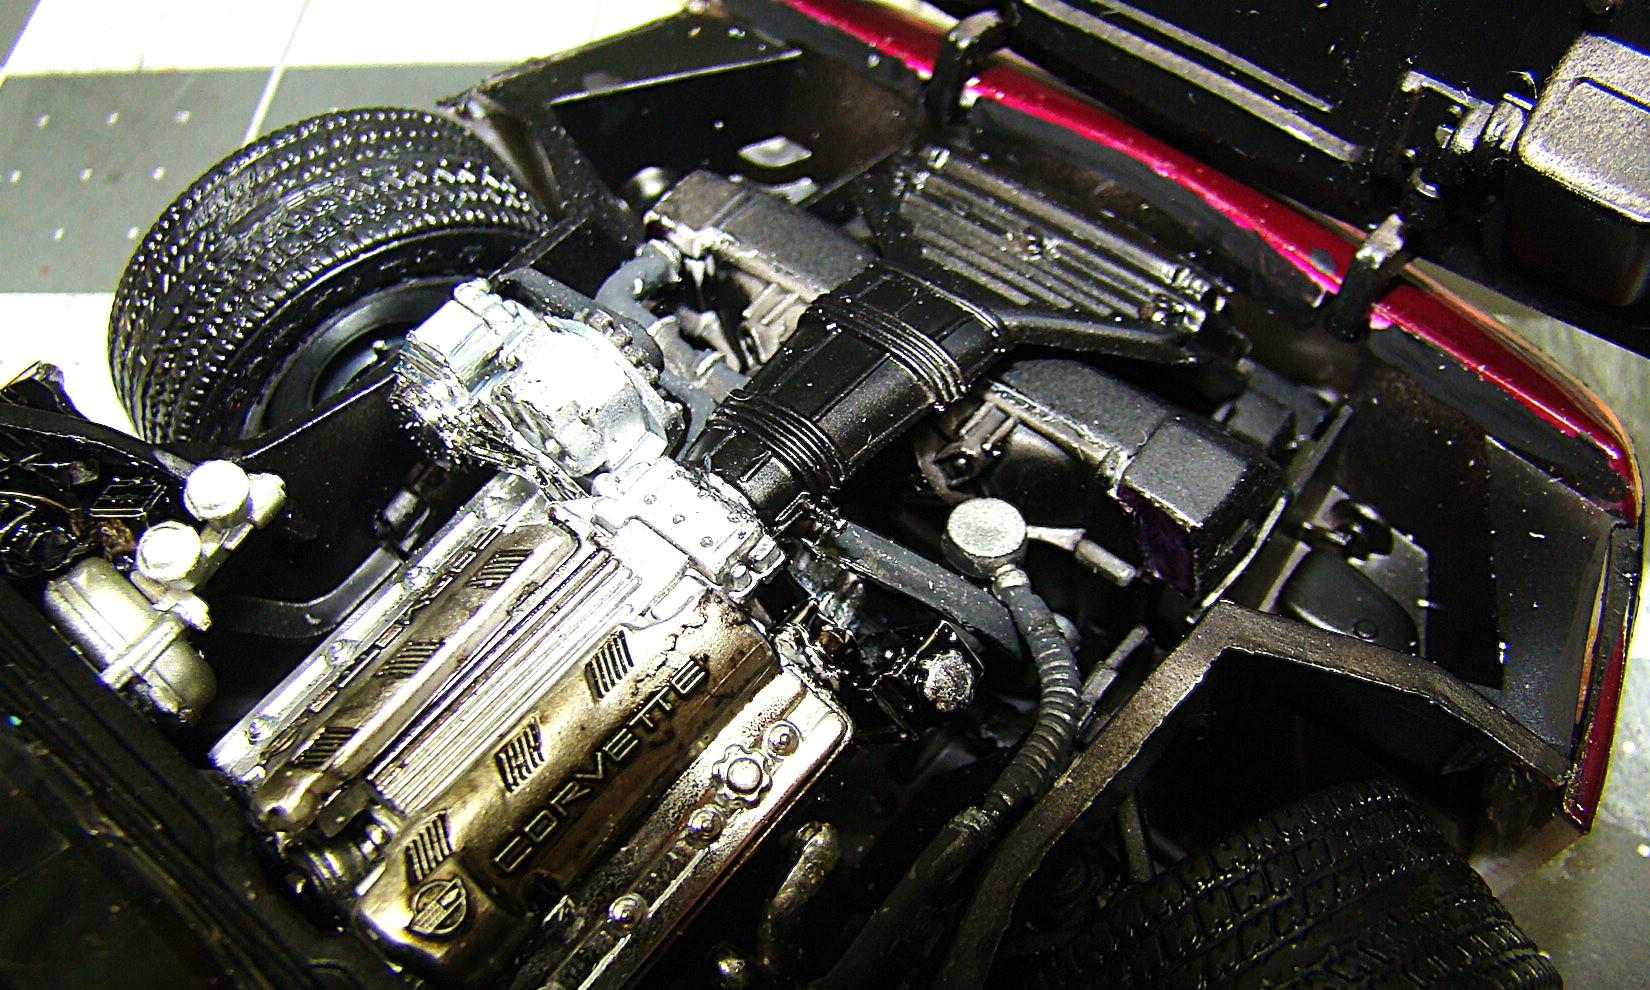
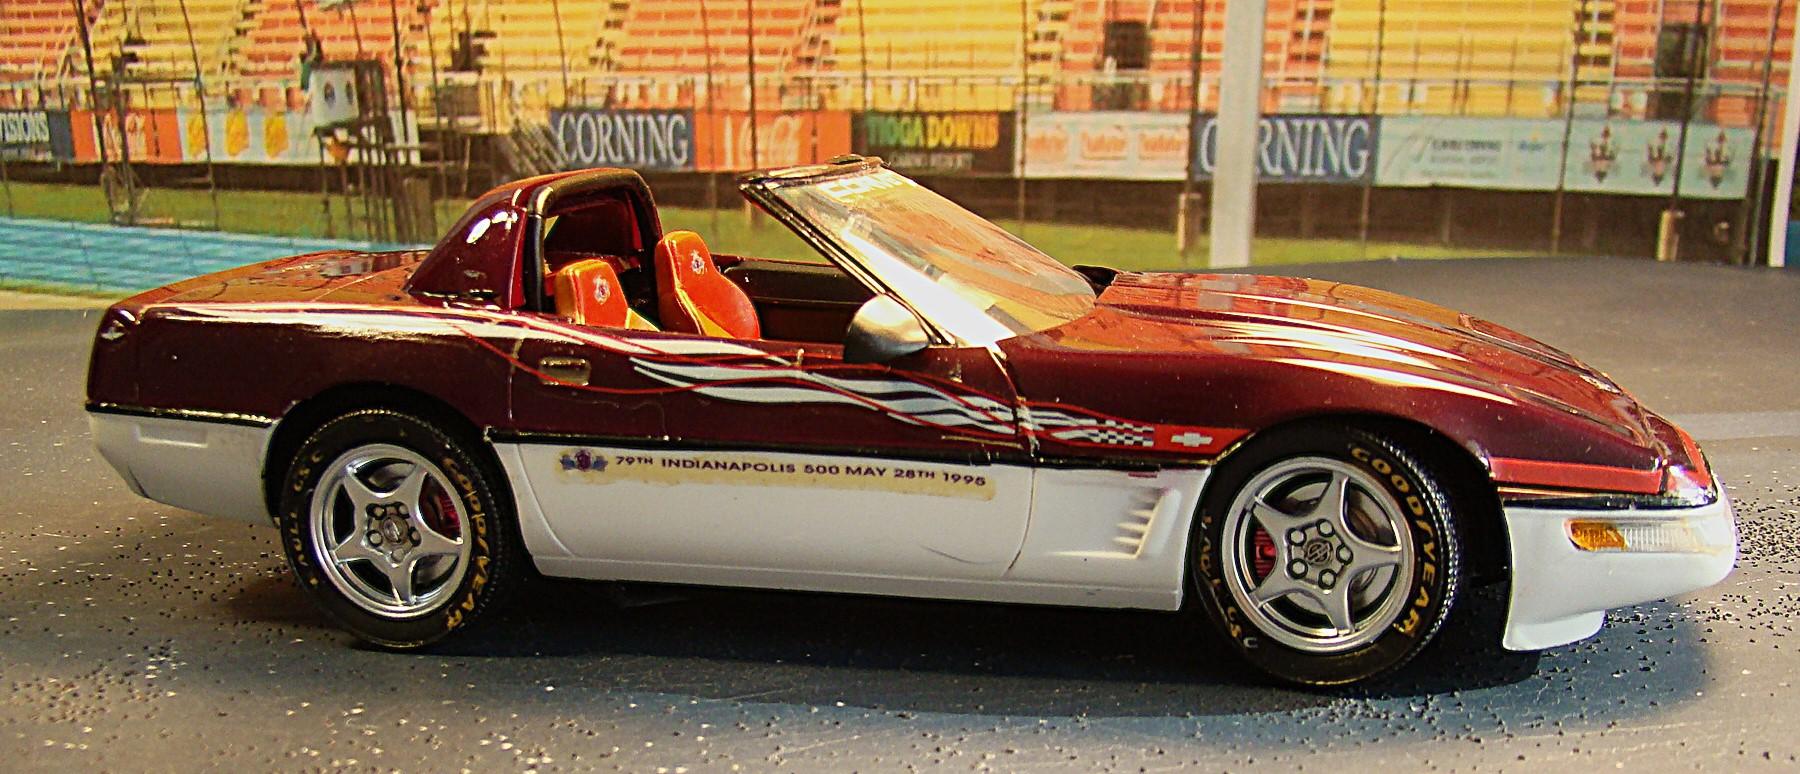
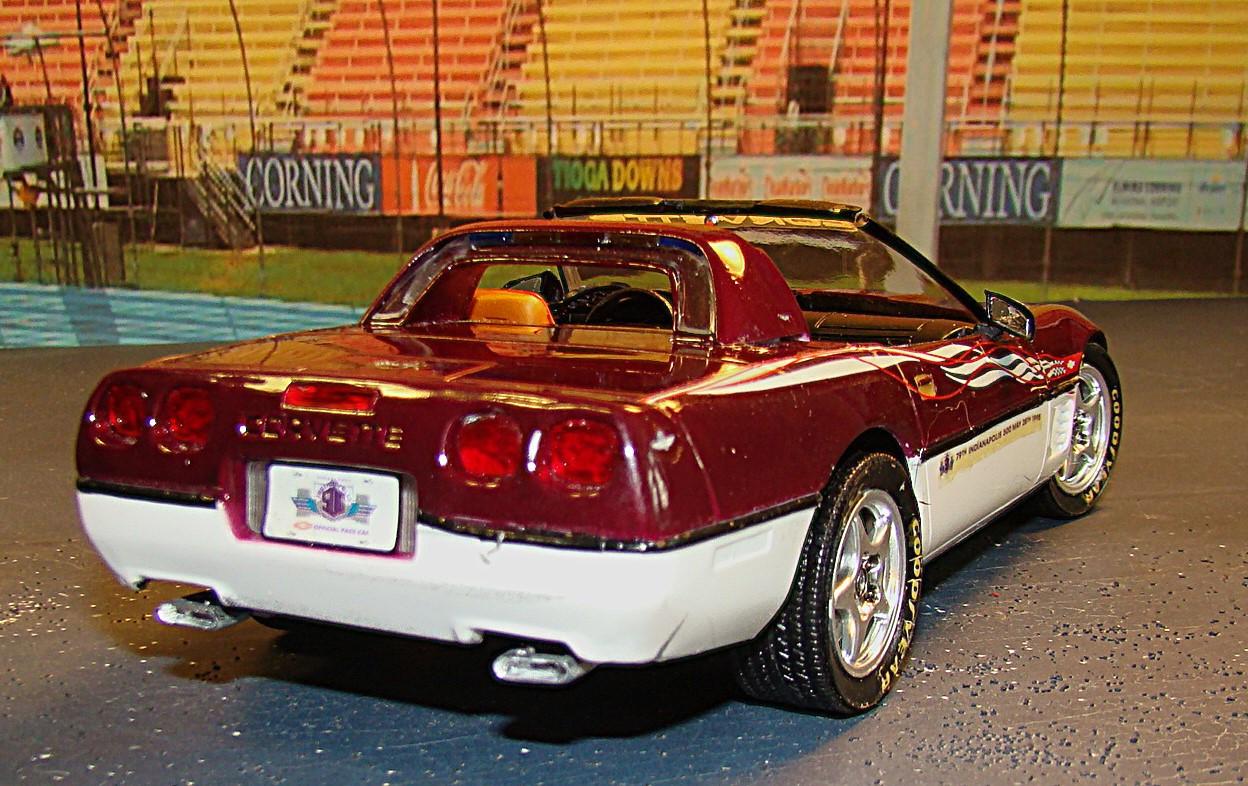
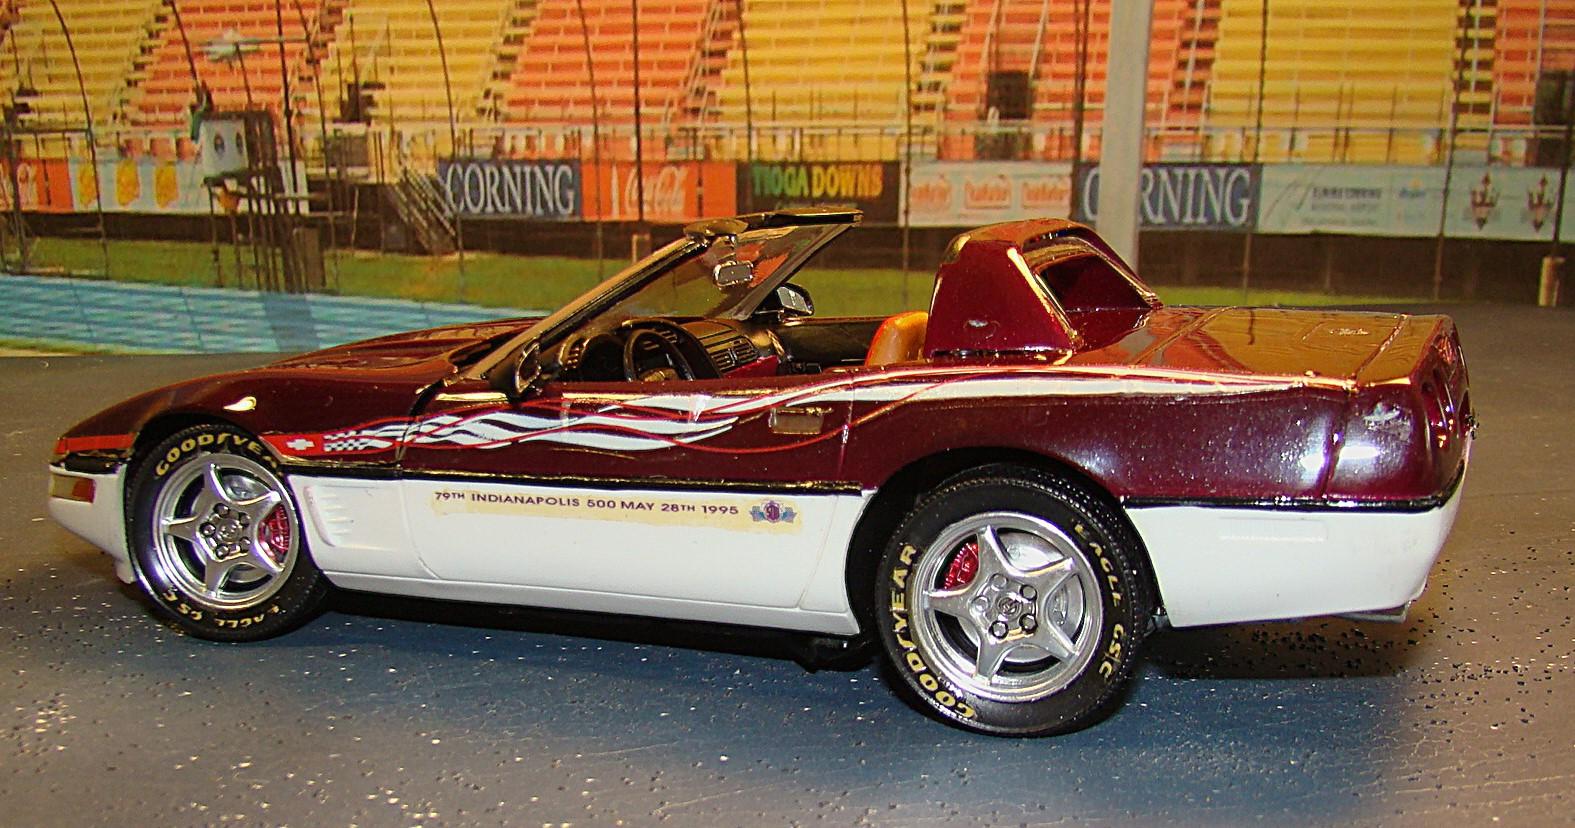
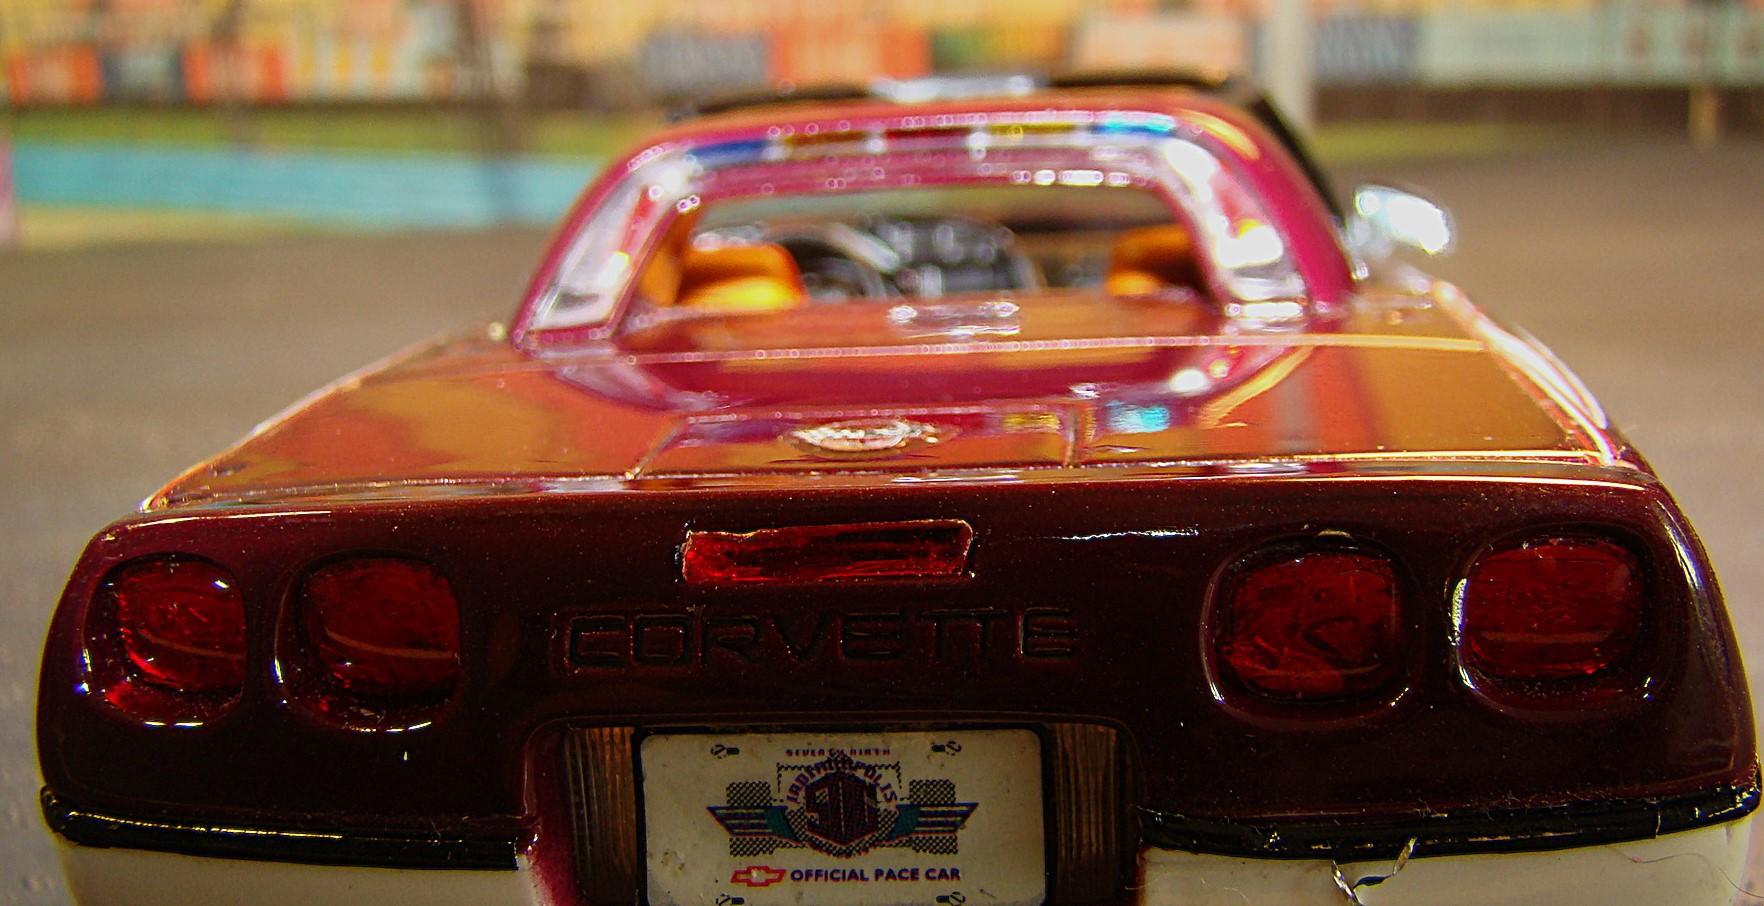
Another Covette off the assembly line. This is Monogram's 95 Corvette Indy Pace car version. Color on this was supposed to be a red/purple metallic and white livery. My choice for this was Colors by Boyd Kandy Scarlet over and antique gold base. Tamiya TS26 white for the bottom. Kit was pretty complicated and there were problems especially with the decals. But perserverance, careful planning and careful use of swear words overcame these. More details in picture captions. Chassis was very well detailed and the assembly was complex. Making the steering work required more engineering than usual. Front roll bar had to be re-located due to the steering so is more than likely incorrect. But its there. Engine compartment is completly fill with components. Monogram did a nice jopb on this so it was worthy of a pic. Car on its wheels. Body fit was excellent and the stance correct. Hood snapped down nice and tight...something that doesn't usually happen. Rear veiw had some nice detail. I re-worked the tailpipes. Other side and the decal problem is obvious. Some of the worst decals I have ever had to work with. I used a product call Looks Like Glass and gave them several coats to get them to release off the paper. The dcript on the side is yellowed, probably due to the age of the kit. Most, once applied stayed down and looked OK. Don't know if a replacement set was available for this obscure kit. Thanks for looking and comments welcome. A really horrible pictrure and hard to get right but a very cool feature on the model. This is the pre-painted strobe light bar. Its on the inside of the roll hoop behind some glass which makes it hard to photo. But worth mentioning.
-
-
-
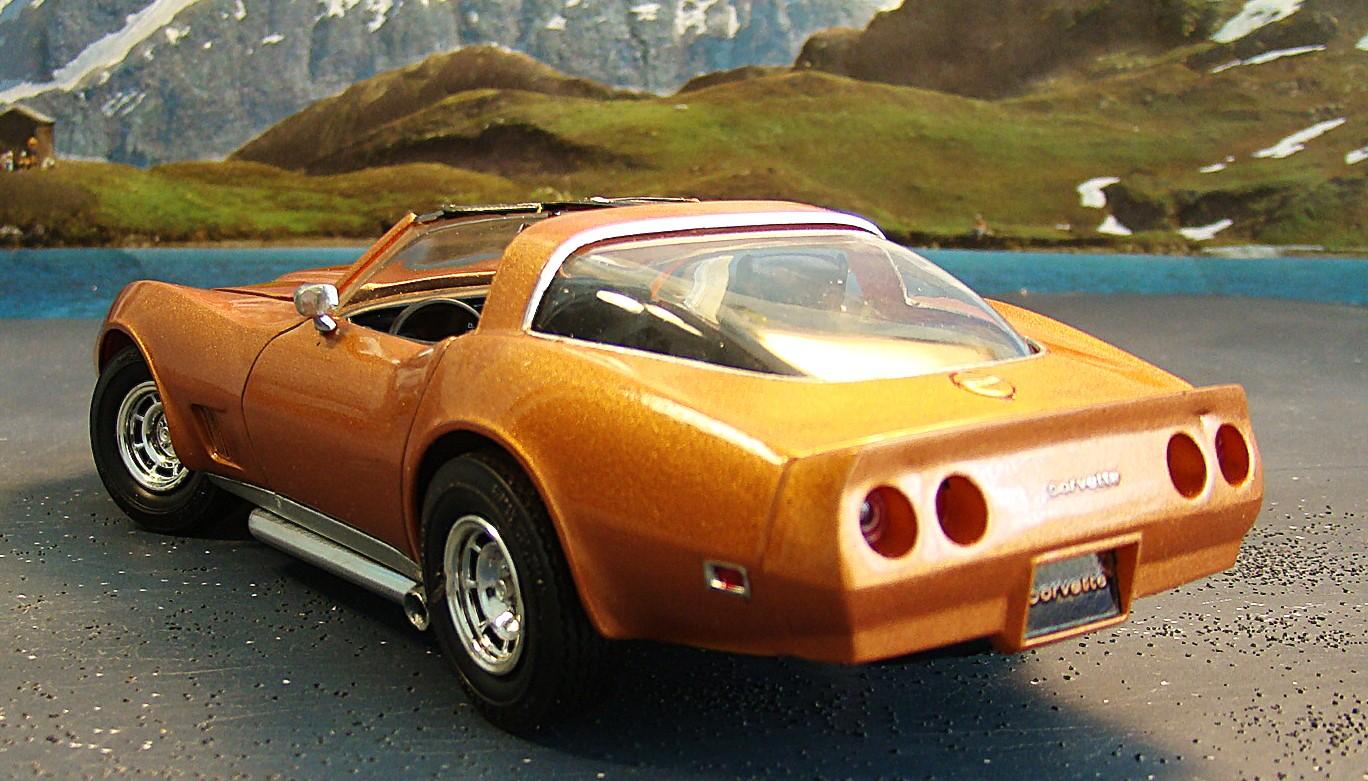
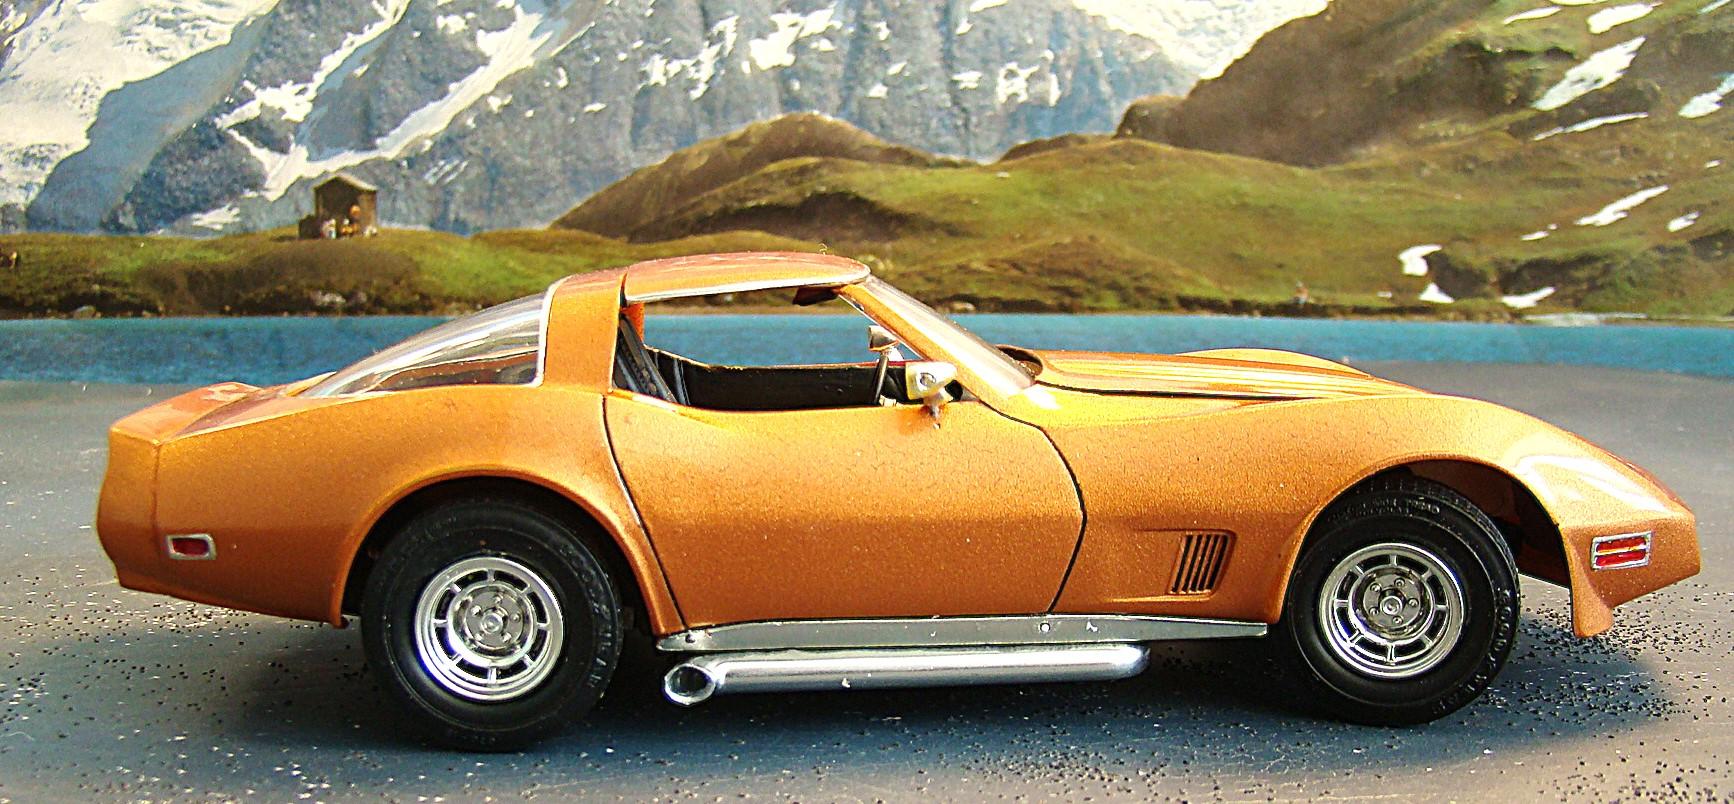
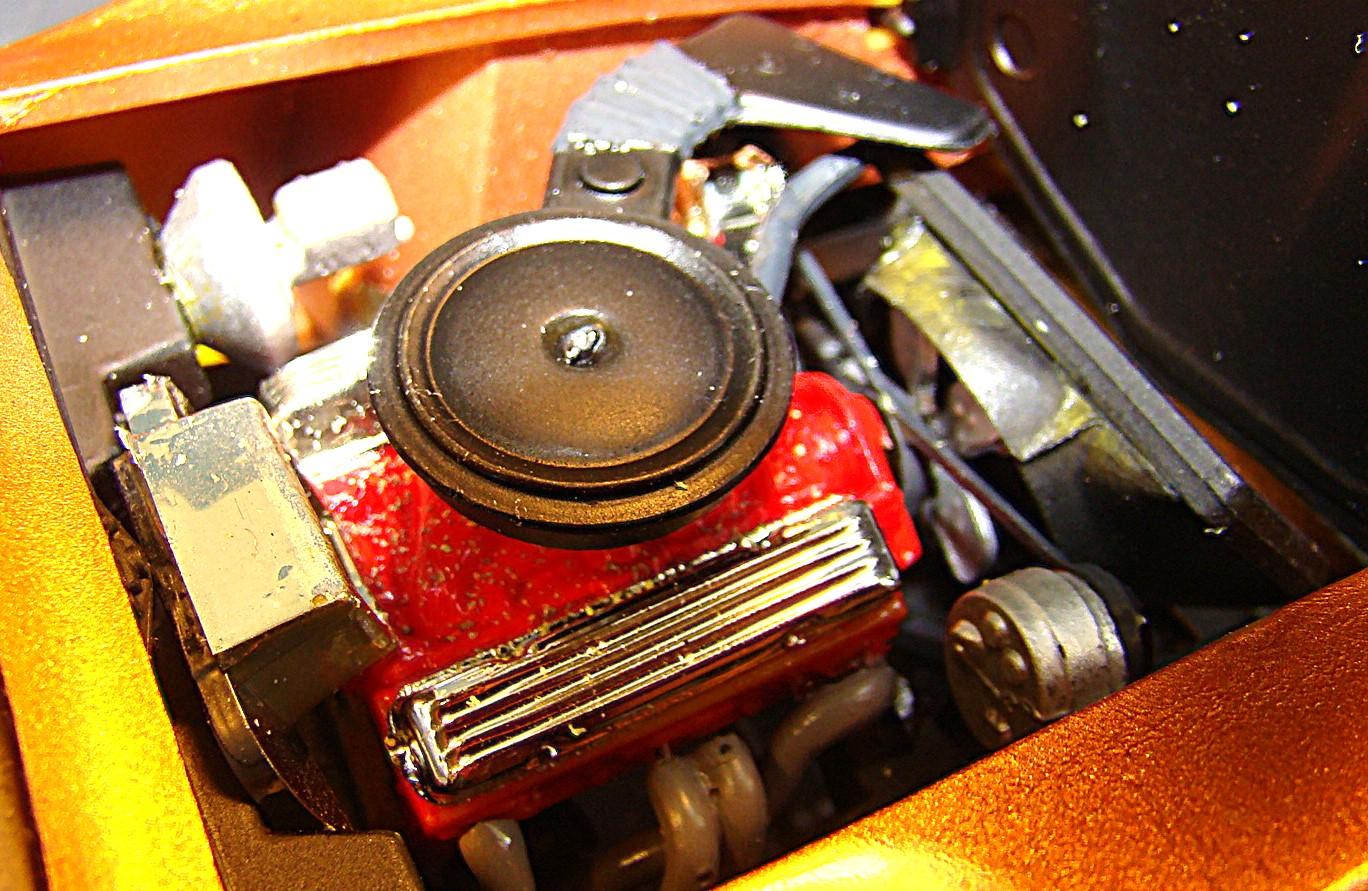
Another Corvette off the assembly line. This one is MPC's offering of the 1978 Corvette. Color is a Pearlescent ink call Birdswing copper. I used Krylon latex clear over this and added a little red to it to deepen the color. Don't know when this one was painted but it is at least 12yrs ago. This particular clear dries rock hard and build up to a fairly heavy coat. When cured (about a month and a half) it polishes out to a very high shine. the solvent of the water base clear doesn't eat into the finish and muddy the color up. I have used it a lot. Can't say much about the quality of this kit. Lots of cleanup and fitting. In particular the engine mounts did not have a positive glue attachment and the body had to be pinned down in four places to get the stance right. Both involved some interesting engineering and a lot of curse words. Comments below the photos. Model on its wheels and it finally looked about right. Two of the pins to locate the body to the chassis are visible in the rocker panel just below the door seam. Interior and glass didn't fit so hot and required a lot of grinding , fitting and more swear words. Interior is a very very dark black green. Rear end veiw and the camera really picked up on the color. When I bought the kit it was missing two of the red tail lights but the spares stash supplied some suitable replacements. It really pays to hoard parts. Kit came with these two removable T-tops. Anyone who has ever owned a T-top car knows that they always leak but somehow nothing quite beats a nice warm summer nights drive down a winding back road with them out. I extensively re-worked the side pipes and sprayed them with AK chrome. Better than the stock option. Gotta luv those Astro wheels. Among my favorites and only available on the Vettes....I think. Engine was halfway decent and I opted for the tuned exhaust pipes. Getting it to stay in place....that's another story. Thanks for looking and comments welcome.
-
Cobra Daytona Coupe
Rich Chernosky replied to TC's topic in Other Racing: Road Racing, Salt Flat Racers
Gorgeous build of a rare kit. -
Very nice conversion Helmut. Your attention to detail has really paid off on this one. Very well done. The period photos were a nice bonus.
-
Harry...somehow overlooked this so I am a little late to the party. This is one fantastic build. I can certainly identify with your engine cover fit problems. Had it happen many times but you got over it. Great job.
-
Since i was a diecast dealer and owned a retail store back then I suppose i would be qualified to answer this. Exoto/s heyday was from (approx) 1997 to 2002. Most of their best models were released then and after that production ground to a halt. They still produced catalogs with future releases but those were few and far in between. Retail price for an Exoto was $130 to $160. The piece above was purchased off Ebay after I inniated a search. They alerted me by email when one would come up and eventually I took the best offer. Hope this answers your question?
-
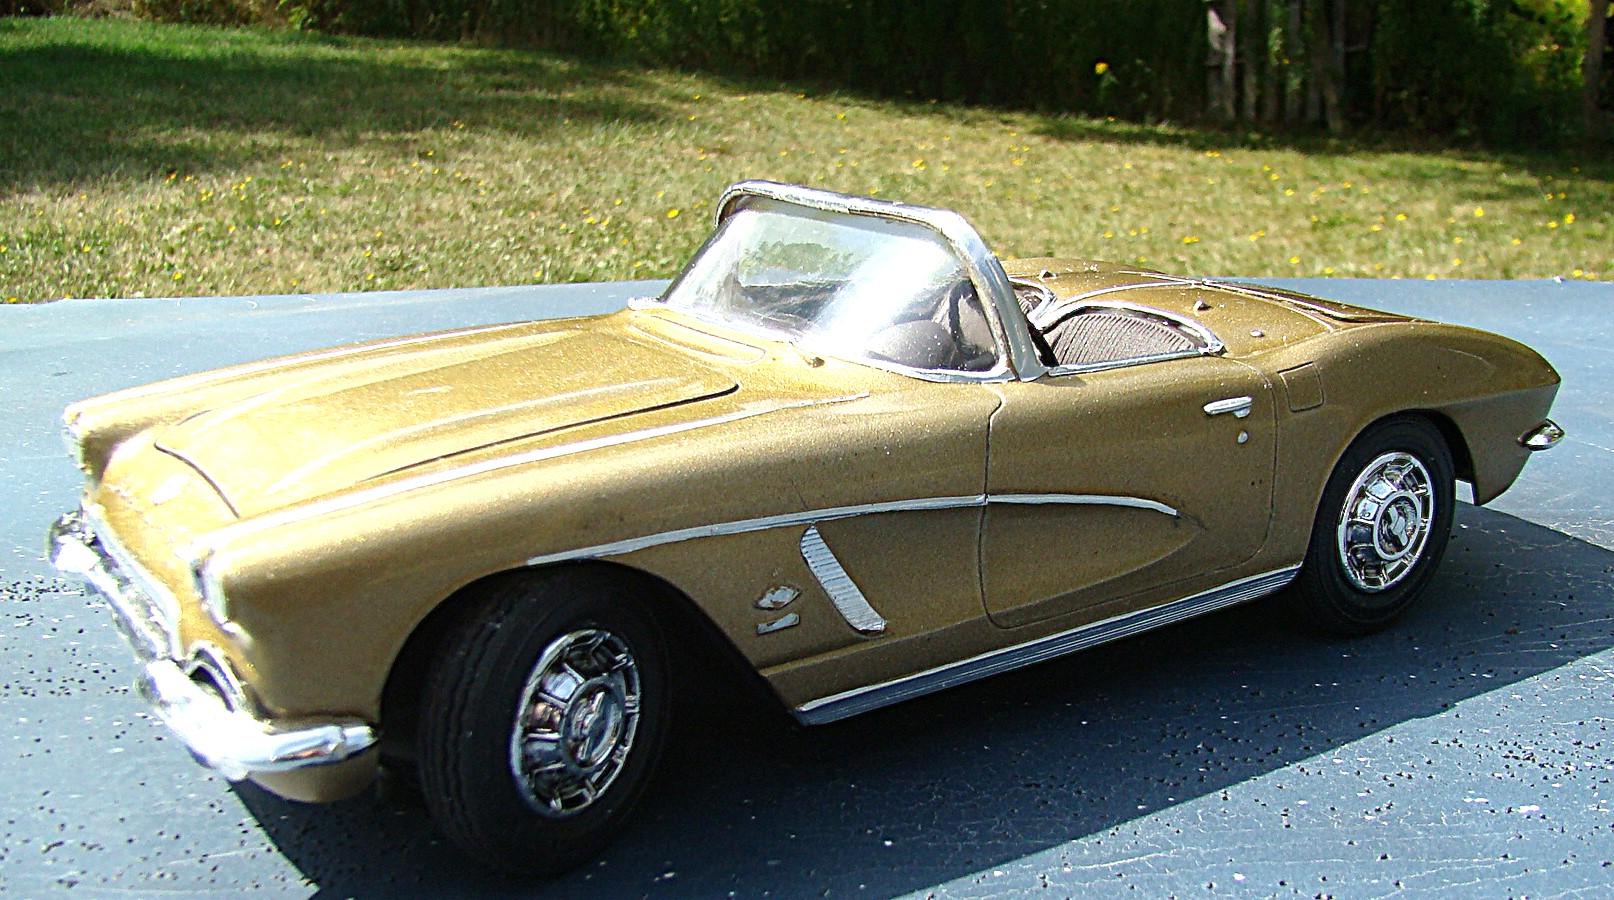
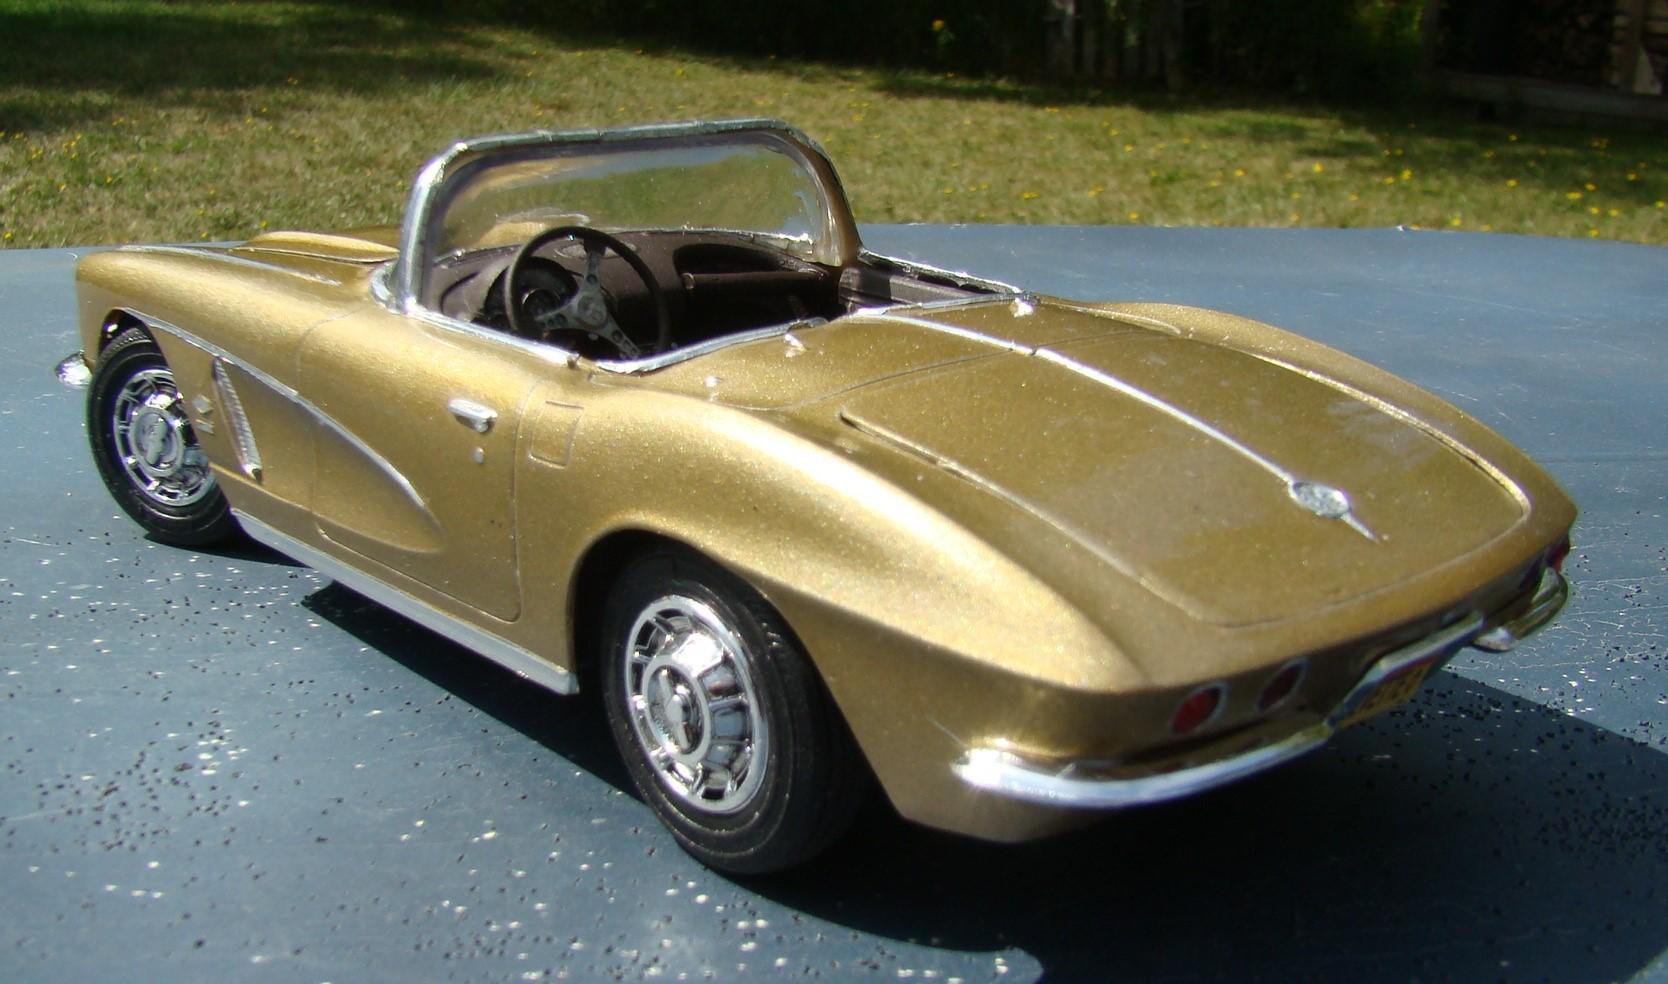
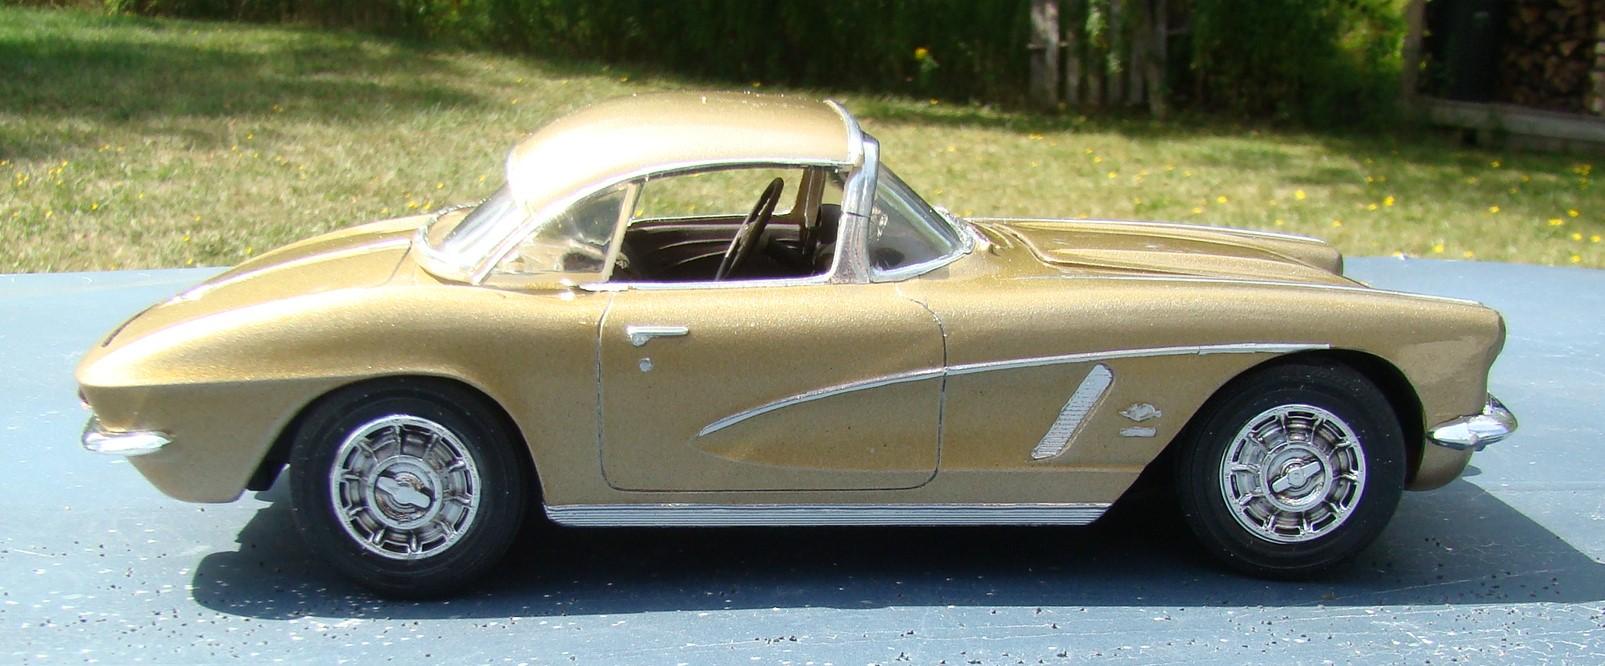
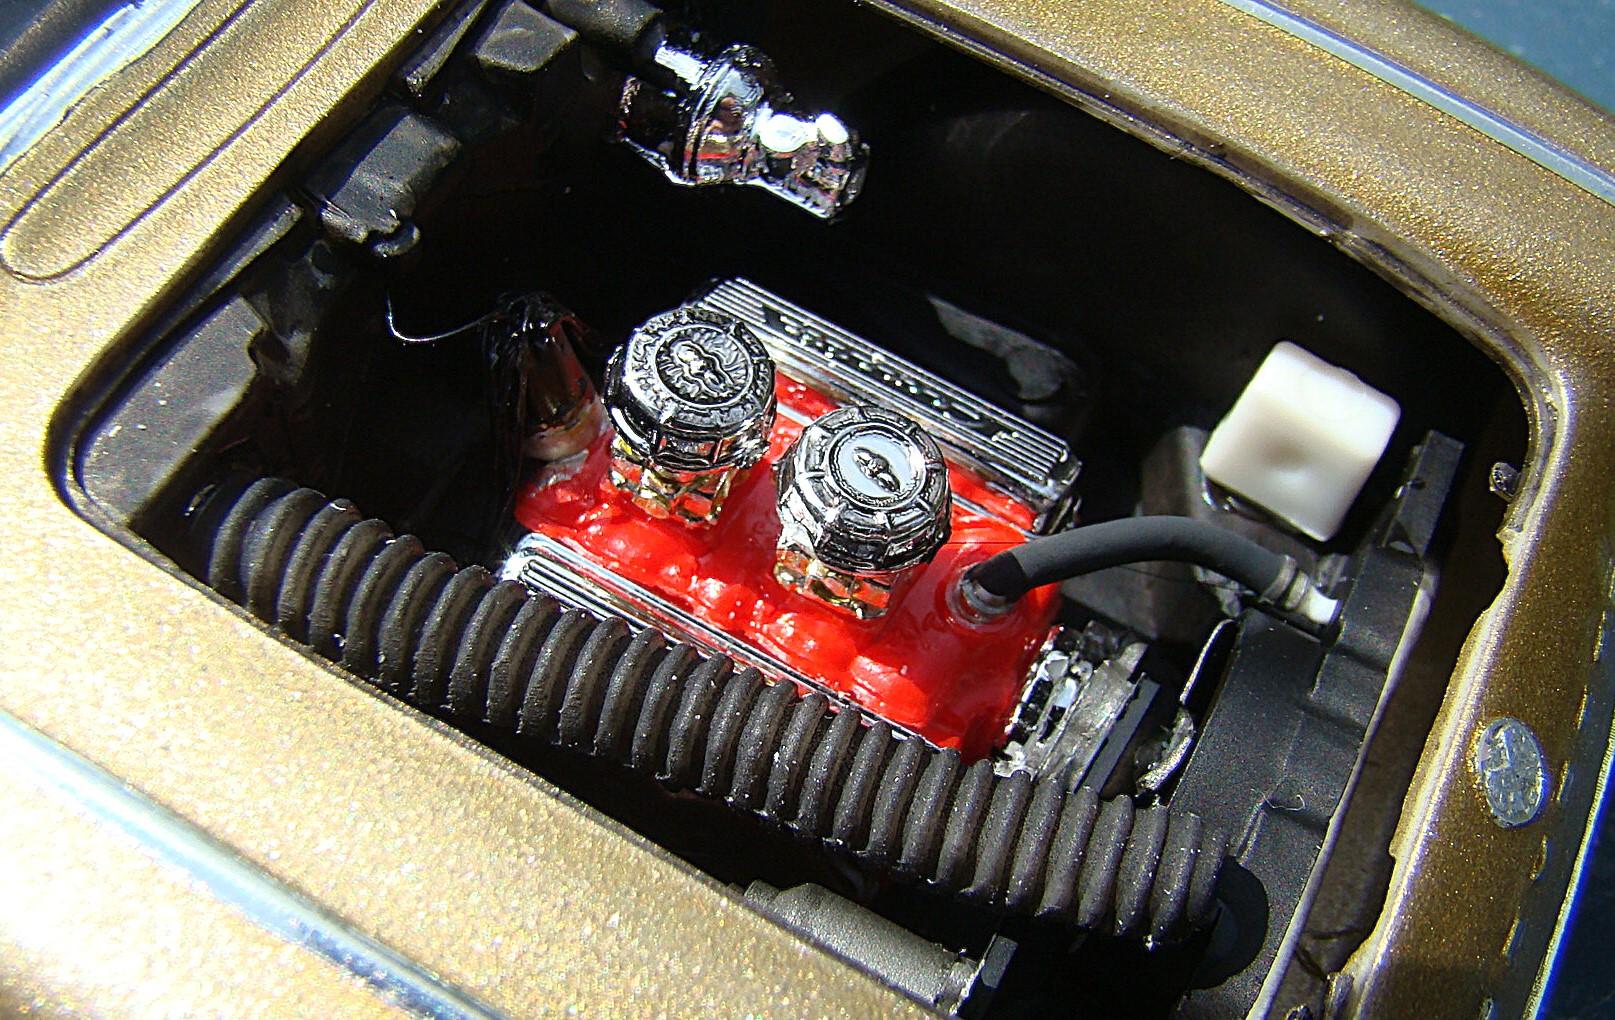
The fifth in my series of 13 Corvette builds. AMT's 1962 Corvette. A fairly simple kit but this one came with lots of extra custom goodies. Since I wanted this build to be stock most of those parts went into the spares bins. More than half the kit were extras. I believe this kit was purchased very early in my building career. It was painted in 2019 and the color was Model master Champagne Metallic #2922. I used Pactra Crystal clear and this was recently all polished out. More details and modifications are in the picture captions. thanks for looking and comments welcome. Despite the simplicity of this kit I thought the body was fairly decent. Moldifications included poseable front wheels and opening trunk. Lots pof bare metal foil work too. rear veiw and the color in this shot really pops in the sun. Fit of most parts was what to be expected of an early AMT kit. Lots of flash on the parts too. Used quite a bit of Tamiya black detailer to tone down the chrome and bring out the detail. Kit came with this optional hard top that didn't fit too well. I have quite a few miles in one of these as i had a friend who owned one. Since he rarely had a drivers licence I was tasked with a lot of the driving. Too many stories to tell here but one that stands out is I discovered that this car was good for and honest 125mph but the drum brakes didn't work above 85mph. Many of these cars were destroyed because of this. The 62 Vette was the first one to get the 327 engine. It was optioned with fuel injection, two four barrel carbs or just one. This car had some serious power for its time.
-
-
-
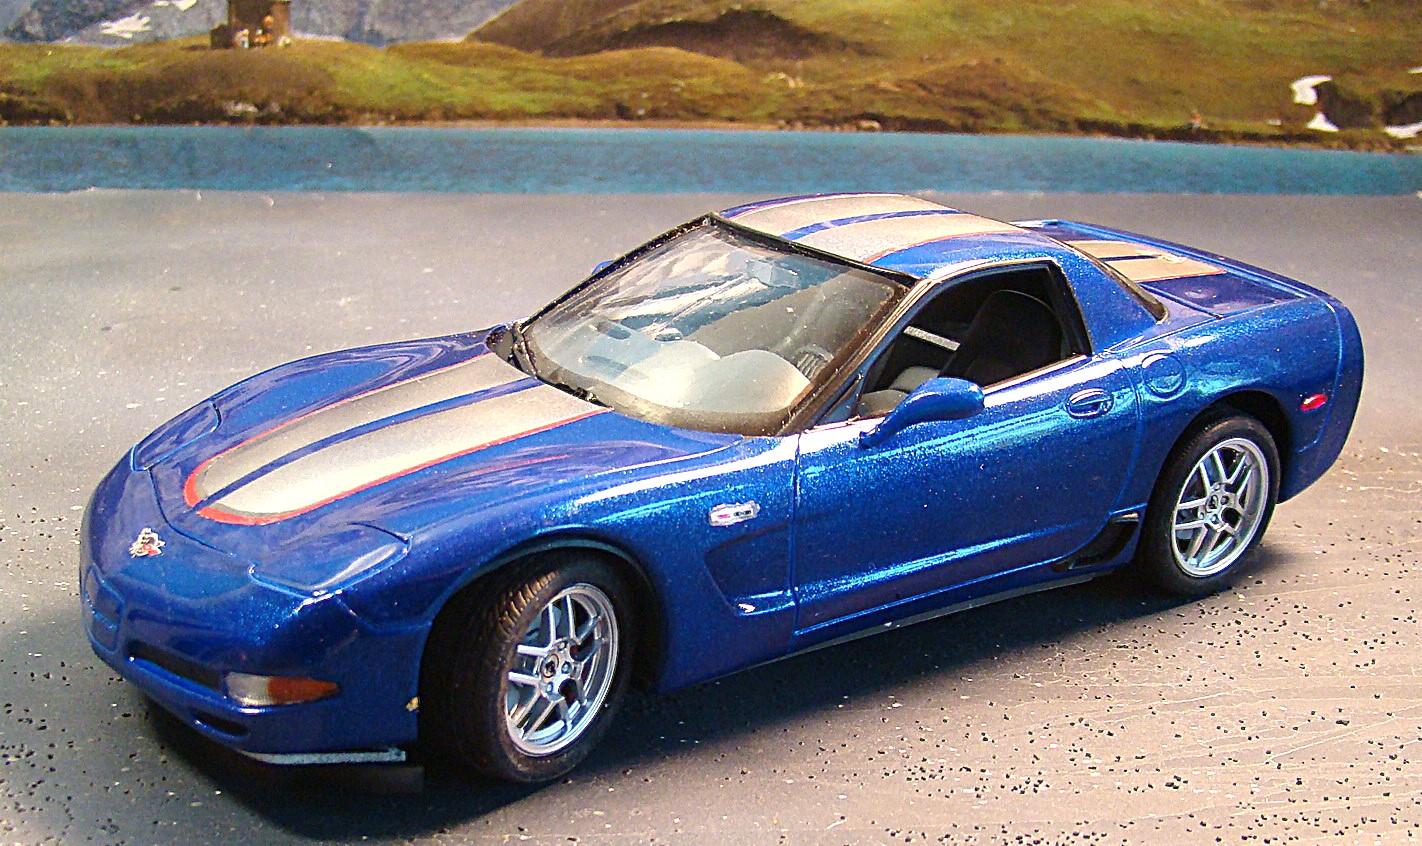
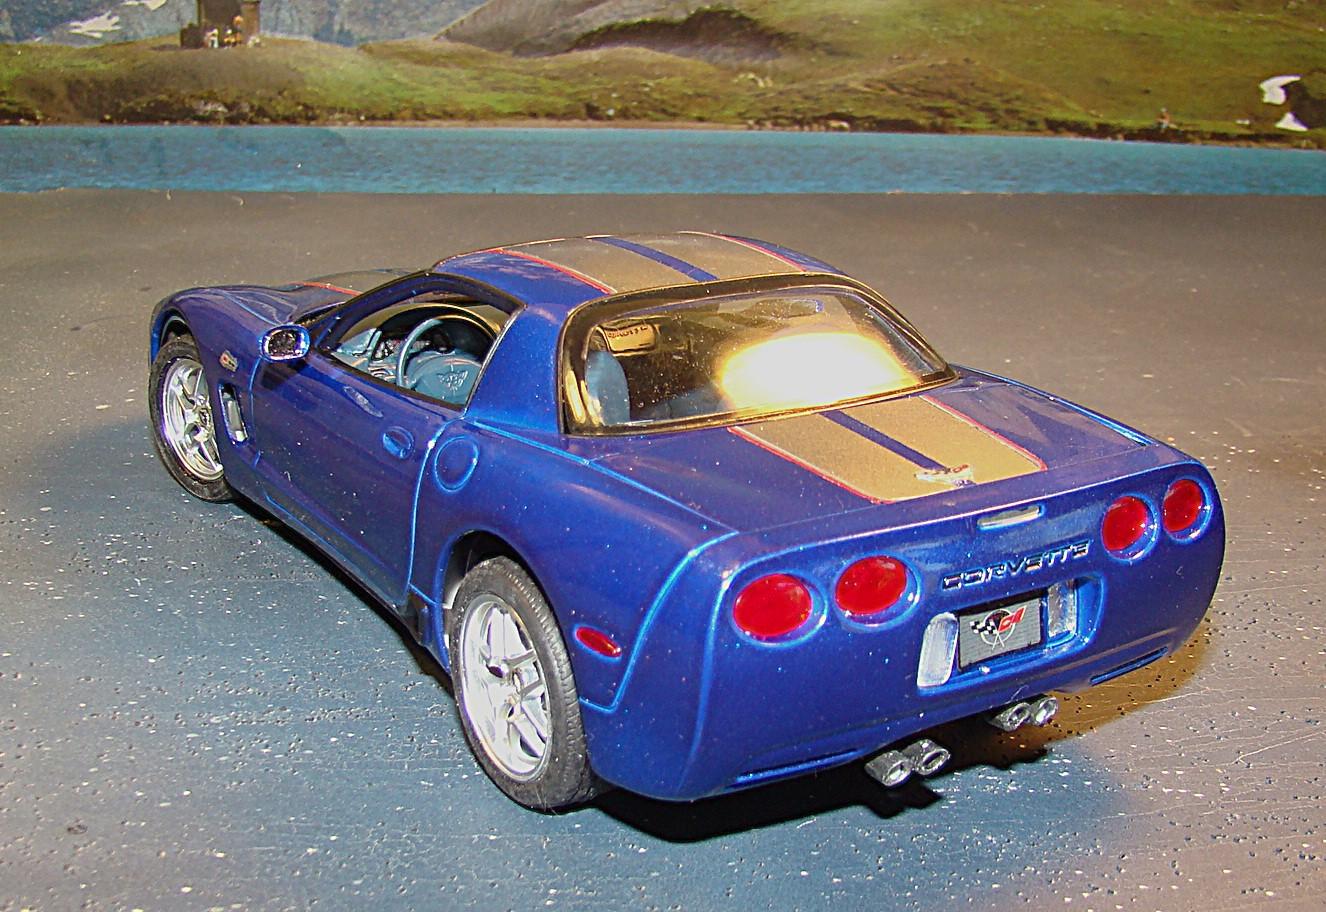
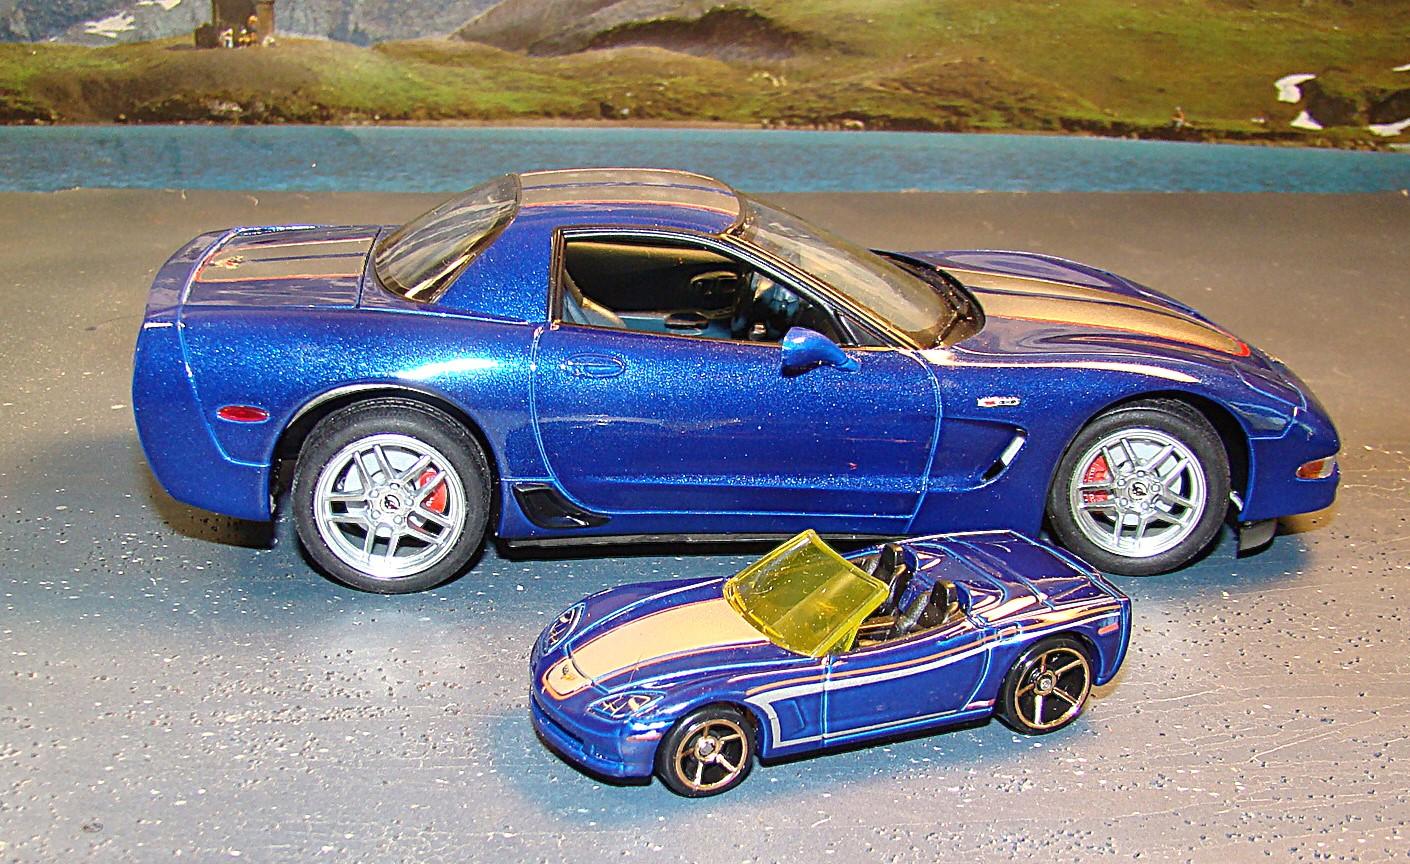
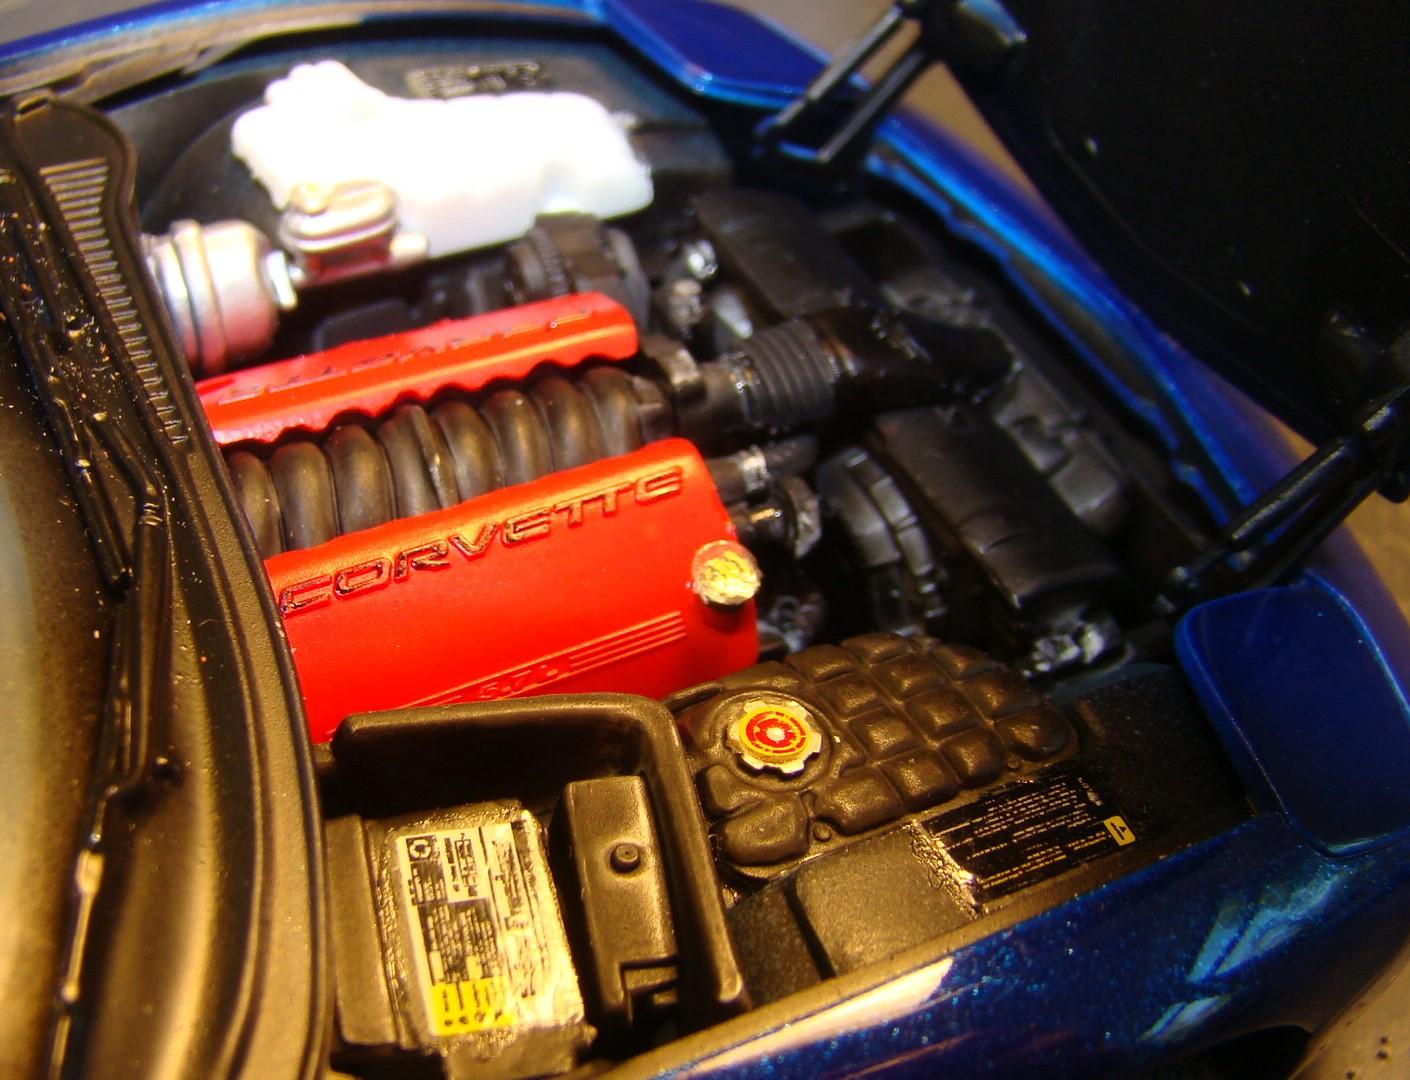
Here is the fourth in my series of Corvette builds. Revell's 1/24 Corvette Z06 Commemorative Edition. Color is Testors Laquer Deja Blue with their clear coat. Graphics were sprayed and the color of choice was AK Stainless steel SM204. I used the red/gray part of the decal. Kit decals were aged and cracked and took some care to get them right. Kit was a pretty straight forward build with few problems. I opened and hinged the trunk and made the wheels steer. Liked how this one turned out. Was painted in 2010. More details in the picture captions. Mode4l sit nice and flat and the kit stance was good. I used a mixture of Tamiya LS German grey and mixing blue on the interior. The windshield came in two pieces in the kit and I had to vacuum from a new one. Rear end detail was good. The chassis and exhaust in this kit were excellent. I think it was nice of Hot Wheels to make a 1/64 minature of my model. I have many of these in my collection. The 2004 Corvette was a return to dcivility and featured many luxury items not found on previous models. It was meant to be an every day driver with an exotic flair. A nice veiw of the 5.6 litre V-8 engine. The Z06 package had 405HP so it was fast but reliable too.
-
Mark...this is one awesome kit and you are off to a great start. Your paint technique is spot on and you got very good results. You will really enjoy this build. Look forward to the finished product.
-
Bill you are in luck. I just posted this model in Under Glass. Here is the link: 1967 Corvette 427 convertible - Model Cars - Model Cars Magazine Forum To attach the windshield ( I did this last to avoid knocking it off during assembly) I used three different waterbase glues. First you have to glue the glass to the frame. It fits quite nicely BTW. I used Micro Liquitape in the corners on both the glass and frame. Its a contact cement and dries very clear but is tricky to use. When dry you can position the glass until it fits. The beauty of contact cement is that you can release it if you make a mistake. Once in position I filled the rest in with a mixture of canopy glue and craft glue. Let this dry overnight. To attach it to the car I used the Liquitape on both the body and bottom of the windshield. Do the whole area. Takes about 1/2 hour to dry clear. Then position it on the car. There are two slots that align it. Easy peazy. Liquitape can be removed with water when wet but you must use solvent when dry so make sure you get it only where you want it. On occassion you can get small amounts off by peeling but don;t count on it. This should get you there. Look forward to seeing your take on this kit.