Rich Chernosky
-
Posts
2,123 -
Joined
-
Last visited
Content Type
Profiles
Forums
Events
Gallery
Everything posted by Rich Chernosky
-
-
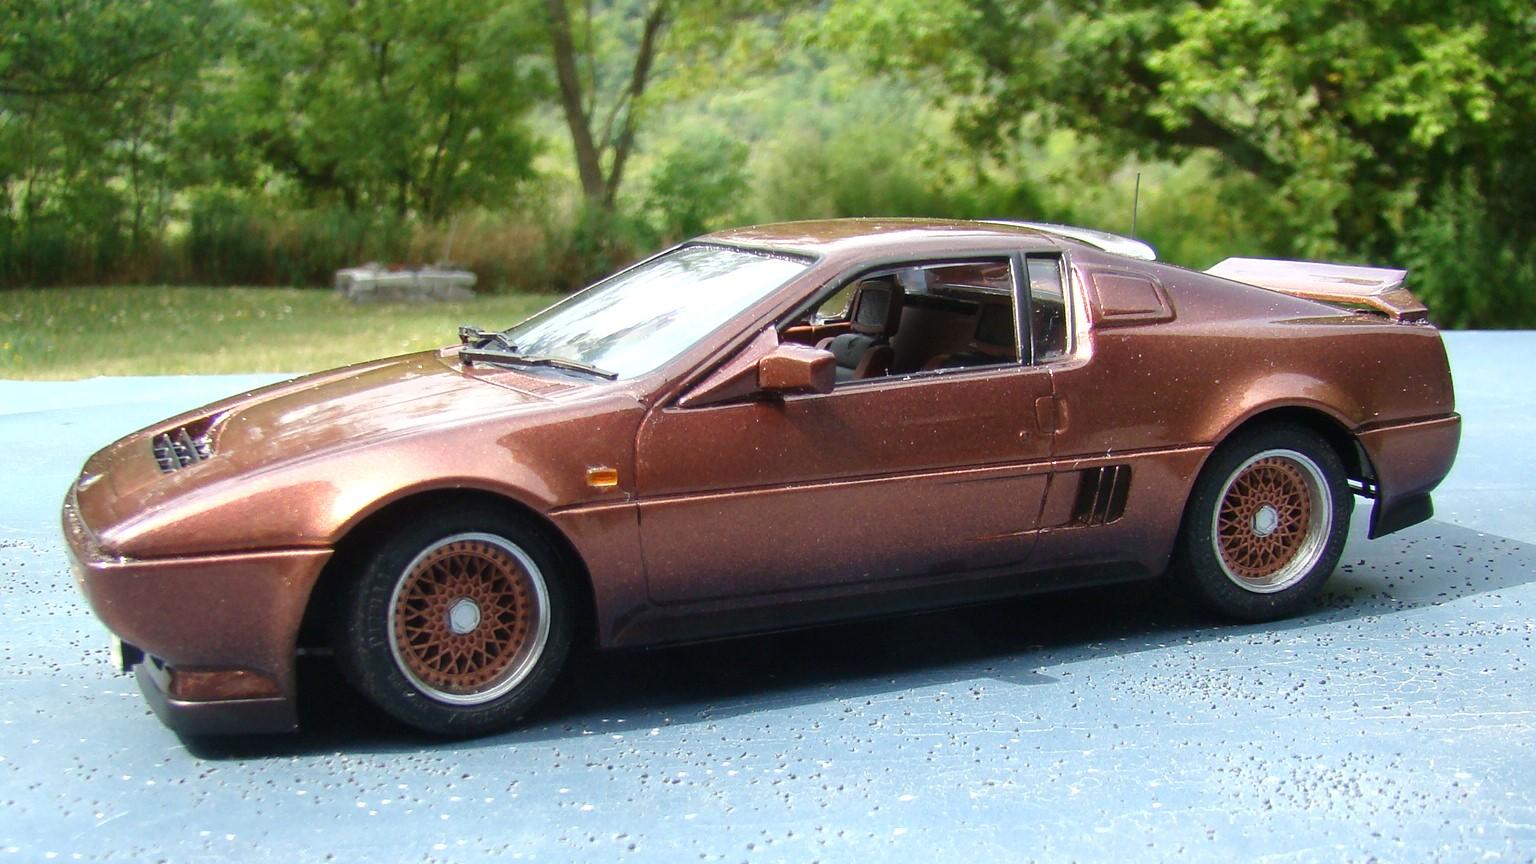
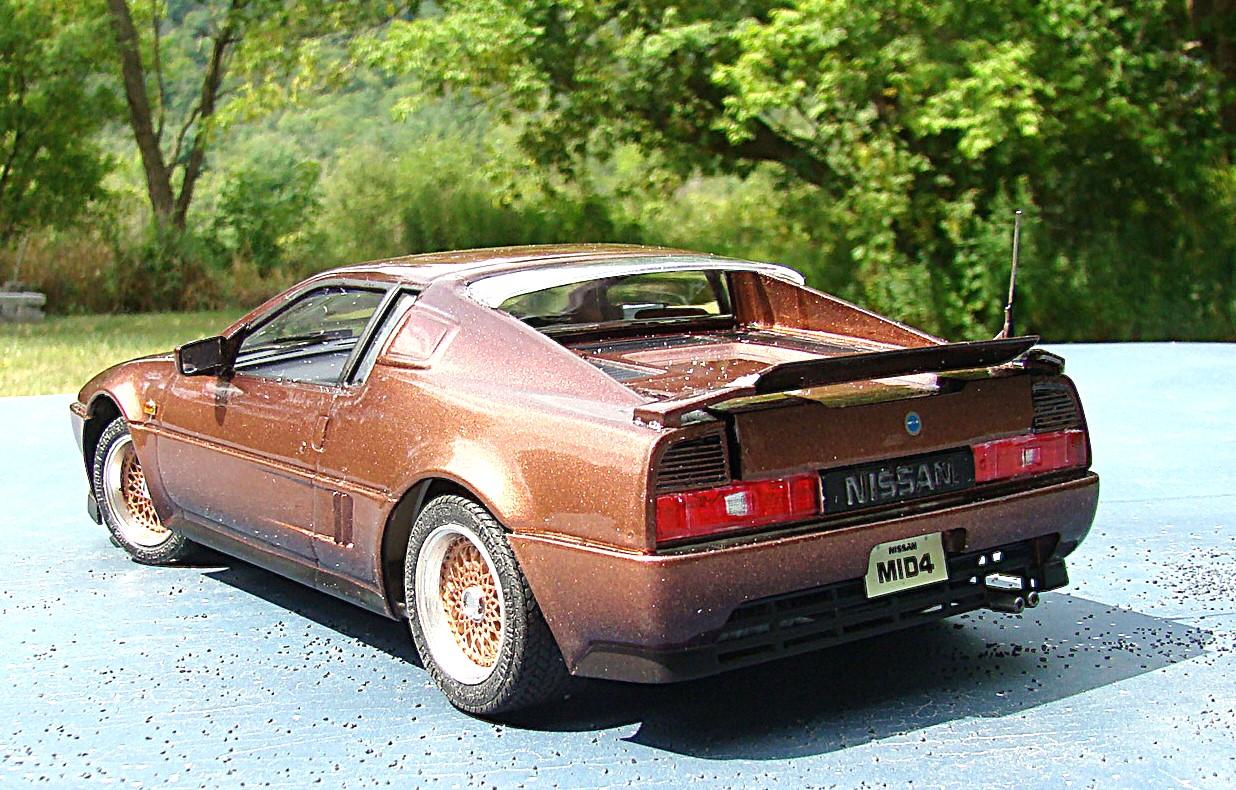
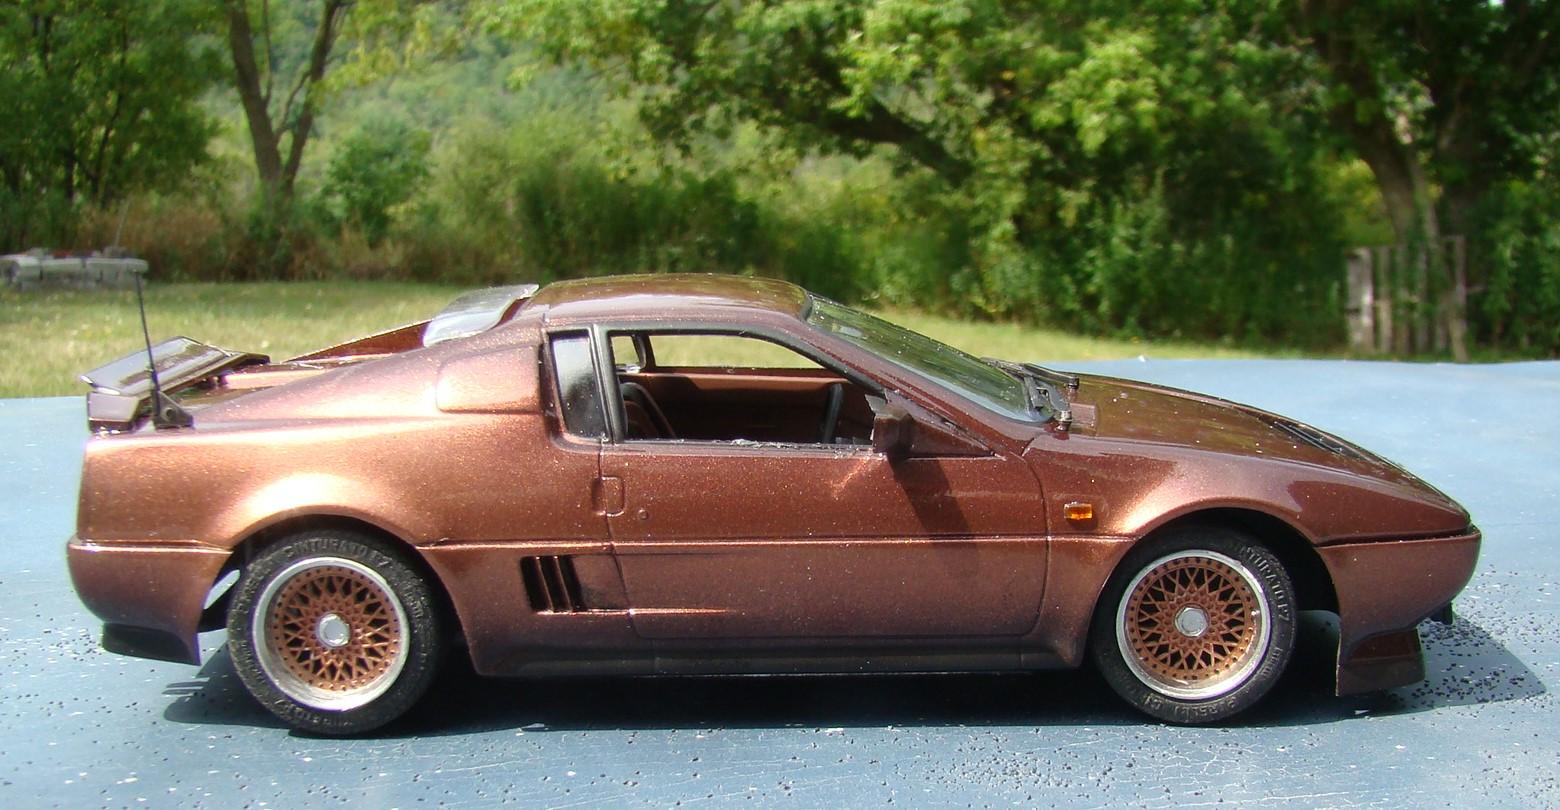
This kit started out as a paint excercise using a dark bronze nail polish. Nail polish is difficult to spray and the Tamiya X13 clear coat didn't help the somewhat bumpy finish. It would require lots of sanding and polishing so back in the box it went. Recently I was using some 2K clear and knew I would have to mix more than I needed. (I had two pre-measured bottles) So i dug this one out and sanded it down with some Tamiya 3200 sponge sanding pads attached to an electric toothbrush. This got most of the bumpiness out and then a quick scrub with scouring powder and the 2K clear did the rest. The result was way better than I thought it would be so I finished it. Kit is mostly curbside but the rear ewngine cover is removable and there is a little bit of engine. More details in the picture captions. Thanks for looking and comments welcome. Got just enough sunshine to take this picture. Paint was fogged with black on the bottom and around some of the other features. Wheel centers were done with the same nail polish but no clear. Interior is Tamiya LS Nato Brown with black accents. Spent a lot of time on the rear end . Engine cover gave me fits but eventually did what I wanted. rear spoiler is adjustable and I broke it off more than a few times. Still works though. The Mid 4 made its debut at the 1985Internationl Motoer Show in Germany. Four prototypes were built. This car was aimed at the Porsche and BMW market but never made it to production. It had a transverse mounted V-6 that put out 245hp. Top speed was 155mph. It had all wheel drive and all wheel steer. Many of the features of this car eventually made it into the Nissan Skyline.

-
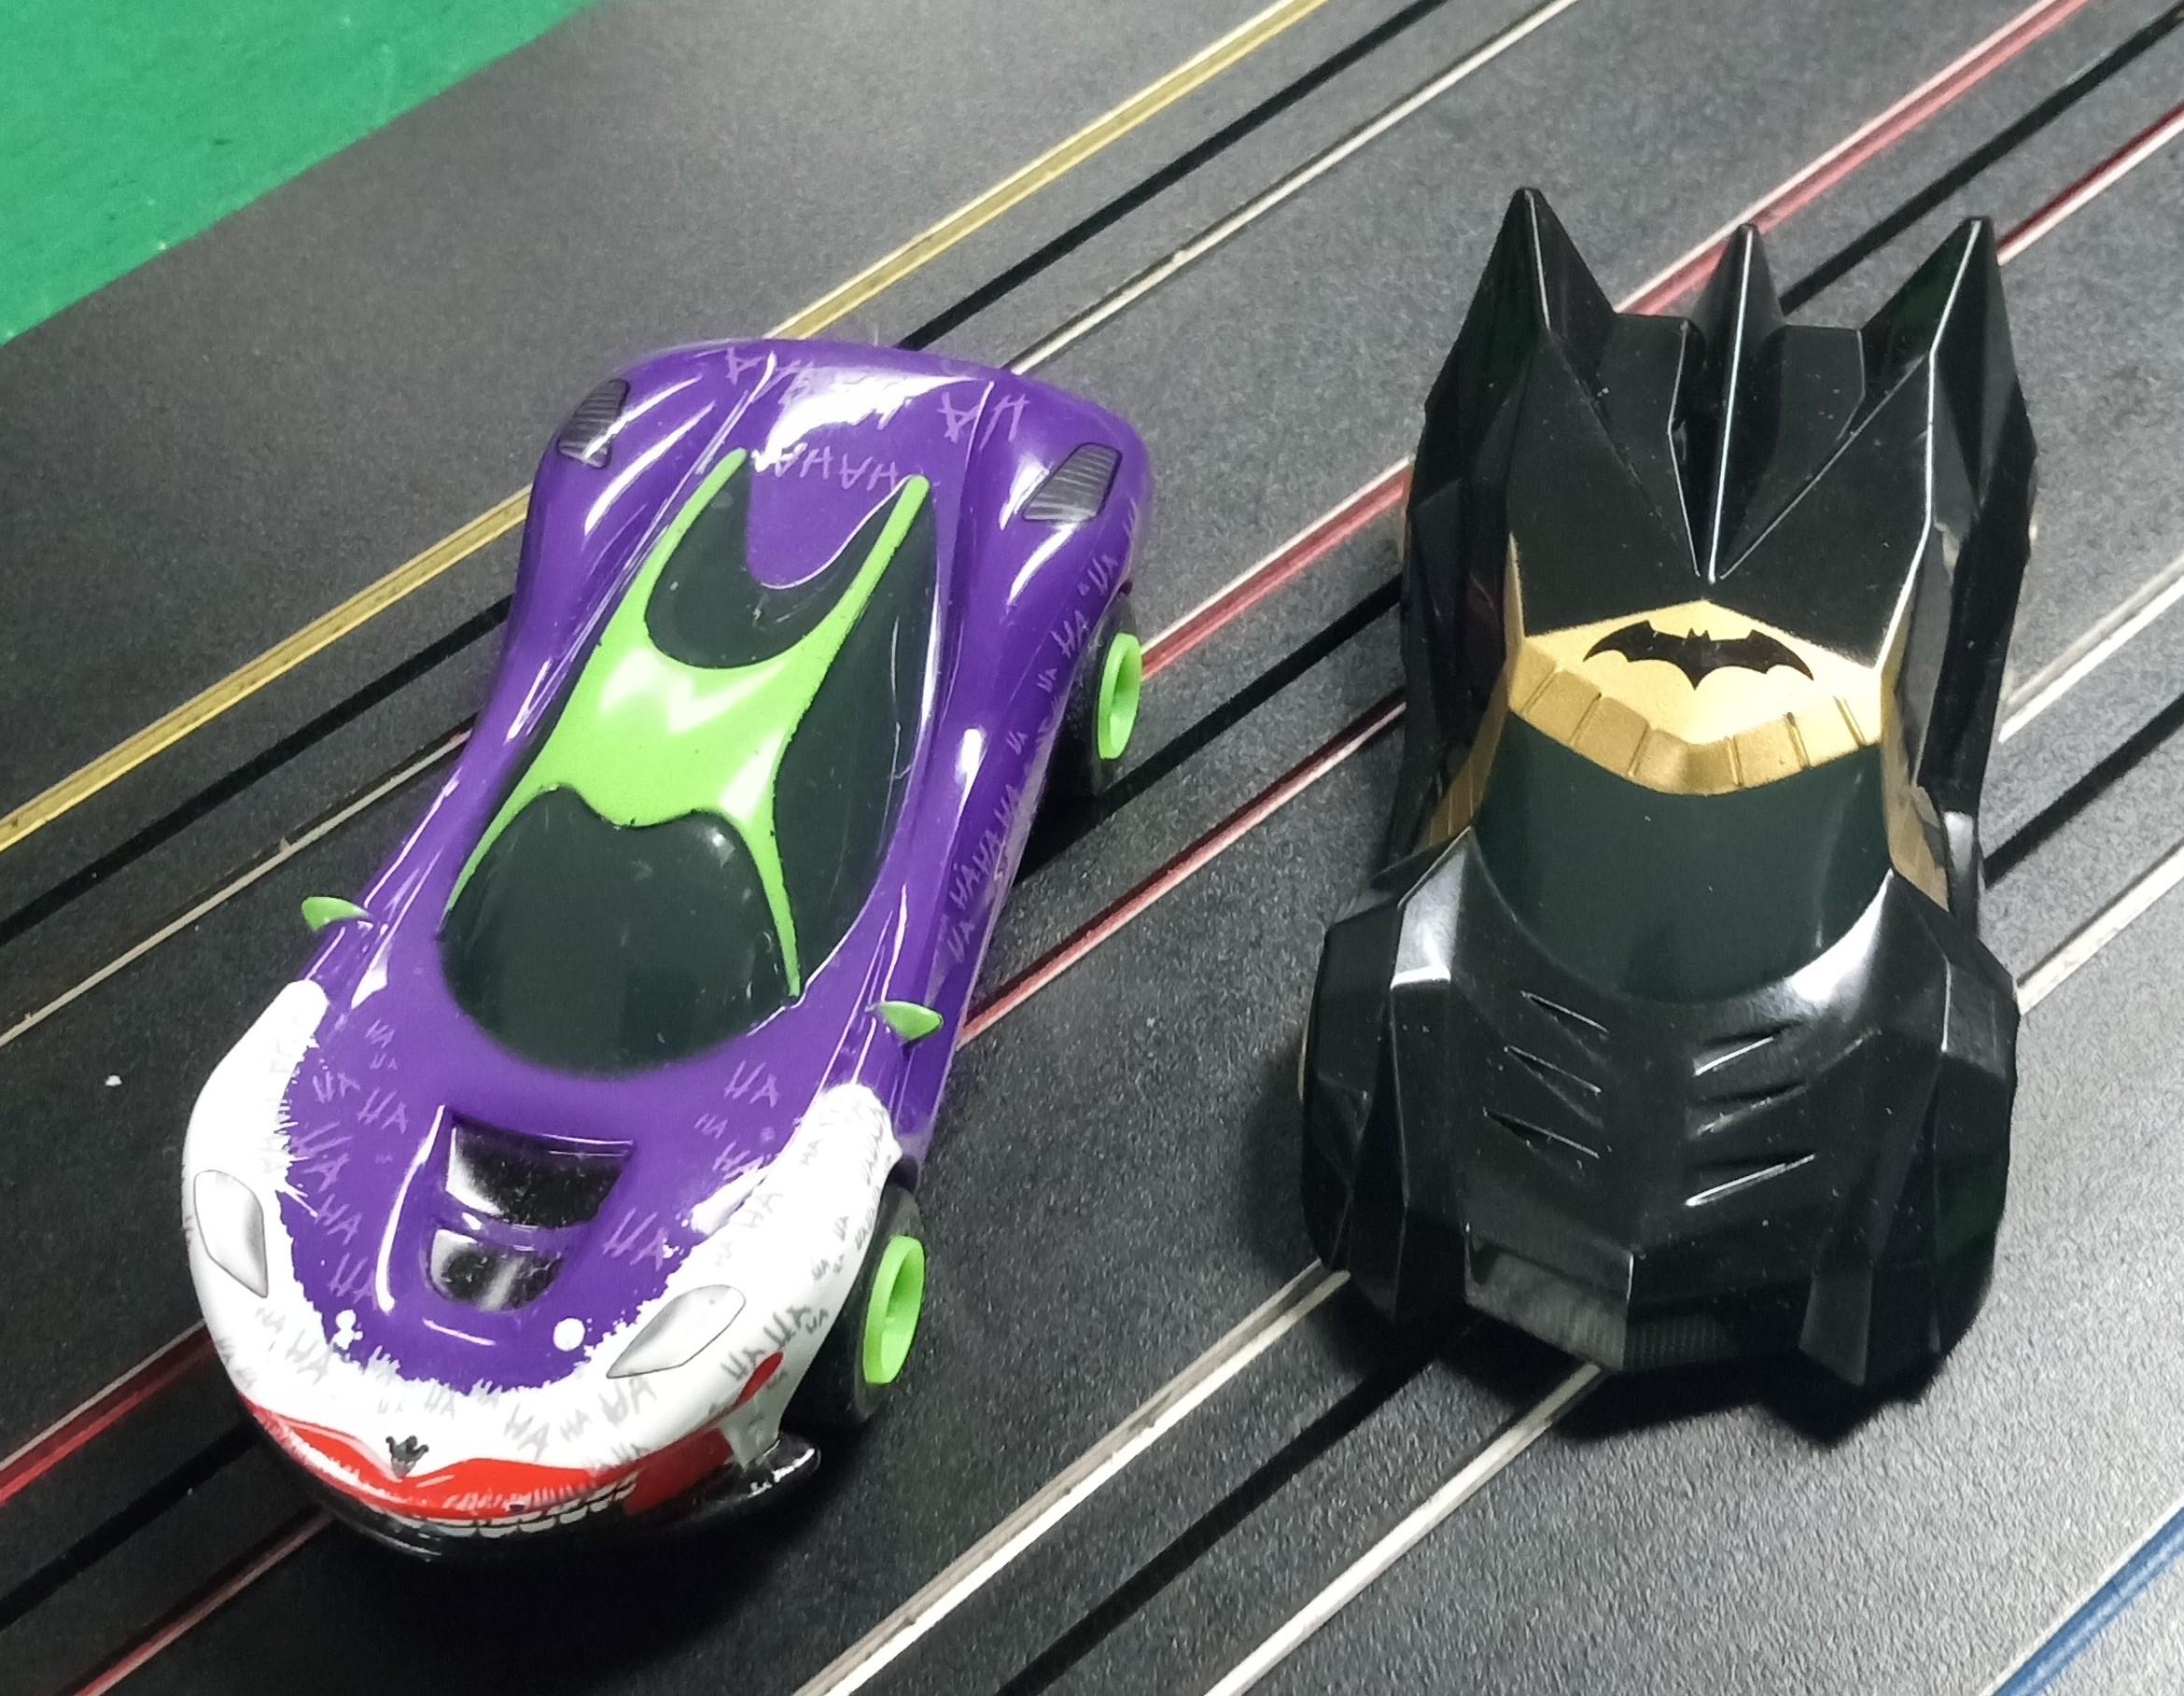
Thanks Brian...they run like a violated primate. And on only 14 volts.
-
Just had to have these to add to my growing Batman collection. Scalectrix HO off Ebay. Good score.
-
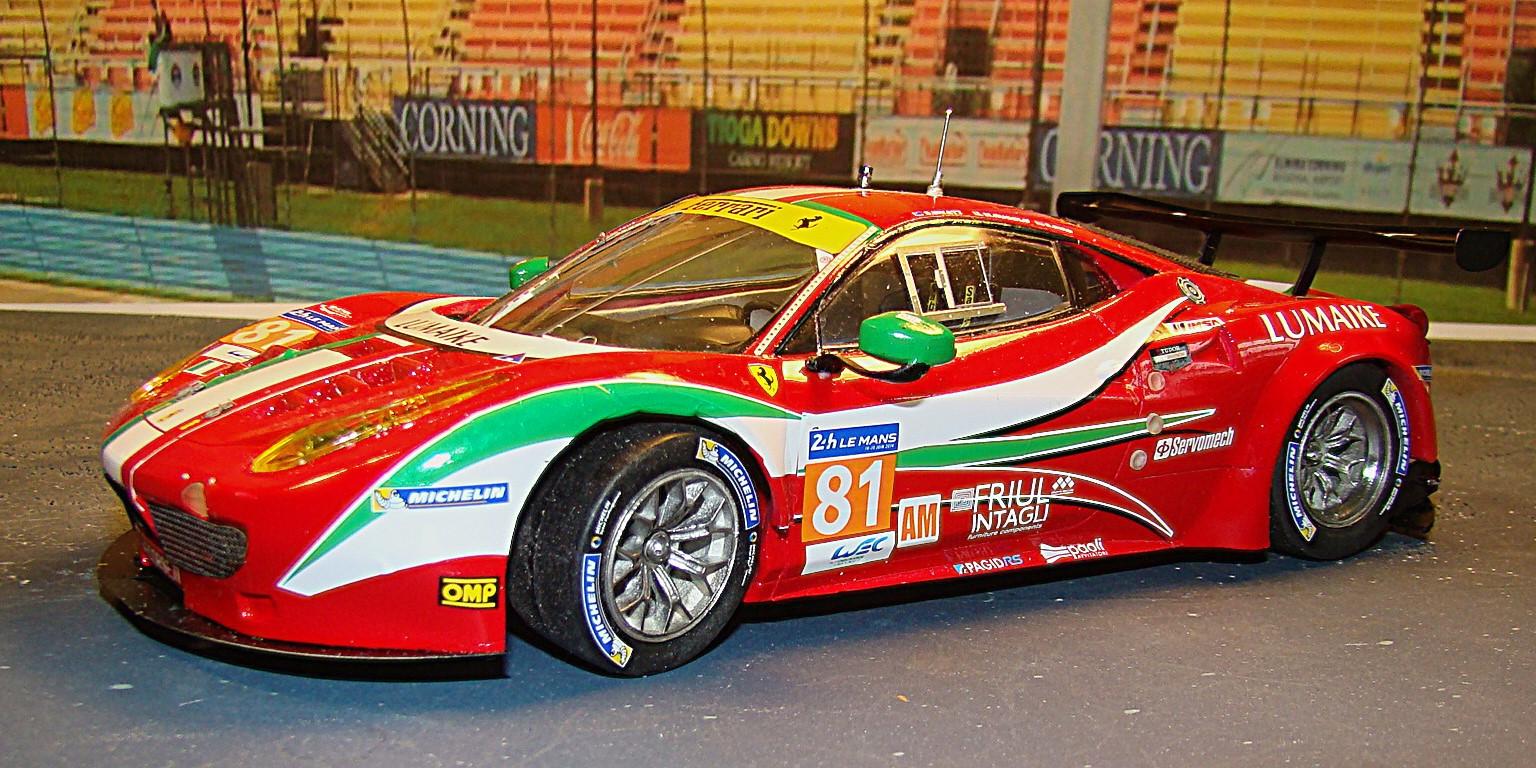
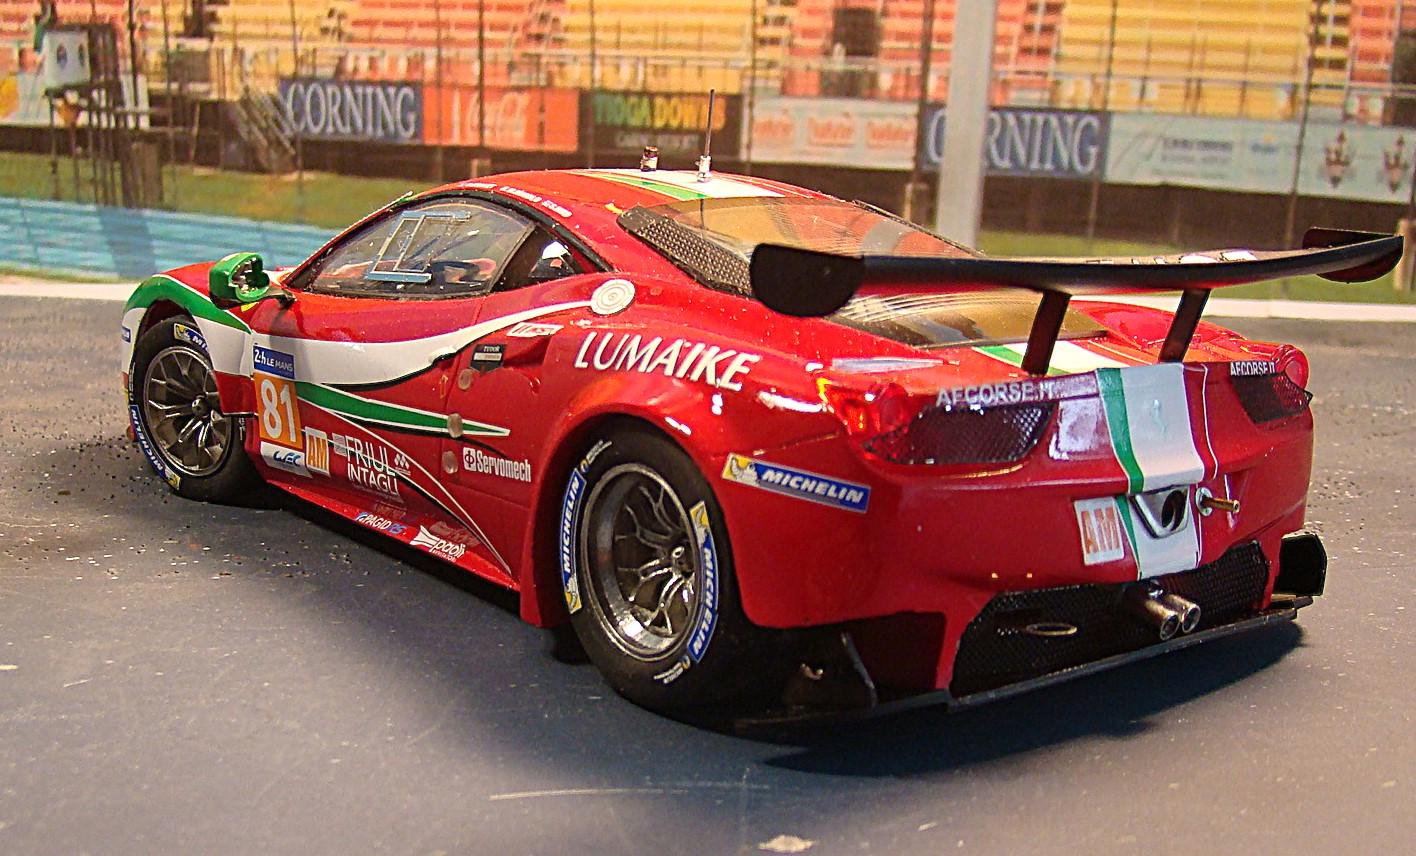
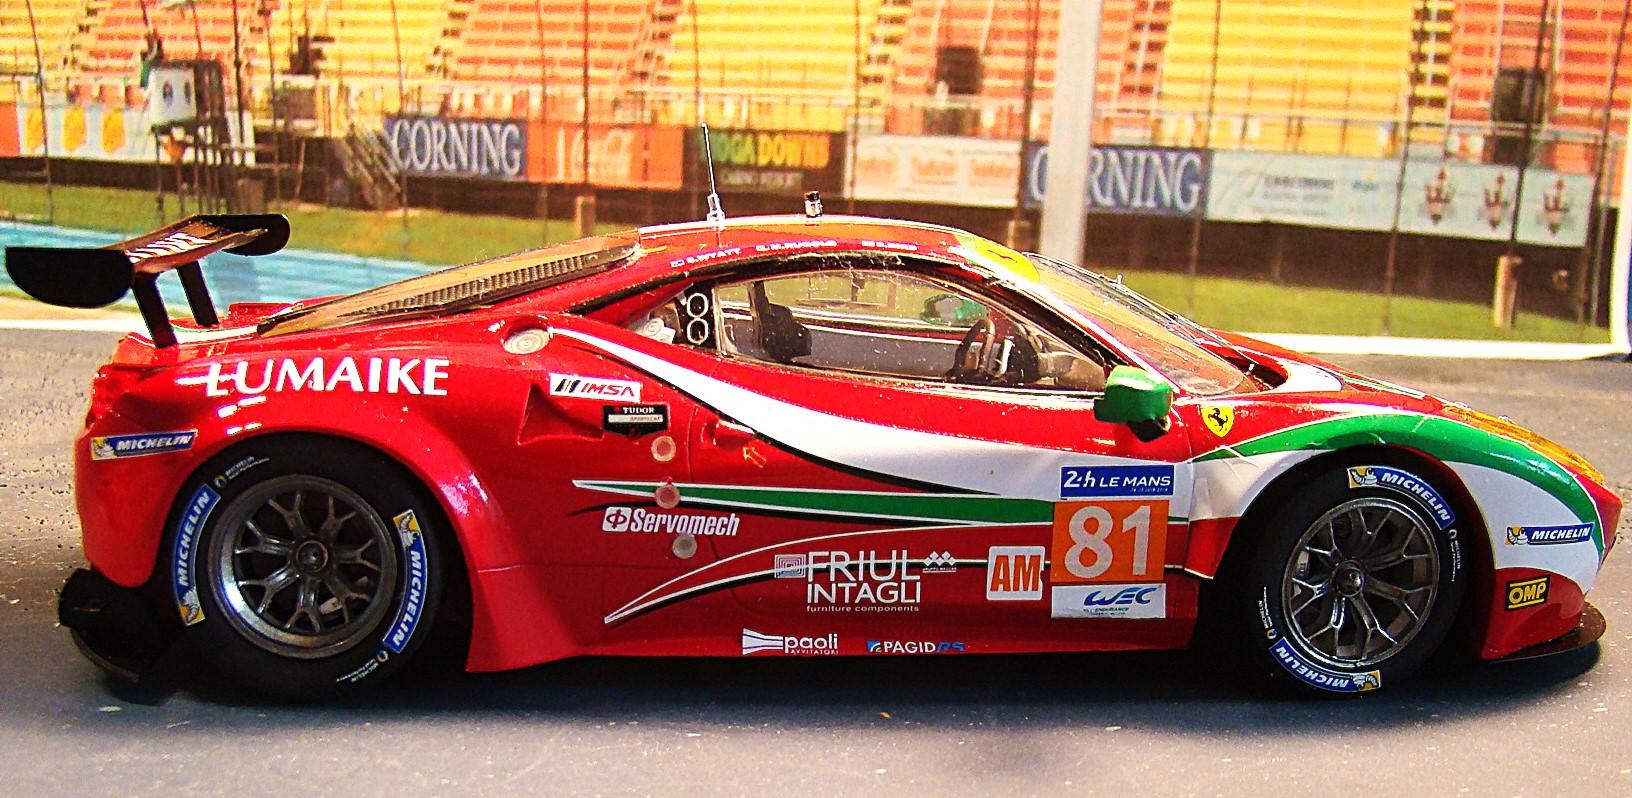
Awhile back I bought a bunch of decals and in that set were some for a Ferrari GT2 racer. I had a Revell kit and swapped out the wheels and a wing from a LeMans Corvette. This project was going to take a lot of mods to the body and is something I can do but am not fond of. Then along comes this Studio 27 resin body kit. Its a conversion and requires a 1/24 Fujimi donor kit for the chassis. Problem solved. Well...maybe. Adapting the chassis, windows and other modifications turned this project inot a lot more work than I thought. But I soldiered on and this is the result. Color is Gravity GC210 Ferrari Rosso F1. I used 2K clear. Below the pictures are more comments on the build. Thanks for looking and your input will be appreciated. Finished racer and detail everywhere. Lots of photo etch in this conversion. I used the Fujimi kits front suspension because it steered. My pet peeve. It had to be lowered almost 4mm to get the stance right. Windows had to be cut apart and then carefully ground down to fit. Rear end detail and lots more PE. That small piece of tubing out the back is for the air jack. Studio 27 decals fit nicely but took a lot of solvent and time to conform. I like the 2K clear for it svery hi shine and the fact that its cured in 2 days. I added quite a bit to this kit. Interior recieved the most with a new racing seat and wired electrical boxes. Glad this one is done.
-
Wheels and tires look super. This is coming along great.
-
Emre.. you have scored another hit with this one. I bought both these kits new and dug into them over the years but never completed. This is truly inspiration for me to do so. A great collection and some good background info. Very nice post.
-
Group 44 Jaguar XJR 5
Rich Chernosky replied to Rich Chernosky's topic in Other Racing: Road Racing, Salt Flat Racers
-
Helmut...that is indeed the old AMT slot car body kit. I have one. They issued it as a static model or slot car body. I bought all of them at the time. It was the beginning of my modeling career and those kits and others got me started and began my facination for Can-Am cars. Will be following and see what your creativity comes up with. Off to a good start.
-
Some of my previous builds - kensar
Rich Chernosky replied to kensar's topic in Other Racing: Road Racing, Salt Flat Racers
You are quite welcome Ken. More of your handiwork, all of them very clever. -
Some of my previous builds - kensar
Rich Chernosky replied to kensar's topic in Other Racing: Road Racing, Salt Flat Racers
That is a very impressive collection. I wouldn't hesitate to add any one of them to my collection. (except the Jag...just did one...lol) I have followed some of your work and it is inspiring. This was a great post and thank you for the comment on mine. -
Group 44 Jaguar XJR 5
Rich Chernosky replied to Rich Chernosky's topic in Other Racing: Road Racing, Salt Flat Racers
-
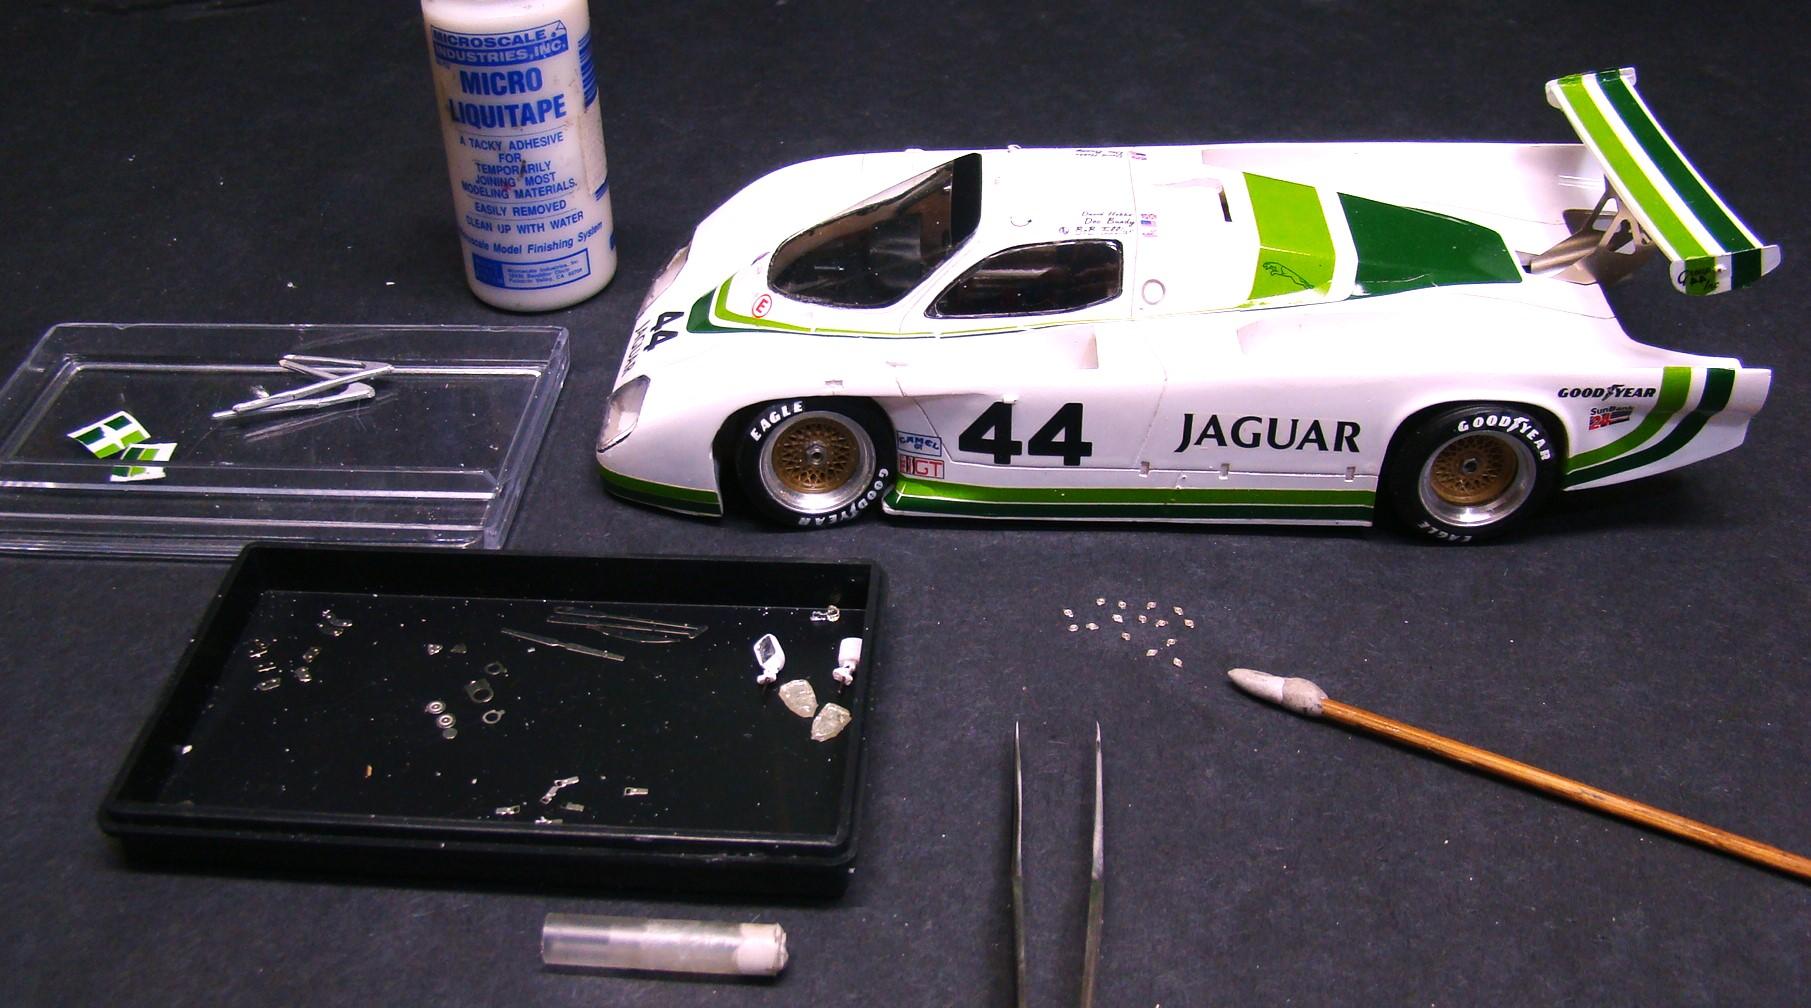
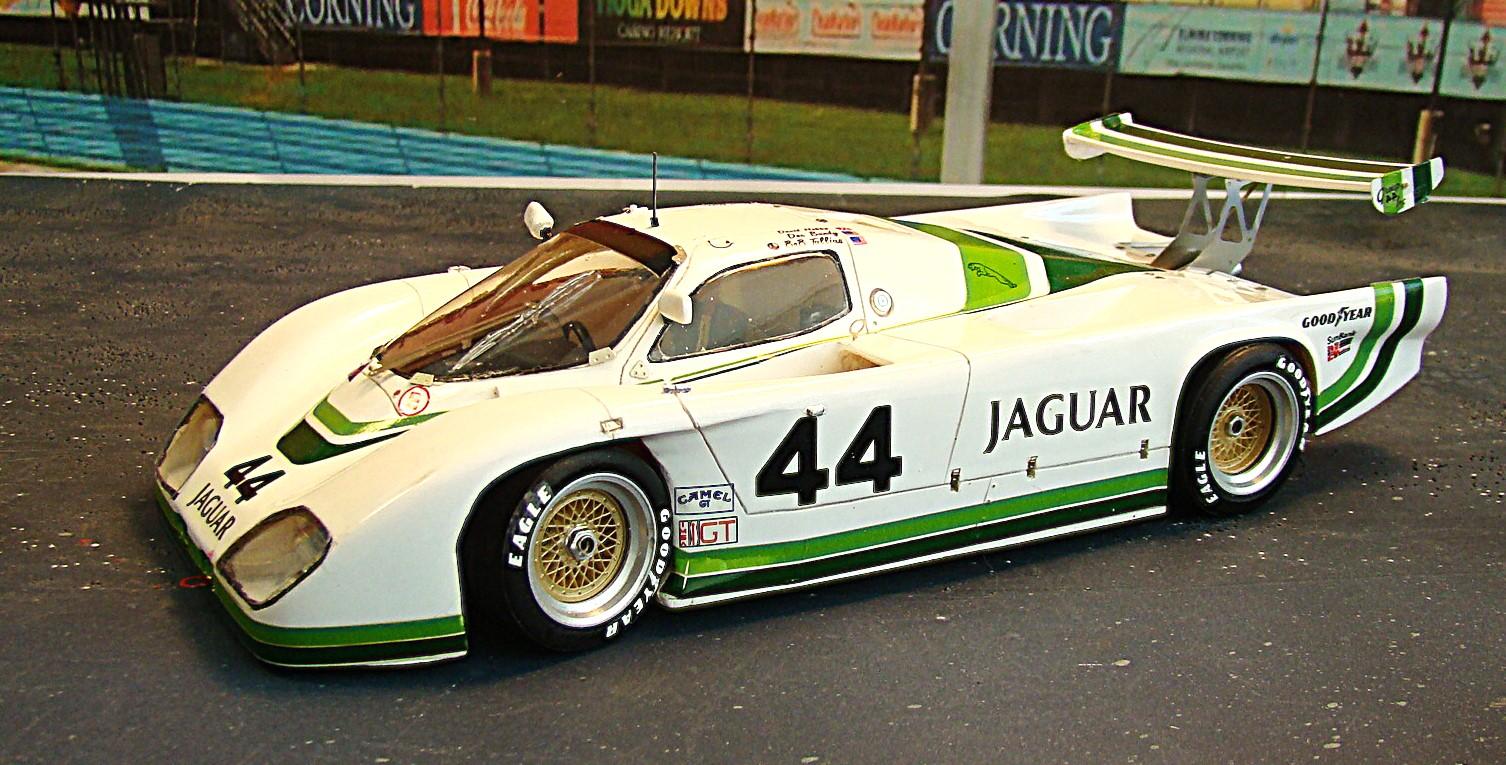
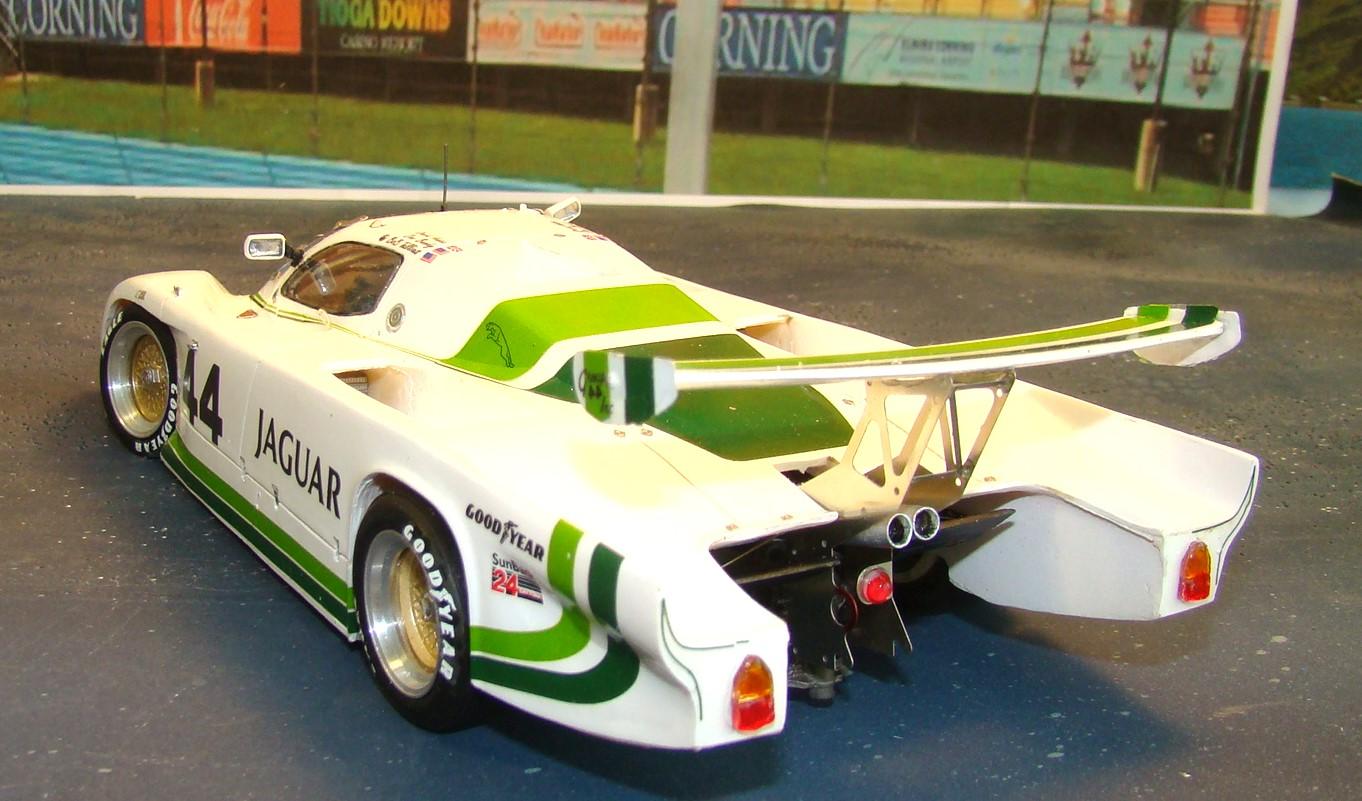
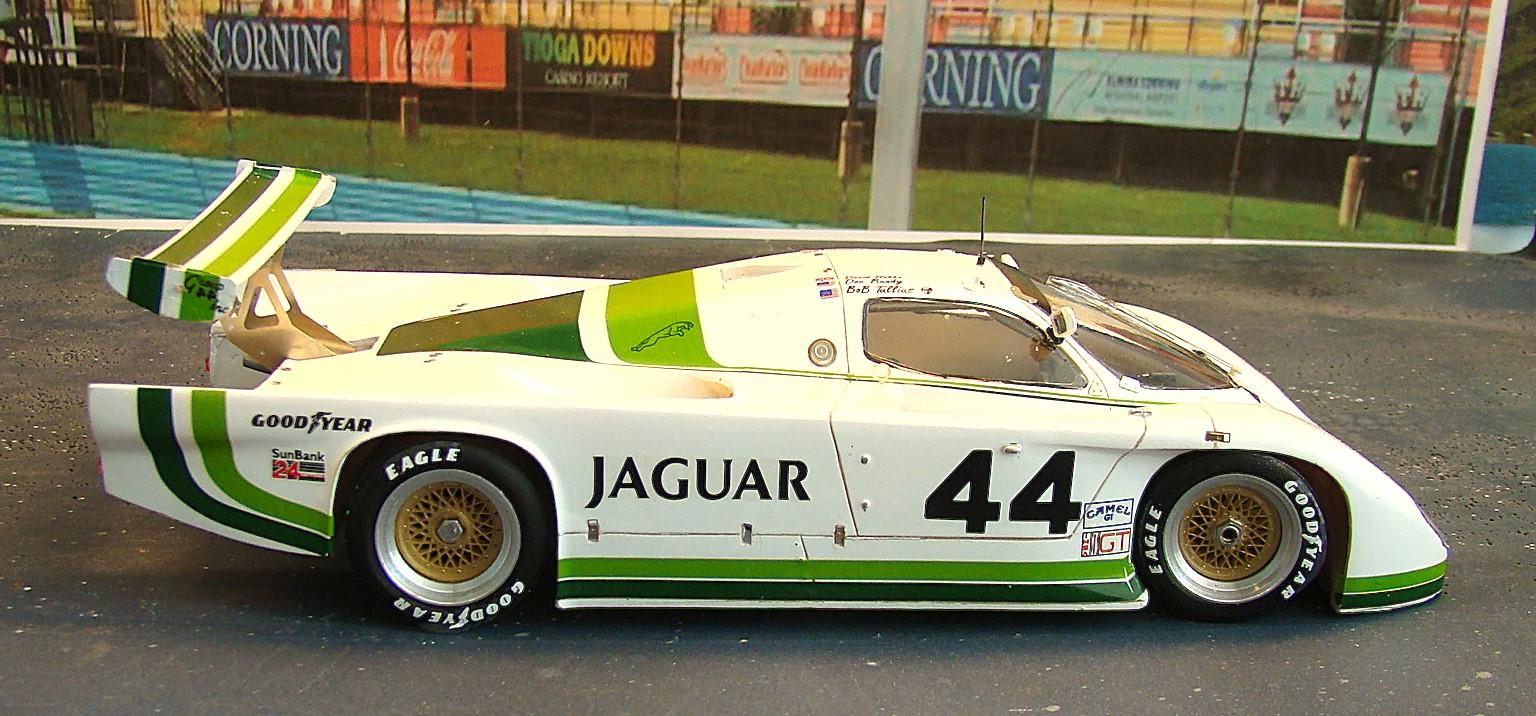
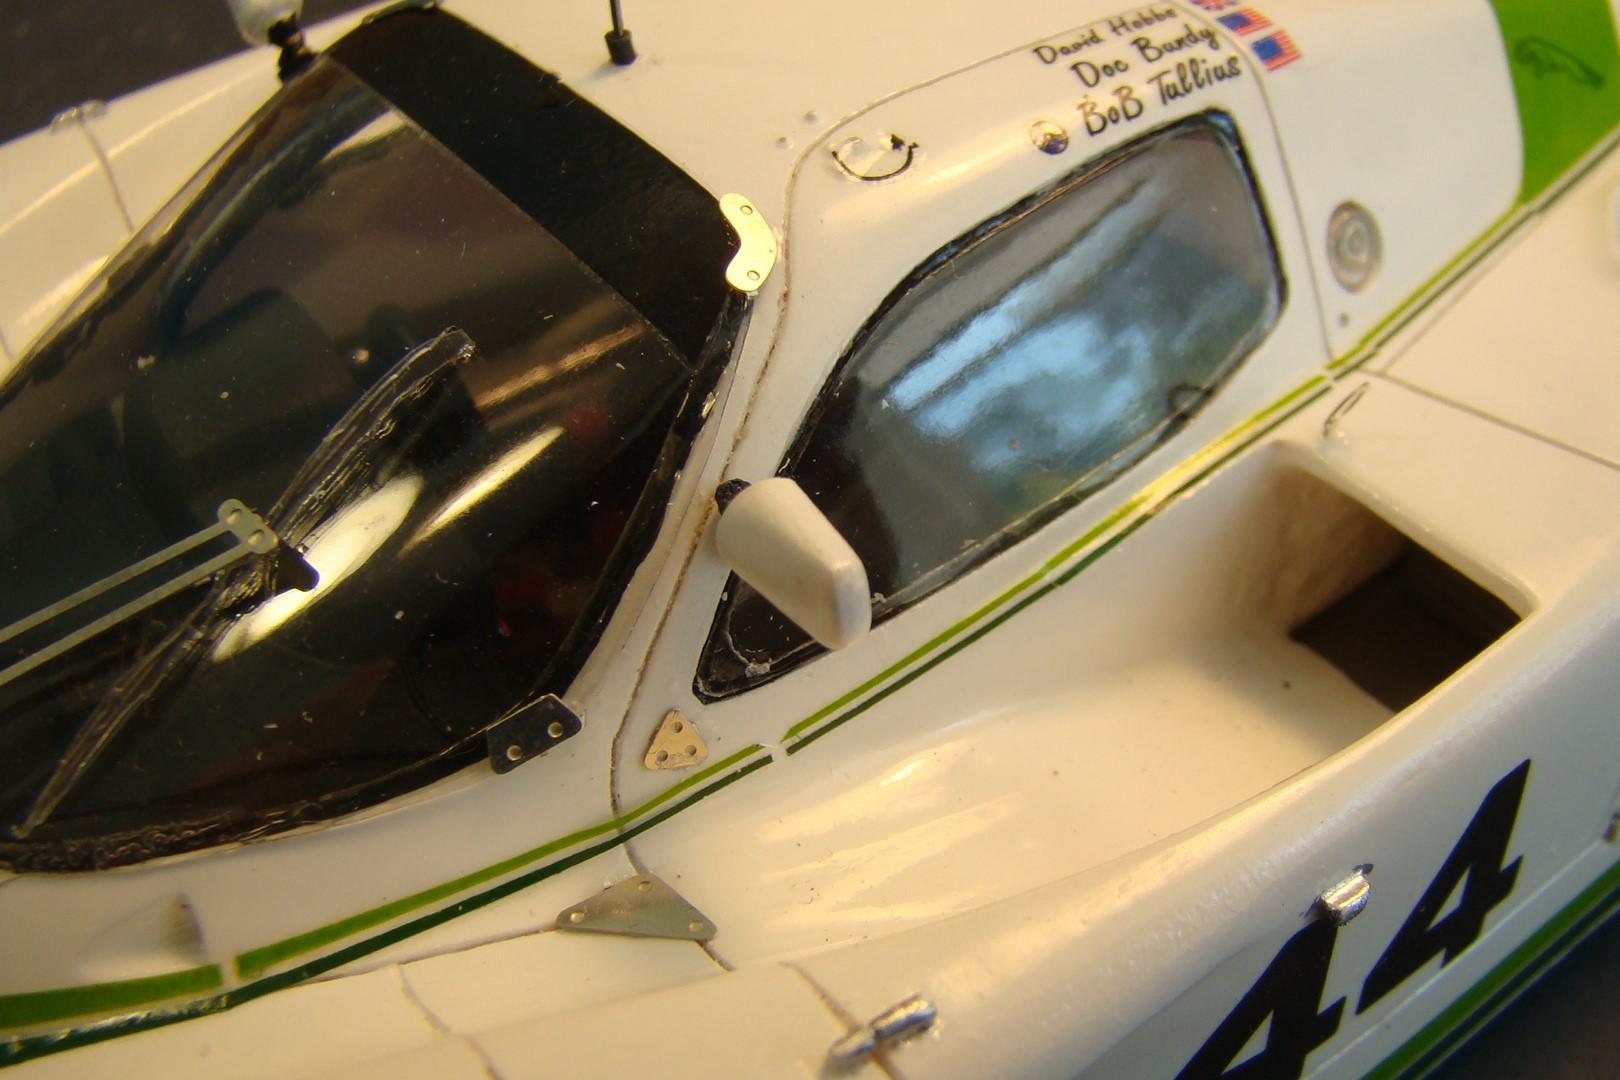
I first saw this car in the garage around 2005 at the Watkins Glen Historic race. What impressed me was the meticulous preparation of the car. What really caught my eye ythough was the gleaming white paint and crisp graphics. Sent mu pics to a friend of mine and he sent back a pic of his model. Now I had to have one. Profil 24 produced this kit in 2001 and by 2005 they were all gone. Sigh!!. Posted an Ebay search with emails. 17yrs later (2022) one finally showed up in Aug. I started it right away and got to the body paint. Was looking for the brightest white I had and that turned out to be Badger 16-107 Airbrush white. Most clears will either slightly yellow white or dis-colort it. My choice of clear was Tamiya X-22. After it cured (about a month) I started polishing it. Got the shine I wanted but it was really hard work. So every once in awhile I would dig it out and polish a little more. Only took 3yrs but now its finished. More details in the picture captions. Took this shot during final assembly to show some of the method to my madness. When working with PE I completly clear the work bench and lay down a full size sheet of black poster board. PE really shows up on this. These are the only tools I have out. I apply the PE to the model with a bamboo skewer with some poster tack wrapped around the end. A small dot of Micro Liquitape goes on the model and I let that dry. Its very sticky even when dry. Its a waterbase contact cement. The poster tack is just sticky enough to hod the part and it lets go when its applied to the glue. Almost all my PE is applied this way. The bamboo stick points to the 15 really tiney Dzus fasteners oif which 11 went on the body. I rarely lose parts this way Aaah finally done. The wheels are poseable and this was done when I first got this kit. My trademark. Decals on this kit were outstanding and posed no signifcant problem. rBusiness end of the Jag. Car used their V-12 engine. Lots of fiddly detail back here. Wing support required some special attention. Model sat on its wheels nicely despite the rather poor instructions. Lots of guess work here but it finally turned out. Really like this model now. Group 44 had some sucess with this car in IMSA GT winning two events. It was fast but the best they could muster in LM was a 3rd. I consider this one of the sleekest and best looking cars of the prototypes. Some of the incredible photo etch detail that came with this kit. I changed the wiper bade as the kit one wasn't so hot. Thanks for looking and comments welcome.
- 20 replies
-
- 13
-

-
Vince...having done this kit and performed the modification you listed....I think you did an outstanding job. Your door fit is amazing. Paint looks great and I don't see any of that seam in the pictures. Are you going to put the bumpers on or just leave them off ?
-
We are working on the same kit. See you took a look at mine. I have lots of build notes if you get stuck. Always cool to see how someone else does the same kit. Good luck with it. Look forward to seeing it done.
-
-
Tamiya Mazda Eunos / Miata - zombie build completed
Rich Chernosky replied to iamsuperdan's topic in Model Cars
That's pretty cool Dan, and very creative. The color is something you just don't see very often. I like it! -
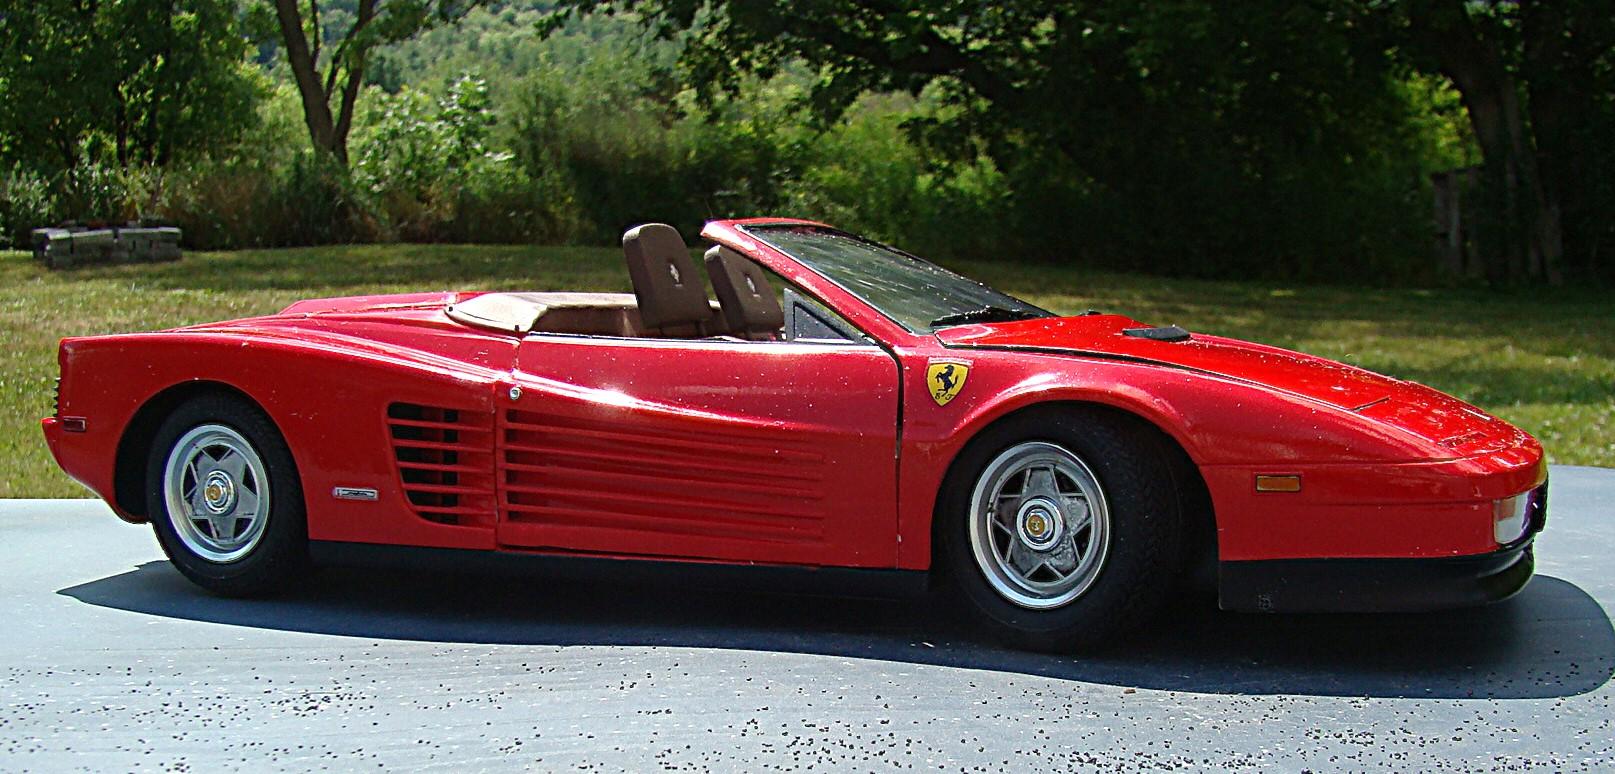
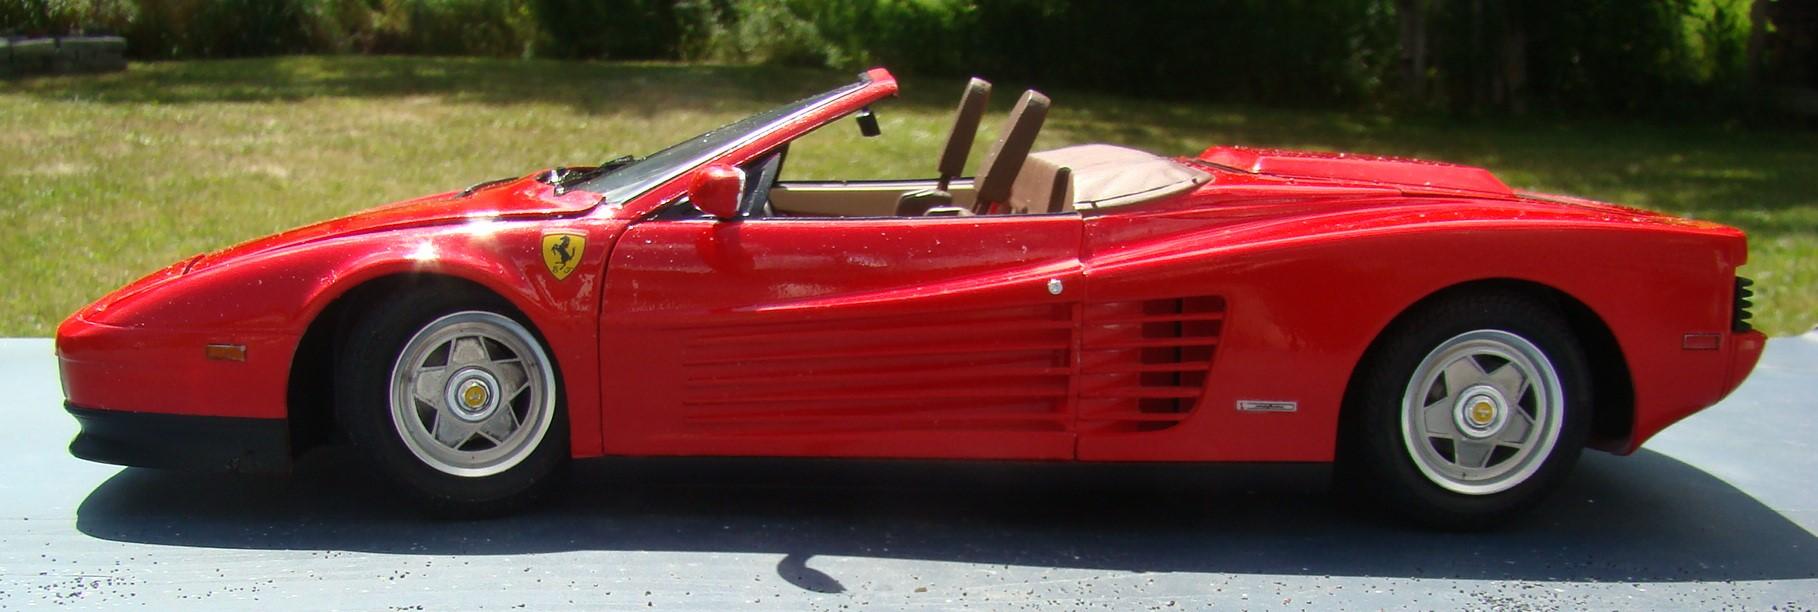
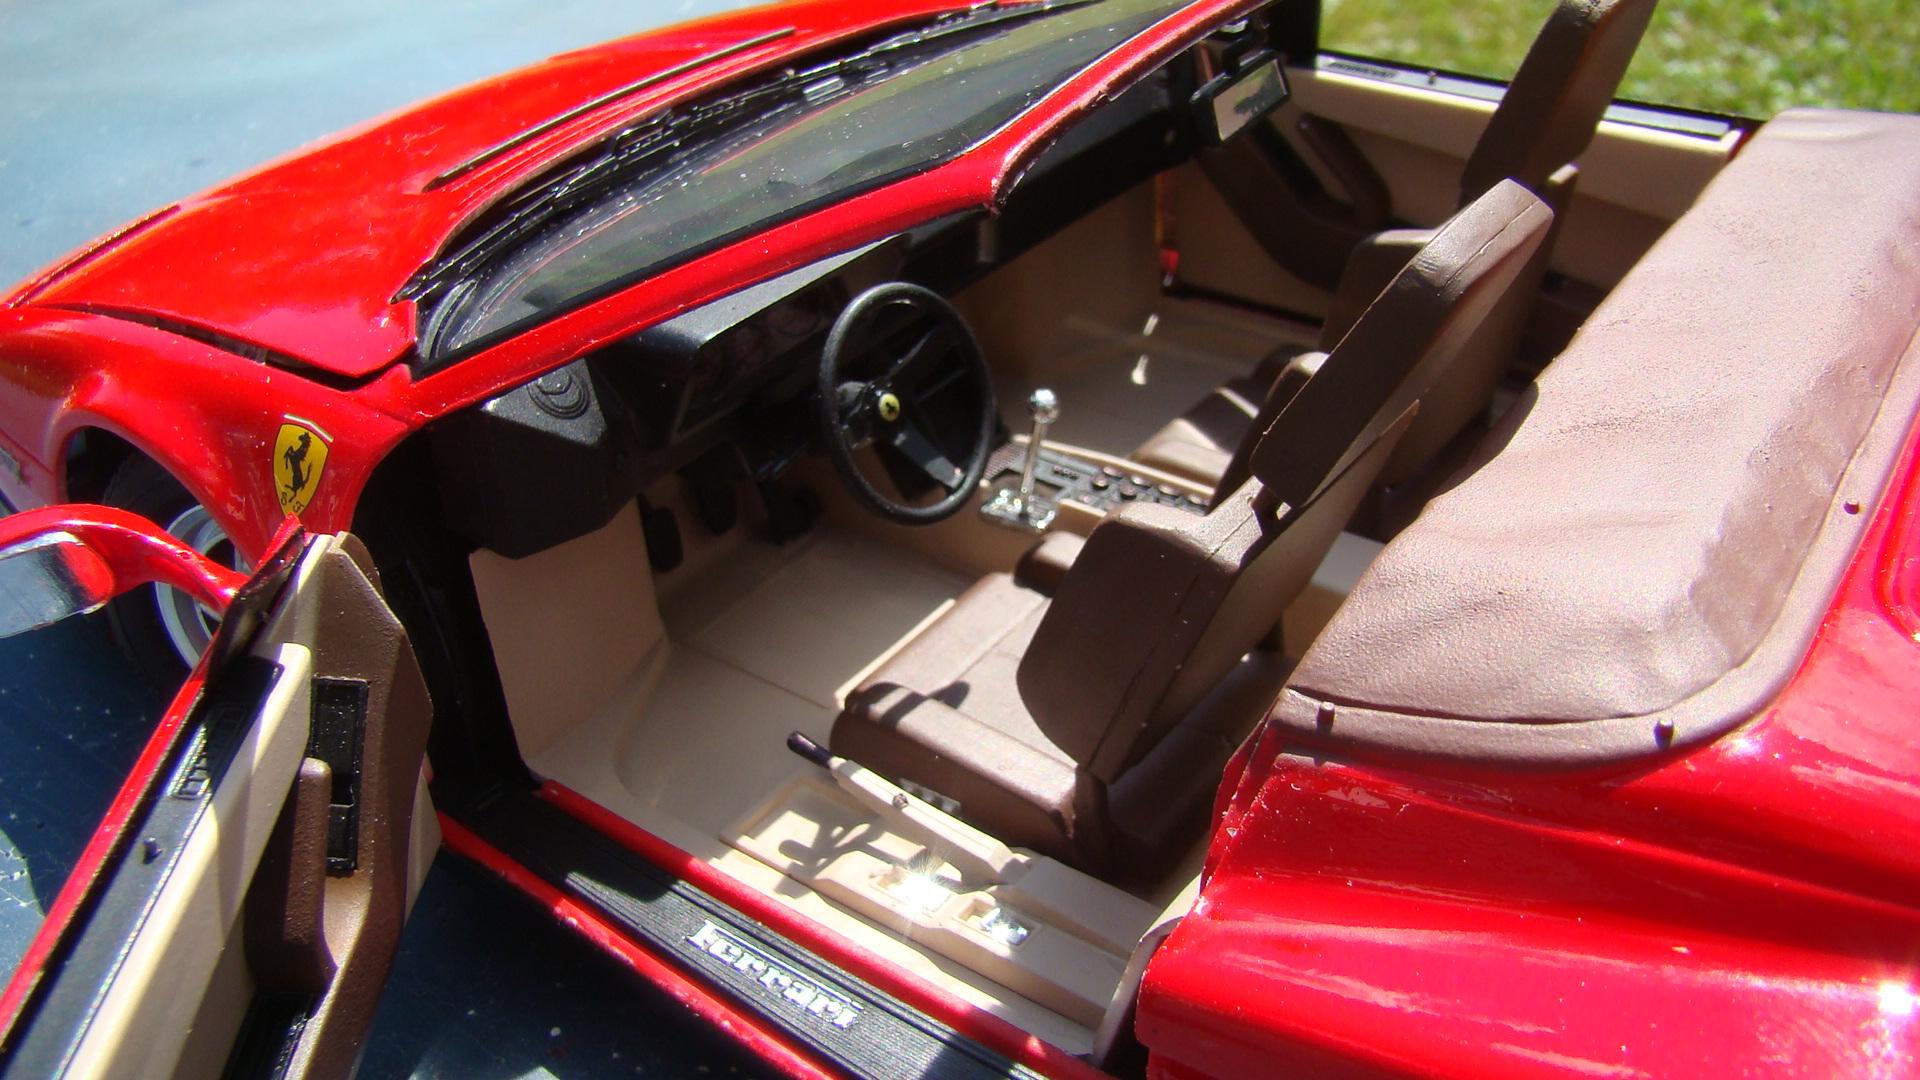
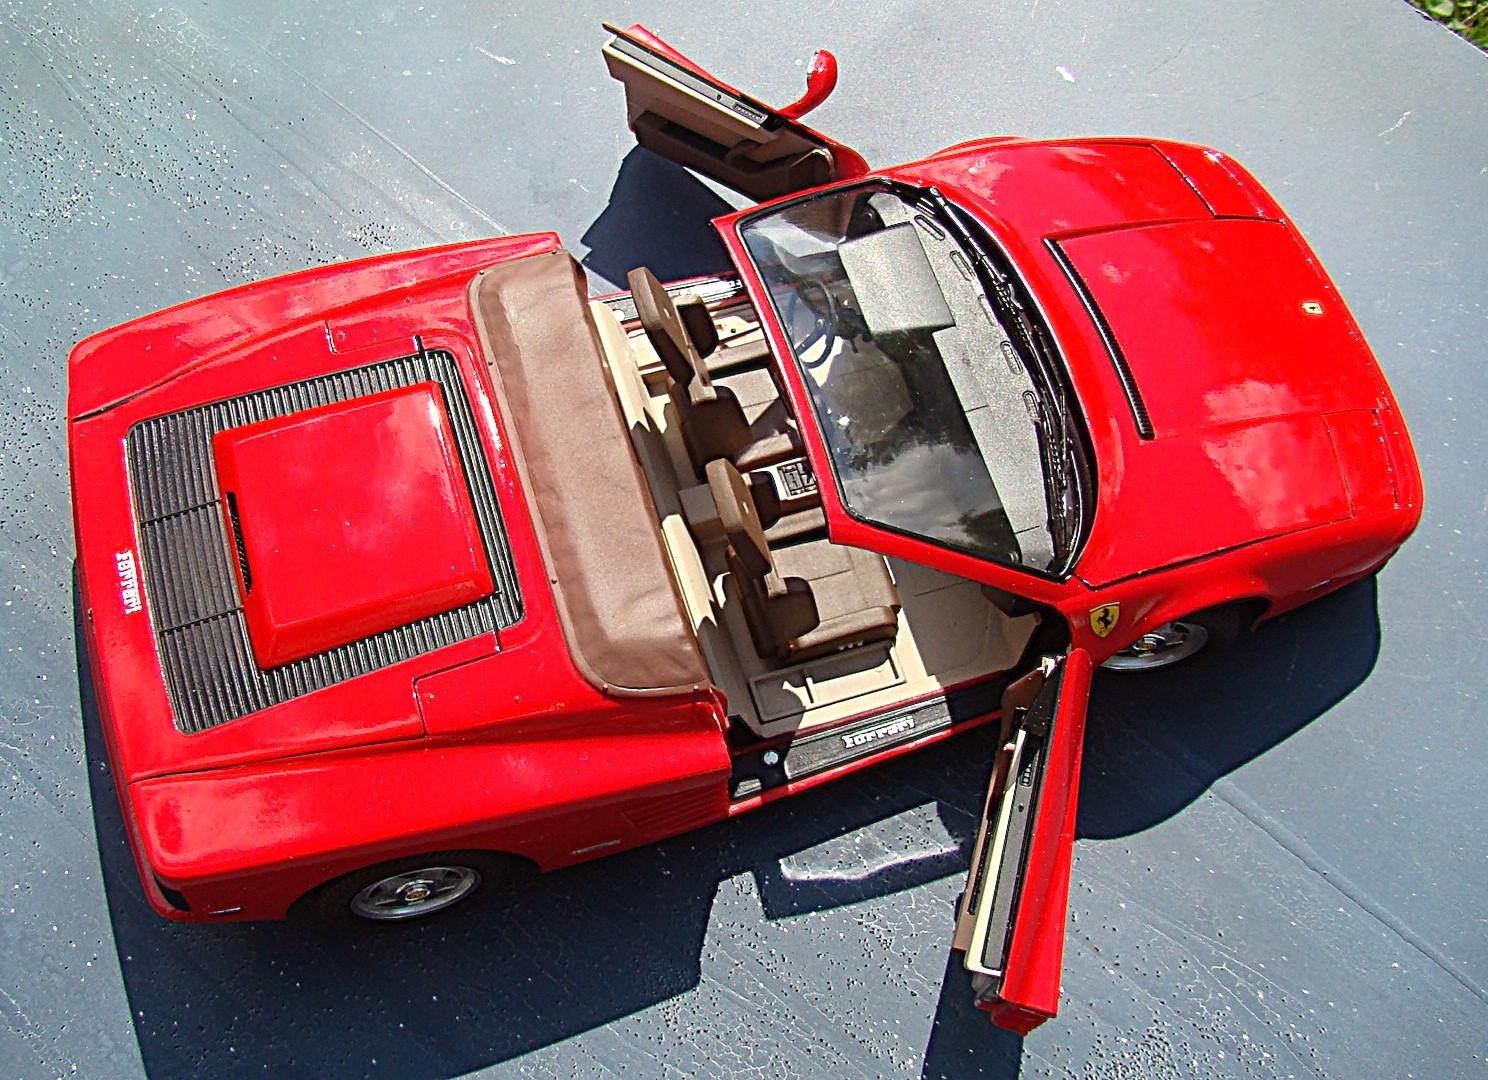
The second car in my series of Fujimi 1/16 kits (1 more to go) This is the berlinatta (coupe) version of my last post. Link is here 1/16 Ferrari Testarossa spyder - Model Cars - Model Cars Magazine Forum. Both cars had the same chassis and I did all three of those at once. Which accounts for the speed of this build. Although, this is one of those kits that fought me to the bitter end. Details in the captions. Color on this is Tamiya LS50 Bright red. Thanks for looking and comments welcome. Finished product. None of the glass really fit. Much grinding, filing and sanding allowed them to finally fit flush. Front hood was a ;little better than the spyder but still warped and required some special pins to hold it down. Interior was just as well appointed and I used the same colors just changed it up a little. Dor was alsoi fitted with magnets. Rear end and particulr the engine cover gave me fits. Hinge had to be replaced with metal as the kit one was probably made of toilet paper. This piece was also slightly warped and once again required pins to hold it in place. It still opens and the engine is the same as the spyder. Rear glass was also problematic. I am really glad this one is done. It looks good in the case next to the spyder and both reds are very close. Thanks for looking.
-
Another masterpiece from you Dave. Good art takes awhile. Glad you finished it and thanks for sharing. What happened to the car Titus trashed? Did they re-build it.?
-
-
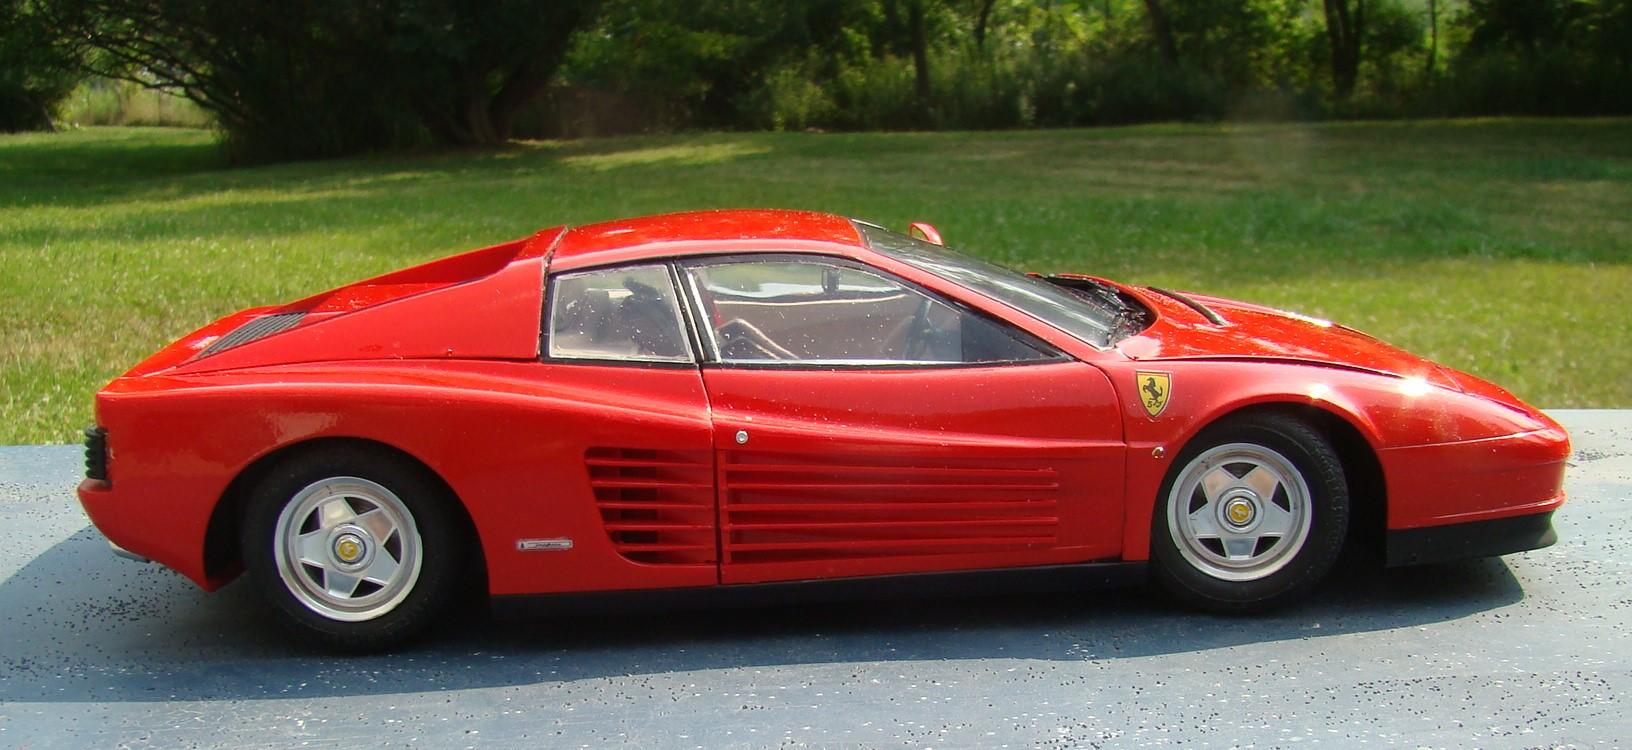
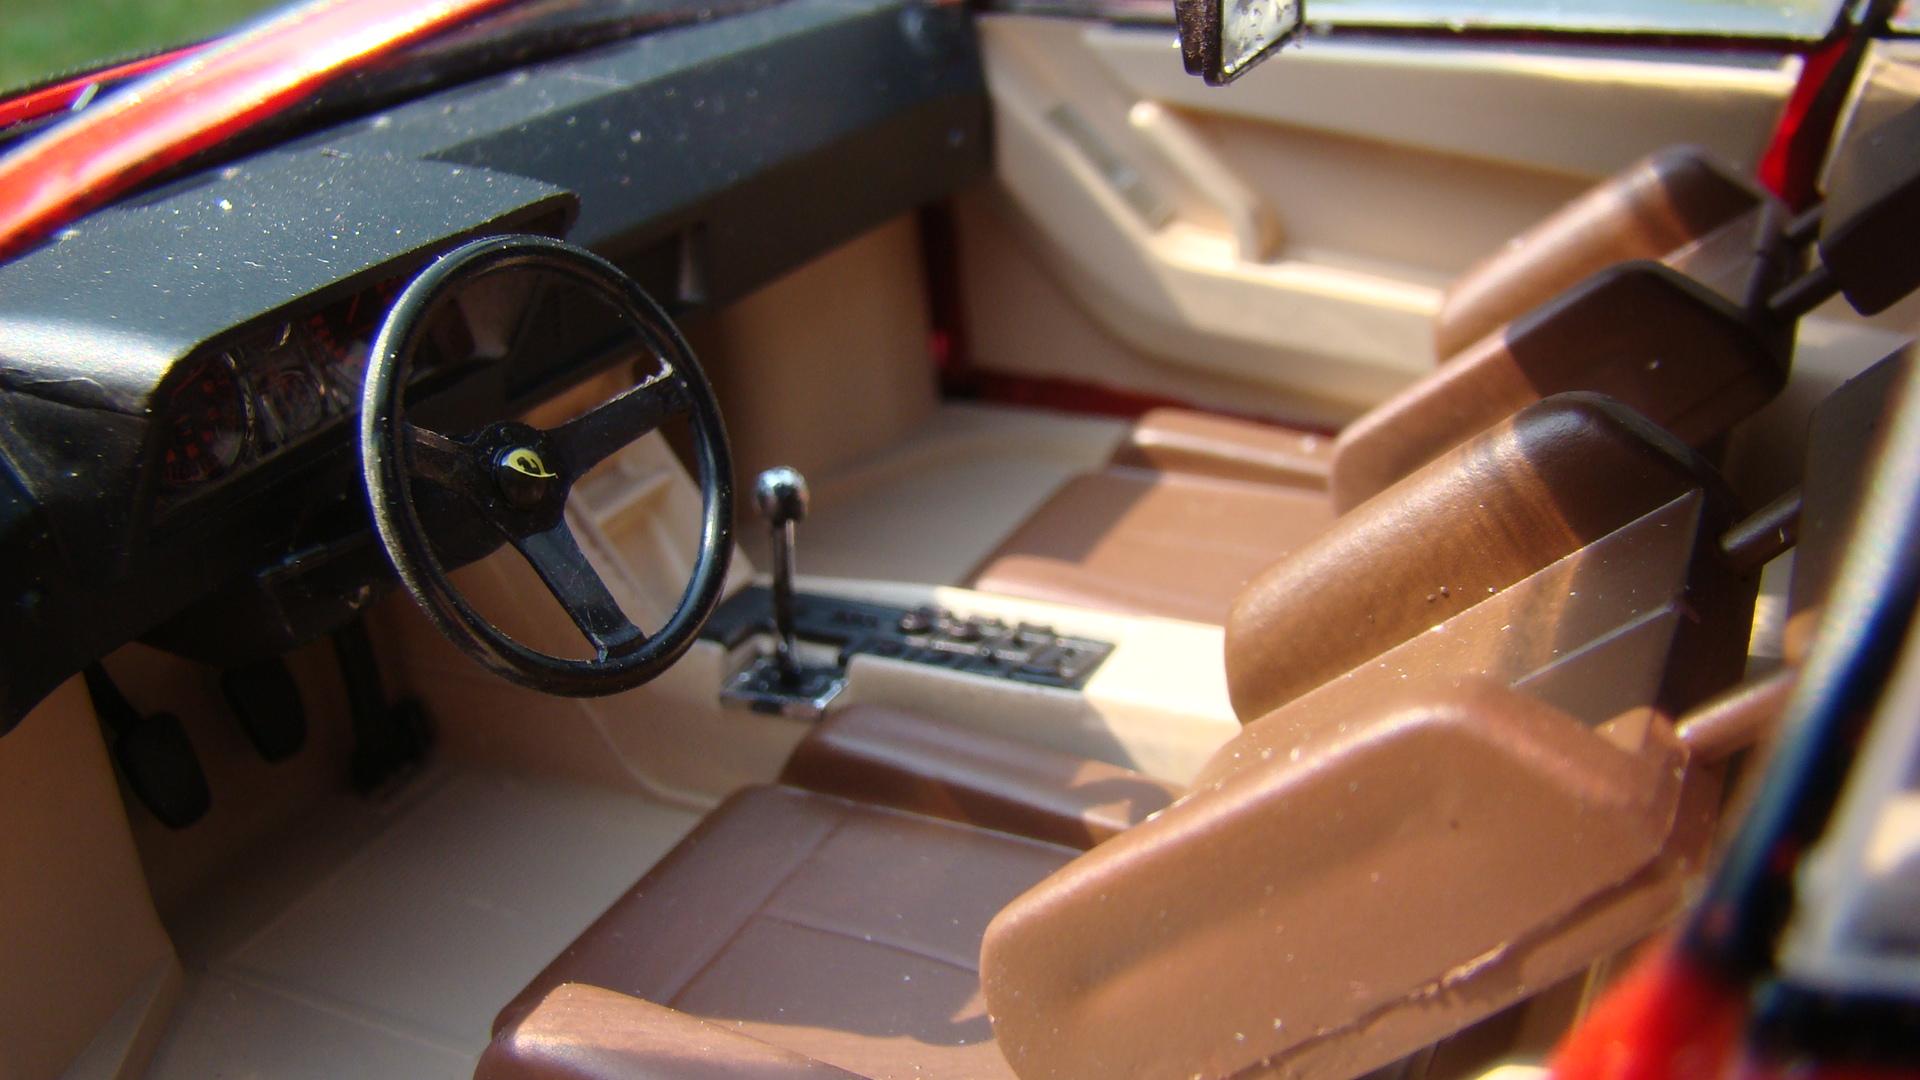
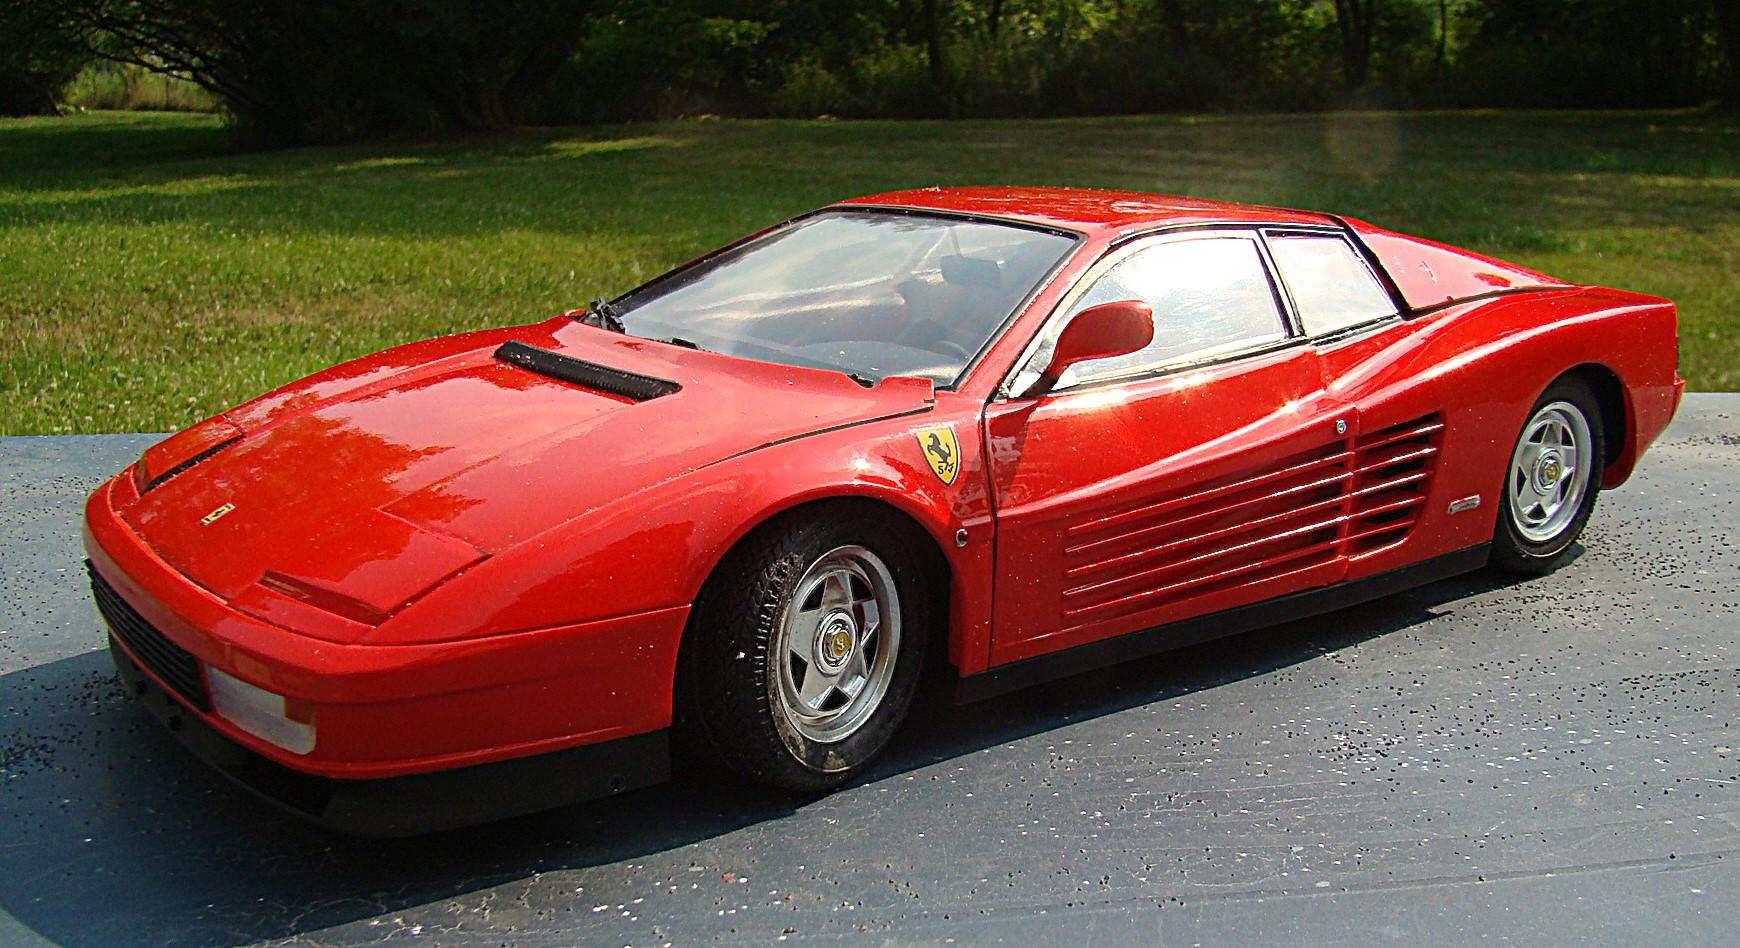
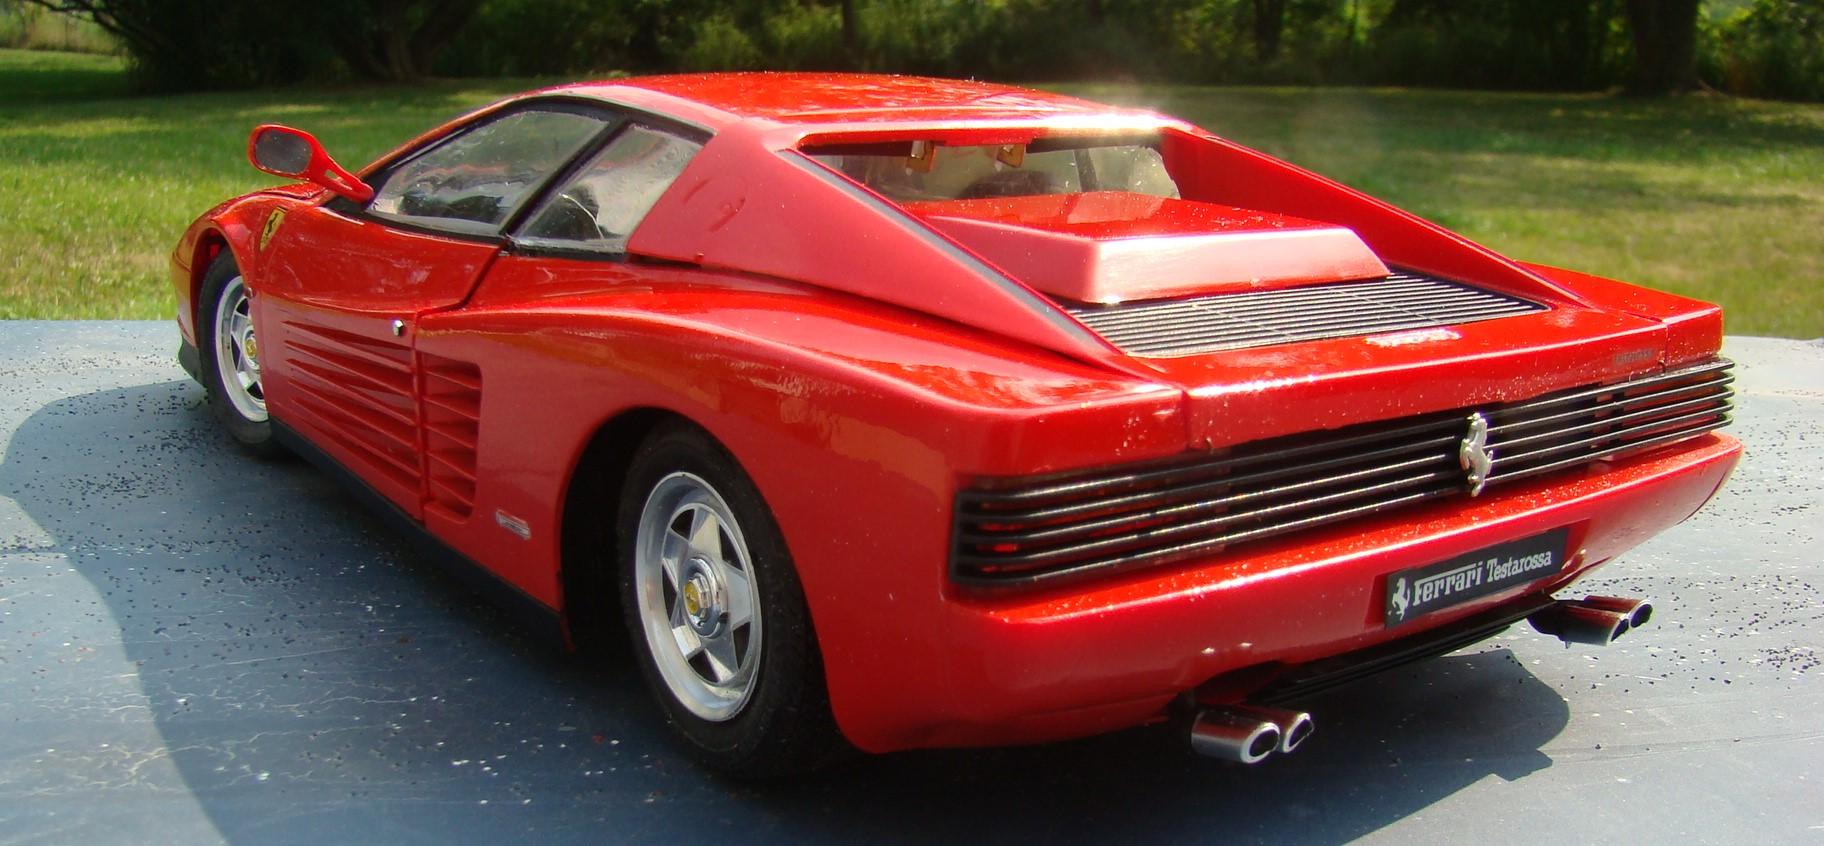
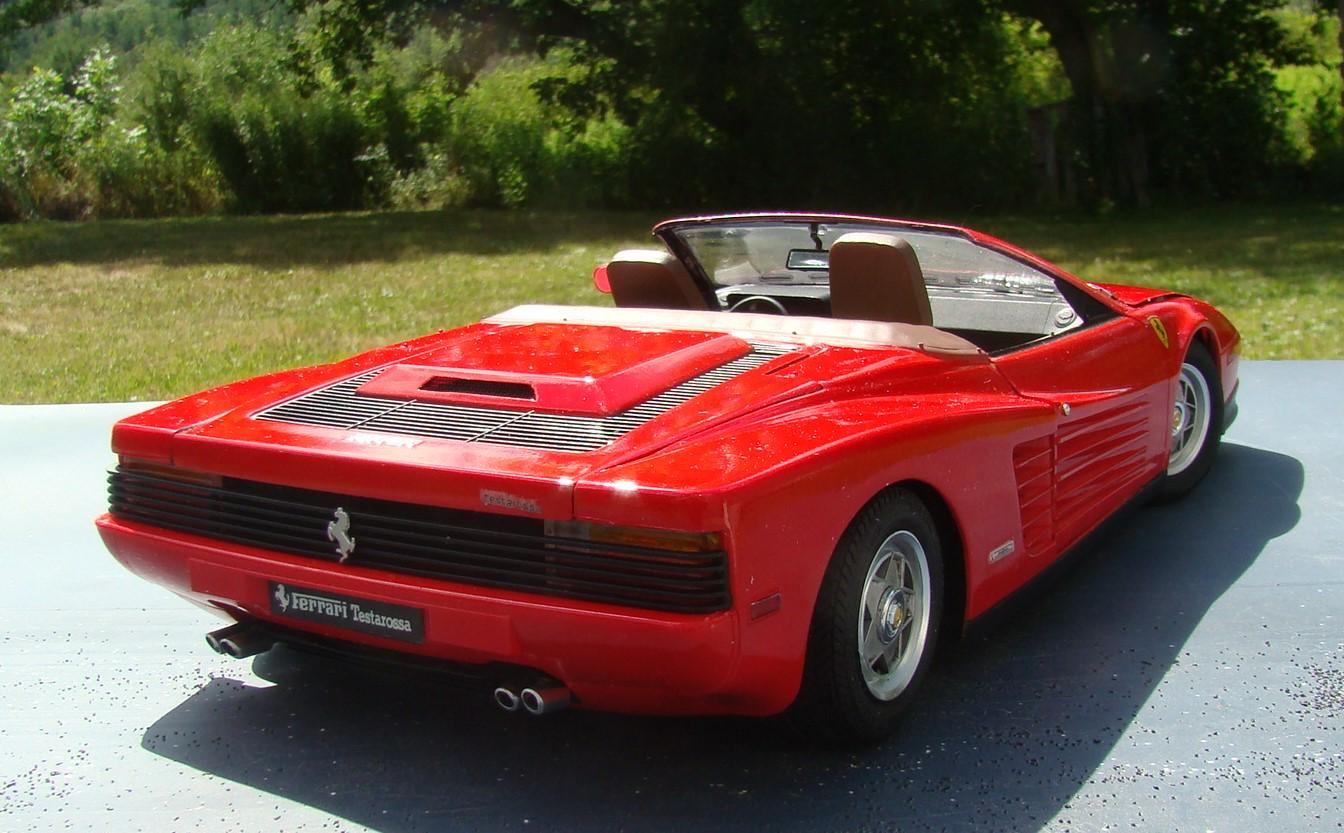
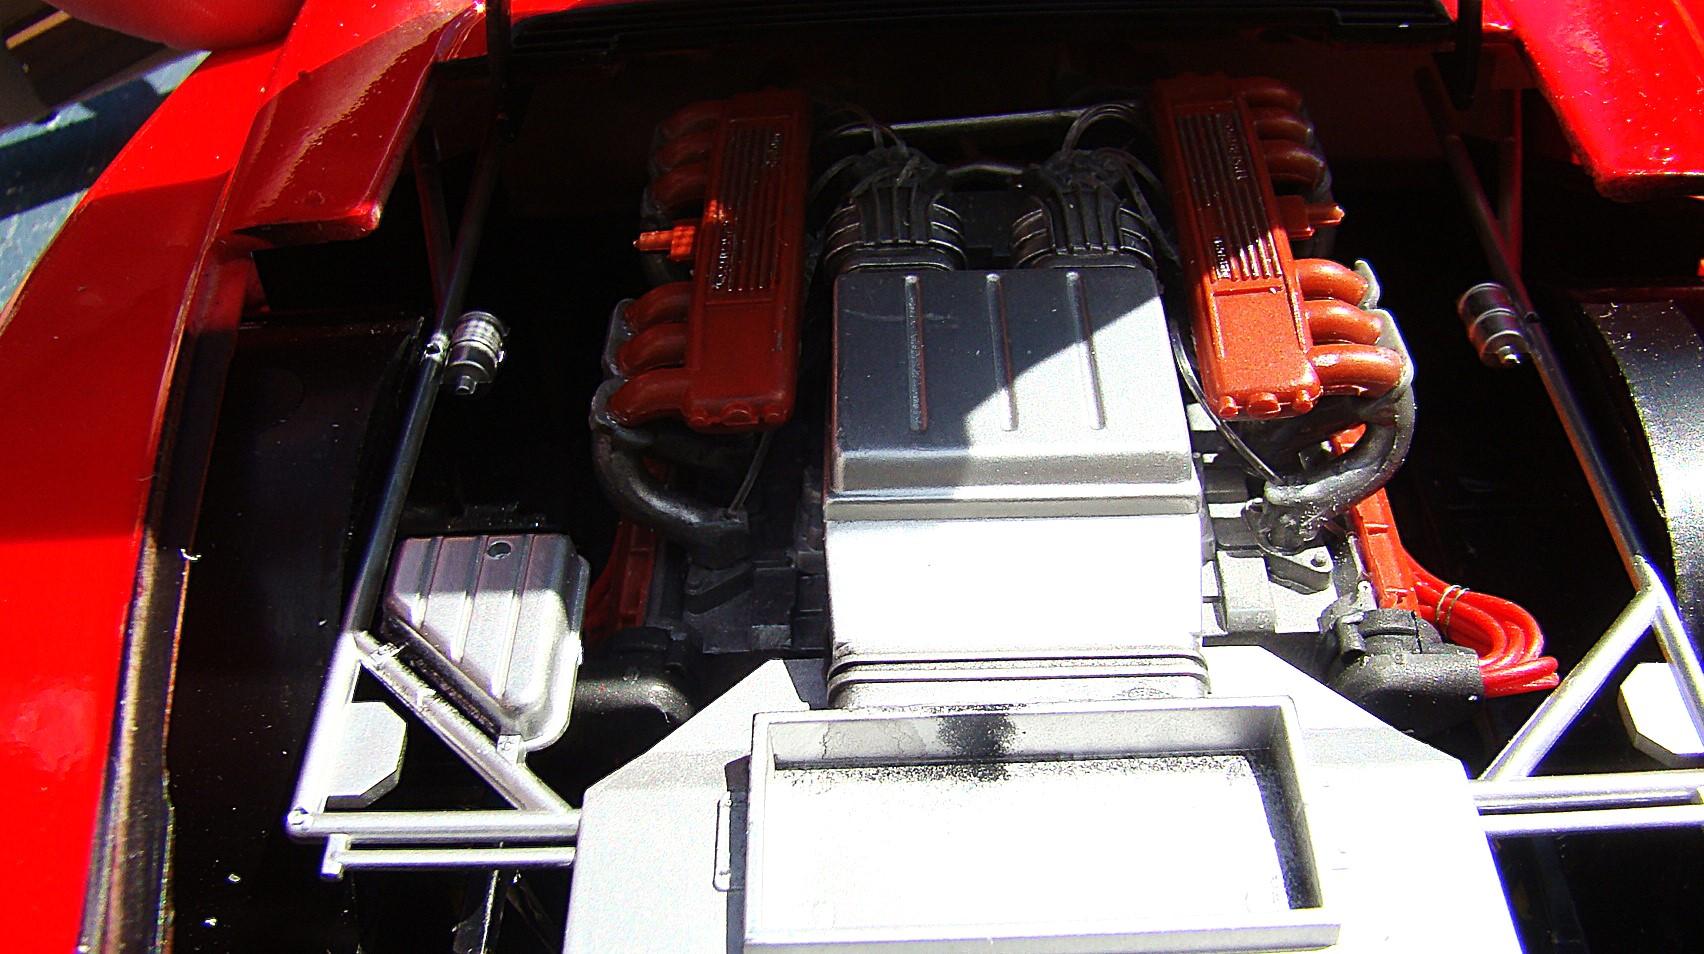
This is the first of 3 Testarossa's I currently have on the bench. All the bodies are painted and chassis complete. Thought I would finish this one first because I like the lines of the car. I bought 4 of these Fujimi kits at the same time a very long time ago. Got a bargain price on them and over the years have been itching to do them. Now that I am retired and have nothing better to do, I think its time. So next post will be the berlinetta and the Koinig modified twin turbo. Color on thhis is Gravity GC 1133 Ferrari F1 rossa. More details on this build in the picture captions. Really dig the lines of this car. From any angle it just looks fast. Kit went together relatively trouble free. Really like some fo the details like the engraving ib the wheel centers. Painted it yellow then rubbed the paint off the cavalinno That is the prancing horse figure on the Ferrari badge. Lots of detail back here. tail lights hidden behind the grill, seperate cavalinno badge and more. This shot give a good view of the lines of this car. Seats are adjustable and the wheels steer (kit features) Interior was well appointed. Color is Tamiya LP75 Buff and Lp59 Nato brown. Rear engine cover opens to reveal a wired and plumbed flat 12. Fit of all these components was a little iffy at first but once you did one the rest fell into place. Engine is a model all by itself and Fujimi included an engine stand if you wanted to do so. Interesting photo I don't usually take but it really shows off the opening doors , which, if you were careful went together flawlessly. I used magnets to hold the doors shut and they close with a satisfying "snick" One of the magnets is shown on the left side of the rocker panel. This car was the "go to" sports car in one of my favorite Sega video games.....Outrun.
-
Martini Jaguar XJ220
Rich Chernosky replied to Rich Chernosky's topic in Other Racing: Road Racing, Salt Flat Racers
Thanks Tony, weather here has been perfect. Can't beat natural sunlight for good photos. -
Martini Jaguar XJ220
Rich Chernosky replied to Rich Chernosky's topic in Other Racing: Road Racing, Salt Flat Racers
-
Ford GT40 Spyder GT111
Rich Chernosky replied to Gramps46's topic in Other Racing: Road Racing, Salt Flat Racers
Got er over the finish line. Great job Gary. That's a mighty impressive collection of Fords you got there. Thanks for posting. -
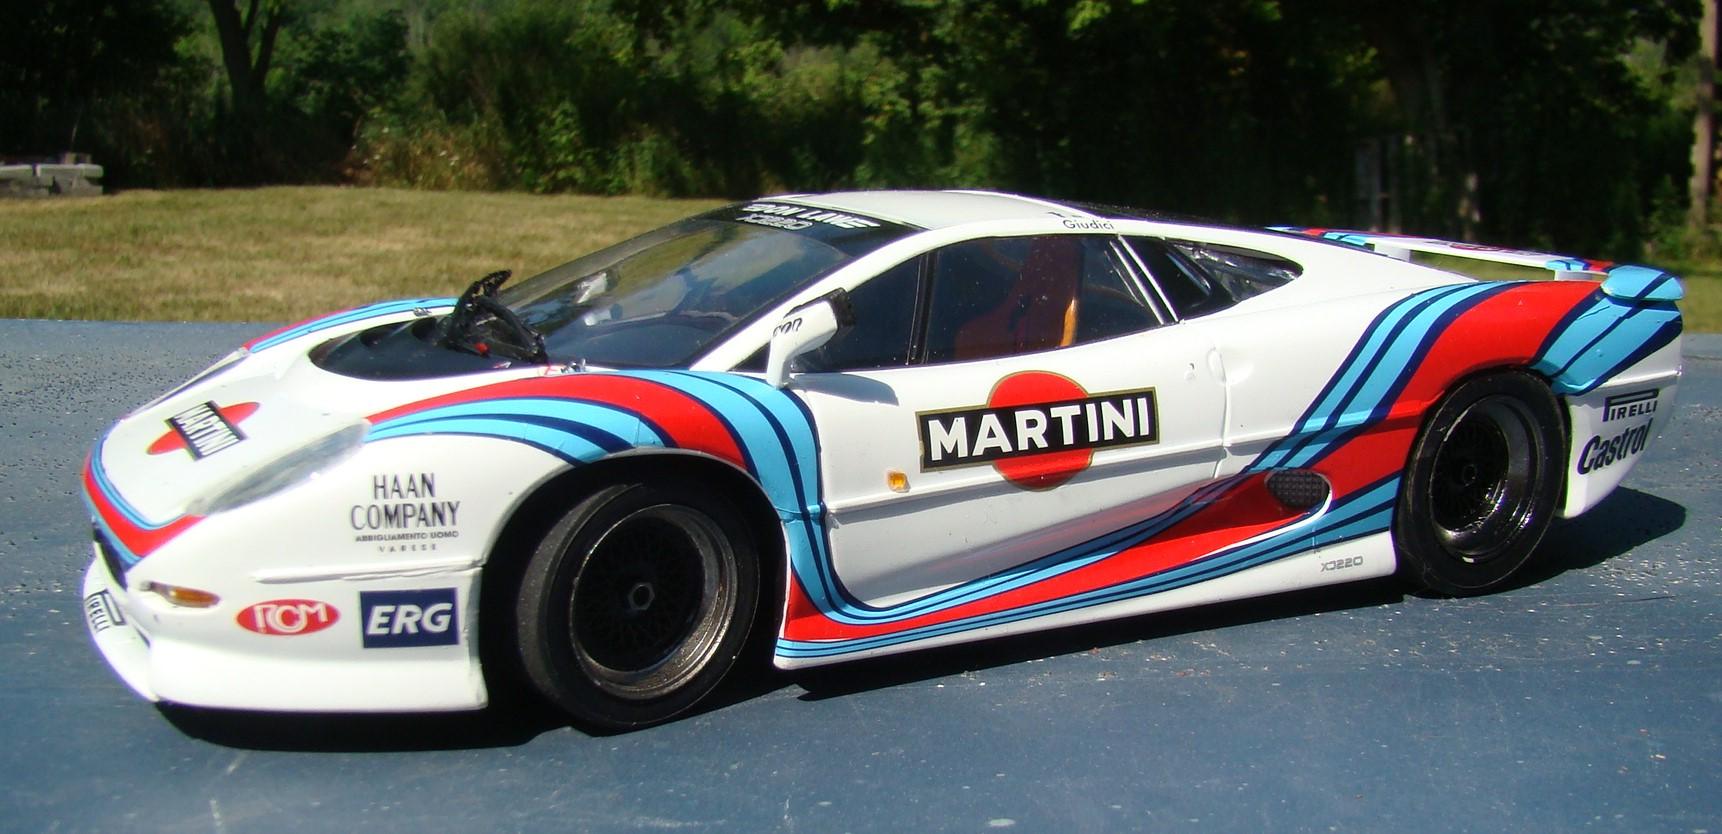
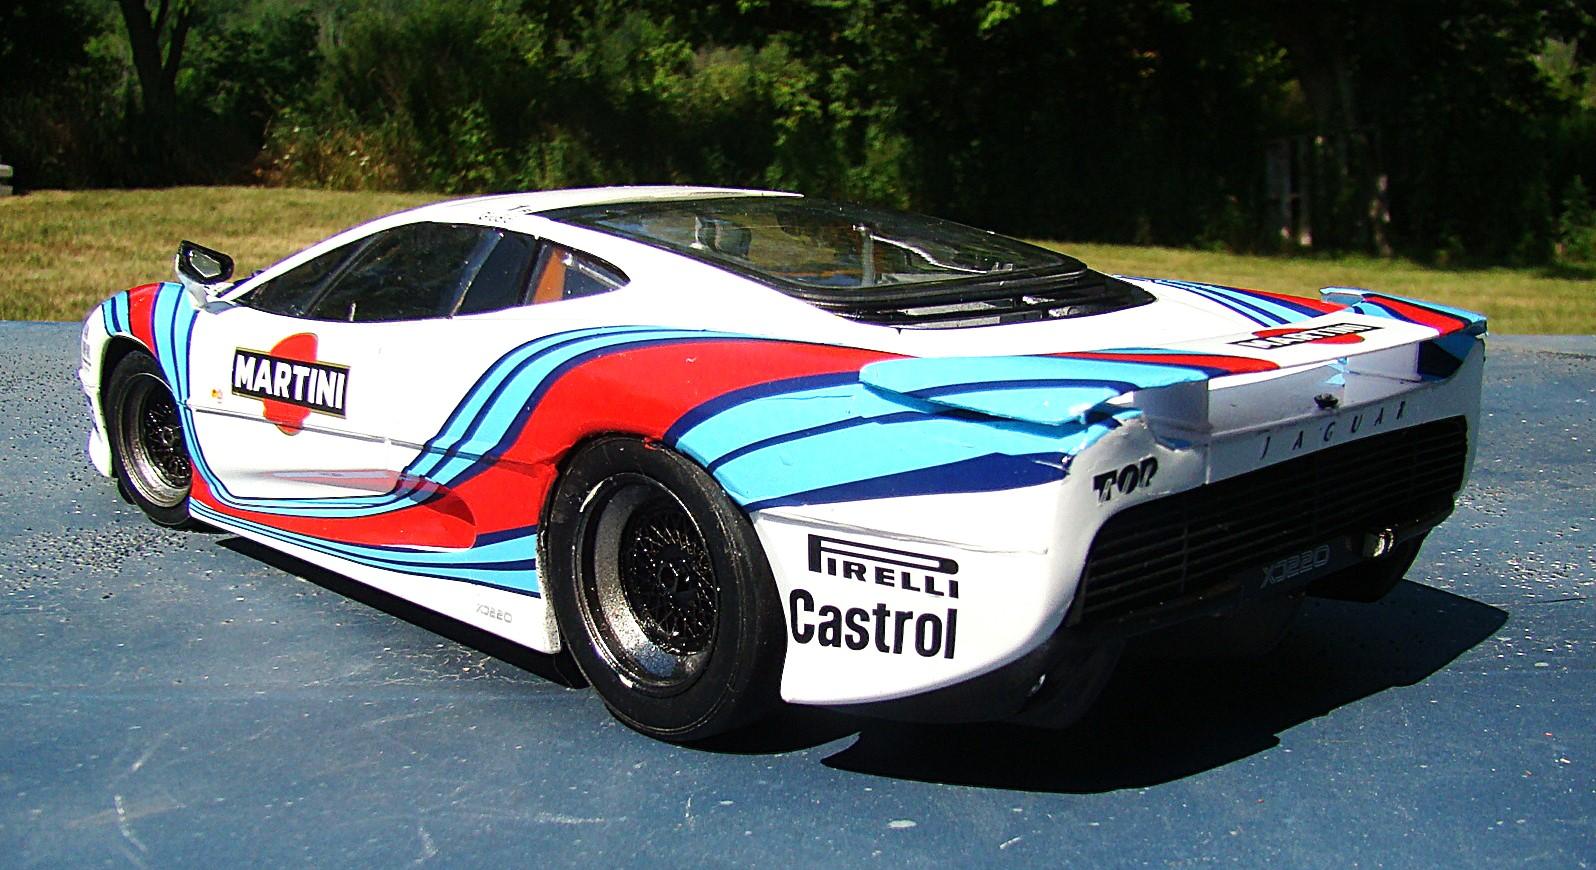
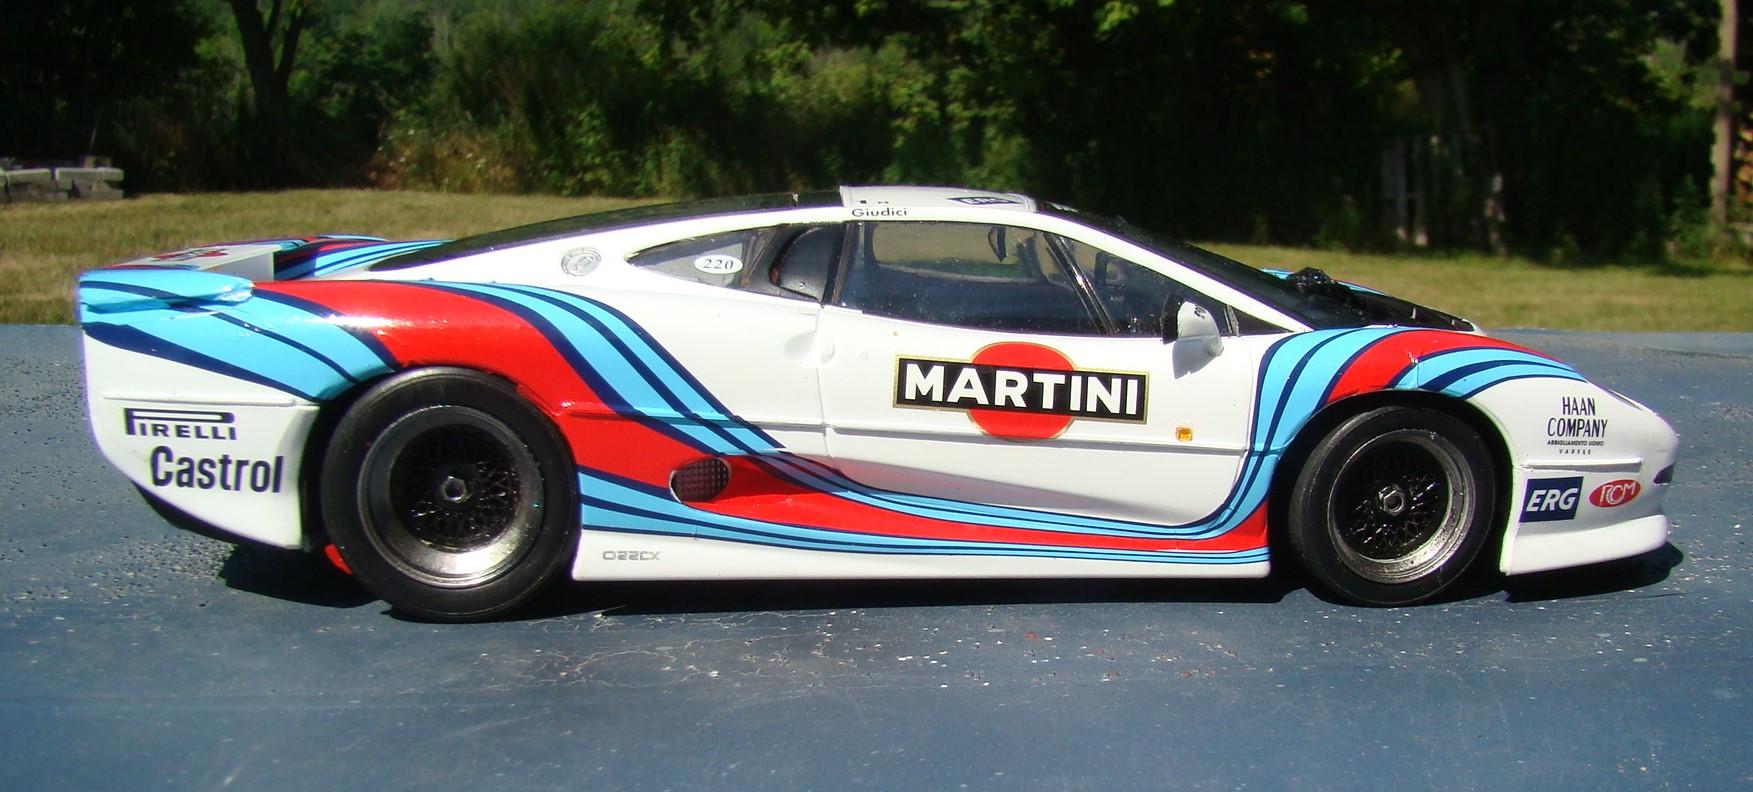
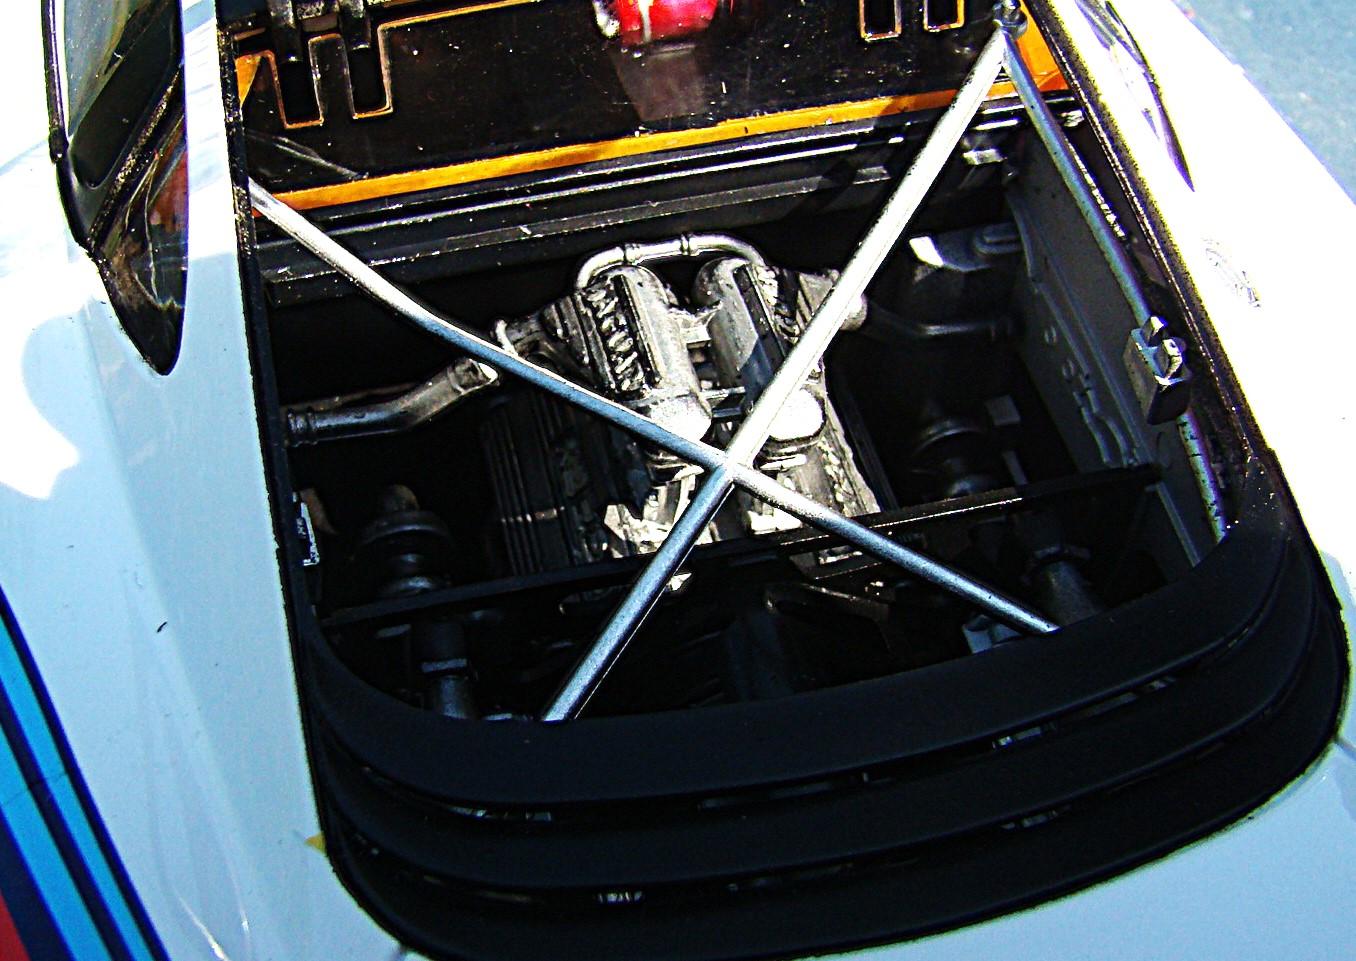
A long time ago , on another forum I saw this car done by Mike Quarterman. Being a big fan of the Martini livery I contacted Mike to see if his decals were still available. They were not. But I also found out he was a big fan of the livery too and sent me a photo of his collection. I sent him mine. It was a nice exchange. Eventually another member came forward and I was able to get a set. I also ordered a set of BBS wheels and tires and a Revell Jaguar XJ220 kit. I started the project but then lost interest as there was a lot of conversion work involved. So it has languished for the last 25yrs or so. As the model gods would say: if you have an idea, eventually someone else will either produce it or copy it. And that it is exactly what Italeri did. Bought the kit and just finished it. Below the pictures are the details of the build. Color on this is Tamiya TS26 white. Kit wheels were too small and didn't represent the BBS very well. So they were replaced with the wheels and tires I ordered for the other kit. they were cast by Perry's resisns of Canada. Business end of the Jaf. The tail lights are hidden behind the black grill. A nice feature. Stuffed in down there is a twin turbo-charged V-6 which gives this sleek bodied car a top speed of over 200mph. Decals on this kit were great. I was worried about the graphics but they fit and went on nice and smooth with minimal wrinkles. This is a version of the car that ran at the Silverstone Classic in July of 2014. Italeri did a great job on this kit and it was a very enjoyable build. Now..to find a spot in the case with all the other Martini cars.